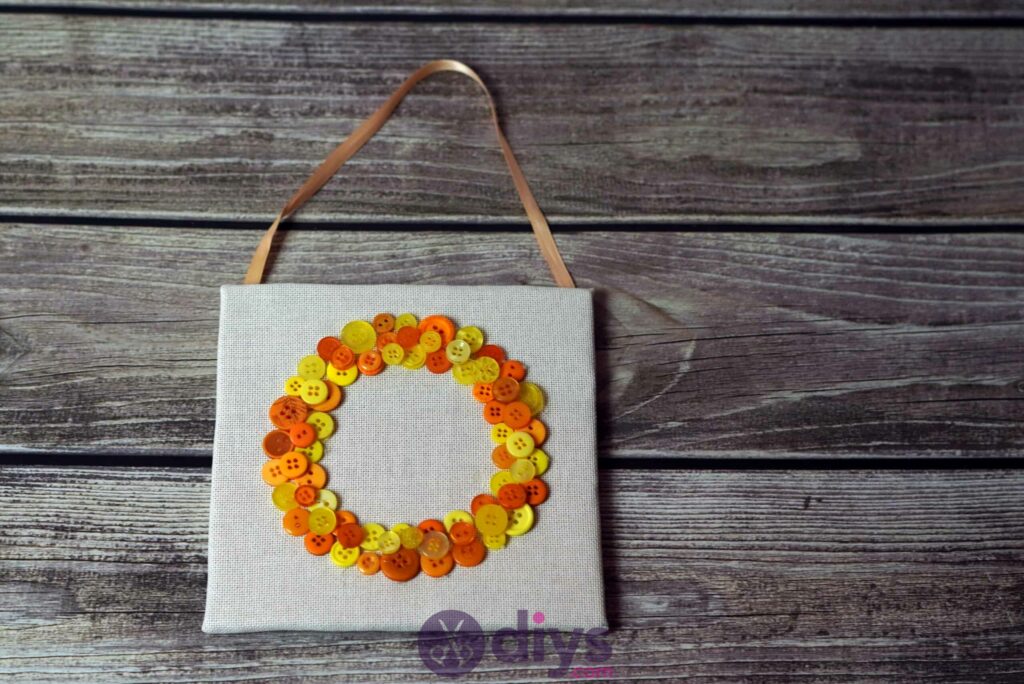
DIY Button Art Wall Hanging
Updated on June 23, 2021


Ever wonder what you’ll do with all those leftover buttons you’ve been collecting for years? Consider making a DIY button art wall hanging for your home! We did a small one here, but you can upscale it to be any size you want! Scroll on to see how we did it!
Switch up colors and sizes to really personalize this. Check out these step by step instructions complete with photos. If you’d rather follow along with a video tutorial instead of written words, scroll to the bottom of this post to find just what you’re looking for.
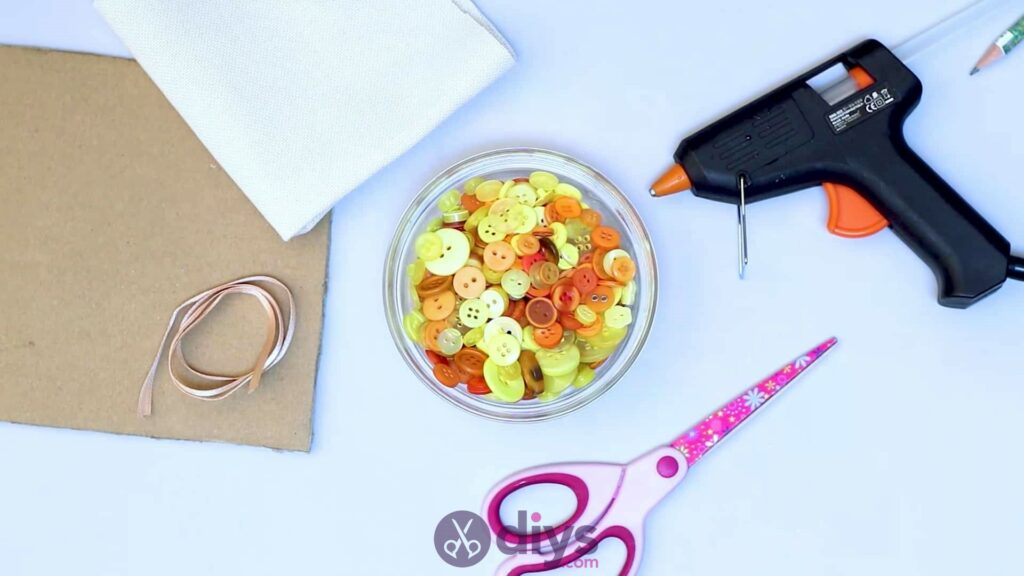
For this project, you’ll need:
- Cardboard
- Buttons
- Linen fabric
- Silk ribbon
- Hot glue
- Scissors

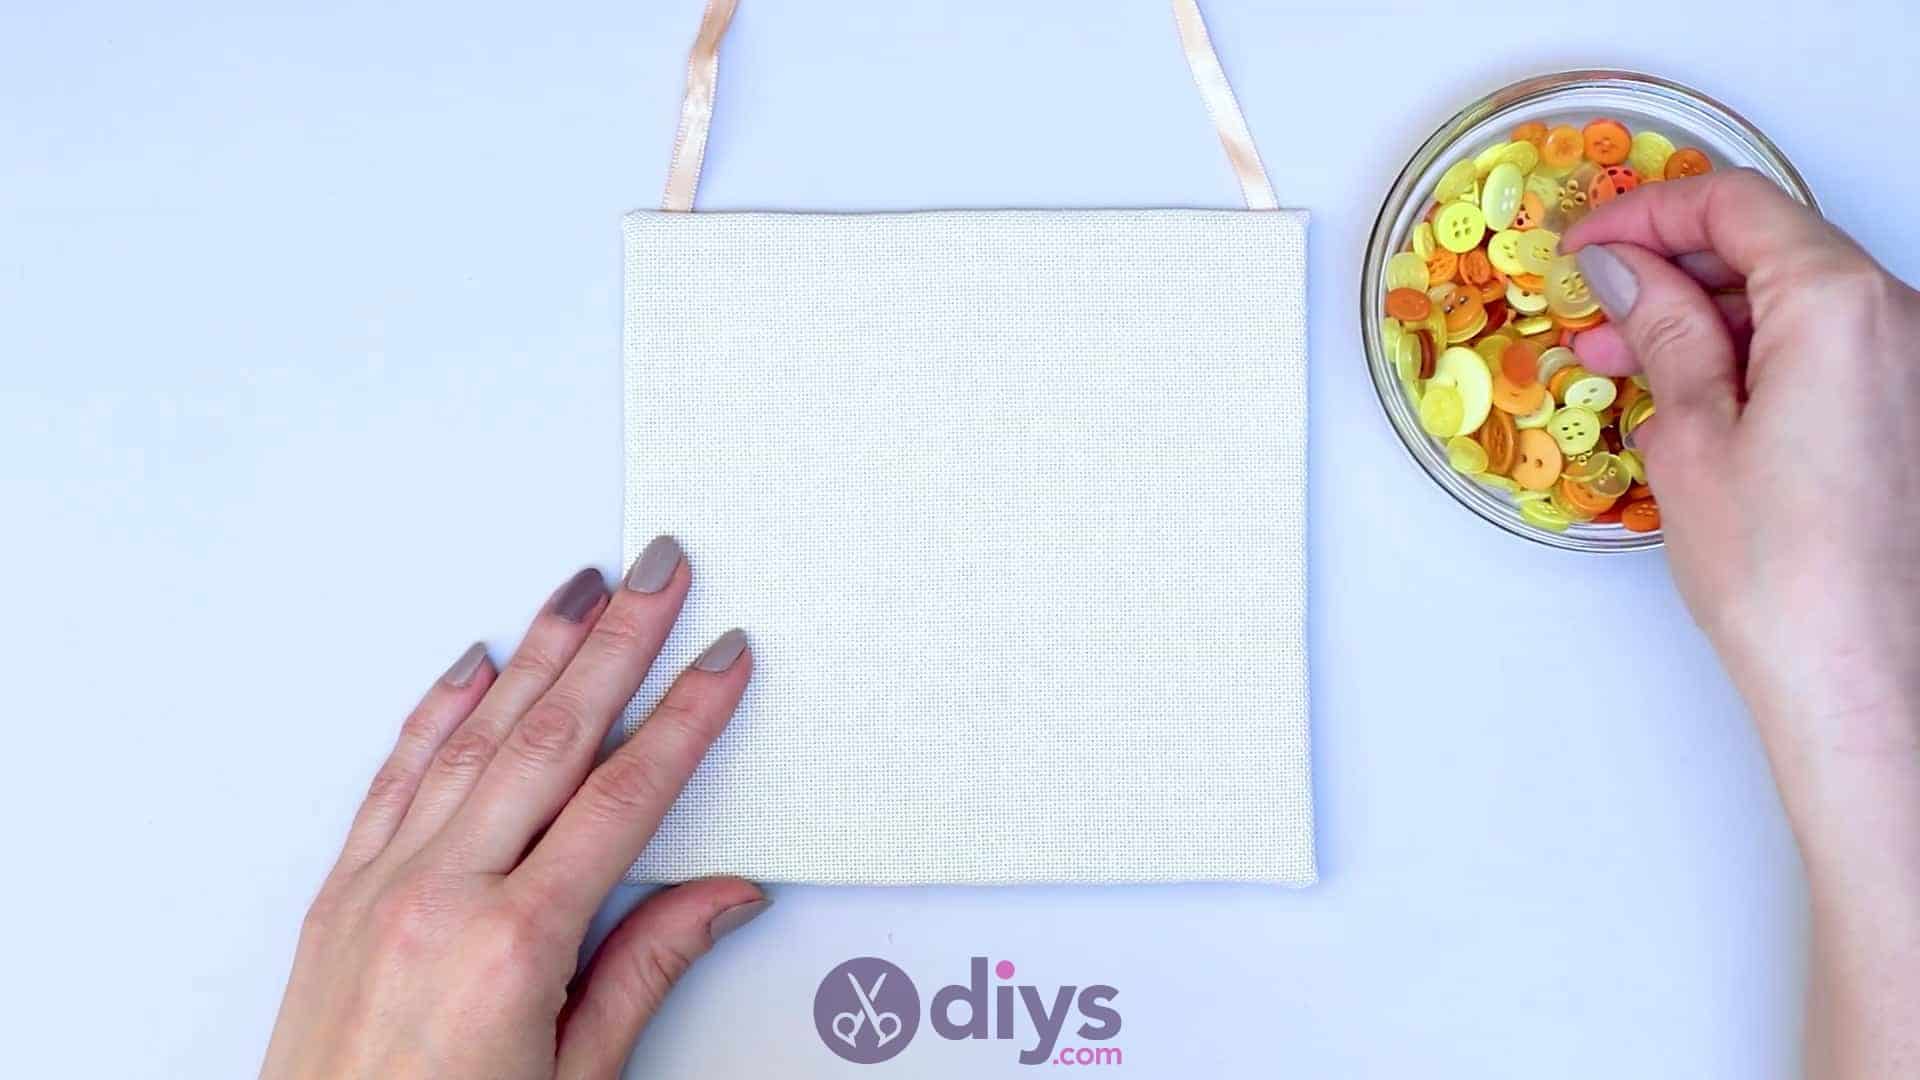
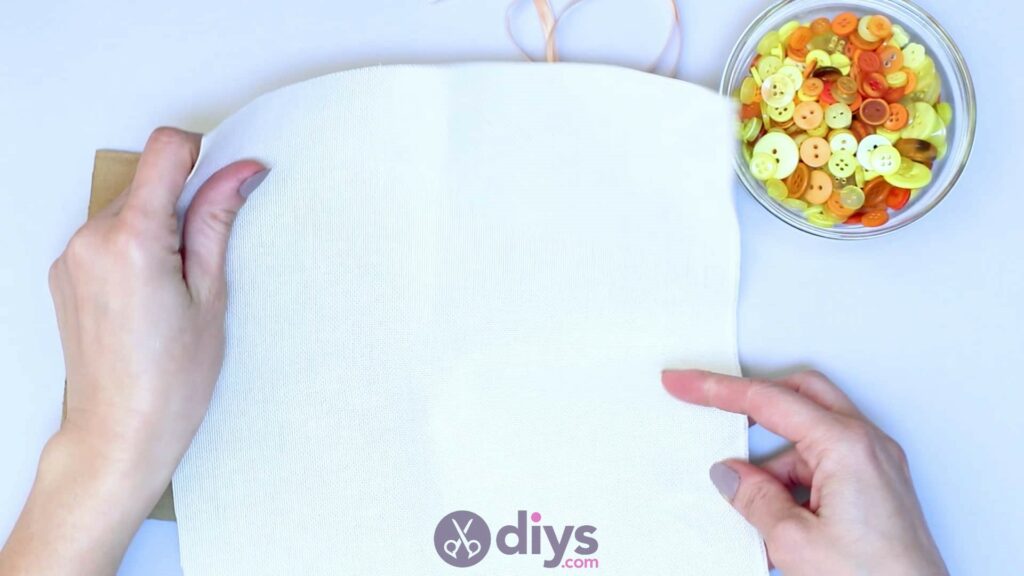
Step 1: Gather your materials!
It’s a good idea to have everything you need ready and in front of you.
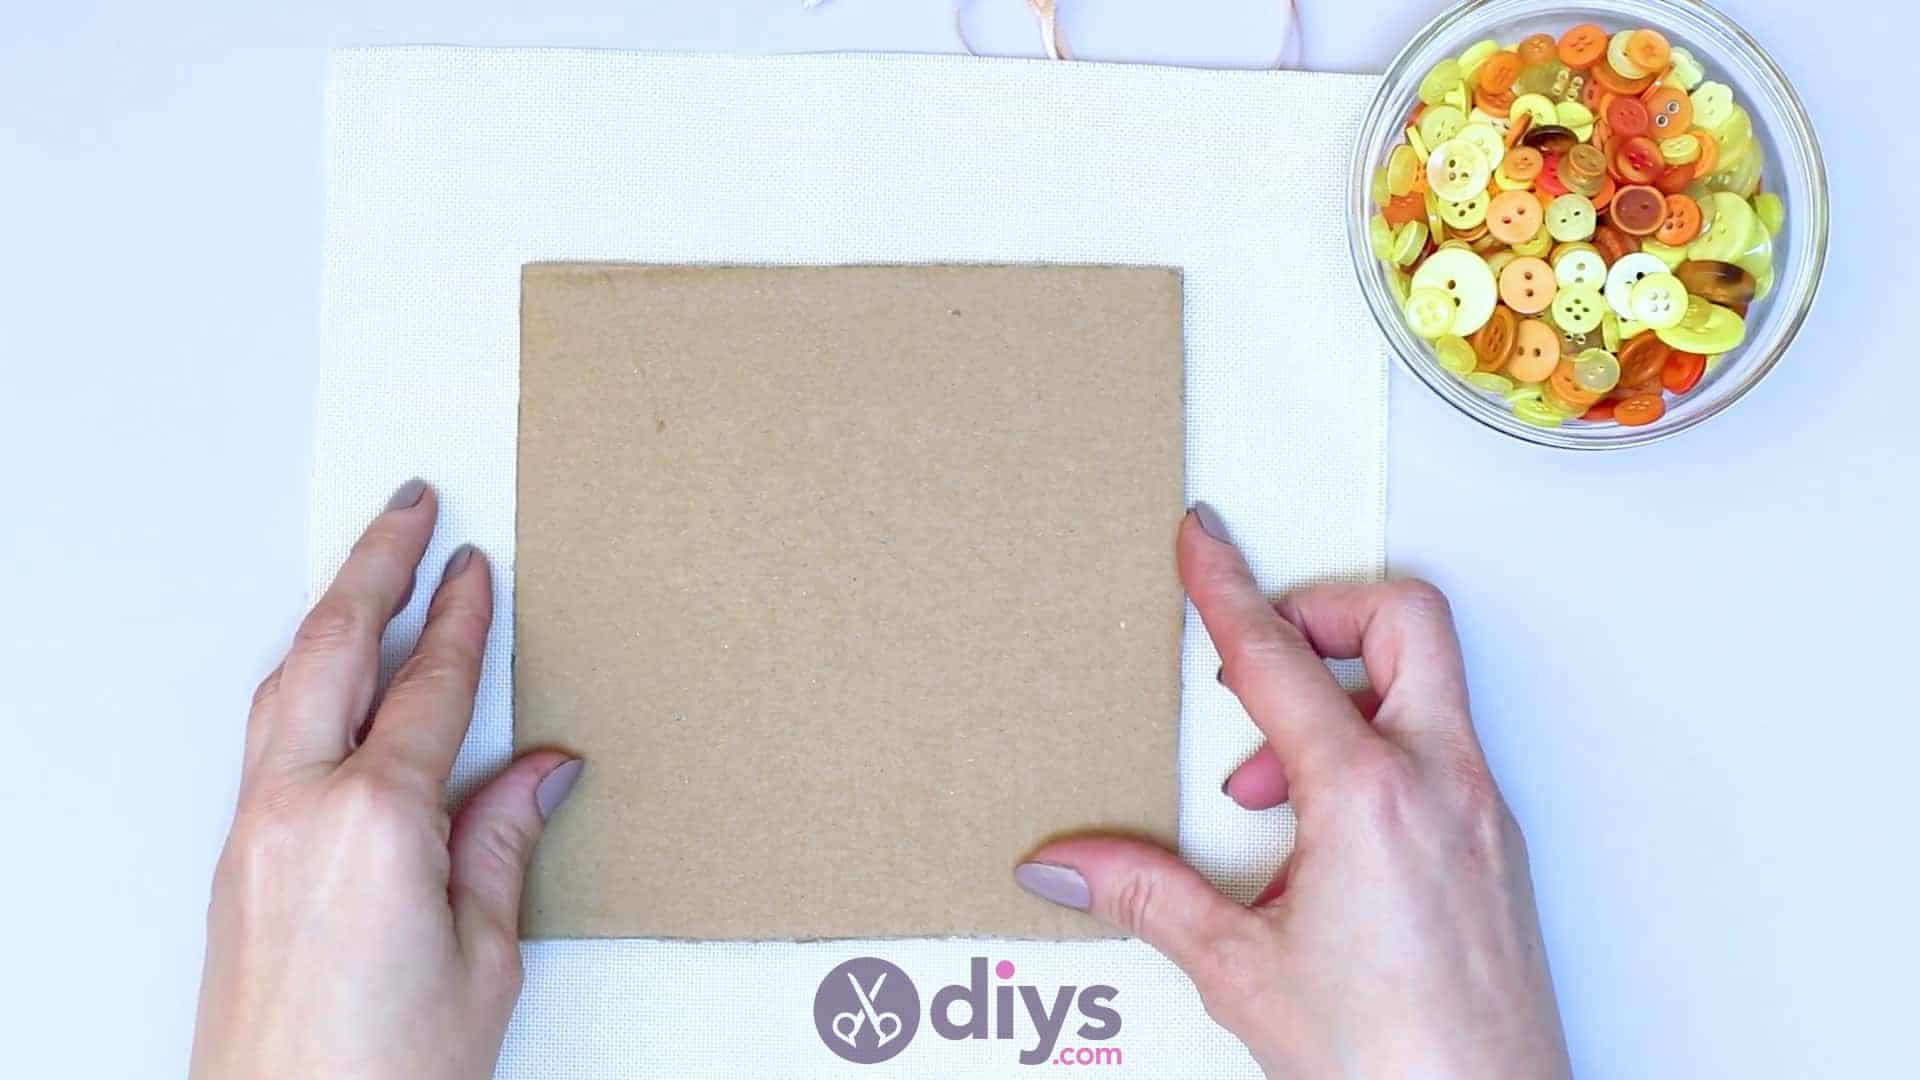
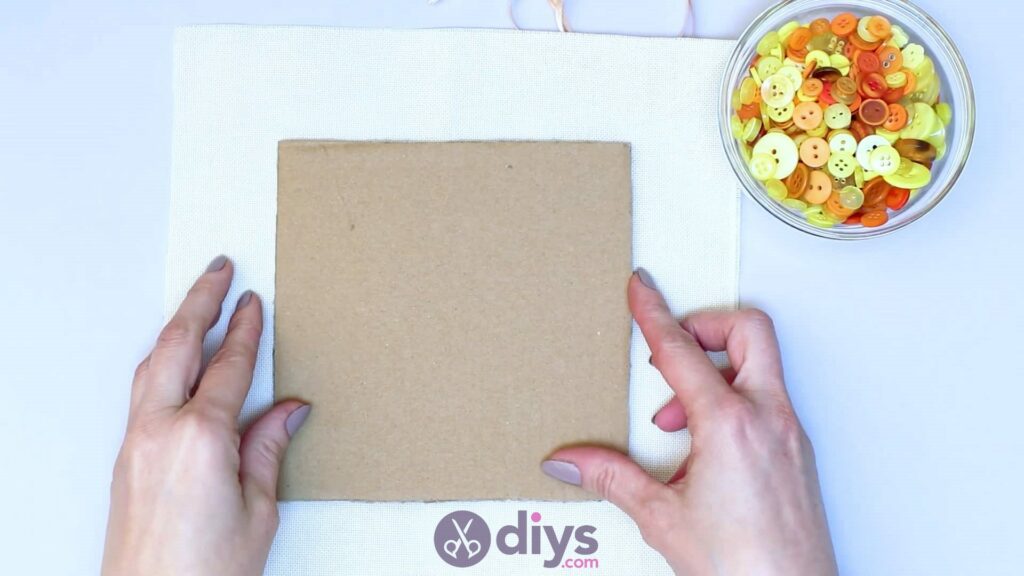
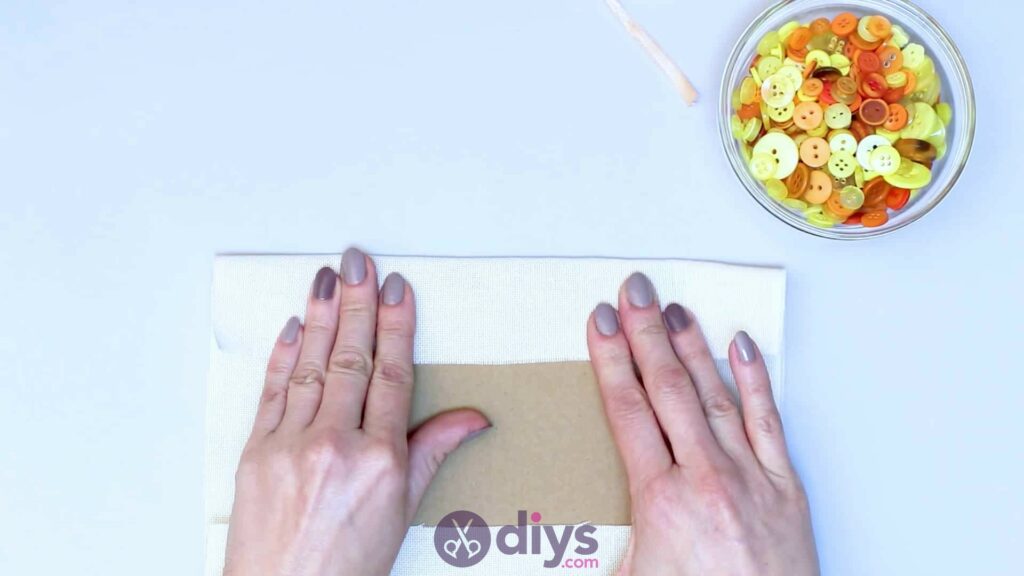
Step 2: cut square
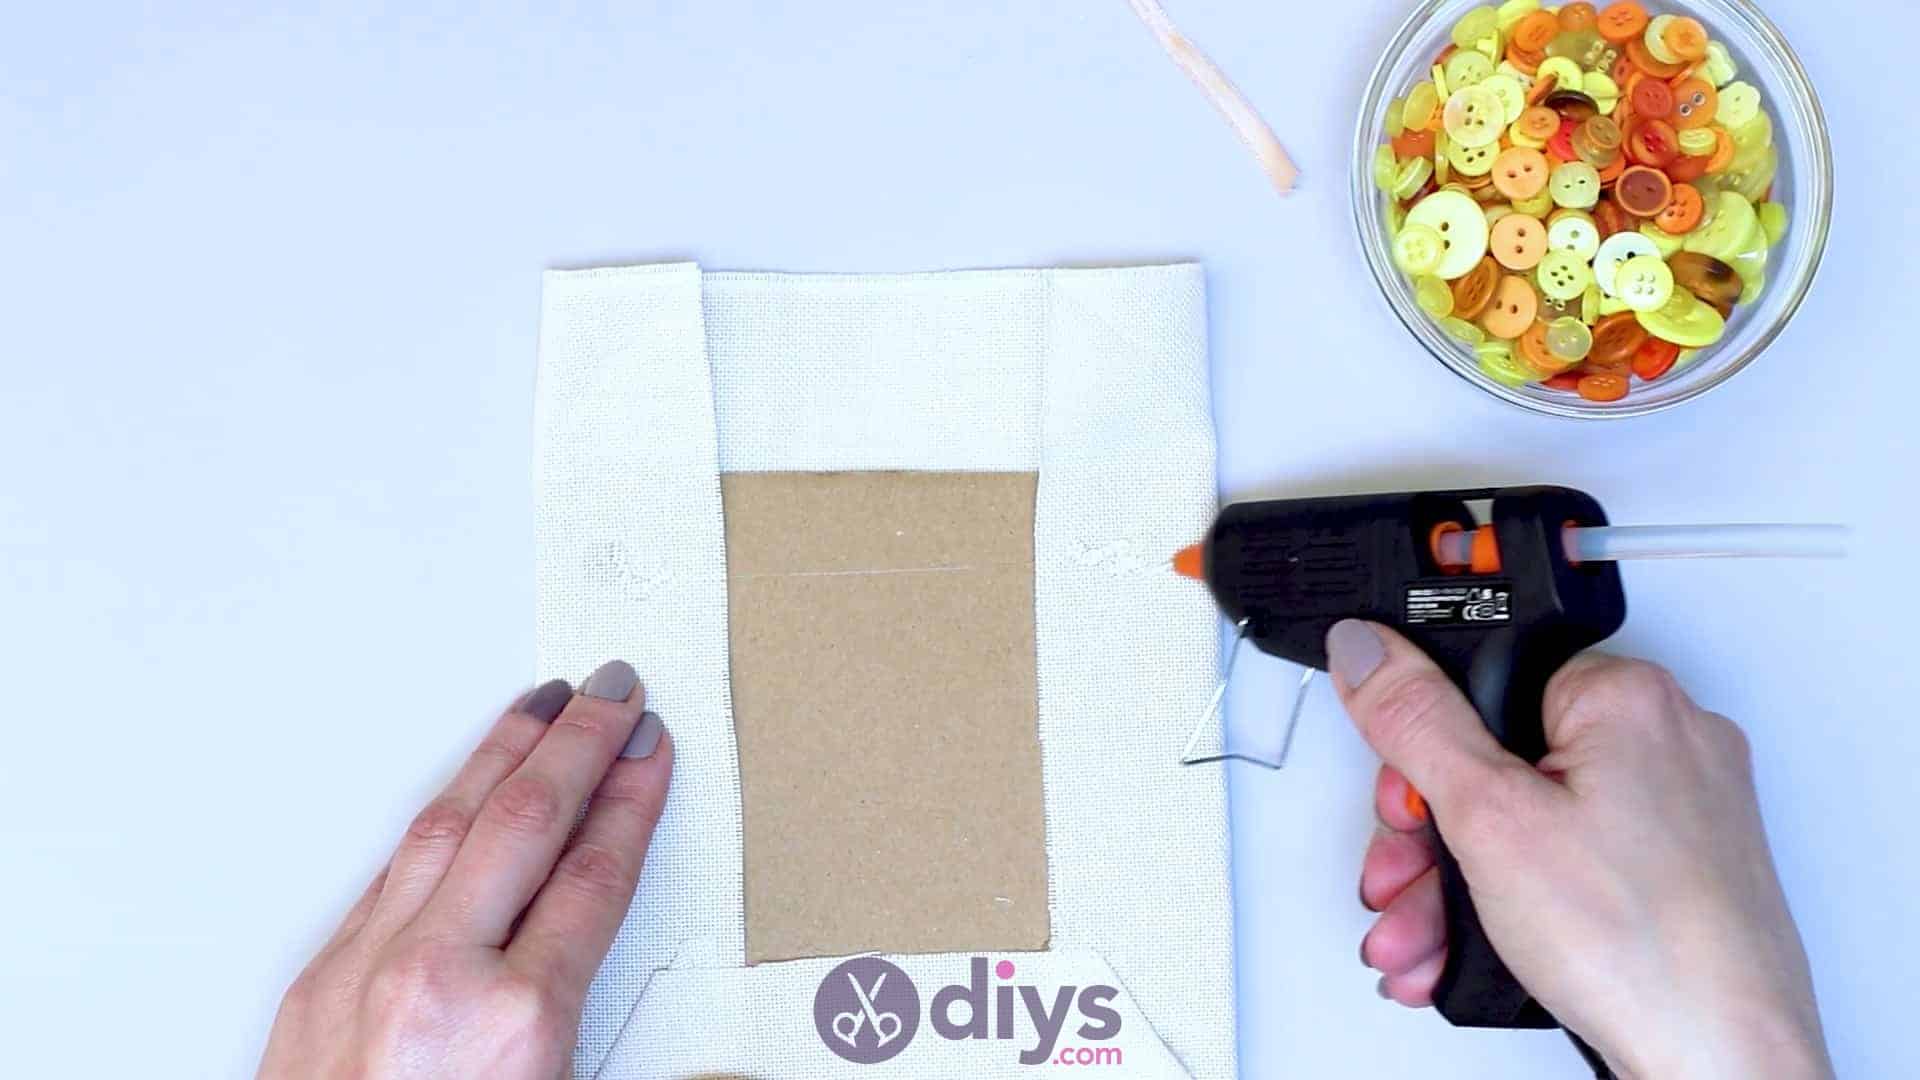
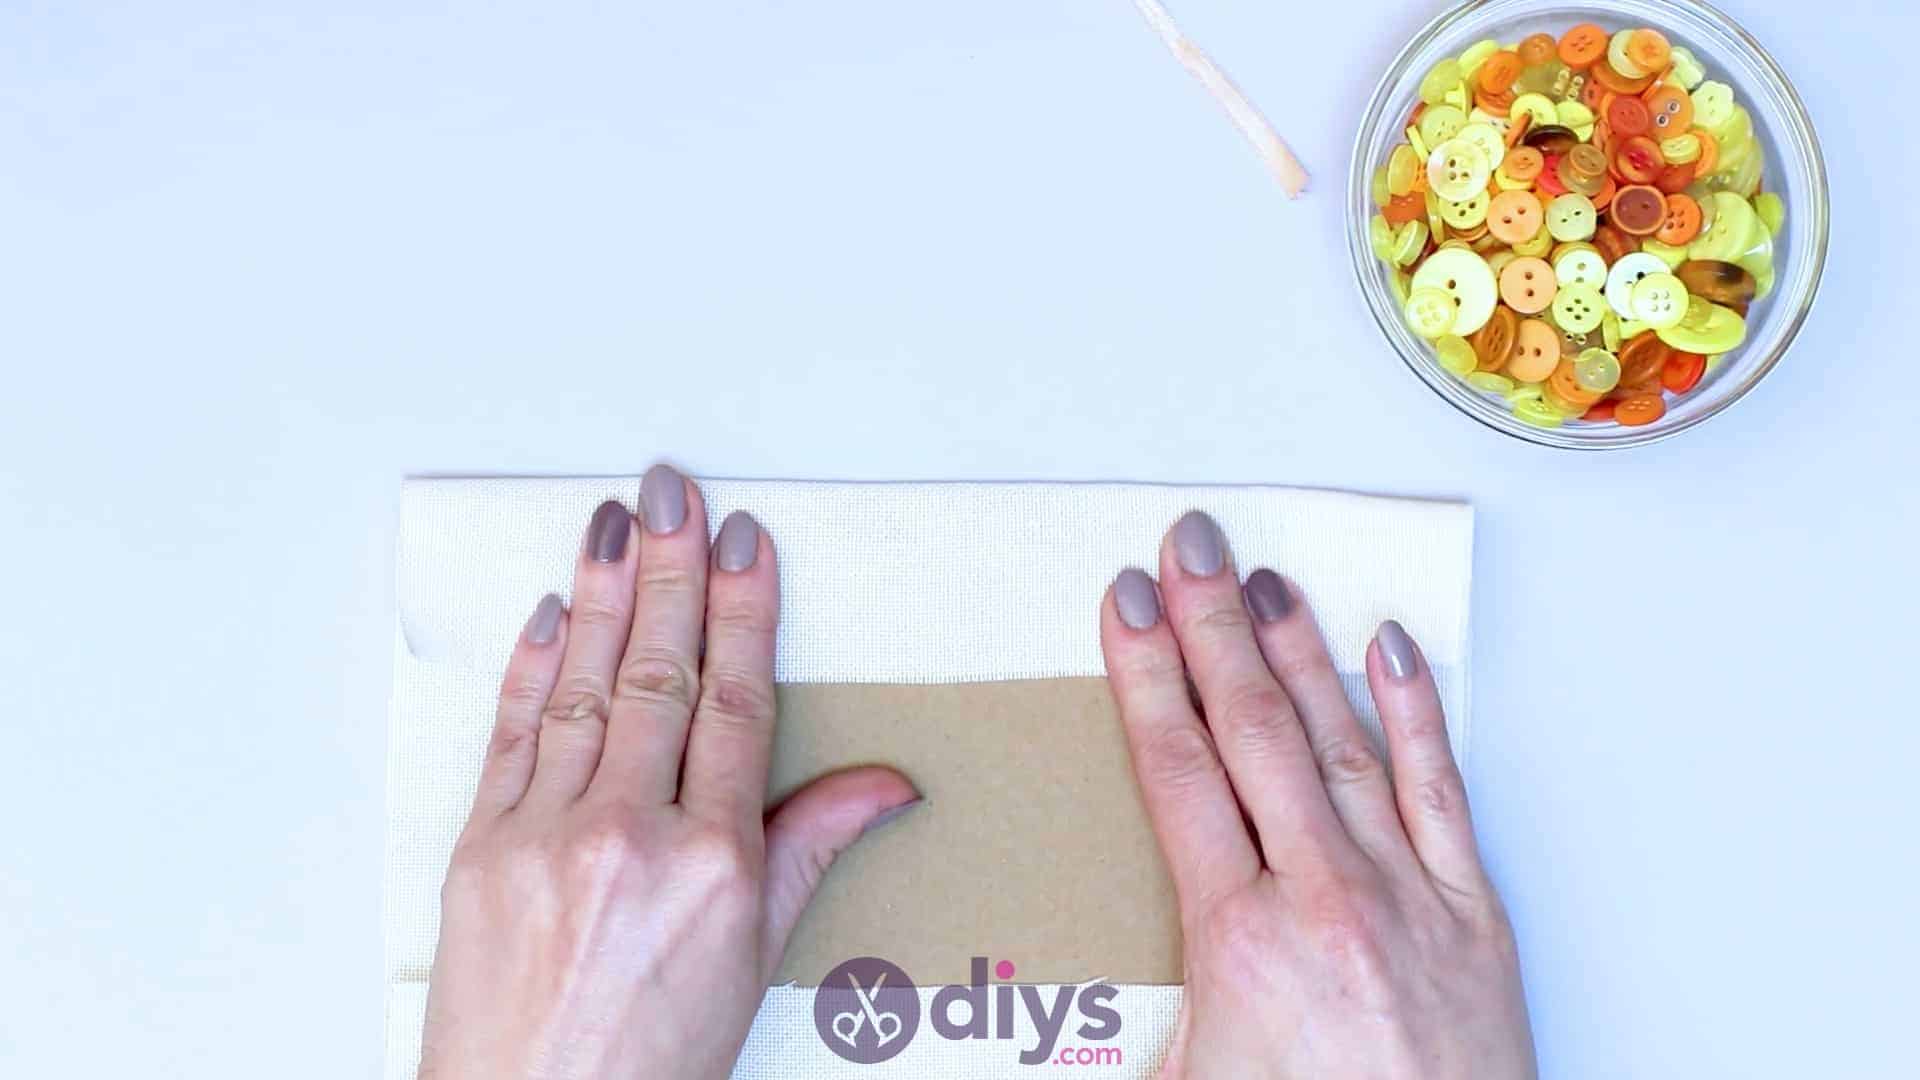
Start by cutting your cardboard into a square. This is the base of your whole project, so make it whatever size you please; this will determine the size of your wall hanging. Next, cut your linen into a similar square shape, but larger. I made mine sized such that it would leave about two inches of a linen border around the edges if I placed my cardboard piece on top of the linen square. Once you’ve got your pieces cut to size, do precisely that, making sure your cardboard square sits right in the centre of your linen one.
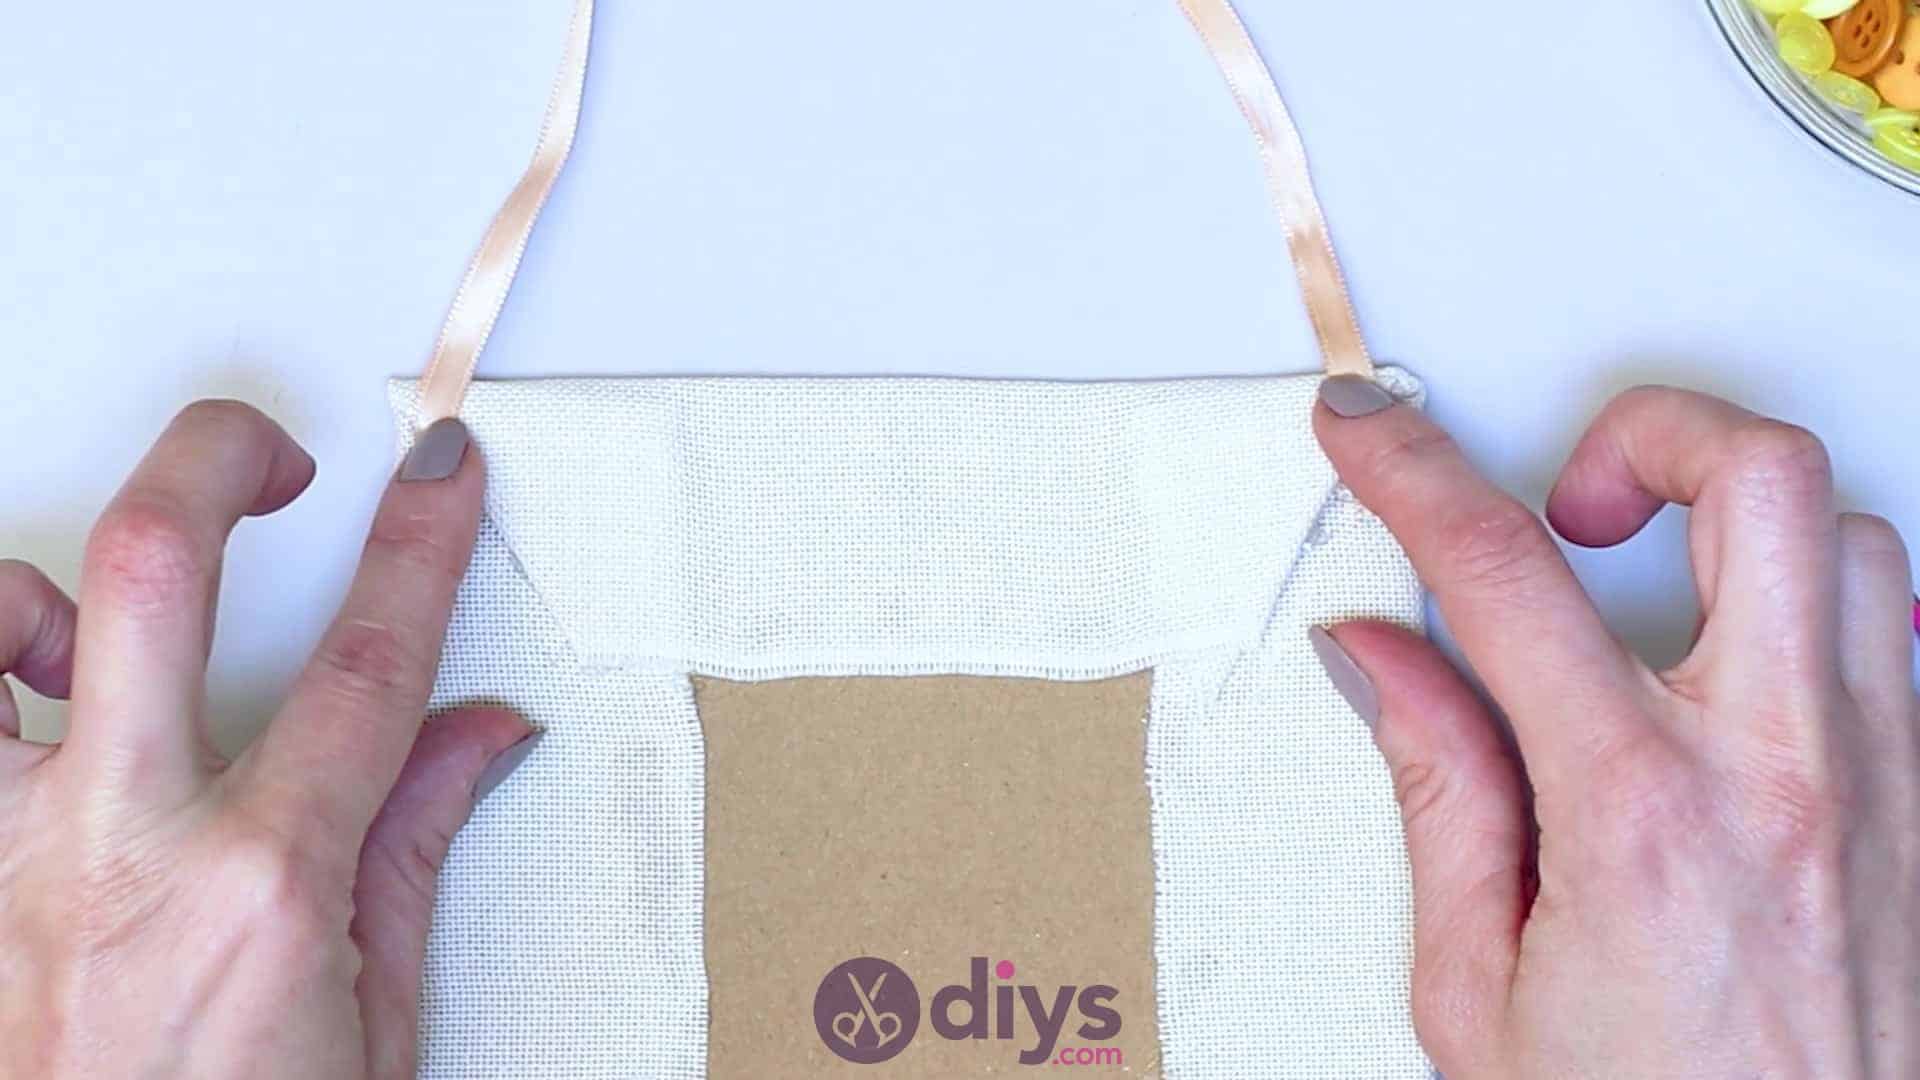
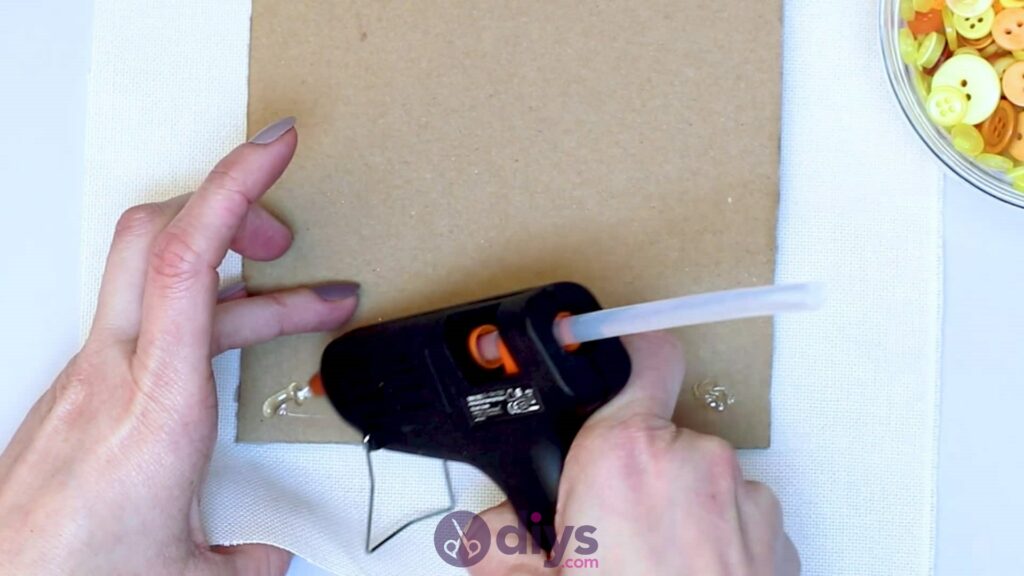
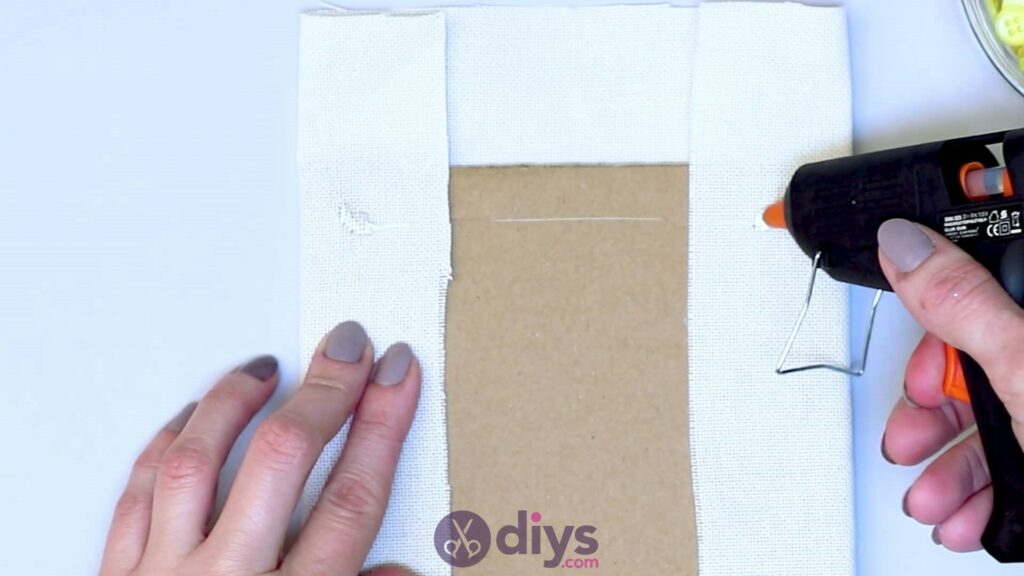
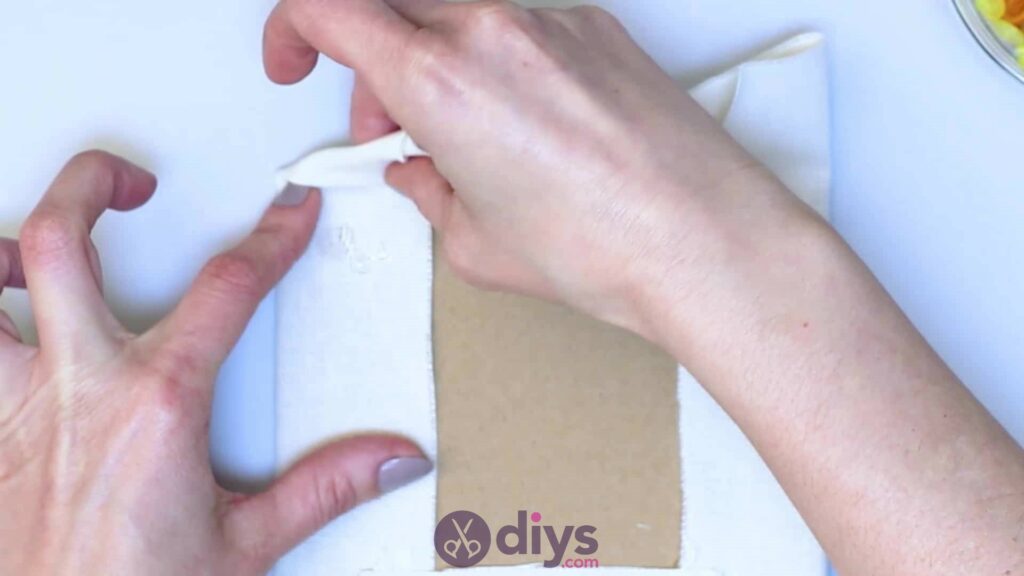
Step 3: wrap it
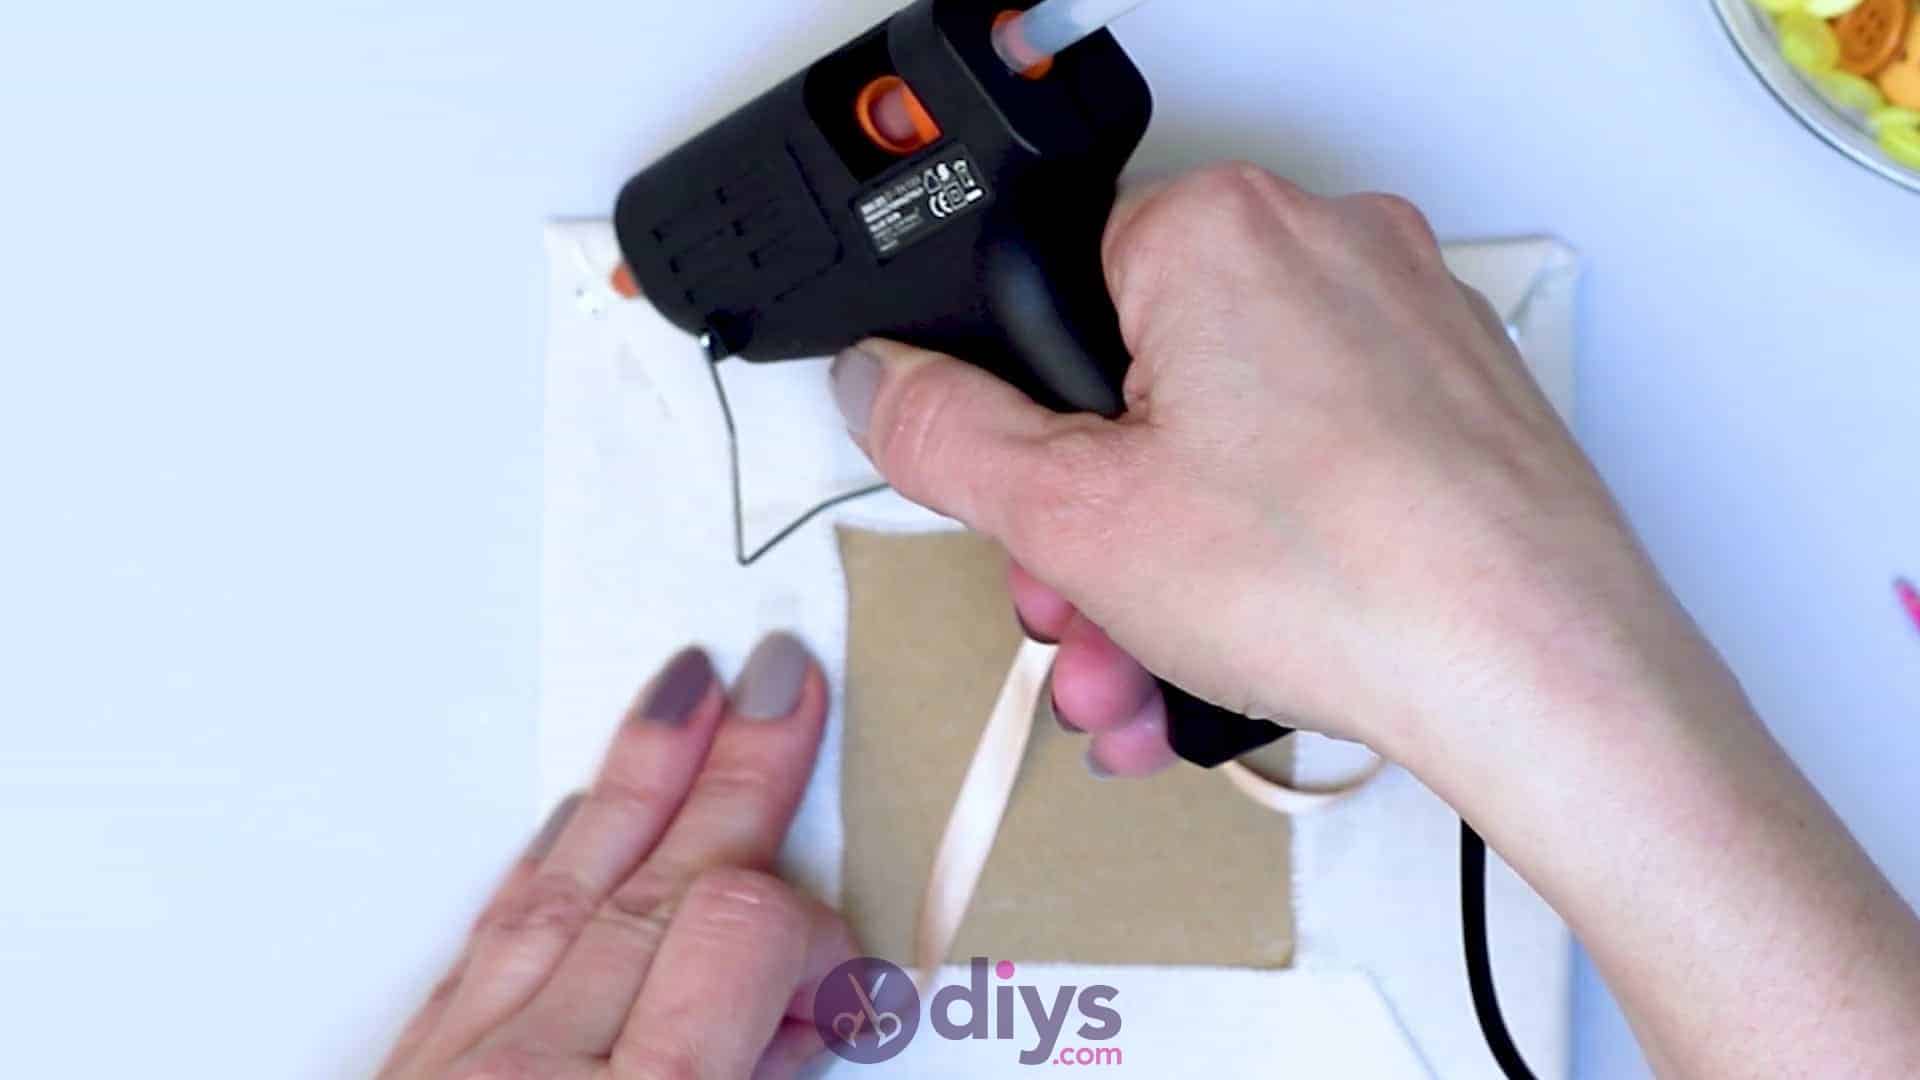
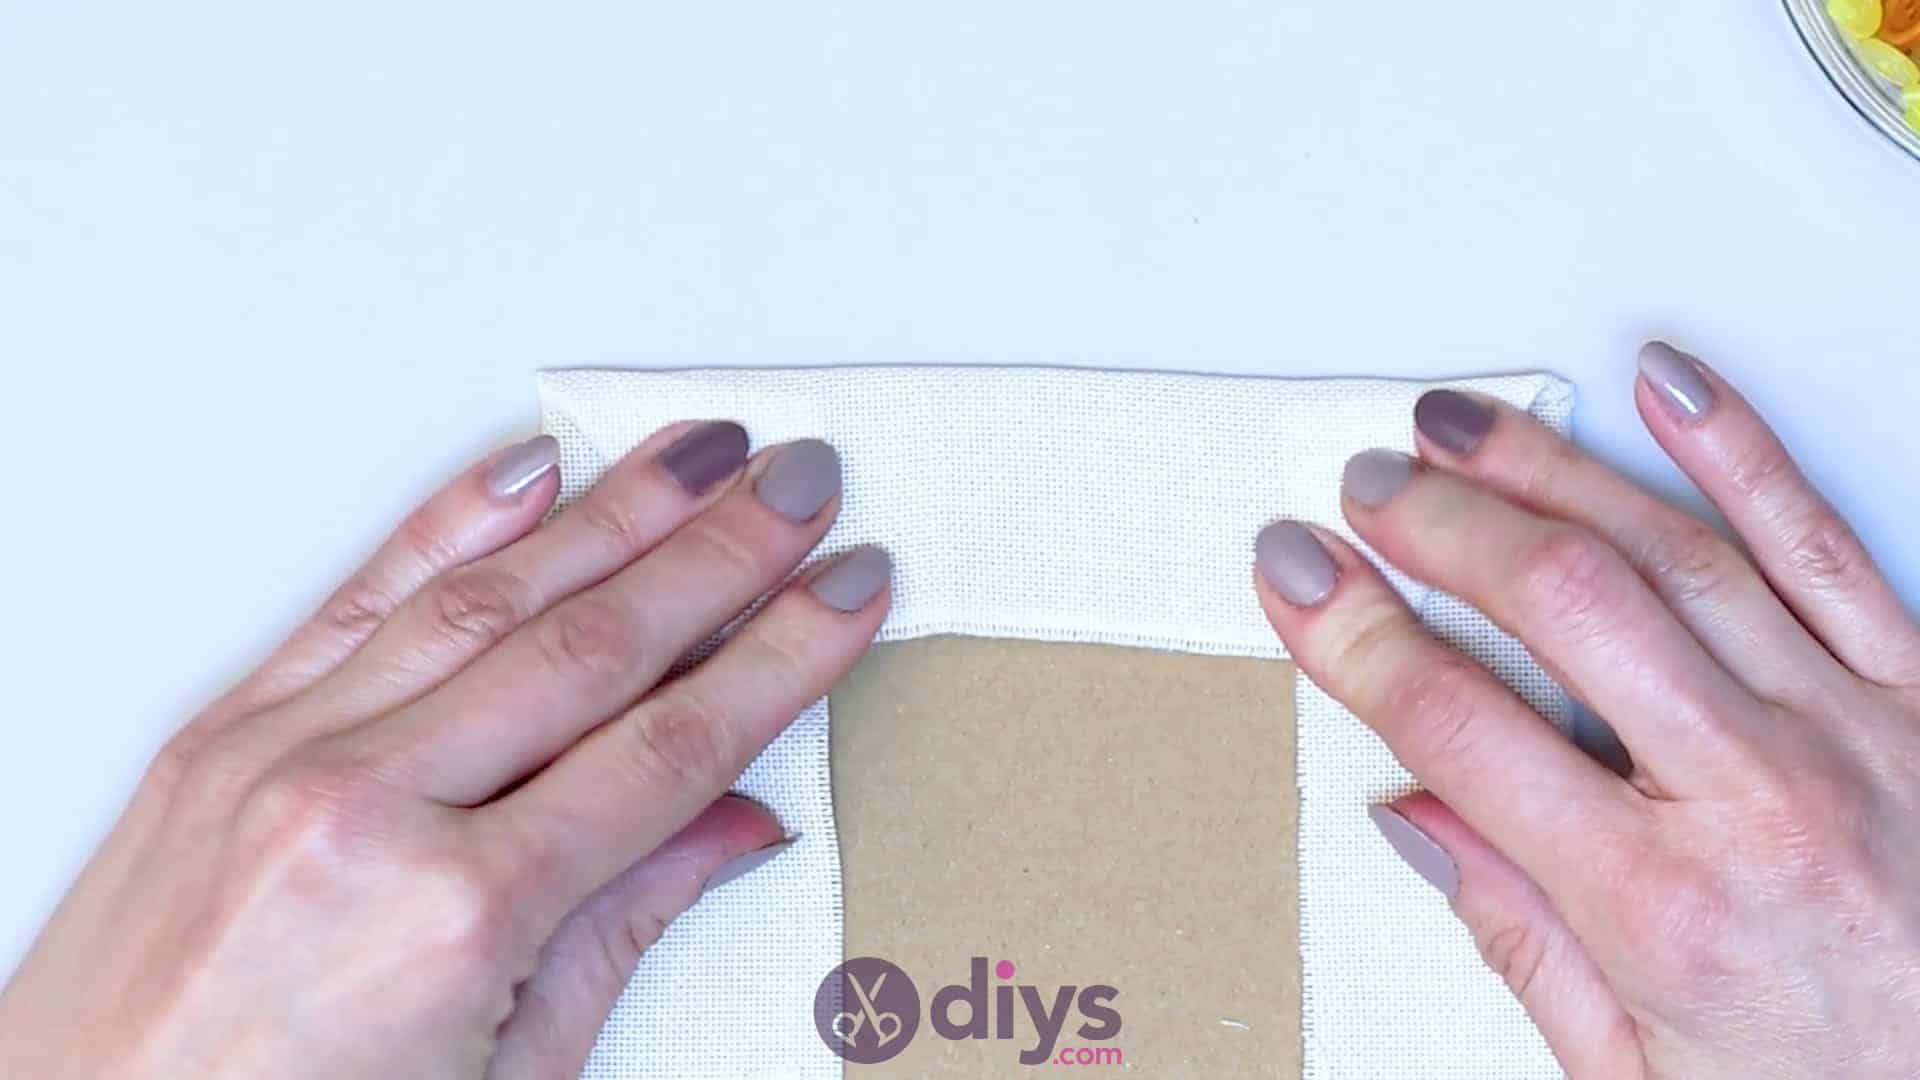
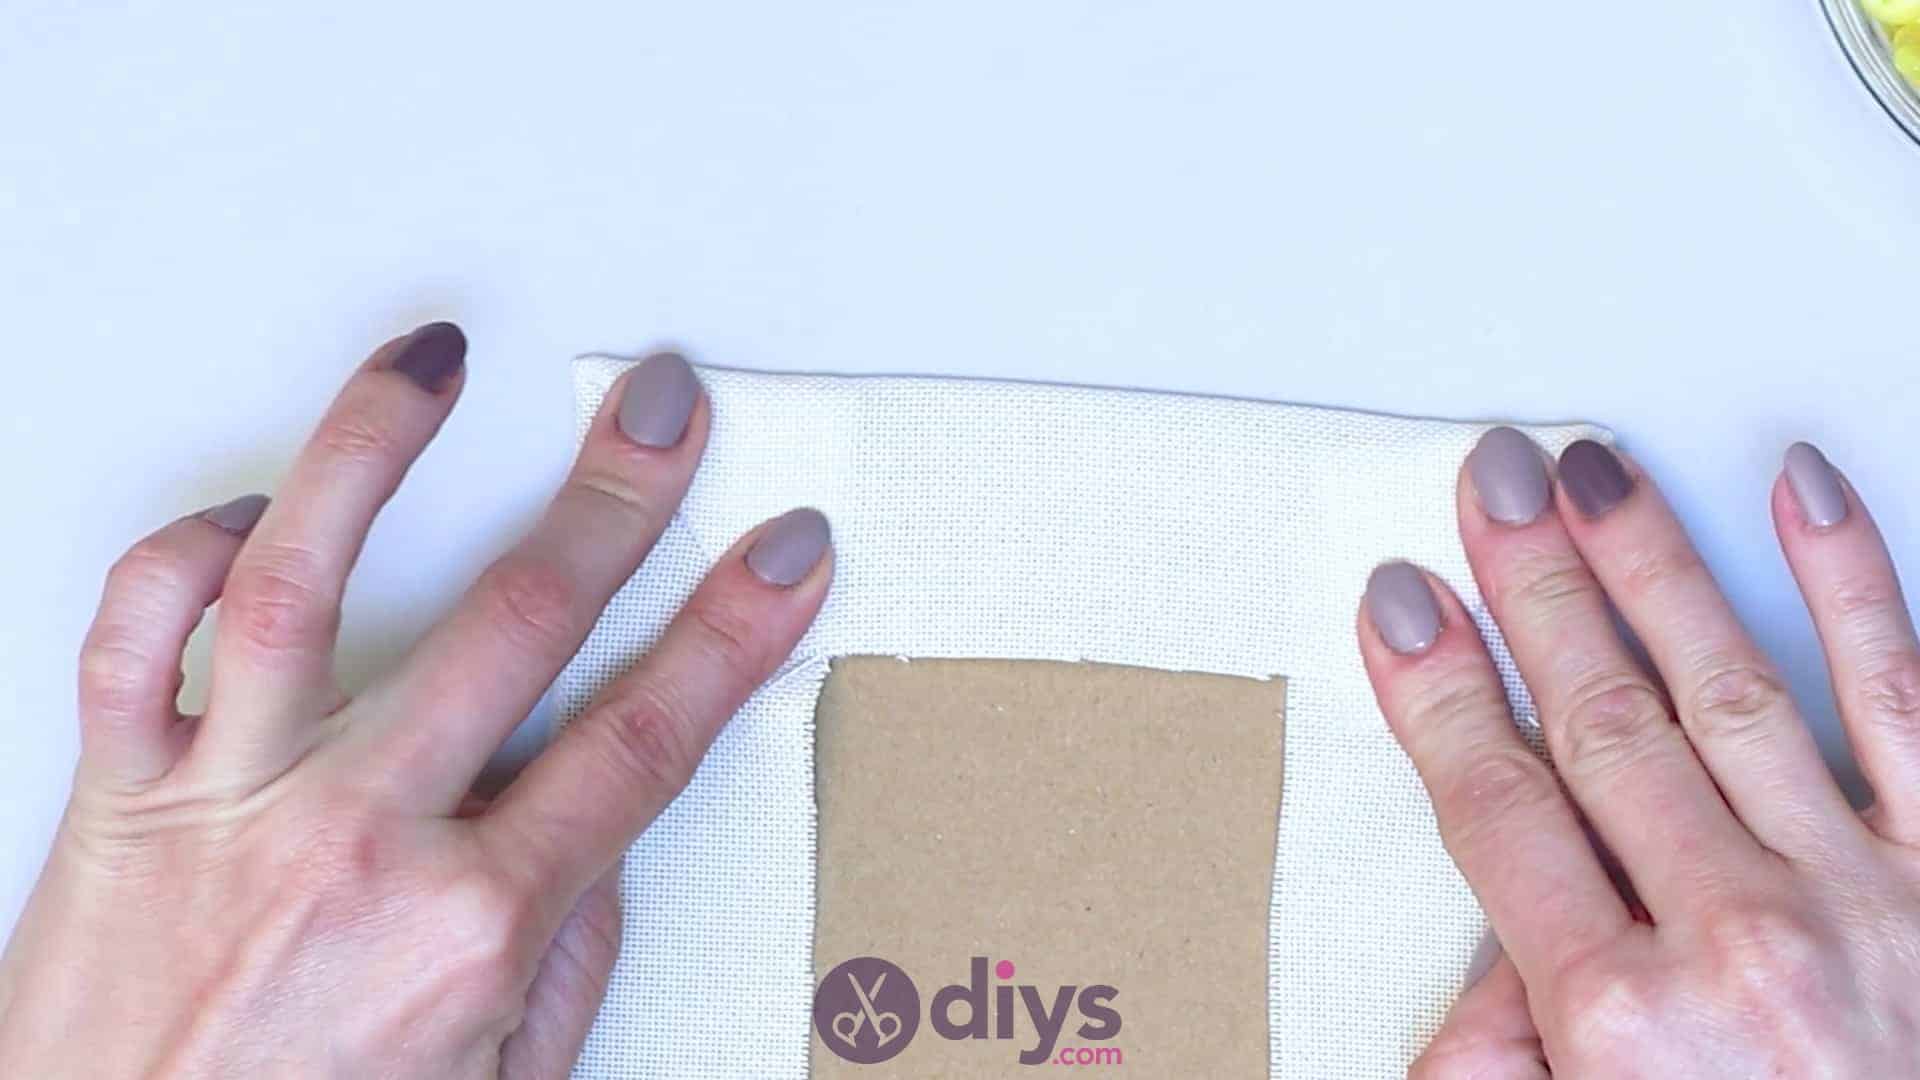
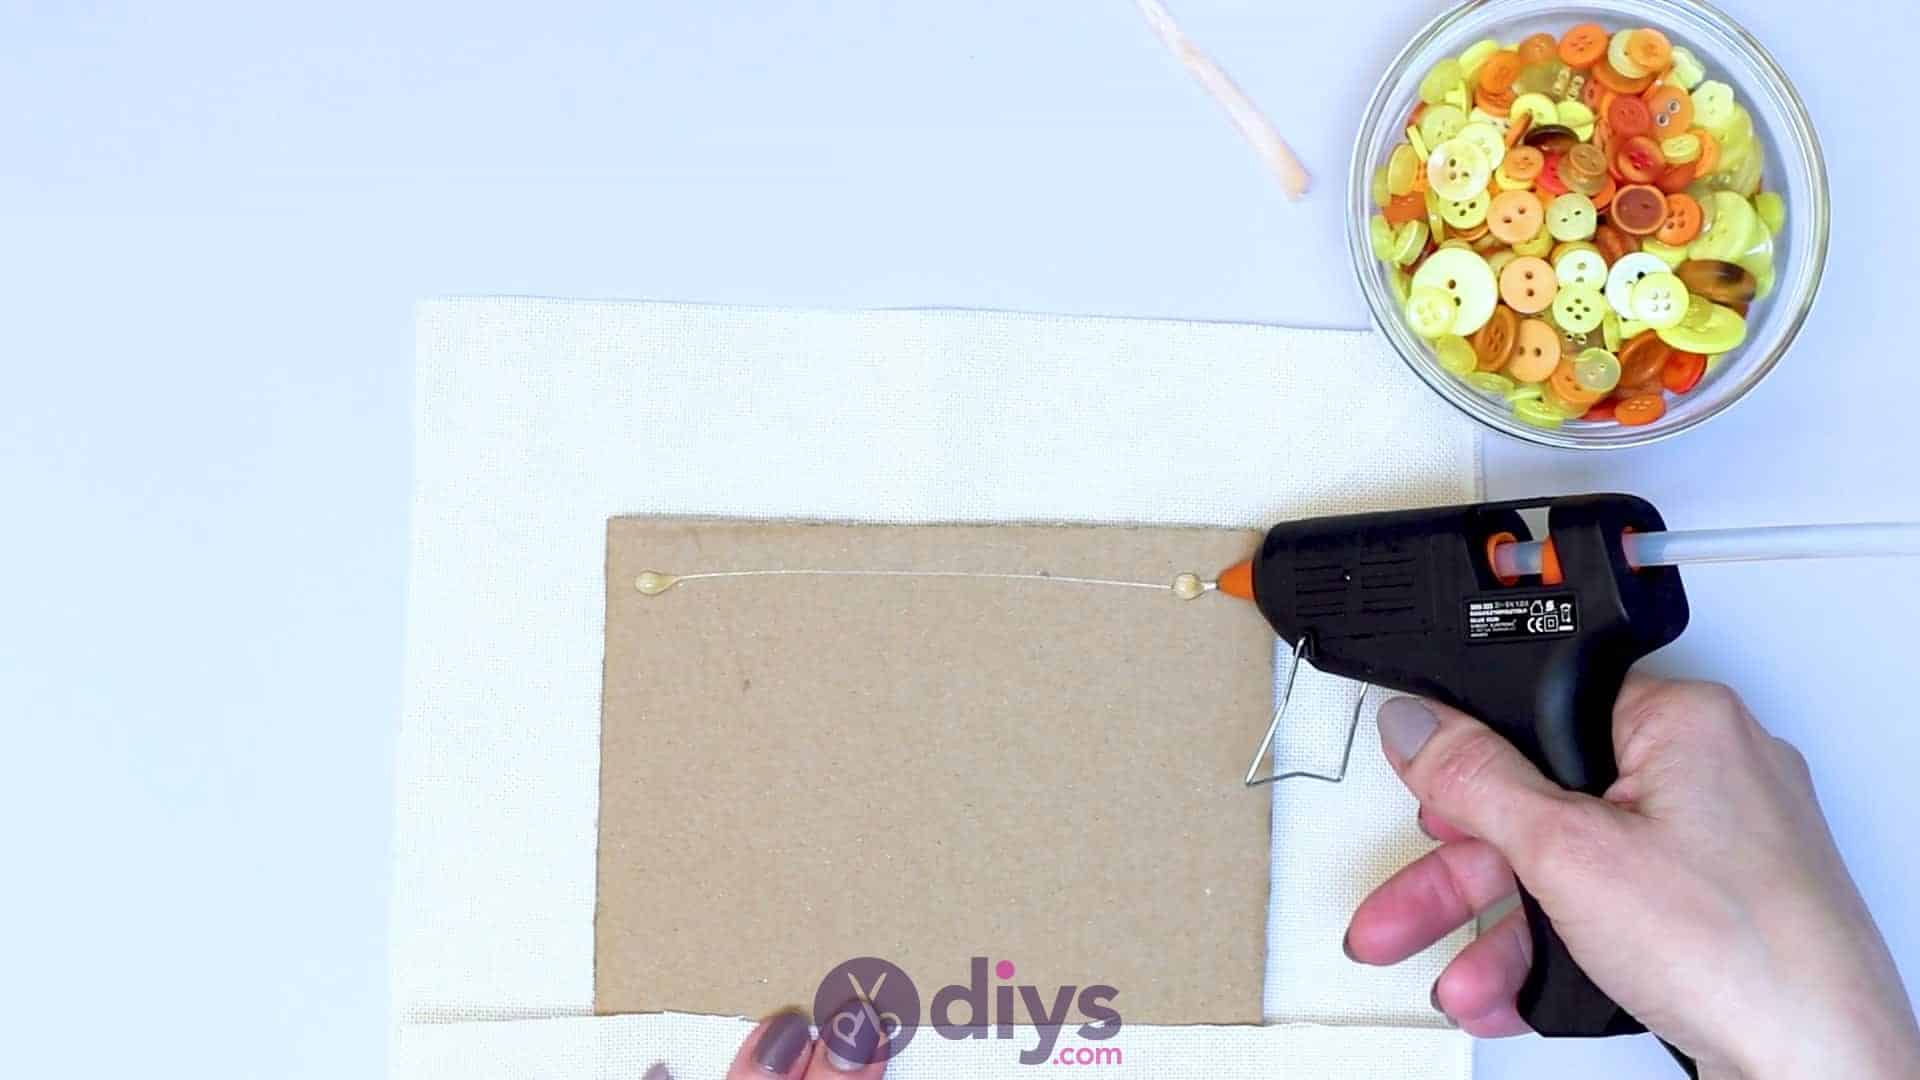
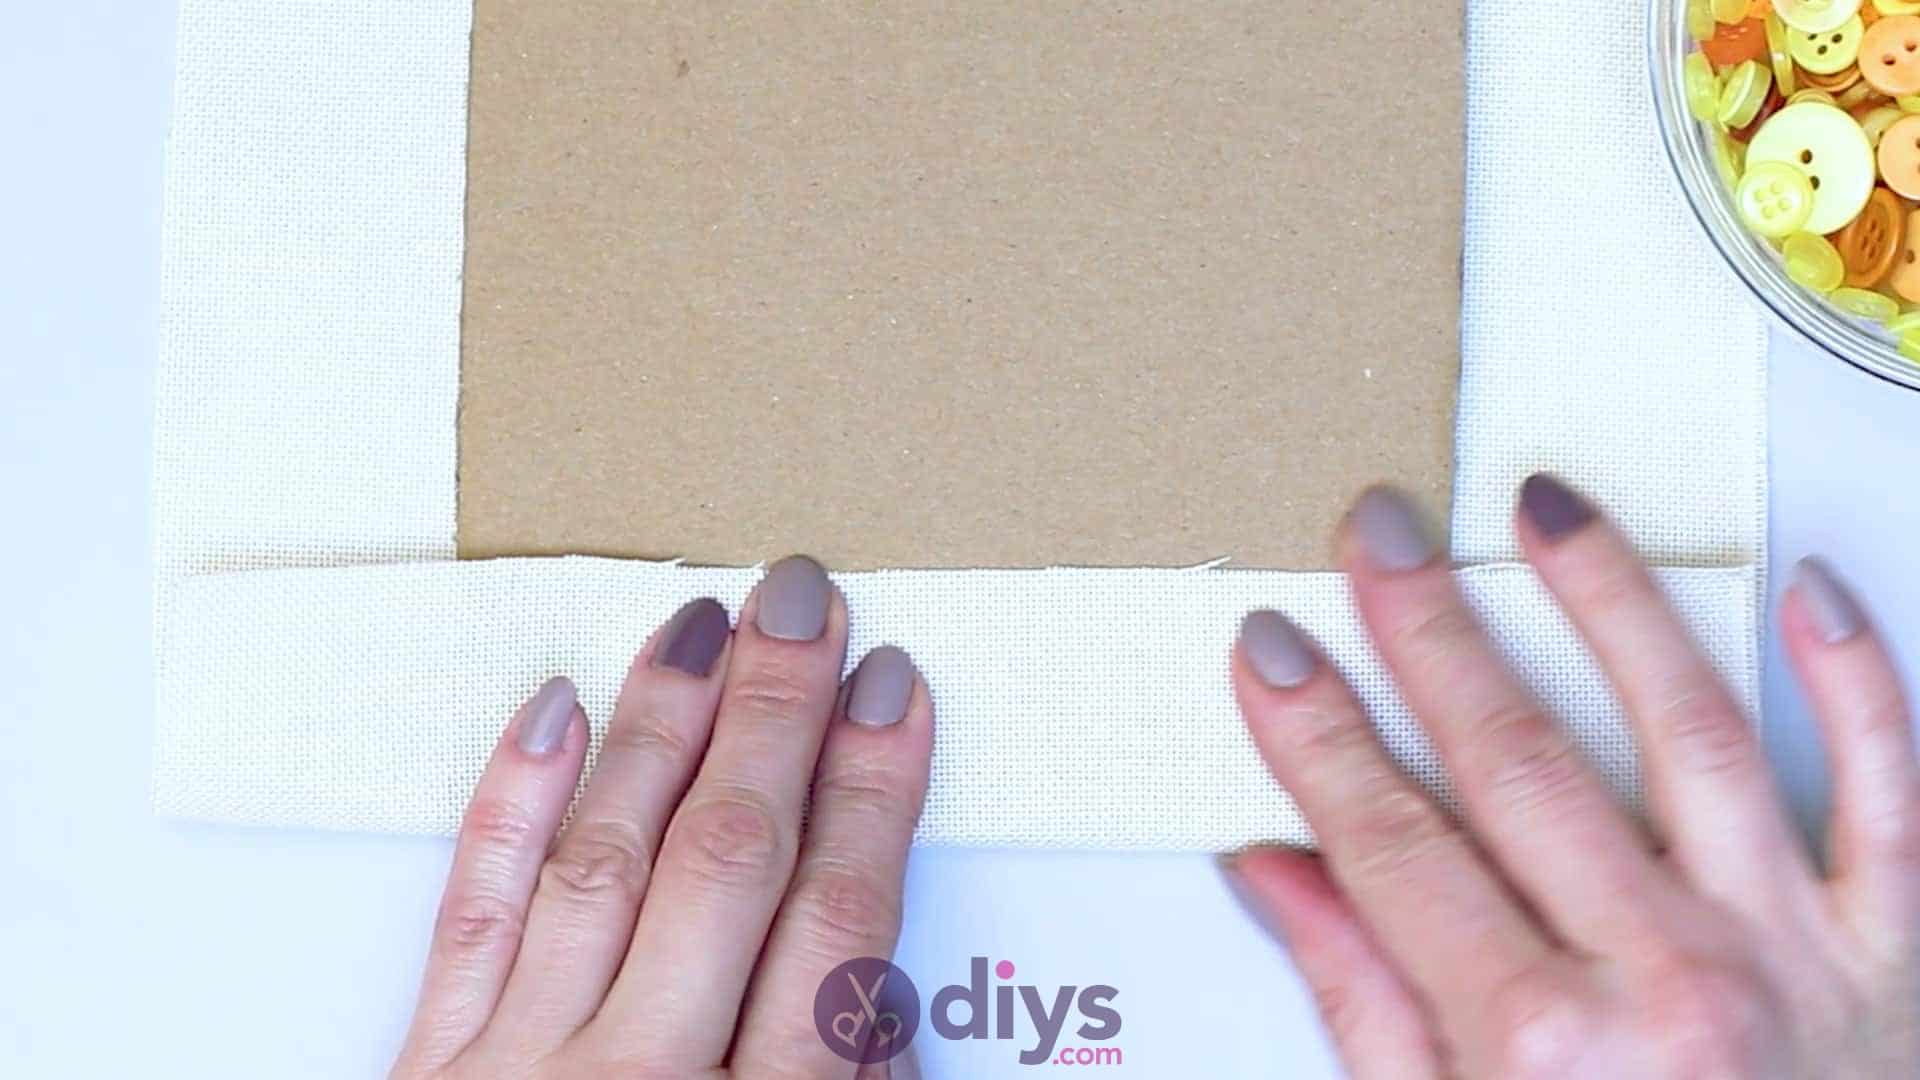
Use your hot glue gun to apply glue along the bottom edge of your cardboard piece, all the way across. Fold the bottom edge of your linen up and over the edge of the cardboard, pulling it just tightly enough that it sits flush to the edge and smooth to the cardboard. Press it into the glue. This starts the process of covering your cardboard in a smooth outer layer of linen. Repeat this process along the top edge of your cardboard now, folding the top linen edge over and down and smoothing it into place in the glue as well. Pull it a little bit taught so the linen that is currently underneath your cardboard pulls tight and smooth across that side; that will be the front of your hanging and you want it to look neat and wrinkle free.

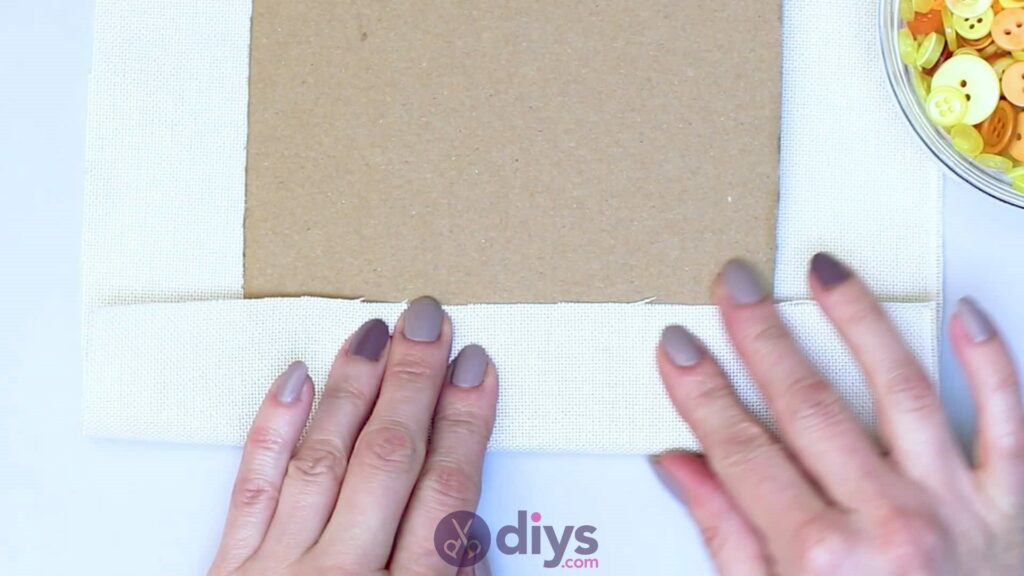

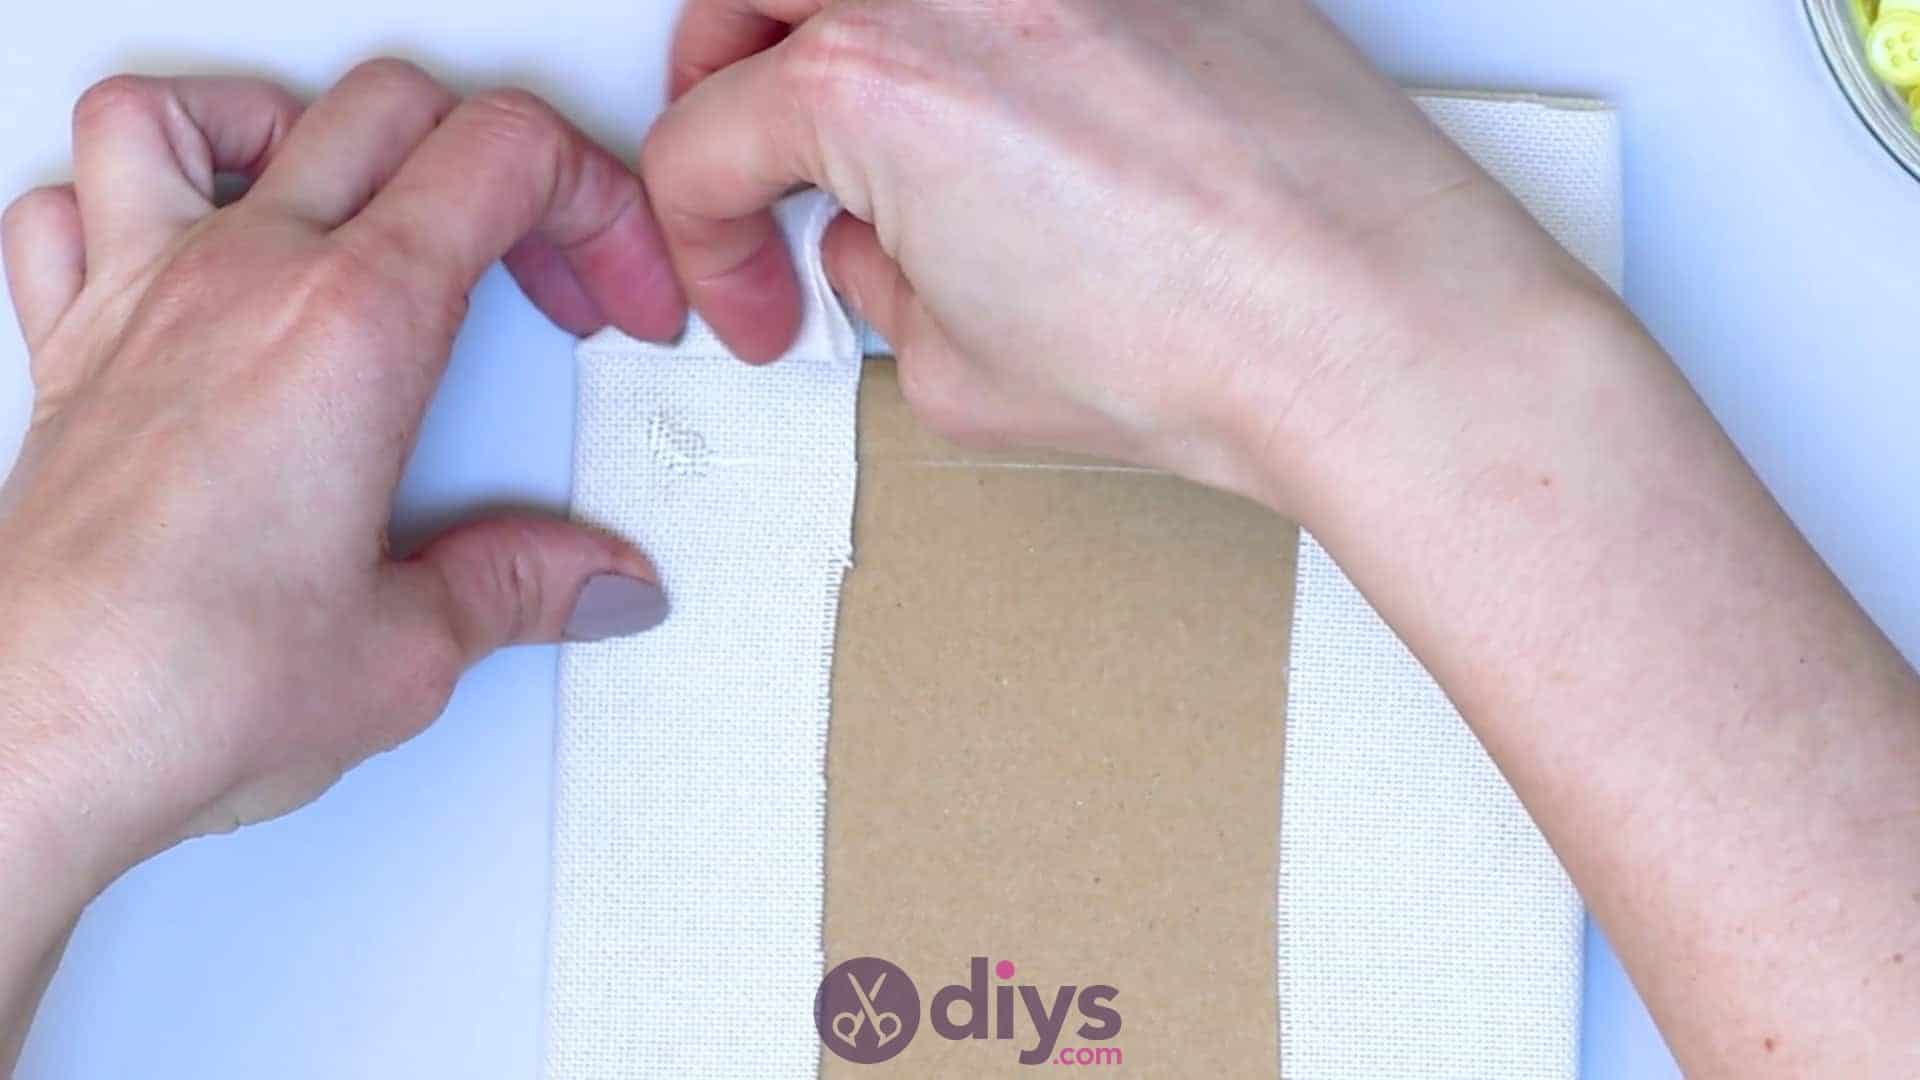
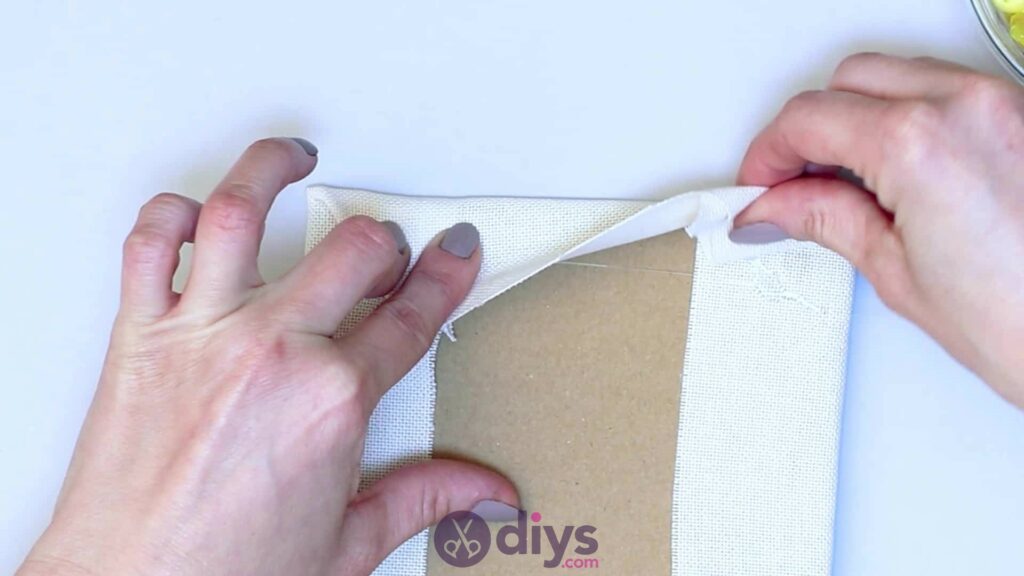
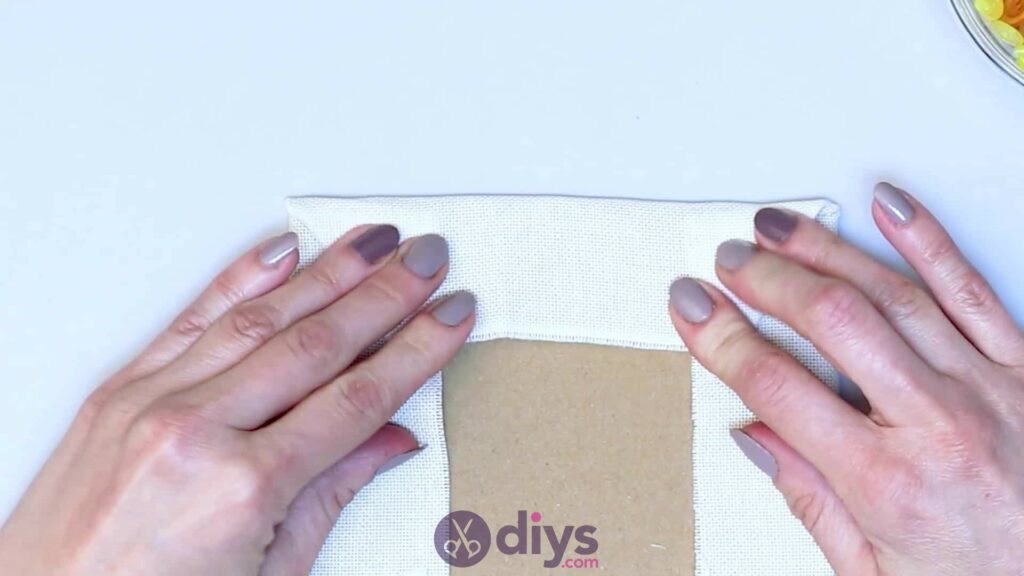
Step 4: adhere the sides
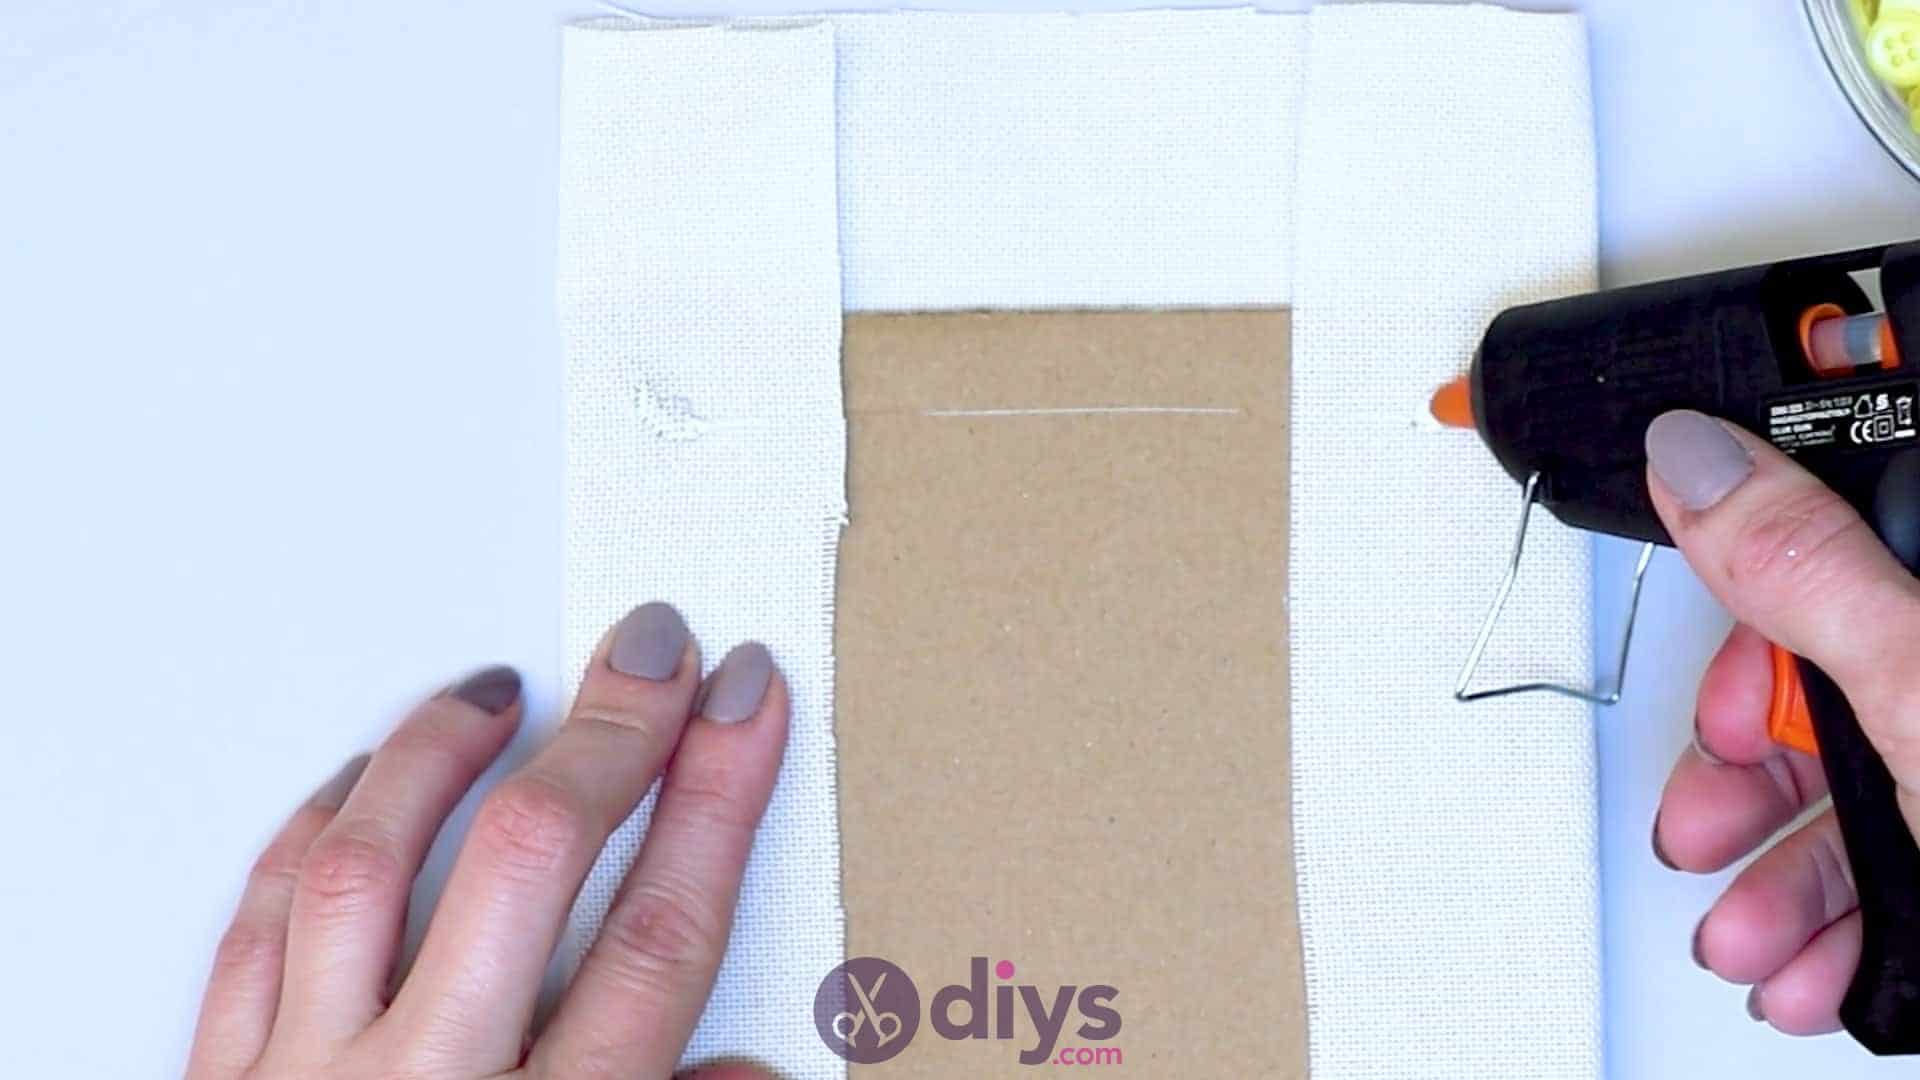
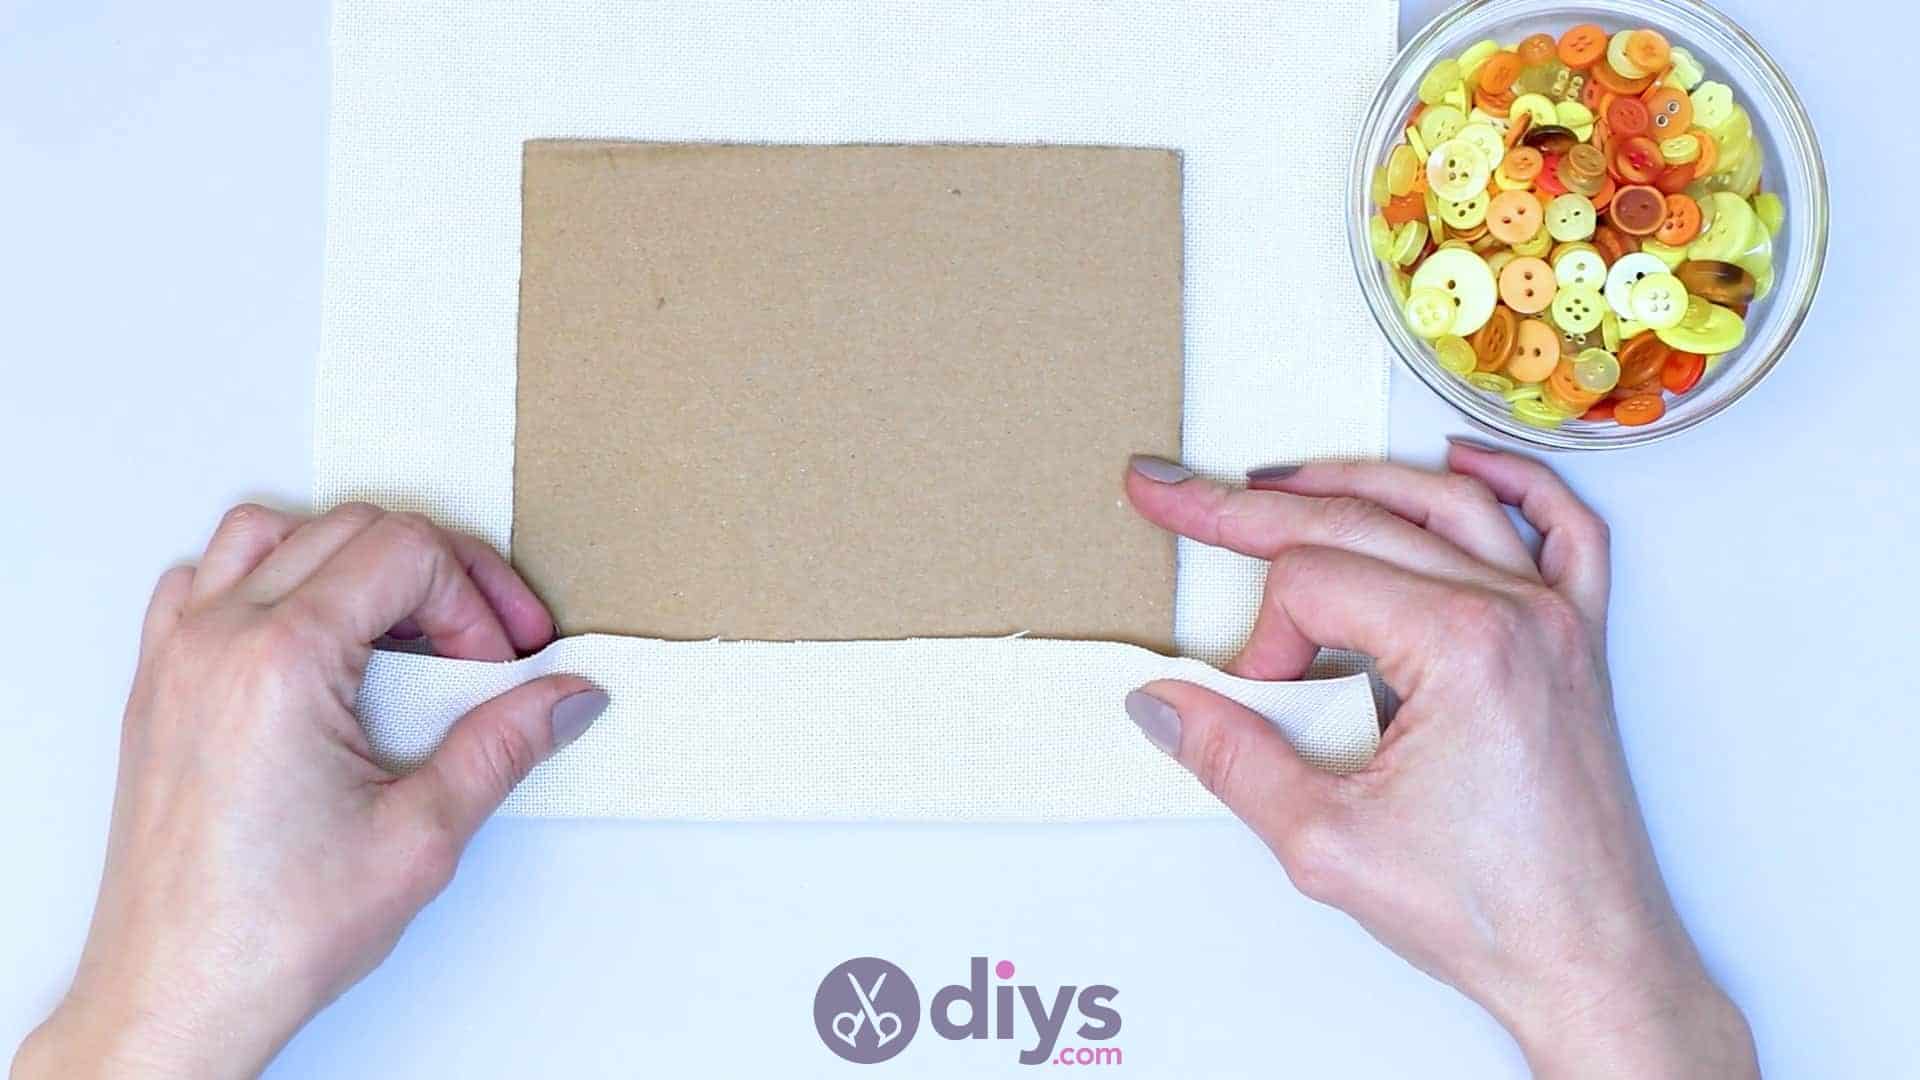
Turn your piece to the side (in either direction; it doesn’t matter) so that the top and bottom edges you just folded become the sides of your project and the sides that have yet to be folded over become the top and bottom. Work with the top edge first. You’ll repeat the process in much the same way as the other two, but your line of glue will overlap a little bit with the linen sides you already folded over, rather than just being straight across a plain cardboard edge like last time. Fold the linen edge over that of the cardboard in the same way as before but, this time, you’ll tuck the corner on each side down and under, creating a little diagonal edge like the finish of an envelope. Stick the piece into the glue and see how neatly finished it looks! Turn your piece so that the last unfinished edge at the bottom becomes the top and finish it with the same corner folding technique you just used.


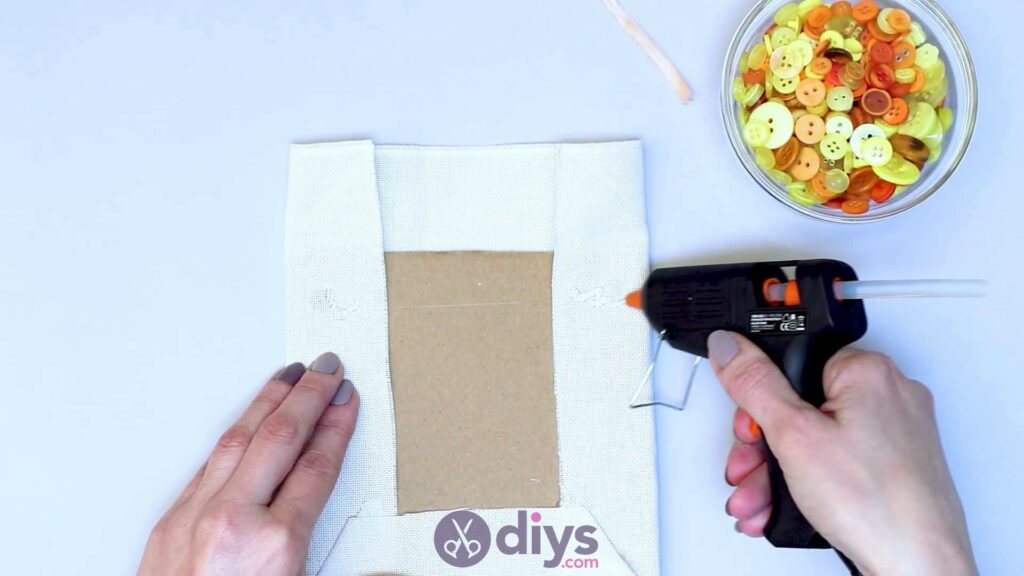
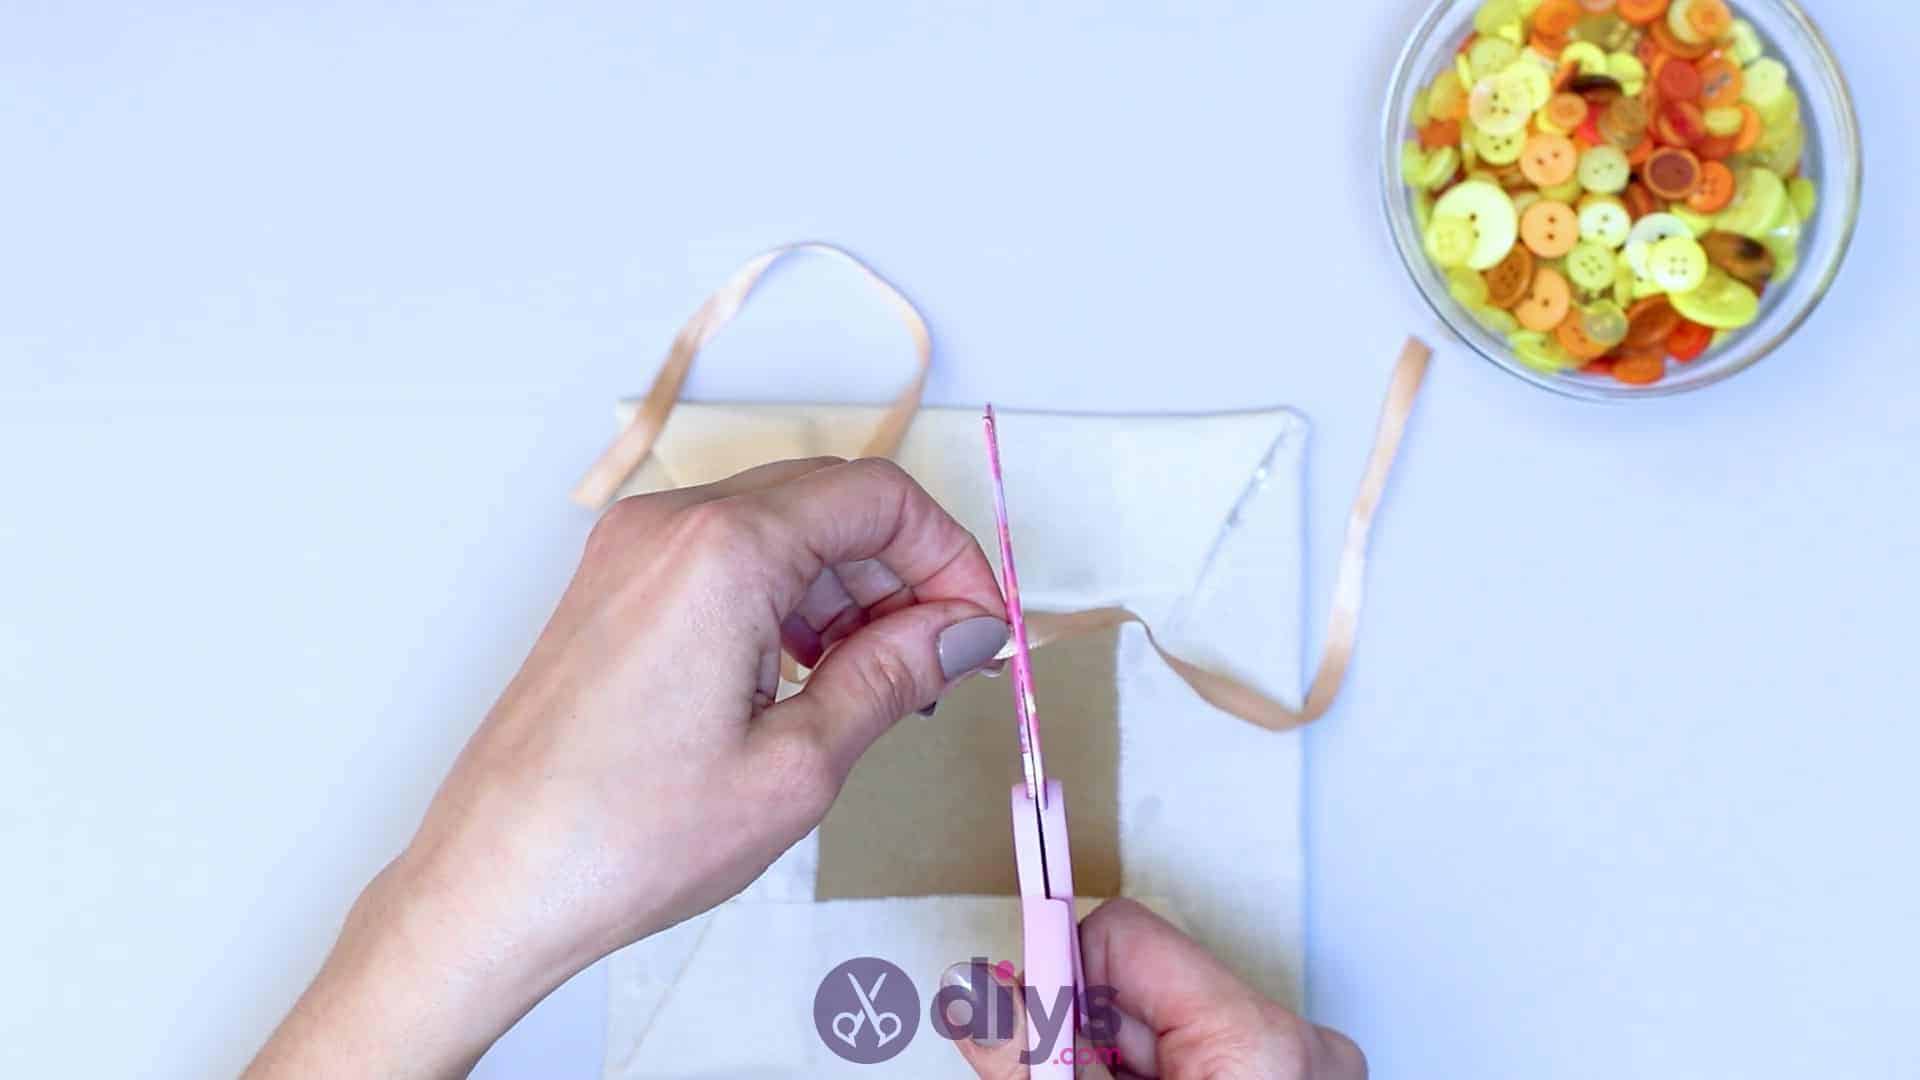
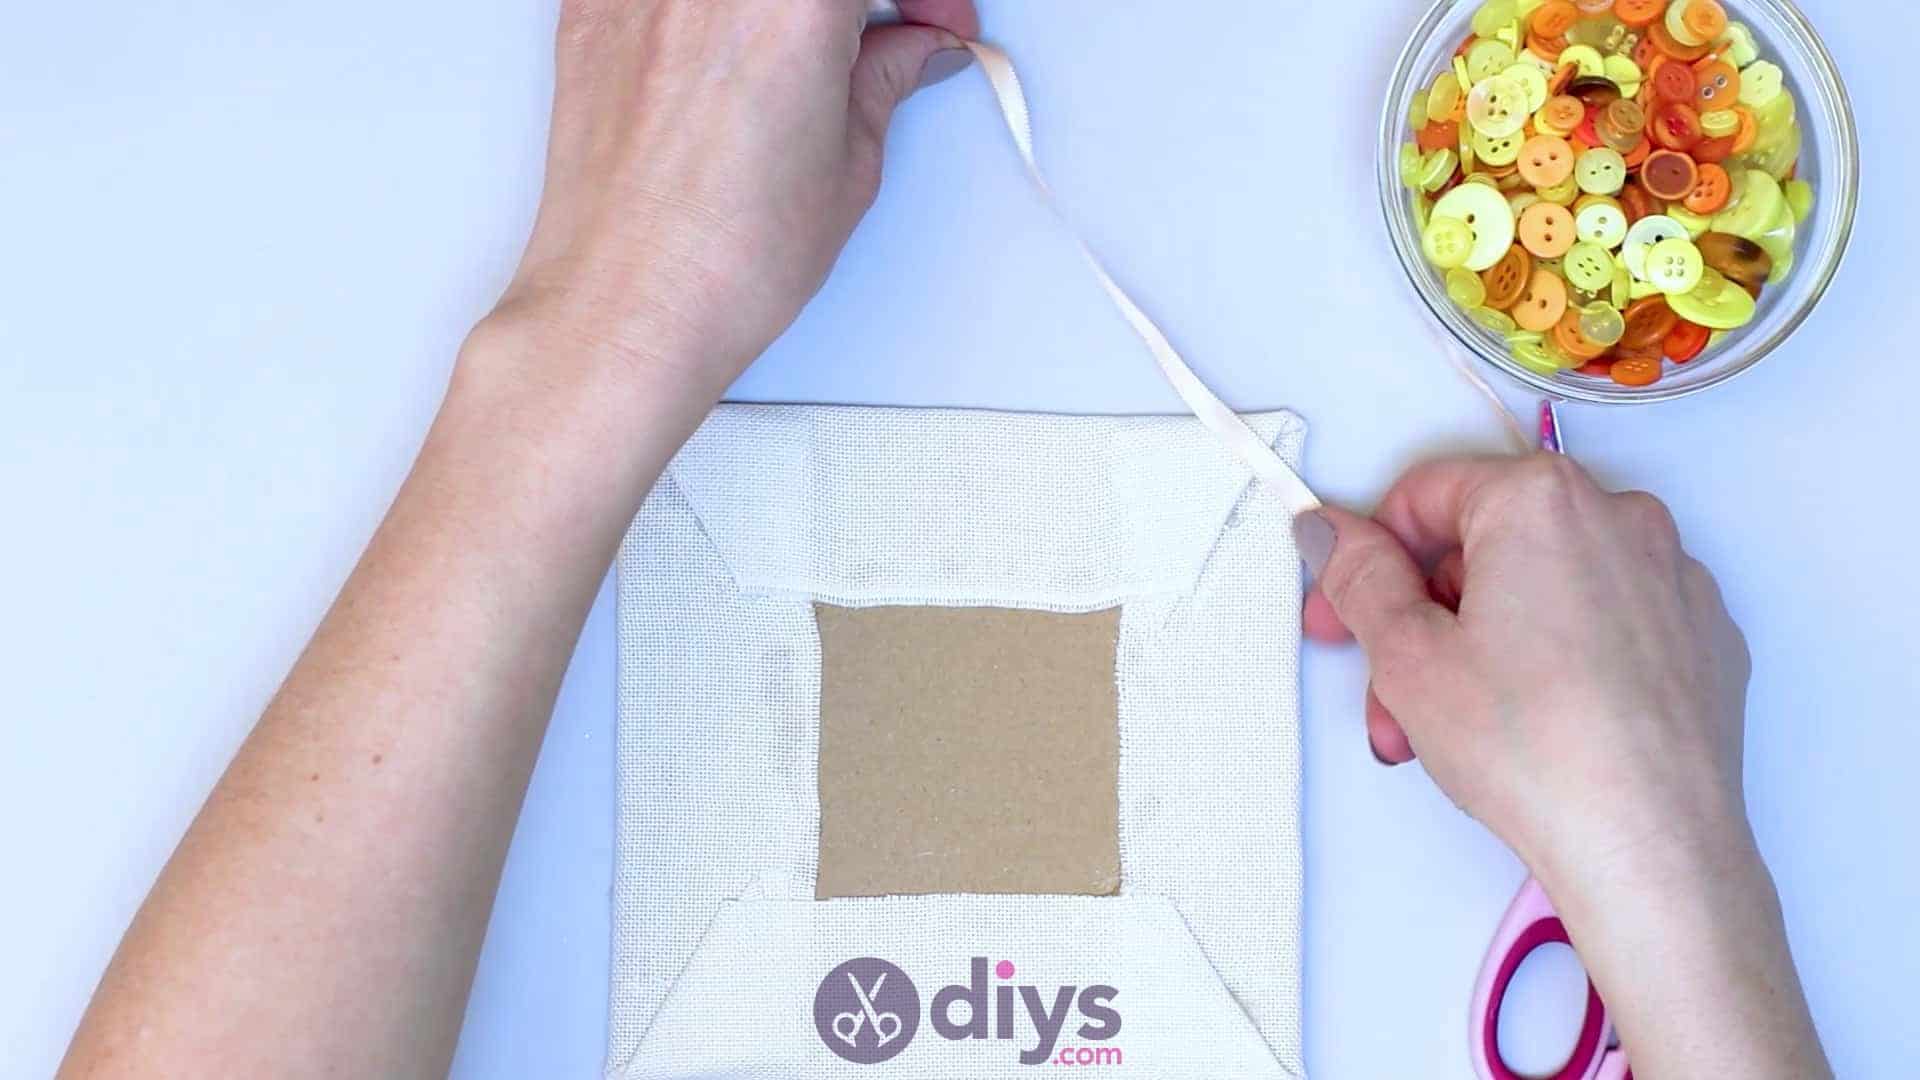
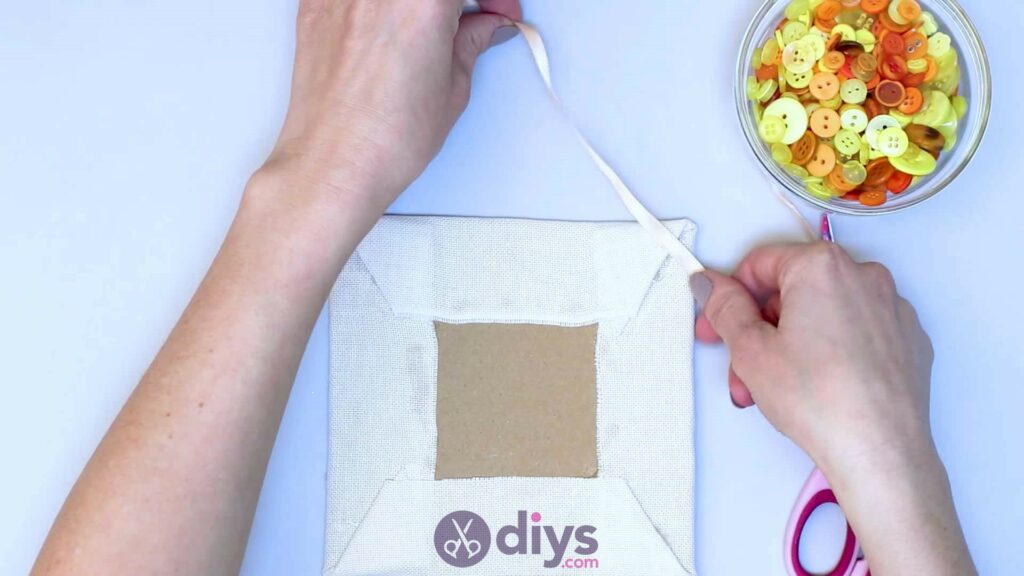
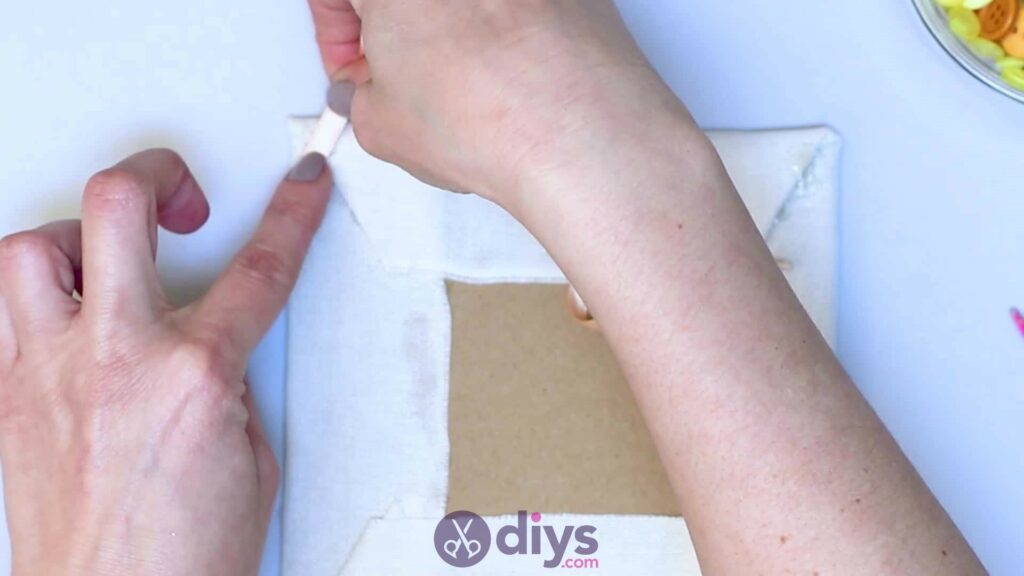
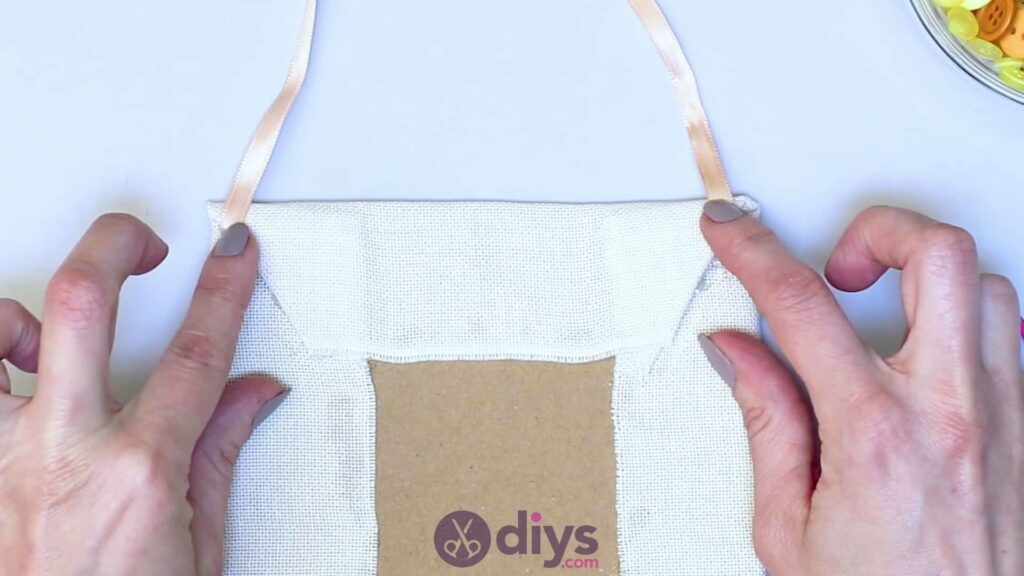
Step 5: ribbon
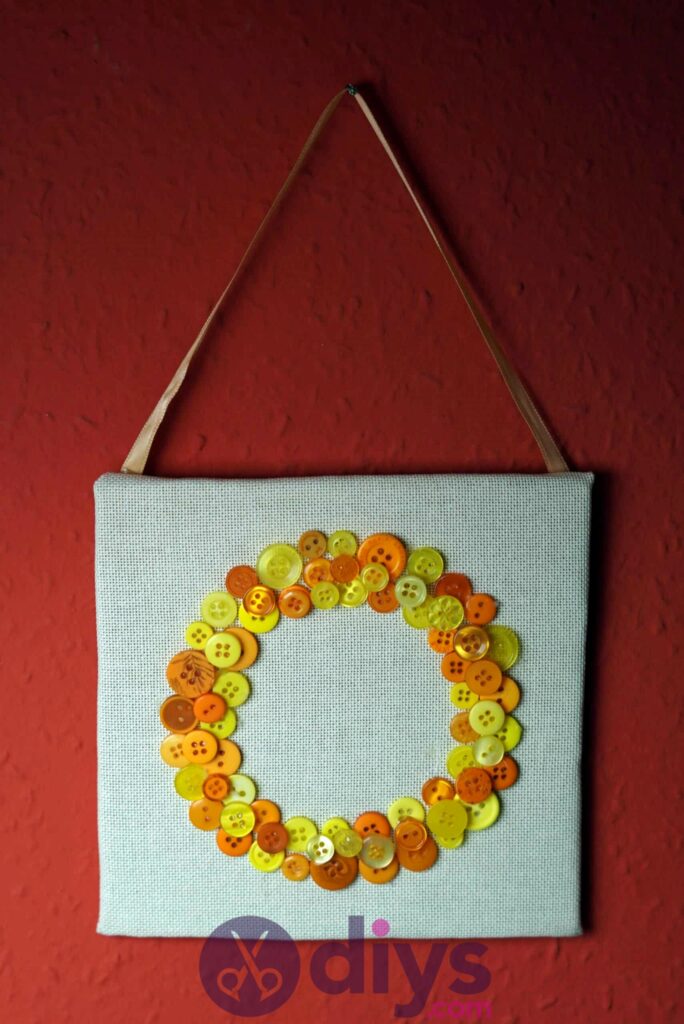
Measure out a length of your silk ribbon that’s about six inches long. This is what you’ll make the actual hanger part of your wall hanging from; feel free to measure it out on your piece by placing the end of the ribbon at the top left corner, pulling the length up and diagonally about three inches and holding that spot in place on your work surface, and then pulling more downwards and diagonally to meet the top right corner. When you’re happy with the length of your ribbon, use your scissors to trim the piece. Apply hot glue in each top corner and stick the ribbon ends down there.


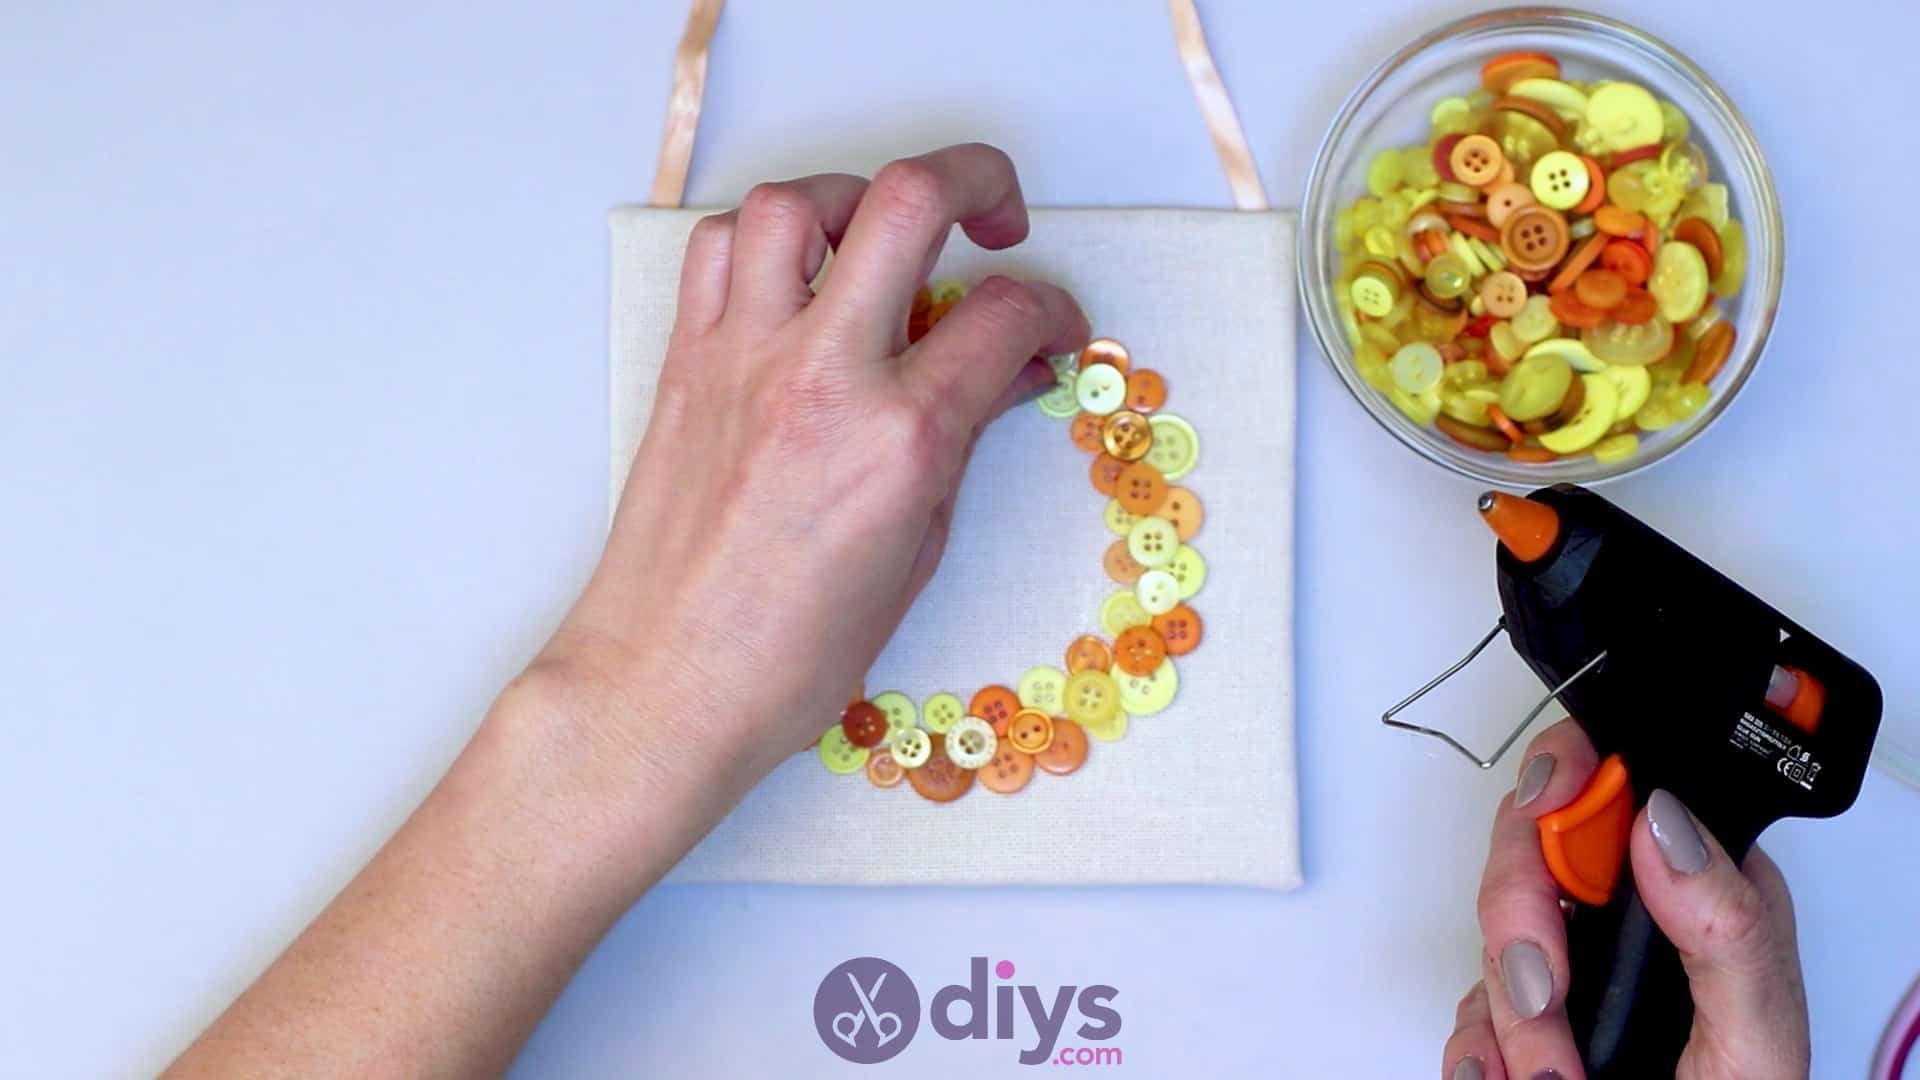
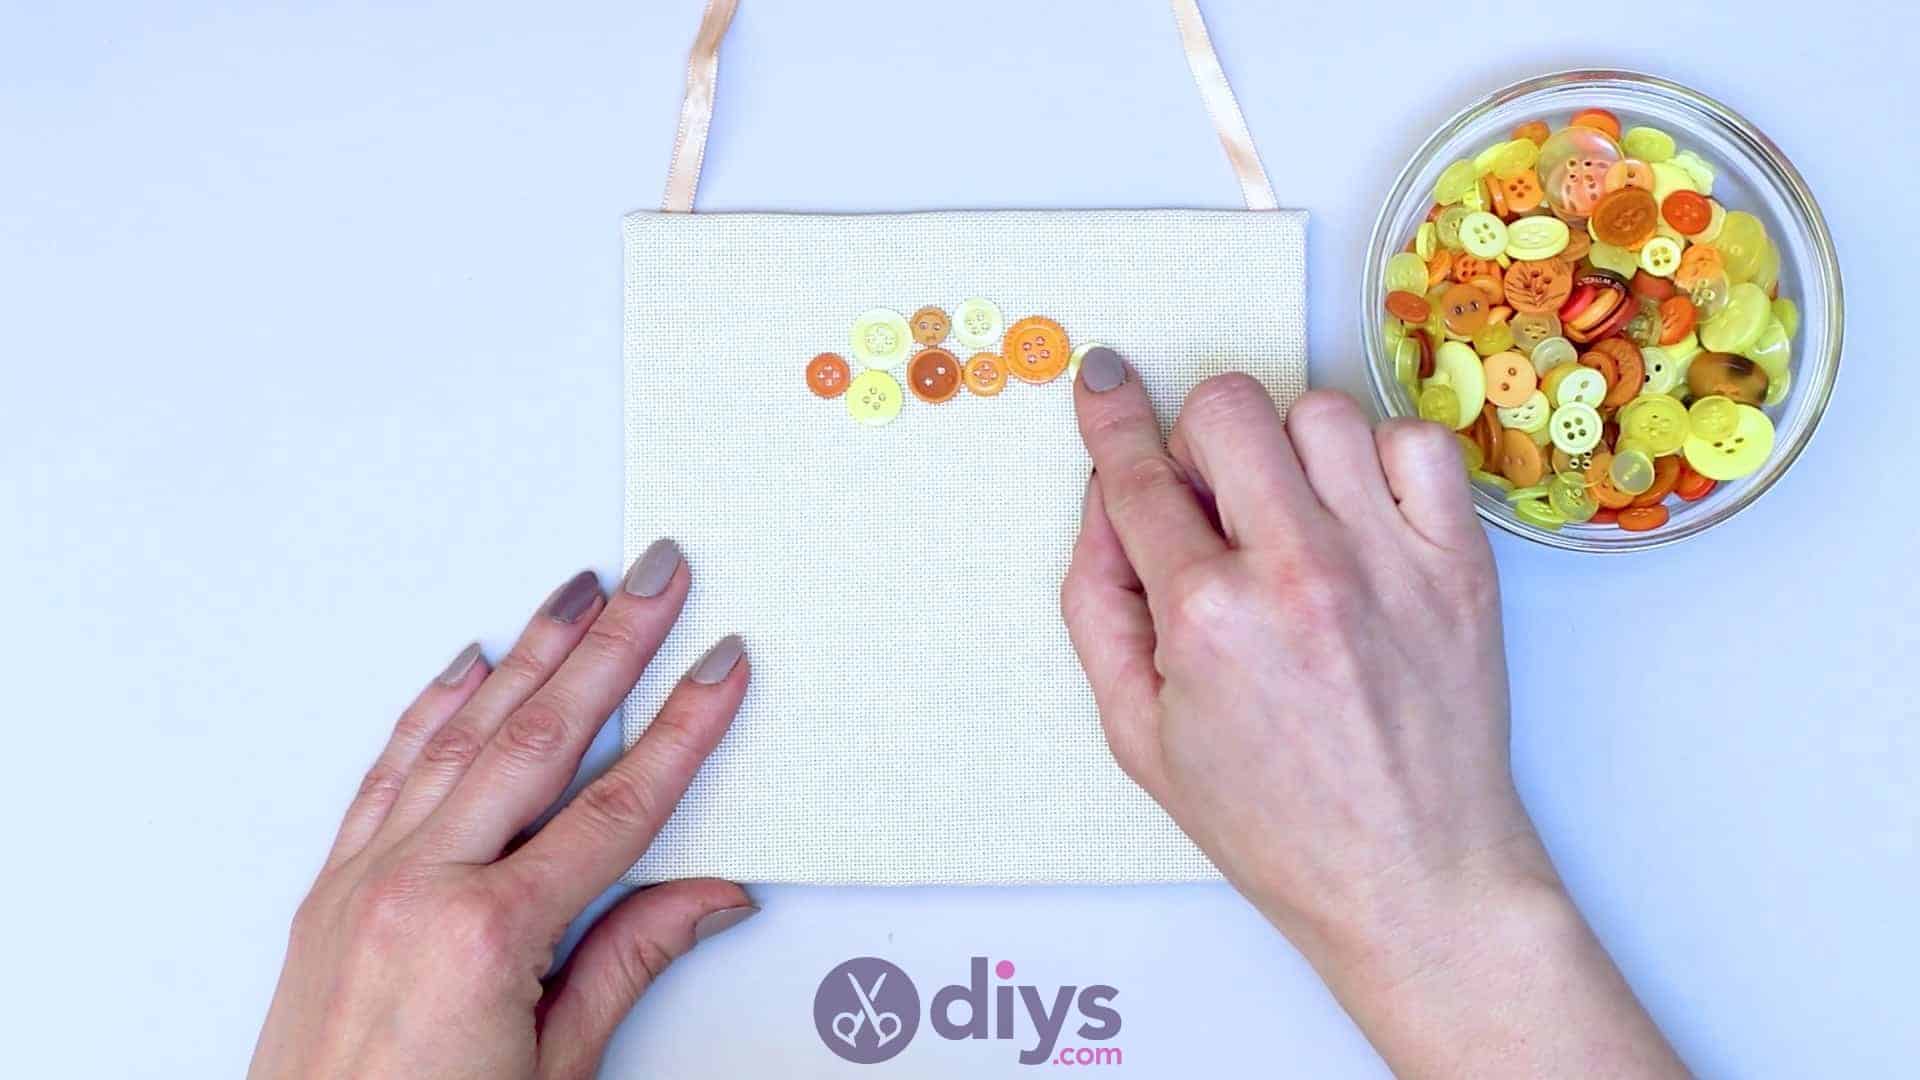
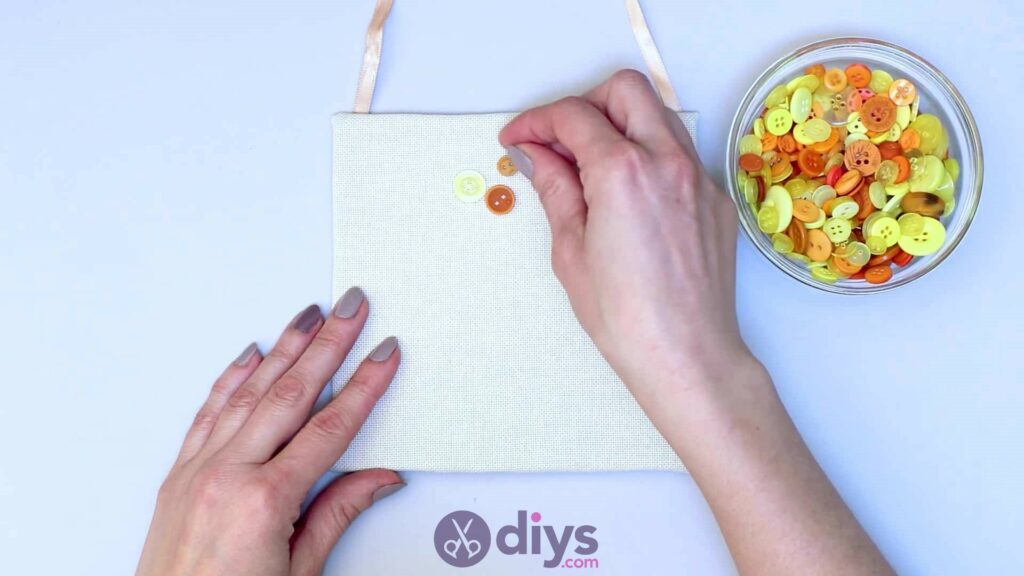
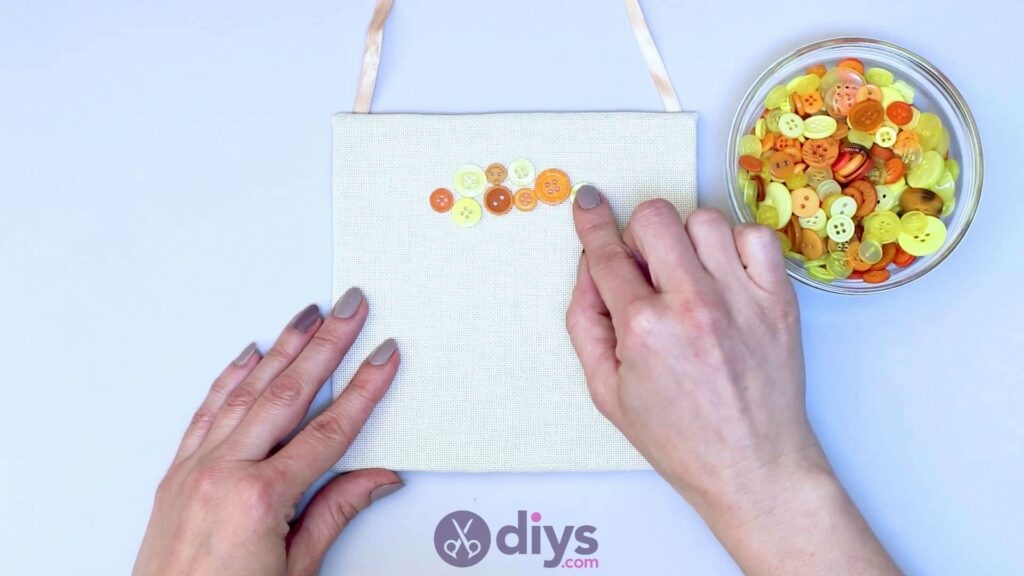
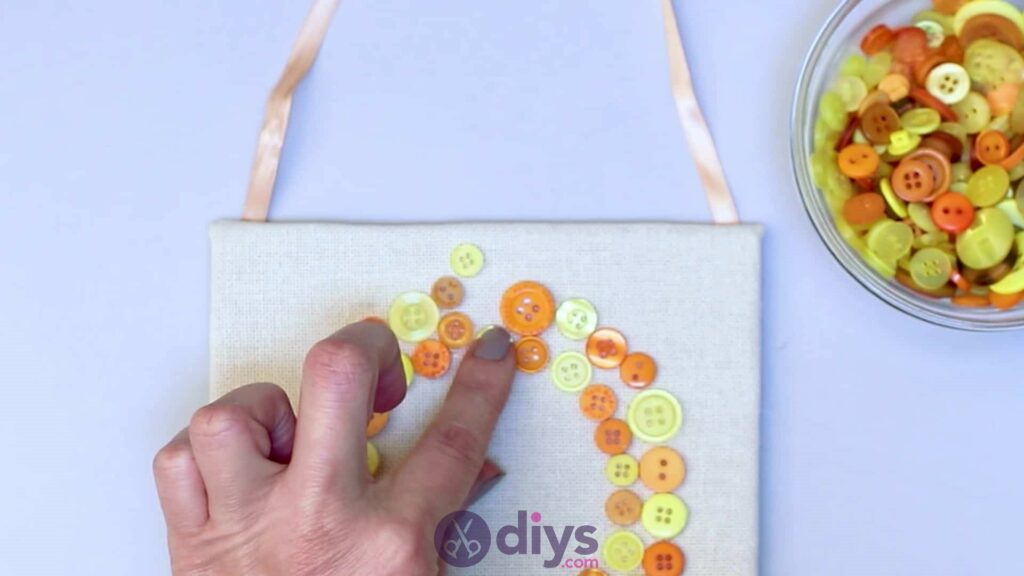
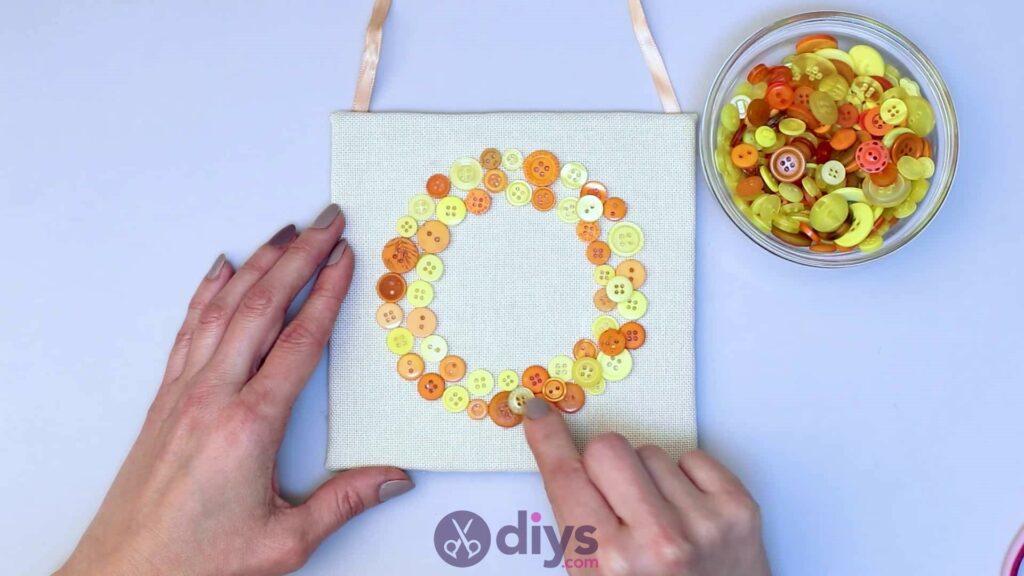
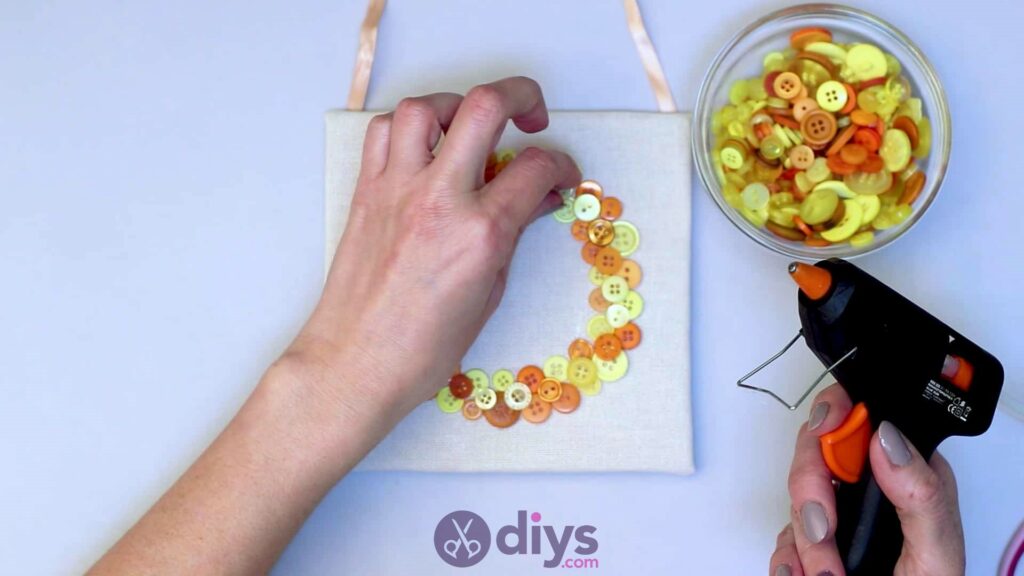
Step 6: plan a pattern
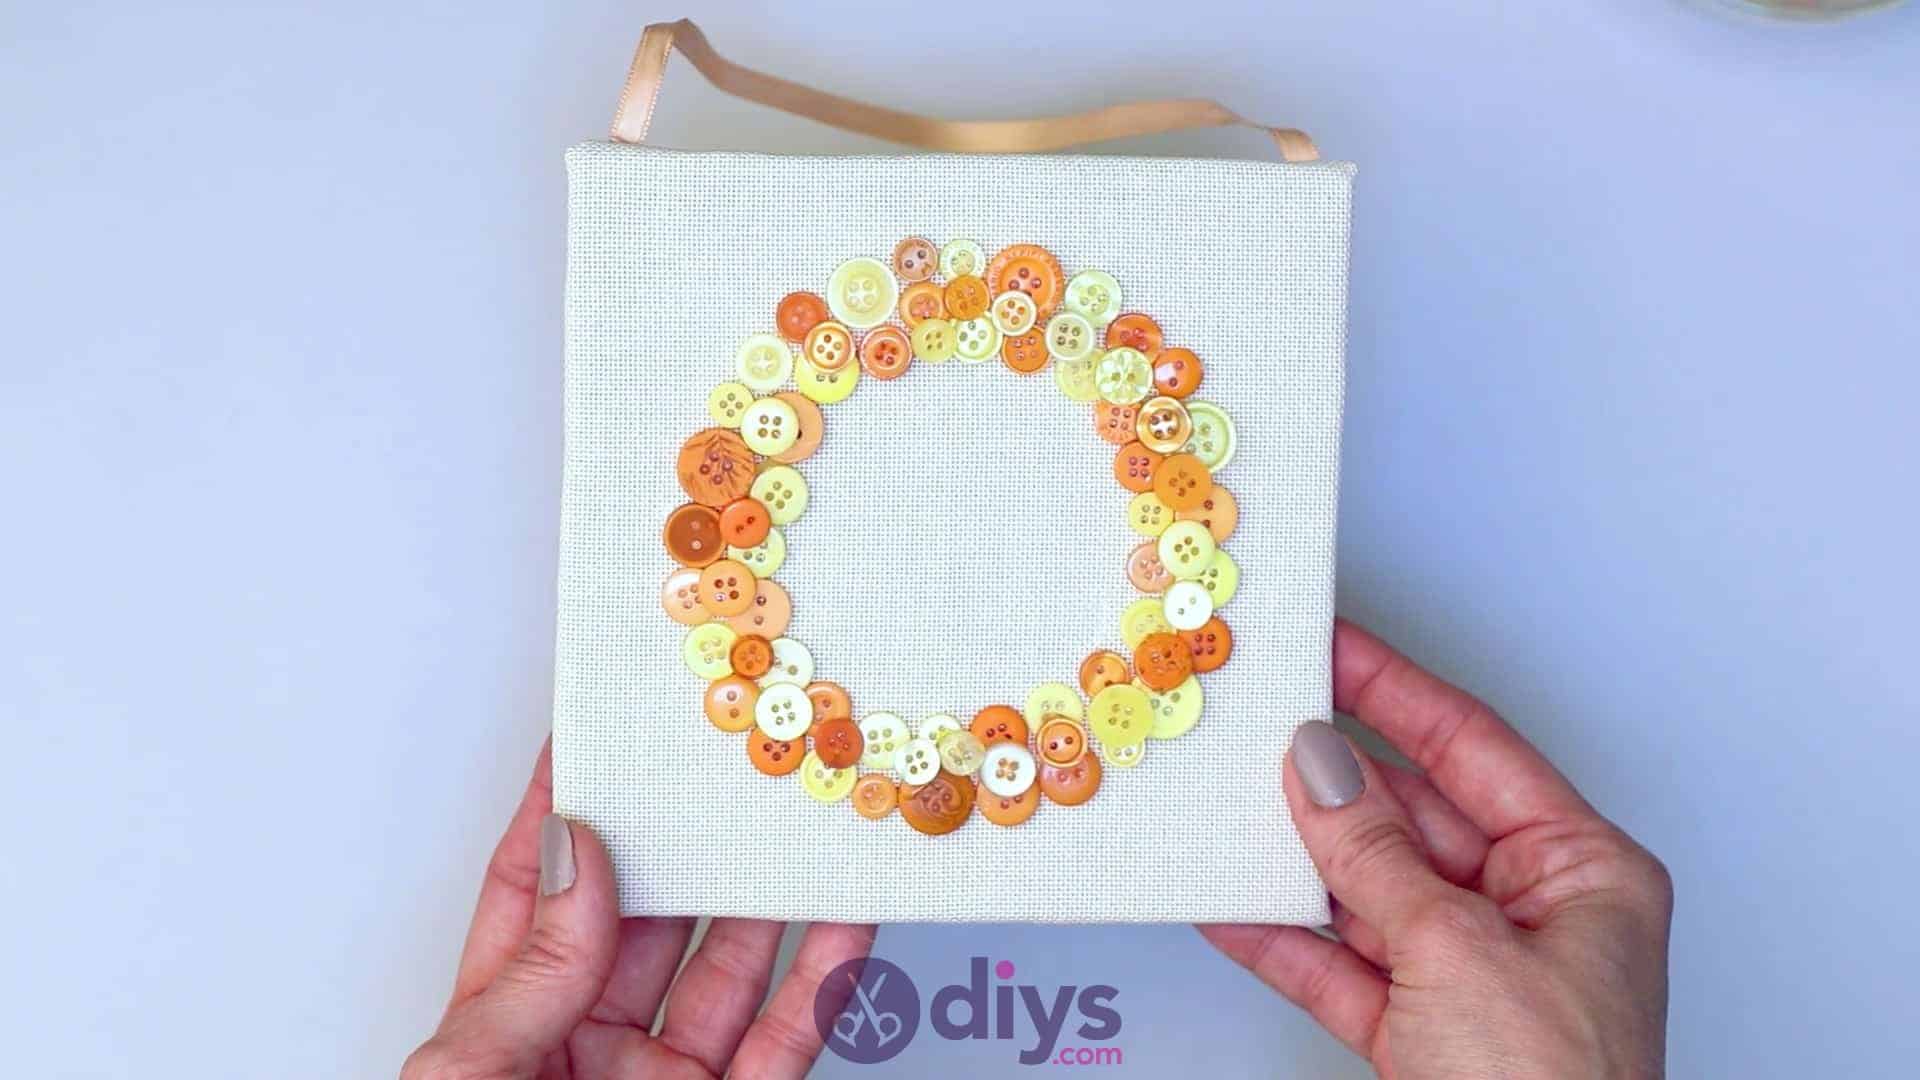
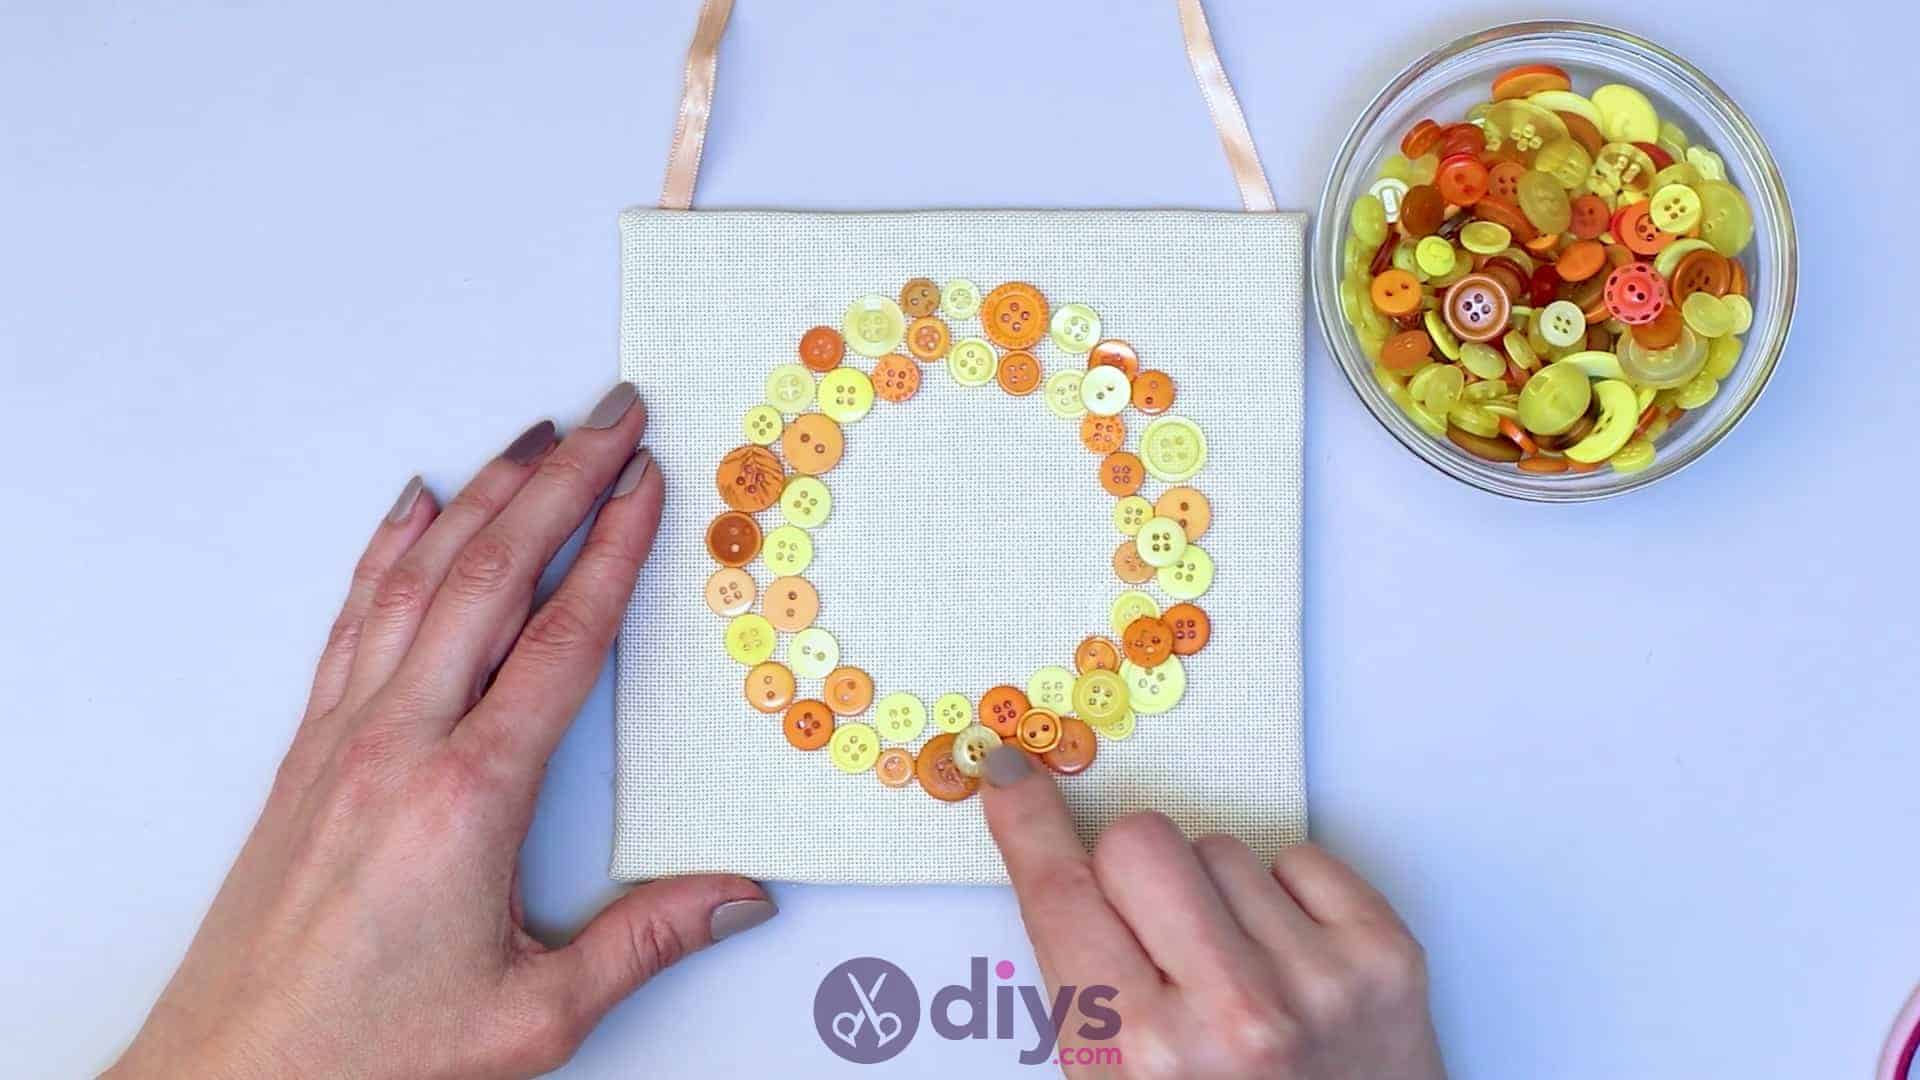
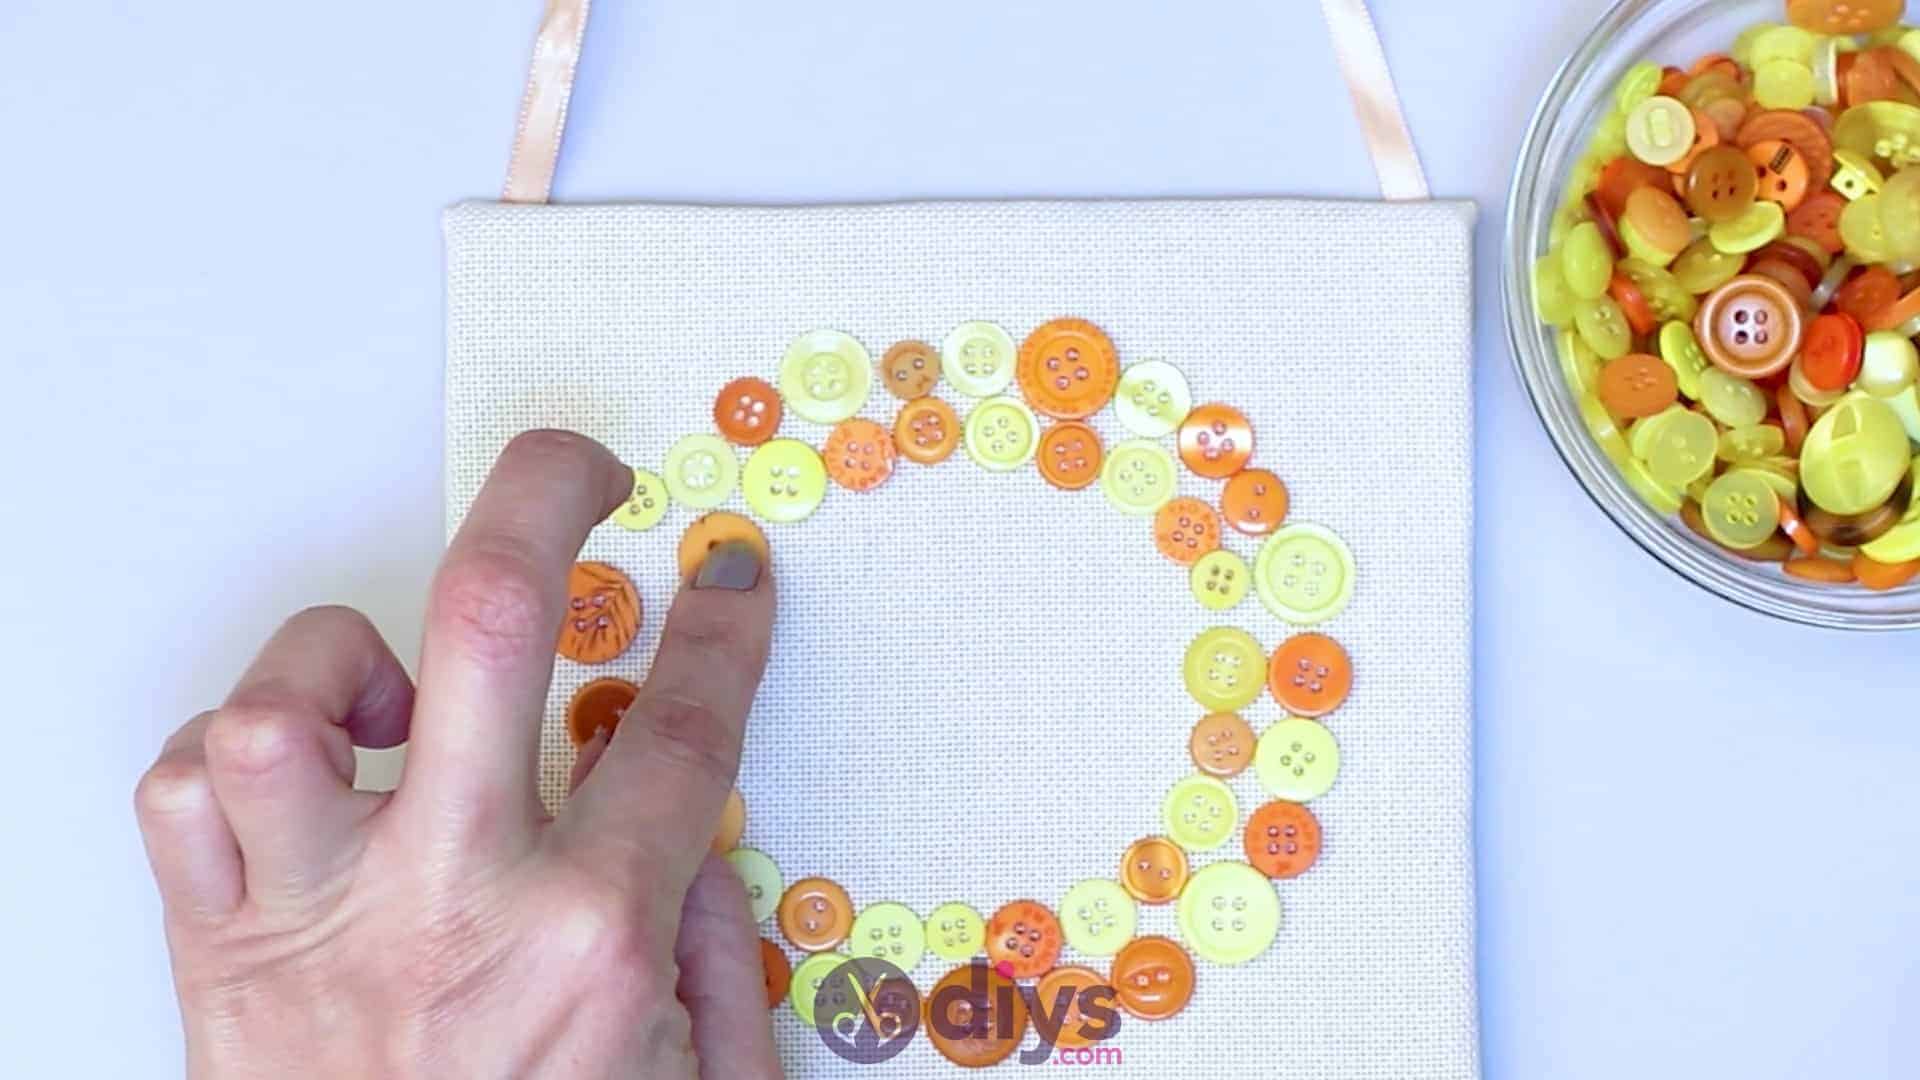
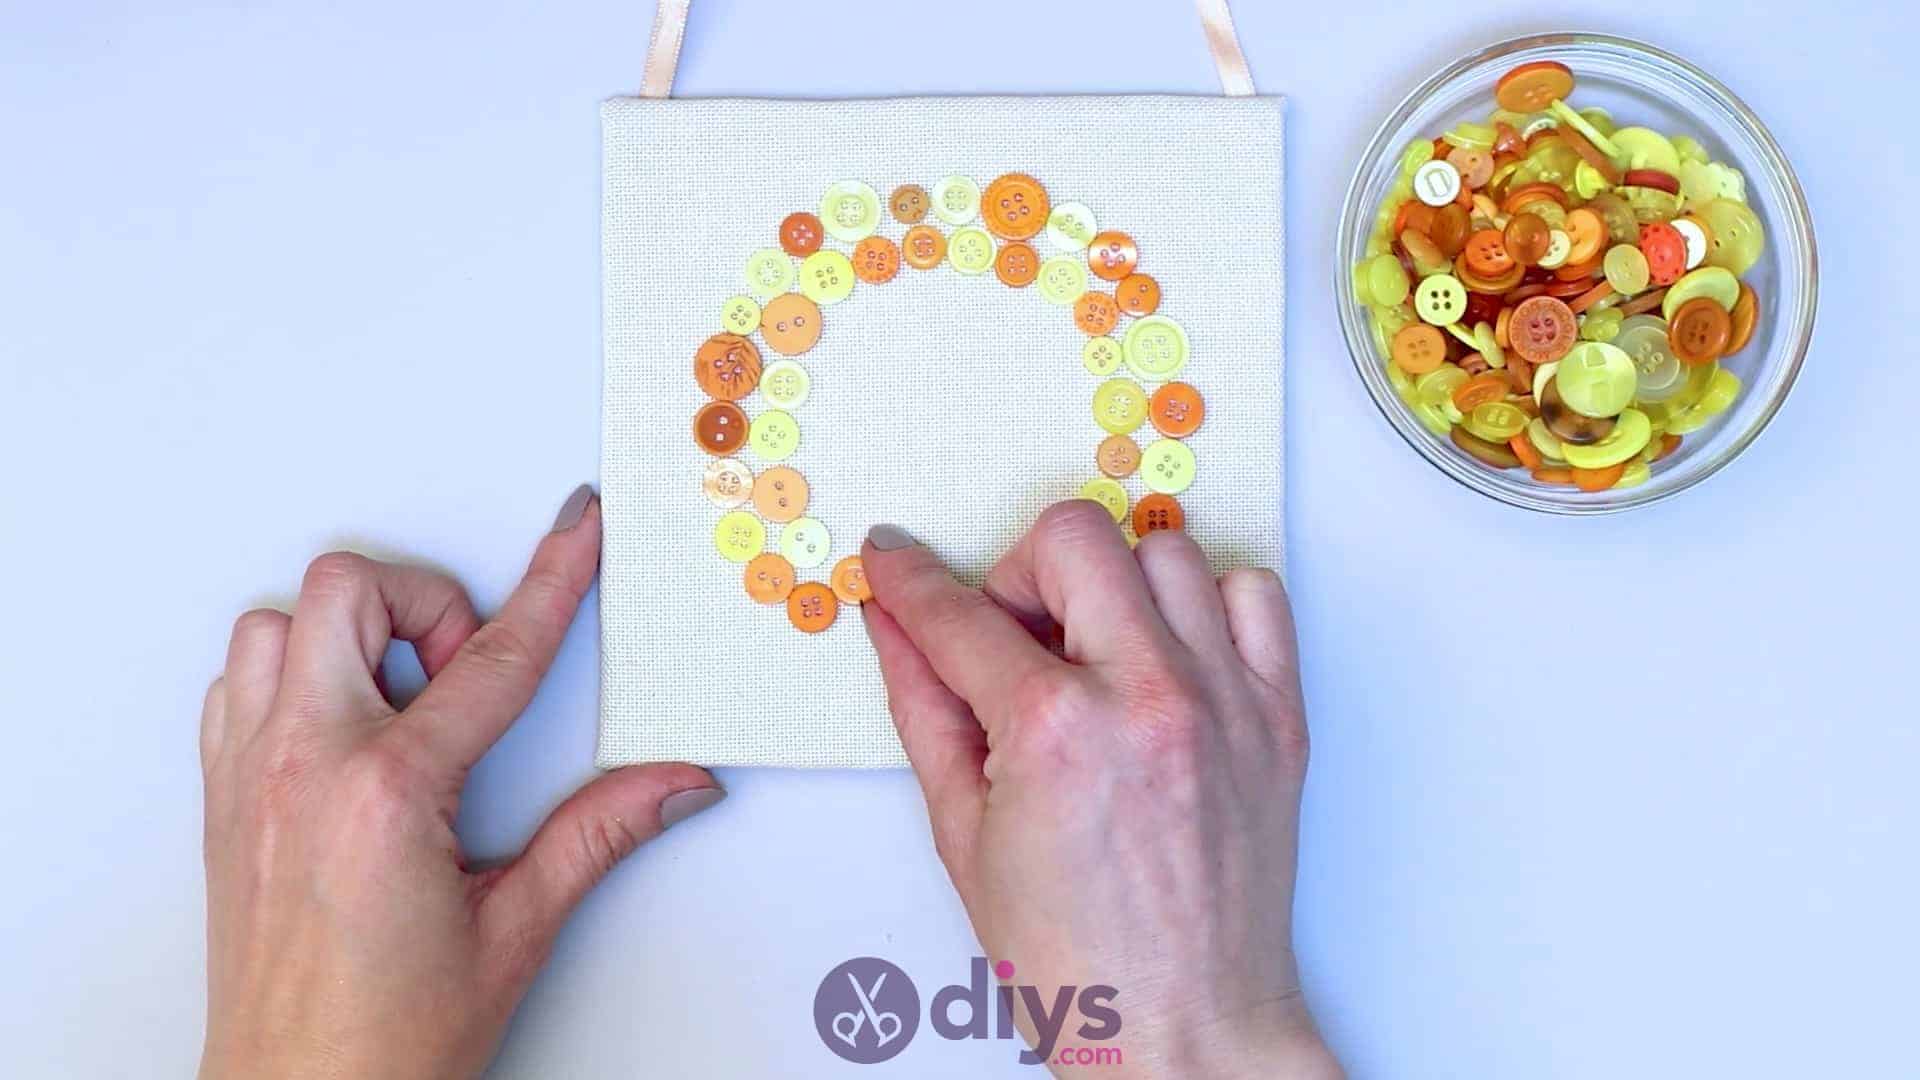
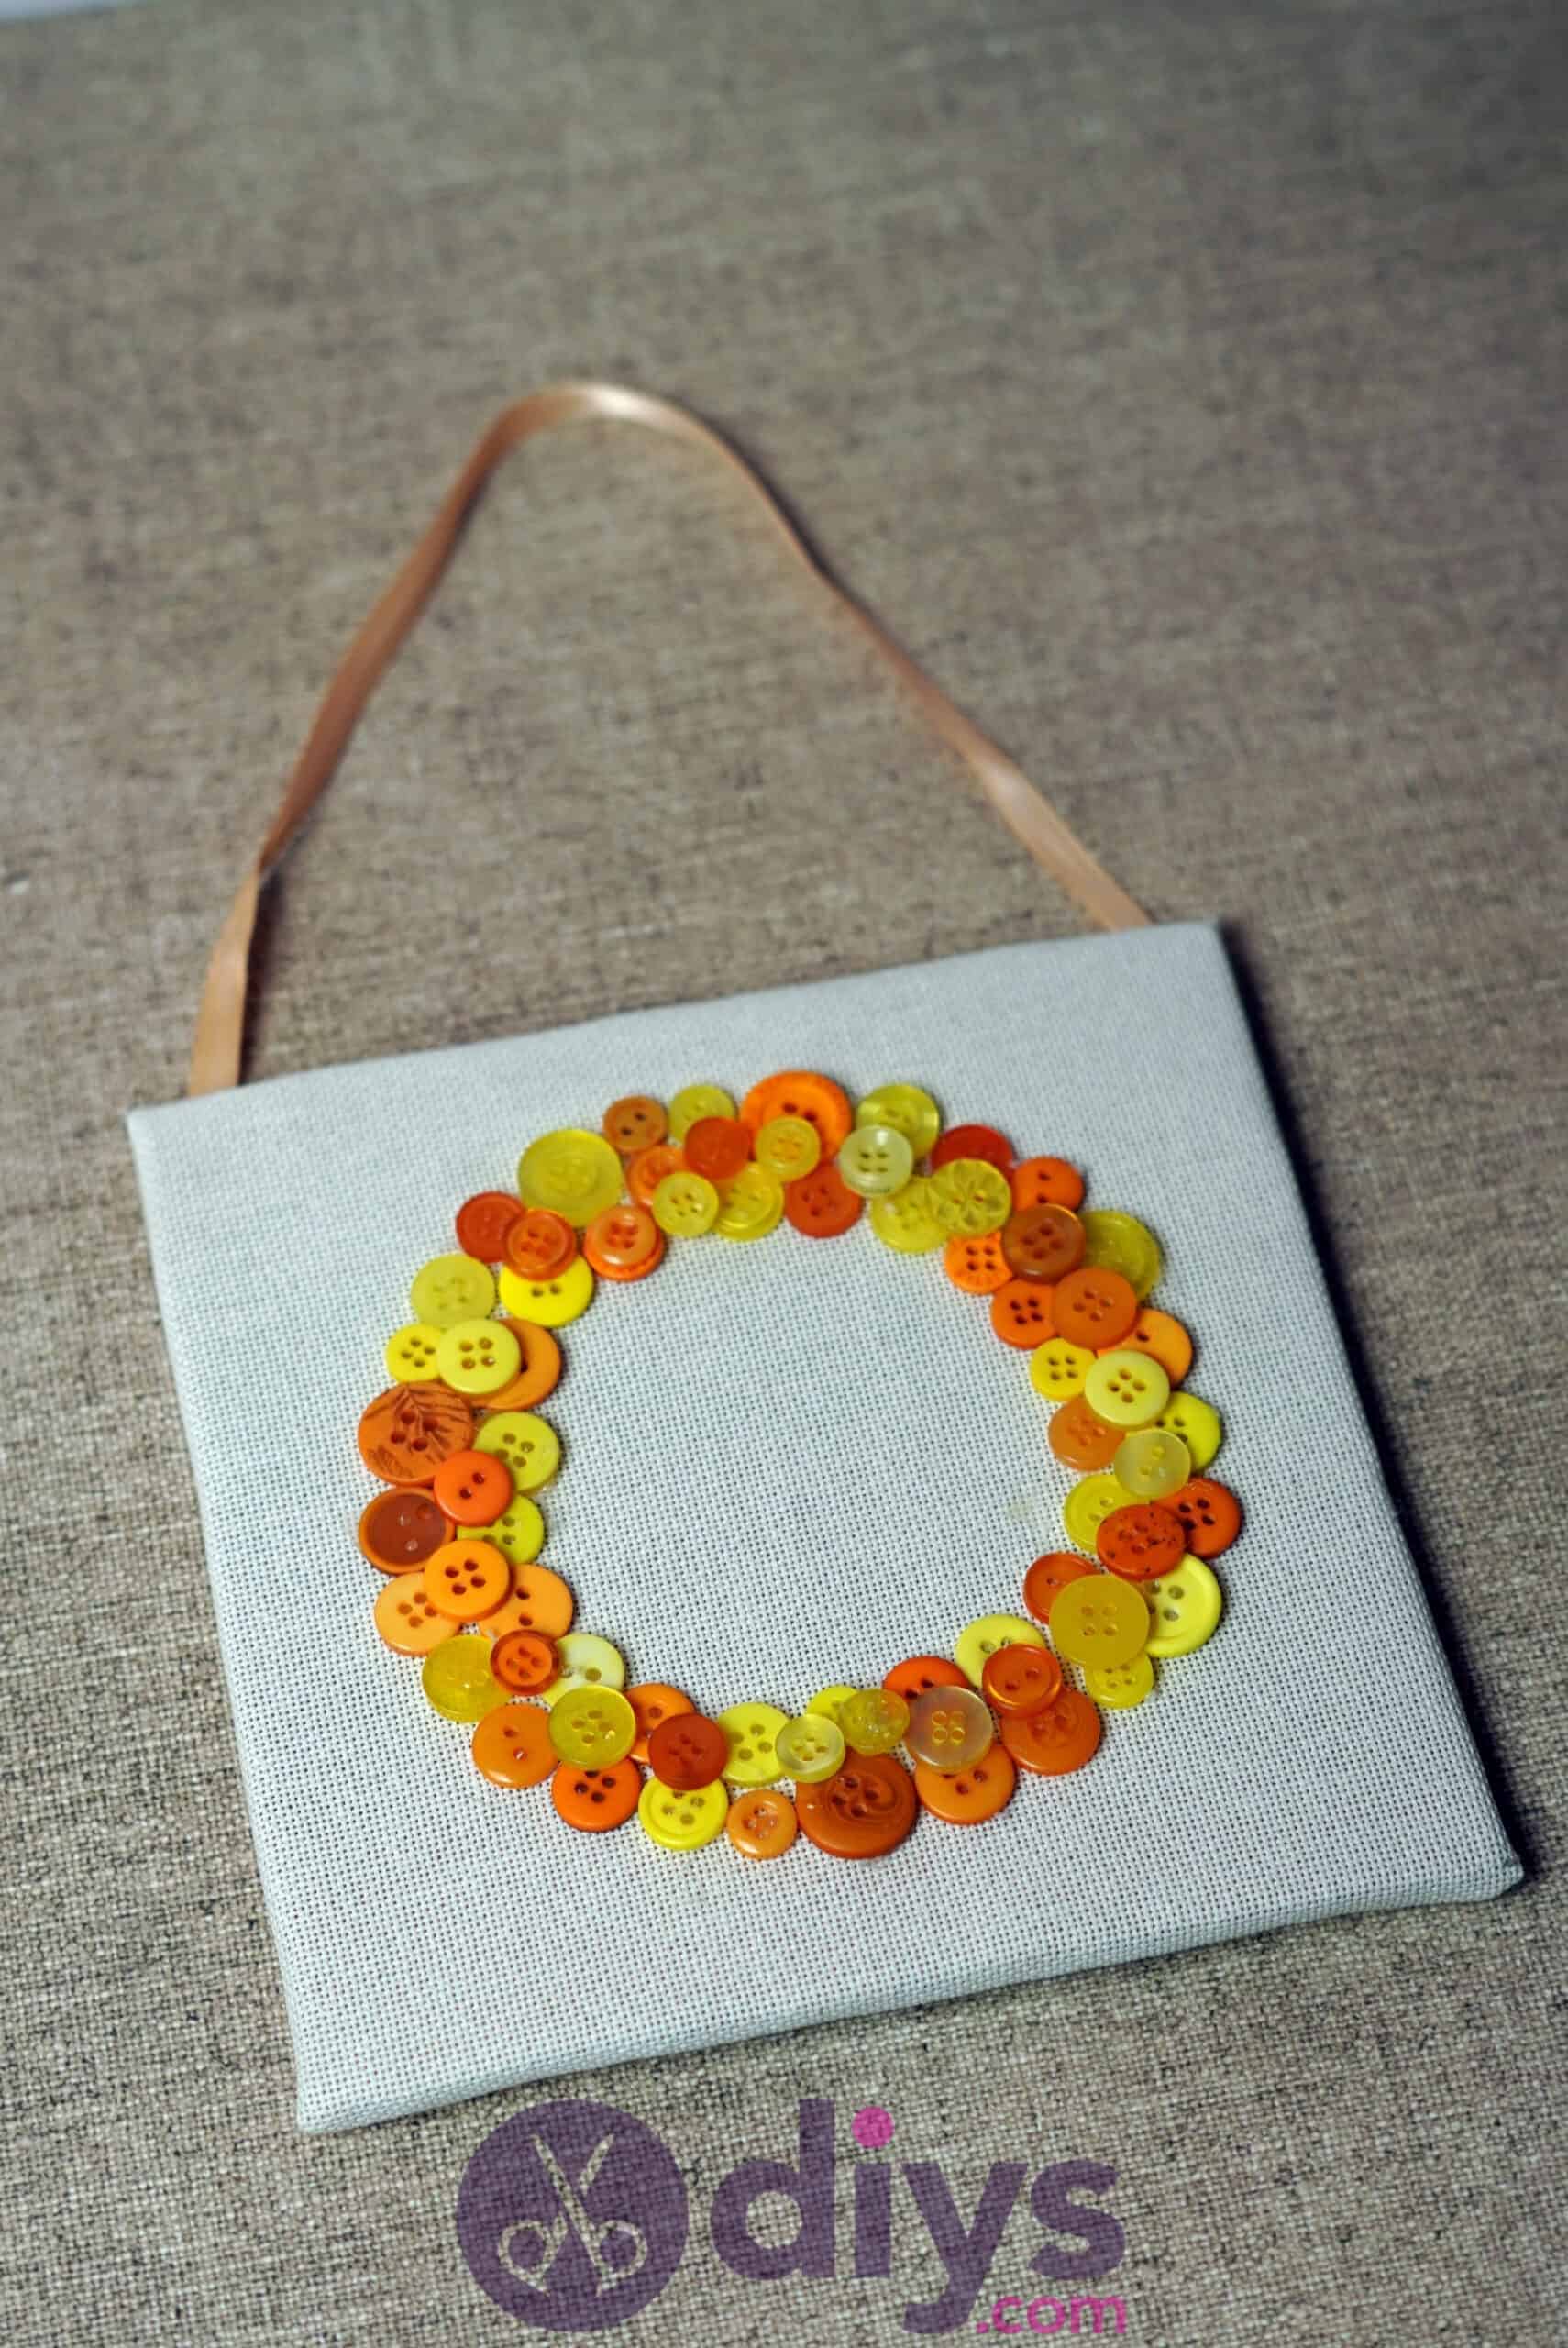
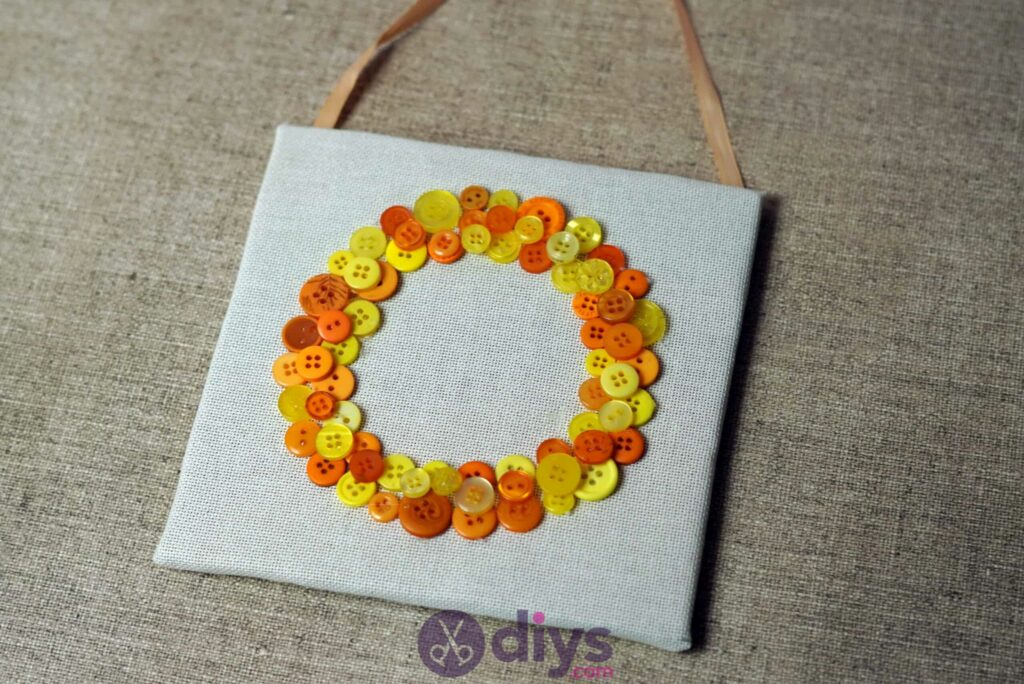
Map out the shape or pattern you want to make with your buttons! For now, you’ll just place them to make sure that you’re happy with the design before you actually start gluing the buttons into place. I chose to make a circular shape with a hollow centre, about one inch thick all the way around, kind of like a door wreath. I scattered my button colours and sizes to give the piece a bit of dimension. You’ll add depth to the design in a moment, but you want to lay down a good base first.


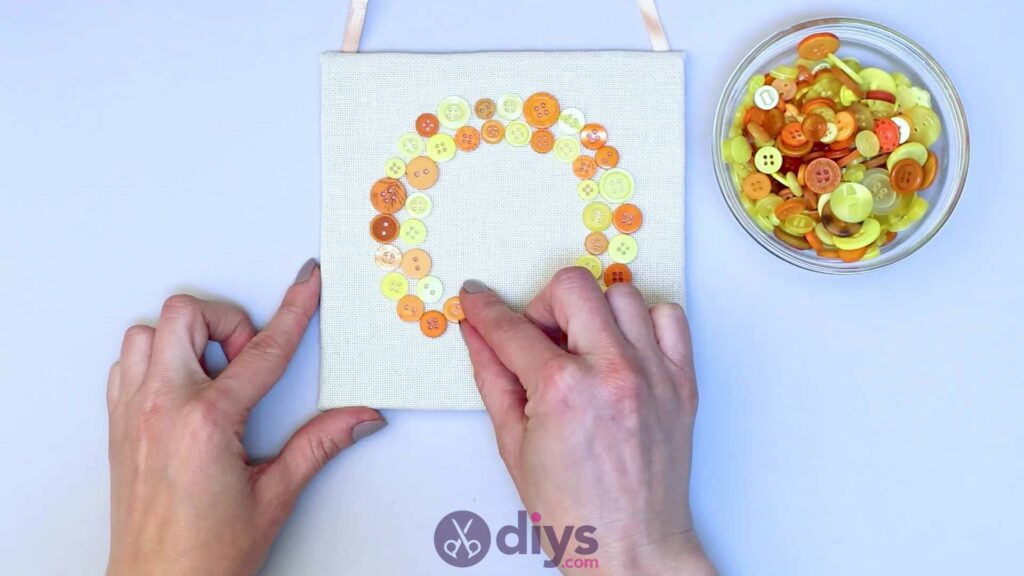
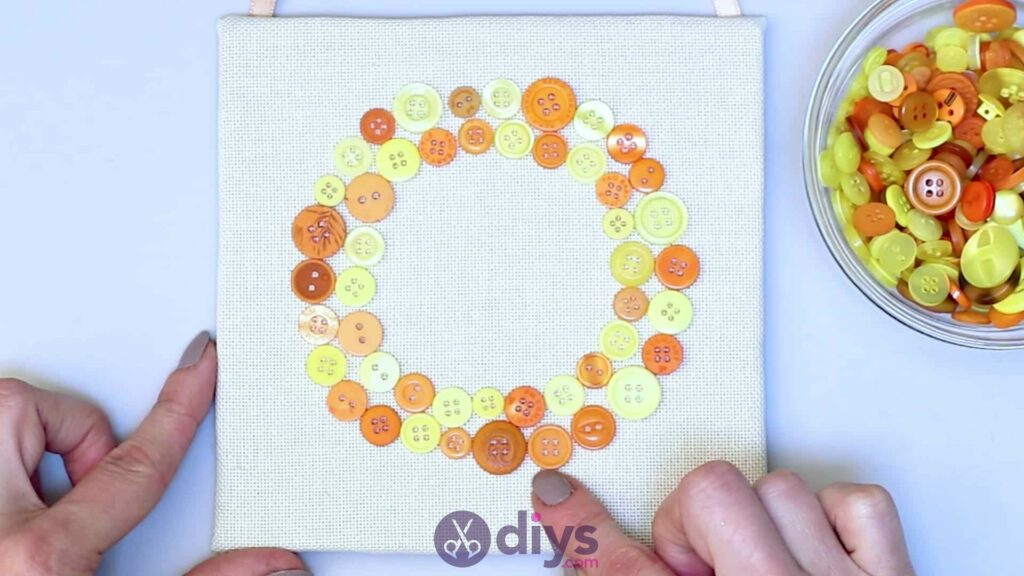
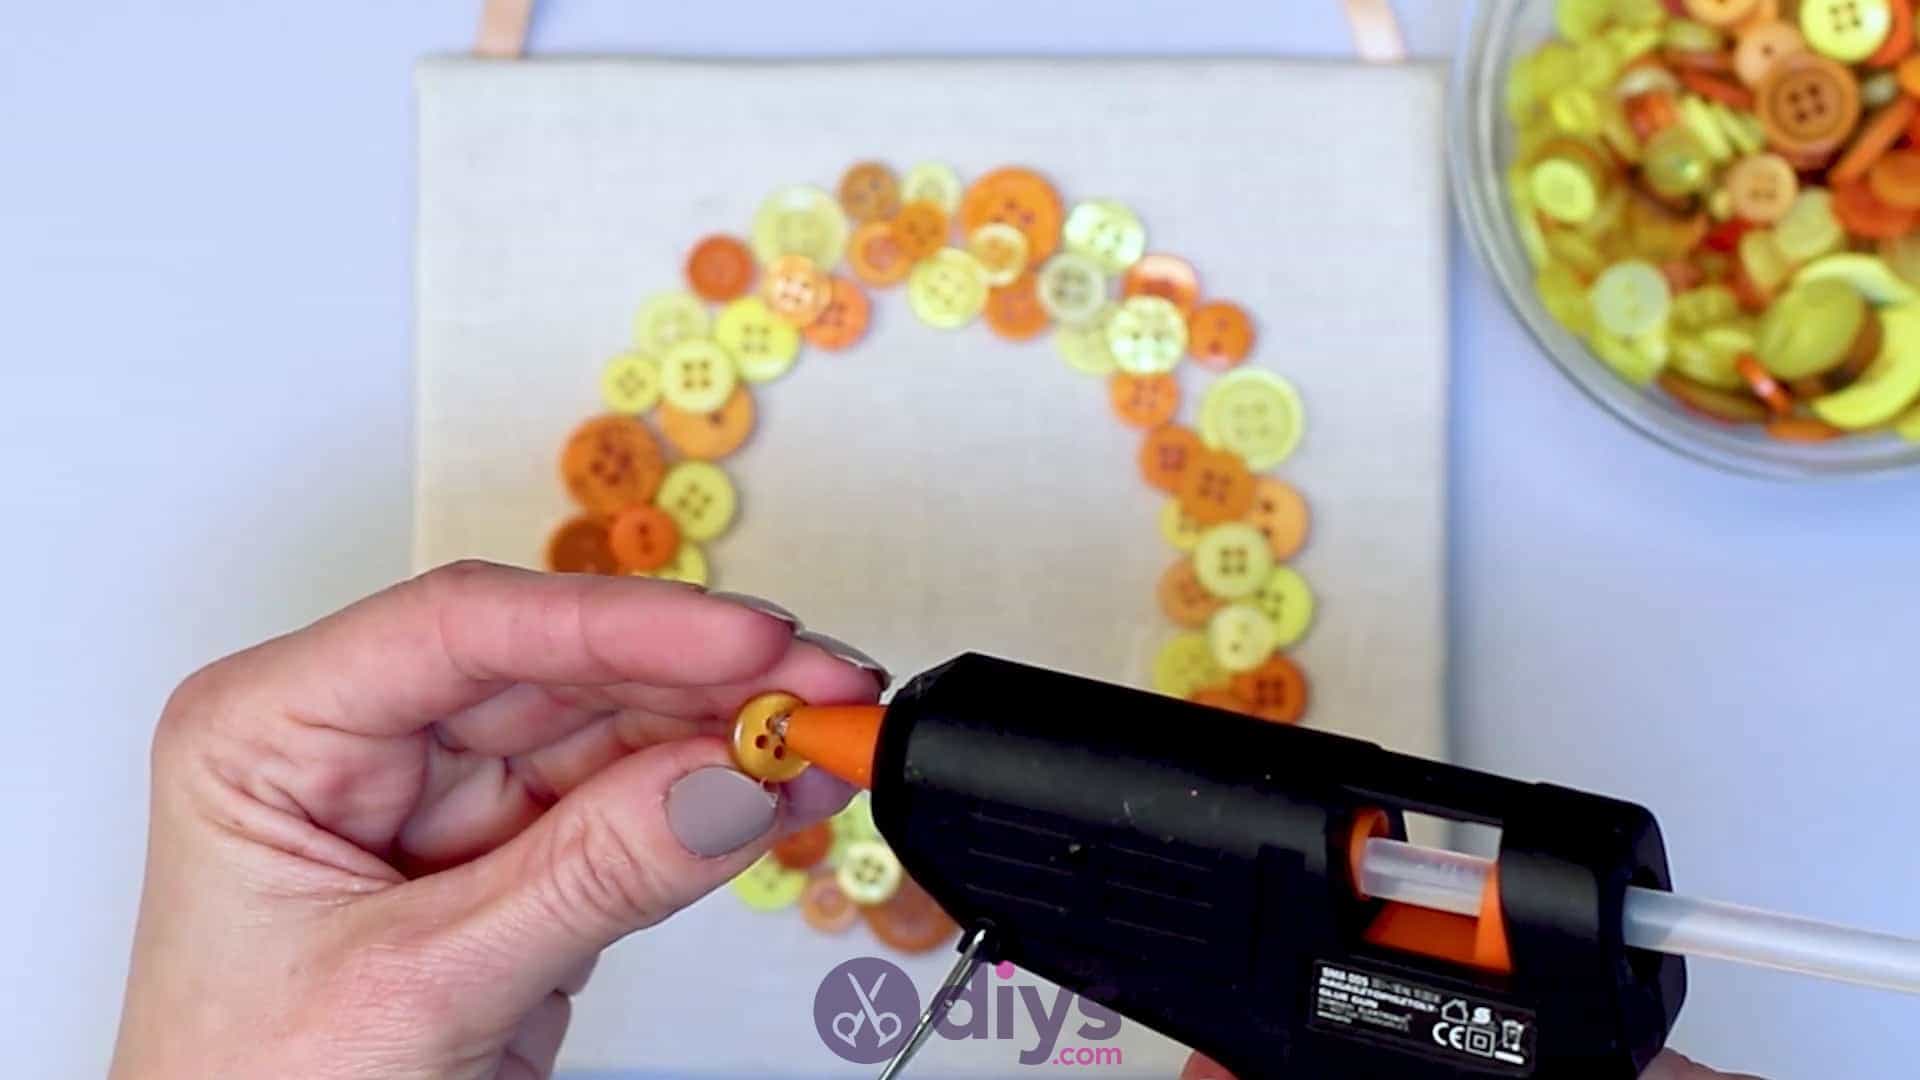
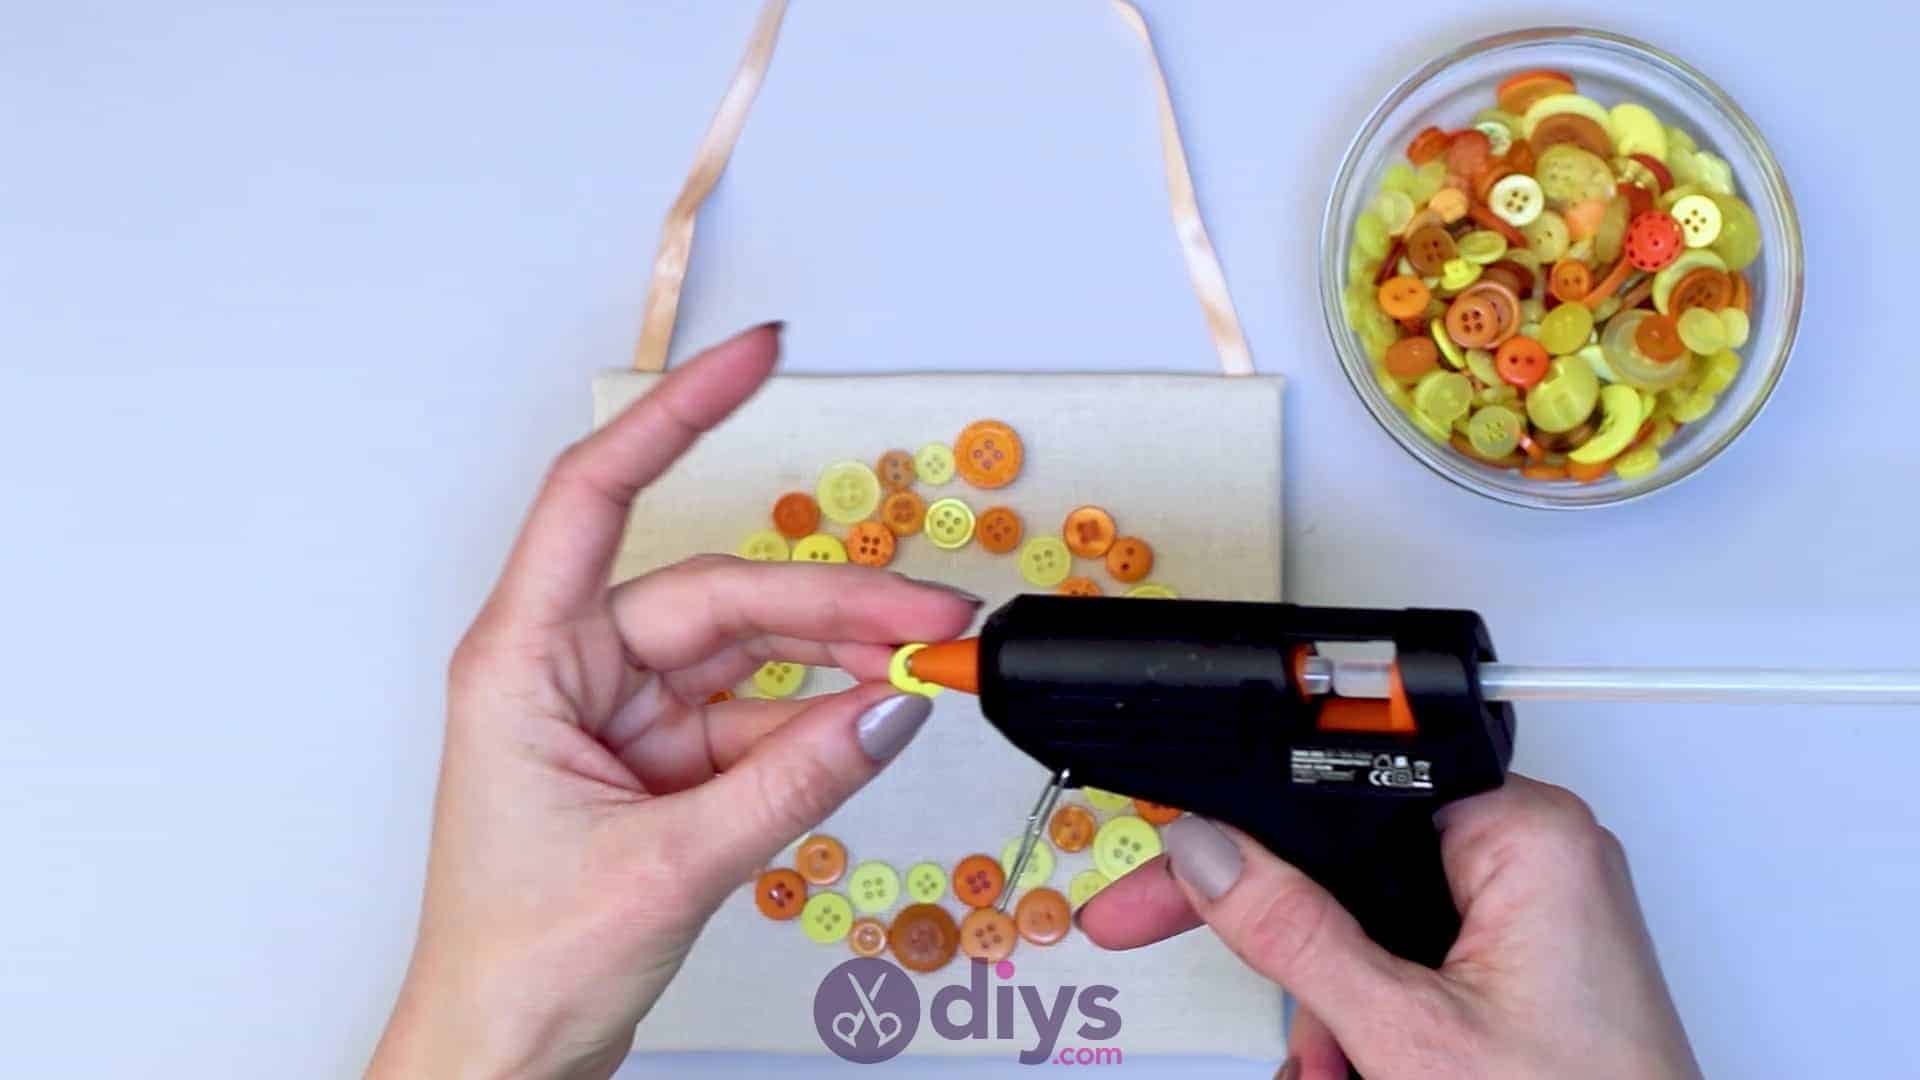
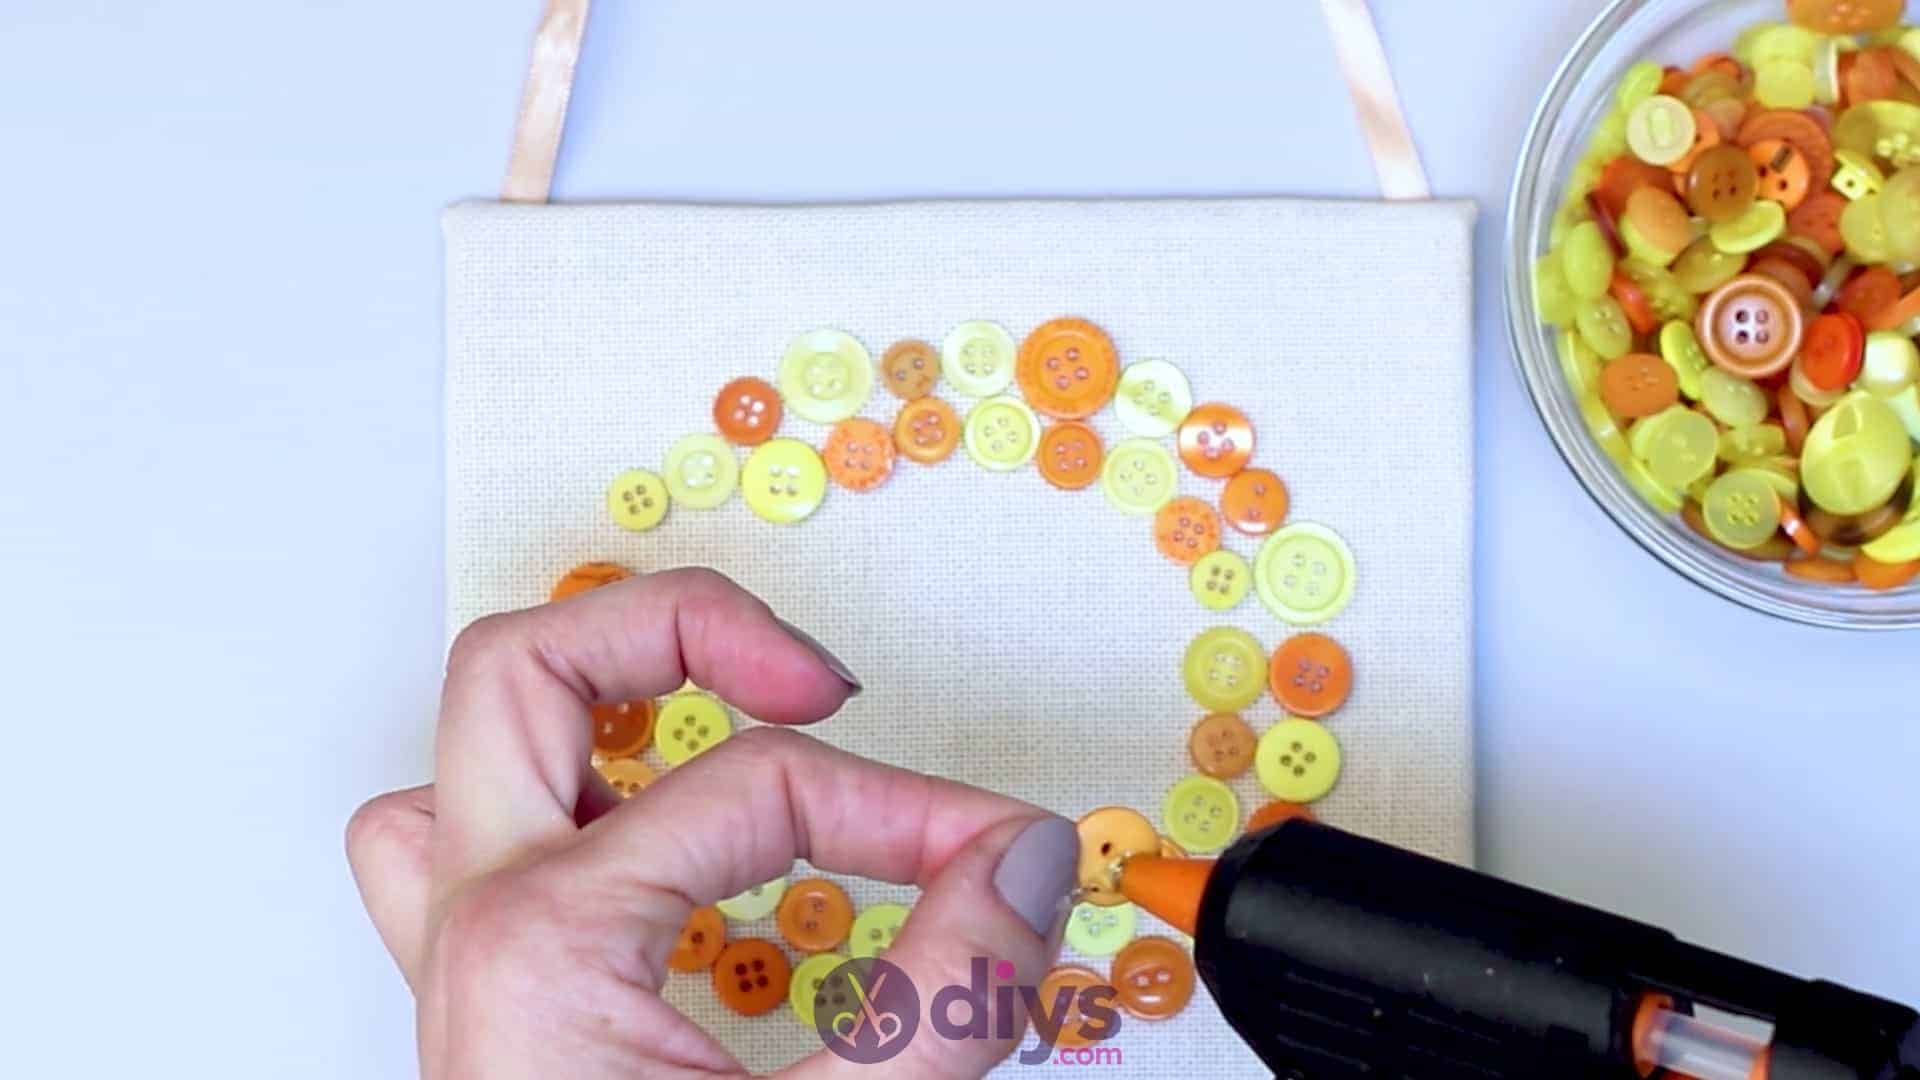
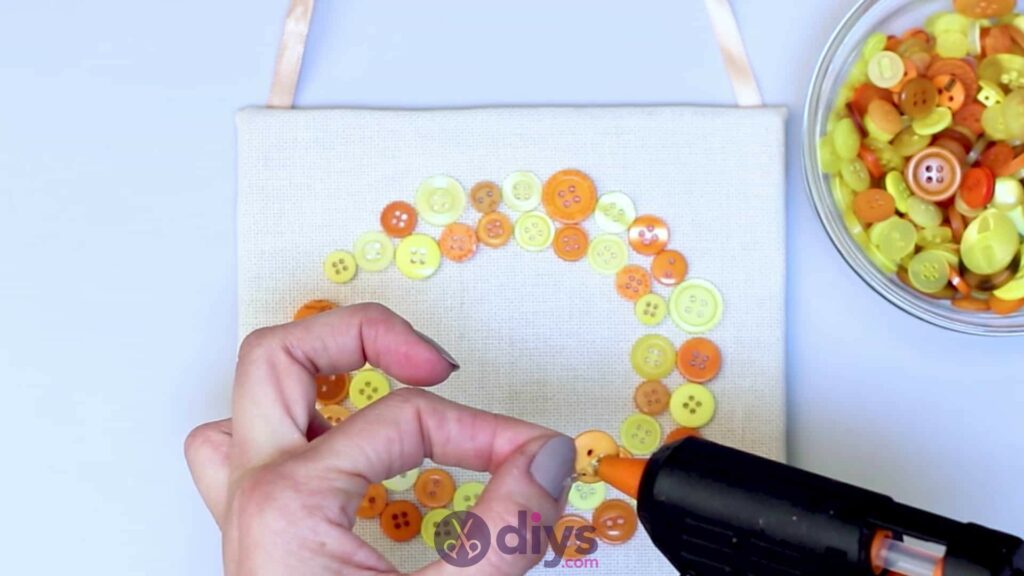
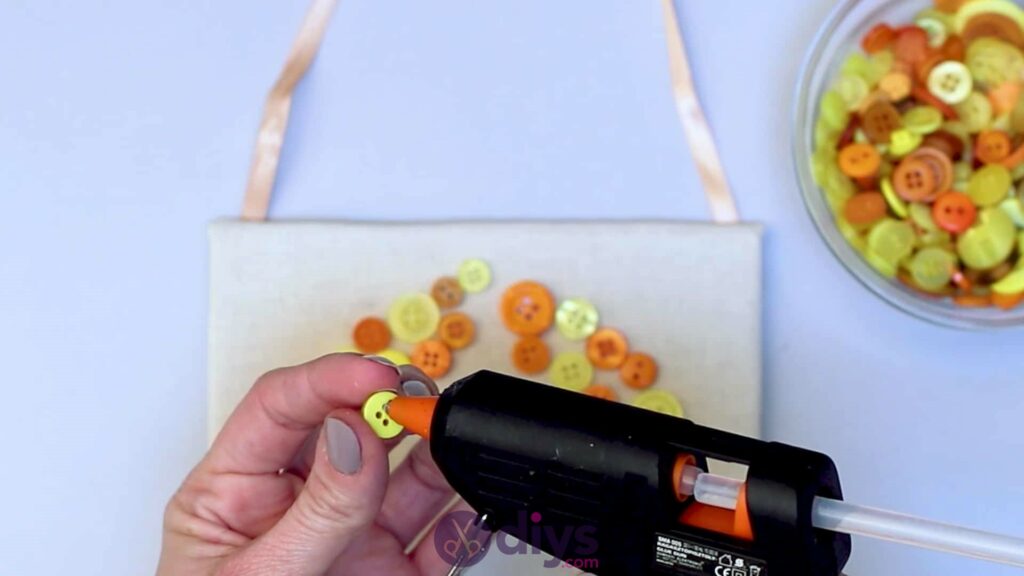
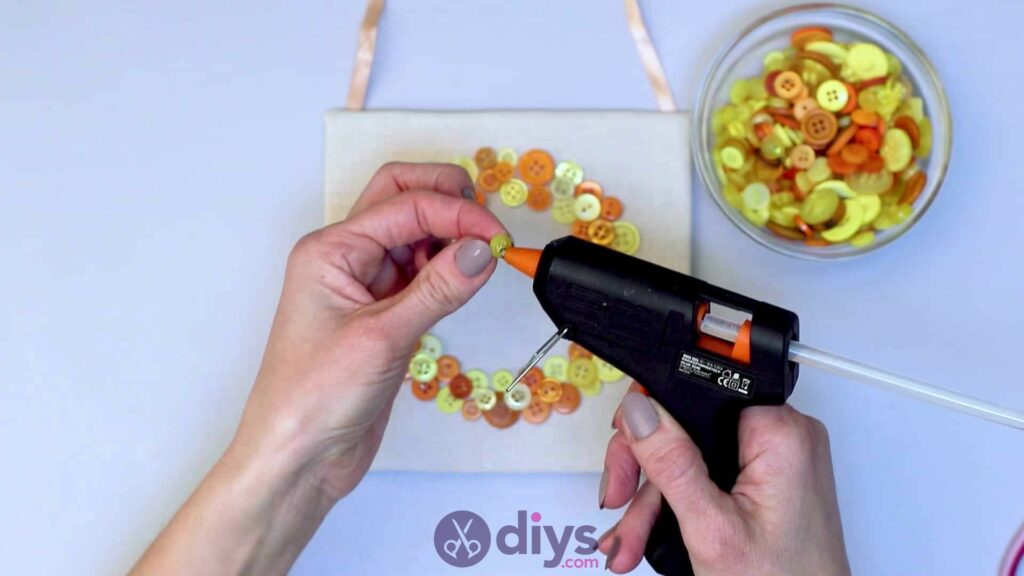
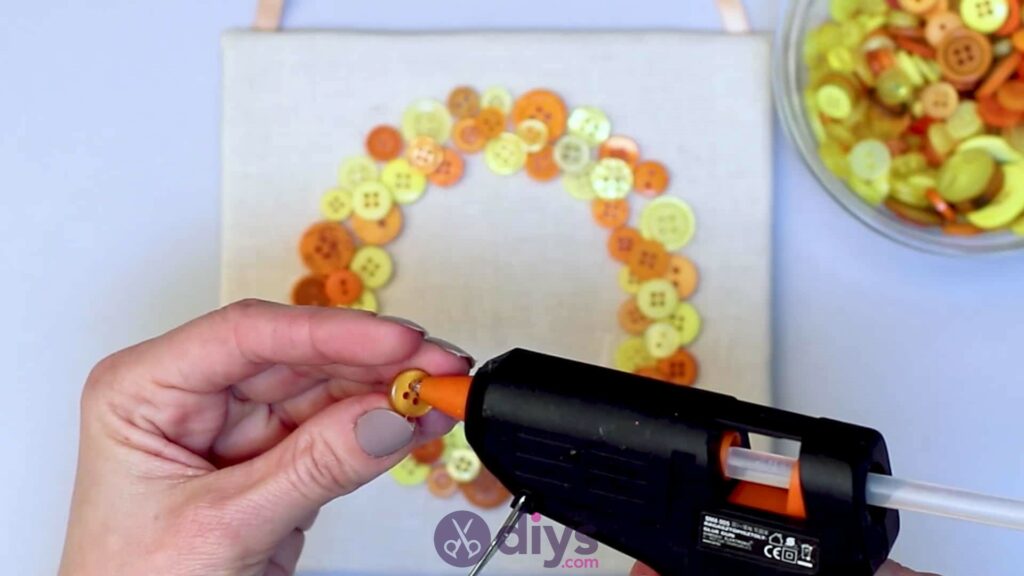
Step 7: glue the buttons
Once you’re sure that you’re happy with your shape and design, use your hot glue gun to stick the buttons into place one by one! Make sure you don’t miss any, butdo complete this step one by one so that you don’t lose your shape or end up with a warped version of what you were actually happy with. When you’re done, you’ll have completed the first layer of your design.


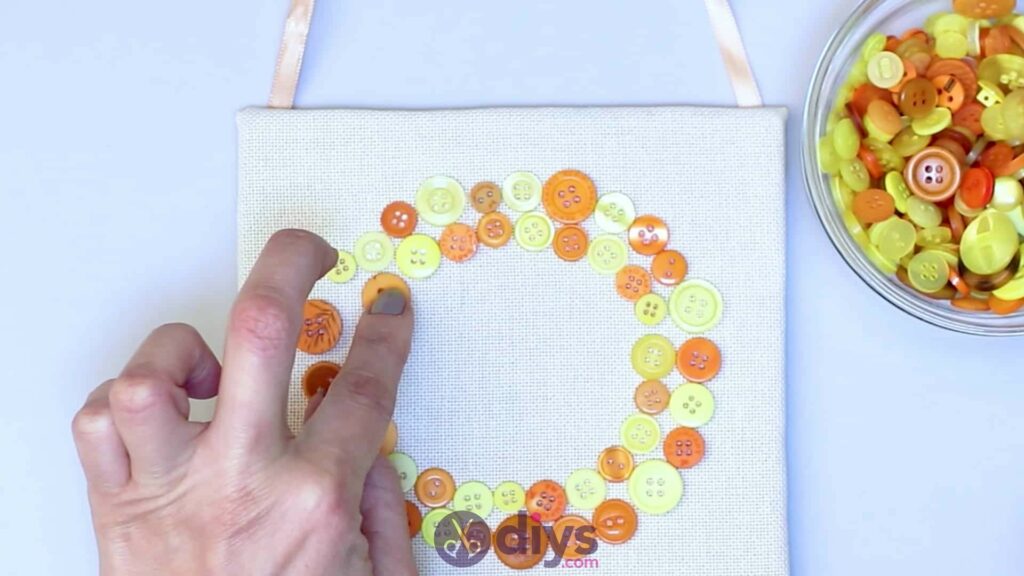

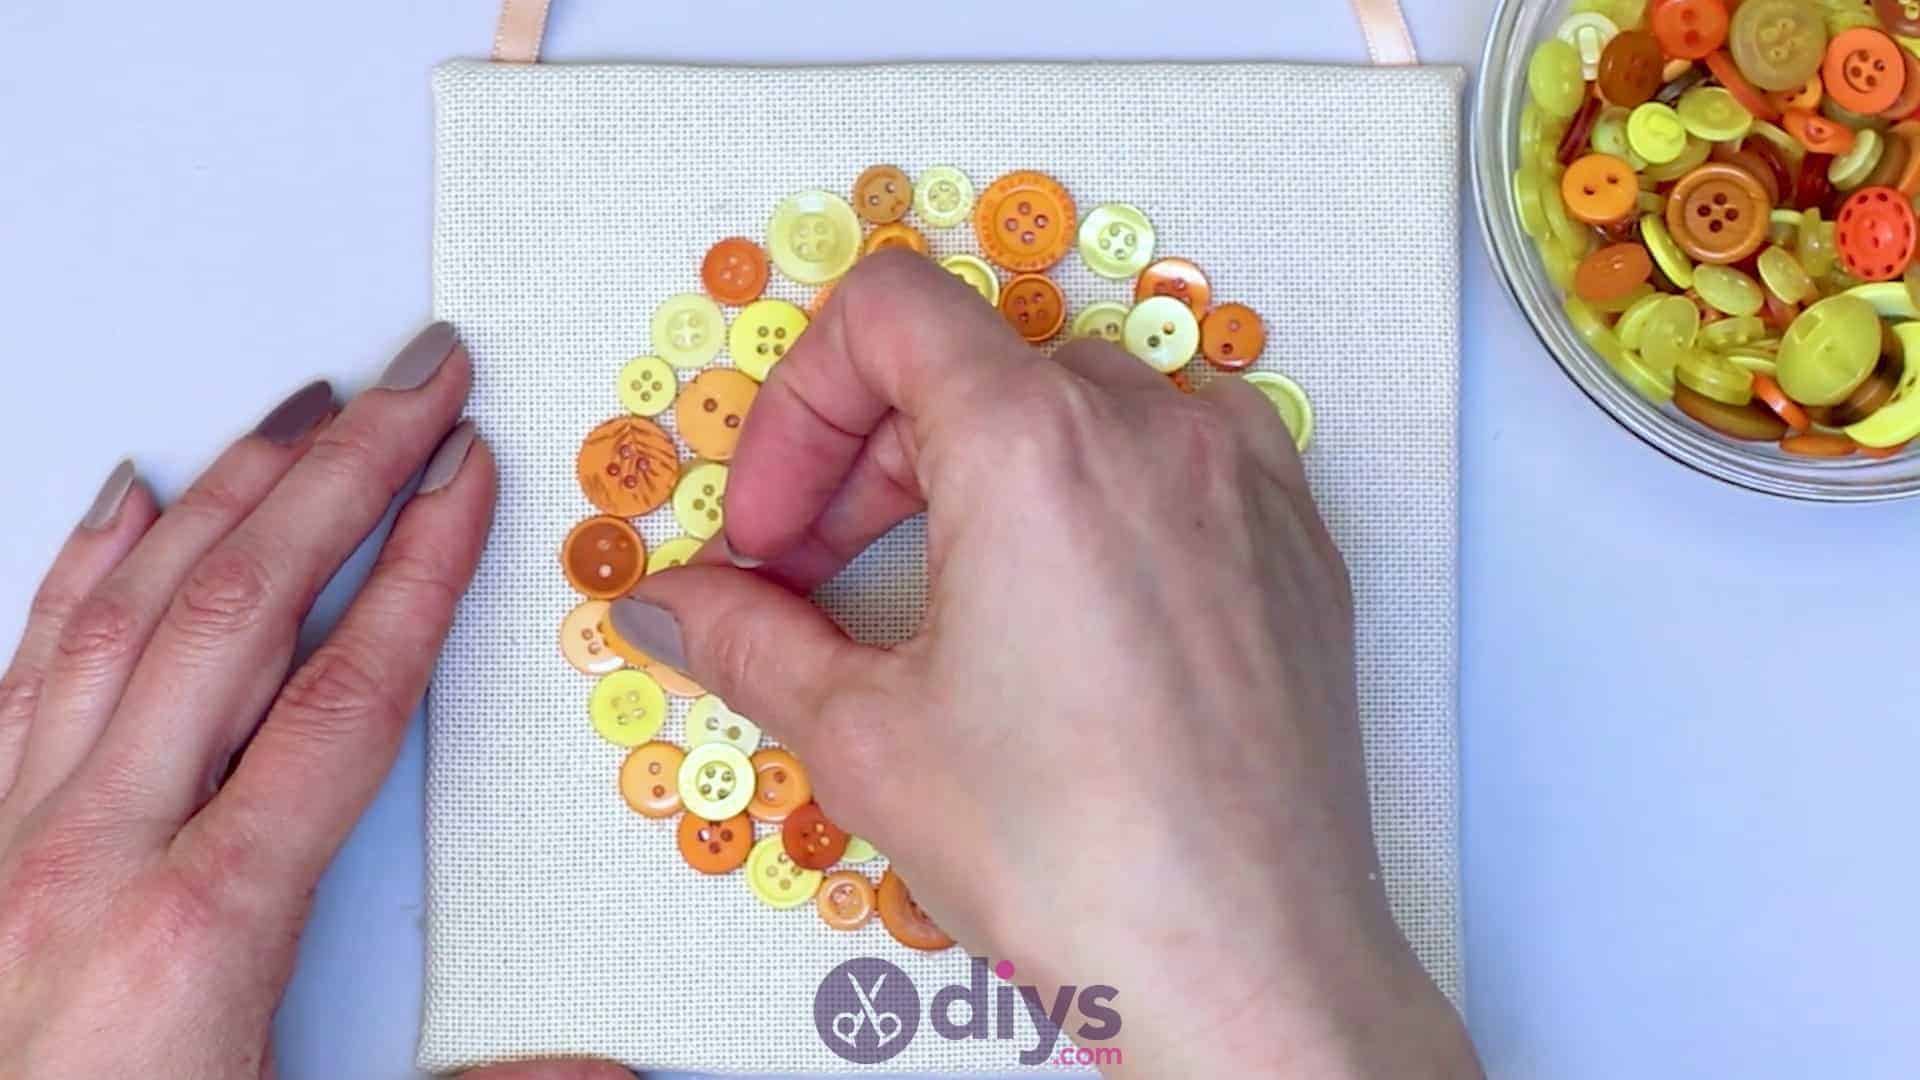
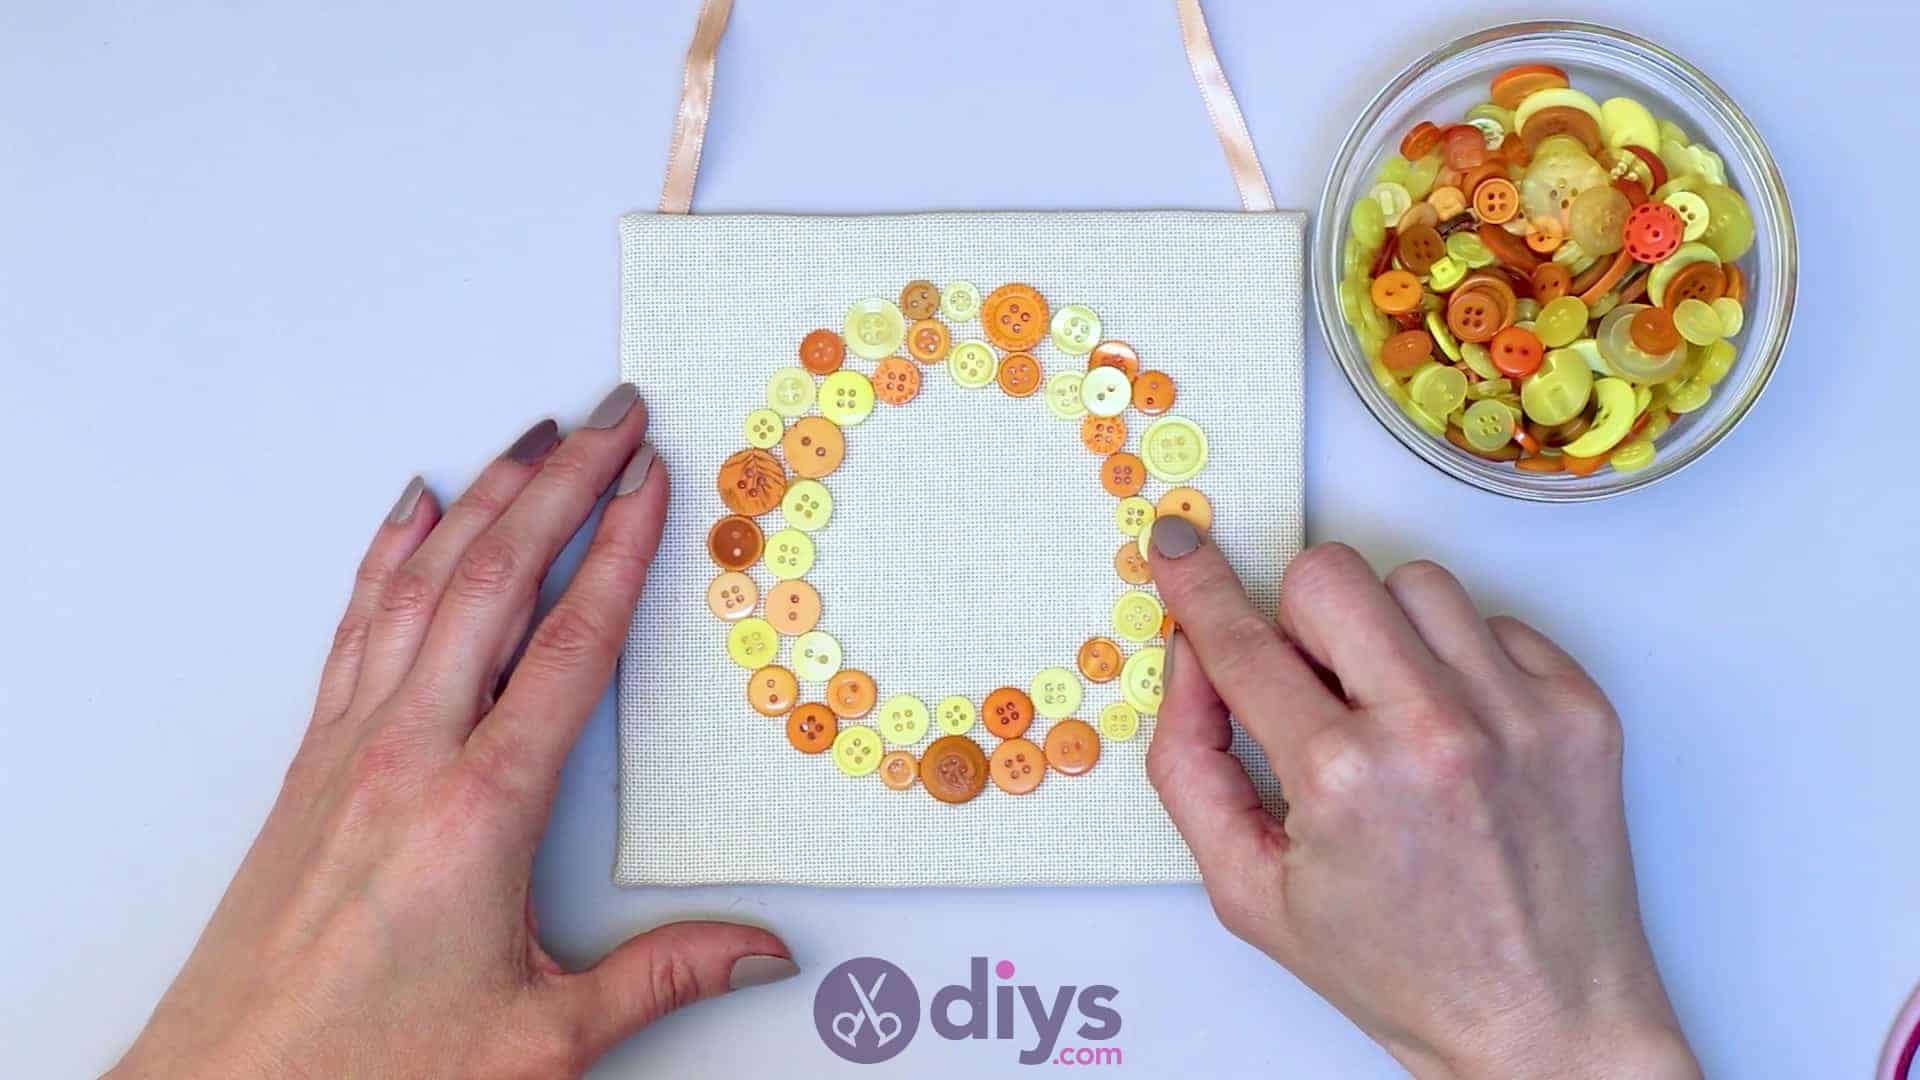
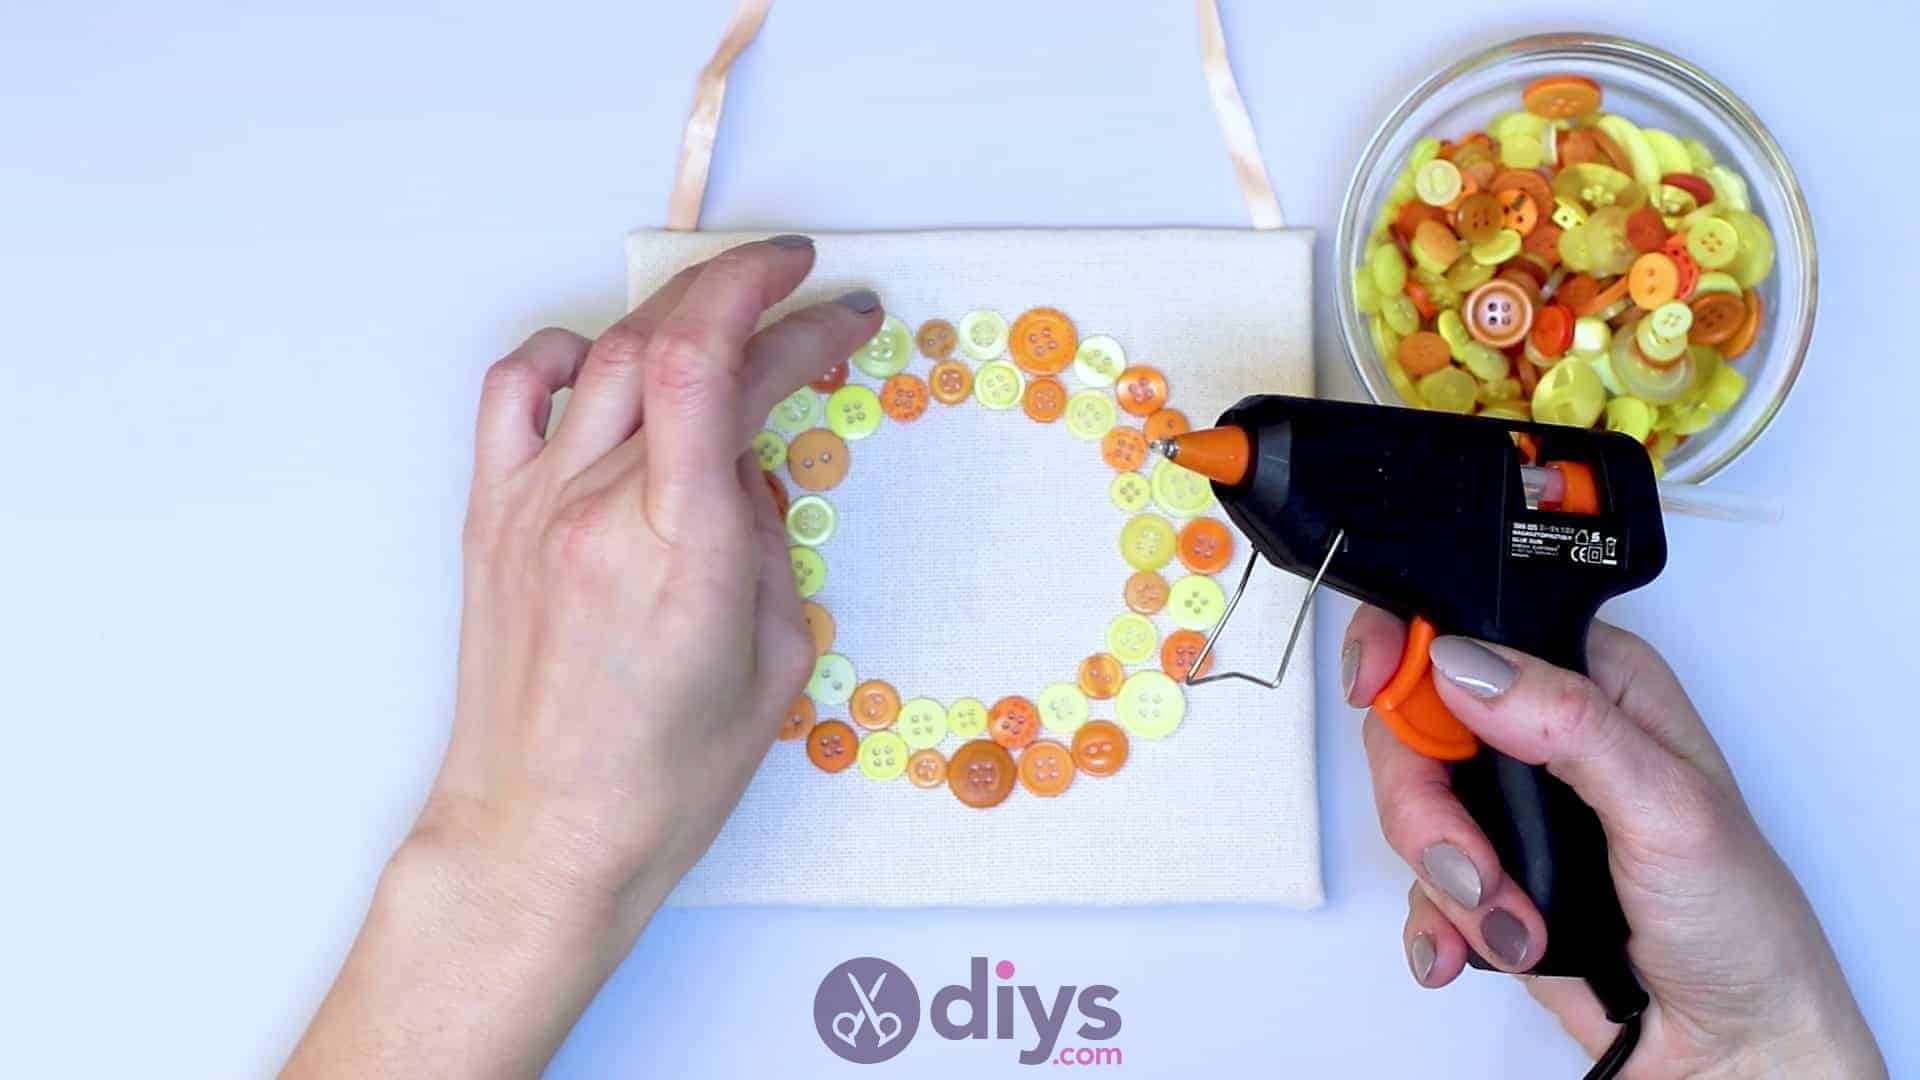
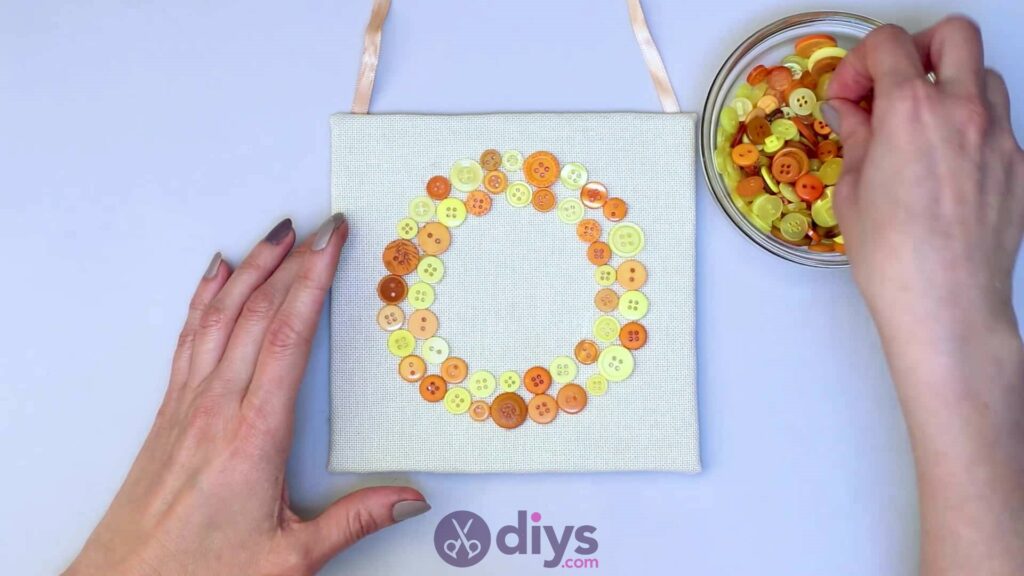
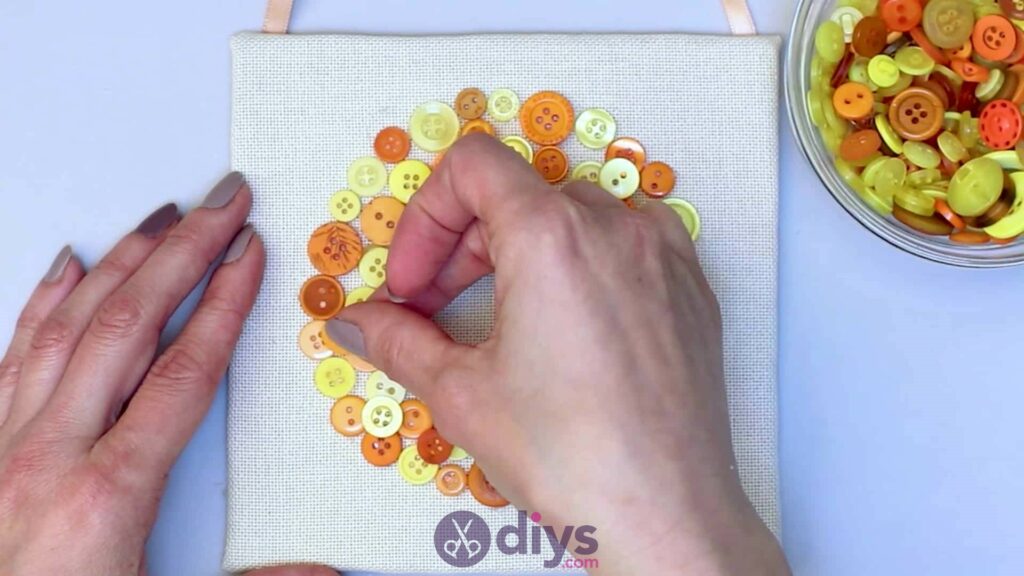
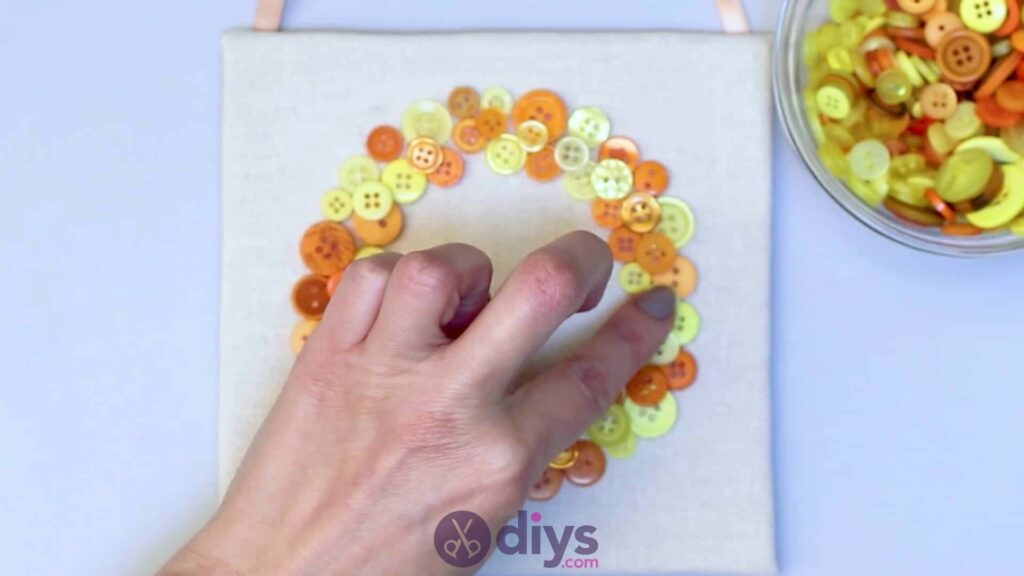
Step 8: layering
Build a second layer on top of your first one! Just like before, you’ll place all the buttons before actually gluing them down. I made sure to use this second raised layer as a change to fill in any holes I saw in my base layer, which helped me create a design that looked a little more whole and dimensional.

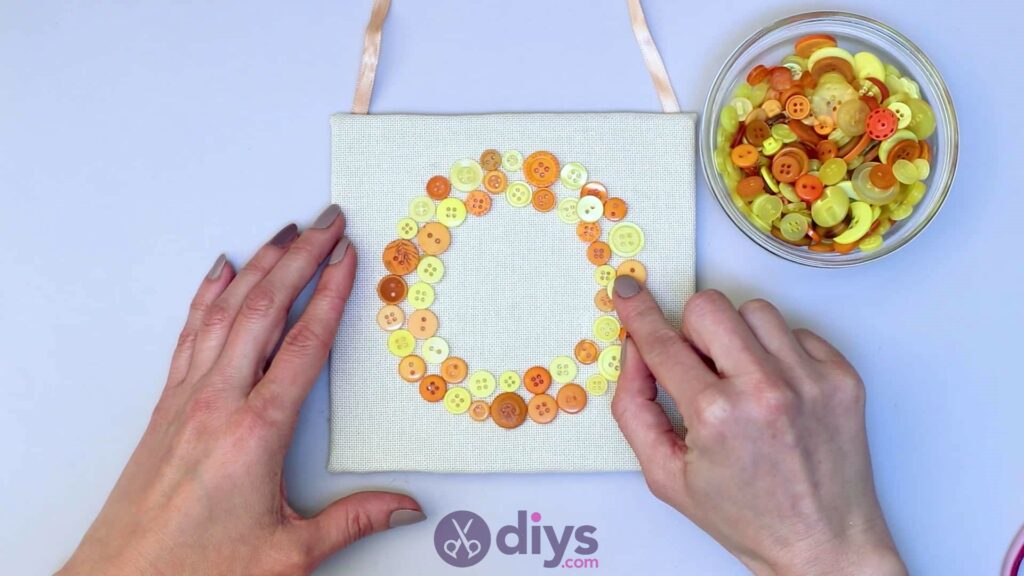
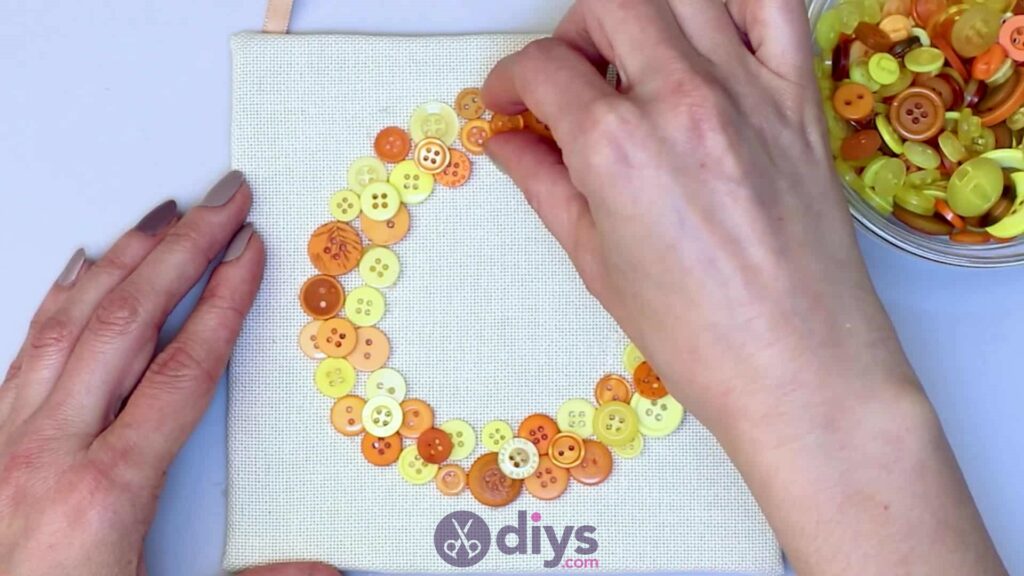
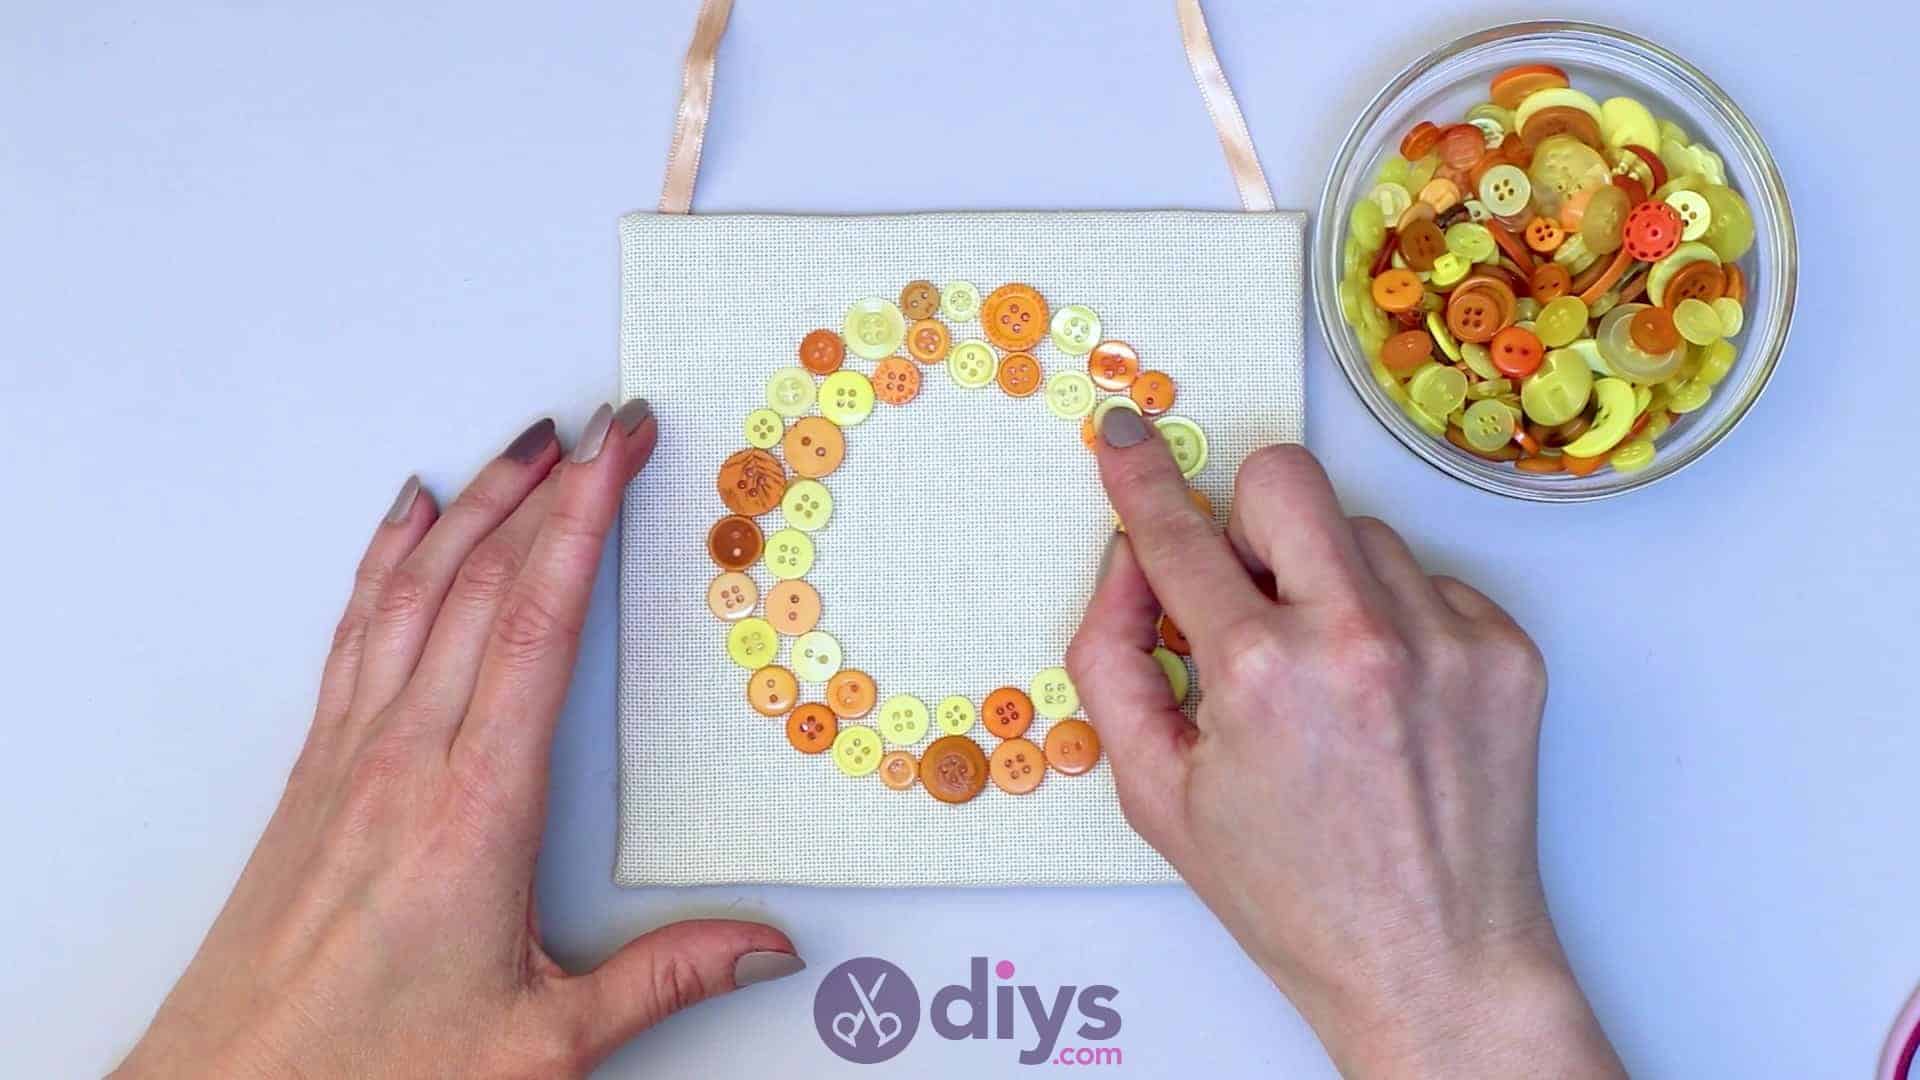
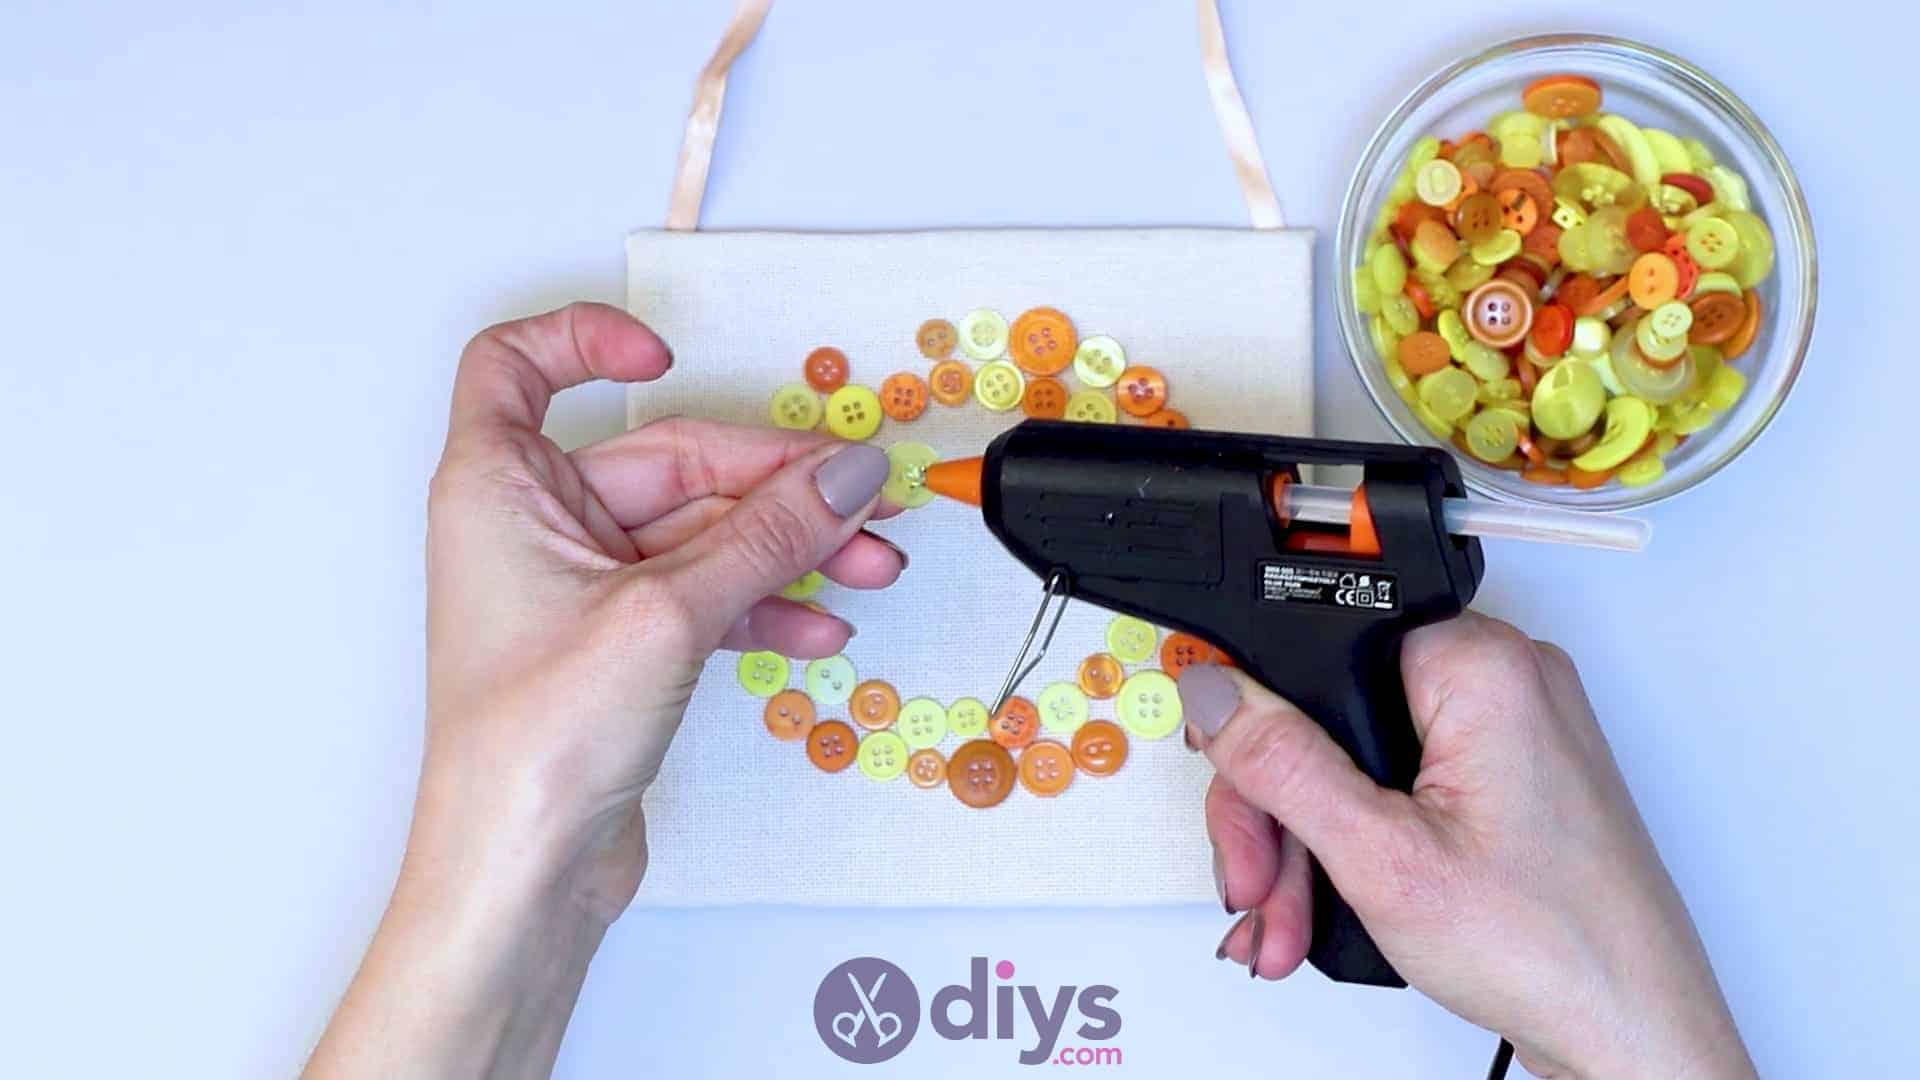
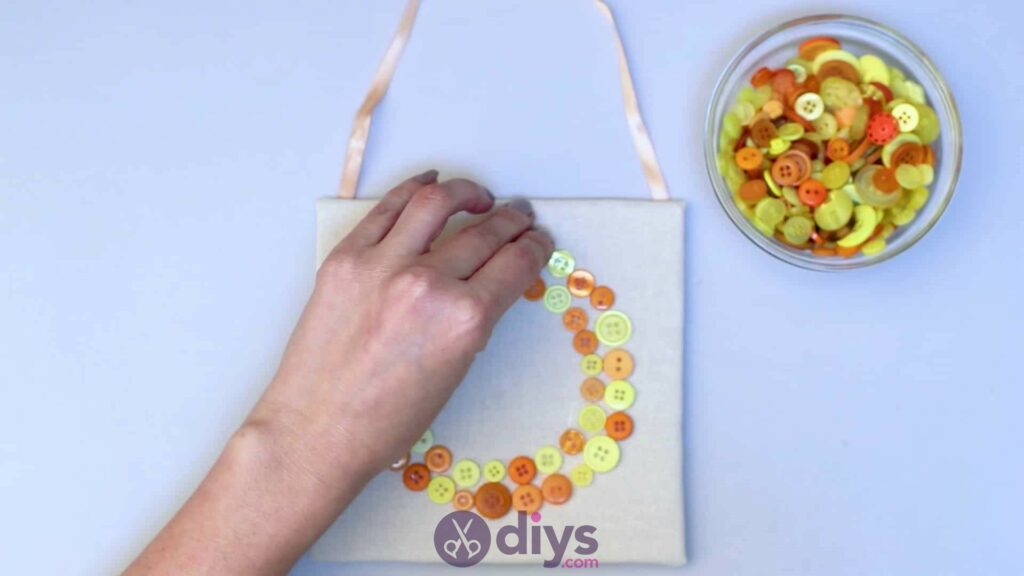
Step 9: repeat
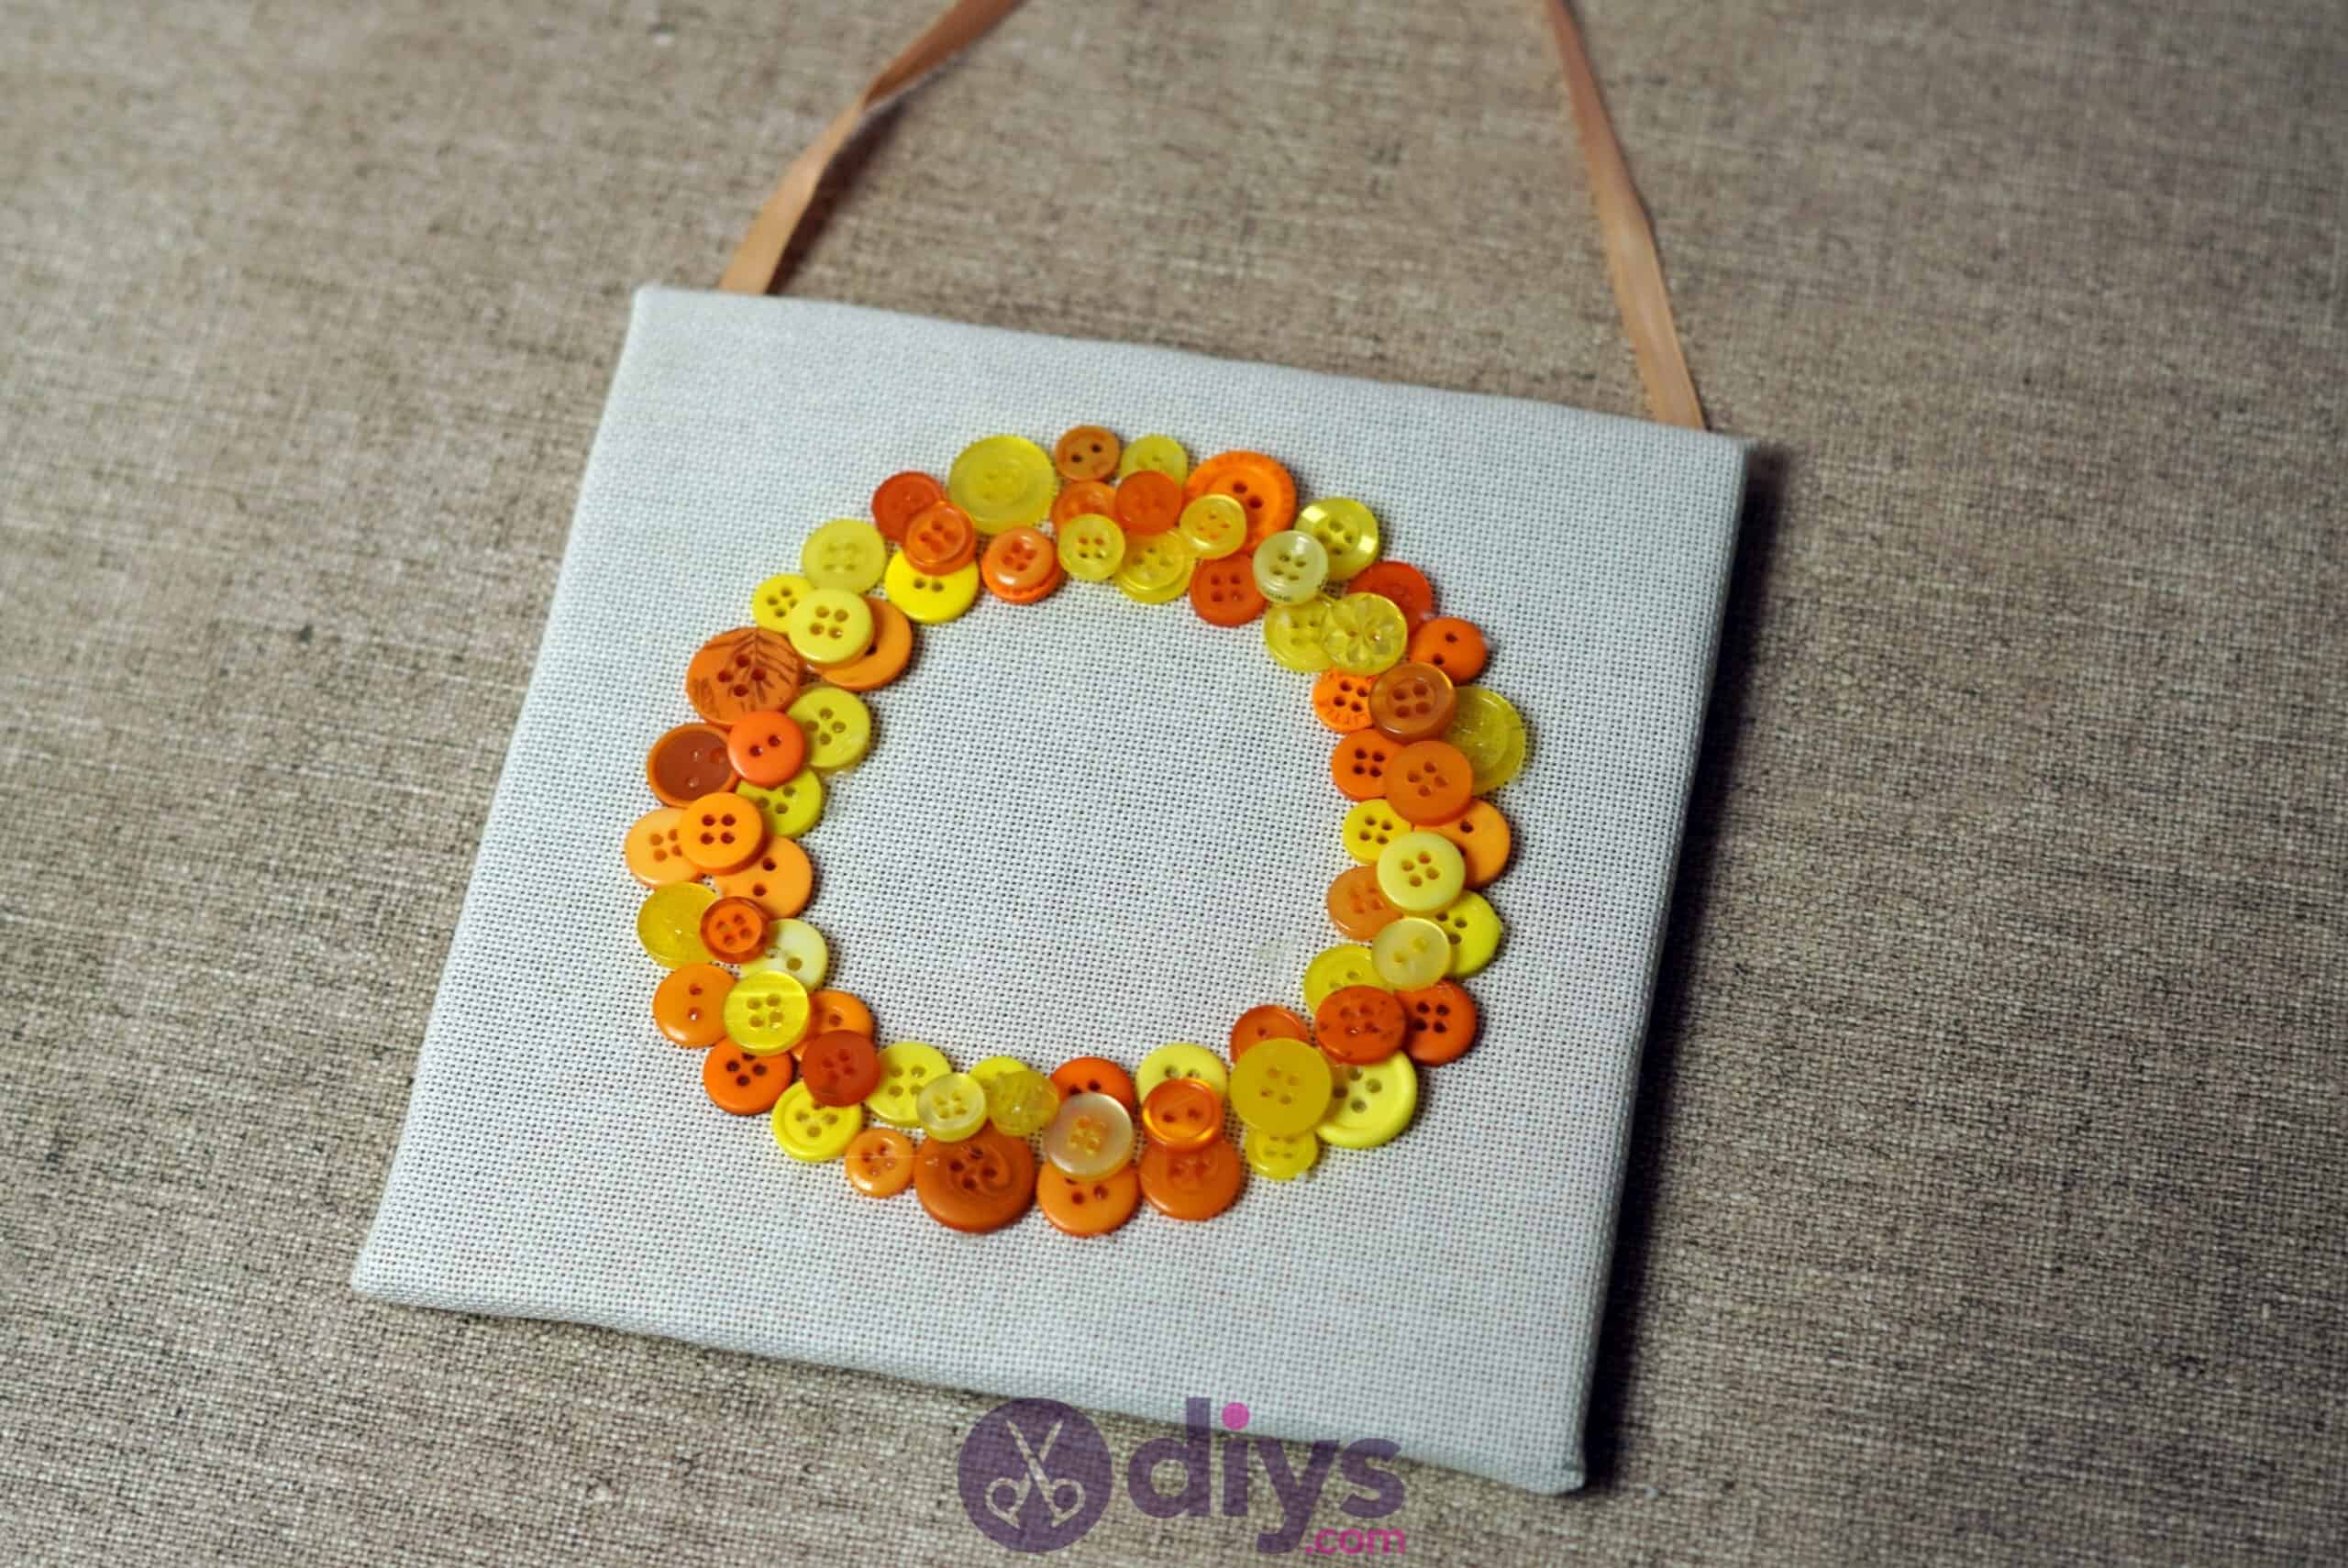
Like you did with your first or base layer, work your way around your design once more with your glue gun, sticking down all the buttons that you’ve loosely placed in order to make your final shape.
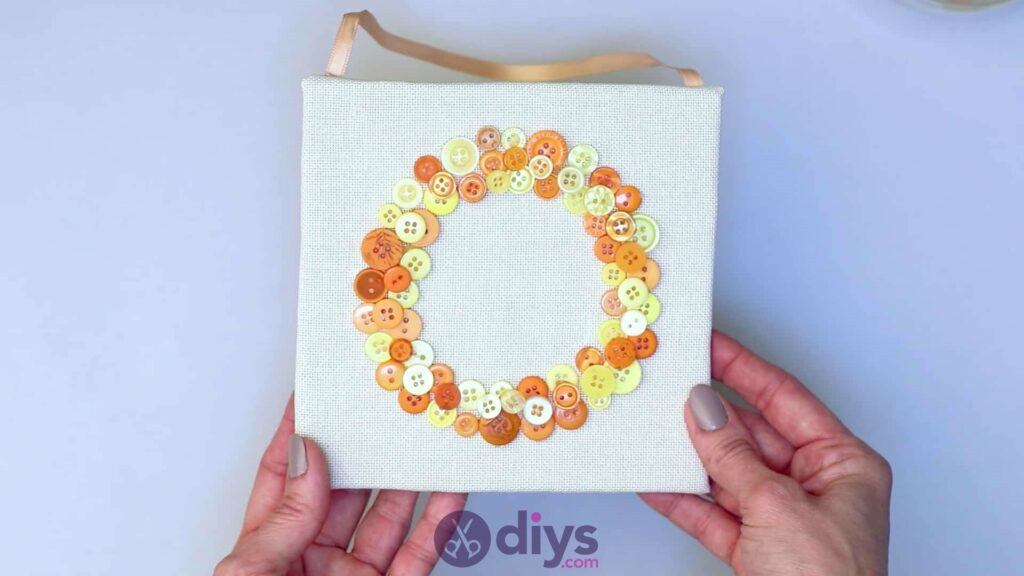
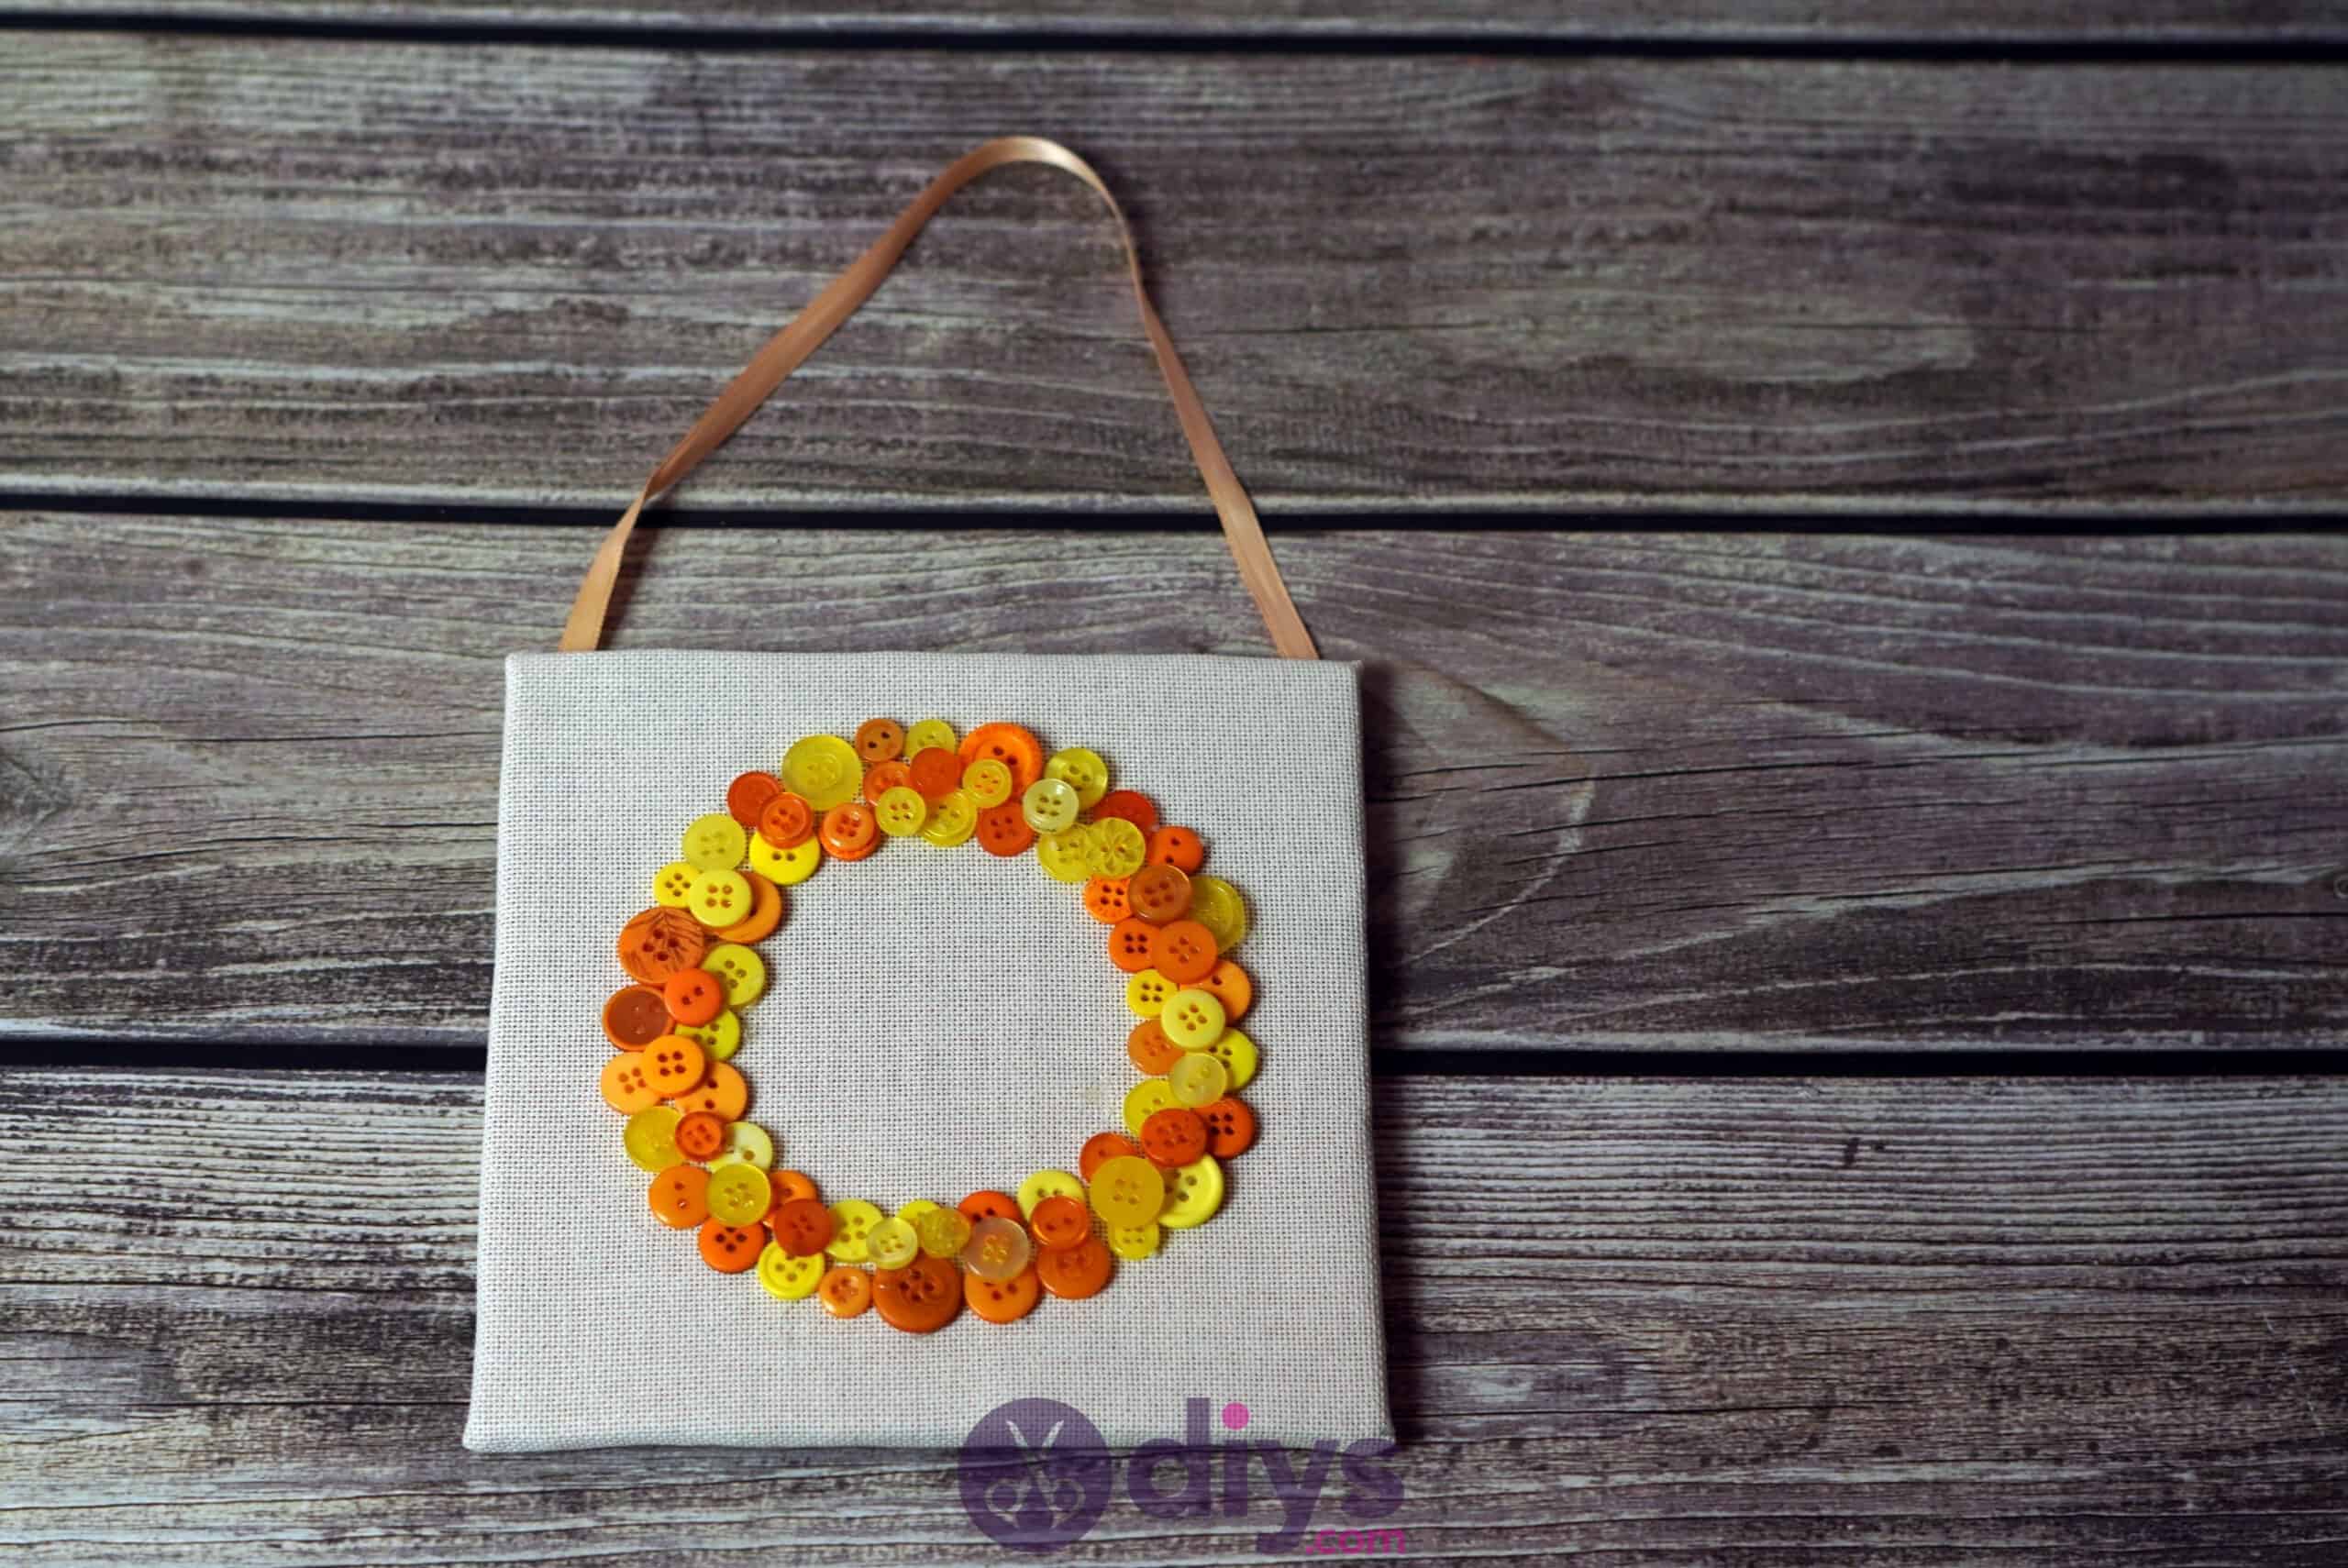
You’re all finished! Of course, you can feel free to use this tutorial as a basic technique guide but get more creative and personalized with the shape and design you make with your buttons, as well as the colour scheme. Just in case you’d like to try this project out for yourself, here’s a fantastic tutorial video to help you!