DIY Butterfly Bracelet for Kids
Updated on November 19, 2025


Like mine, are your little kids total budding fashionistas? My kids have been really interested in accessorizing lately and I’m the kind of DIY-loving parent who adores finding new ways to combine the things they enjoy with crafting so they can see that just about every aspect of life and be creative. That’s how I found myself helping them make simple foam bracelets last week! The outcomes were so cute that I decided to make another one myself so I could outlined the process for other people to learn from too.
If you love the idea of teaching your kids how to make their own jewelry just as much as I did, check out these step by step instructions for easy foam butterfly bracelets! If you’d prefer to follow a video tutorial rather than a written one, scroll to the bottom of this post.
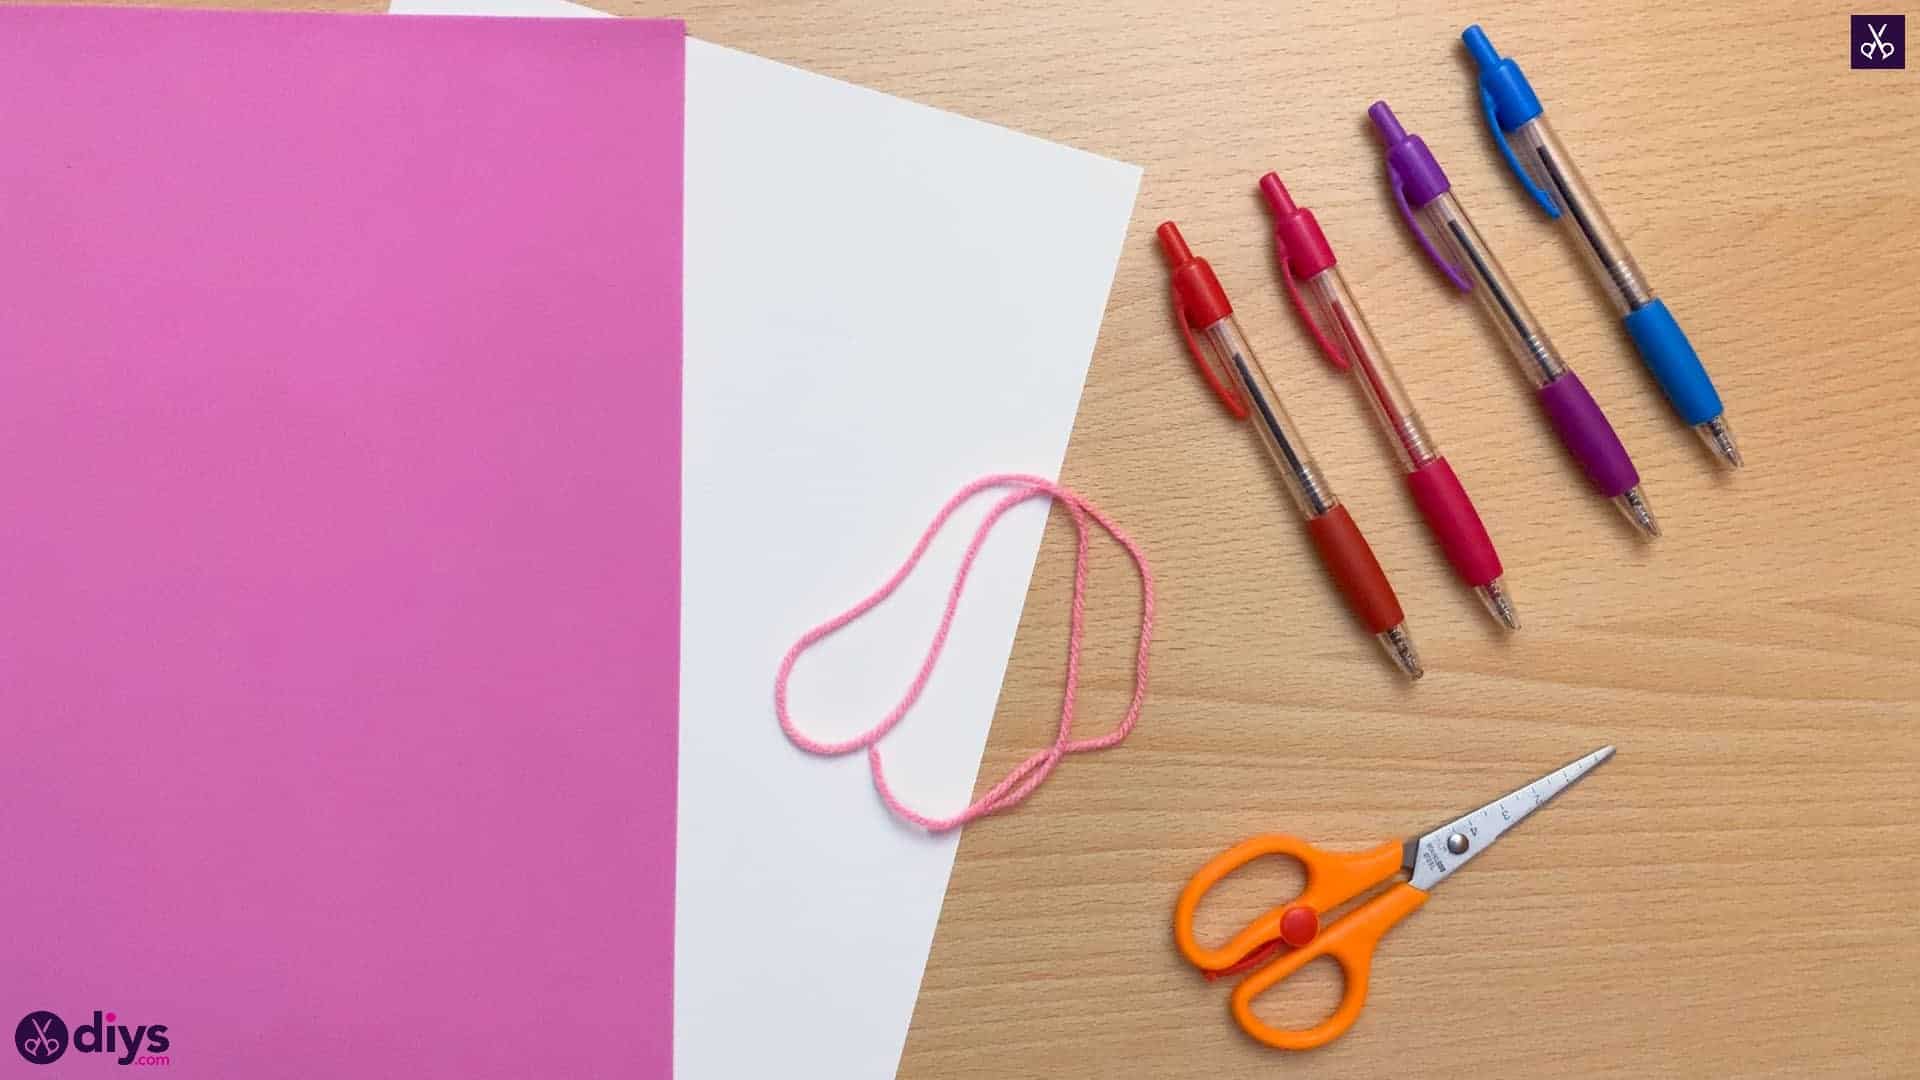
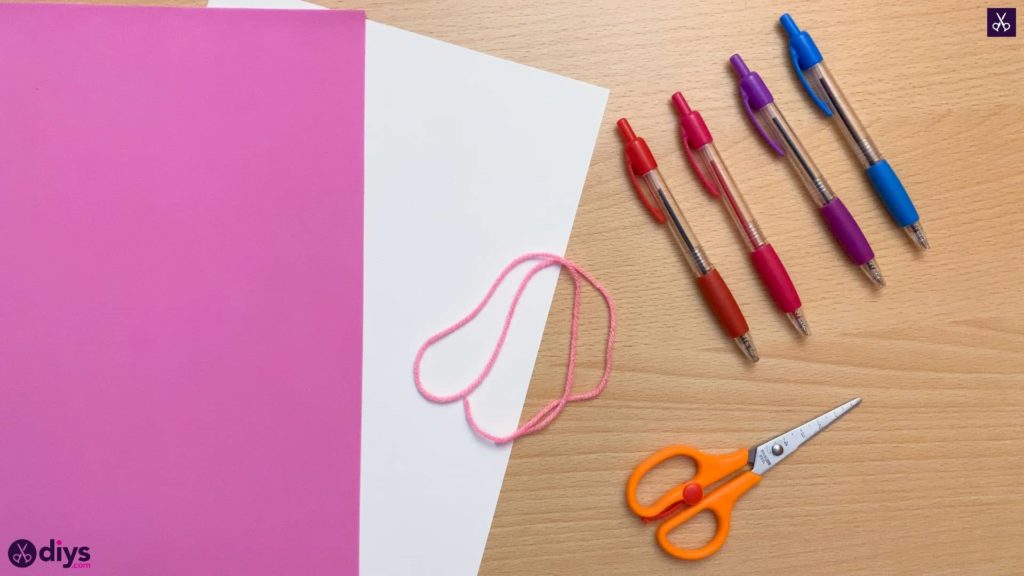
For this project, you’ll need:
- White paper
- Pink yarn
- Felt pens (purple and blue)
- Foam paper
Step 1: Gather your materials!
Every good craft project starts with prep!
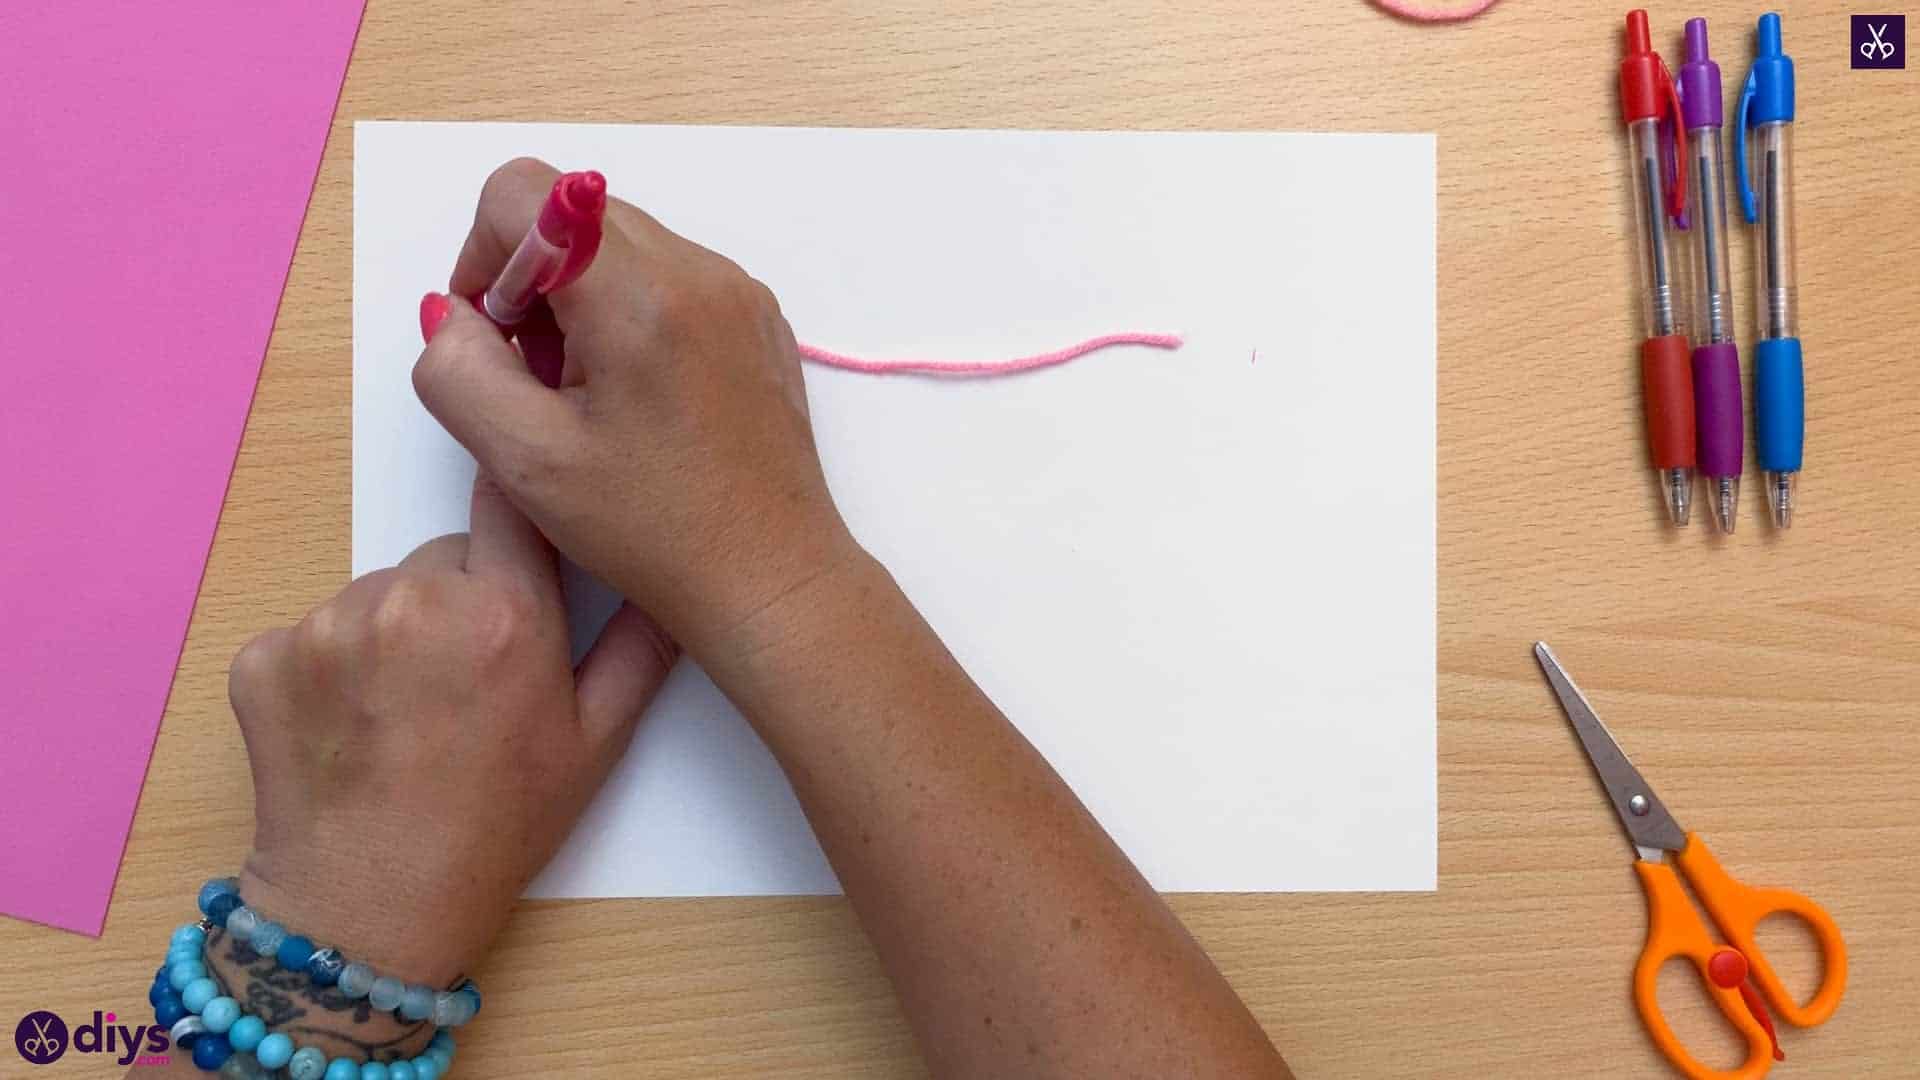
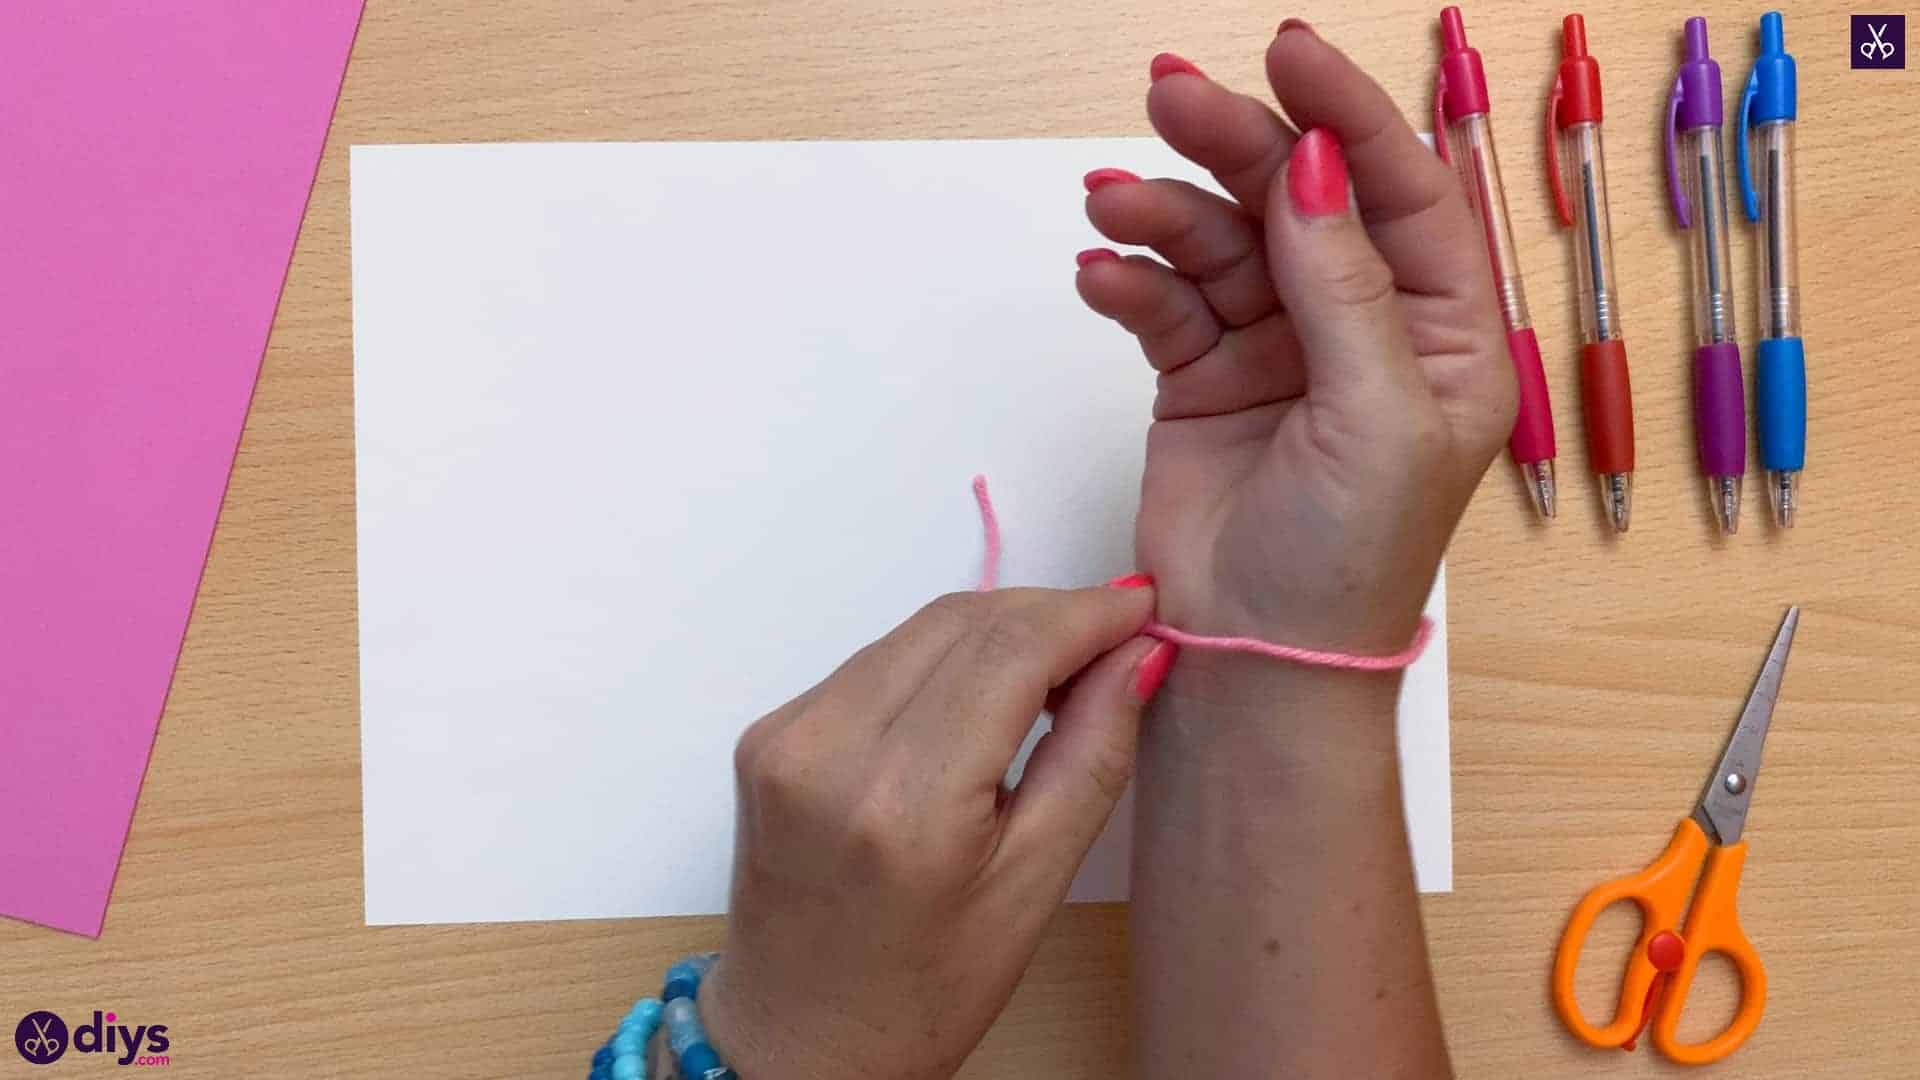
Step 2: measure
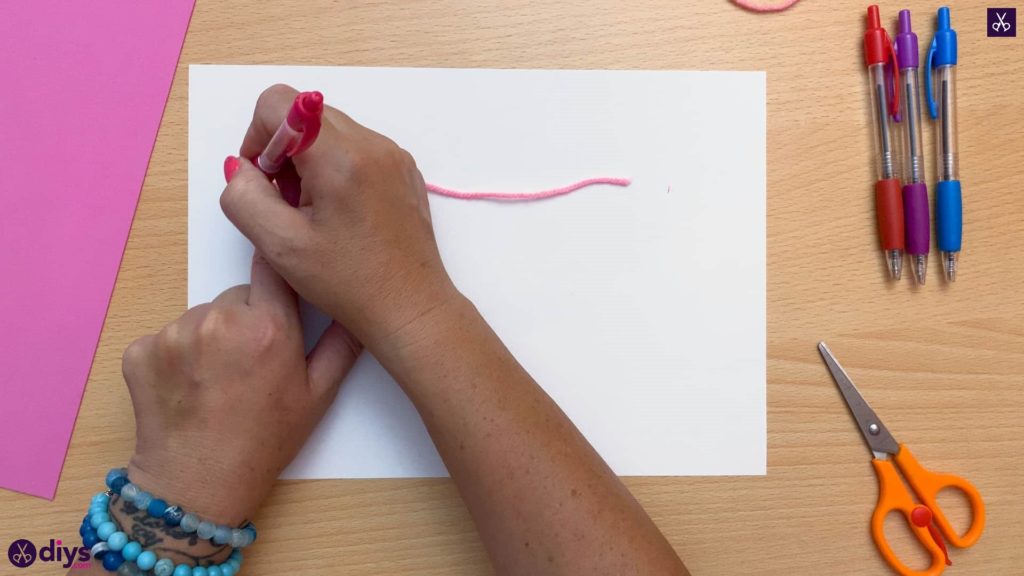
Use your length of yarn to measure your wrist. Wrap it around and pinch it where the end meets the rest of the string, then use your scissors to cut it there so you have the length your bracelet needs to be.

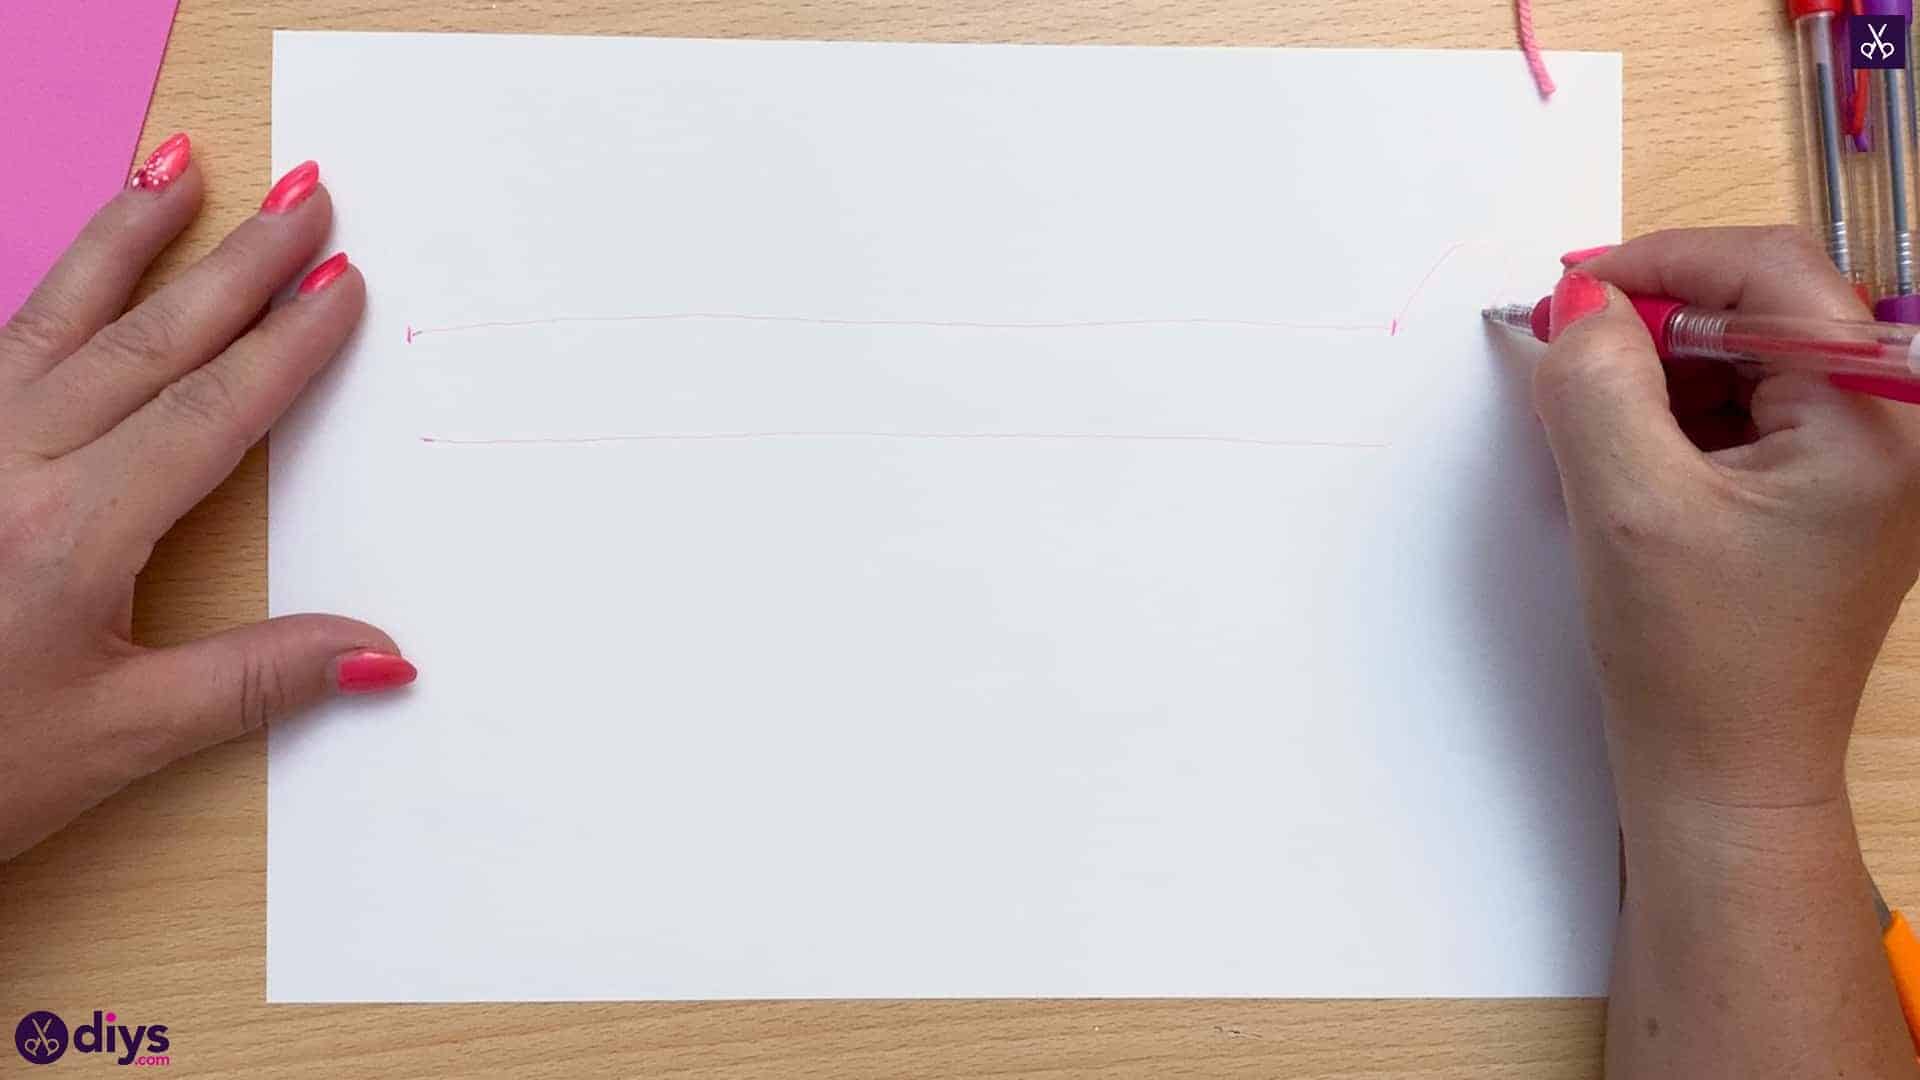
Step 3: draw the bracelet
Lay your newly trimmed measuring string down horizontally on your white paper in a straight line and make marks at each end so the same length is now marked off on your page. Pick up the string and move it down about an inch, still holding it horizontally, to make the same marks below. You now have four marks in total, marking out what looks like the four corners of a rectangle.
Step 4: draw the wings
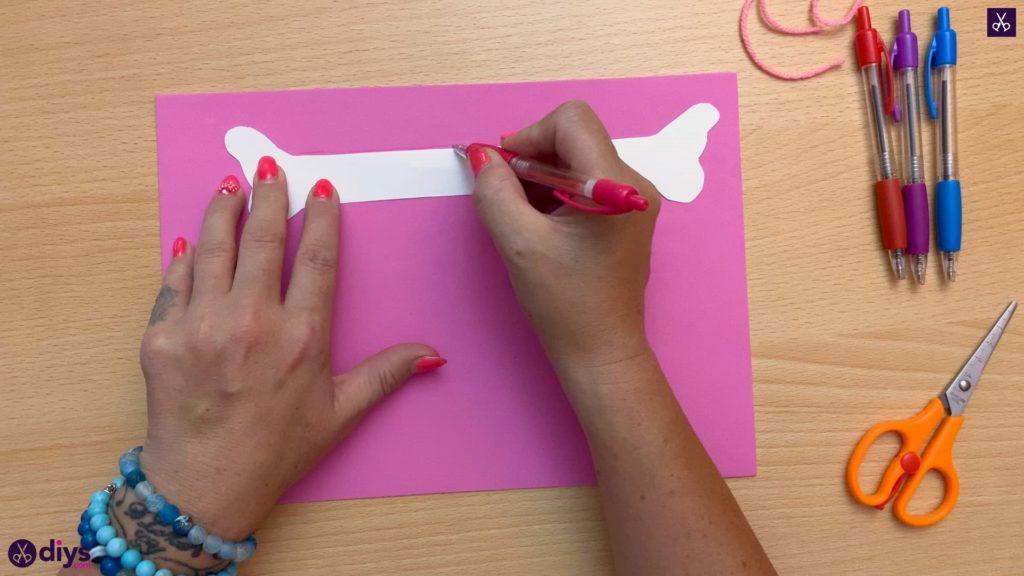
Connect the marks that are across from each other with horizontal straight lines in order to map out the wristband of your bracelet. Then draw wing shapes on either end, starting at the top mark, rising and falling to make the shape, and joining back up at the bottom mark. Your wing shapes should be a mirrored image of one another so they face the right direction once you’ve wrapped your bracelet around your wrist to fasten it.

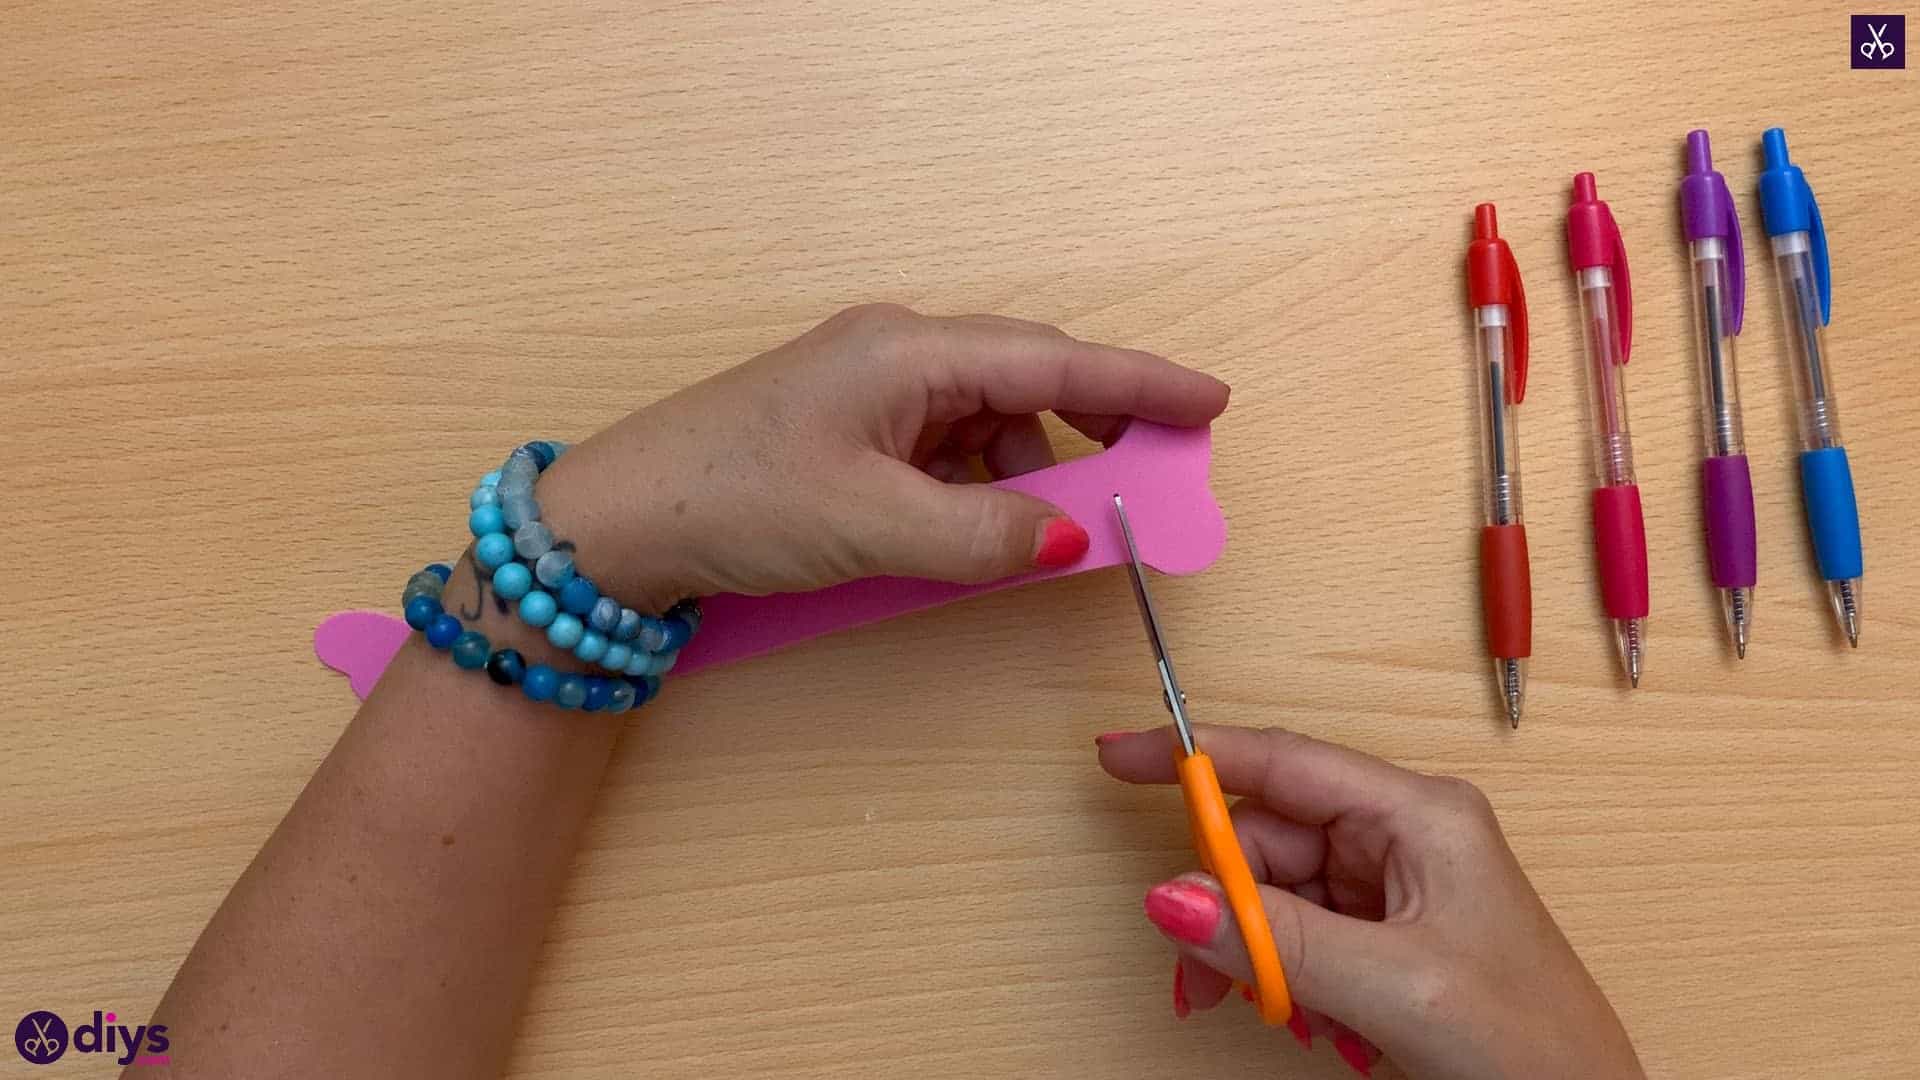
Step 5: trace
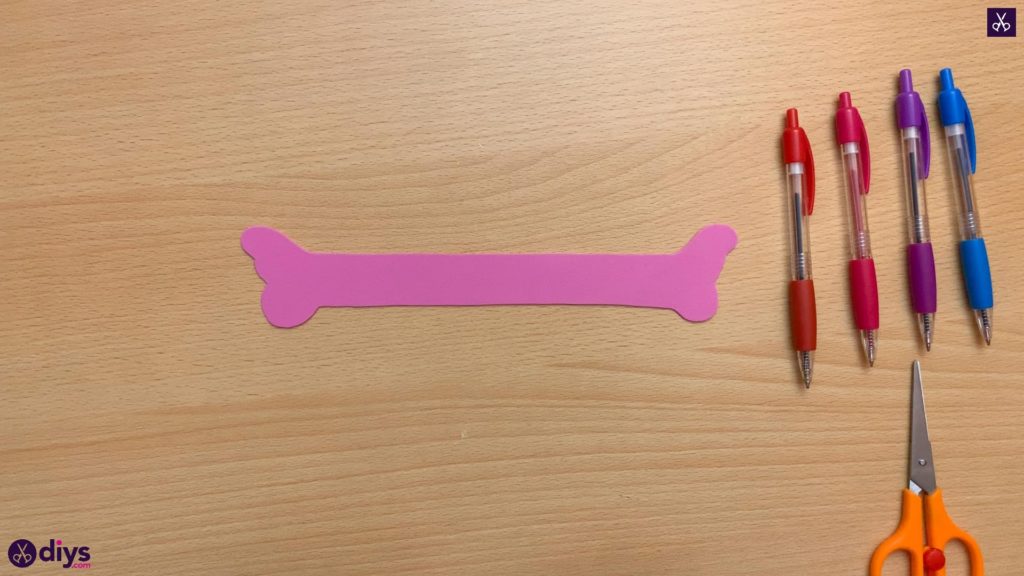
Cute your newly sketched bracelet shape out of the white paper and lay it flat on your sheet or pink foam. Trace around it to sketch it out onto the pink sheet and then cut that shape out as well. You now have the base of your bracelet made!
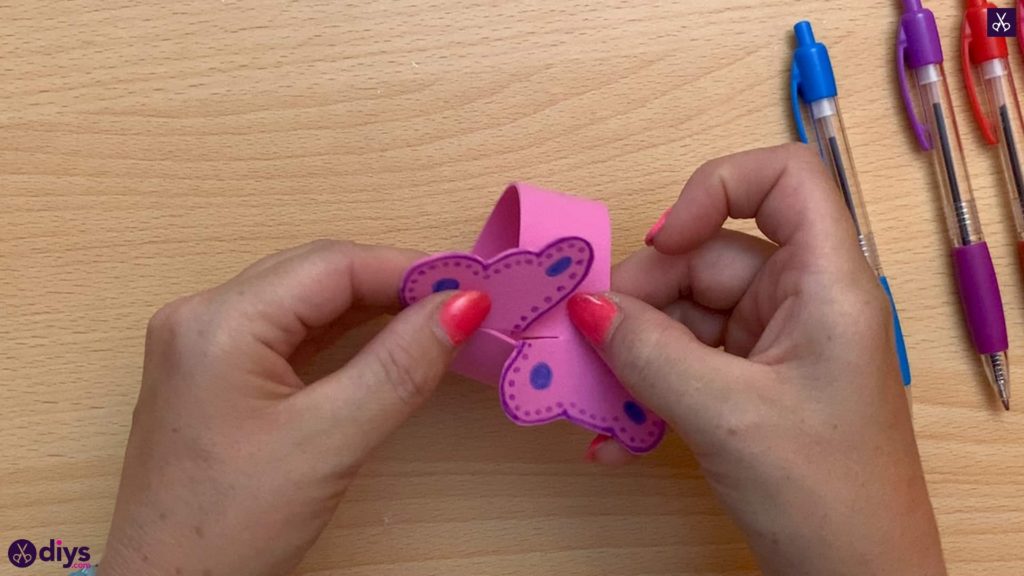
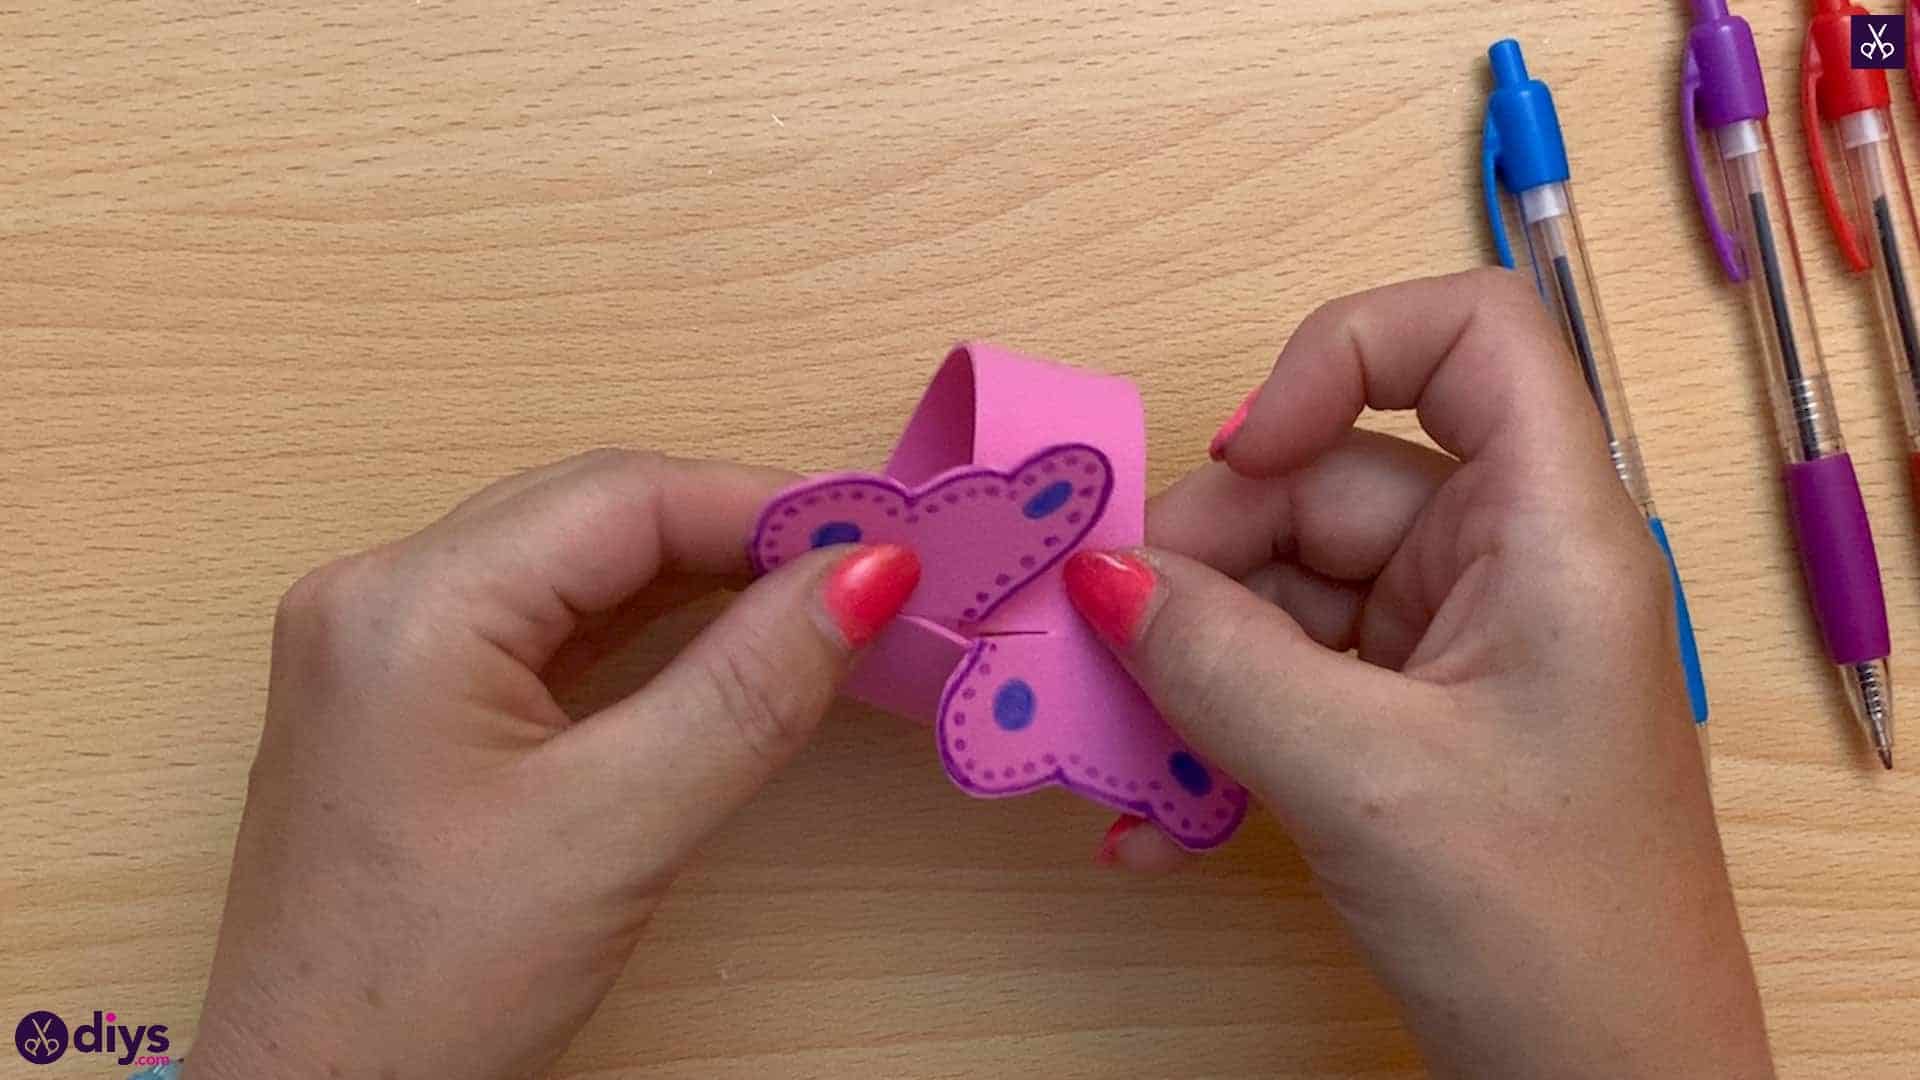
Step 6: cut slits
Cut strategically placed slits into your foam so that the wings can slide together in order to fasten it around your wrist. You’ll do this by cutting a small slit in the bottom of the wing where it meets the band on one side, and in the top of the wing where it meets the band on the other side. Make sure you only cut about halfway through the band on each side; if your slits are too big, the wings won’t sit evenly with each other and they might also be too fragile and tear off the band.

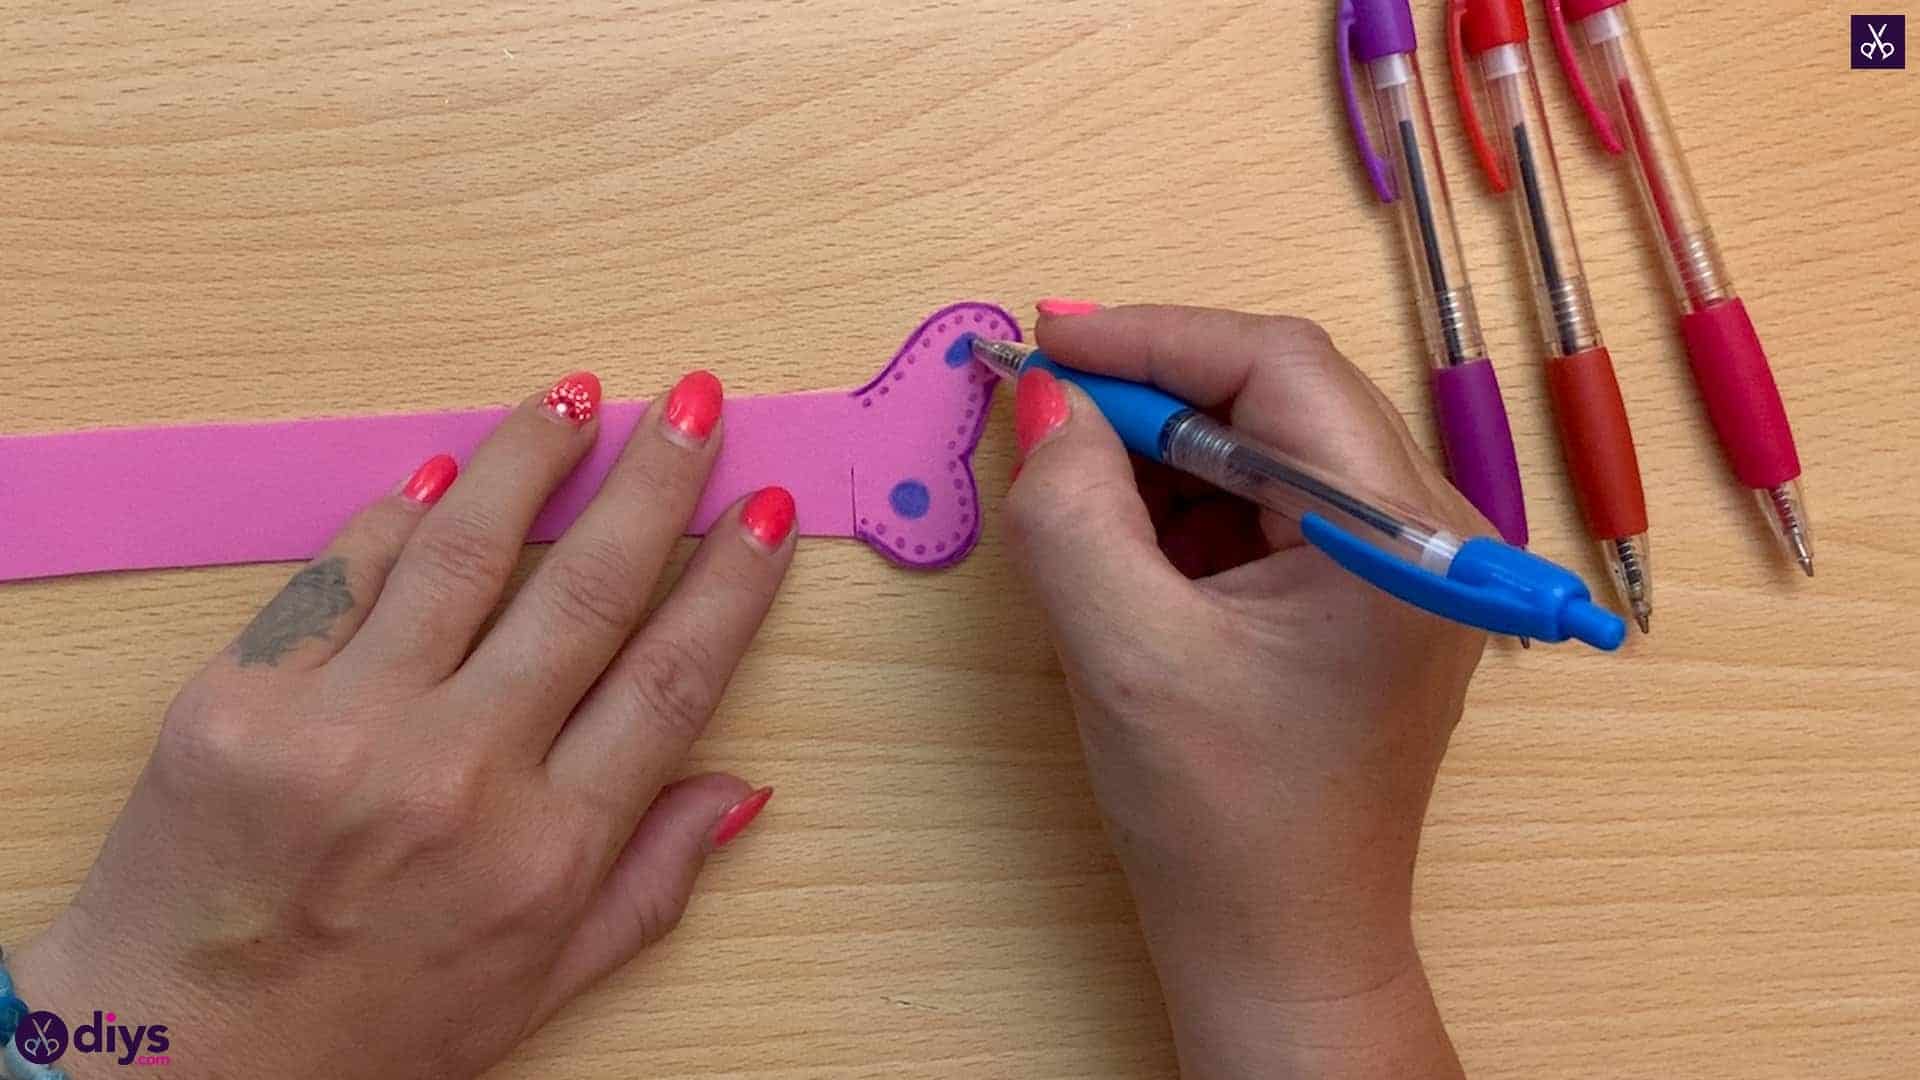
Step 7: draw details
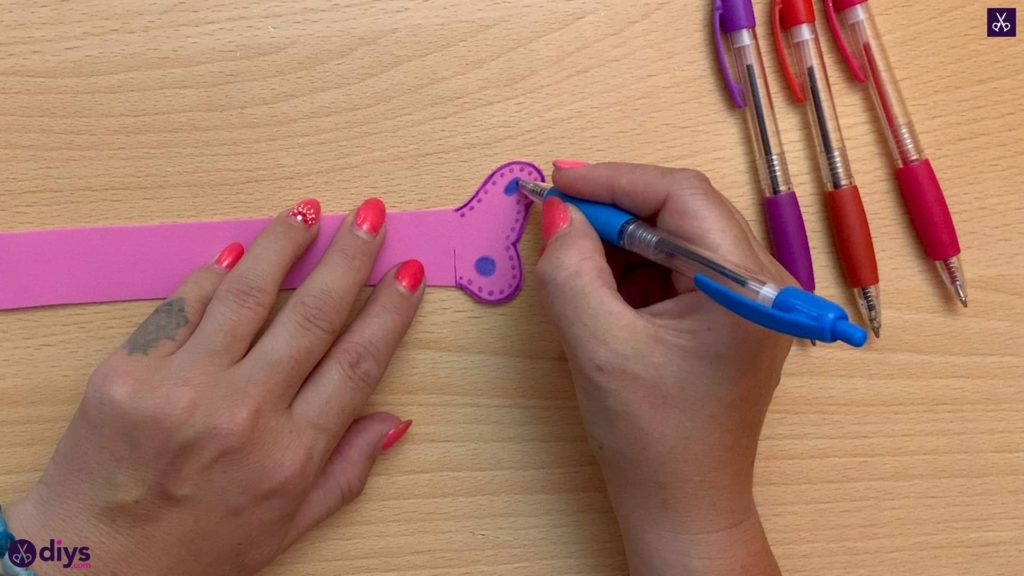
Decorate your wings with your coloured pens! I made lines, dots, and circles in different sizes and shades to mimic the designs real butterflies often have.
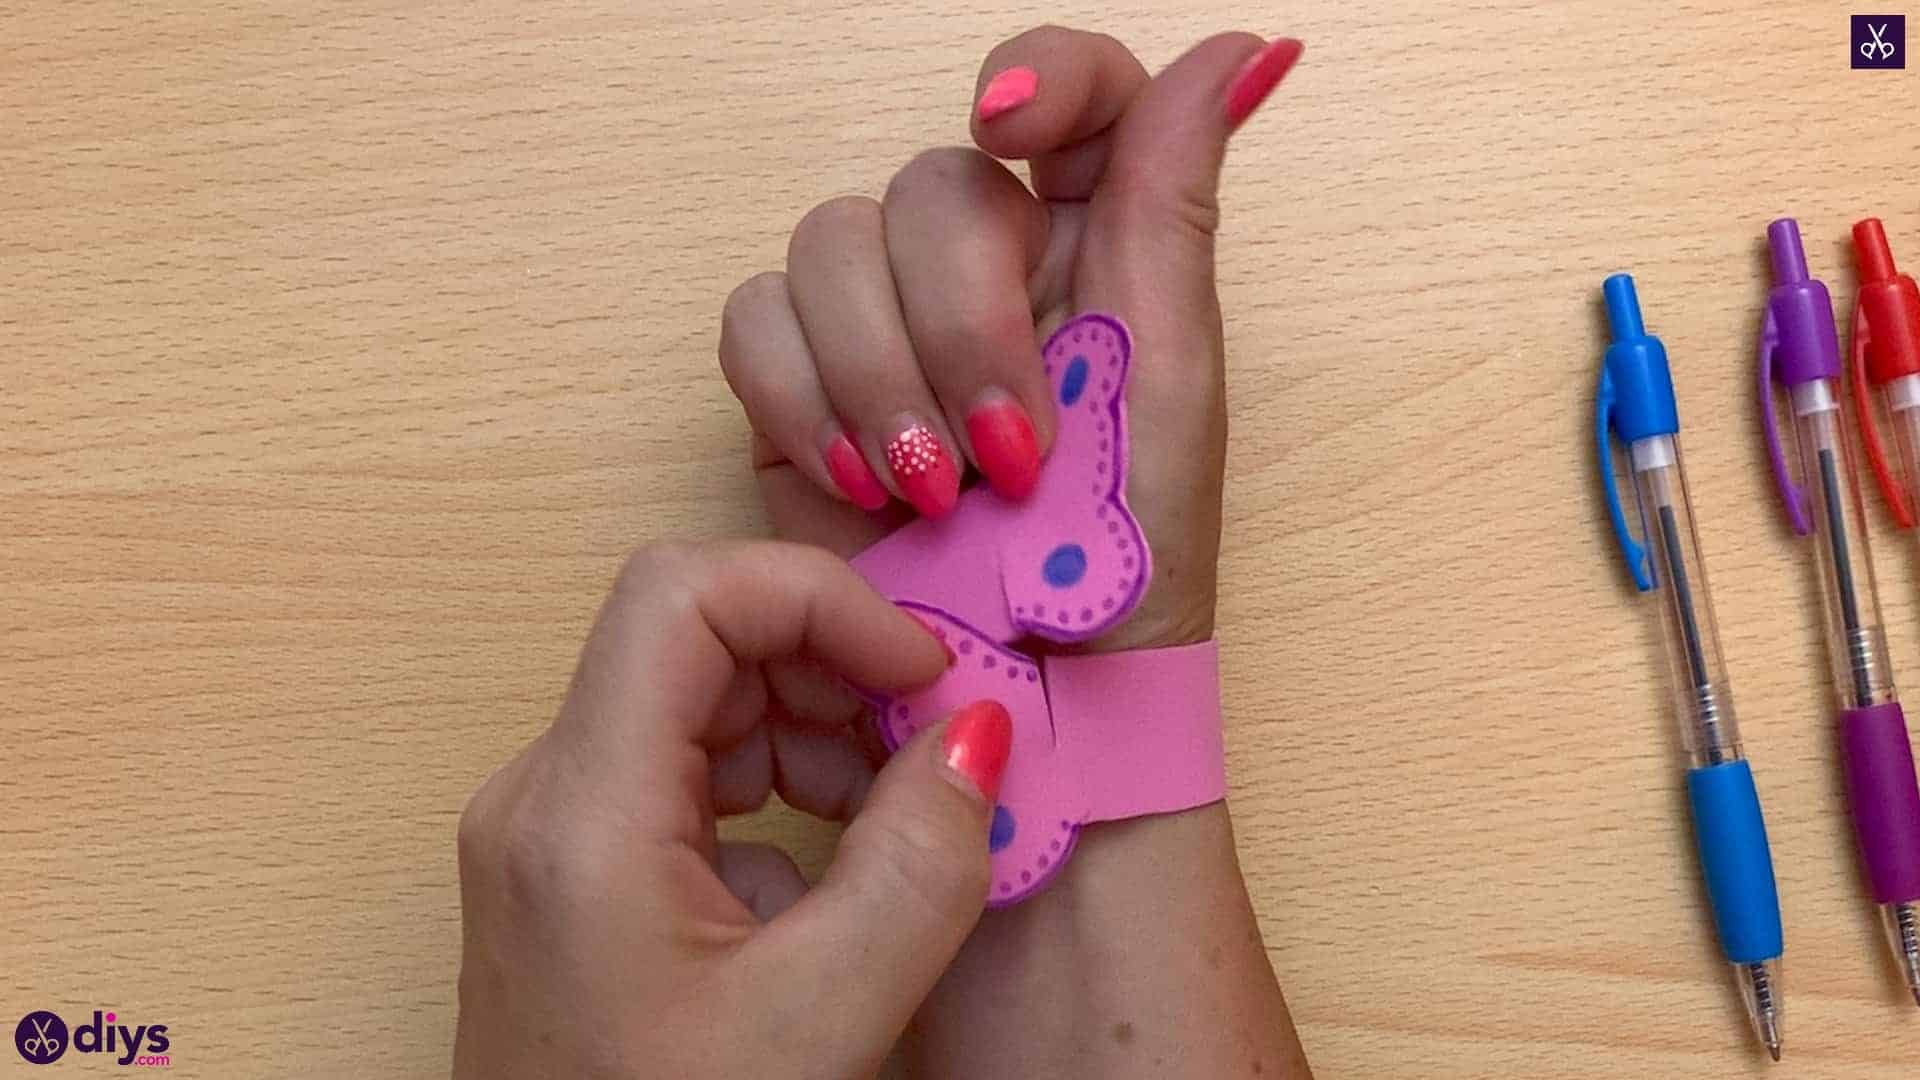
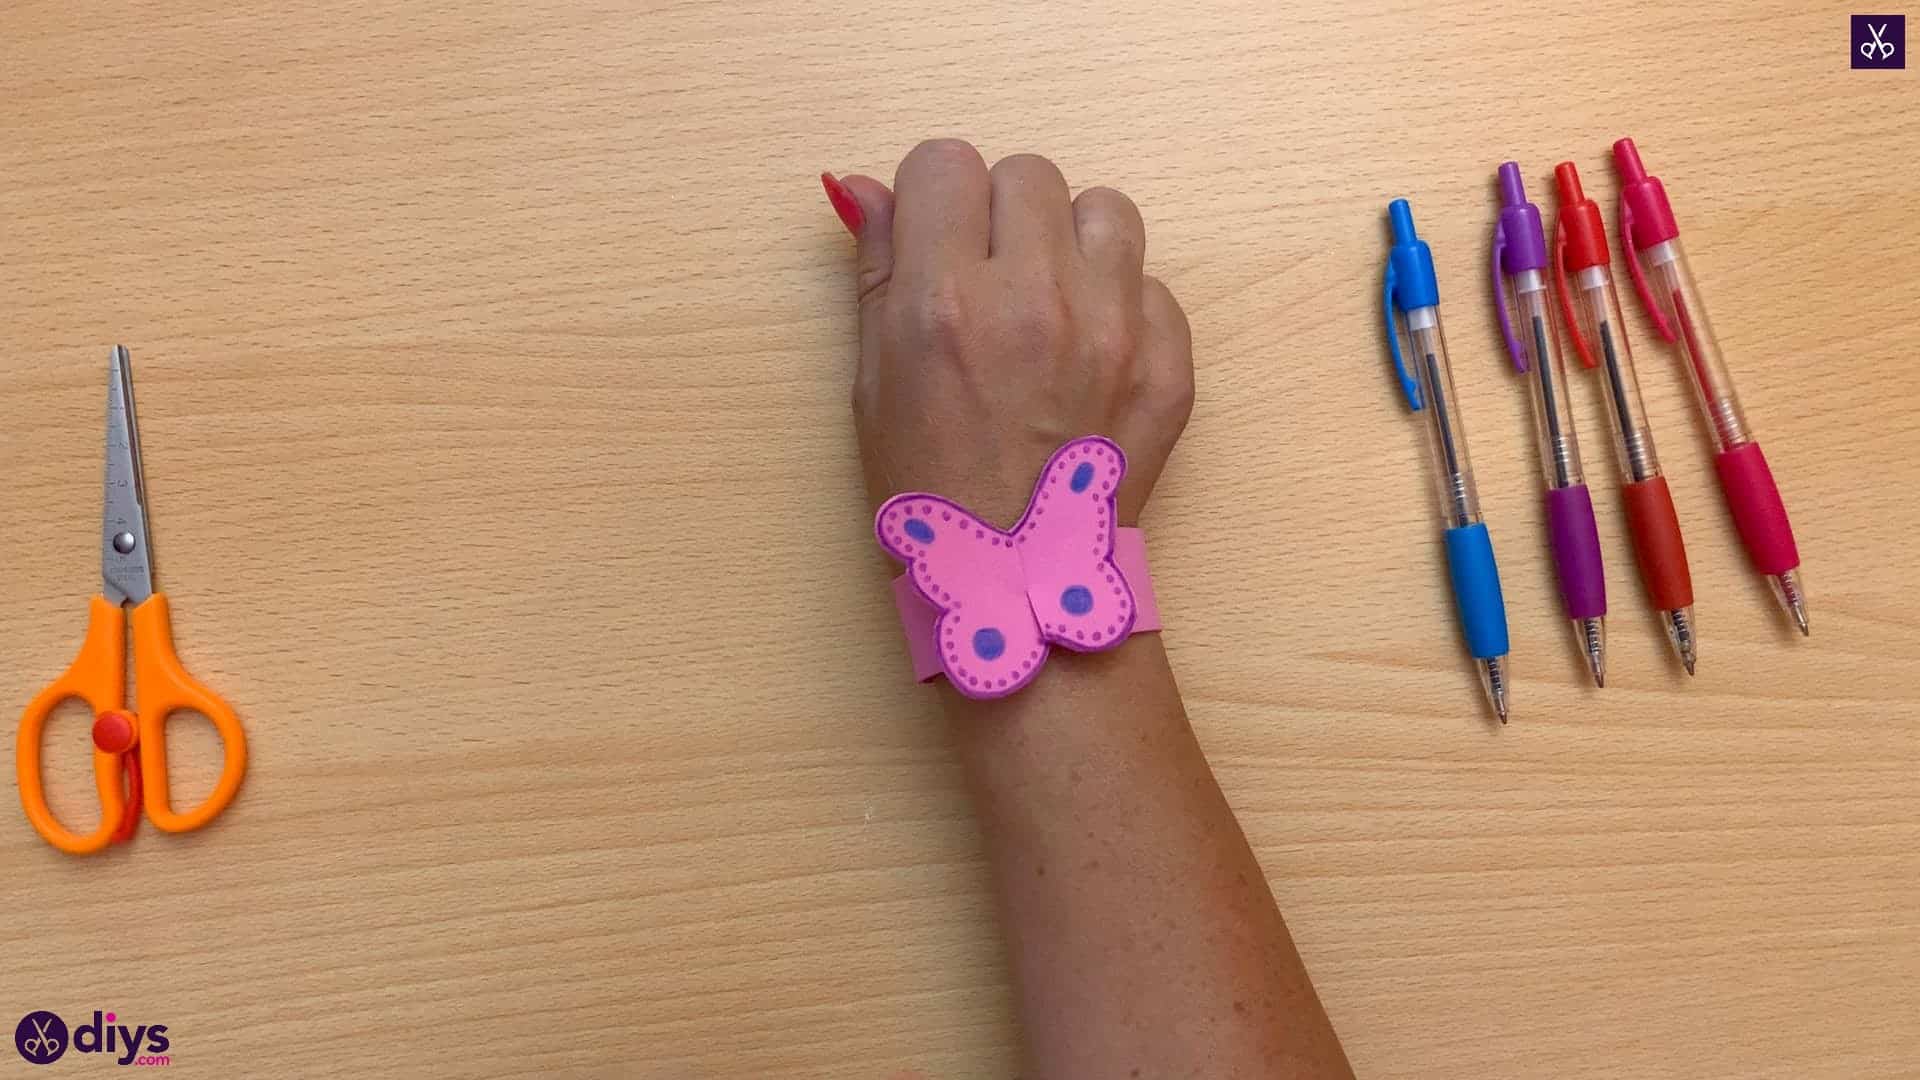
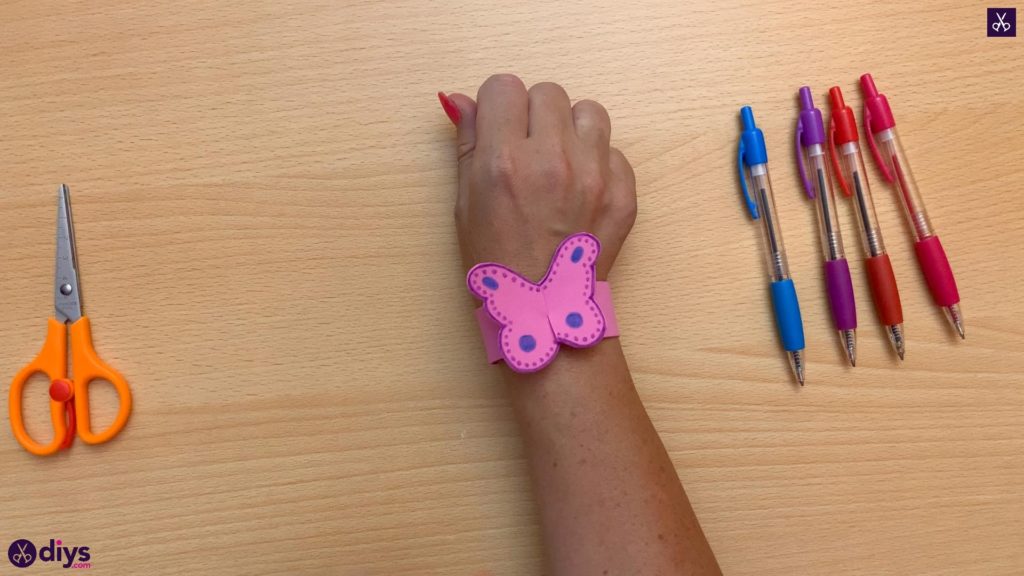
Step 8: fasten
Fasten your bracelet on your wrist! Wrap it around with the side that you decorated facing up. This will bring the wings together so that they overlap and can slide together at the slots you made earlier. The patterned side of the wings will show nicely!

That’s really all there is to it! Just in case you’d like to try this project out for yourself, here’s a fantastic tutorial video to help you!