Angelica Herb Care – How To Grow Angelica And Harvest Angelica
Updated on November 19, 2025
The angelica herb is the kind of plant you’d want growing around your garden. Even if you have no use for it medicinally speaking, it still has its own ornamental values that make it worth the trouble. Not that there’s much trouble in starting and caring for angelica. Once you get the seedlings started, it pretty much takes care of itself.

Being frost-hardy is another advantage why you might want to grow this perennial. It has a high tolerance for different growing conditions and even gardening novices will not have much trouble with it. Read on to find out how to grow, care for, and harvest angelica herb.
Angelica Herb at a Glance
People tend to look at the angelica herb (Angelica archangelica) differently. Some swear up and down by its medicinal benefits while others treat it as nothing more than another ornamental plant. But back in the day when herbs were all the medicines that most people had access to, angelica was king among the herbs.
Although it grows in many parts of the world including North American and Russia, angelica first found its way to Norway around 800 A.D. It is believed that the herb was an important commodity that the Vikings traded with the rest of Europe when they were not pillaging.
But it would take a monk’s dream to establish angelica (and also give it its name) as a herb with almost miraculous remedial qualities. During the plague that ravaged Europe in the Middle Ages, a monk was visited with a vision that revealed angelica as the cure for the plague. From then on, the plant was used to ward off black magic and witches as well as incurable diseases.
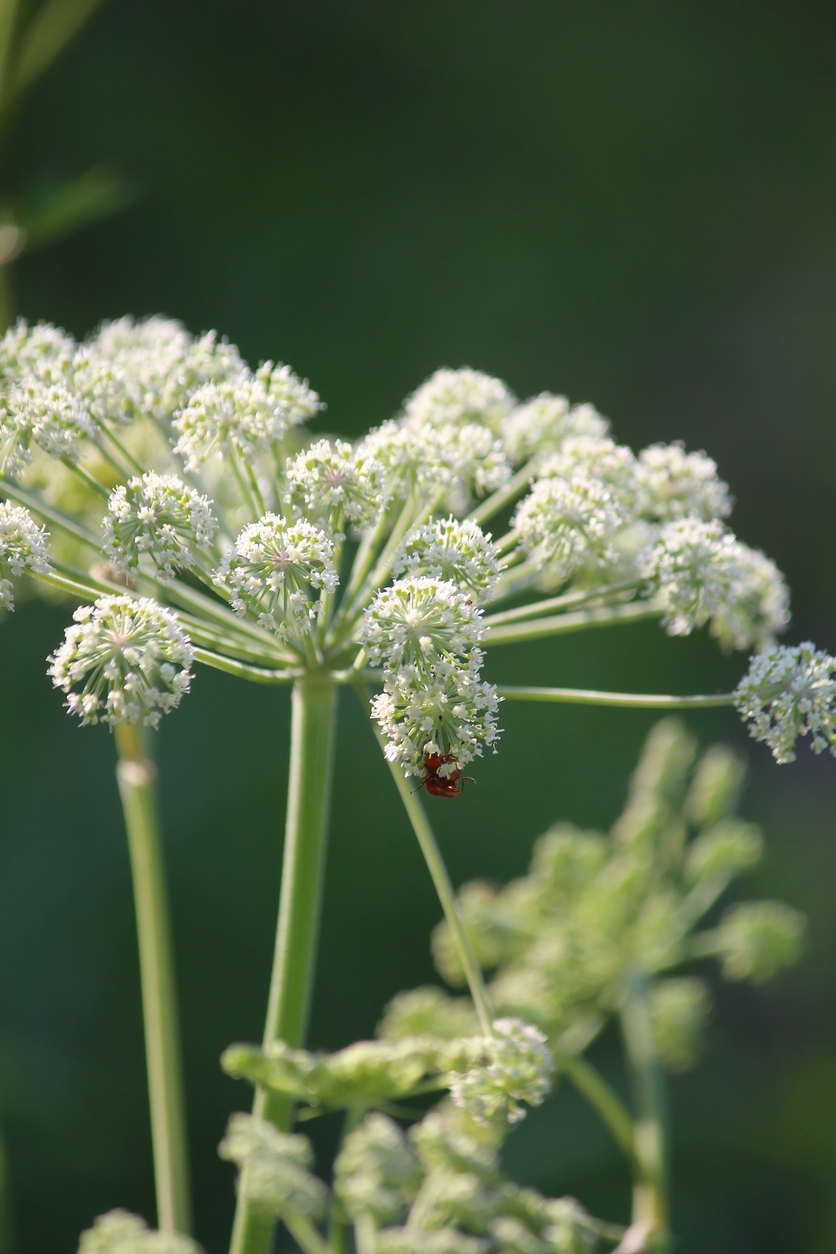
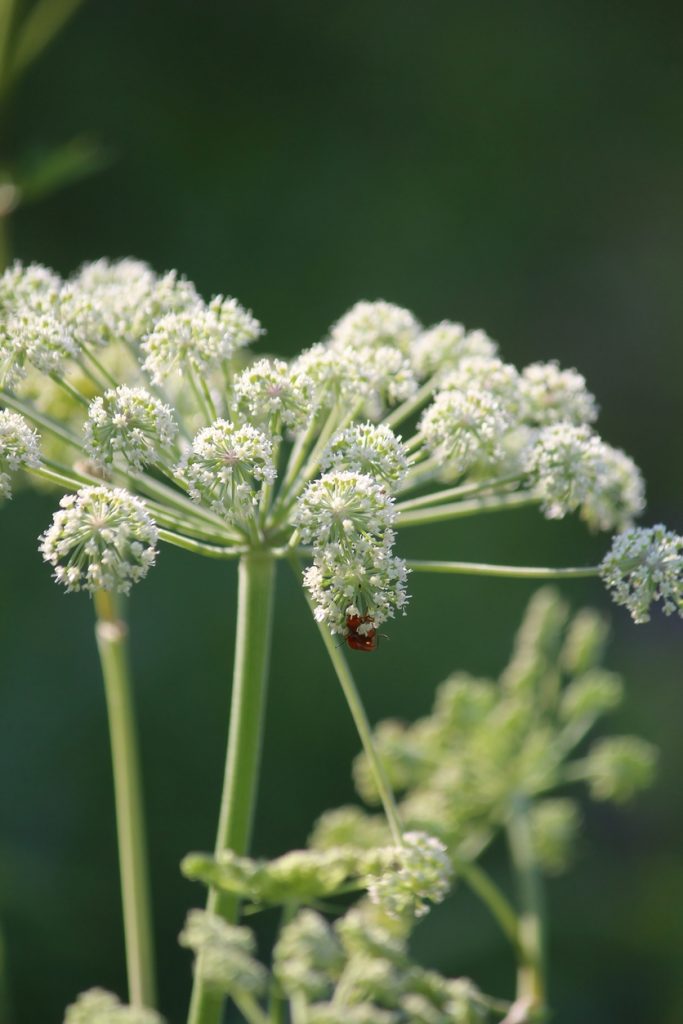
Suitable for zones 4 to 9, the mature plant grows to about 10 inches high although it spends the first year of its life without any stems or stalks. By the second year, stems shoot out of the plant, and soon yellow-green flowers open on top of them.
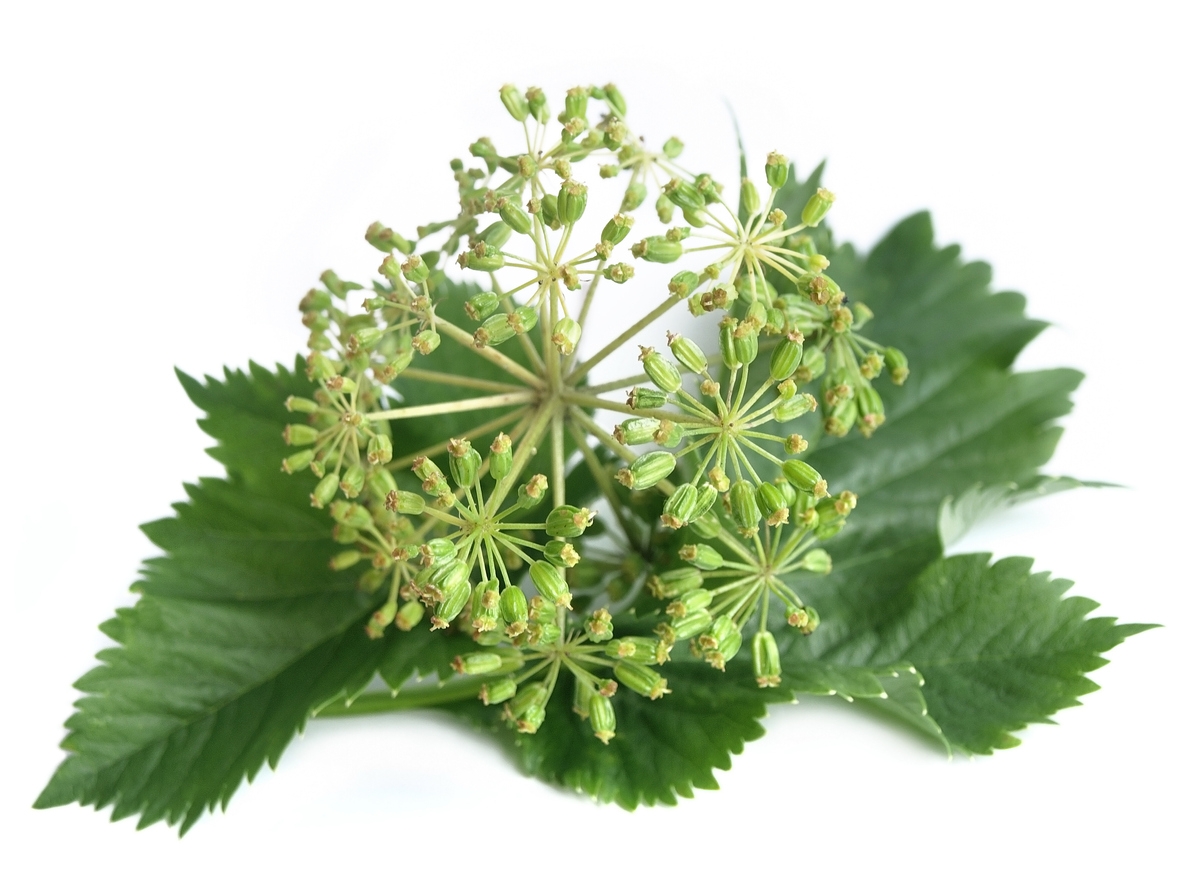
After the flowers pollinate, small green pods develop inside each flower. The pods are packed with seeds and when ripe, they crack open and drop to the ground. You can use these seeds to start angelica in your garden.
Angelica Herb Uses
With 60 species of angelica in the world, different cultures had different uses for the herb. While the plague was ravaging Europe, Iceland was making stealing angelica herbs from someone’s garden a punishable offense. That’s how seriously people took their herbs back then. Here are some of the common uses of angelica both in the past and the present.
- In 17th-century England, angelica water became the official cure for the Black Death.
- Around the same time, Denmark was developing a candy made from the stems of angelica. The confection became popular in England after the end of the plague.
- In France, angelica roots are the main flavor of Chartreuse, a popular liqueur.
- Not to be outdone, Massachusetts has its own herbal liqueur called Angelica made from the roots of the herb.
- Angelica is a key flavoring ingredient in gin distillation.
- The roots of the herb are fleshy and have been used to cure everything from indigestion and flatulence to fatigue and heartburn.
- Extracts from the plant were used to treat chronic bronchitis and bladder infections.
- The leaves were also used to treat inflammation and ear drops were made from the herb to treat ear infections.
- Burning the dried roots of angelica was part of many rituals as a way to open portals to other dimensions.
Angelica Varieties
Out of the 60 angelica species out there, only a handful are available to grow in gardens. Although you can grow any variety for its medicinal uses, they do have some subtle differences between them. So if your purposes are purely ornamental, then you’ll need to choose the right angelica variety out of this list.
- Adjarian Angelica: A native of Georgia, this variety grows well on high elevations of 700 feet and above. It’s hardy to cold temperature and can withstand frost rather well. It’s classified as a threatened species, so if you are in the right zone, you can help save this species.
- Archangel: Also known as wild celery, this herb has sweet-smelling roots and stems. The tiny flowers grow in clusters atop umbels. The herb starts flowering in the second year in July. This is the most common variety that all these medicinal properties are attributed to.
- Lyall’s Angelica: A native of North America, the herb has edible fruits. It was used by Native Americans as a source of food and medicine for centuries.
- Purple-Stem Angelica: Another variety that’s native to North America. It grows to about 6 feet tall and has a purple and hollow stem. The aromatic root was part of many Native American purification and healing rituals. Modern-day uses include healing backaches and stomach disorders.
- Bai Zhi: A native of Mongolia and Russia, this variety grows to 6 feet high and is revered in the local cultures because of its healing qualities. Recent studies showed that the roots of the herb have high concentrations of furanocoumarin, which is an anti-cancer and anti-inflammation chemical.
How to Grow Angelica Herb
Since the seeds of angelica are readily available both in nature and in stores, this is the best way to start the herb. You can also get seedlings from the local nursery and transplant them in your garden. But you won’t gain many advantages from planting the seedlings over starting the seeds yourself. Besides, when you pick the seeds, you’ll know which variety you’re going to get, so there’s less room for surprises.
- Another reason to plant your own seeds is that the seeds have to be fresh otherwise, they won’t germinate. Start the seeds as soon as you get them in the fall.
- Fill a seedling tray with potting mix and press the seeds gently into the surface of the top. Don’t cover the seeds since they need light to sprout.
- Water the tray to get it moist and keep watering it lightly until the seeds germinate.
- Place the tray in a medium-lit room away from direct sunlight and strong currents.
- It would take between 3 to 4 weeks for the seeds to germinate.
- Choose a partially shaded spot in your garden that is shielded from strong winds. In cold zones, you can grow it in full sun.
- Till the soil and mix in organic materials to improve the fertility of the soil.
- When the seedlings are about 4 inches high with true leaves emerging, it’s time to transplant them.
- Dig a small hole for each seedling about 3 inches deep and plant the seedlings in the holes. Backfill the holes and water the soil to get it moist.
Angelica Care
And that’s just about it. Once the seeds take and the angelica herb establishes in the soil, it will take care of itself. One thing to be wary about is the herb’s tendency to self-propagate. Seeds spread themselves on the ground and new plants sprout out everywhere. So if that’s not what you want, you’d need to either deadhead the flowers or collect the pods before they crack open and spill their seeds.
Soil
Angelica thrives in a well-drained and loamy soil. If you are growing the herb in a container, you can either use a general-purpose potting mix or add one-third of coarse sand or perlite to regular soil. Just make sure the potted herb has at least 12 inches of soil to grow in and accommodate its root ball. Clay soil needs amending to improve its drainage and aeration. The soil pH should be around the normal levels for most garden variety plants. That means if the pH is either neutral or slightly acidic, then you don’t need to amend it. If you’re using a soil kit, the reading should be between 6.0 to 7.2.
Water
That’s where it gets a little complicated. Angelica doesn’t tolerate drought even for short spells. So you’ll need to keep the soil moist regularly. Don’t let the soil go dry before you water the plant. And if you live in warm zones such as 8 and 9, then you would need to water it about 2 to 3 times a week during the spring and summer. Keep the watering can nozzle aimed at the root and don’t get the leaves or stems wet since that could trigger a fungal infestation. Avoid overwatering and don’t let the soil get wet. The roots of the herb are rather sensitive to wet soil and root rot could set in quickly.
Fertilizer
Although angelica has a compact size and doesn’t start flowering until the second year, it still needs plenty of nutrients to grow and thrive. For starters, you should plant it in rich soil. Test the soil before planting the seedlings and amend it with organic materials, compost, and slow-release fertilizers. After the plant establishes, side-dress it with aged manure, rabbit compost manure tea, or mushroom compost. Apply the organic fertilizer once every 2 to 3 weeks during the growing and flowering cycles. You can skip fertilizing the herb for the first year if you’ve already amended the soil and start fertilizing from the second year onwards.
Pests and Diseases
Leaf miners and aphids are the main pests that might give you trouble when growing angelica. Aphids are easy to get rid of and once you spot them scurrying along the stems or see tiny holes in the leaves, it’s time to take action. If the infestation is mild, you can give the plants a once over with a swab soaked in rubbing alcohol. Neem oil spray will help you if the aphid problem gets out of control.
Similarly, angelica is immune to most diseases and you only have to watch out for crown rot. This fungal infection starts with the base of the plant and spreads out to the flowers and leaves. If the stem wilts and the leaves turn yellow, your plants have crown rot. The disease is caused by too much water in the soil. Remove any infected plants and amend the soil to improve drainage.
Harvesting Angelica
Angelica has different harvesting times and methods depending on which part of the herb you’re interested in harvesting. If it’s the leaves you’re after, then you should harvest them in the spring during the first and second years. Don’t collect too many leaves since that could damage the plant.
When harvesting the roots, wait until the early spring and while the plant is dormant, collect about one-third of the rootball. Overharvesting the roots could kill the plant or stunt its growth.
To gather the stems, focus on the young shoots that emerge in the second year. These are tender enough to use in any concoction or potion. Again, you should limit your harvesting to less than one-third of the new shoots to maintain the integrity of the plant.
If you want to collect the seeds, wait for the pods to turn yellow or beige before plucking them off the plant. You might want to spread a sheet under the plants in case the pods open and the seeds scatter on the ground.