Winter Wood Slice Craft For Christmas
Updated on November 19, 2025


If you’re the kind of crafter who loves to take just about any opportunity you can to turn a project into a chance to practice your hand painting skills, then I think you might be very interested indeed in my latest DIY Christmas ornament! I realized recently that I hadn’t tried hand painting something in a while despite loving it so much and I’ve also been hankering to try crafting with wood lately, so I decided to combine the two. I also decided to keep track of my steps so that I might help other people give the project a try too!

Check out these step by step instructions complete with photos! If you’d rather follow along with a video tutorial instead of written words, scroll to the bottom of this post to find just what you’re looking for.
For this project, you’ll need:
- A wooden disc
- Paint (green, black, white, and orange)
- Paintbrushes (A wider brush, a medium brush, and a small, fine brush)
- A dotting tool
- Water (if your paint is the kind that requires it)
Step 1:
Gather your materials!

Step 2:
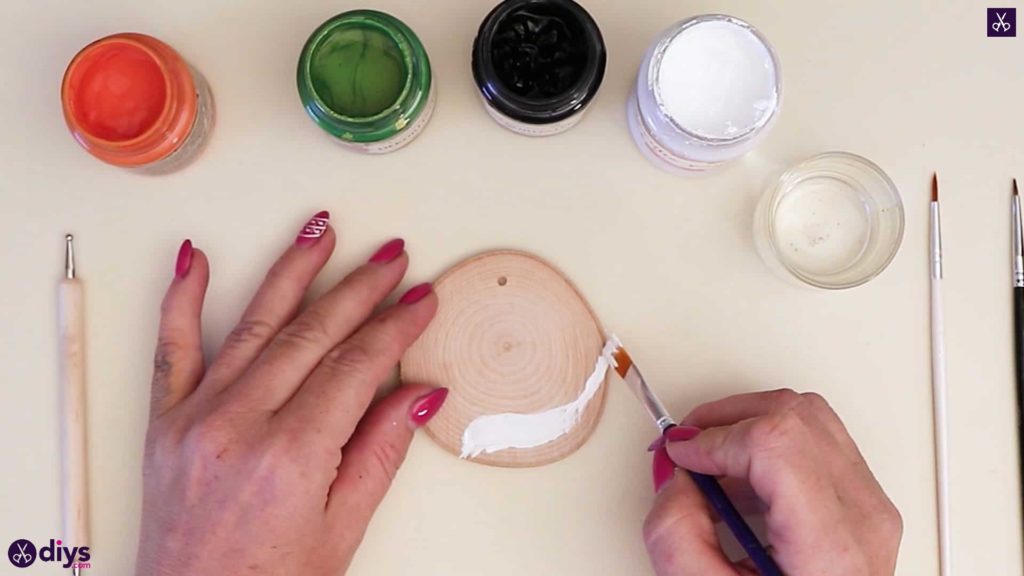
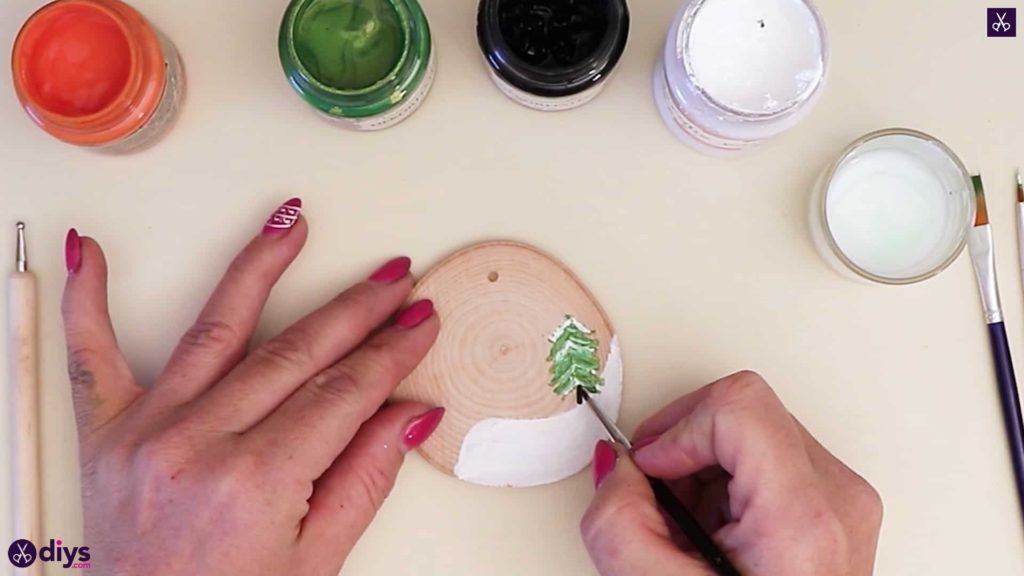
Use your wider brush to paint a waving shape near the bottom of your wood slice in white. This will be a snowbank! Mine spanned from the bottom rounded edge and a little bit up the side like a hill.

Step 3:
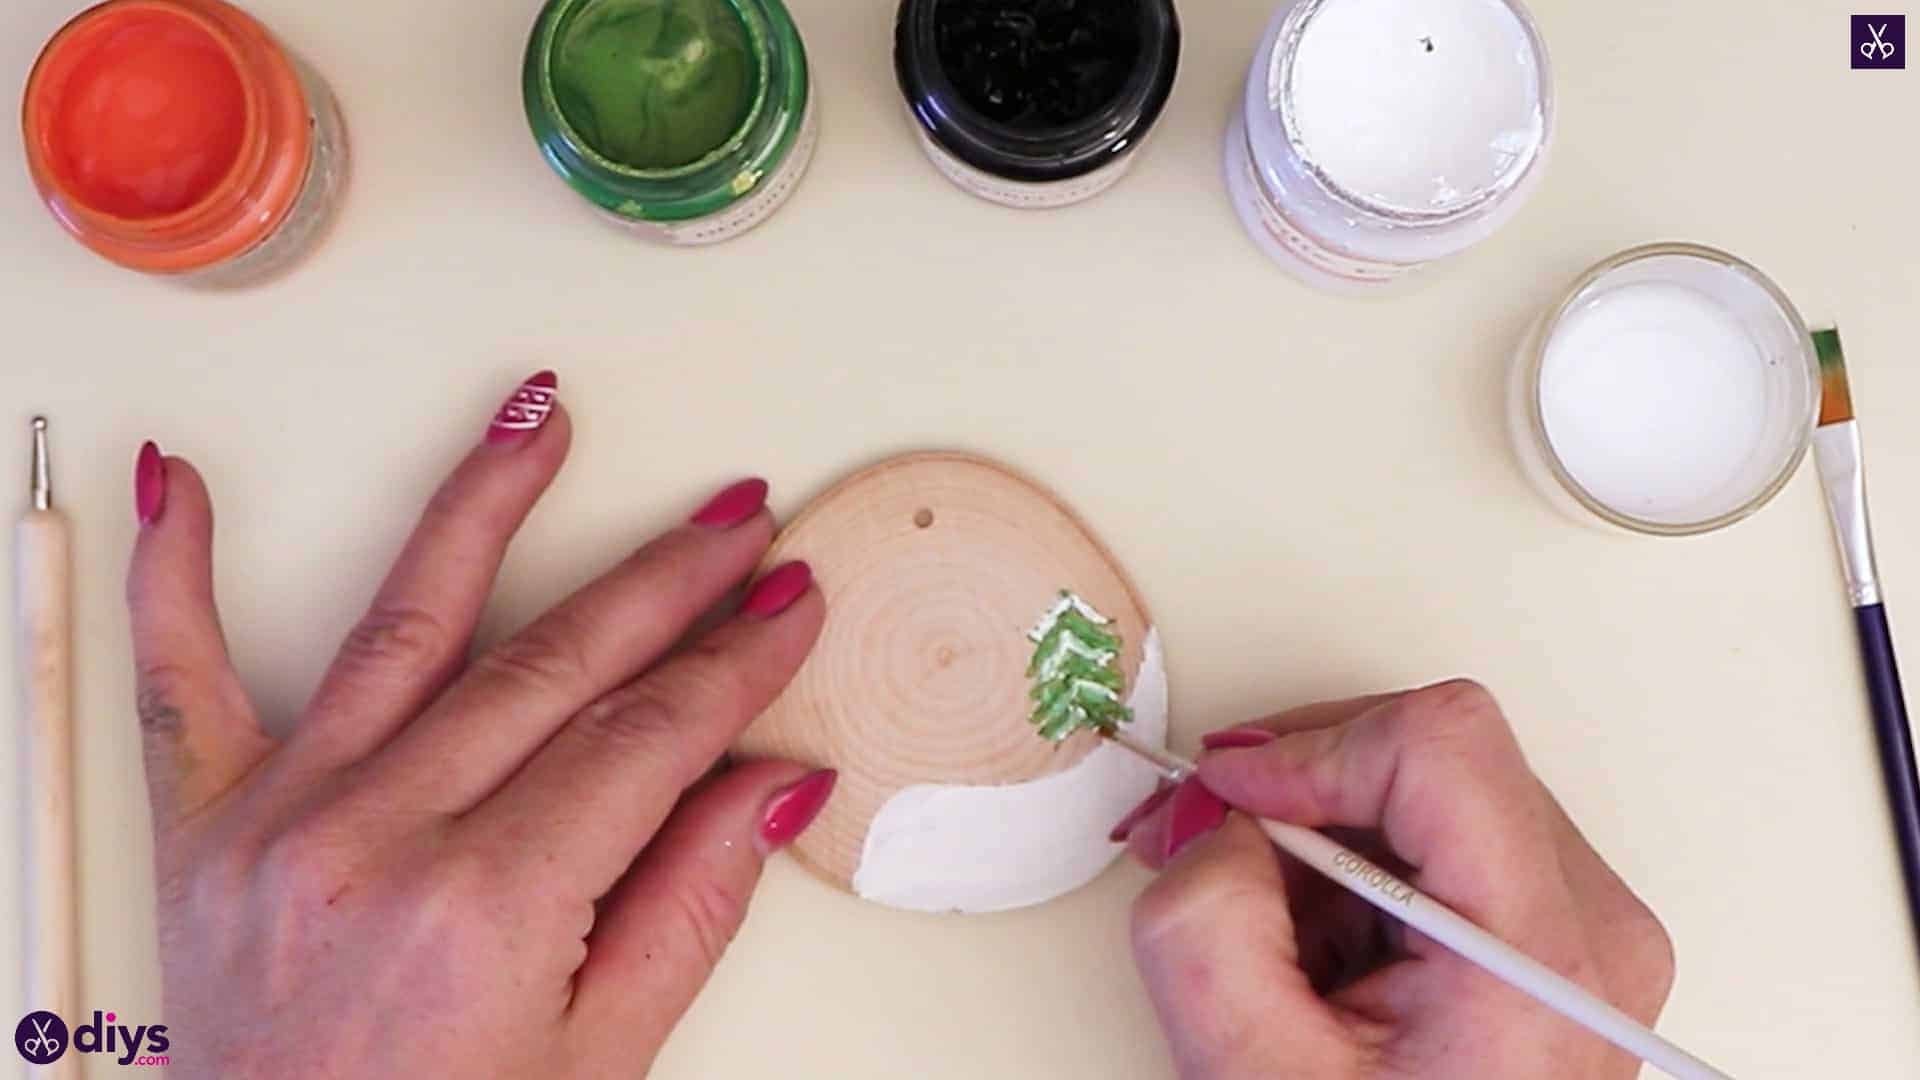
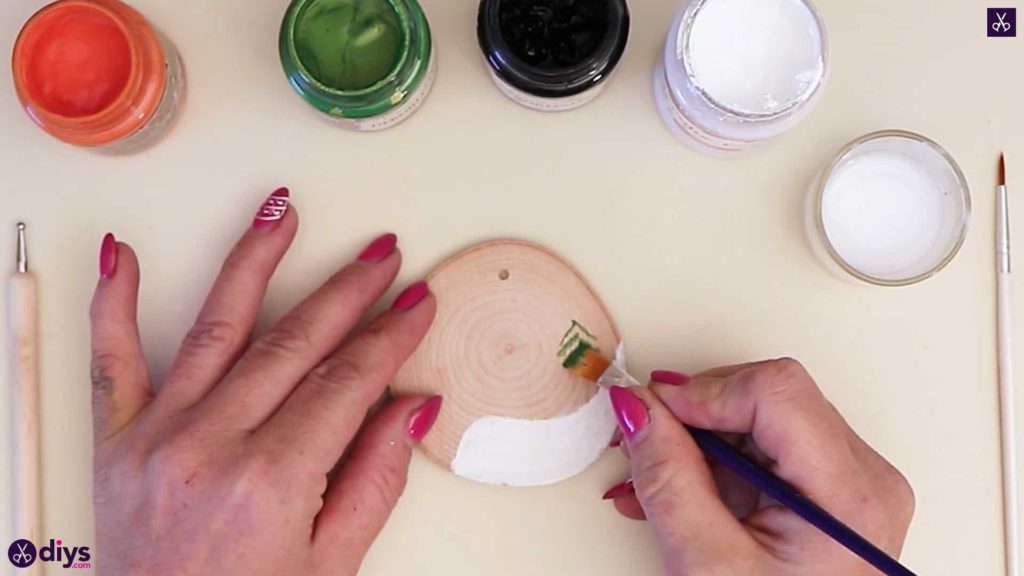
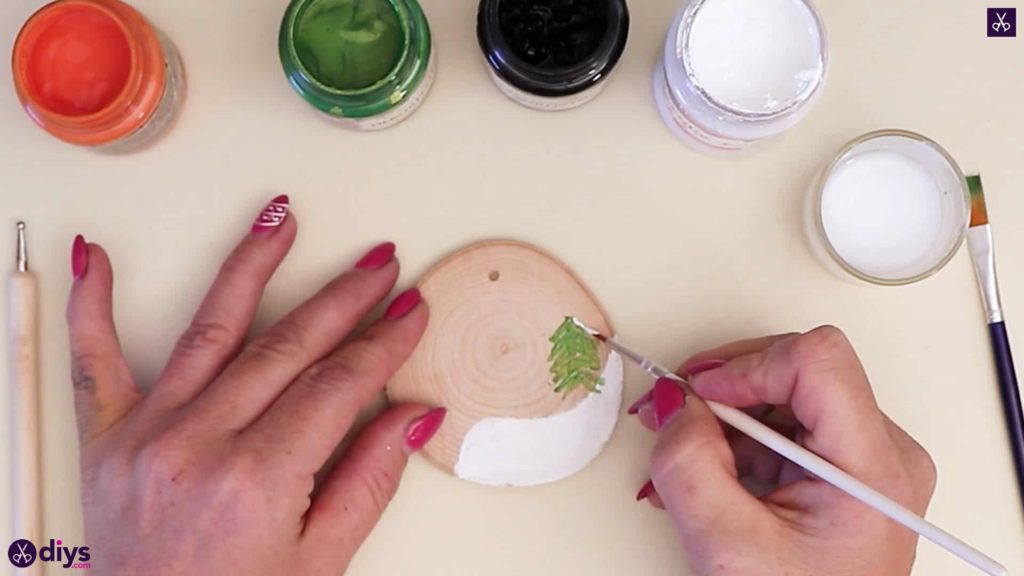
Clean your wide, flat brush and use it to paint a tree in green. I created the shape of evergreen branches by lightly pressing the wide tip of my brush, dipped in green paint, at alternating downward diagonal angles layered from the centre on each side. I repeated this several times down towards my white snowbank to make a tree about half an inch tall.

Step 4:
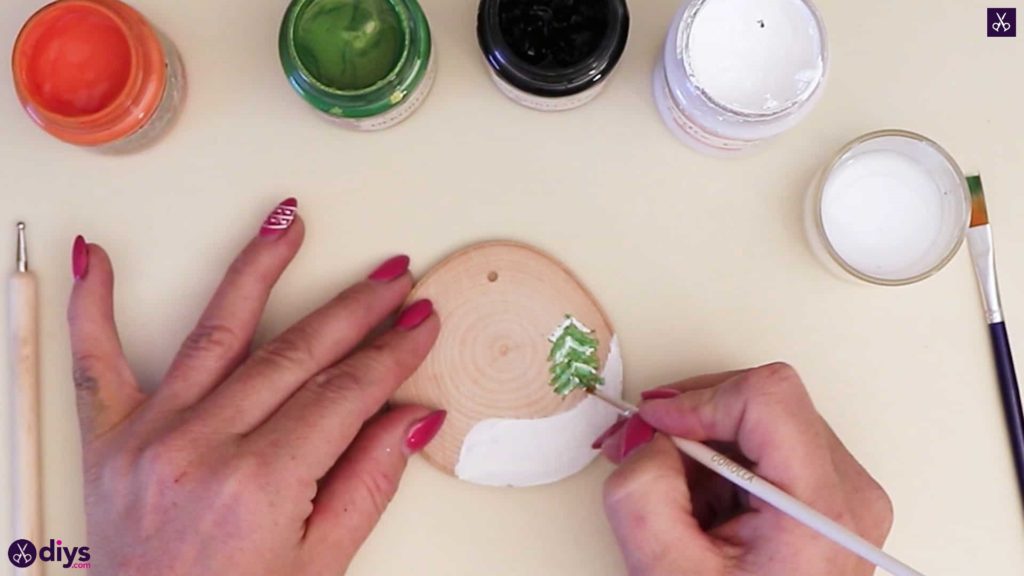
Use your smaller, medium sized brush and white paint to add snowy detail to the branches of your tree. I did this by painting along a number of the diagonal branches I’d painted before all the way down the tree to make them look like they’d recently caught a snowfall.
Step 5:
Use your smallest brush dipped in black paint to add a tree trunk, connecting the green of your branches to the white of the snowbank so the evergreen looks like it’s sitting nestled in the snow.
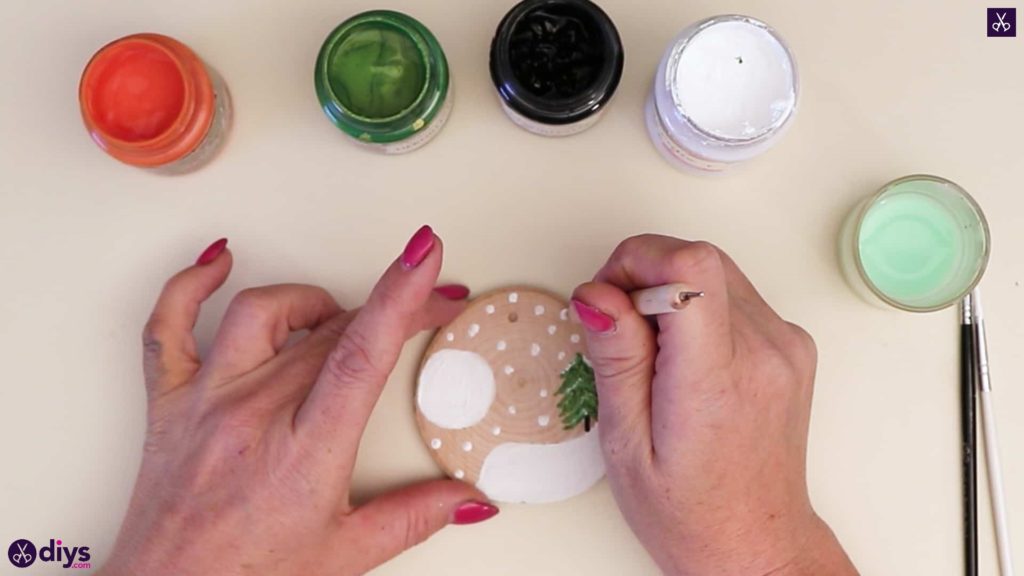
Step 6:
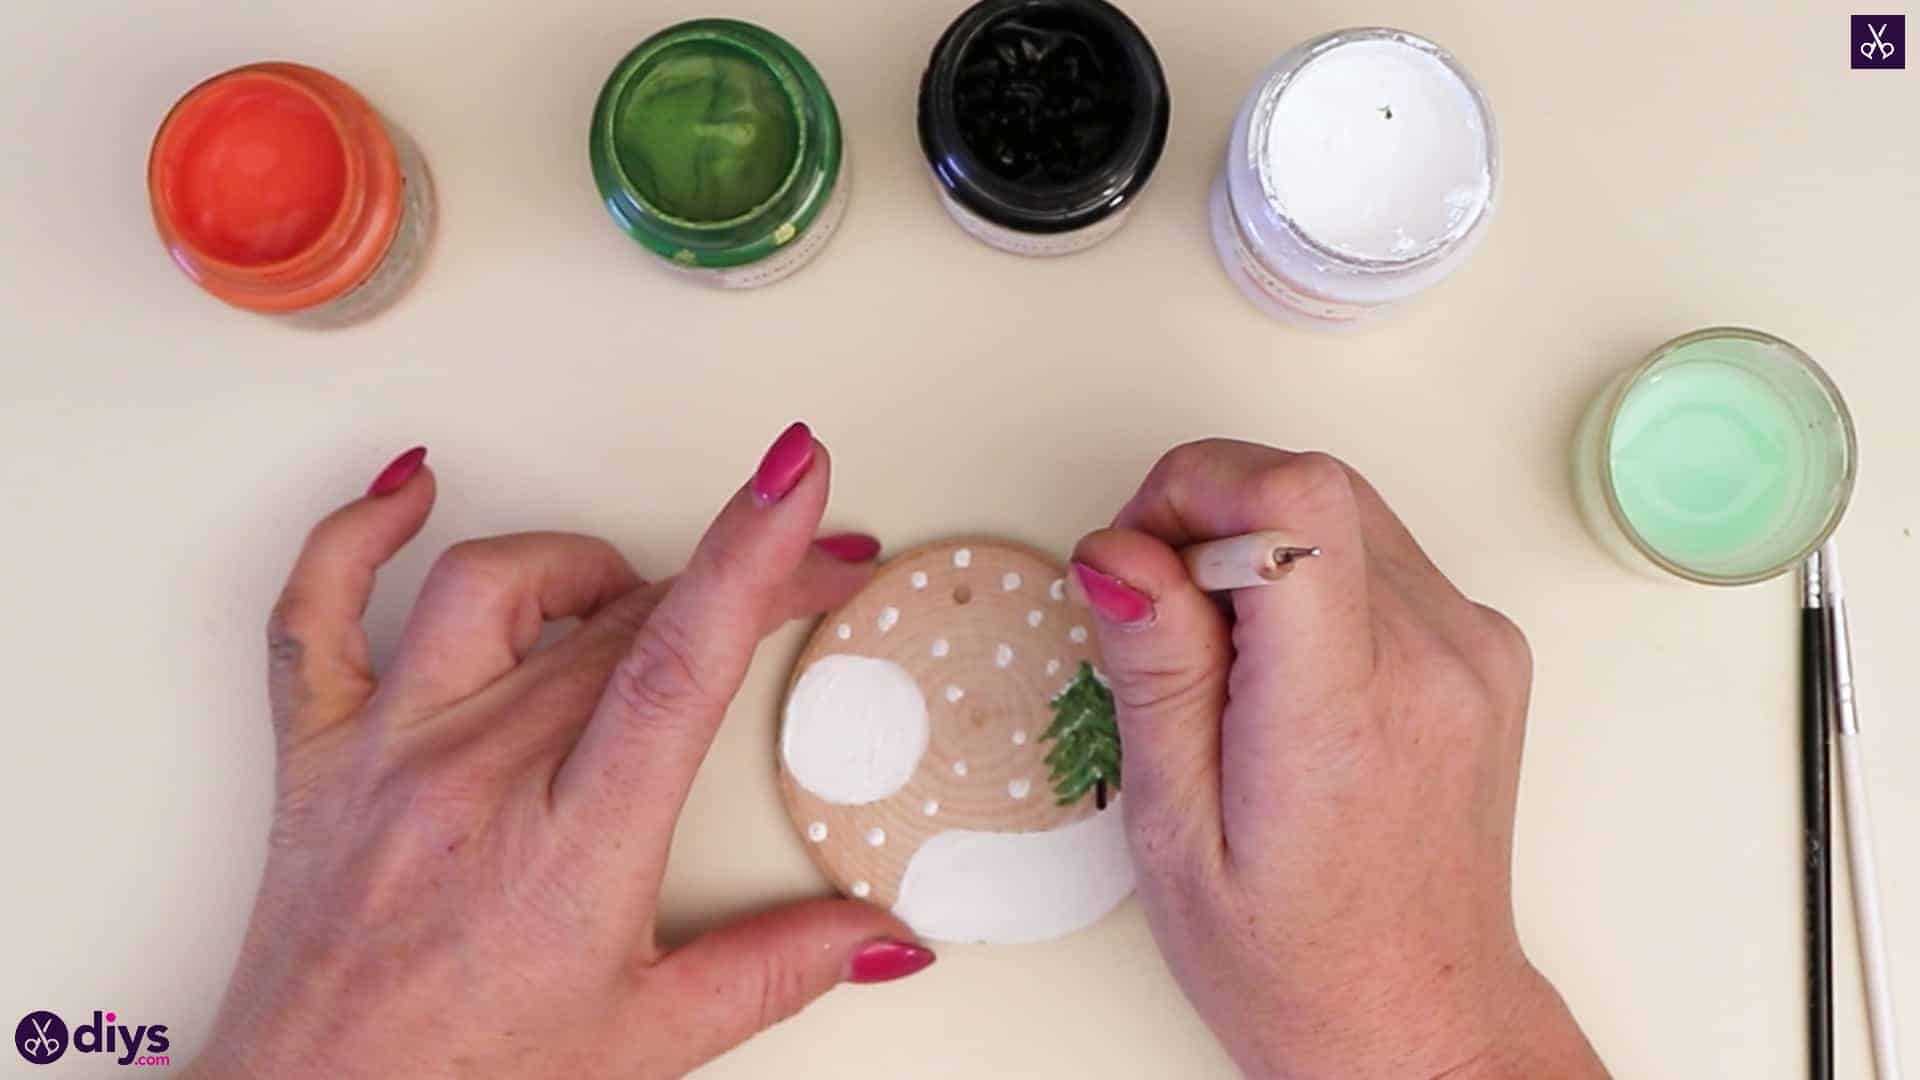
Use your larger paintbrush dipped in white once more to create a circle on the side of the wood slice opposite your tree, just above the other edge of your snowbank. I started out with the larger brush and then swapped to the smaller, medium-sized brush to define a clean edge on my circle a little more easily.


Step 7:
Use your dotting tool dipped in white paint to add snow to your scene! I created white dots quite liberally all throughout the blank space between the white circle, the snowbank, and the green tree to look like a snowfall all around them.
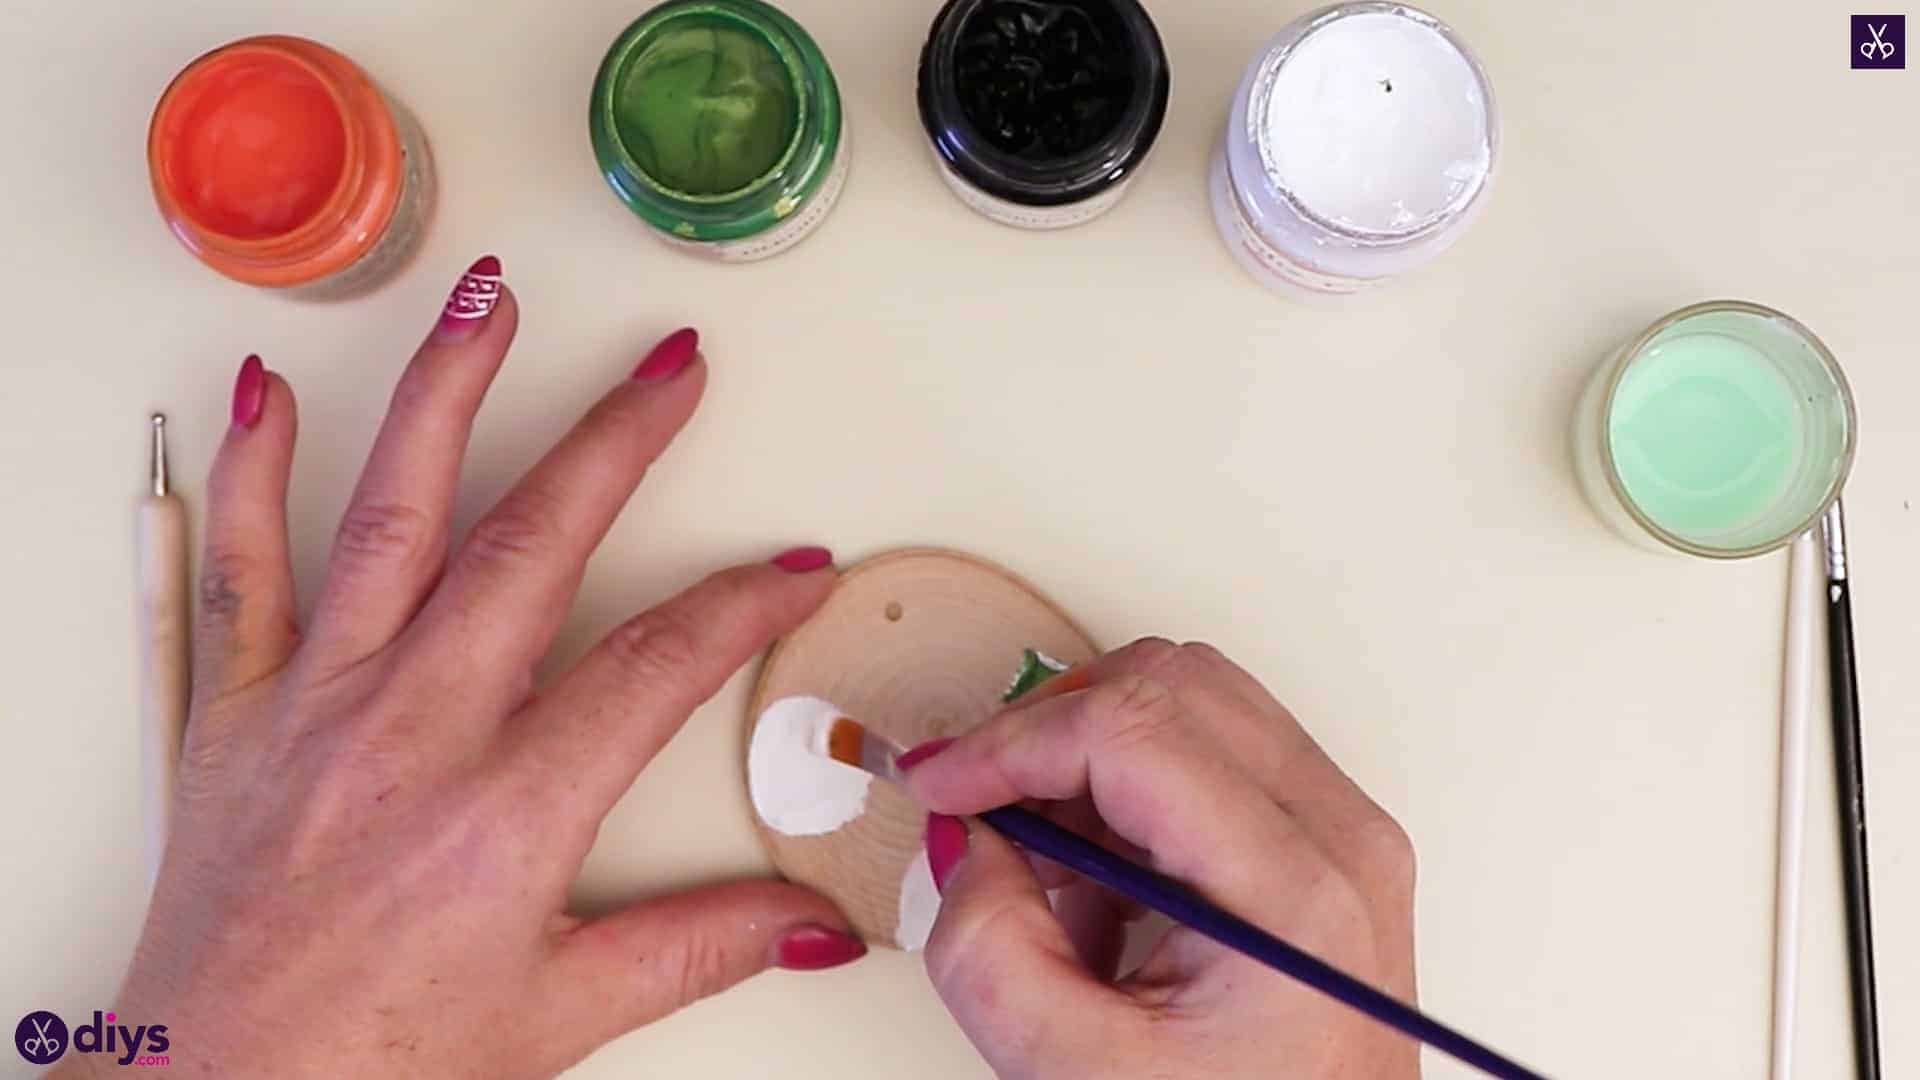
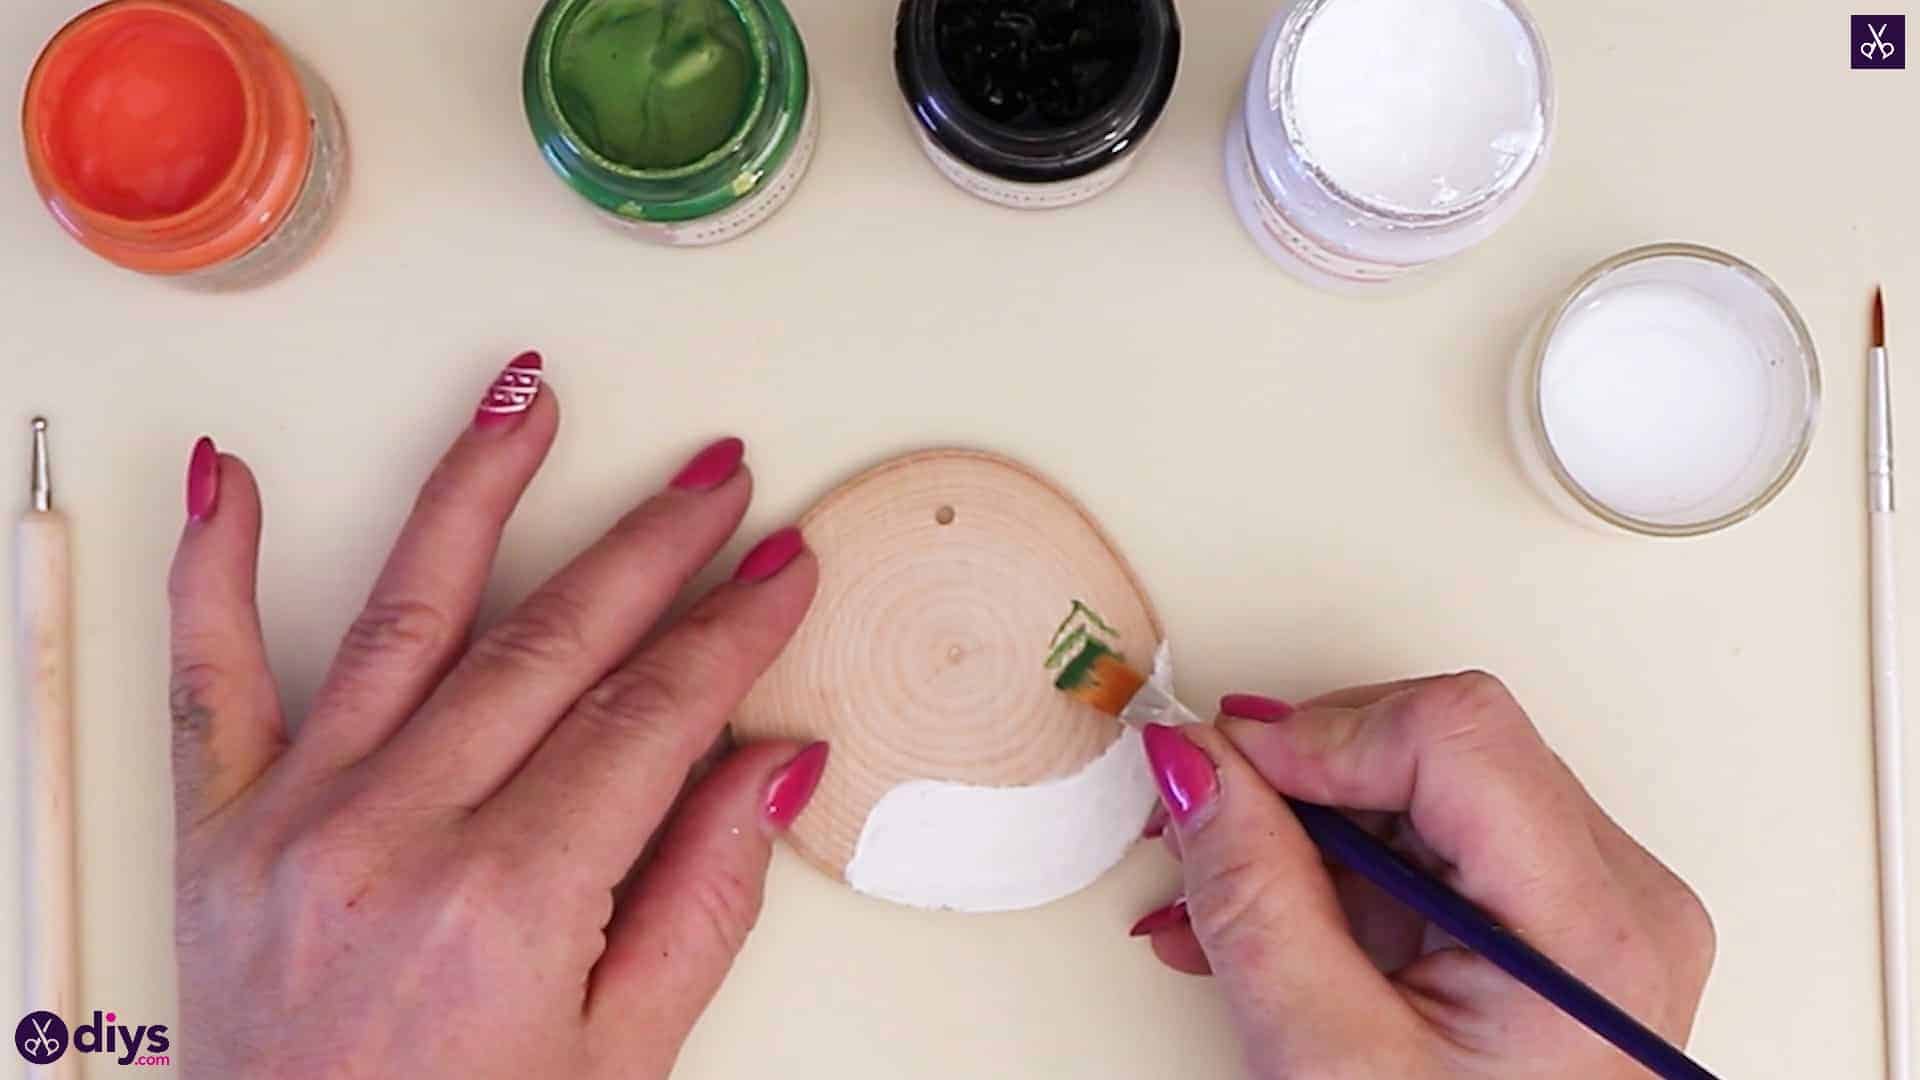
Step 8:
Use your medium sized pointed brush to start turning your white circle into a snowman’s head. Dip it in the orange paint and, on the circle’s right side, create a pointed shape that will be a carrot nose.


Step 9:
Use your smallest brush (or your dotting tool, if one of its ends is small enough) dipped in black paint to give your snowman coal eyes and a coal smile.


You’re officially finished your little wood slice mural! Set it on your mantel or glue a looped string on the back to make it into a hanging ornament. Just in case you’d like to try this project out for yourself, here’s a fantastic tutorial video to help you!