DIY Valentine’s Day Candle Holder from a Mason Jar
Updated on November 19, 2025


I’m sure it would come as no surprise to anyone who has met me before that I decided to get creative this week by making a pretty Valentine’s candle holder to hold a pretty glowing tea light before, on, and probably slightly after Valentine’s Day. So, check out how I made this DIY Valentine’s Day candle holder from a mason jar.
Do you love making and altering candle and candle holders too, especially if it means that you get to make things that will make your home look a little more cozy and loving on Valentine’s Day? Check out these step by step instructions complete with photos! If you’d rather follow along with a video tutorial instead of written words, scroll to the bottom of this post to find just what you’re looking for.

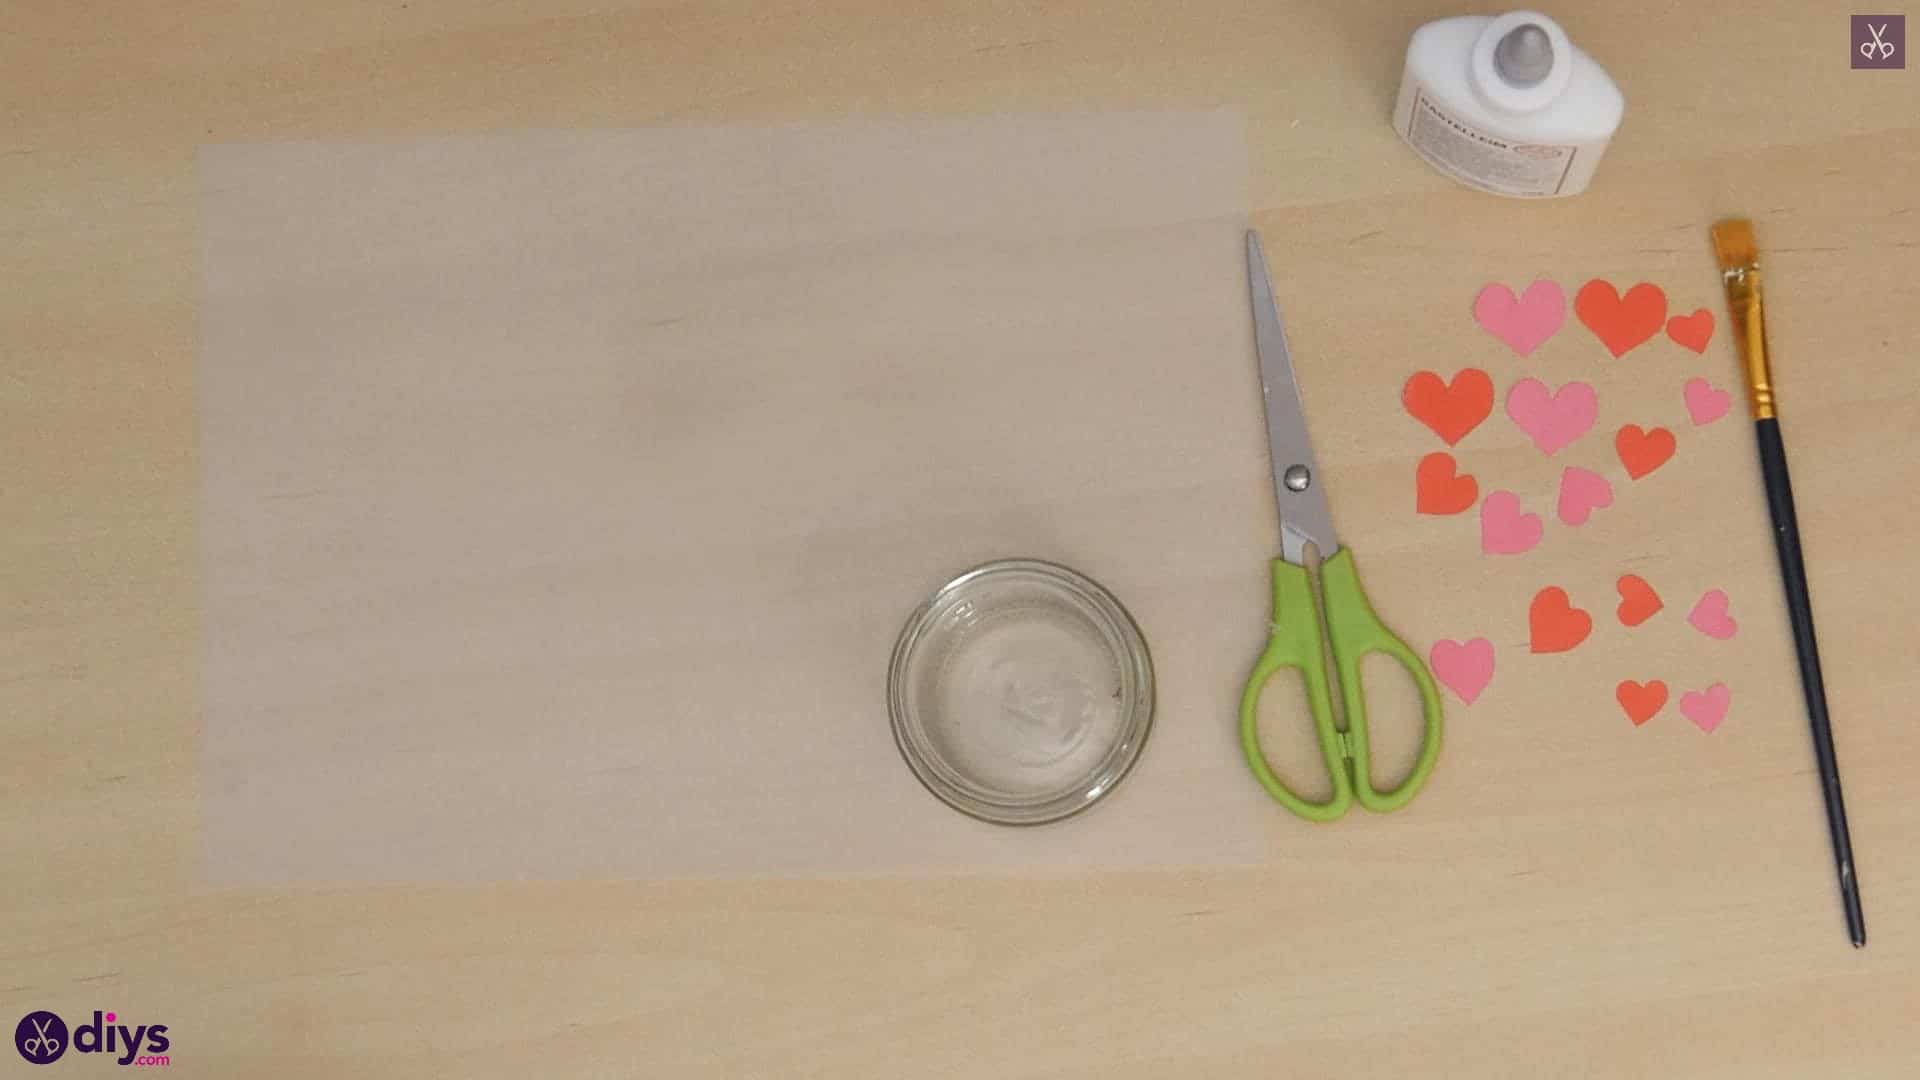
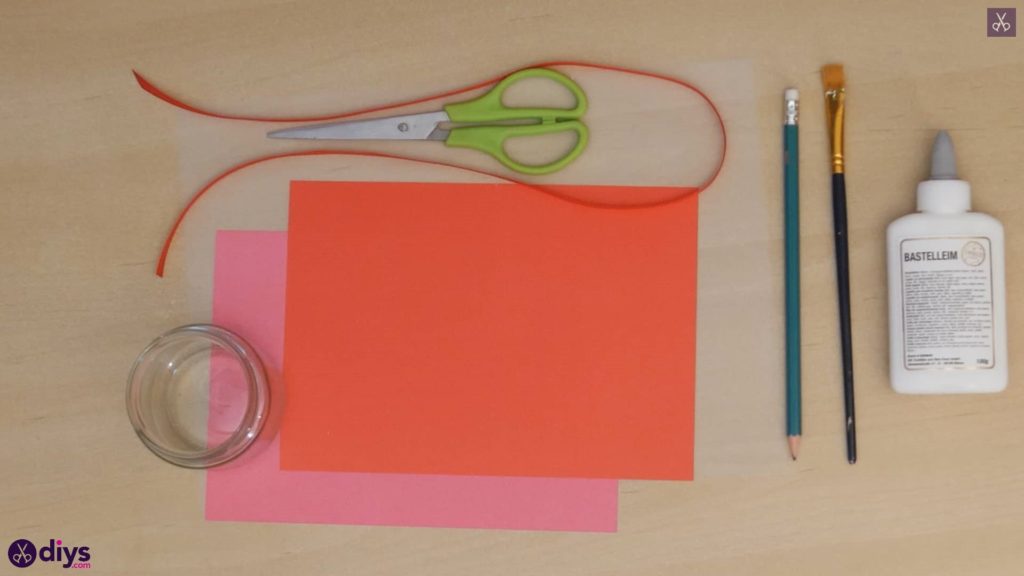
For this project, you’ll need:
- An empty jar
- White vellum
- Paper (pink and red)
- Scissors
- A pencil
- White liquid glue
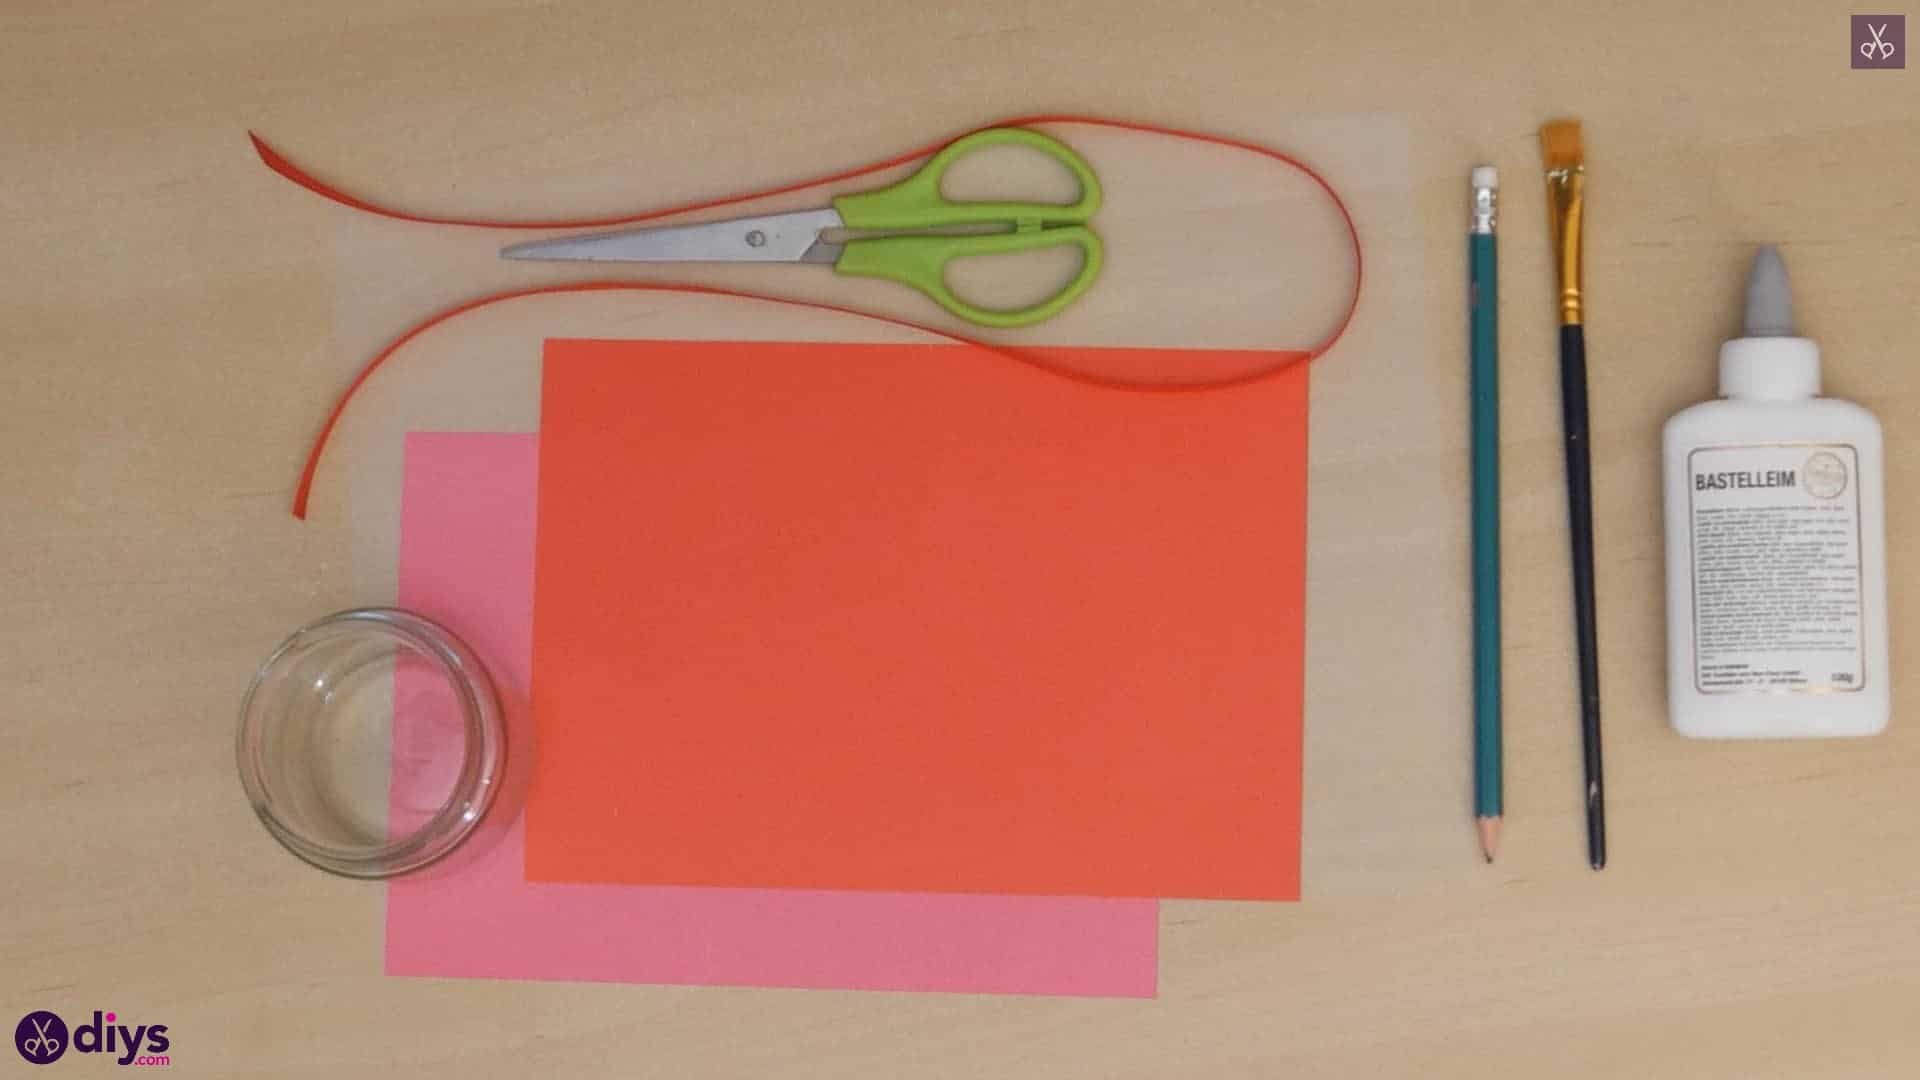
- Red ribbon
- A brush

Step 1: check your materials
Gather your materials together in front of you!
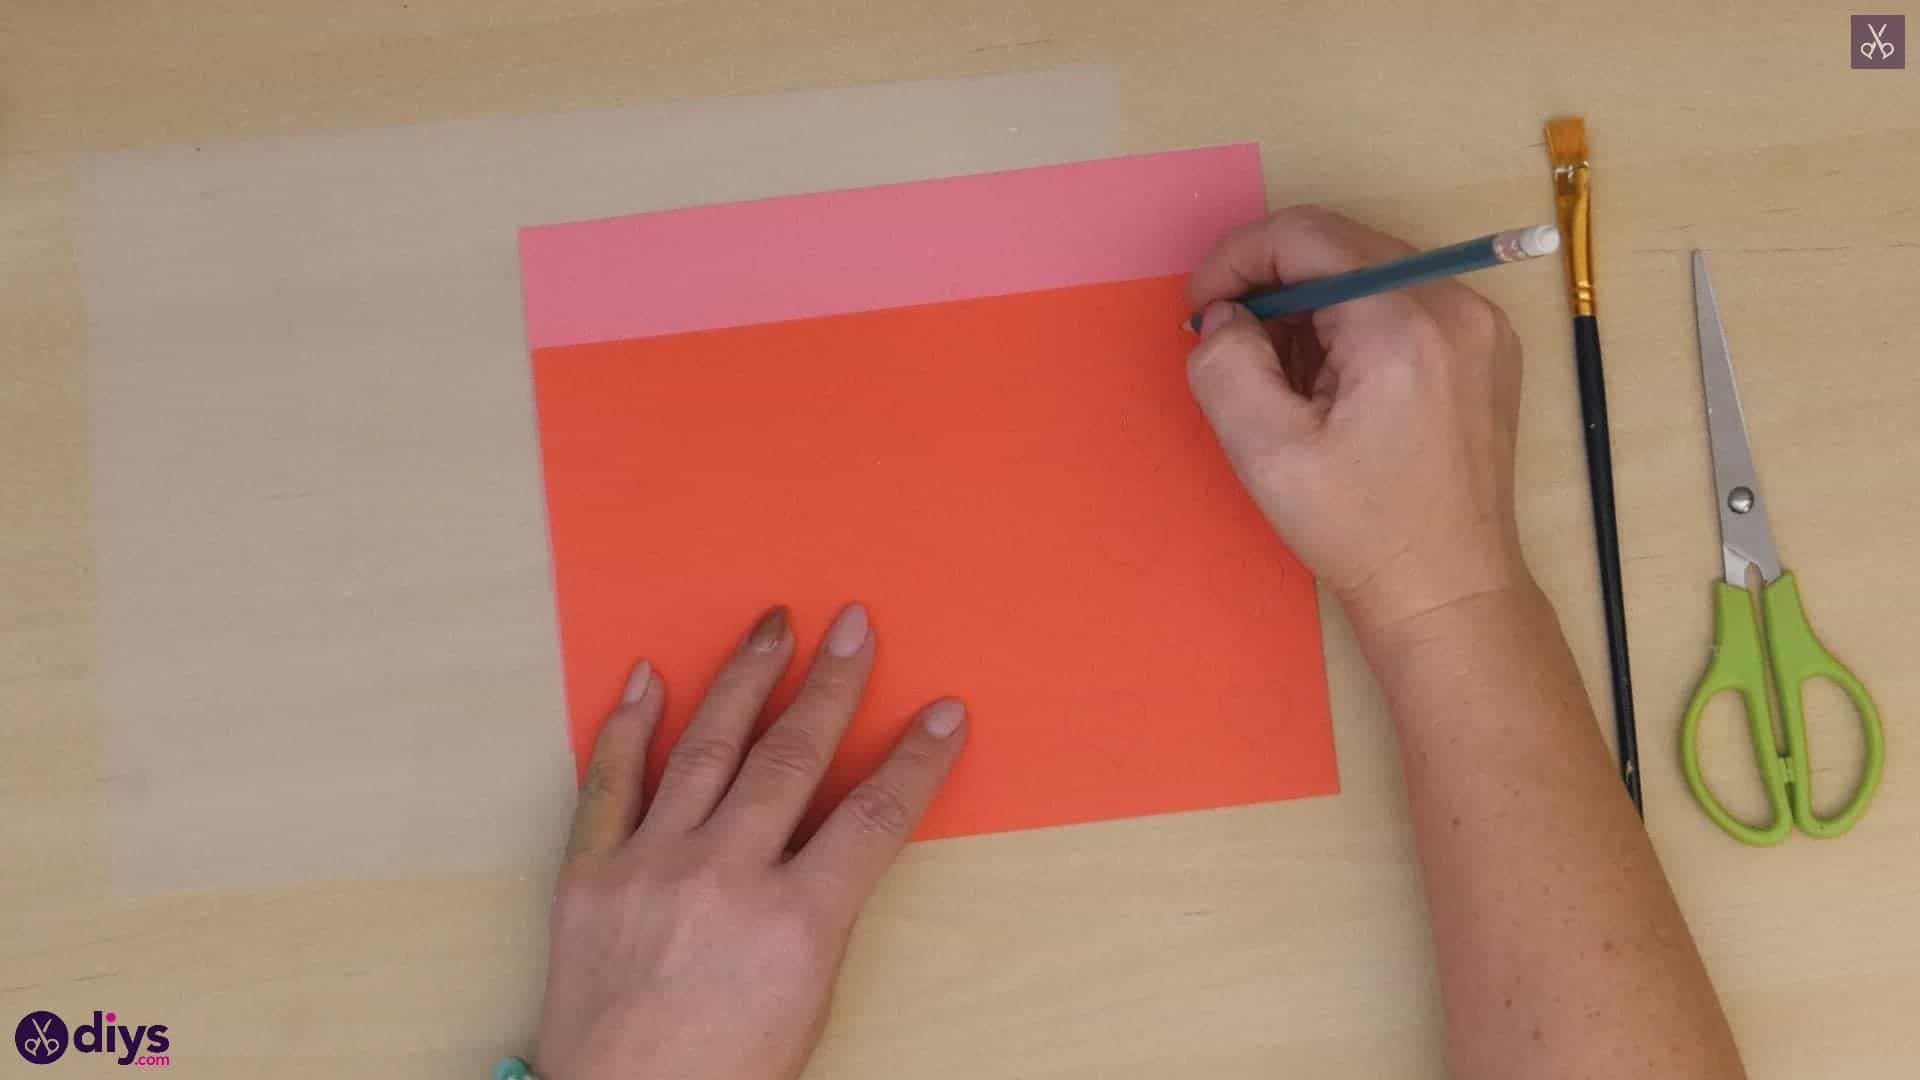
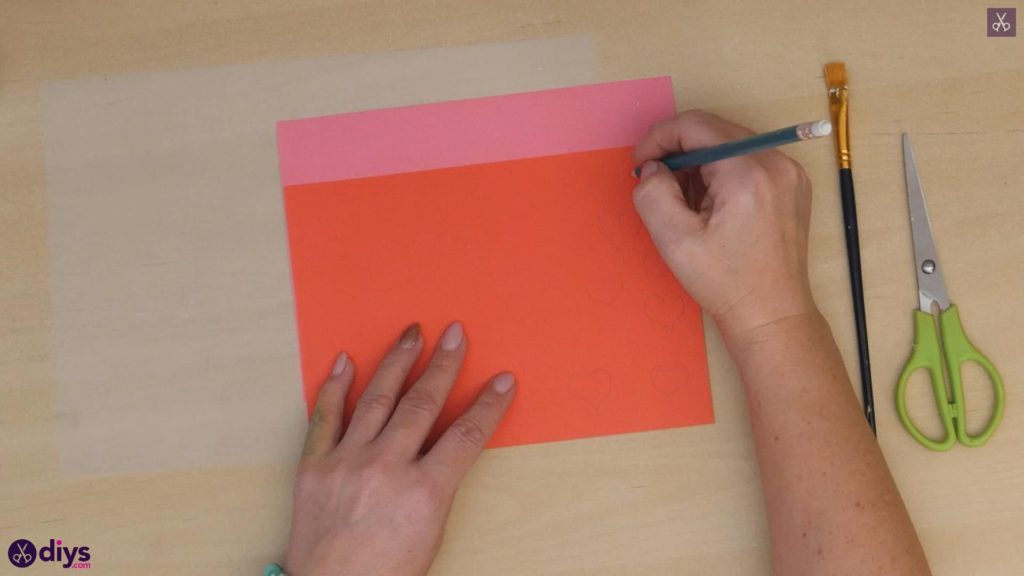
Step 2:draw your hearts
Use your pencil to draw eight small hearts on your red piece of paper. I made mine vary in size, with some being slightly larger or smaller than others, but I kept them all quite little and no taller than about an inch in height. Then draw eight more heats in the same size range on your pink piece of paper. Cut all of your 16 red and pink hearts out and set them aside for the moment!
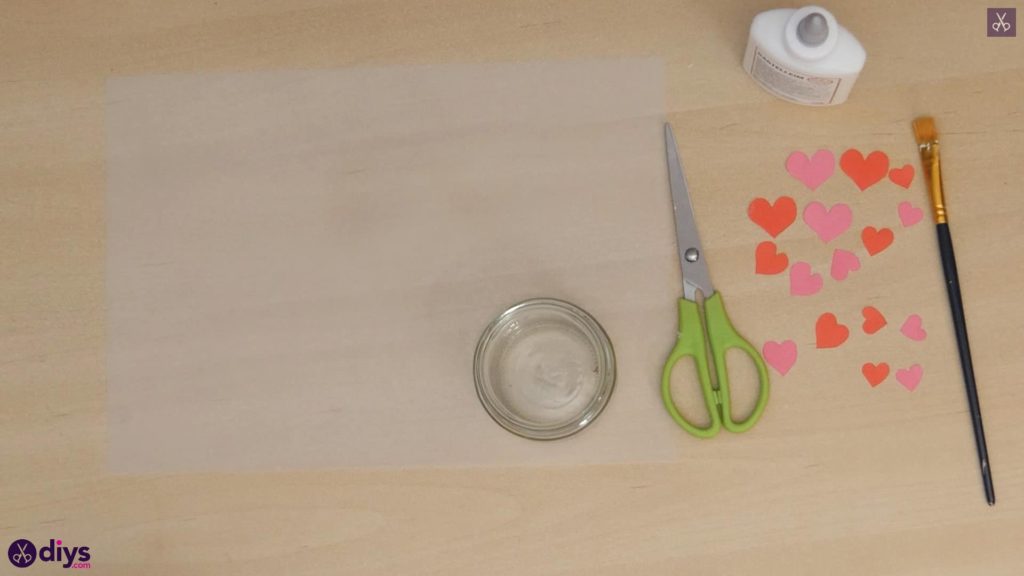
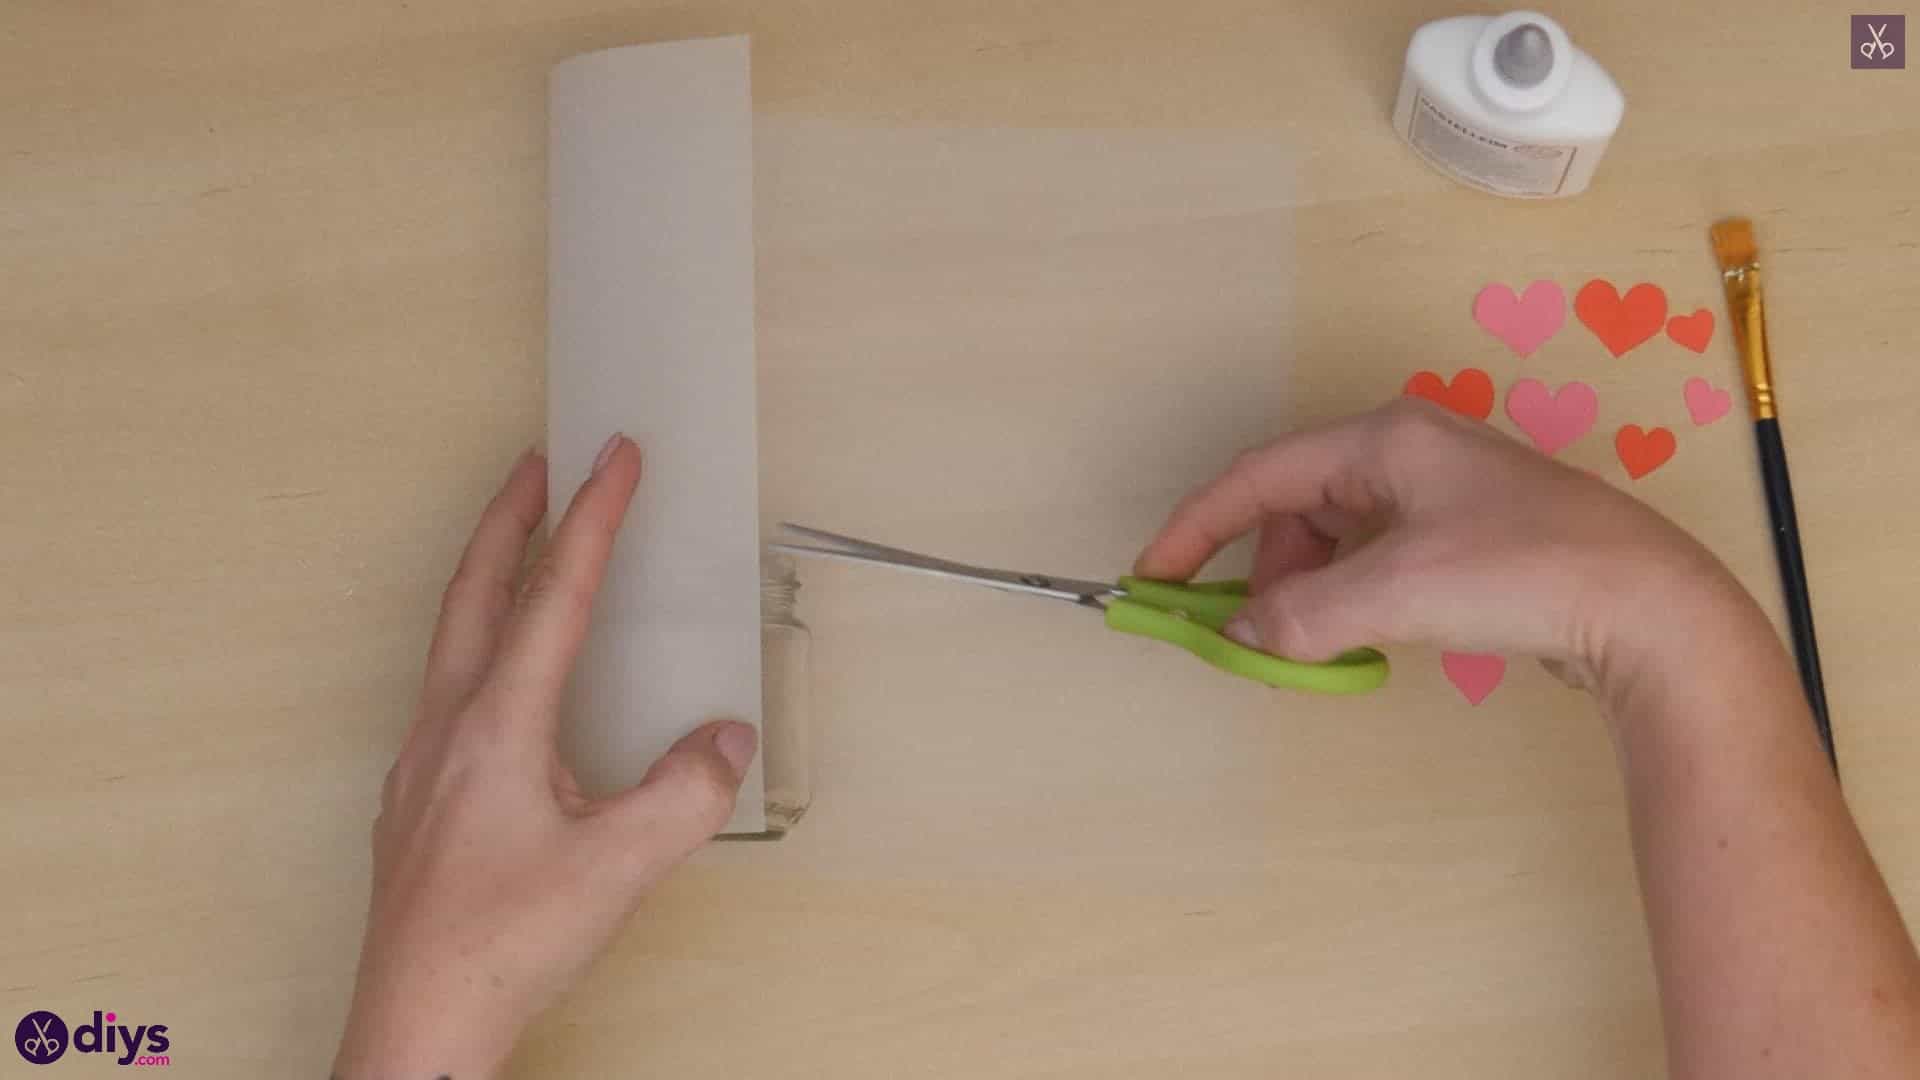
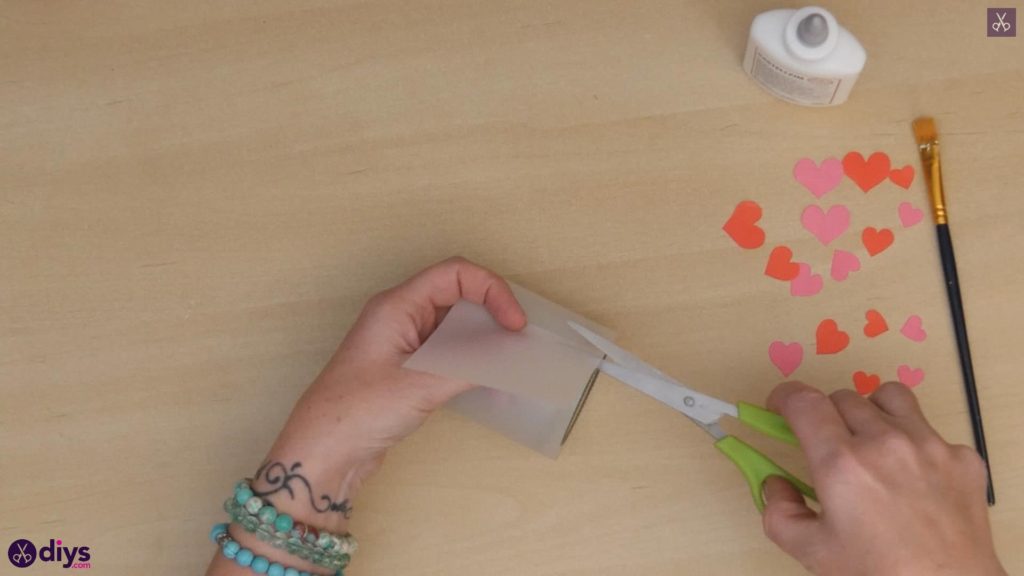
Step 3: using the vellum paper
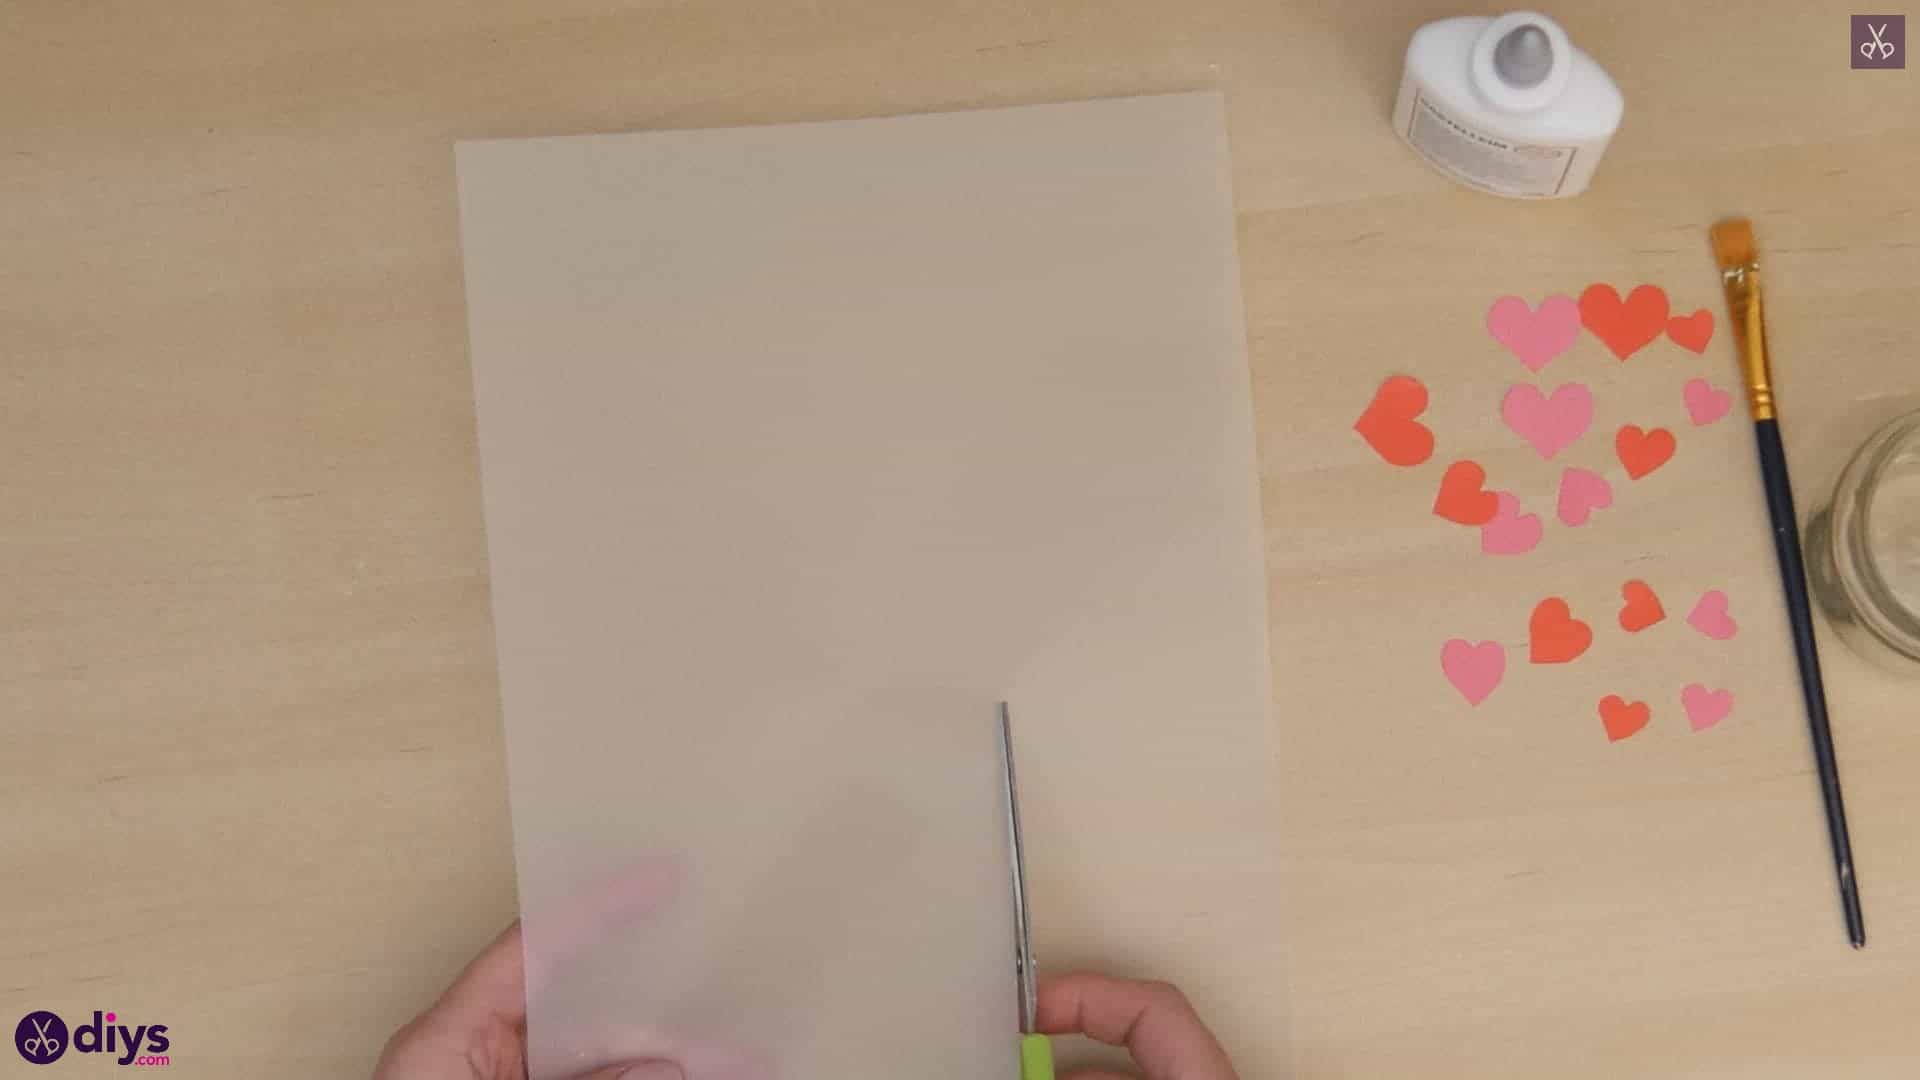
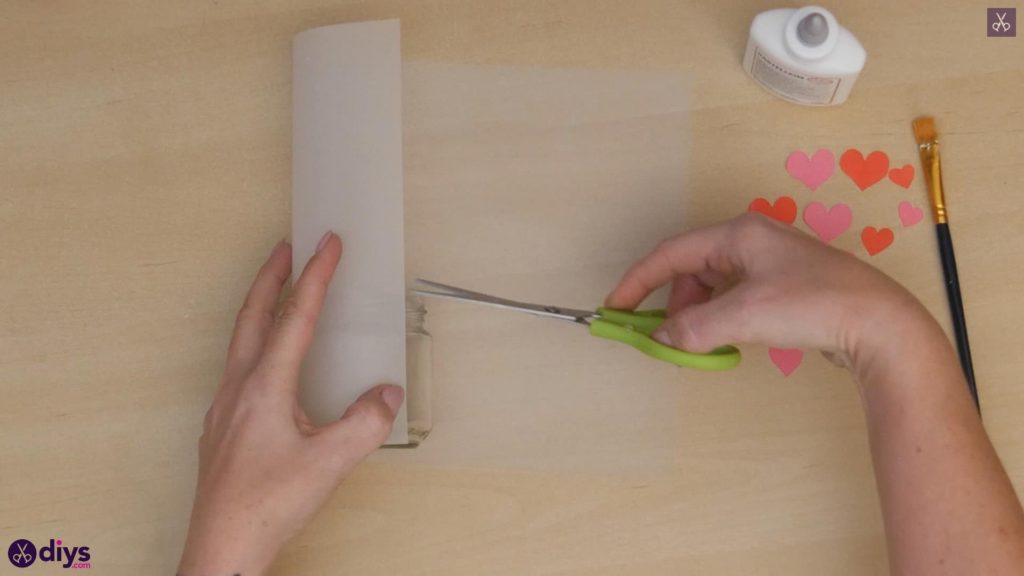
Measure out and cut a piece of your white vellum paper to cover the entire outside surface of your small empty jar. I did this by turning the vellum paper landscape or horizontally so that its longer edges become the top and bottom of the page, and then turning my jar onto its side and lining its bottom up evenly with the long bottom edge of the paper.
Bring one side of the paper up and around to curve against the outside surface of the jar and note where on the page’s height the very top edge of the jar reaches. Use your scissors to make a cut here that you can use as a guideline, and then let the paper uncurl, set the jar aside for the moment, and follow that guideline you made to cut all the way across the page until you have a rectangular piece that’s the same height as your jar.
Next, wrap that new rectangular piece back around the jar with their bottom edges lined up again, but this time continue wrapping until the first end you placed against the jar meets back up with the other end of the vellum. Let them overlap a little and then trim the excess. Now you have a rectangular piece that’s the same height as your jarand the same length as the circumference of your jar’s outside surface.

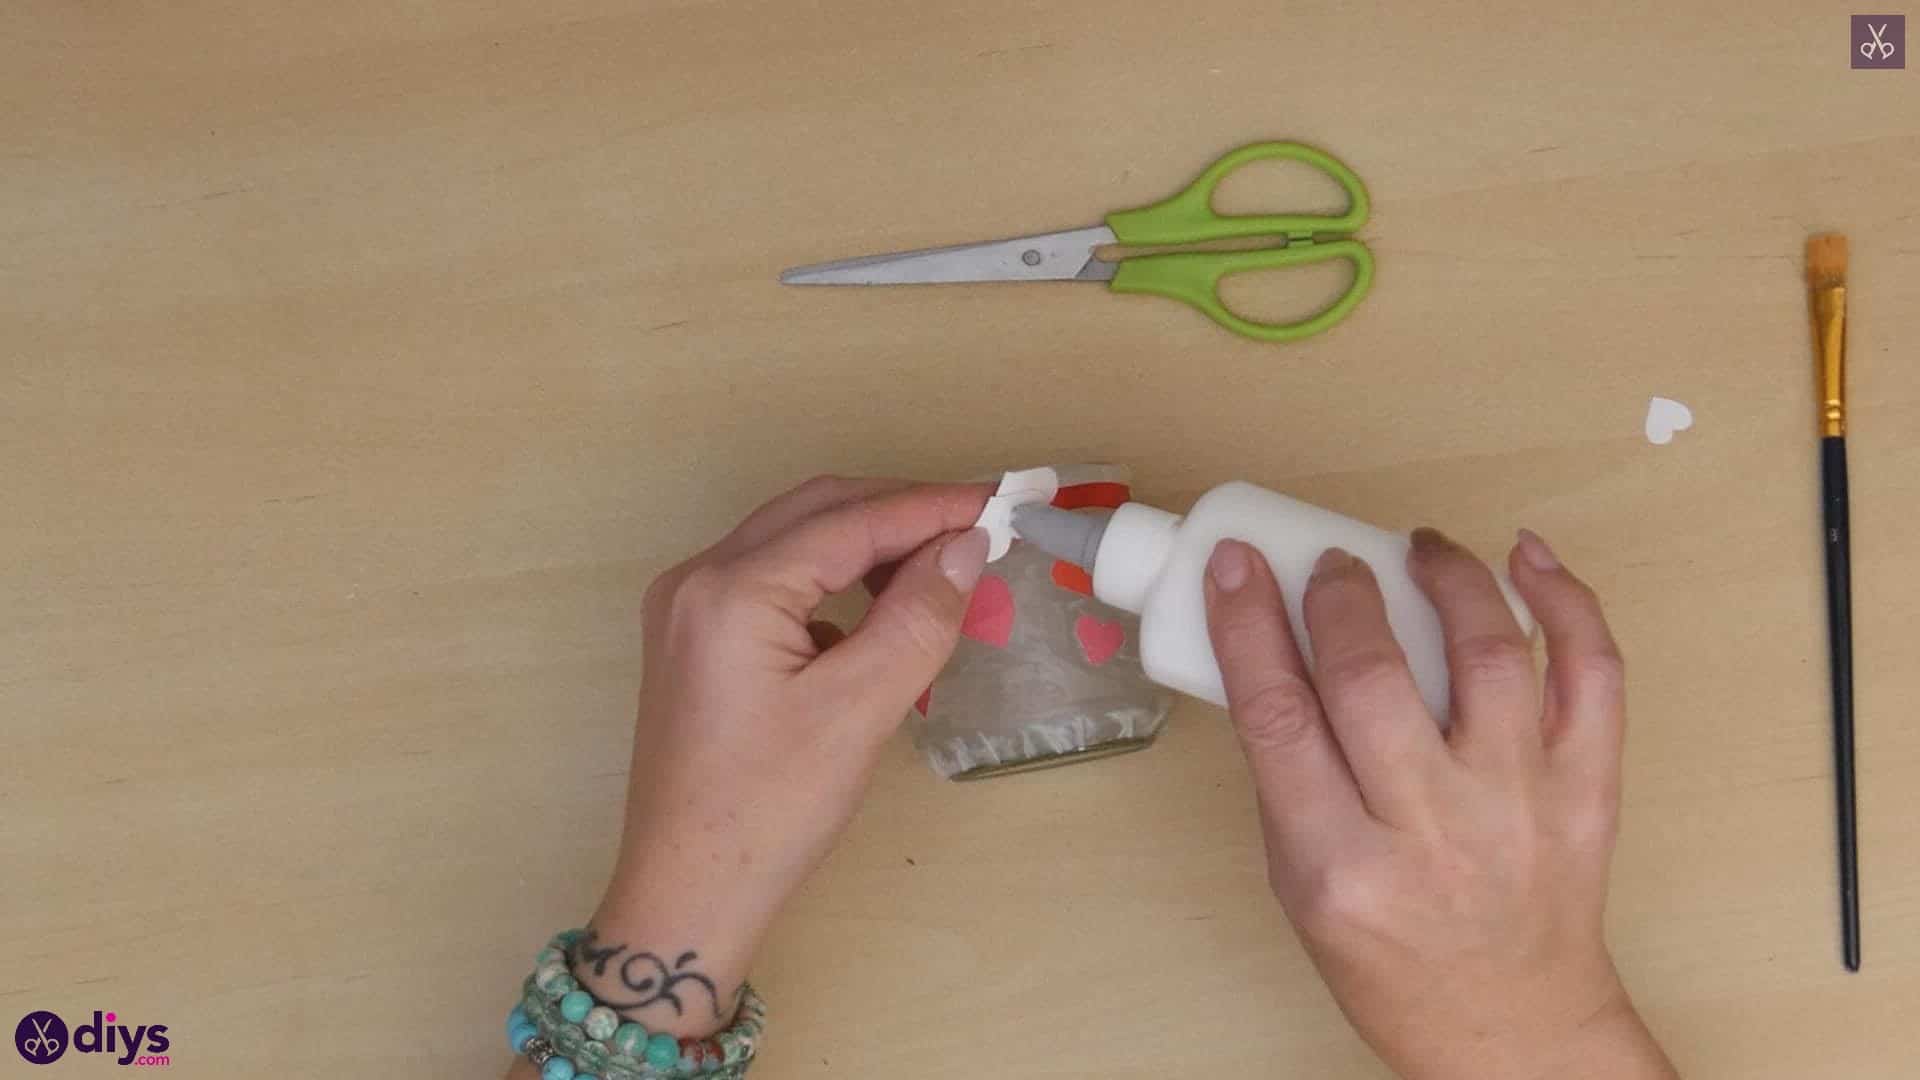
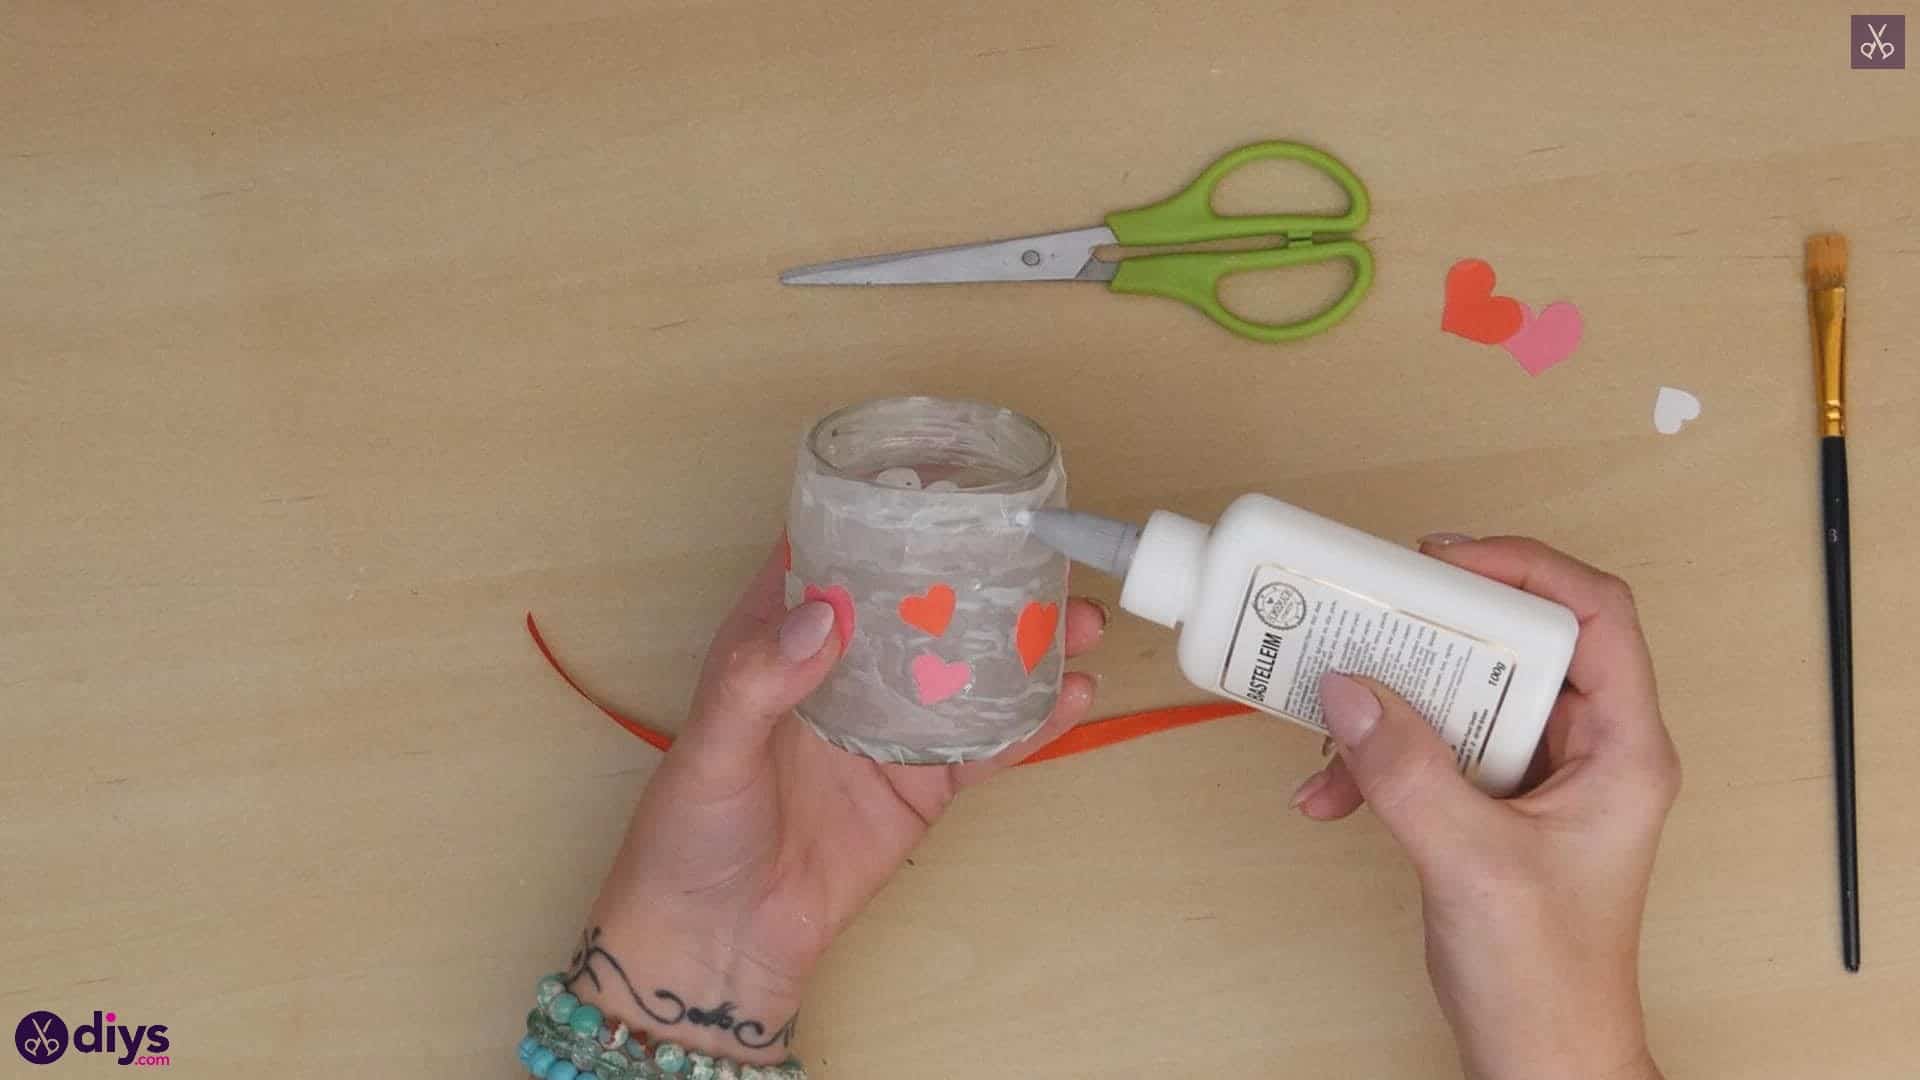
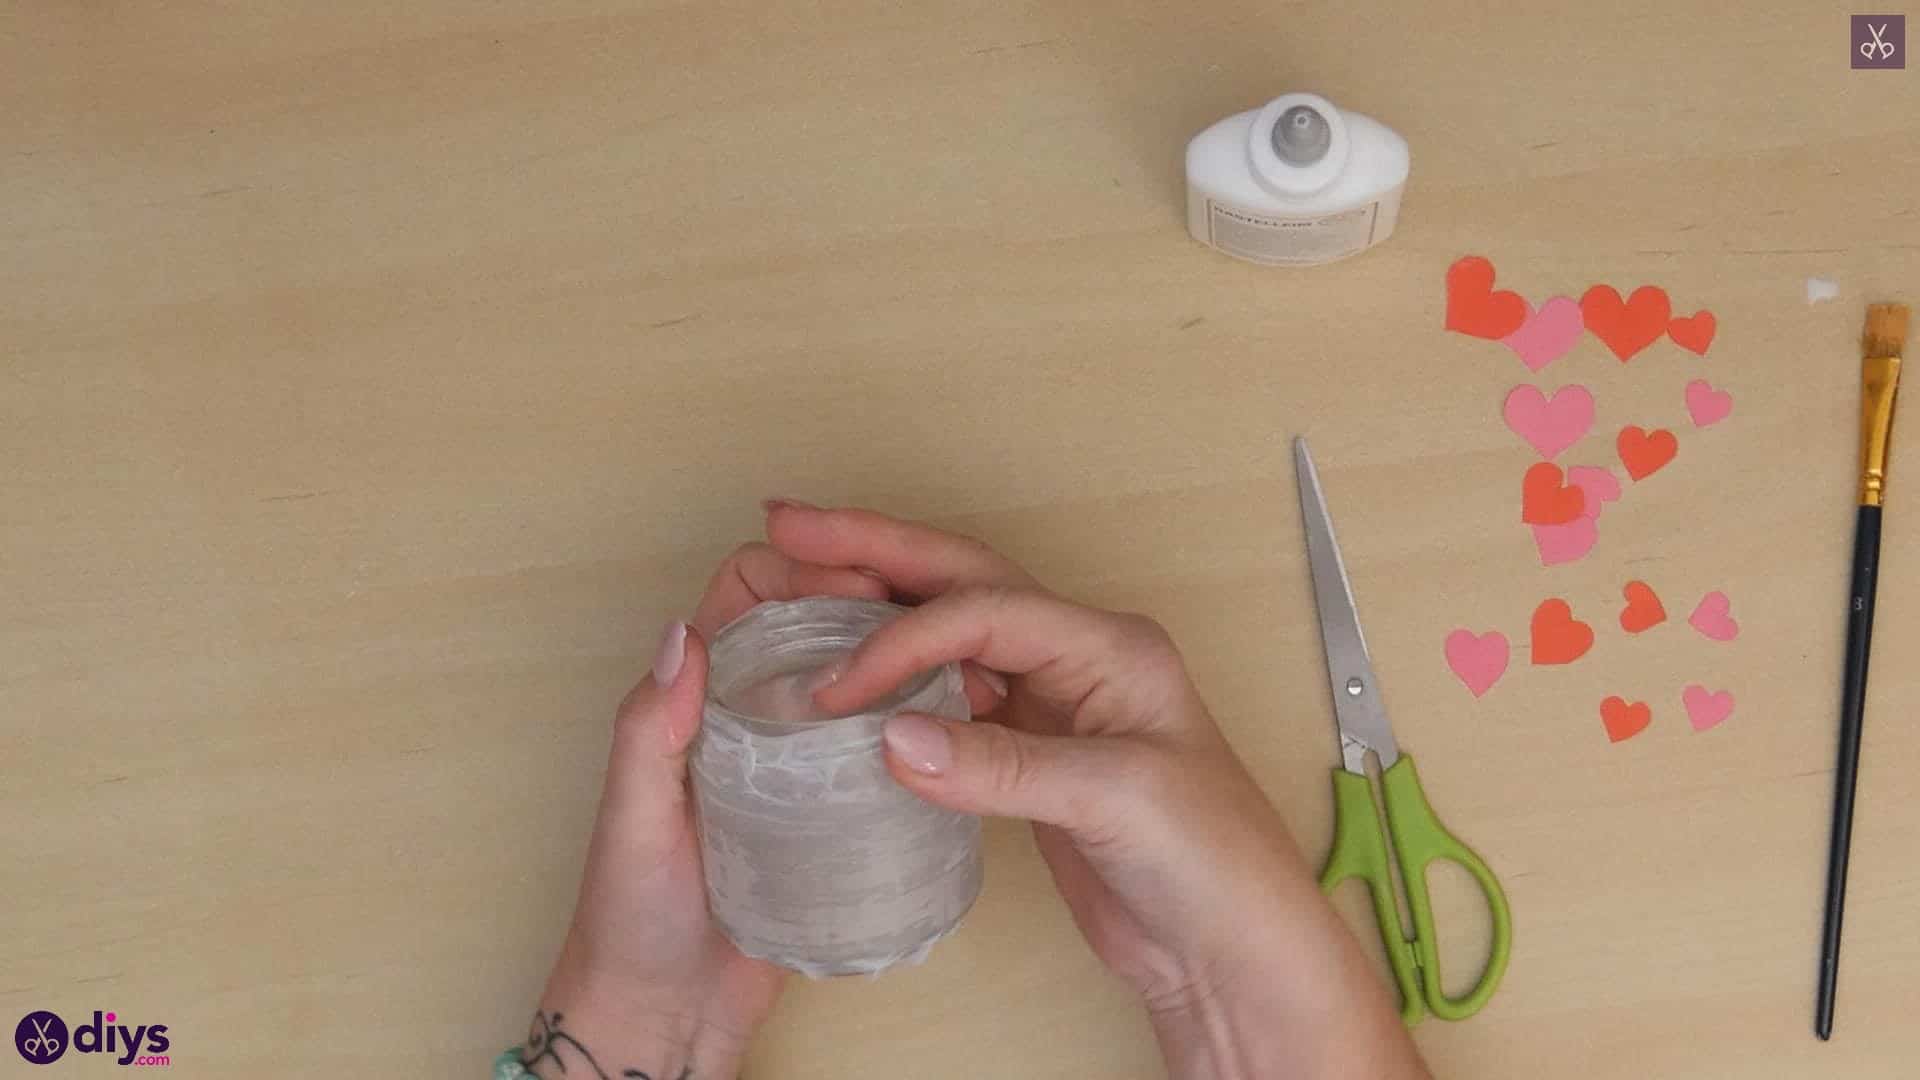
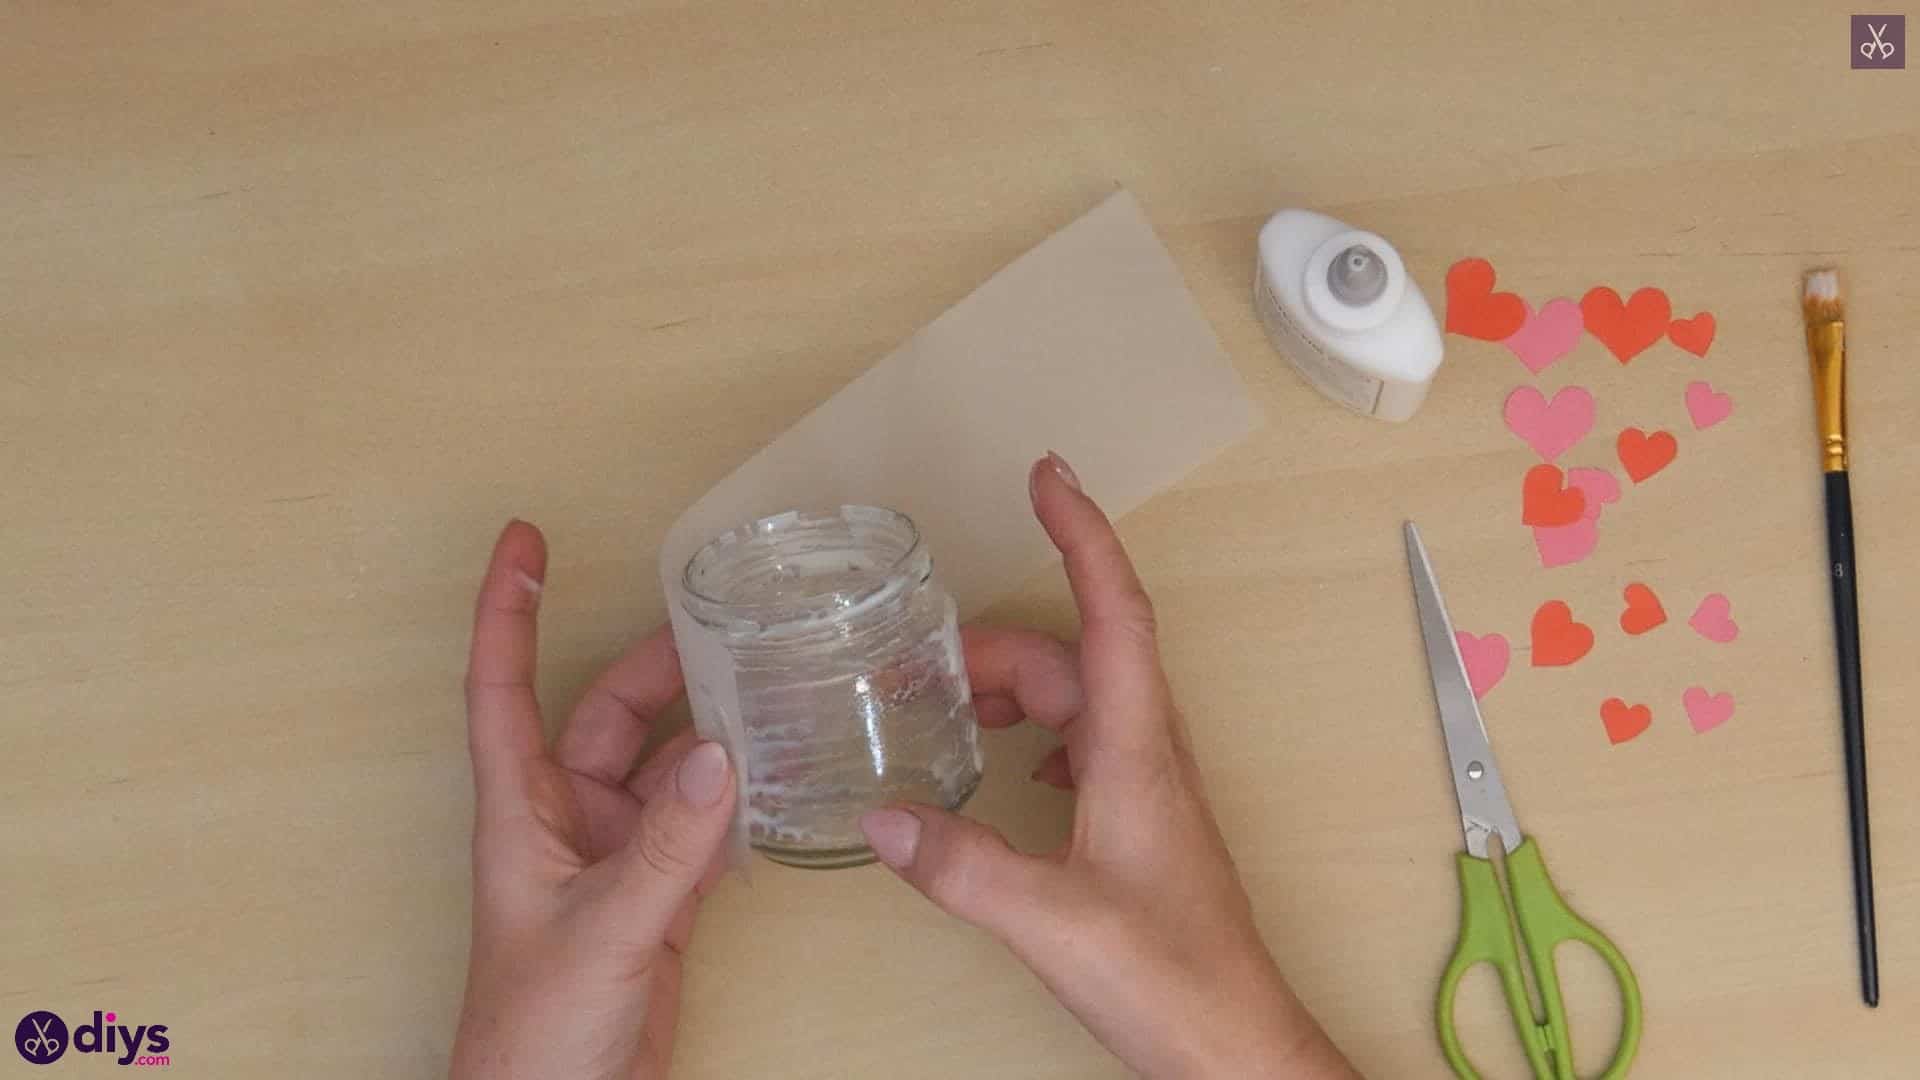
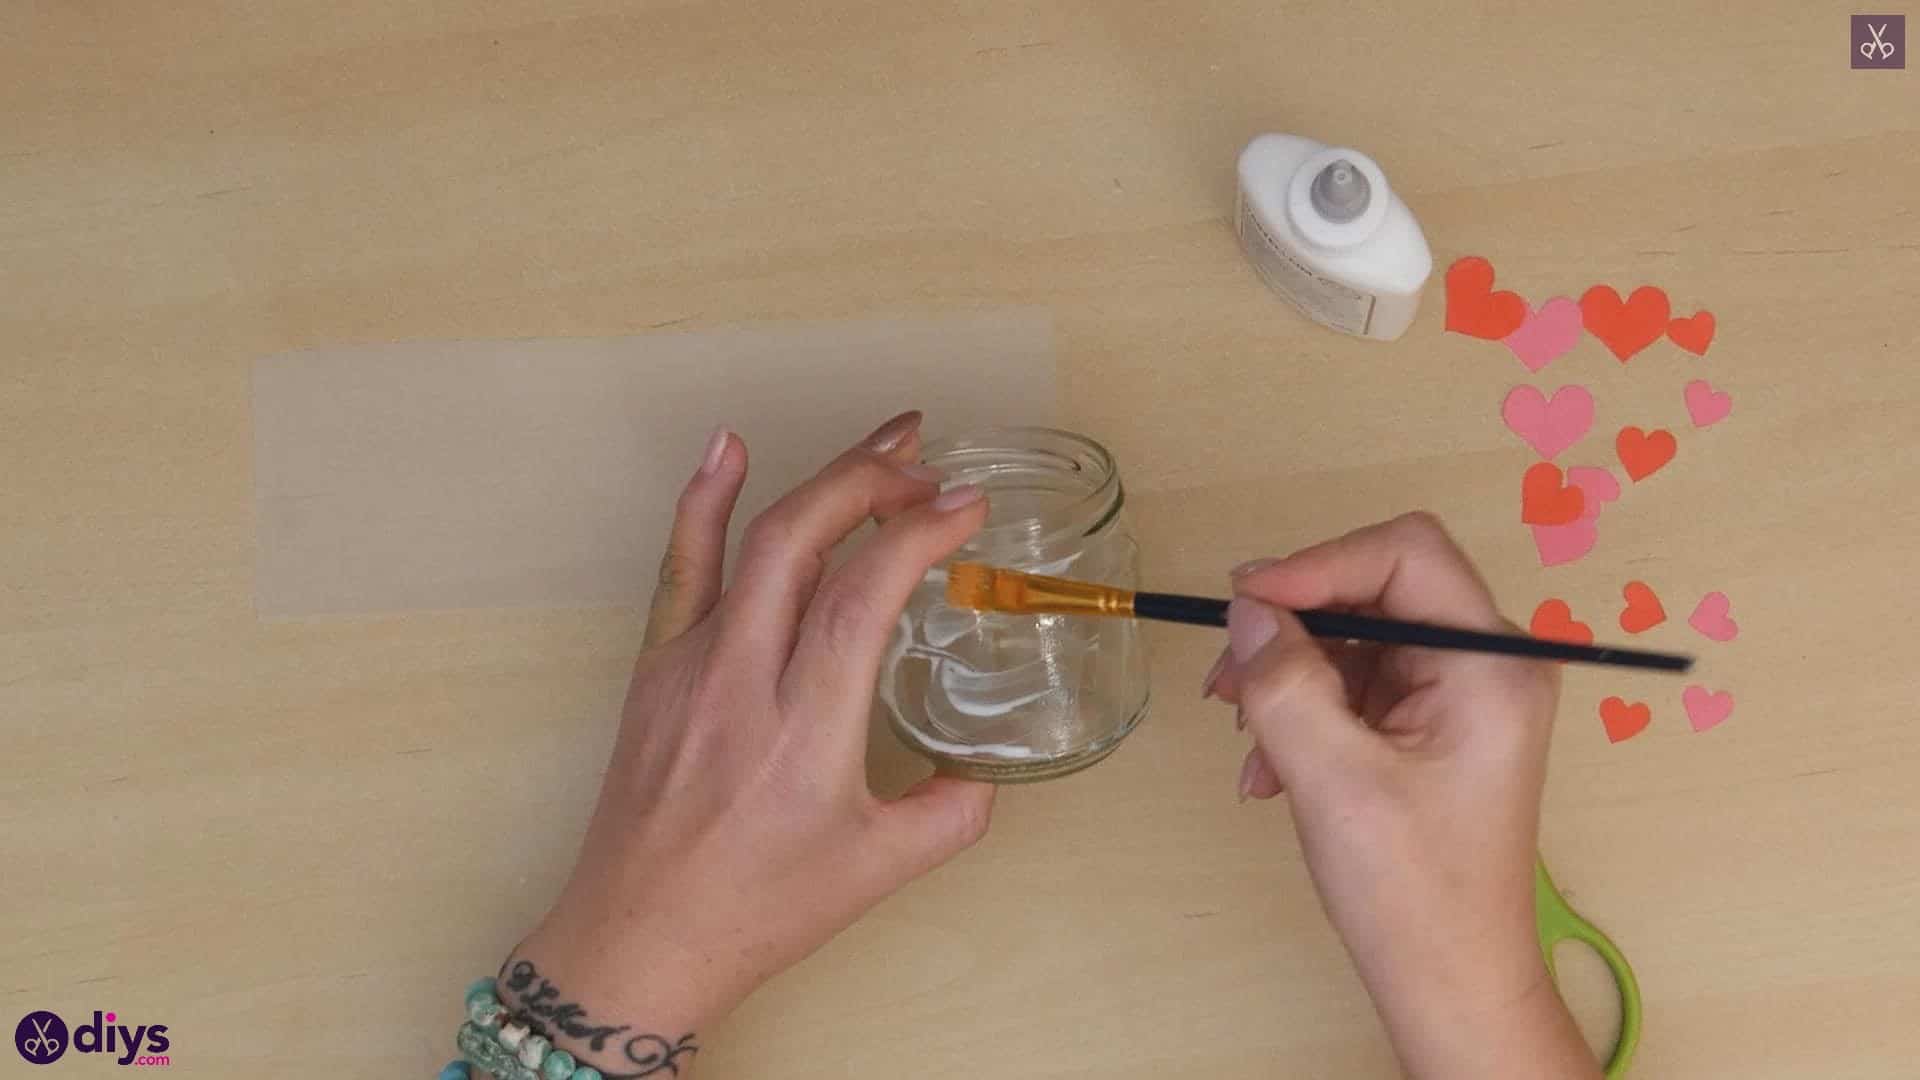
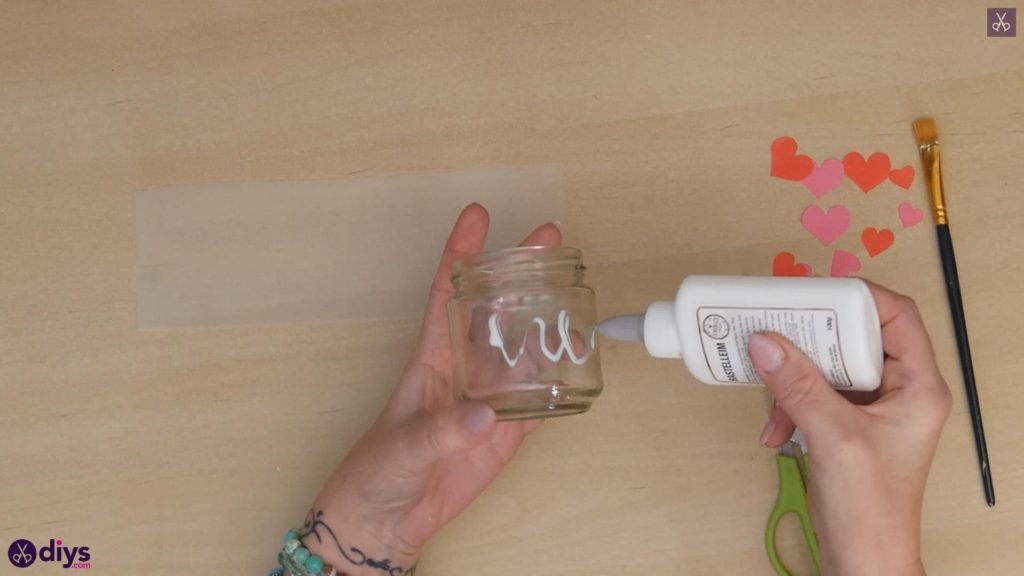
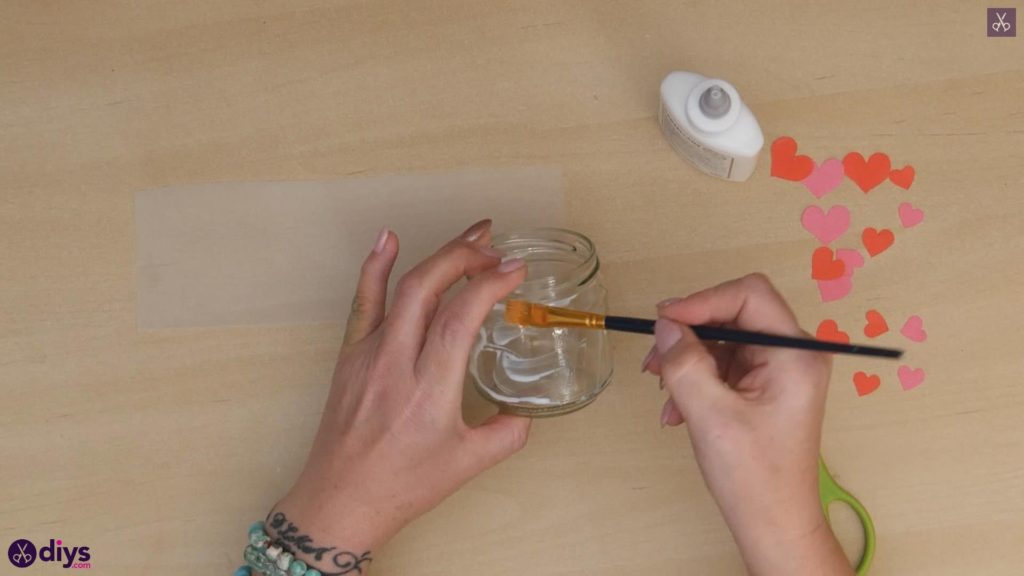
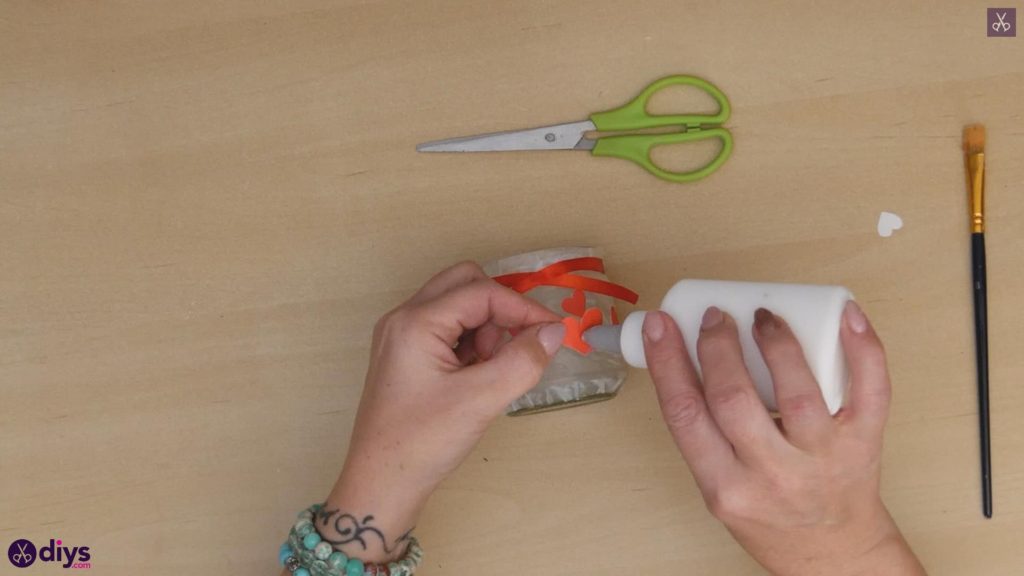
Step 4: liquid glue
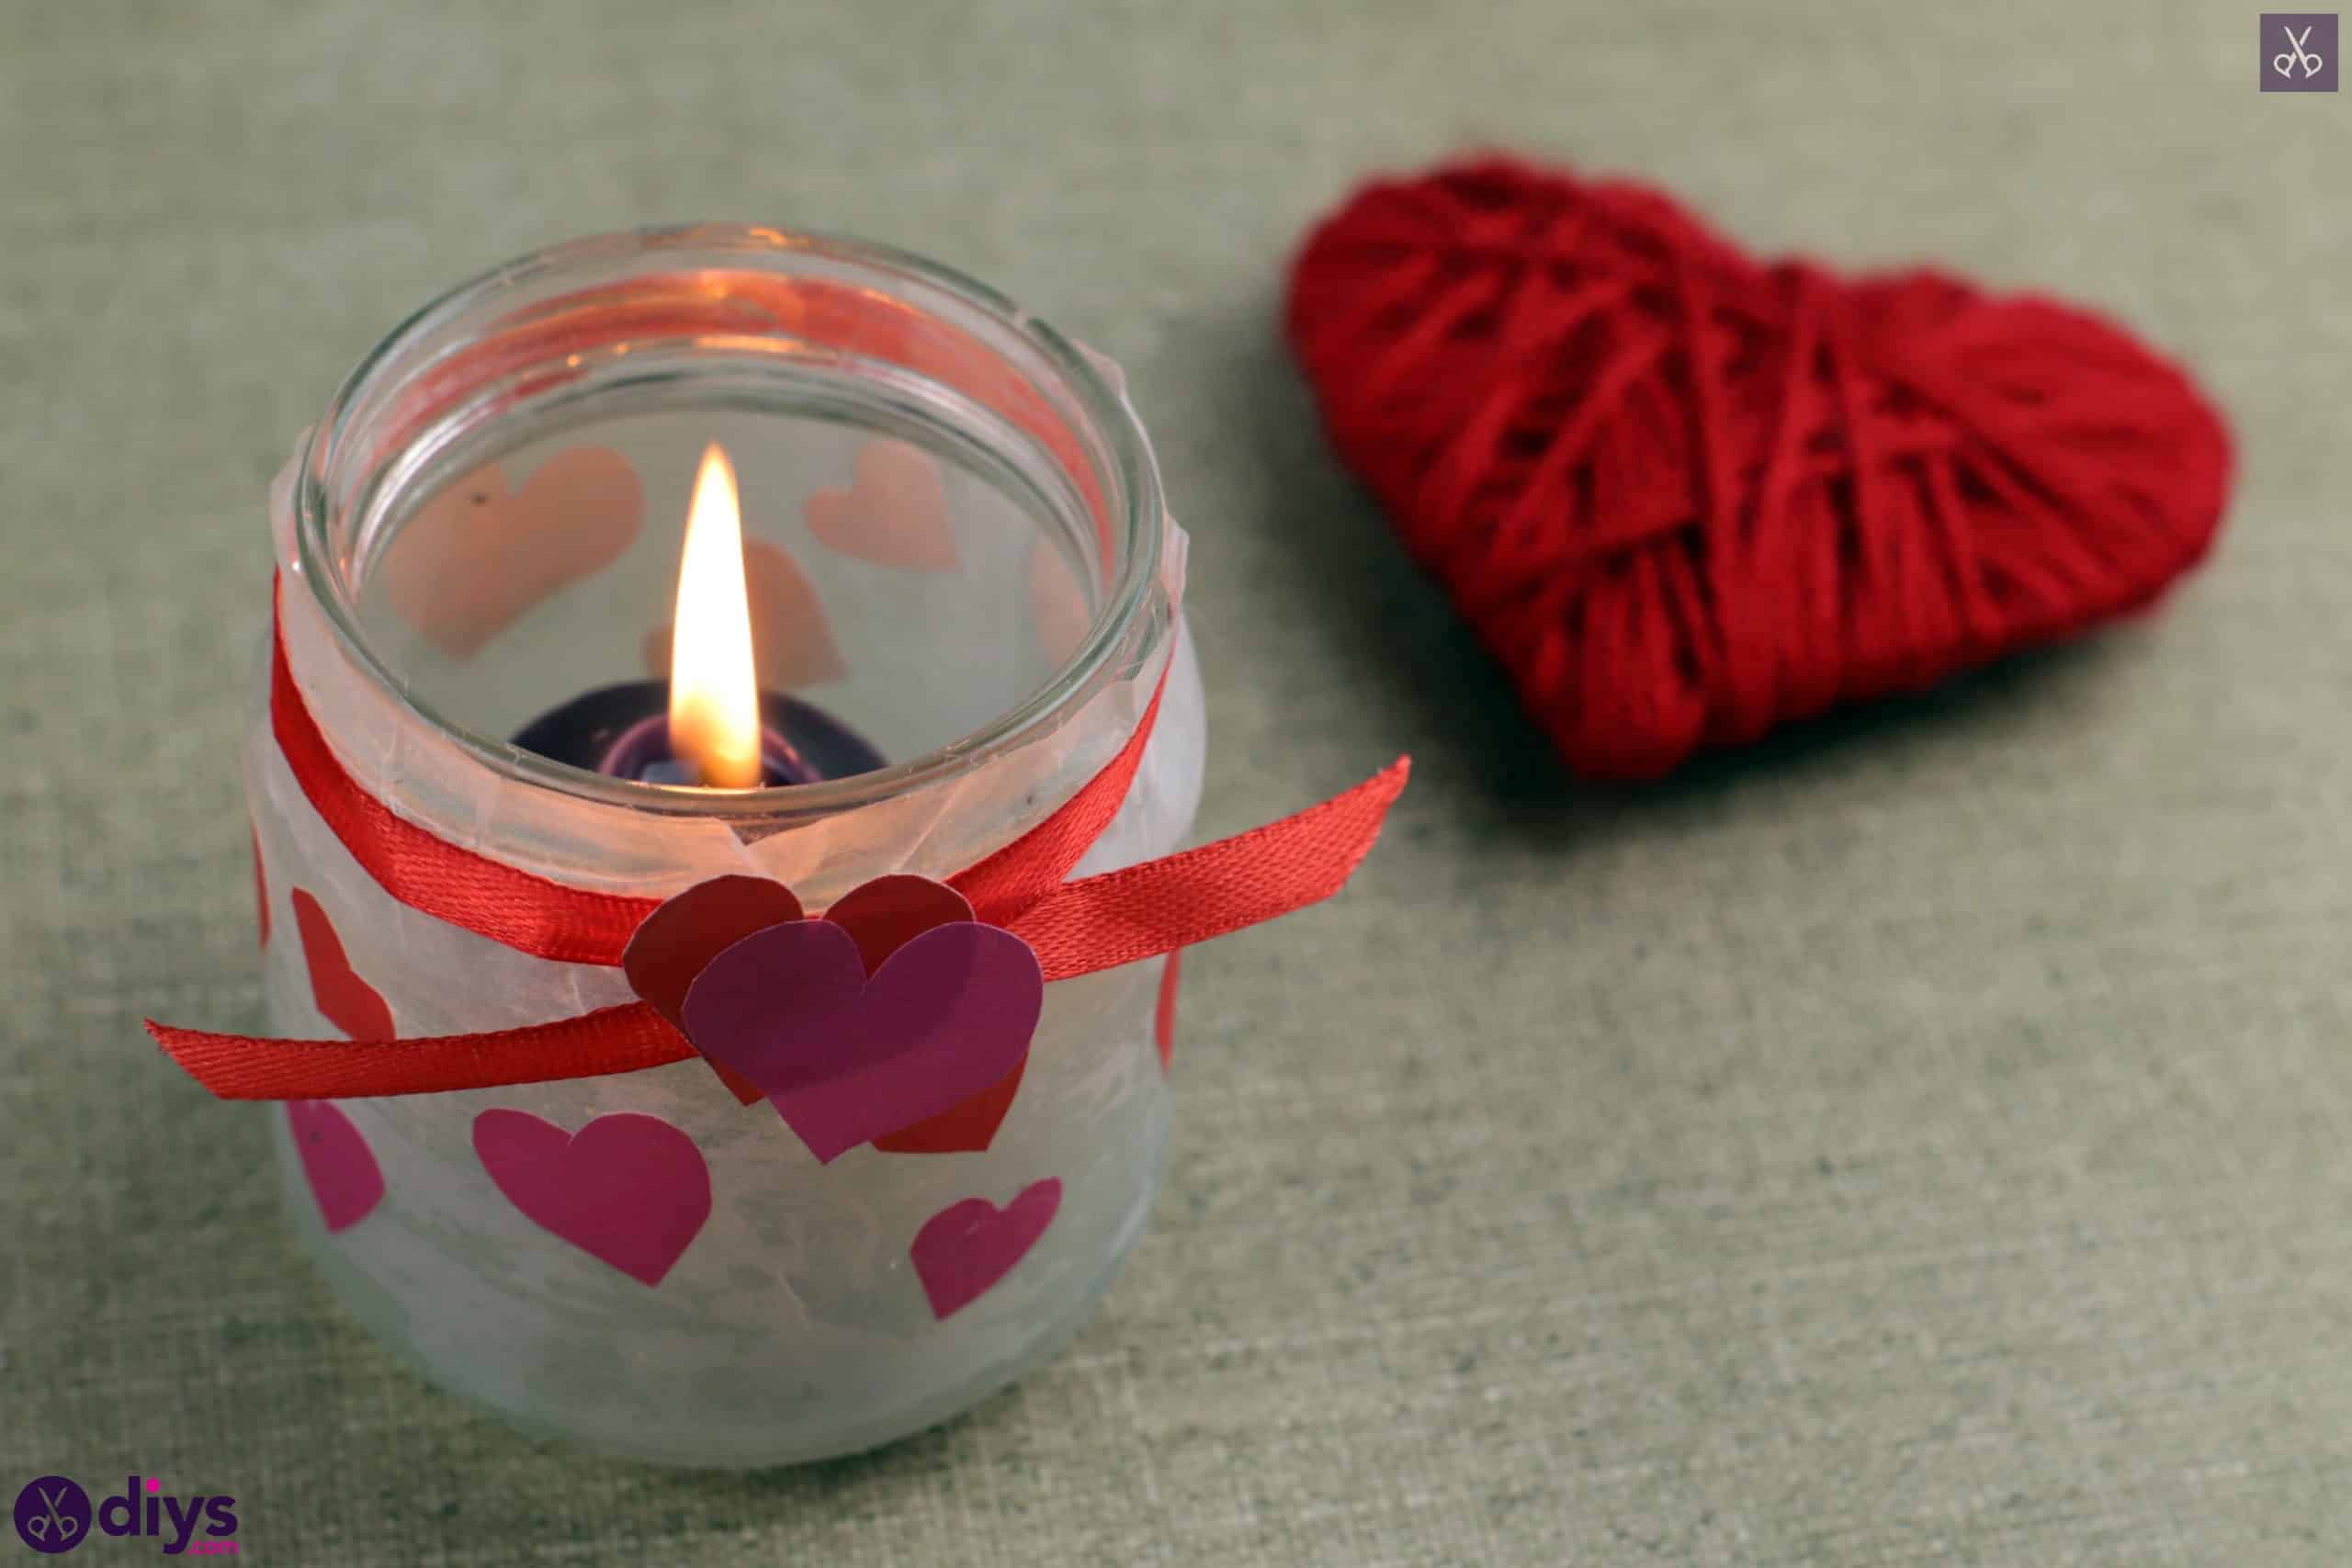
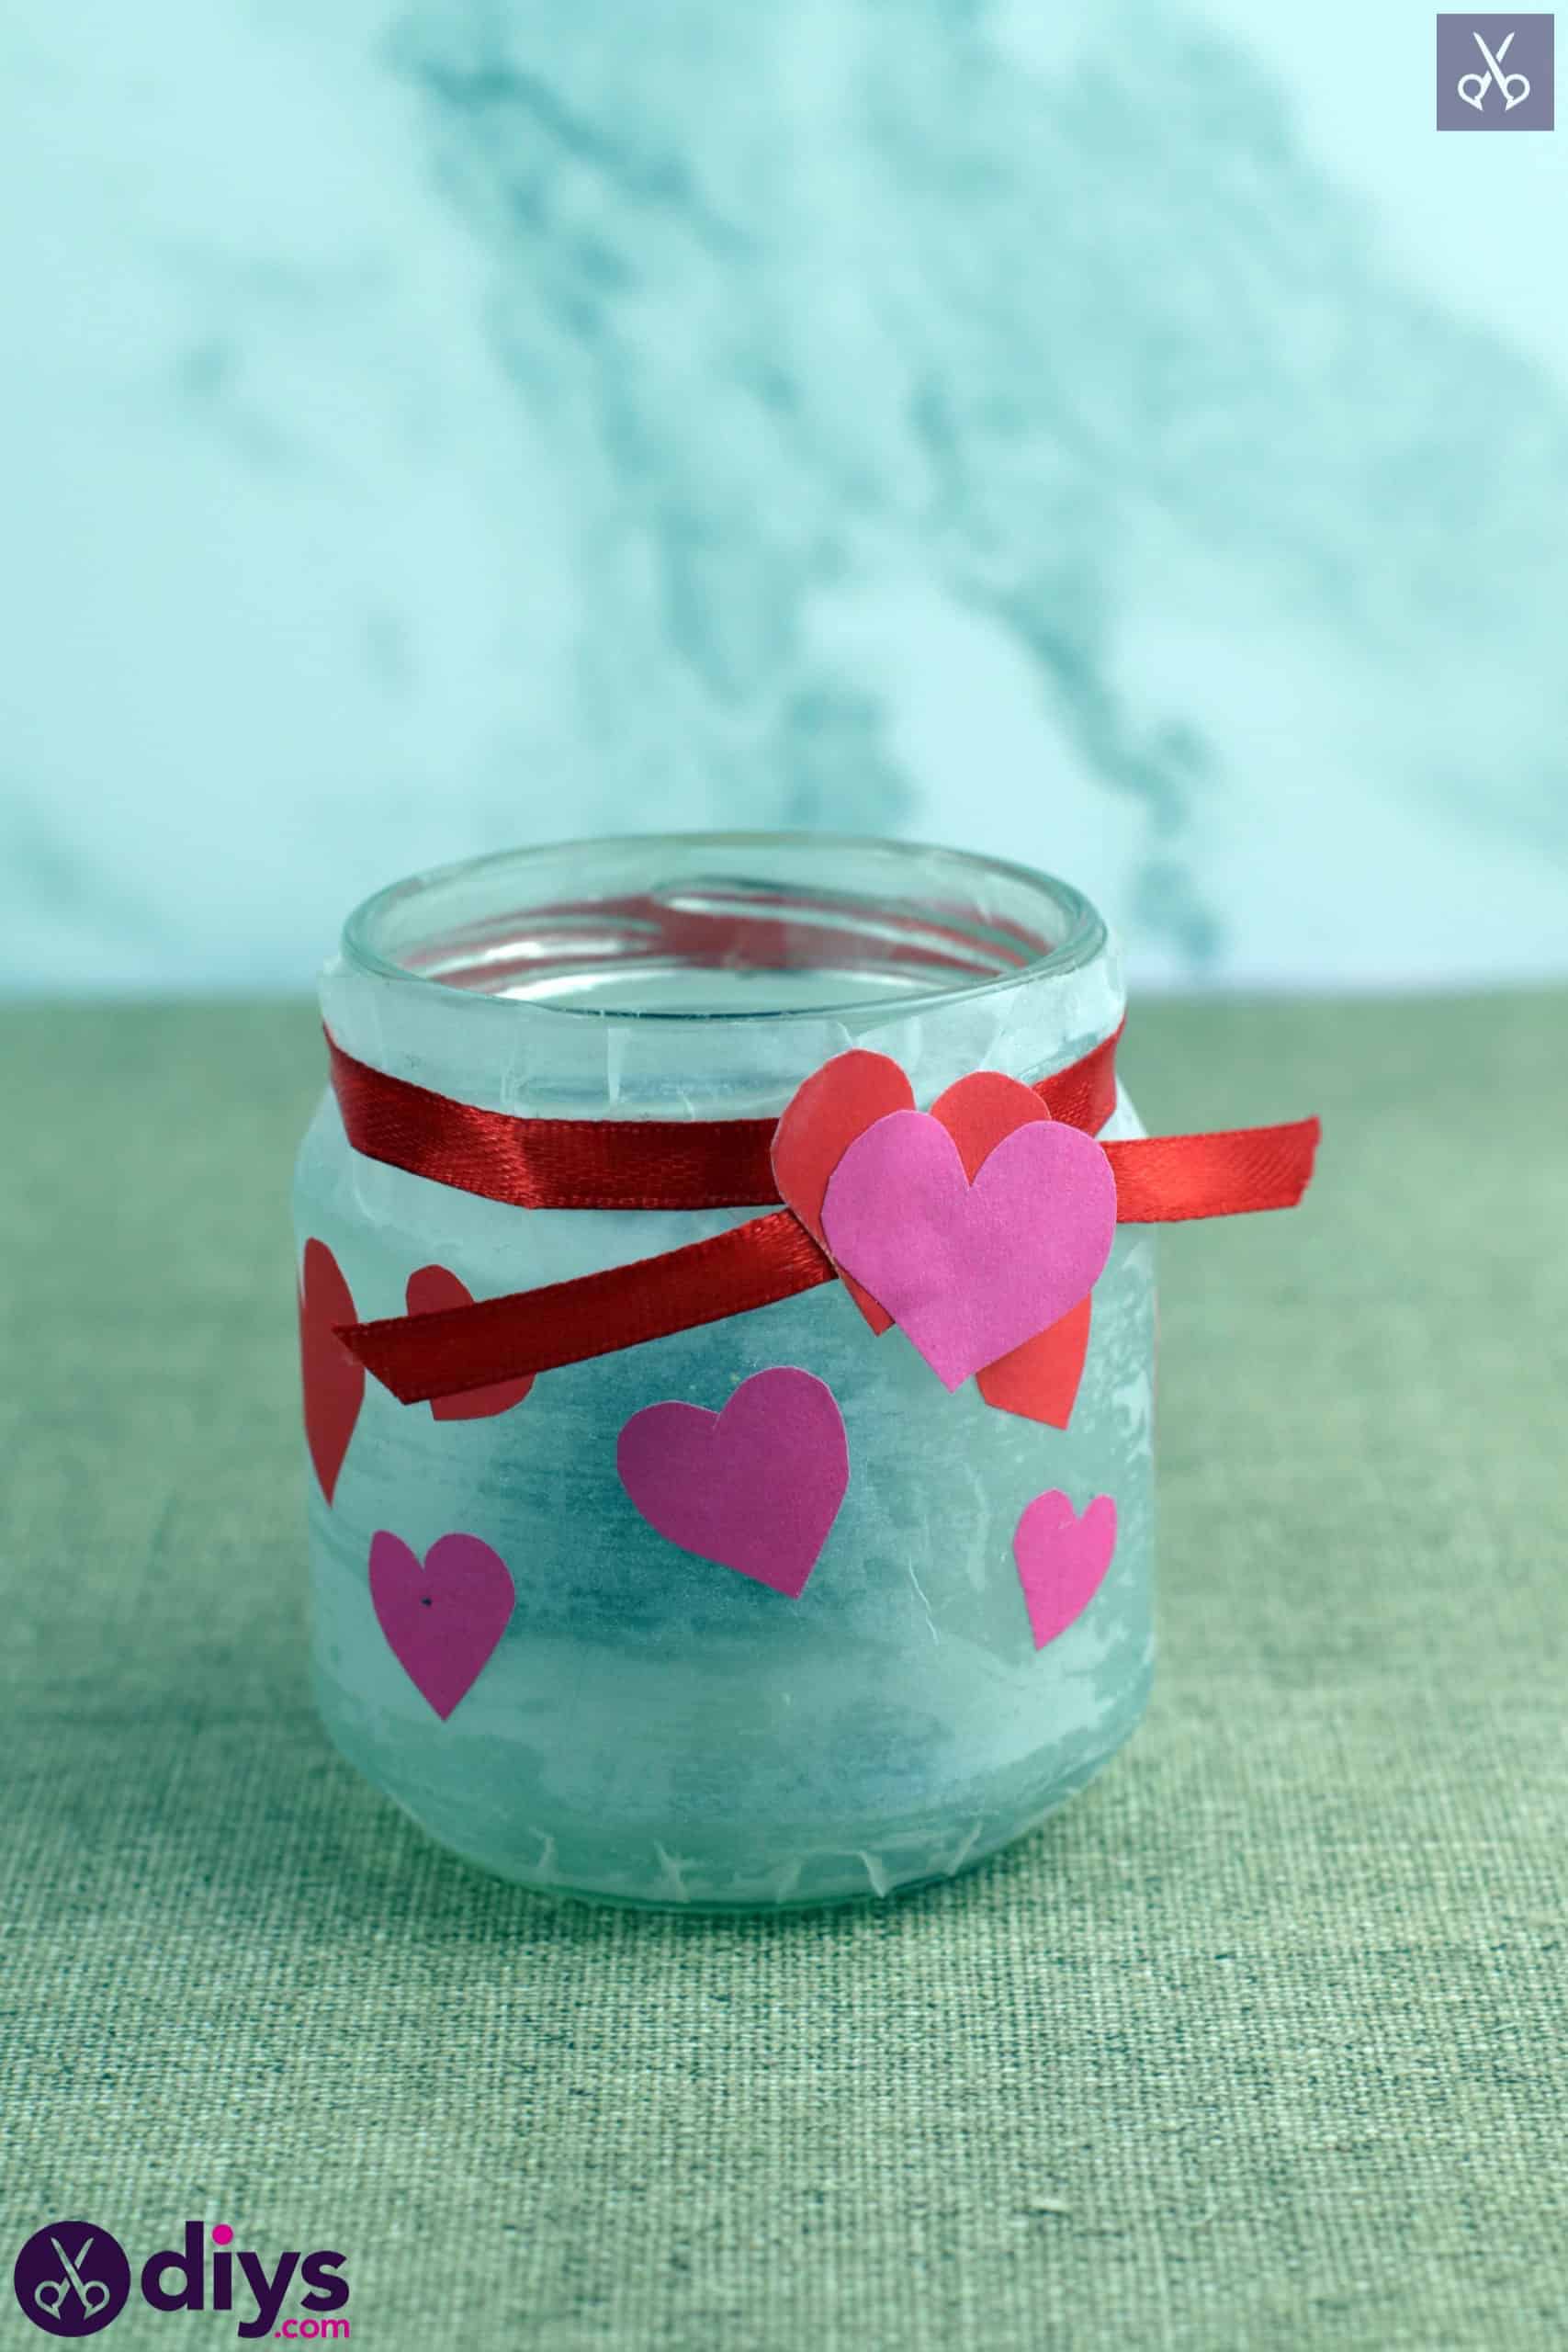
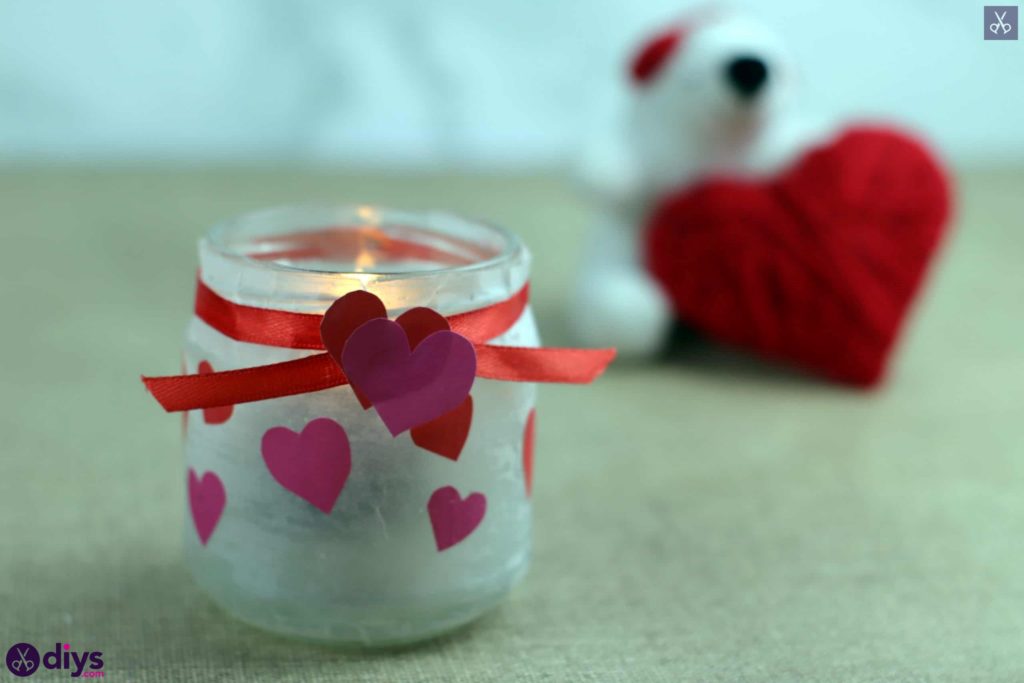
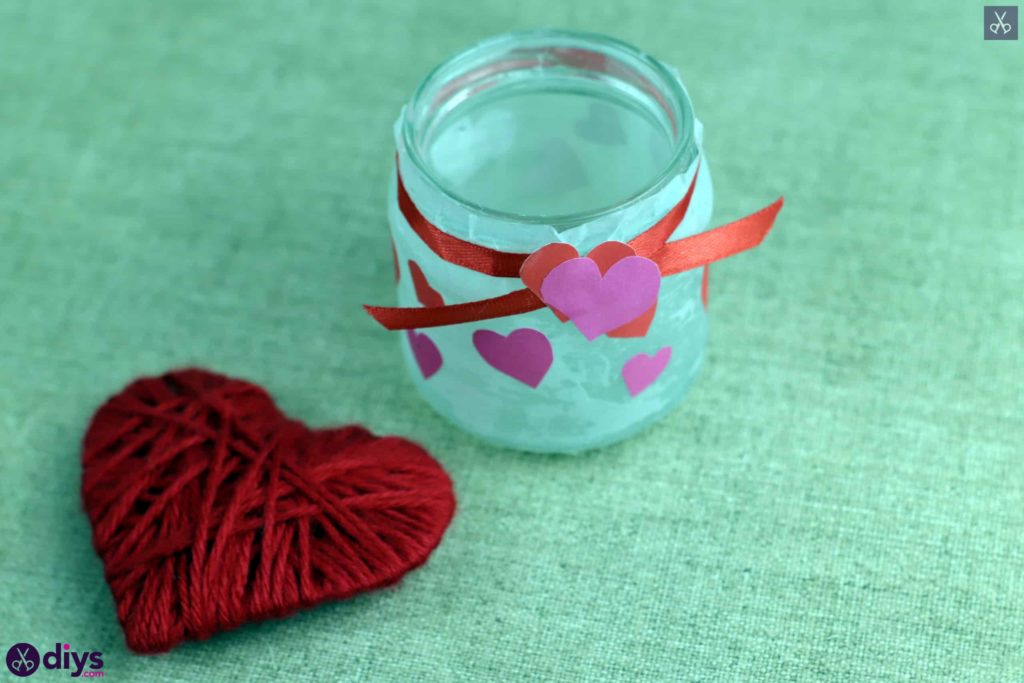
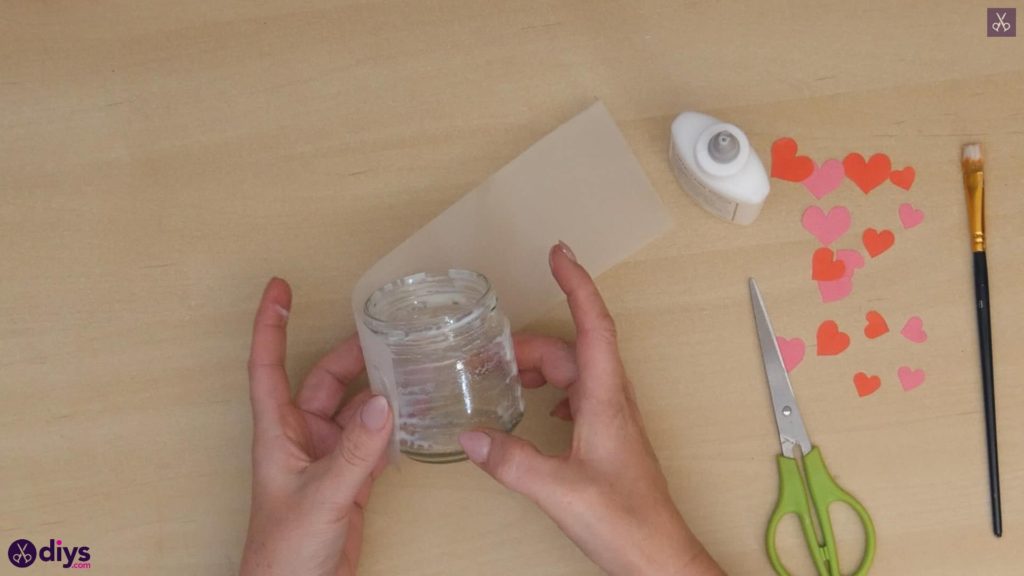
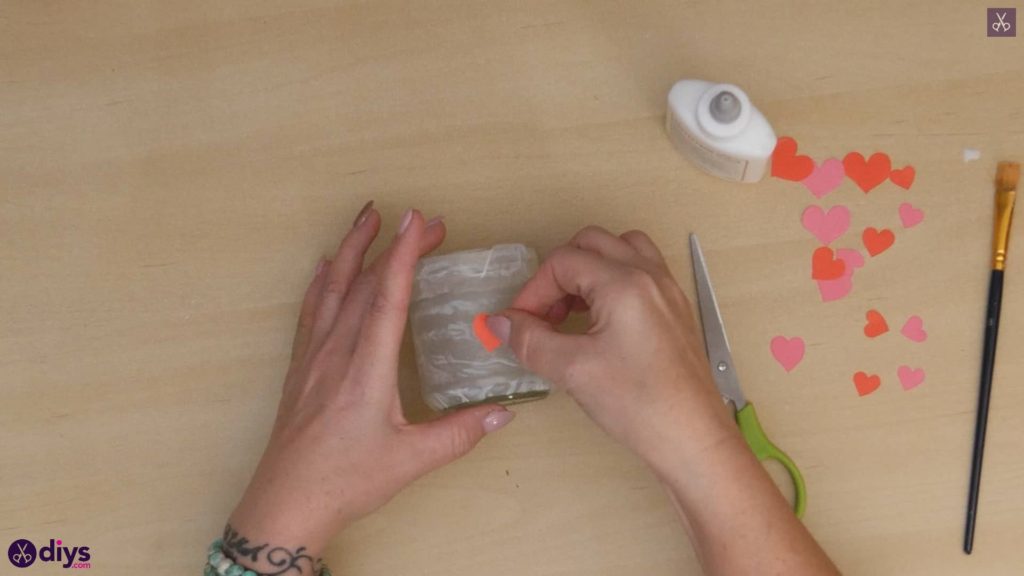
Cover the outside surface of your jar with white liquid glue. Use enough that the entire outer surface gets covered well, but not so that it’s dripping. Use your paintbrush to spread the glue across the jar’s entire surface nice and thin, covering it from its very bottom edge (but not on the actual bottom of the jar) all the way up to the very top edge, including the top lip where a lid would once have screwed on. Before the glue can dry, line the rectangular piece you cut earlier up with the top and bottom edges again, sticking it into the glue. Smoothly wrap the vellum paper all the way around the jar, trying to avoid air bubbles as best you can, until it’s stuck all the way around with both ends in pace. Smooth the vellum paper down all around the jar’s surface, including any lip it has towards the top. Don’t worry too much about any texture or puckering; it just adds character and you’ll be able to cover some of it in later steps if you really want to!

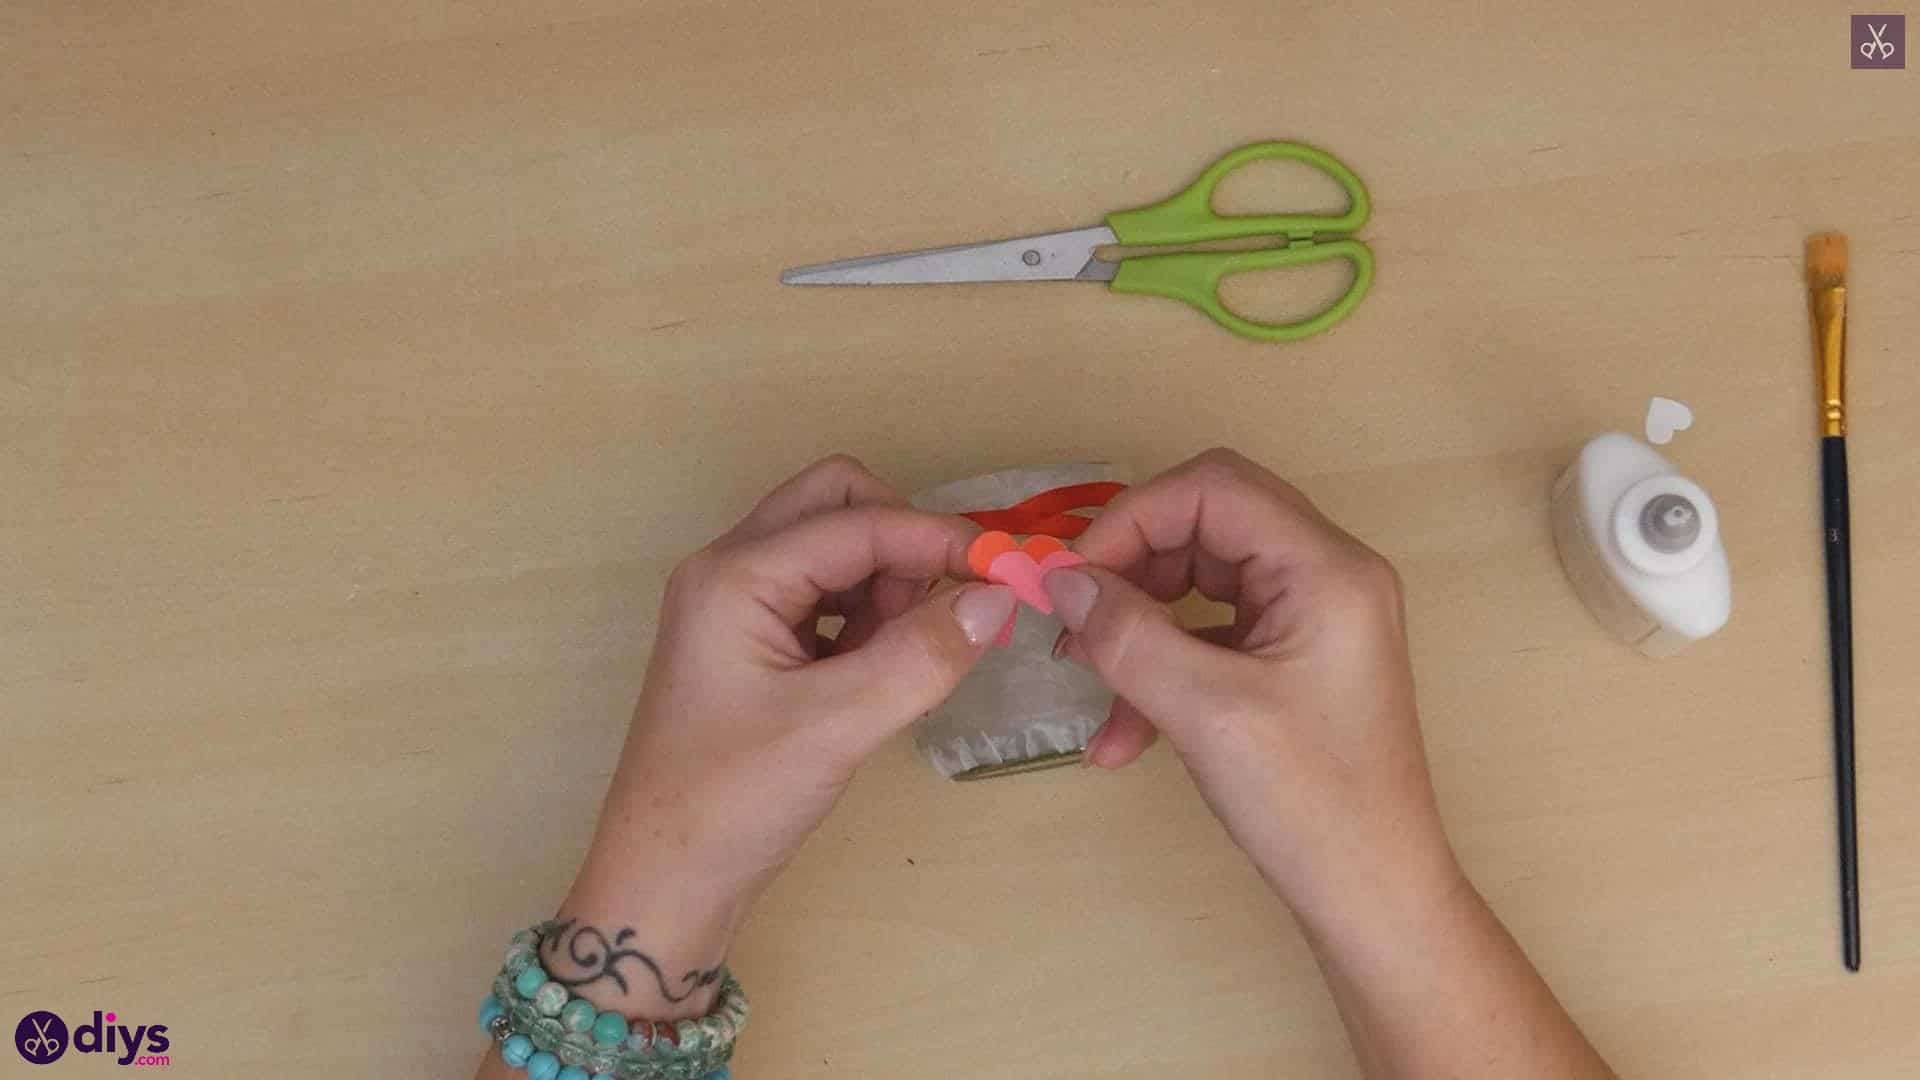
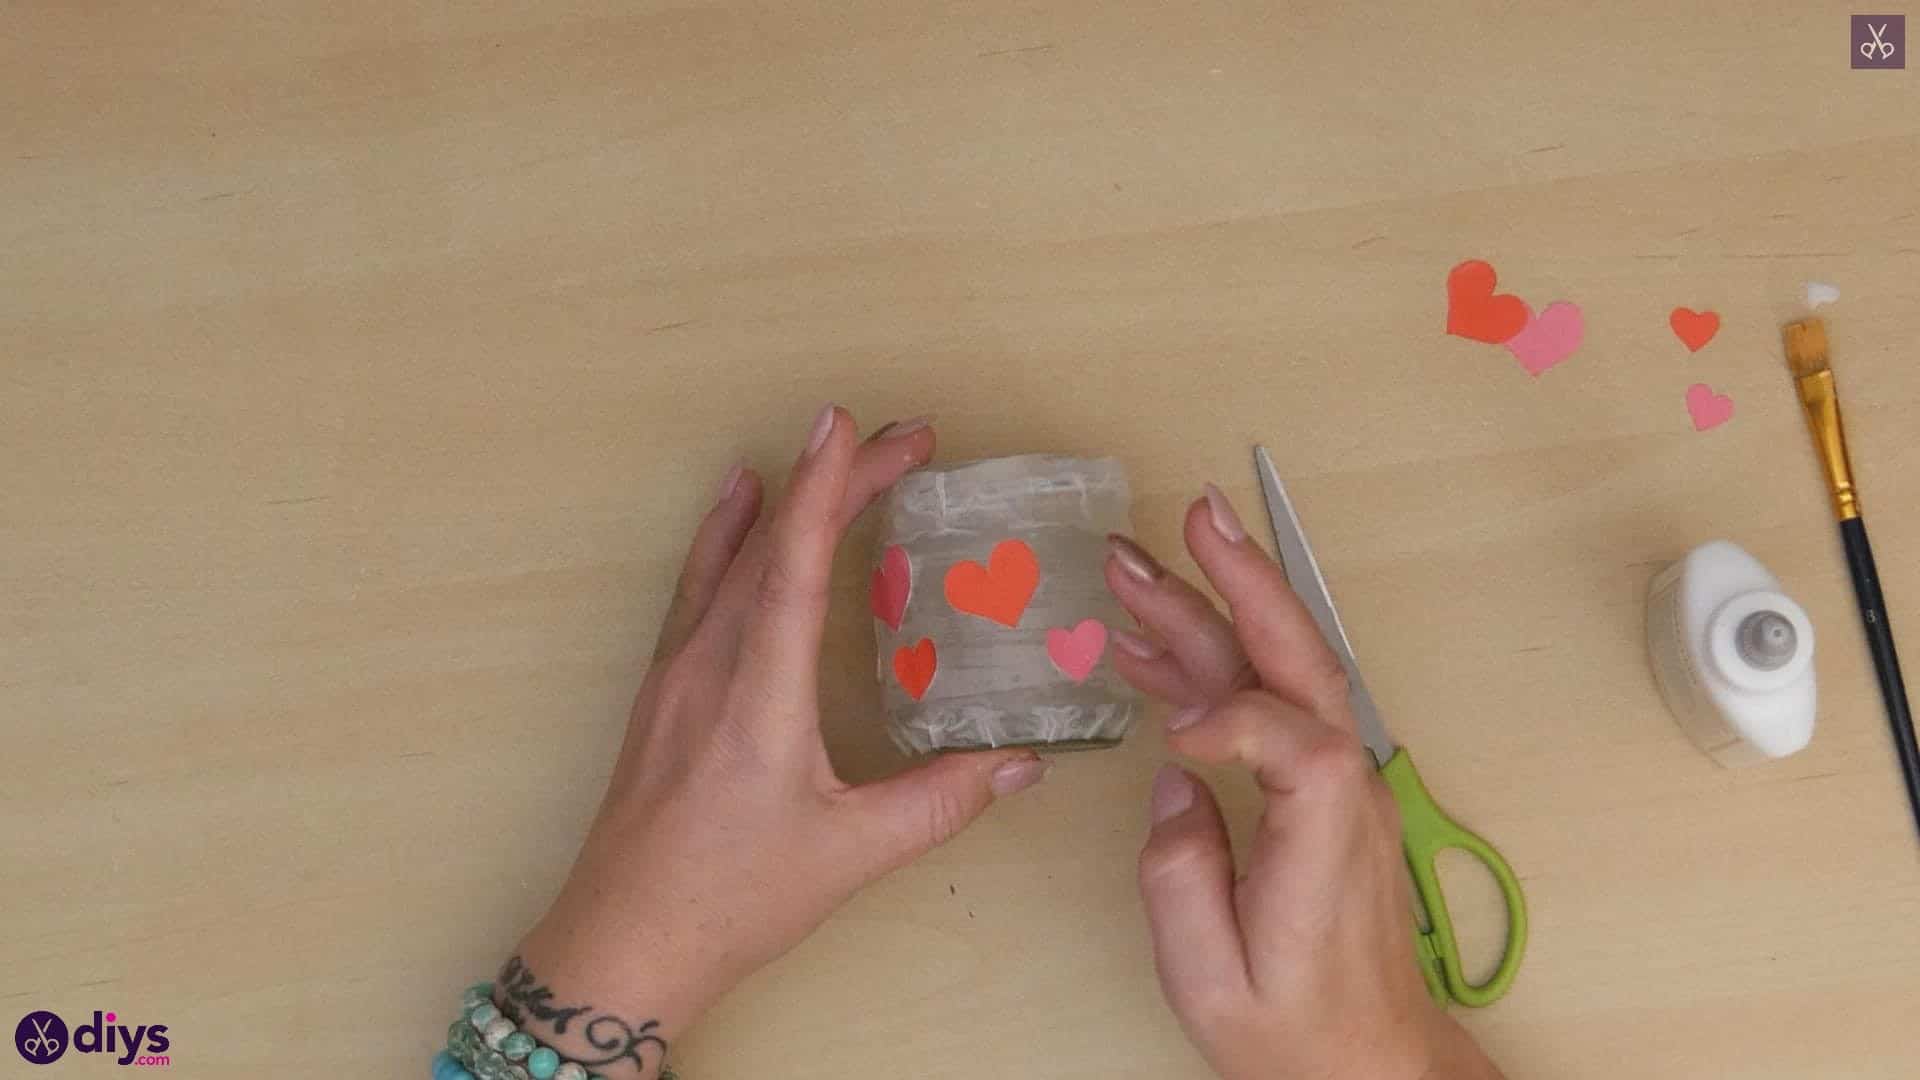
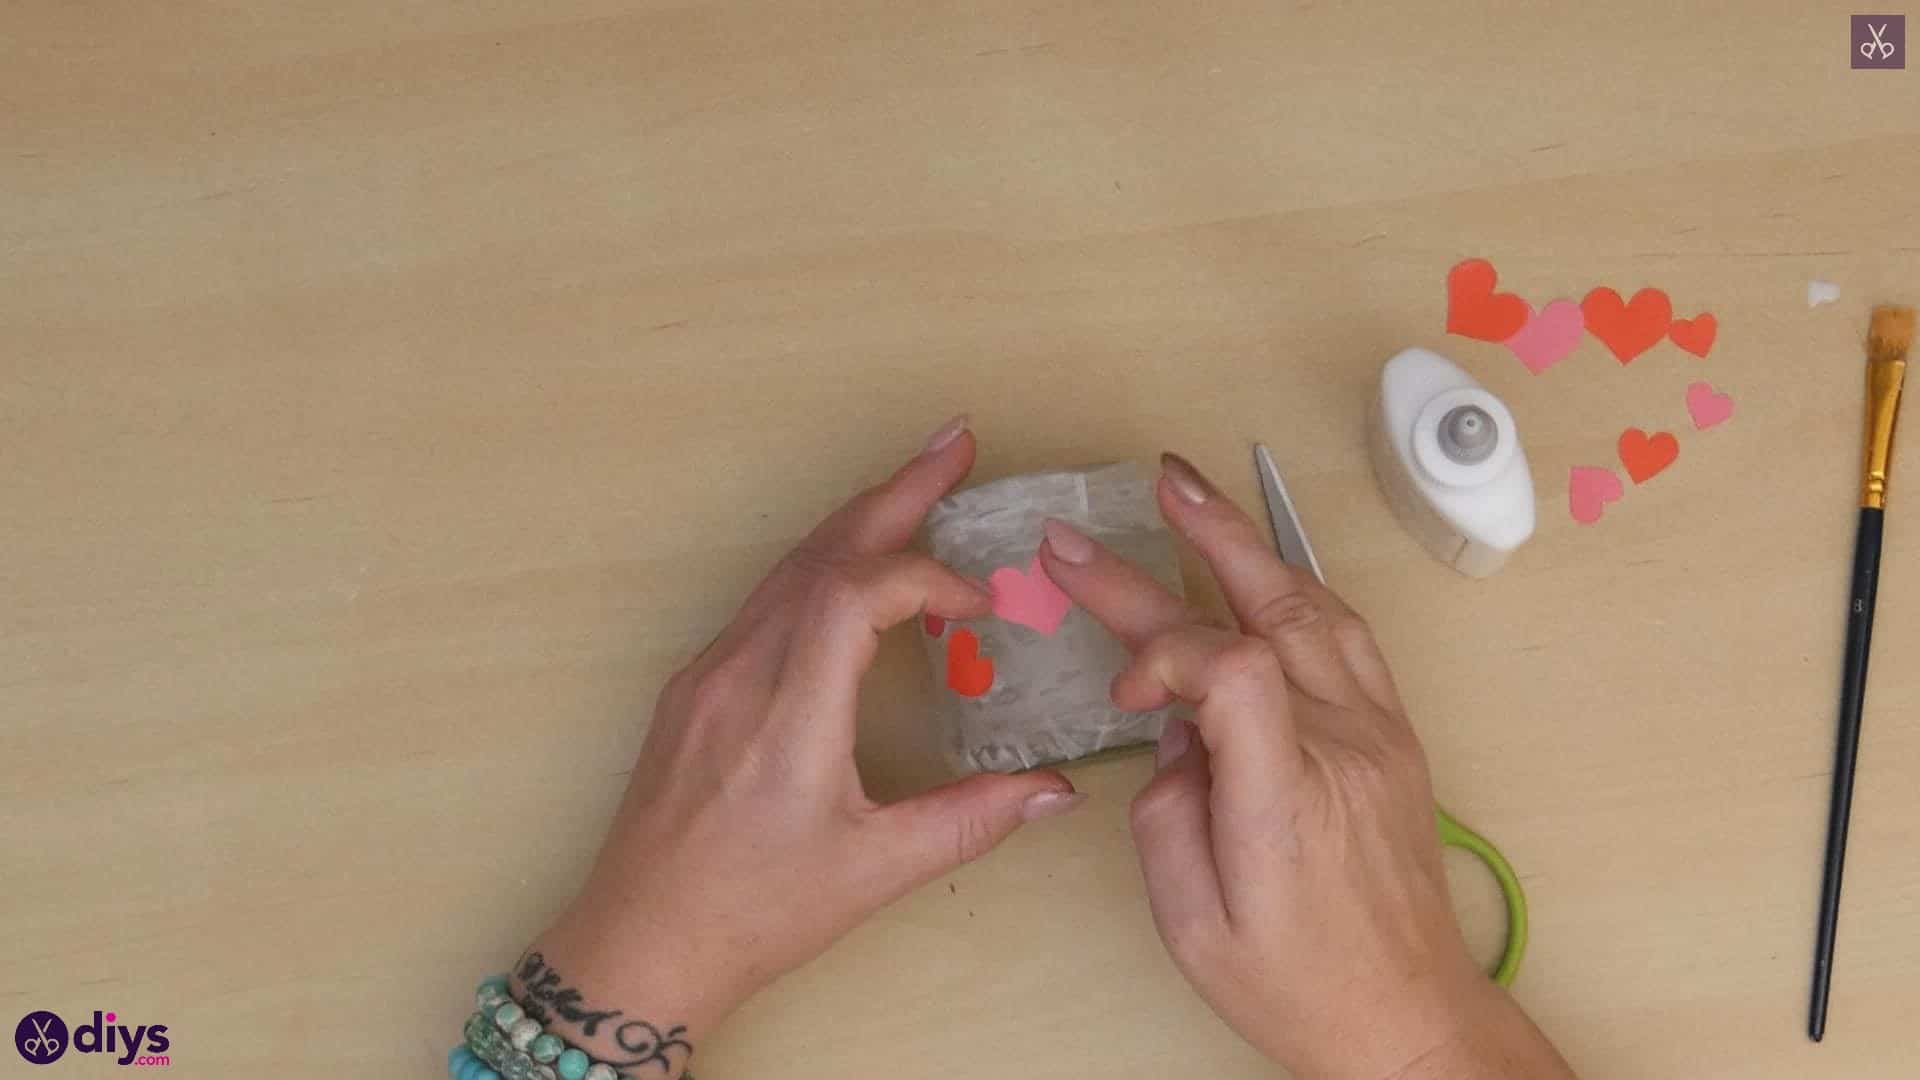
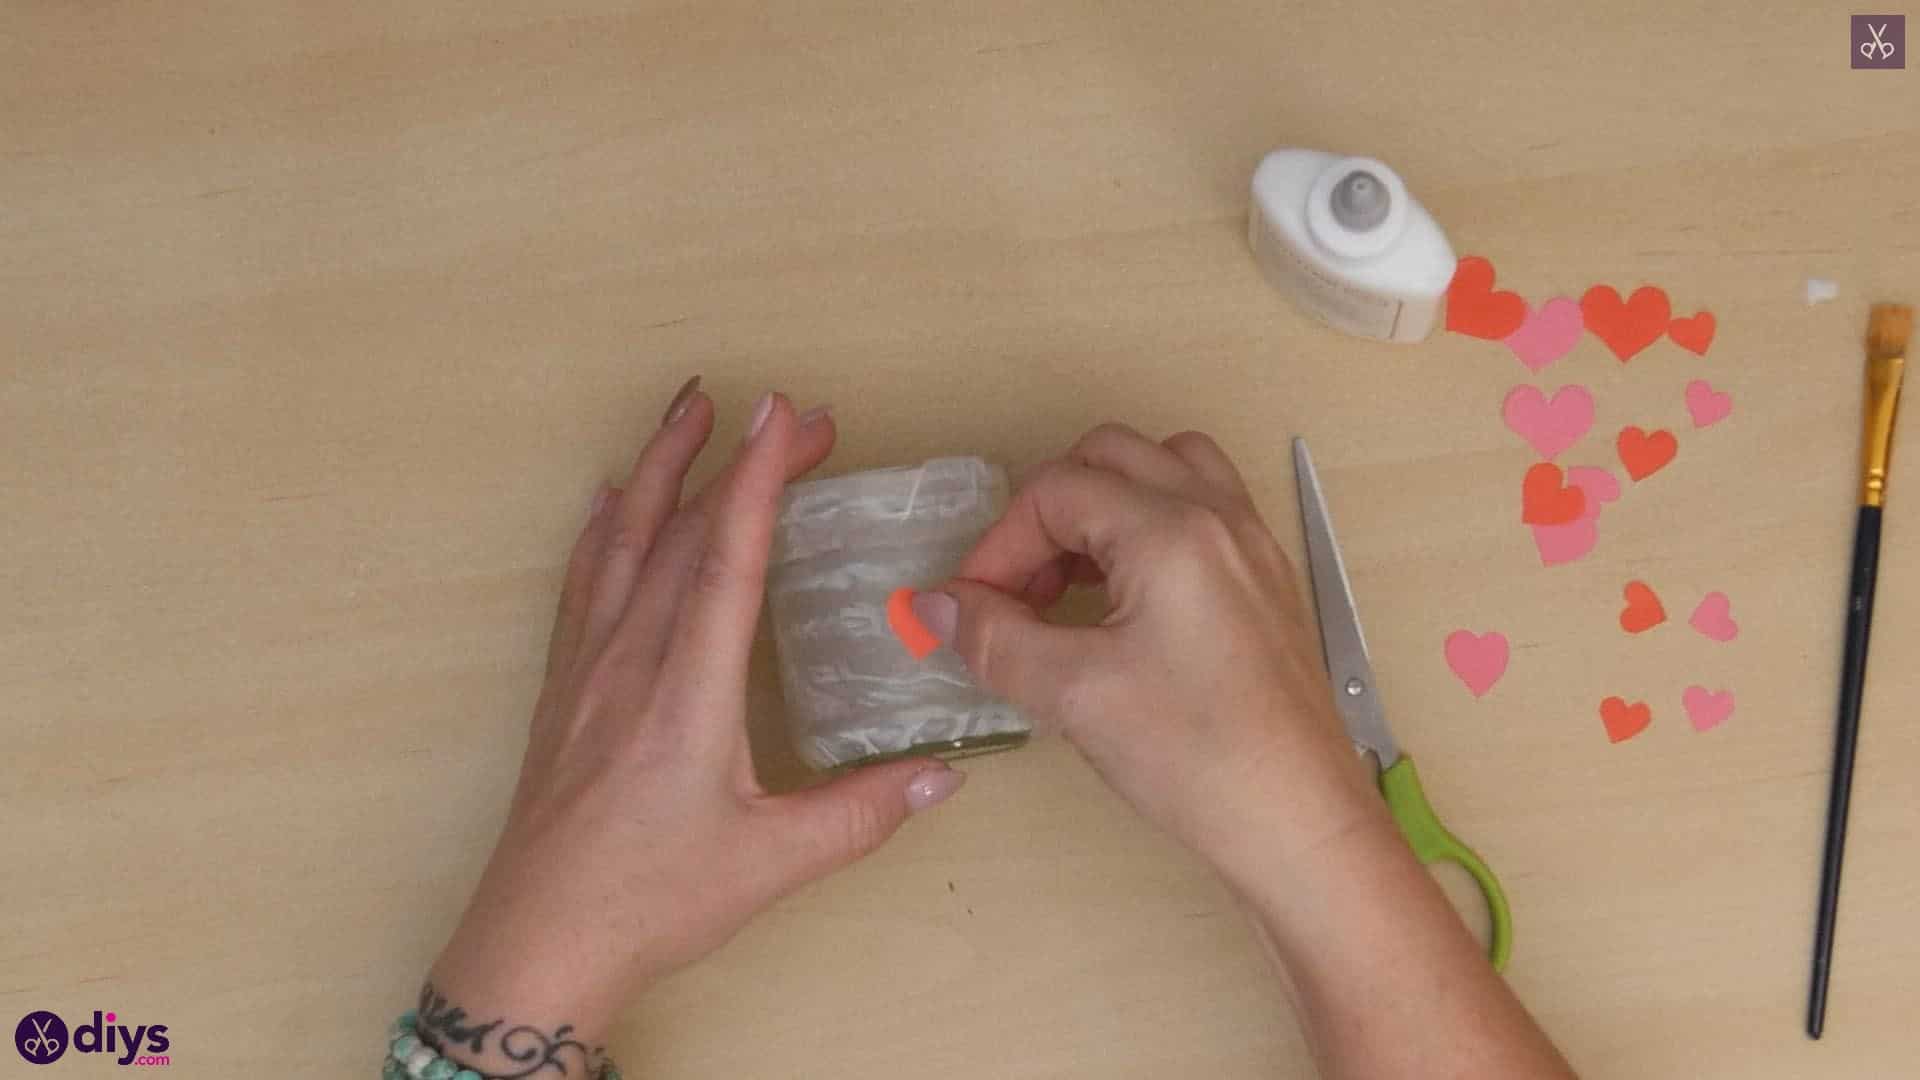
Step 5: add the hearts
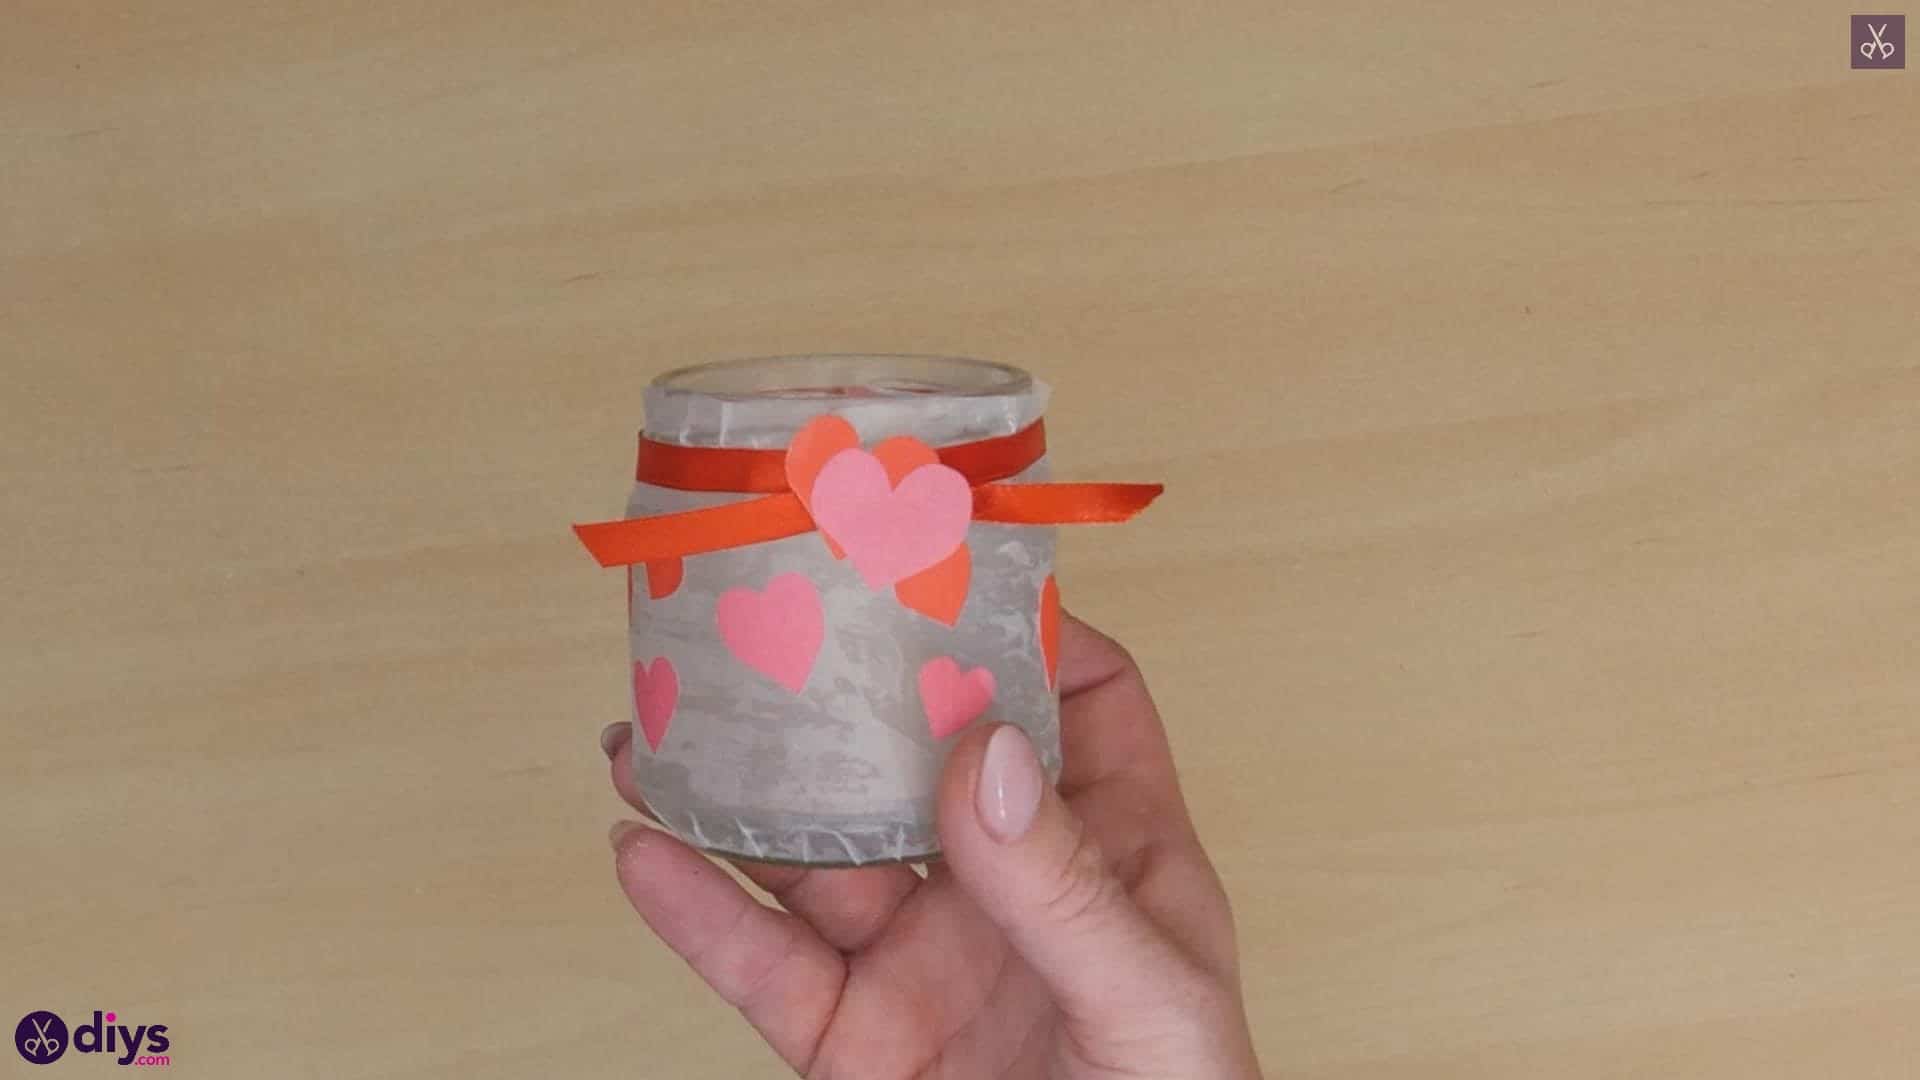
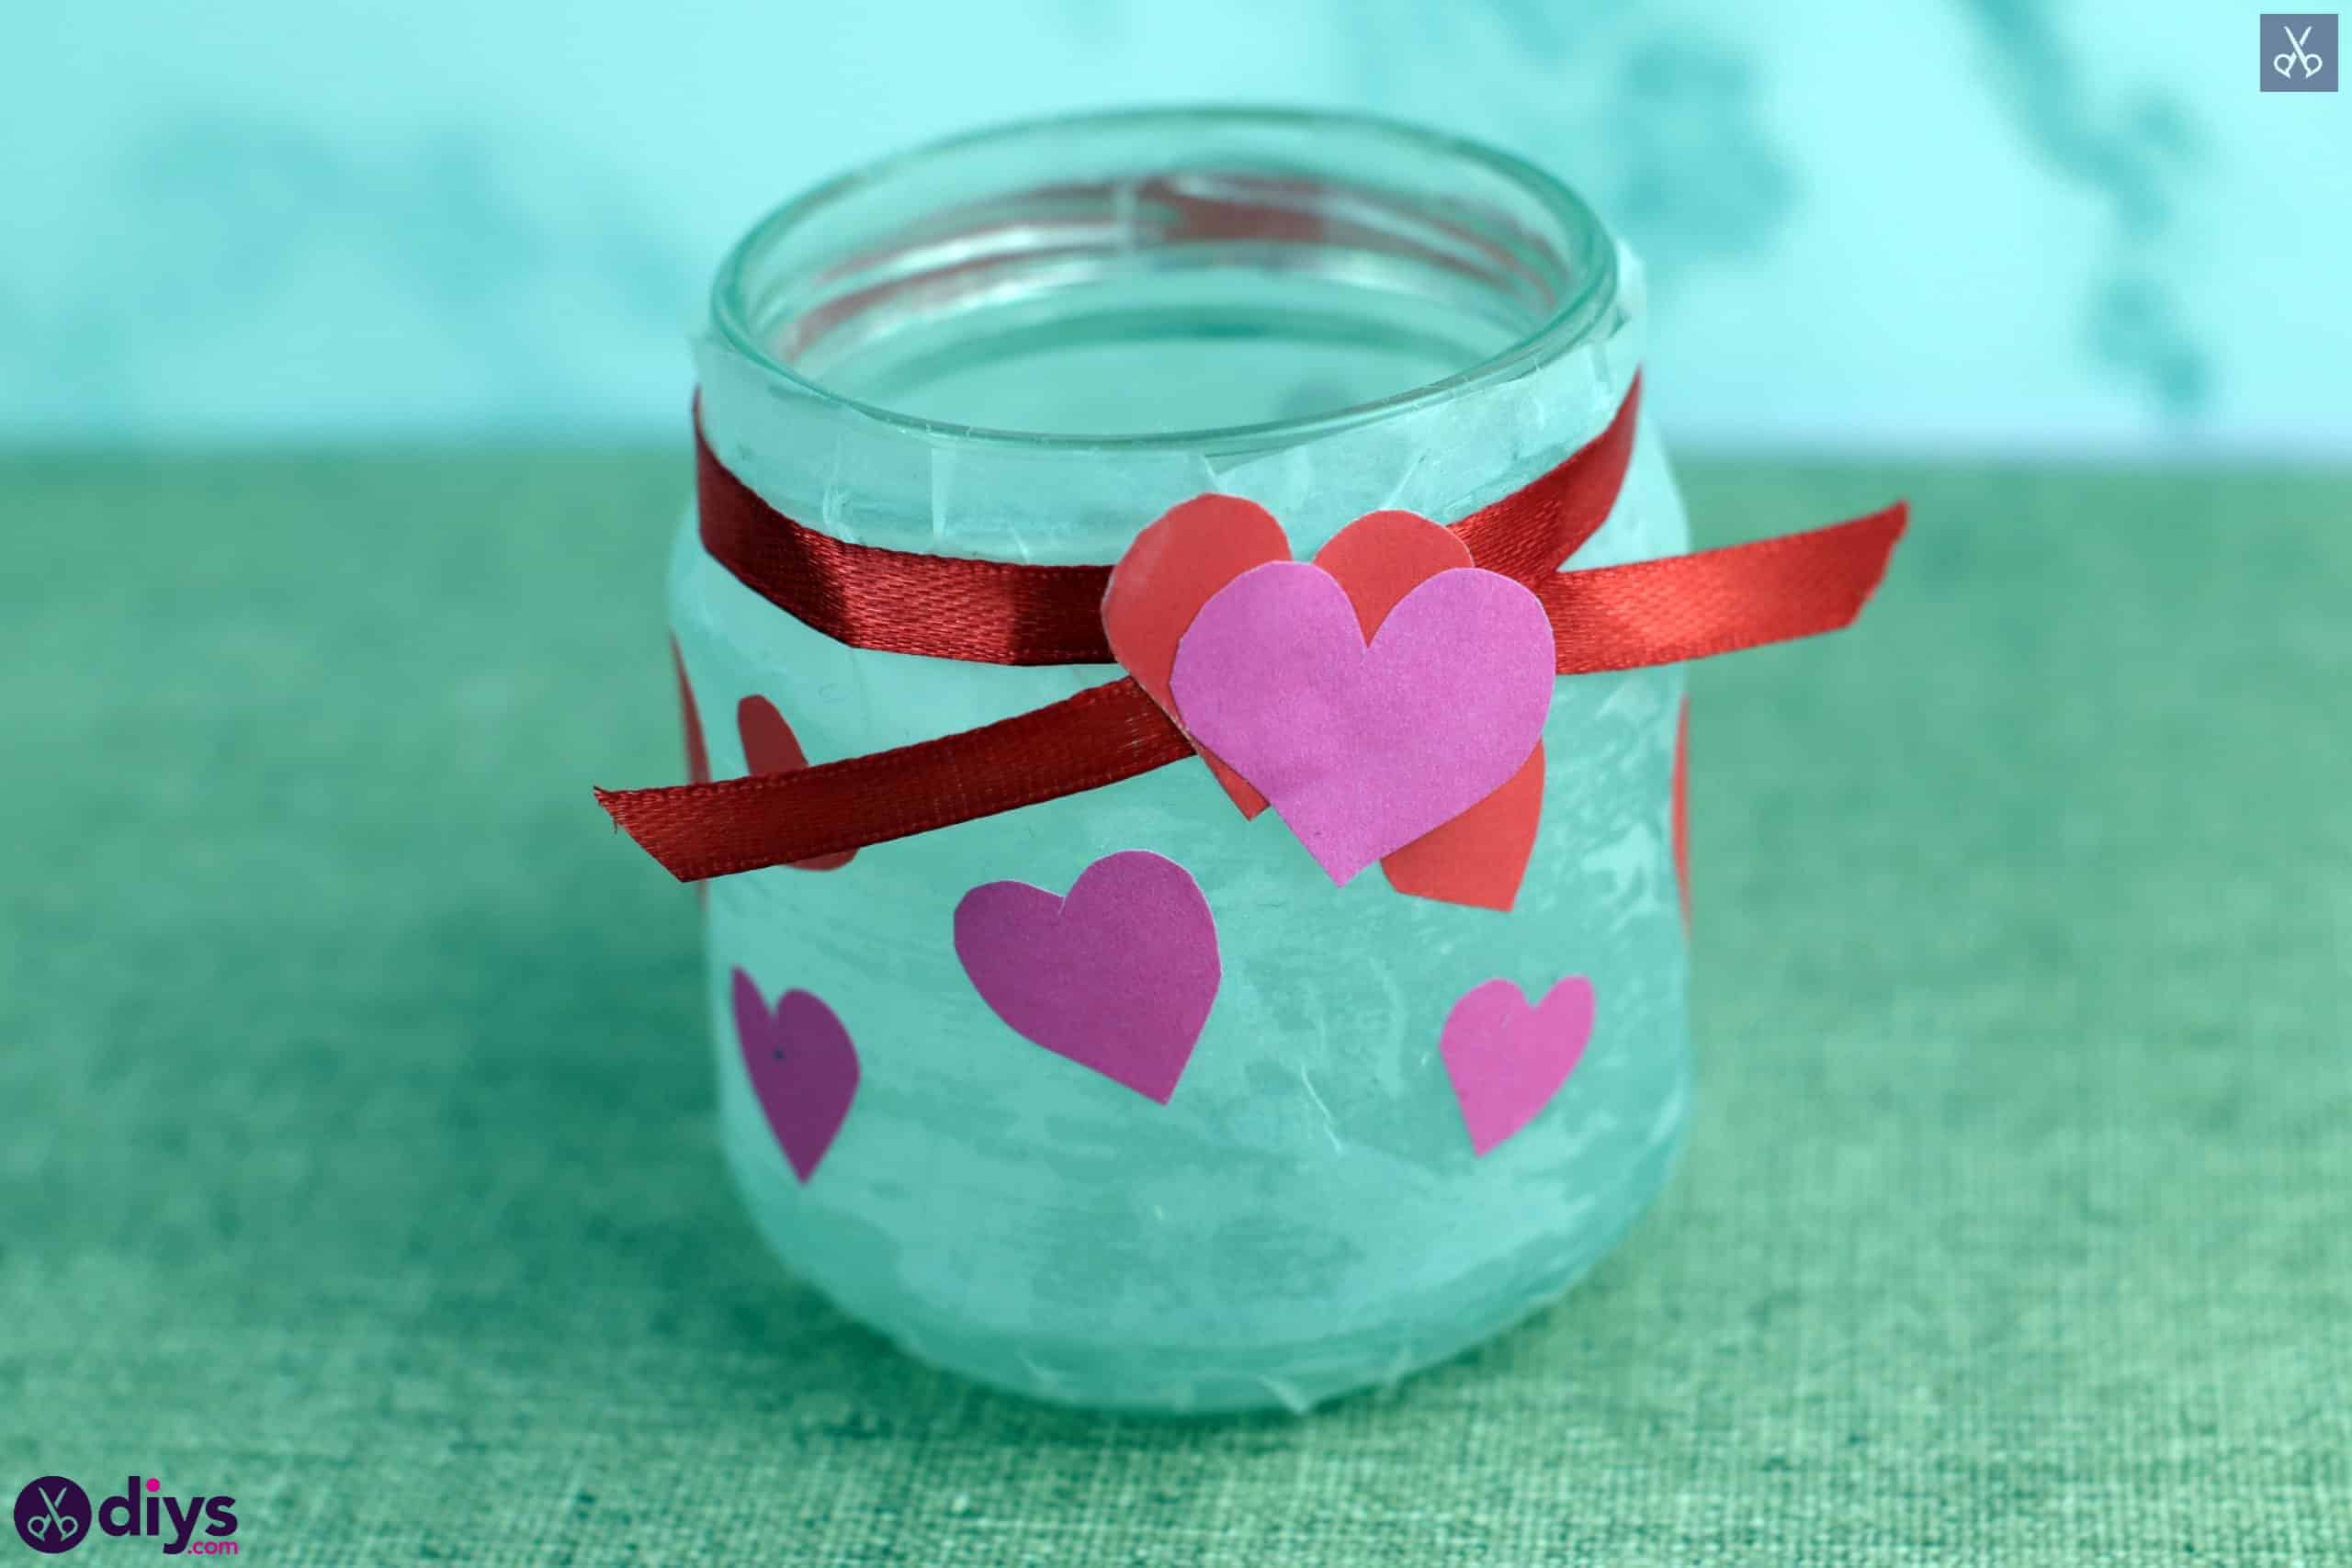
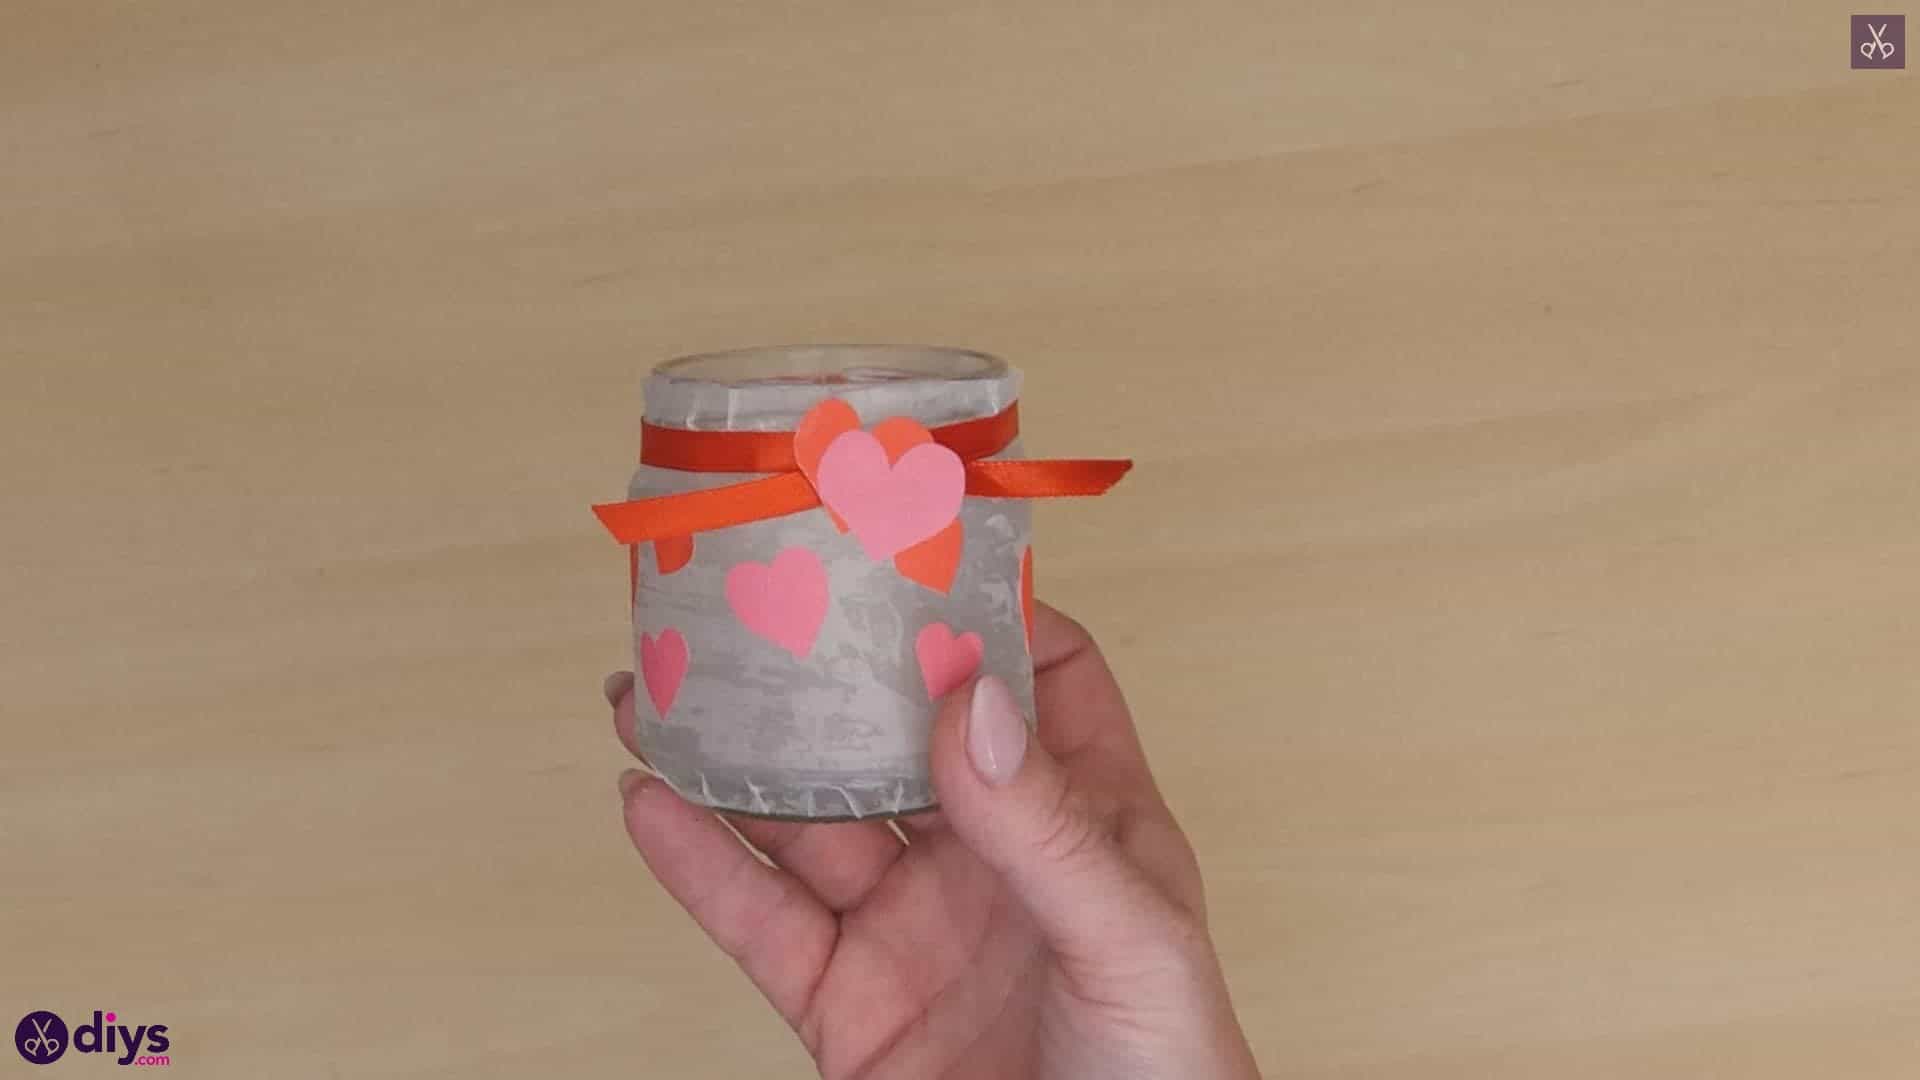
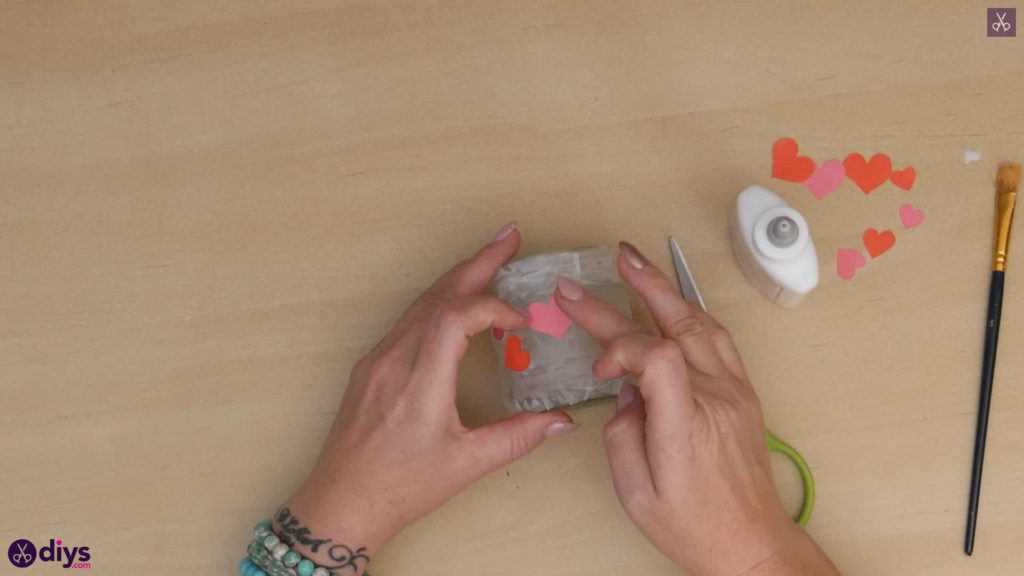
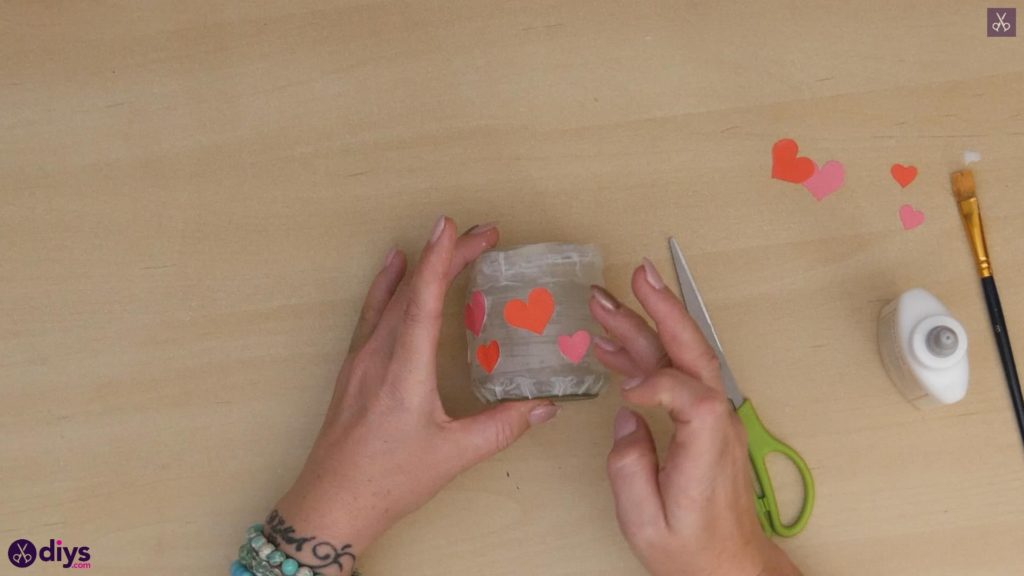
Stick your red and pink hearts down all over the surface of the jar on top of the vellum paper, scattering them and alternating the colours however you please! Stick each one down by applying a dot of white flue on the back and sticking it right to the vellum paper that now coats your jar. Stick them all over the jar but not on the upper dip around where the lid would have once screwed on; you’ll make a different effect there. Glue down all of your hearts except two; one pink and one red.
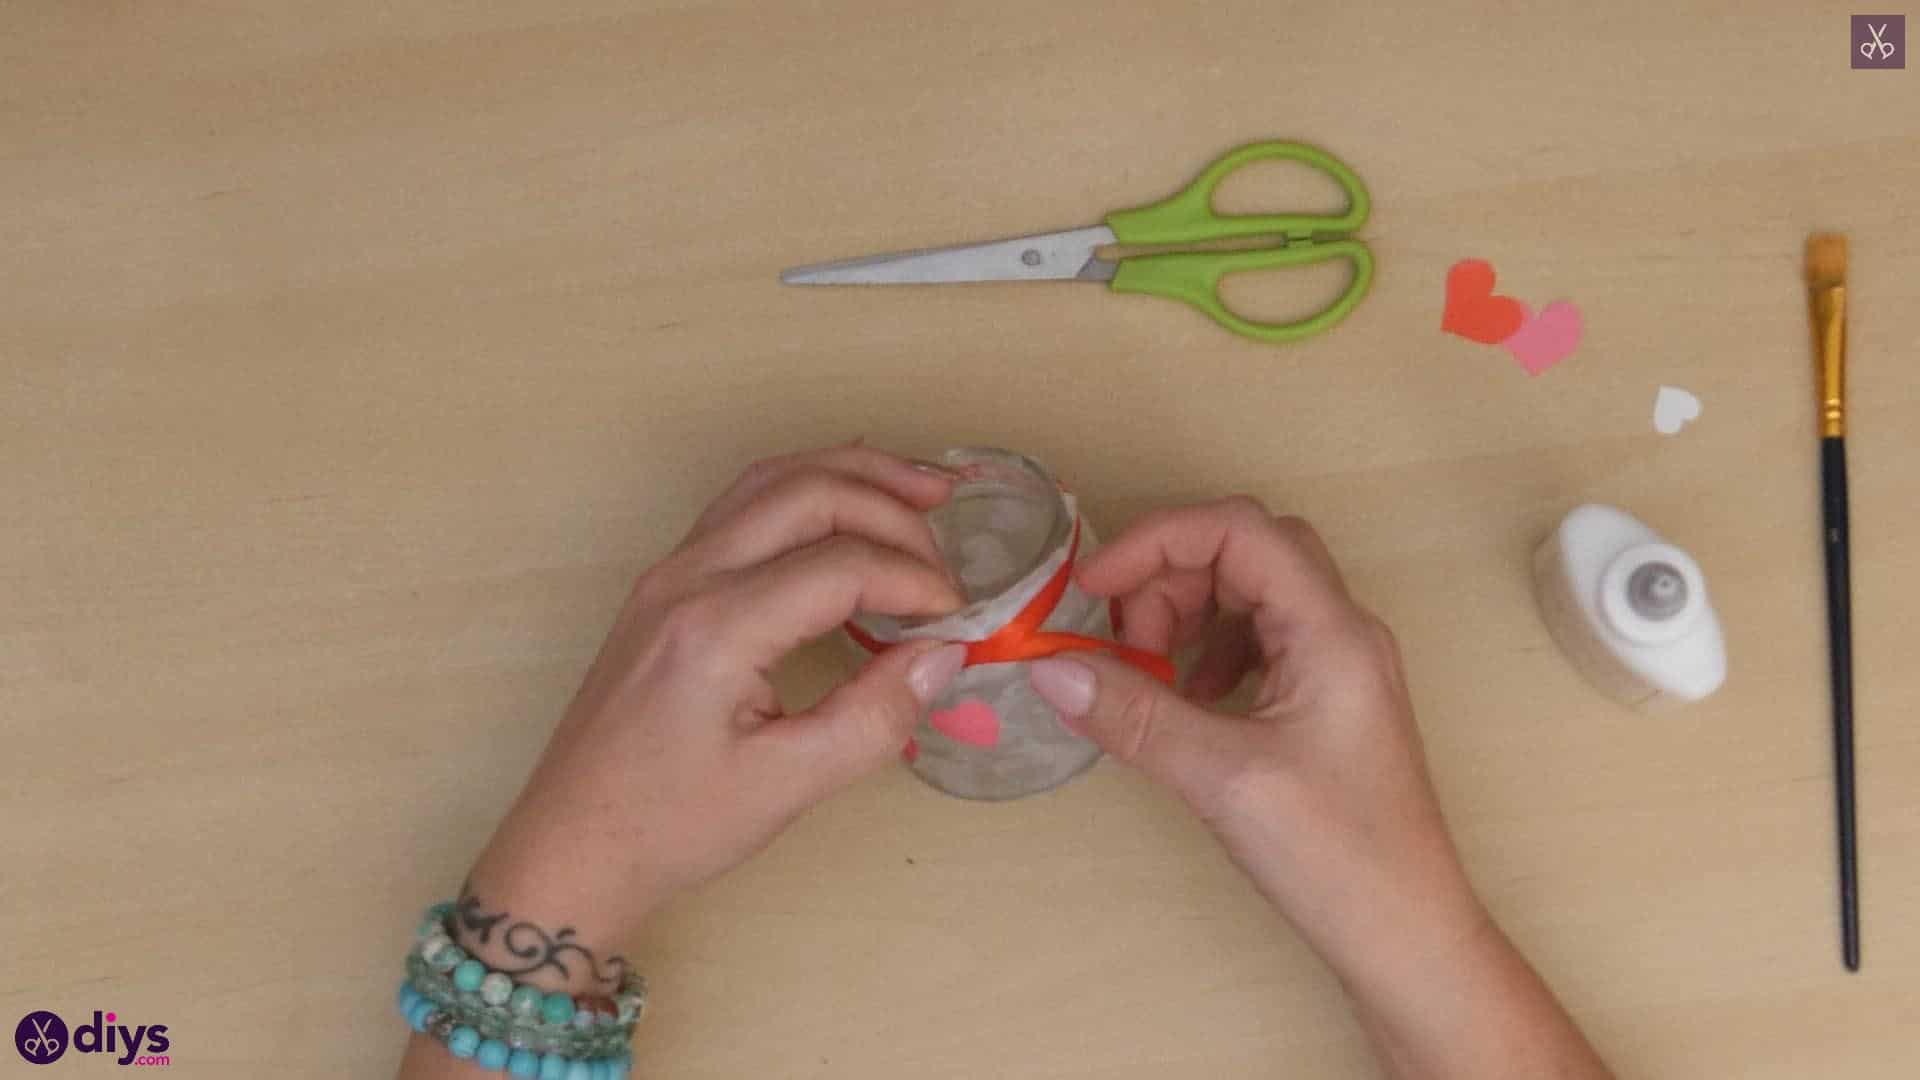
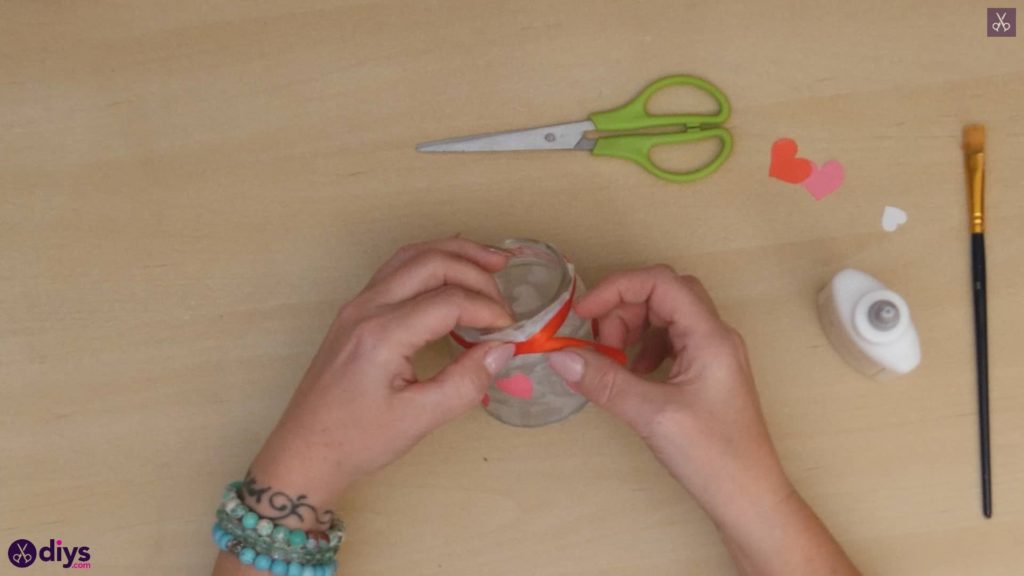
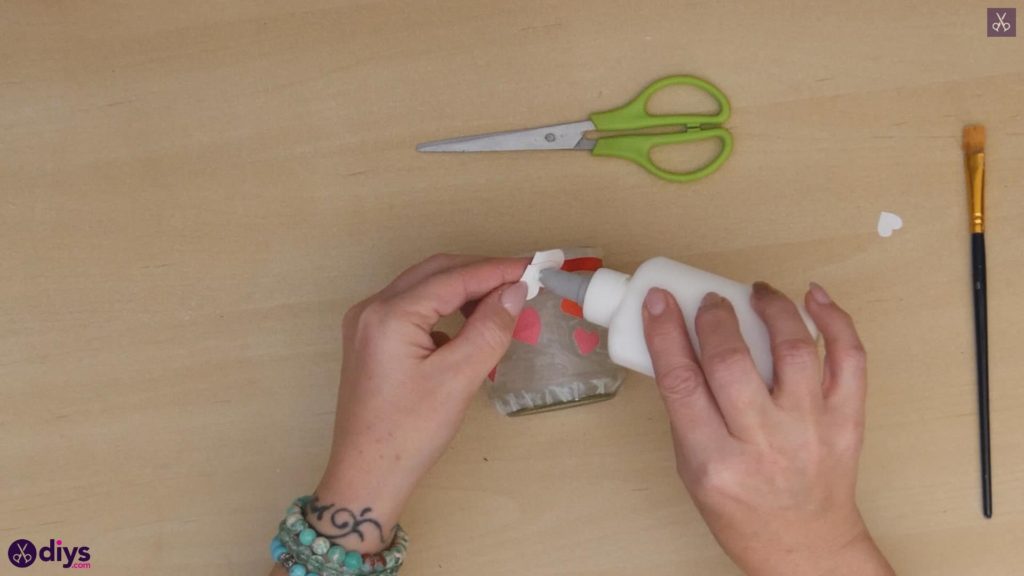
Step 6: add ribbon
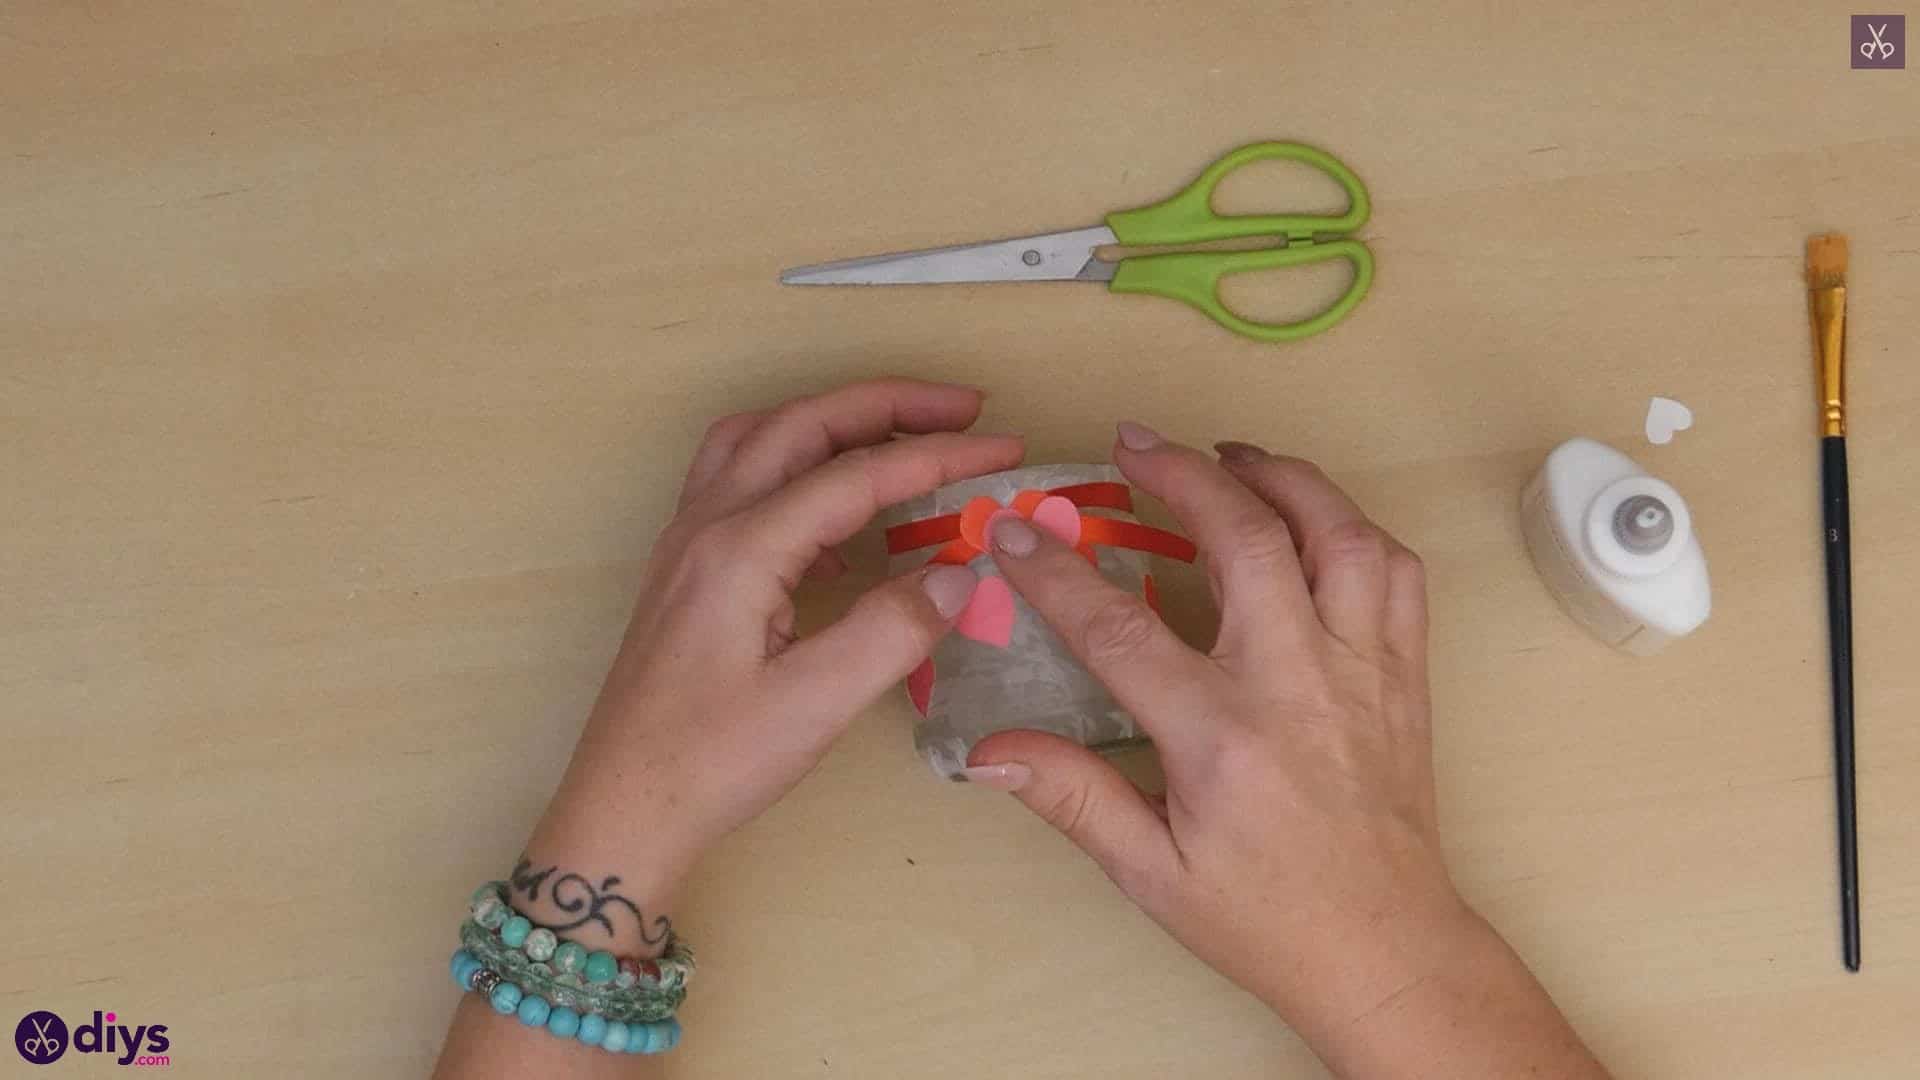
On the opposite side of the jar to where your vellum paper ends meet up, or whatever side of the jar you want the “front” to be, apply a little dot of glue in the centre of the dip where a lid would have once screwed on. Cut a piece of red ribbing that is long enough to wrap all the way around the jar once, with a little bit of excess at each end. Anchor one end of this ribbon down in this first dot of glue, but not right at its very tip; you want to leave a little bit of excess. Stick it down at a slight angle so you can cross the ends over. Wrap the length of ribbon all the way around the top of the jar, bringing it back around the front. Add a tiny dot of glue on top of the first end that you stuck down and anchor the second end down there, overlapping at an angle with the first so they cross over.


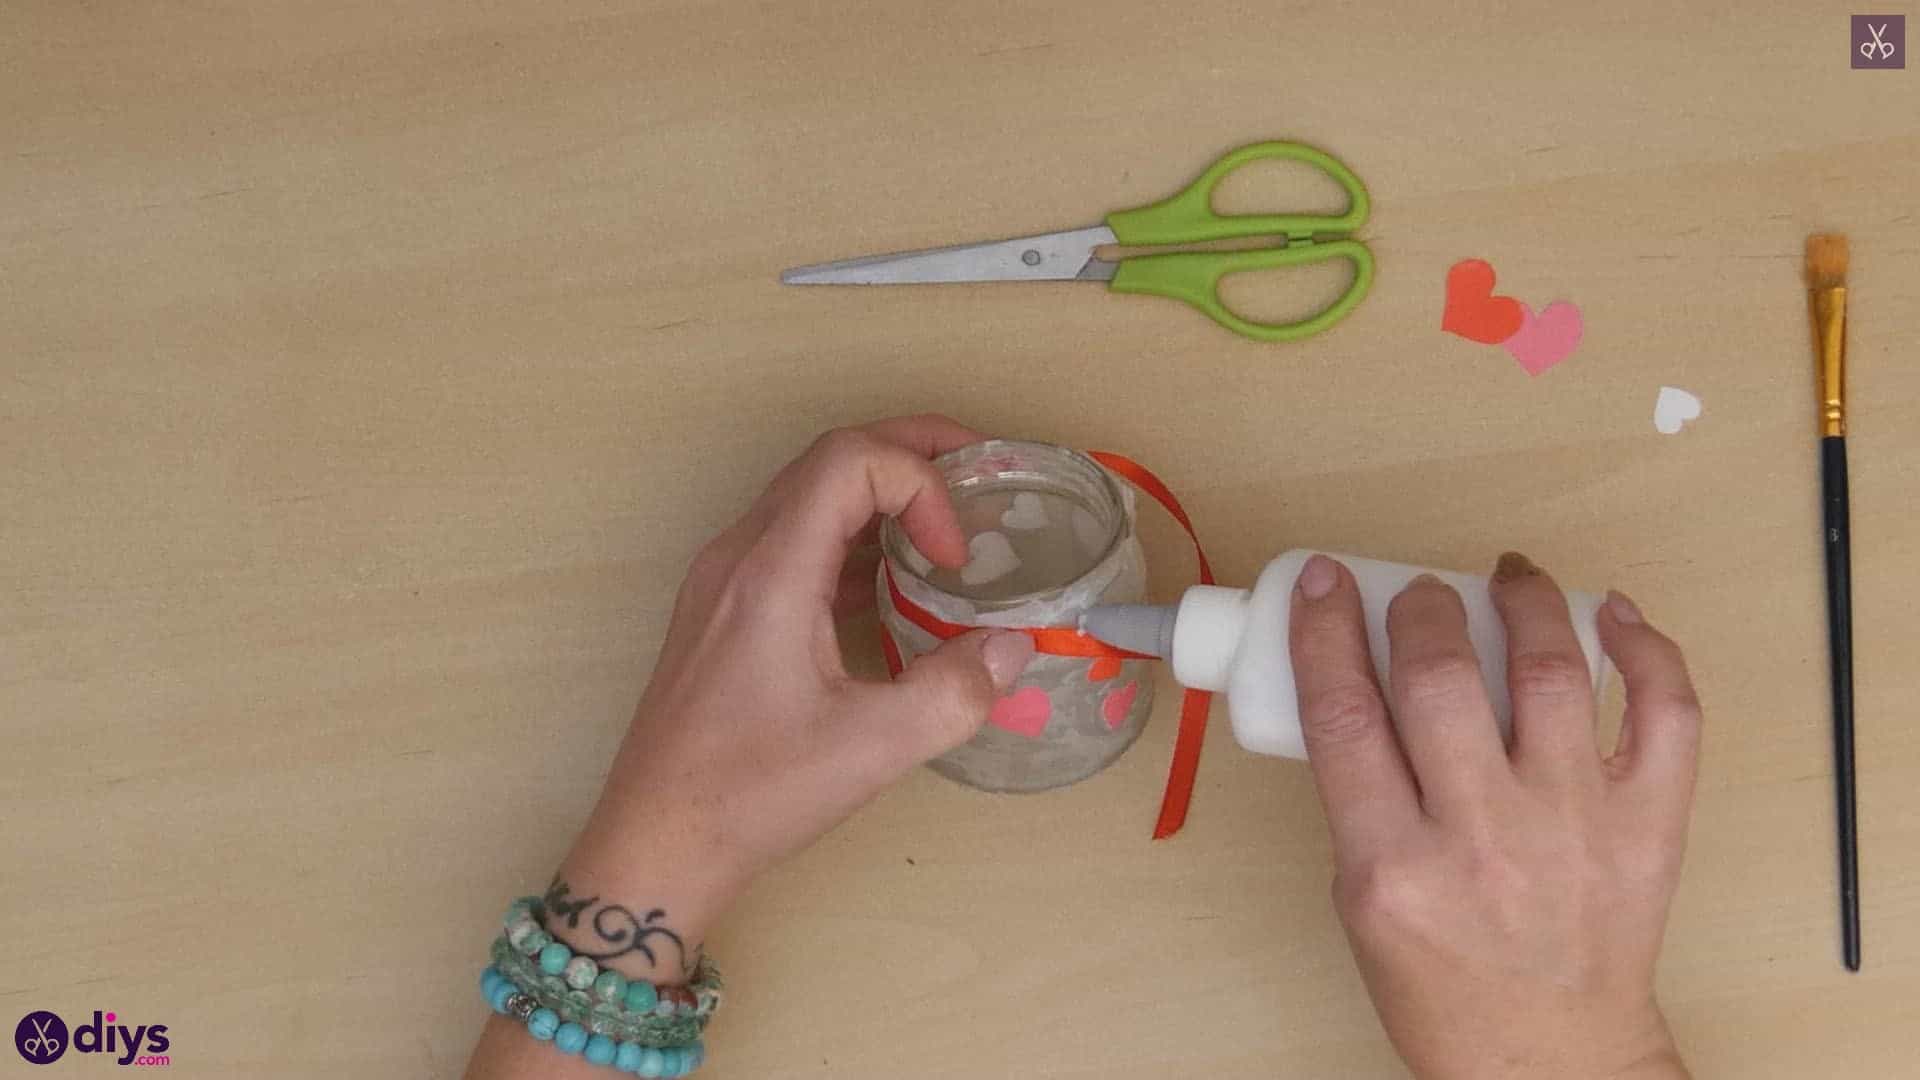
Step 7: finish the ribbon with hearts
Just glue a few of the larger hearts together and cover the knot in the ribbon bow for a finished look!
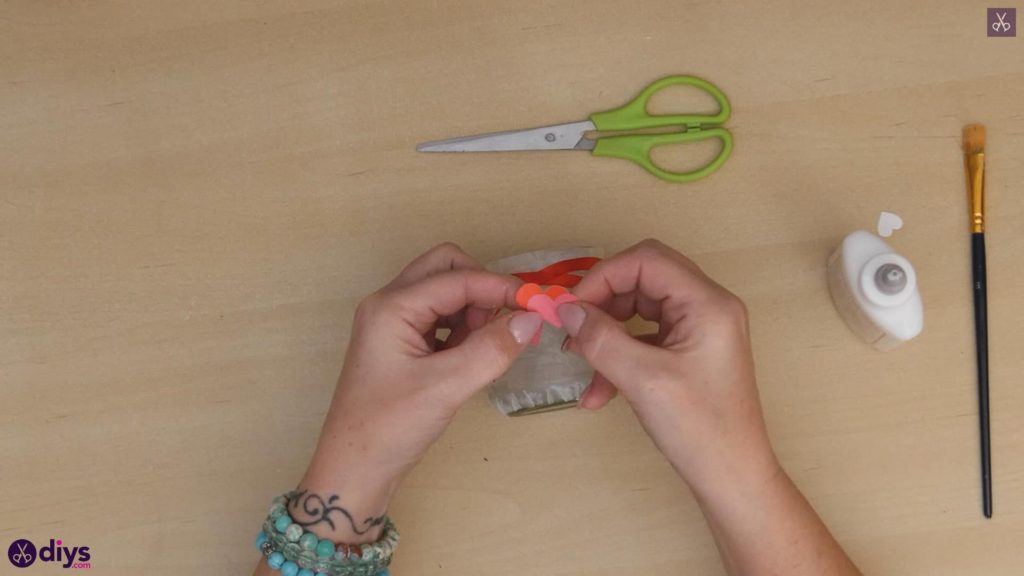

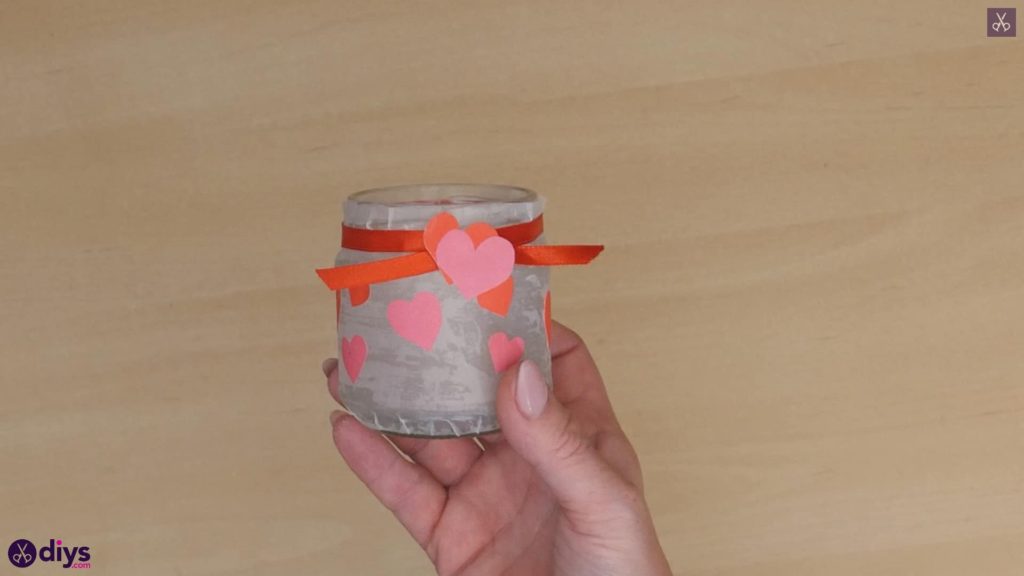

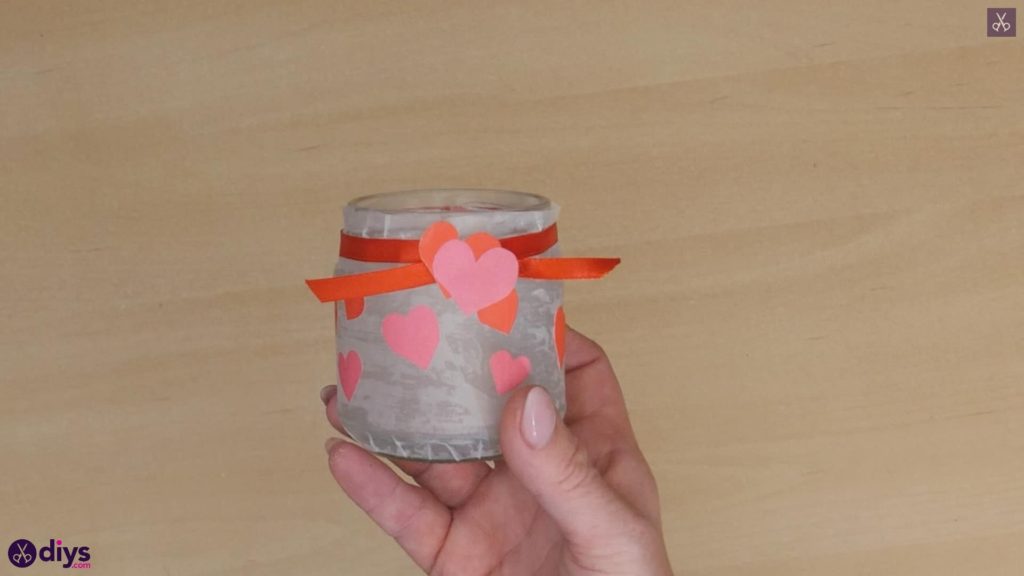
Turn your attention back to the two little paper hearts you left aside before. Choose one to be a background heart and one to be a foreground heart. Apply a small dot of glue just to the right of the centre mark on your background heart and stick your foreground heart here, but to the side and down a little so that the two overlap but with the background heart peeking out from behind the other. Then, apply a dot of glue in the centre on the back of the background heart and stick the layered piece down right overtop of where the ribbon ends you wrapped and stuck earlier cross over each other.
Put a tea light candle inside the jar, light it, and you’re finished! Just in case you’d like to try this project out for yourself, here’s a fantastic tutorial video to help you!