DIY Raffia Tassel Earrings – How to Make Some Cute Earrings
Updated on June 29, 2021


Everyone wants to have unique jewelry and there’s nothing more unique than handmade pieces. Each piece is different and you can customize them however you see fit. So, let’s go create some raffia tassel earrings.

These cool earrings will go perfectly with more casual outfits, and they’re perfect for those lazy summer days. Of course, you’ll get to make your own rules and wear them whenever you want, which is the best part of fashion. So, let’s see how we can make our own cute raffle tassel earrings.
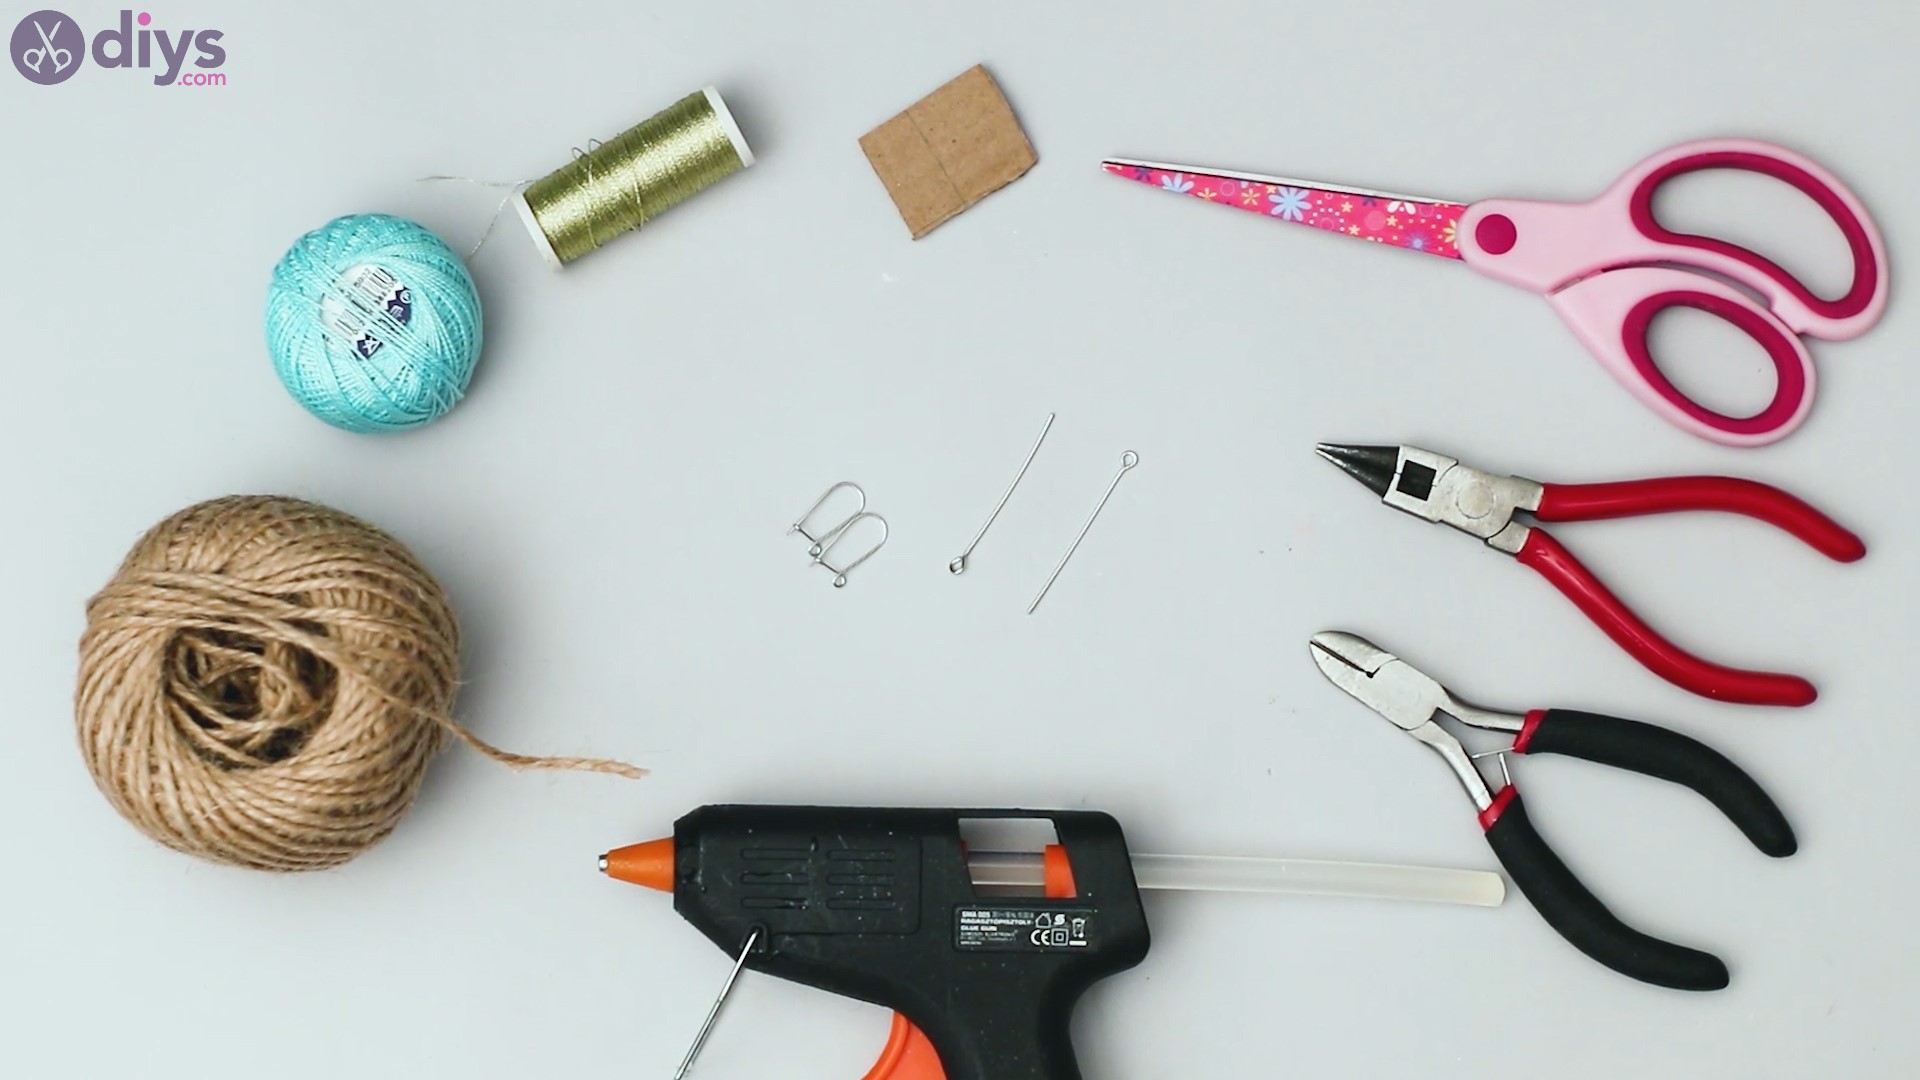
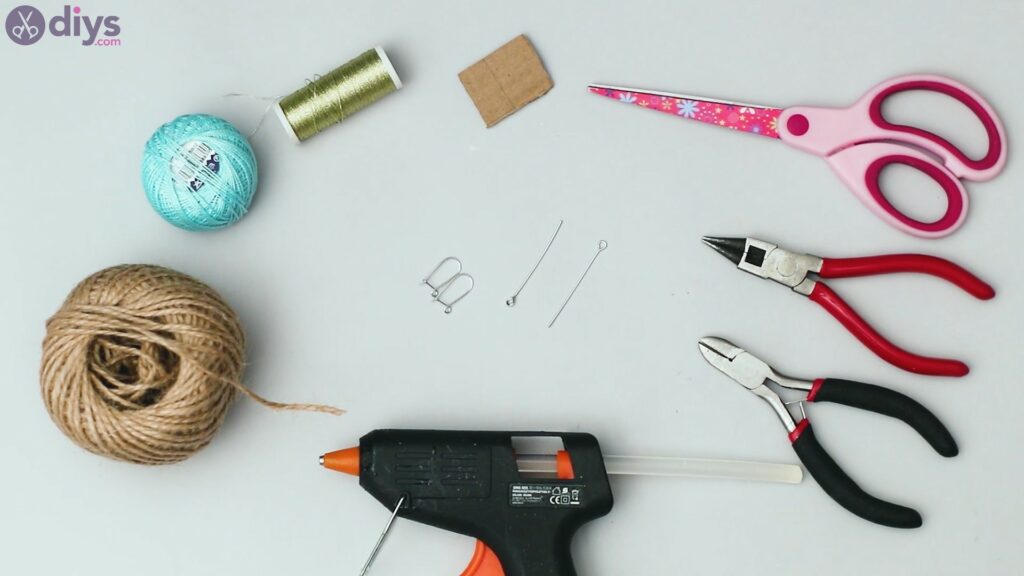
Materials for raffia tassel earrings
- raffia yarn
- gold twisted yarn
- turquoise crewel yarn
- earring wires
- eye pins
- round-nose pliers
- pliers
- scissors
- cardboard
- glue gun
How to make raffia tassel earrings
Making your own earrings can certainly be an experience. We’re going to try creating our cute raffia tassel earrings today, so gather up all your materials before you even get started. The last thing you want is to go running around trying to find some kind of supply you forgot about.
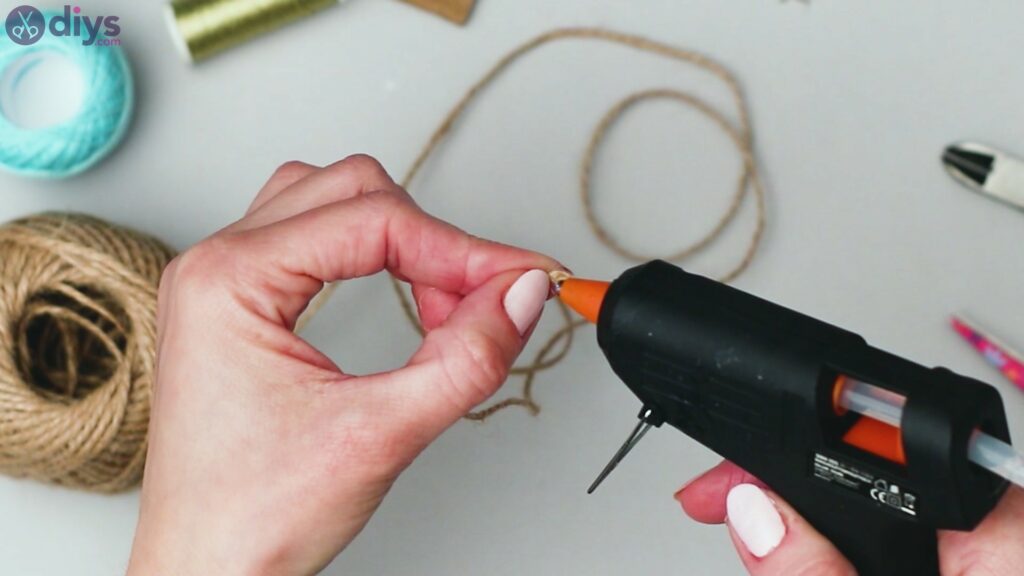
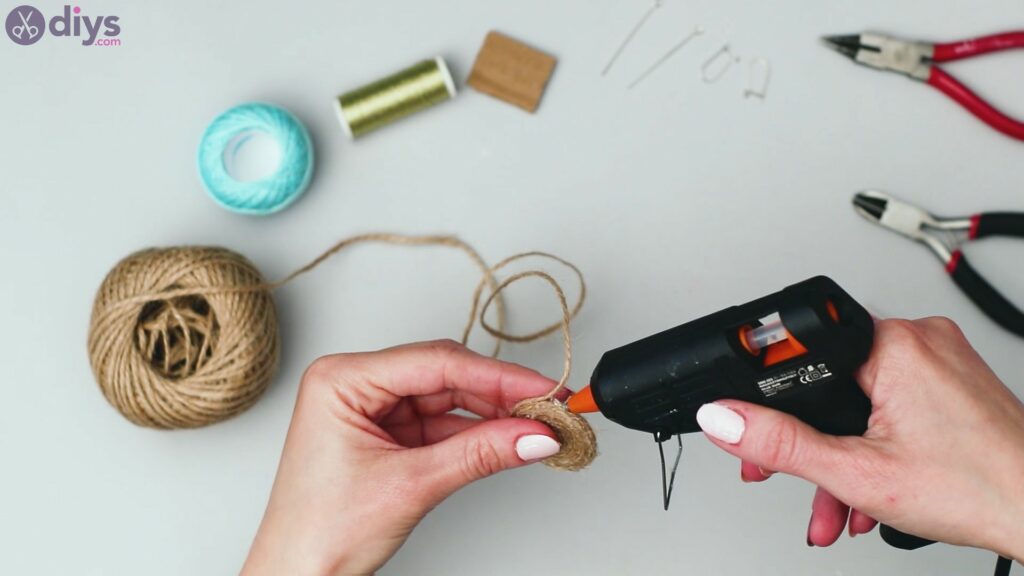
Step 1: Create the spiral
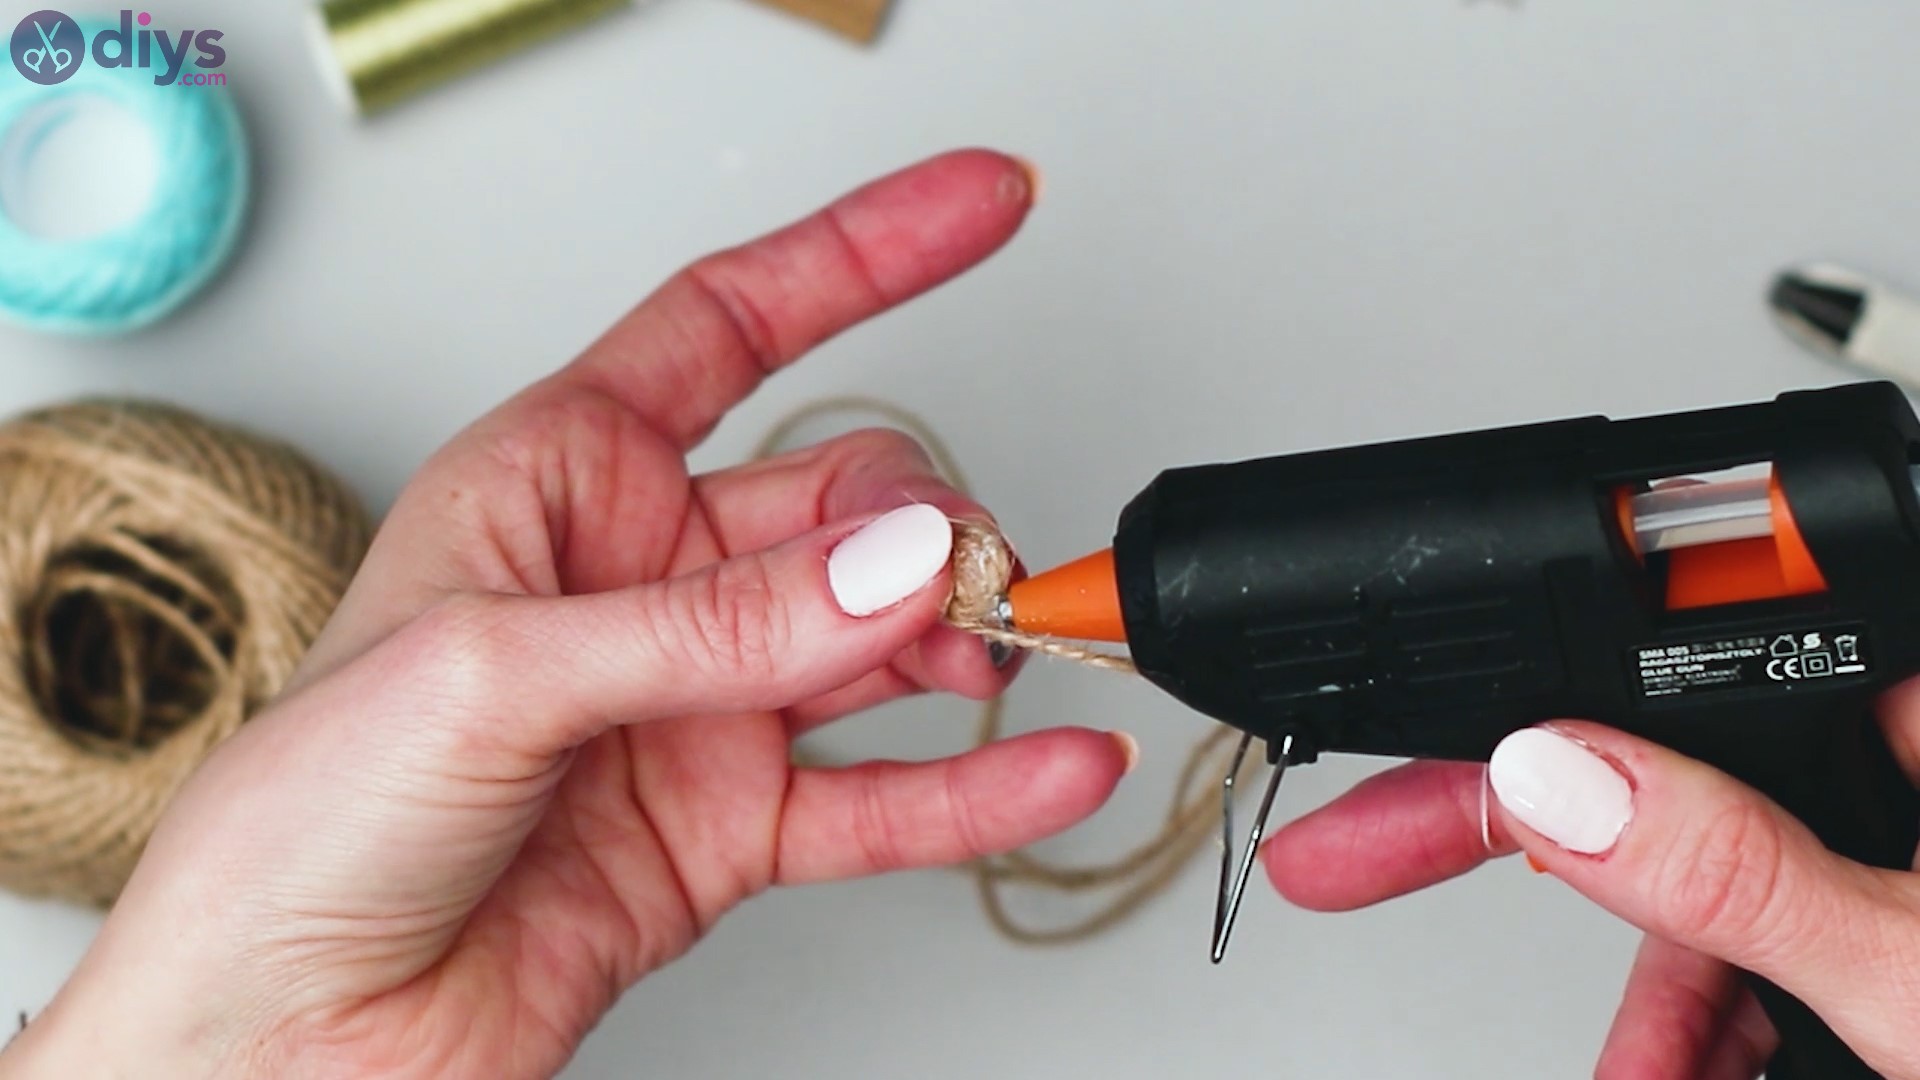
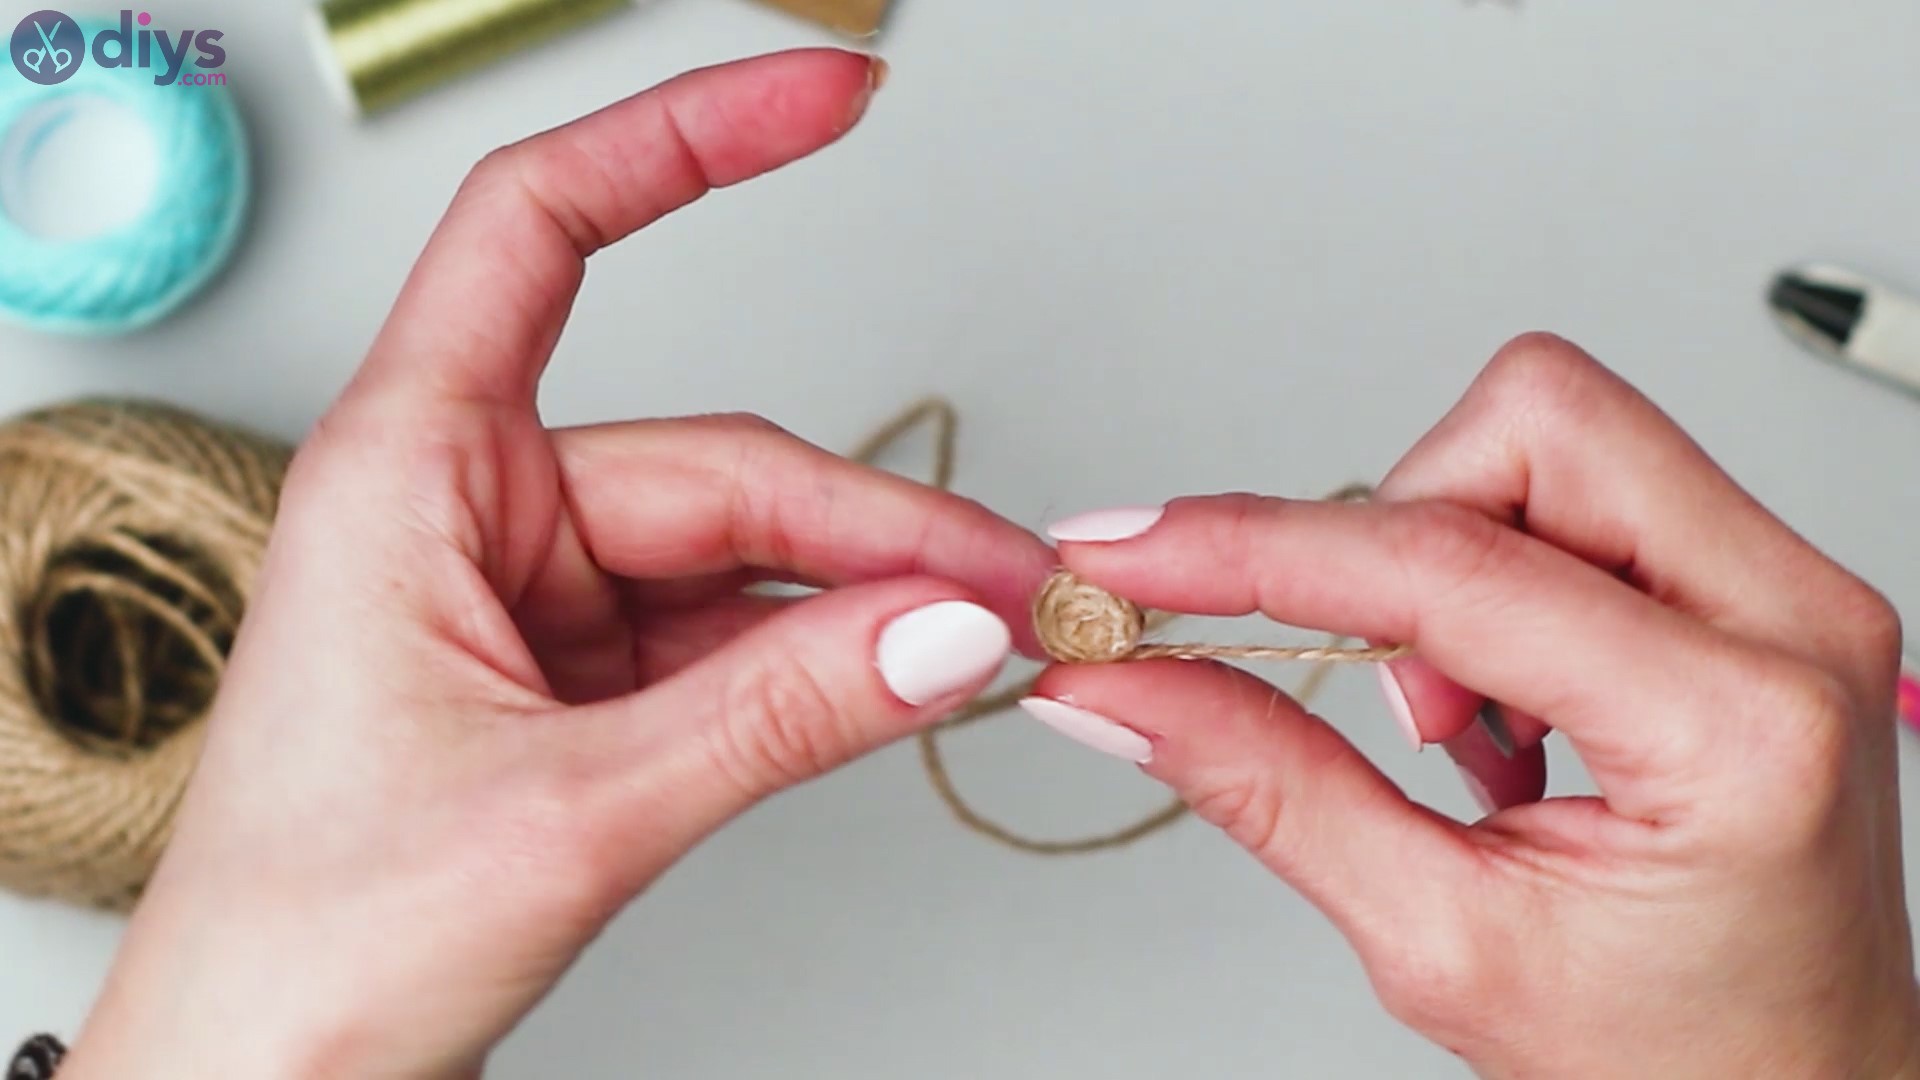
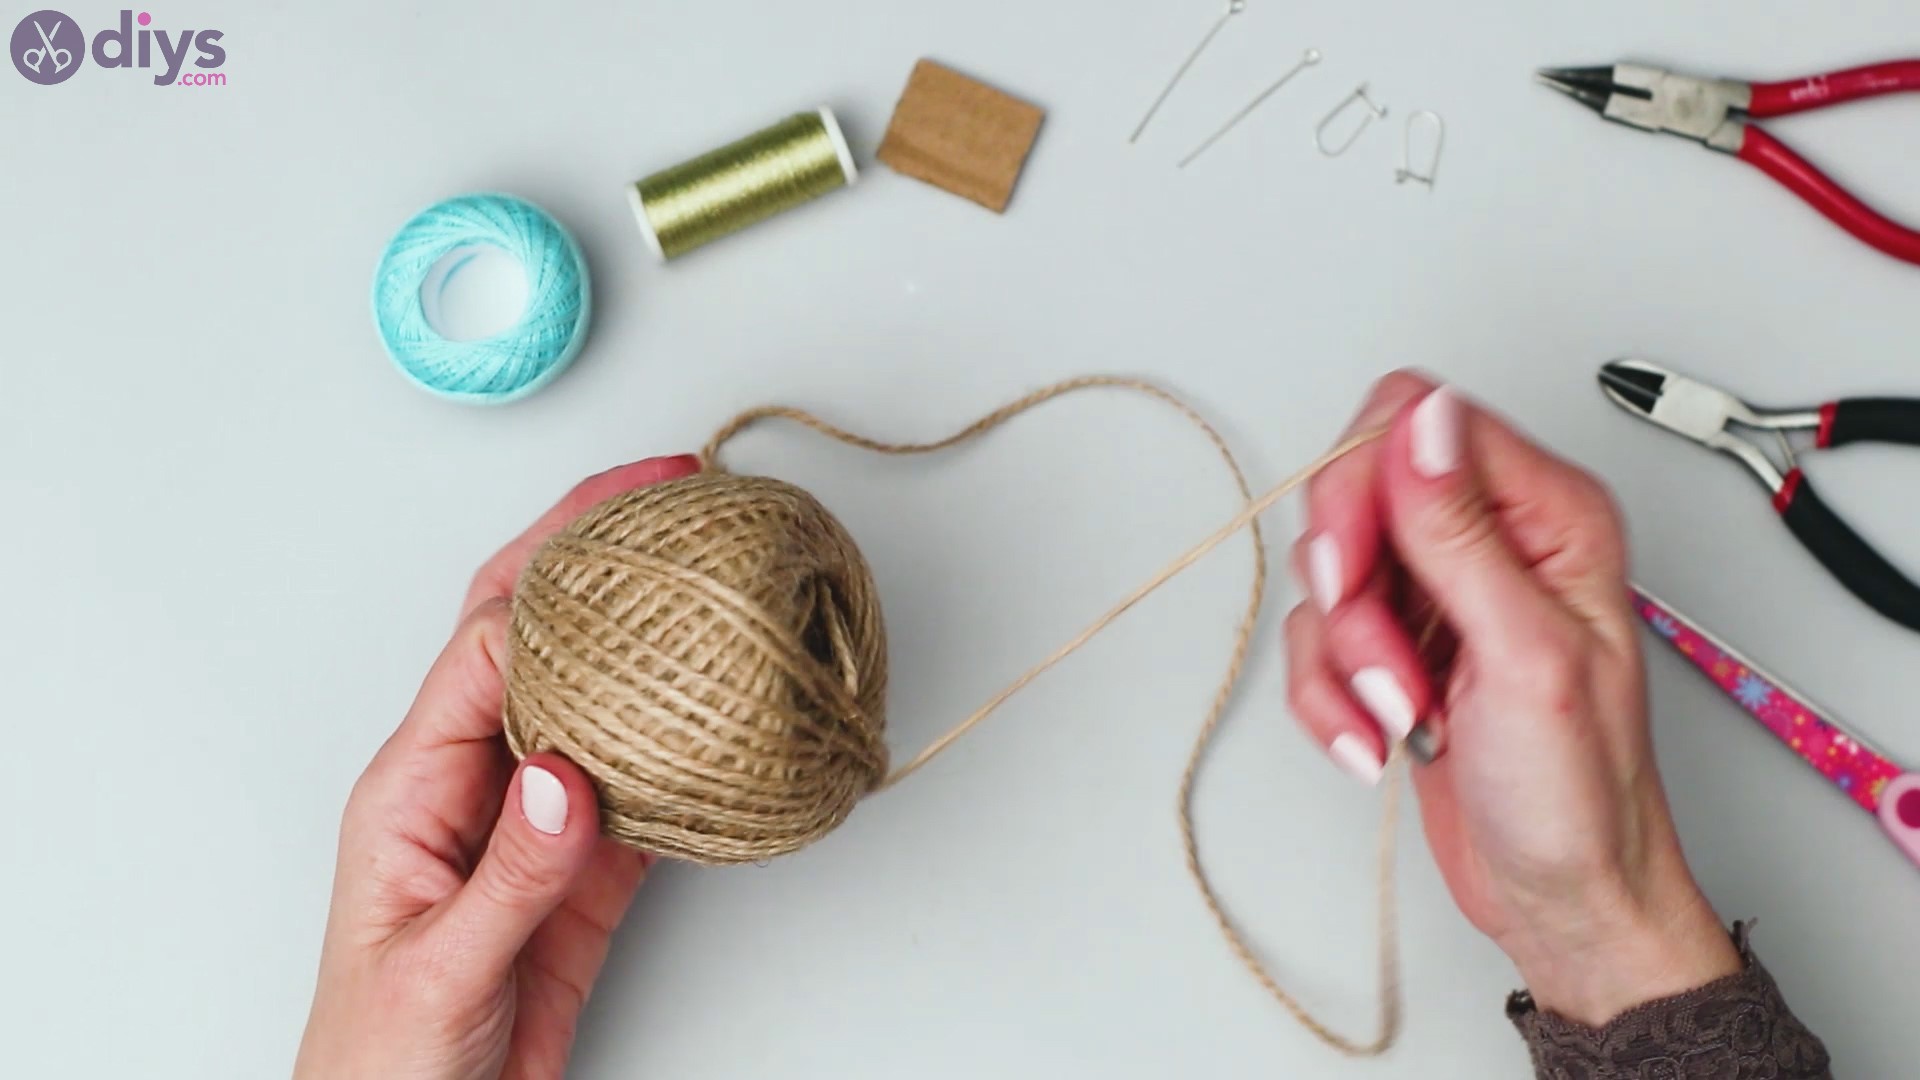
As you can see from the first pics in the guide, the earrings will feature a raffia yarn spiral as the base for the earrings. So, let’s start creating this pretty spiral. Grab the yarn and unravel a length, but don’t cut it.

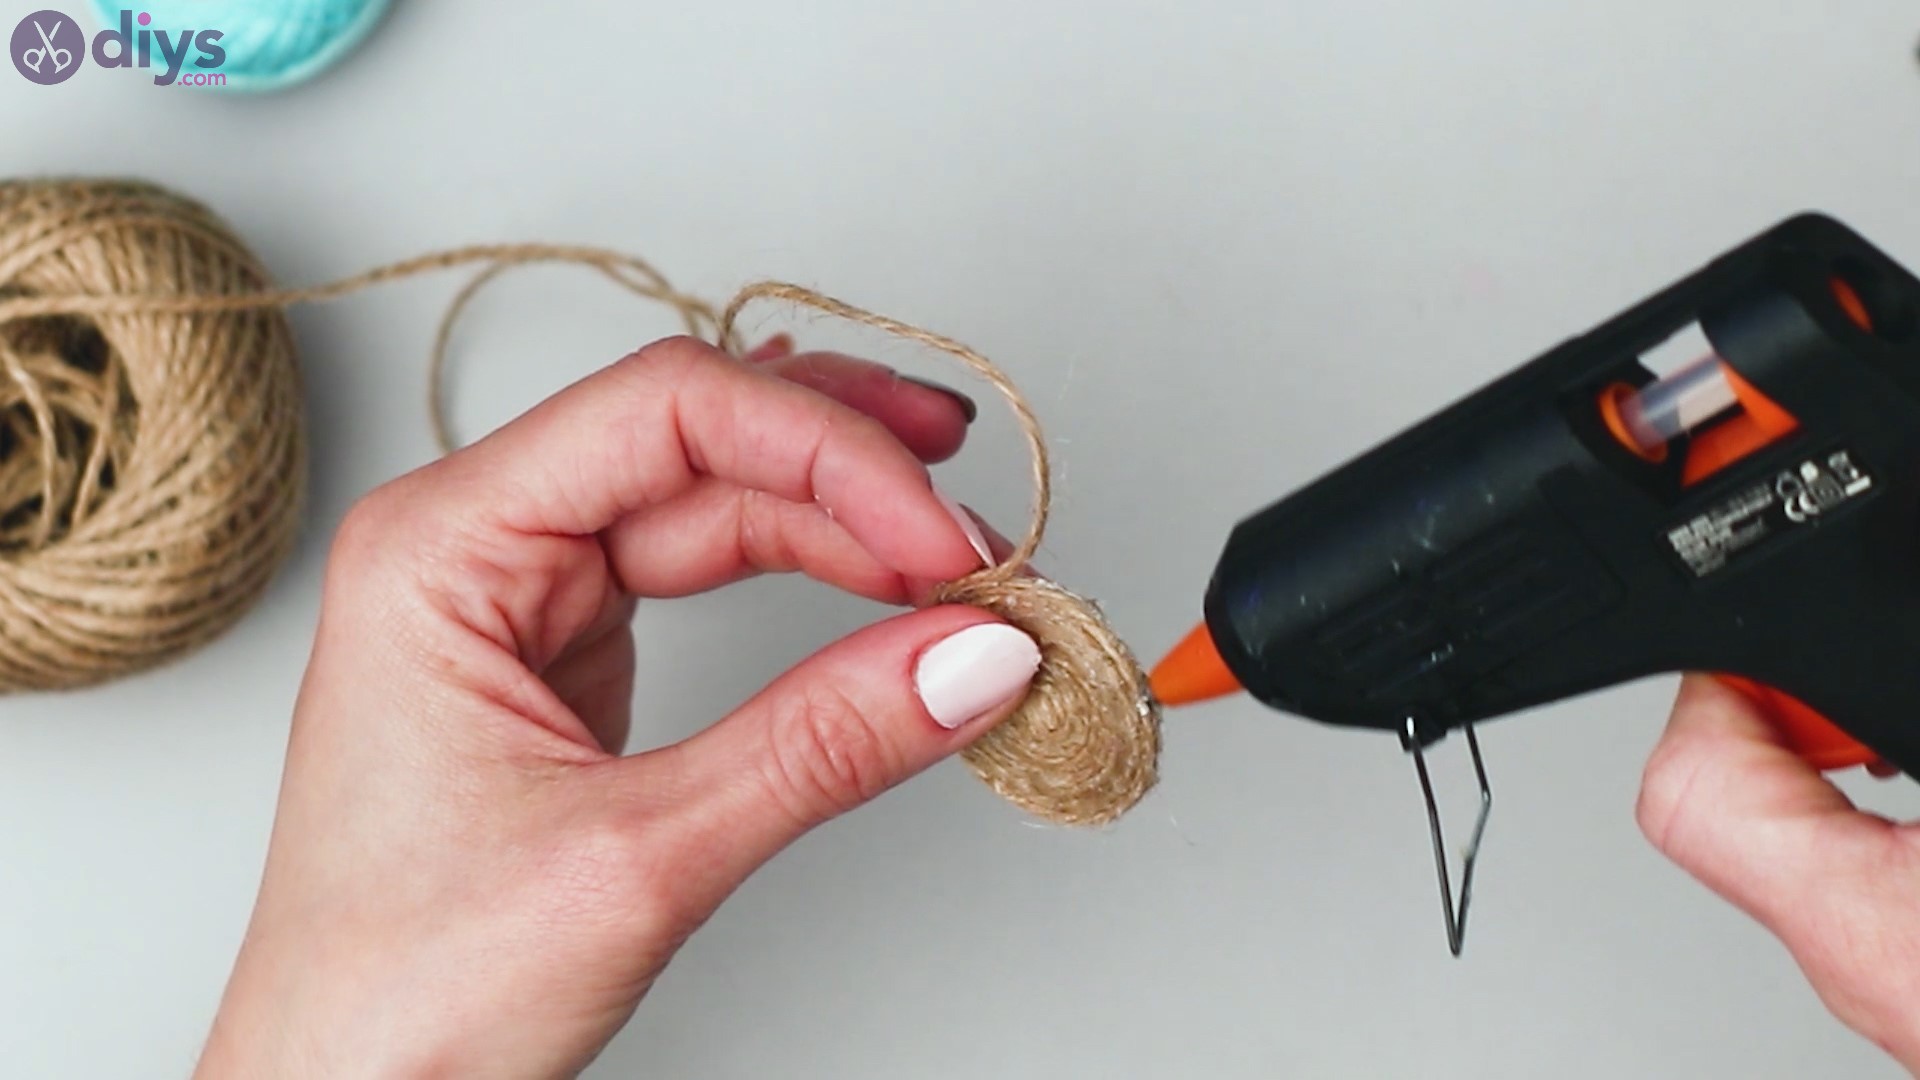
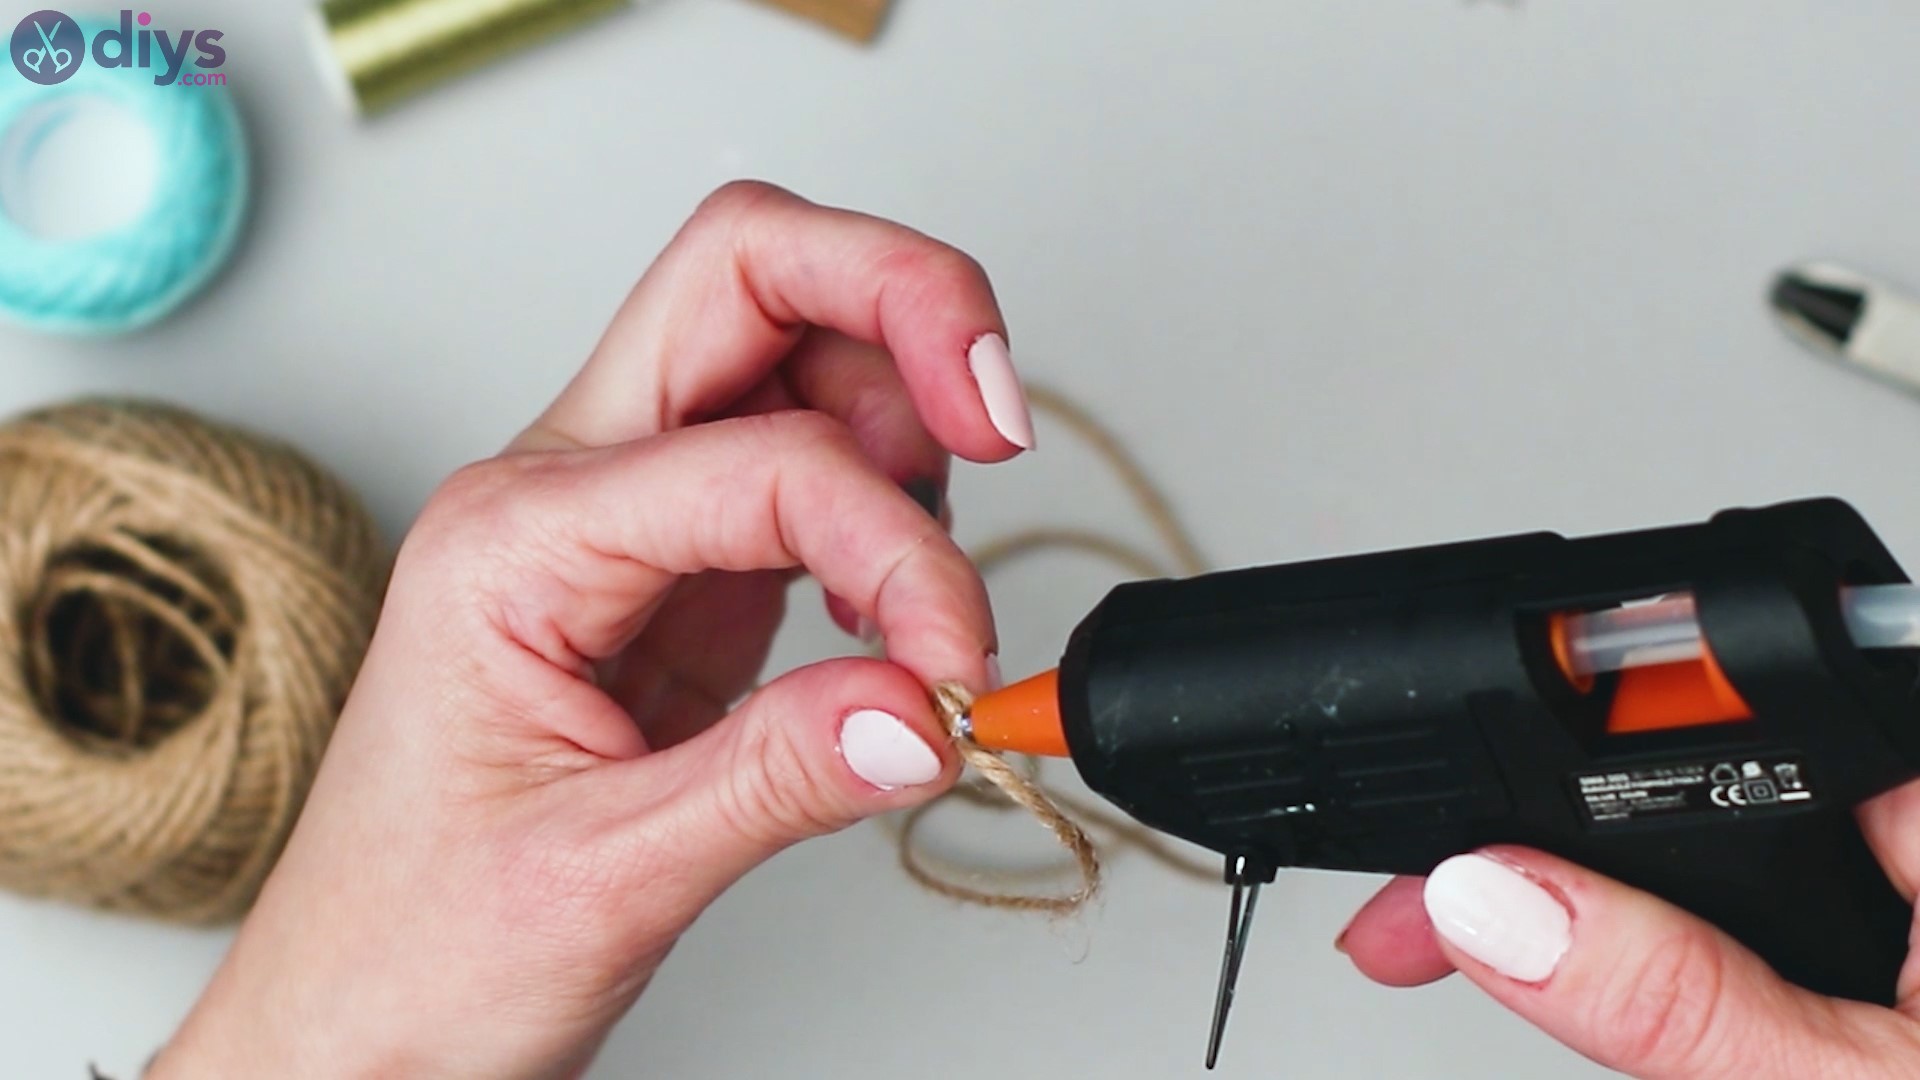
Get theglue gunand apply a bit of hot glue to the very edge of the yarn. Roll the yarn over itself.
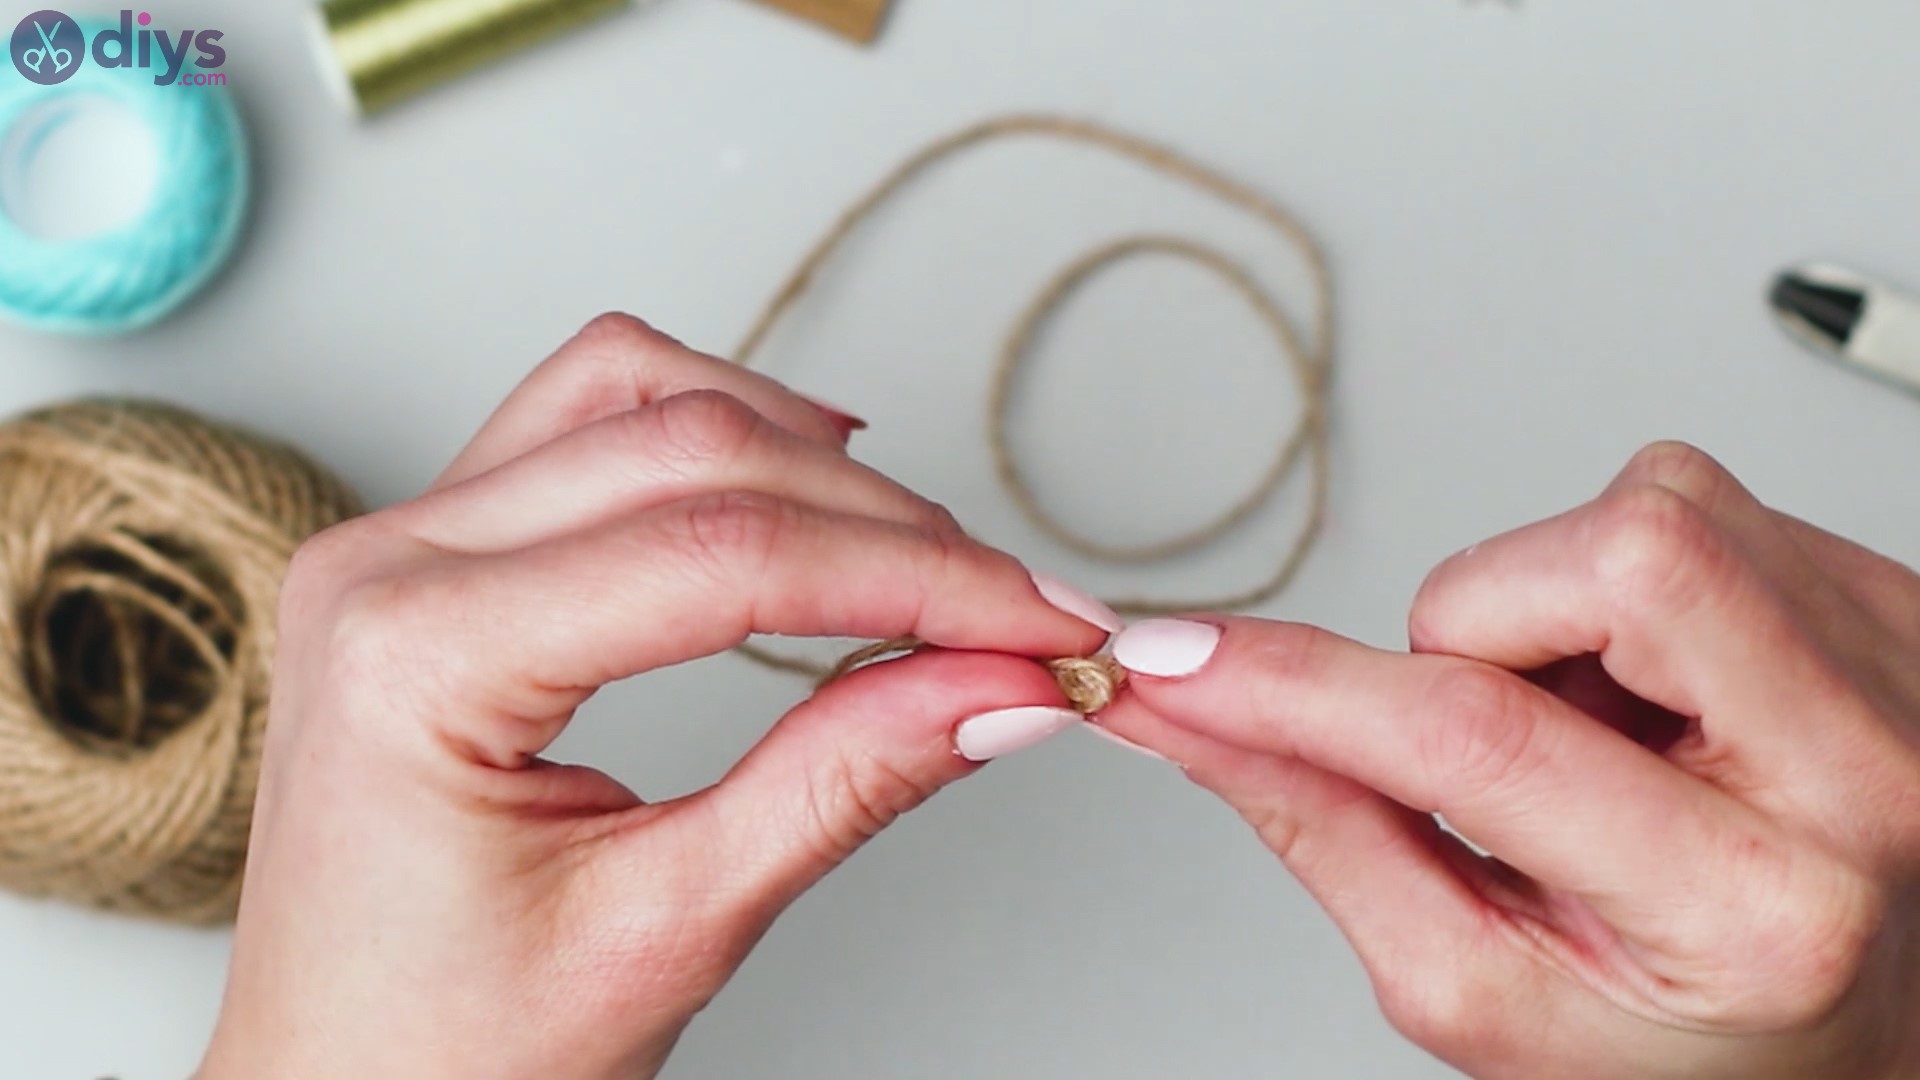
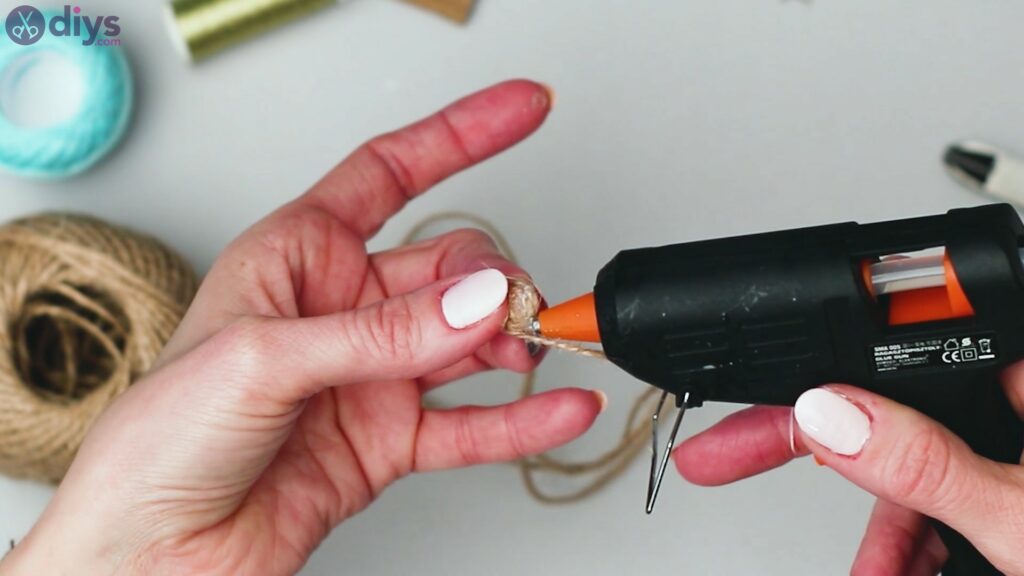
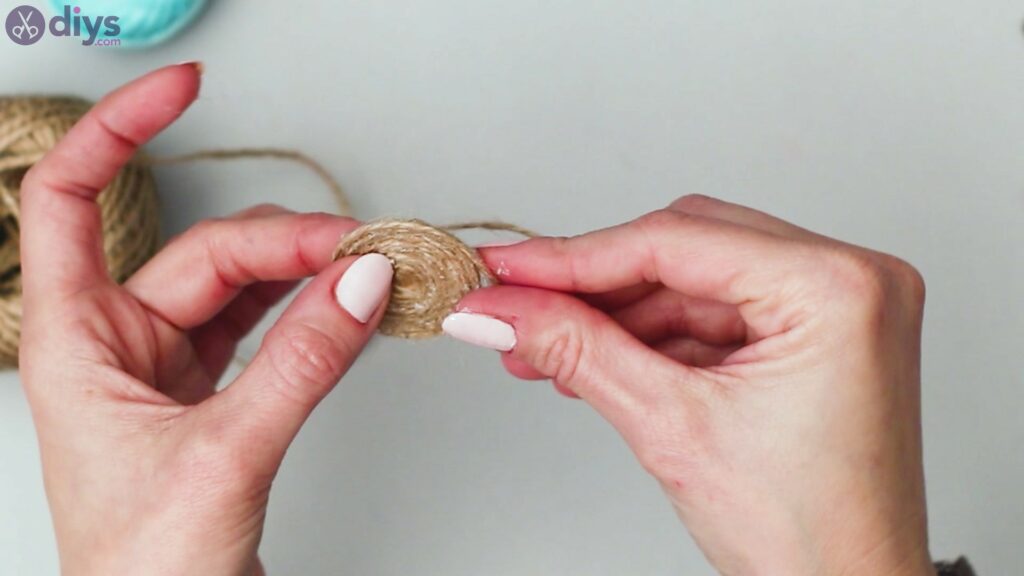
As you build up the spiral, make sure you add more hot glue, in order to keep the yarn together.
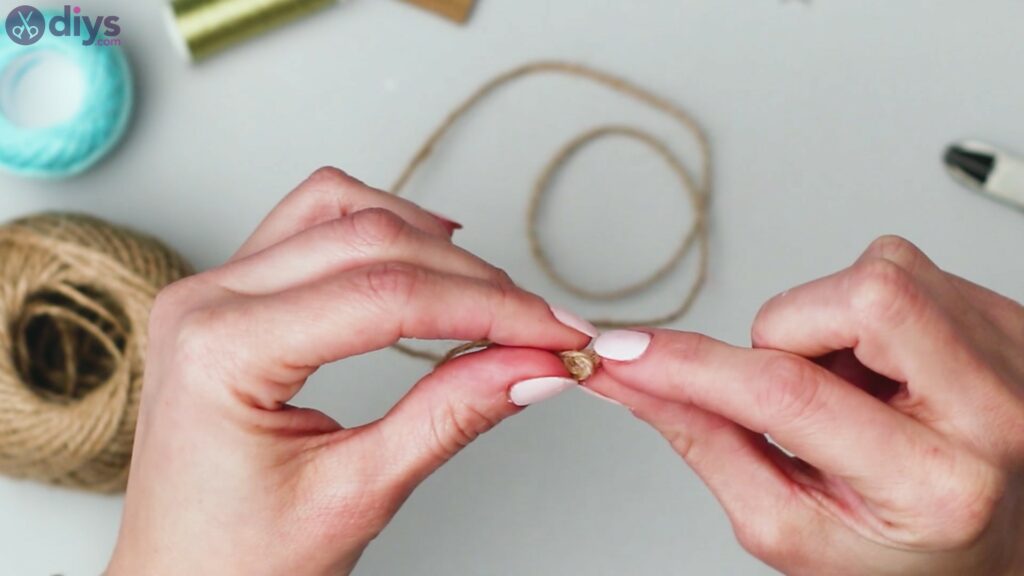

Make sure you also roll the yarn tightly so the result is a perfect spiral.

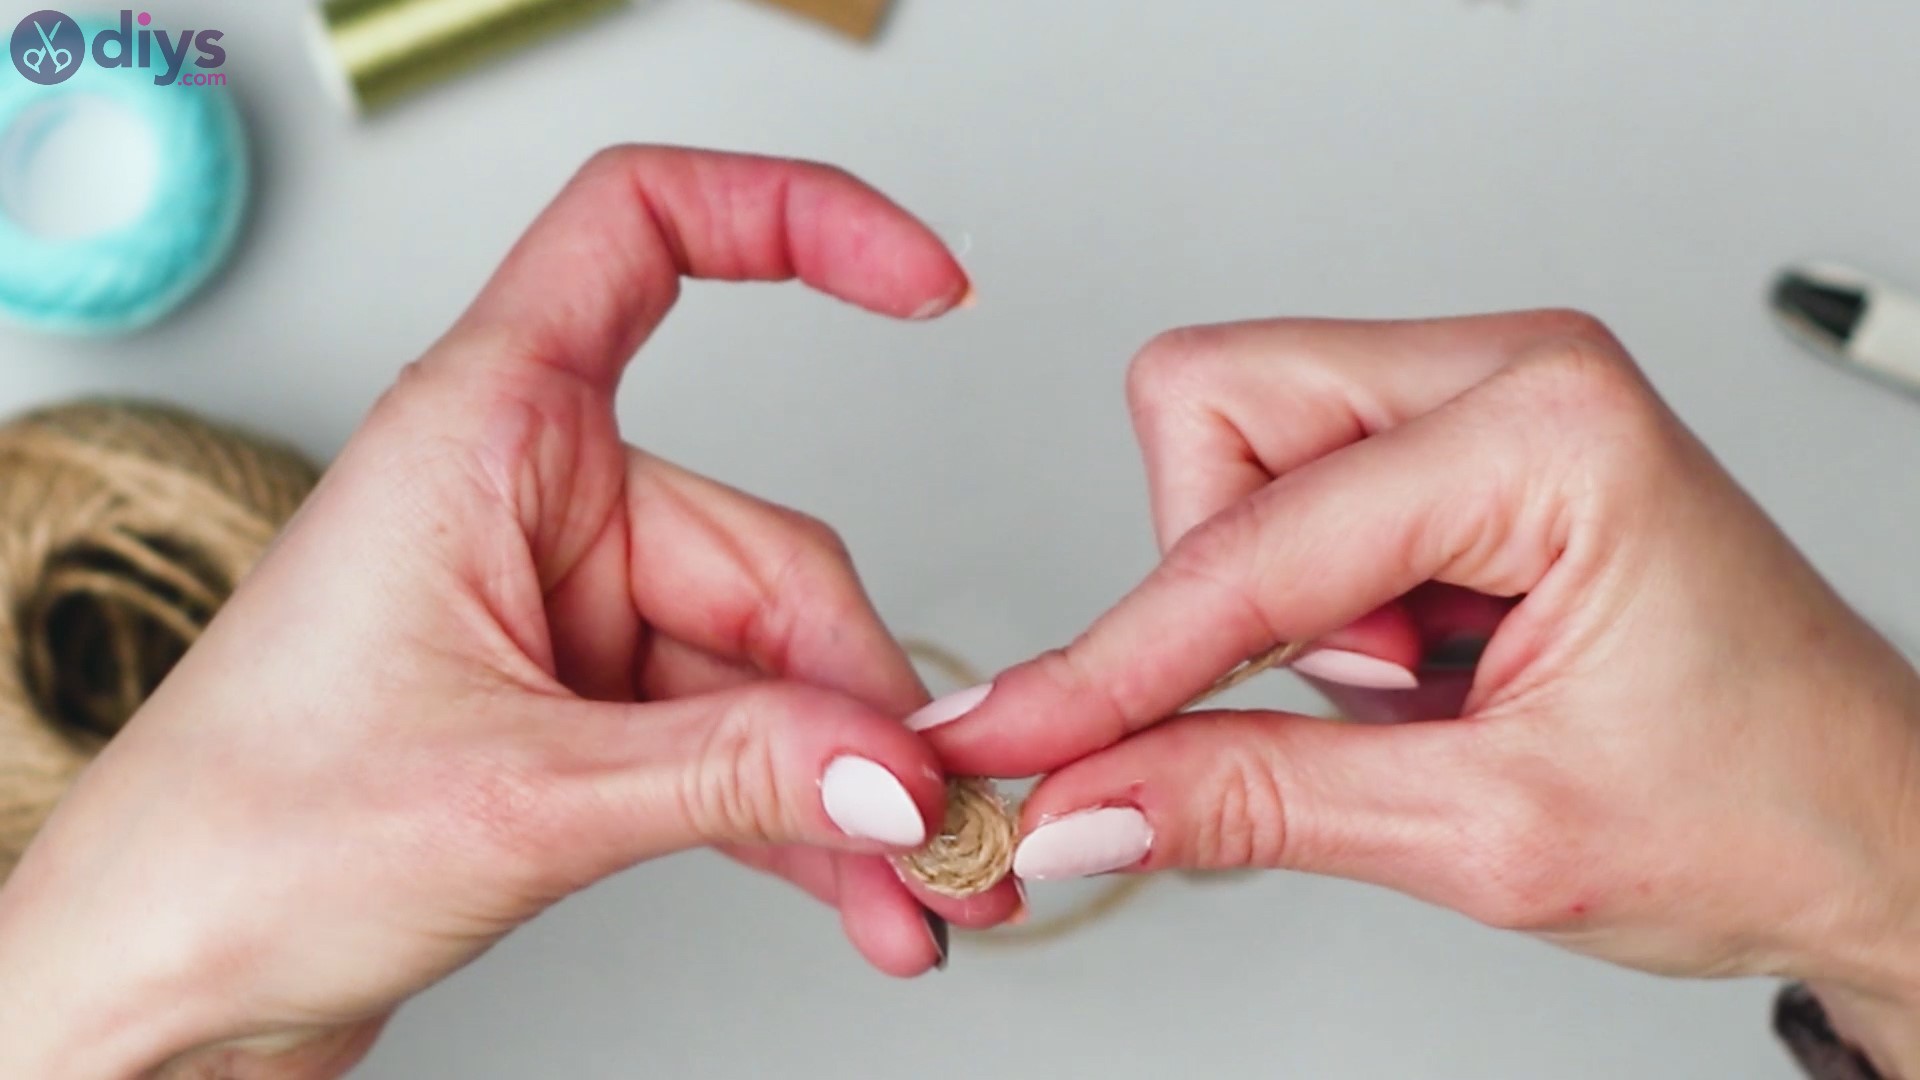
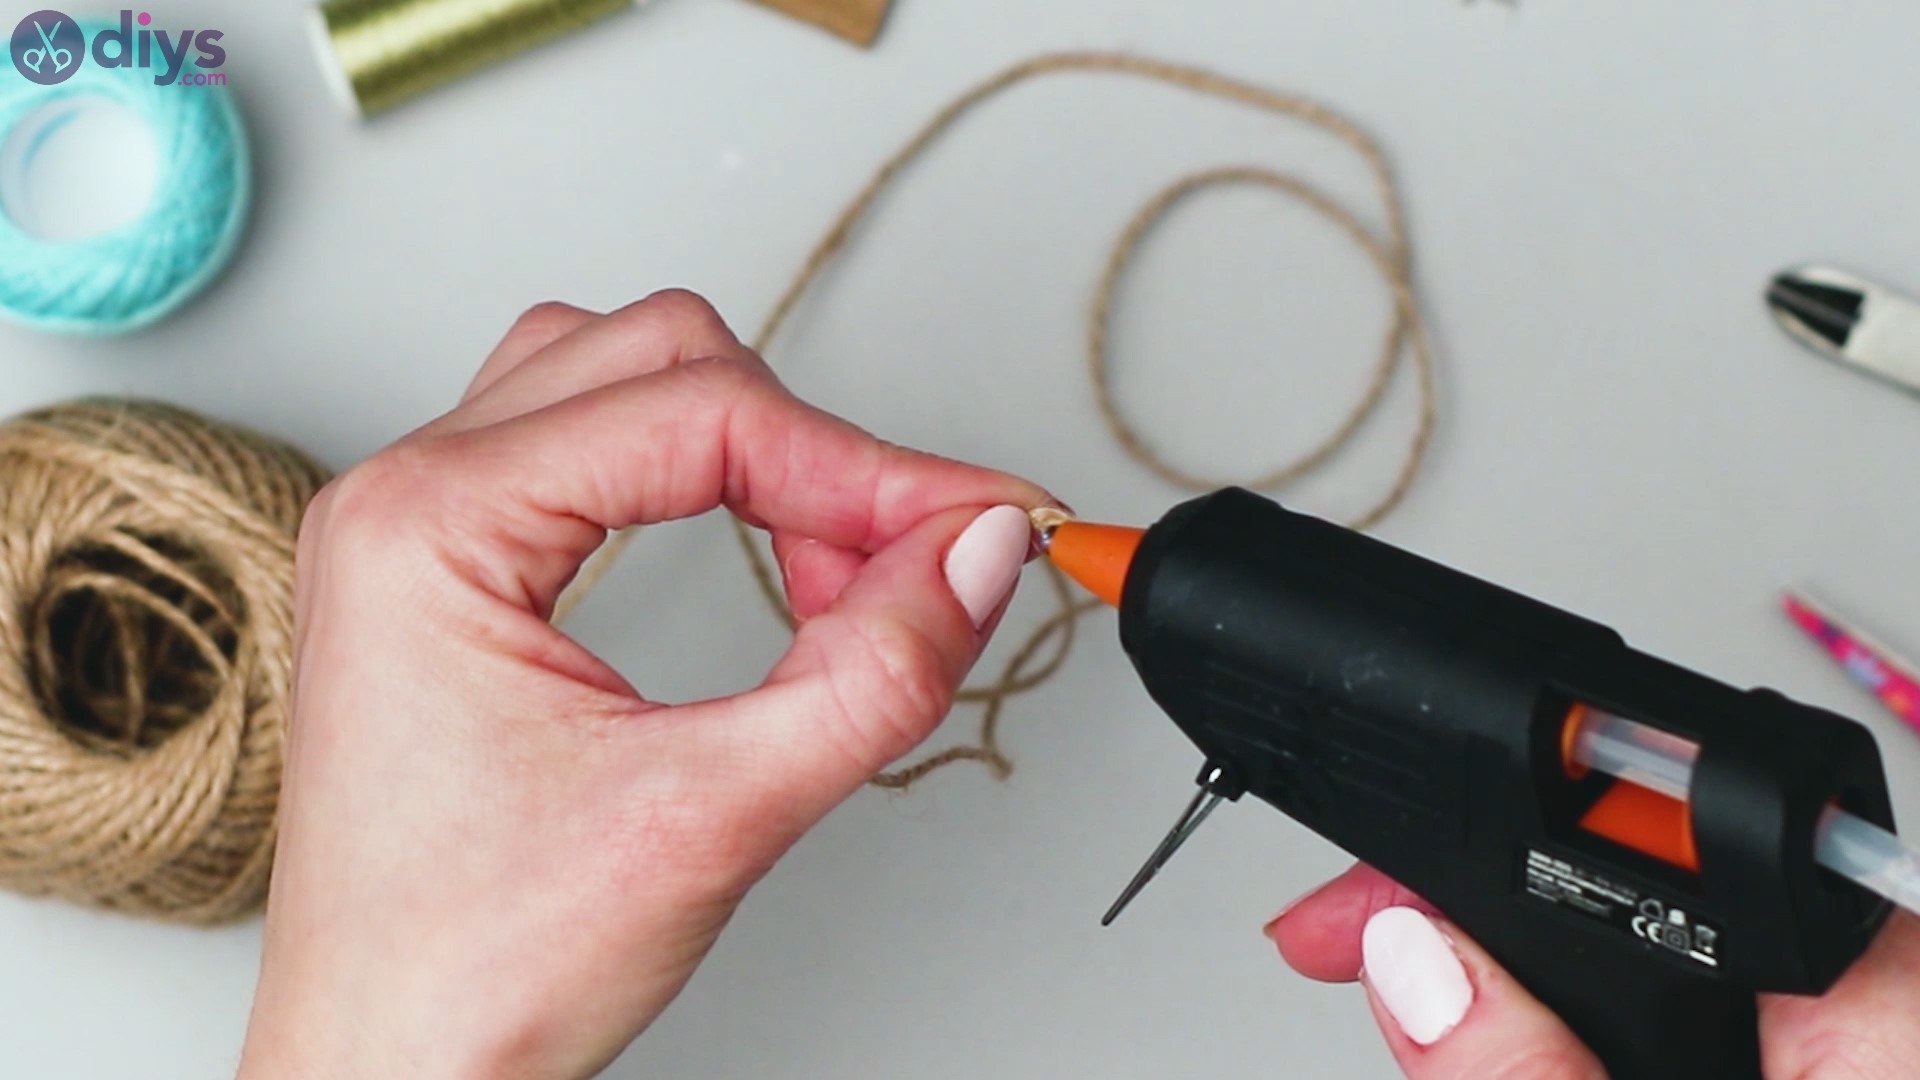
Keep adding hot glue and pressing the next layer of yarn into it. Also, make sure you keep the spiral as flat as possible, especially as the yarn will tend to bend a bit.
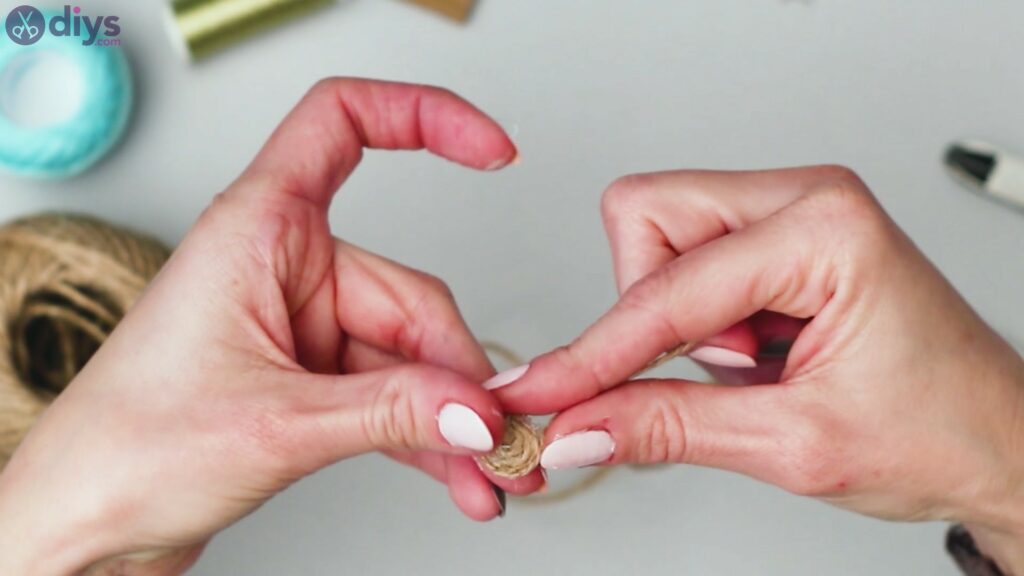
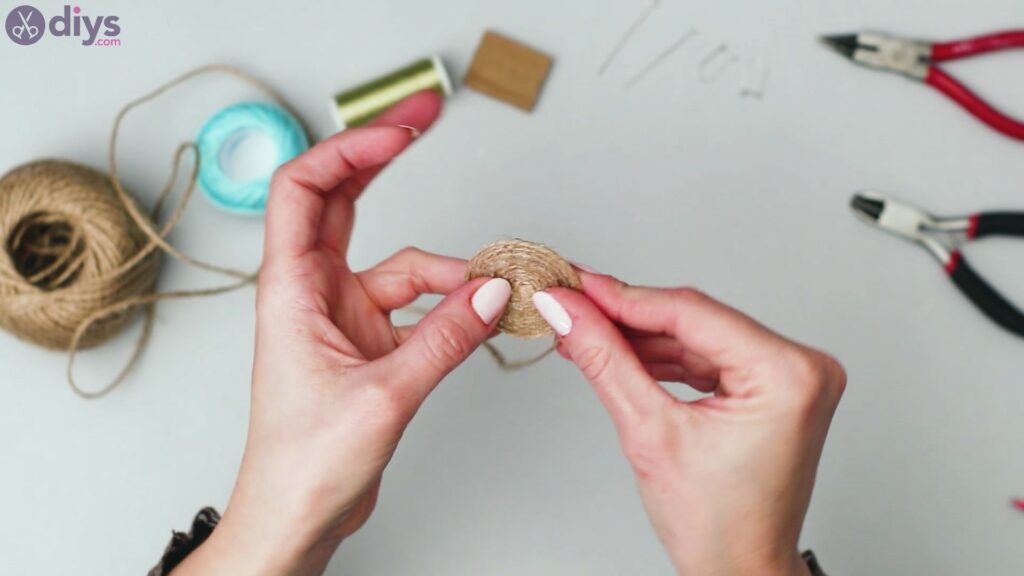
Keep rolling the material as you go, using the hot glue as a way ou keep it all together.
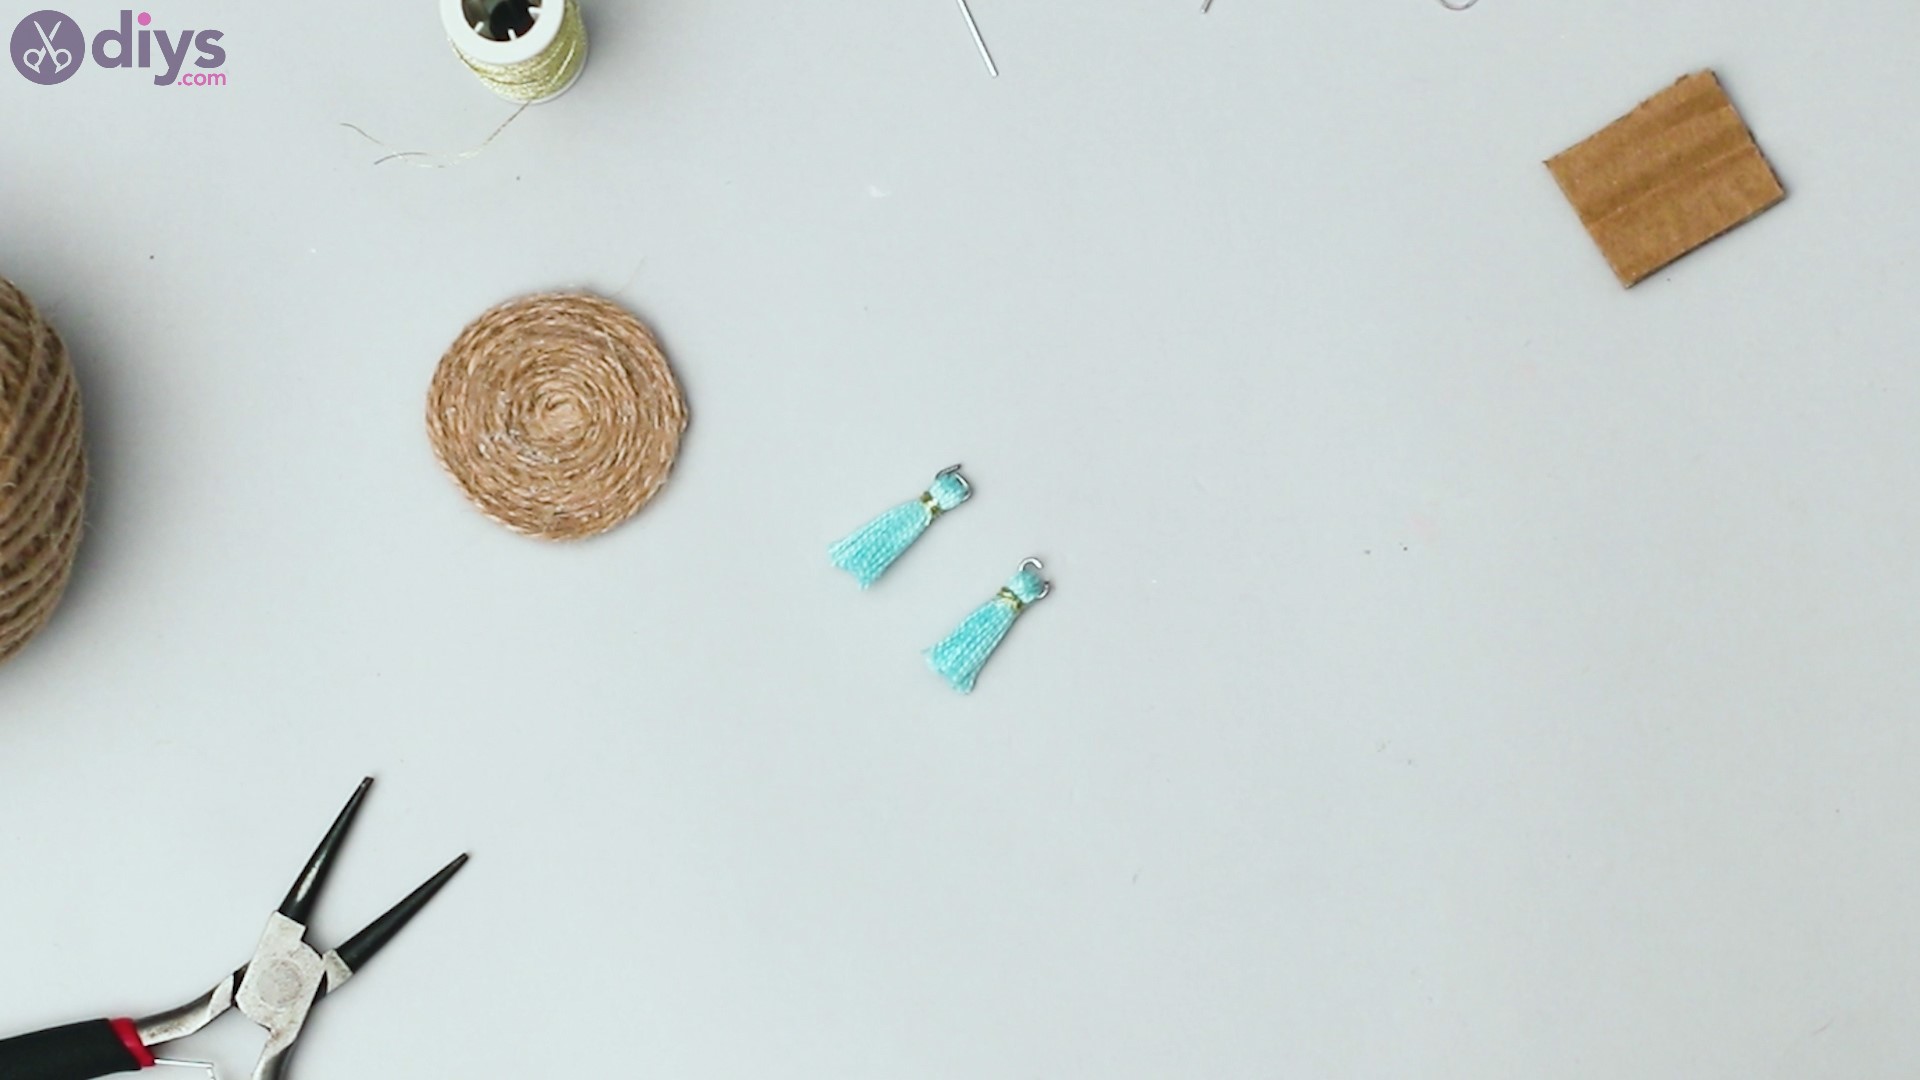
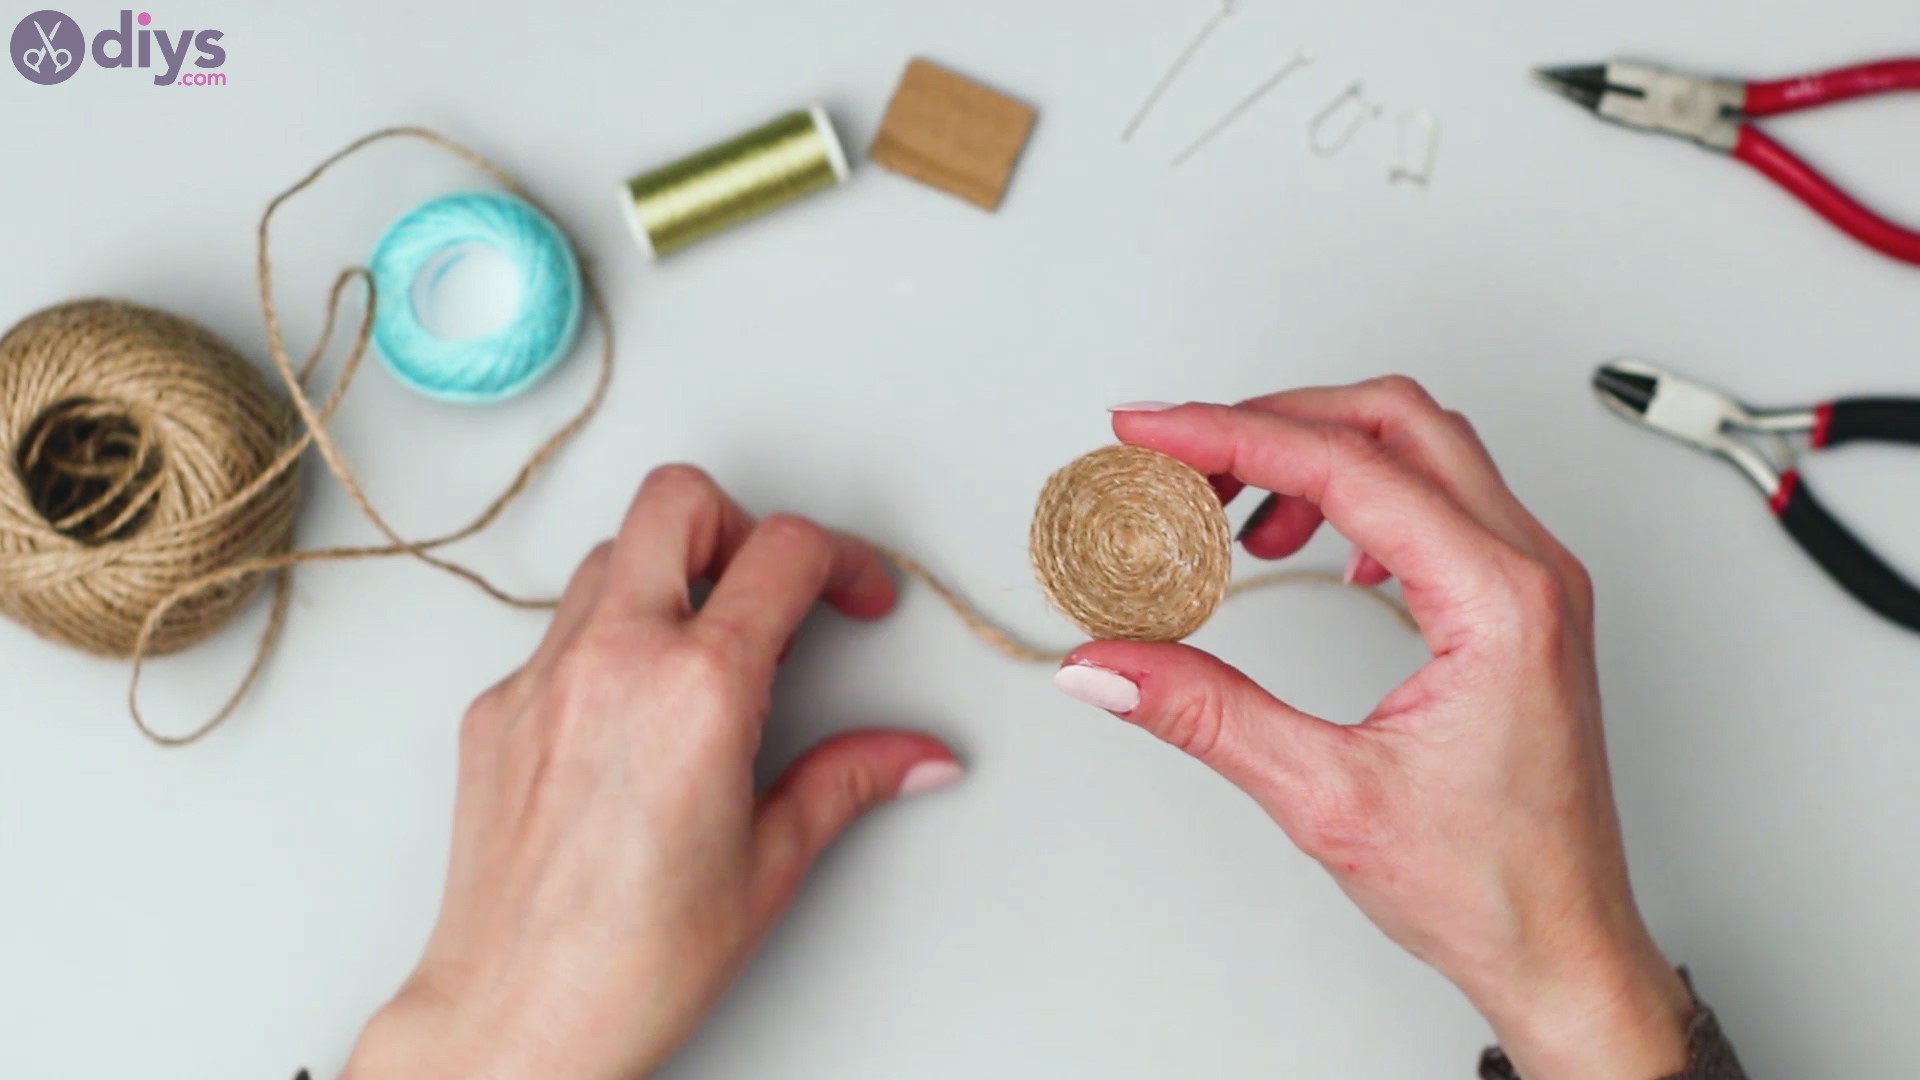
You need to decide how large the raffia spiral is. We chose to make it about 3 centimeters wide, but you can go as big or as small as you want to. You do need to try to remember how big you went with the first spiral so you can make the second one the same size.

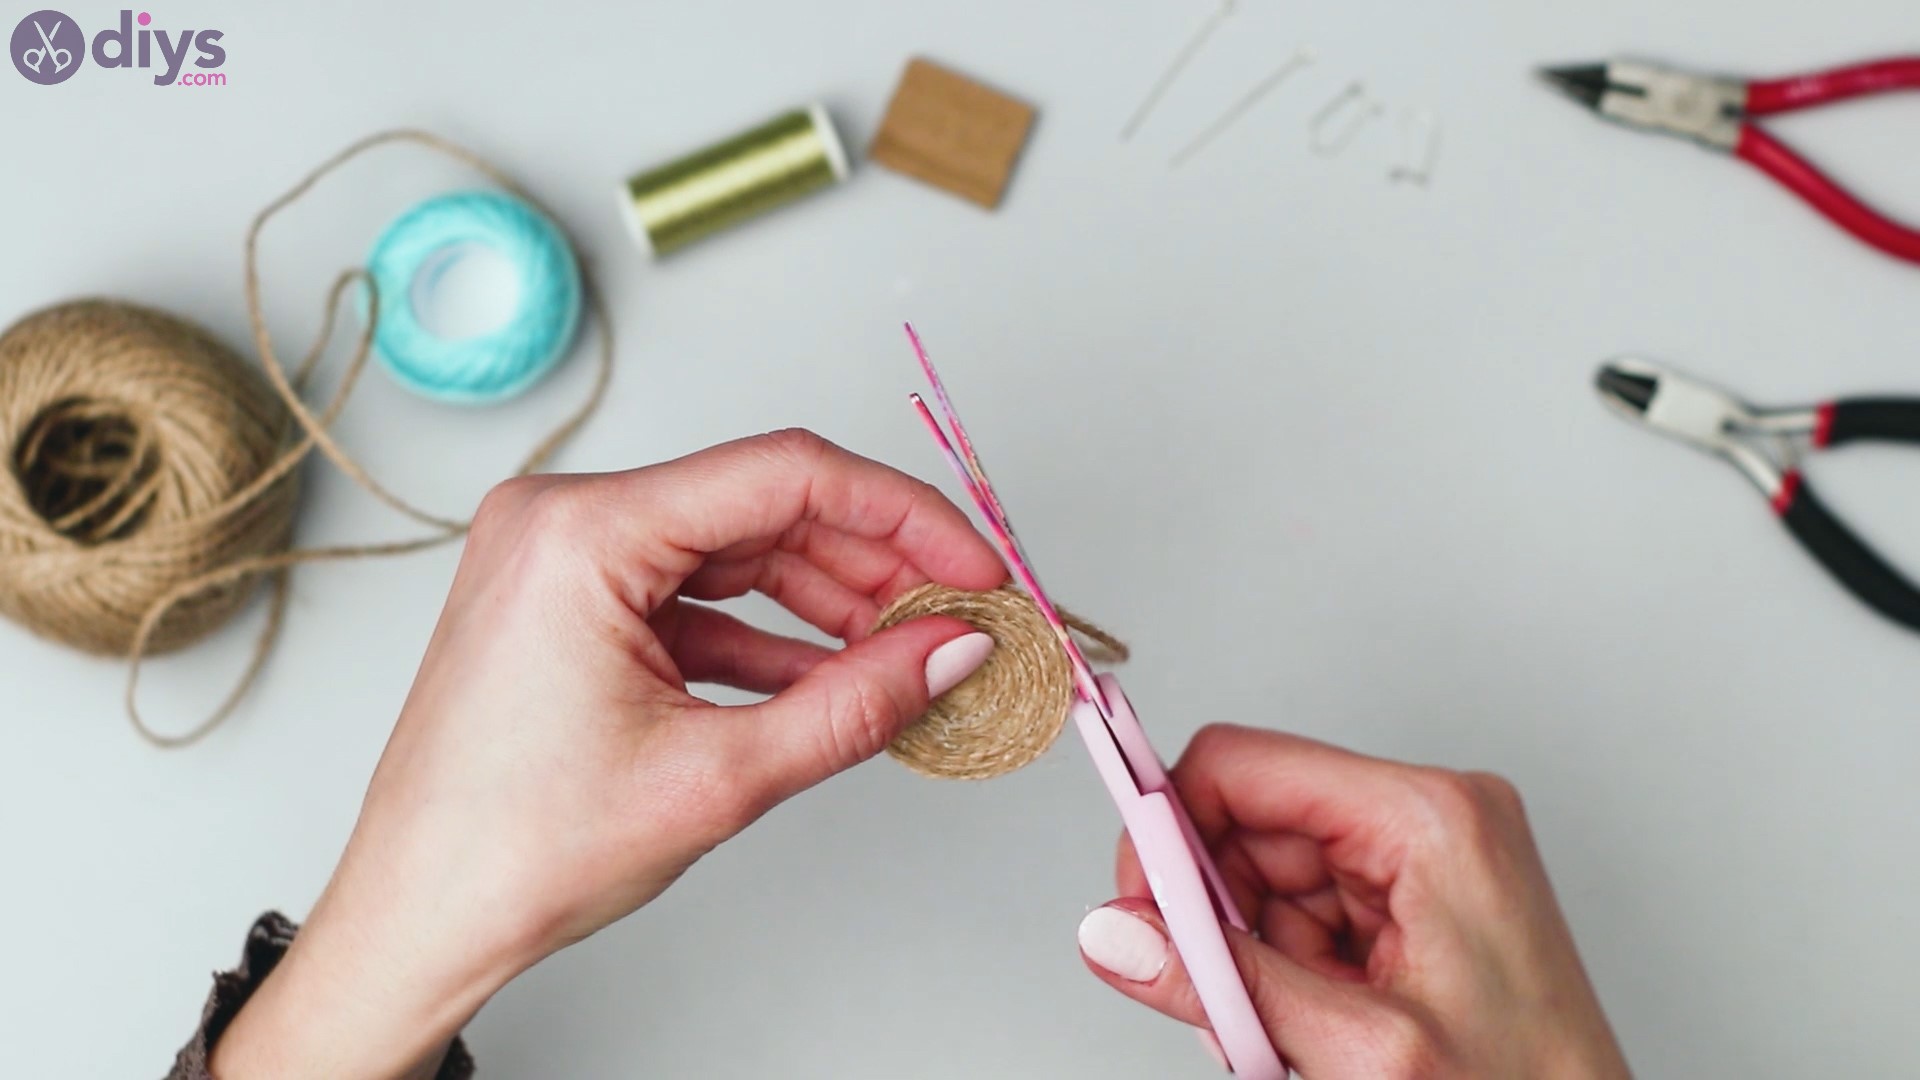
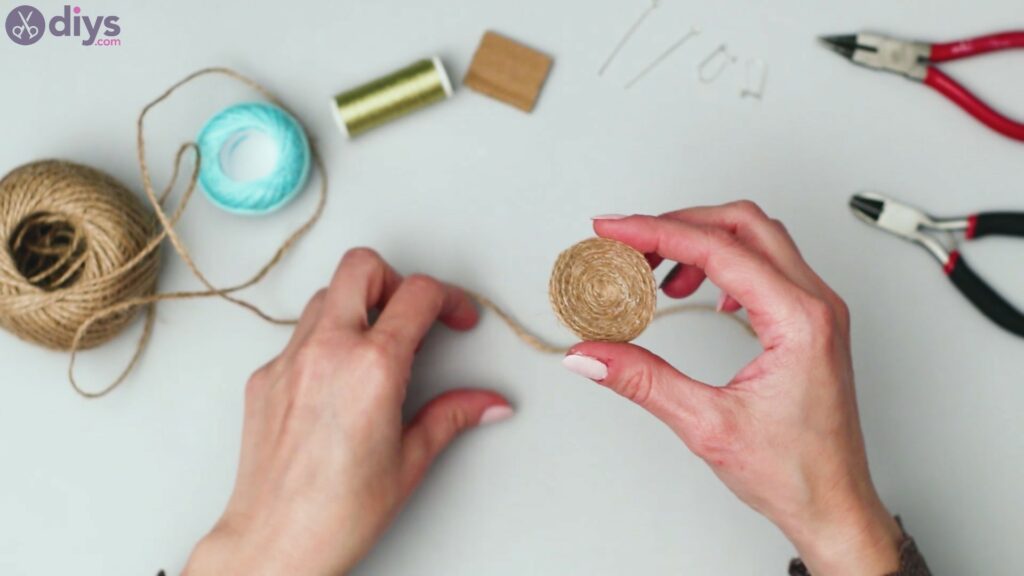
When you feel like your raffia spiral is big enough, get thescissors and cut the excess thread.

You can build the second raffia spiral now, or do the second earring when you’re completely done with the first one.
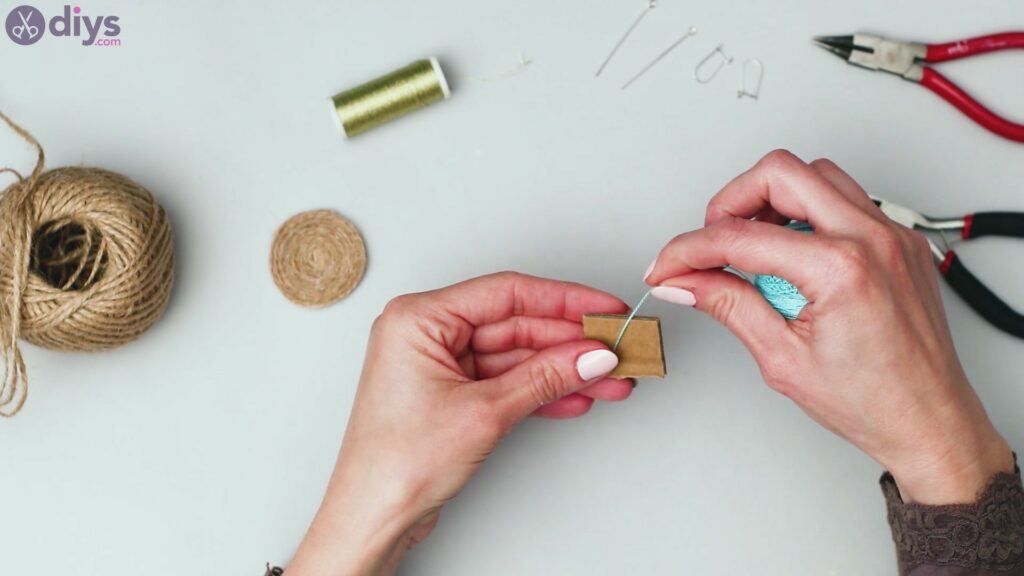
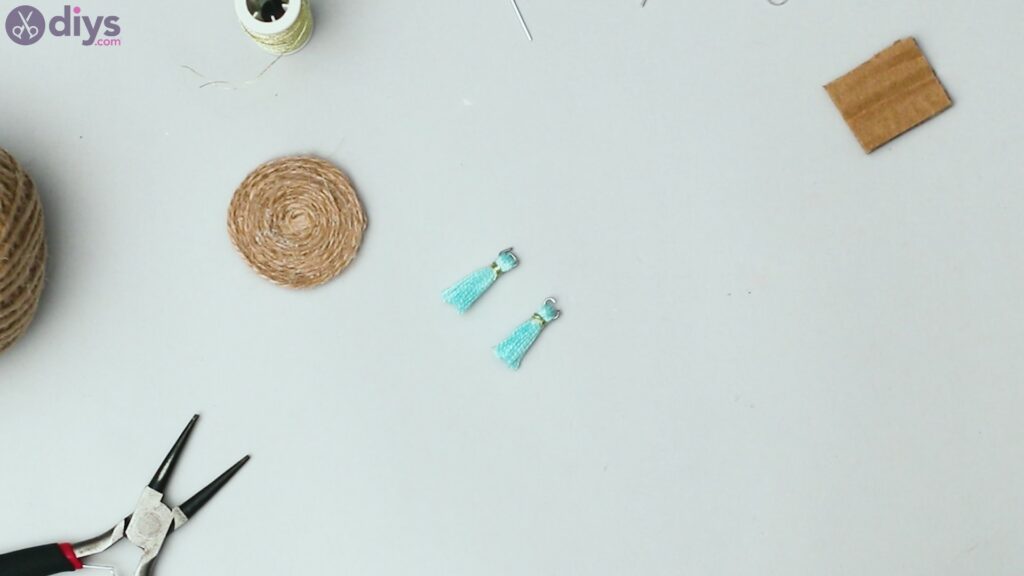
Step 2: Make some tassels
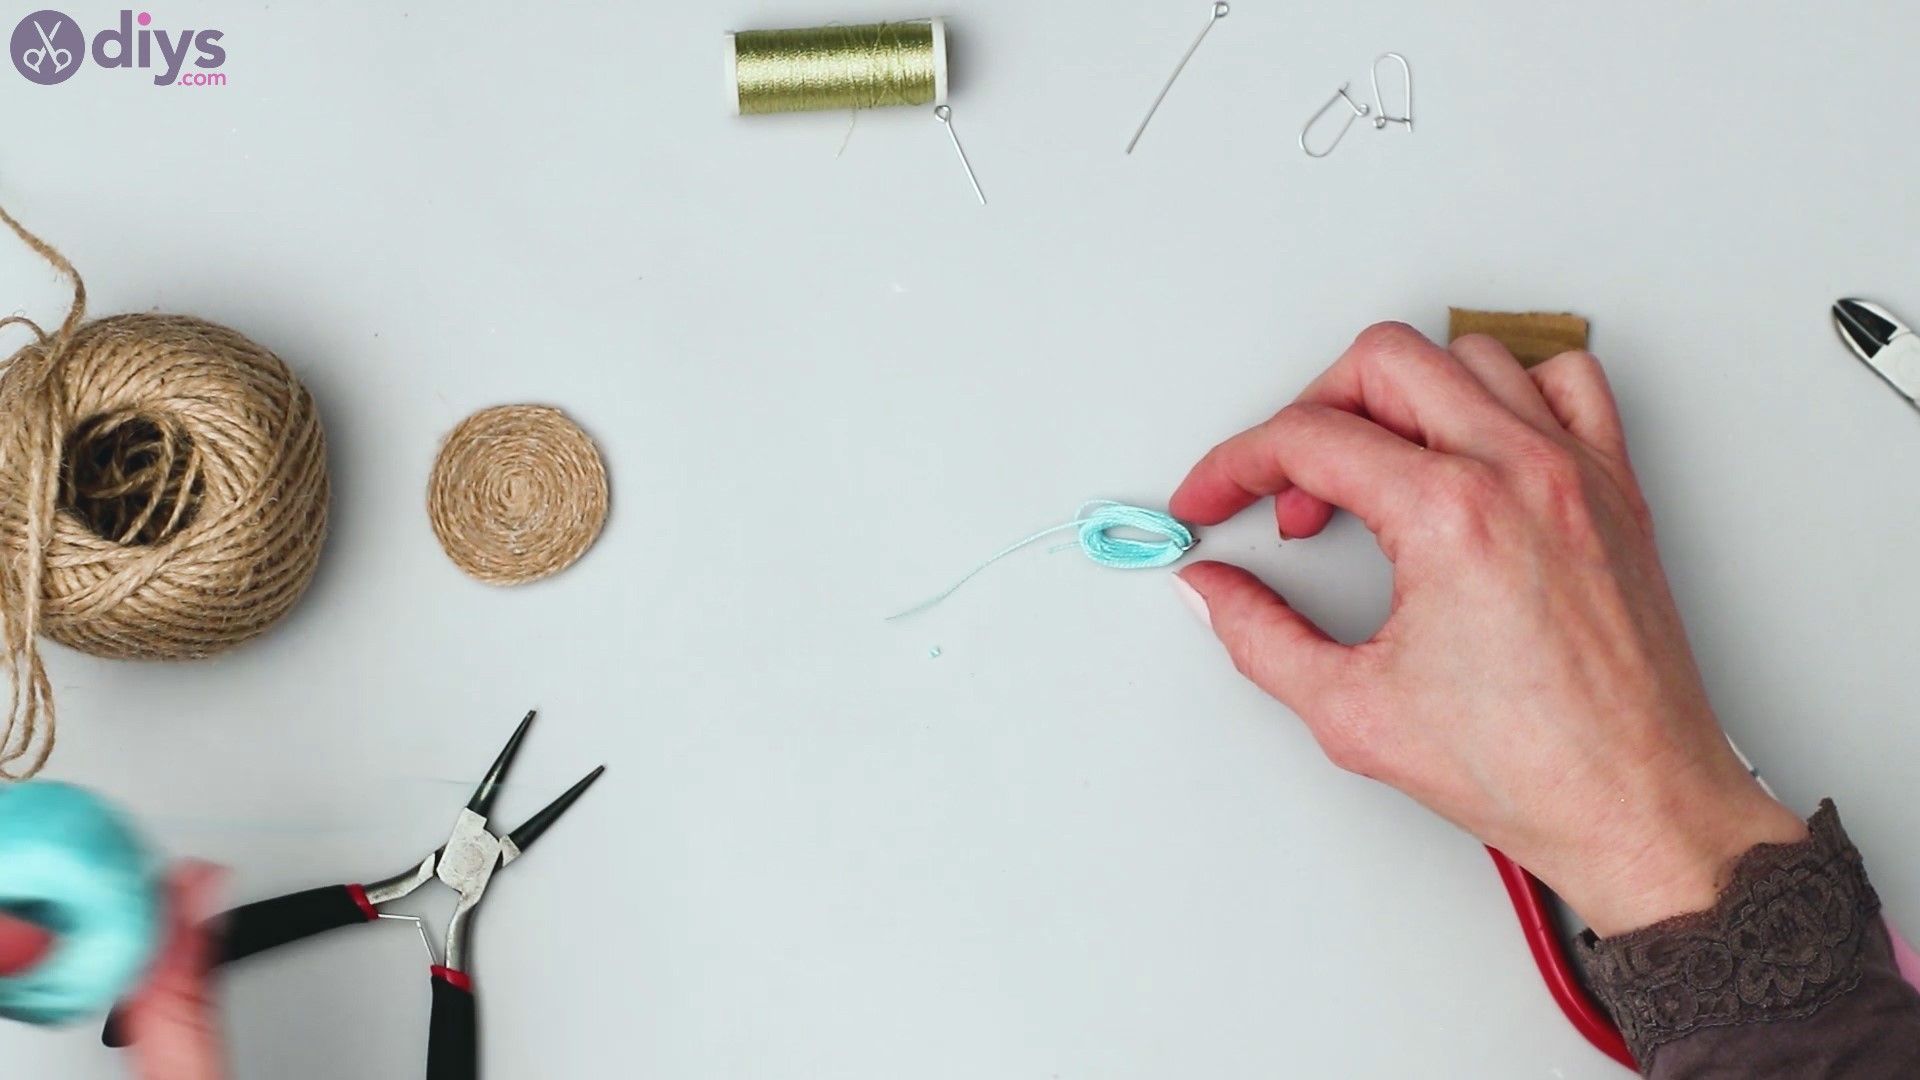
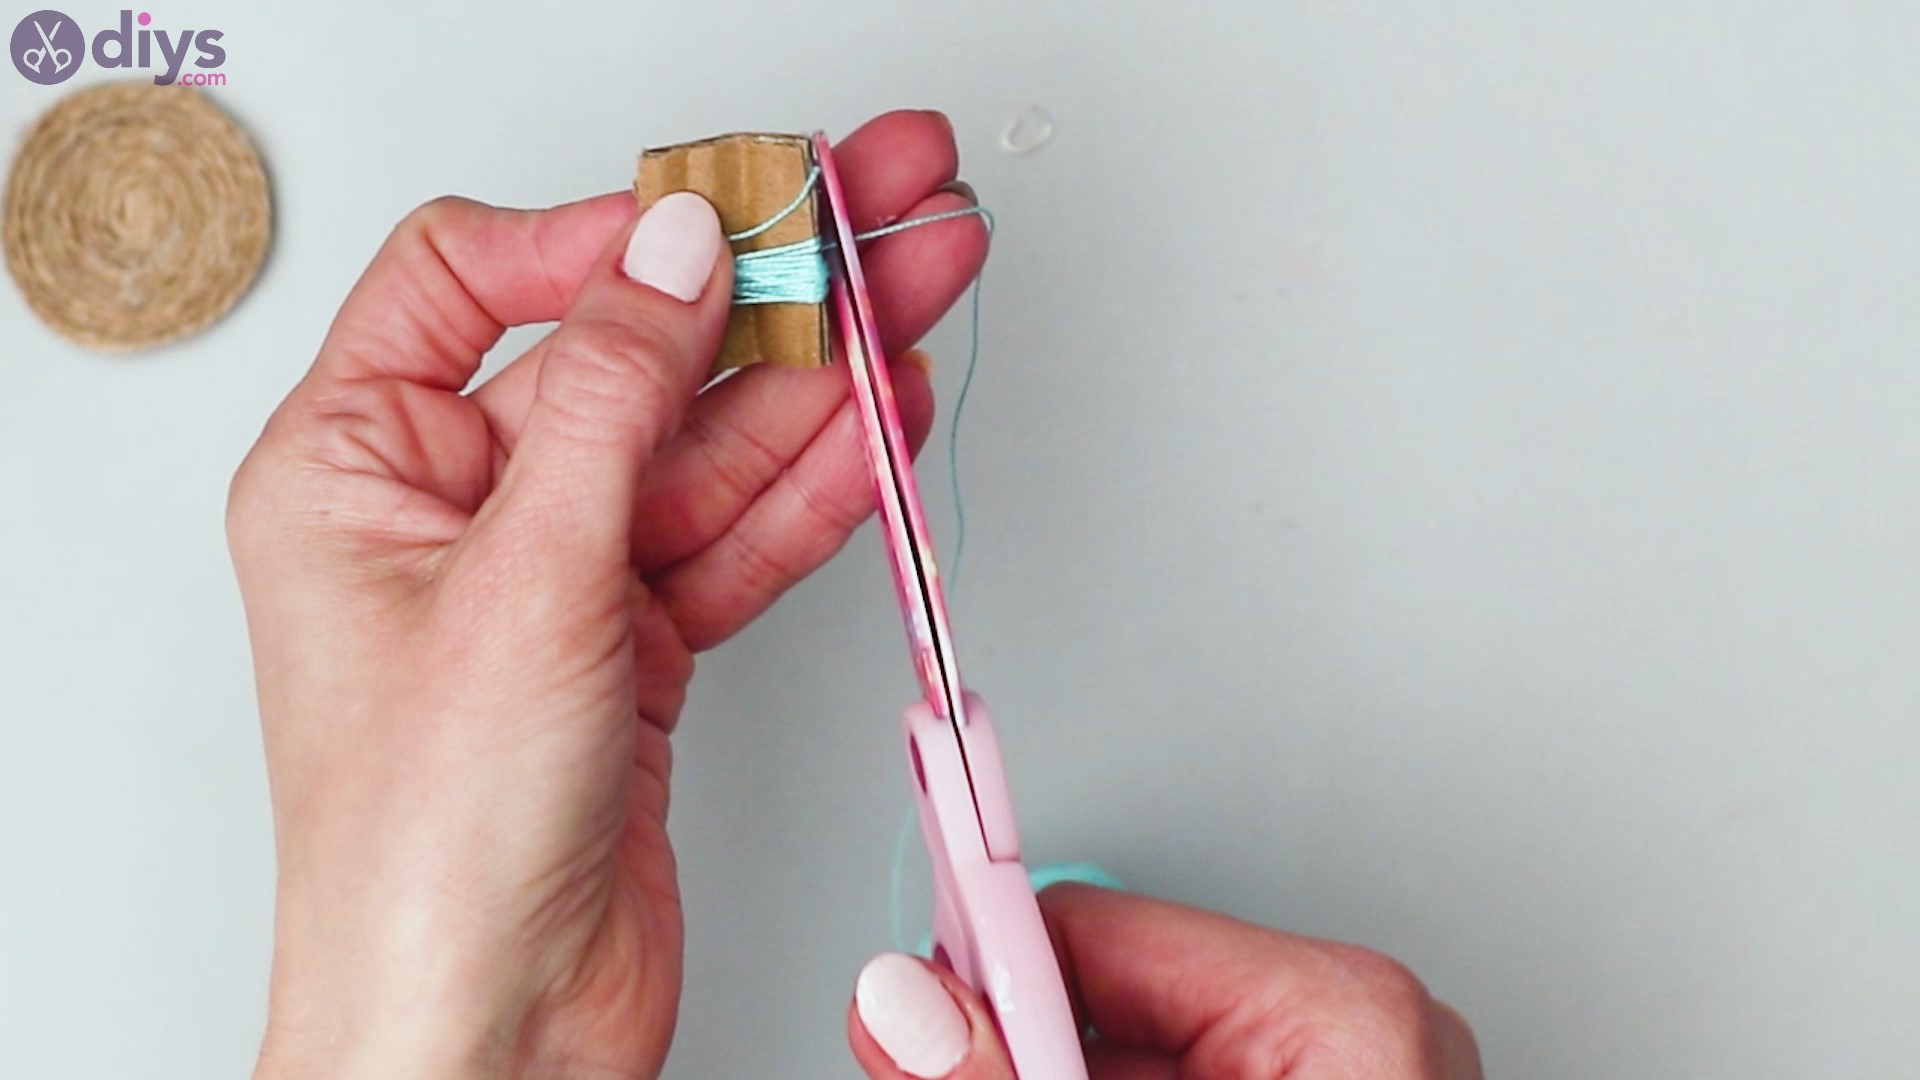
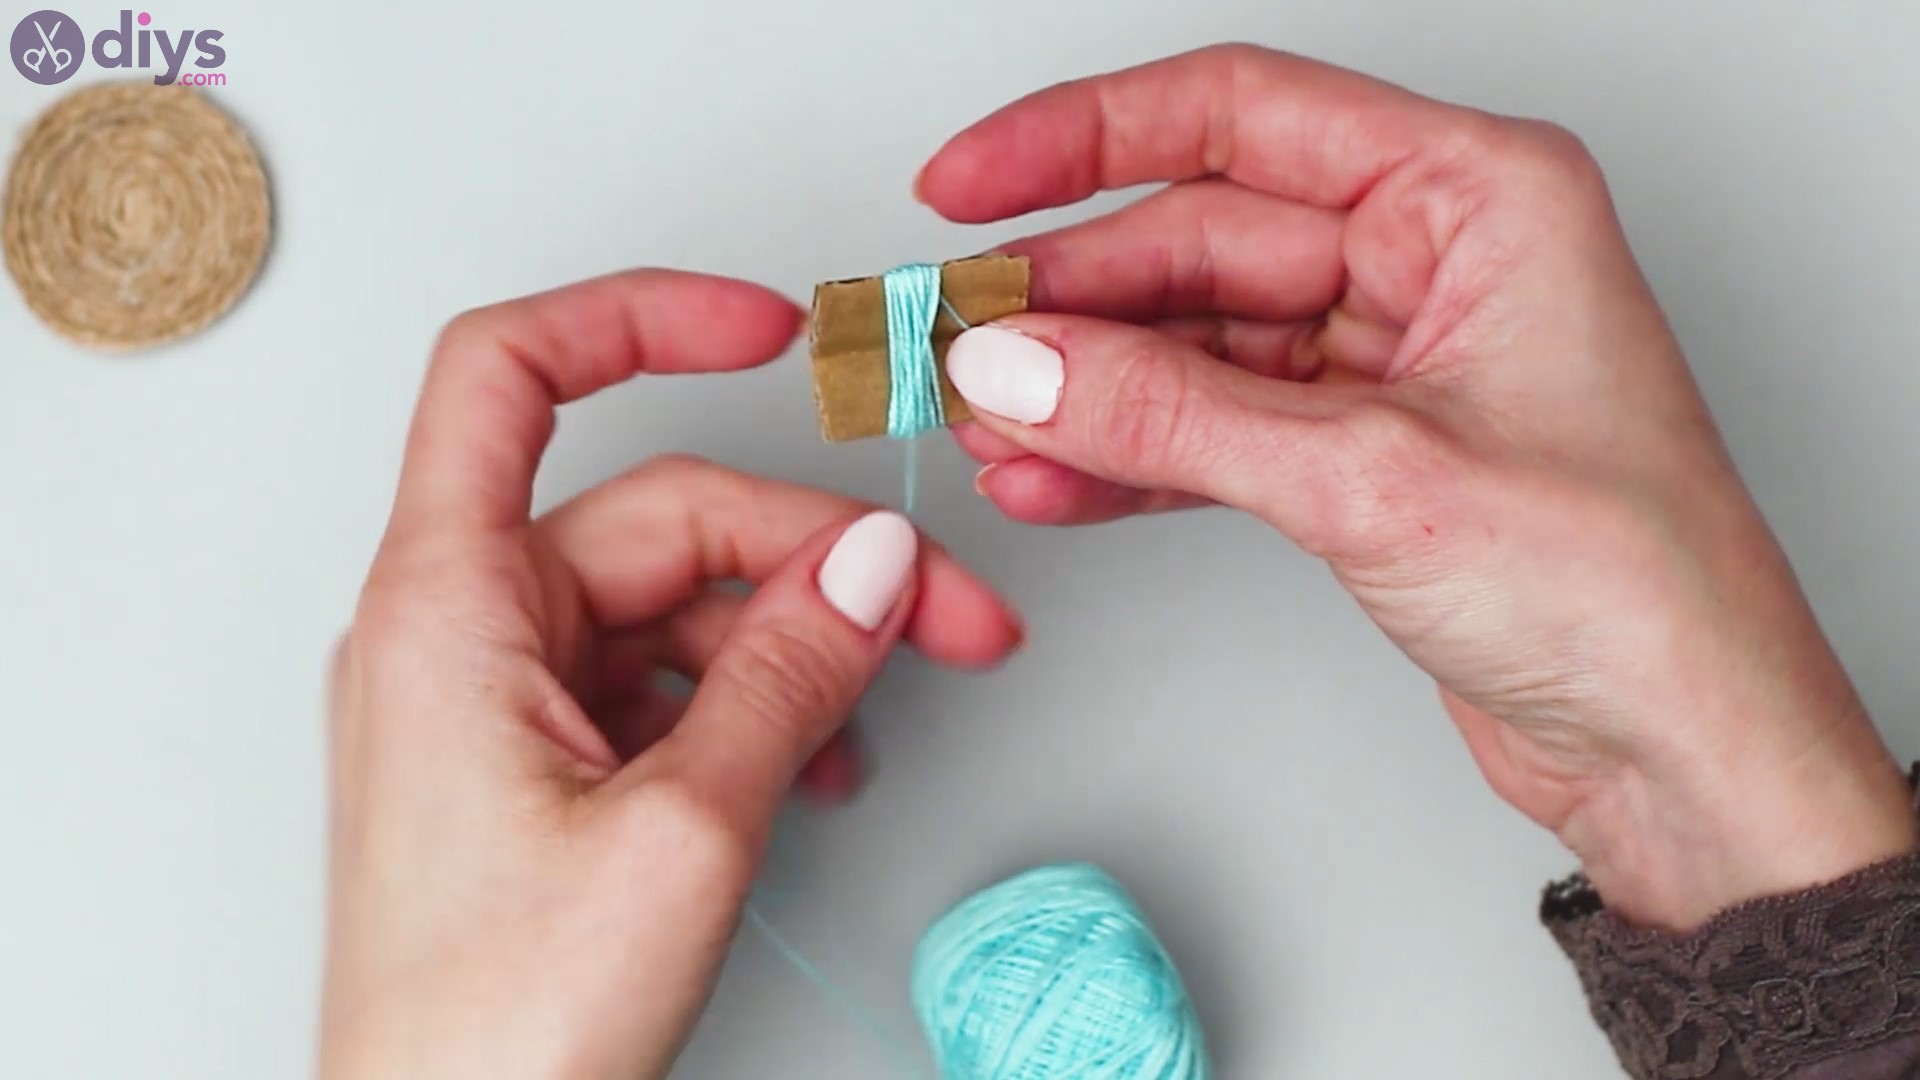
Next, we’re going to create some tassels for our earrings. Each of our earrings has three of these, so it may be best to make them all at once. Grab the piece of cardboard and the blue yarn and start wrapping loops around it. You may want to keep track of how many loops you’re doing here, so you can do them all the same.
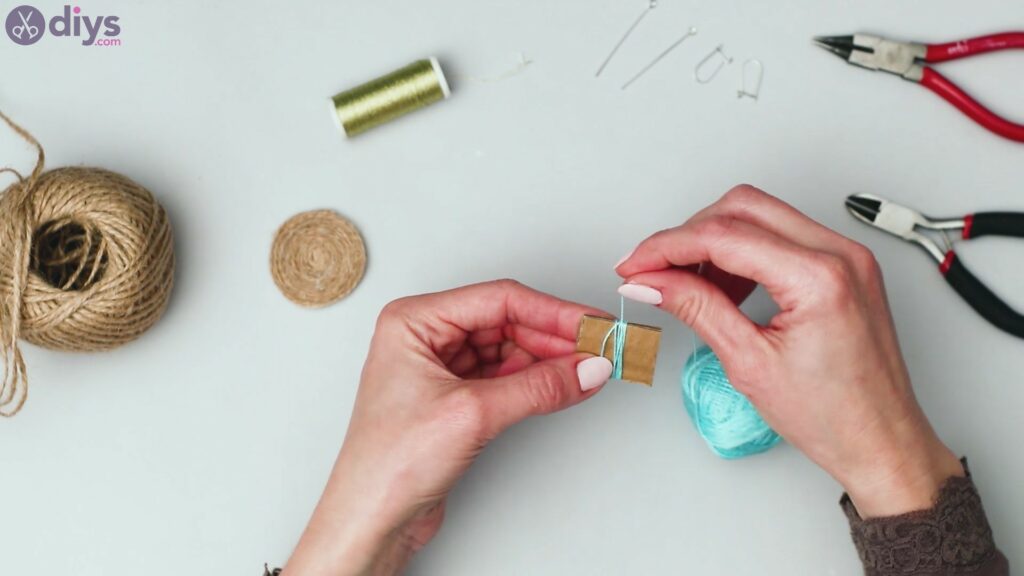
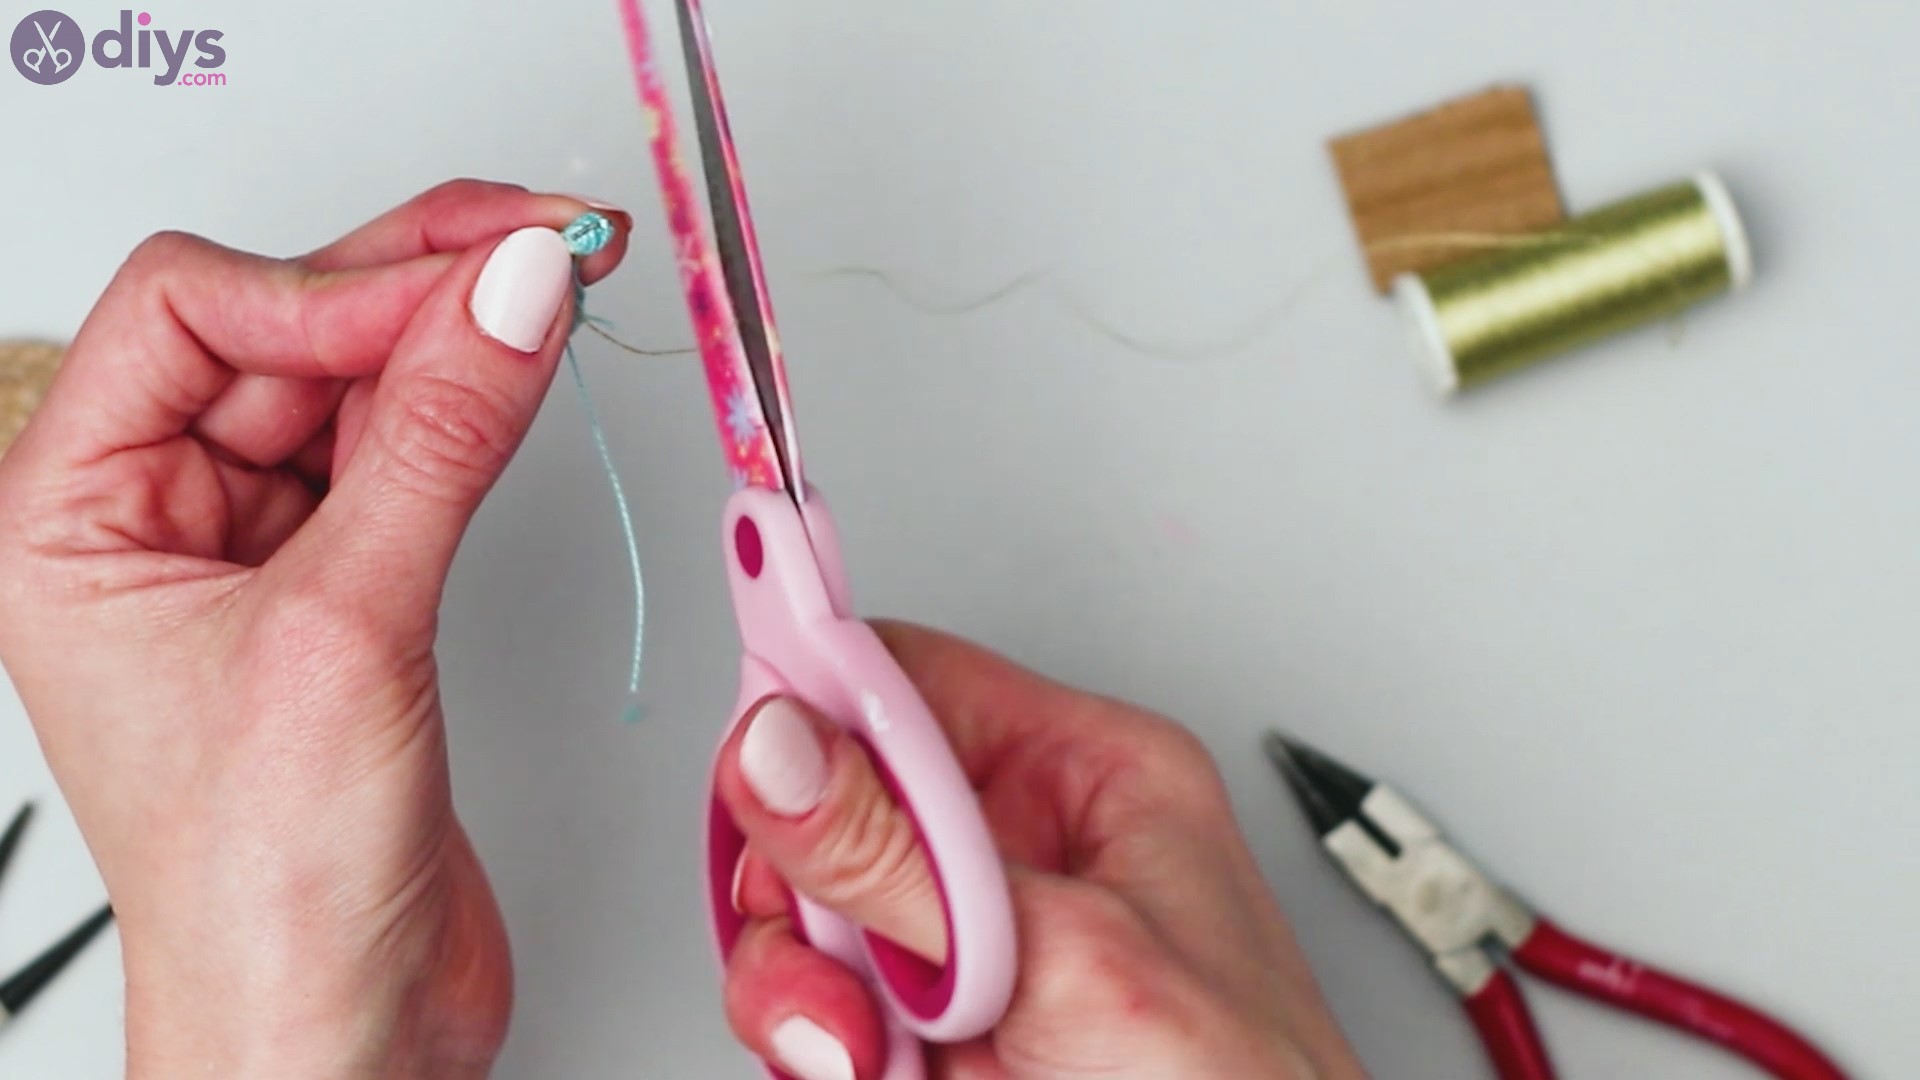
When you’re done with one of the loops get thescissorsand cut the thread.
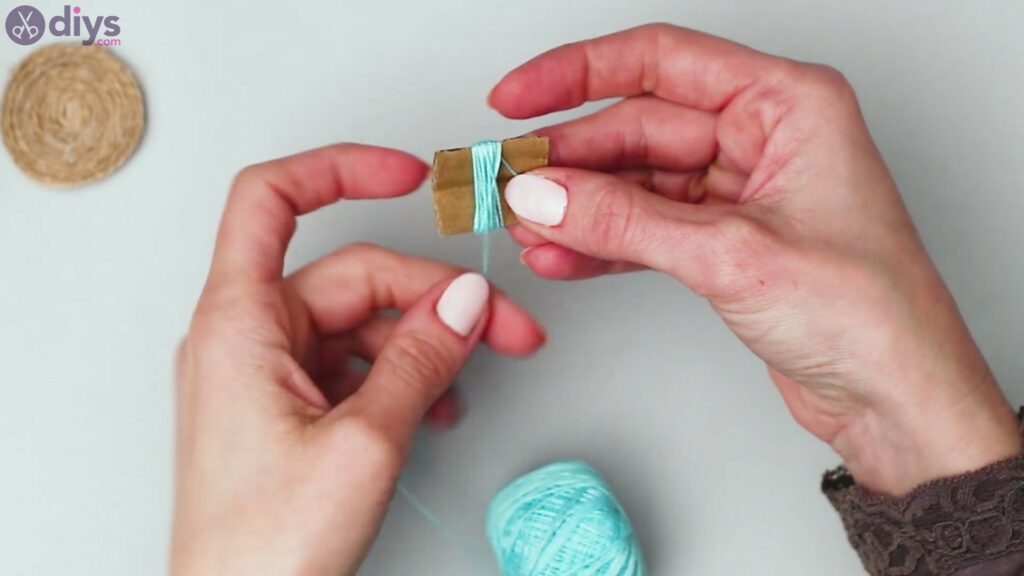


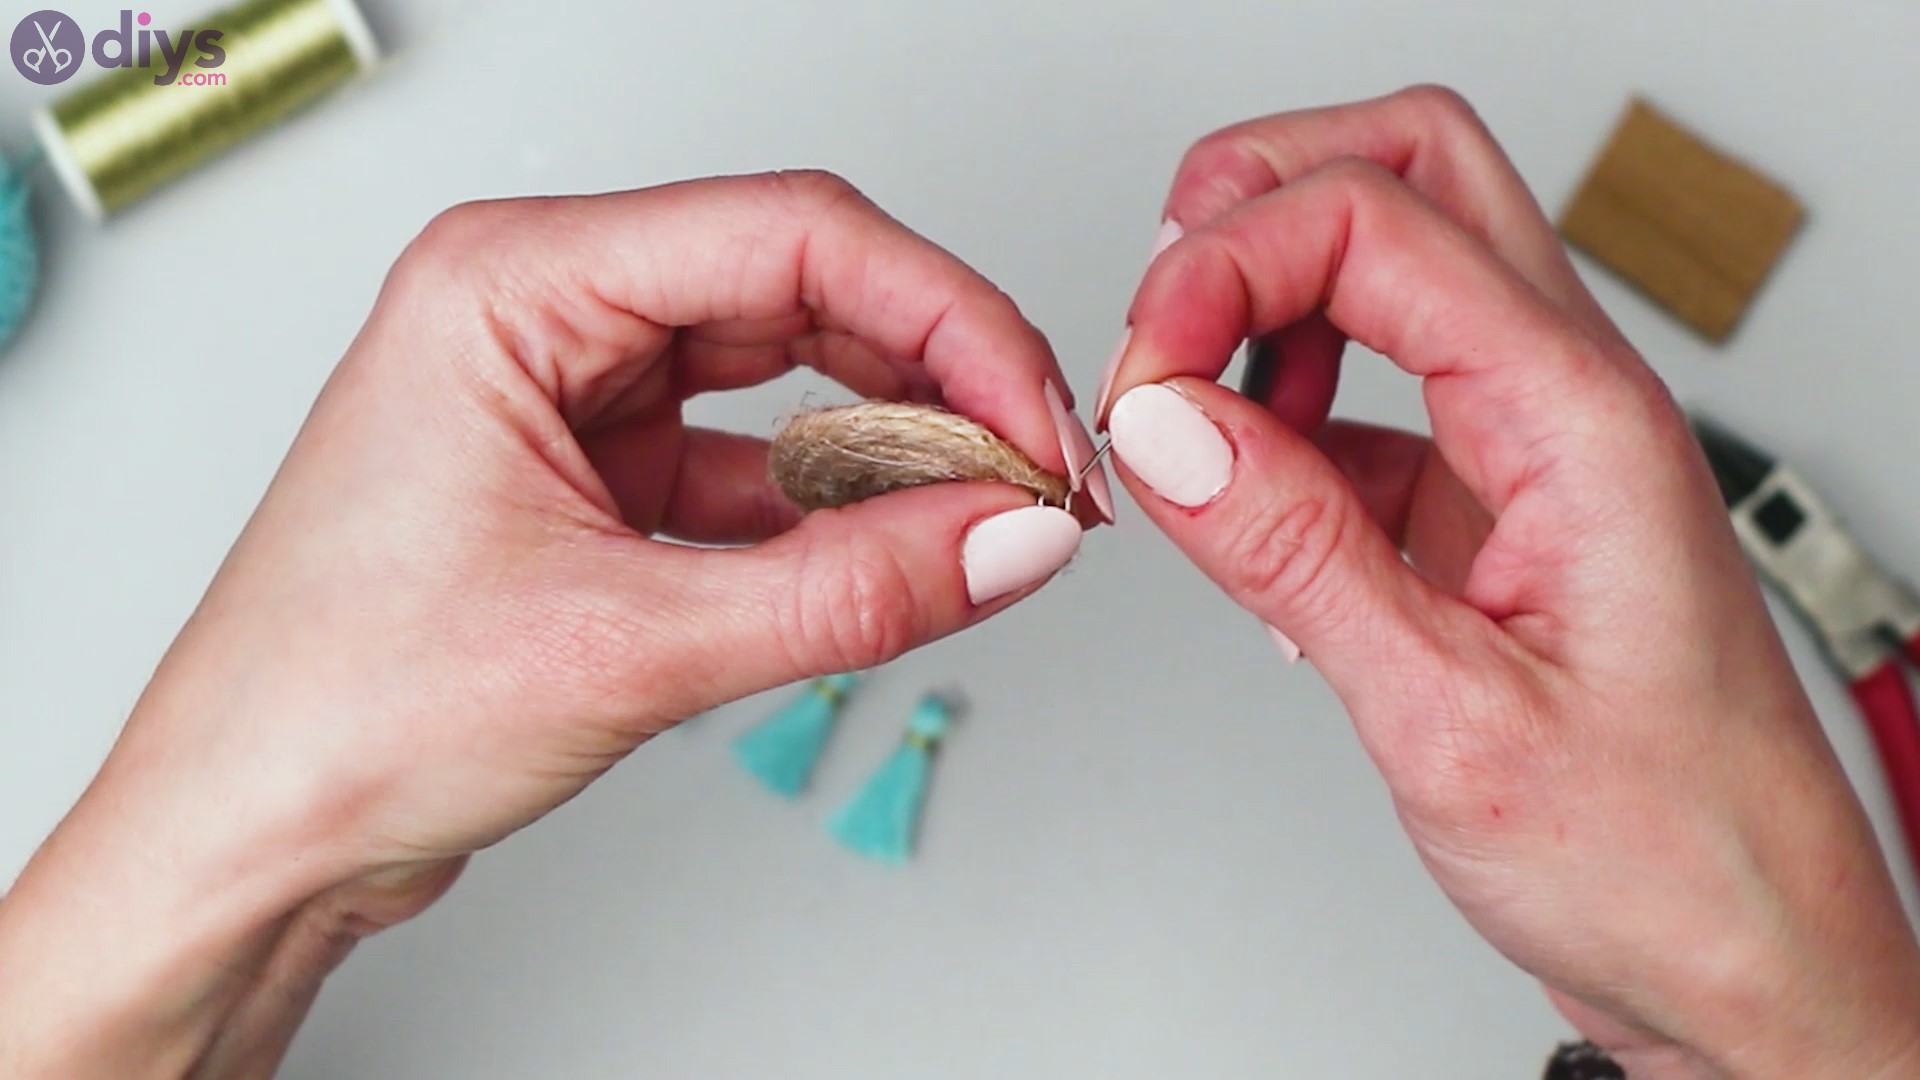
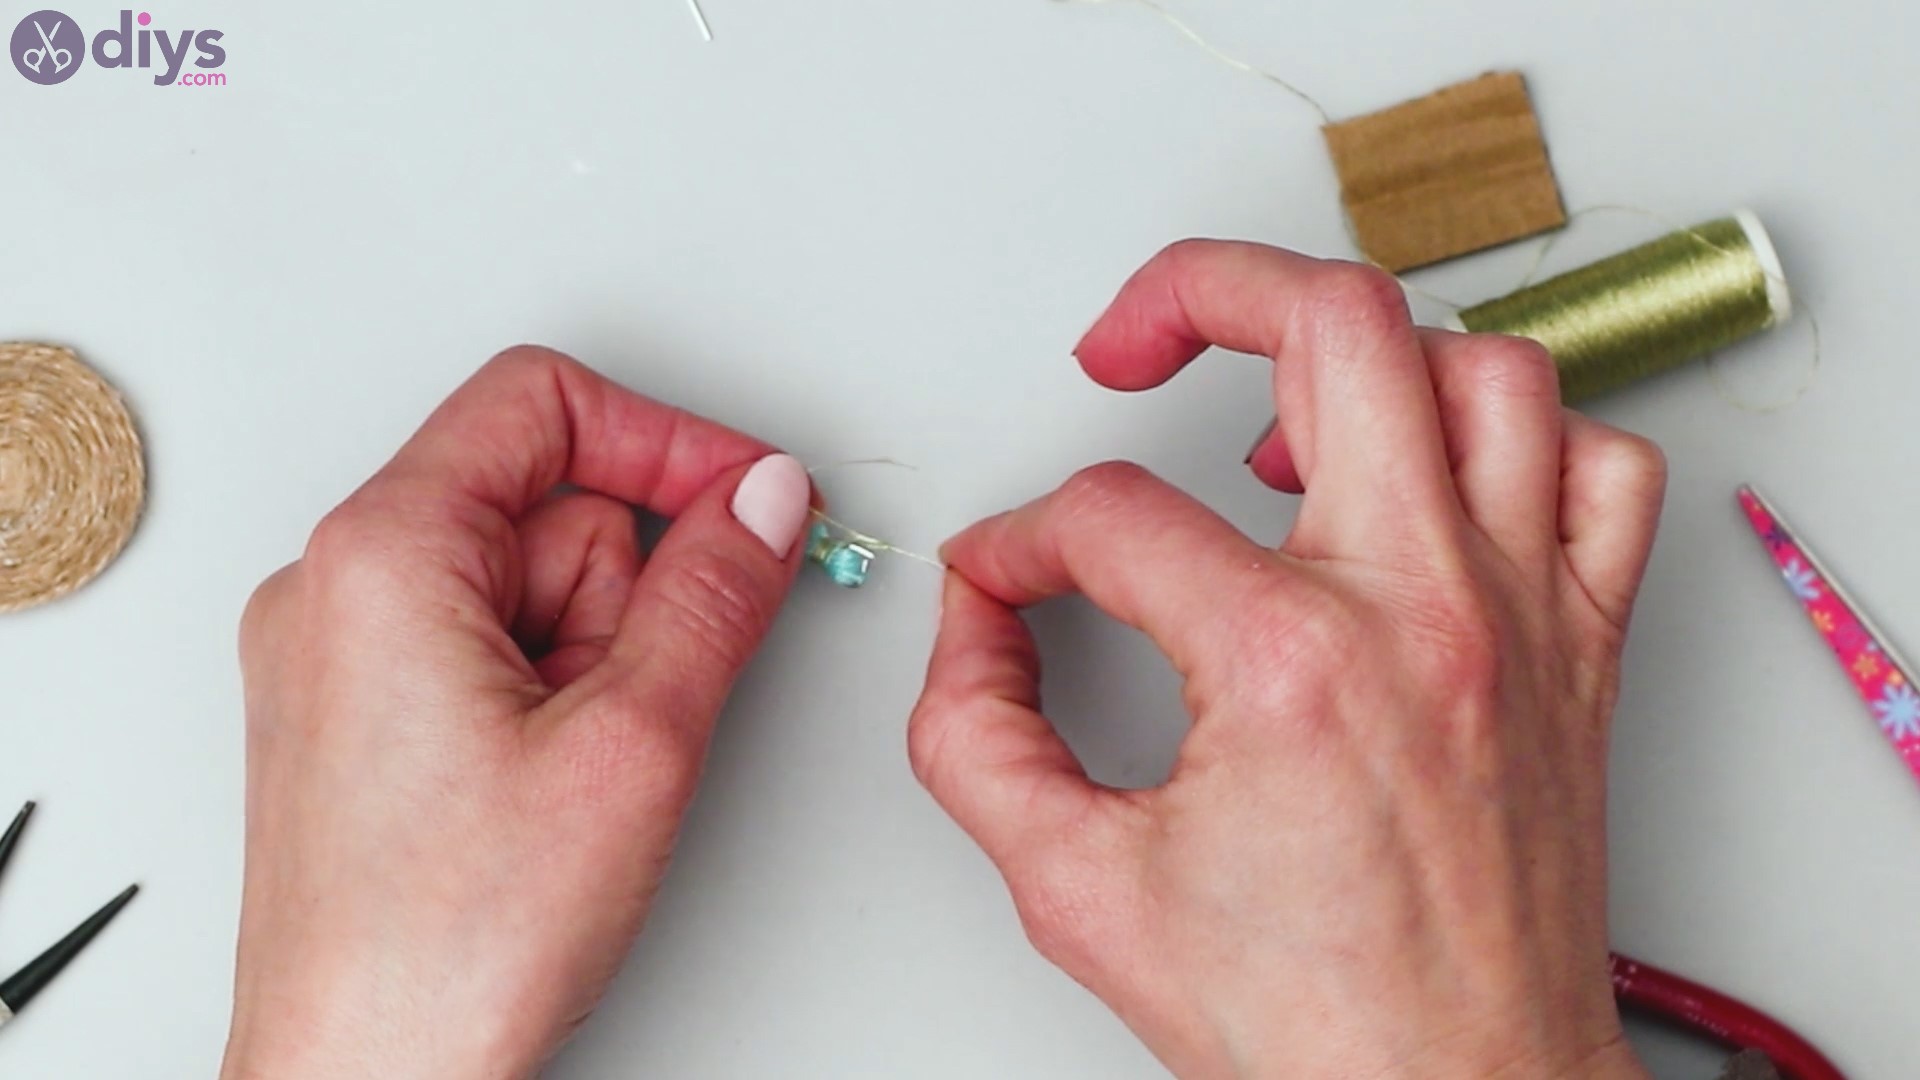
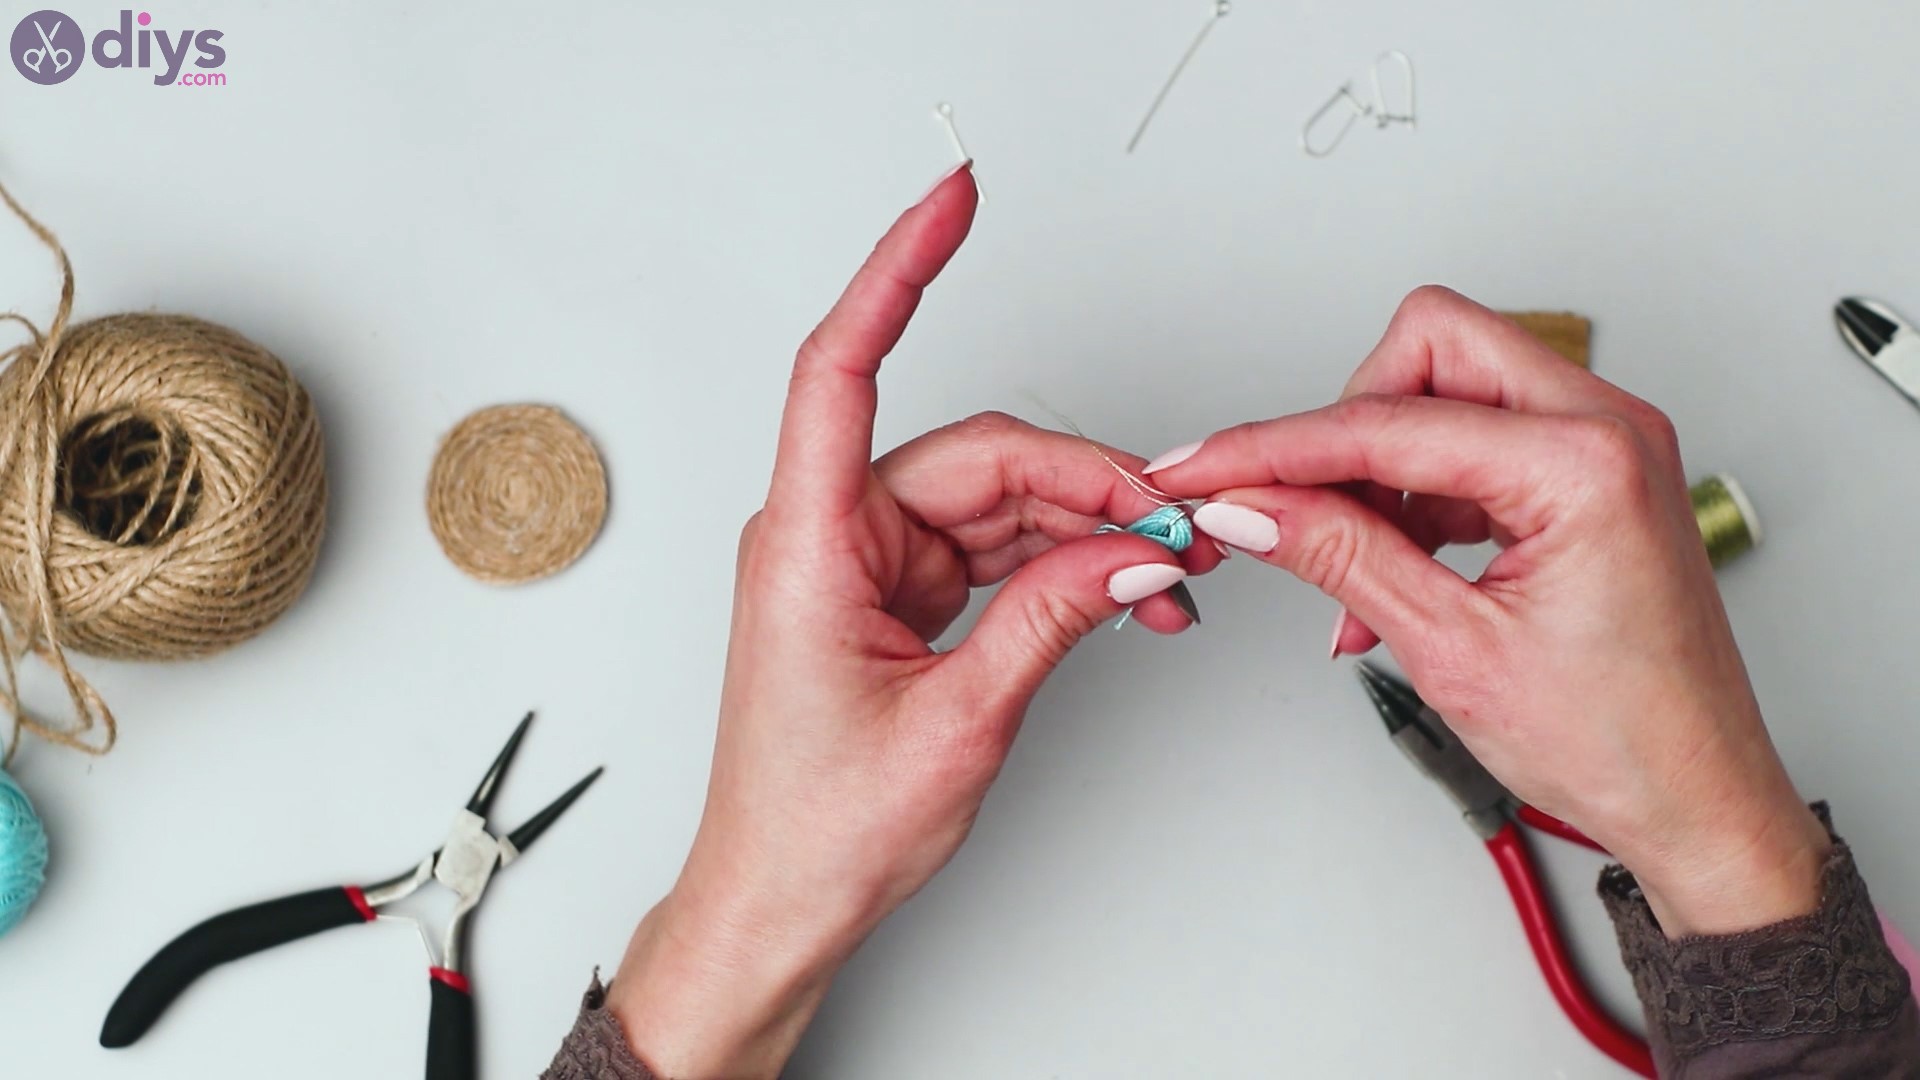
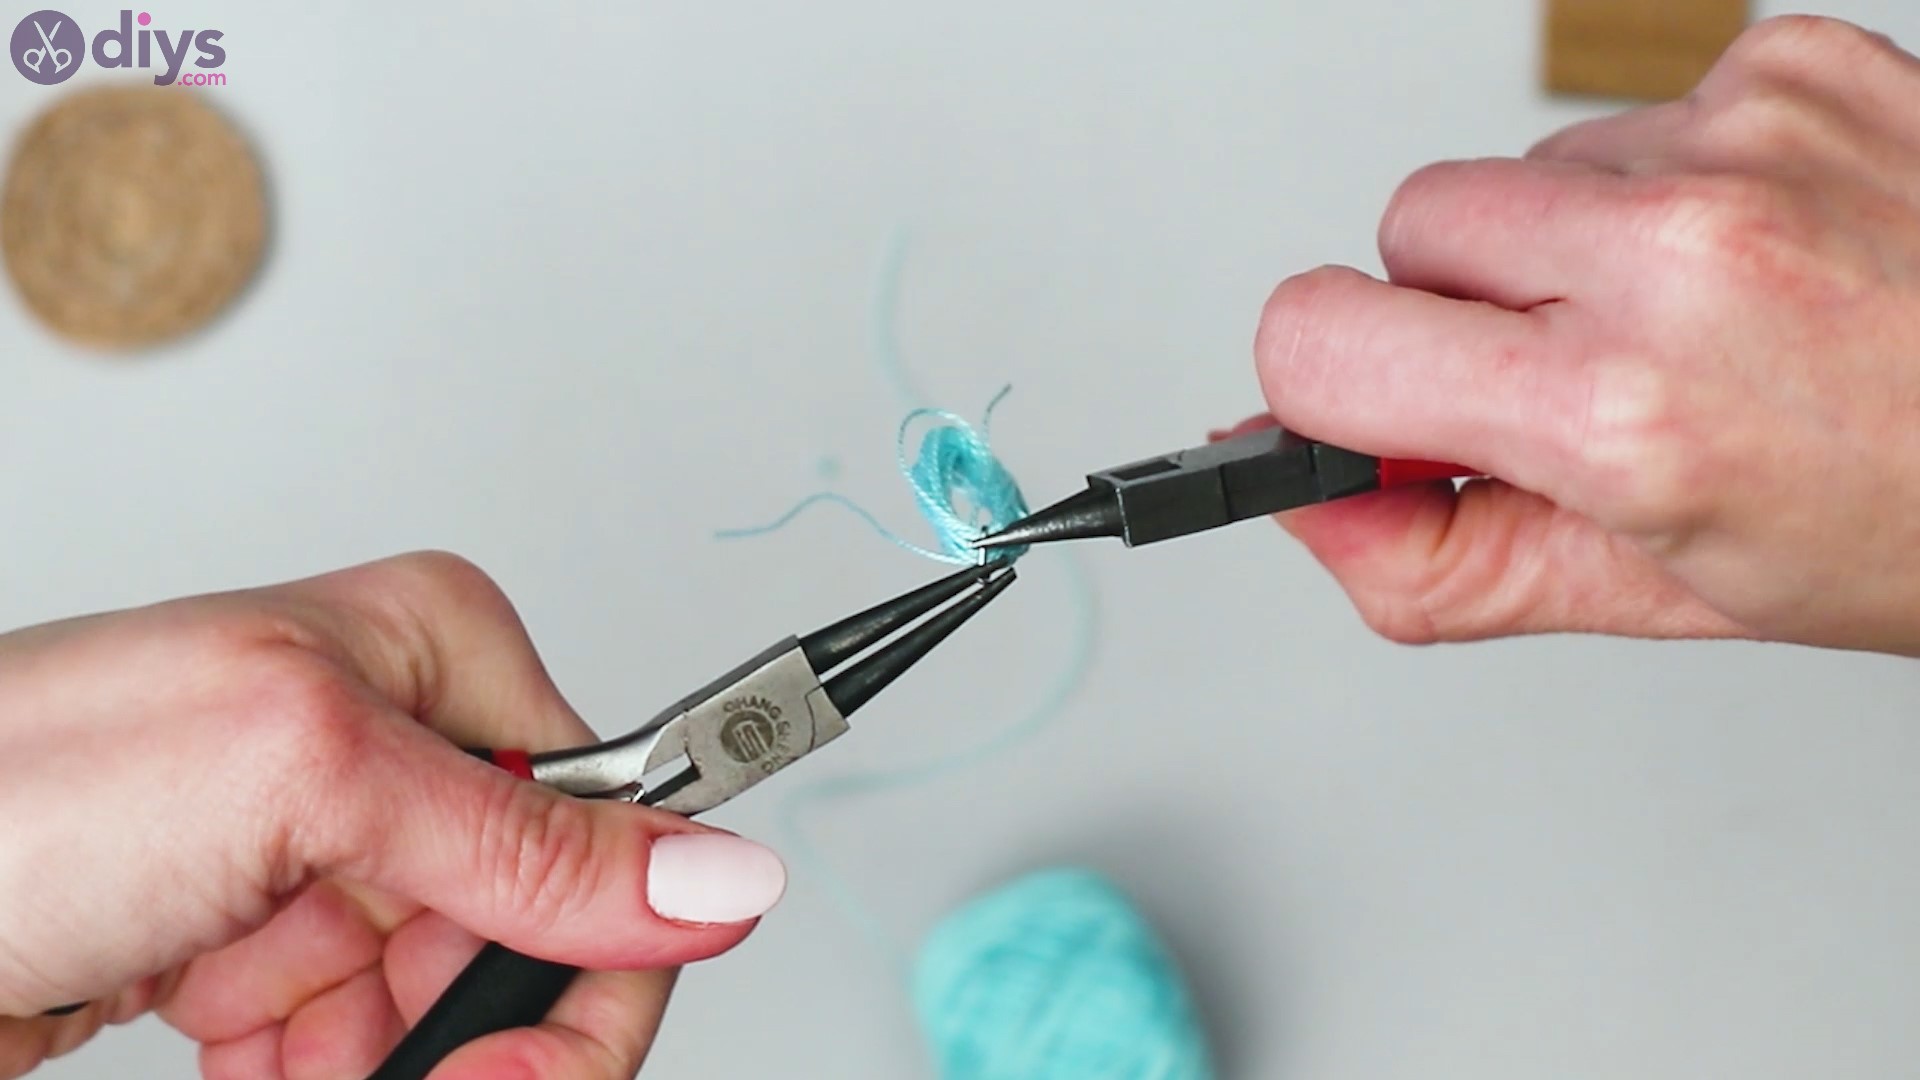
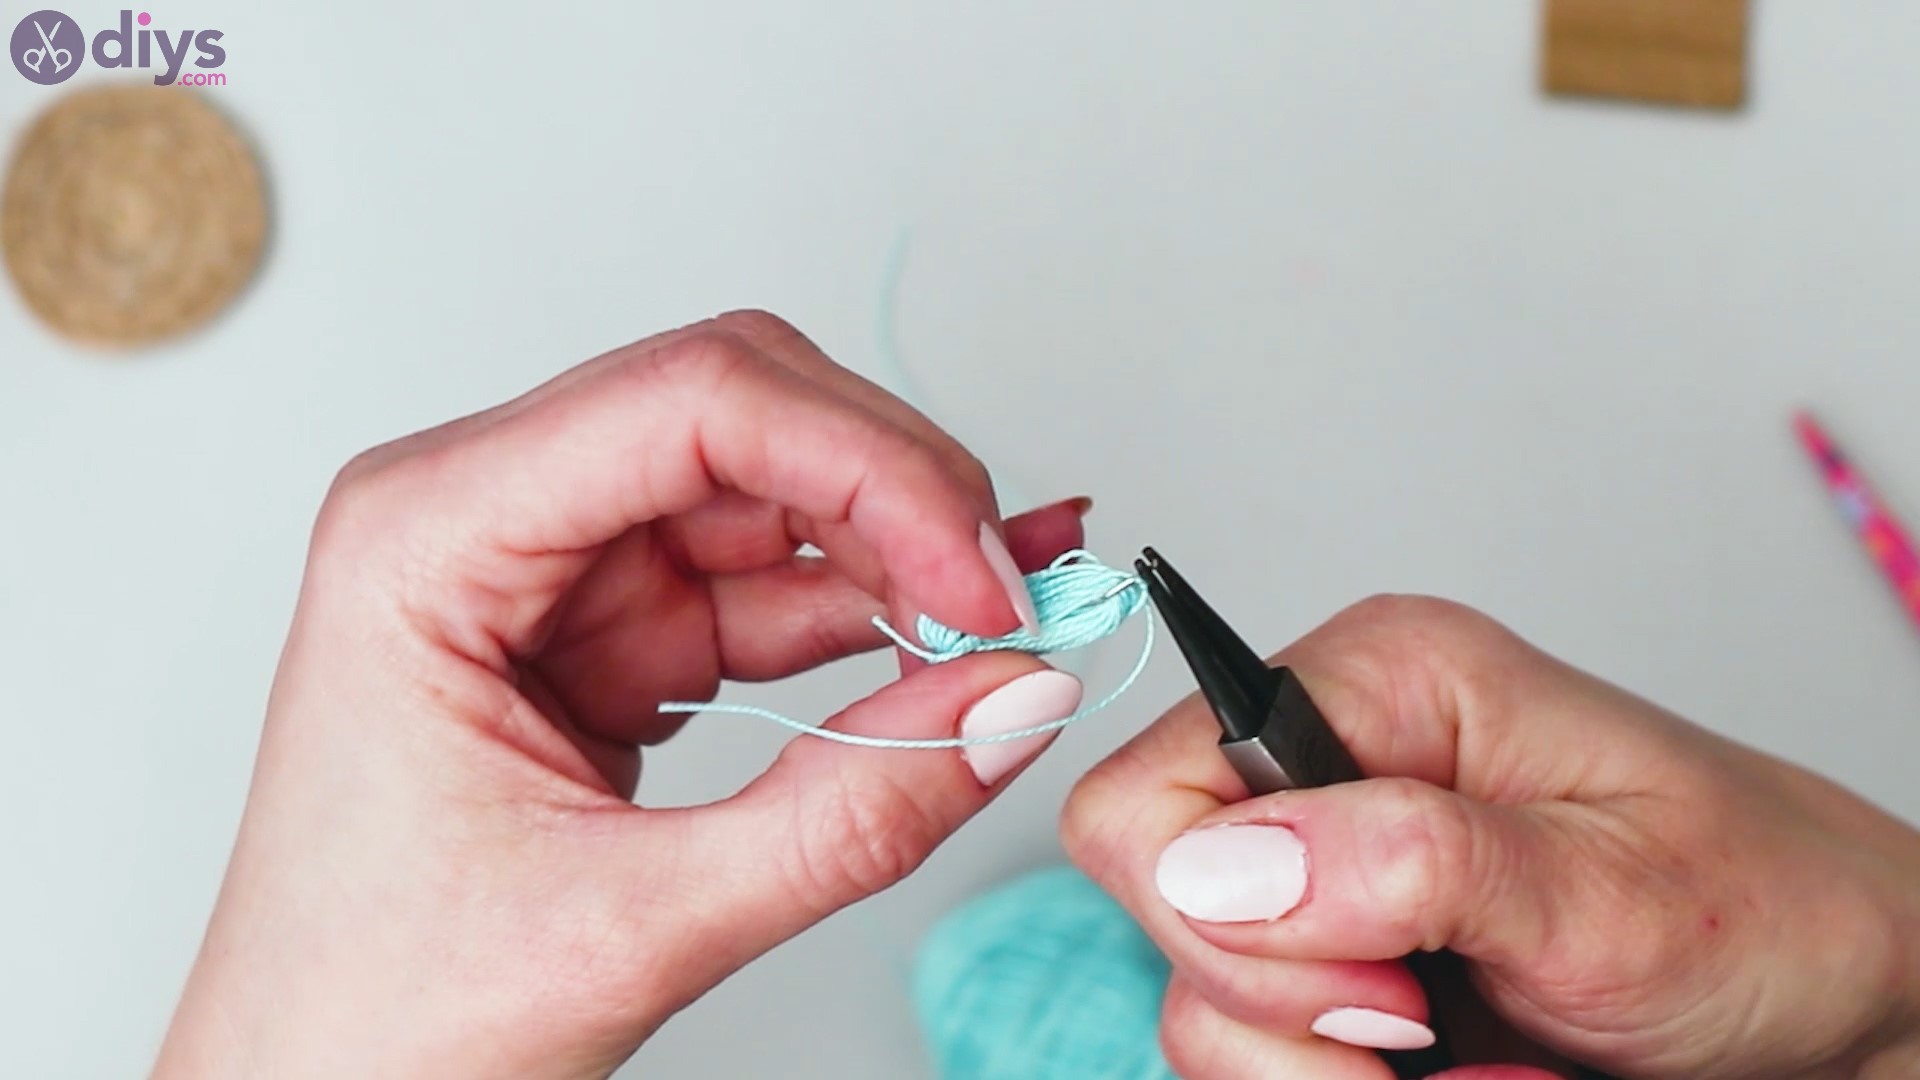
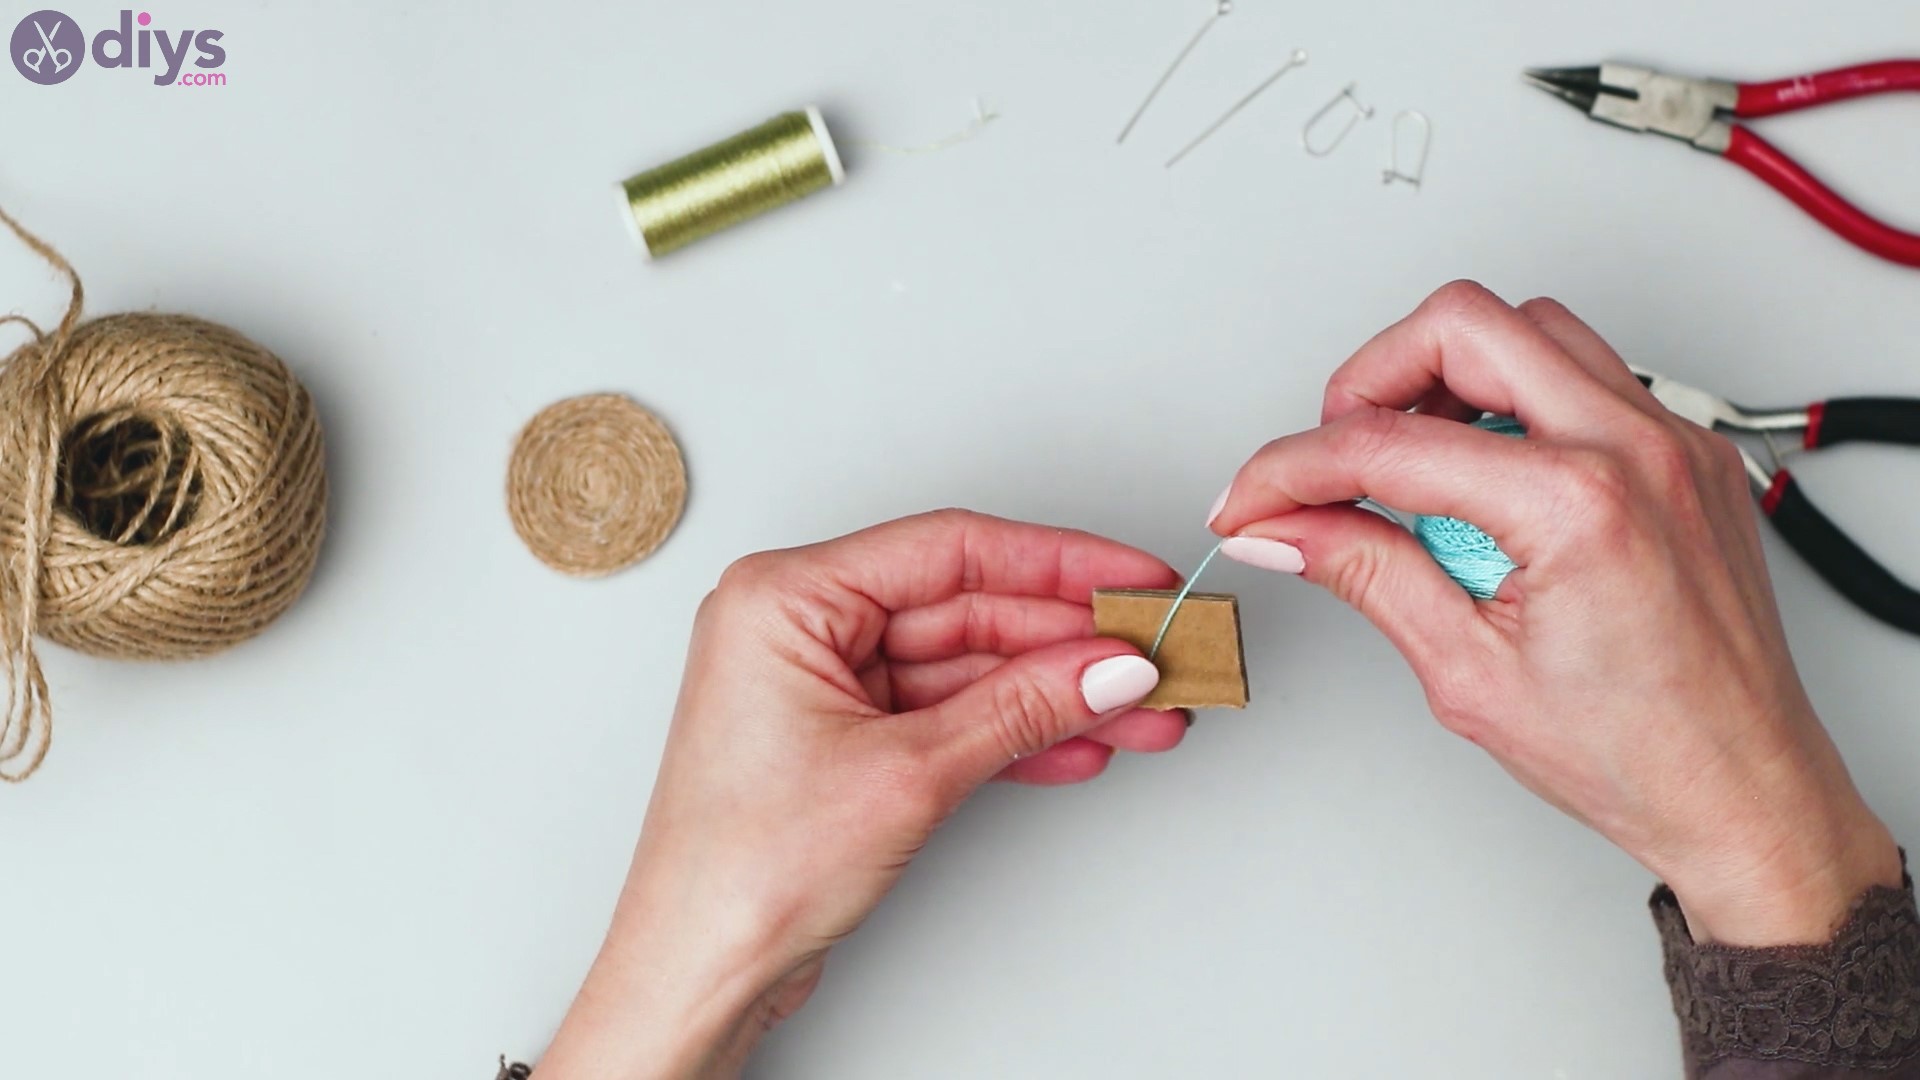
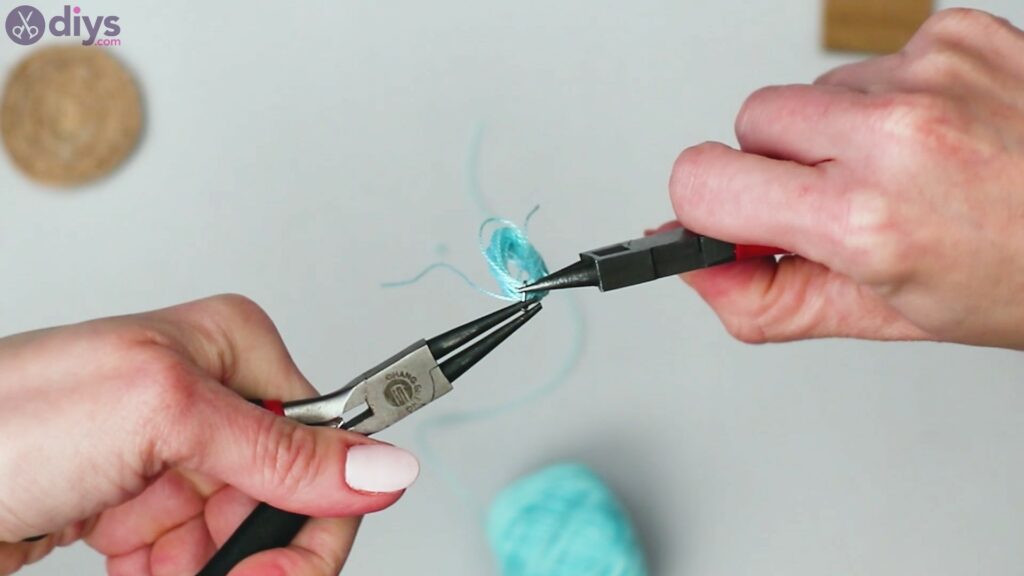
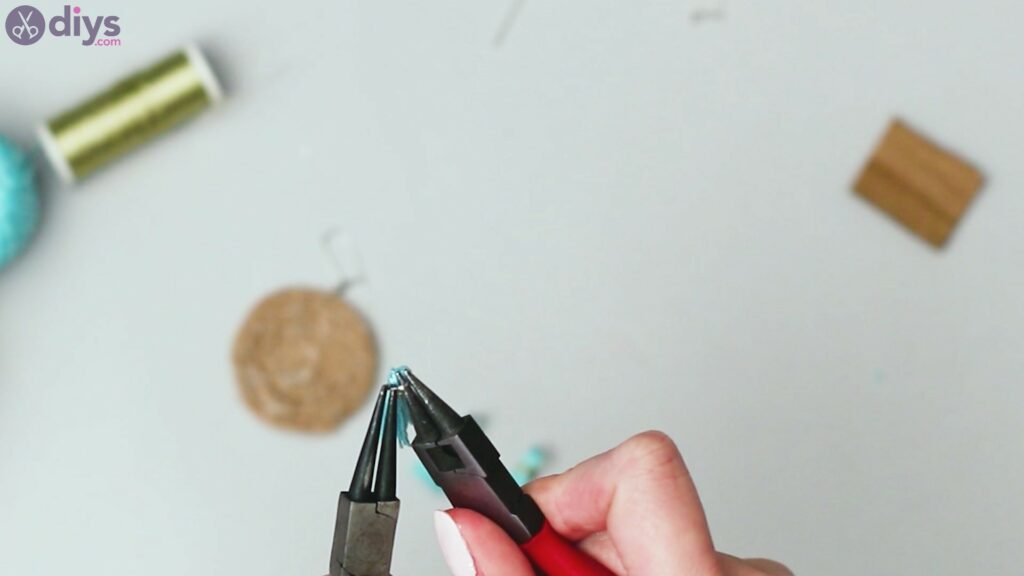
Get the round-nose pliers and pick up a jump ring. Push the blue yarn loops through the open jump ring.
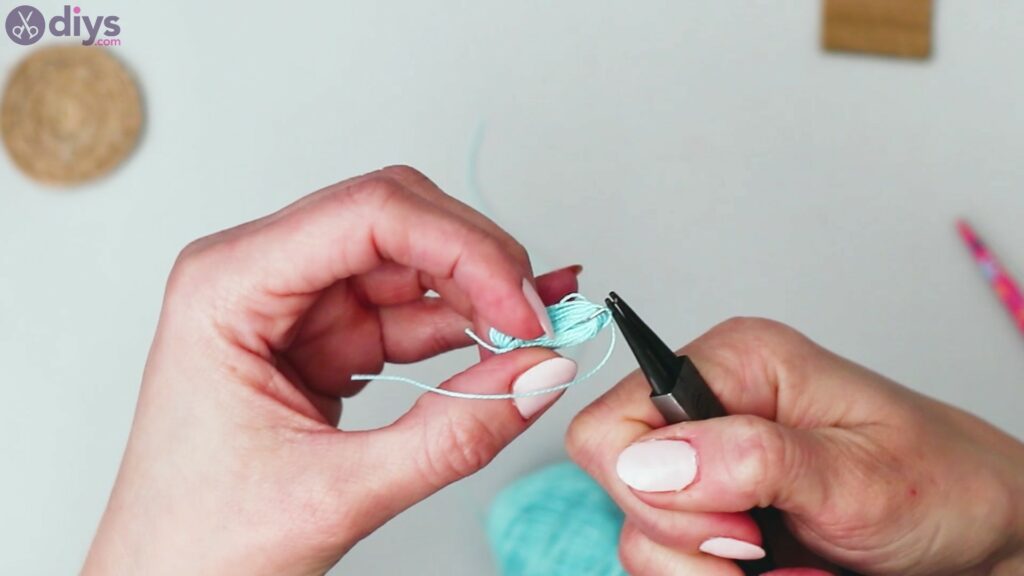
Use the pliers to close the ring as much as possible; you don’t want to close them completely as you’ll need to open them up again later on.

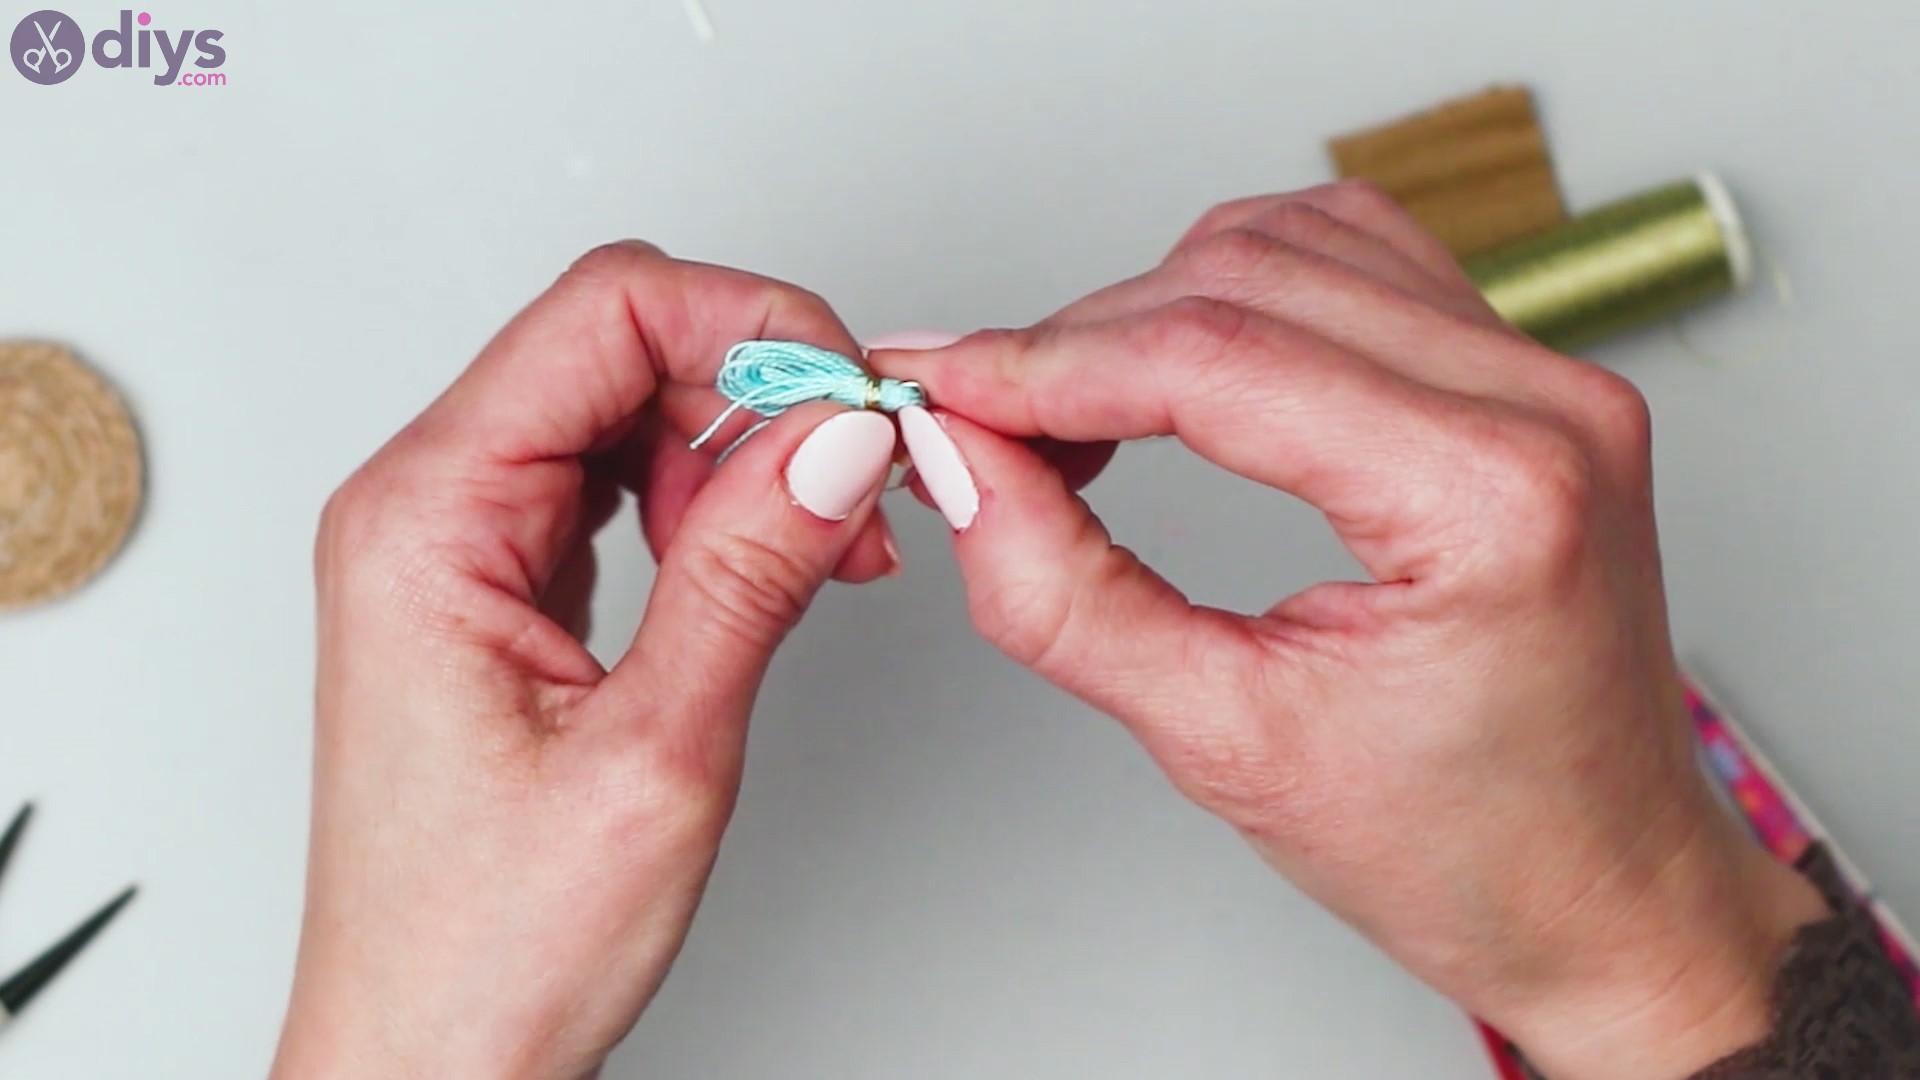
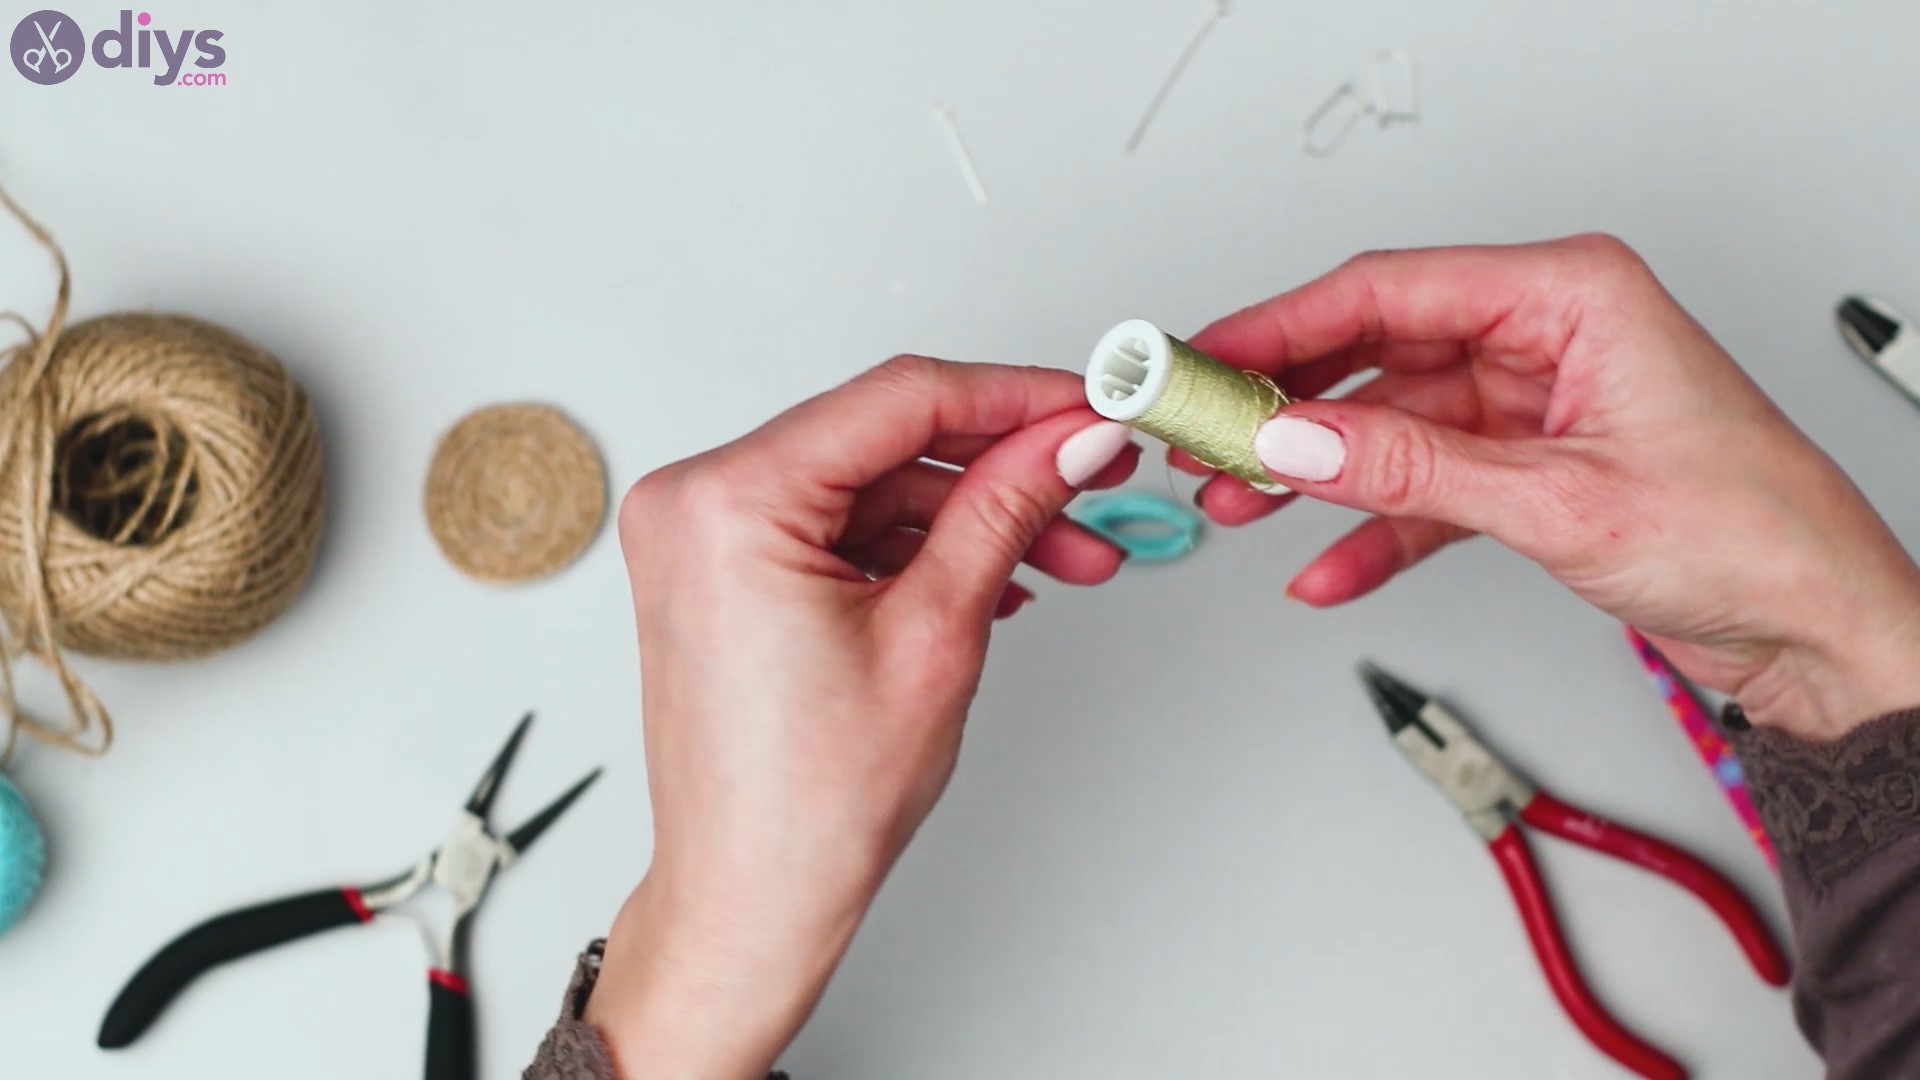
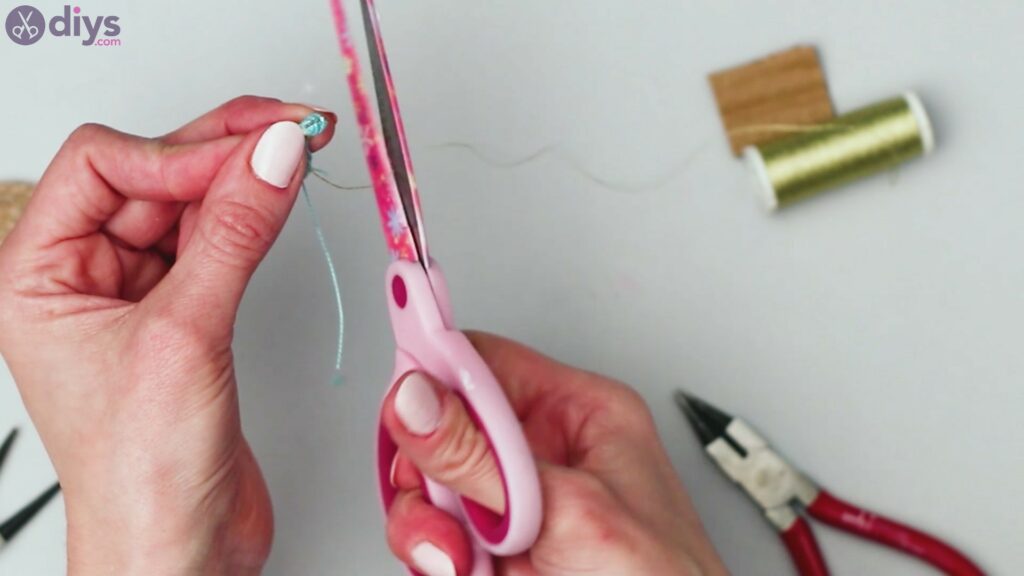
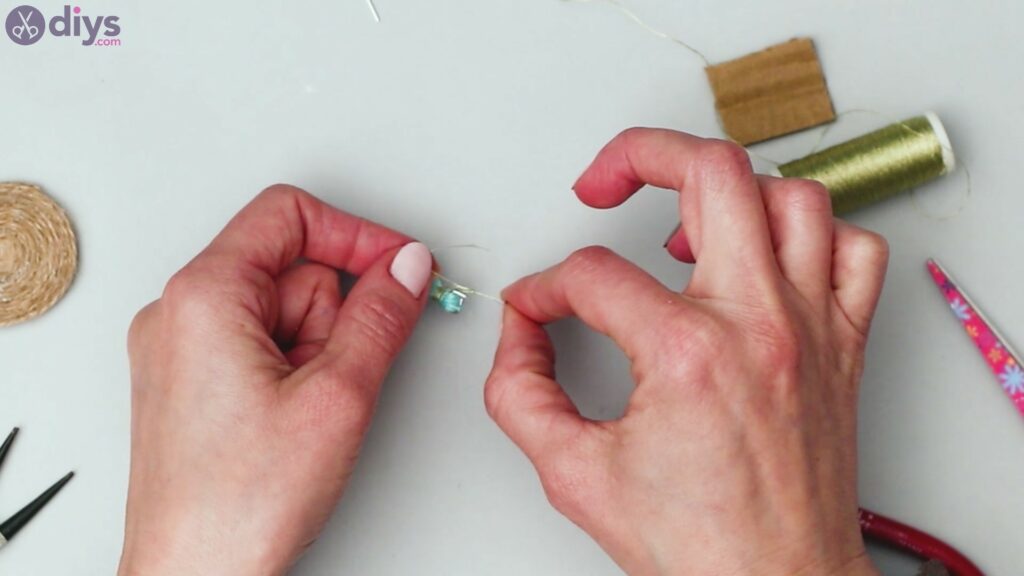
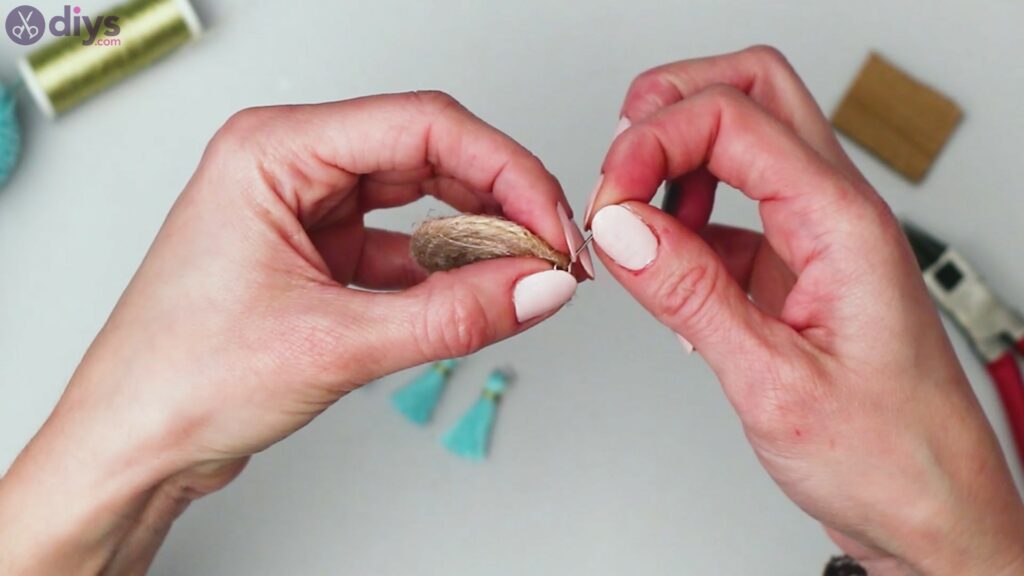
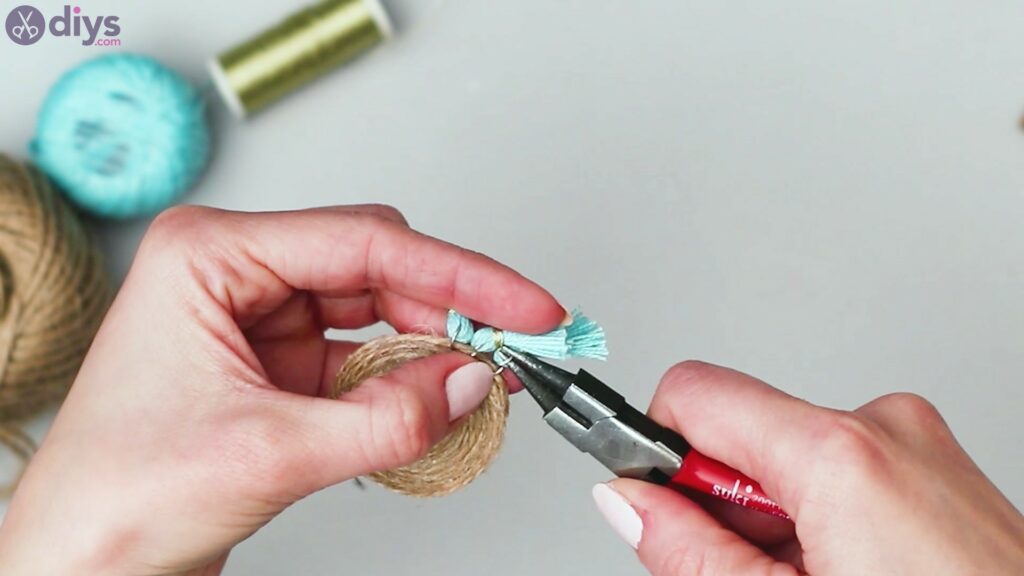
Grab the gold yarn and start wrapping around the blue yarn loops, just below the jump ring. Make multiple passes.

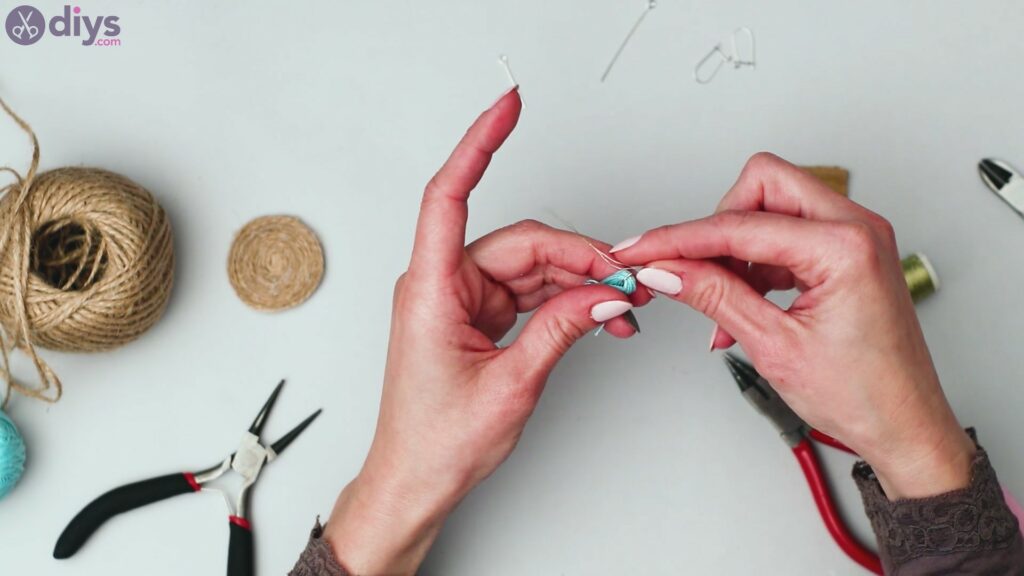
Wrap the yarn tightly and evenly, making sure each time the yarn goes around the blue strings, it’s in pretty much the same place.
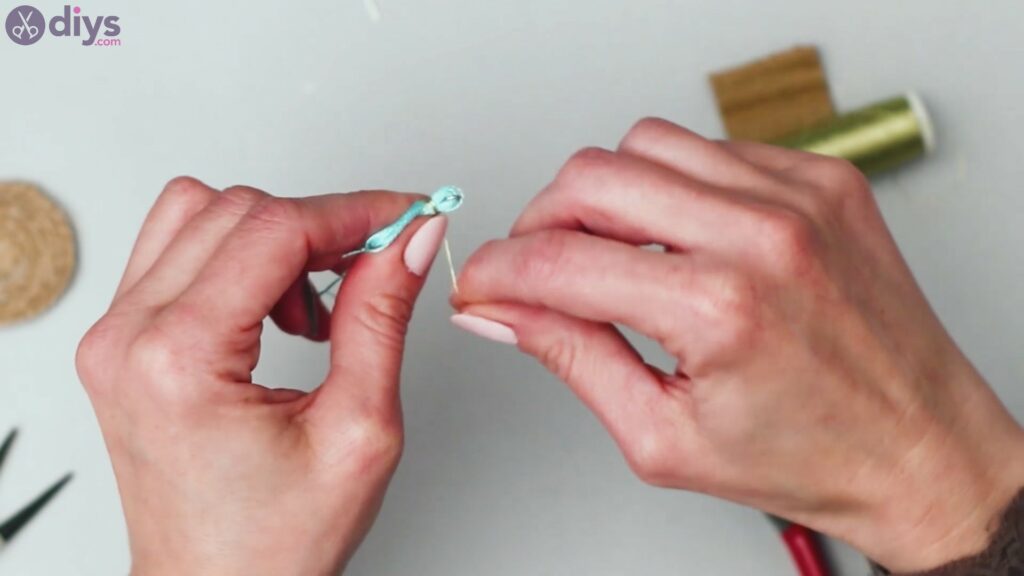
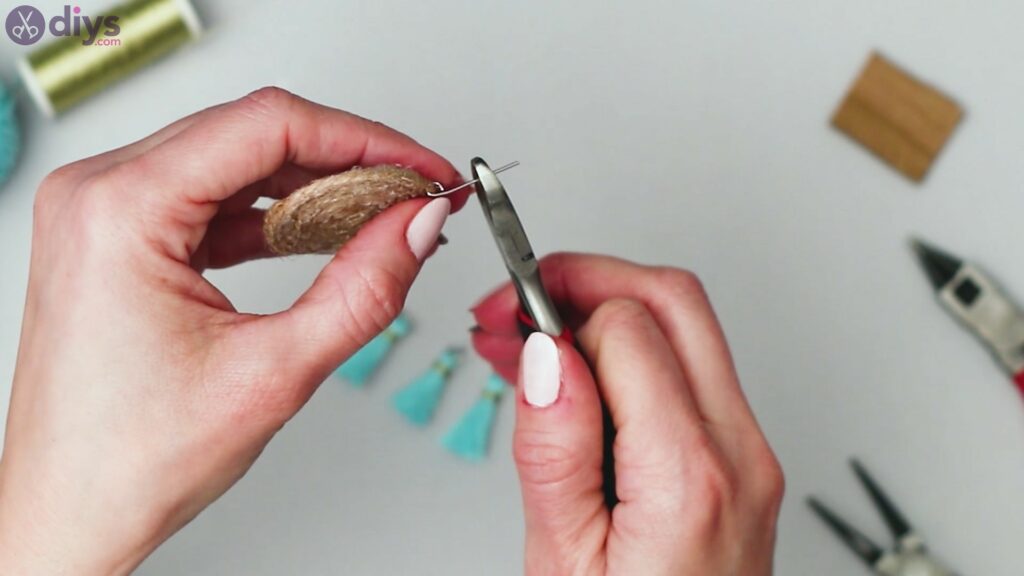
Cut the string and tie a double knot, so the yarn doesn’t unravel later on.
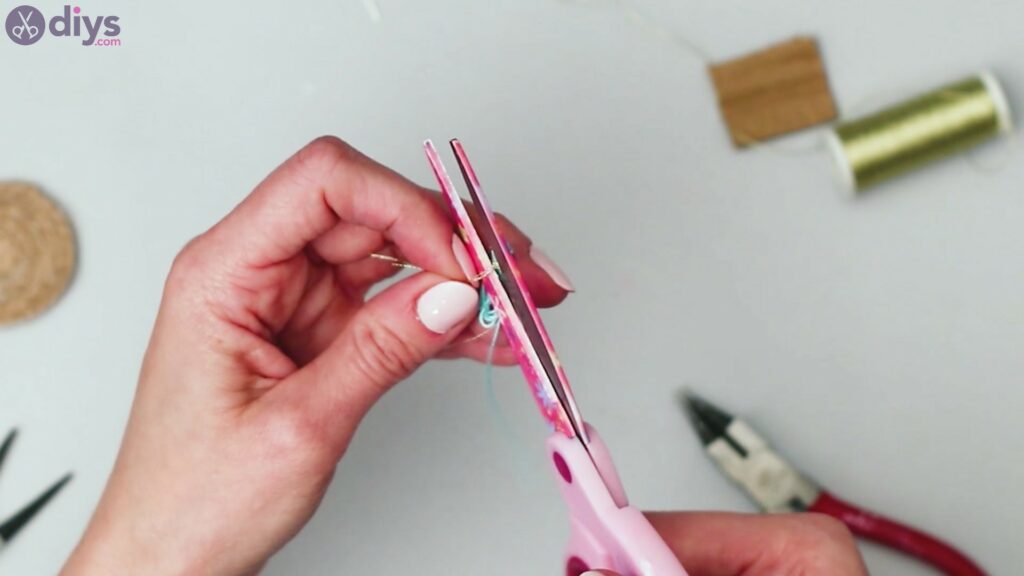
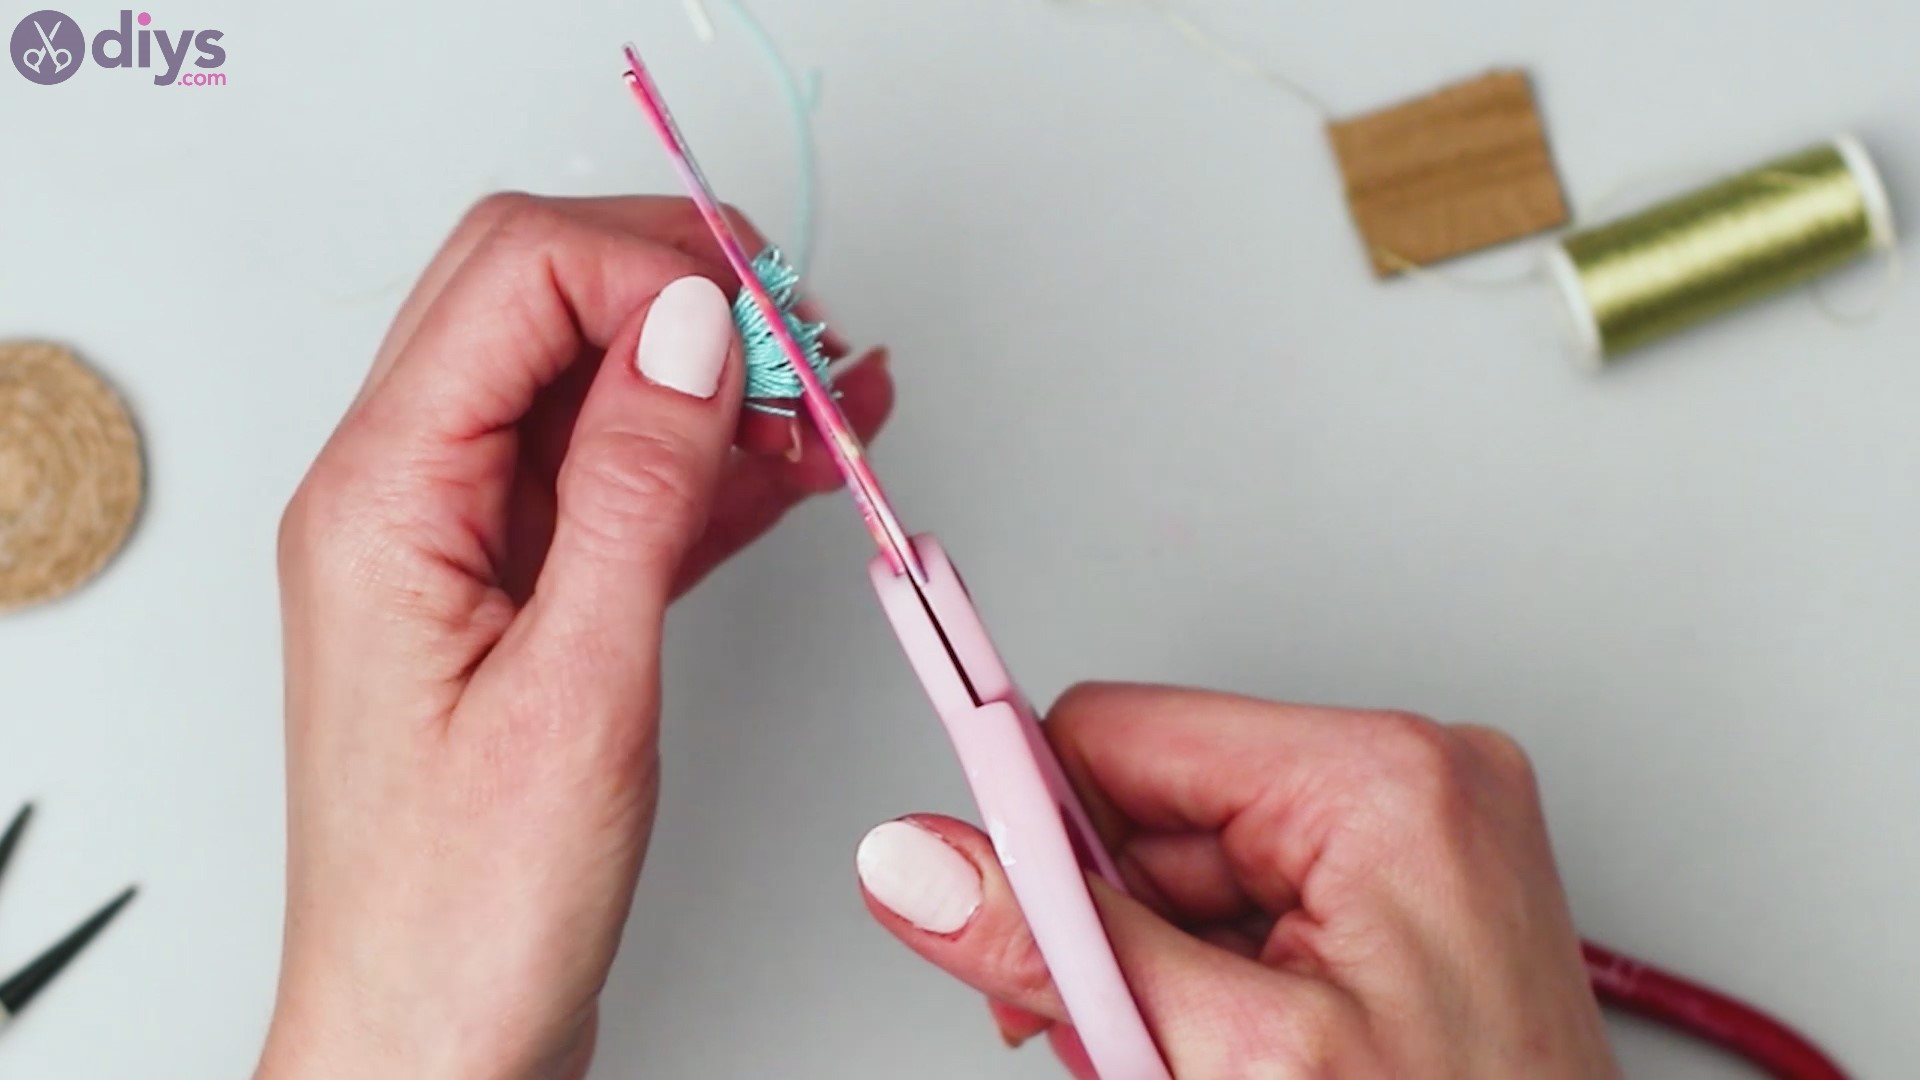
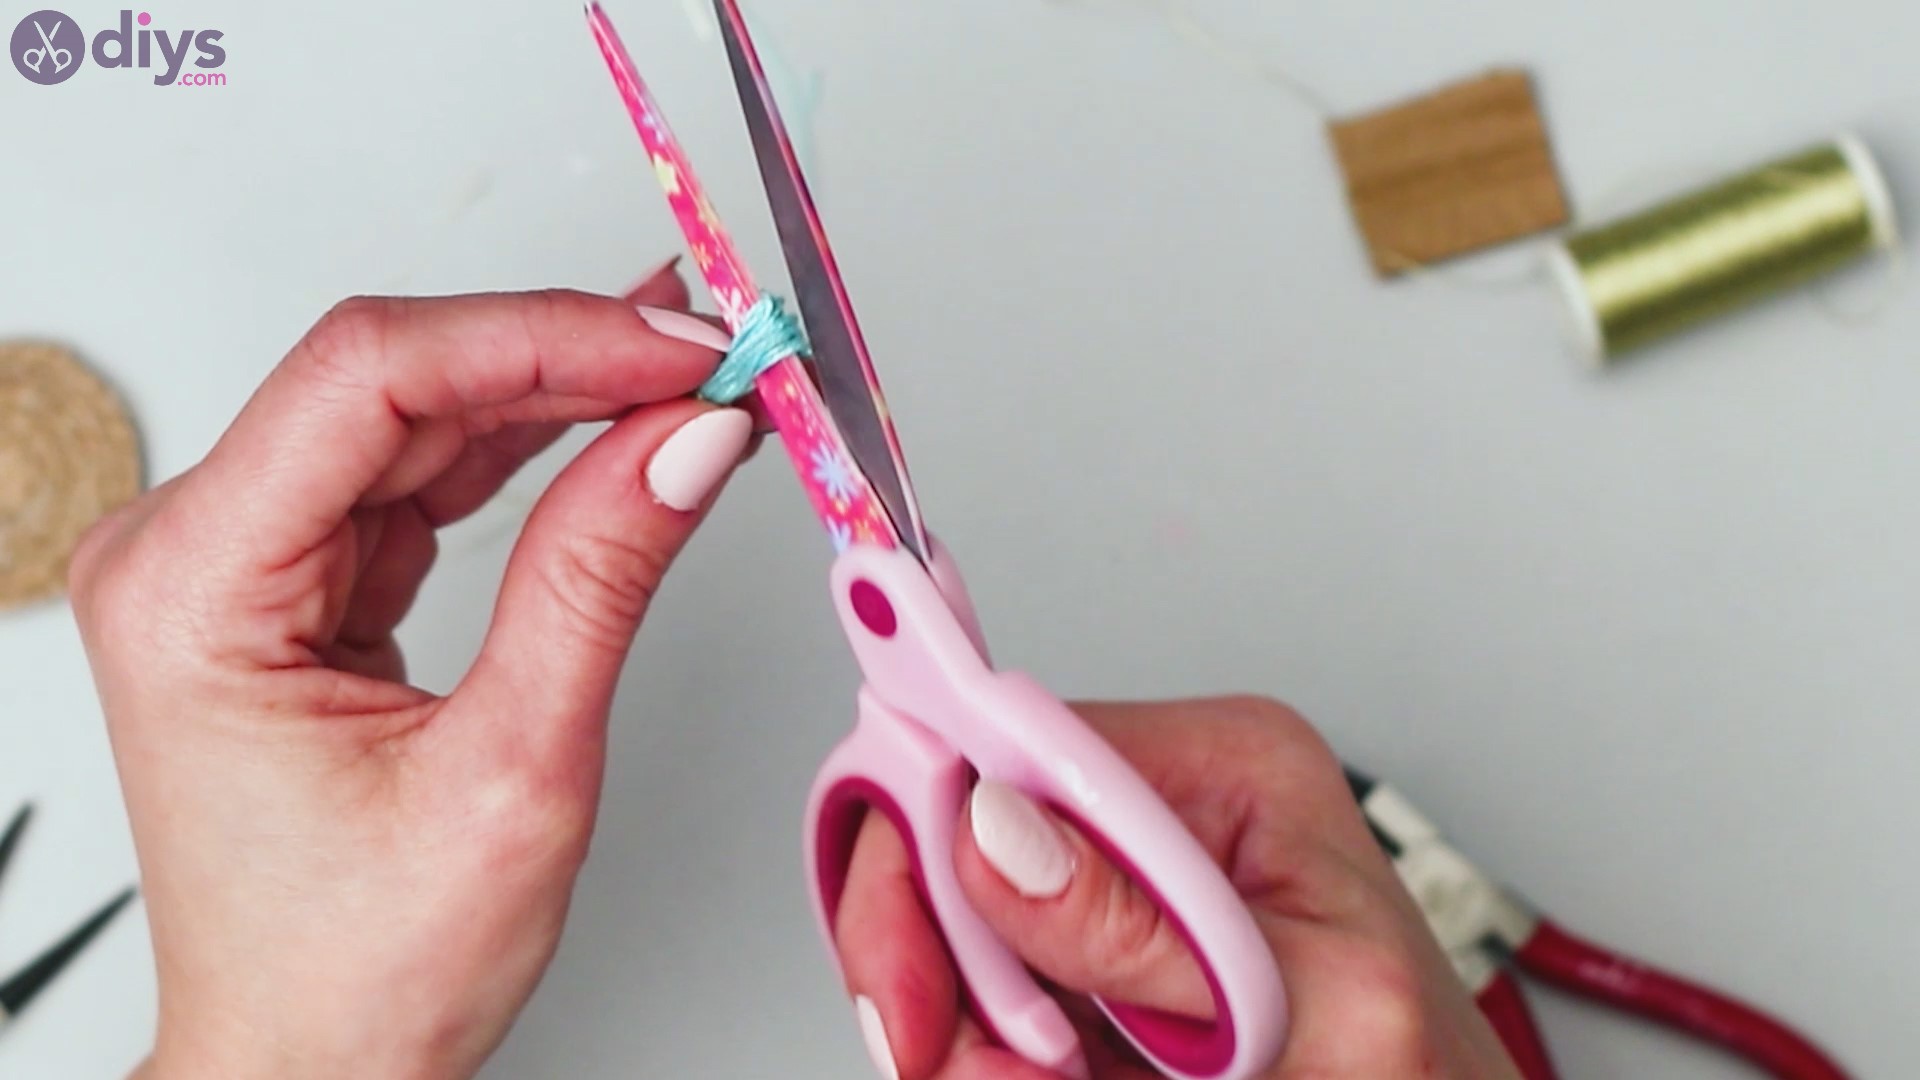
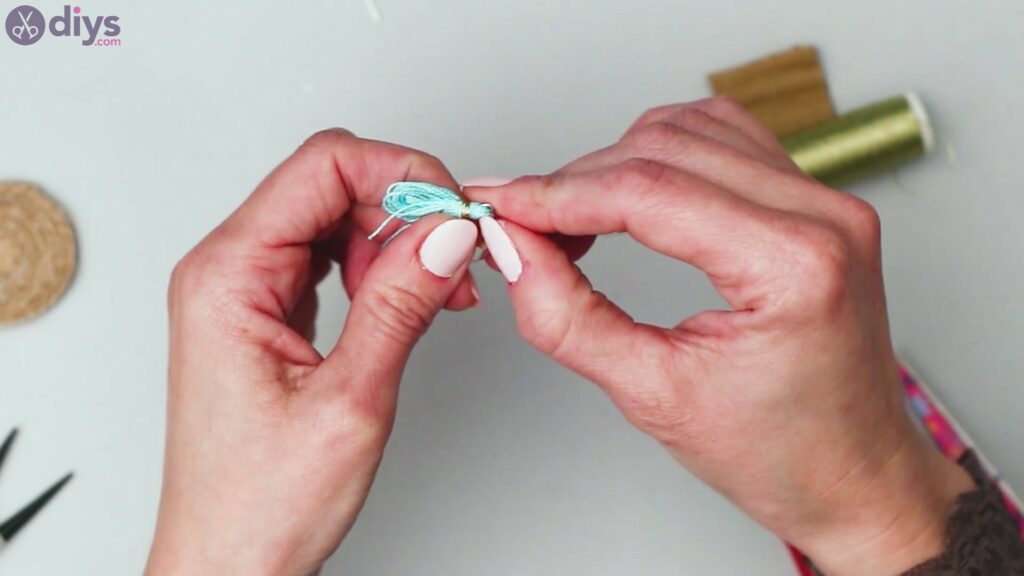
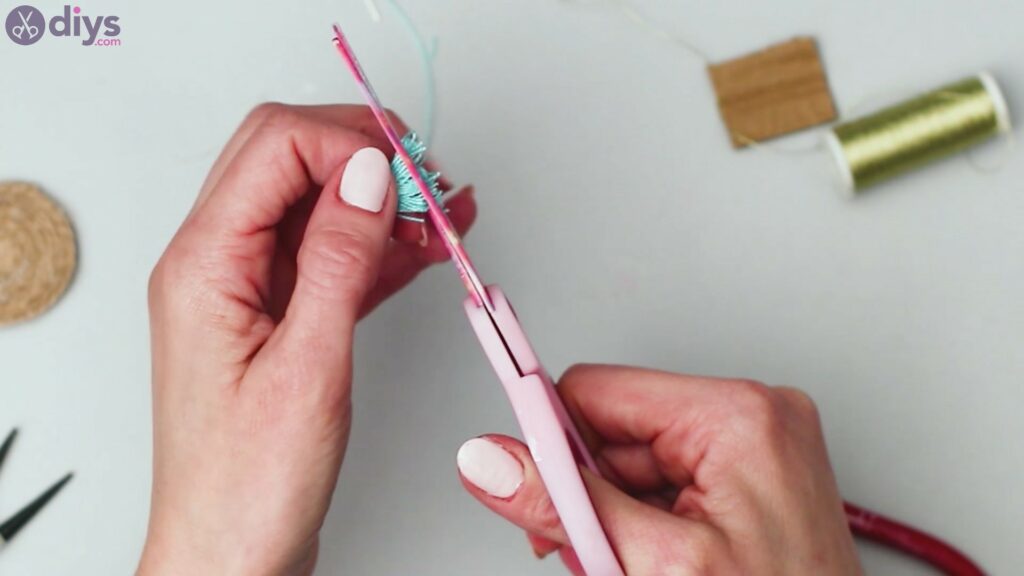
Next, you want to get the scissors and push one of the blades through the yarn loop and cut through it.

Then, trim the yarn so the threads are all equally sized. You’ll also want to try and give all the tassels the same length.
Create all three tassels for the earrings – make six if you’re doing both earrings at the same time.
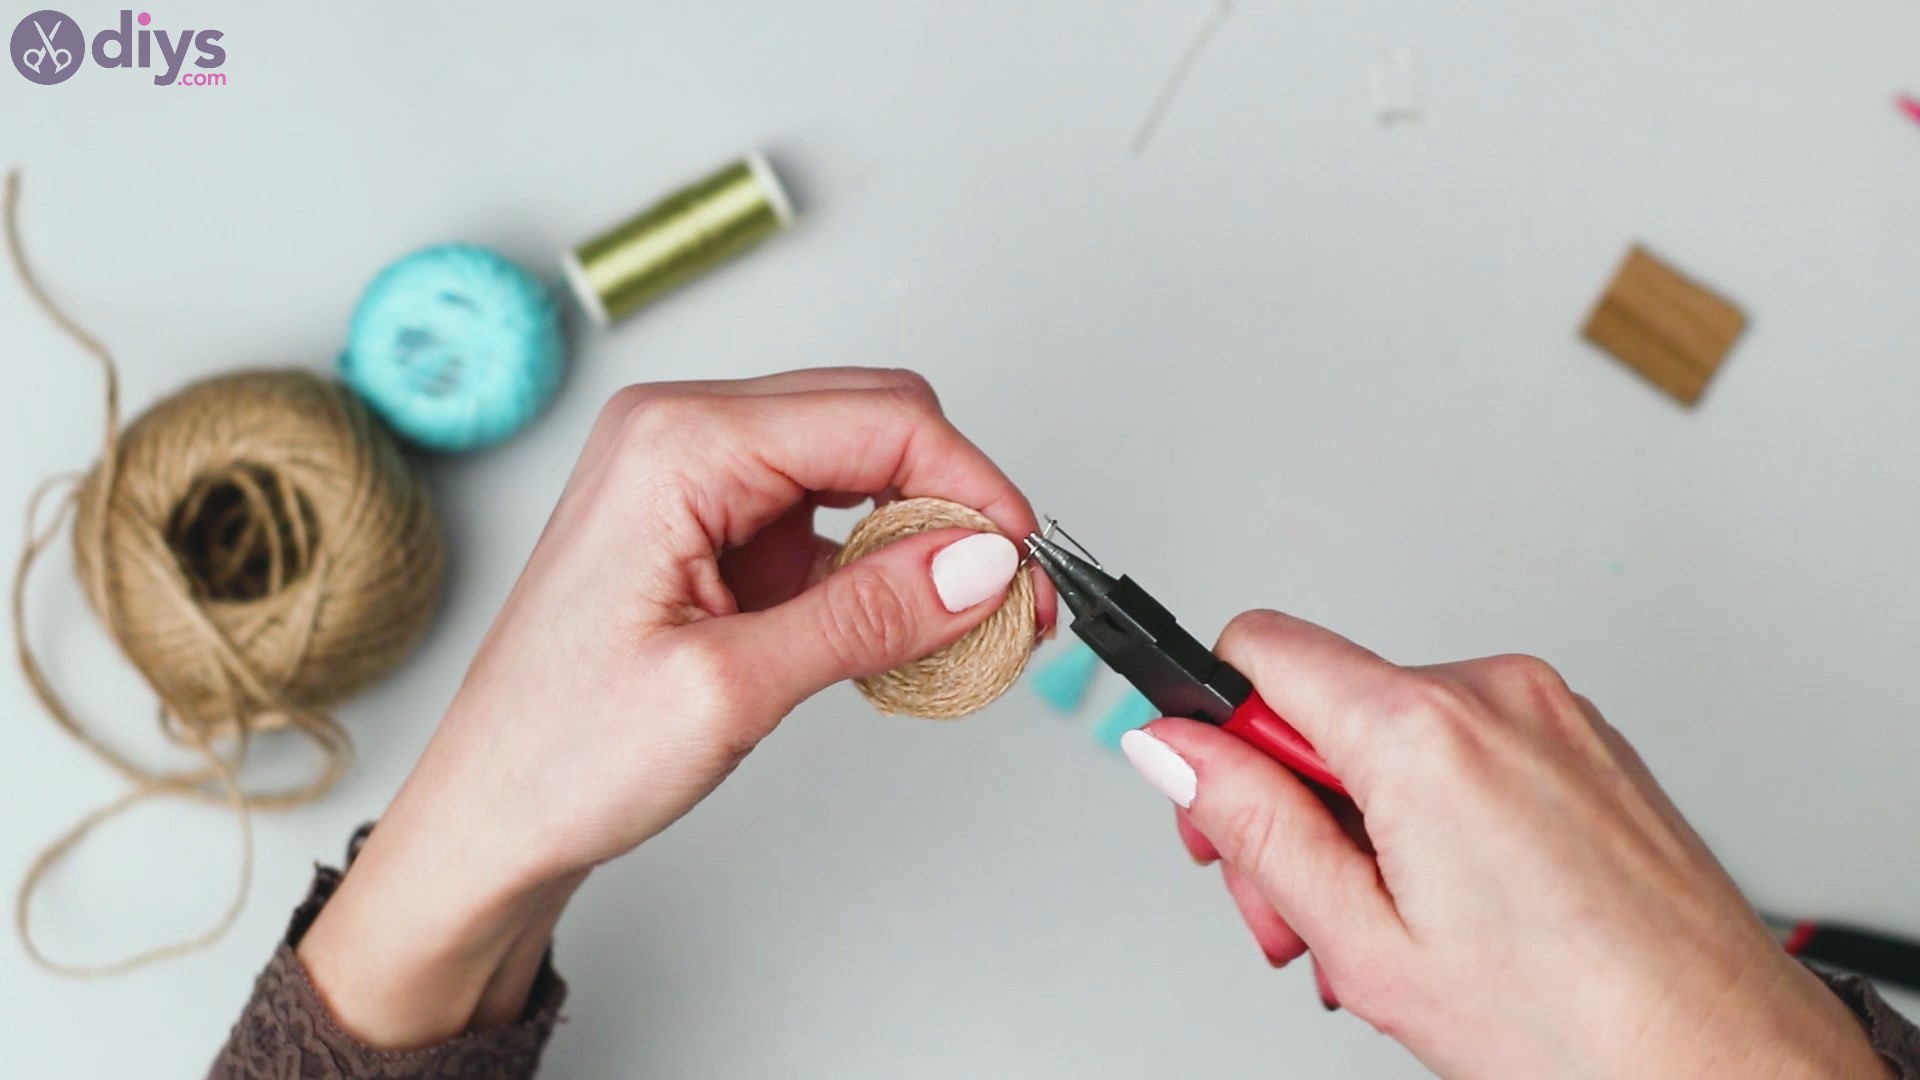
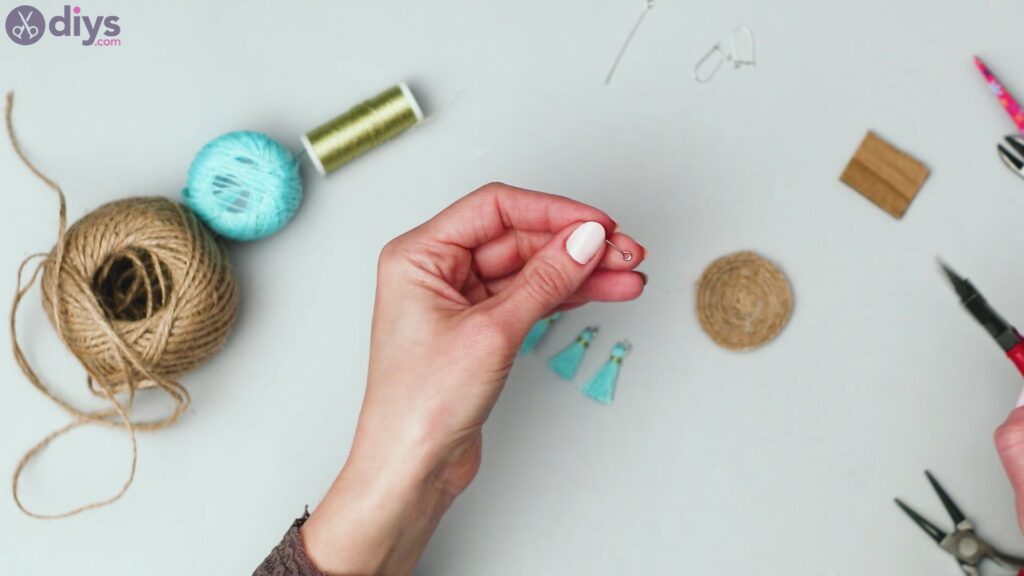
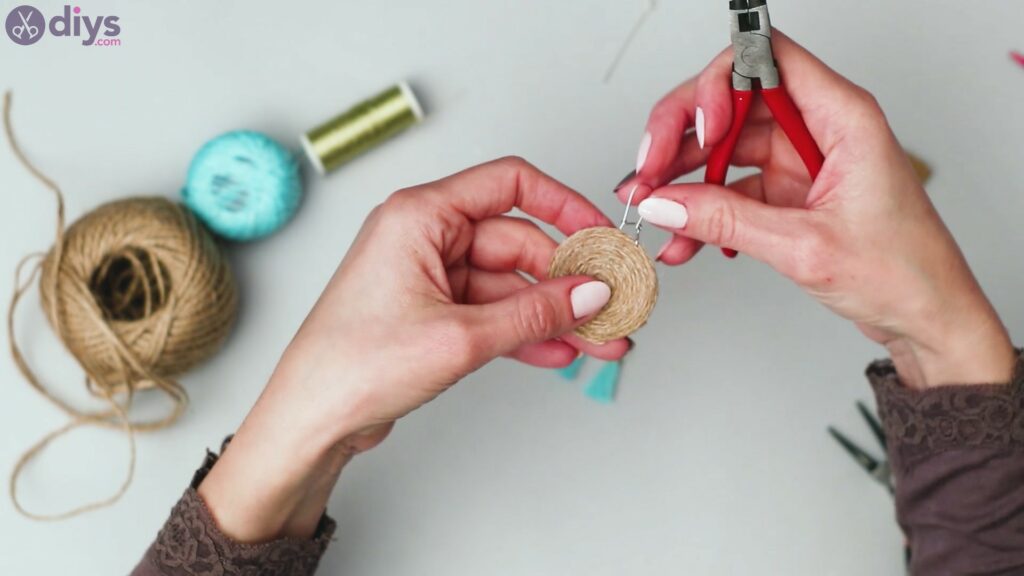
Step 3: Let’s make the earrings hang
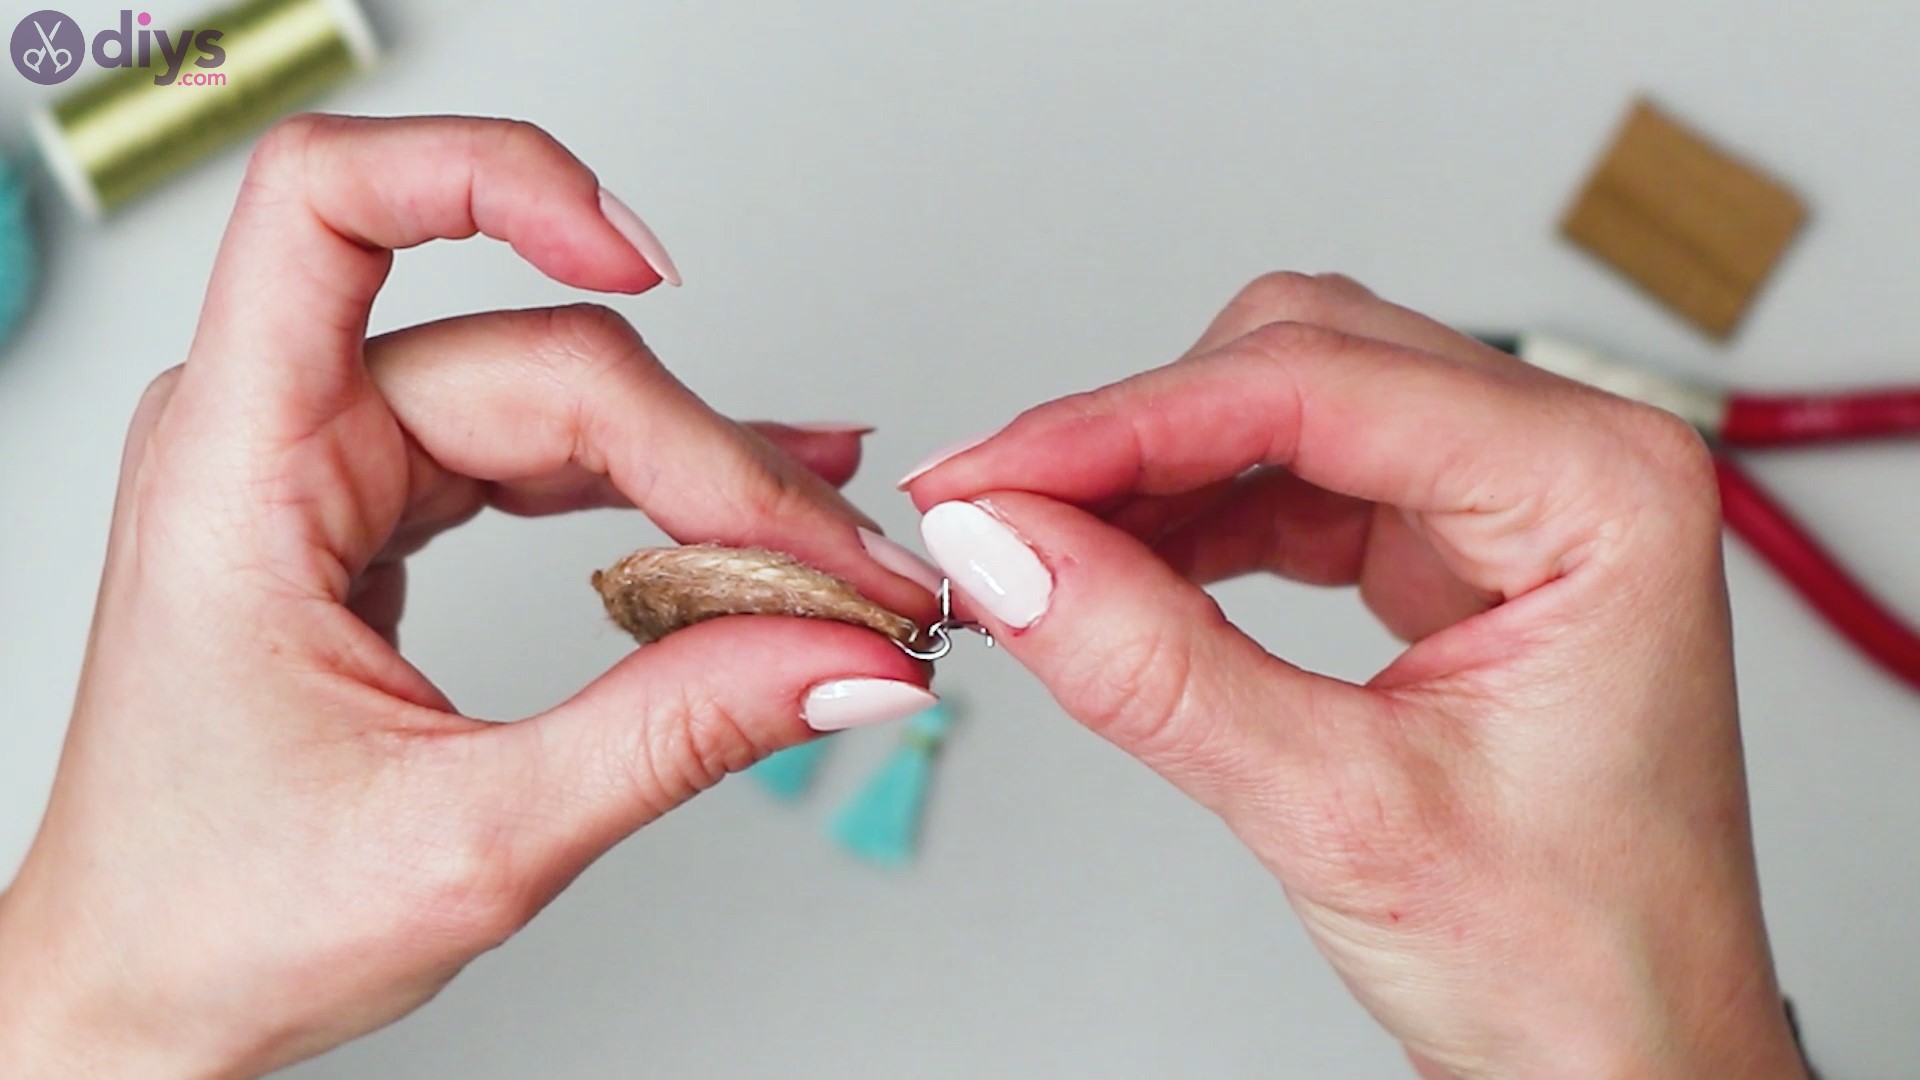
We’re creating earrings, so we need to make sure they can hang from your ears. Get one of theeye pins and open up the loop with your round-nose pliers.Push the opened loop through the raffia spiral. Try to only do this through the top layer of the spiral.
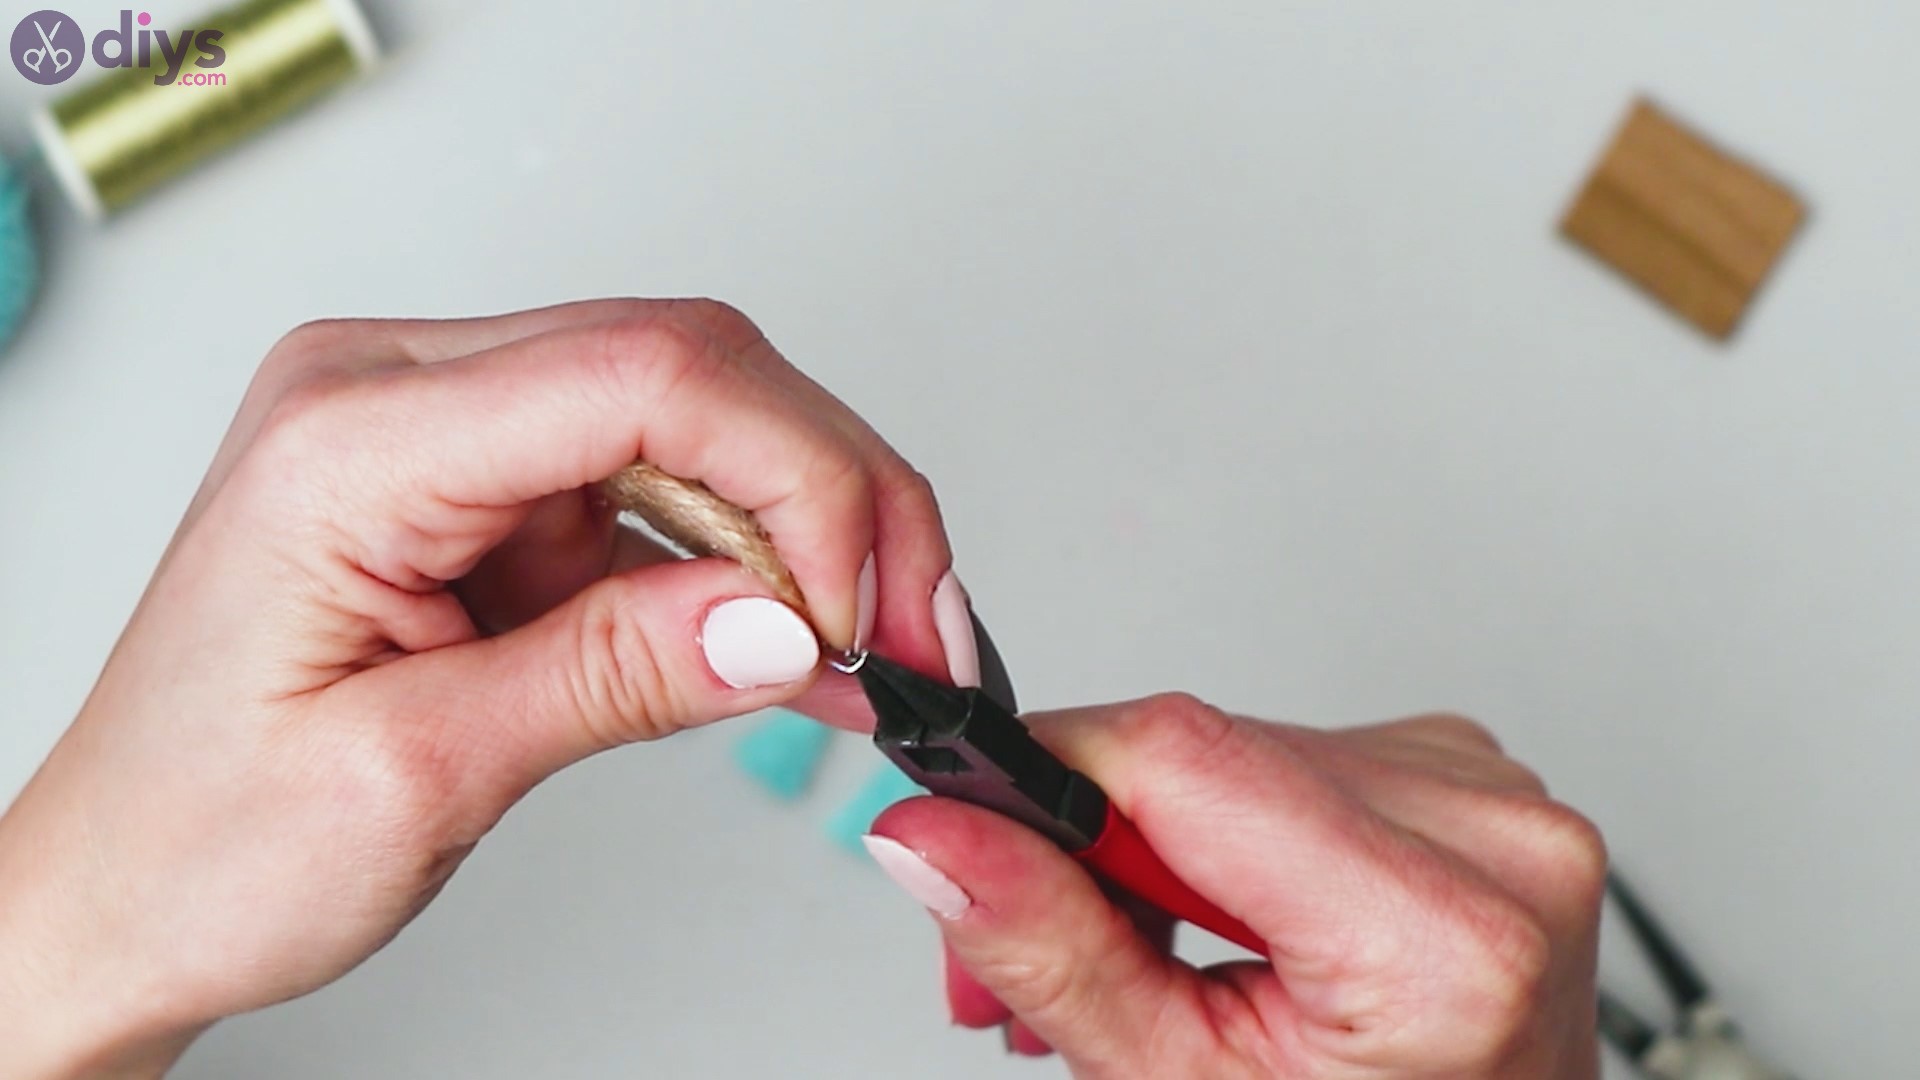
Close the loop with your pliers.

Get the pliers and cut some of the length off if yours are as long as ours are.
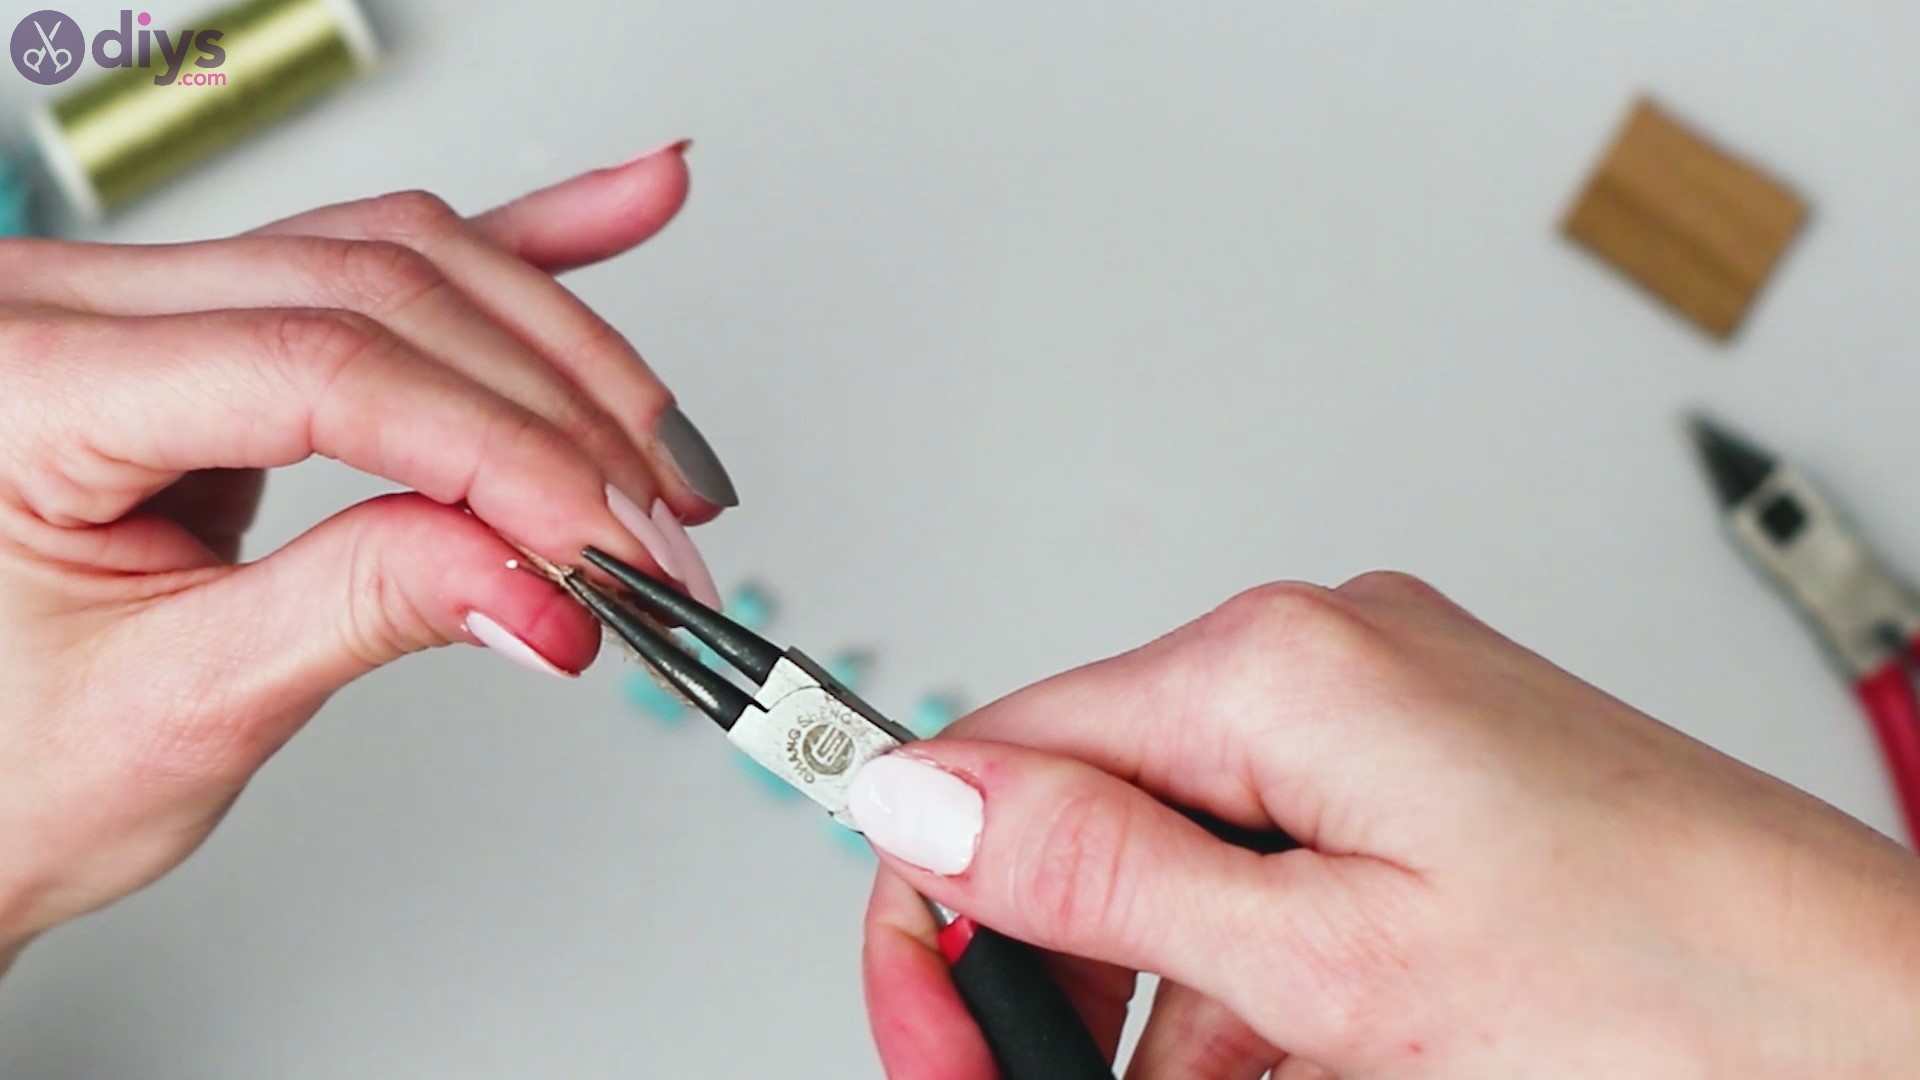
Get the round-nose pliers and roll the end of the eye pin to create a small loop.

Get the earring wires and push the loop through the ring you created. Get the round-nose pliers again and close the loop, securing the earring wires in place.


Now you can hang your earrings!
Step 4: Add the tassels
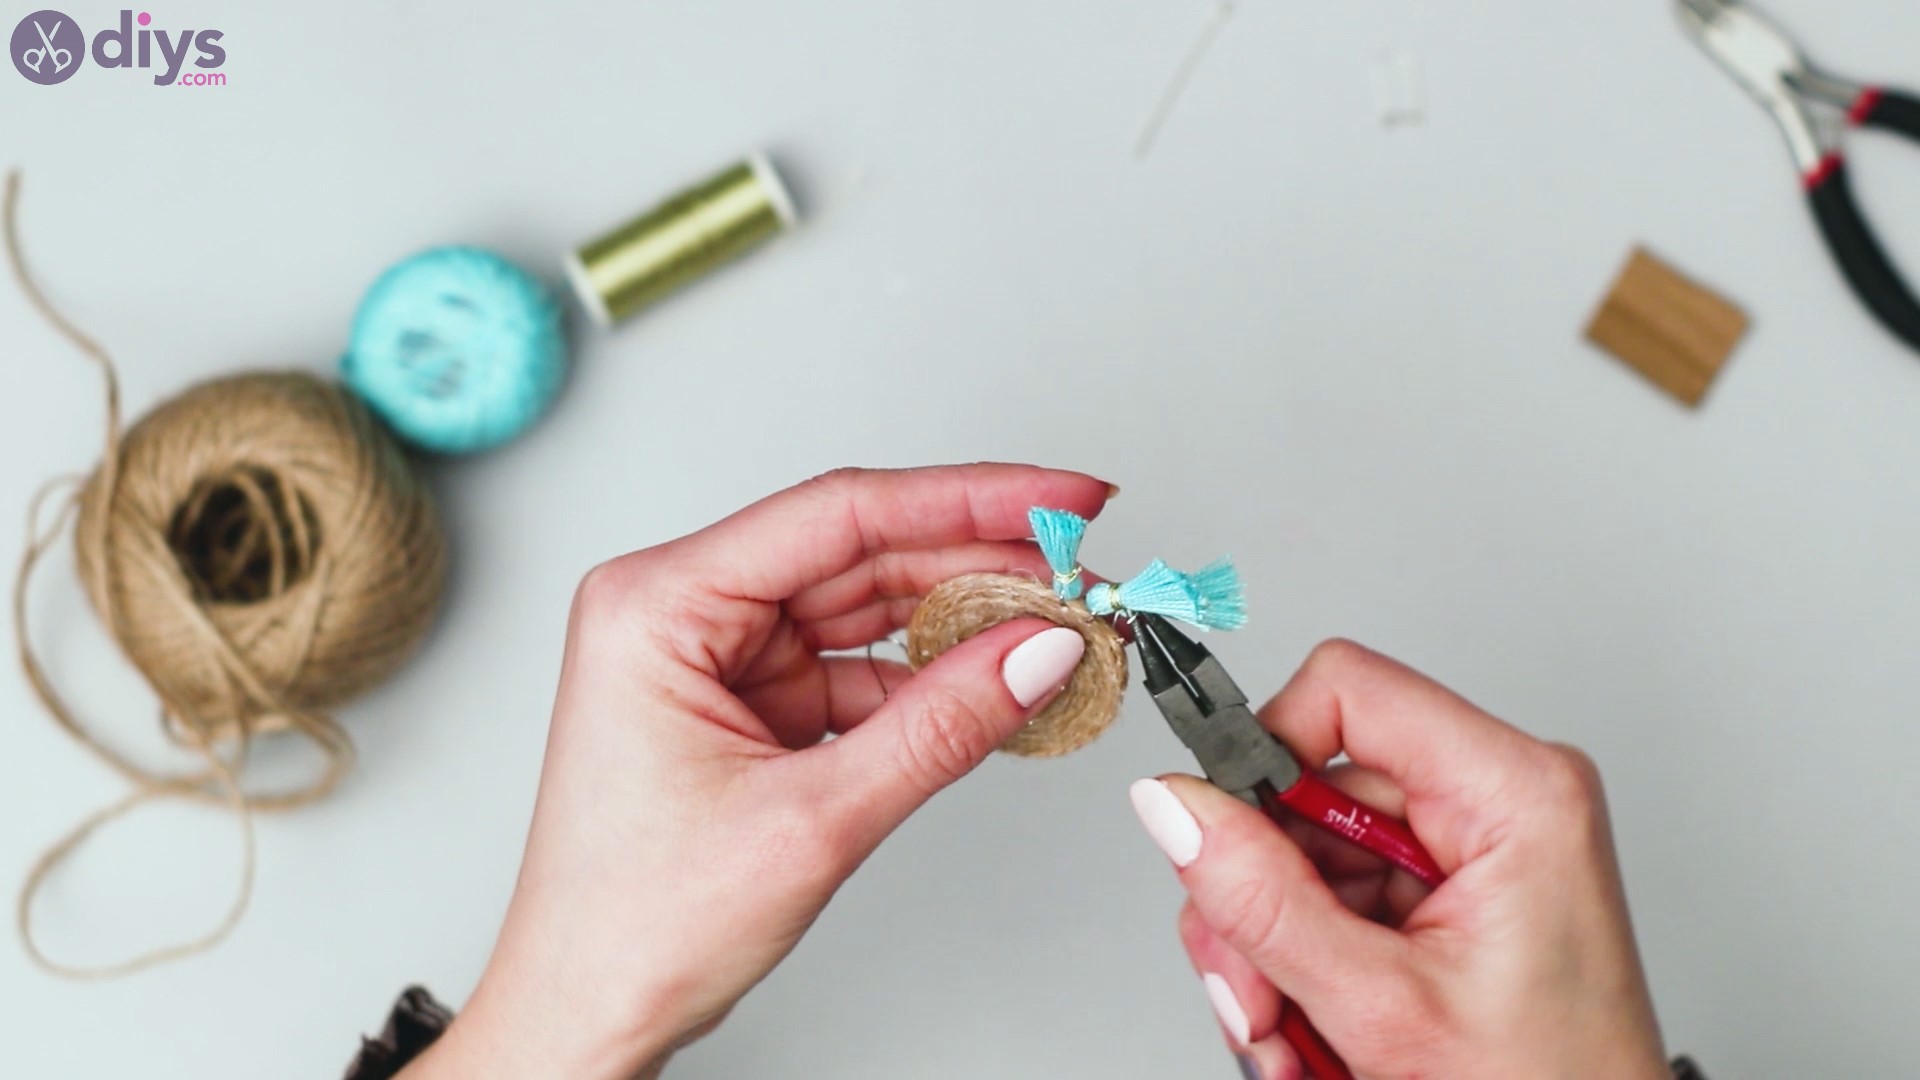
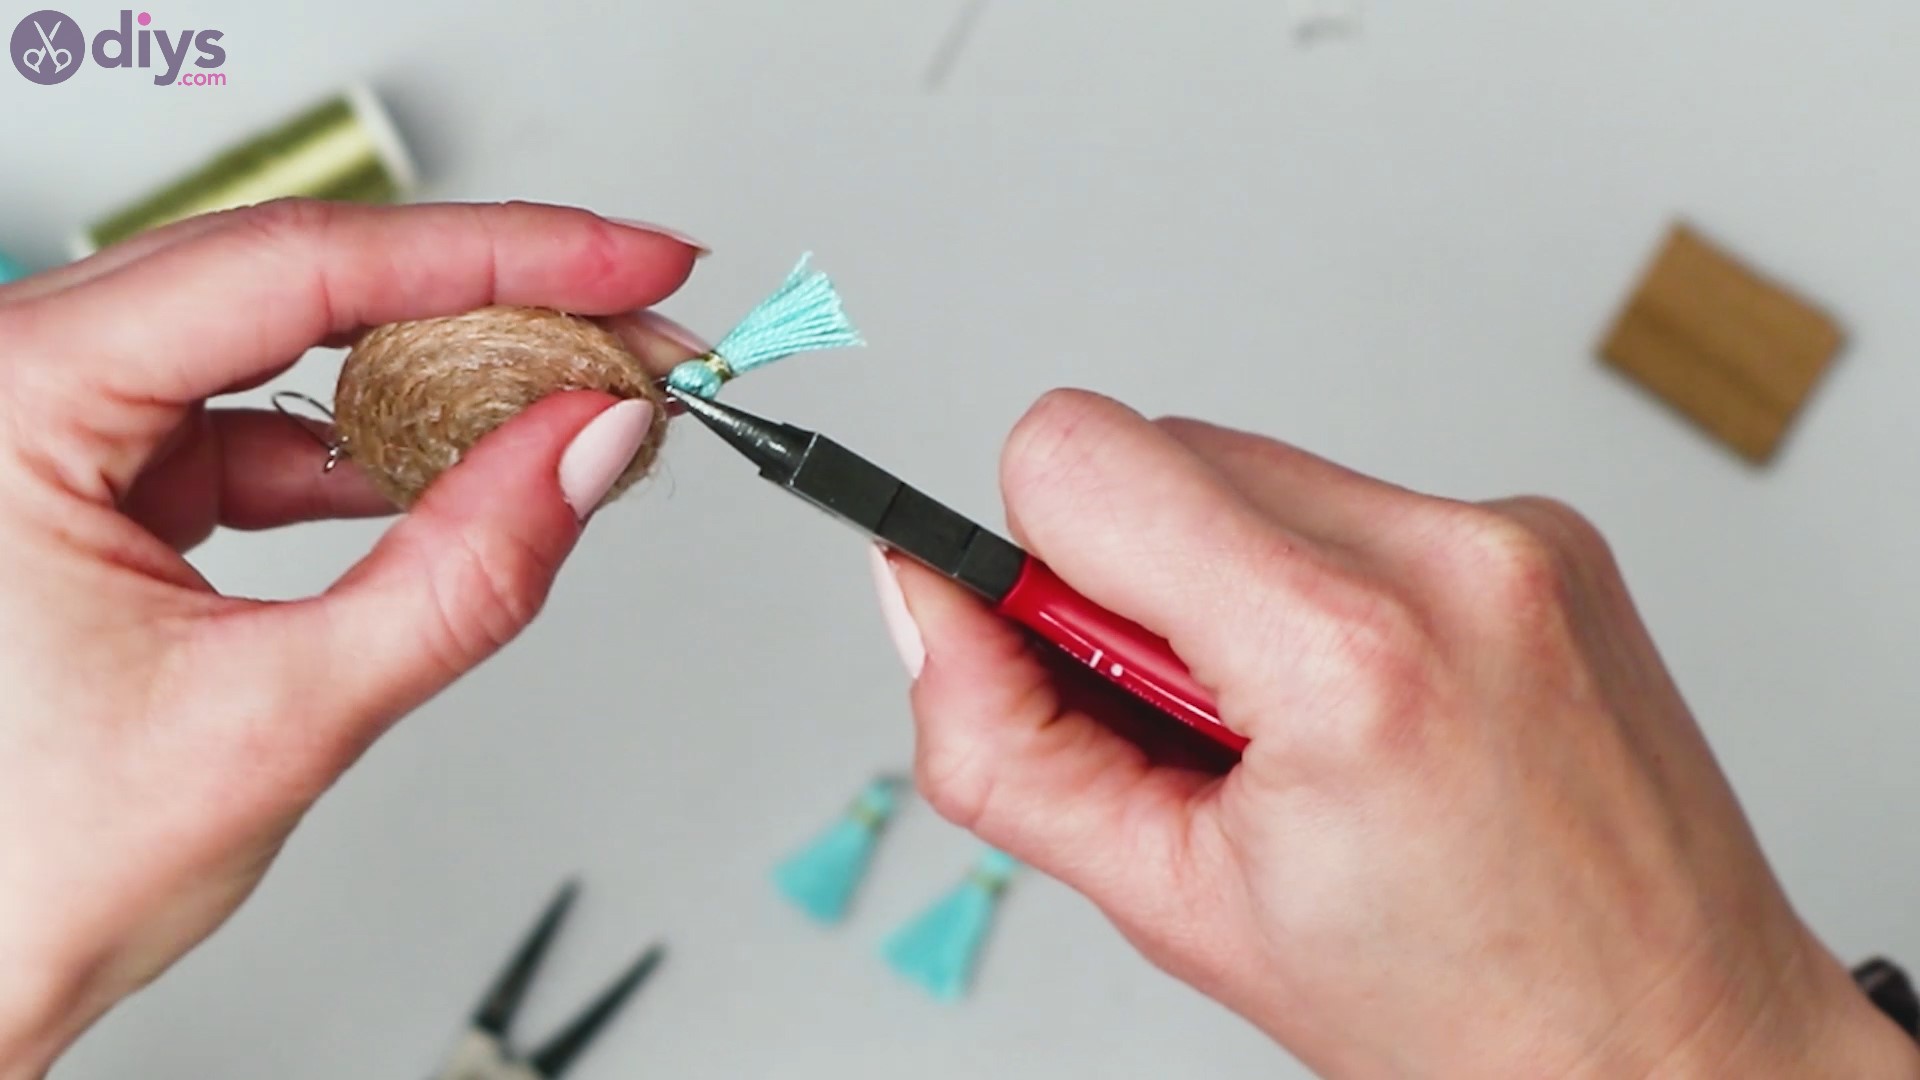
For the next step, we need to add the tassels. Since the hanging wire is already attached, the opposite spot on the raffia spiral needs to be where you hang the first tassel. So, get the tassel you created, open up the jump ring with your round-nose pliers.
Push the opened jump ring through the raffia spiral, making sure to only circle the first thread piece.

Use the round-nose pliers to close the jump ring once the tassel is in place.

Add the other two tassels in the same manner, making sure to place them all with the same distance between them.

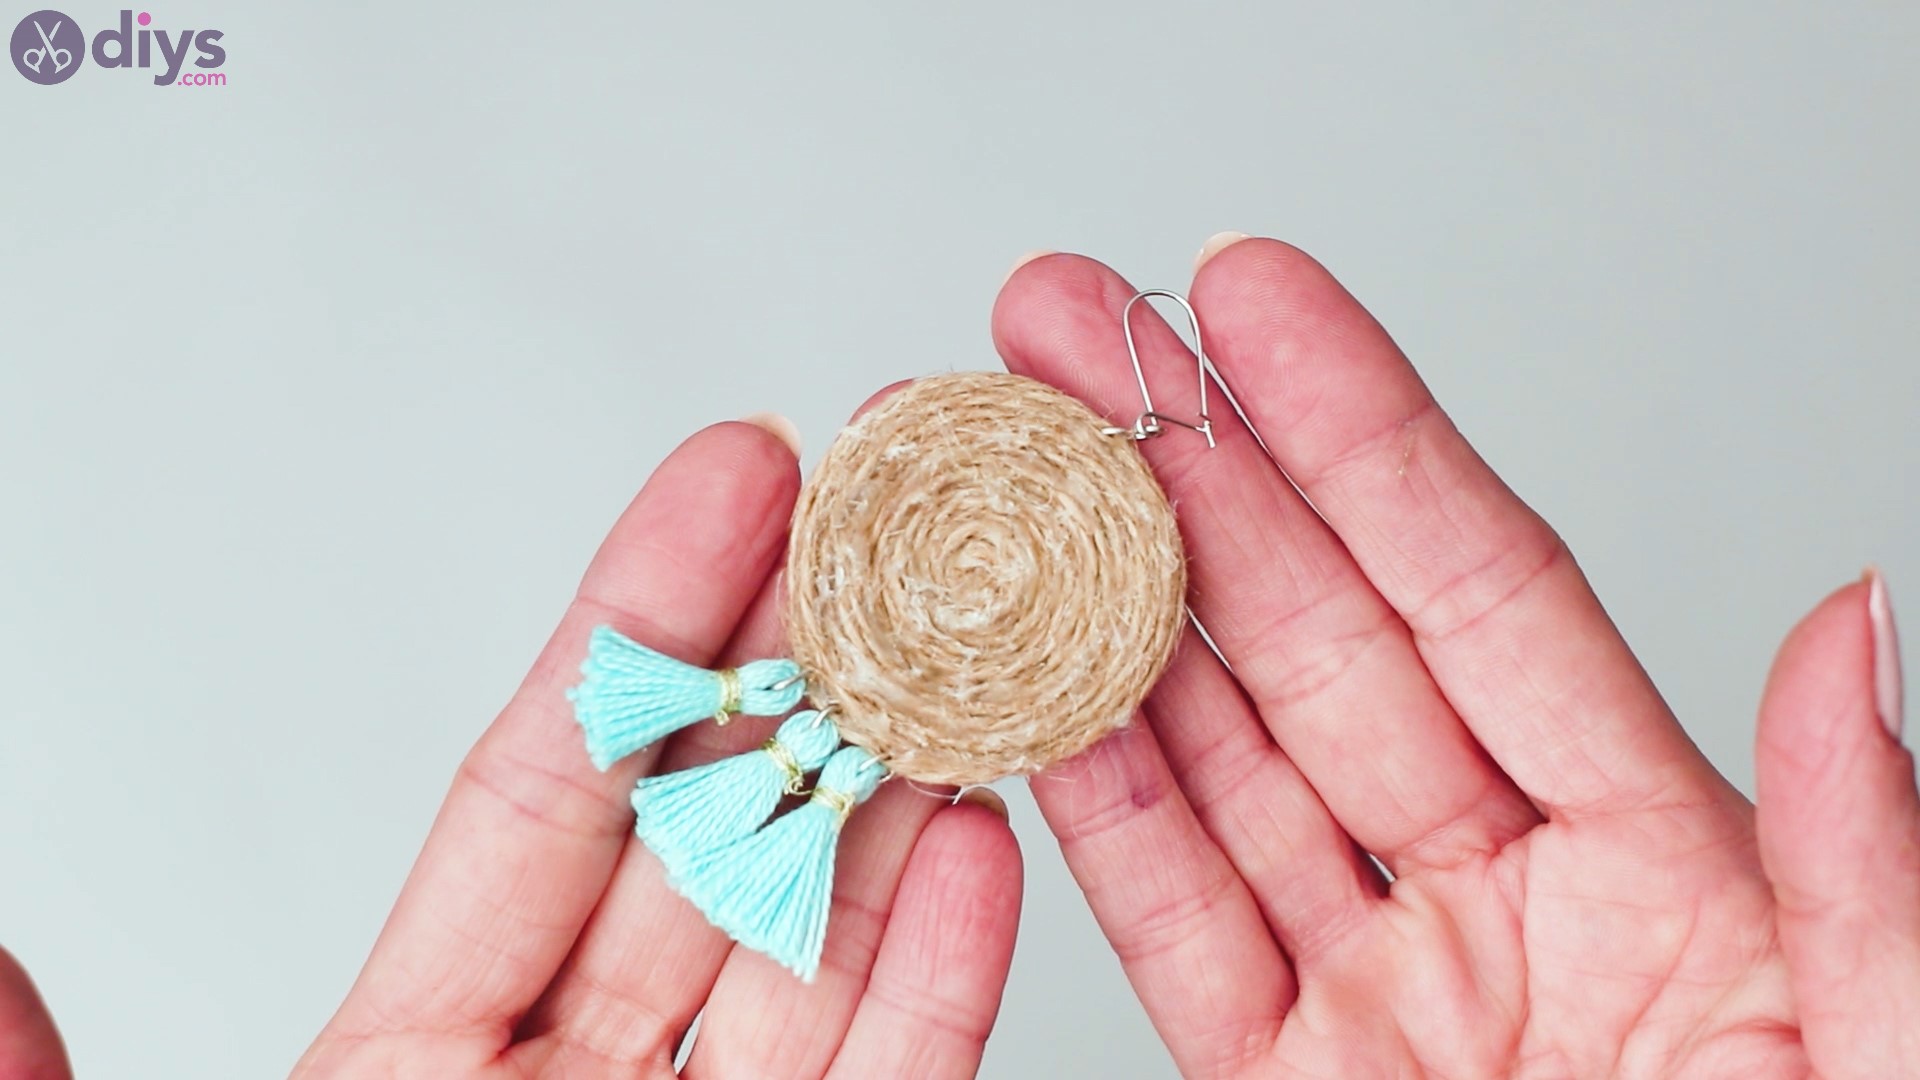
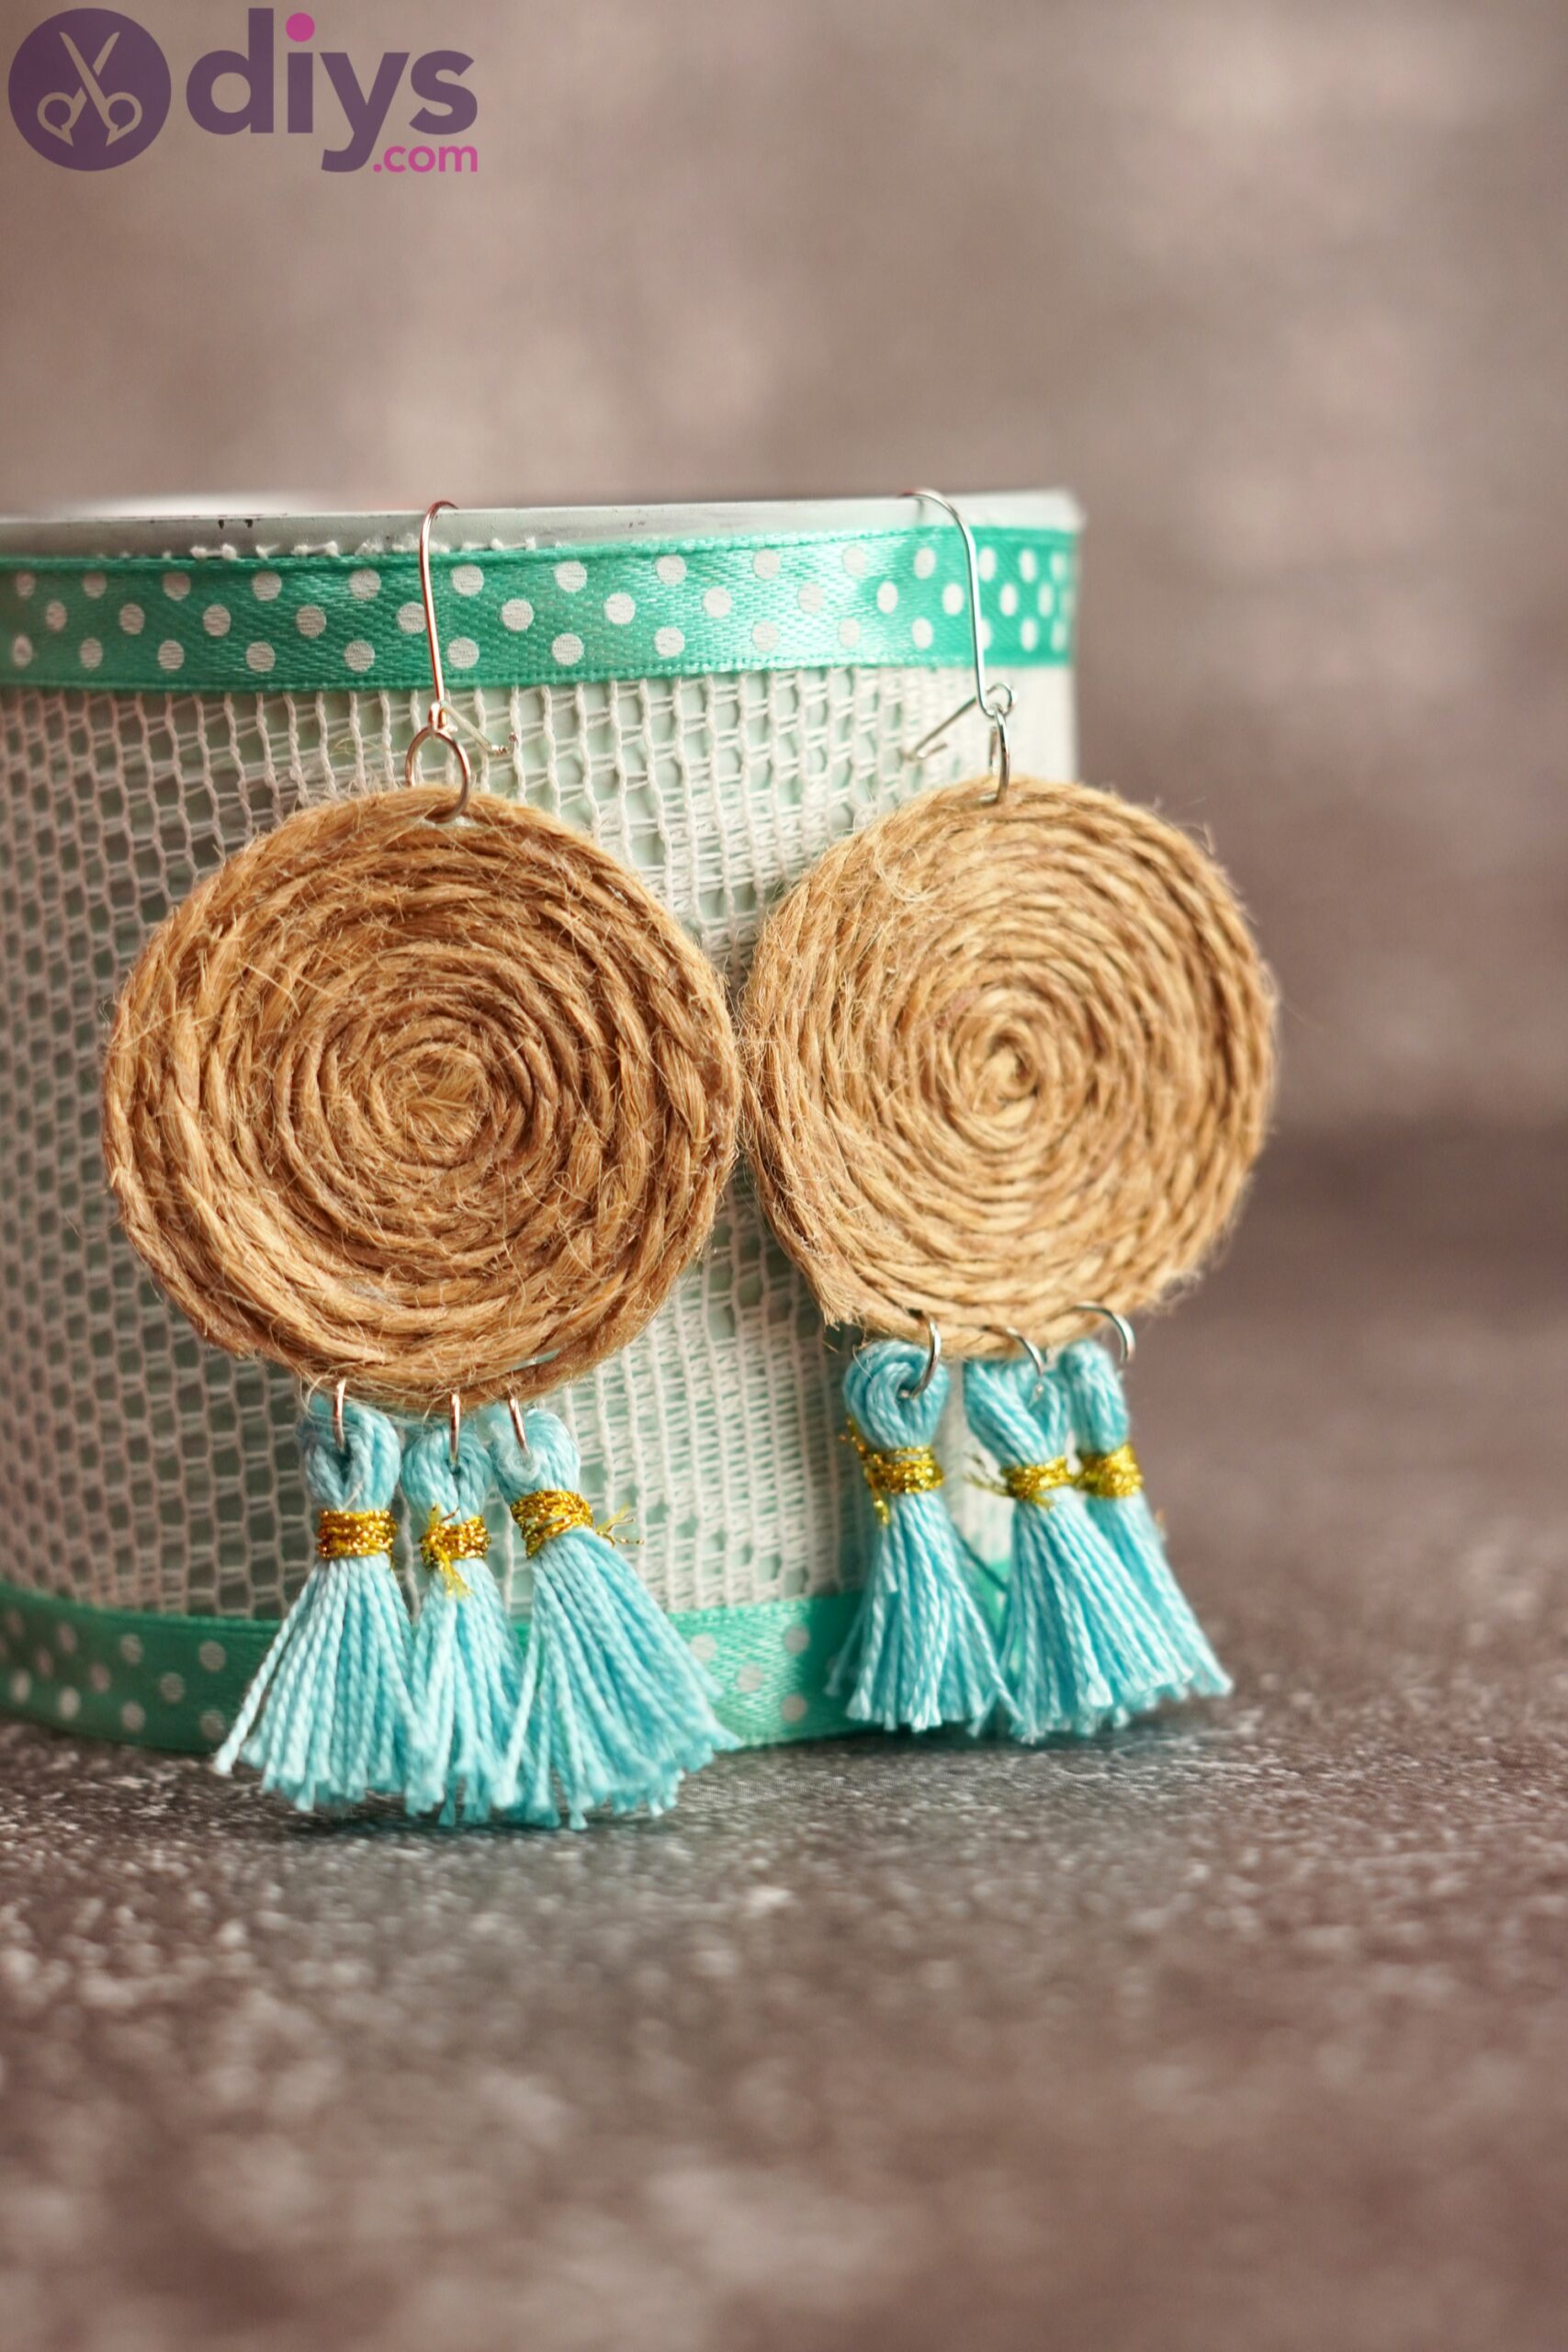
And you’re done! If you’ve been working on both earrings at the same time, it means it’s time you tested them out and hanged them on your ears. If you’ve just finished the first one, you need to start up on your second one right now. Try to make the two as similar as possible. You can’t create identical handmade jewelry pieces, but you can try to do them as similar as possible.

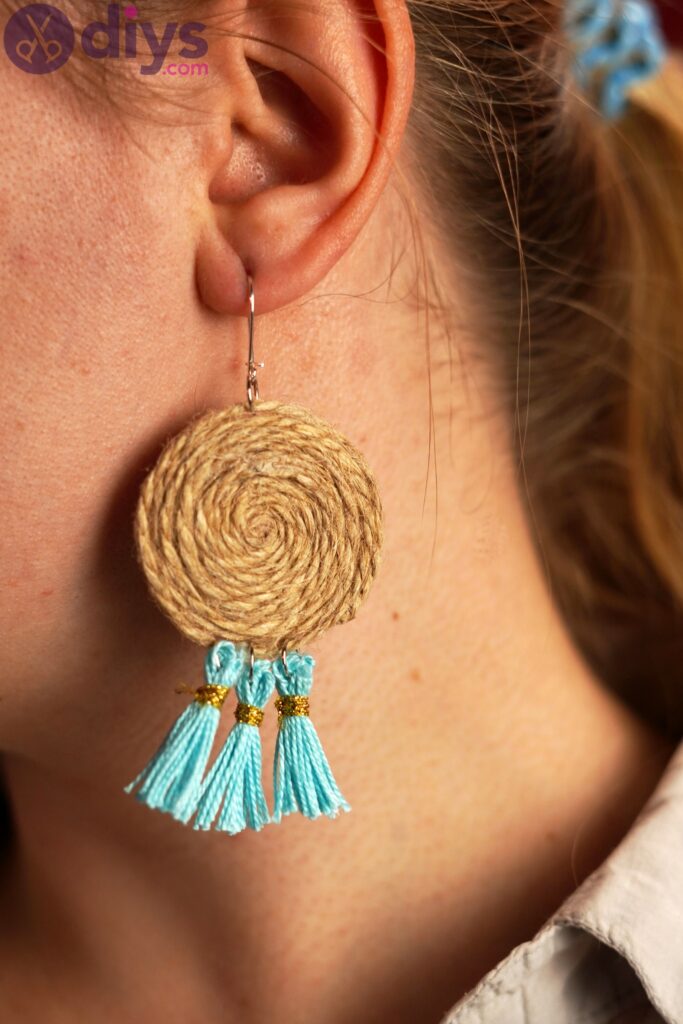
Ta da! Look how cute they are! If you’ve made them for yourself, we’re sure you’ve already customized them however you see fit. If you’re making them for someone else, we hope you took their preferences into consideration.
The only area you can really change things up is the tassels – you can choose a different color for the thread, for instance, or make the tassels bigger or smaller. You can even add more tassels if you’d rather have more of these. It’s entirely up to you.
We would love to hear back from you so you can tell us how you feel about these earrings. Also, drop your pics with us over social media!