DIY Seed Bead Fringe Earrings
Updated on November 19, 2025
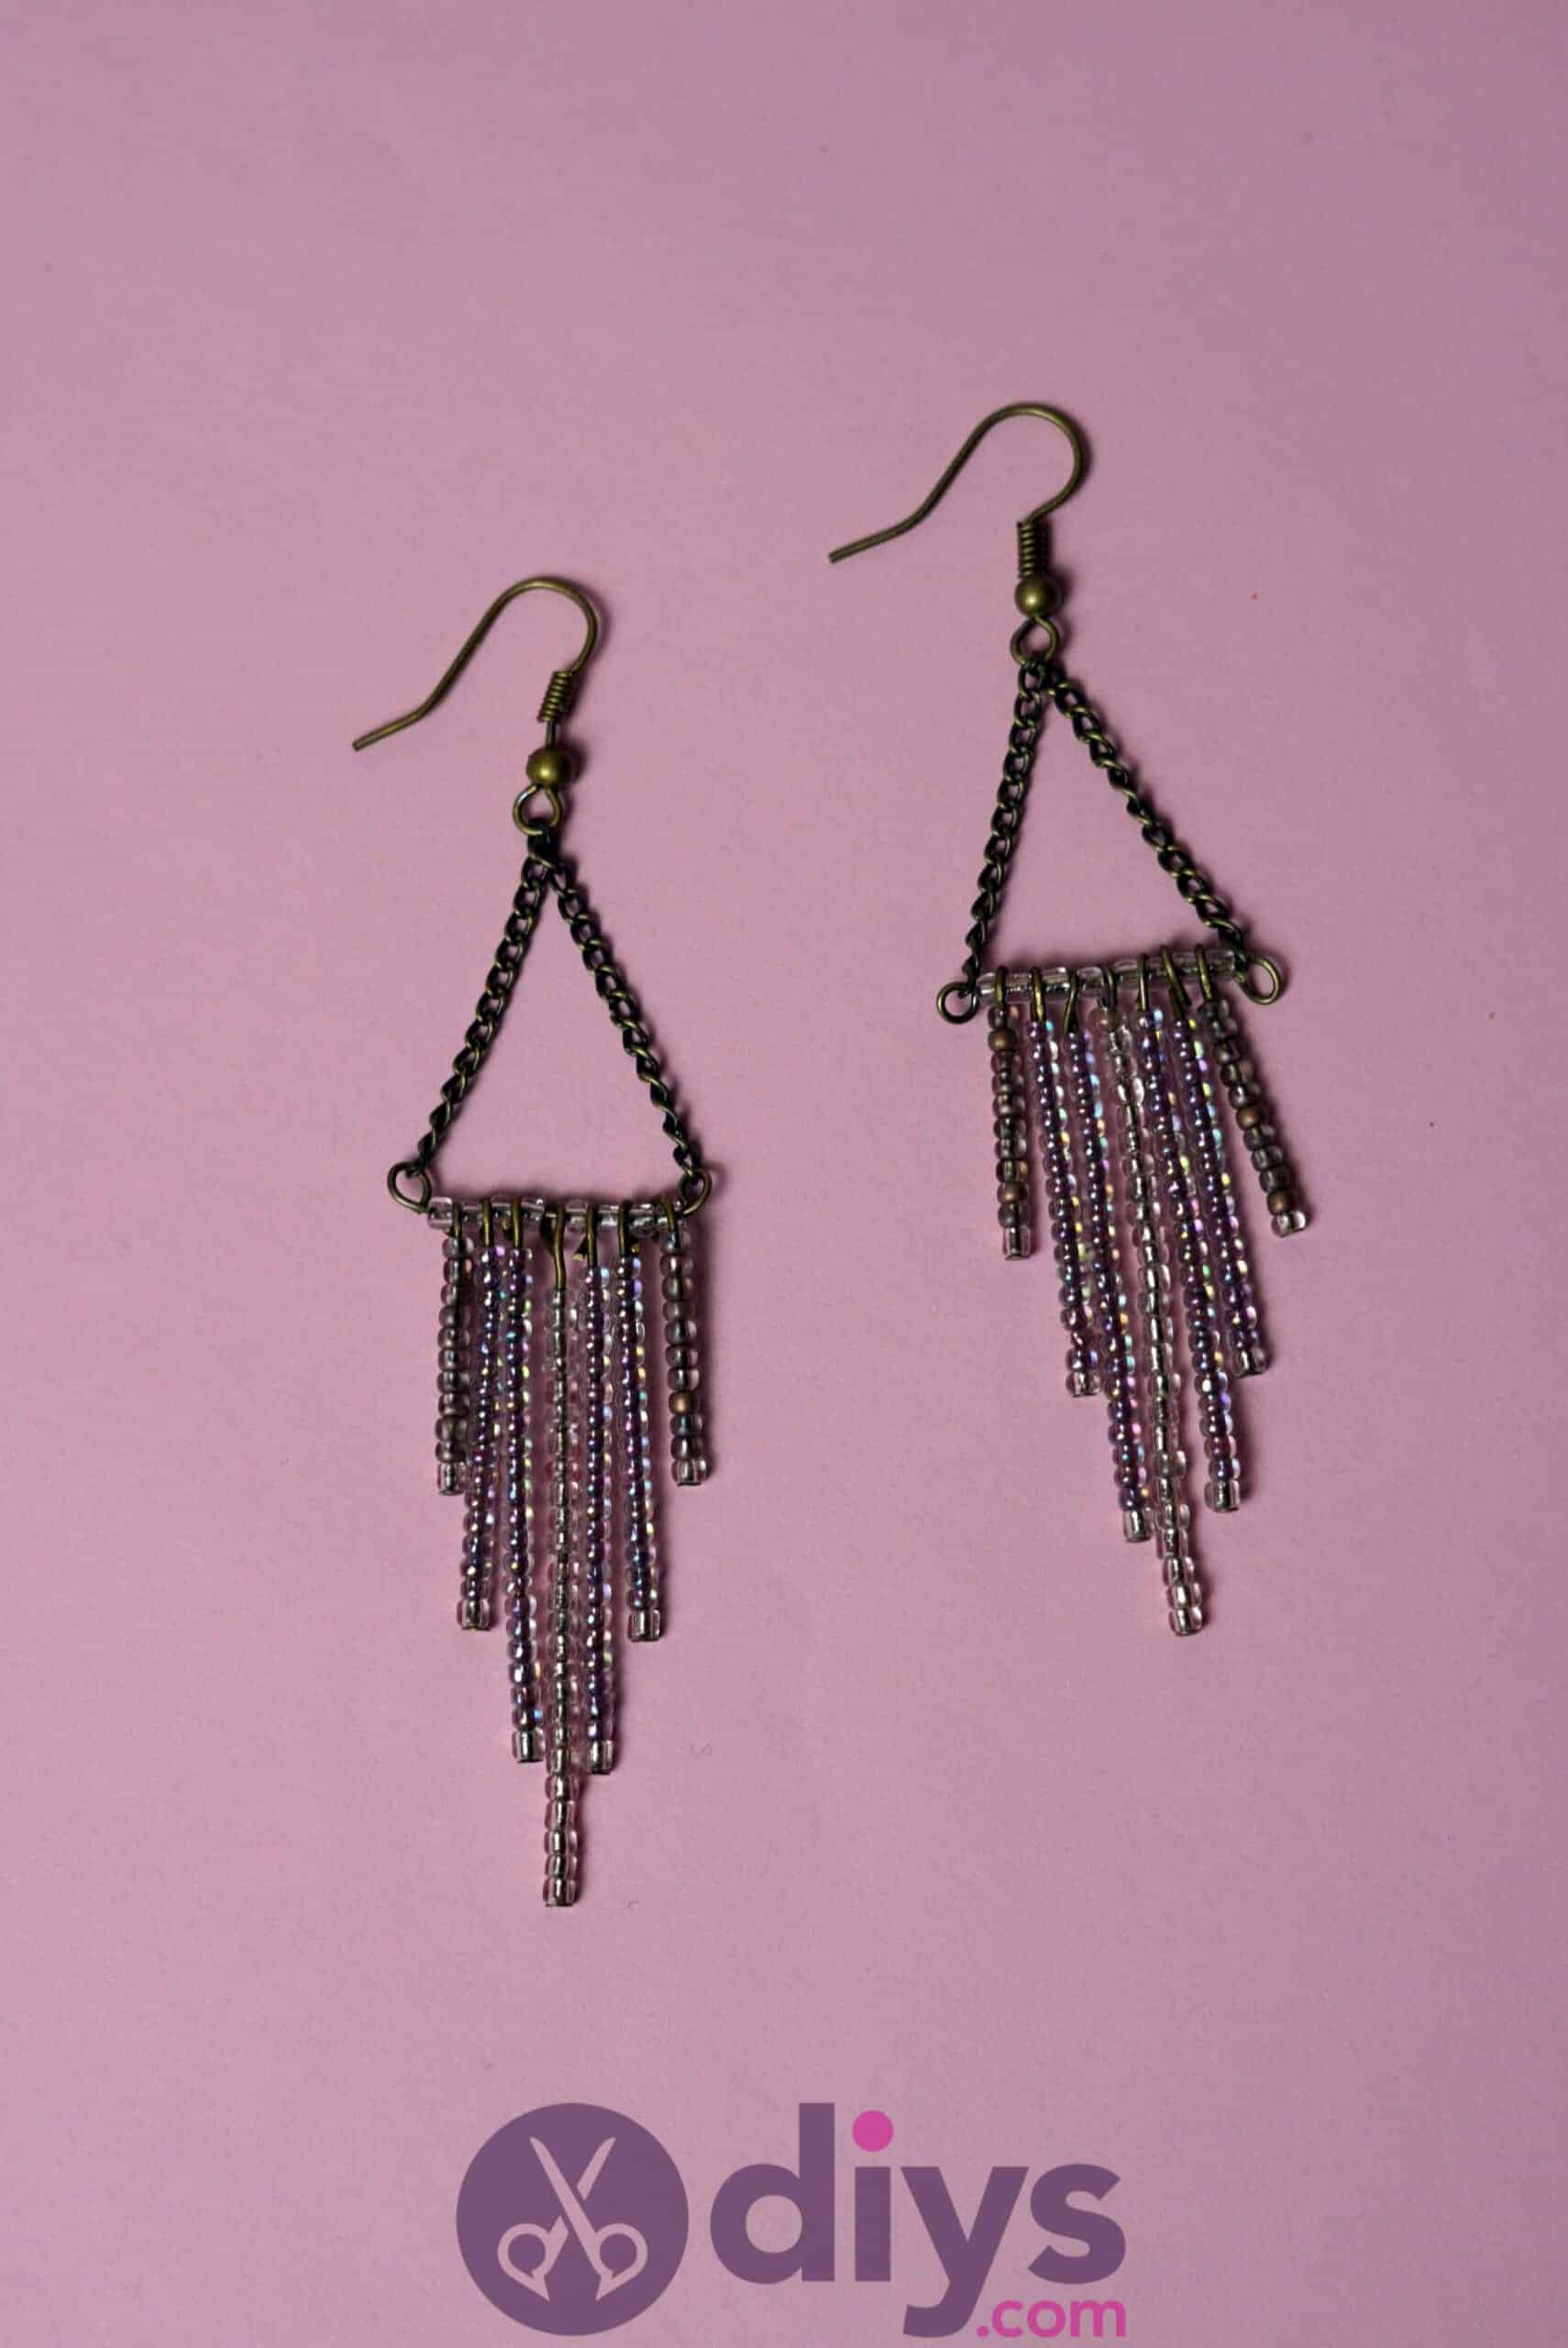


Making your own jewelry can be fun as well as rewarding and it’s easier than you think. Whether you’re creating these DIY seed bead fringe earrings for yourself or as a gift, this tutorial walks you through it step by step. Check it out!

Take a scroll through these written instructions complete with photos or skip right to the end of this post to find a super helpful video tutorial for the visual learners out there.

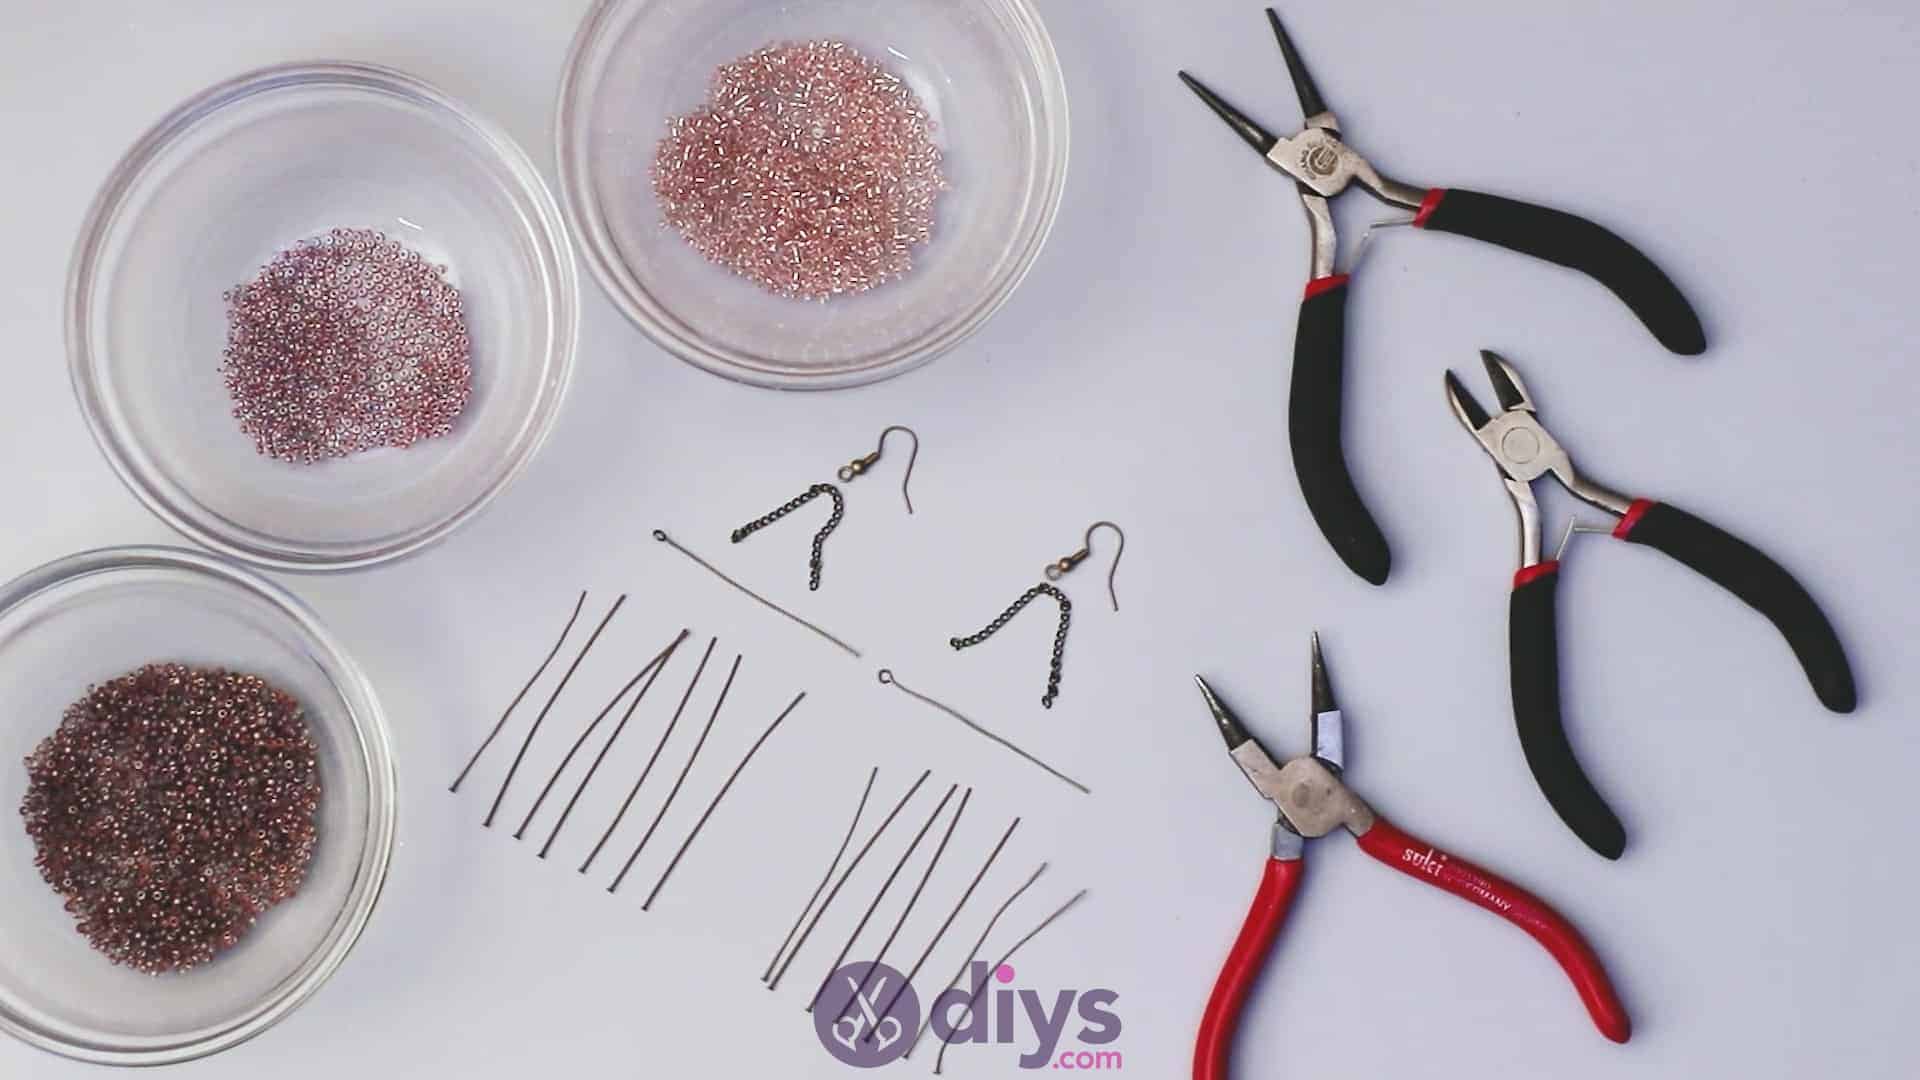
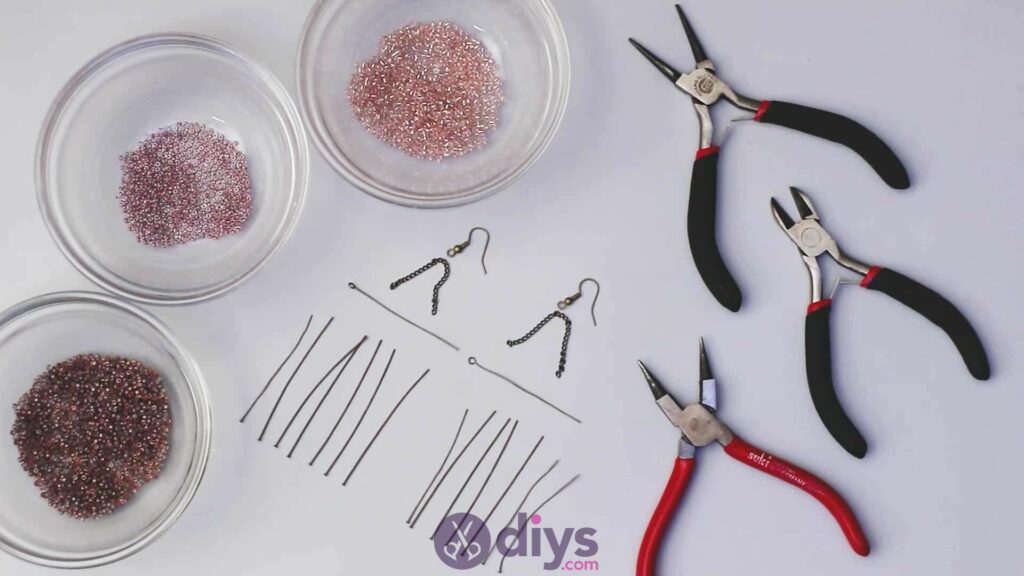
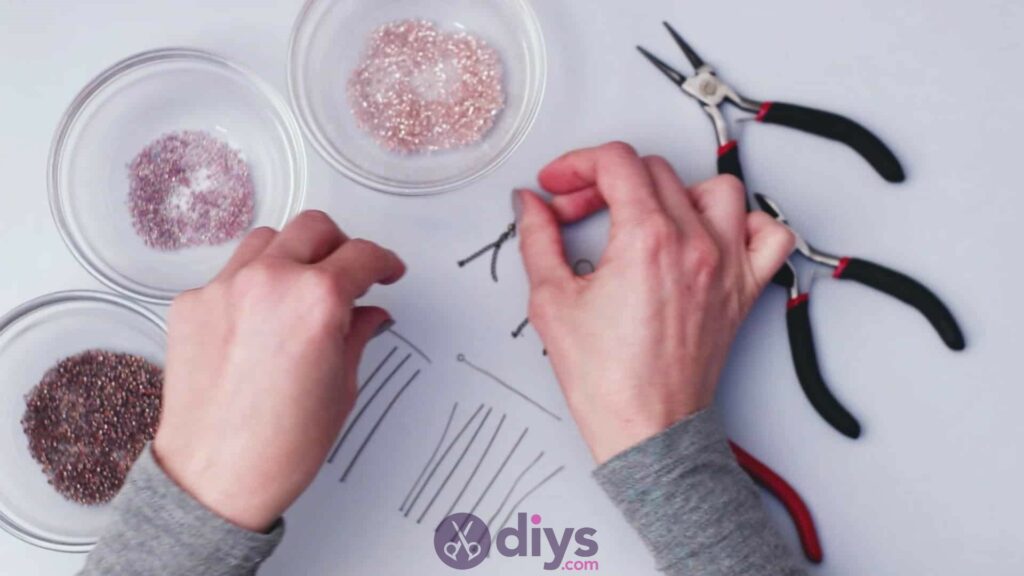
For this project, you’ll need:
- 3 kinds of coloured seed beads or porridge pearls
- 2 earrings hooks
- 2 pieces of jewelry chain (measured to two inches each)
- 2 looped mounting rods
- 14 wine mounting rods
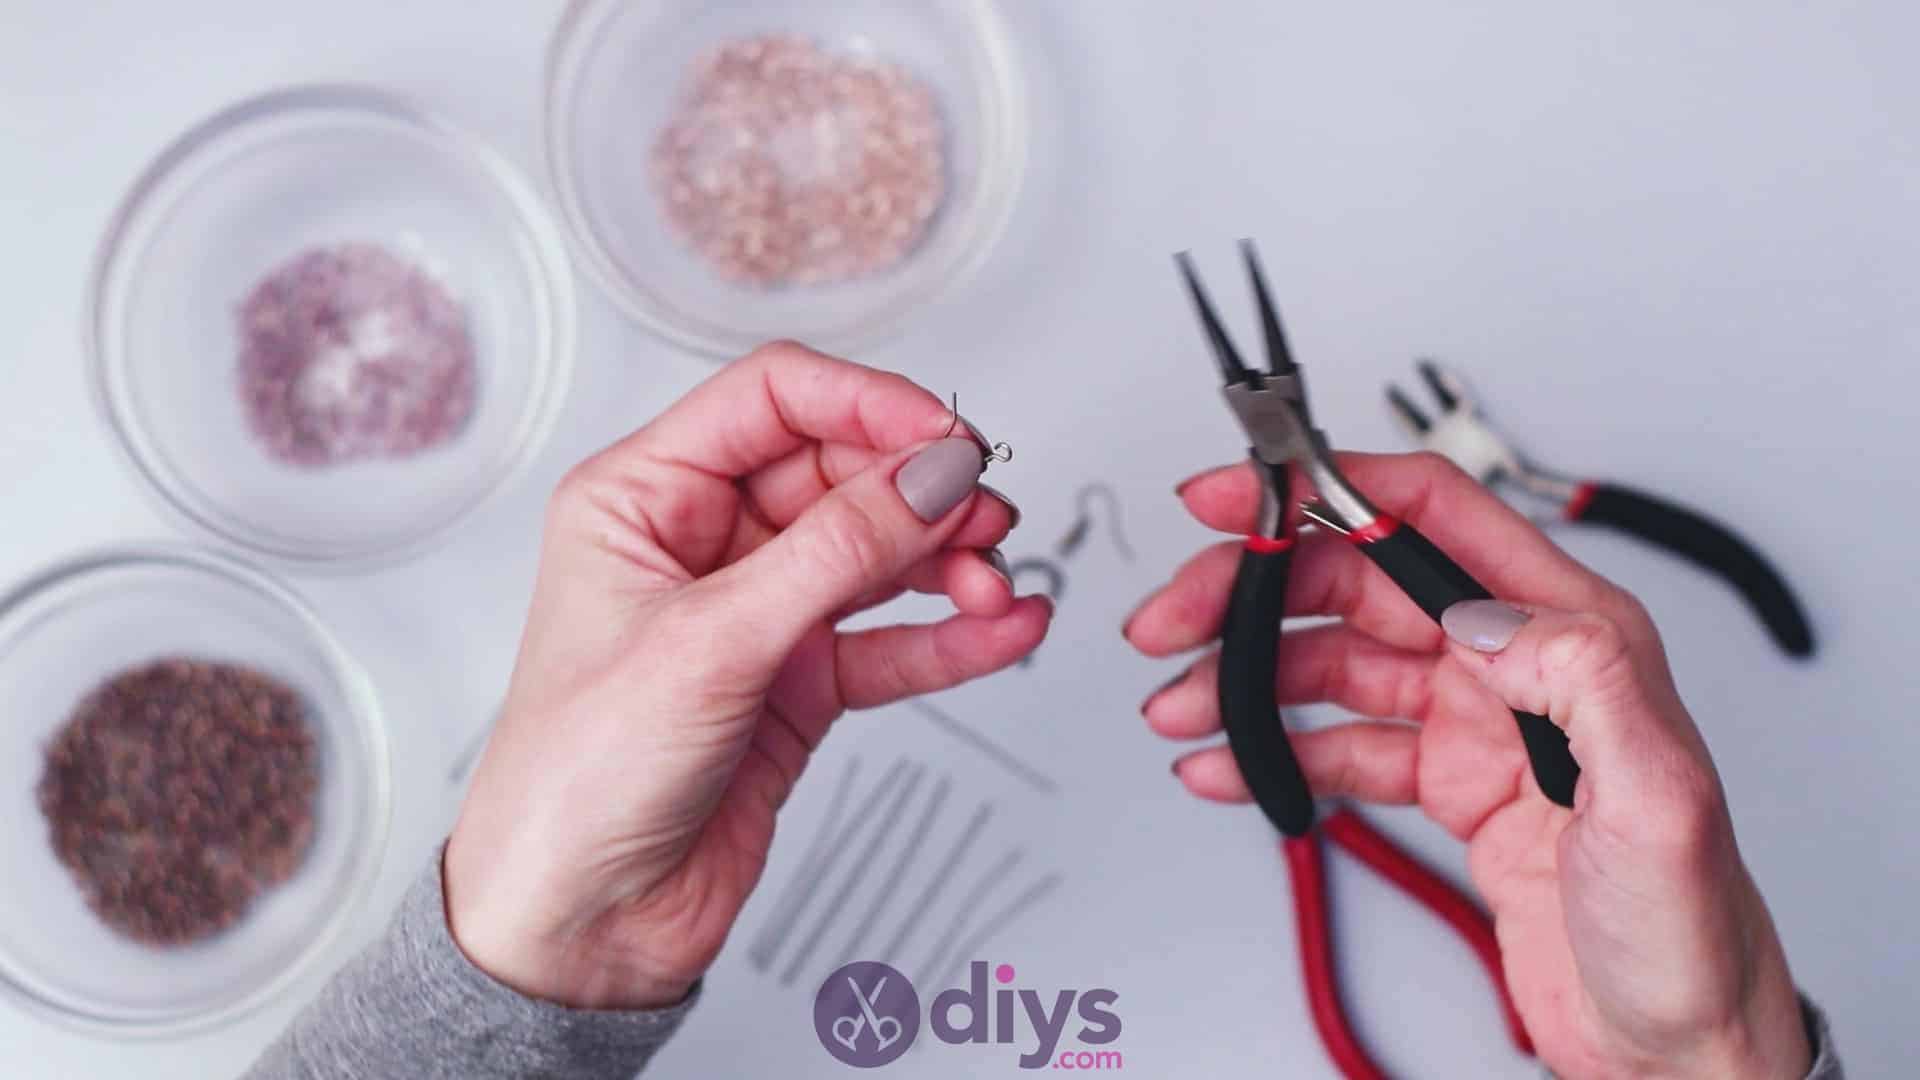
- 1 pair of wire cutters
- 2 pairs of pincers or needle nose pliers

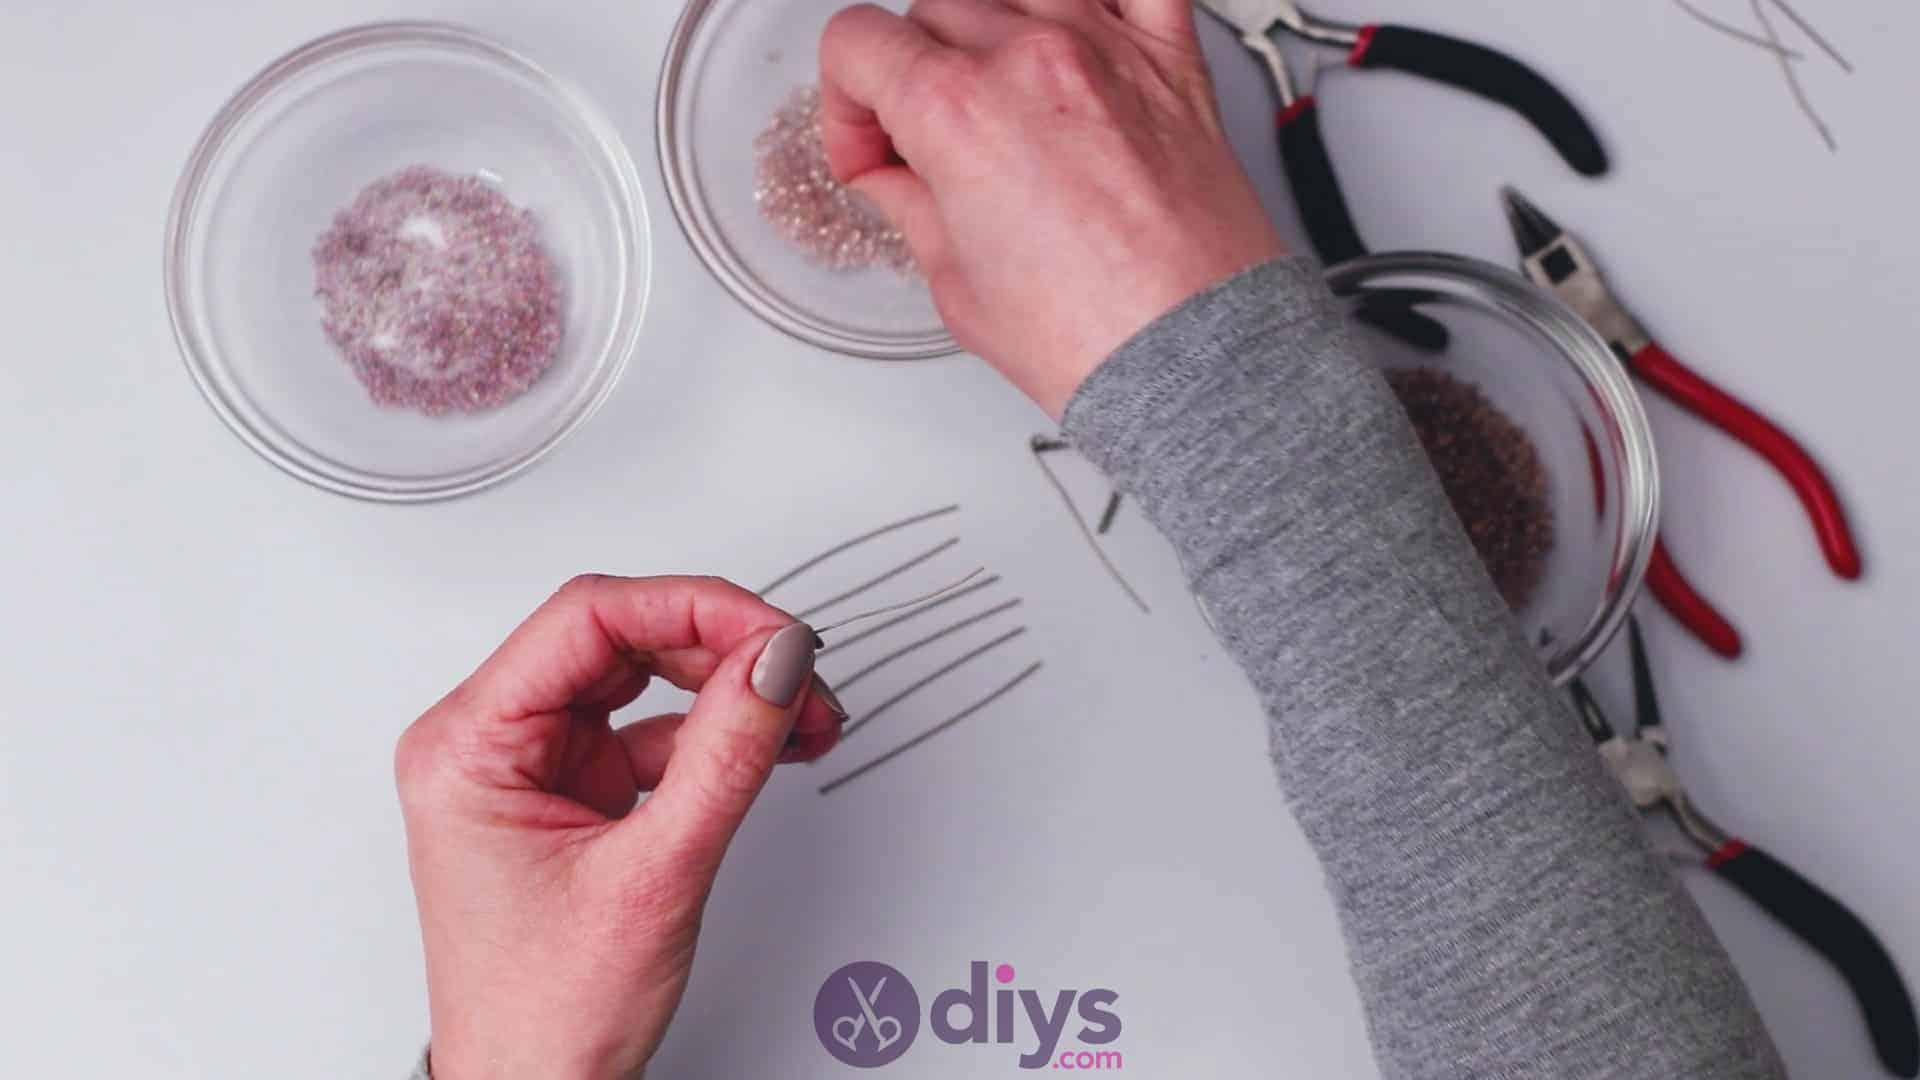
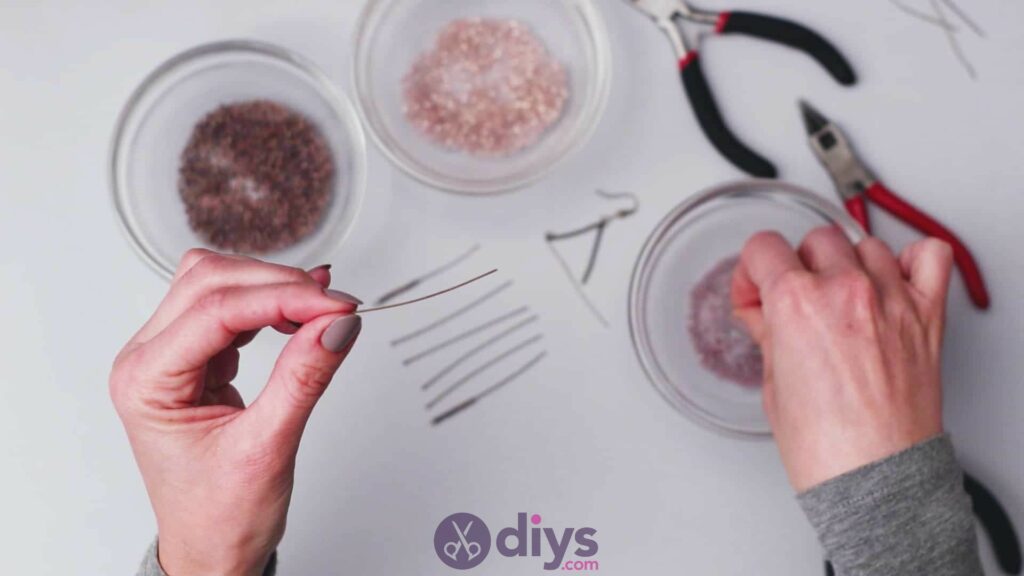
Step 1: gather your materials
I always like to make sure I have everything I need before sitting down to do a beading project.
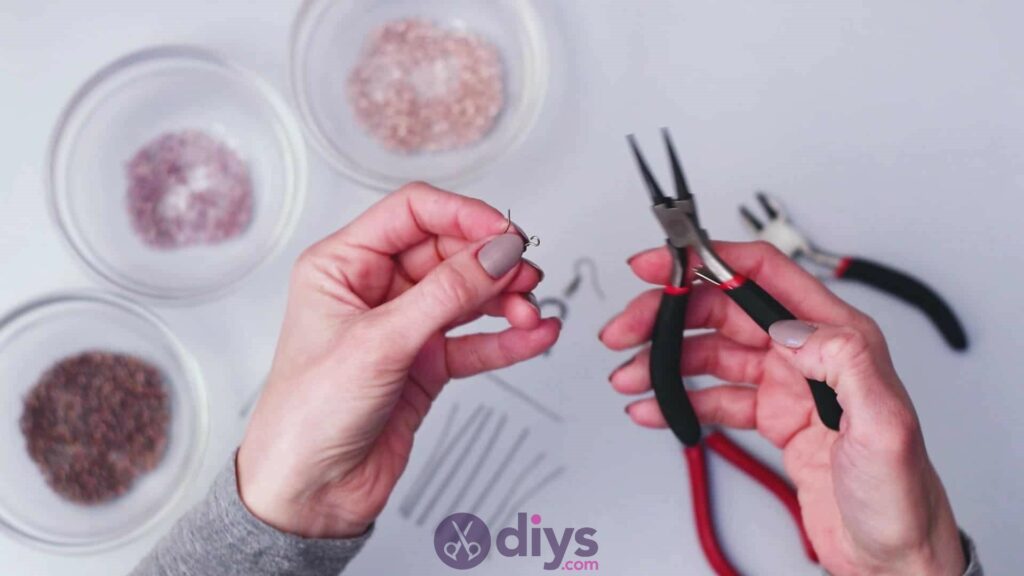
Step 2: Attaching the top chains
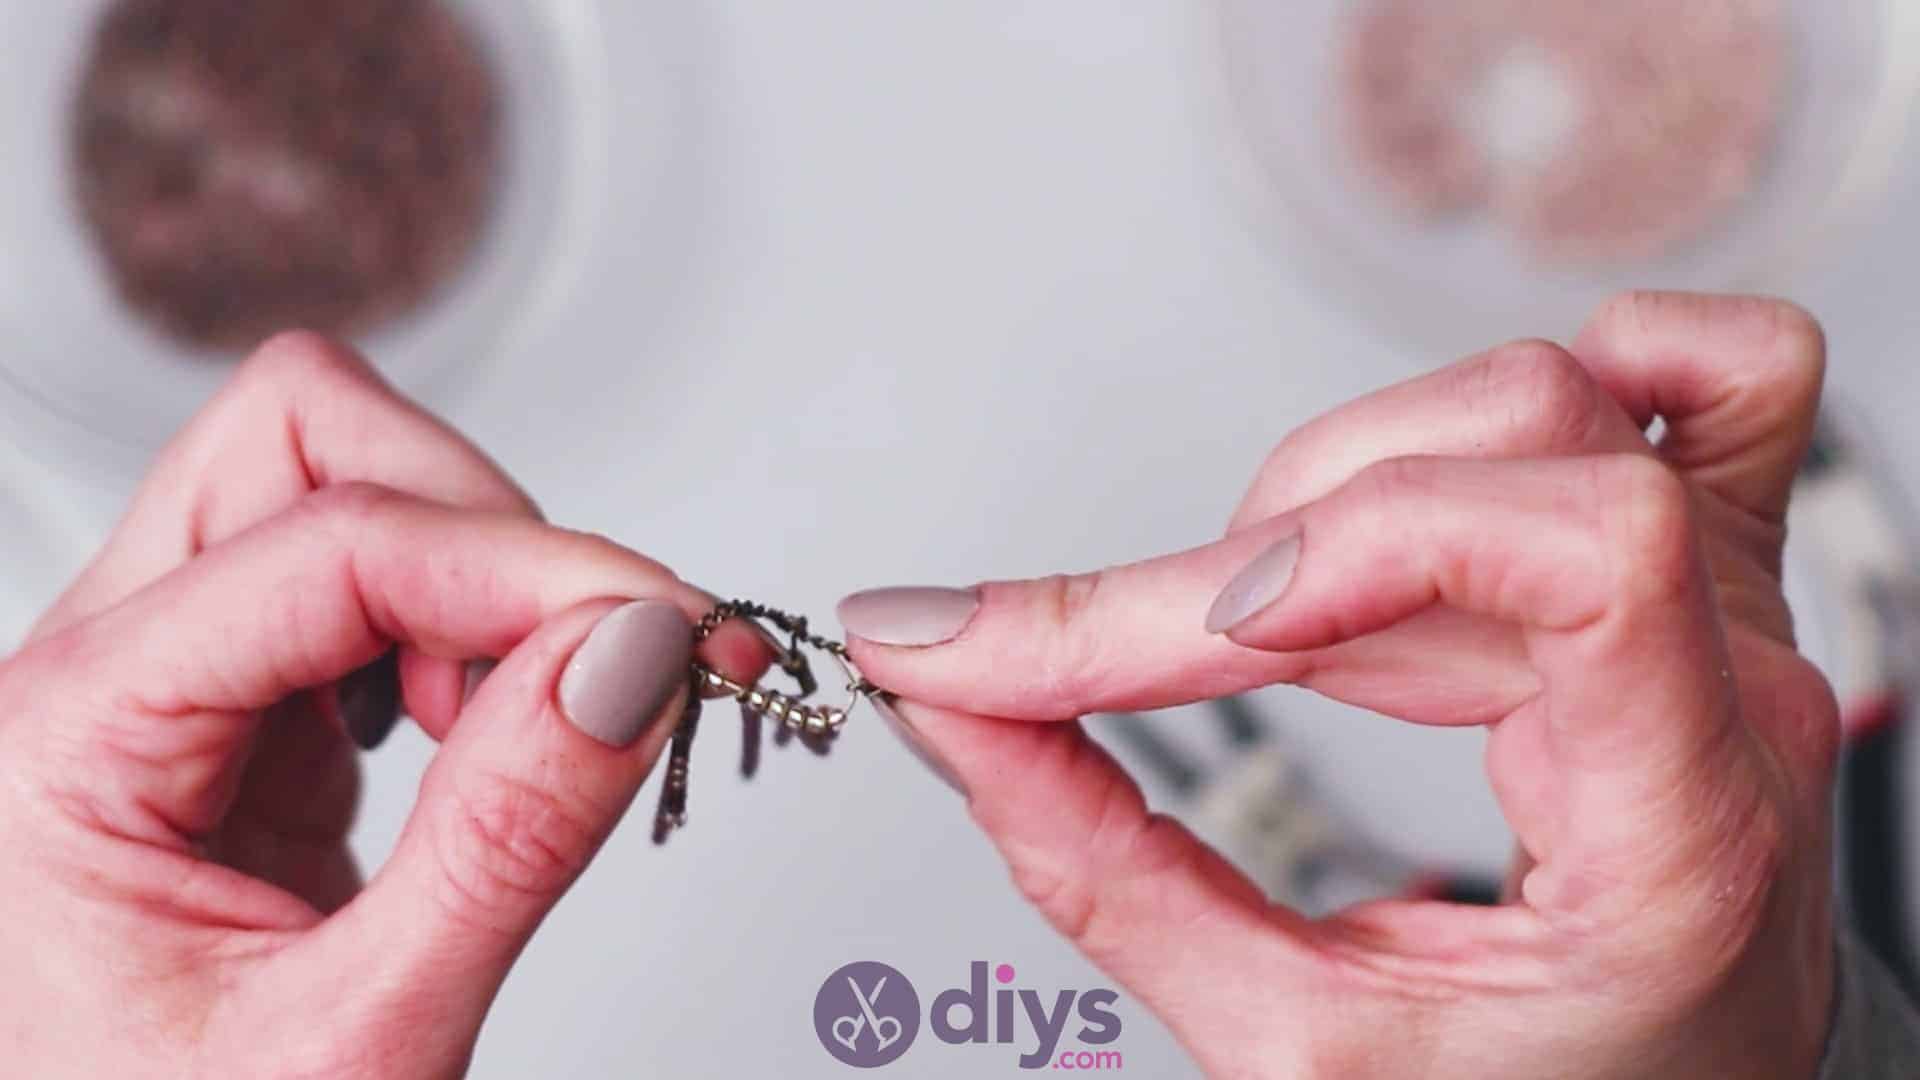
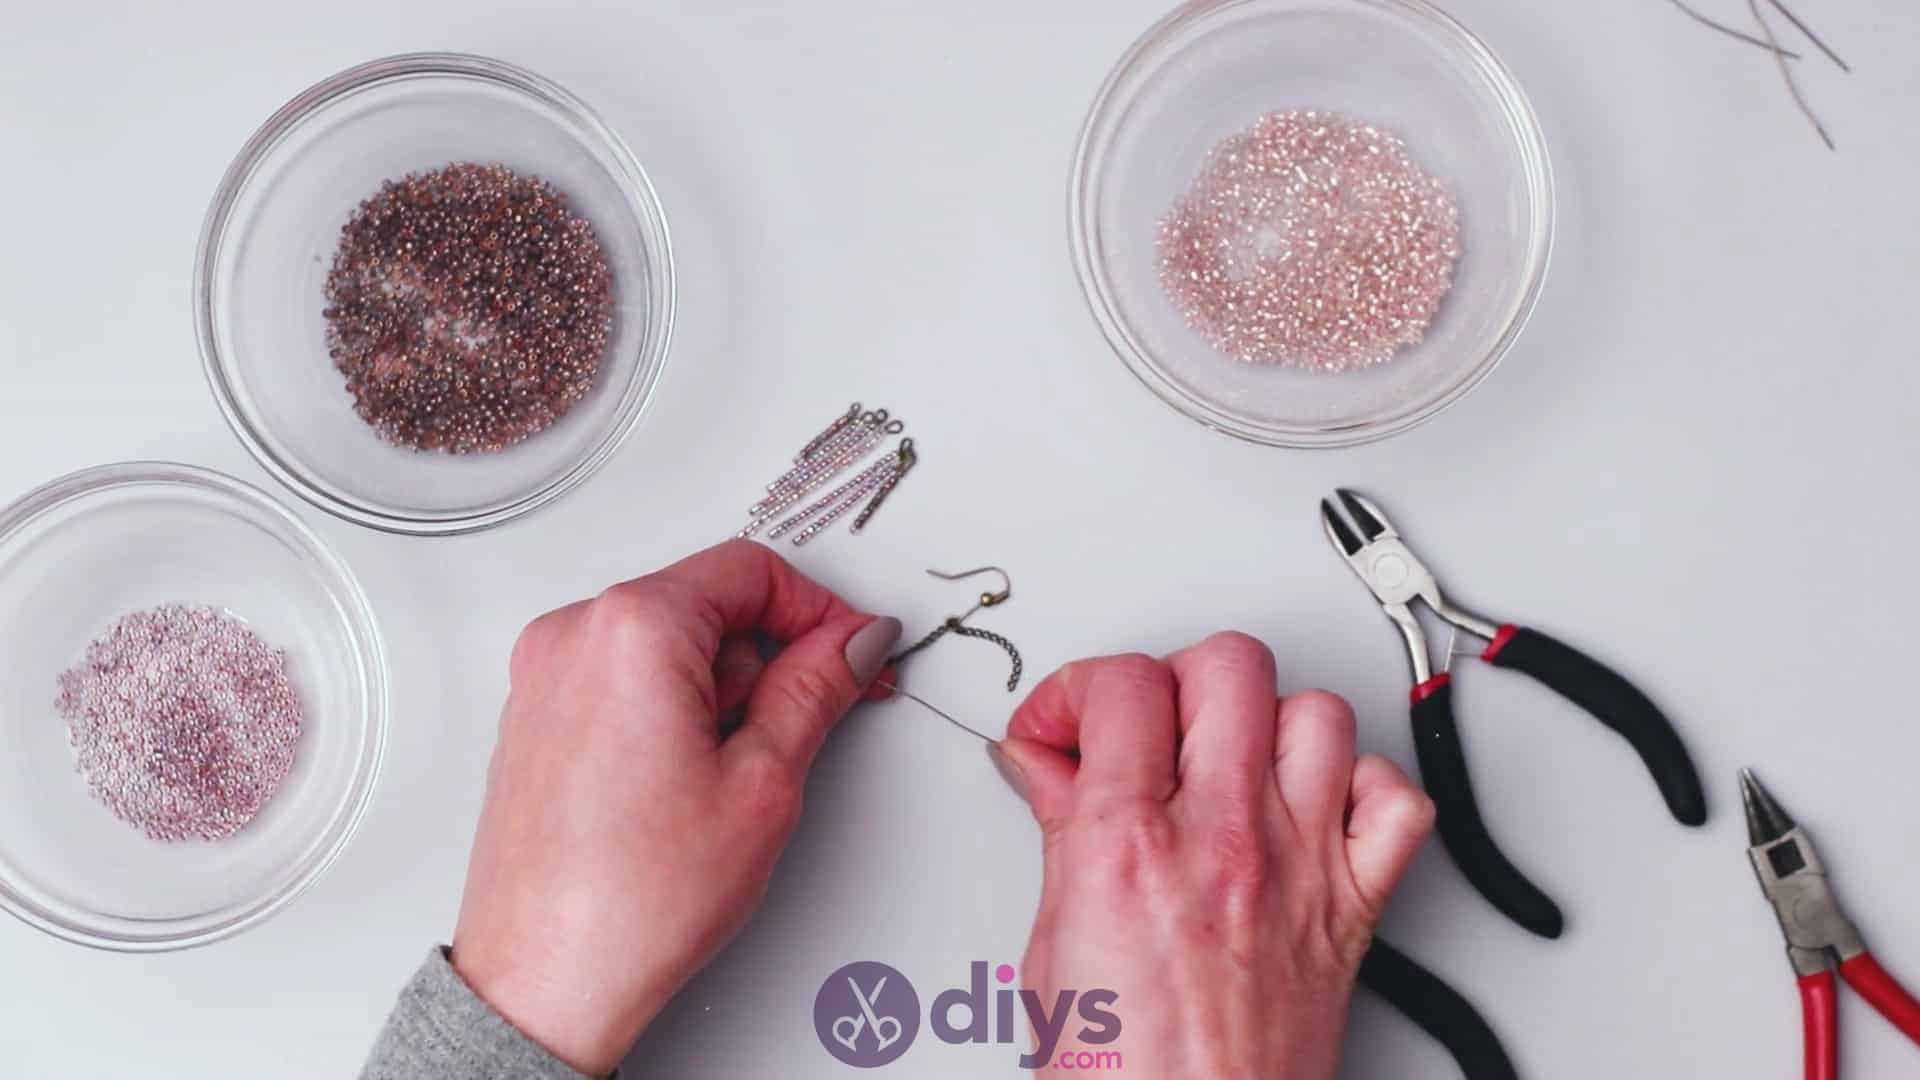
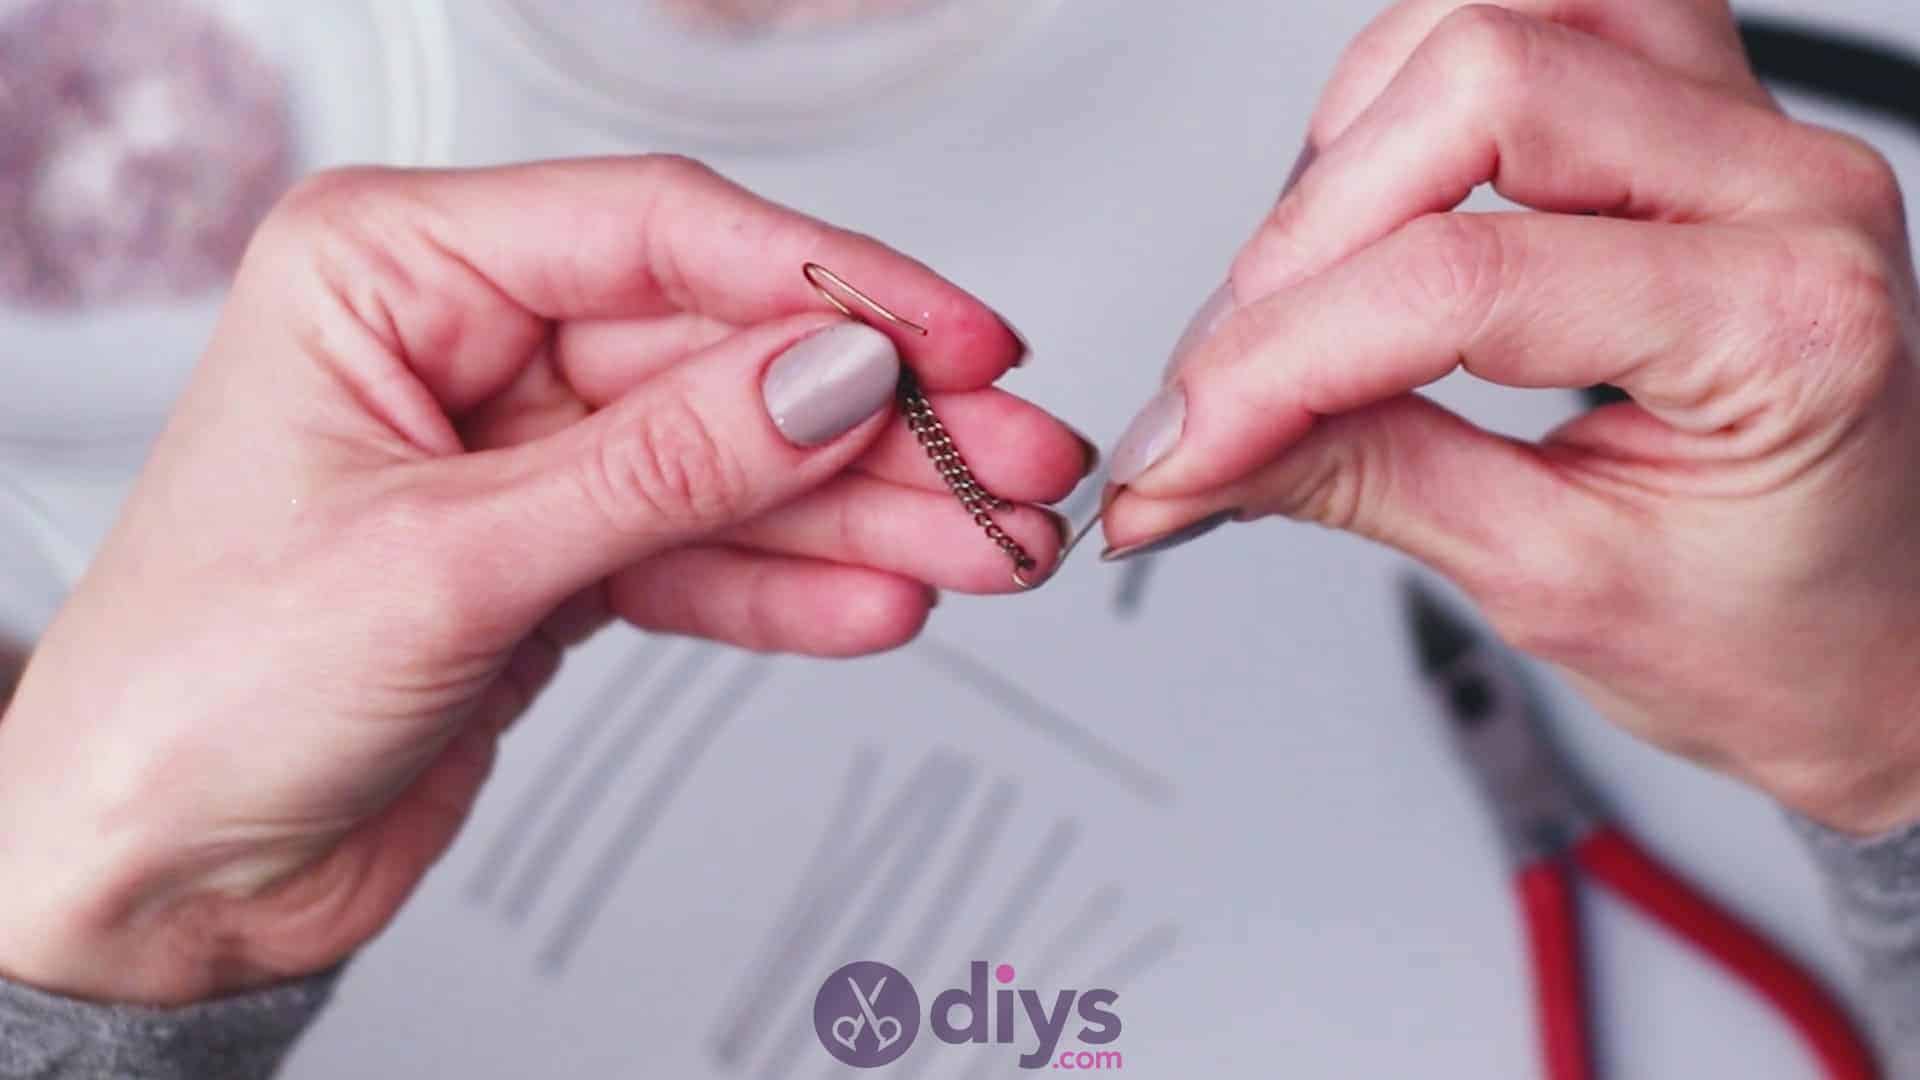
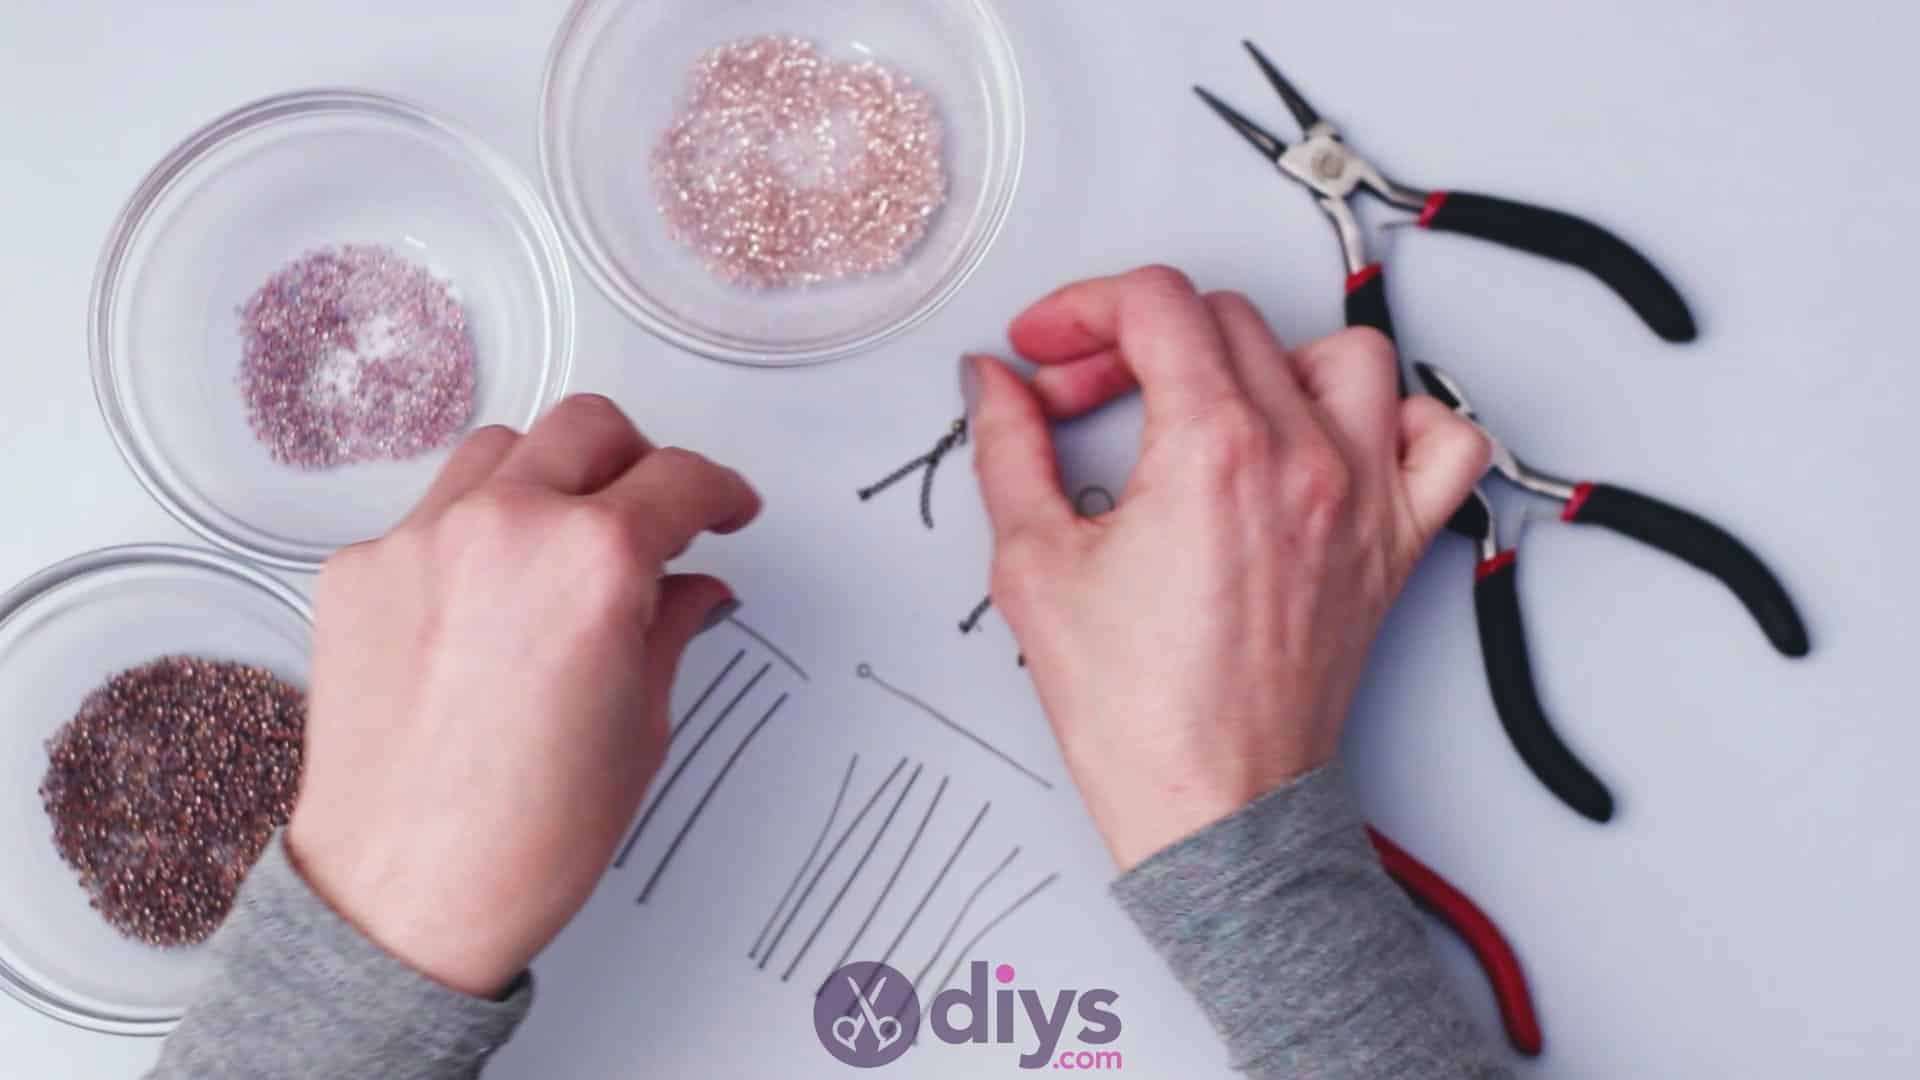
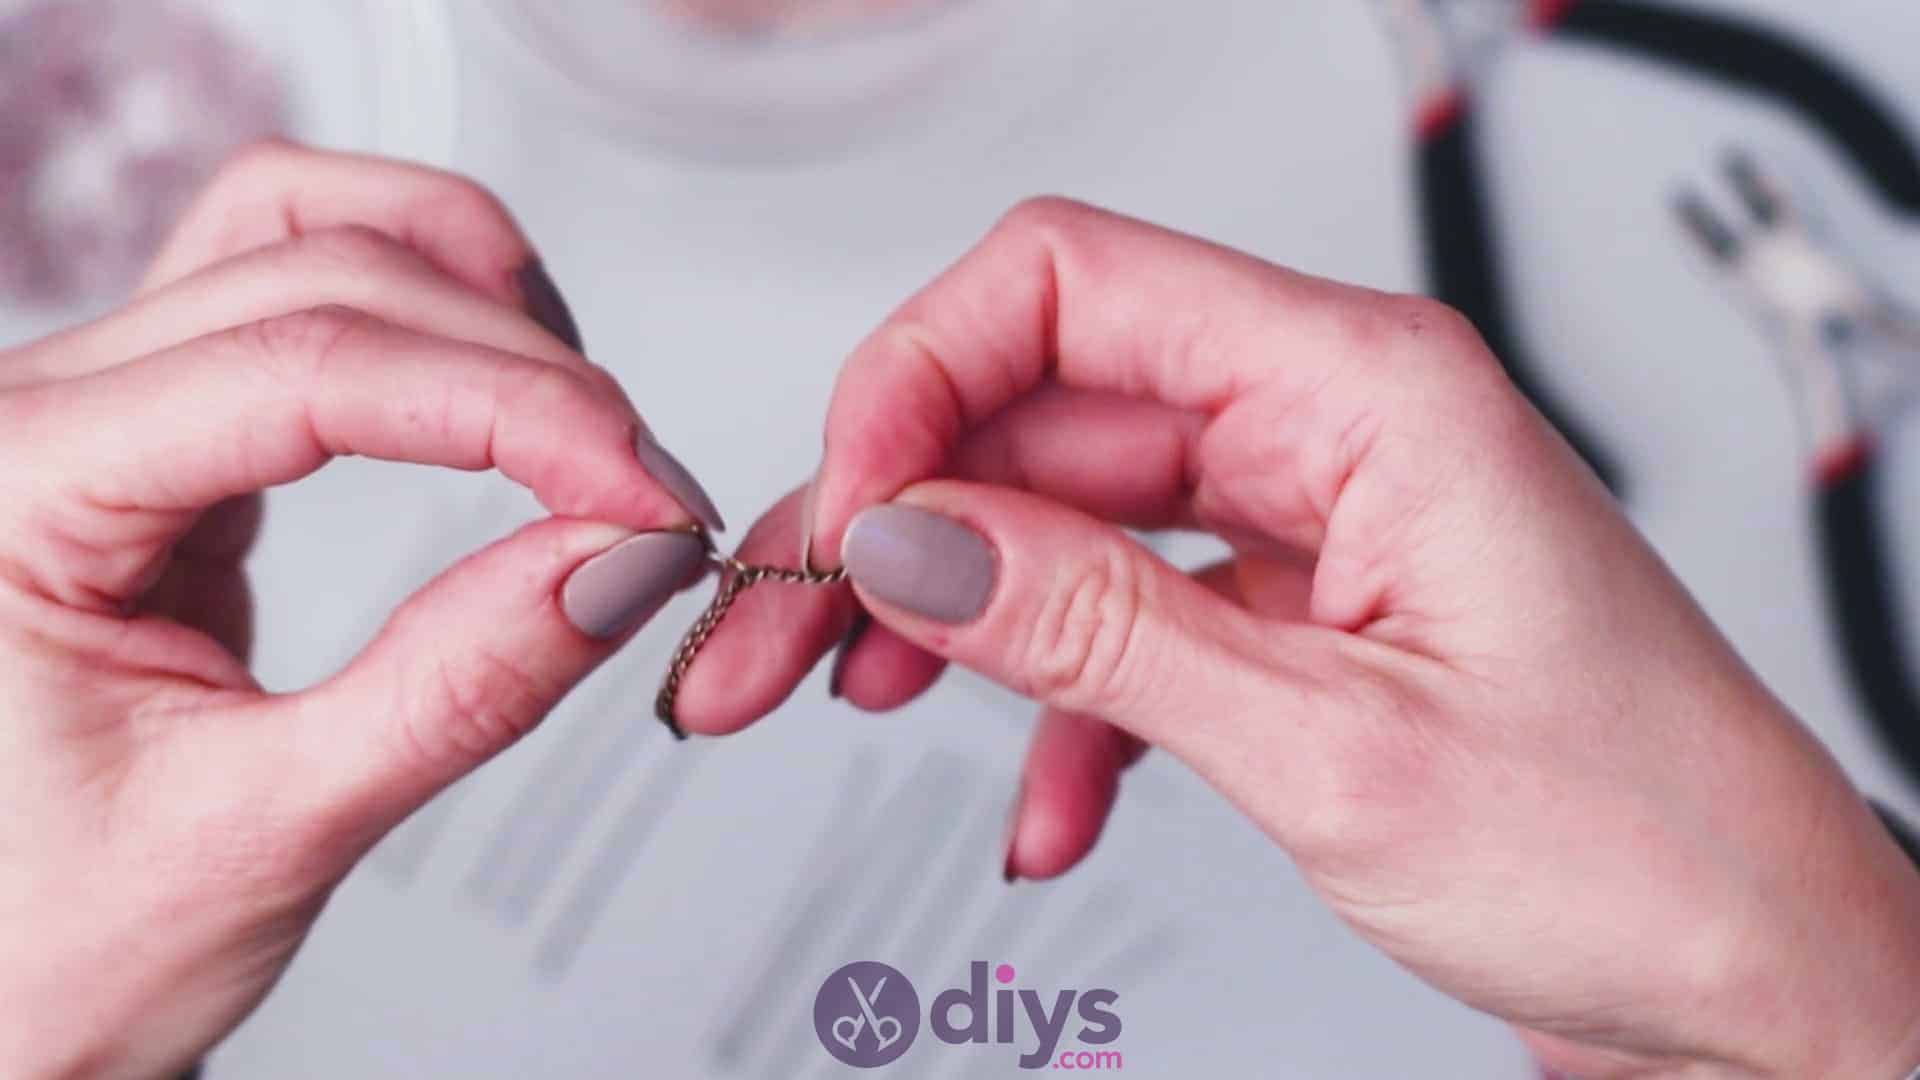
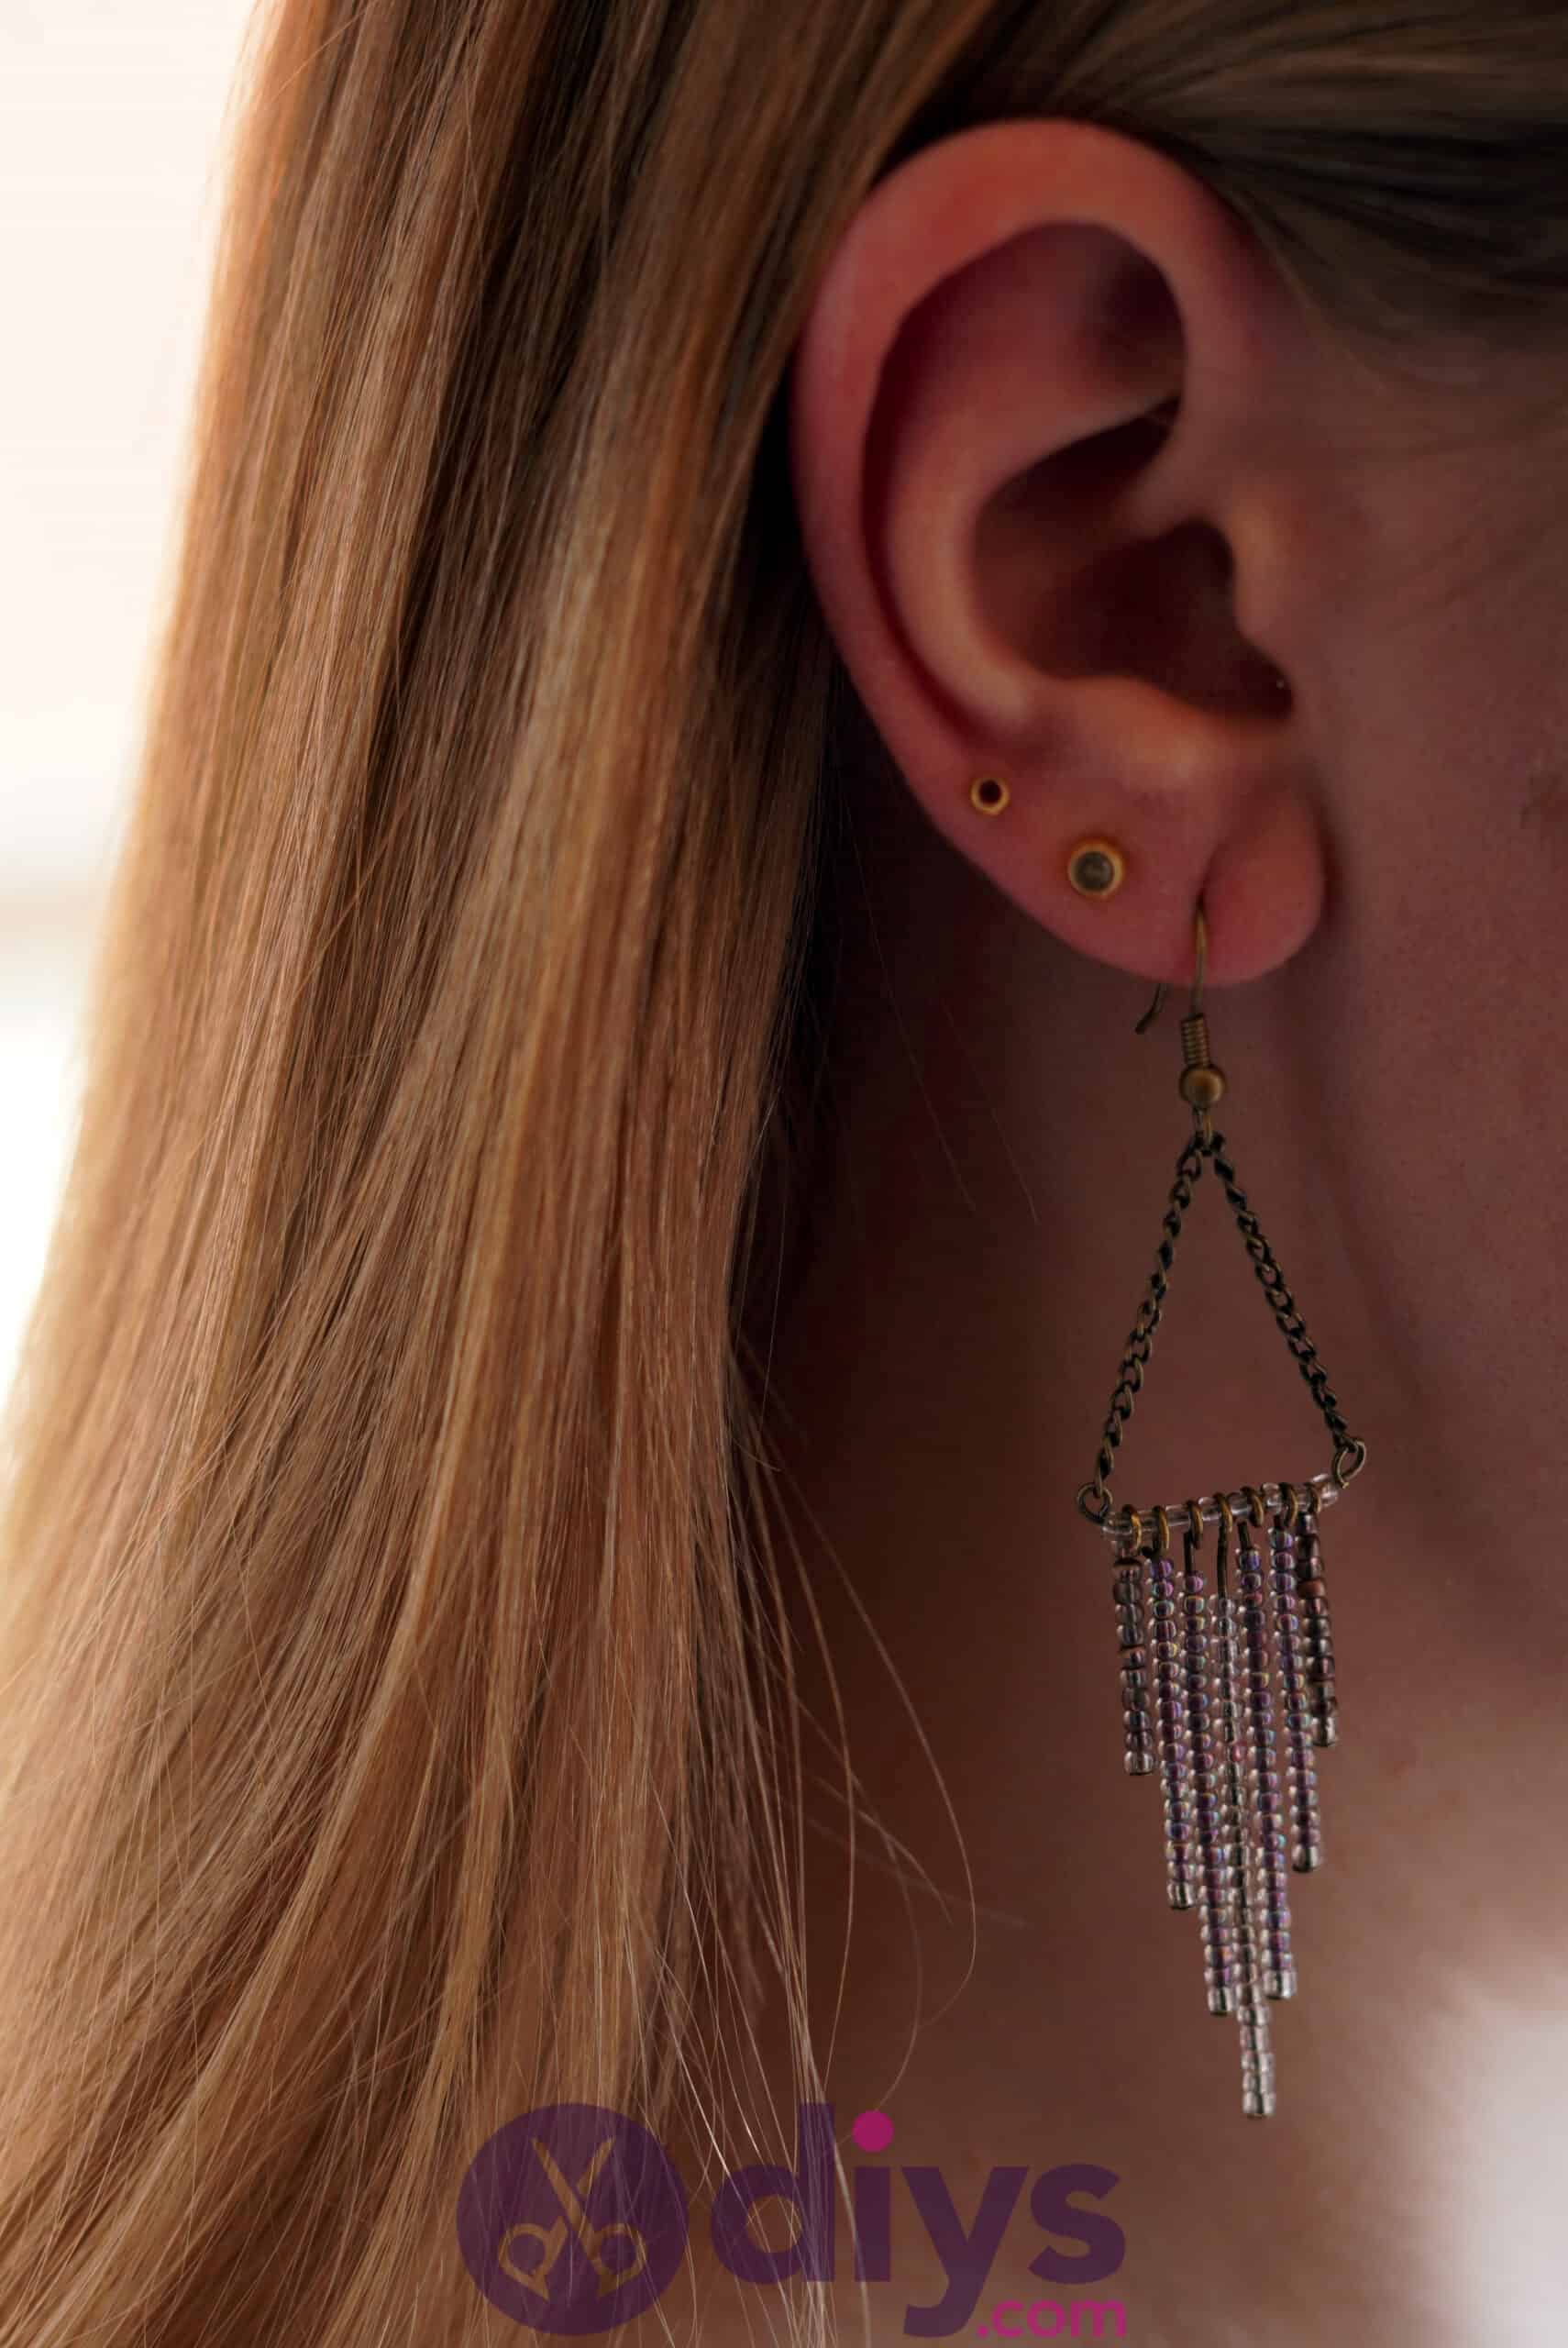
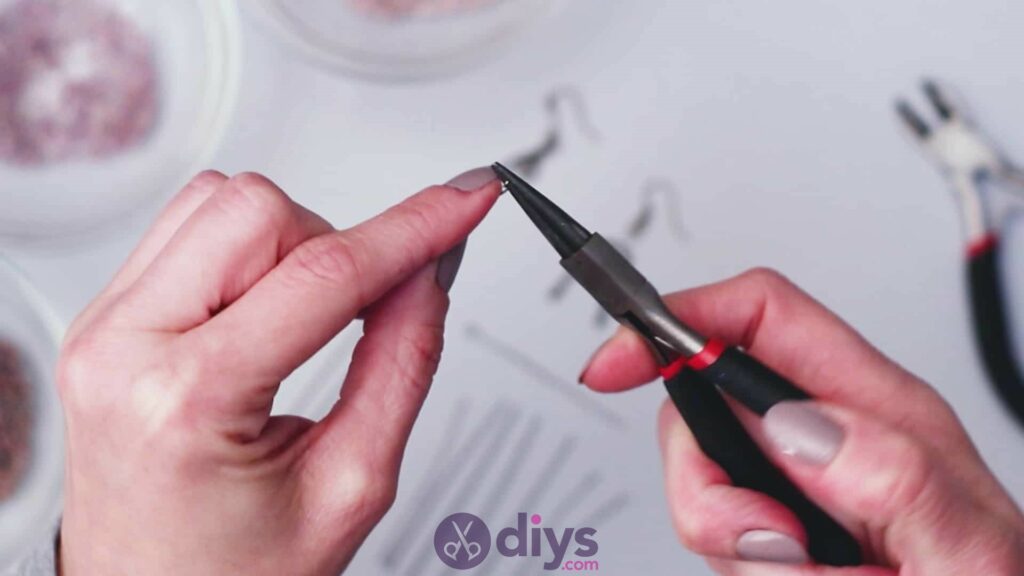
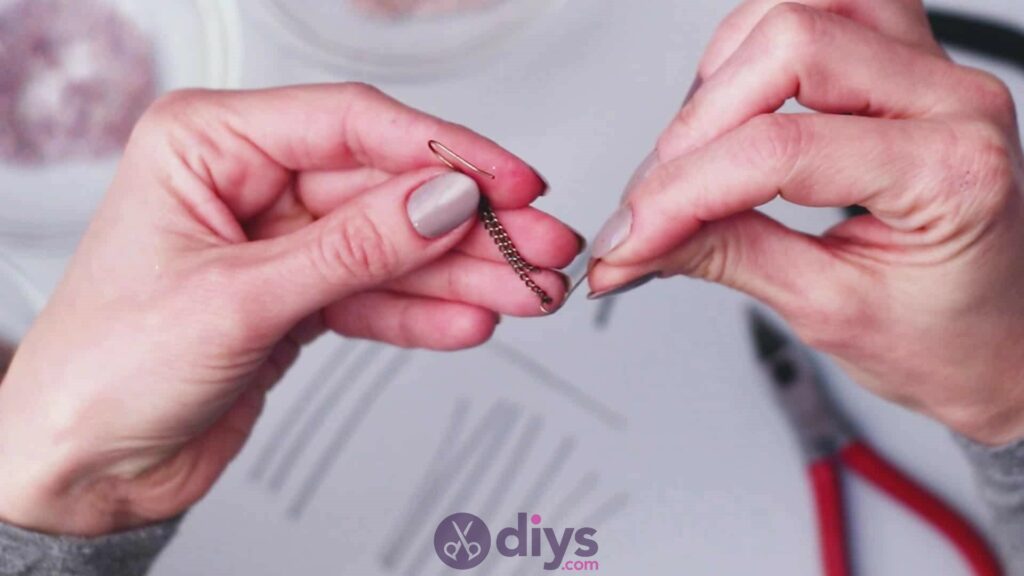
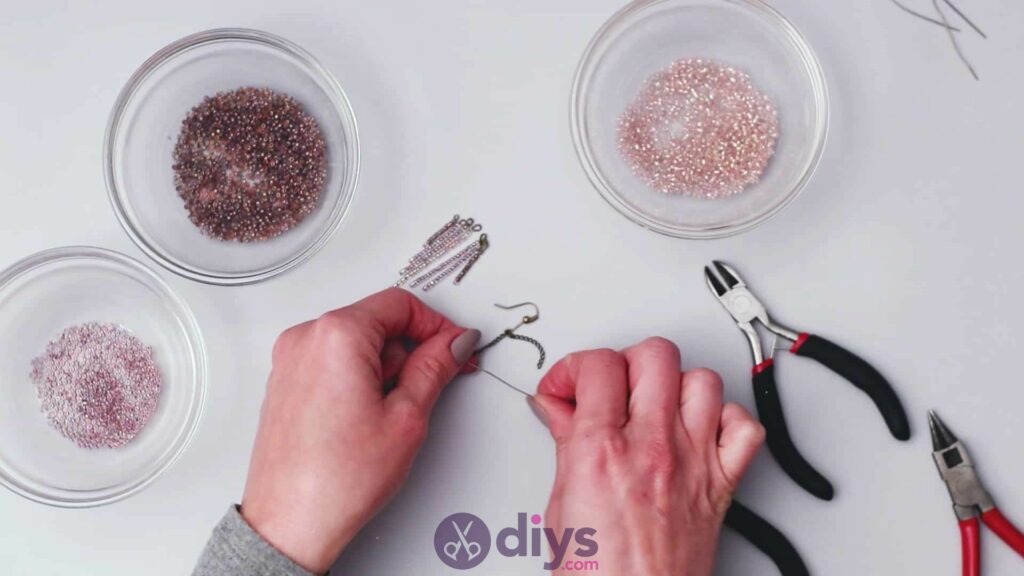
Attach your top chains to the bottom loops in your earring hooks. Use your pincers to uncurl the loop from the base of the hook slightly, just enough to slid the chain through. If you haven’t already cut your jewelry chain, cut two pieces that are two inches long each. Slide the chain through the loop in your earring hook; depending on the kind and size of chain you’re using versus the size of the loop, choose which is best between finding the centre link in your chain length and actually passing the end of the loopthrough that so the chain doesn’t slide through the loop unevenly, or simply closing the looparound the centre space between two links in the middle. Feel free to try either out and see which option you think sits best, then close your earring hook loop again with your pincers. Repeat the entire process in the same way for your second earring hook and second piece of jewelry chain.

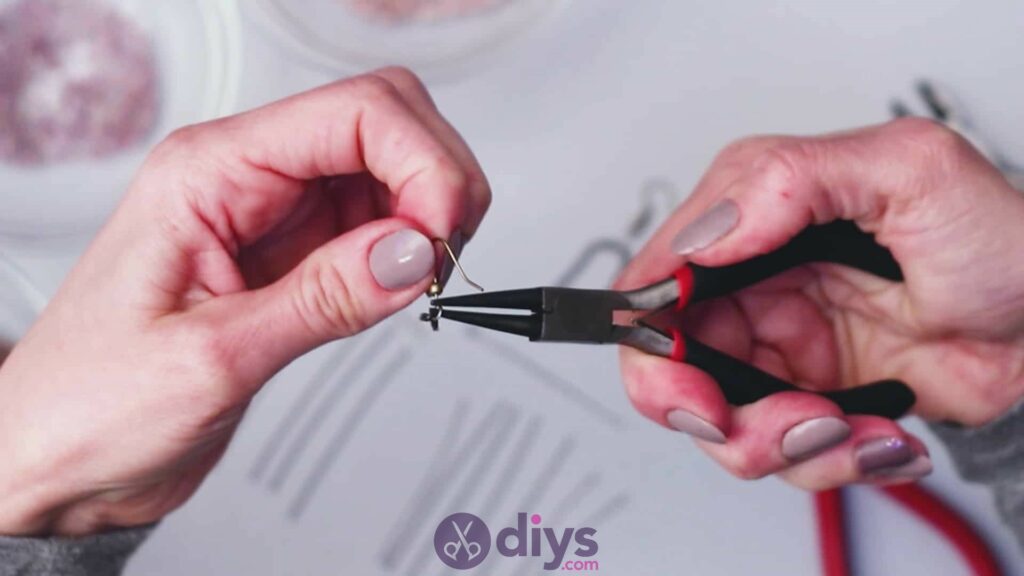
Step 3: adding support
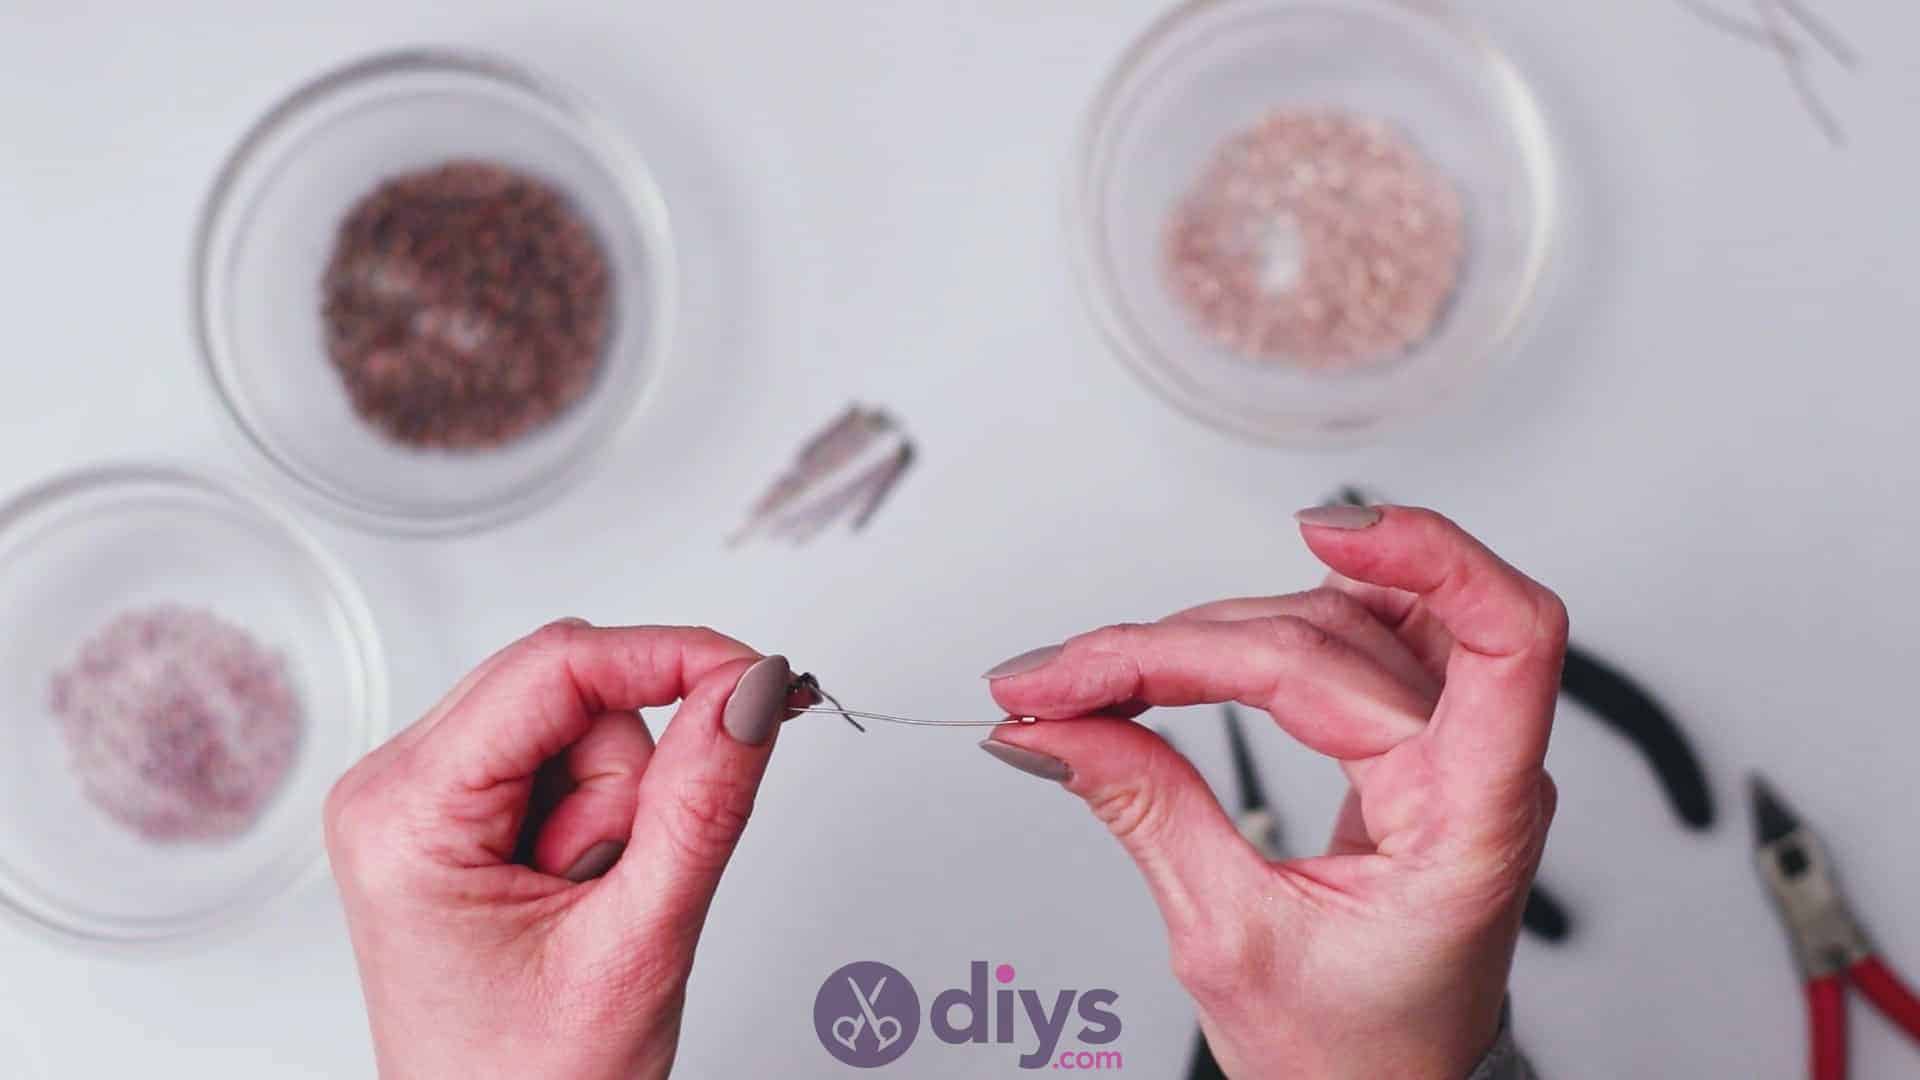
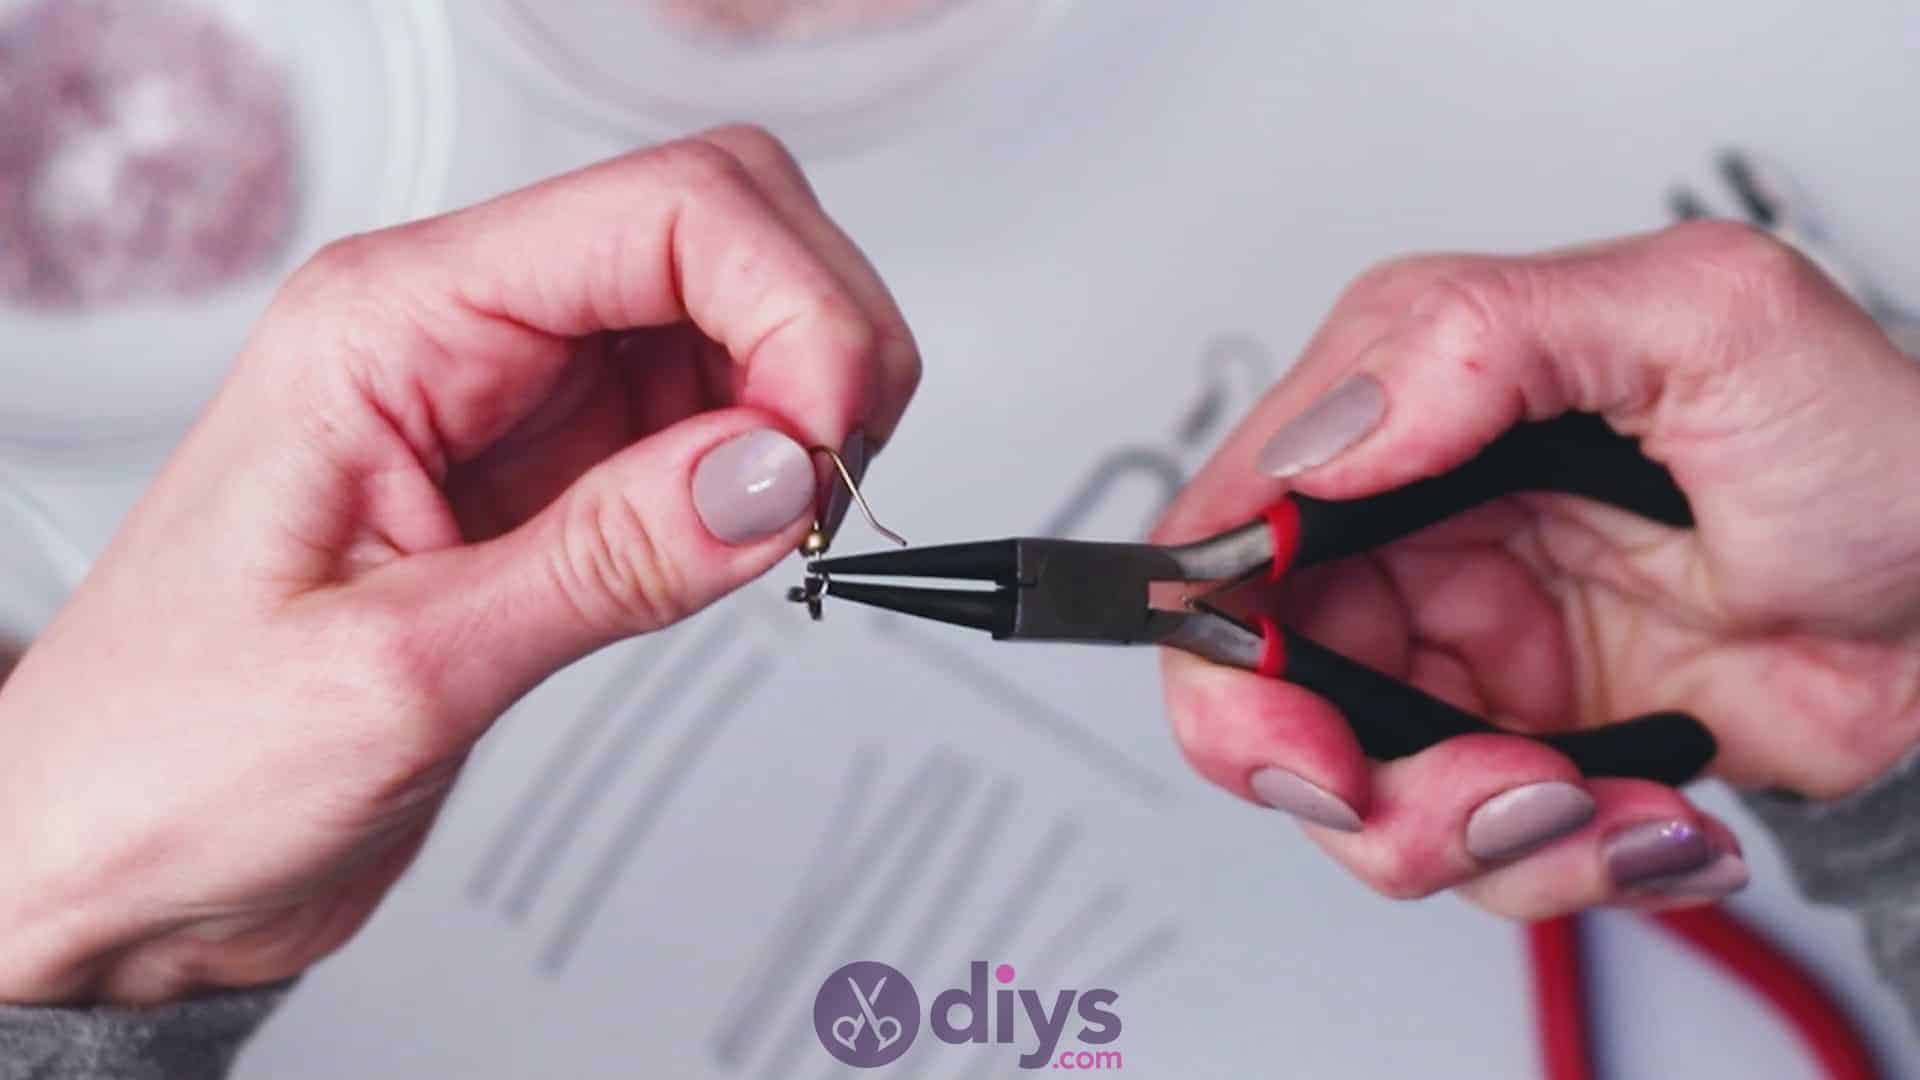
Take your first looped mounting rod and use your pincers to open up the loop on the side. I positioned my loop to be on the left with the rest of the rod sitting horizontally. Put the loop through the bottom-most link in the corresponding left piece of the jewelry chain you just passed through the earring hook. You’ll slide the fringe pieces you make in a moment onto this support rod so they can dangle down and then close the other end in a loop on the opposite piece of jewelry chain so the support rod hangs horizontally and evenly. For now, however, just put the piece aside with its second end left uncurled and unattached.
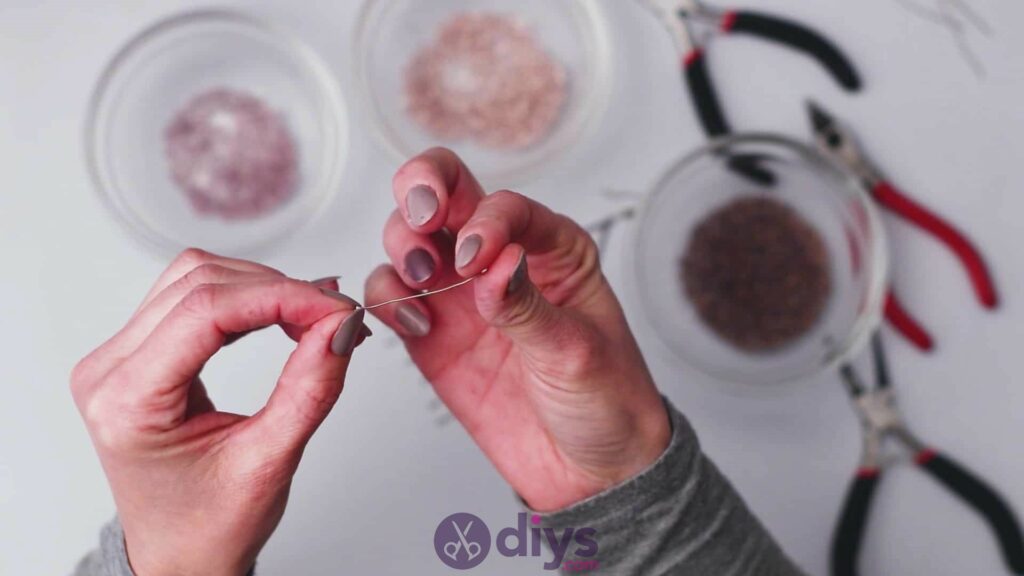
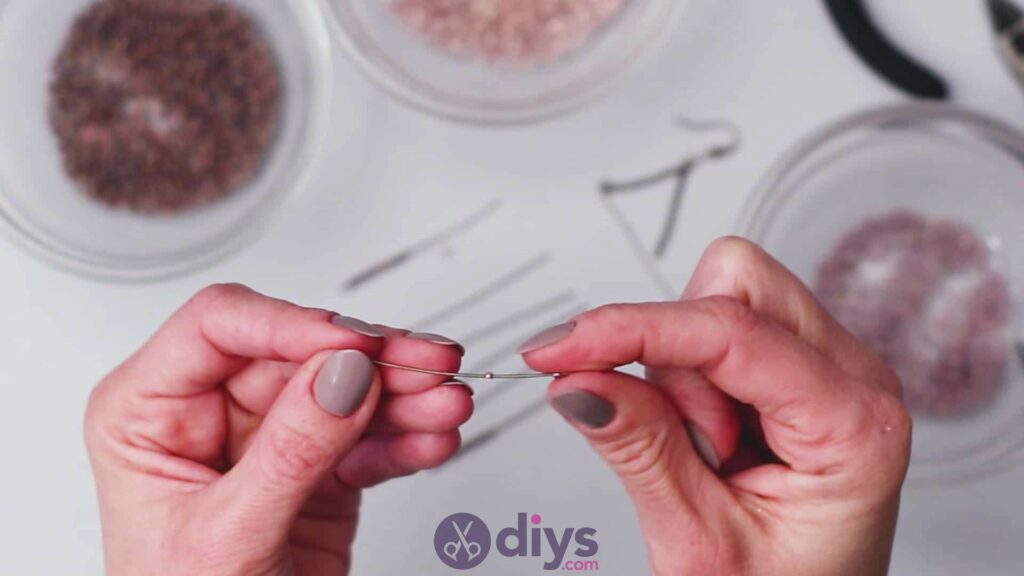
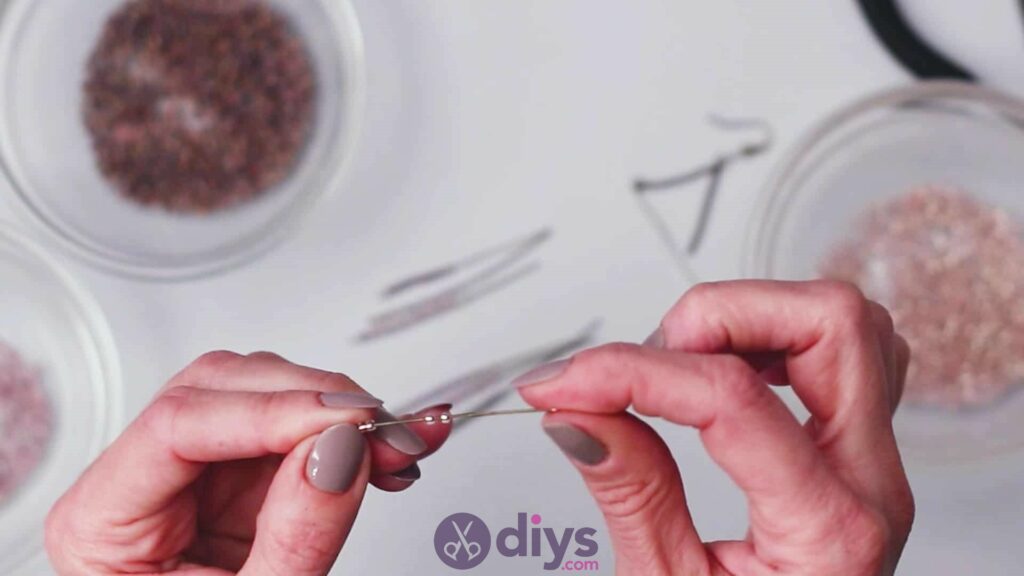
Step 4: start beading
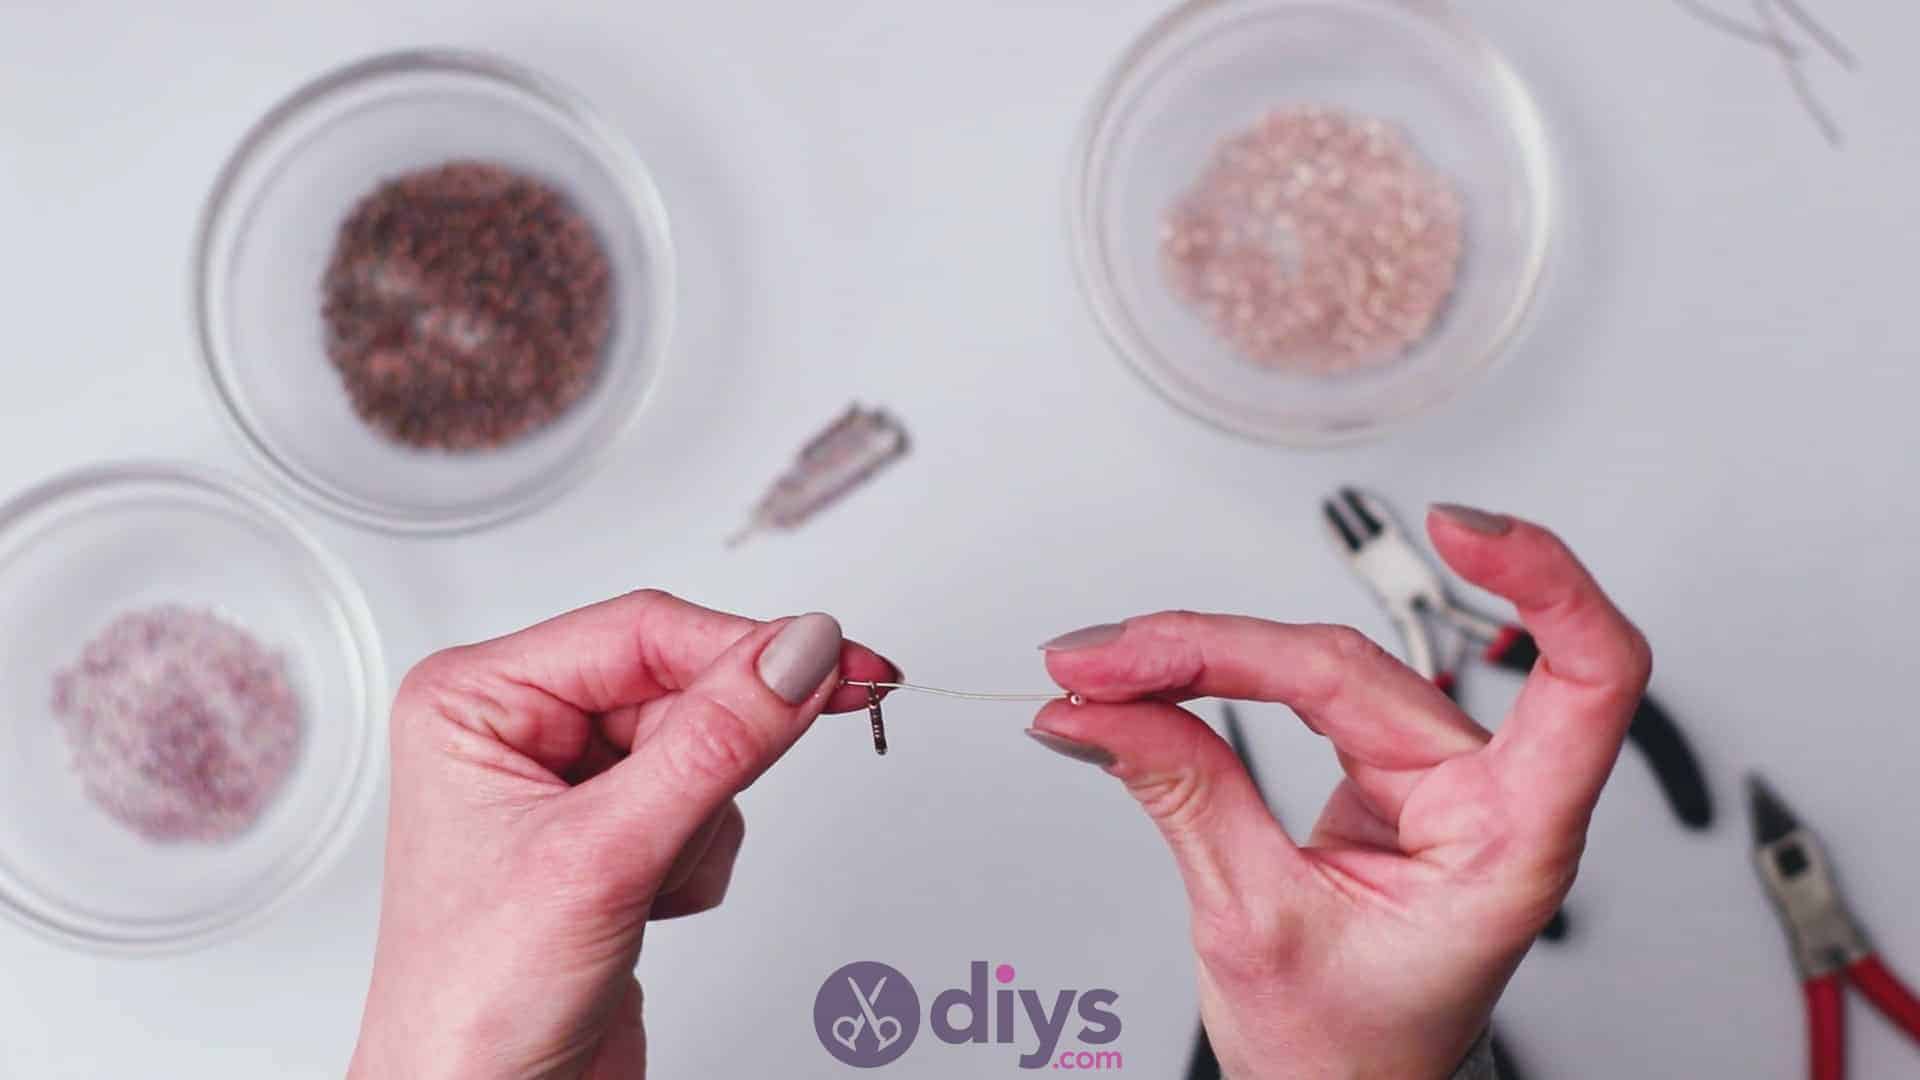
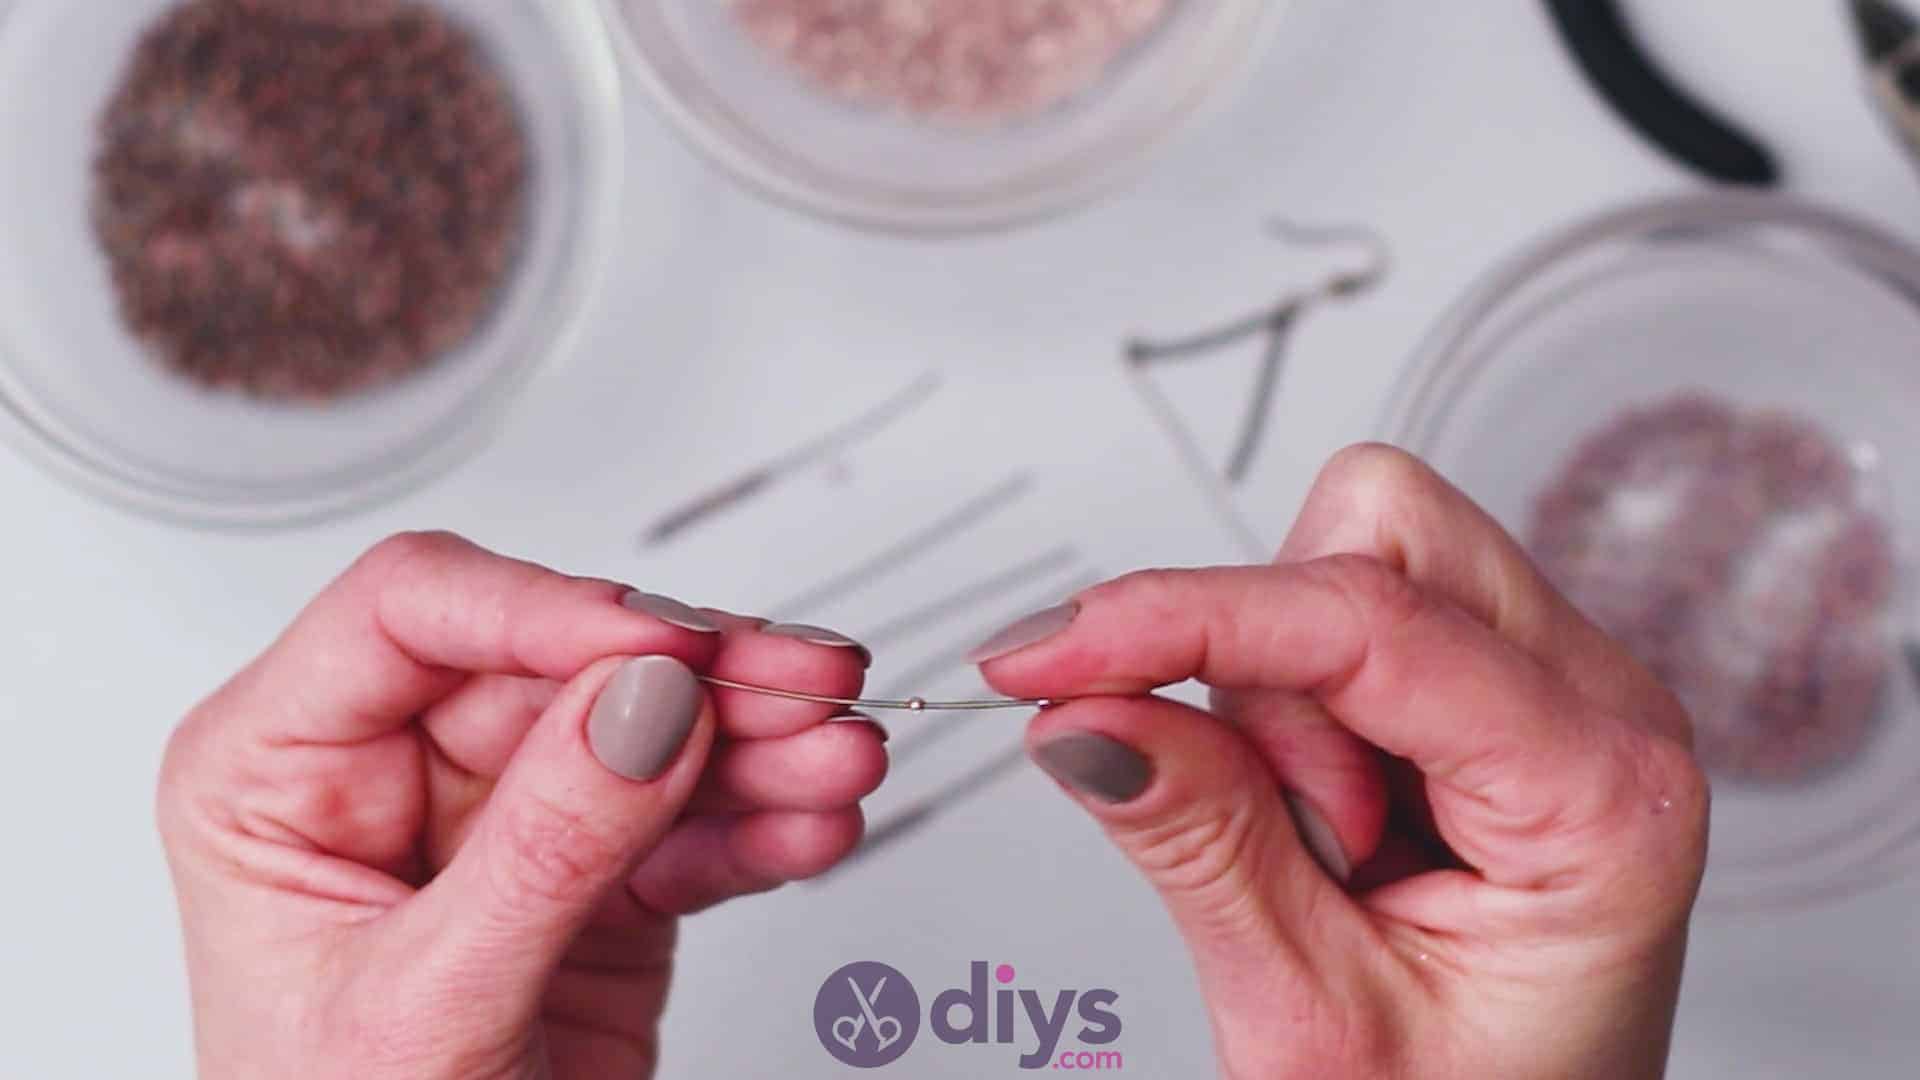
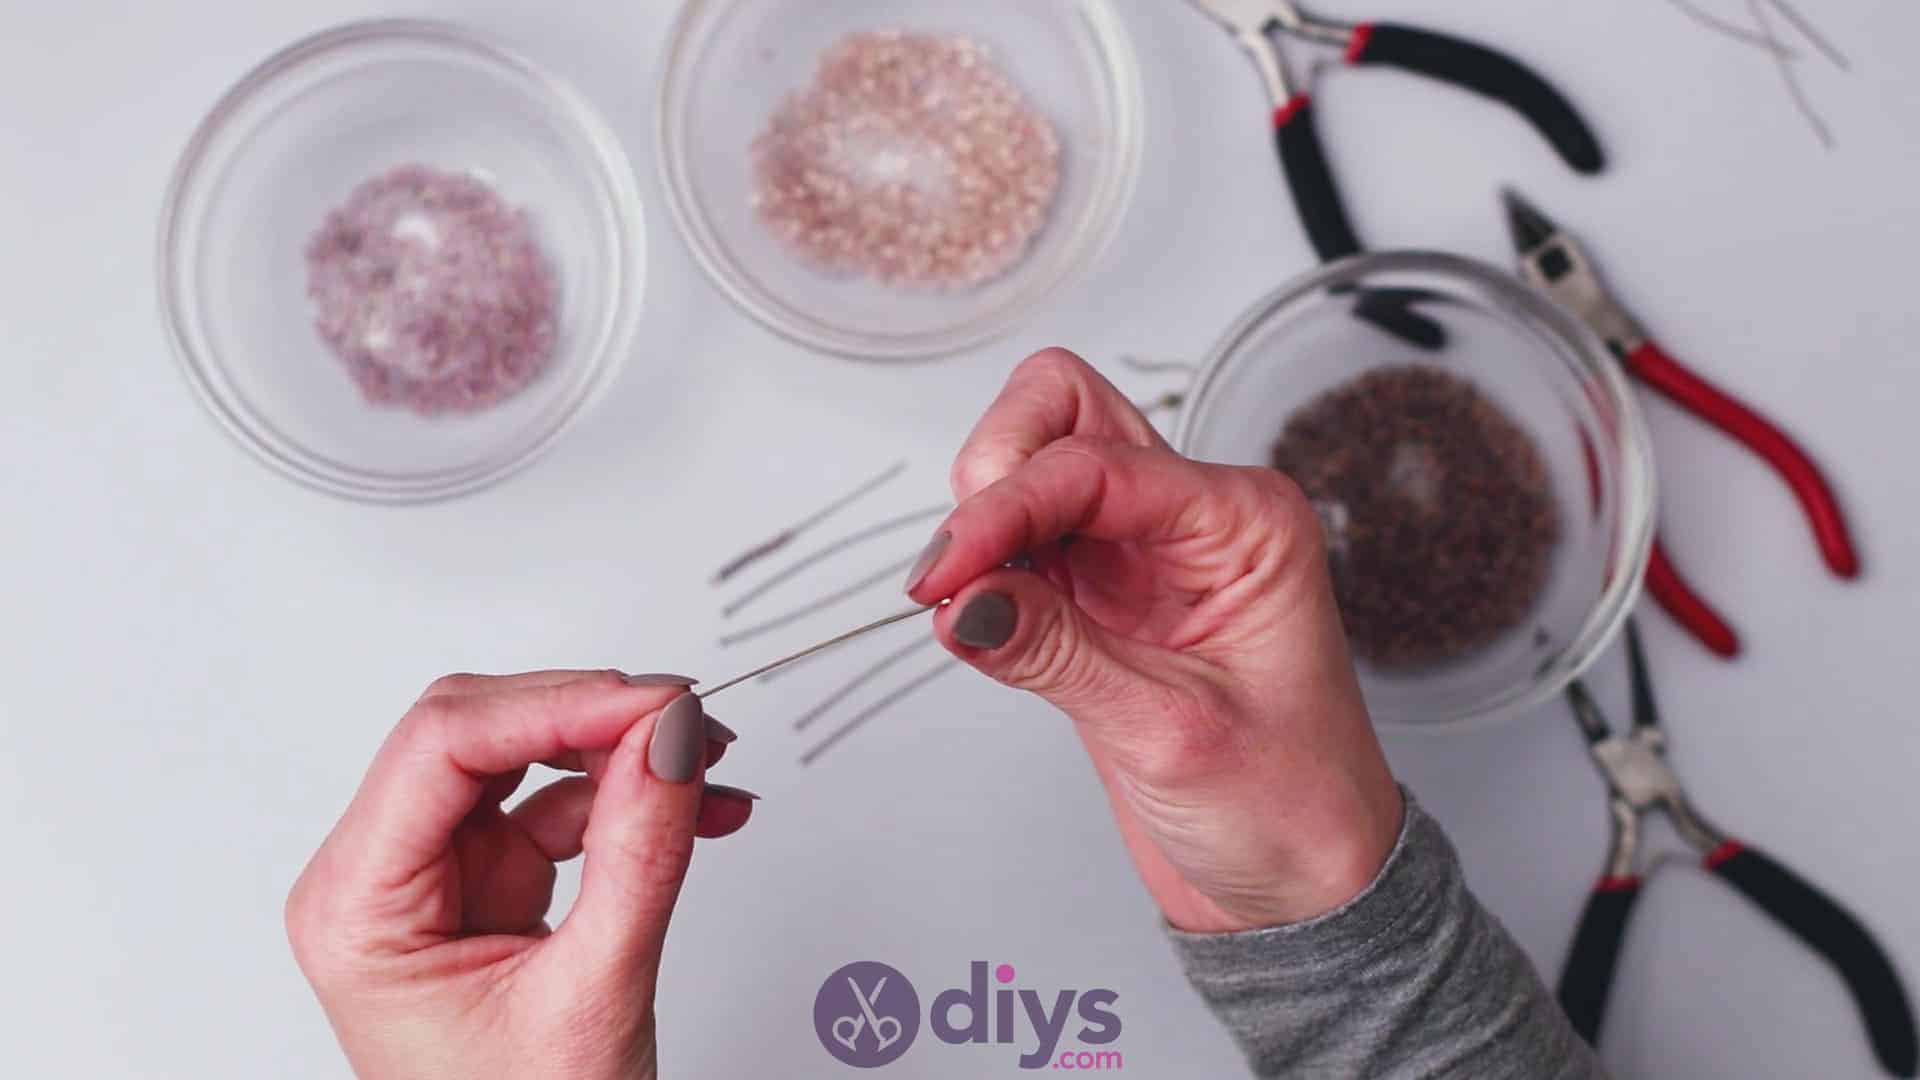
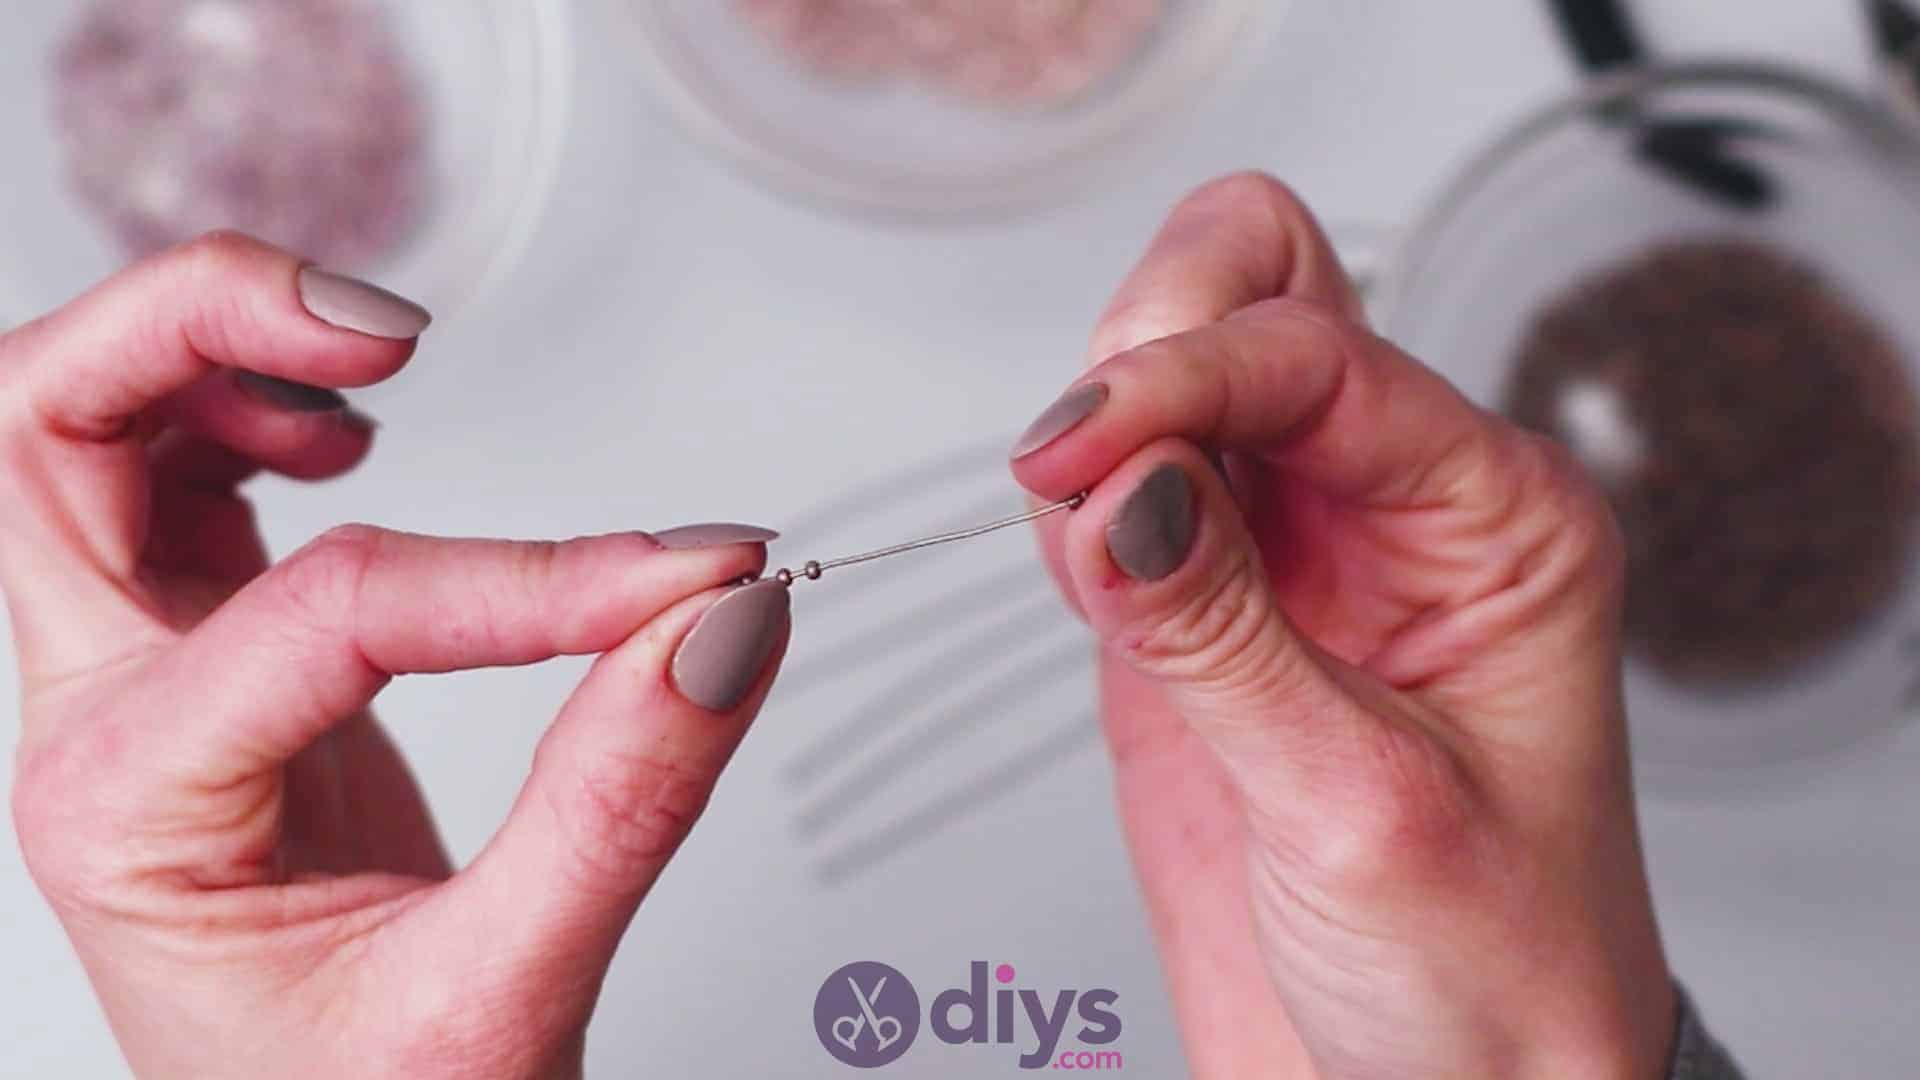
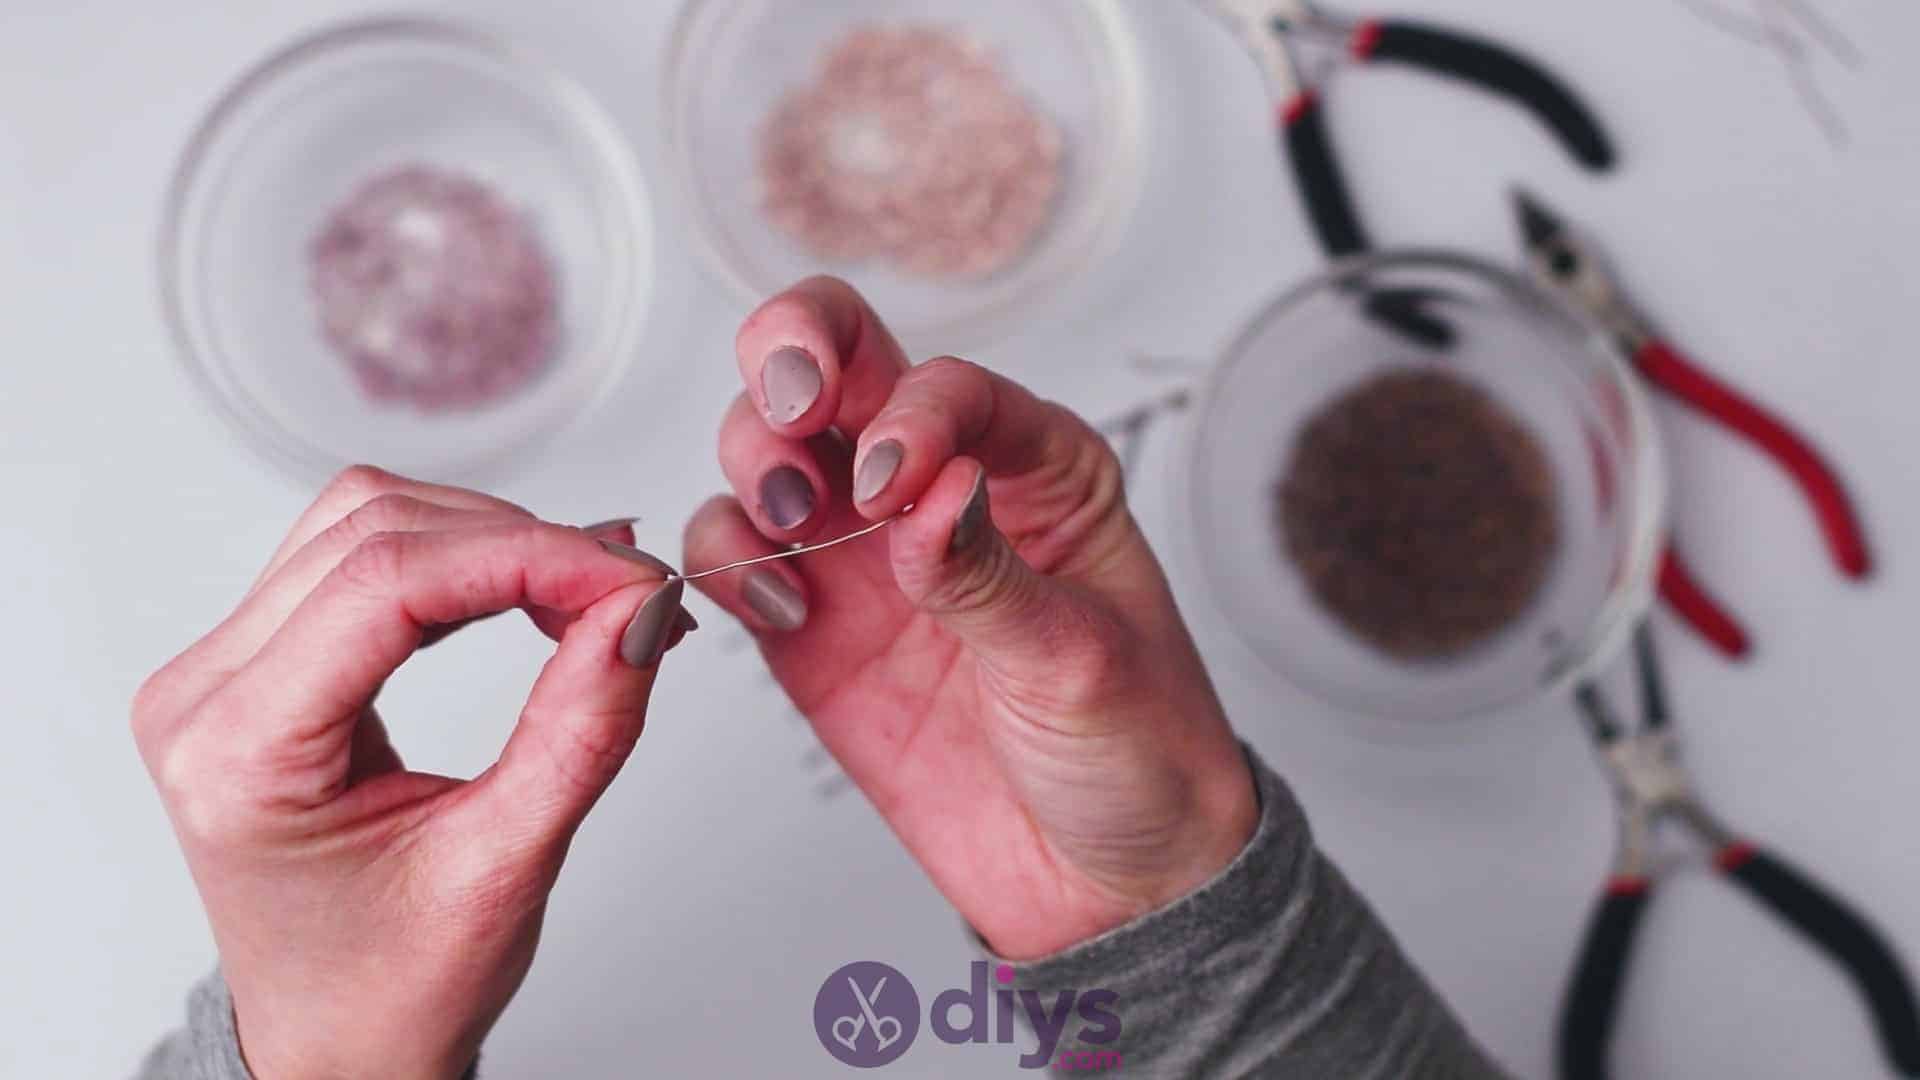
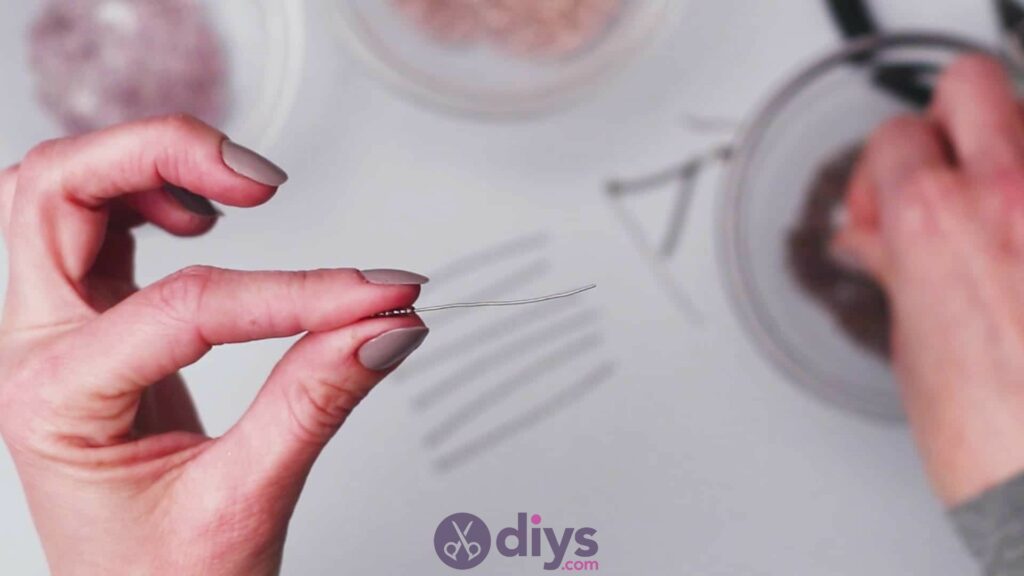
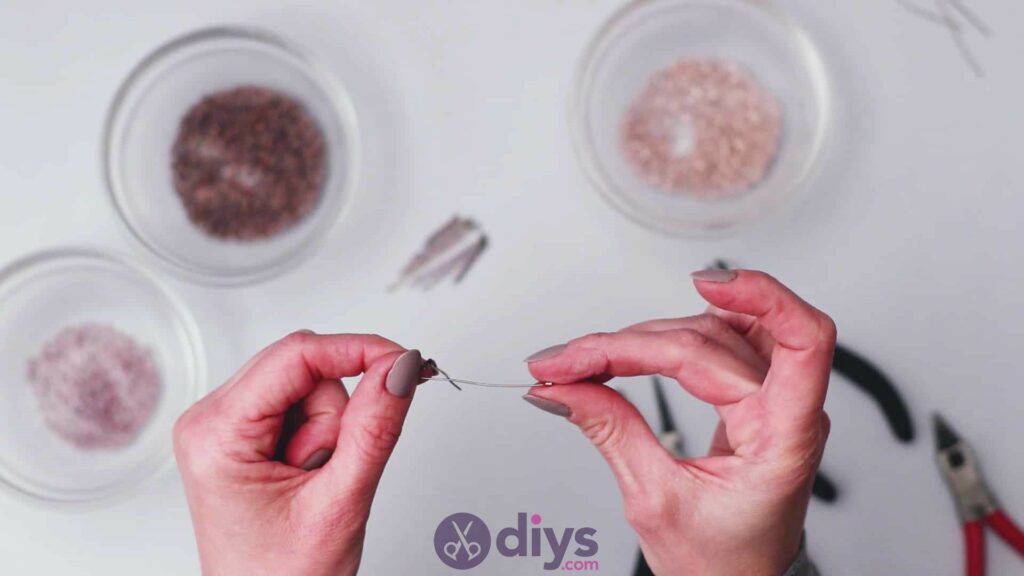
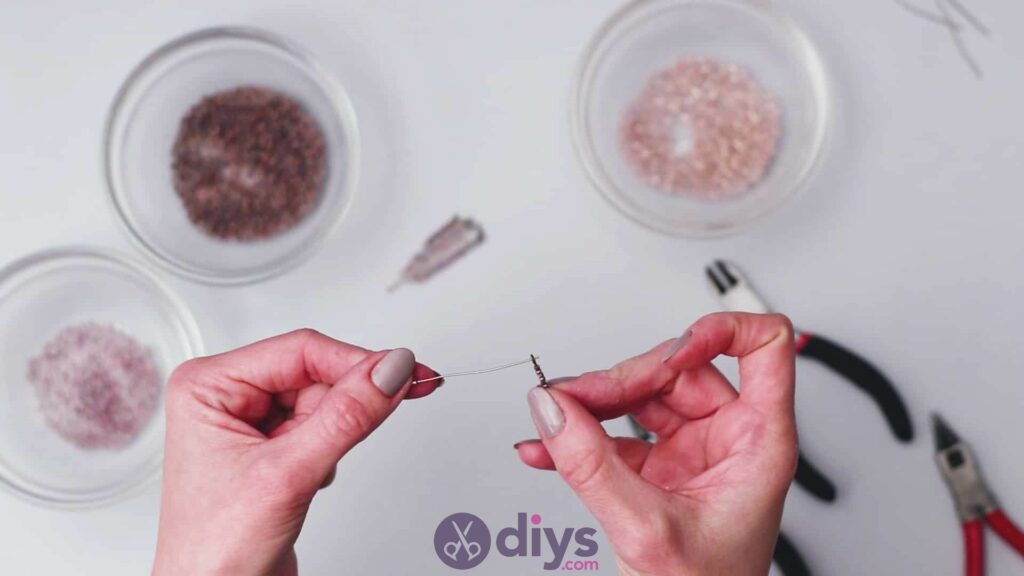
Pick up your first wine mounting rod. You’ll use seven of these for one side of the earring pair and seven for the other. Decide how you’d like to use the three different colours of seed bead you’ve chosen; keep in mind that you have seven rods to fill on either side and that you can create any scheme you like. When you’ve decided what kind of colour pattern you like, start sliding the beads onto the top straight end of your first rod, sliding them down to the little stopper at the bottom end. Fill the rod as much or as little as you please, keeping in mind that you need to leave some excess at the top for trimming and making a loop.
I put less beads on my outside rods than I did on my rods closer to the middle to create a tapered length effect later. When you’re finished with your first rod, move to the second, then the third, and so on until you’ve filled all seven. You want the number of beads on the seventh rod to match the first, the sixth rod to match the second, the fifth rod to match the third, and the fourth rod (which is the middle one) to have the most beads of all.

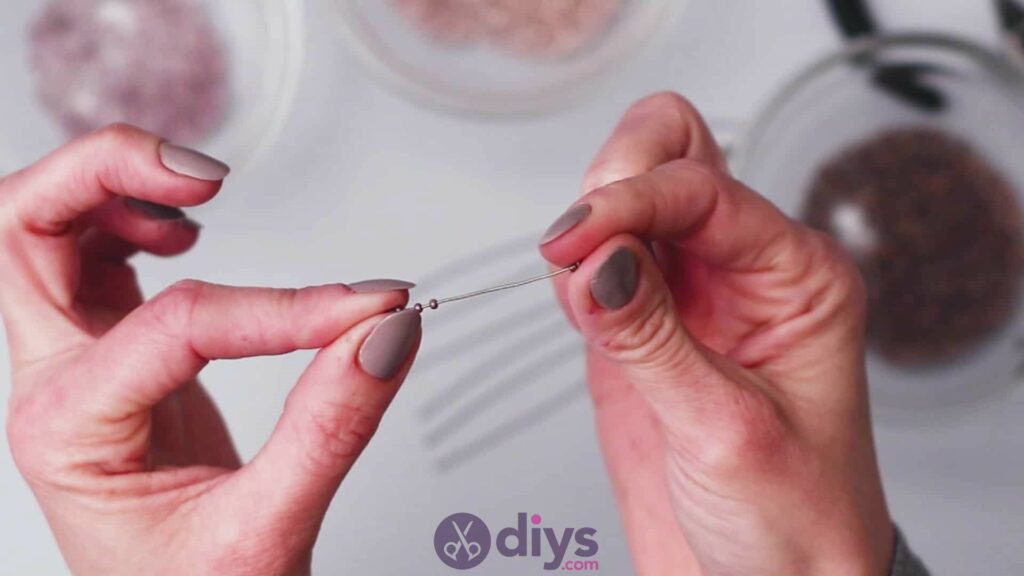
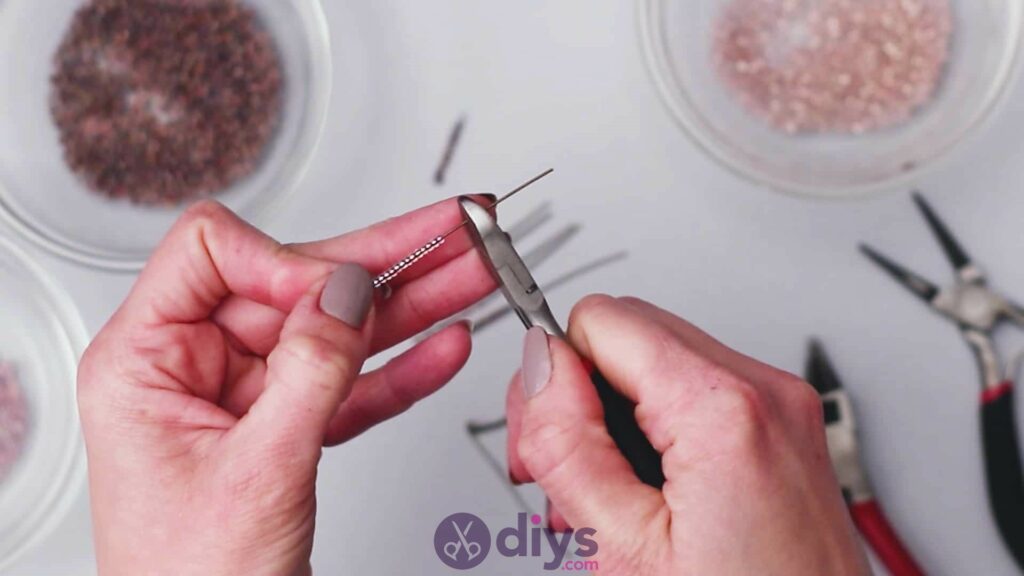
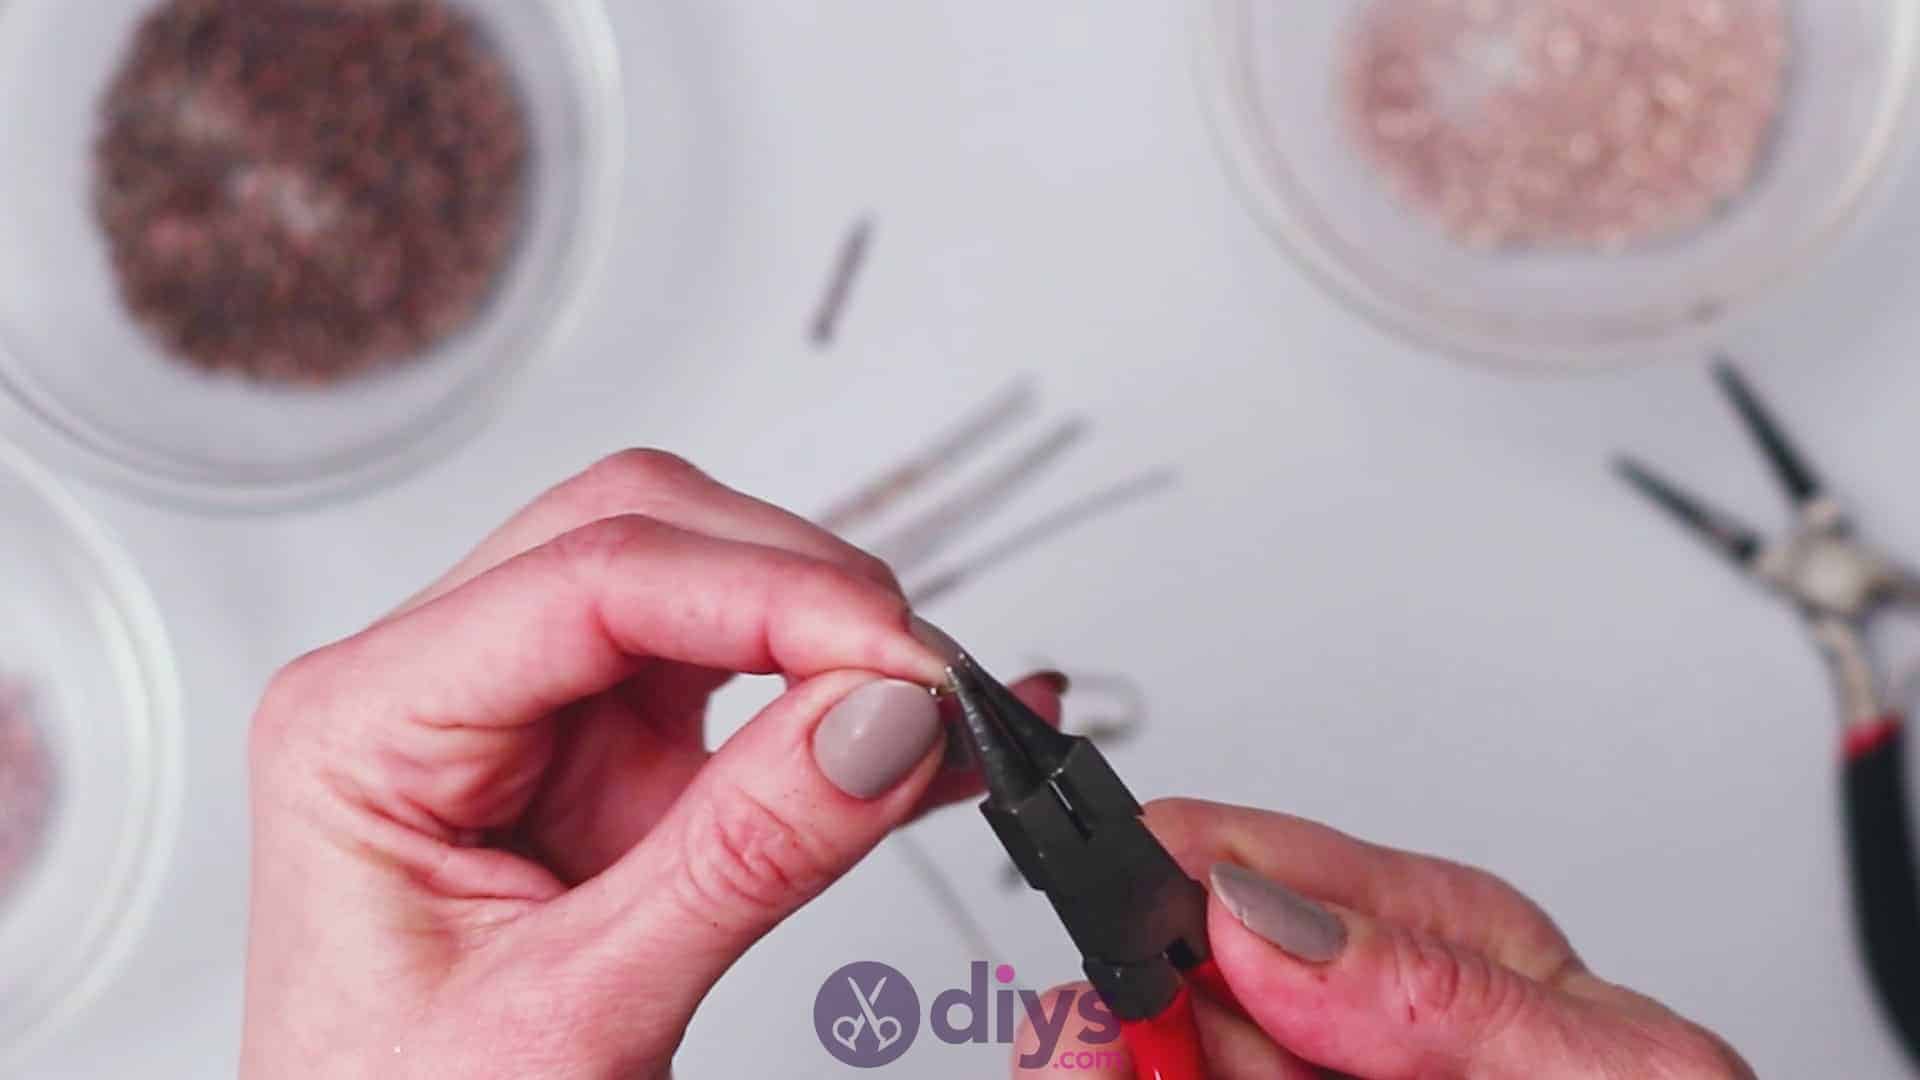
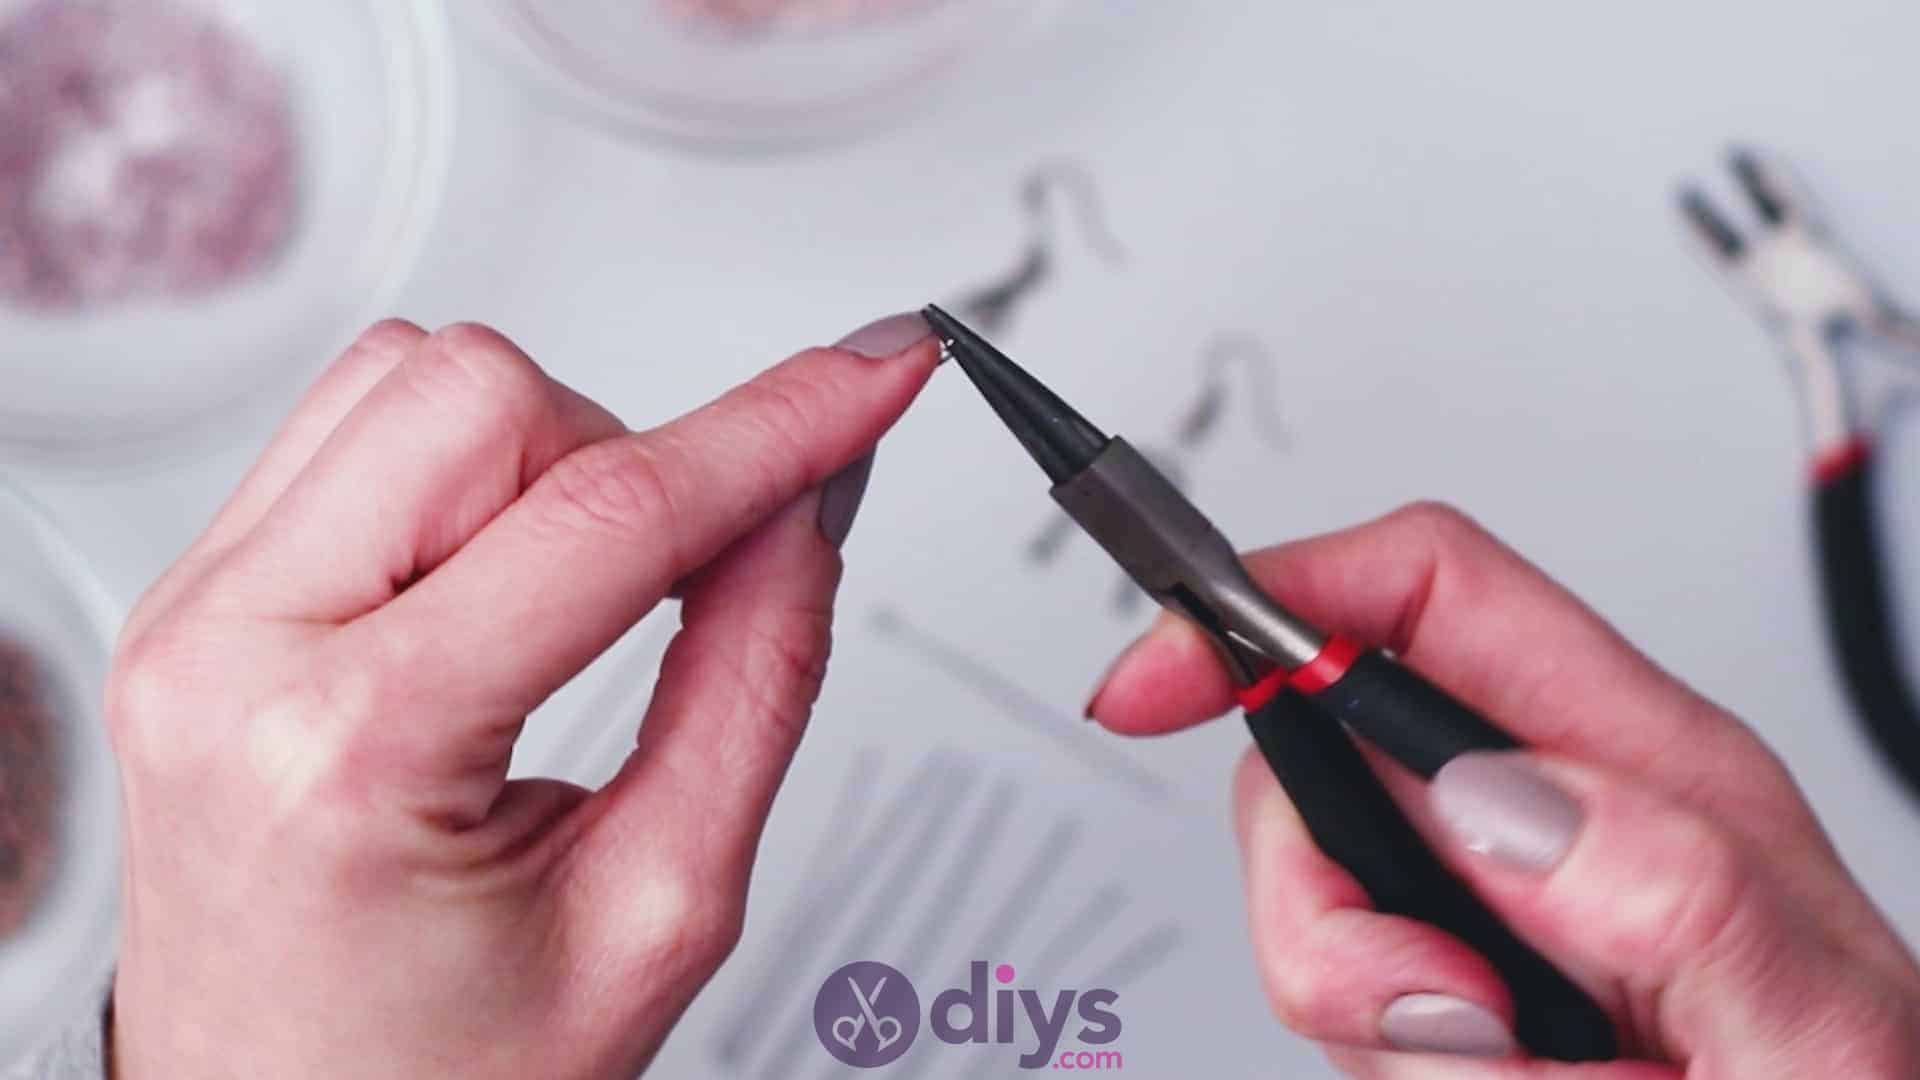
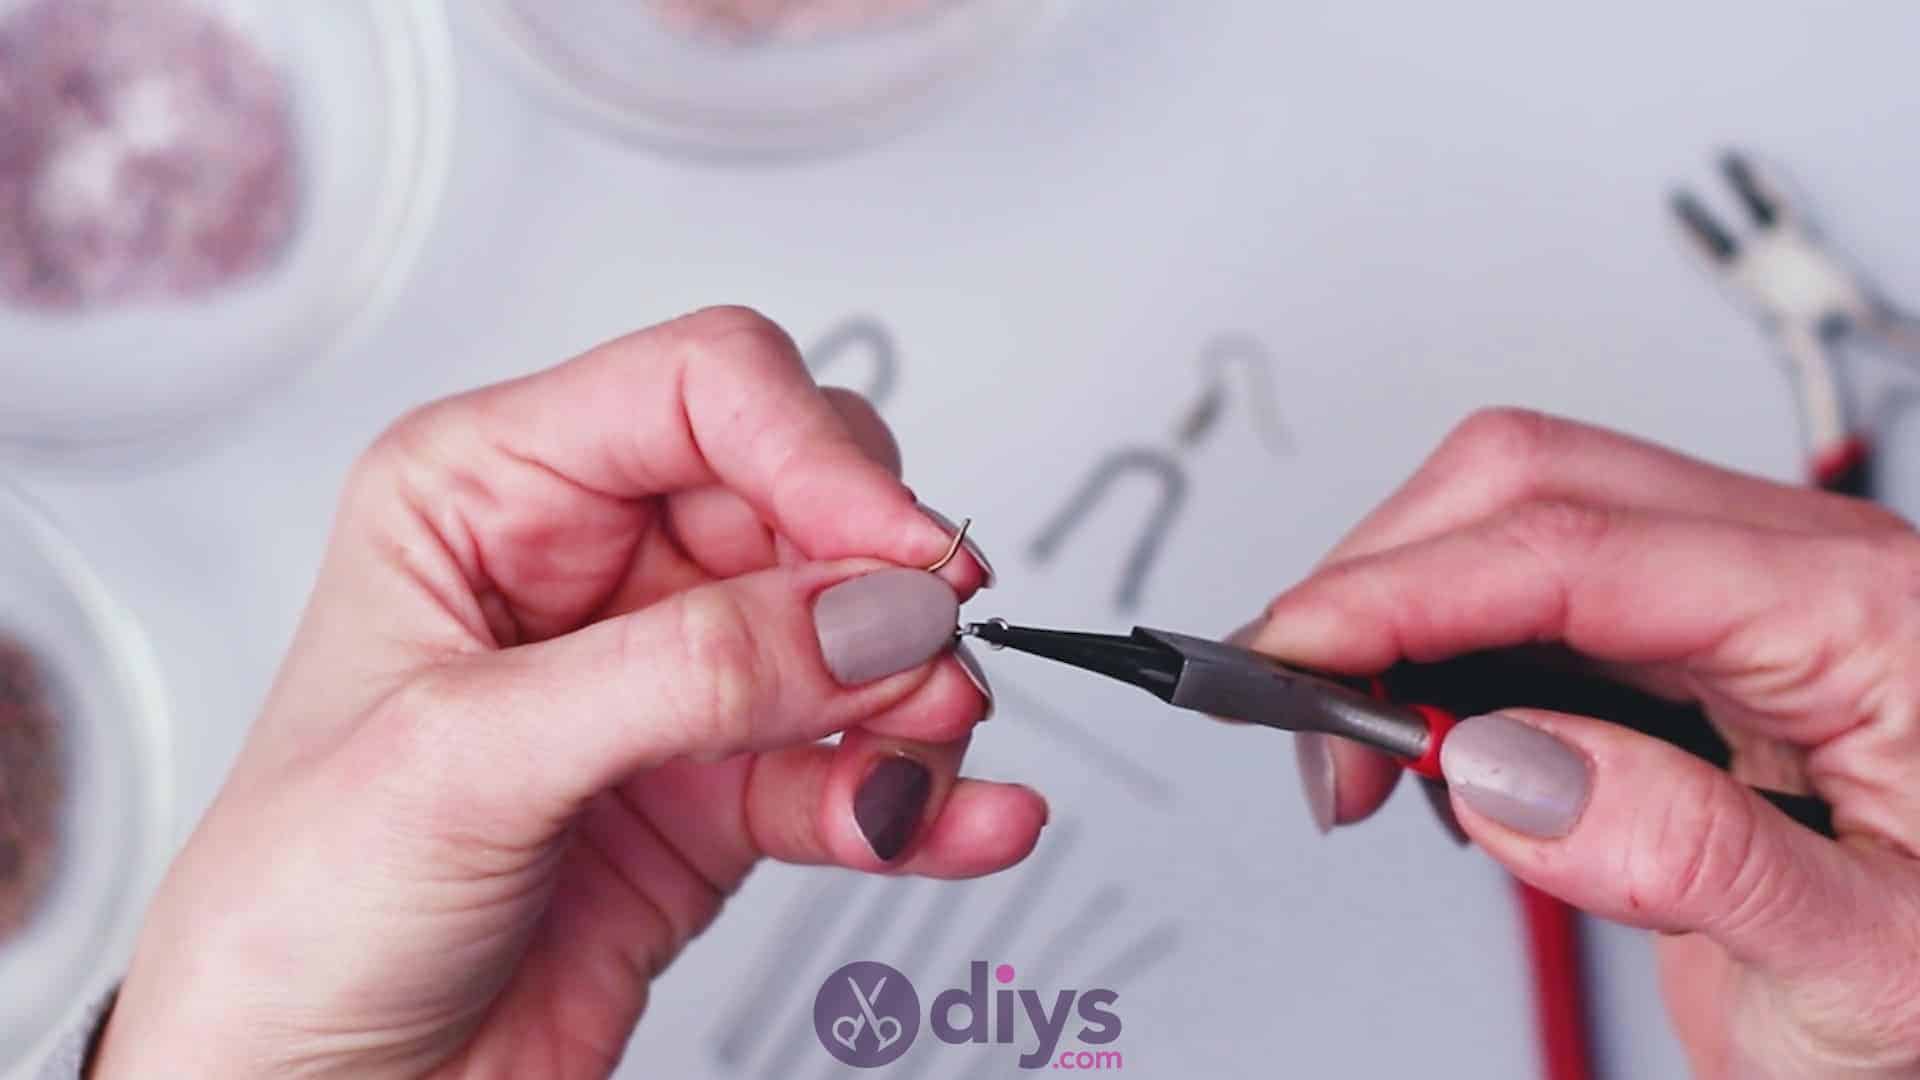
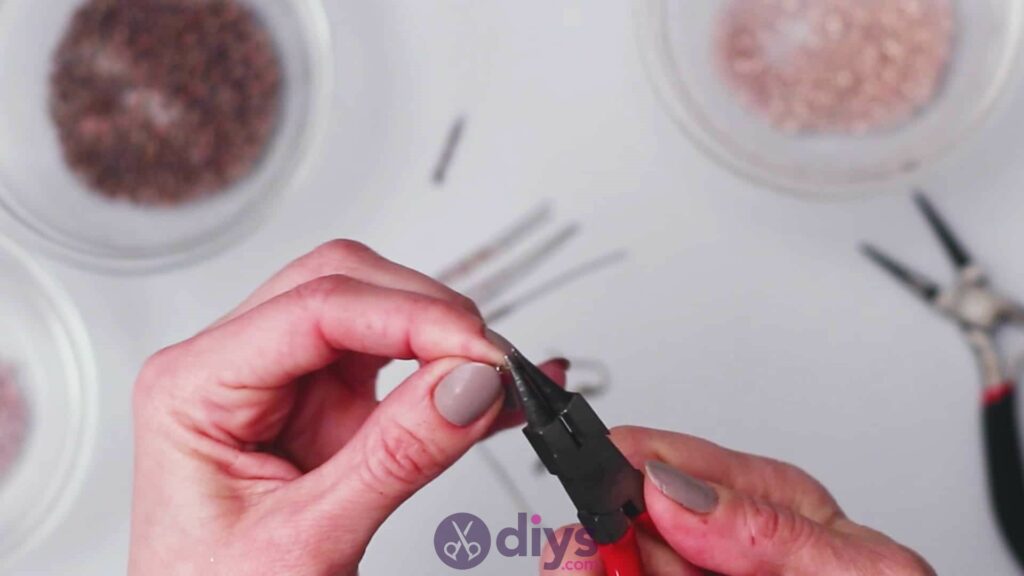
Step 5: finish the ends
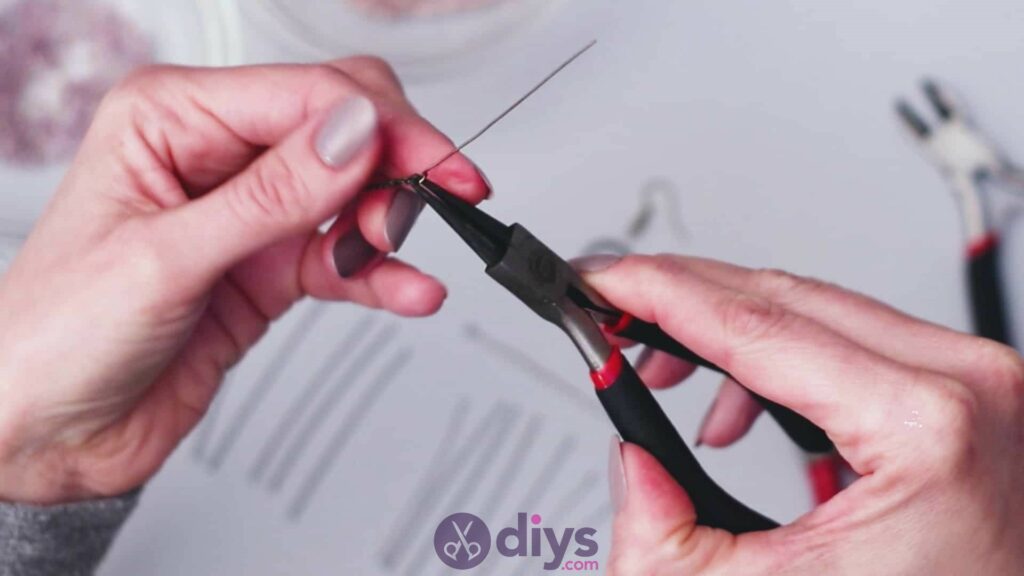
Now you’ll use your cutters to cut the rods to length and then your smaller pincers to curl the tops over and create a loop. You can close the loop all the way around, since you’ll be sliding somethingthrough the loop of each beaded fringe rod rather than hooking it around something. Determine the length that you’ll cut each piece by where it sits in the set of seven; your first and seventh beaded rods will be the shortest and the same length as each other, the second and sixth rods with be equal in length to each other but slightly longer, the third and fifth rods will be equal to each other but slightly longer again than two and six, and your fourth and central rod will be the longest of the set.
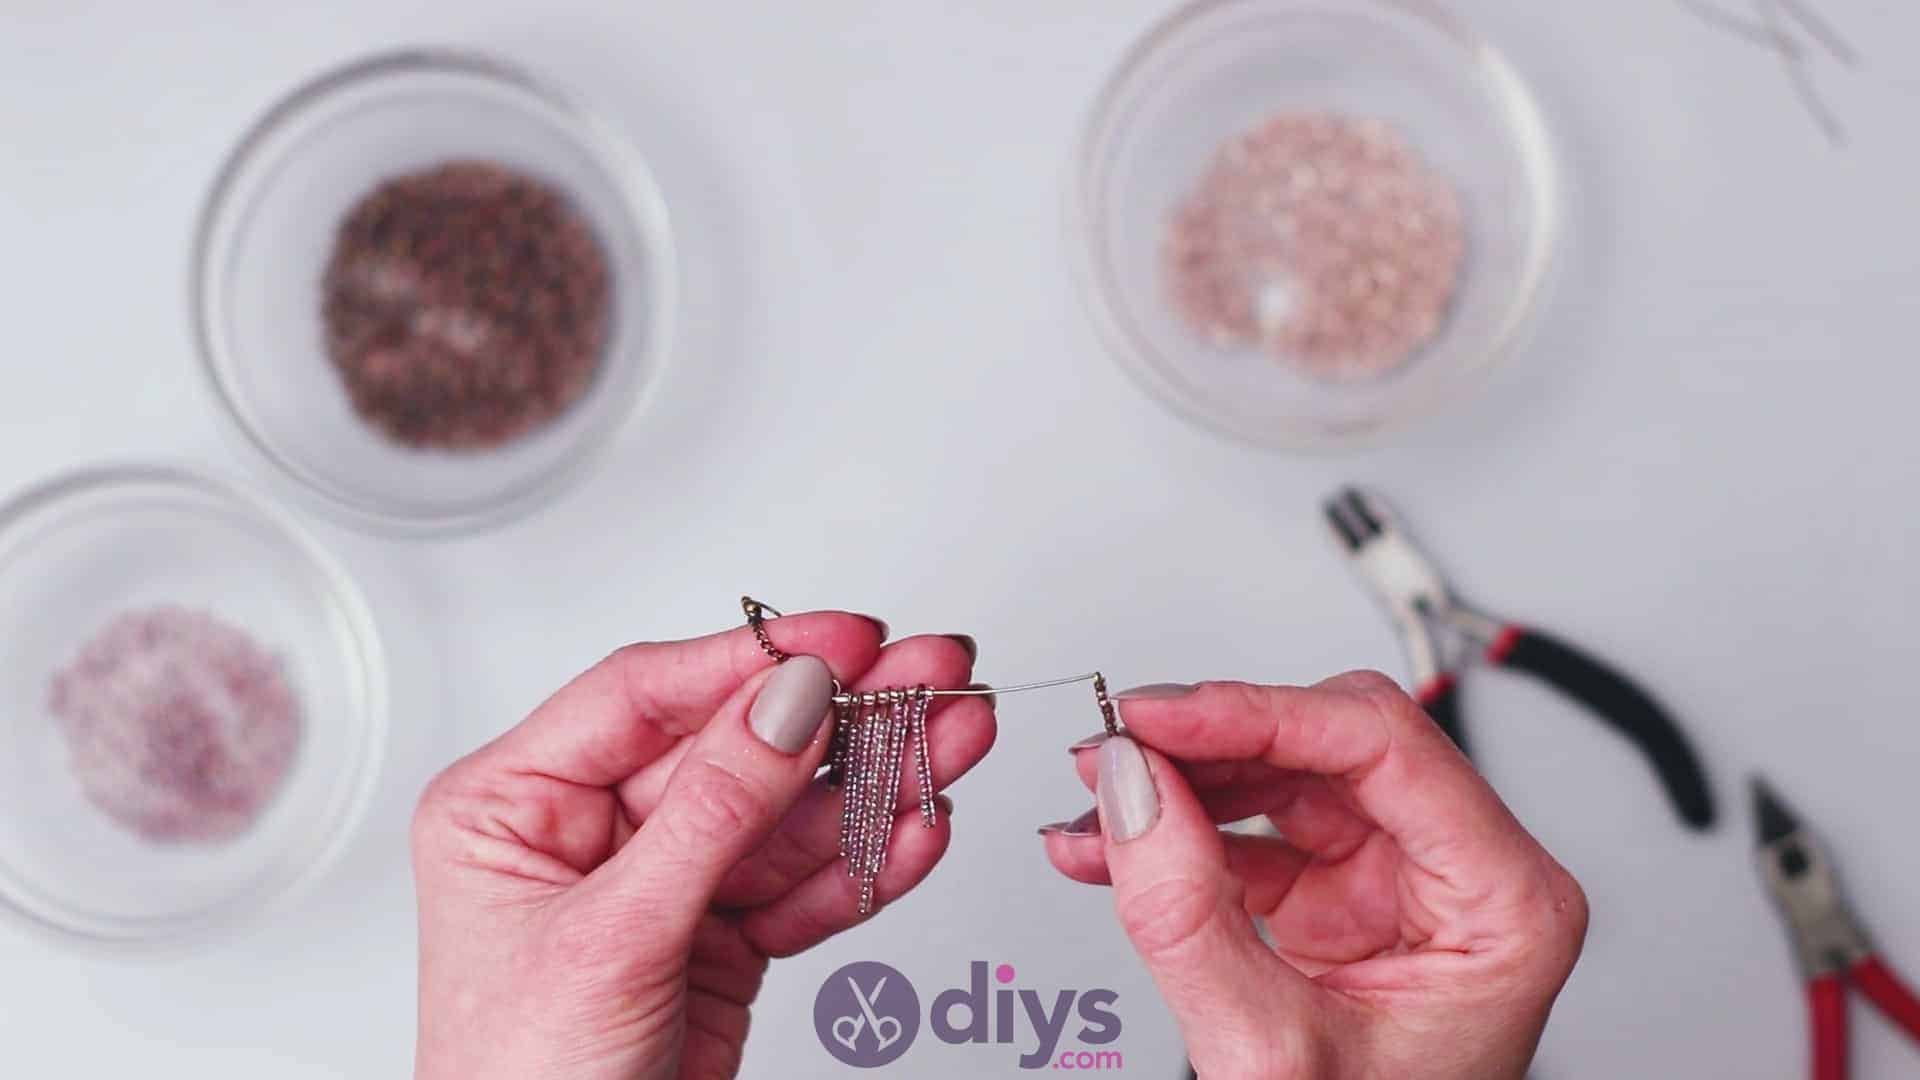
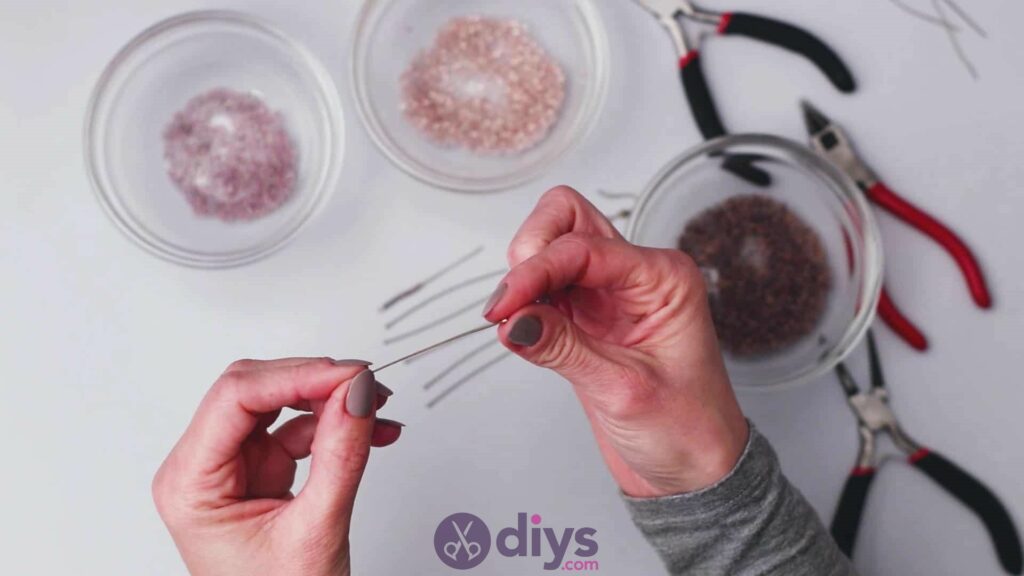
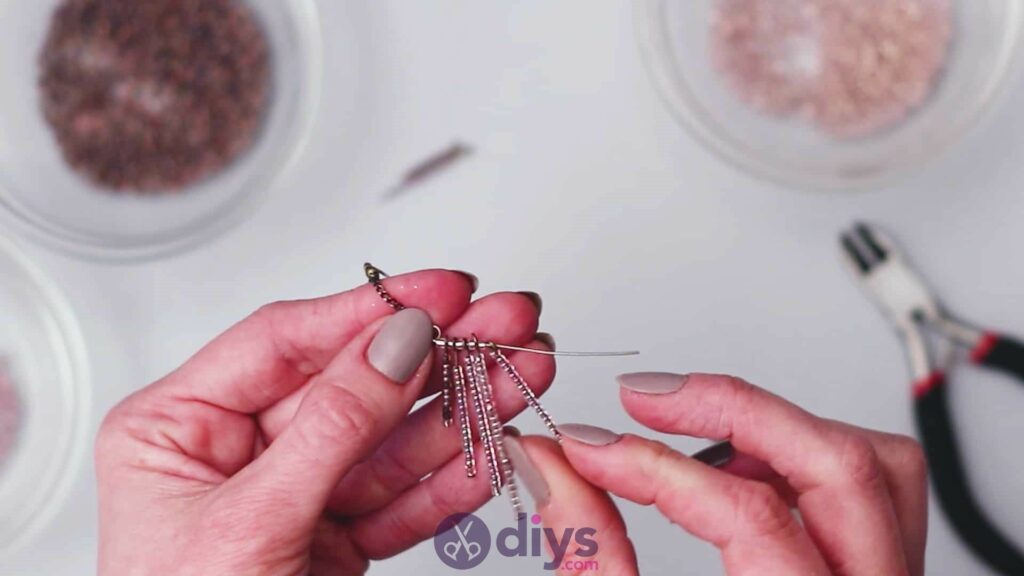
Step 6: slip the rods on
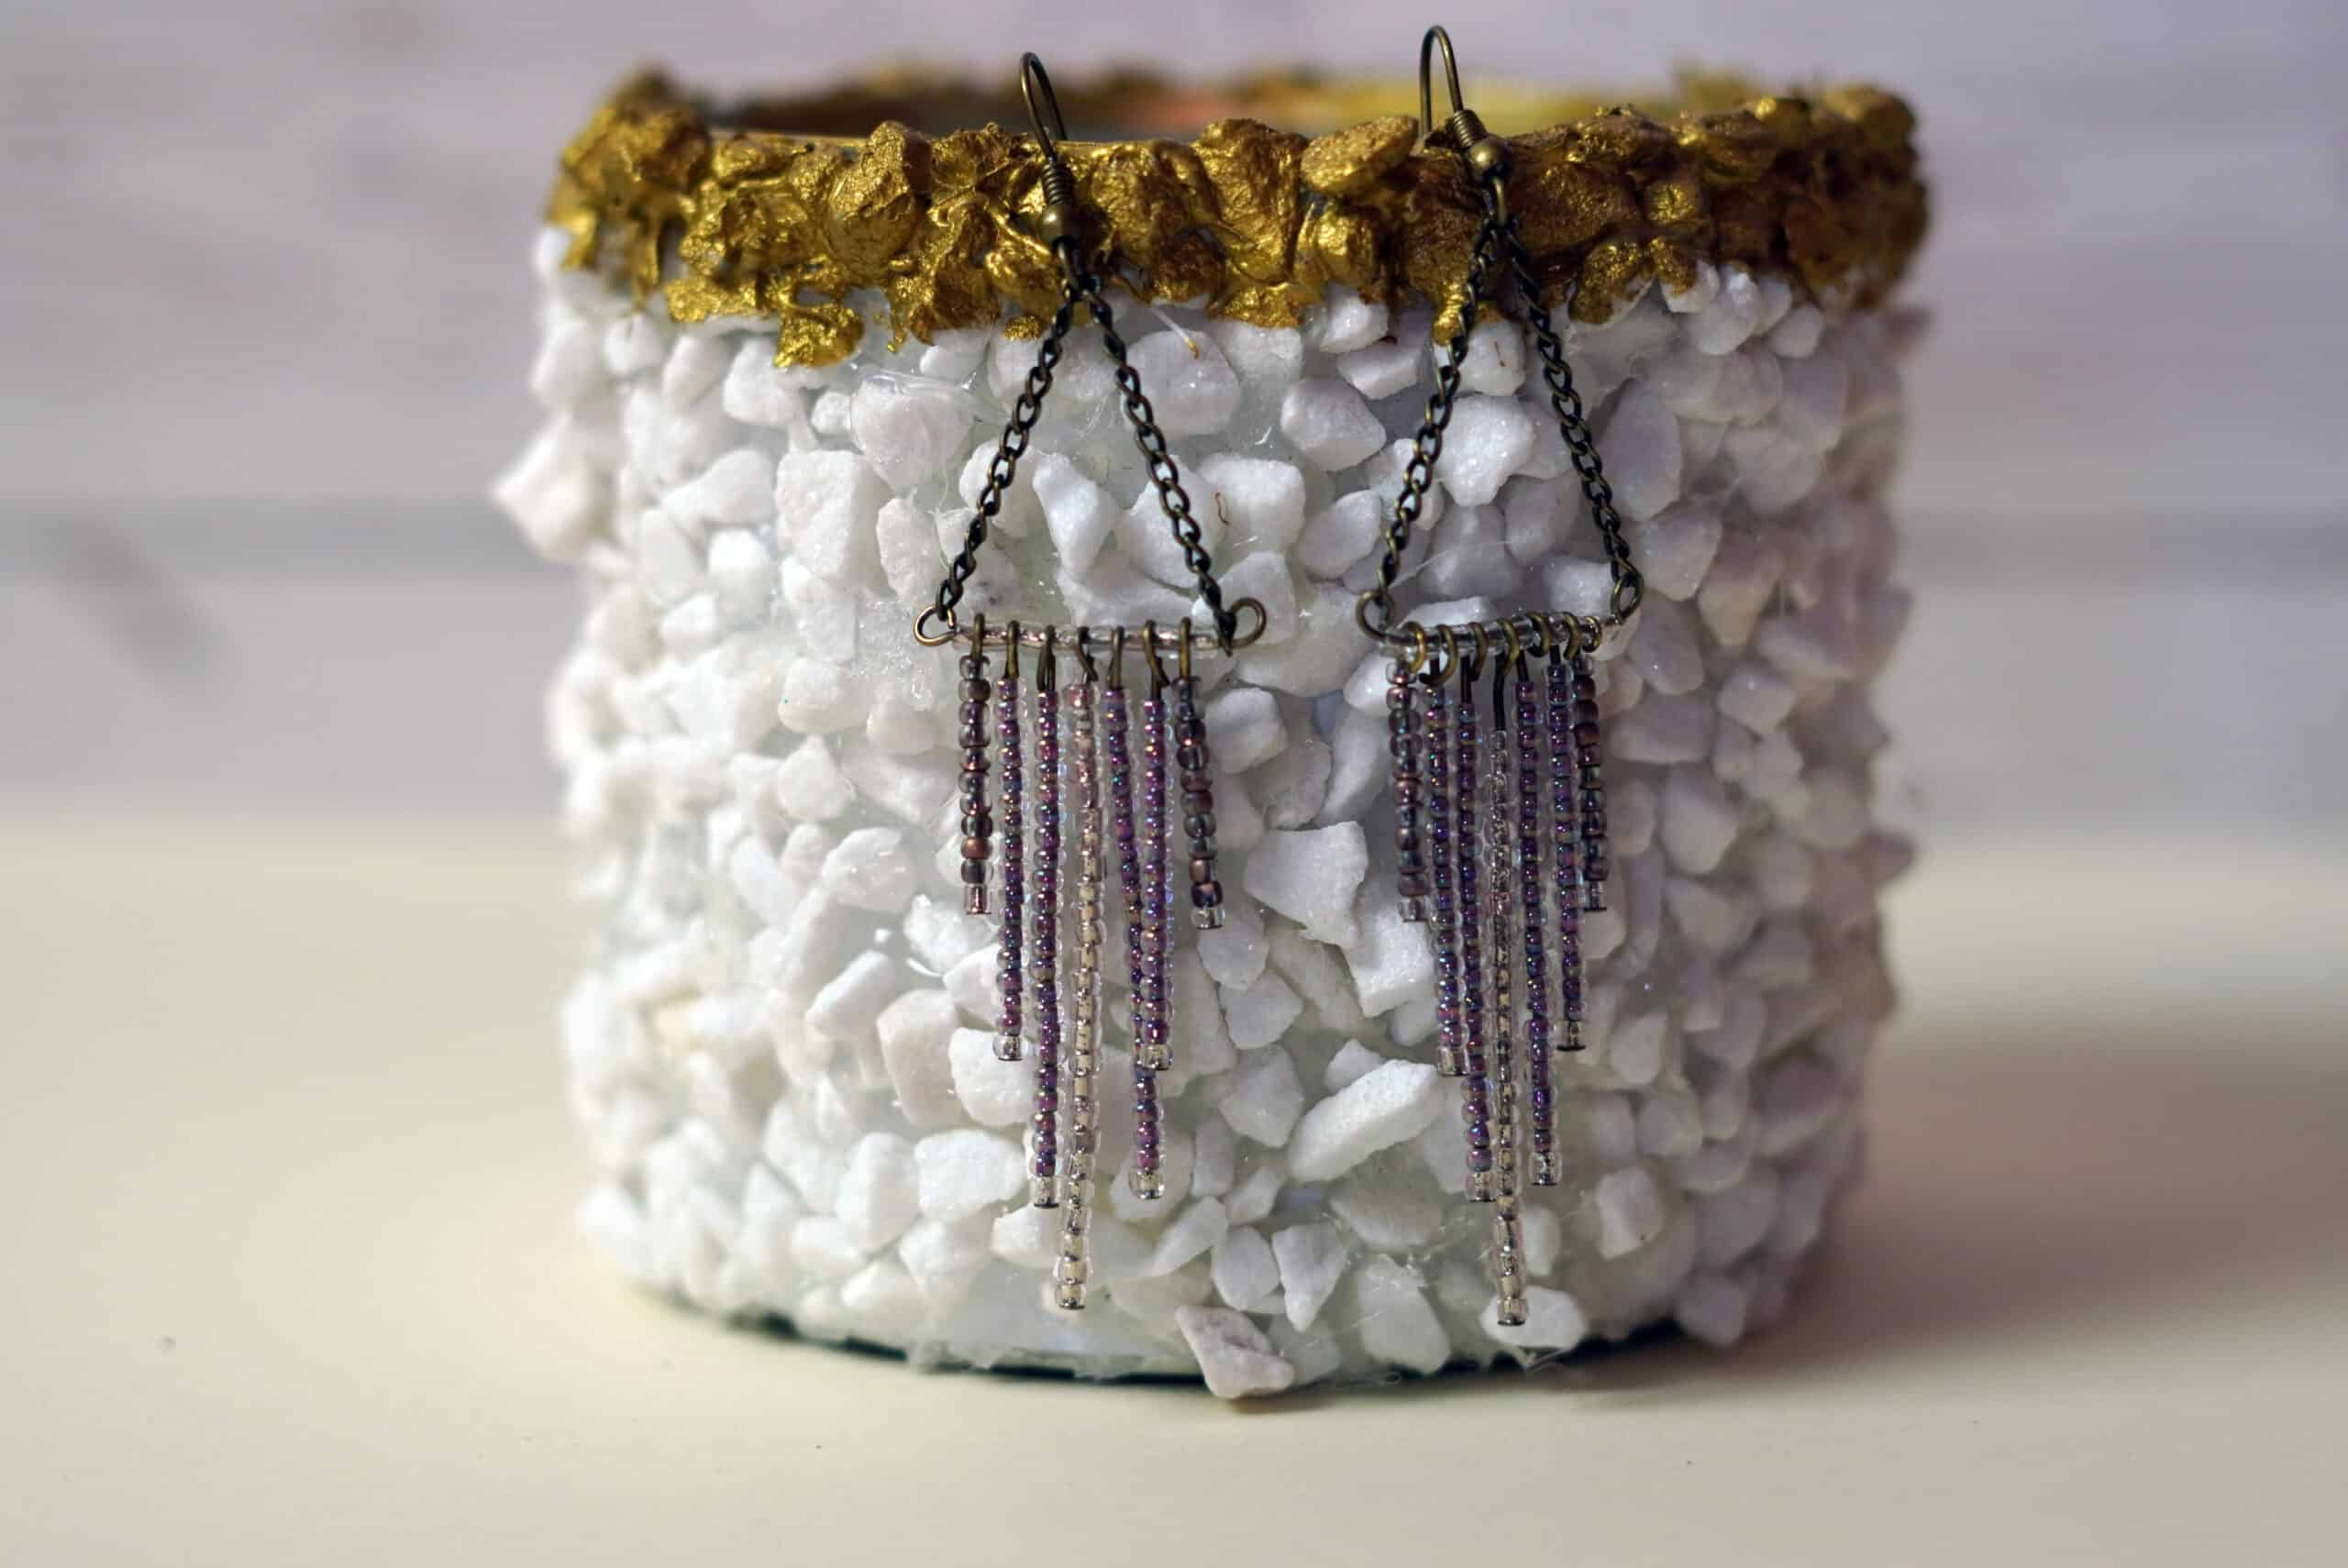
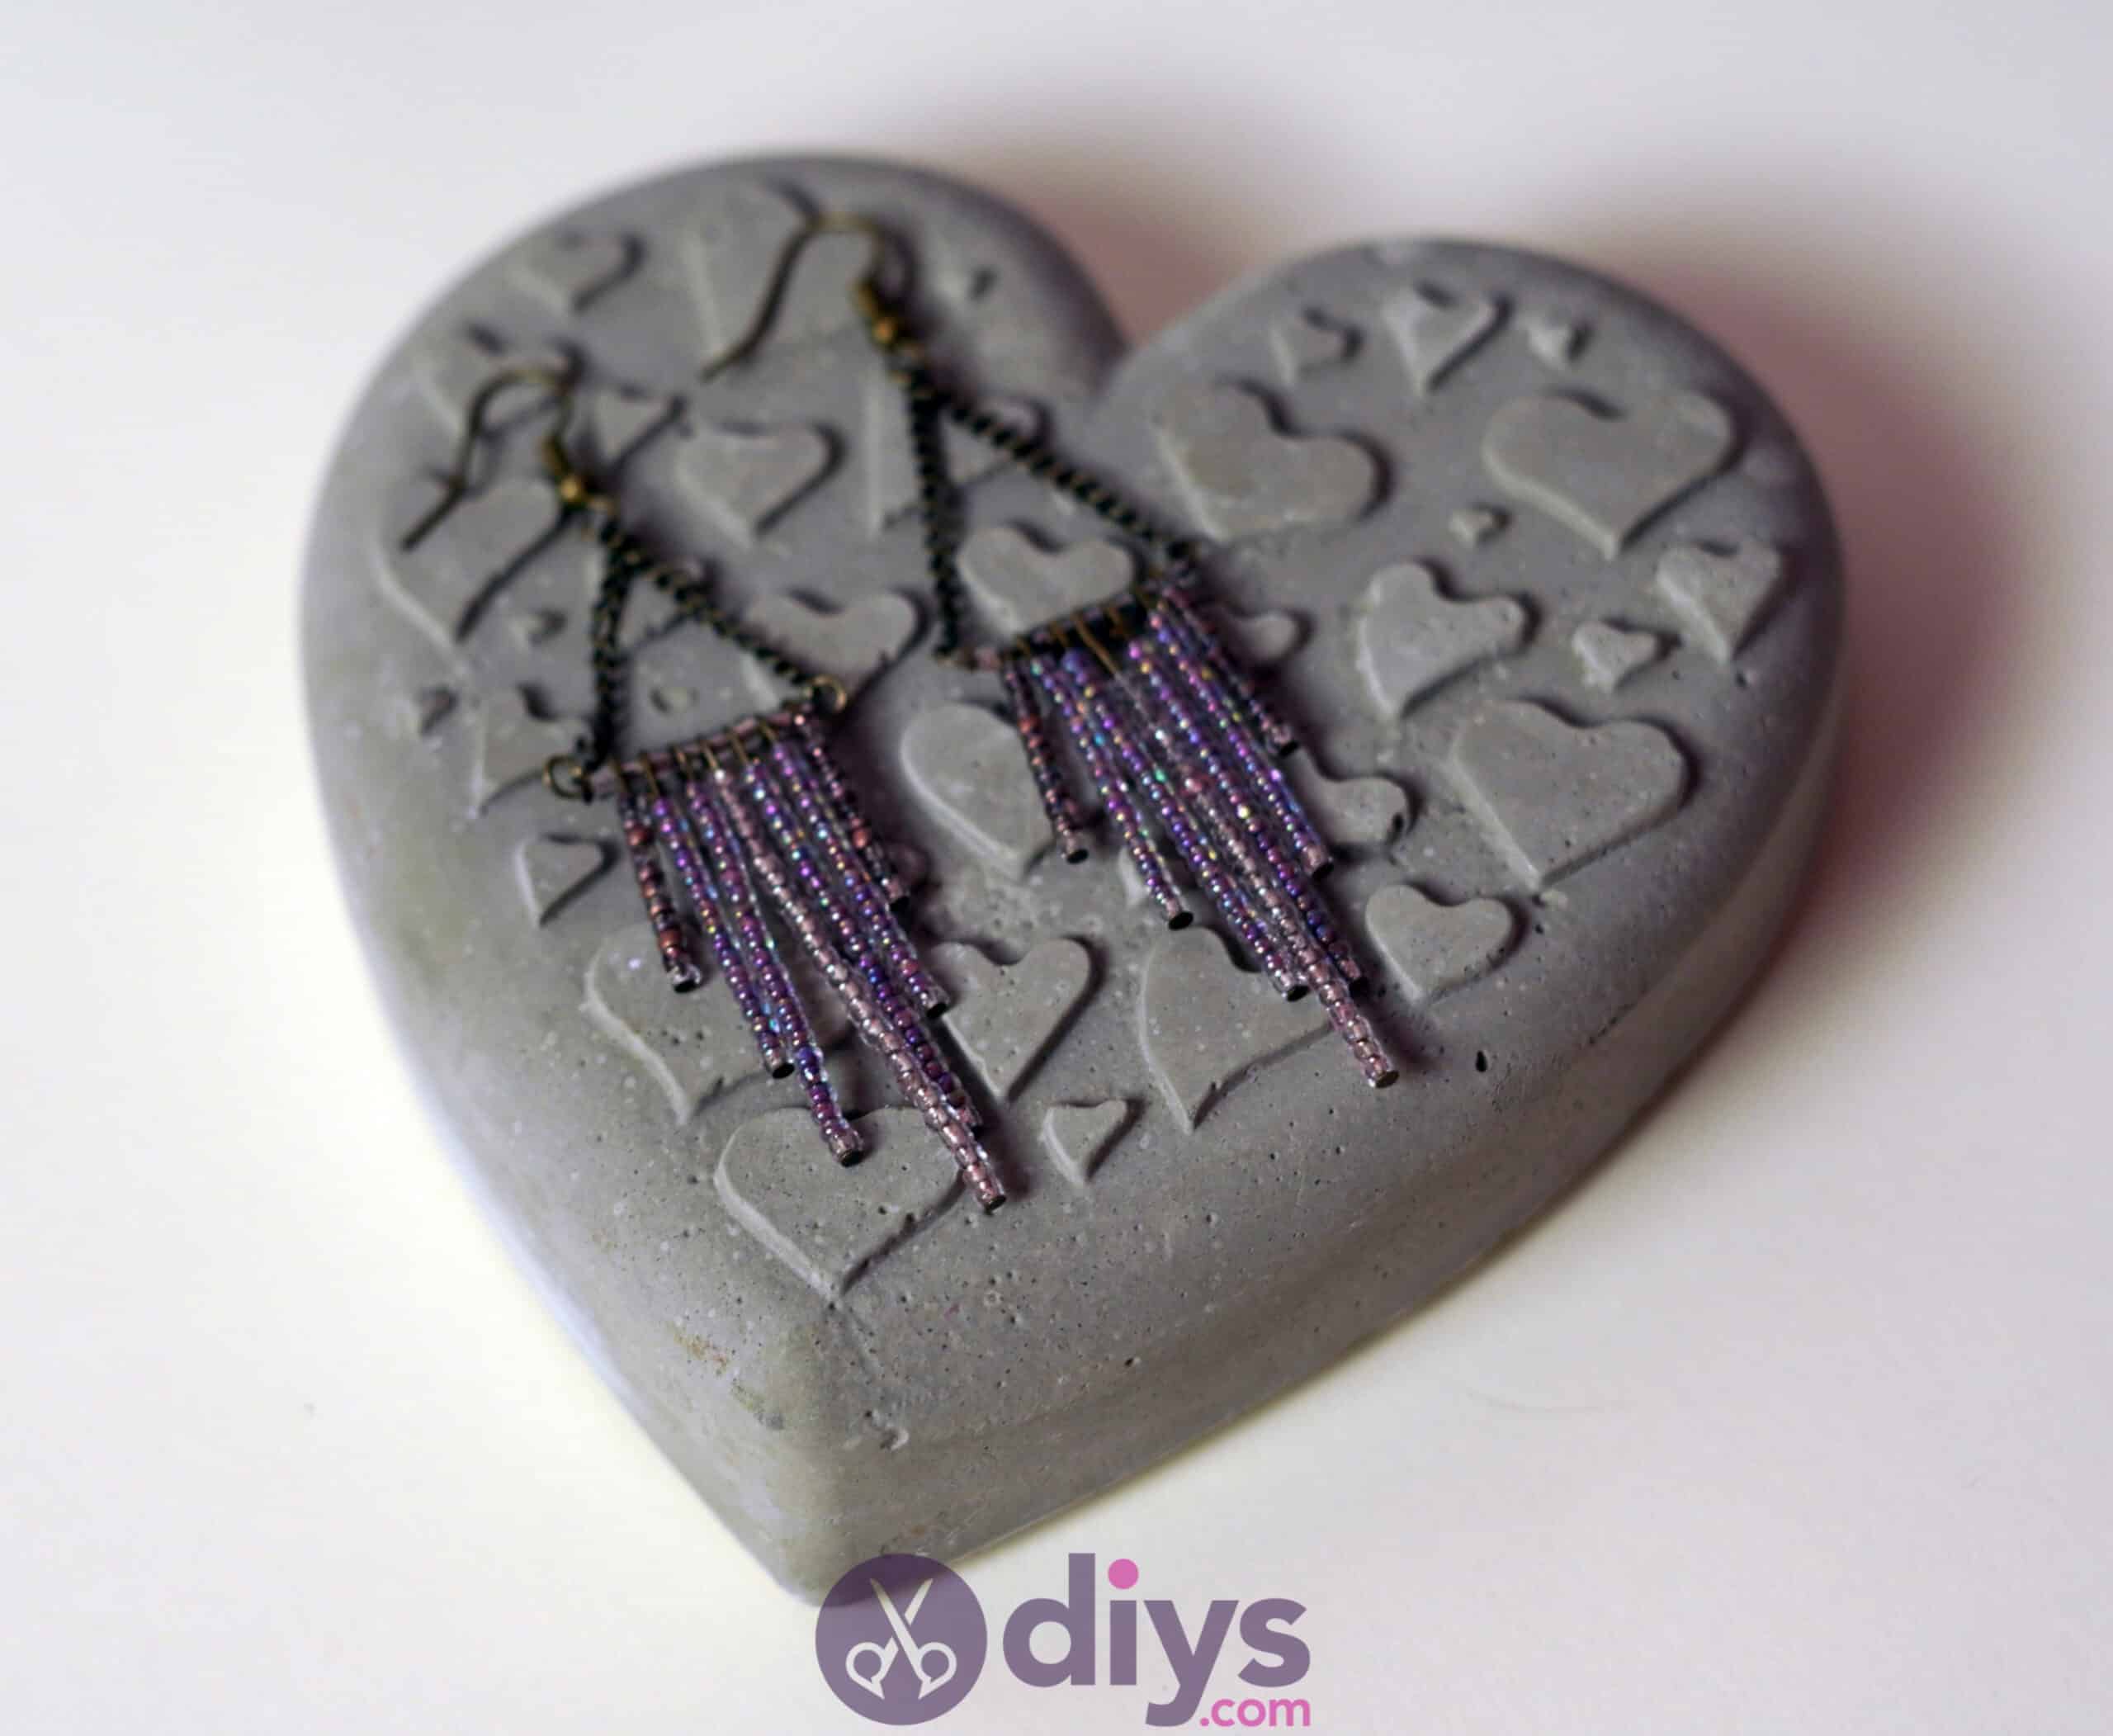
Once you’re finished cutting and curling your beaded fringe rods, arrange them along the horizontal support rod that you set aside earlier. Keep them in order, starting with one and working all the way through to seven; you’ll slide the uncurled and unchained end of the horizontal rod though the loop on the end of each fringe piece. Once they’re all on, you’ll see that they hand down in corresponding length to make a sort of downward point or flag shape.

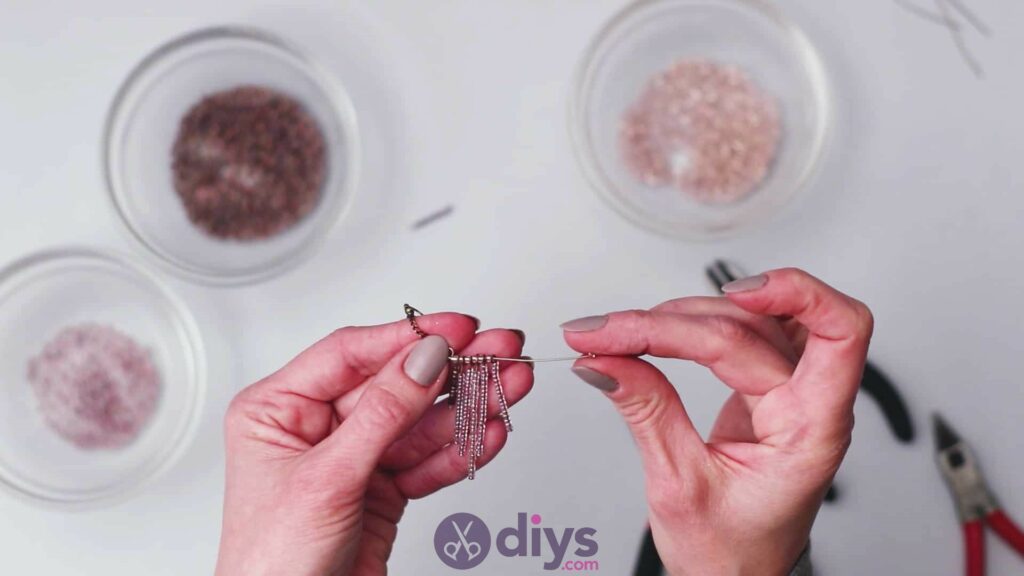
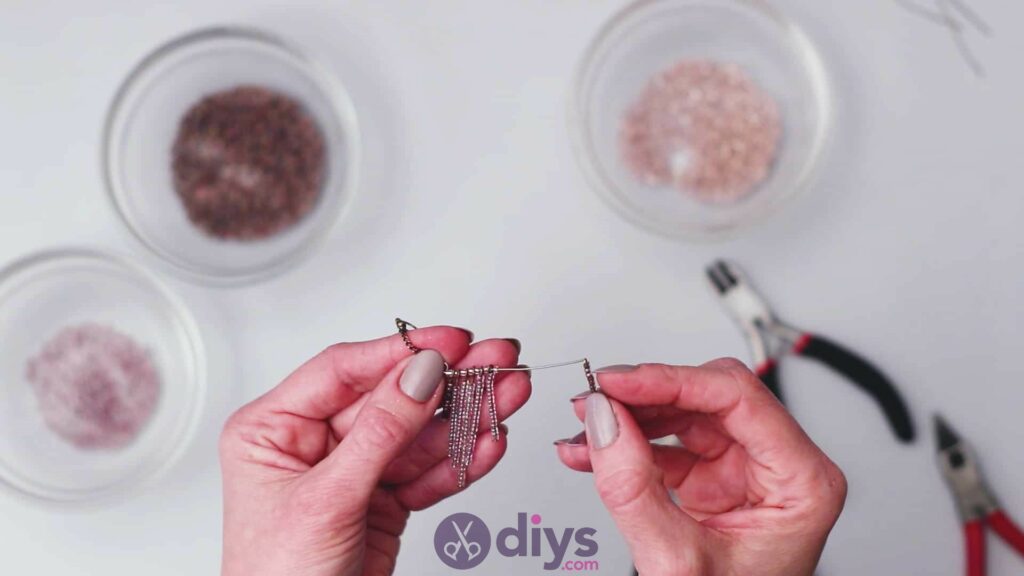
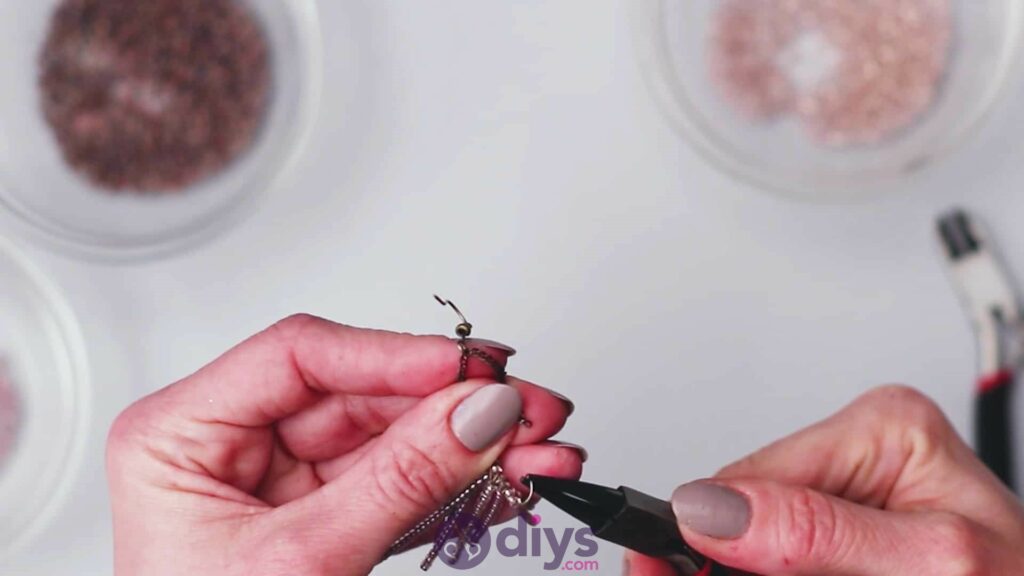
Step 7: trimming
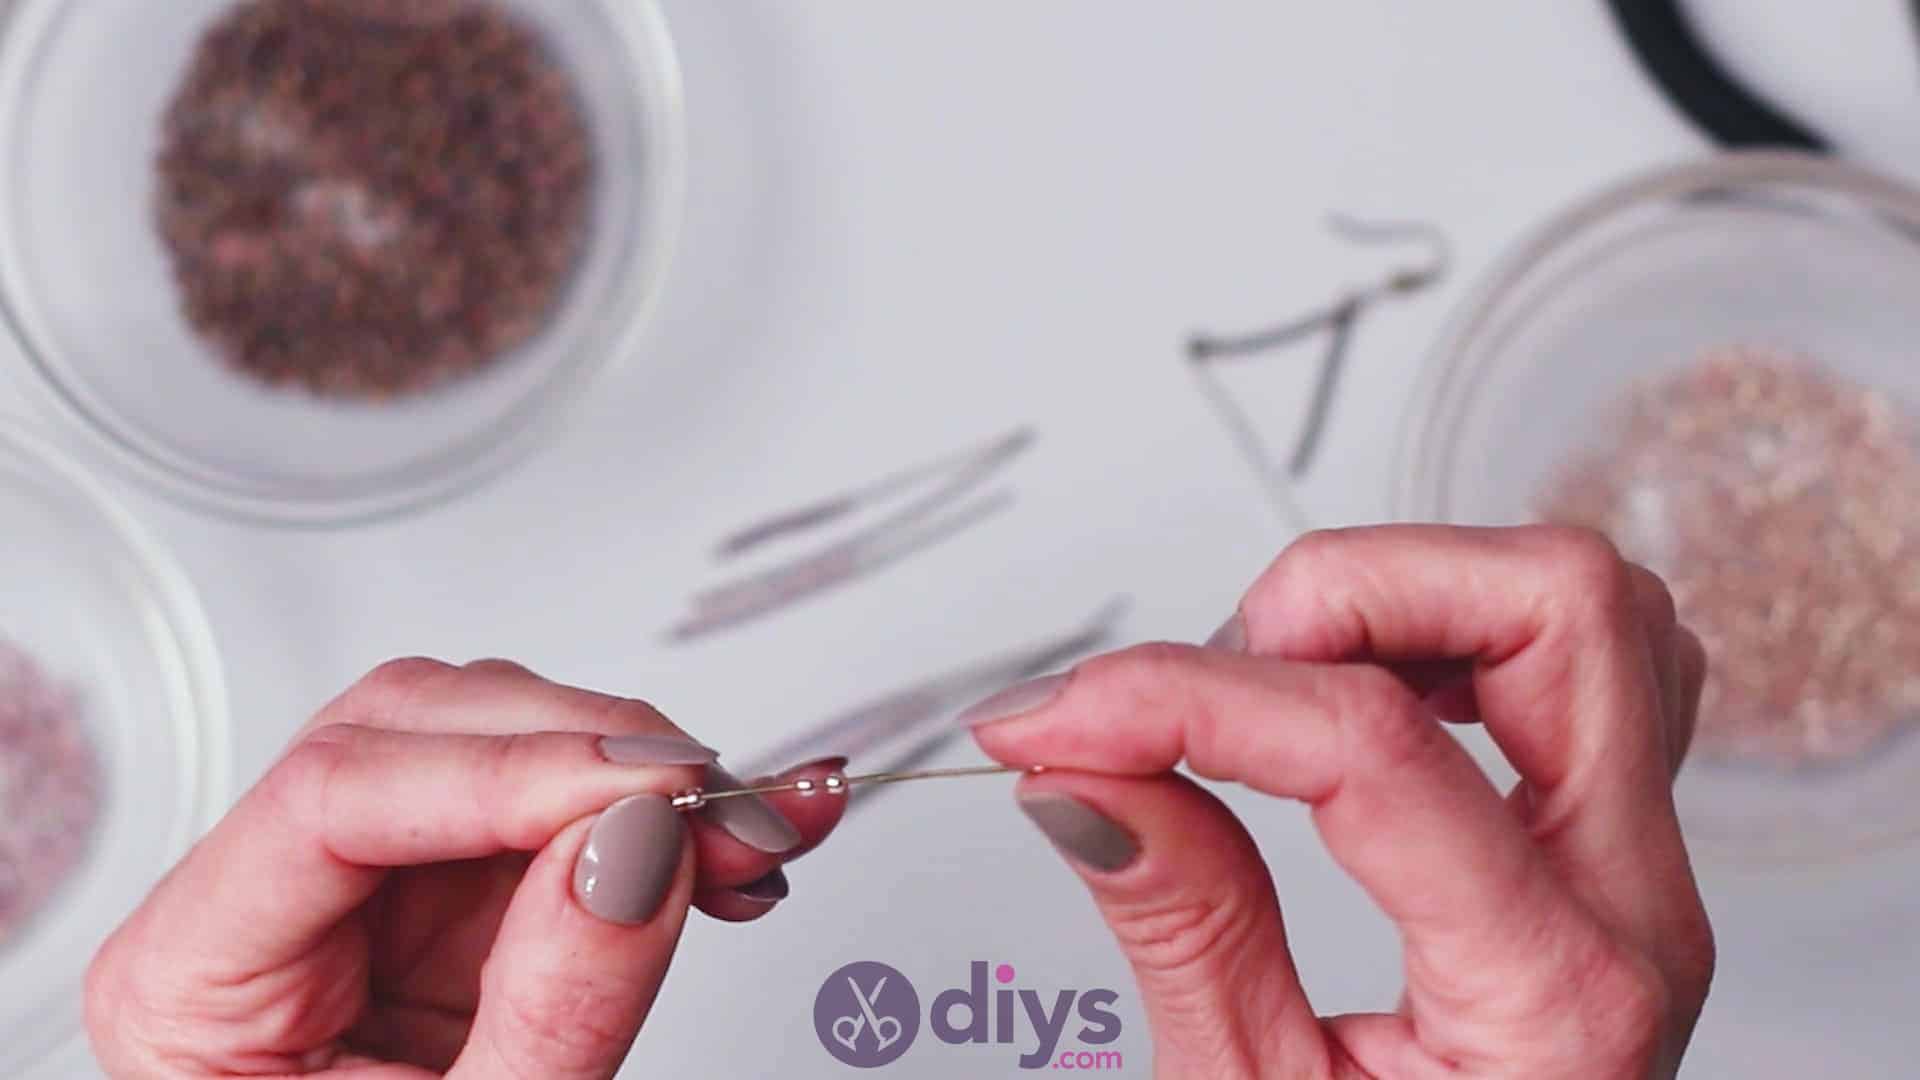
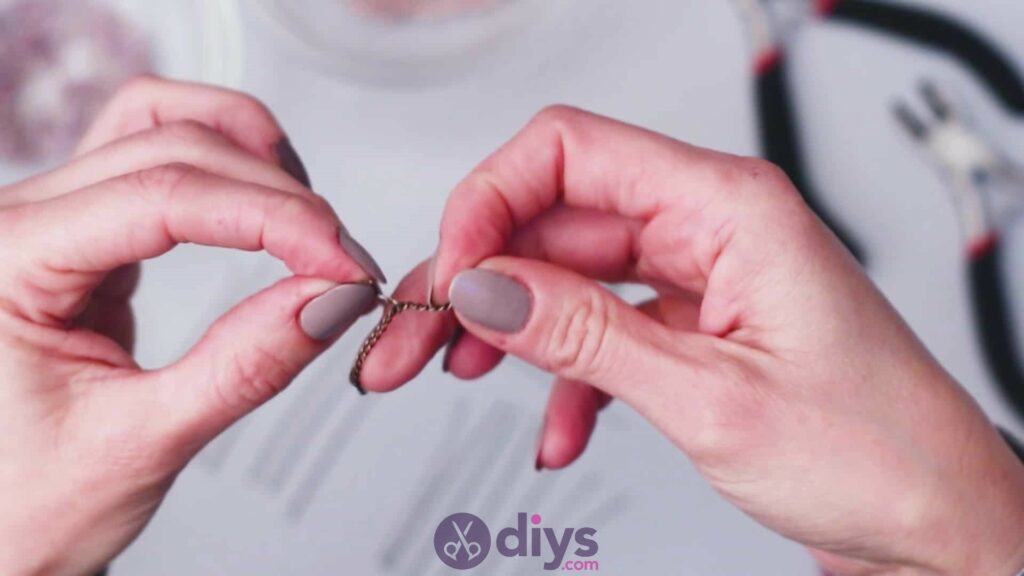
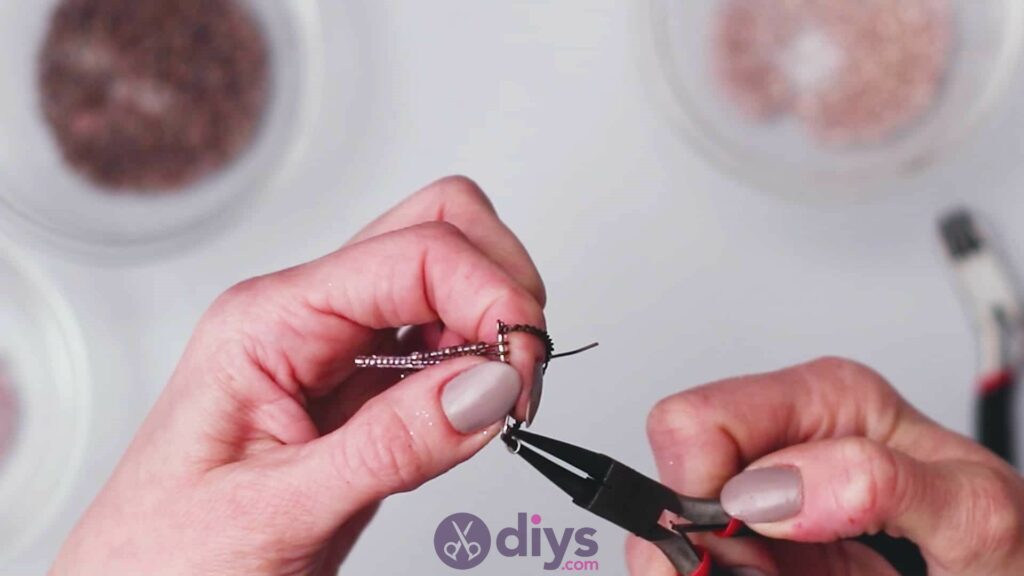
Now that all of your fringe pieces are in place, you’ll trim the remaining open end. Use your best judgement here; you want to leave yourself enough wire at the end to make a small loop (just like the one at the opposite end (looking at this piece can help you decided where to cut) but still trim off enough that your fringe pieces stay quite close together in order to maintain their collective shape, rather than separating and sliding around. Once you’ve made your cut, use your pincers to start curling that end up and over, or in whatever way the first loop on the other end curls. Before you close it completely, hook it into the end link in your jewelry chain from earlier, on the side that remains loose. Now you can close your second loop with your pincers. You’ve officially finished one earring!

Step 8: repeat!
Repeat the entire process that you just followed for your first earring to create your second one!
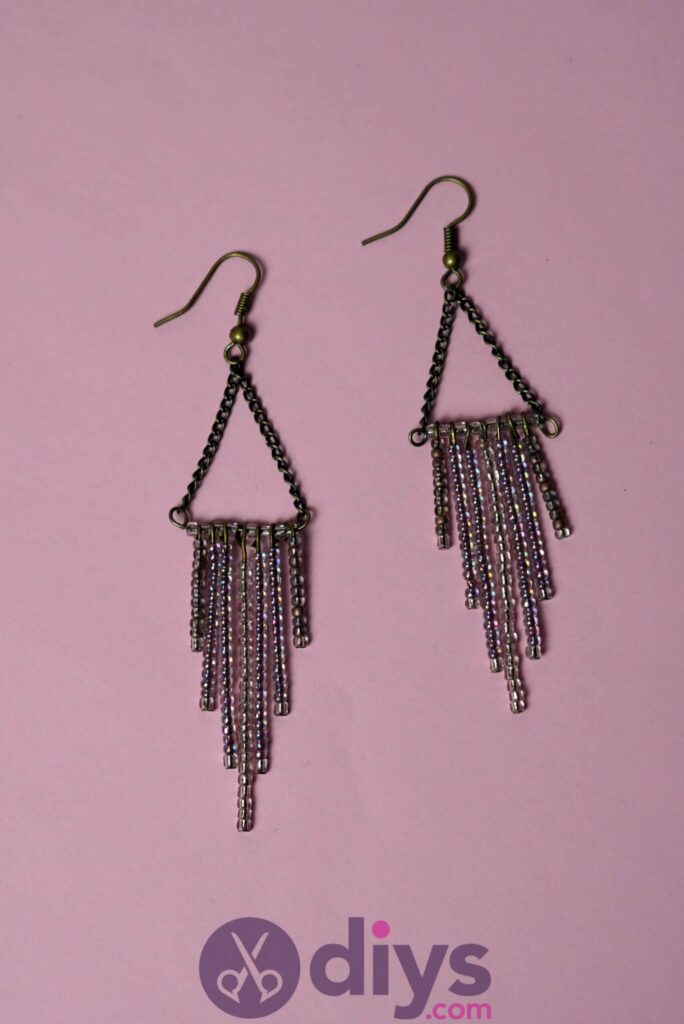
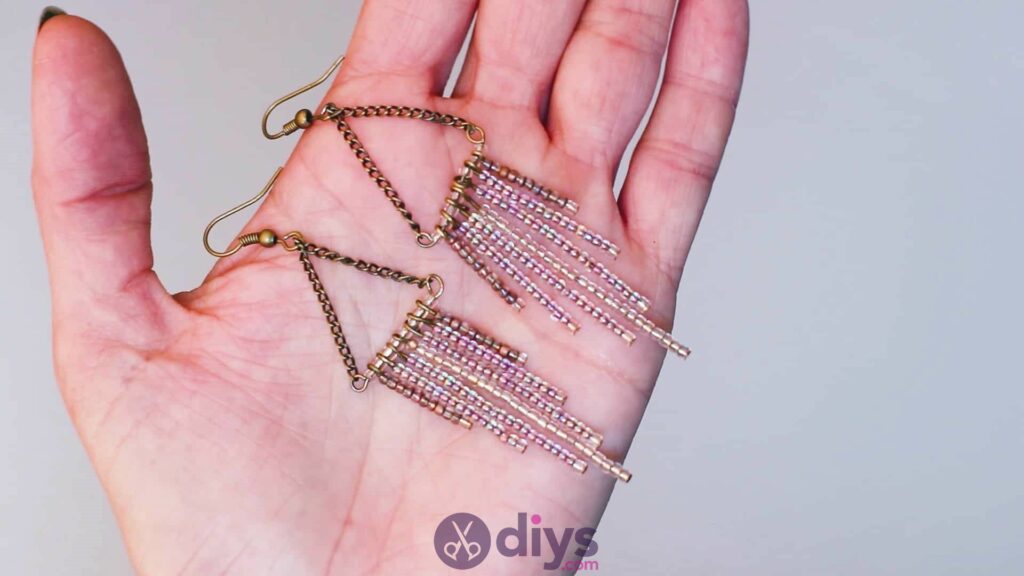
Once you’re done that, you officially have a complete pair of earrings. Of course, you can feel free to use this outline as a basic techniques guide but get creative with the details and bead colours! Just in case you’d like to try this project out for yourself, here’s a fantastic tutorial video to help you.