DIY Scrapbook Paper Gift Bags
Updated on June 23, 2021
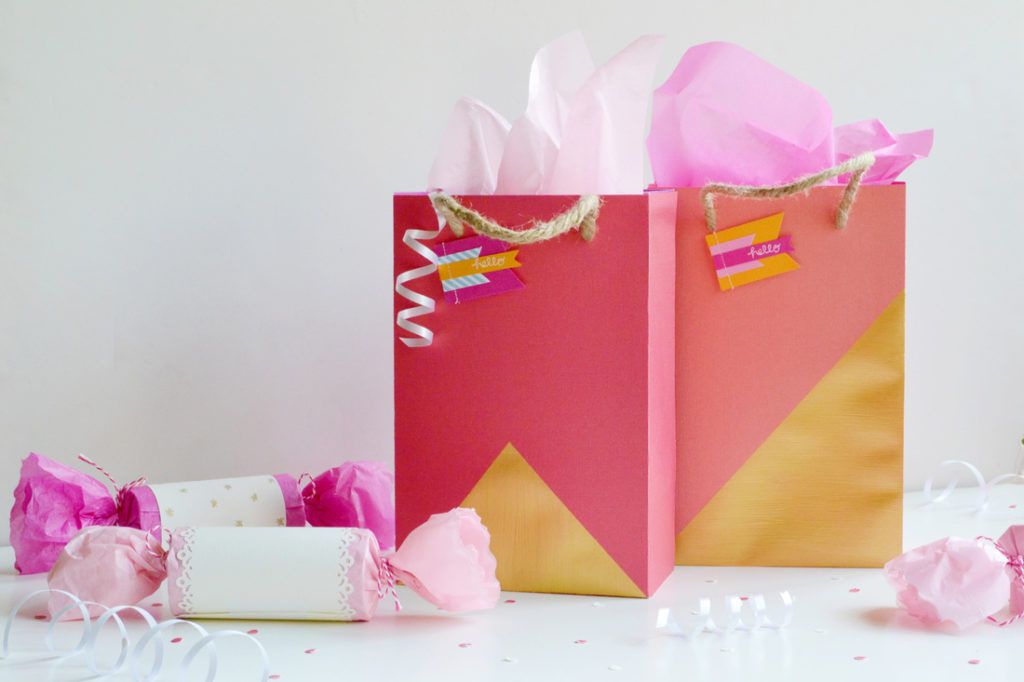
Hi crafters! Have you ever wanted to make your own gift bags? Using scrapbook paper and a little bit of glue, you can make favor or gift bags for your party in no time at all. While you can make bags of basic copy paper, for this craft I recommend using a thicker cardstock, as it will hold up better- especially if you’re putting heavier items inside. I loved the simplicity of the textured cardstock used in this craft, paired with the modern, gold-painted accent.
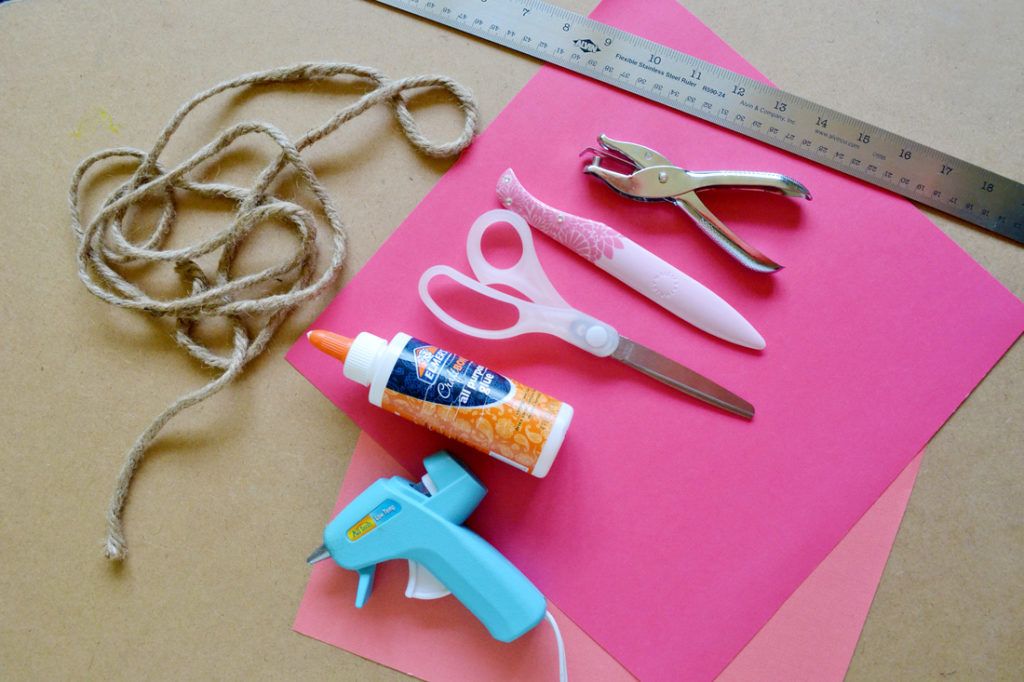
For this DIY, you’ll need:
- 2 Sheets of 12×12 scrapbook paper
- Scissors
- Ruler
- Pencil
- Hot glue and gun
- Craft glue
- Paper scorer
- Hole punch
- Jute rope or ribbon (for the handle)
- Masking or painter’s tape
- Paintbrush
- Paint
I wanted to use jute rope for the handles rather than ribbon because it gives it a modern look; but I also love the rustic feel of the rope paired with the smooth texture of the cardstock.
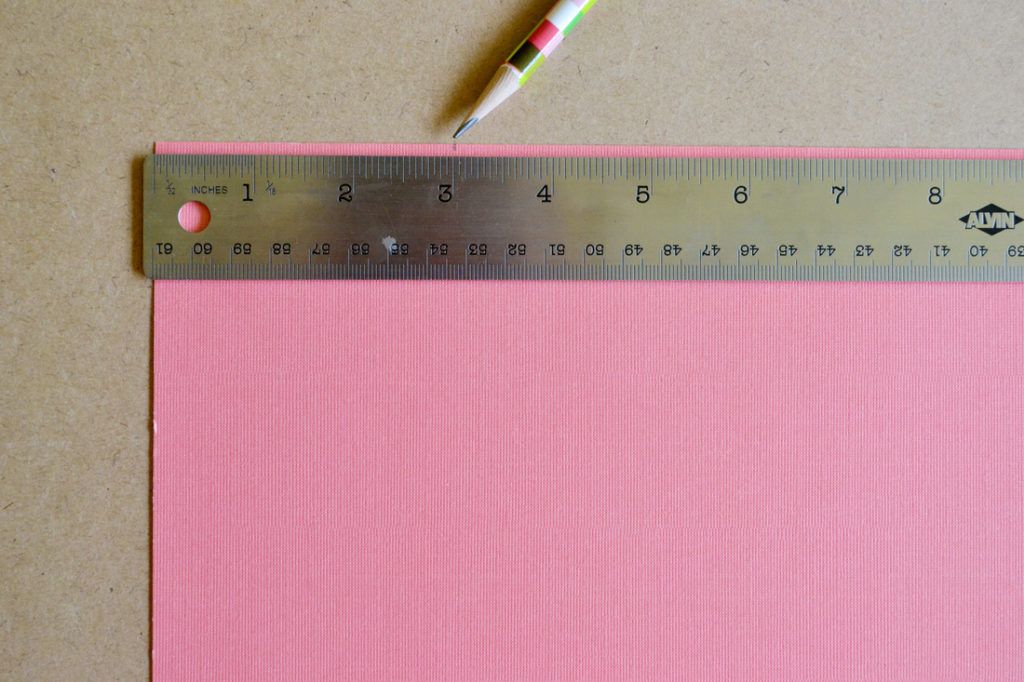
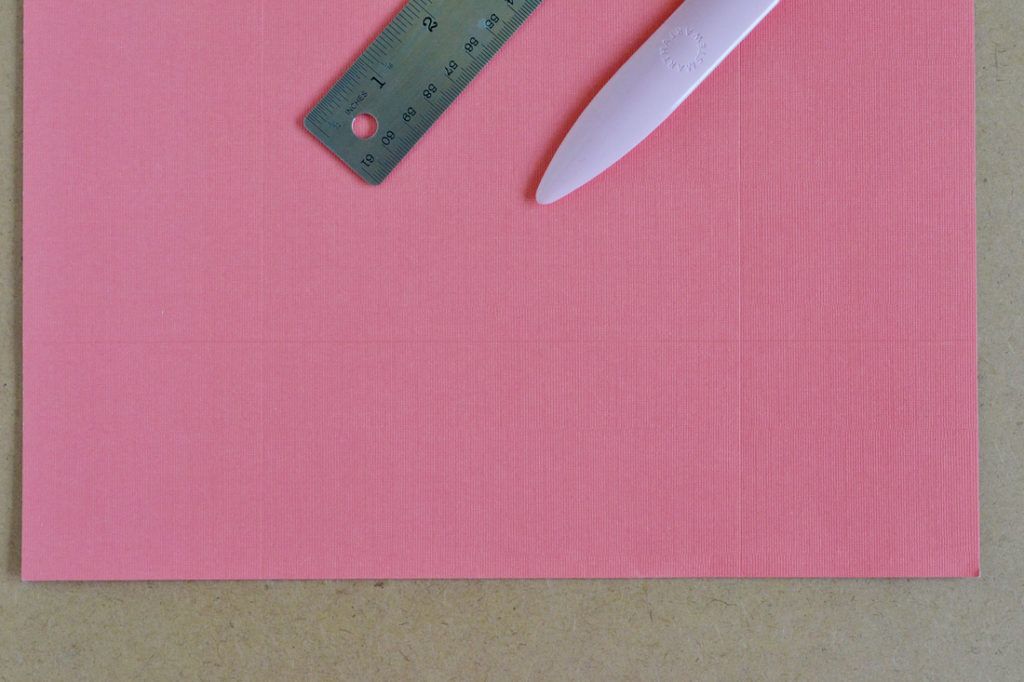
Begin by marking your scrapbook paper at 3 inches. Note that you are drawing and scoring on what will be the inside of the bag; so make sure if the paper has a design on it, it is face down.
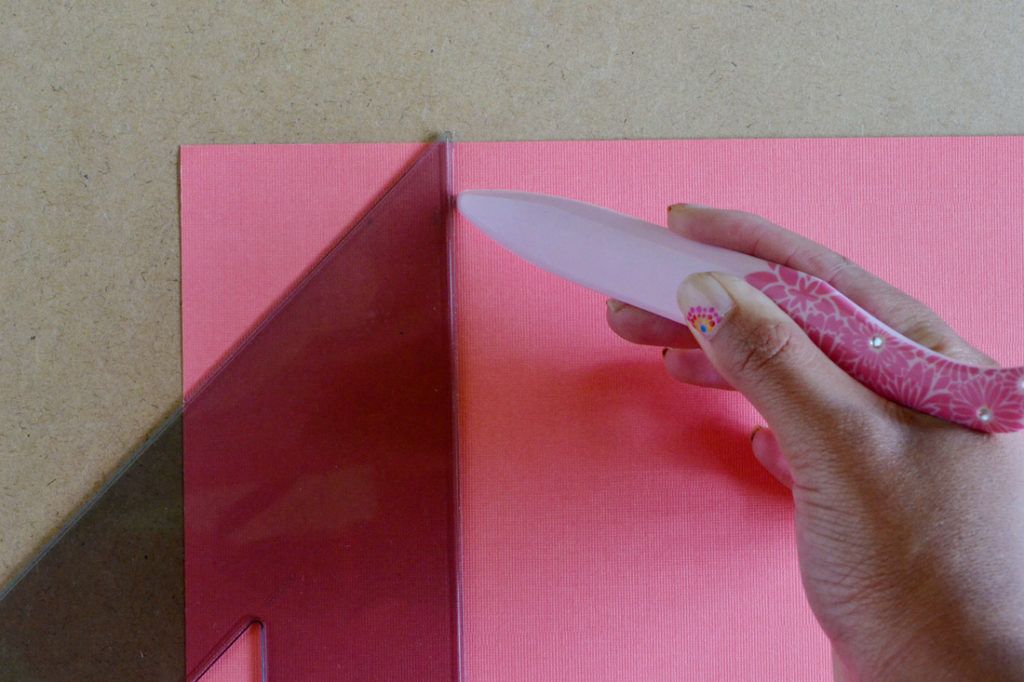
Score a line down the paper at the 3 inch mark with straight edge. You can use a score board for this if you have one. Turn the paper 90 degrees and score again at the 3 inch mark and then turn and score again. You should now only have three score lines down your paper as shown below. One horizontally, two vertically.
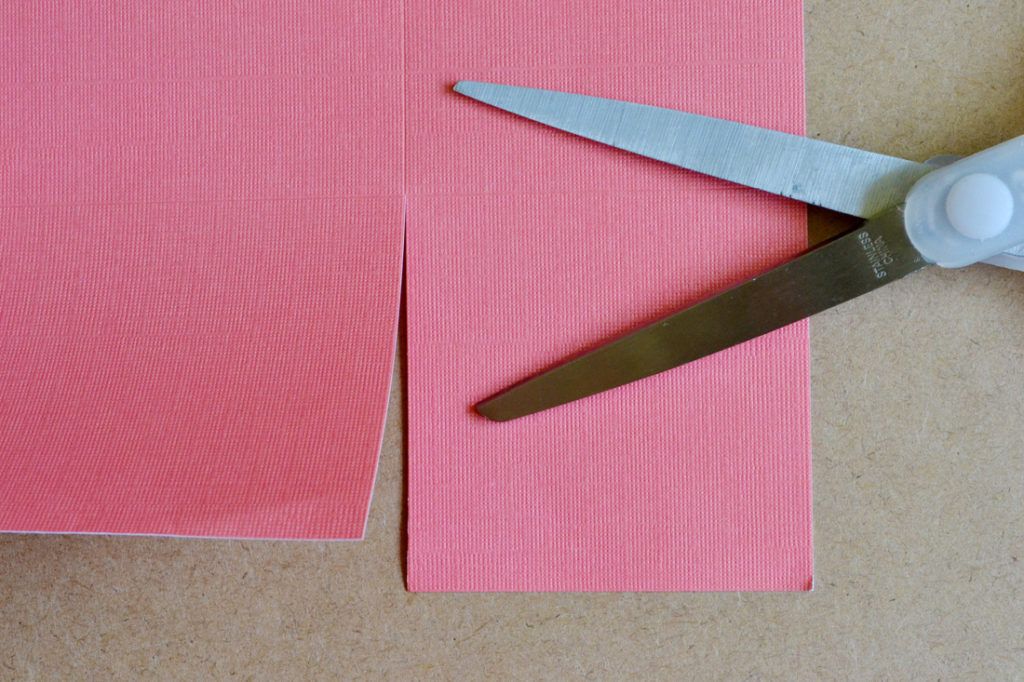
Cut along both of the vertical lines, being sure to stop at where the vertical line meets the horizontal line.
Fold up along those lines.

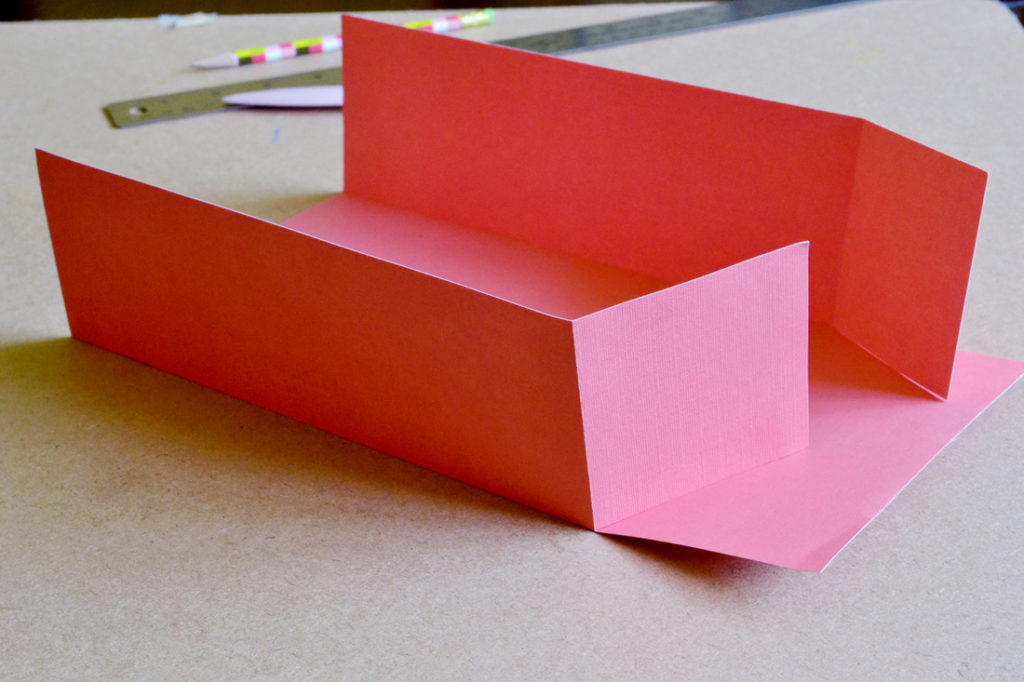
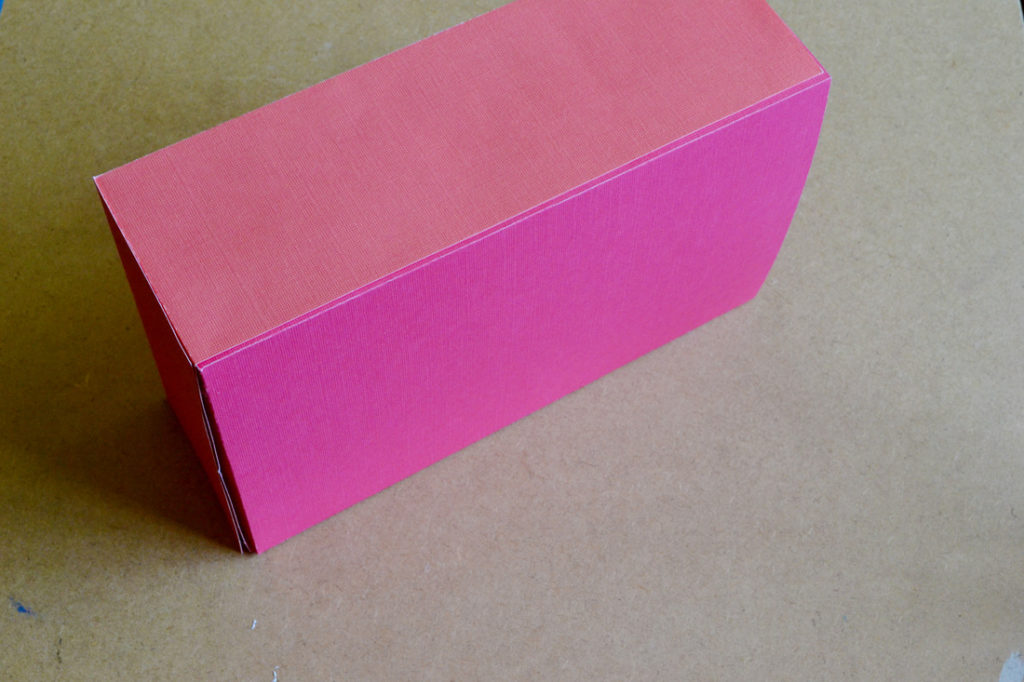
Fold inward along the other vertical lines. Repeat all these steps with the second sheet of scrapbook paper. On both sheets of paper, glue the two small flaps and join them with the bottom flap to create a box-like shape. Fold the bottom flap up to glue onto the two small flaps.

Follow these same steps on another separate sheet of cardstock paper to create the second box half.
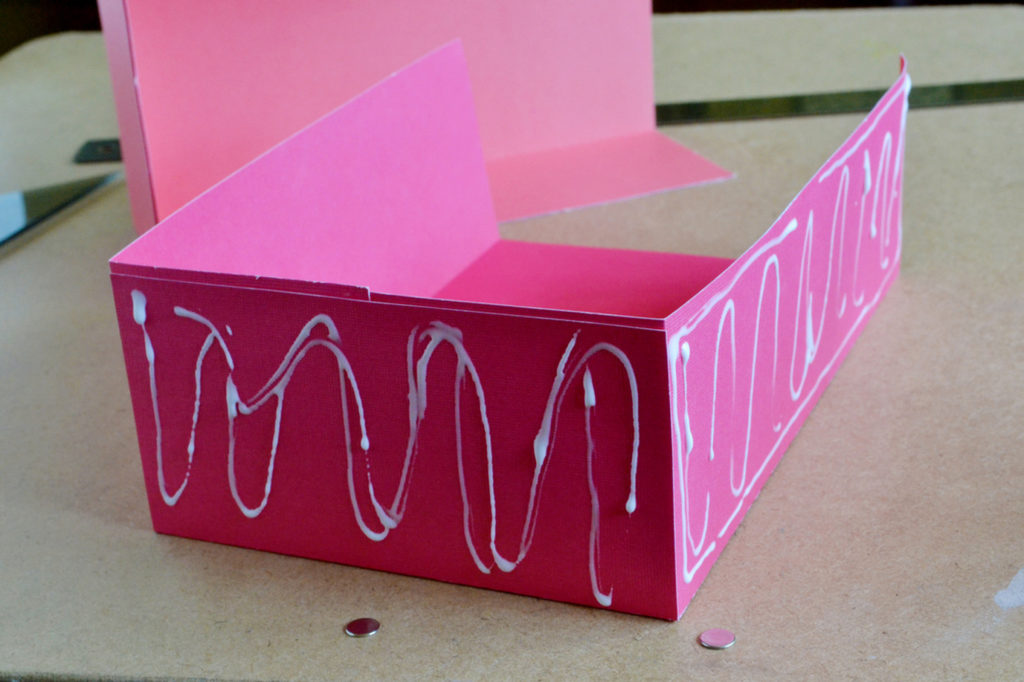
On one of the “box-halves,” glue the front and sides. Then join the two halves together to create your bag, making sure that they are both secured to each other well. Make sure that your edges line up neatly so that your bag isn’t lopsided or wonky.
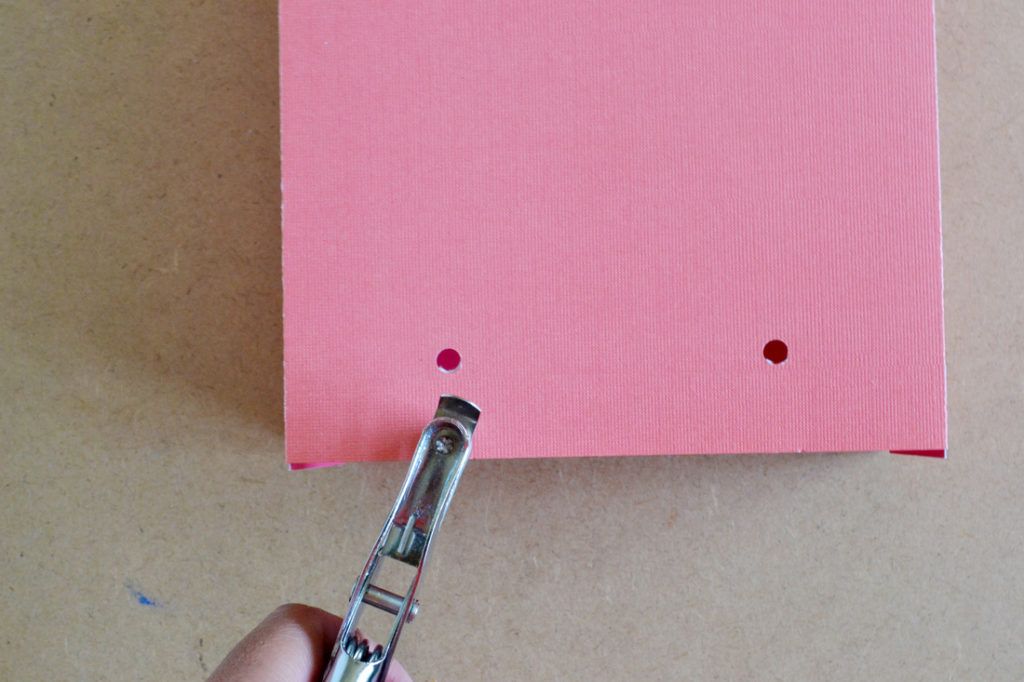
Once the glue dries, make your two hole punches for the handles. I used a ruler just to make sure that the holes were centered and aligned with each other.
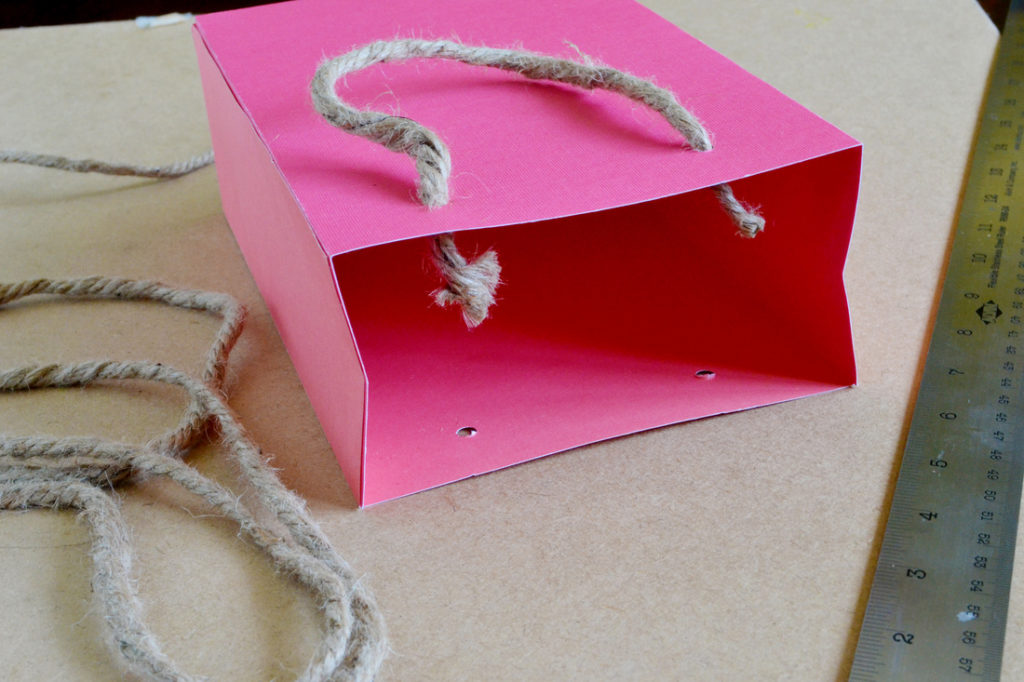
String the rope through the holes. My two ropes were about 11″ in length. I didn’t want to tie a knot on the inside of the bag because the rope was too thick, so I just secured the ends down on the inside of the bag with a bit of hot glue.
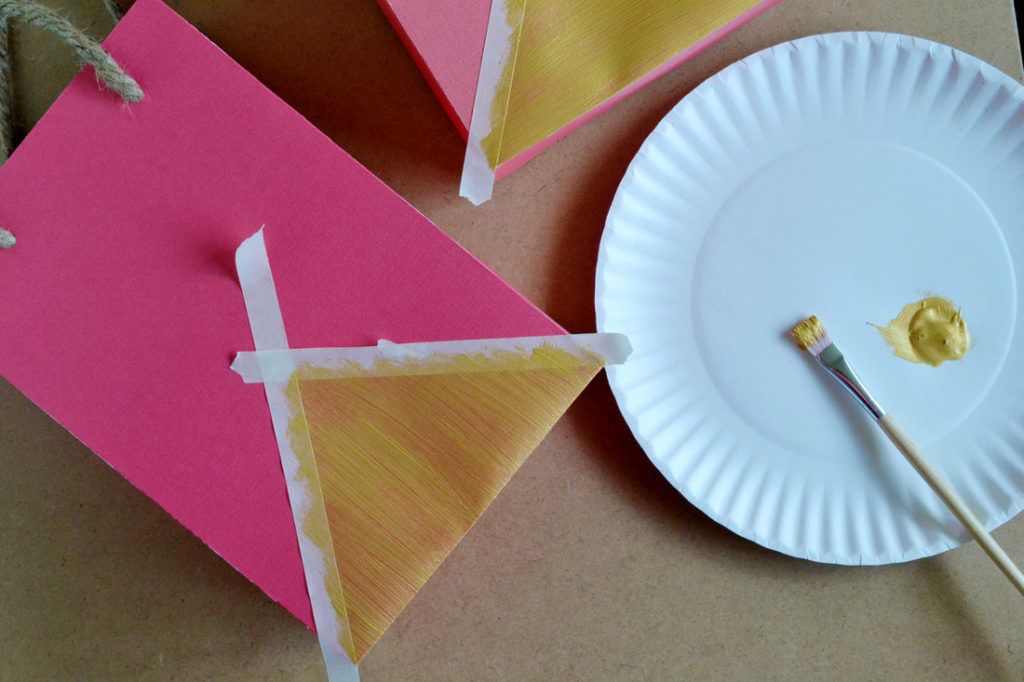
Next comes the fun part of painting. You can do this step way before folding the bag, but I found it easier to do it at the end. You can create any type of design: polka dots, stripes, freestyle painting, etc. I wanted to do something simple and modern. For this look, tape your bag with masking tape or painters tape to create a triangular shape. Make sure the edges of the tape are secured down well, but don’t press too hard on the tape as it might rip the paper when you take it up. I found that using masking tape worked really well and didn’t rip the paper when I pulled it off. For the paint design I used Martha Stewart’s metallic gold paint. Paint on two coats, and then let it dry for 30 minutes before using. I love the way it turned out!
I hope you guys like it! These are perfect to give away at a party or as a gift.
Happy DIY!