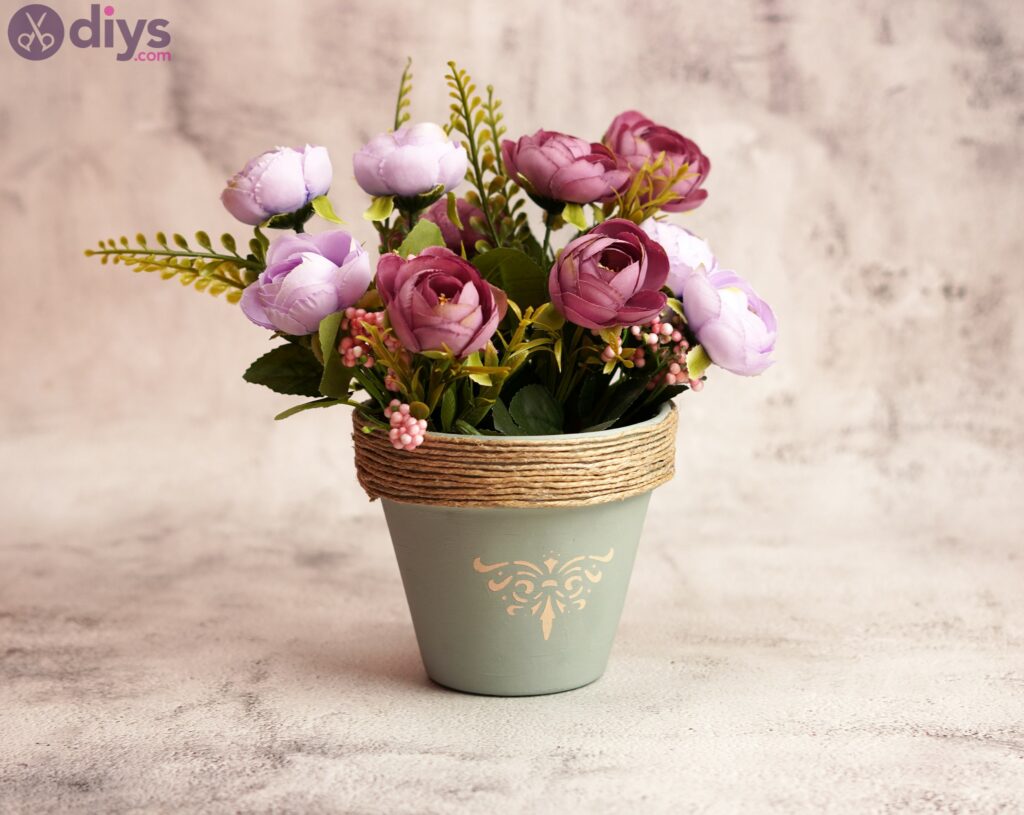
DIY Rustic Painted Pot – Make Your Flowers Stand Out With a Beautiful Pot
Updated on June 29, 2021


The flower pots you can find in various shops can be quite bland and the ones that are pretty enough to catch your eye will cost an arm and a leg. So, let’s make our own rustic painted pots!

In this way, you’ll buy basic pots, but you can turn them into really beautiful creations that you will eagerly add to your windowsill so the neighbors can see them. Maybe they’ll even ask you to make some for them.. who knows!
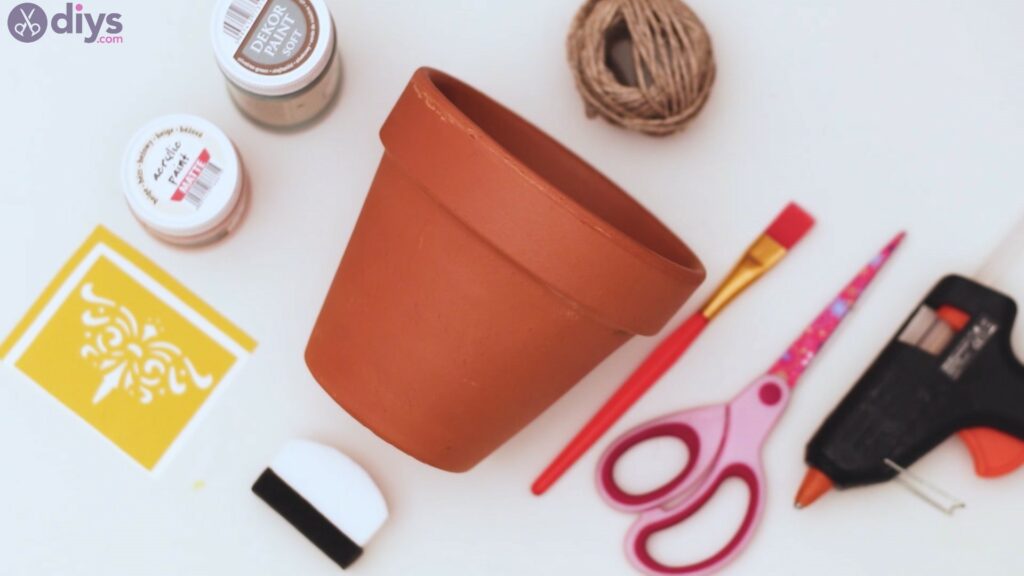
Materials for rustic painted pot
- clay pot
- hemp twine
- cream and green acrylic paint
- paintbrush
- scissors
- glue gun
- sponge
- stencil
How to make a rustic painted pot
Before we even get started, we want to make sure you have all the materials lined up. The last thing you want is to run around trying to find something or another you forgot about. So, do you have them all? Let’s proceed then.
Step 1: Paint the pot
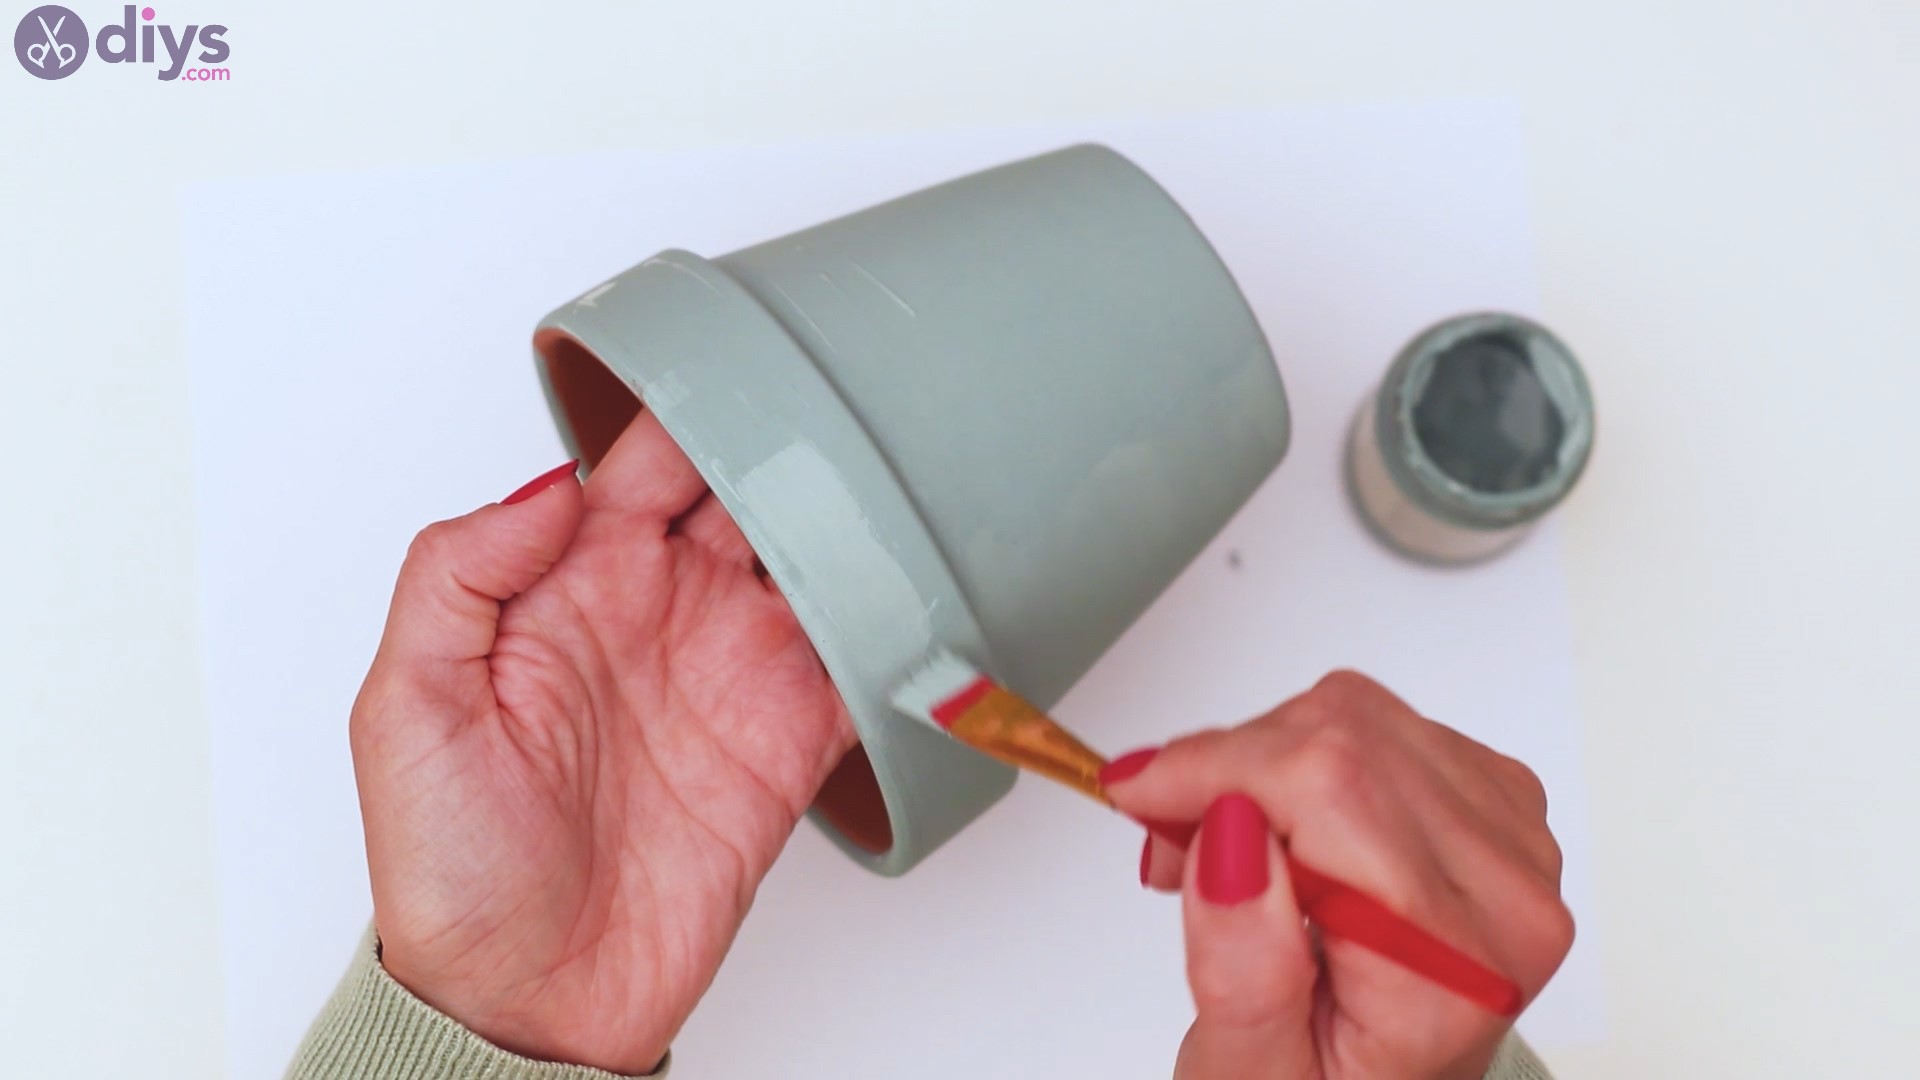
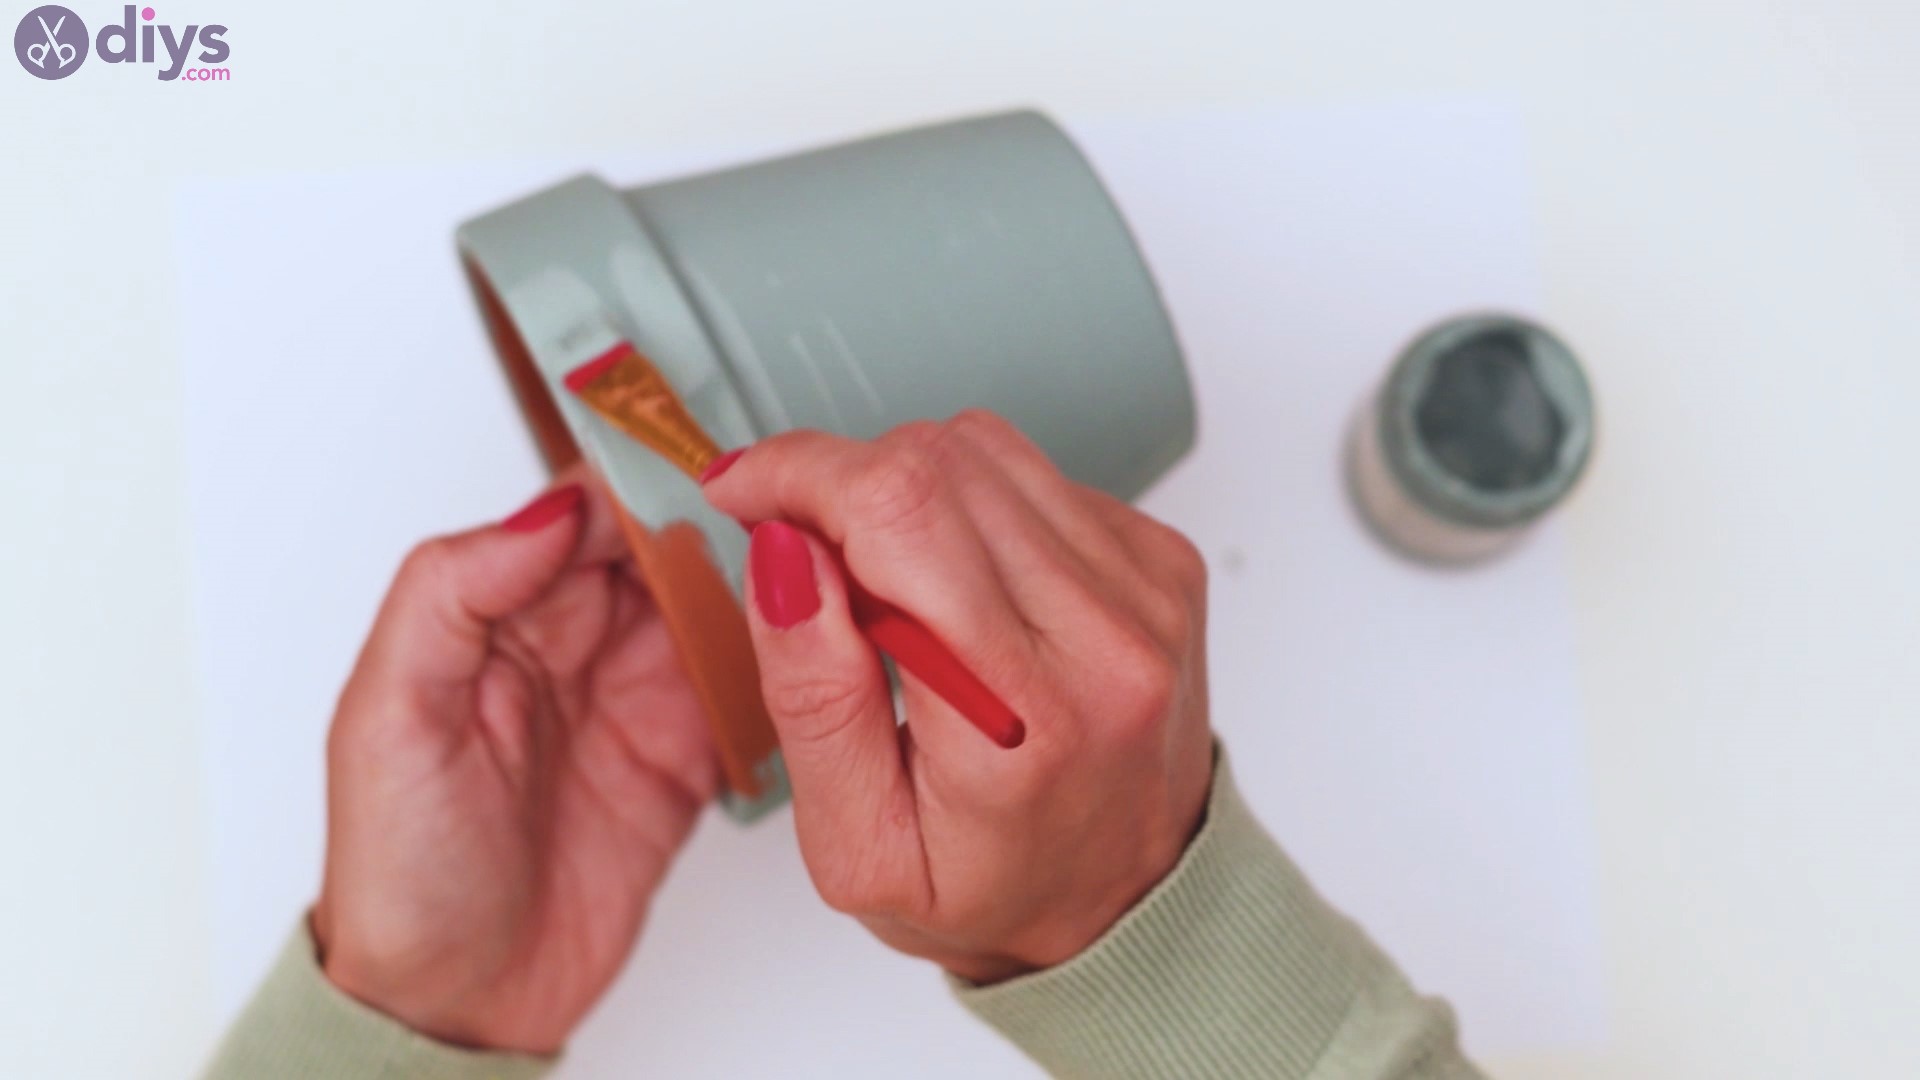
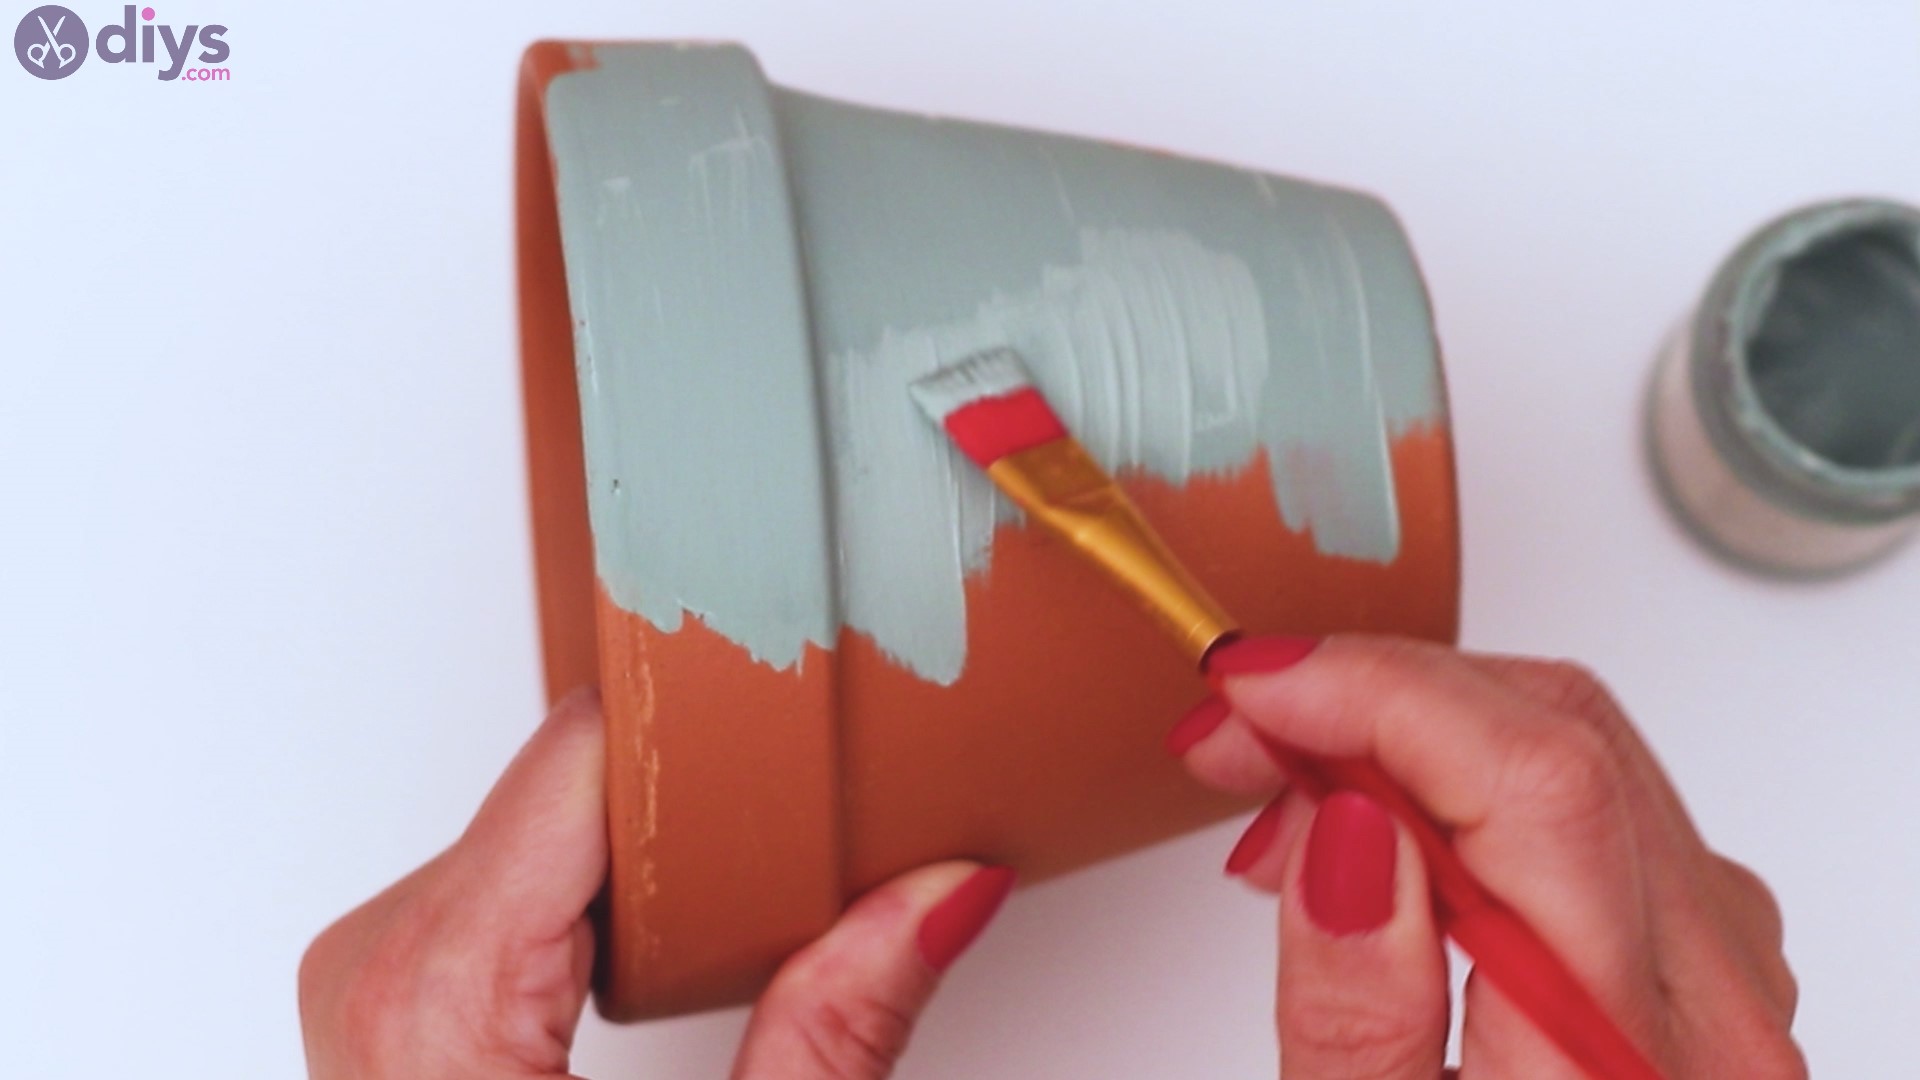
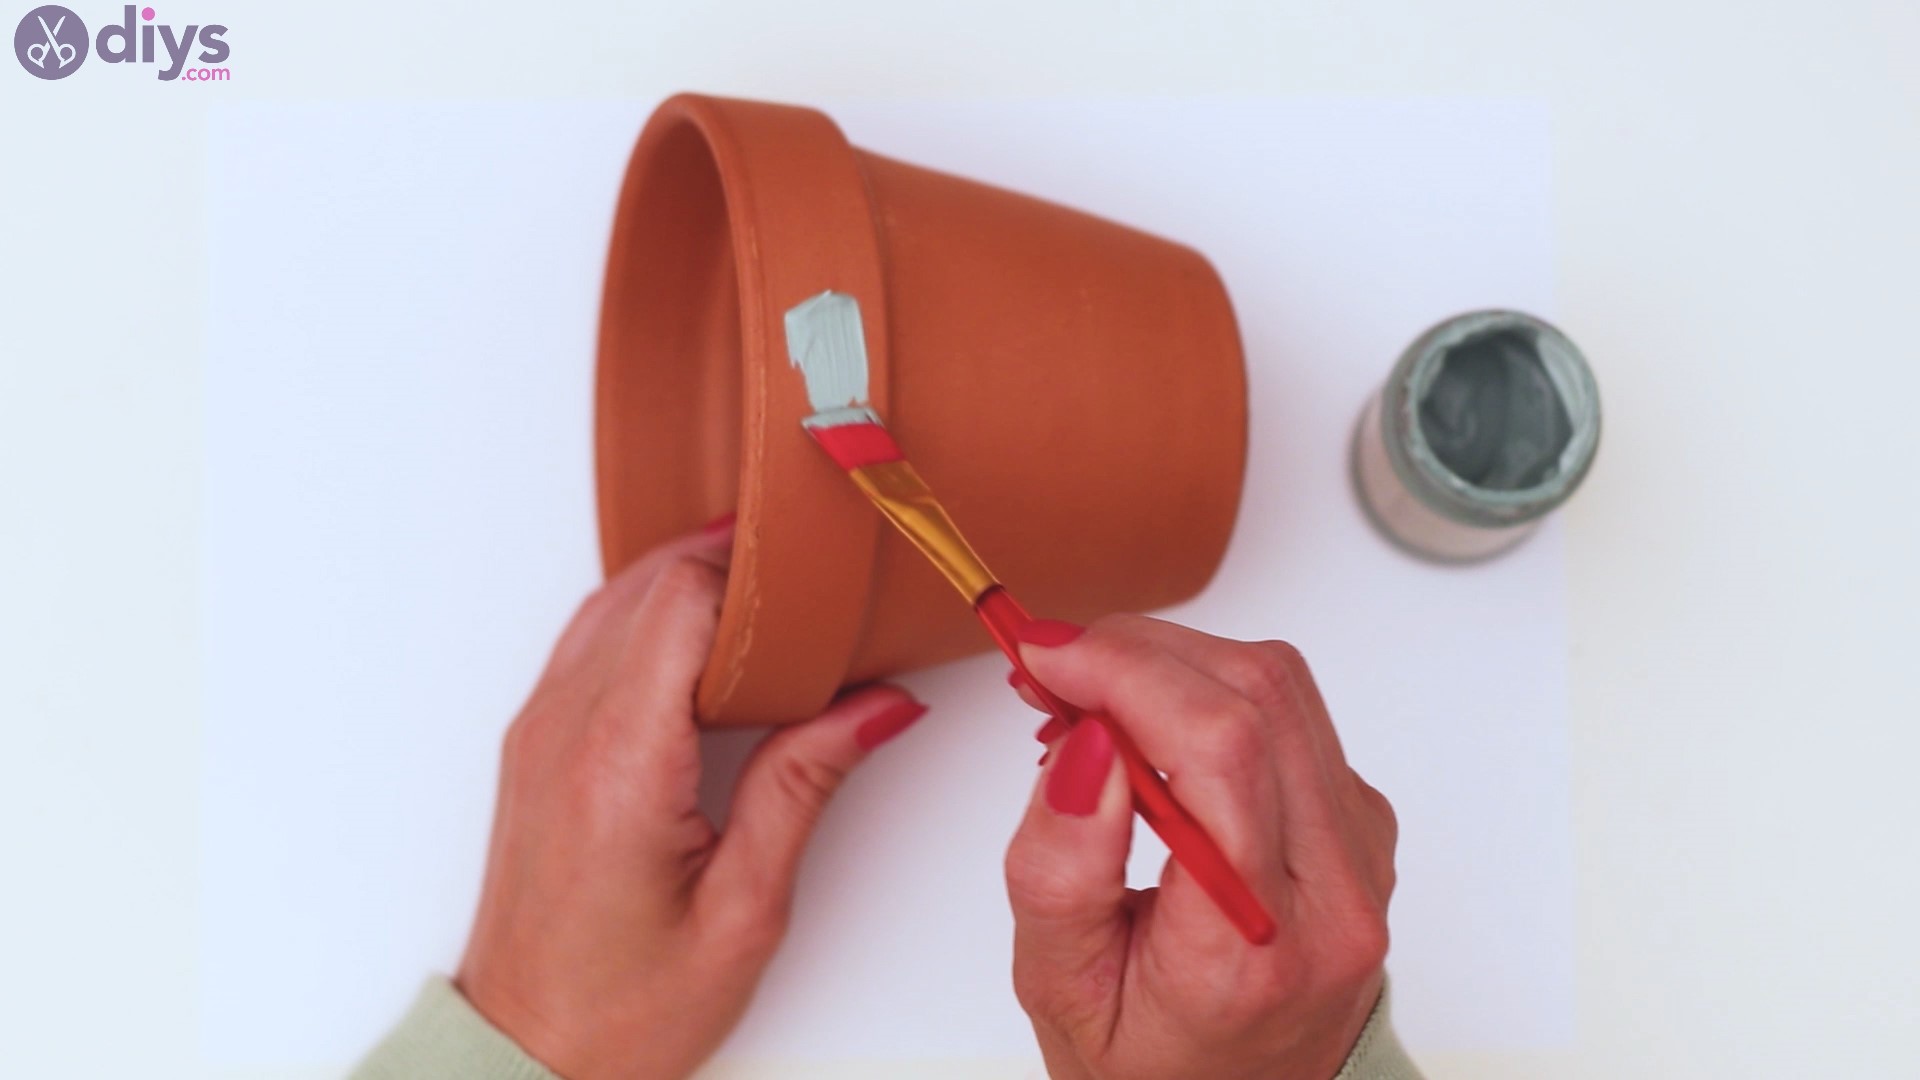
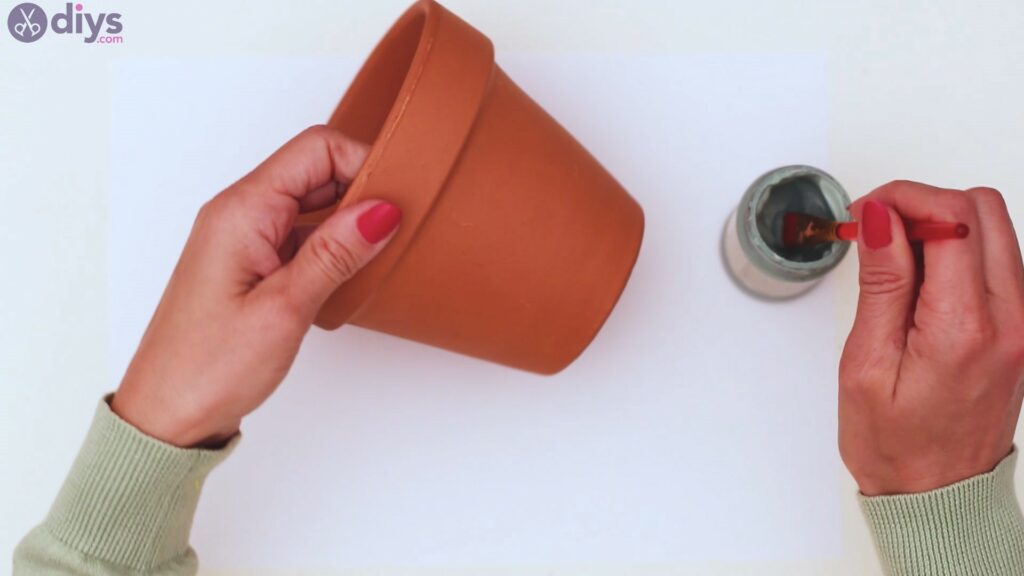
We’re going to start with the basic step – painting the pot. So, grab the pot andgreen acrylic paintandpaintbrush.Dip the paintbrush in and start painting the whole thing.
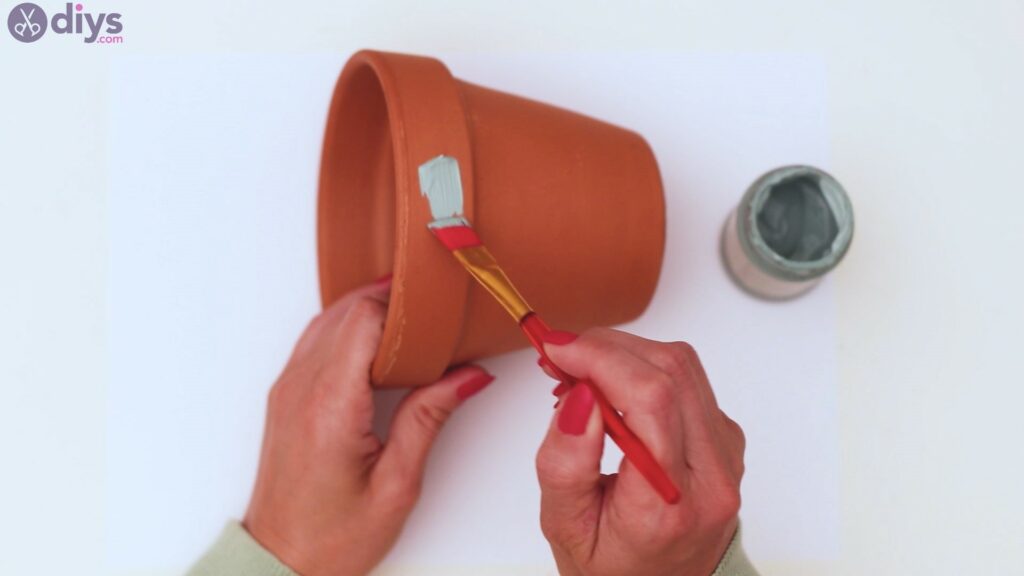
You want to cover the lip of the pot, as well as the body of it with the color.
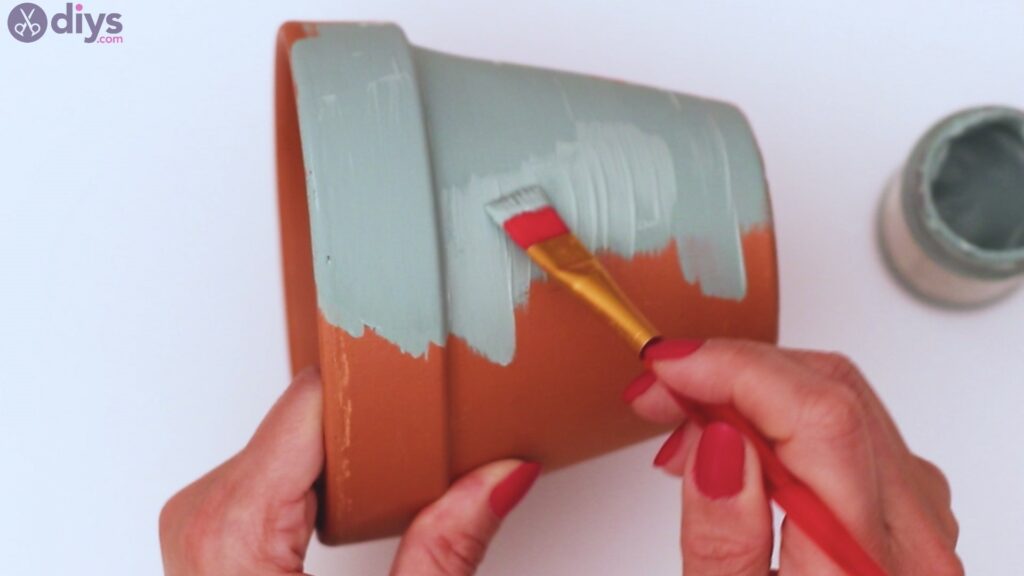

Put your hand inside the pot and turn it slowly so you can paint the sides as well.

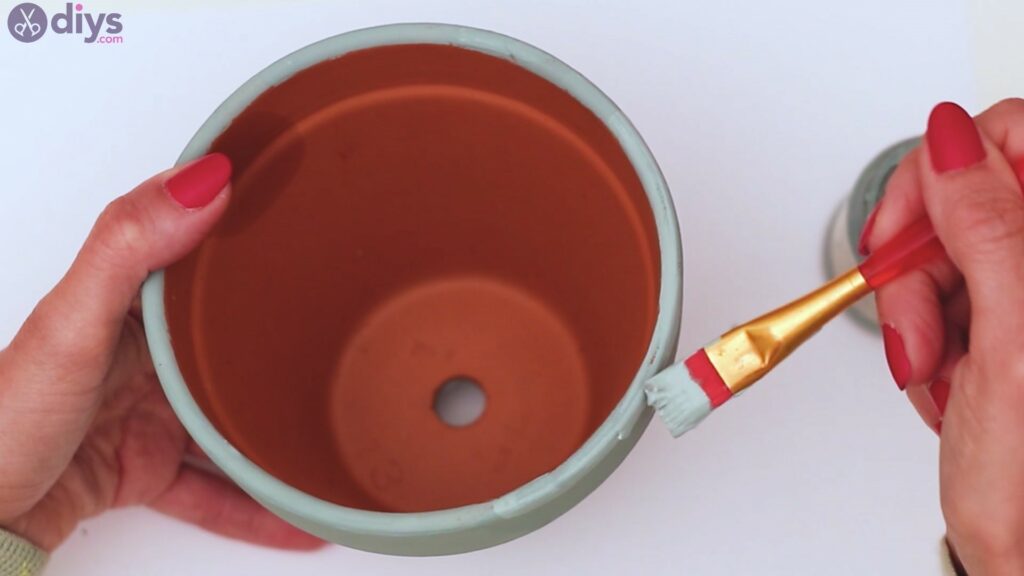
You’ll also want to paint the very top edge of the pot since it’s going to be pretty visible. If you want, you can also expand the painting on the inside of the pot’s top area.
Set the pot aside and allow it time to dry. Acrylic paint dries off pretty fast, so don’t hurry it too much. You want the pot to be completely dry before moving to the next step.
Step 2: Let’s stencil in the design
Now that the paint has dried on the pot, it’s time we get to the next step – applying the stencil. Our stencil is a bit adhesive which will certainly help in keeping it in place. If yours is not like ours, you can hold it in place with some paper tape.
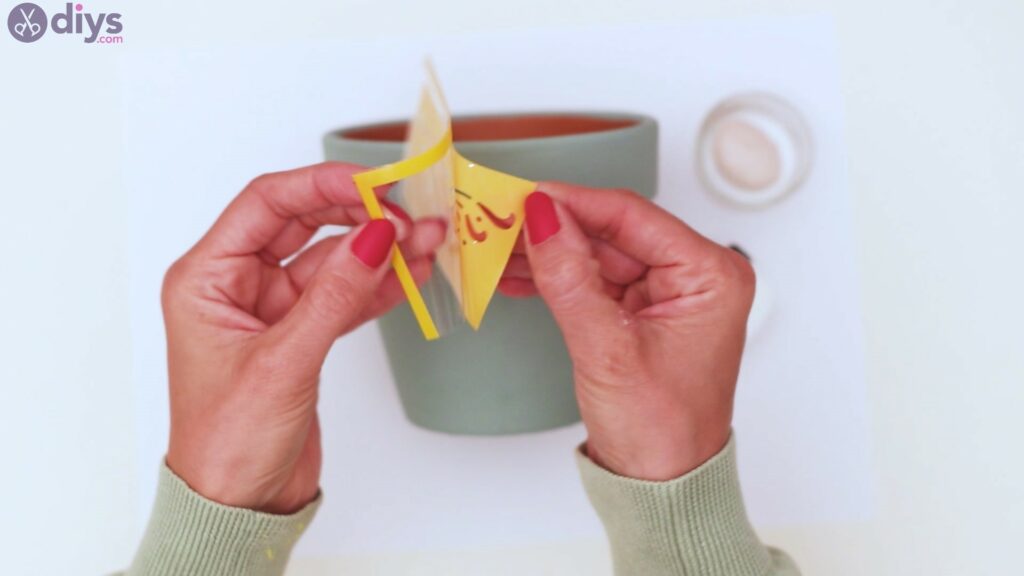
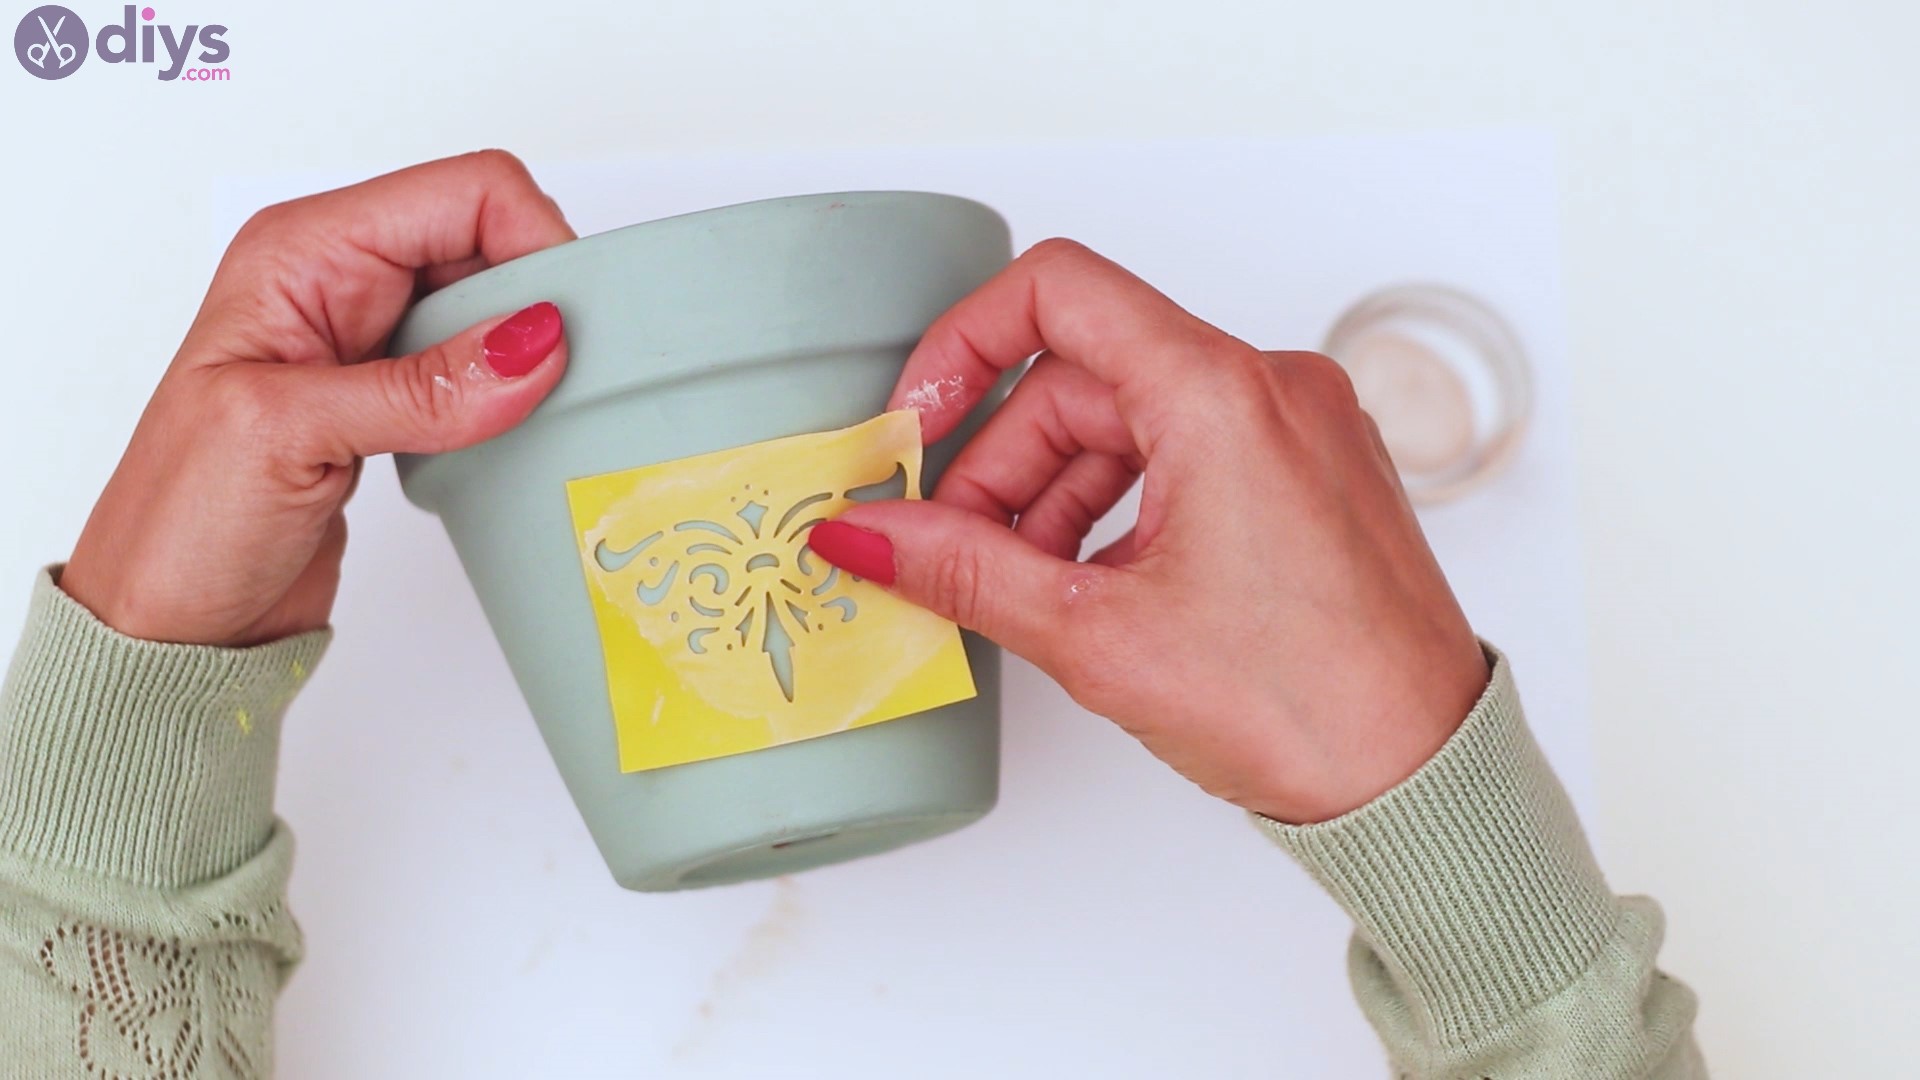
Find the right spot on the pot and try to place the stencil as straight as possible.
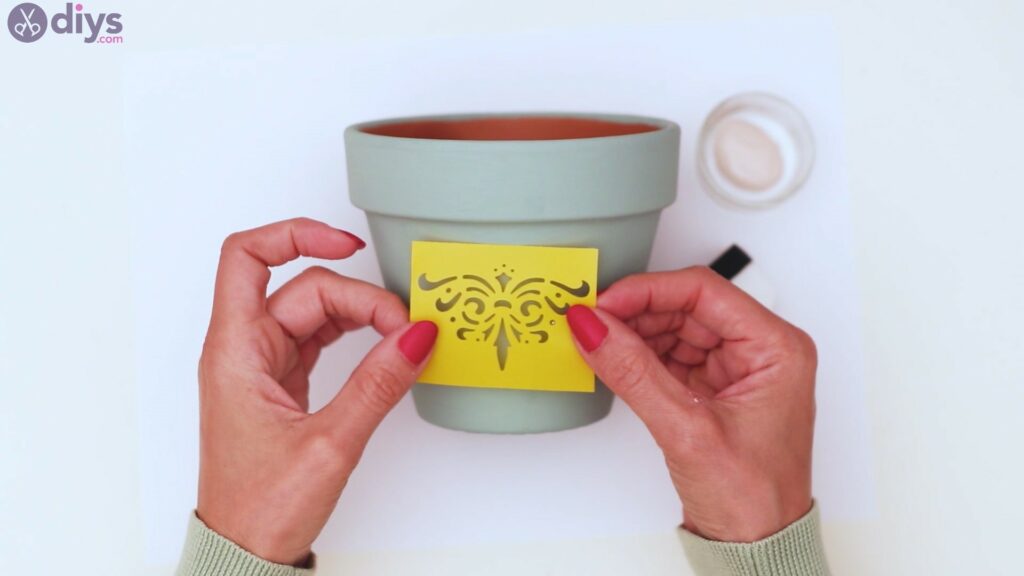
Lay down the stencil perfectly, evening it out with your thumbs.
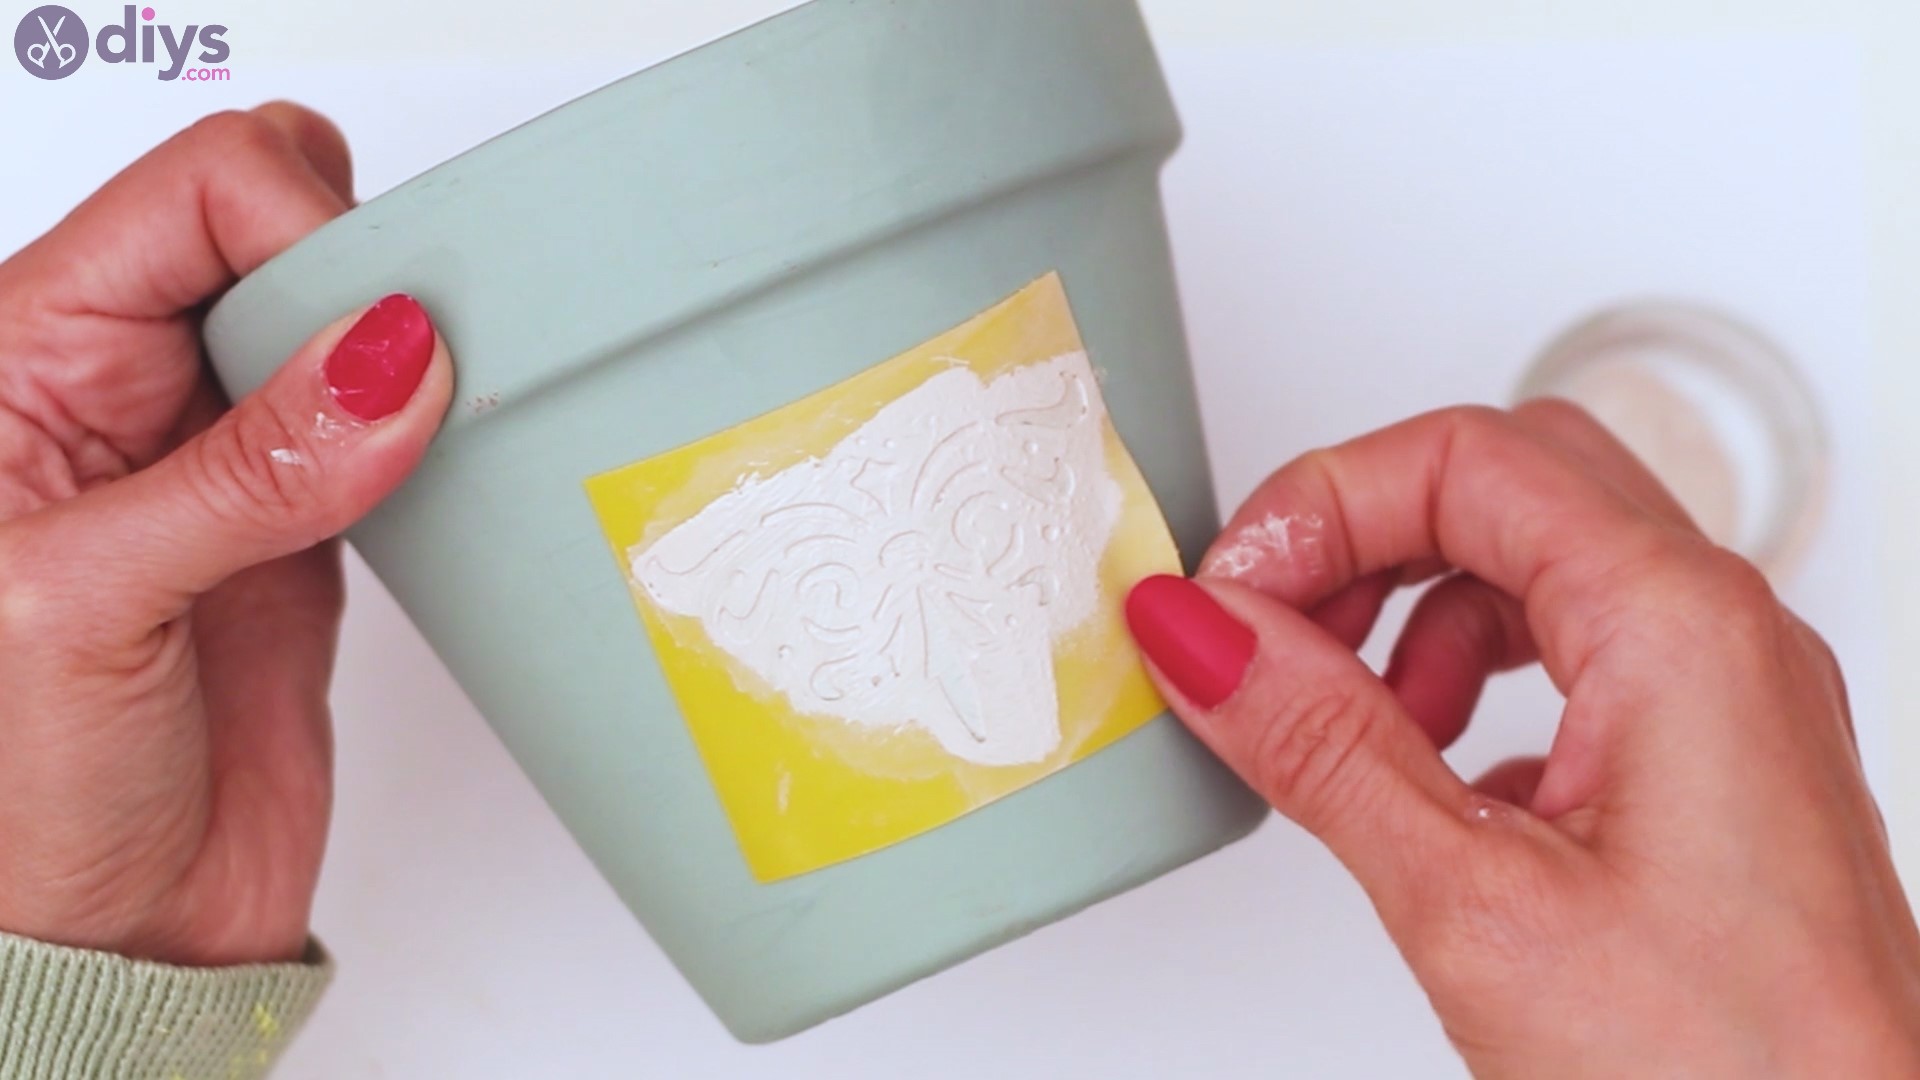
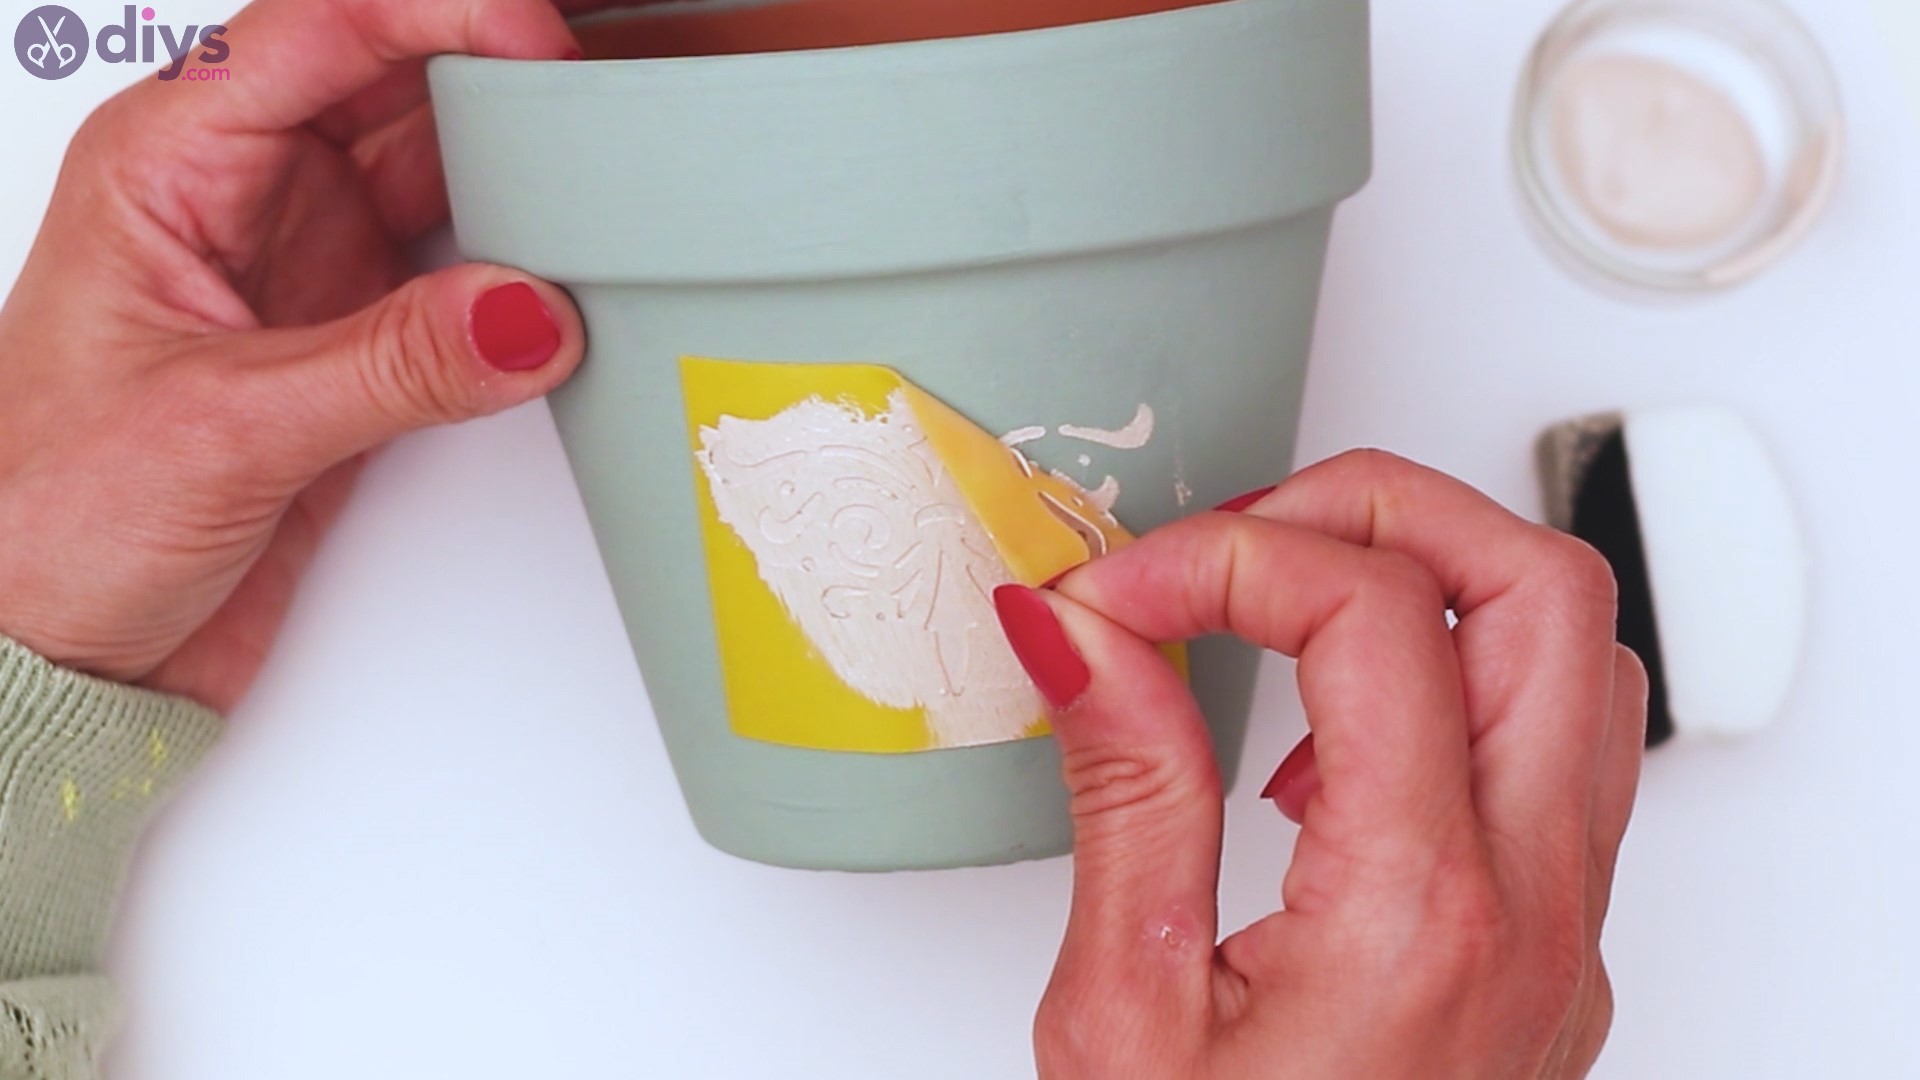
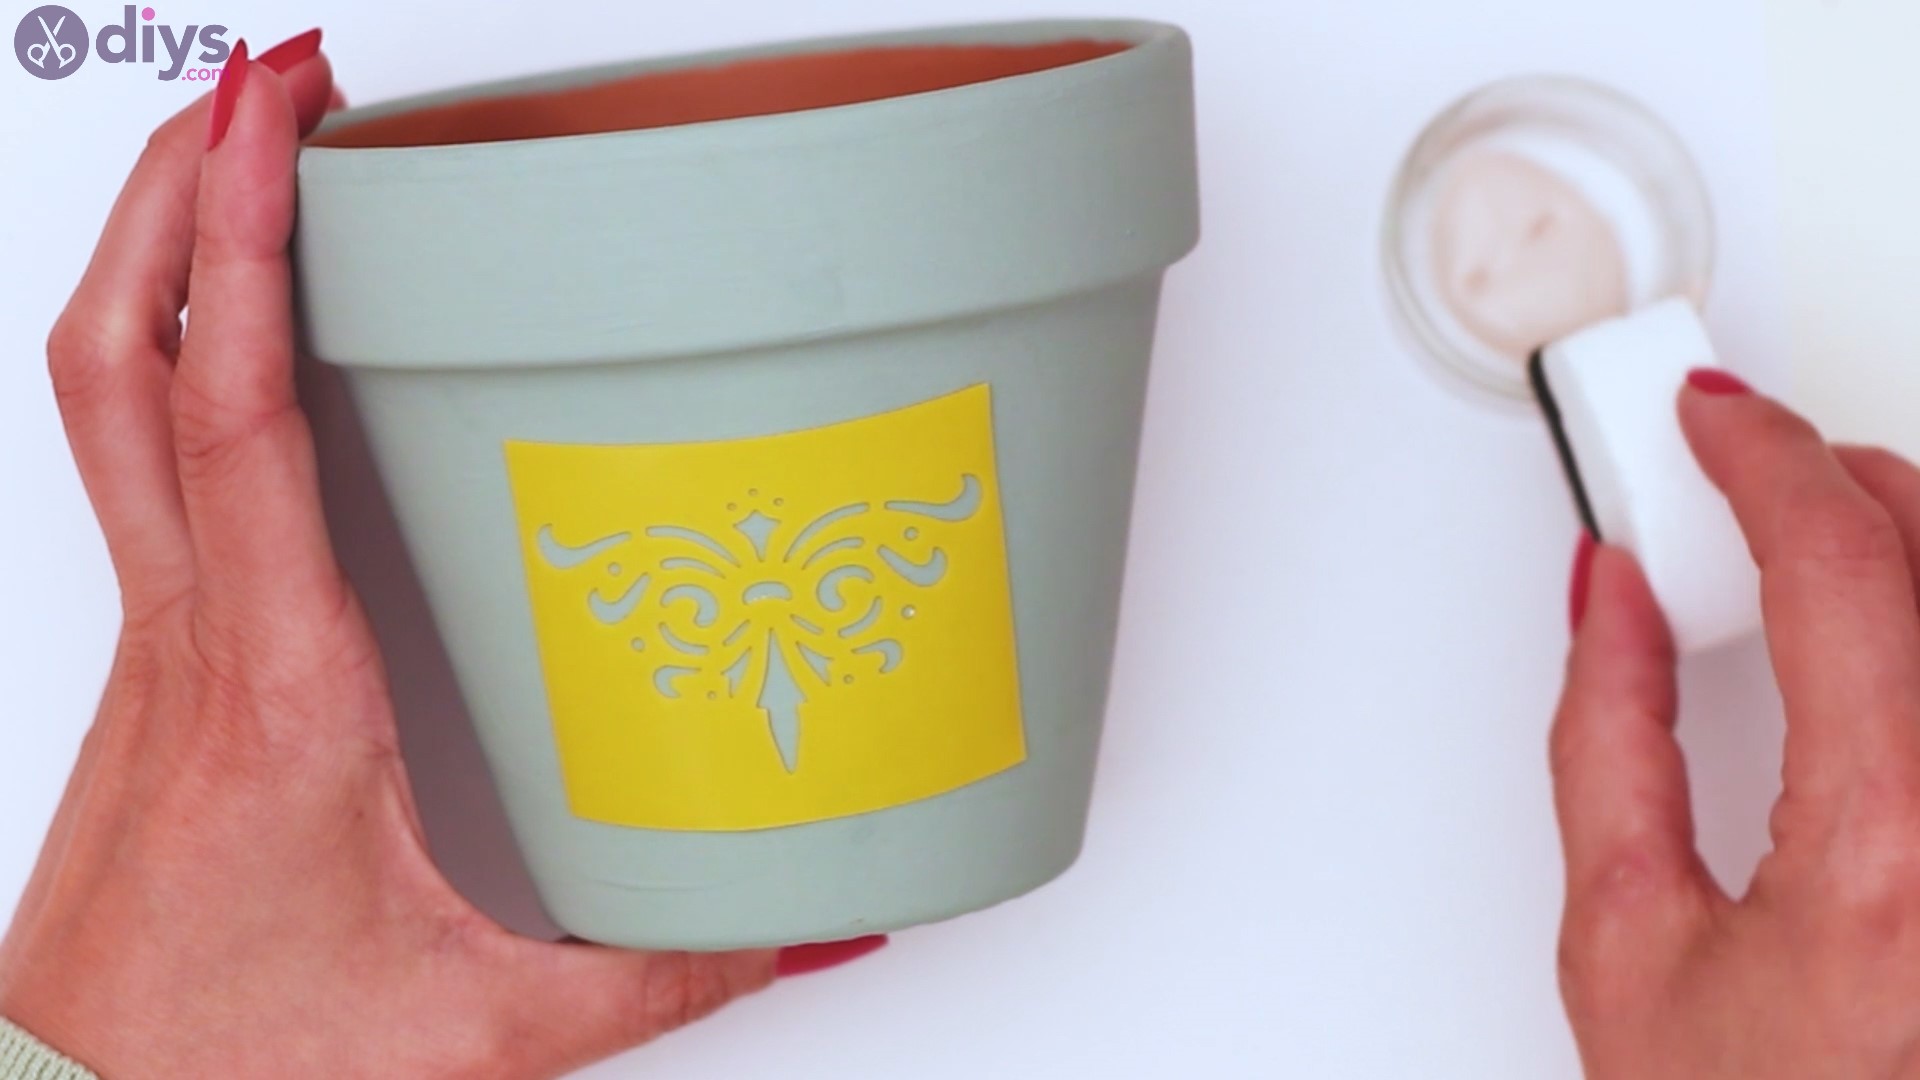
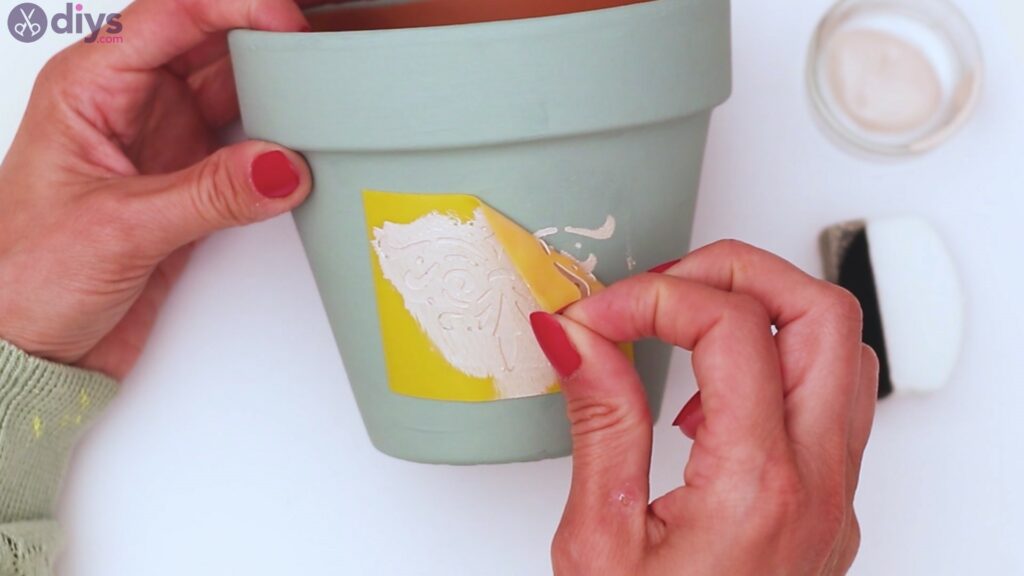
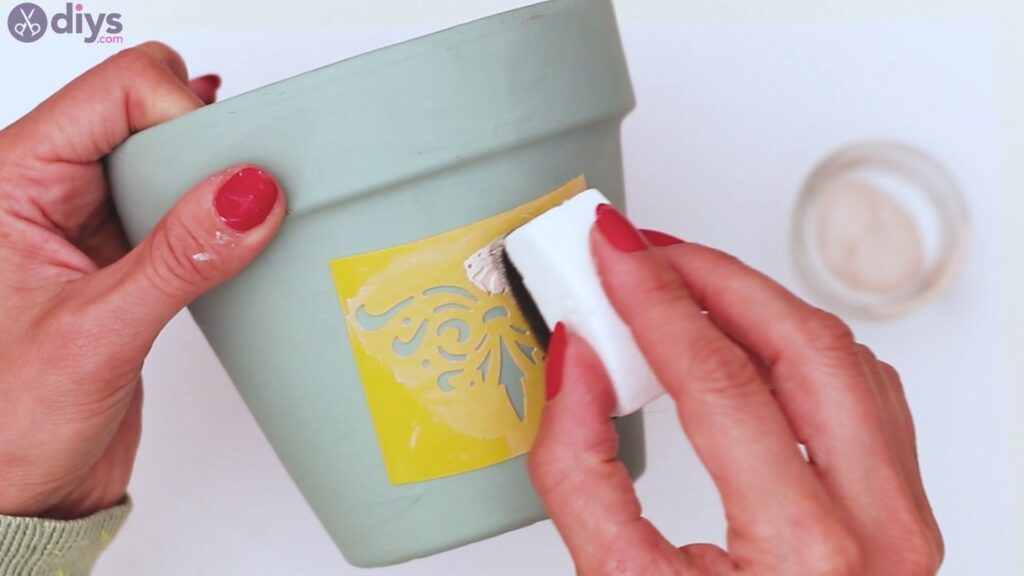
Get thewhite acrylic paintand thesponge.Dip the sponge in the white paint and start pressing the sponge into the stencil. You want to do this slowly and carefully in such a way that you do not get paint beyond the stencil.


Go slowly and layer out the paint on the stencil. Once more, be careful with the sponge.

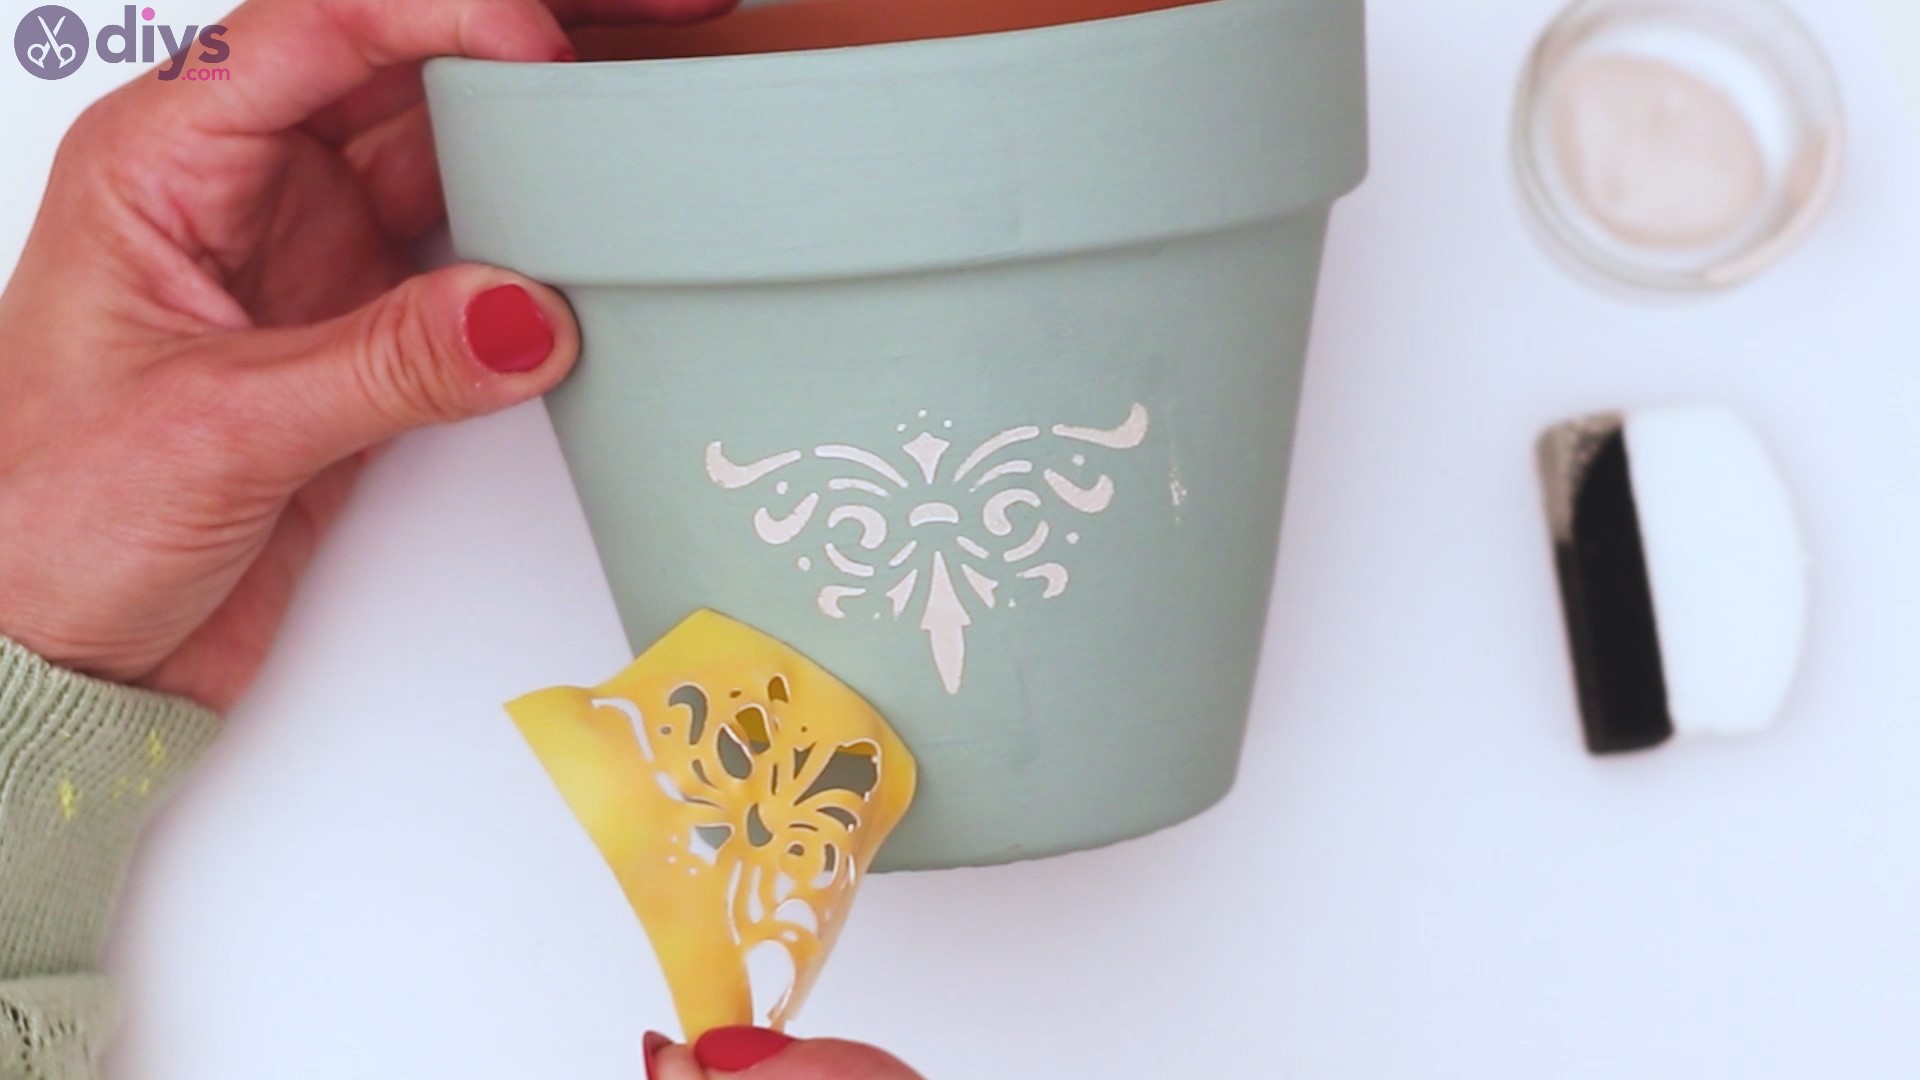
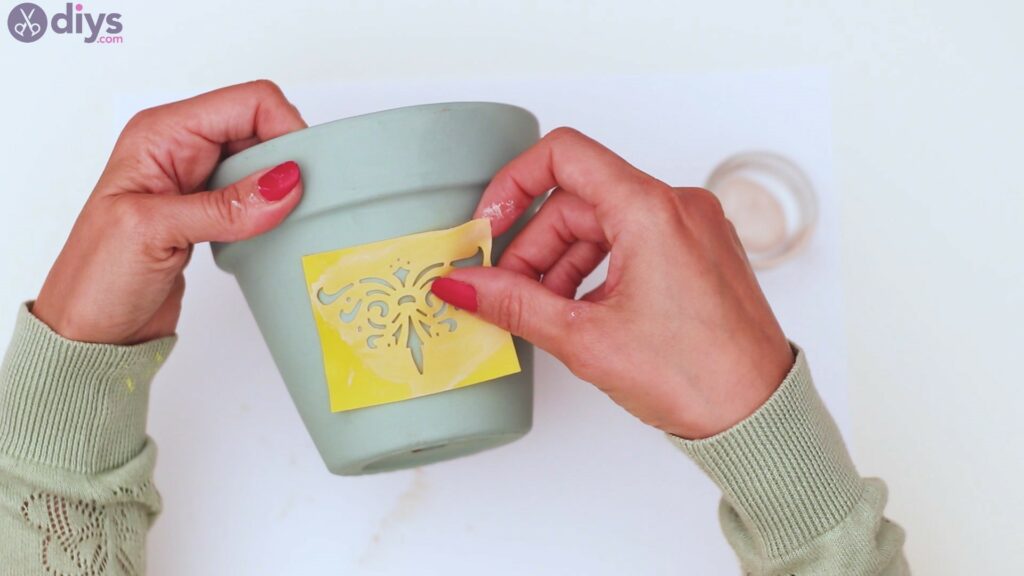
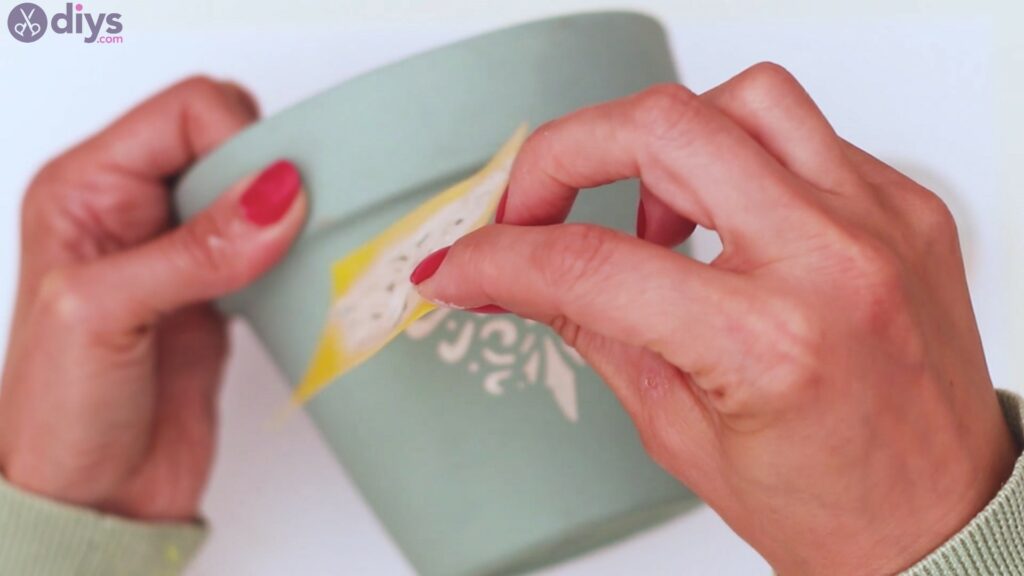
Allow the paint a few minutes to dry and then remove the stencil by peeling it back. If you had a different kind of stencil and you set it down with paper tape, slowly remove the tapes.

Repeat the process on the other side of the pot as well. Carefully place the stencil on the pot once more.
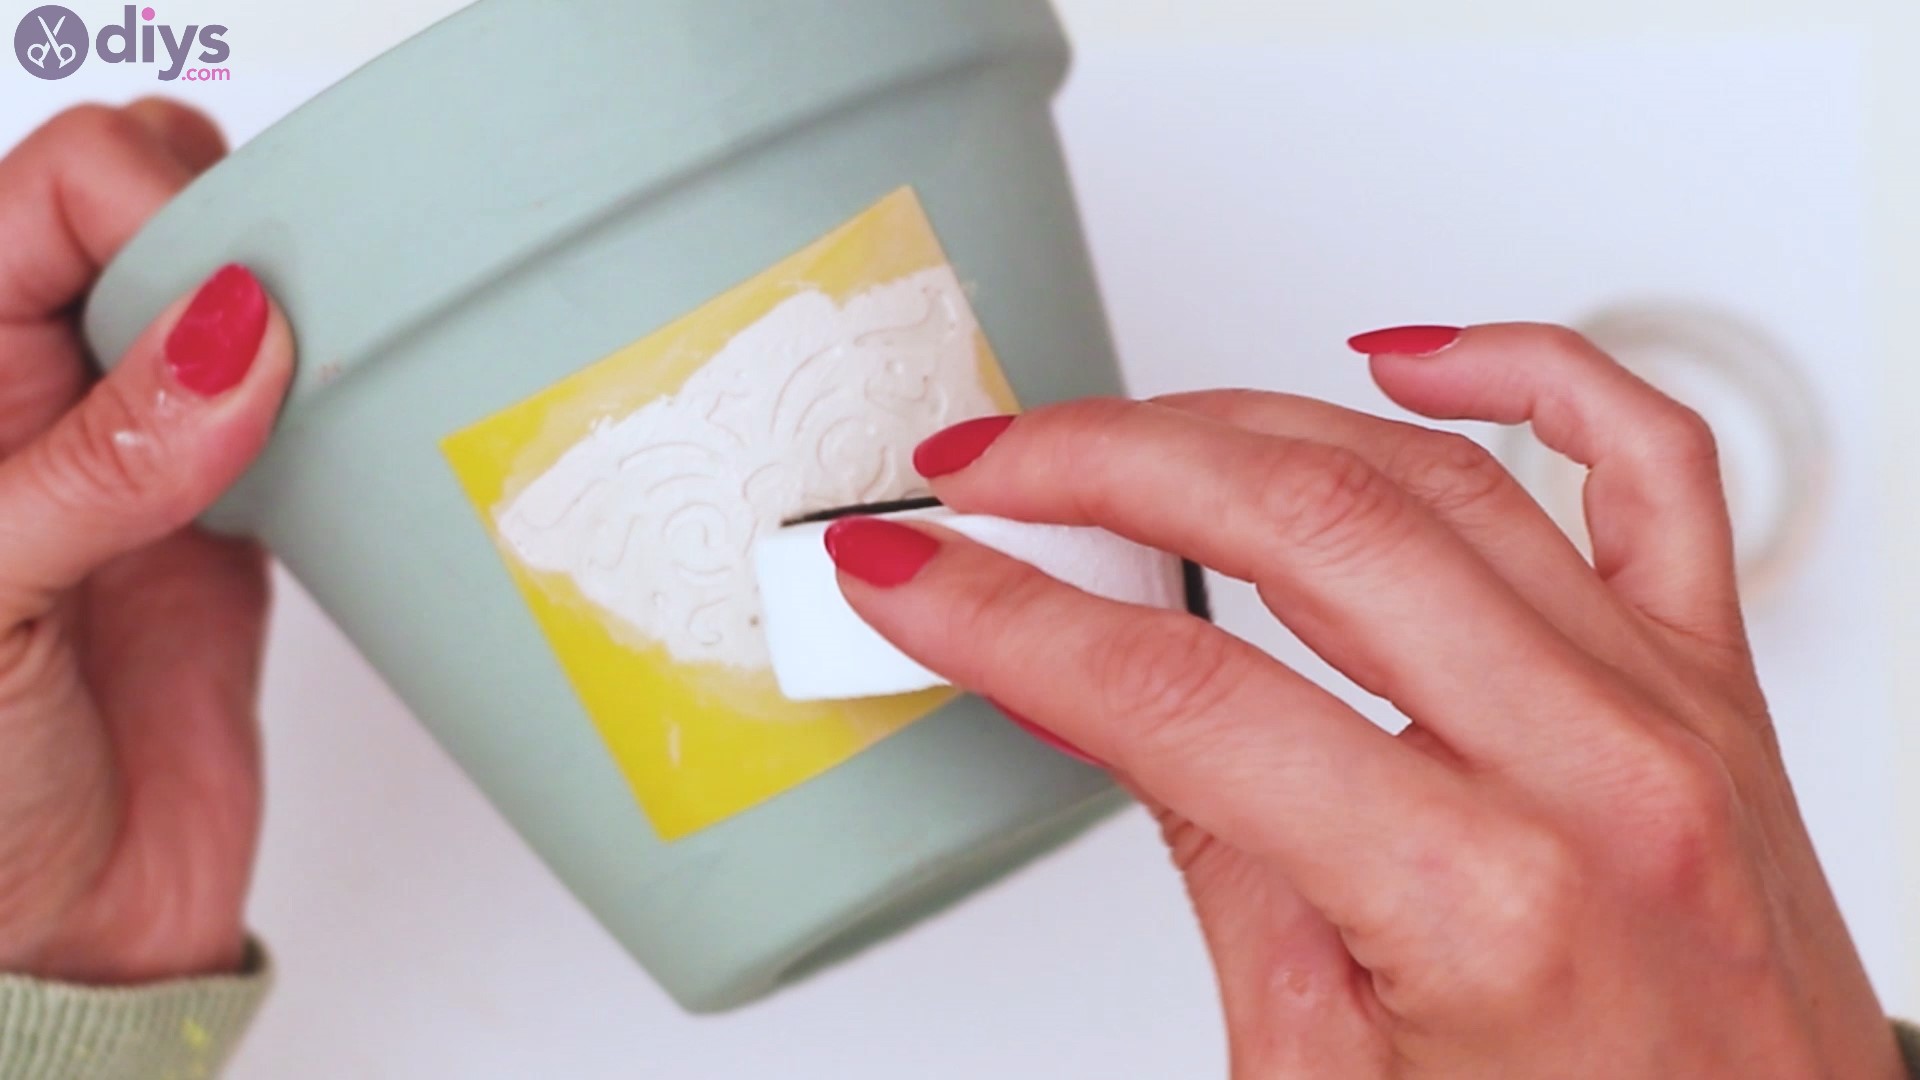
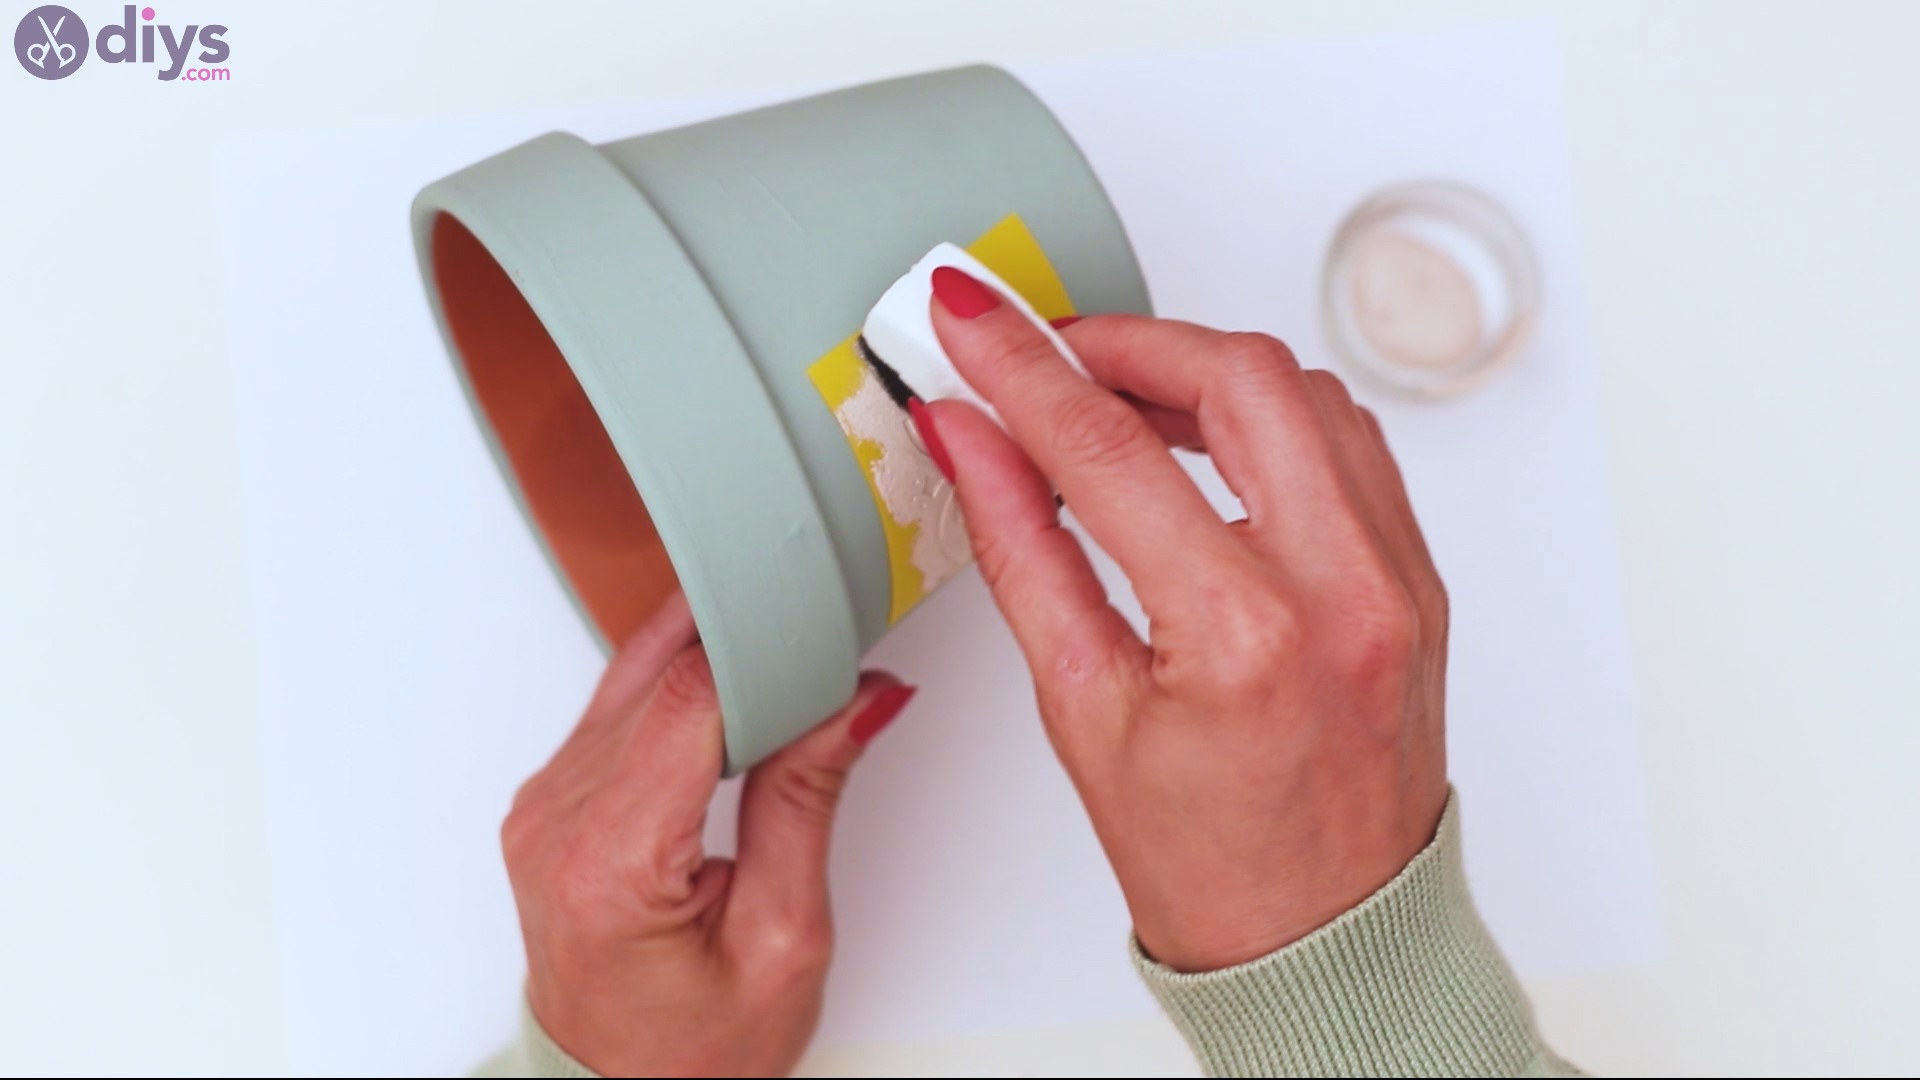
Carefully spread the paint with the help of the sponge.
Go slowly so you don’t make any major mistakes. Smaller mistakes are easy to overlook or fix, but you don’t want too much paint beyond the stencil’s borders.

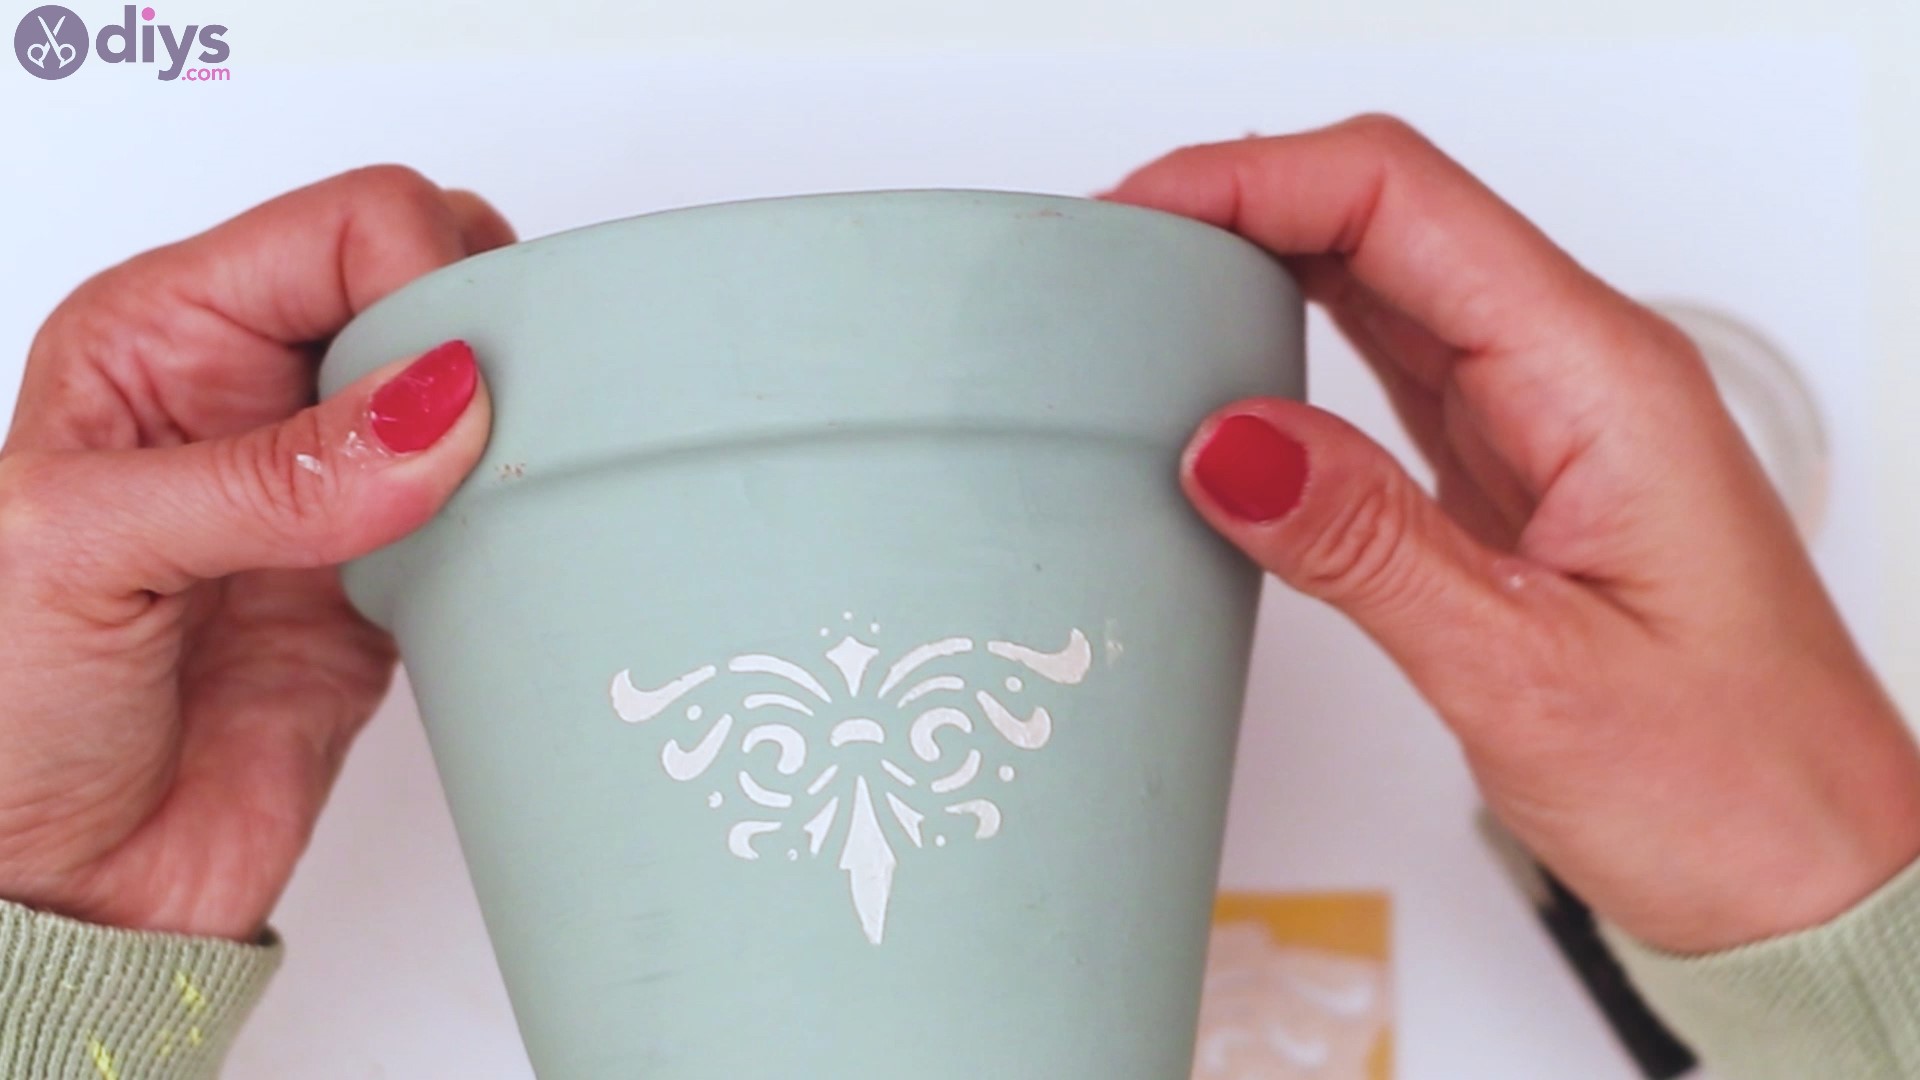
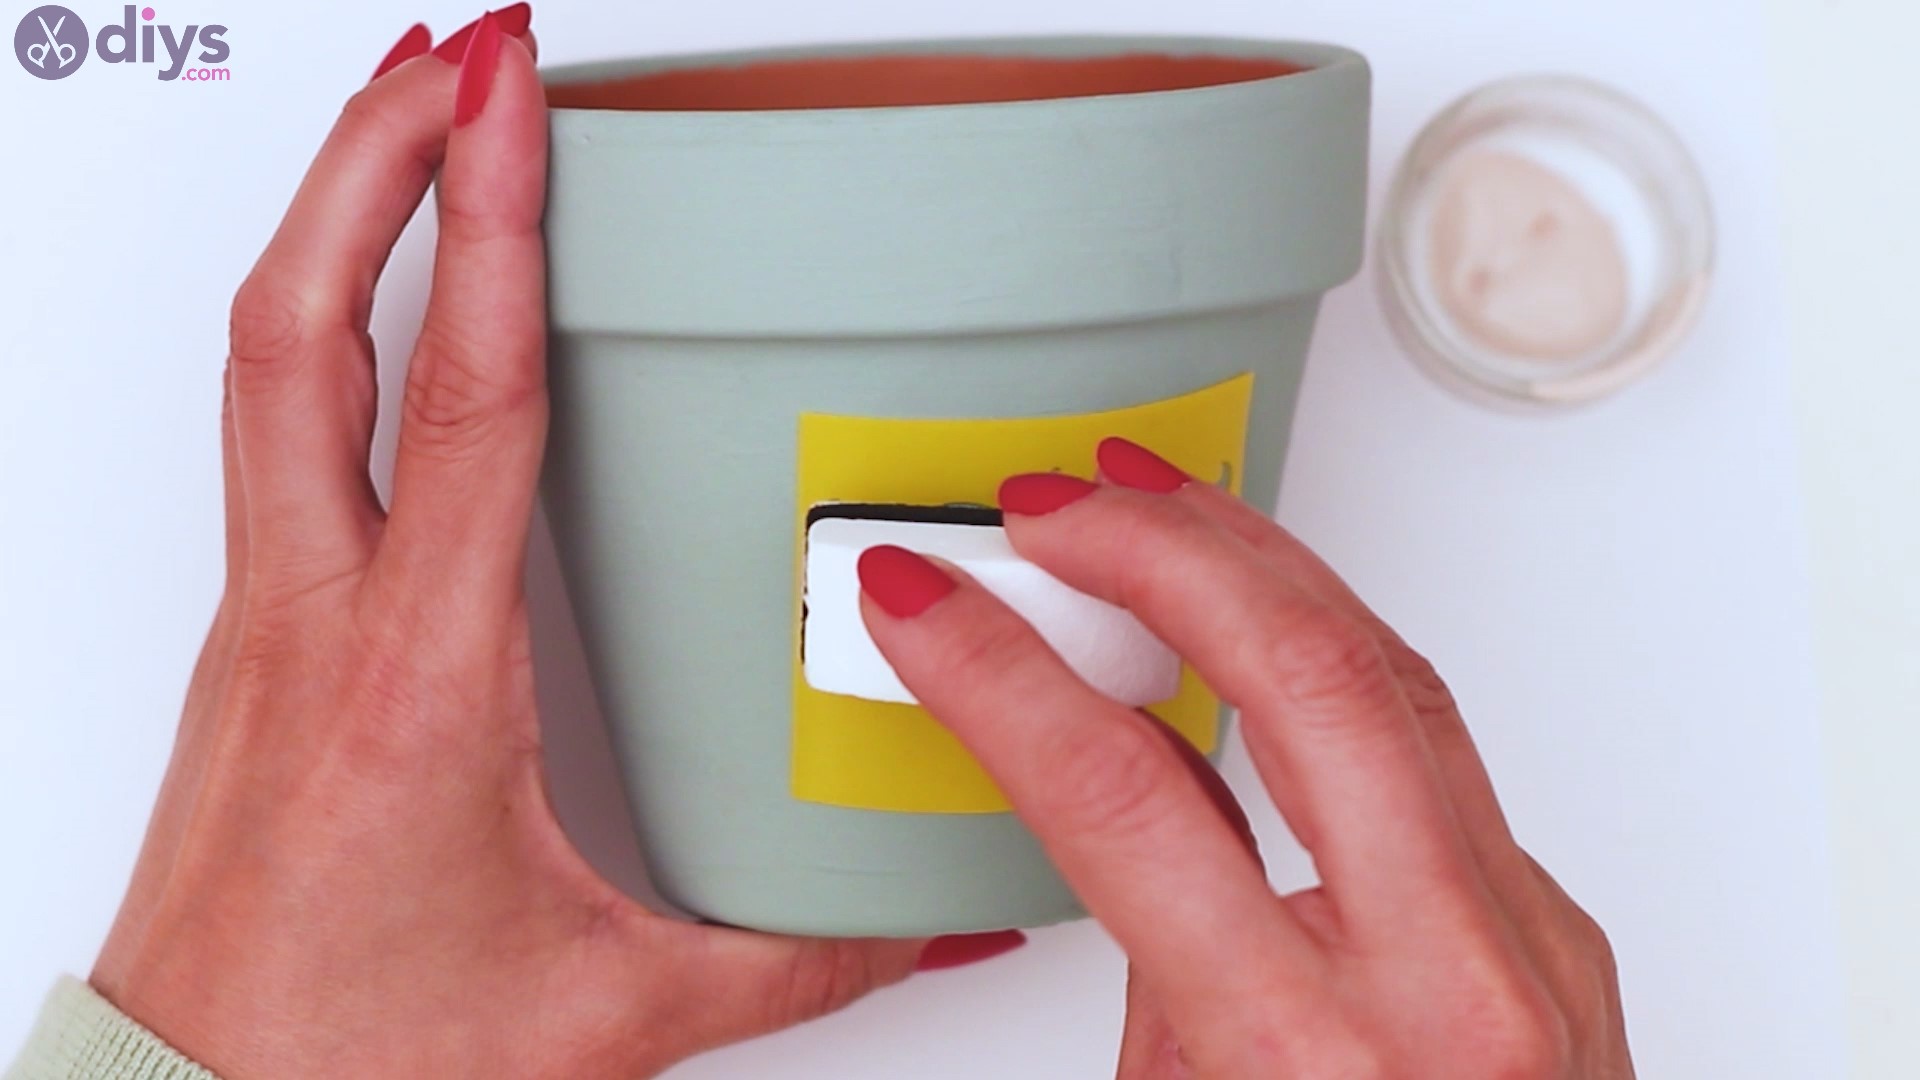
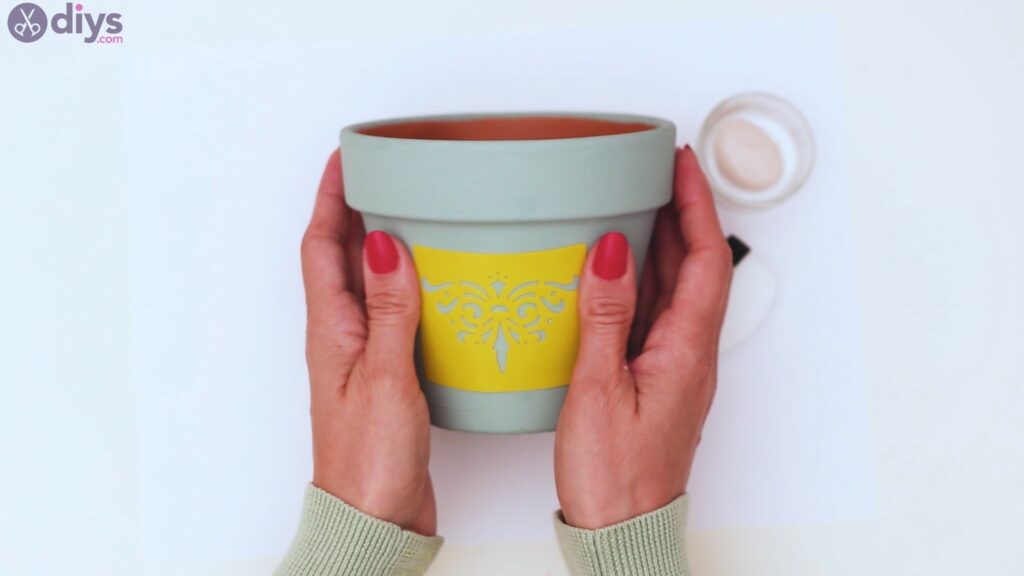
Remove the stencil once the paint has dried a bit. Go slowly.

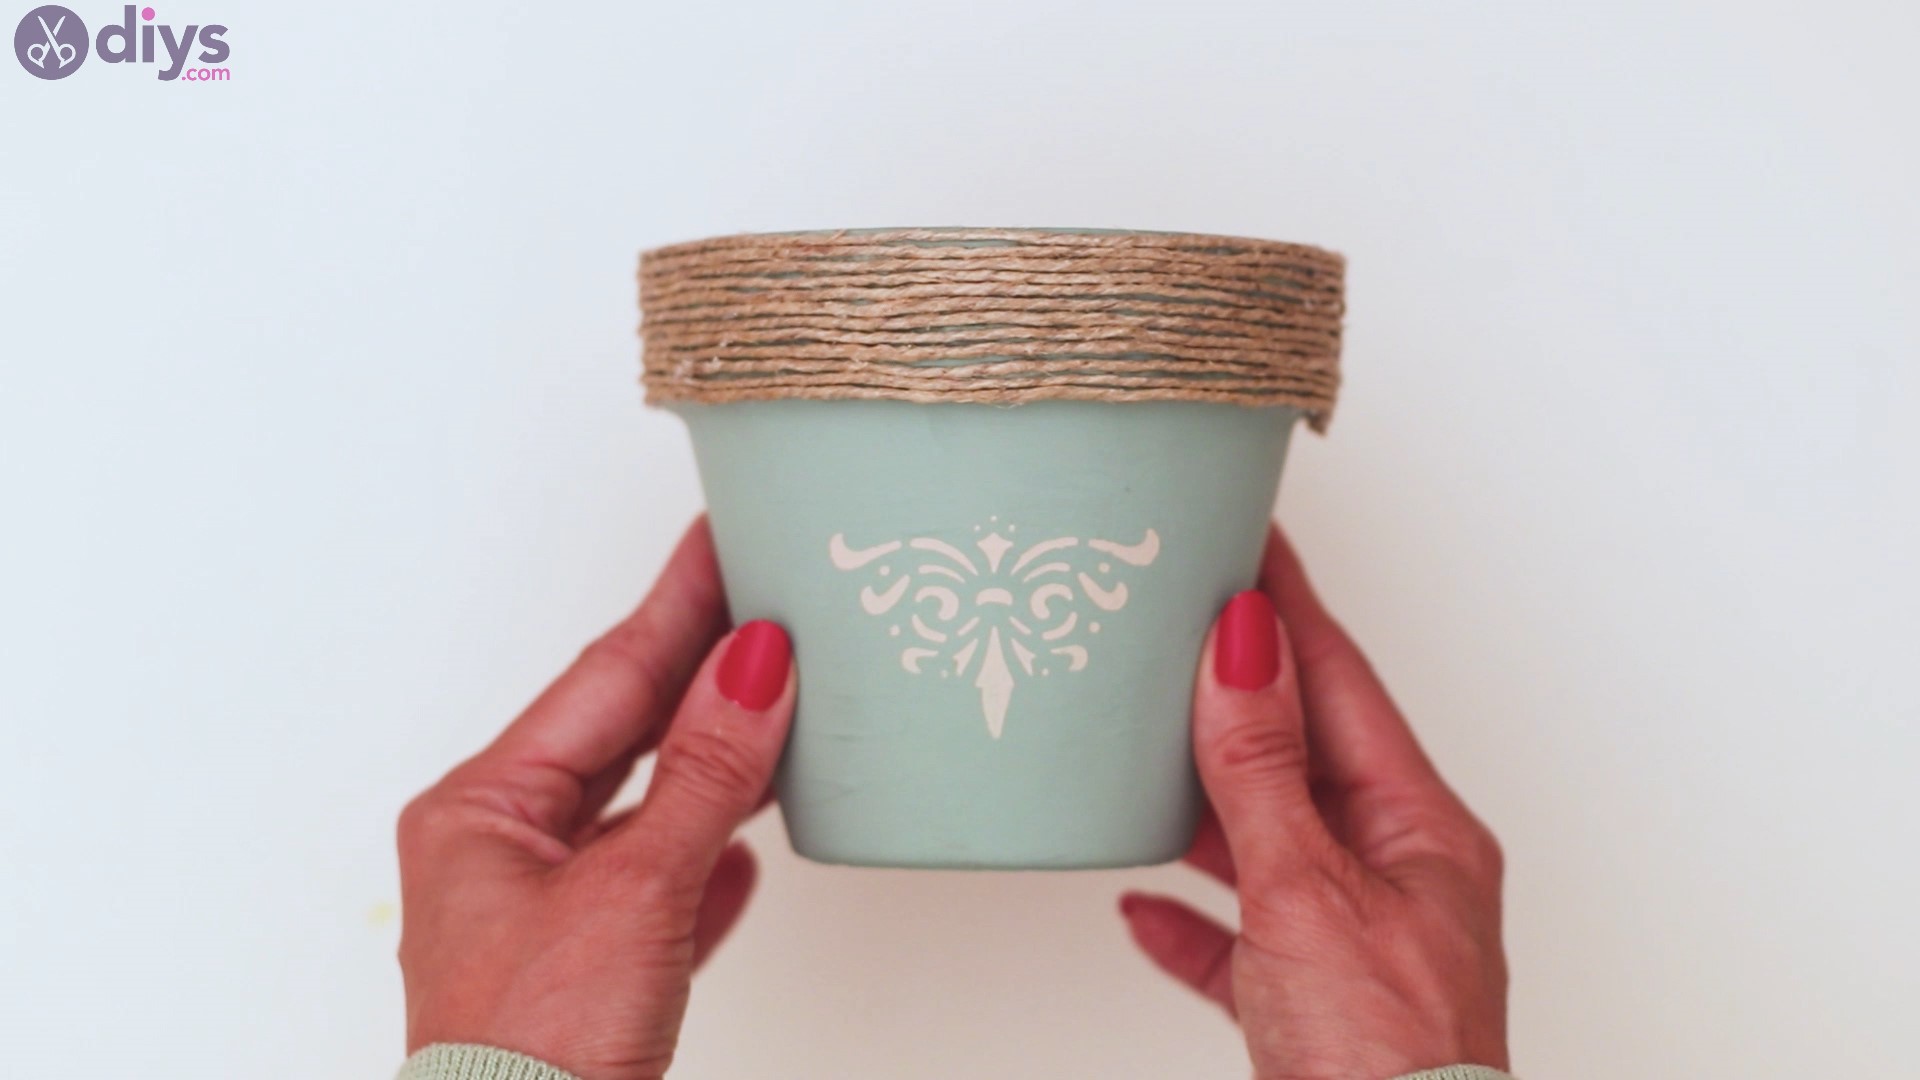
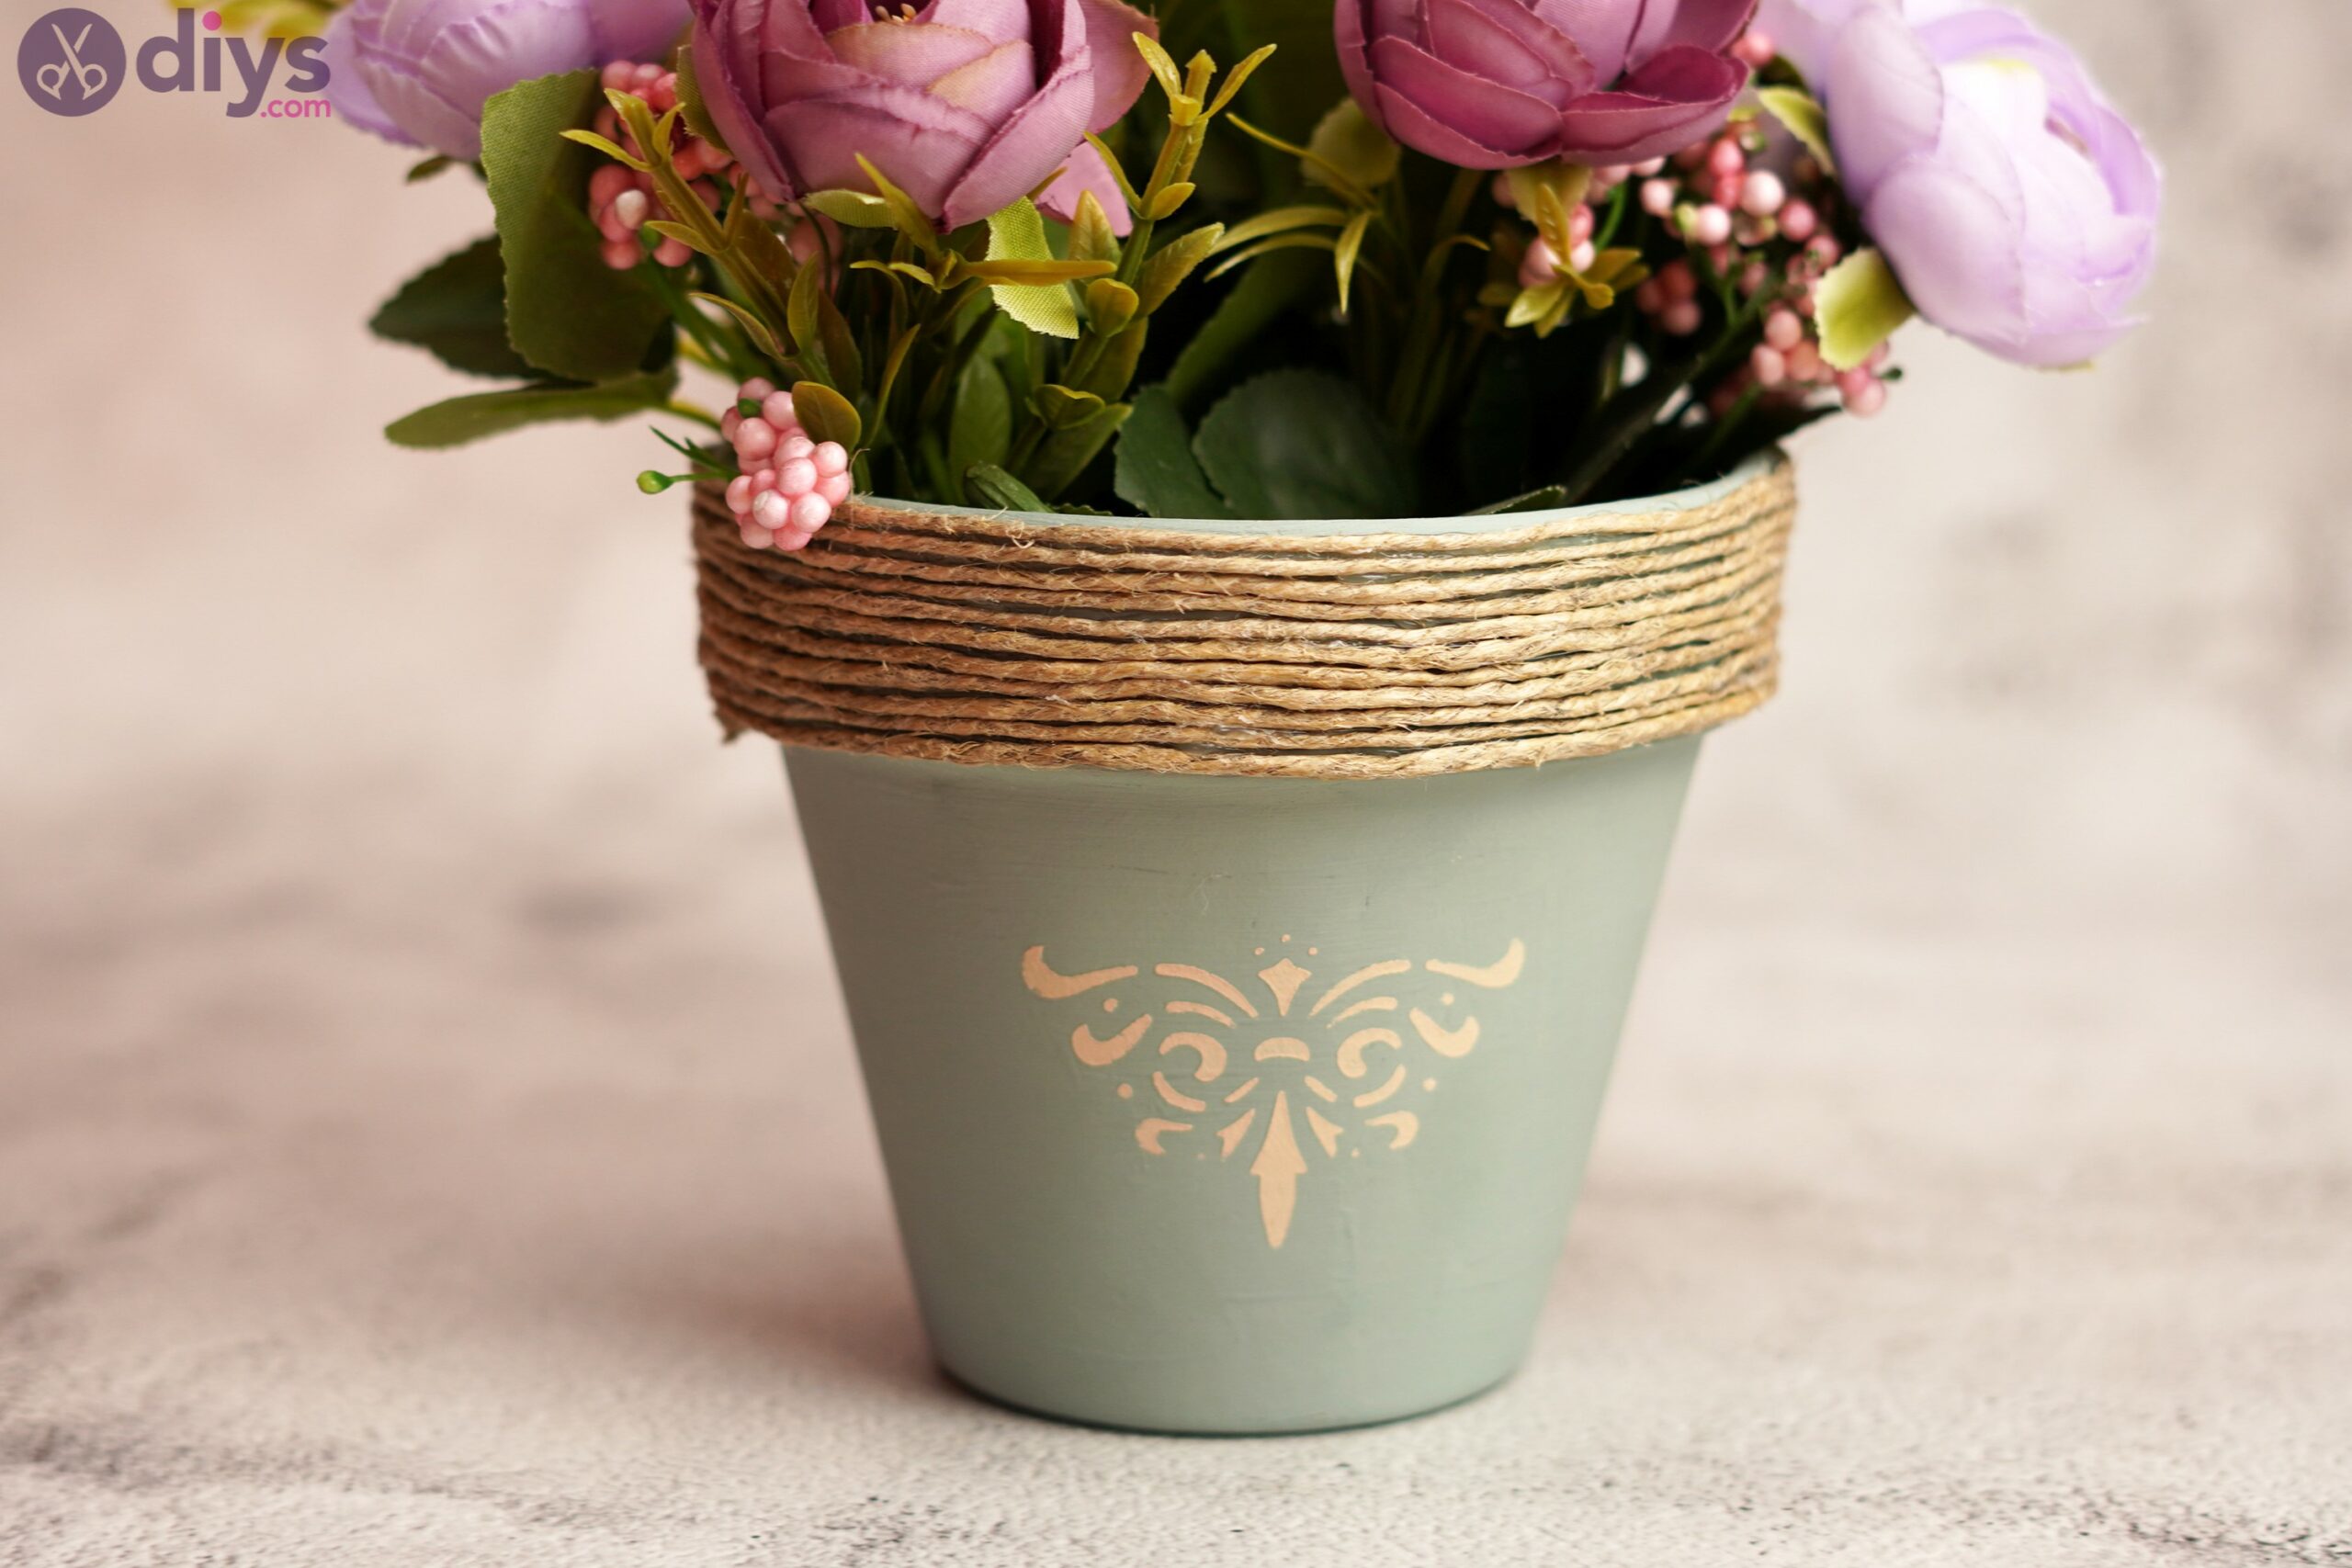
Look how pretty it is! You’ll like displaying this pot now!

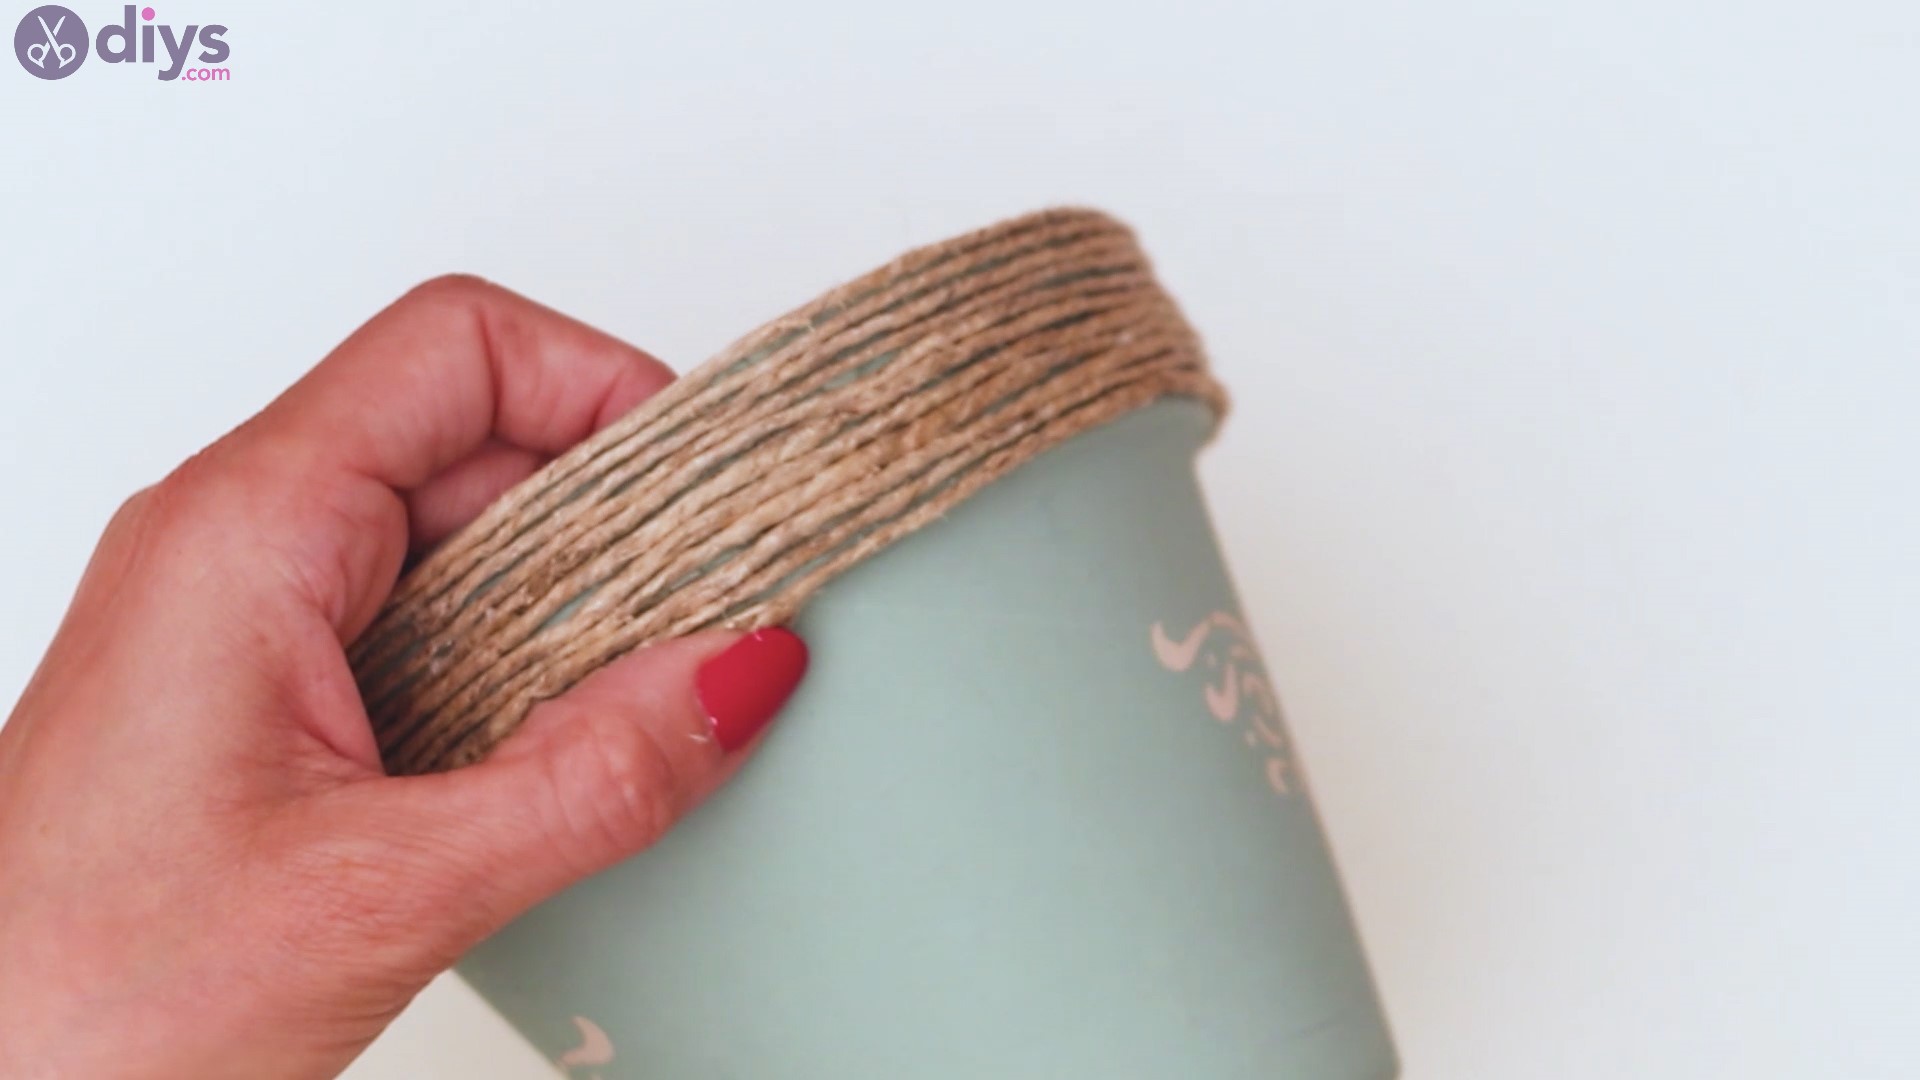
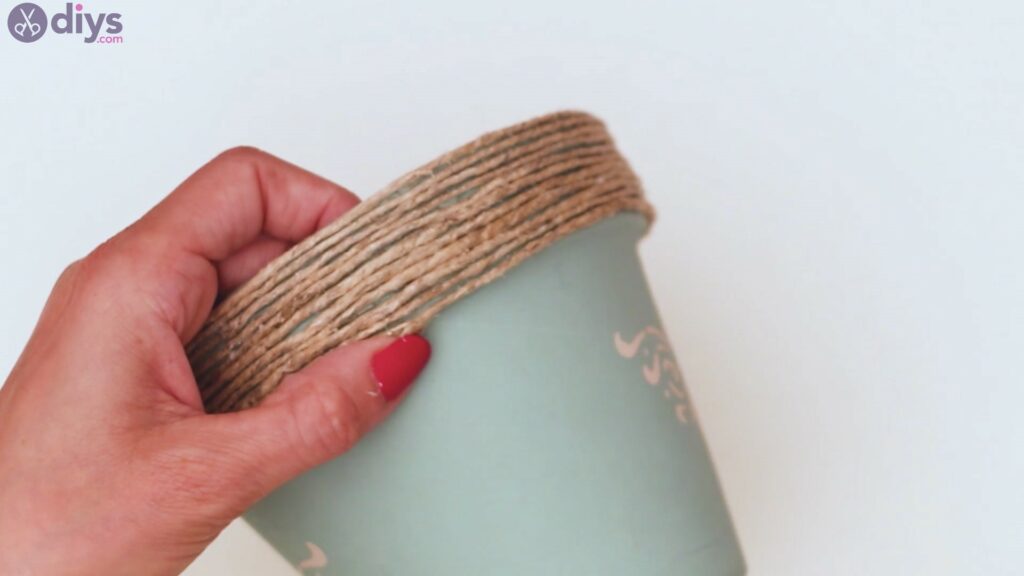
Step 3: Wrap some twine
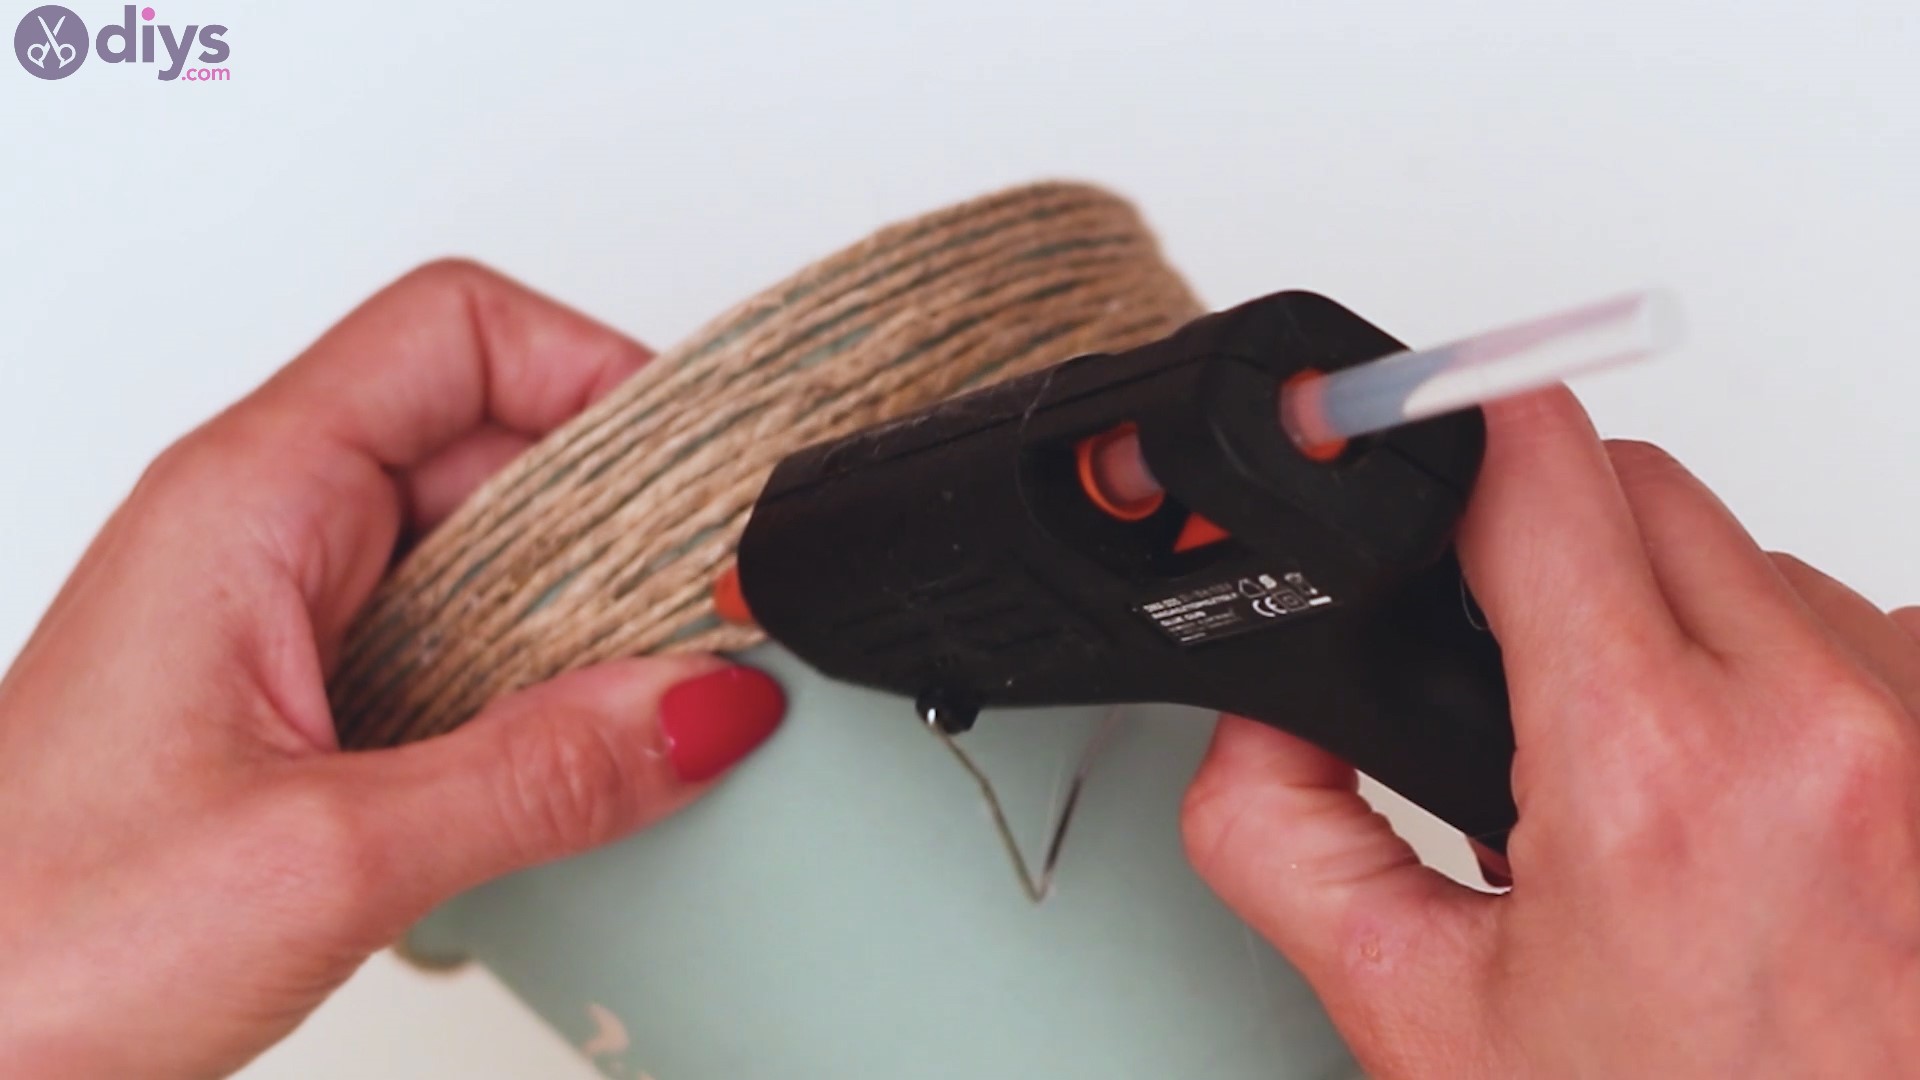
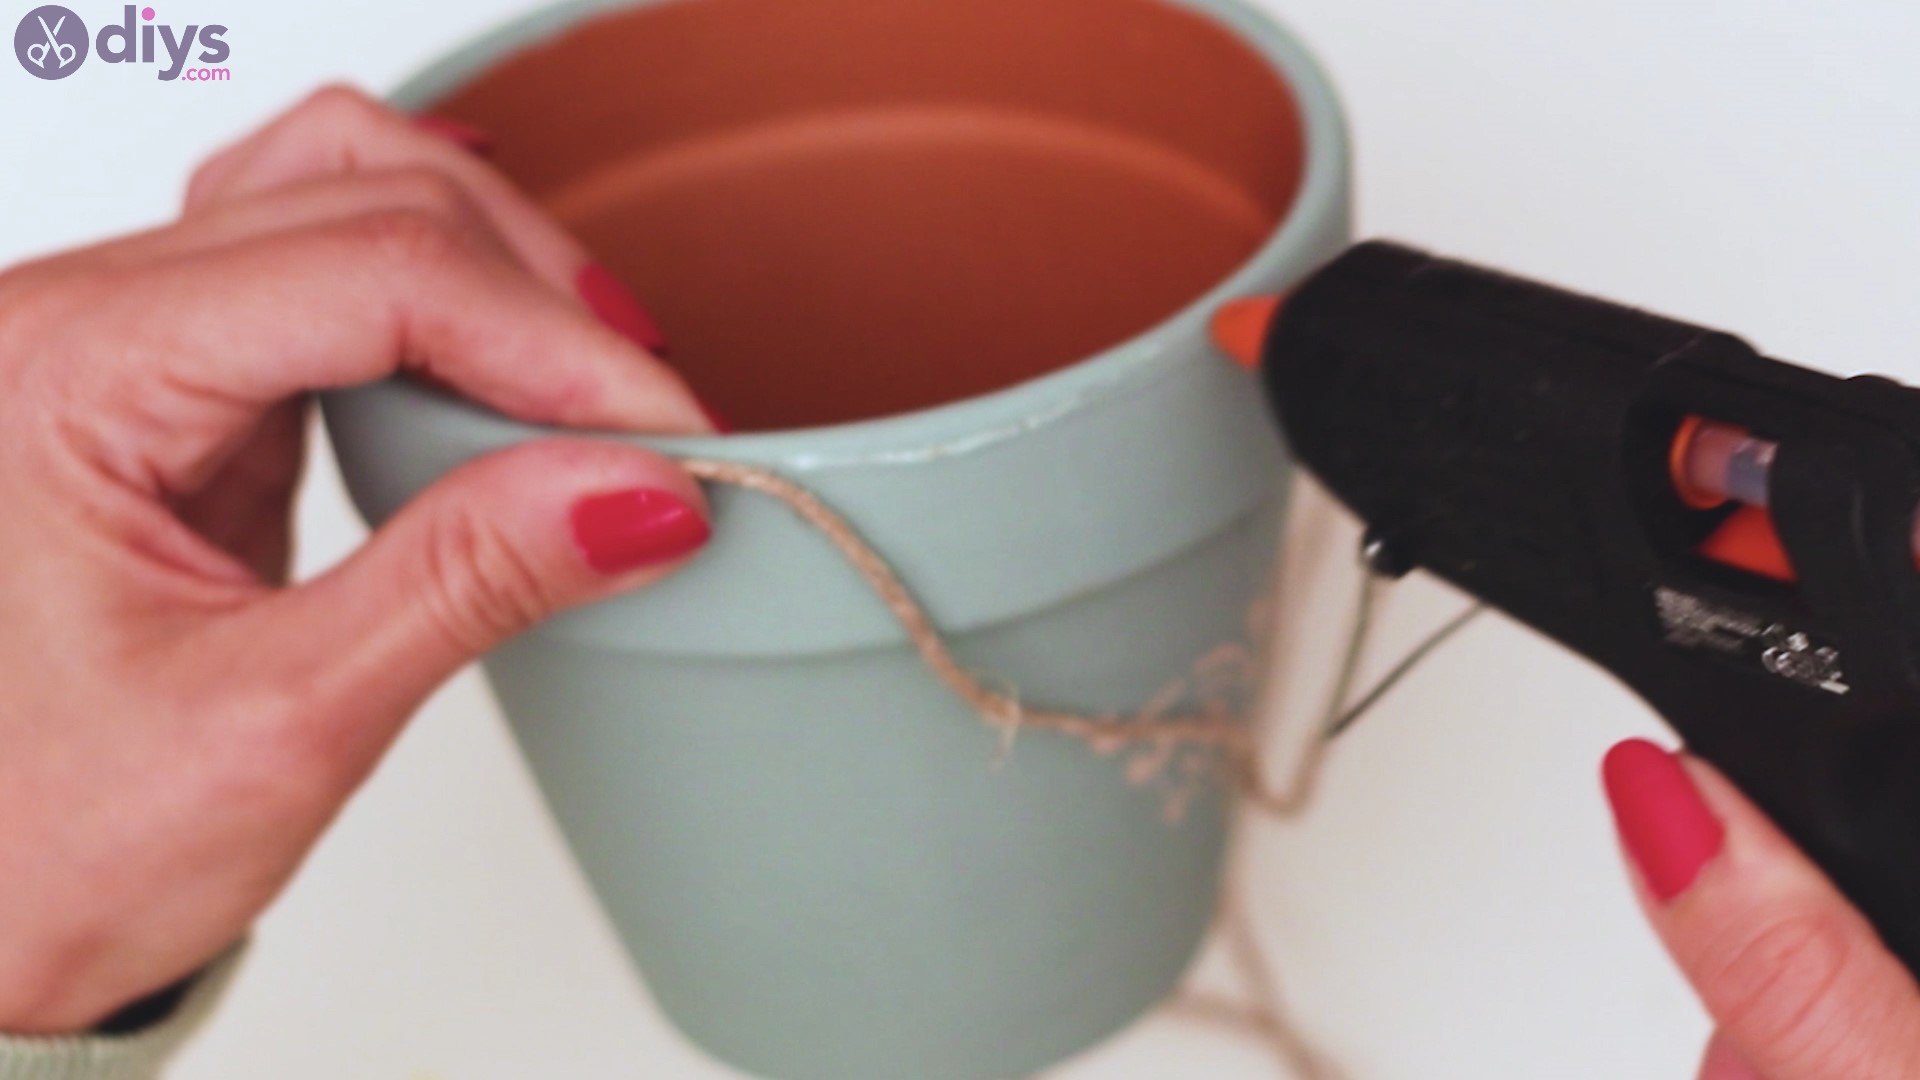
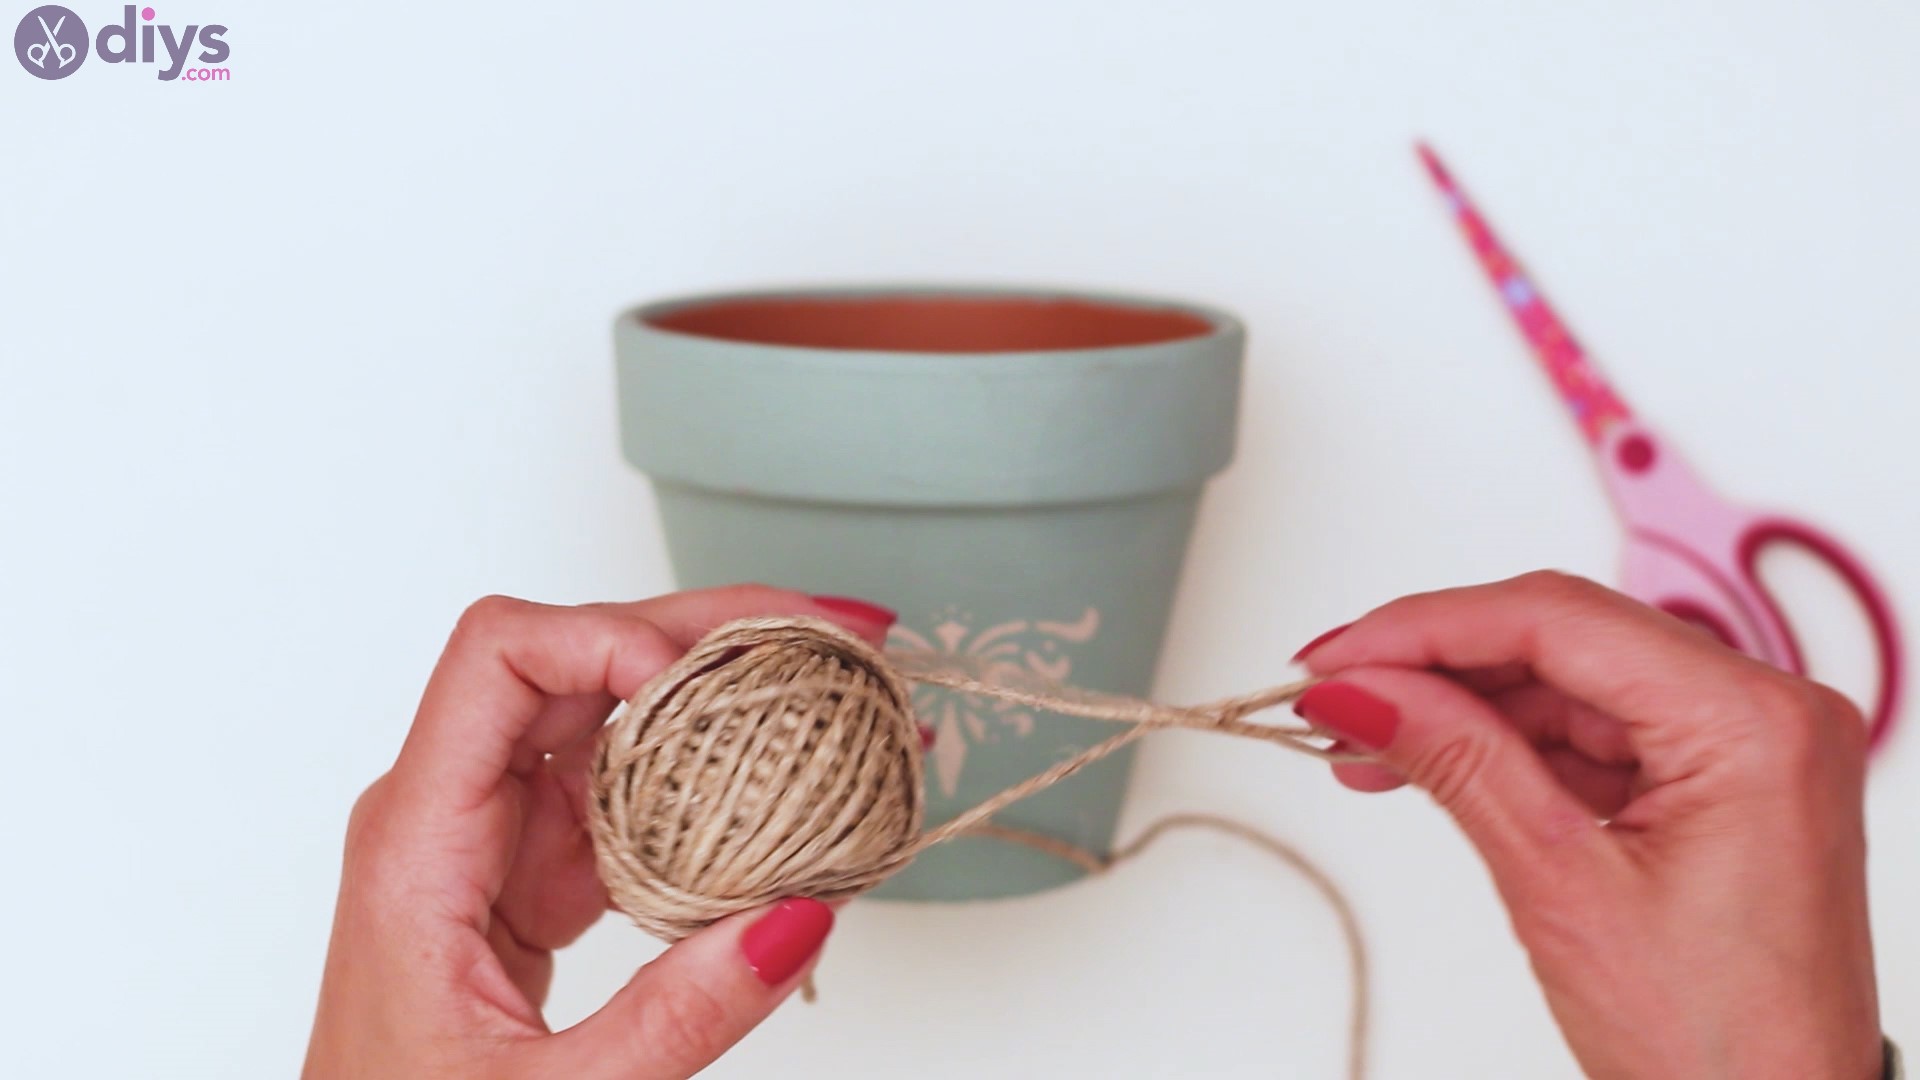
Our rustic painted pot also features some twine. So, get thehemp twineand theglue gun.
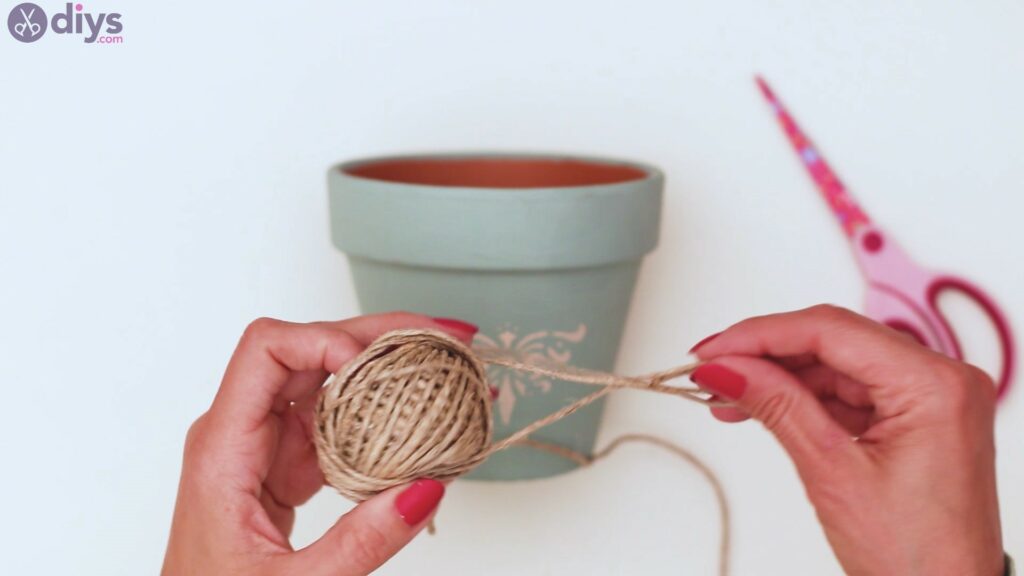
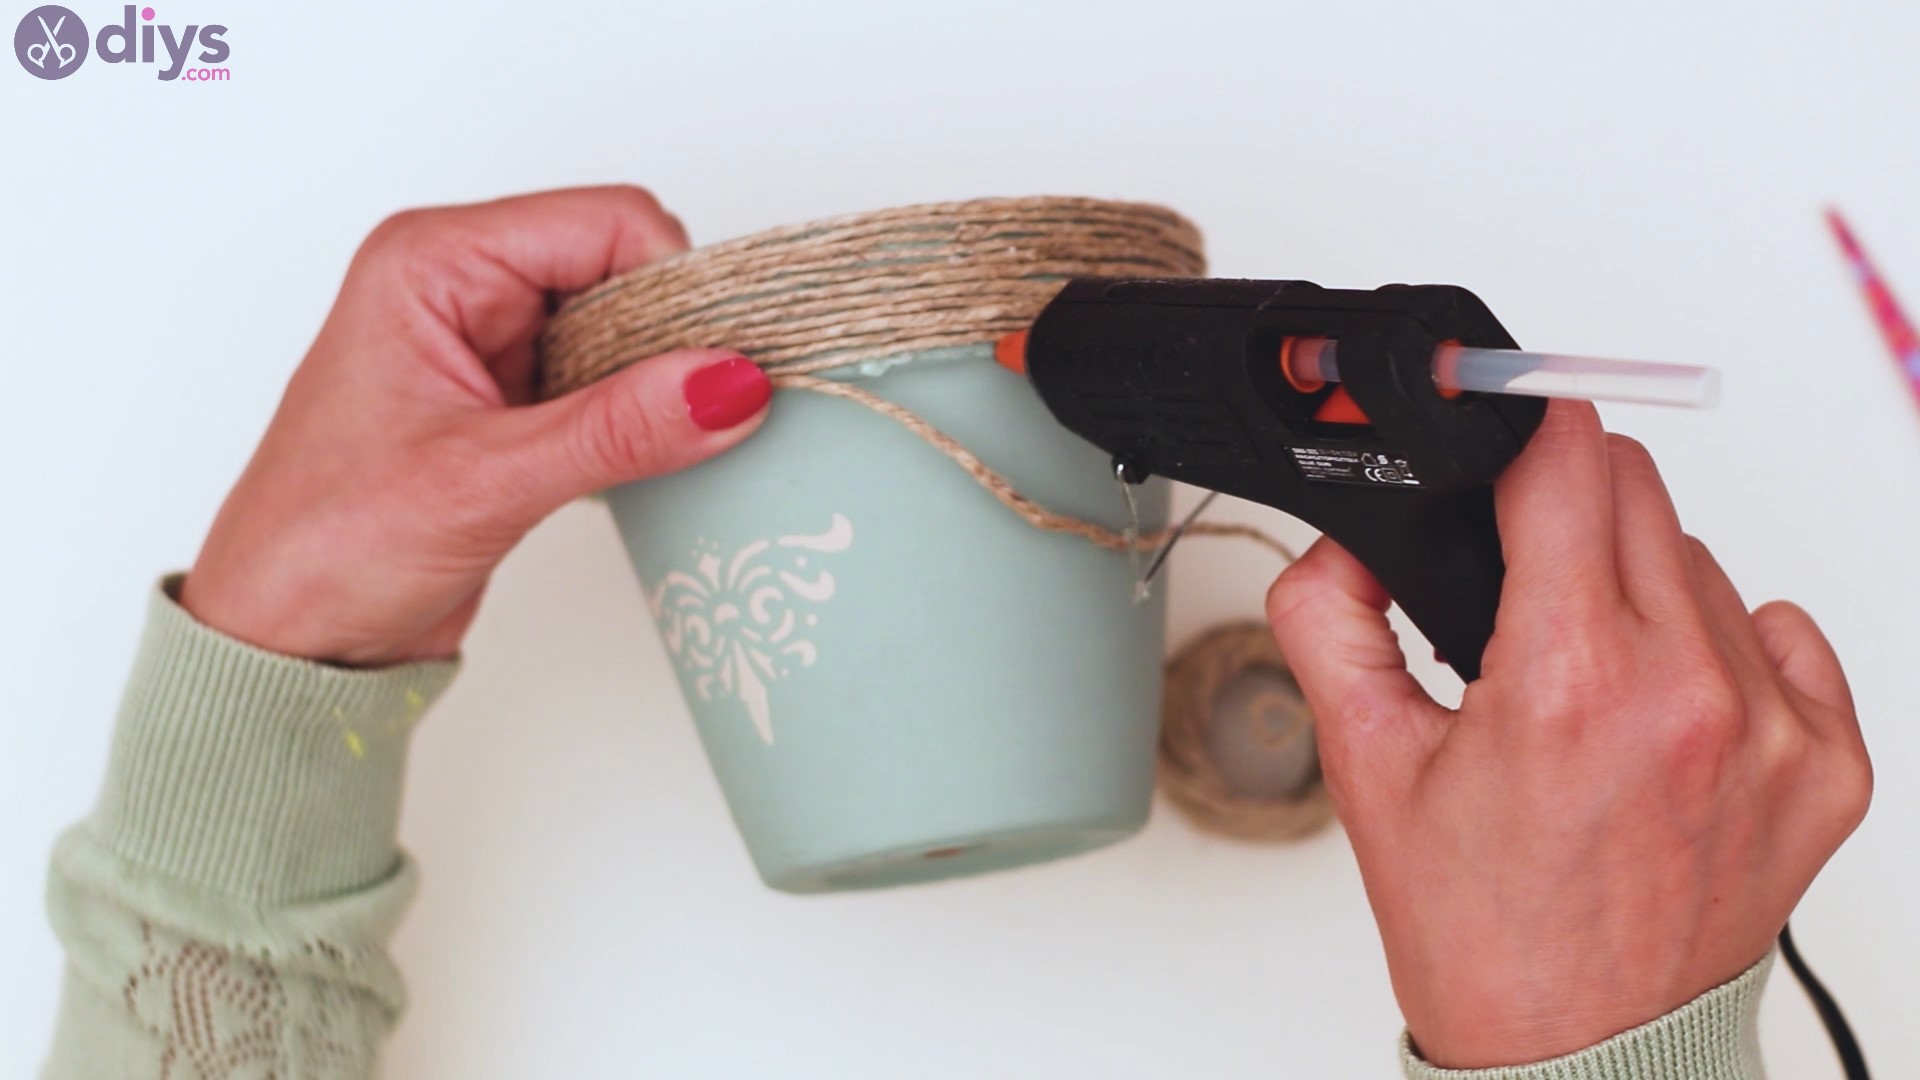
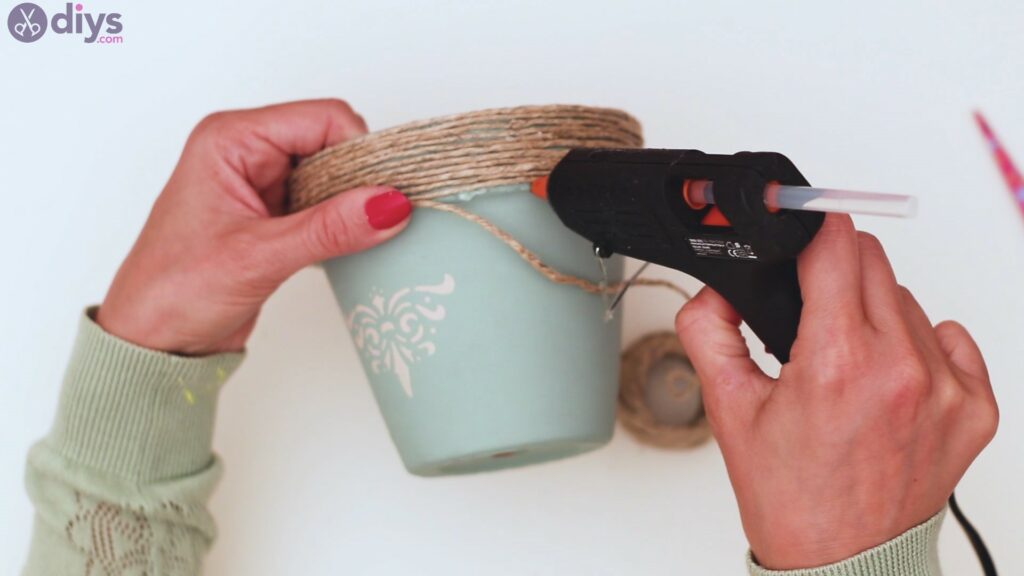
Start by adding a bit of hot glue right on the edge of the pot. Press the twine into the glue and hold it there for a few seconds.

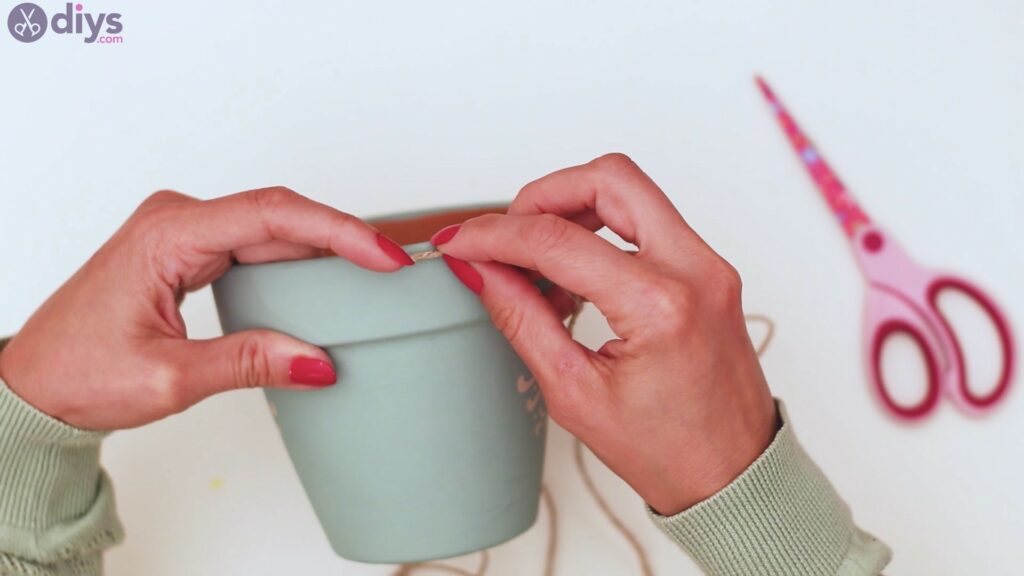
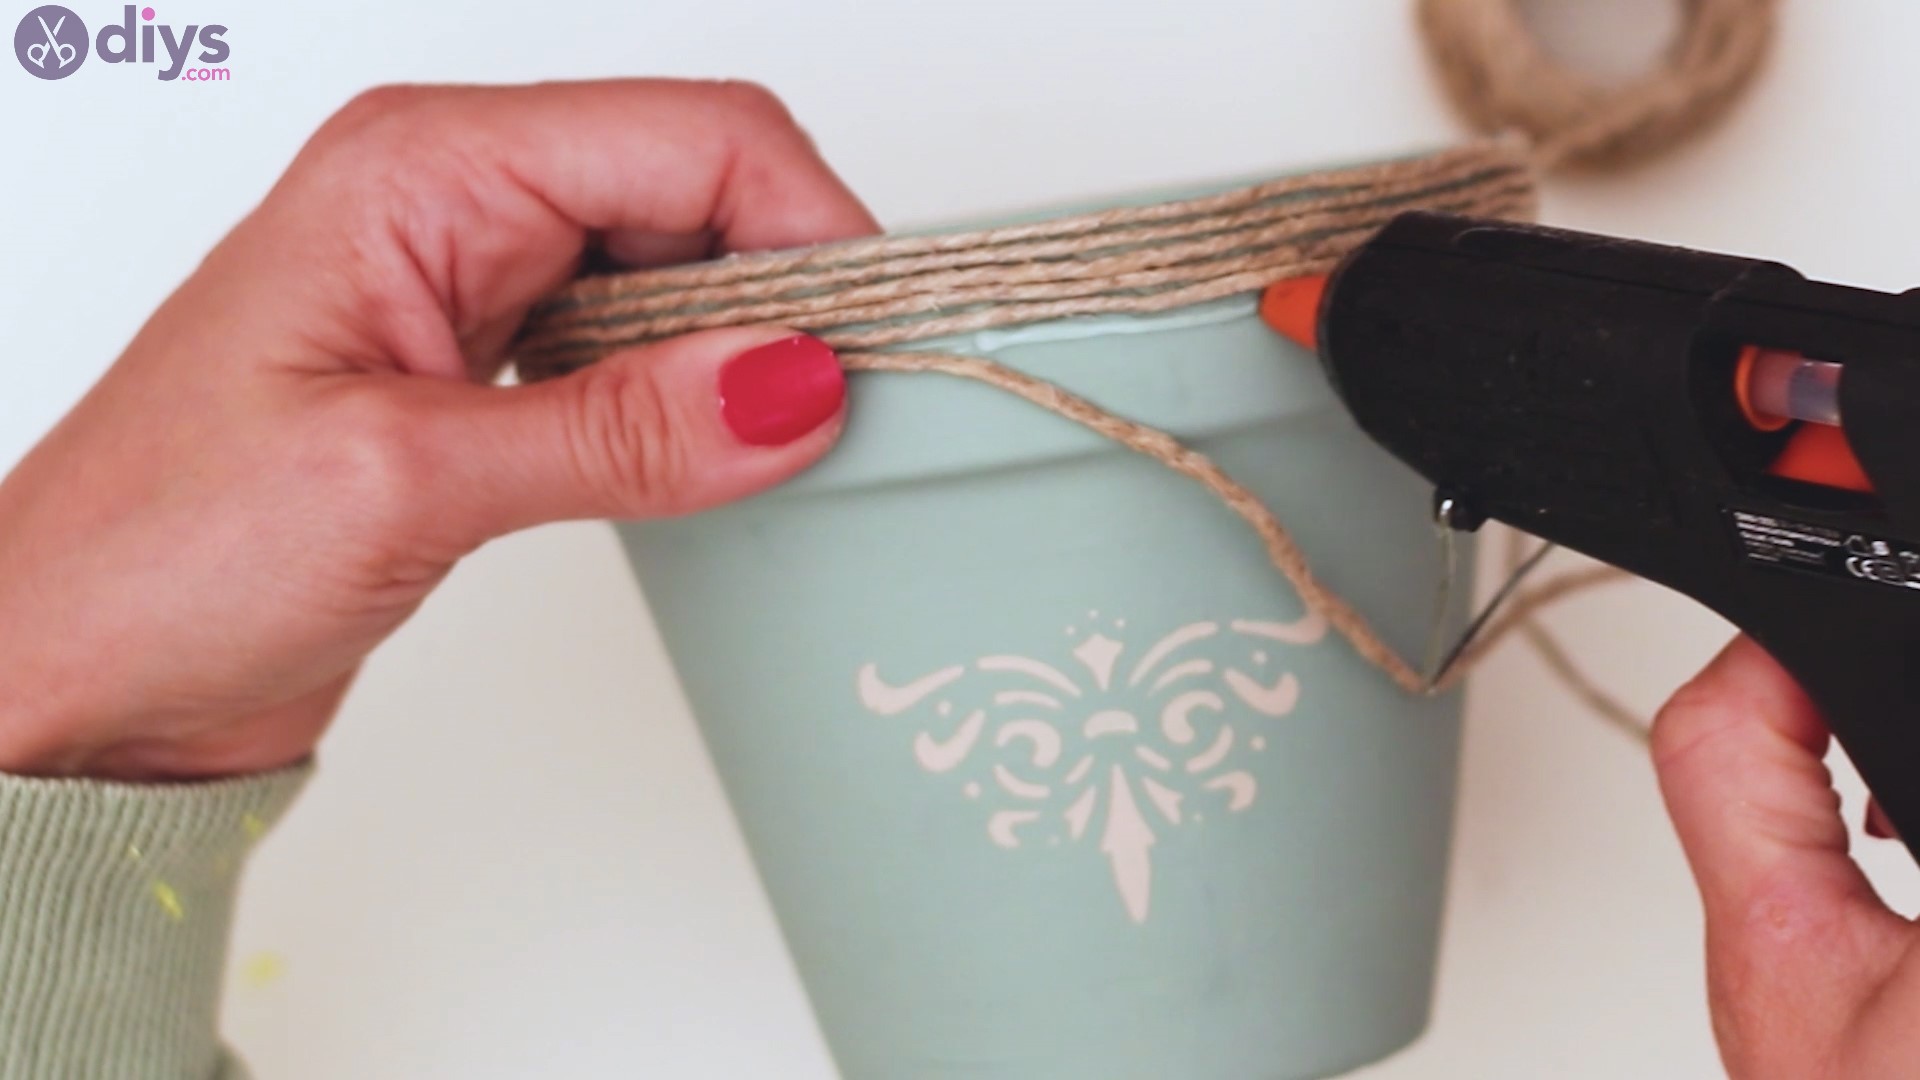
Add some more glue to the very edge of the pot and press the twine into the area.

Go around the pot and make sure the threads are as close as possible when you start making extra rows. We advise you to go slowly and to only apply as much hot glue as necessary here because it dries up pretty fast and you’ll need to scrape globs that are too big.

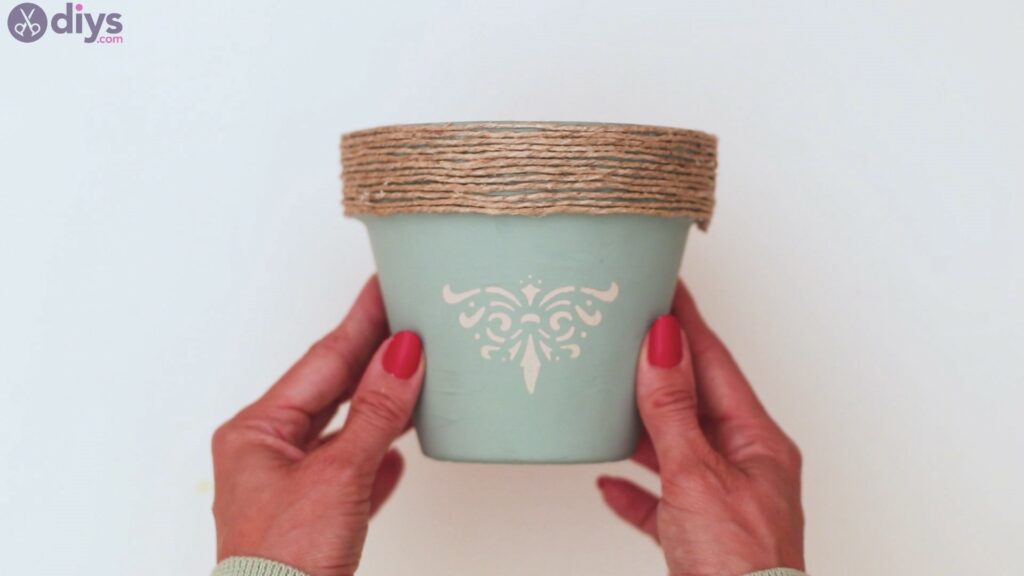
It’s starting to look really pretty with the hemp twine! Keep going!

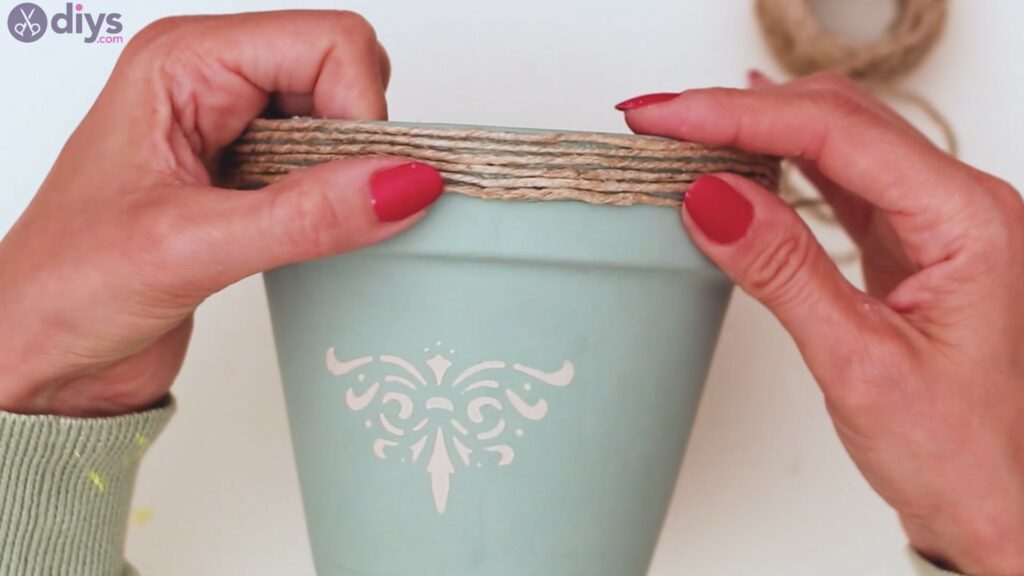
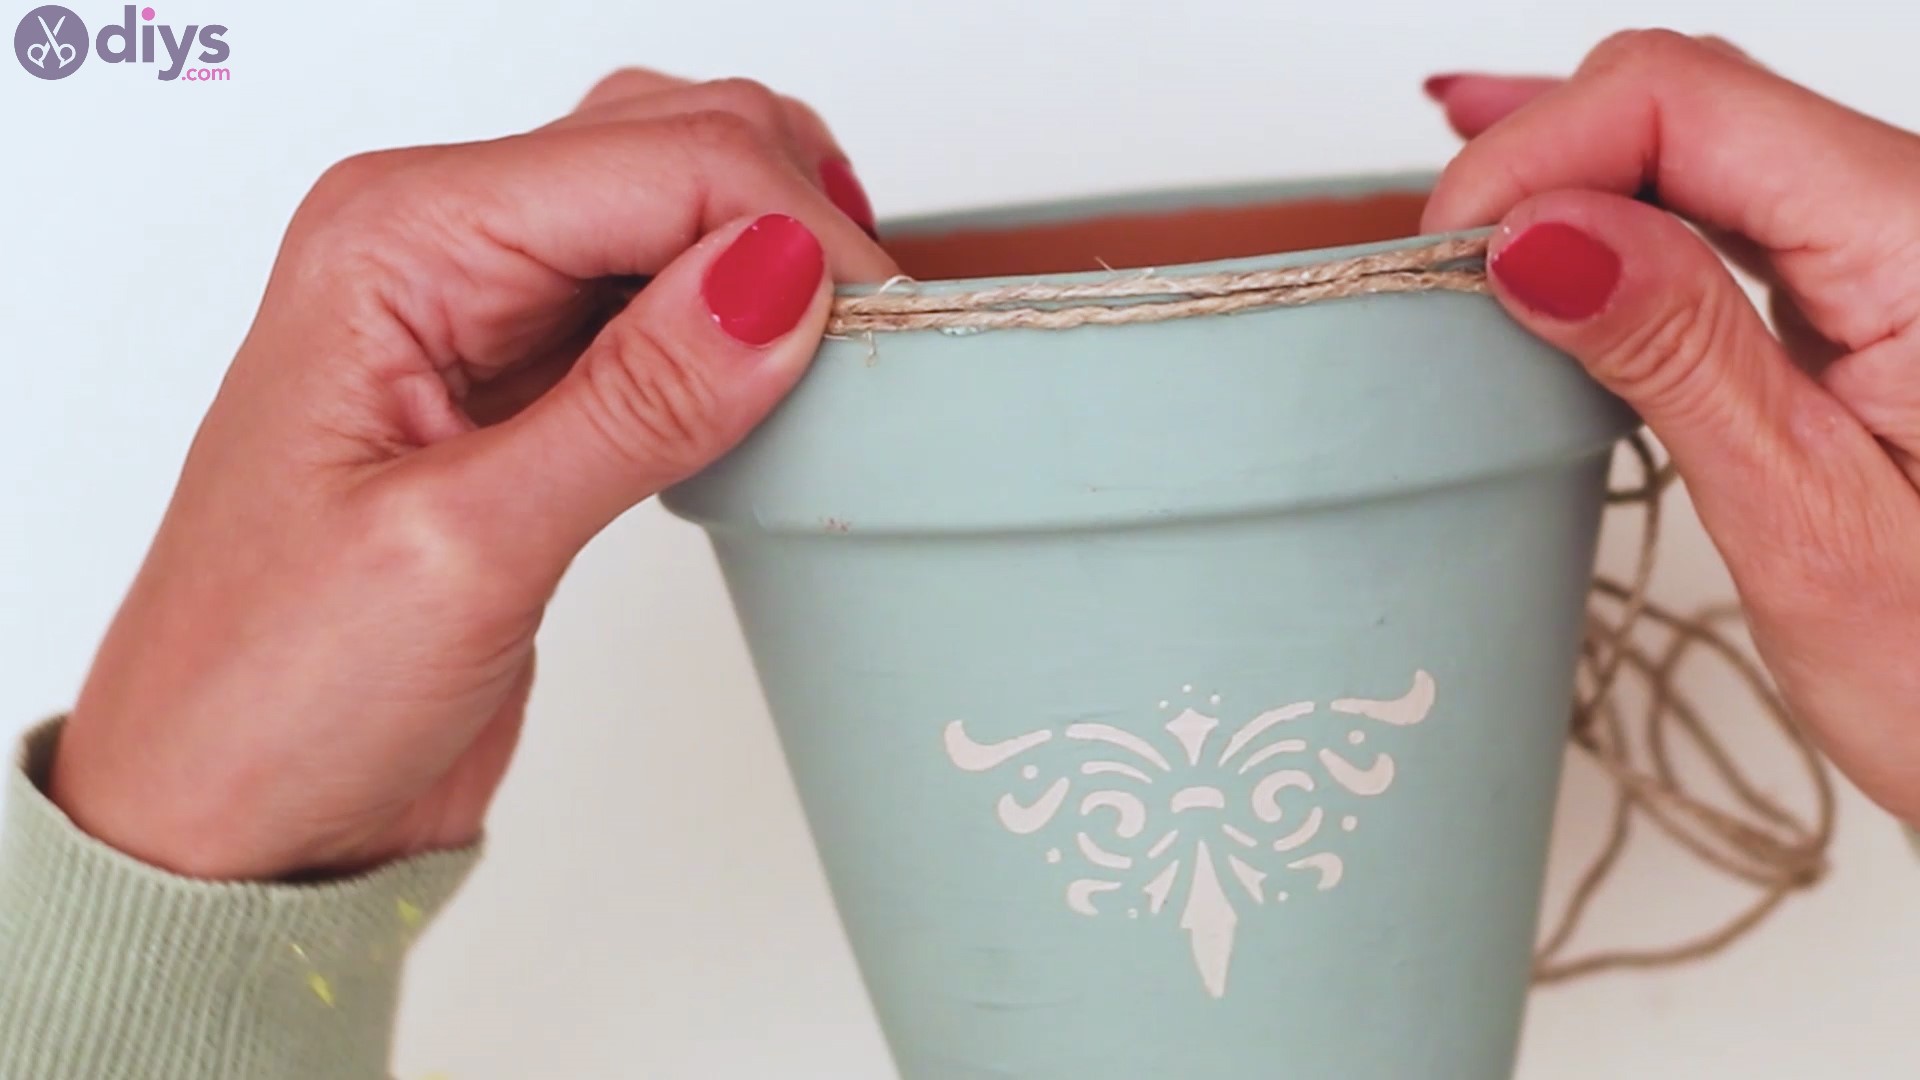
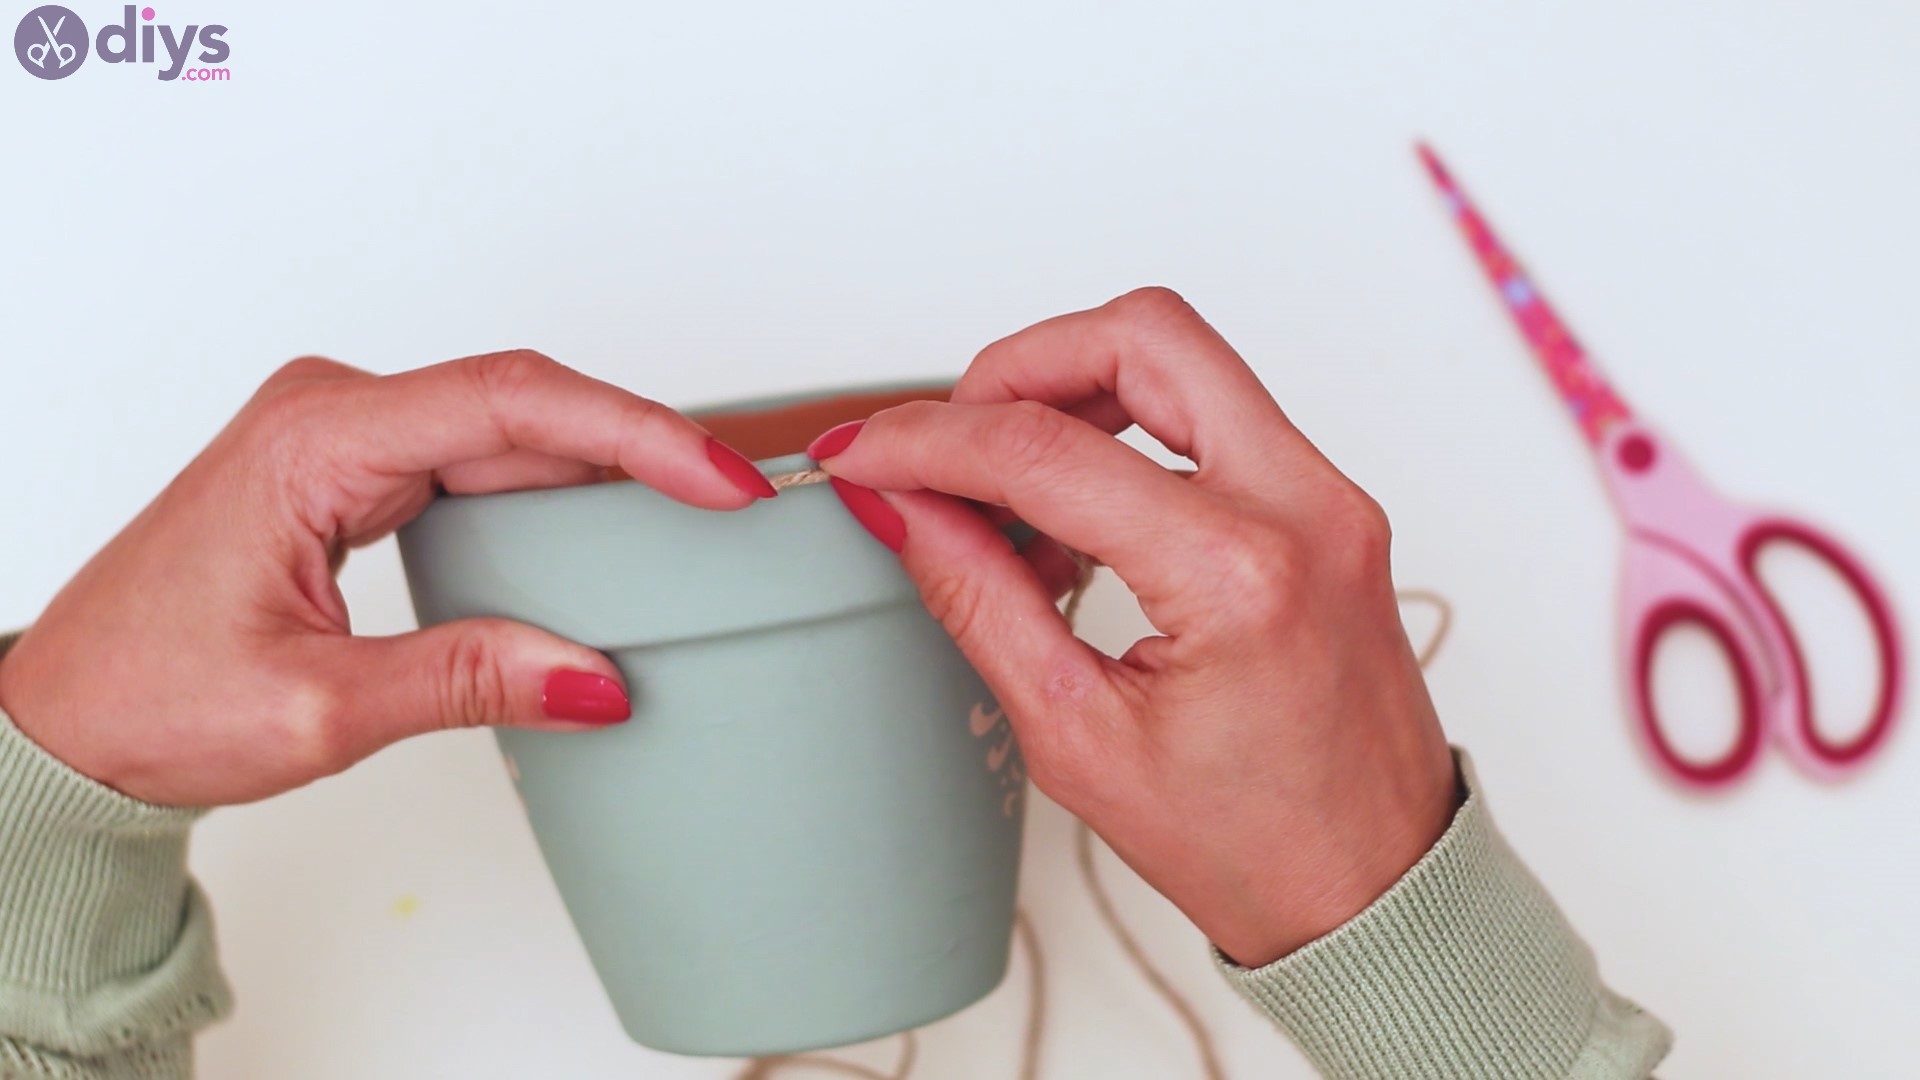
You want the hemp twine to cover the entire upper area of the pot. If you stop midway it will look like it’s an incomplete design. We know the job is not the most glamorous of them all, but it’s going to look beautiful, we promise!
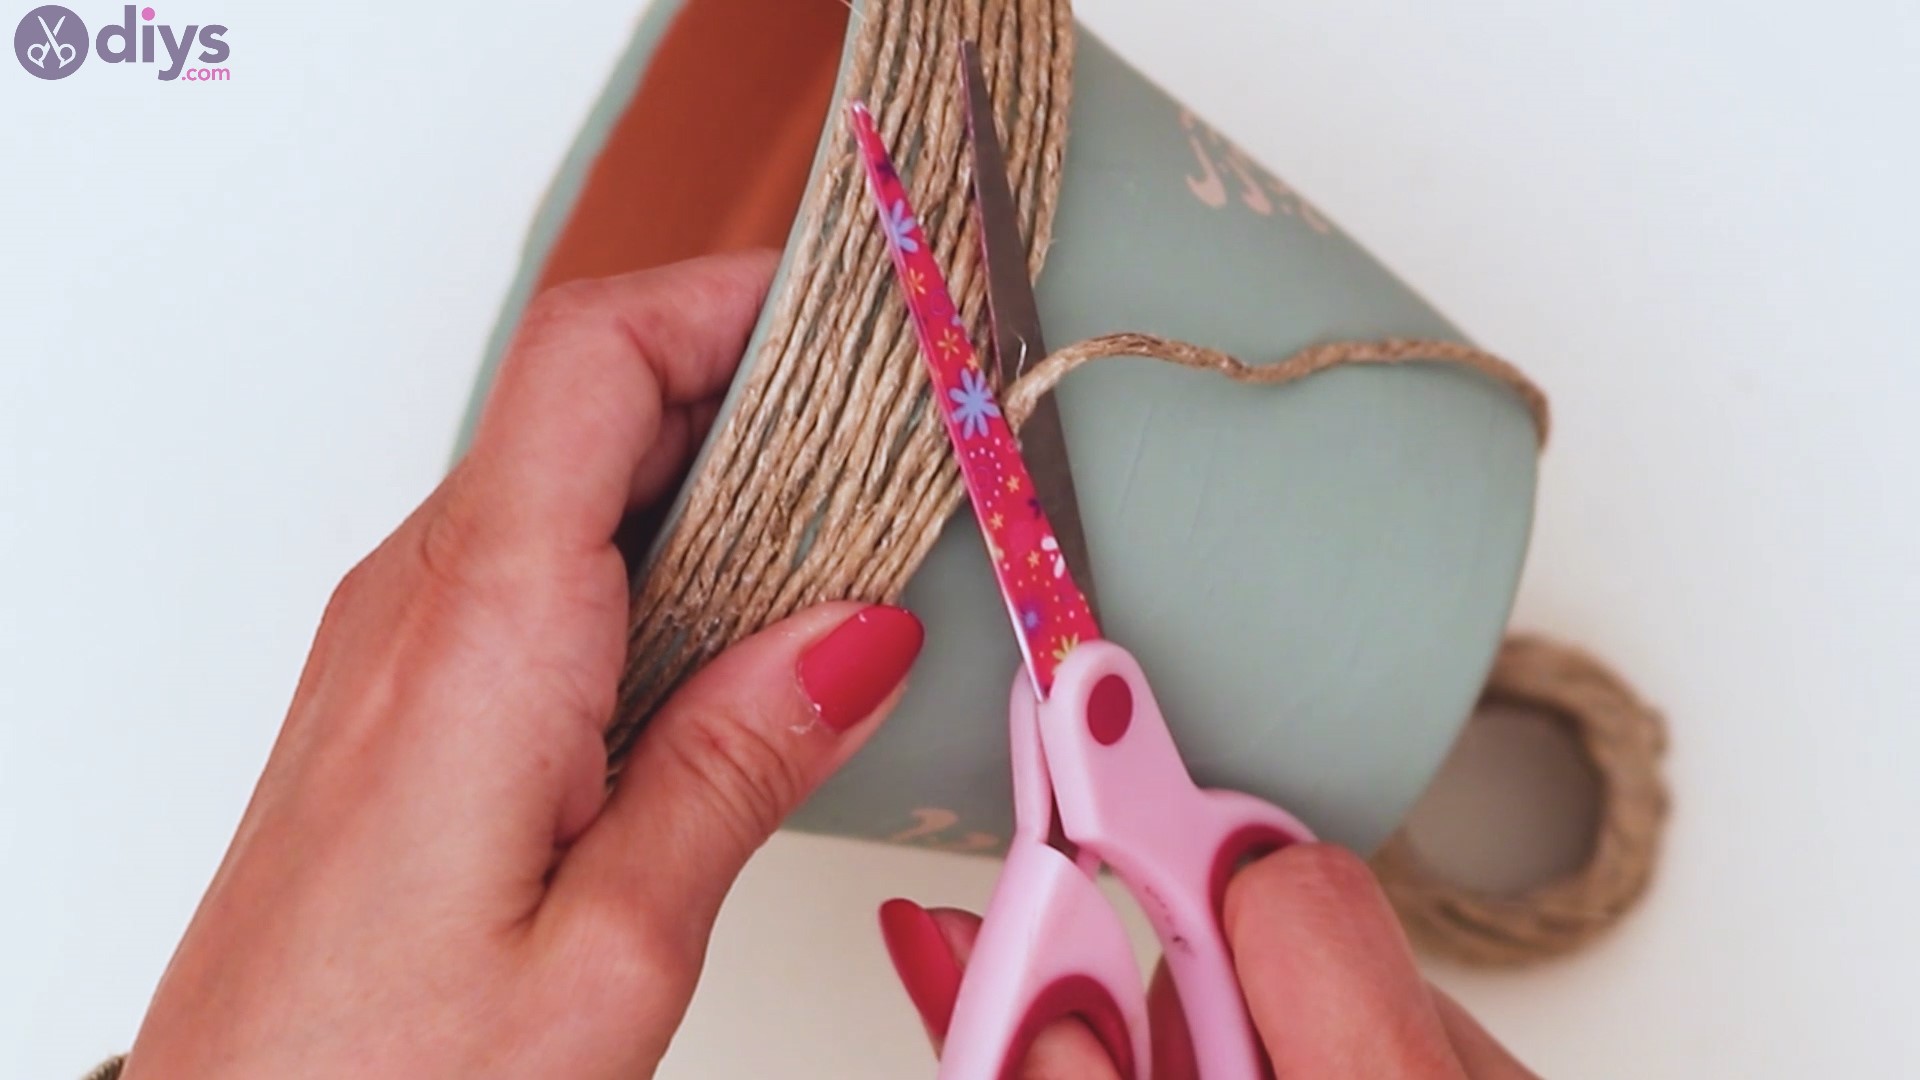
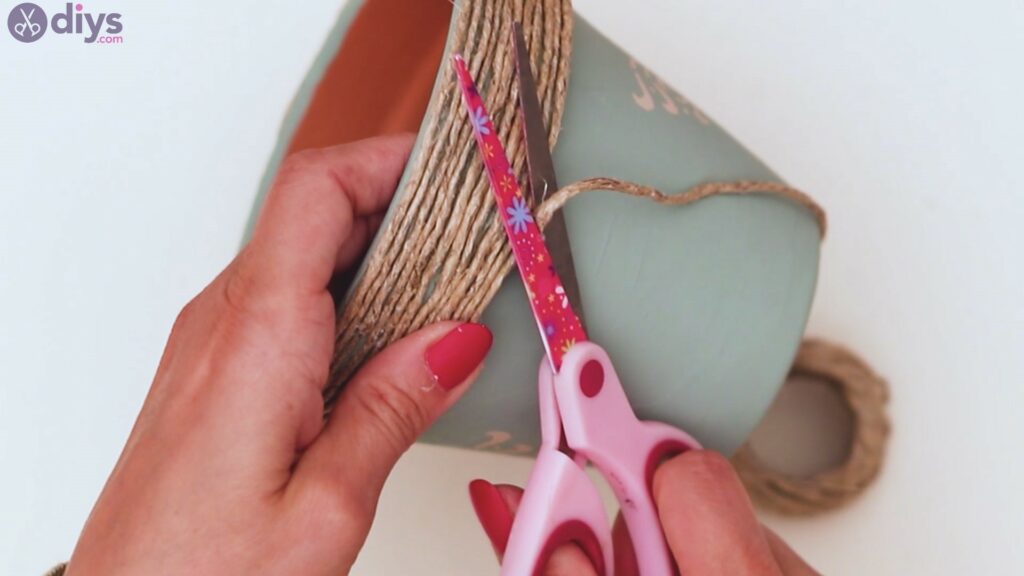
Once you’re done, get thescissorsand cut the hemp twine.
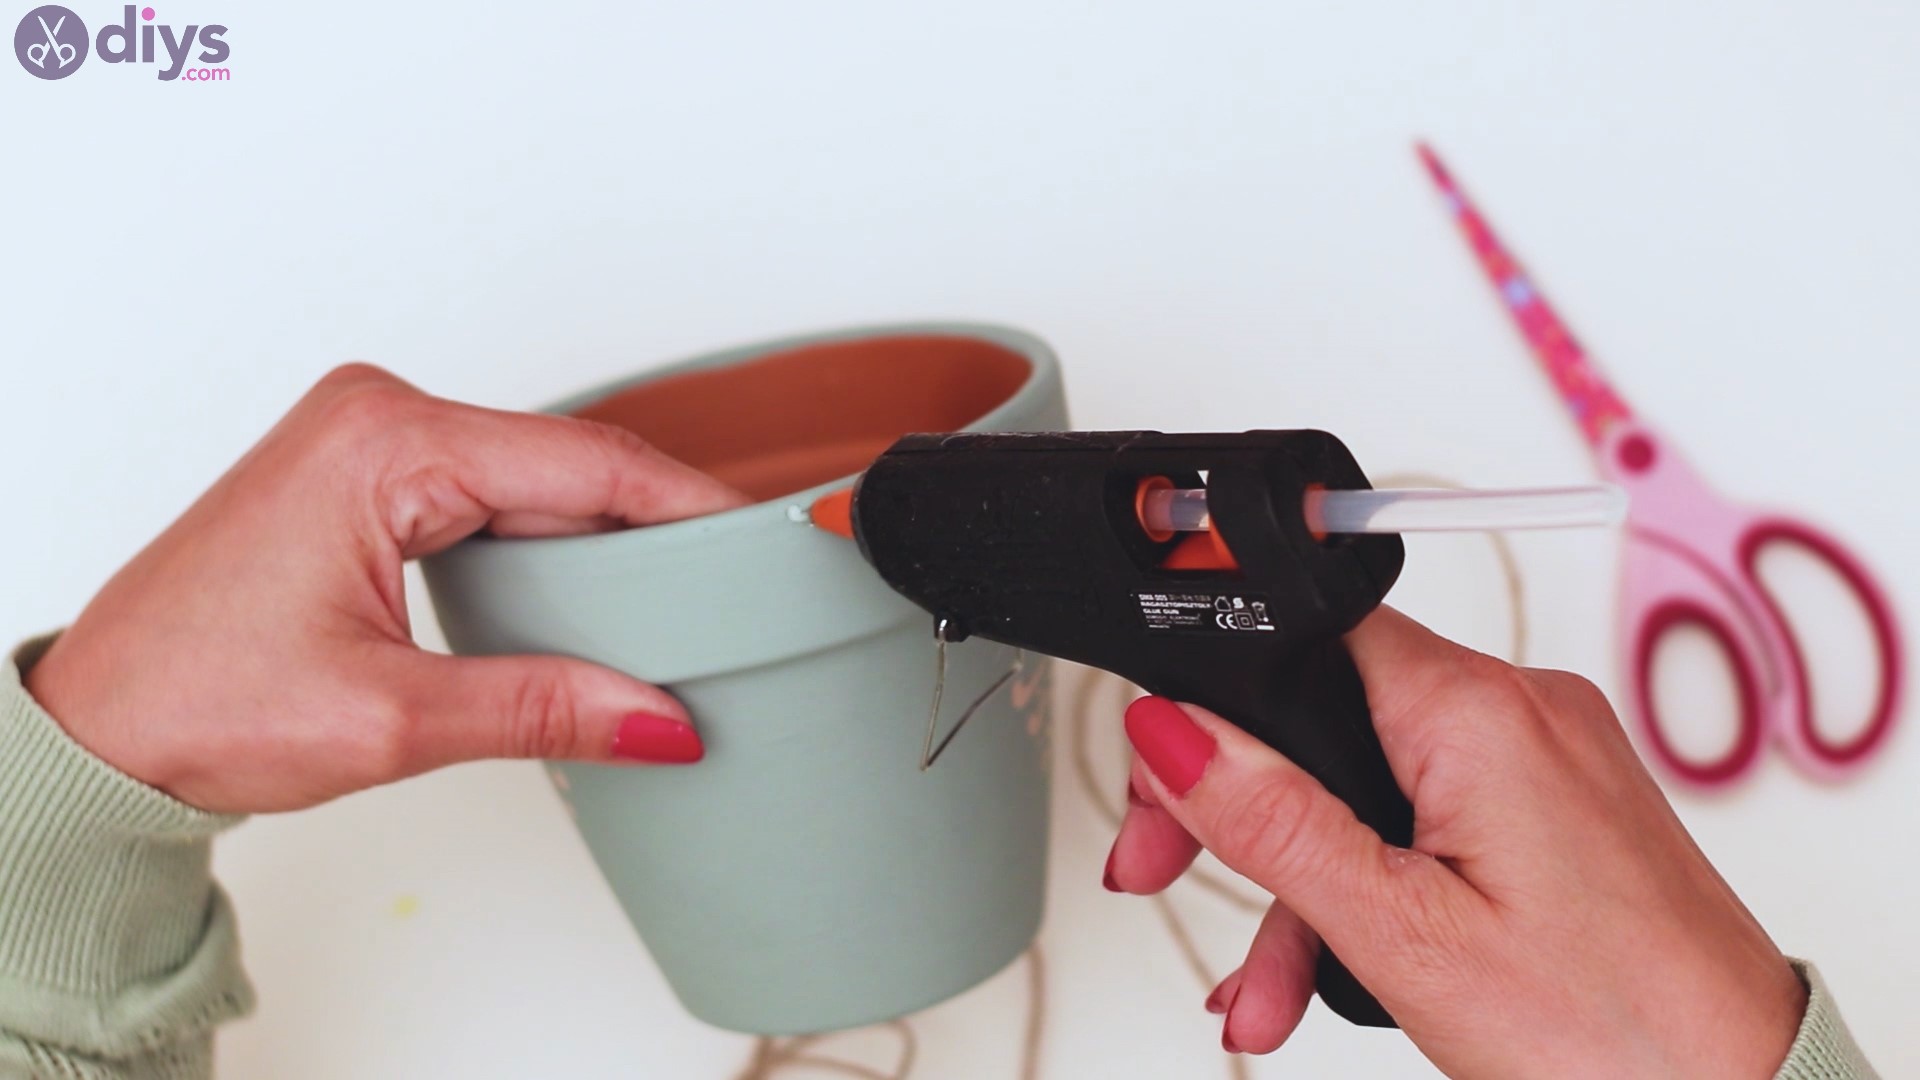
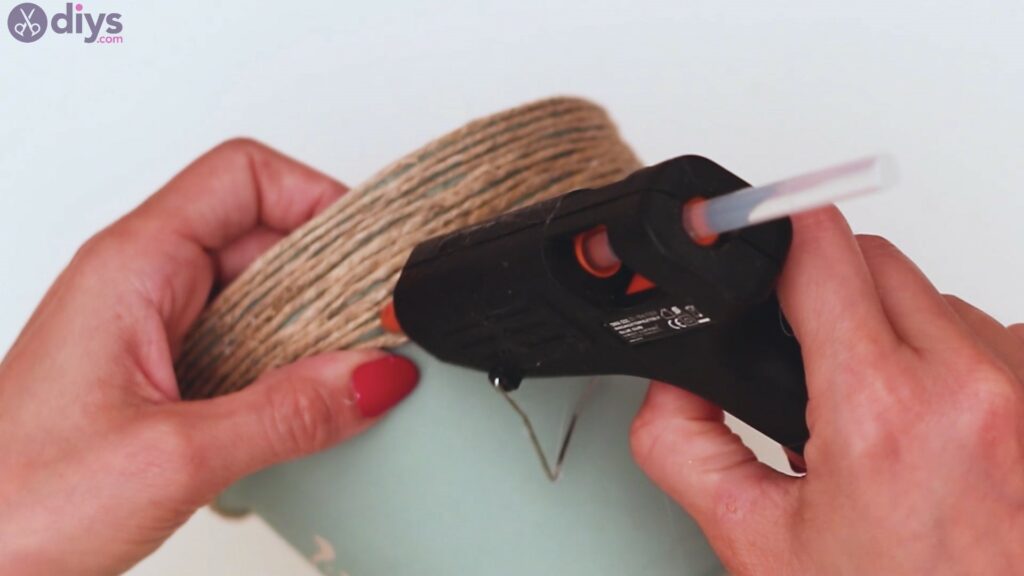
Add a little bit more hot glue and secure the edge of the twine, pressing it into the upper layers.
There you go! That’s it! You now have a wonderful rustic painted pot to pride yourself with. It’s so pretty and we’re sure you can’t wait to plant some of the prettiest flowers you have!
This is a design you can customize a bit by changing the color of the paint we covered the flower pot with, or the color of the paint we used over the stencil. Whatever design you choose, we’re sure it will look wonderful.
Talking of which, we’d love to see how yours turned out, so send us your pictures over social media. Also, tell us how you feel about this craft in the comments section below!