How to Craft a DIY Popsicle Stick Flower Bookmark in Just 6 Steps
Updated on November 19, 2025


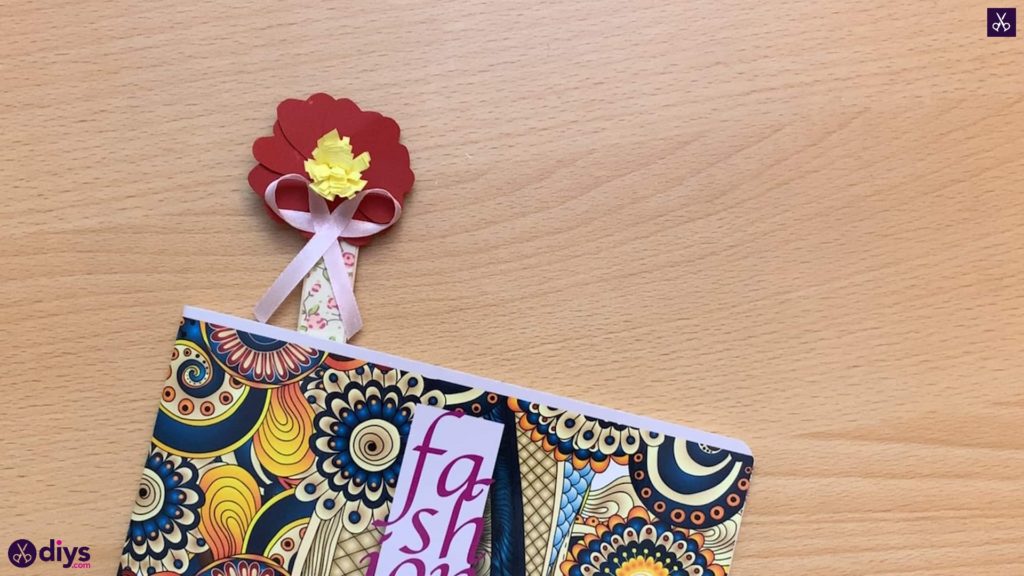
Many people like DIY projects because they allow them to reuse materials that would usually be thrown away. This DIYpopsicle stick flower bookmarkis a great way to recycle those old popsicle sticks and turn them into something beautiful and useful!
Today’s tutorial shows you how to make a cute and easy flower-themed bookmark using popsicle sticks, cardboard, and other simple crafting supplies.
We’ve included step-by-step illustrations and photos, but if you’d prefer to follow along with a video tutorial rather than written words, scroll to the bottom of this post to find what you’re looking for.
Supplies for a DIY popsicle stick flower bookmark
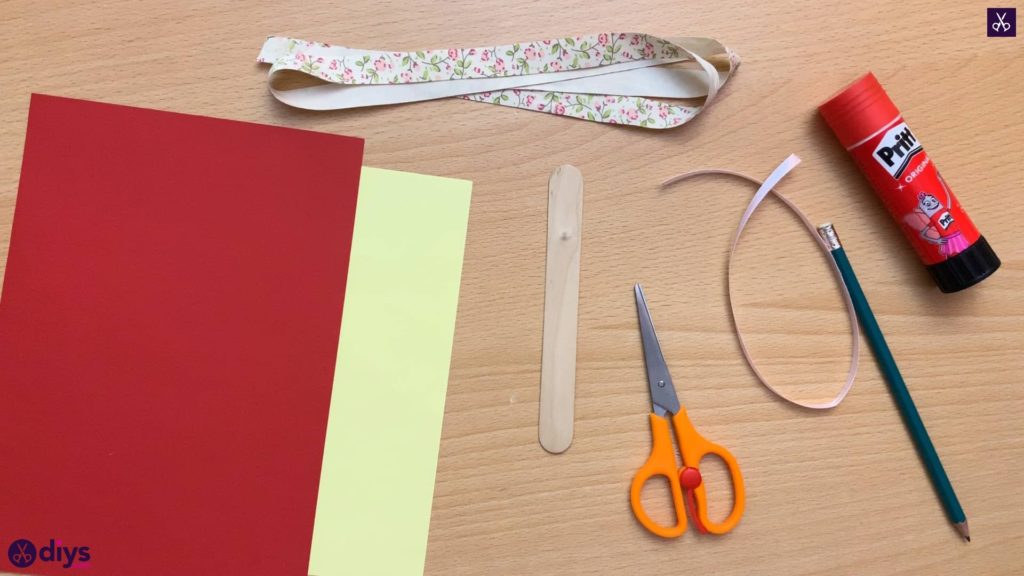
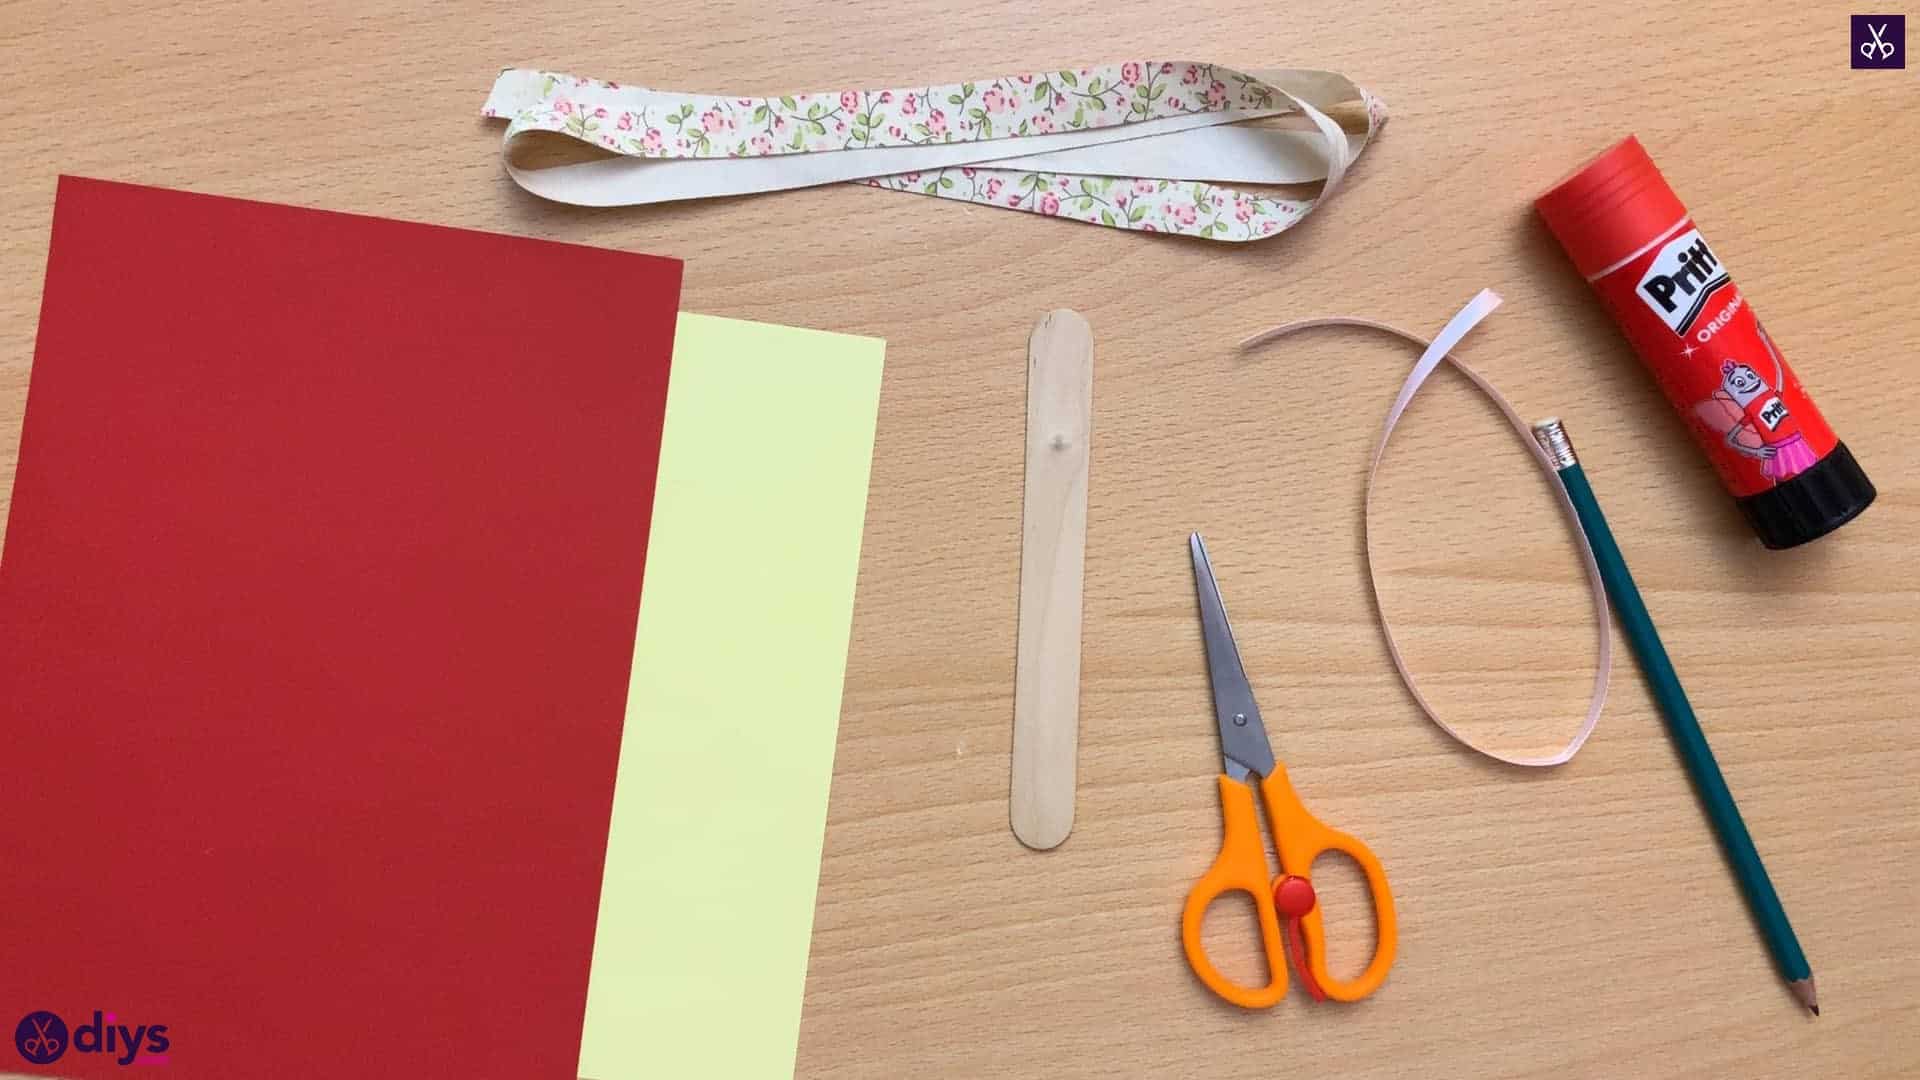
Here is a list of supplies that you’ll need to make the DIY popsicle stick flower bookmark, along with explanations as to why they are needed:
- Popsicle sticks:Leftover popsicle sticks are perfect for this project. Pretty much anyone has a few just waiting to be thrown out with the garbage, especially during the hotter seasons. However, you can also buy them new from any craft store.
- Colored cardboard:For this project, we used red cardboard to make the flower’s petals, but you can use any color you want. You could even use scrapbook paper or construction paper if that’s all you have on hand; however, we suggest you stick to cardboard since it’s a lot sturdier.
- Colored paper:We used yellow paper to make the flower’s center. Like with the cardboard, you’re free to use whatever colors you want, although it would be best if you chose a color that contrasted with the color of your petals.
- Silk ribbon:You’ll need to wrap up the popsicle stick in ribbon, so we recommend that you use colored ribbon that also contrasts with the colors of your petals. For example, we used a white ribbon with a floral motif for the flower stem and some pink silk ribbon to make a decorative bow.
- Scissors:You’ll need a pair of scissors to cut the cardboard, paper, and ribbons, so make sure that whatever scissors you have can handle all three materials.
- A glue stick:This material will help bind all the supplies mentioned above, so make sure that you get a glue stick that can also bind cardboard, paper, and ribbon together.
- A pencil:This is strictly for sketching a template for your petals, so any pencil will do.
How do I make a DIY popsicle stick flower bookmark?
By following the instructions and illustrations below, you’ll have your very own popsicle stick flower bookmark in no time!
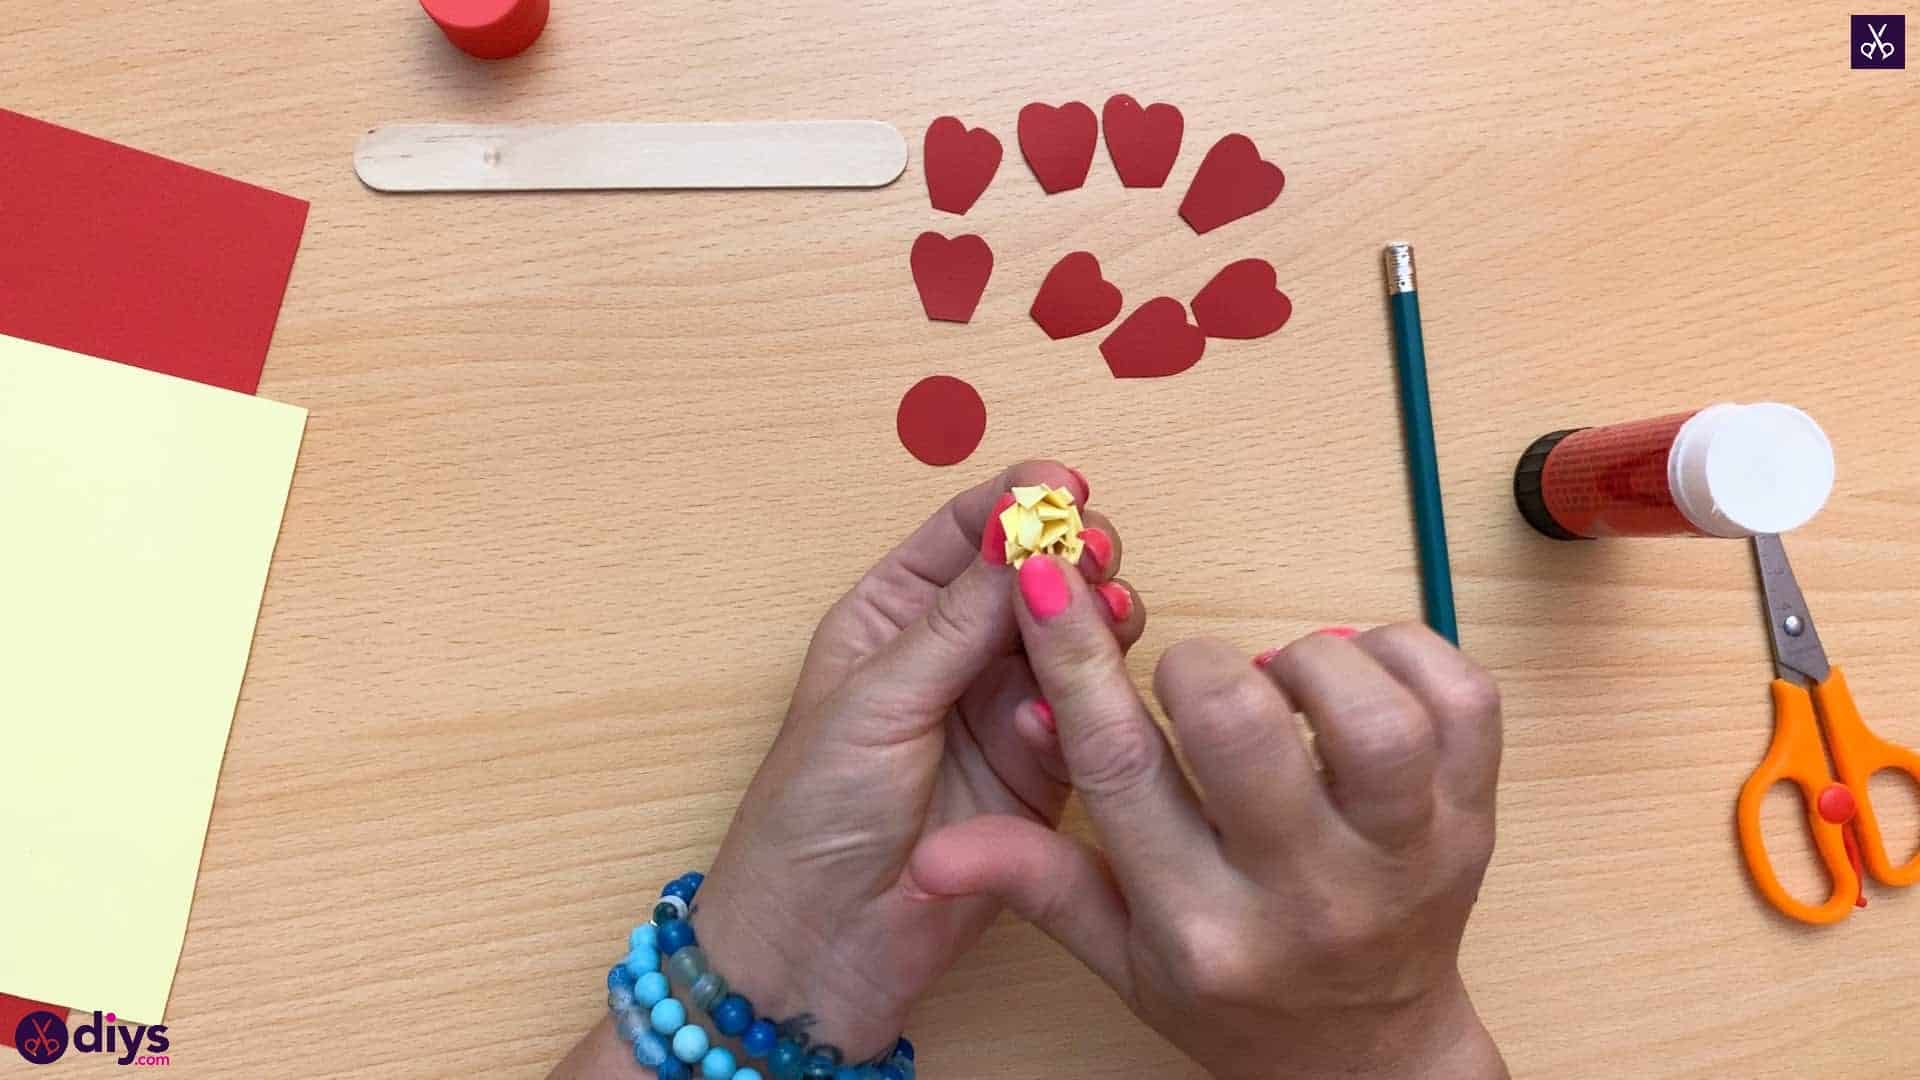
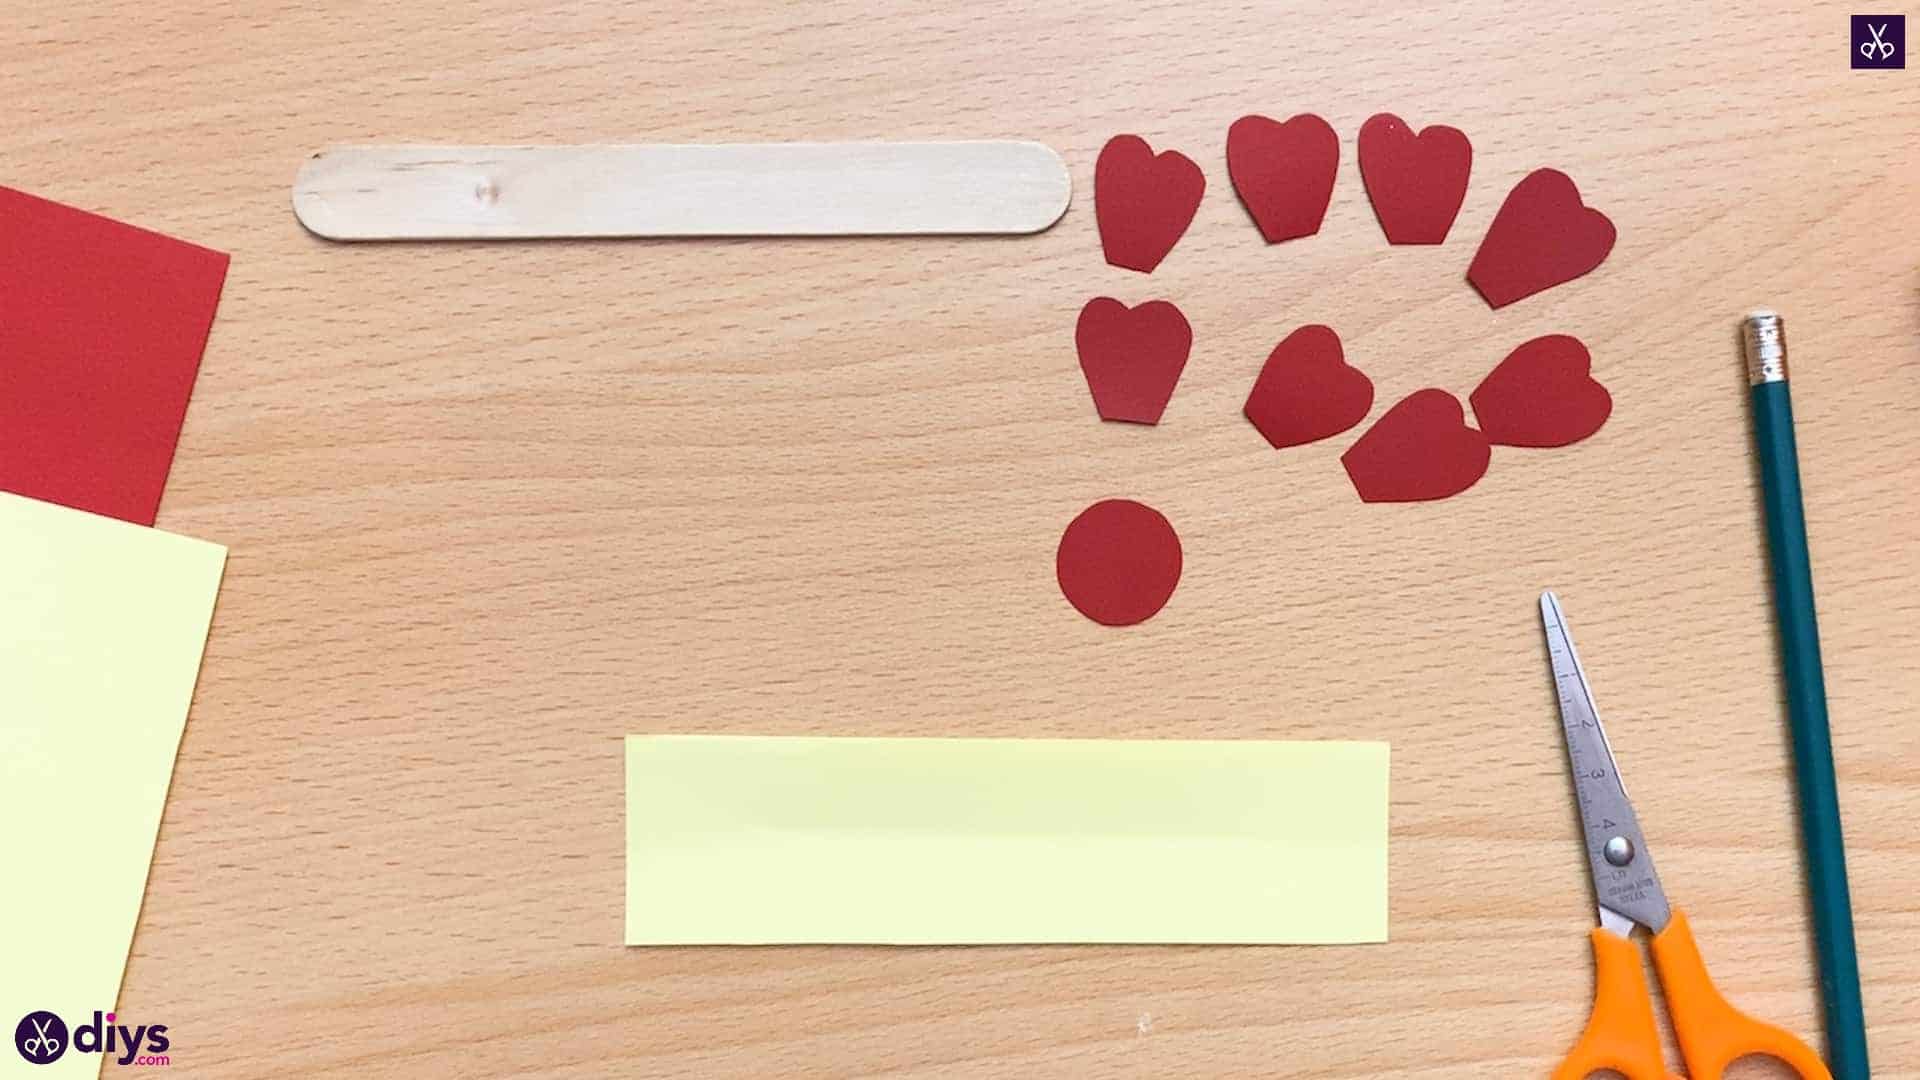
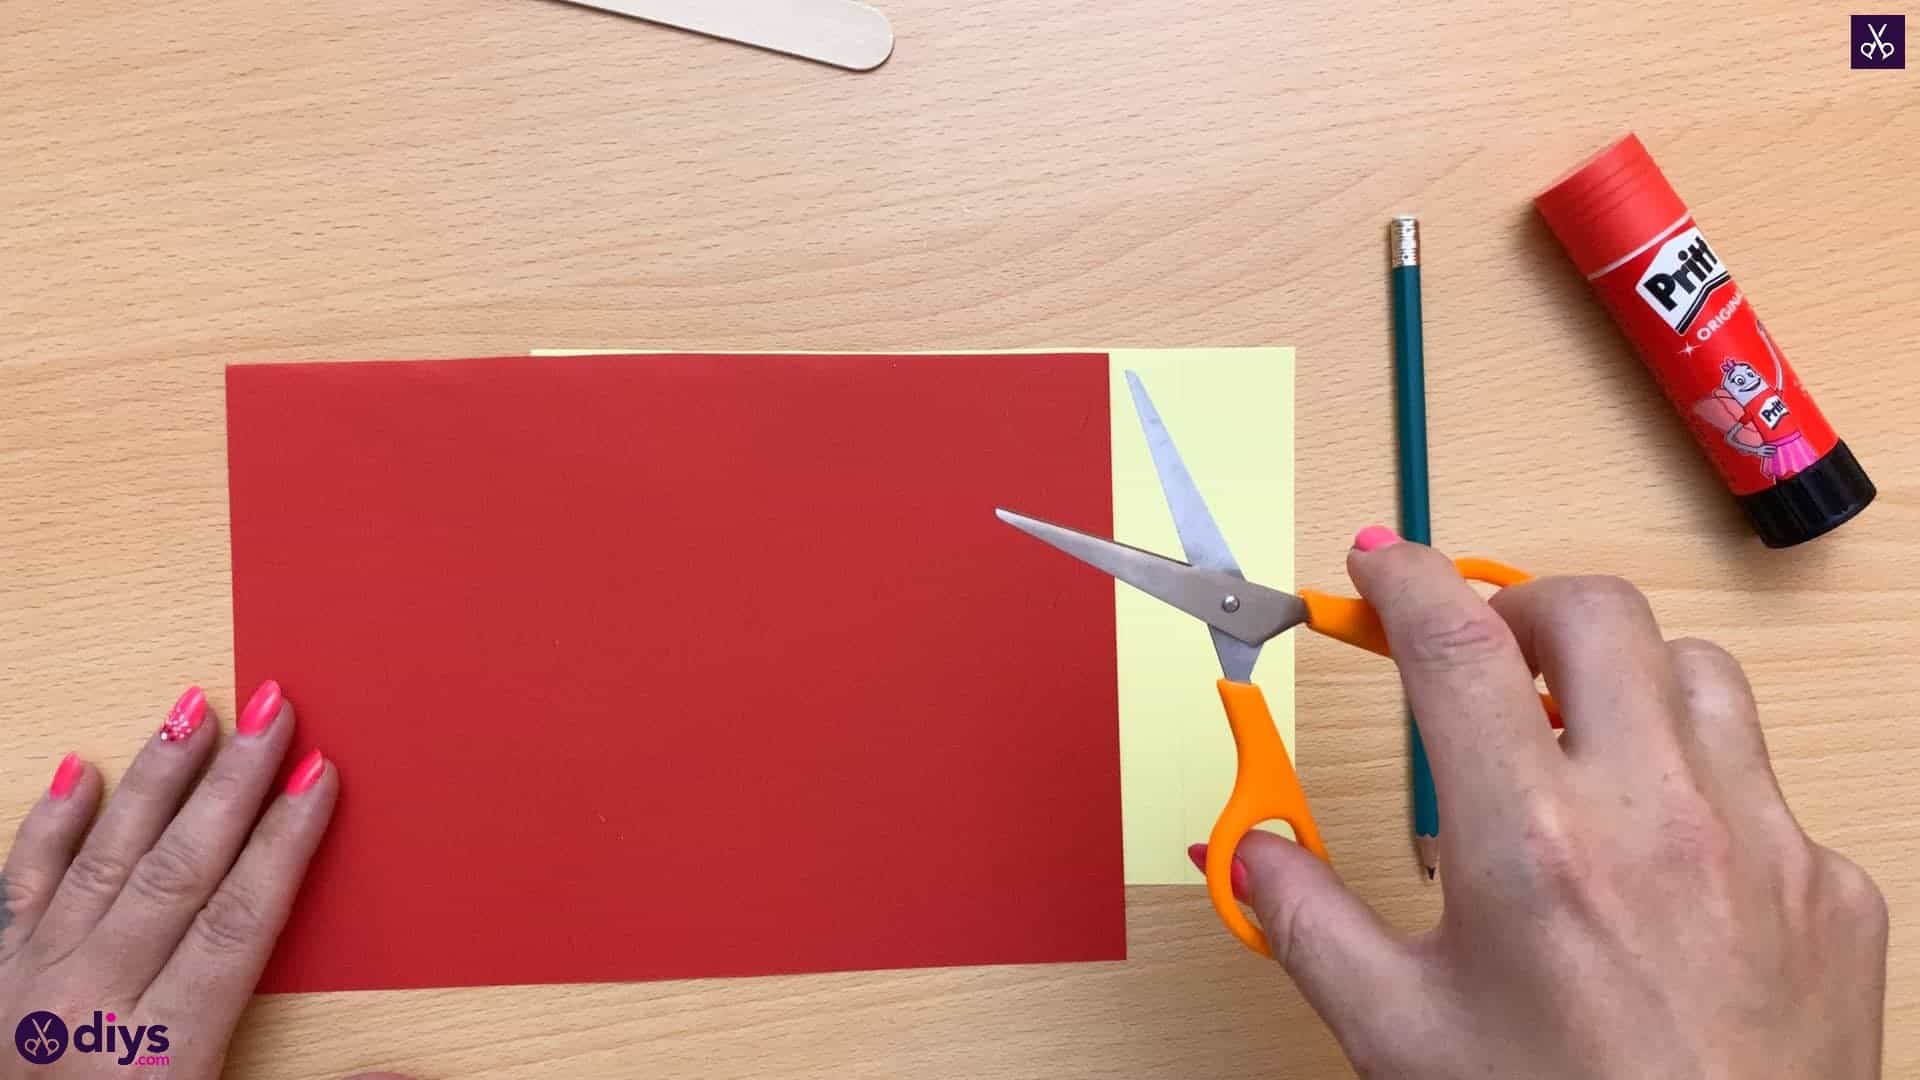
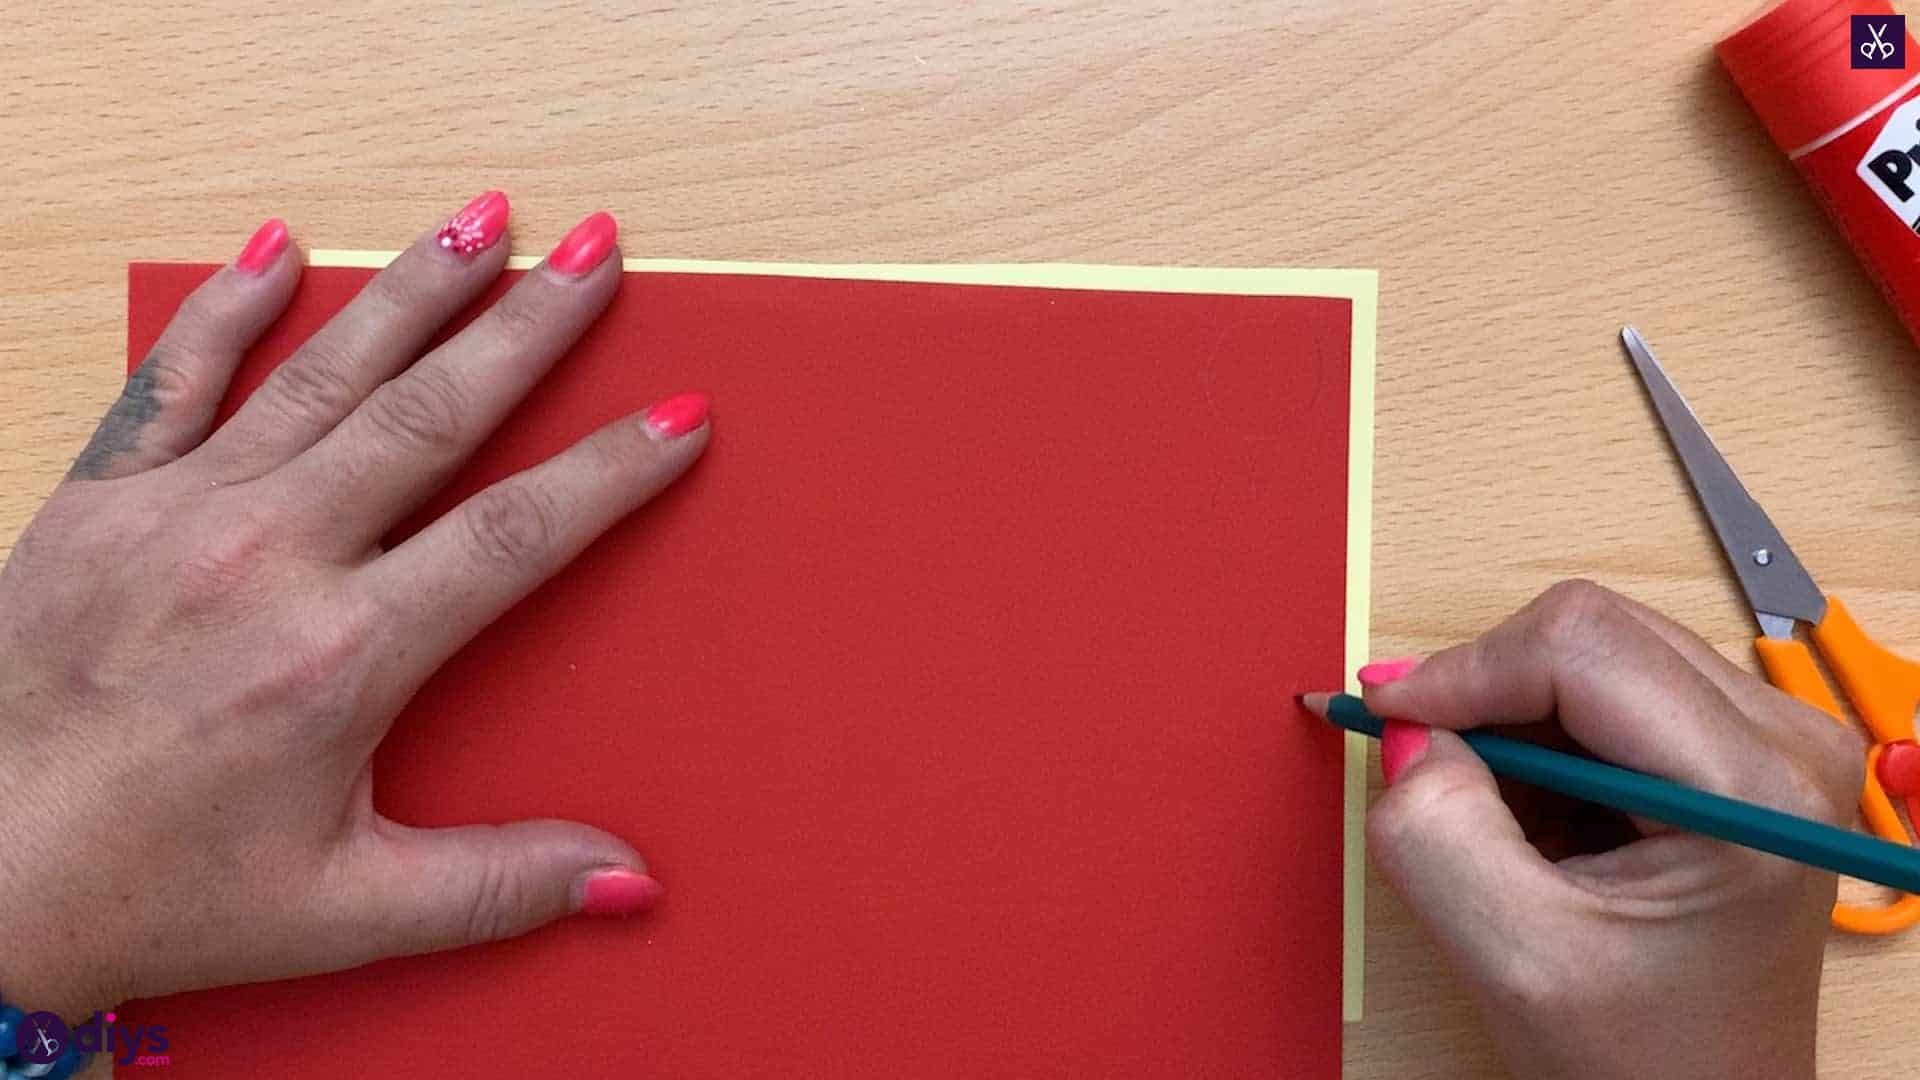
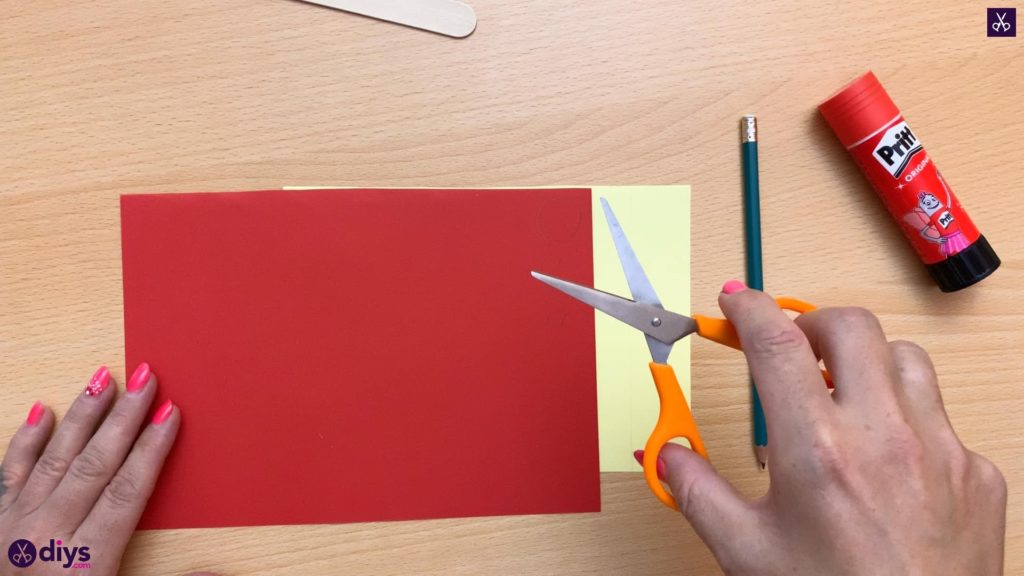
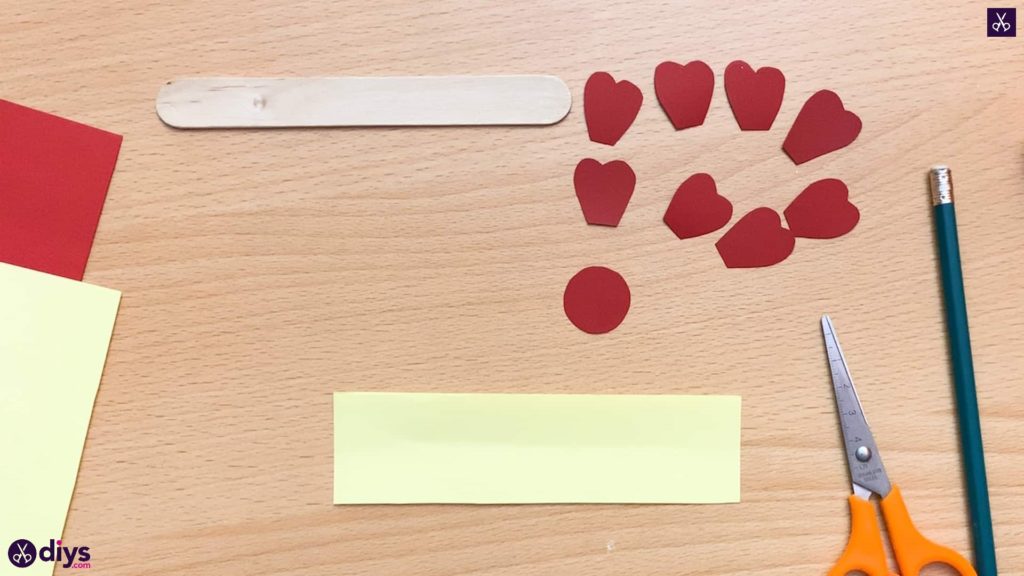
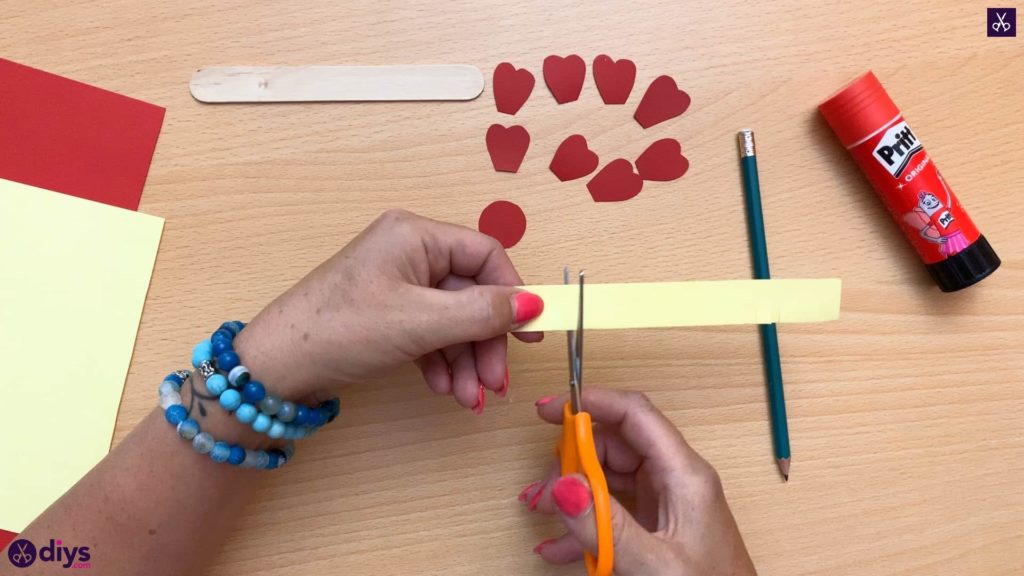
- Prepare the petals:Start by sketching out a template for your petals on your colored cardboard. Cut out the petals using scissors, and then set them aside for now. Next, take your colored paper and cut out a small circle in the middle. This will be the flower’s center, so make sure it’s not too big or too small.

- Prepare the center of the flower:Cut out a long strip of yellow paper, and make small cuts along one side. Turn your yellow strip vertically, apply some glue on one side at the short bottom edge, start rolling the edge in on itself and continue rolling it upwards until you’ve reached the top. You should now have something that looks like a small scroll that’s frilled on one side.
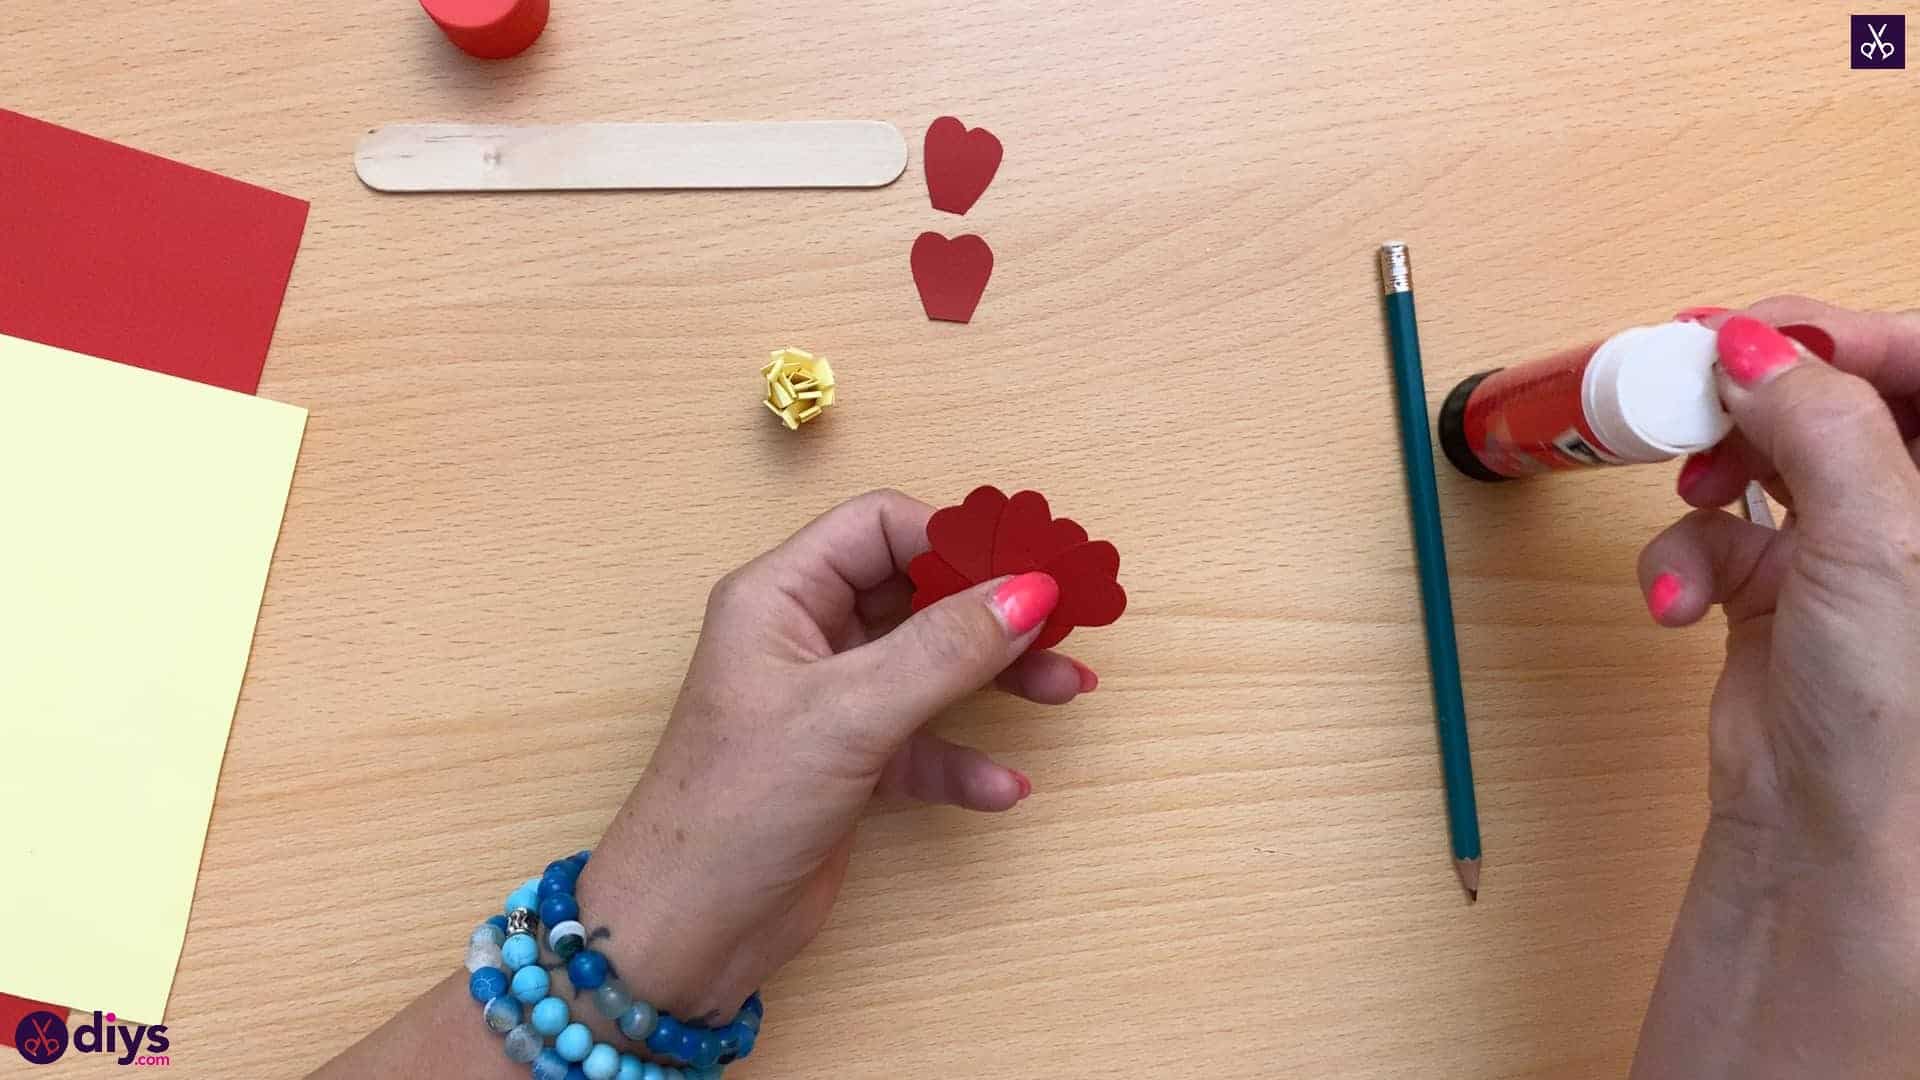
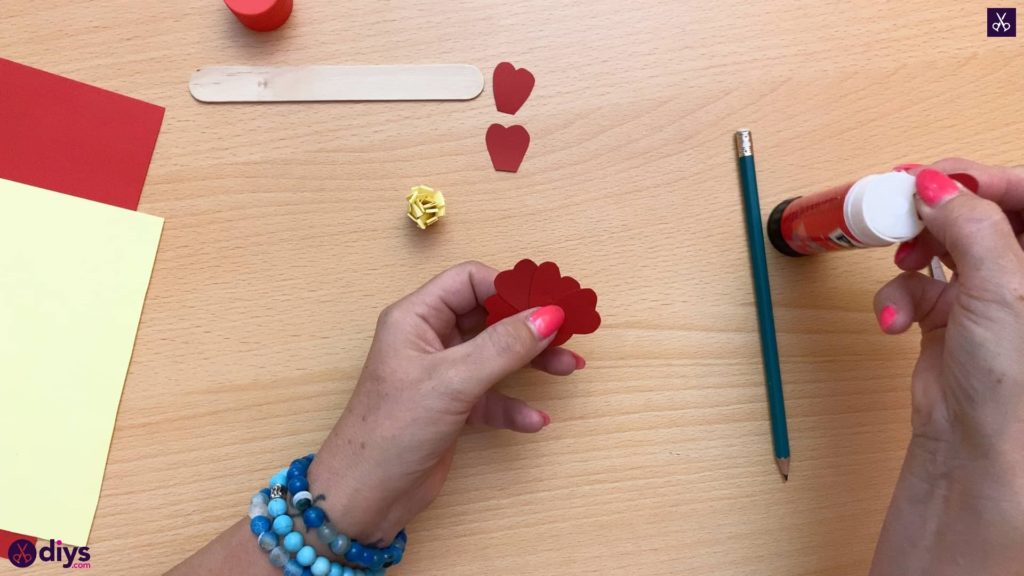
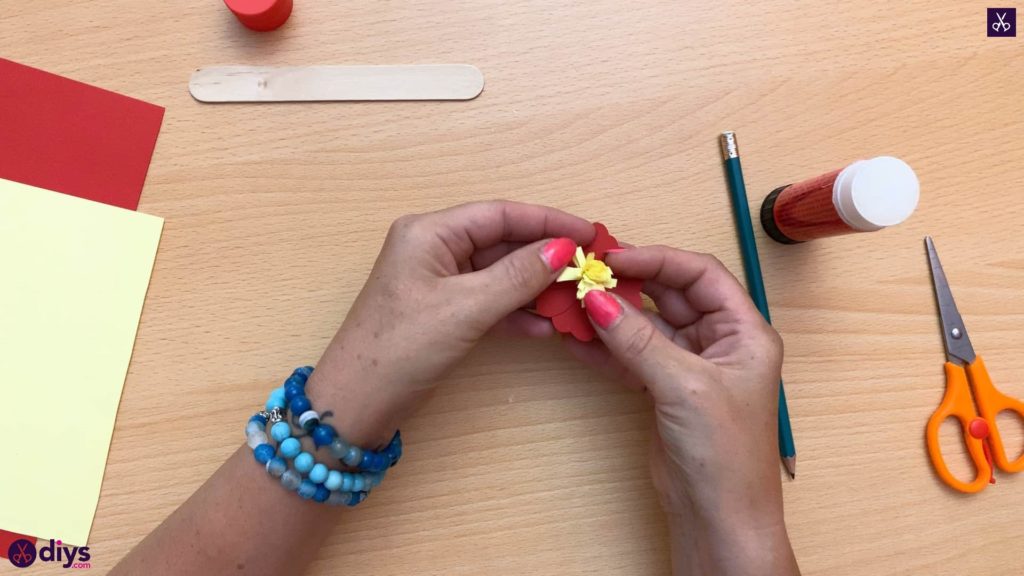
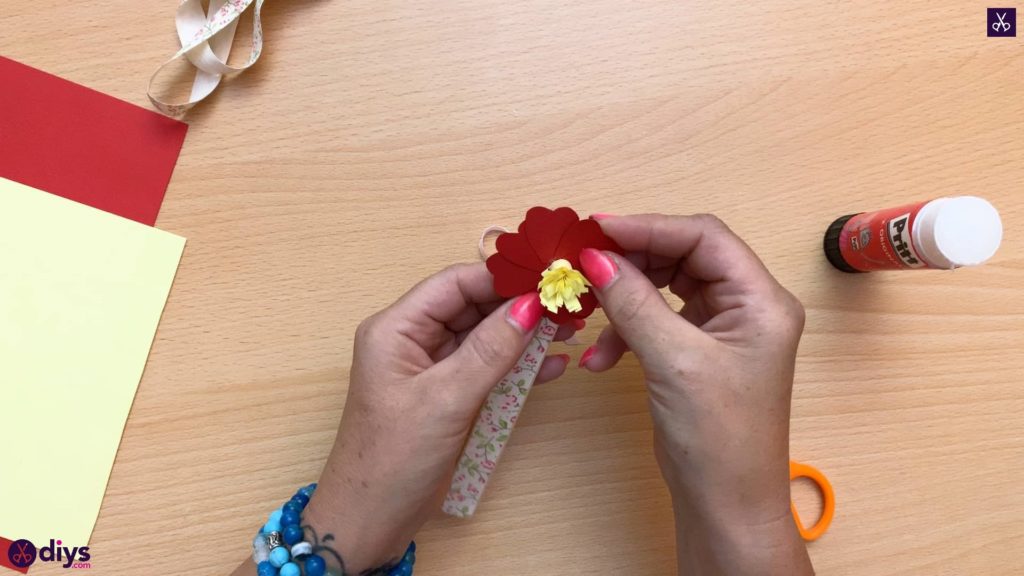
- Assemble the flower:Use your gluestick to apply glue to the back of your petals. Then, place the petals along the edge of the cardboard circle so that they also slightly overlap. Next, apply glue to the back of your frilled yellow strip and place it in the center of your petals.
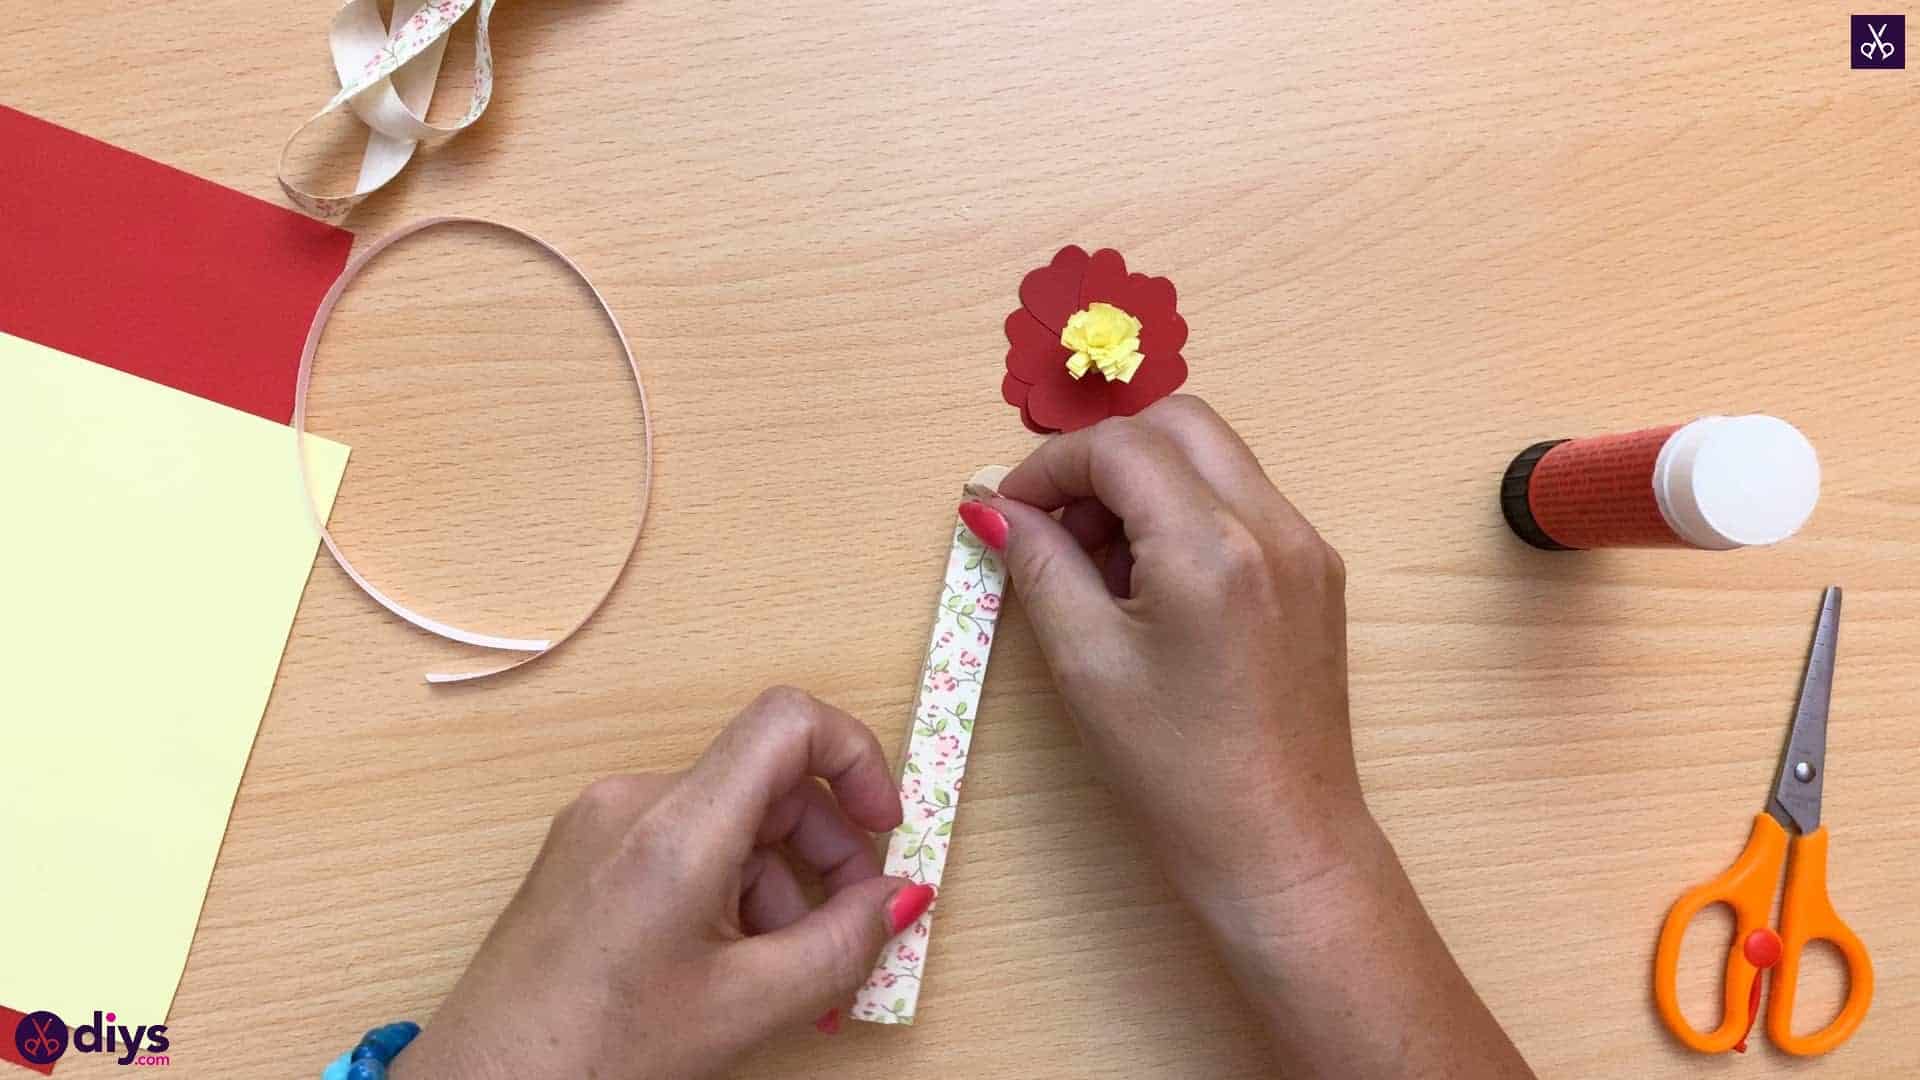
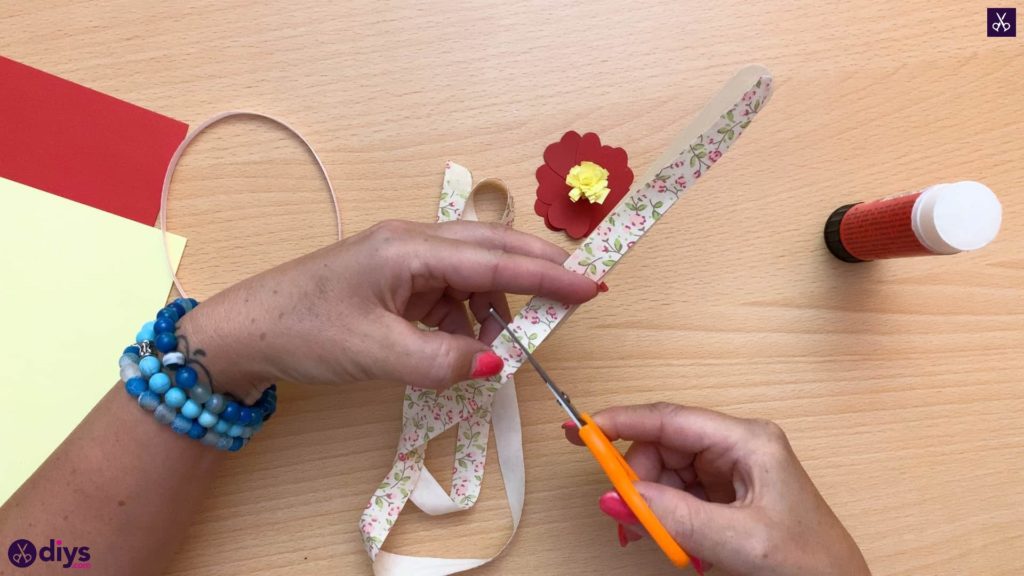
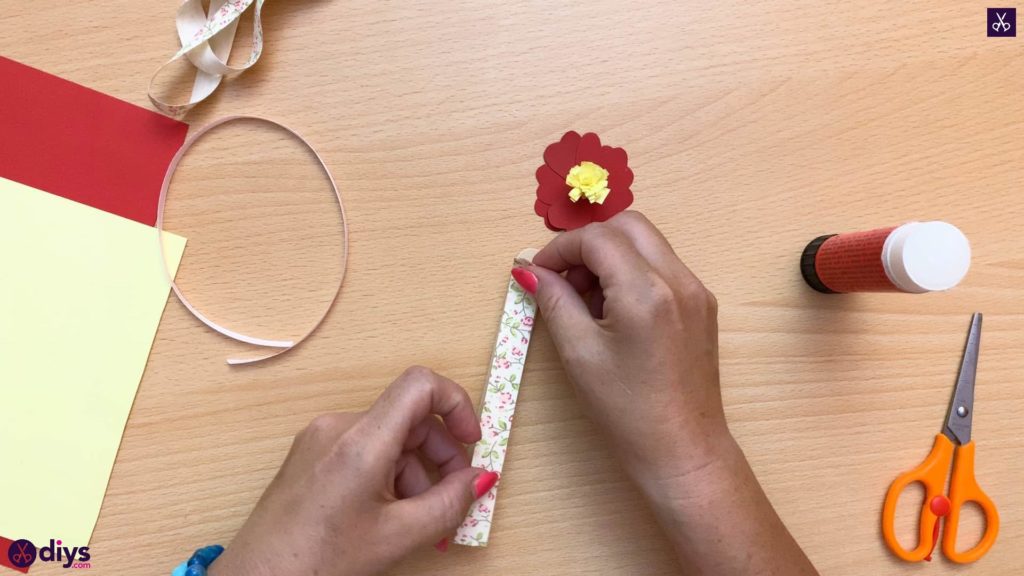
- Prepare the flower’s stem:Cut a strip from your ribbon that is the same length as your popsicle stick. Next, apply glue all along its length on one flat side and stick the ribbon flat, smoothing down any creases.
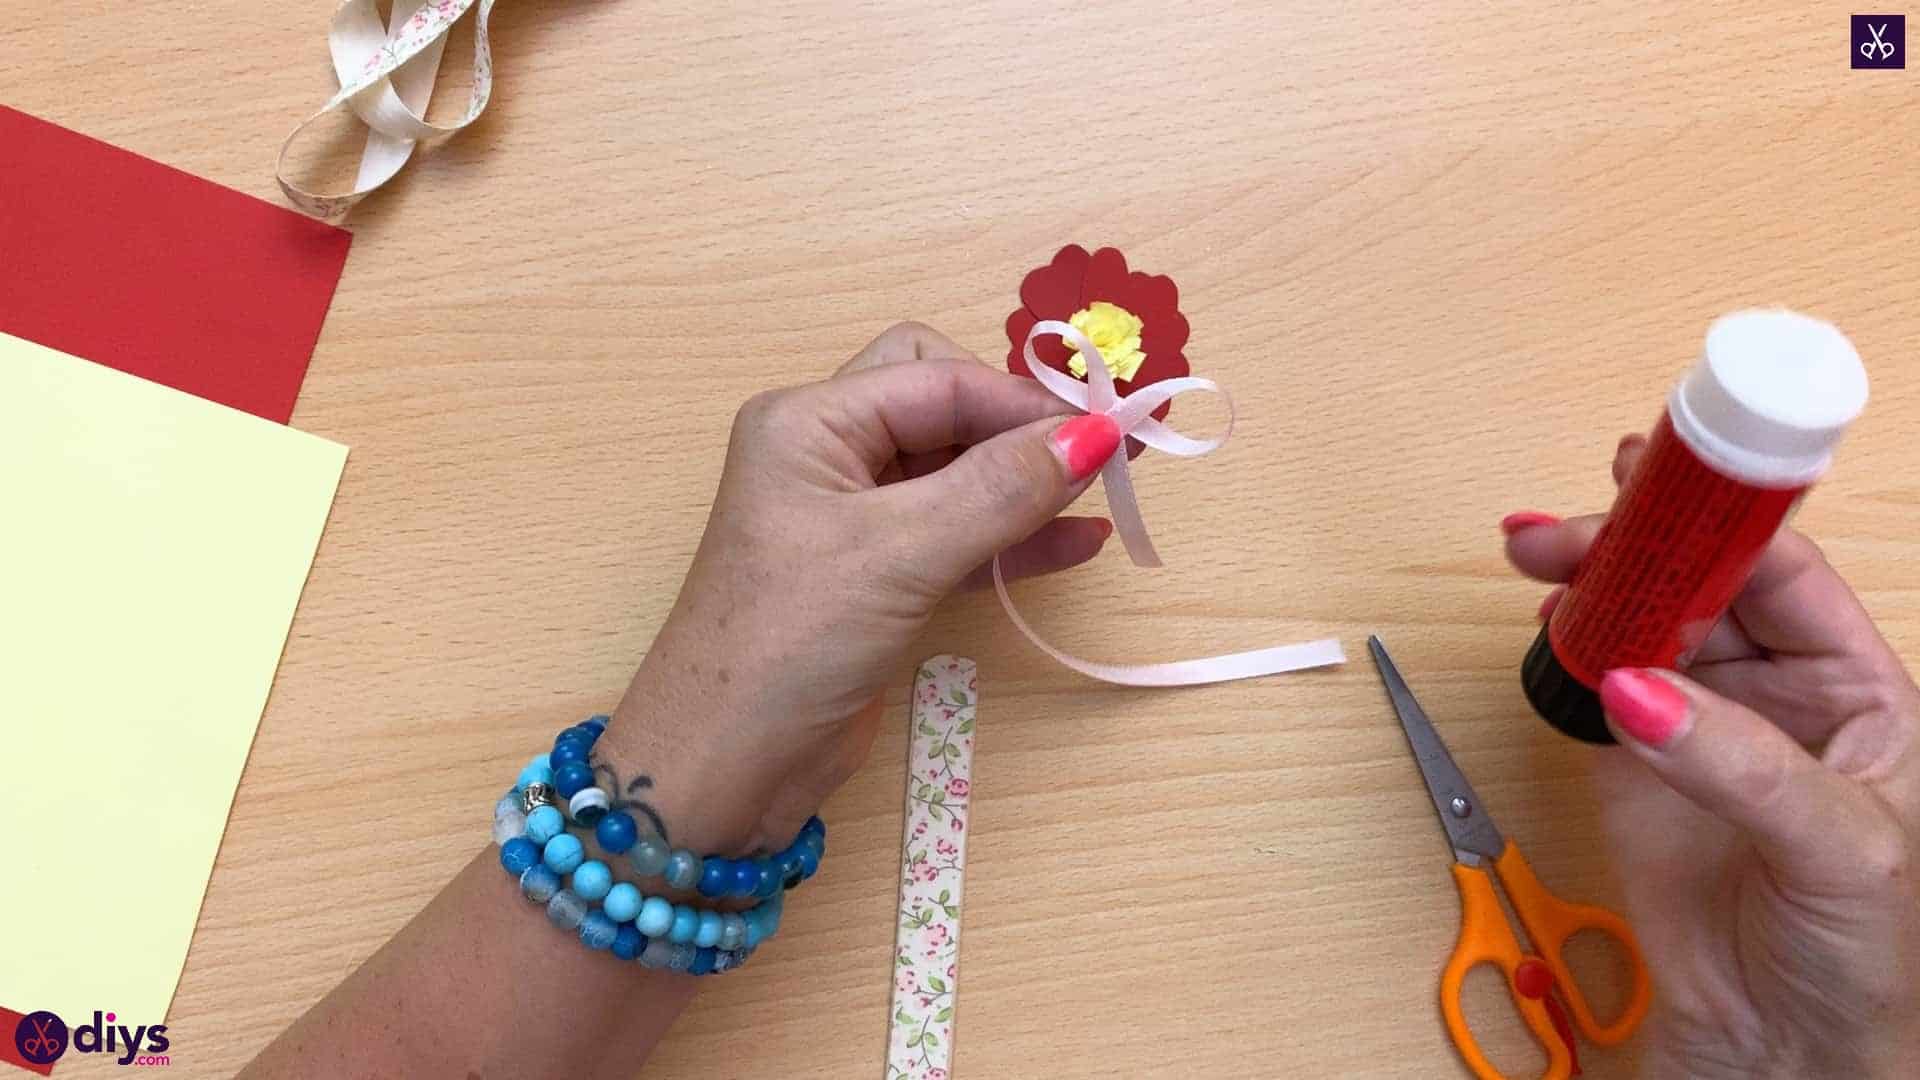
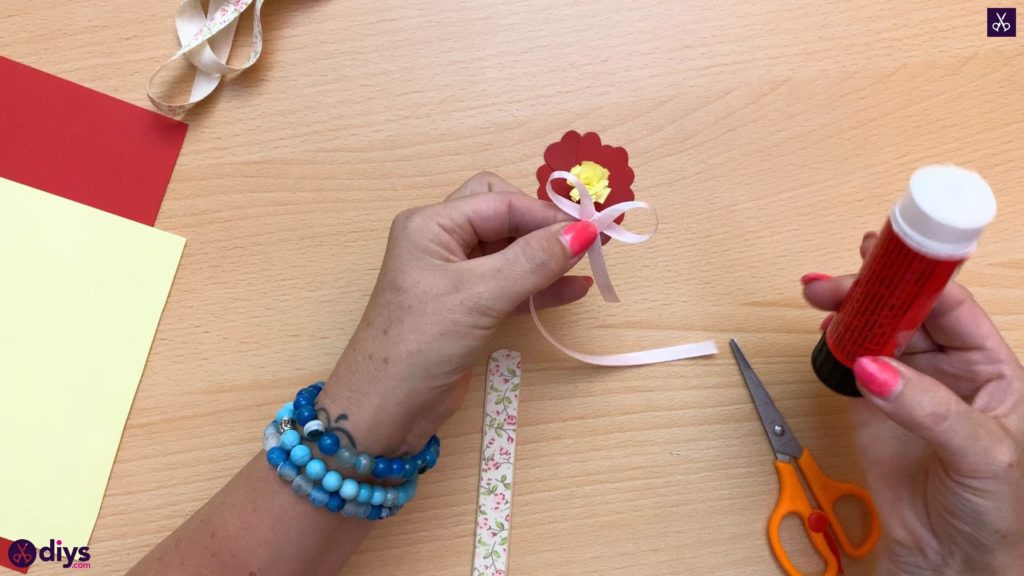
- Make the ribbon bow:Cut a four-inch-long strip of silk ribbon, take each end and loop it inwards, towards the middle, letting an inch or so of the ribbon’s end hang below the loop. Stick that piece in the glue you applied in the center and then repeated the process with the other side.
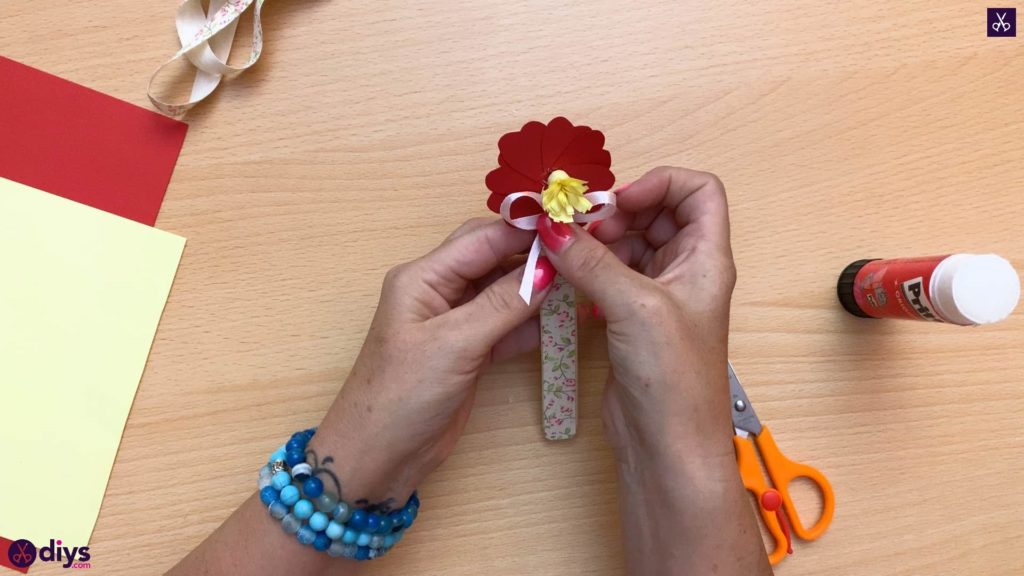
- Assemble the bookmark:Glue the cardboard flower to one end of the popsicle stick, then glue the ribbon bow to the flower’s bottom half or right under the flower. And that’s it!


Video Tutorial
If you find videos to be more helpful than written instructions, then check out this video tutorial on how to make a DIY popsicle stick flower bookmark:
Closing Thoughts
We hope you enjoyed this tutorial on how to make a DIY popsicle stick flower bookmark!
However, don’t forget that there are plenty of other ways to make DIY bookmarks. For example, if you want something more elegant, you could always create aDIY felt flower bookmark. However, if you want a cutesy design that you can show your kids, then aDIY polar bear corner bookmarkwould be much better.
If you have any questions or comments, feel free to leave them below. And don’t forget to share pictures of your finished bookmarks with us!