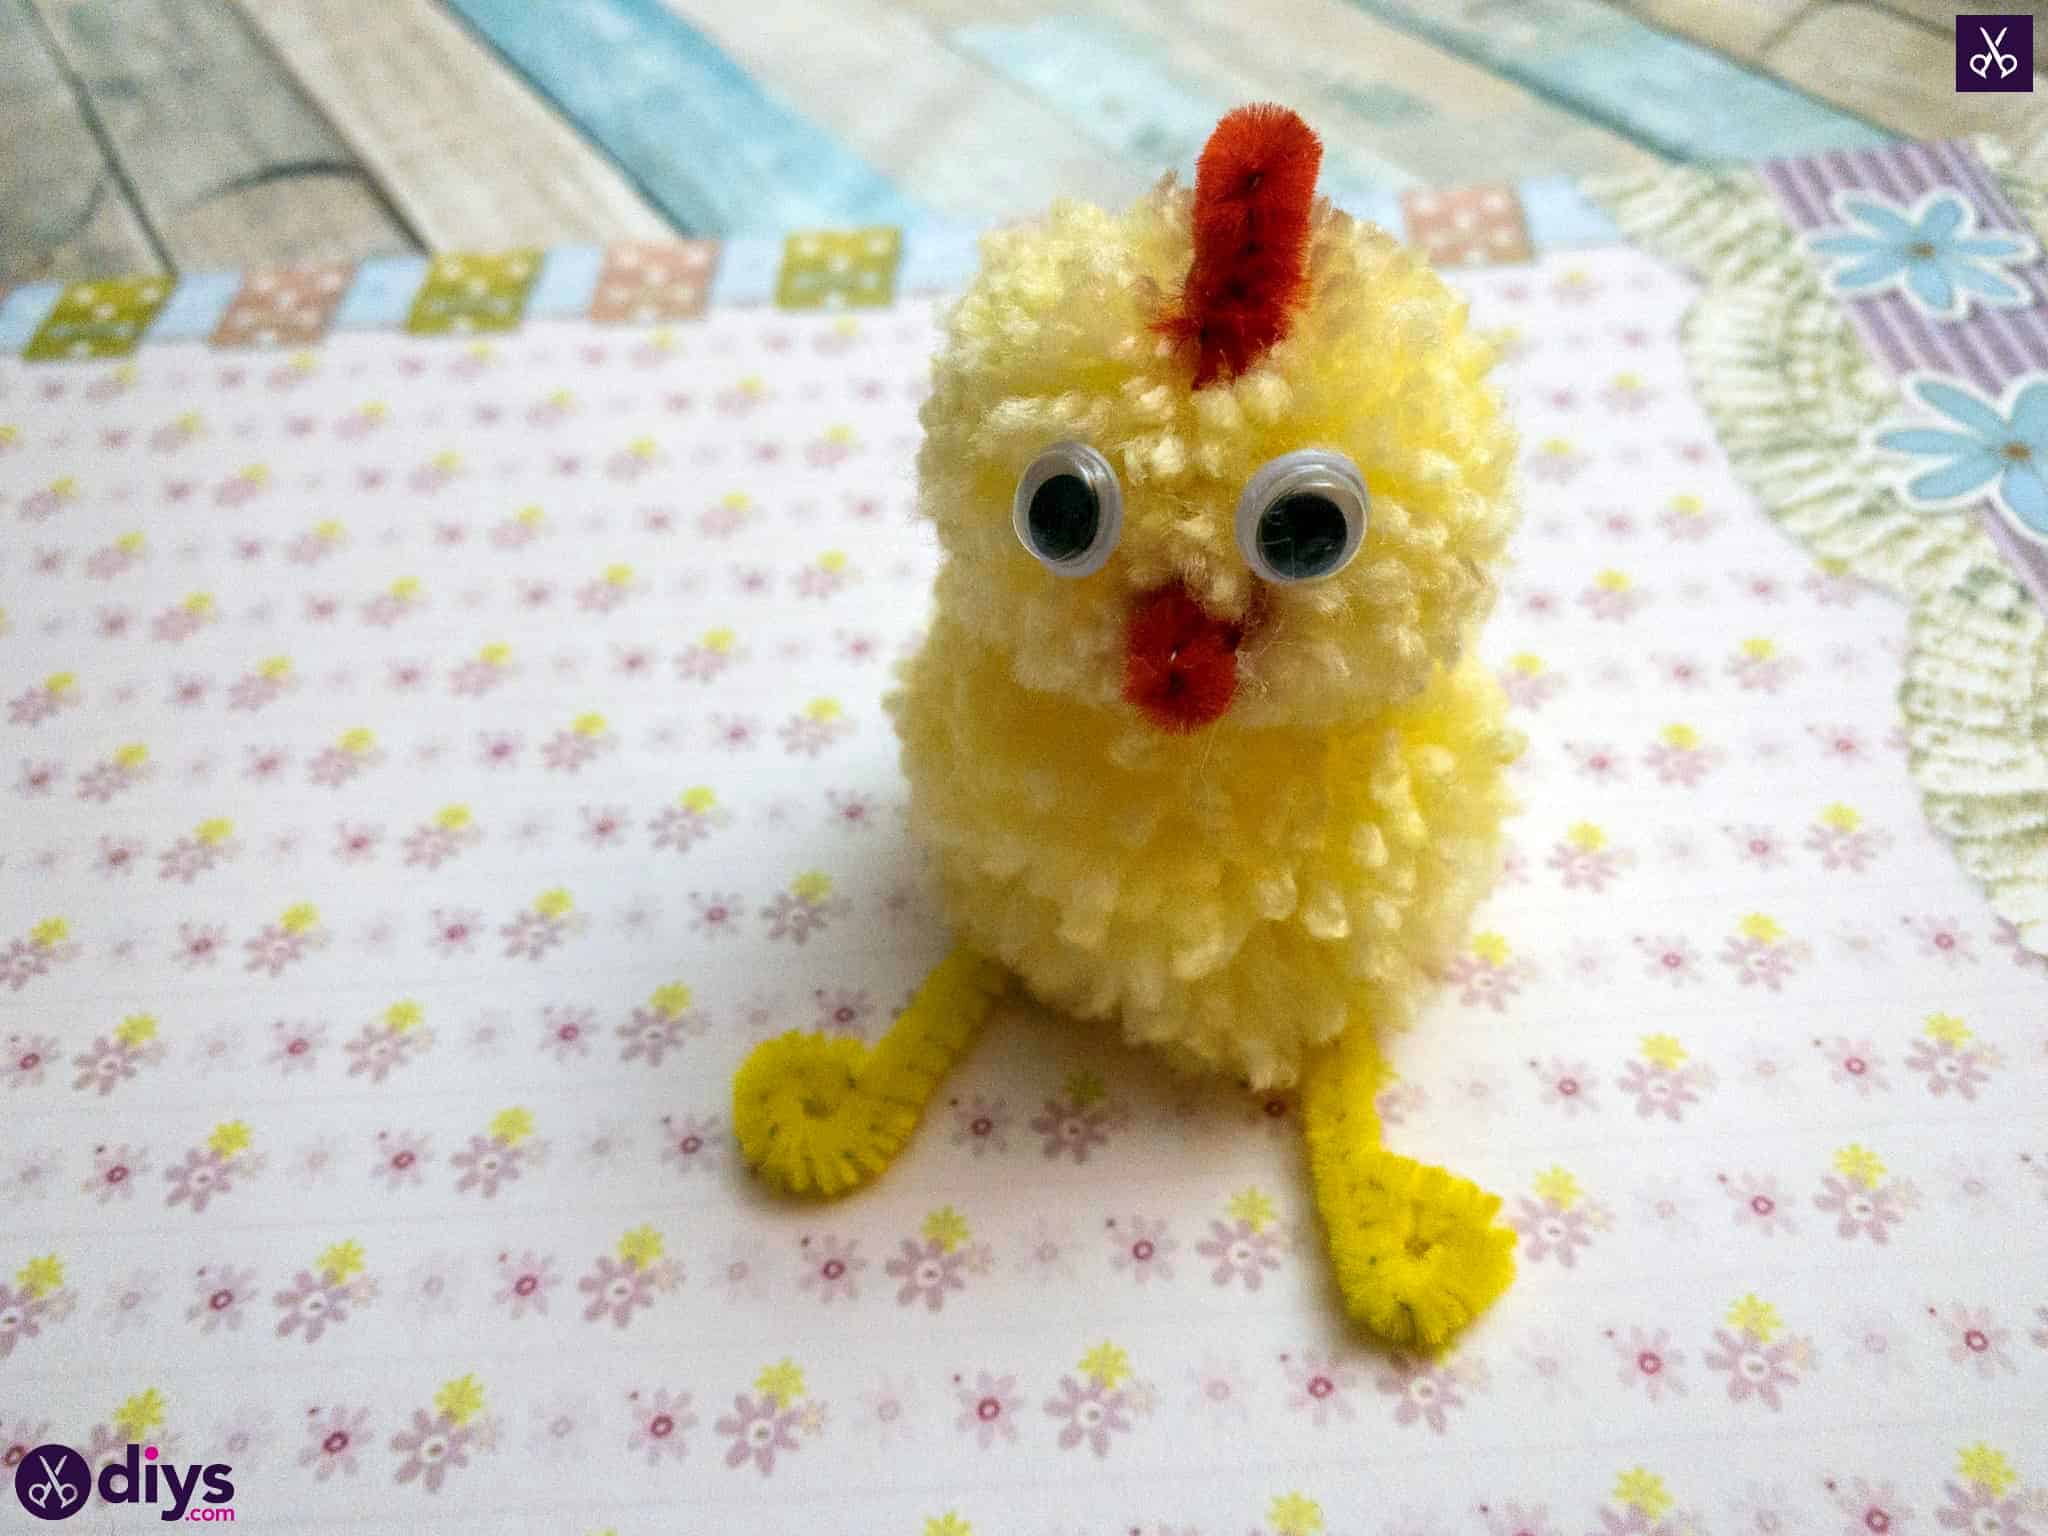
How to Make a Pom Pom Chick
Updated on November 19, 2025


If I’m being honest with you, I’ve been completely obsessed with pom pom crafts lately. I recently taught my children how to make a DIY yarn pom pom and now we’ve been working together on making pom poms of different sizes, but it’s the smaller, almost miniature ones that our kids enjoy making the most. That’s why I’ve been trying to think of different things we might make together that put all of the little pom poms the kids keep making to good use!
Recently, I came across some yellow scrap yarn in my knitting stash and I had the idea of making it into miniature pom poms, but I wanted to, in turn, make those pom poms into something else. That’s how the kids and I started making little pom pom chicks! Here are all the steps we followed, but you’ll also find a full video tutorial at the end of the post, just in case you’d prefer to follow our process that way.
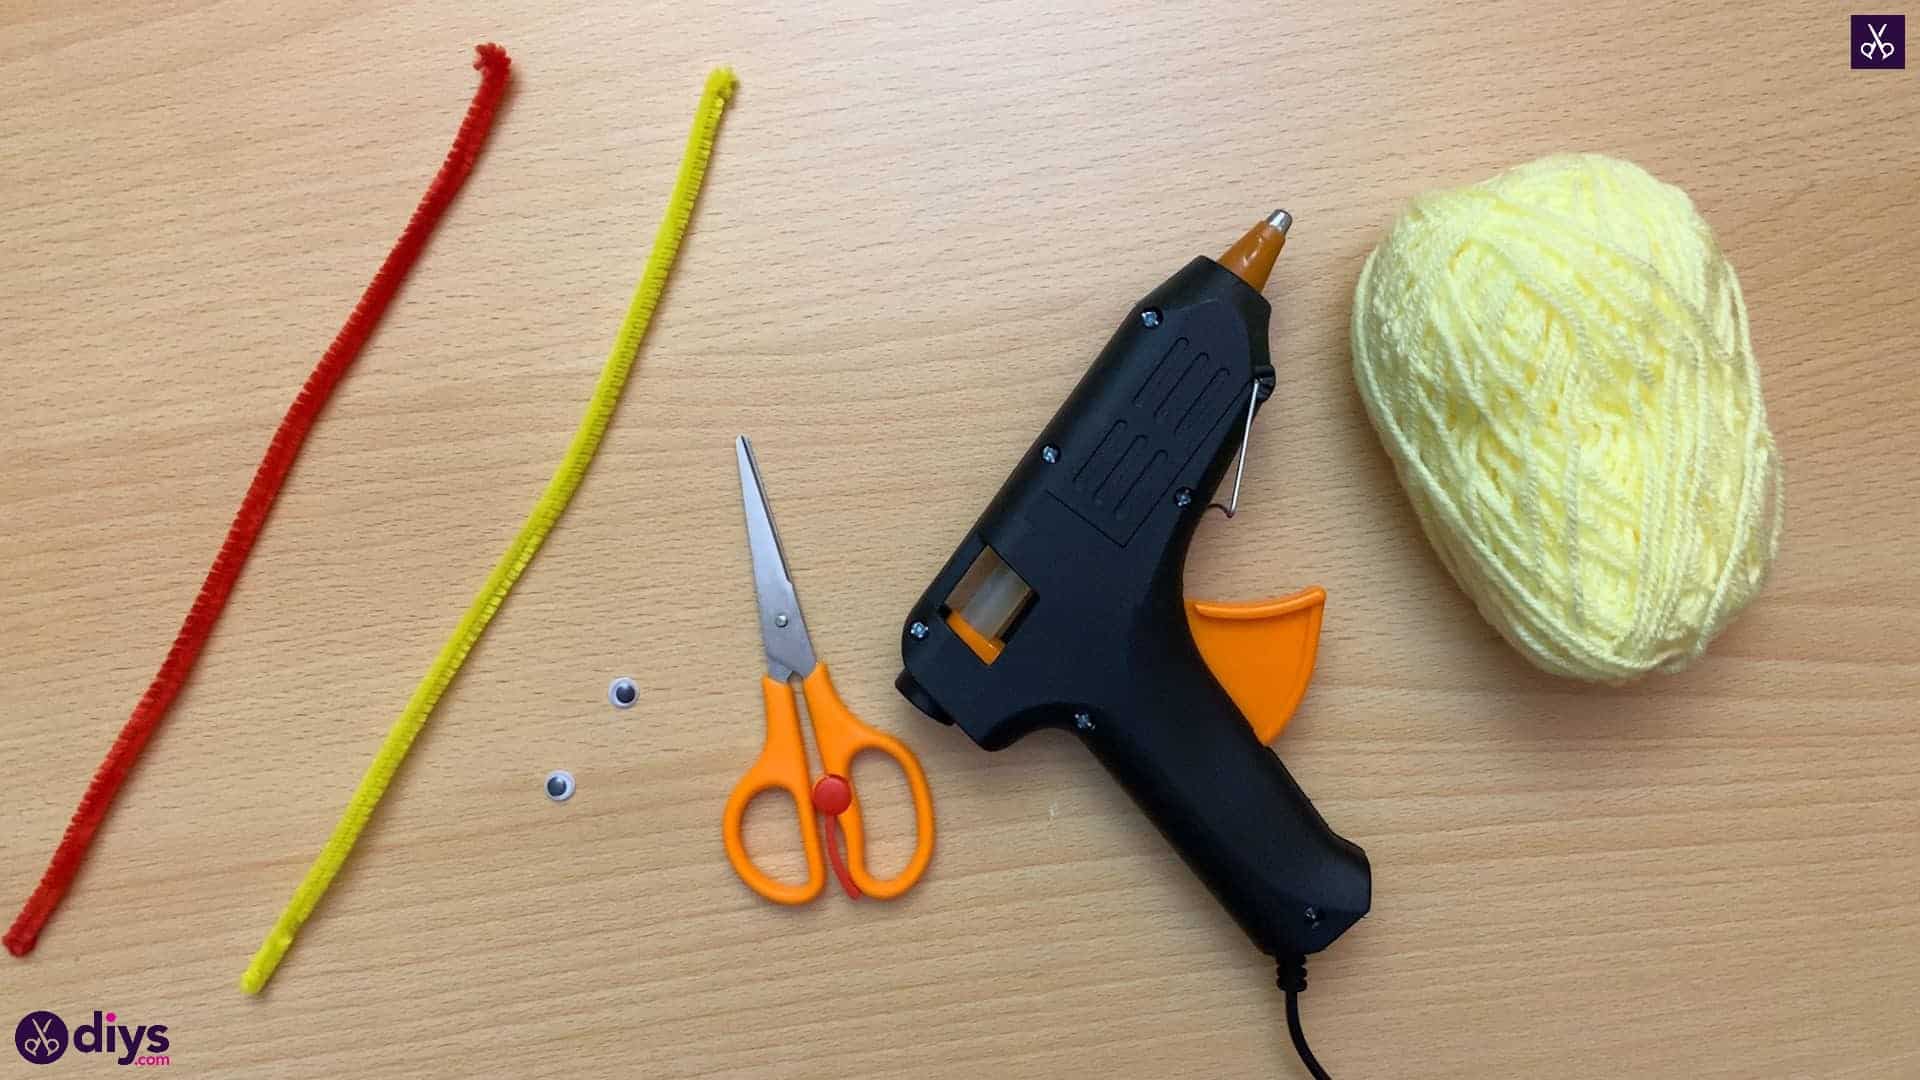
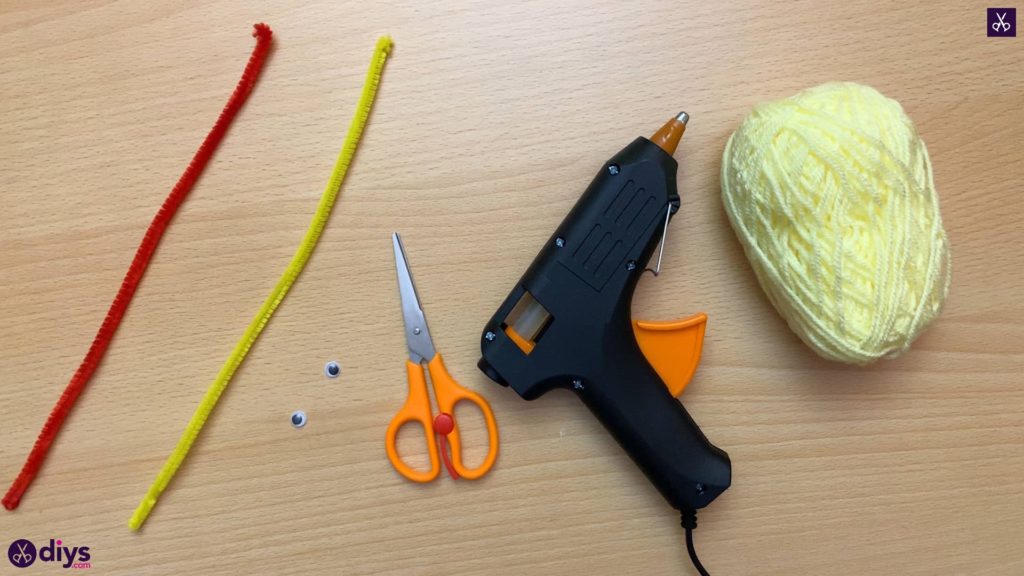
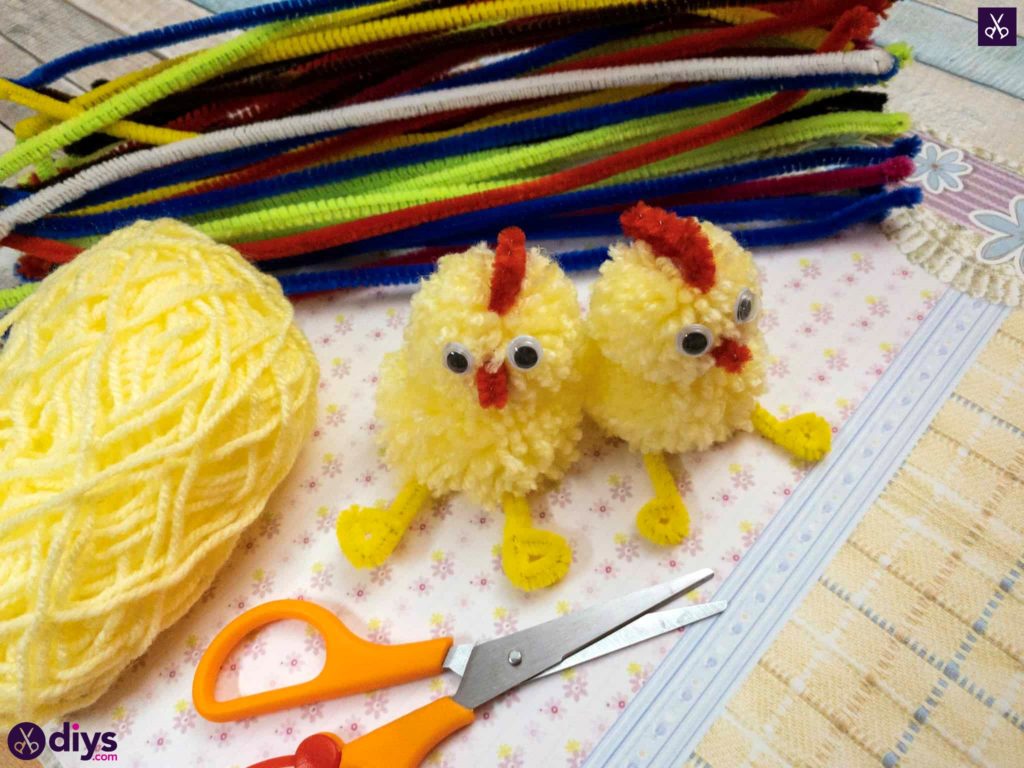
For this project, you’ll need:
- Yellow yarn
- Pipe cleaner (yellow and red)
- Googly eyes
- Scissors
- Hot glue gun
Step 1: Gather your materials!
I loved the way this simple project was made from things I actually already had on hand in our craft room.
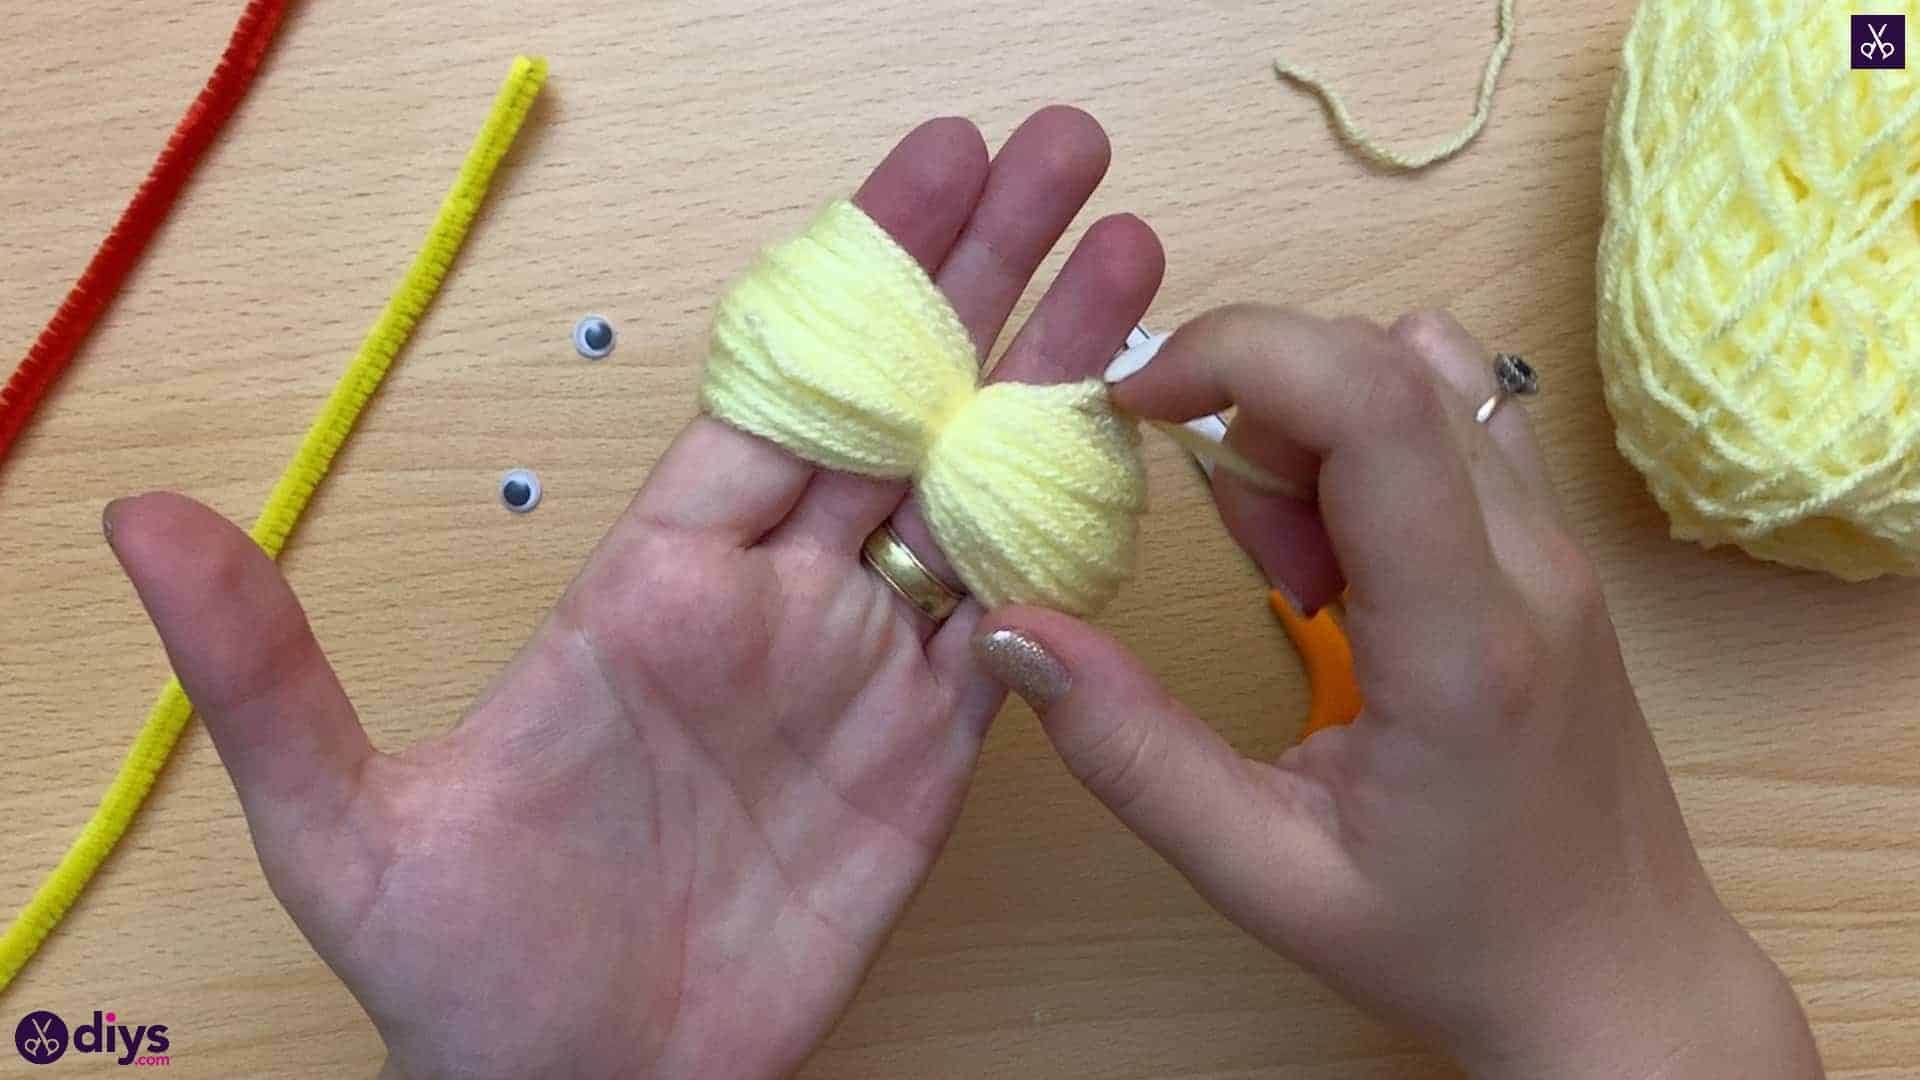
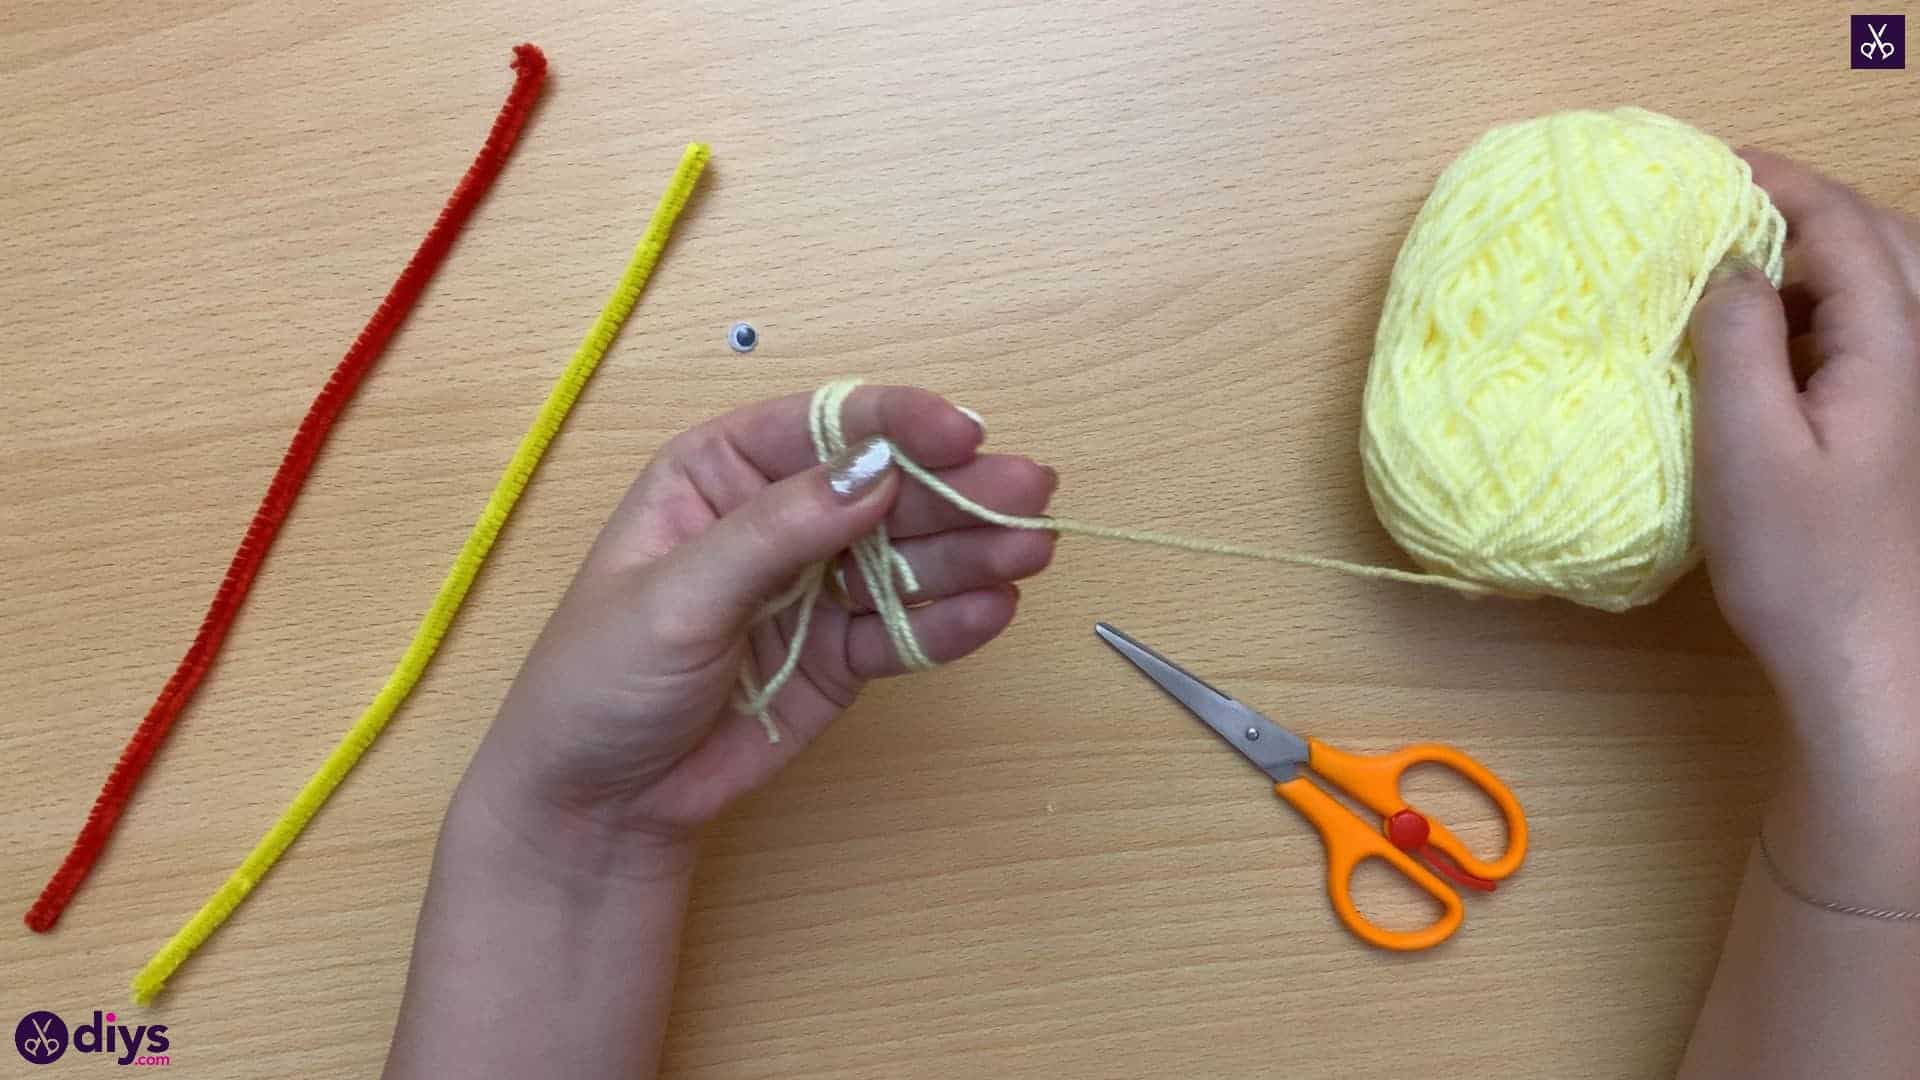
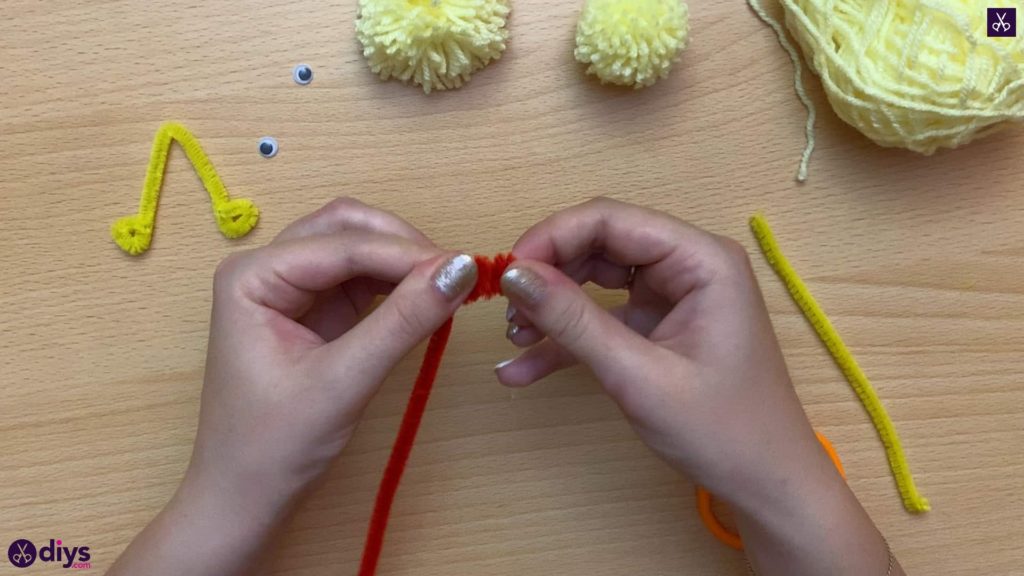
Step 2: start the pom pom
Start your pom pom around your hand. With your thumb, pinch the yarn end against your four fingers and start wrapping the yarn around and around those four fingers. Once you’ve got enough layers to hold the end in place without your help, you can carefully slide your thumb out. Keep wrapping until you have combined layers about an inch thick. You want to pull tightly enough in your wrapping that the finished pom pom is nice and dense, but not so tightly that your fingers turn purple underneath!

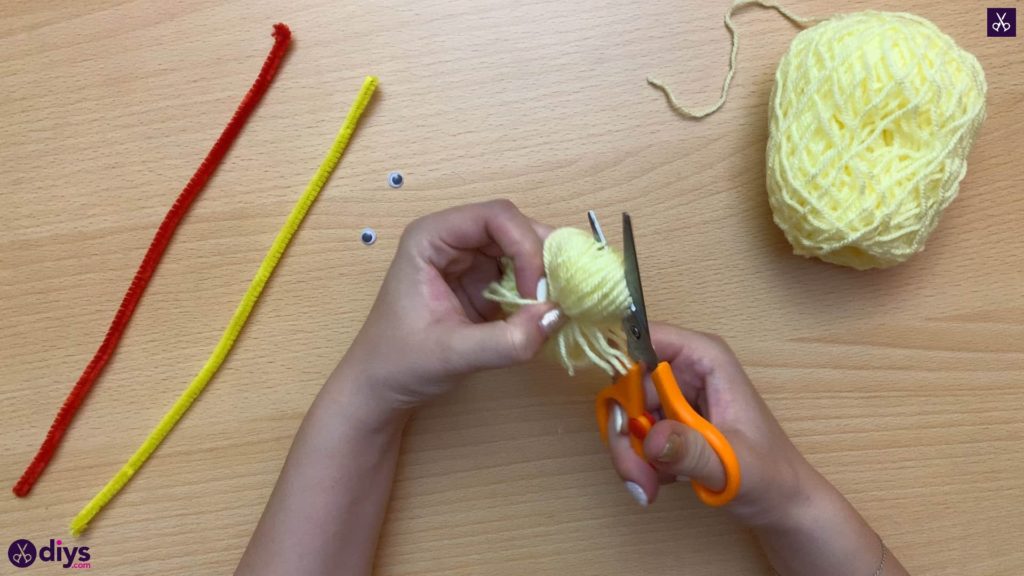
Step 3: tie
Once you’ve got enough layers in your yarn wrapping, cut the yarn free from the ball. Next, cut a length of about four inches to tie around the middle of your wrapped layers. Slide the yarn between your middle and ring fingers both below and above the wrapped yarn, tie it, and pull it tight so it cinches the layers in the middle. Once you’ve got it cinched as well as you can, tie a knot in the ends and slide the wrapped loops off your fingers.

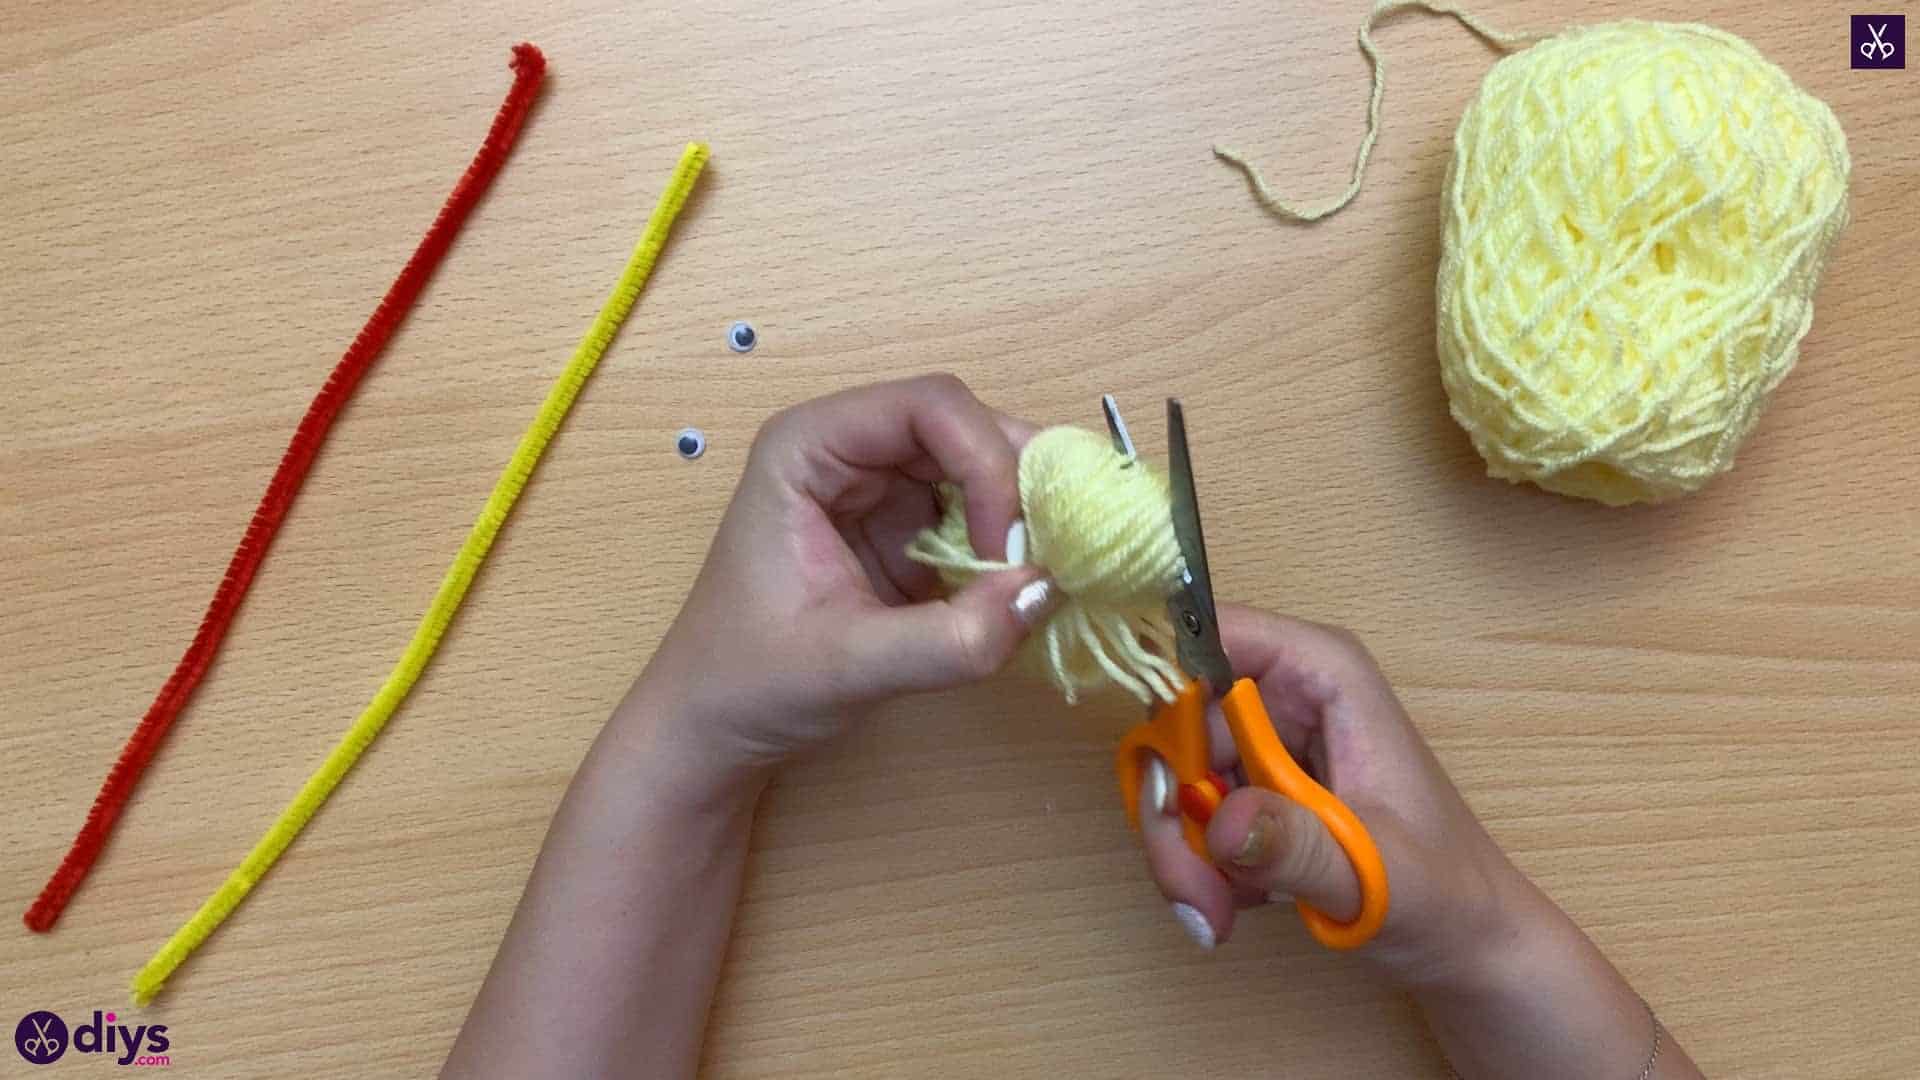
Step 4: cut
Cut the looped ends of your almost-pom pom above and below the cinched tie you just made, so they look more like fringe and there are no more rounded pieces. If you’ve wrapped densely and tied the middle tightly, the new ends will spring up when you cut the loops in the middle and you’ll start to see the pom pom taking shape. You can help it along by fluffing it up a little.
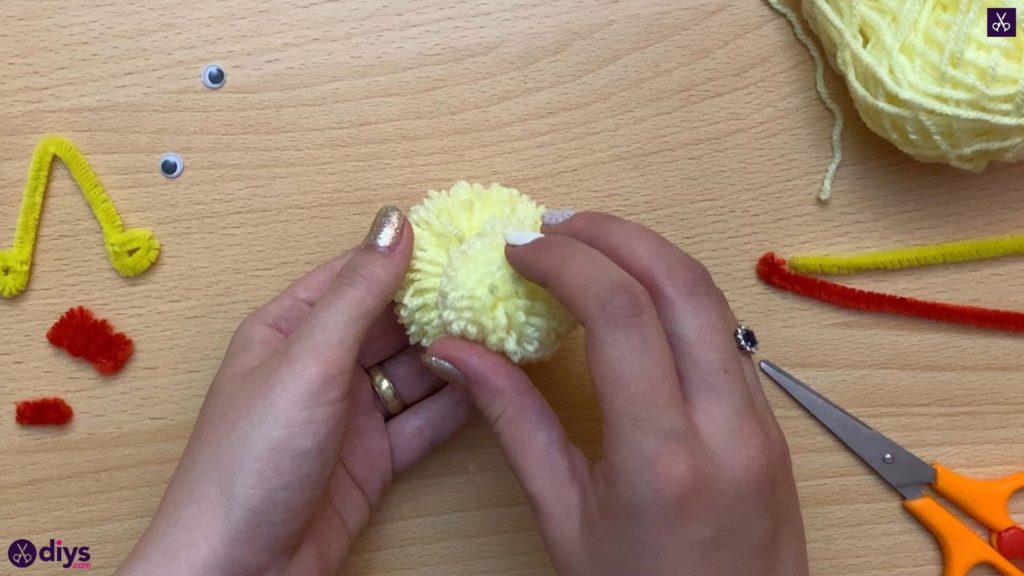
Step 5: rtim
Even out the fringed ends of your pom pom all the way around by trimming its surface carefully until it all sits nice and evenly, looking very round.
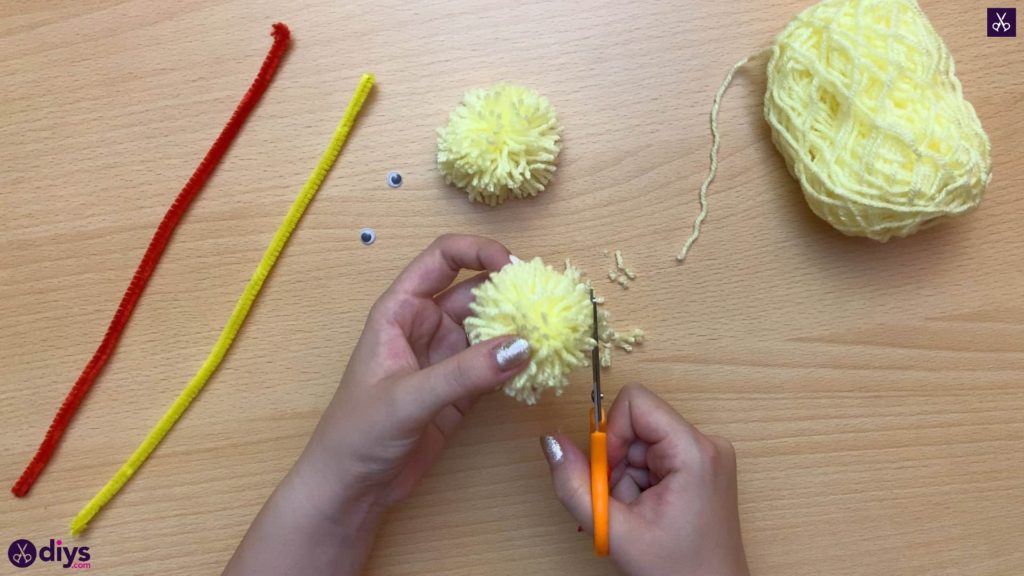
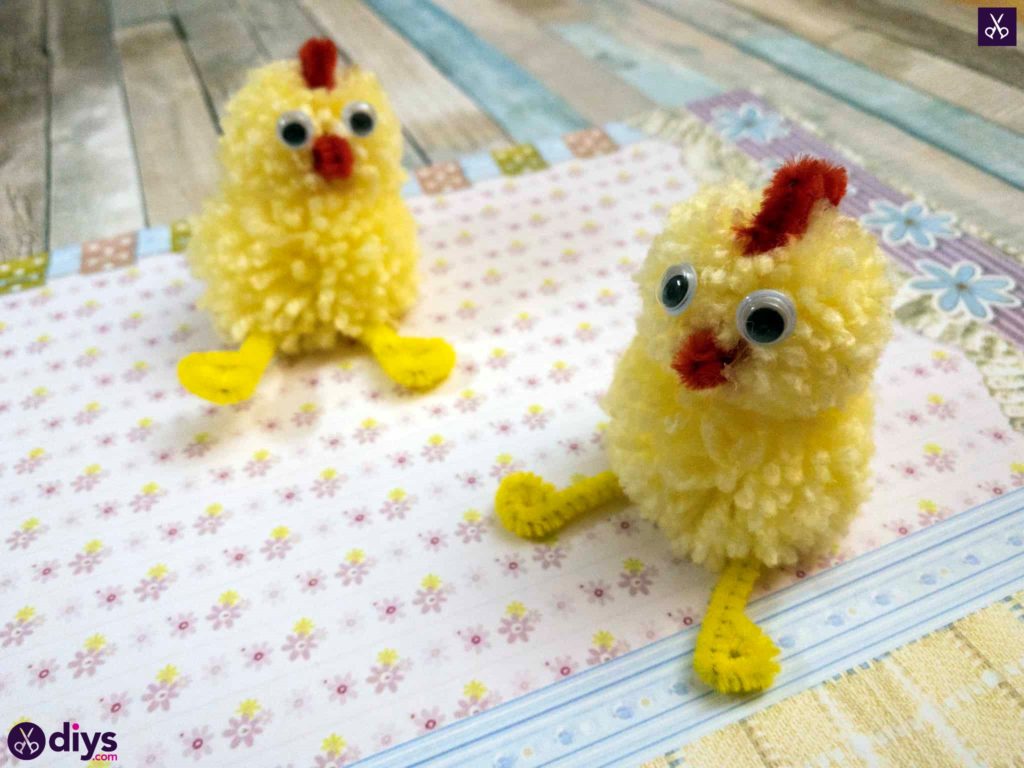
Step 6: repeat
Make a second pom pom and follow all of these same steps so you havetwo smoothed pom poms.
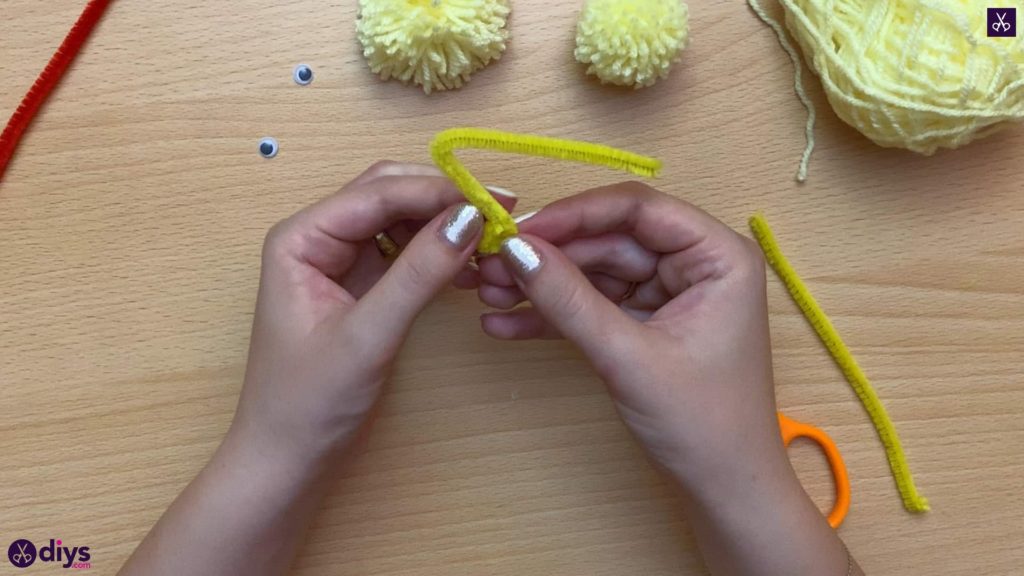
Step 7: make the legs and feet
Find the center of your yellow pipe cleaner and cut it in half. Bend one of those two new yellow pieces into a V-shape at its own center point. Take the end of each arm and curl the tip over like a little sideways facing loop, curling the ends outward so the little loops on each side face away from one another. This piece will be your chick’s legs and feet.
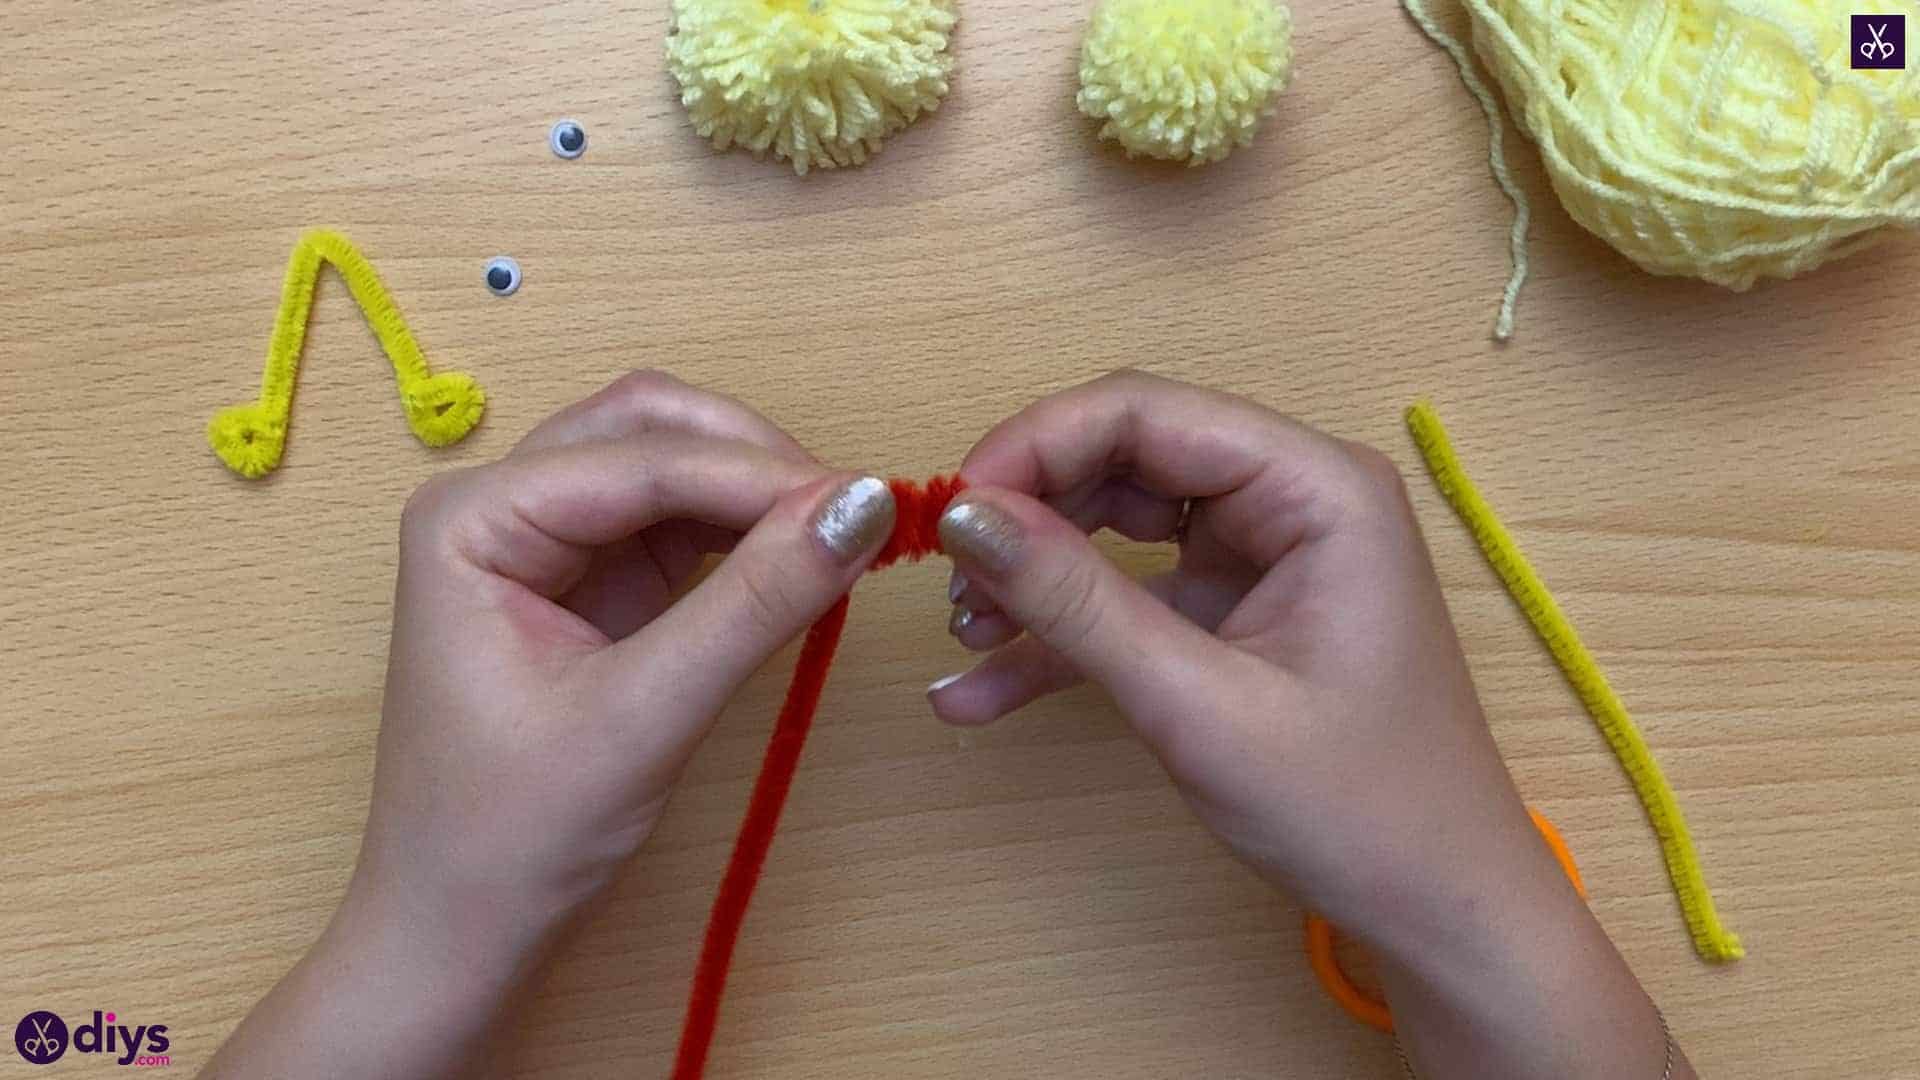
Step 8: make the comb
Next, make a chicken’s comb from the end of your red pipe cleaner. Fold the tip back and forth several times in an accordion-like fashion to make a sort of squiggle shape. You only need a “comb” about an inch long, featuring four or five folds, since the pom poms you’ll be making your chick out of are so small. Cut the end and curl it under as well. You’ll also want to cut a small piece off the tip of your red pipe cleaner to use as a beak.

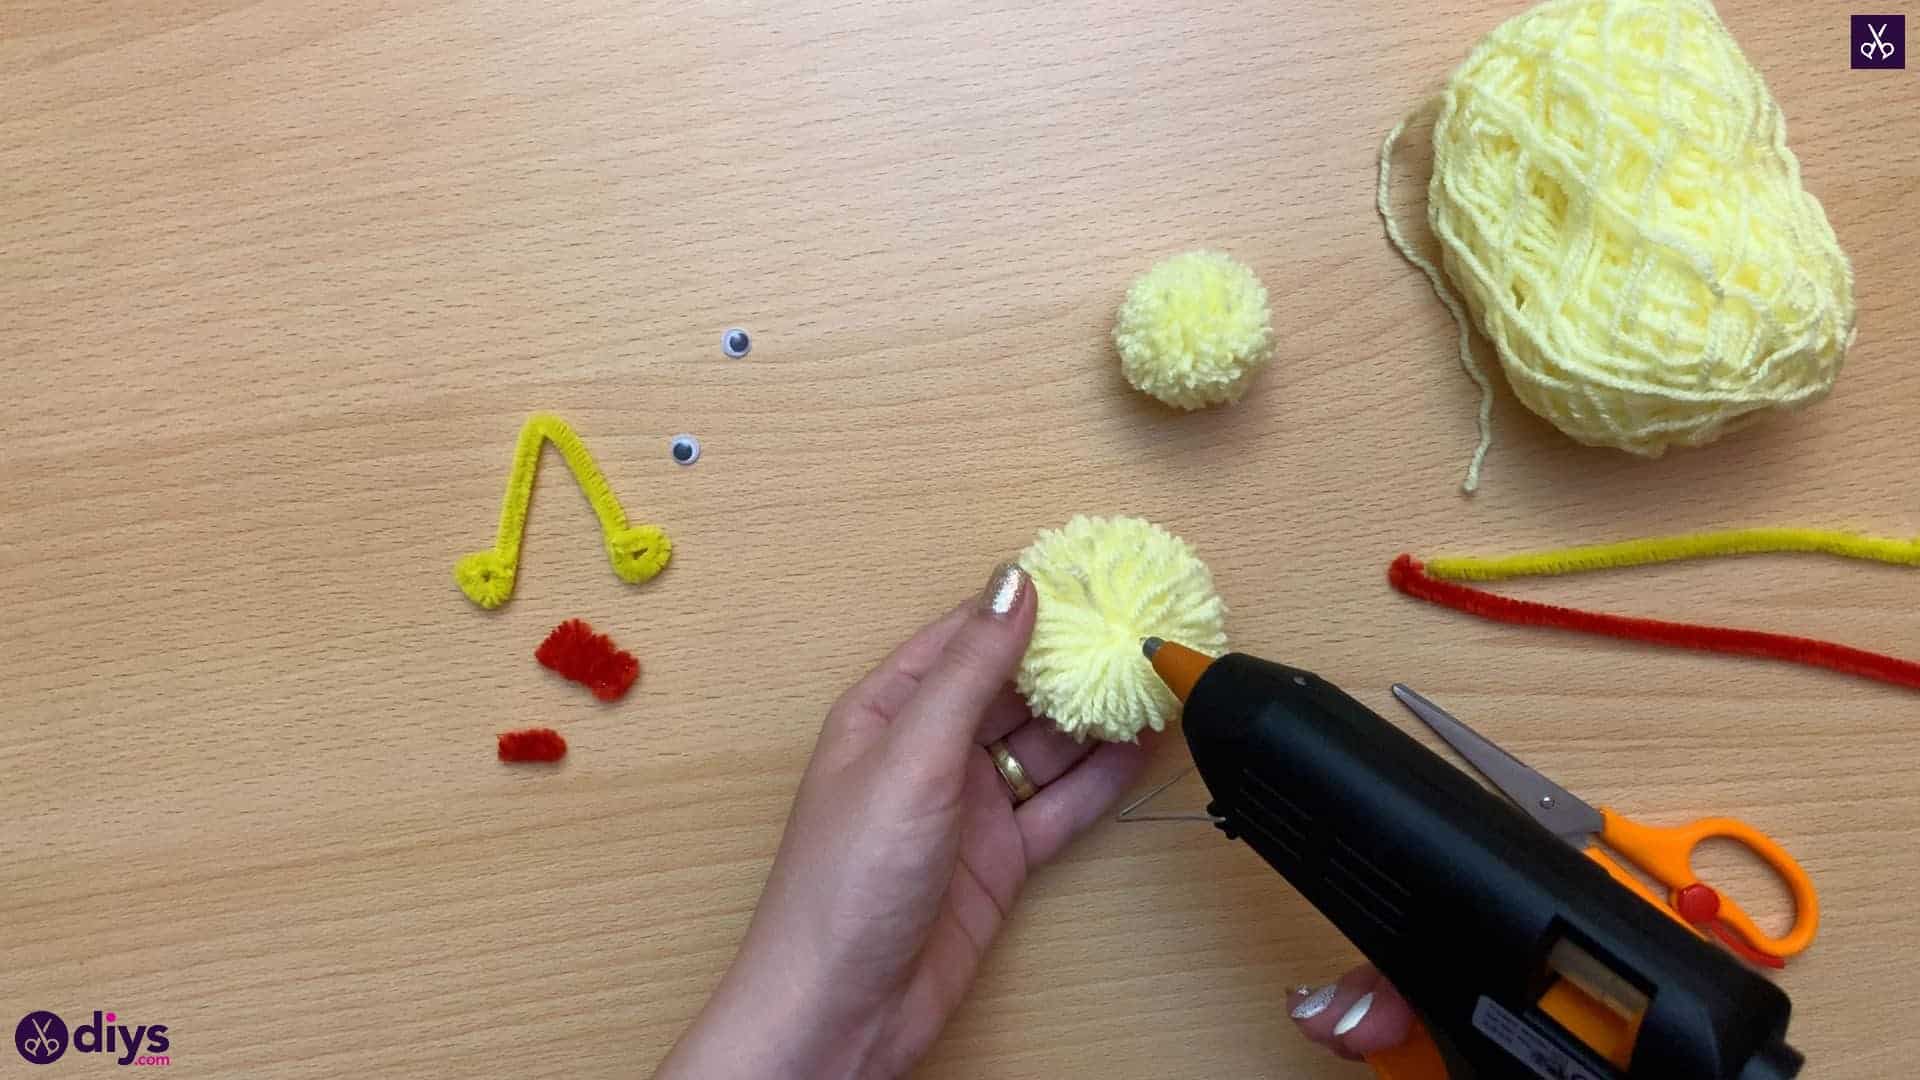
Step 9: glue together
Attach your pom poms together! Take your hot glue gun and apply a dollop at the base of the fringe on the top of one pom pom.
Step 10: add the rest
Settle your second pom pom into the glue on the top of your first pom pom. Hold them together, pressing lightly for a moment, to ensure that the glue starts drying and the pom pom stays steadfast where you’ve put it, rather than loosening or sticking to the fringe instead so that it moves around. You want it anchored solidly.

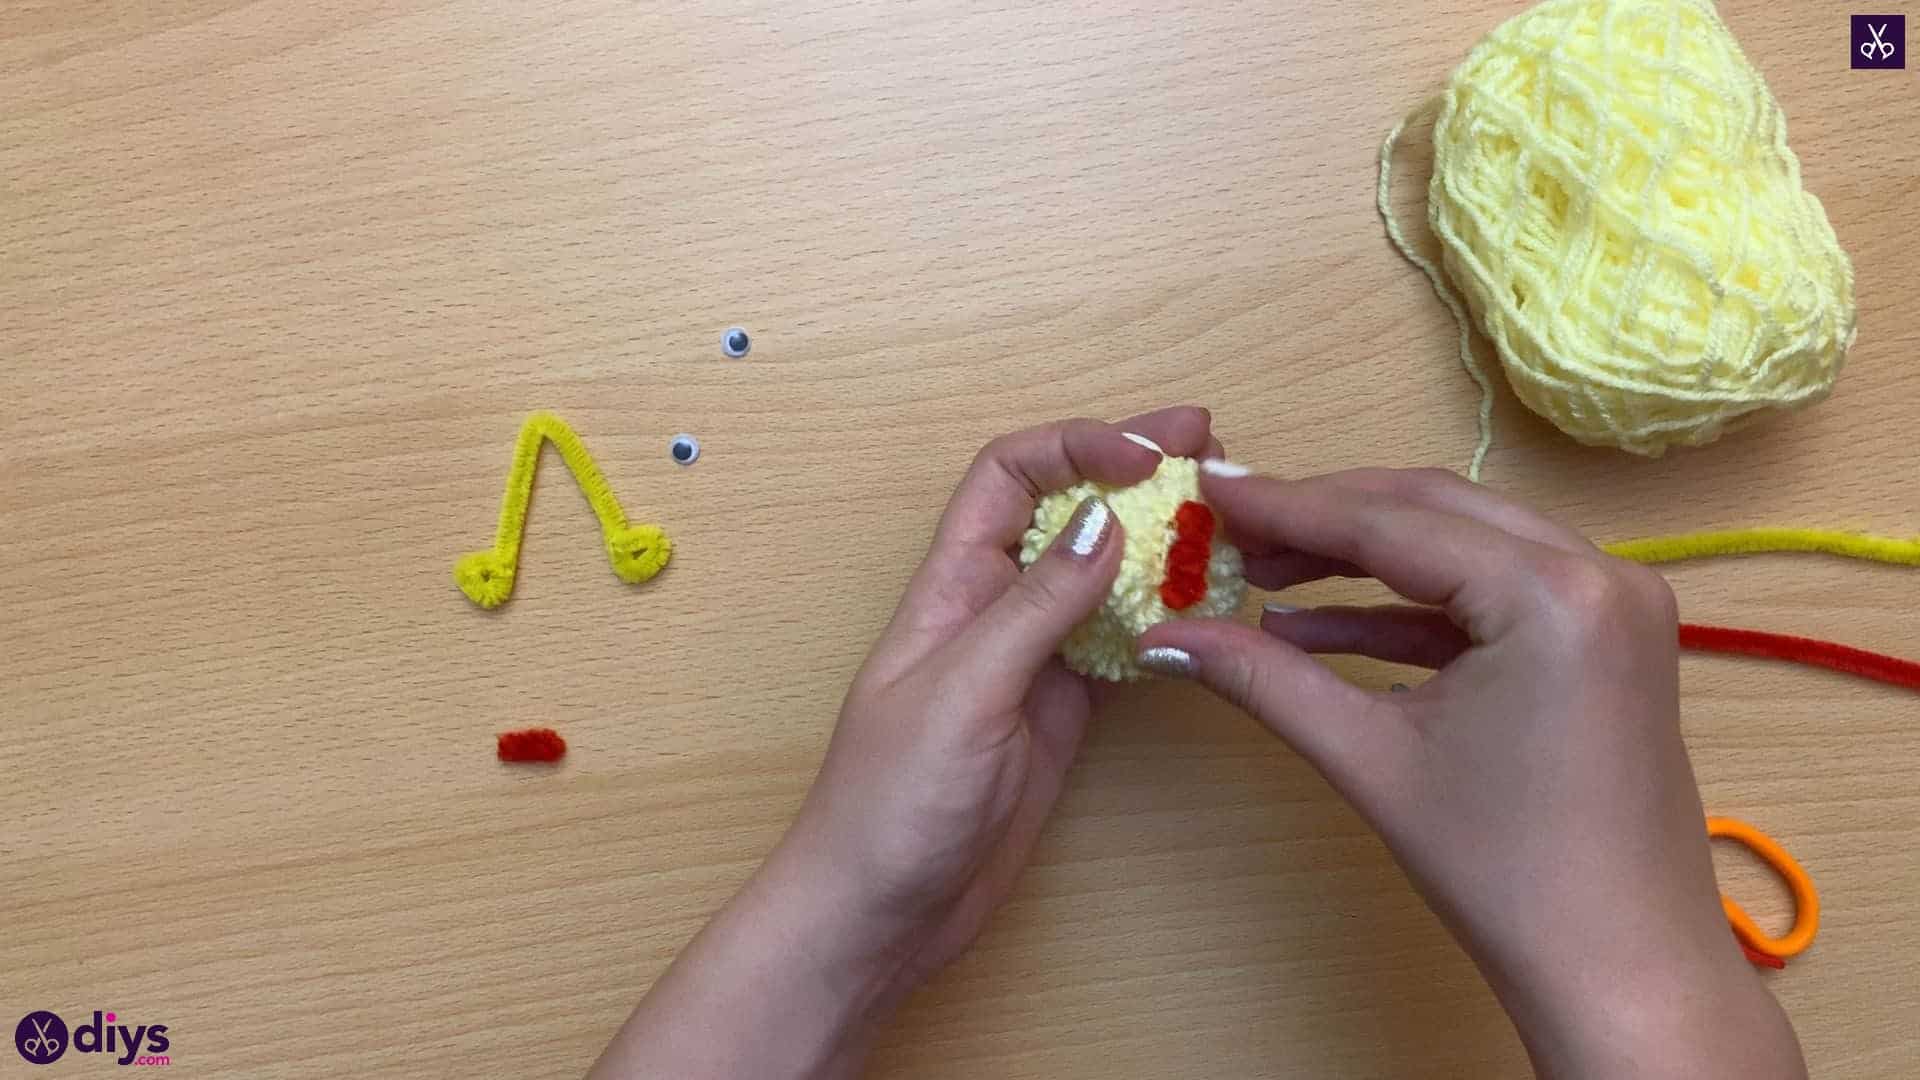
Step 11: create the face
Using your glue gun again, apply glue to the bottom of the red comb. Press it down carefully in the center of your top pom pom; whichever one you want to be your chick’s head.
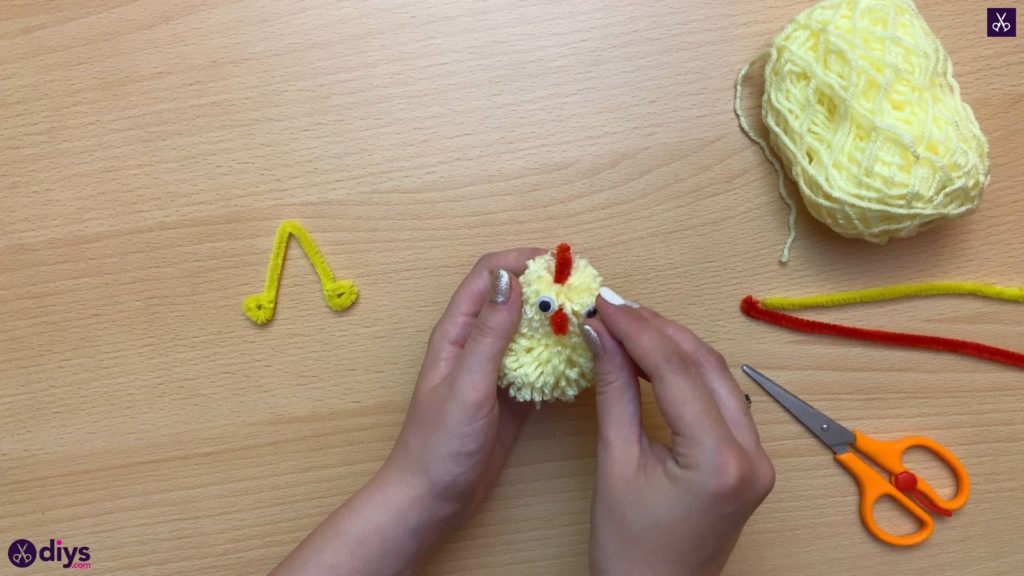
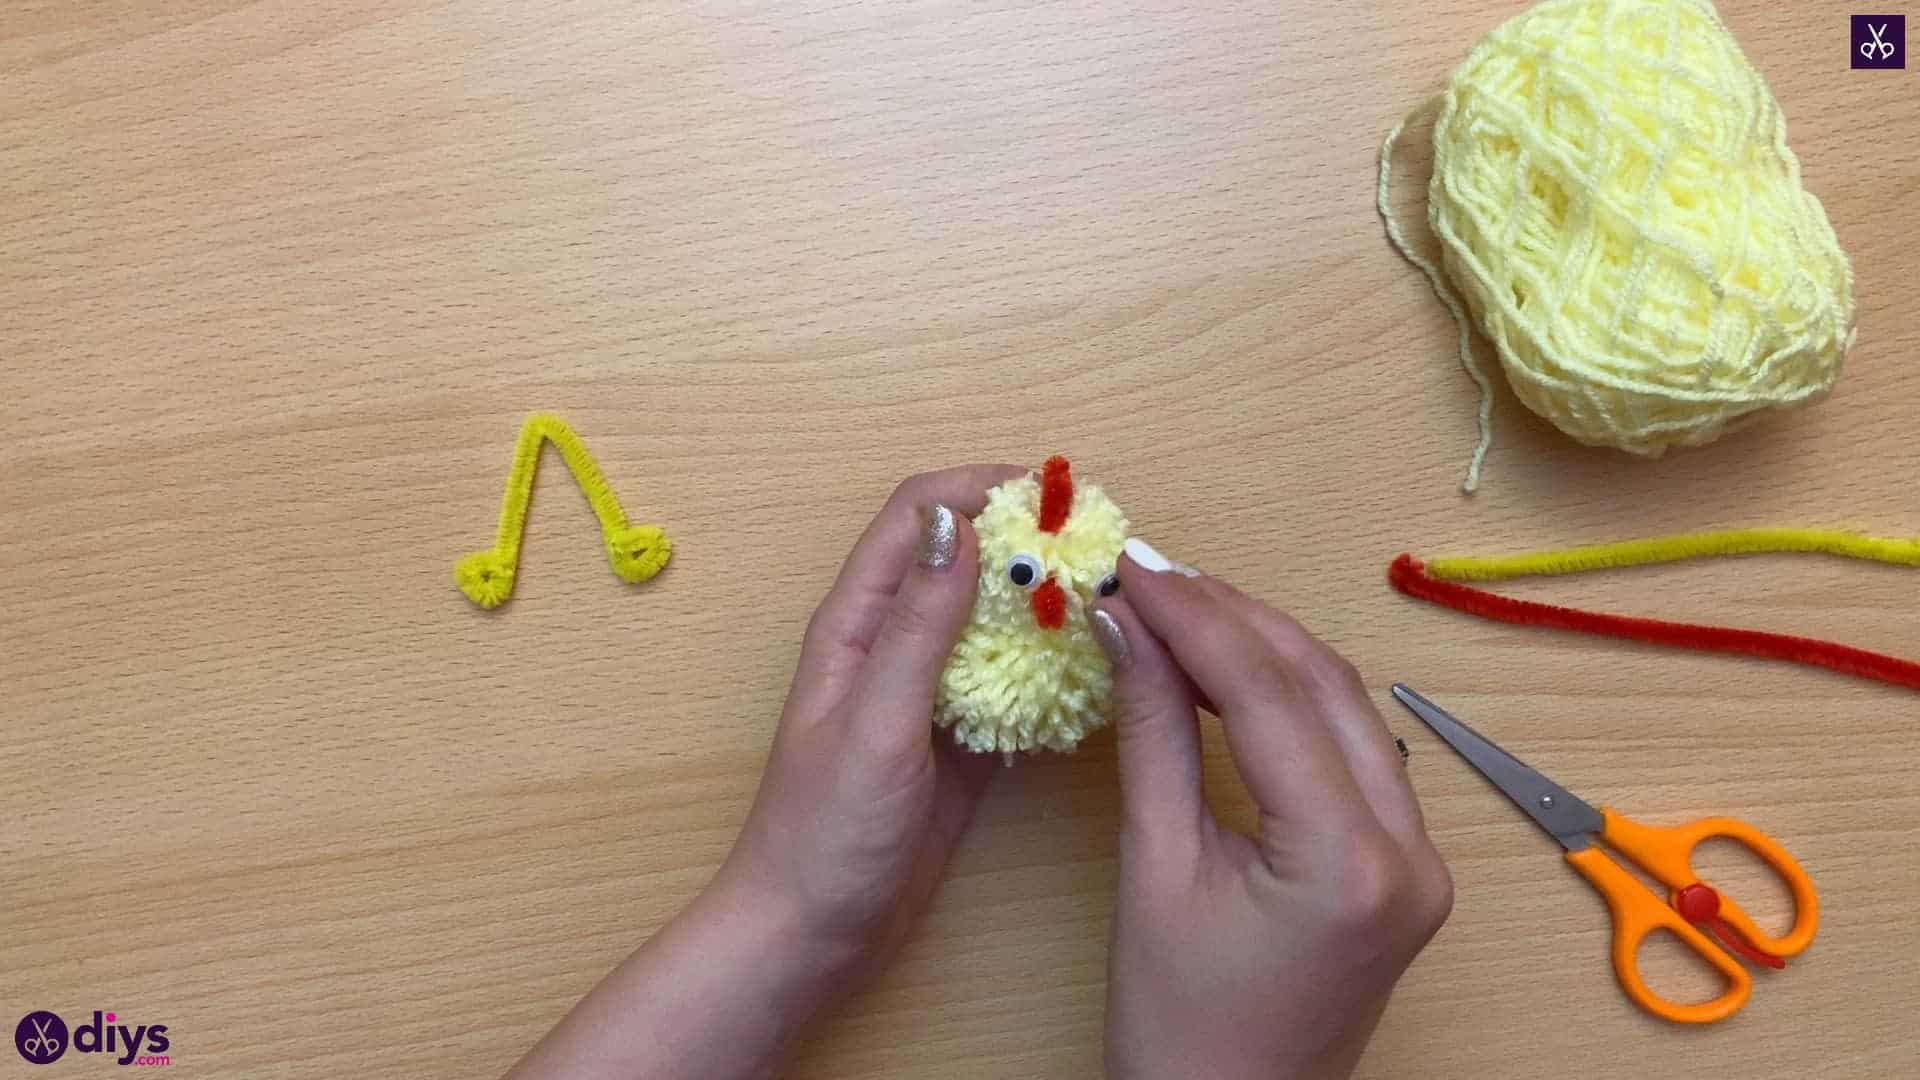
Step 12: add the eyes
Do the same gluing process with your beak piece and googly eyes! I stuck my beak closer to the bottom of the head to make sure that the googly eyes have lots of room near the top of the face.
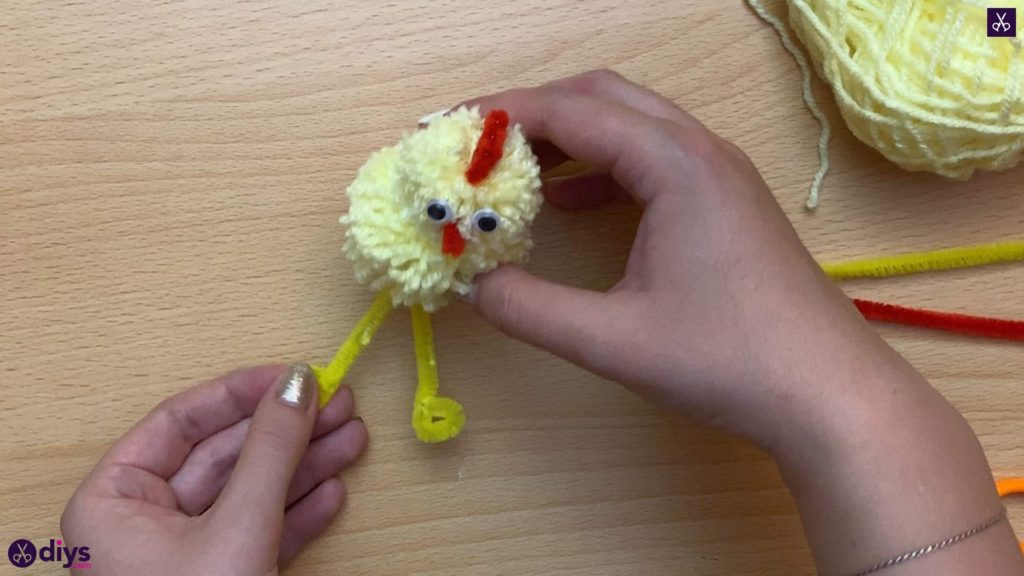
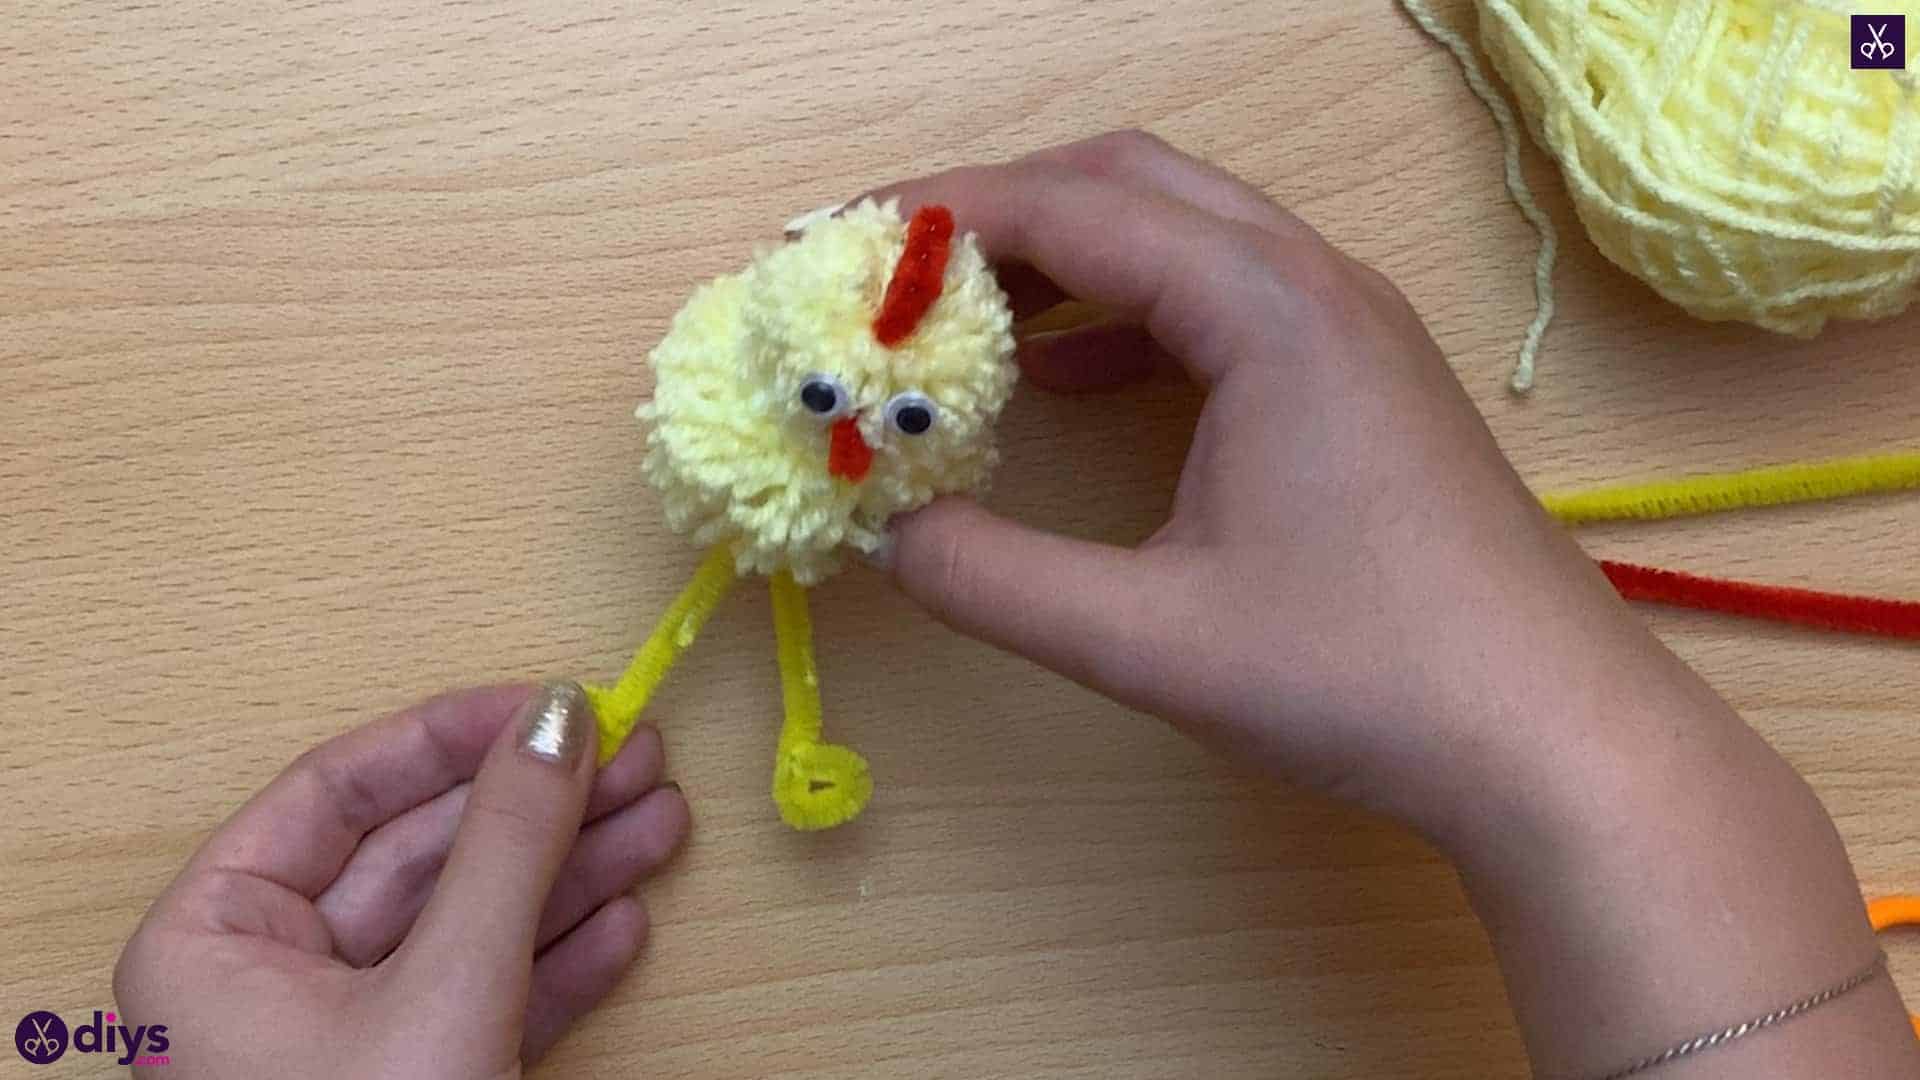
Step 13: add the legs
Take your yellow pipe cleaner legs and apply hot glue along the V, where you bent the piece in the center before making the feet. Press the legs into the bottom center of your bottom pom pom, or the pom pom that makes up your chick’s body.

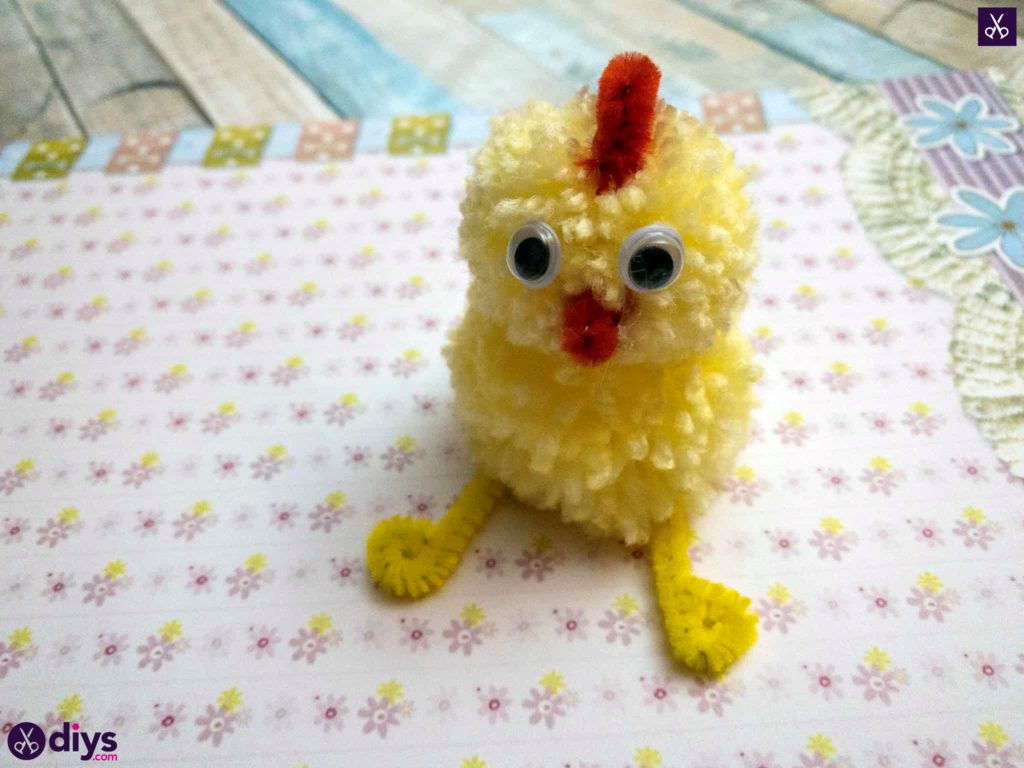
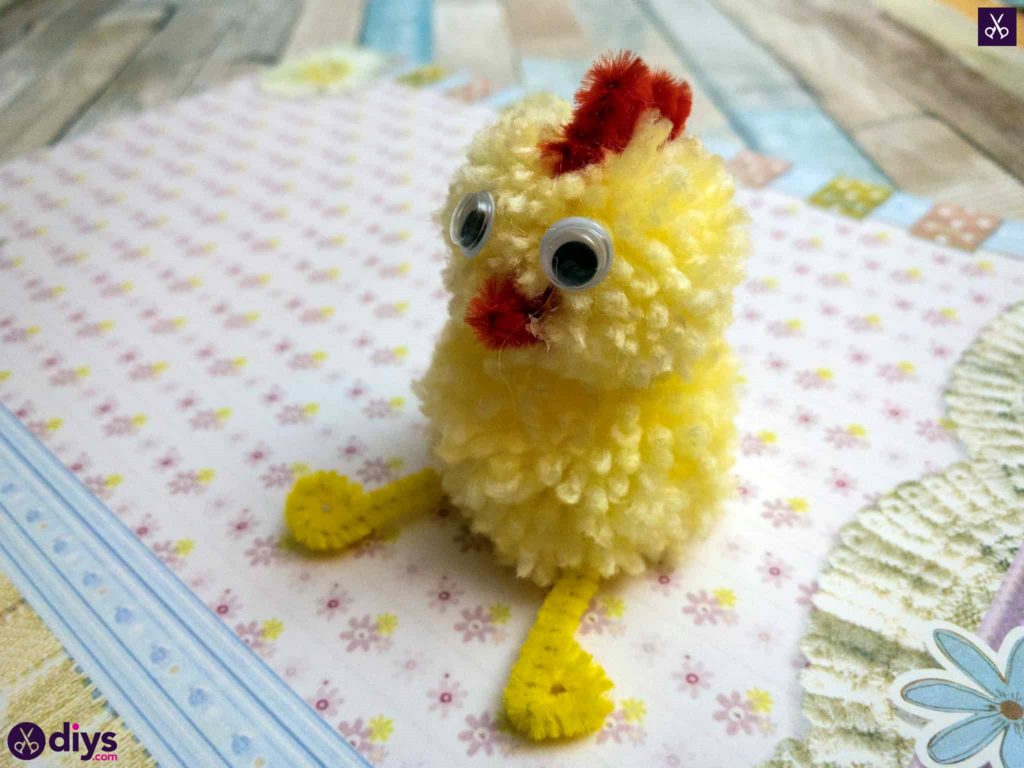
You’re all done! Your little chick should be solid enough to sit up on its own, meaning you can place it to brighten a room just about anywhere you please.
Just in case you’d like to try this project out yourself, here’s a fantastic video tutorial to guide you through the process!