How to Make a Paper Plate Minion
Updated on November 19, 2025


In my house, nothing makes the kids more excited and happy than Minions. Of course, I don’t mean that my kids have their own little henchmen to boss around; I mean that they’re completely obsessed with the funny little yellow characters from the movies The Minions and Despicable Me! I always find that our “crafternoons” together go the best when we’re working with a theme that really gets the kids excited, so I’m always trying to come up with new ideas for cool crafts that involve things or characters they really like.
That’s how I came up with this paper plate Minion idea! Paper plates are a classic childhood craft idea that I loved doing when I was little, so now I do them with my own kids all the time, and they’re still a huge hit all these years later. Here are all the simple steps I took to turn a paper plate into a Minion! You’ll also find a video version of this tutorial at the very end, just in case you’d prefer to follow that.

For this project, you’ll need:
- Paper plate
- Glue sticks
- Scissors
- Cardboard (black)
- Paper (white and black)
- Paint (whatever kind you like best)
- Paintbrush
- Pen
- Calipers
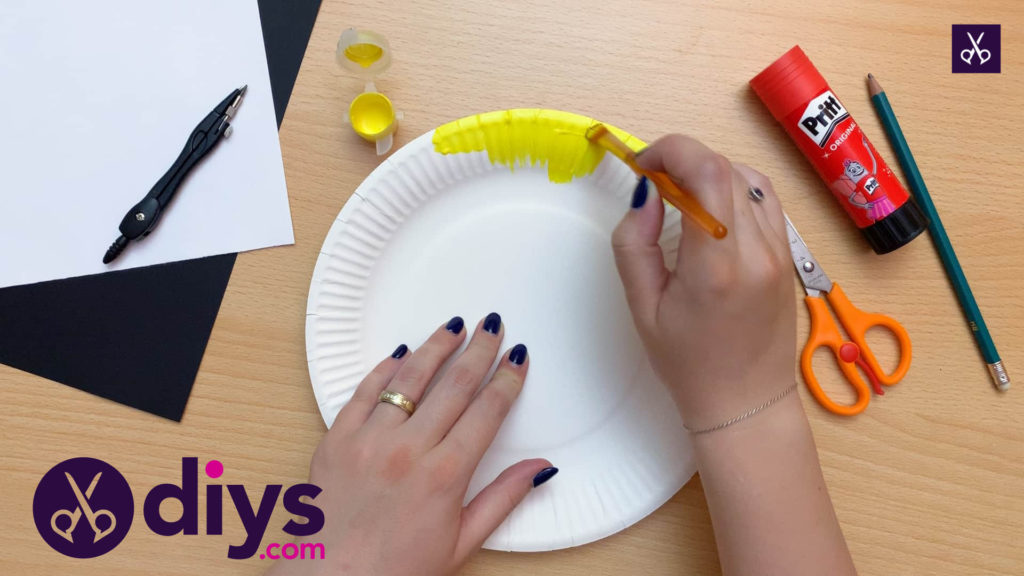
Step 1:
Gather your materials and open that bright yellow paint first thing! Paint your whole paper plate a solid yellow. I had to do two coats of paint to get the colour as bright as a I wanted, letting the paint dry in between, because I was using gentle, non-toxic kids’ paint. I wanted to be sure that the white of the plater didn’t show through and mute the colour. After all, Minions are very bright!
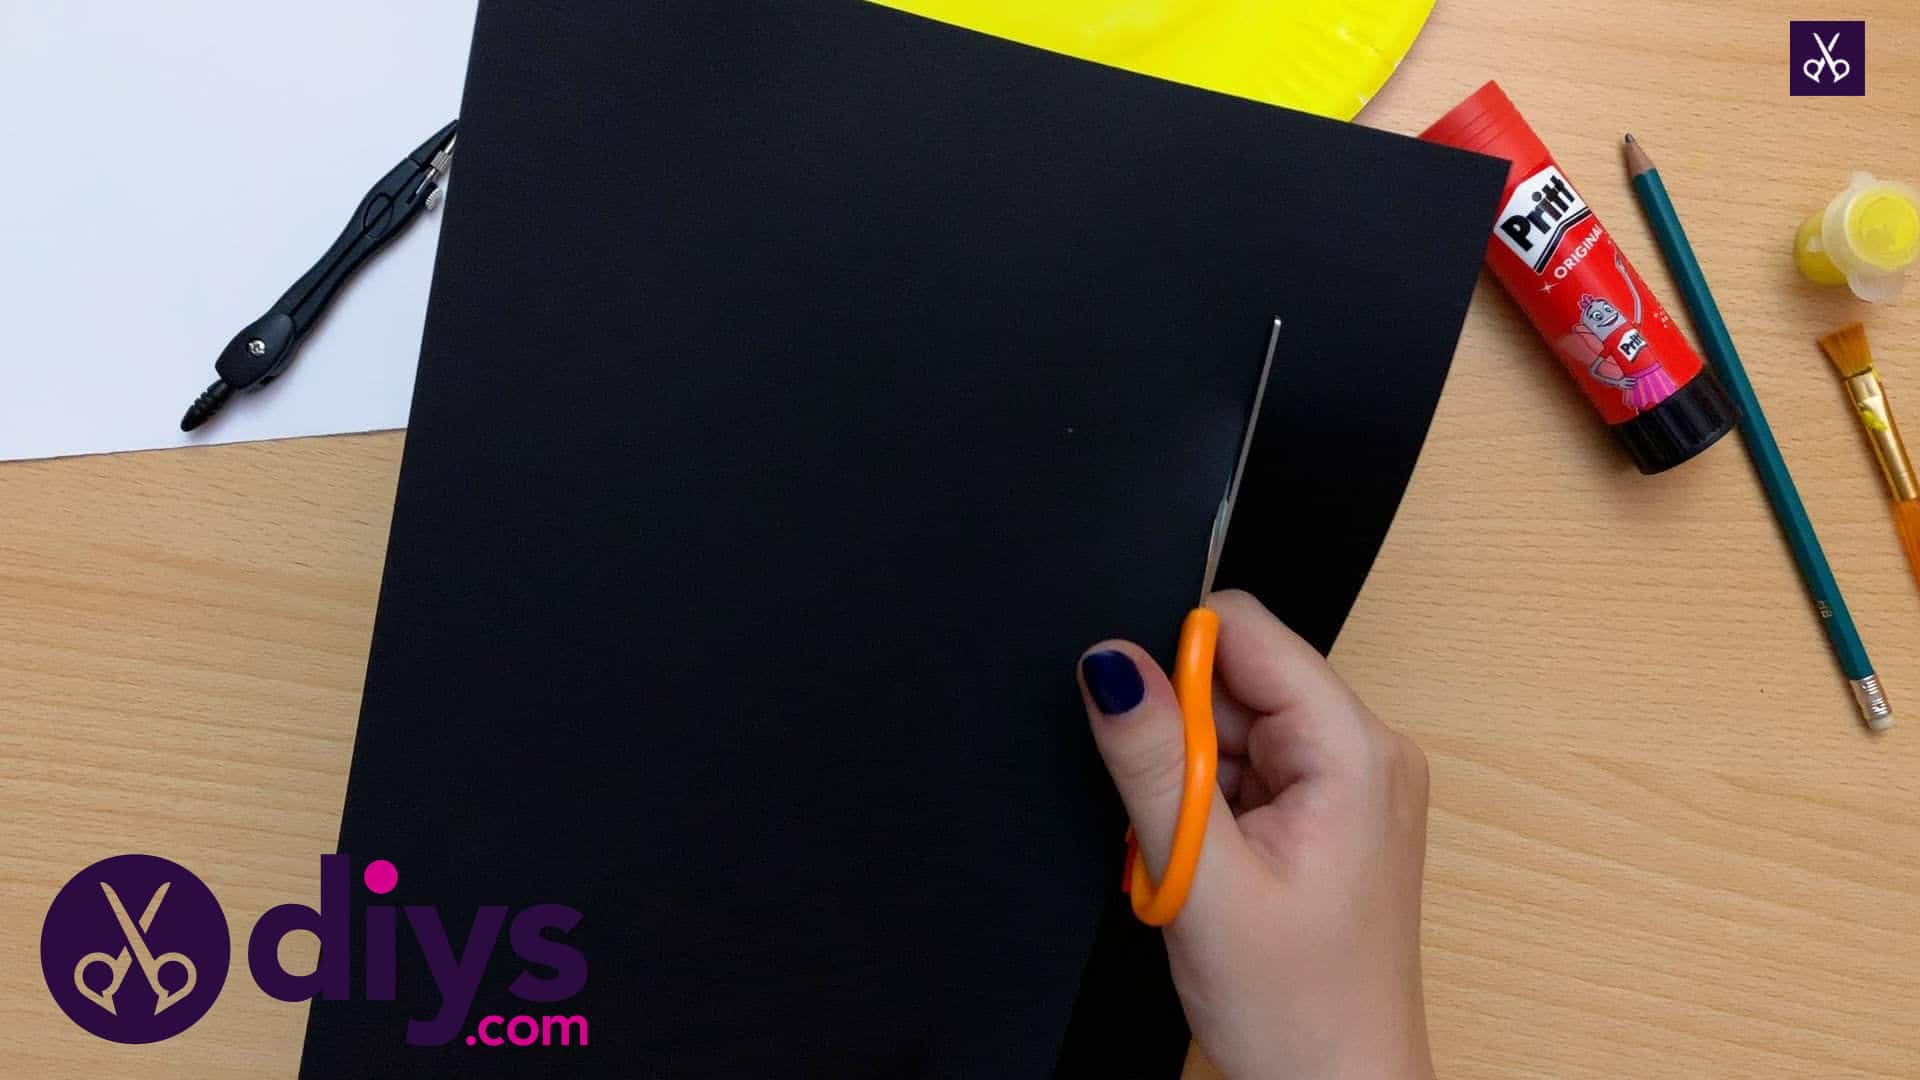
Step 2:
Cut a strip from your black sheet of paper! I used the full length of mine, but measured the strip to be about an inch and a half thick. I used a ruler to make sure the line I cut along was just as straight as the outer edge of the paper, so the two sides matched.

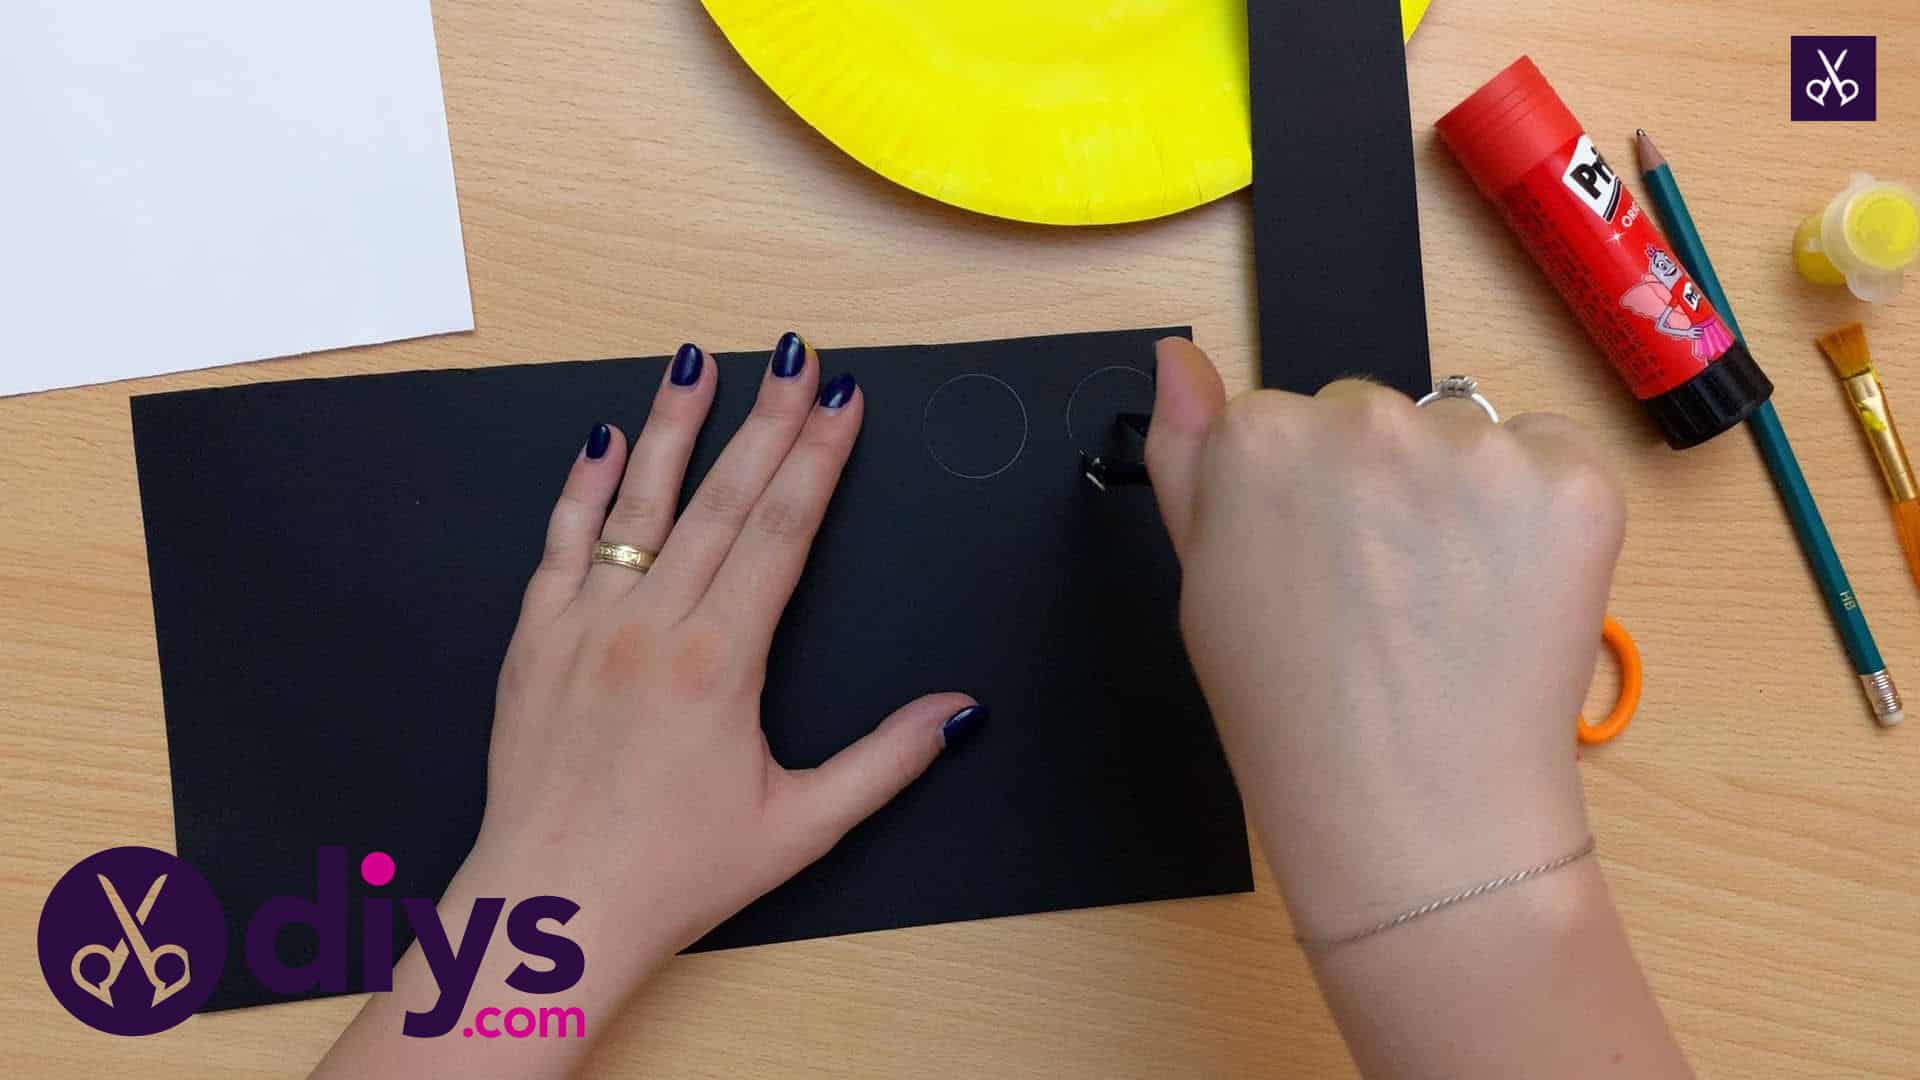
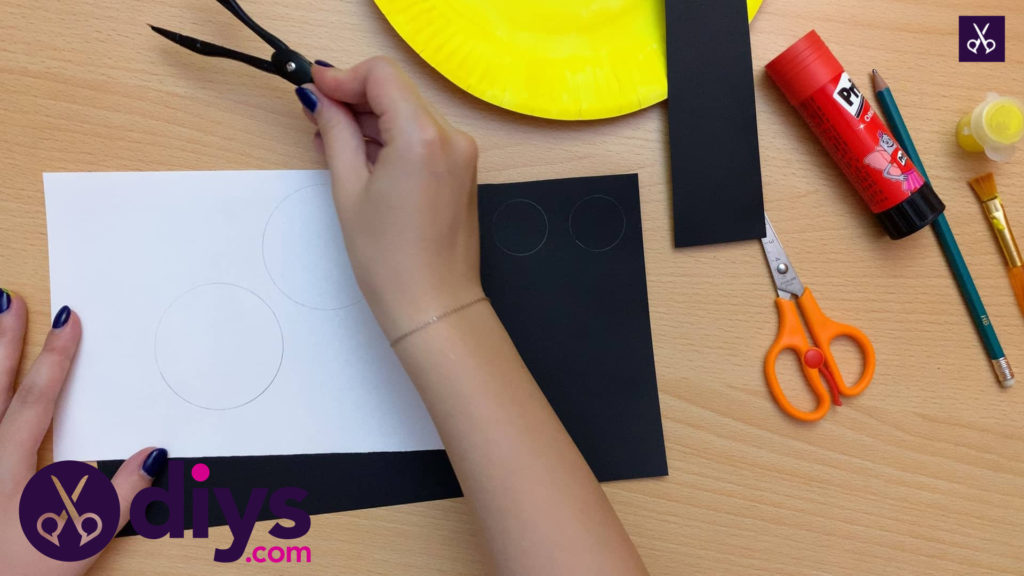
Step 3:
Use your calipers to create small circles on your black paper. I measured the tips of my calipers to be about half an inch apart. I drew two even, solid black circles on my black page.

Step 4:
Repeat the circle drawing process on your white piece of paper! I extended my caliper tips to about an inch and a half from each other to make slightly bigger circles. Once again, I drew two of them, just like I’d done on the black page.
Step 5:
Cut out your circles, both black and white! I also drew a small arching shape in the black paper to be the Minion’s smile. Cut that out too. These pieces are what you’ll make the Minion’s face from.
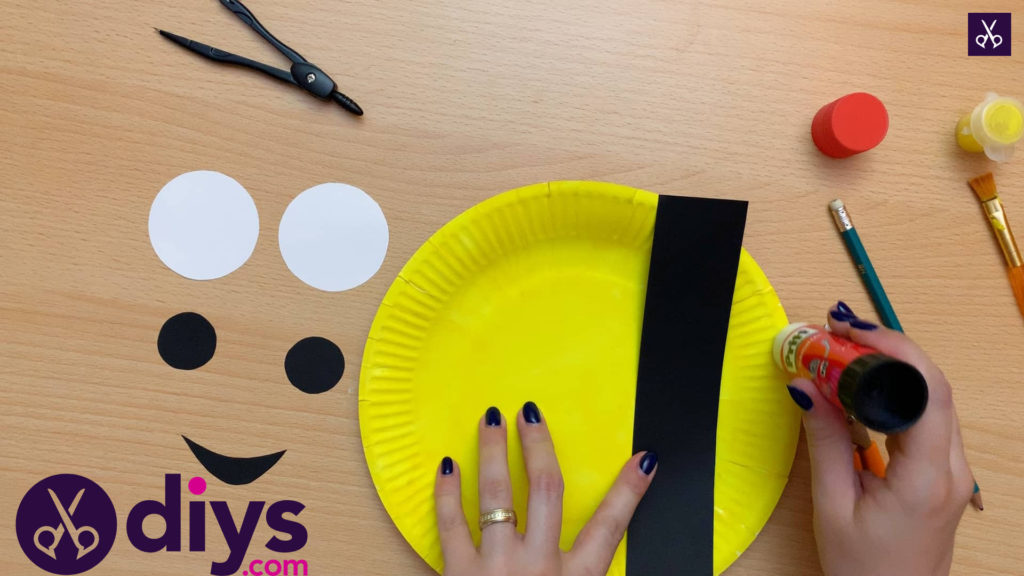
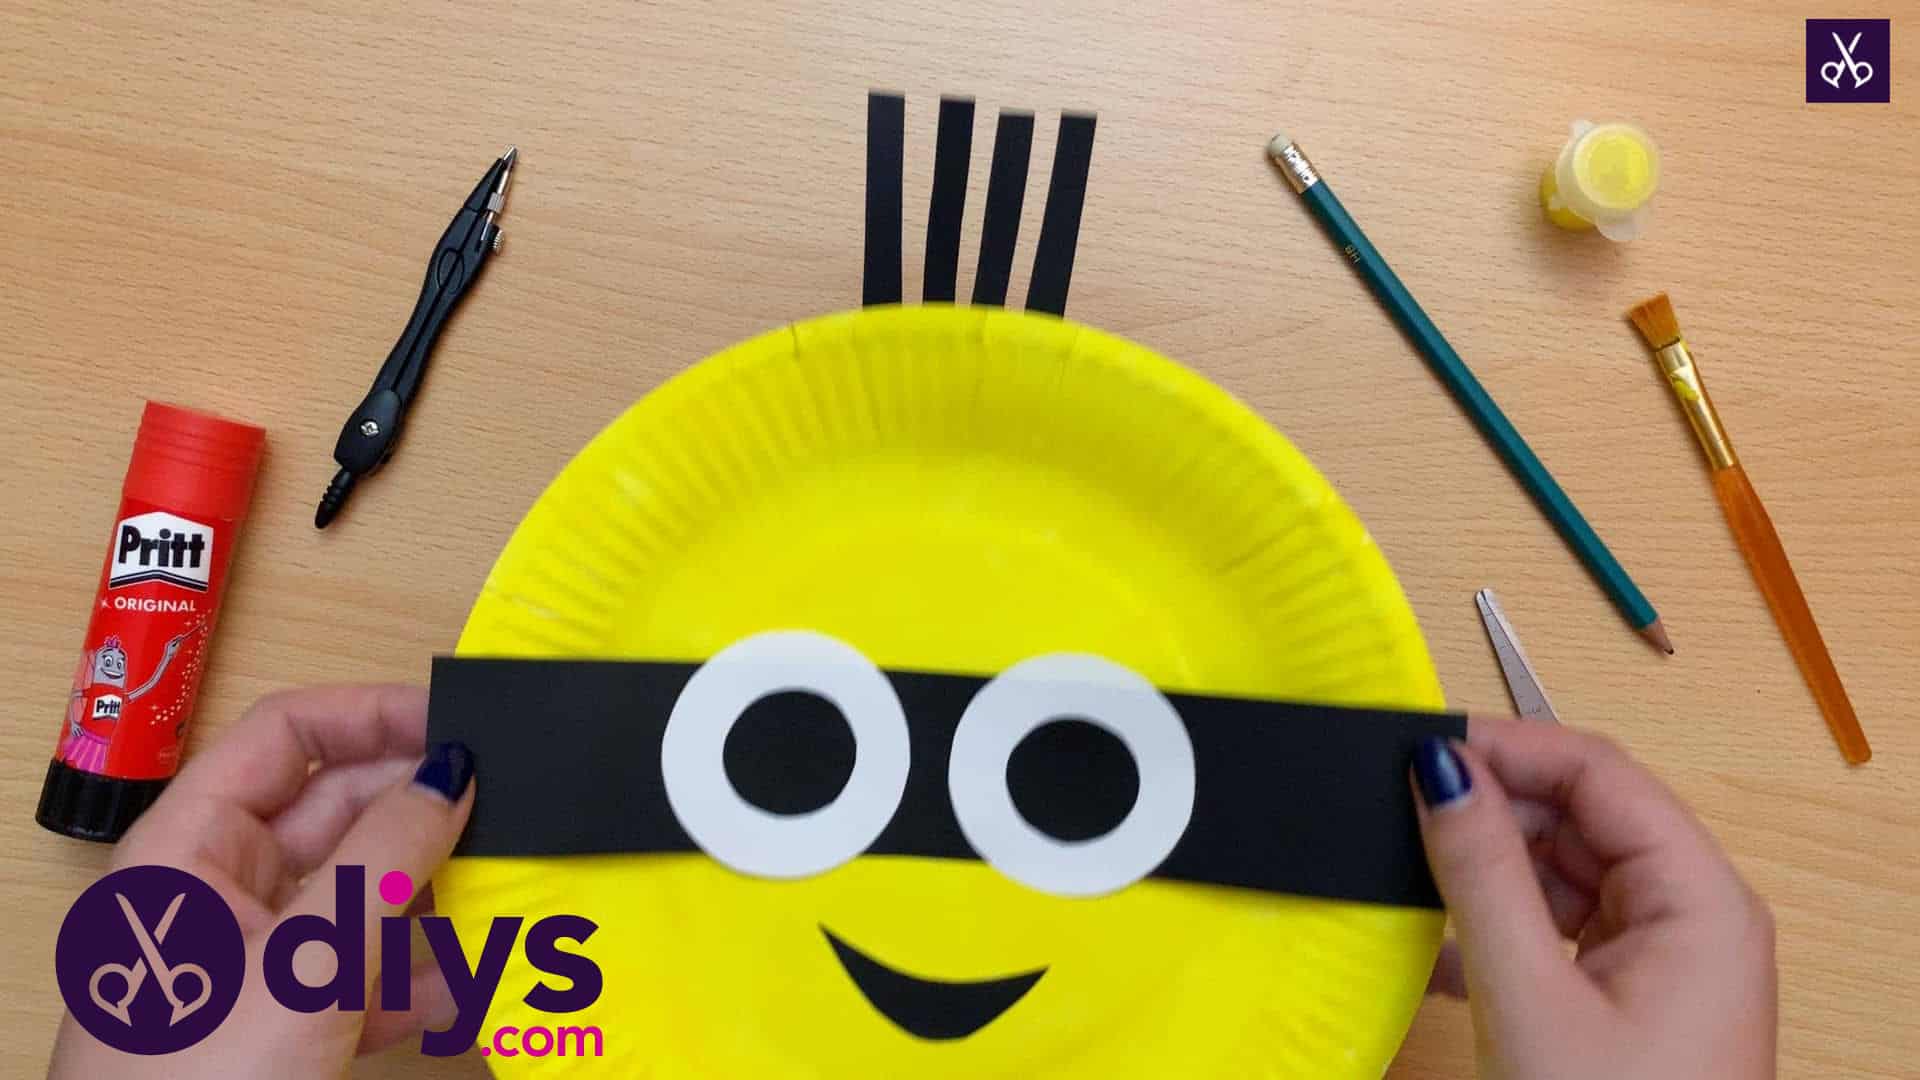
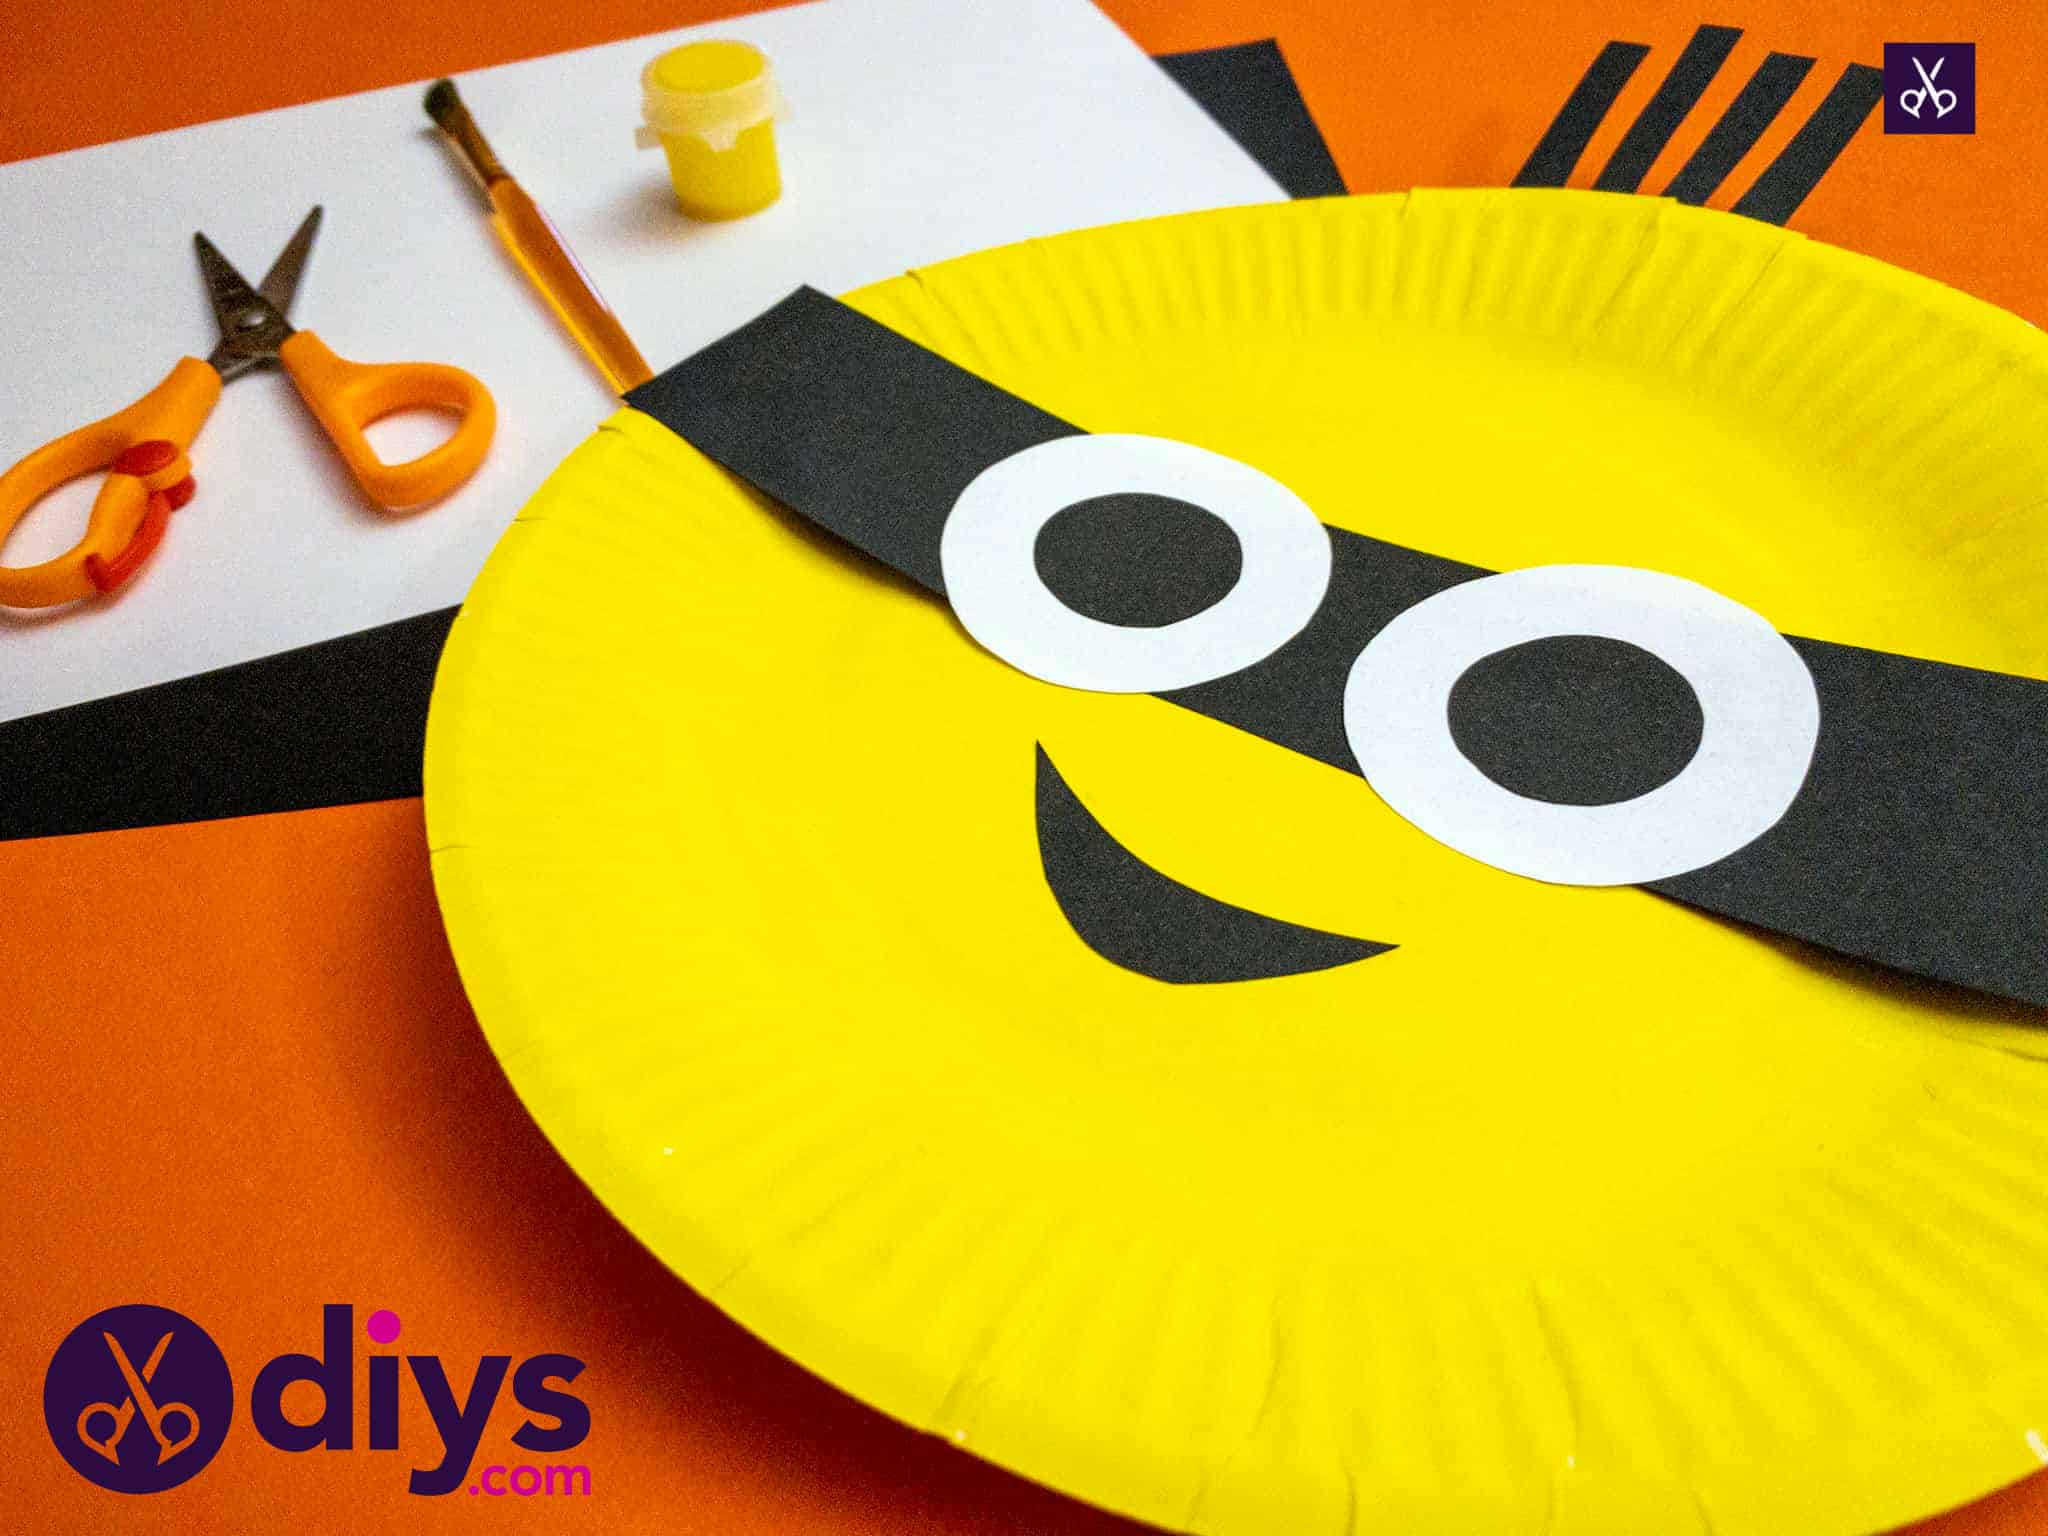
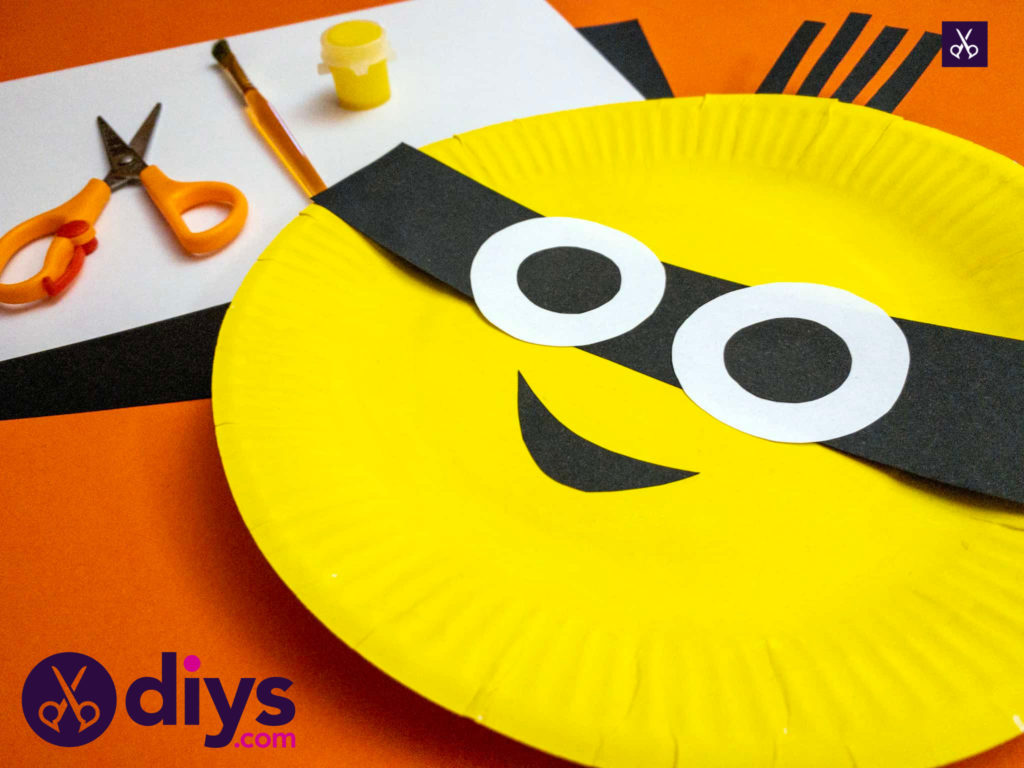
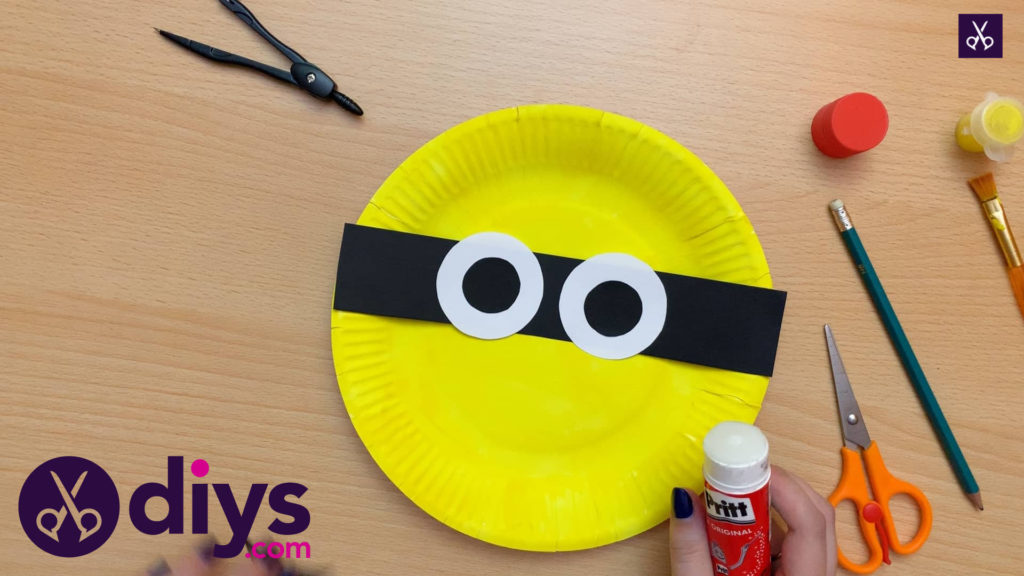
Step 6:
Create your Minion’s eye area! First, I glued the black strip across the front of my yellow plate, just a little high up than the very centre of the plate. Next, I glue down the white circles on the black band where I wanted the eyes to sit. Finally, I glued the smaller black circles into the centre of the white ones like pupils. All together, this makes up the Minion’s engineer-style goggles.

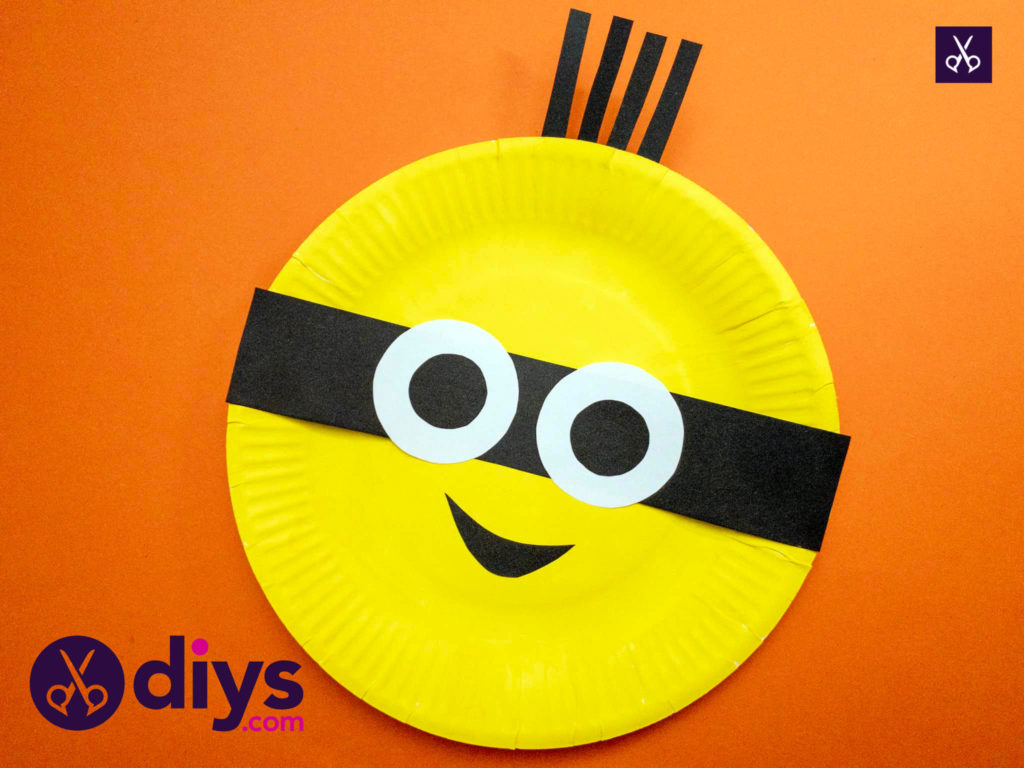
Step 7:
Using what’s left of your black paper, cut four thin strands, or thin, short rectangle shapes. Mine were only about 1 cm wide and only about two inches long. Apply glue on one end and glue the strips all along the very top edge so they stick up above the Minion’s eyes, looking like hair.
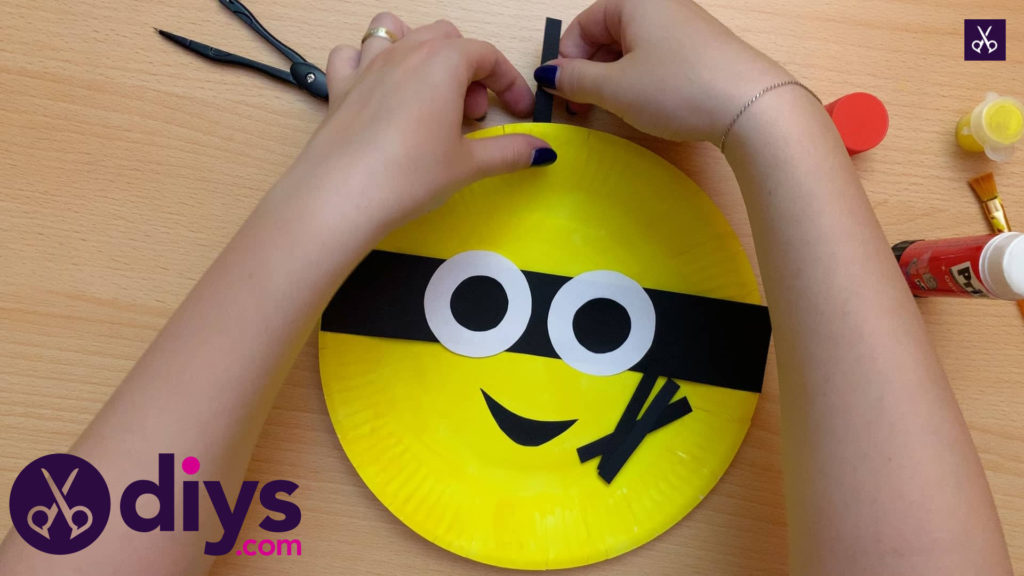
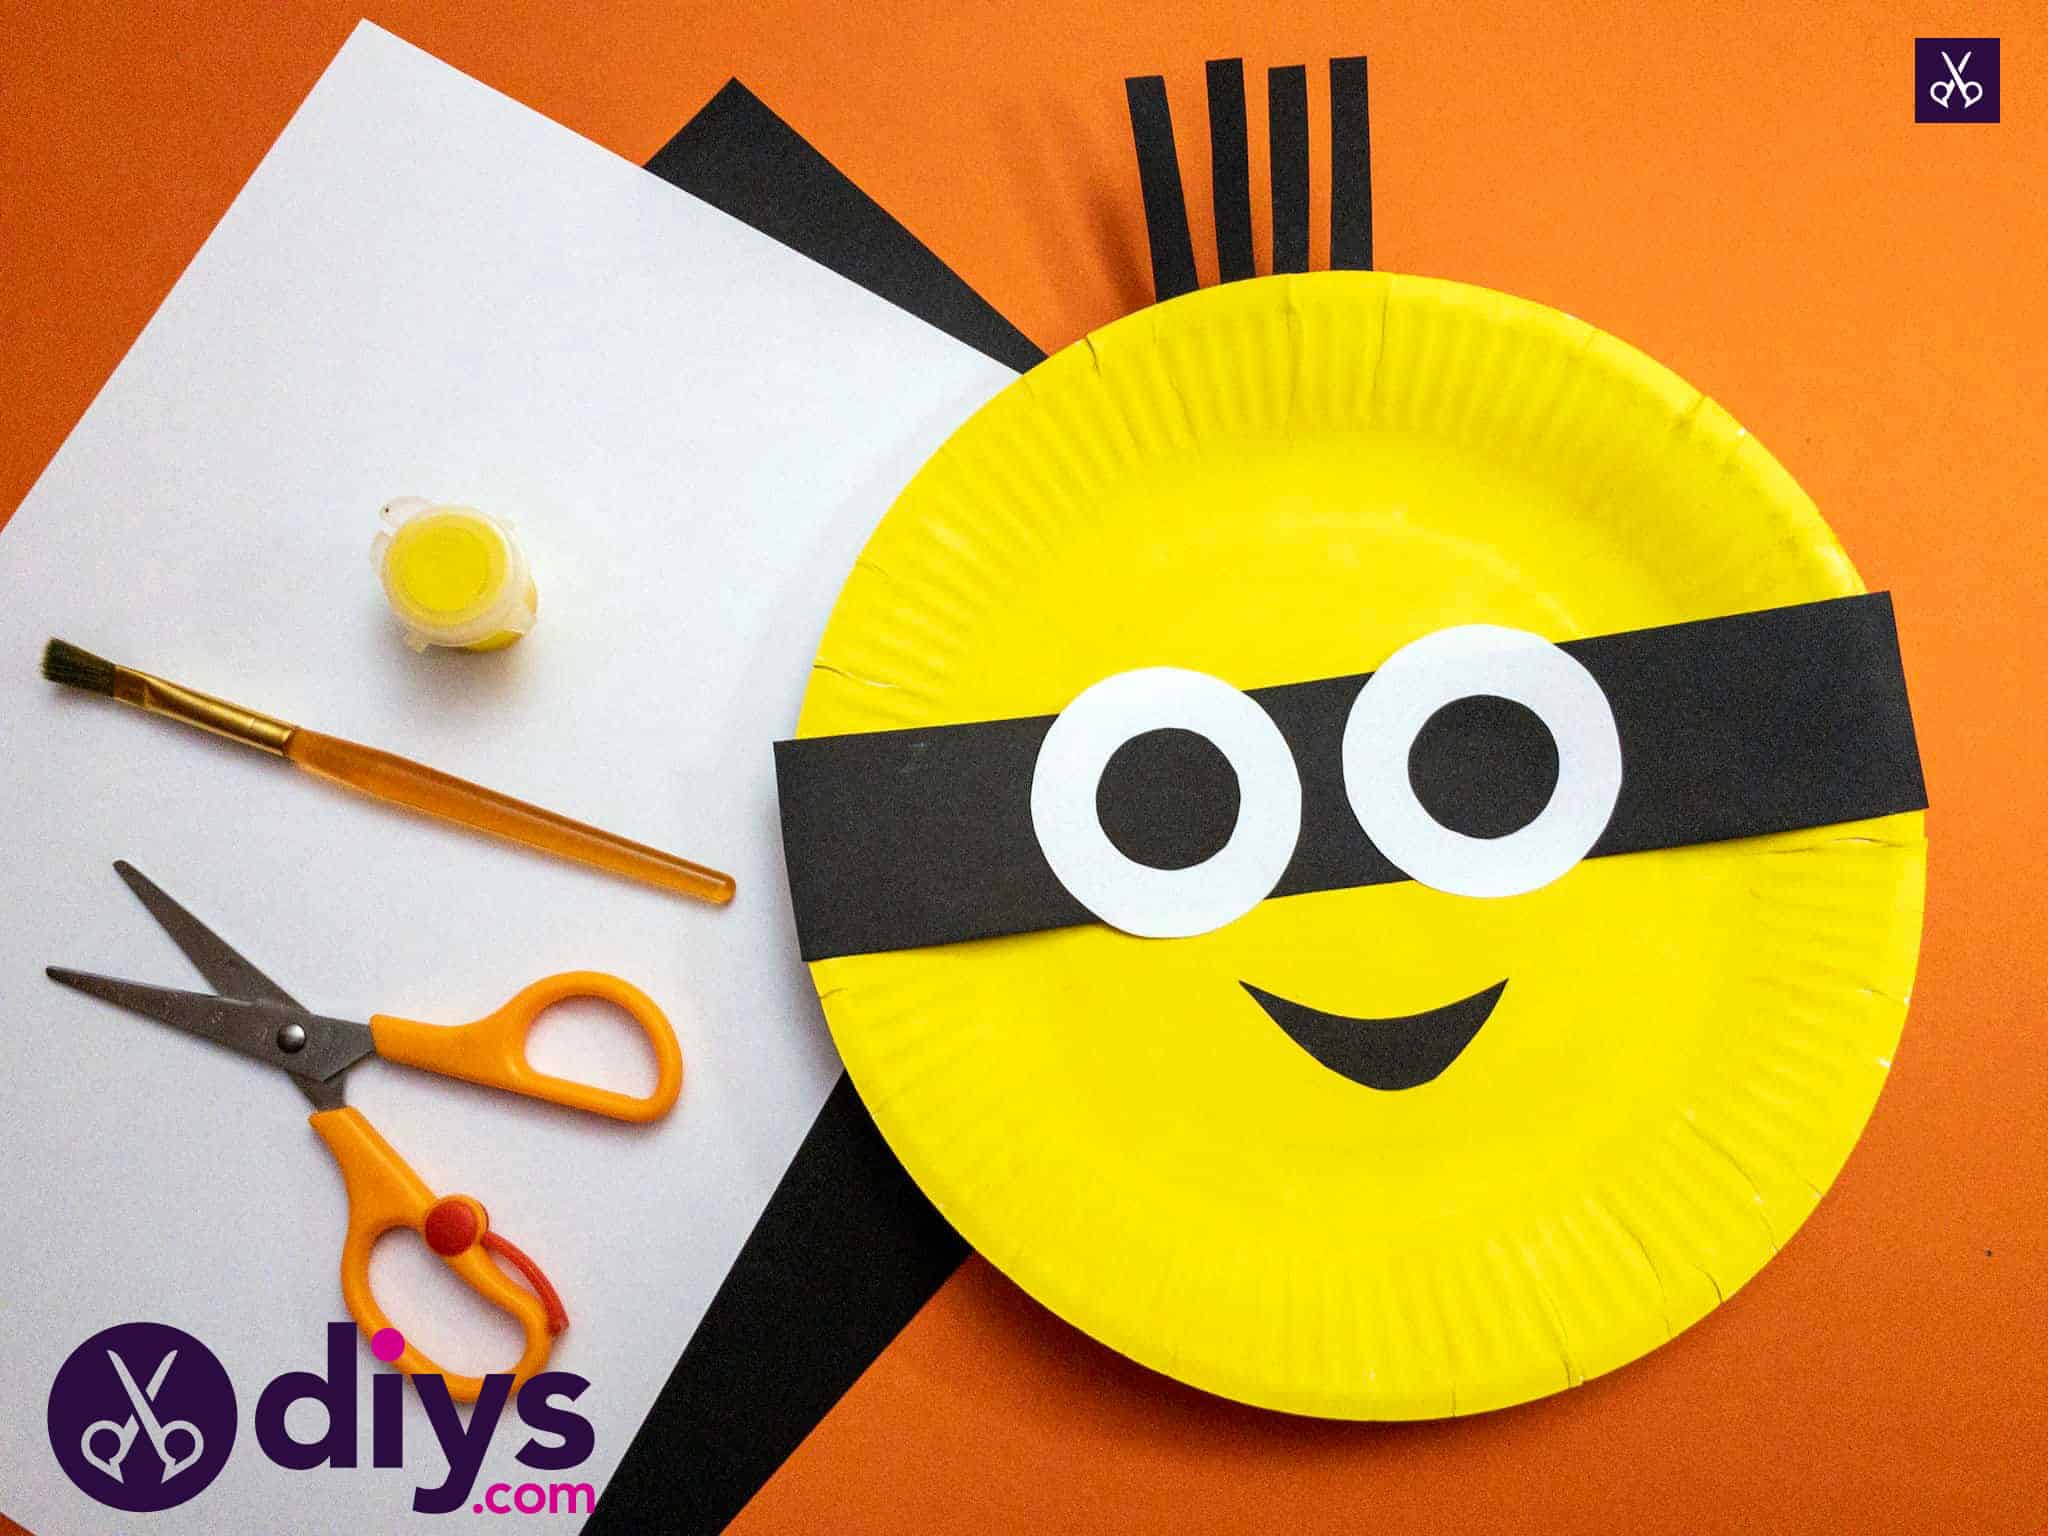
You’re all finished! I made these with my kids and helped them hang their little creatures on the fridge when they were done, bu you could also glue them to the end of a crafting stick or paint stirrer and use them like masks or play props.

You can find a detailed video tutorial to help you out with making your very own minion here!