DIY Paper Candle on a Star
Updated on February 17, 2021


If you’re looking for fun and easy crafts to do with kids then this DIY paper candle on a star idea is perfect! I tried it out and put together these simple steps to follow so check it out and give it a try, too!
The stars were just a fun detail because my kids love working with glitter paper, but they also made the project a big hit, so I figured I’d might as well share. Check out these step by step instructions complete with photos! If you’d rather follow along with a video tutorial instead of written words, scroll to the bottom of this post to find just what you’re looking for.
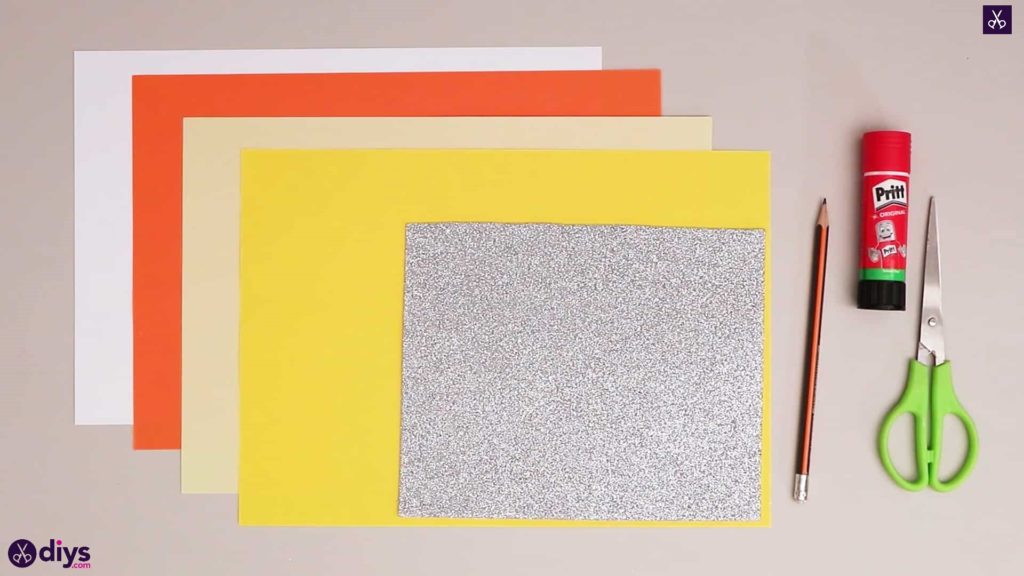
For this project, you’ll need:
- Silver glitter foam paper
- Paper (orange, yellow, cream, white)
- Scissors
- A glue stick
Step 1: Check your list
Gather your materials!
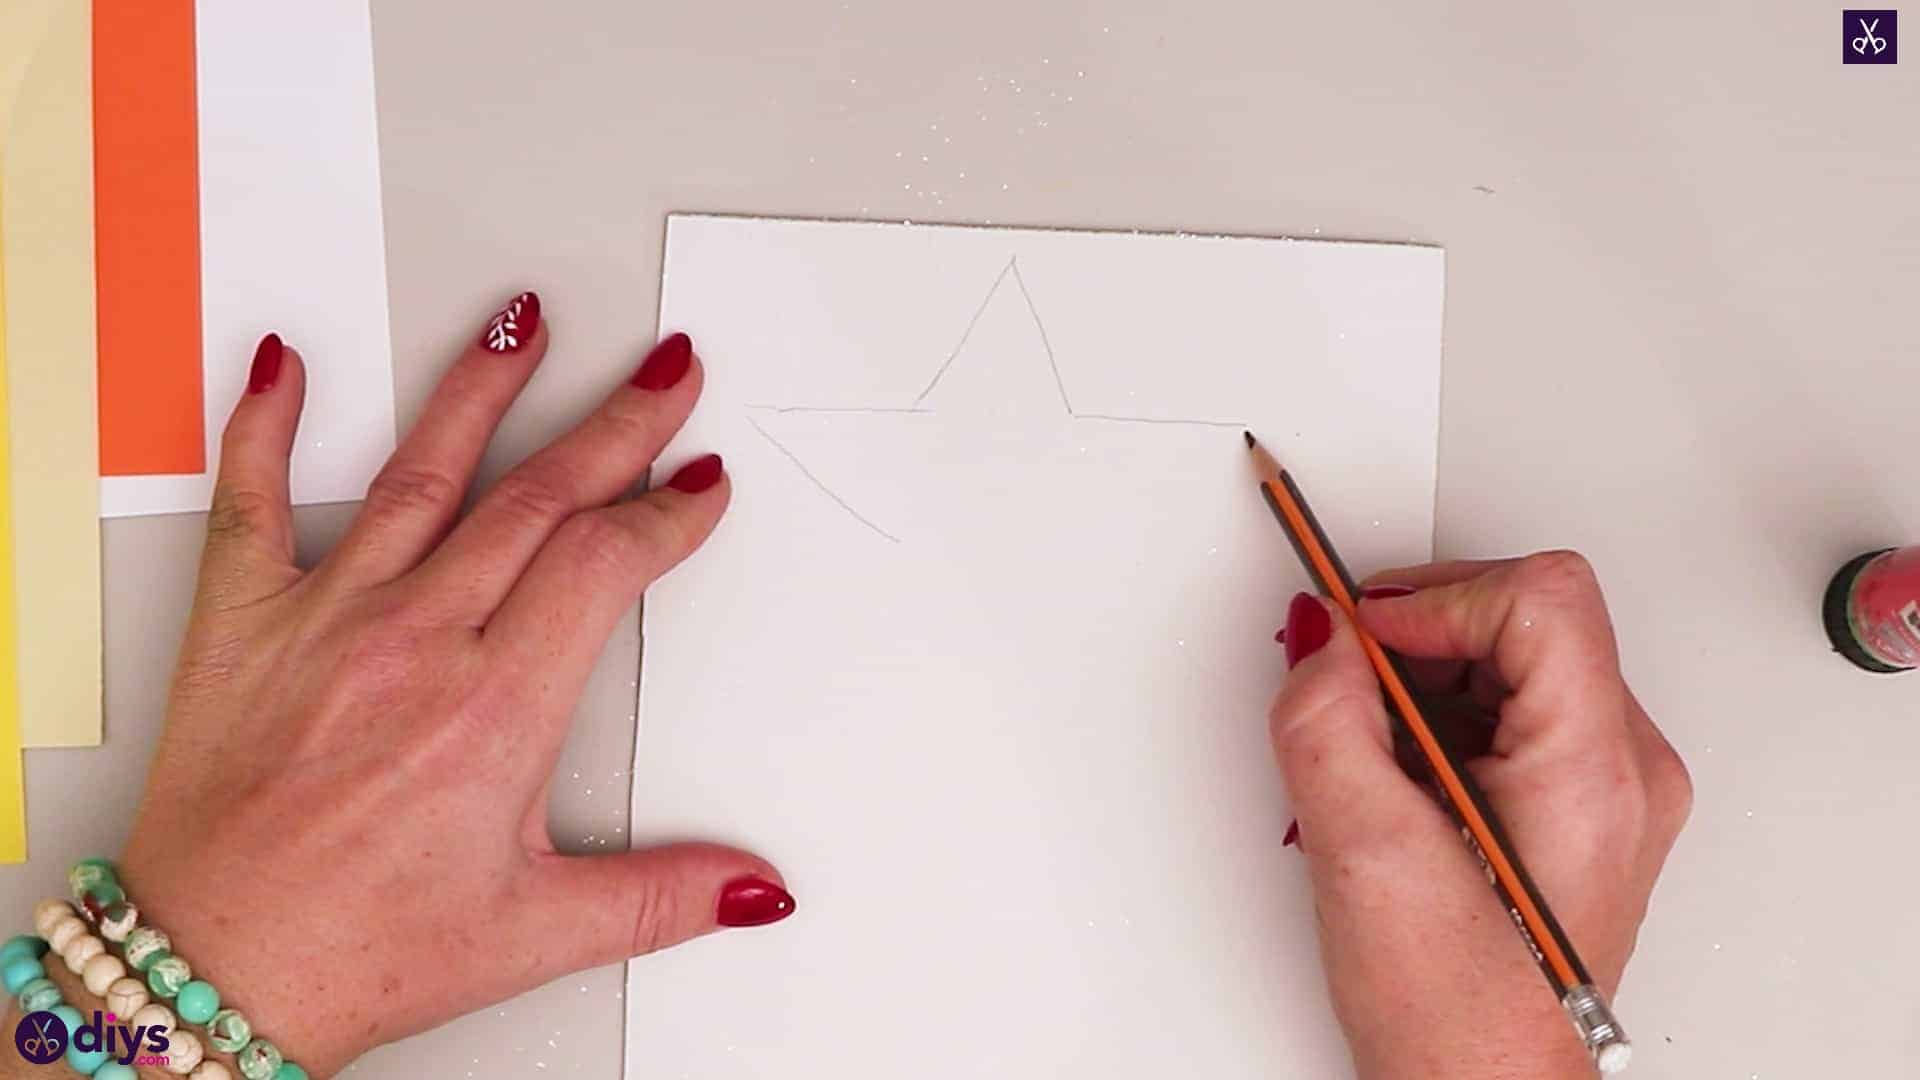
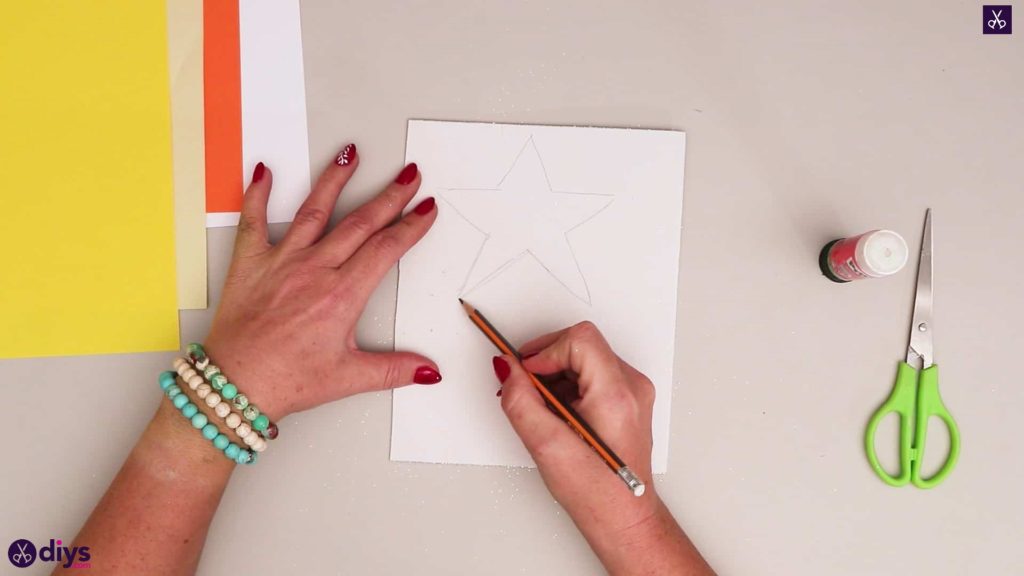
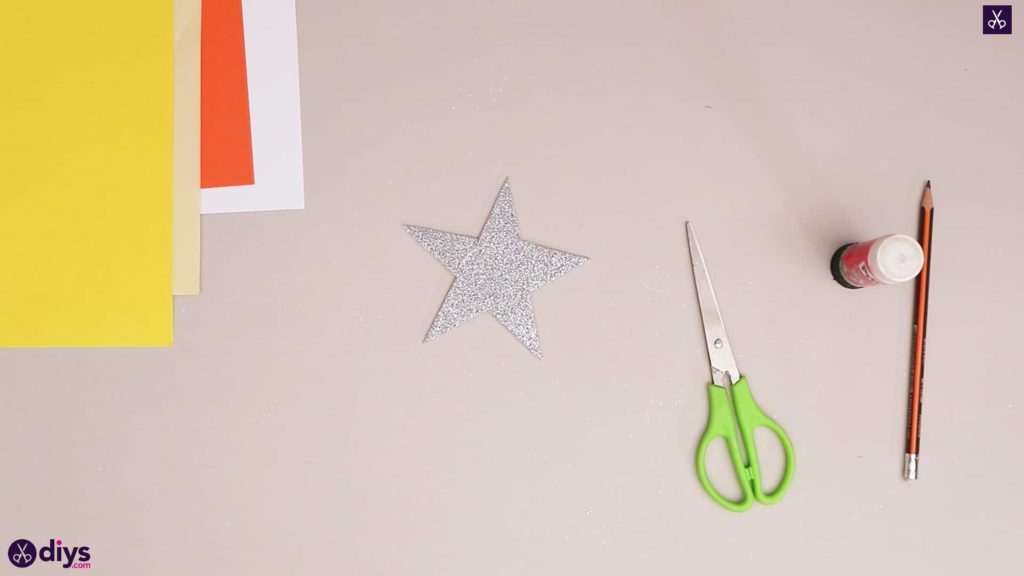
Step 2: draw the star
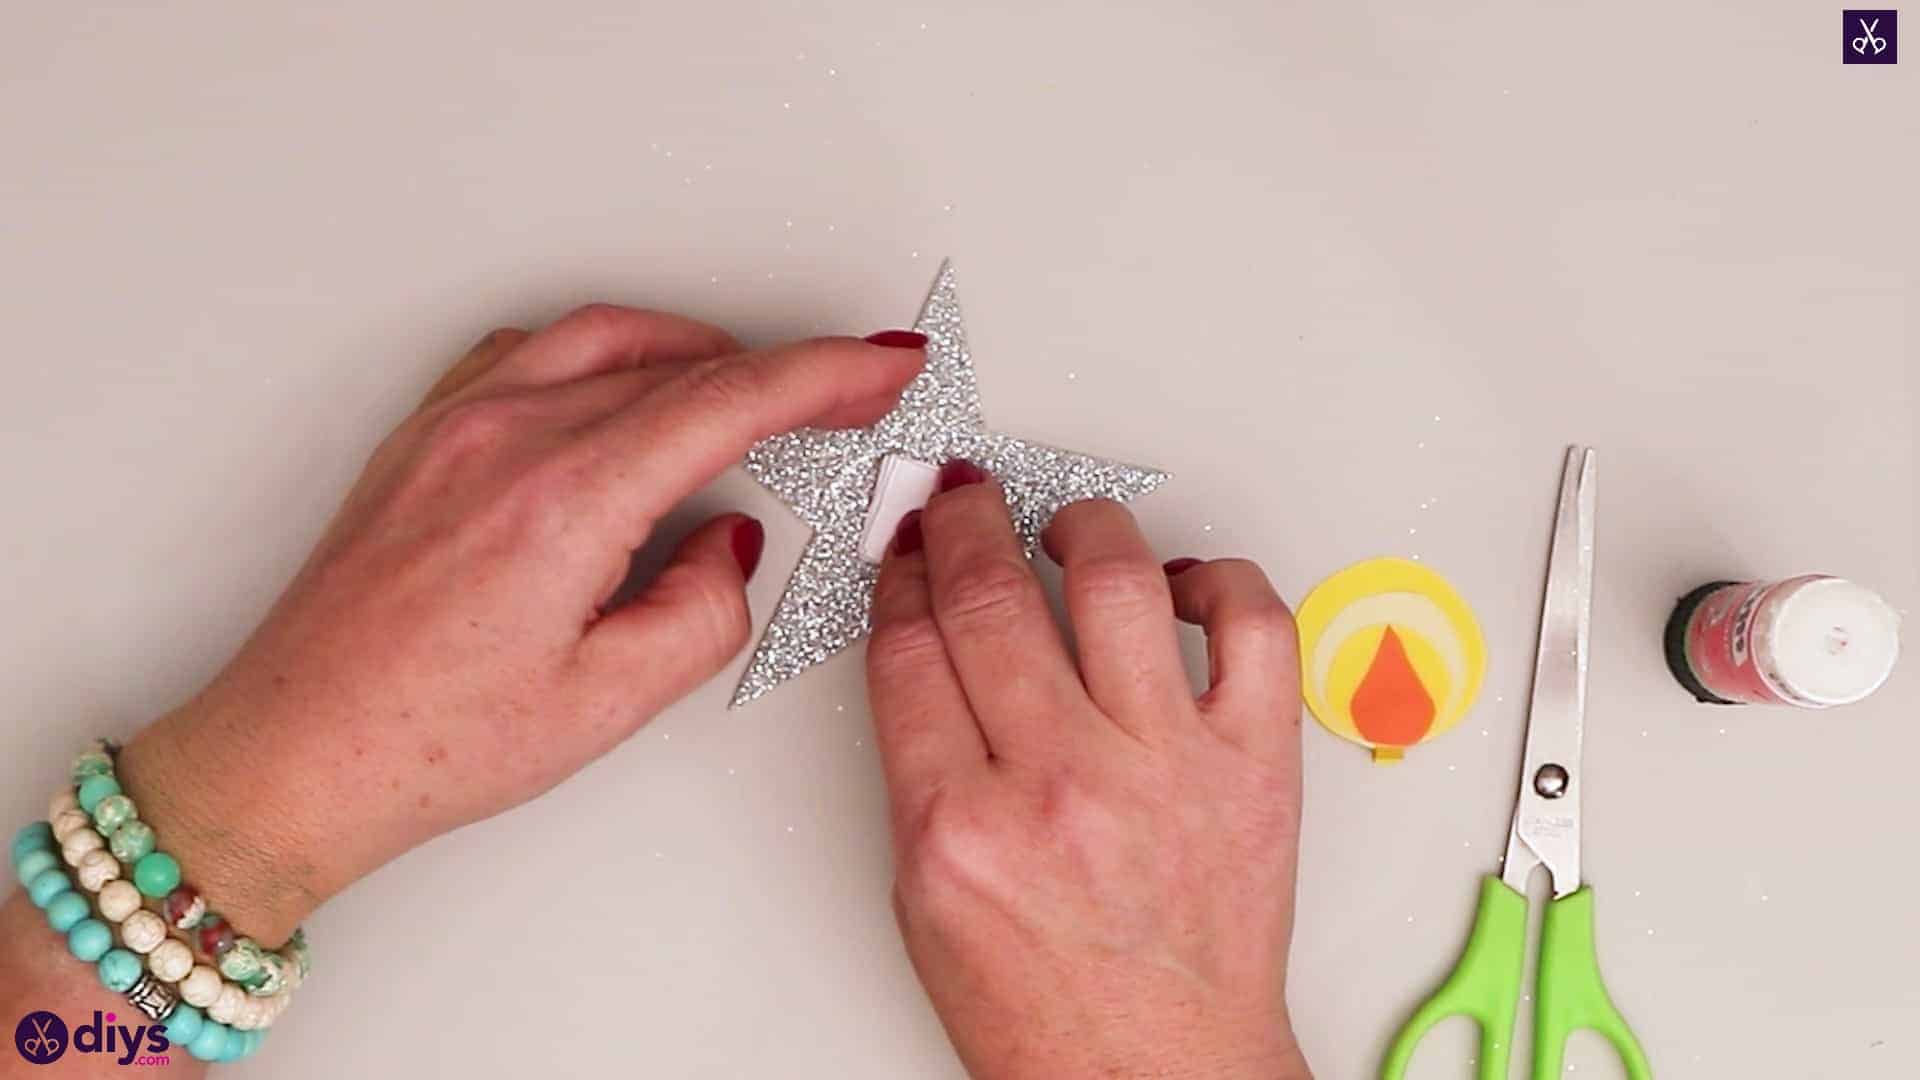
Turn your glitter paper over to the plain side and draw the shape of a star. You can use a ruler if you want a very even shape and you’re feeling neat, but I like free-handing things! Once you’ve drawn your shape, cut it out, turn it over, and you have a sparkling silver star! Set it aside for now.

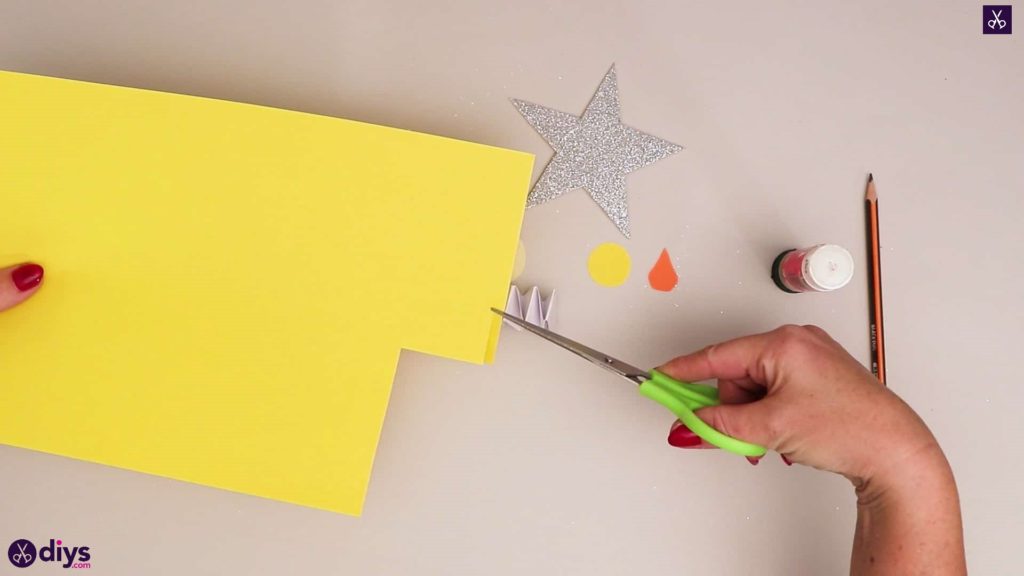
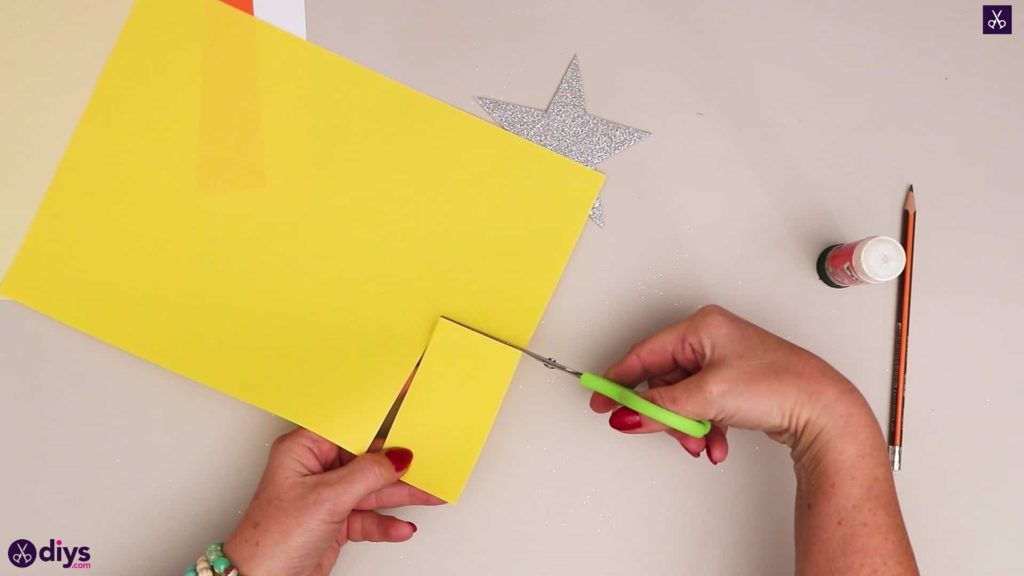
Step 2: make the yellow flame
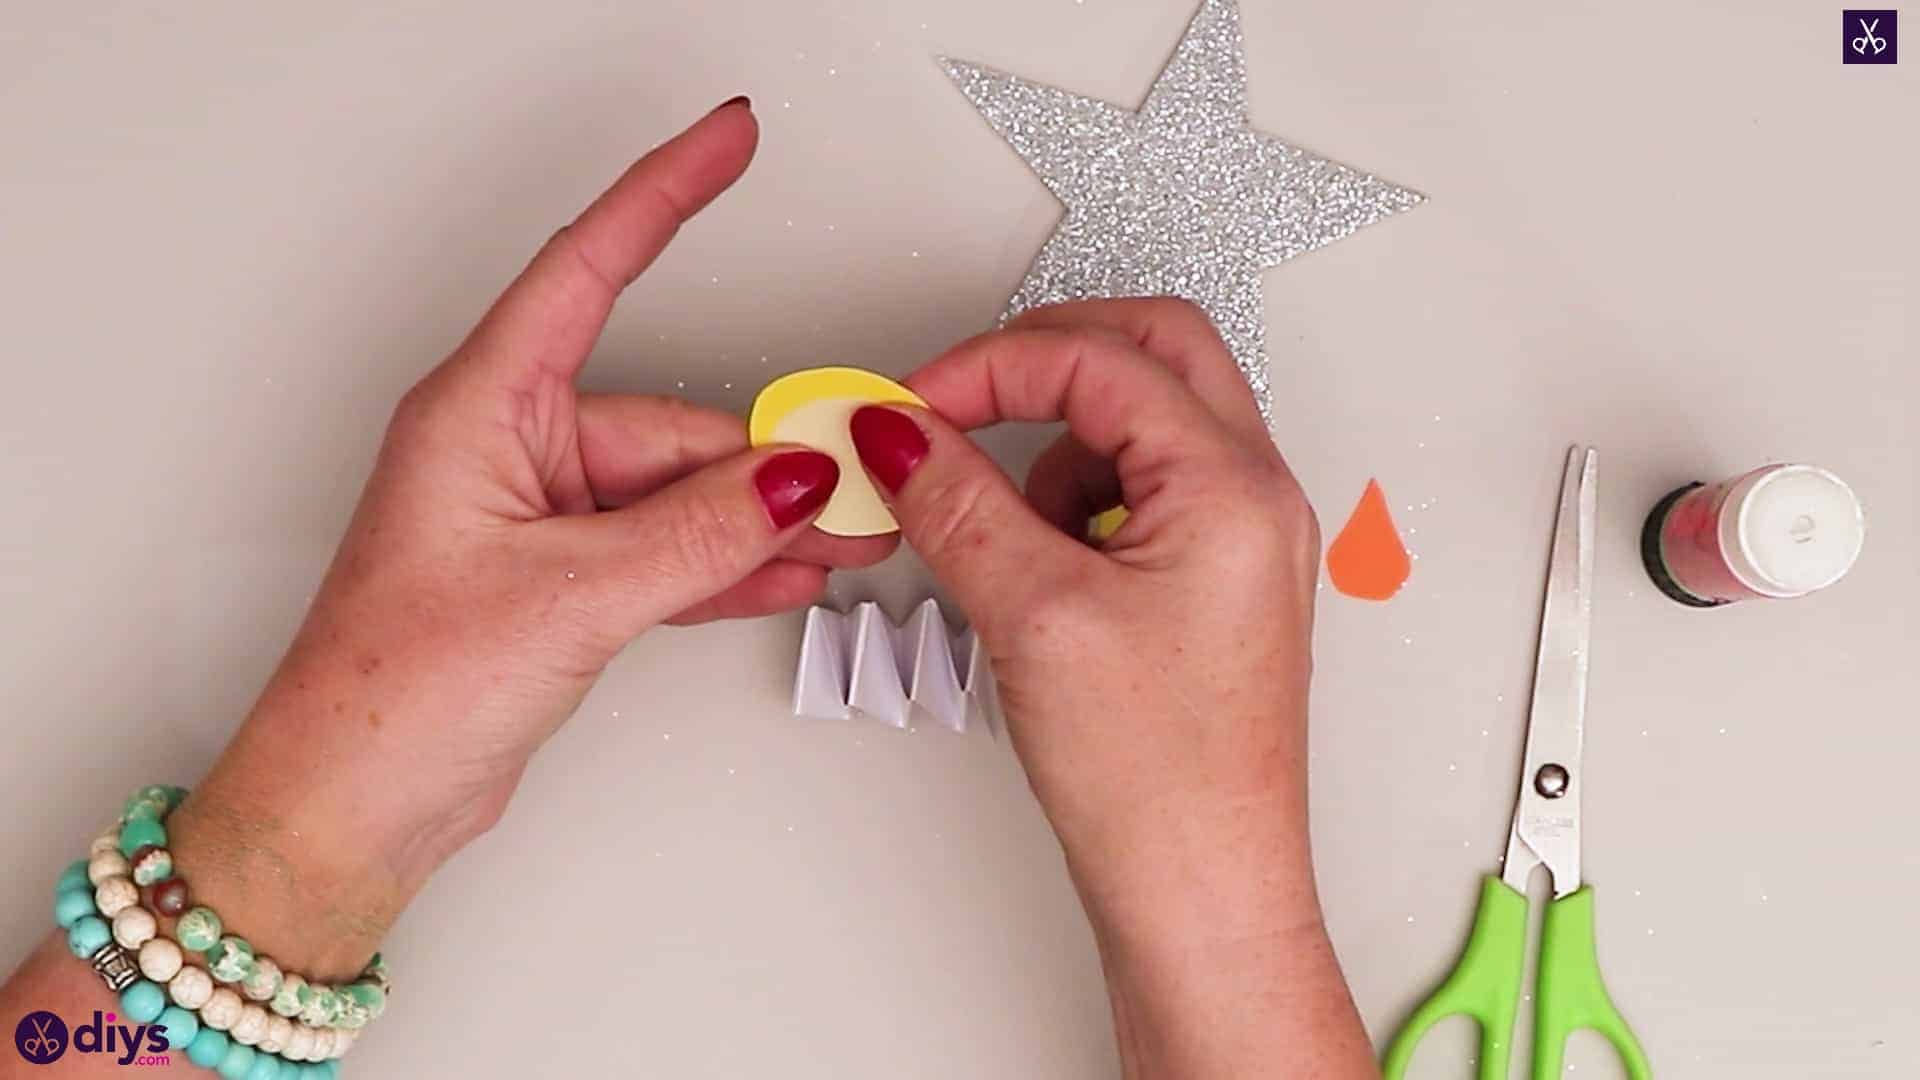
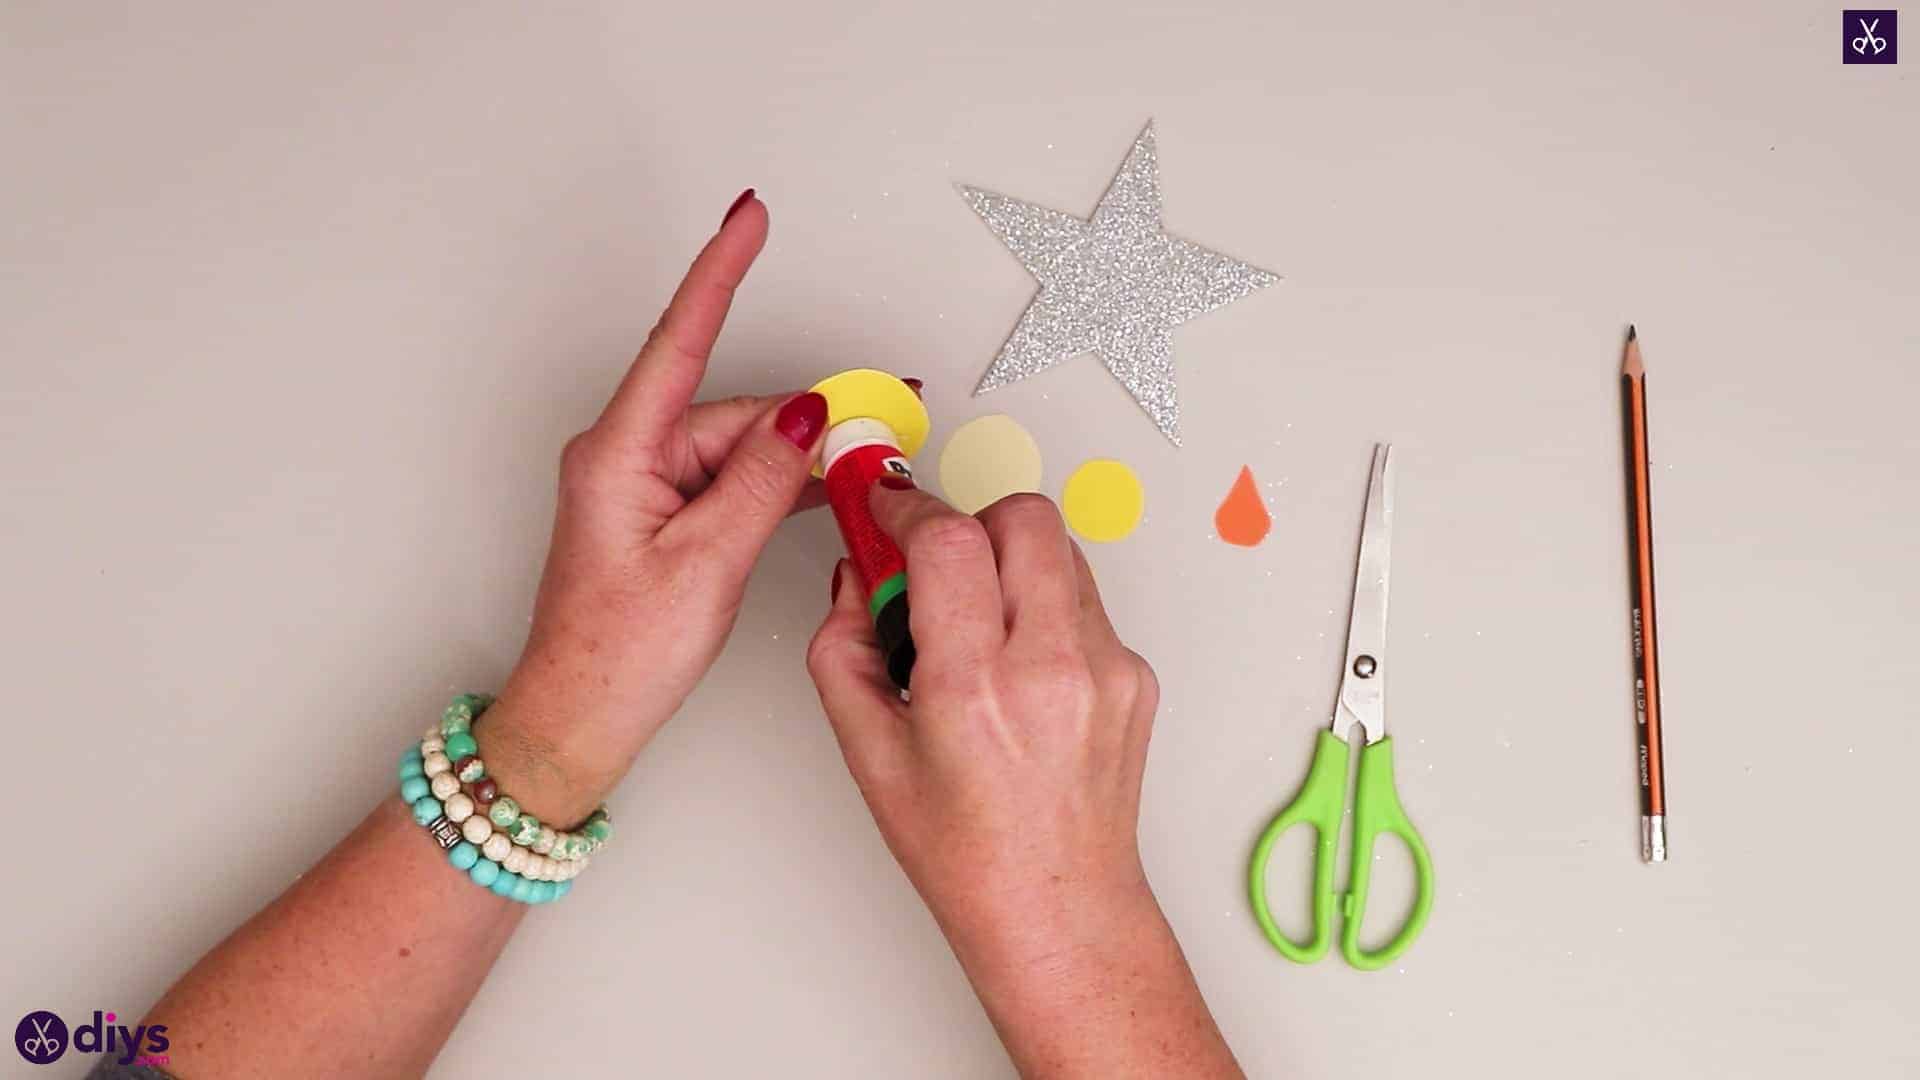
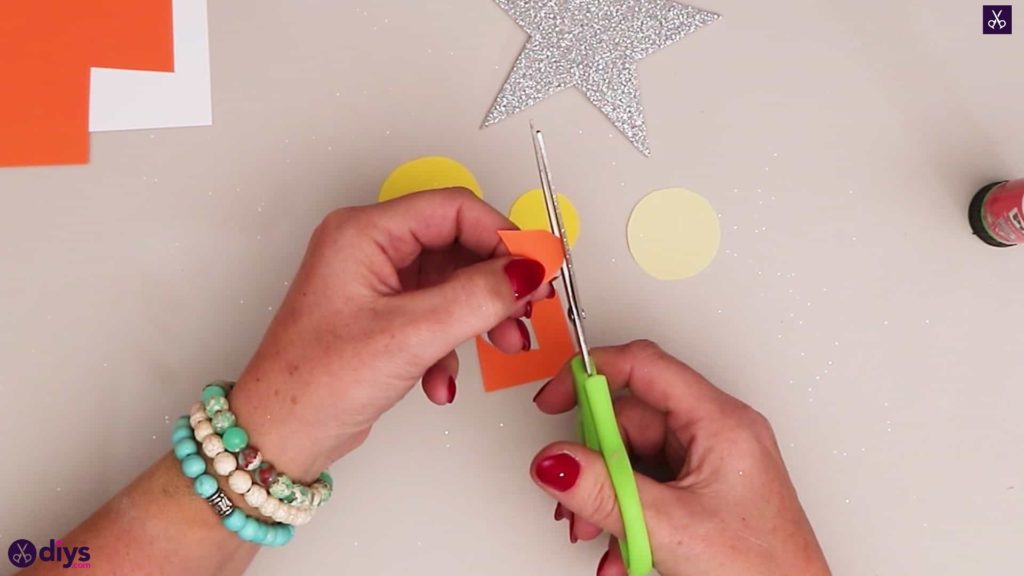
Cut a rectangle from one corner of your yellow paper that’s about one inch by two inches in size. Then cut it in half. Carefully round off the corners and edge of the first new square just barely, making yourself a circle but keeping it as large as you can. Do the same with the second square, but turn it into a smaller circle that would fit inside the first.
Step 3: make the white flame
Using the same rectangle cutting and corner rounding technique, cut another circle from your cream coloured paper, this time sizing it somewhere between the two you cut from your yellow paper so it’s like a size medium in your scale of circles.


Step 4: make the center of the flame
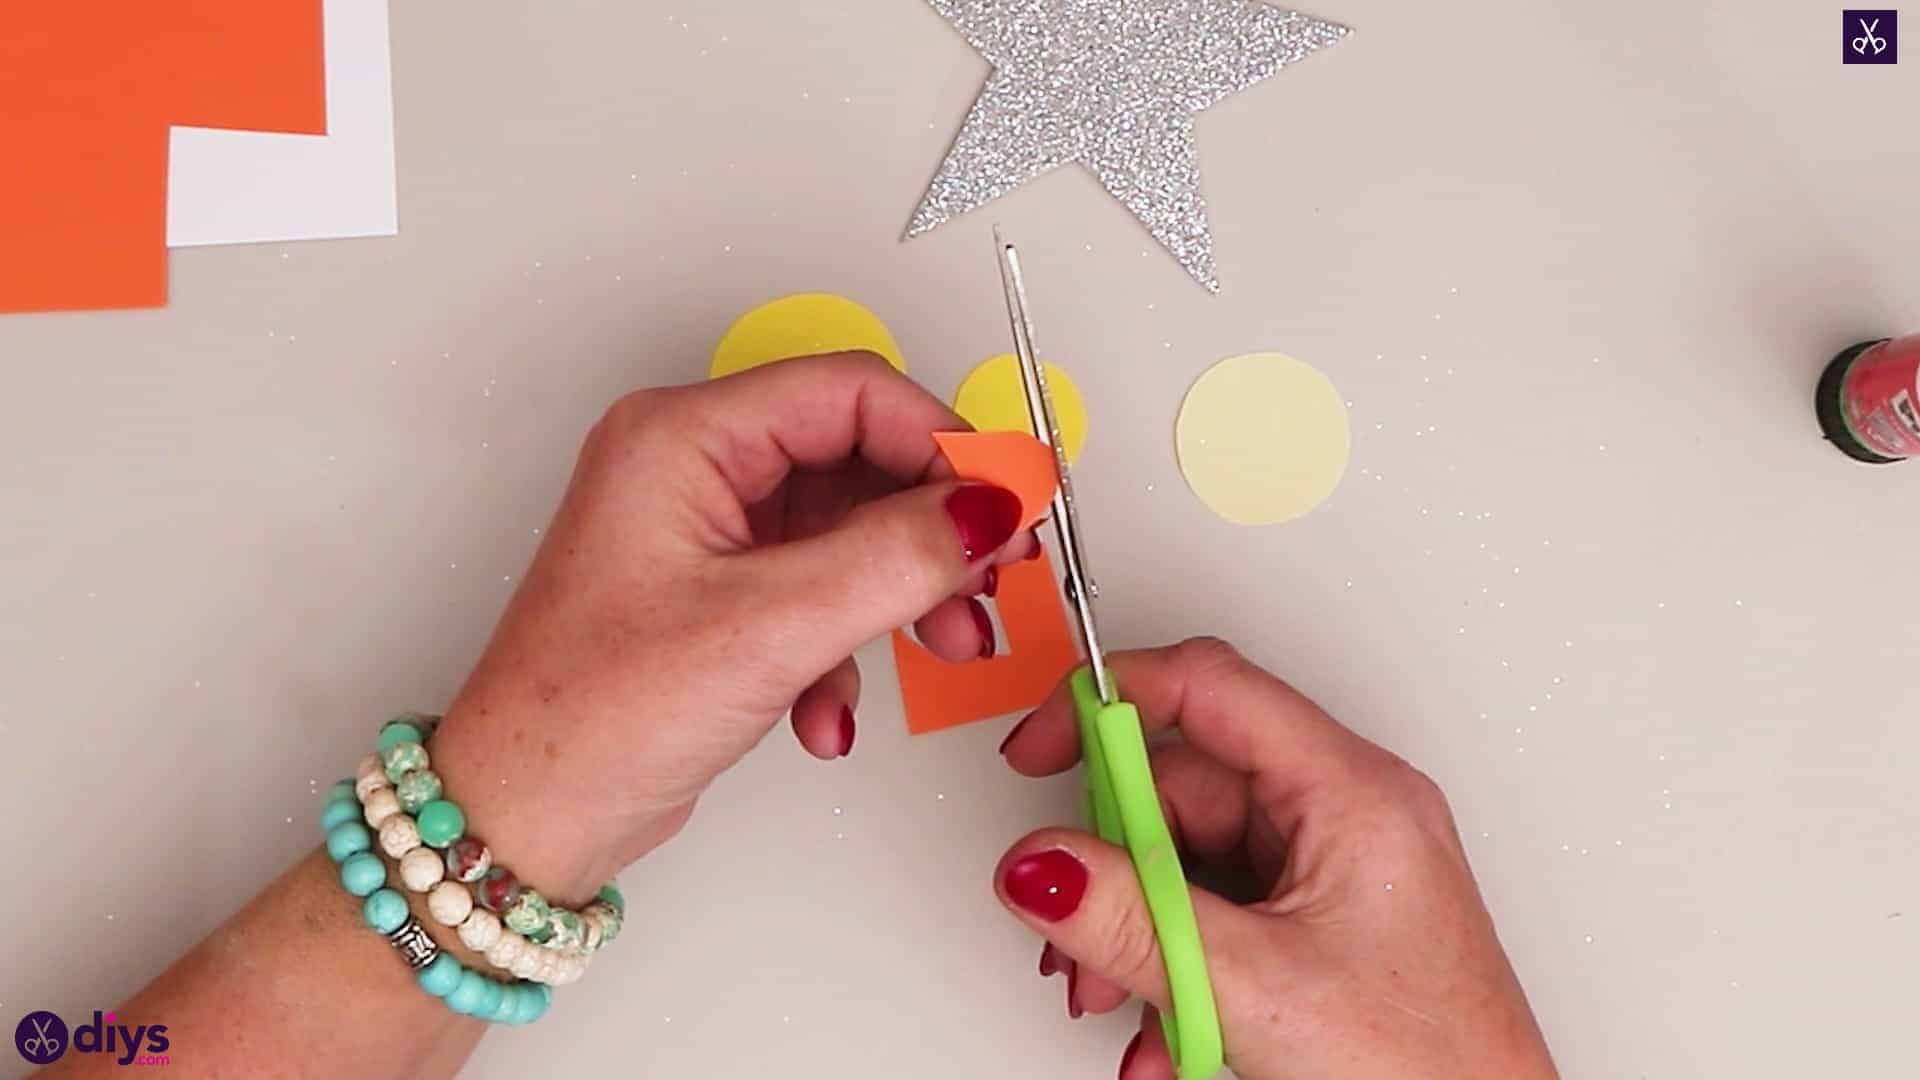
Cut an inch by inch sized square from the corner of your orange paper and then round the corners and edges off, starting wide and tapering the shape, until you have an orange teardrop shaped piece. This will be the centre of your candle’s flame. Cut it small enough that it till fit inside the circles you just cut, which will be your flame’s halo of light. Set all of these pieces aside for now.

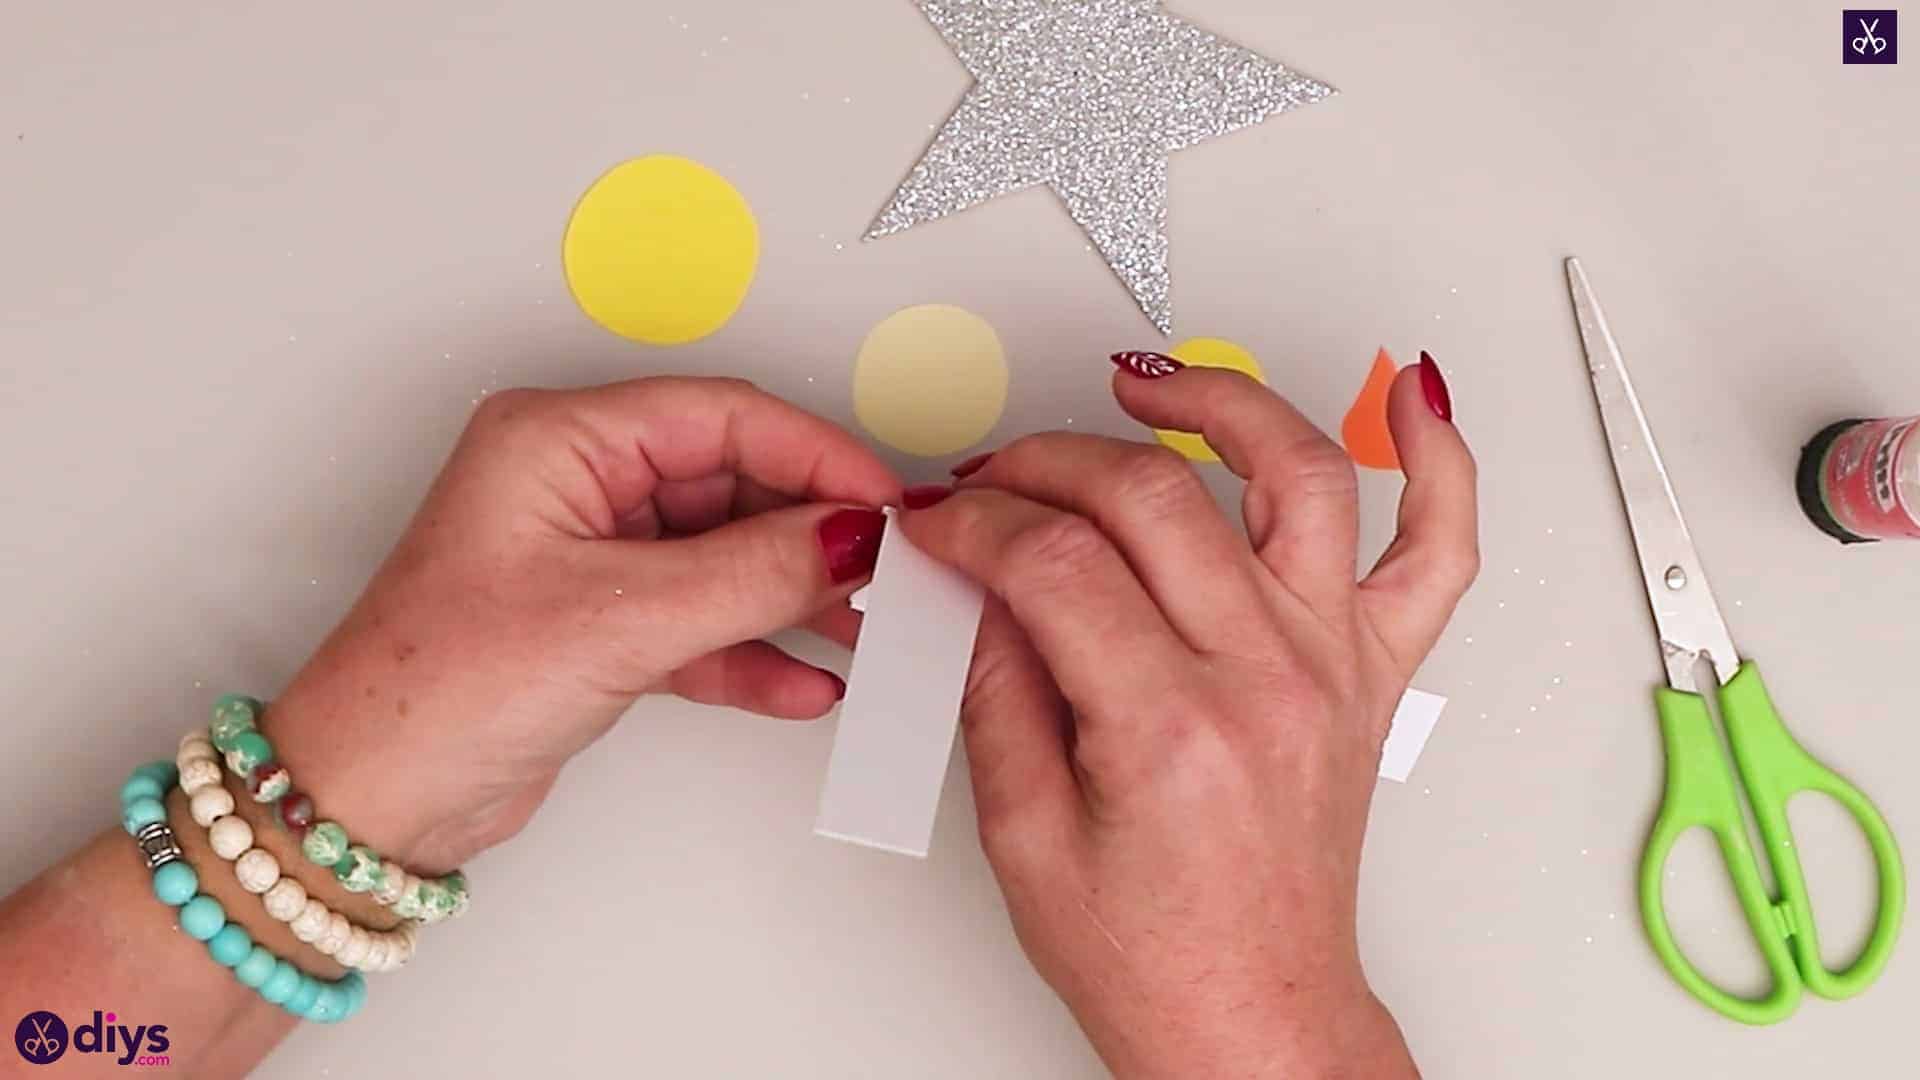
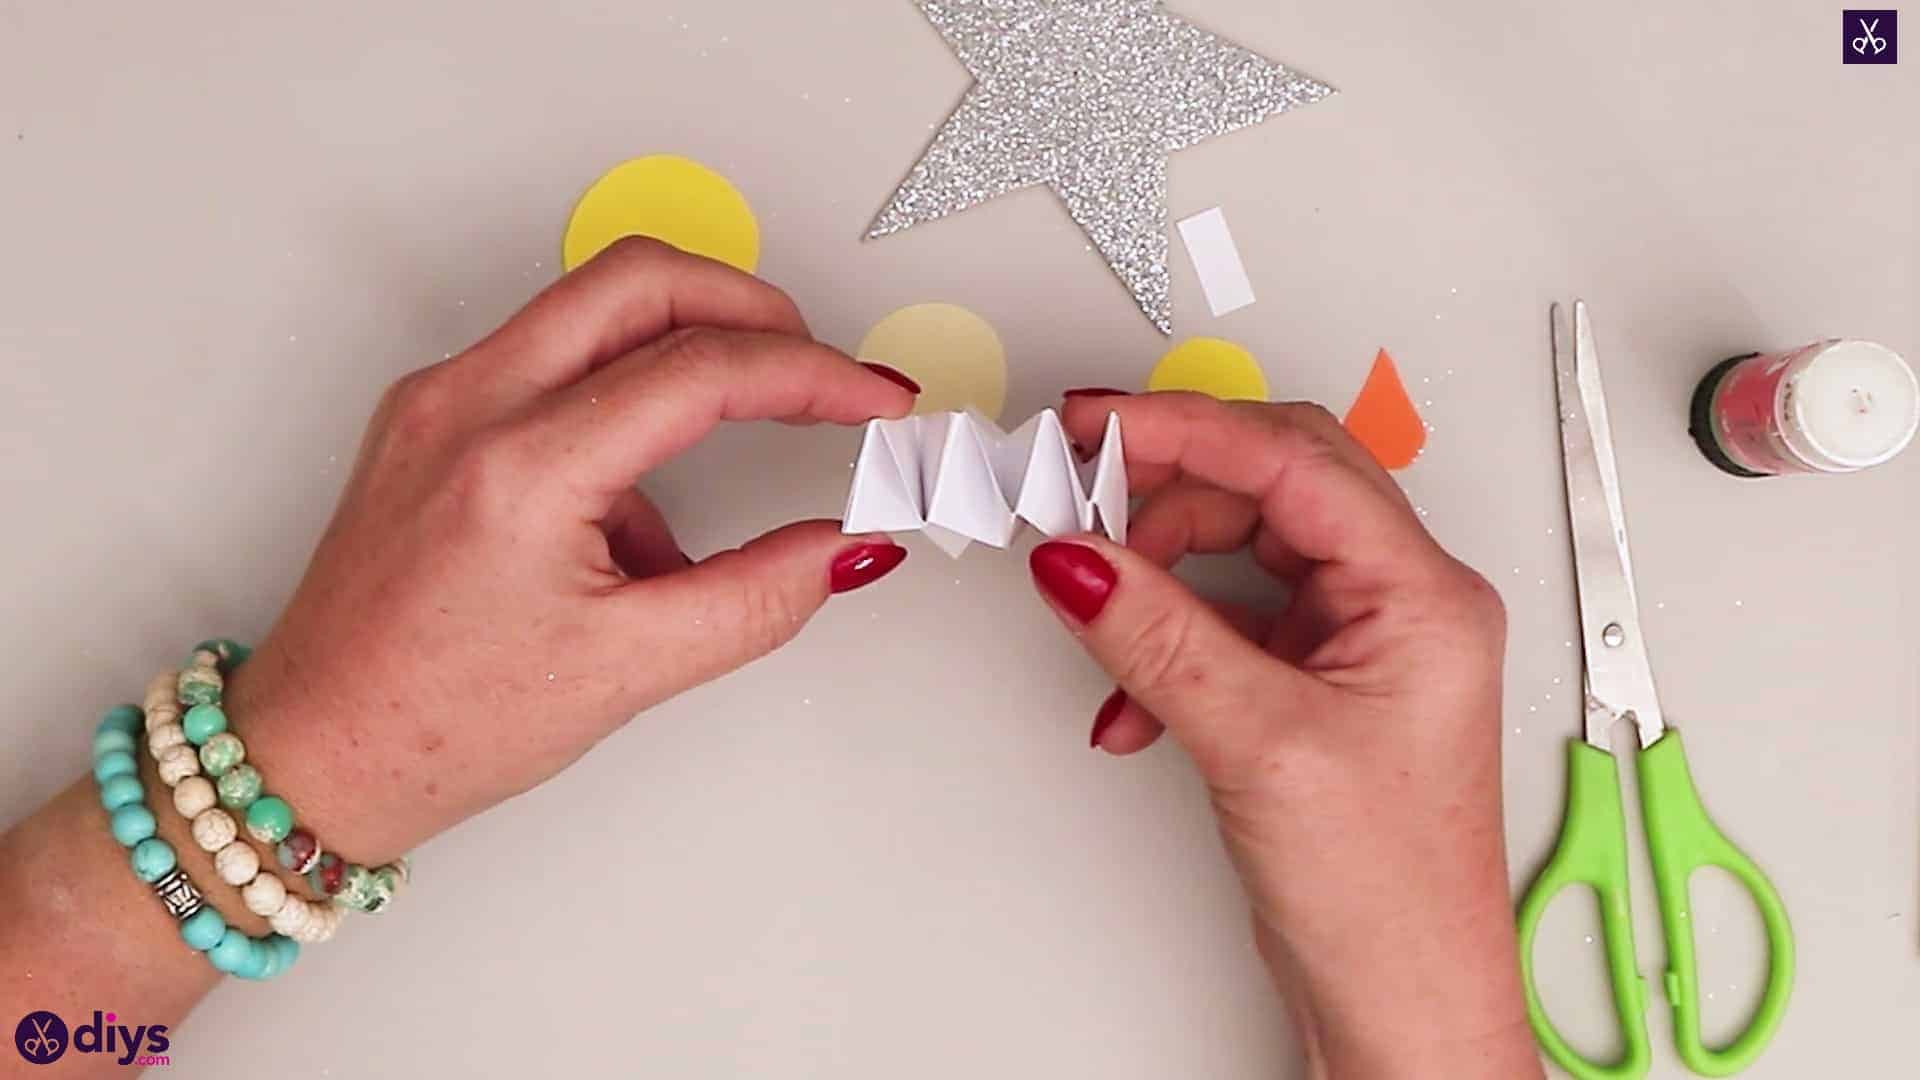
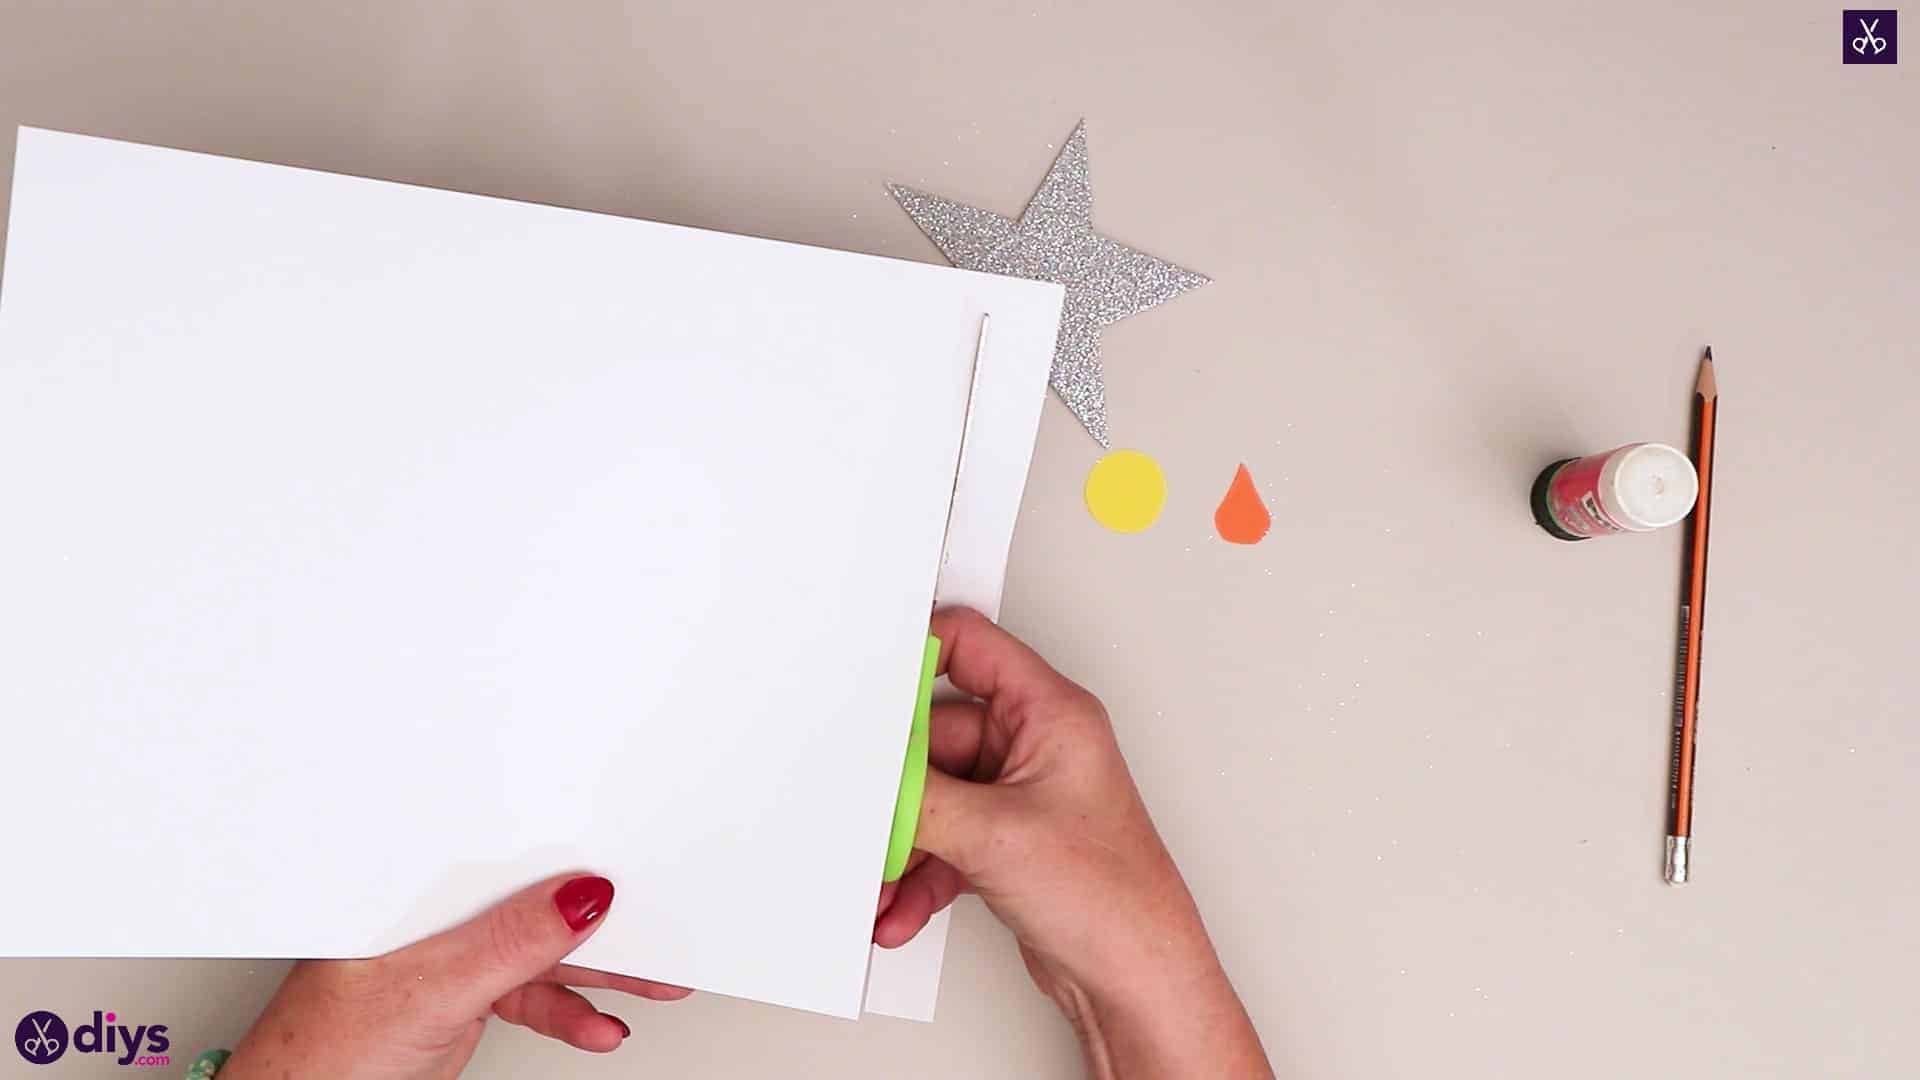
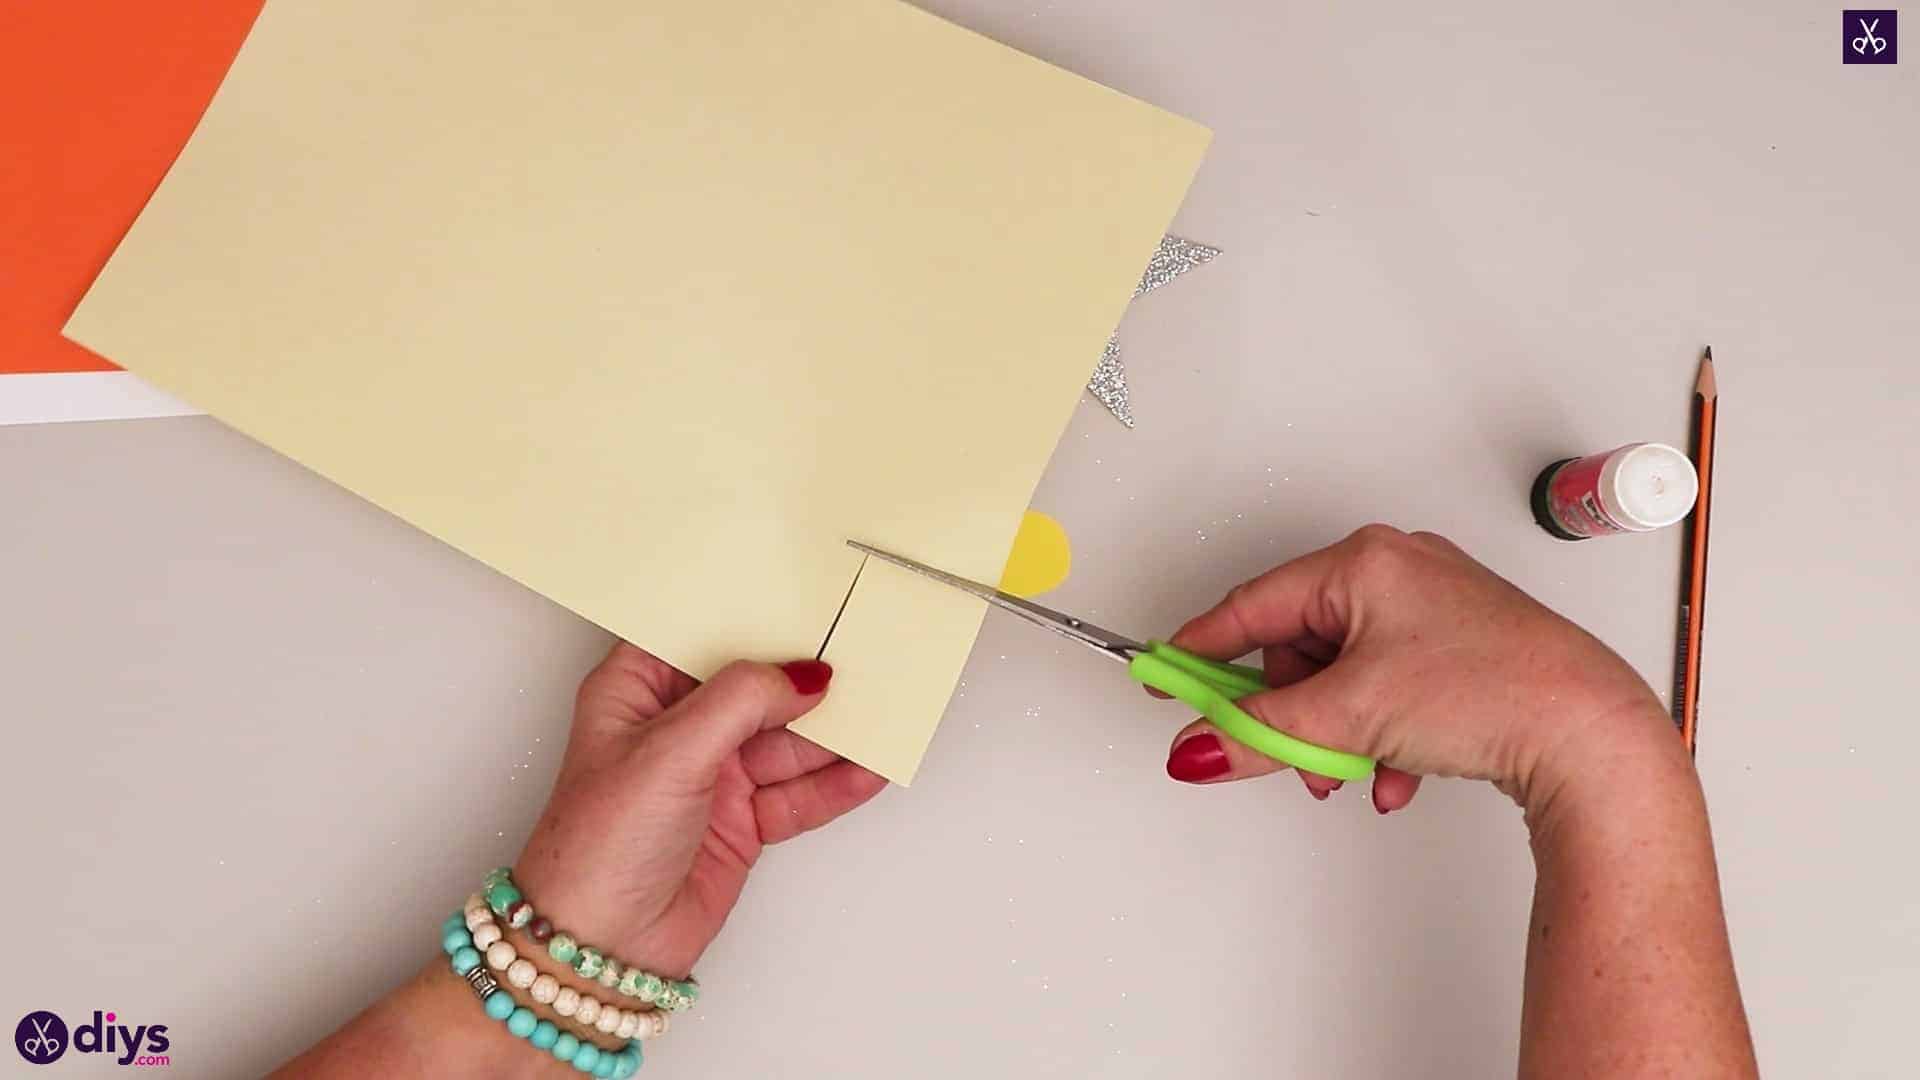
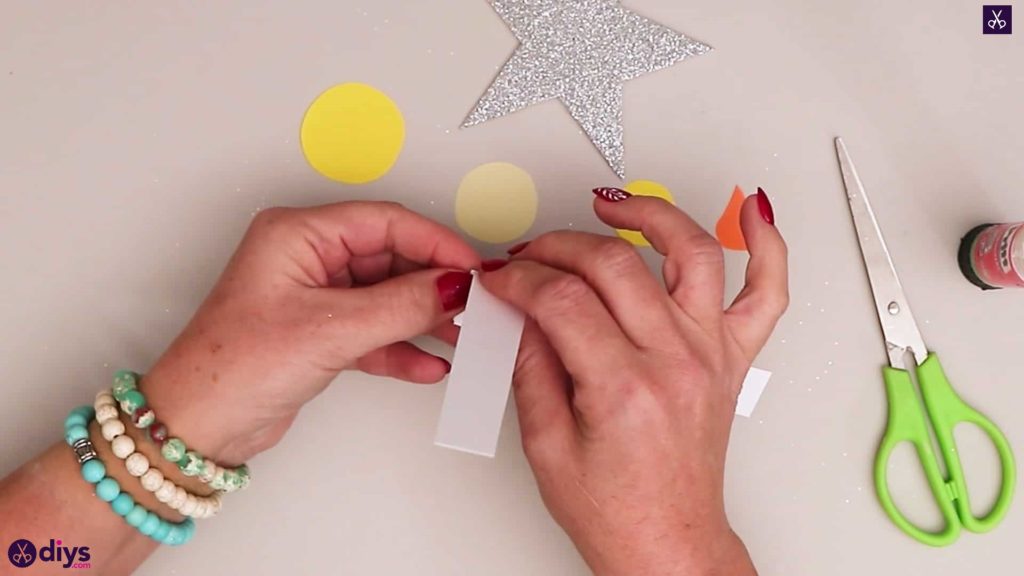
Step 5: make the candle
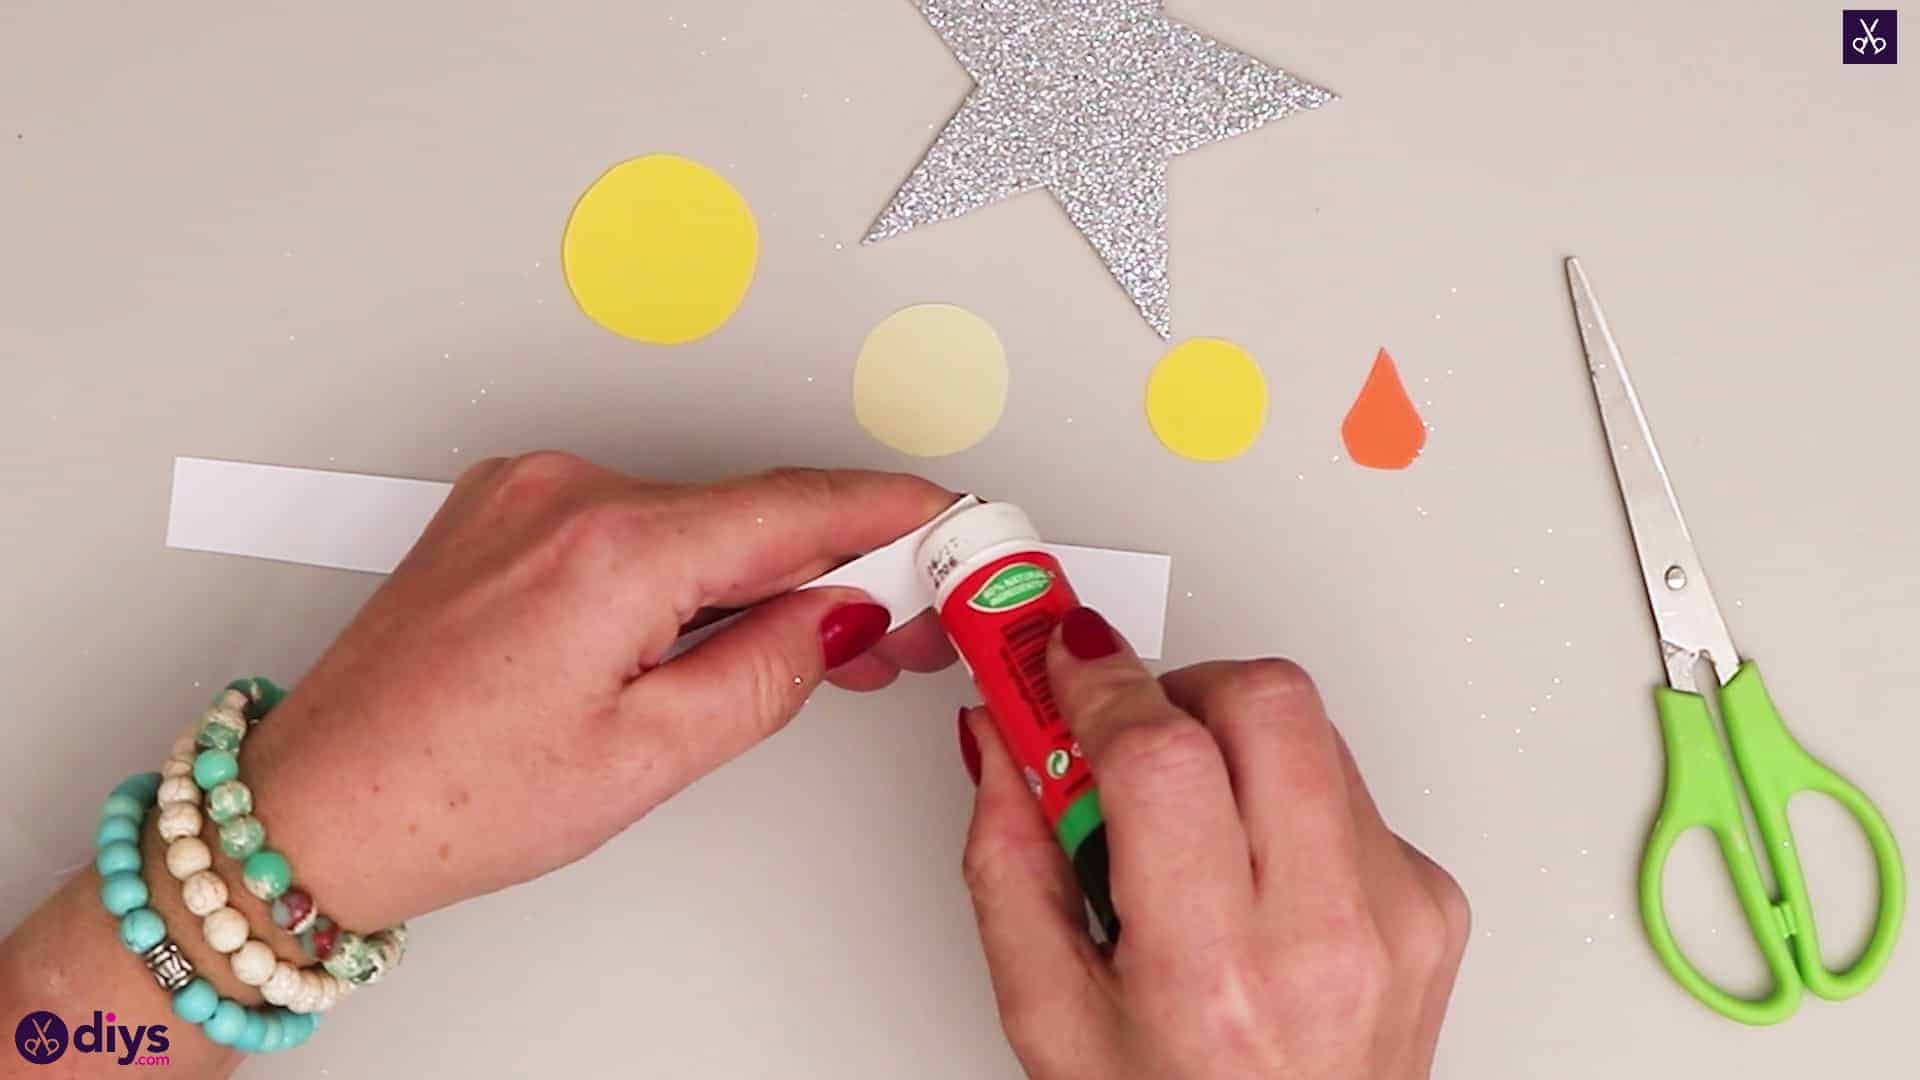
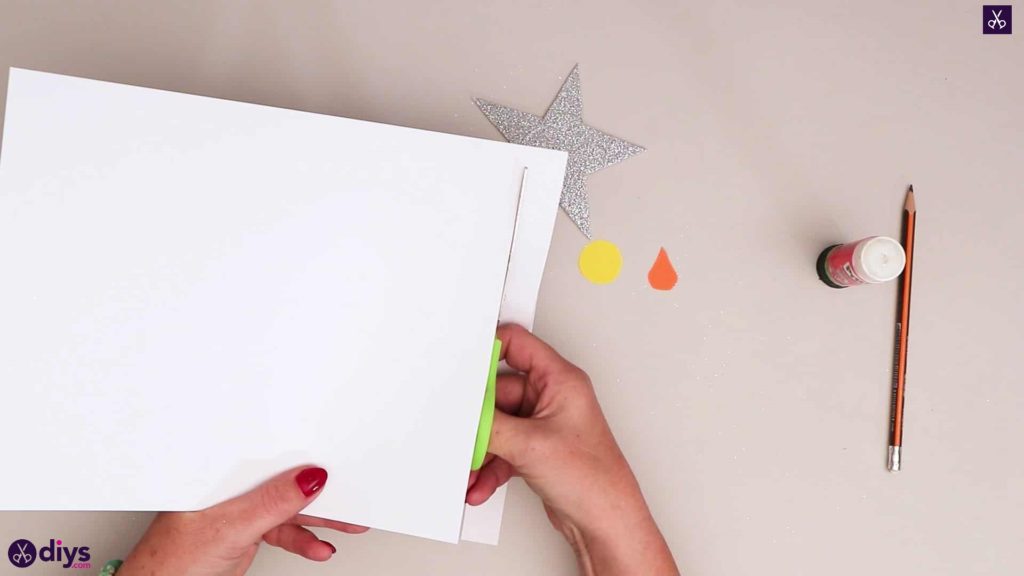
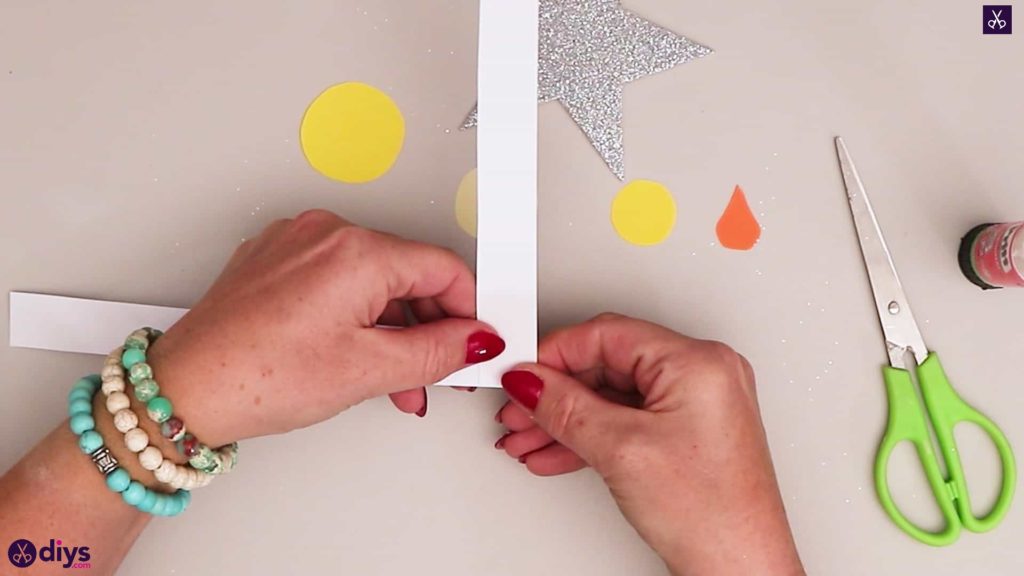
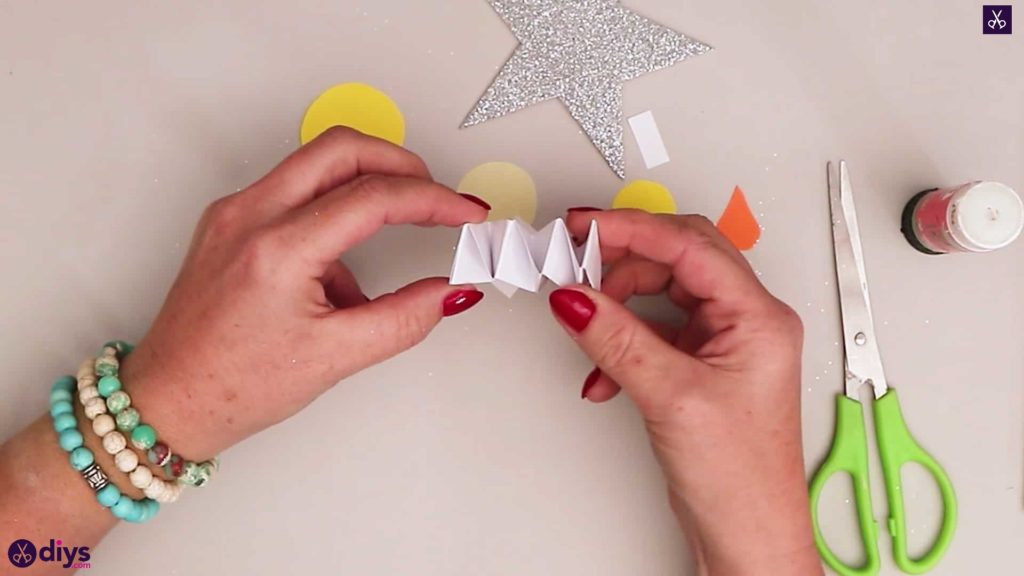
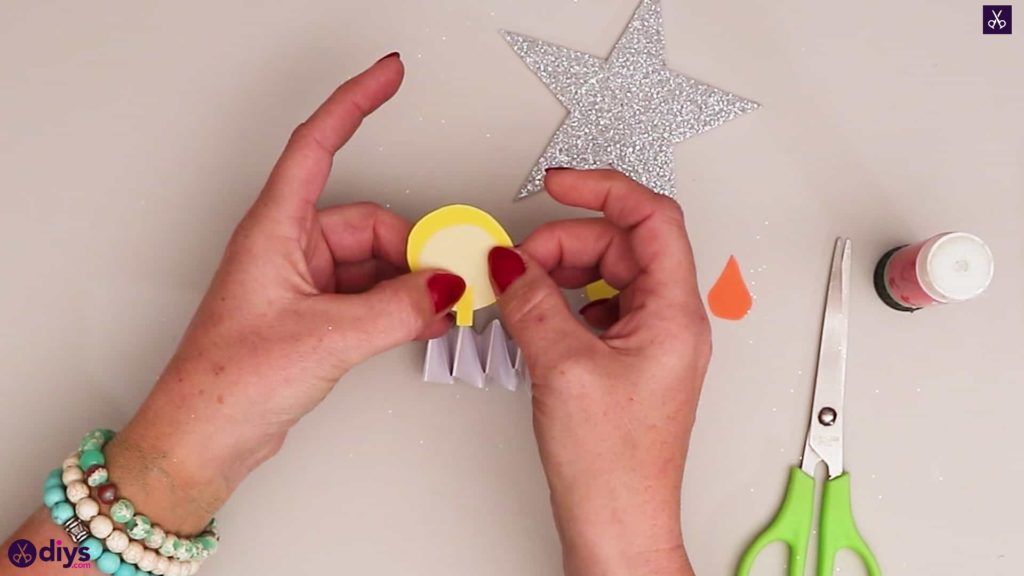
Turn your piece of white paper landscape or horizontal and cut two strips from one end that are about a centimetre wide and the full length of the page each. Set the rest aside. Apply glue to one end of one white strip and stick one end of the second strip down there, but turned to meet the first perpendicularly. Next, fold the excess of the lower strip neatly over where the second overlaps it, creasing evenly against its side. Then fold the second strip forward over where the first just overlapped its own end. Fold the first strip back the other way over the second, and then the second back the direction it came from, over the first again. Repeat this accordion style folding process until you’ve only got one fold’s worth of paper left in each strip. Apply glue on your most recent layer, fold whichever end comes next down and stick it, then do the same with your last end and fold to finish the piece. If you don’t have an even fold’s amount left and will be left with a bit of excess, just trim it off. Carefully stretch it out a little bit to lengthen the folds slightly and give the piece more height. This is your candlestick!

Step 6: make the supports
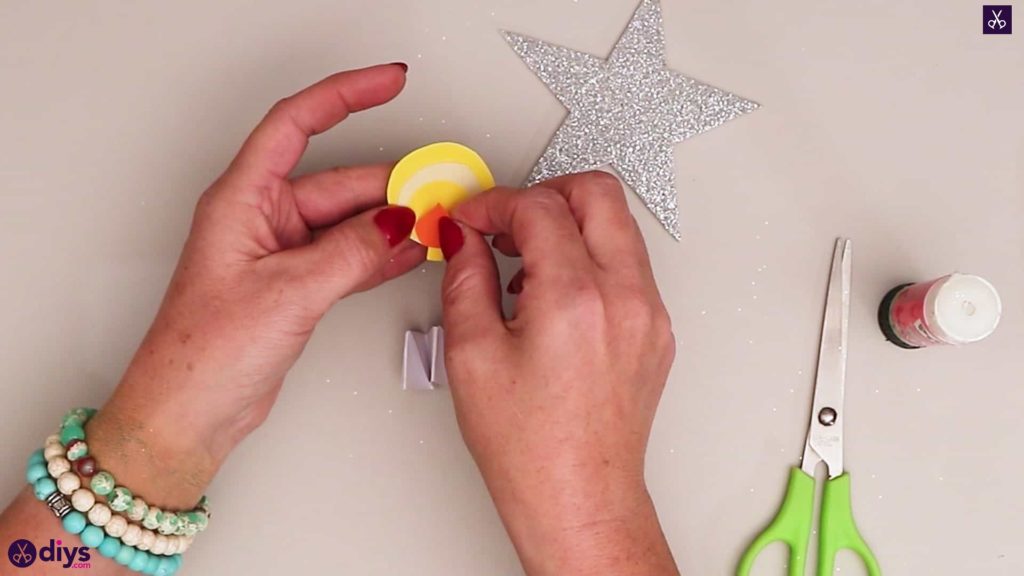
Cut a thin, small piece from one edge of your yellow paper, perhaps one by one centimetre and even less in width. Fold it in half. This will be a subtle support piece that helps you keep the flame and halo sitting upright on the top end of your candlestick.
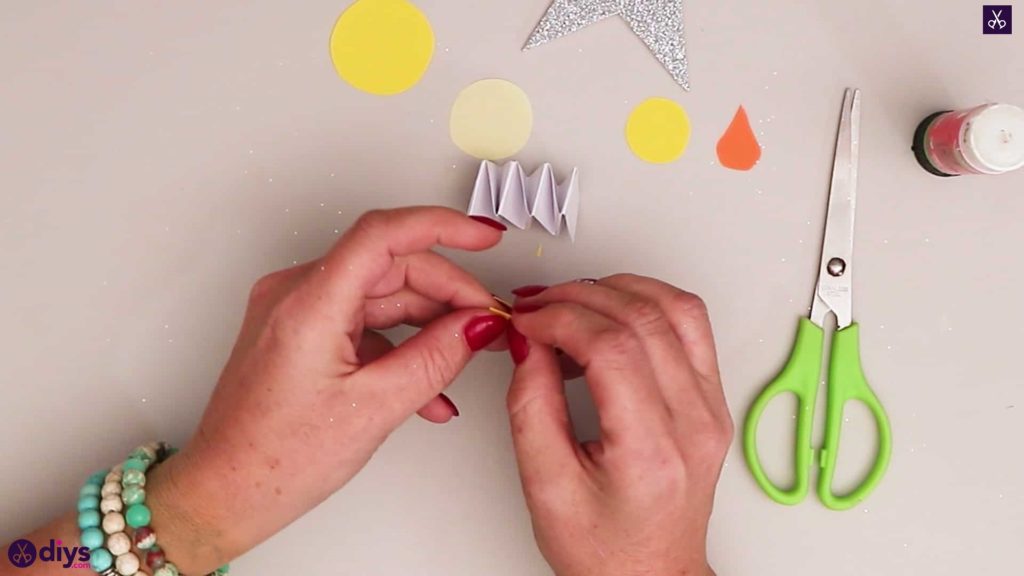
Step 7: start gluing
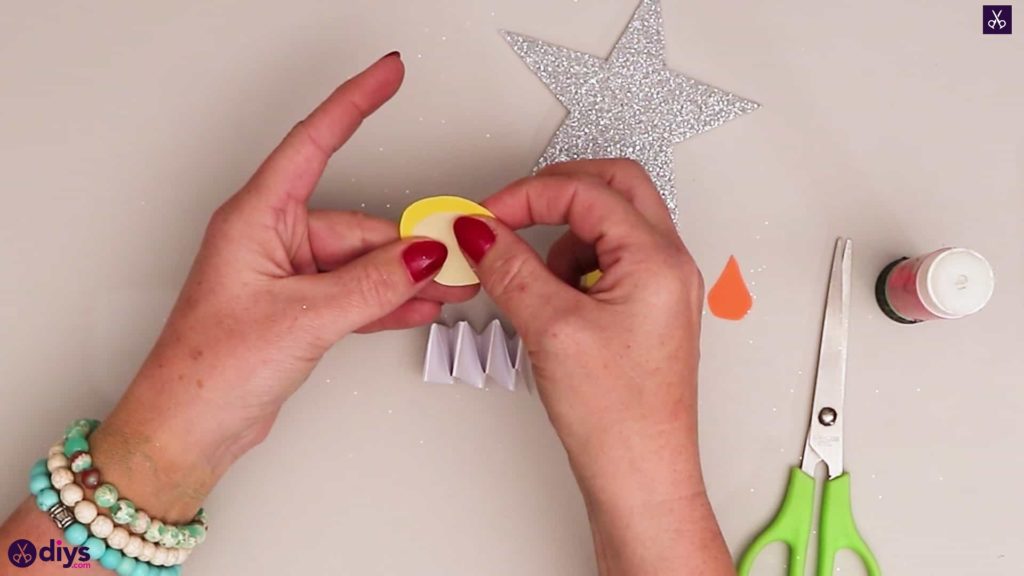
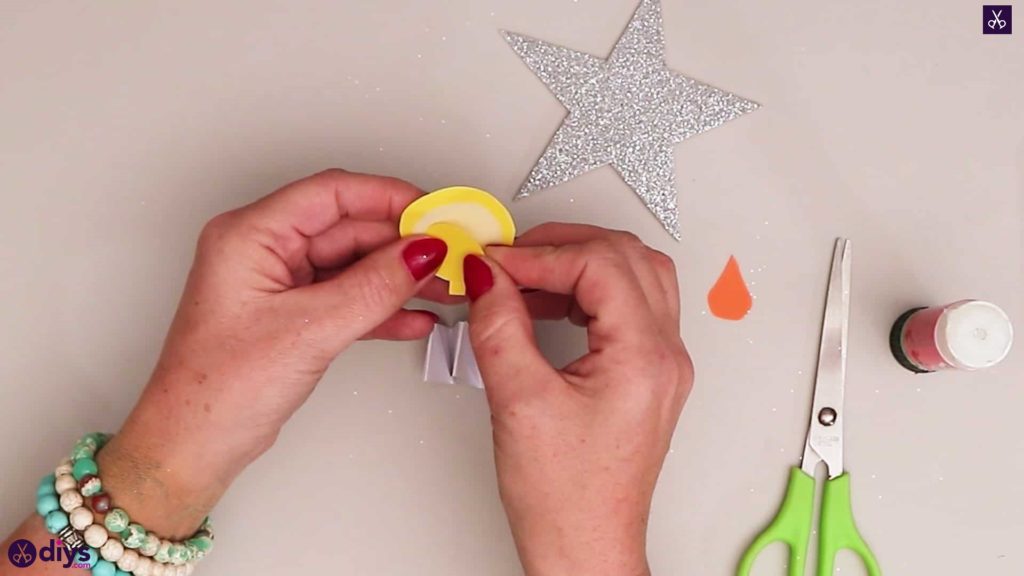
Put your flame and halo together! Apply glue to the center of the largest yellow circle and stick the slightly smaller cream circle down inside it. Then apply glue to the top crease of the little yellow support piece you cut and stick it right near the bottom of the cream circle so most of its two ends stick out below. Then apply glue to the back of the smaller yellow circle and stick it down in the lower inside of the cream circle, overlapping with the top of the support piece to hide it and letting a slice of the cream circle show around and above its top edge. Finally, put glue on the back of the orange flame and place it in the center of the small yellow circle with the two pieces’ bottom edges lined up so yellow shows above the orange.
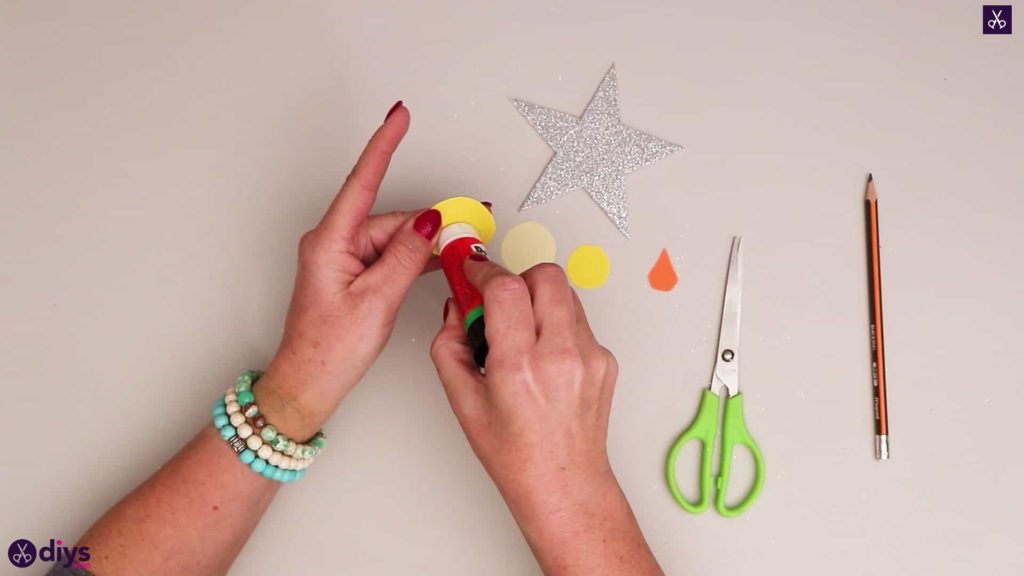
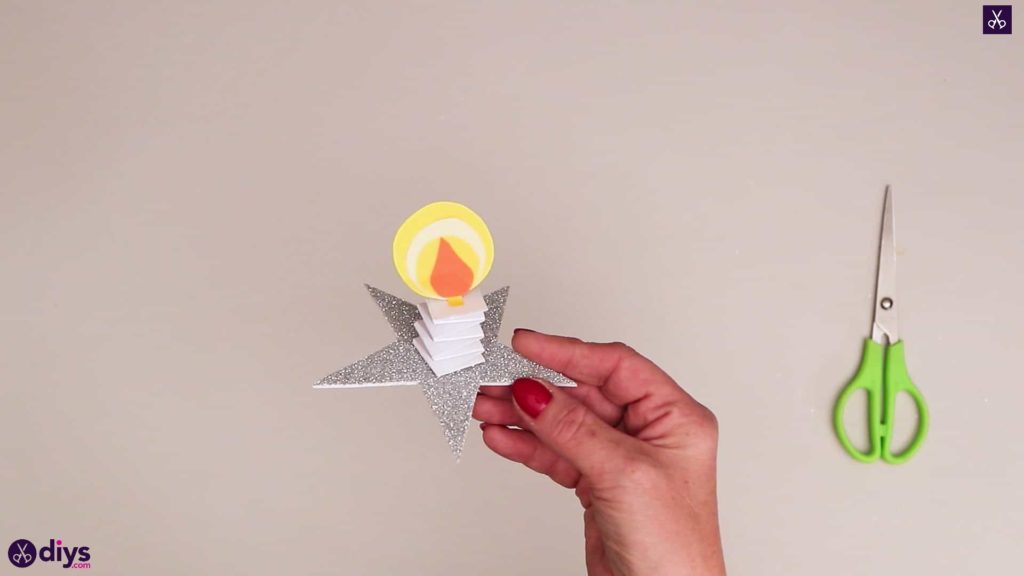
Step 8: attach the star
Apply glue to one end of the white candlestick and press it down in the center of the silver star, which will be your base. Then part the two ends of the flame and halo so the little support pieces stick out opposite sides at the bottom and apply glue to those. Press this piece down in the center of the top of the candlestick so it stands upright.

That’s really all there is to it! Feel free to make a different base shape if you like. Just in case you’d like to try this project out for yourself, here’s a fantastic tutorial video to help you!