DIY Wine Cork Anchor – How to Make a Nautical Wall Decor
Updated on November 19, 2025


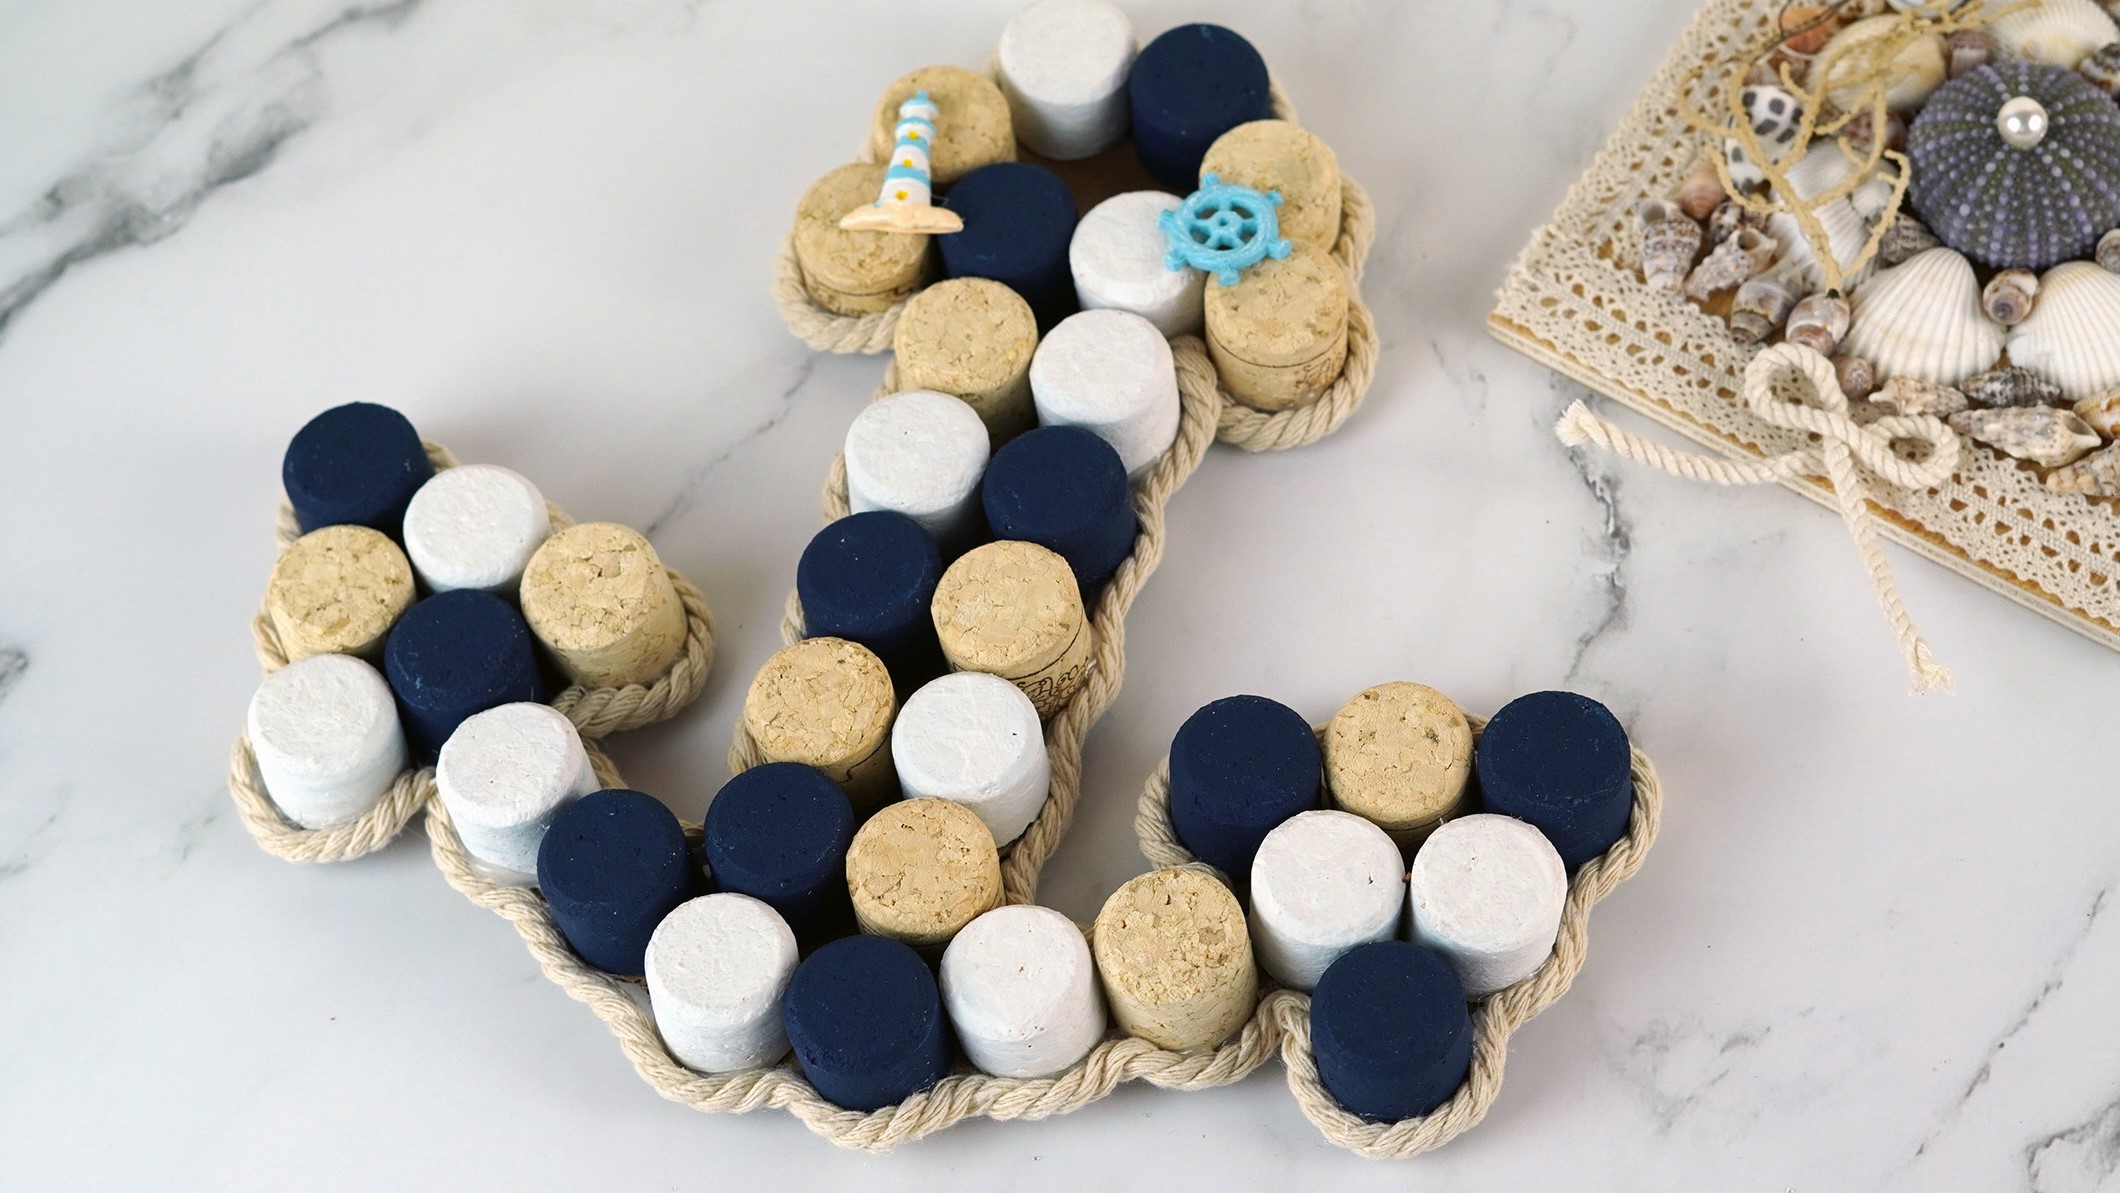
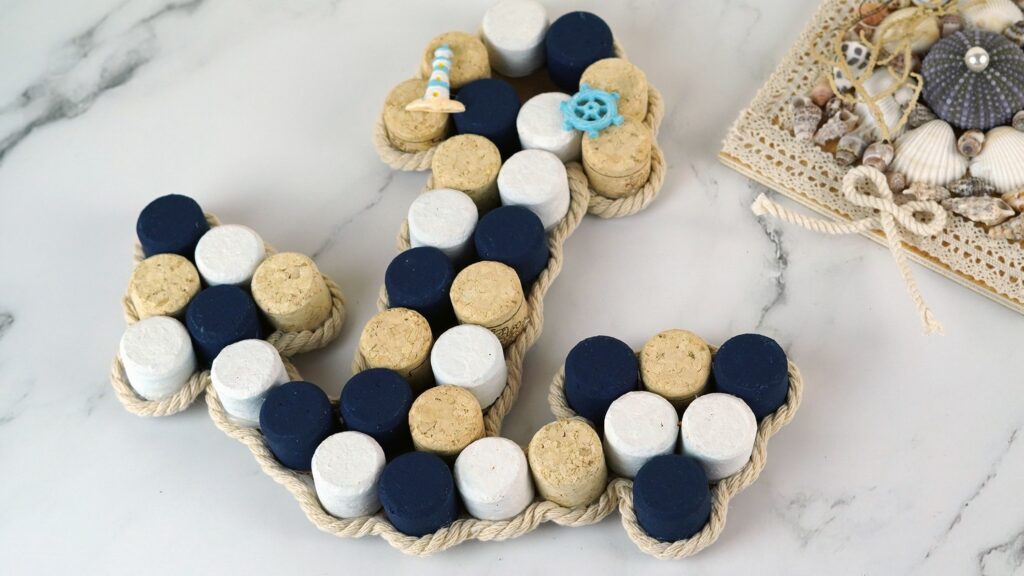
We don’t know about you, but we’re all about the nautical wall decorations and an anchor is up on our list of preferences, right next to shells and a painting of the Ocean. And since cork goes so well with the theme, let’s make a wine cork anchor decor piece!
With the right tools and the right colors, this can turn out to be such a pretty piece of decoration for those passionate about boats and the sea.
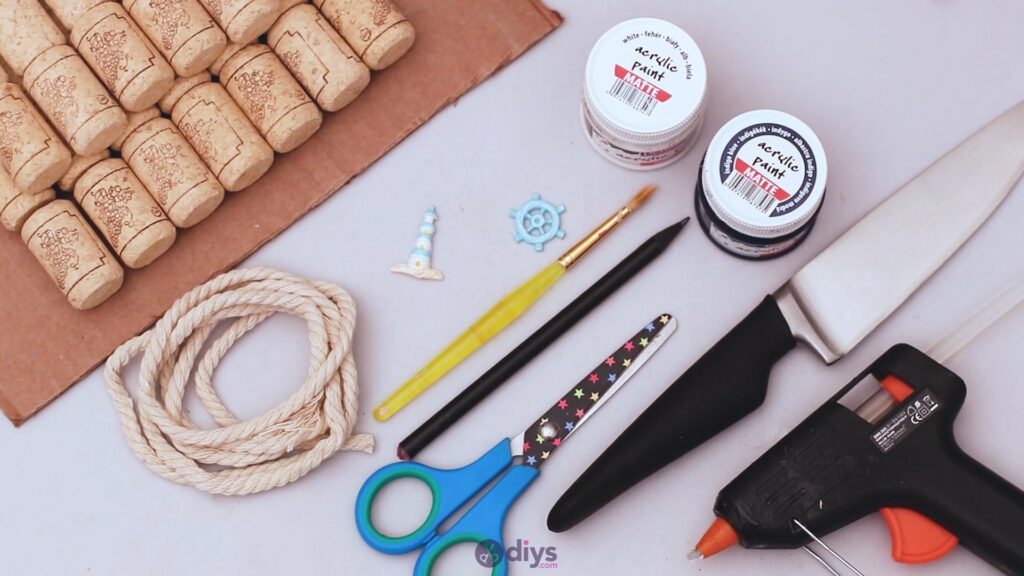
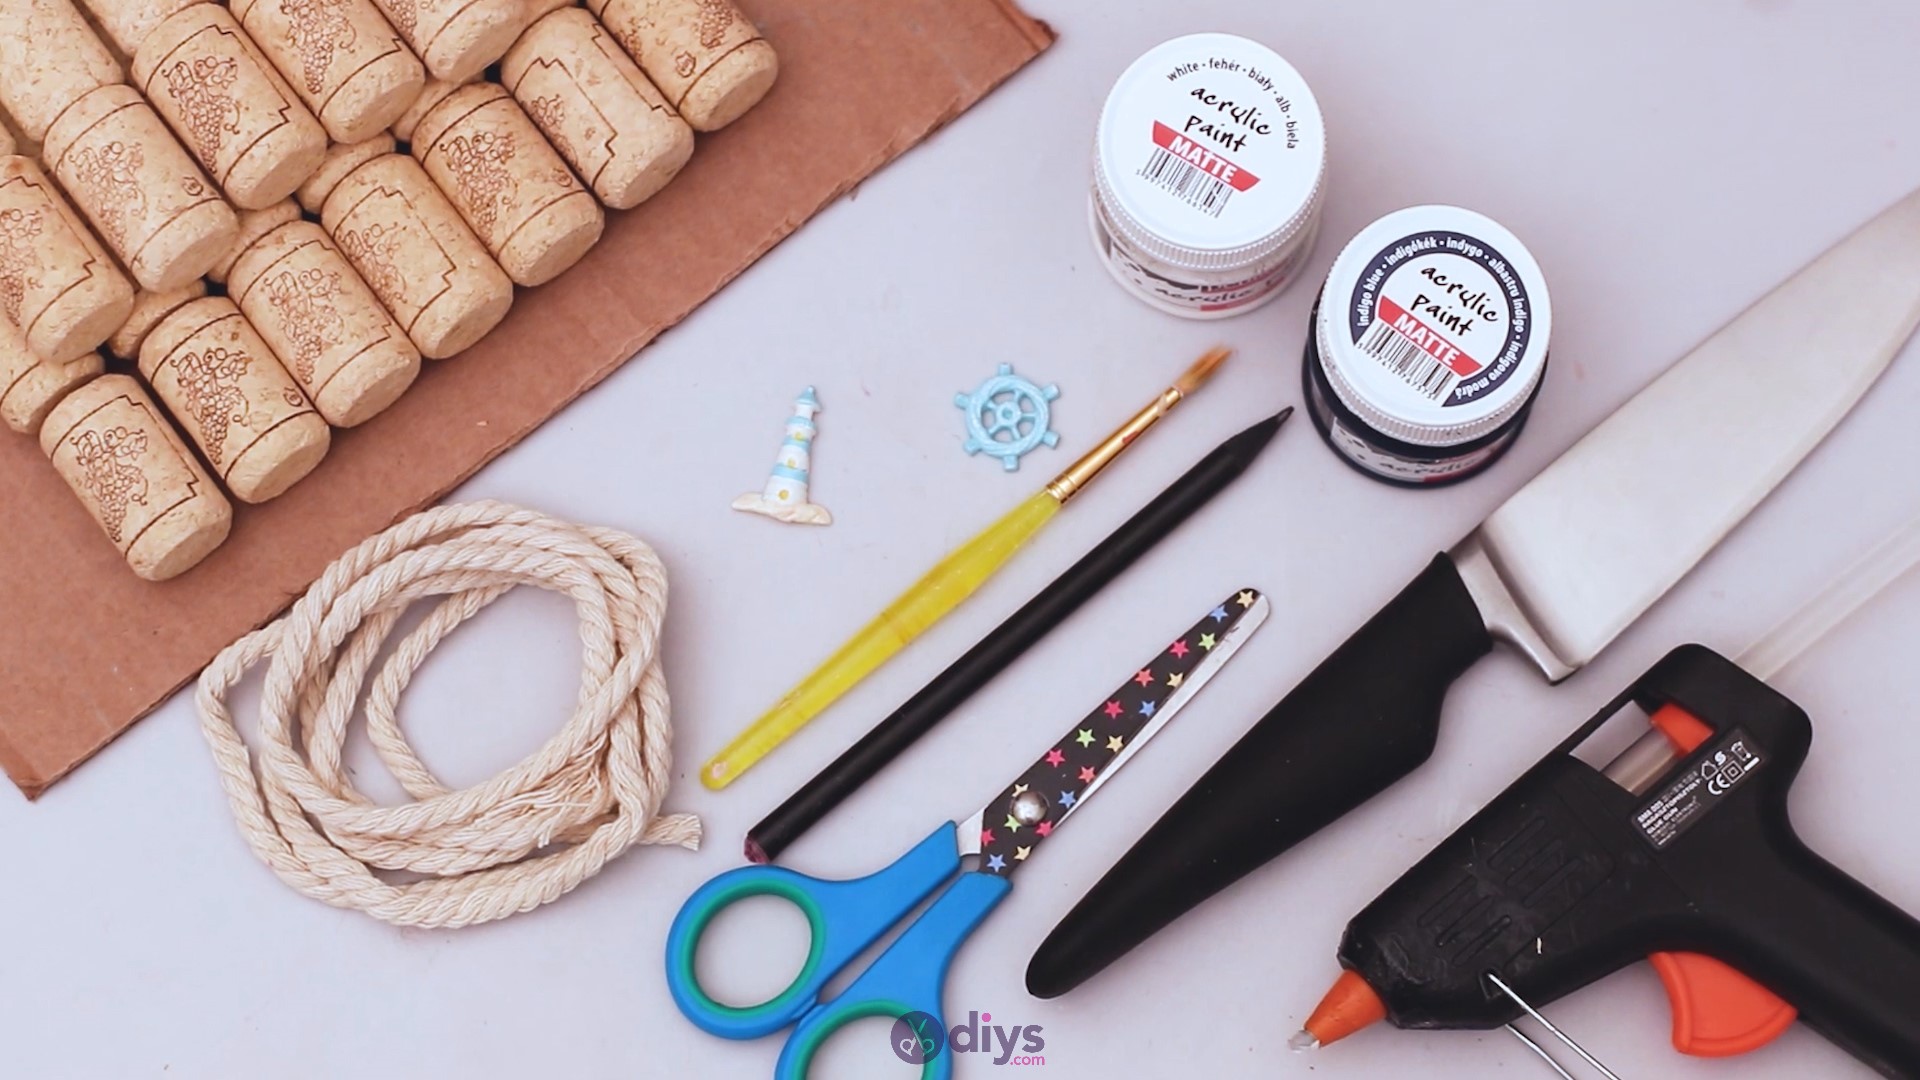
Materials for wine cork anchor decor
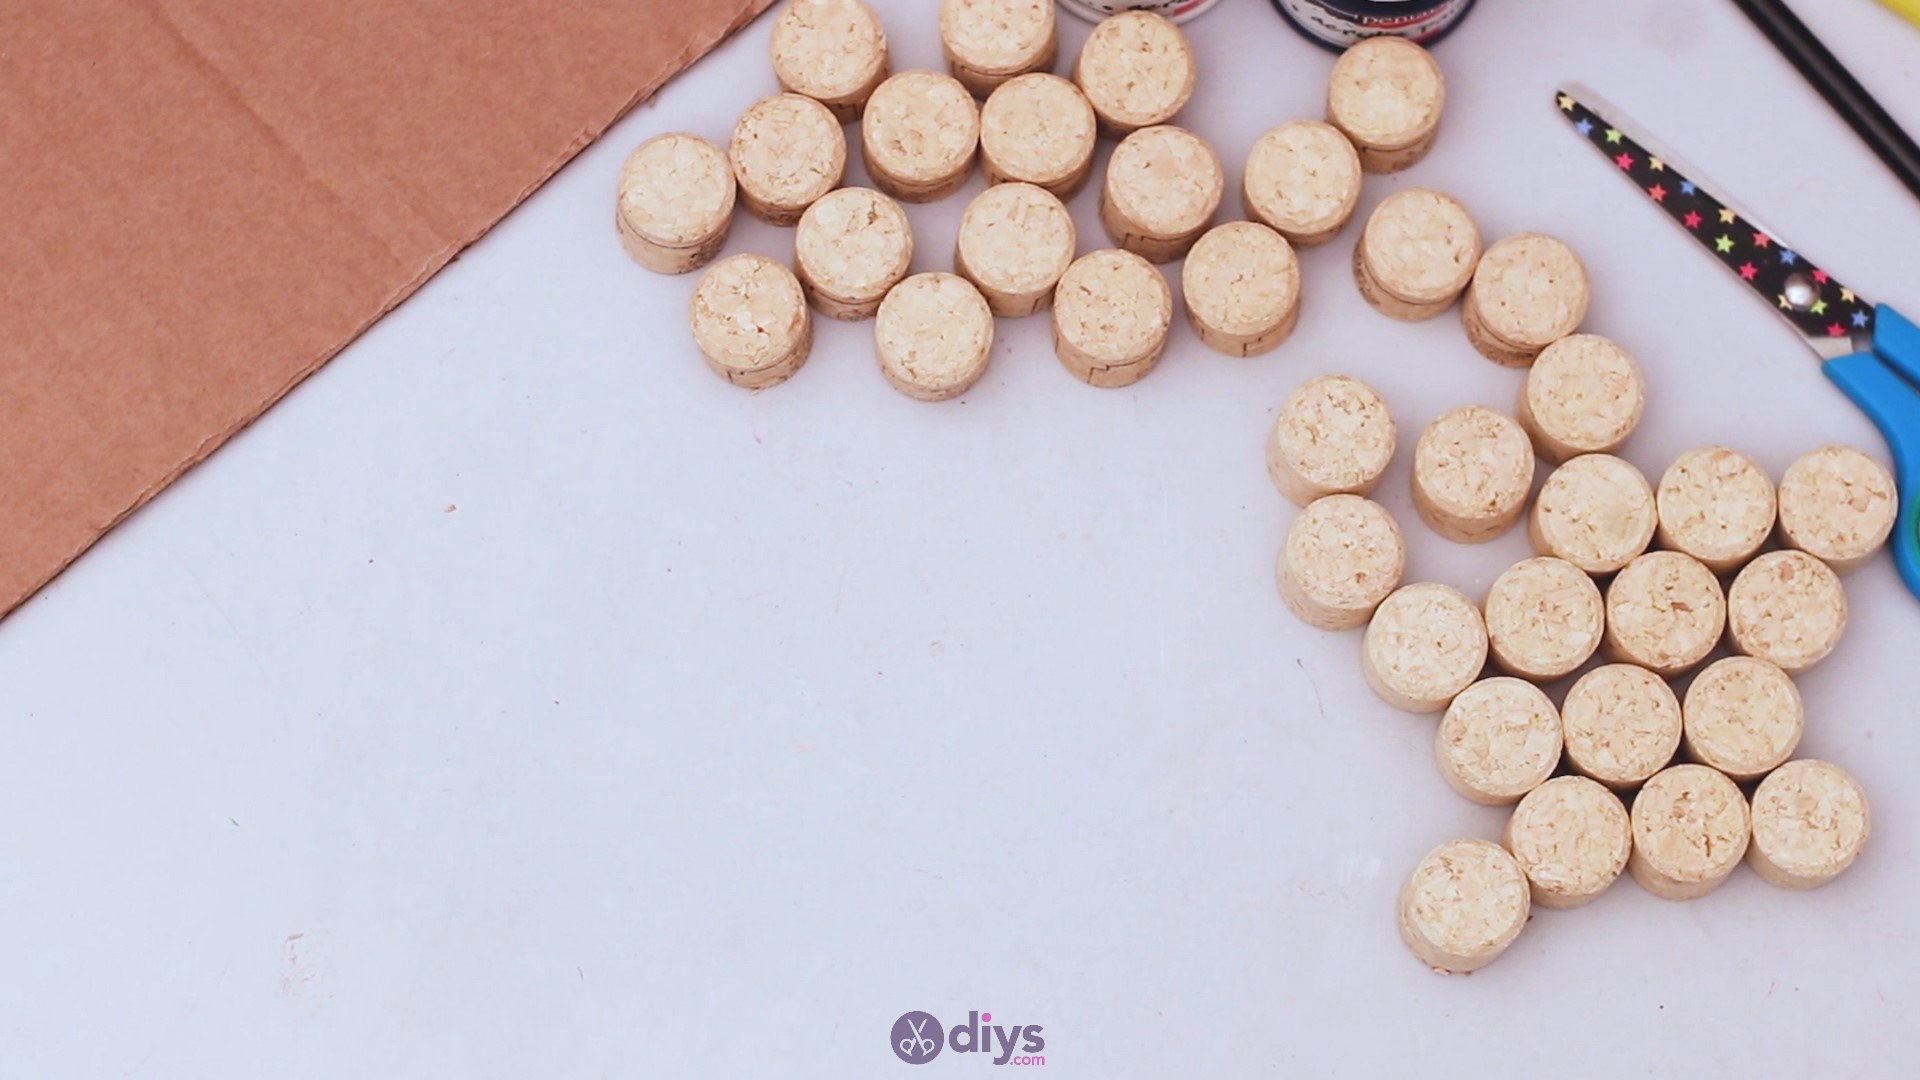
- wine corks
- knife
- glue gun
- pencil
- cardboard
- white and dark blue acrylic paint
- paintbrush
- rope
- small paddle and lighthouse decors
How to make wine cork anchor decor?
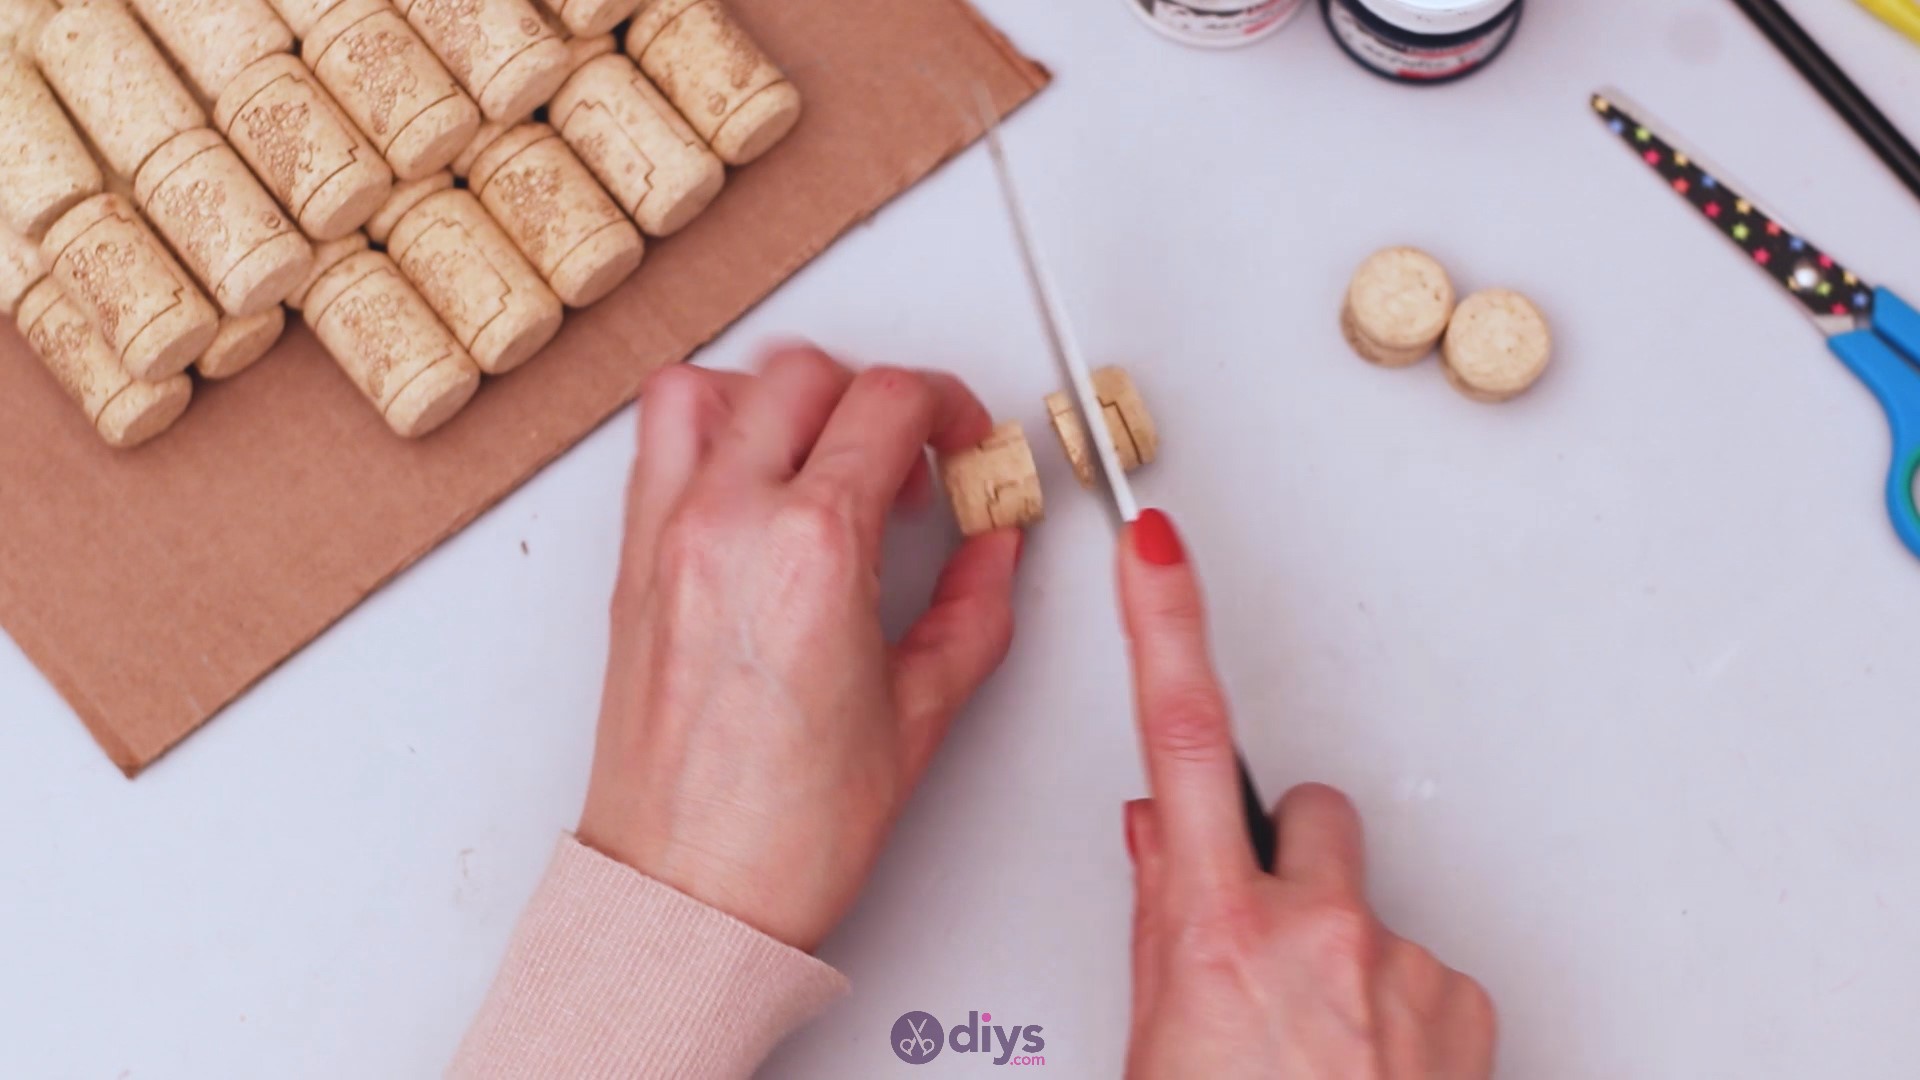
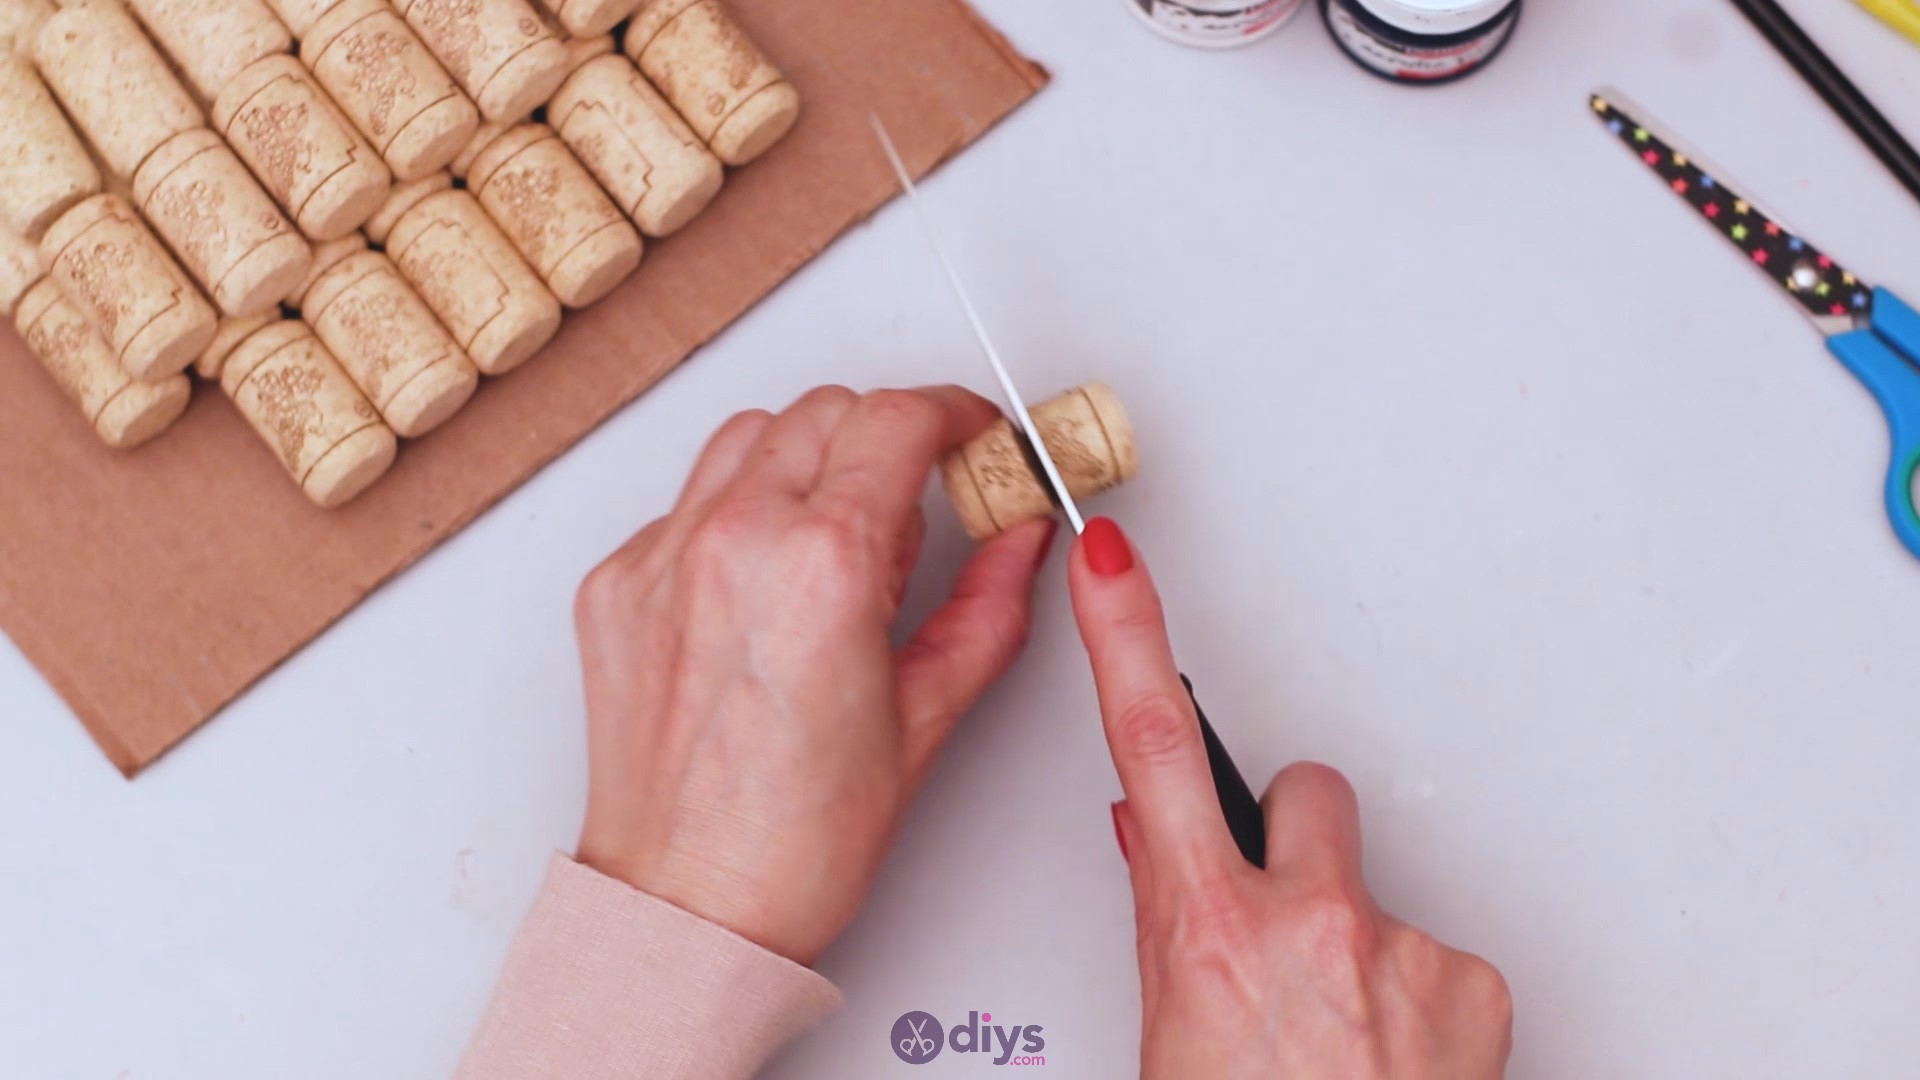
Step 1: Cut the corks
Creating a wine cork anchor decor piece will take a bit of your time, but what a wonderful creation you’ll have to hang on your walls. It may even be a great gift for friends and family members. So, let’s start by taking all those wine corks and cutting them in half. Try to cut them straight down the middle so you have two pieces that are roughly the same size.

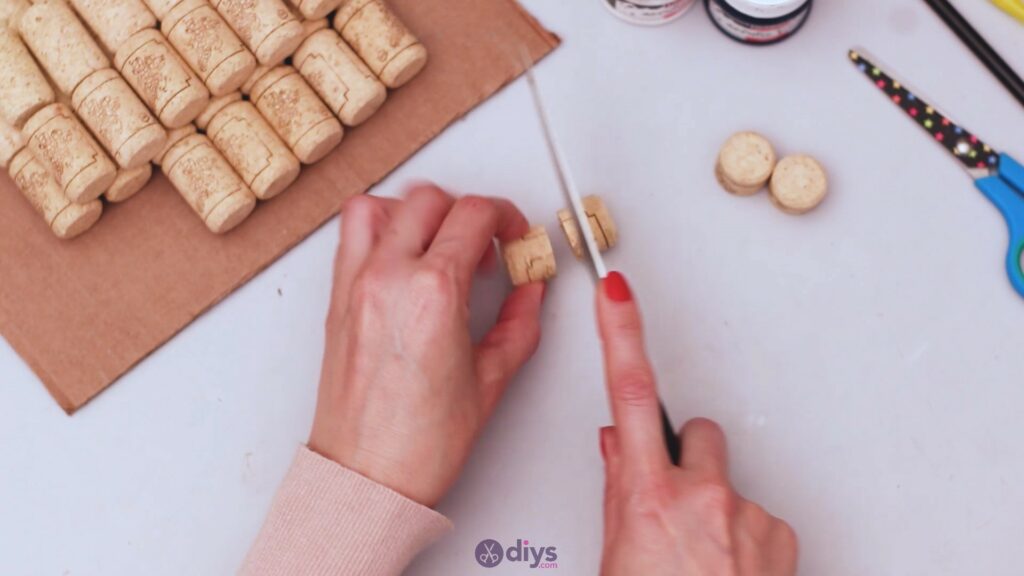
There you go! You have a lot of wine cork halves and you’re ready for the next step.

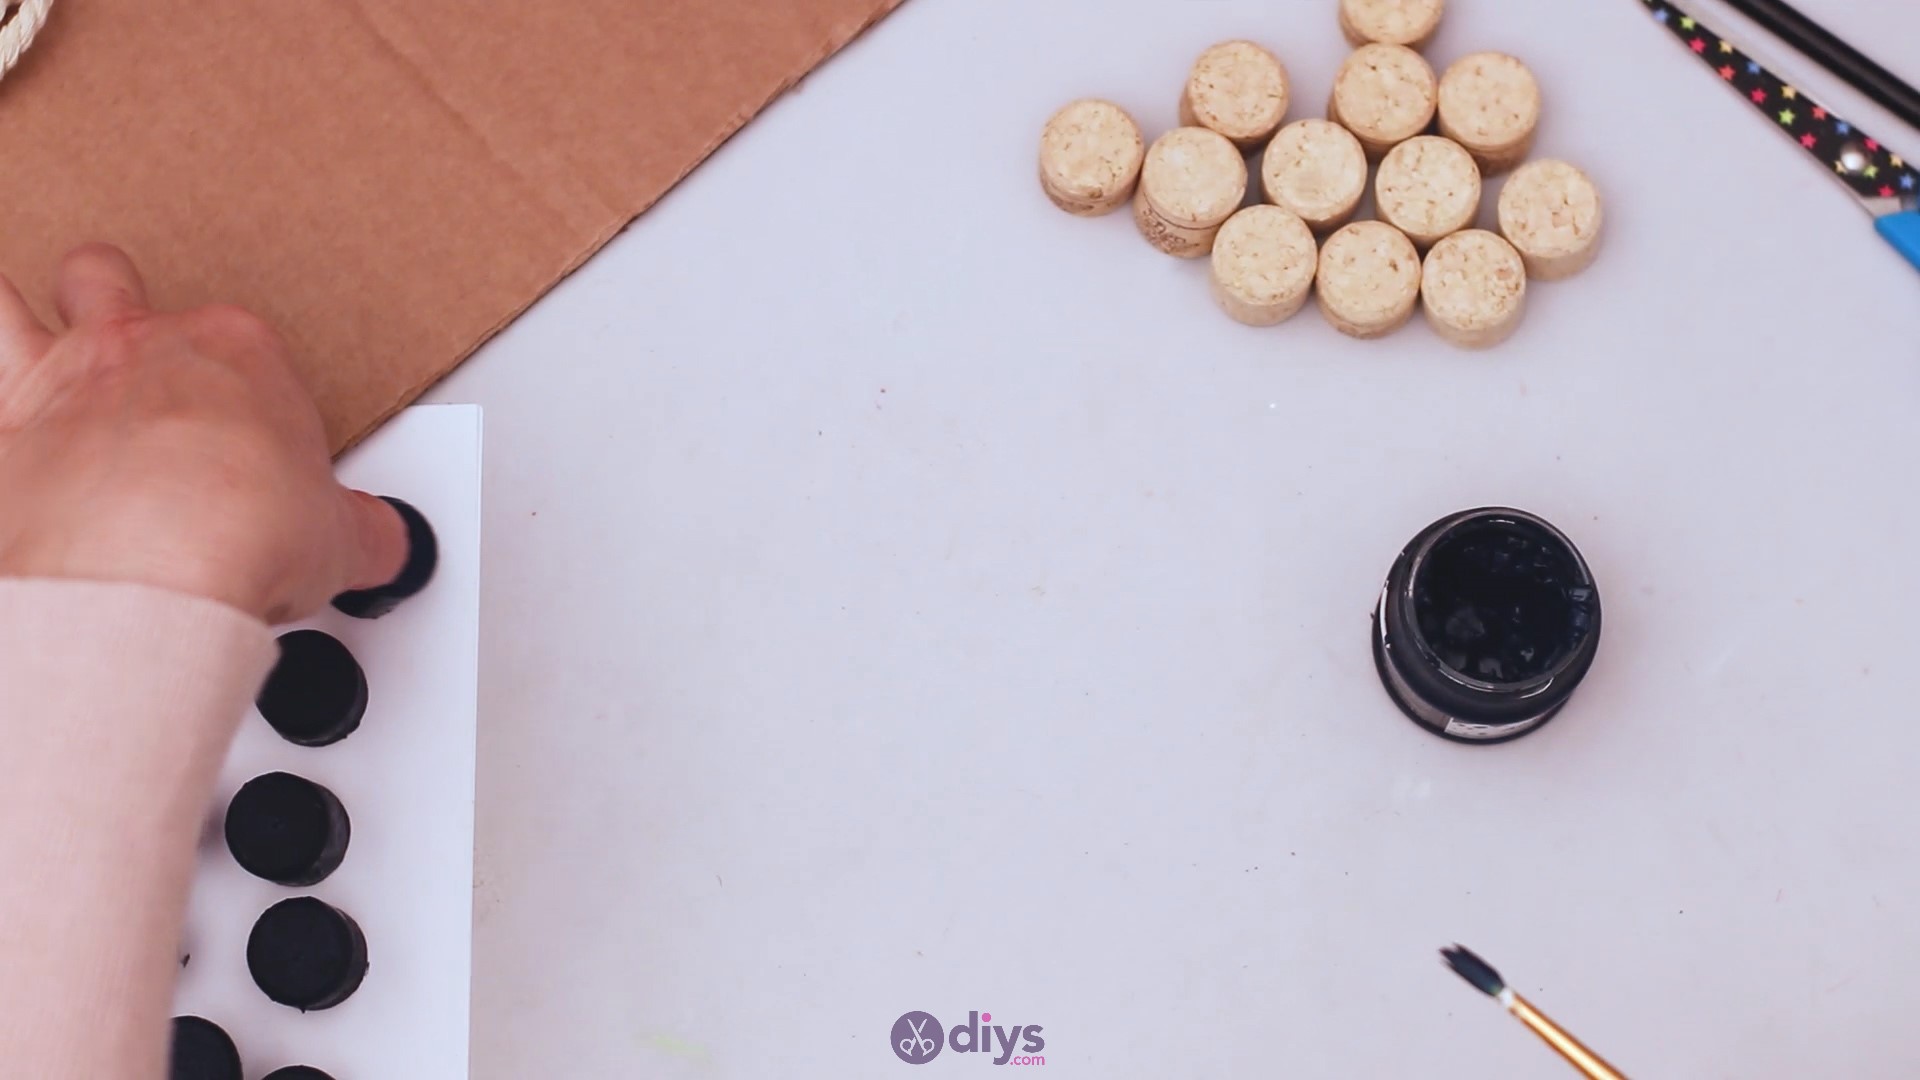
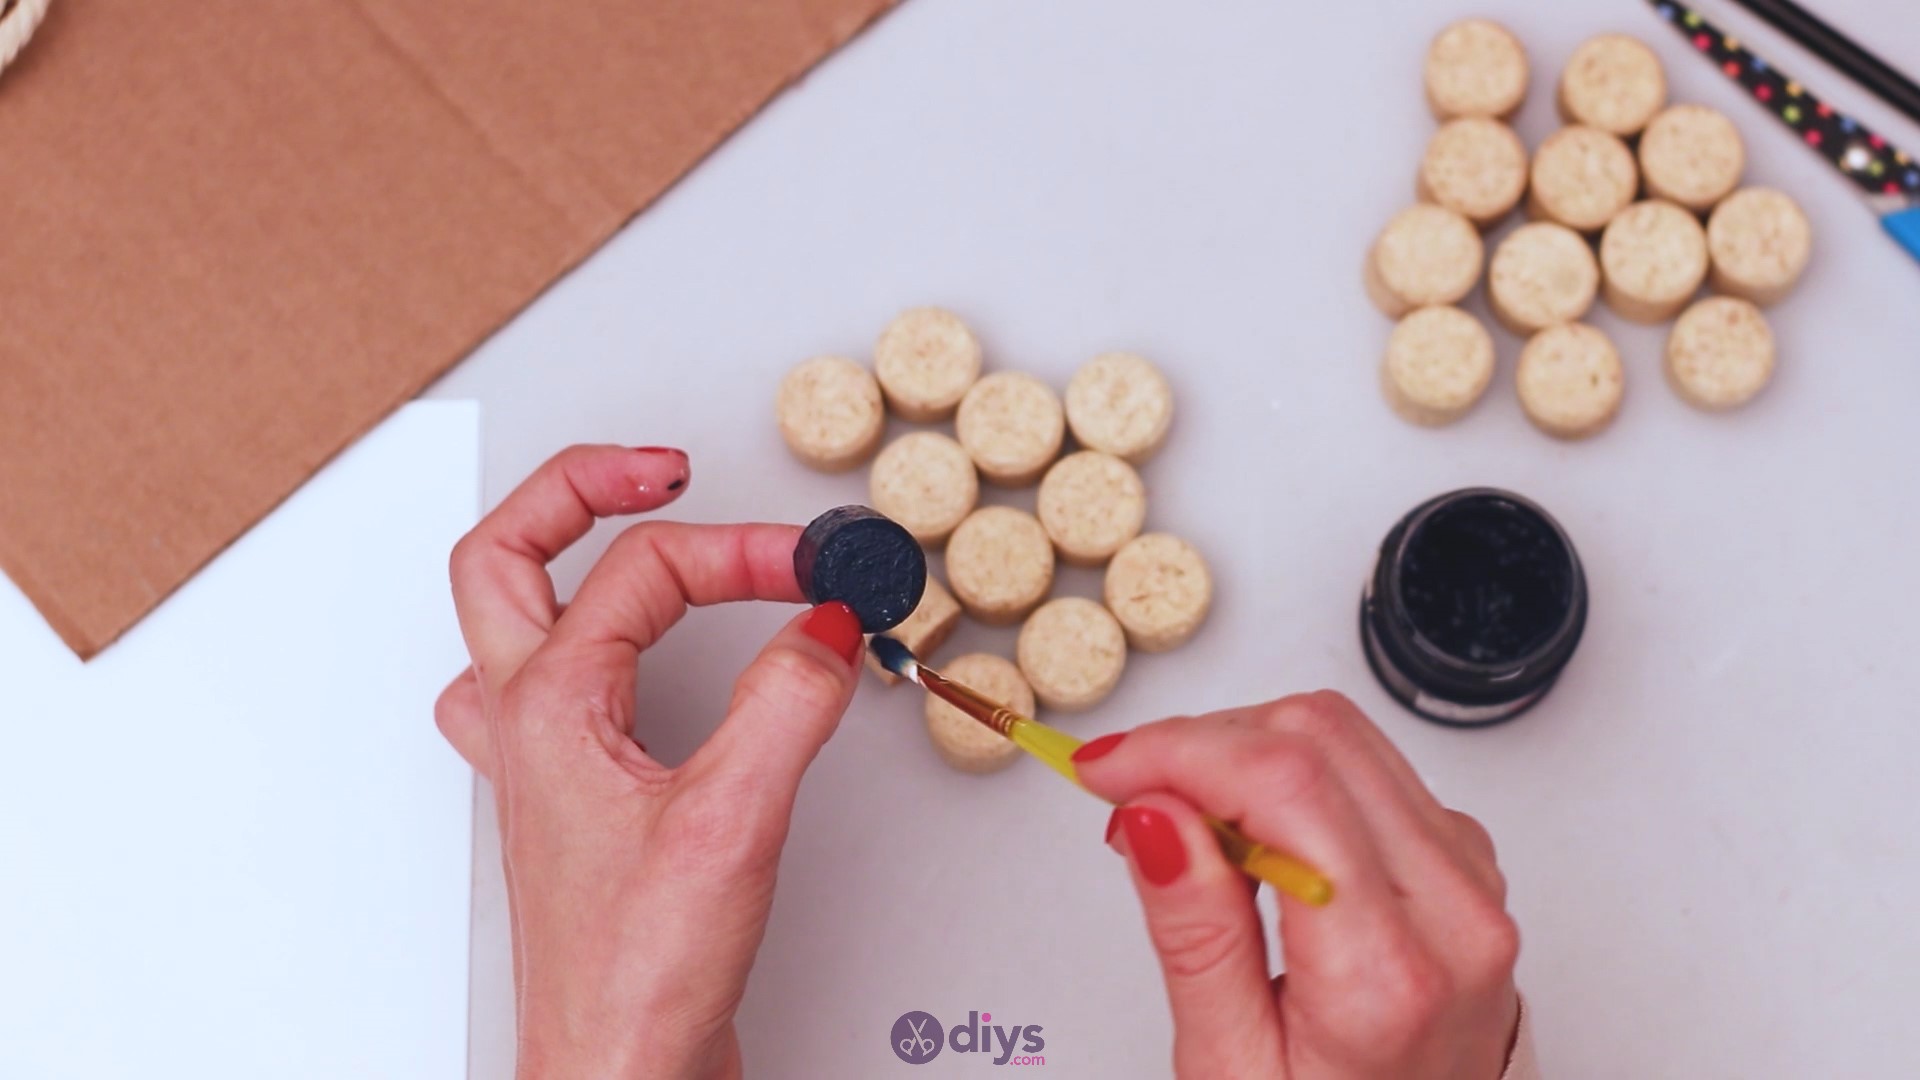
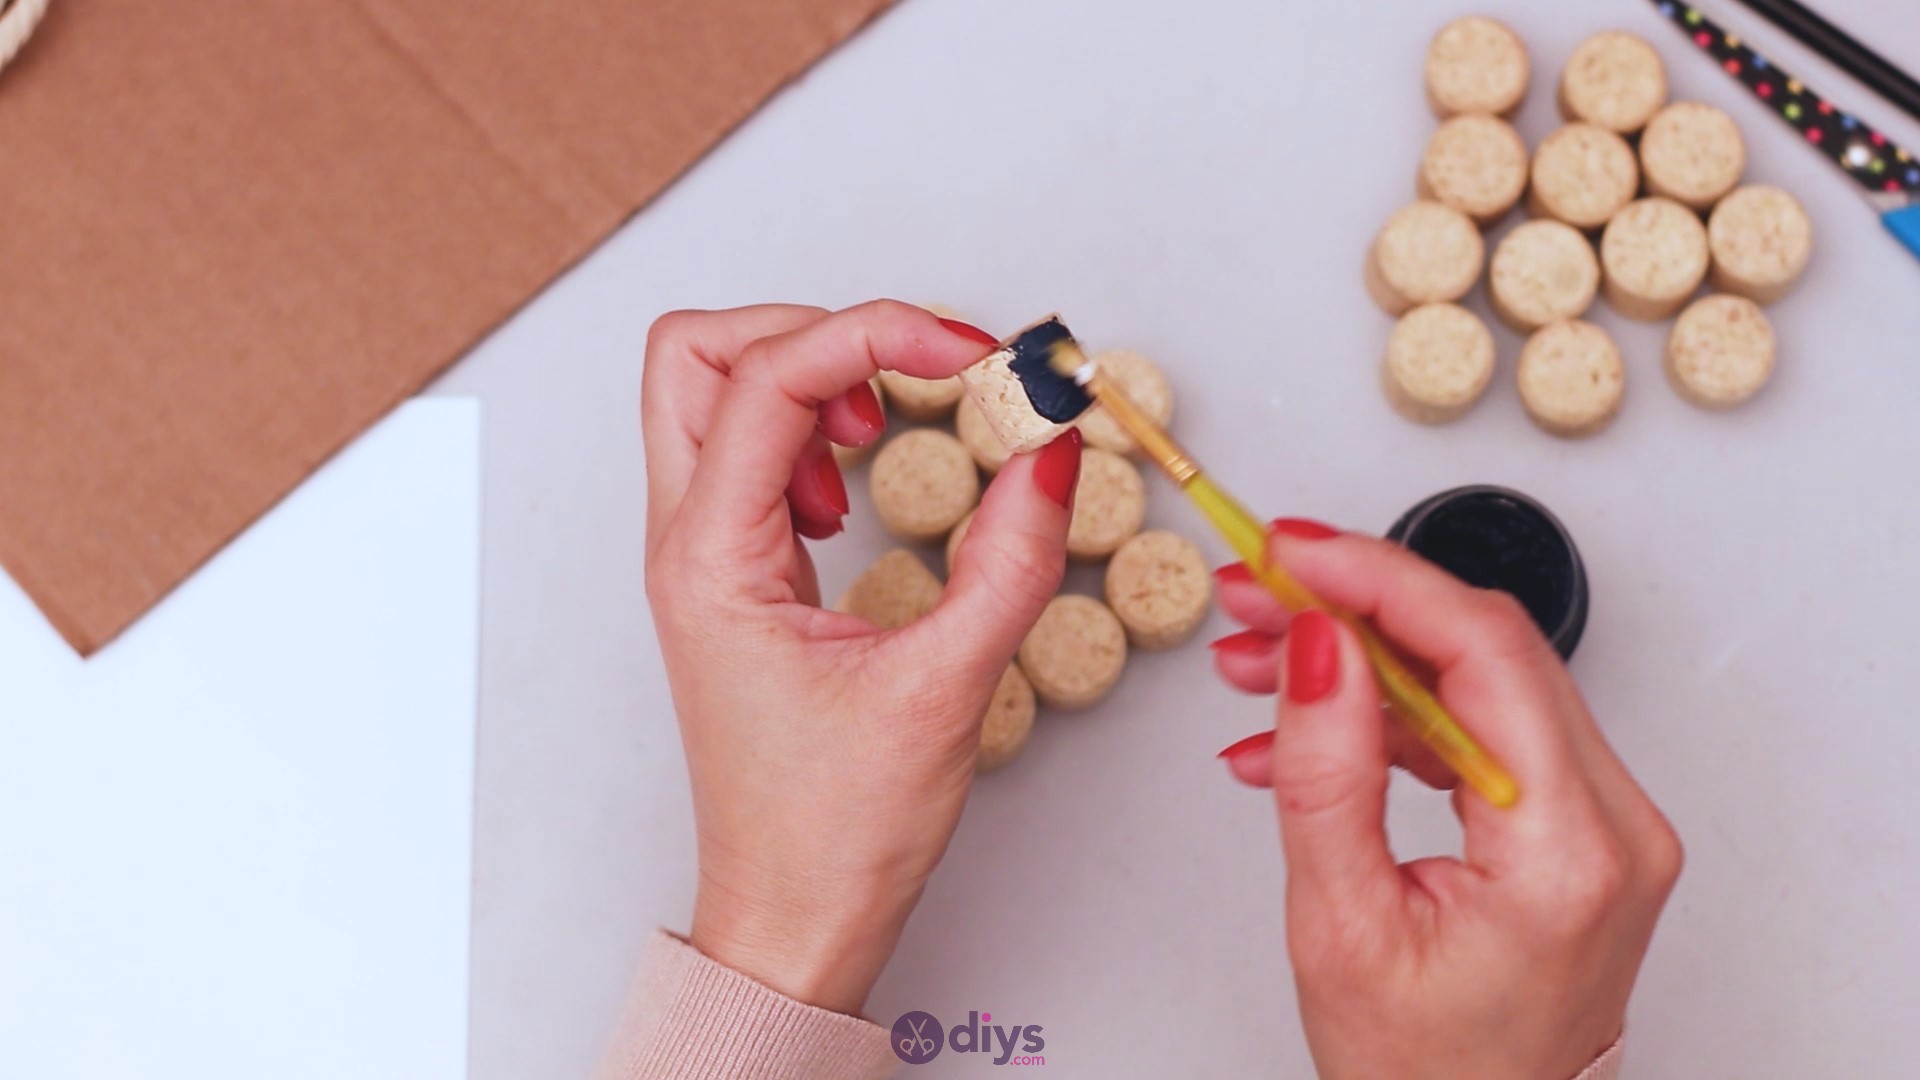
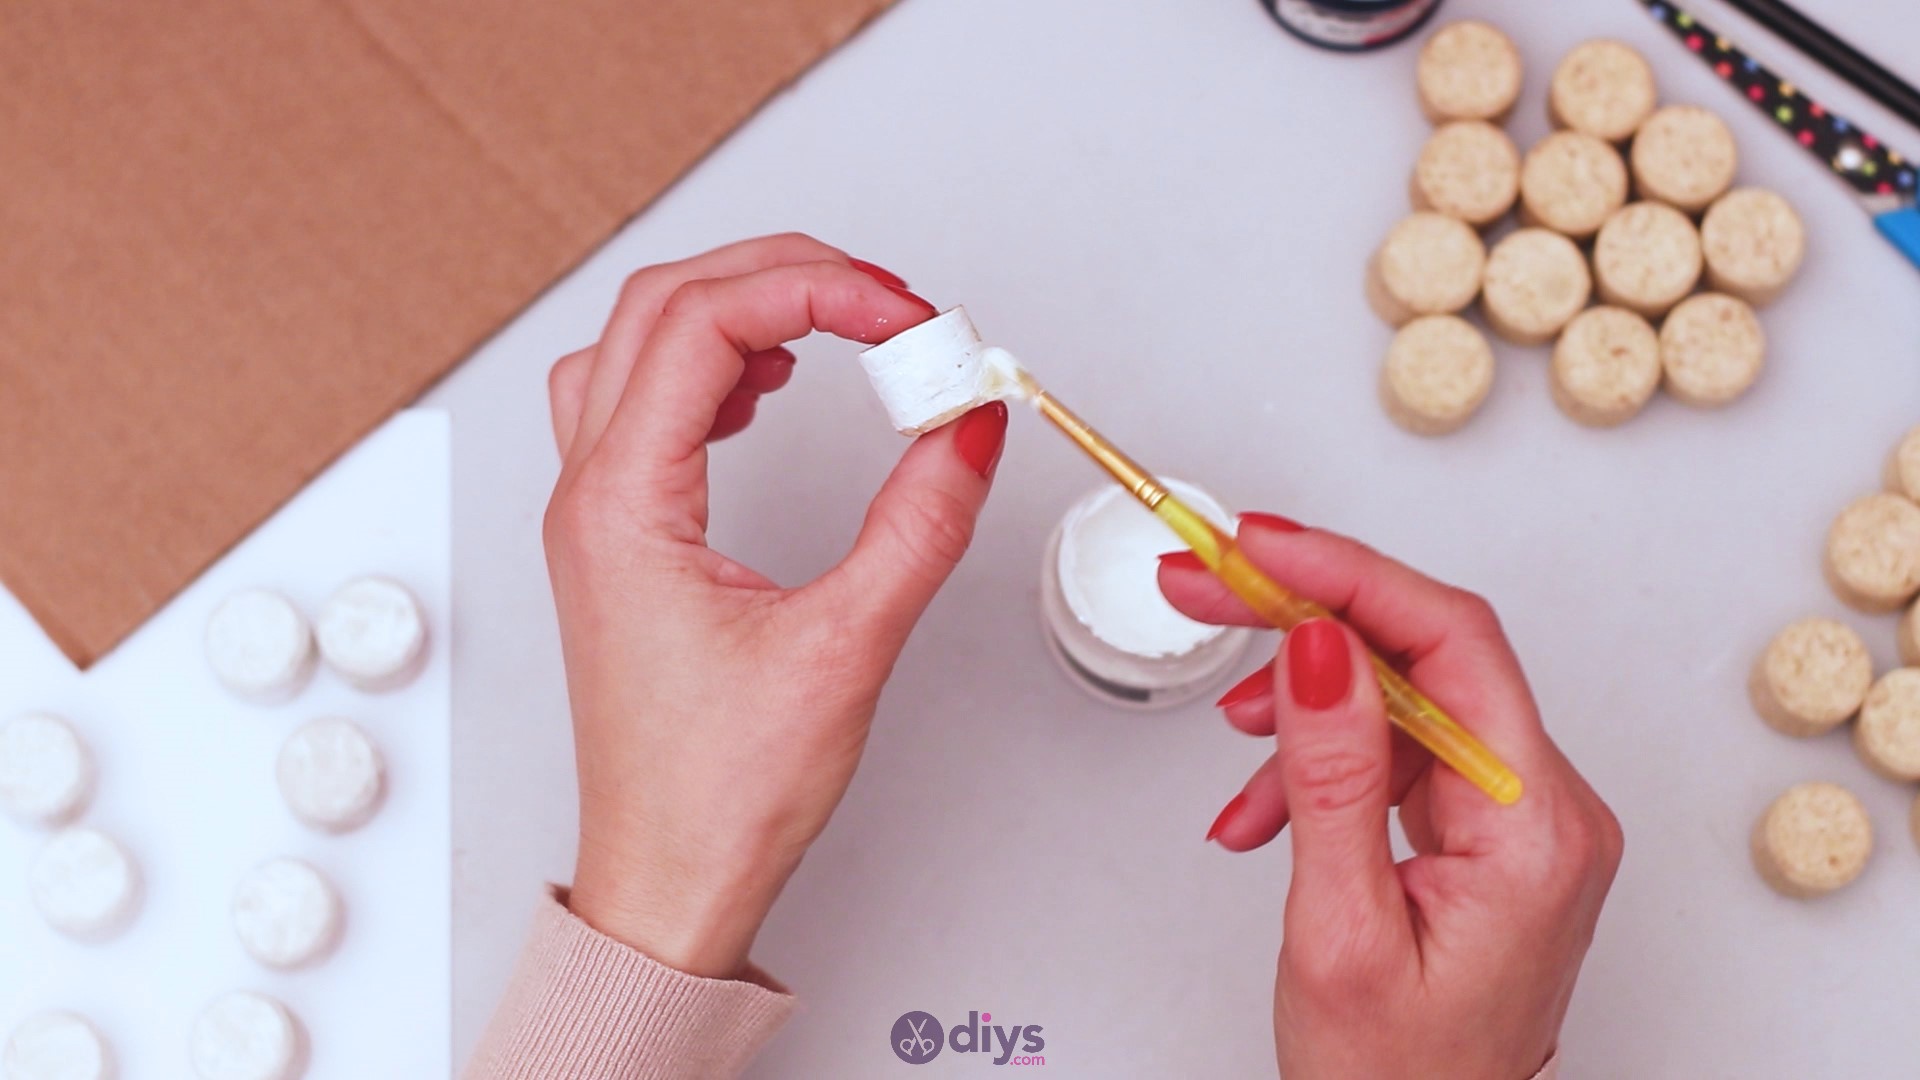
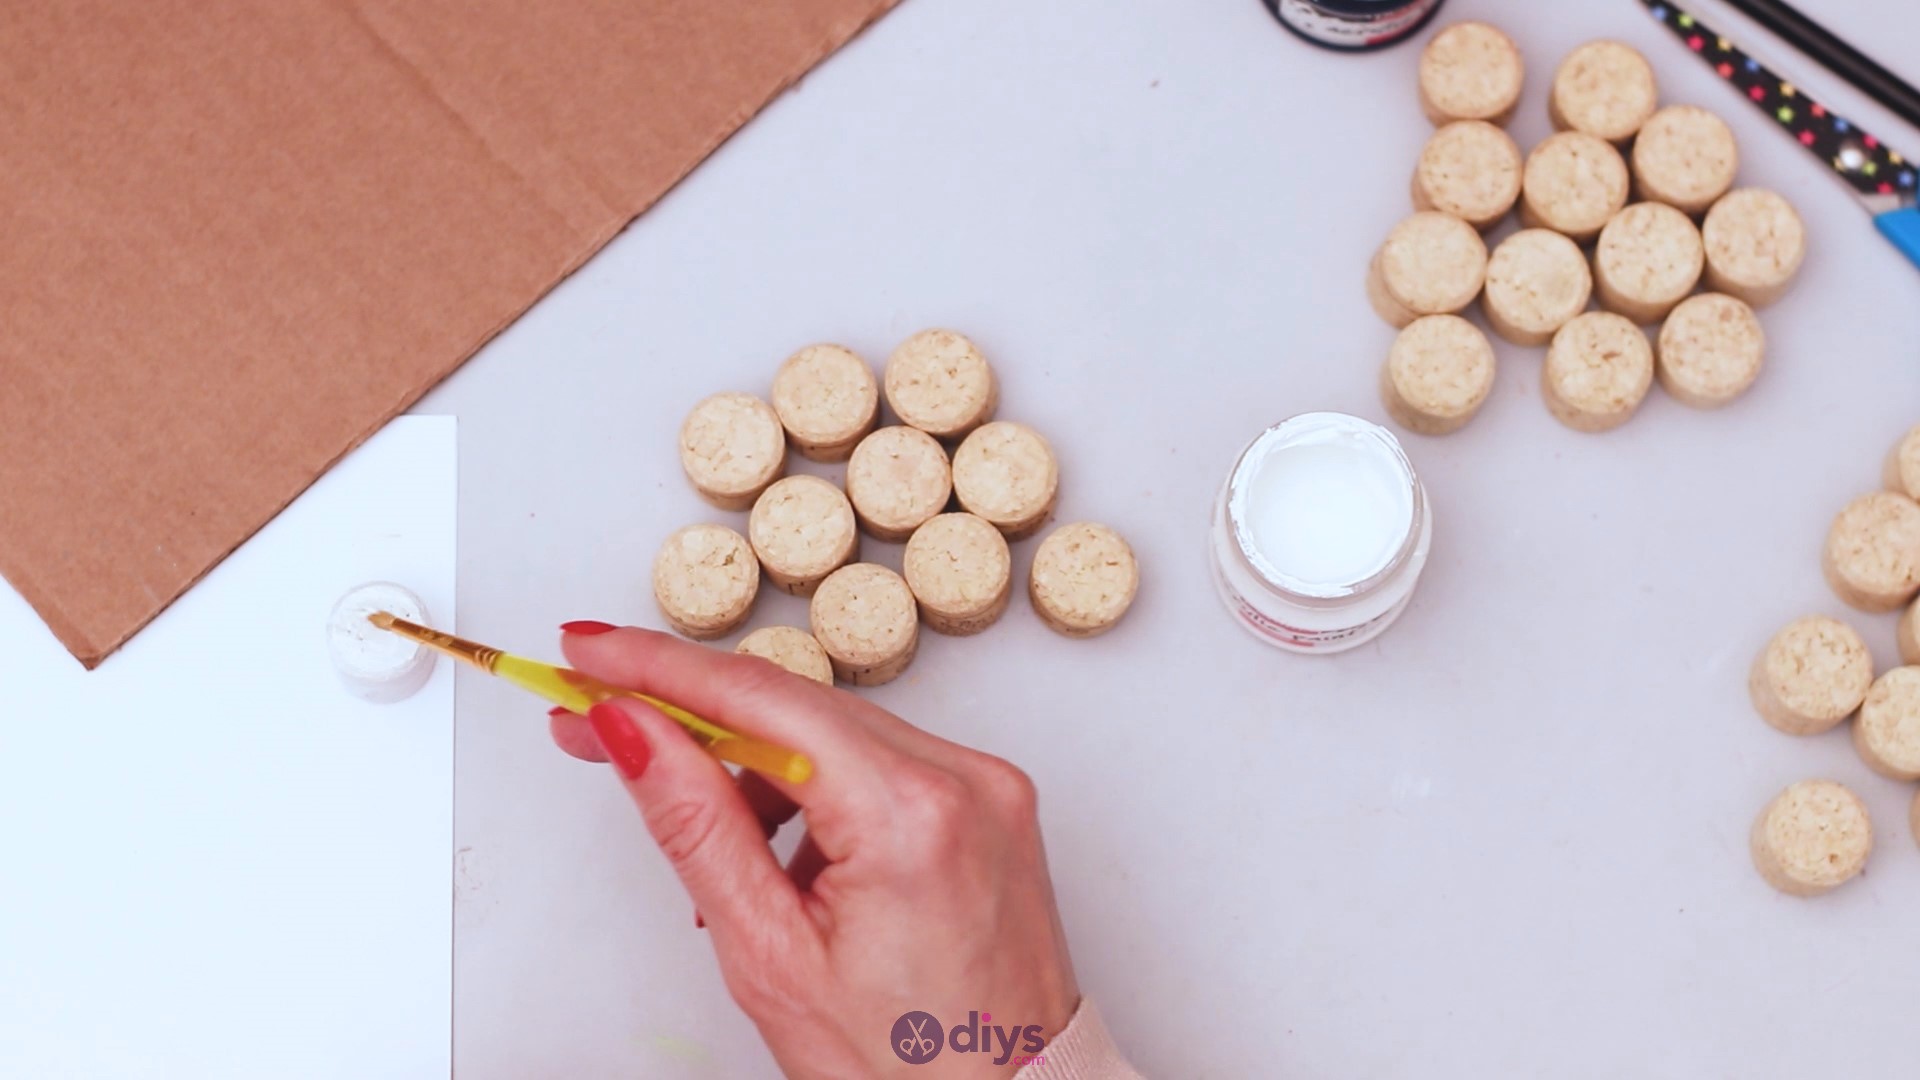
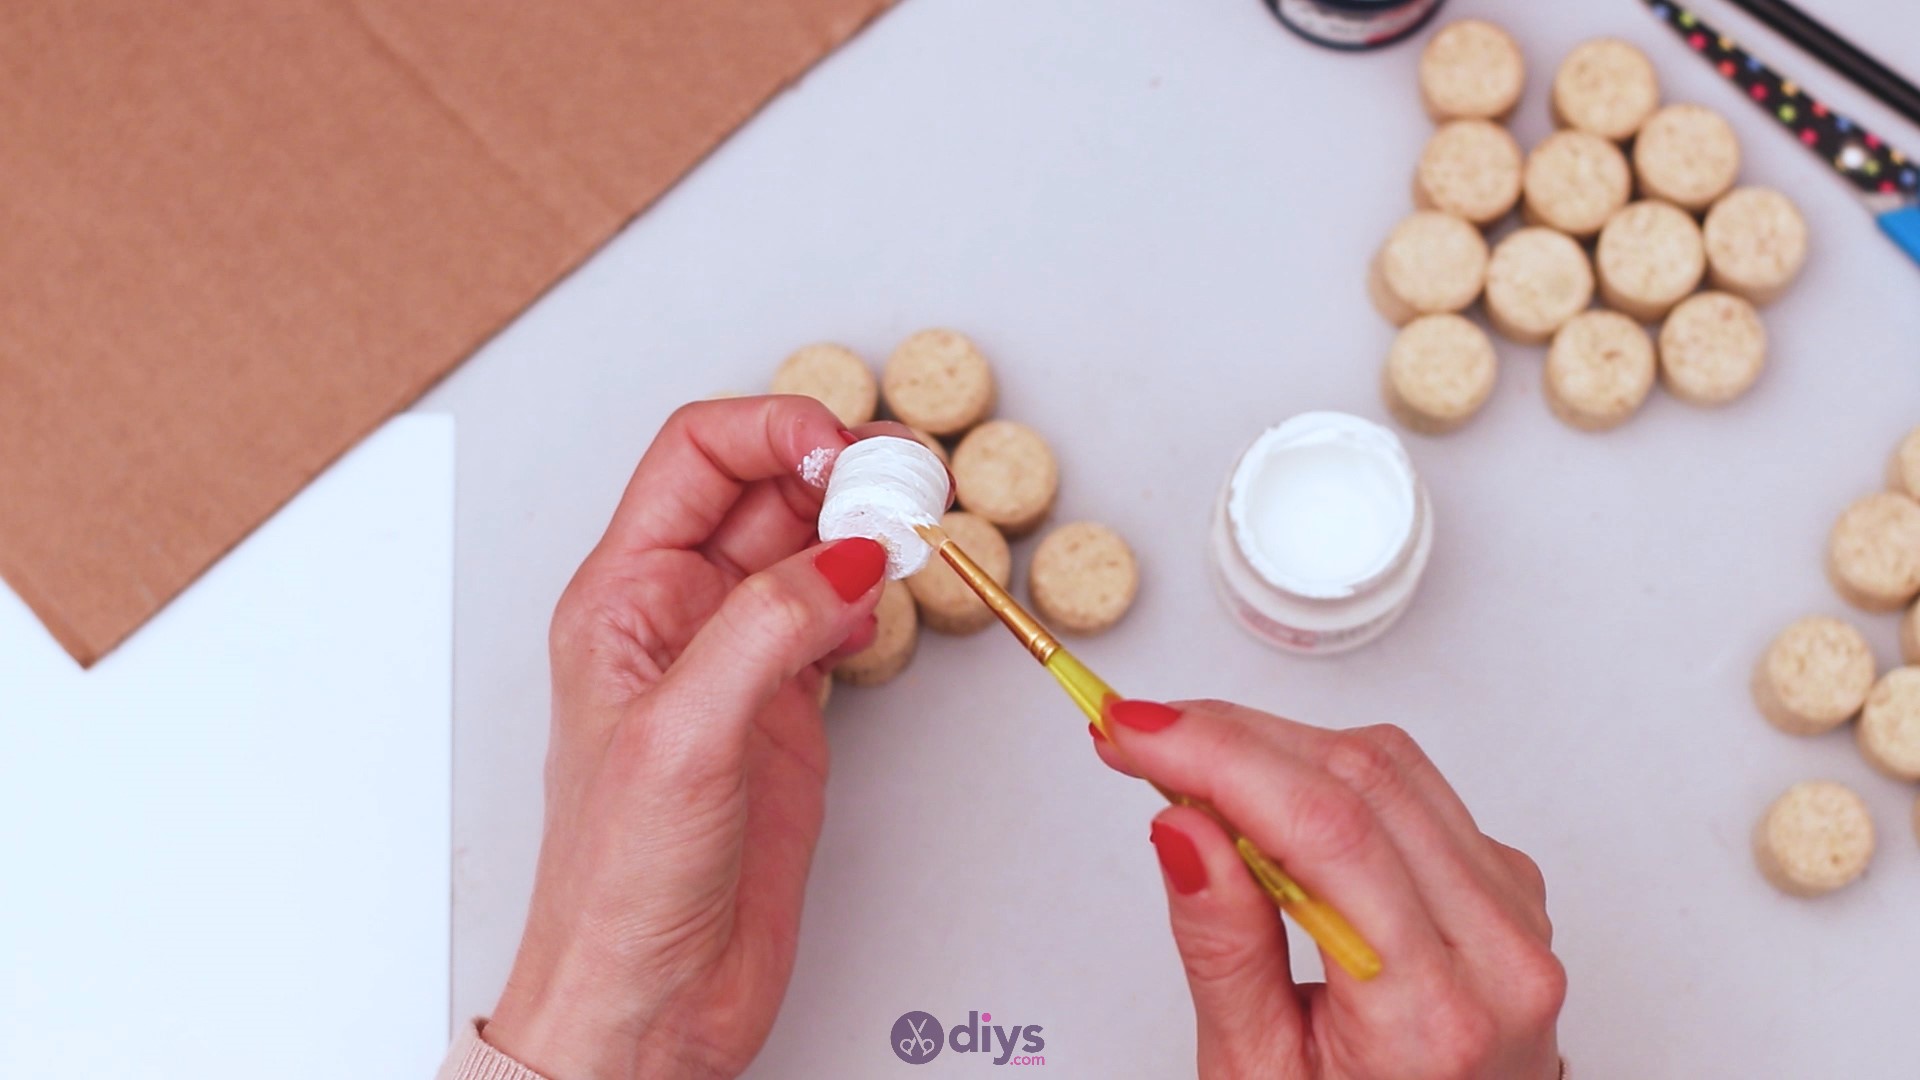
Step 2: Paint the wine corks
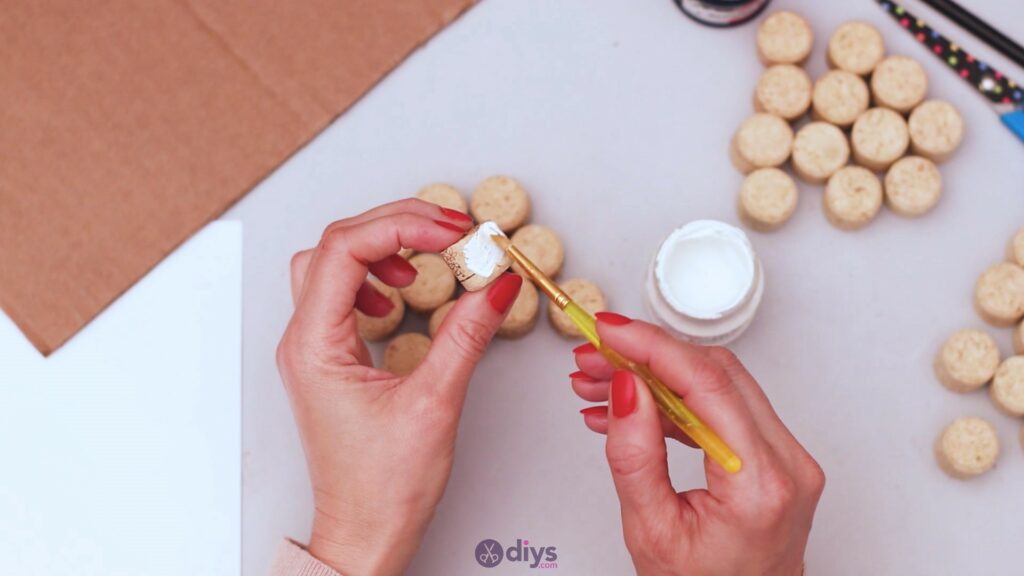
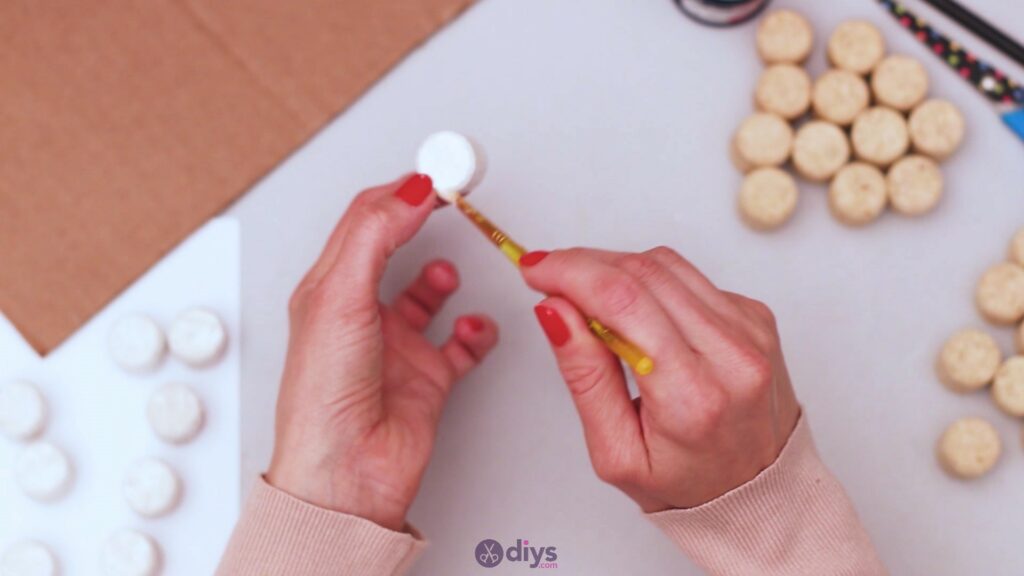
Next, you need to split the pile of wine corks into three – one will remain as they are, one you’ll paint white, and one you’ll paint dark blue. Start with the white acrylic paint and yourpaintbrush and start painting the wine corks on all but one side. Place them neatly on a piece of paper and let them dry.
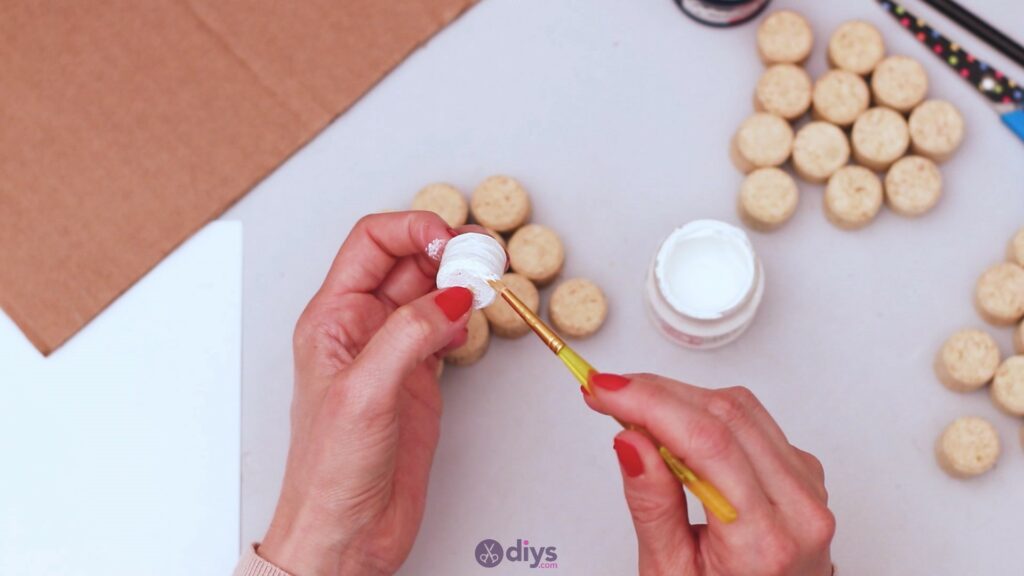

Acrylic paint will dry rather quickly, especially if you leave it as is – undiluted. In this way, it will also only require a single layer of paint, rather than multiple ones.

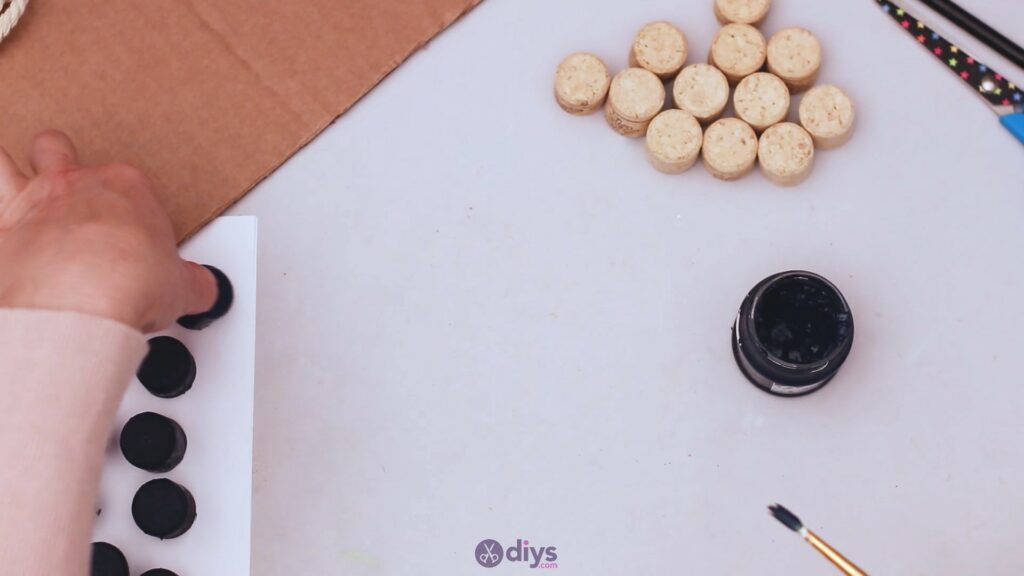
Now that your first pile is done, you can take the dark blue paint and start painting the second round of wine corks. Much like you did with the first ones, you need to paint them all around, except for the bottom, which you’ll glue later on.


Place them all on a sheet of paper and let them dry completely.
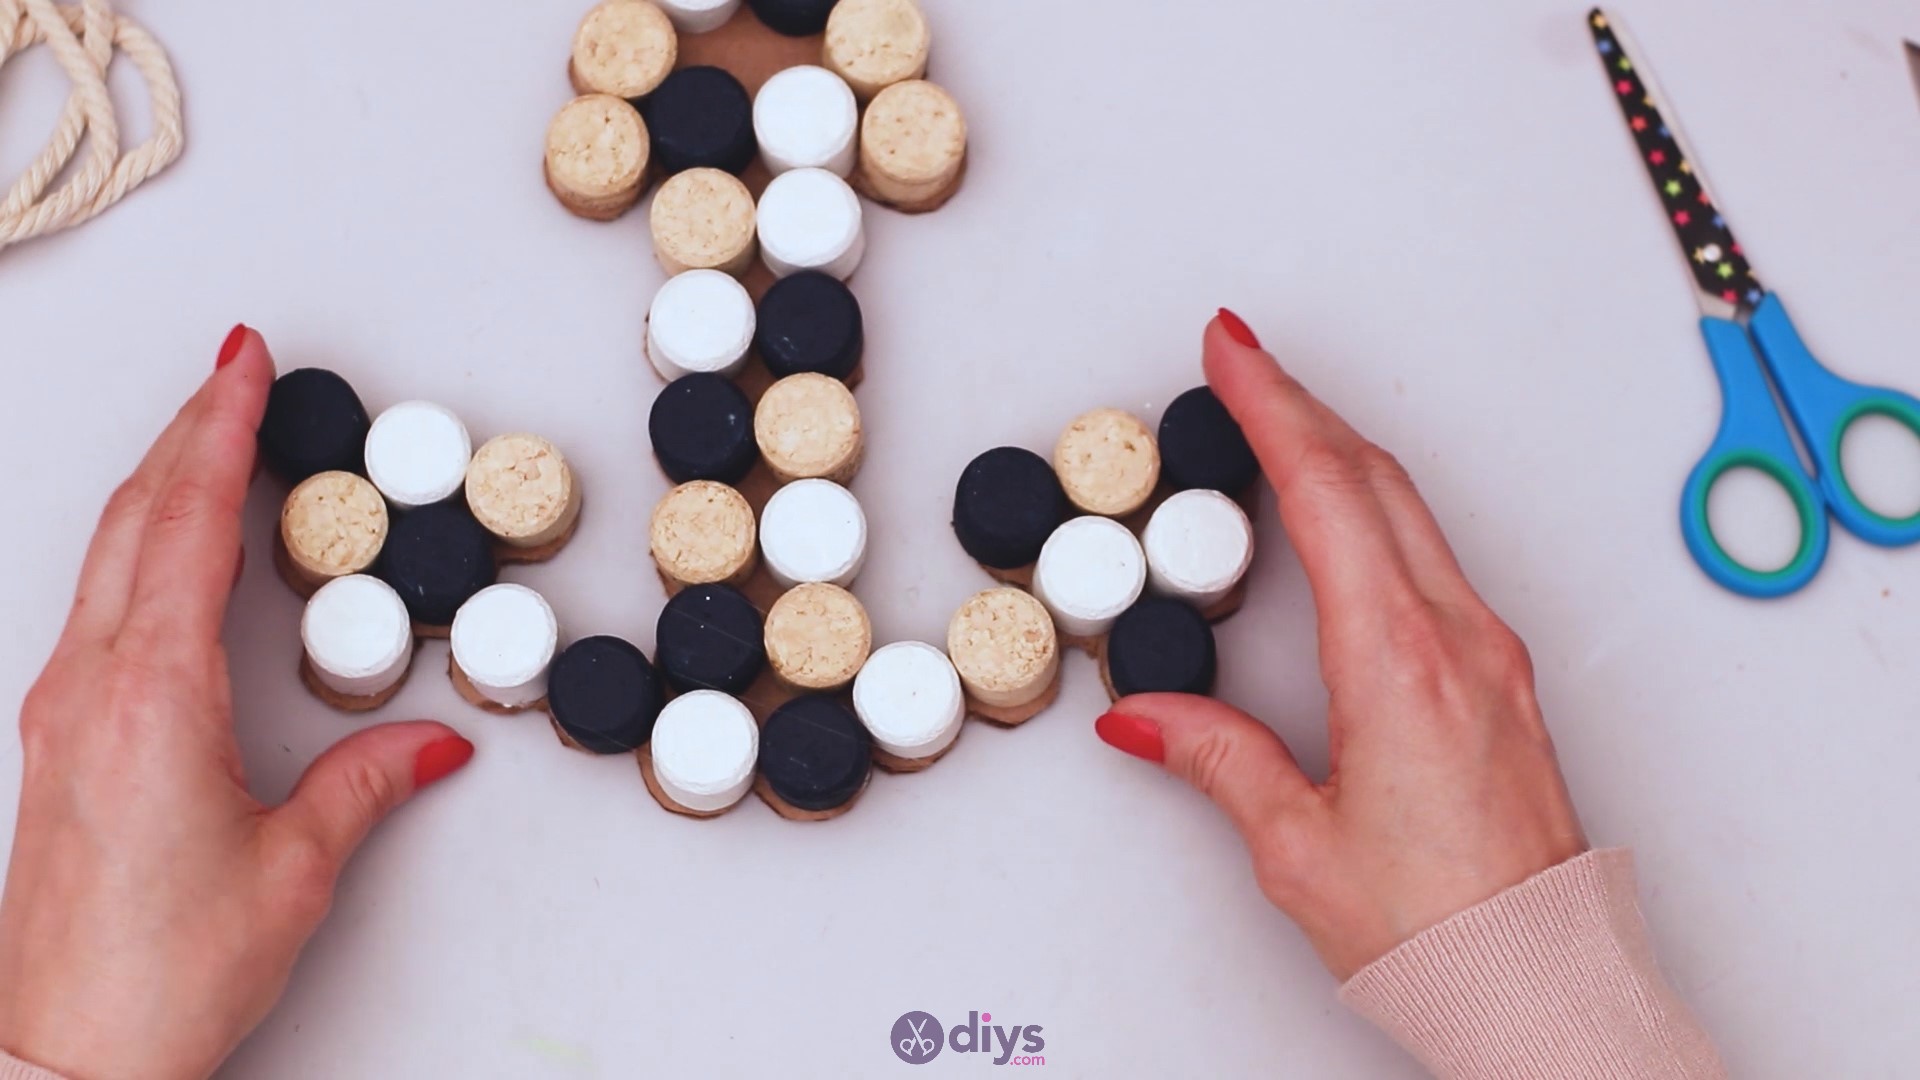
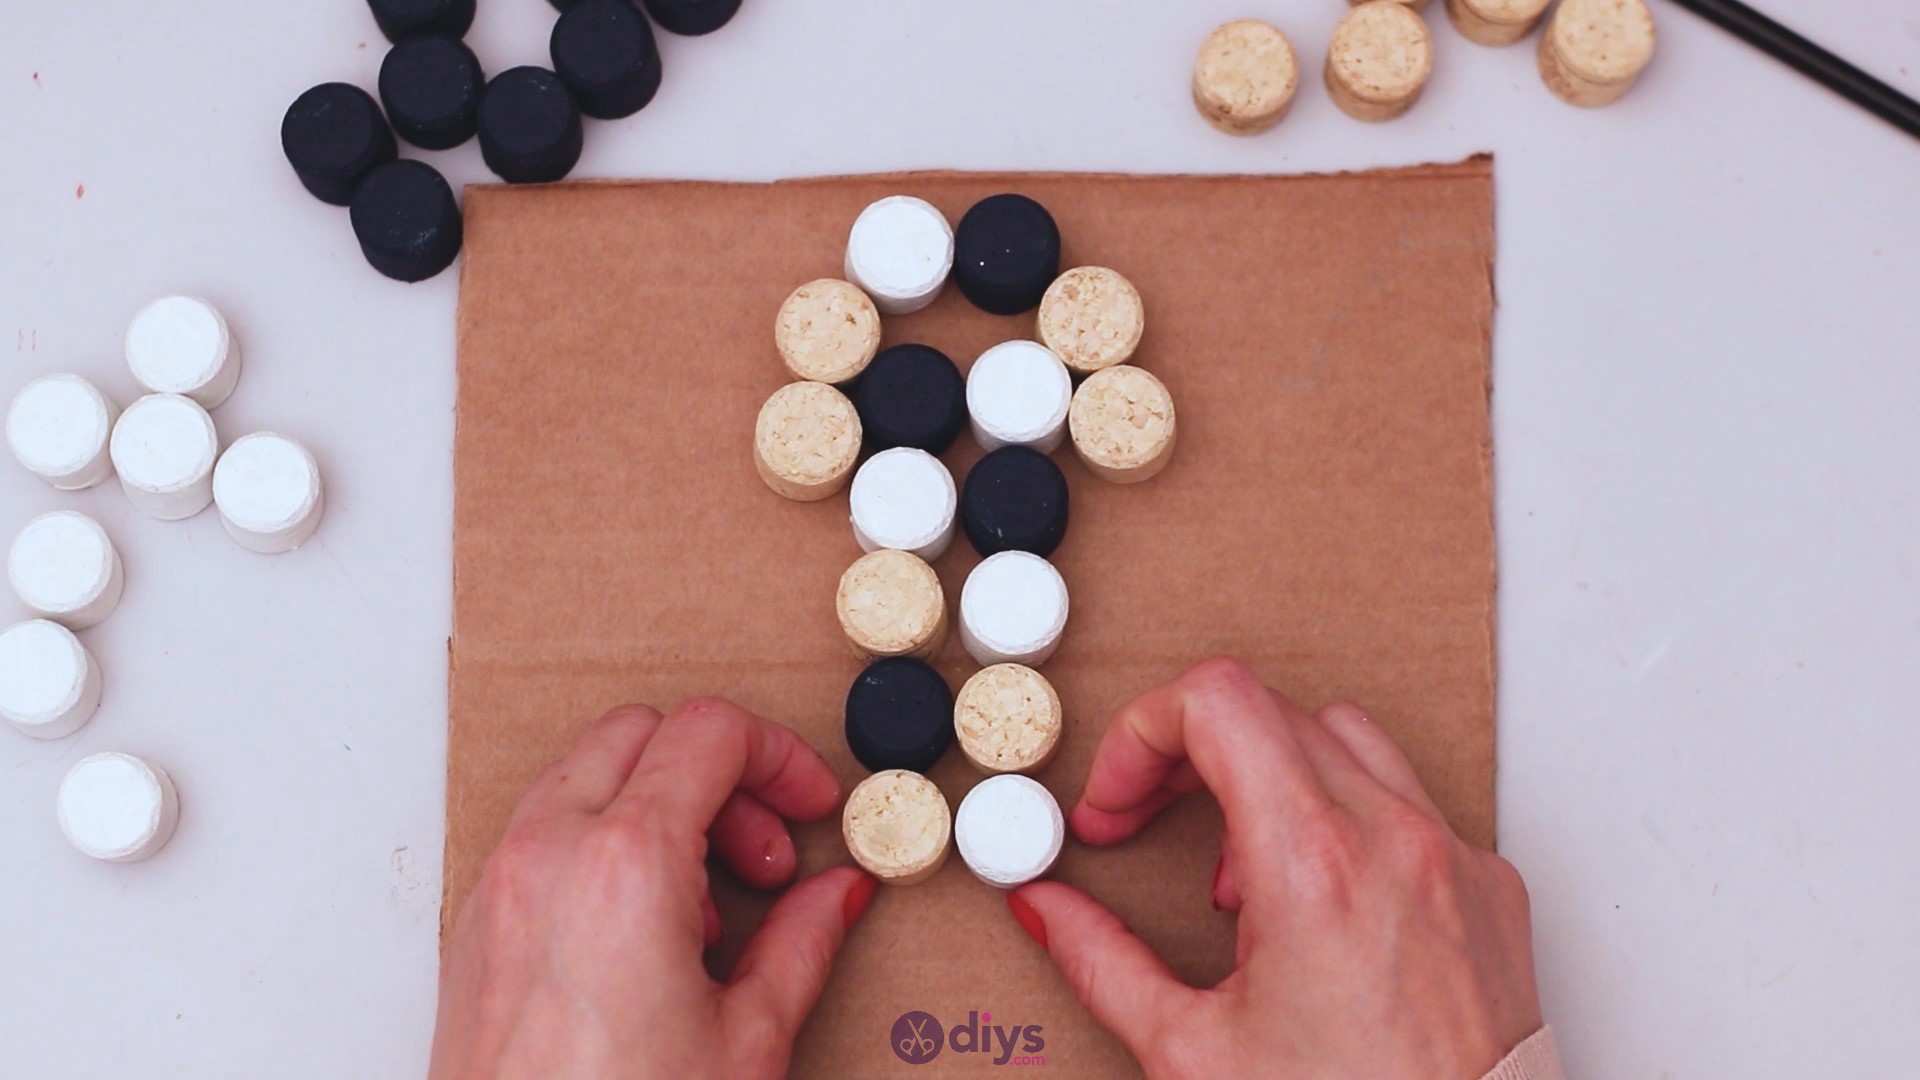
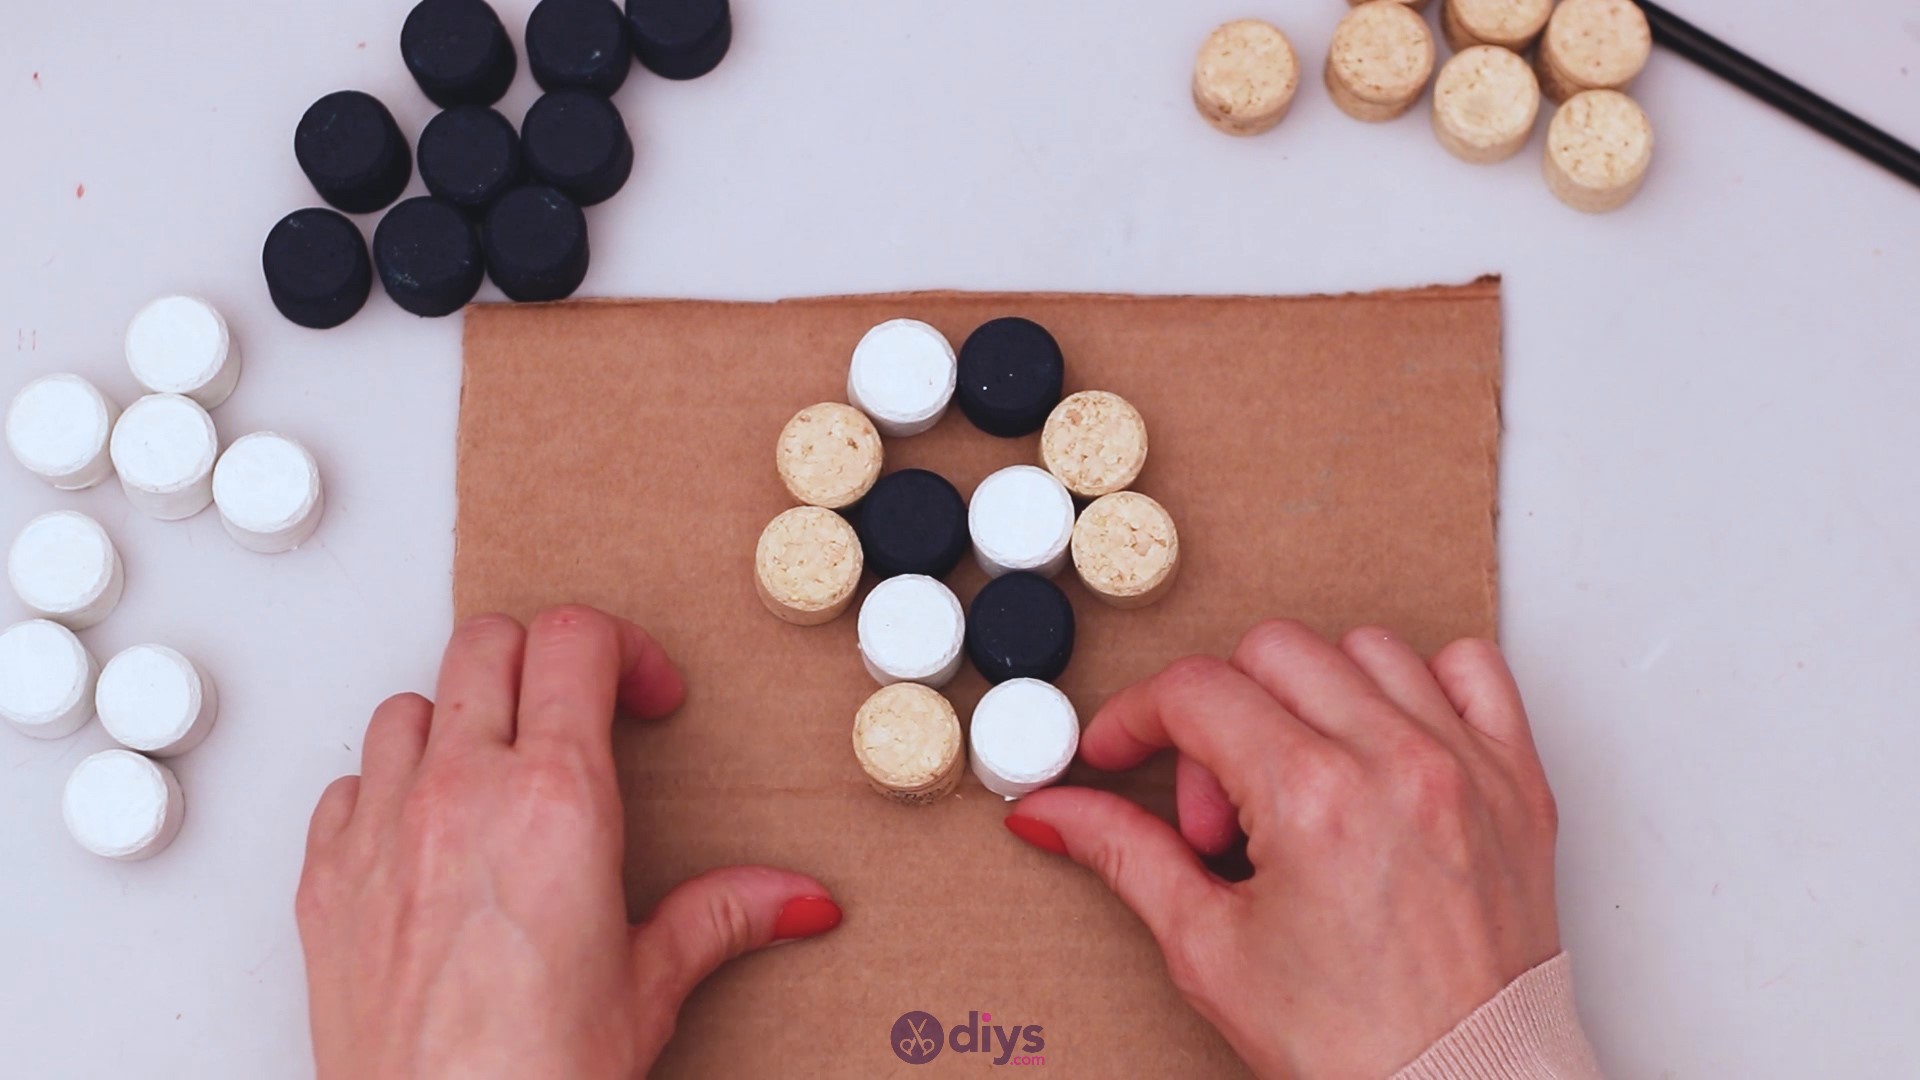
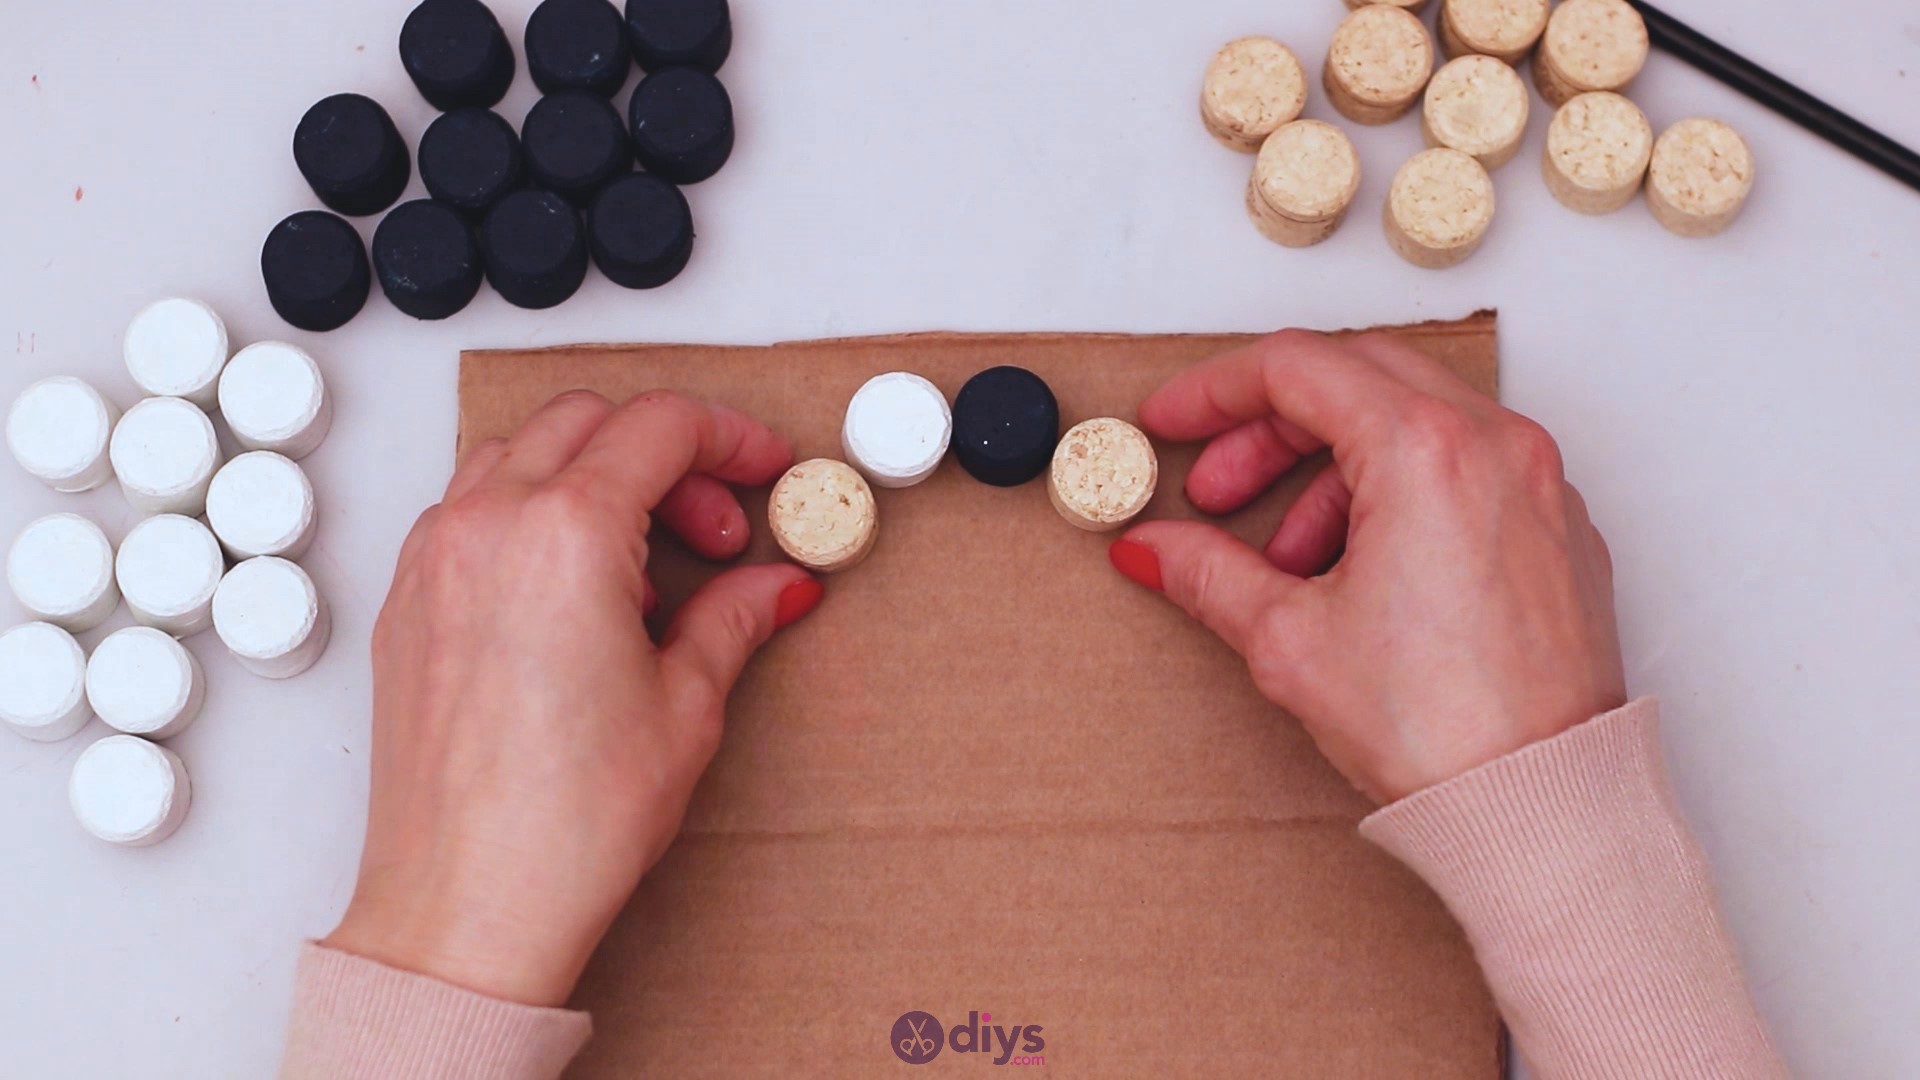
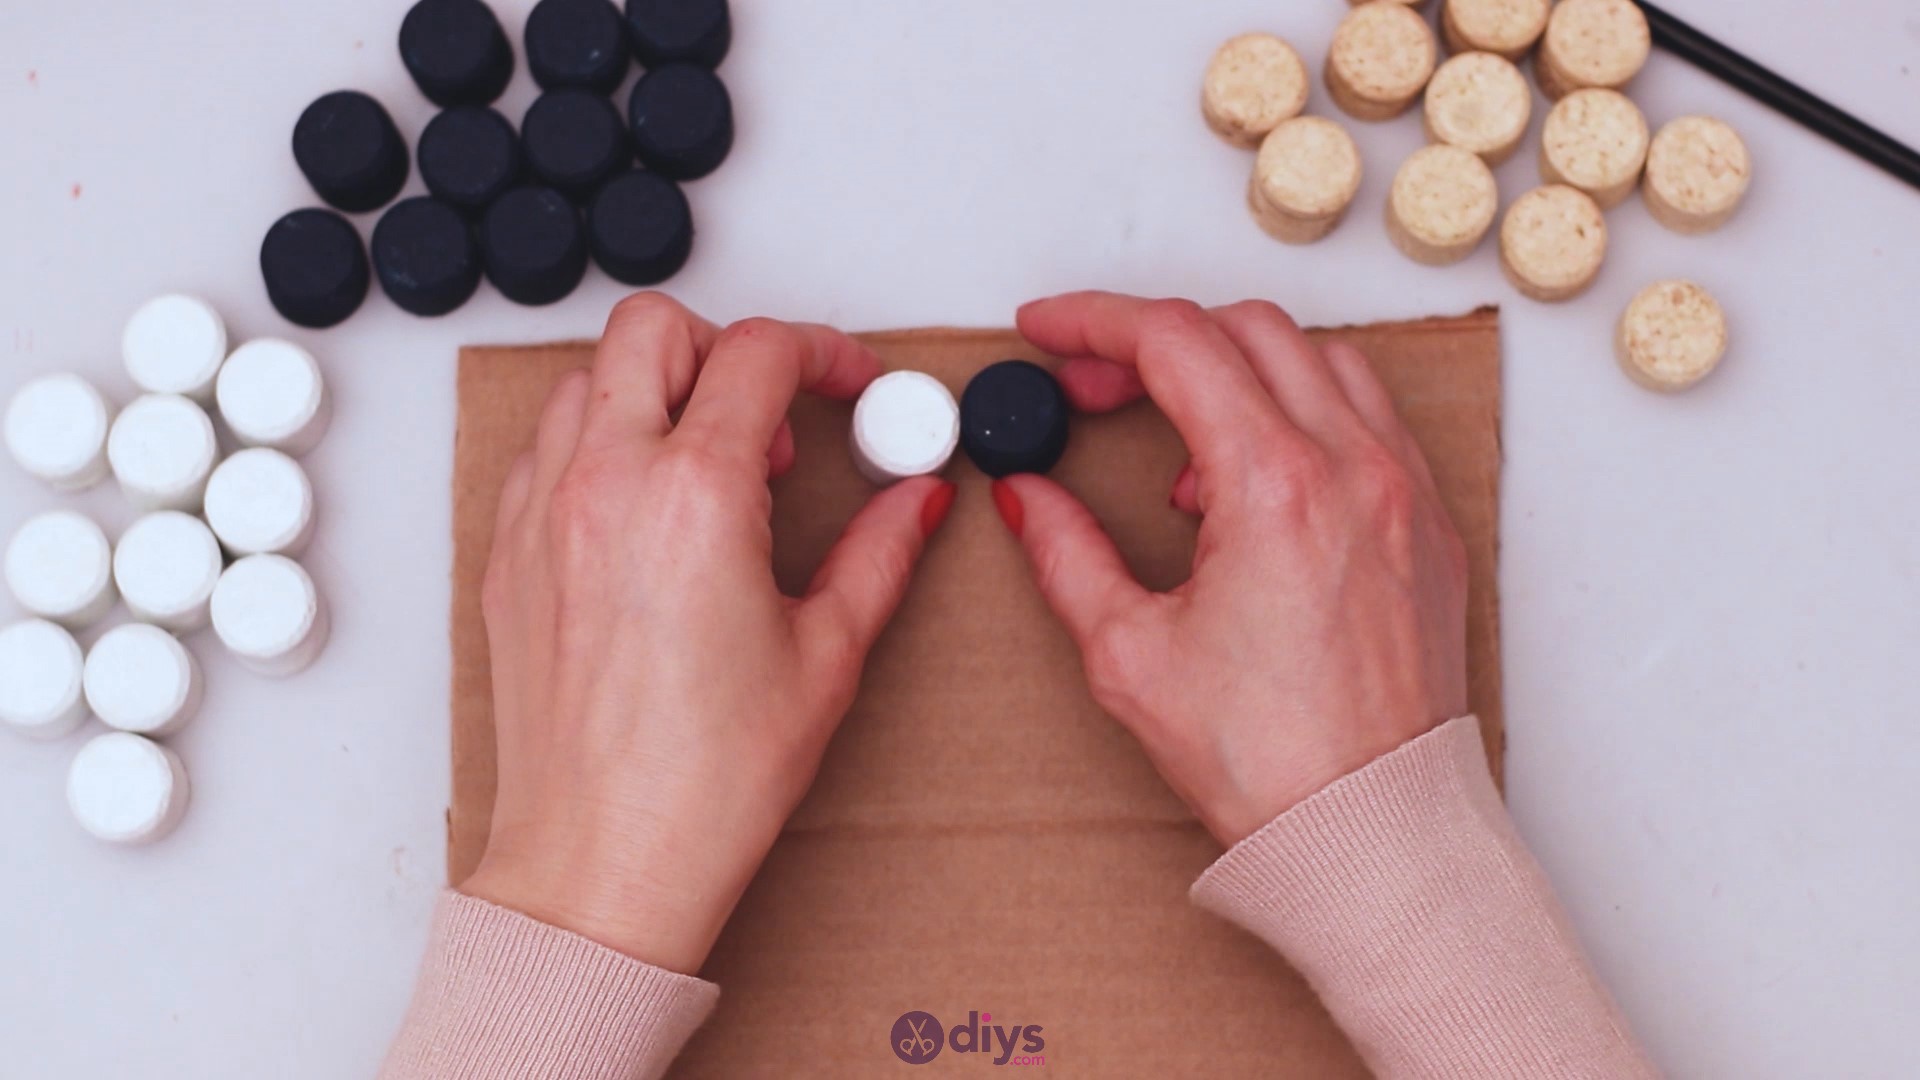
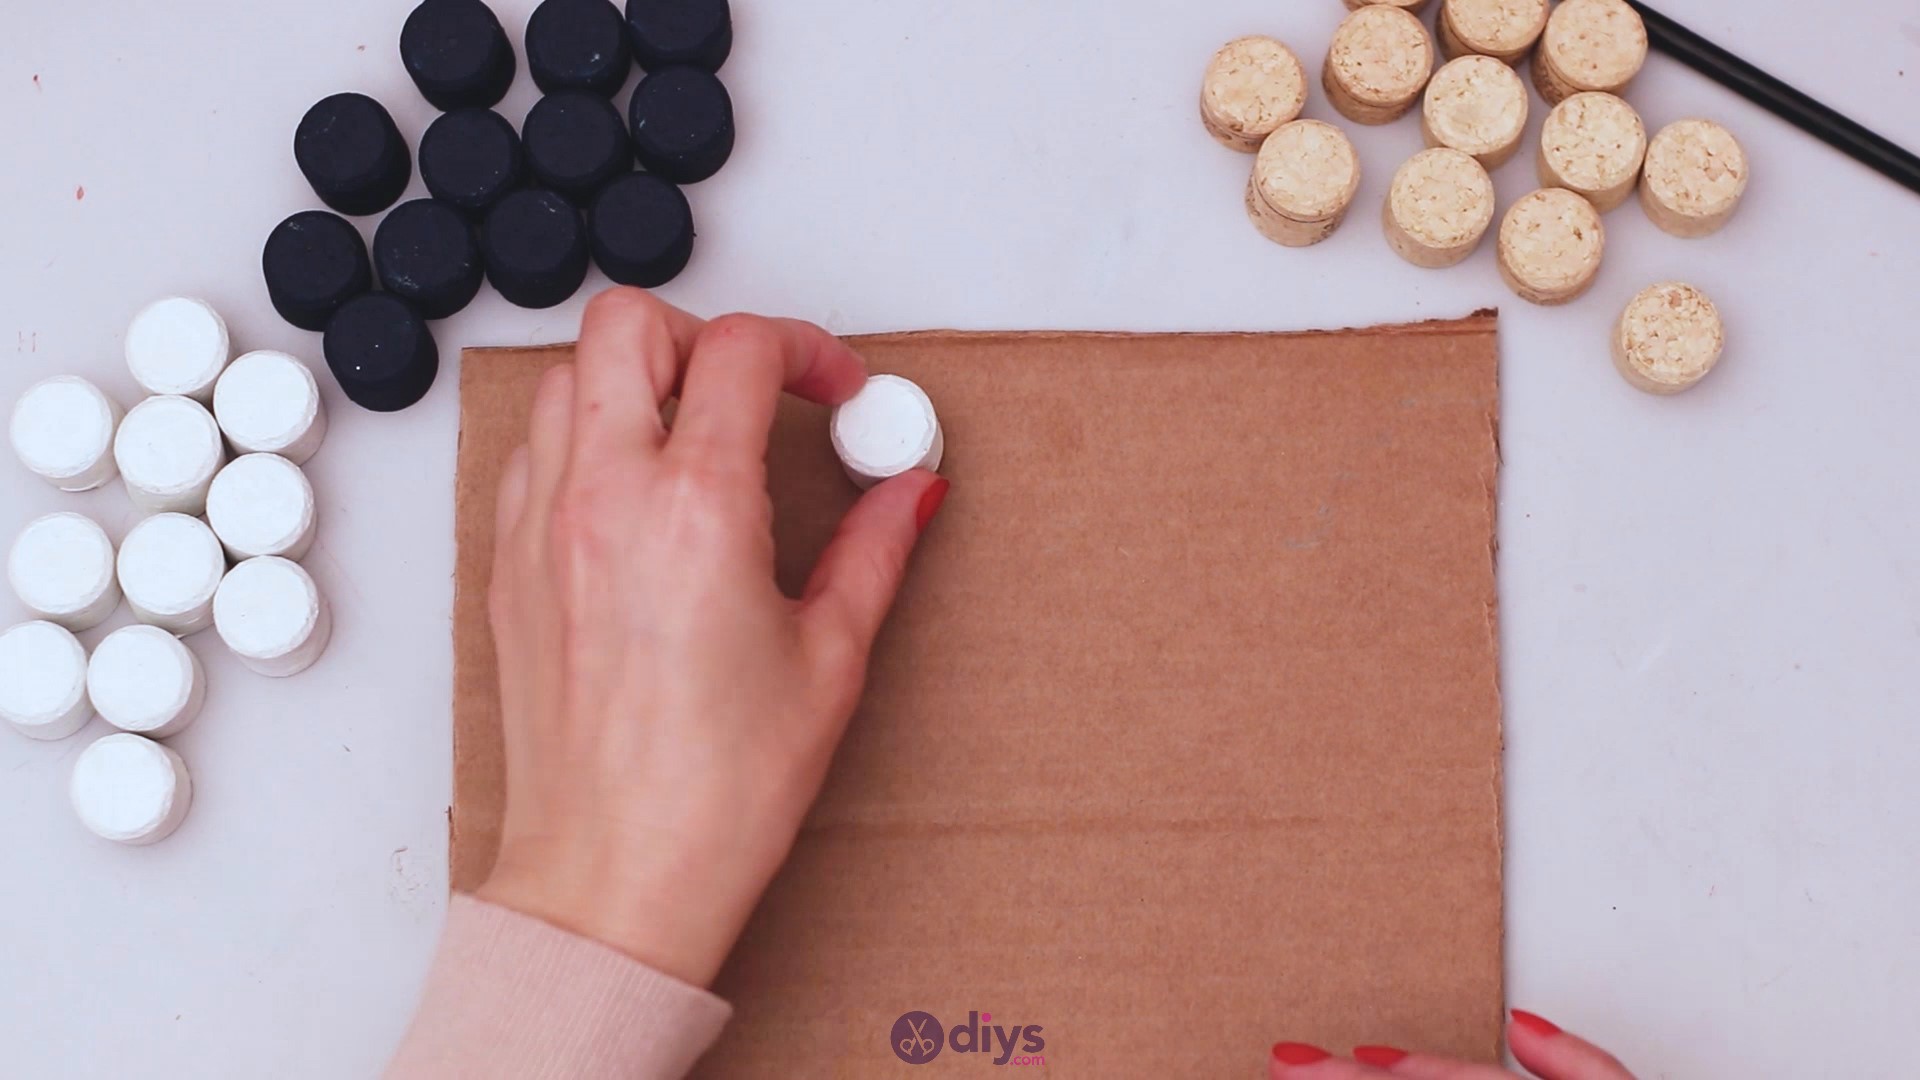
Step 3: Prepare the cardboard design

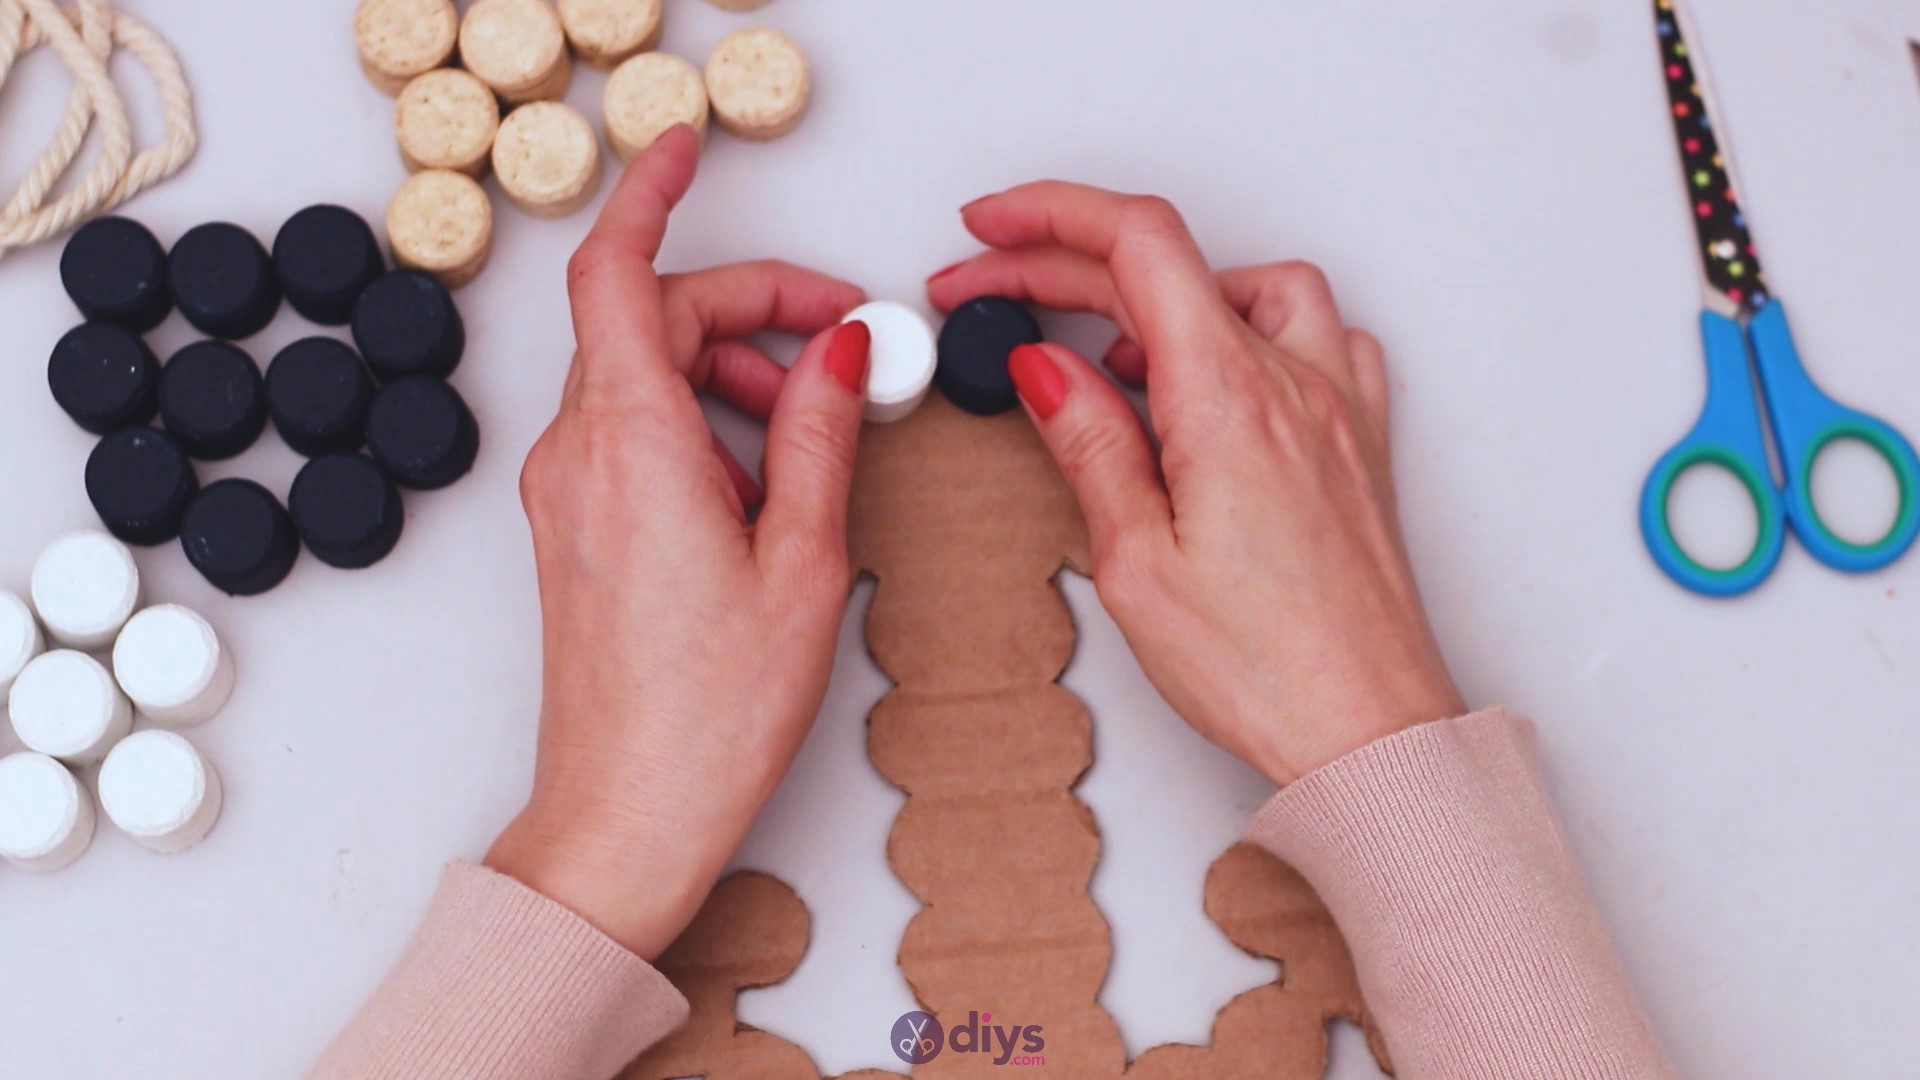
Now that your wine corks have all dried, it’s time to create your anchor design on the cardboard. You want to start at the top and place wine corks in the shape of an anchor.

We started out with two placed next to each other and then started adding more, to create the arching top area of the anchor, where the chain would hold it with a loop.


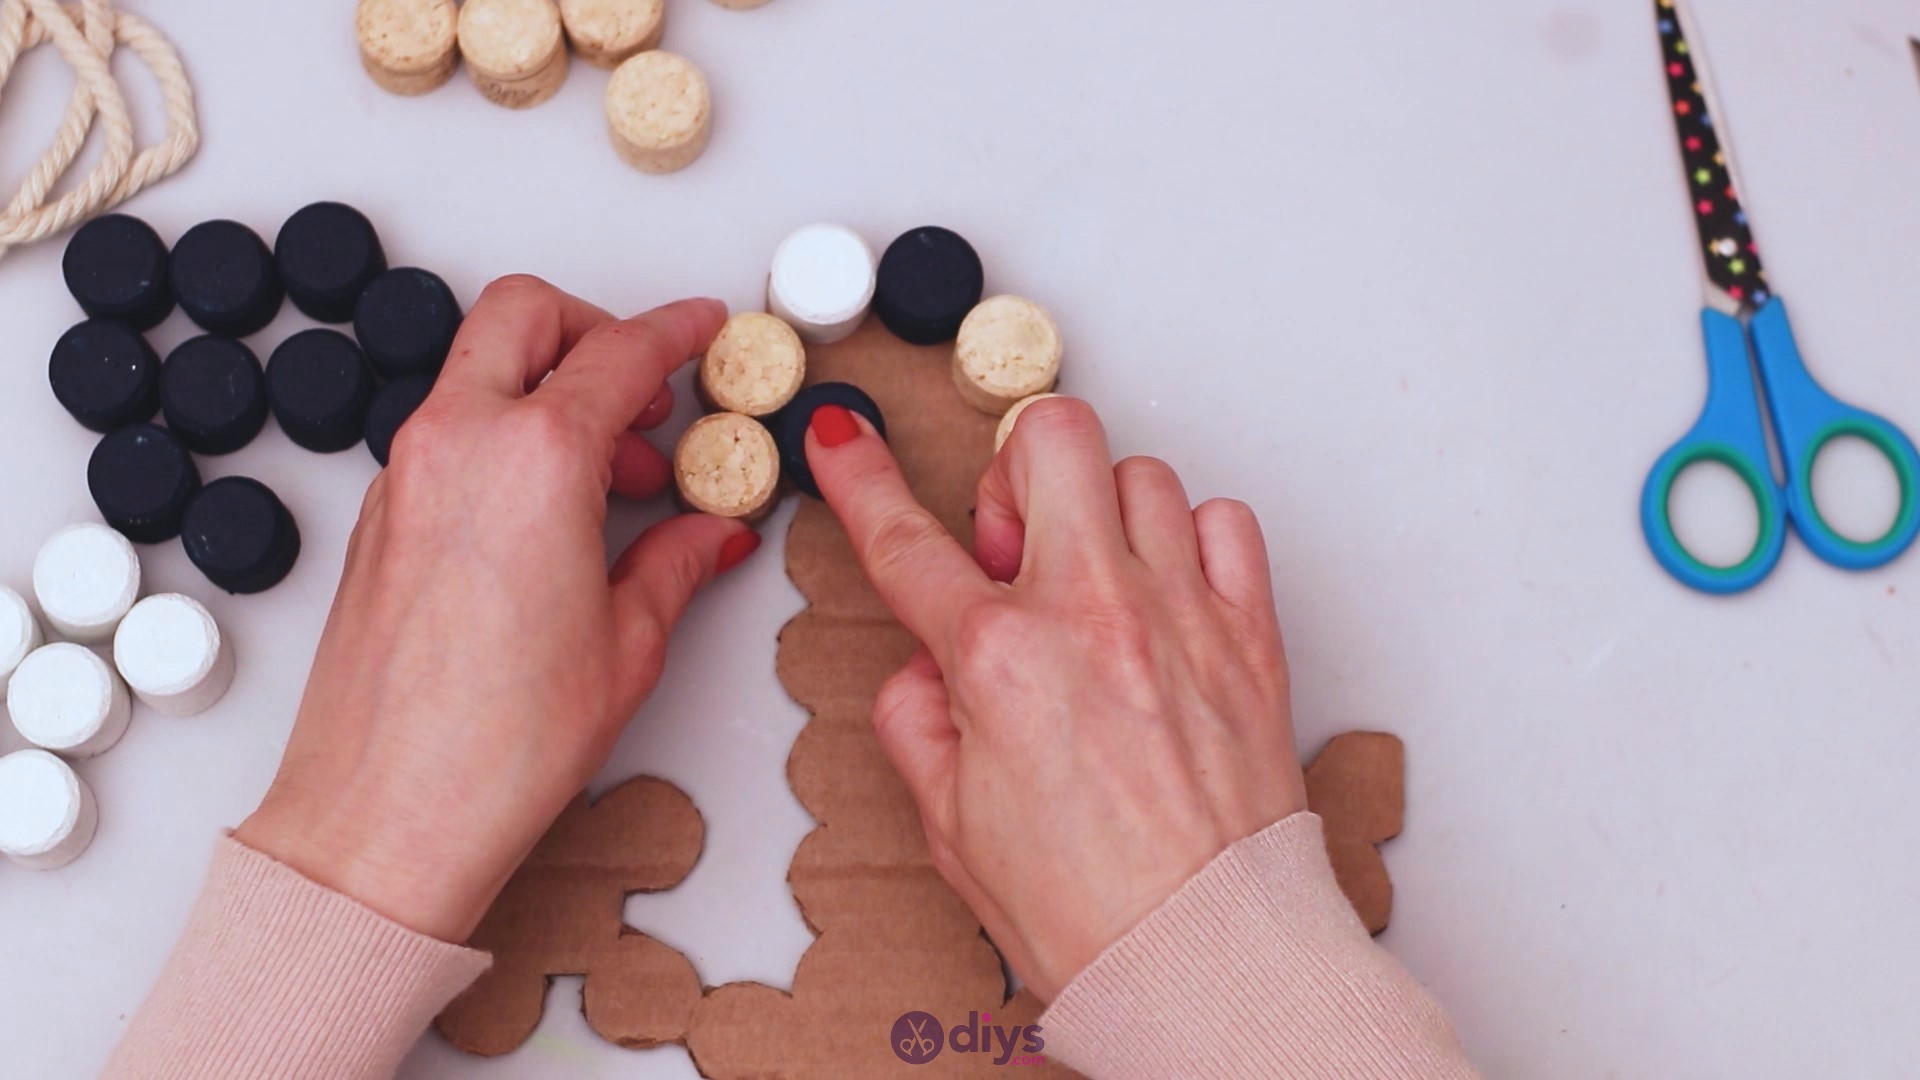
Then, we continued downward with the body of the anchor. It doesn’t really matter what color wine corks you place at this point, as we’re mainly interested in the shape, but you can play around and get an idea of what would look better for you.


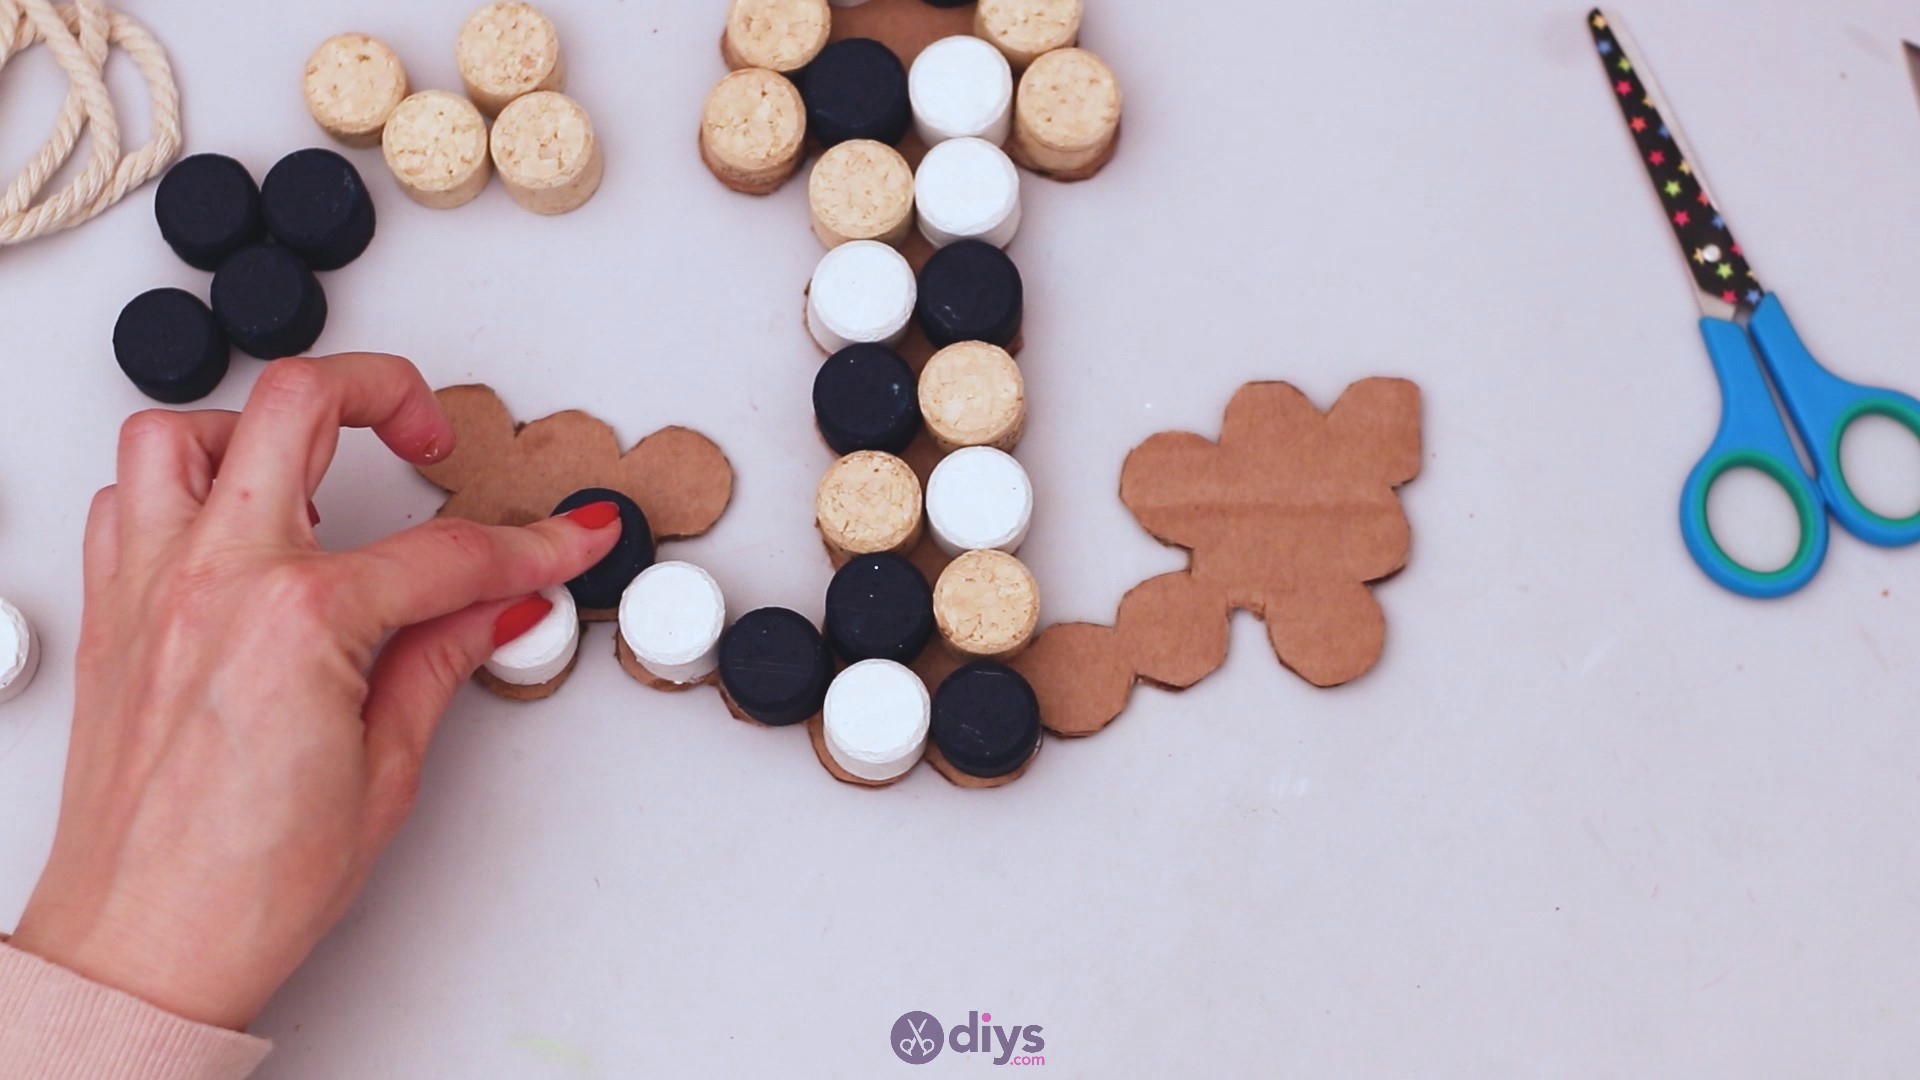
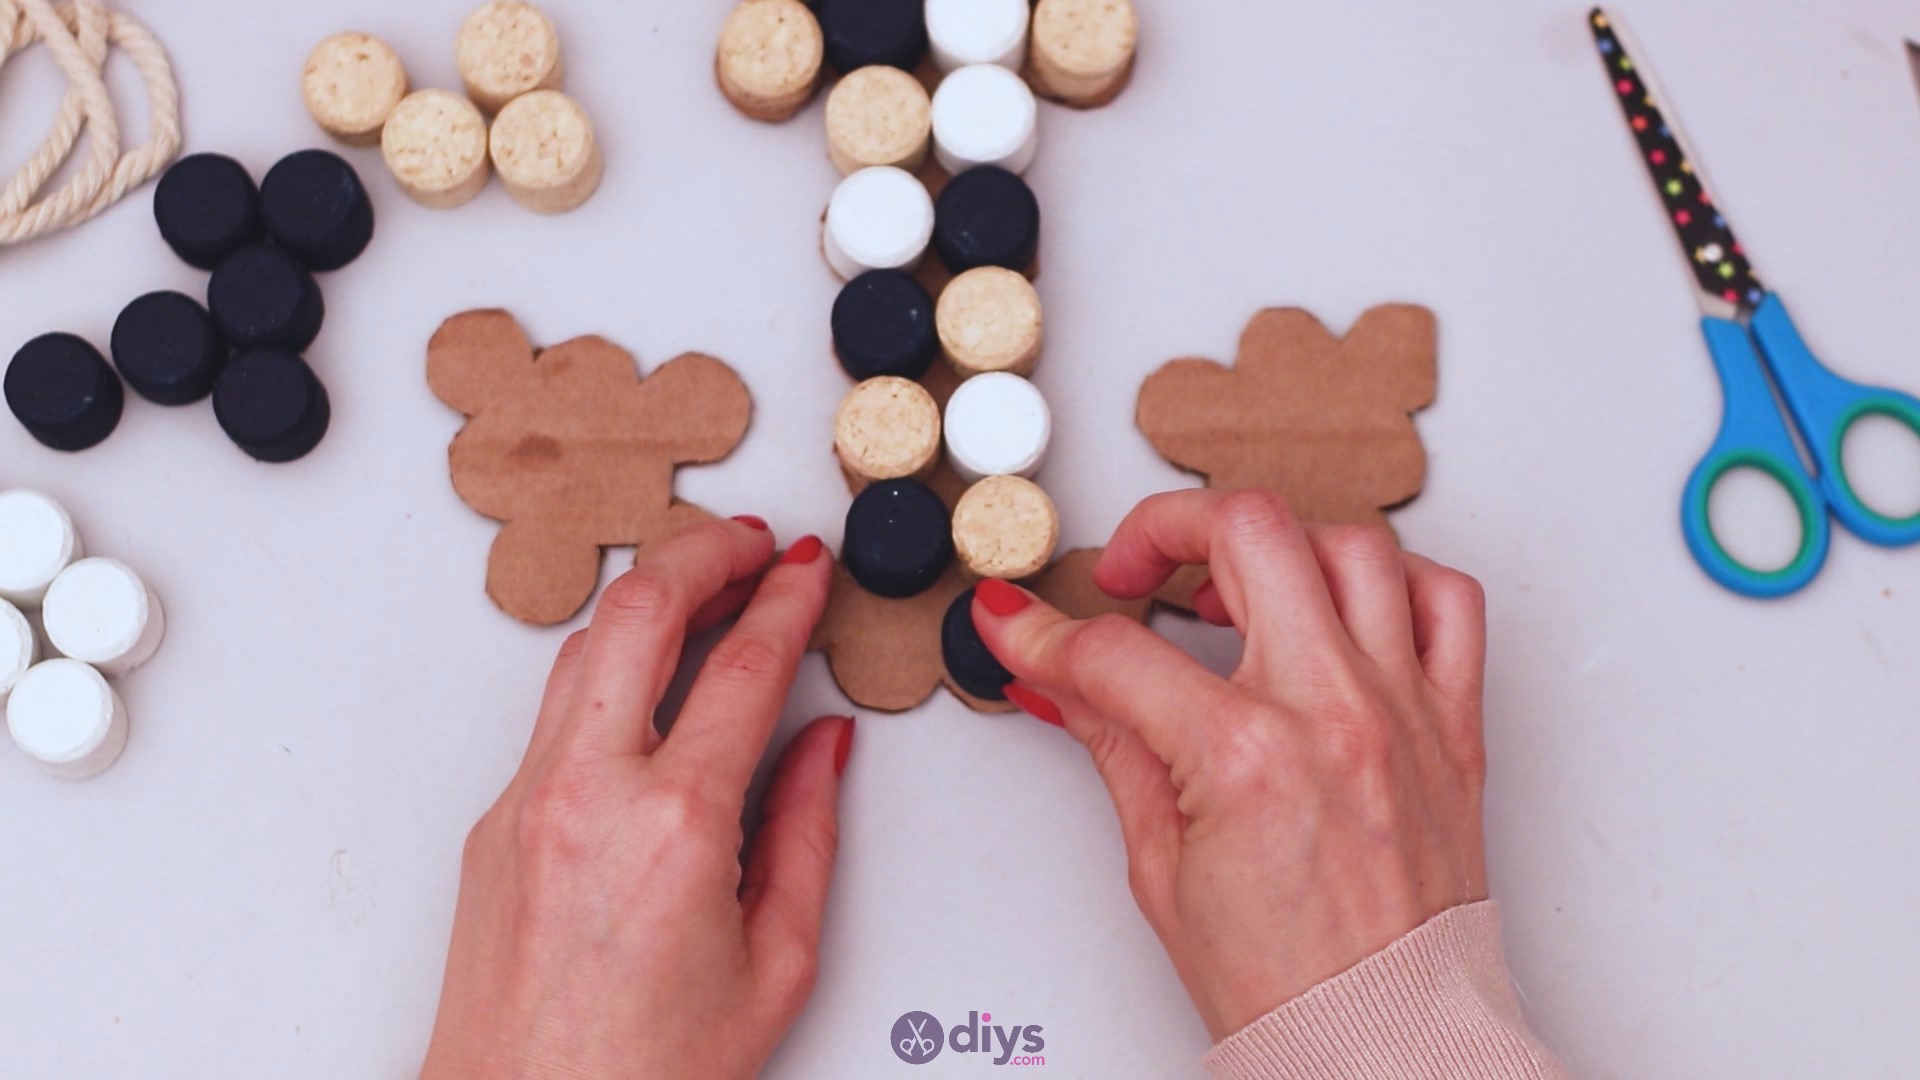
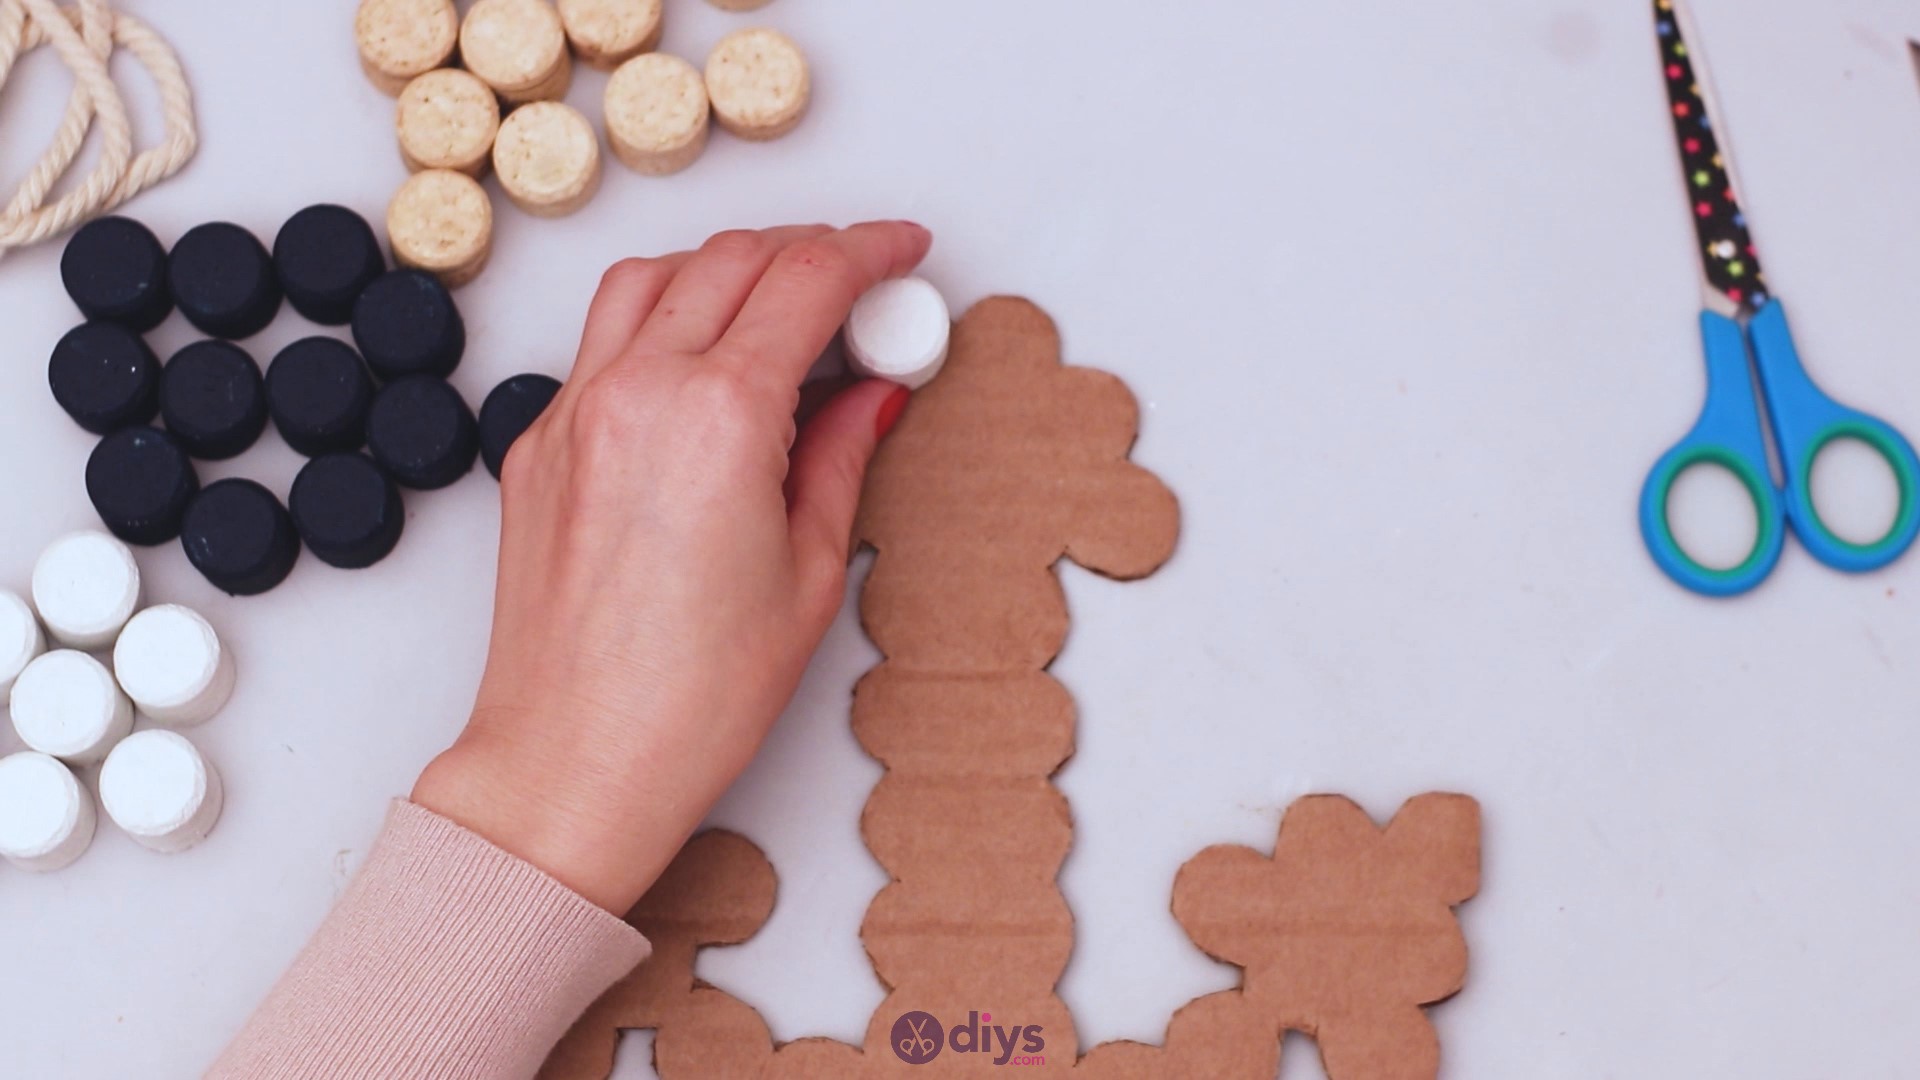
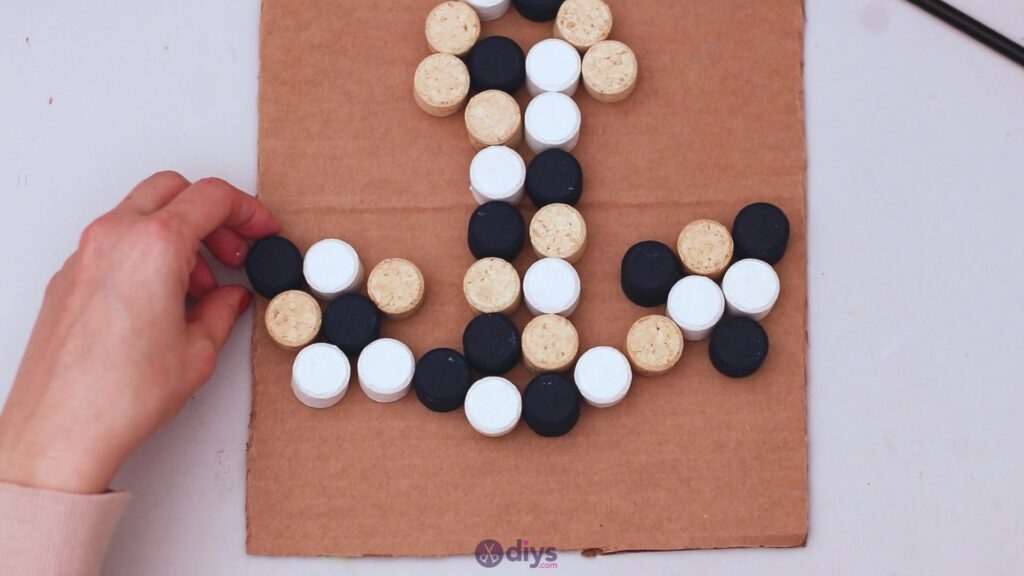
When you reach the bottom point of the design – you’ve gone as low as you want to – it’s time to also create the arms of the anchor. Add a couple of lone wine corks and then create a triangle to look like the palms of the anchor.
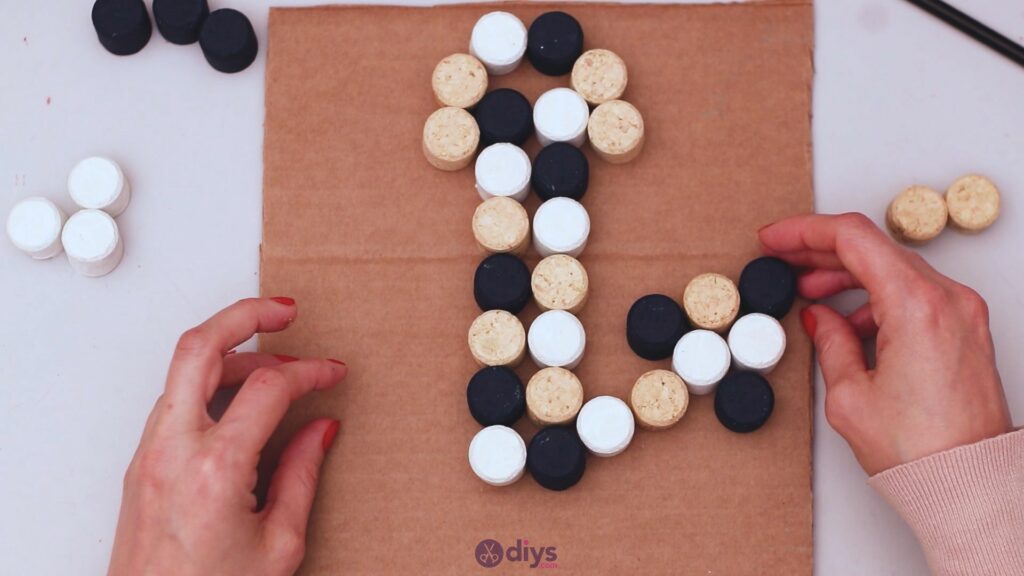
Do the same on the other side and try to match the design as best you can. You want the anchor to look well-balanced and symmetrical.
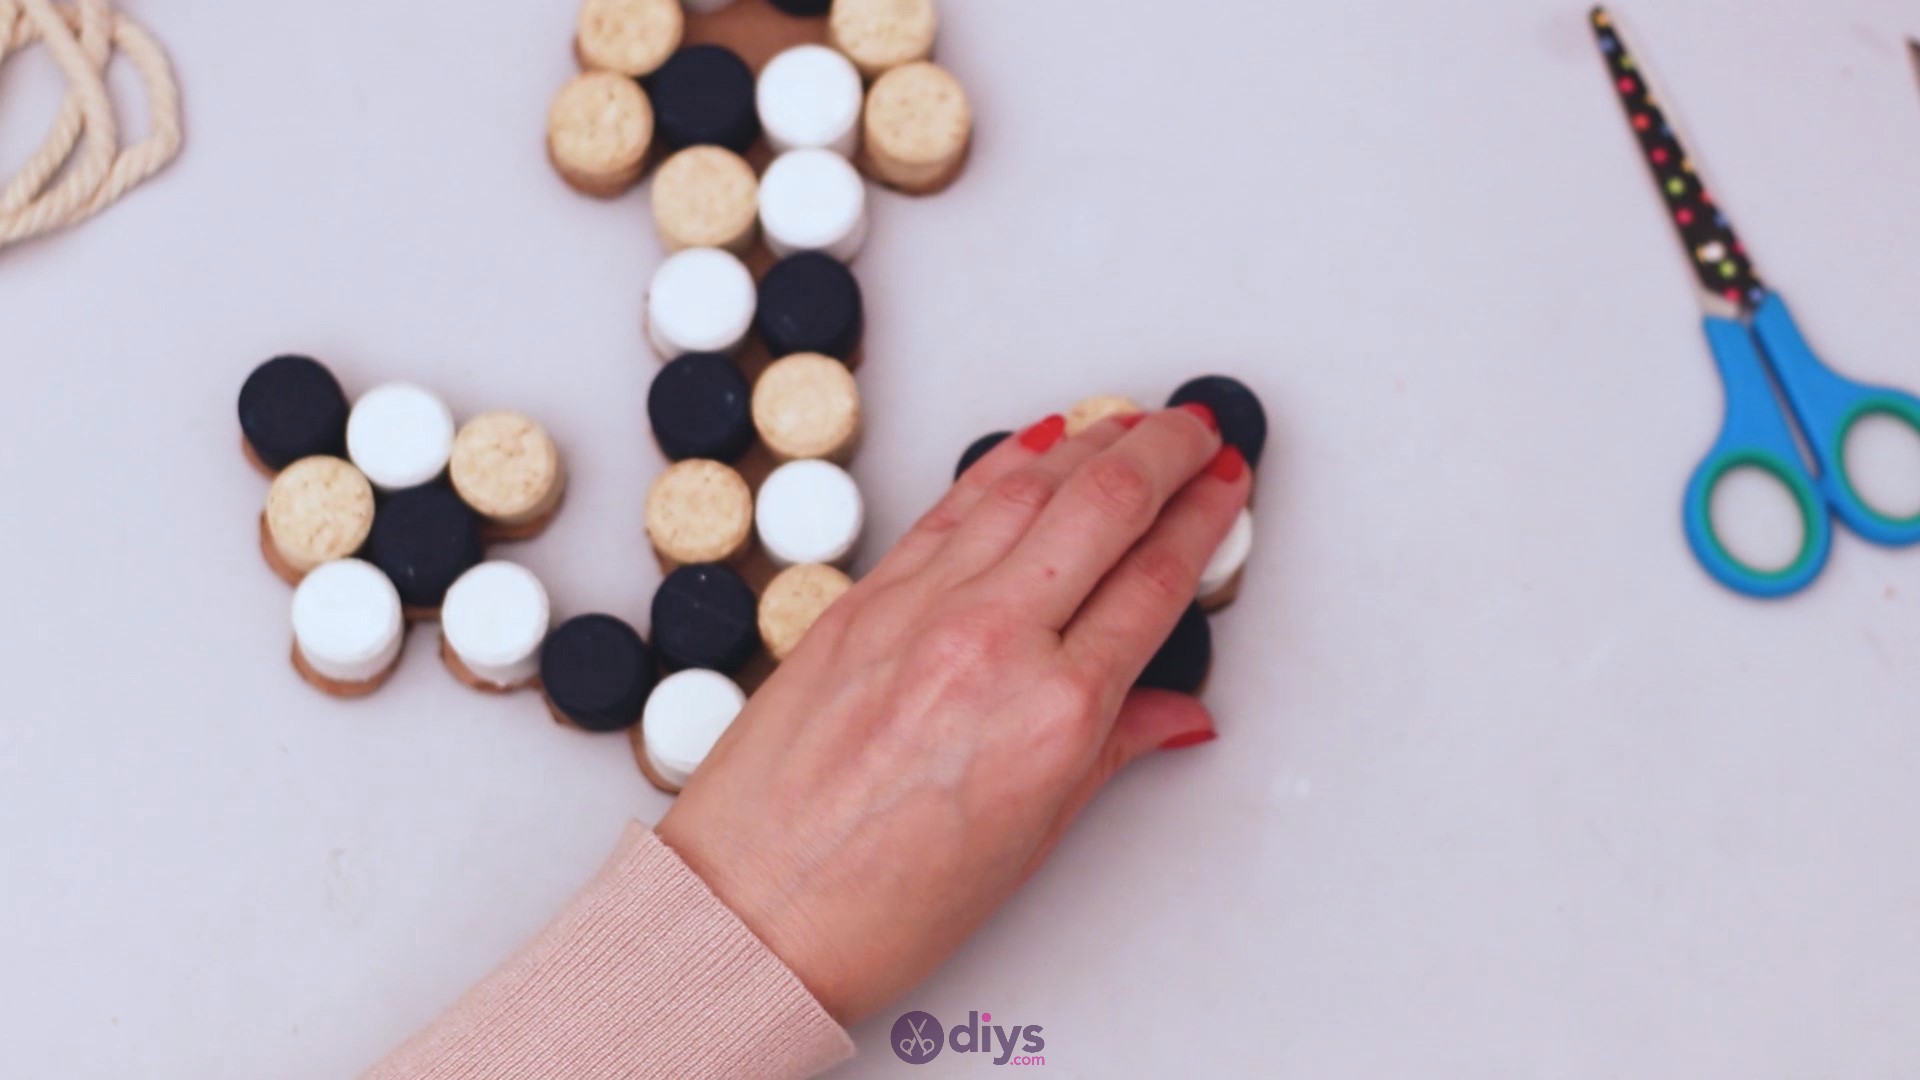
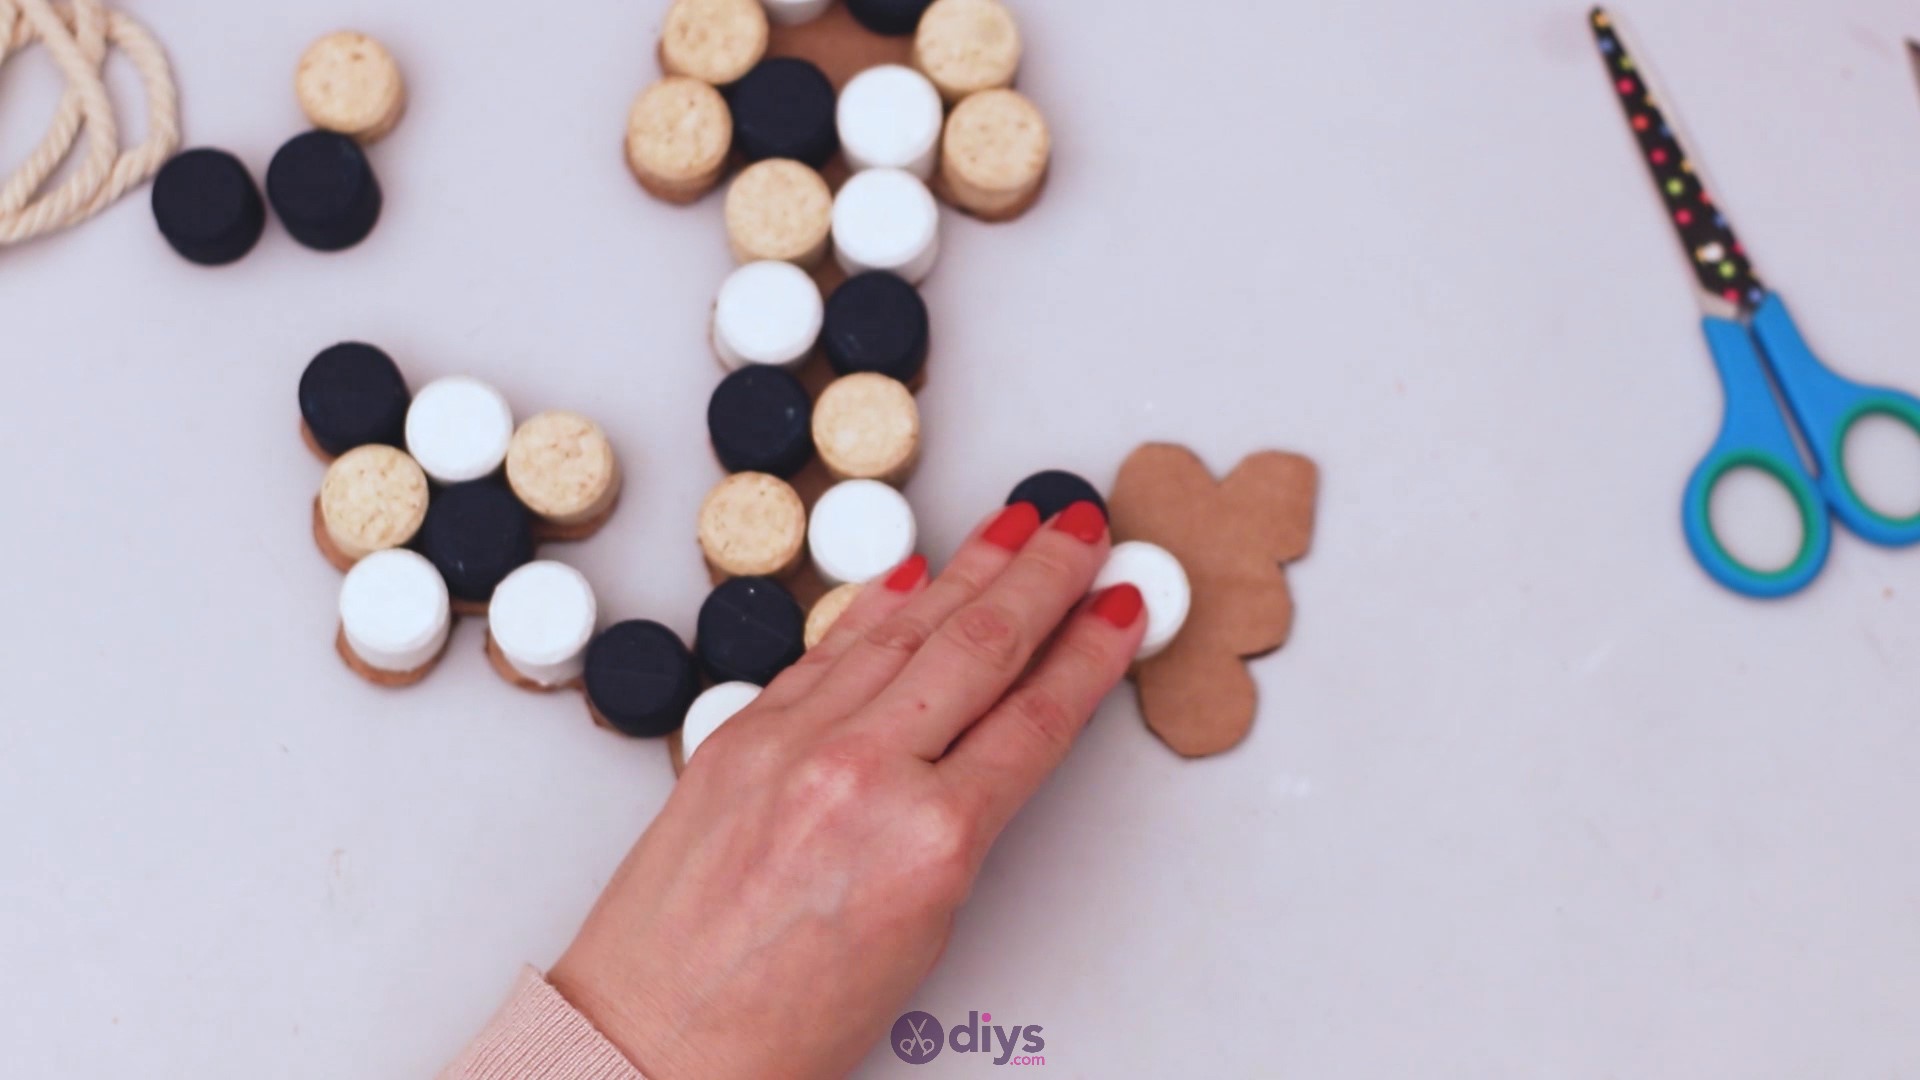
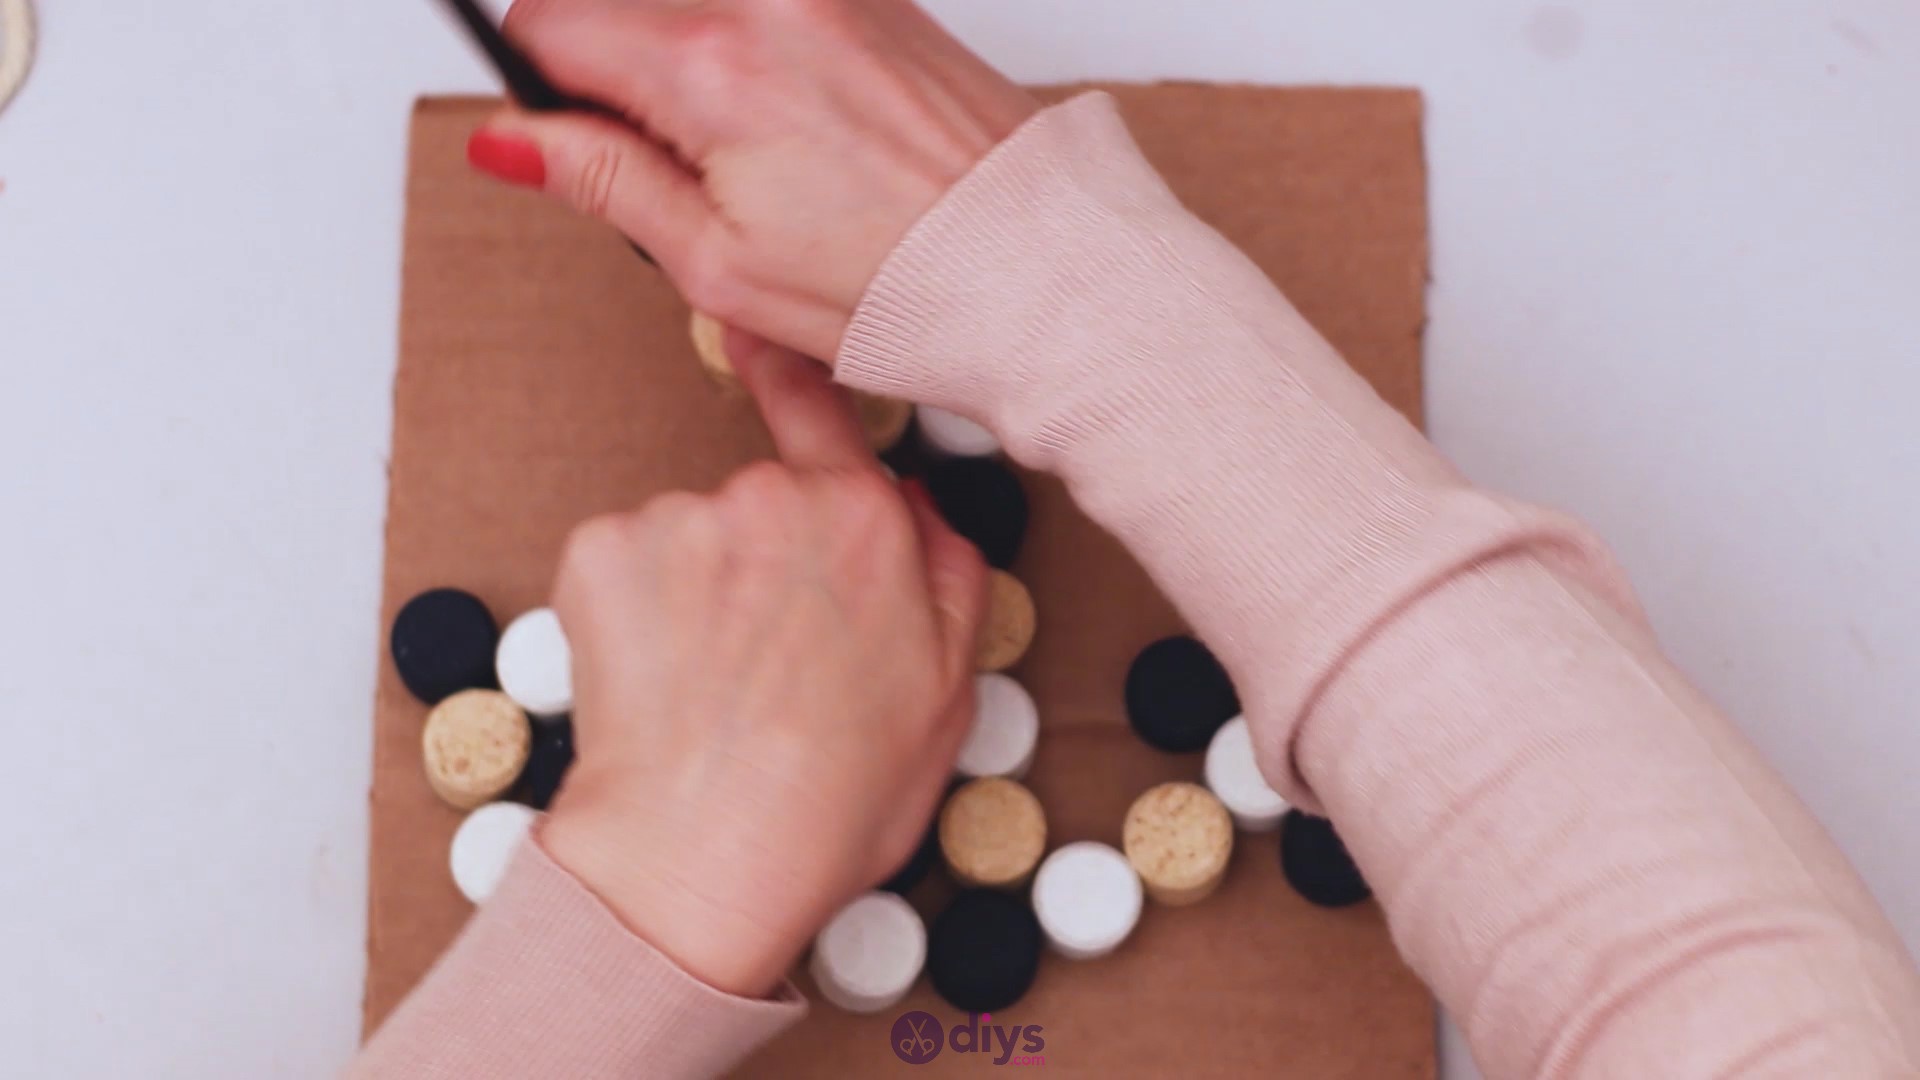
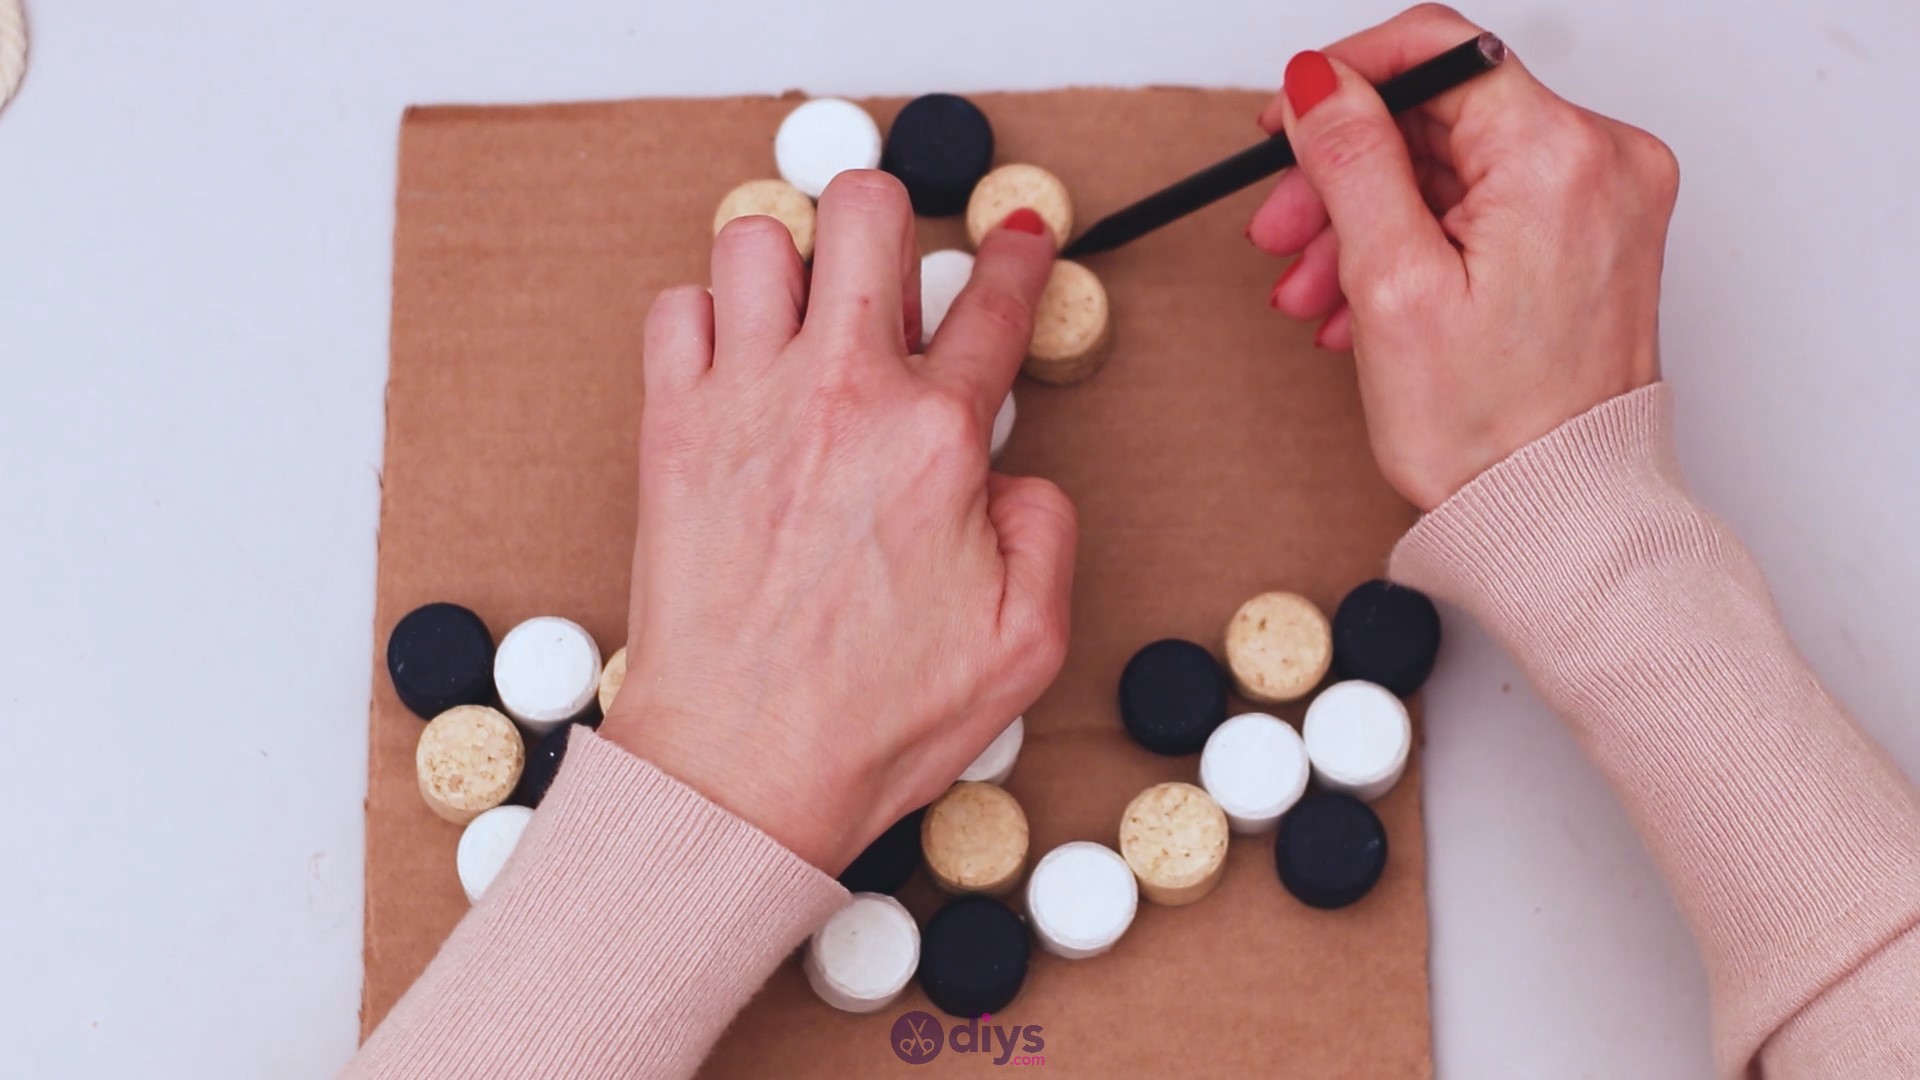
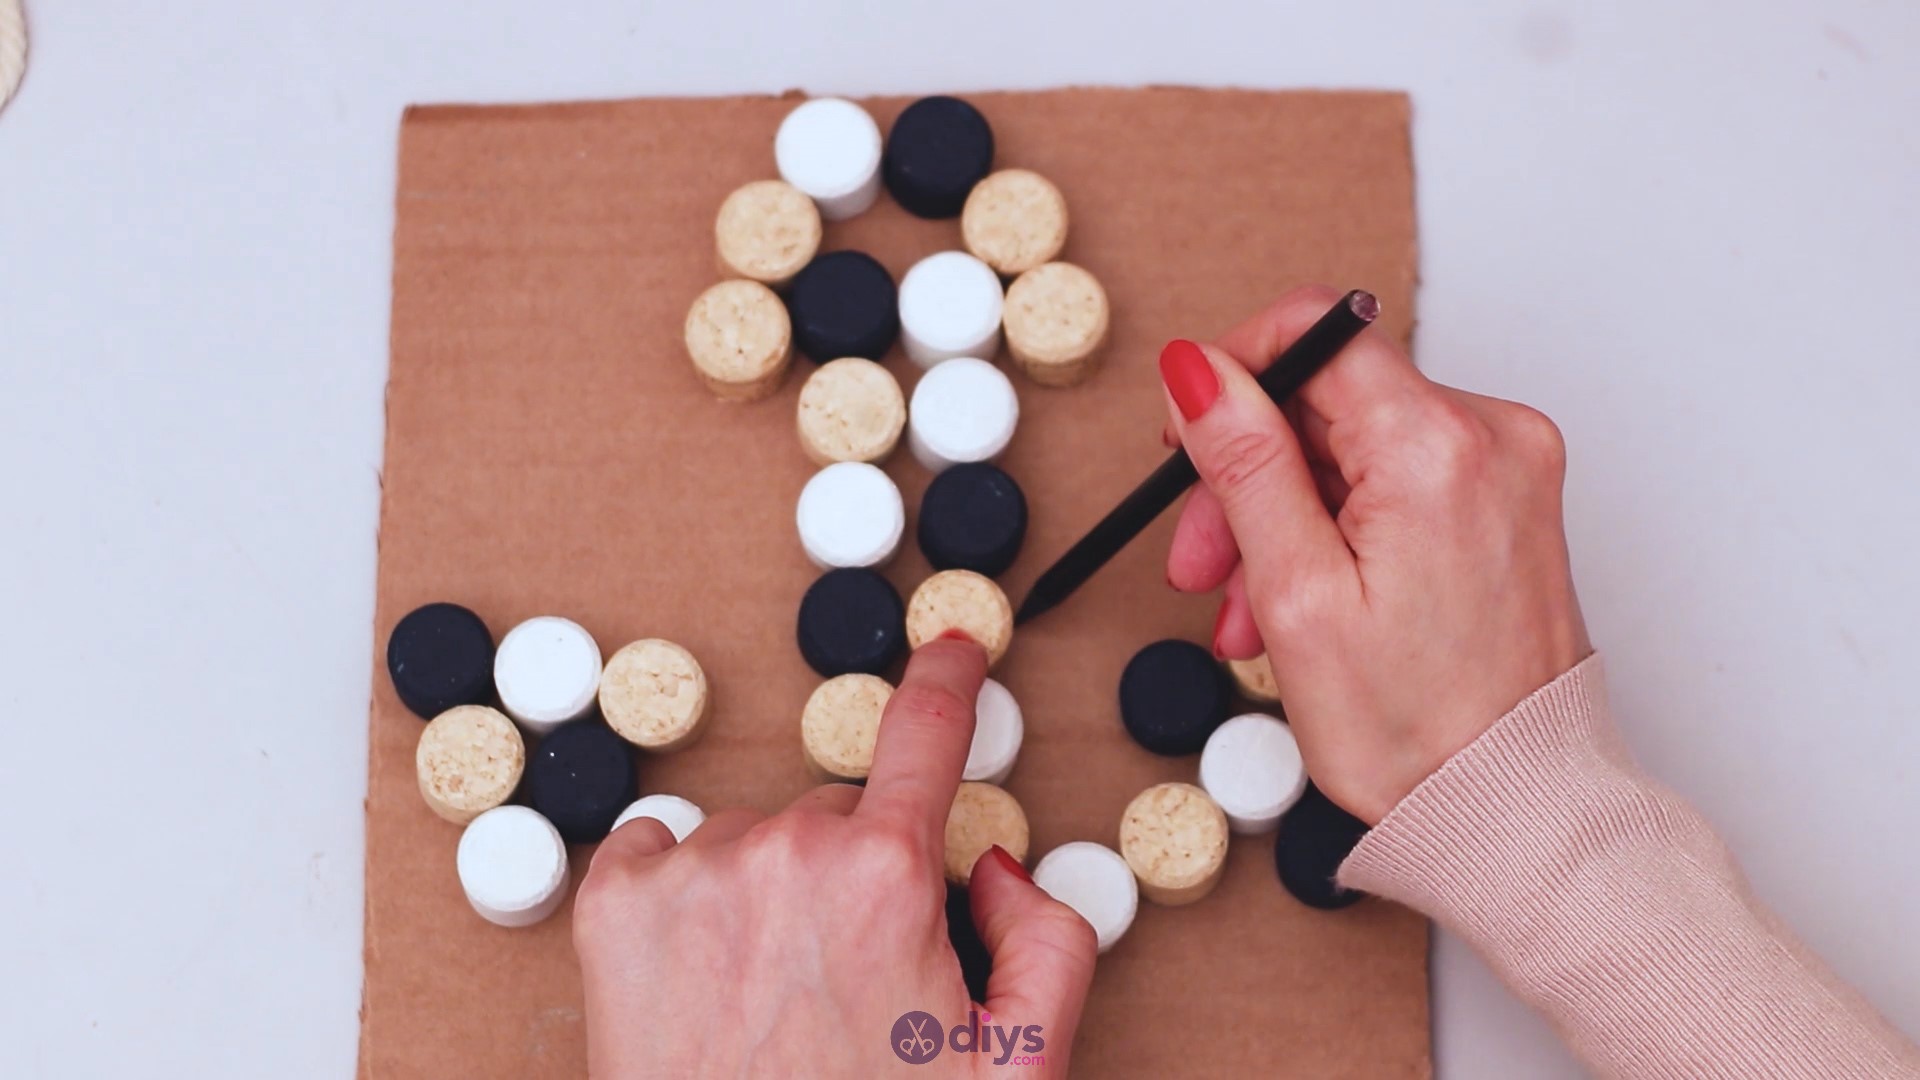
Step 4: Trace the design

When the design is done, it’s time to get yourpencilout. You’ll want to start at the top and trace the anchor you designed. Make sure you hold on to each wine cork piece as you go with the pencil near it, so as not to move it.

It’s best to do this step slowly so you can make sure that each line you trace is neatly done and that you didn’t move the design at all.

Step 5: Cut the cardboard
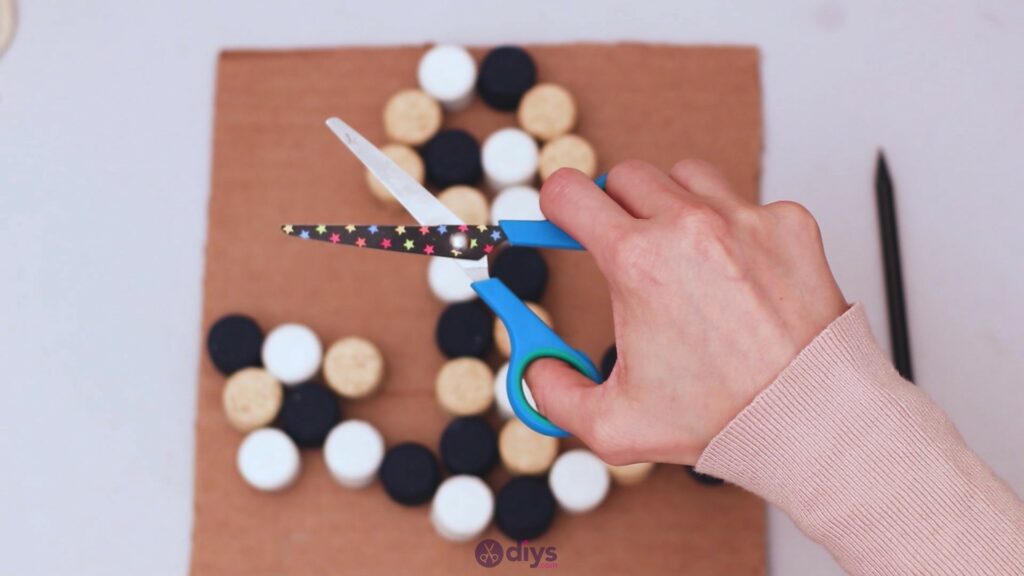
Now it’s time to get thescissorsout, remove the corks from the cardboard and start cutting the design. This is going to be a big job and you’ll want to pay special attention to each loop you have to cut. It won’t take long before the outline is done!
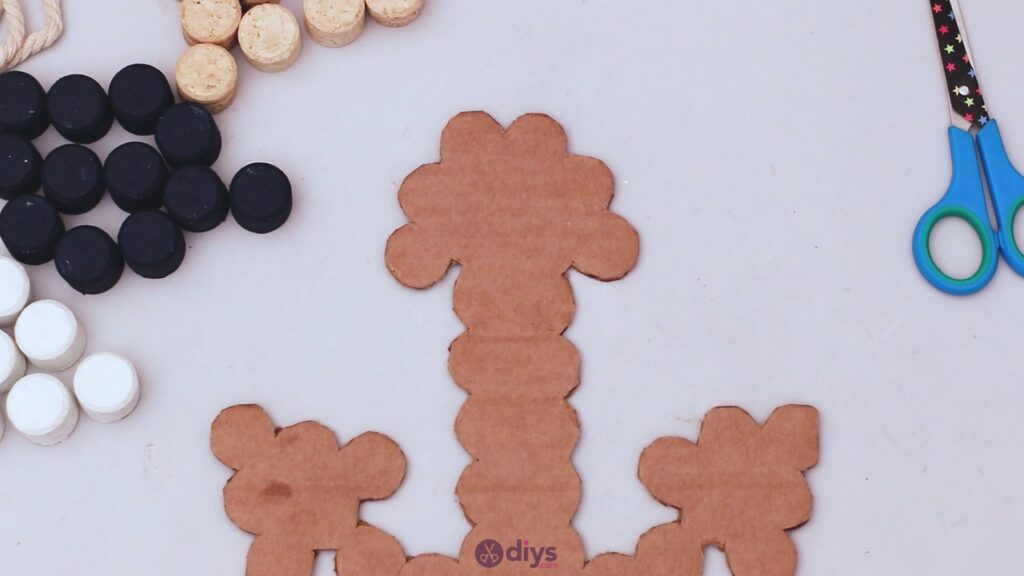
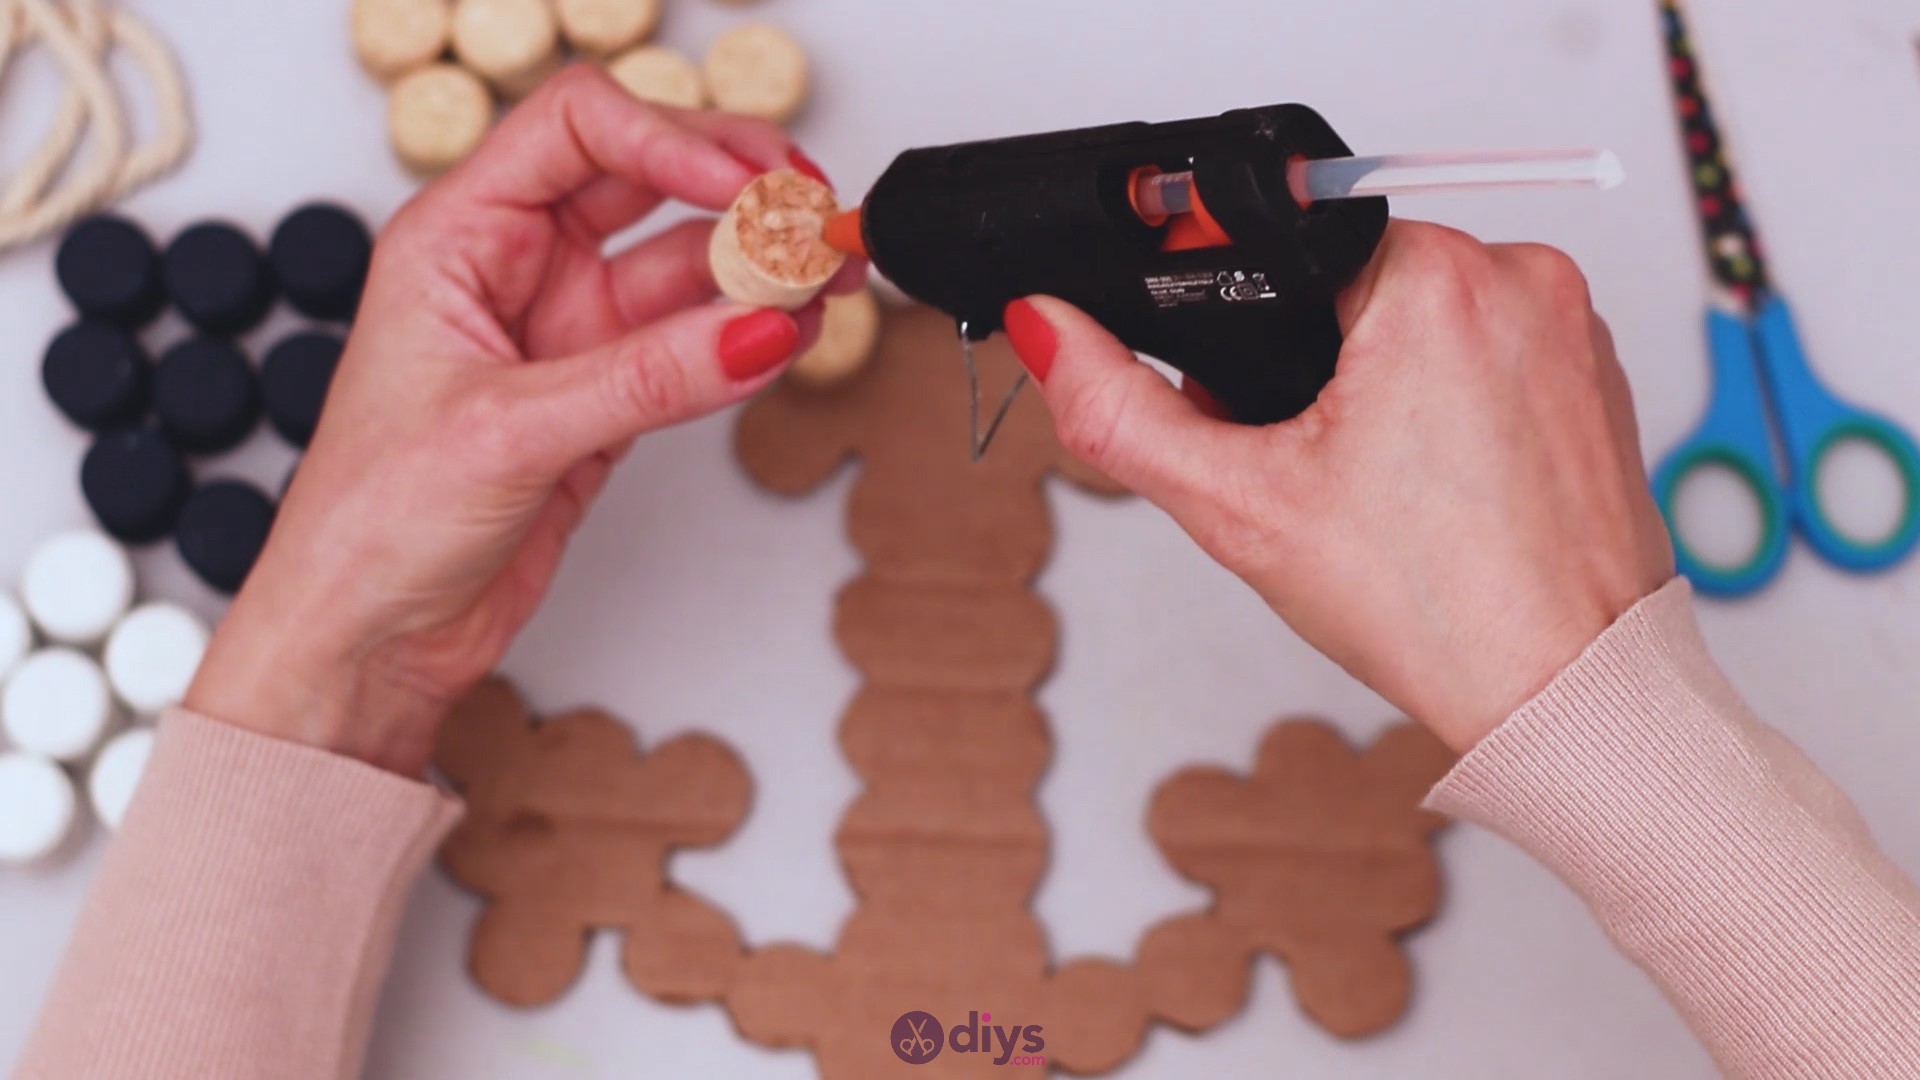
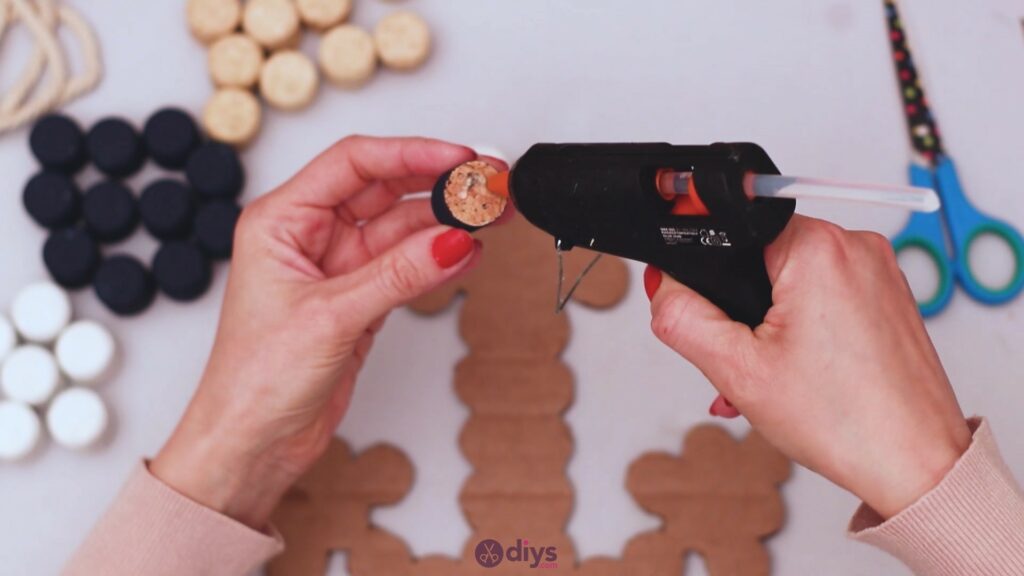
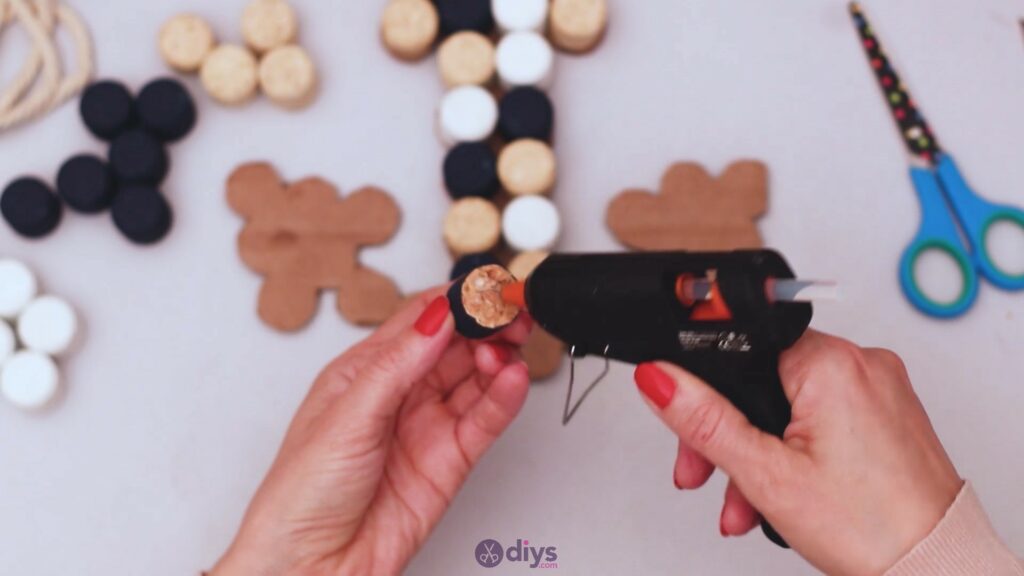
Step 6: Glue the wine corks
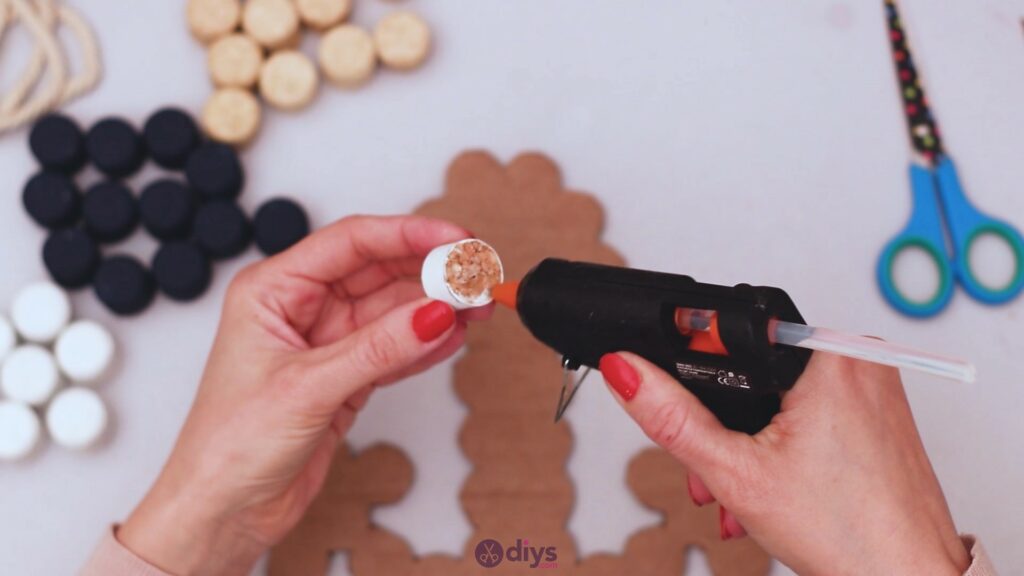
Now it’s time to proceed with gluing the wine cork halves to the cardboard. Start at the top and slowly go downwards. Get yourglue gunand start applying hot glue to the bottom of the wine corks and placing them on the cardboard, making sure to hold them down a few seconds so they set.
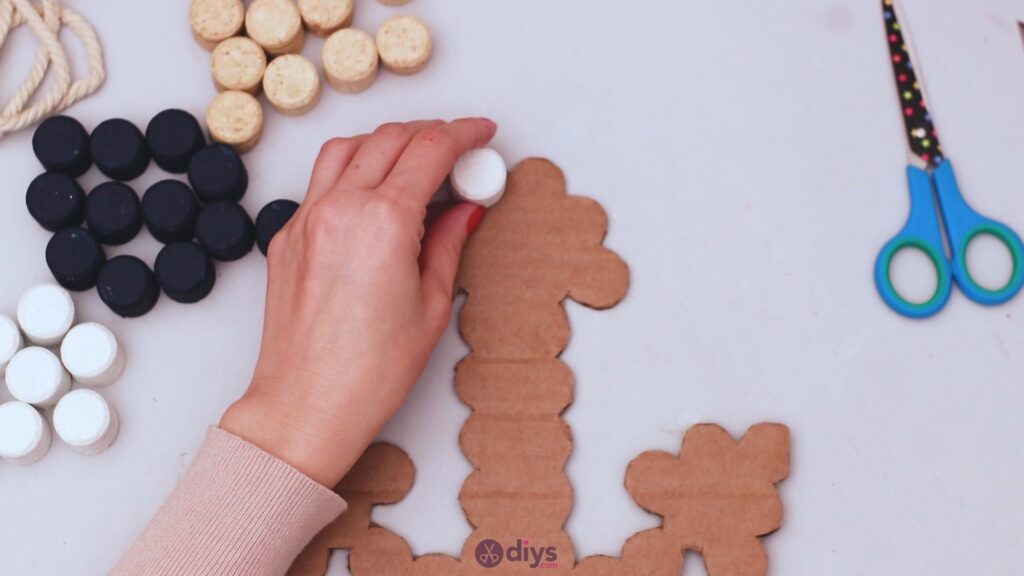
Pay attention to the shape of the cardboard and make sure the wine corks are in the right place. Even being a little off may derail your design!


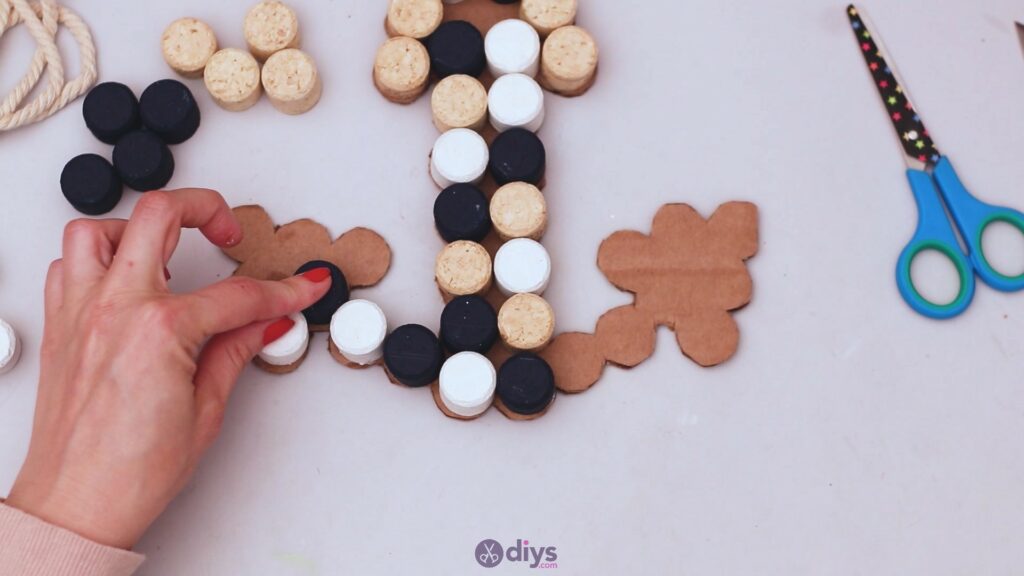
Keep adding the corks and make sure you mix the whites and the dark blues and the natural-colored corks.
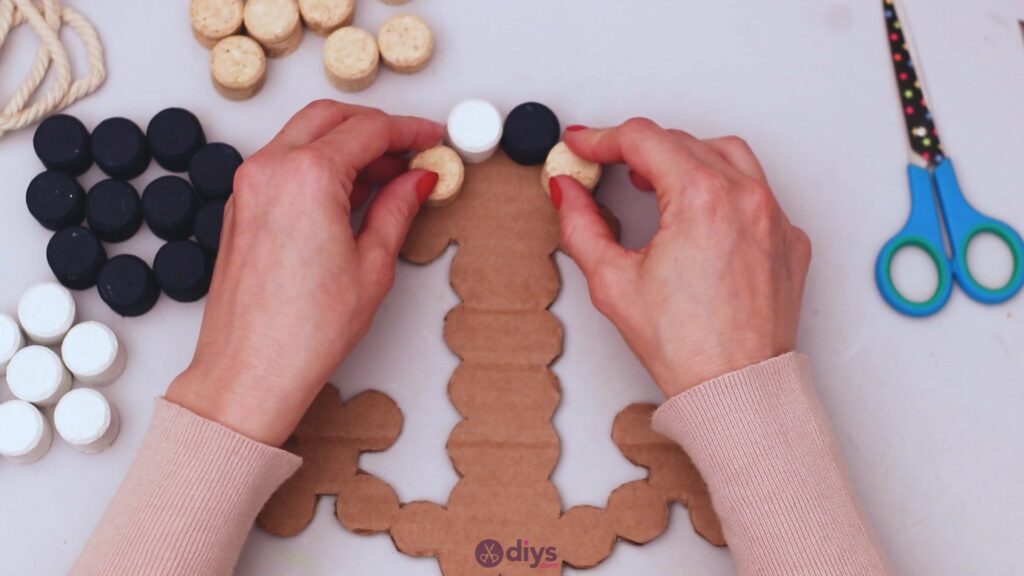

Whether you go for the color pattern we used or choose your own, we’re sure it will turn out wonderfully. The colors go so well together!

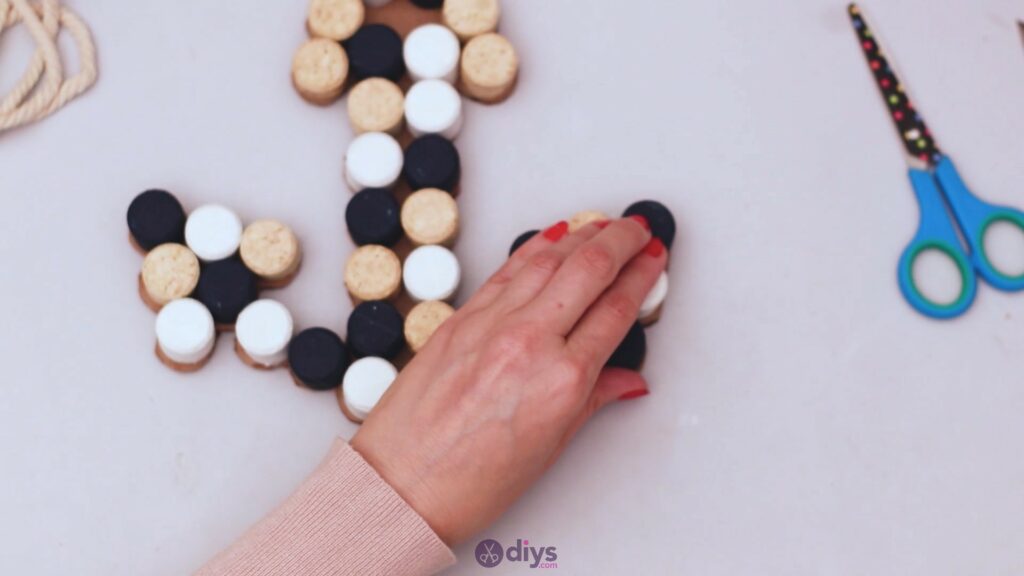
When you’re done with the corks placed over the shank of the anchor, start building the arms by alternating wine cork colors.
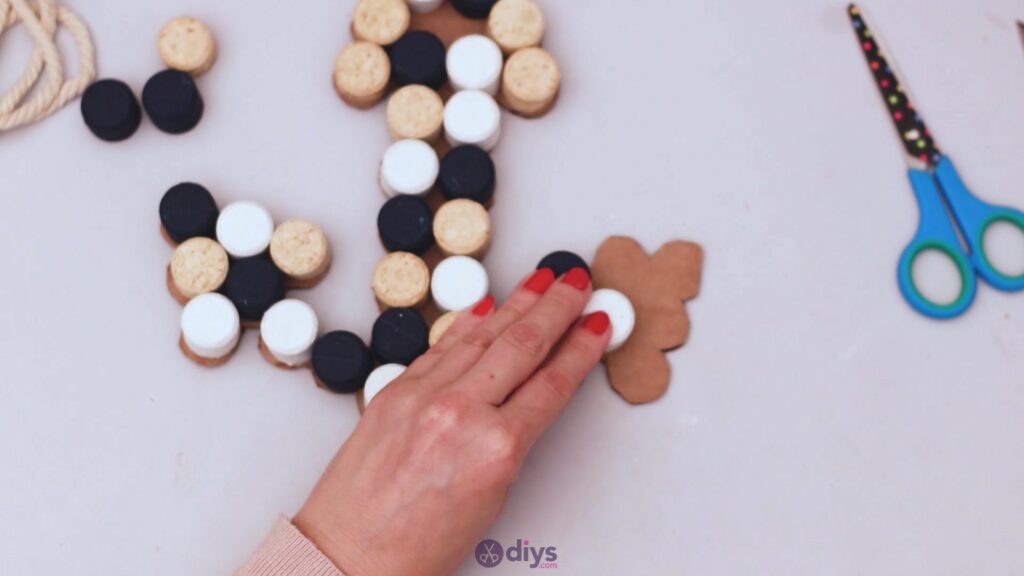
Build the other arm as well! Don’t forget to press the corks into the cardboard in order for the glue to set. You don’t want any of them falling off later on! Sure, it’s an easy fix, but why reach that point?

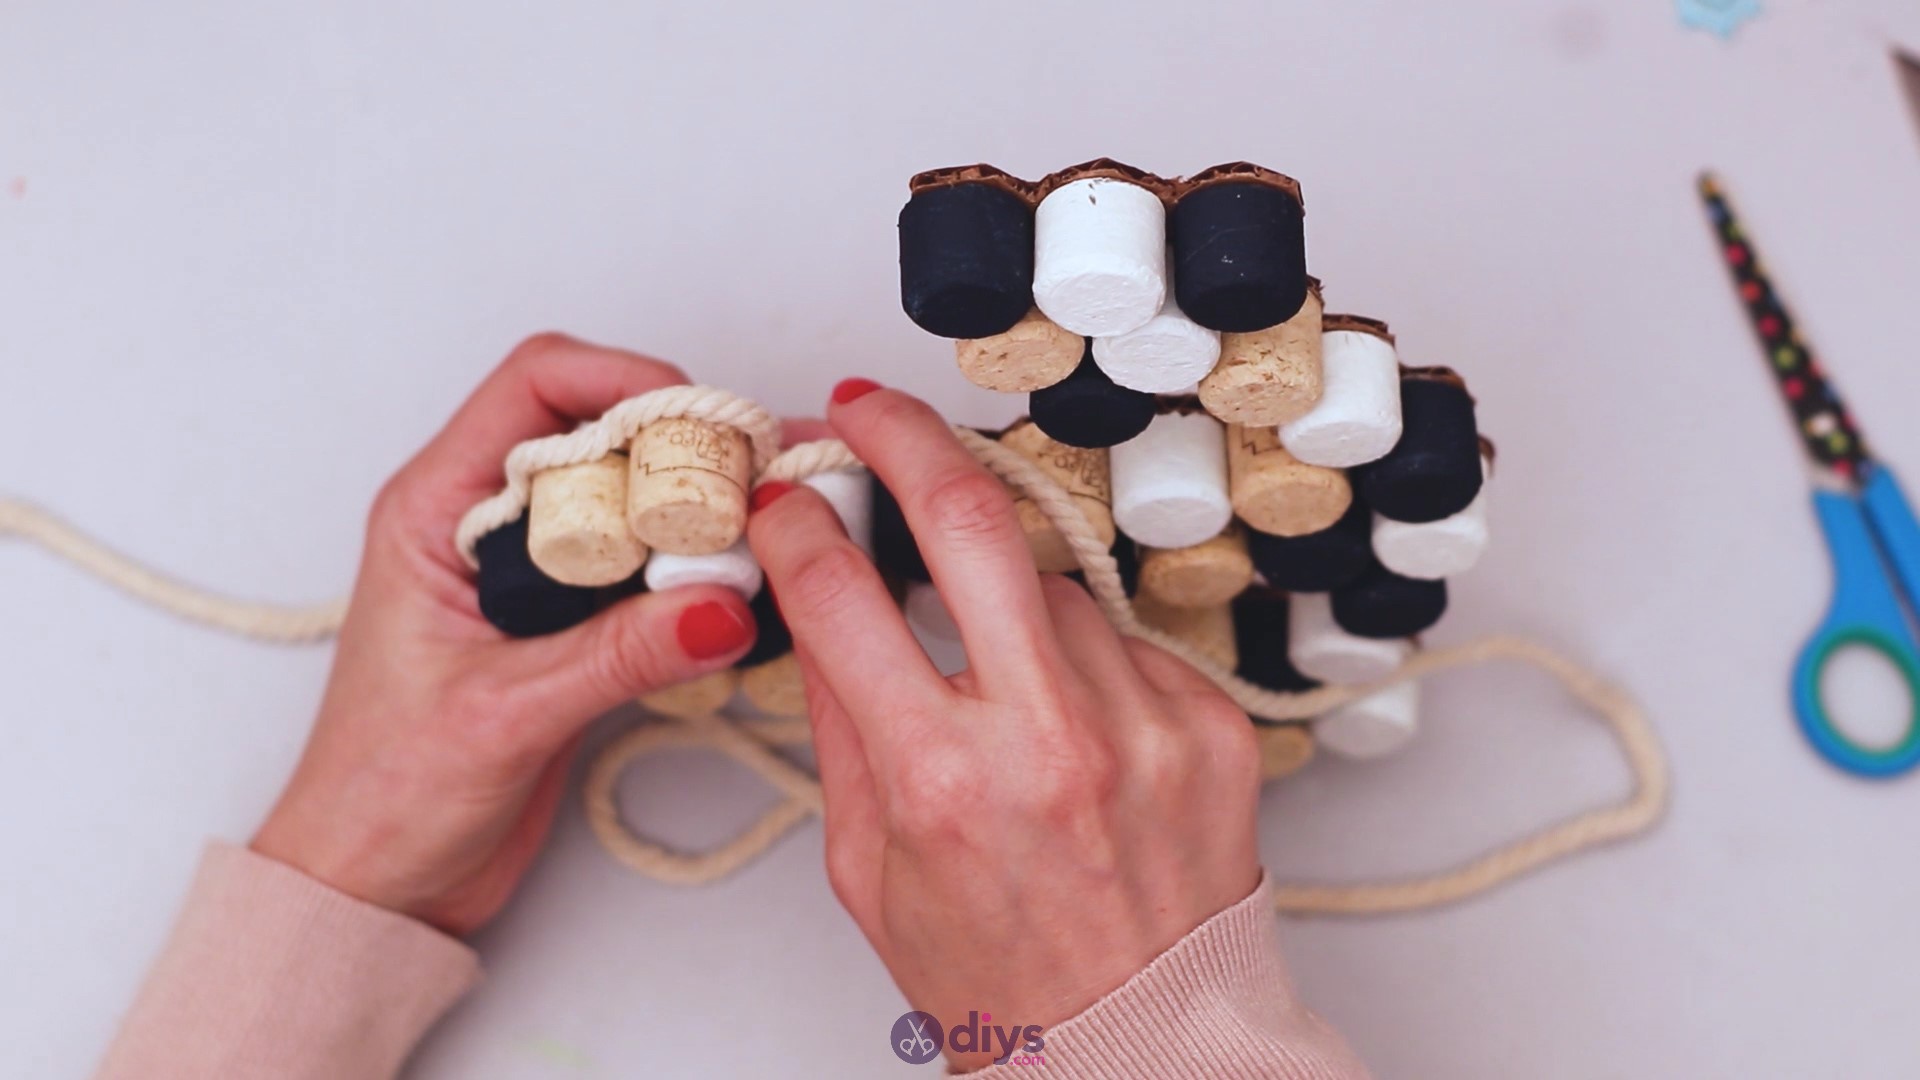
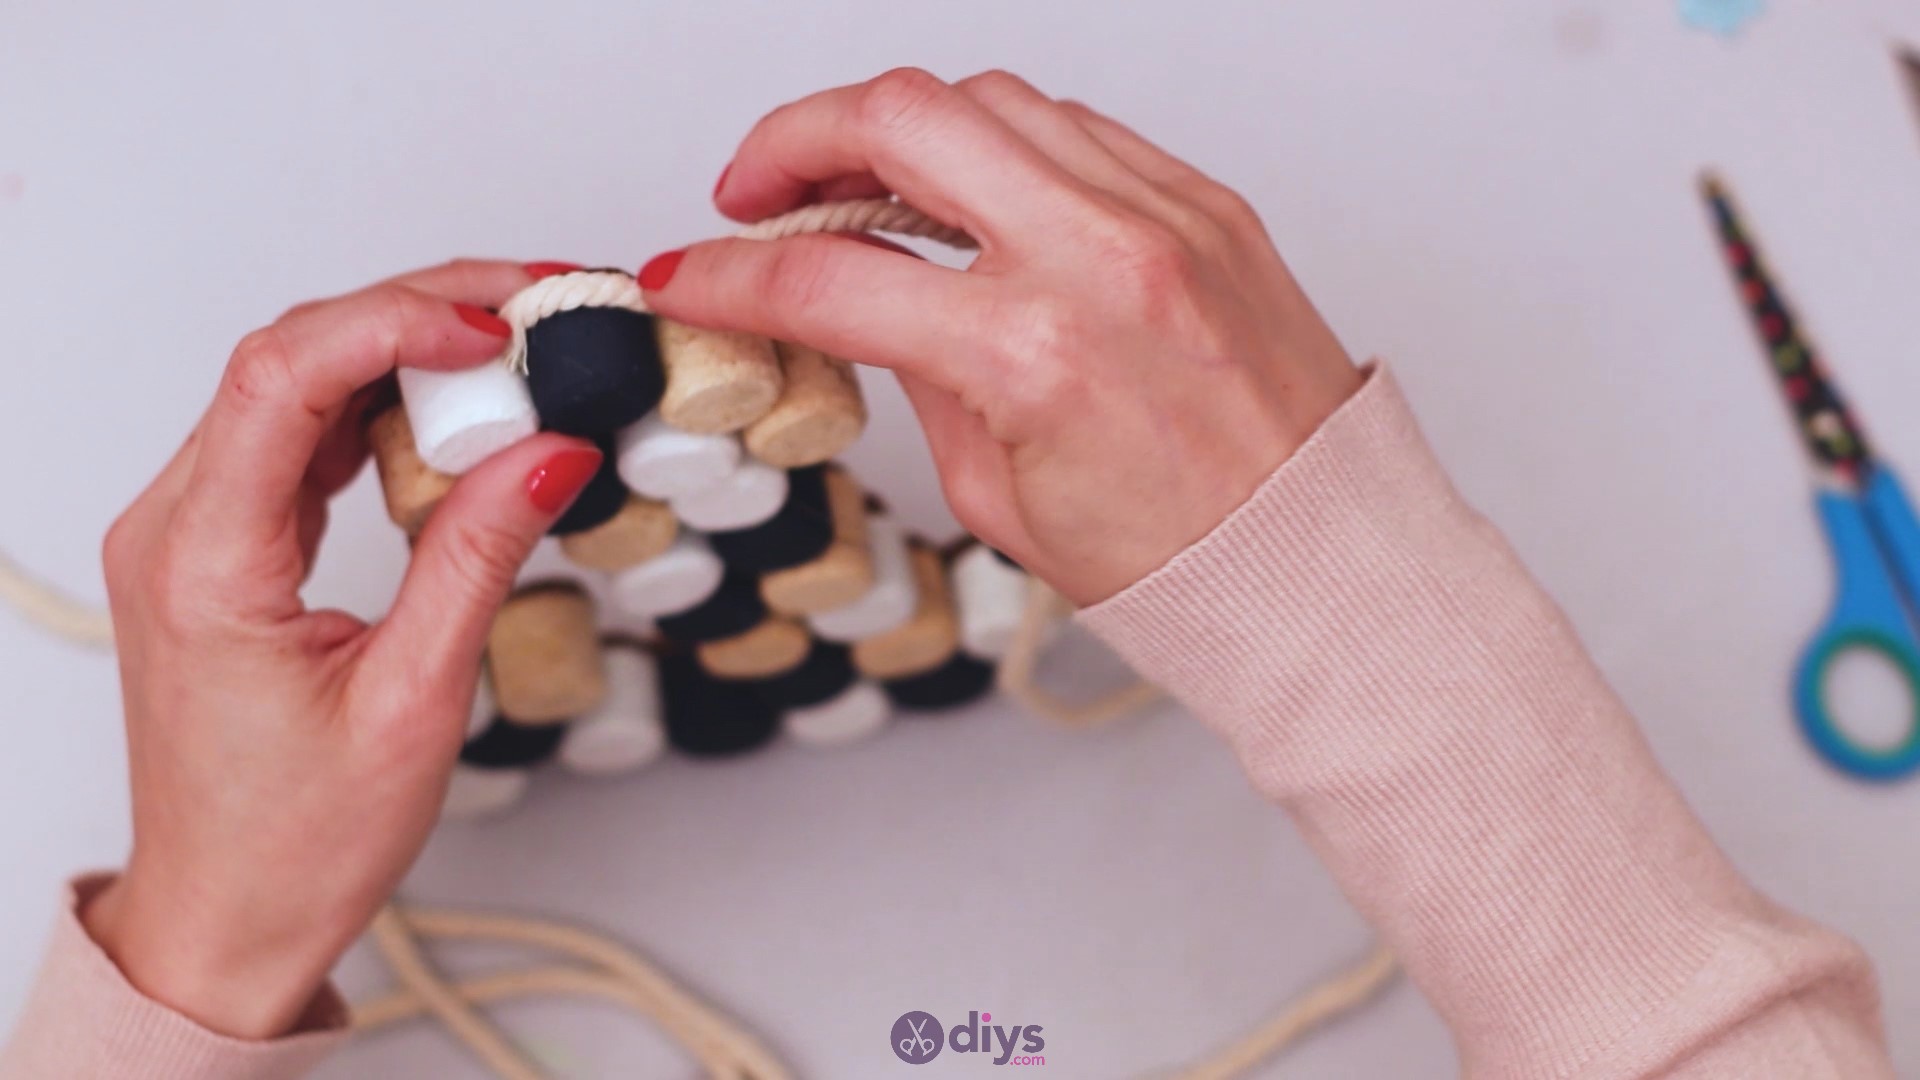
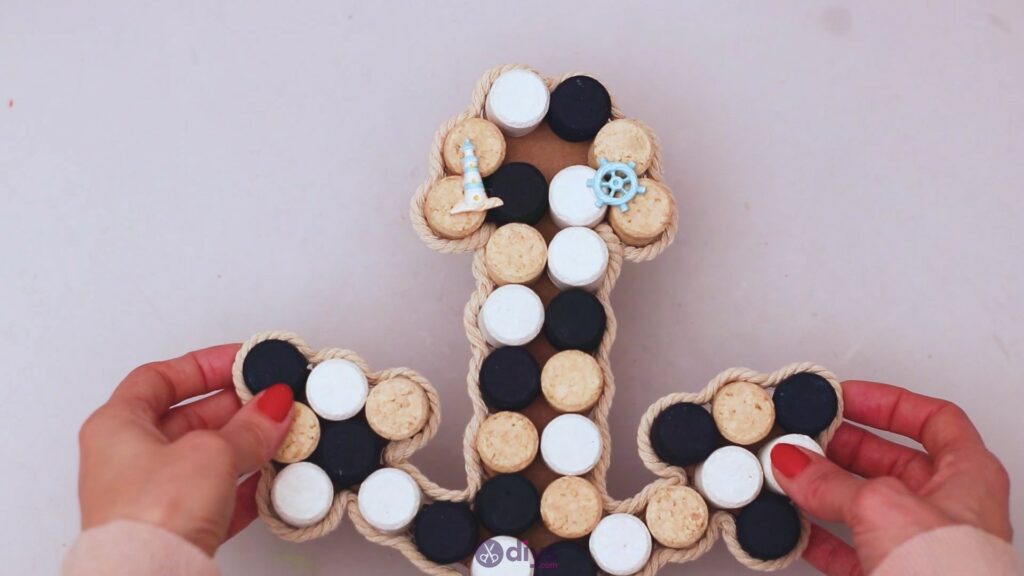
Step 7: Add the rope

For the next step, we’re going to get theropeand theglue gunand give this anchor an even more naval look. The thick rope will look wonderful with the anchor shape. Start adding hot glue to the top of the anchor, layering it up near the cardboard. In this way, when you add the rope, it will be close to the base.
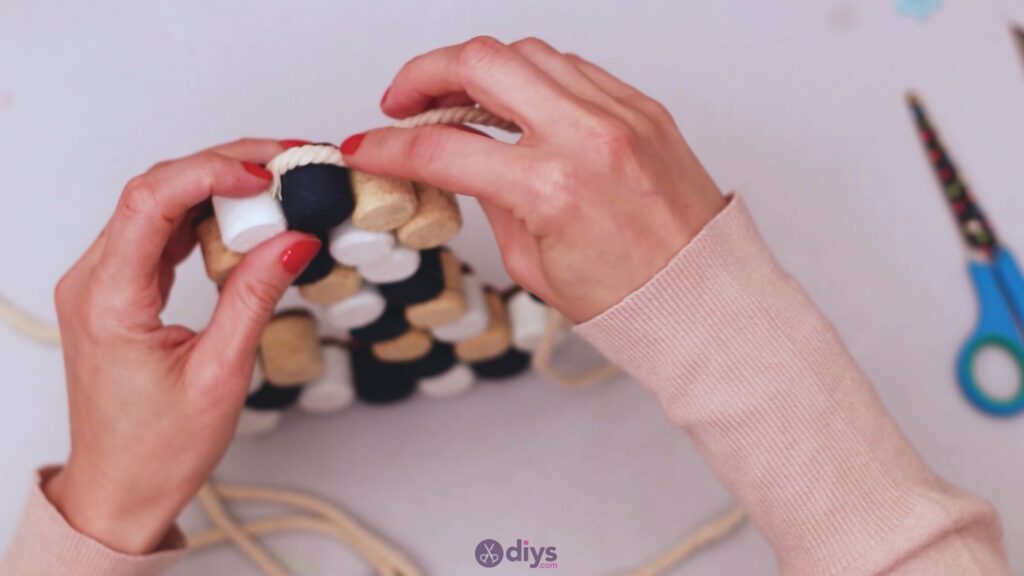
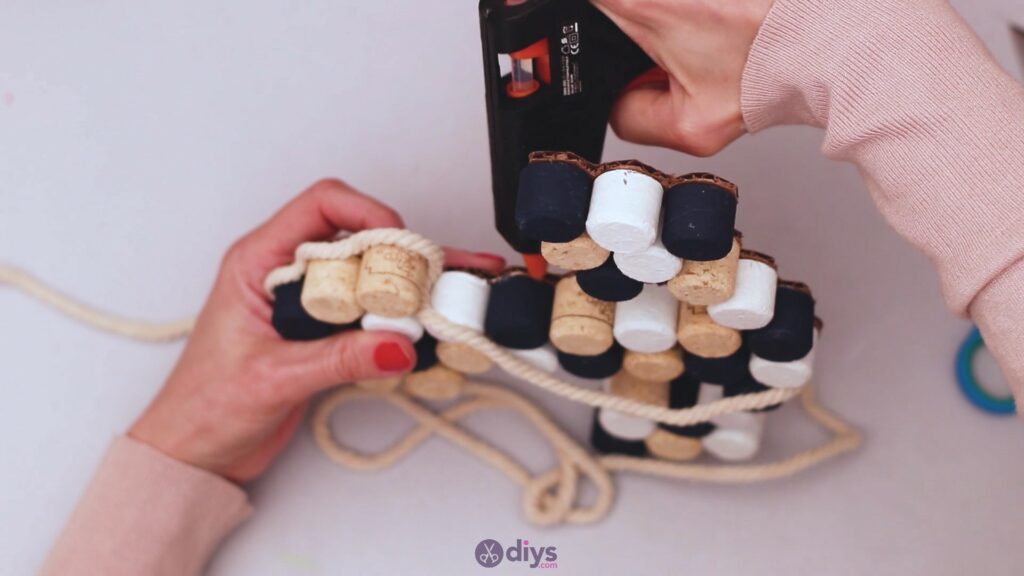
Continue adding glue to the bottom of the wine corks and applying the rope. Make sure the rope follows the design and is placed neatly and straight.
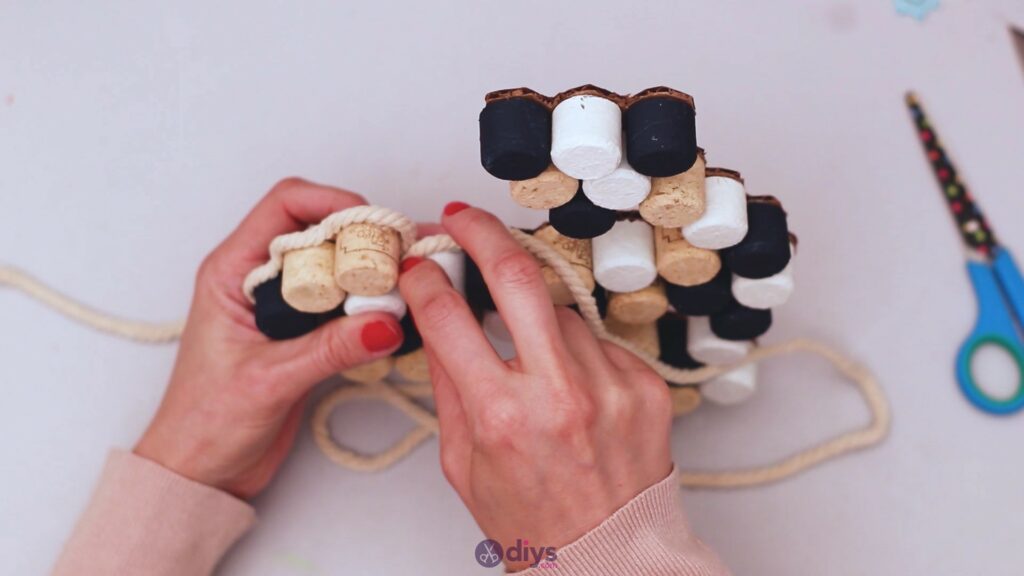
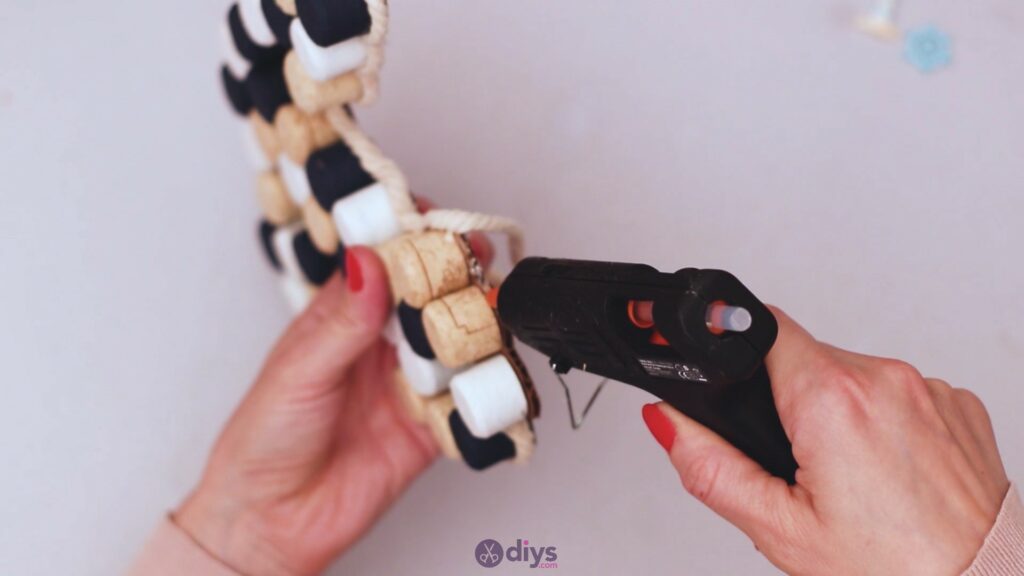
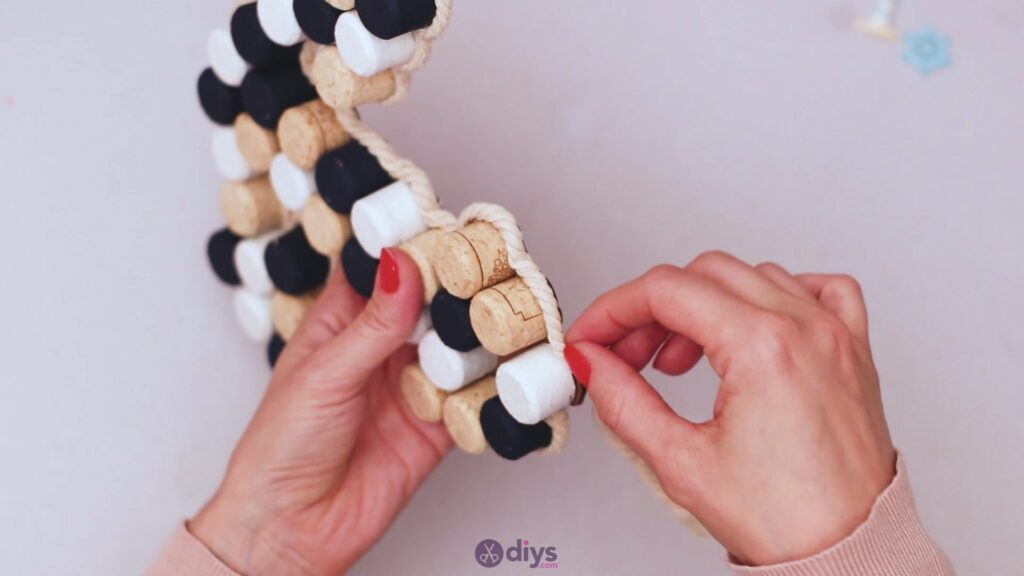
When you’ve finally reached around the anchor, it’s time to measure up and make sure that your rope ends will overlap slightly. Cut off the excess and then add hot glue to the last few wine corks before sticking the rope to it.
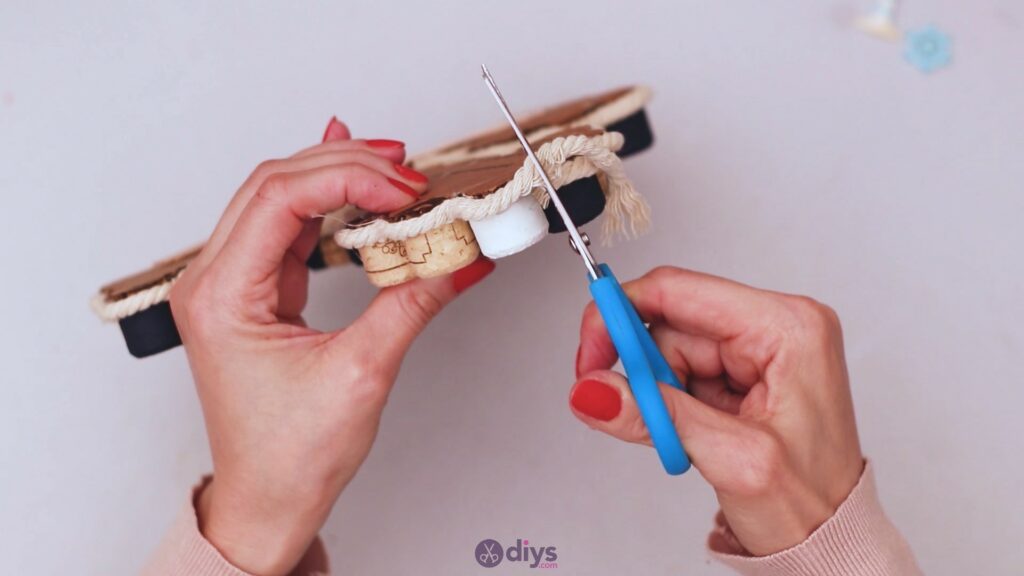
Tuck away and loose ends of the rope in the crease between the wine corks. We also suggest adding a bit of hot glue over the spot so you’re sure the design won’t look messy.

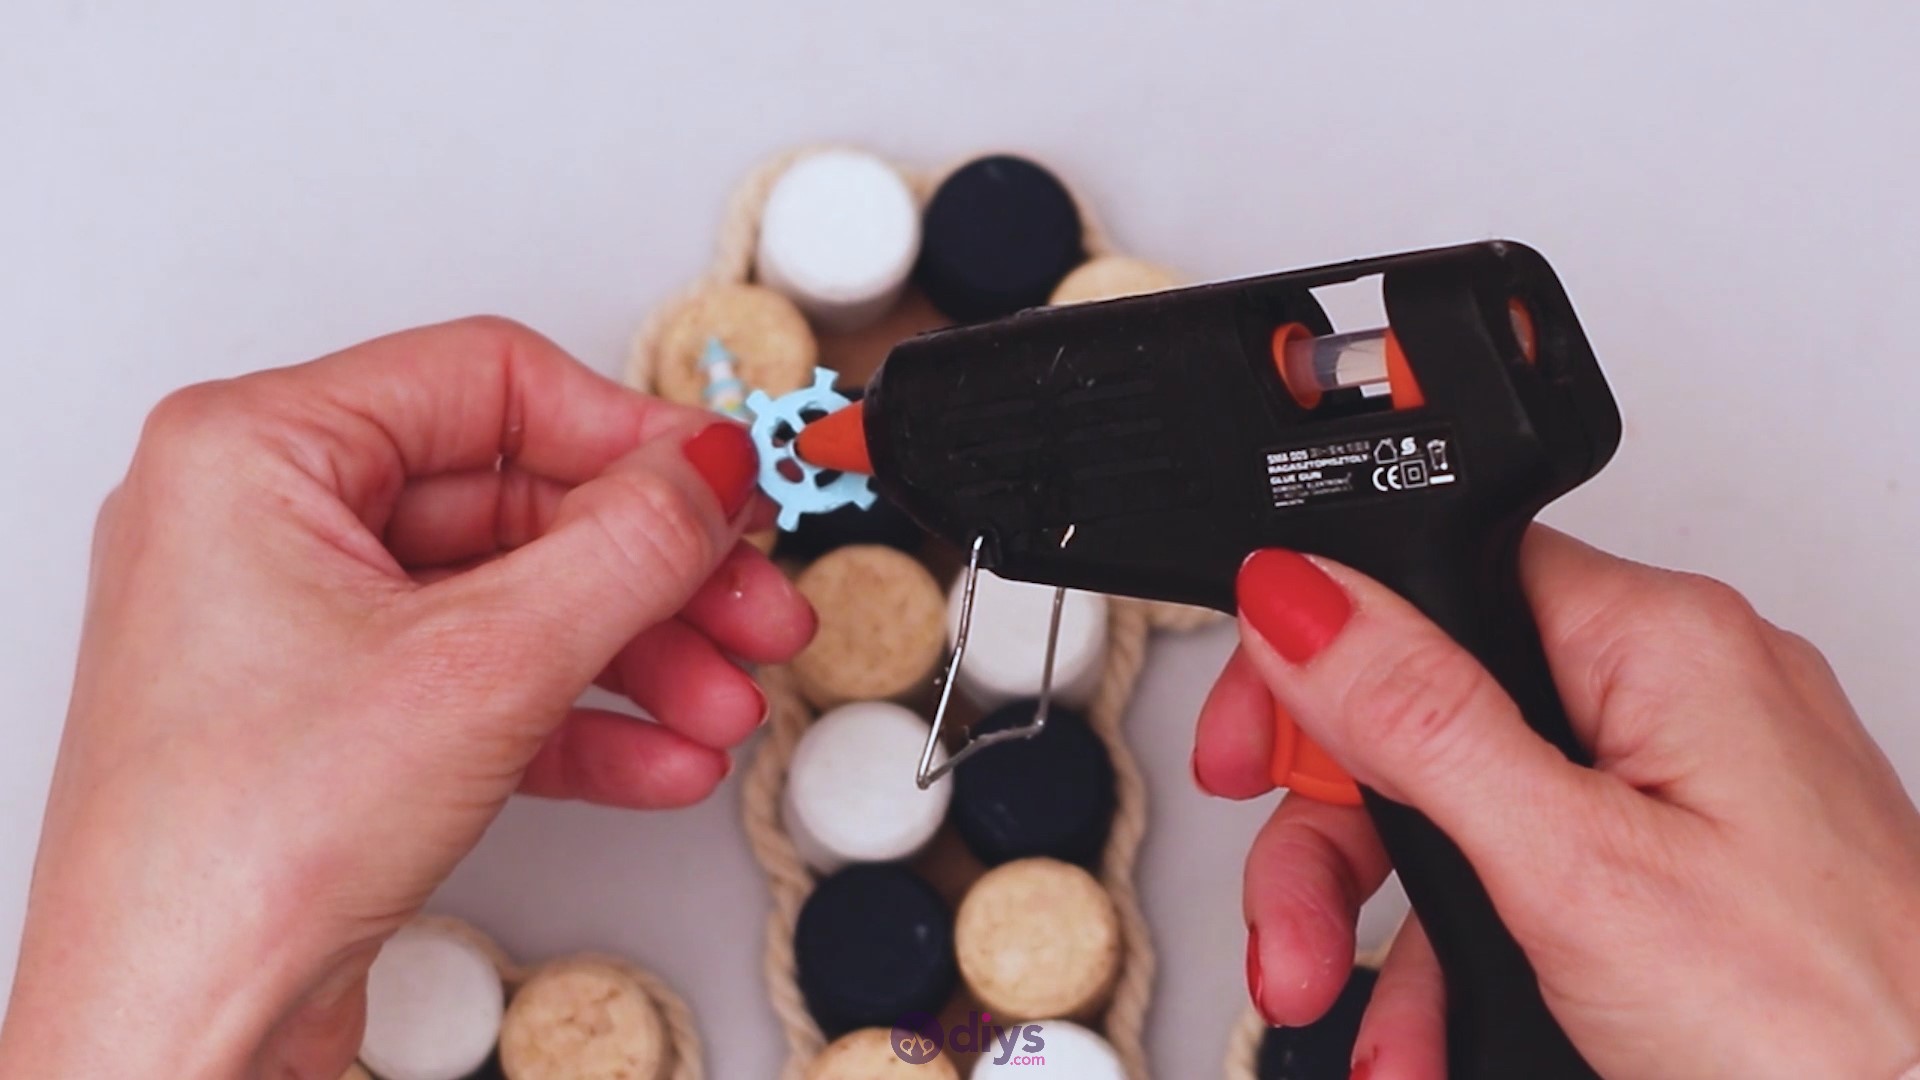
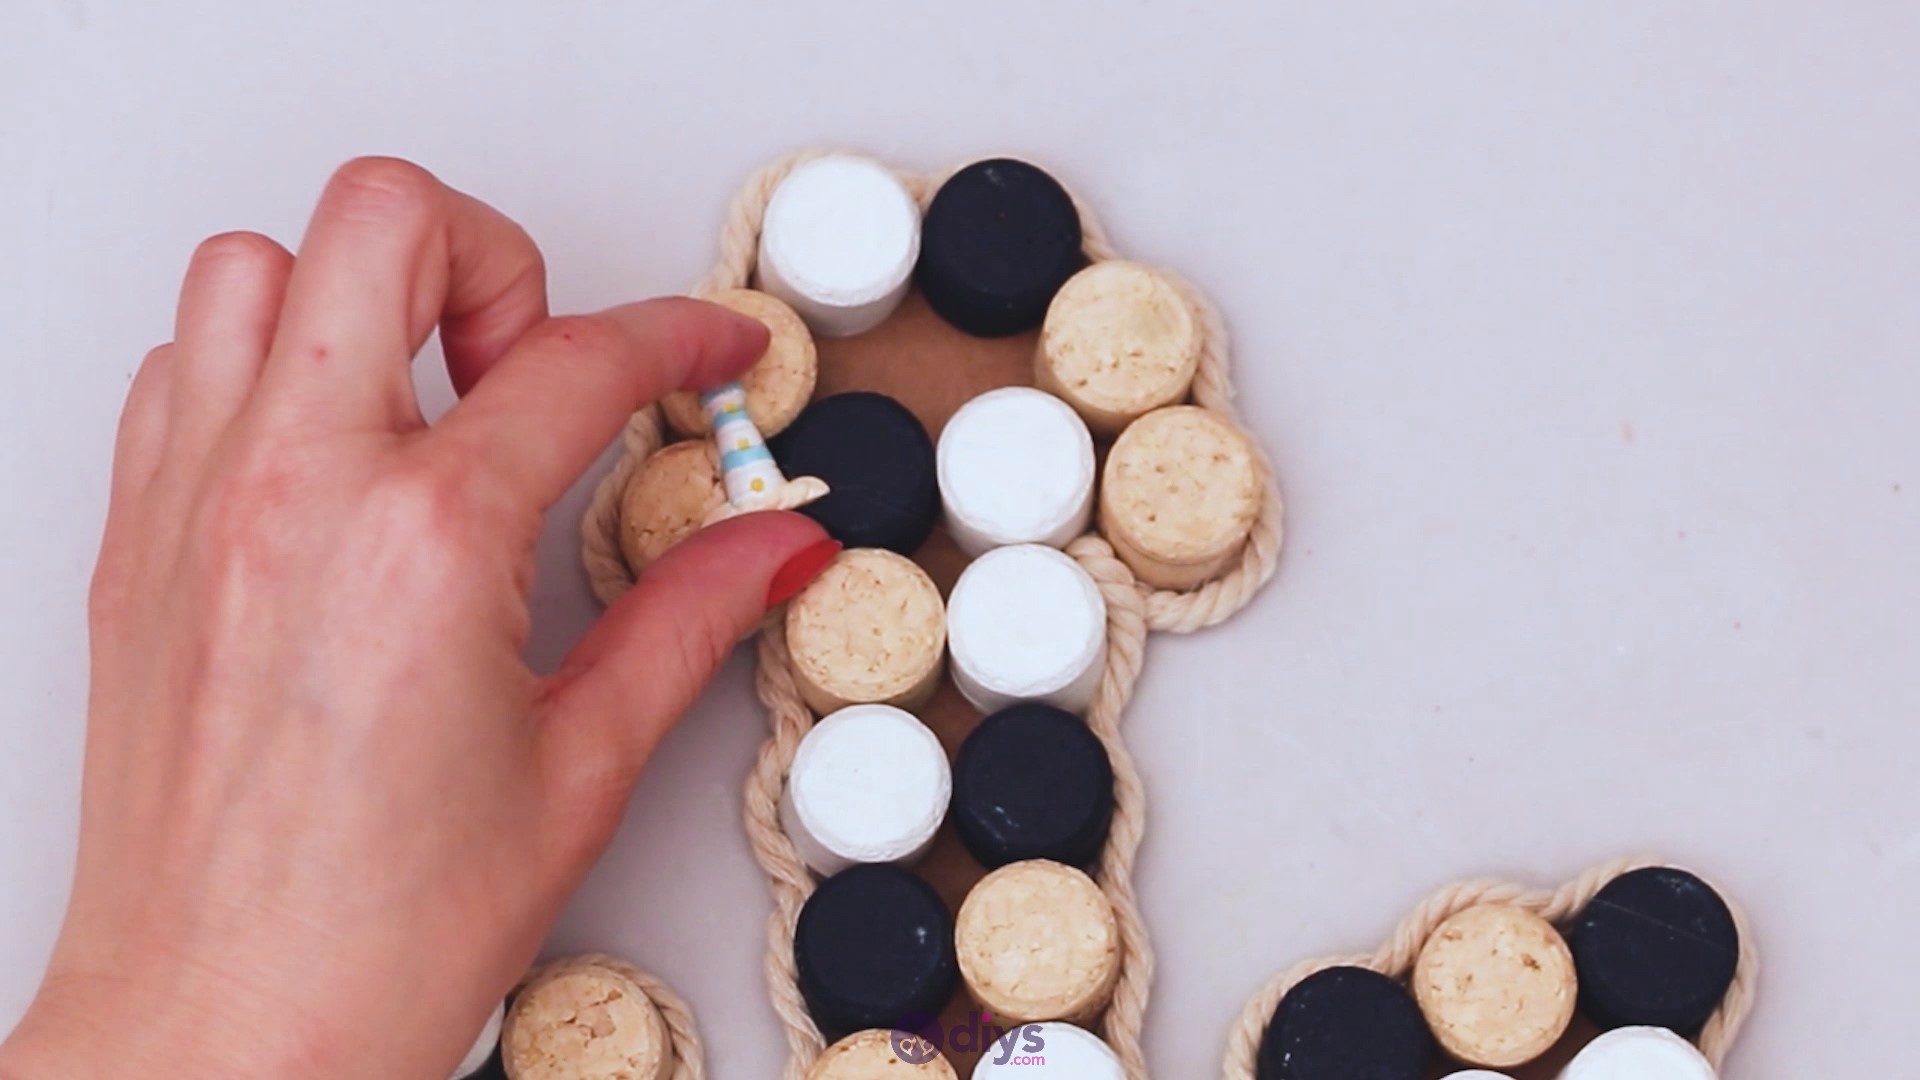
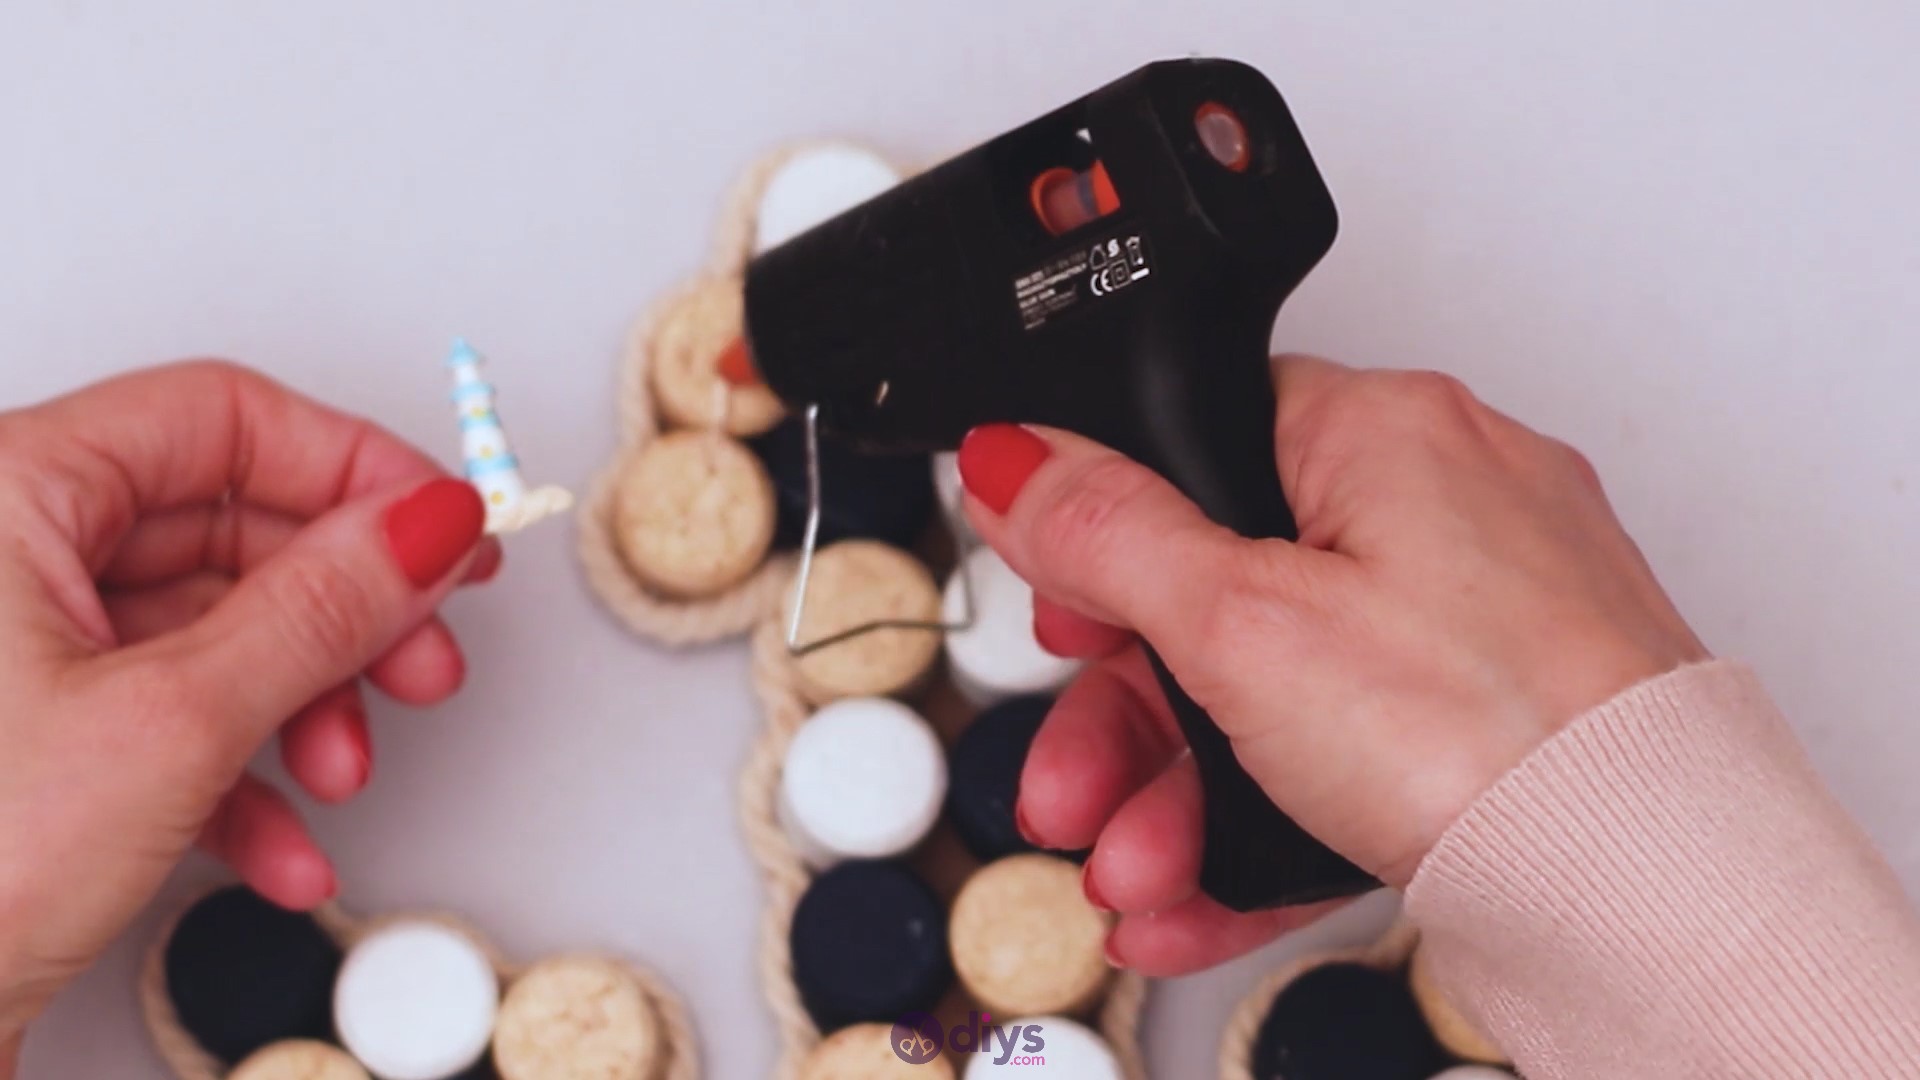
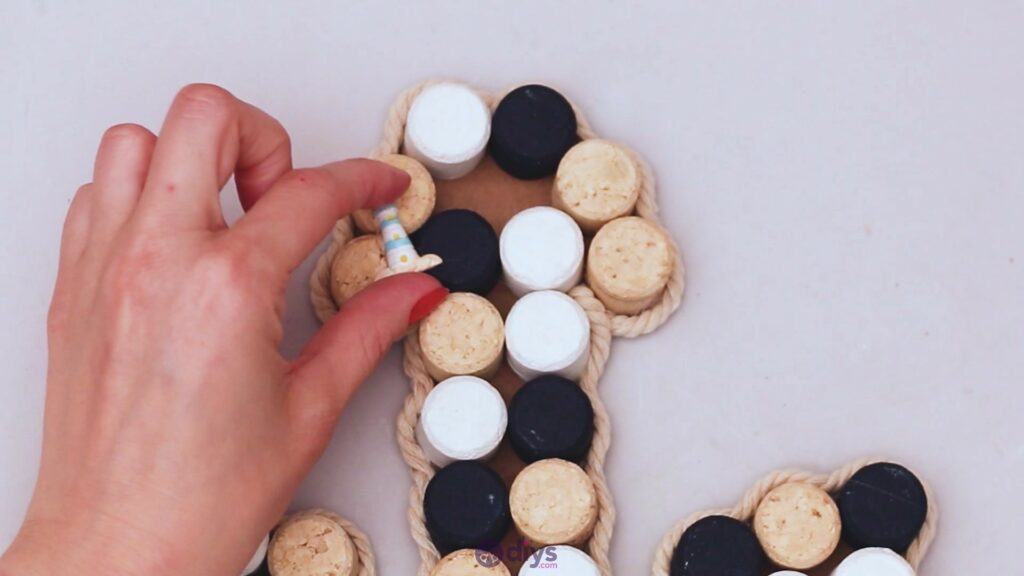
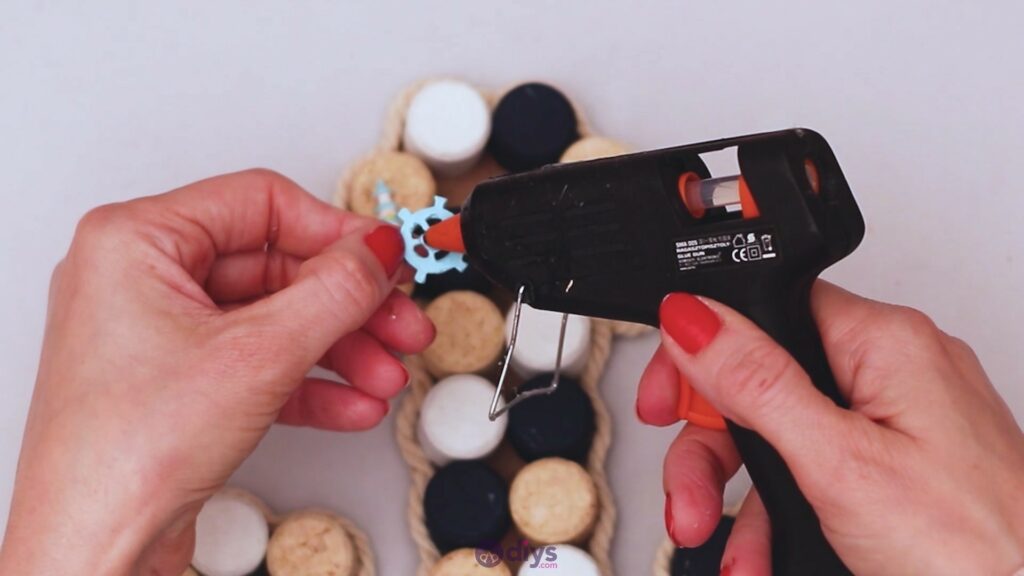
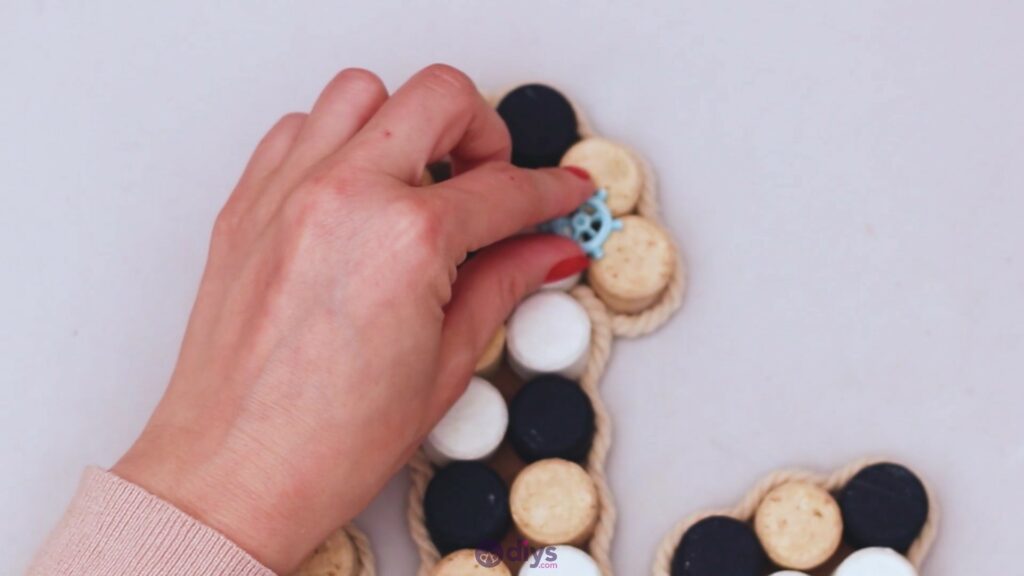
Step 8: Add the decorations

For the finishing touches of our anchor, we went with a small paddle and lighthouse decors. We added some hot glue to the junction between a few wine corks and pressed the decor pieces into the glue.
Voila! Doesn’t it look nice?! We really love this design and know that it will look wonderful. You can add some hanging details to the back of the cardboard if you’d like to put it on the wall.
You can either place it on a shelf, or it can go up a wall. It can be a great piece for your walls or you can gift it to your one friend who always longs for the sea.

The anchor will also go nicely with any shells you may have at home. Since it’s an anchor and it needs to fit in certain color schemes, you don’t have too many options in terms of switching colors, but you can definitely go bigger or smaller if you wanted to, and you can also change the small decor pieces. We know finding exact replicas of what we used would be difficult, so any type of shells may also work, or perhaps a tiny boat.
Whatever you choose, we’re sure it will look wonderful. Please share your creations with us as we can’t wait to see how they turned out.