DIY Woodland Napkin Ring – Make Your Own Whimsical Napkin Rings
Updated on June 23, 2021


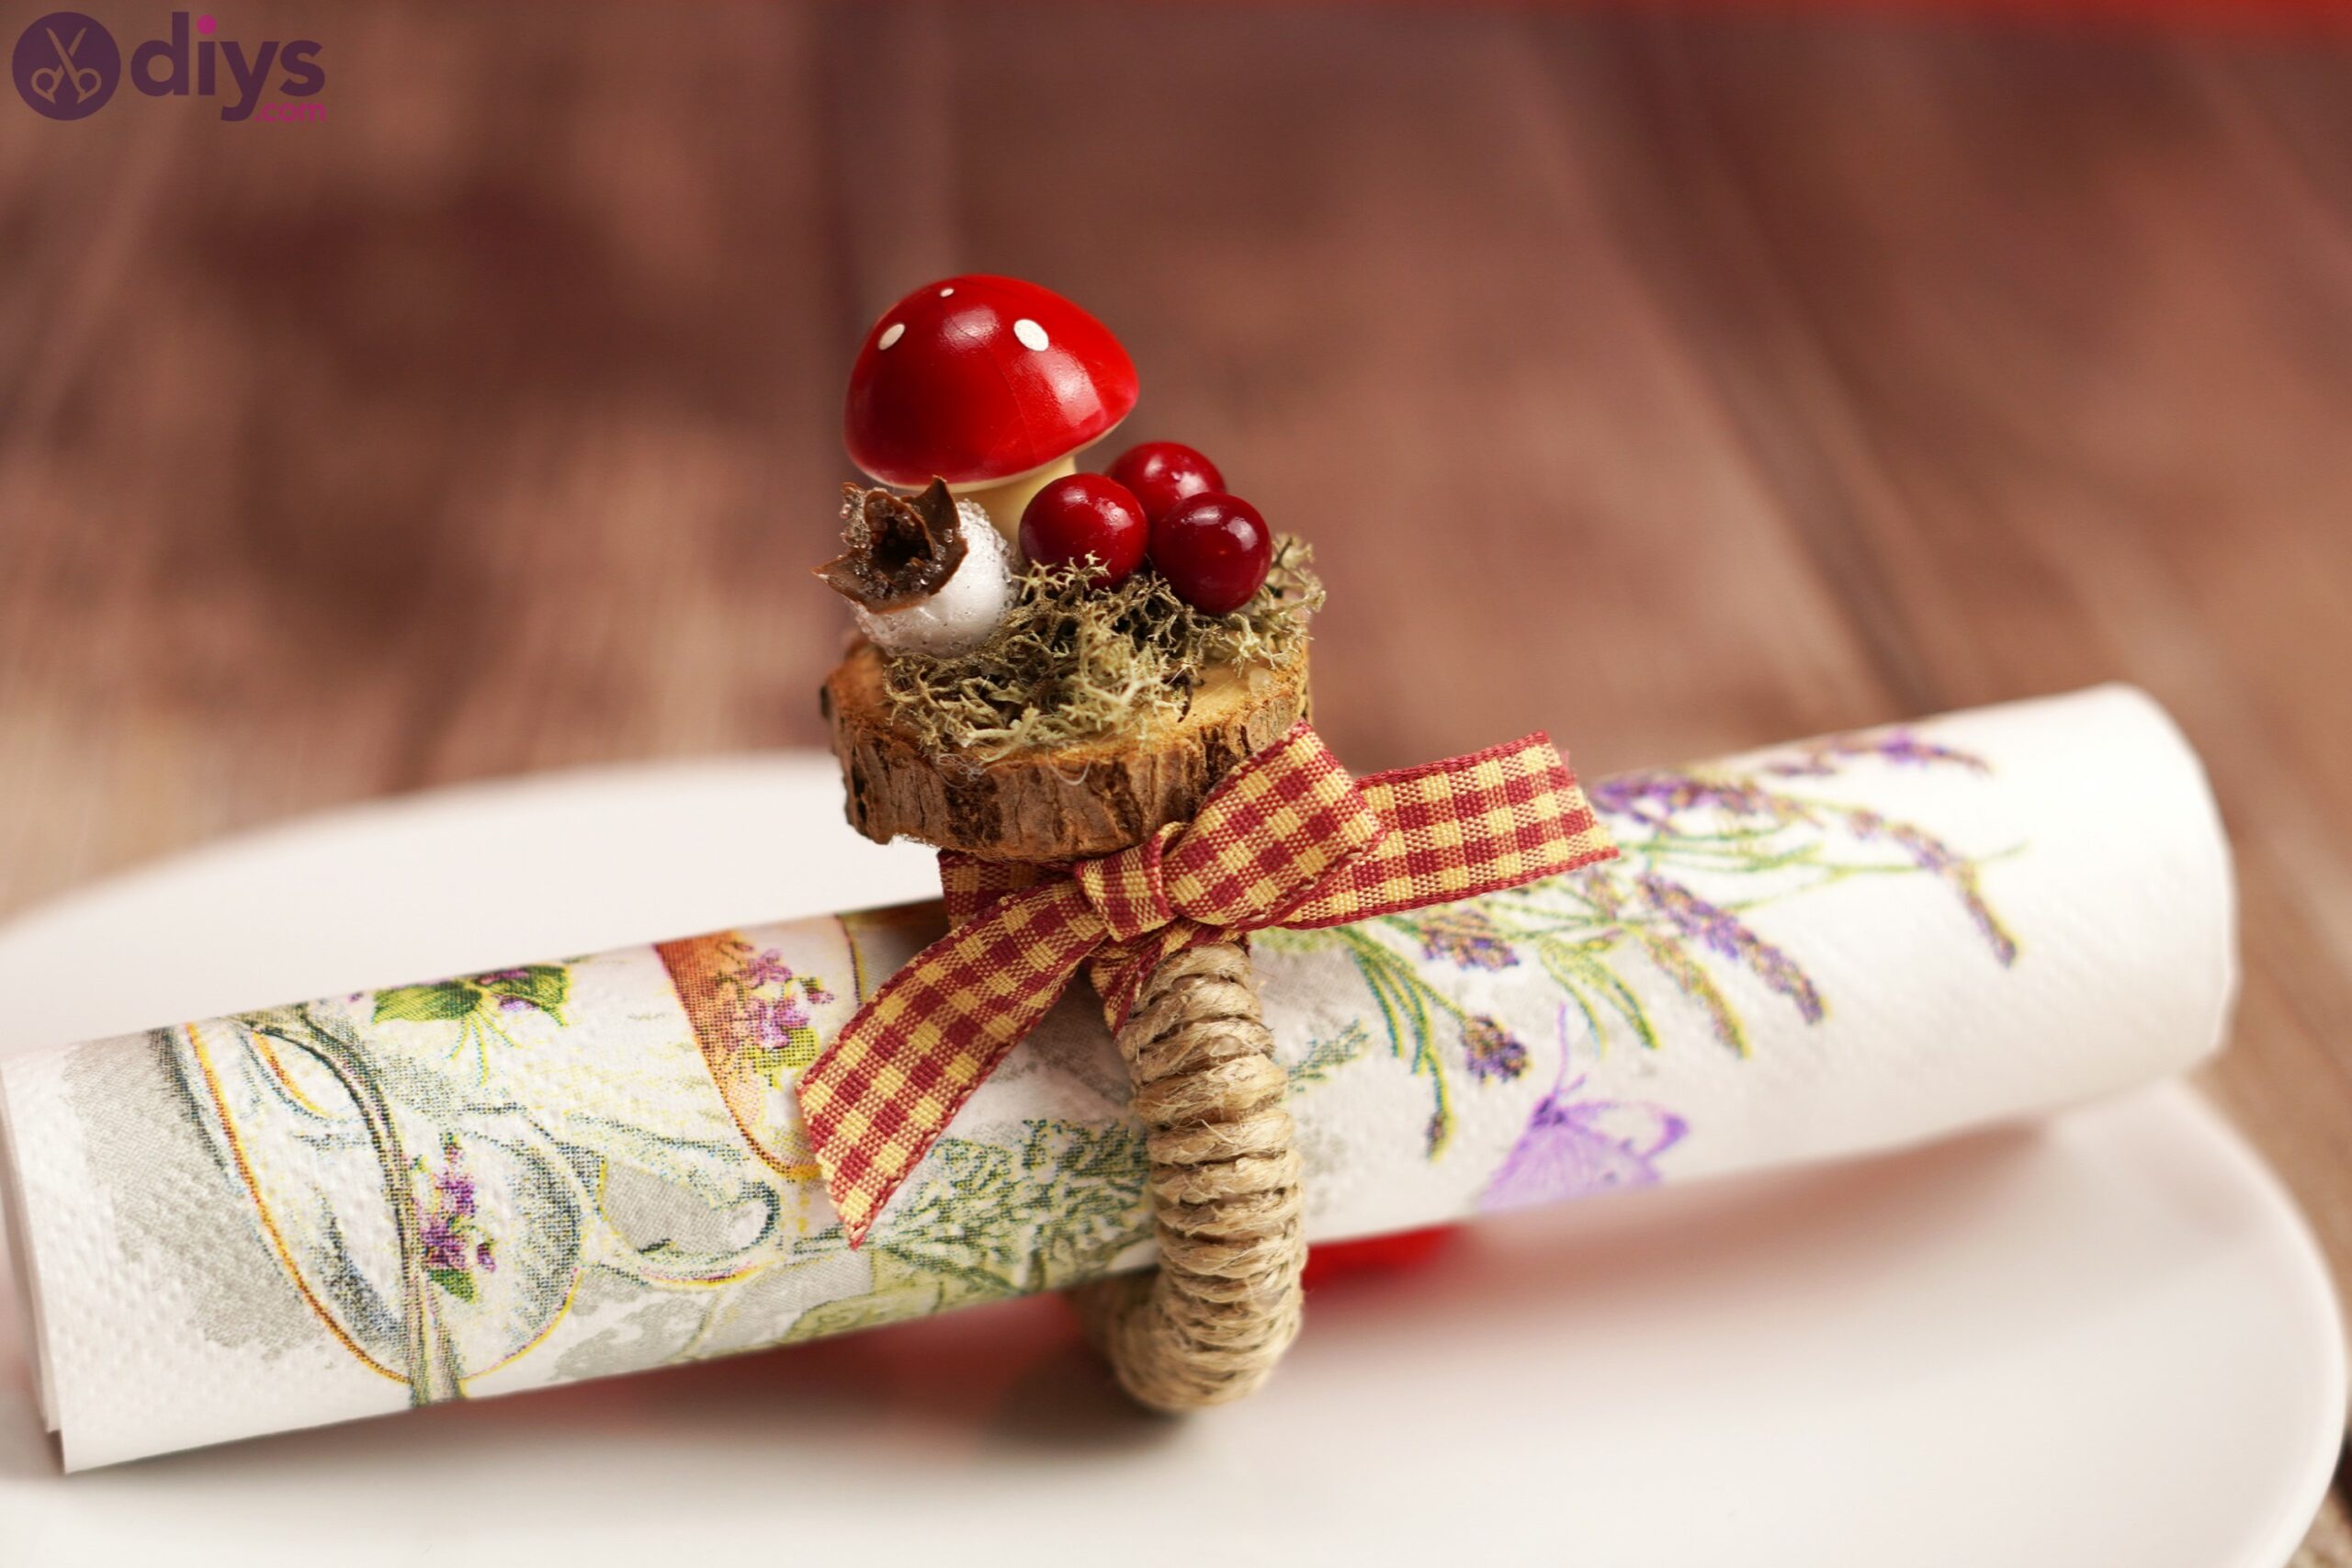
Do you own any napkin rings? If you’ve ever checked some of them out in shops, you’ll notice they’re all pretty boring. How about we show you how to make your own whimsical woodland napkin ring that will go perfectly with the holiday season or anytime you feel like putting a little magic on your table.

This idea is pretty great and we love the end result, so you should definitely try it out too, especially as it will certainly draw the attention of your guests.
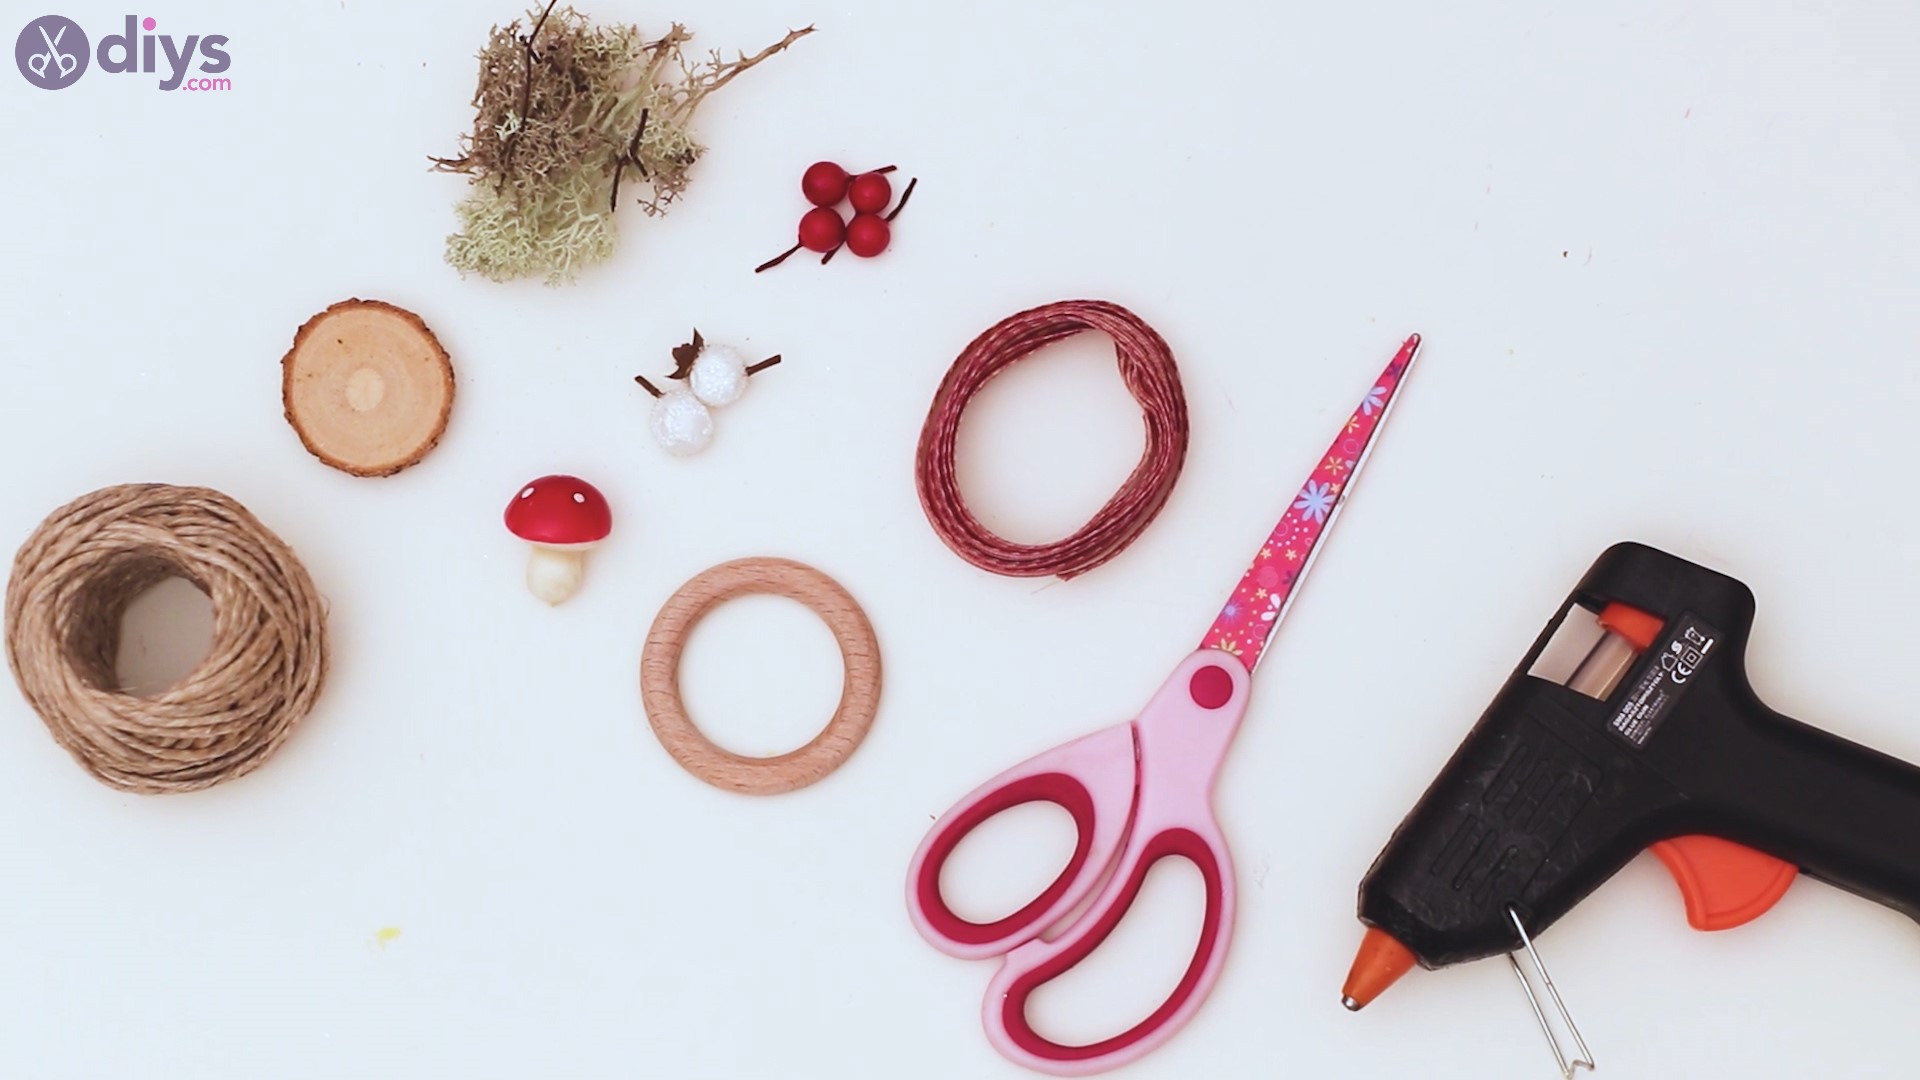
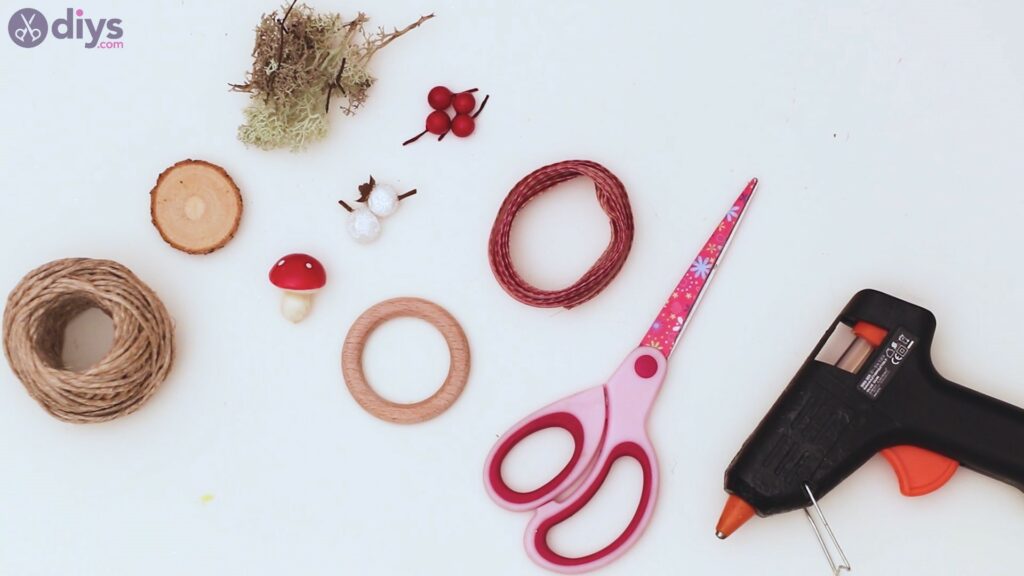
Materials for Woodland Napkin Ring
- artificial berries
- artificial mushroom
- moss
- round wood slice
- hemp twine
- wood ring
- silk ribbon
- scissors
- glue gun
How to Make a Woodland Napkin Ring
if you’re going to start on this project, we’re definitely going to have you check the list of materials again and see if you missed anything. You don’t want to go running around your home, trying to find something or another when your glue gun is hot, for instance. So! Everything ready? Let’s start
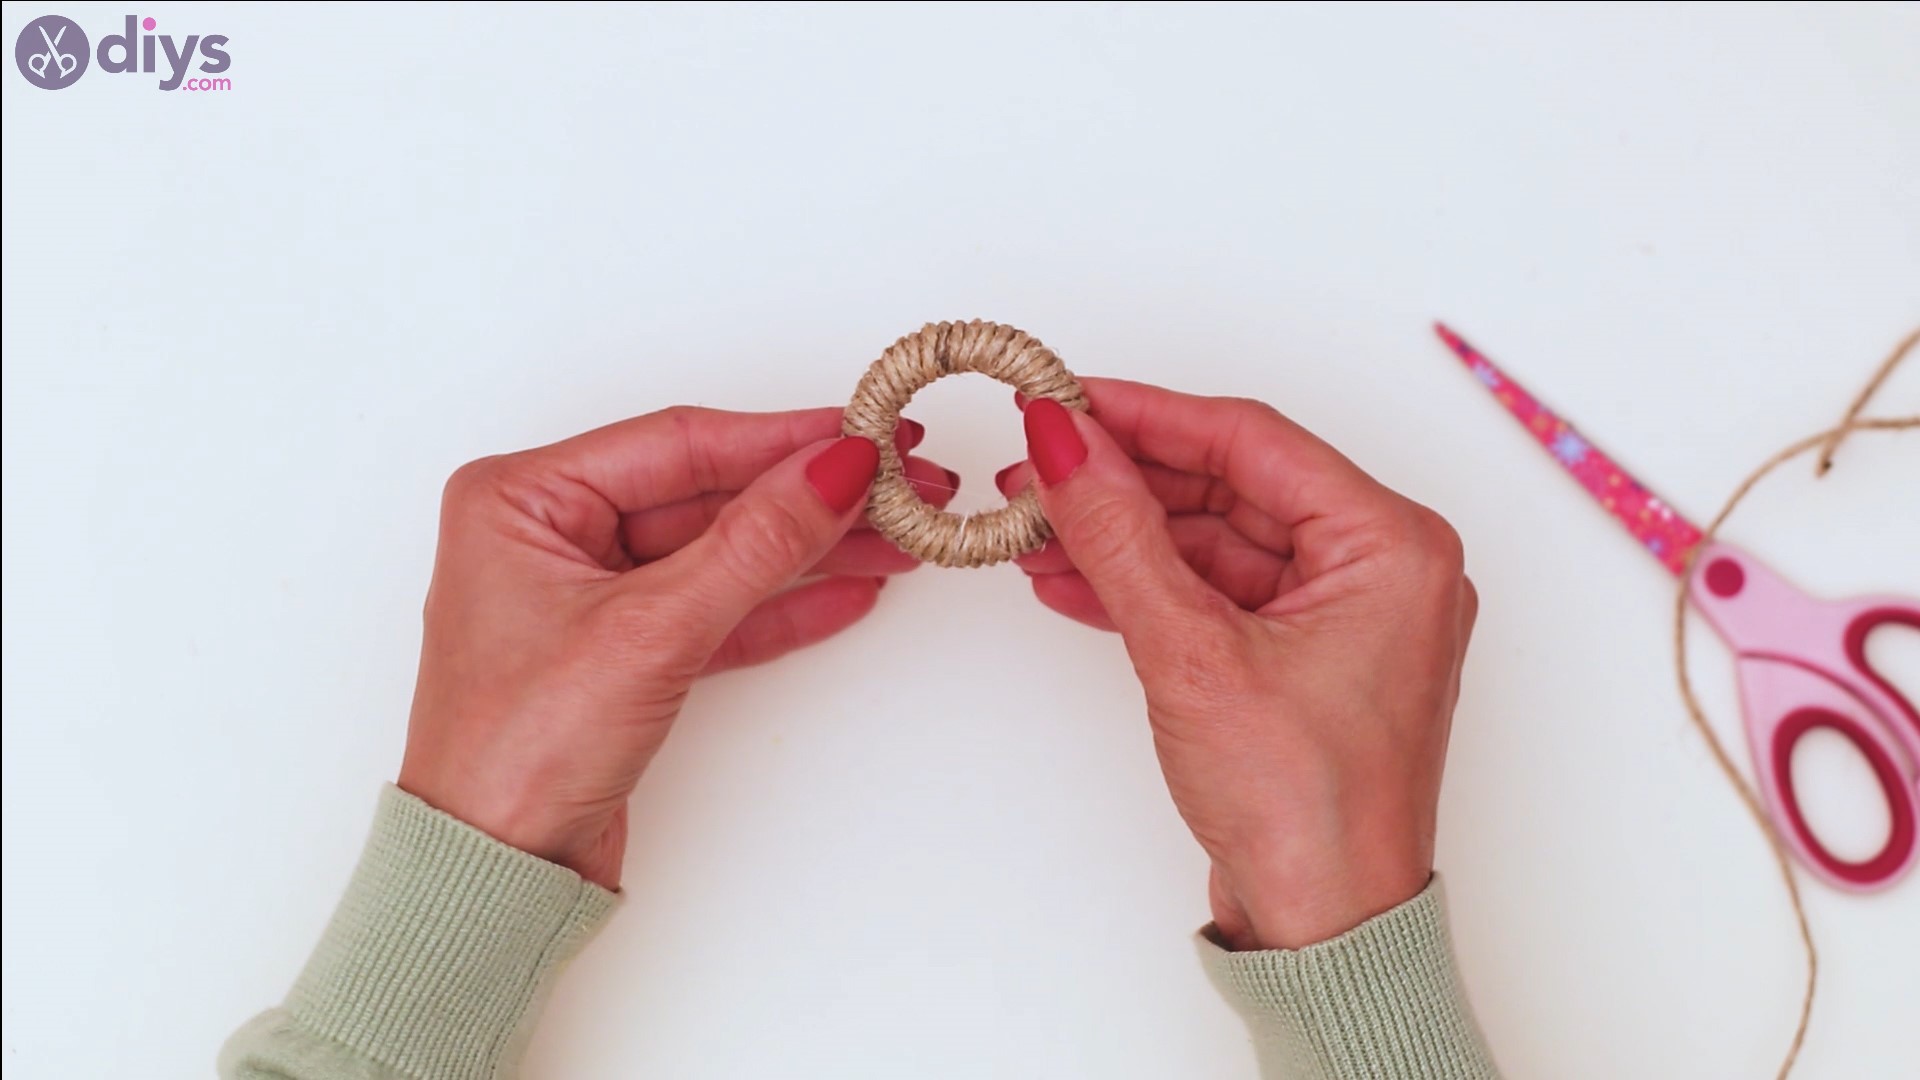
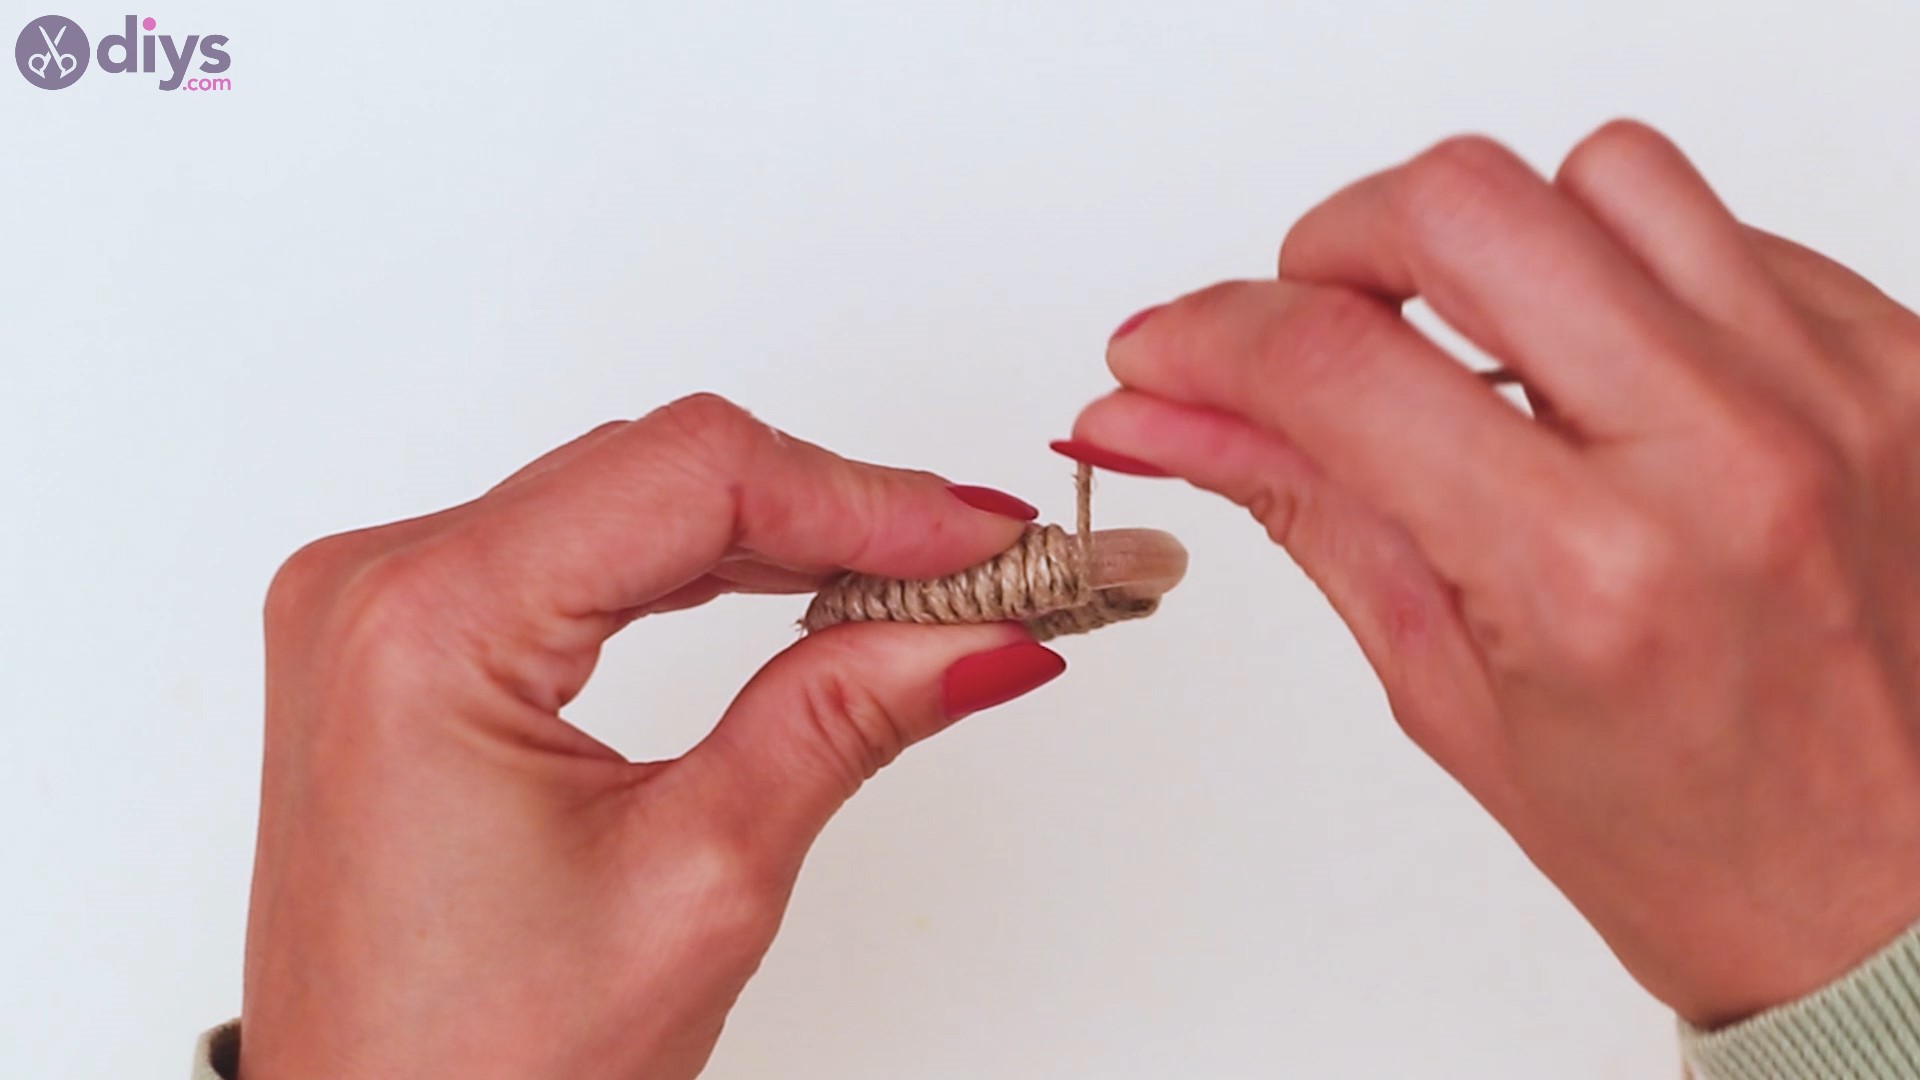
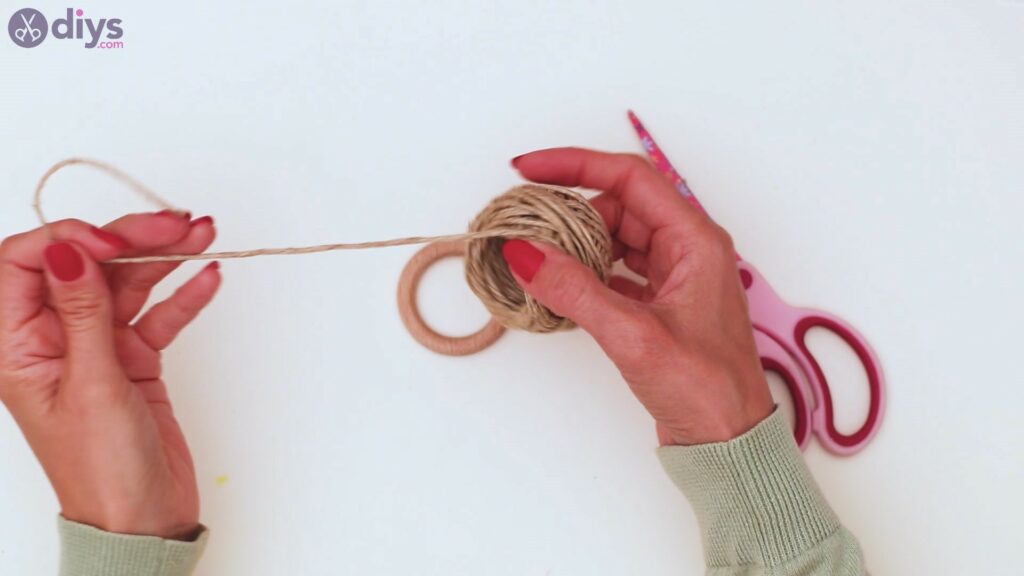
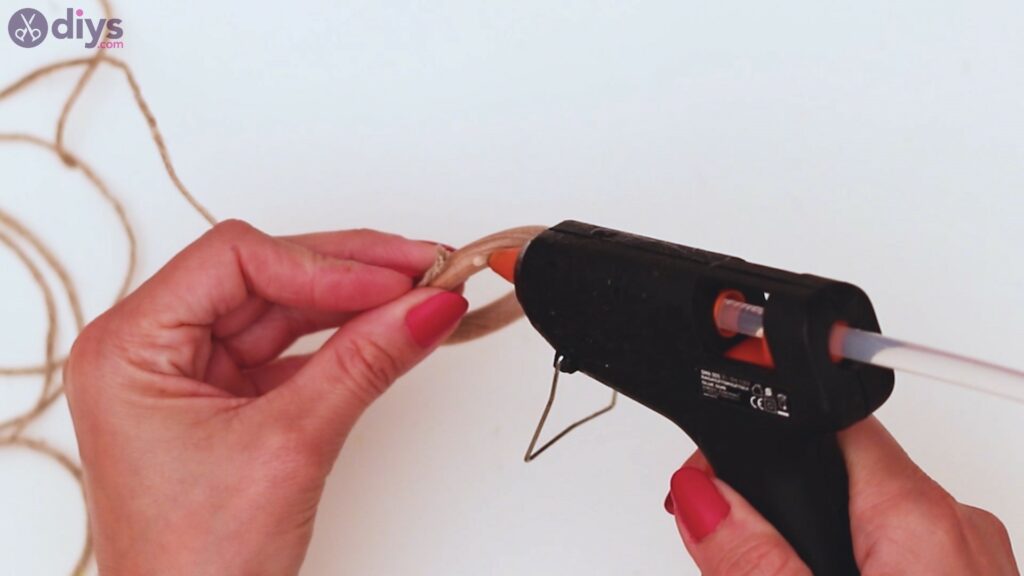
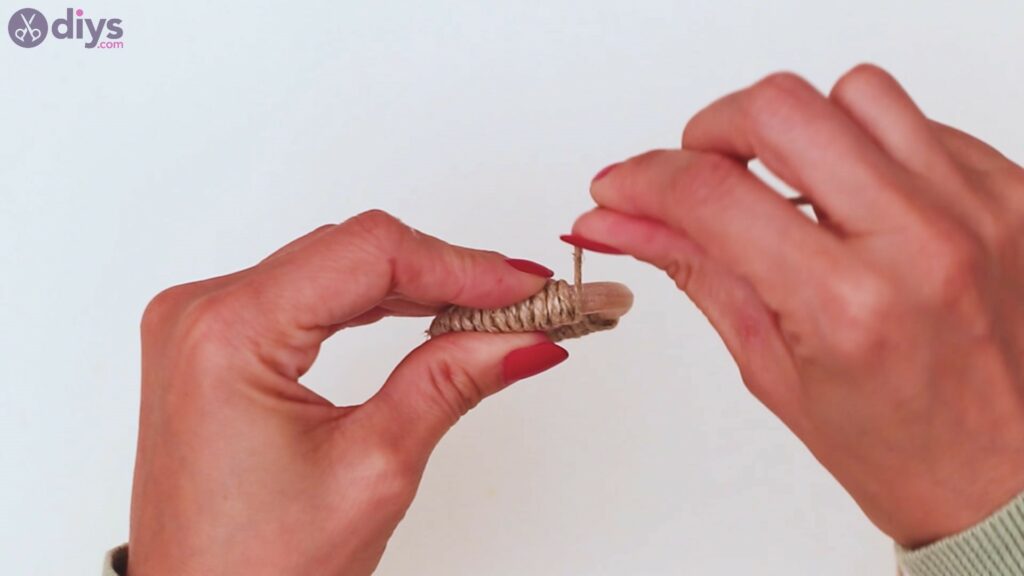
Step 1: Wrap the wood ring
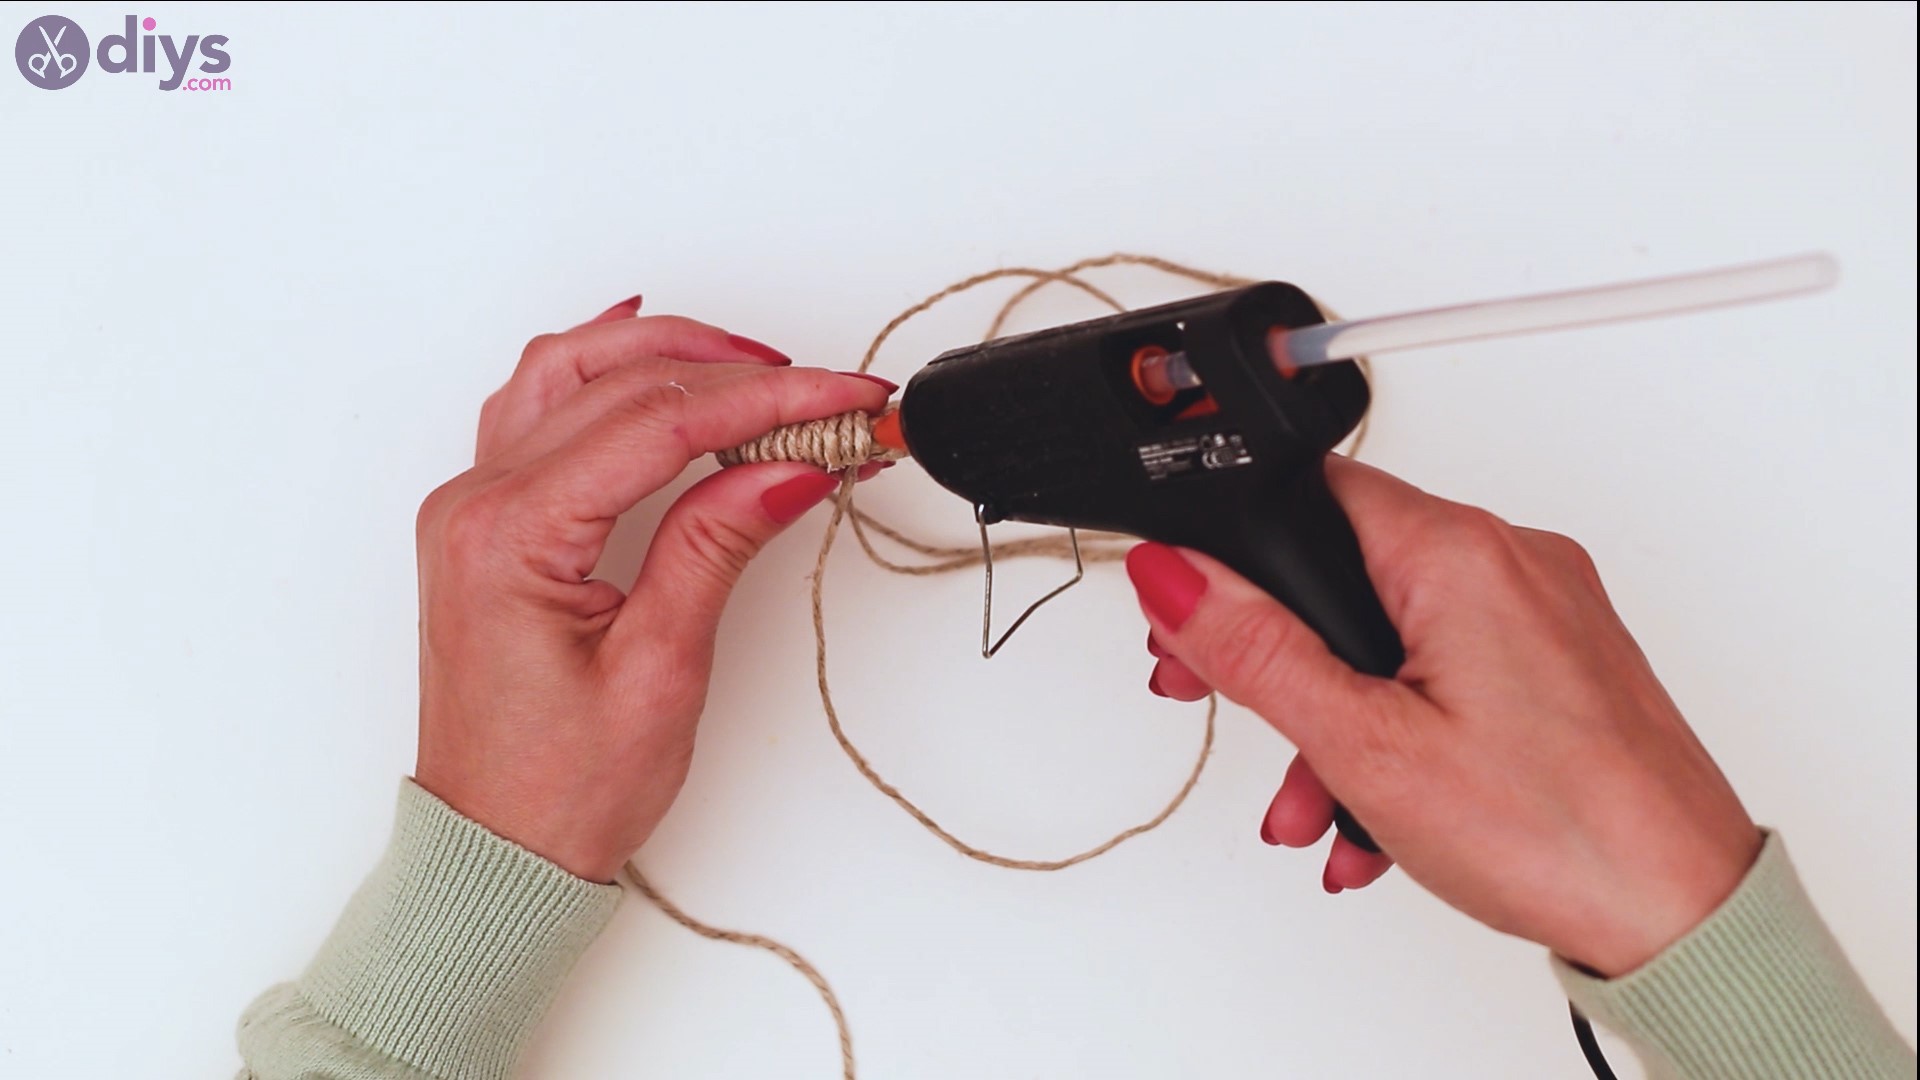
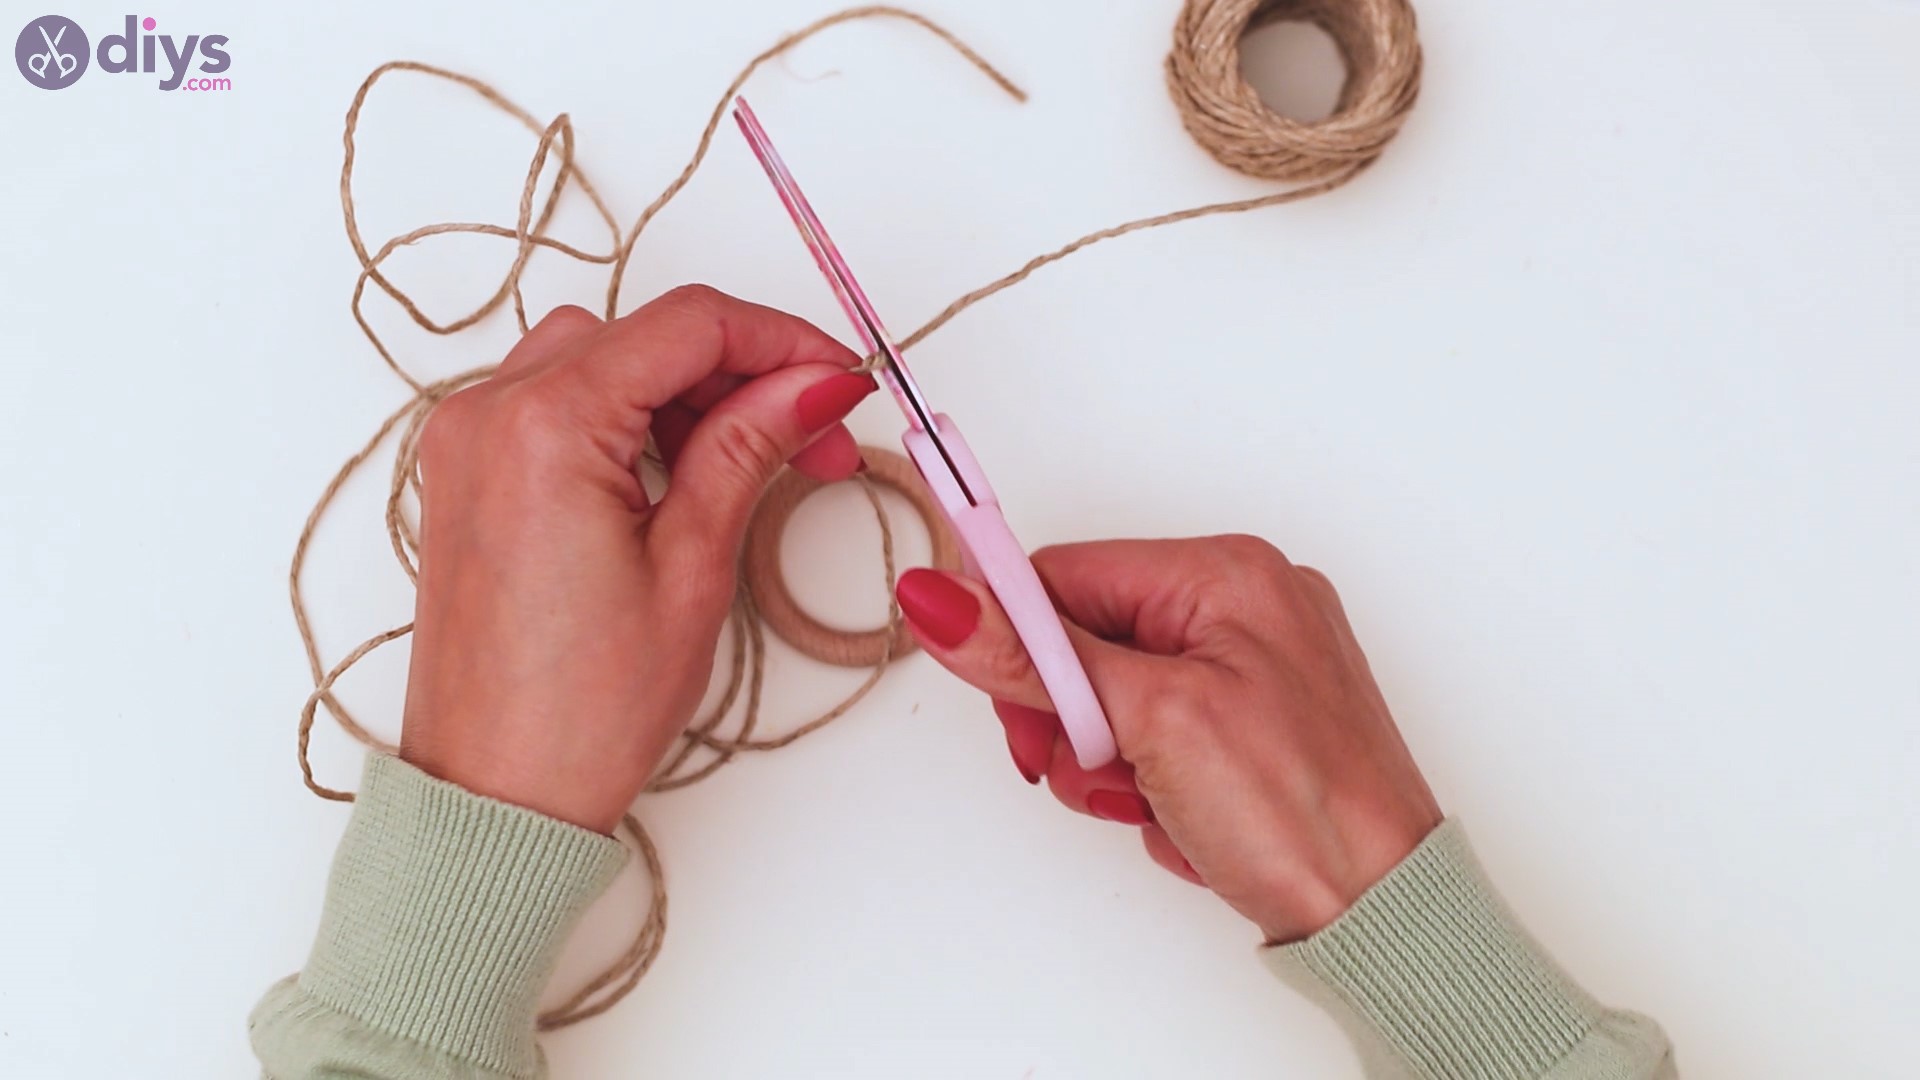
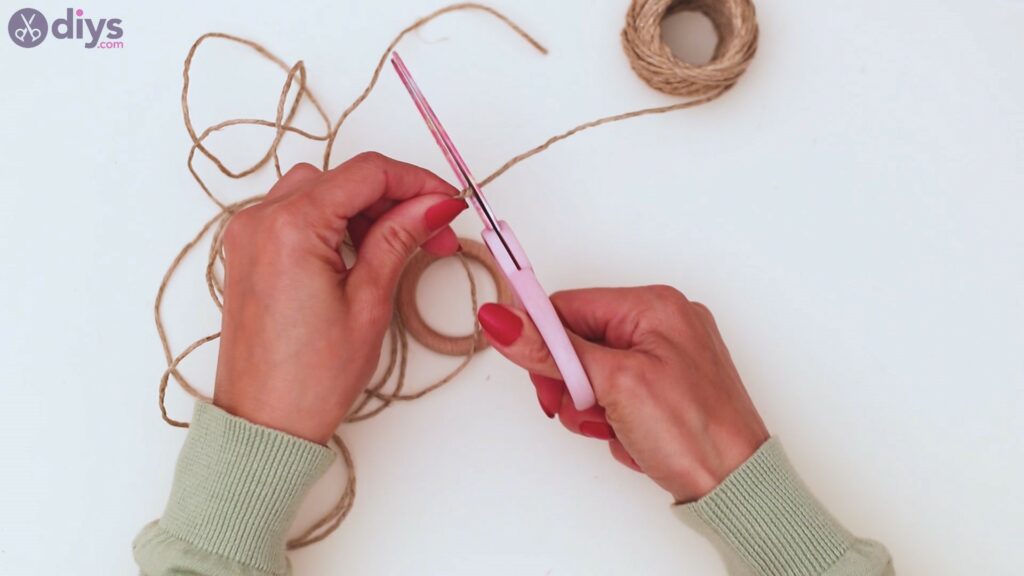
We’re going to start off by cutting out a good length of hemp twine. Unravel quite a bit of twine and cut the piece with your scissors.
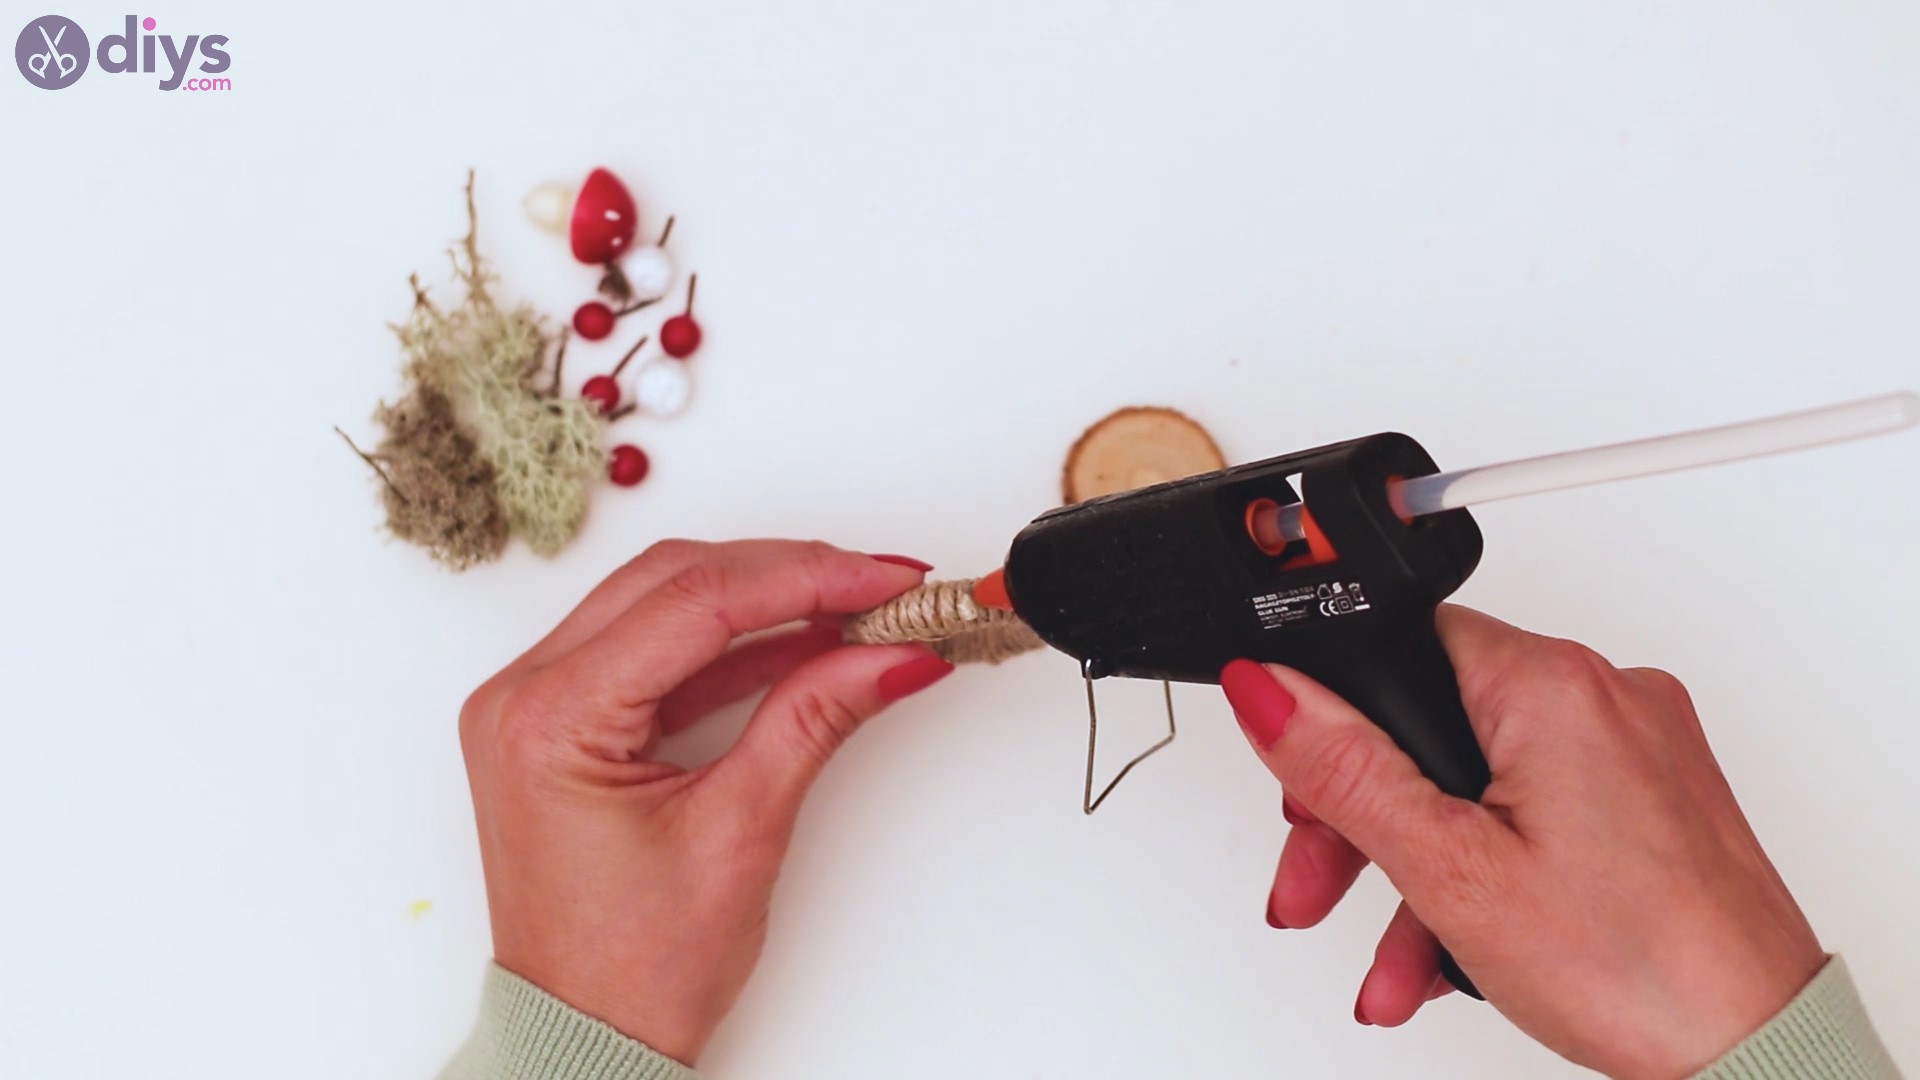
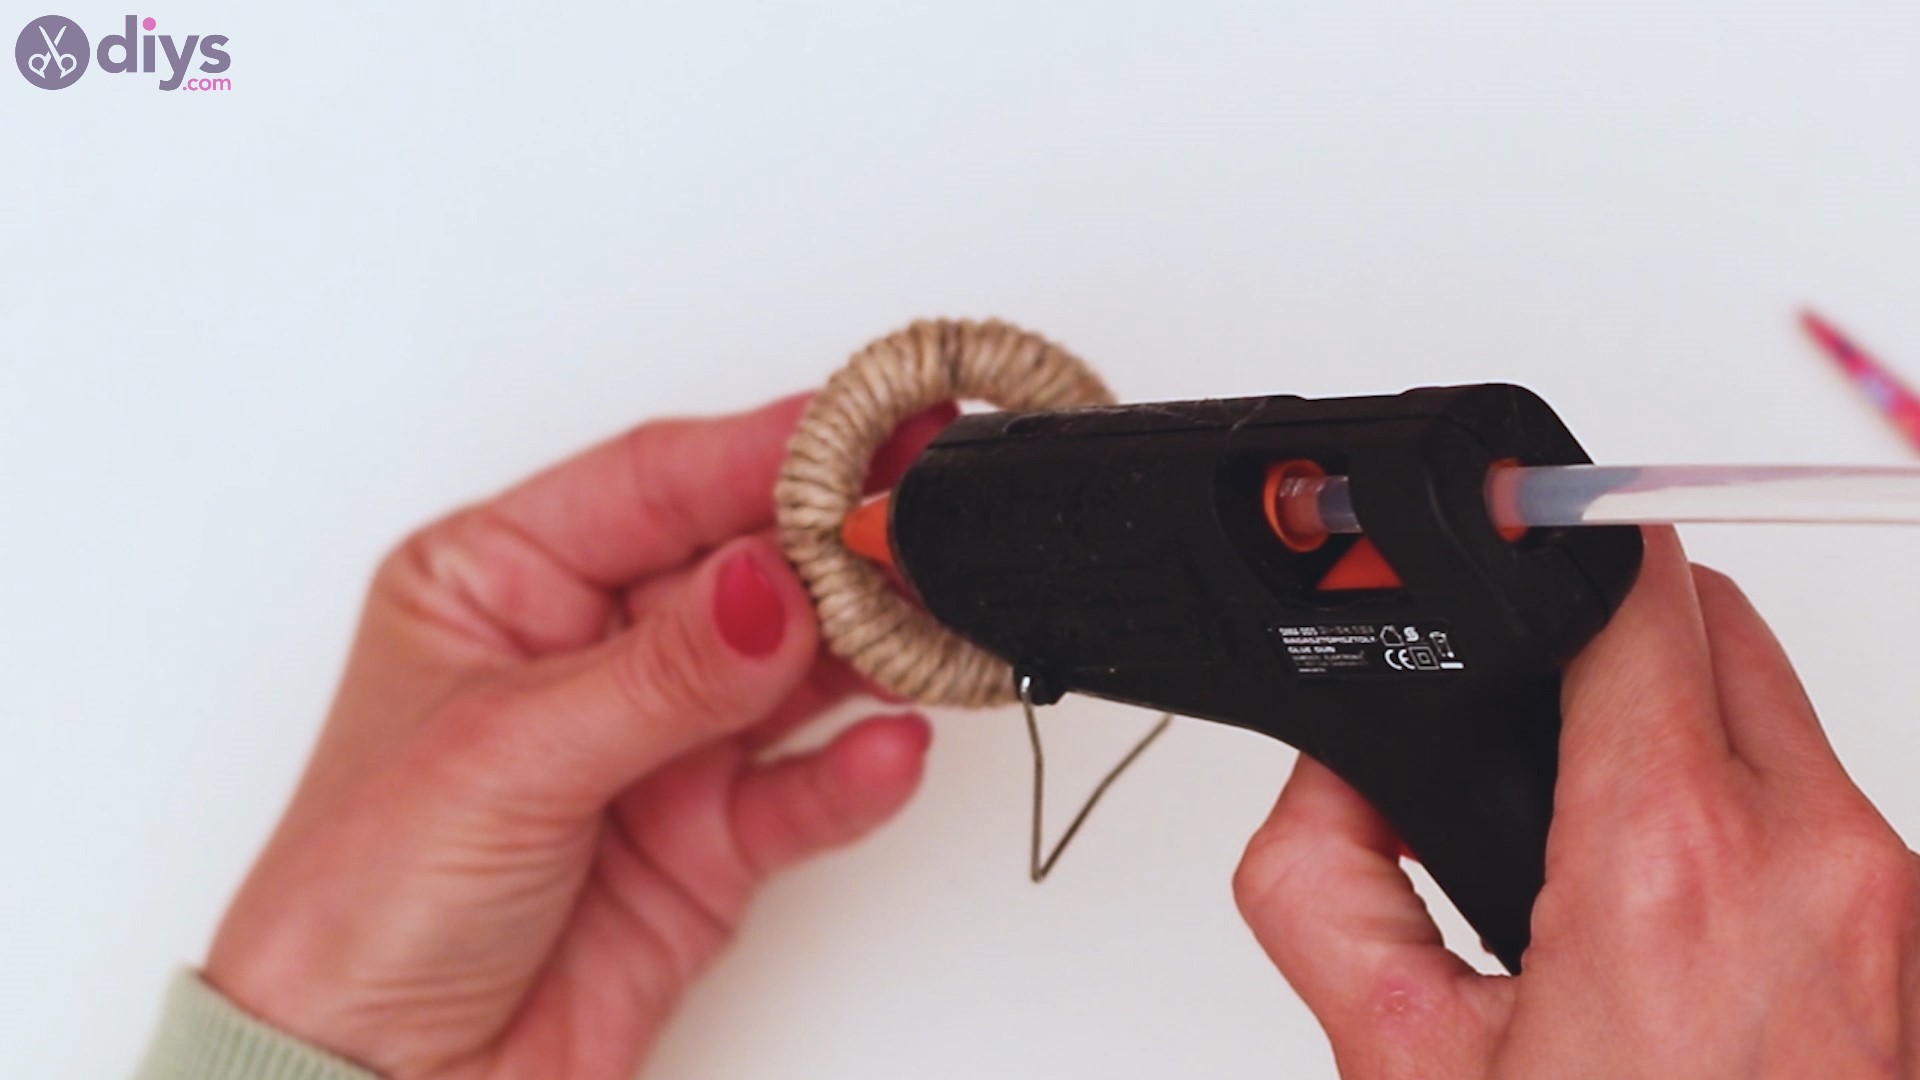
Plug the glue gun in and add some hot glue to the wood. Then, start wrapping the hemp twine around the ring.
Make sure you push the twine rows together, making for a tight wrap.

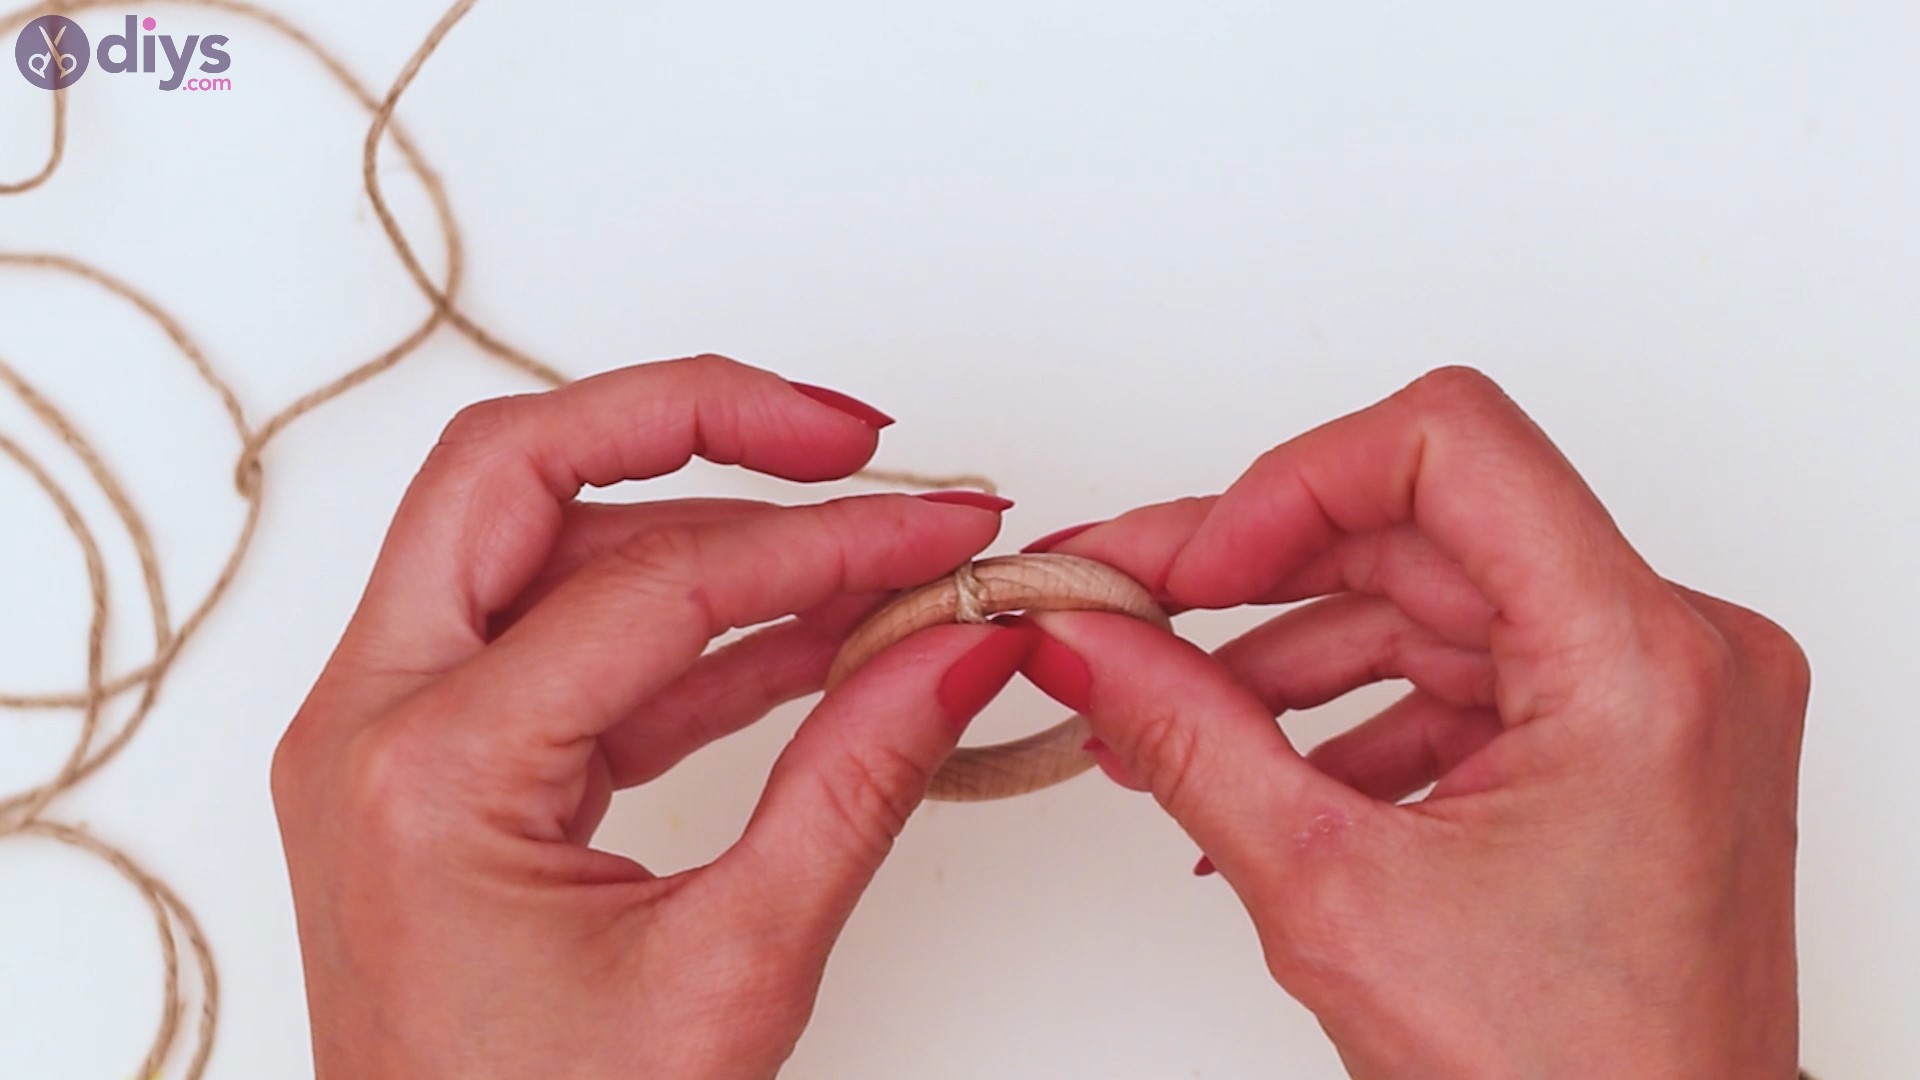
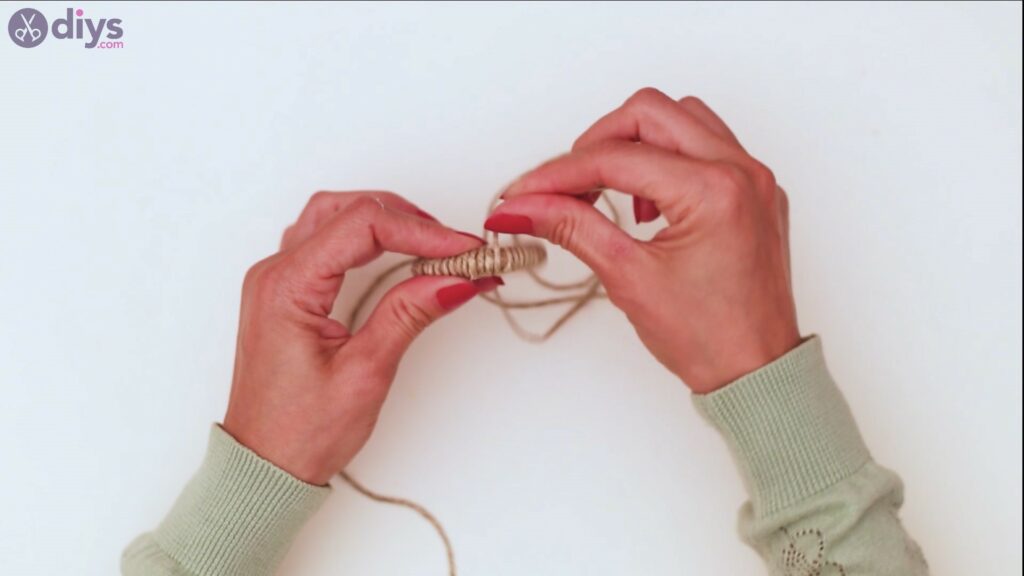
Also, keep adding hot glue to the wood ring as you go, so the hemp twine doesn’t end up moving a lot on the ring.
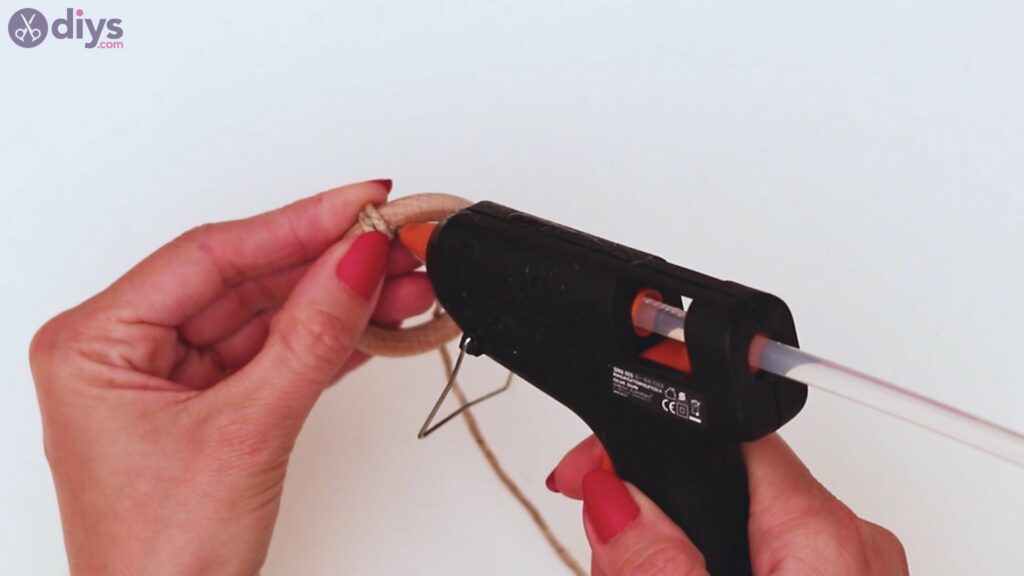

Once more, add hot glue every now and then. We recommend you do it every two turns and just add a bit more glue to it, so all the twine is covered.

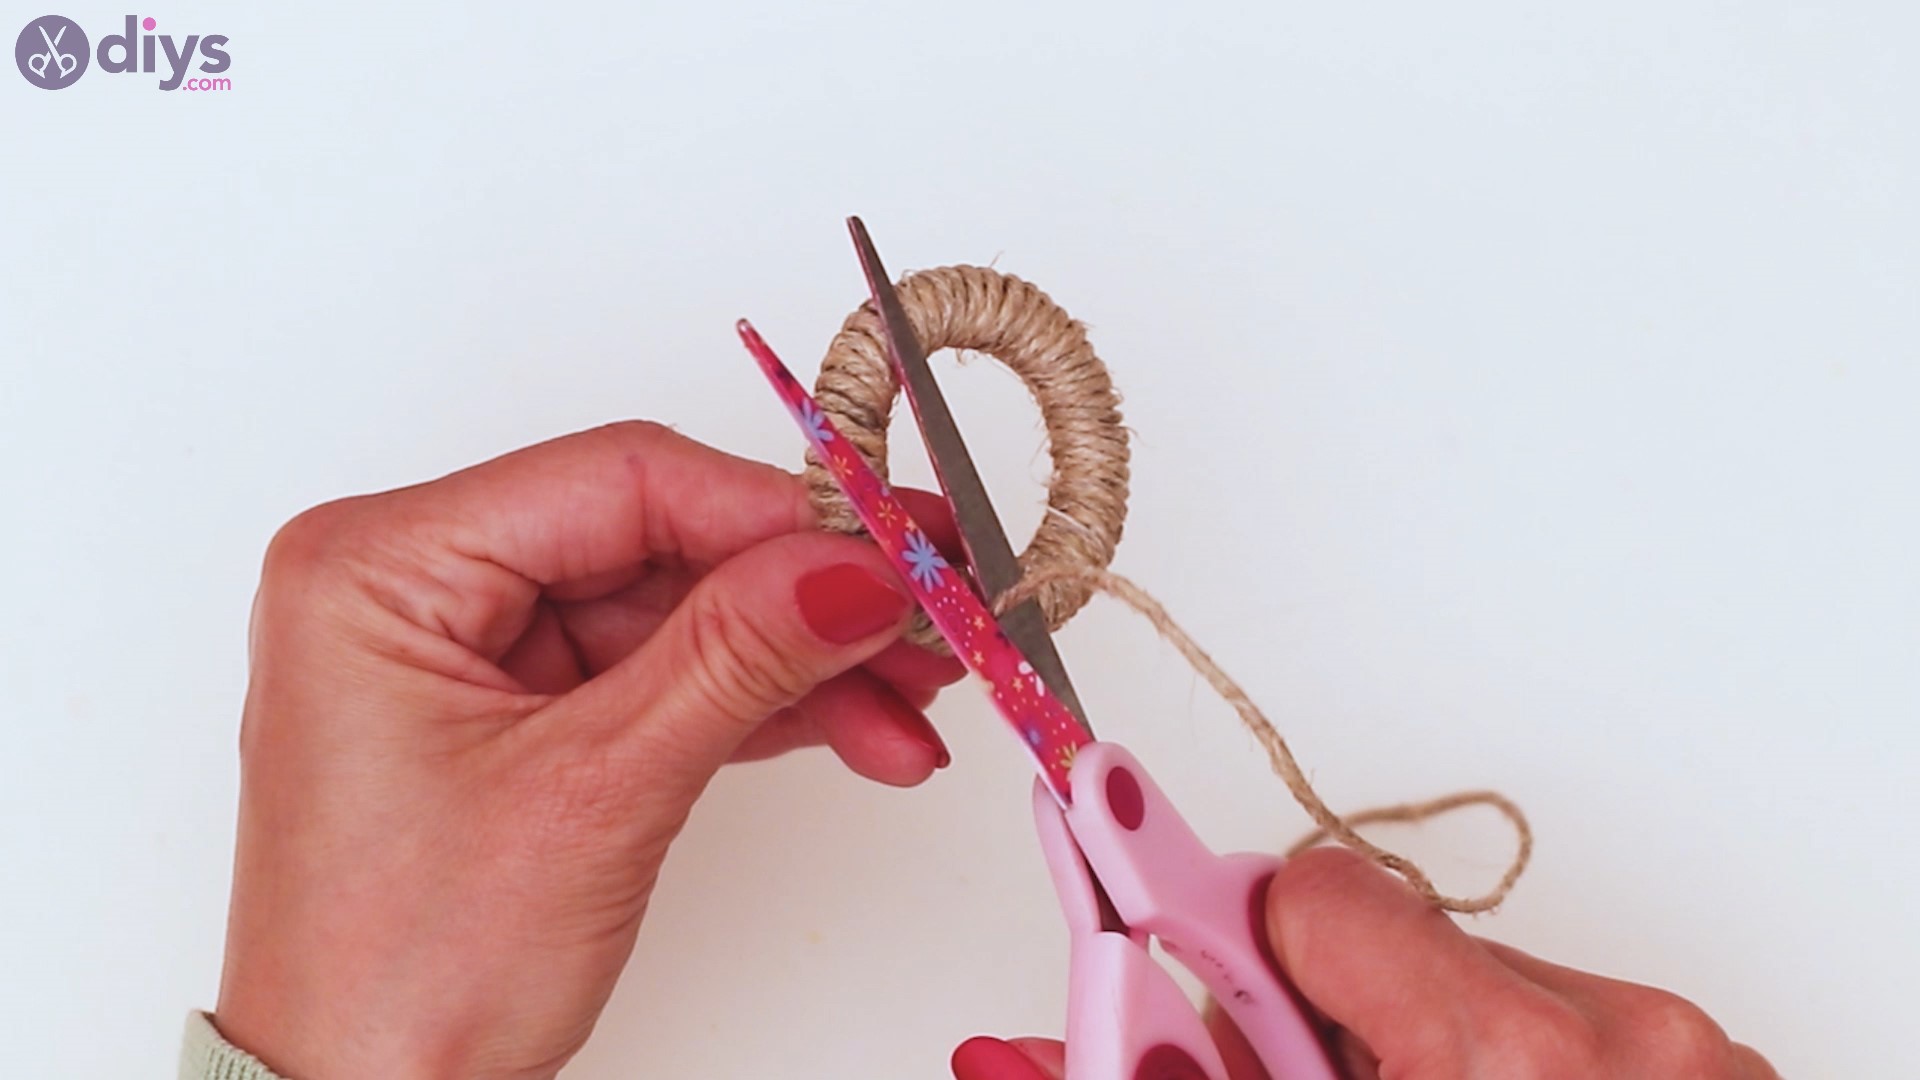
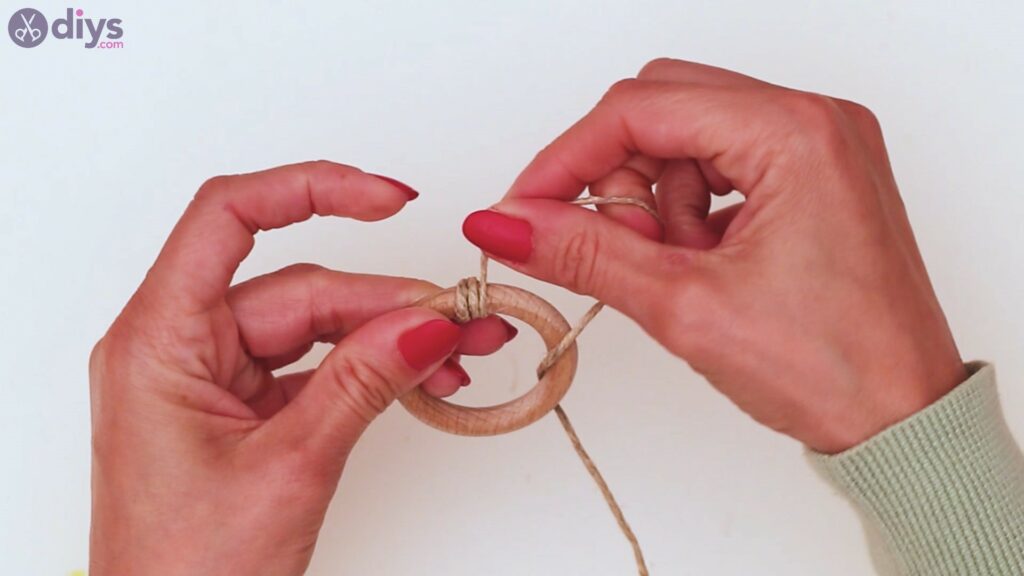
Make sure to pull the rope tight as you go around the ring, up to the end, maintaining the tension.
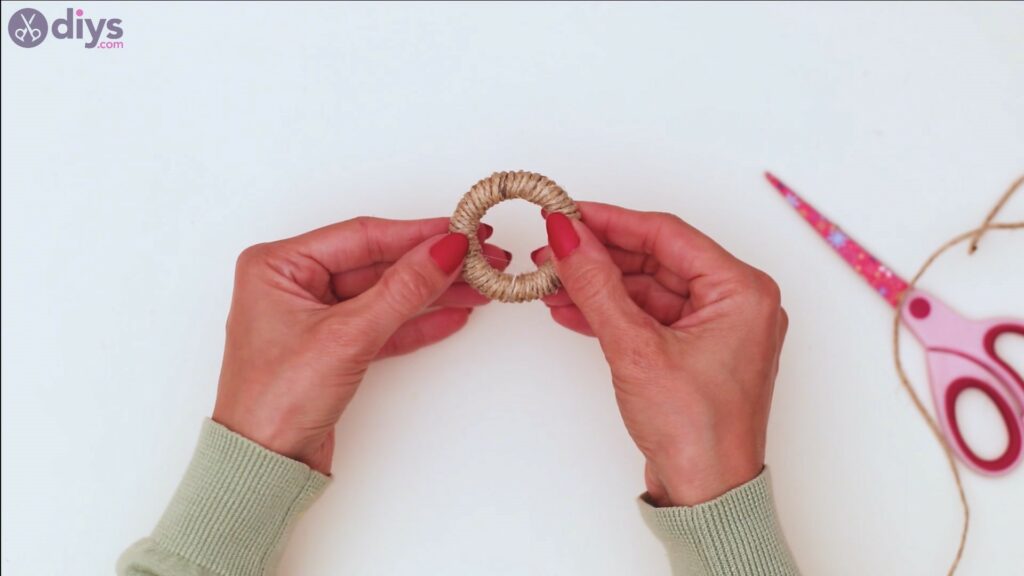
When you’re nearly done, cut the hemp twine with your scissors.

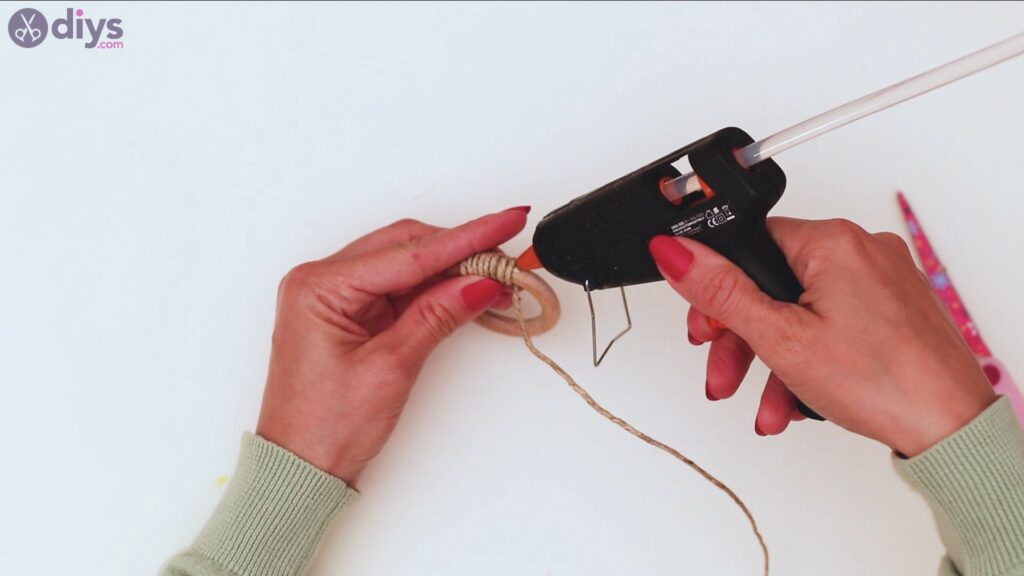
Add a little bit more hot glue as you completely cover the wood ring.

There you go! A beautifully hemp-wrapped wooden ring!
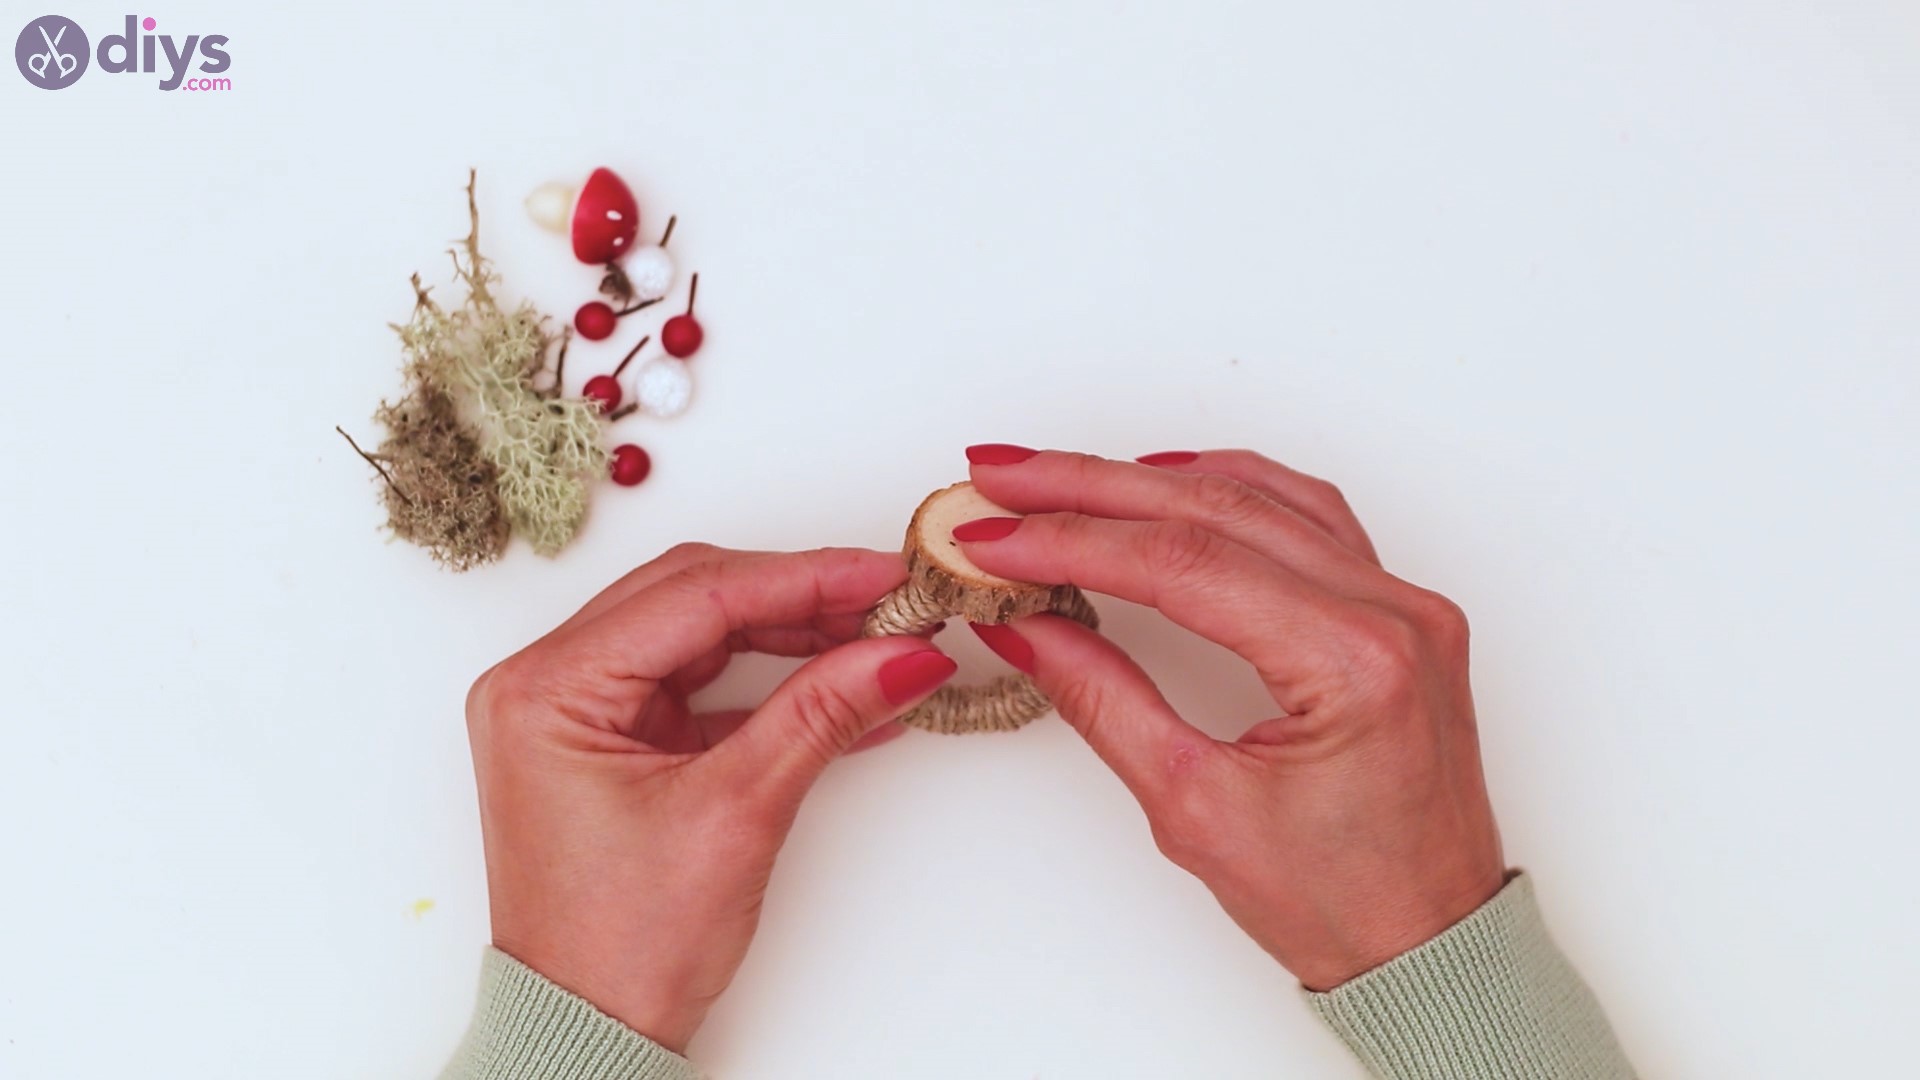
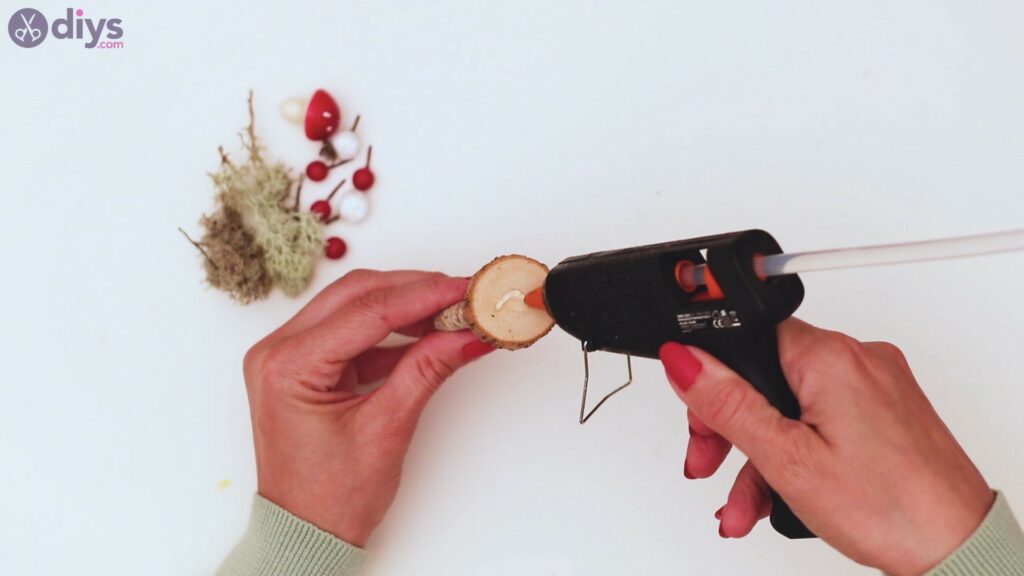
Step 2: Add the wood slice
Now that the wood ring is done, let’s add even more hot glue. Pick a spot on the ring, maybe one where the hemp twine doesn’t really sit properly.
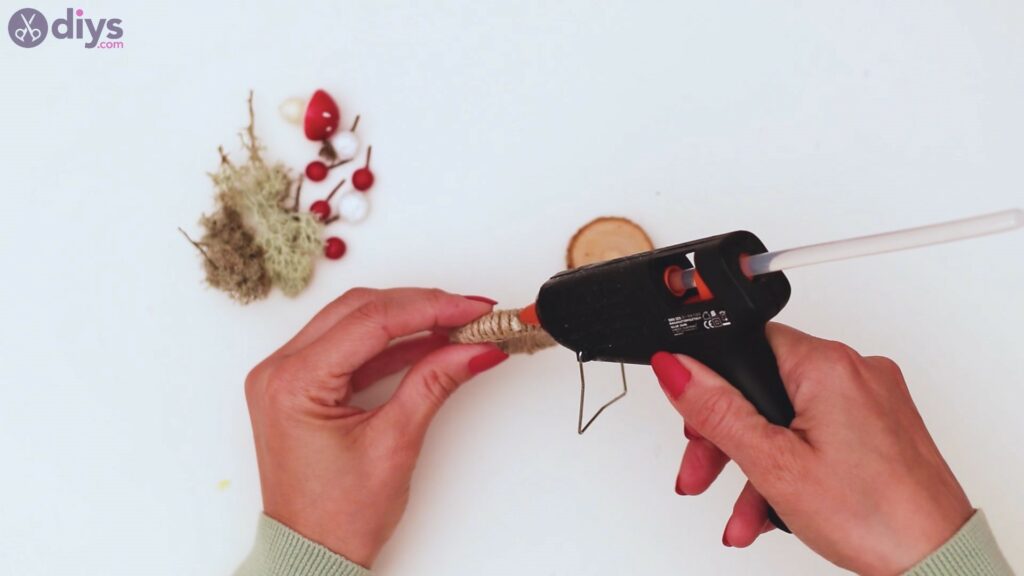
Get the wood slice and add it on top of the glob of hot glue. There you go! Make sure to maintain the pressure for a little while so the whole thing properly sets.

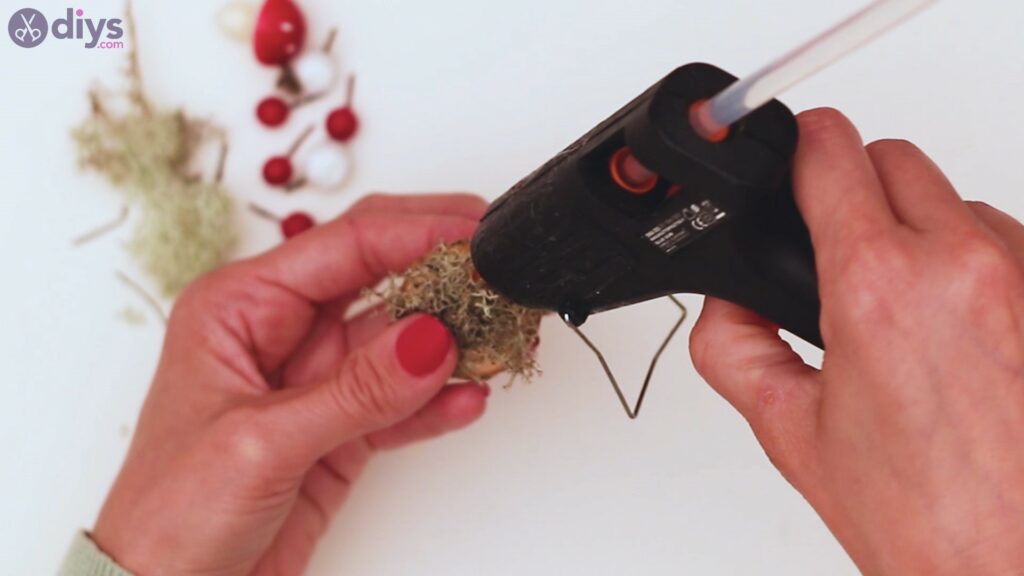
Step 3: Decorate the ring
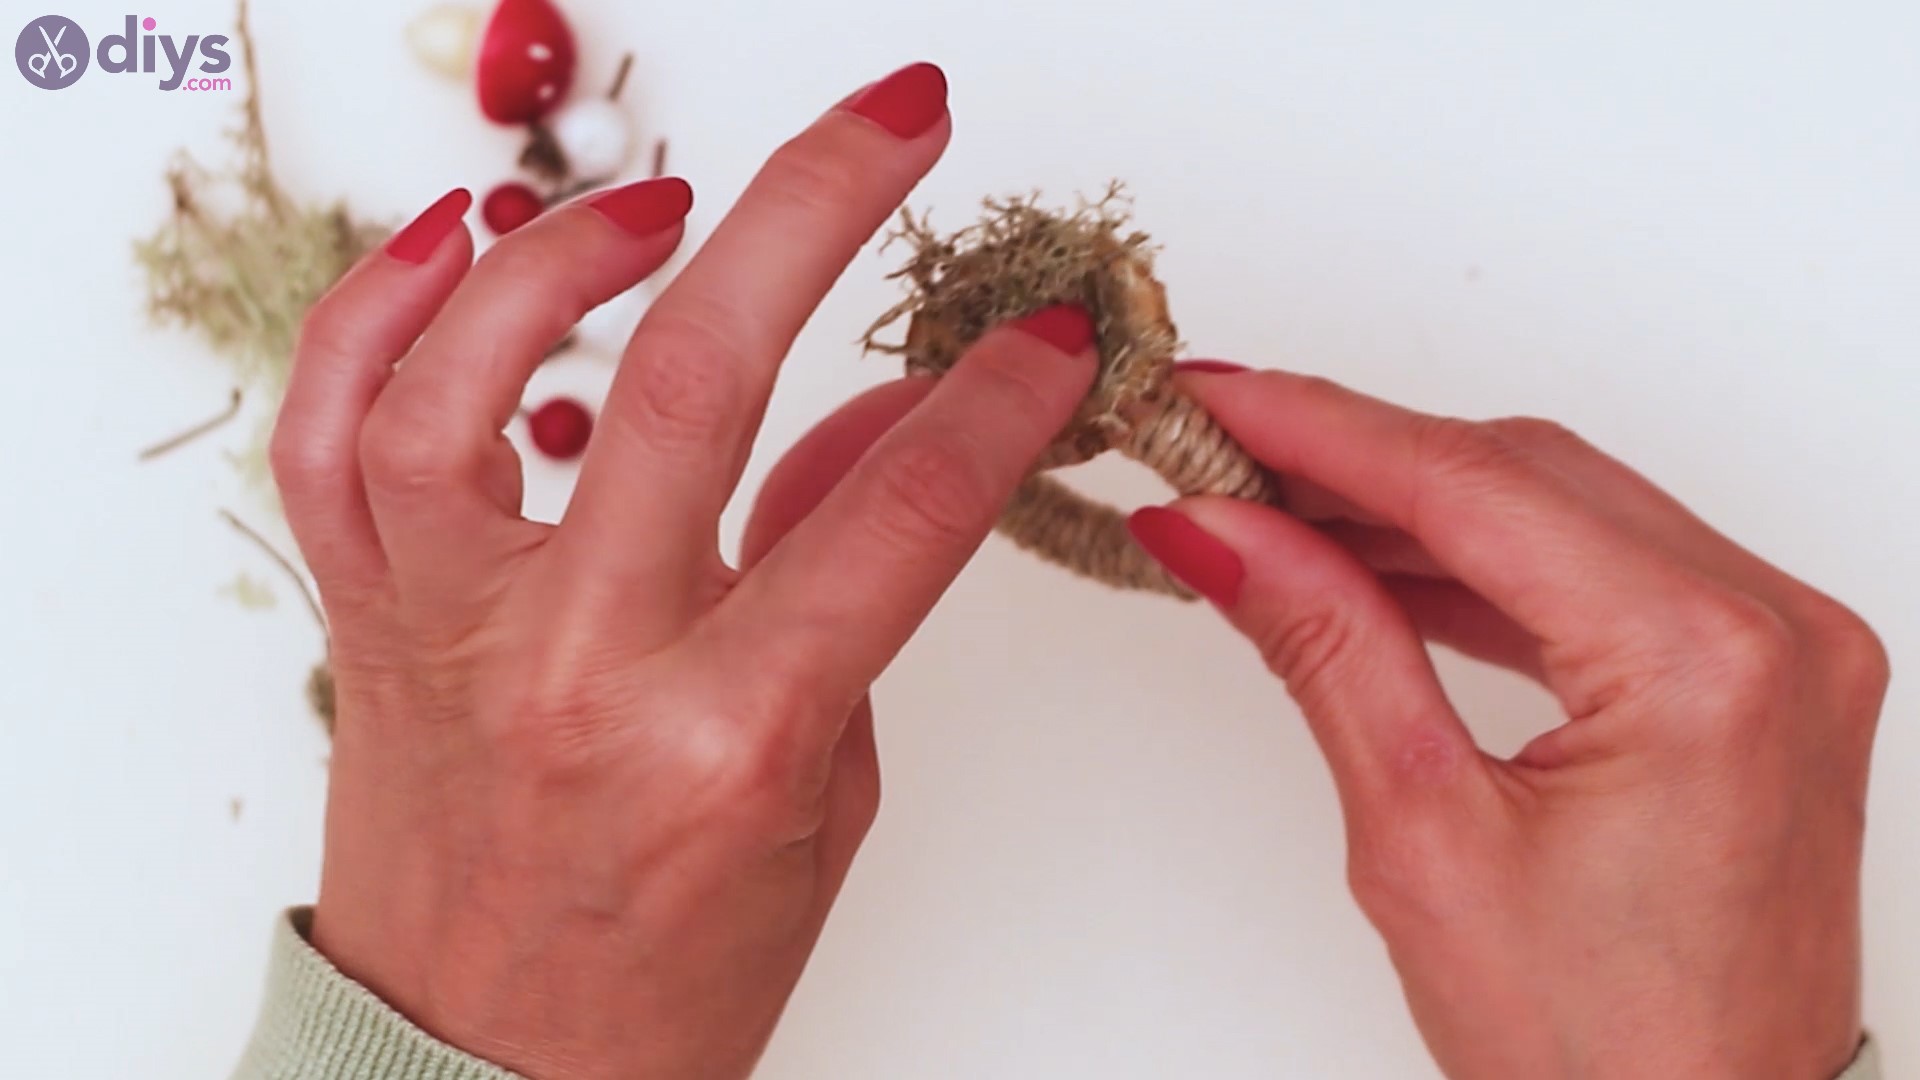
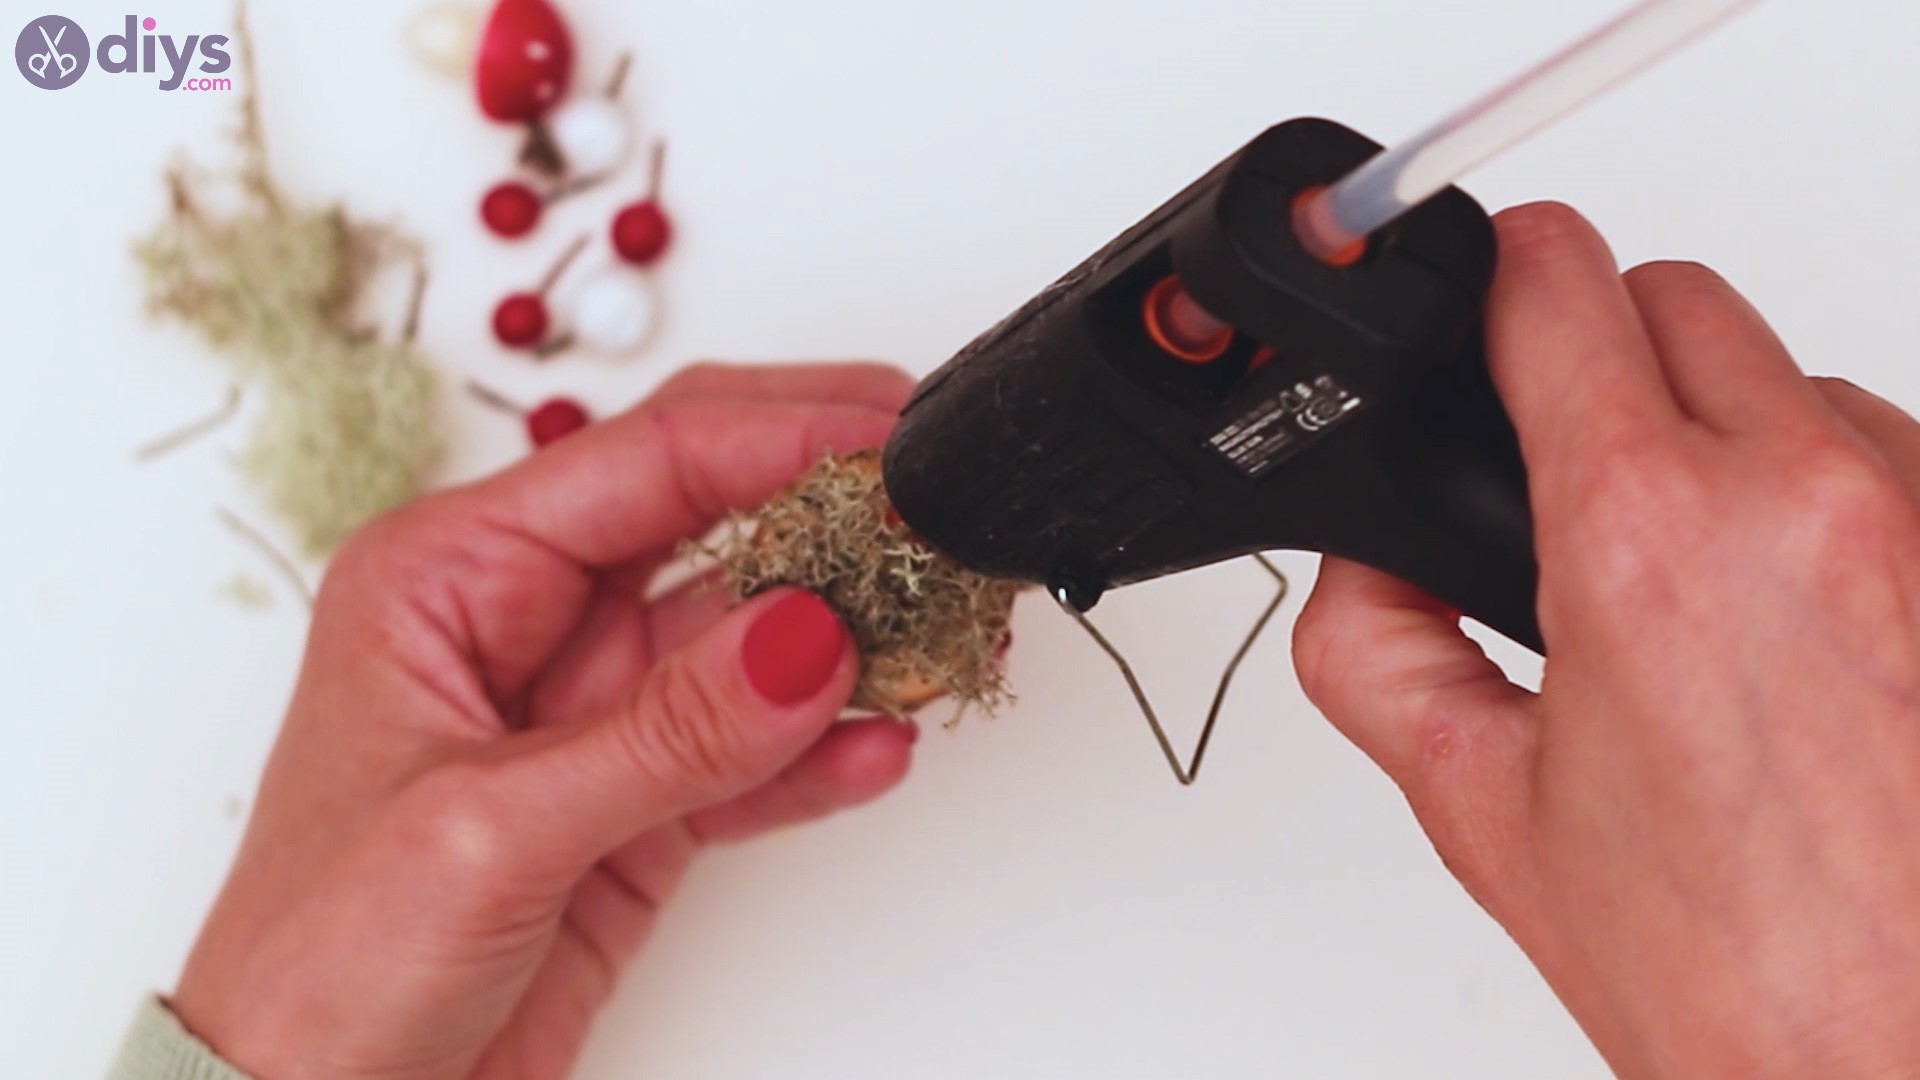
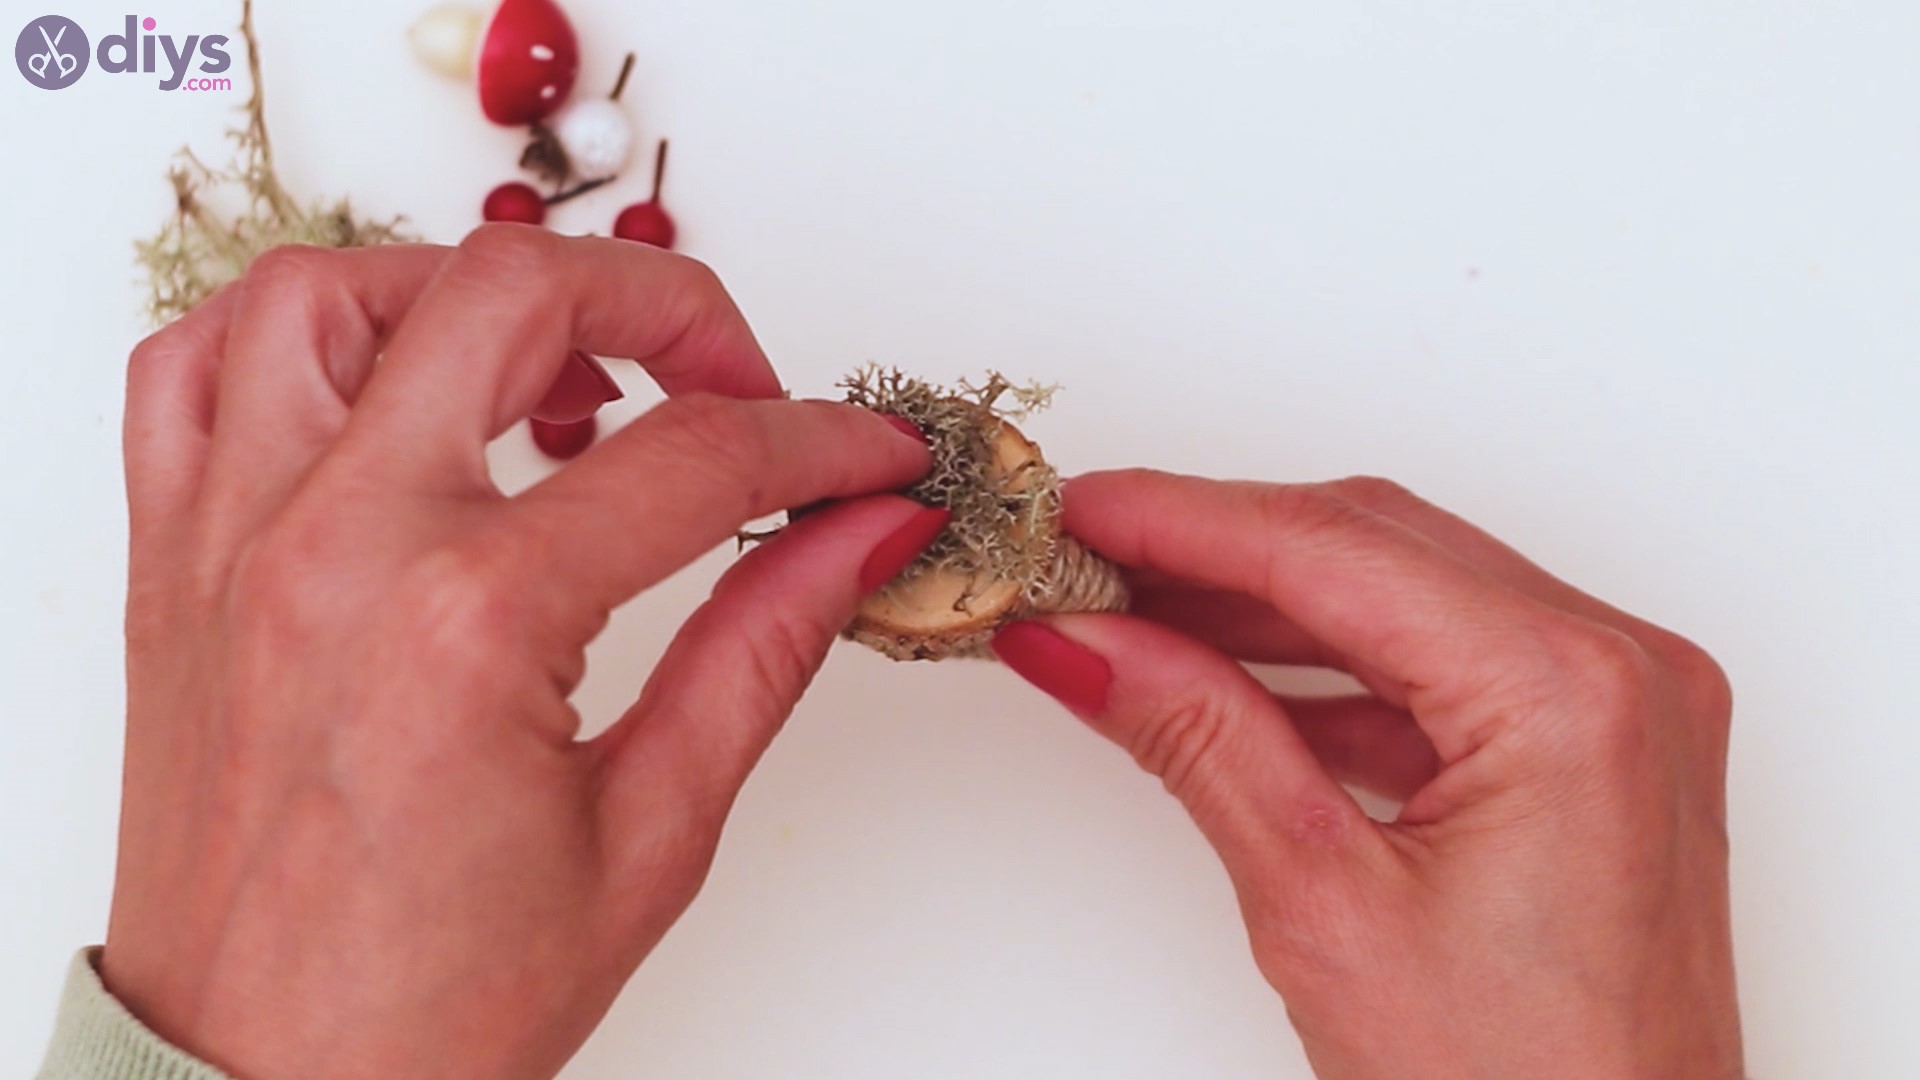
Next, we’re going to start decorating the ring. Add some hot glue to the wood slice.
Bring in the moss and press it over the glue. You’re going to want to try to cover as much of the hot glue as possible since you want the moss to properly stick to the wood. Also, make sure to maintain the pressure for a few seconds.

Add more hot glue if necessary and you want to apply the moss better.

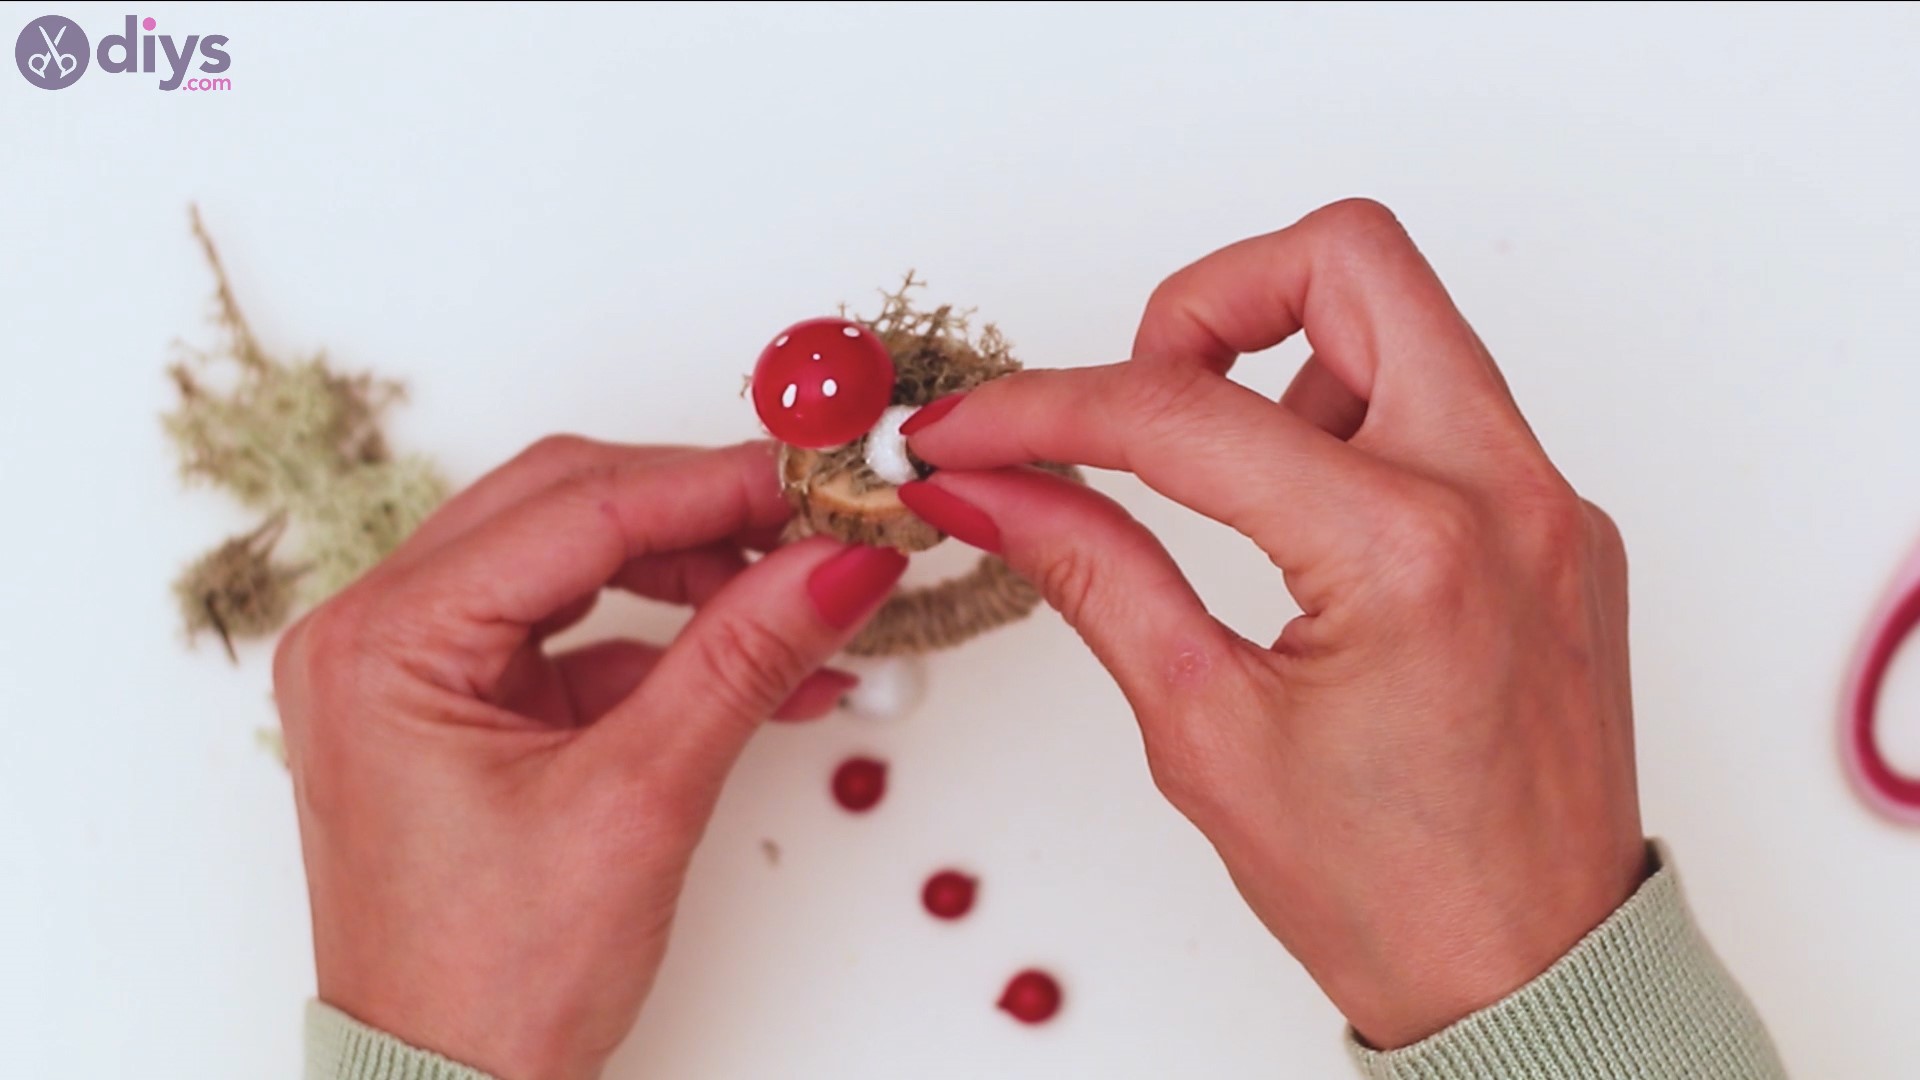
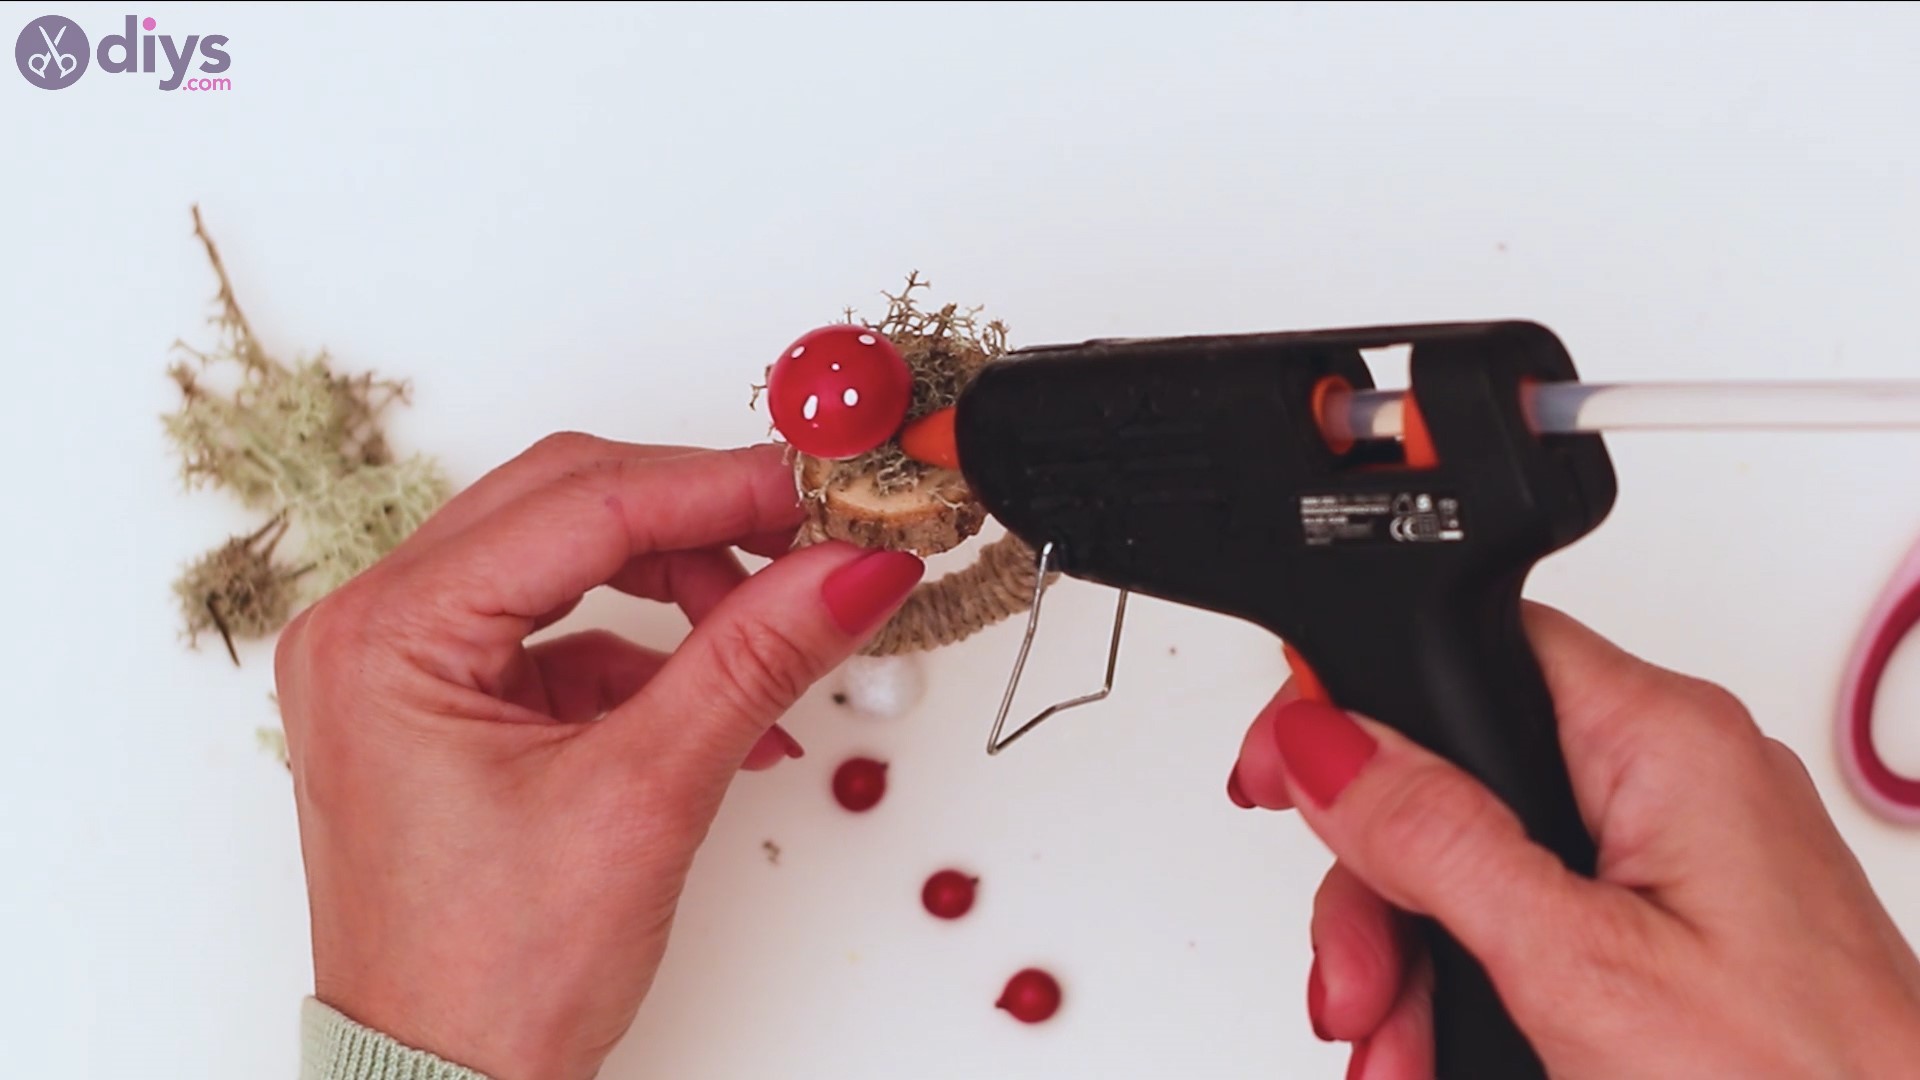
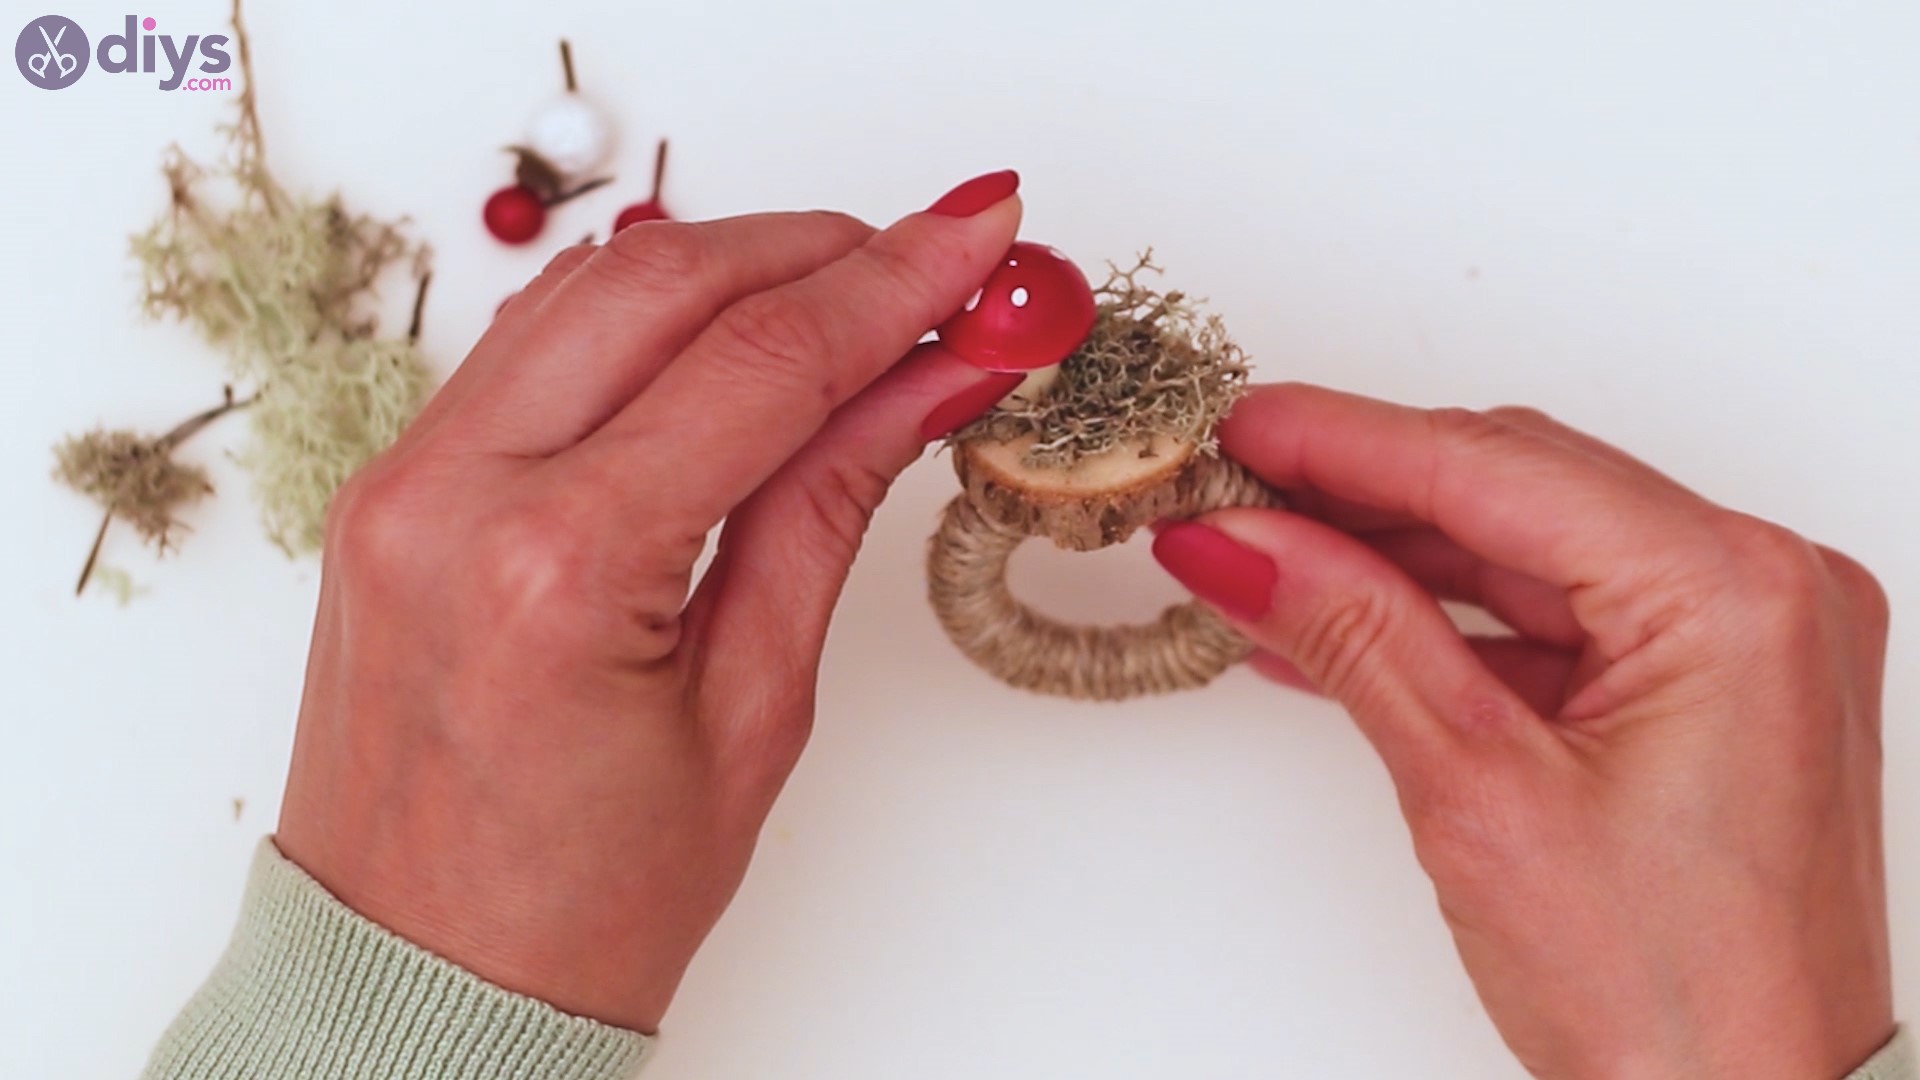
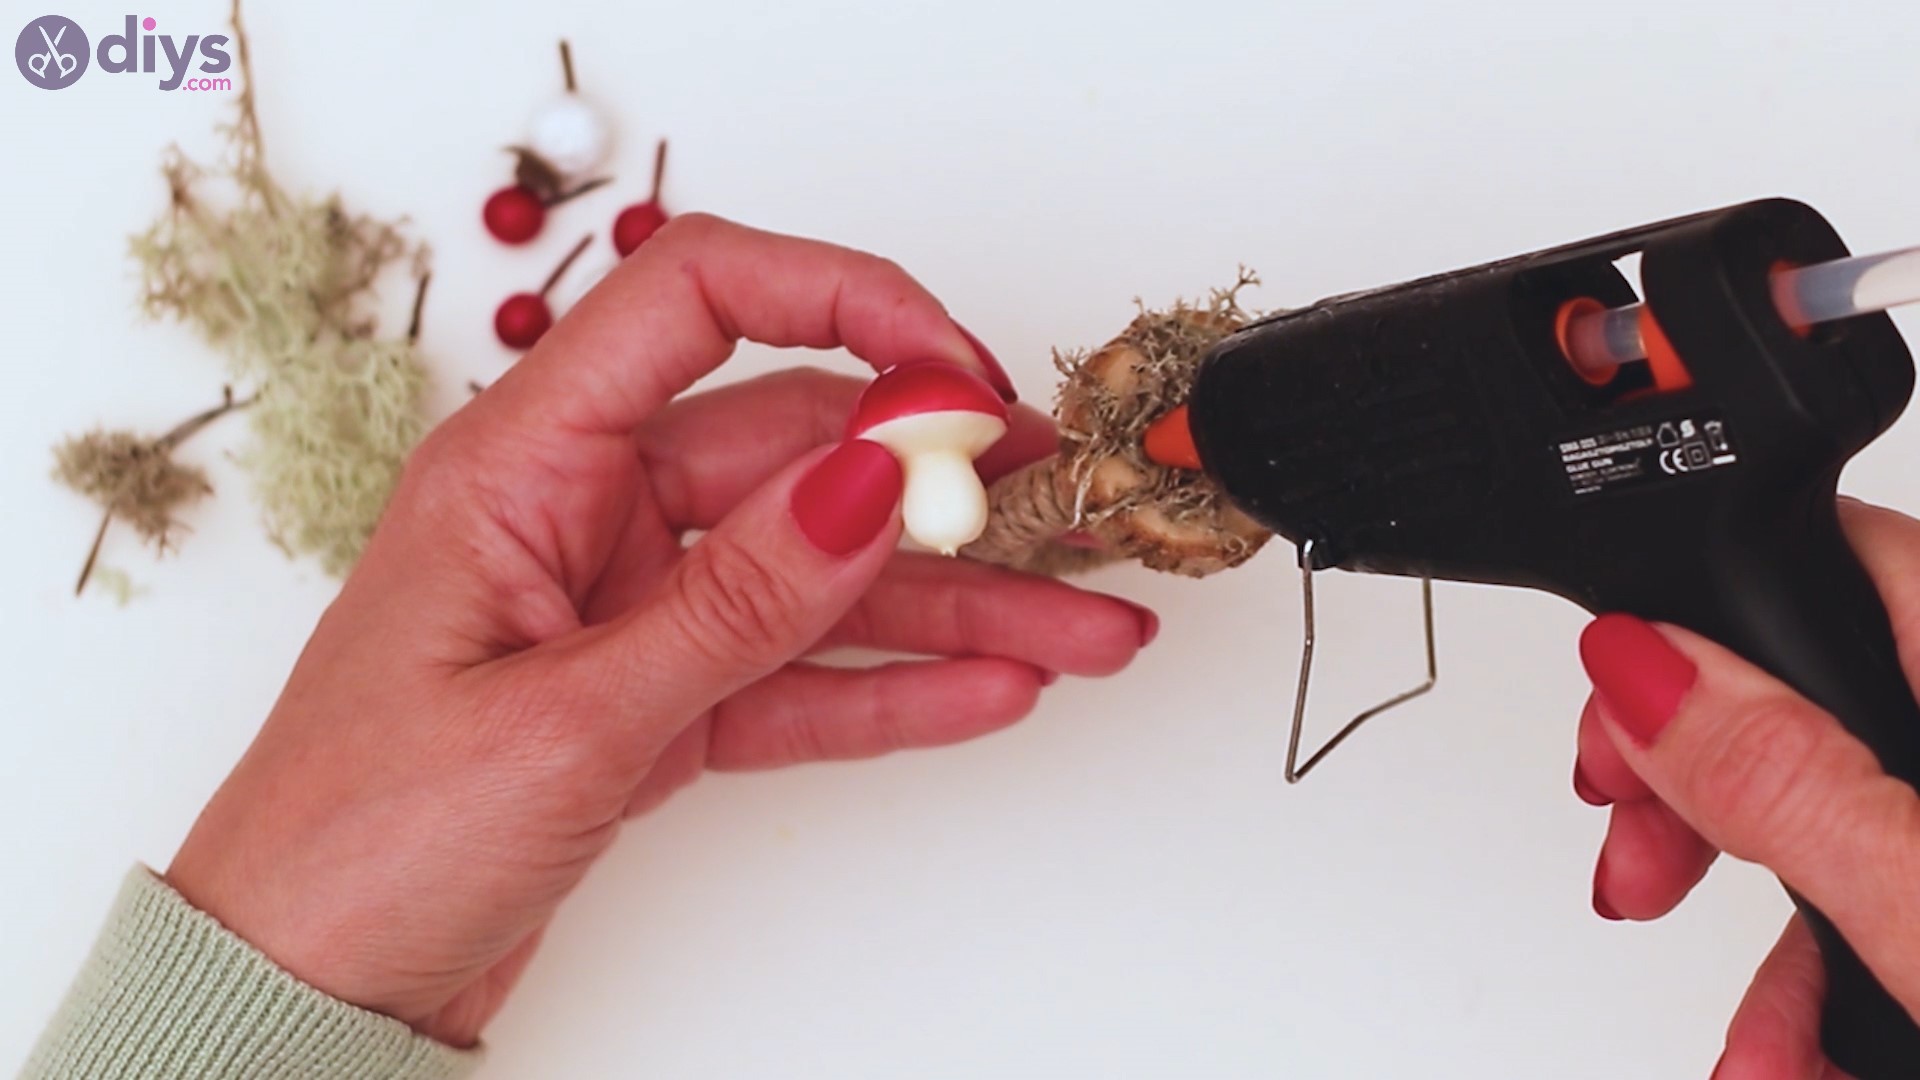
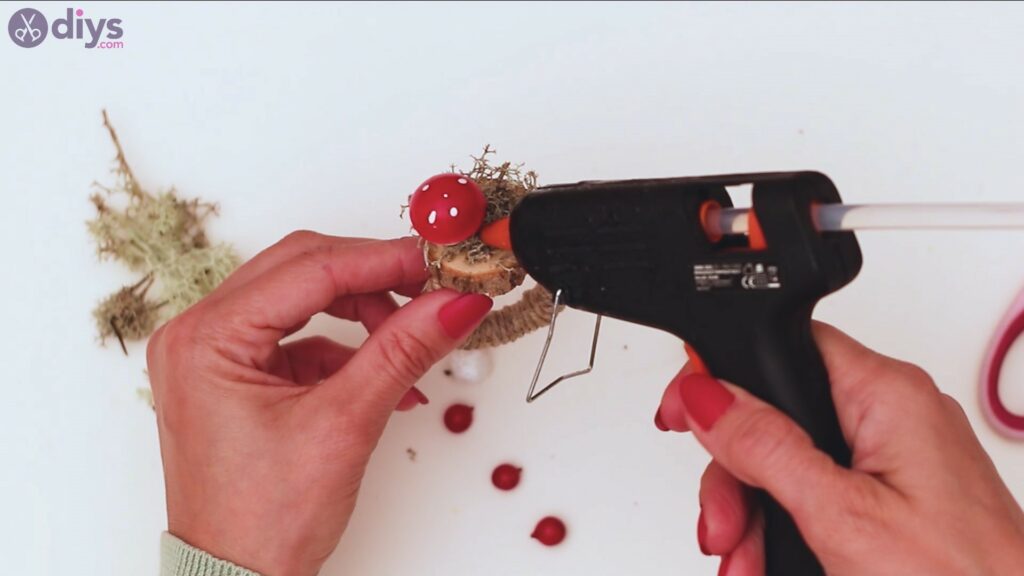
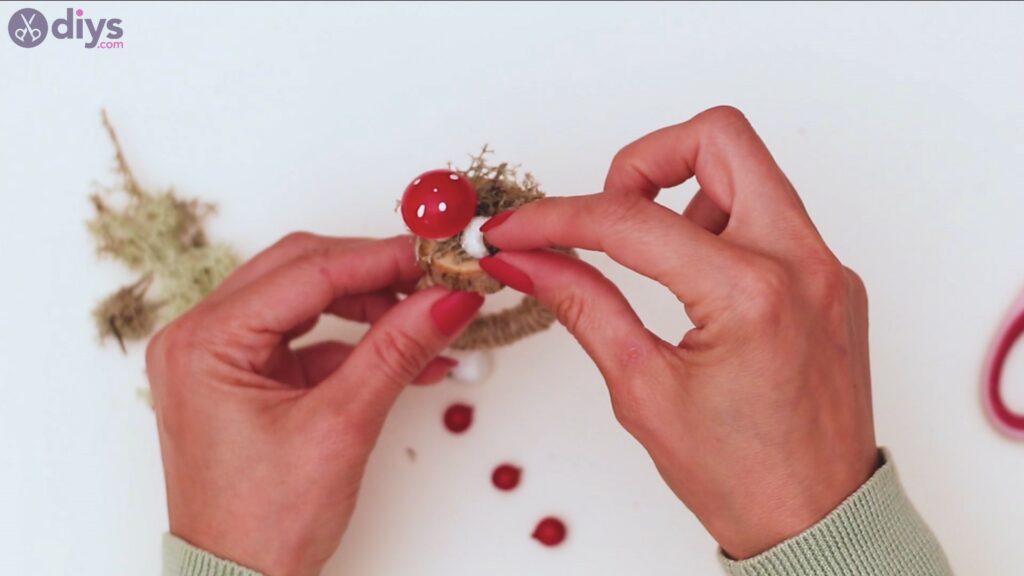
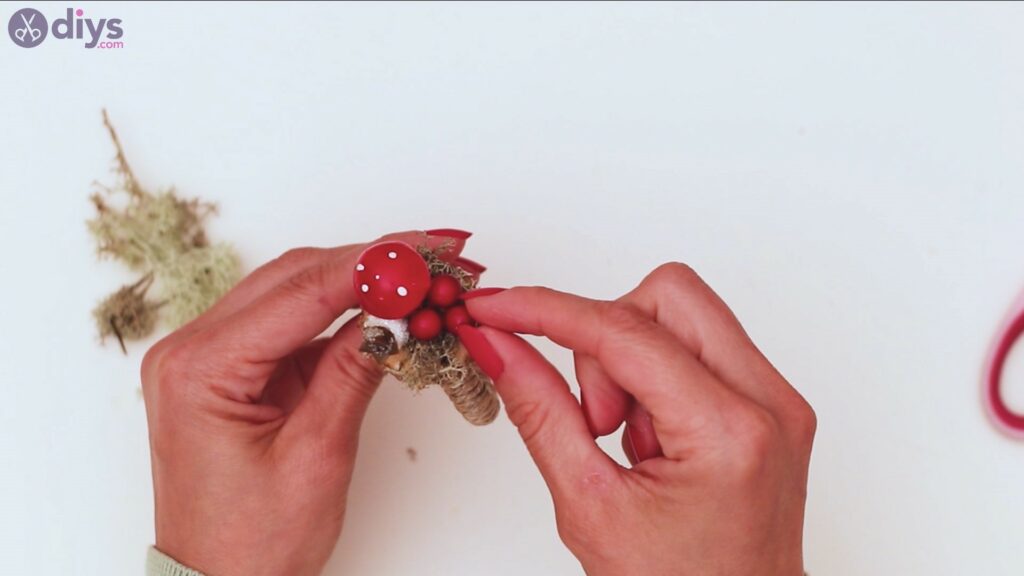
Grab one of the decorative mushroom, apply some hot glue to the wood ring and gently and carefully place the mushroom on top.
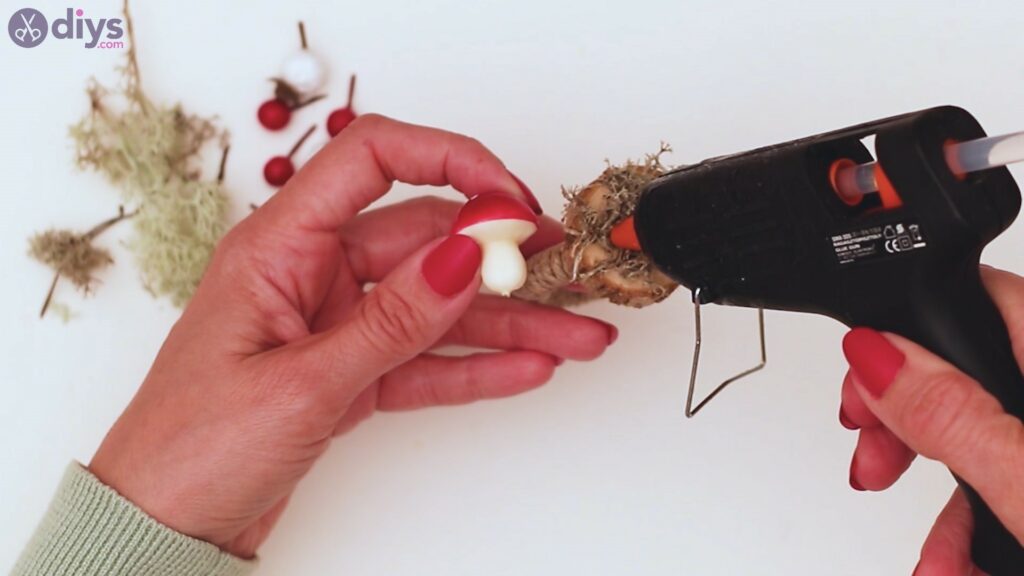
Make sure to keep it pressed for a few seconds. Especially since this is a bigger piece, it needs more time to set.

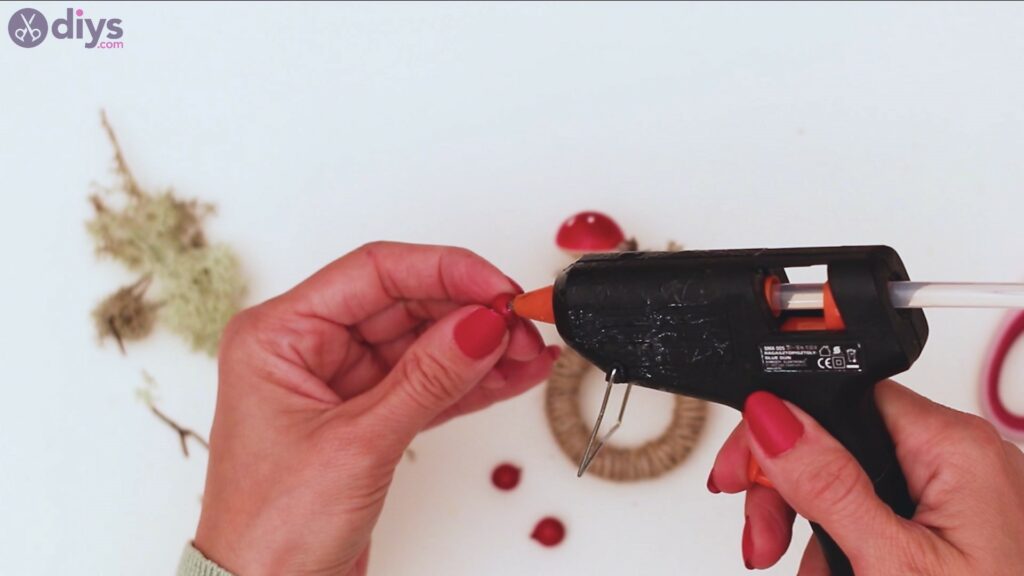
Now you have to prepare the artificial berries. Cut out the stems for the berries with your scissors. You only need the little spheres.

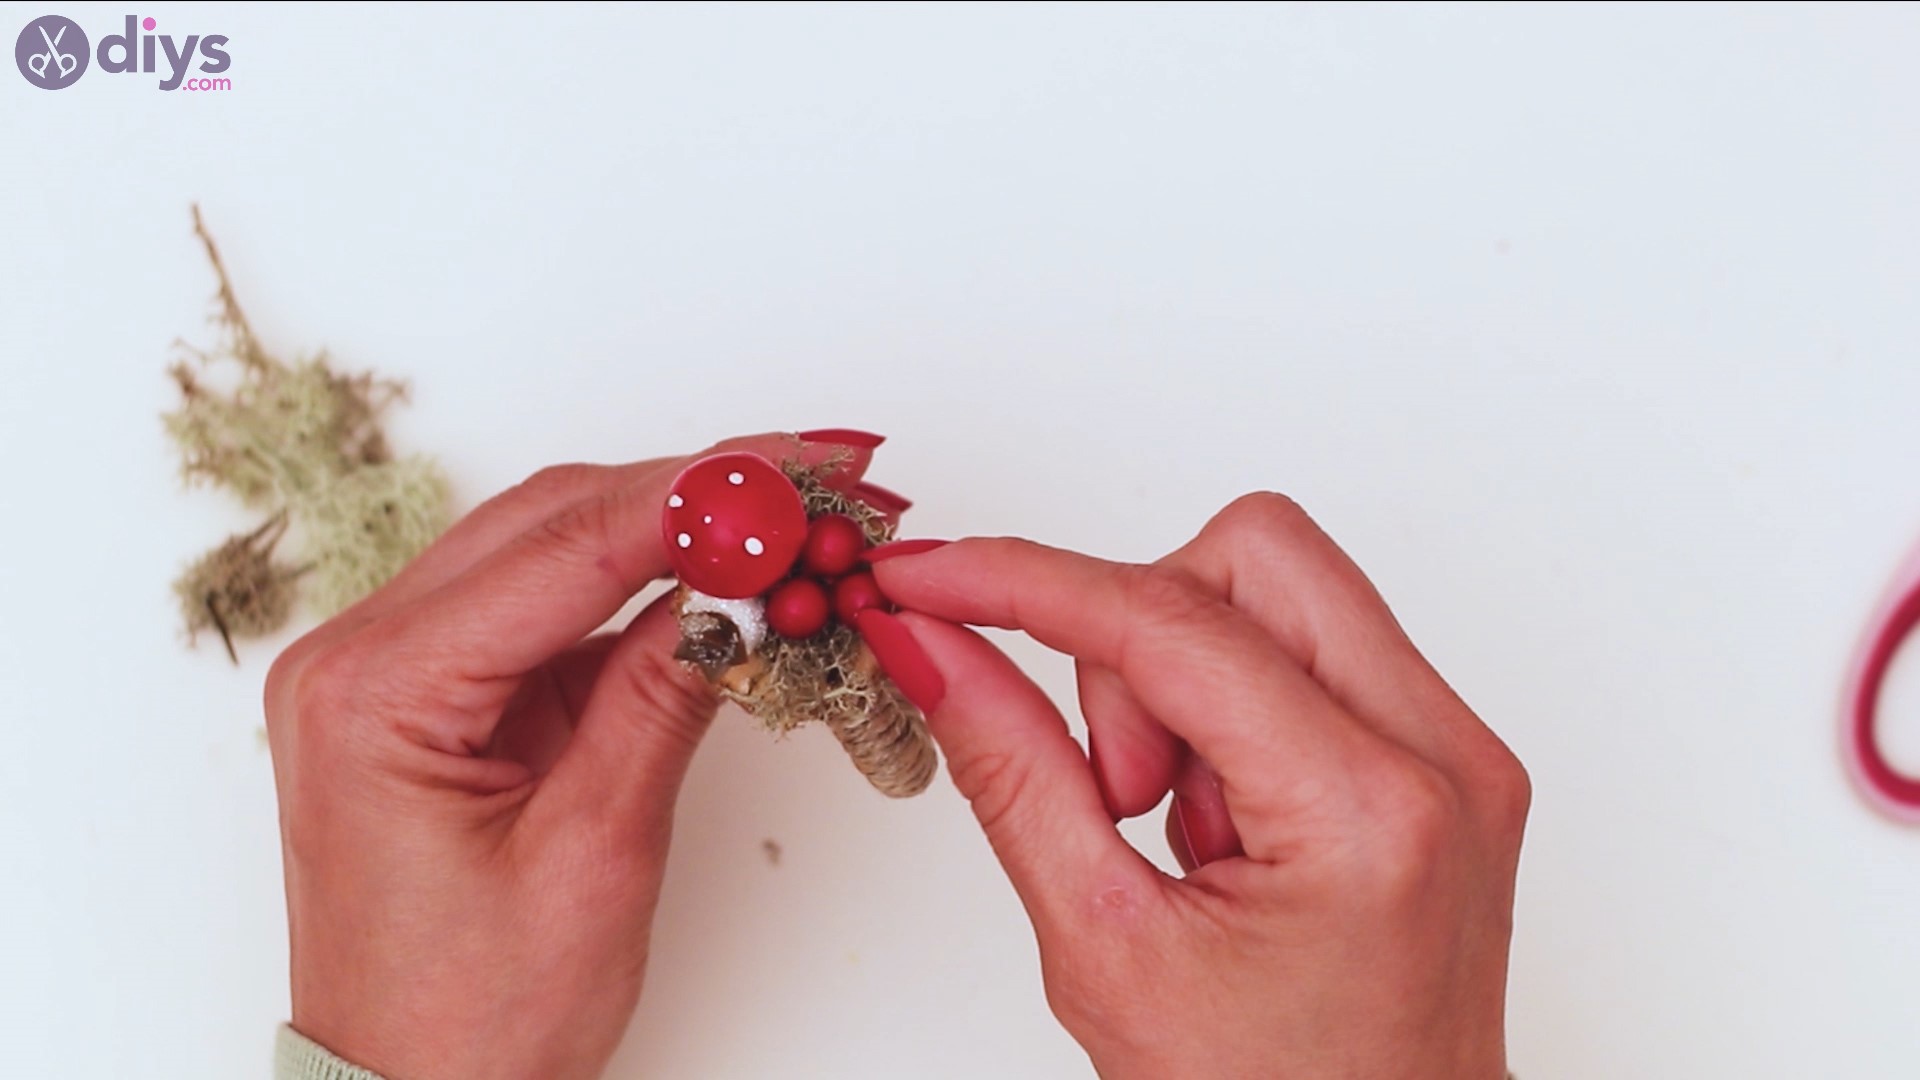
Once they’re done, get the glue gun and add some hot glue to the base of the ring and add them in. One by one, carefully place the berries over the moss.
You want to add some hot glue to the back of the berries too, to make sure they’re going to stick. Hot glue over moss can be a bit tricky to properly set in.
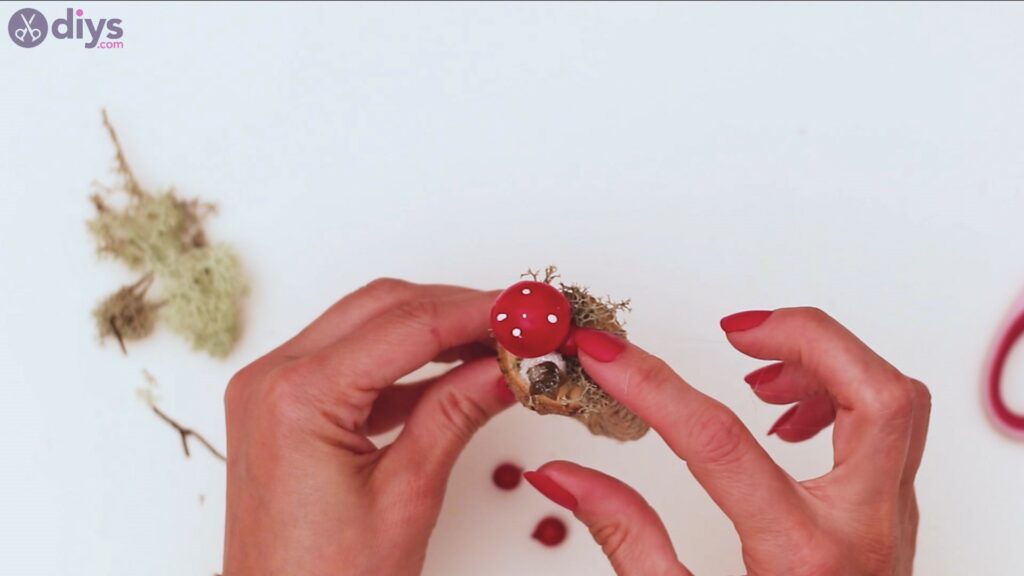
Arrange the berries to nicely cover the wood slice of your napkin ring.
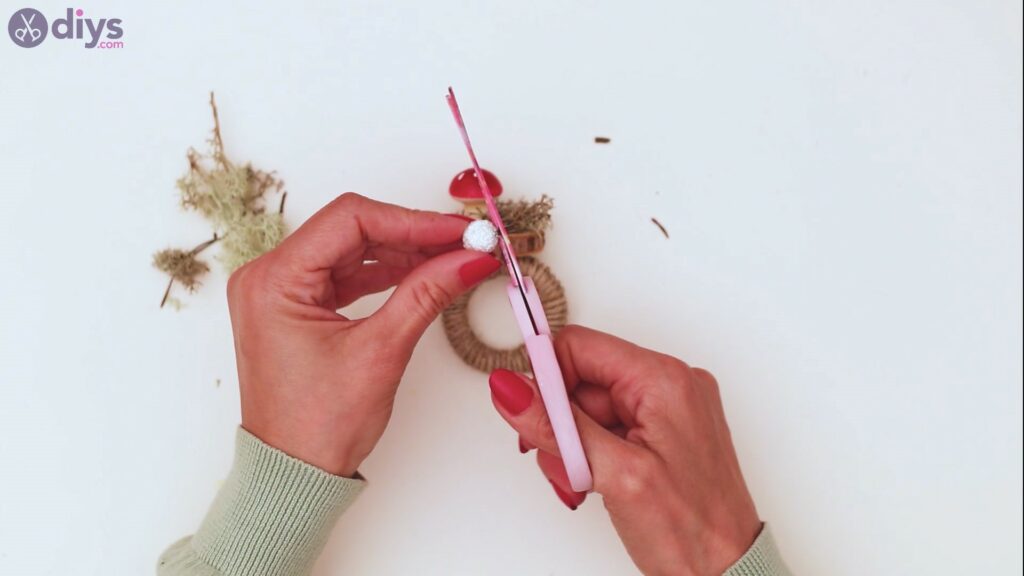
Step 4: Make a bow
Now, we still have that silk ribbon on the table. Grab it and cut a good length with your scissors.
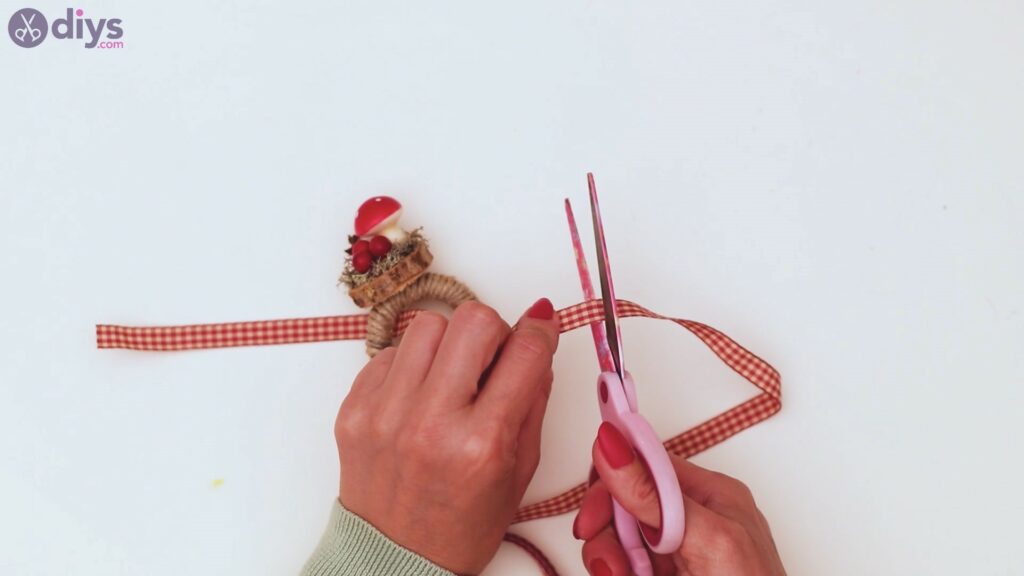
Push one end of the ribbon through the ring and tie a knot.

Then, carefully create a little bow out of the material.
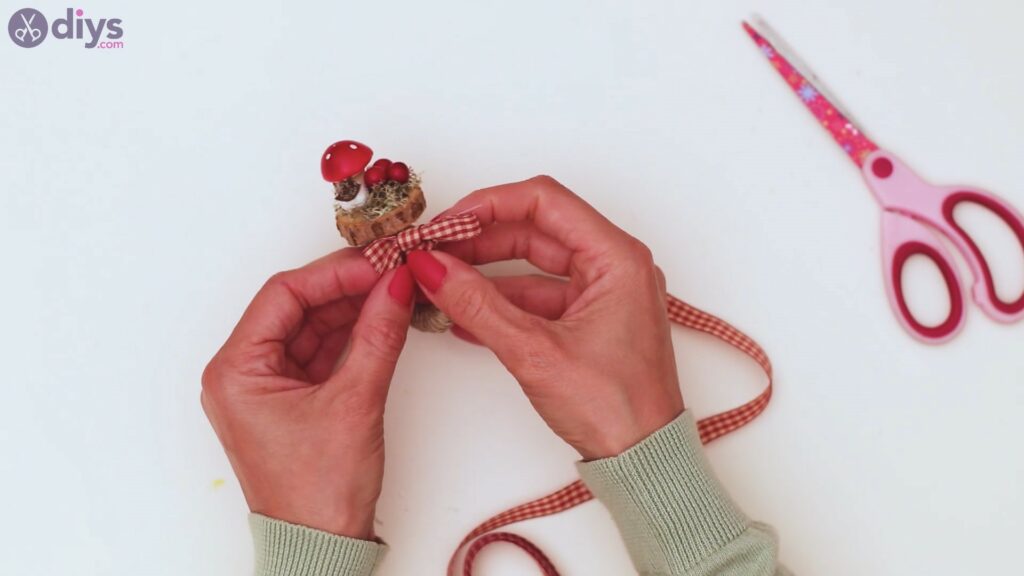
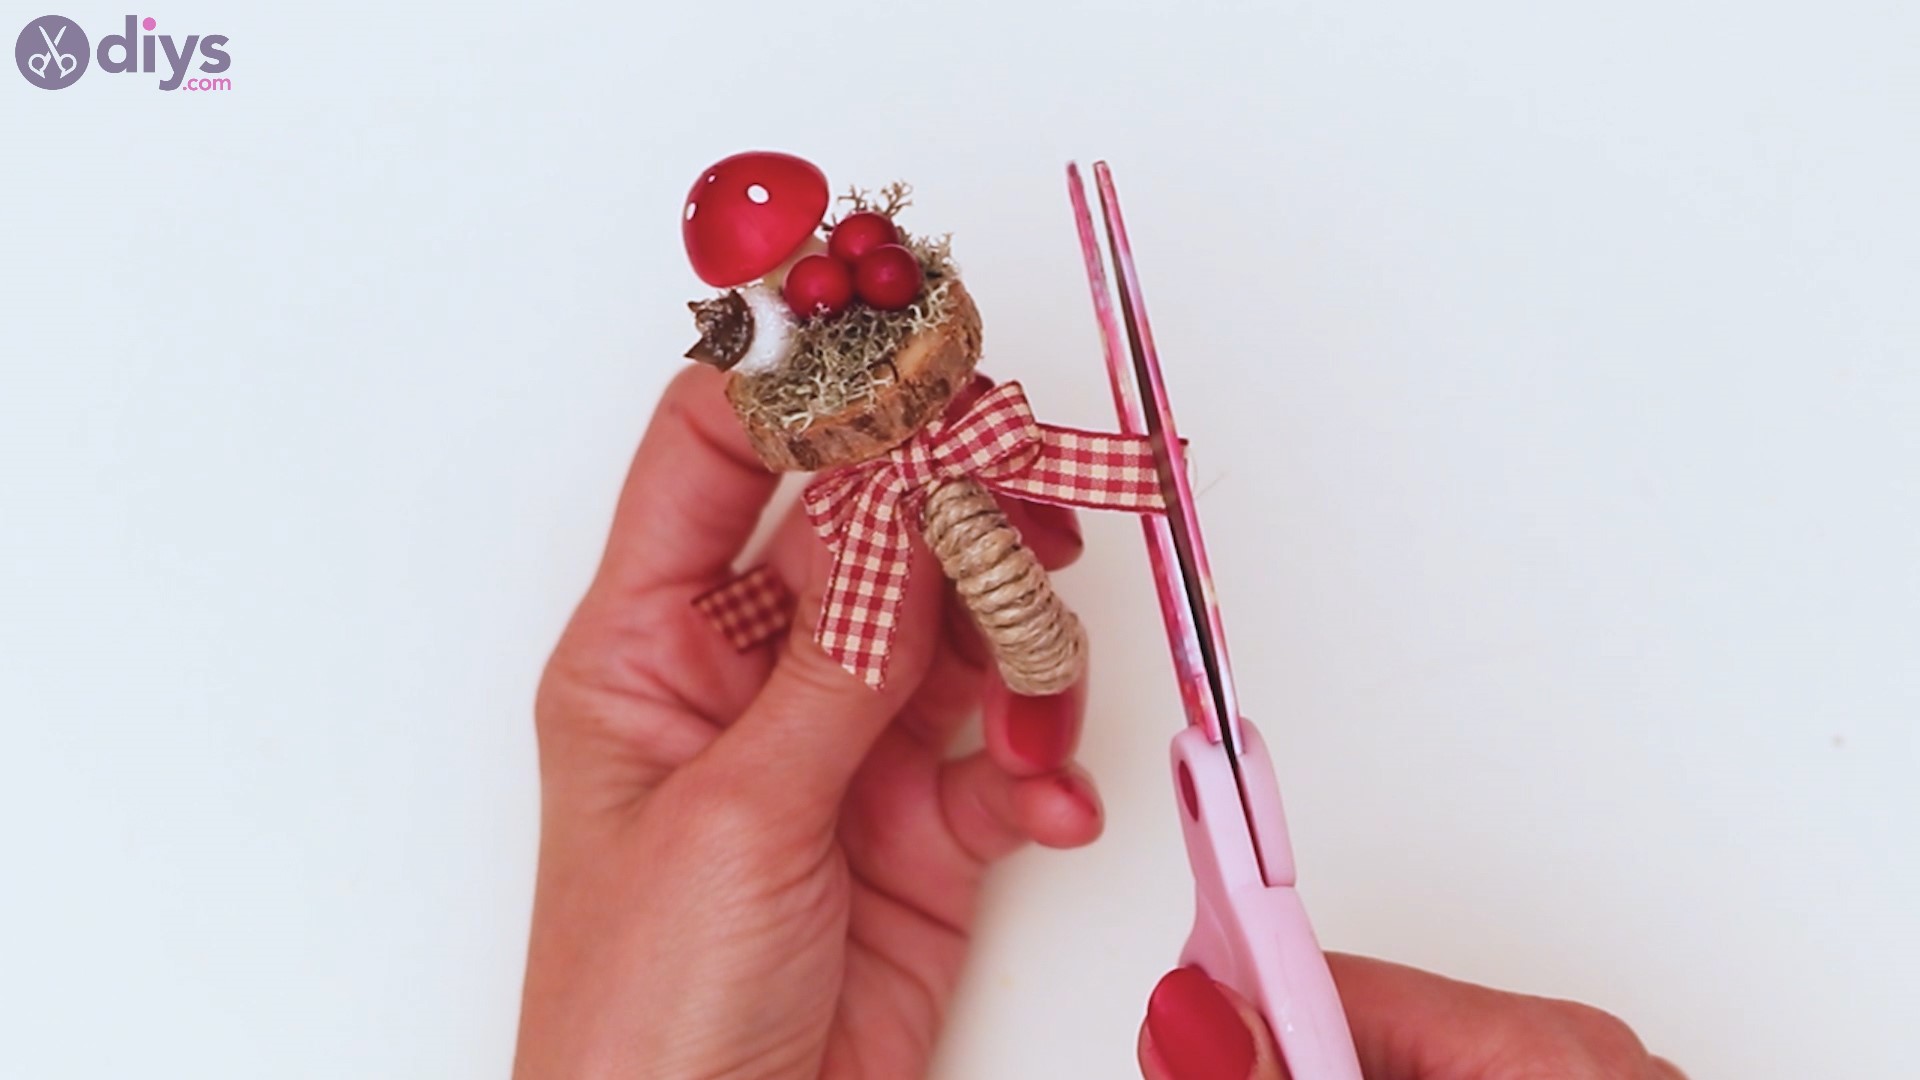
Once you have the bow, cut the tails at an angle to give the bow a nice finished look.

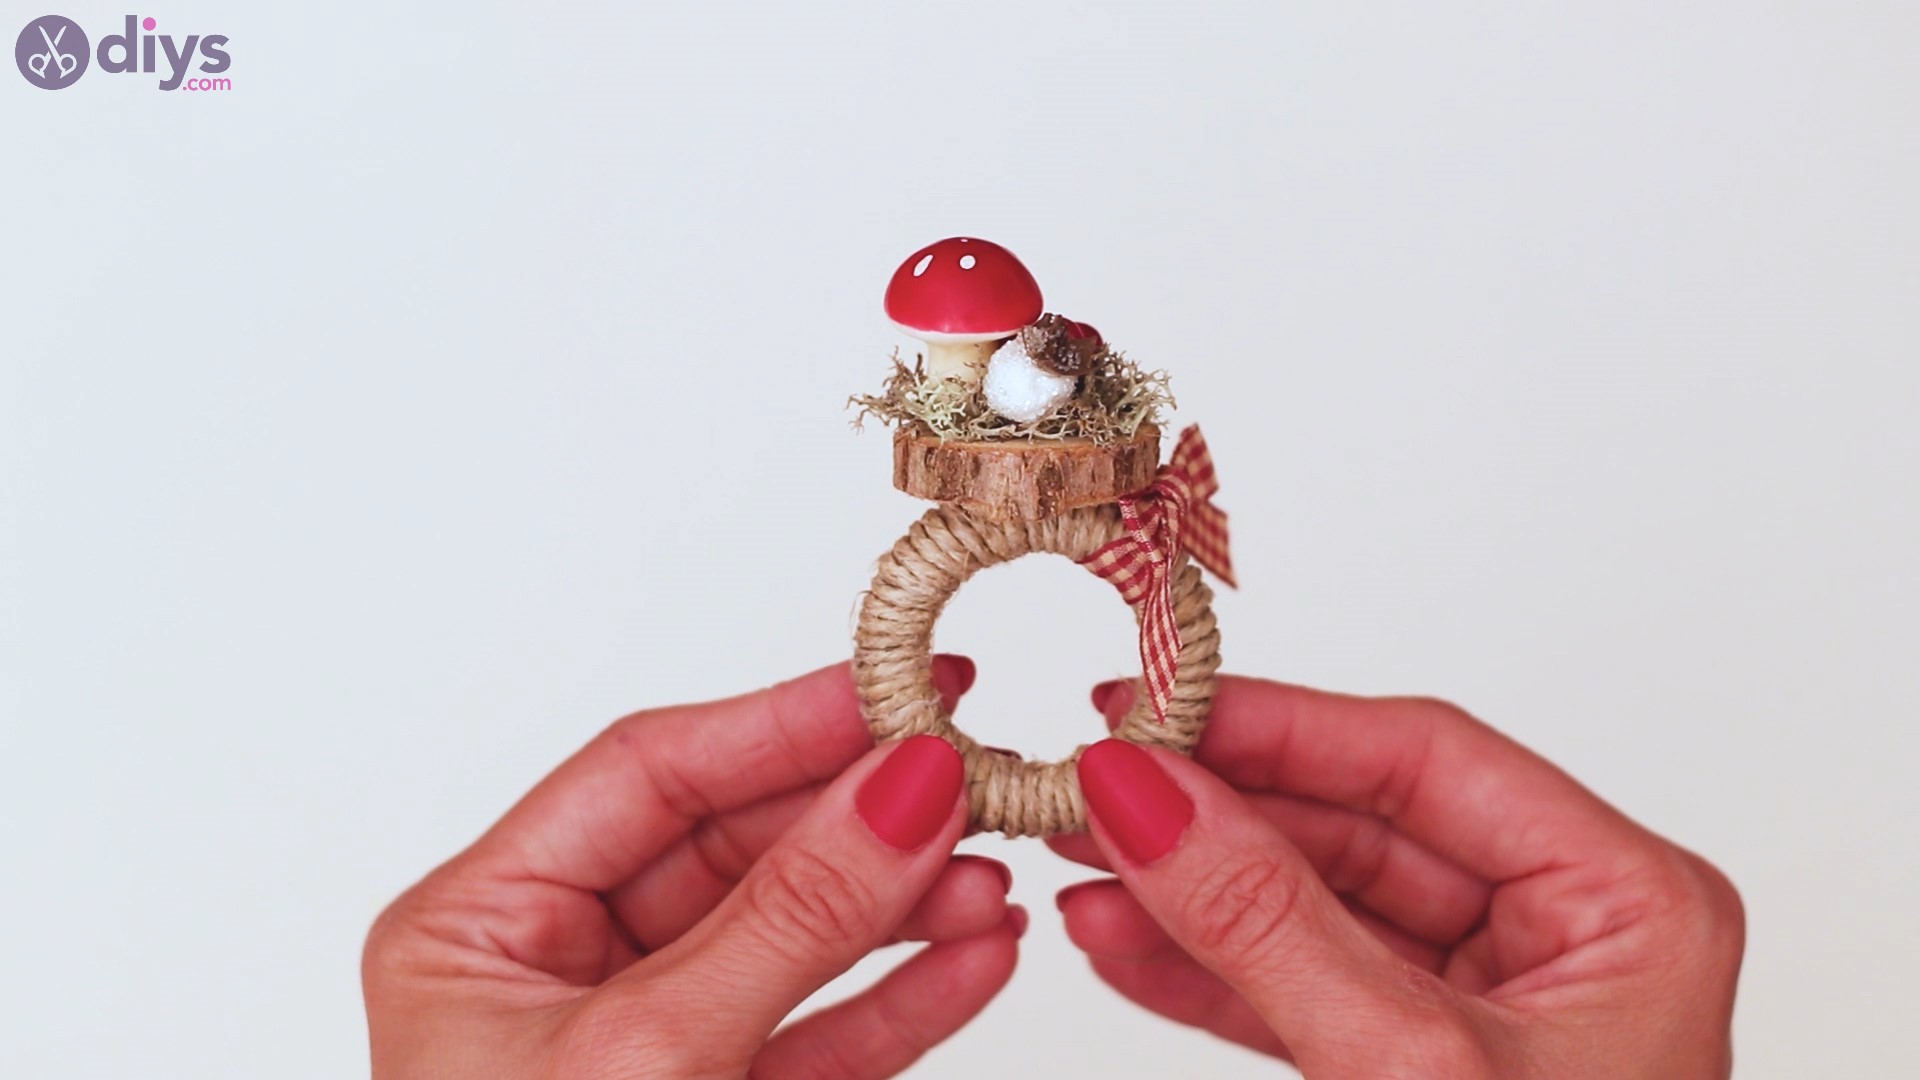
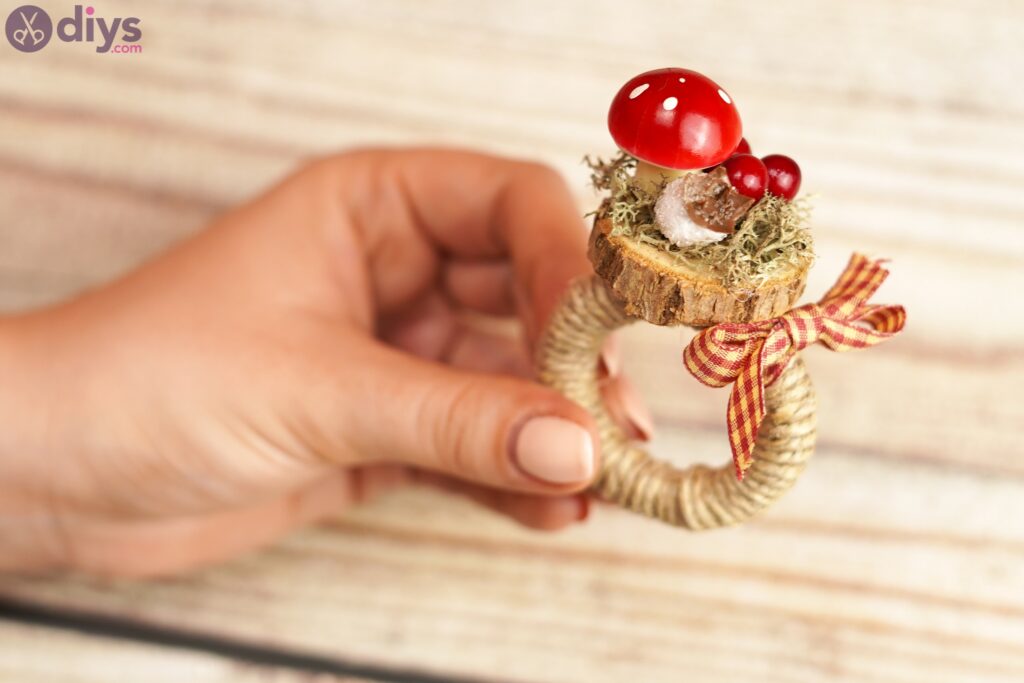
There we go! That’s your new napkin ring! Pull out some more materials and start crafting a new one! You’ll obviously need more than one napkin ring for your holiday dinner party!

Do you like it as much as we do? It’s just lovely and whimsical and it fits right into a fairy tale decor.
Drop us a note and tell us what you think about this project. We’d also love to see your creations, so send us some pics over social media!
DIY Woodland Napkin Ring - Make Your Own Whimsical Napkin Rings

Making your own whimsical napkin rings is super easy and they're going to fit beautifully in your holiday theme.
Materials
- artificial berries
- artificial mushroom
- moss
- round wood slice
- hemp twine
- wood ring
- silk ribbon
Tools
- scissors
- glue gun
Instructions
- Wrap the wood ring with hemp twine, using lots of hot glue.
- Add the wood slice on the ring.
- Decorate the wood slice with moss, artificial mushroom and berries.
- Wrap a bow on the ring.