DIY Makeup Drawer Dividers
Updated on June 25, 2021
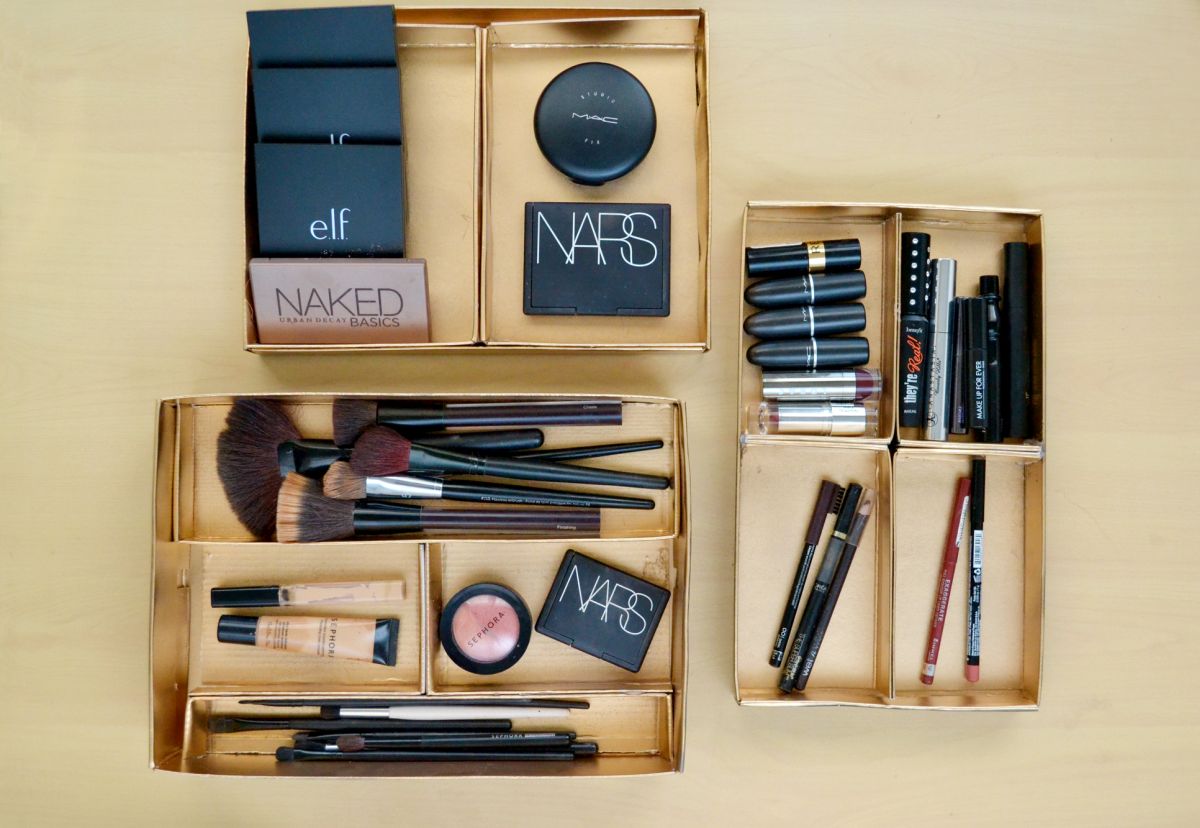
I love projects that allow me to reuse old things and make them new again; and this DIY is one of them. If you have a lot of shoeboxes, you have the main ingredient for this project. These drawer dividers or trays can help keep you organized and can be a fun, easy way to display your makeup, nail polish, or any other small items that are currently stuffed in your drawers.
For this DIY, you’ll need:
- Old shoebox tops, the more the better
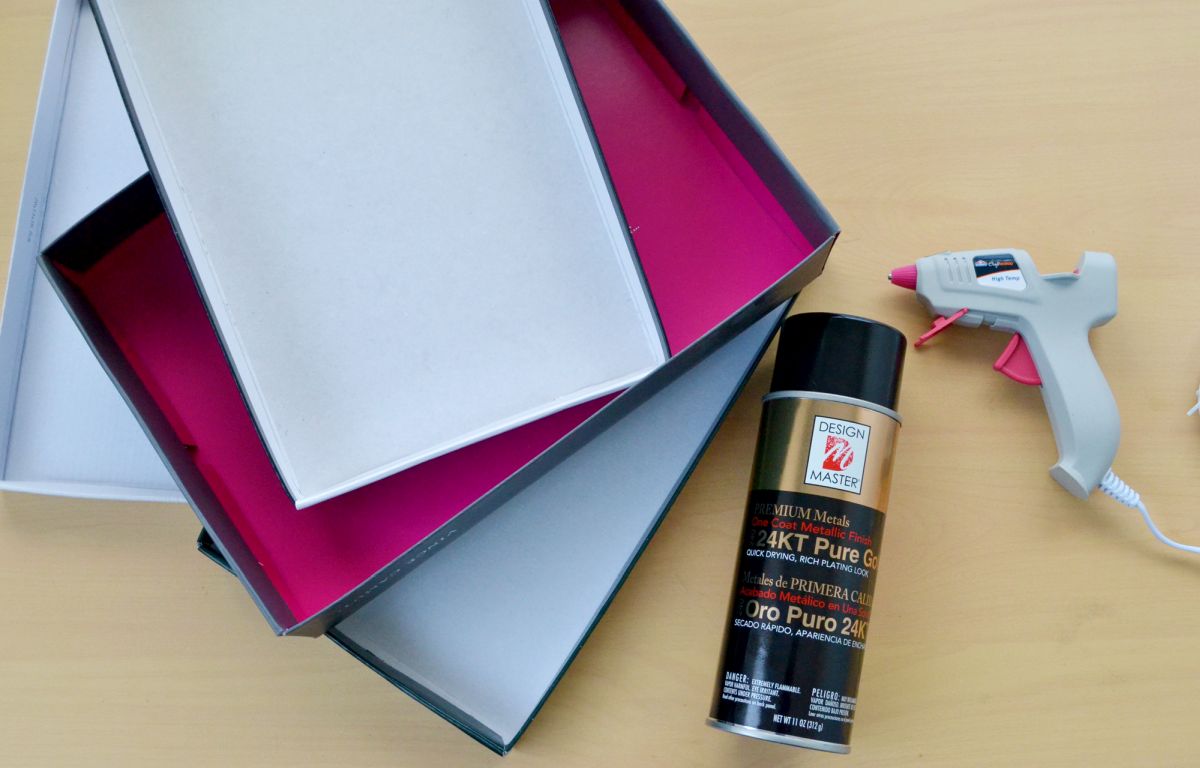
- Hot glue and gun (or E-6000)
- Craft knife
- Scissors
- Ruler
- Pen or pencil
I prefer to use hot glue for this project because it dries fast and is strong enough to hold the thick cardboard of these boxes together. You will also need a strong pair of scissors to cut through the cardboard. Parts of the boxes may be too thick, which is where you can use the craft knife. The X-acto knives are extremely sharp and had no problem cutting through the boxes.
You’ll need to find box tops that can fit into each other pretty snug. If not, you can always cut them down to fit. There are many ways you can cut the dividers; but we will start with a tray that has four basic sections.
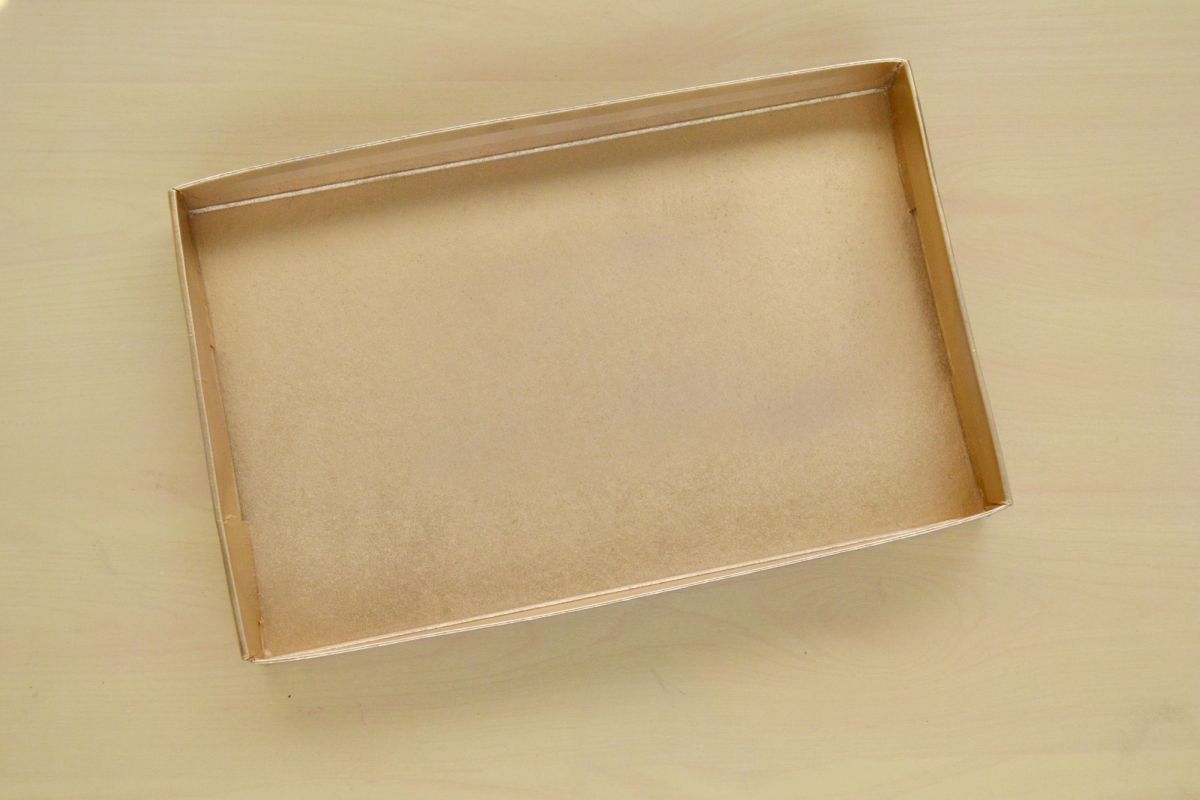
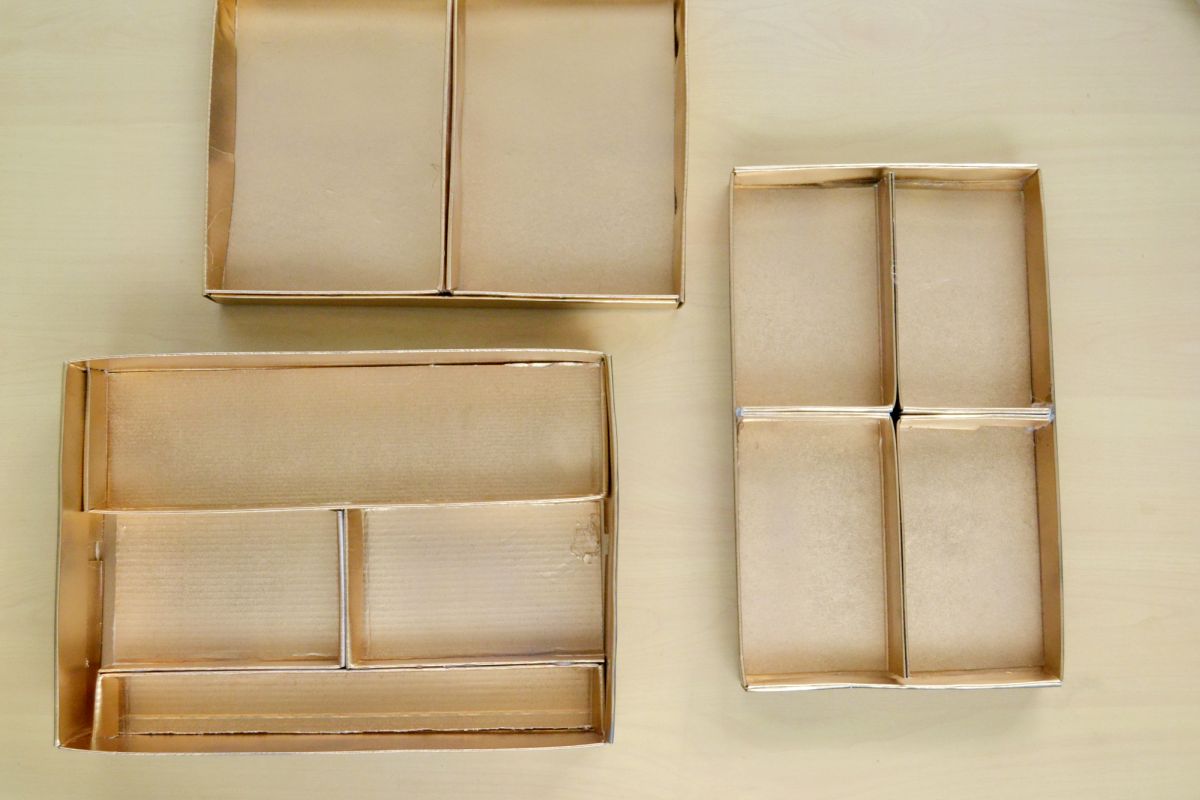
Shoebox tops can have a lot of graphics and lettering on it; if you want, spray paint the box tops with a metallic, gold color for a chic, luxe look. Let the spray paint dry according to manufacturer instructions before continuing.
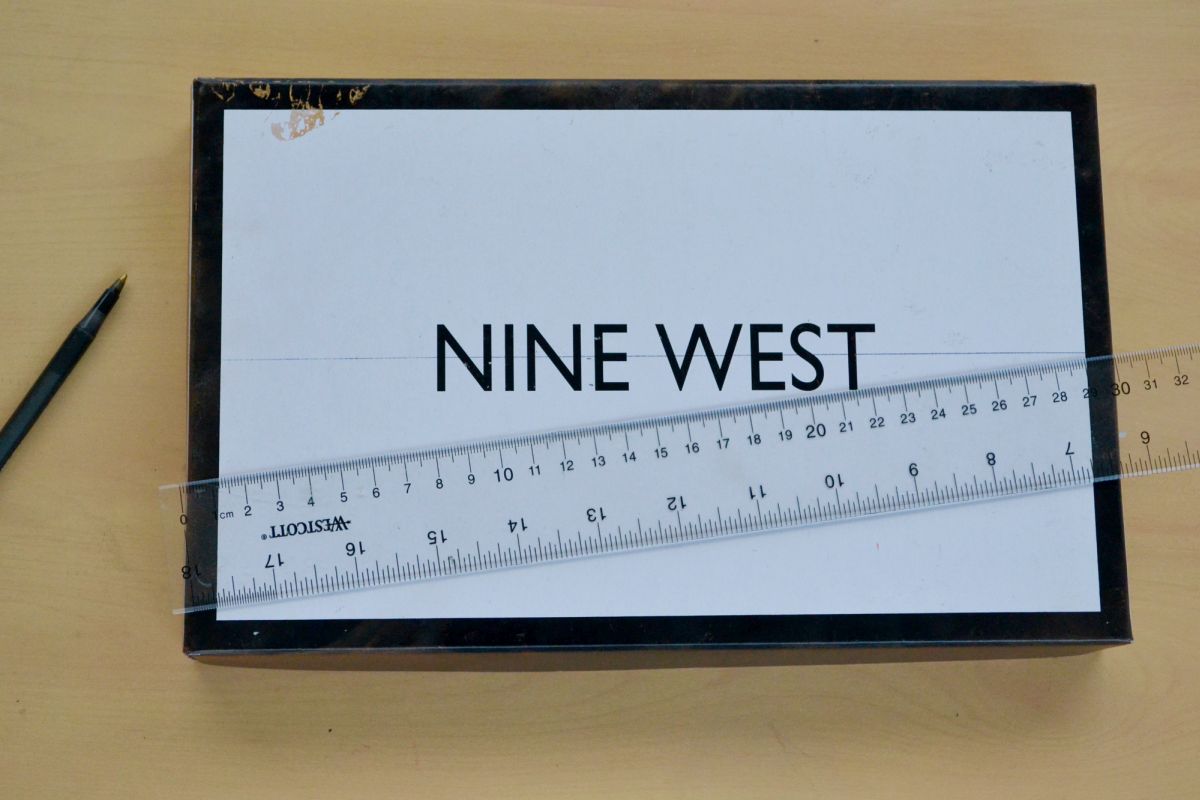
First, draw a line horizontally across the outside of one of the shoebox tops. Use a ruler to make sure you draw it exactly in the center and a straight line.
Use the craft knife to begin the cut at the top center and following the line, cut to each end and around the corner. Then use the scissors finish off the cut. You may not get a perfect, straight line with the craft knife but it can be easier on some box tops that are thicker than others.
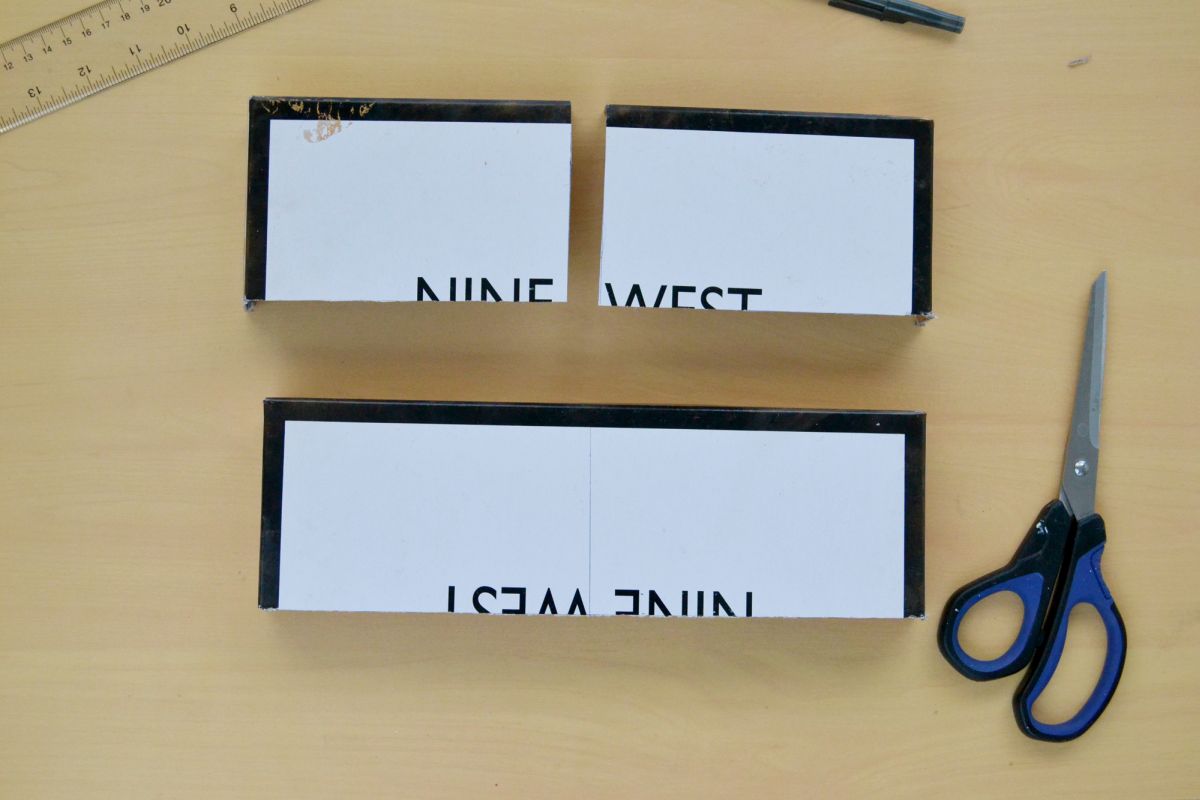
Now draw and cut another line in the center of the new, cut section, vertically. Again, use the craft knife for easier cutting around the corner.
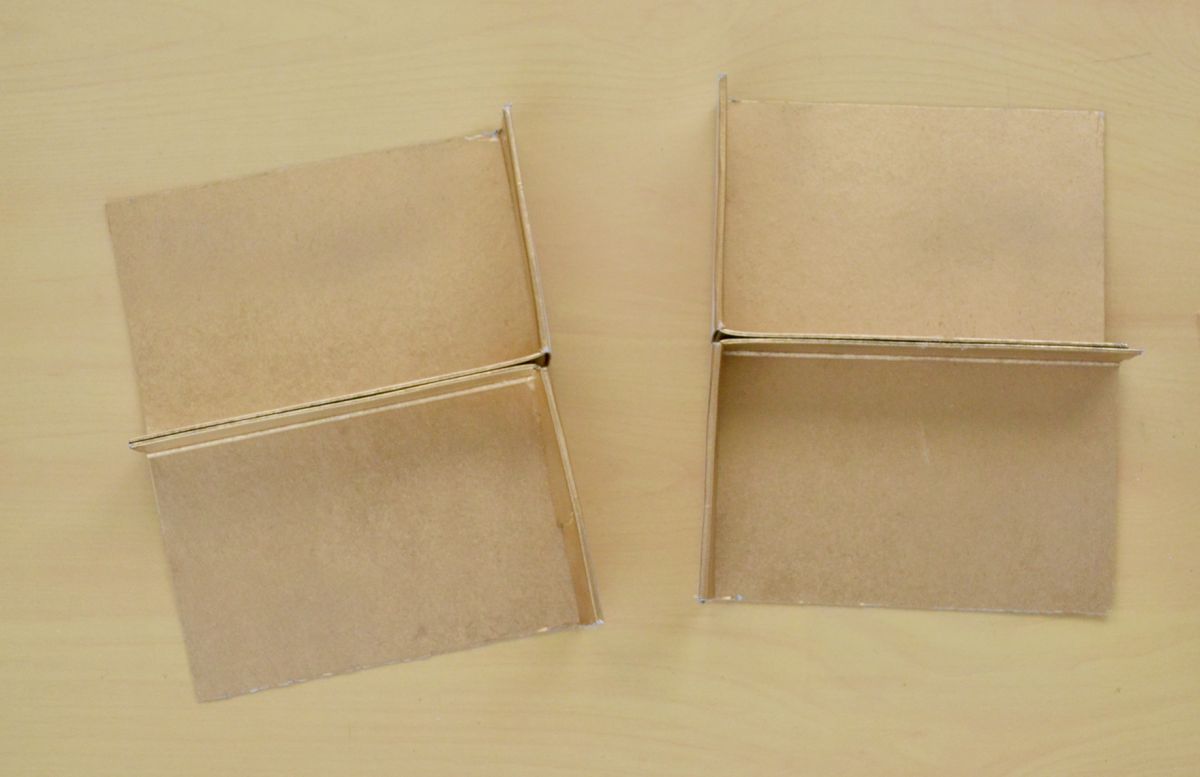
Flip all of the sections over and use hot glue to secure the sides of them to each other, creating four quadrants. Set the entire top into another spray-painted box top. If it doesn’t fit, use the craft knife to trim down the edges. If you want to secure it, you can glue it to the bottom of the second box top.

Once you know what you want to put in them, you can play around with sizes of the sections and create a few different types of trays. You can also use this method using just the shoeboxes themselves. And if you need trays that have higher sides, place the inserts in the actual shoeboxes instead of another top.
These trays are beautiful and it’s great that you can reuse shoeboxes instead of throwing them away. I guess this means that you need to go out and buy more shoes!