How to Make a Pom Pom Flower
Updated on November 19, 2025


I’ve been on a total yarn pom pom kick lately. I taught my kids how to make them recently and now my whole kitchen and crafting rooms are basically covered with colourful little pom poms on just about every surface! There’s just something so fun and simple about creating something from scratch, and pom poms are one of the simplest, most age appropriate things for where our kids are at in their crafting experience right now. Because they’ve made so many, however, I’m now constantly trying to think of ways to actually use those pom poms and turn them into something, so they really teach their full potential.
That’s how I came up with the idea of making adorable pom pom flowers! My kids have always really loved making textured crafts and props using all kinds of unconventional supplies, so it seemed like the perfect project. I decided to map out all of the steps I completed to make it happen here for you, but you’ll also find our video tutorial at the end of the post, just in case you’d prefer to follow along in real-time instead.
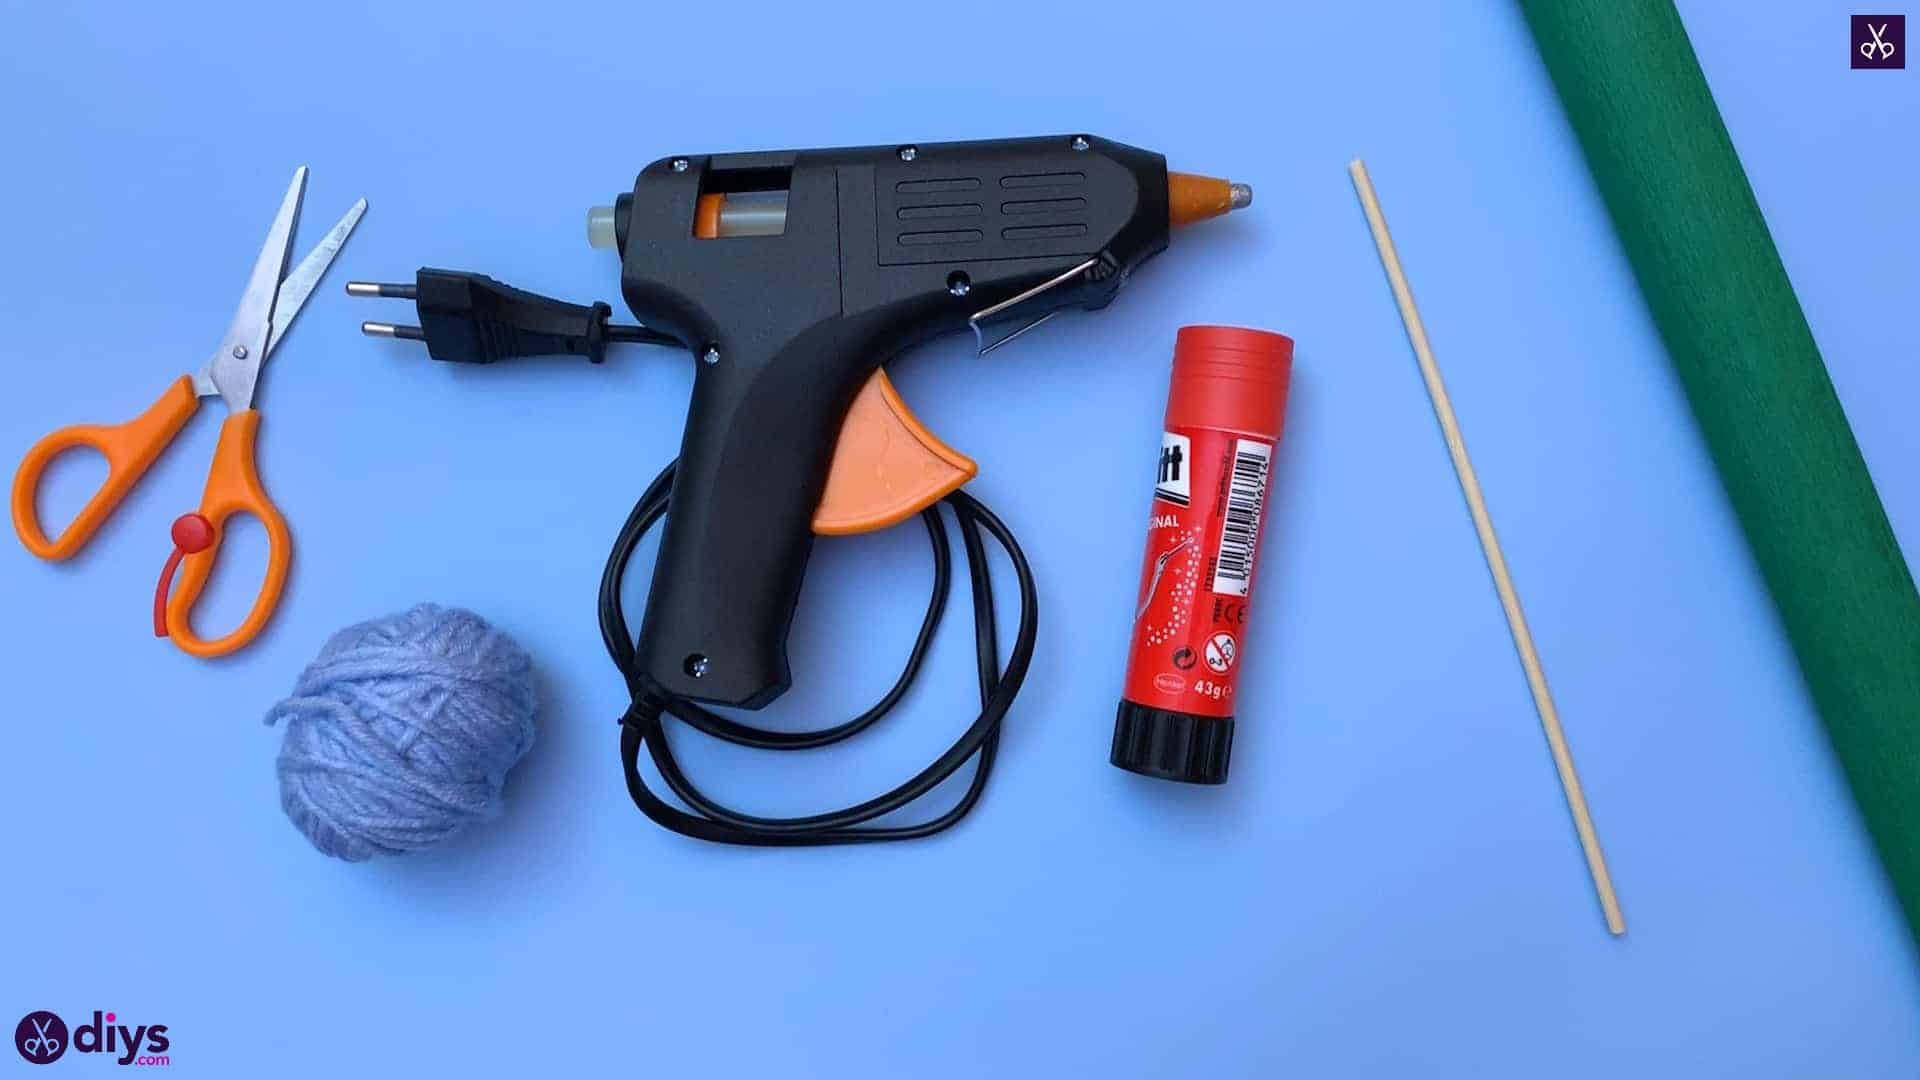
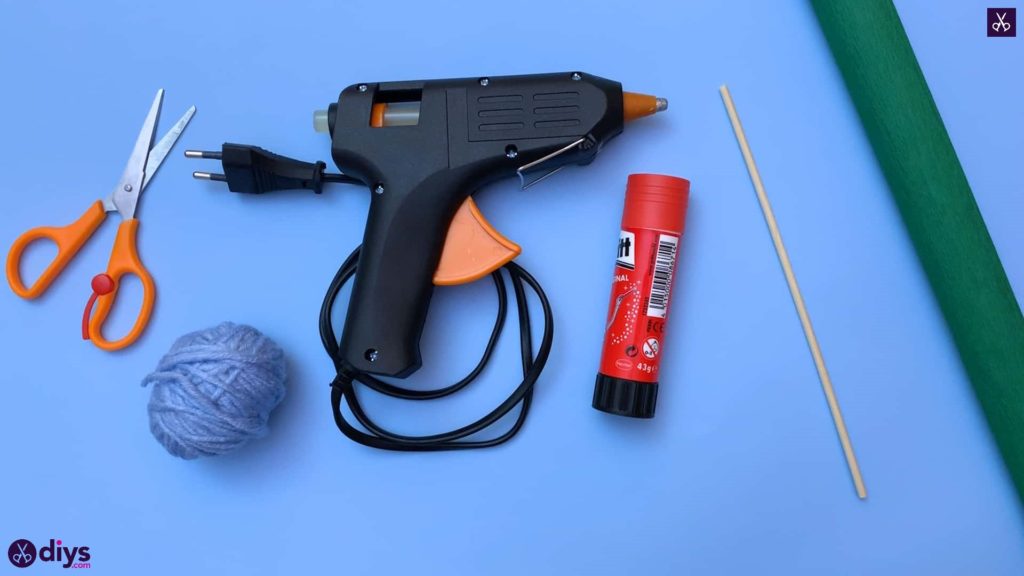
For this project, you’ll need:
- Yarn (any colour you like)
- Glue stick
- Scissors
- Green crepe paper
- Wooden stick
Step 1:
Gather your supplies!
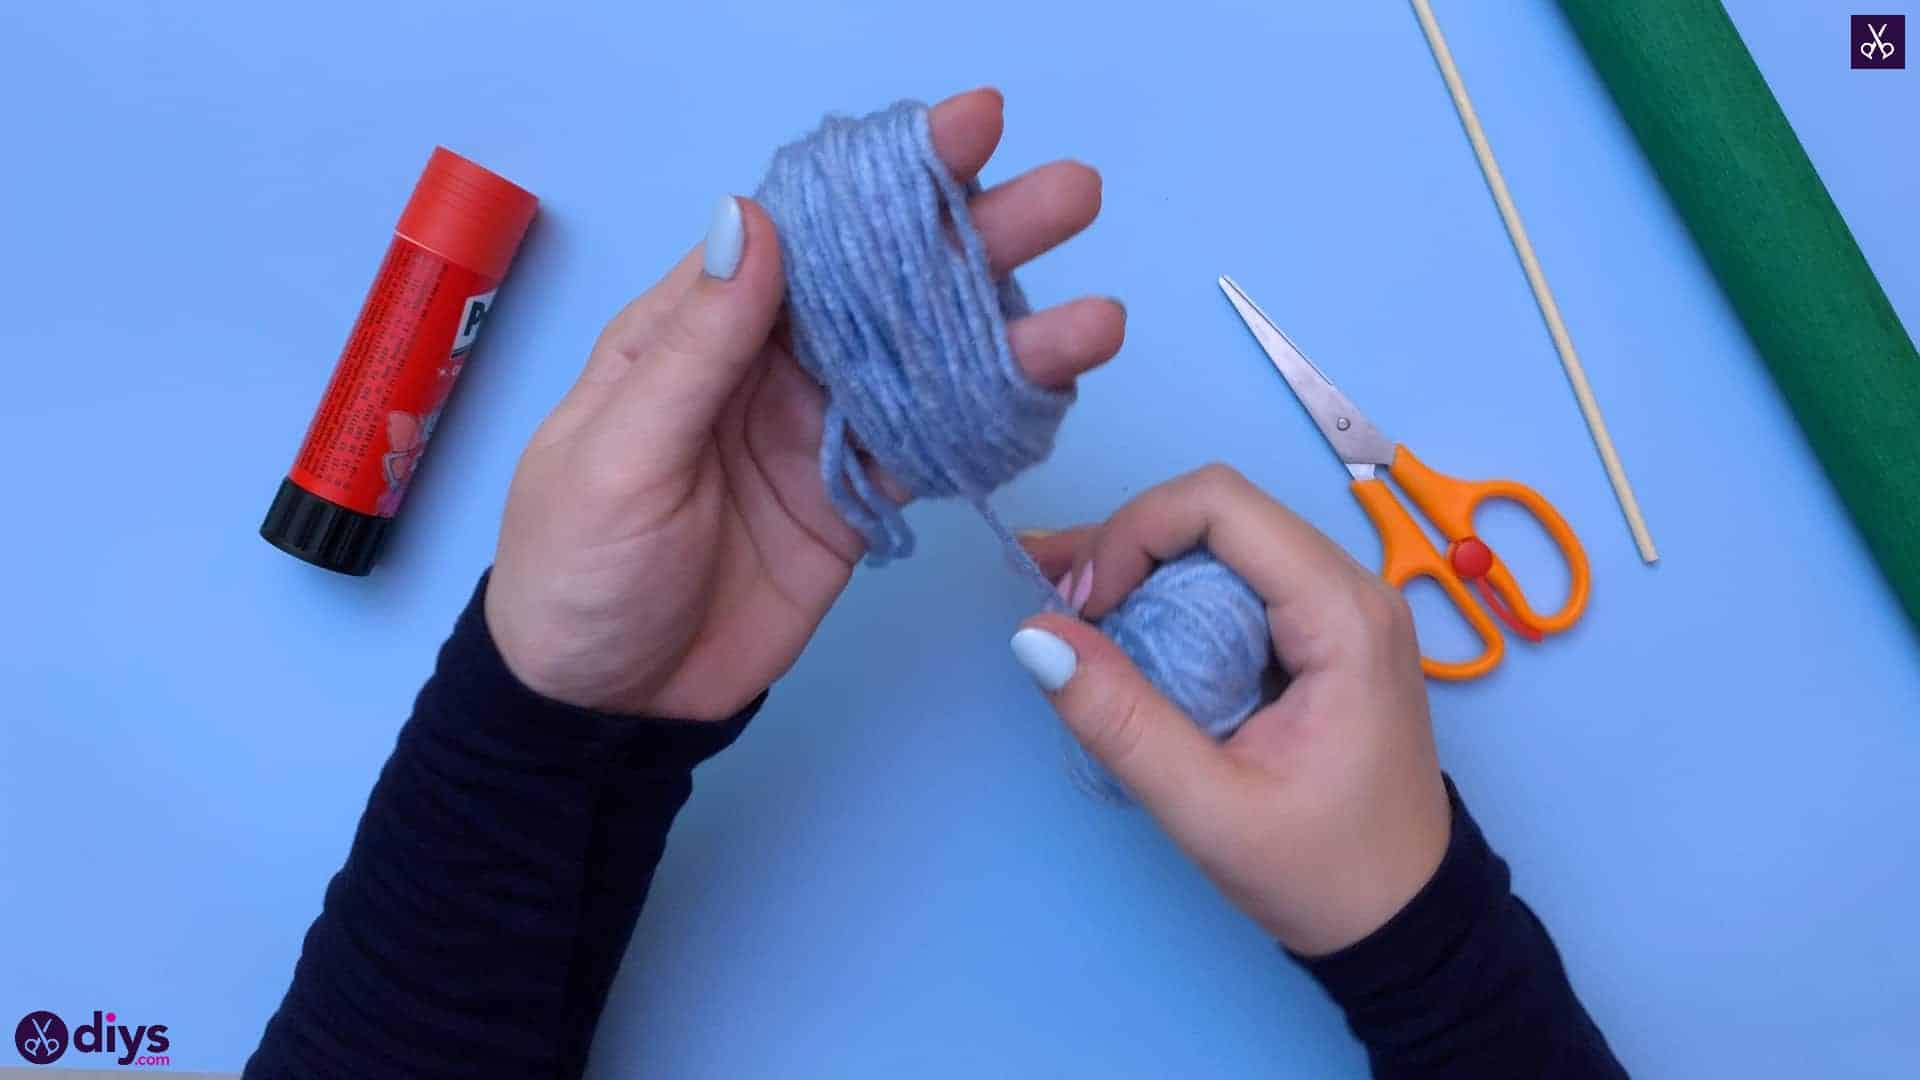
Step 2:
Make your first pom pom of two (or however many flowers you intend to make; I made a pair). Start by pinching the end of the yarn between your thumb and your other four fingers and start wrapping your yarn around and around your fingers until you have dense layers. Once you have enough of a bunch to hold that yarn end for you, you can carefully slide your thumb out.

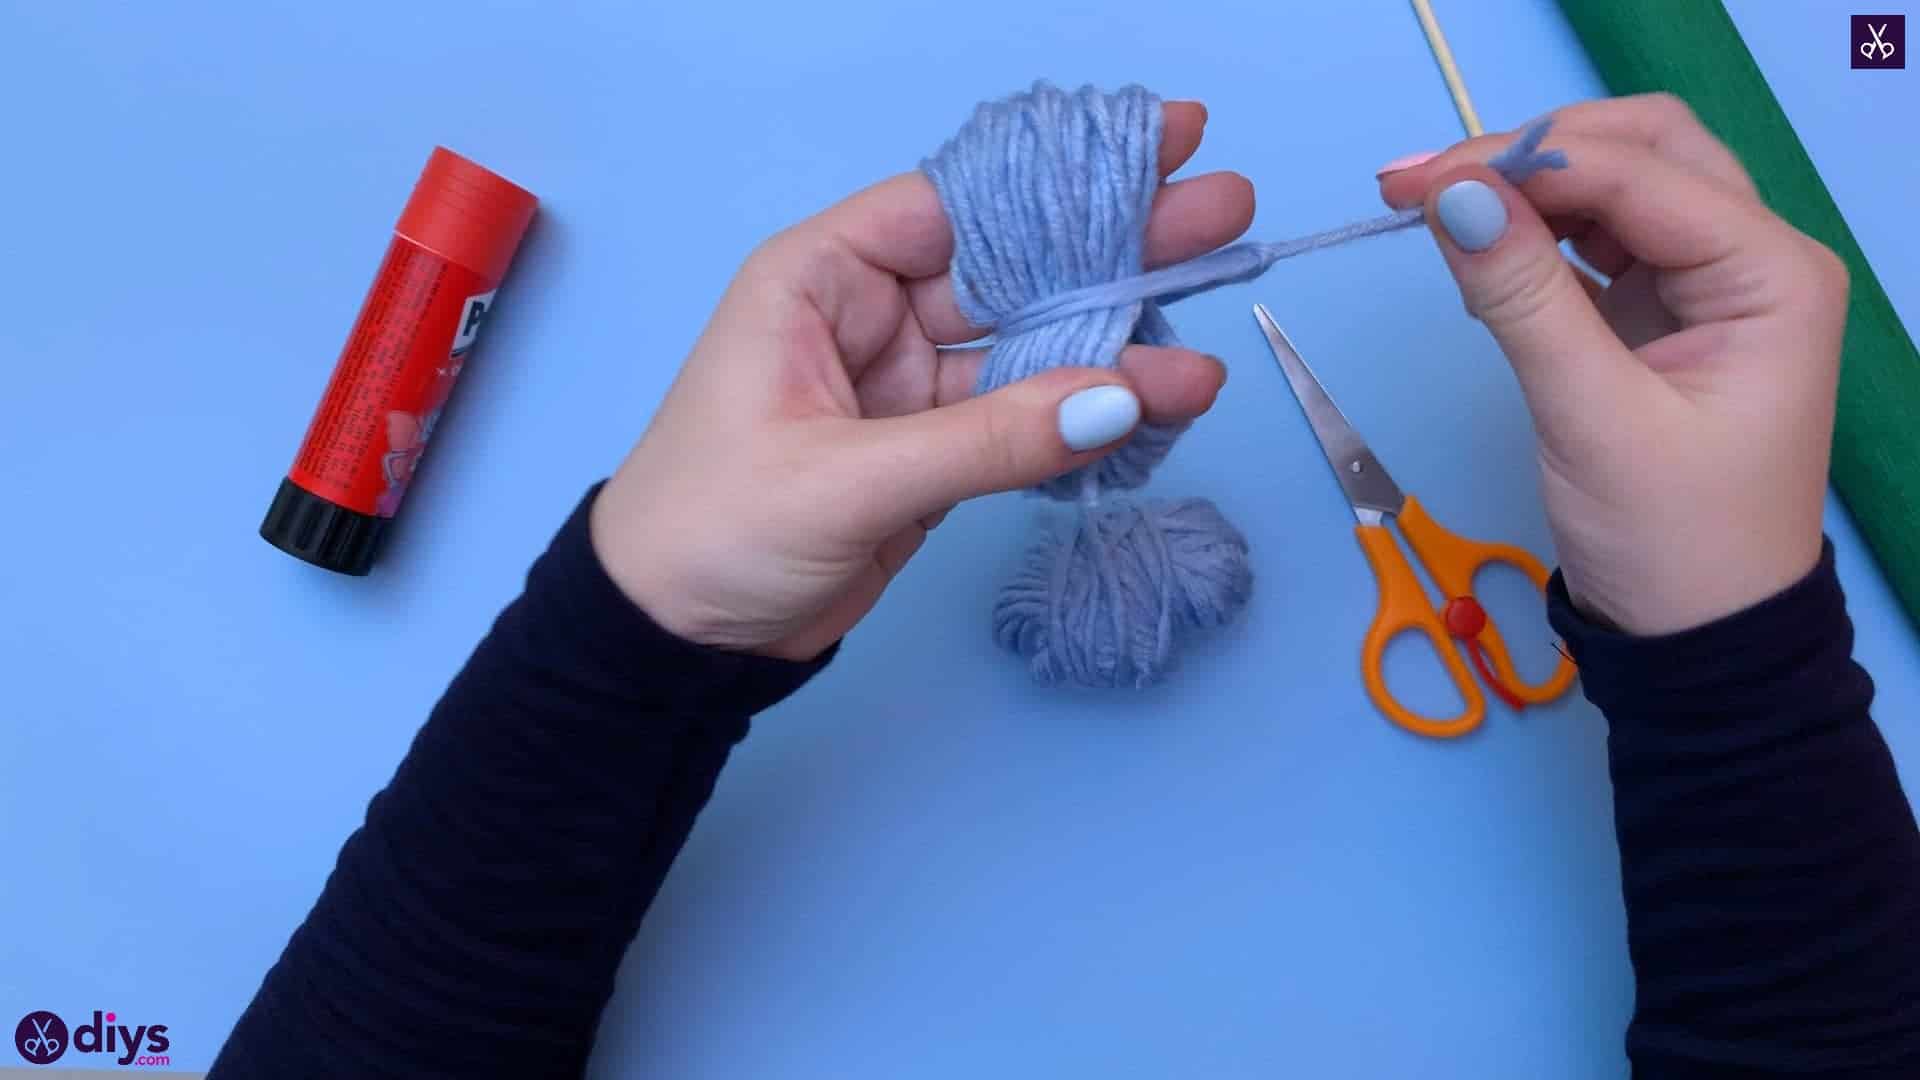
Step 3:
Once you feel like you’ve got enough wrapped layers, cut it off from the ball, holding the new end in place with your thumb once more. Cut another piece about four inches long and slide it between your middle and ring fingers, both above and below the yarn layers. Tie it and pull it tight so the layers cinch in the middle. Once you’ve pulled it as tight as you can, tie it in a knot to fasten the middle.

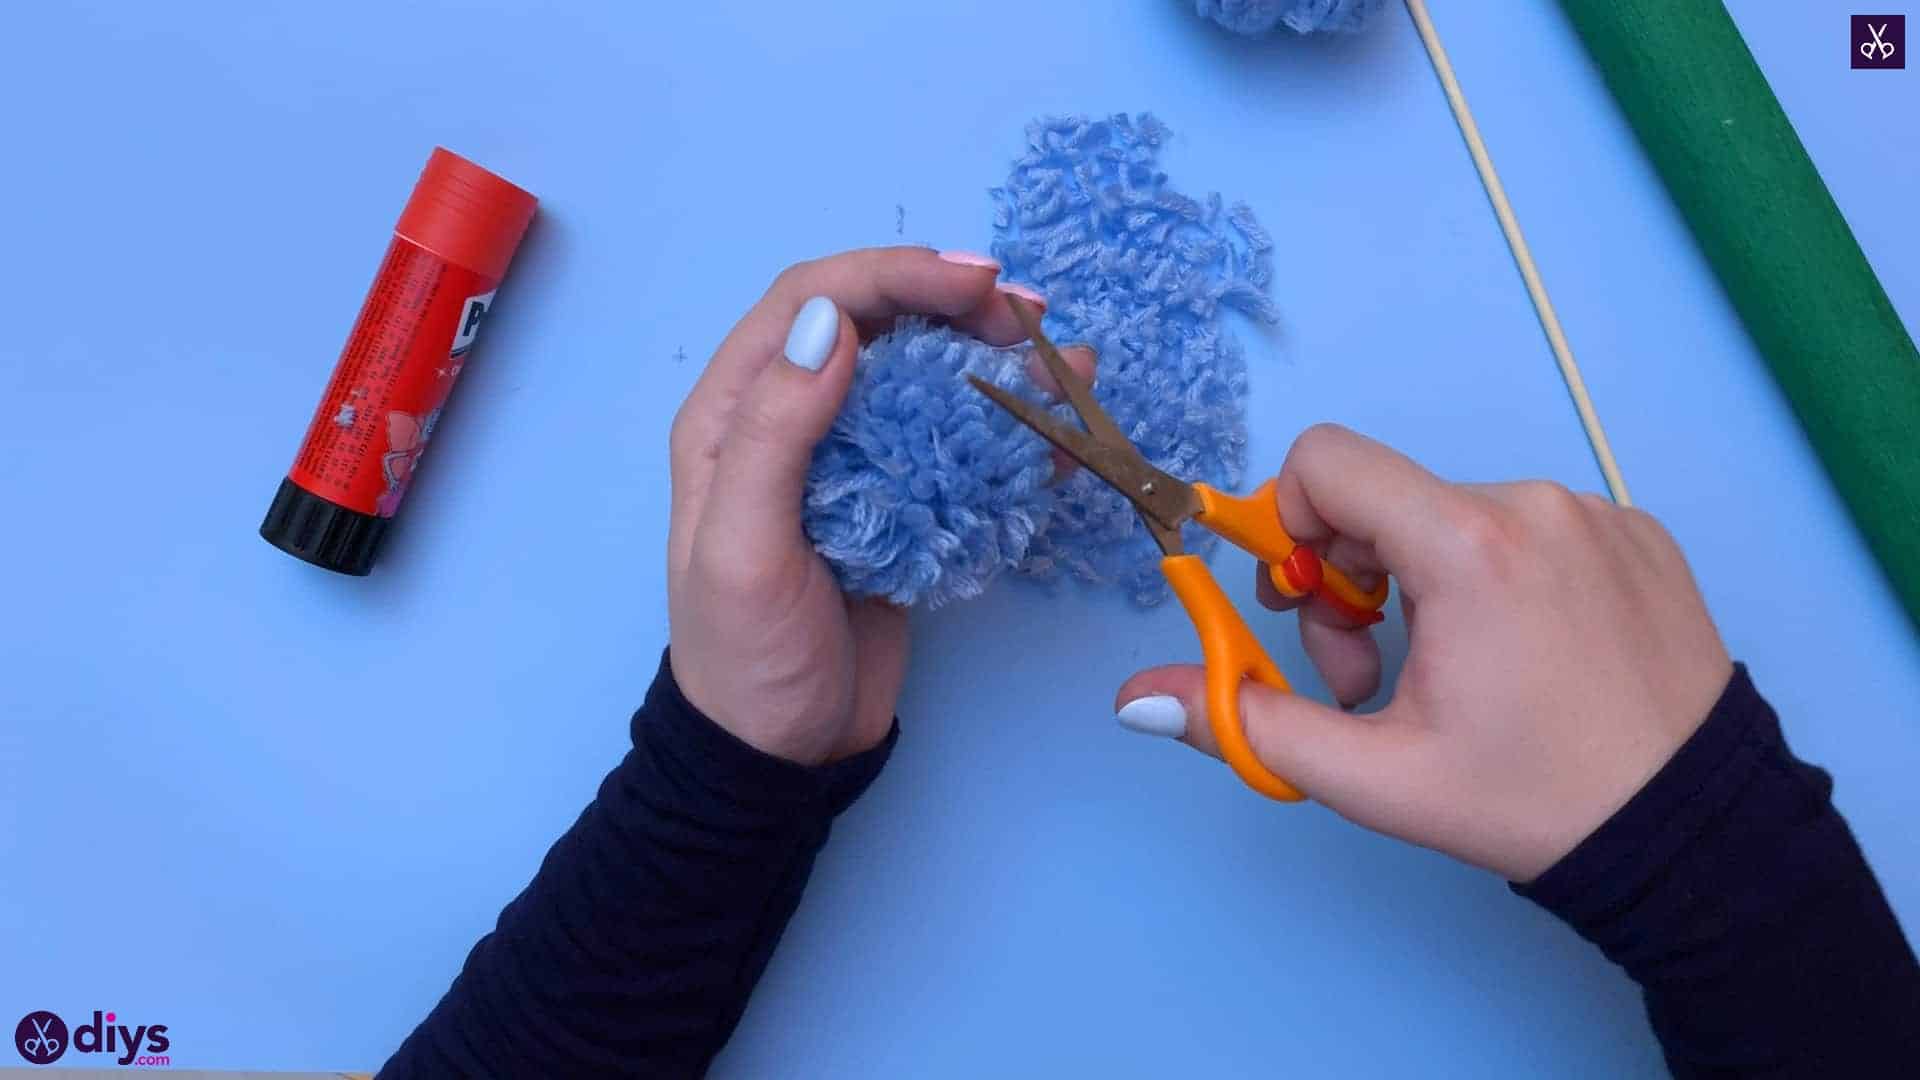
Step 4:
Slide the forming pom pom off your fingers and cut the resulting loops at either end so they spring up and out like fringe.

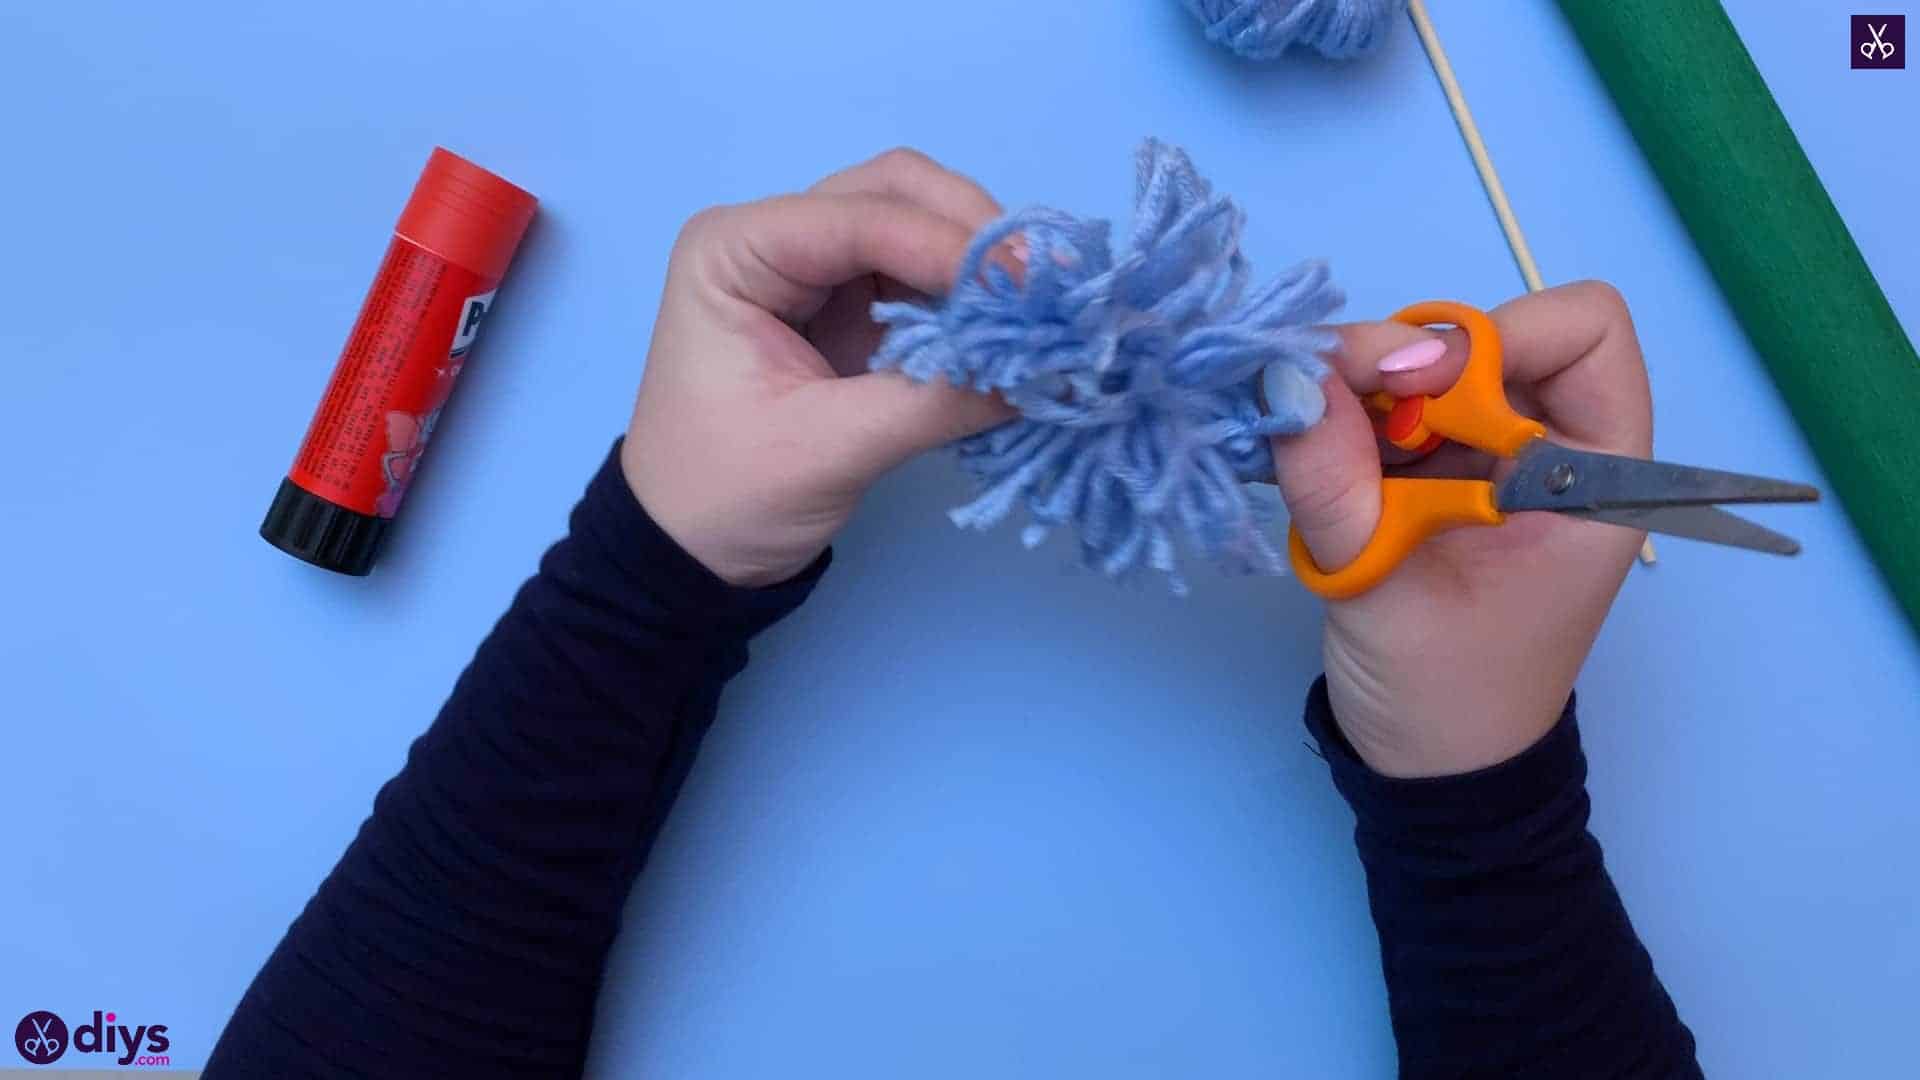
Step 5:
Help the pom pom gain a little more volume and shape by fluffing it and separating the new fringed ends so they don’t stick together. It should start forming a circular shape, like the pom poms you’ve seen before.

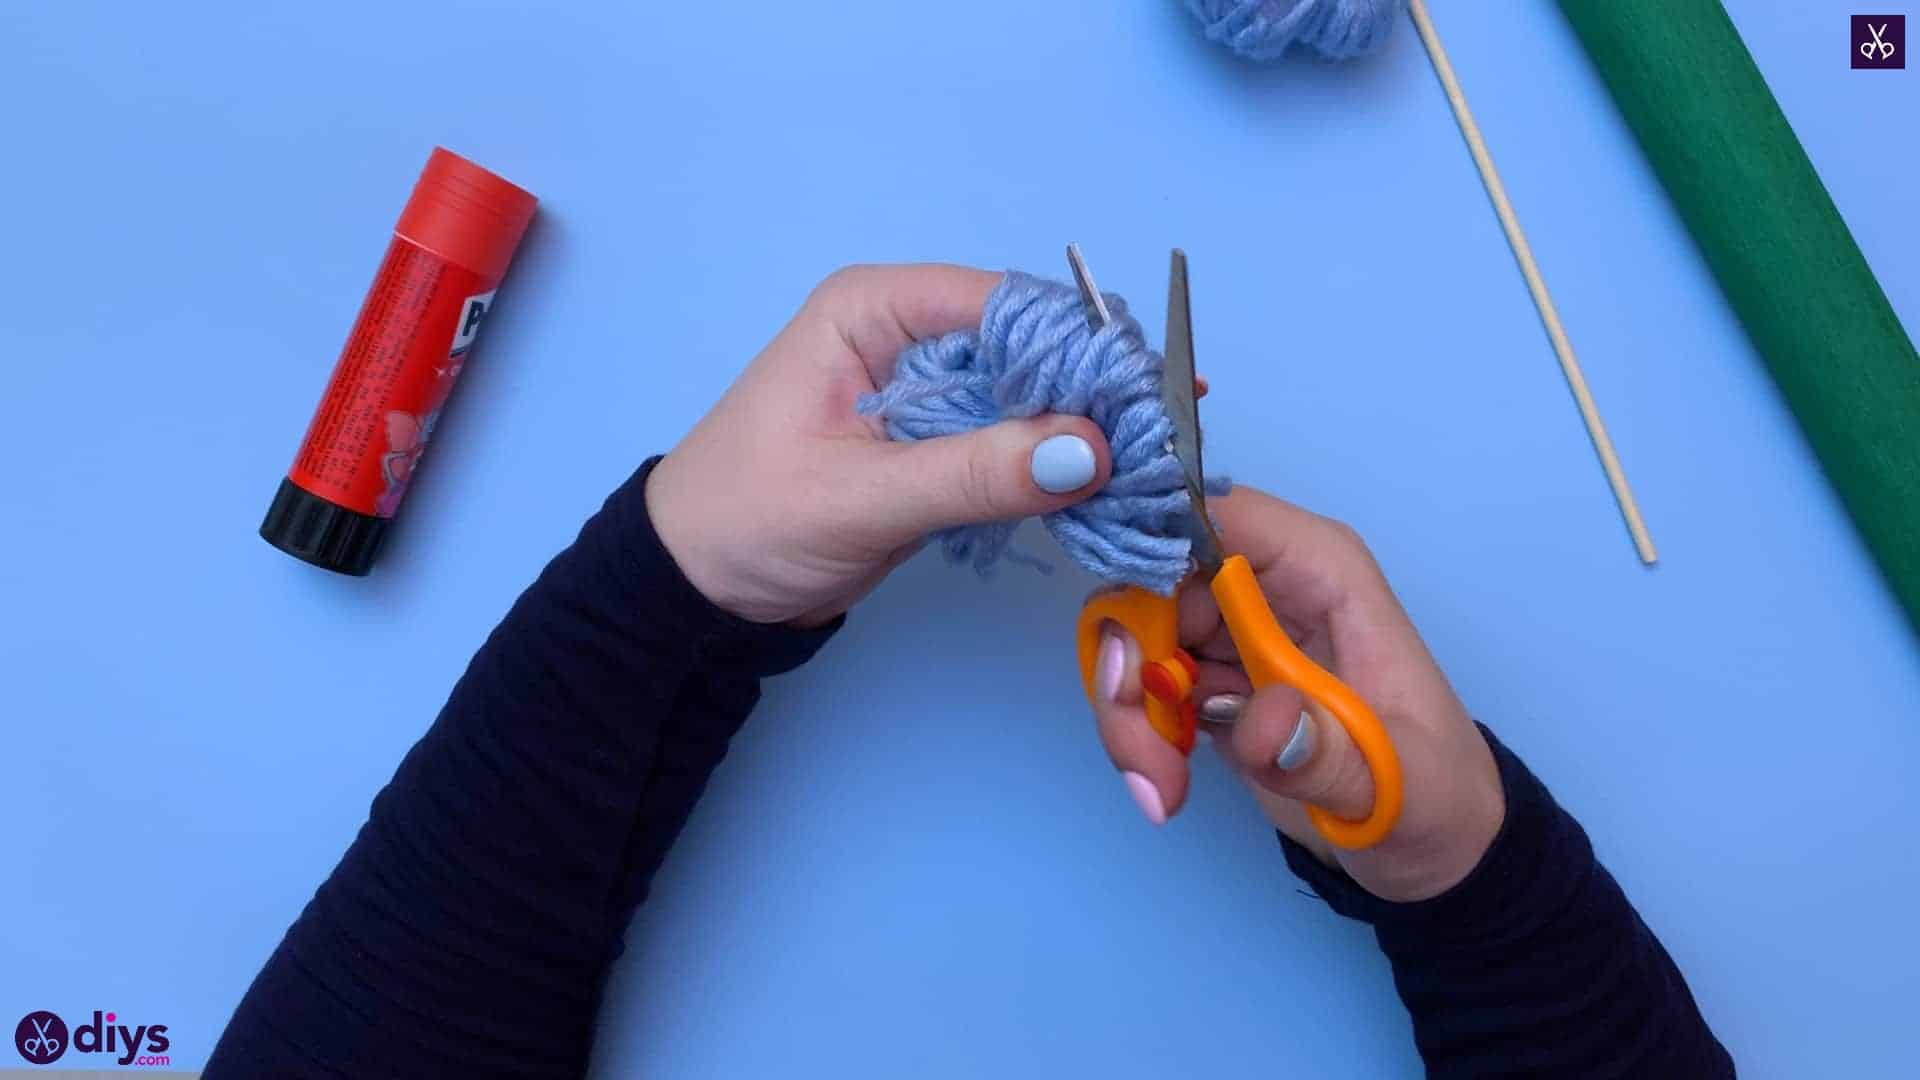
Step 6:
Help improve the shape of the pom pom even more by trimming the ends so they are even all the way around the pom pom. Repeat the entire pom pom process again if you intend to make more flowers.

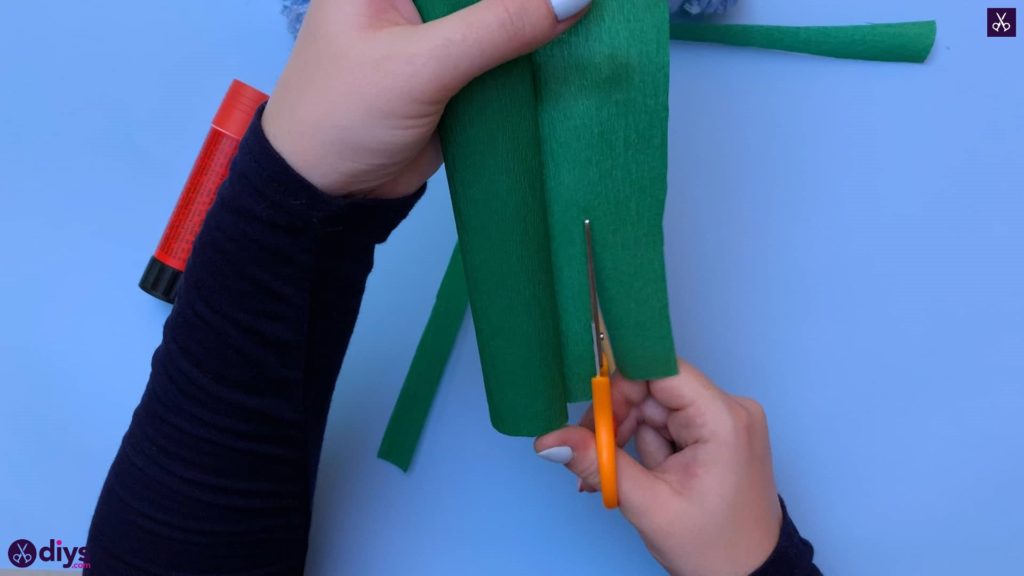
Step 7:
Cut a rectangular strip from your roll of green crepe paper. I made mine about an inch wide and used the entire length that my roll offered.
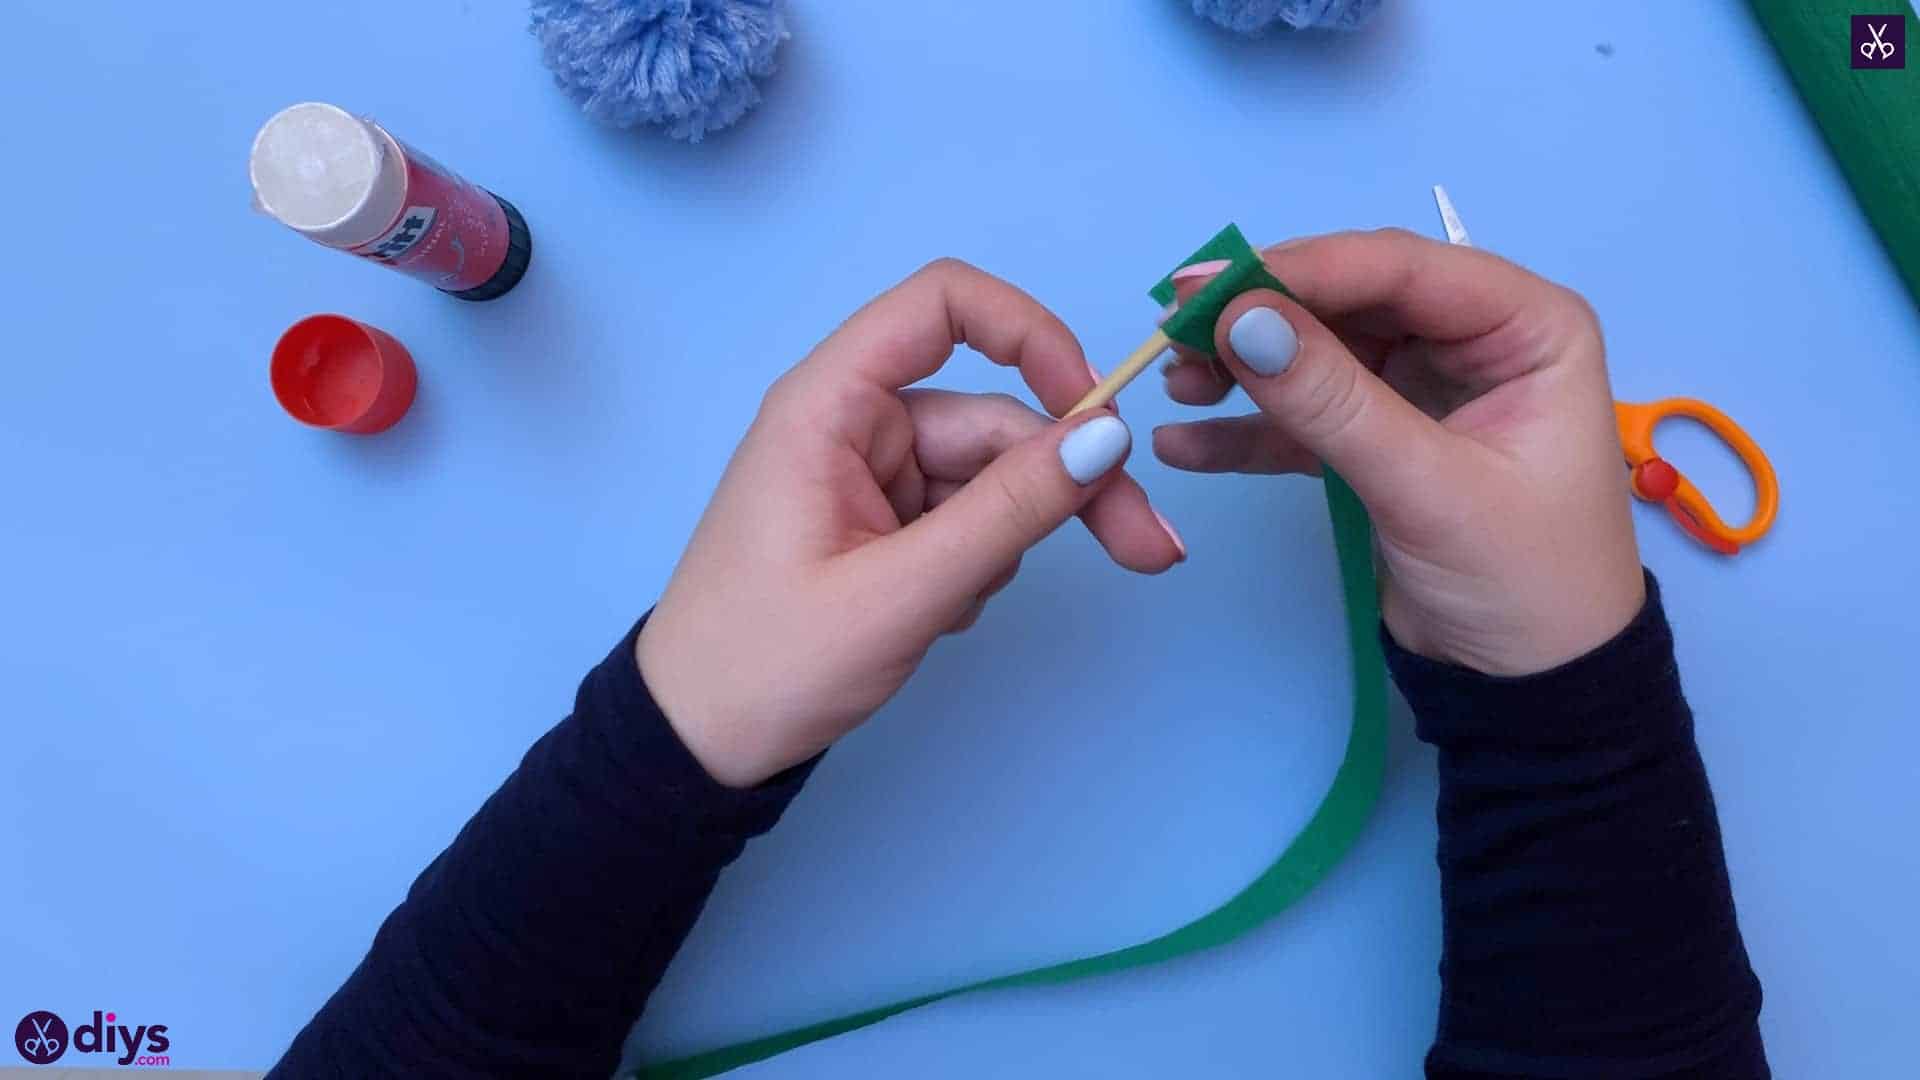
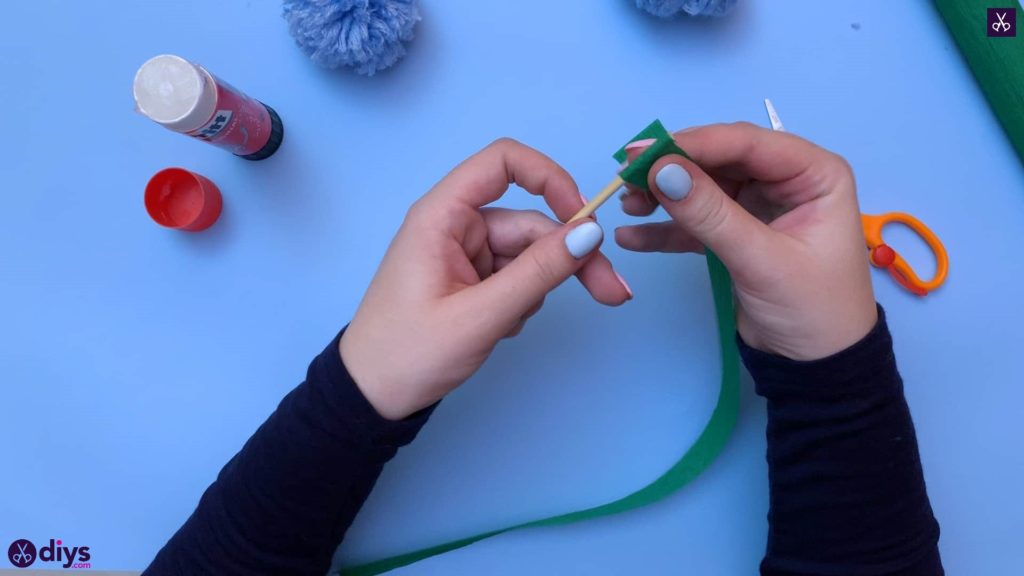
Step 8:
Apply glue to one end of your green crepe paper strip. Stick it perpendicular to the end of your wooden skewer stick and begin wrapping it around, shifting the paper down slightly with each wrap so the green moves downward and eventually covers the whole length of the stick like a spiral. Stick the other end of the crepe paper down too, trimming it if you need to. Repeat the whole process again to make more stems if you intend to make more than one flower.
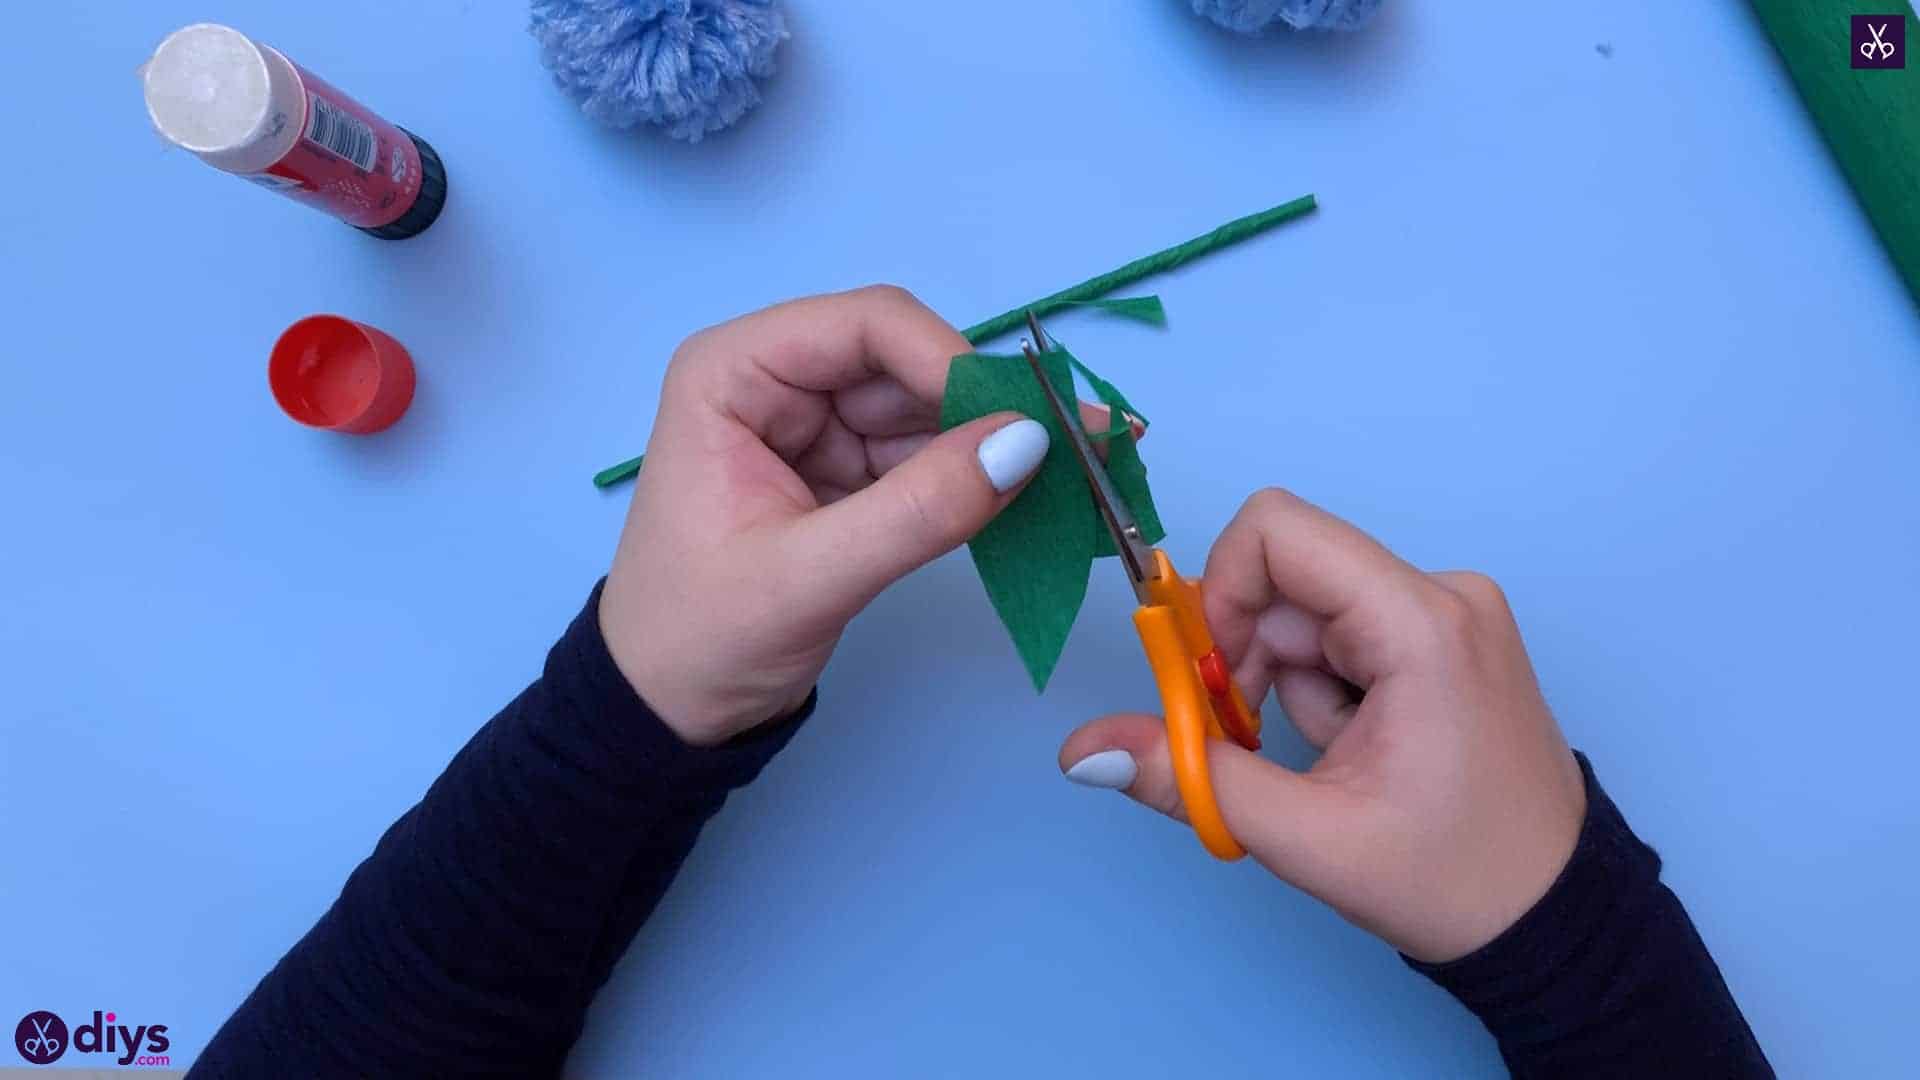
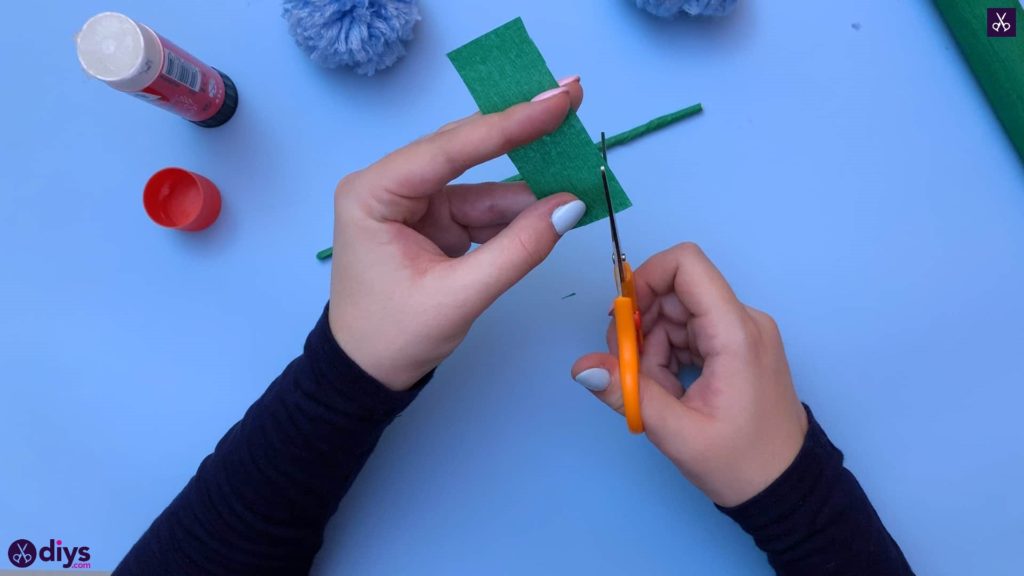
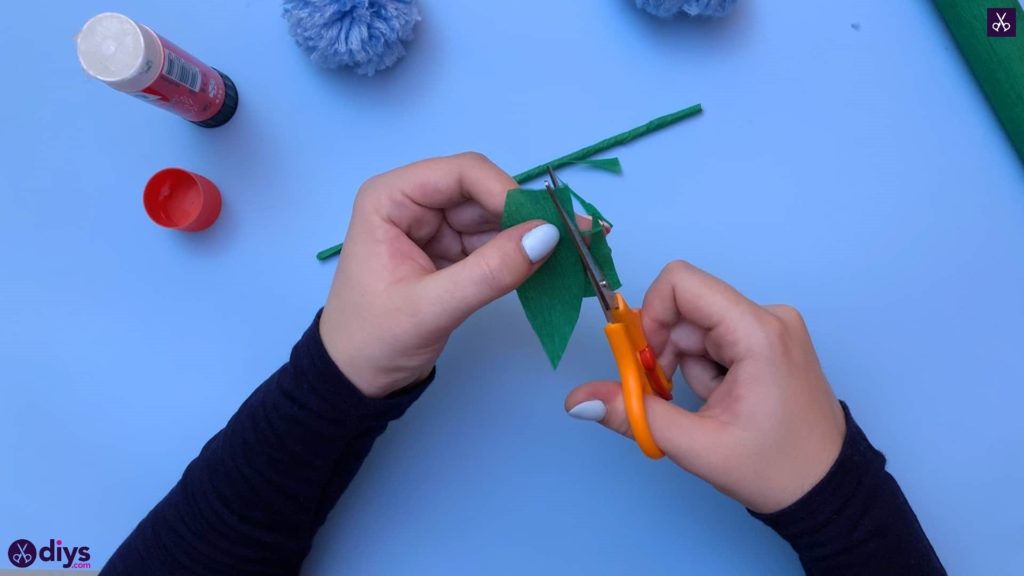
Step 9:
Cut another strip from your green crepe paper, about the same width as before, and then cut pieces about an inch and a half long from that. These will be your leaves. You can either freehand cut the leaf shape into these little pieces like I did or sketch it with a pencil first and then make your cuts. I rounded all four corners off, leaving one end flat at the base of the leaf, and tapering the other end into a point like the tip of a leaf.
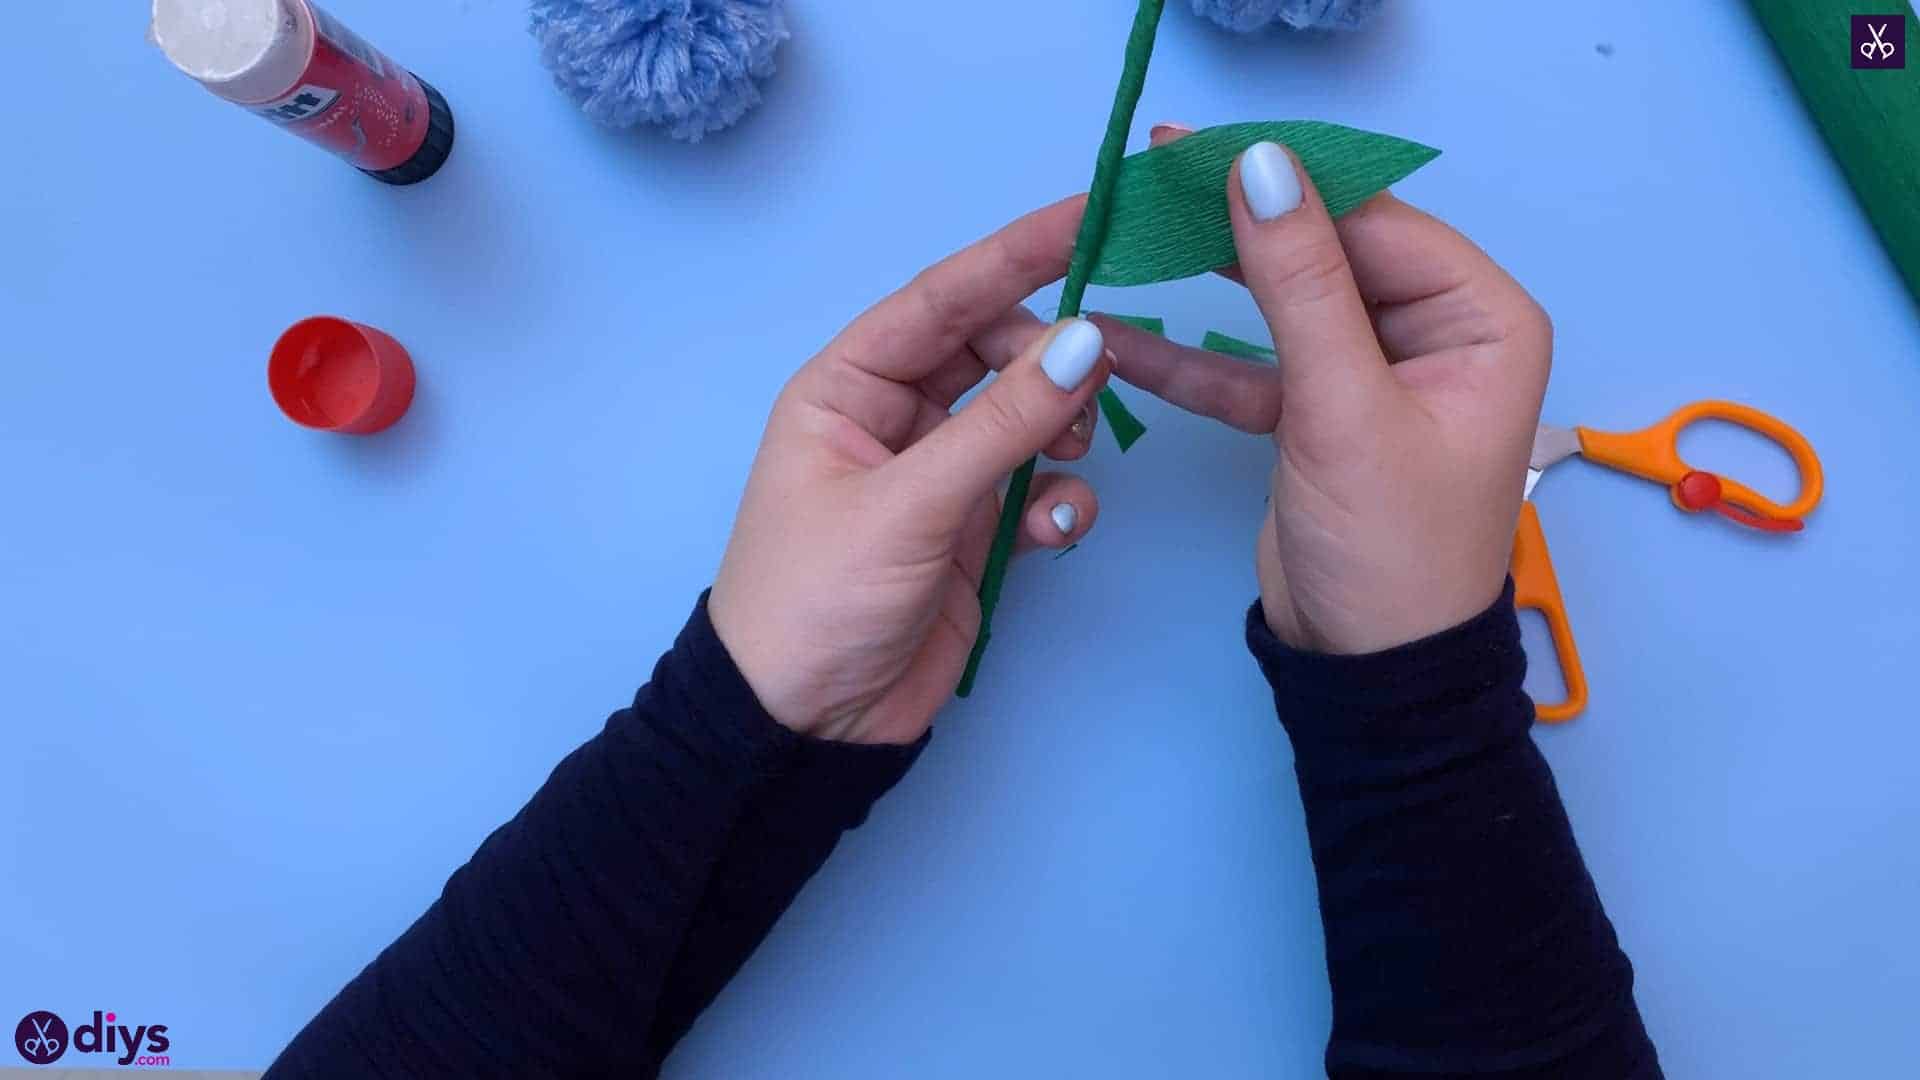
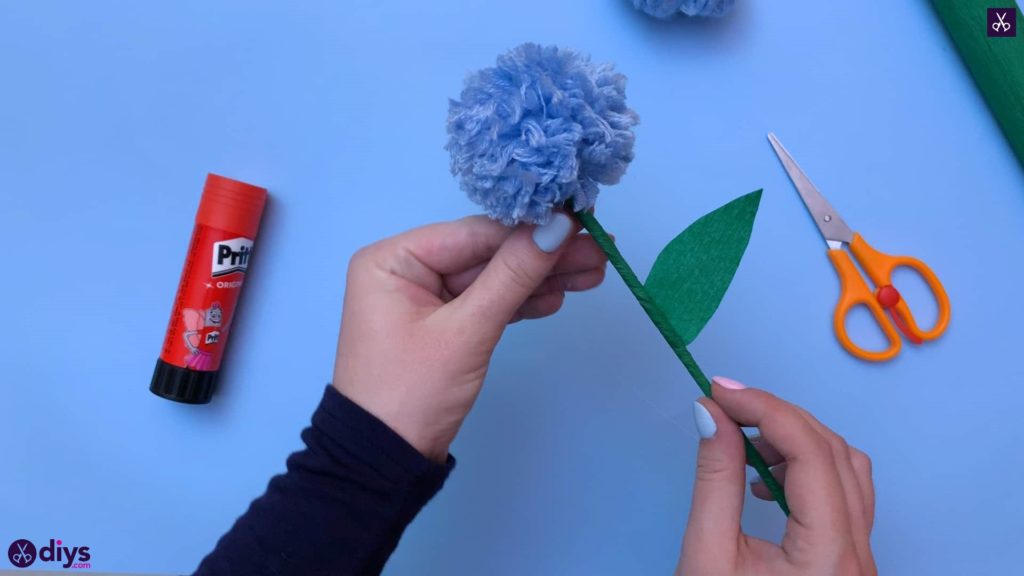
Step 10:
Stick the leaves onto your stem by applying glue to the base of the leaves and pressing them onto the crepe paper wrapped wooden stick. Feel free to curl the base around the stick slightly to make it blend a little more.

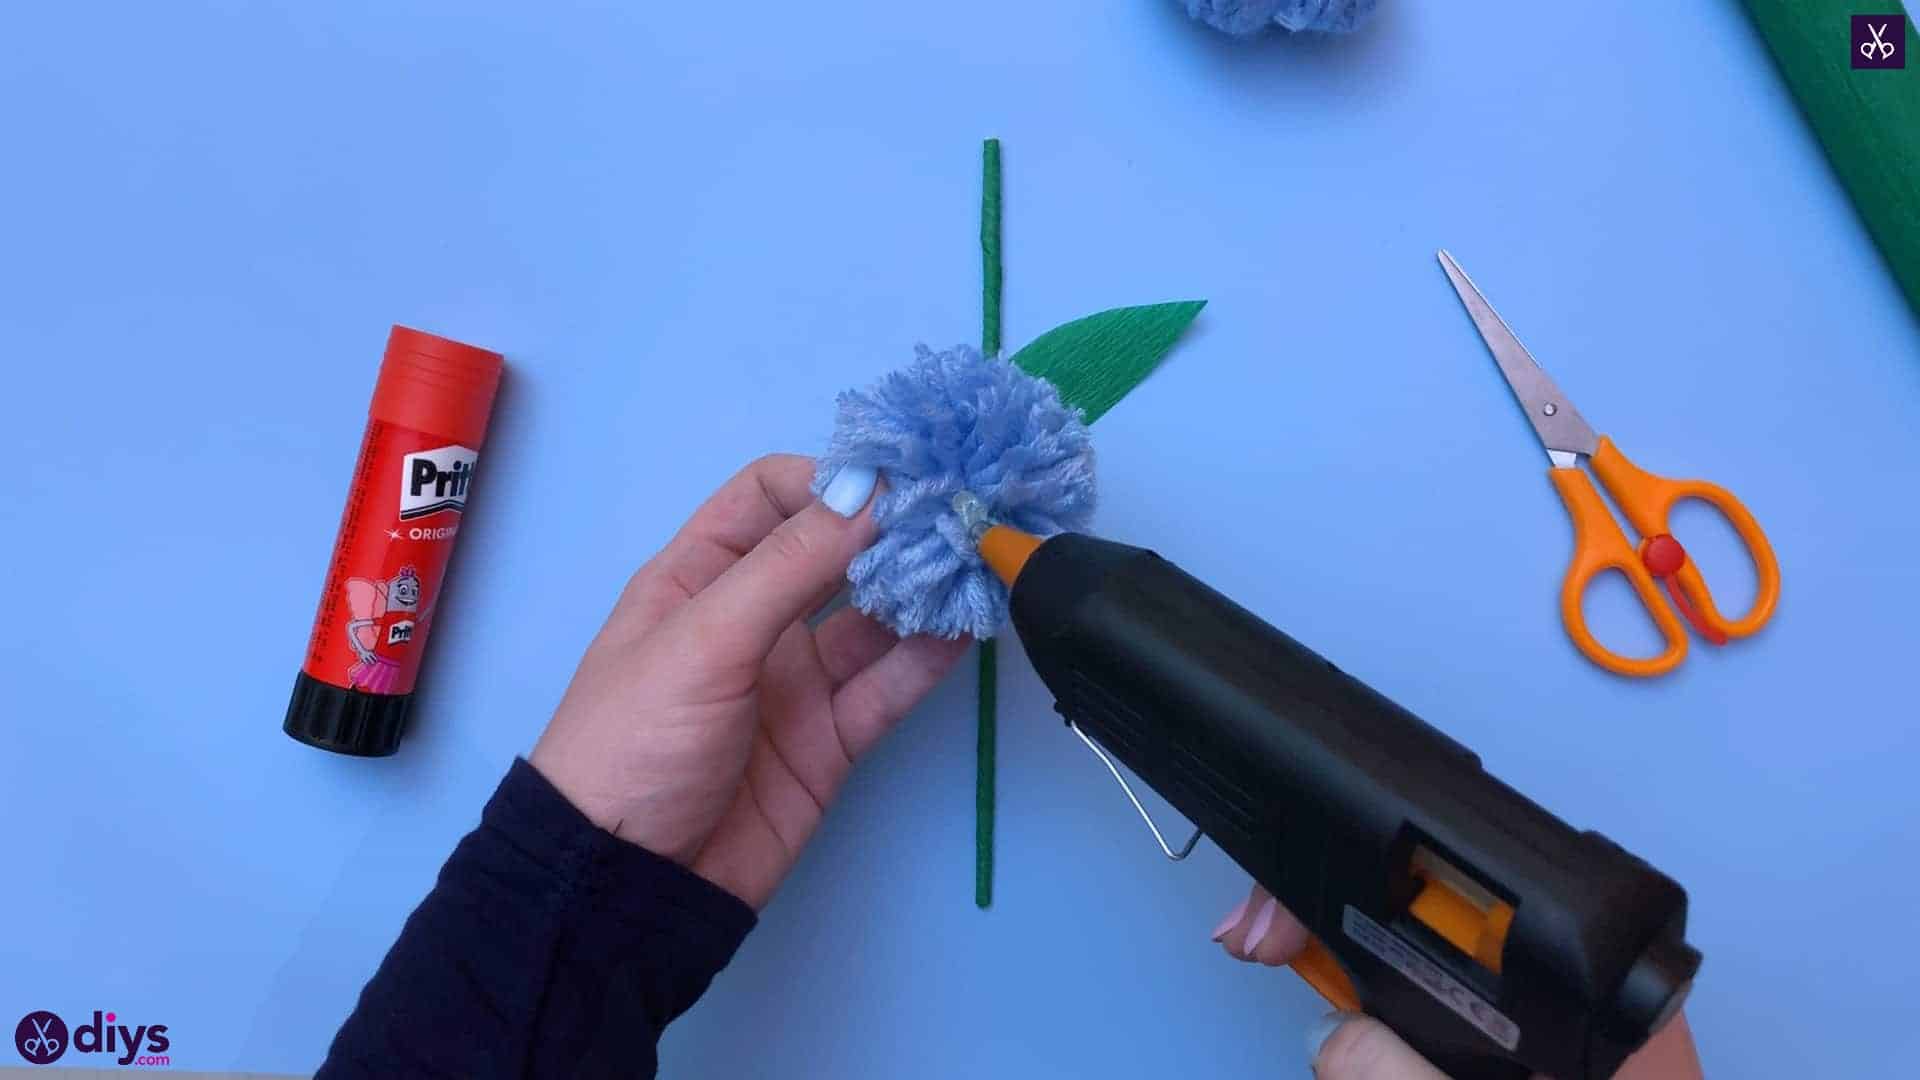
Step 11:
Using your hot glue gun, apply glue as close to the centre base of your pom pom as you can. Press the end of your crepe paper wrapped wooden stick into the glue so the stem sticks straight out from the pom pom.

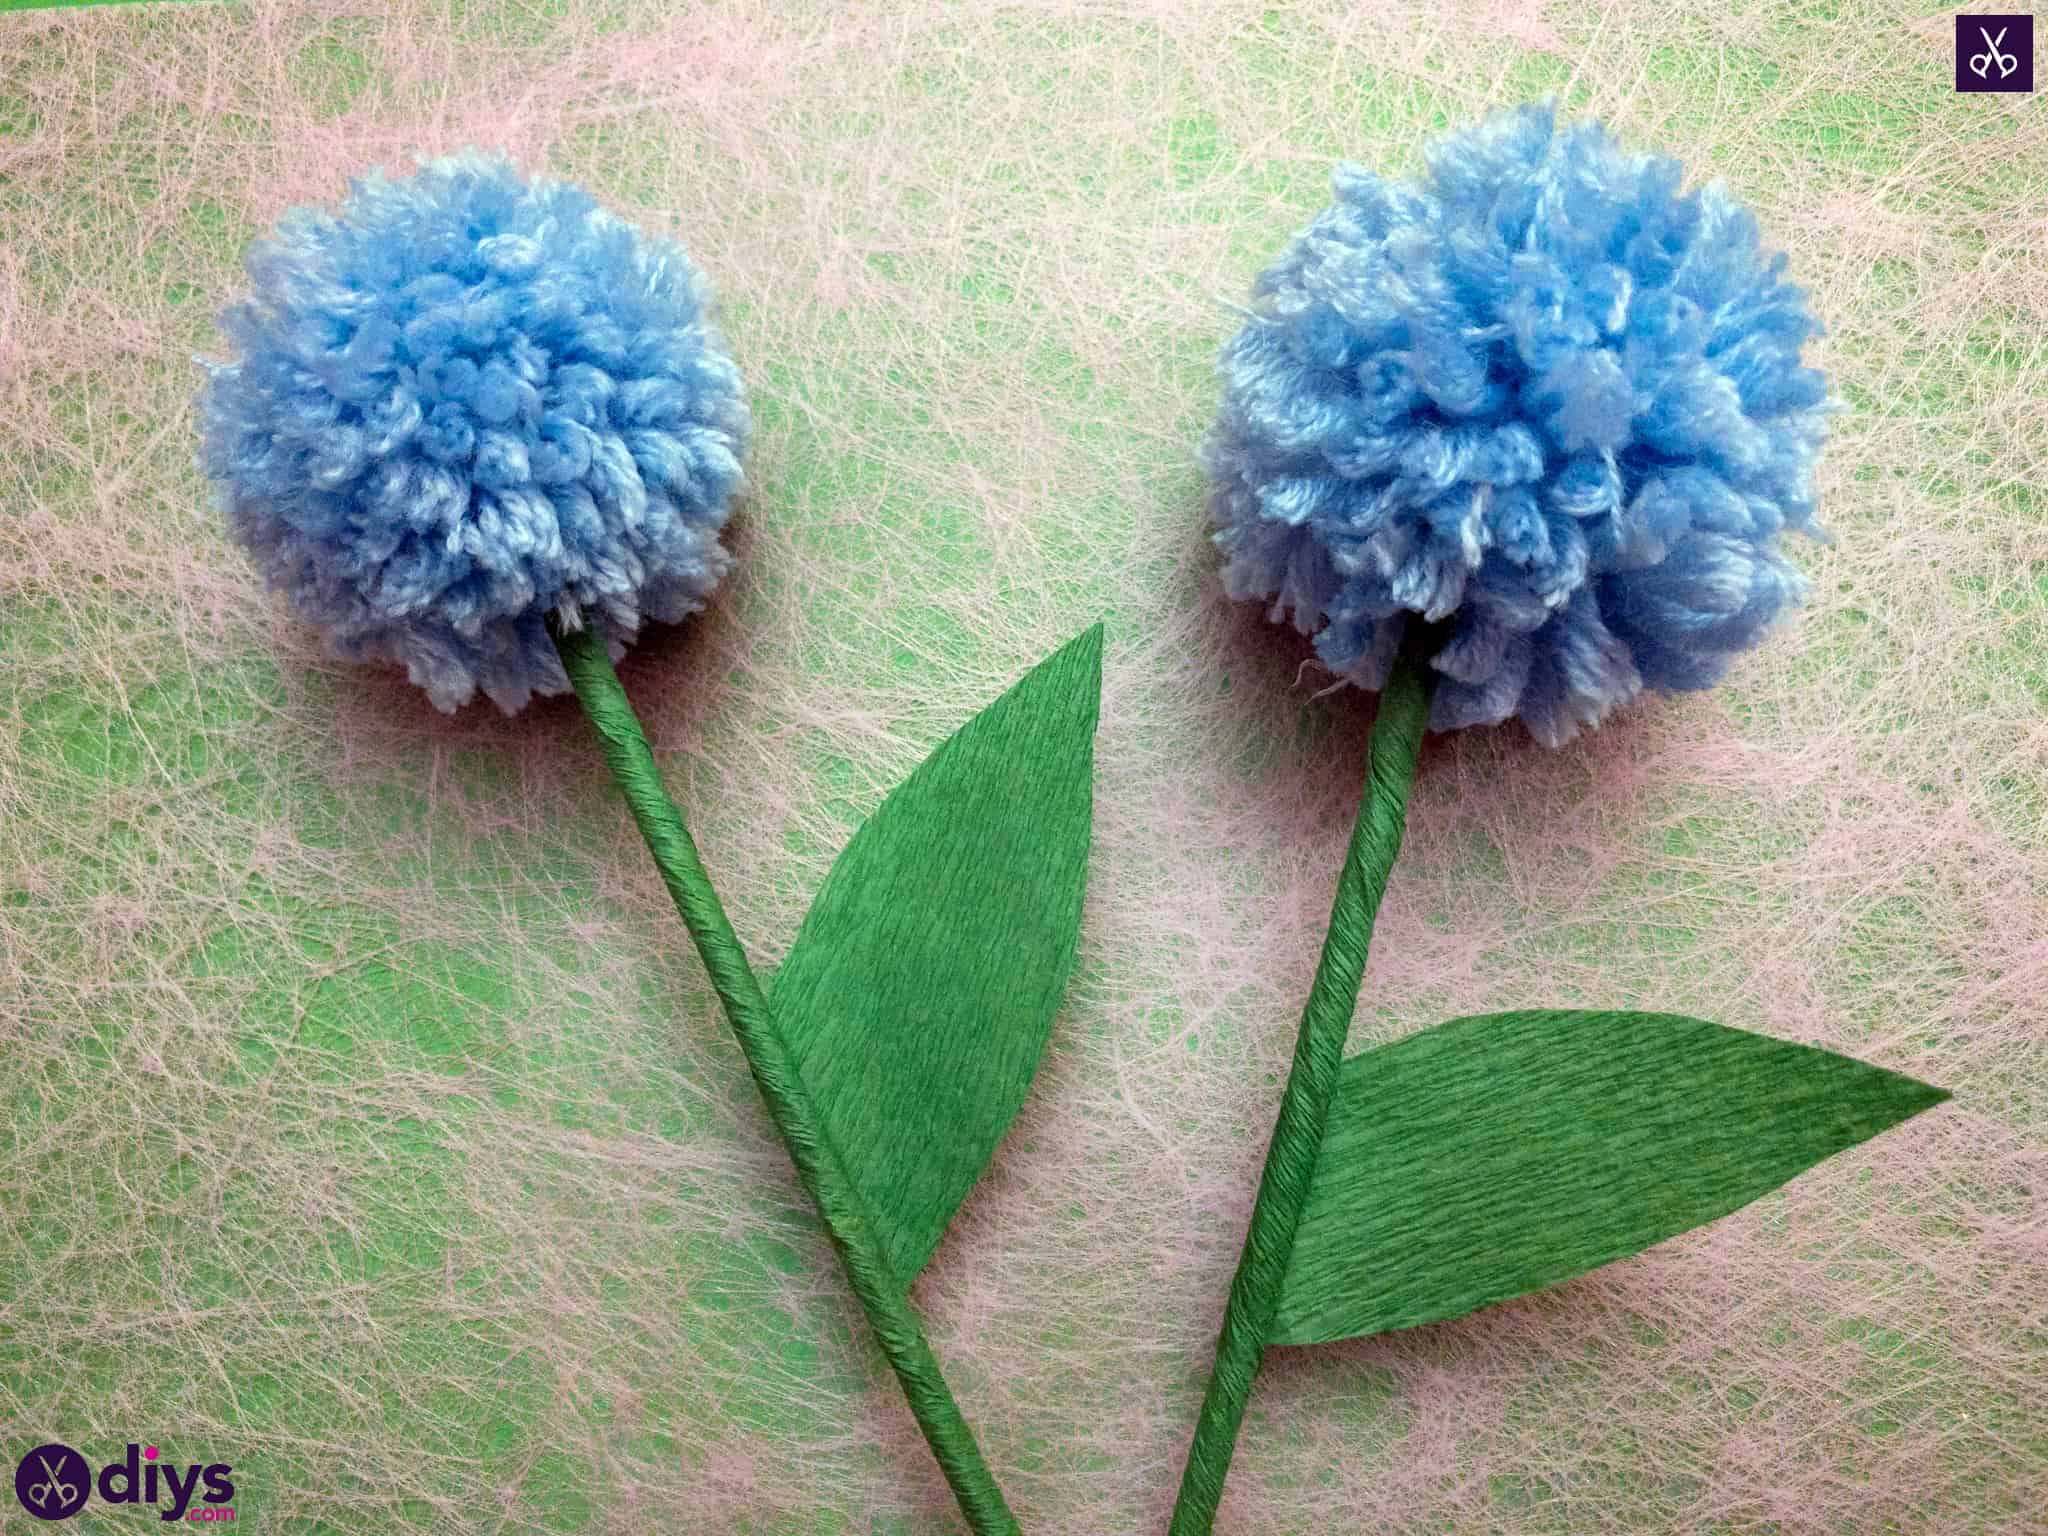
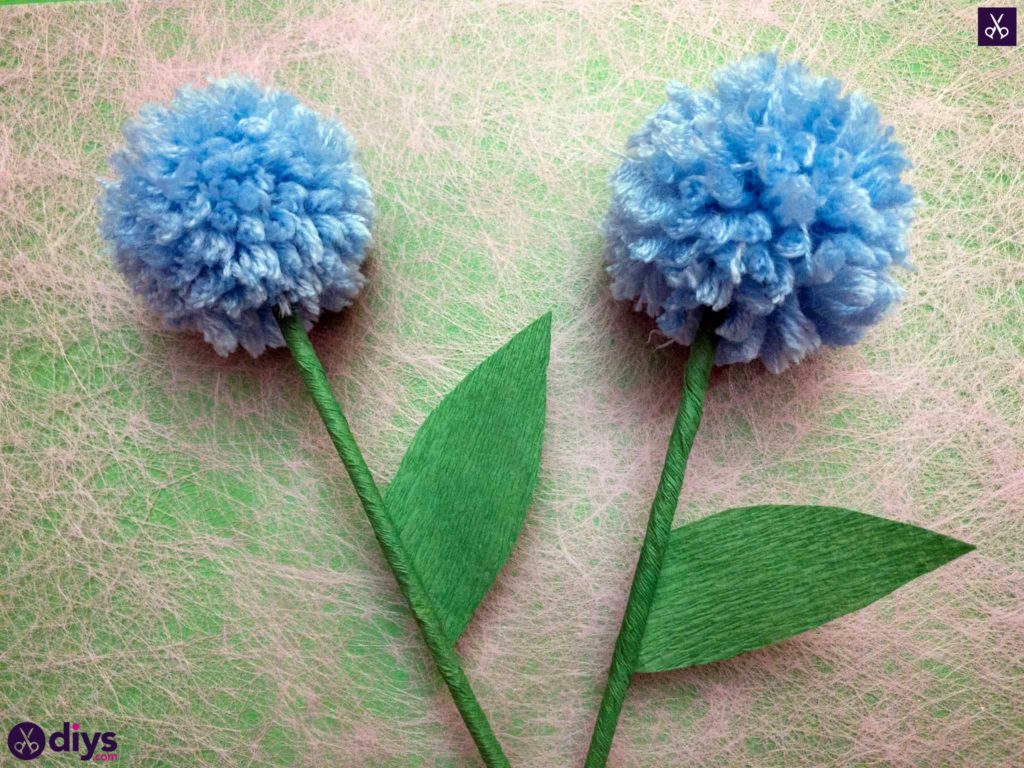
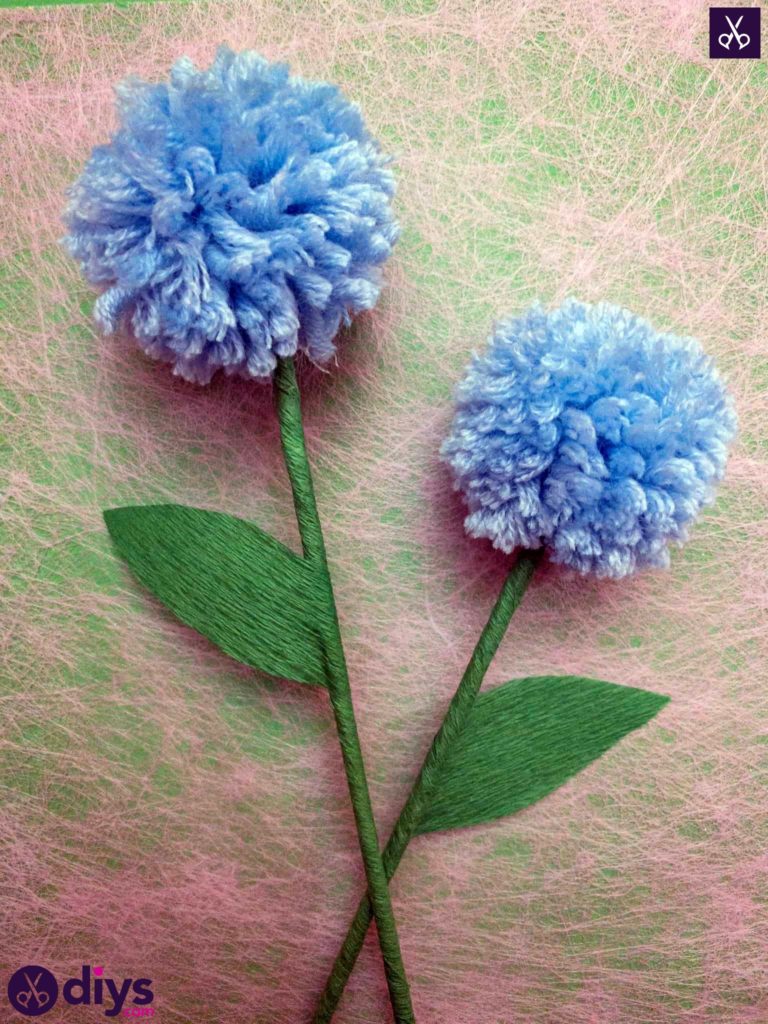
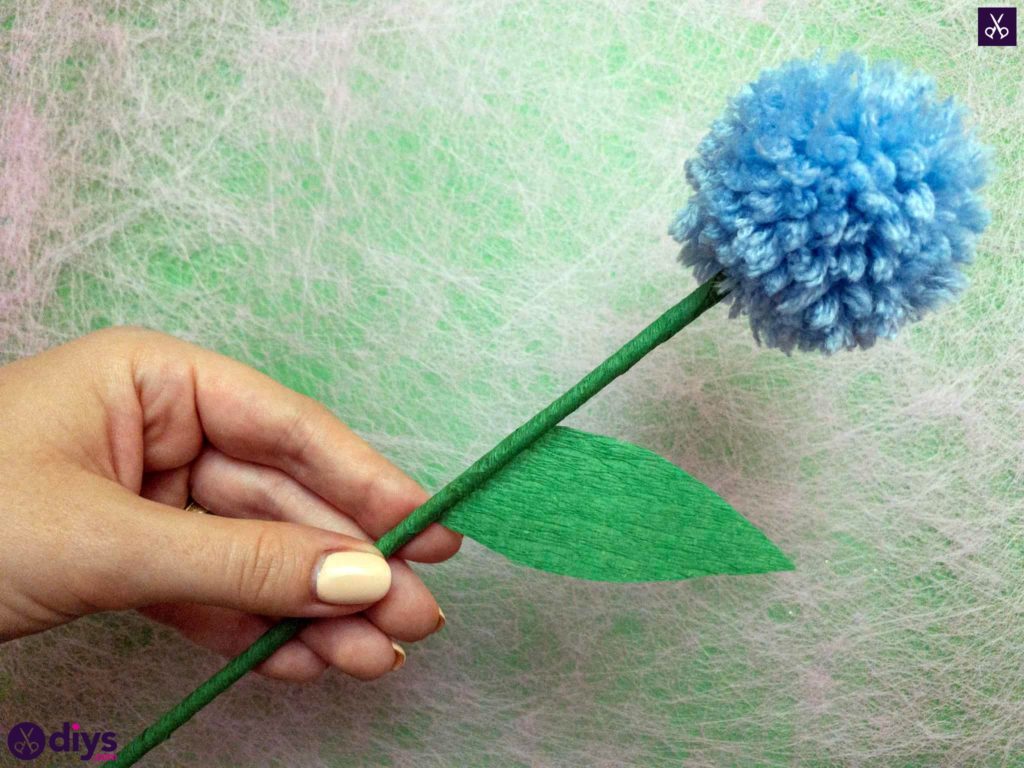
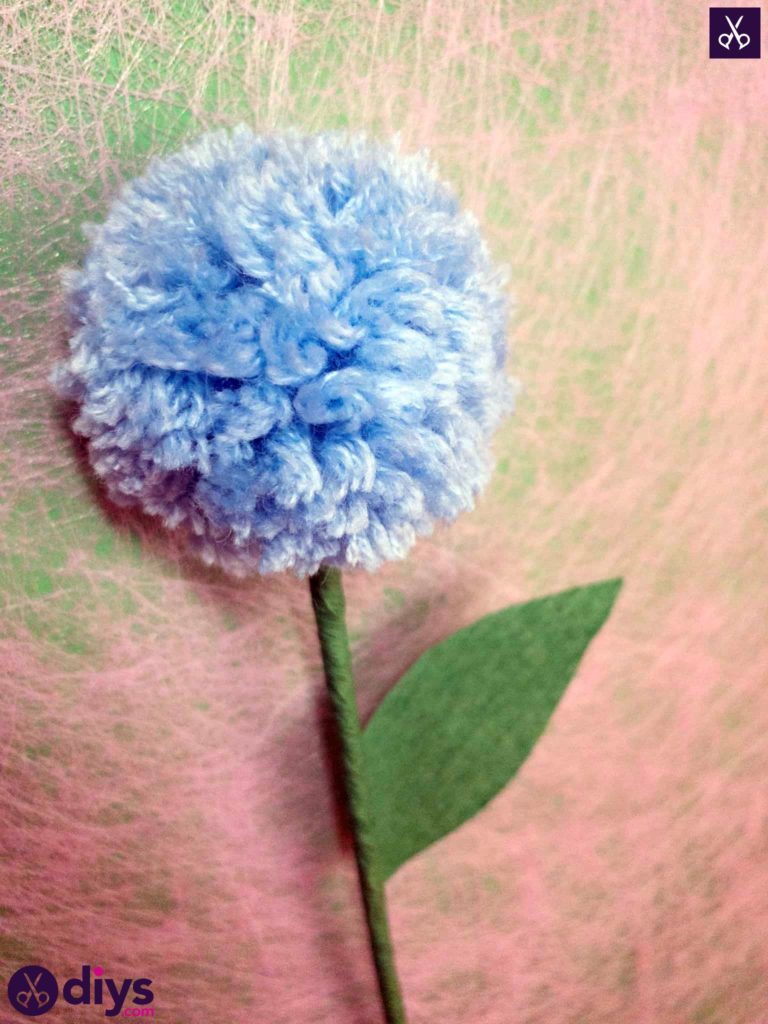
Voila! You have officially made pom pom flowers. Imagine how pretty these will look in a whole bouquet!
Would you like to try this project out yourself? Take a look at this great video tutorial for more info!