Make Your Own DIY Drawer Dollhouse
Updated on June 25, 2021
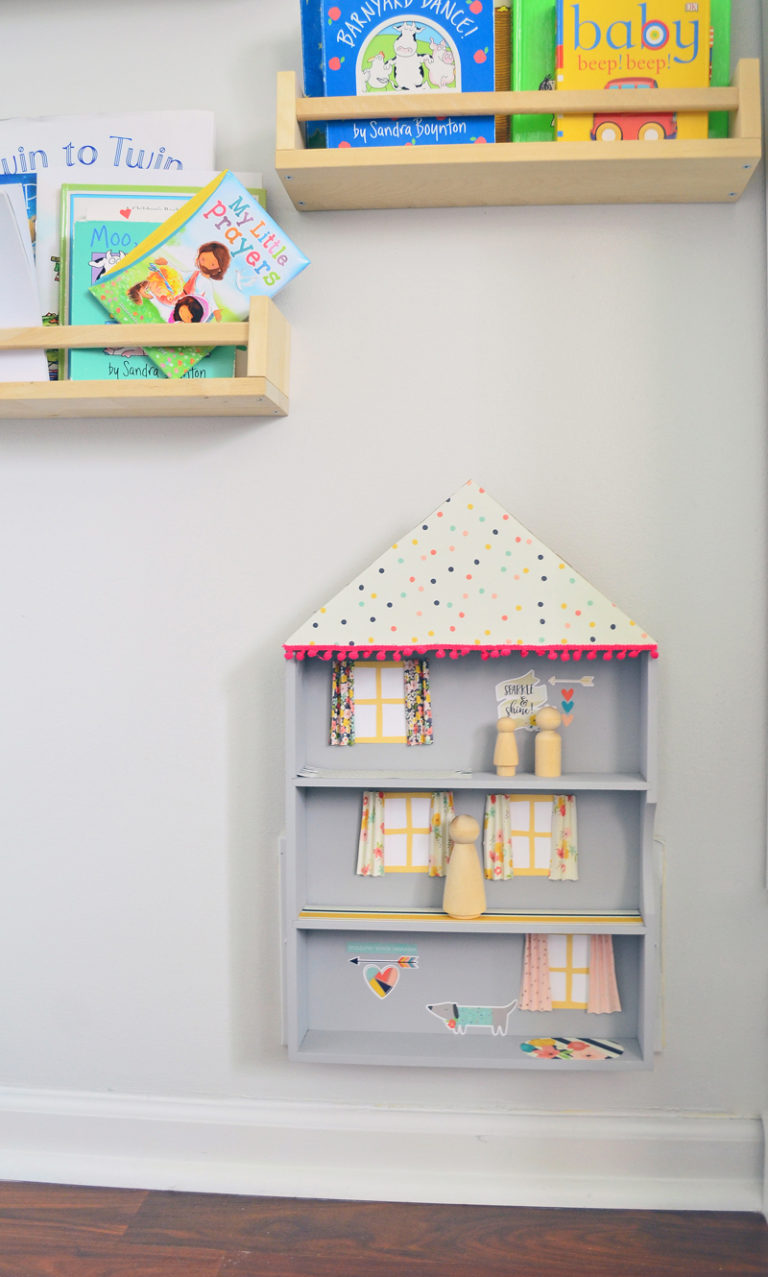
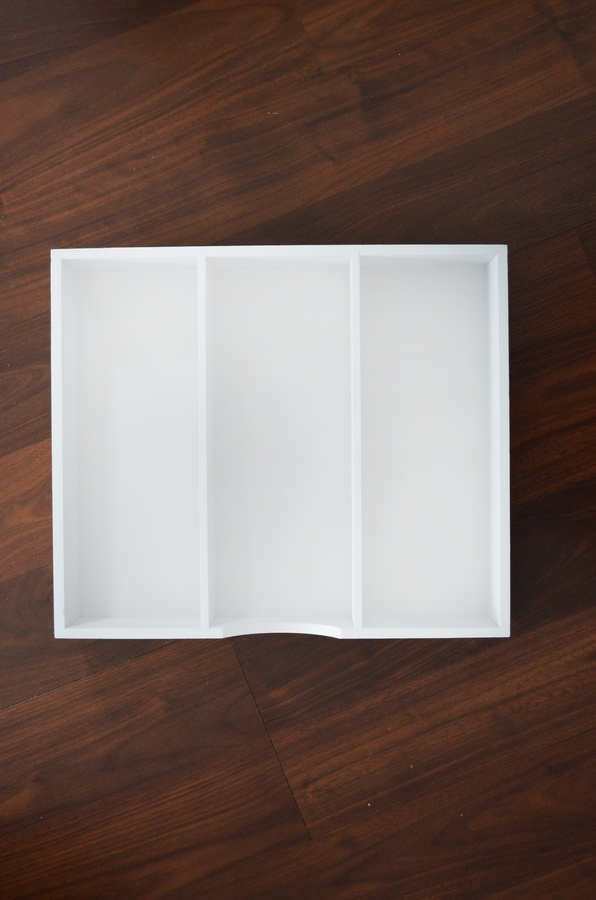
The last time I was at the thrift store I came across an old cutlery drawer. Now, I didn’t need a cutlery drawer but ended up grabbing it anyway. I knew I would eventually find a use for it. The drawer sat in my garage for months untouched. I figured it was time to incorporate it into a project by creating a drawer dollhouse!

I thought a little drawer dollhouse would be perfect for my one-year-old daughter, Evie. She’s a tad bit too young to really “play” with the dollhouse now, but in a few years, she’ll be able to really use her imagination. This tiny drawer dollhouse was the perfect solution because I have limited space in my home. Instead of permanently attaching the dollhouse to the wall, I added a 3M hook so it can be taken down and stored when my daughter isn’t playing with it. Genius, right?!
Supplies:
- Wooden Cutlery Drawer
- Gray Spray Paint
- 12×12 Simple Stories Posh Scrapbook Collection With Stickers
- White and Yellow Cardstock
- Hot Glue Gun
- Cardboard
- Mini Pom Pom Trim
- Craft Mat
- Cutting Mat
- Rope
- 3M Hook
How to Create Your Own Drawer Dollhouse
Step 1: To get started, add a coat of gray chalk spray paint to the drawer. Once the paint is dry, add another coat of paint if it’s needed.
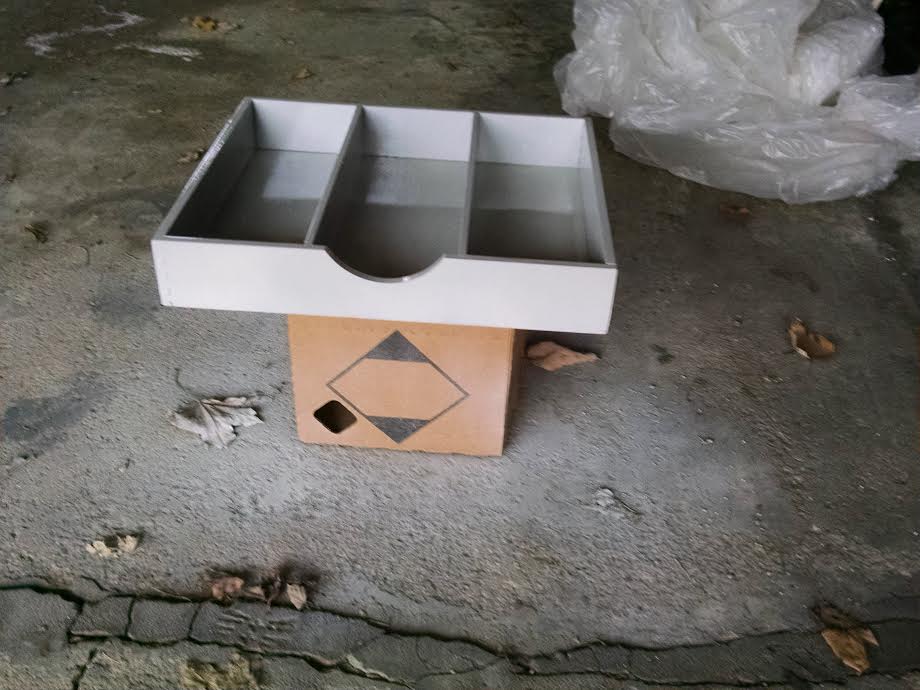
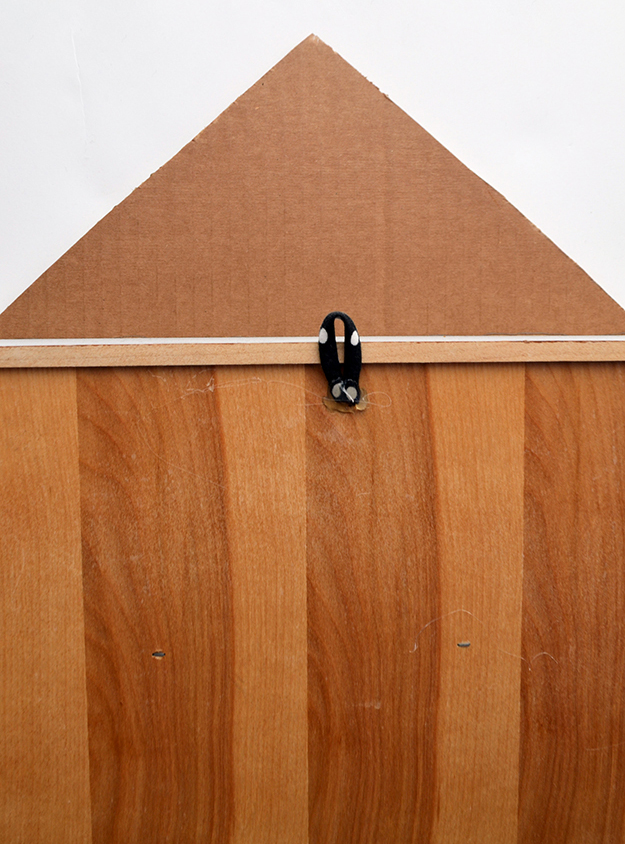
Step 2: To create the roof of the house, measure the top of the drawer and cut a piece of cardboard that is the same length. Then, cut the cardboard into a triangle. Cut a piece of scrapbook paper the same size and shape as the roof. Add Mod Podge to the back of the paper and glue it to the cardboard. Hot glue the bottom of the cardboard to the top lip of the drawer. Glue trim on the bottom for extra detail.

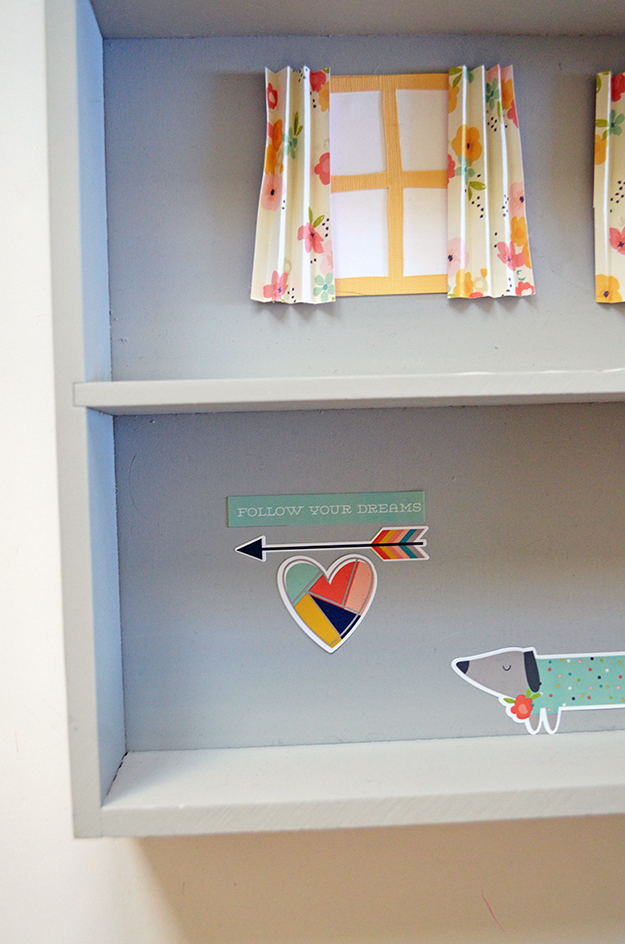
Step 3: To create the windows you’ll need to cut a rectangle out of white and yellow cardstock that are the same size. Use a craft knife to cut out the window panes from the piece of yellow paper. Glue the window frame to the white cardstock. Then, glue the window the inside of the drawer (Repeat this step to create additional windows). To make curtains, accordion fold squares of paper and use a hot glue gun to attach one to each side of the window.

Step 4: For extra details add stickers to create two mini gallery walls. To create rugs cut different pieces of paper and glue them on the inside of the drawer.
Step 5: Hot glue a piece of rope to the back of the drawer so the dollhouse can be hung.
Of course, after I finished my drawer dollhouse, I had another idea. I am going to add chalkboard paint to the back so the dollhouse can be flipped over and used as a chalkboard! How is fun that?
