How to Install Door Trim With Uneven Walls
Updated on May 17, 2021

When you install a door trim, it’s more than just about adding elegance to your interior decor. A door trim also protects the door casings and covers any flaws in the walls. And that can be a real problem since door trim is usually evenly measured and cut. So how do you work around uneven walls?
That’s where door shims come in. They are flexible enough to fit between the door trim and the drywall. However, as you might expect, this is not as straightforward as it sounds. There’s a lot of measuring and cutting to do. But instead of calling a professional, why not do it yourself? If you have intermediate skills and can spare a couple of hours of your time, you could get it done. That way, you can save up some money that would go into better materials.
What are Uneven Walls?
Although door frames are designed to protrude out of the wall, how far do they stick out is usually the real issue. In an ideal situation, all three sides of the door frame will protrude by no more than a half-inch. But sometimes, that protrusion can be more than a half-inch in some parts and less than a half-inch in others.
Furthermore, when you try to install a door trim on such awry drywall, the angles of the door trim will not meet properly. You could end up with a gap that sticks out like a sore thumb. And the whole job smacks of shoddy and unprofessional workmanship.
Why Wood Shims
When faced with such unfriendly drywall, your first impulse is to cover it with a door trim to hide these flaws. So you have two options. The first is to dig a pocket into the drywall to make room for the door trim and let it sit more comfortably. That solution is error-prone, and if you’re not careful, you could end up with a gash in the drywall and create a bigger mess.
The other option is to use wood shims. Here you won’t have to hammer the drywall into submission. Instead, you’ll fill the gaps between the trim and drywall with the flexible shim. Using wood shims is less messy and maintains the integrity of the drywall and door casing. In addition, it adds an extra layer to the door frame for more stability.
Use Clear Caulk
Before we get to the actual process of installing door trim using wood shims, we need to point out the importance of using clear caulk. Most people and even contractors would use paintable caulk. It’s cheaper and gives a good finish to the door trim. However, if you decide to repaint the door and change the color scheme in the room, you’ll have trouble painting over the paintable caulk.
So it’s recommended that you use clear caulk. It doesn’t change the underlying color of the door trim or any surface it covers. Moreover, it doesn’t stain. You can also paint over it easily after it dries. However, you should make sure that you don’t leave any excess caulk on the drywall or the wood shims. It might be hard to remove it later.
Tools of the Trade
You can get these tools at any hardware store. If you have a DIY toolbox, chances are you already have most of them on your portable workbench.
Tools———————– |
Materials—————————- |
|
|
|
|
|
|
|
|
|
|
|
How to Install Door Trim
Armed with patience, a reasonable amount of skill and experience, and a desire to fix the flaws in the door that the carpenter has left behind, you’re ready to start. Make sure you put safety first, and you’re dressed for the job. Here’s the process of installing door trim on uneven walls in easy steps.
1. Cut the Door Trim
You’ll start with measuring the door trim and cutting them. You’ll need three pieces to fit around the door casing. Use the miter saw to cut the trim at a 45-degree angle. That way, the pieces will fit snugly when they meet around the corners of the door. Use the miter box to cut the trim at an even and steady pace and avoid frayed edges. A clean cutting will go a long way into making your work look more professional. Sand the ends of the pieces when you’re done to remove any splinters.
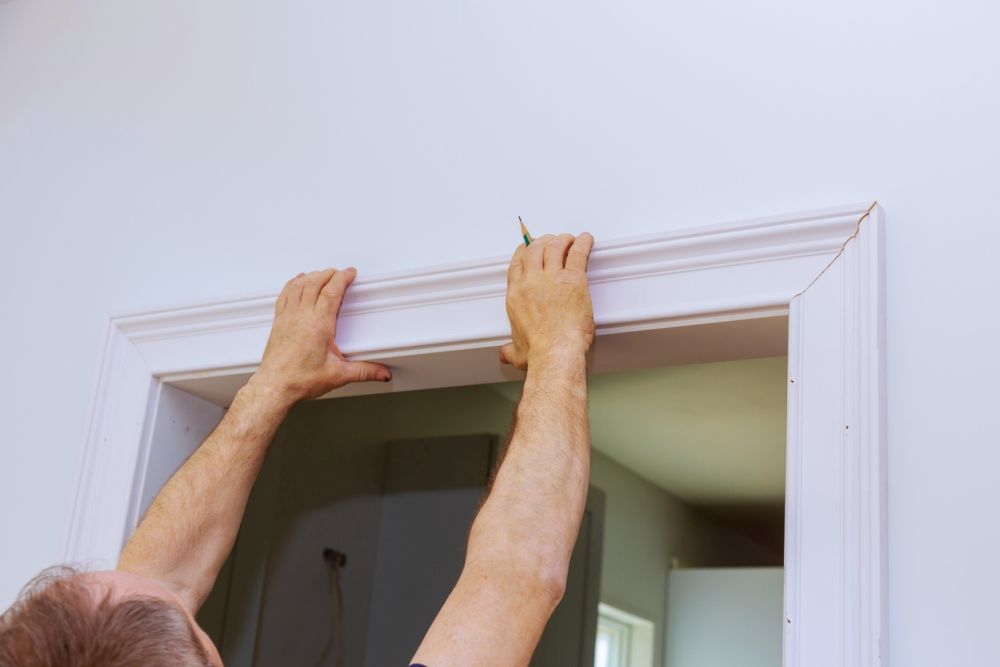
2. Install One Door Trim Side
Hold a side piece of the trim against the side of the door frame. Look for gaps between the trim and the drywall. Starting from the top, install a wood shim in the gap and another one at the bottom. Make sure that the wooden shim doesn’t make the trim bulge out or protrude any more than a half-inch. When you’re finished with that side, the trim should look even and parallel to the door frame. Use the saw to cut any excess wood shims. When you’re satisfied with the alignment of the trim and wood shims, hammer the 2-inch finish nails into the trim, wood shims, and the wall frame. Make sure the nail head is slightly sunk into the trim surface.
3. Install More Shims
Now you’ll need to fill the remaining gaps between the trip and the drywall. Place the second shim pieces about 10 inches below the first one. Make sure it doesn’t protrude out from behind the trim, and use the 2-inch nails to fix the trim and shims into the wall stud frame. Keep adding more shims at 10-inch intervals all the way down the side of the door.
4. Install the Other Door Trim Sides
When you’re done with one trim side, turn to the opposite side of the door. Repeat step 3 using the trim and wood shims. Insert two shims at the top and bottom of the trim. After you fix them with the nails, add the other wood shims with 10-inch spaces between them. Install the last trim piece at the top in the same way.
5. Trim off Excess Shims
Examine your work with a critical eye. Look for flaws or excess shim and work on fixing them before you move to the next step. For excess wooden shim, you can use a utility knife to gently remove the protruding parts. Don’t cut too much otherwise, you’ll leave gaps under the door trim, which are hard to fix. When you’re happy with the progress so far, you can apply the caulk.
6. Apply the Caulk
The clear caulk goes around the sides of the trim pieces. It is not designed to fill the gaps between the trim and the drywall. That’s the job of the wood shims. So, apply the clear caulk judiciously to give the trims a smooth and even finish. Apply in thin layers and avoid piling up the caulk in places. When you’re done with caulking, let it rest. Allow the caulk enough time to harden before you start painting the door and the trim.
Door Trim FAQs
The door jamb sticks out, what can I do?
If the door jamb sticks out, that will make it difficult to install a door trim or even close the door properly. It also creates a gap that causes air drafts and heat leaks. You have two options to fix it. Either fill the gaps between the door jamb and the wall with wood filler or hammer it back into the wall. Nailing the wayward jamb is a better solution, so it fixes any issues with the door frame.
I heard about an out-of-plumb wall, what is that?
A plumb wall is one that stands at a 90-degree angle from the other walls and the floor anywhere you measure it. If the wall leans to one side, then it’s out of plumb. That can create problems for the carpenter installing a door or a door trim. It also leads to such common problems as the door jamb sticking out at certain places.