DIY Felt Flower Wall Art
Updated on June 23, 2021


Creative design is a fun pastime, and it can really make you feel accomplished when you’ve decorated your home in personalized items you’ve created yourself. DIY décor also makes a great gift for crafty friends. There are endless sources of ideas, and some of those ideas are sometimes formed when you have some leftover materials from previous projects that you want to us. Felt flower wall art is a perfect example of this. While it can be a great project anytime, it’s a great way to make use of some of your excess materials from previous work.
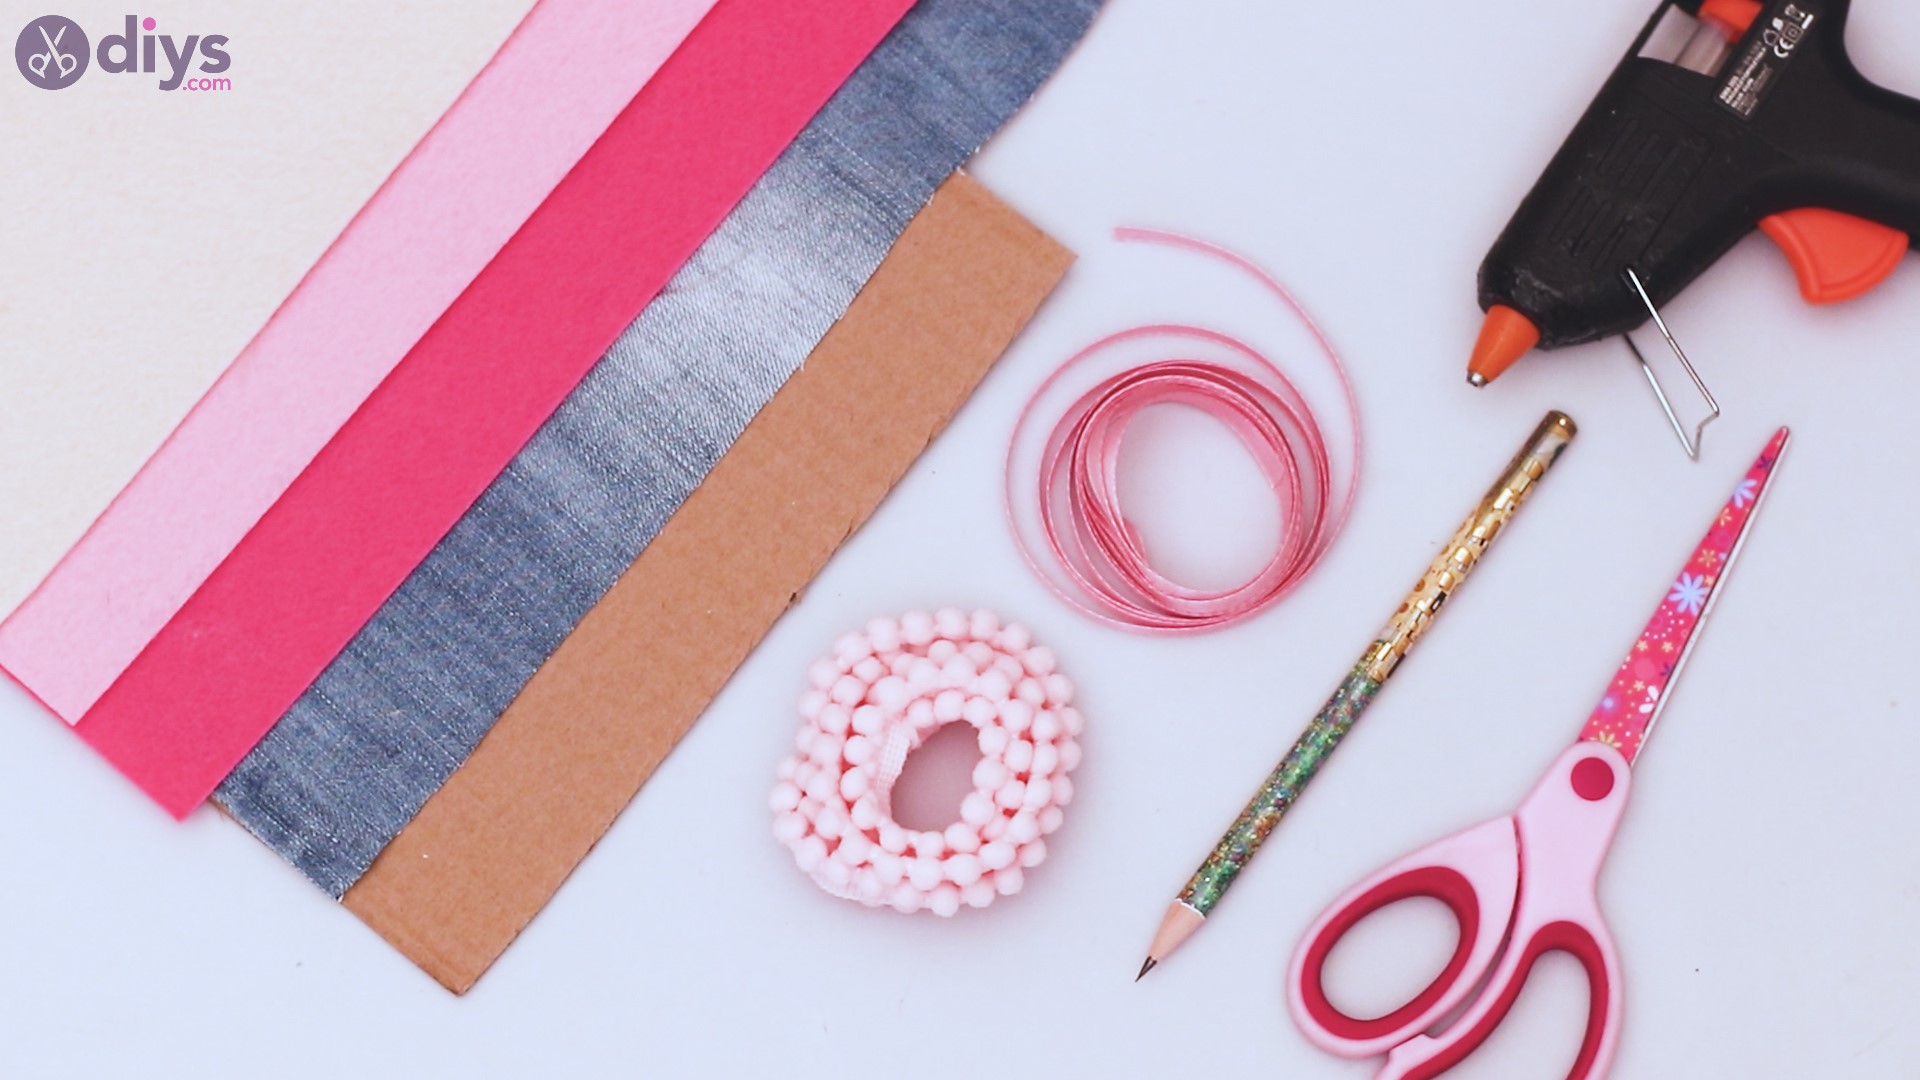
Materials to create a Felt Flower Wall Art:
- 3 colours of felt
- cardboard
- jeans material (denim) or other material as desired/available
- glue gun
- scissors
- pencil
- silk ribbon
- pompom ribbon
Step by step instruction for the felt wall art:

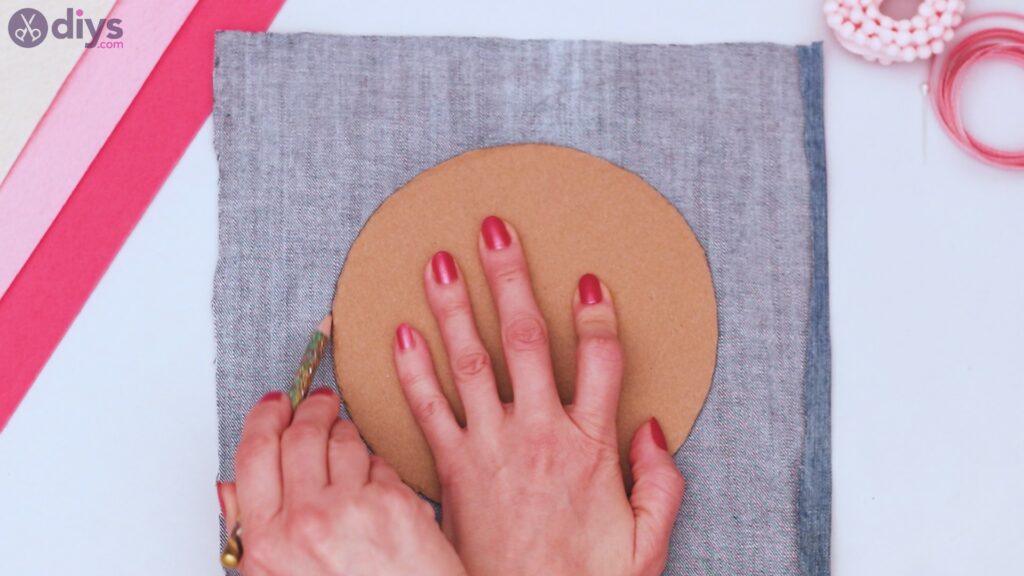
Step 1: Create your base
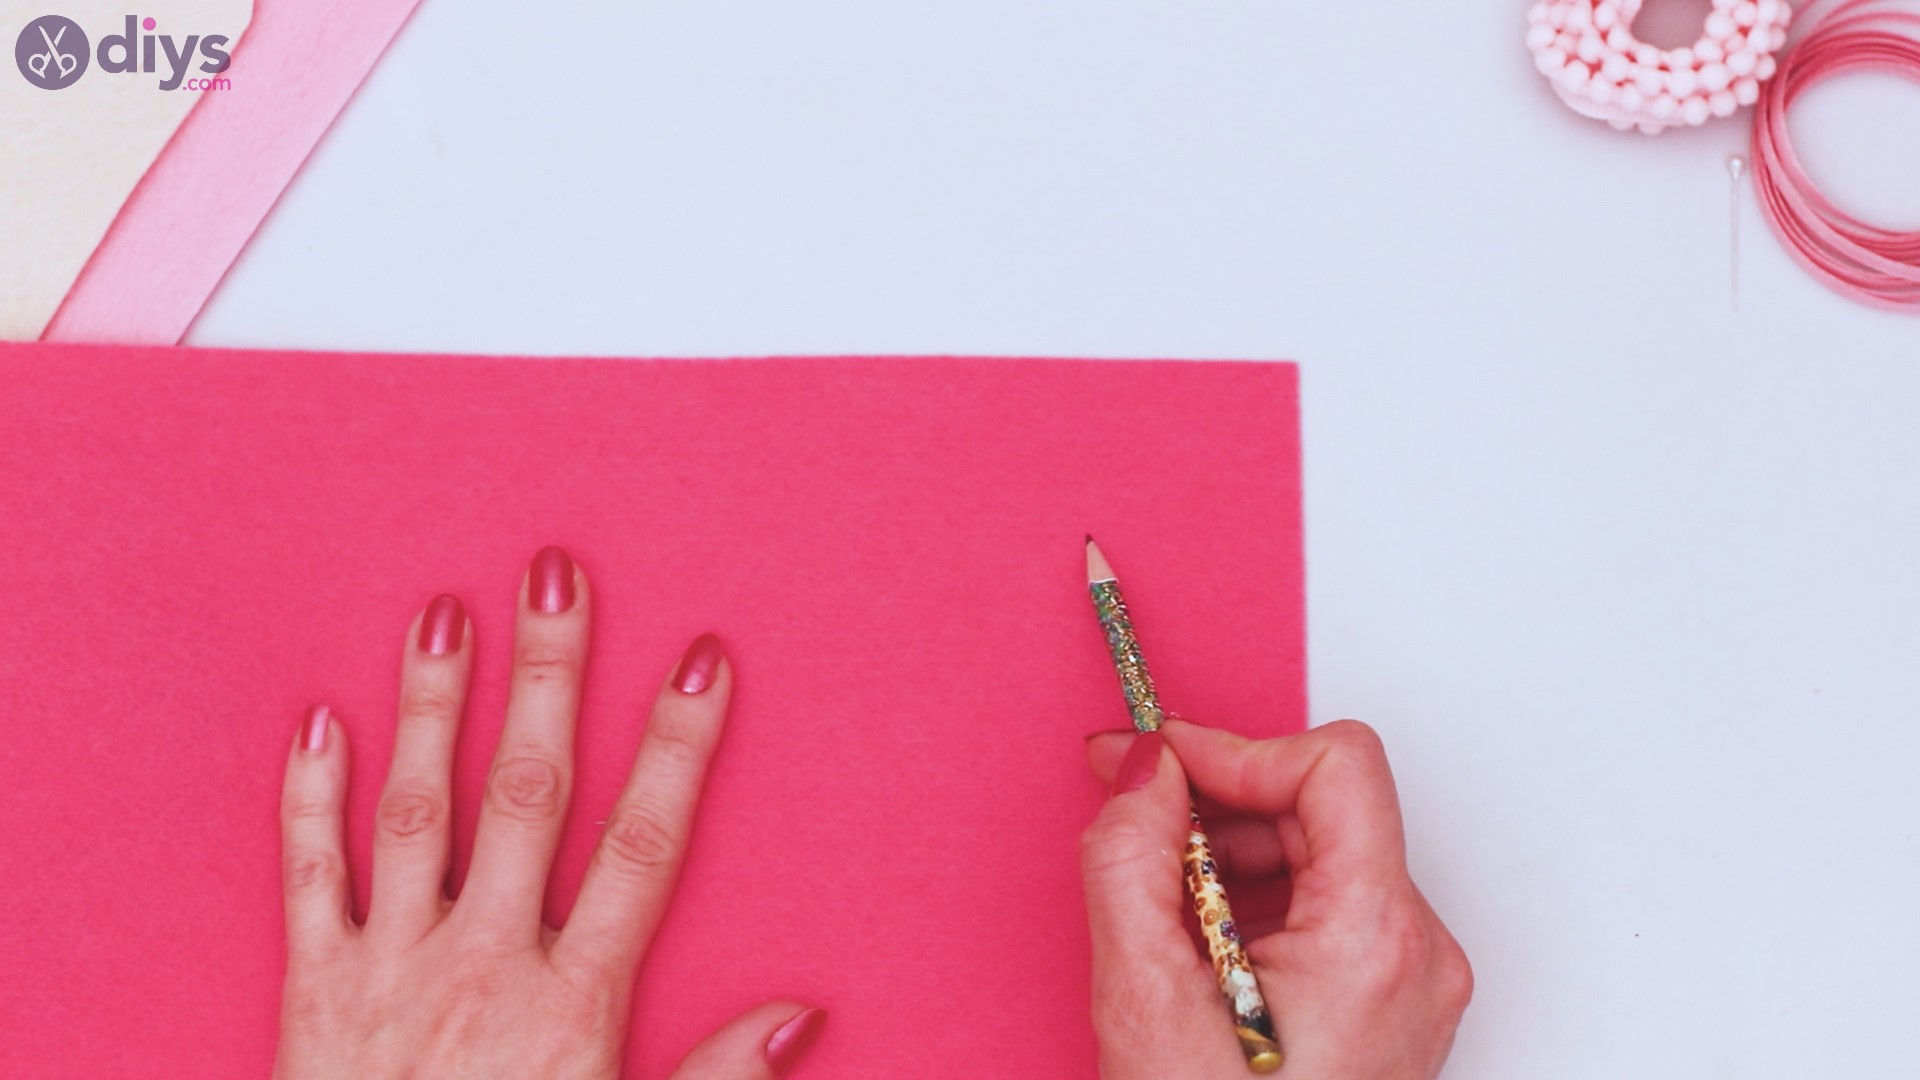
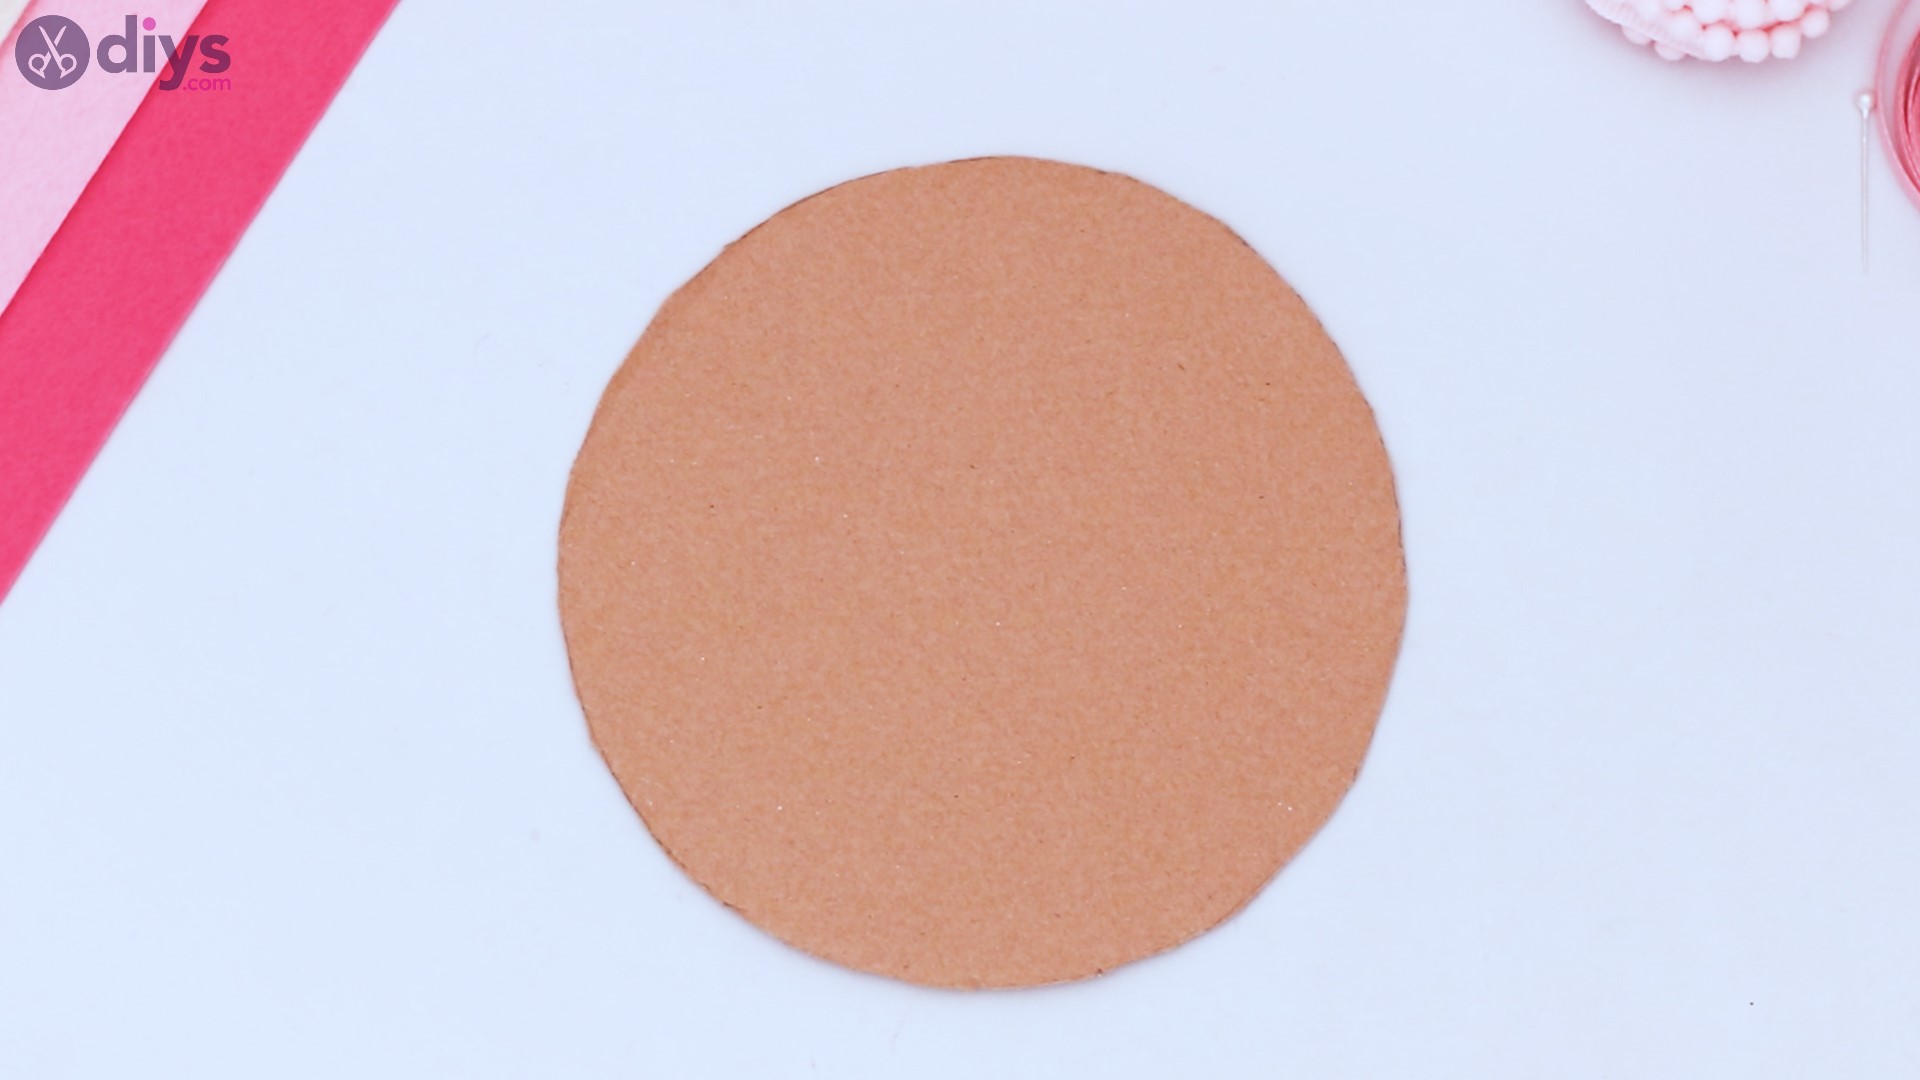
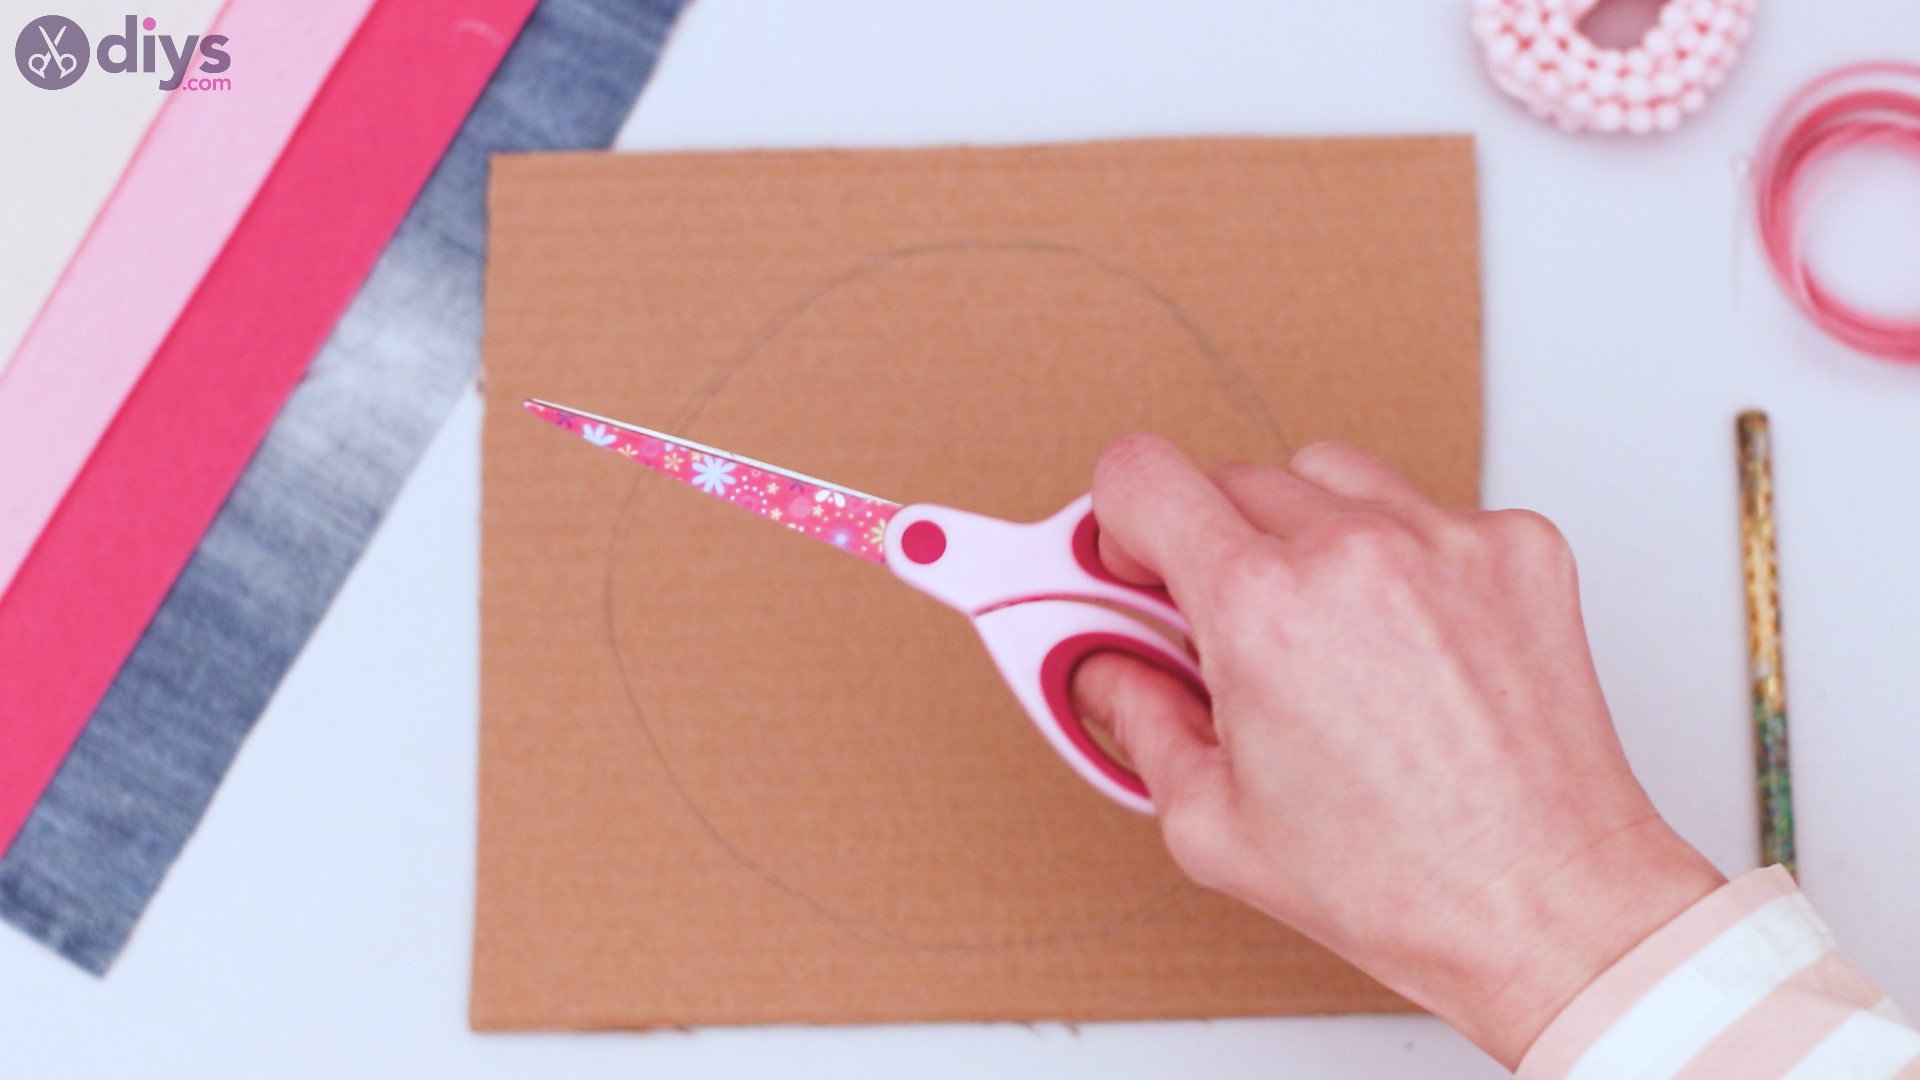
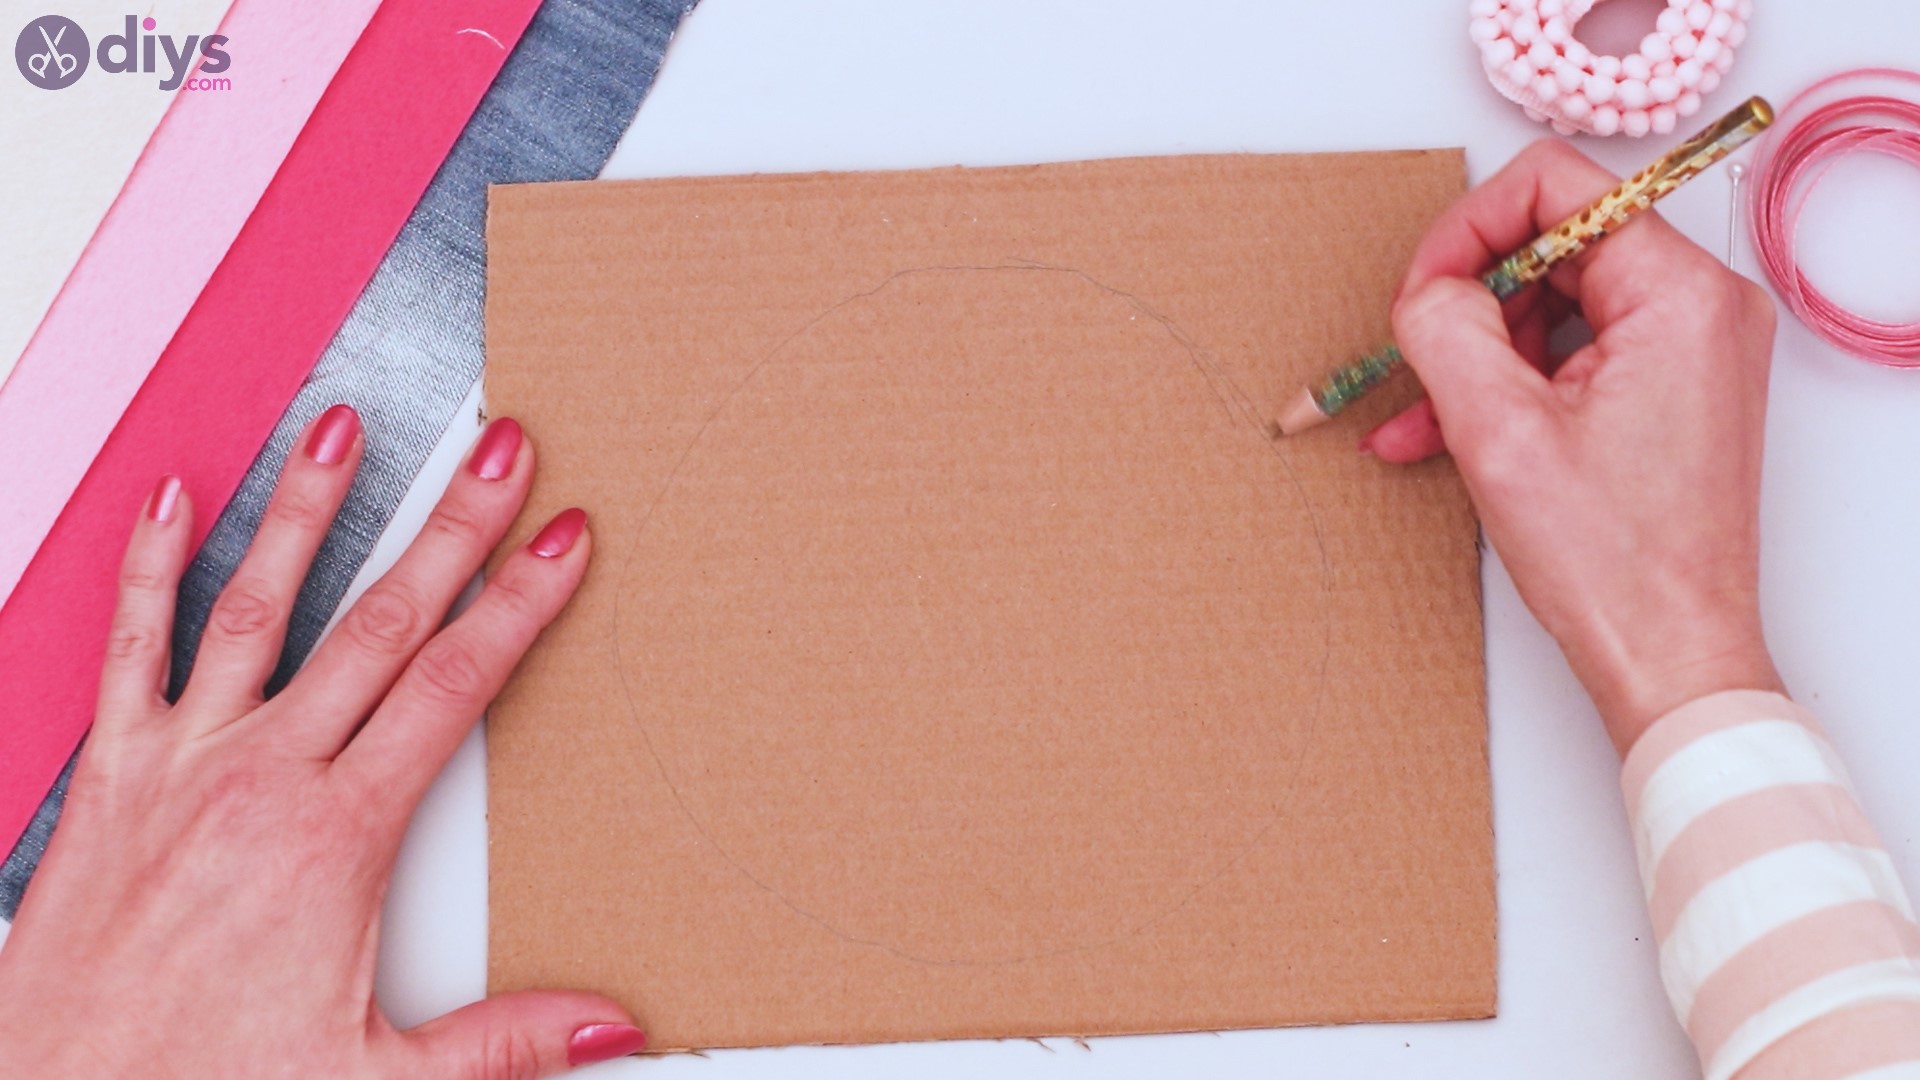
Grab some spare cardboard. Something at least 8 inches square would be best. Trace out a circle. This can be done freehand or using something in your home. I like to use lids to plastic containers.

Cut out the circle.


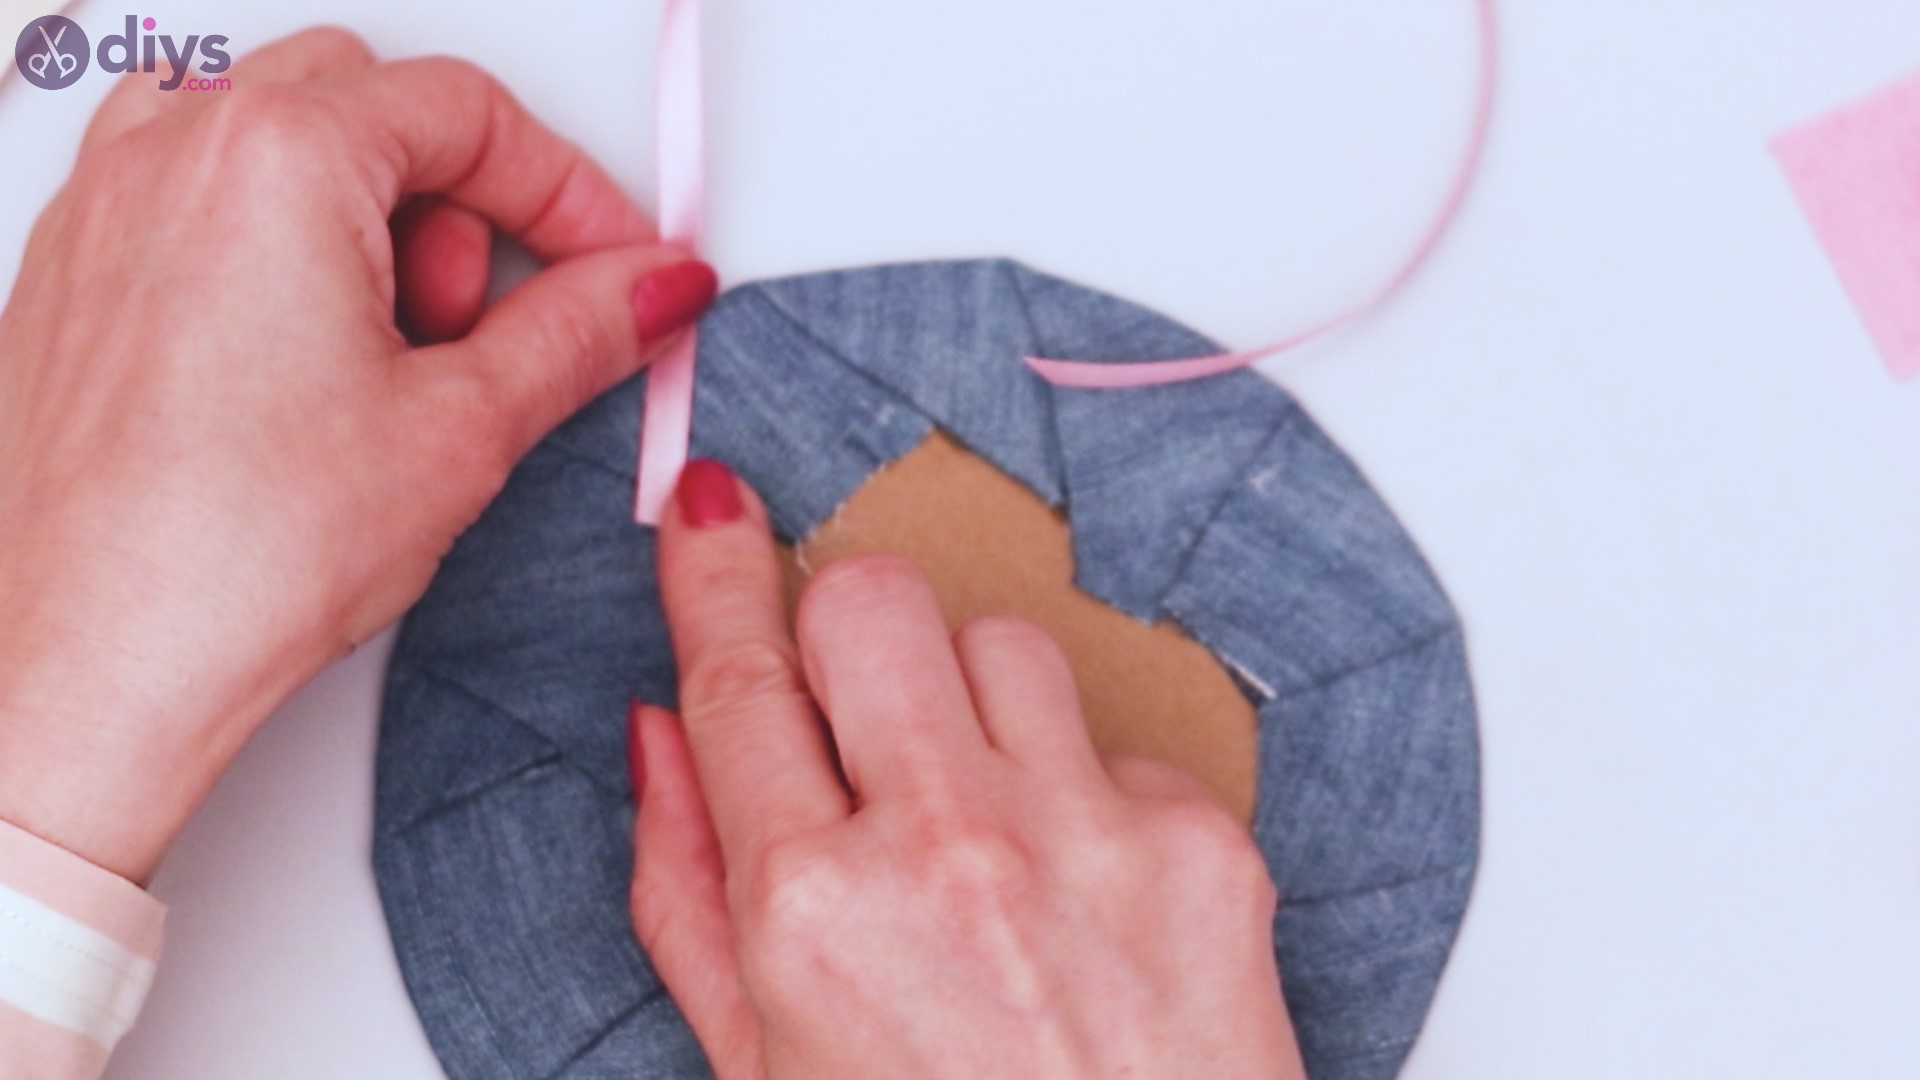
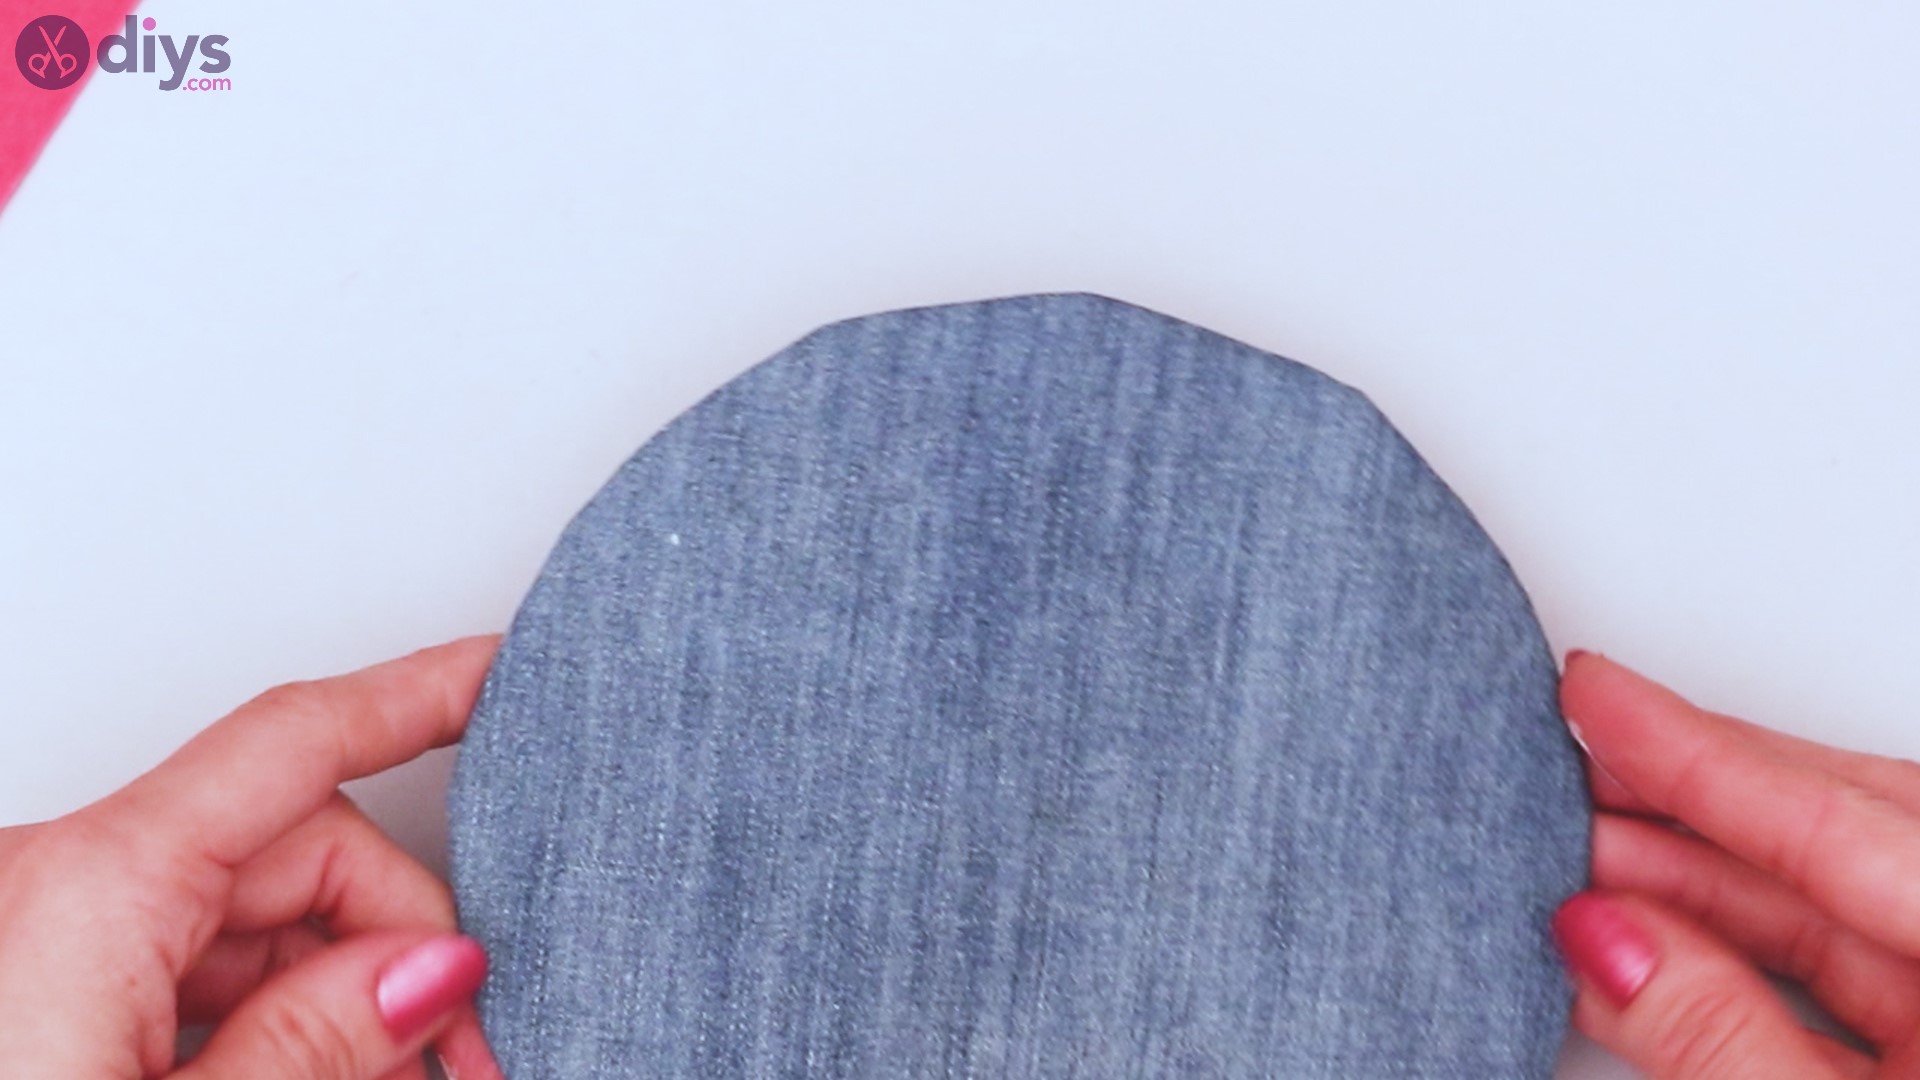
Step 2: Wrap your base
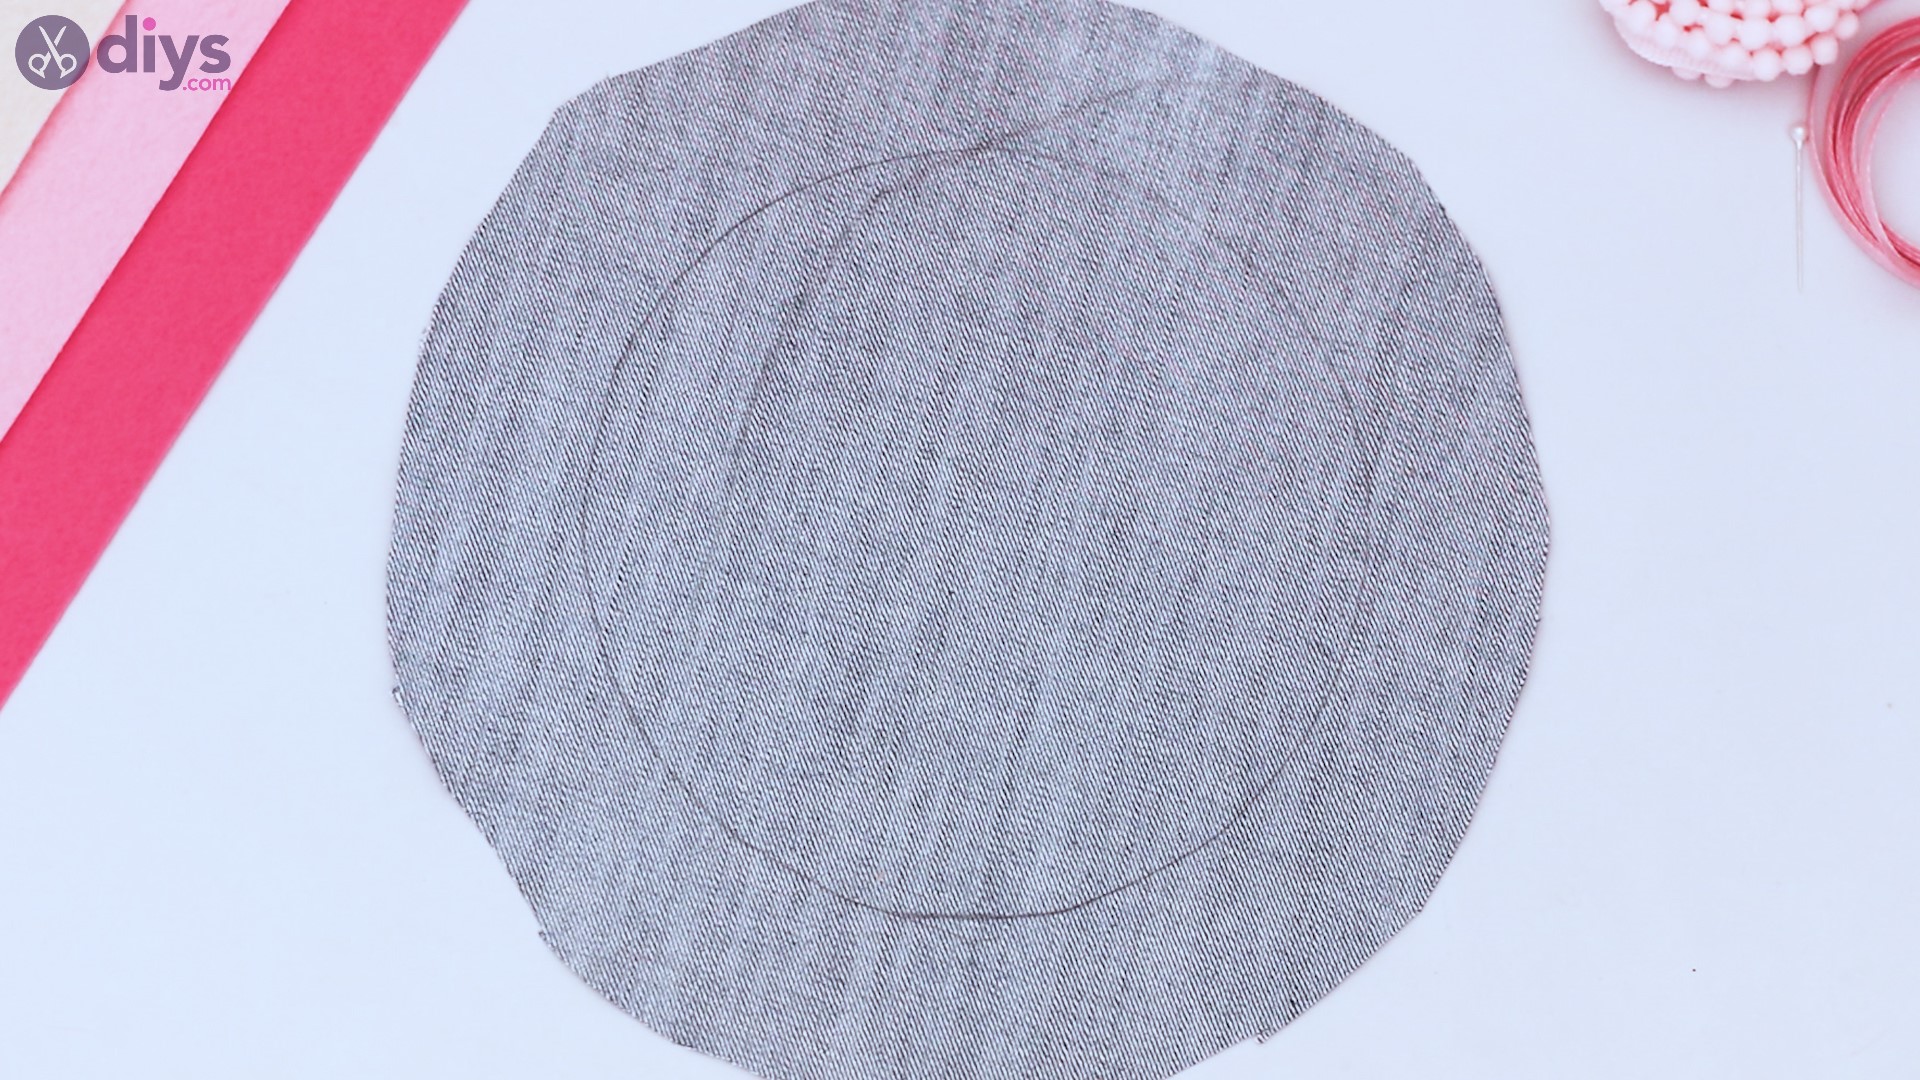
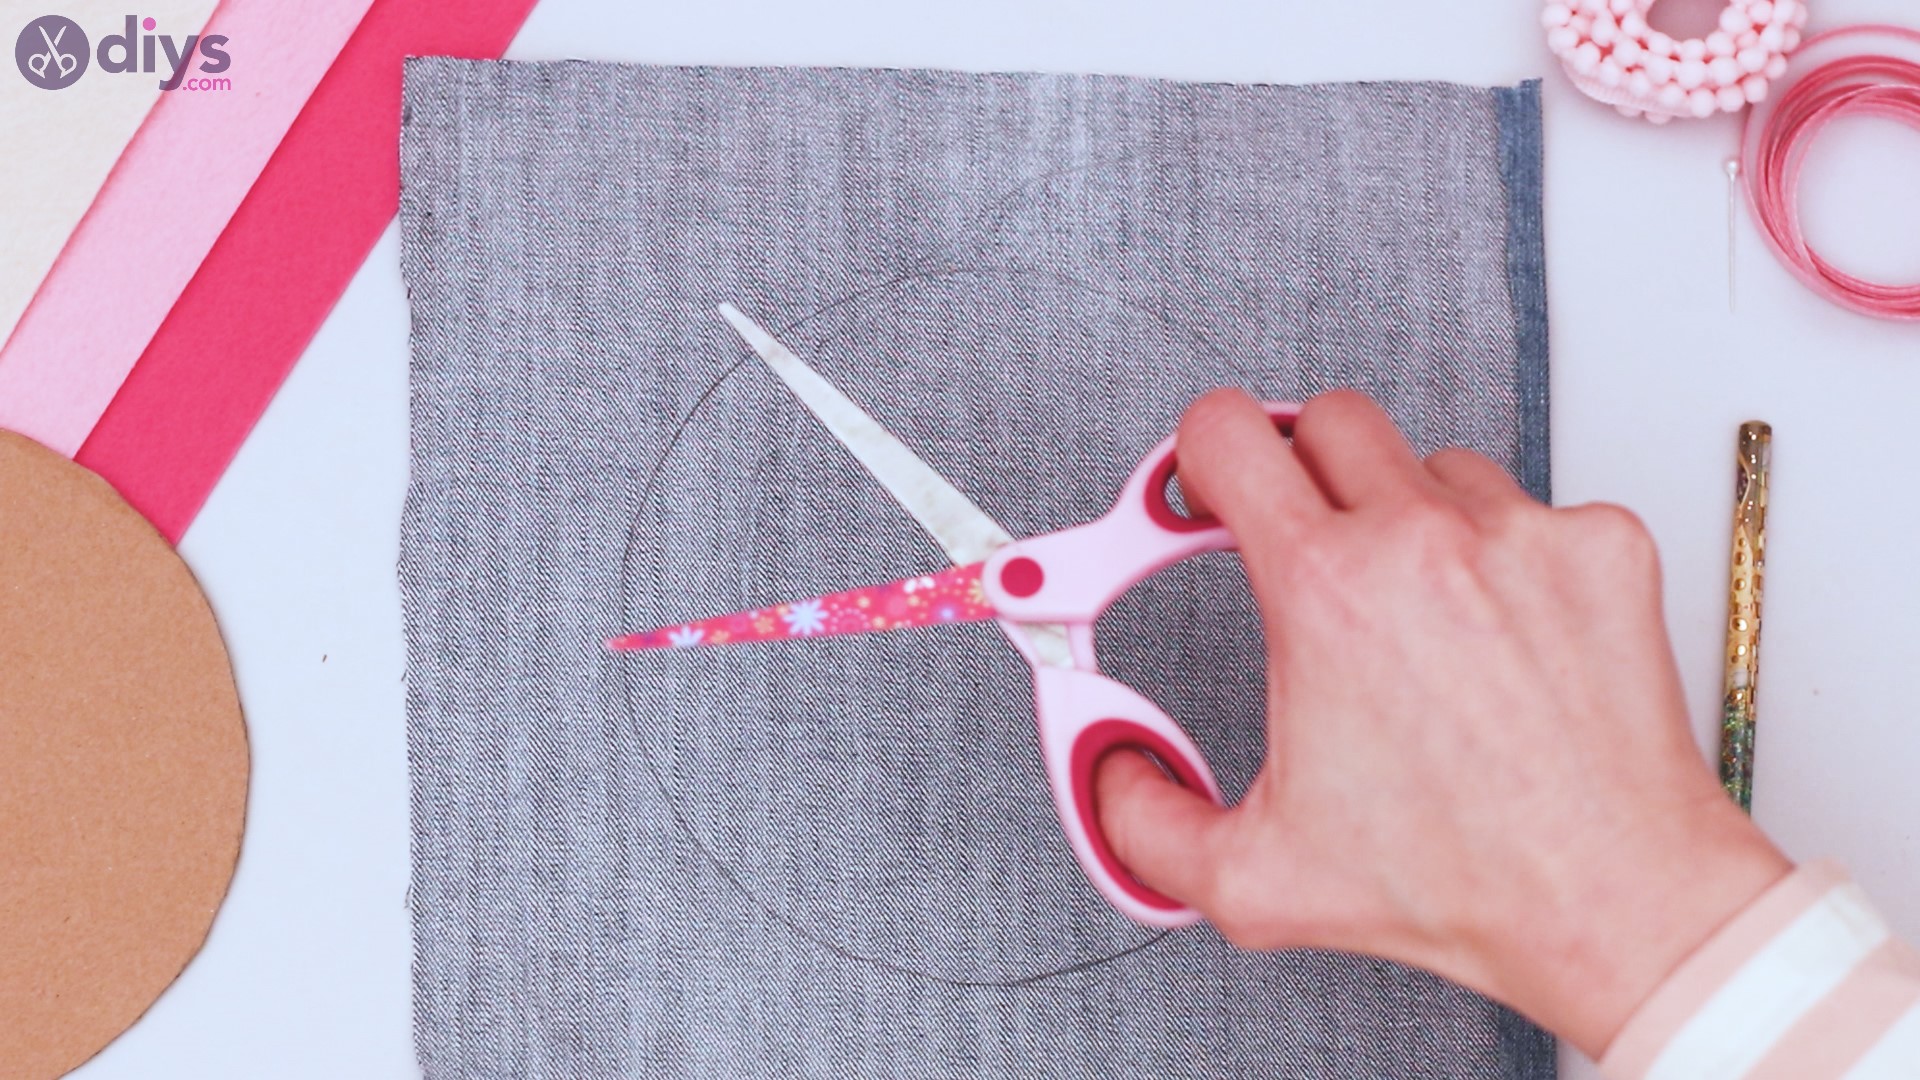
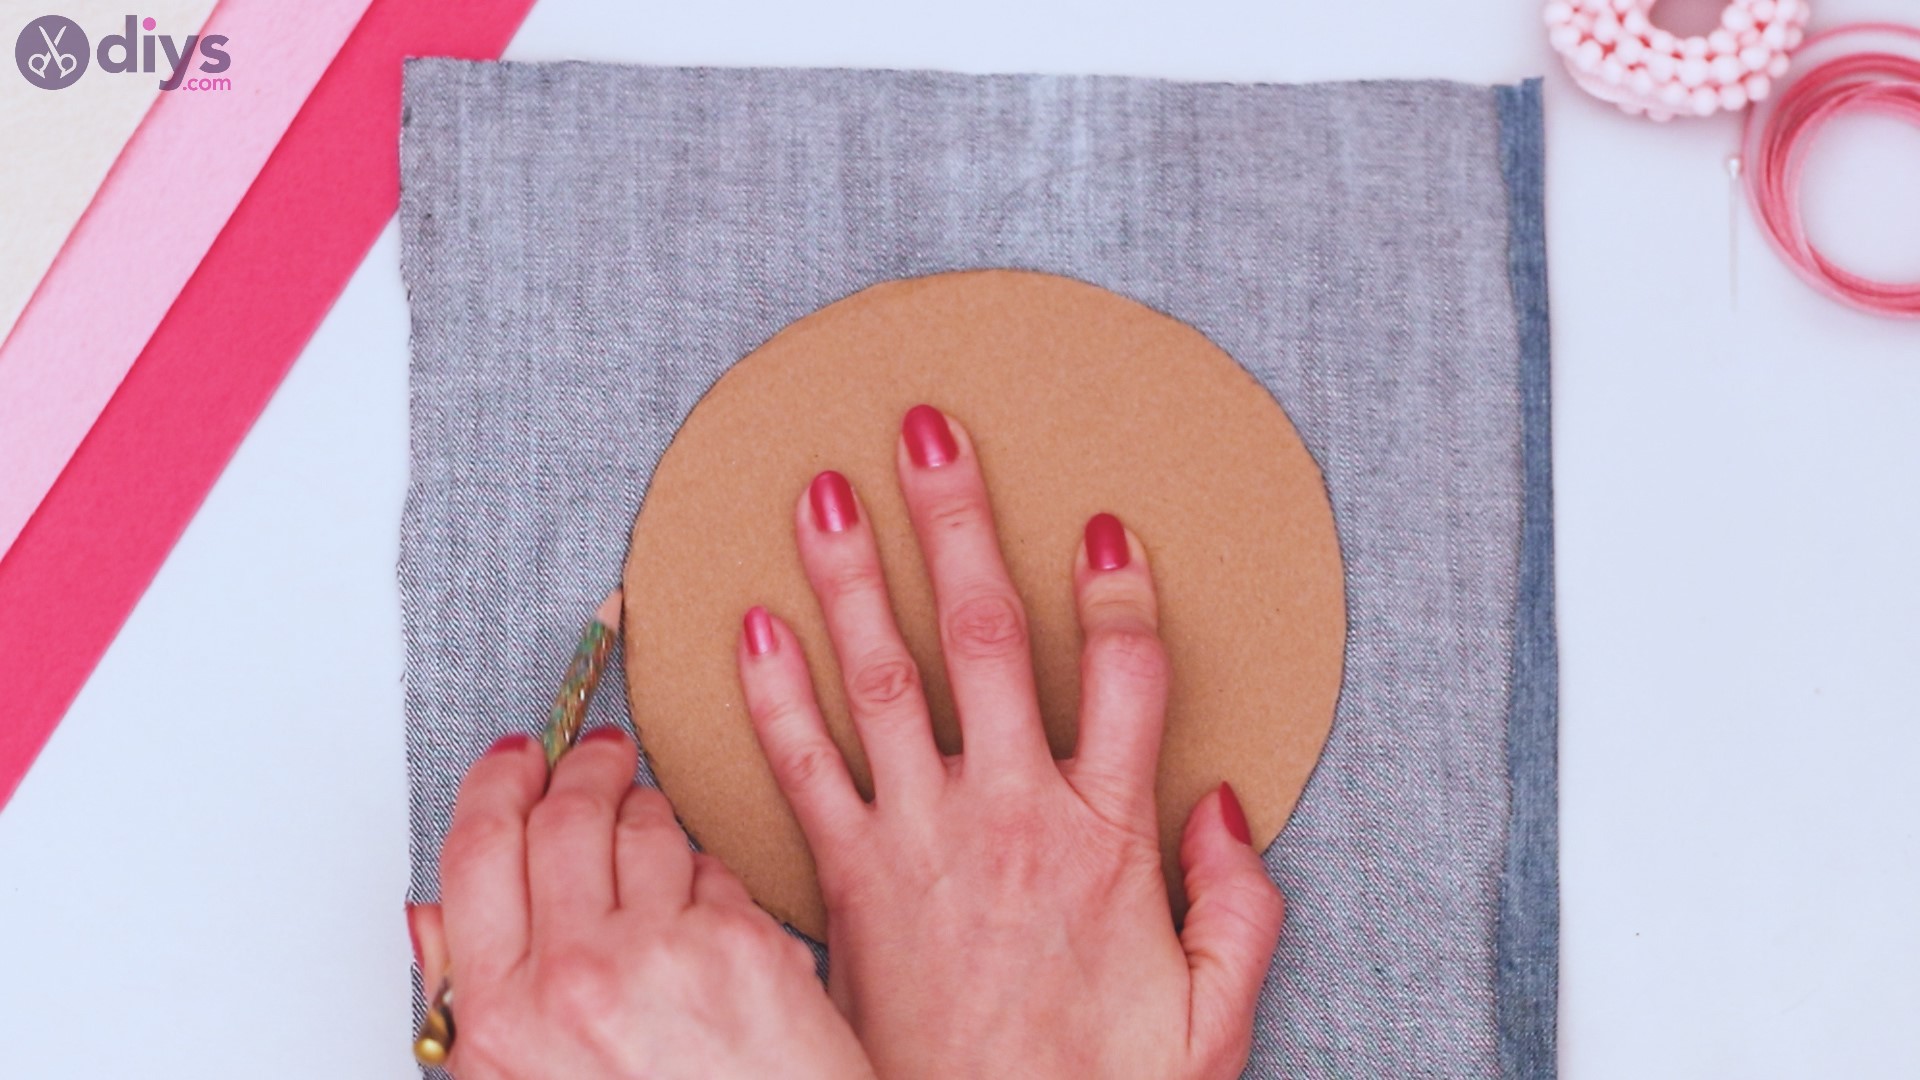
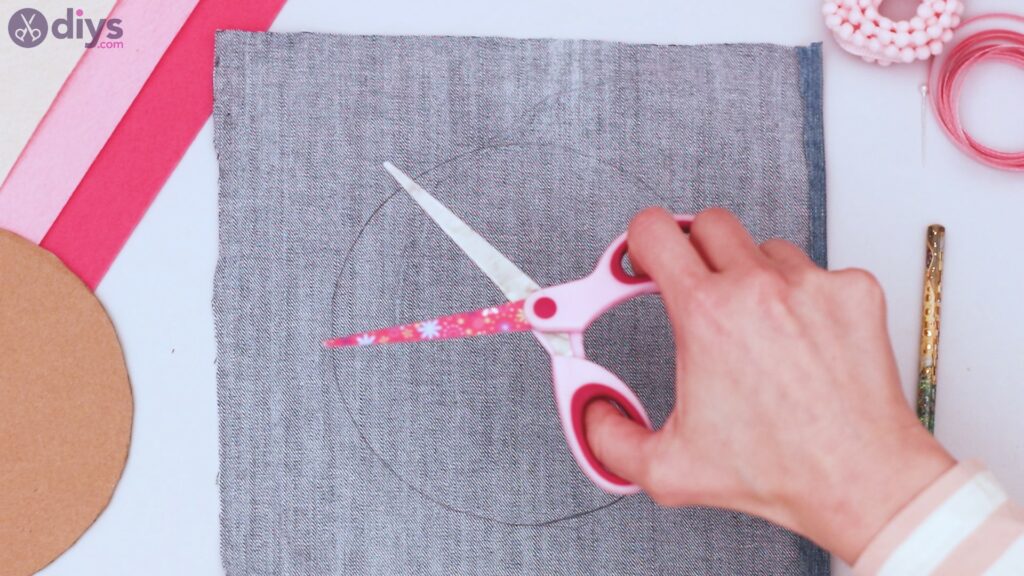
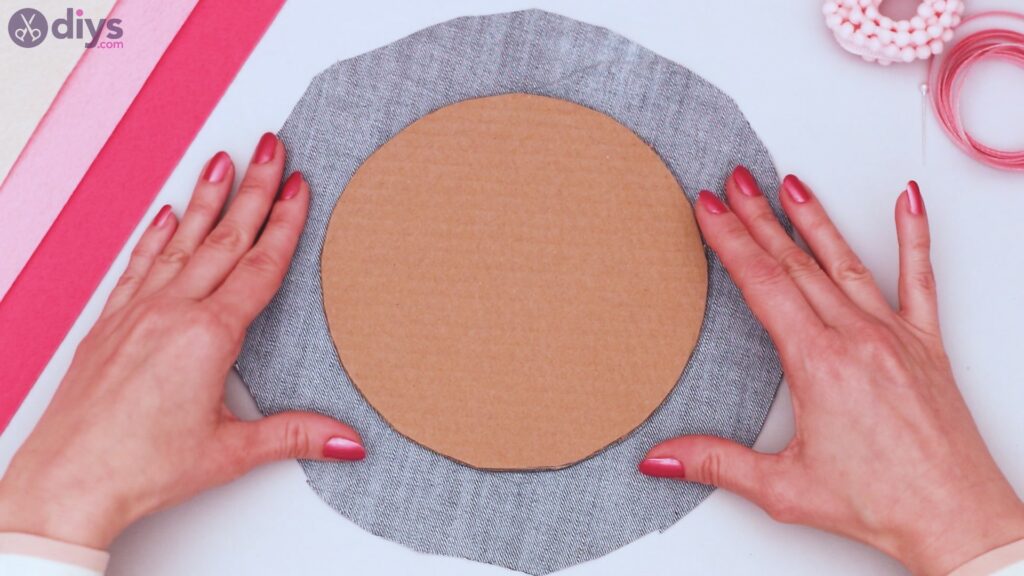
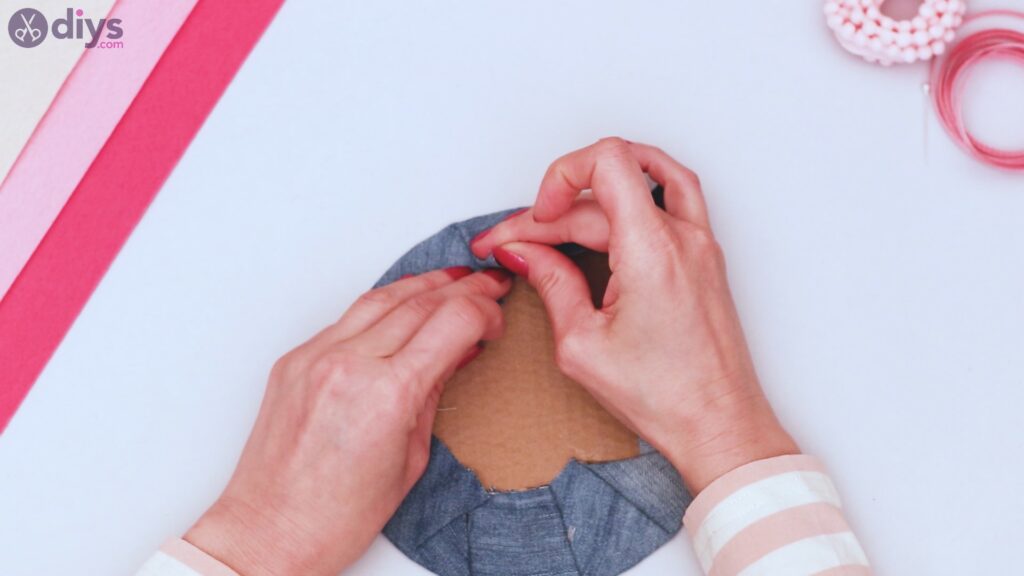
Using your piece of denim – or other material, if that’s what you have on hand, place your circular place of cardboard on it. trace the circle.

Cut out a circle of the denim that is about 1 to 1.5 inches wider than the circle of cardboard.
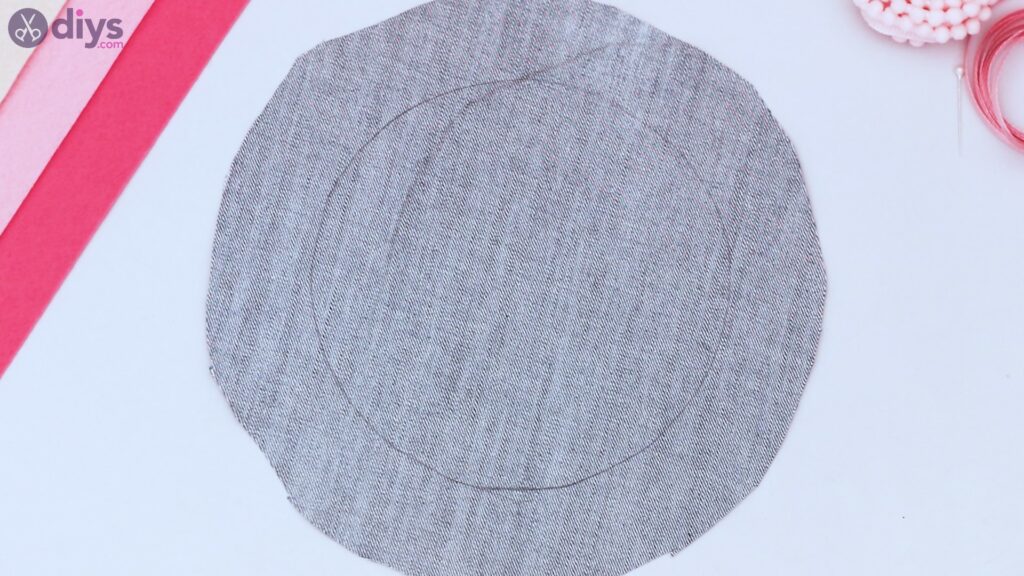
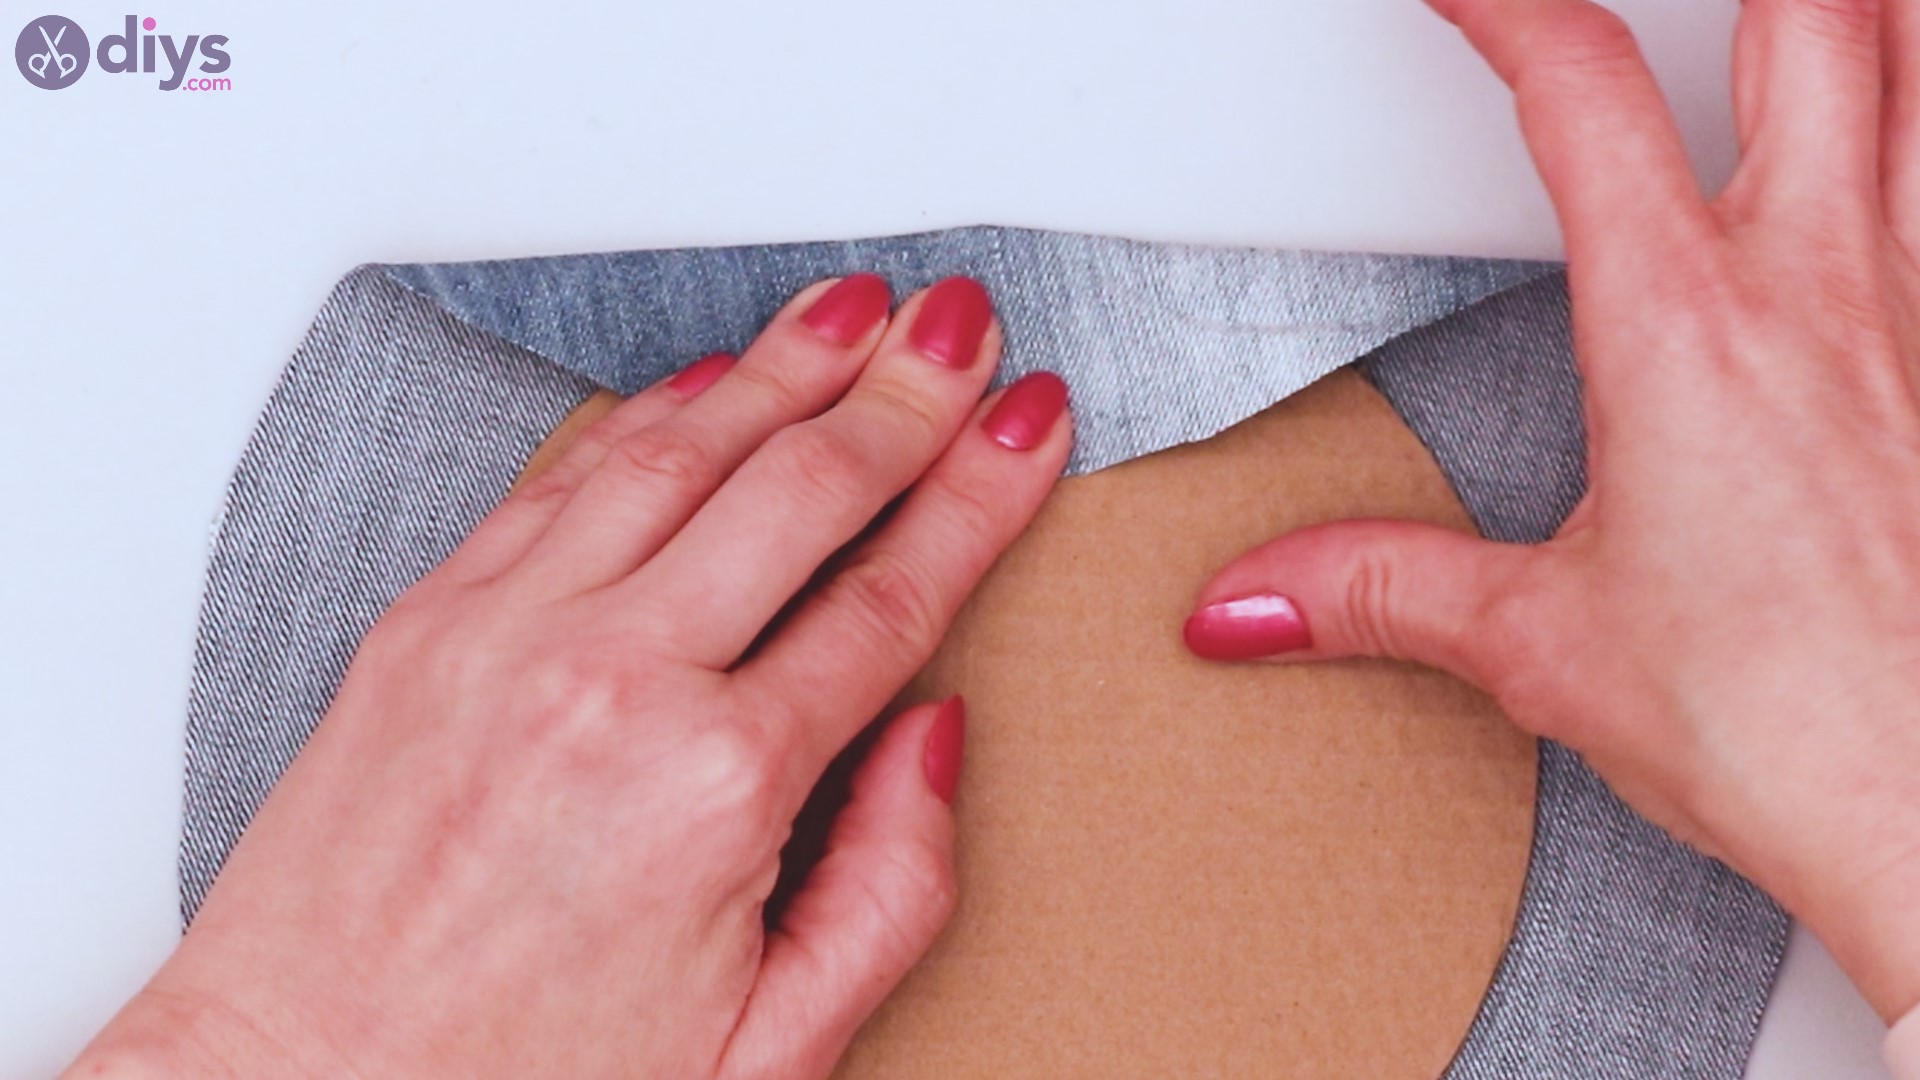
Place the cardboard back in the center of the circle of denim.
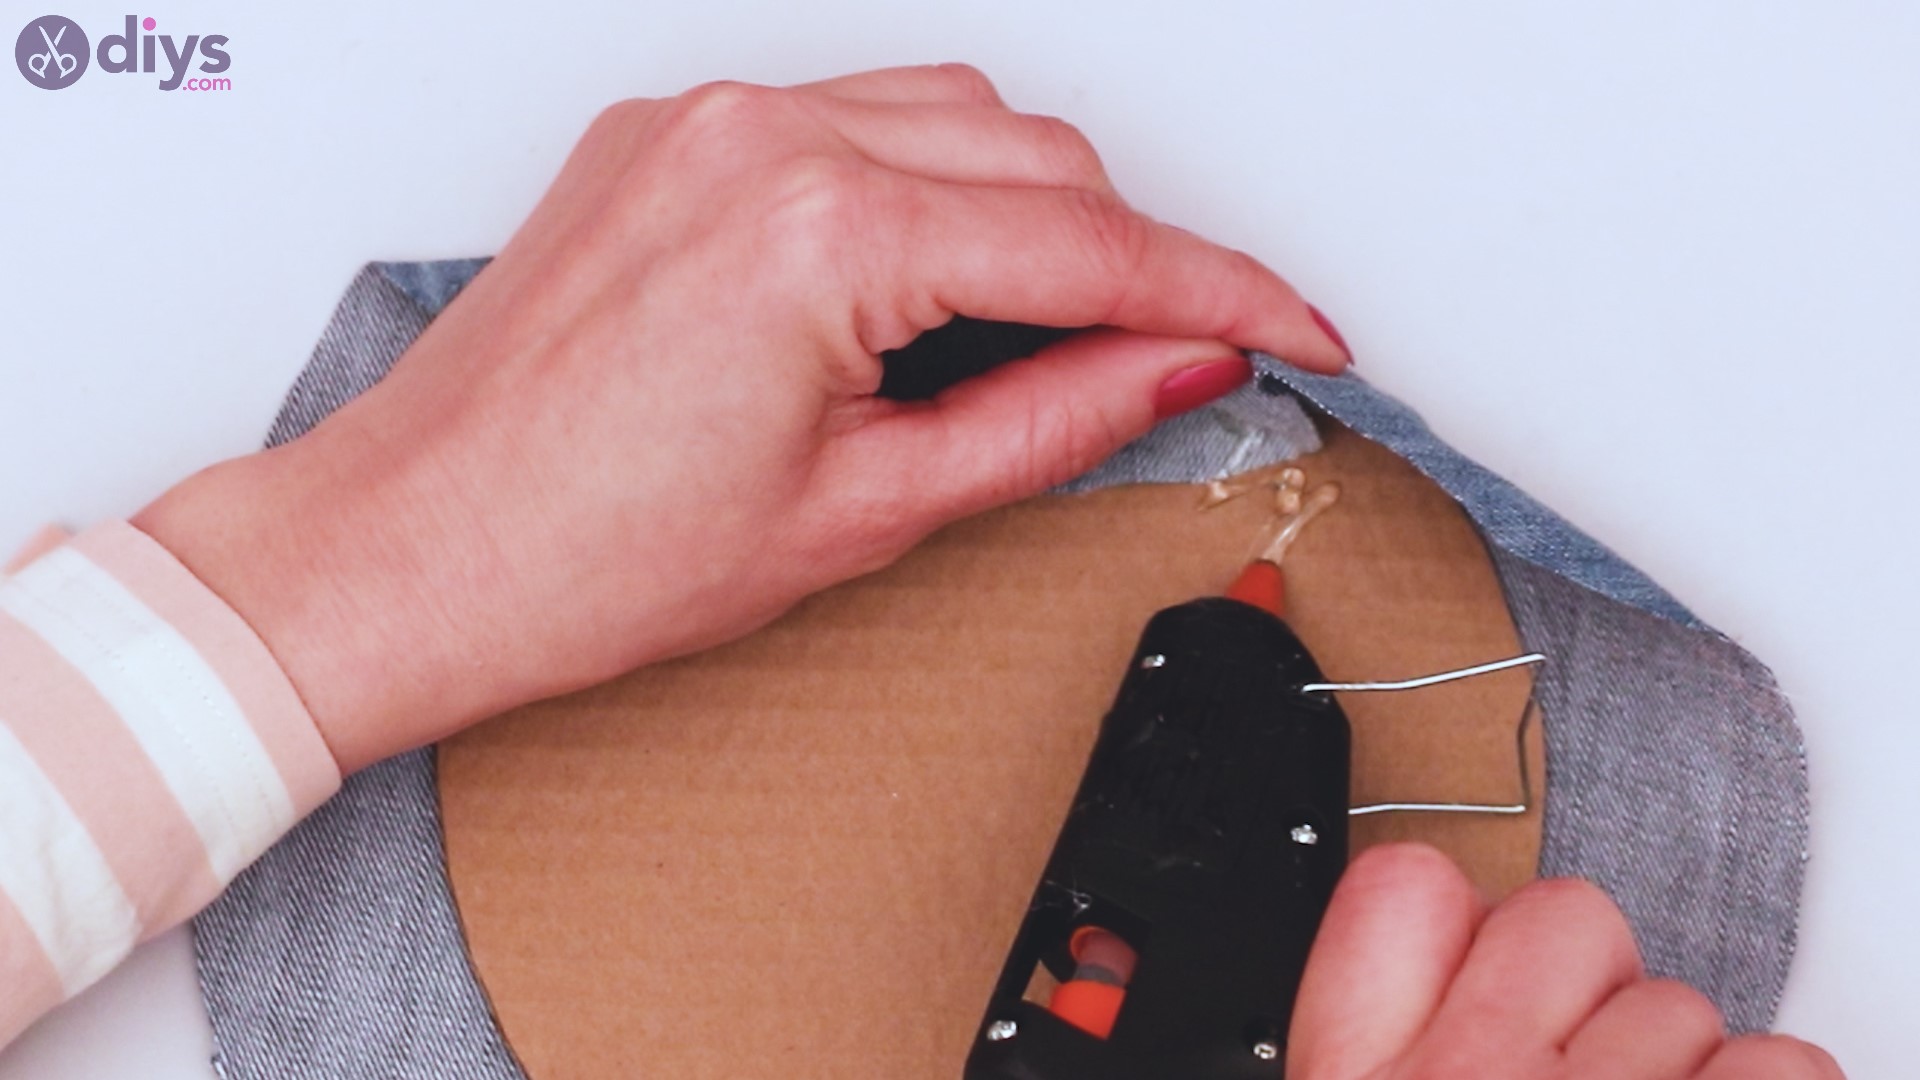
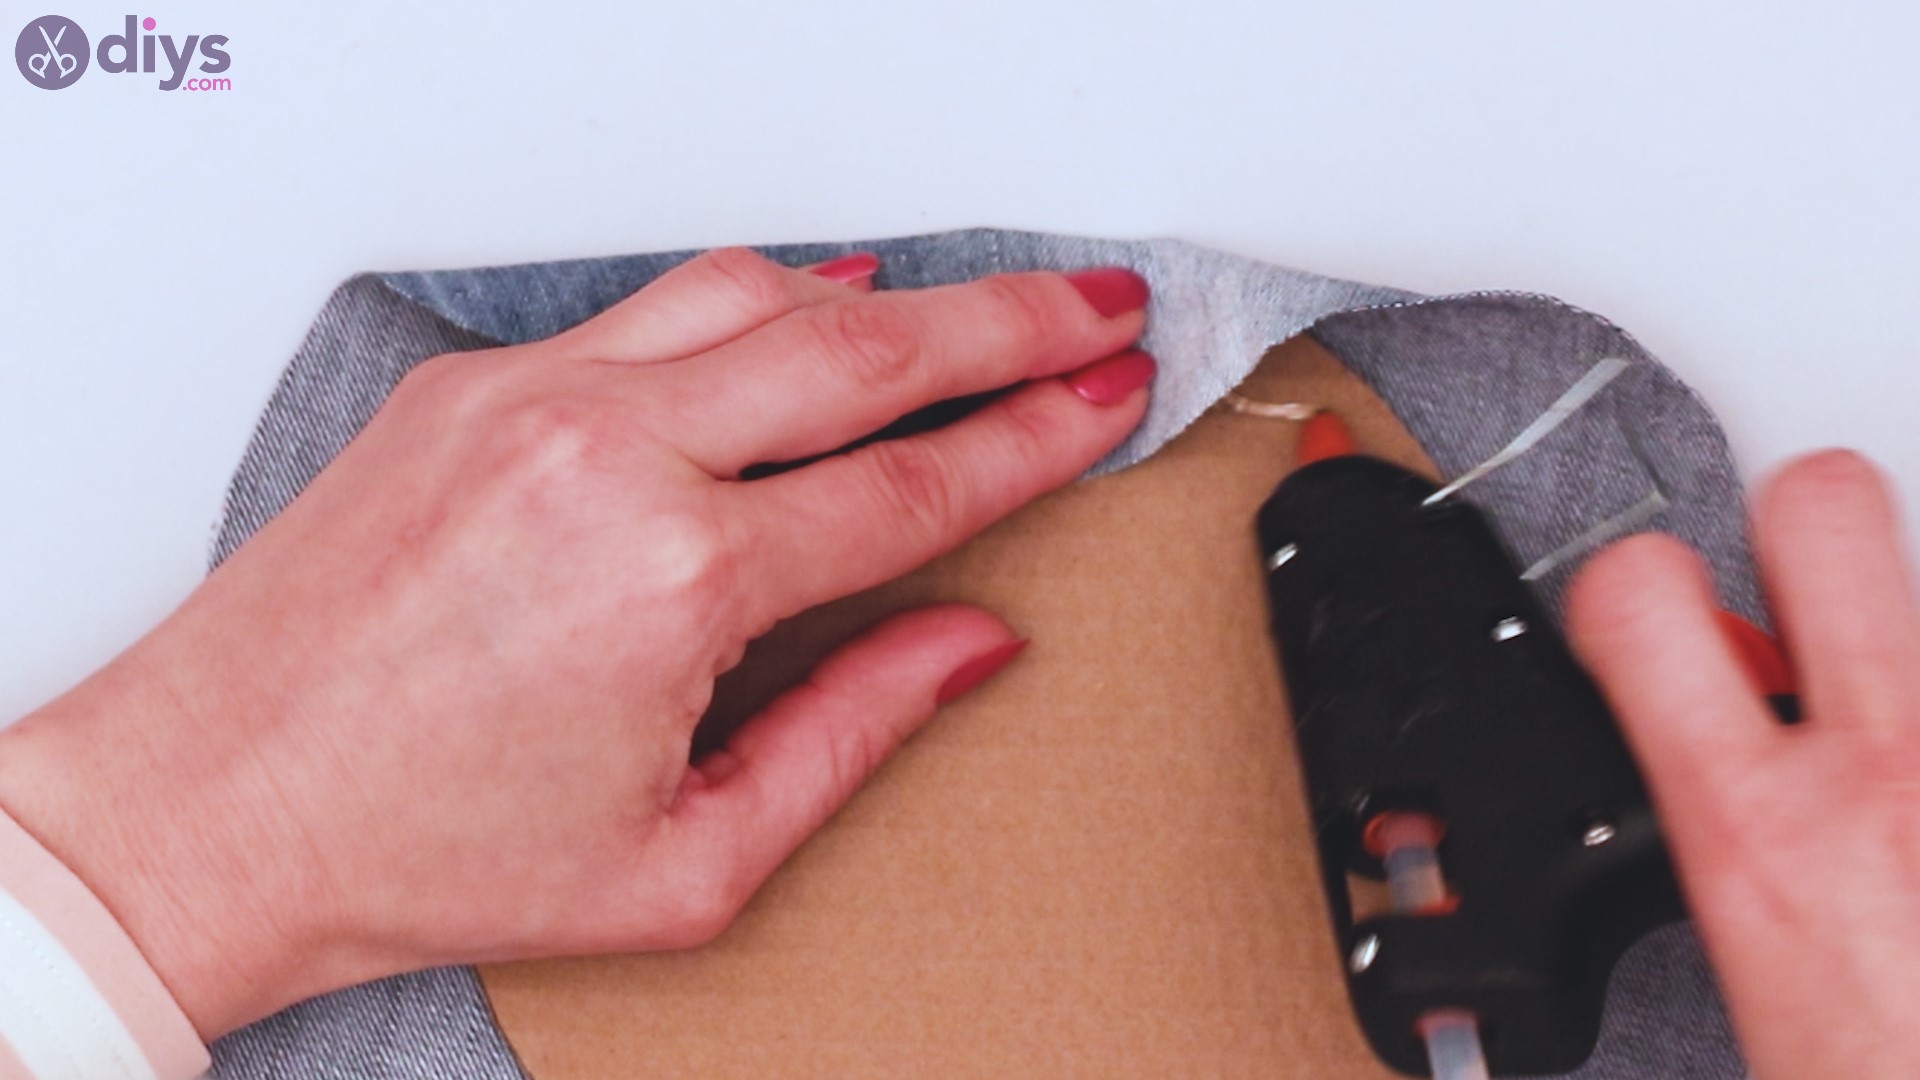
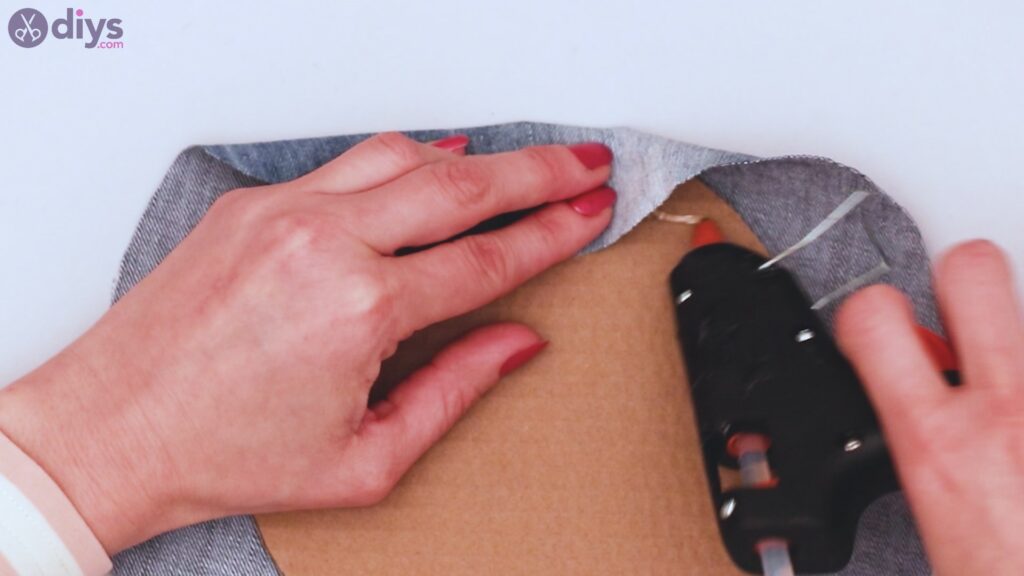
Using your glue gun, place glue on the cardboard, covering a couple of inches around the edge.

Fold over the material to attach it to the glue.
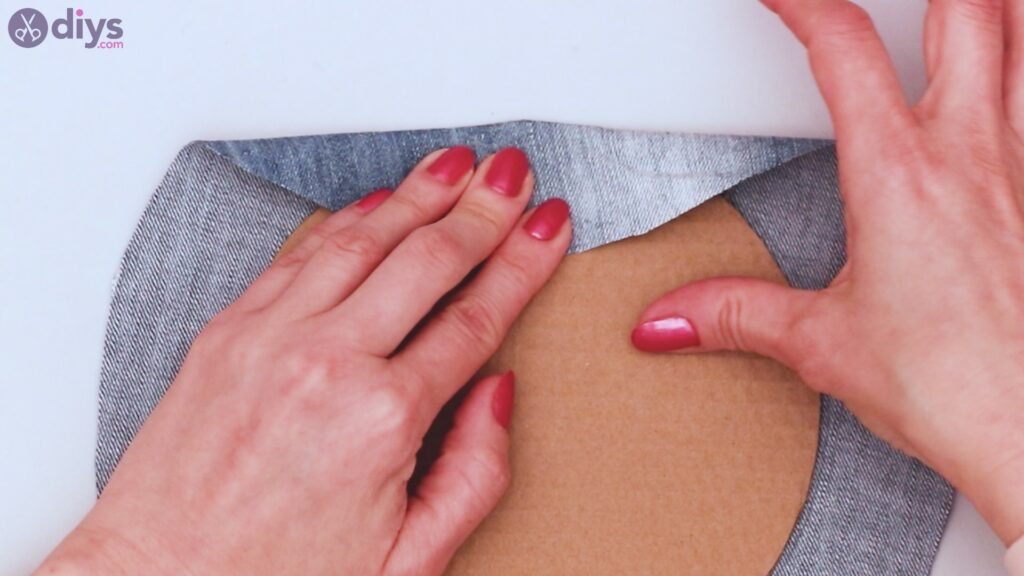
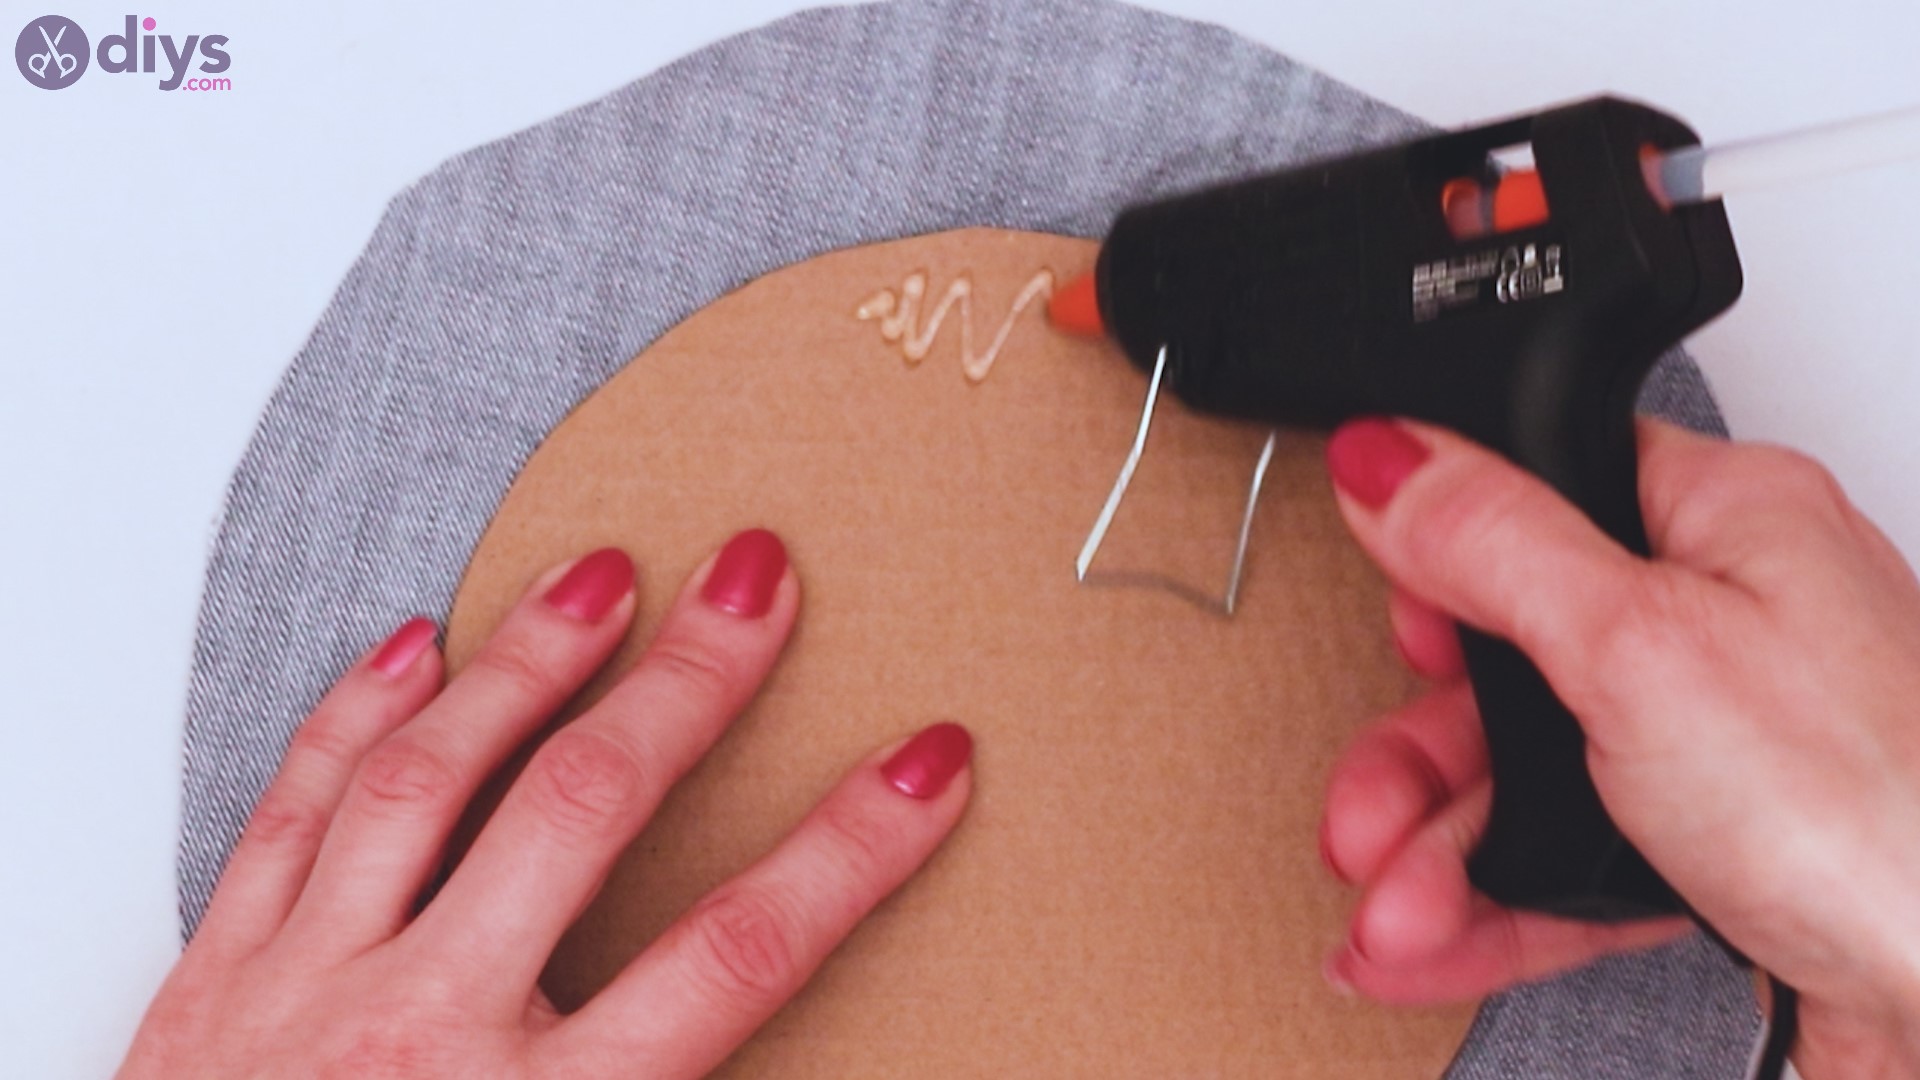
Continue this procedure all the way around the circle of cardboard. Note that you might need to let the glue dry as you go so that you can overlap the material and make a nice, tight circle around the circle of cardboard.

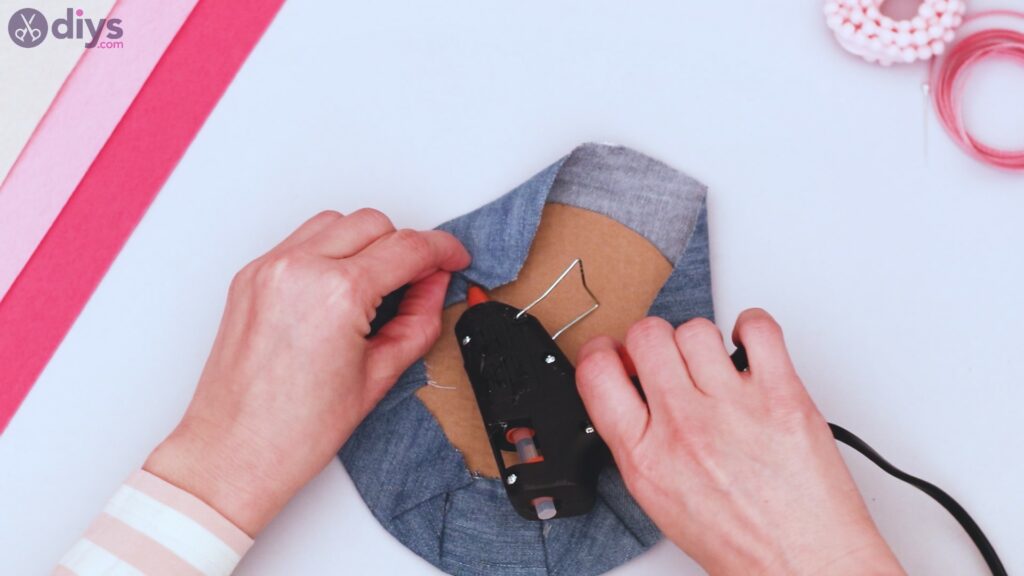
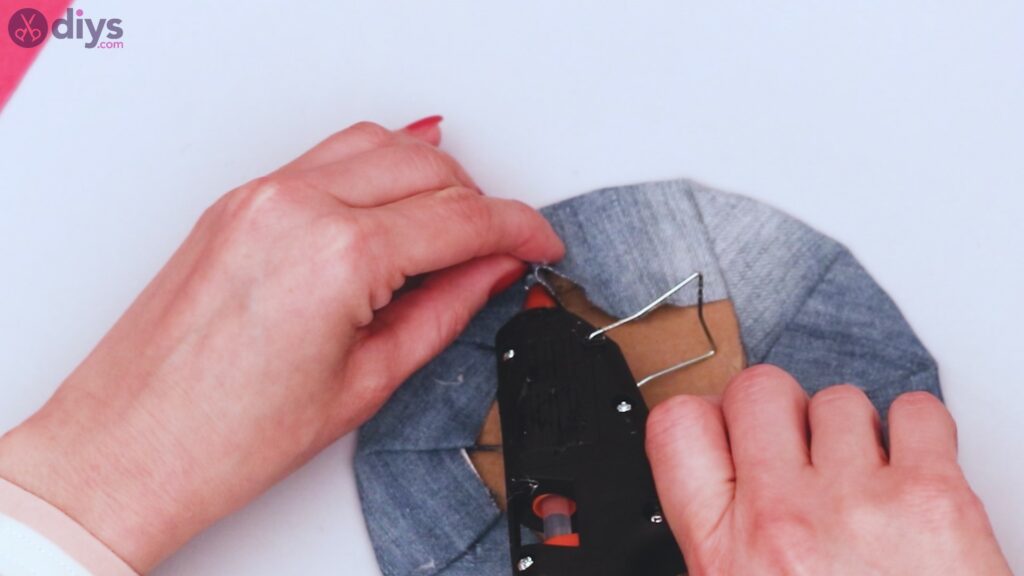
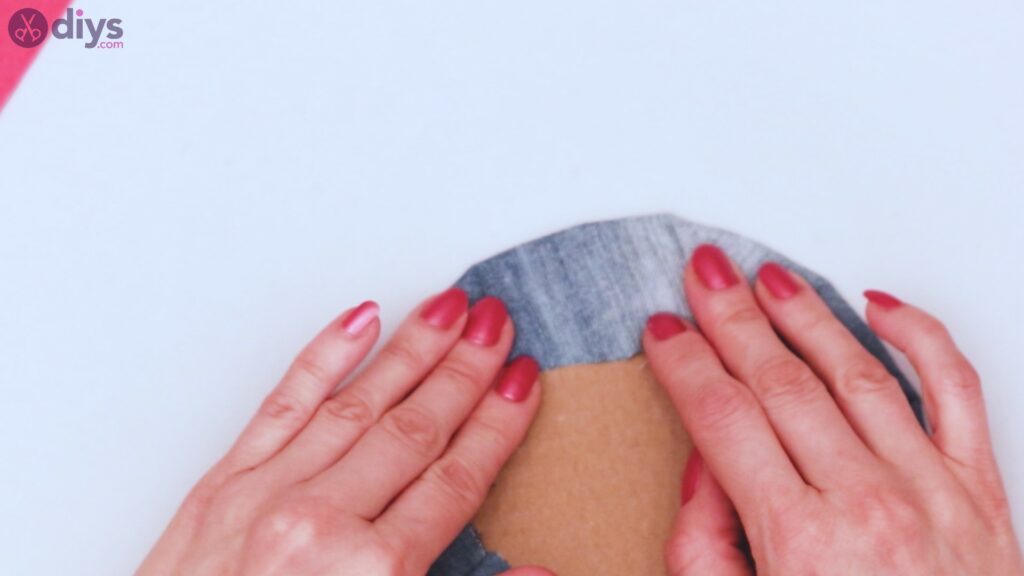
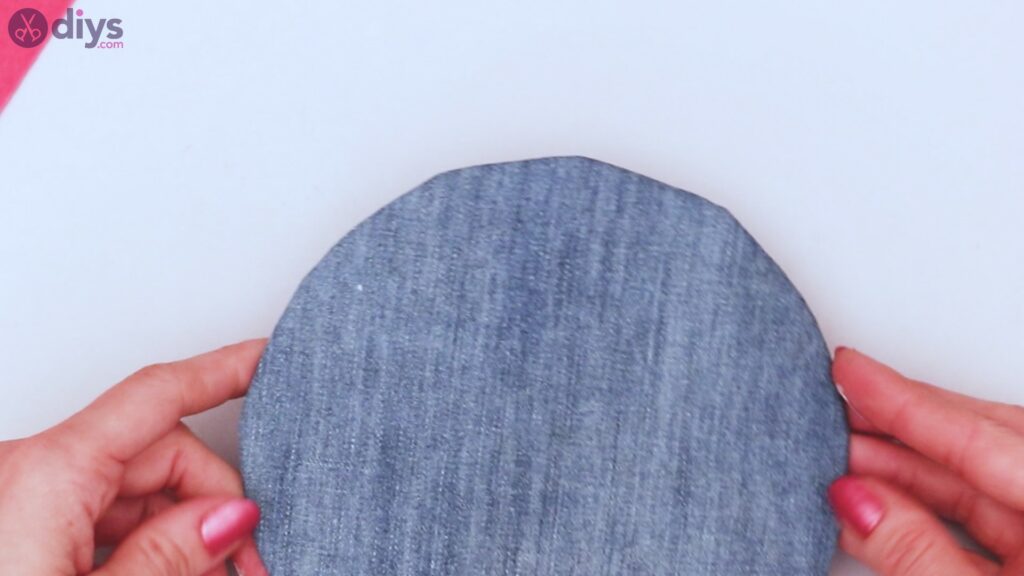
Once your cardboard is covered in denim, set it aside.
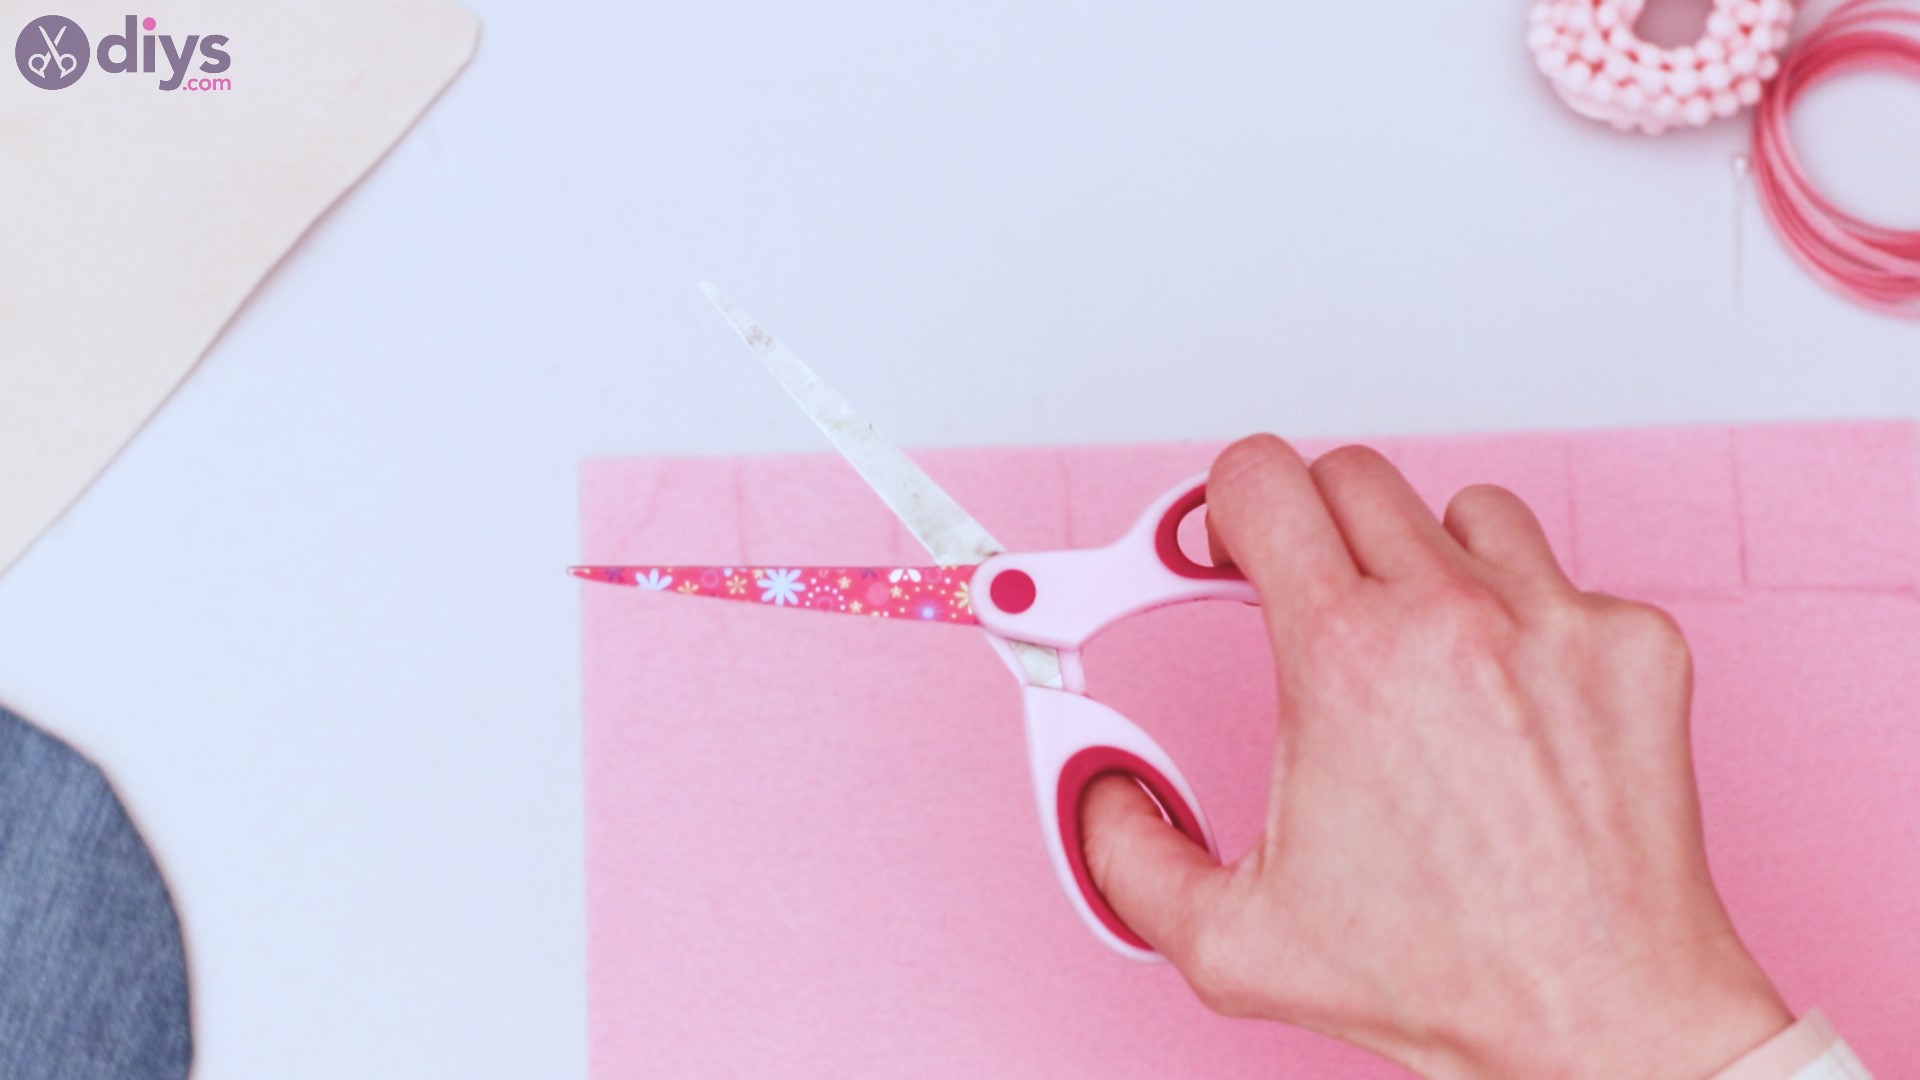
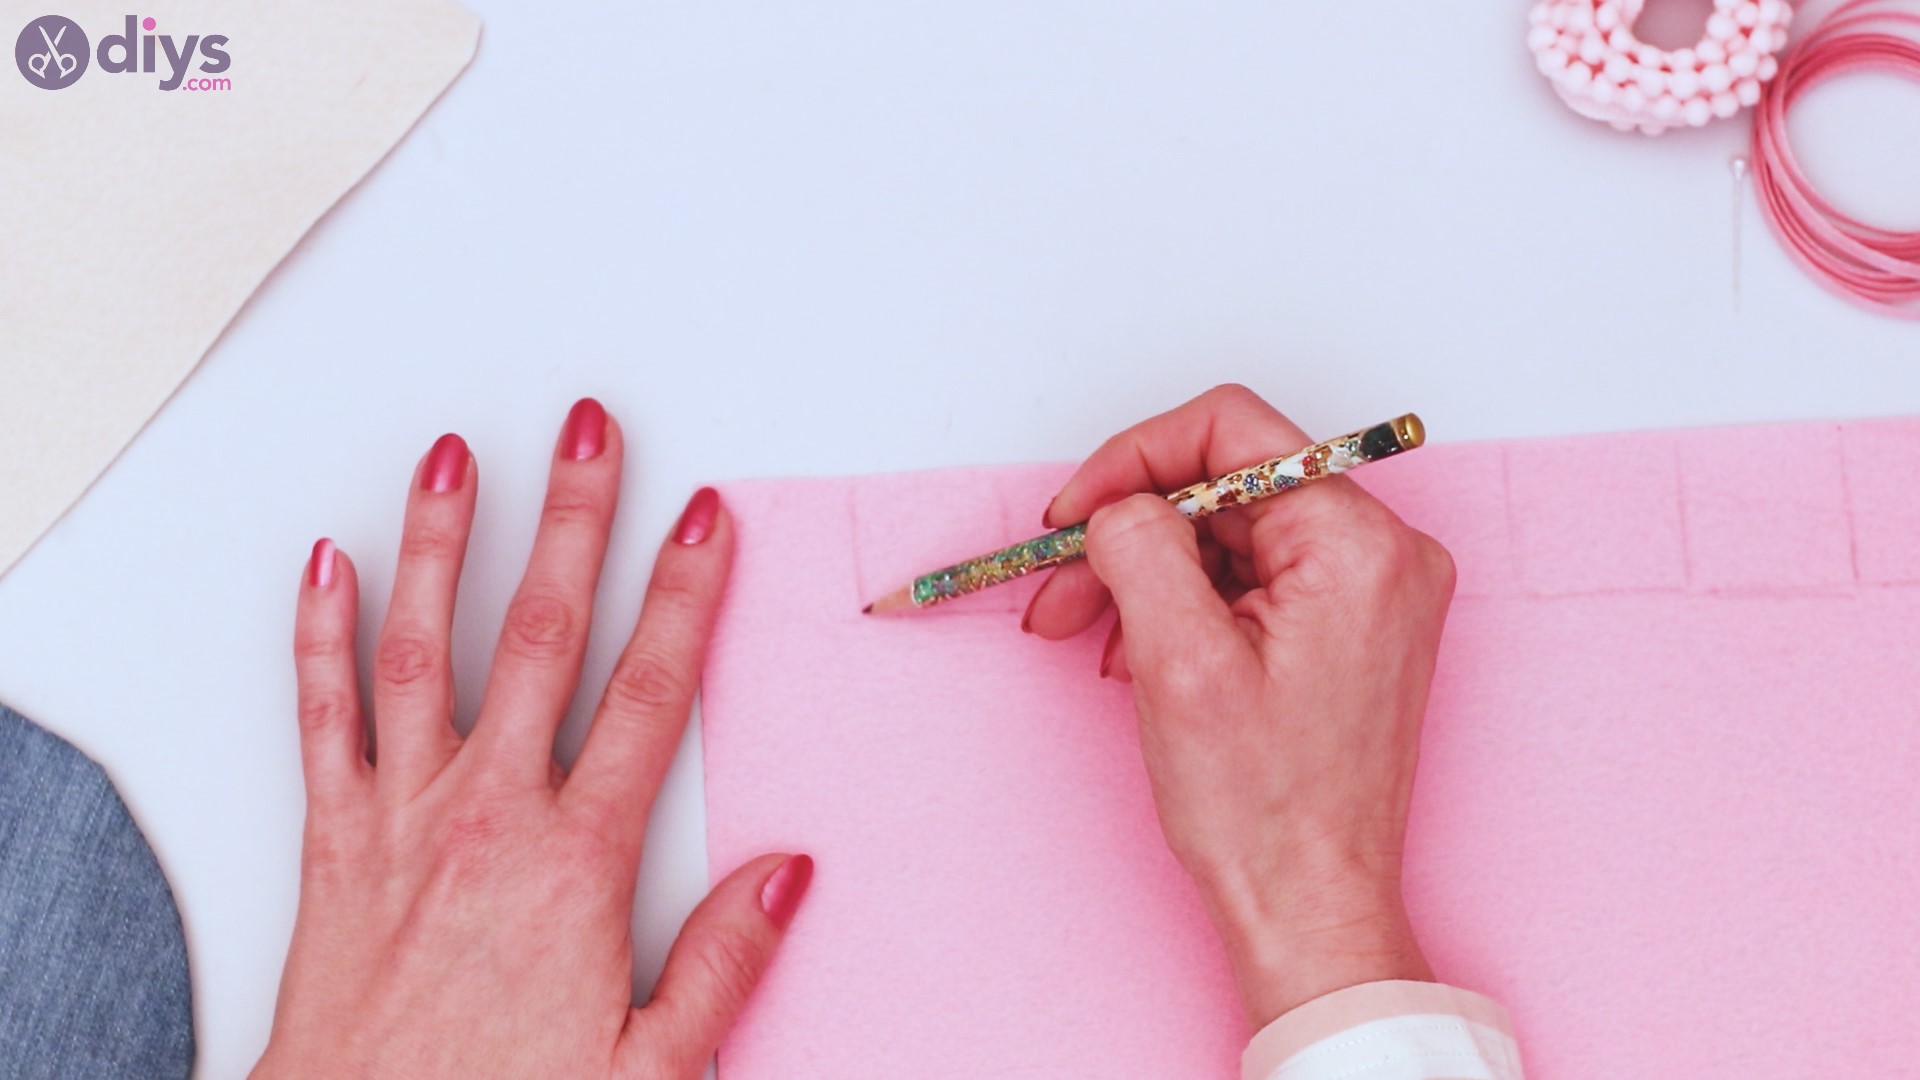
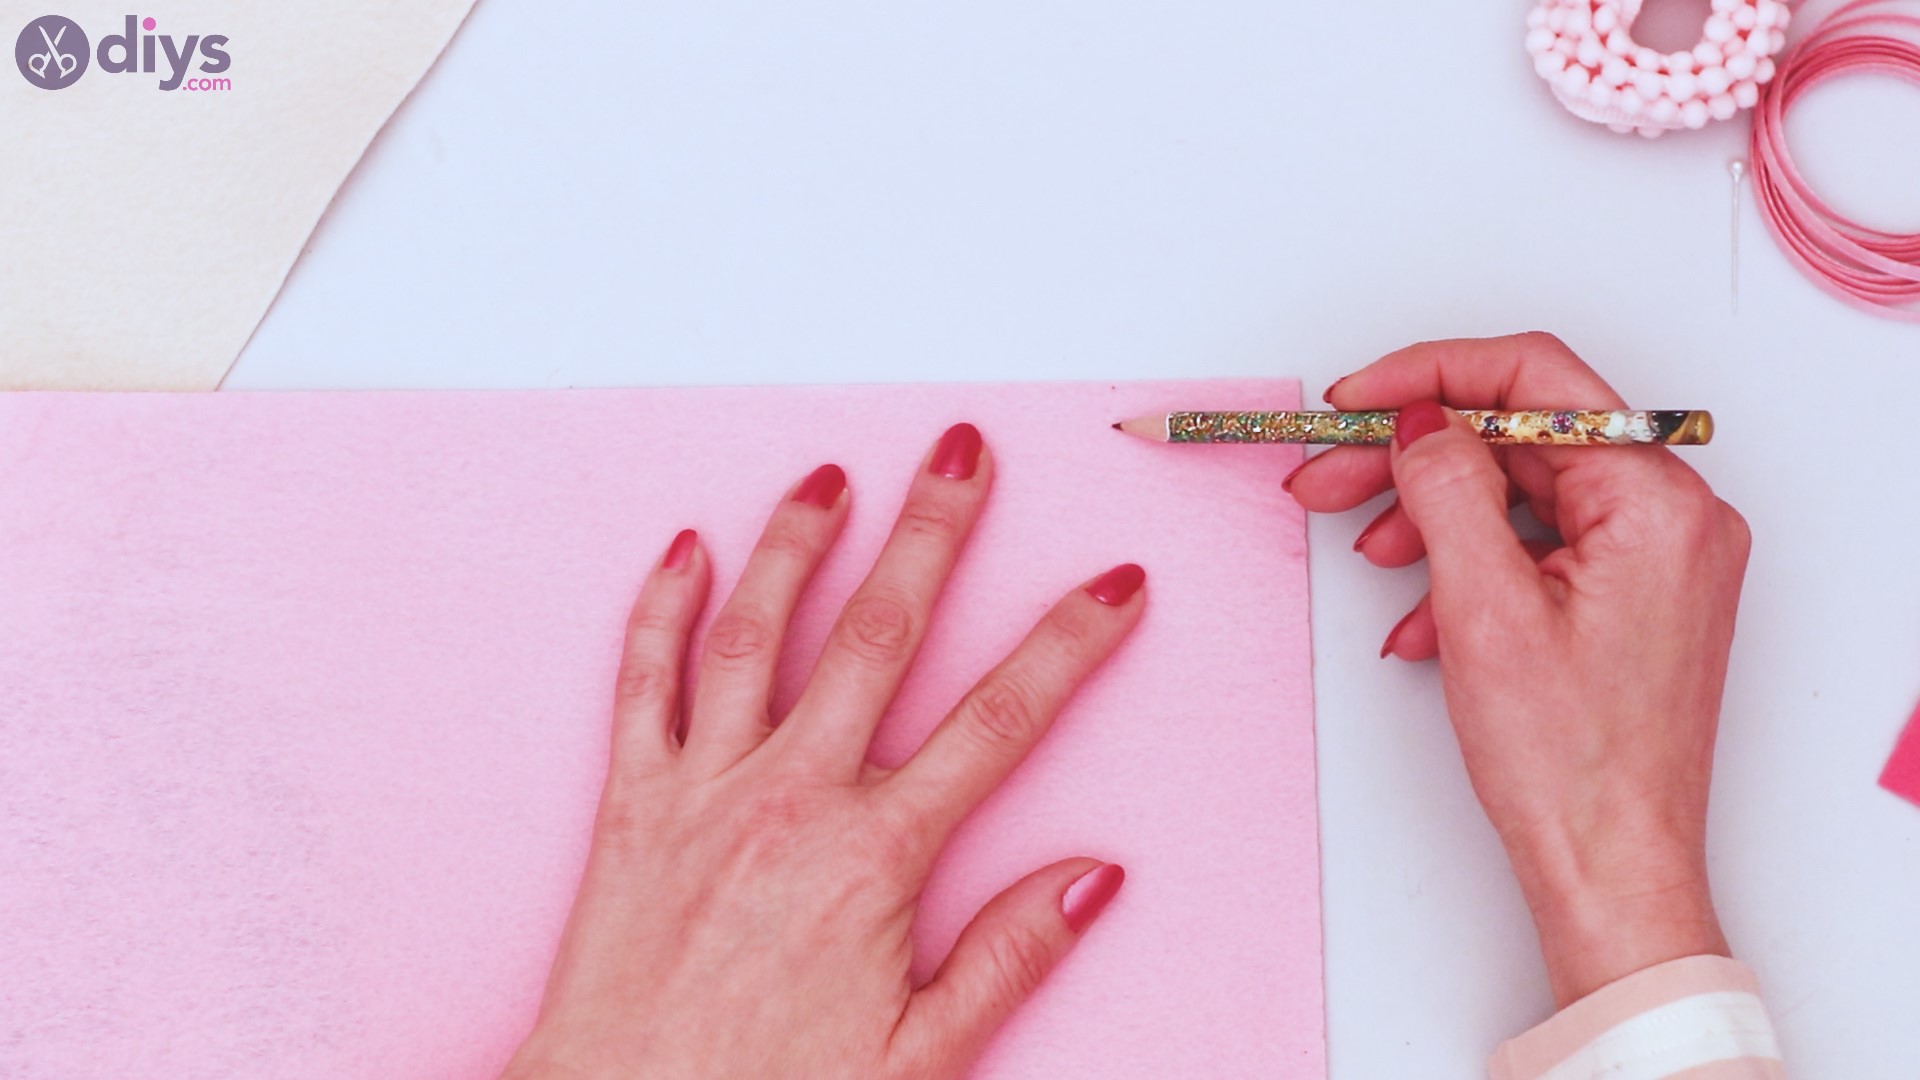
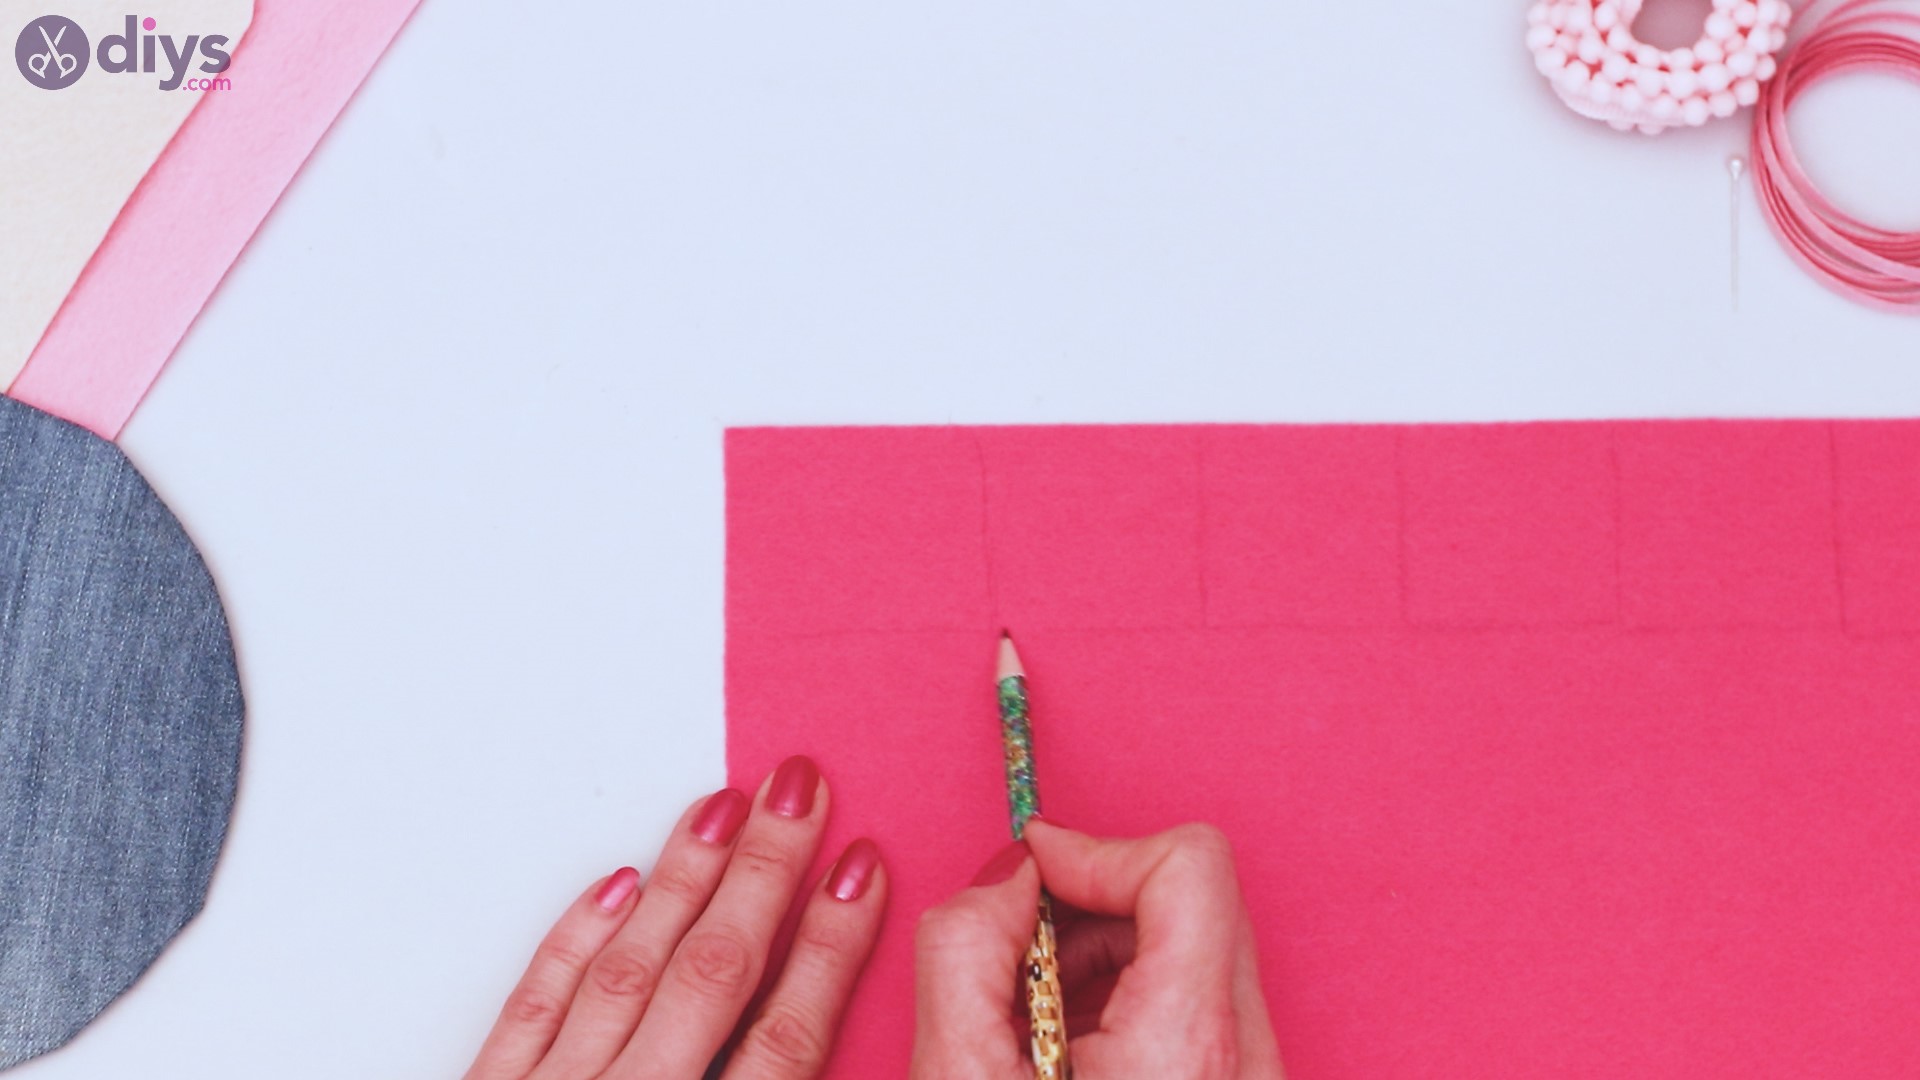
Step 3: Cut out petals
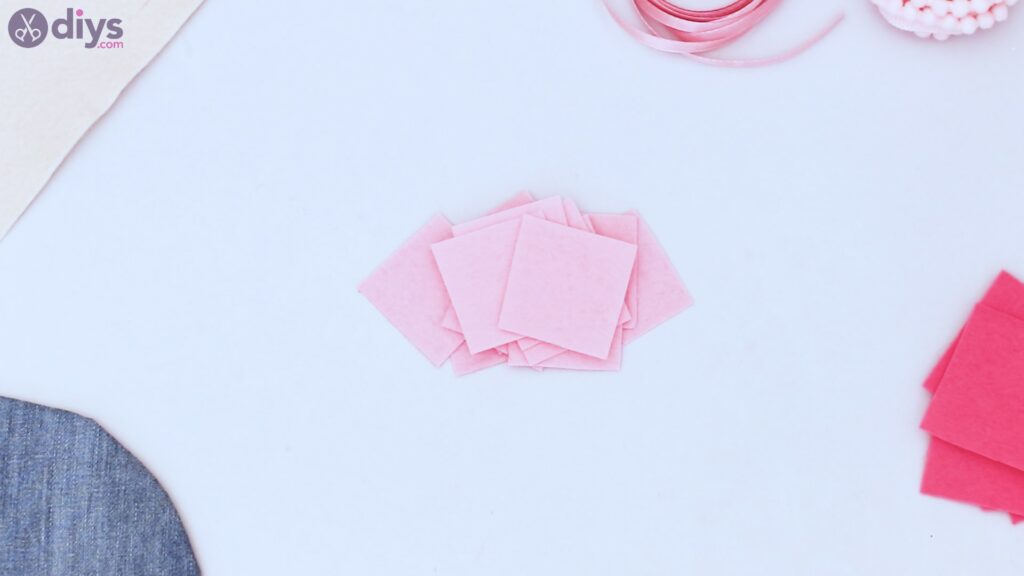
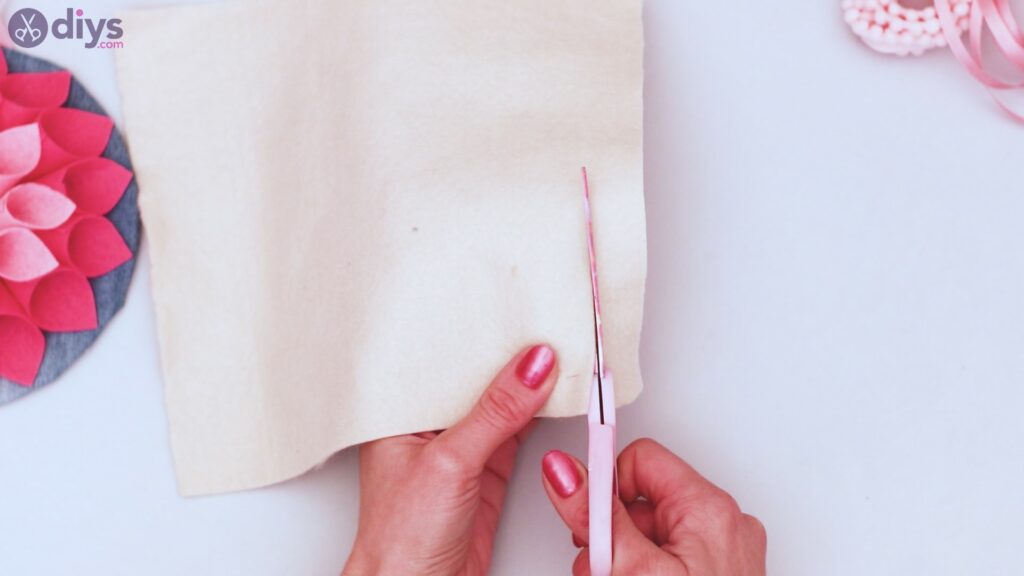
Grab one colors of your felt. Trace out small squares, about 2 inches on each side.
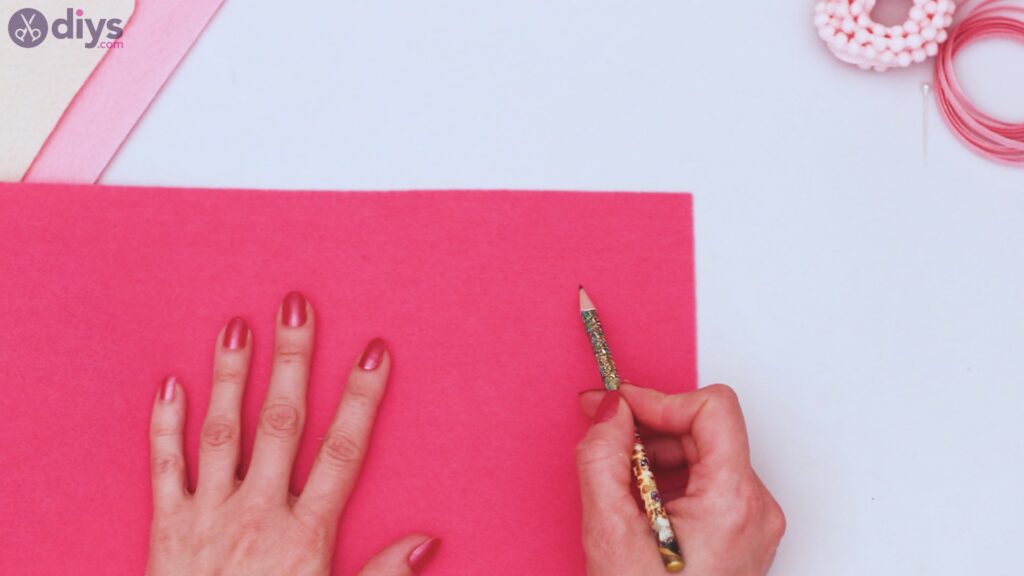

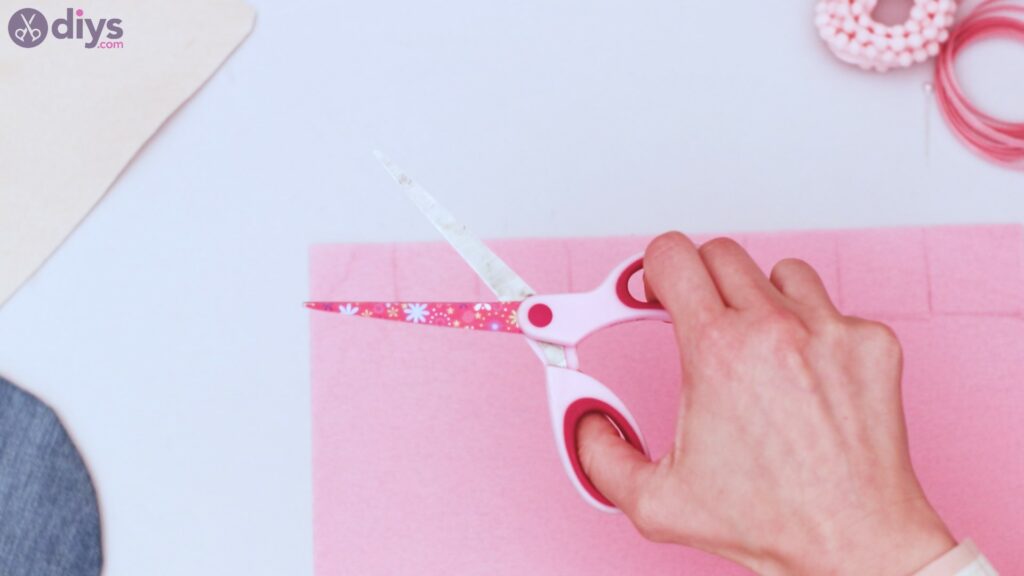
Using your scissors, cut out your squares. You’ll need at least a dozen and probably more, depending on the size of your base circle.
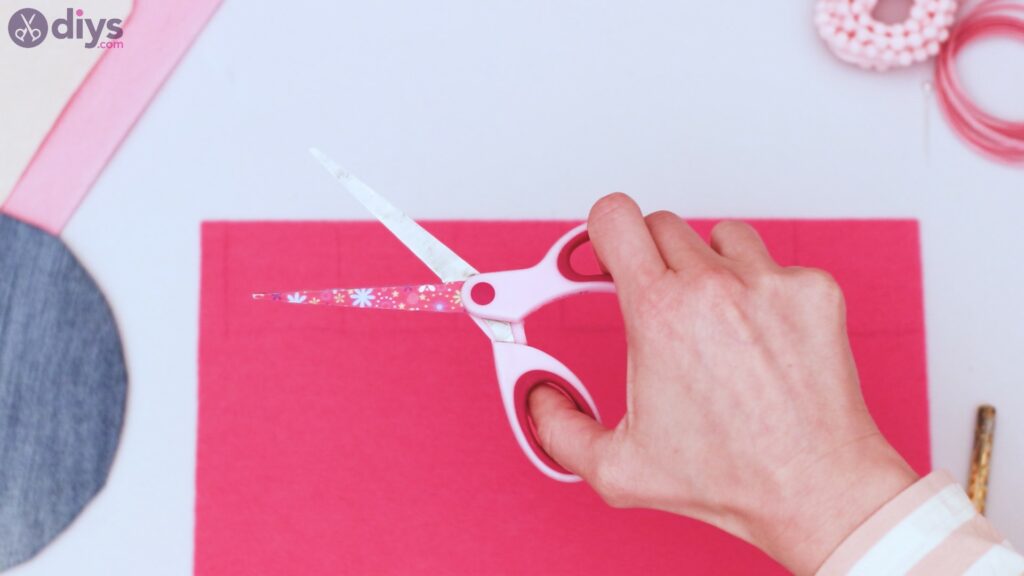
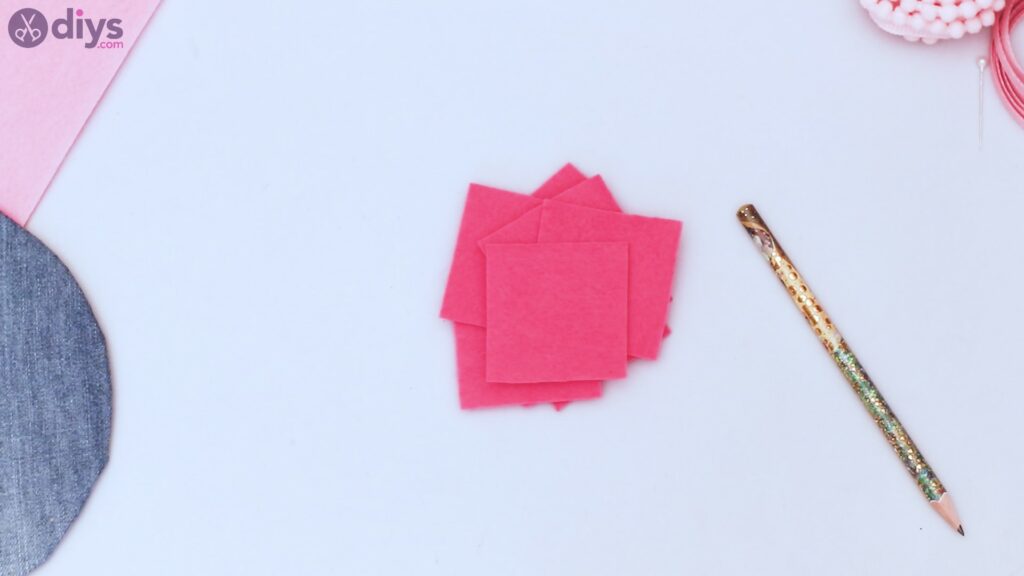
Repeat this process with a second color of felt. Make these squares slightly smaller. Cut as many as you like. It’s always better to have too many than not enough!


Set your squares aside.
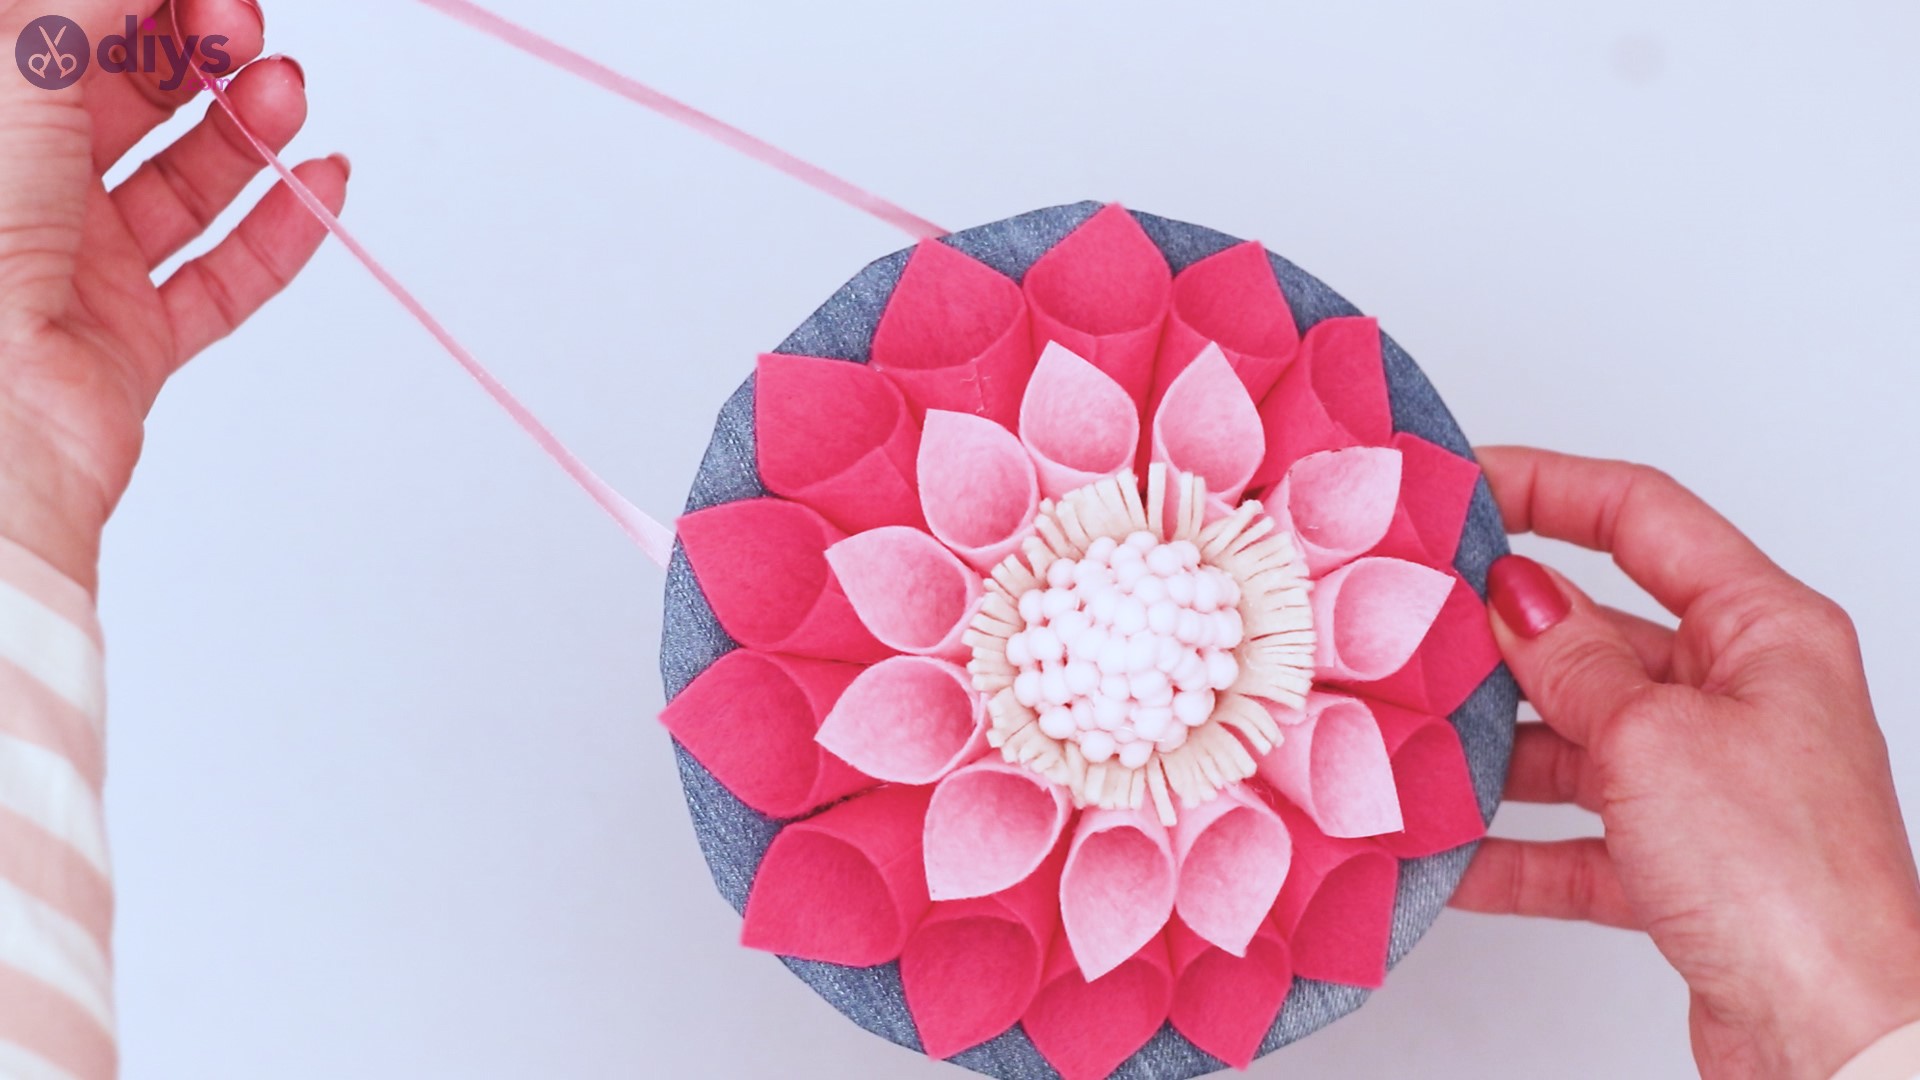
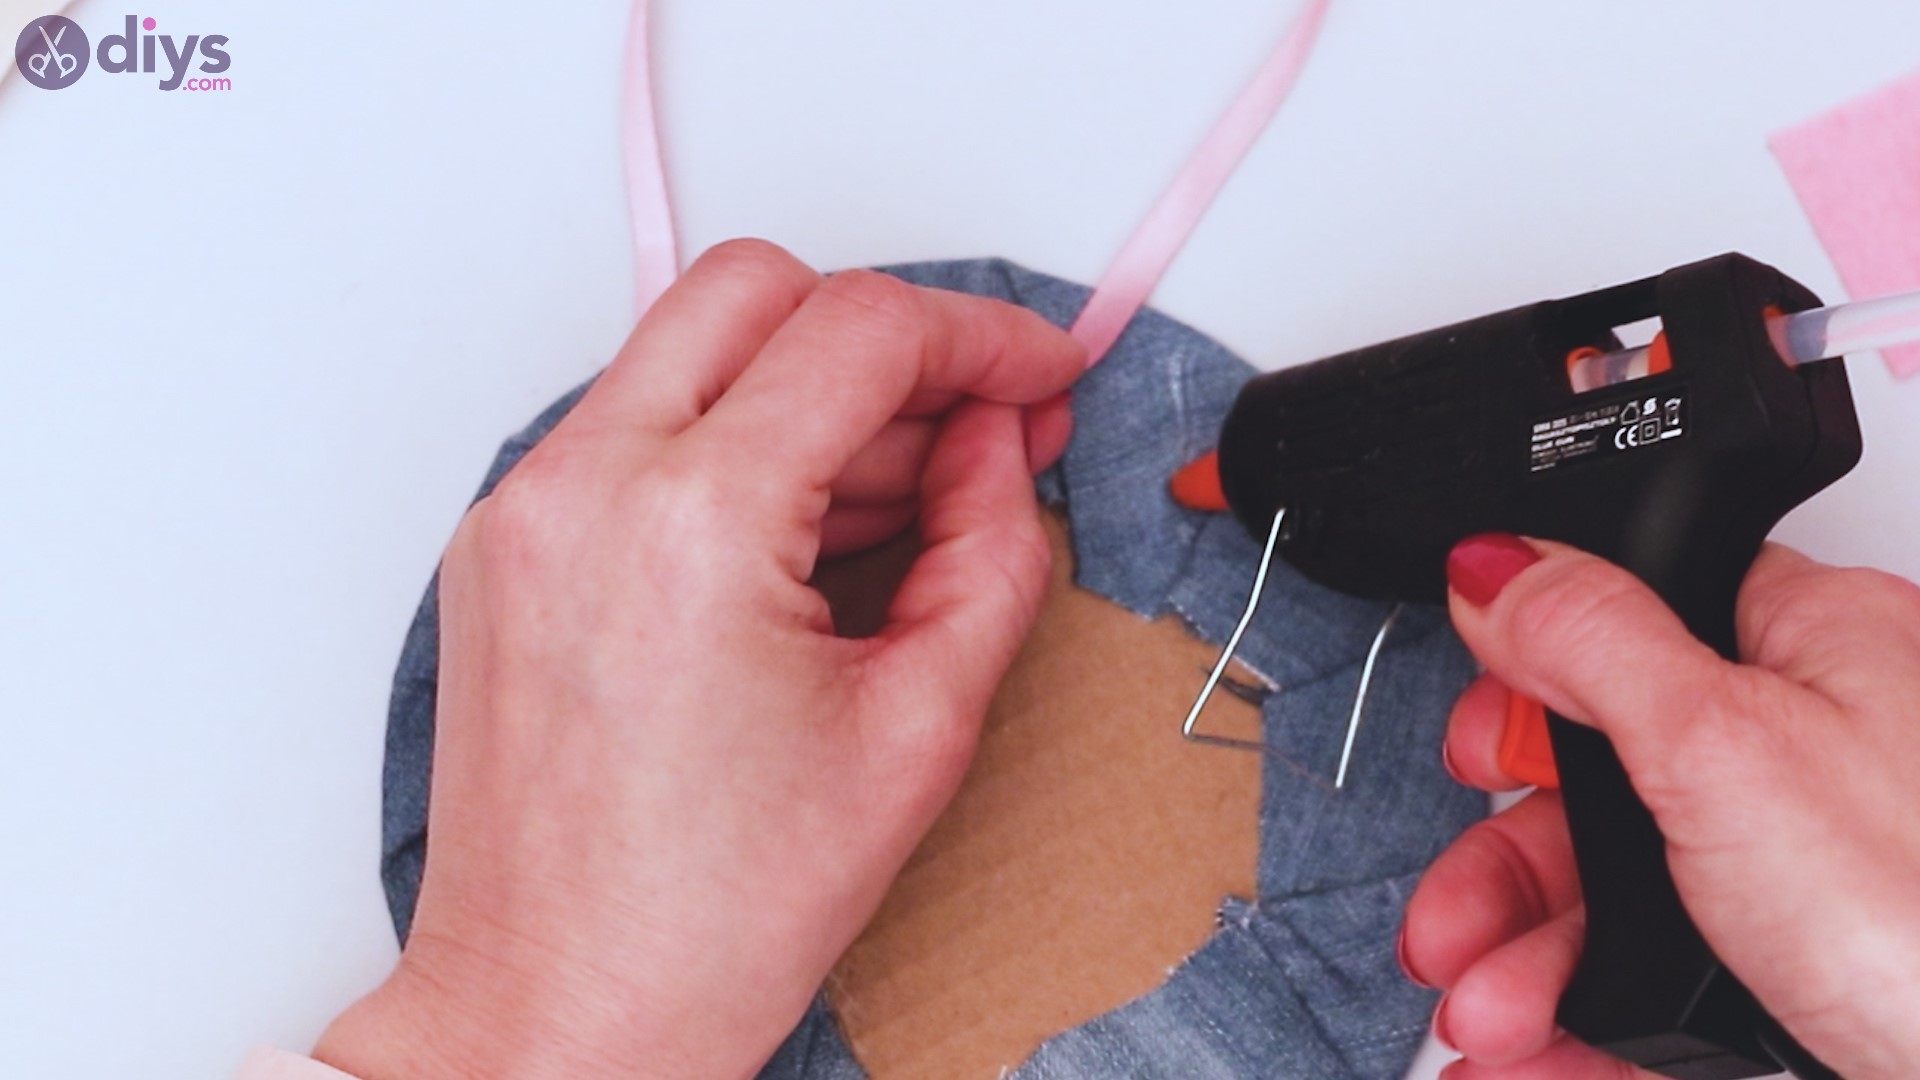
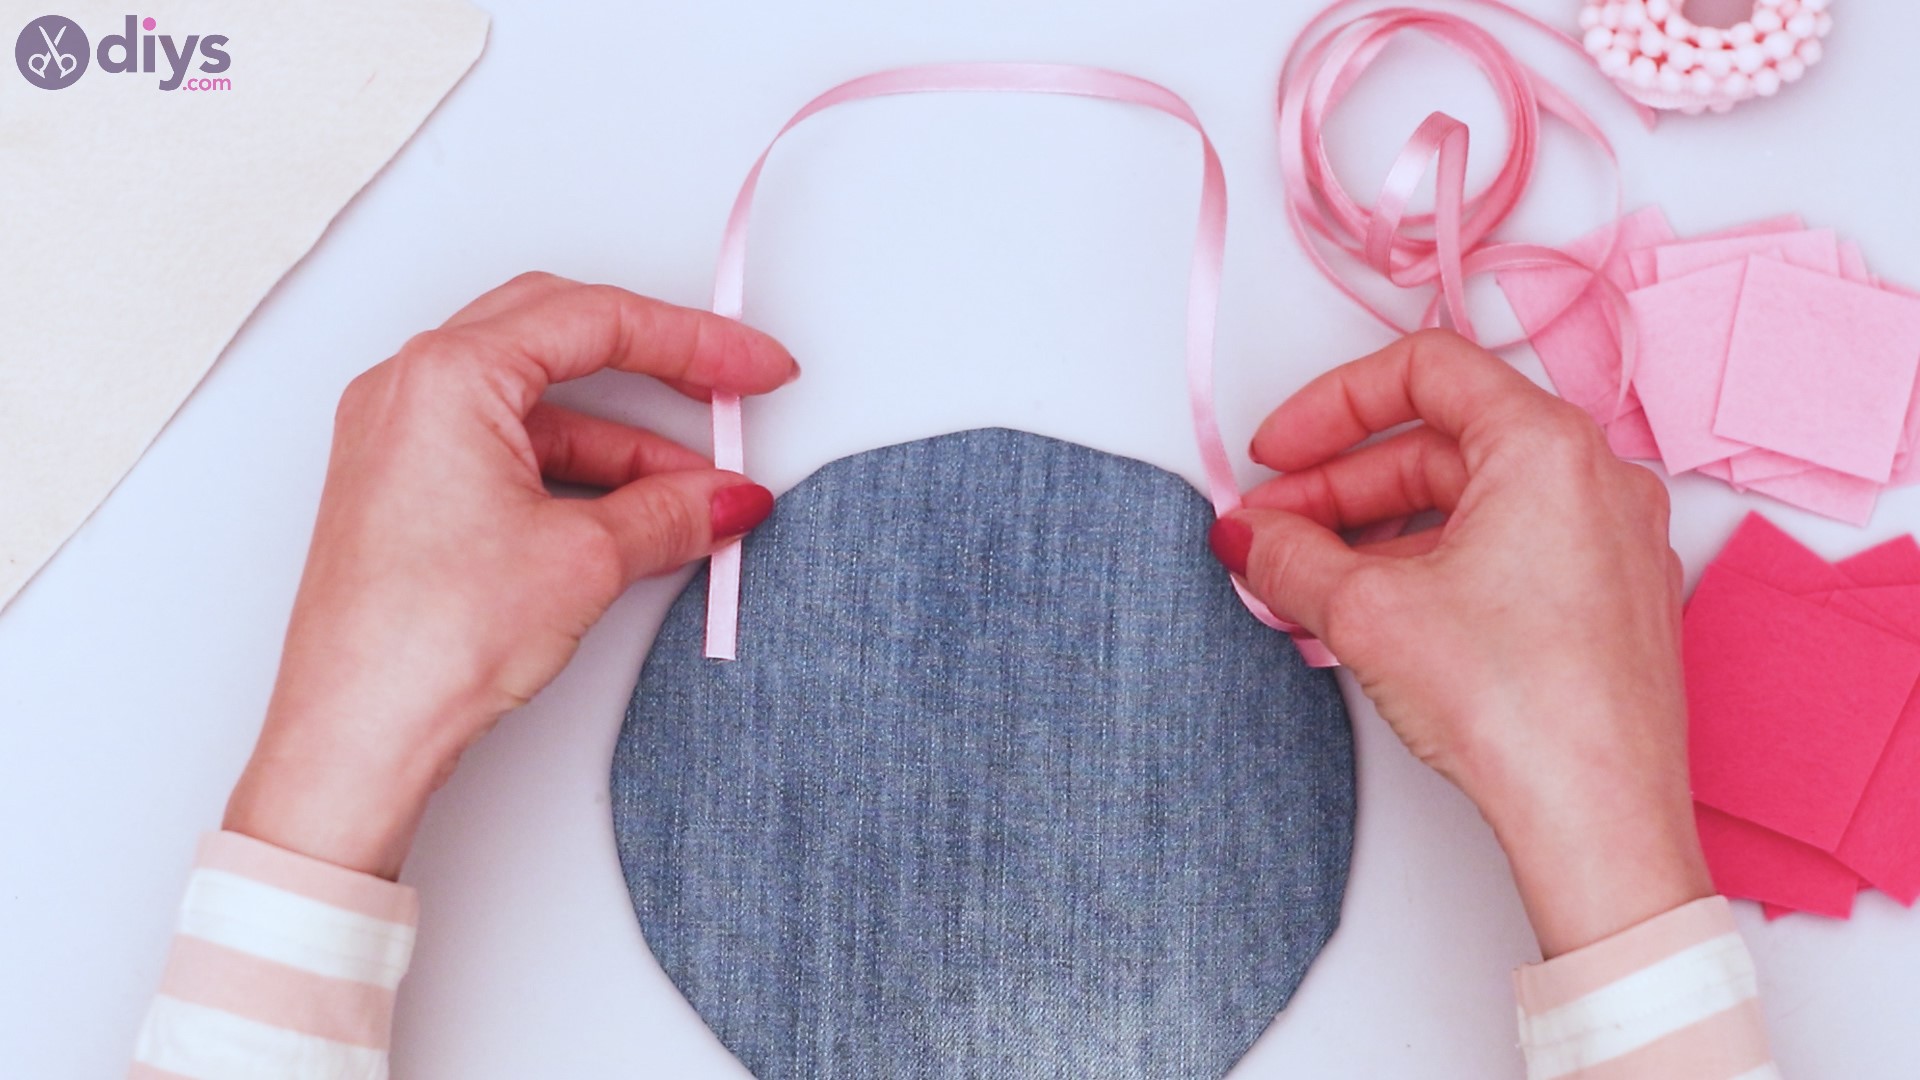
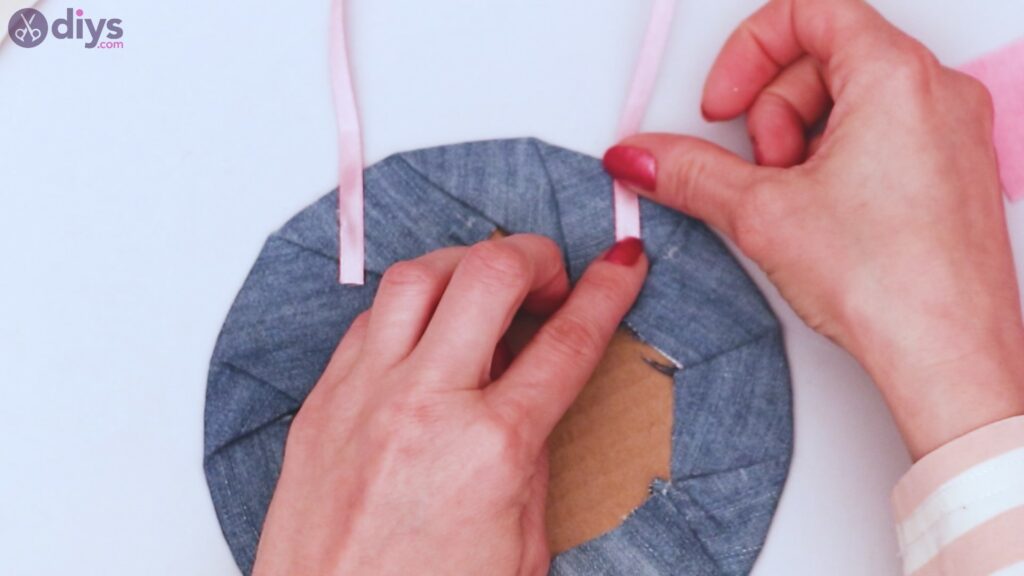
Step 4: Hanging ribbon
Cut a length of your silk ribbon. This, again, will depend on the size of your base. For mine, with a base that is about 8 inches, I cut about 12 inches of ribbon.

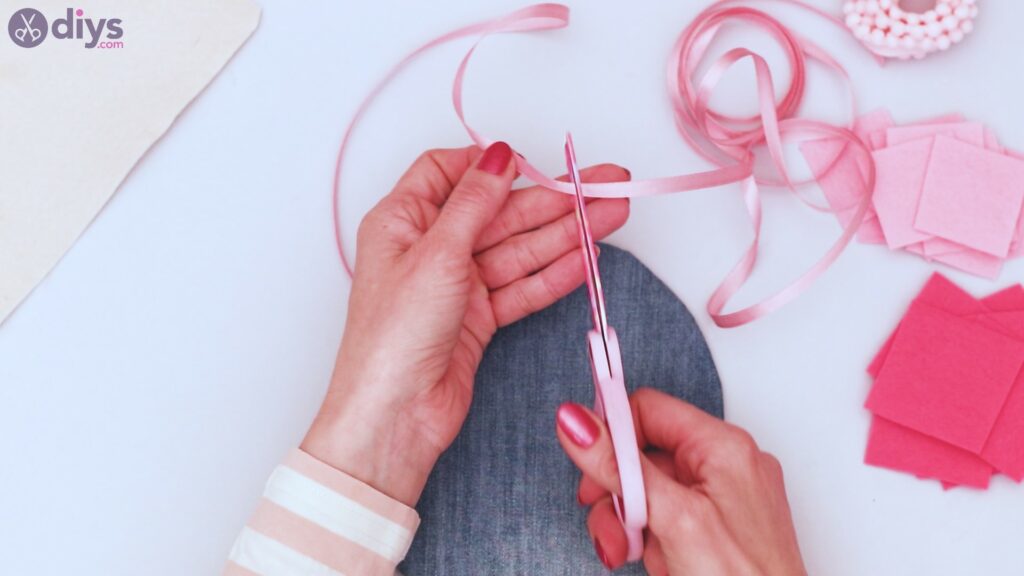
Using your hot glue gun, place two dots of glue on the back of your circle.
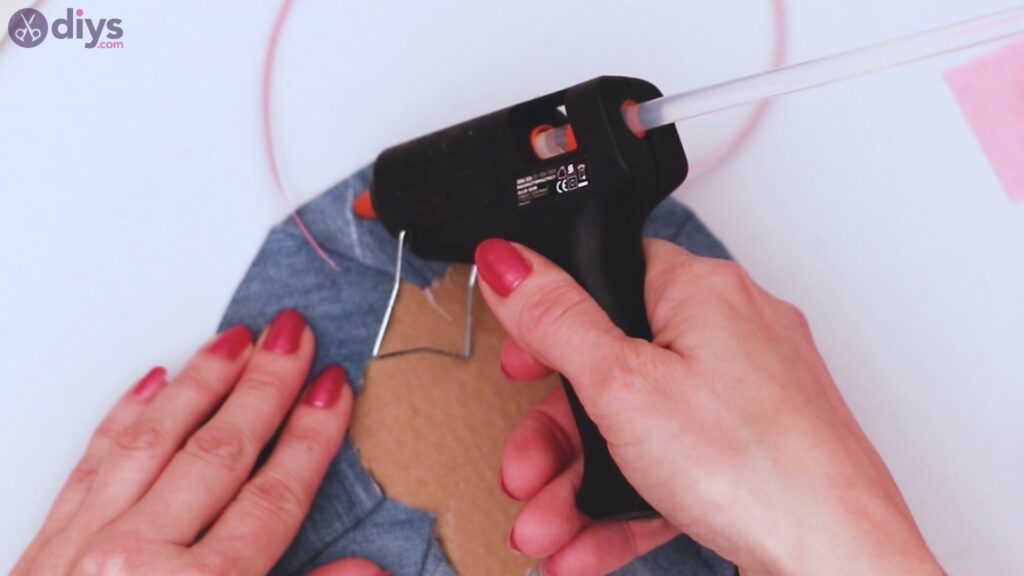

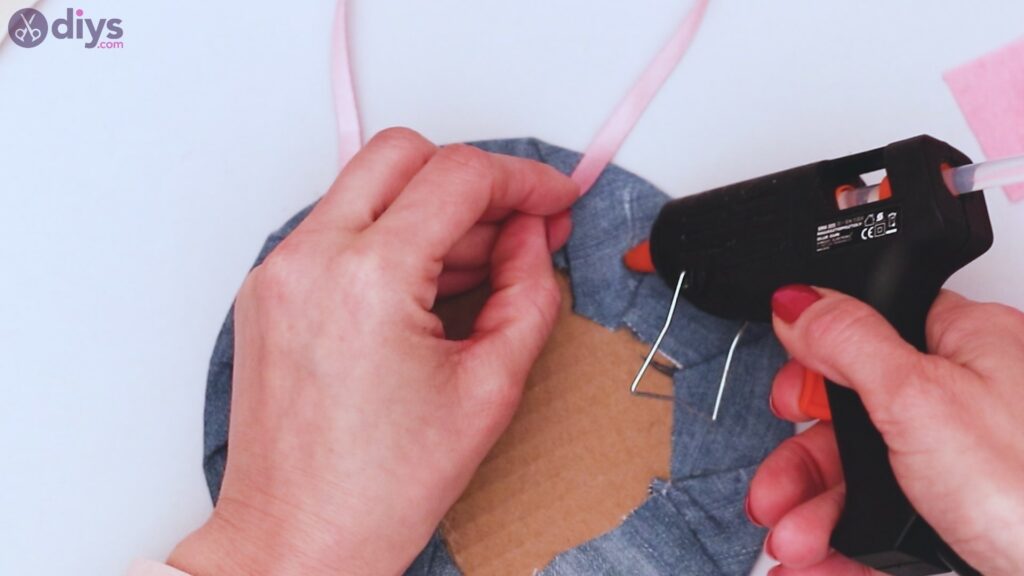
Attach one end of the ribbon to each.
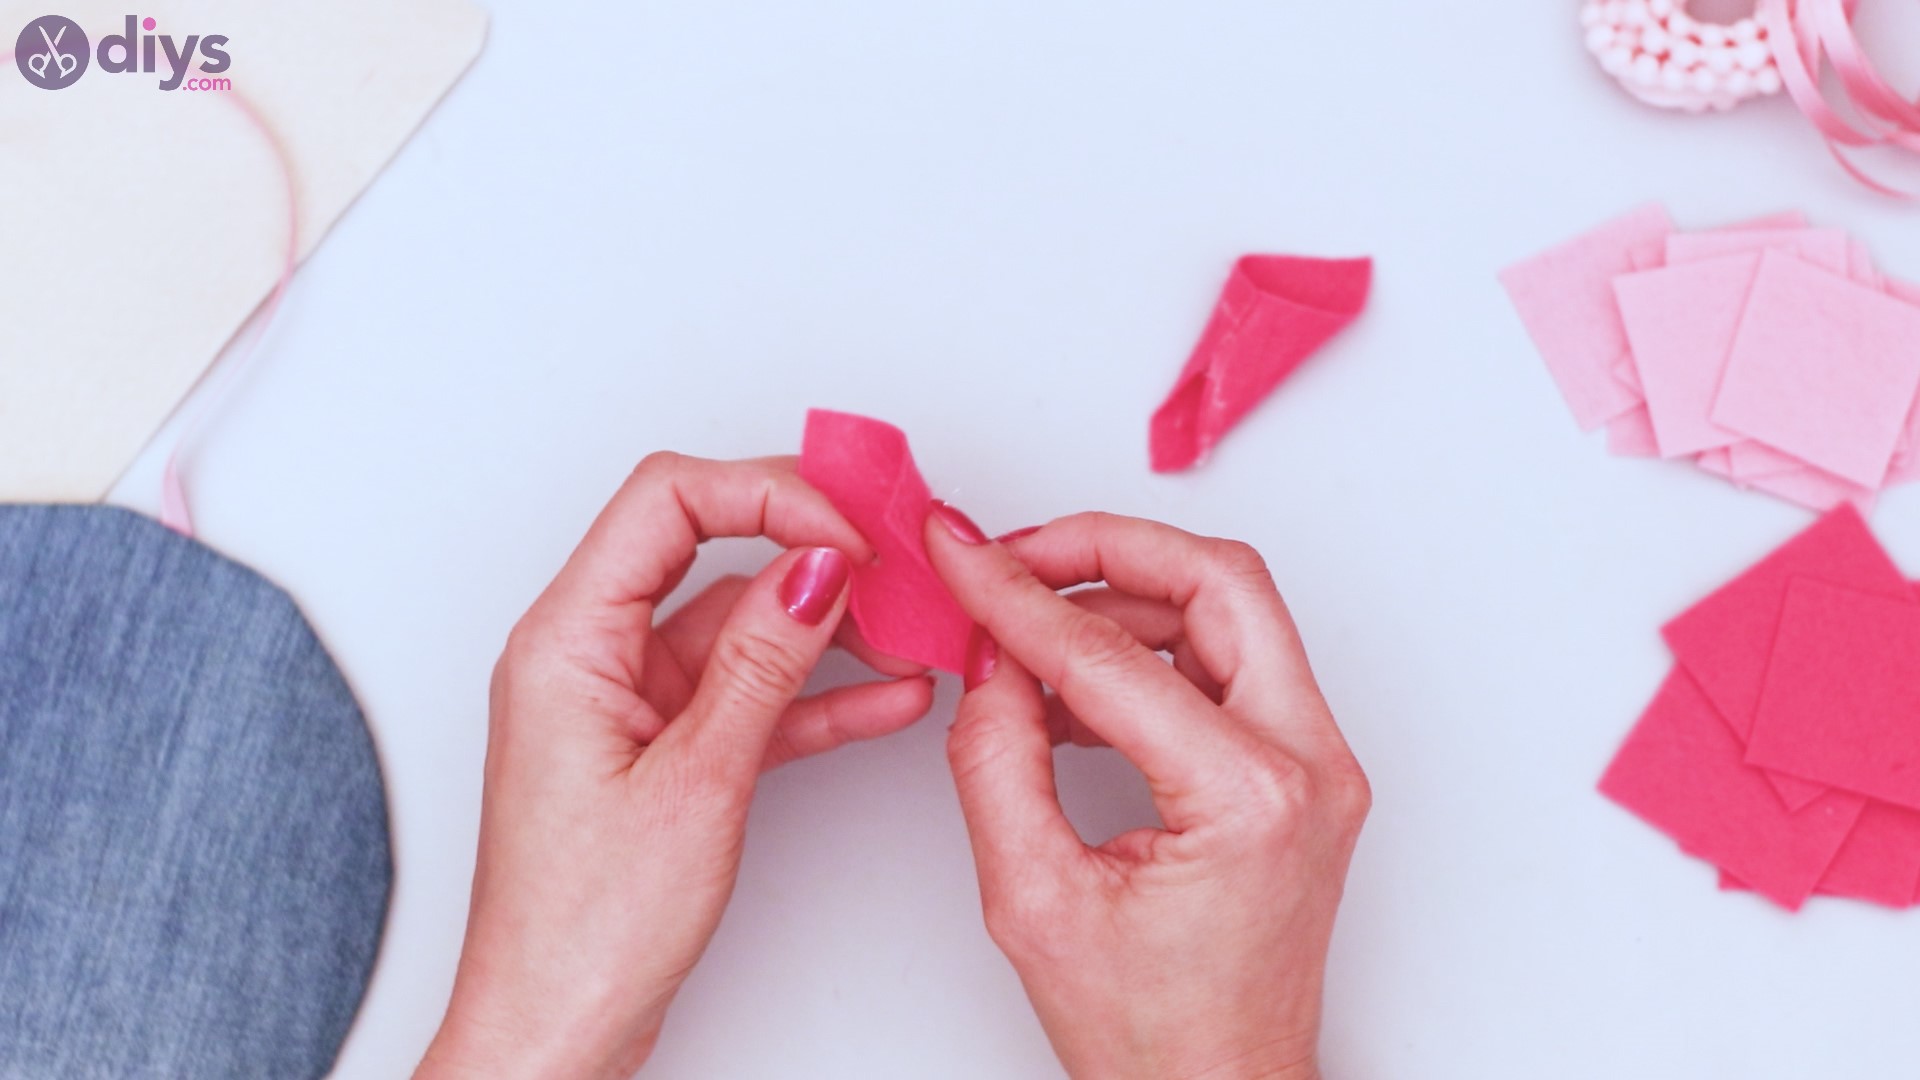
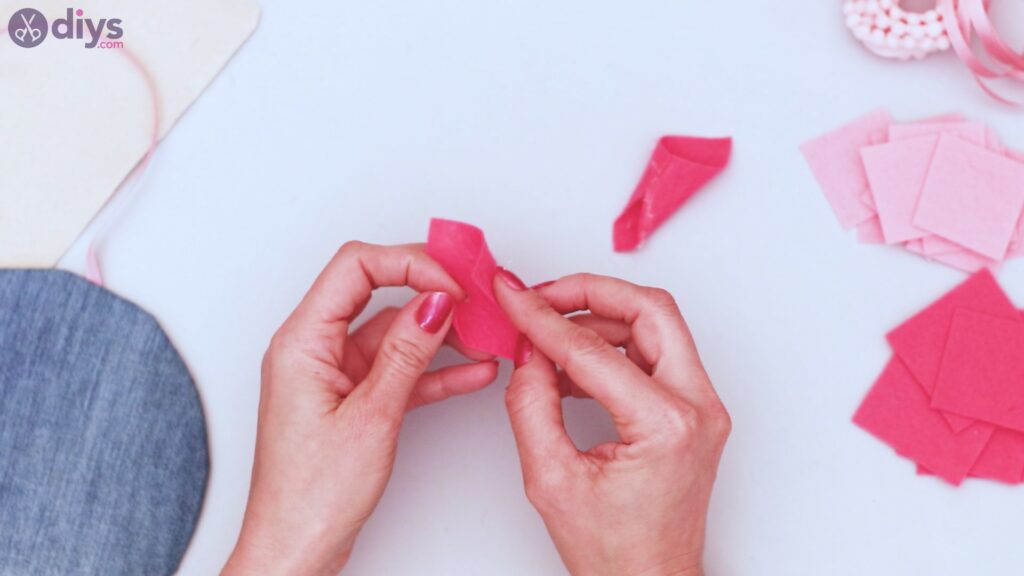
Step 5: Making the petals
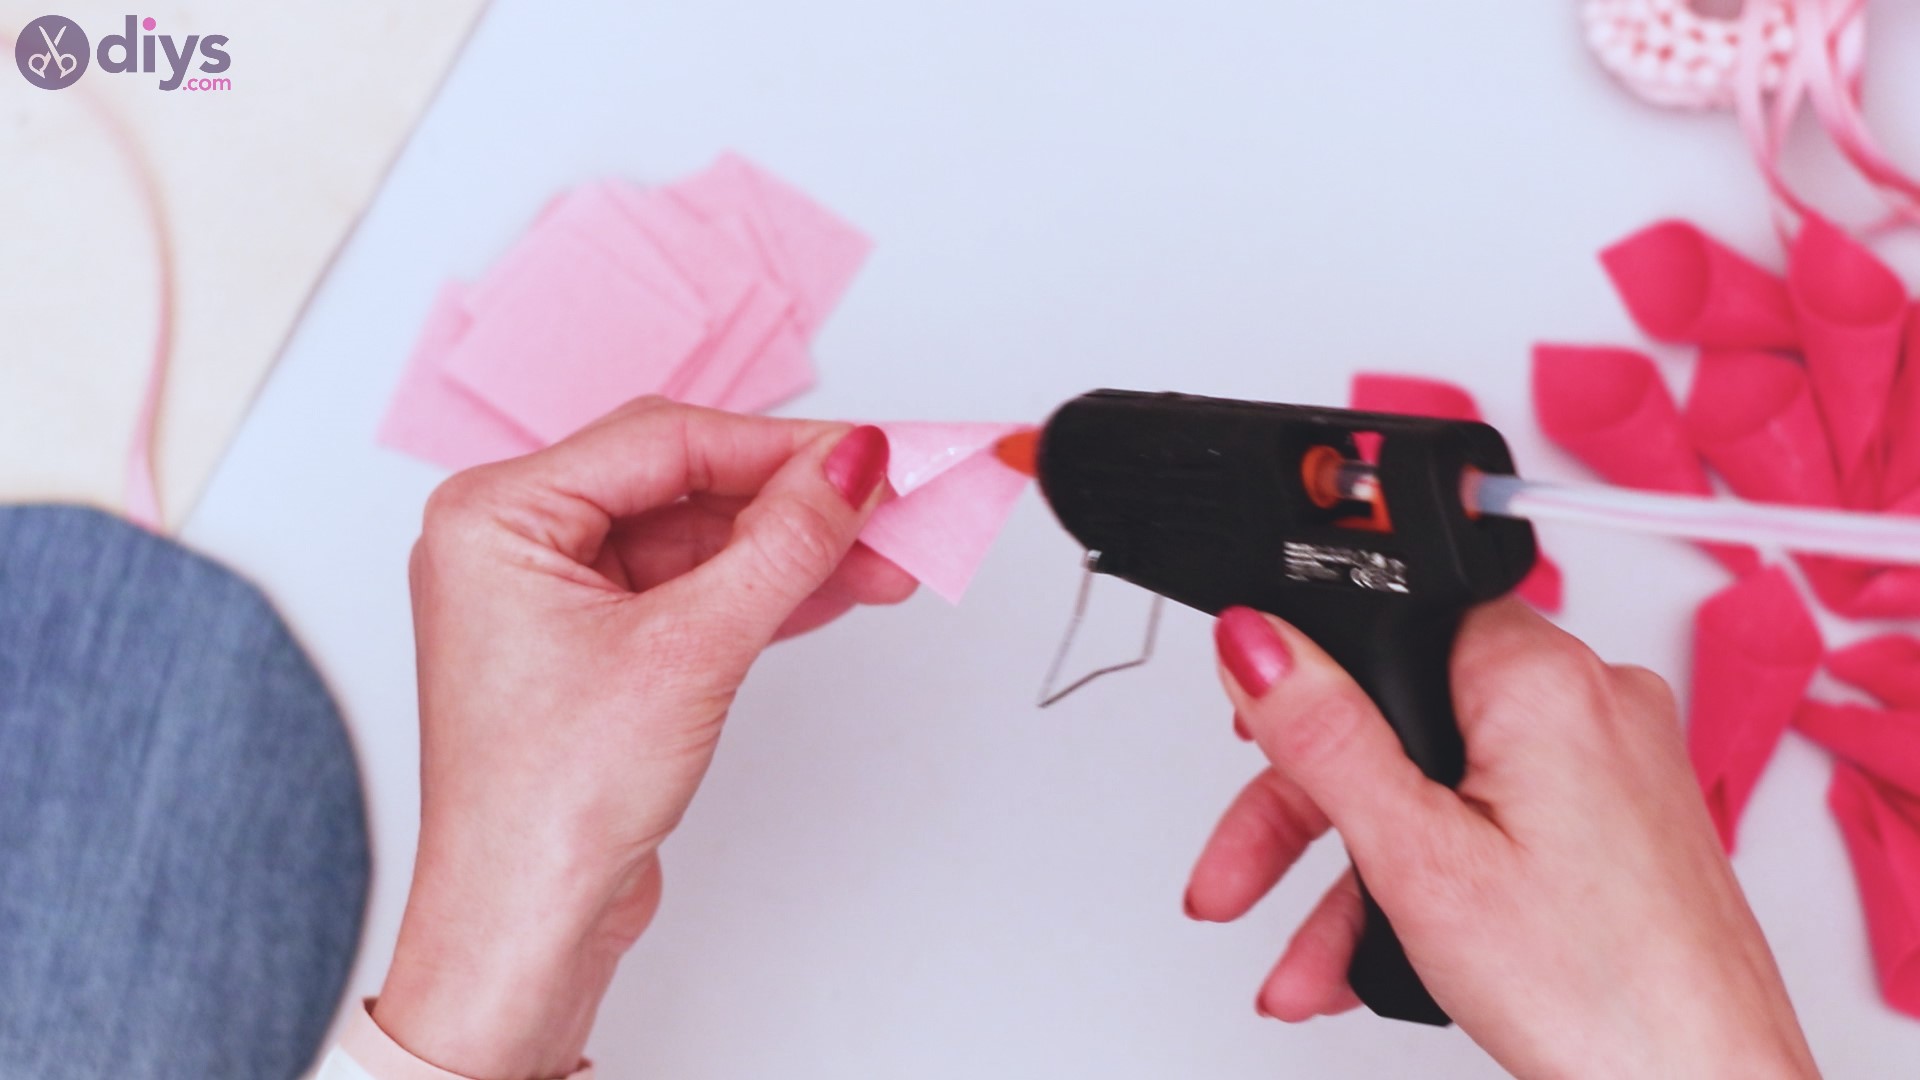
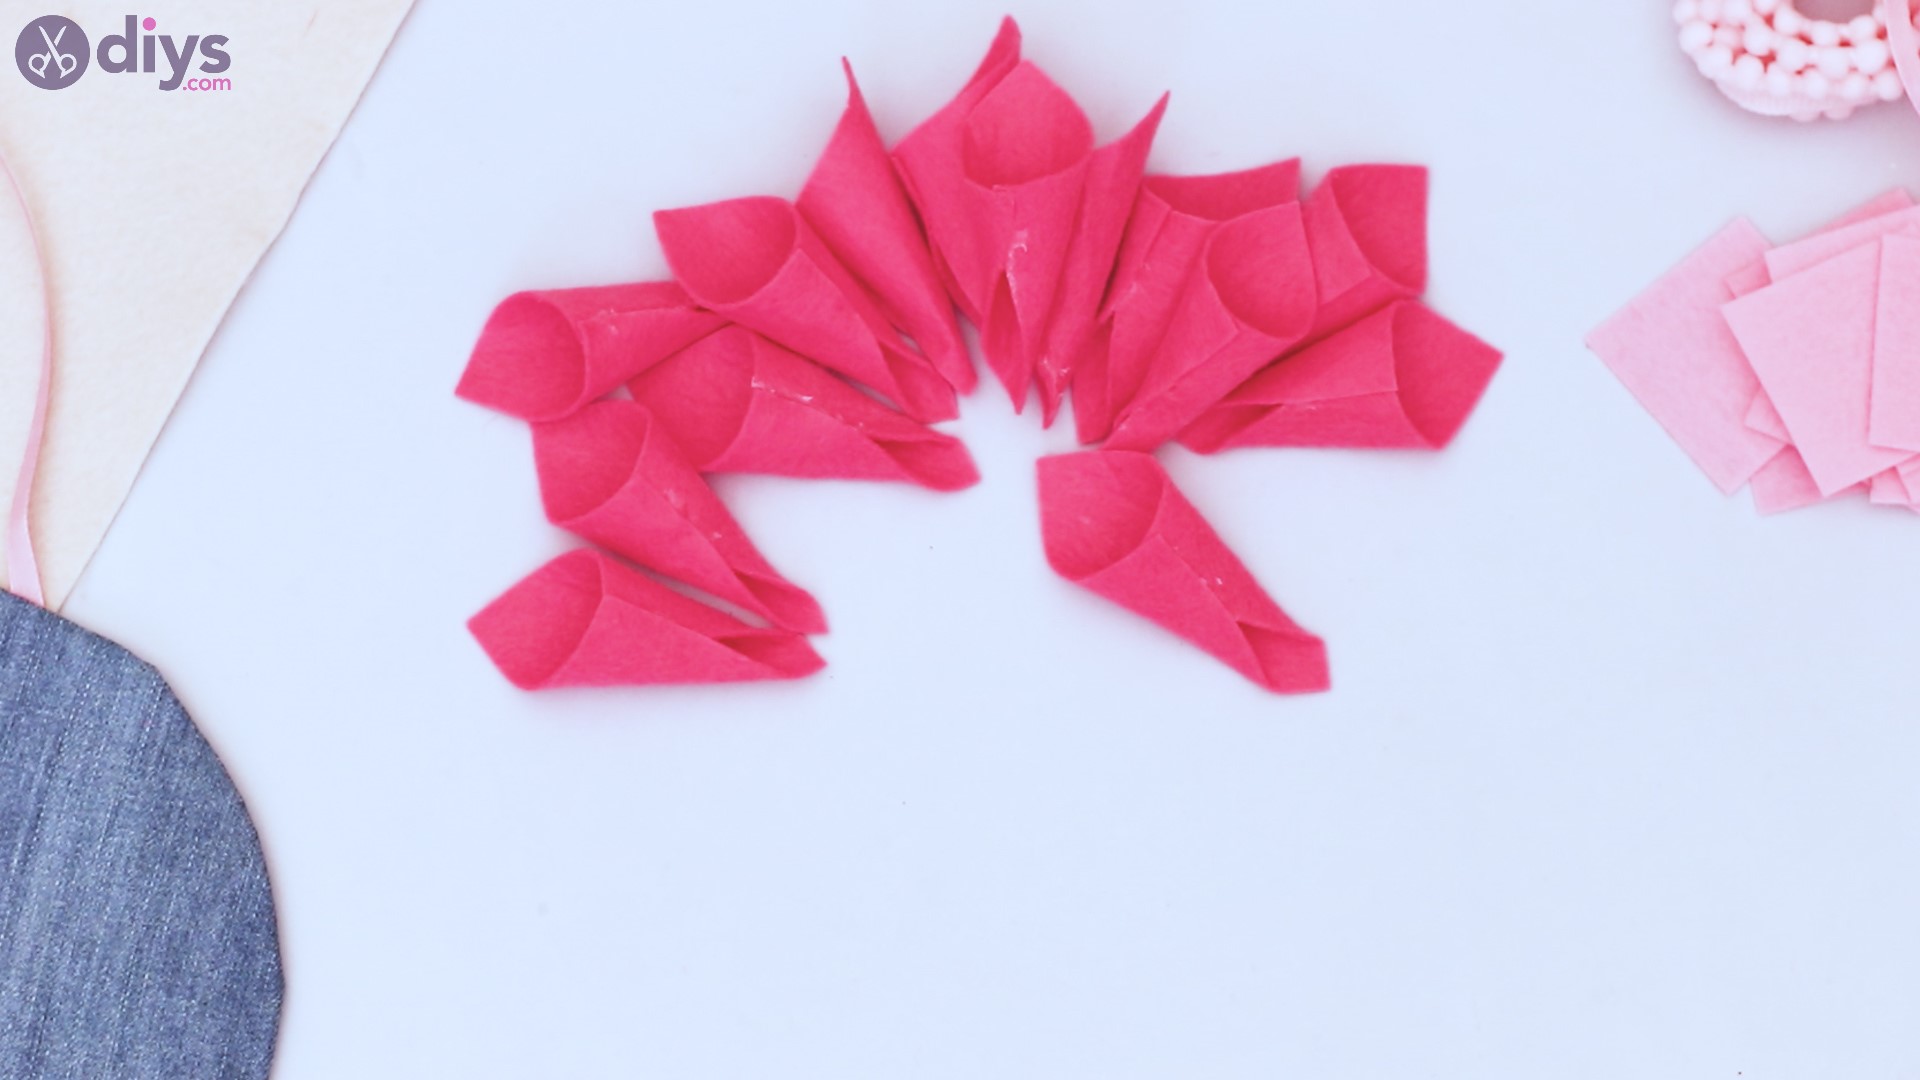
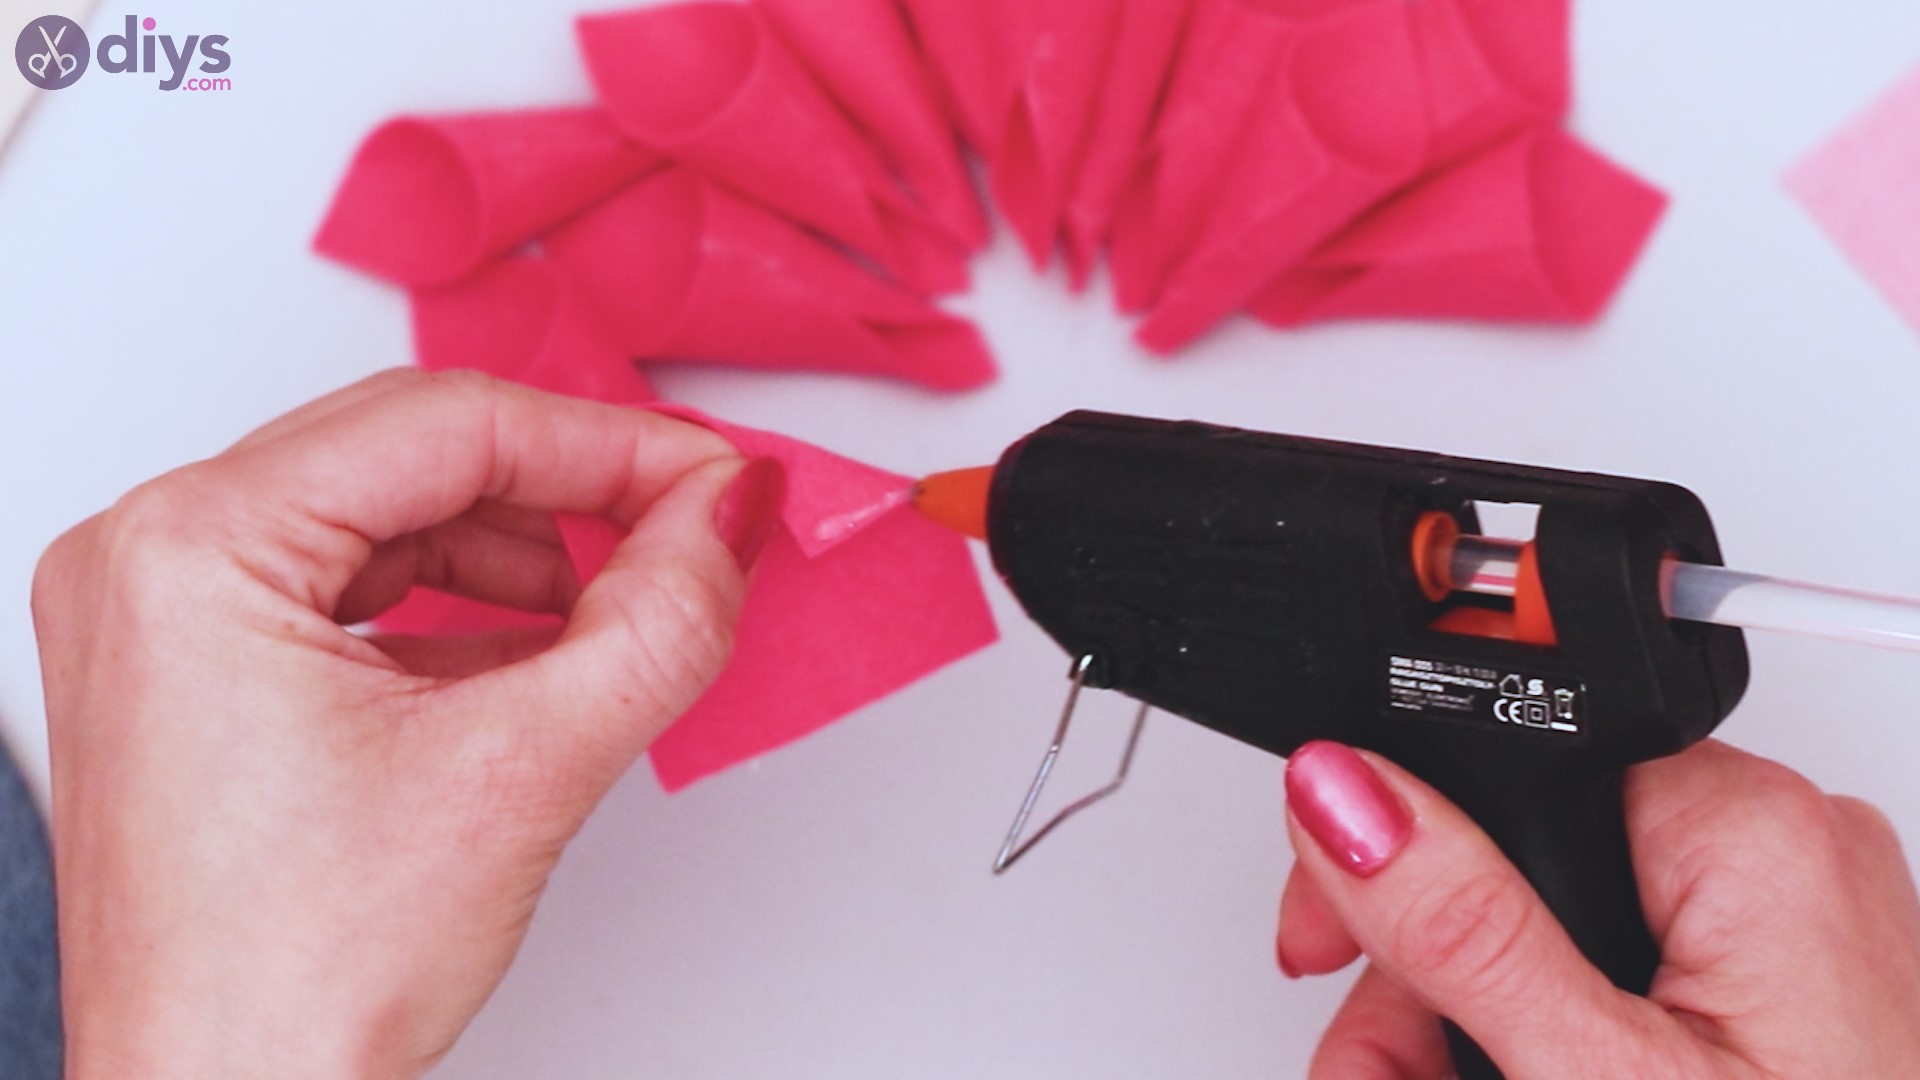
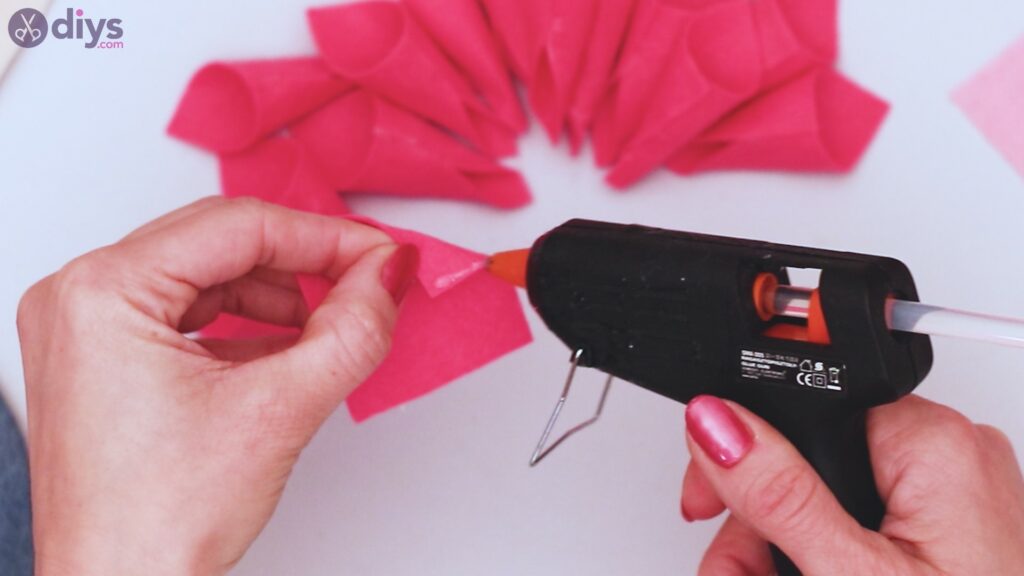
Grab your pieces of felt. Start with the larger pieces. Roll one piece so that two corners overlap, with a cone shape where one end is wider than the other.
Using your glue gun, place a dot of hot glue and press the corners together so they stick.
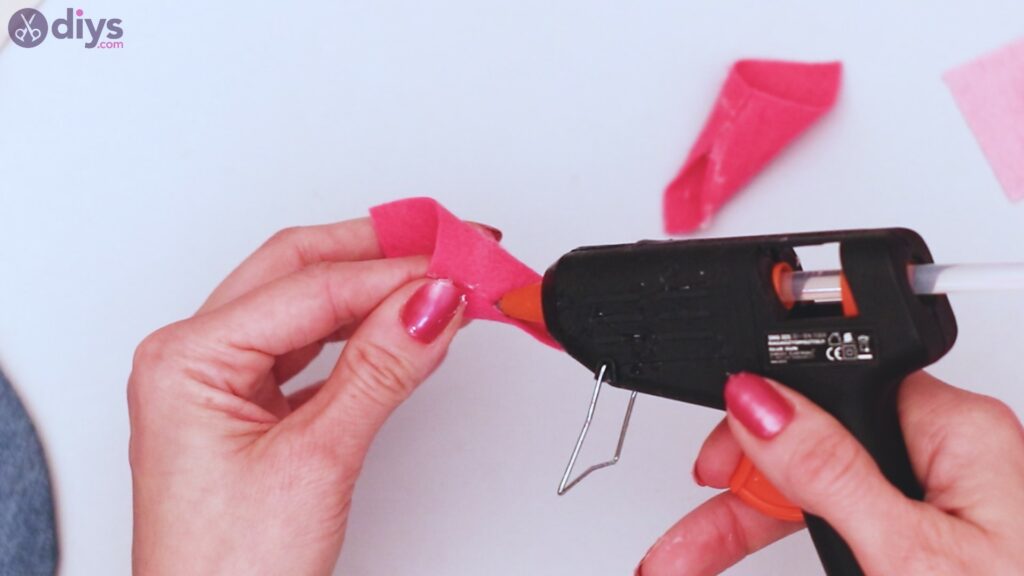
Repeat this for all your larger cuts of felt, creating petals.
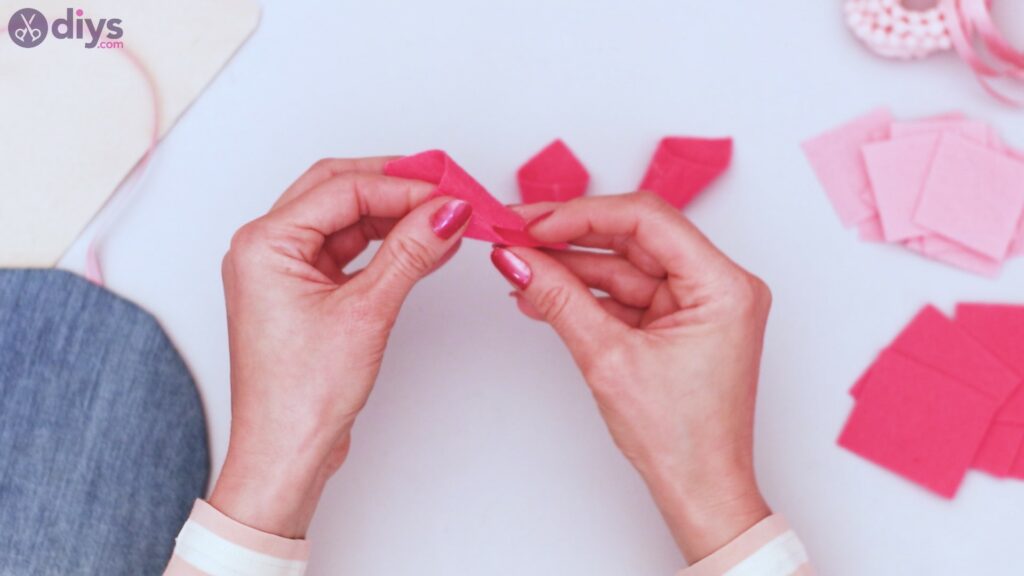
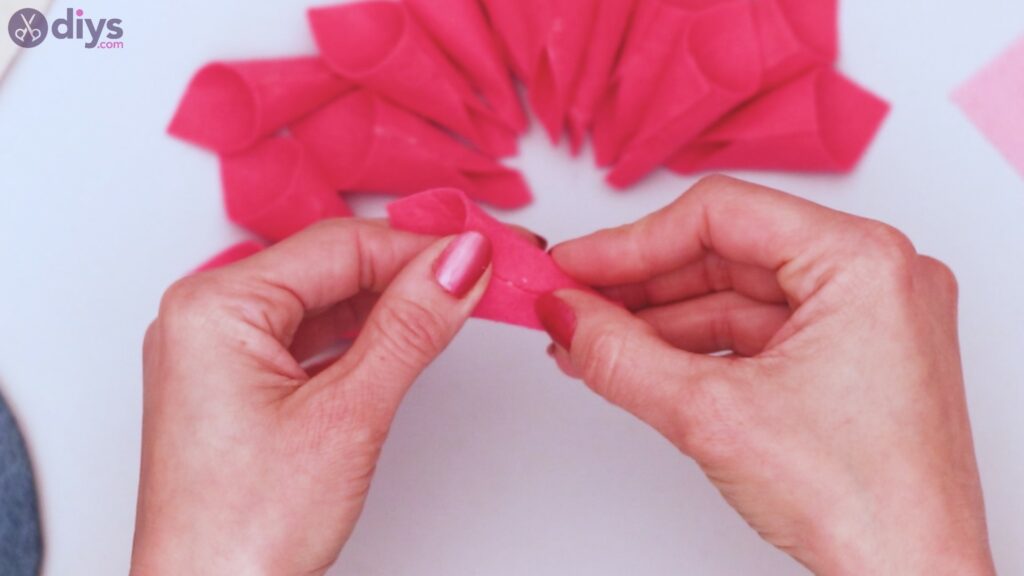

Take your second stack of felt, this time the smaller squares.

Repeat the same process for all of these squares so you have two different colors and sizes of petals.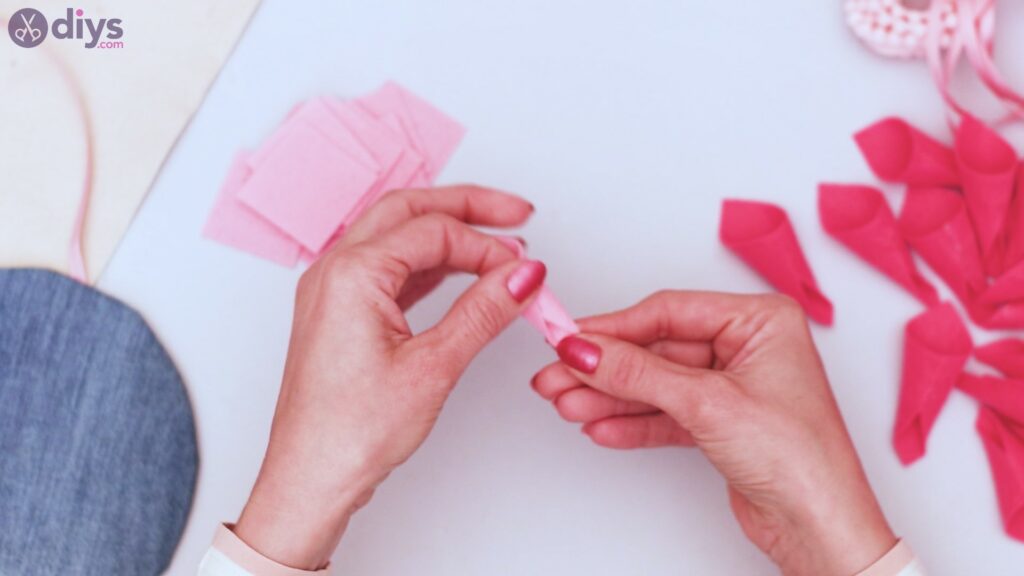
Step 6: Place your petals
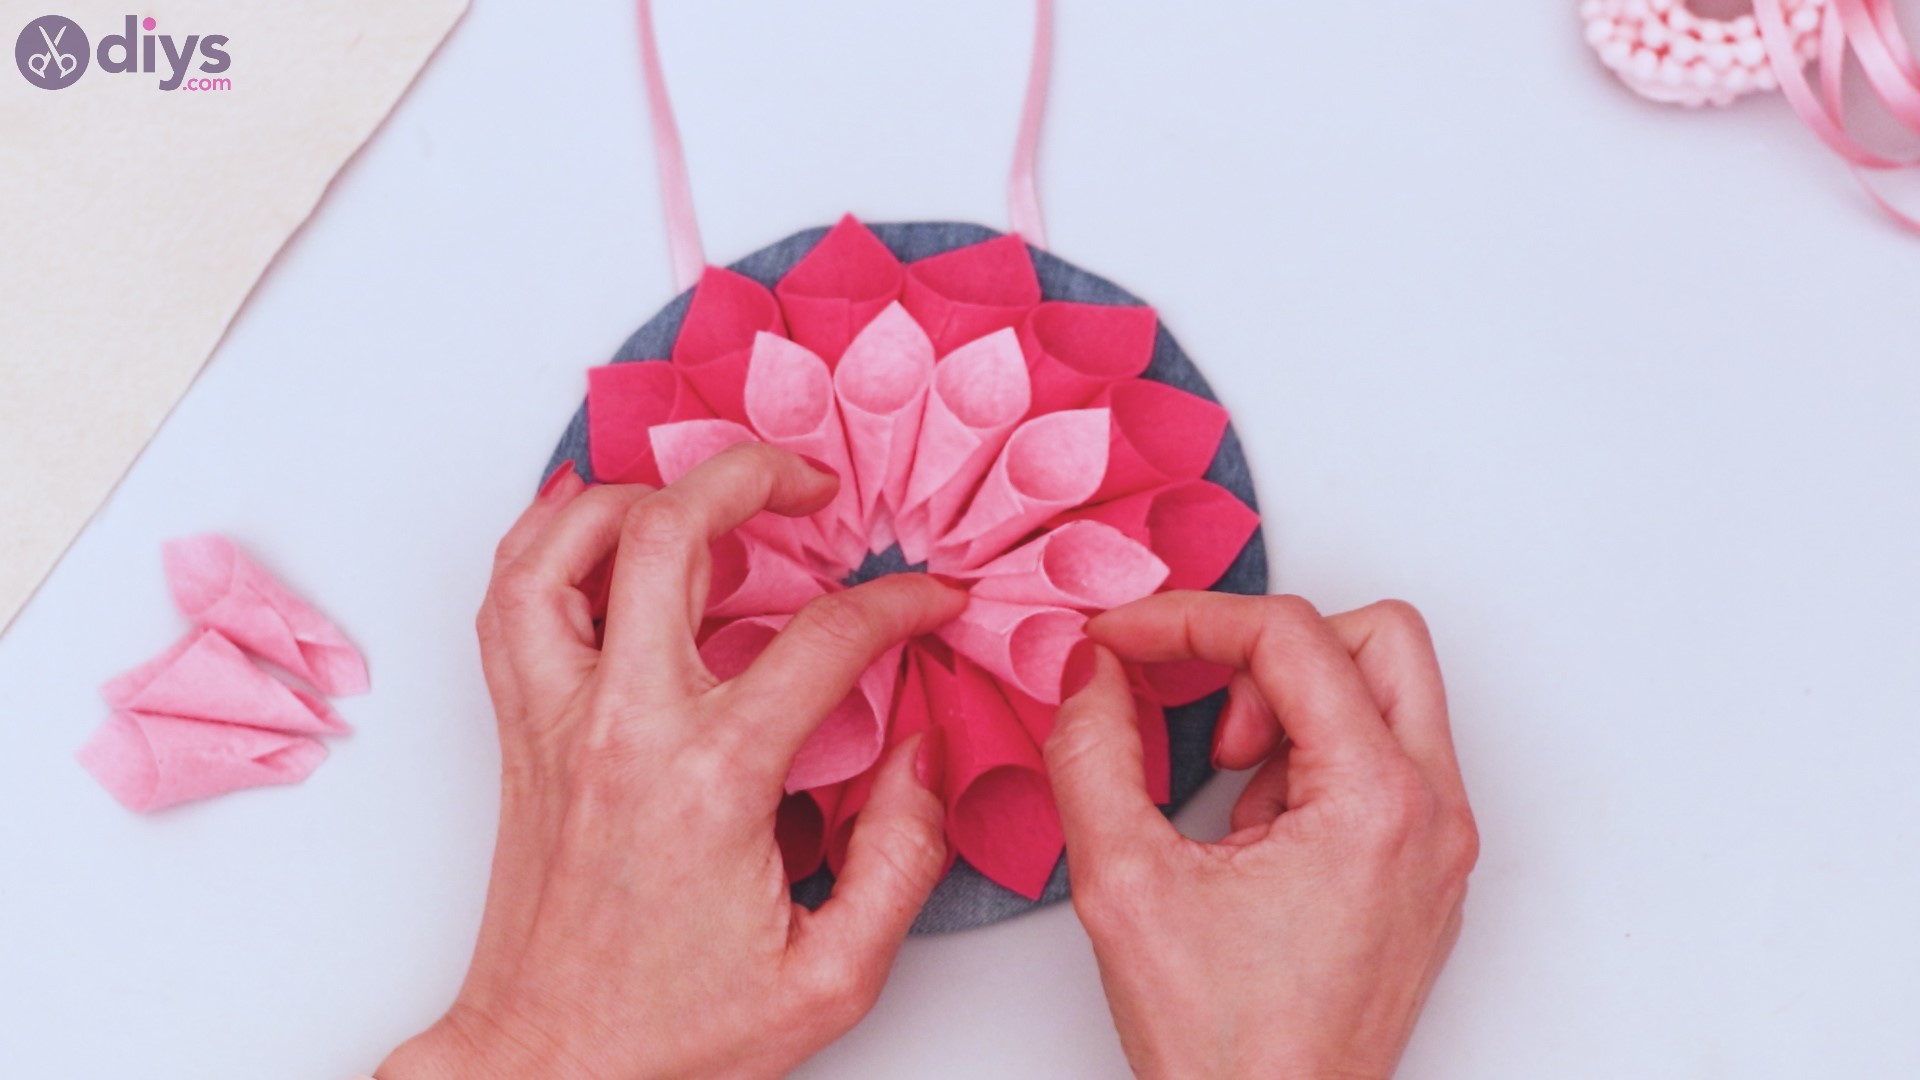
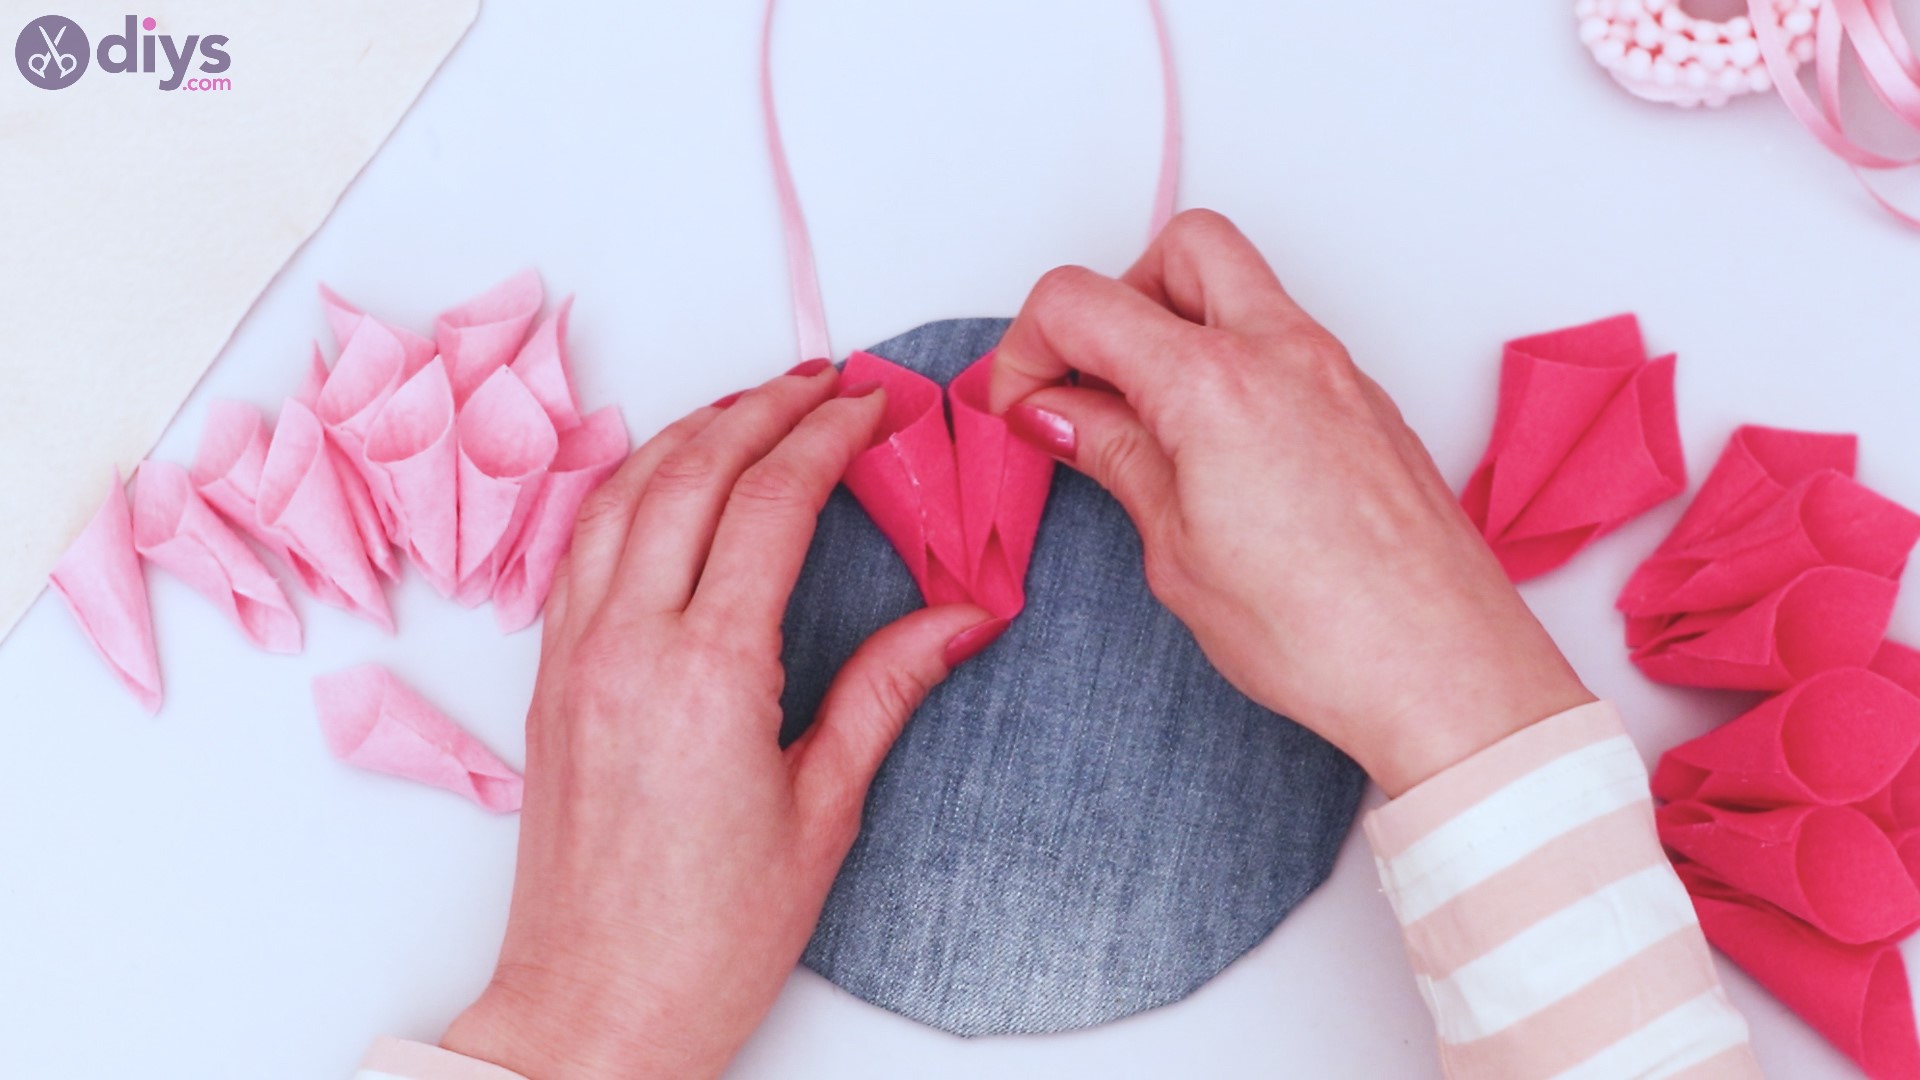
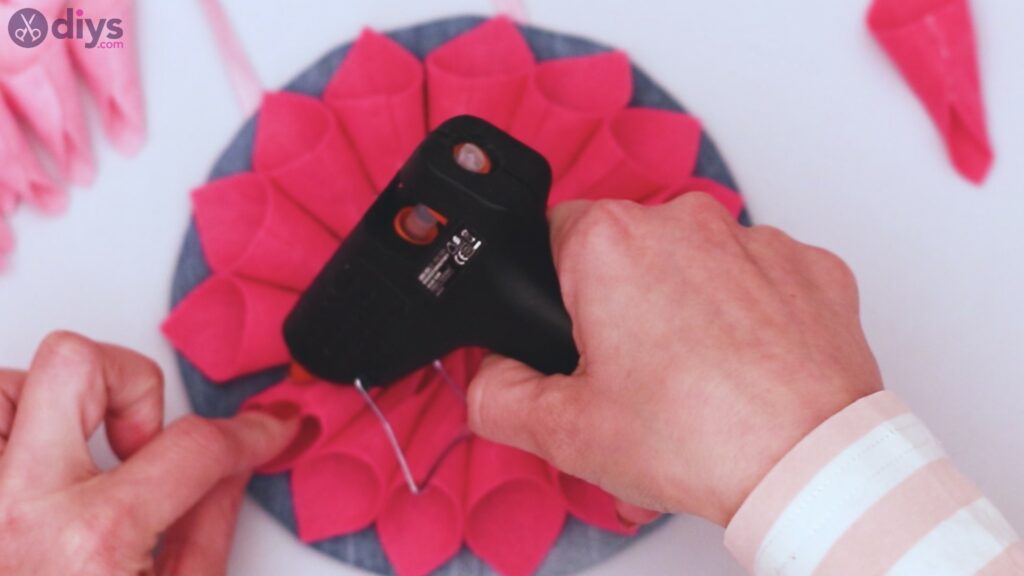
Starting with your larger felt petals, place them in a ring on top of your round base.

Leave space in the center.
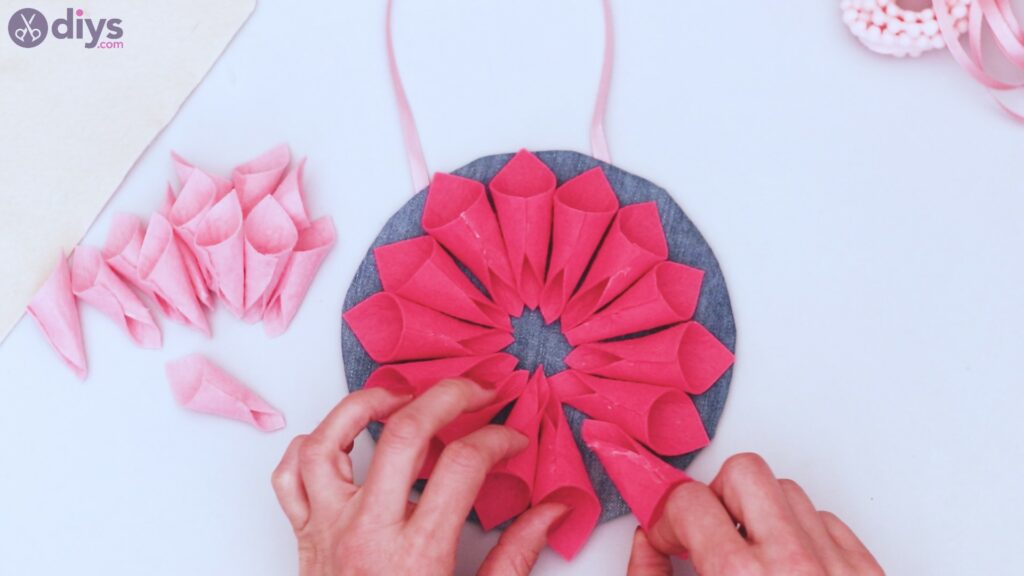
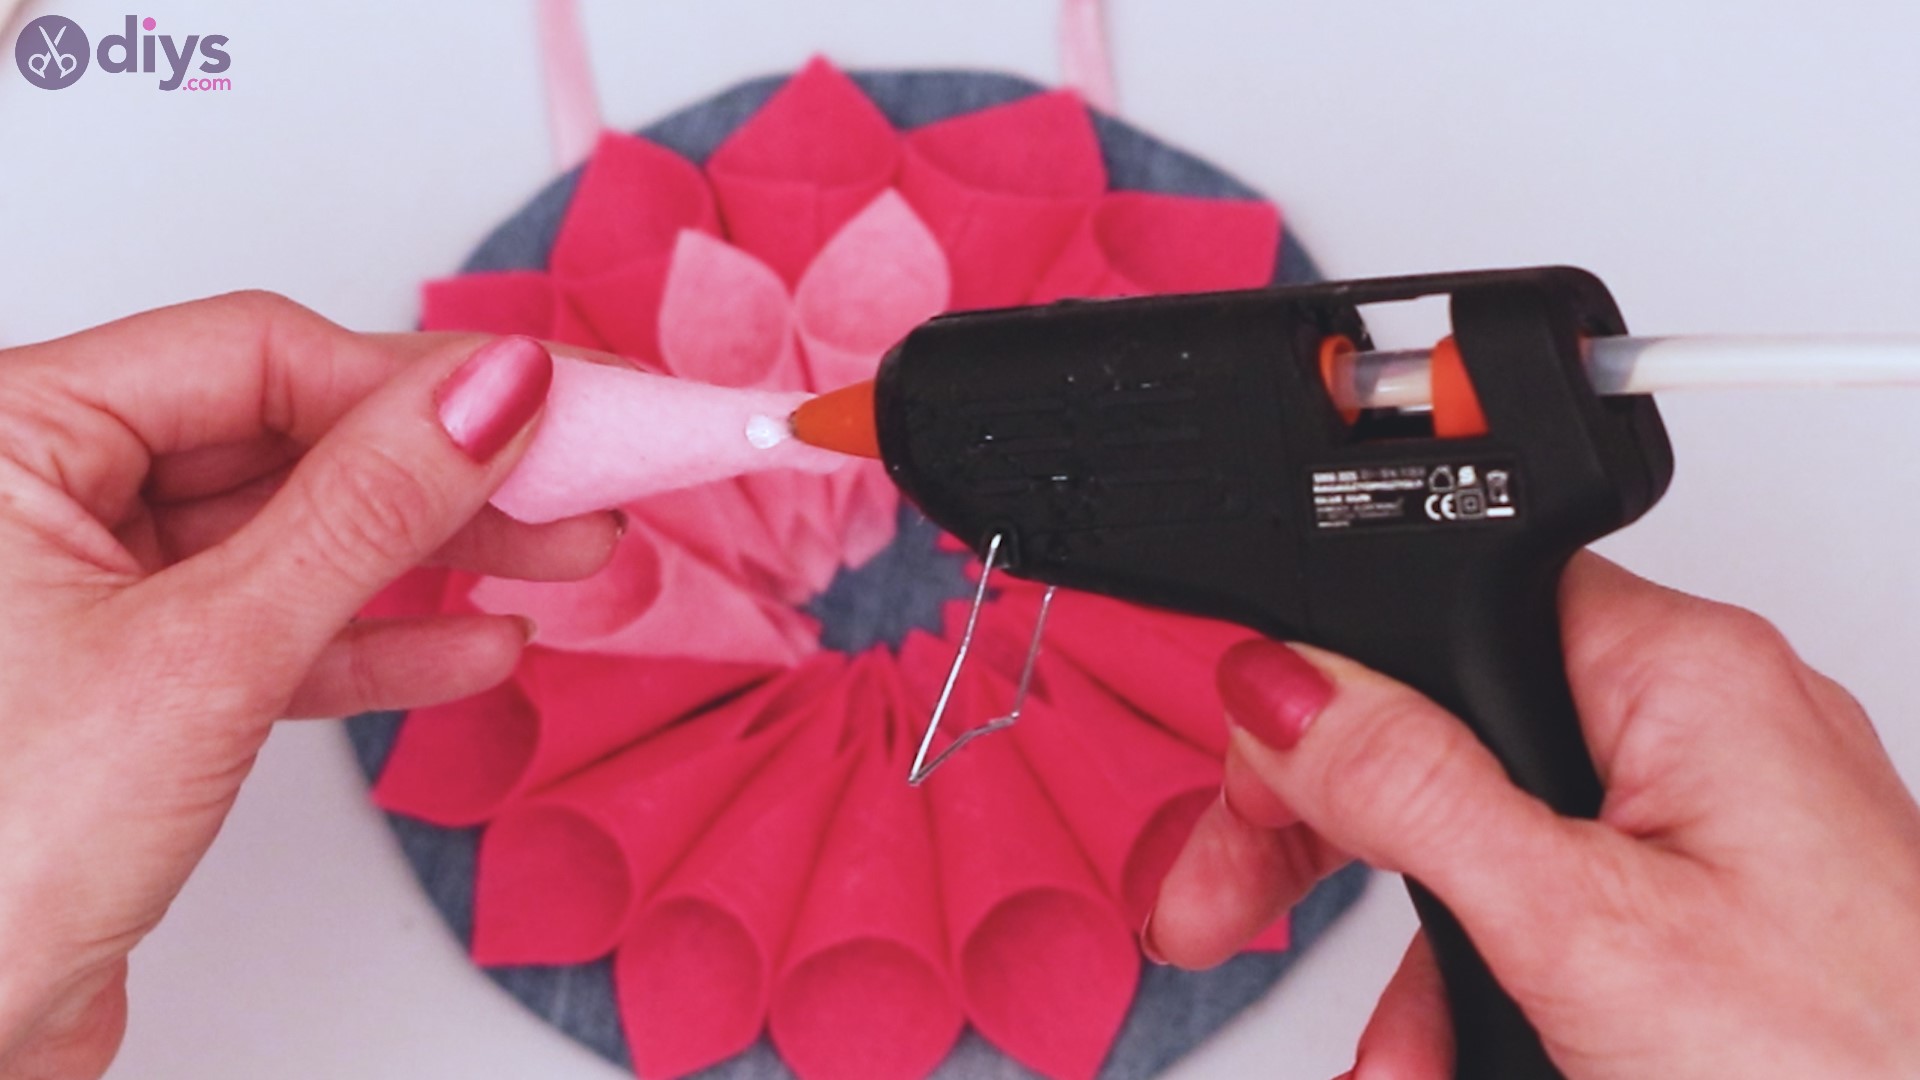
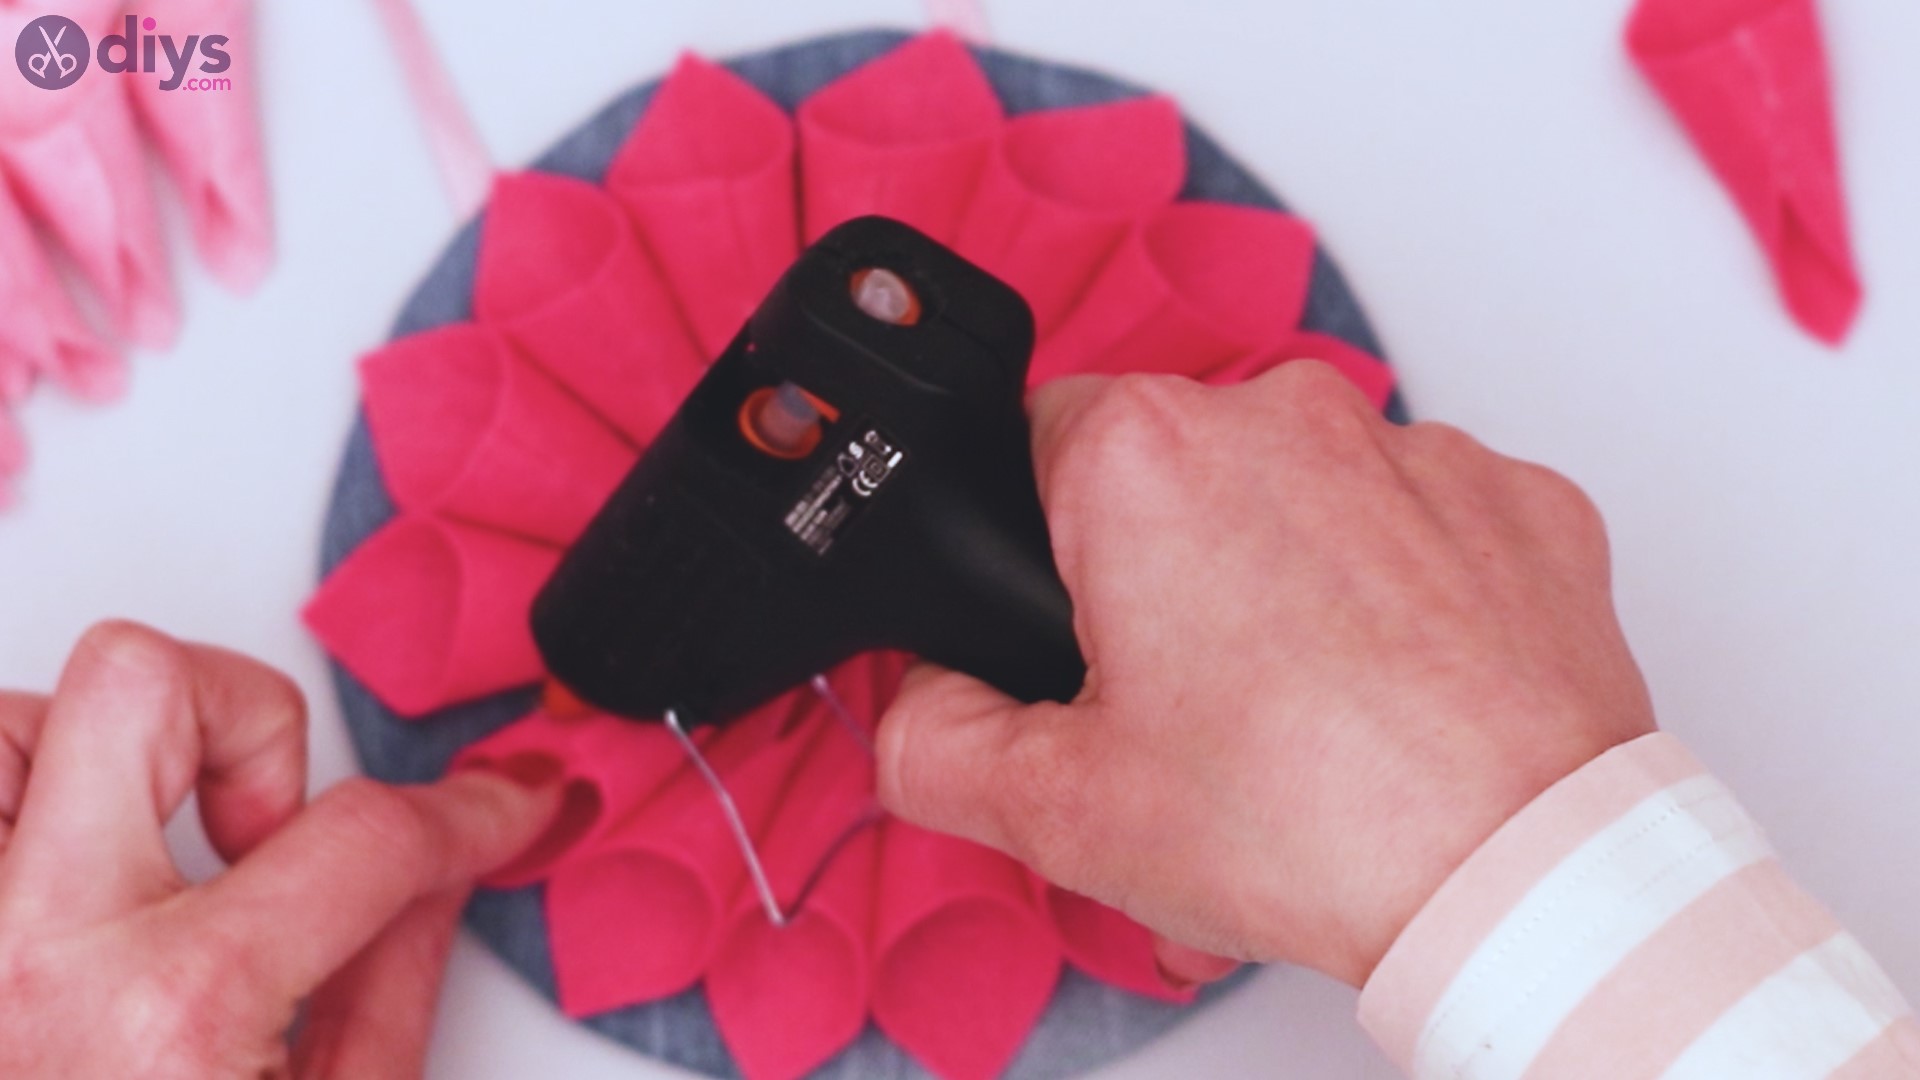
Using your glue gun, take one petal at a time. Place a dot of hot glue on the back. Put the petal back in place on the base.

Repeat this for all petals until they are attached all the way around the base. These should dry fairly quickly, so you don’t have to wait long to continue the project.

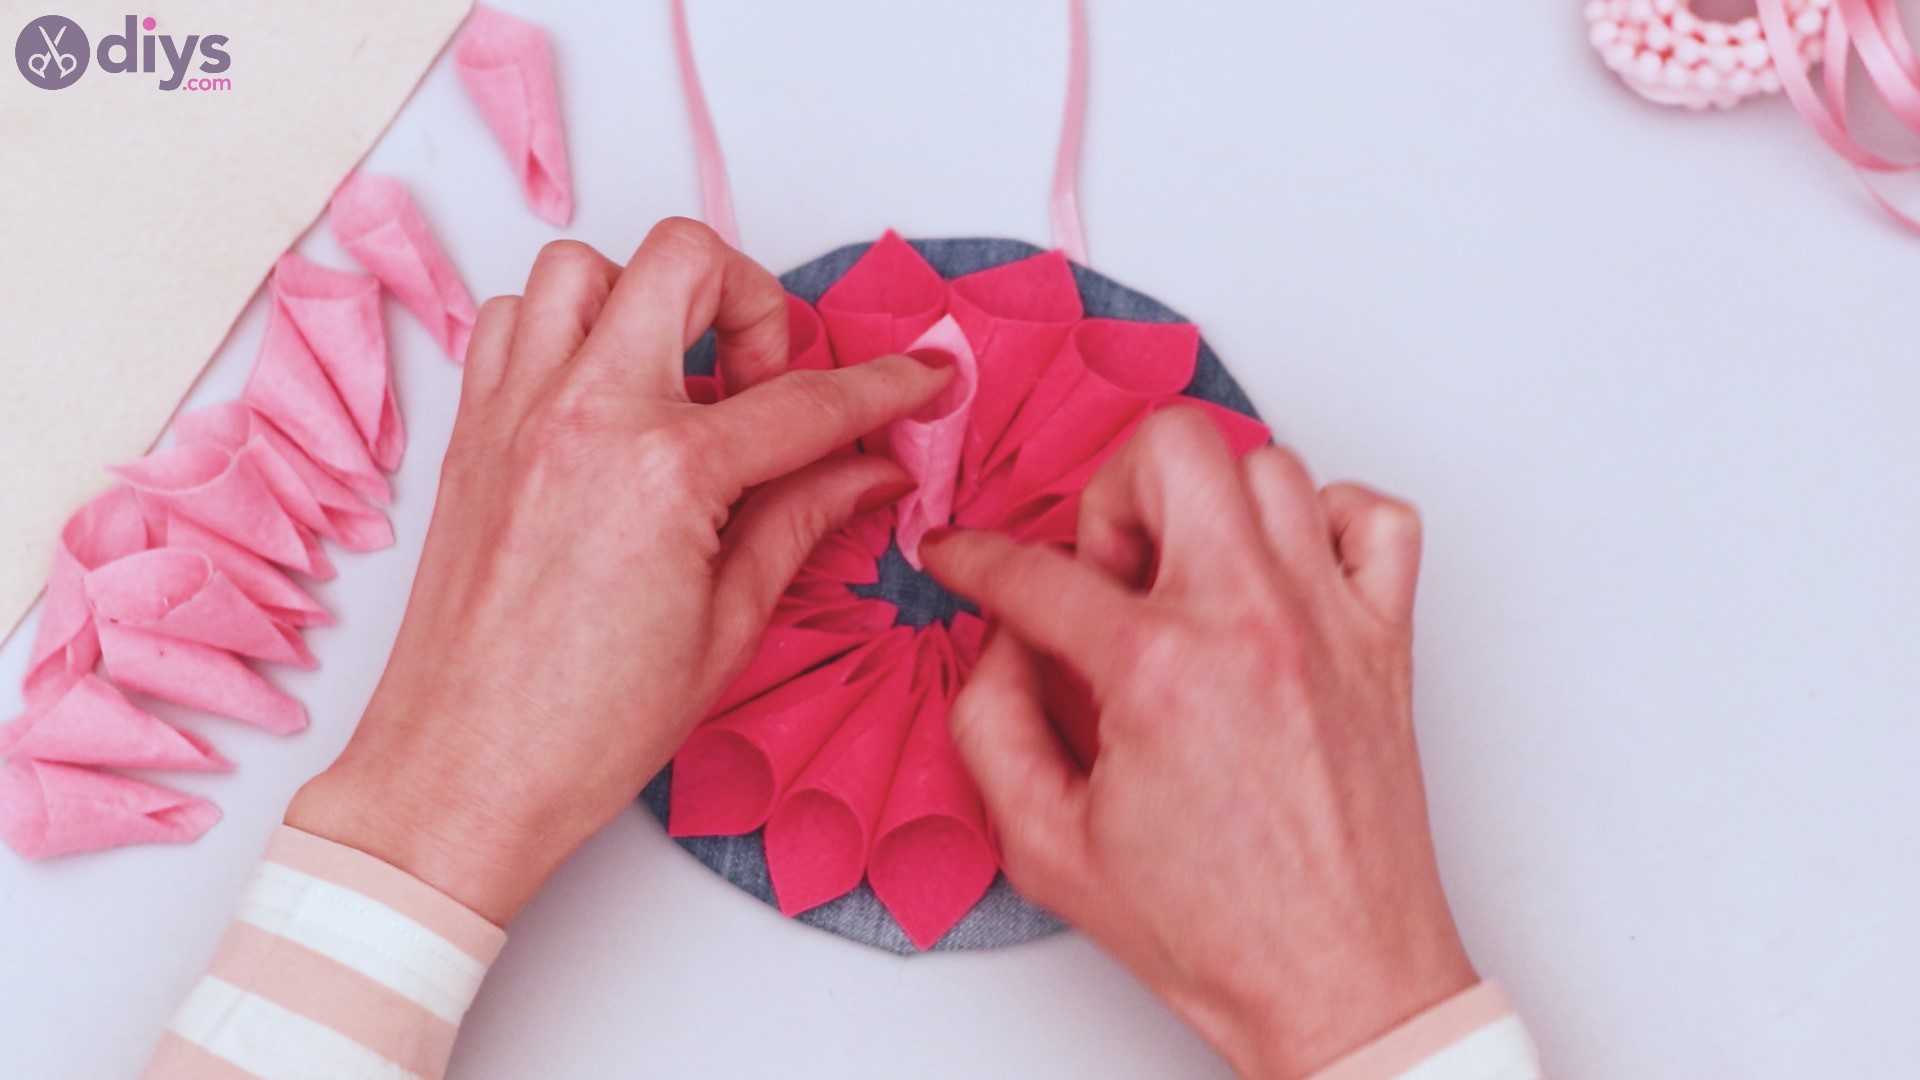
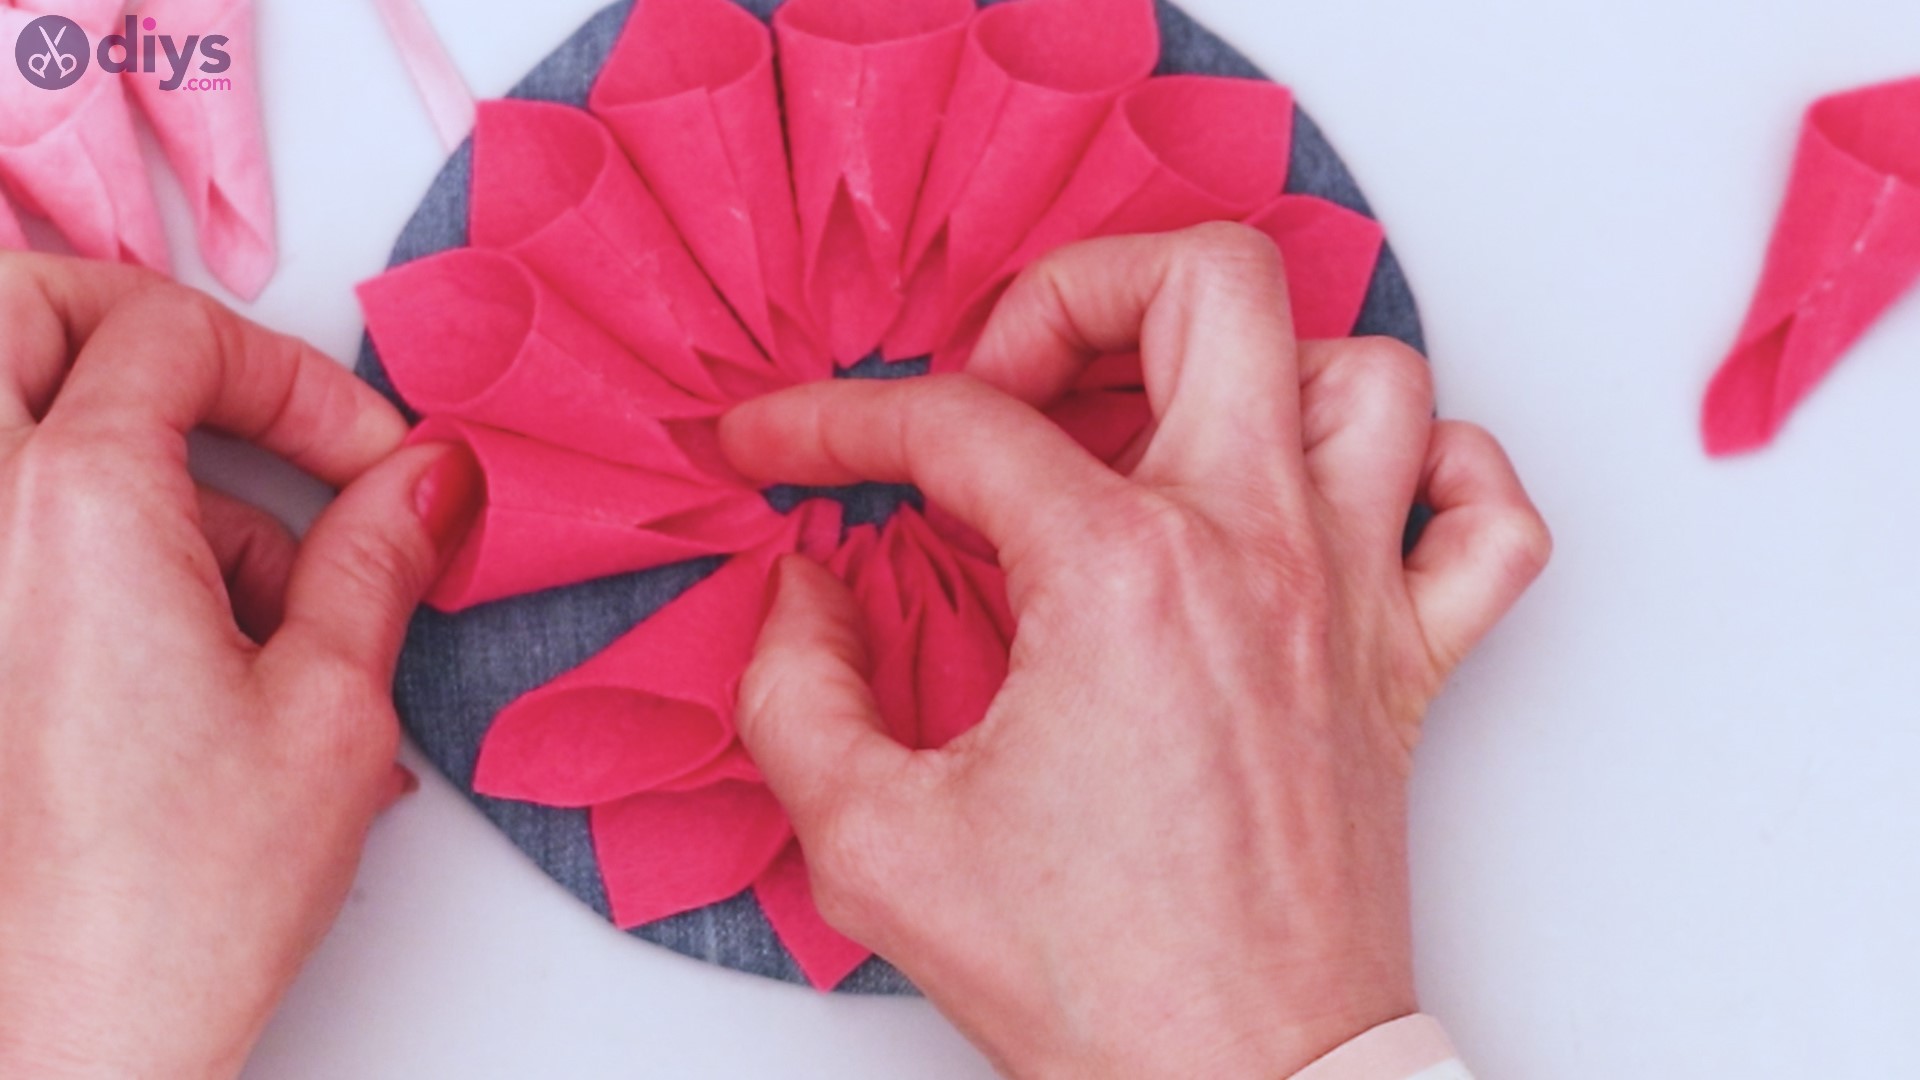
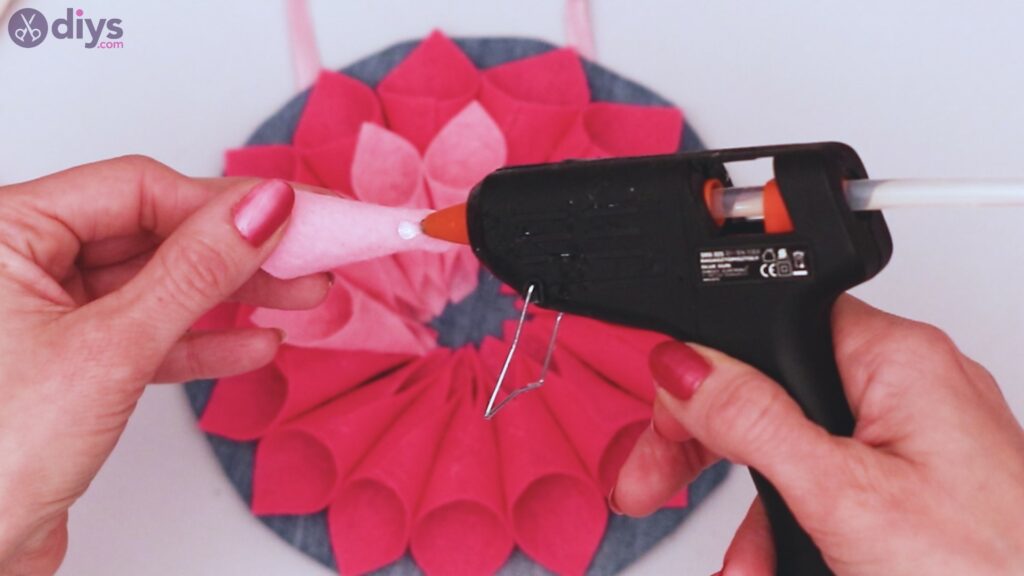
Now, find your smaller petals of the second color. Using a dot of hot glue on each, attach to the open center of the other petals, where your base still shows.
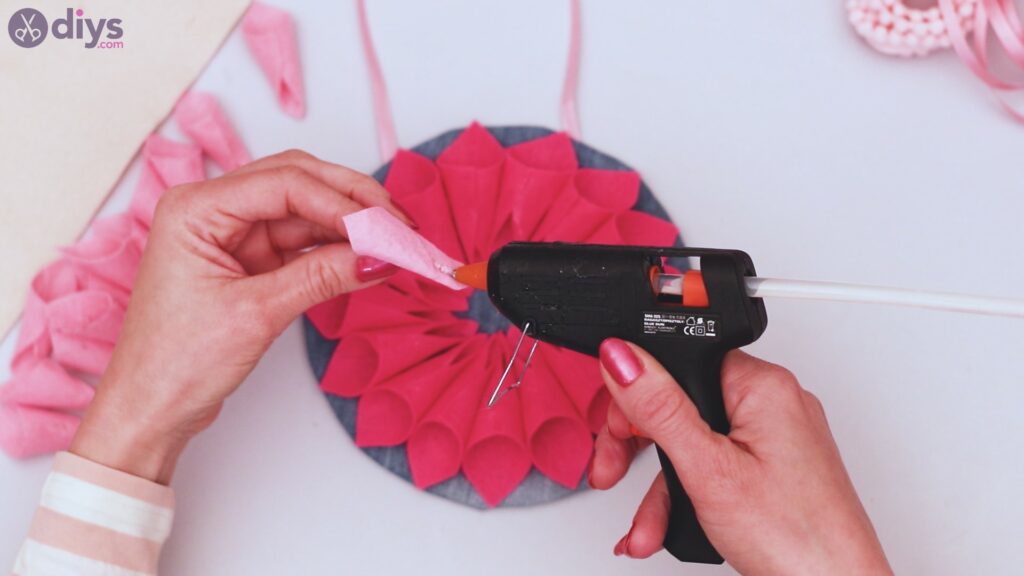

Repeat this until you have a second layer of the second color of petals all the way around.

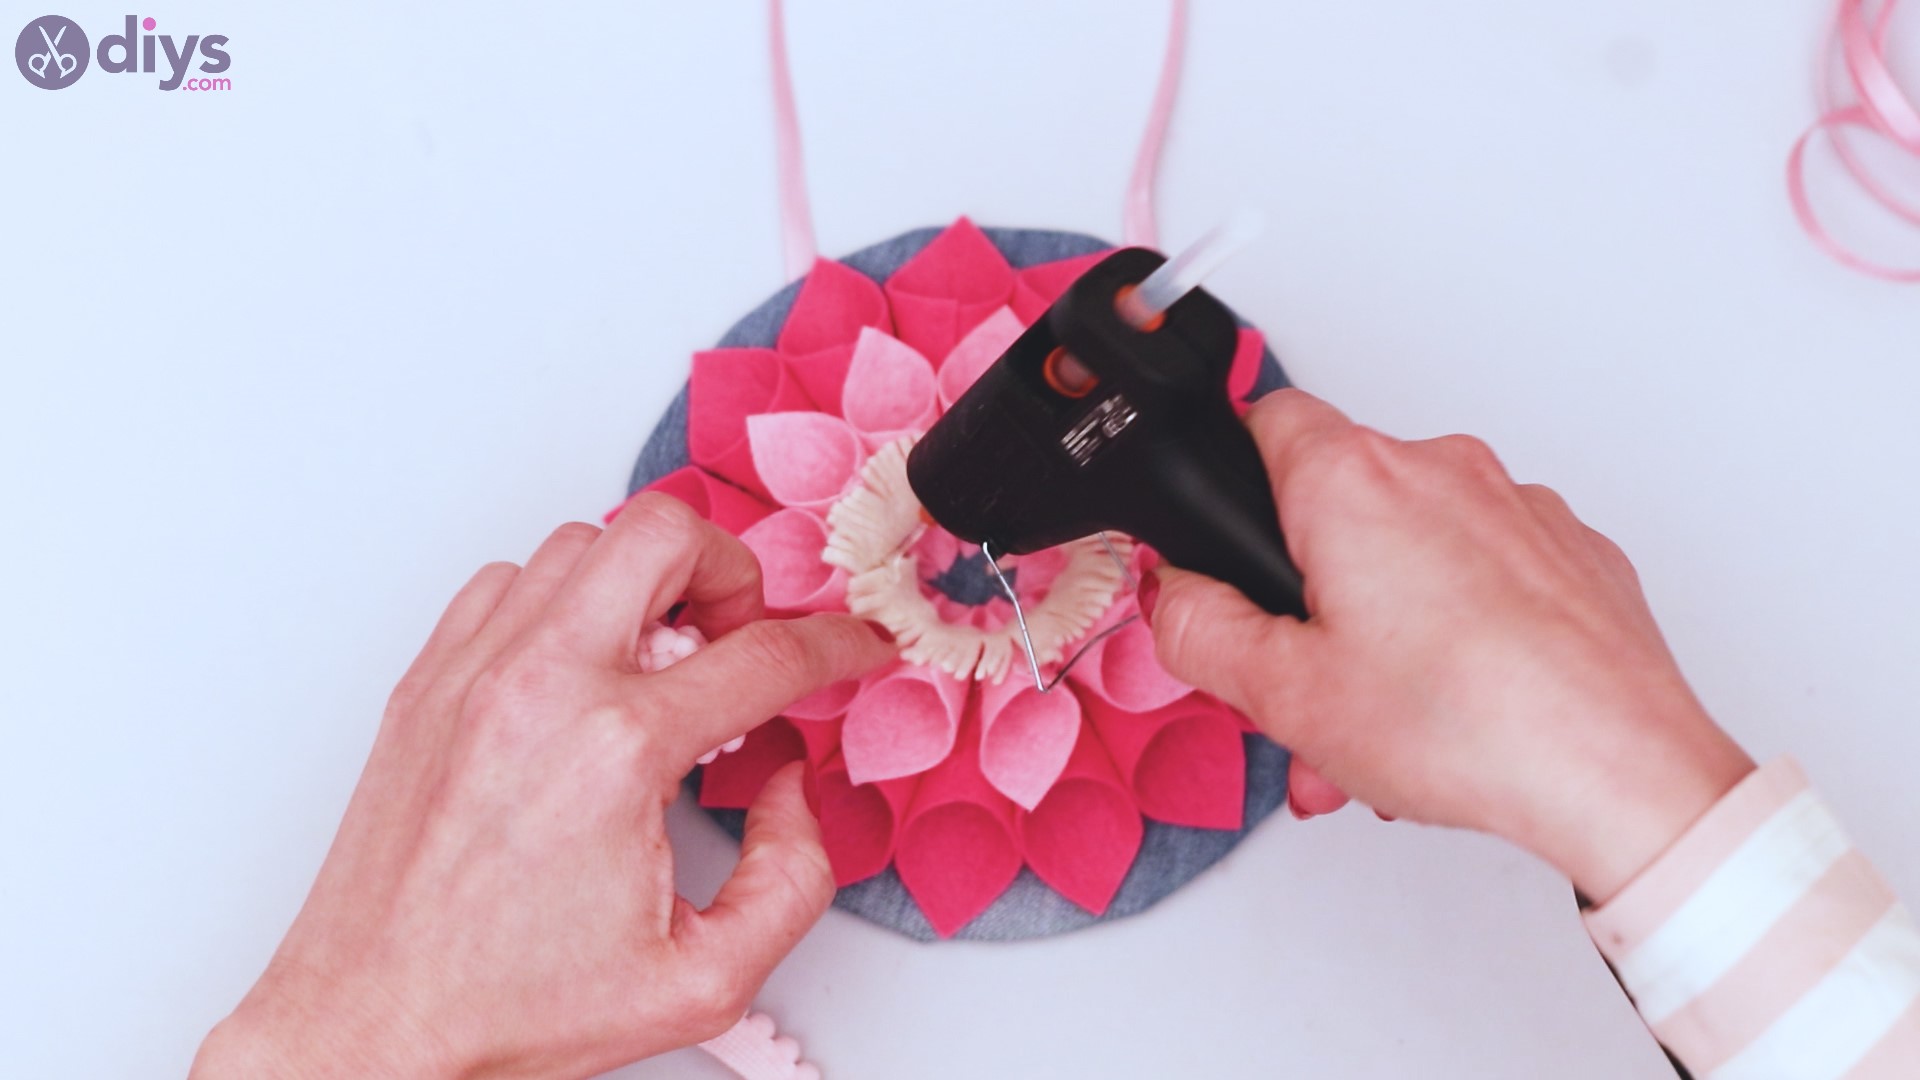
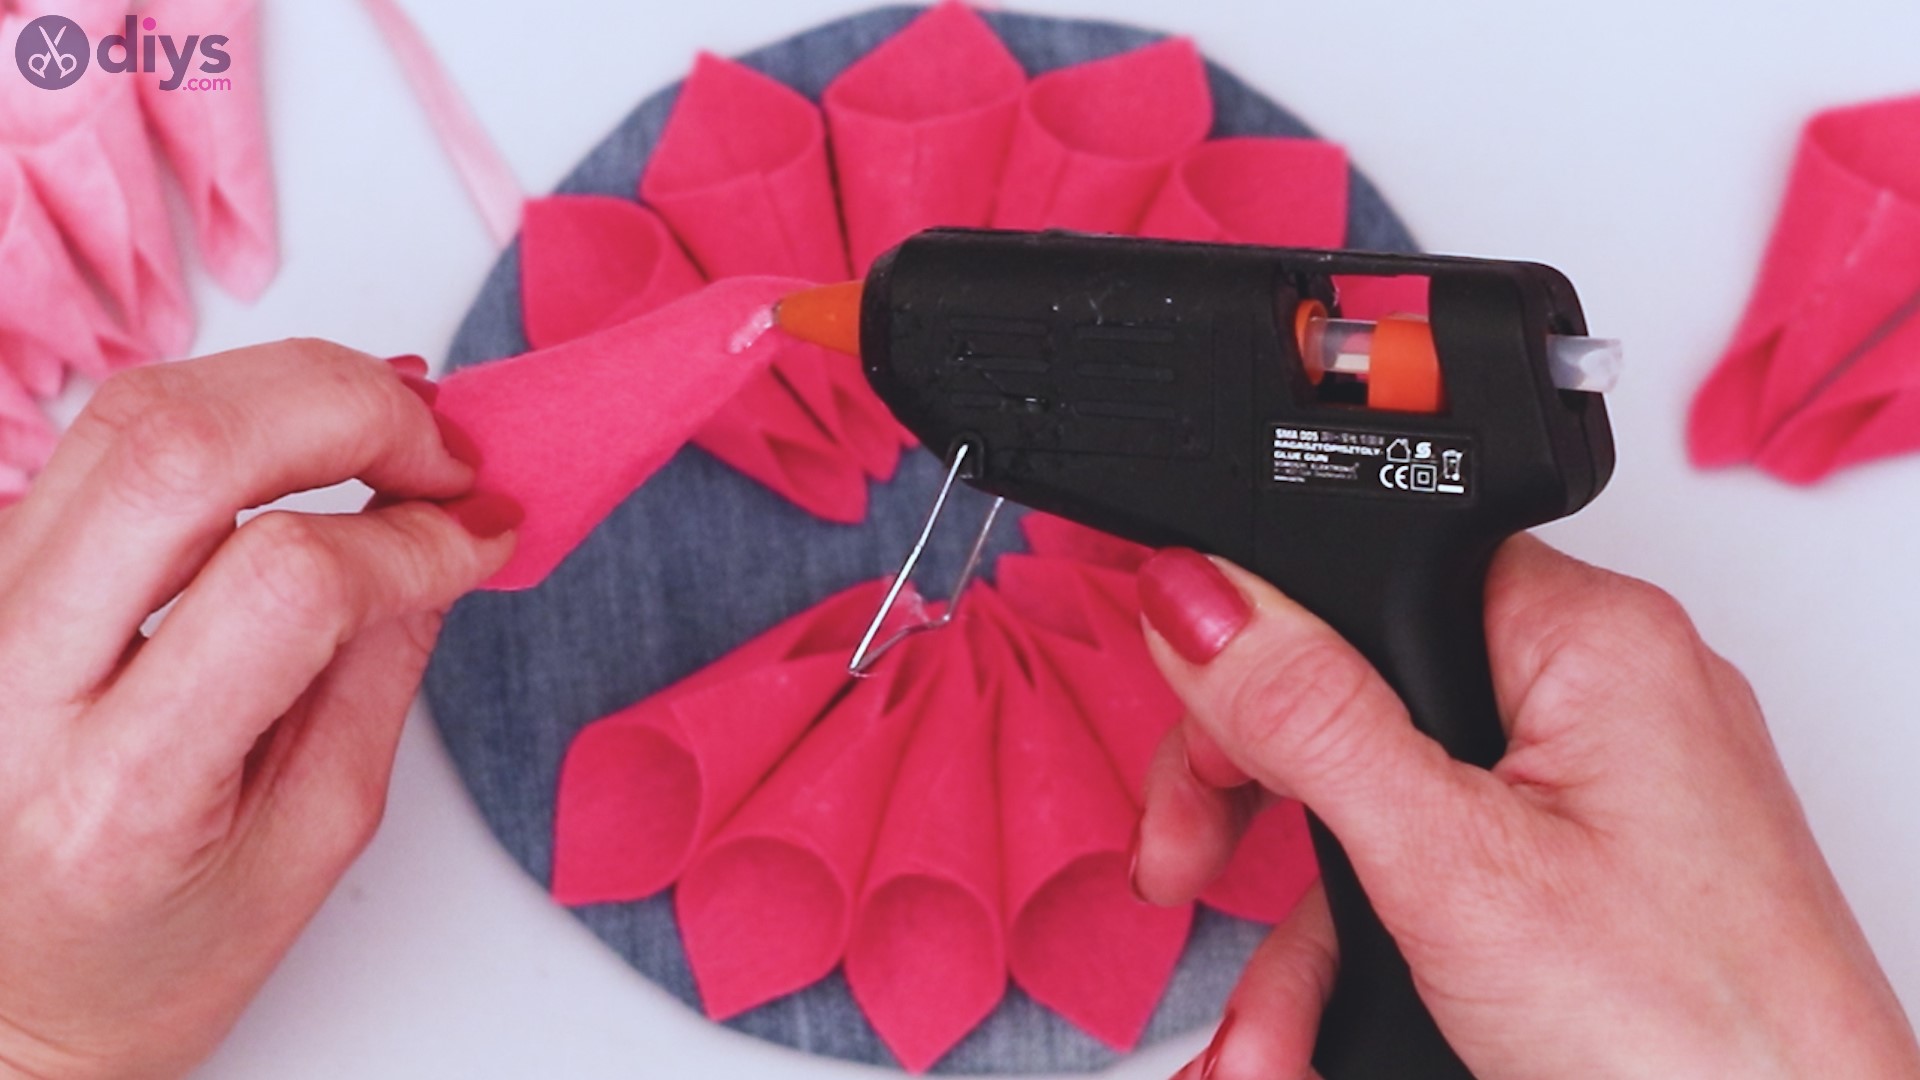
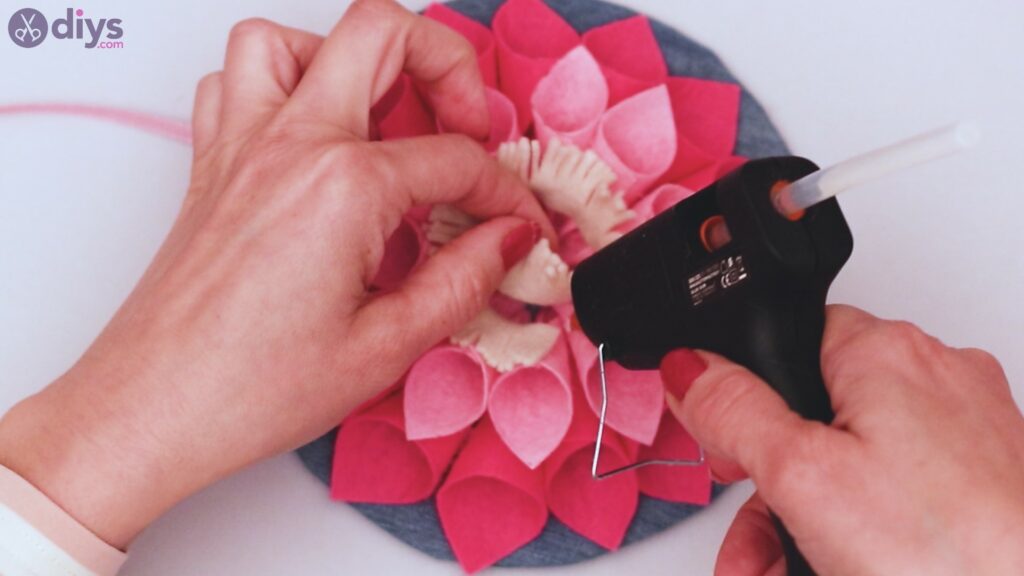
Step 7: Create the center
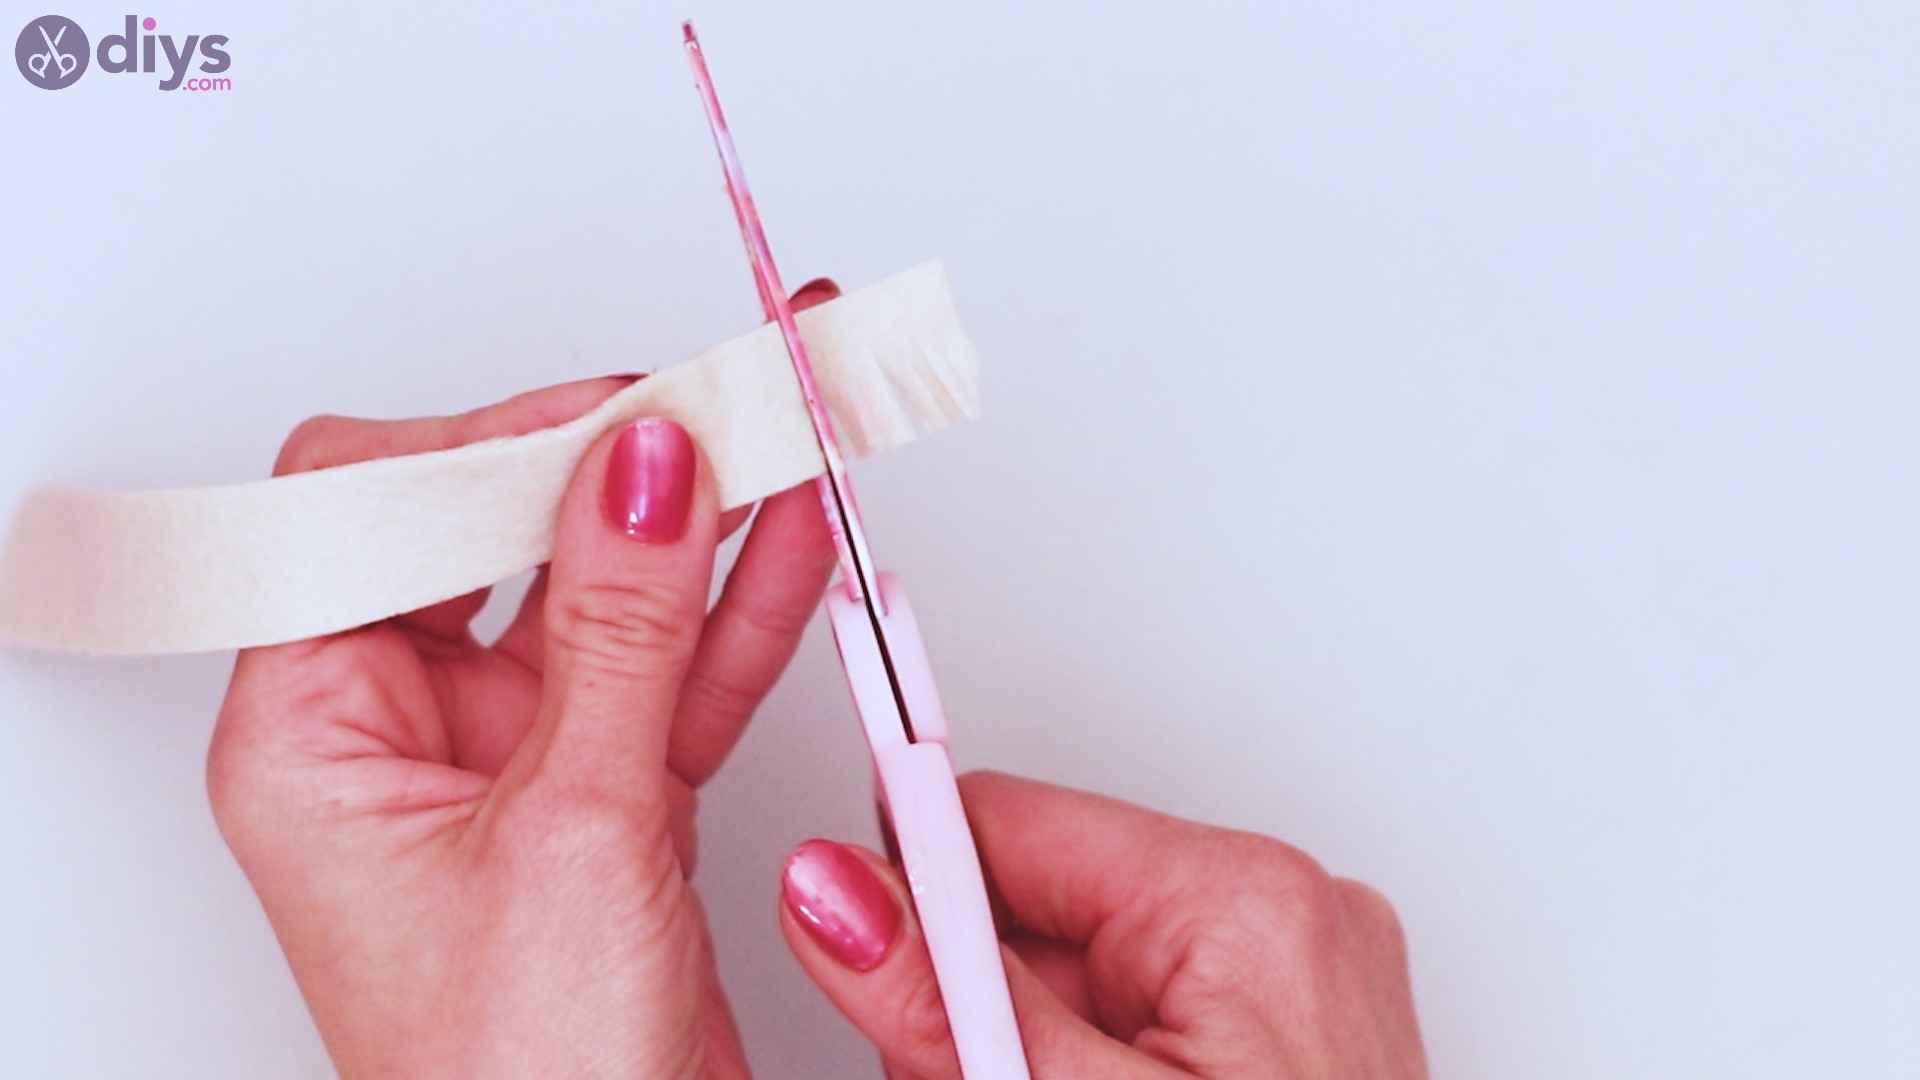
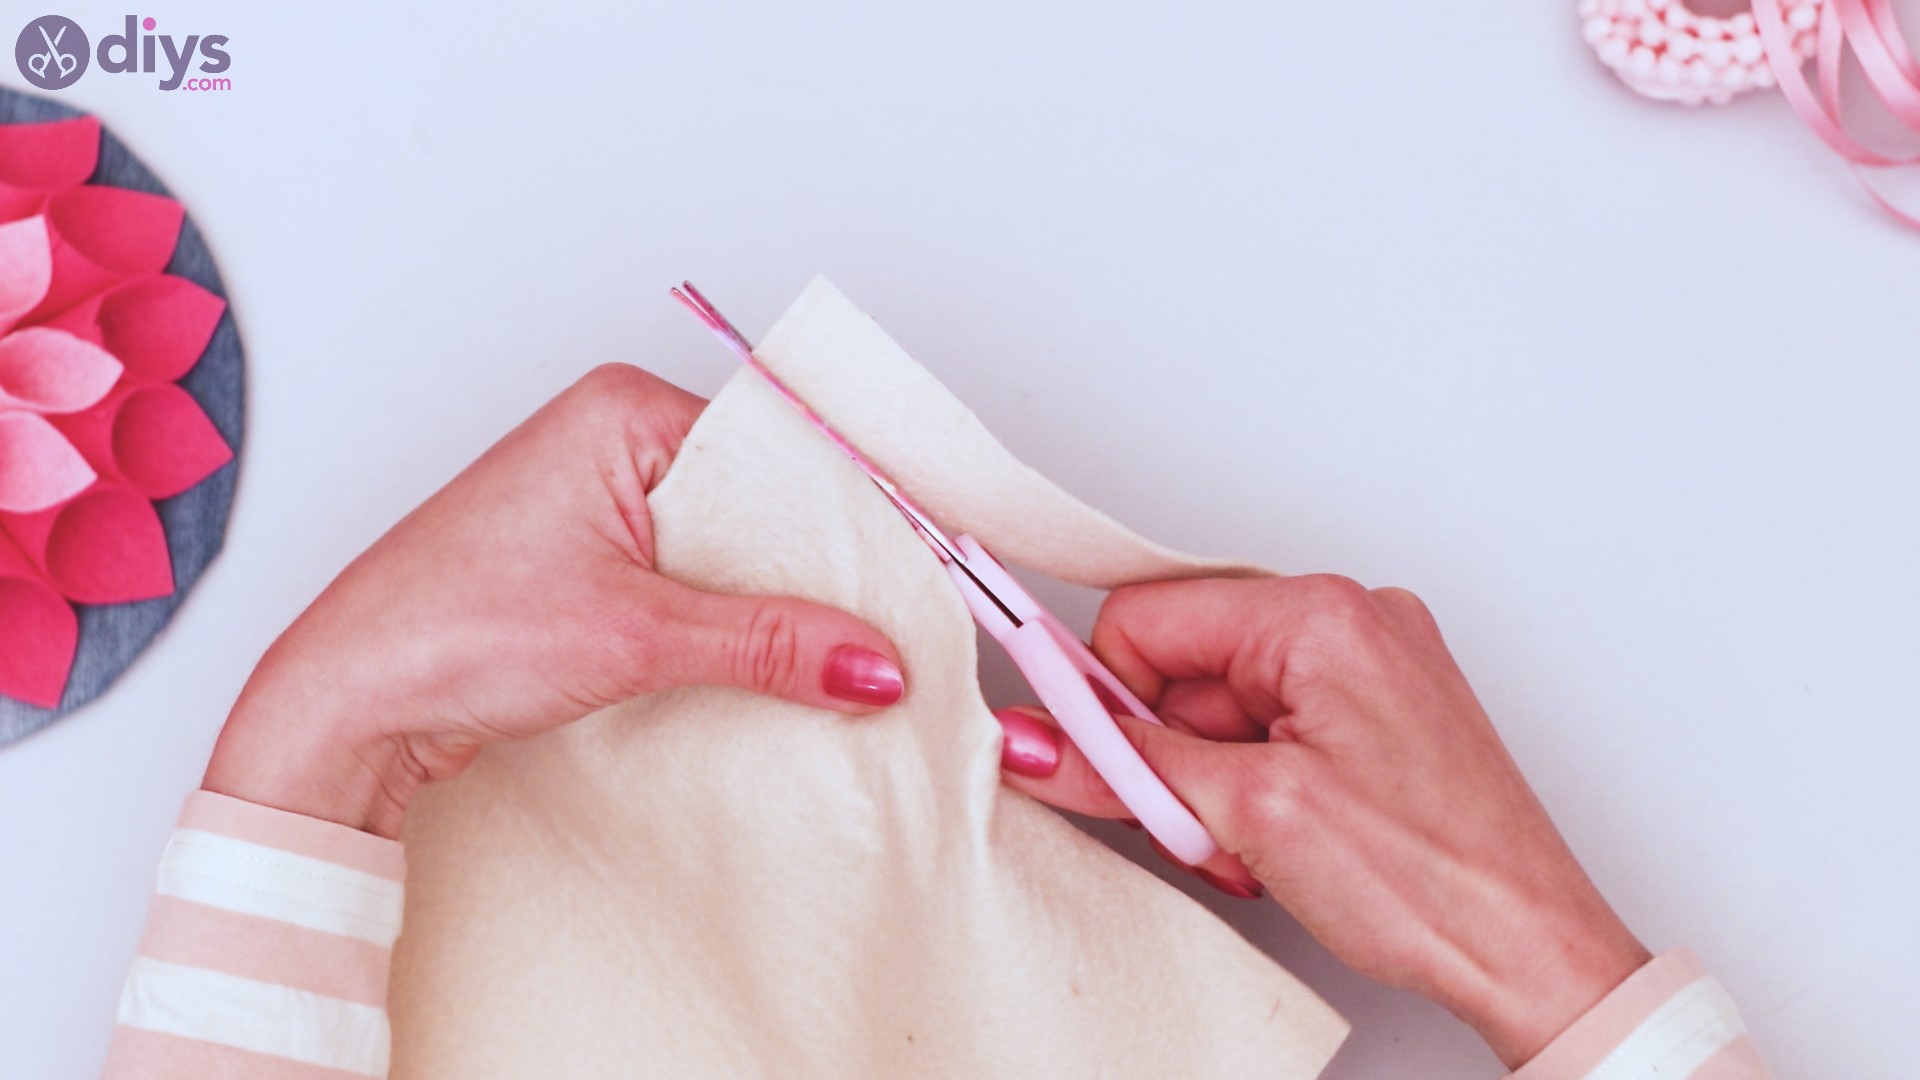
Grab a third color of felt. Cut a thin strip, maybe an inch wide.
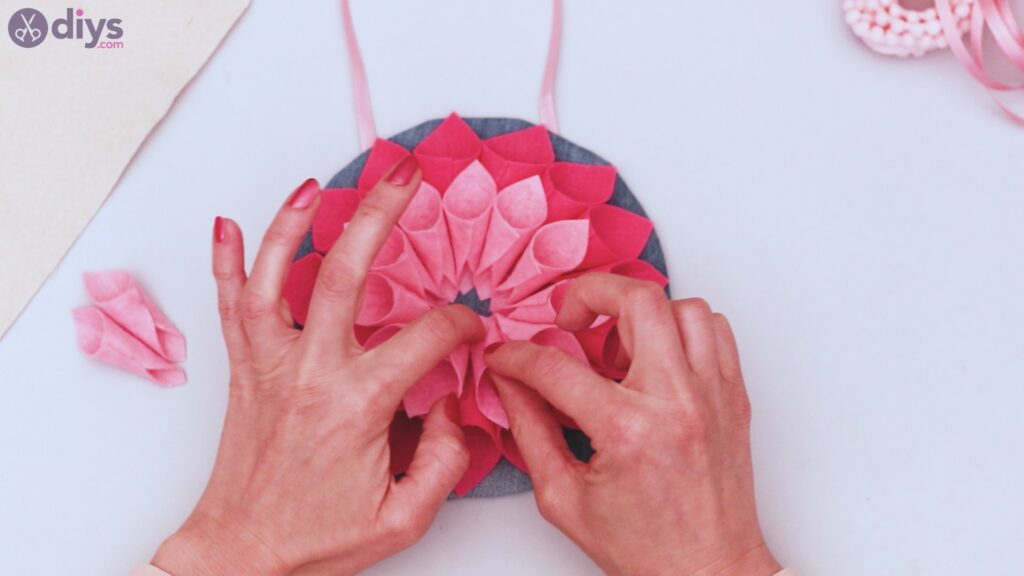
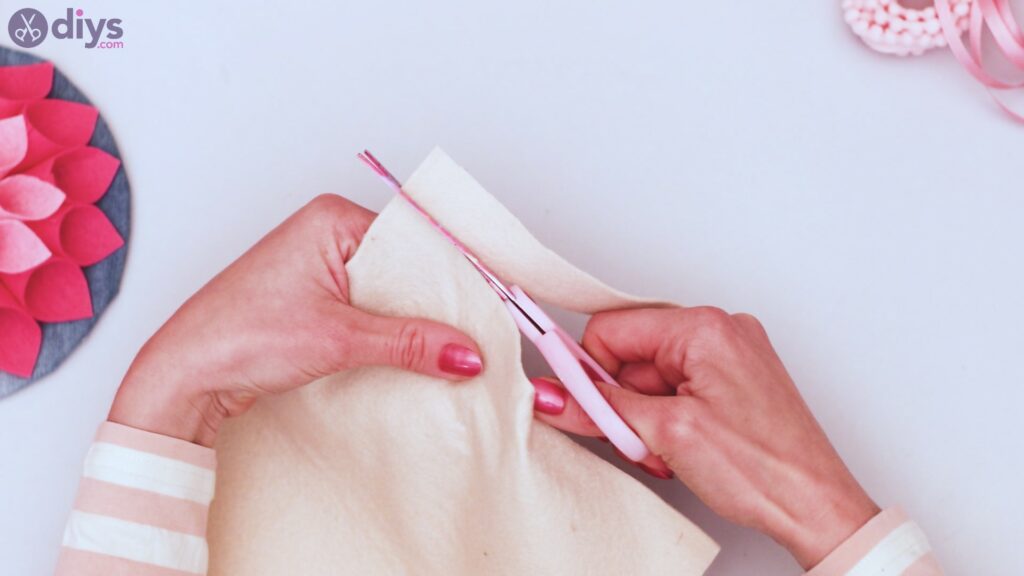
Along the length, cut a fringe, leaving one edge attached.

Using the glue gun, make a ring of glue around the center of your inner petals on your flower.
With the edge of your fringed felt that is still attached, glue the strip of felt in a circle along the ring of glue.
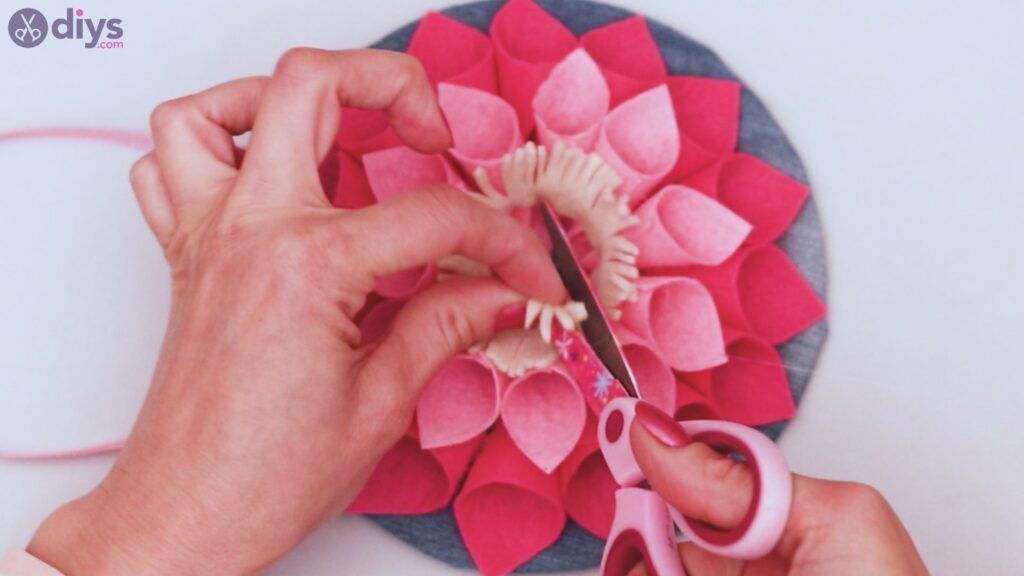
Trim any excess felt once the ring is complete.
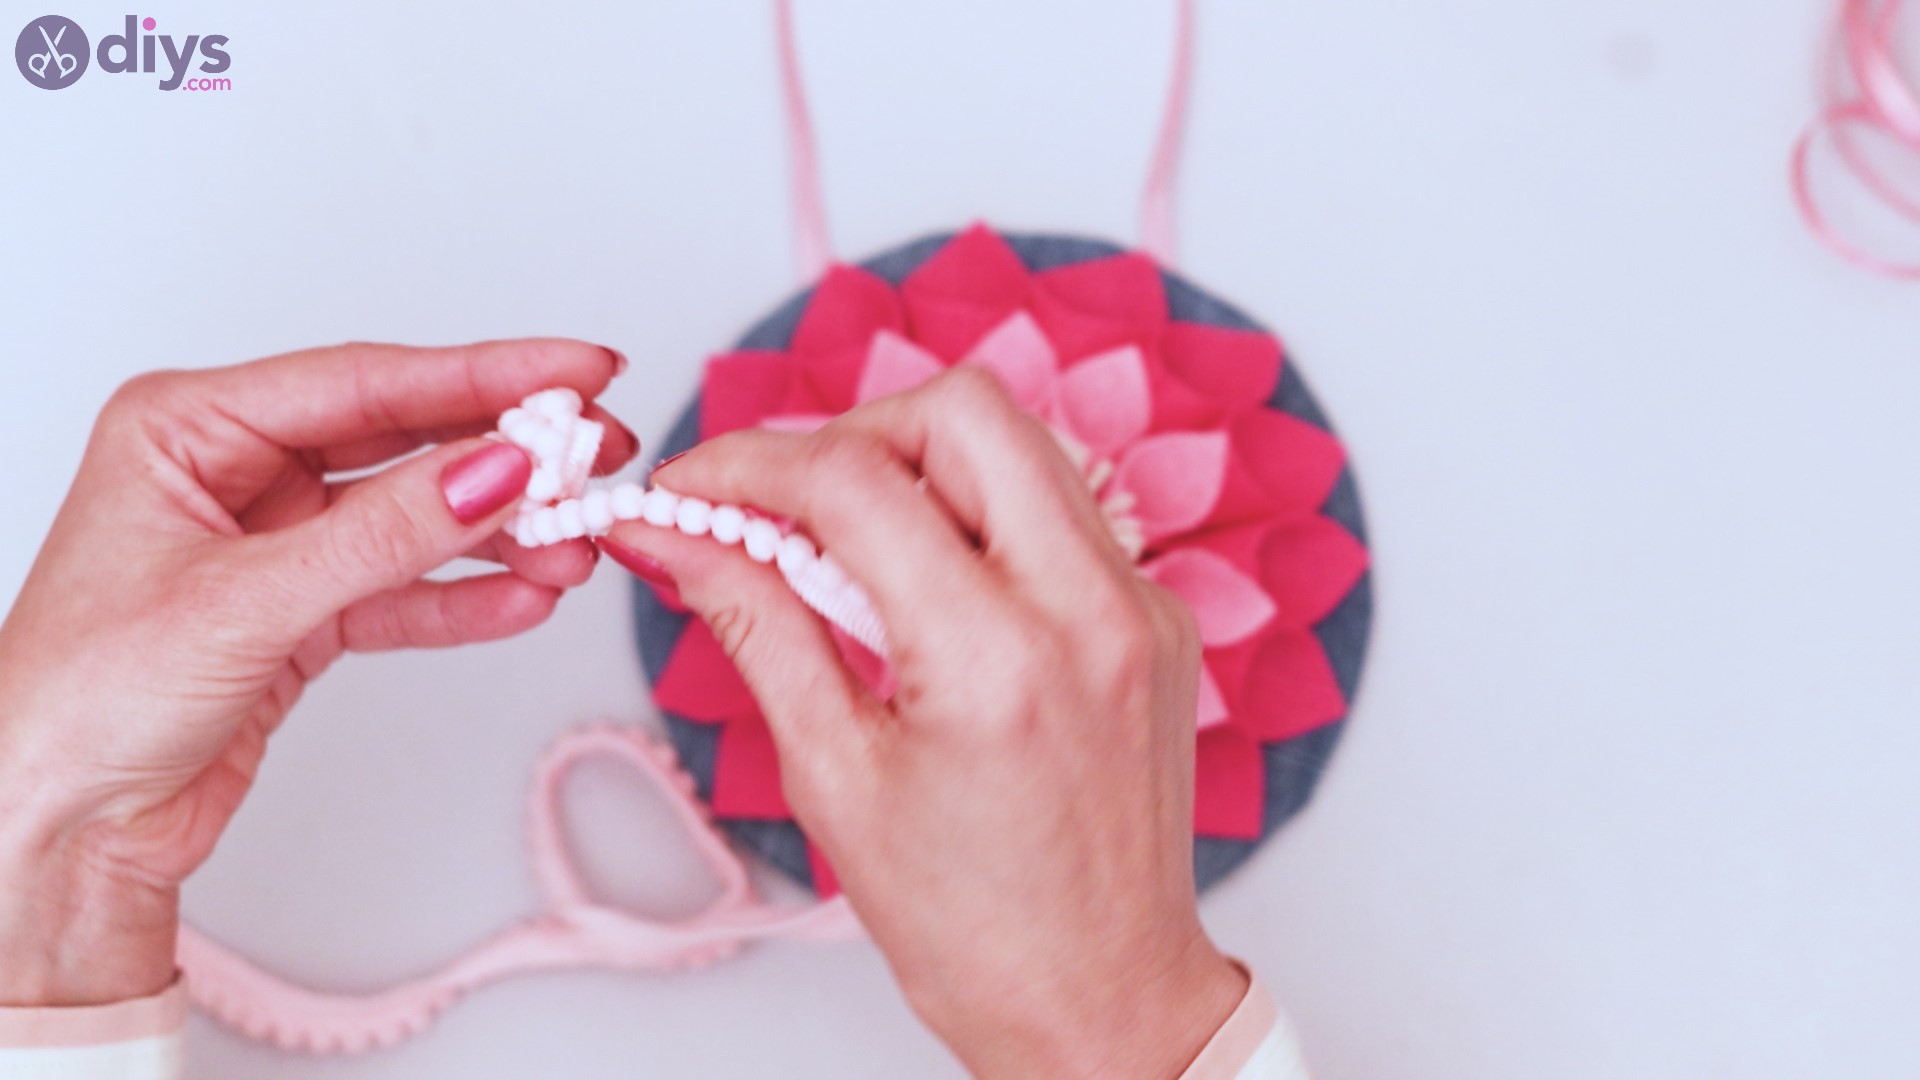
Step 8: Add the finishing touches
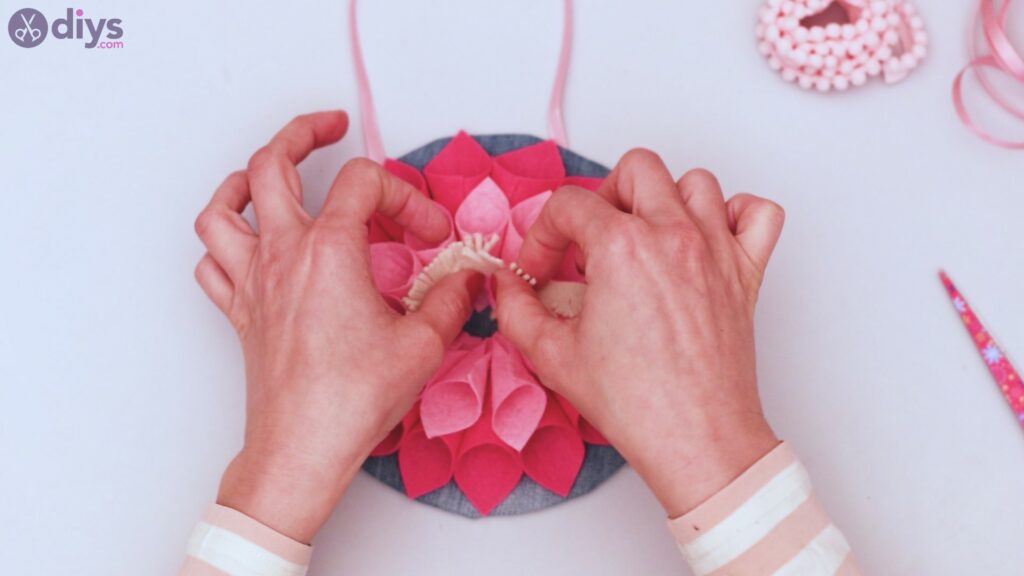
Grab your pom pom ribbon.
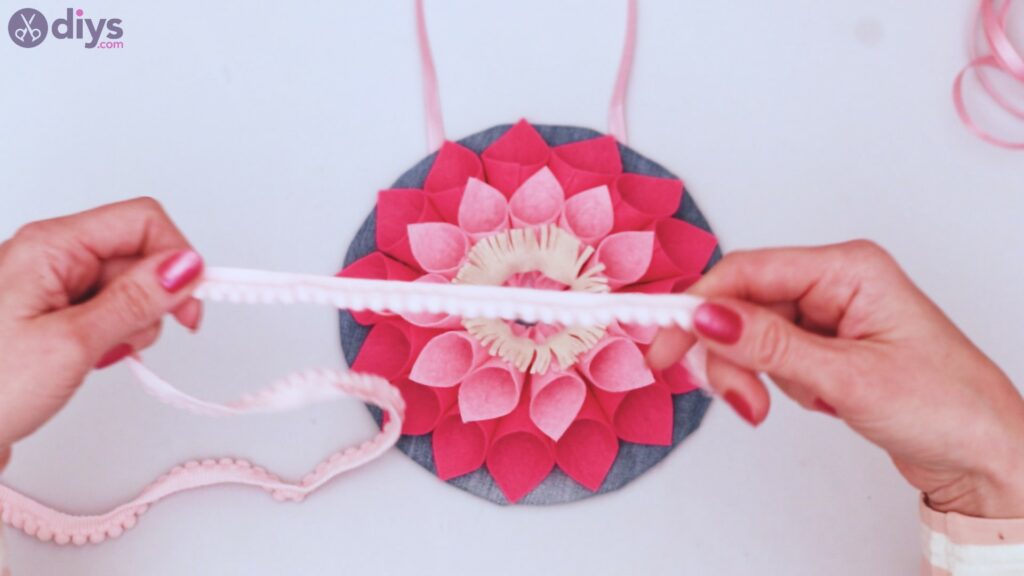
Place a dot of hot glue at the end.
Begin to wrap the pom pom ribbon around itself, so that the first layer attaches to the dot of hot glue.
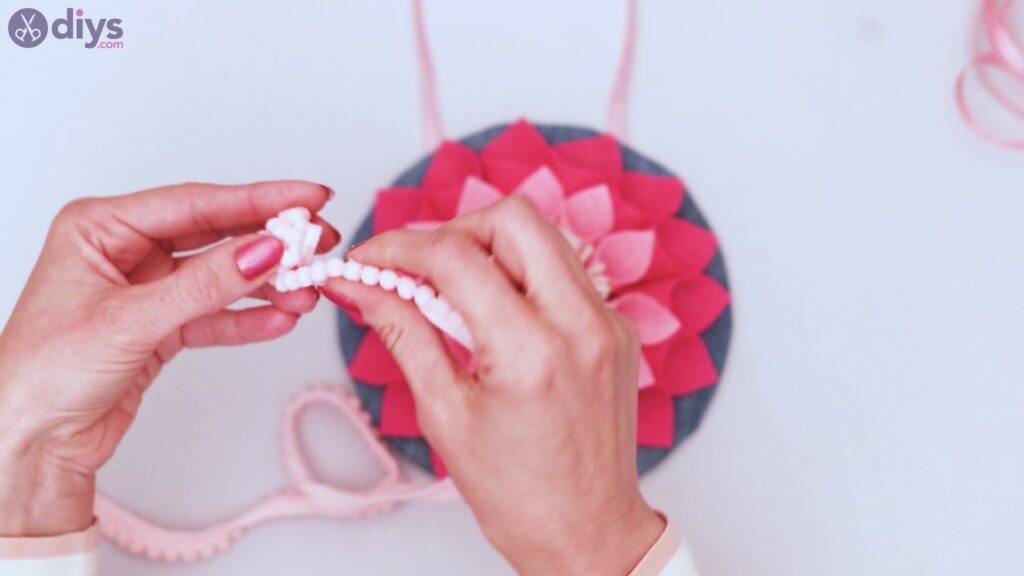
With each new layer, add a dot of hot glue to keep the pom pom ribbon sticking tightly together. You’ll want several layers to this ring.

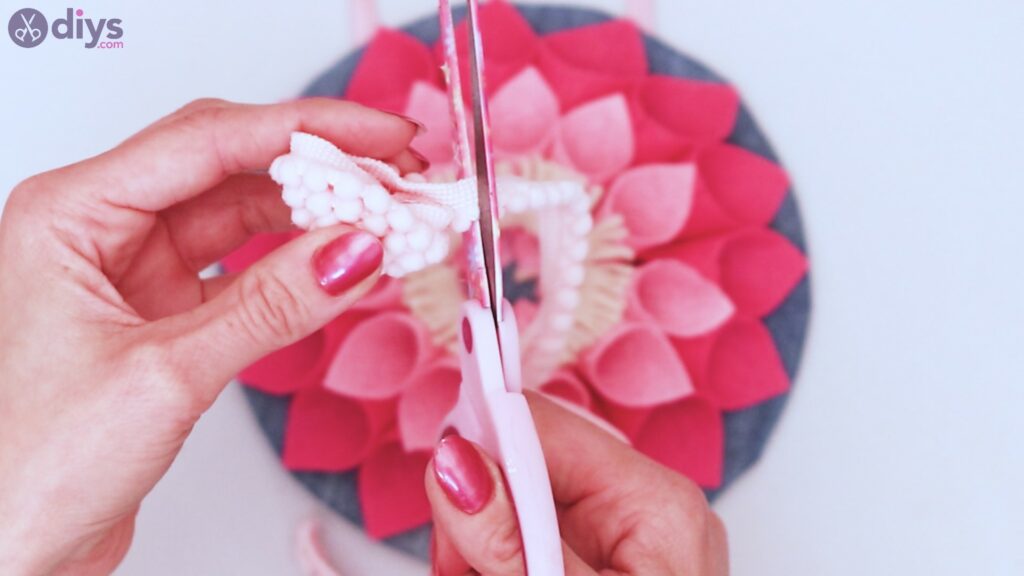
When you are satisfied with the results and feel that your center is thick enough, trim the end of the ribbon, and glue the final edge to the existing circle of ribbon.
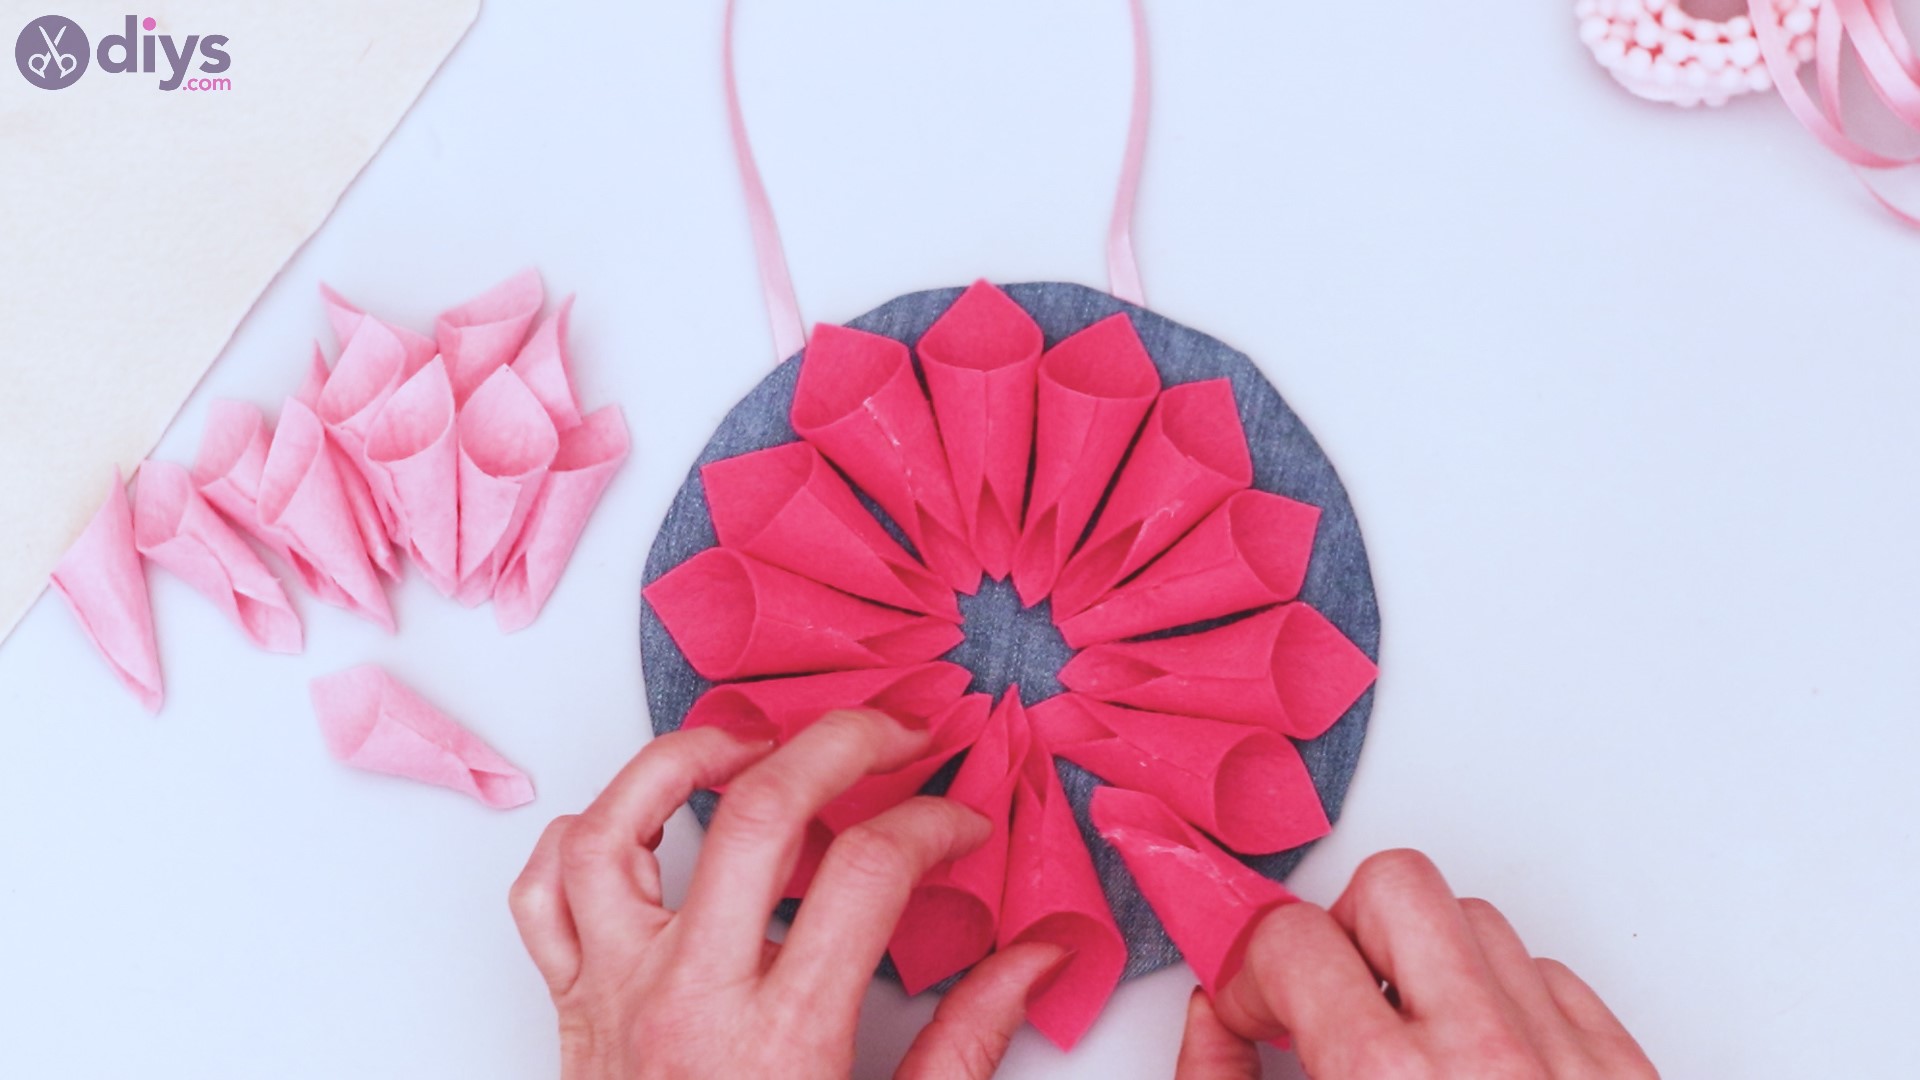
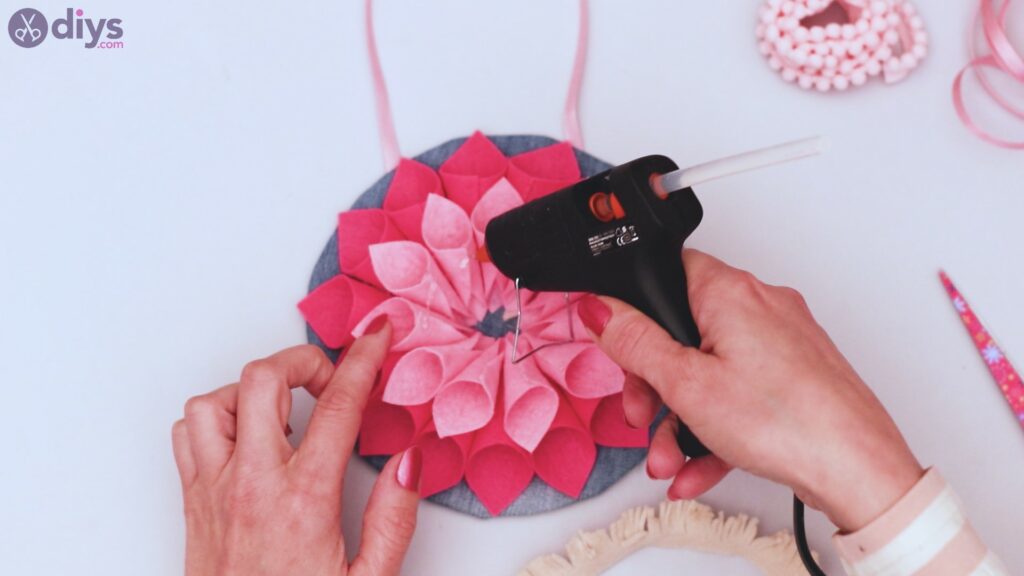
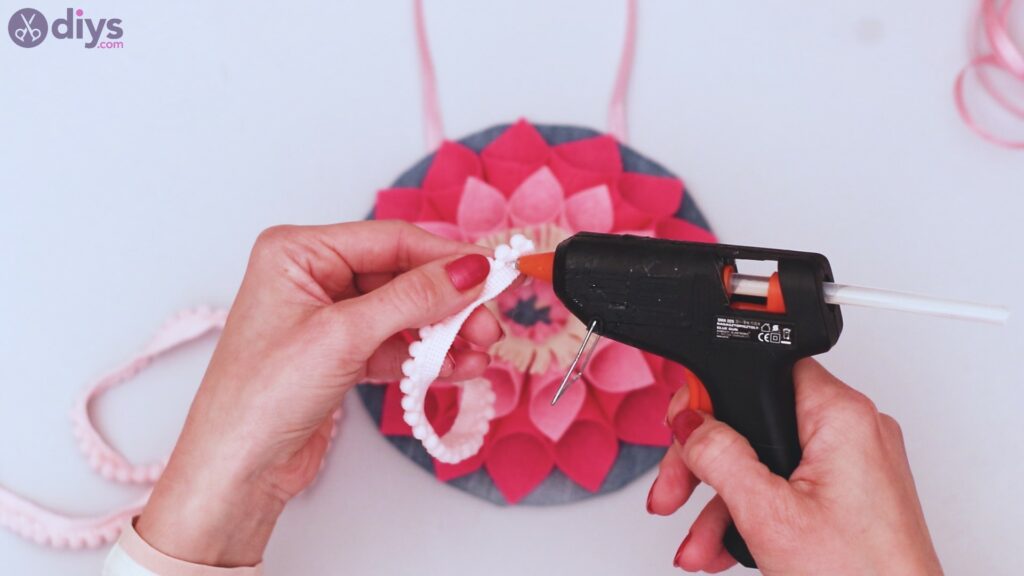
Using your hot glue gun, fill in the center of your flower with glue.

Press one side of your pom pom ribbon ring to the glue inside the petals of the flower you’ve created. Allow this to dry. It shouldn’t take long.


Your finished project is ready to hang!
Whether you’ve gathered new materials to complete your felt flower wall art, or you’ve scrounged up some leftovers from other projects, you can feel accomplished in your work. If you want, you can even create larger versions with three layers of petals, should you have the materials to do so. It’s a fun and simple project, and it can make a great gift for a friend as well. Consider using these in a nursery for a girl, with several spaced throughout the room. Whatever your purpose, enjoy yourself, and never feel like you’ve wasted time or material when you can make something beautiful