DIY Embroidery Hoop Wall Decor
Updated on November 19, 2025


Crafty or not, so many people love creating art and décor from scratch, and often, it’s difficult to choose a project, especially when you aren’t sure exactly what you’re looking to do. One particular new trend that’s simple to accomplish, even if you aren’t incredibly artistic, is embroidery hoop wall décor. This DIY project gives you a firm basis so you aren’t constructing everything from scratch, while also offering you plenty of creative freedom in your overall design. To take a look at this easy but fun project, let’s start with the materials you’ll need for your embroidery hoop wall décor.
Materials for the Embroidery Hoop Wall Decor:
- embroider hoop
- lace material
- 4 colours of felt material
- Paper
- Pin
- Pencil
- Scissors
- jute ribbon
- silk ribbon
- yellow pompoms
- glue gun
Step by step guide for the project:

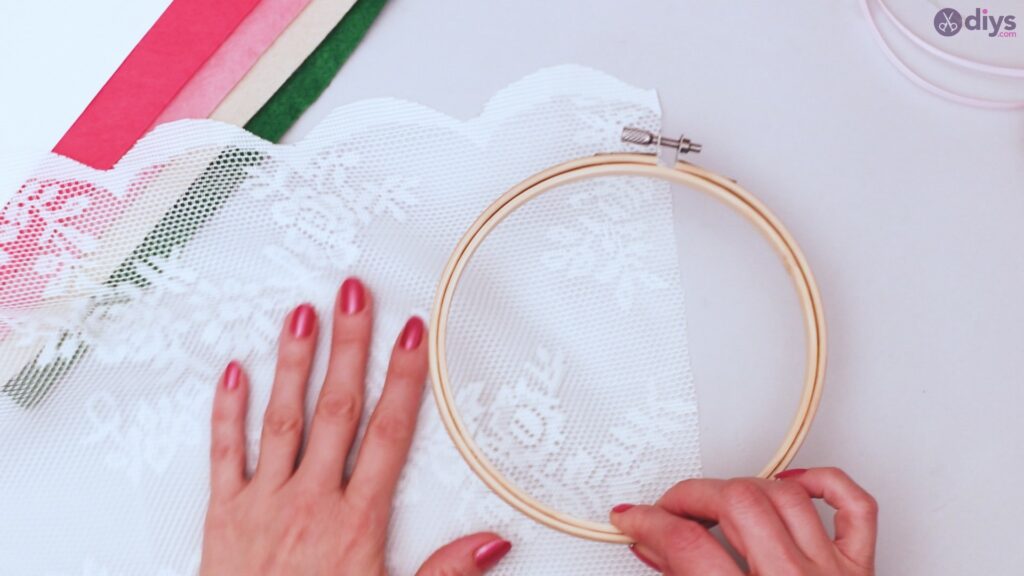
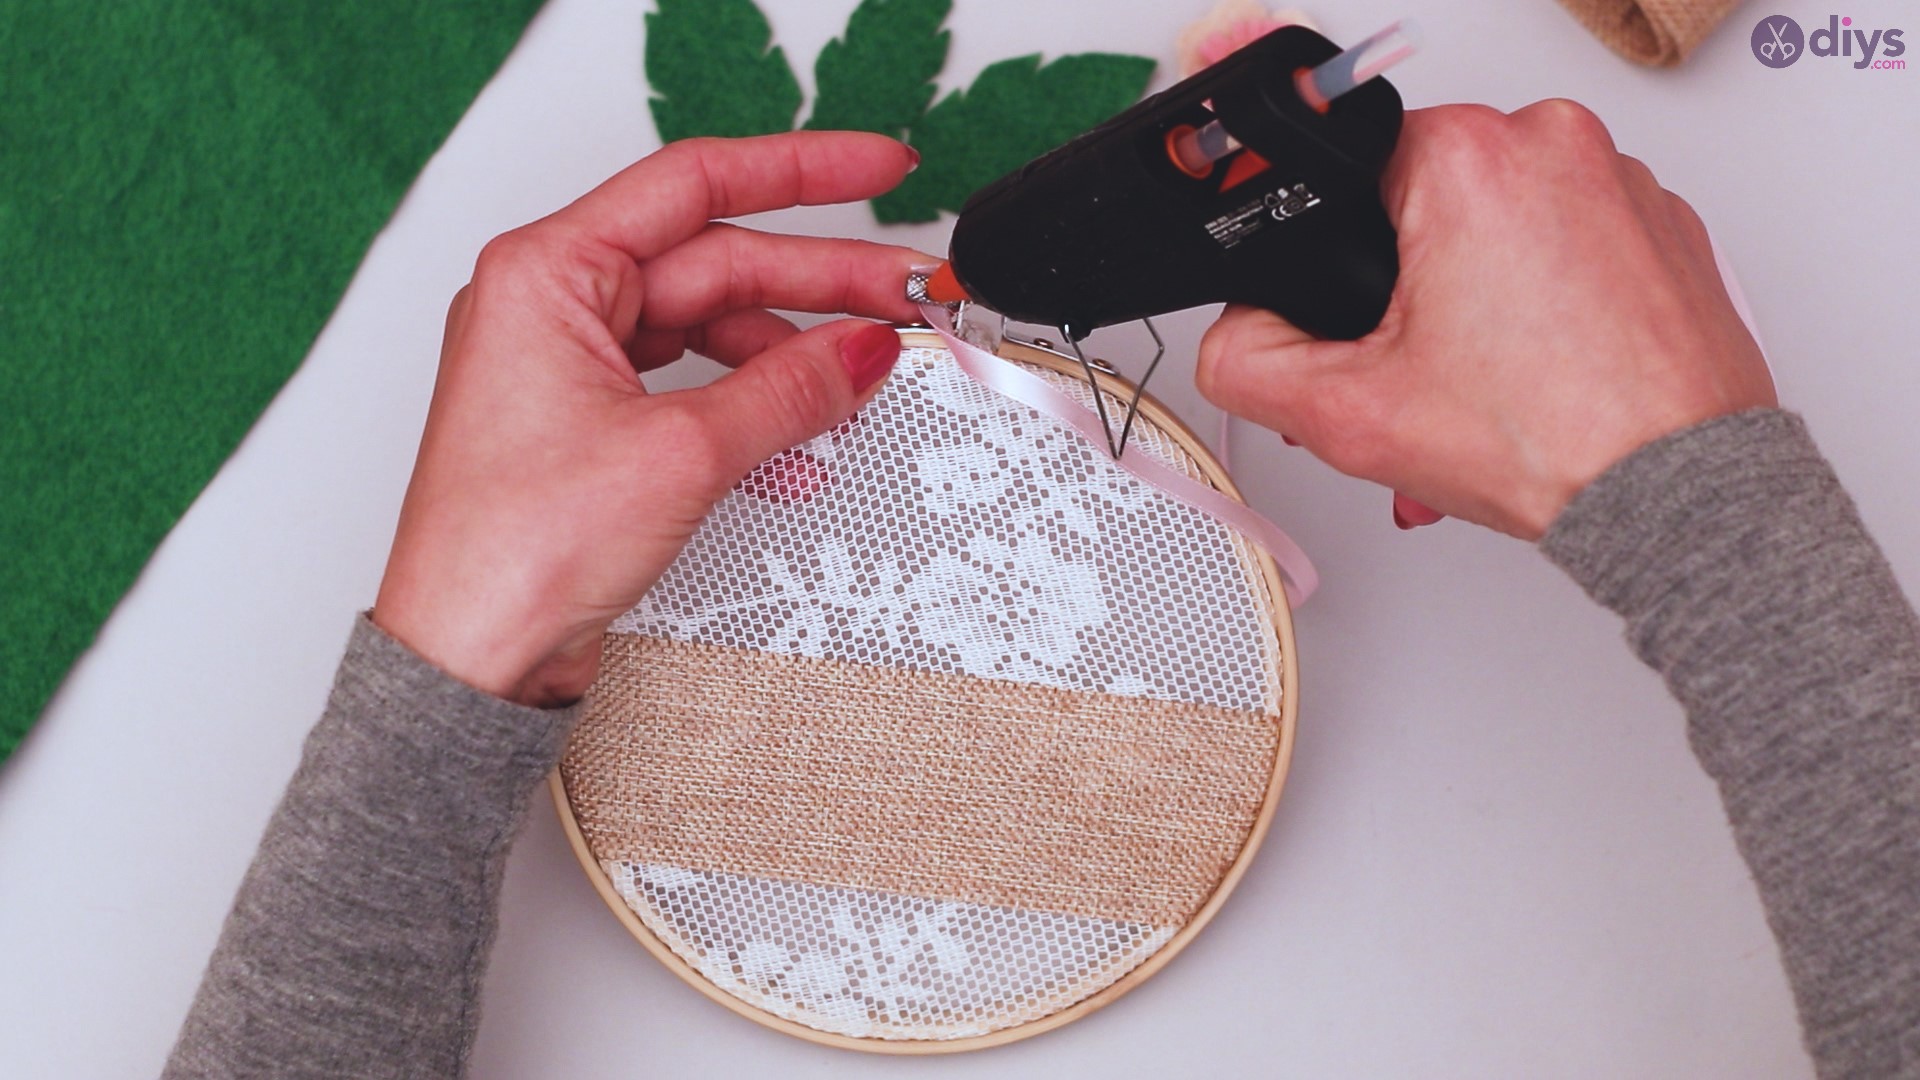
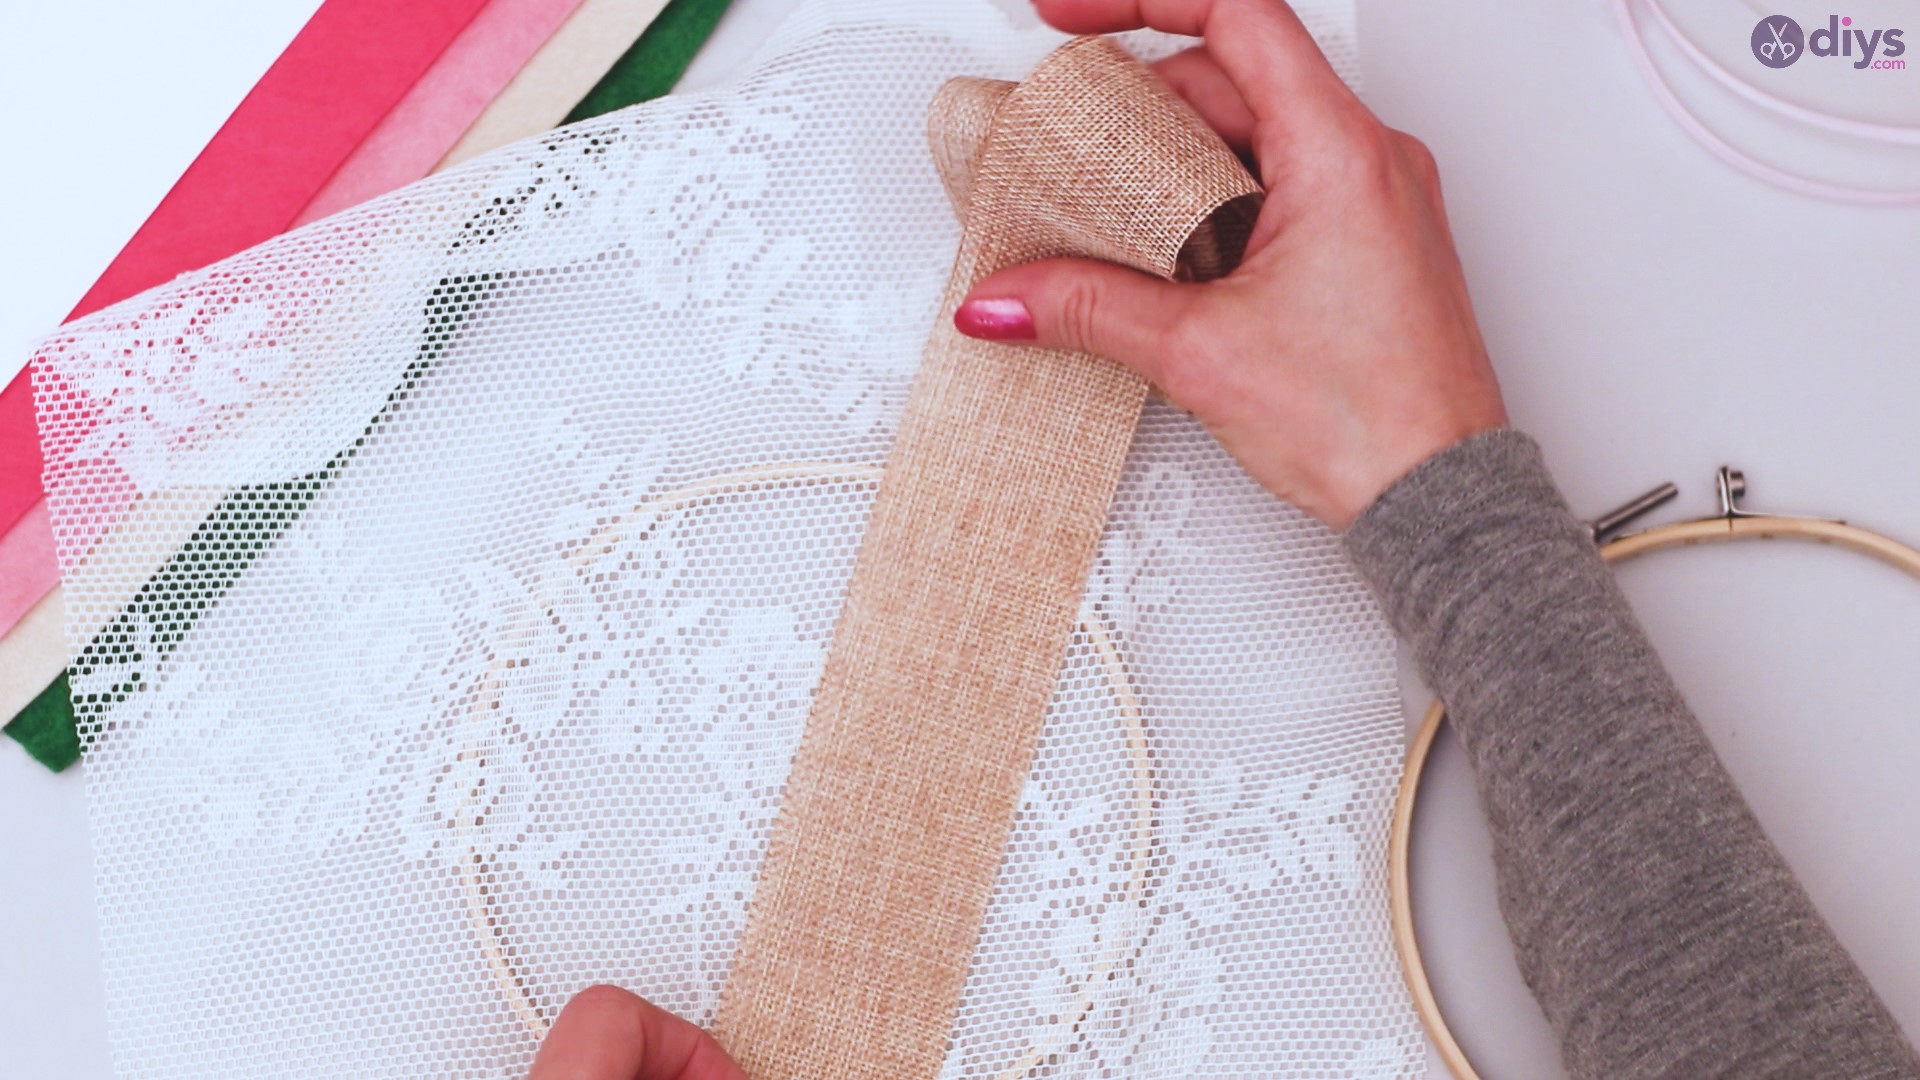
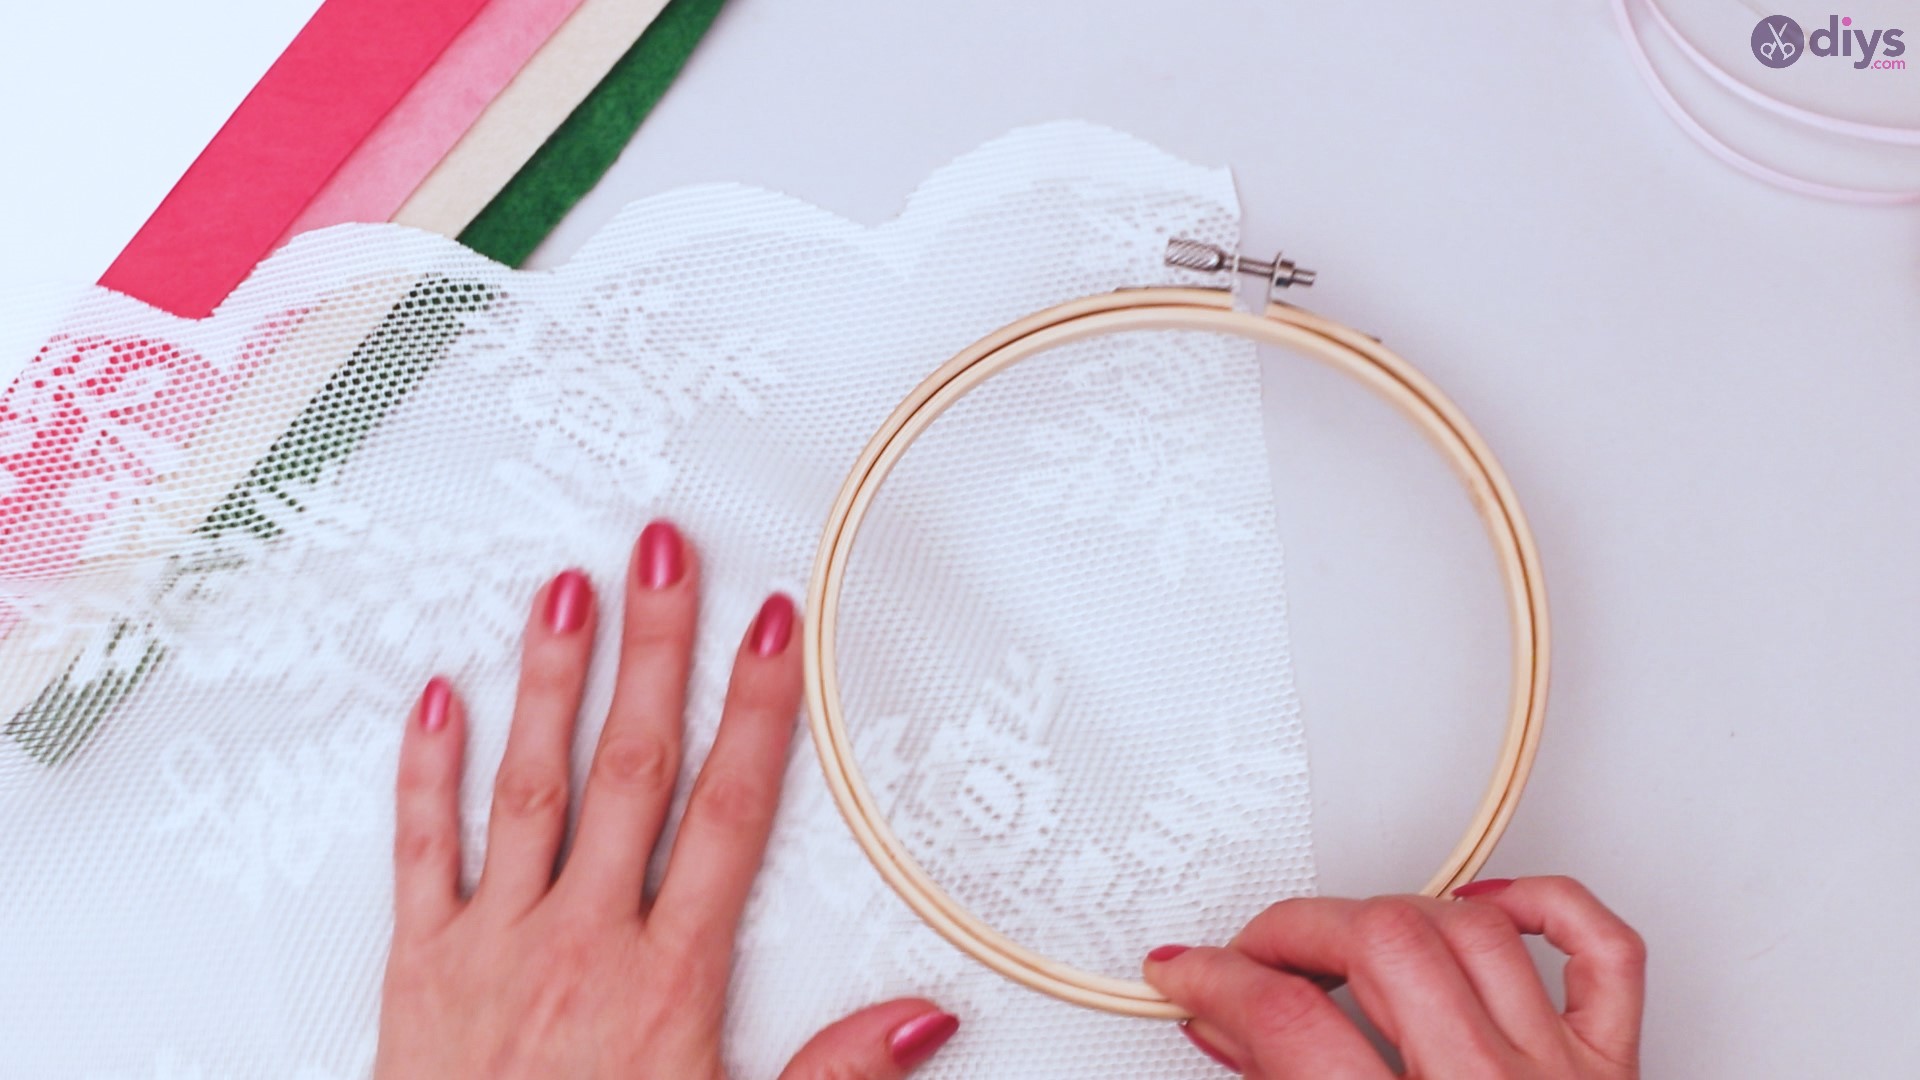
Step 1: Prepare lace and jute ribbon
Open the two wood rings of your embroidery hoop. Use the hoop to measure out a slightly oversized piece of your lace fabric, as well as a strip of your jute ribbon. Trim both materials to the appropriate size.
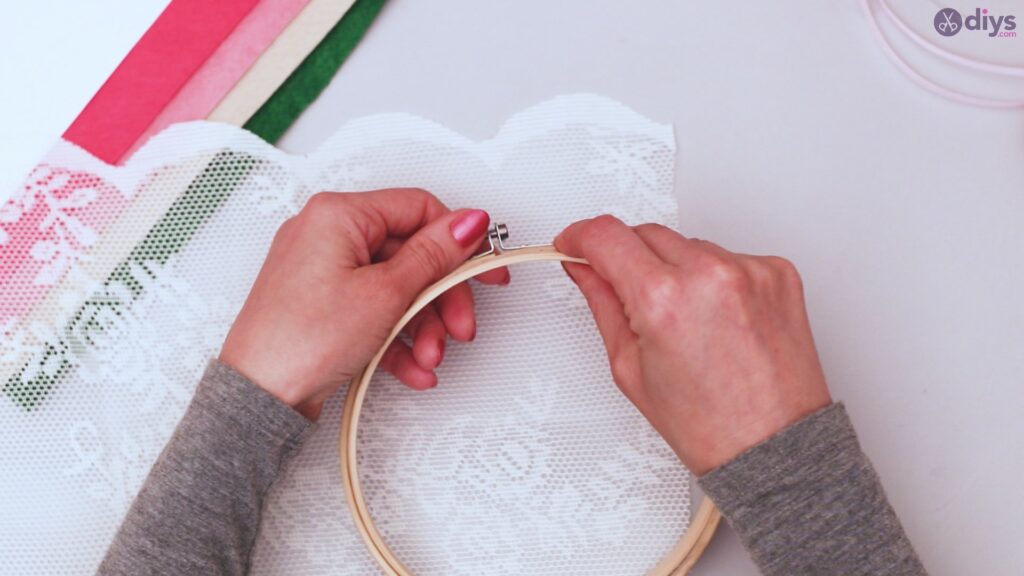

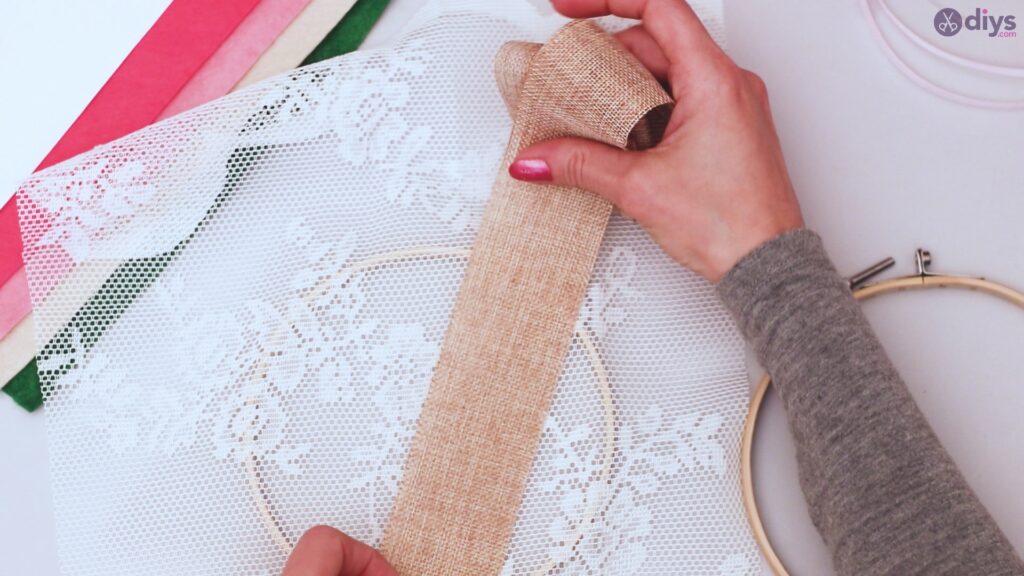

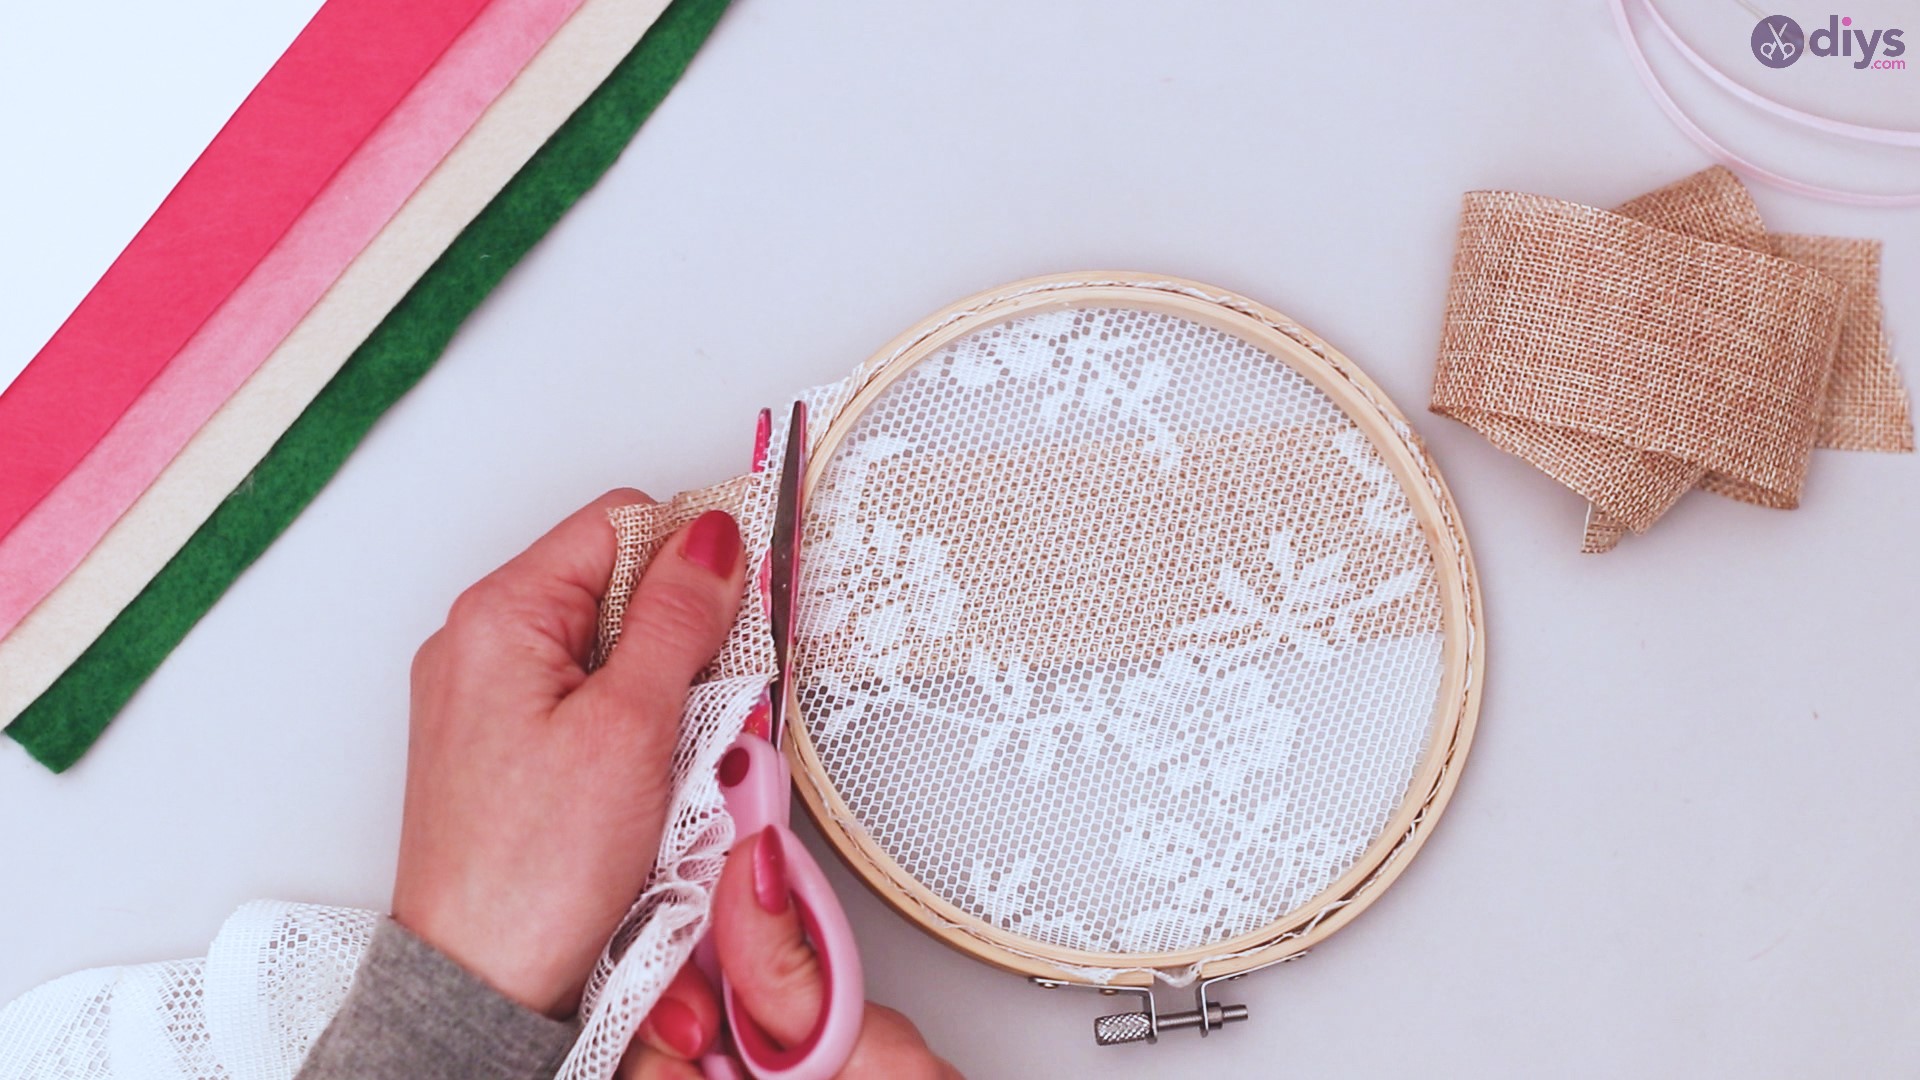
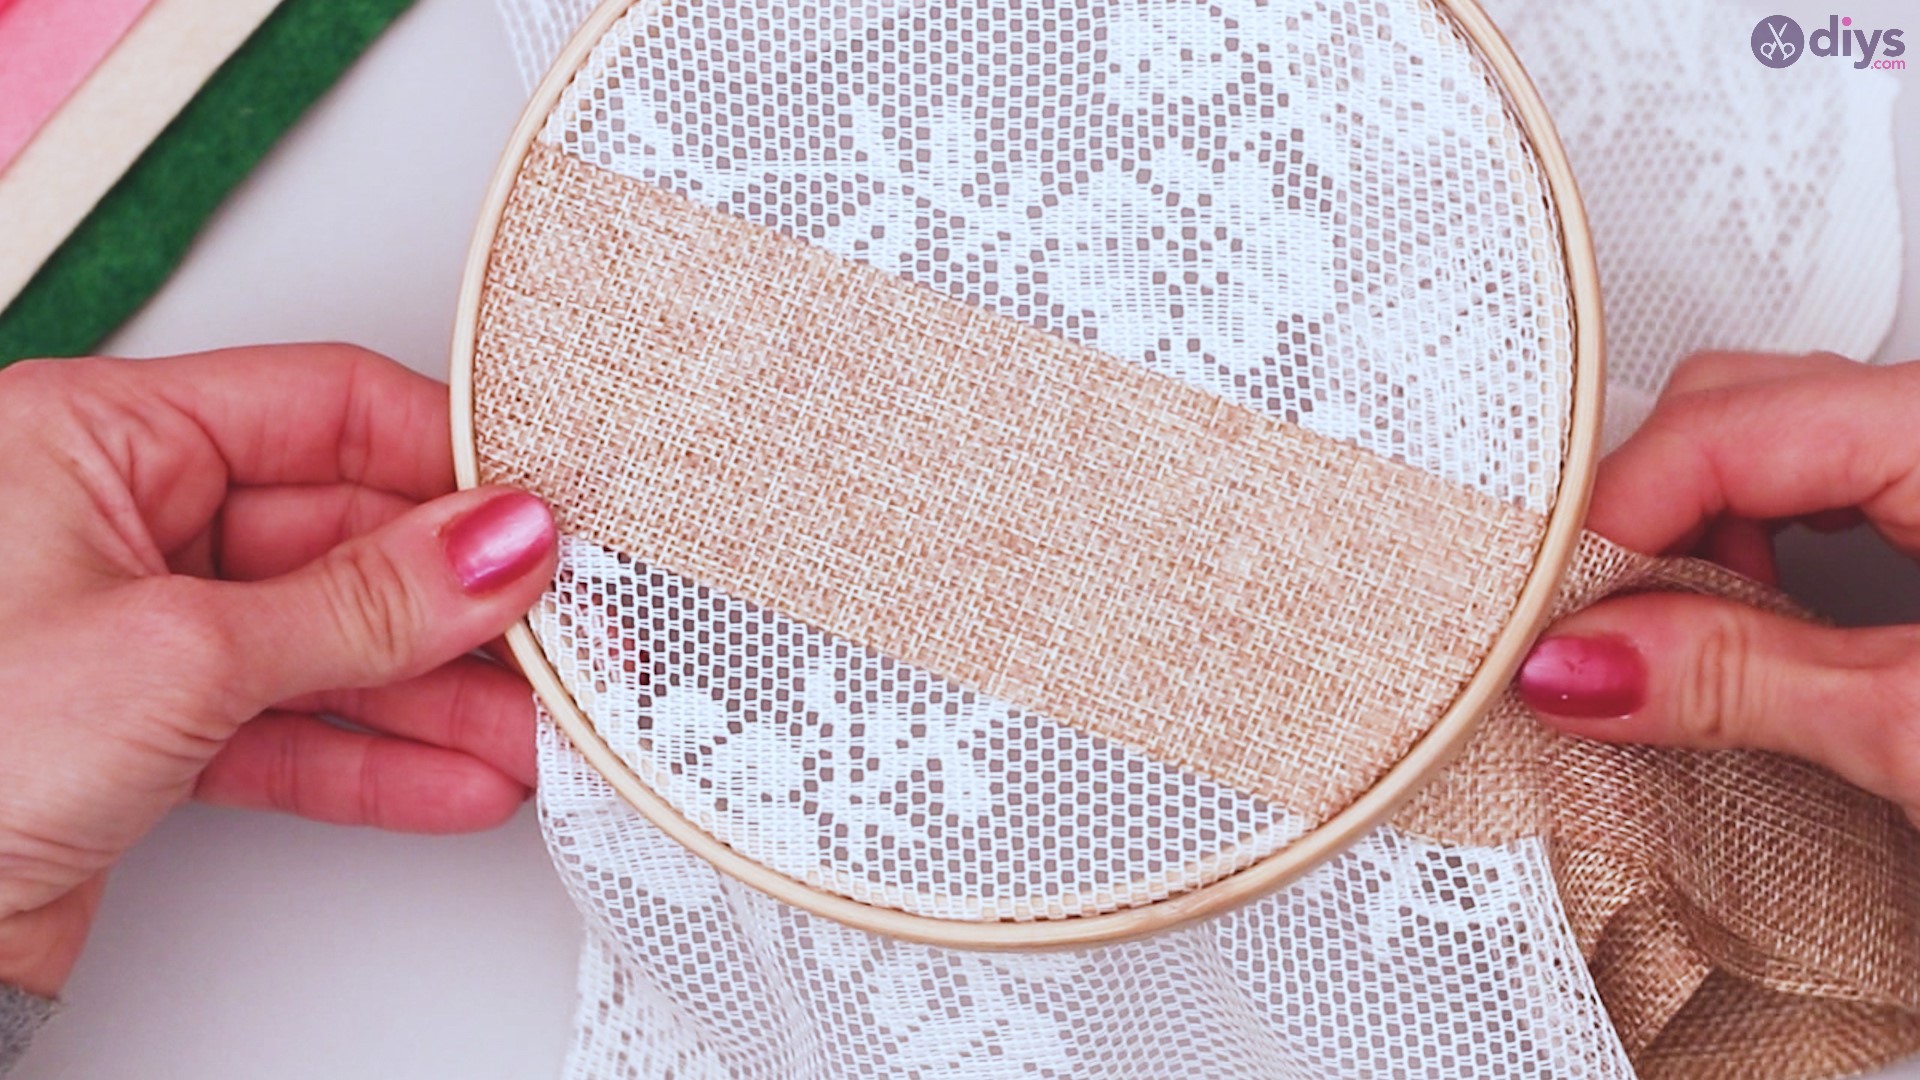
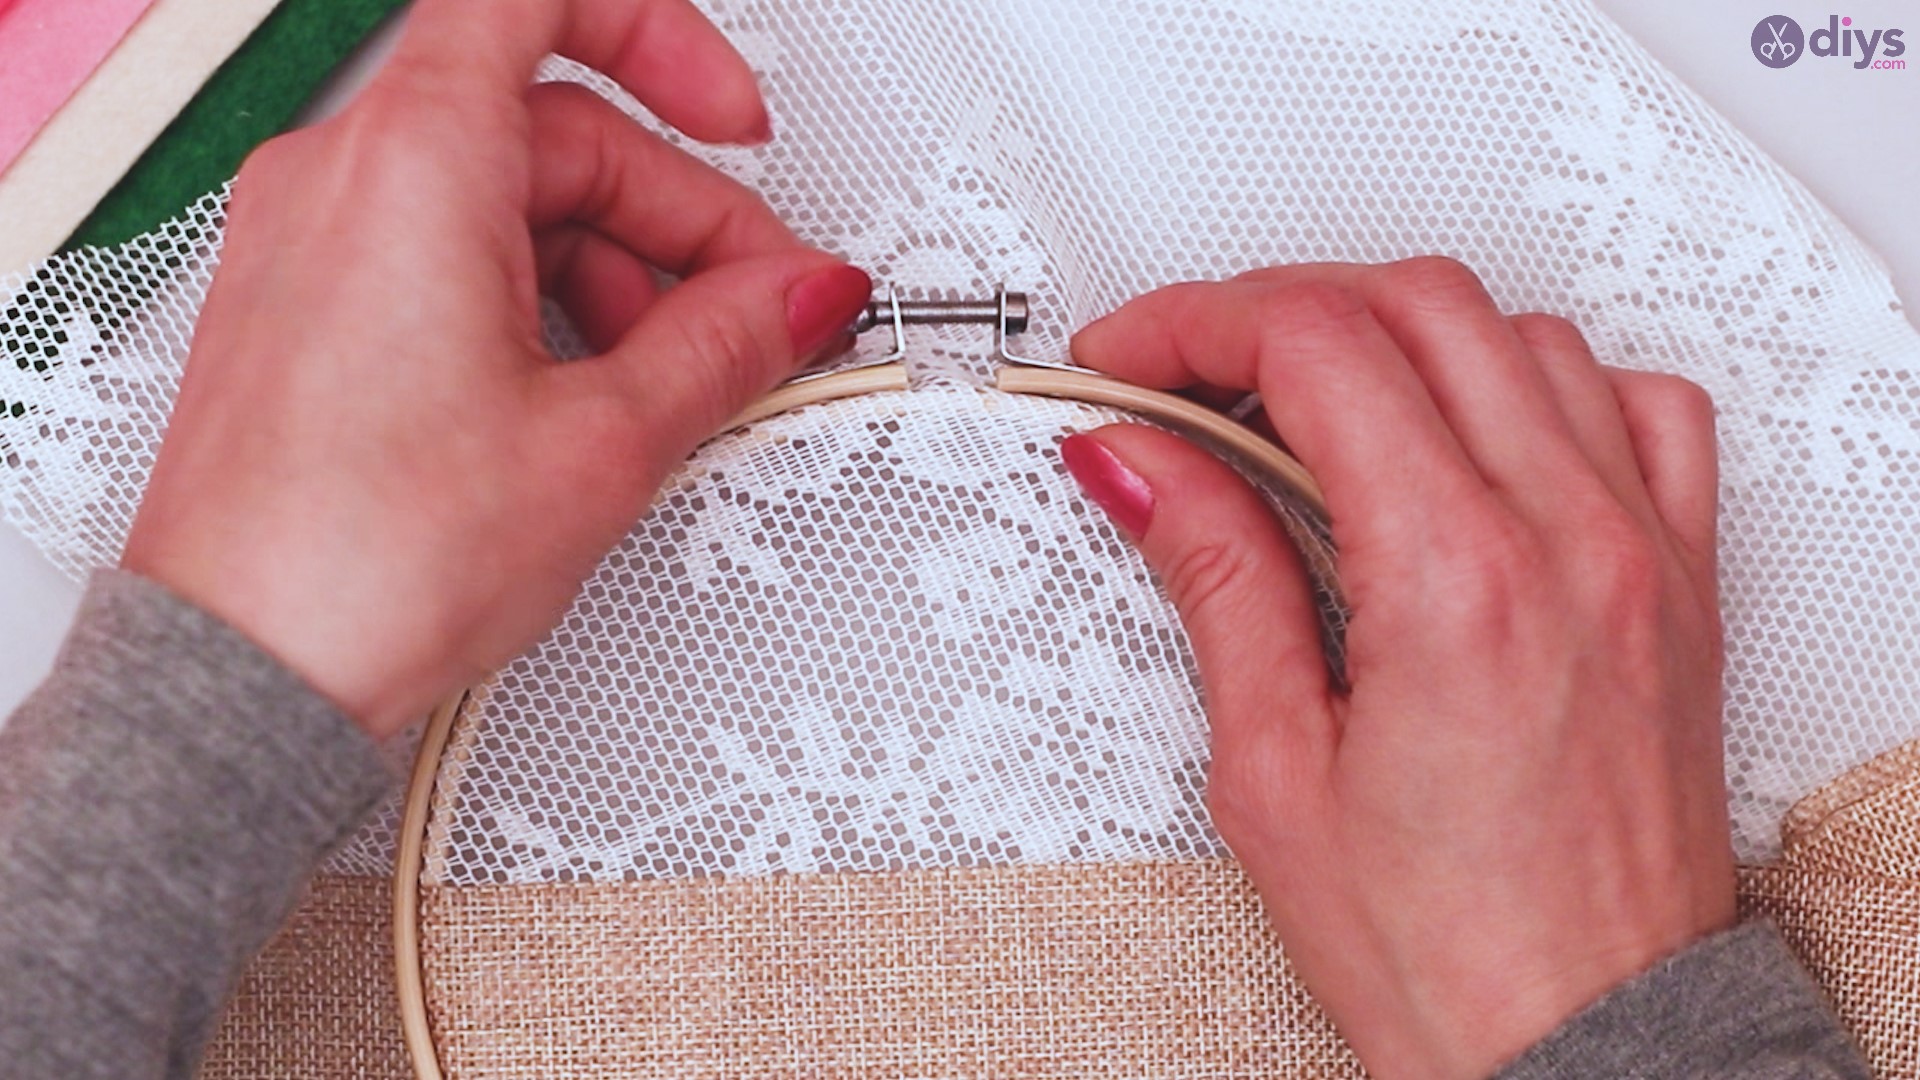
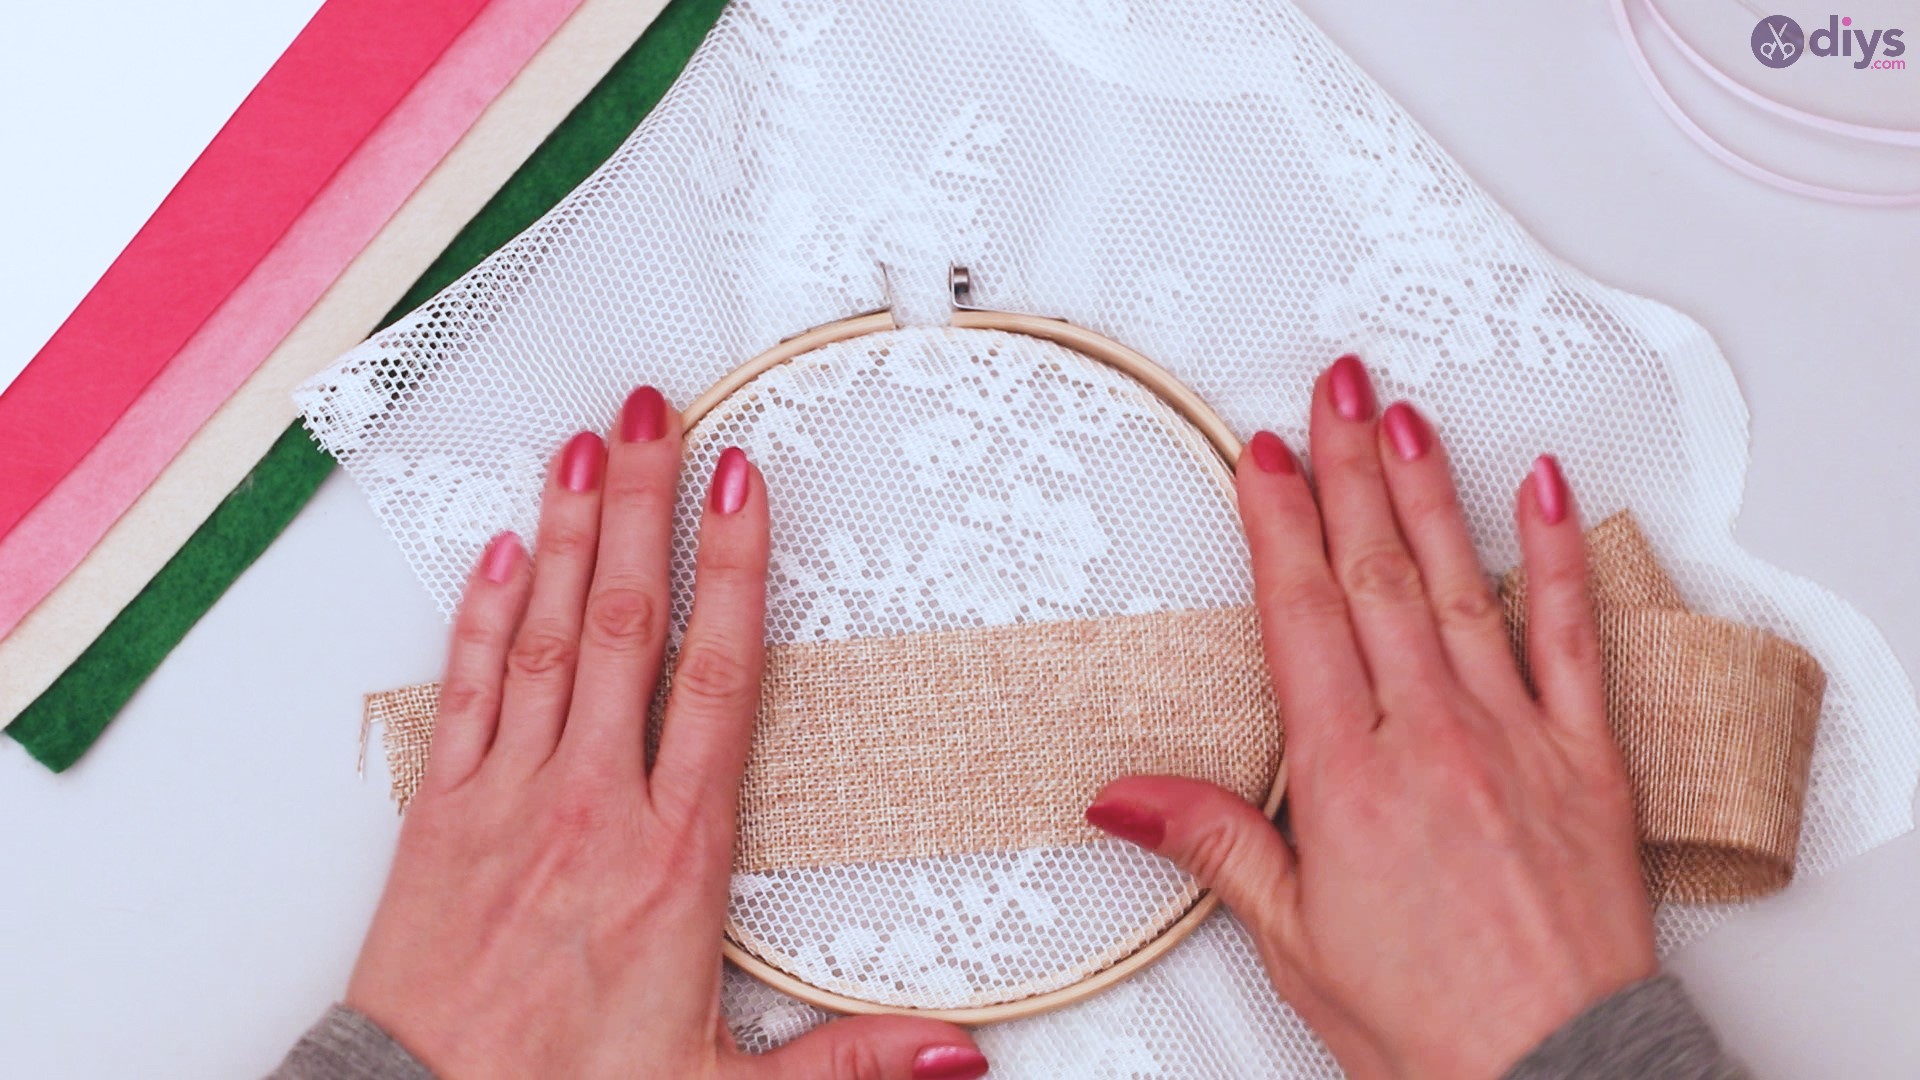
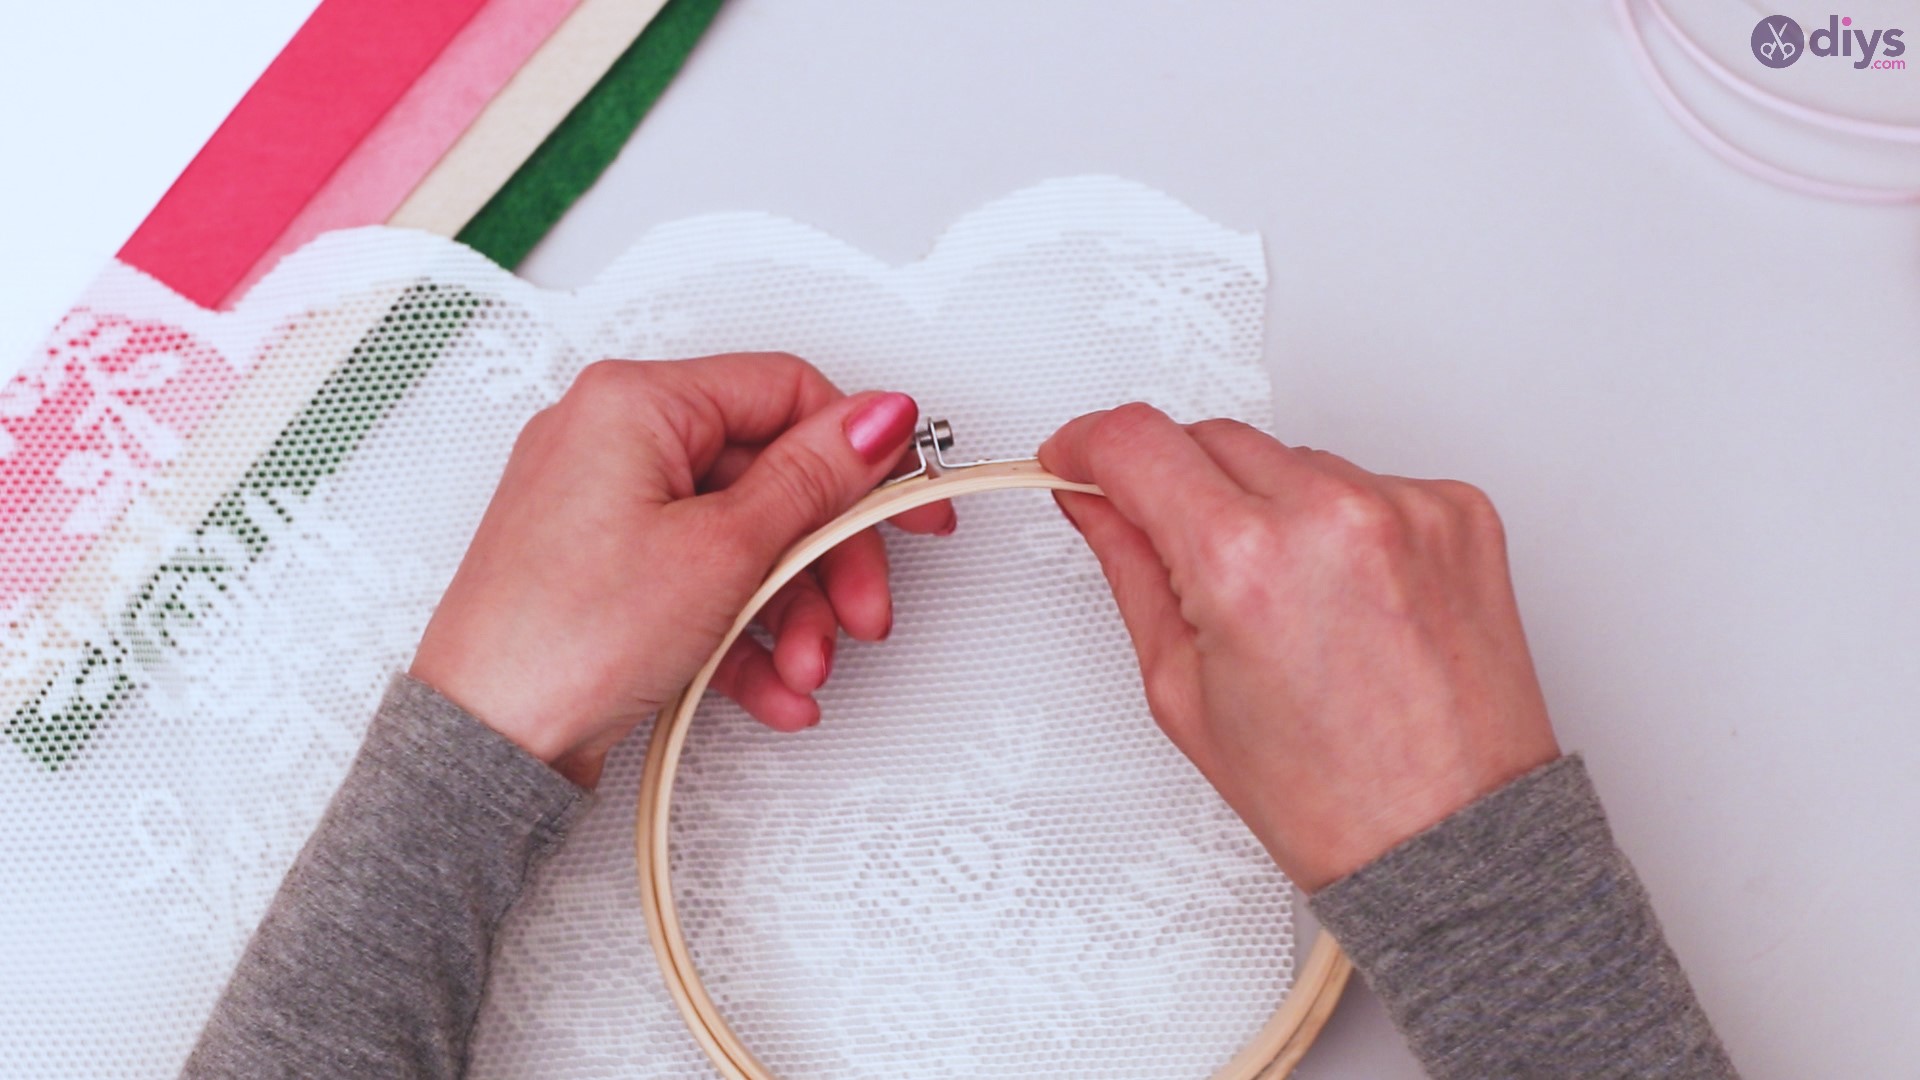
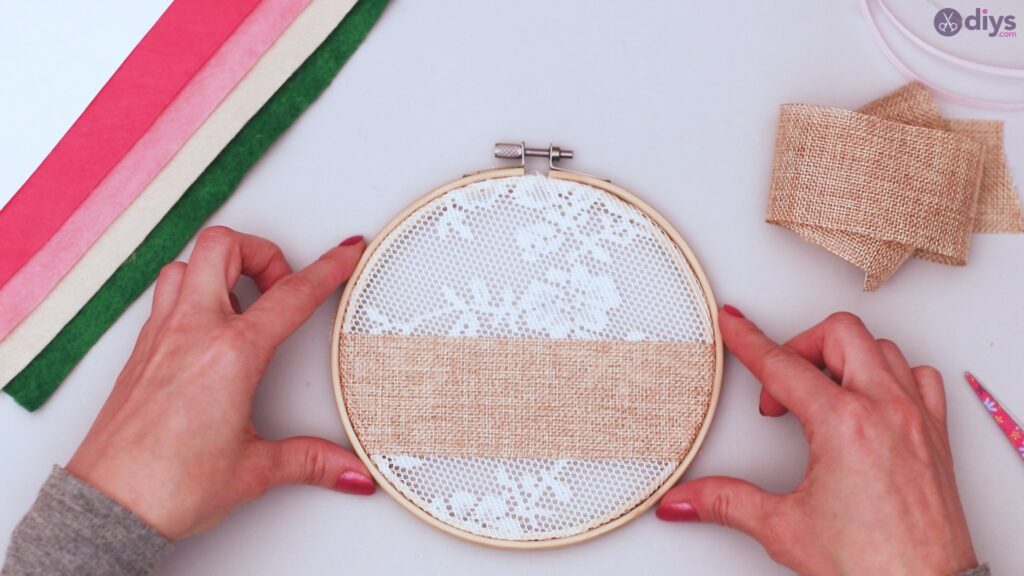
Step 2: Secure the material
Stretch your lace material, as well as your strip of jute ribbon, taut between the two wood rings of the hoop and secure the hoop. You can position your strip of jute ribbon to your liking for creative design purposes.


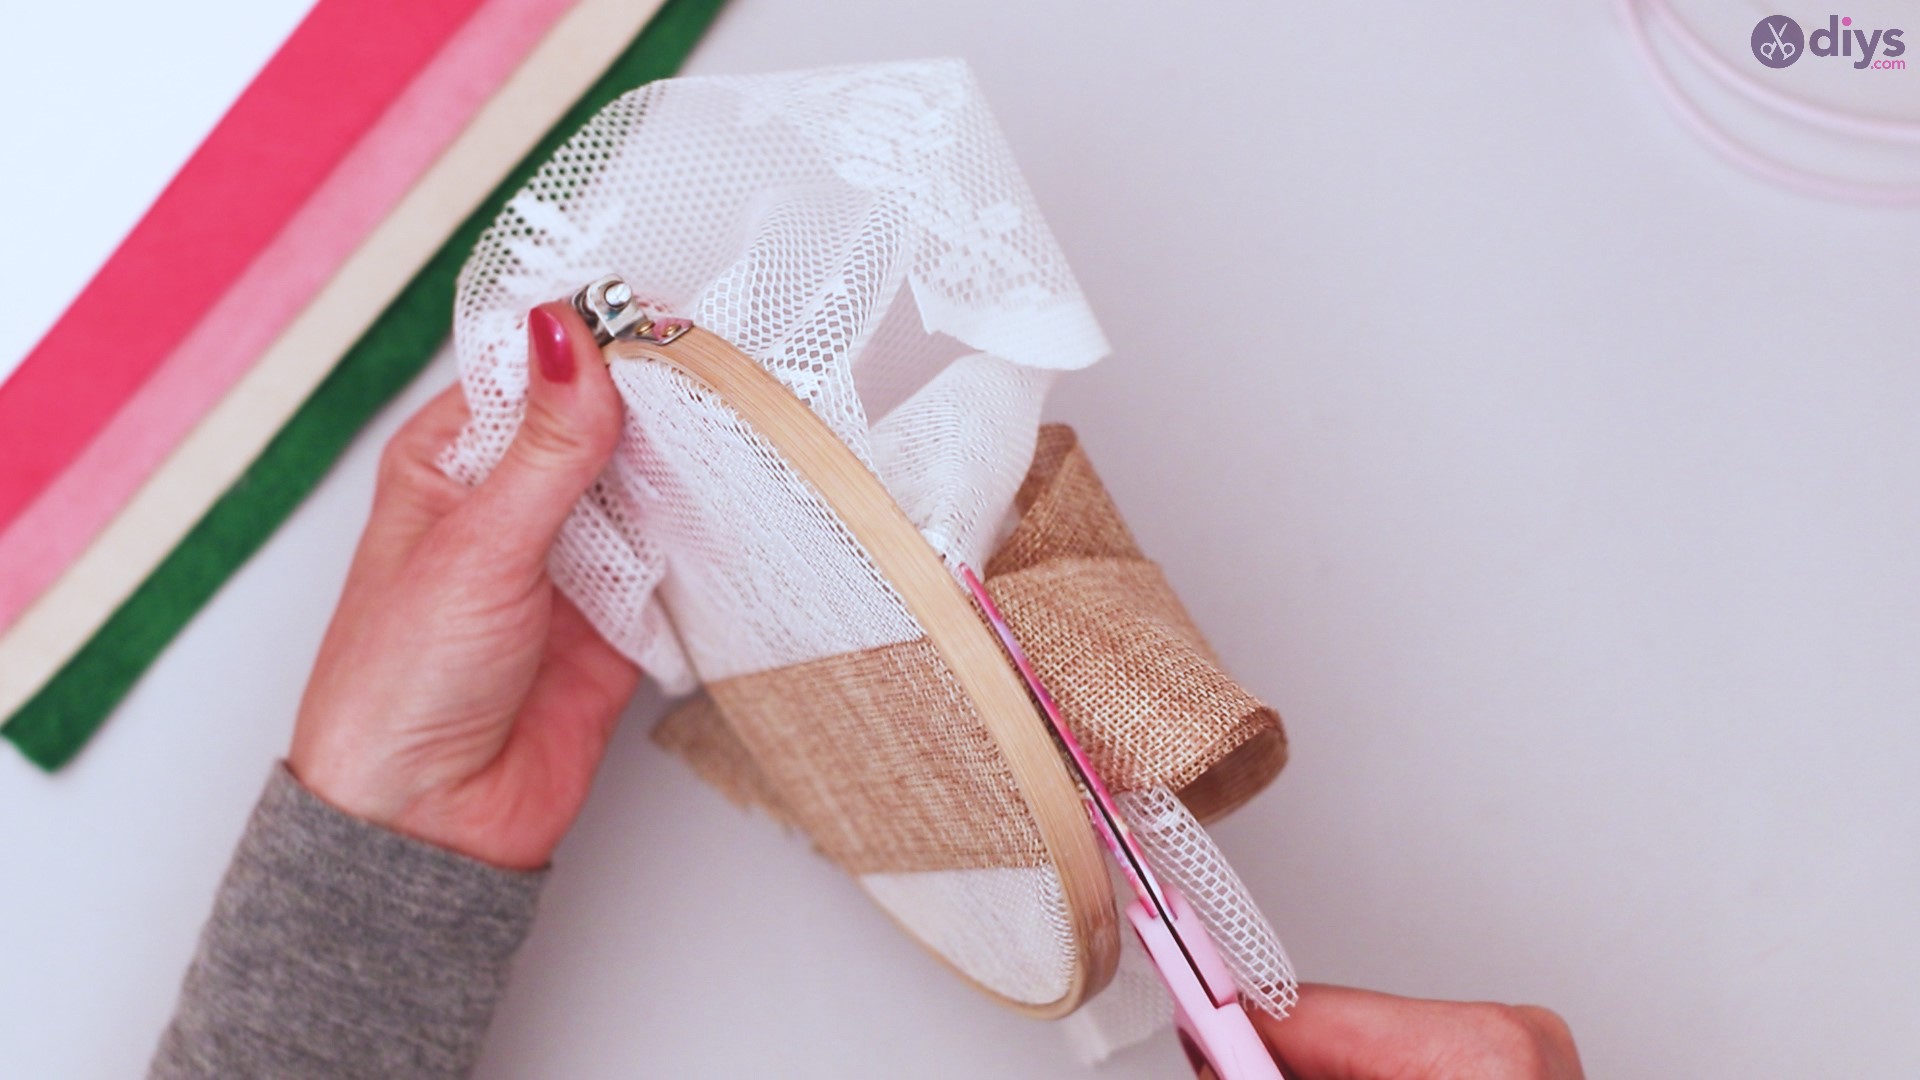
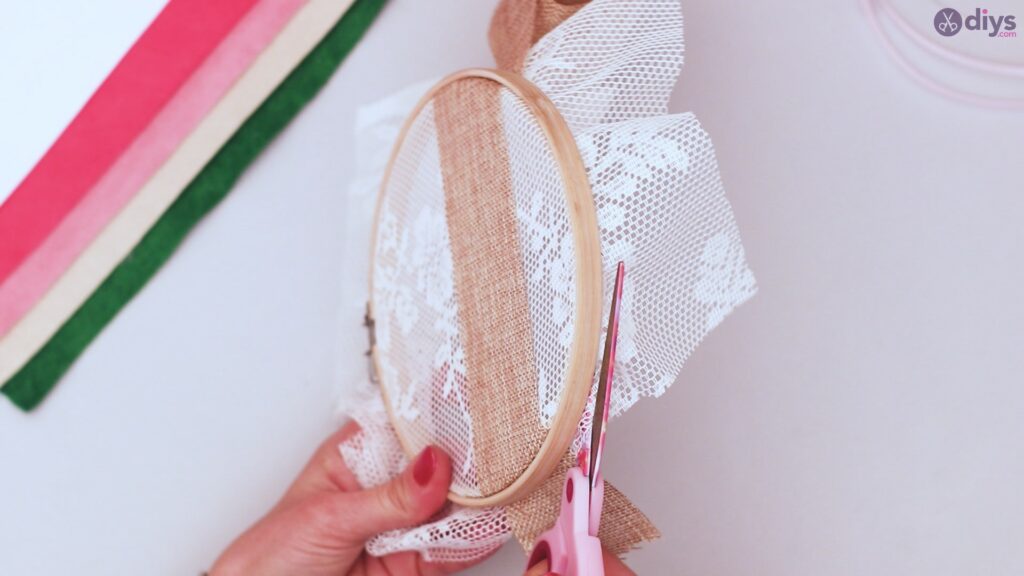
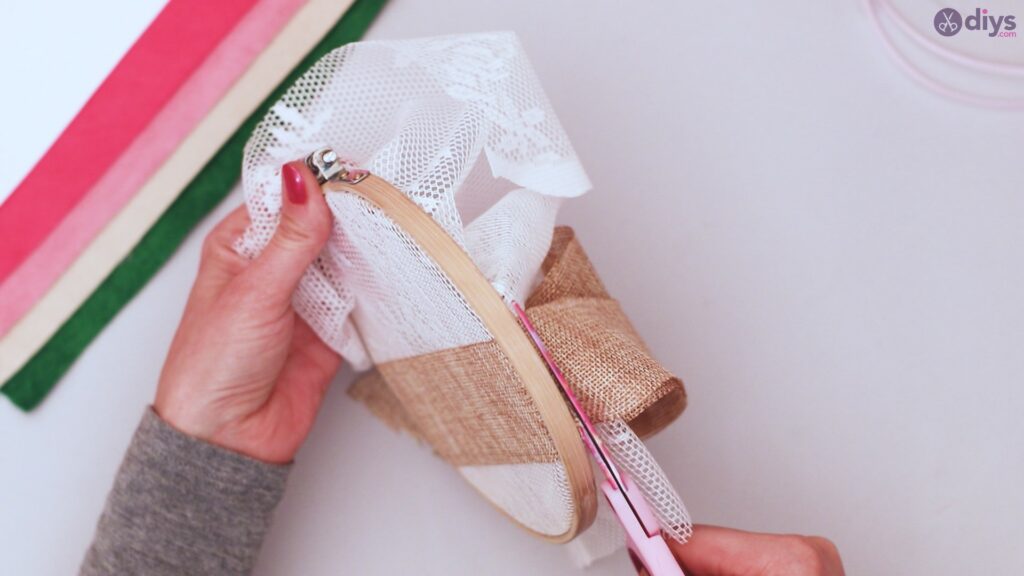
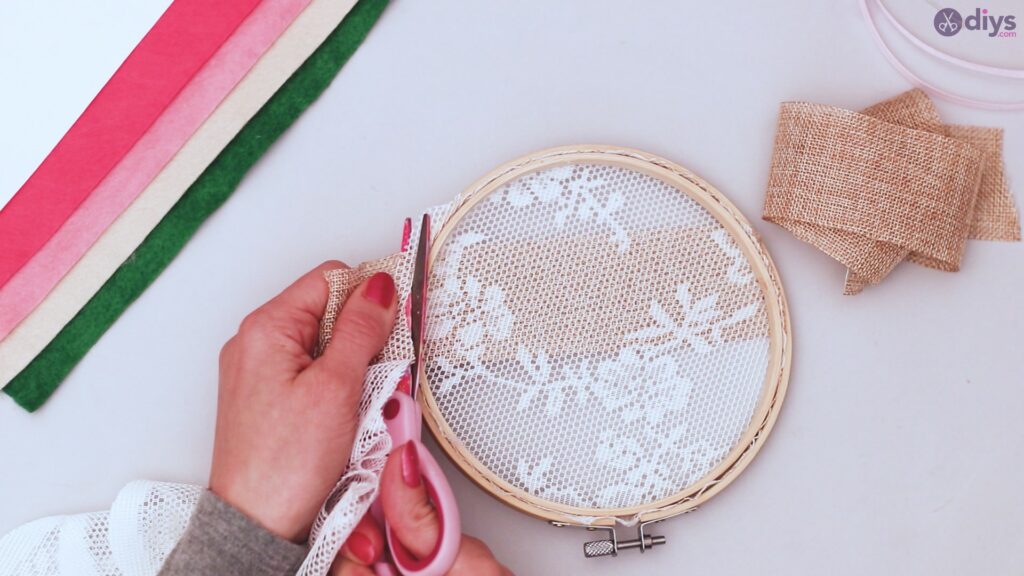
Step 3: Trim the material
Trim the edges of the lace and ribbon that are outside the embroidery hoop. Get as close to the wood as you can for a clean appearance with no threads or edges showing.
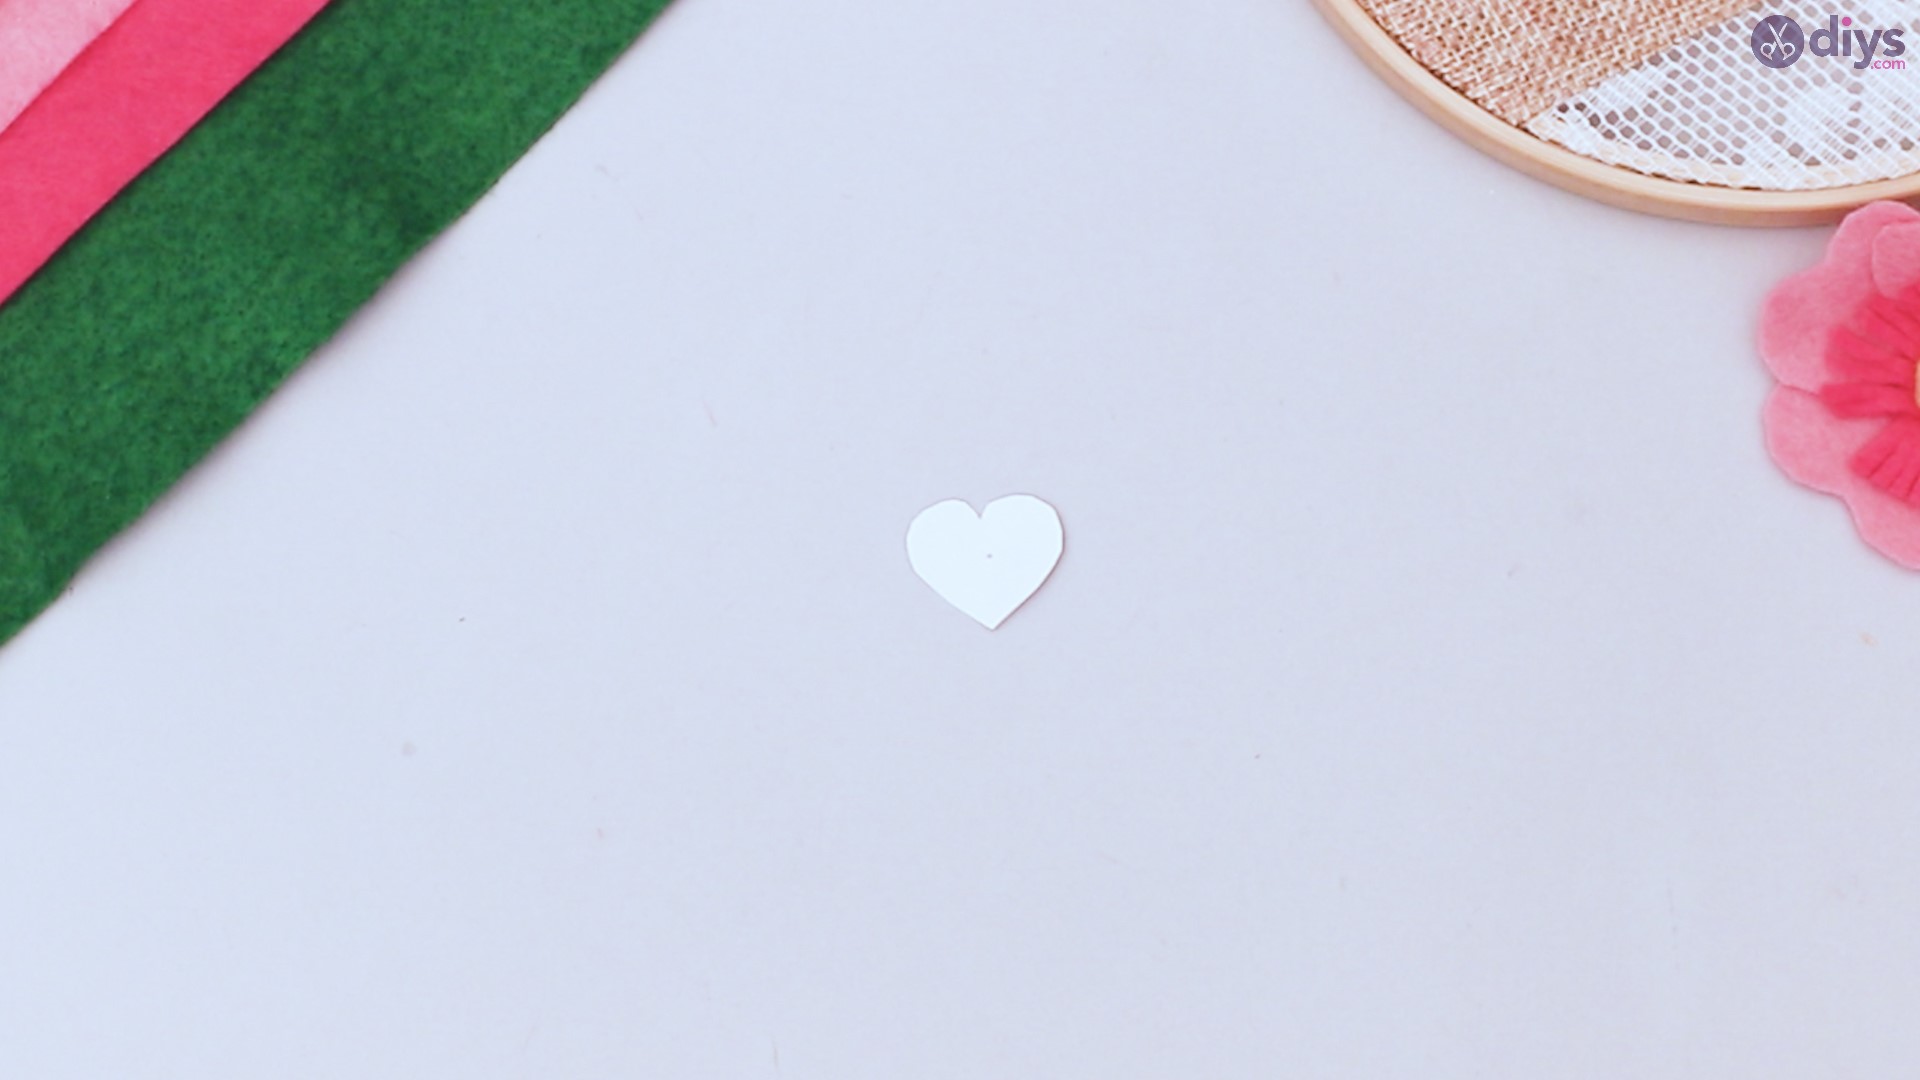
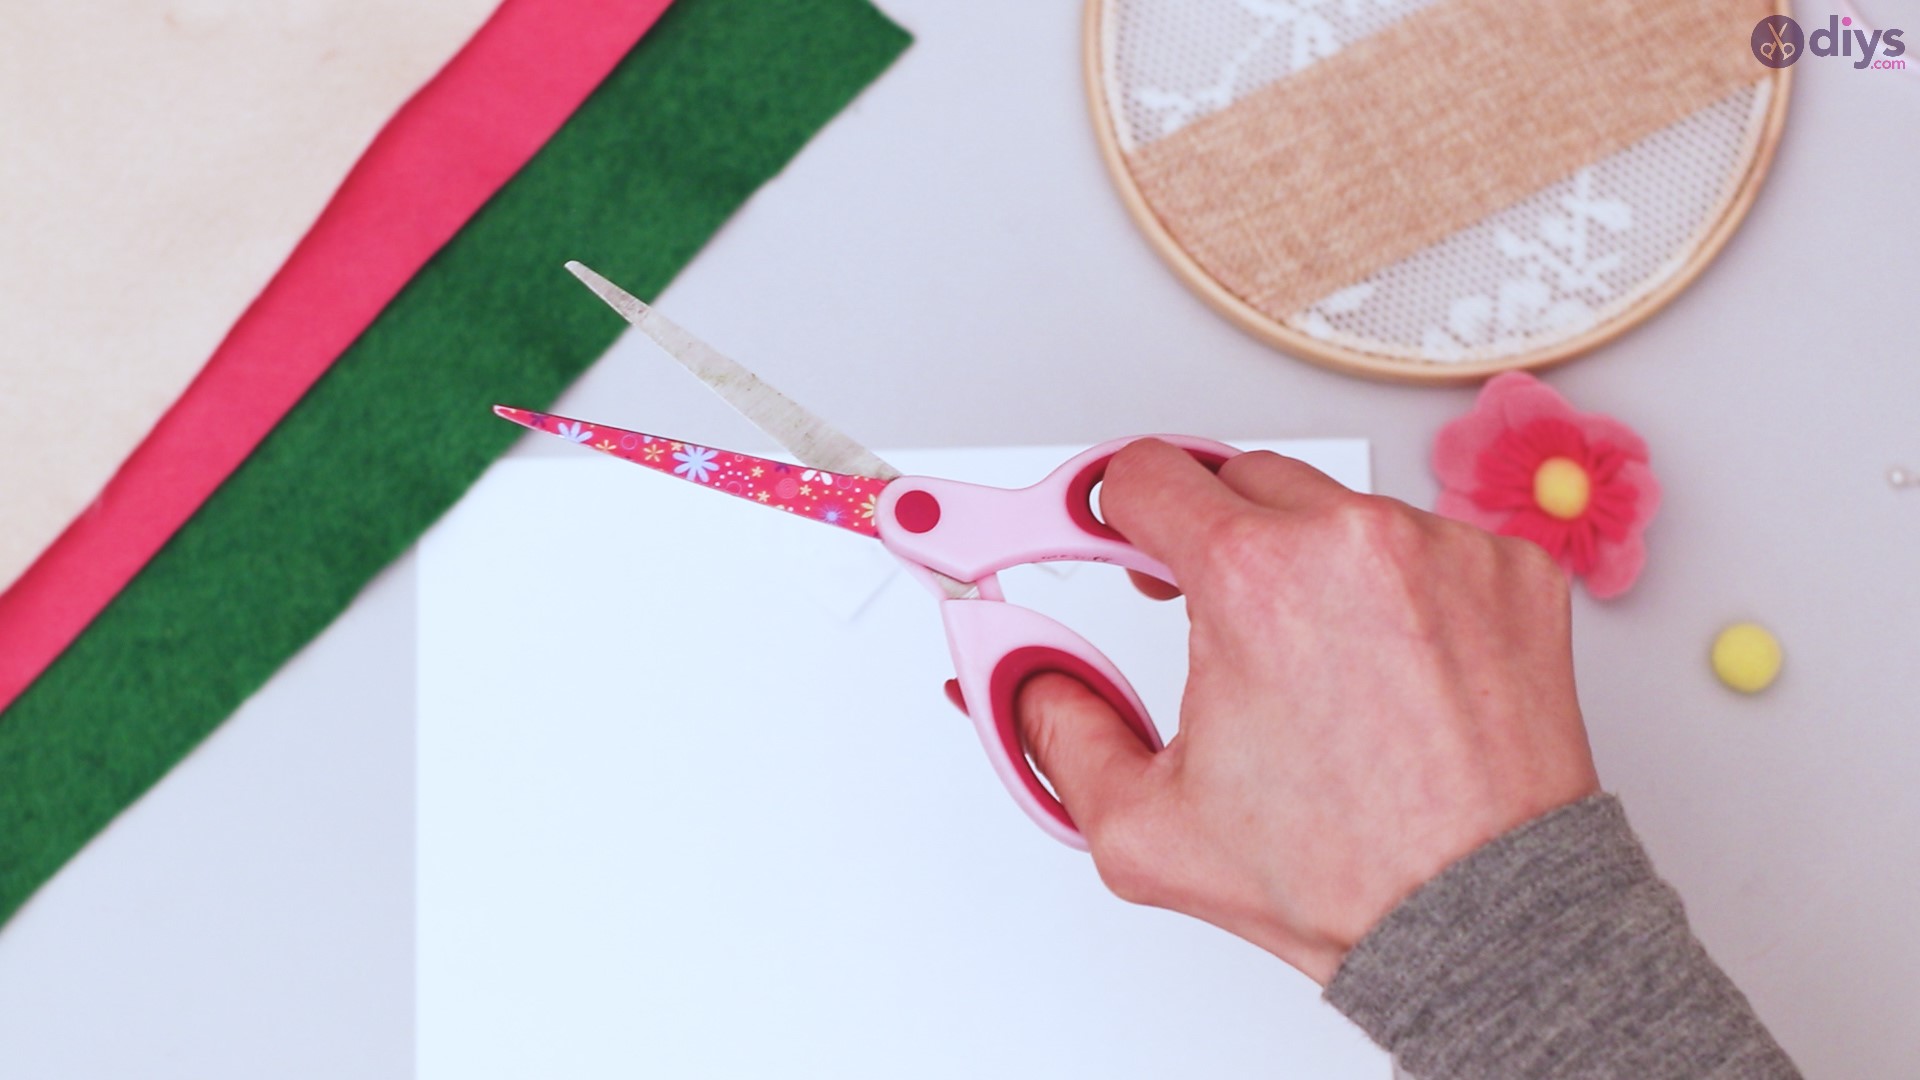
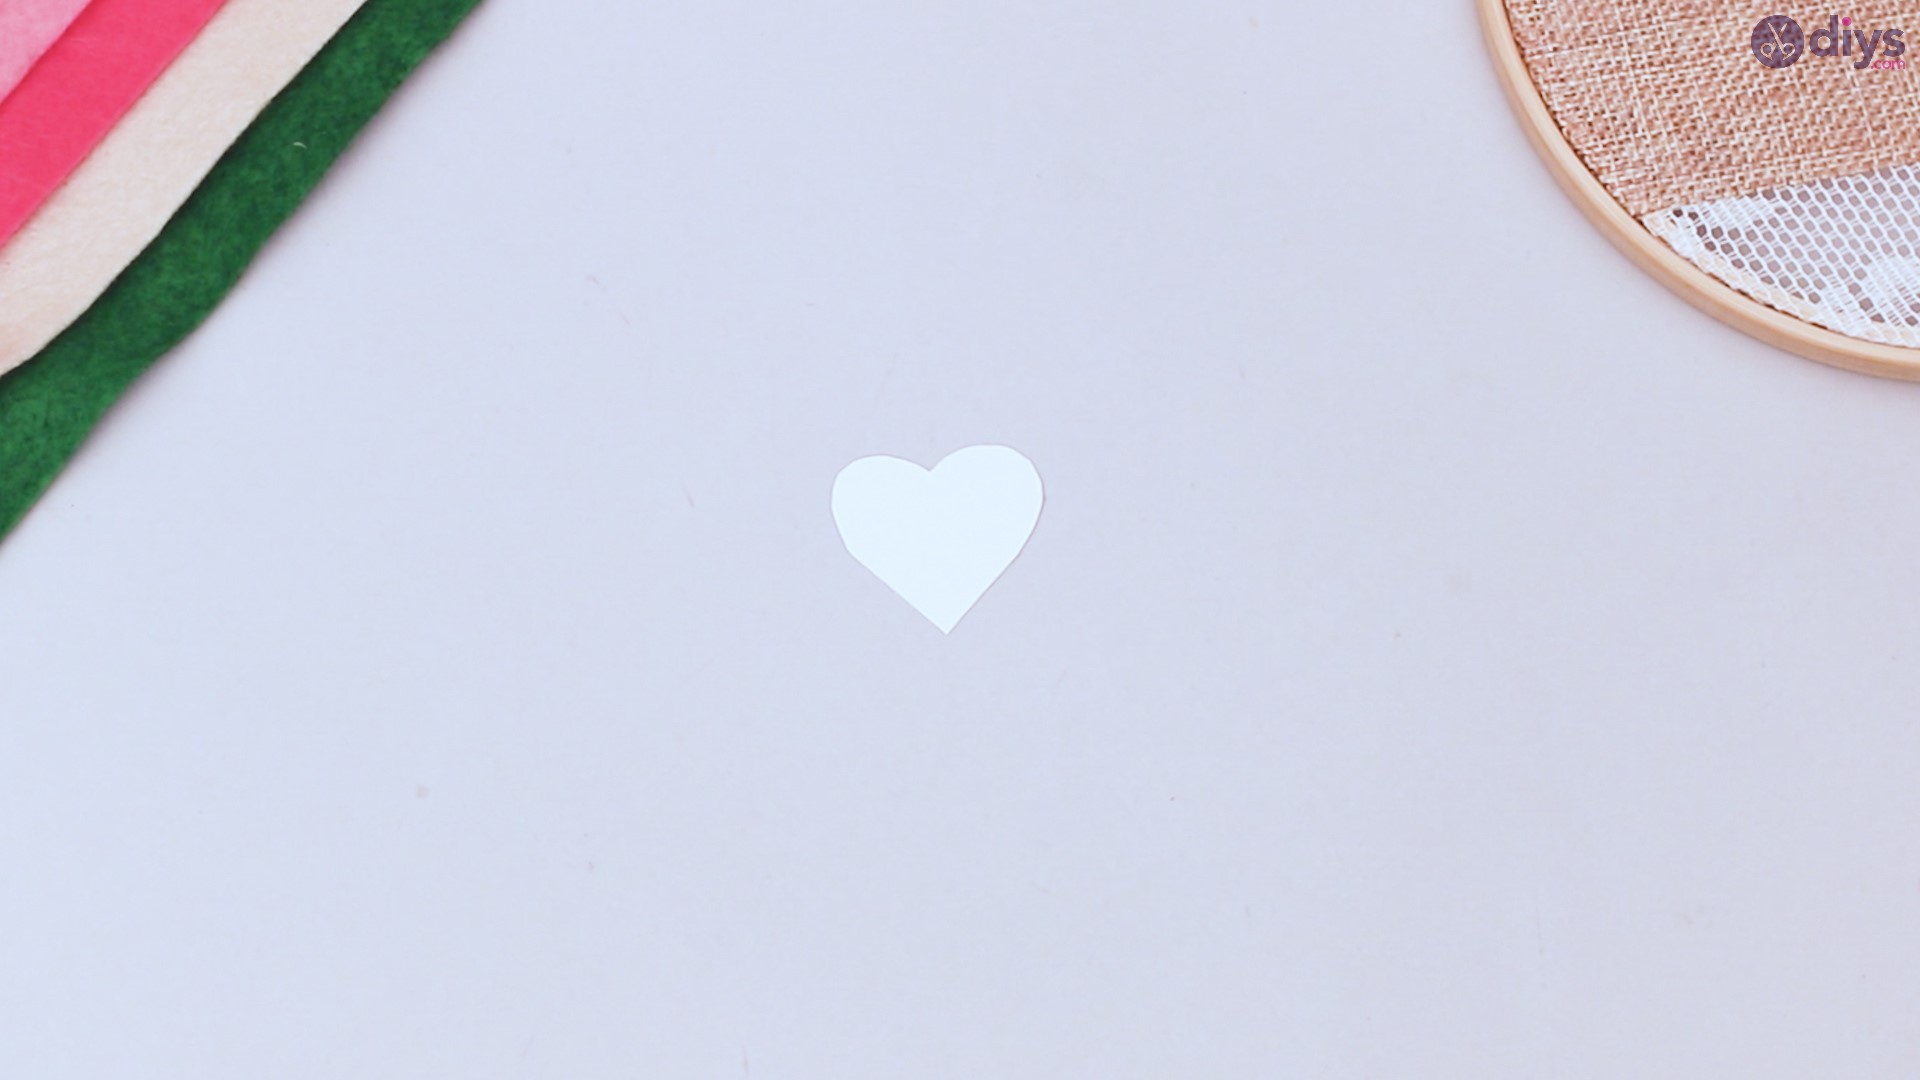
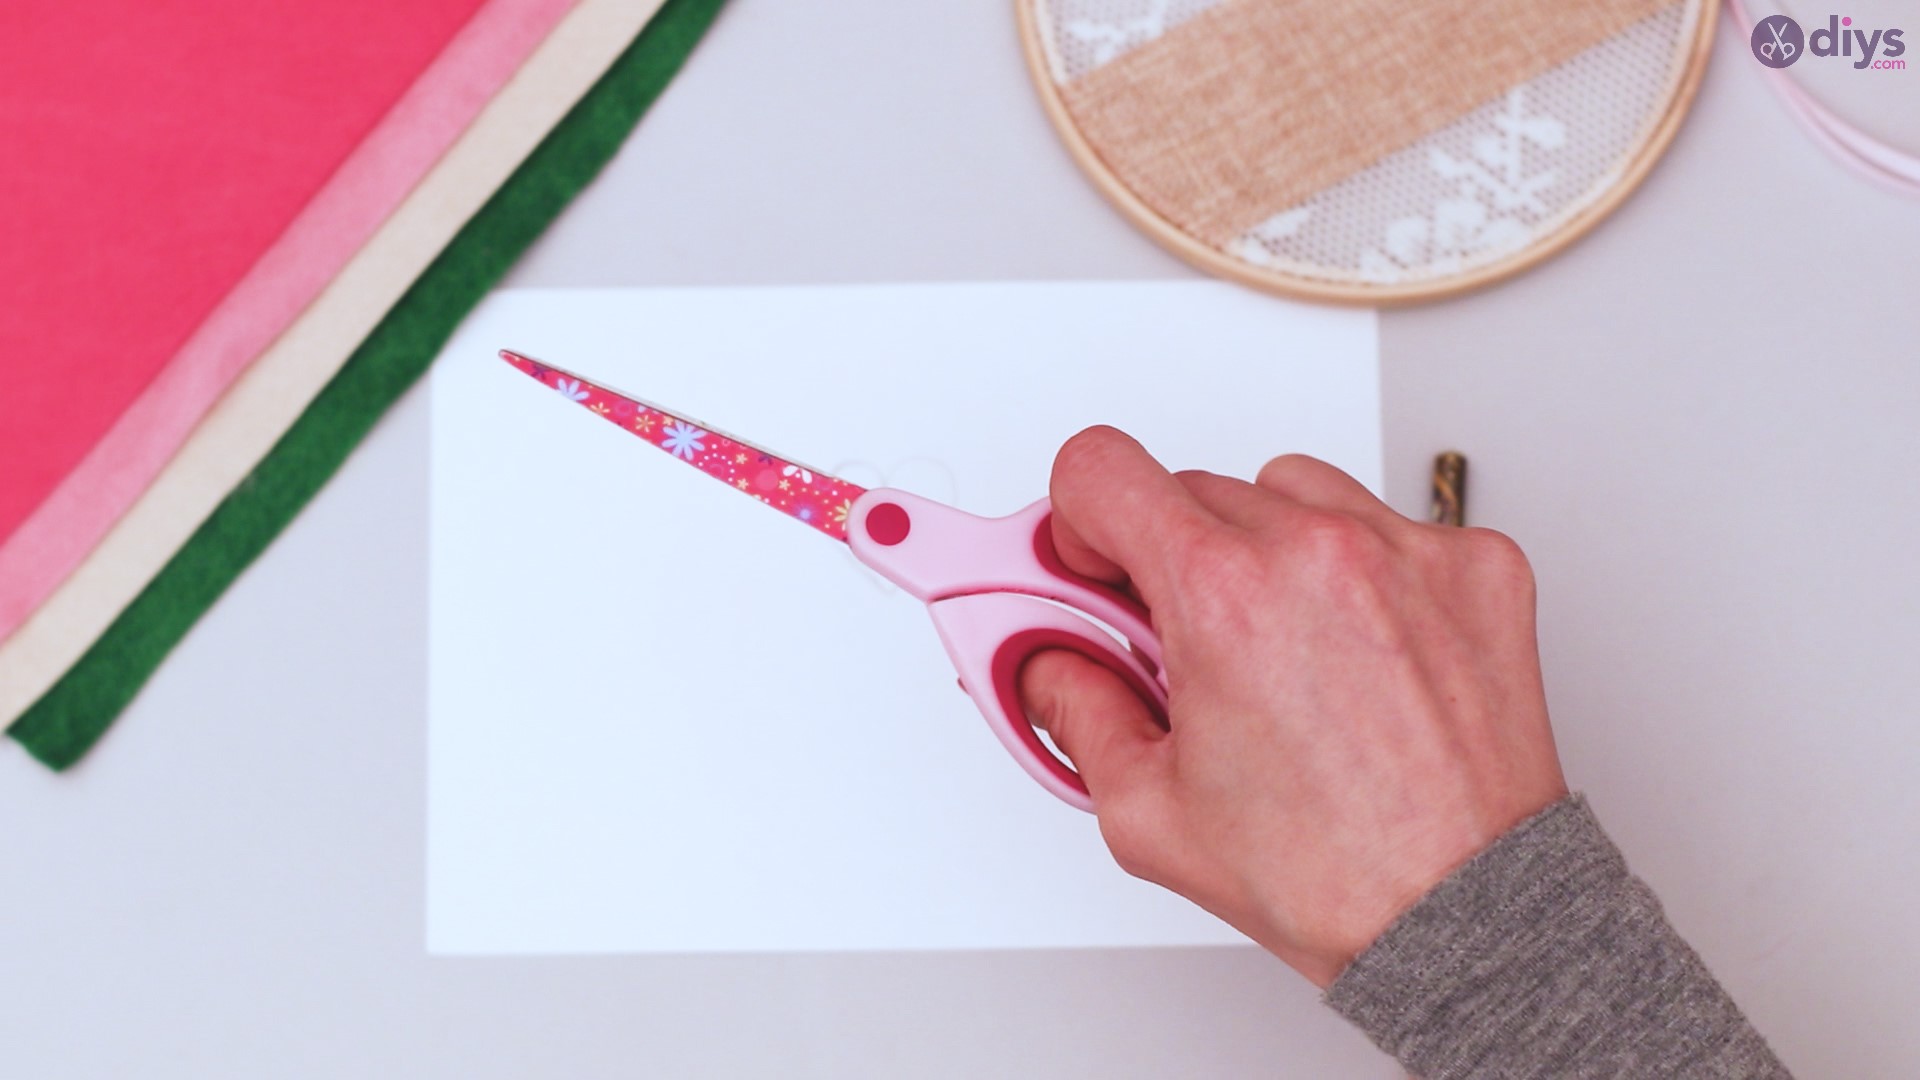
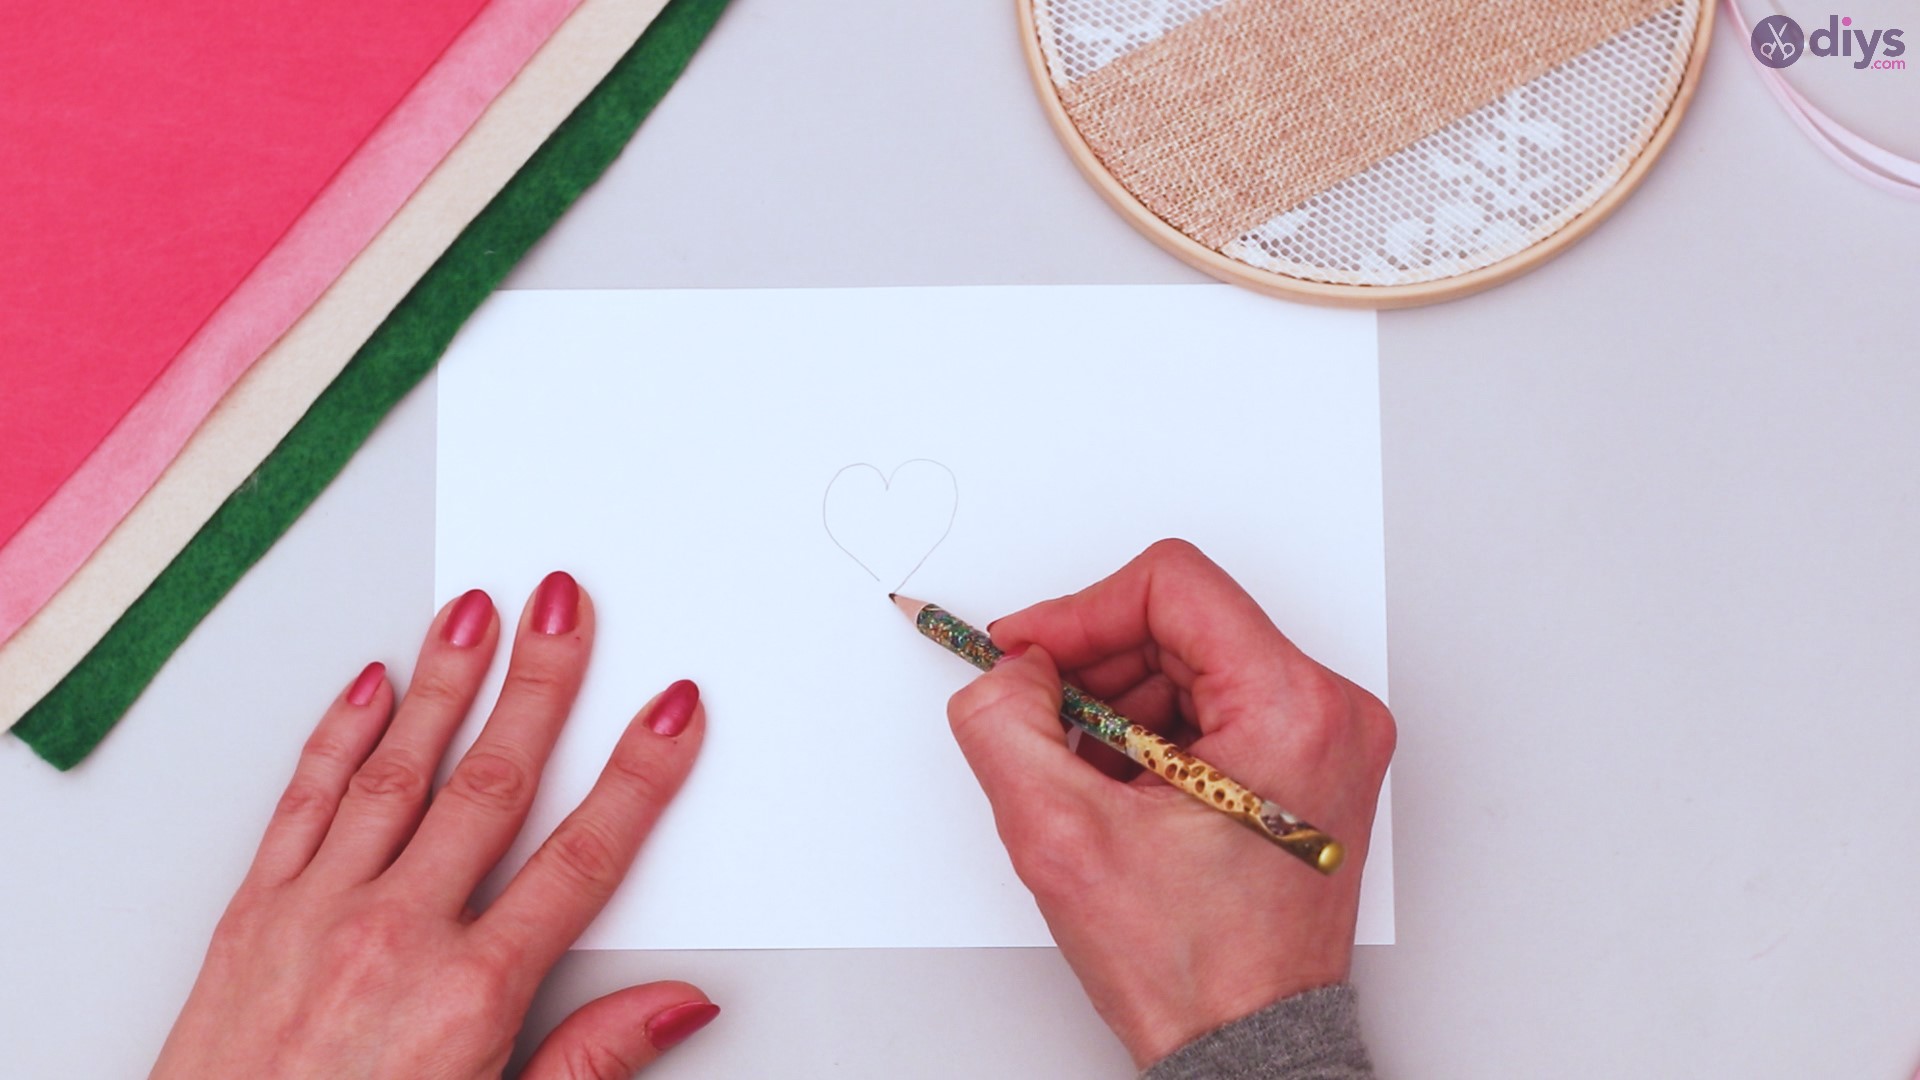
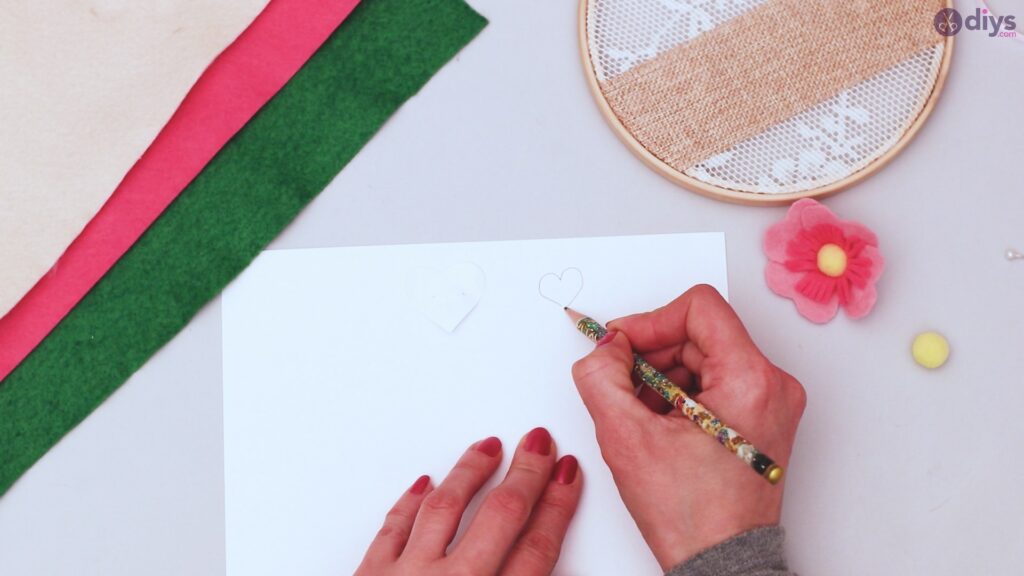
Step 4: Draw your template
For this particular décor, we’re creating flowers, and the petals will be represented by hearts. Your flowers will be created using four hearts and will mount to your jute ribbon, so you’ll want to size them appropriately. This is completely up to you, but you may want to keep these around two inches (also depending on the size of your embroidery hoop). Draw your heart on paper and cut out with the scissors.


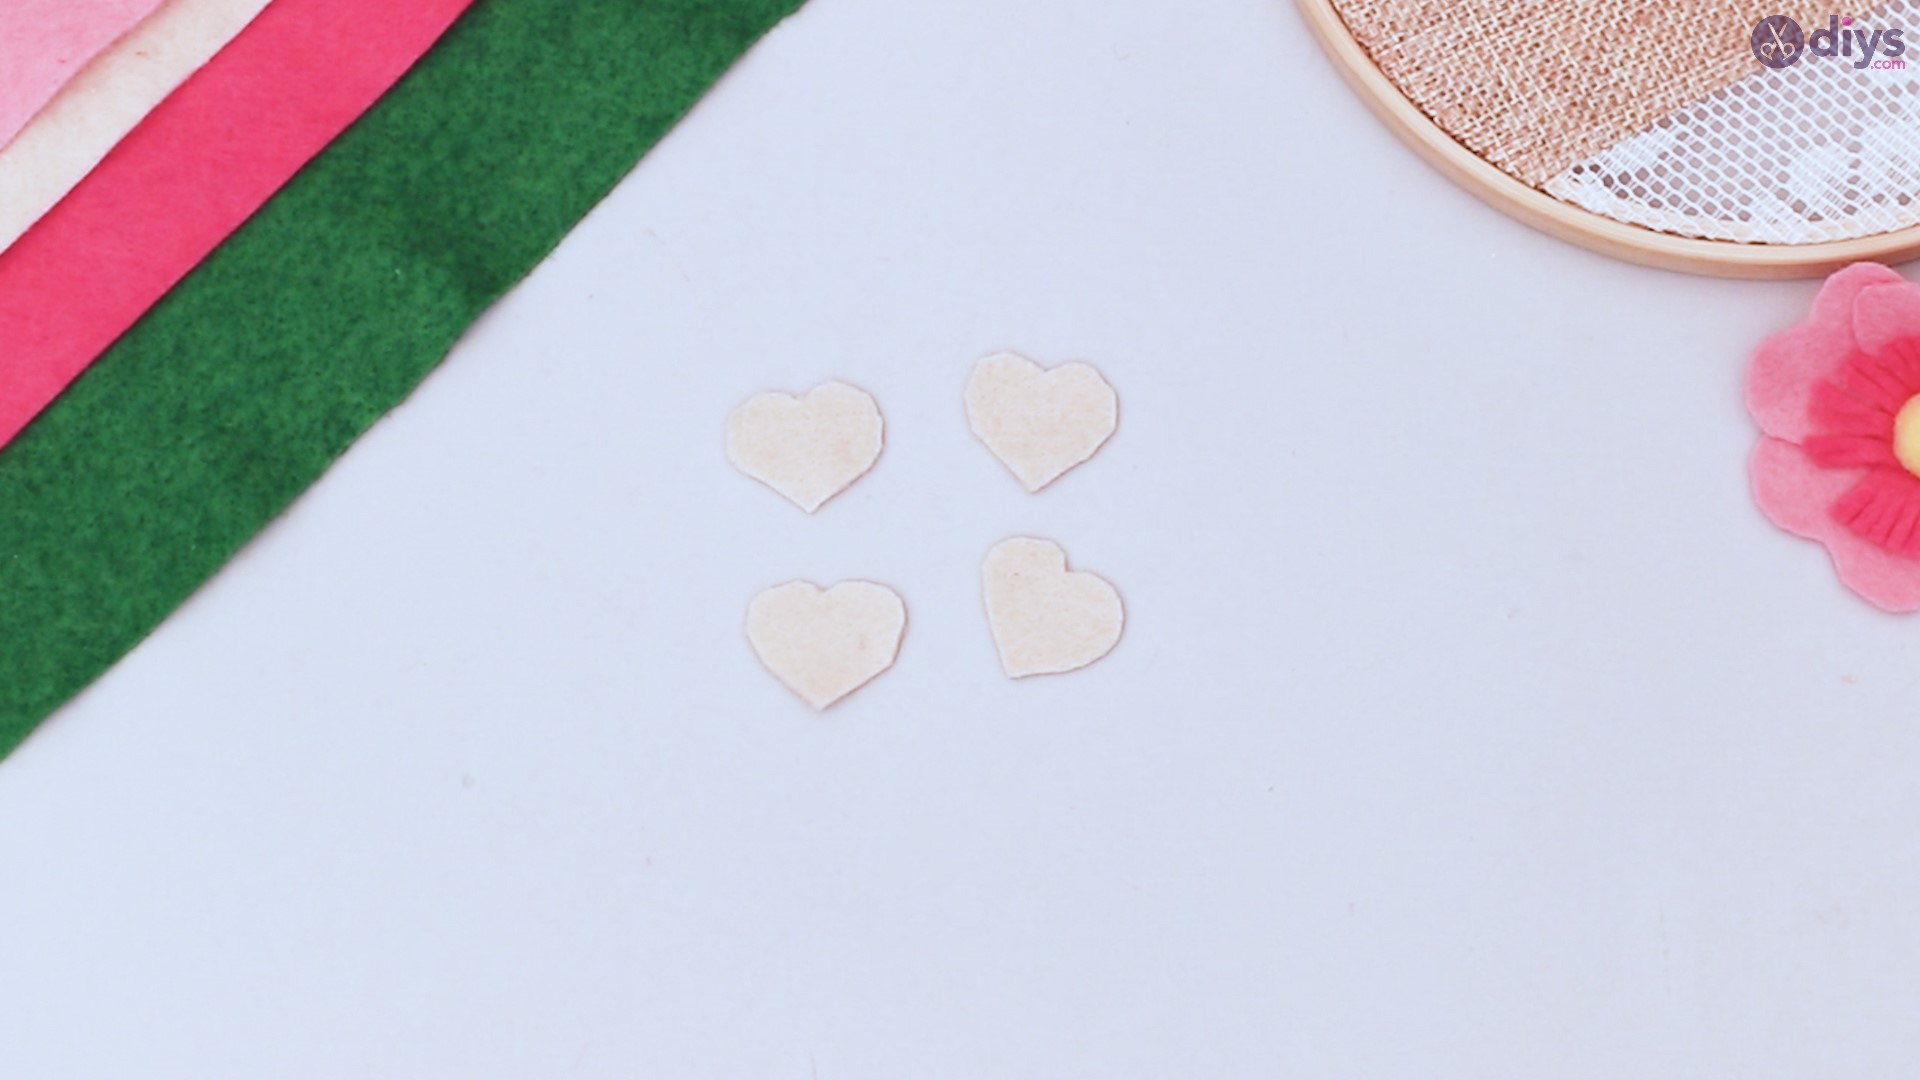
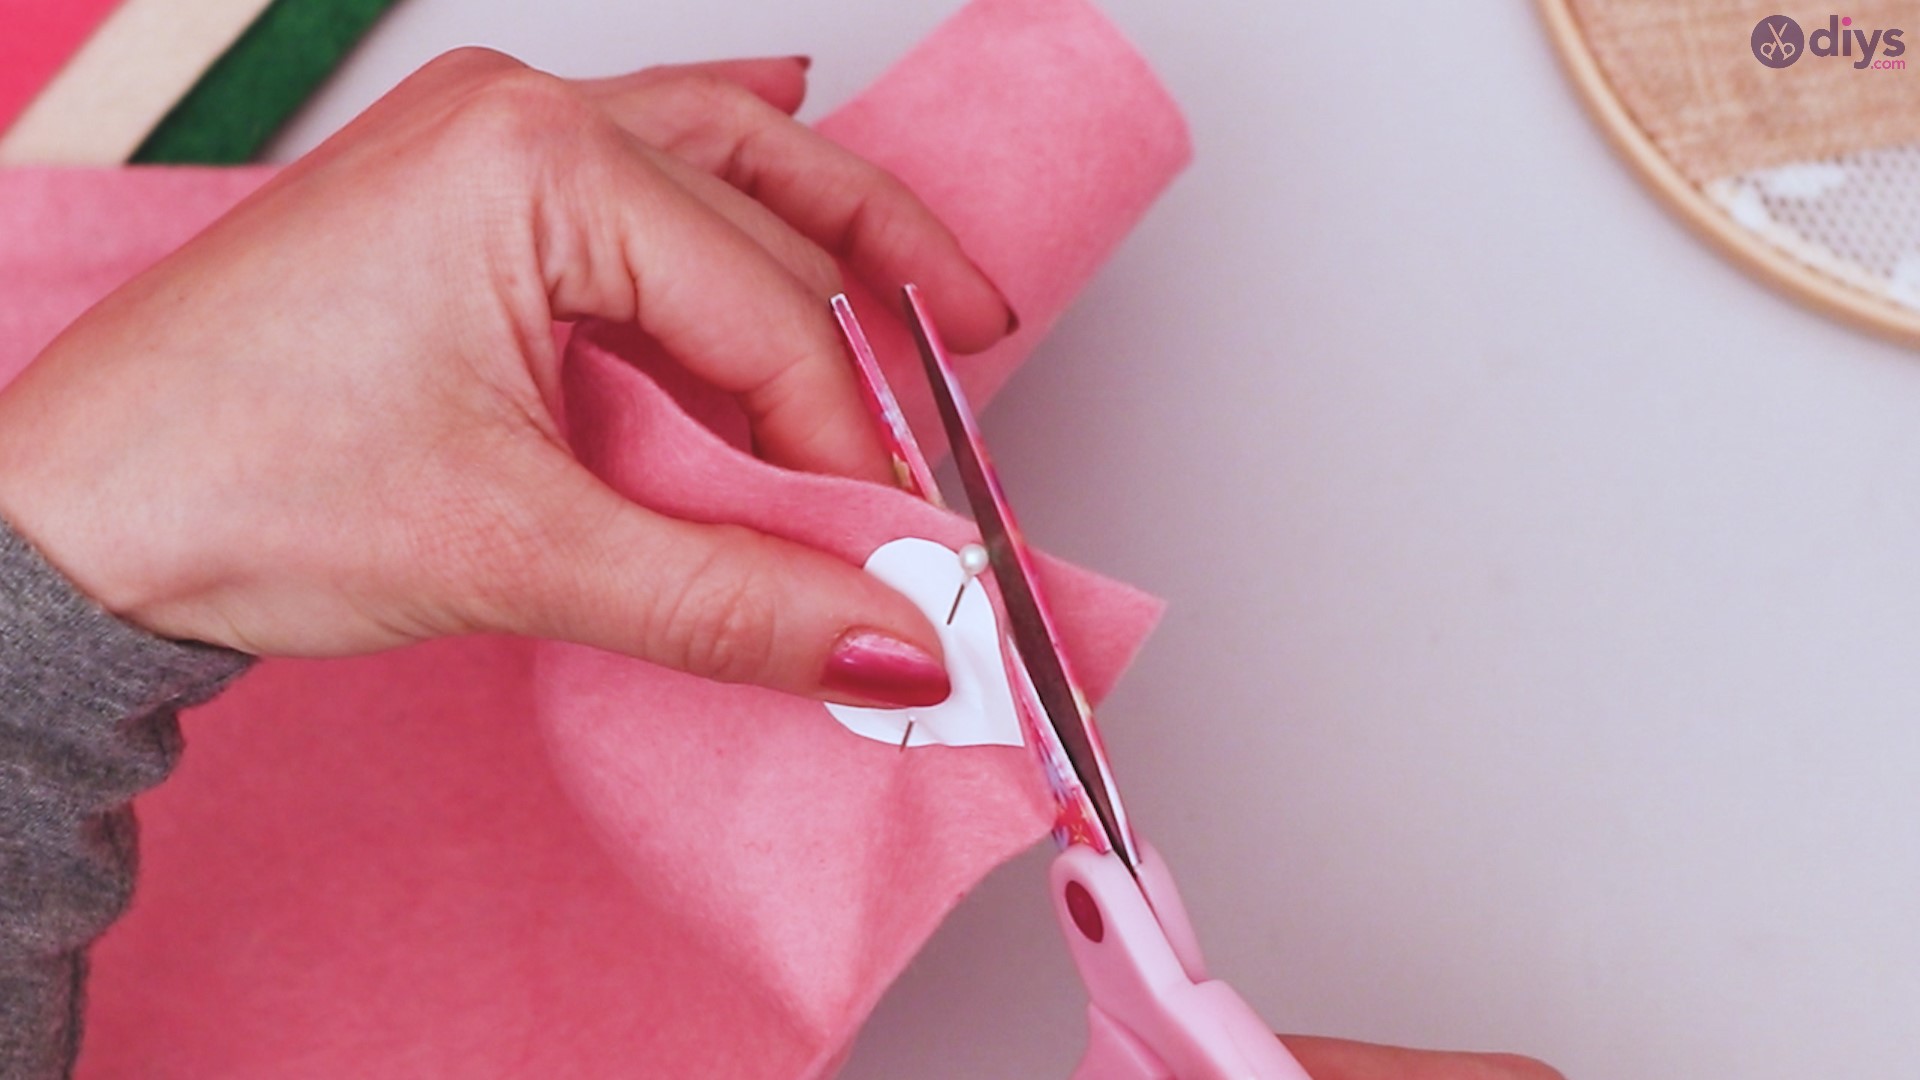
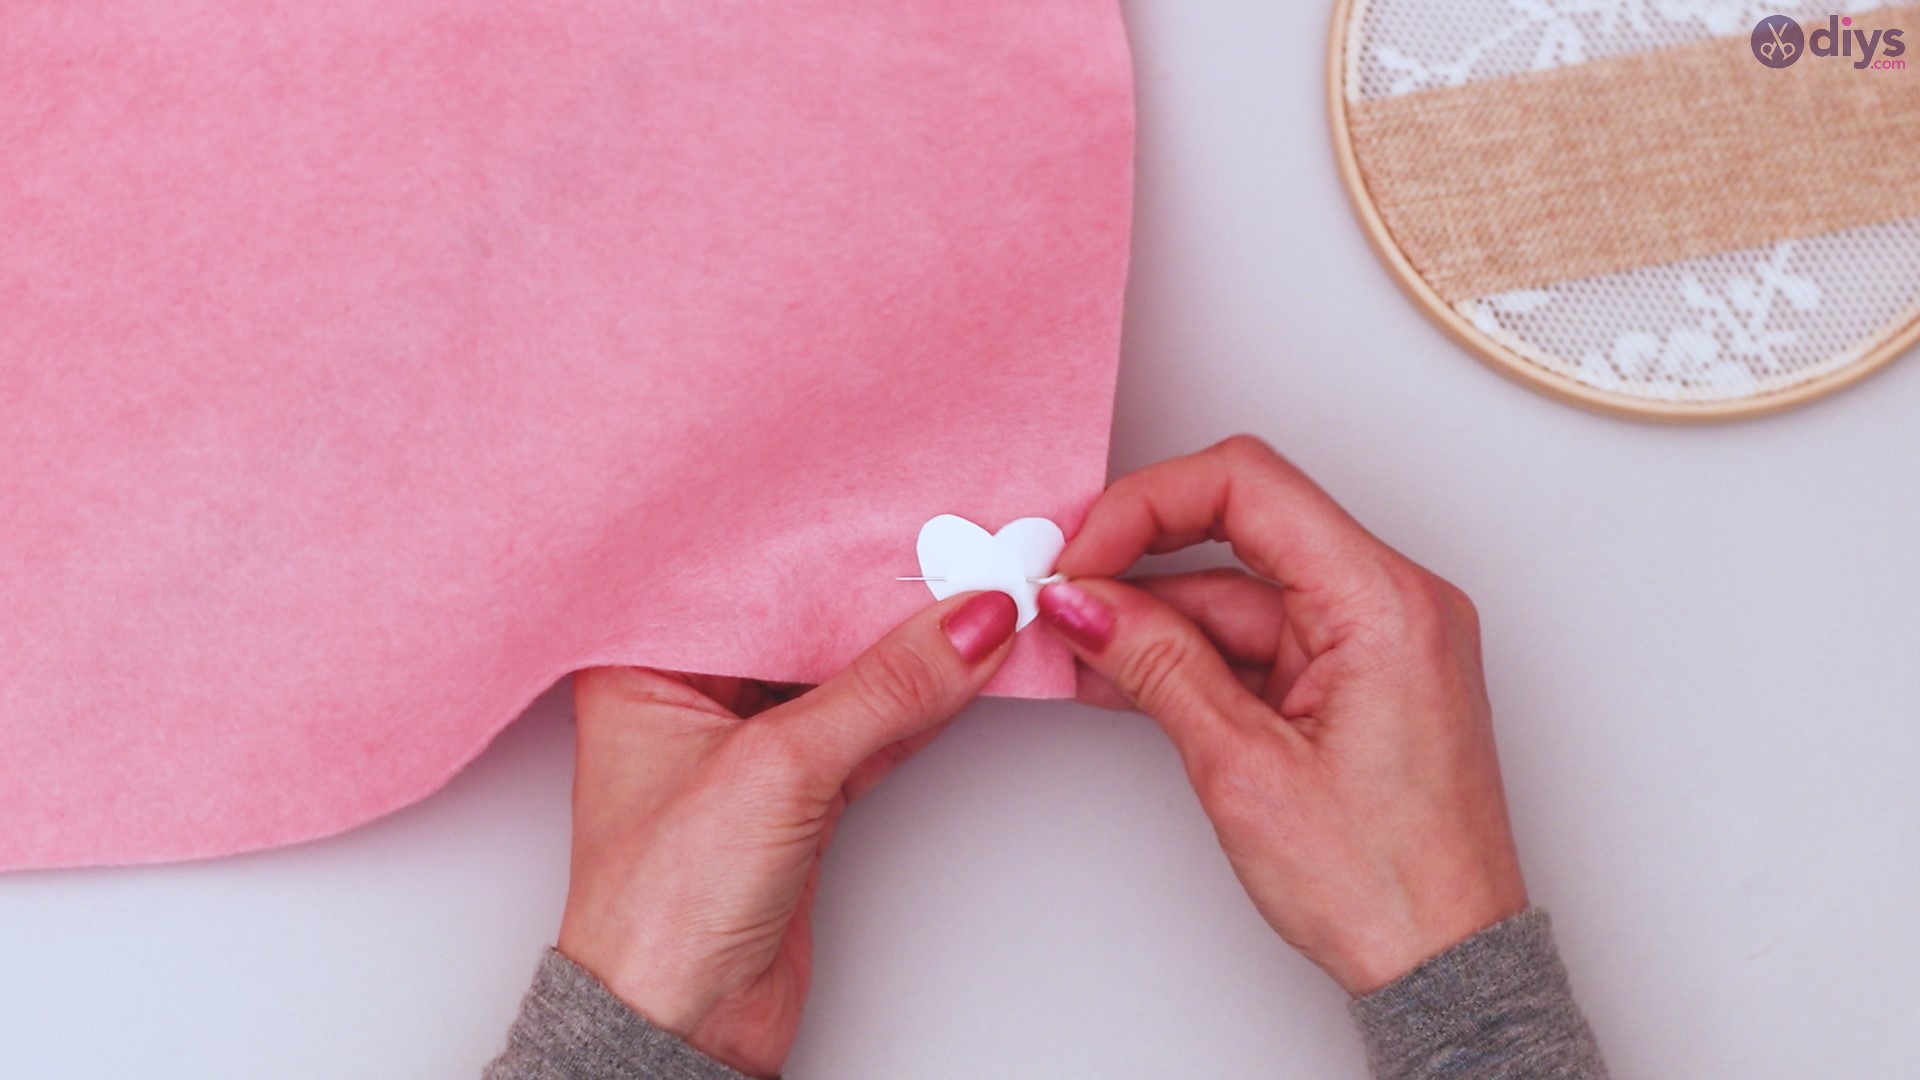
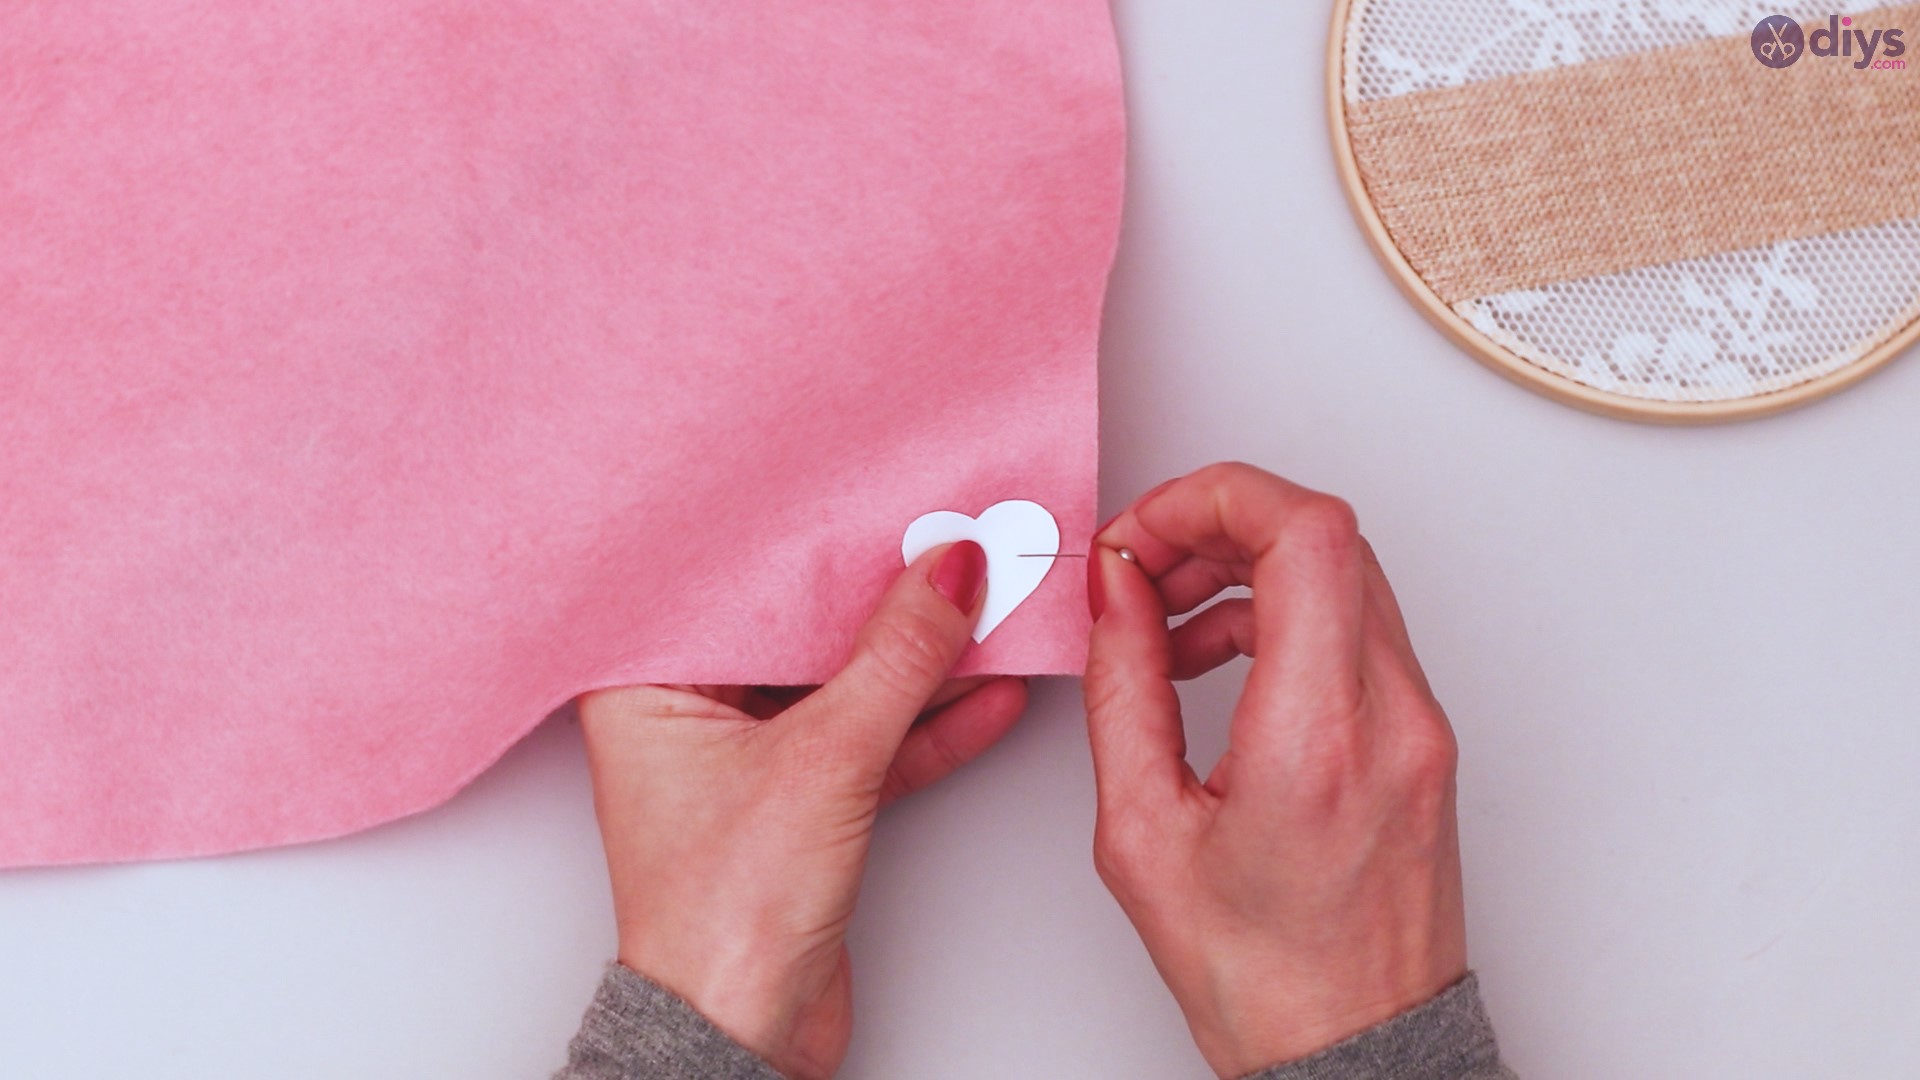
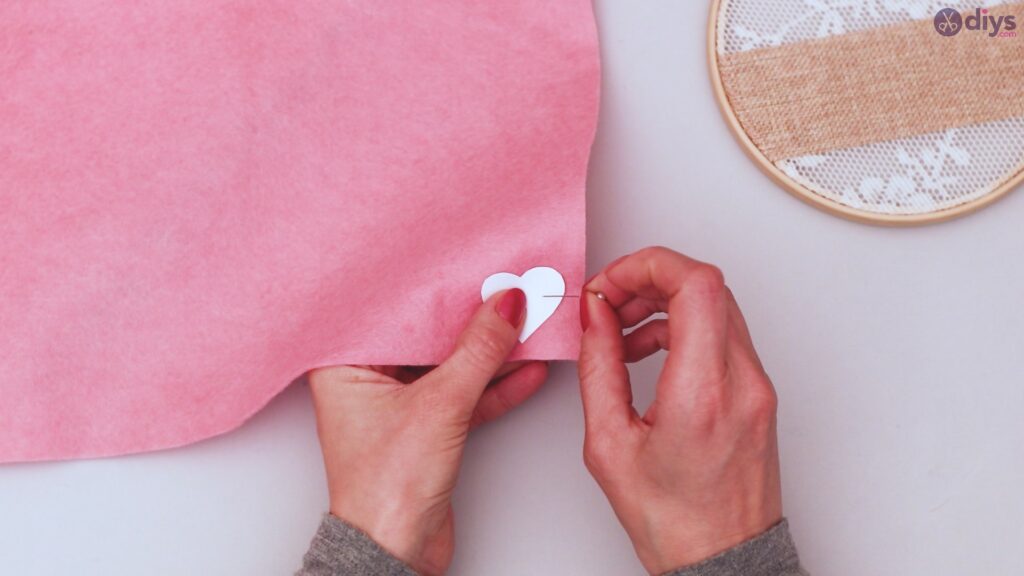
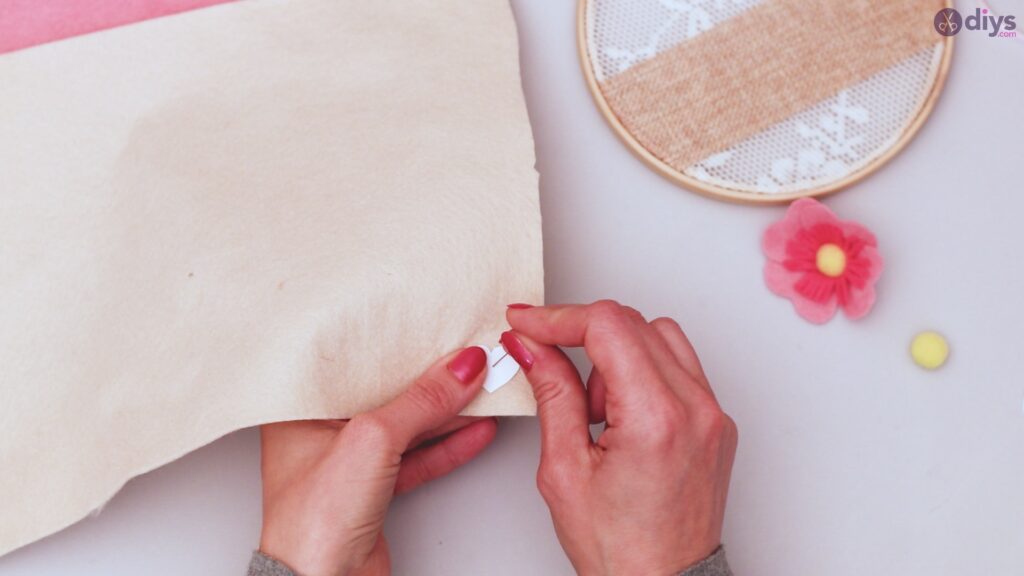
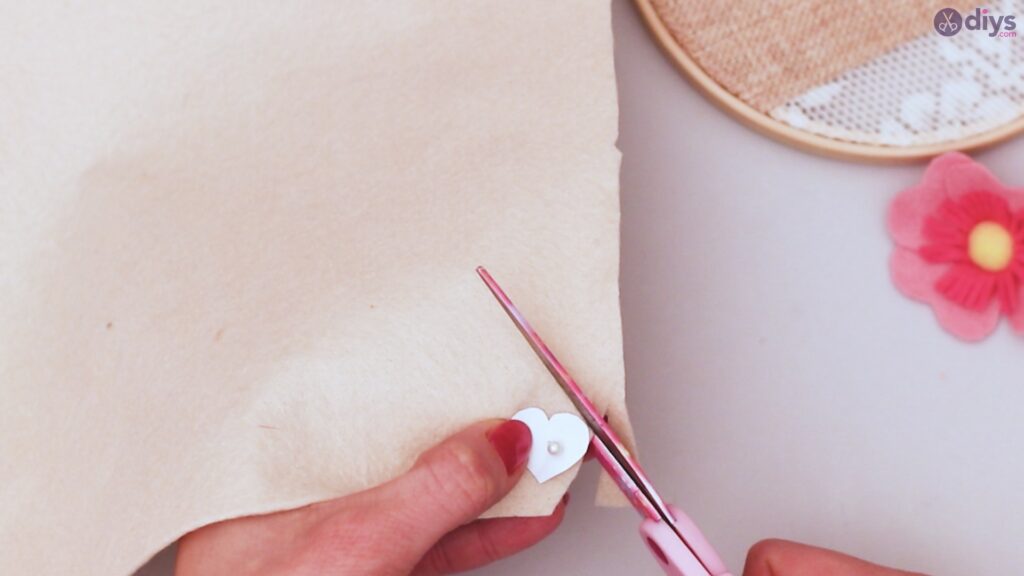
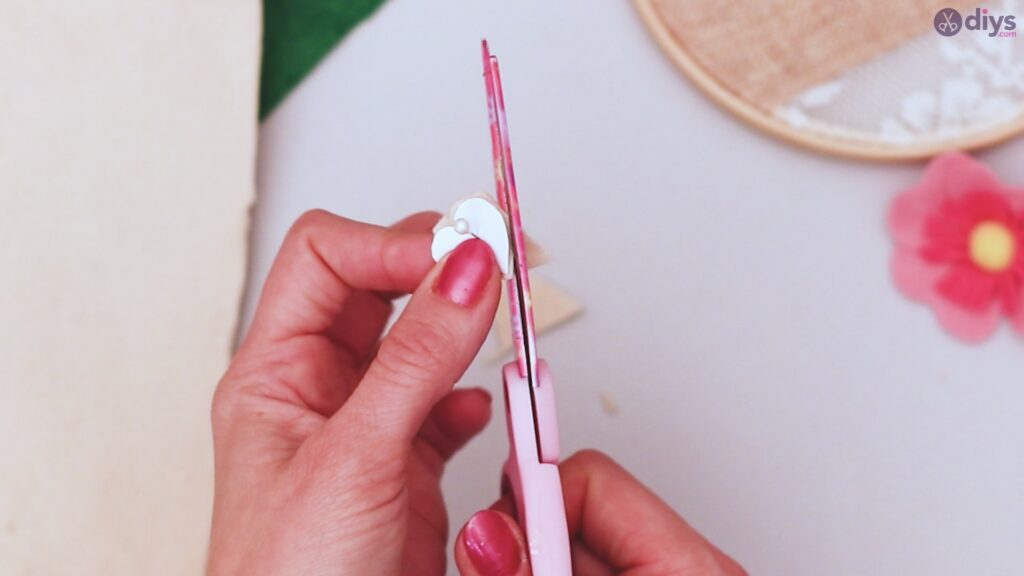
Step 5: Make your felt hearts
Pin your template to one of your pieces of felt. Use your scissors to cut around the template to create a felt heart. Repeat this three more times so you have four felt hearts of the same color.


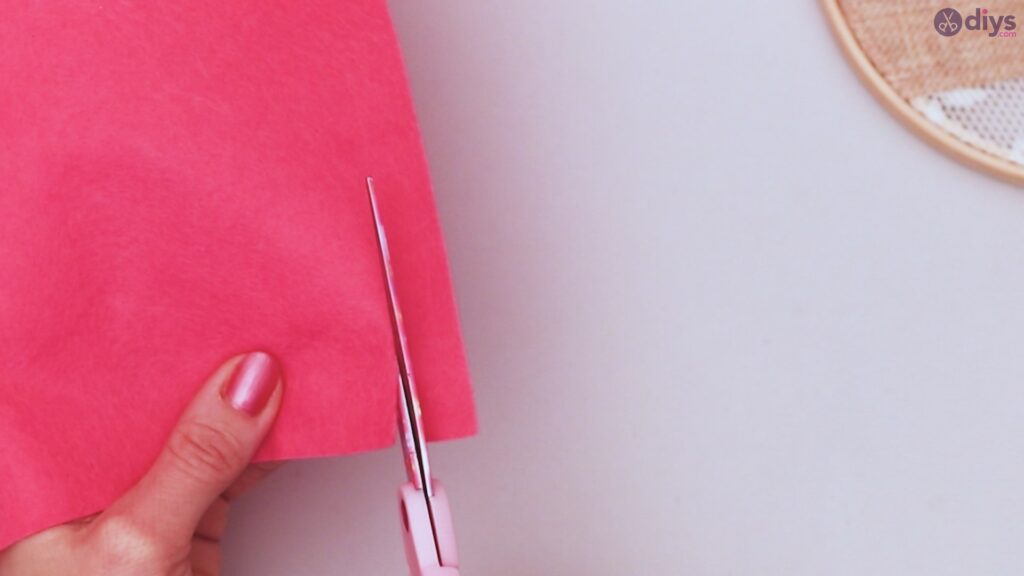
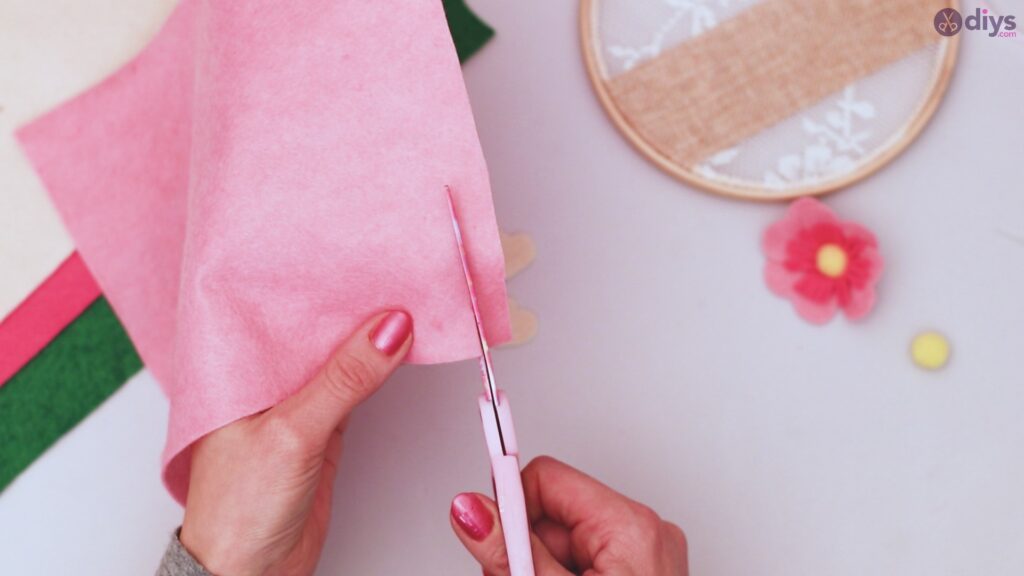
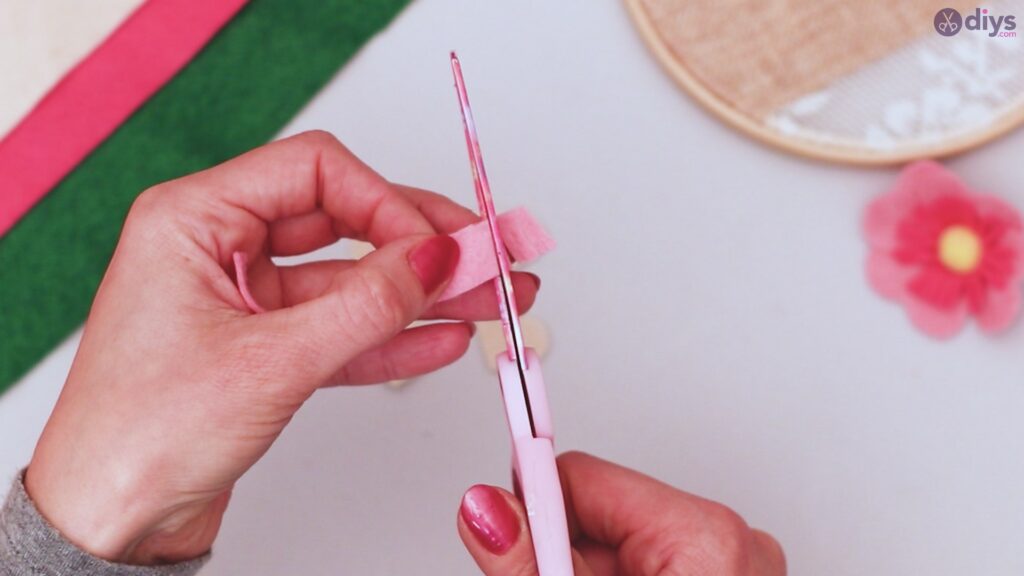
Step 6: Create your second layer
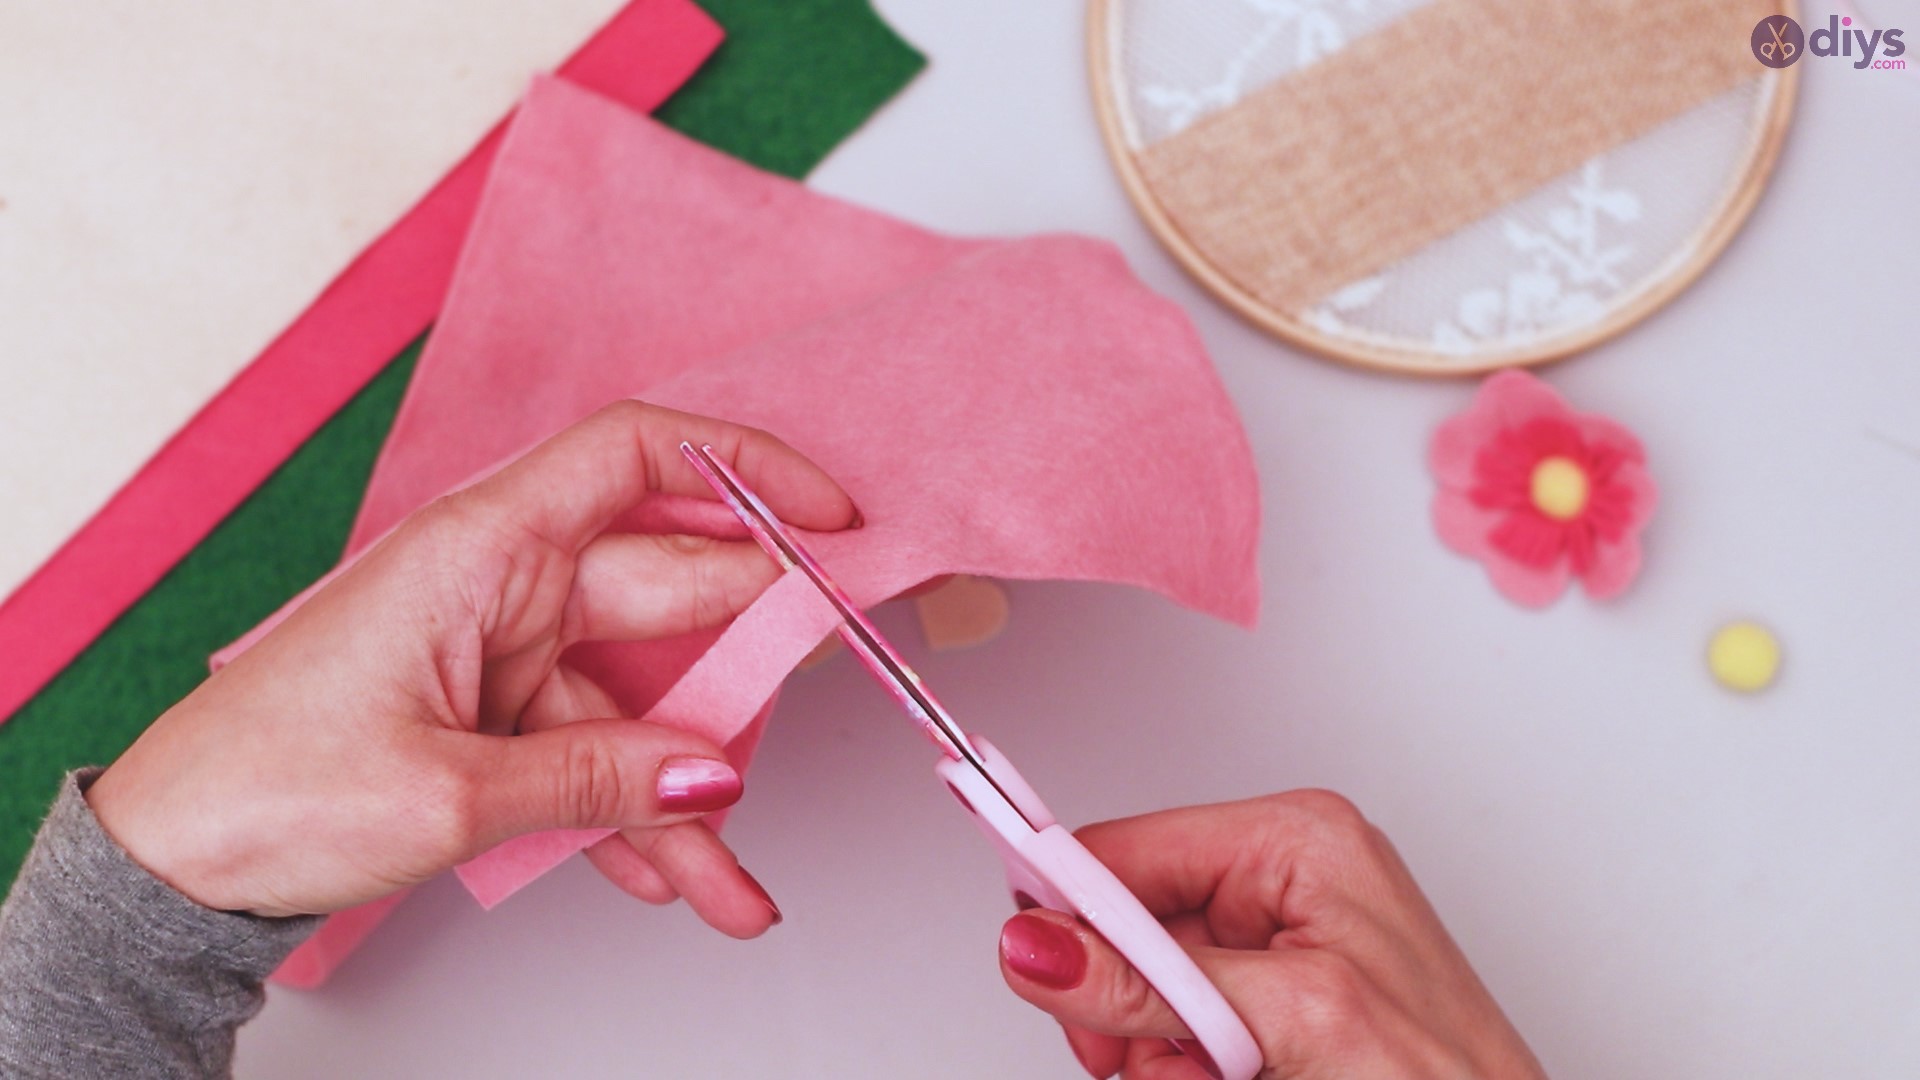
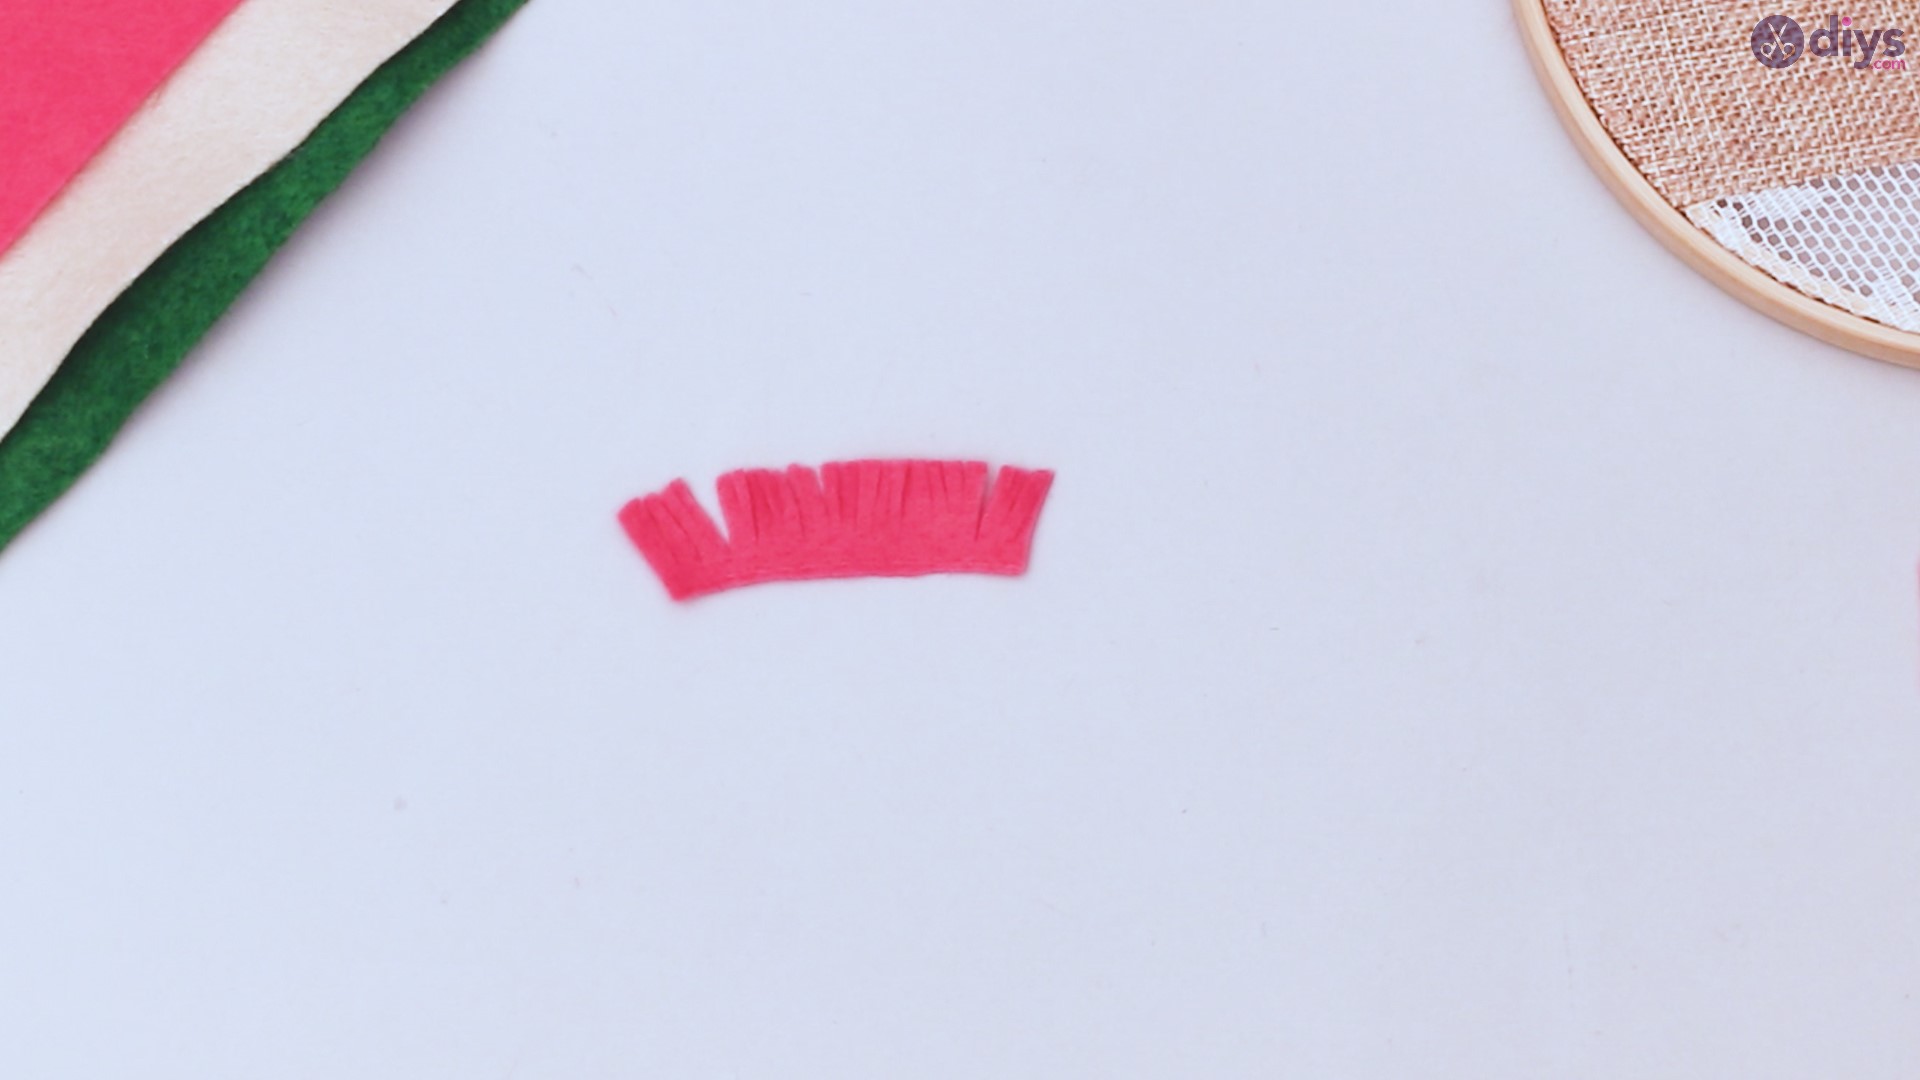
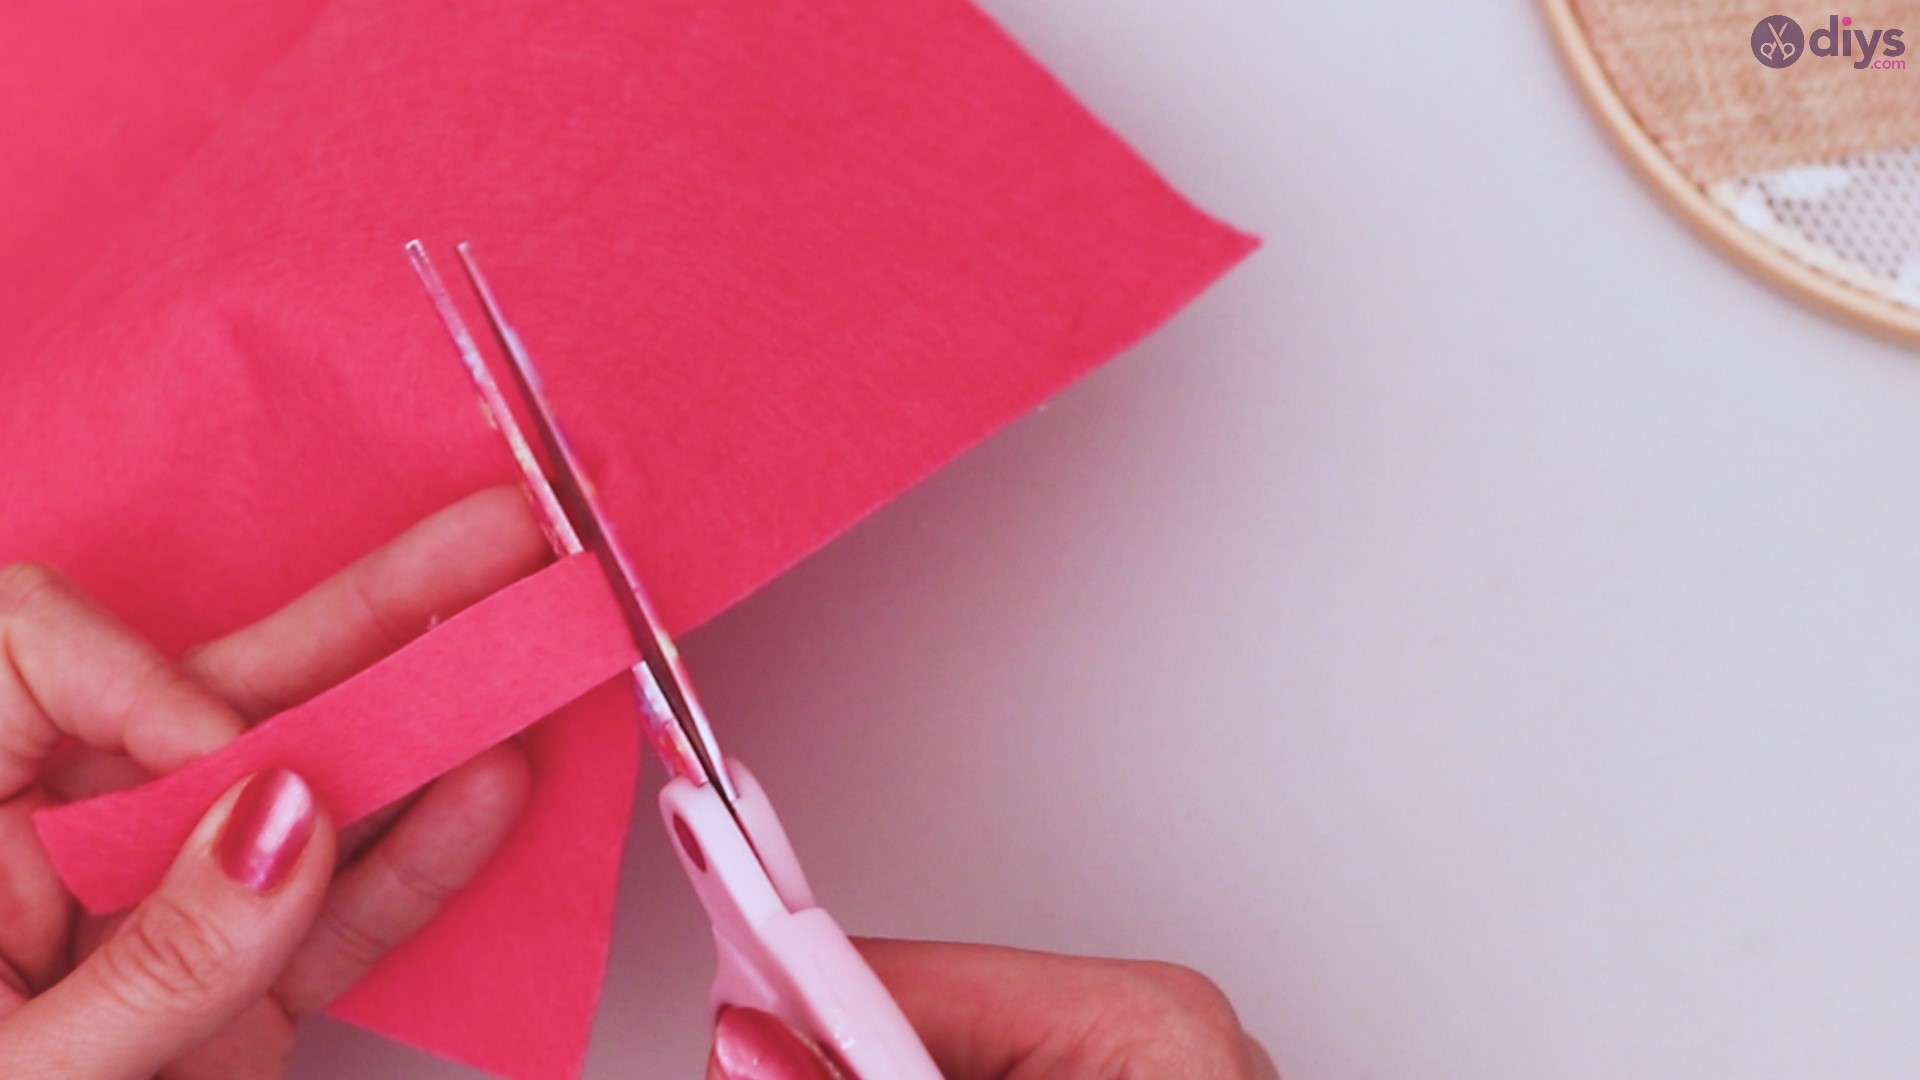
For the inside of your flower, cut a strip of another color felt. This strip should be approximately half as thick as the height of your hearts.

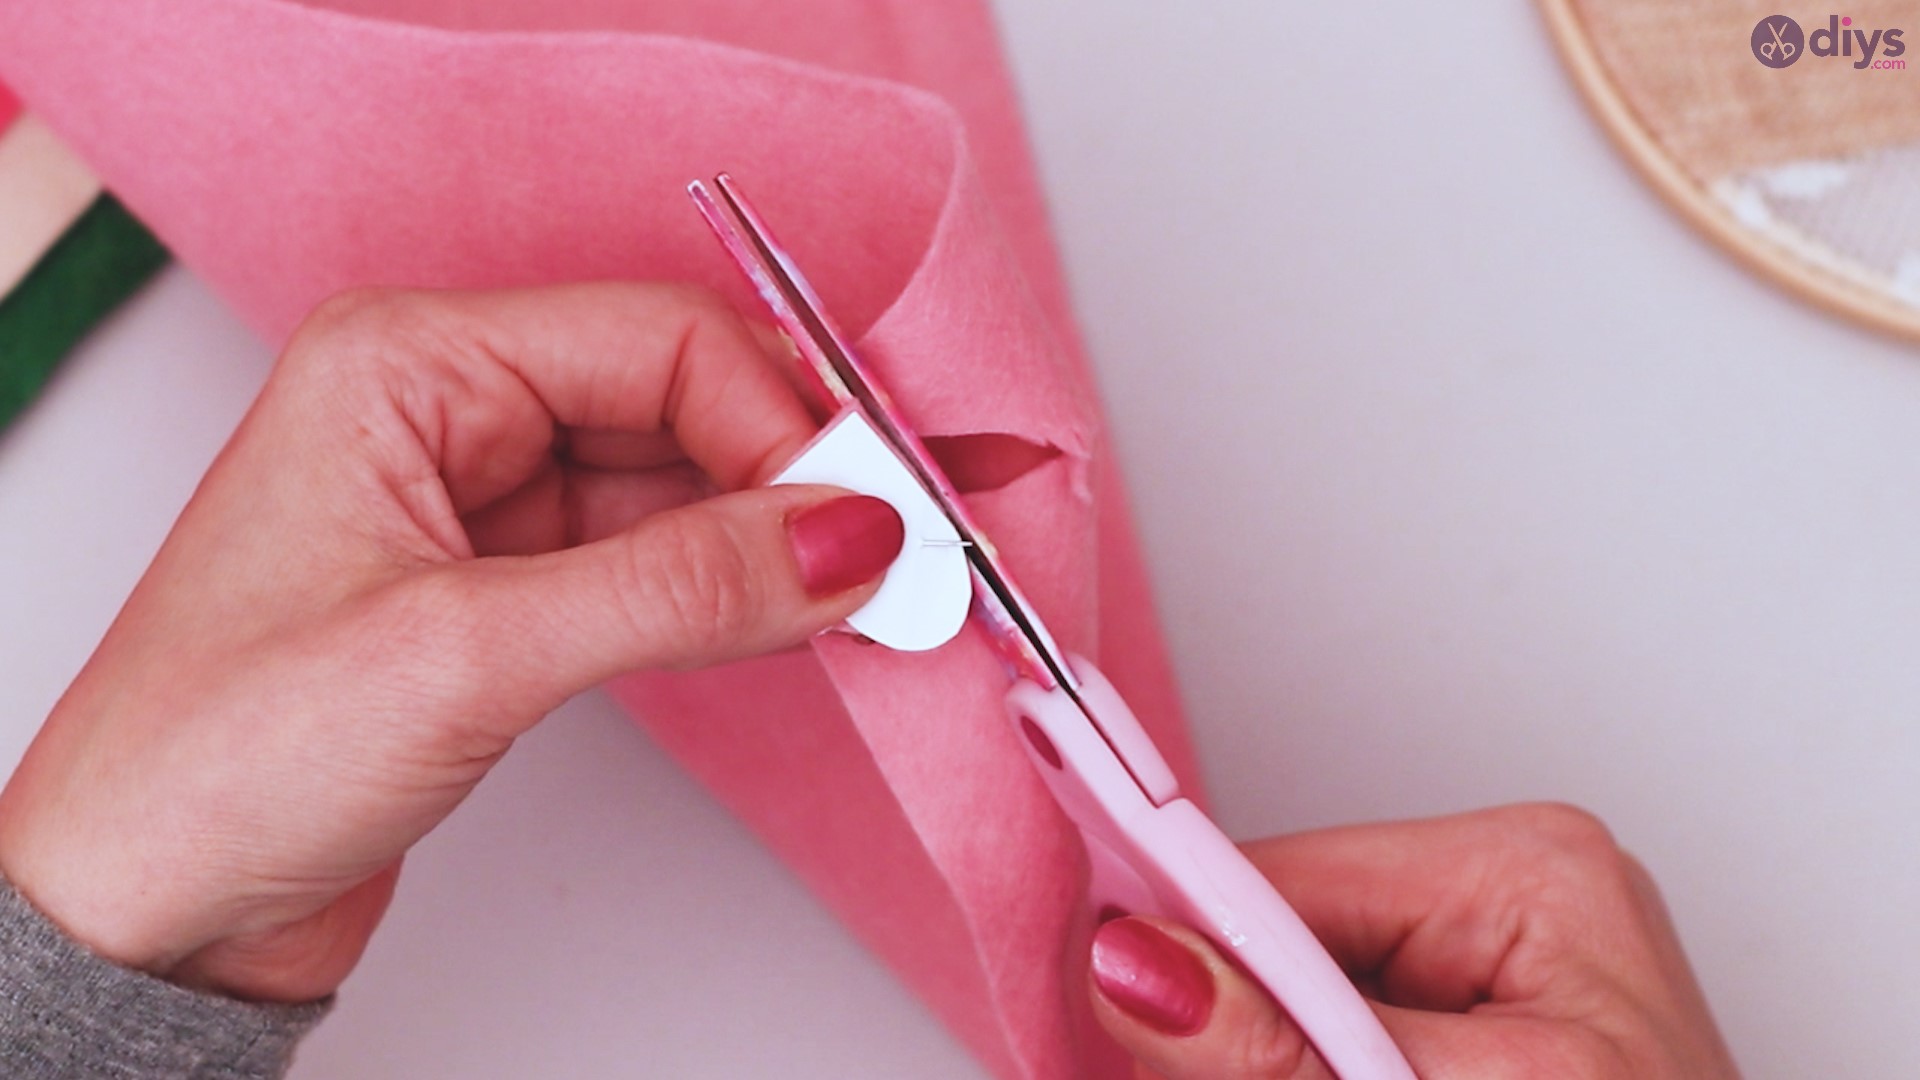
Leaving a small part of this strip intact, cut thin lines of fringe into the strip of felt.

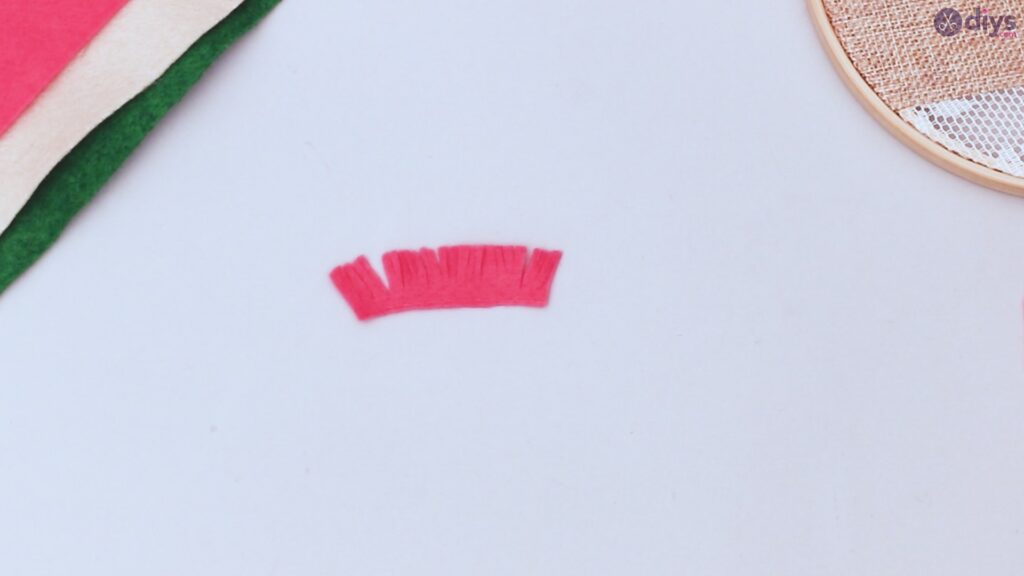
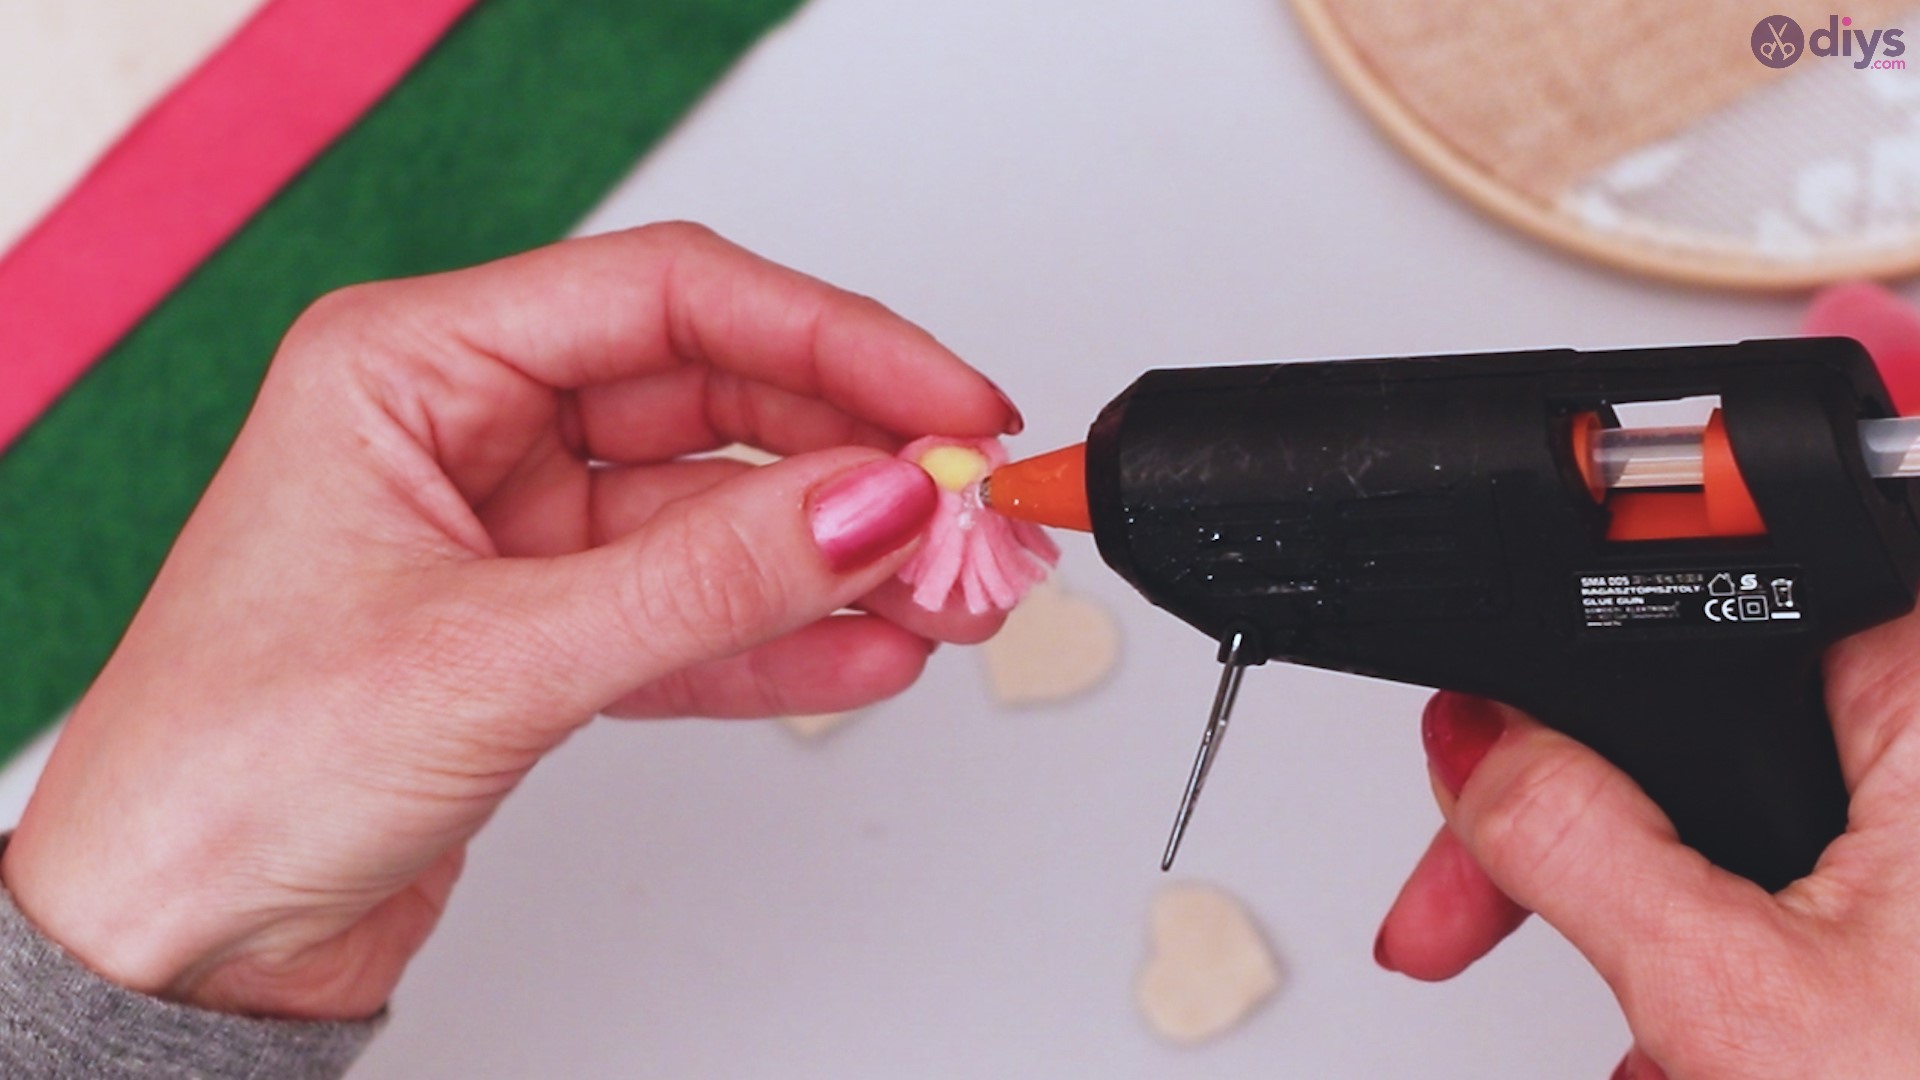
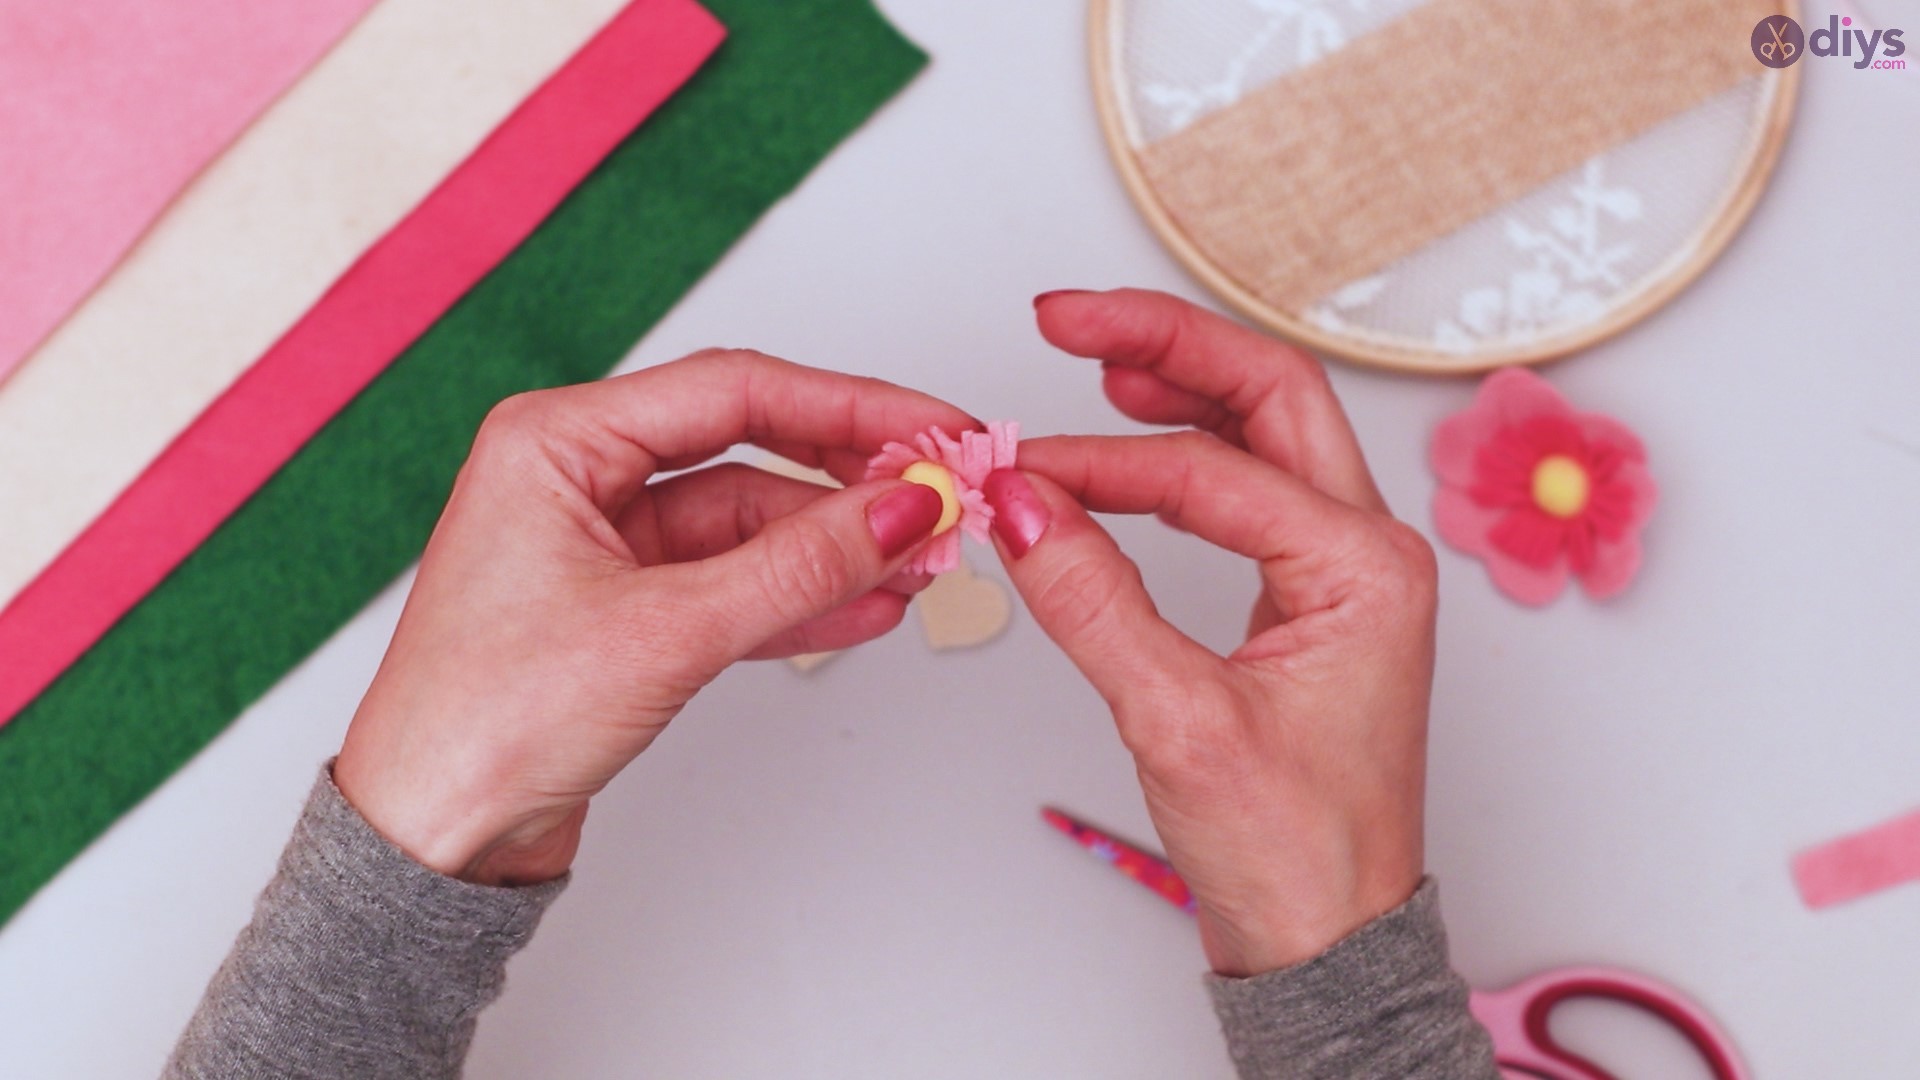
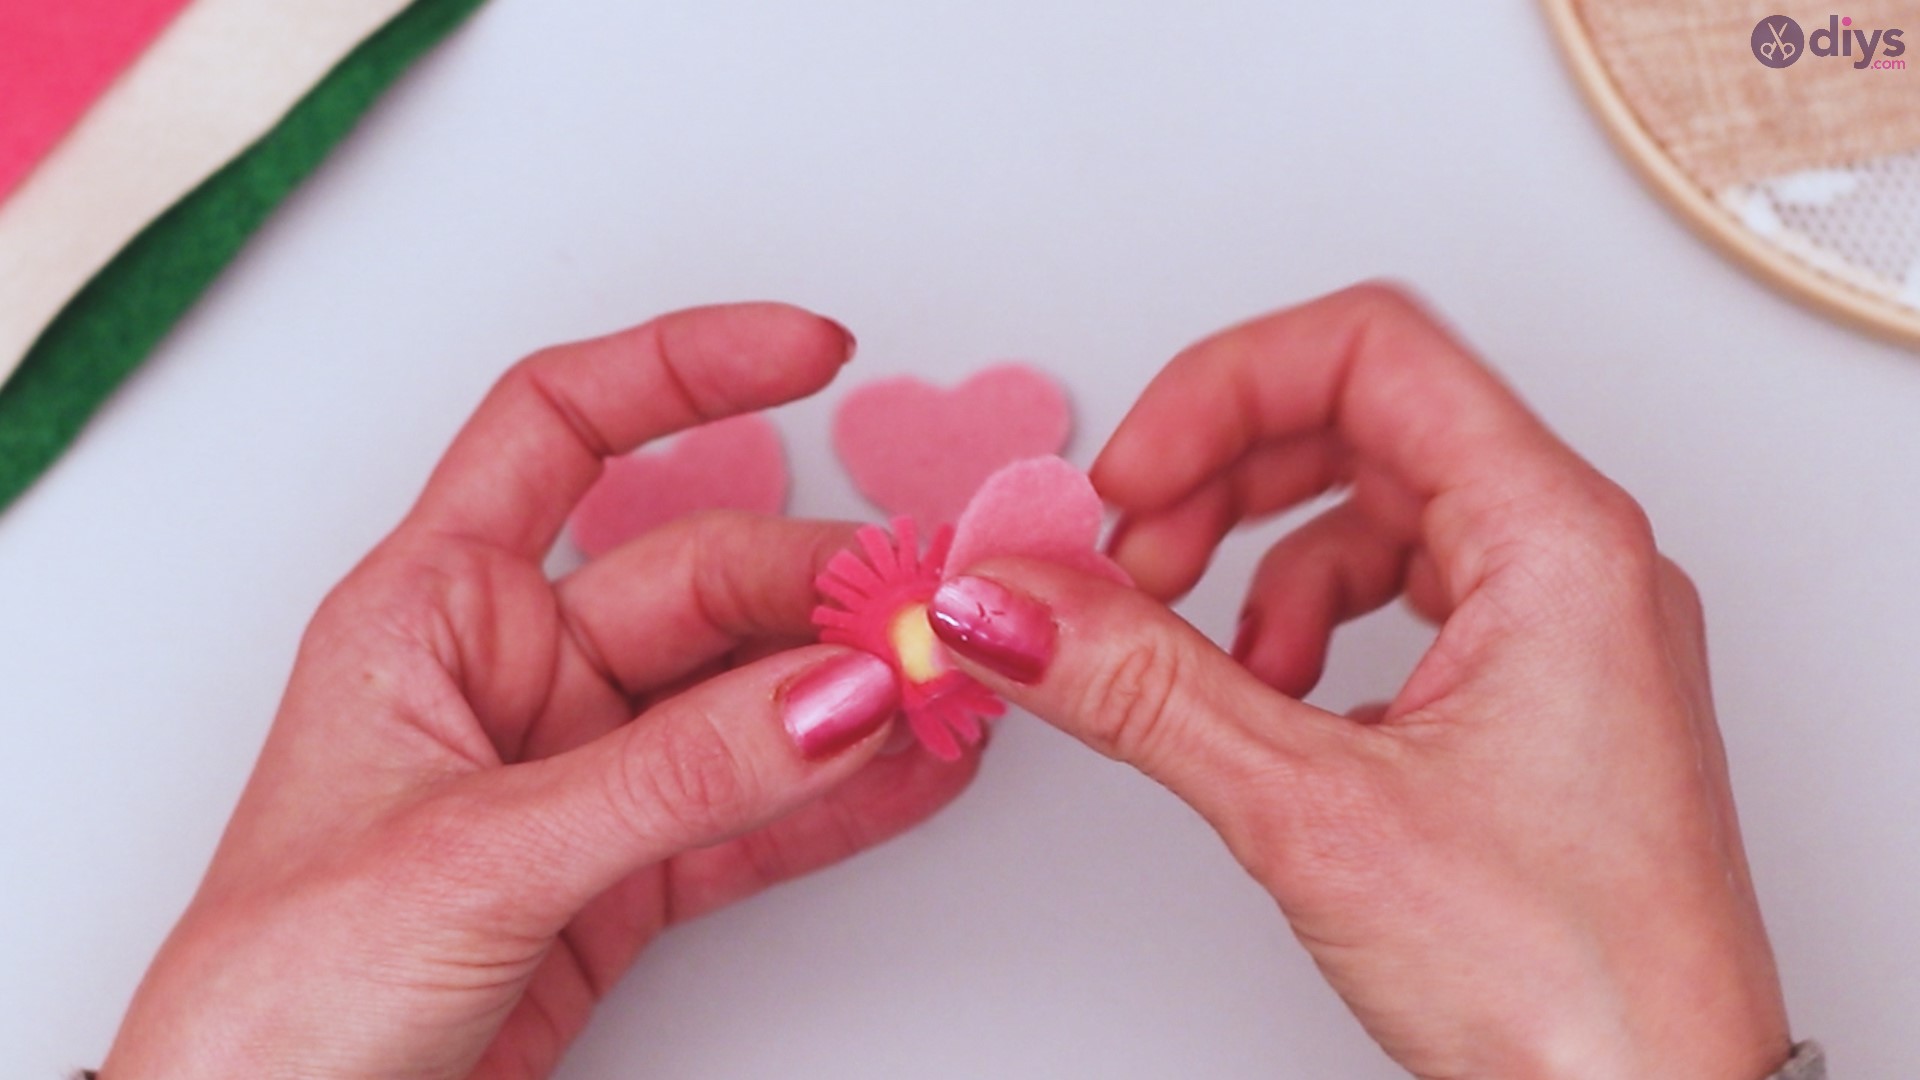
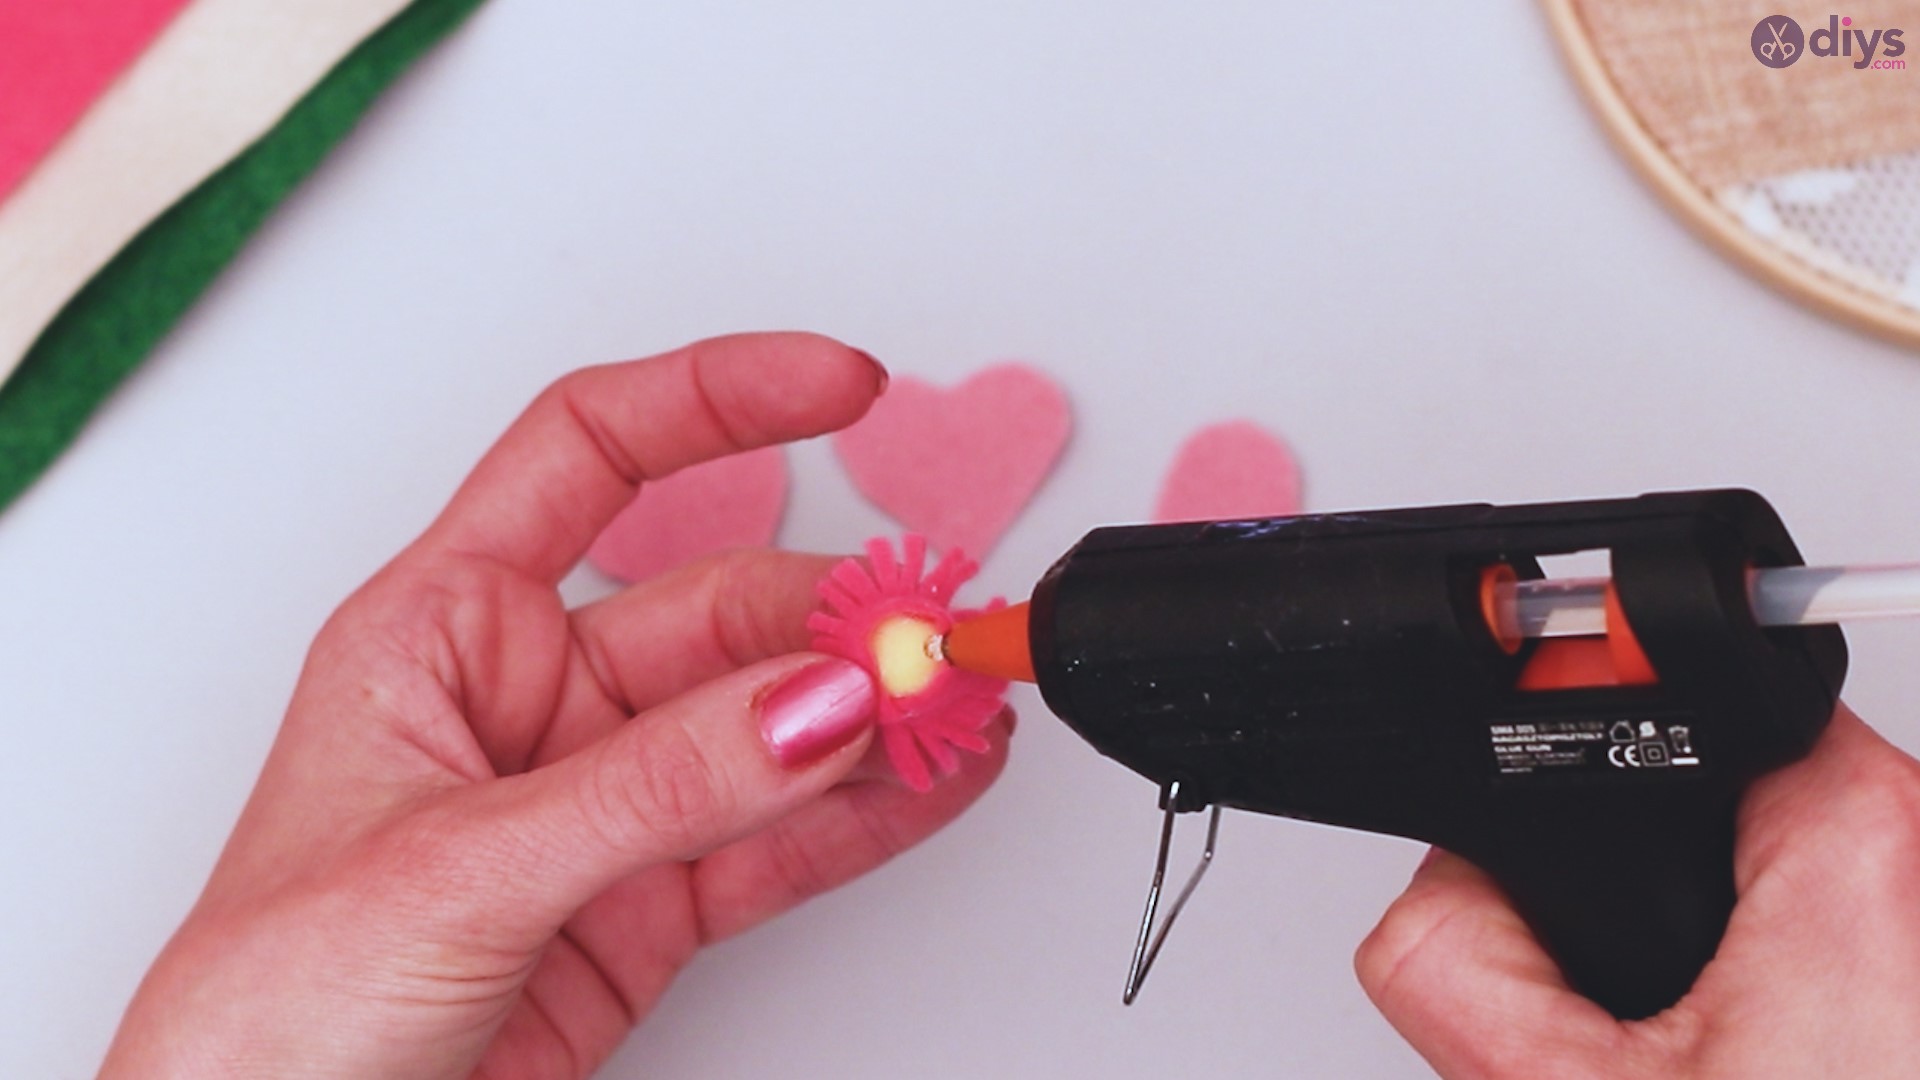
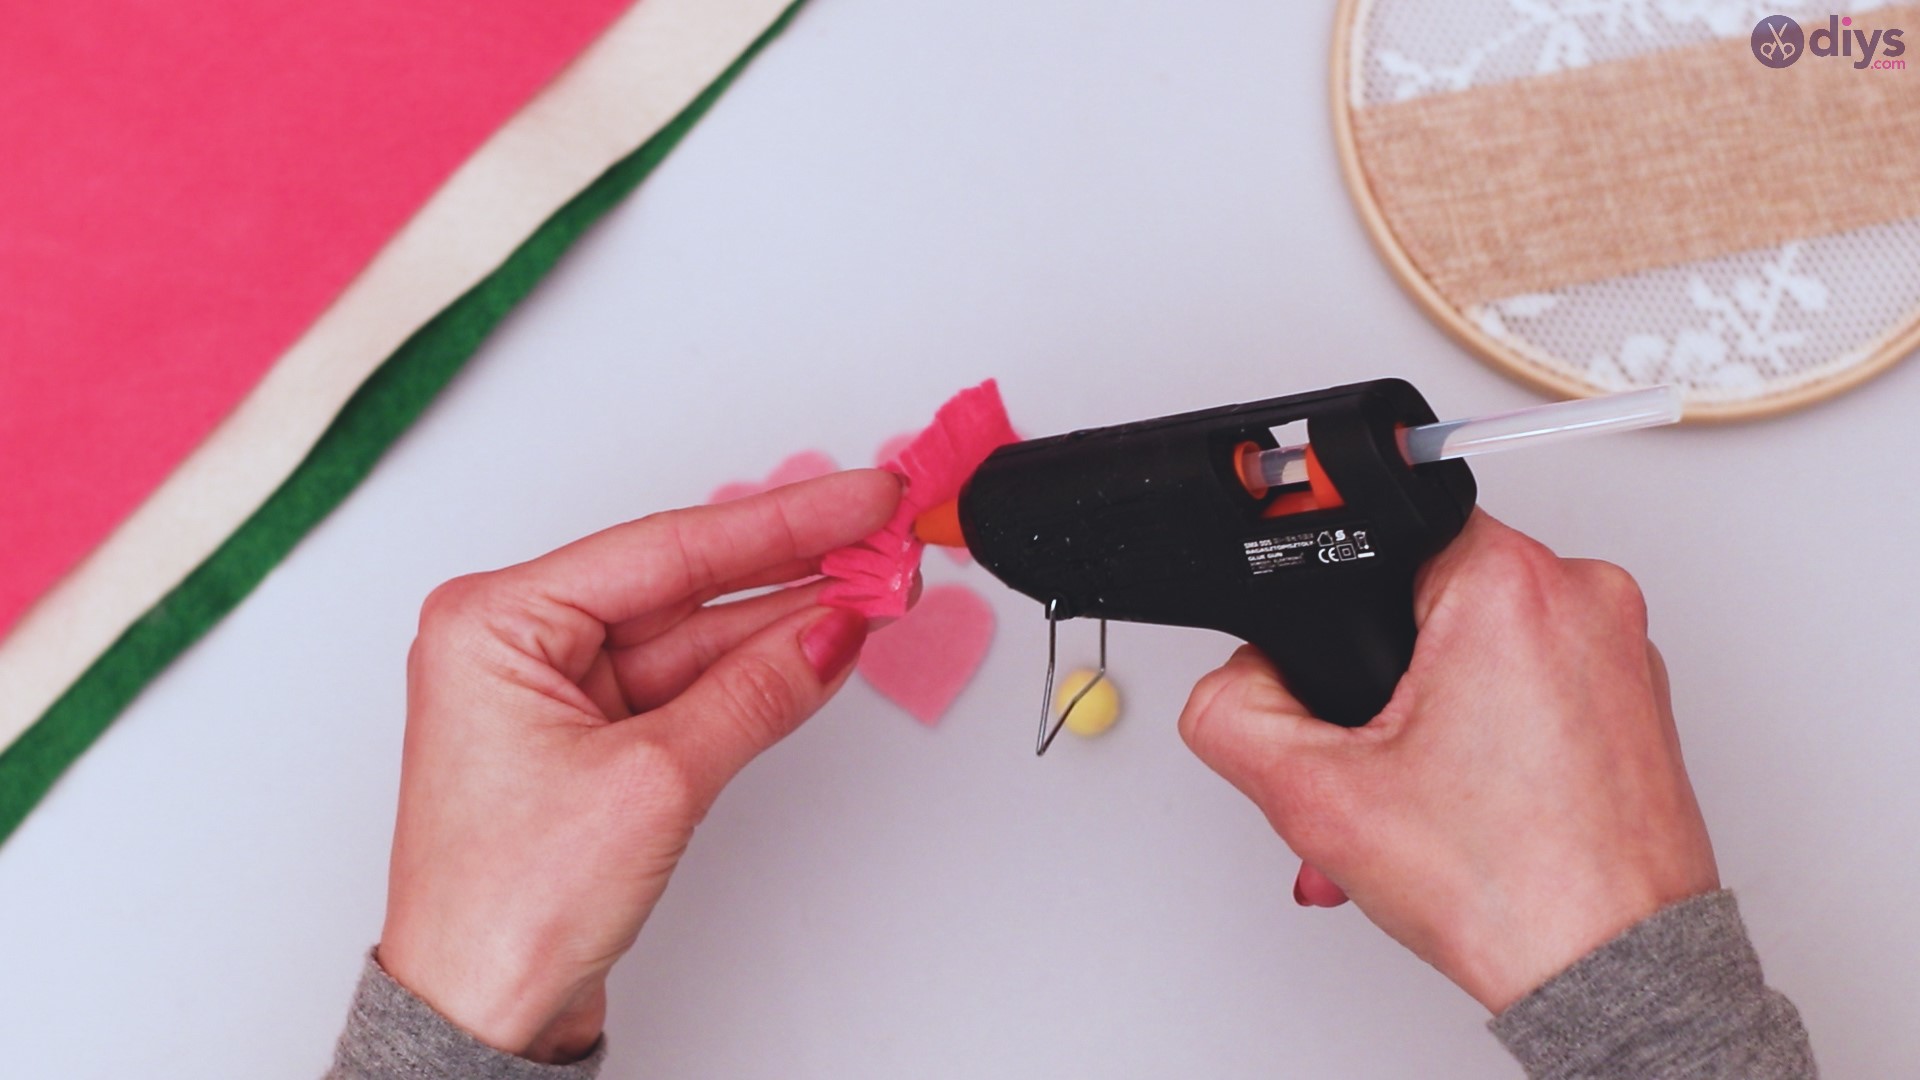
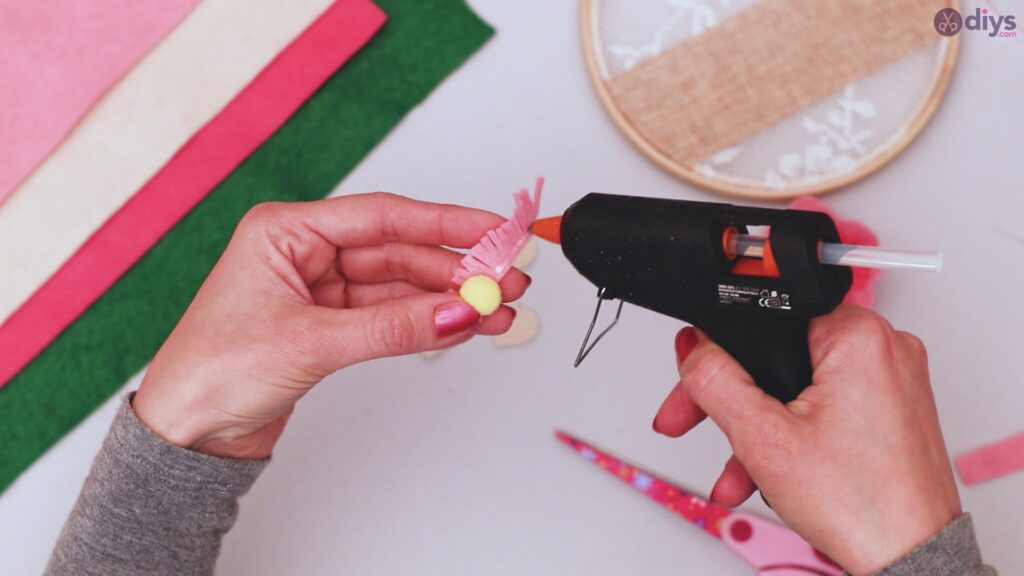
Step 7: Add your center
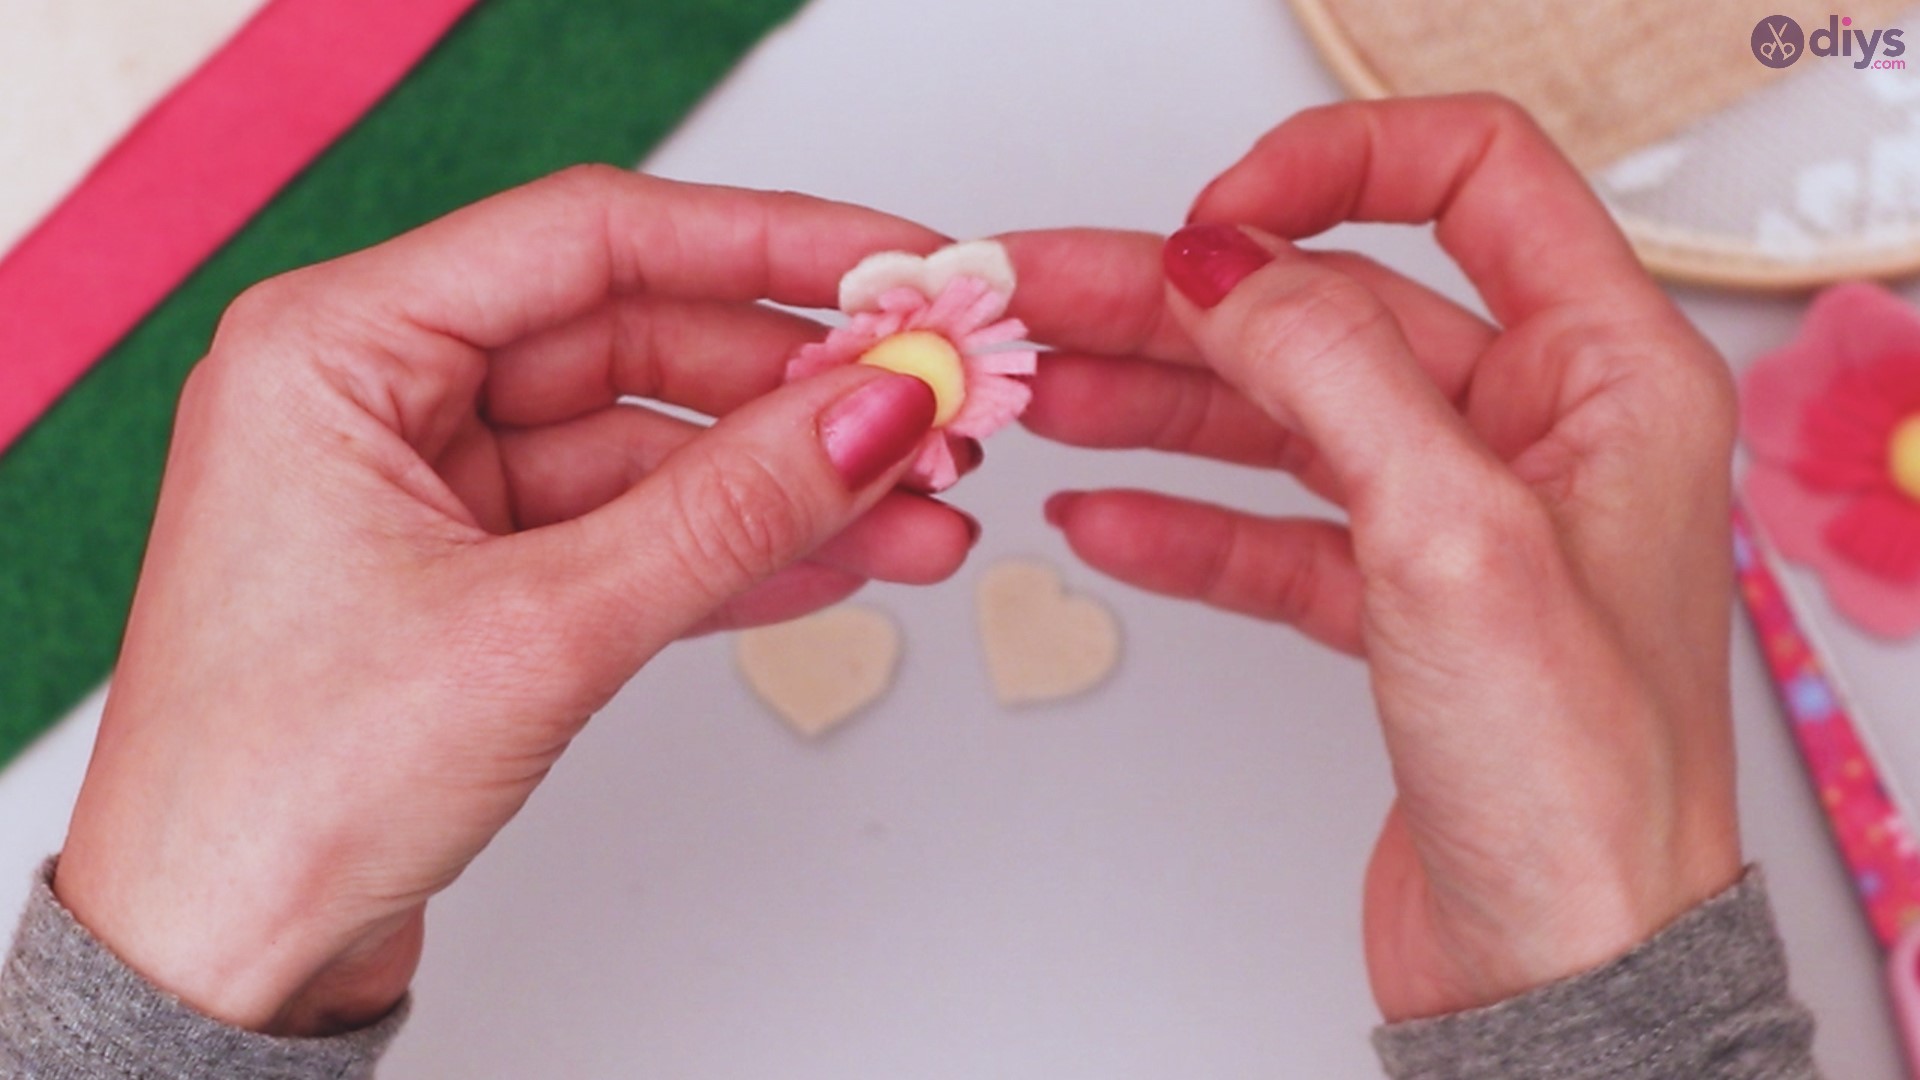
Create a circle with your strip of felt fringe. Using the glue gun, attach one of your pom poms to the center of this circle.

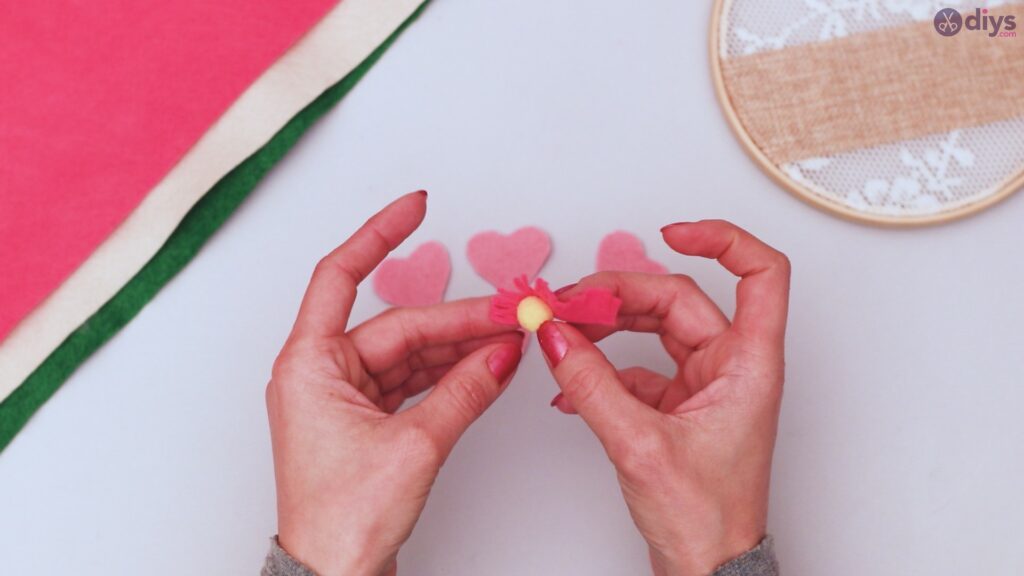
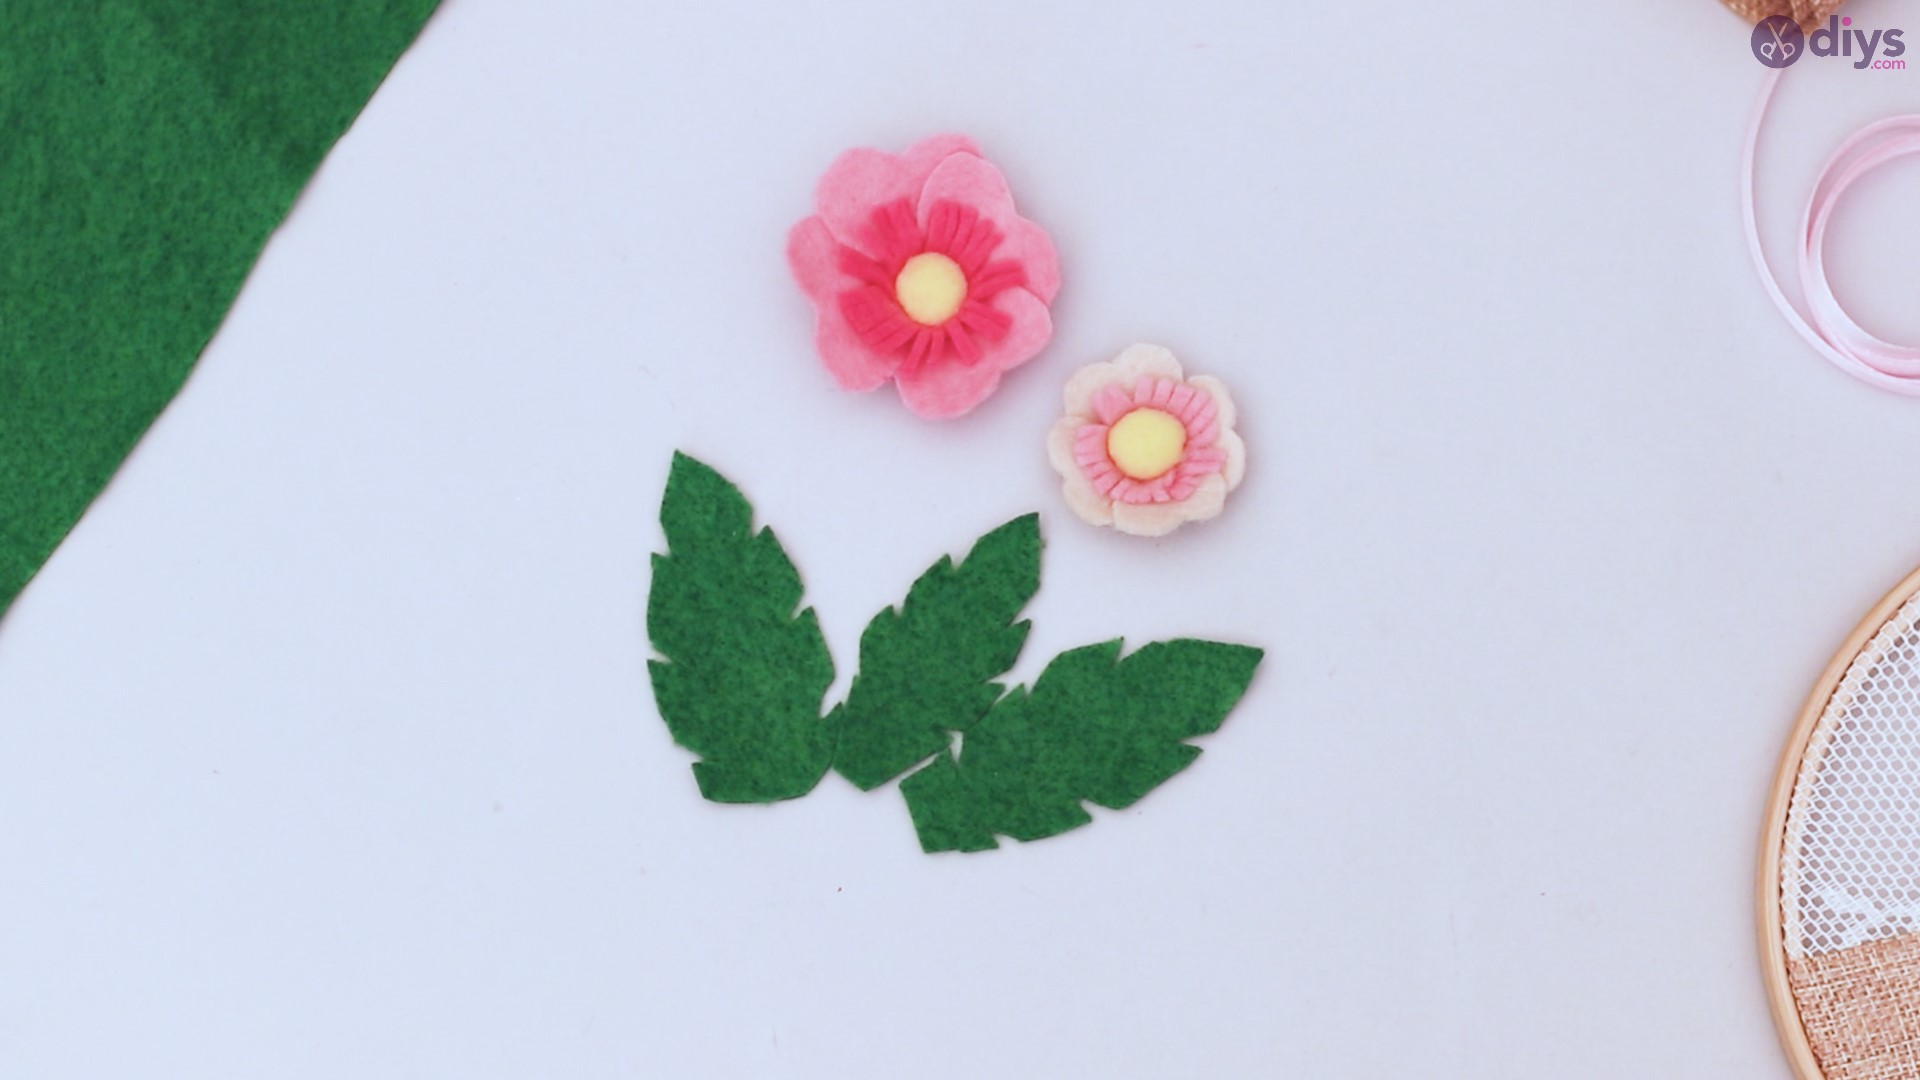
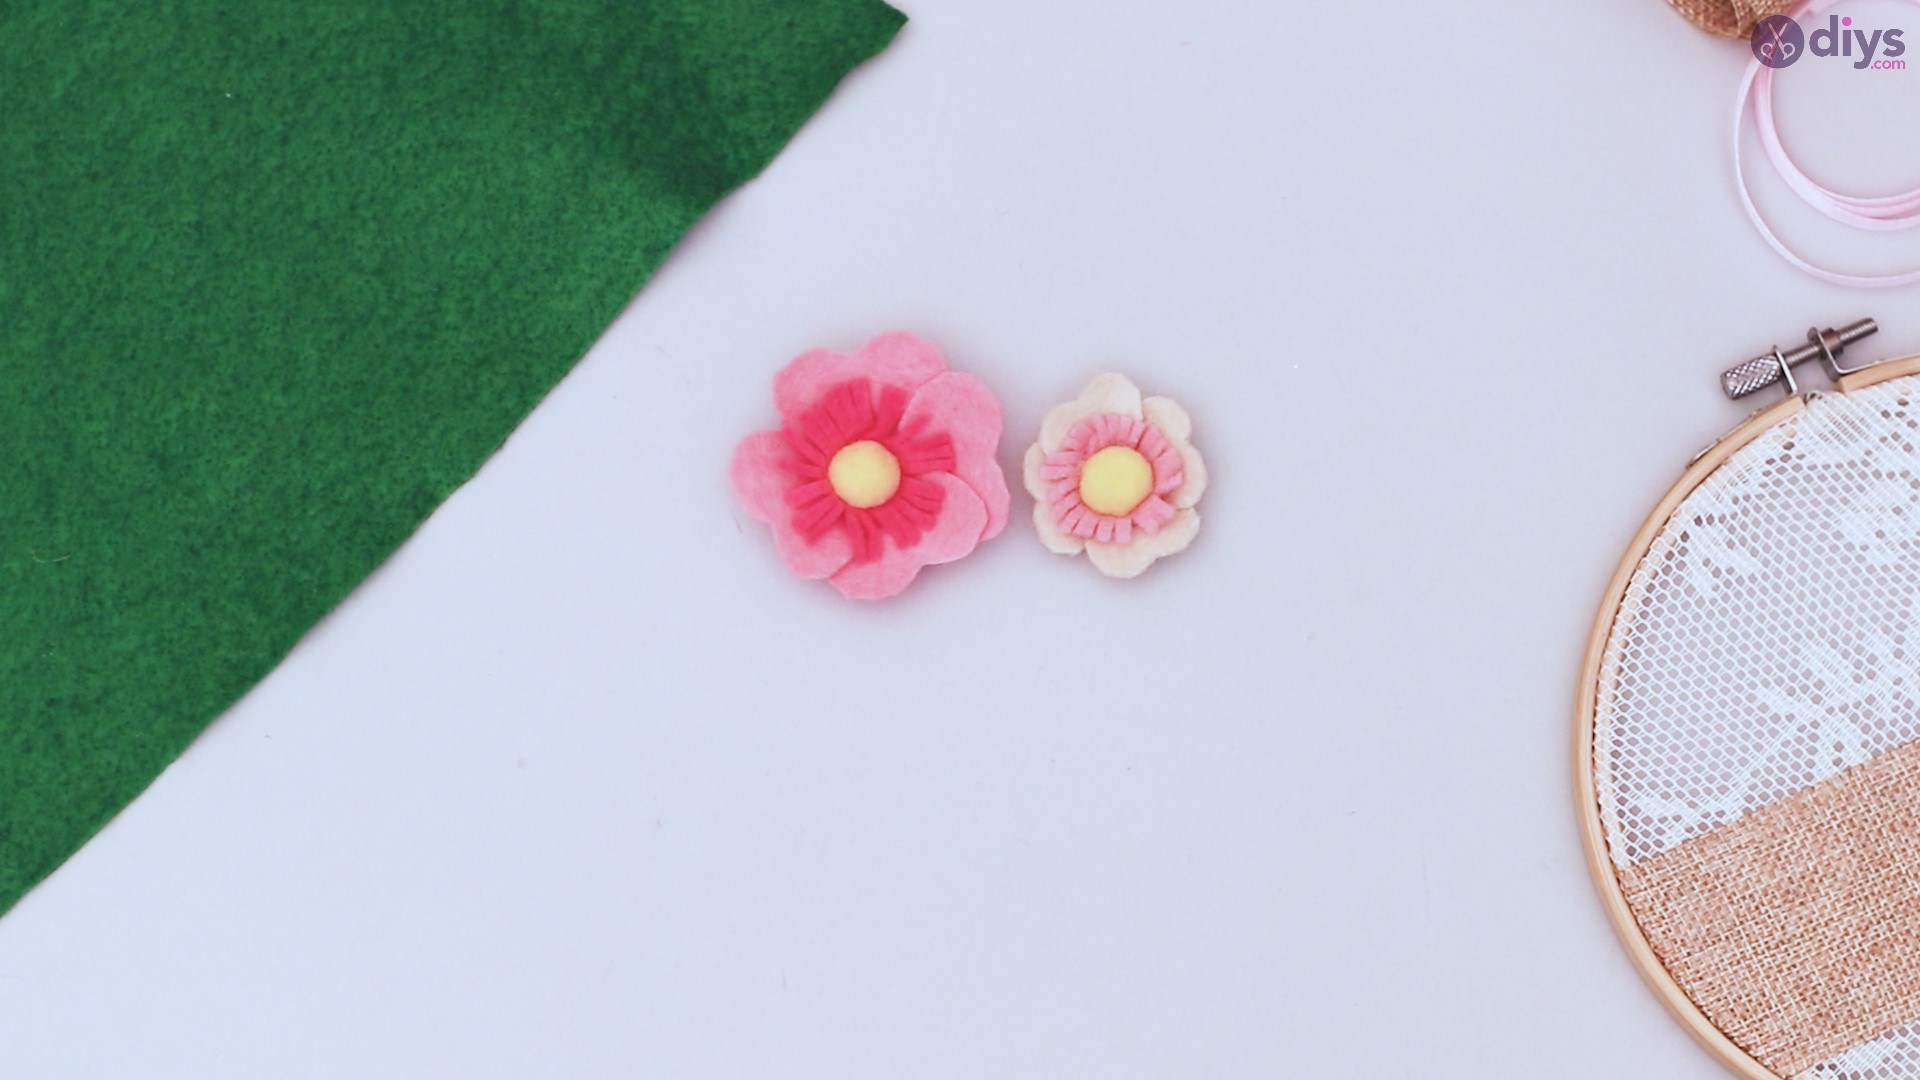
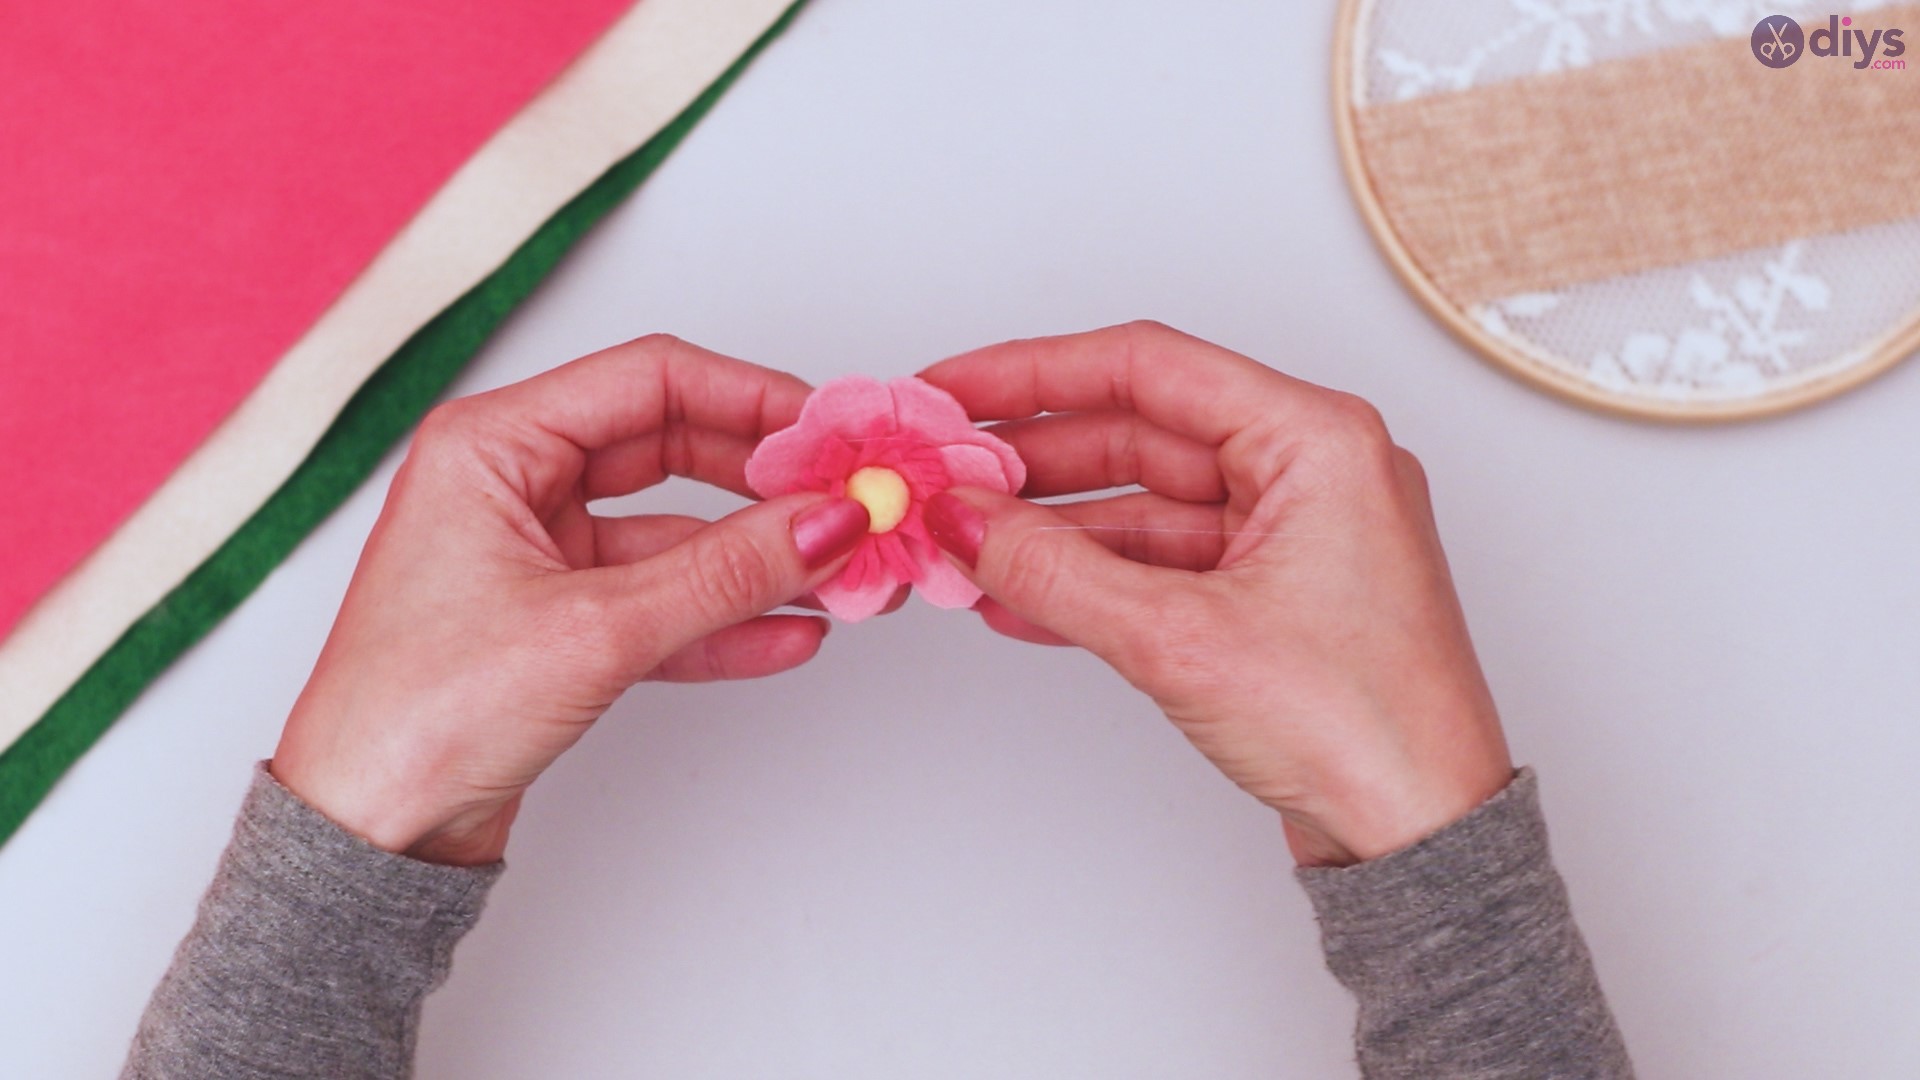
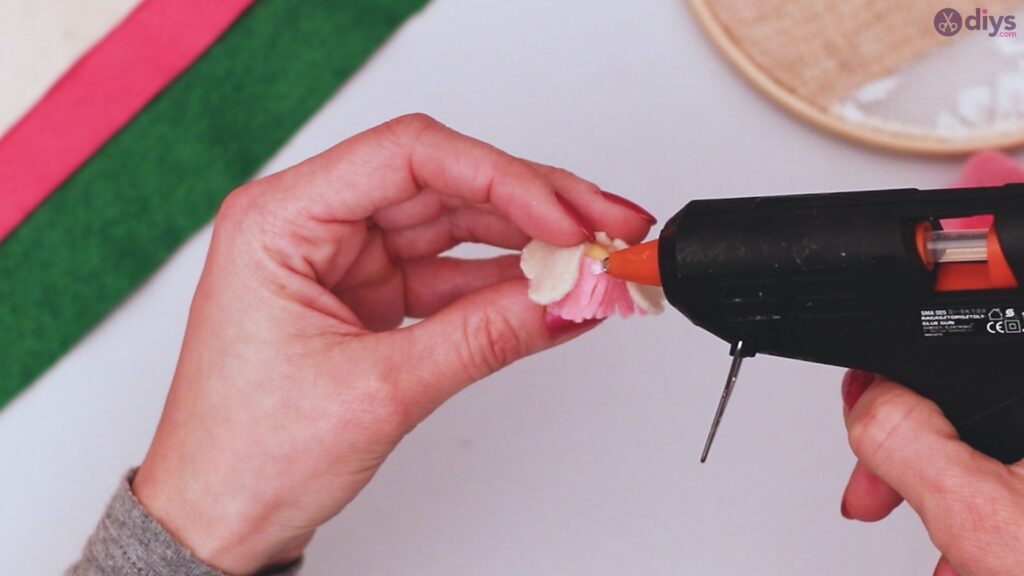
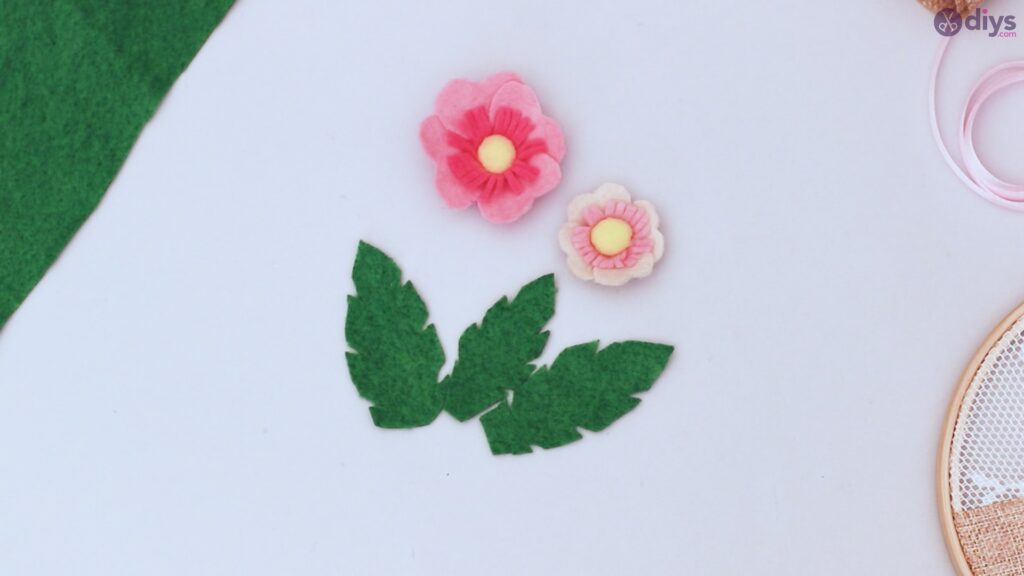
Step 8: Finish your first flower
Using your glue gun, attach your four hearts in a circle to the back of your fringe circle.
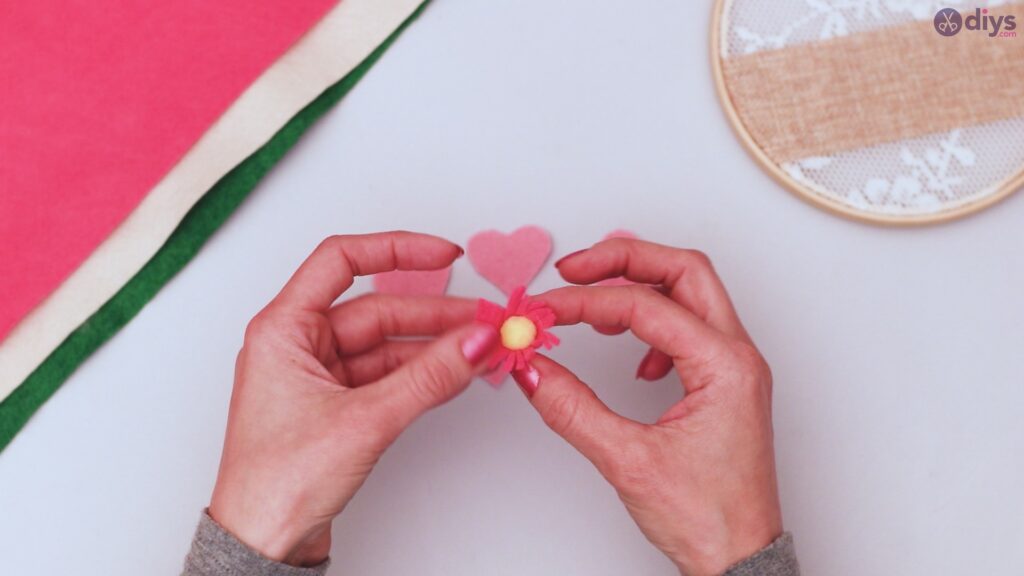

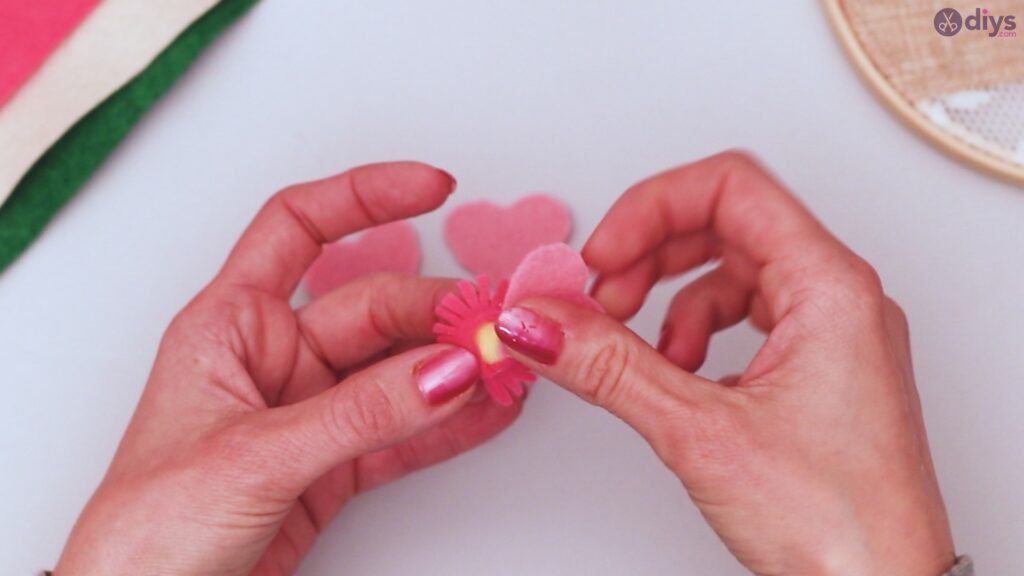

Now, you have one complete heart. Set this aside for the moment.

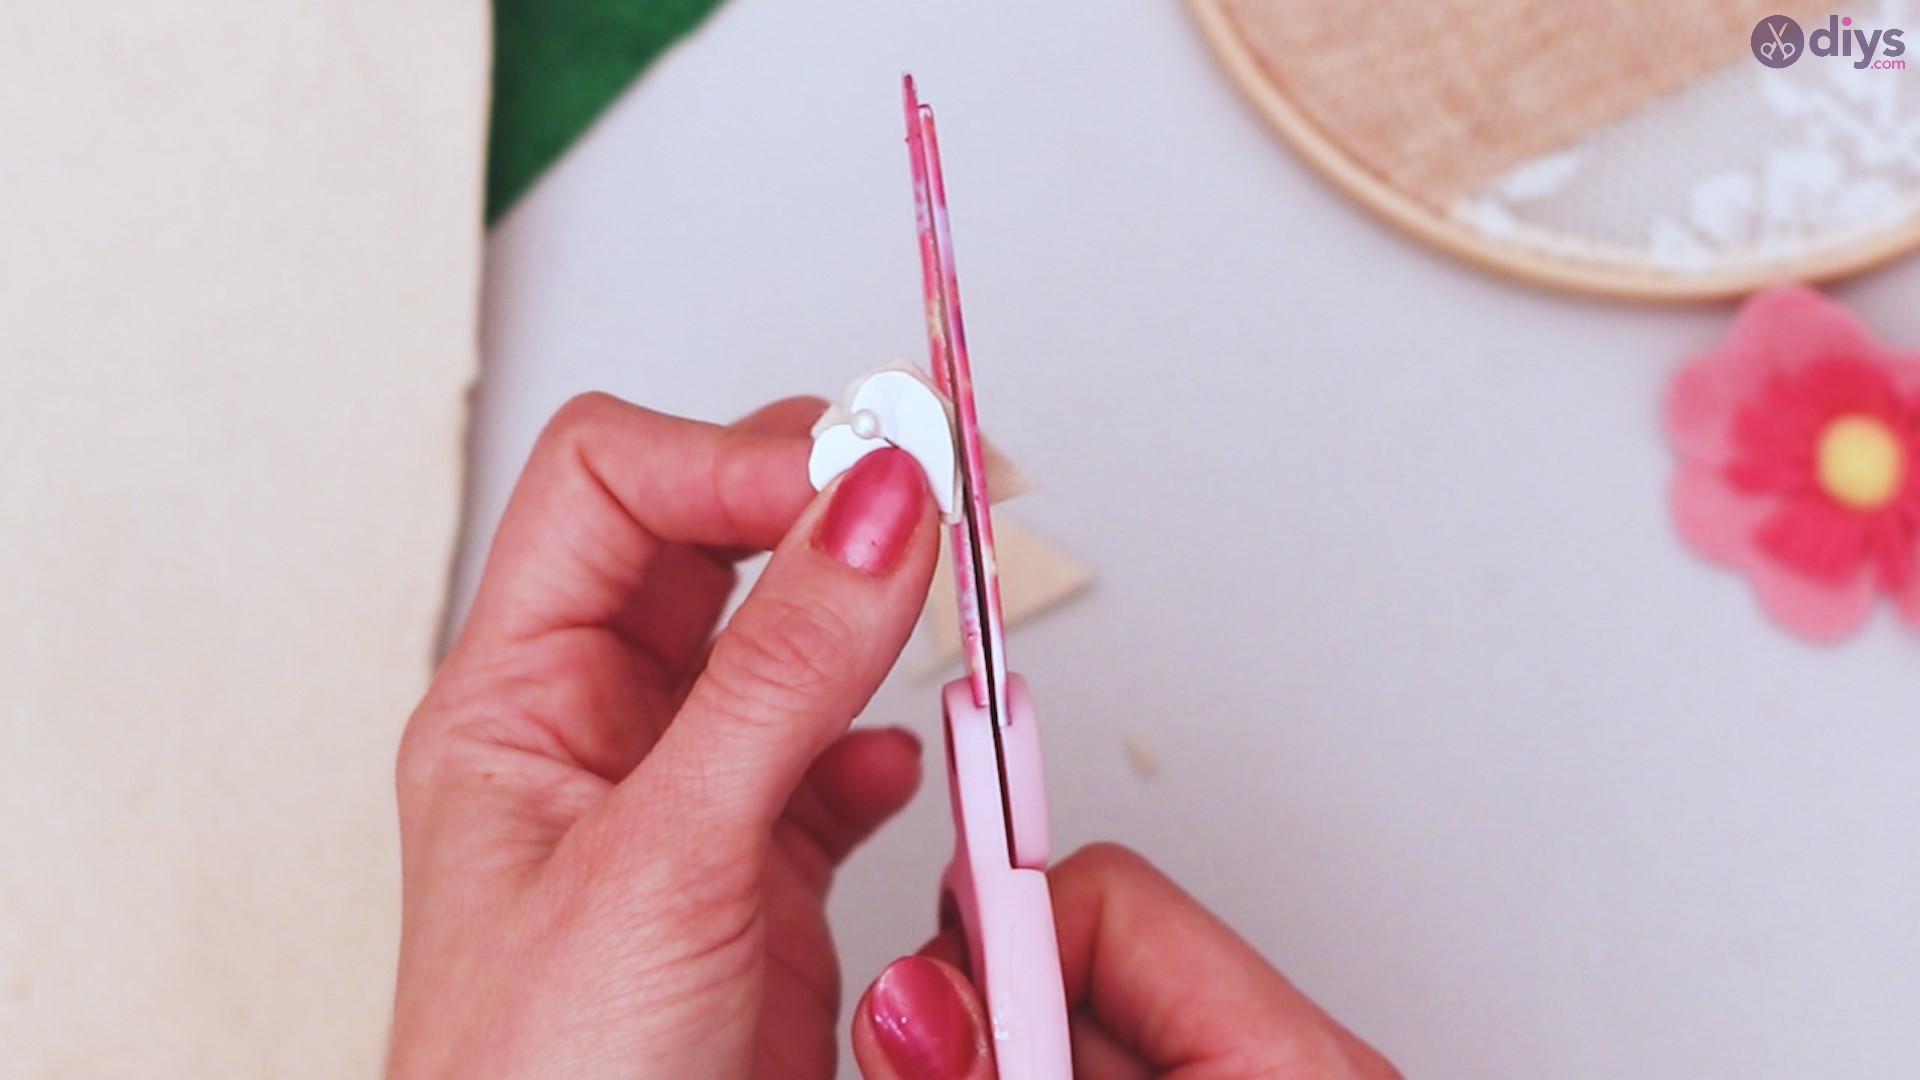
Step 9: Create your second template
As before, you’ll need to draw a heart on your paper. You can again choose your size, but for this project, we’re making one that is slightly smaller. Cut out your heart to have another template.


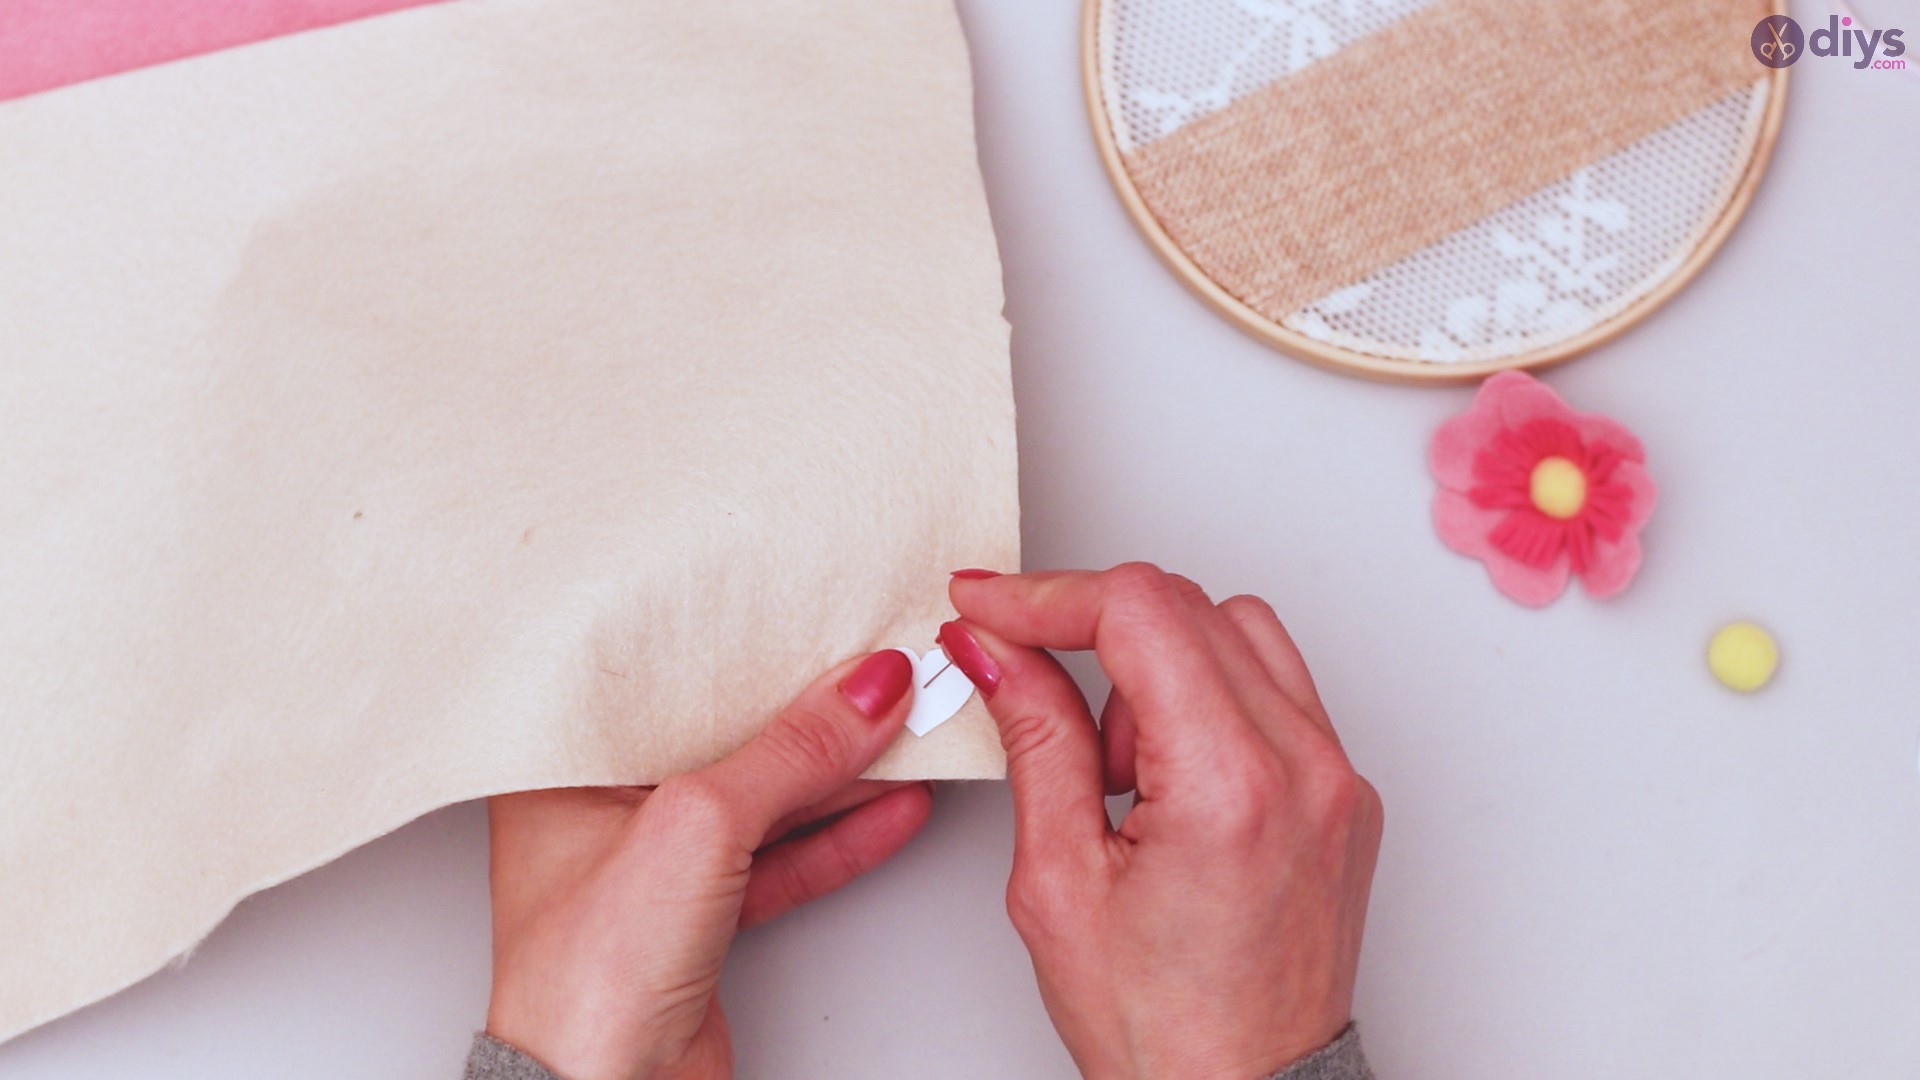
Step 10: Repeat step 5
As with step 5, you’ll pin your heart to a different color of felt. Cut out the felt heart, and repeat this step three times to create a total of four hearts of this size.

Step 11: Repeat step 6
As with step 6, you’ll want to cut a thin strip of felt in a different color than your hearts. This one again should measure about half as wide as your hearts.

Cut your strip so that you have fringe, leaving the edge connected.
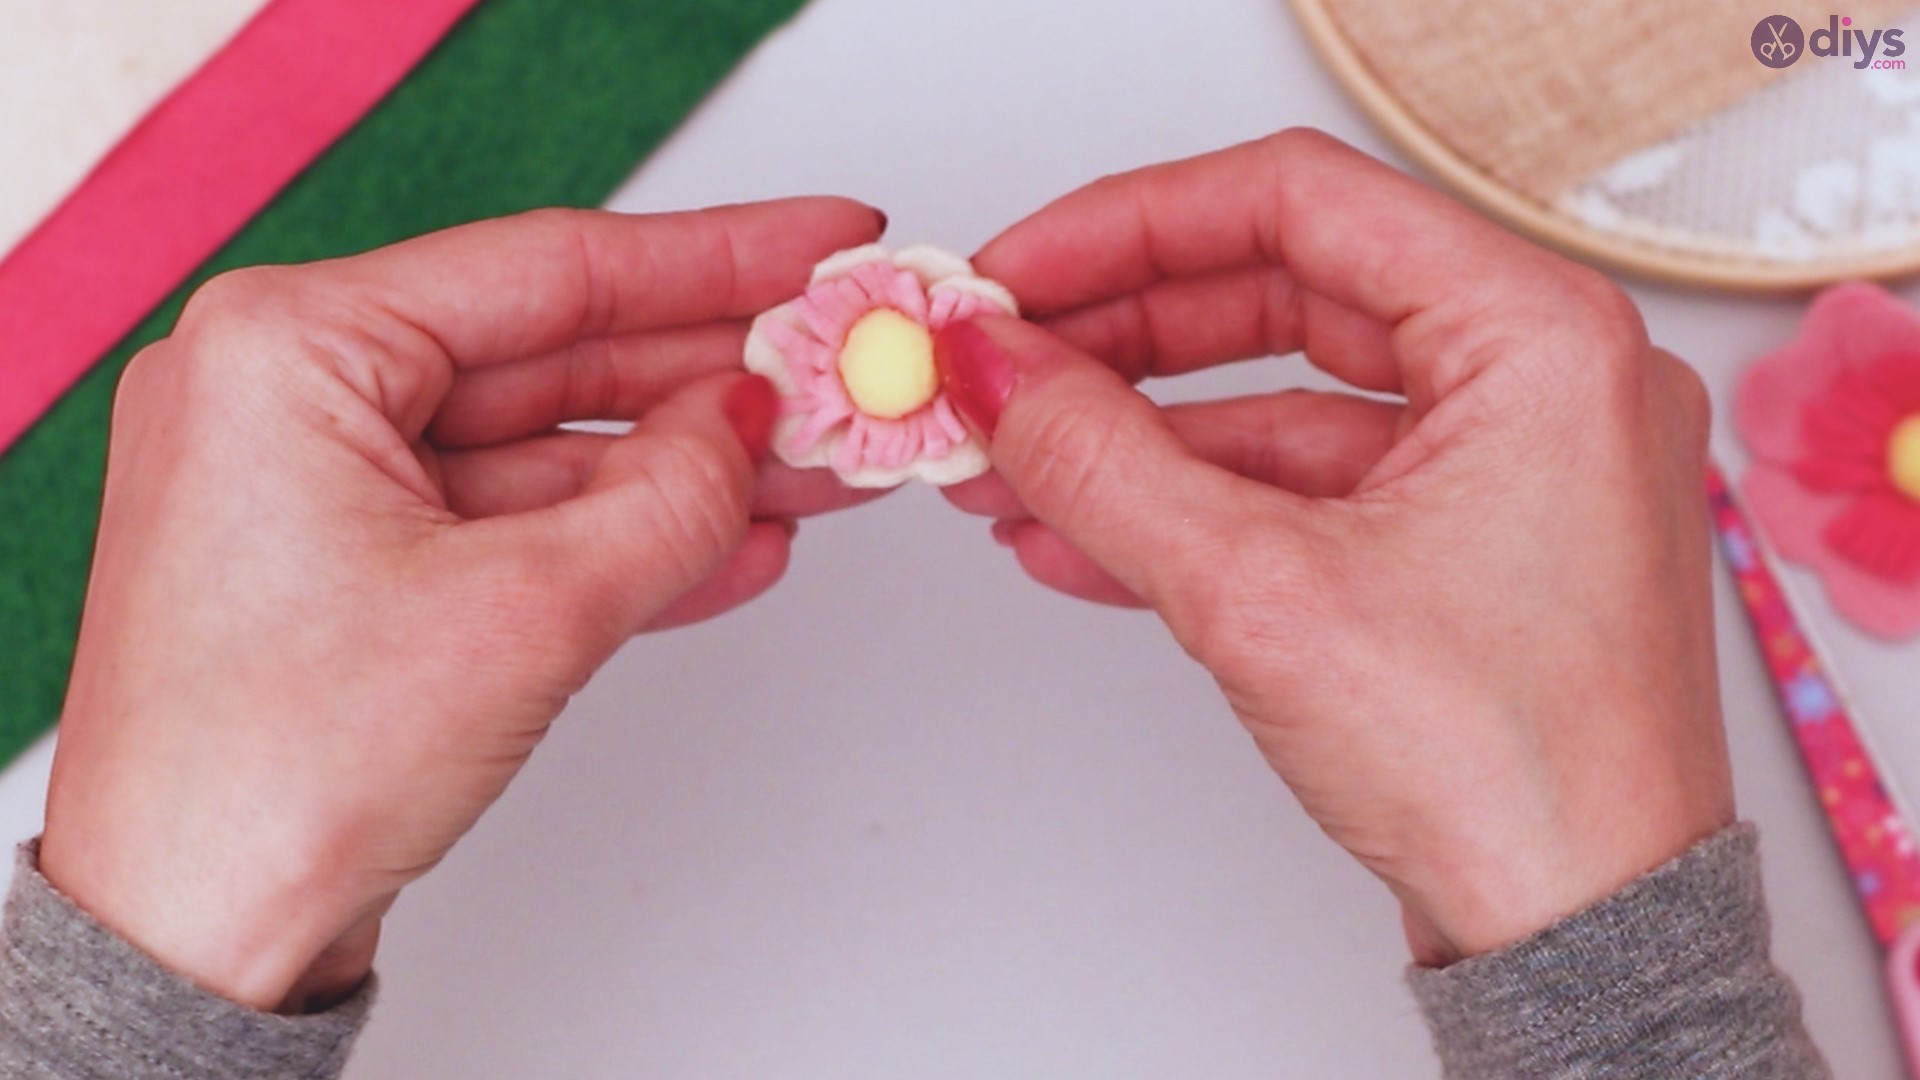
Step 12: Attach your pom pom
Again, roll your fringe strip into a circle. Using your glue gun, attach your second pom pom in the middle of your circle.

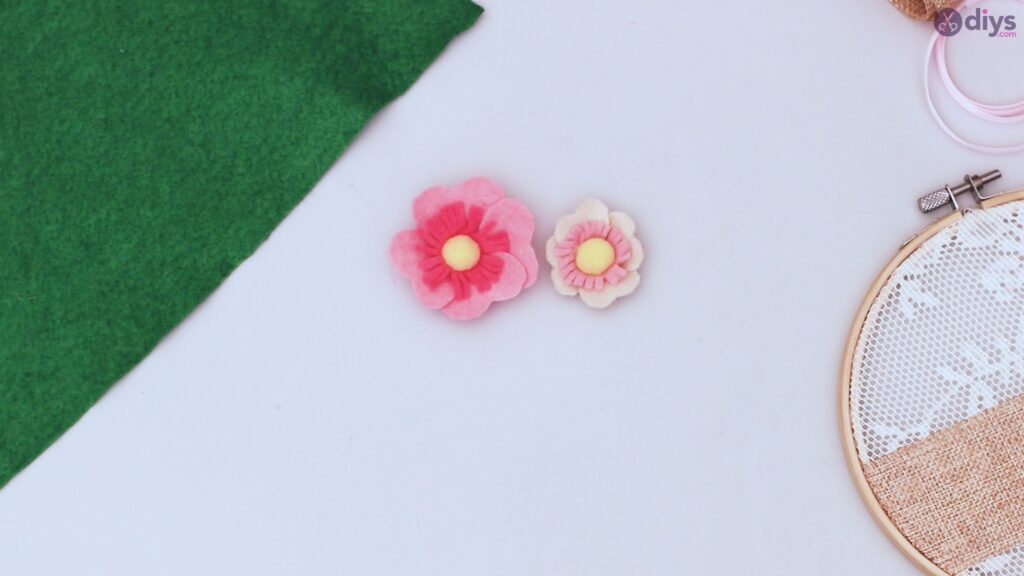
Step 13: Finish your second flower
Using your glue gun, attach your four hearts to the back of the circle of fringe to create a whole flower. Set this aside for now with your first flower.


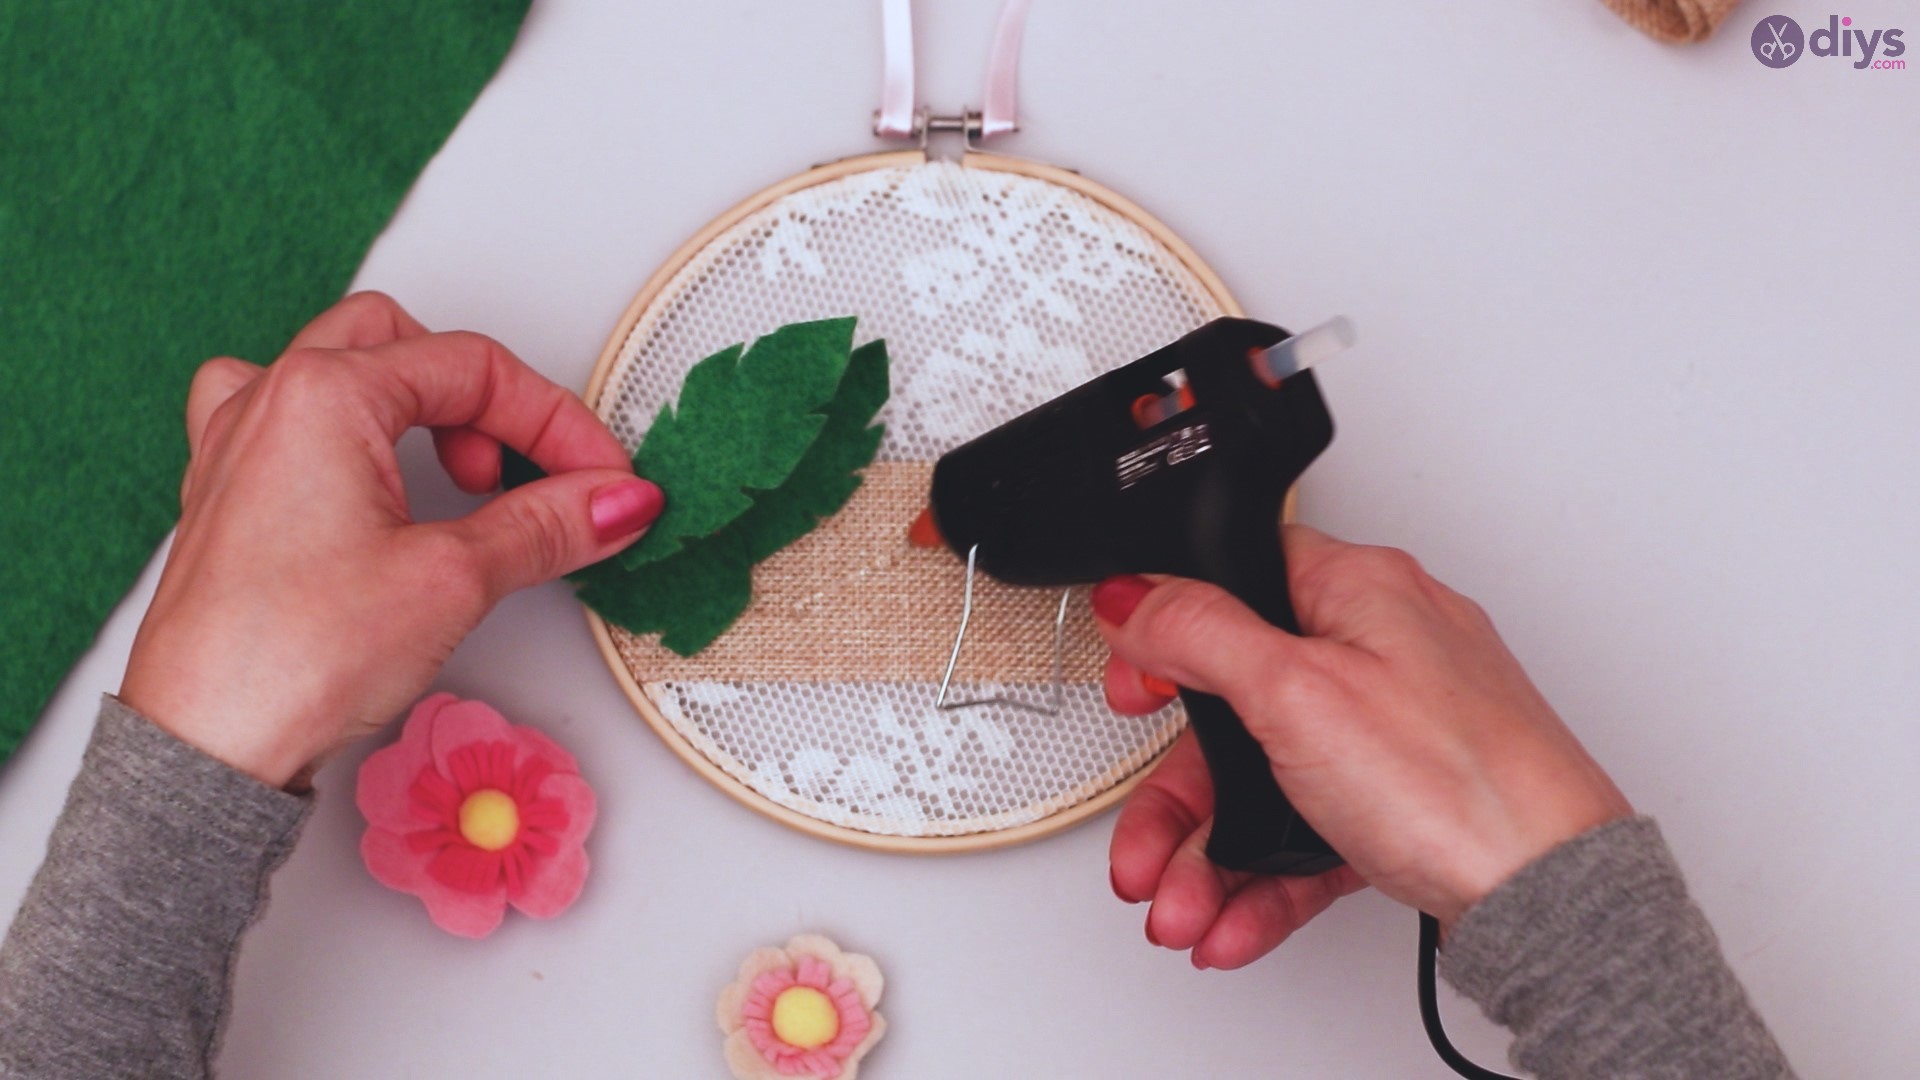
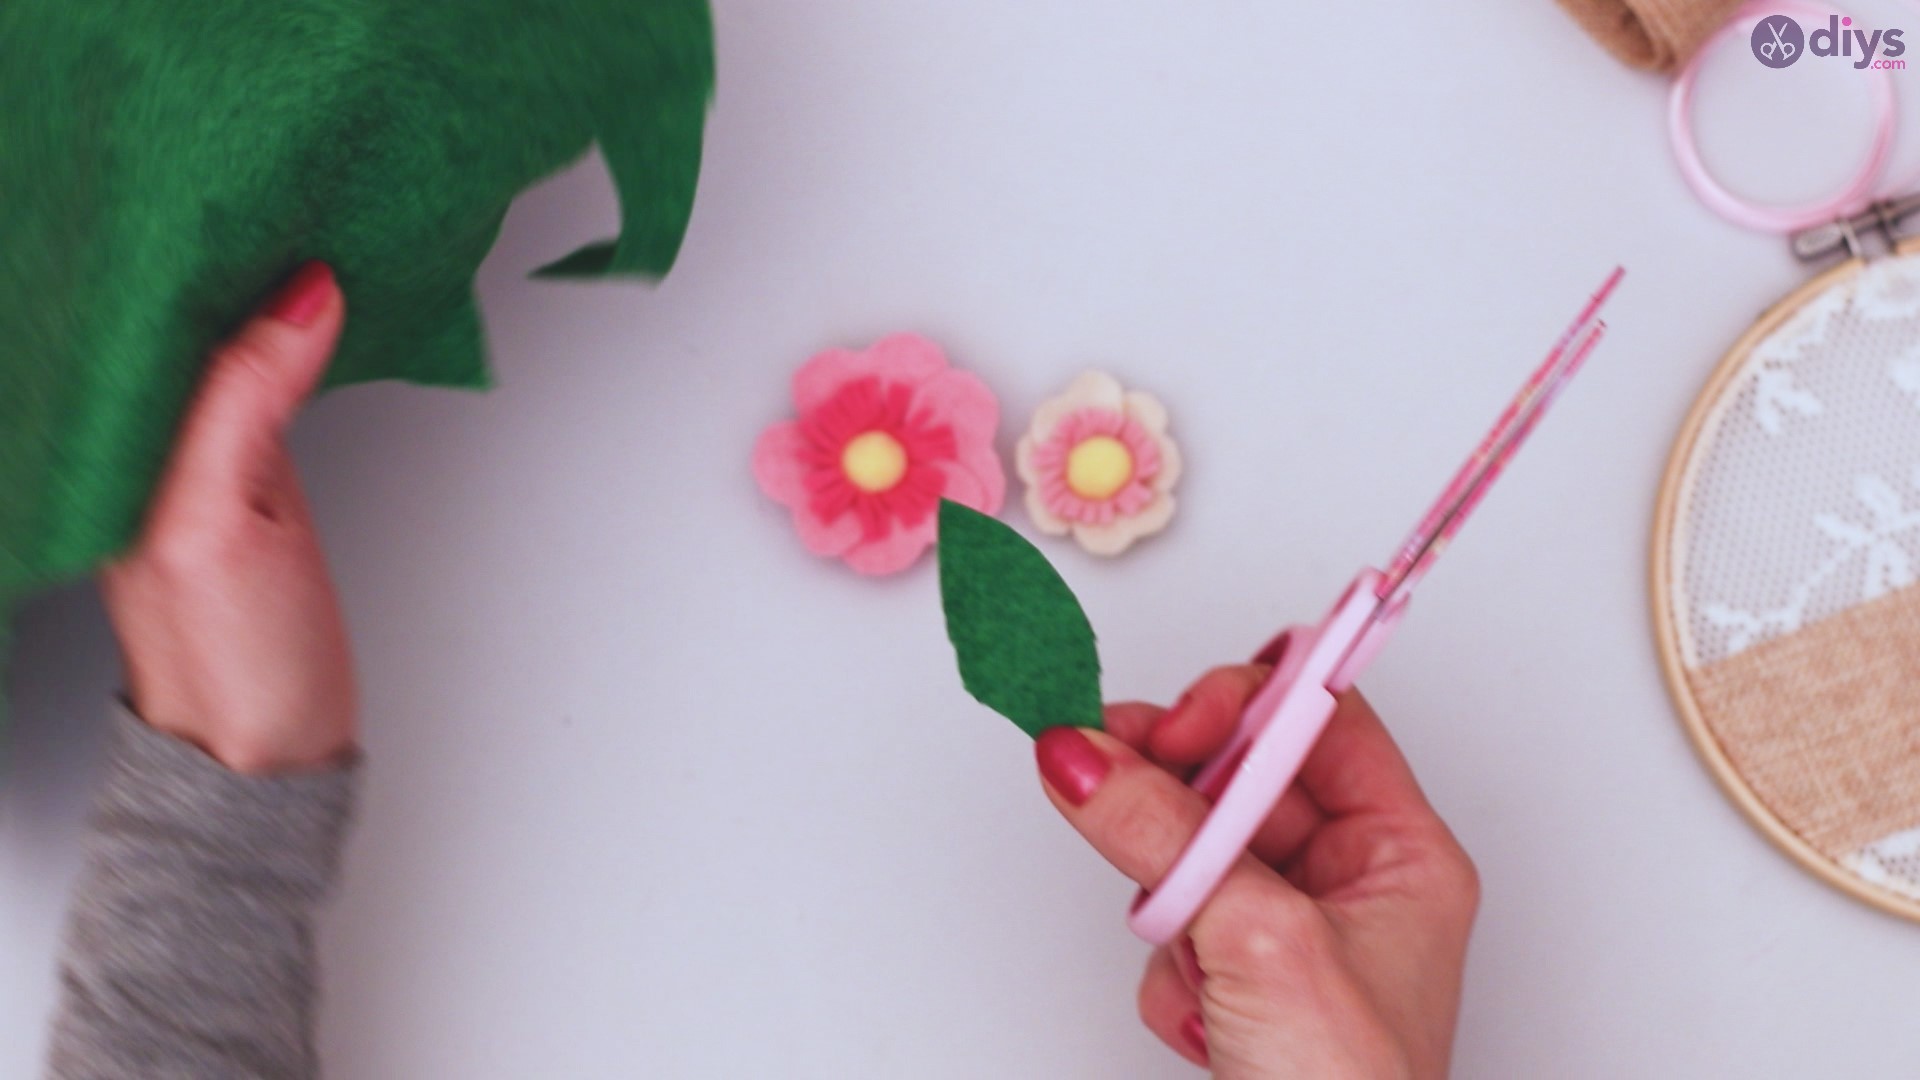
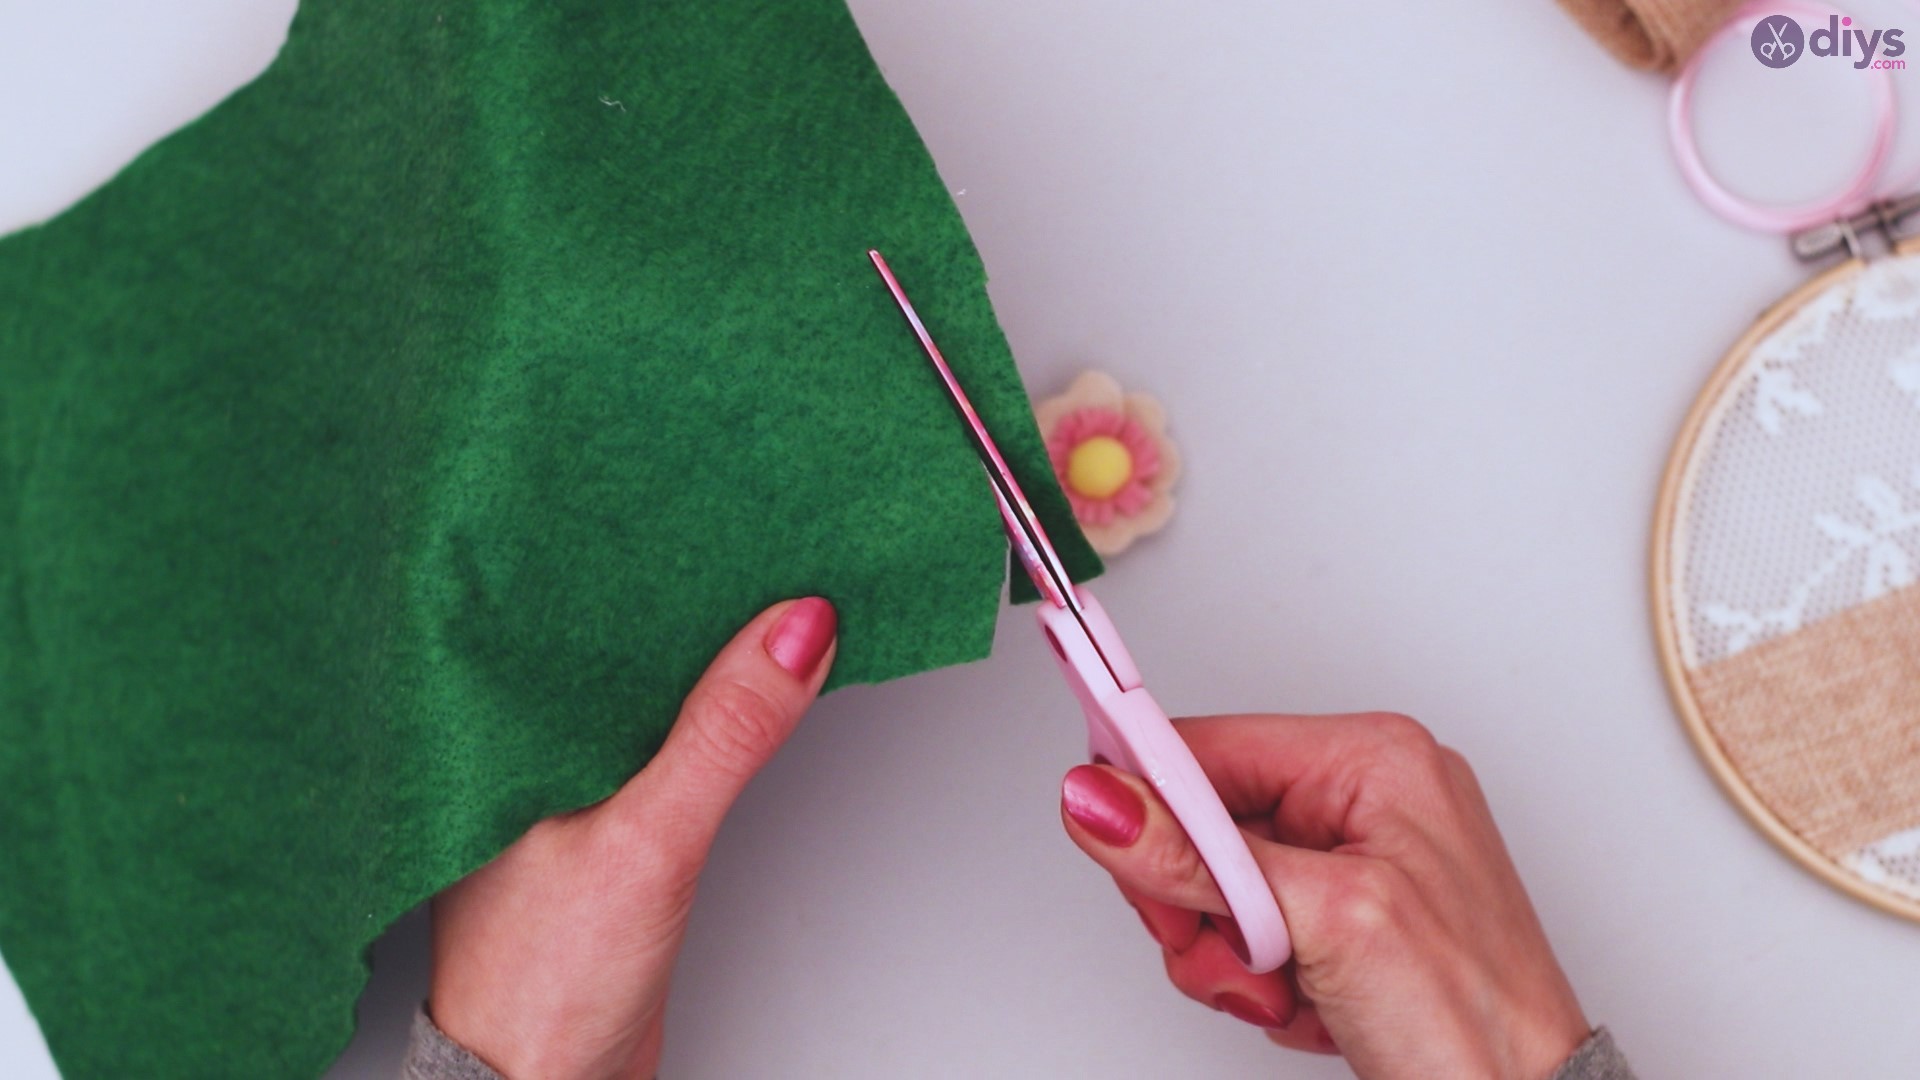
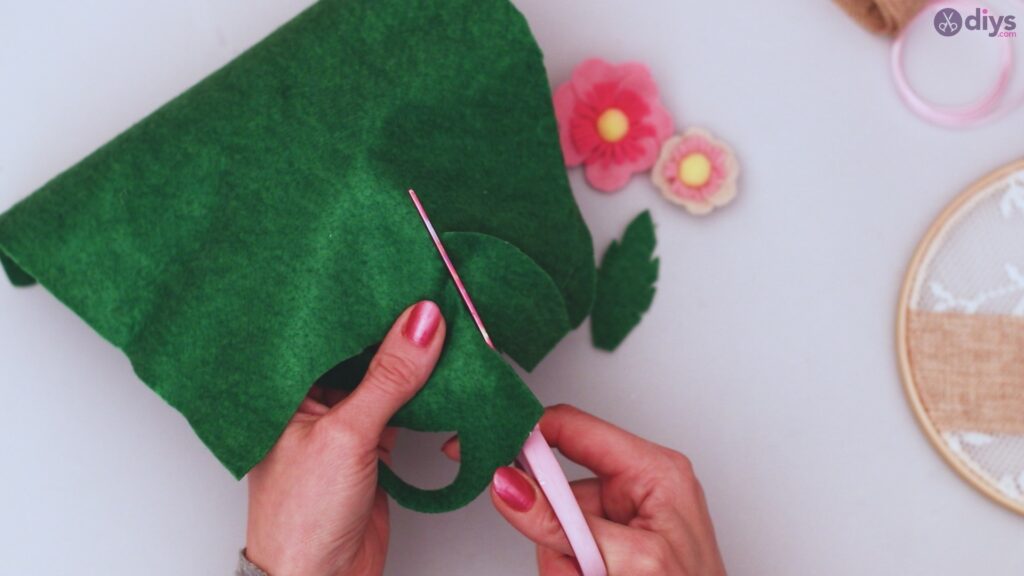
Step 14: Create your leaves
While you can choose any color you like to create your leaves, we’ve gone with the traditional green. Fold your felt in half, and cut a half oval. This doesn’t have to be perfectly even, as your leaf could be tapered at the end.


Snip edges of the leaf to create the design of your preferred leaf.

Repeat this three times for a total of three leaves. We like to make them all different sizes, but this is completely up to you and your creative preference.

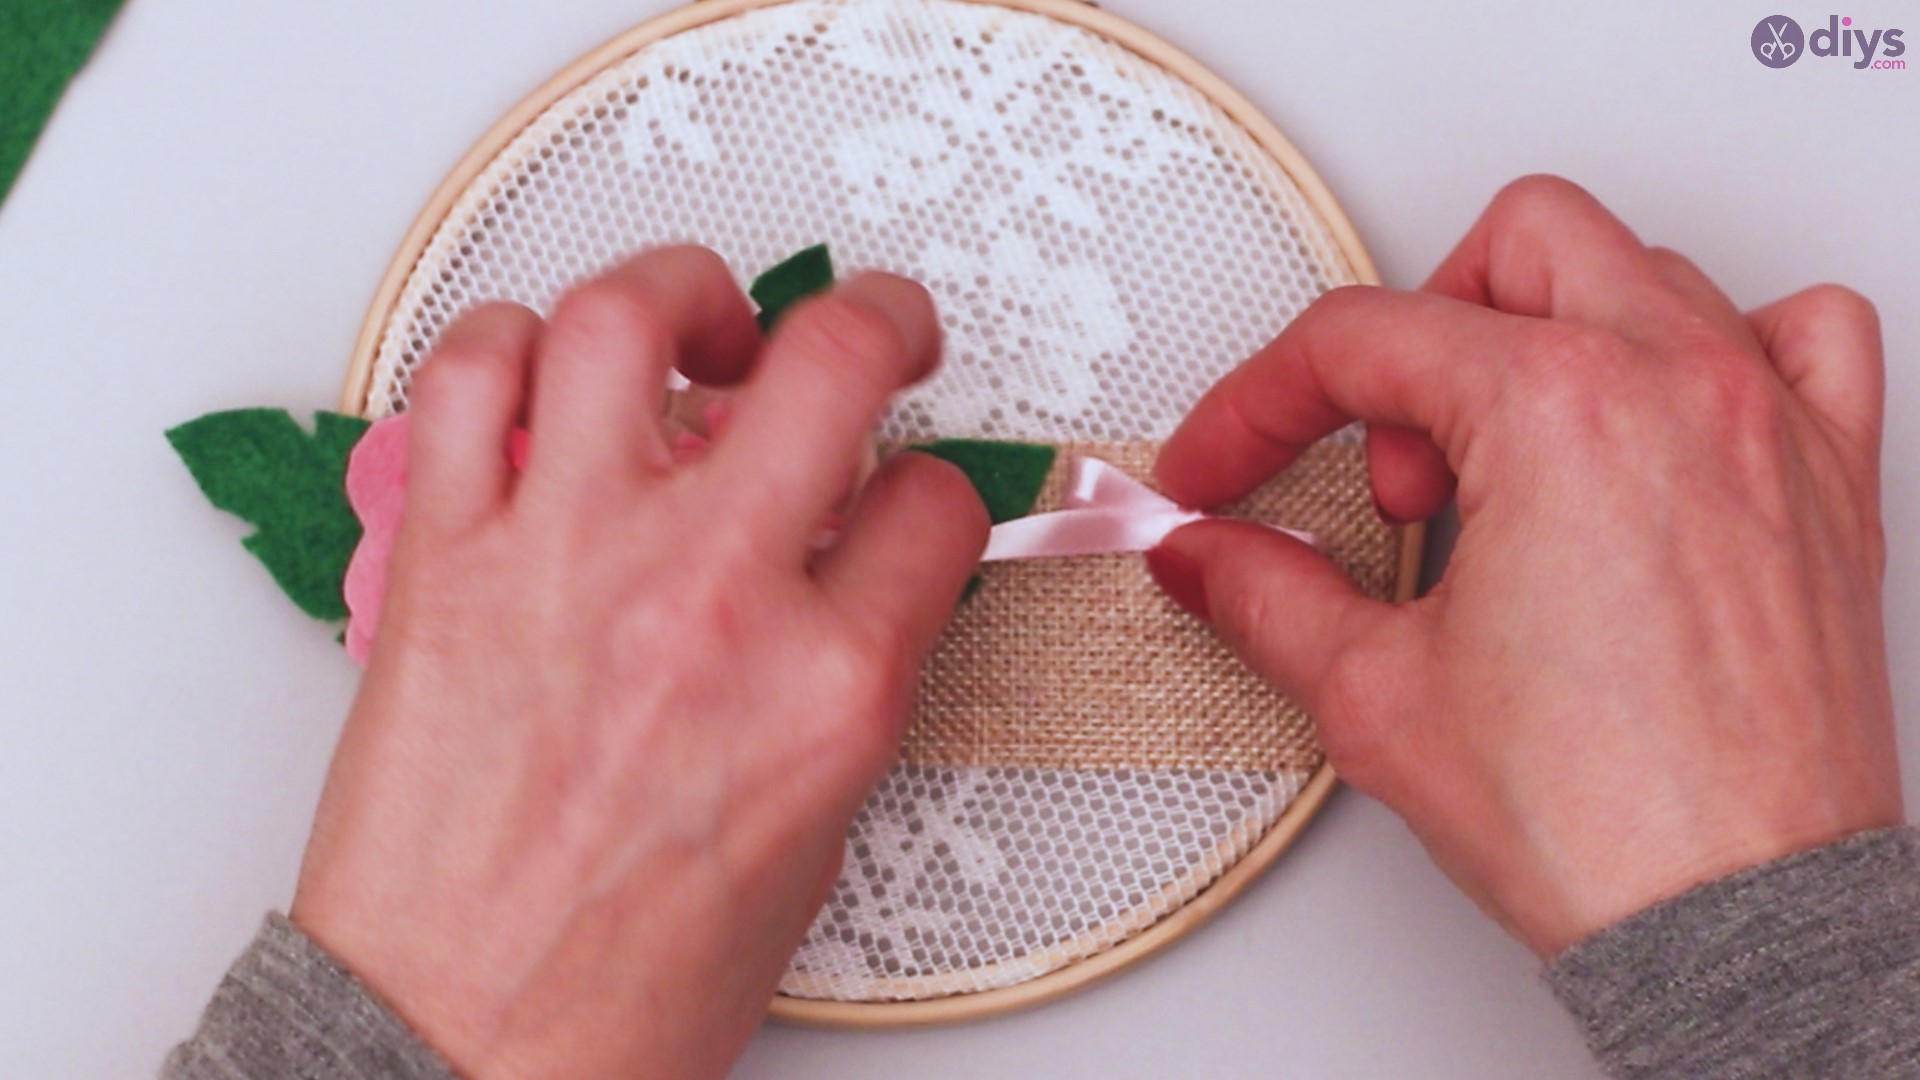
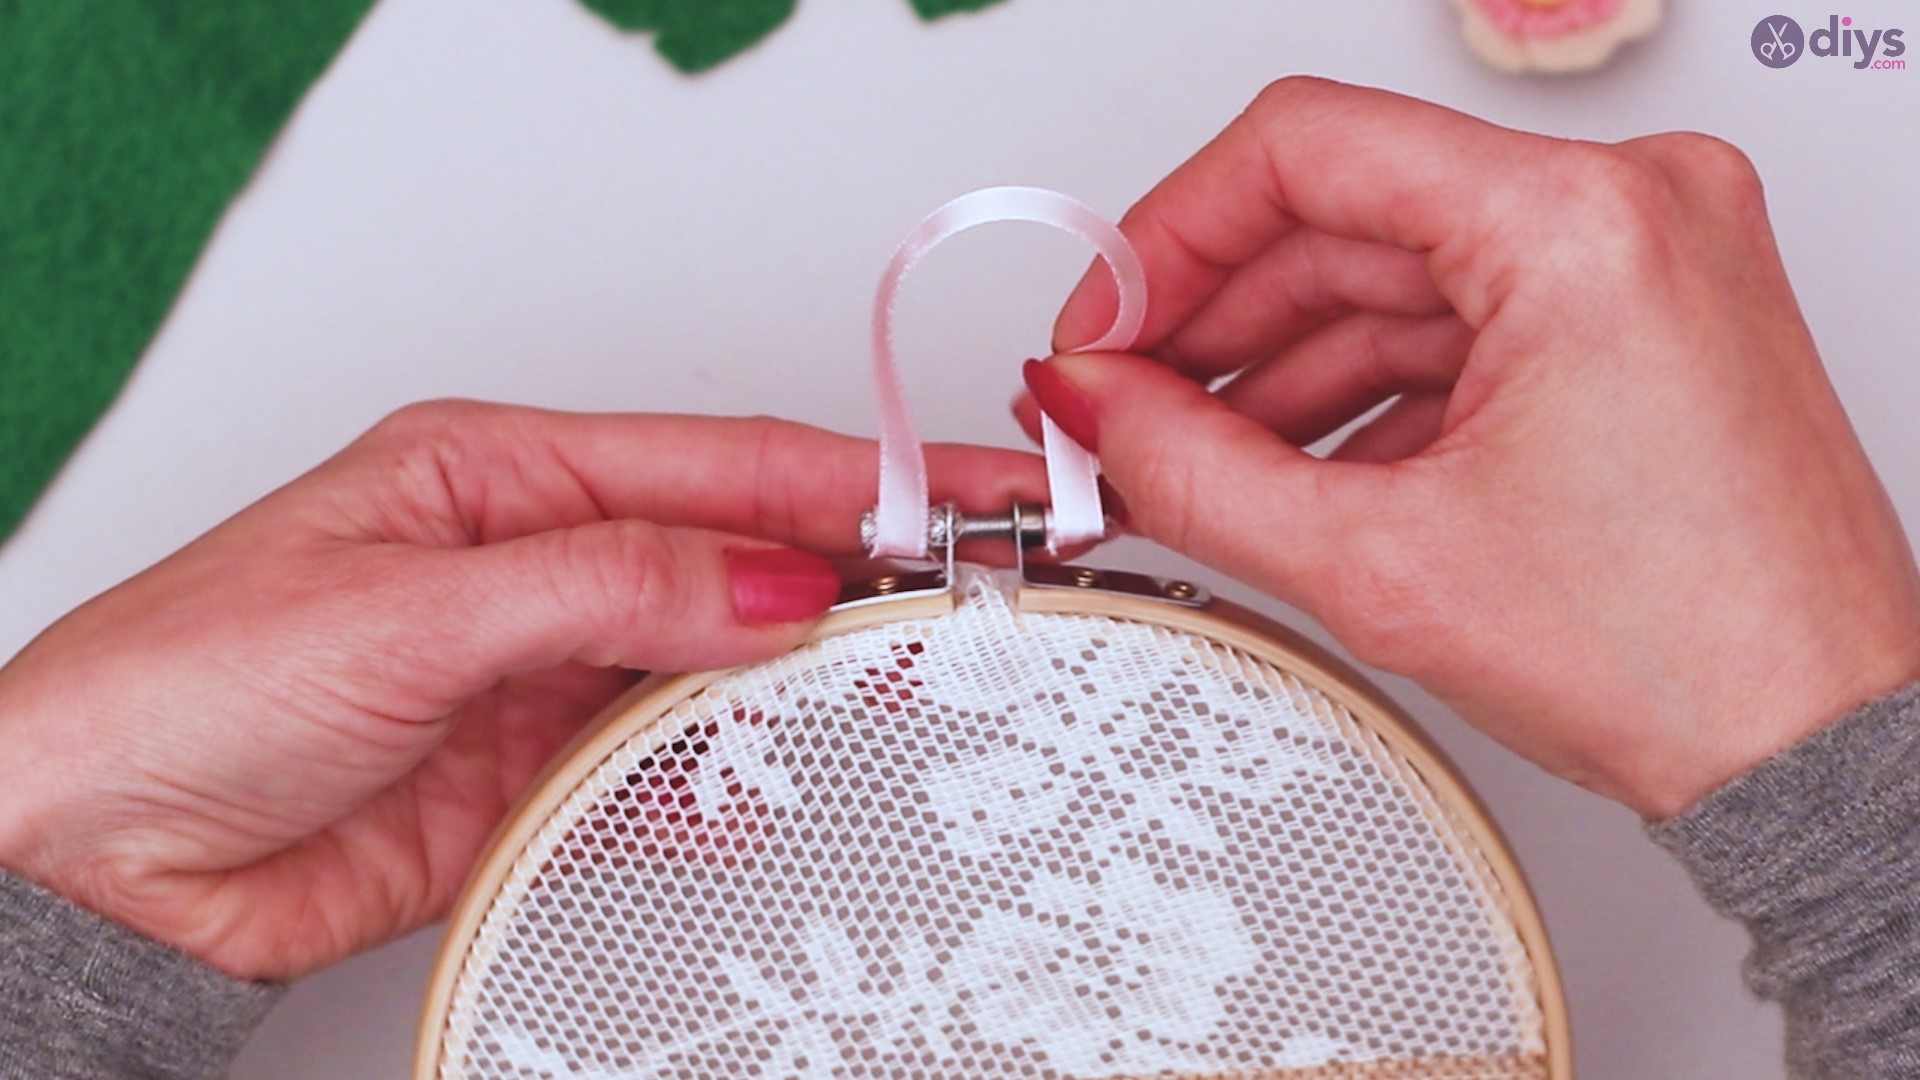
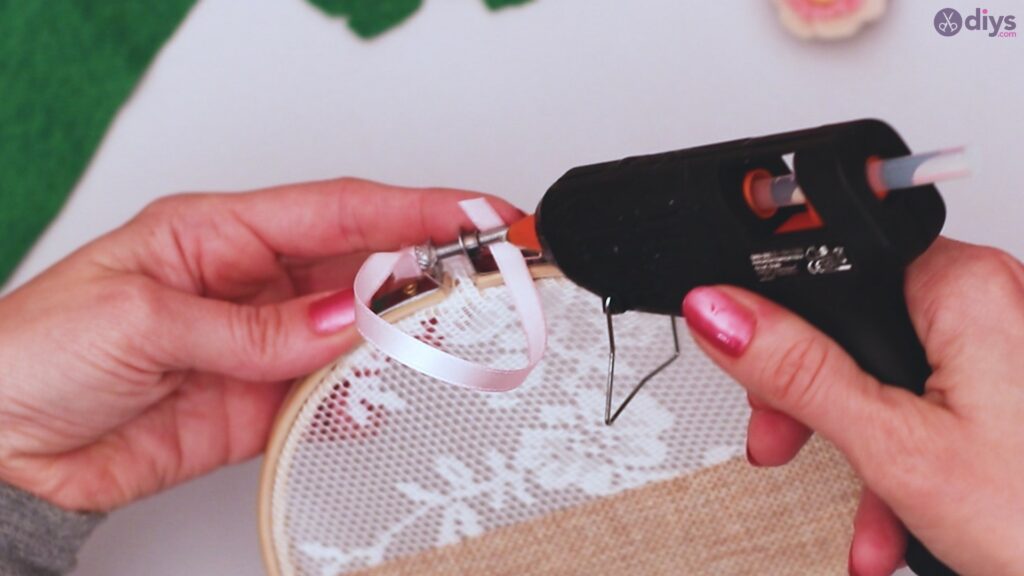
Step 15: Prepare hanging loop
Cut a strip of your silk ribbon that is about four inches long. Using your glue gun, place glue on one side of the tightening screw on your embroidery loop. Wrap one end of the silk ribbon around it.

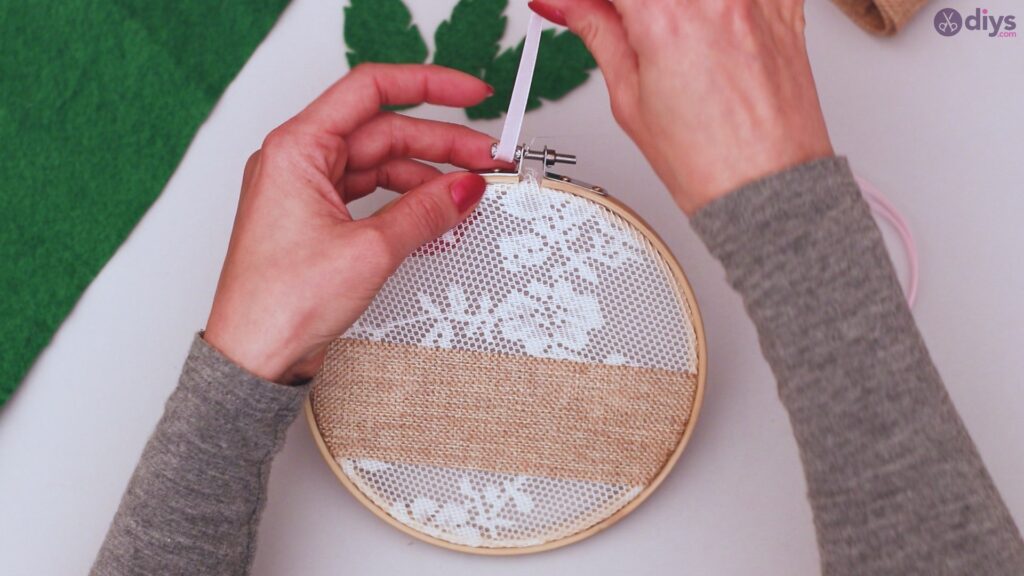

Repeat the process with the other end of the screw, wrapping the other end of the silk ribbon around this end. This will create your hanging loop for your wall décor.

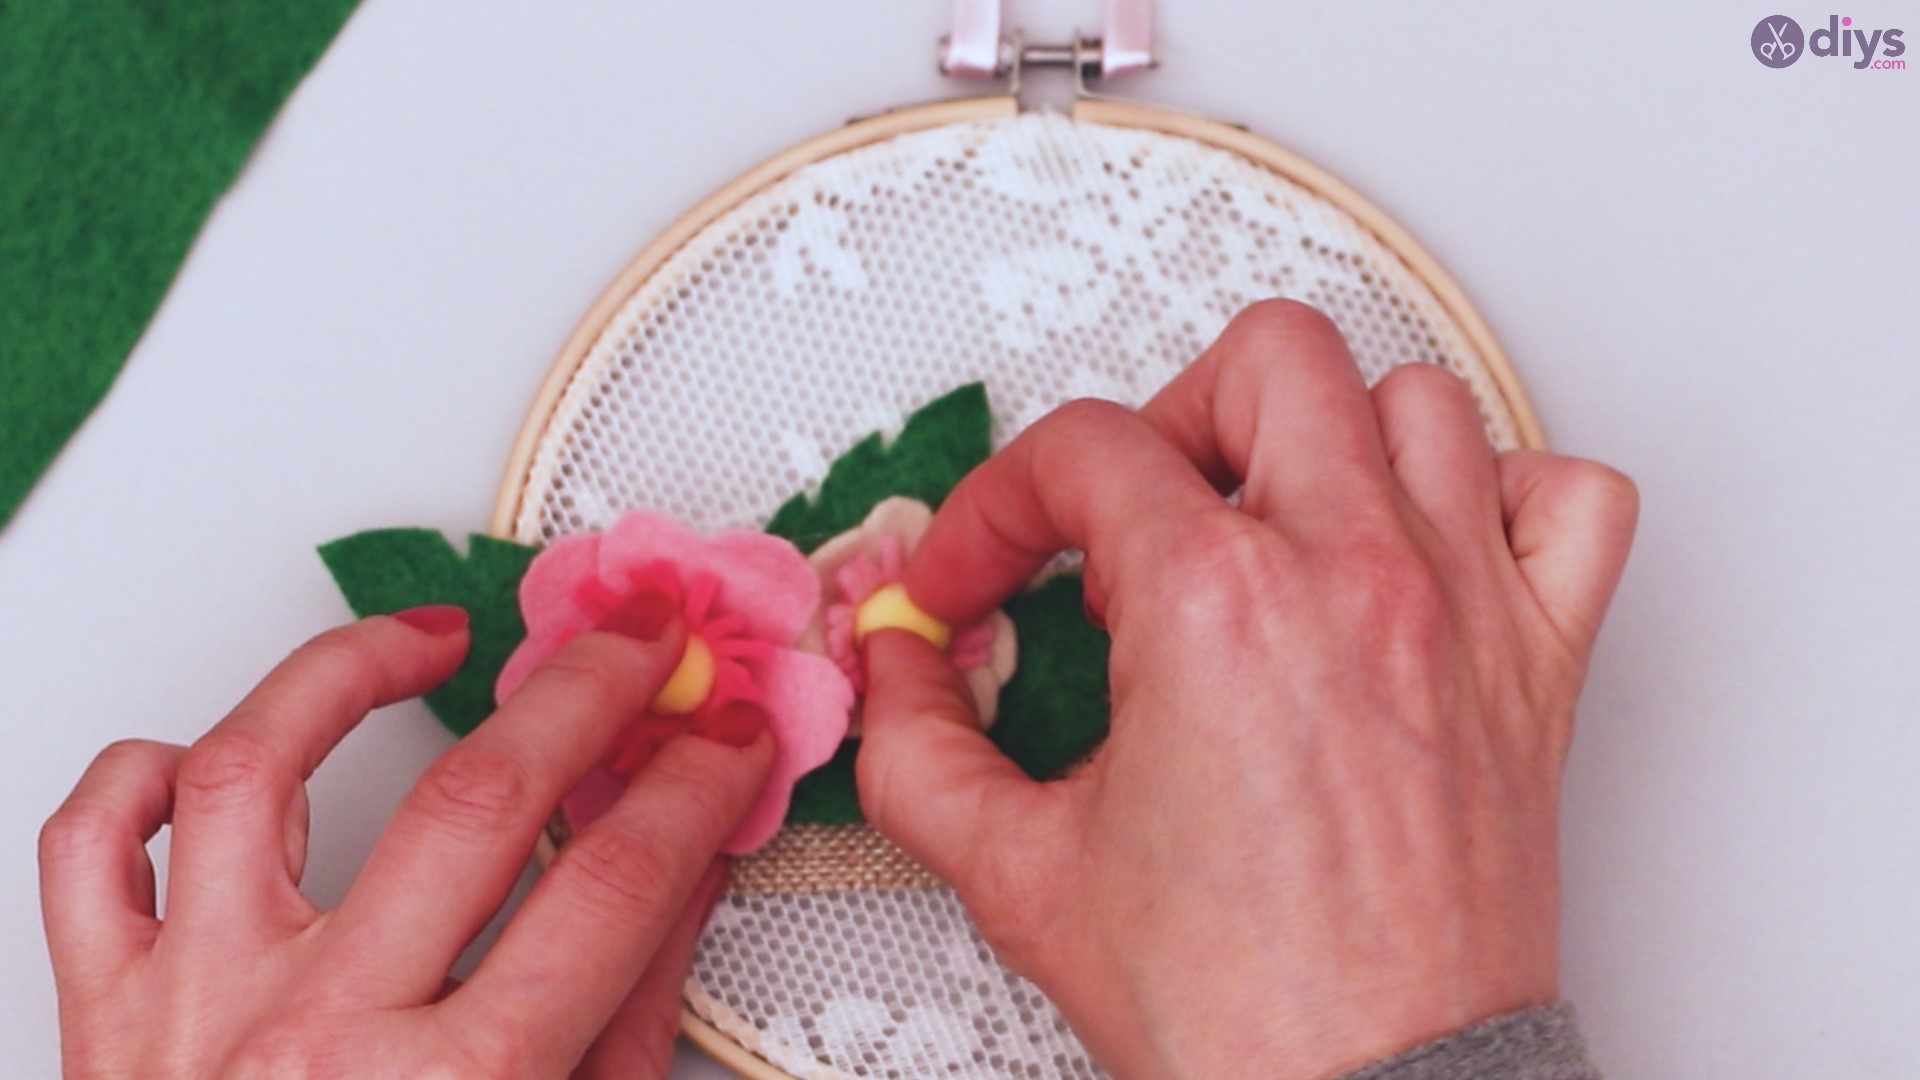
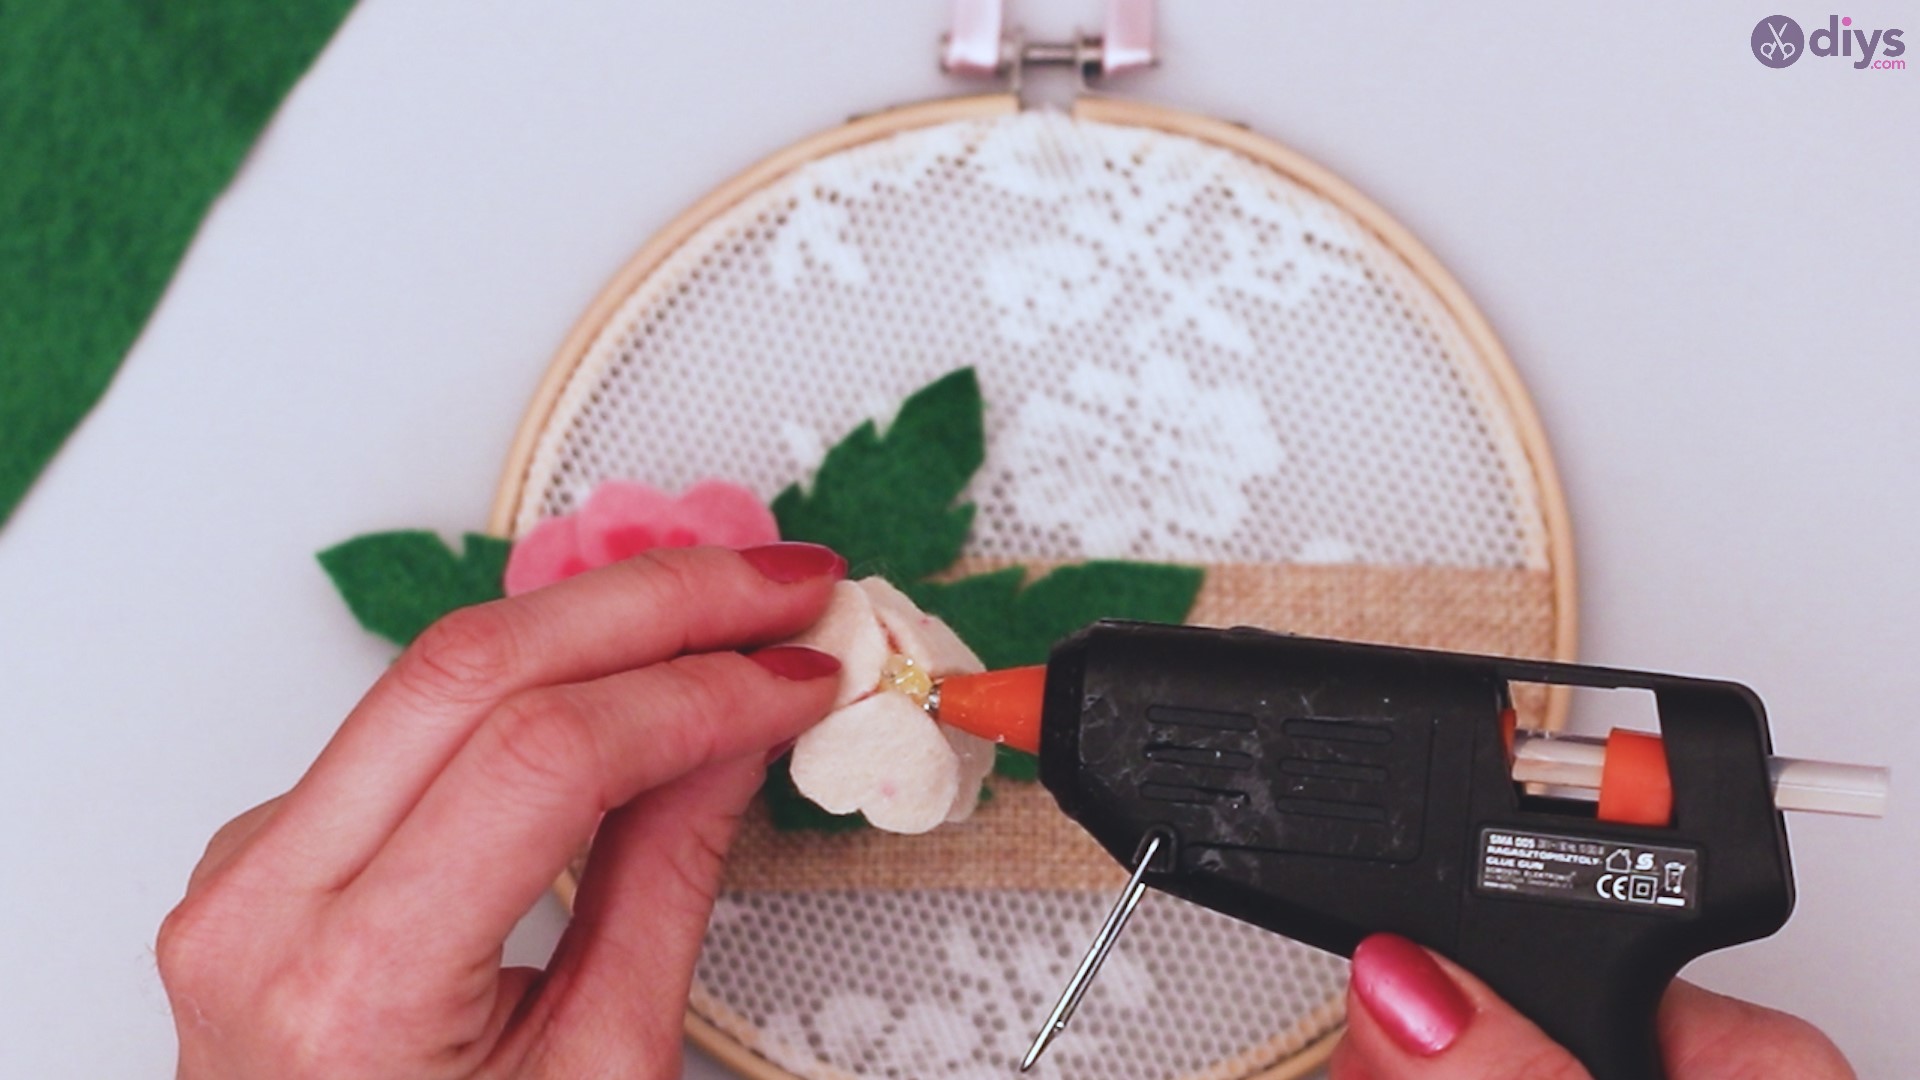
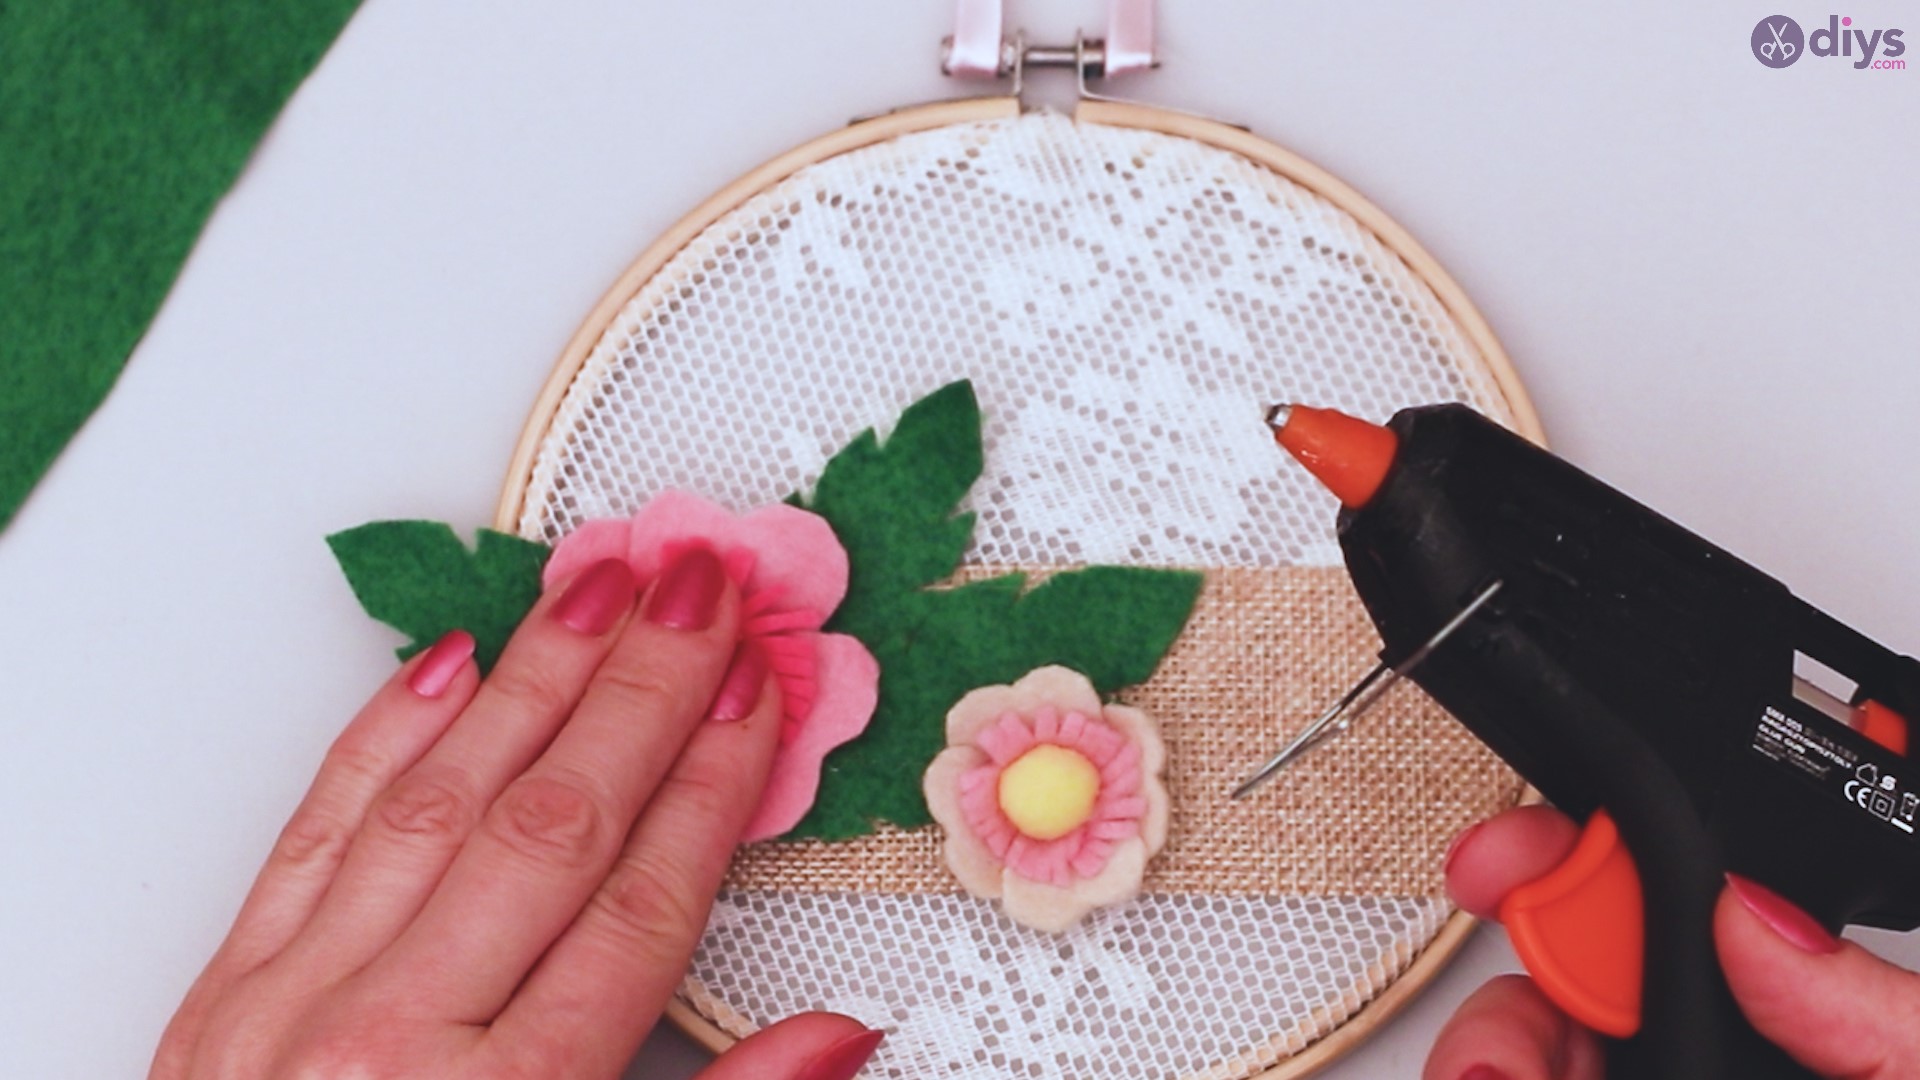
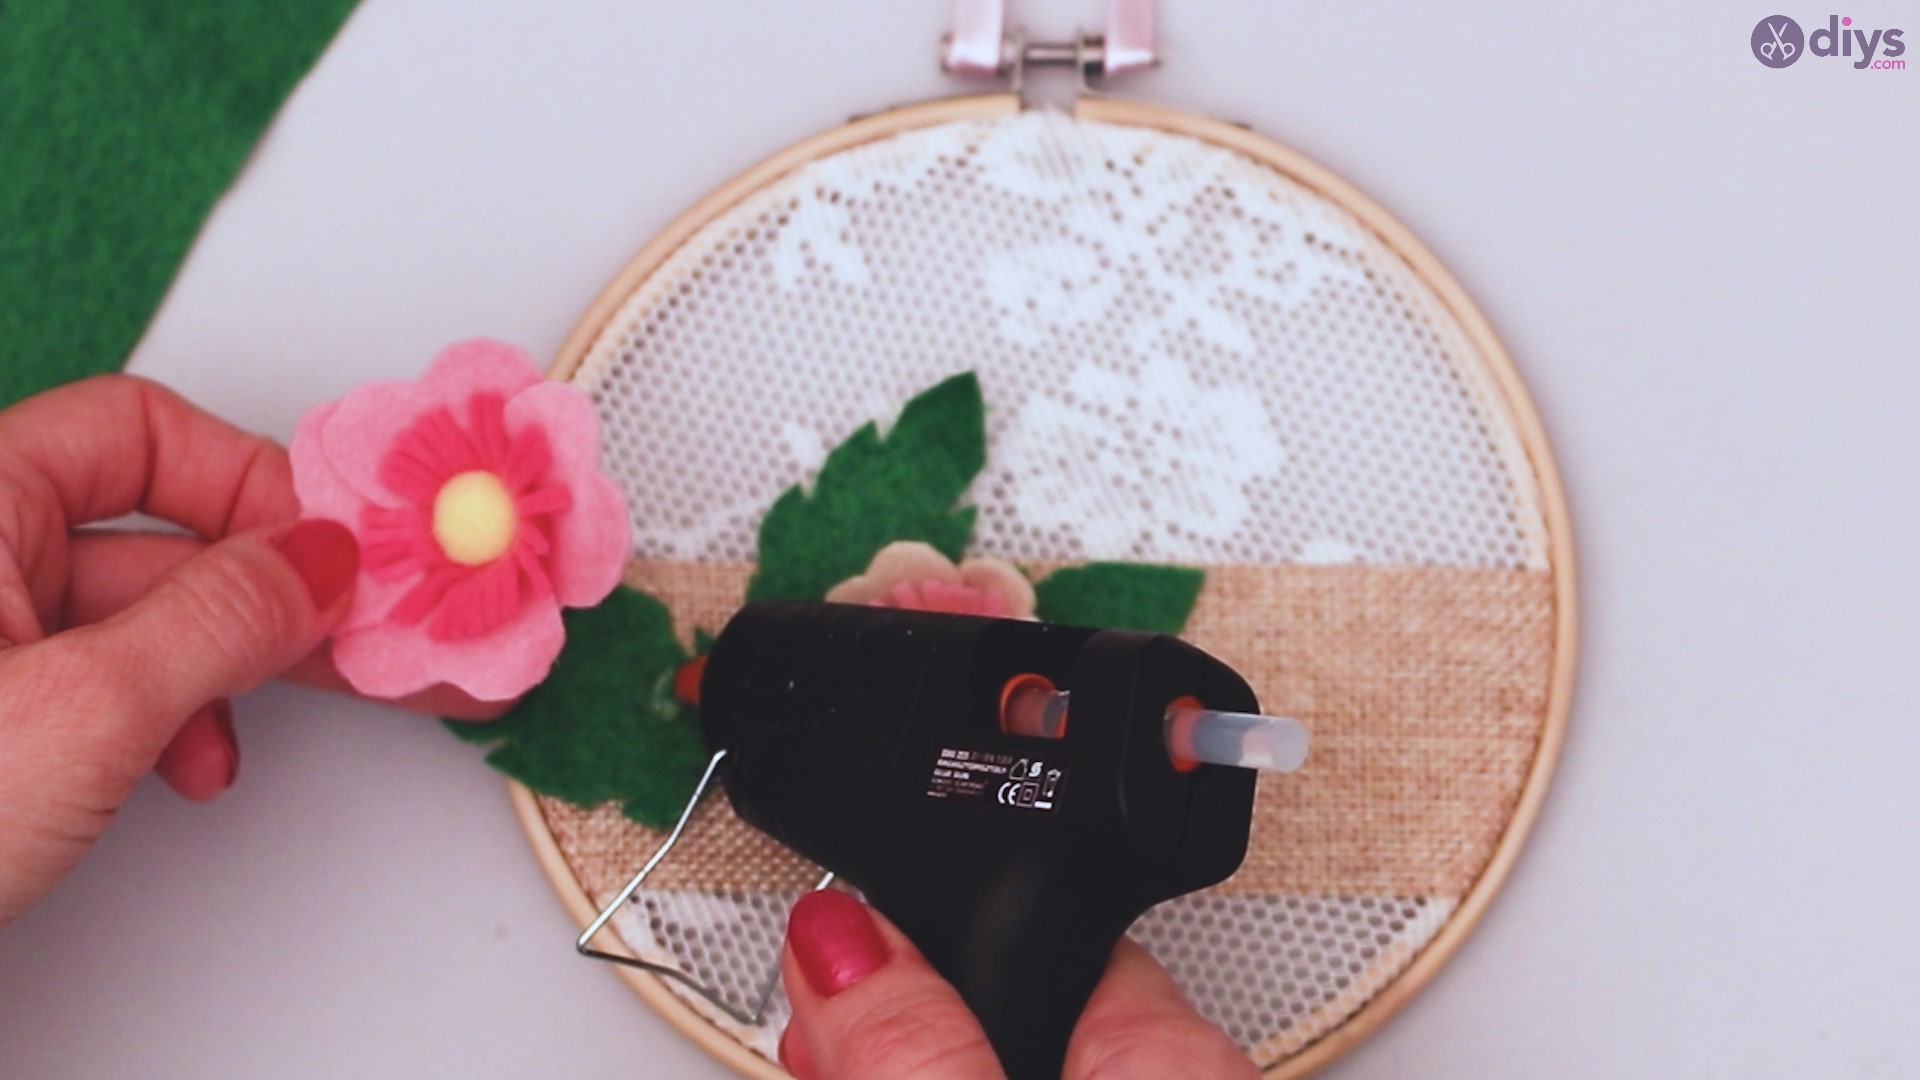
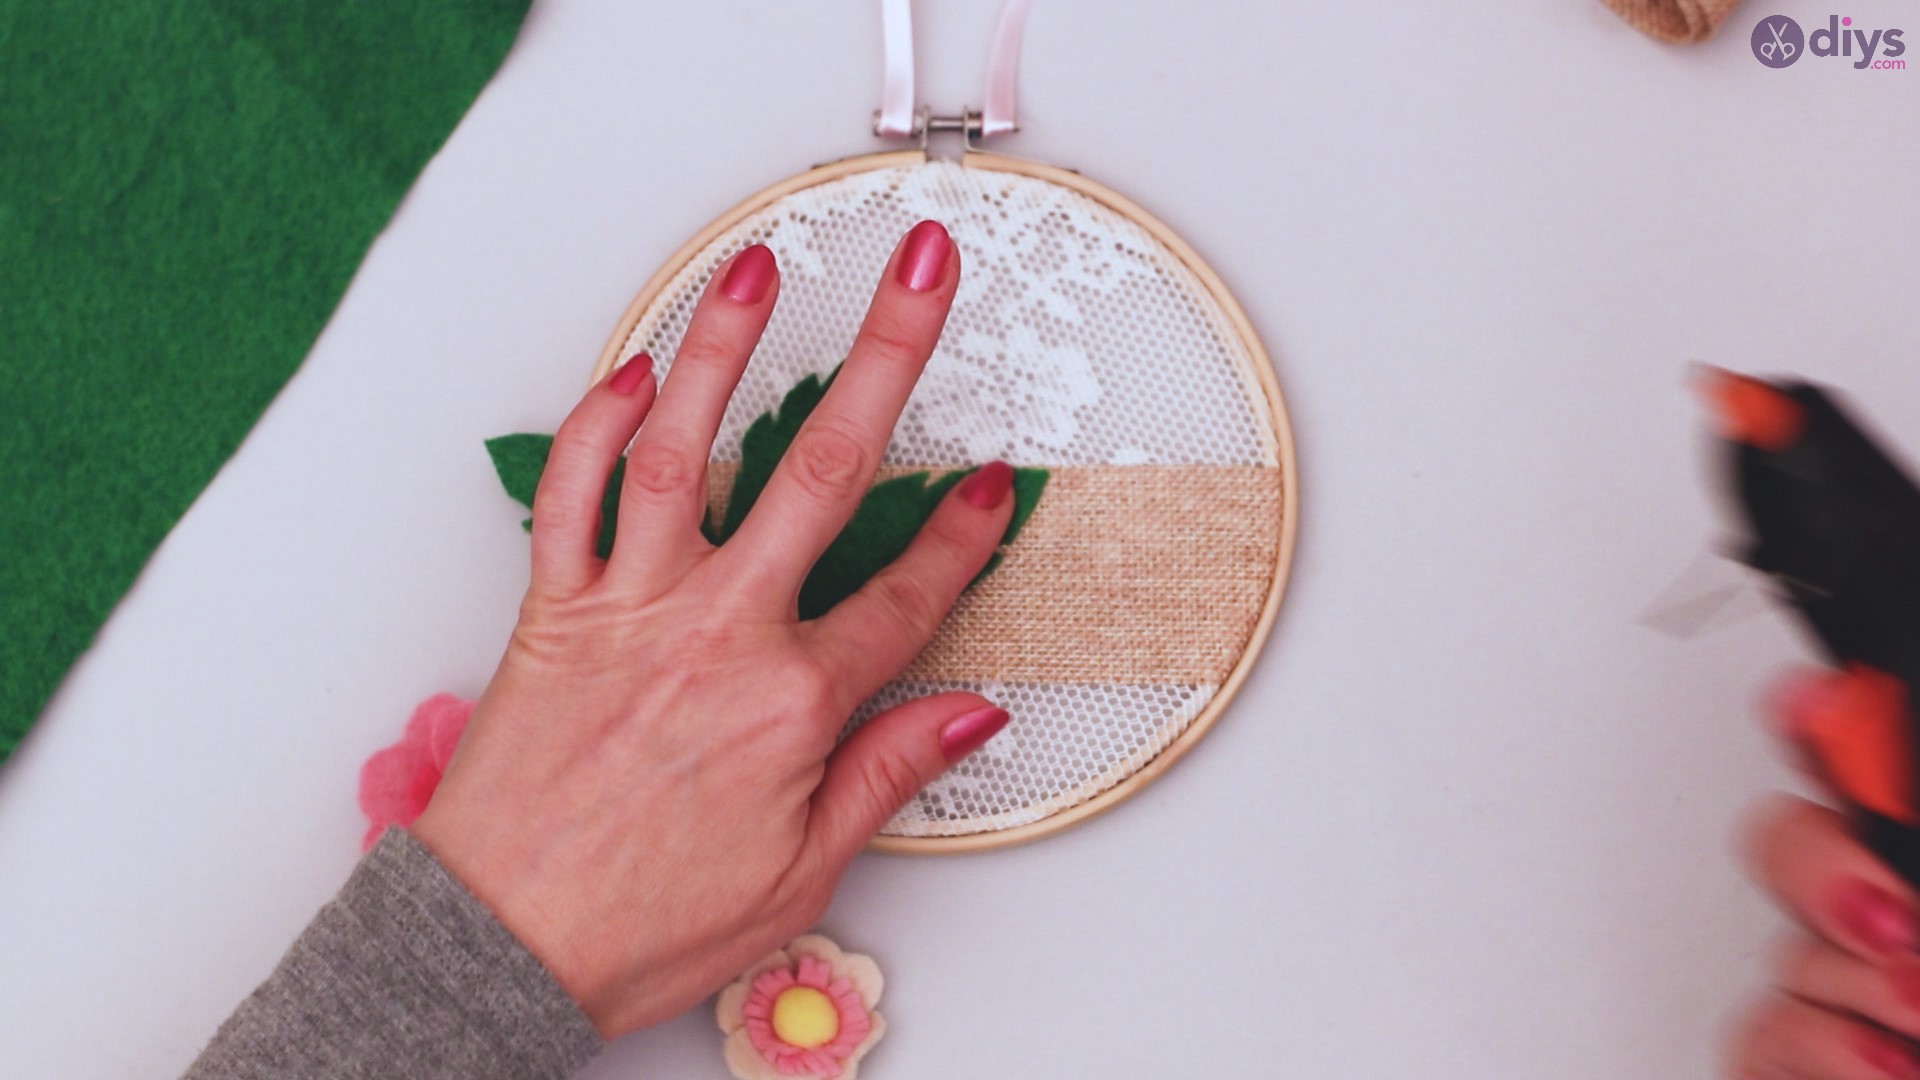
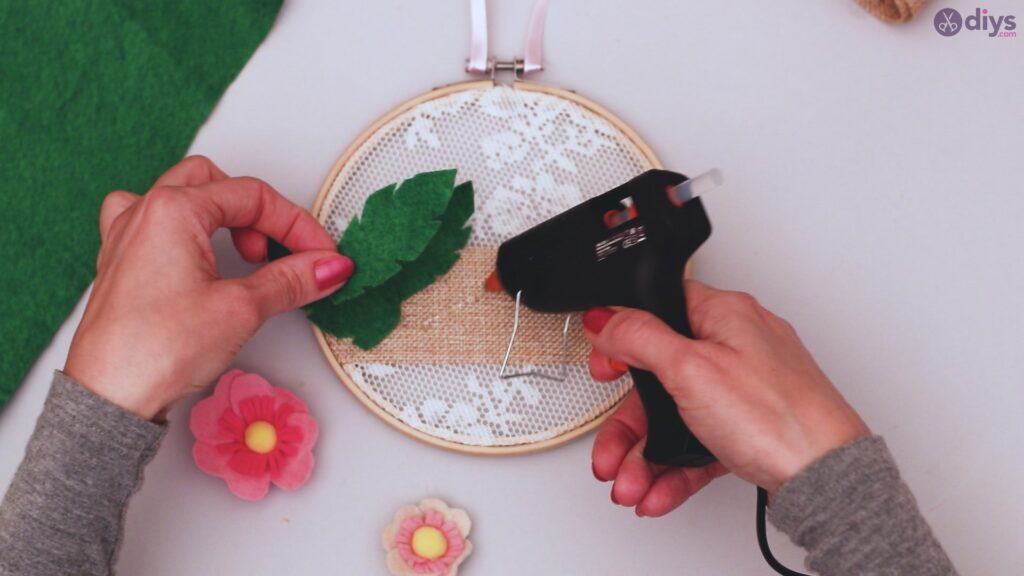
Step 16: Add your design
Gather your three leaves. Using your glue gun, secure your leaves in your desired pattern to the jute ribbon.

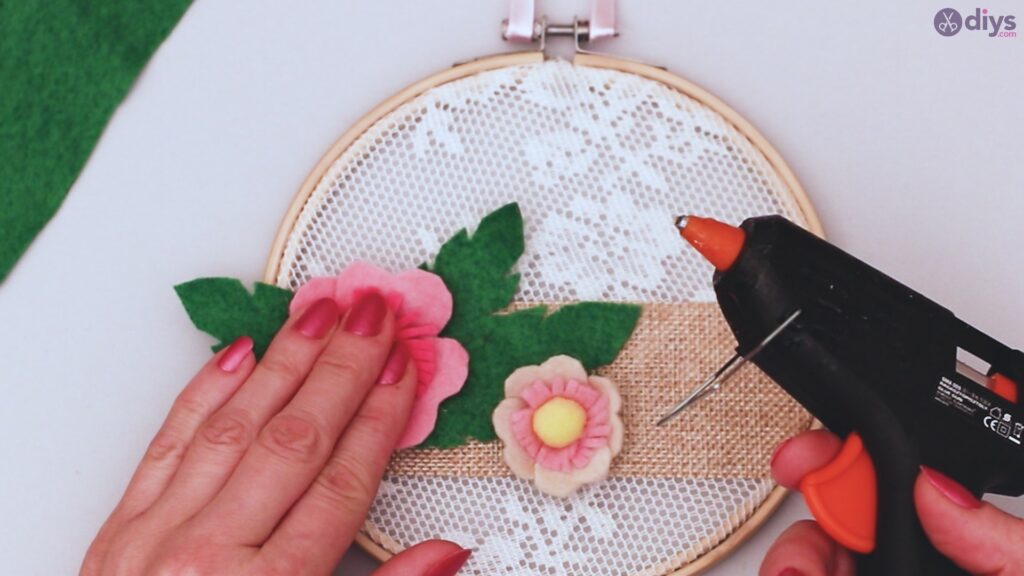
When your leaves are in place and you are content with the look, gather your two flowers. Secure these to your leaves in the configuration of your choosing, using the glue gun.


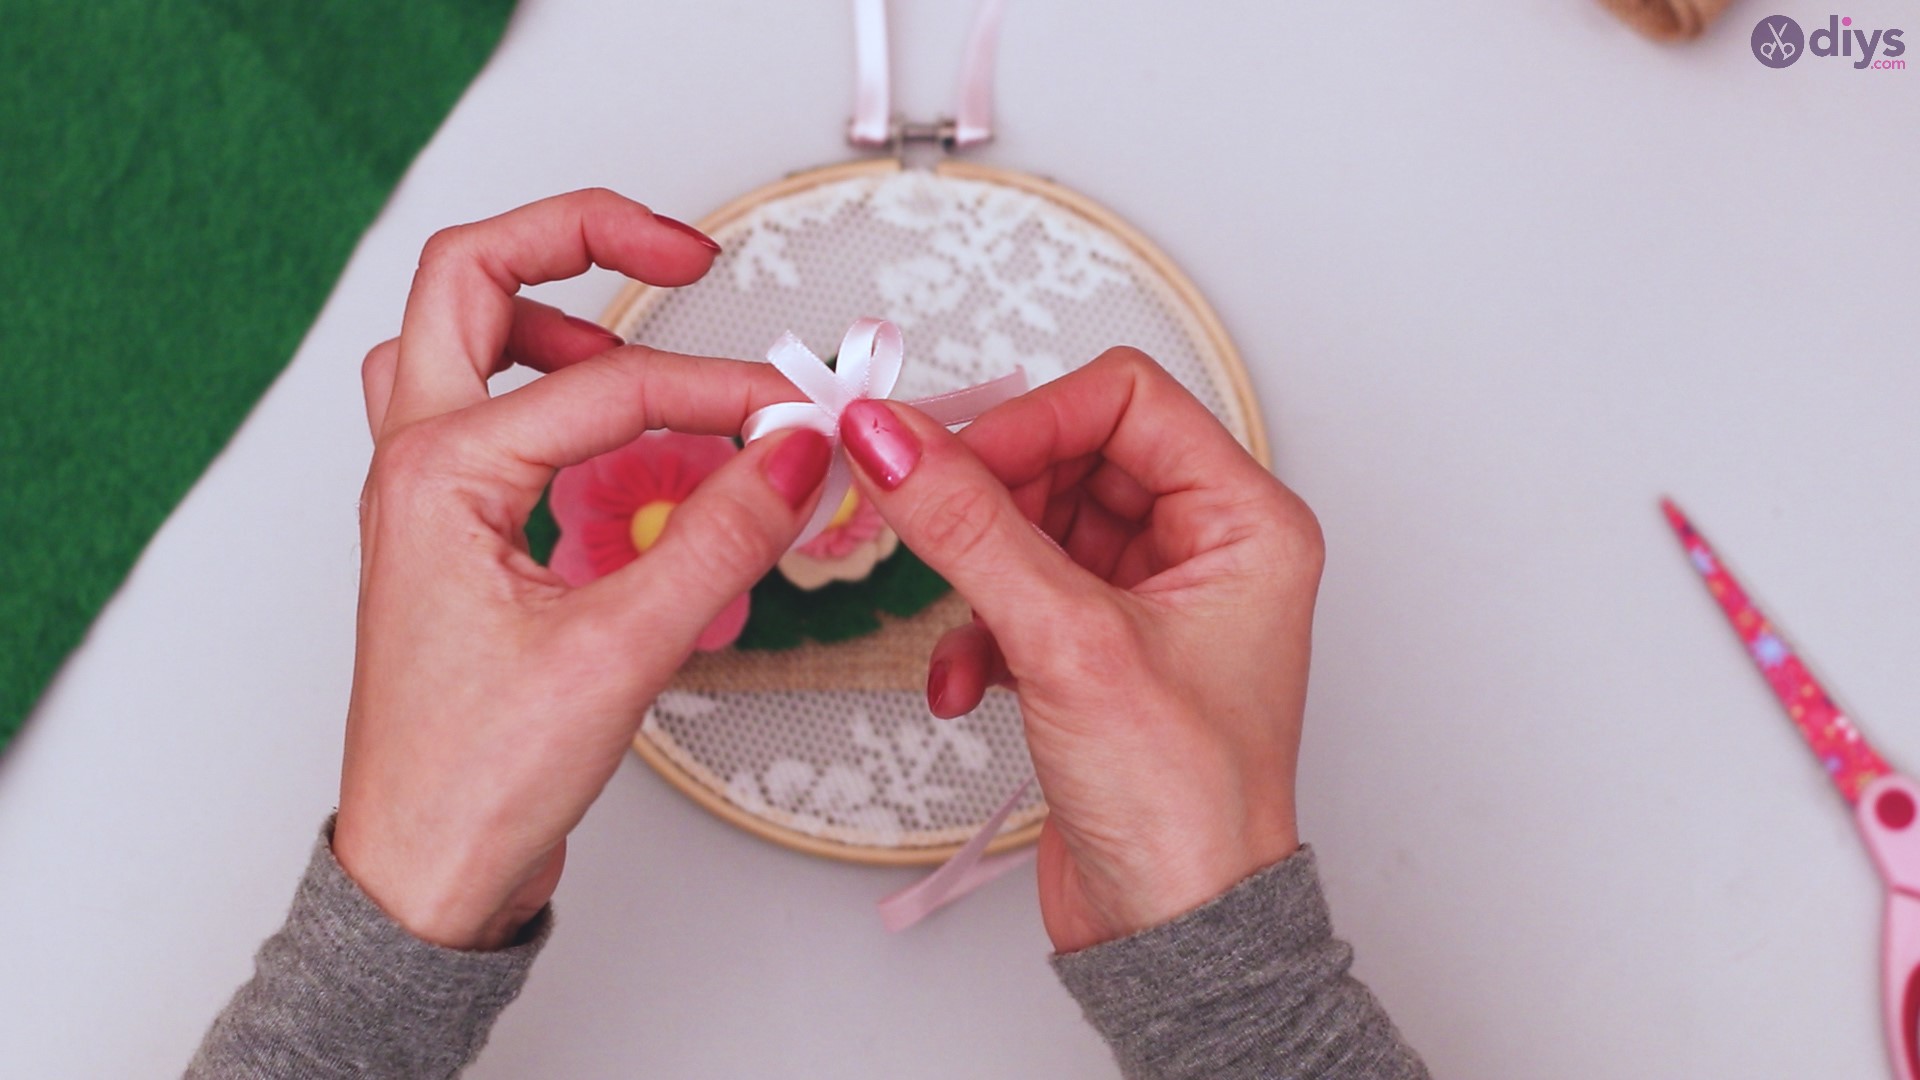
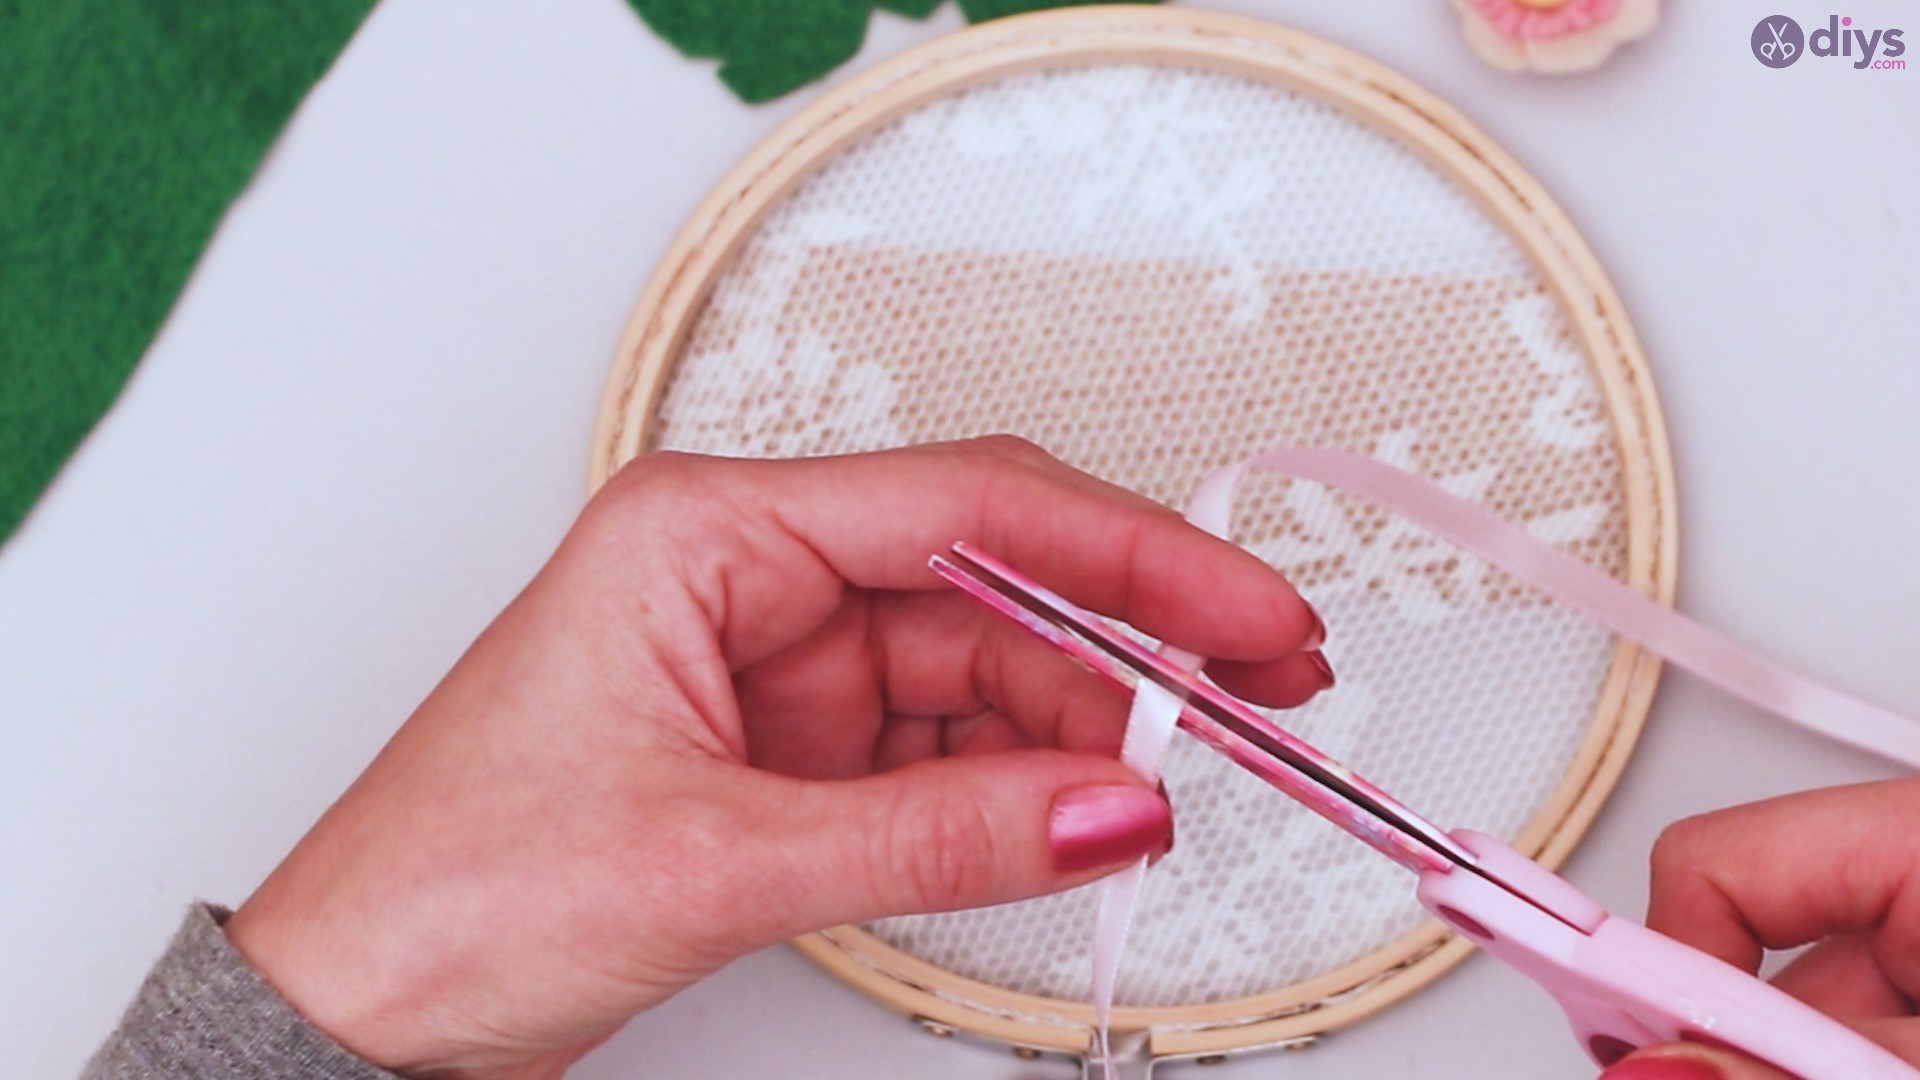
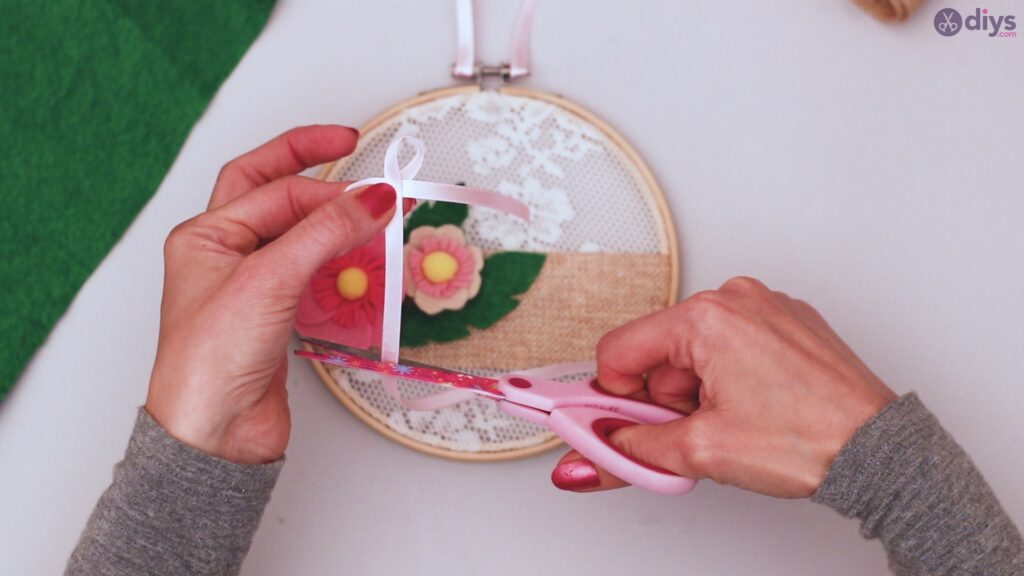
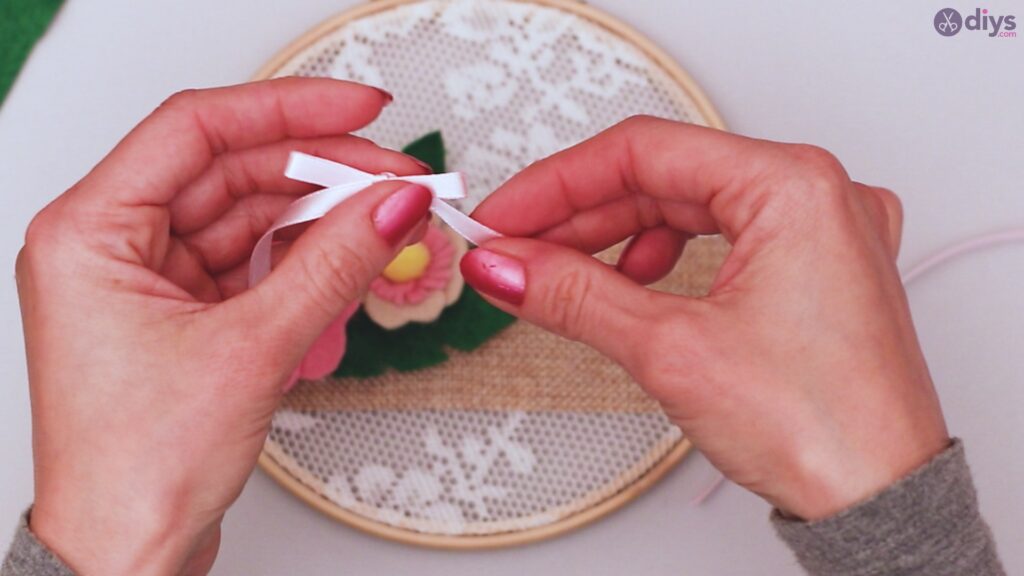
Step 17: Add a bow
Cut a piece of your silk ribbon. Fold the ribbon to create the shape of a bow.

Trim the ends to the length of your preference.
With a smaller length of ribbon, wrap the center of the bow. Again, trim the excess.

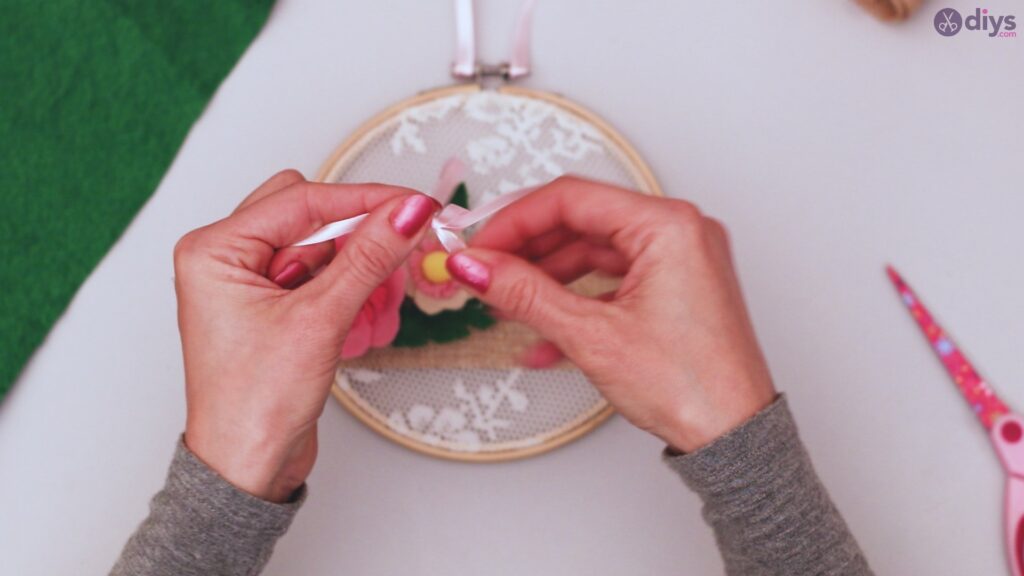
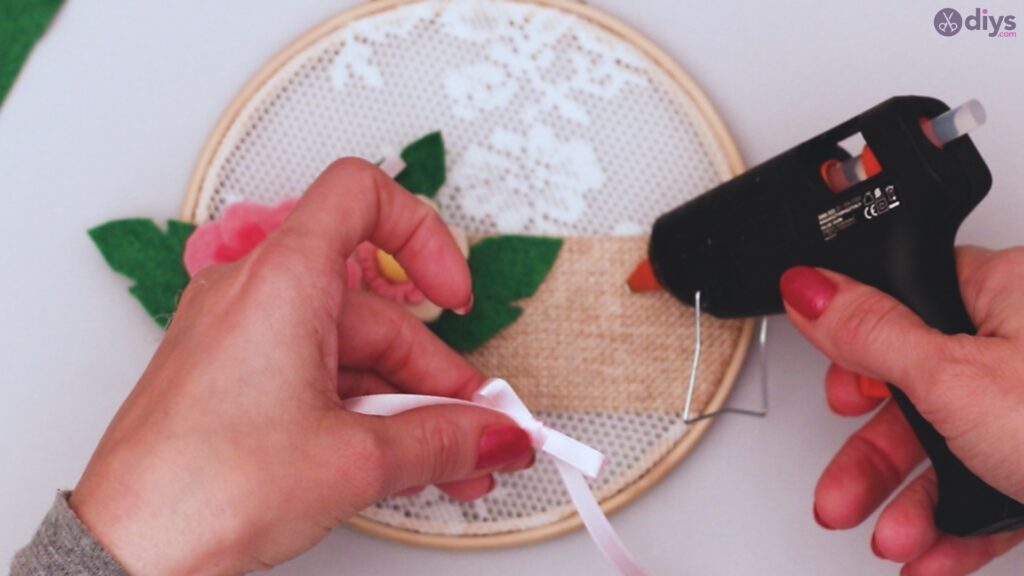
Using your glue gun, attach your bow to your jute ribbon.

Step 18: hanging
Hang your finished embroidery hoop décor in a location where you can enjoy viewing your work. If you like, repeat the process for multiple sizes, designs, and colors.
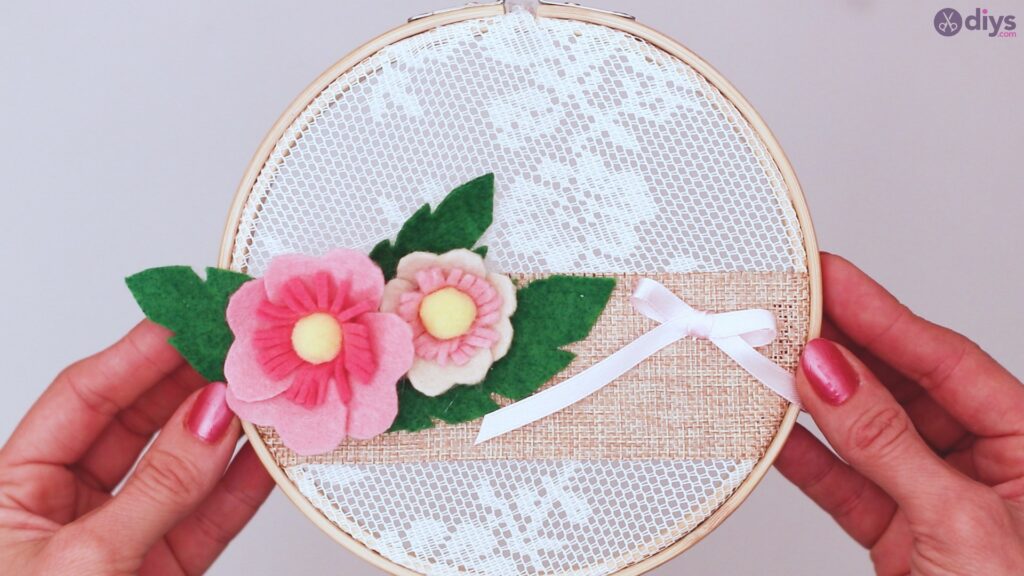
Creating DIY embroidery hoop wall décor is a simple way to improve the overall look of your home with an easy process that anyone can follow. And with a variety of choices as to the design you can change up your décor to your own preferences. It’s an inexpensive and enjoyable way to create custom art pieces that will last a lifetime.