DIY Simple Paper Lantern Art
Updated on November 19, 2025


Lately, I’ve had a bit of a preoccupation with vellum paper going on, so I’ve been plotting a craft that’s kid friendly and will really put the vellum to good use. That’s how I came up with the idea of helping my kids make artistic and slightly spooky or gothic looking paper lanterns! If you’d like to give it a try, check out how I made this DIY simple paper lantern art.
When I talked about the project, a number of parents I know mentioned having never made lanterns or used vellum paper before, so I immediately made another lantern that I could document the steps for in order to share the process for others to see. Check out these step by step instructions complete with photos! If you’d rather follow along with a video tutorial instead of written words, scroll to the bottom of this post to find just what you’re looking for.
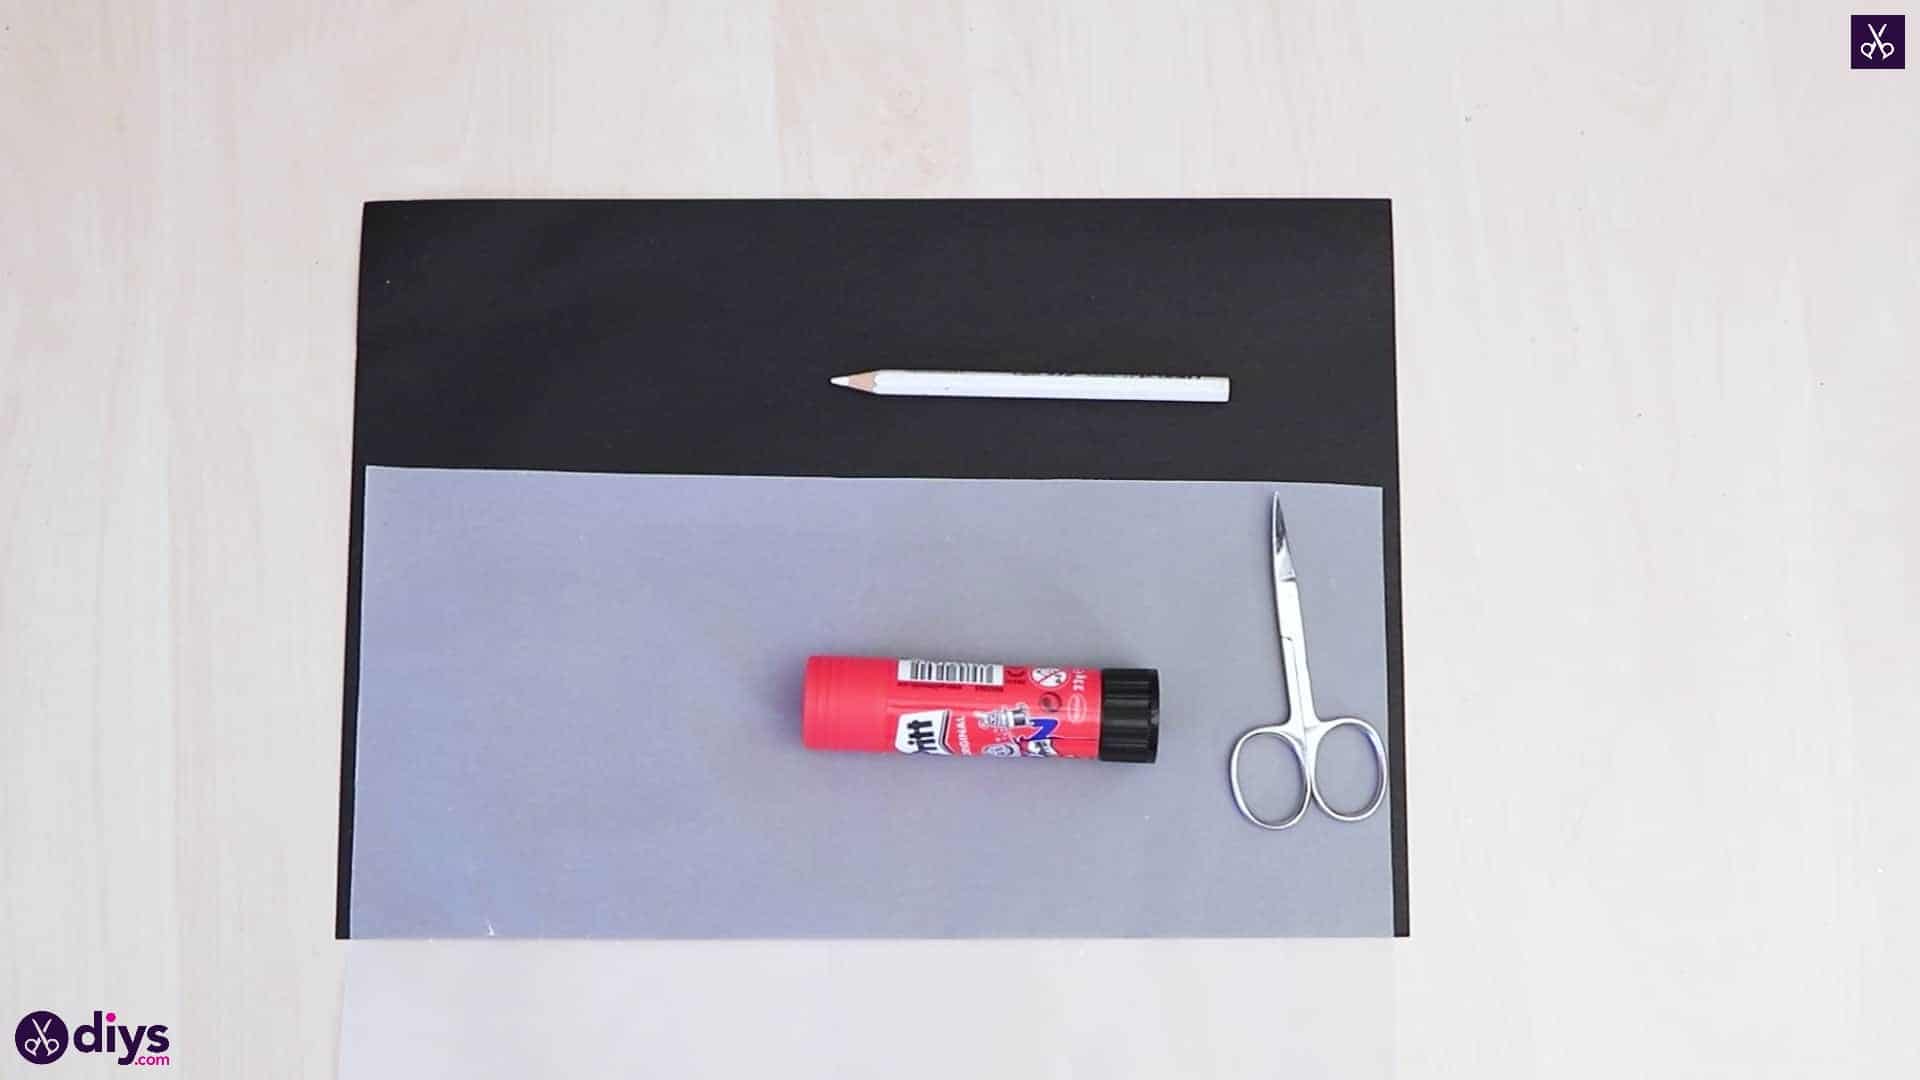
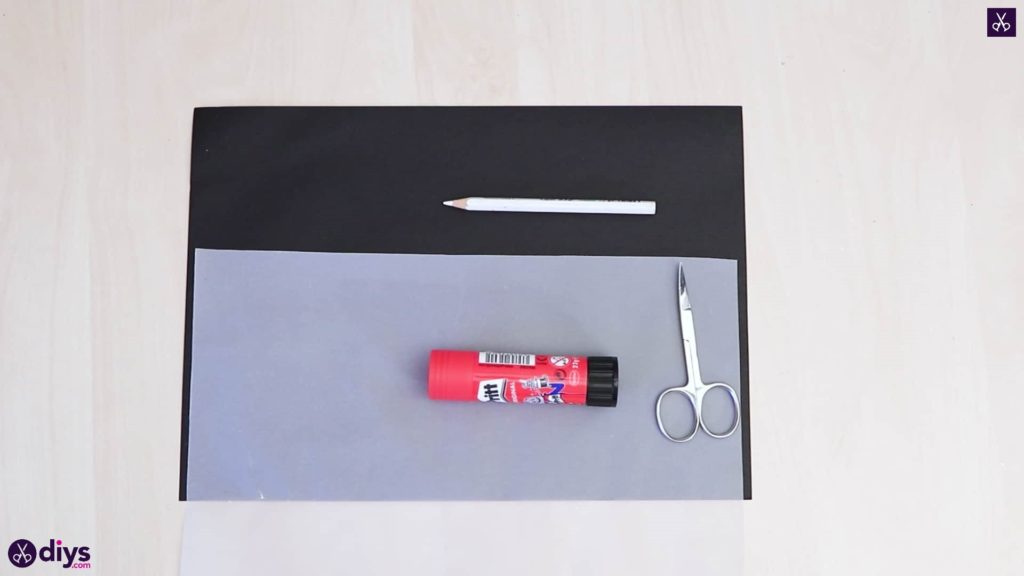
For this project, you’ll need:
- A white pencil
- Curved nail scissors
- Black paper
- A glue stick
- White vellum
- Small scissors (like nail scissors, for detail)
Step 1: Gather your materials!
Check your list and make sure you get everything you need.
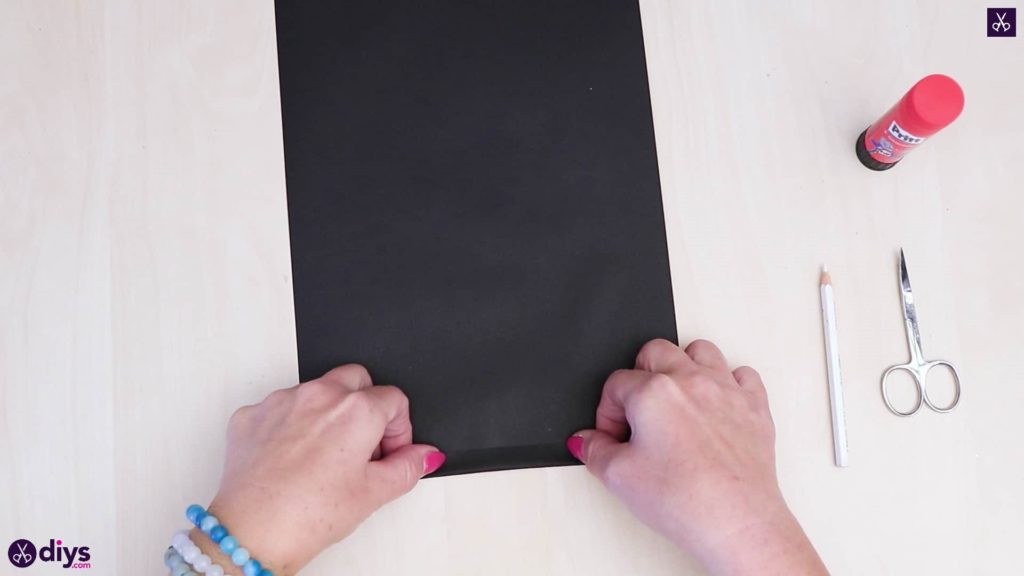
Step 2: shape the lantern
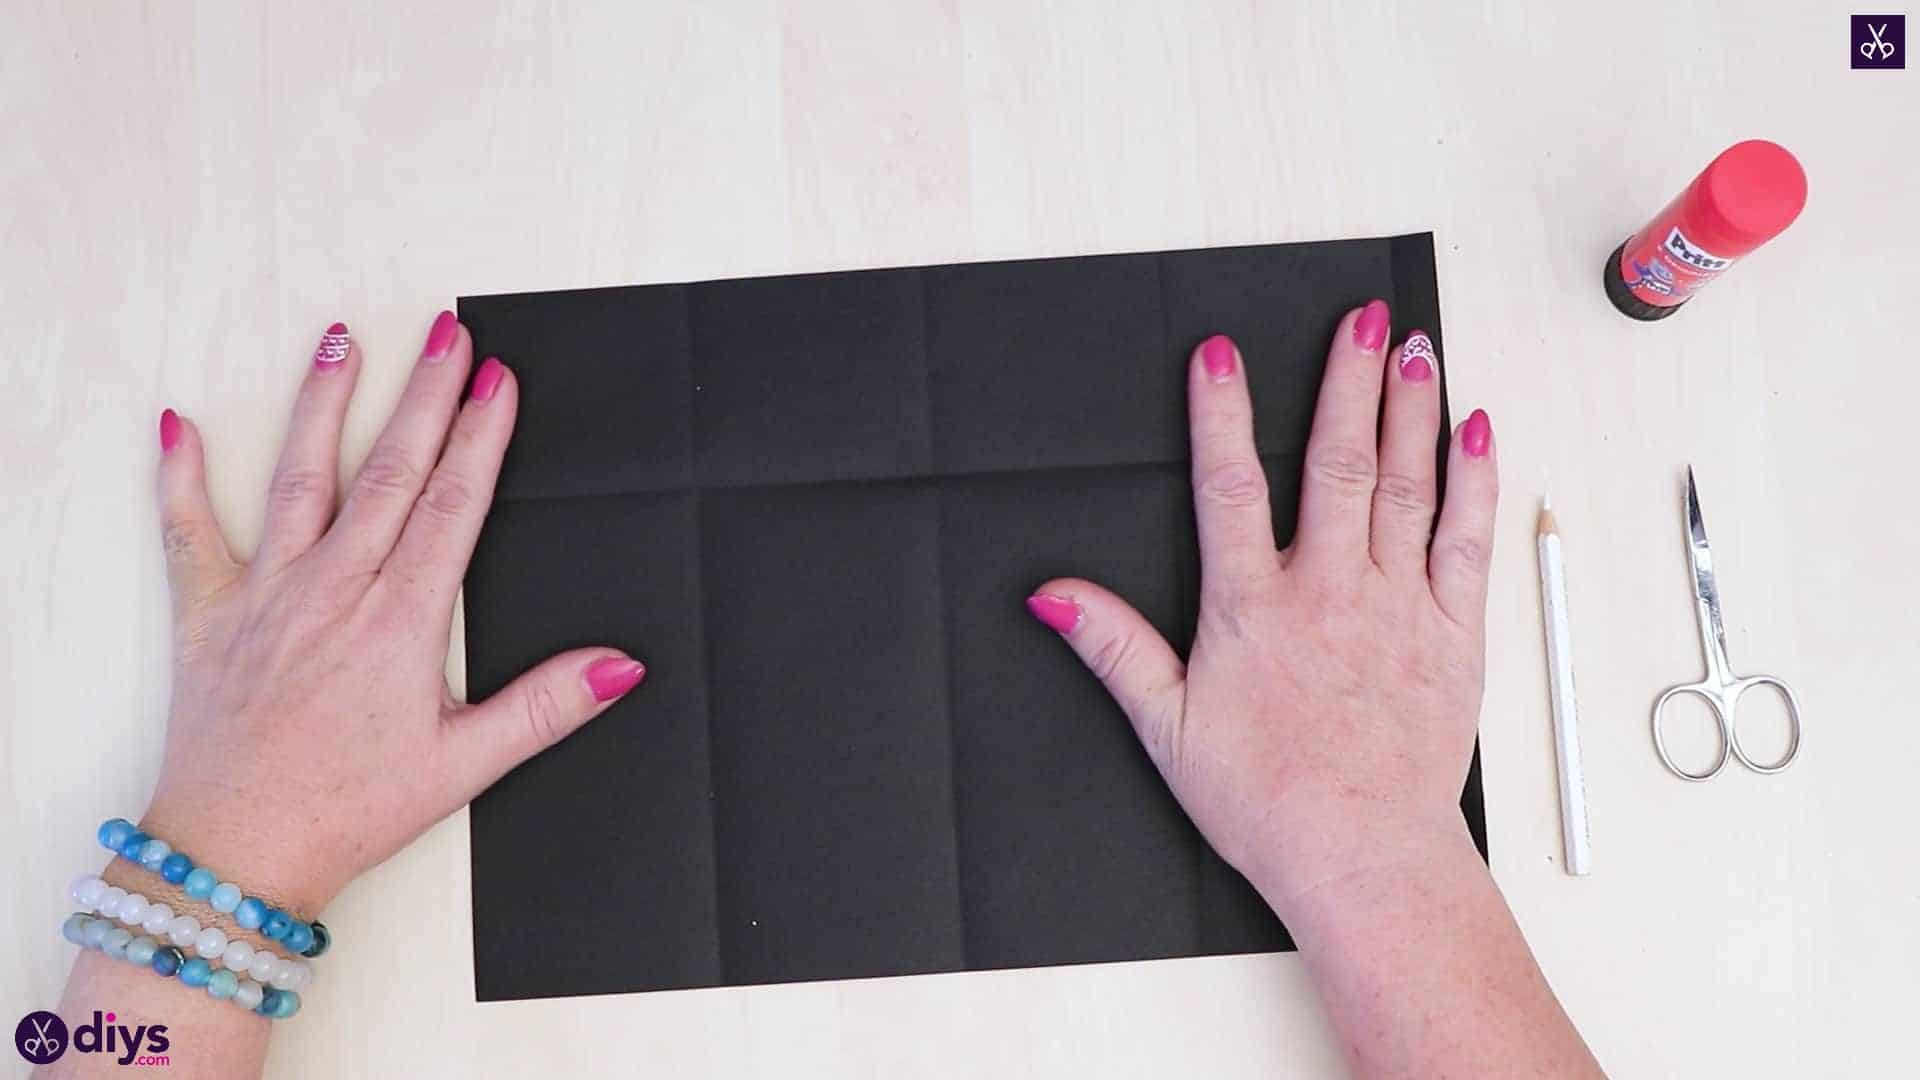
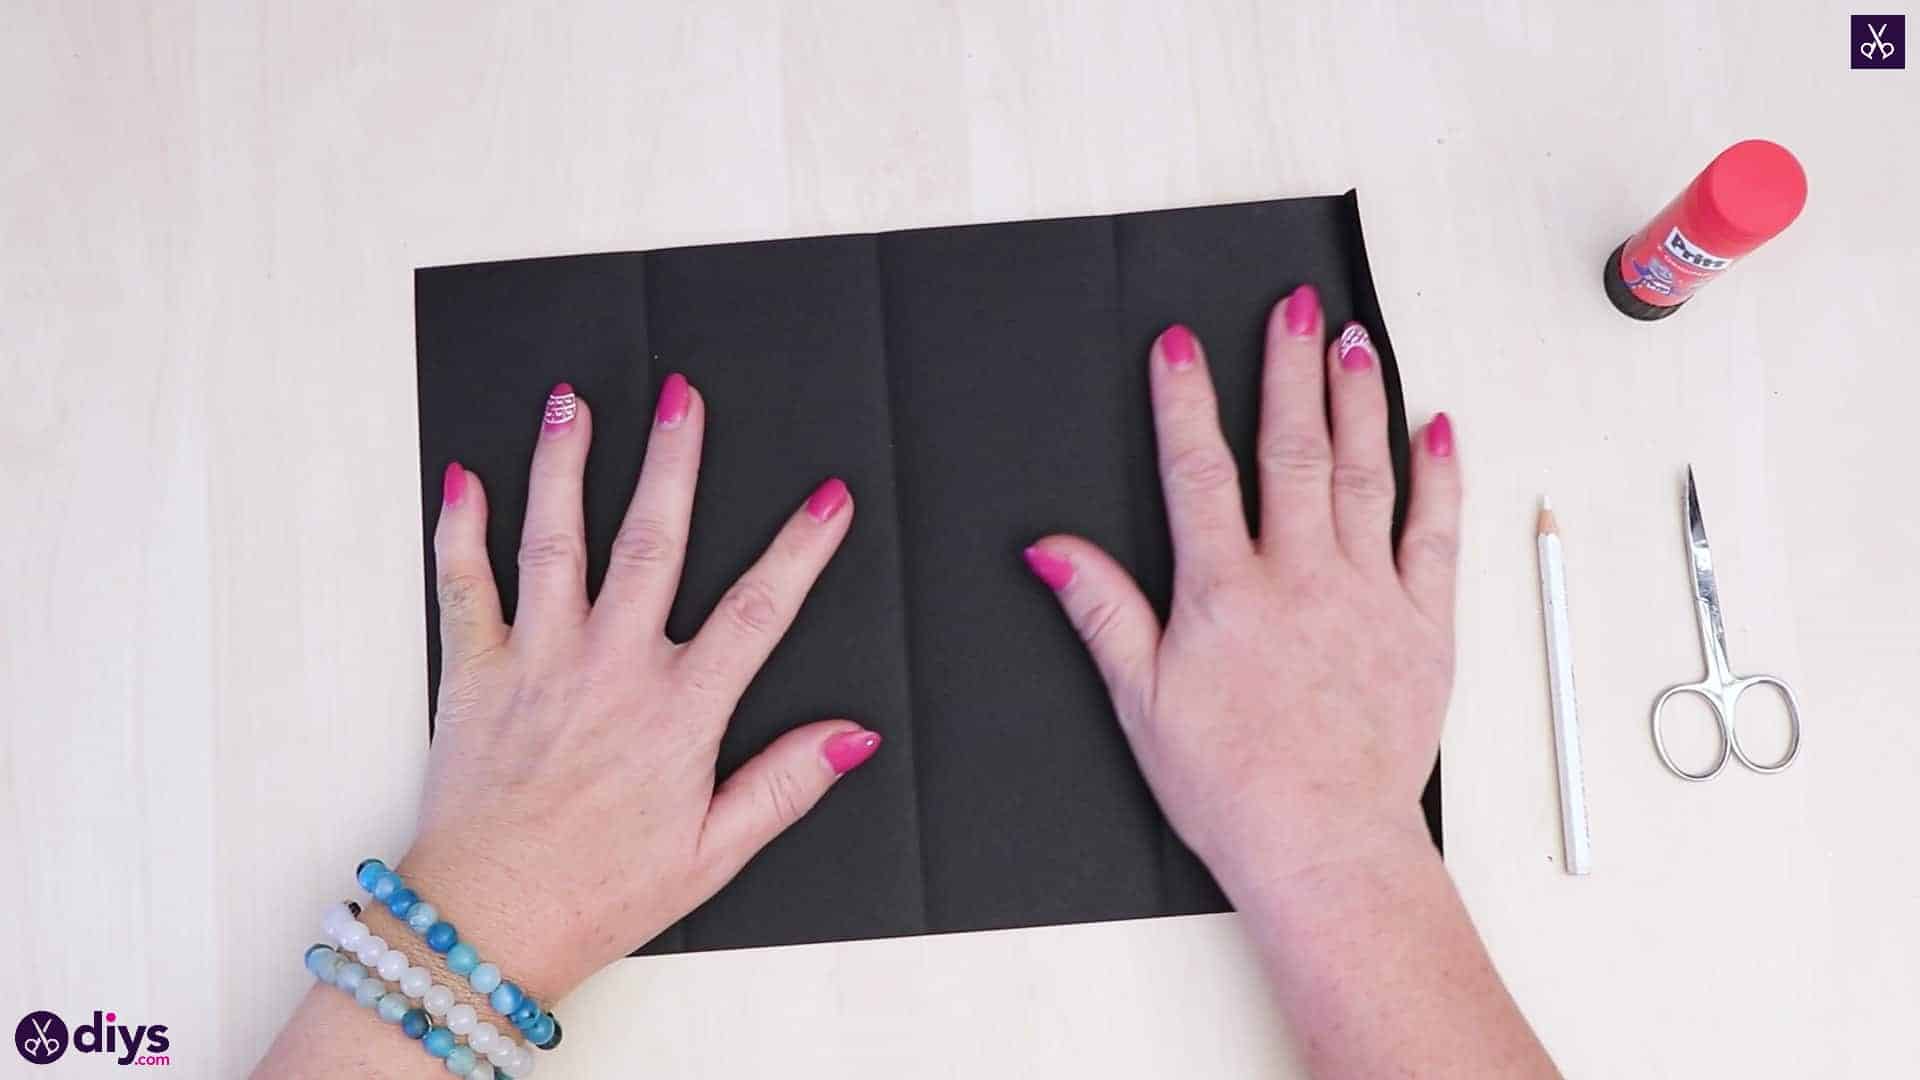
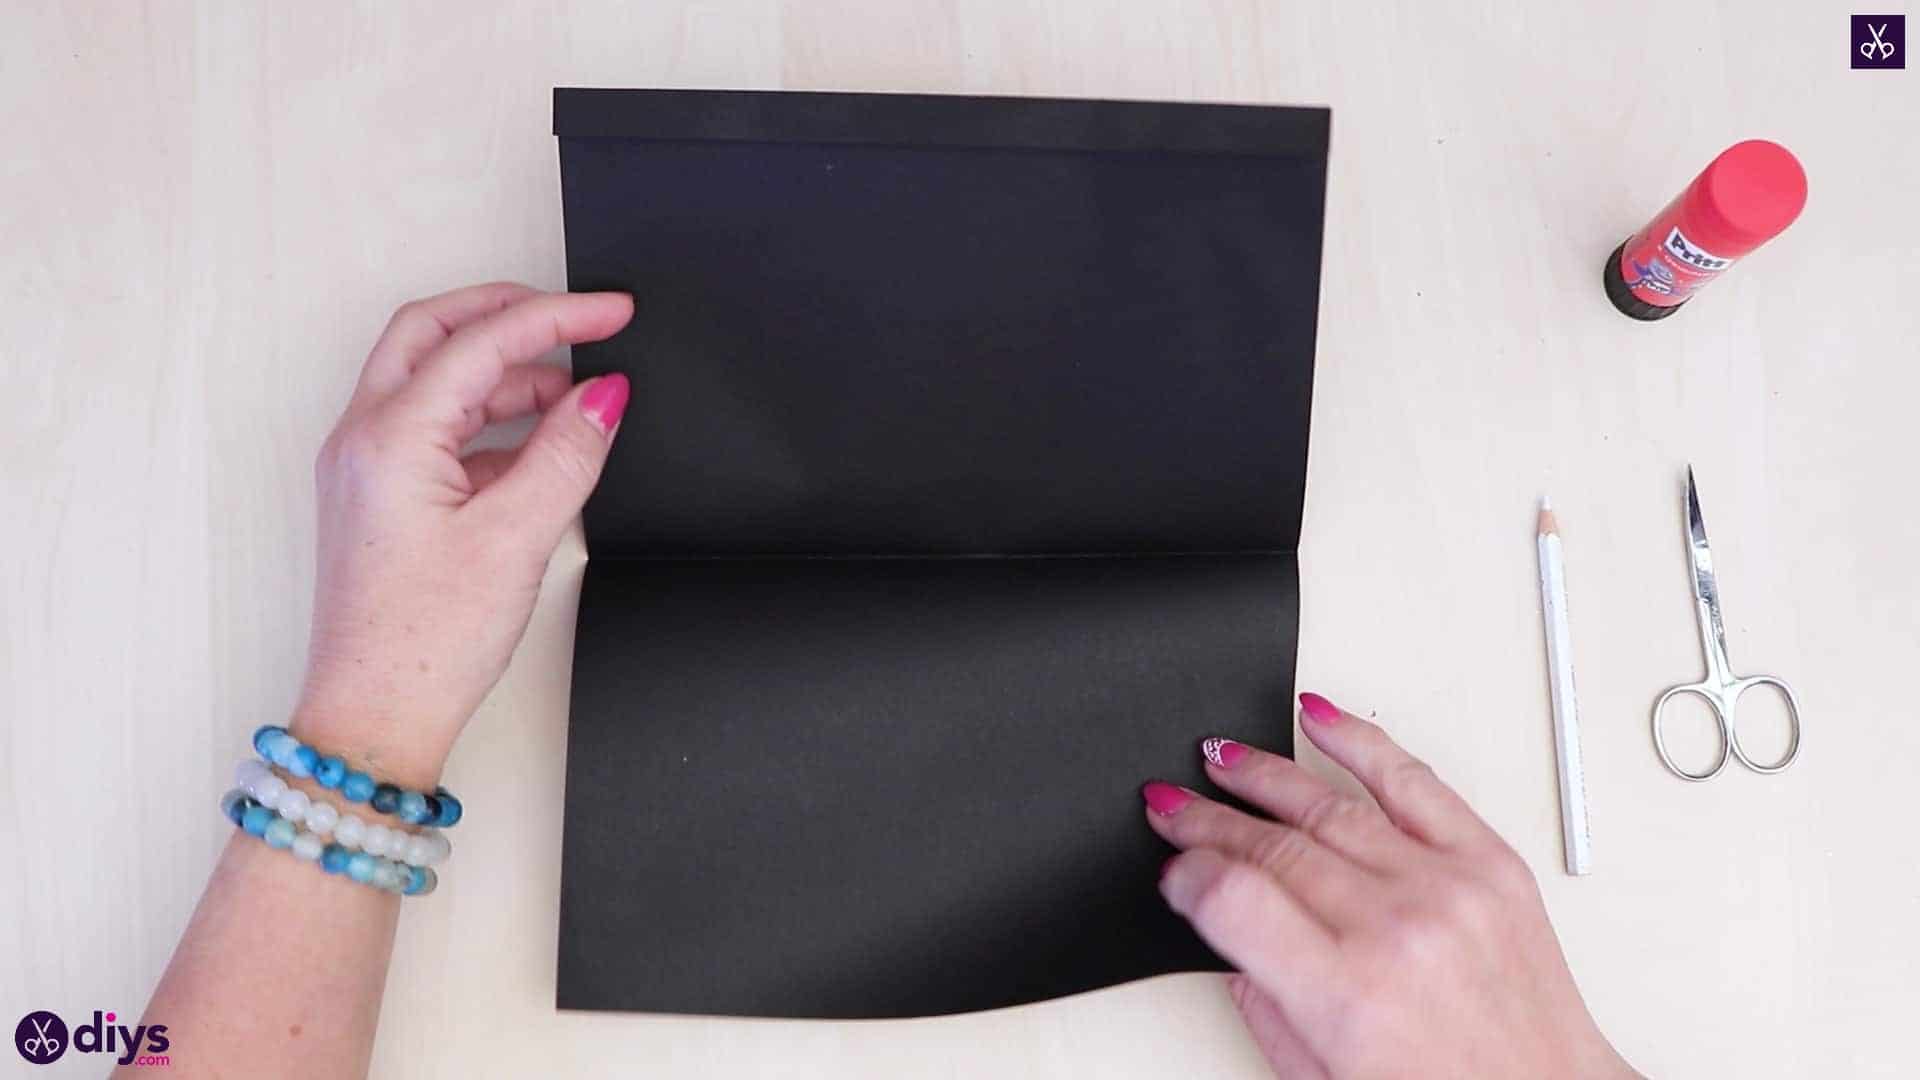
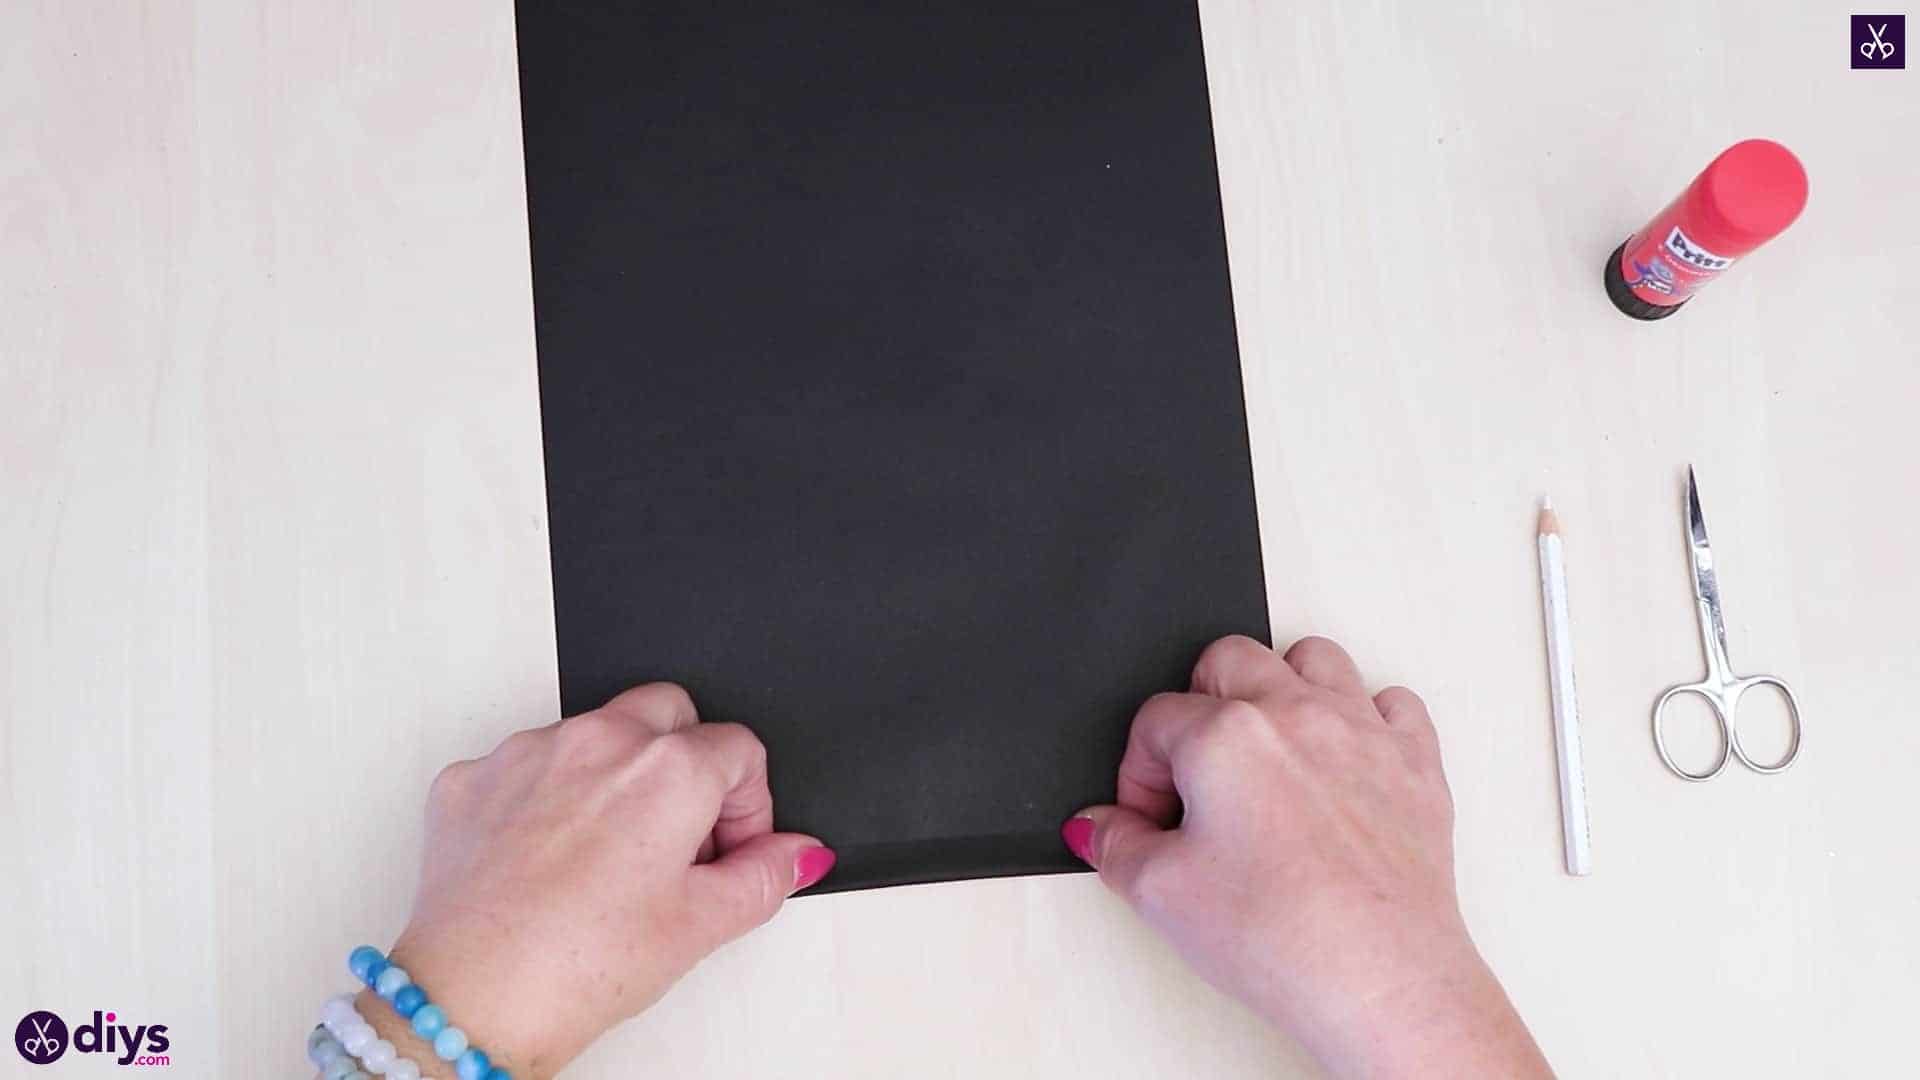
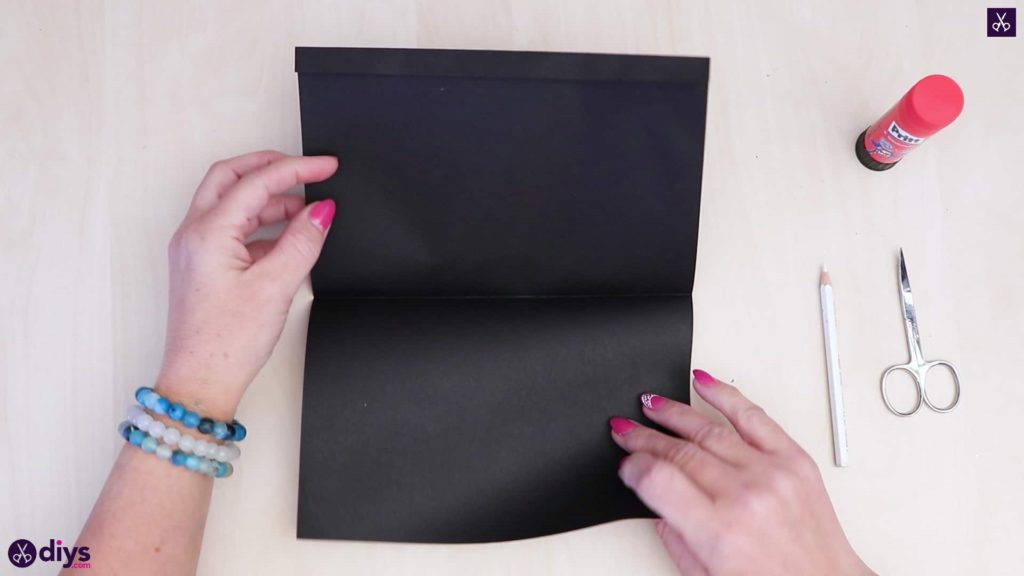
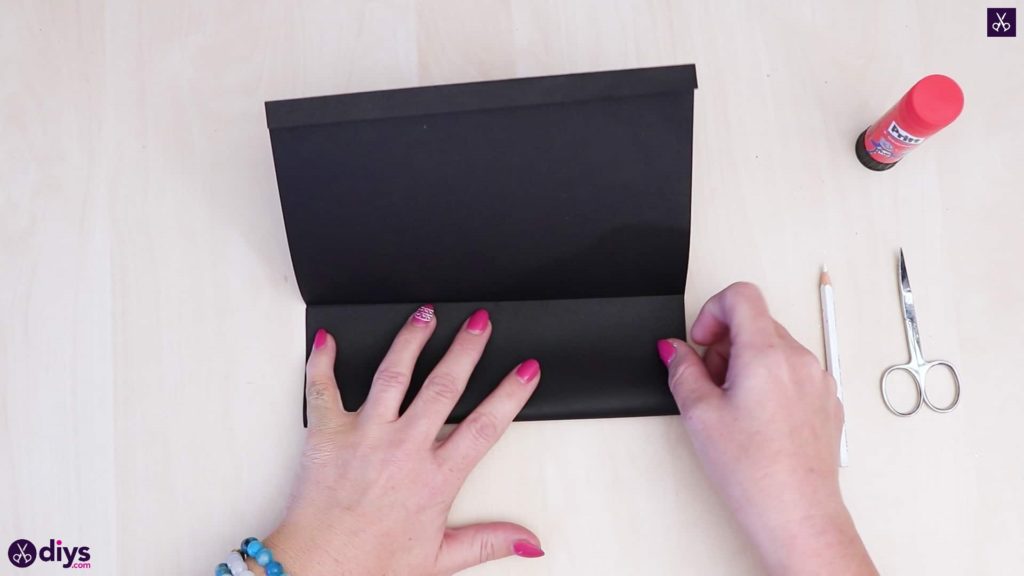
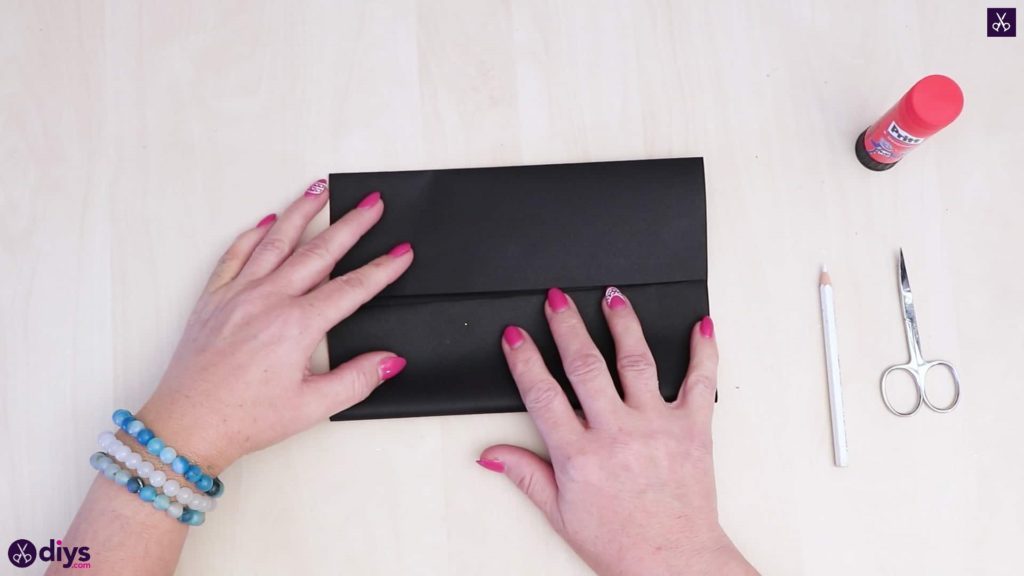
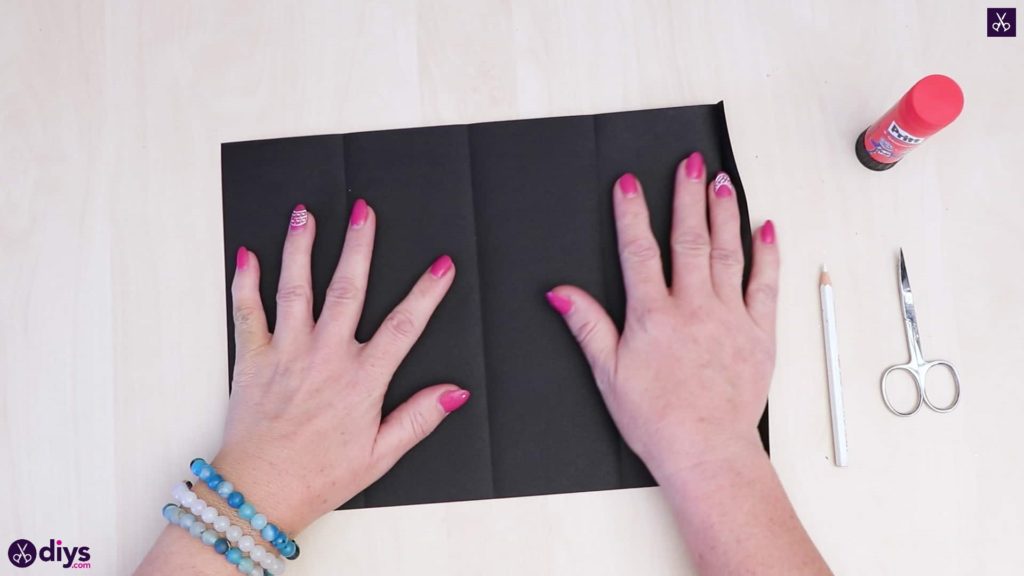
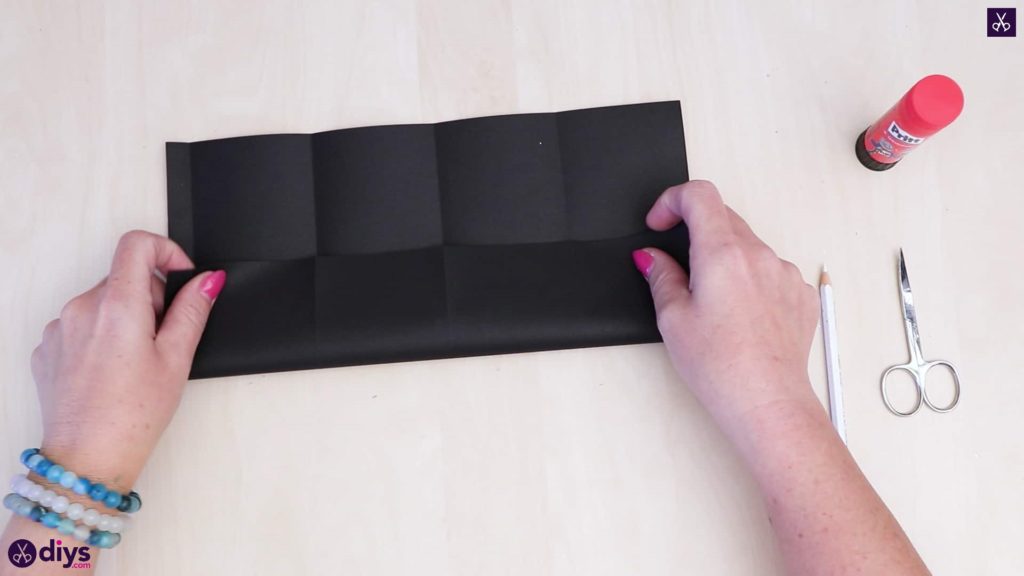
Map out the shape of your lantern. First, turn your black paper vertically or portrait and fold the bottom edge inward about half an inch, creasing it all the way across. This will be a tab that helps you close the lantern at the end so it stands upright and glows properly. Next, keeping that first piece folded, bring the new creased bottom edge upwards to meet evenly with the top edge, creasing the new center fold. Open the piece back up and move that first bottom edge down to sit evenly along the crease you just made in the center, creating another crease where the paper folds in that new place towards the bottom. Then bring the top edge down to meet that center crease mark as well, creating another crease where it folds from the top. When you open the page out fully, you’ll see that the creased lines you made divide your black paper into four even sections. Turn your page horizontally or landscape and fold the new, longer bottom edge upwards to sit about halfway to the top edge, creasing it to make another line. When you open that, you’ll have a new horizontal creased line that intersects all of the vertical creases you made before. Turn the page fully so the horizontal line is at the top of the page. Now you’re ready to draw your cutout pattern!

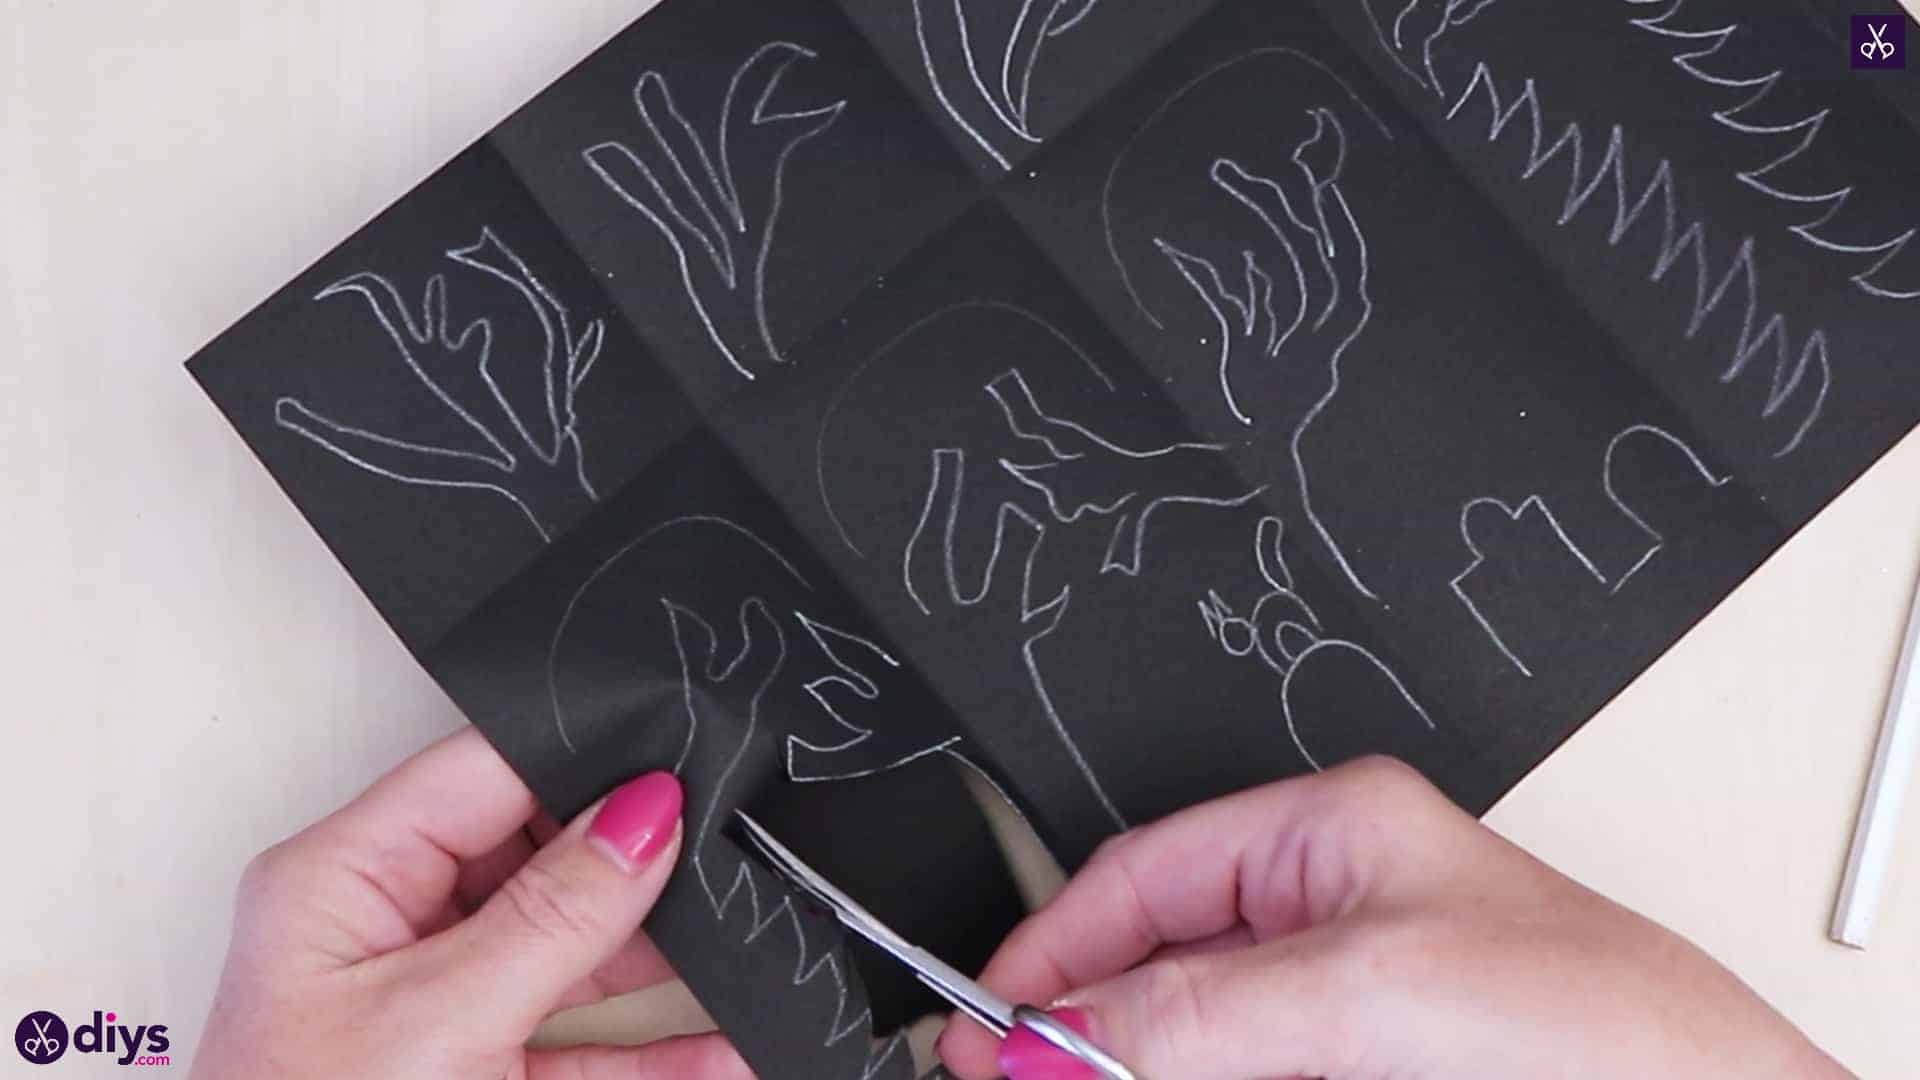
Step 3: trace
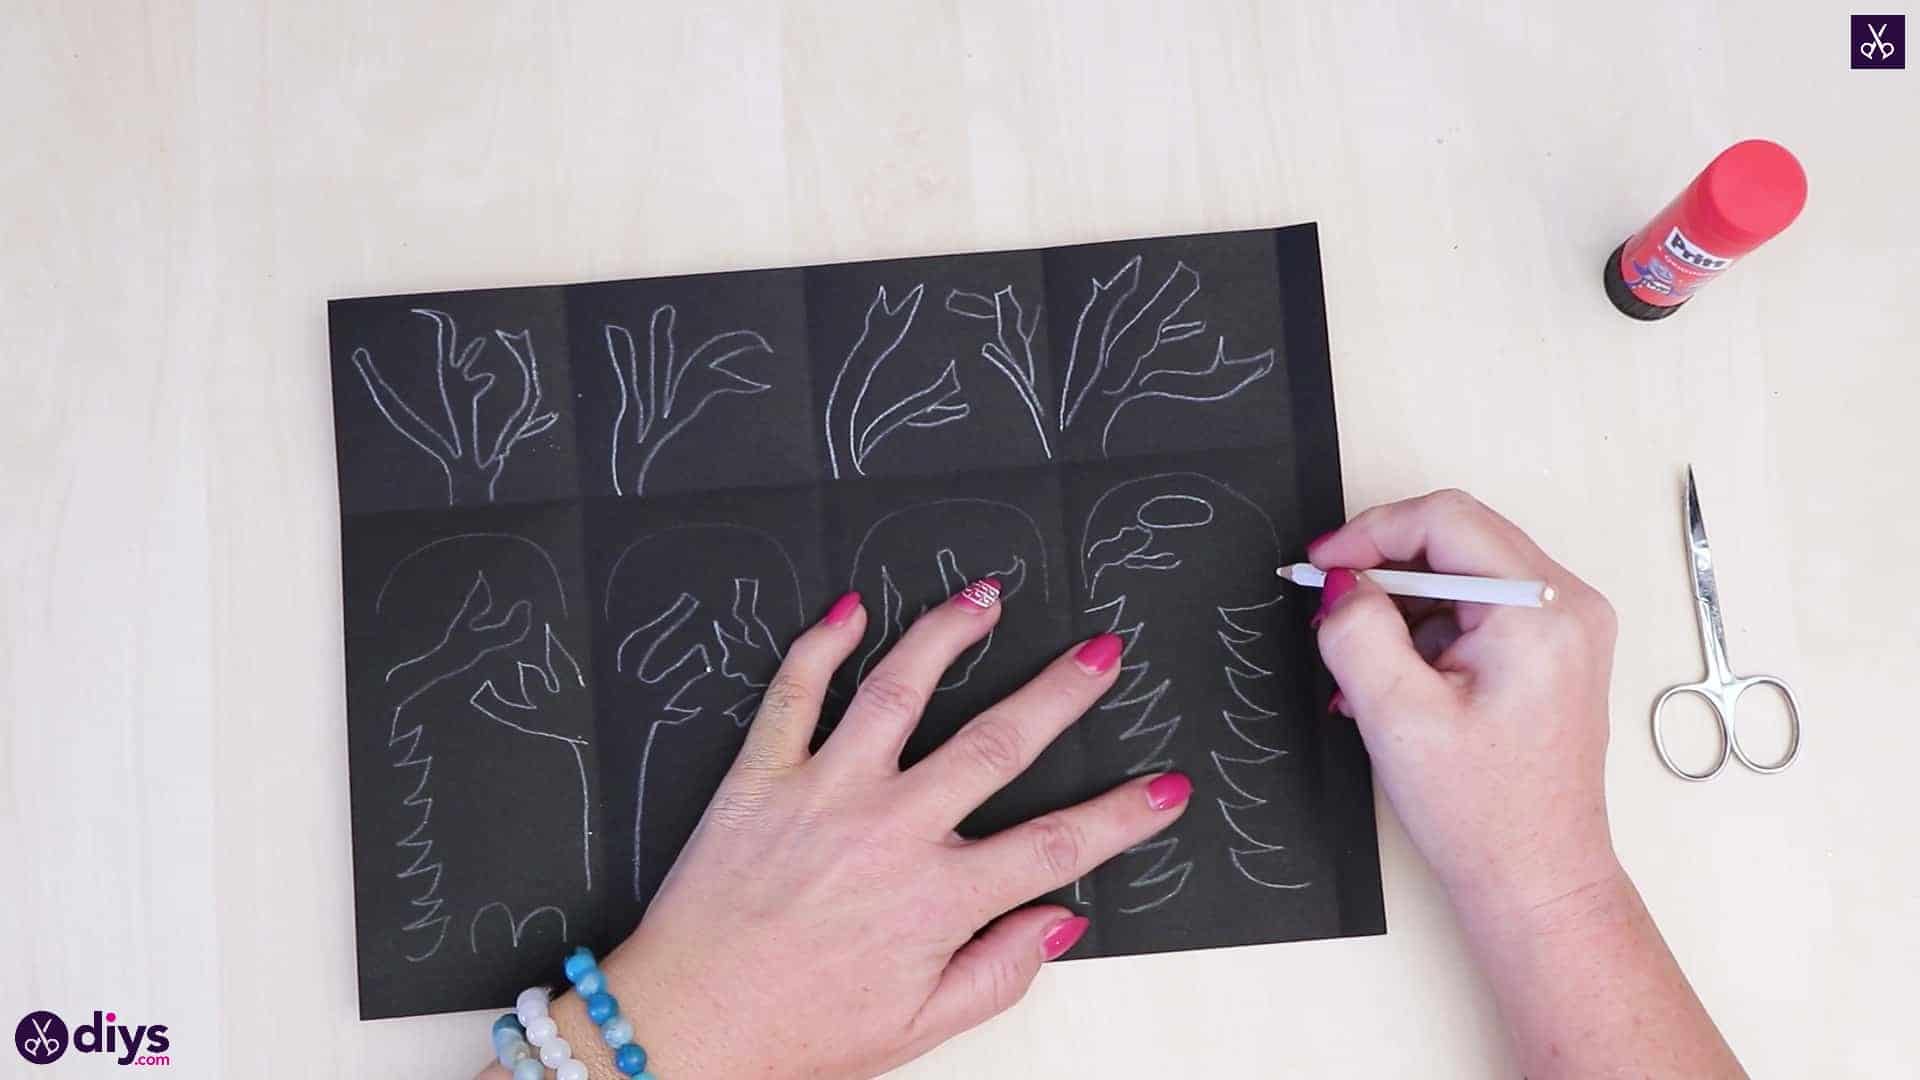
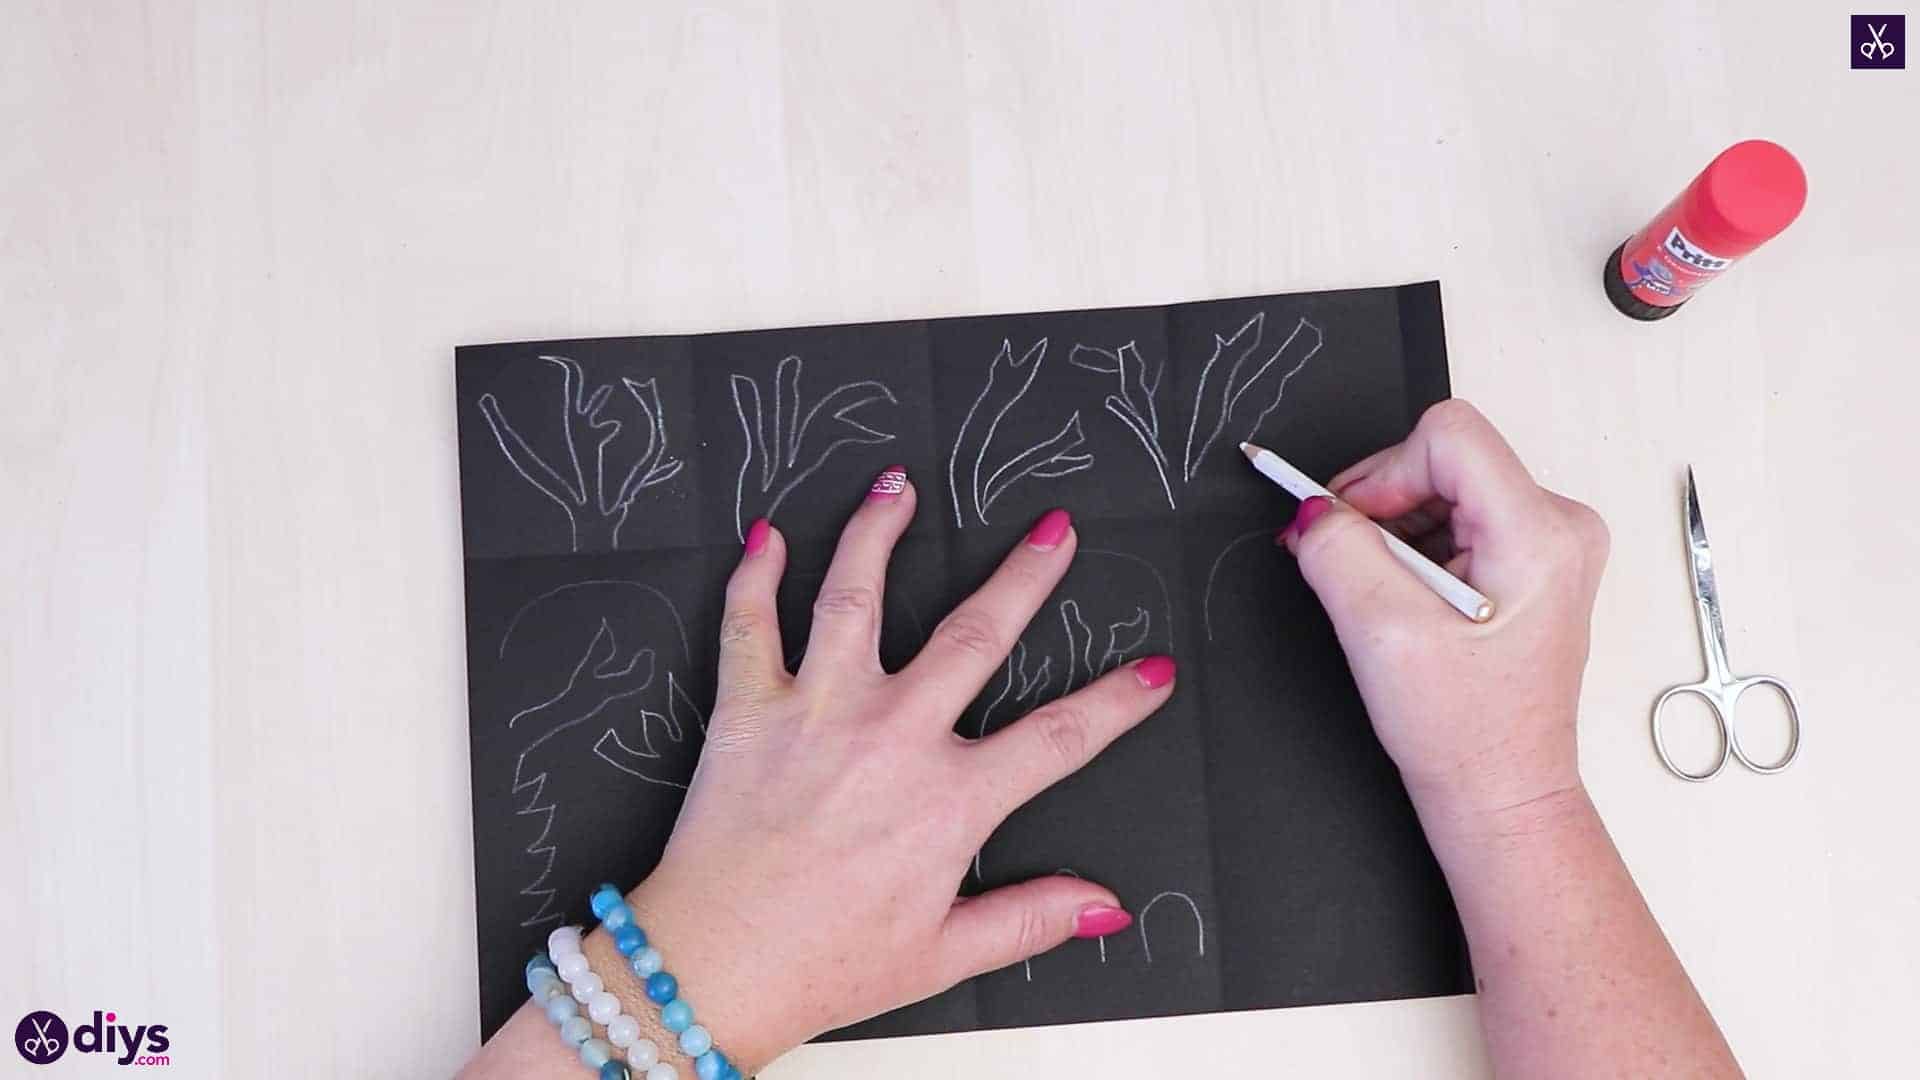
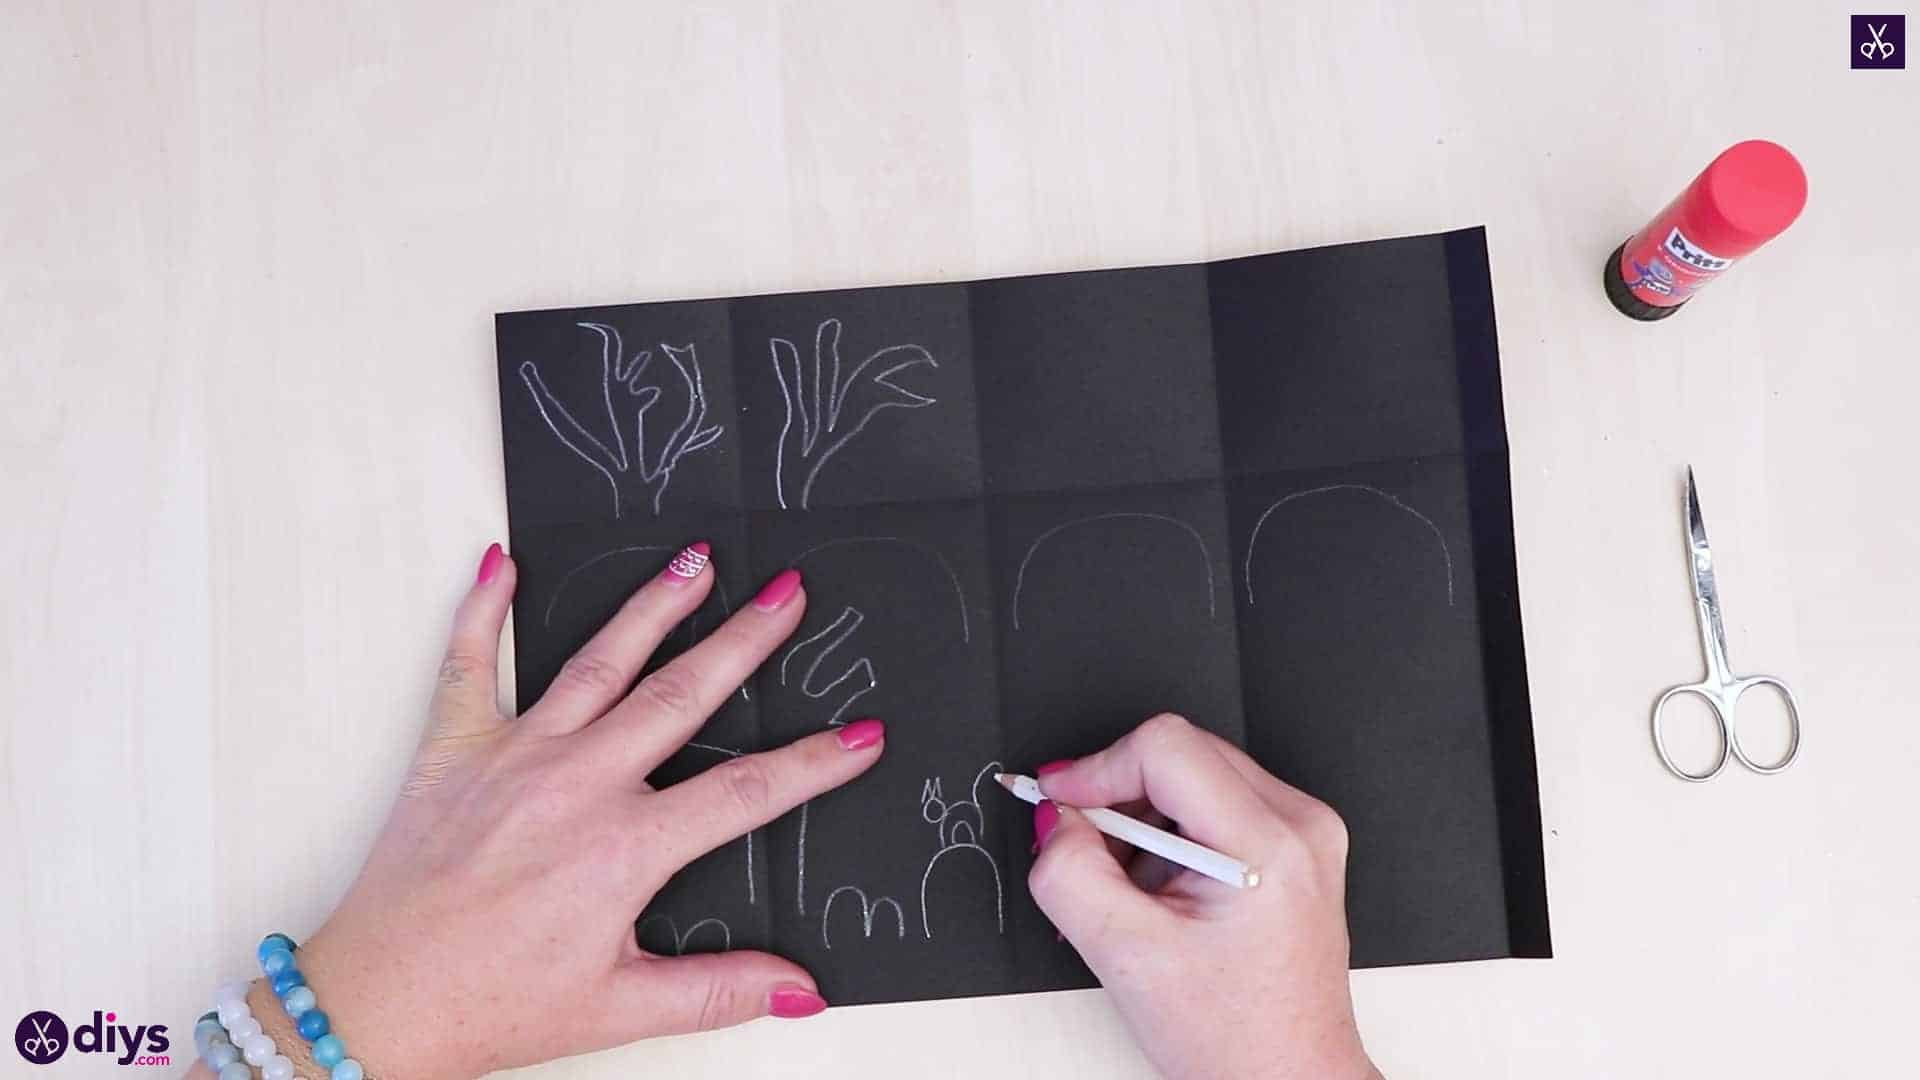
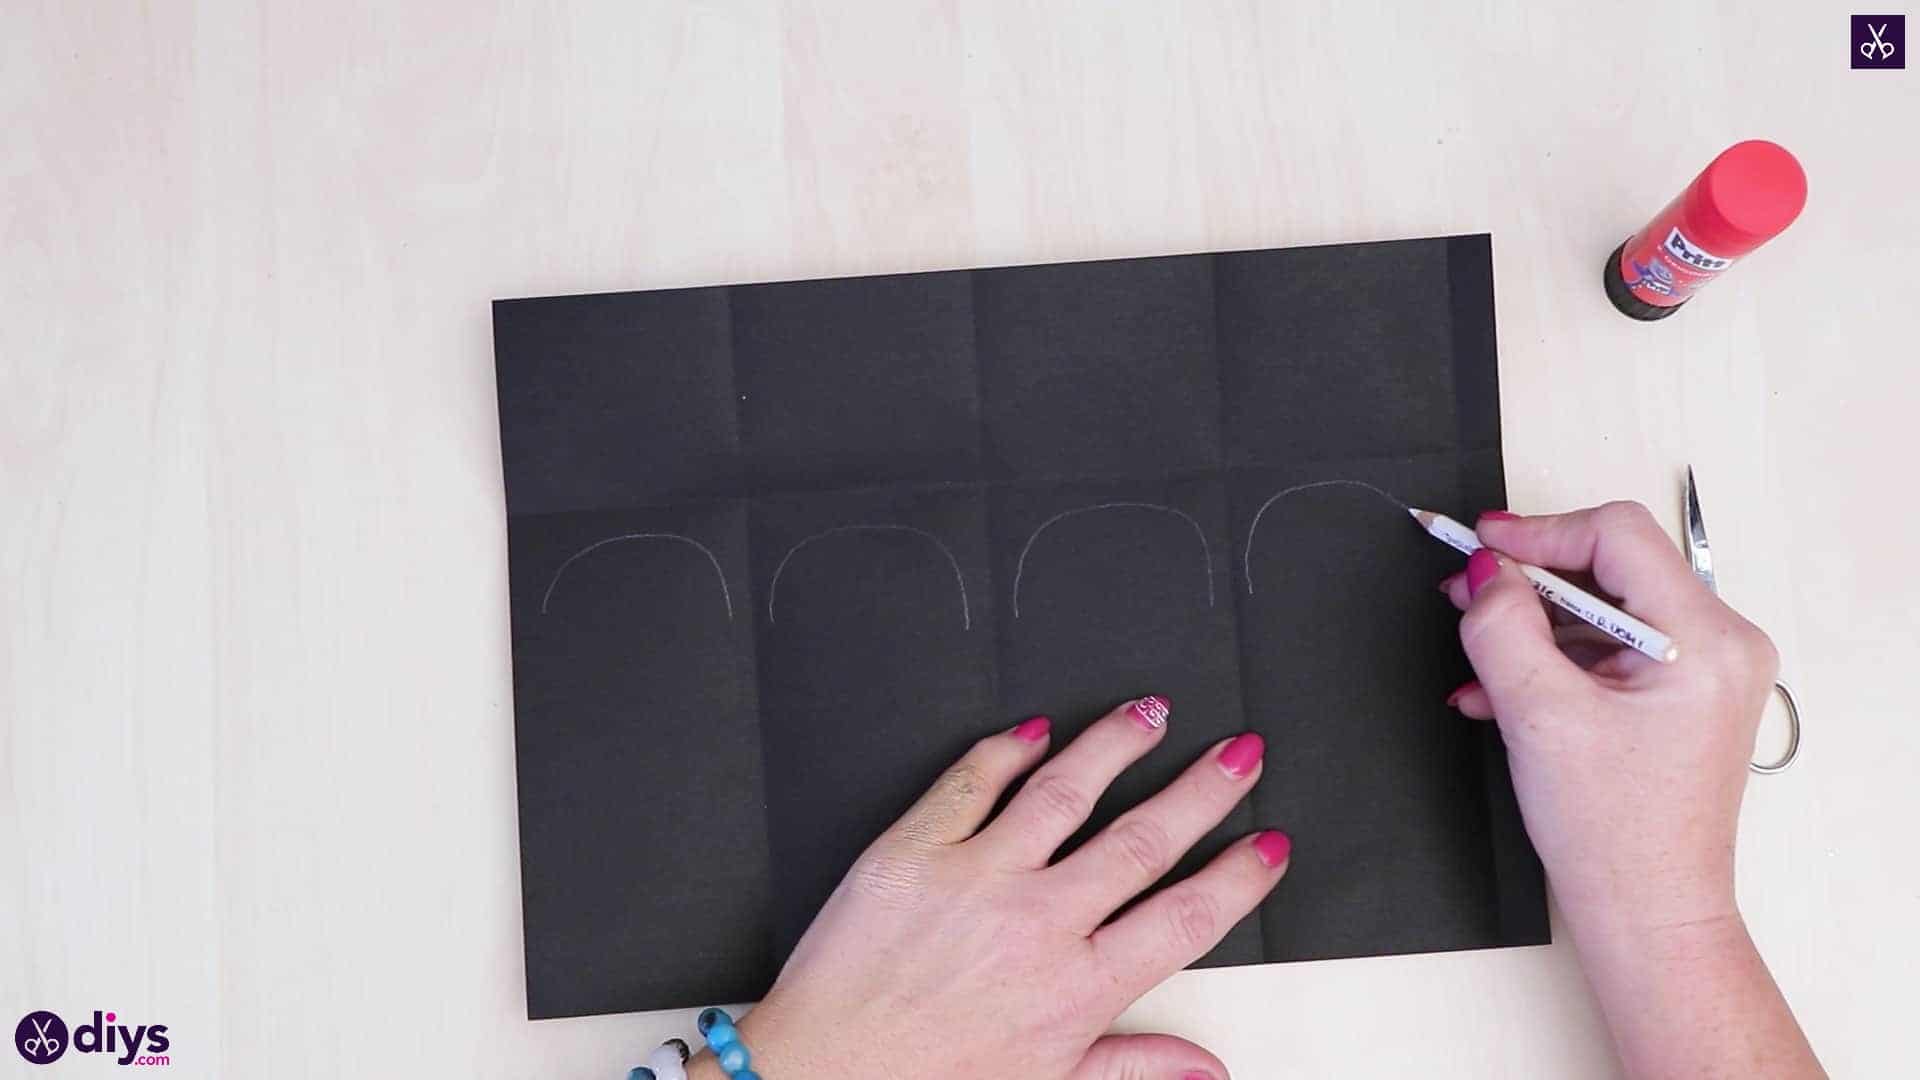
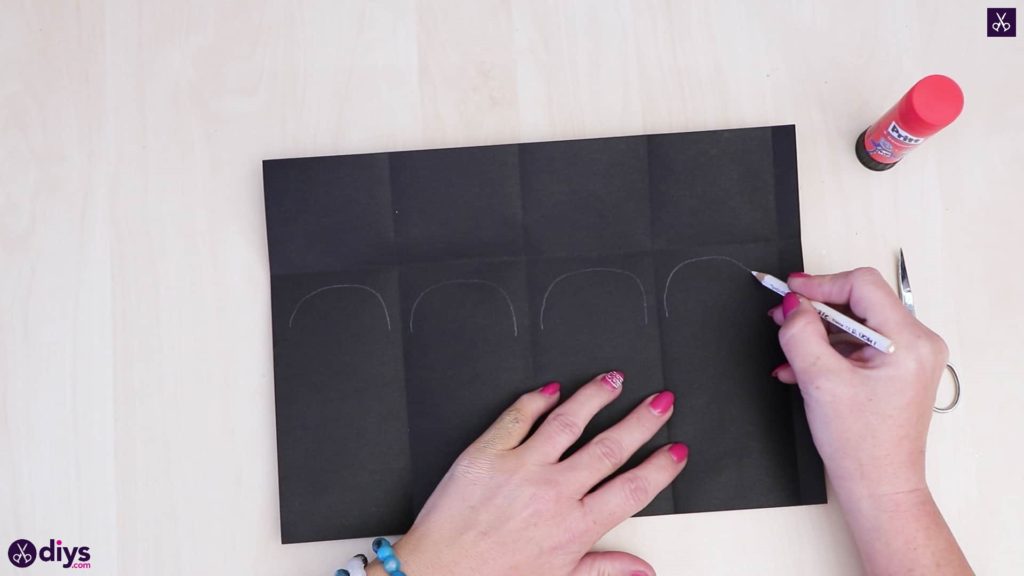
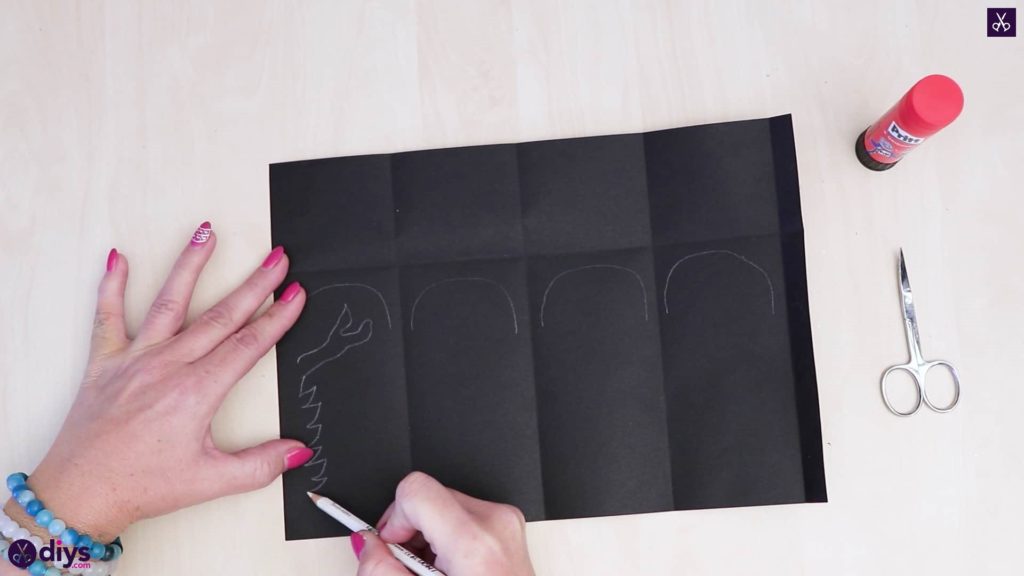
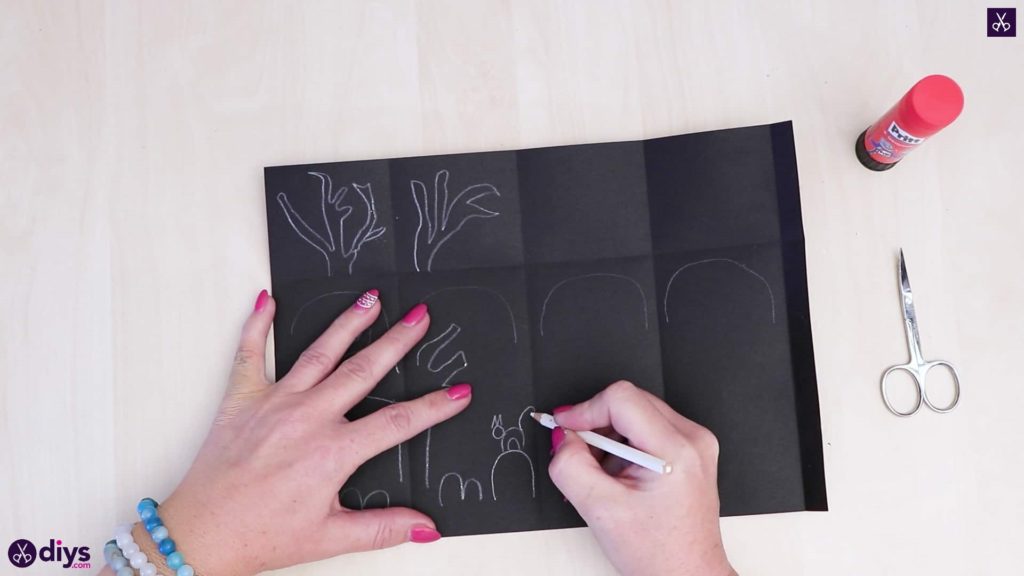
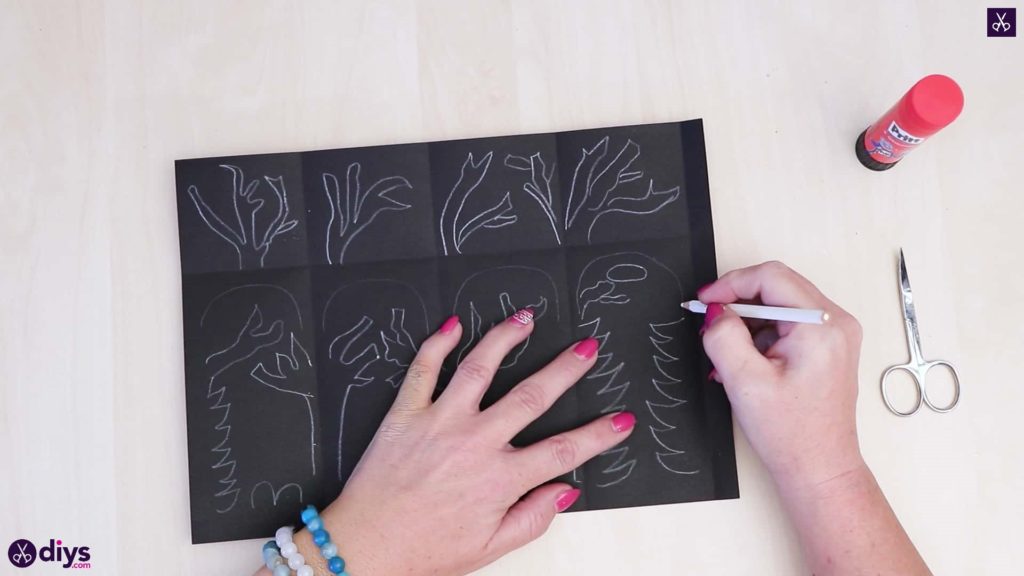
Use your white pencil to draw the cutout shapes that you want each side of your lantern to have in the space below the horizontal crease line. Start by drawing an arched semi circle, rounded side up, just under the line and draw the rest of your details below that. This maps out the top of each “window” or side and makes sure that you don’t accidentally create any details outside the space that they’re actually needed in.Above the line, you’ll draw jagged and pointed shapes that look like tree branches. These will sit above your vellum paper like decorative top edging. Under your arch, draw more branches, tree shapes, or whatever you can picture (I even included the outer silhouette of a cat and the rounded shapes of some gravestones)! Remember to leave a small border around the edge of each folded section that will frame your cutout scene. Try to also remember that you’re working with the shapes as if they’re shadows; you have to be able to cut the whole central piece out for the lantern’s glow to show through. You can still draw details and have floating pieces if it makes things easier, but remember that those details will be on the inside and won’t show, and those floating pieces (like my moon) will have to be cut out and glued back down in place separately, making things slightly trickier.

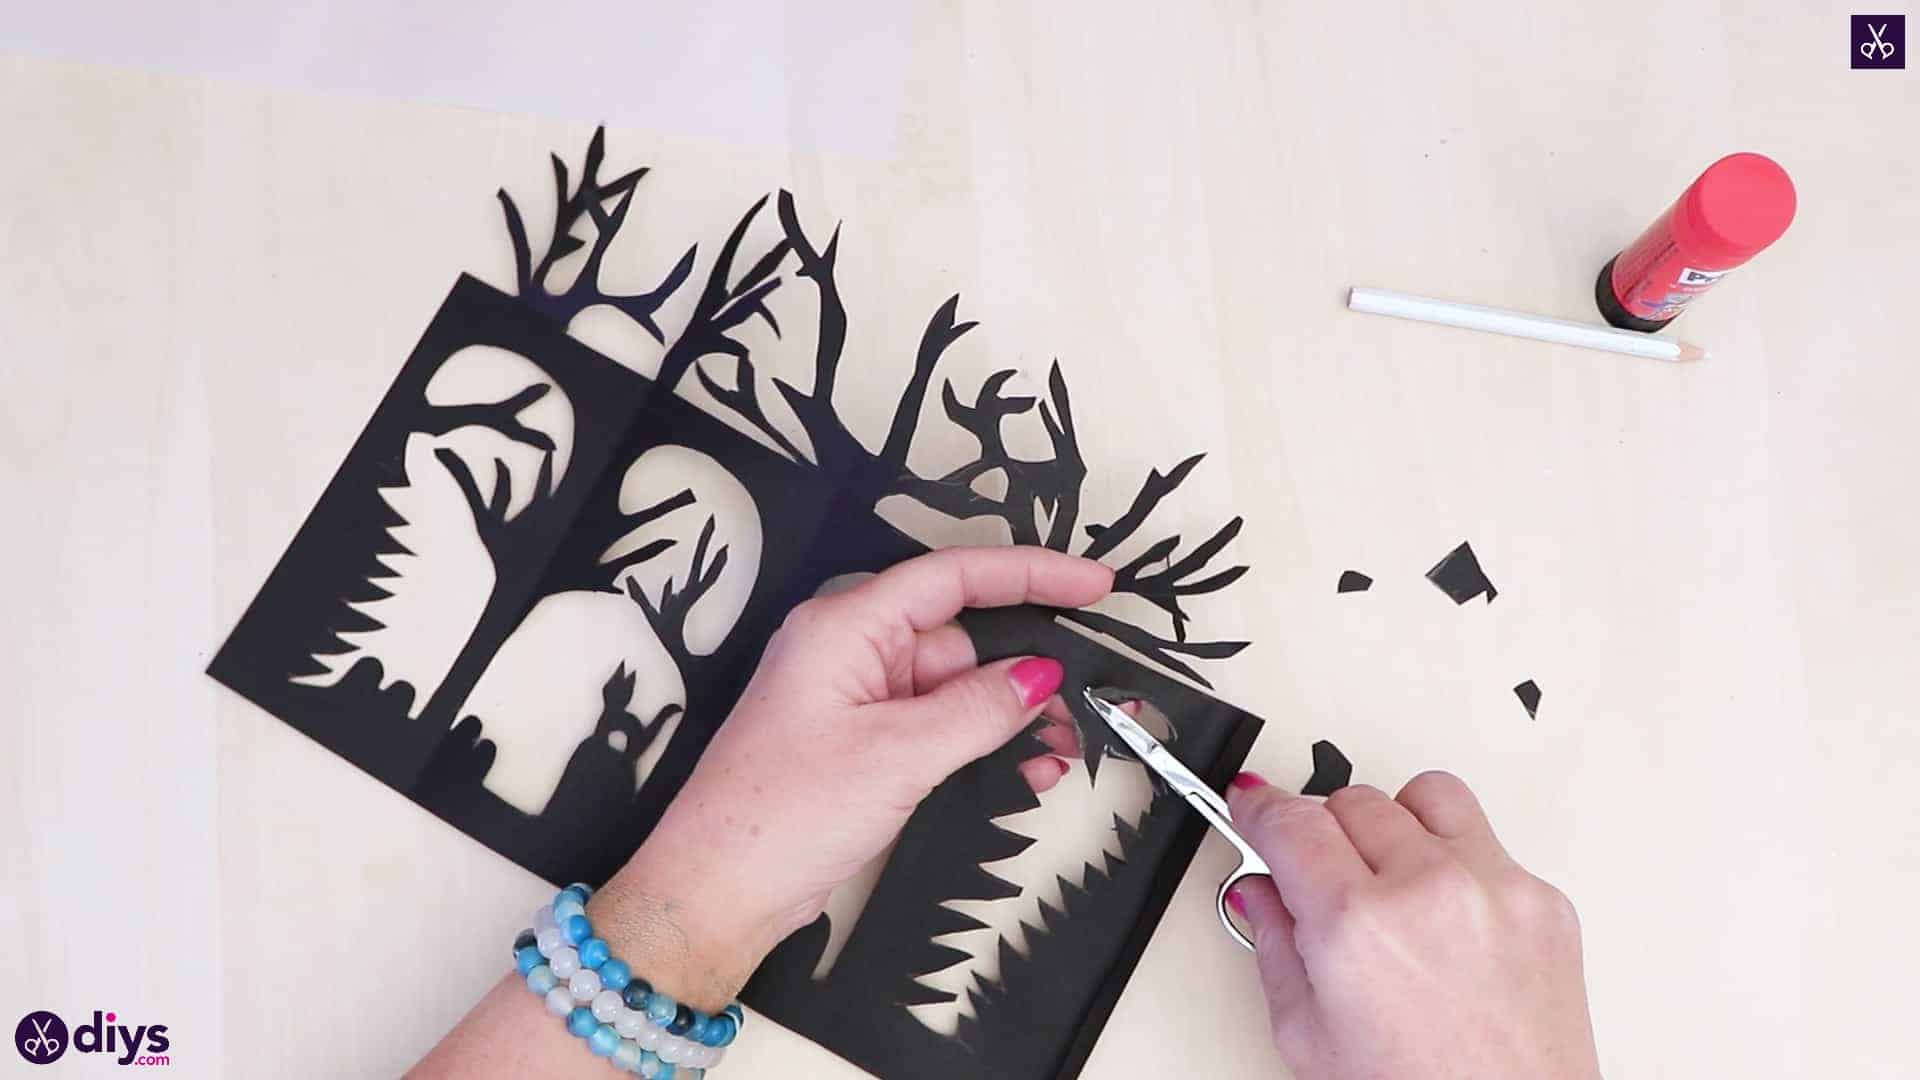
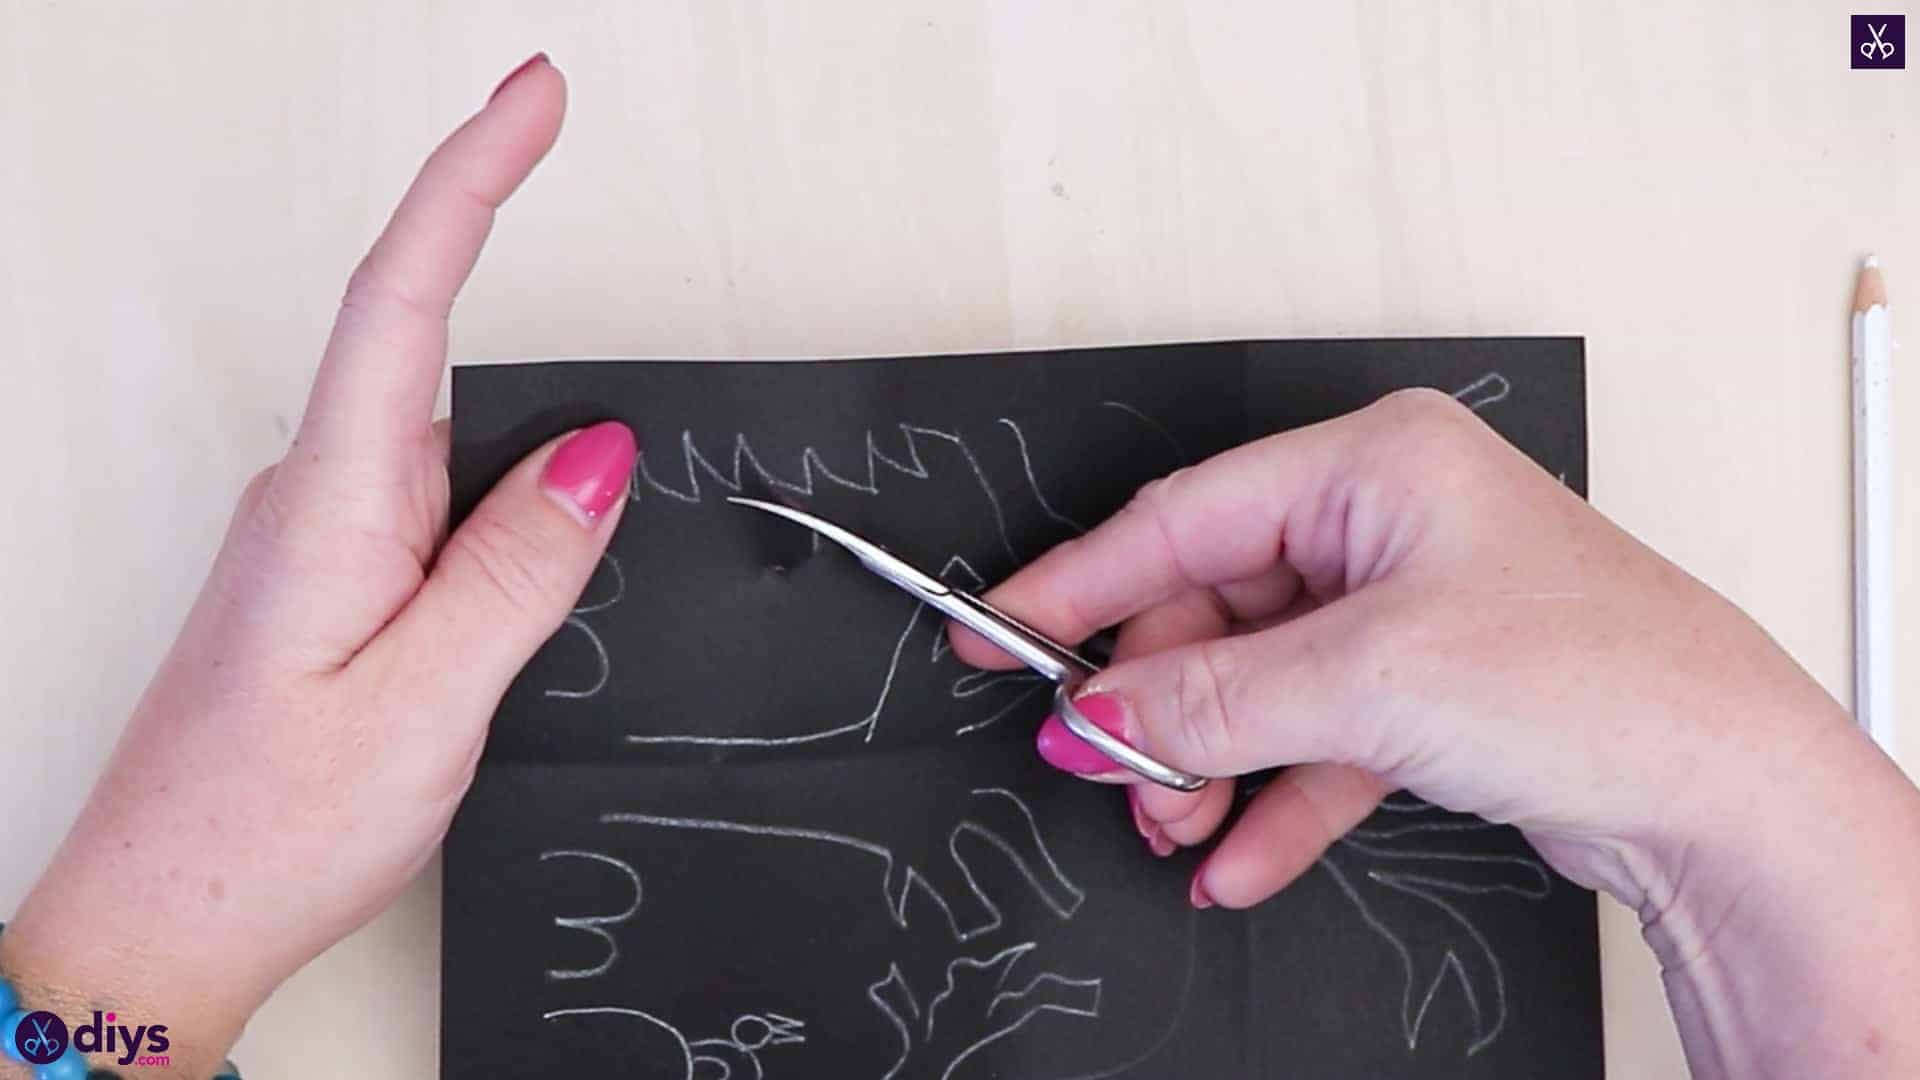
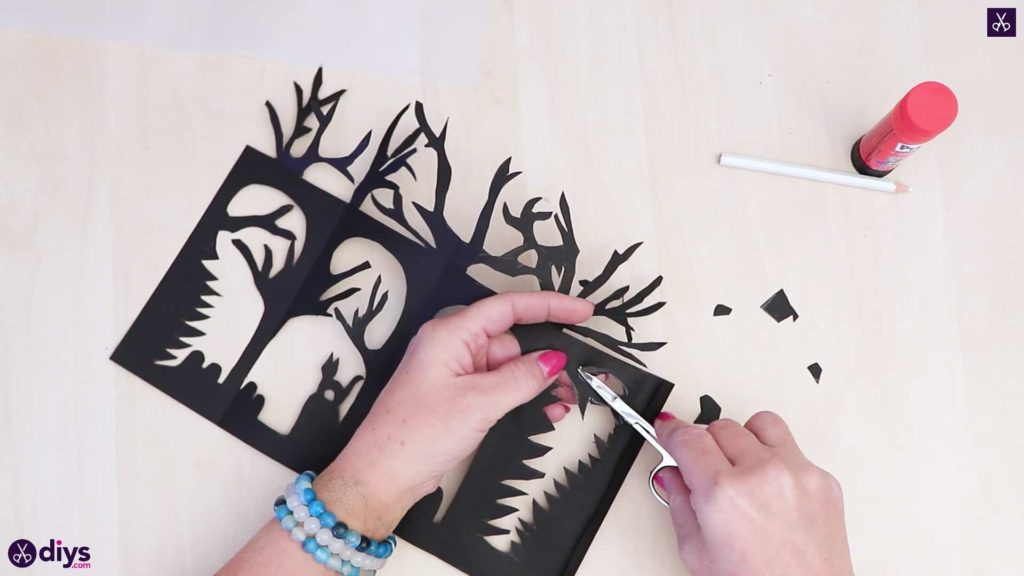
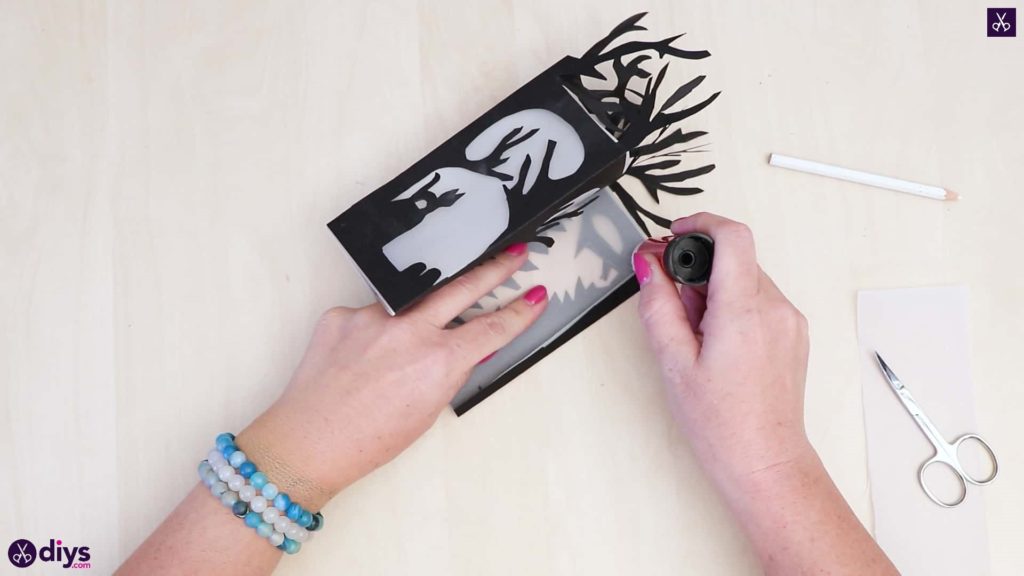
Step 4: cut
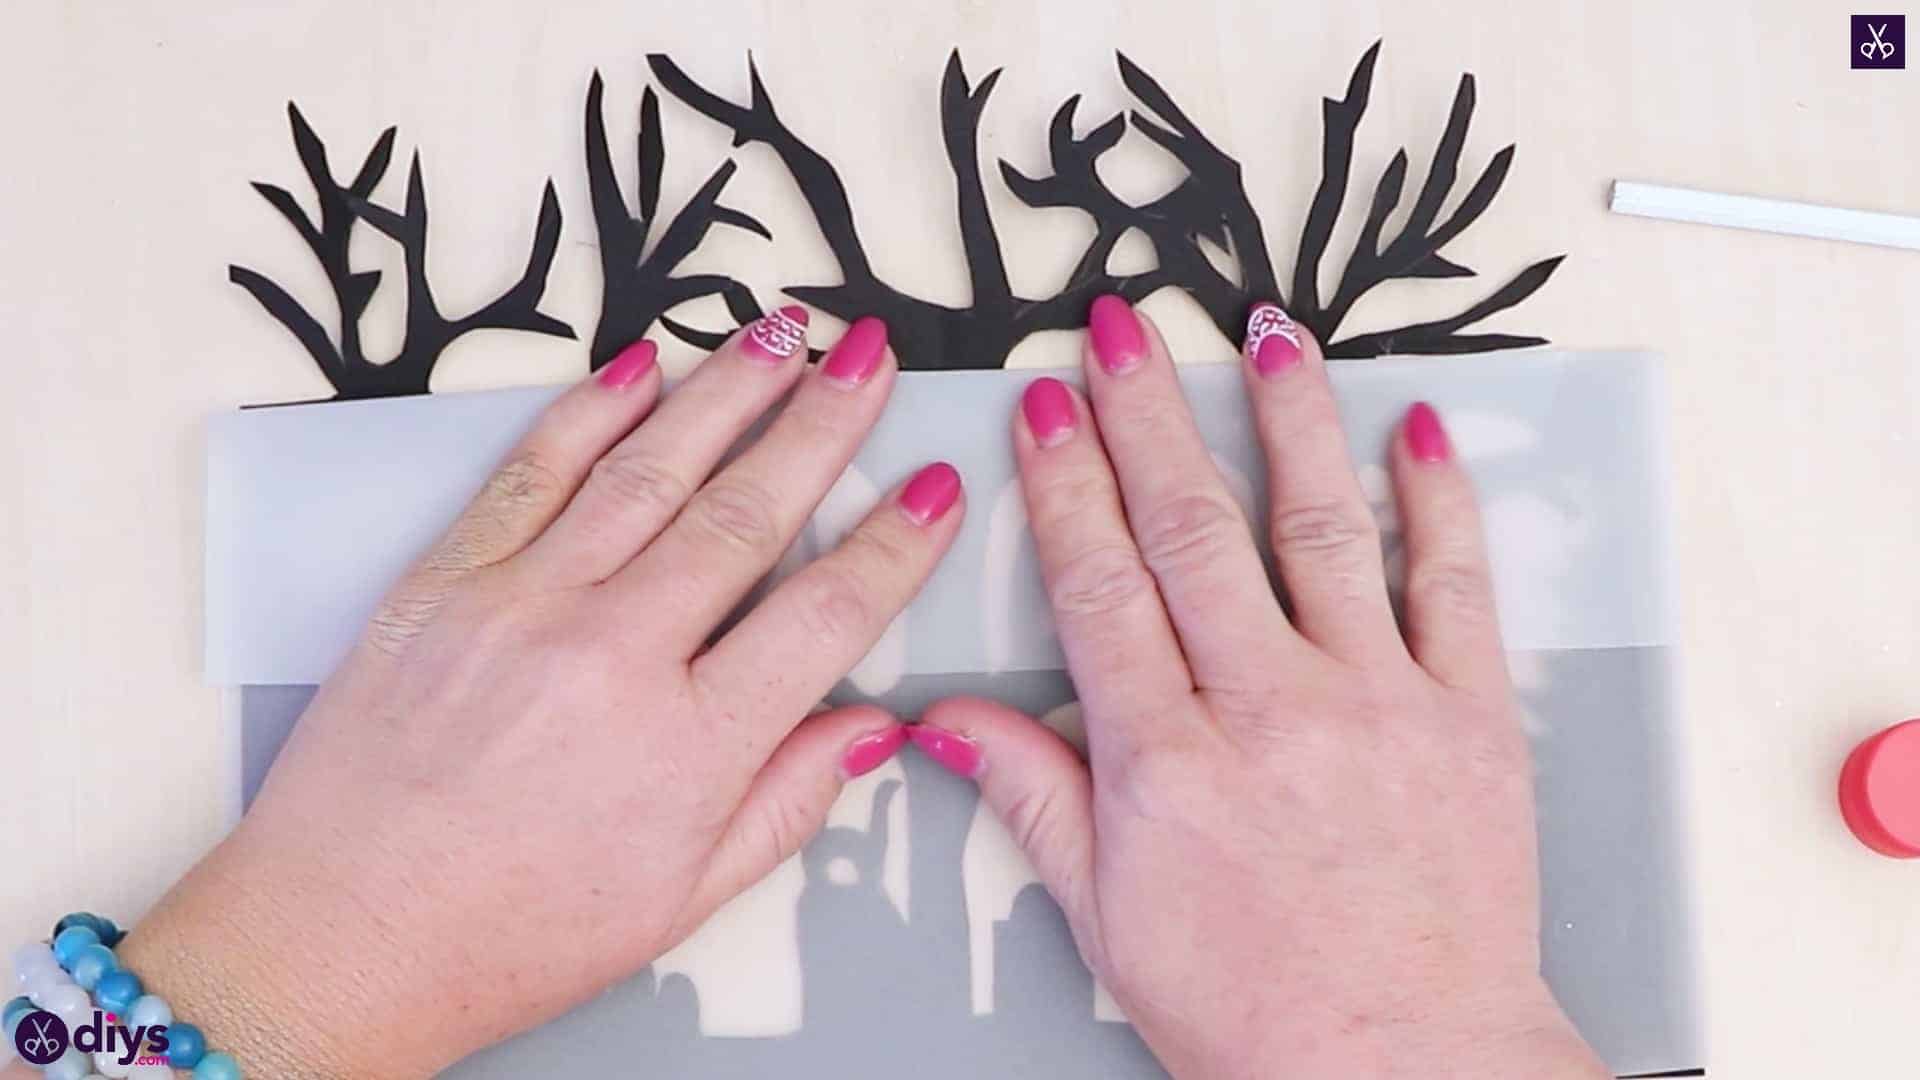
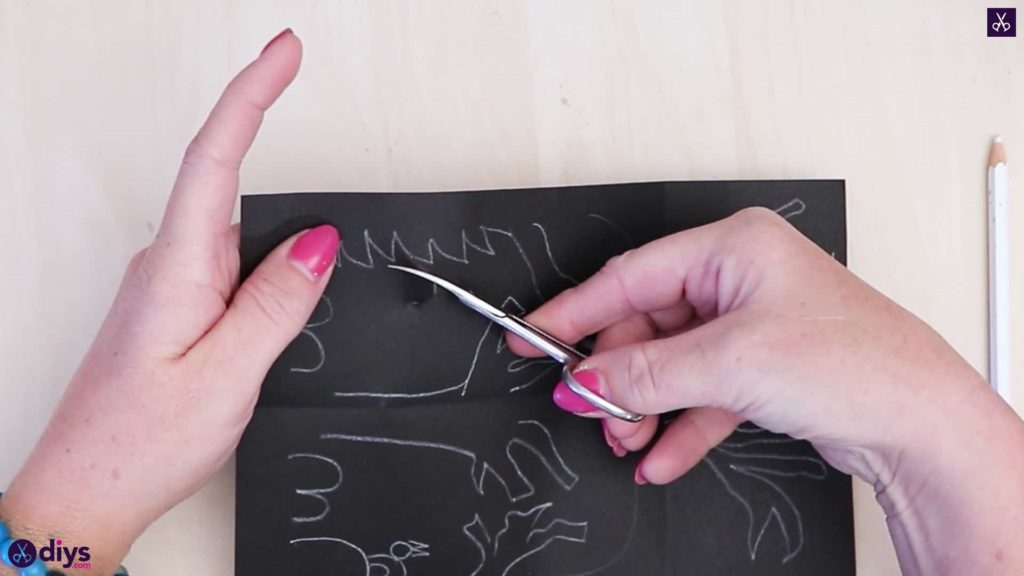
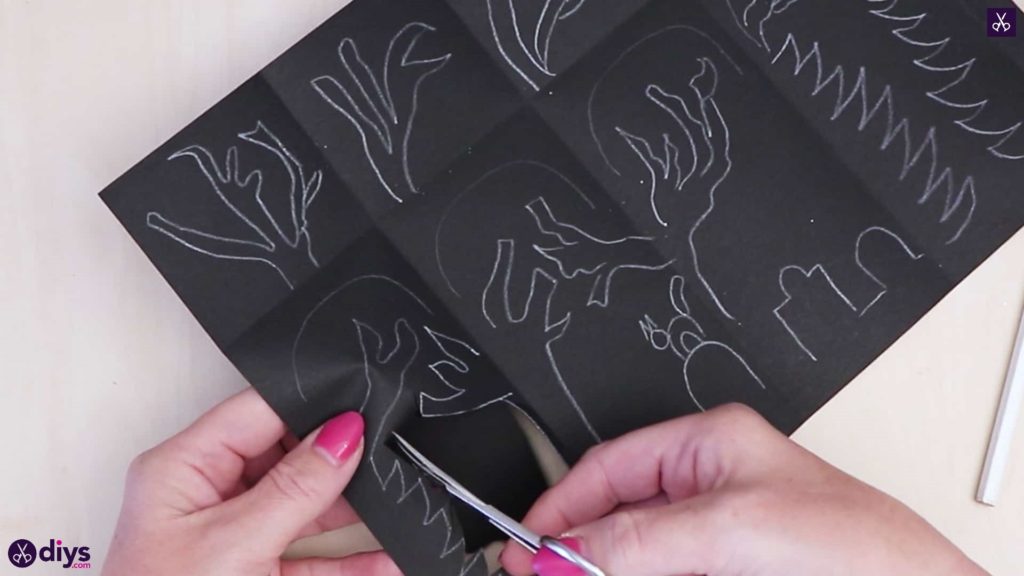
Cut out the central spaces in each of your four sections! Be careful that you don’t cut off any shapes or details that are supposed to be silhouette or shadow. This is where the small point of nail scissors will come in handy. Start by poking your scissors through a central part with lots of space and cutting around from there; you donot want to cut in from the edge and break the black frame of the lantern in any way. Cut out the branches at the top, above the horizontal crease, as well.
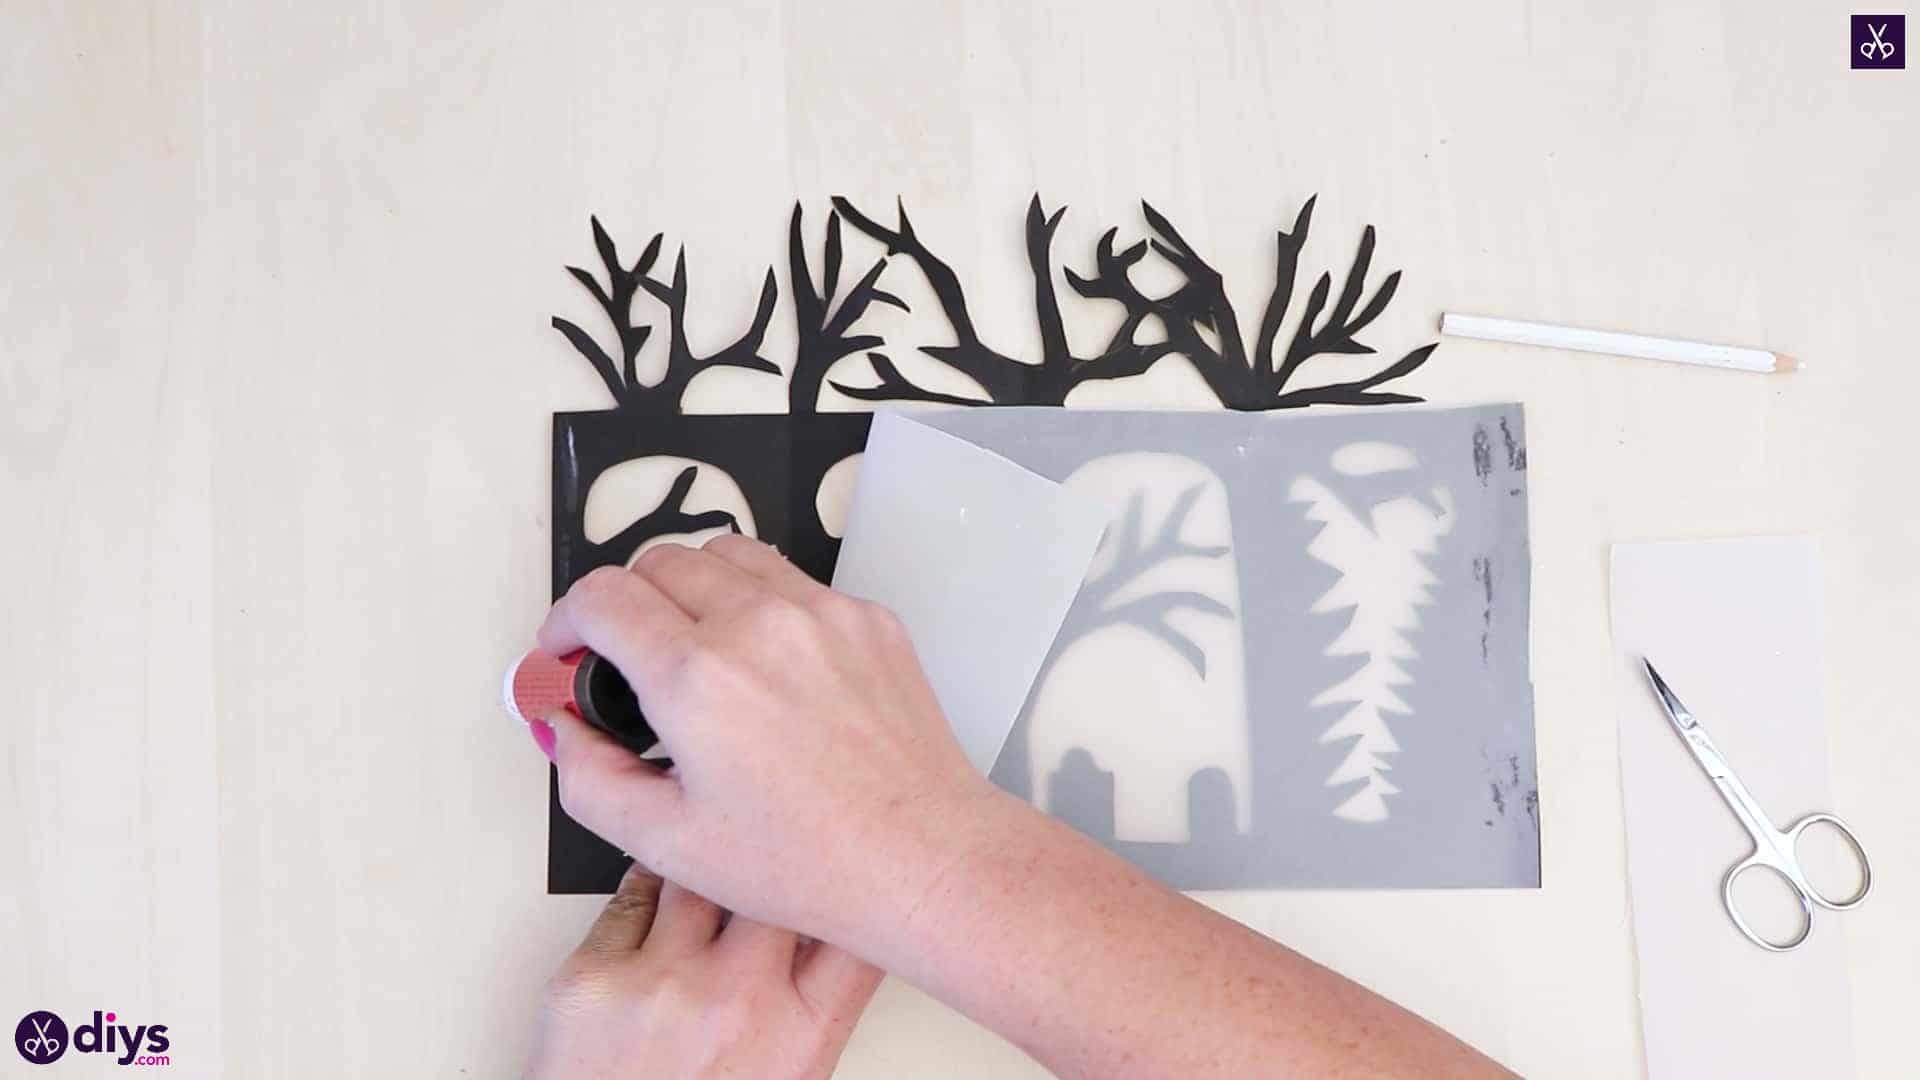
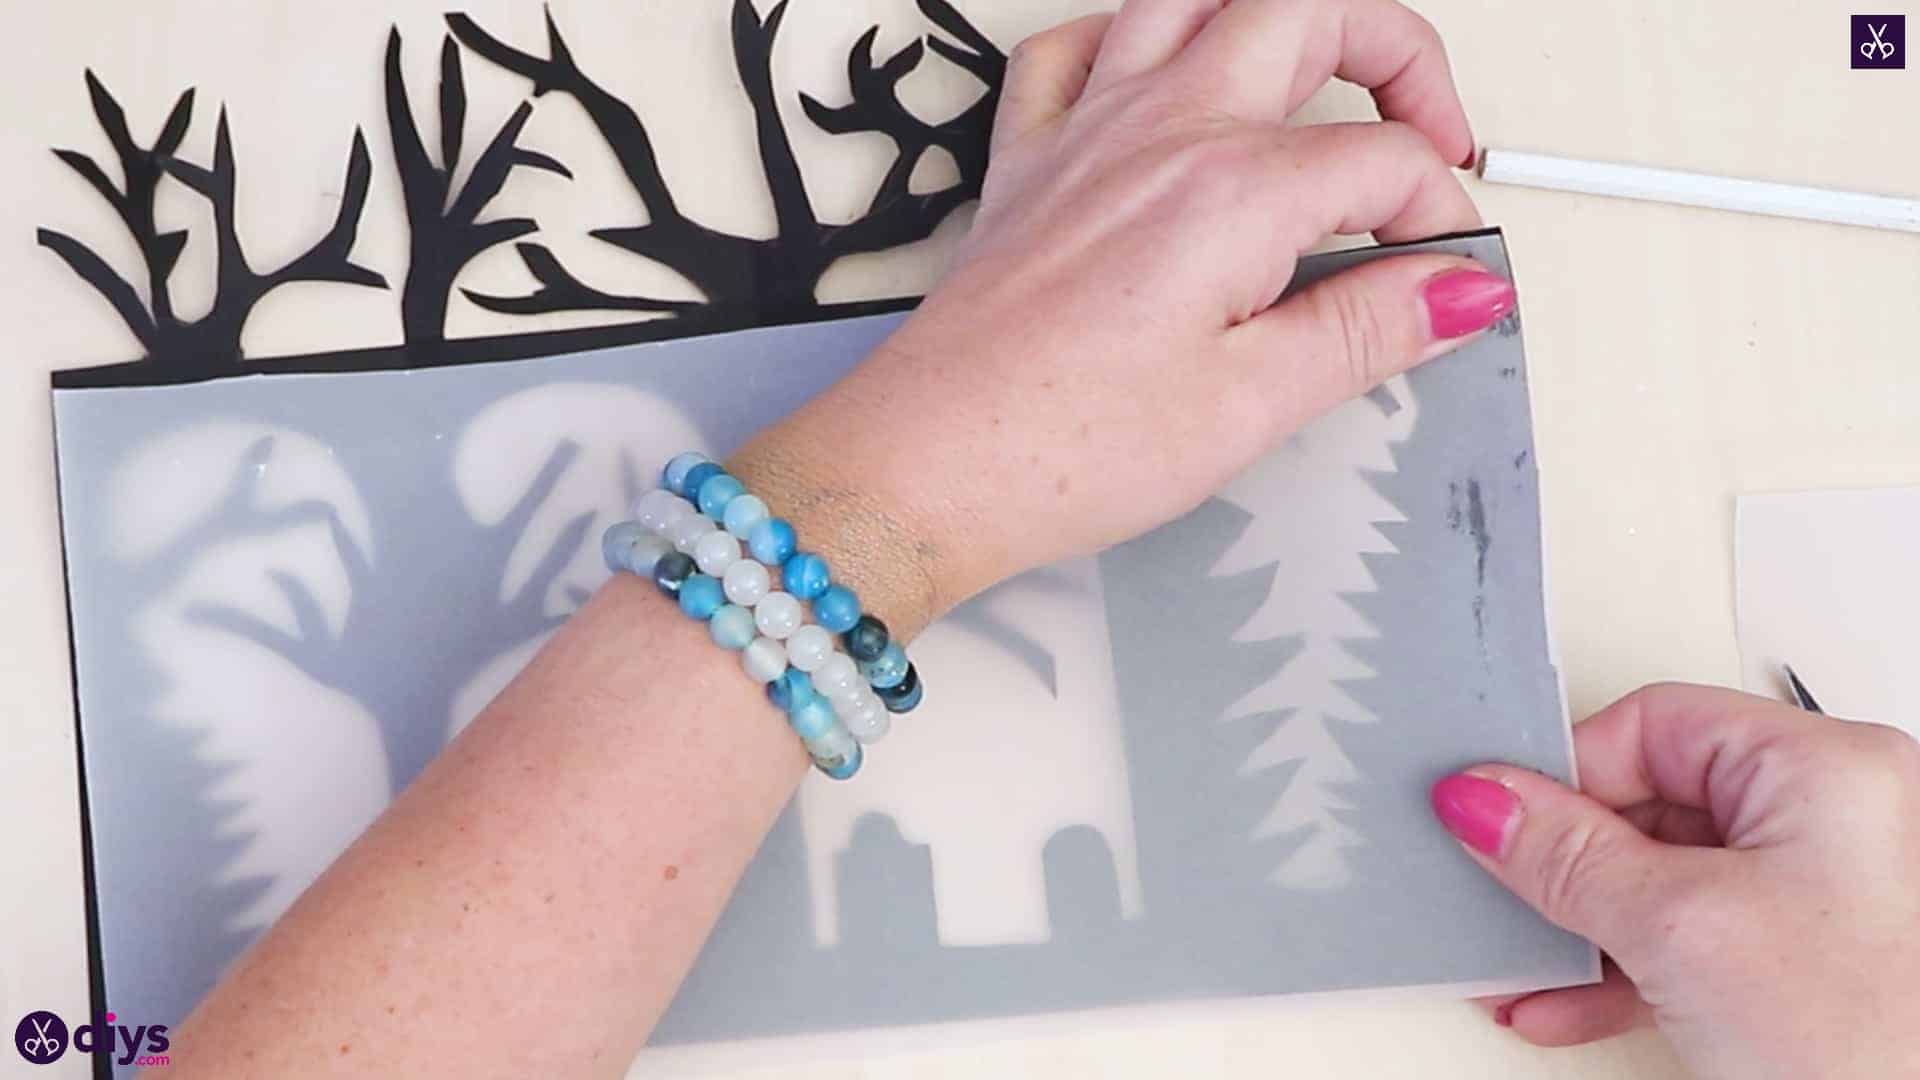
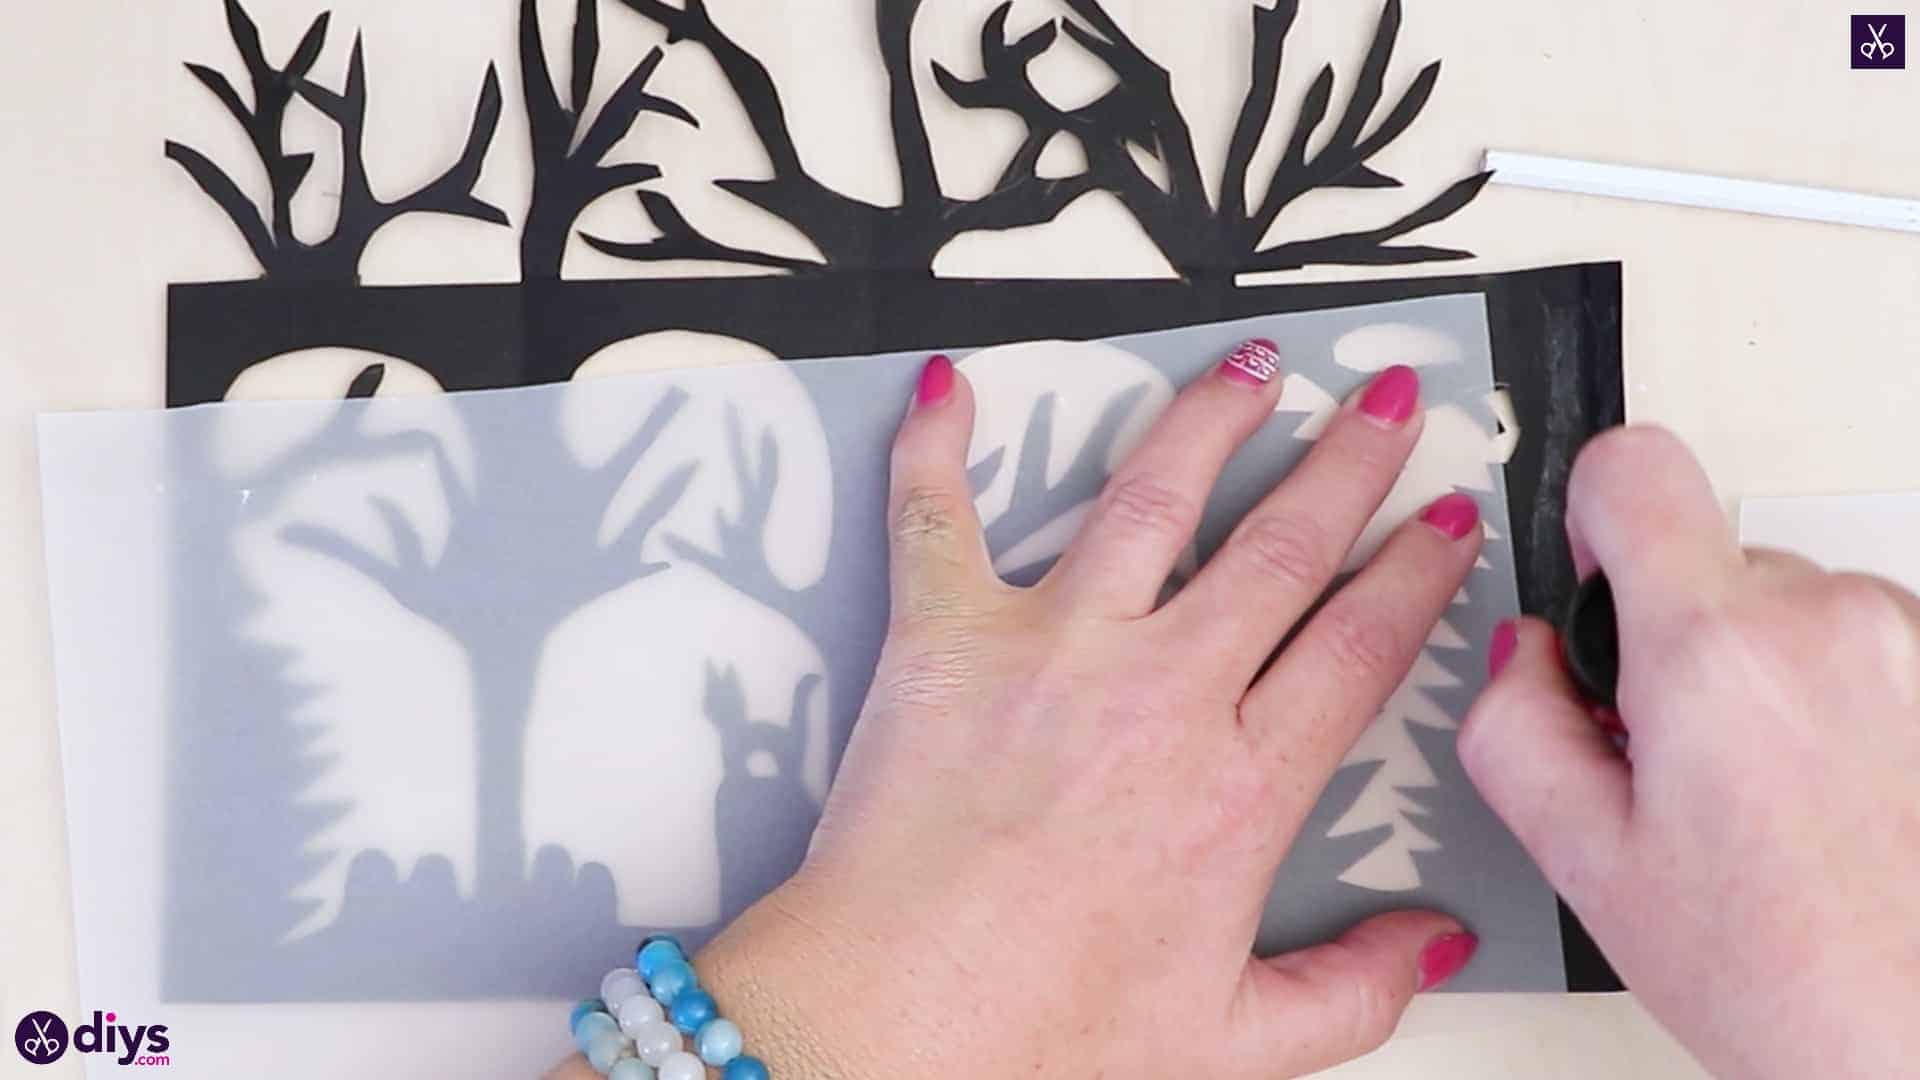
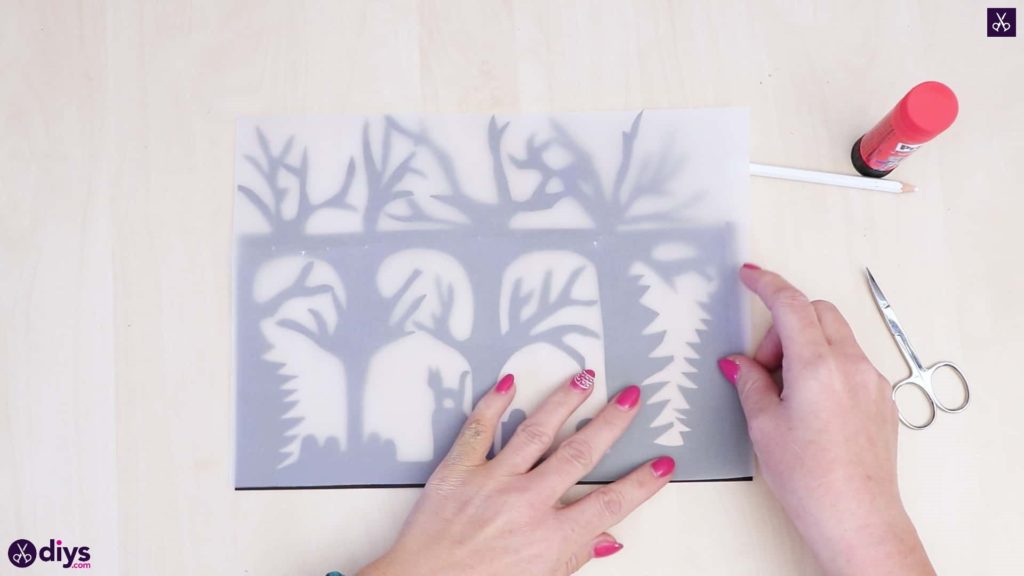
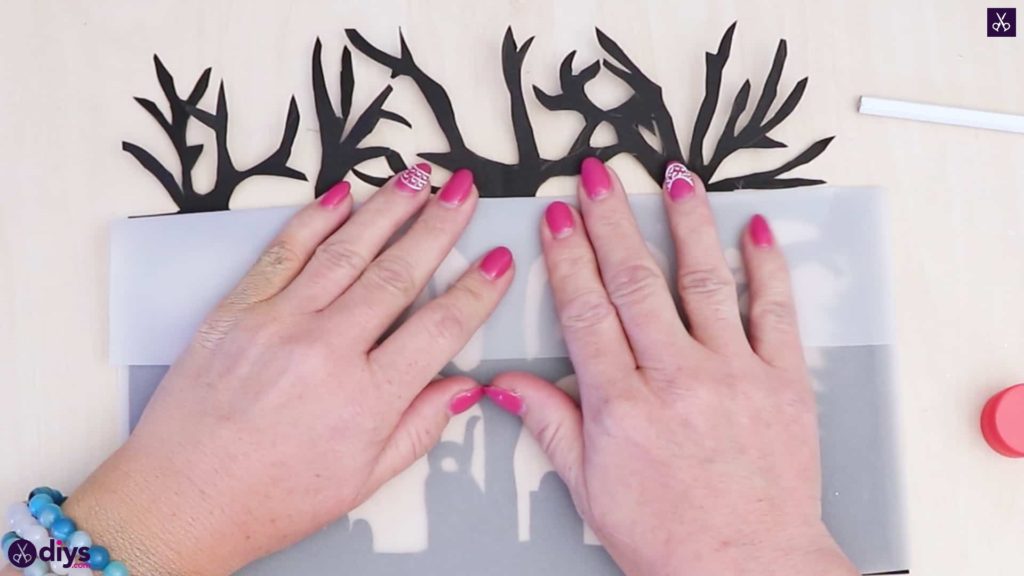
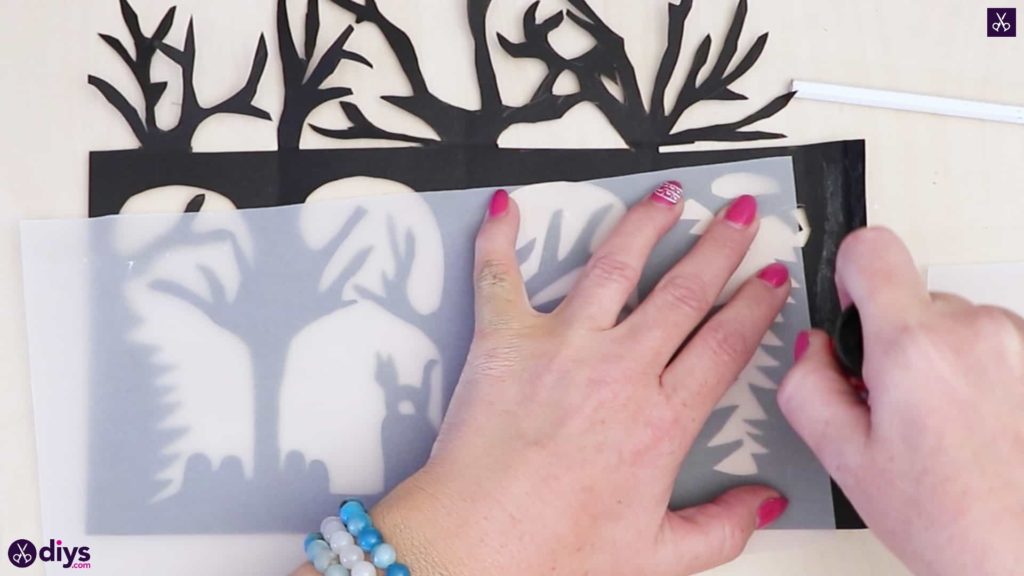
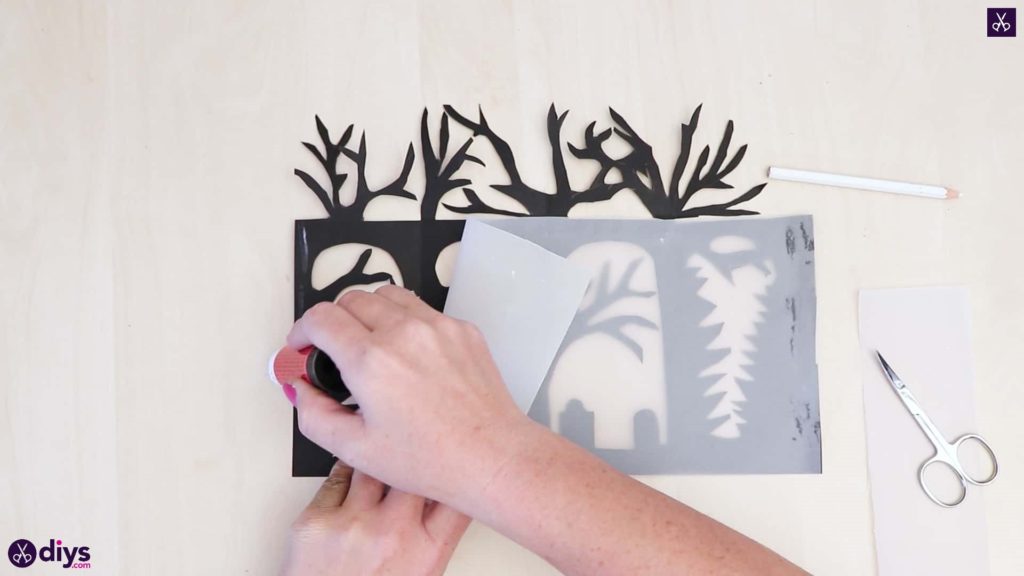
Step 5: add the vellum paper
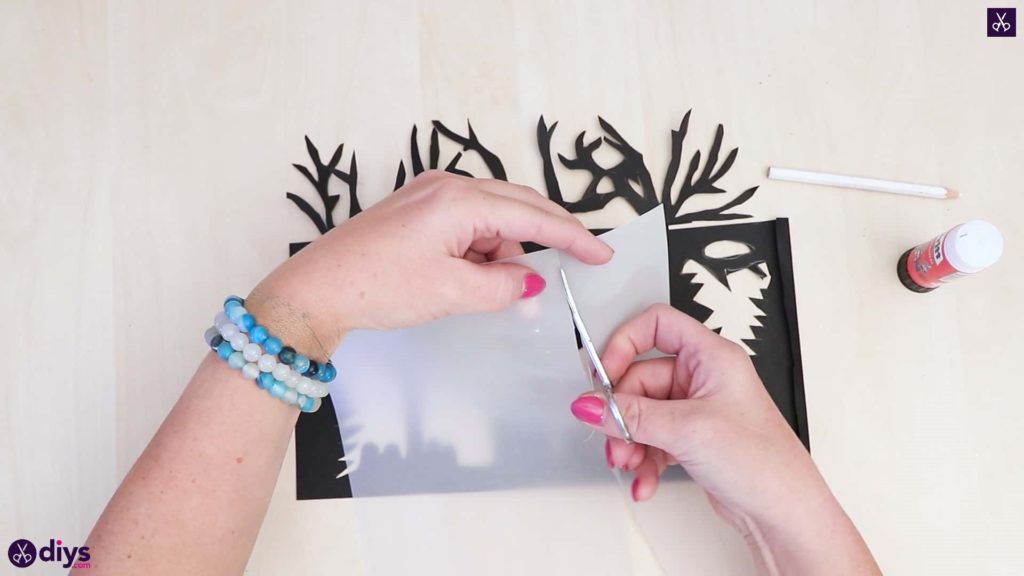
Measure your vellum paper to your black frame, lining up one side edge and its bottom edge with the corresponding edges on the black piece. Fold the top of the vellum paper down, away from the branches you cut above that horizontal crease line; this section will be at the top of the lantern and doesn’t need a vellum backing. Lift the vellum paper again and cut off the excess at the top where you made that fold, as well as any excess on the end where you didn’t line the bottom, corner, and side up. Now you have a piece of vellum perfectly sized for the cutout sections of your lantern! With the side that you made your white pencil markings on facing upwards, apply glue all over your entire black frame (except your top branches, which will not be stuck to a vellum backing) that you just made cutouts in. Make sure every little detail and shape has a layer of glue. Then stick your vellum paper down, lining up its bottom and side edges to those of the black paper nice and evenly once again. Make sure all of your little black shapes and details are successfully stuck to your vellum paper. When you turn the piece over, you’ll see all your silhouetted shapes standing out against the vellum, which means they’ll have a glow behind them when you put a tea light candle in the lantern!

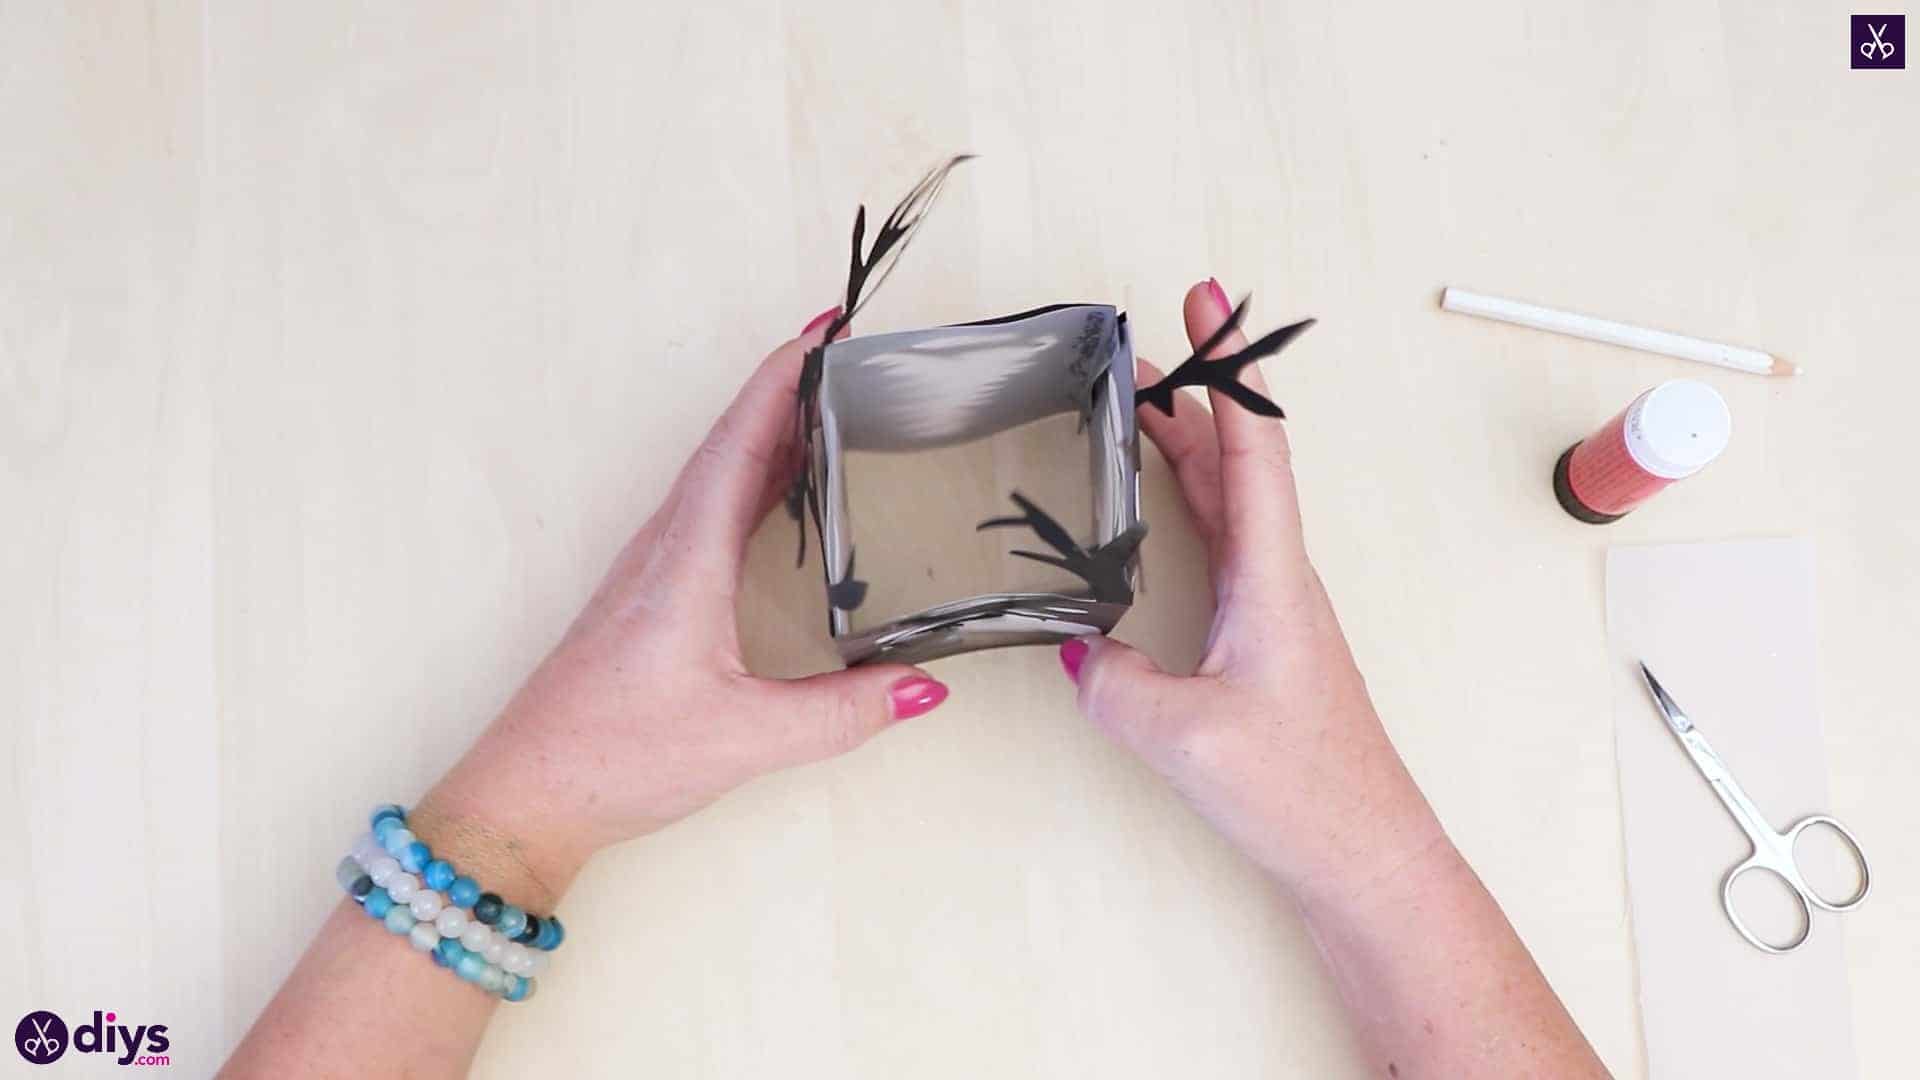
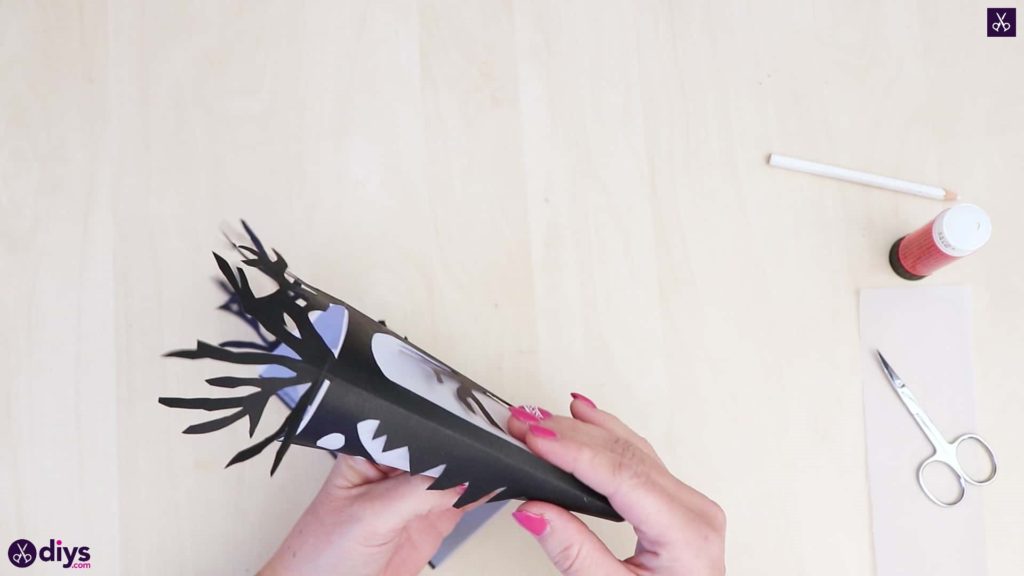
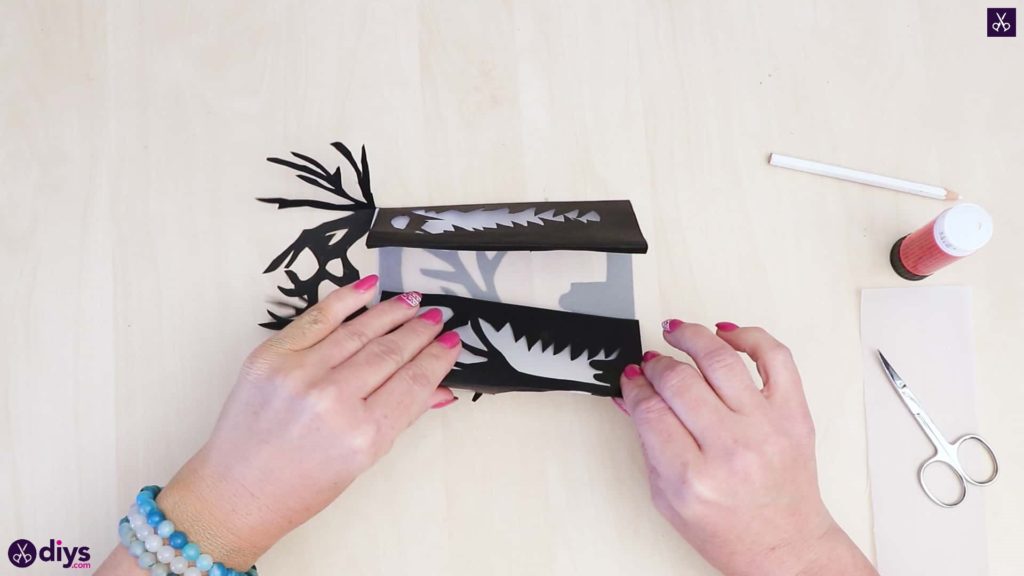
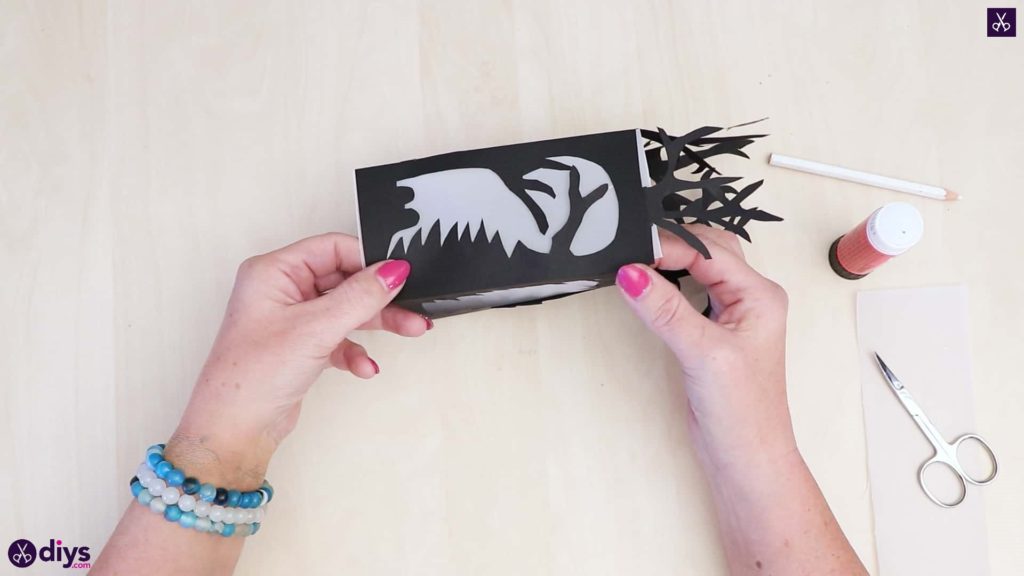
Step 6: glue the sides
With the black side of the lantern facing you, re-crease the lines of your sections and your little closing tab that you made earlier so that the vellum creases too and your standing rectangular lantern sits right. Pull the excess tab to the edge on the other side, apply glue on its black side, and stick it to the backside or vellum side of the other edge, closing the lantern’s shape. The lantern should now be rectangular and stand up on its own.

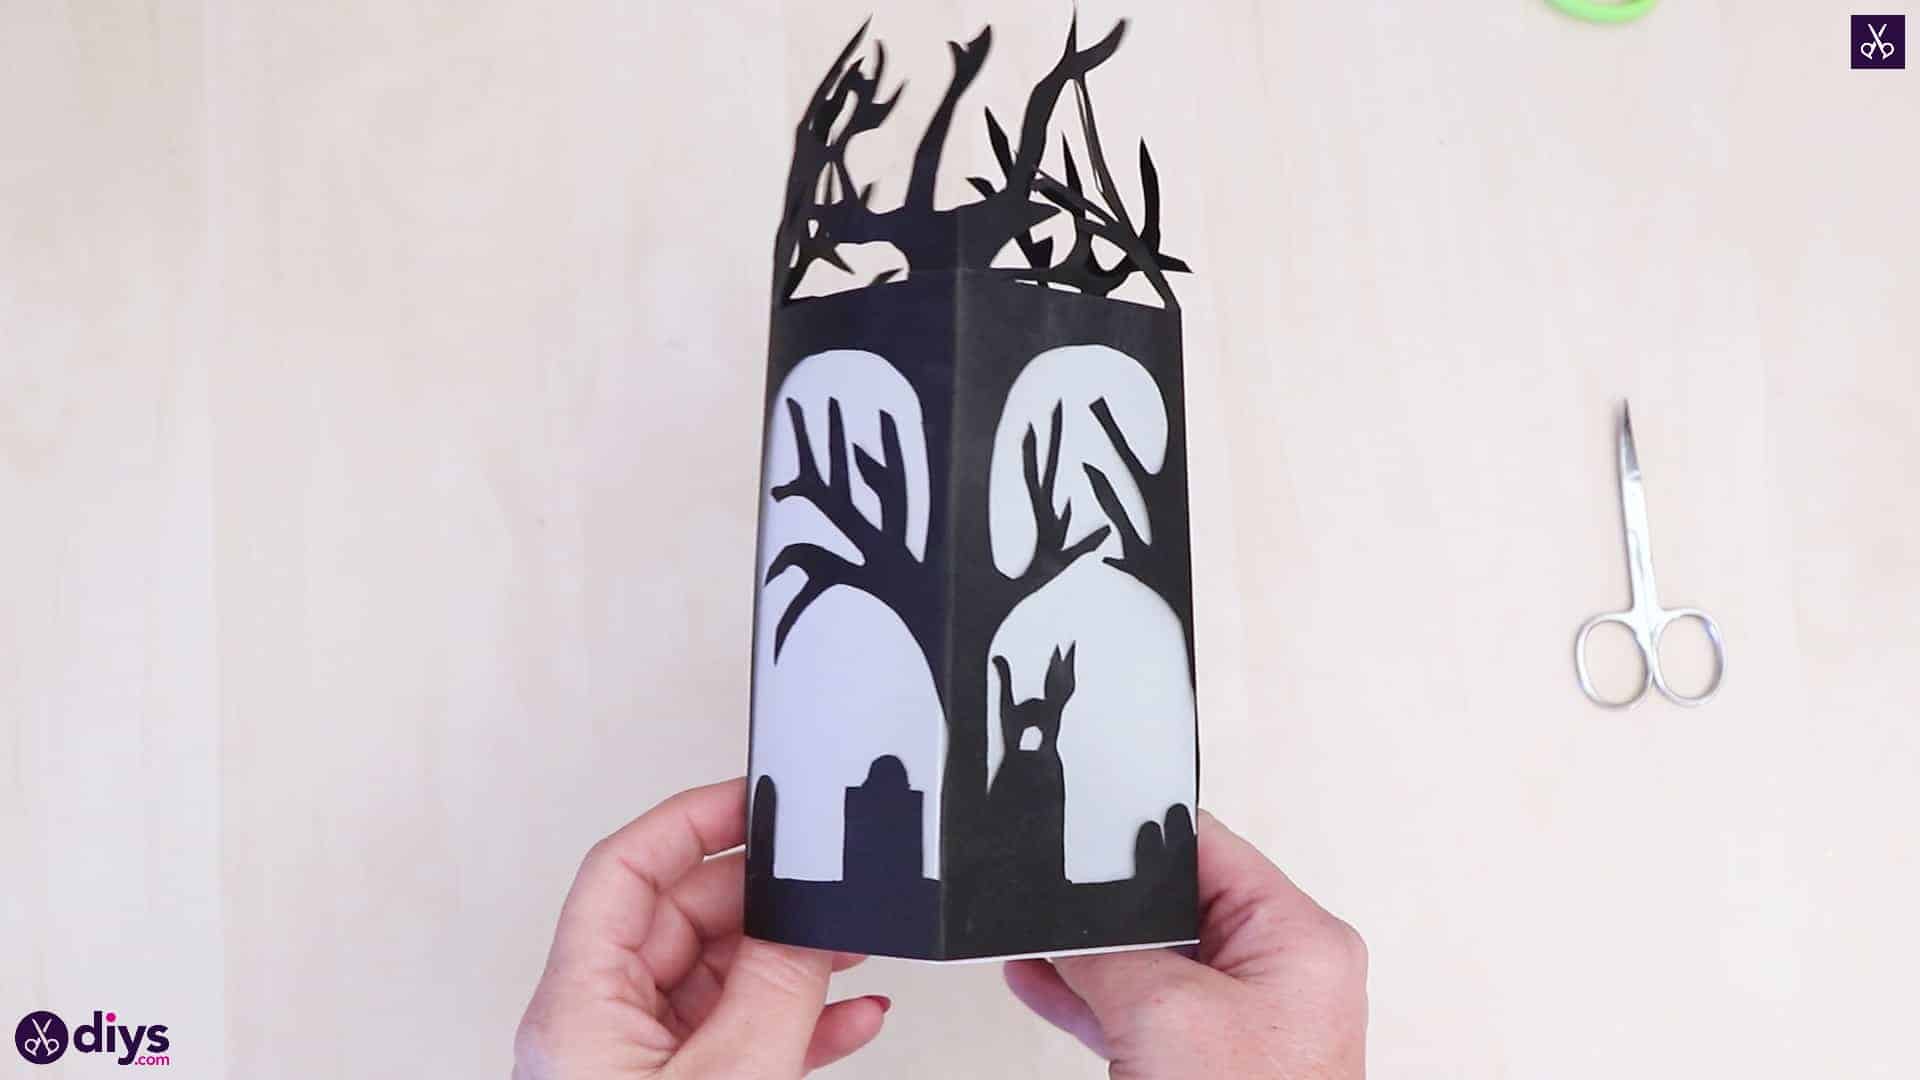
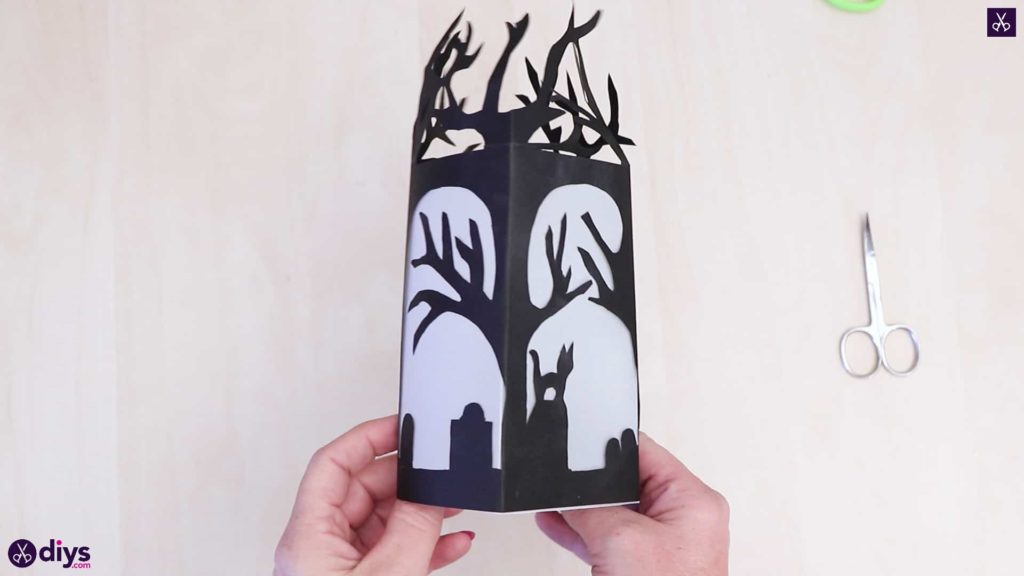
Put a carefully lit tea light candle or a cluster of battery powered string lights into the lantern and see how the glow makes the black shadowed shapes of all your cutouts pop! Just in case you’d like to try this project out for yourself, here’a fantastic tutorial video to help you!
How can we place a tealight inside if there is no bottom?
So much fun- thanks for posting!