DIY Halloween Mason Jar – Paint Your Mason Jar as a Halloween Pumpkin
Updated on November 19, 2025
If carving pumpkins is really not your thing, or you just want some really cute decoration piece for this Halloween, we have one that’s super cute! Our Halloween pumpkin jar is simply adorable and easy to make!You won’t need too many tools or materials, either!
We find that decorating the house for the holiday – be it Halloween, Thanksgiving, Christmas, Valentine’s Day, Easter, and so on – helps set the mood so much more. However, ready-made decorations are often not to our liking or are simply expensive. So, why not make our own? They’re so much nicer anyway!
Setting the Scene with Your Halloween Pumpkin MasonJar
Our Halloween pumpkin jar can serve as a nice decor piece as you place it on the table or the fireplace mantle. However, it can also have a practical use if you store wrapped candies inside, for instance.
Making your own Halloween pumpkin jar will not take a very long time. You can also get the kids involved, which can make things even more fun.
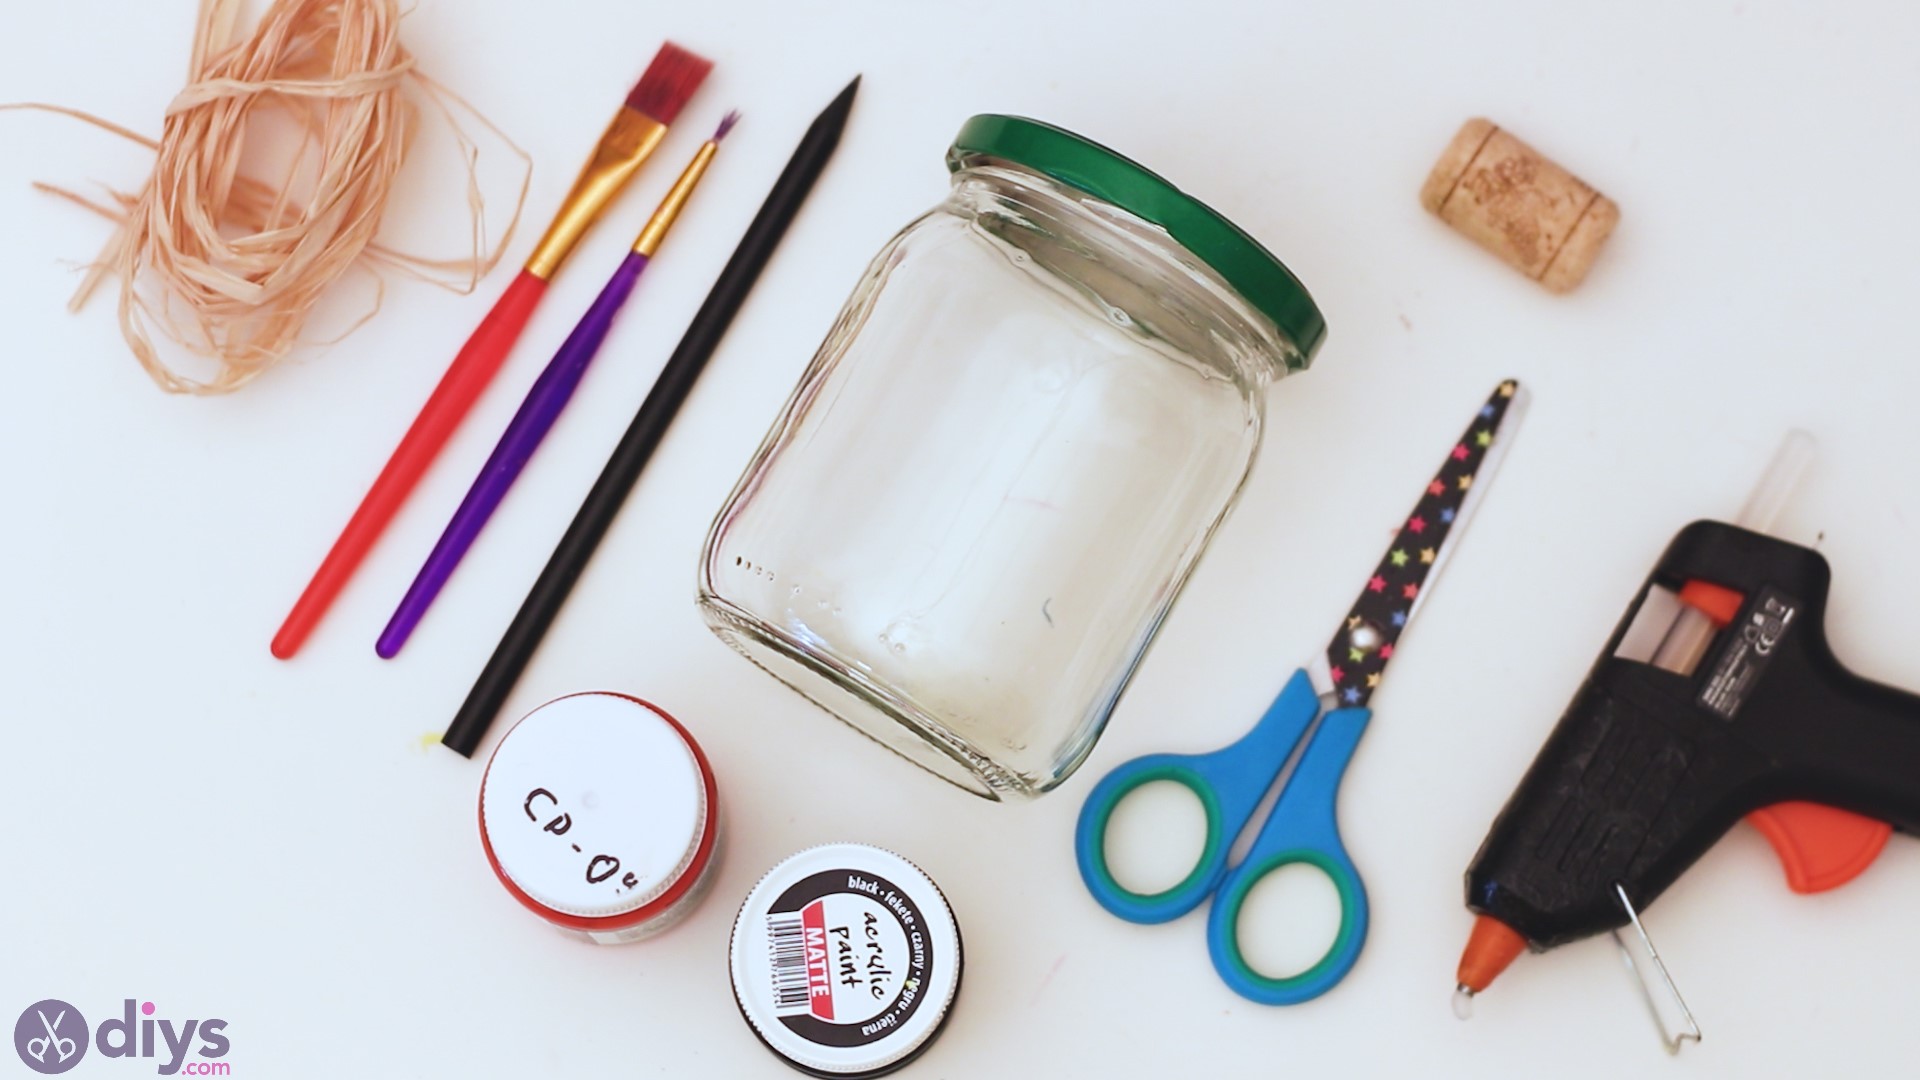
Halloween Pumpkin Mason Jar Materials
As we already mentioned, you won’t need a lot of materials and tools for this, so here’s a full list:
- Mason jar
- Raffia
- Orange chalkboard paint
- Black acrylic paint
- Wine cork
- Flat paintbrush
- Round paintbrush
- Pencil
- Scissors
- Glue gun
How to Make Your Halloween Pumpkin Mason Jar
Before we even get started, we want to make sure that you have all the materials on hand. You’re not going to want to get up from your craft table to go bring something you forgot, as that will ruin your flow. So get all your materials on the table before you get started.
Does your craft table look like our picture? Great! Let’s get started, then!
Step 1: Paint Your Halloween Mason Jar
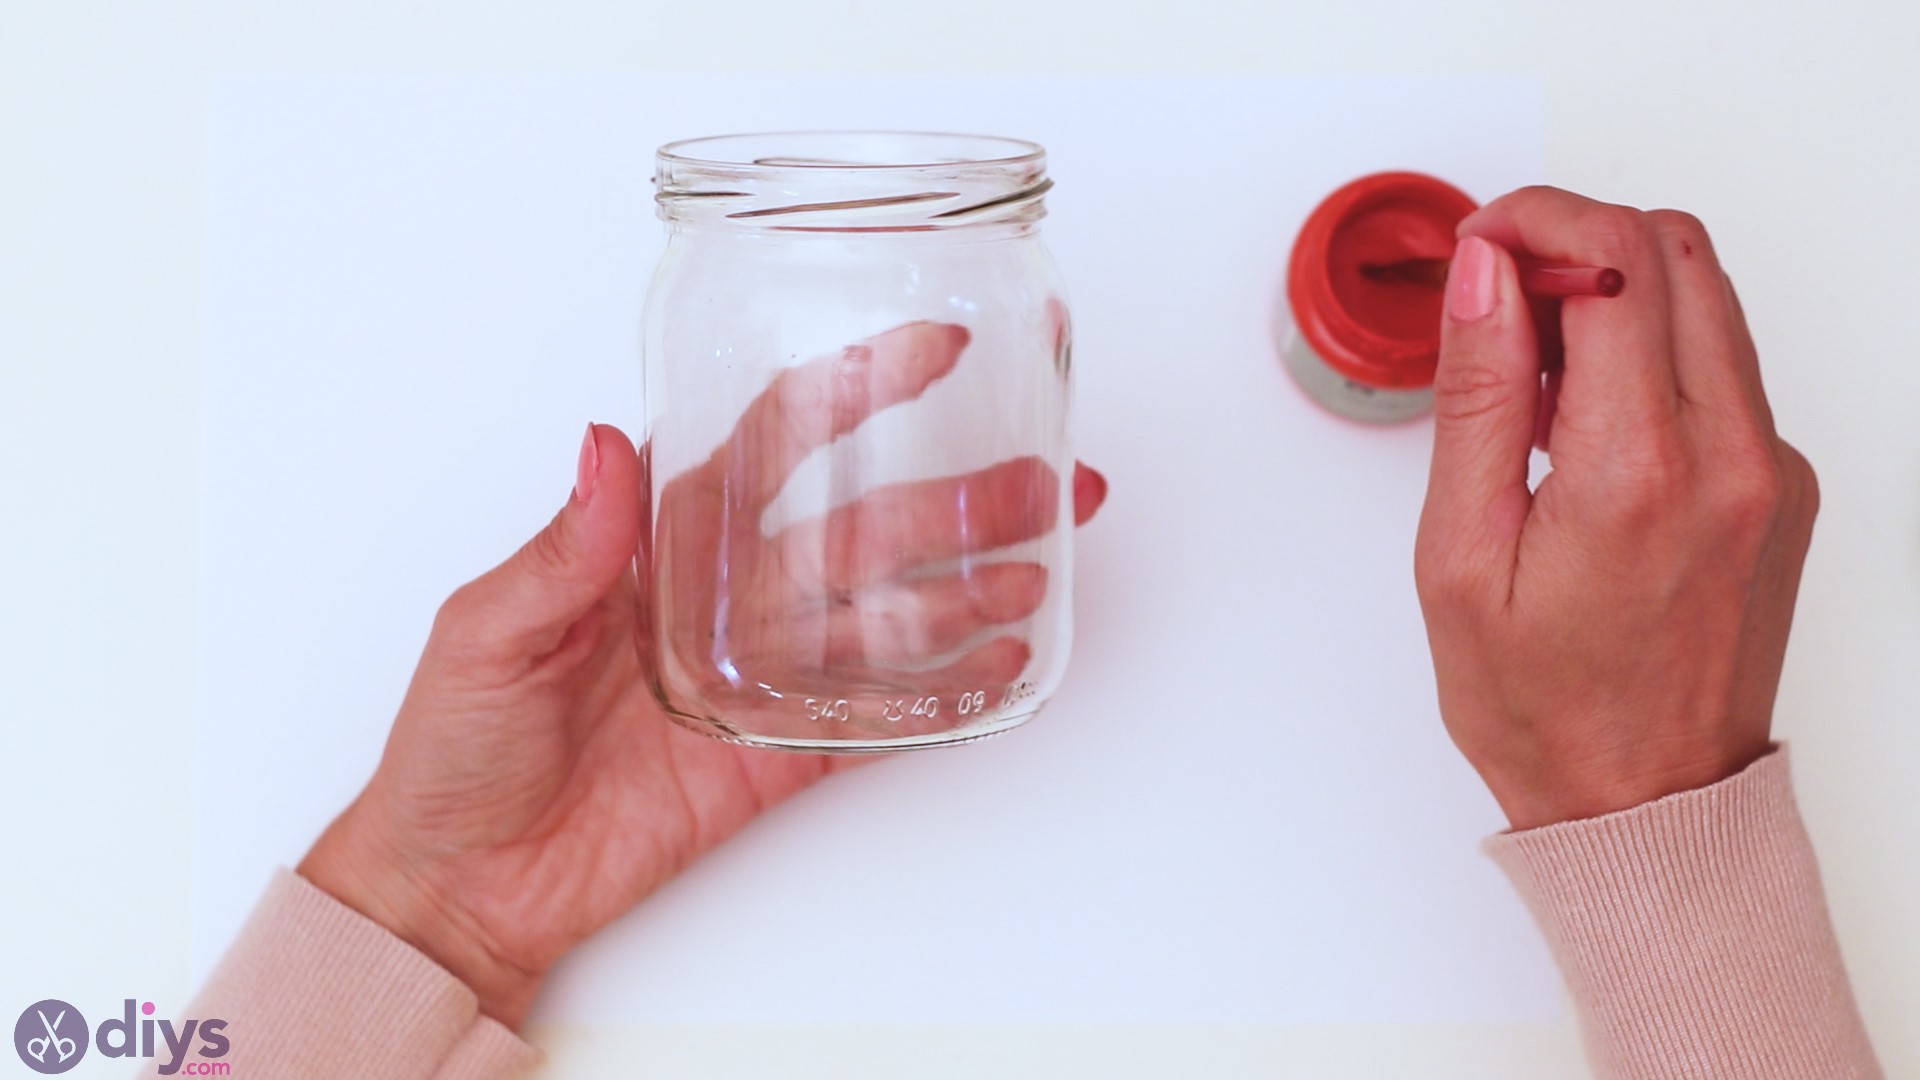
The first thing you’re going to want to do is to grab your mason jar, your orange chalkboard paint, and your paintbrush. Dip in your paintbrush and start layering the paint on the outside of the jar.
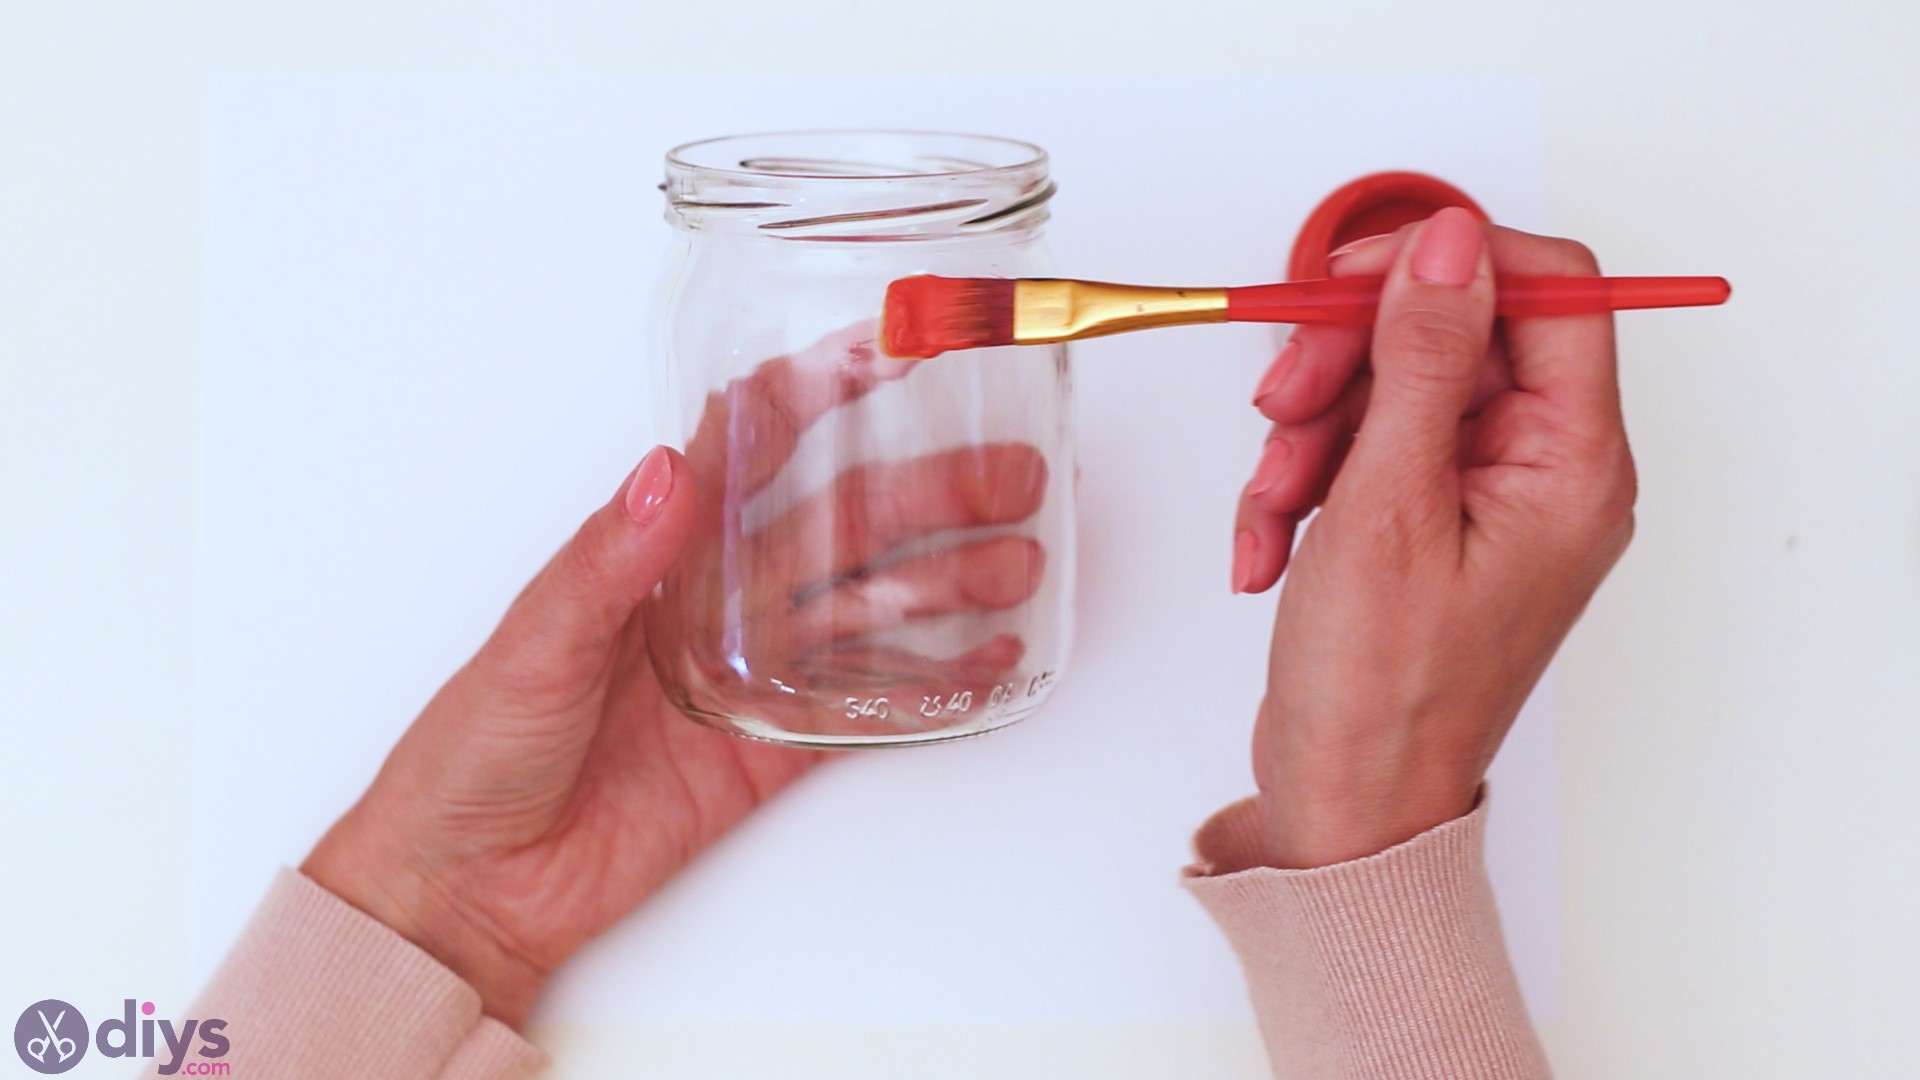
We used a flat brush to cover a wider area, so you may want to follow along the same lines for a quicker job.
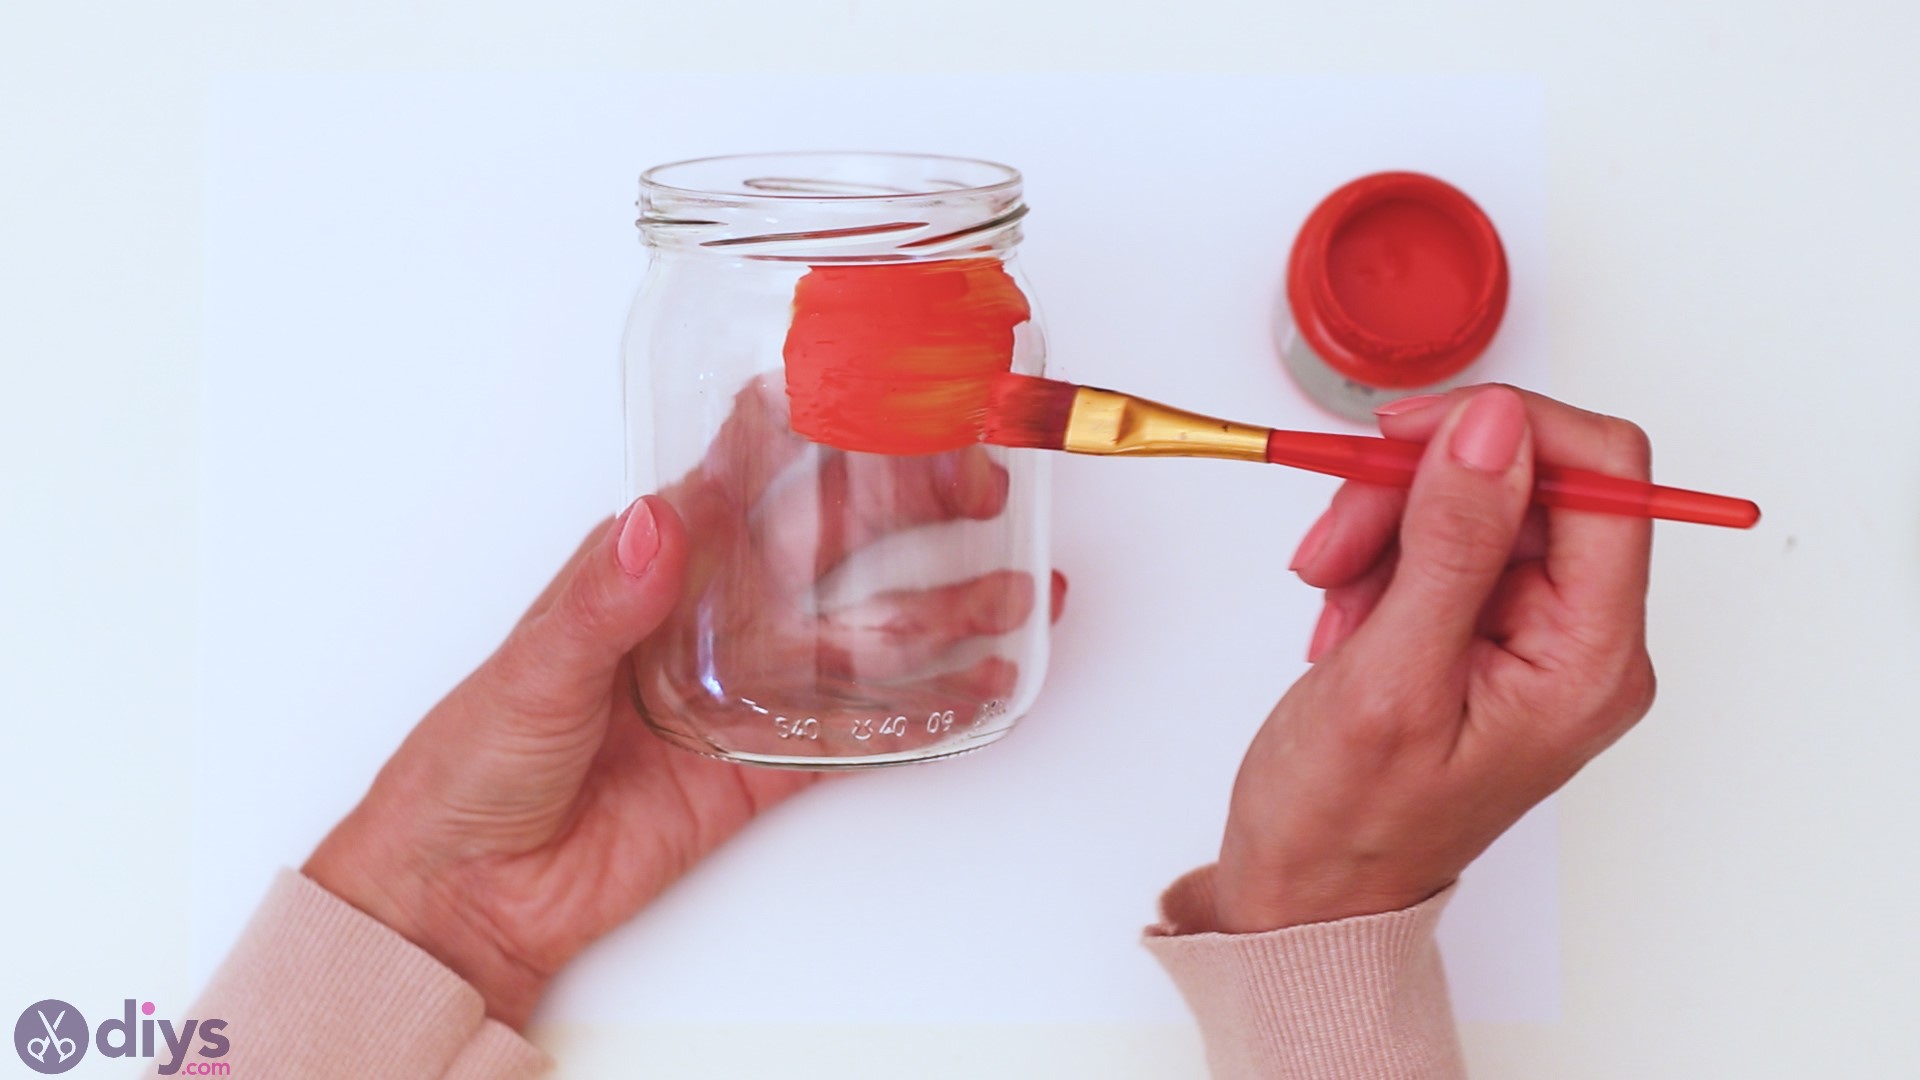
You want to slowly turn the jar and cover the glass with the paint as you go. Try to get a clean layer applied, thick enough that it’s not see-through, but also not too thick that it takes forever to paint.
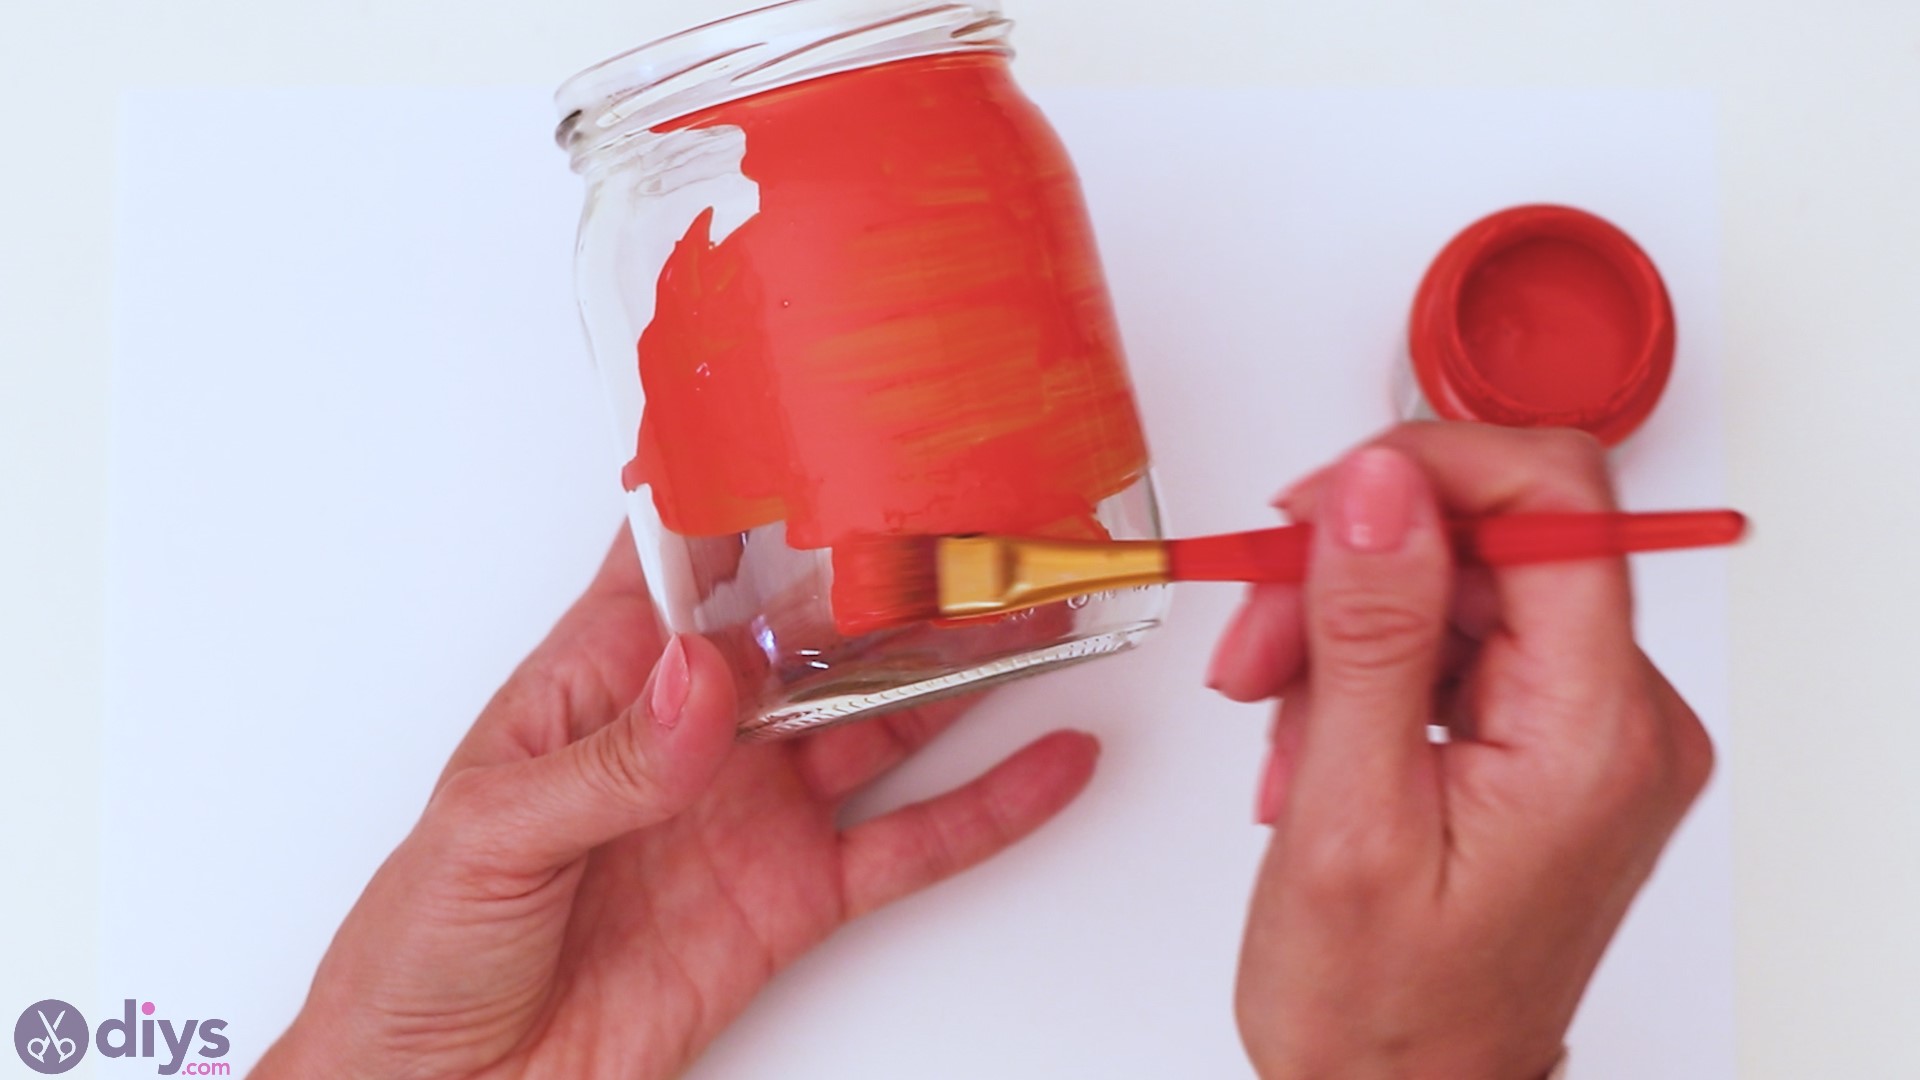
When you can no longer turn the jar without sticking your fingers in the paint, put your hand inside the jar and hold it tightly as you turn it around. You can even take this route from the beginning if you so desire.
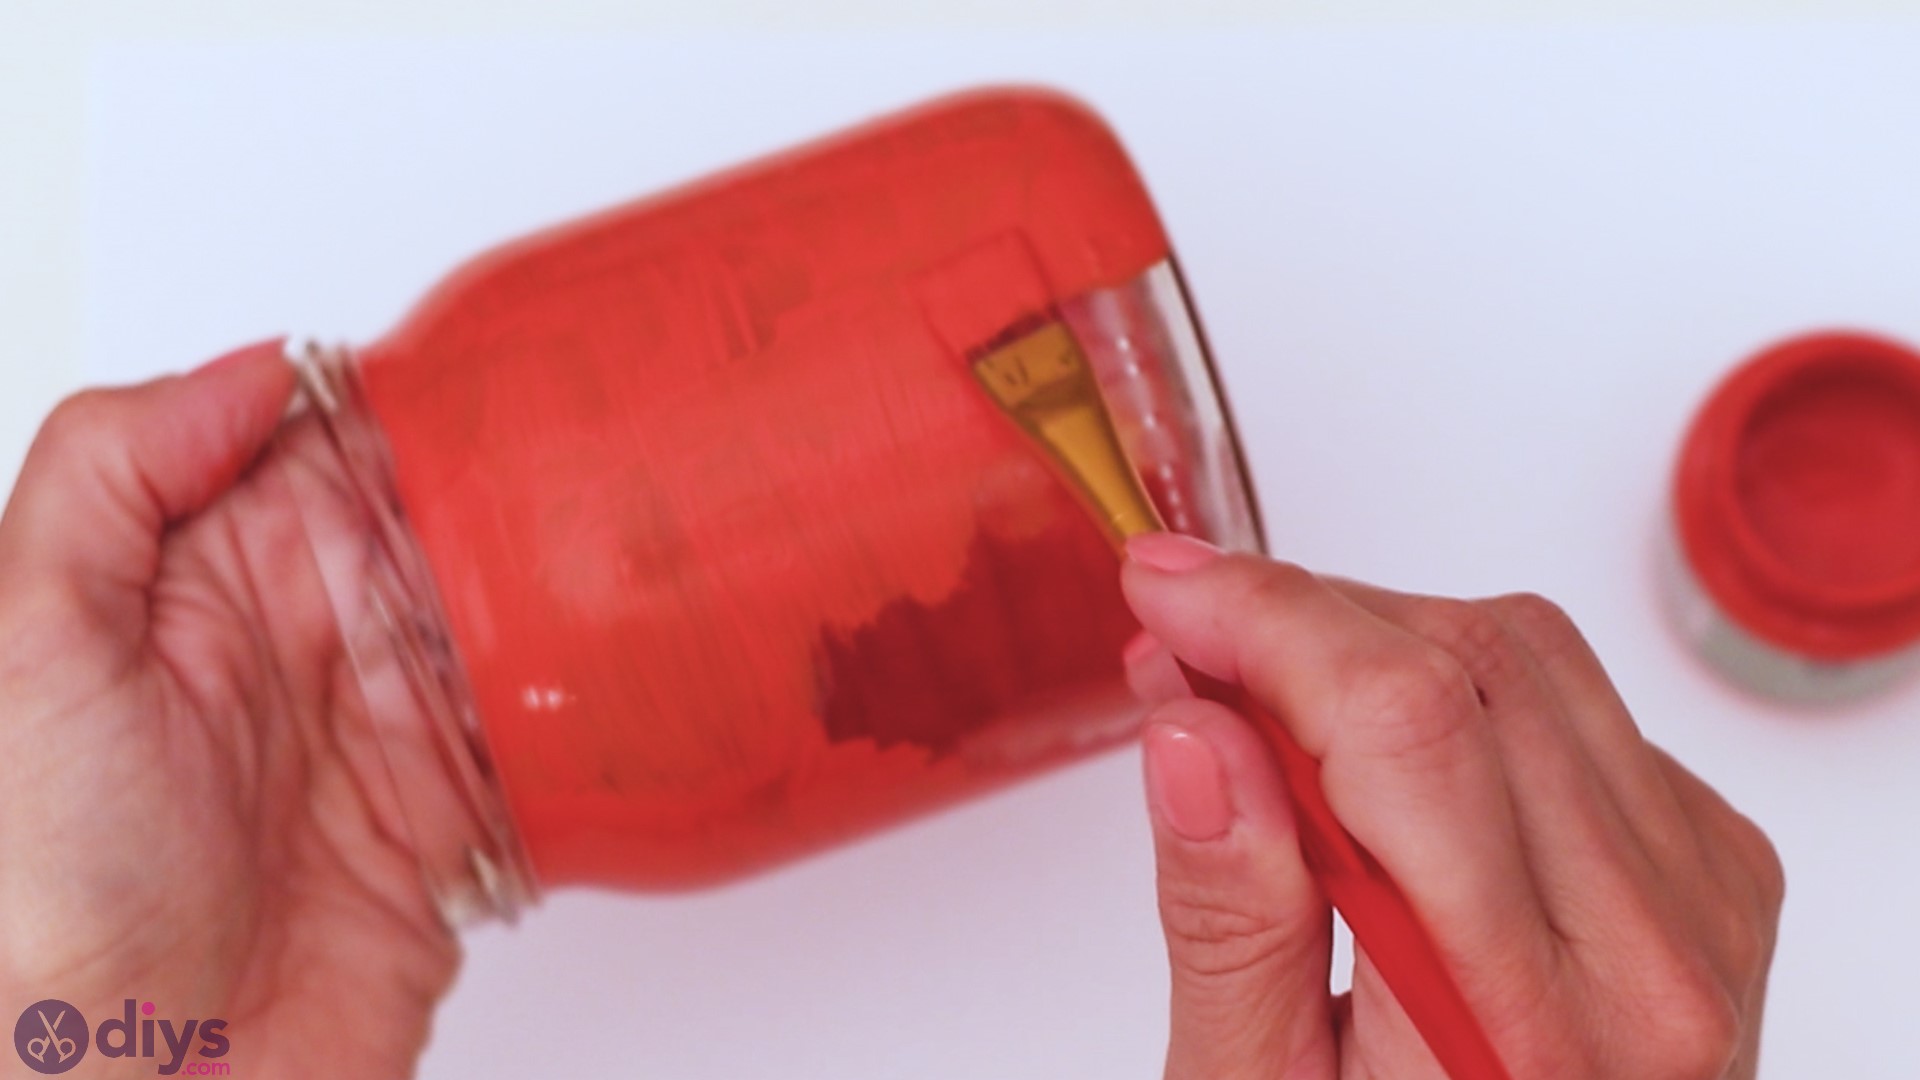
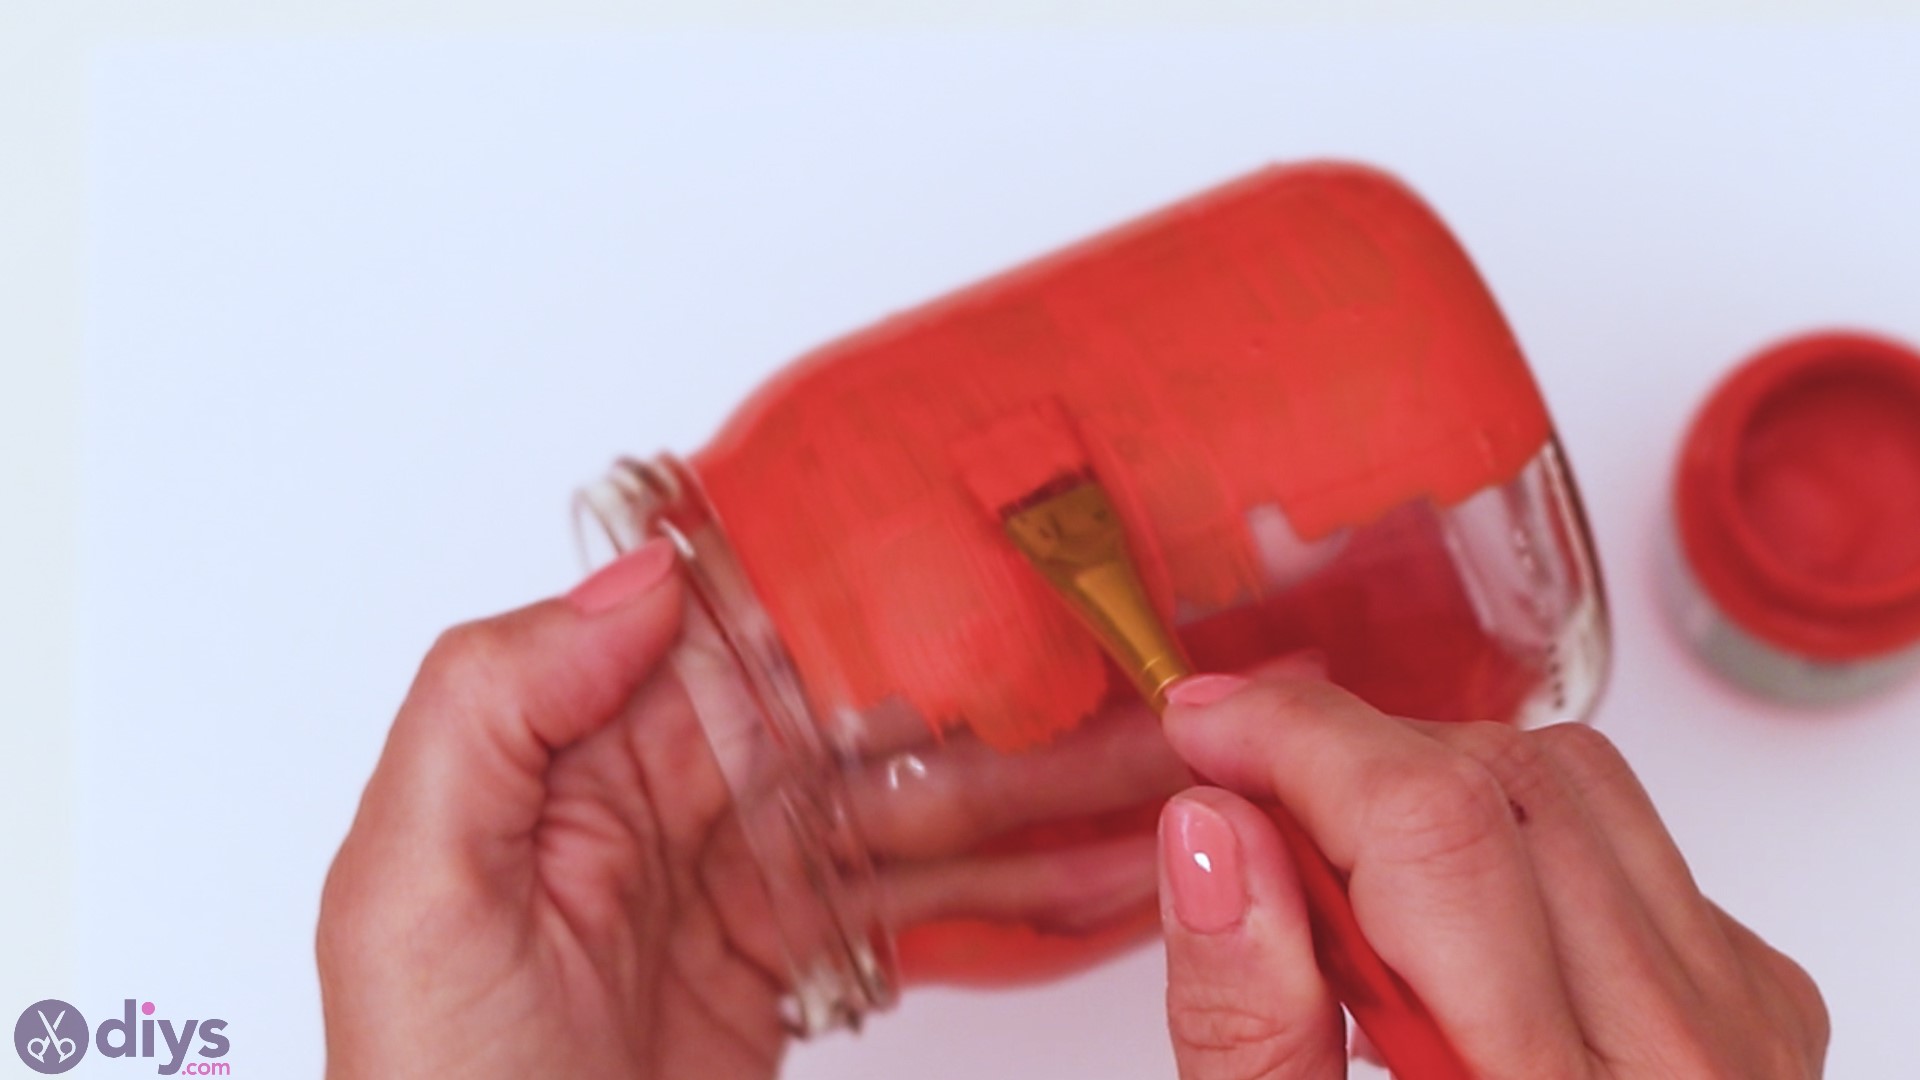
Don’t forget to also cover the bottom of the jar with the same paint.
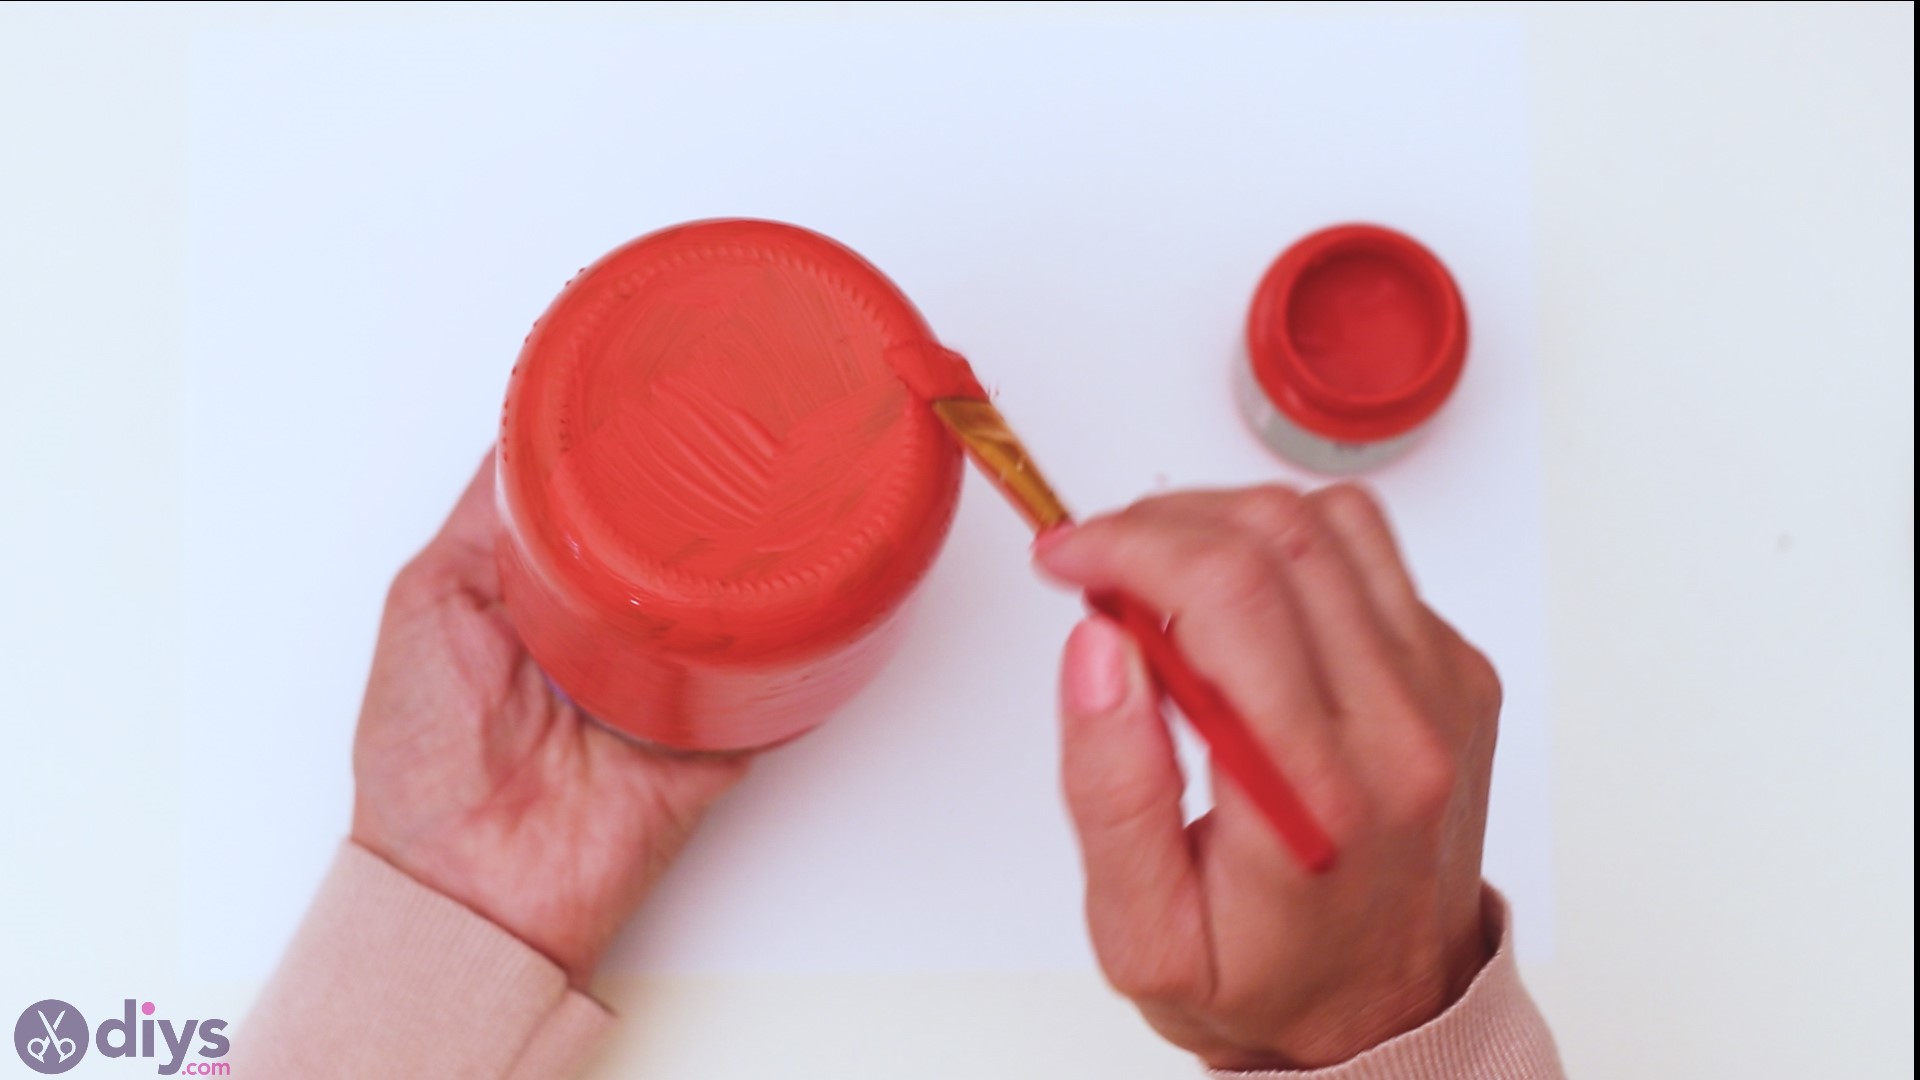
Depending on the coverage offered by the paint you get, you could give it a second layer. Make sure you wait a while before doing that, allowing the first layer to dry completely. Otherwise, you’ll only “drag” the paint with your paintbrush, revealing the bare glass.

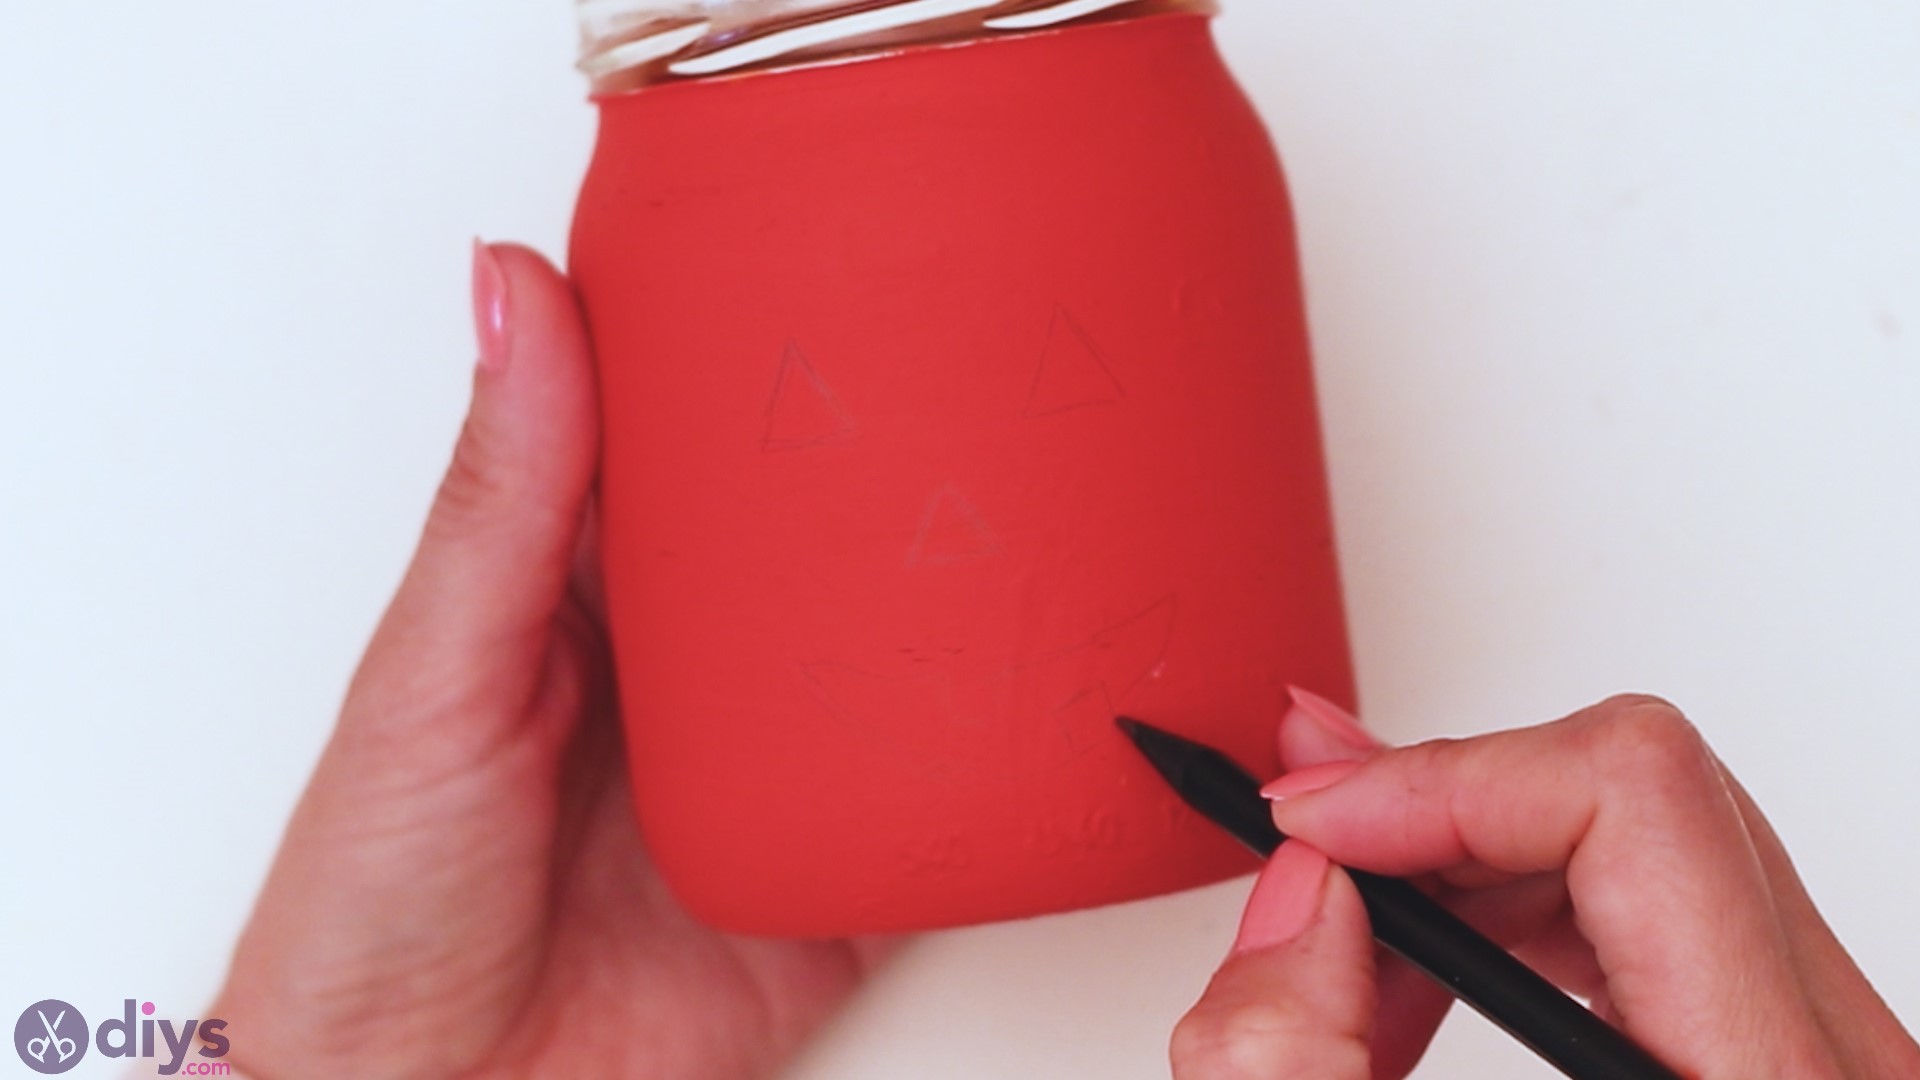
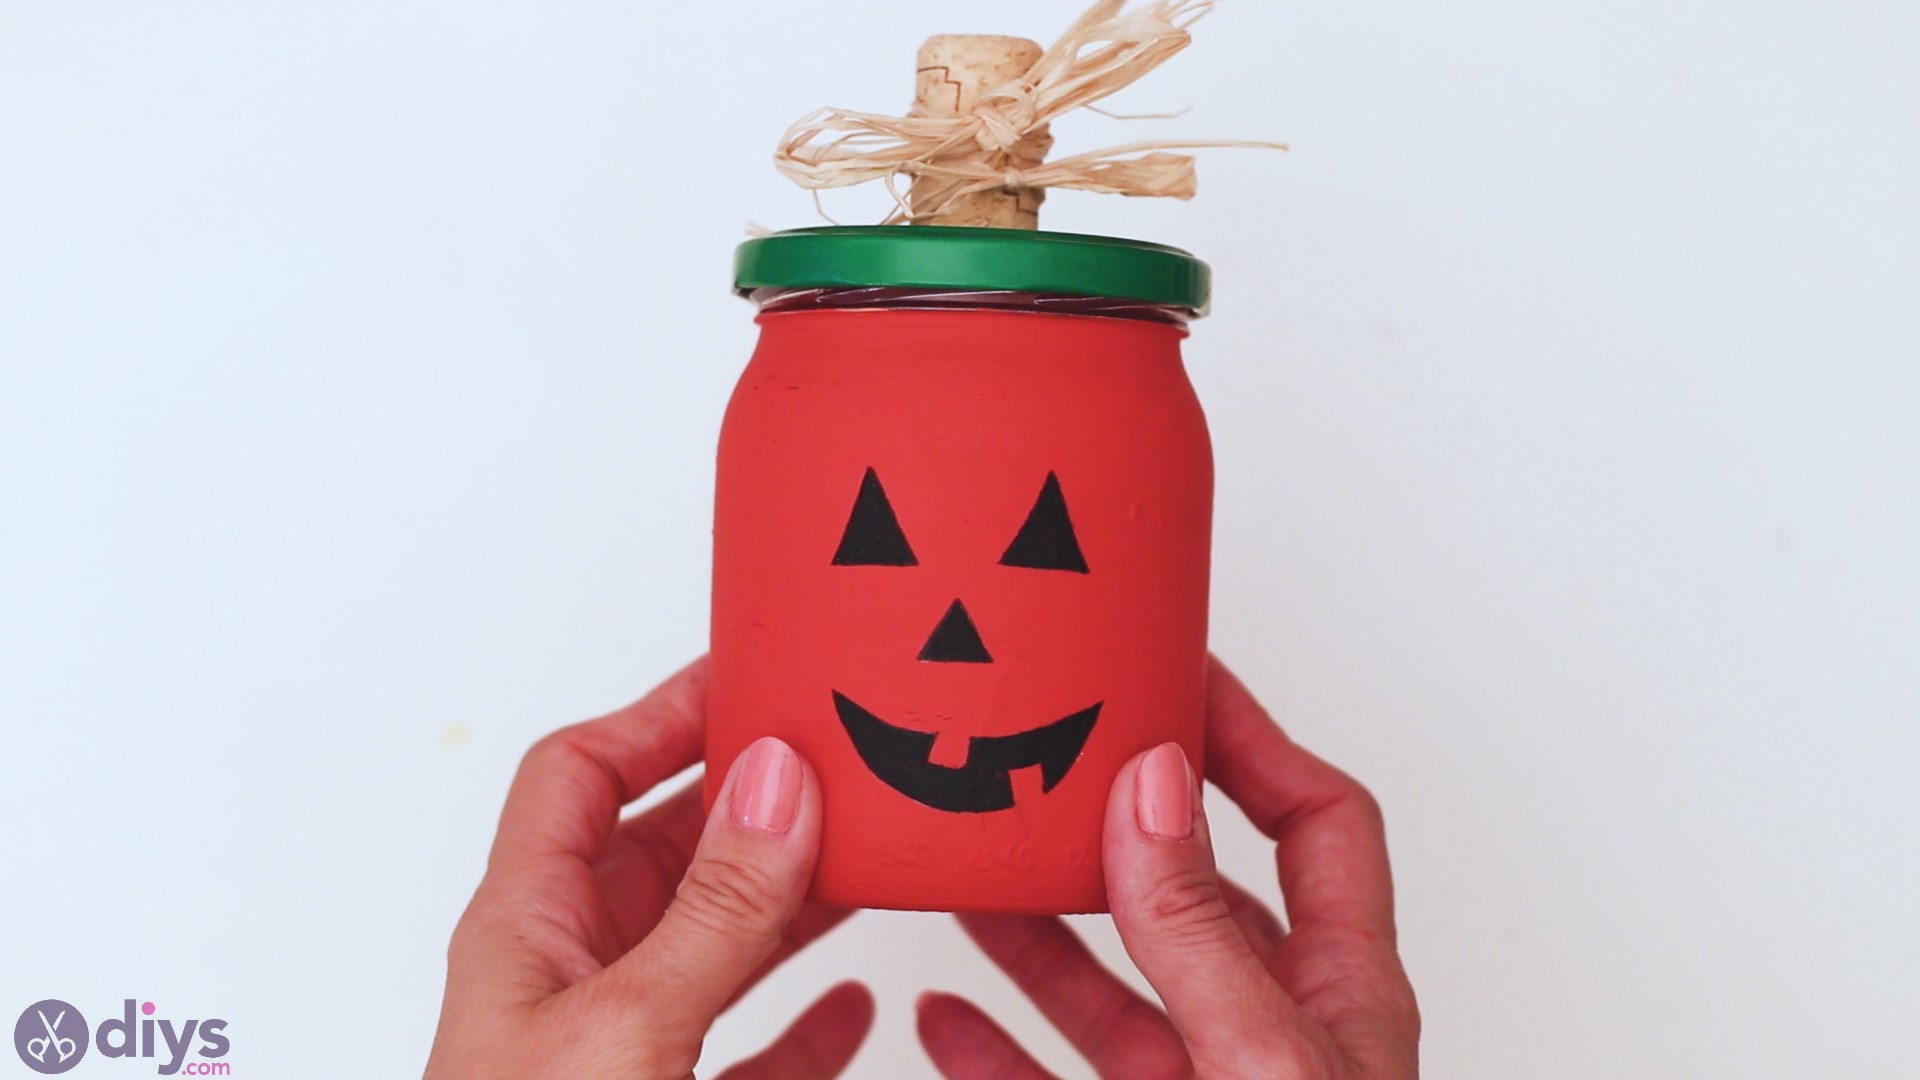
Step 2: Draw a Face on Your Halloween Mason Jar
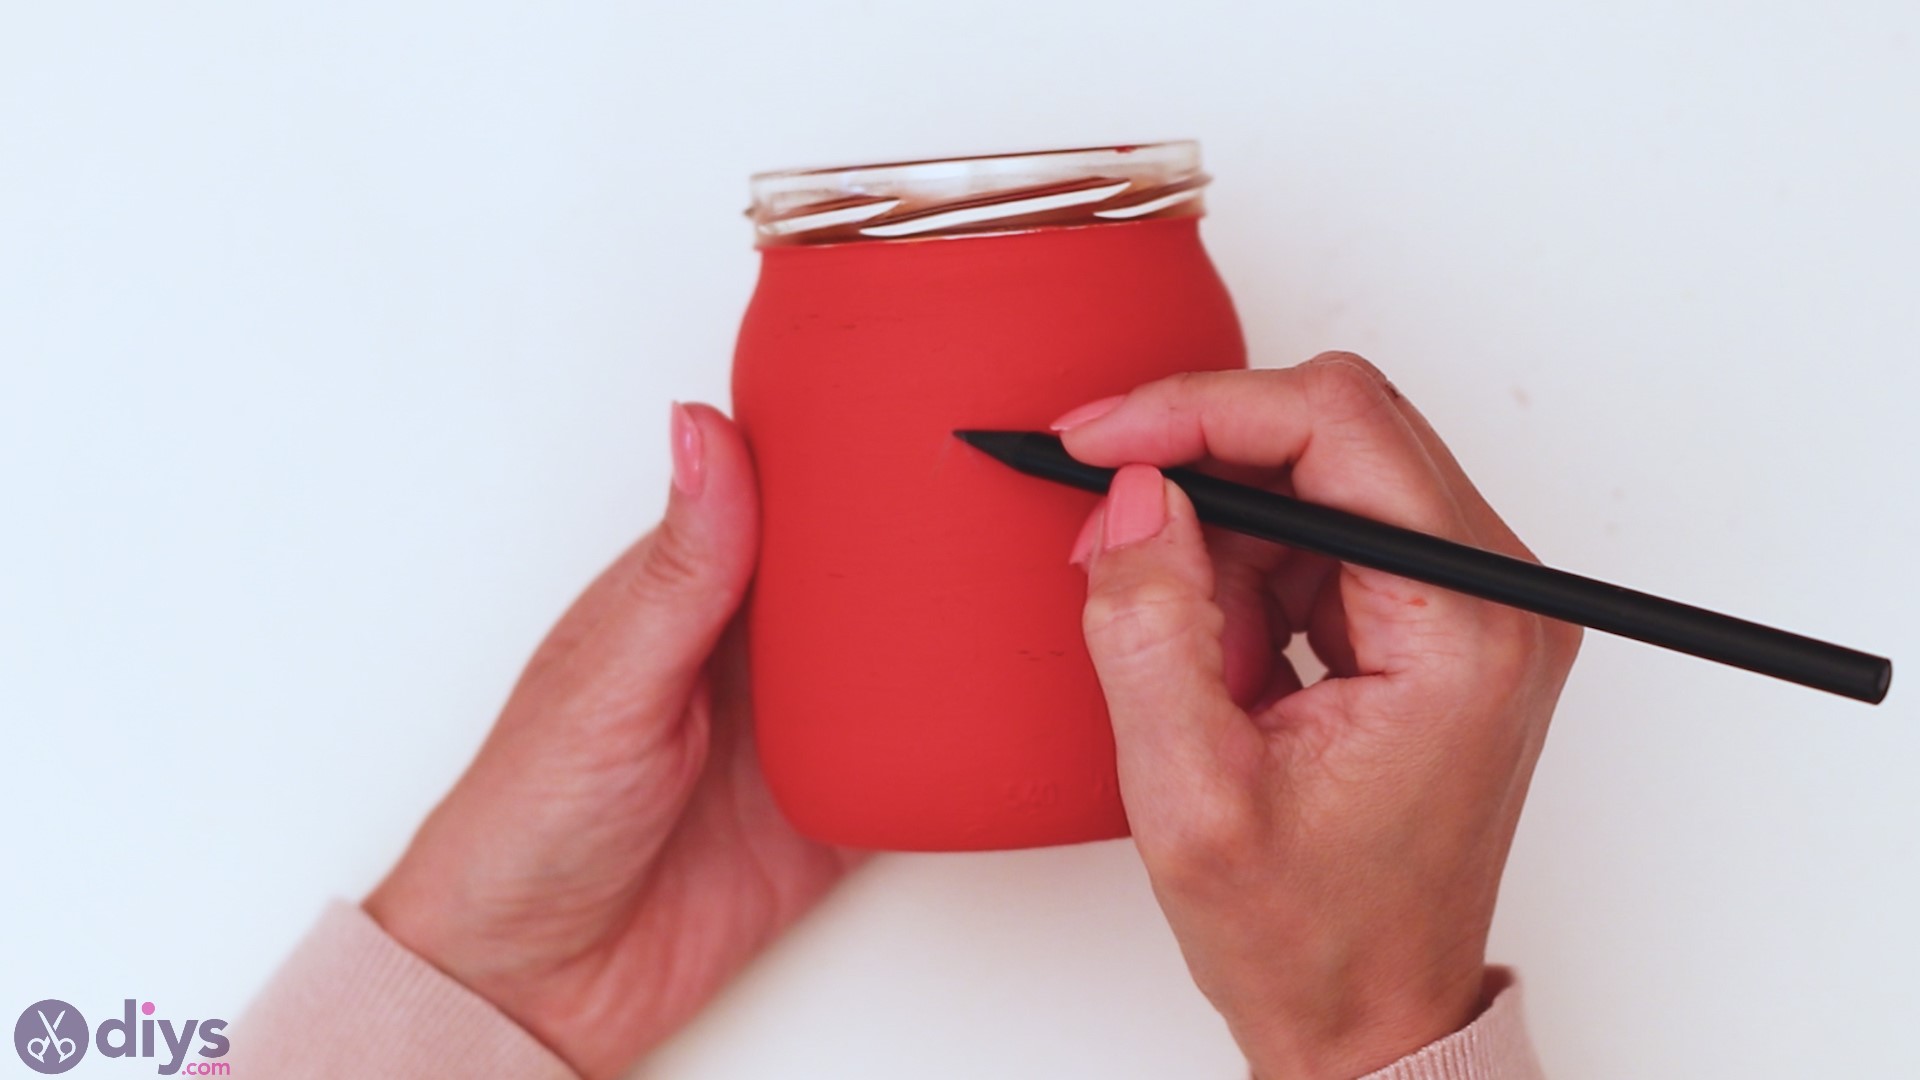
Once the paint has dried on your Halloween mason jar, it’s time we give it some personality. You’re going to do this with the help of your pencil.
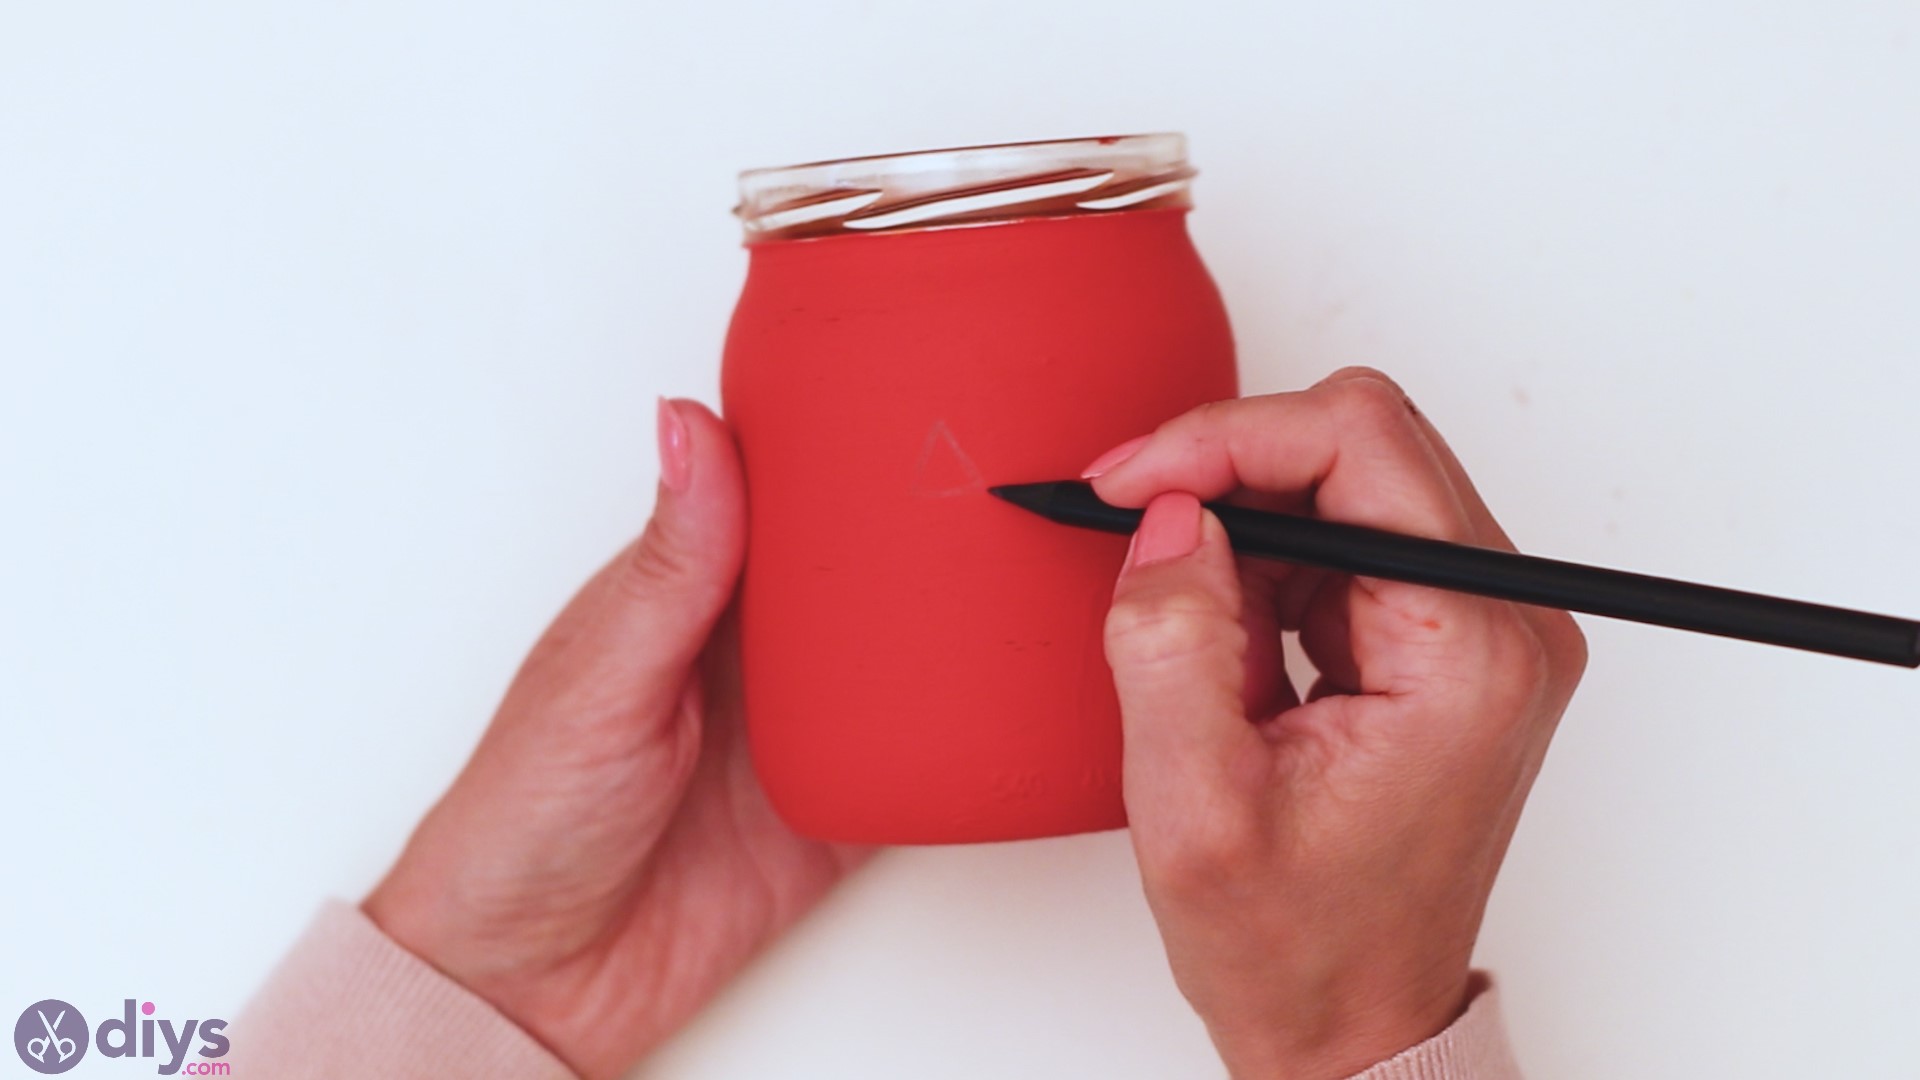
So, grab the pencil and start drawing a face on your Mason jar. We recommend you do this as you would on a regular pumpkin if you were carving it – triangle-shaped eyes and nose, toothy grin on the mouth. Of course, you can go whatever route you want and, depending on your drawing skills, take things a step or two further.
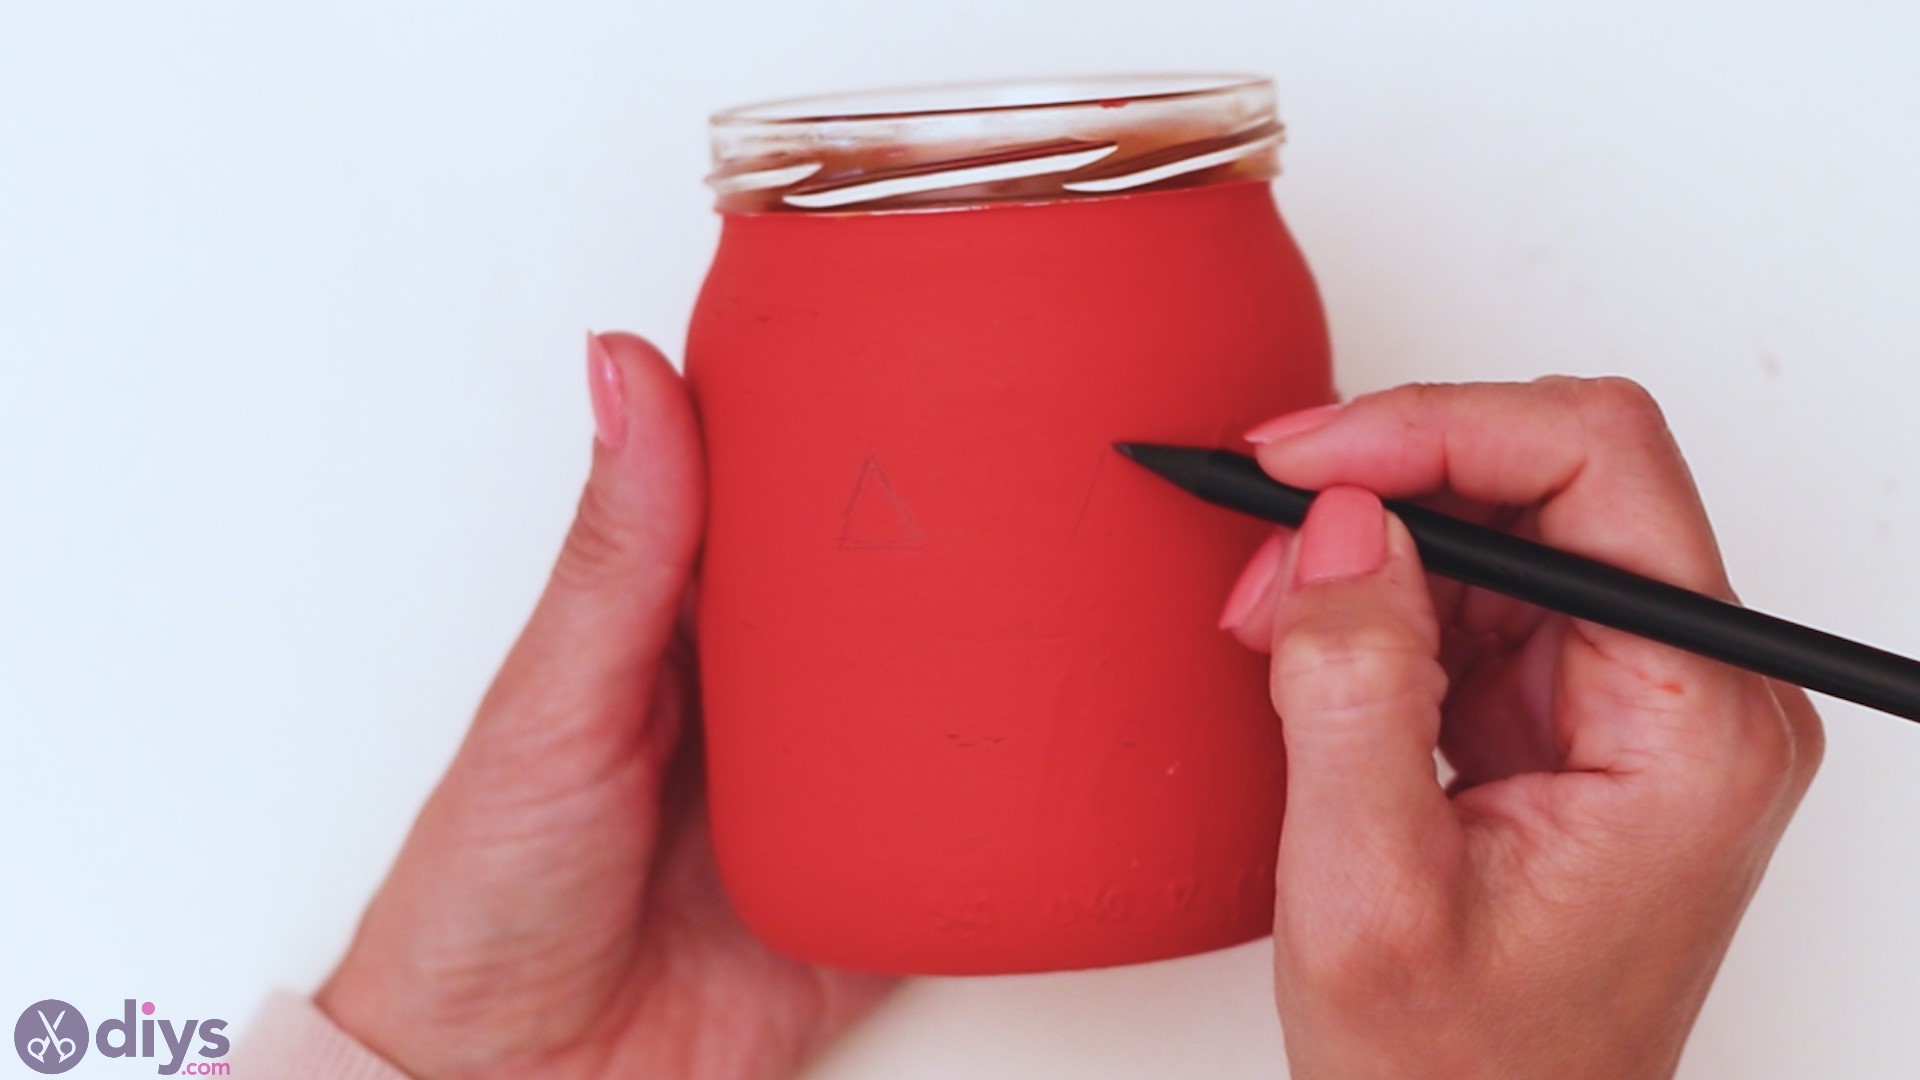
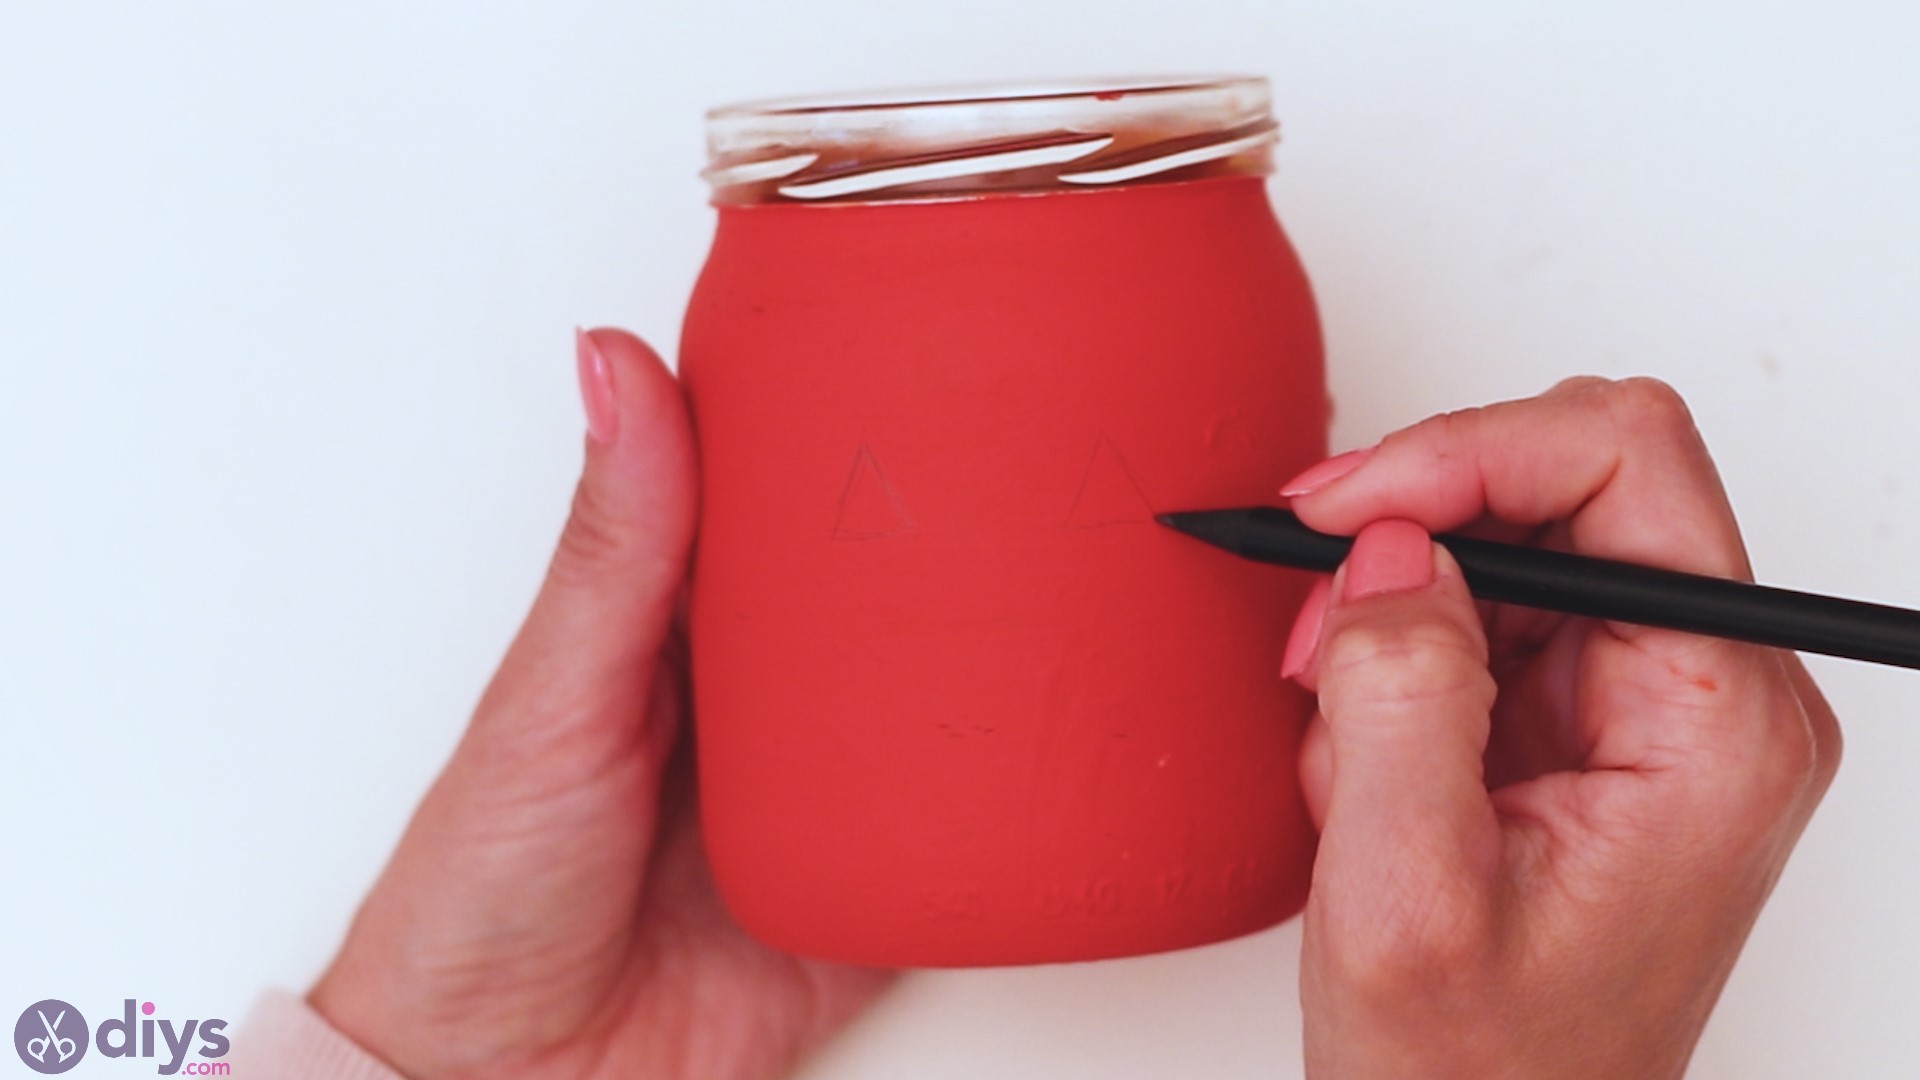
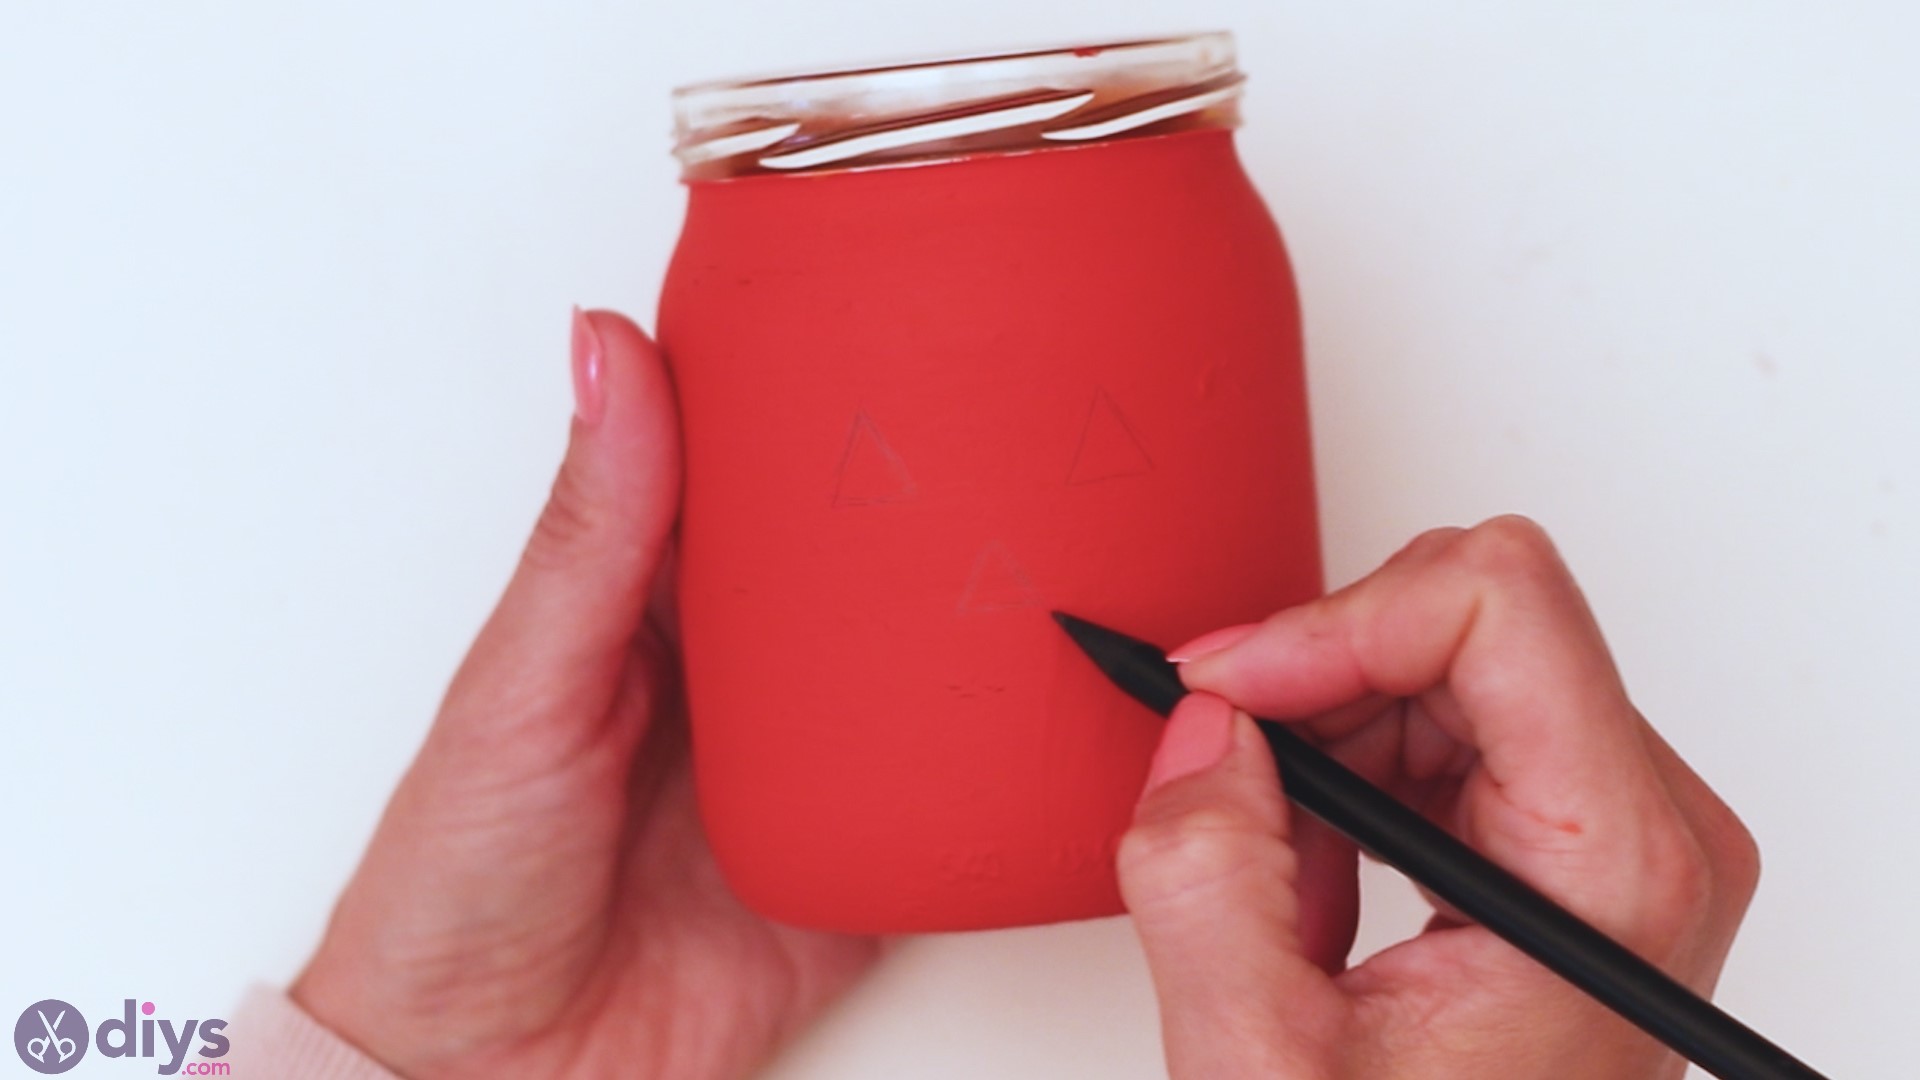
You don’t have to cover too much of the glass in this way. Just make sure the eyes, nose, and mouth are all proportional. You don’t even have to do much more than sketch the areas, as you’re going to come to fill in the area with black paint anyway.
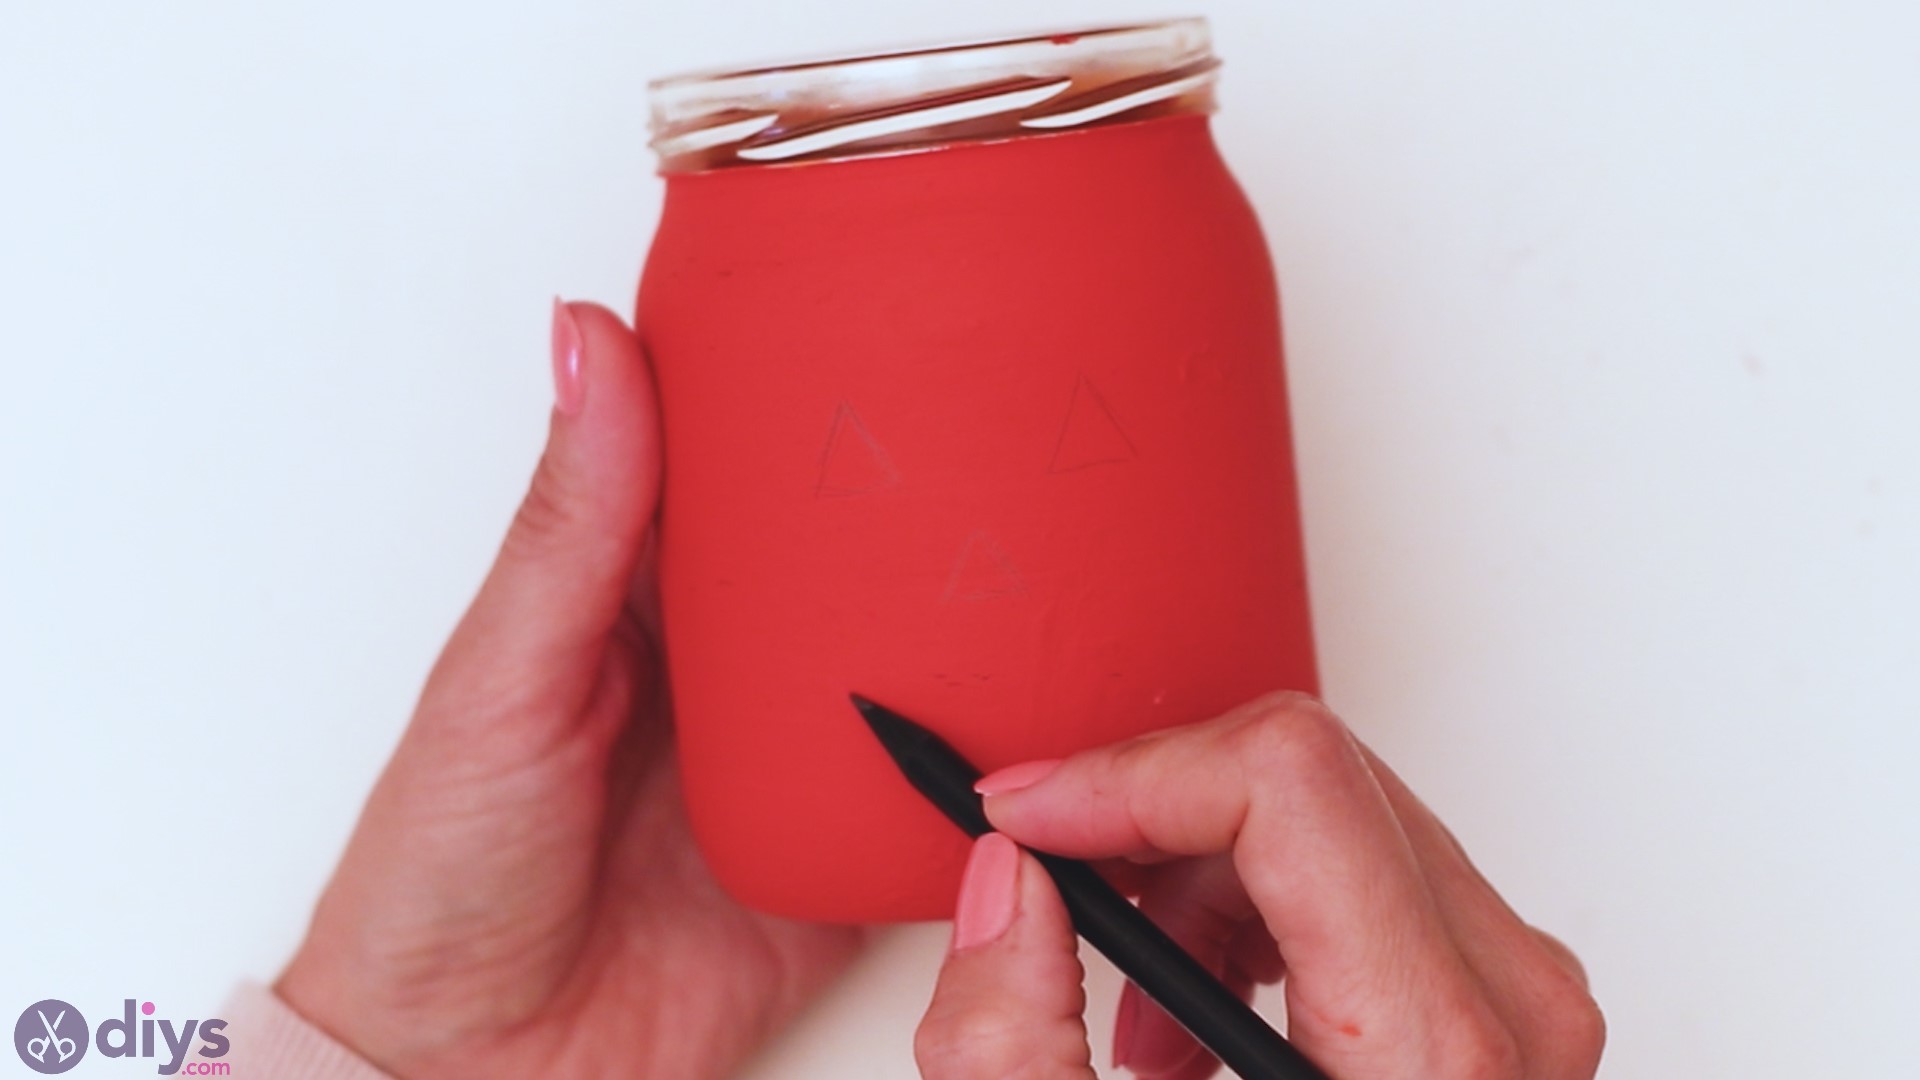
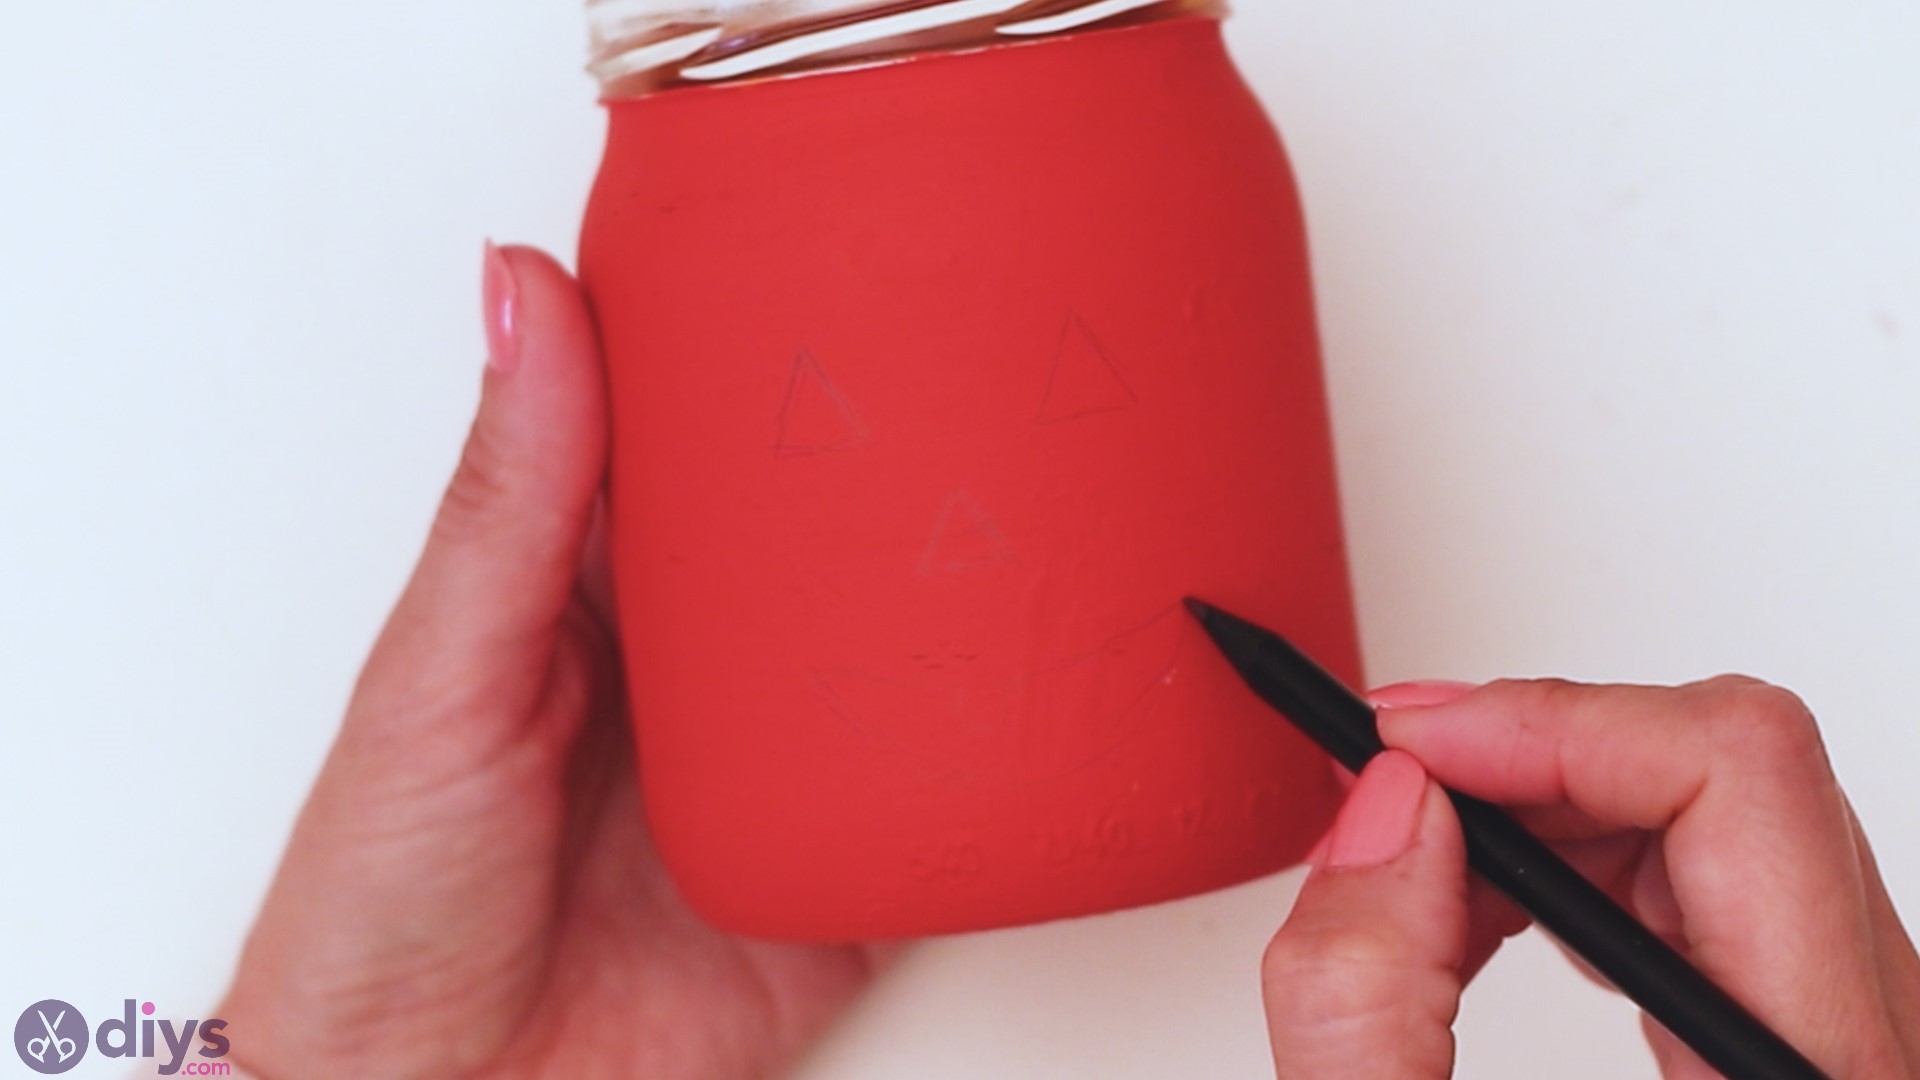
Make sure you trace in any details you want to paint later on.
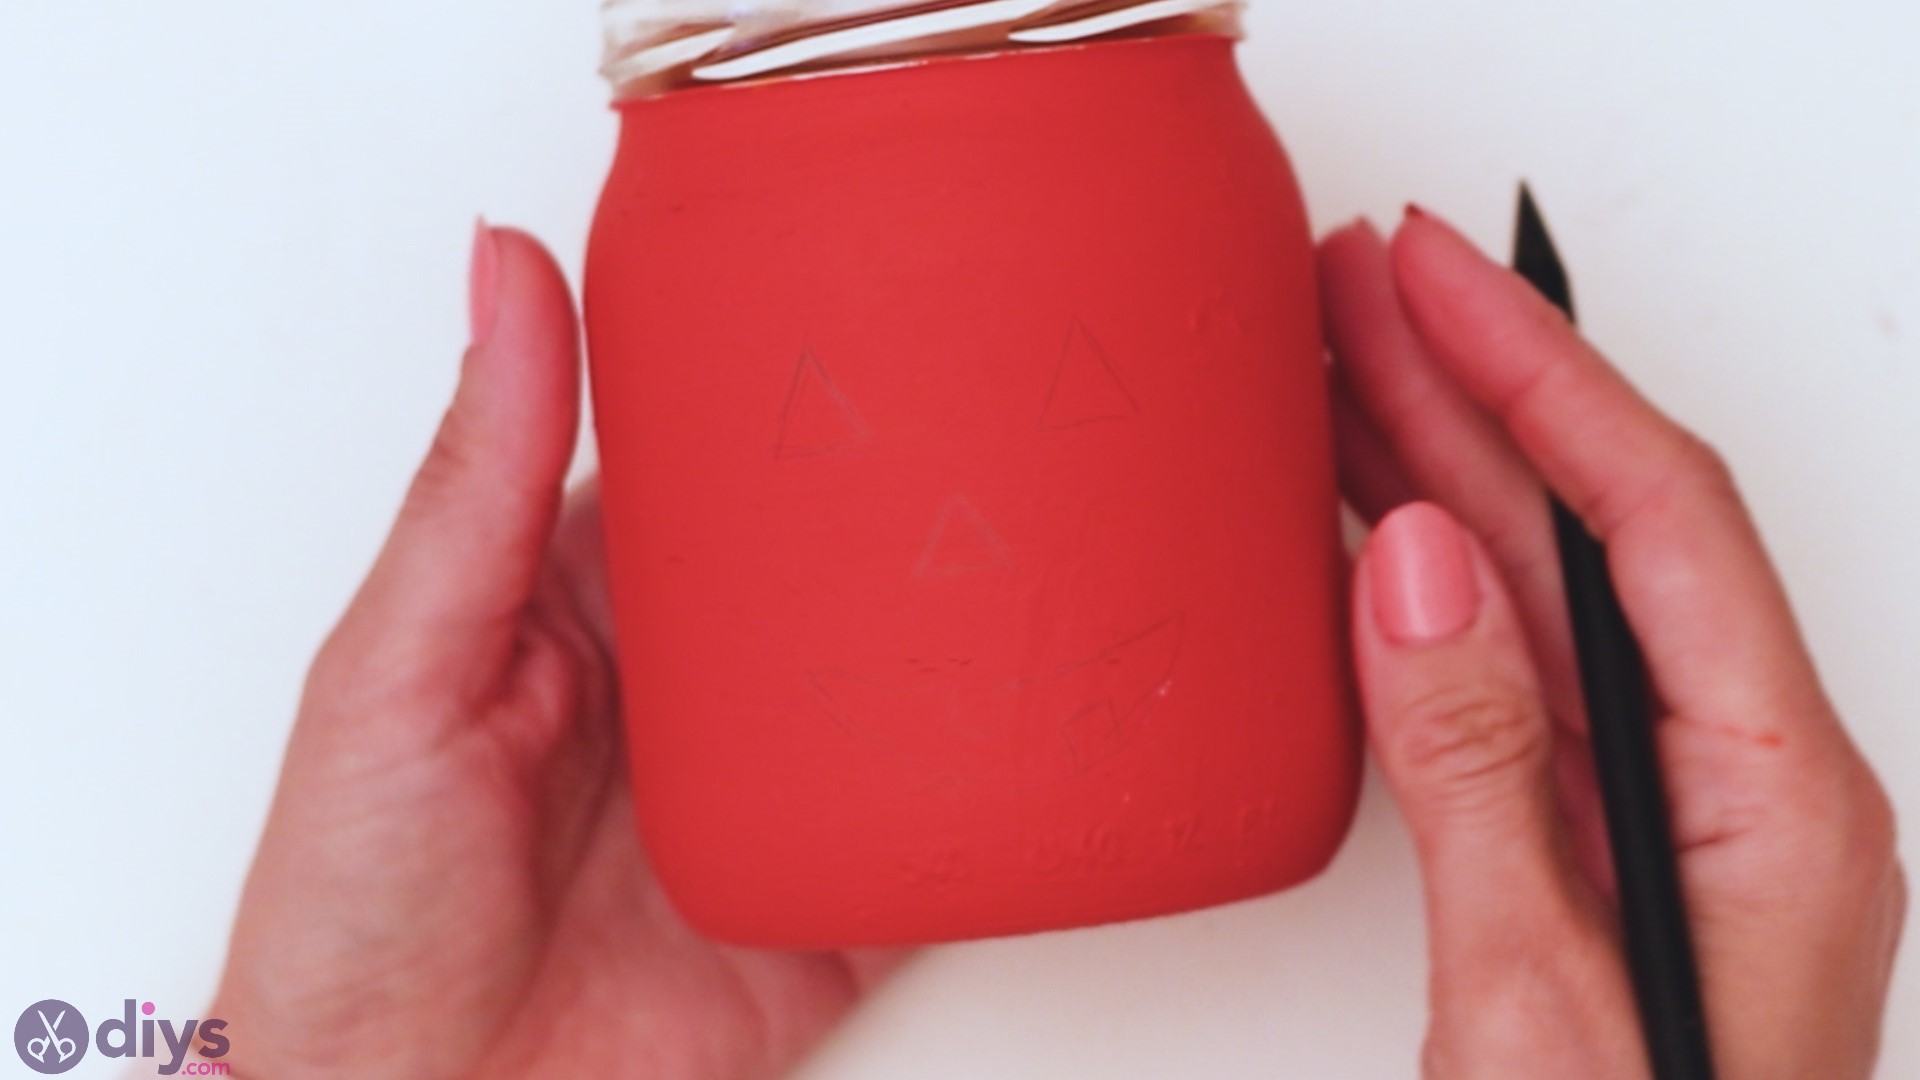
There we go! The masterpiece drawing is done!
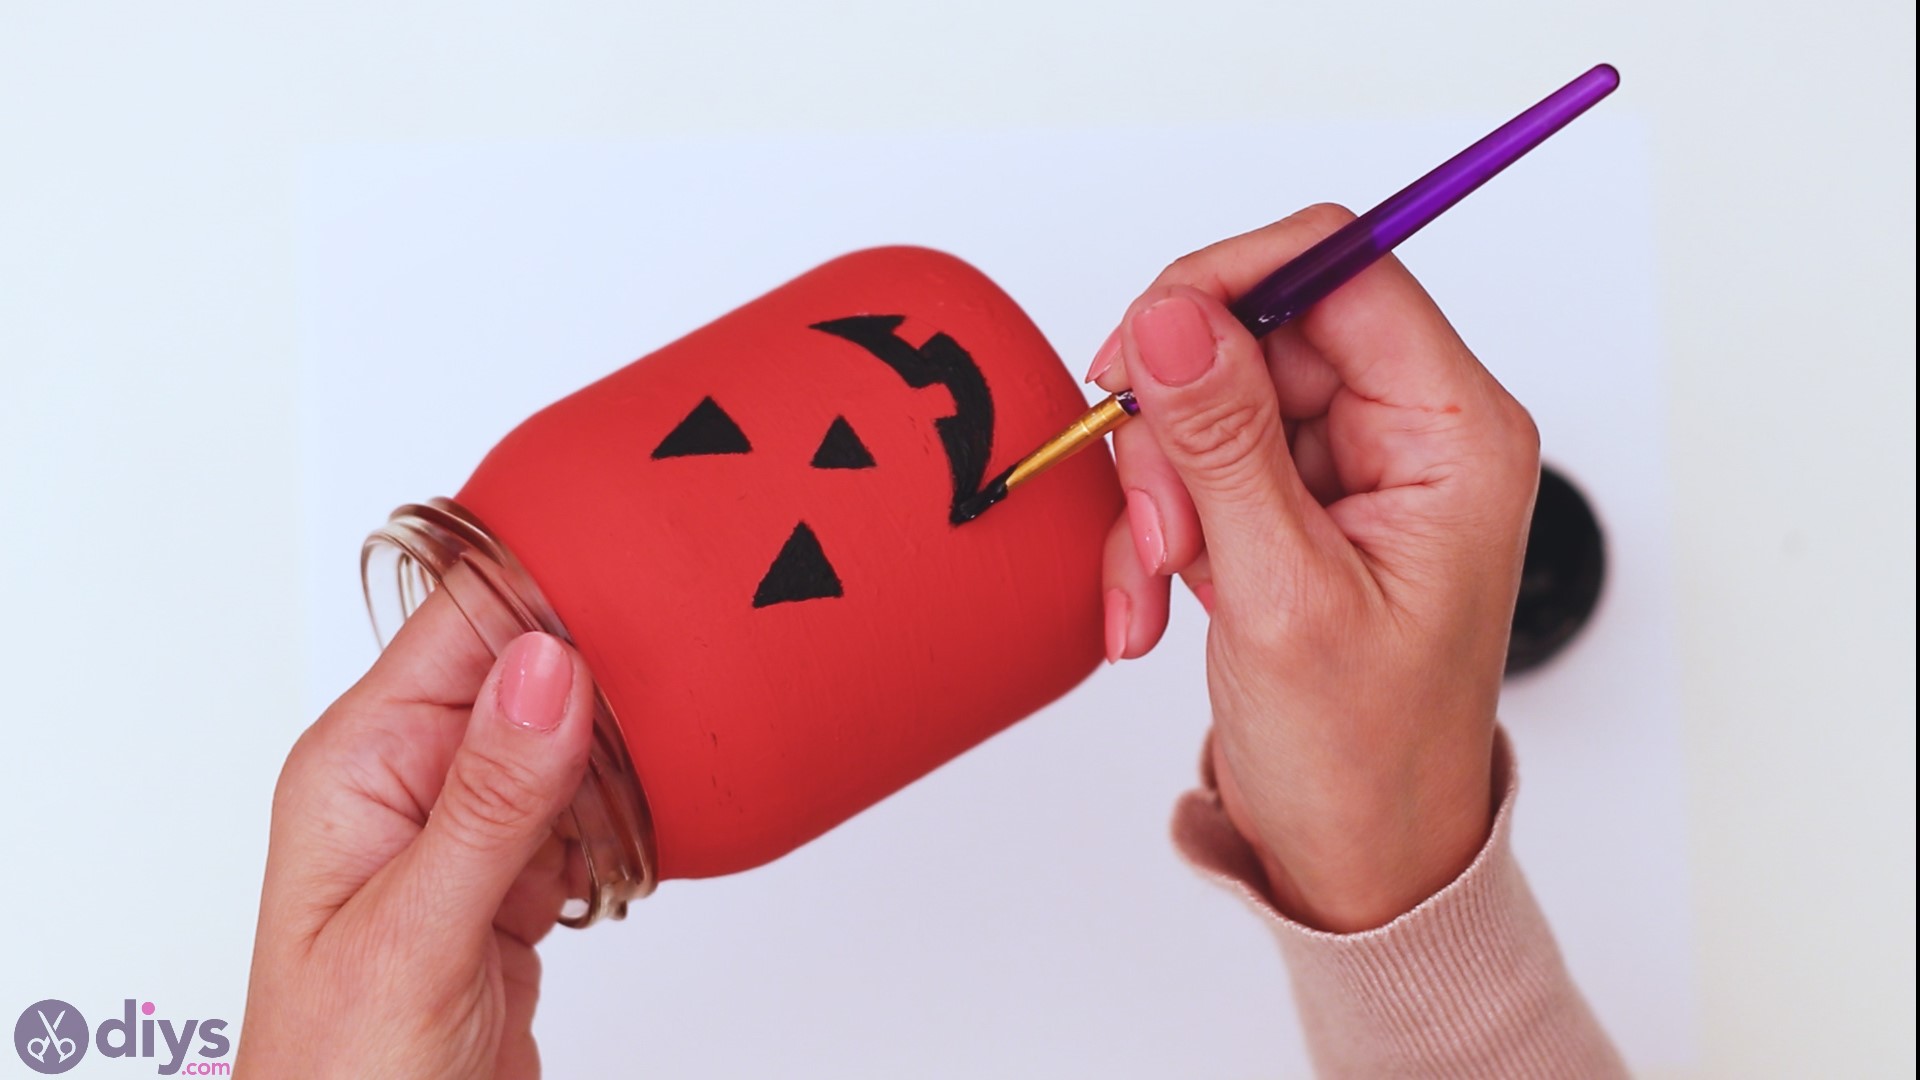
Step 3: Paint the Halloween Mason Jar
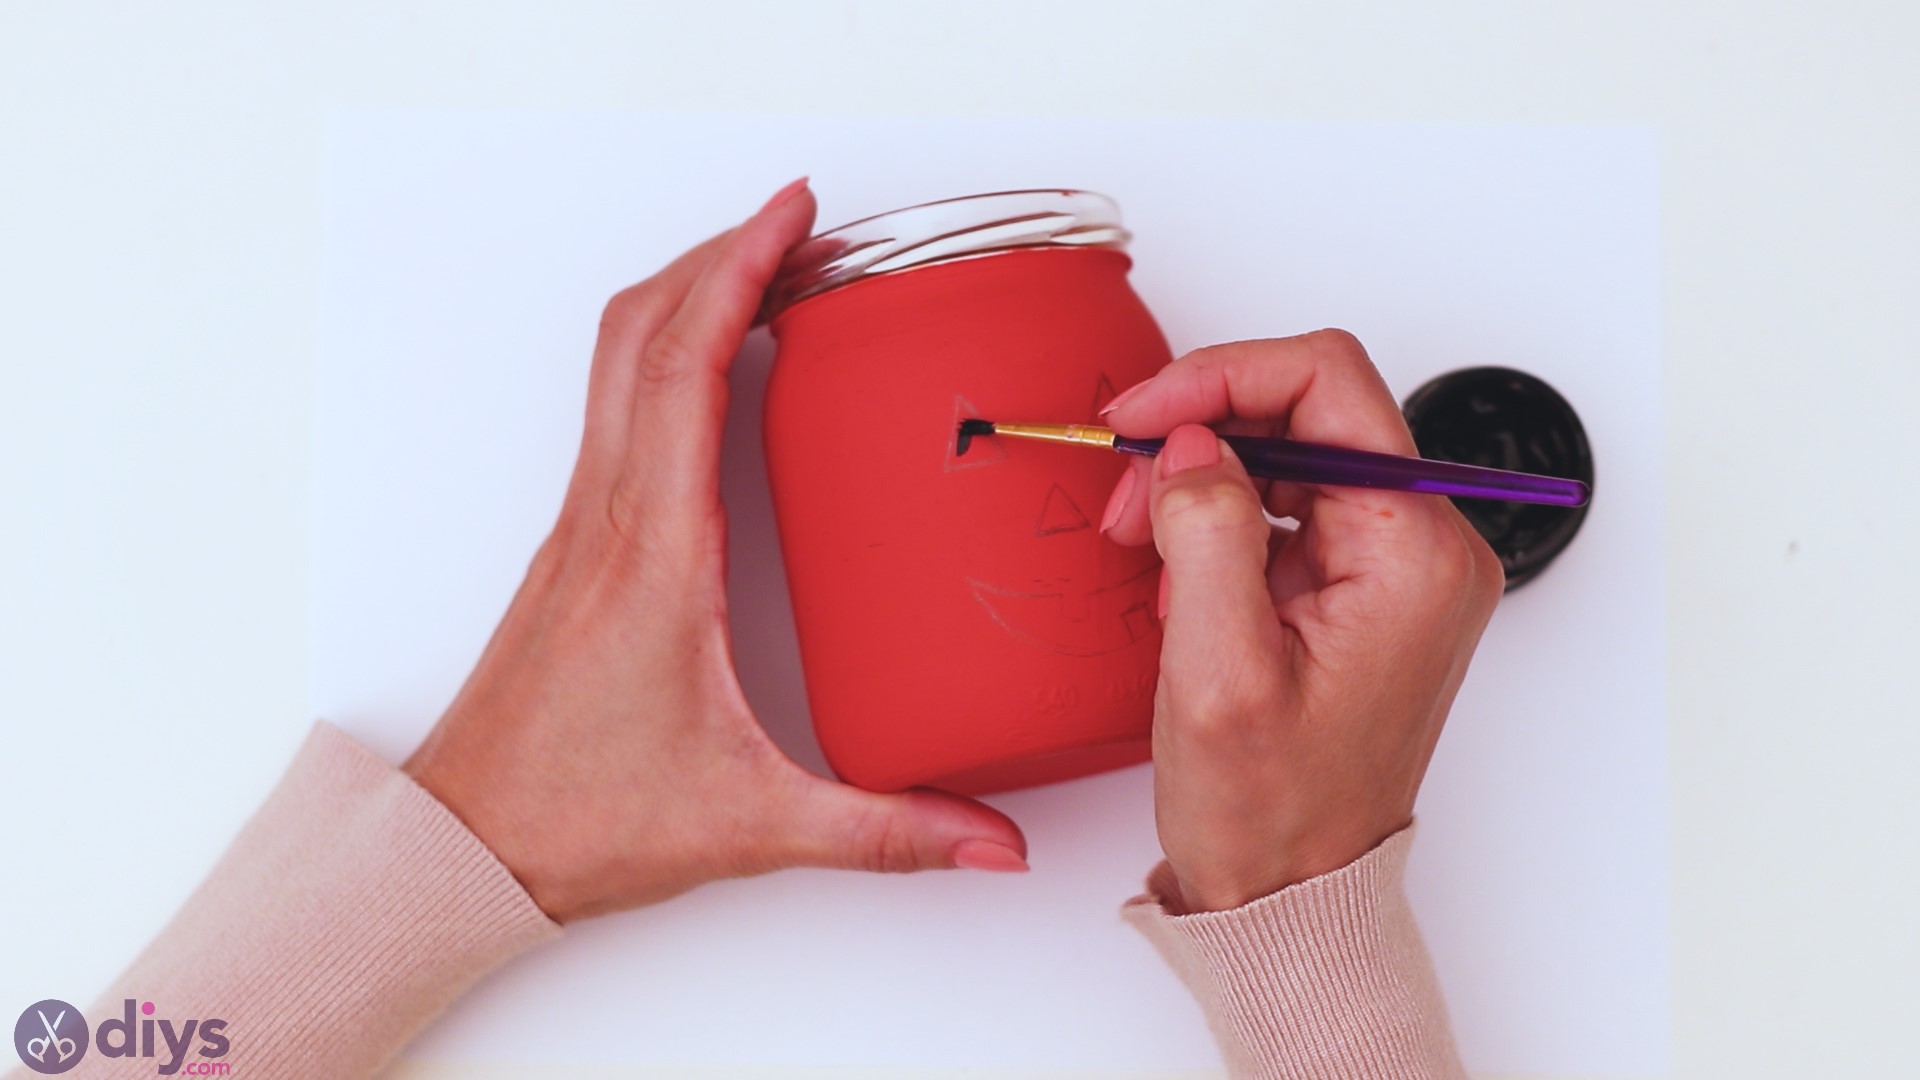
Next up, we have to paint the Halloween pumpkin face on the jar. You’ve already traced in the shapes, so pick up the round paintbrush and the black acrylic paint.
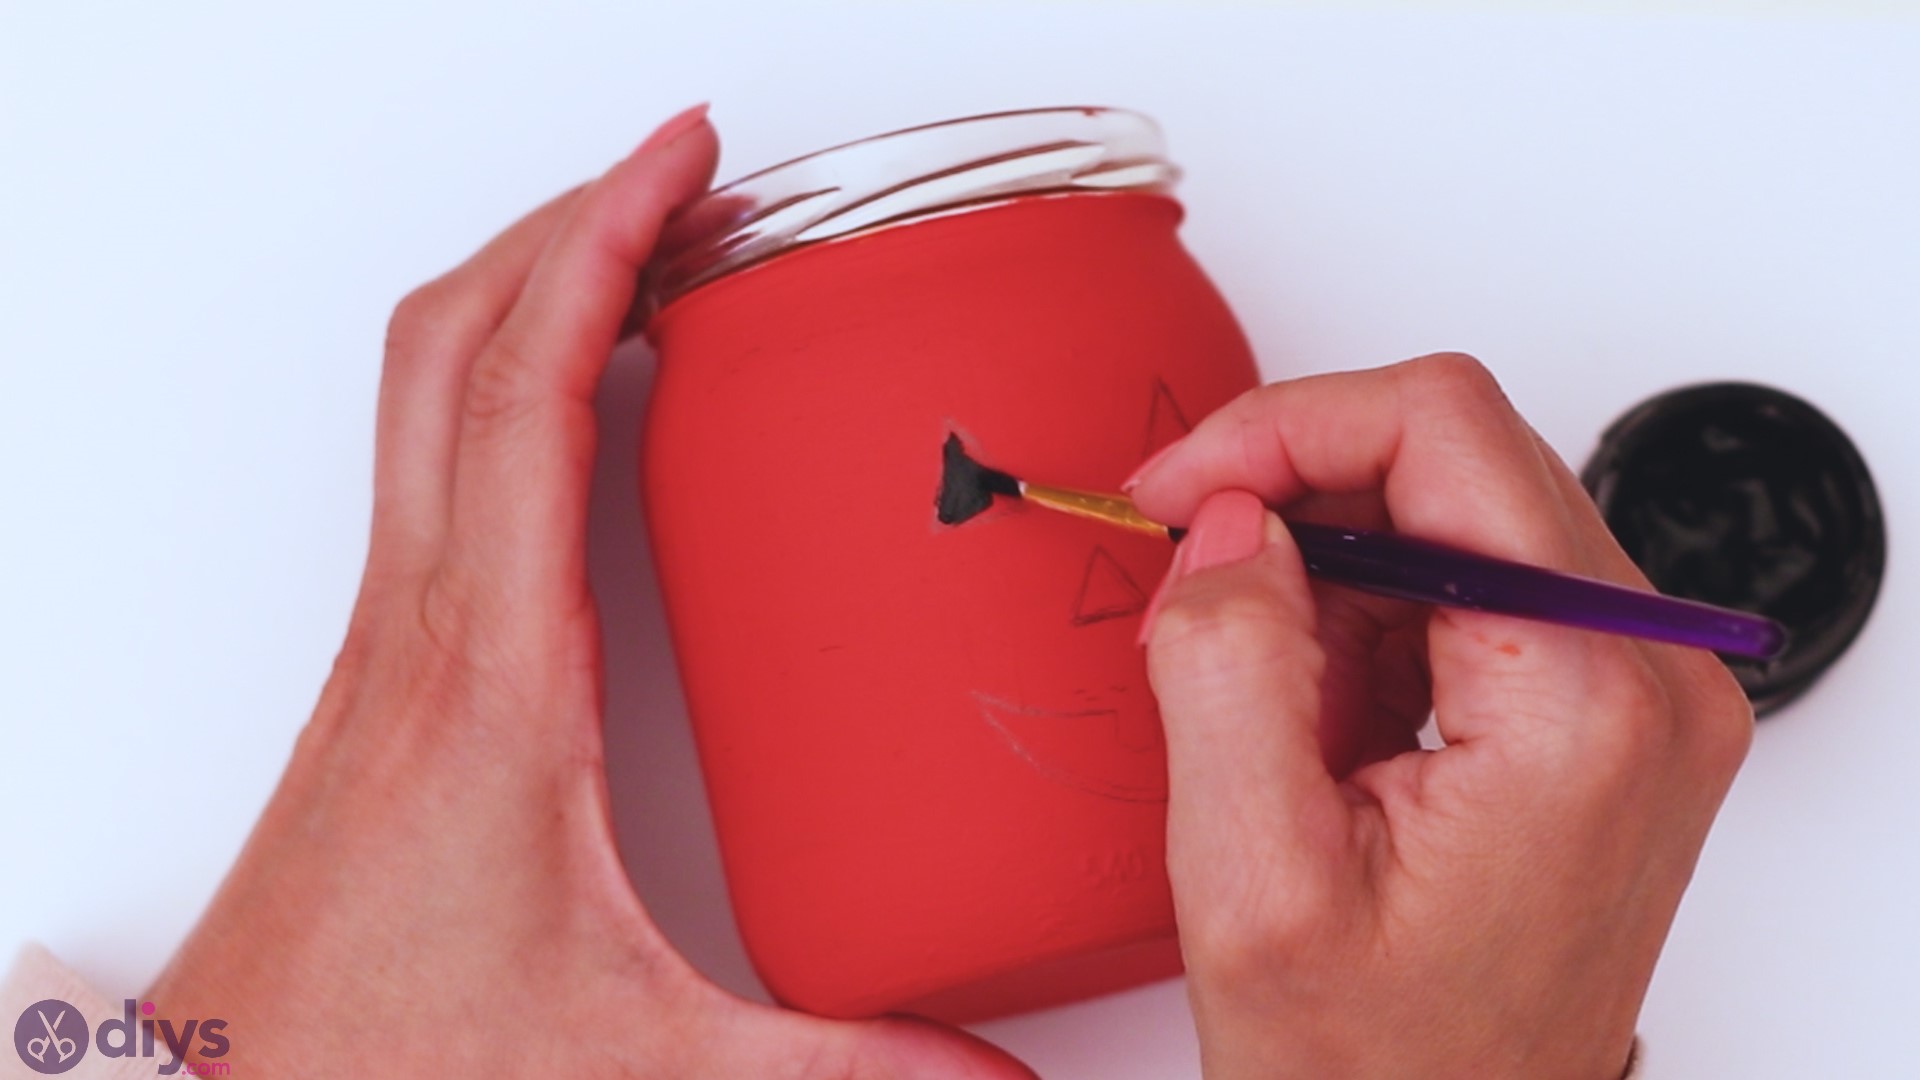
For this part of the project, we’re using a round paintbrush, as it’s easier to control in tight spaces. As you’re not just slapping paint on the jar anymore, and you have to pay attention to details, you’ll want to work slowly.
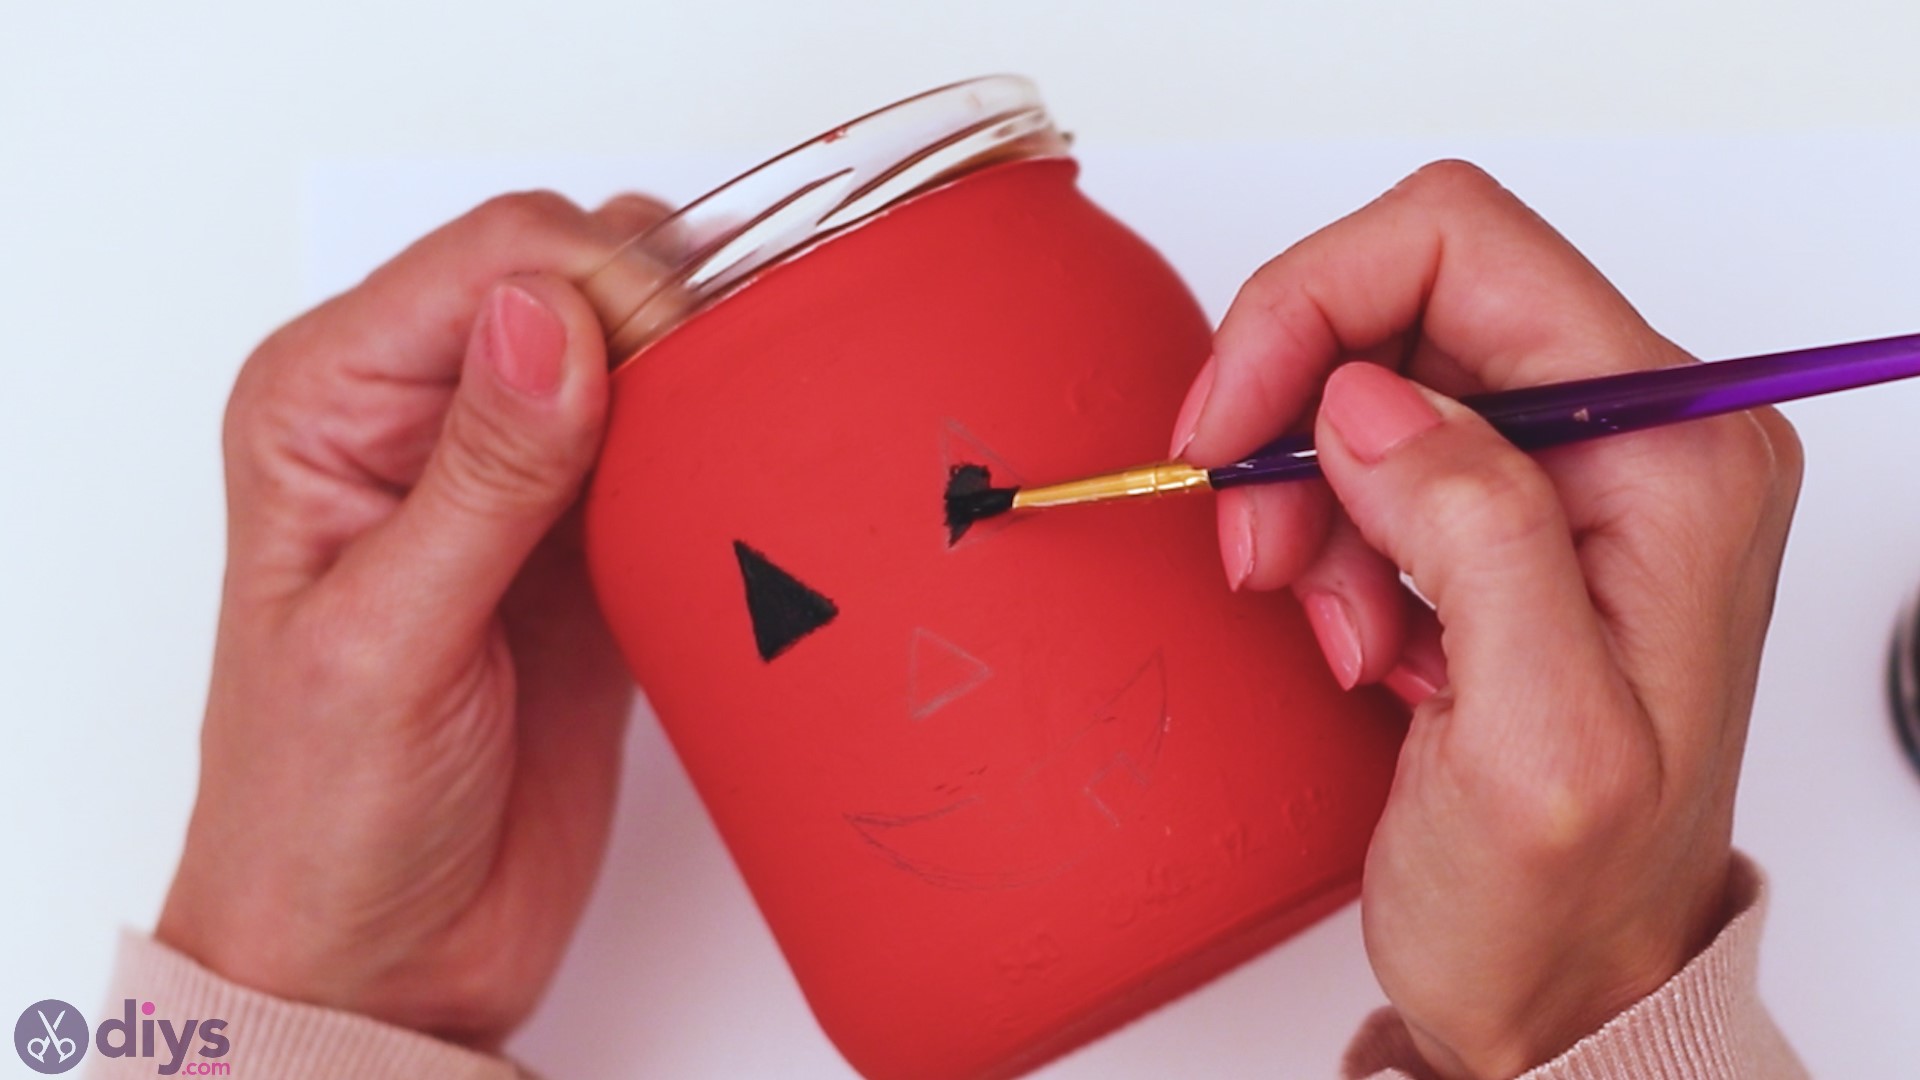
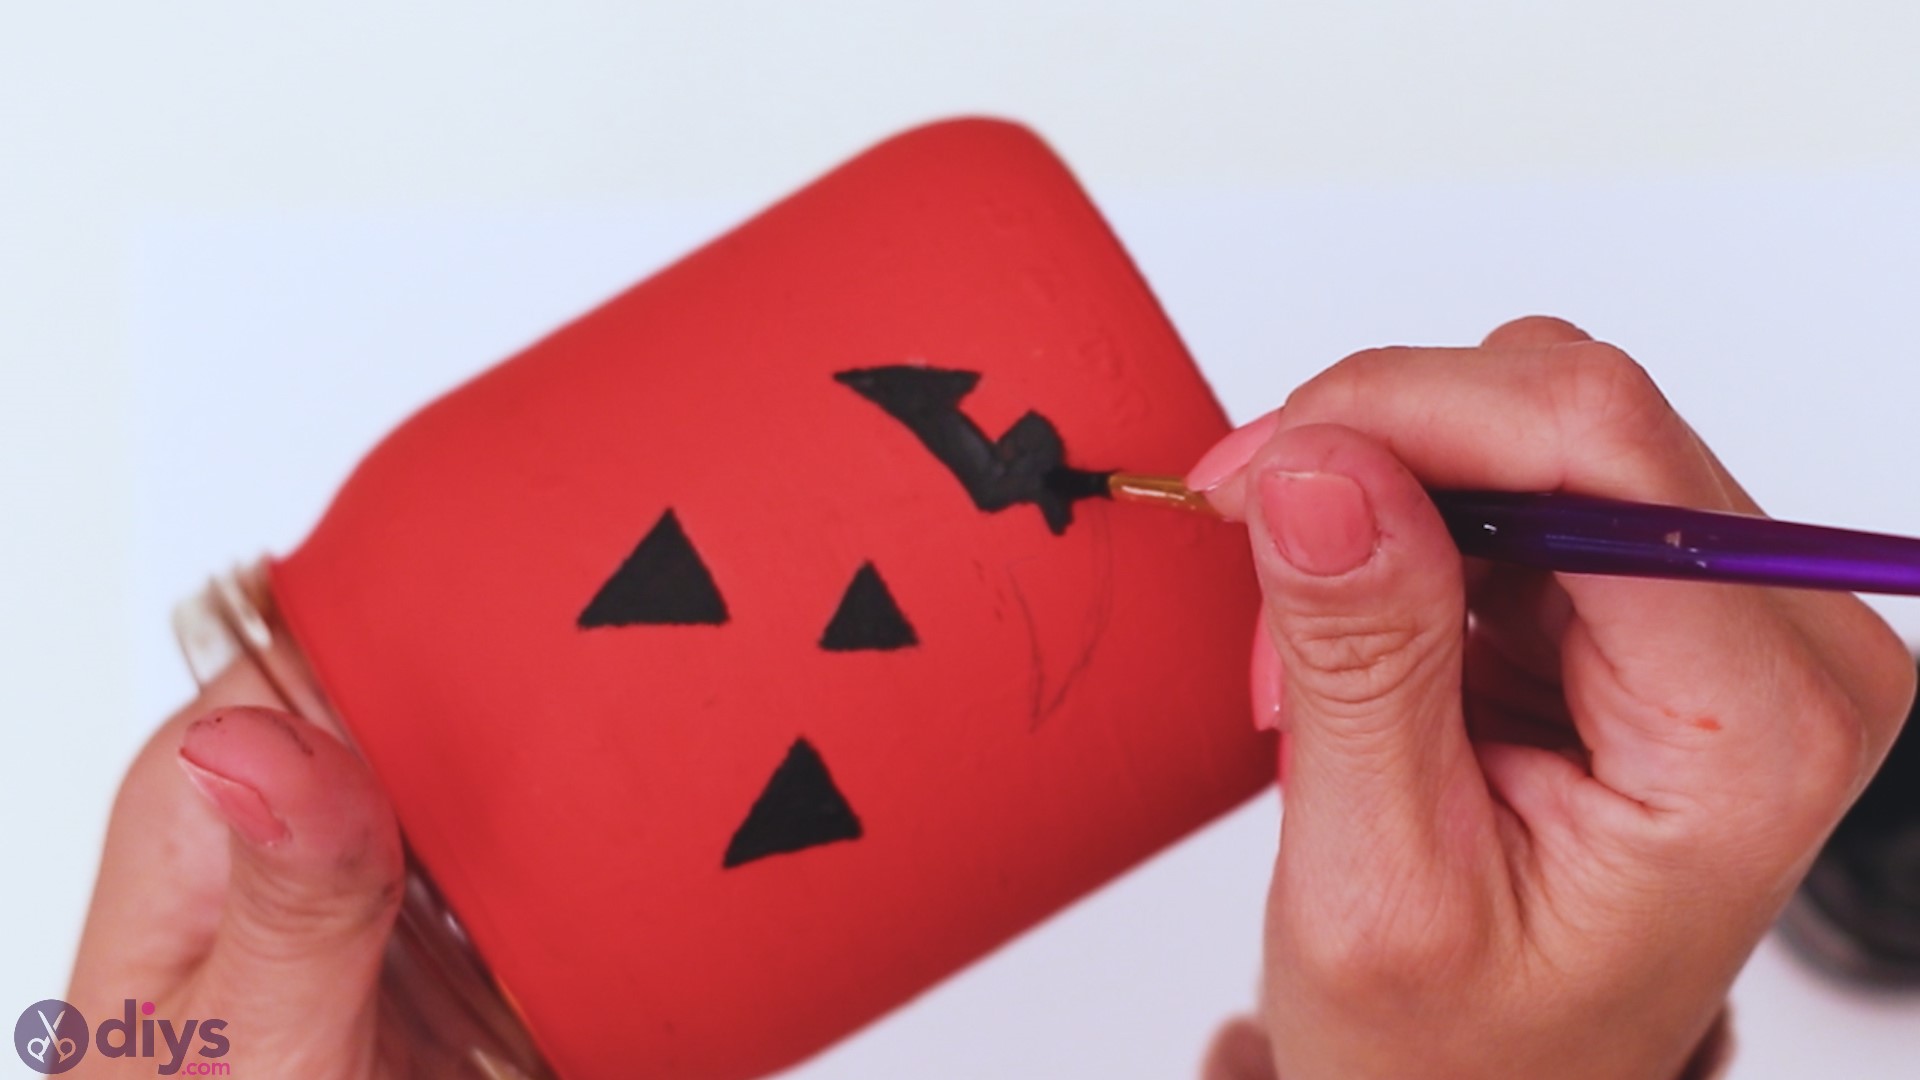
Try to paint within the lines as much as possible, as it’s pretty hard to redraw the whole thing to make adjustments.

Step 4: Prepare a Lid for the Halloween Mason Jar
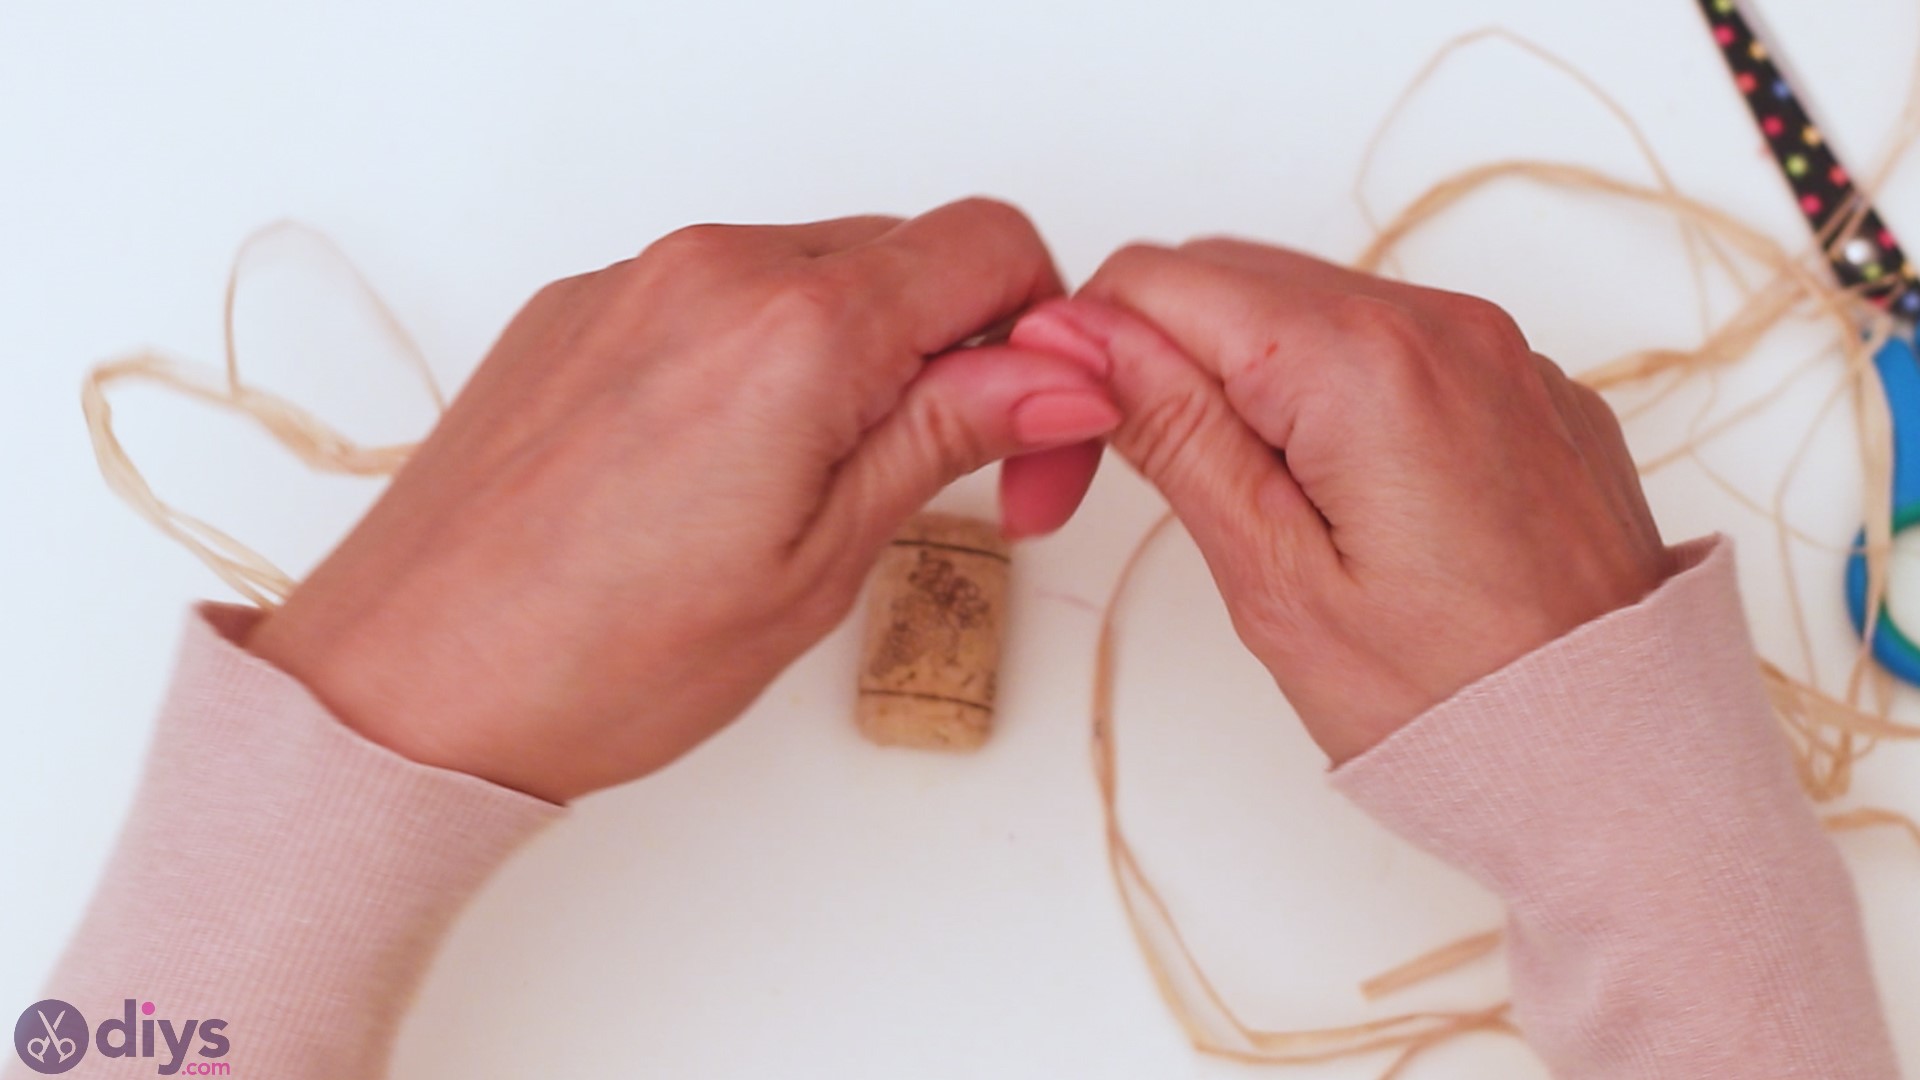
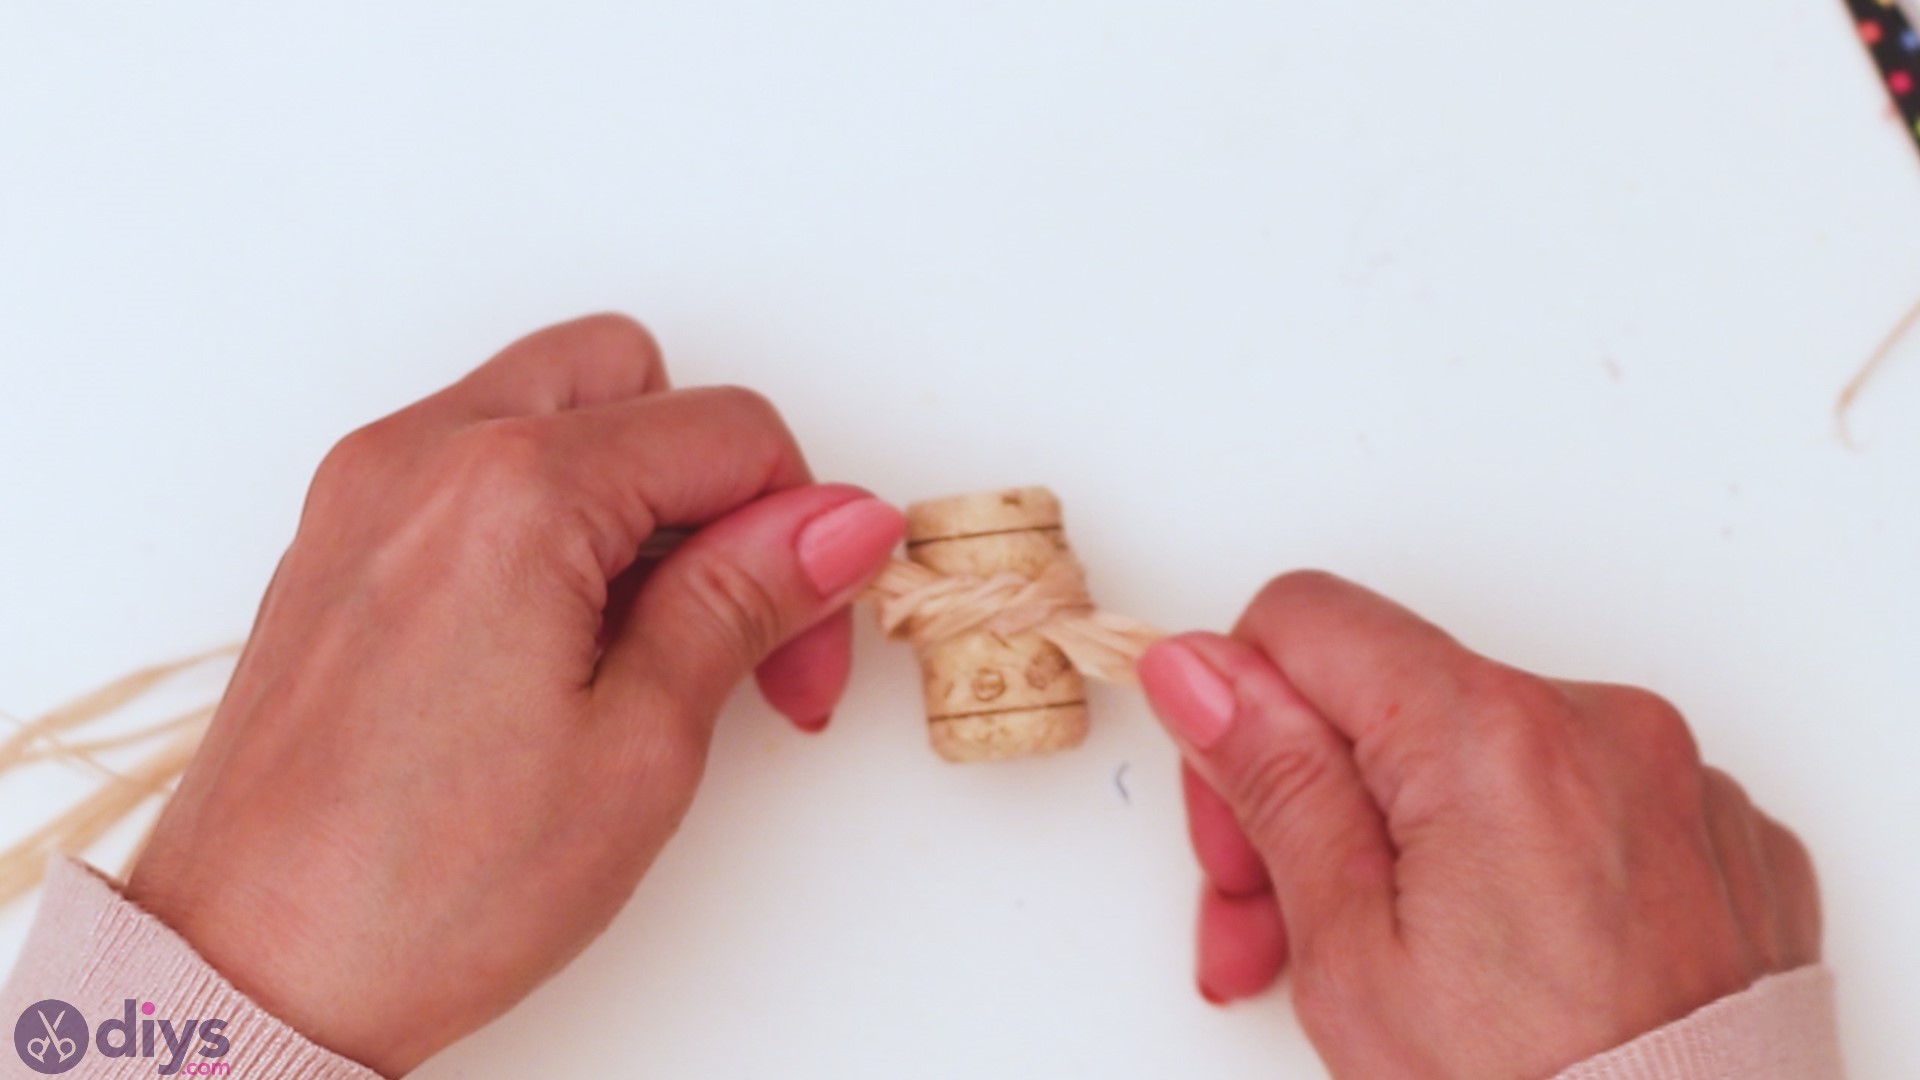
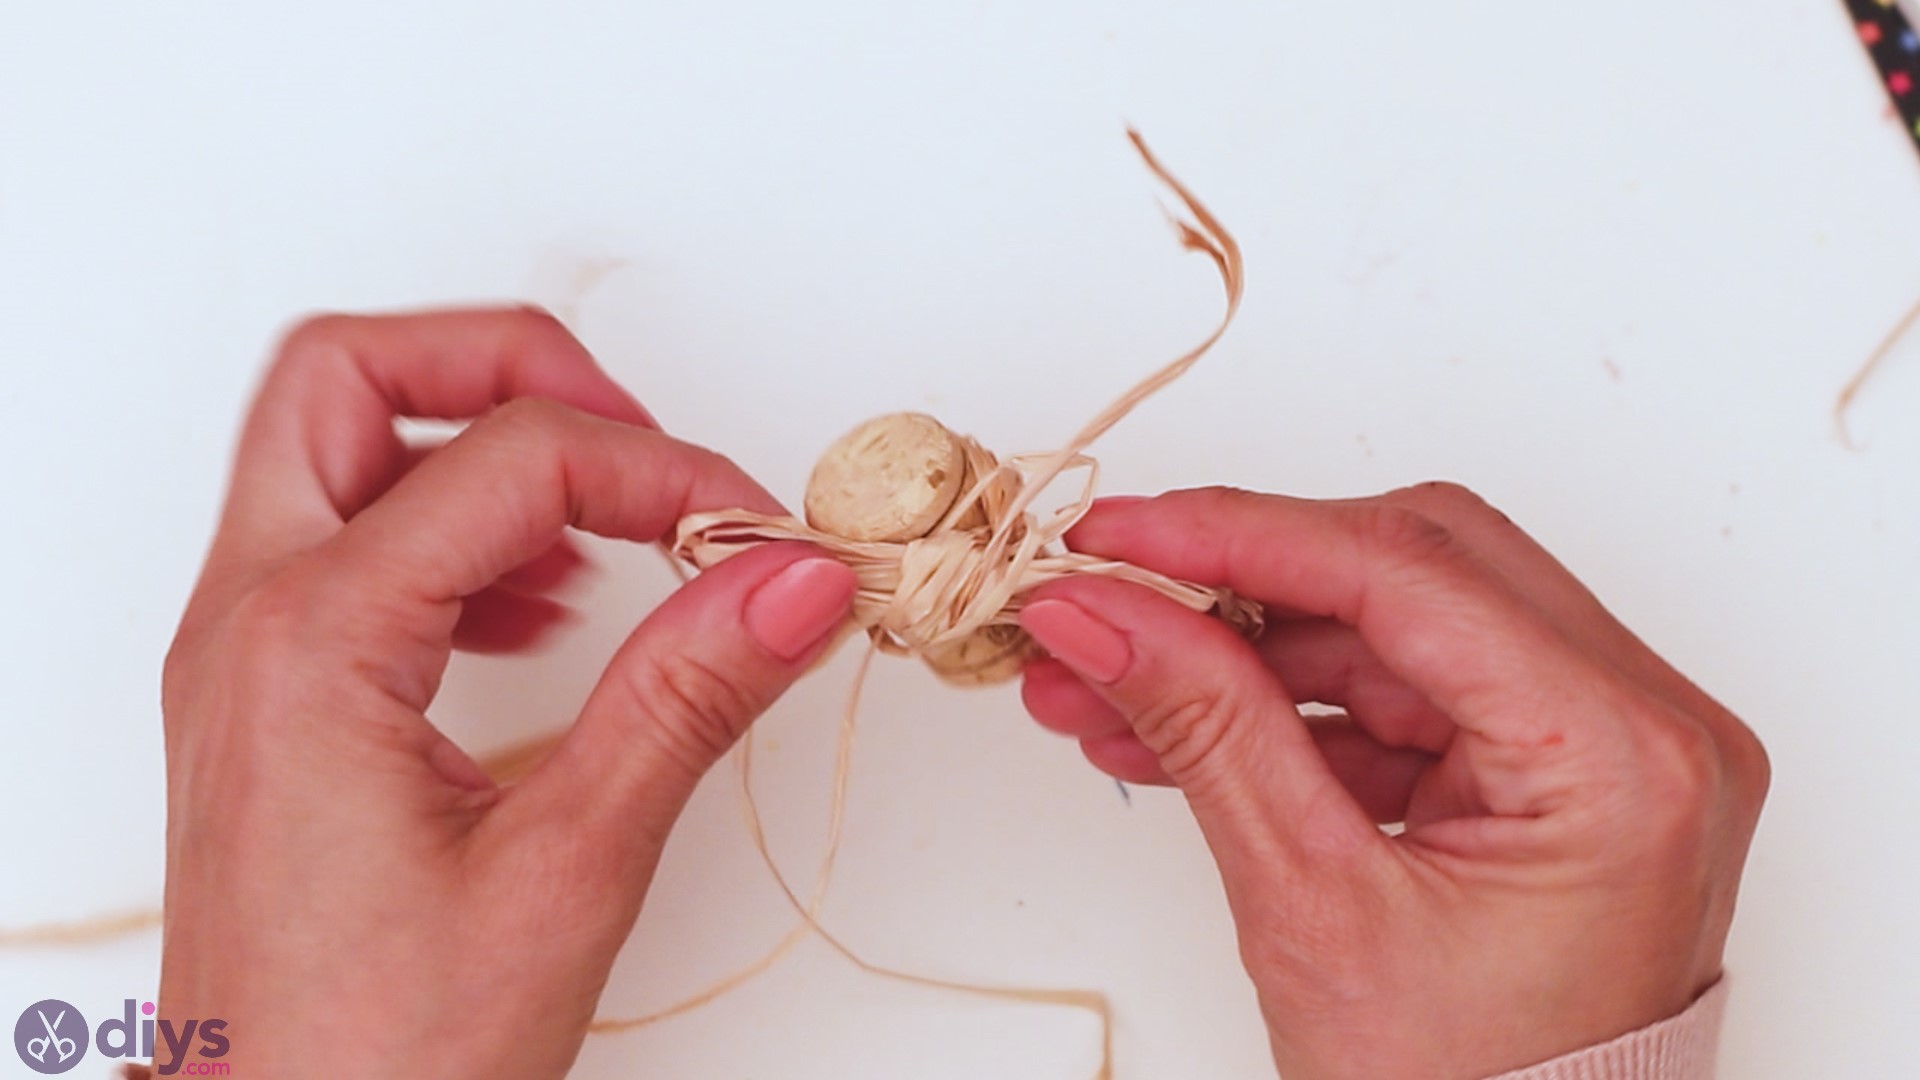
Next, we’re preparing the lid for the mason jar, and we’re starting with the raffia and the wine cork.
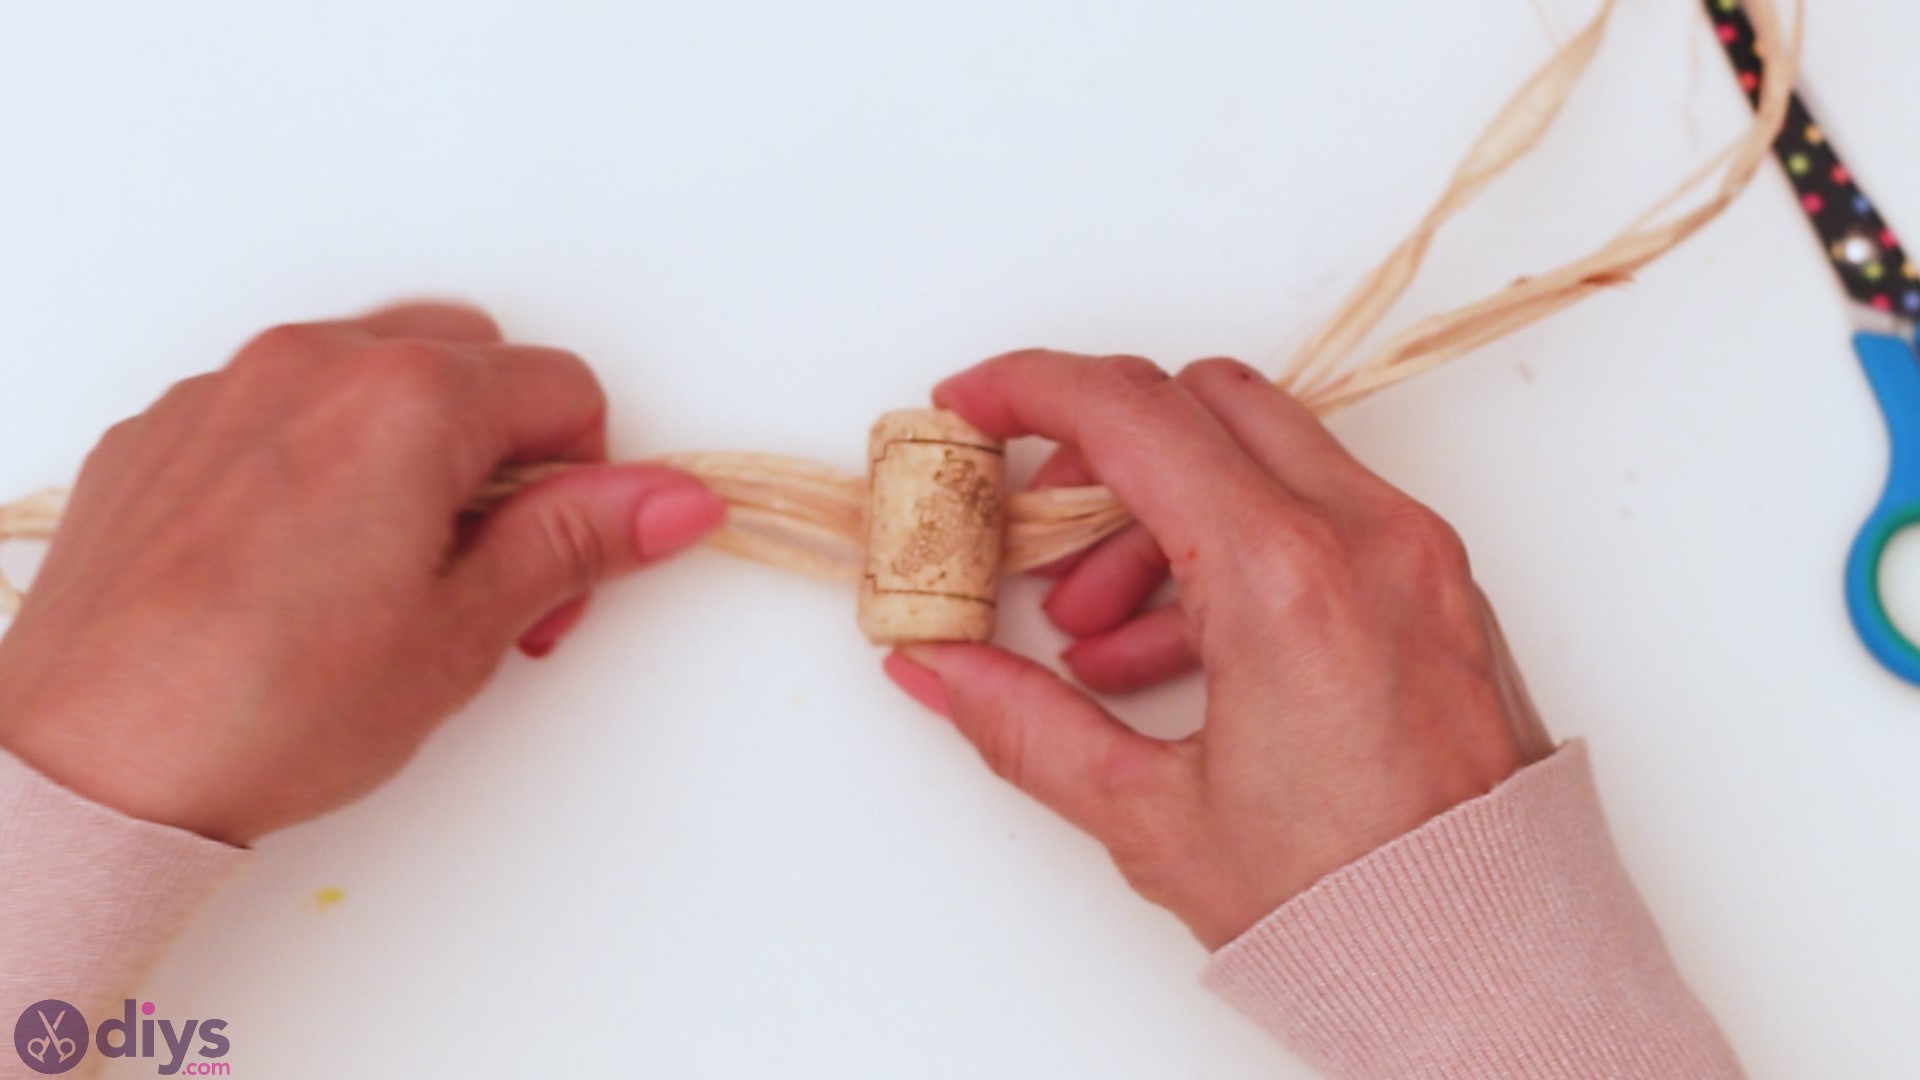
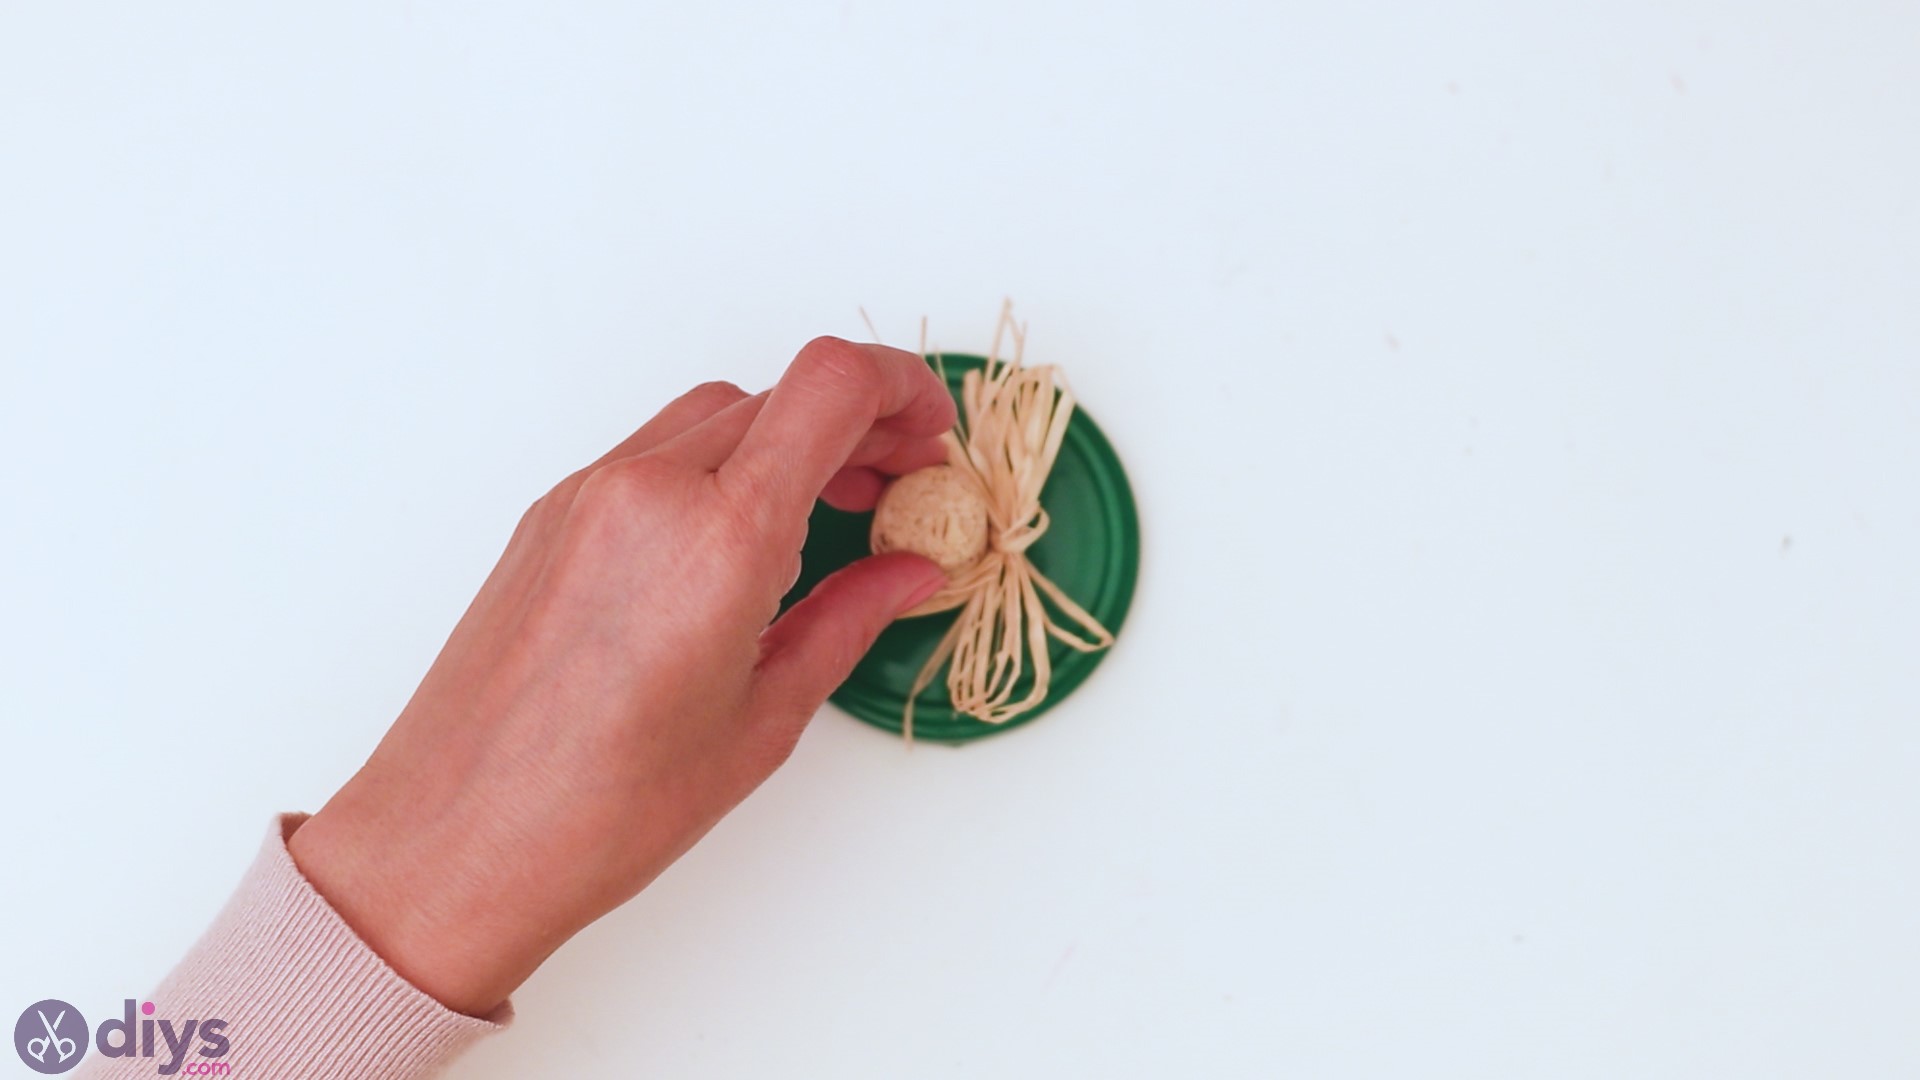
Pick up the raffia and arrange the strings as best you can in multiple layers. Once your raffia is nicely arranged, pick up the wine cork and place it in the middle of the bunch.
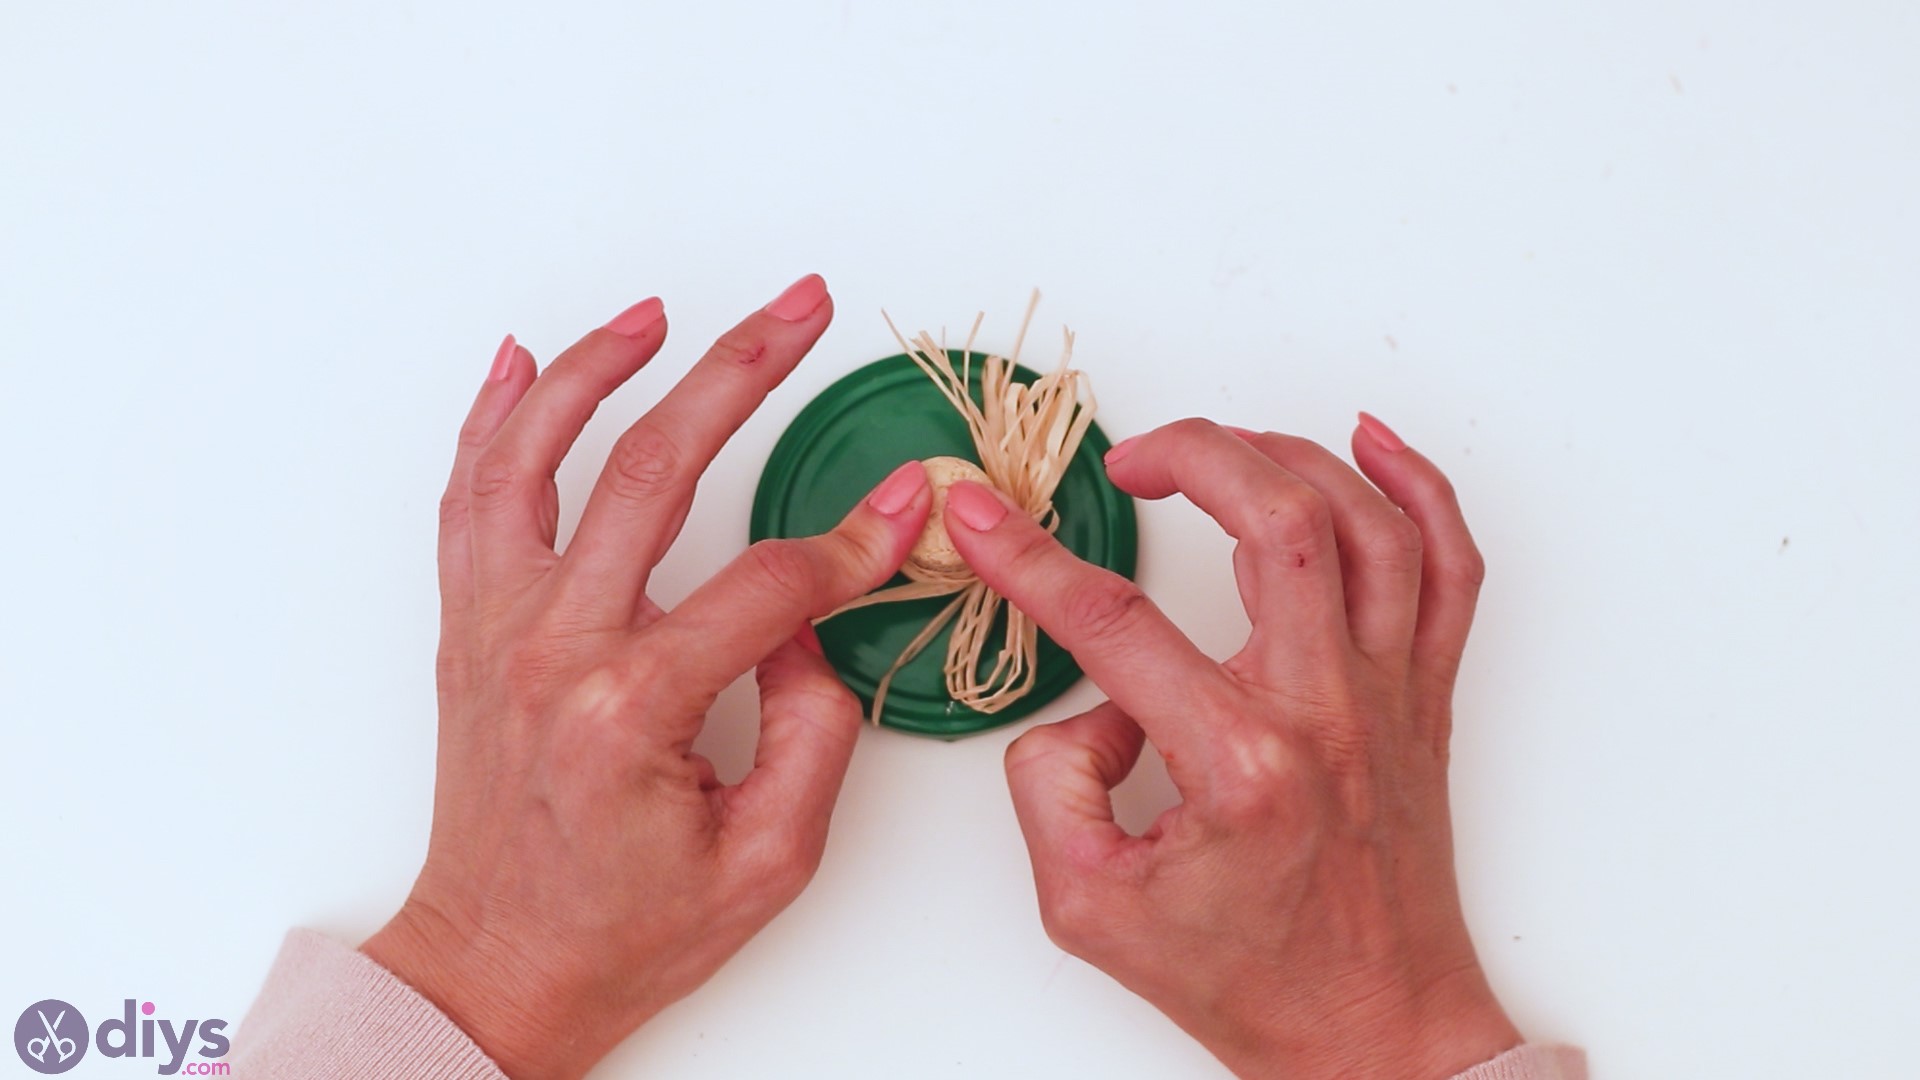
Then, you’re going to want to pick up the two sides of the raffia and tie a knot around the middle of the wine cork.
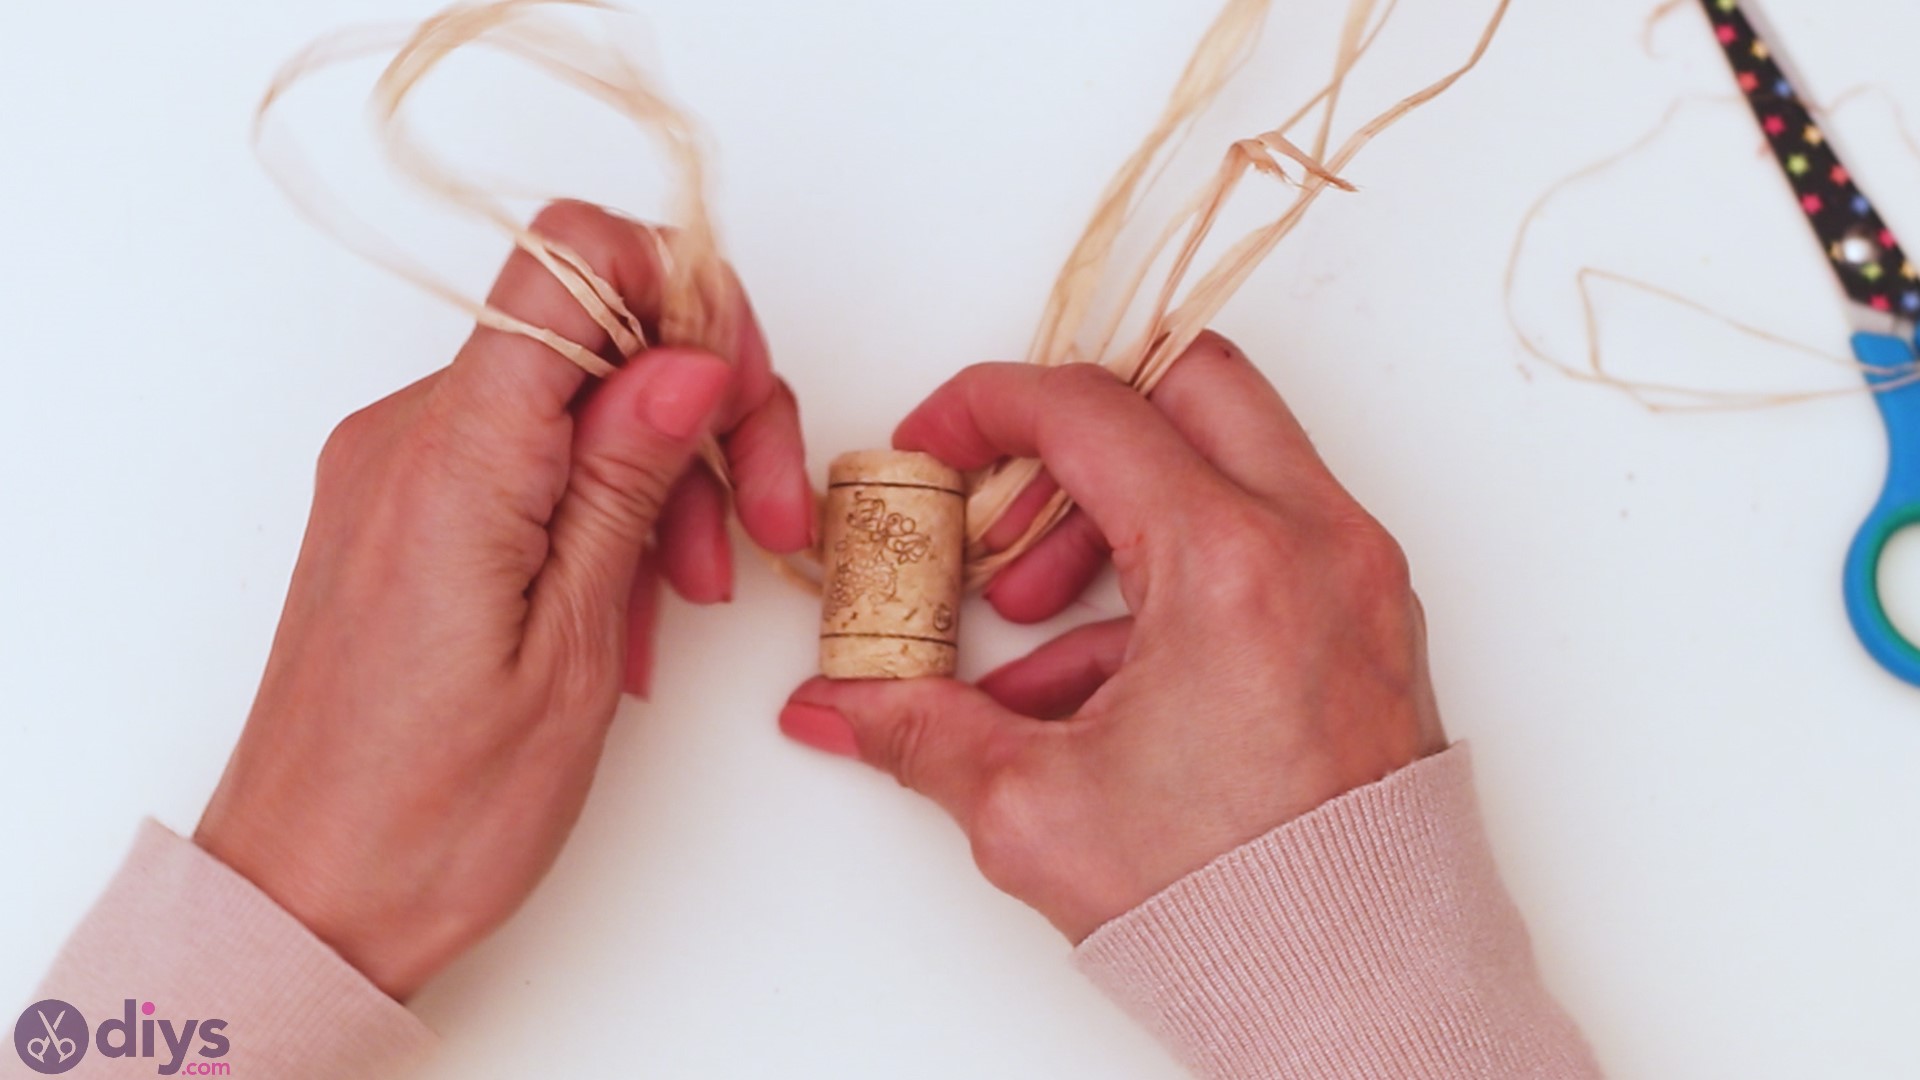
Since this is such a tough material to tie together, any extra precautions to make sure it stays as you want it to are going to be worth it. We chose to tie a cute bow here, as it’s going to give our Halloween mason jar a lot more personality.
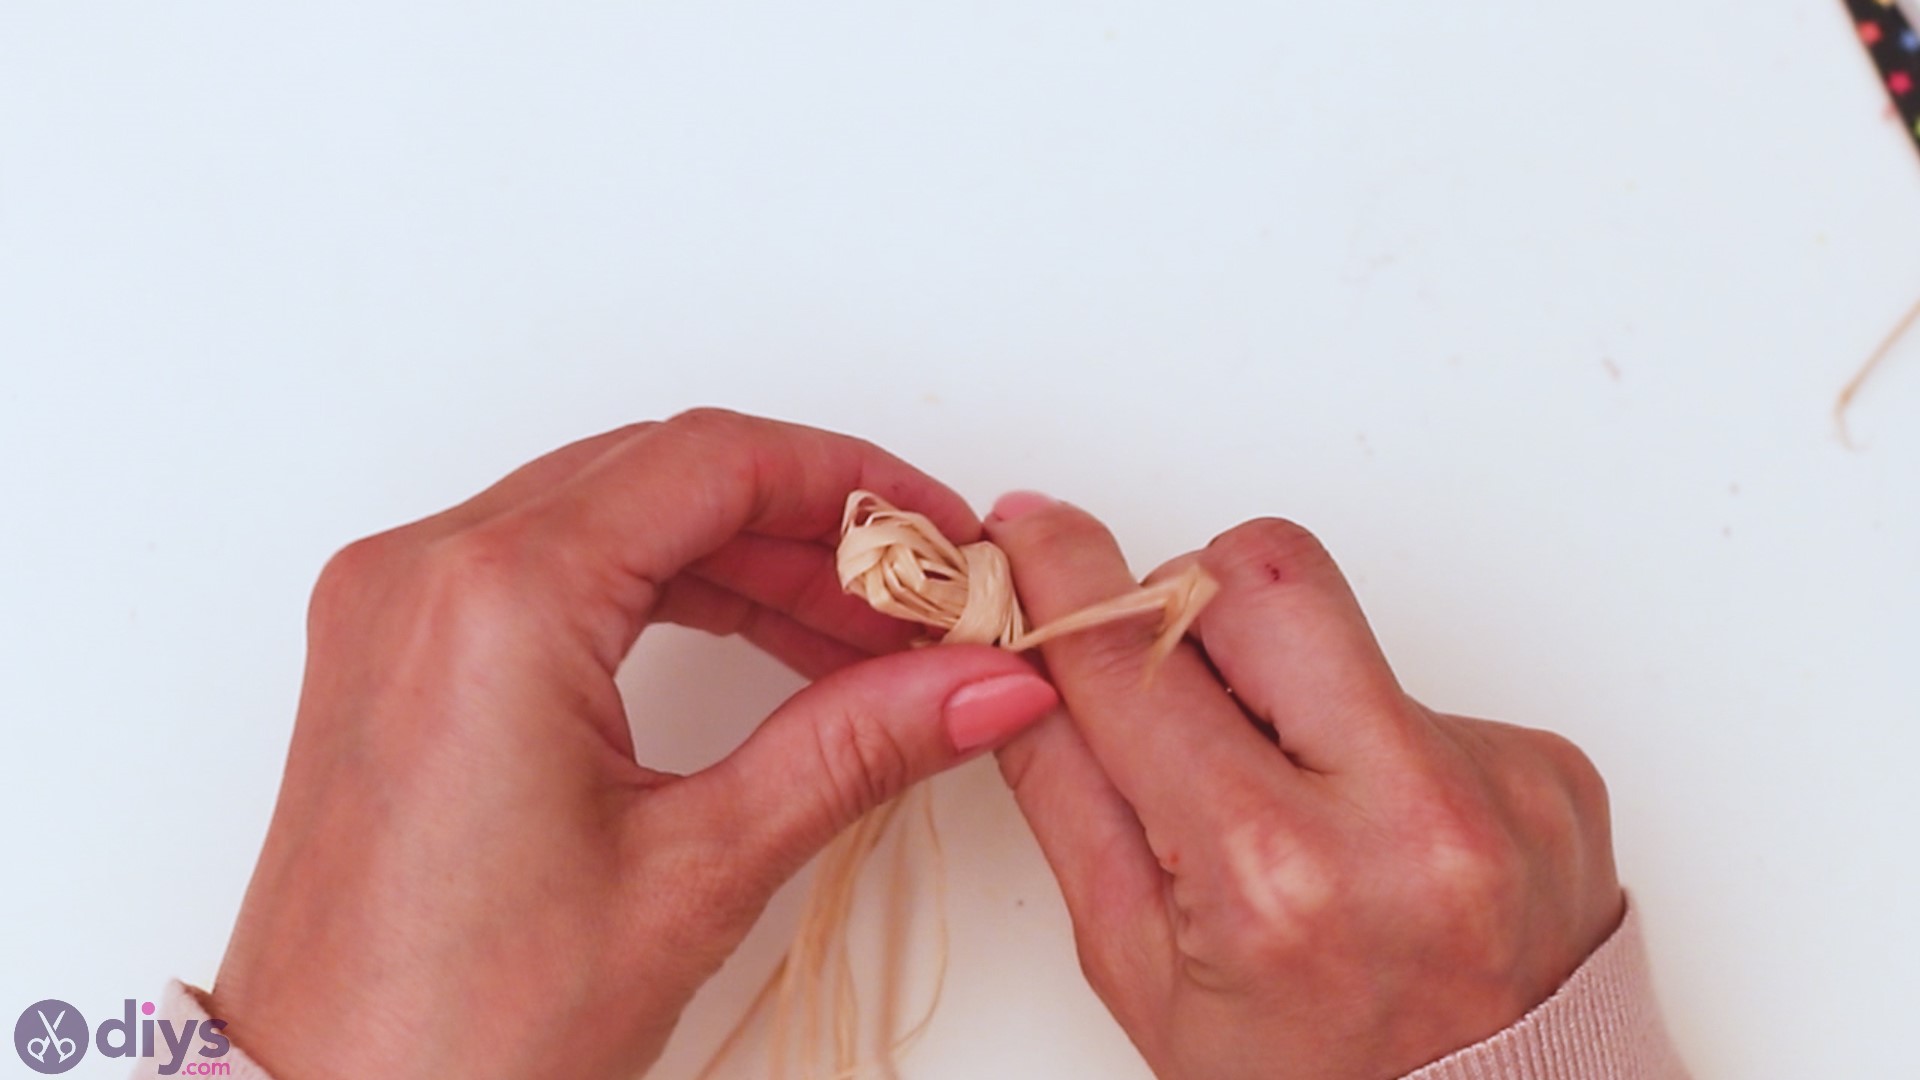
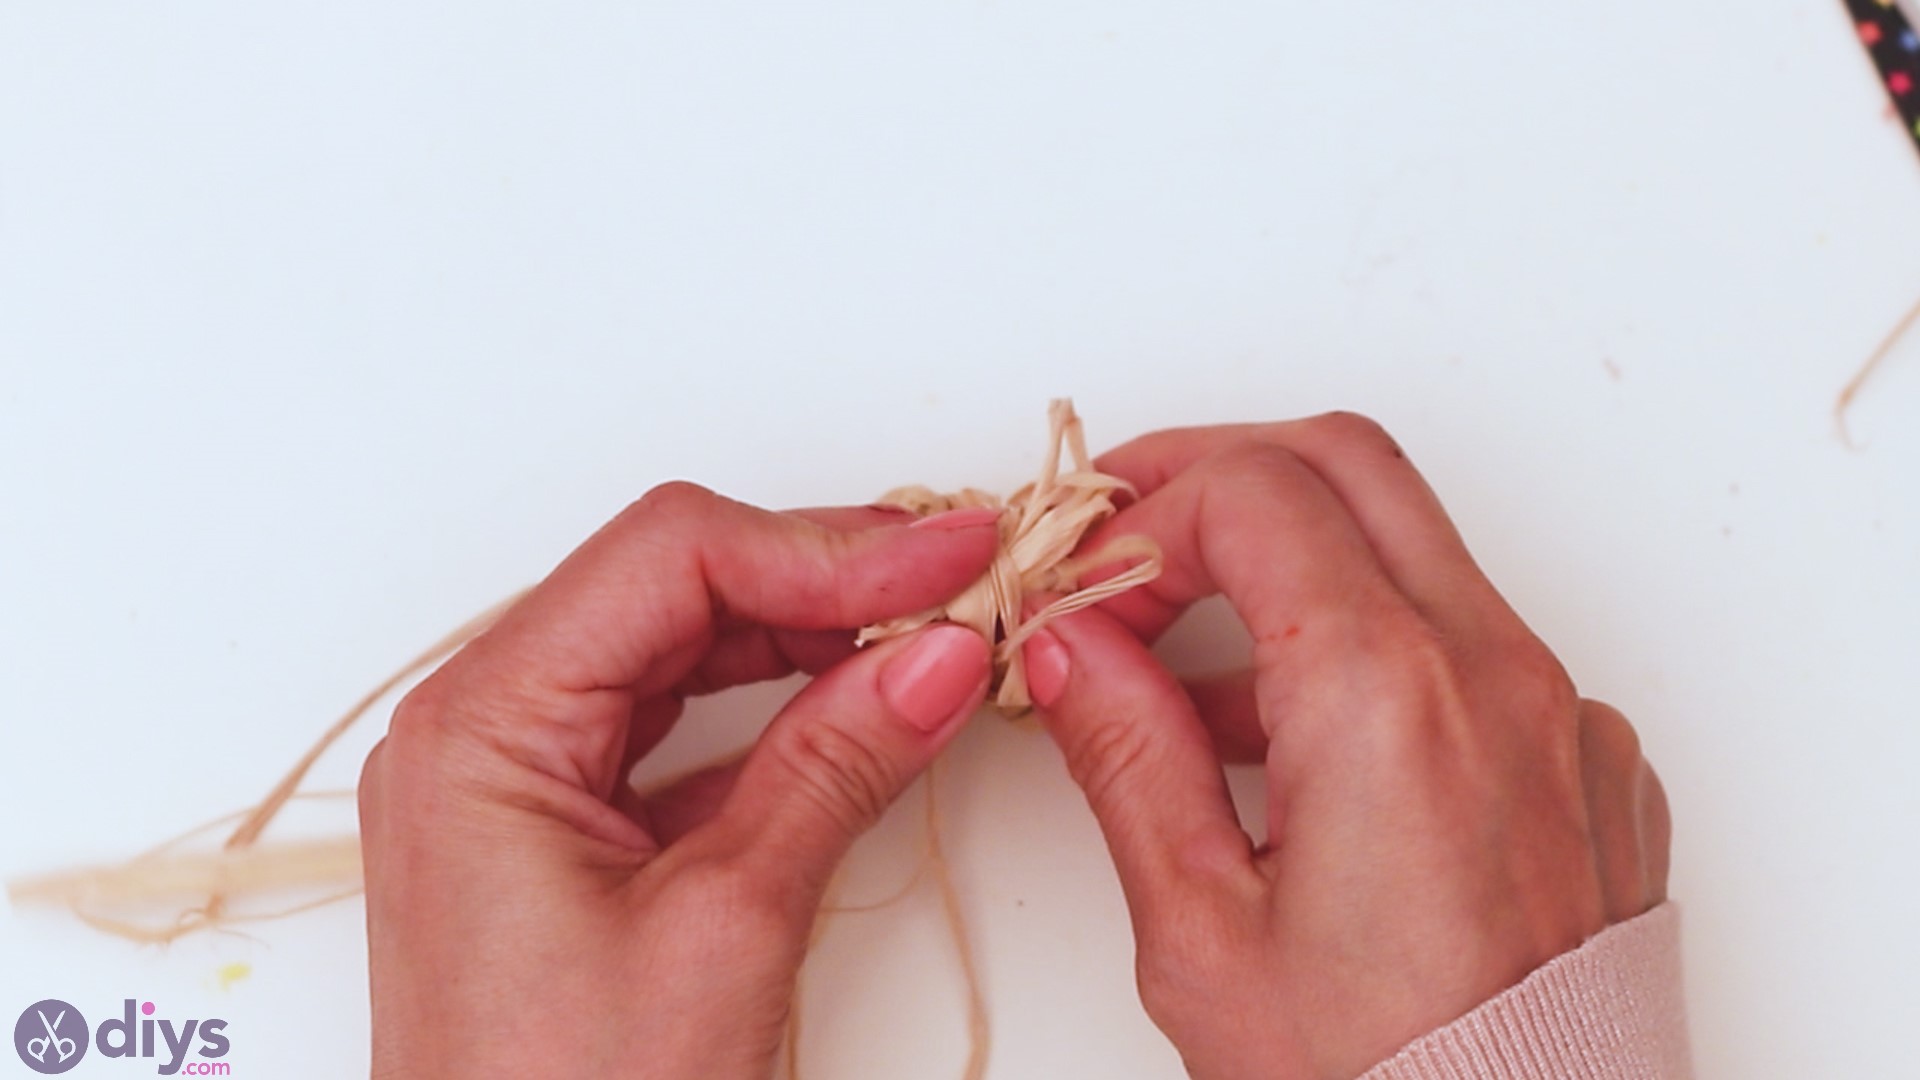
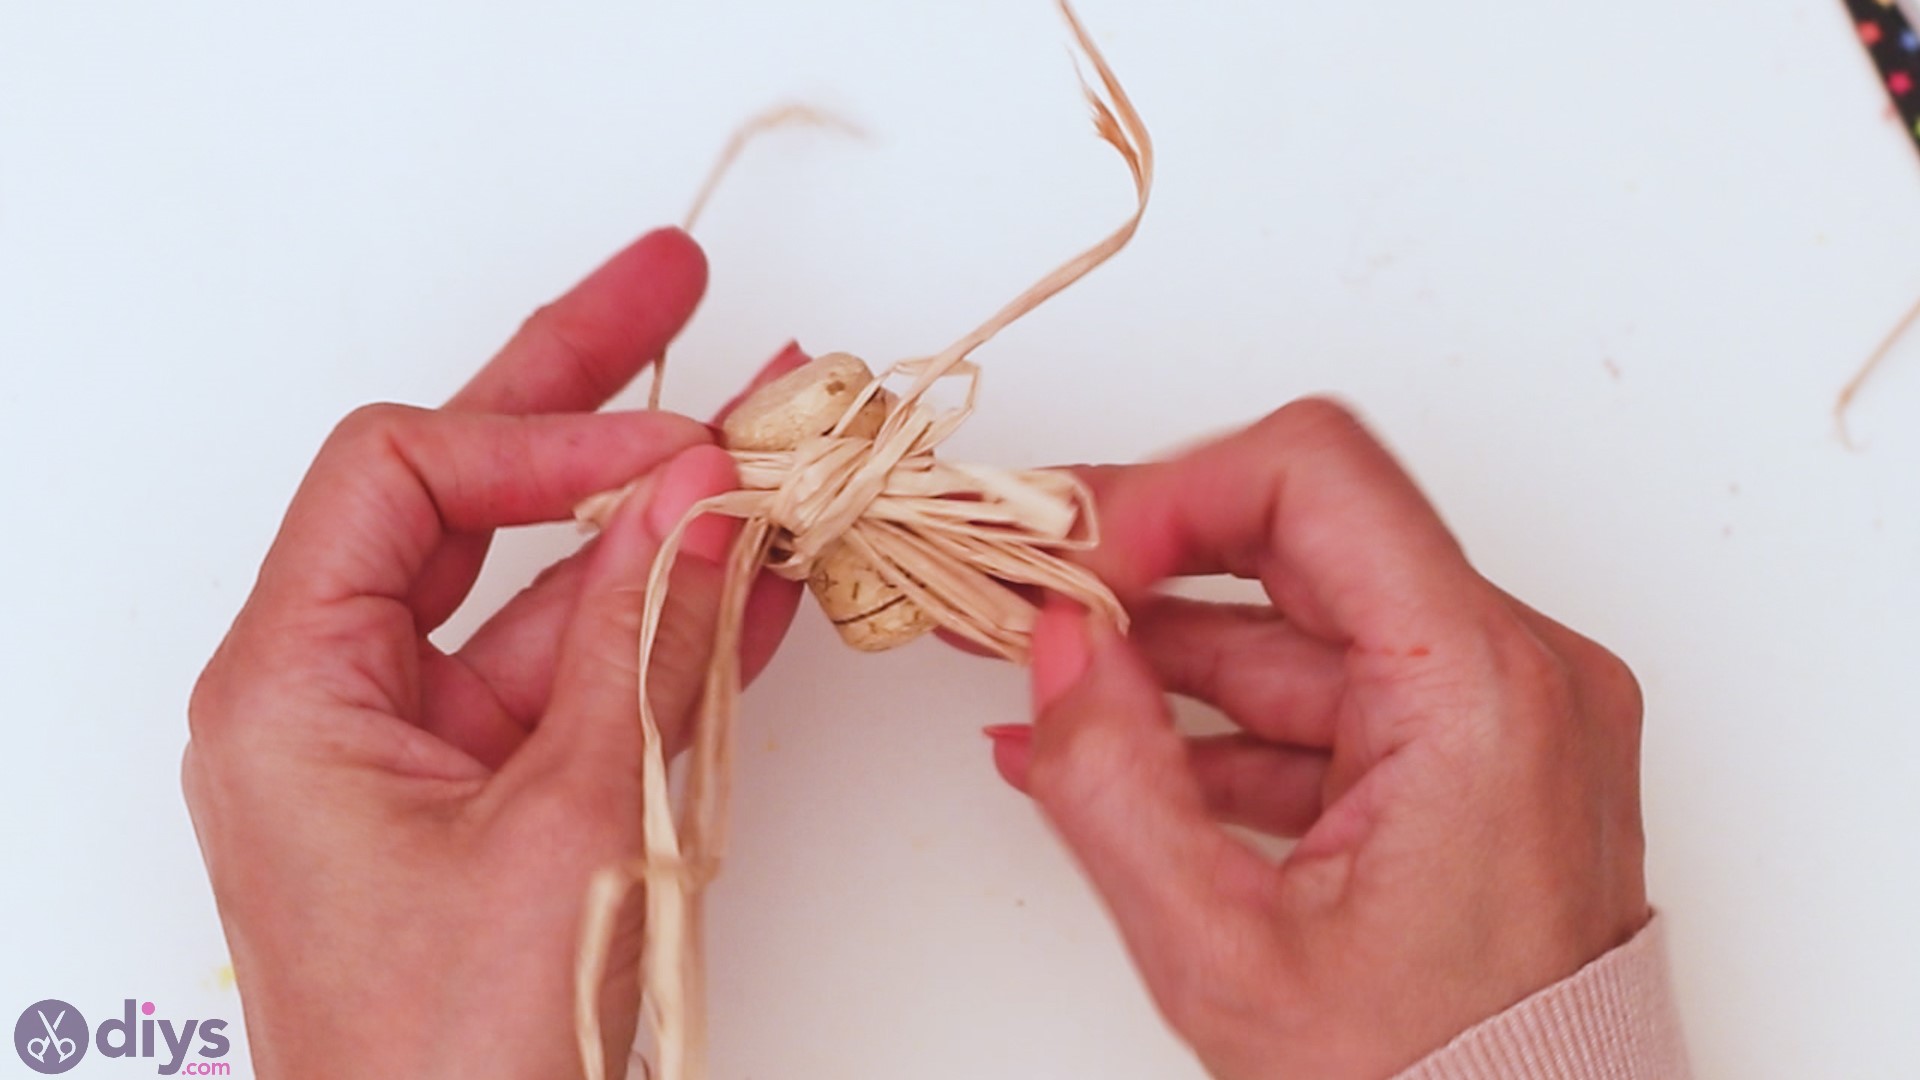
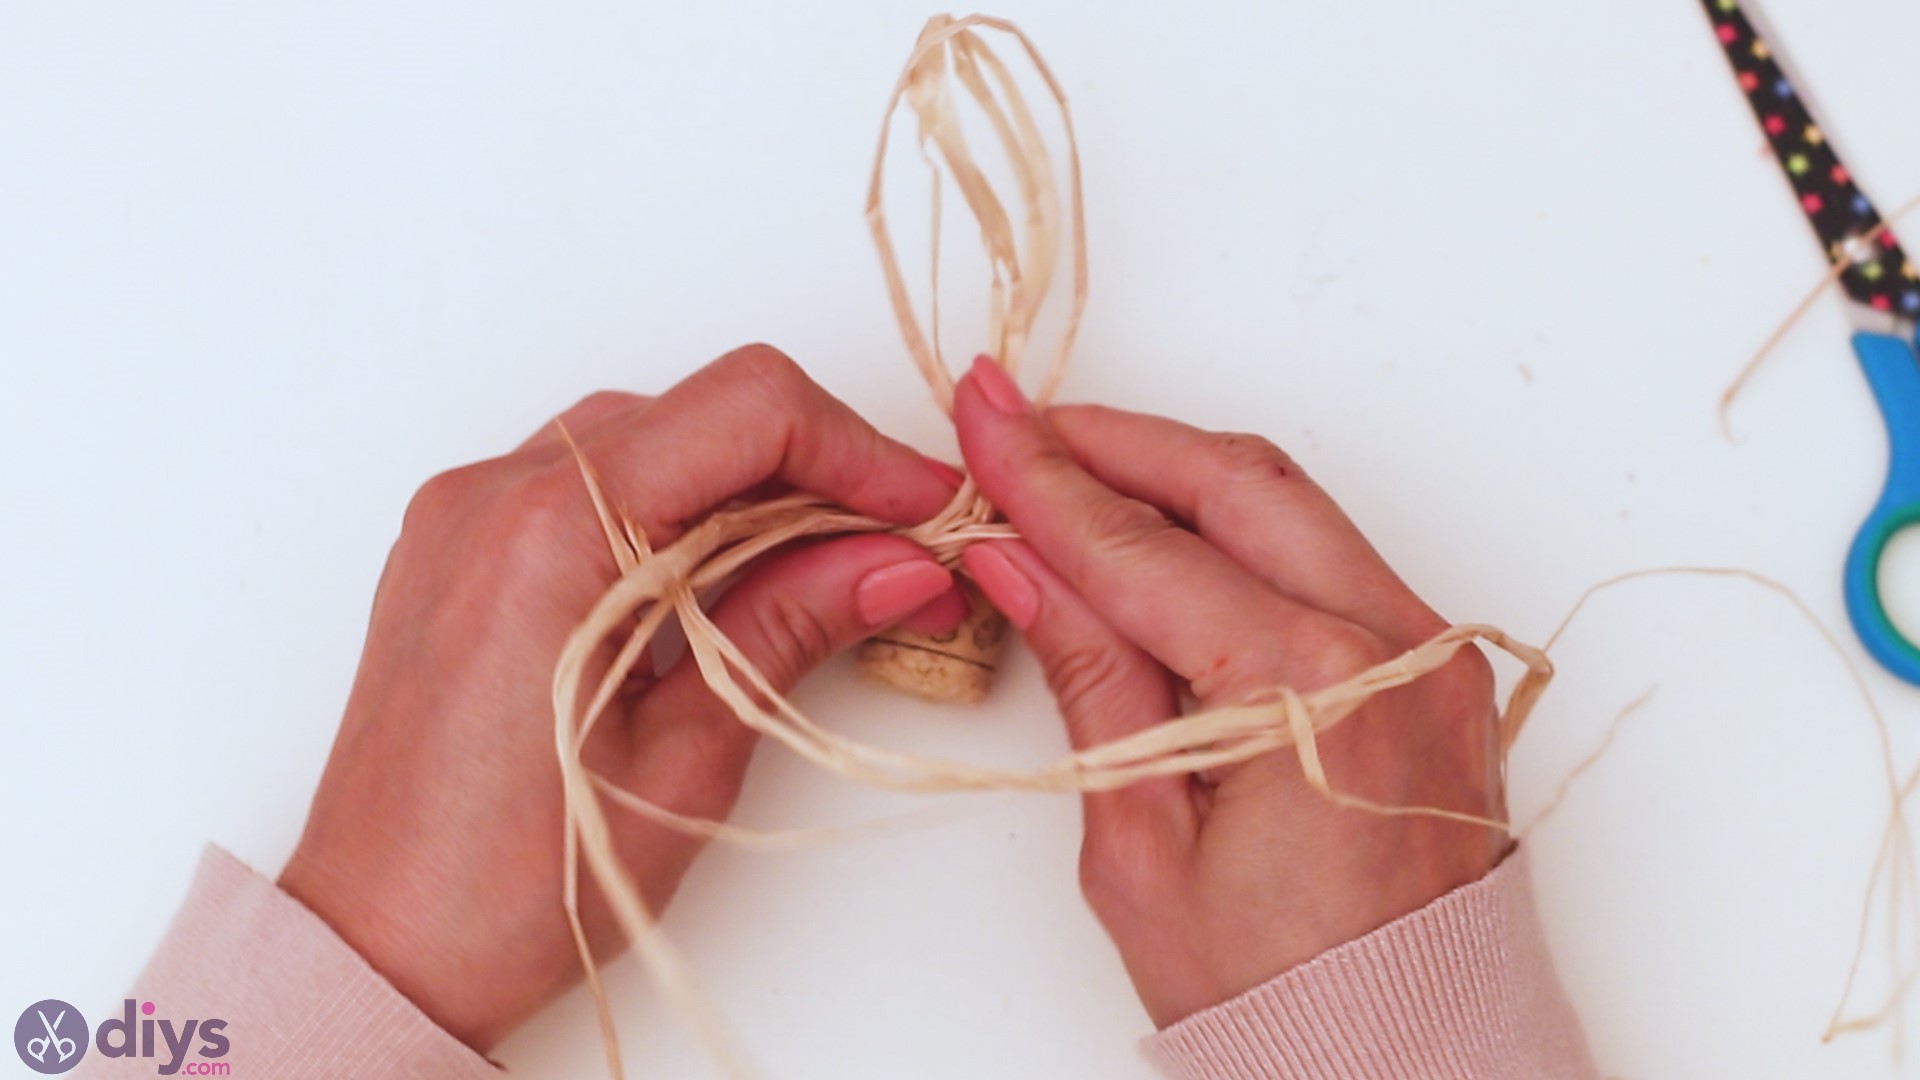
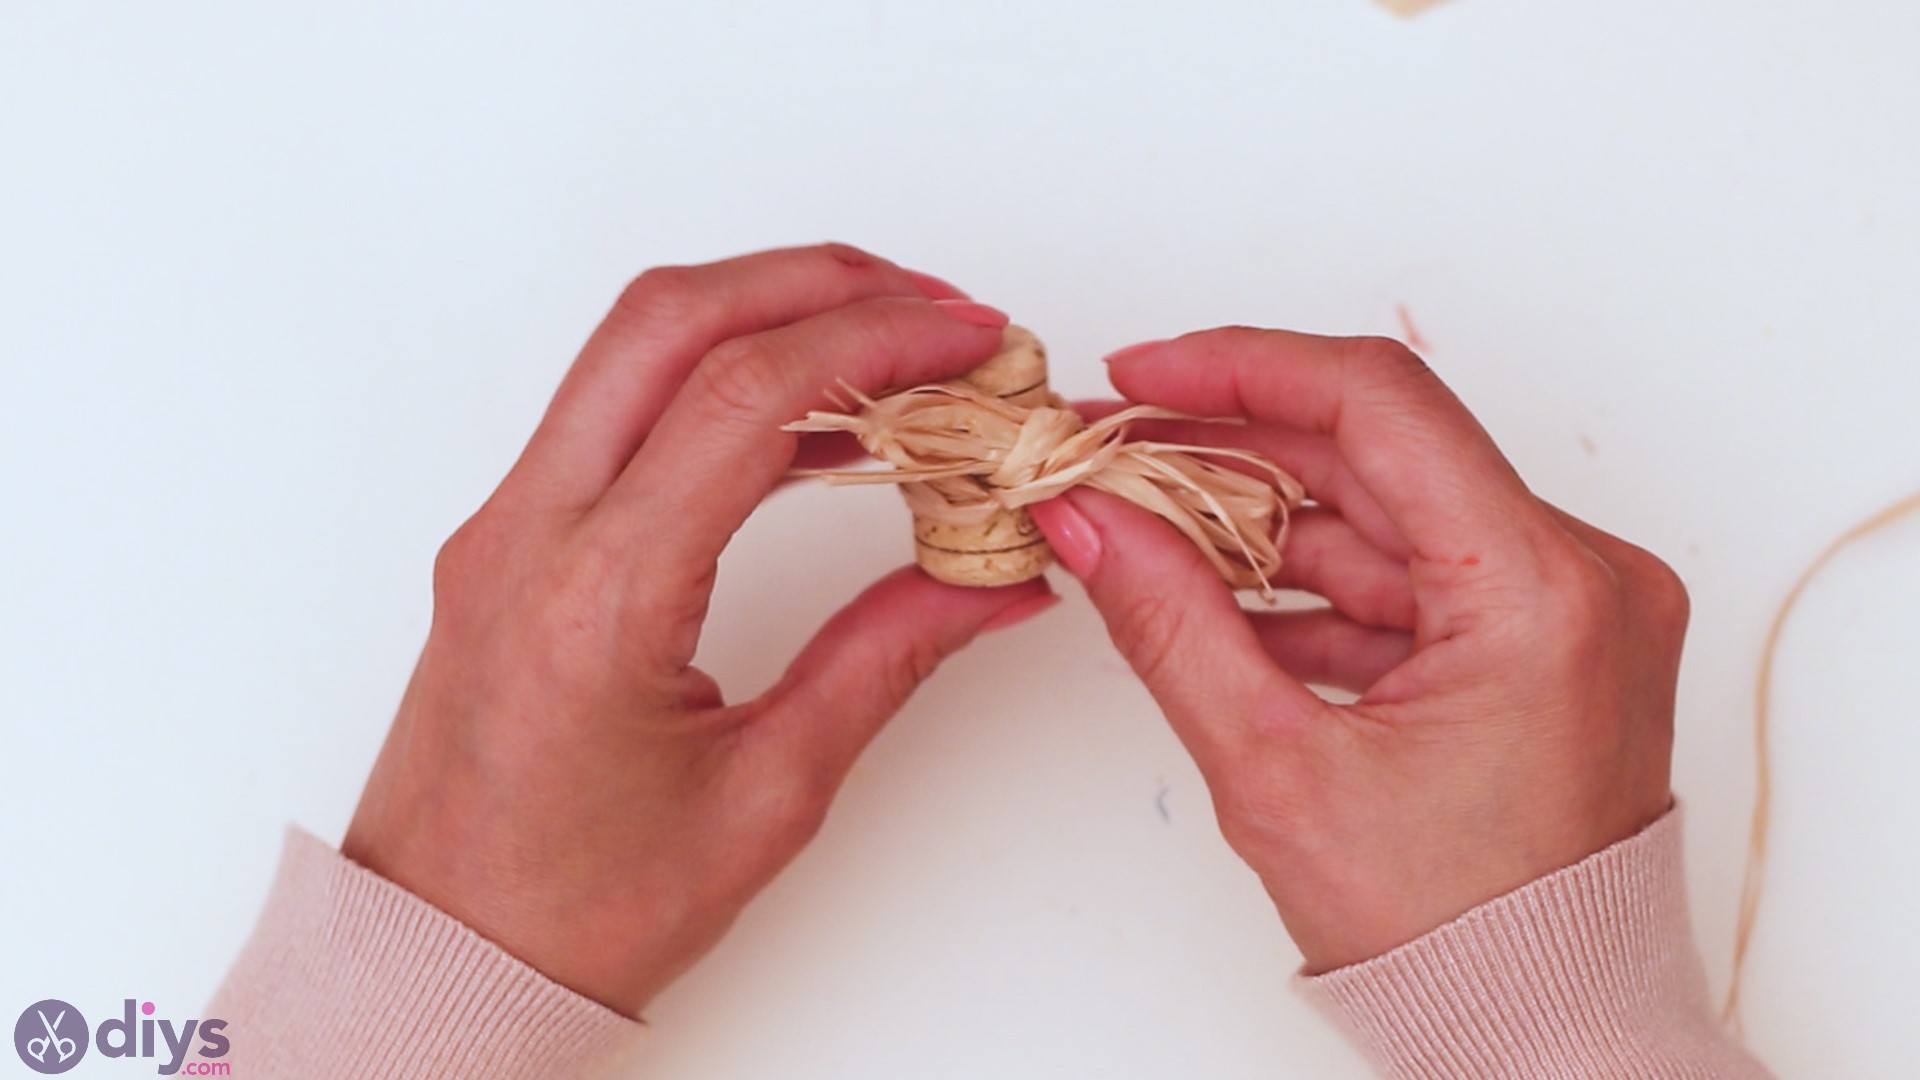
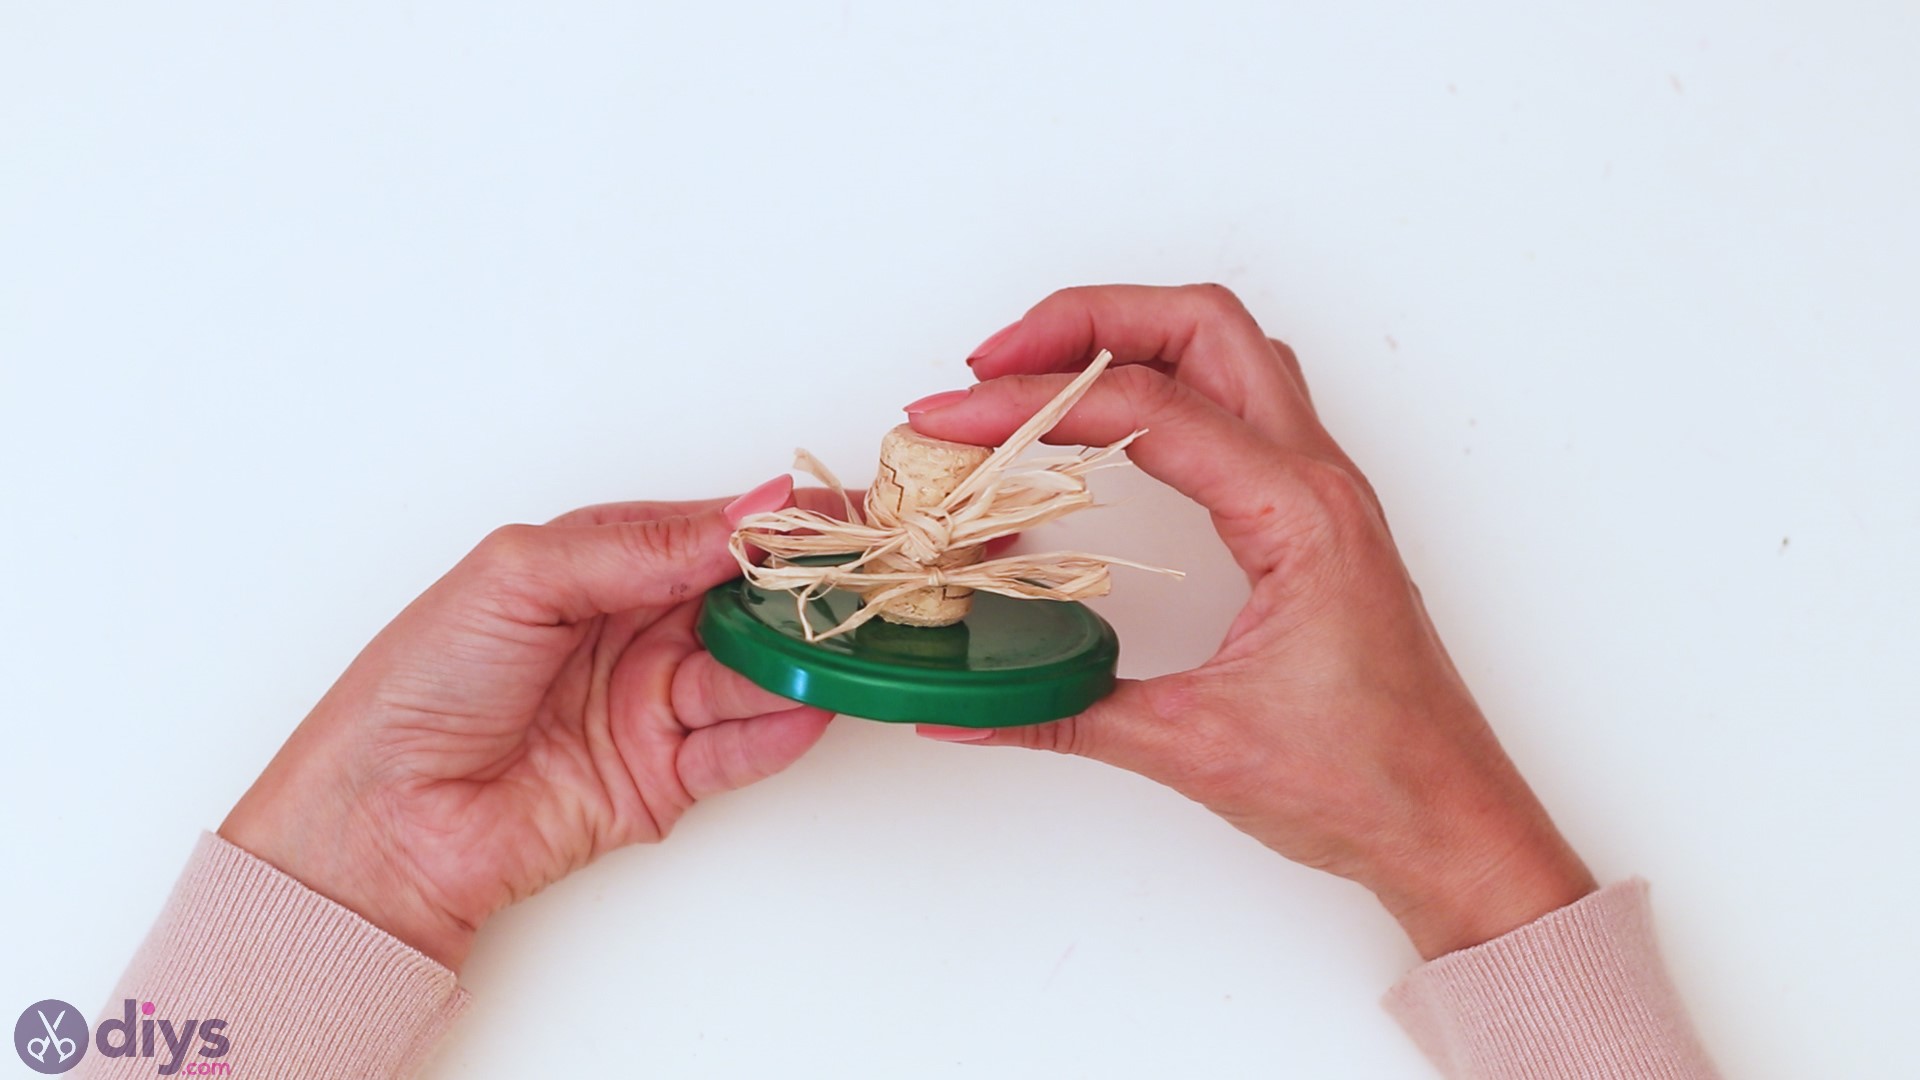
There you have it! Arrange the raffia nicely so the bow is as straight as you can get it.
Grab yourscissorsand cut off the extra material, so the bow looks neater.
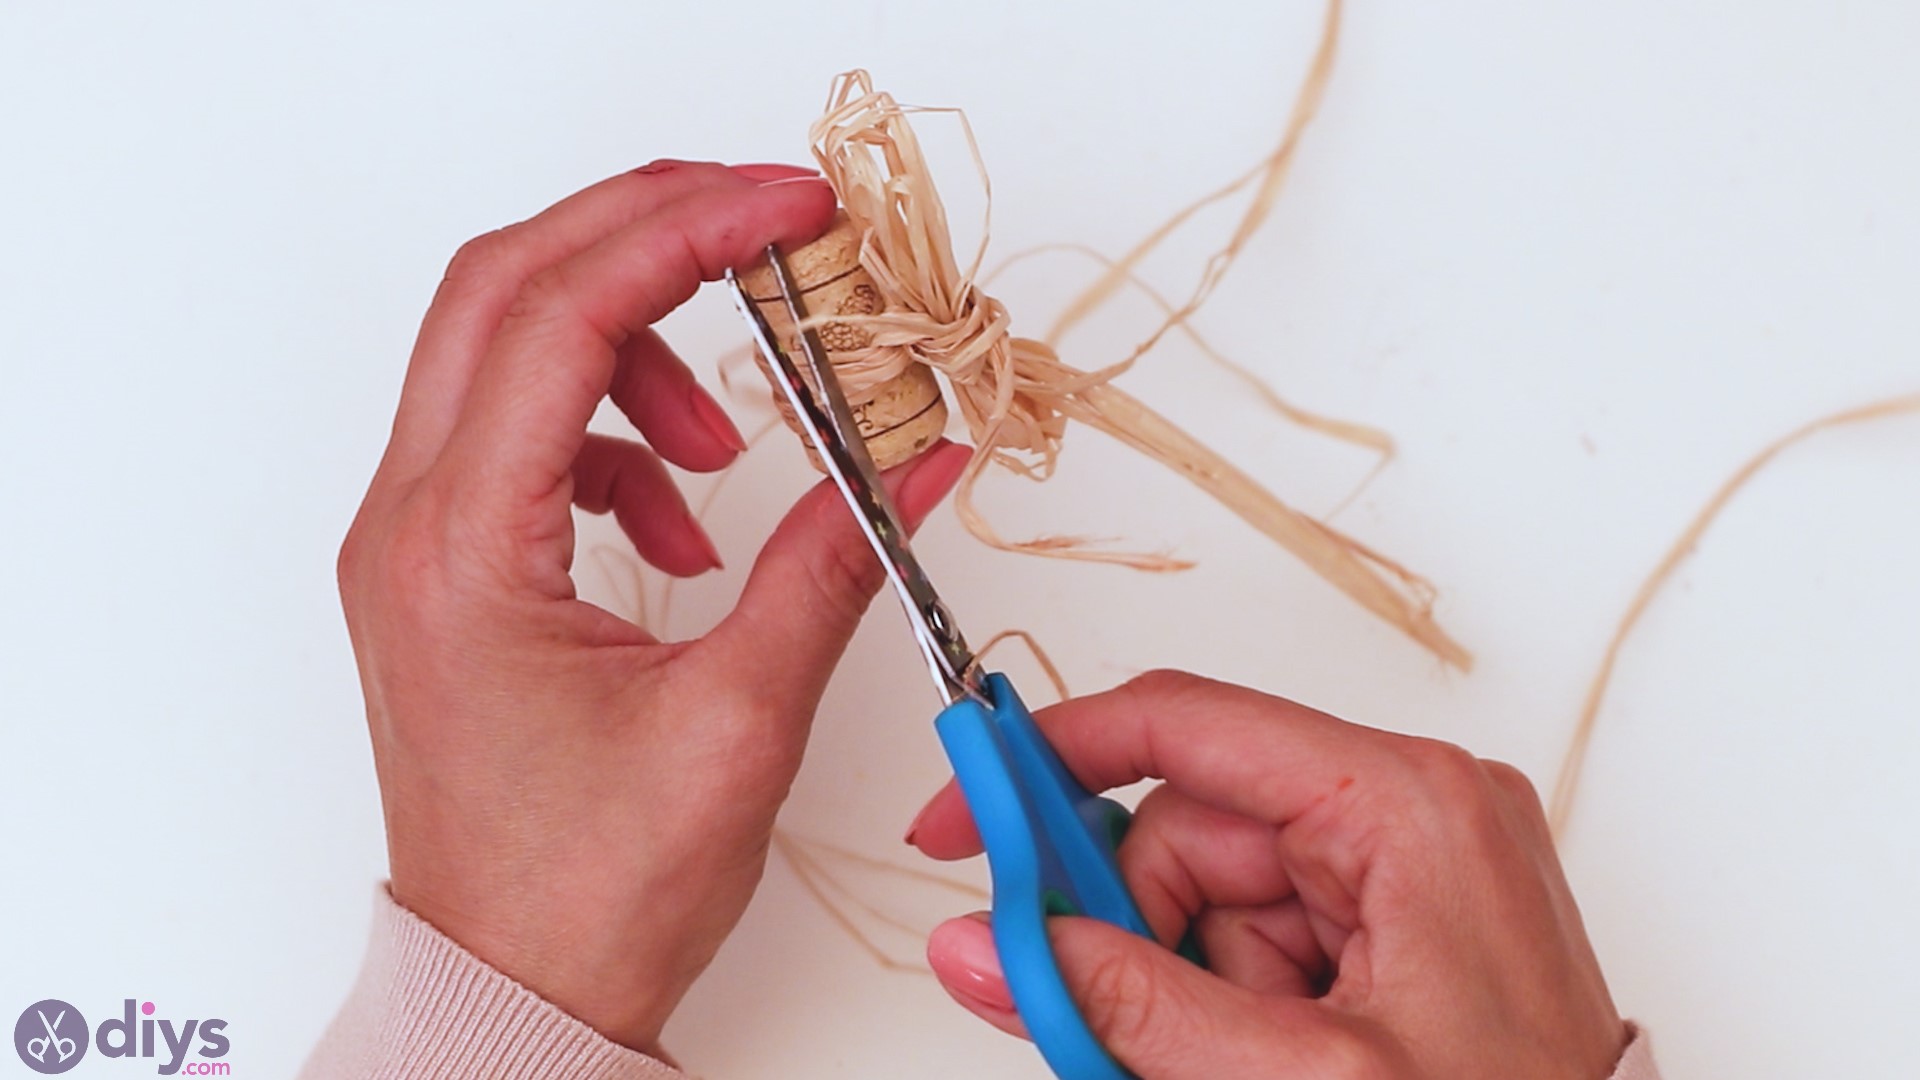
Turn the bow horizontal if you can get it to sit like that.
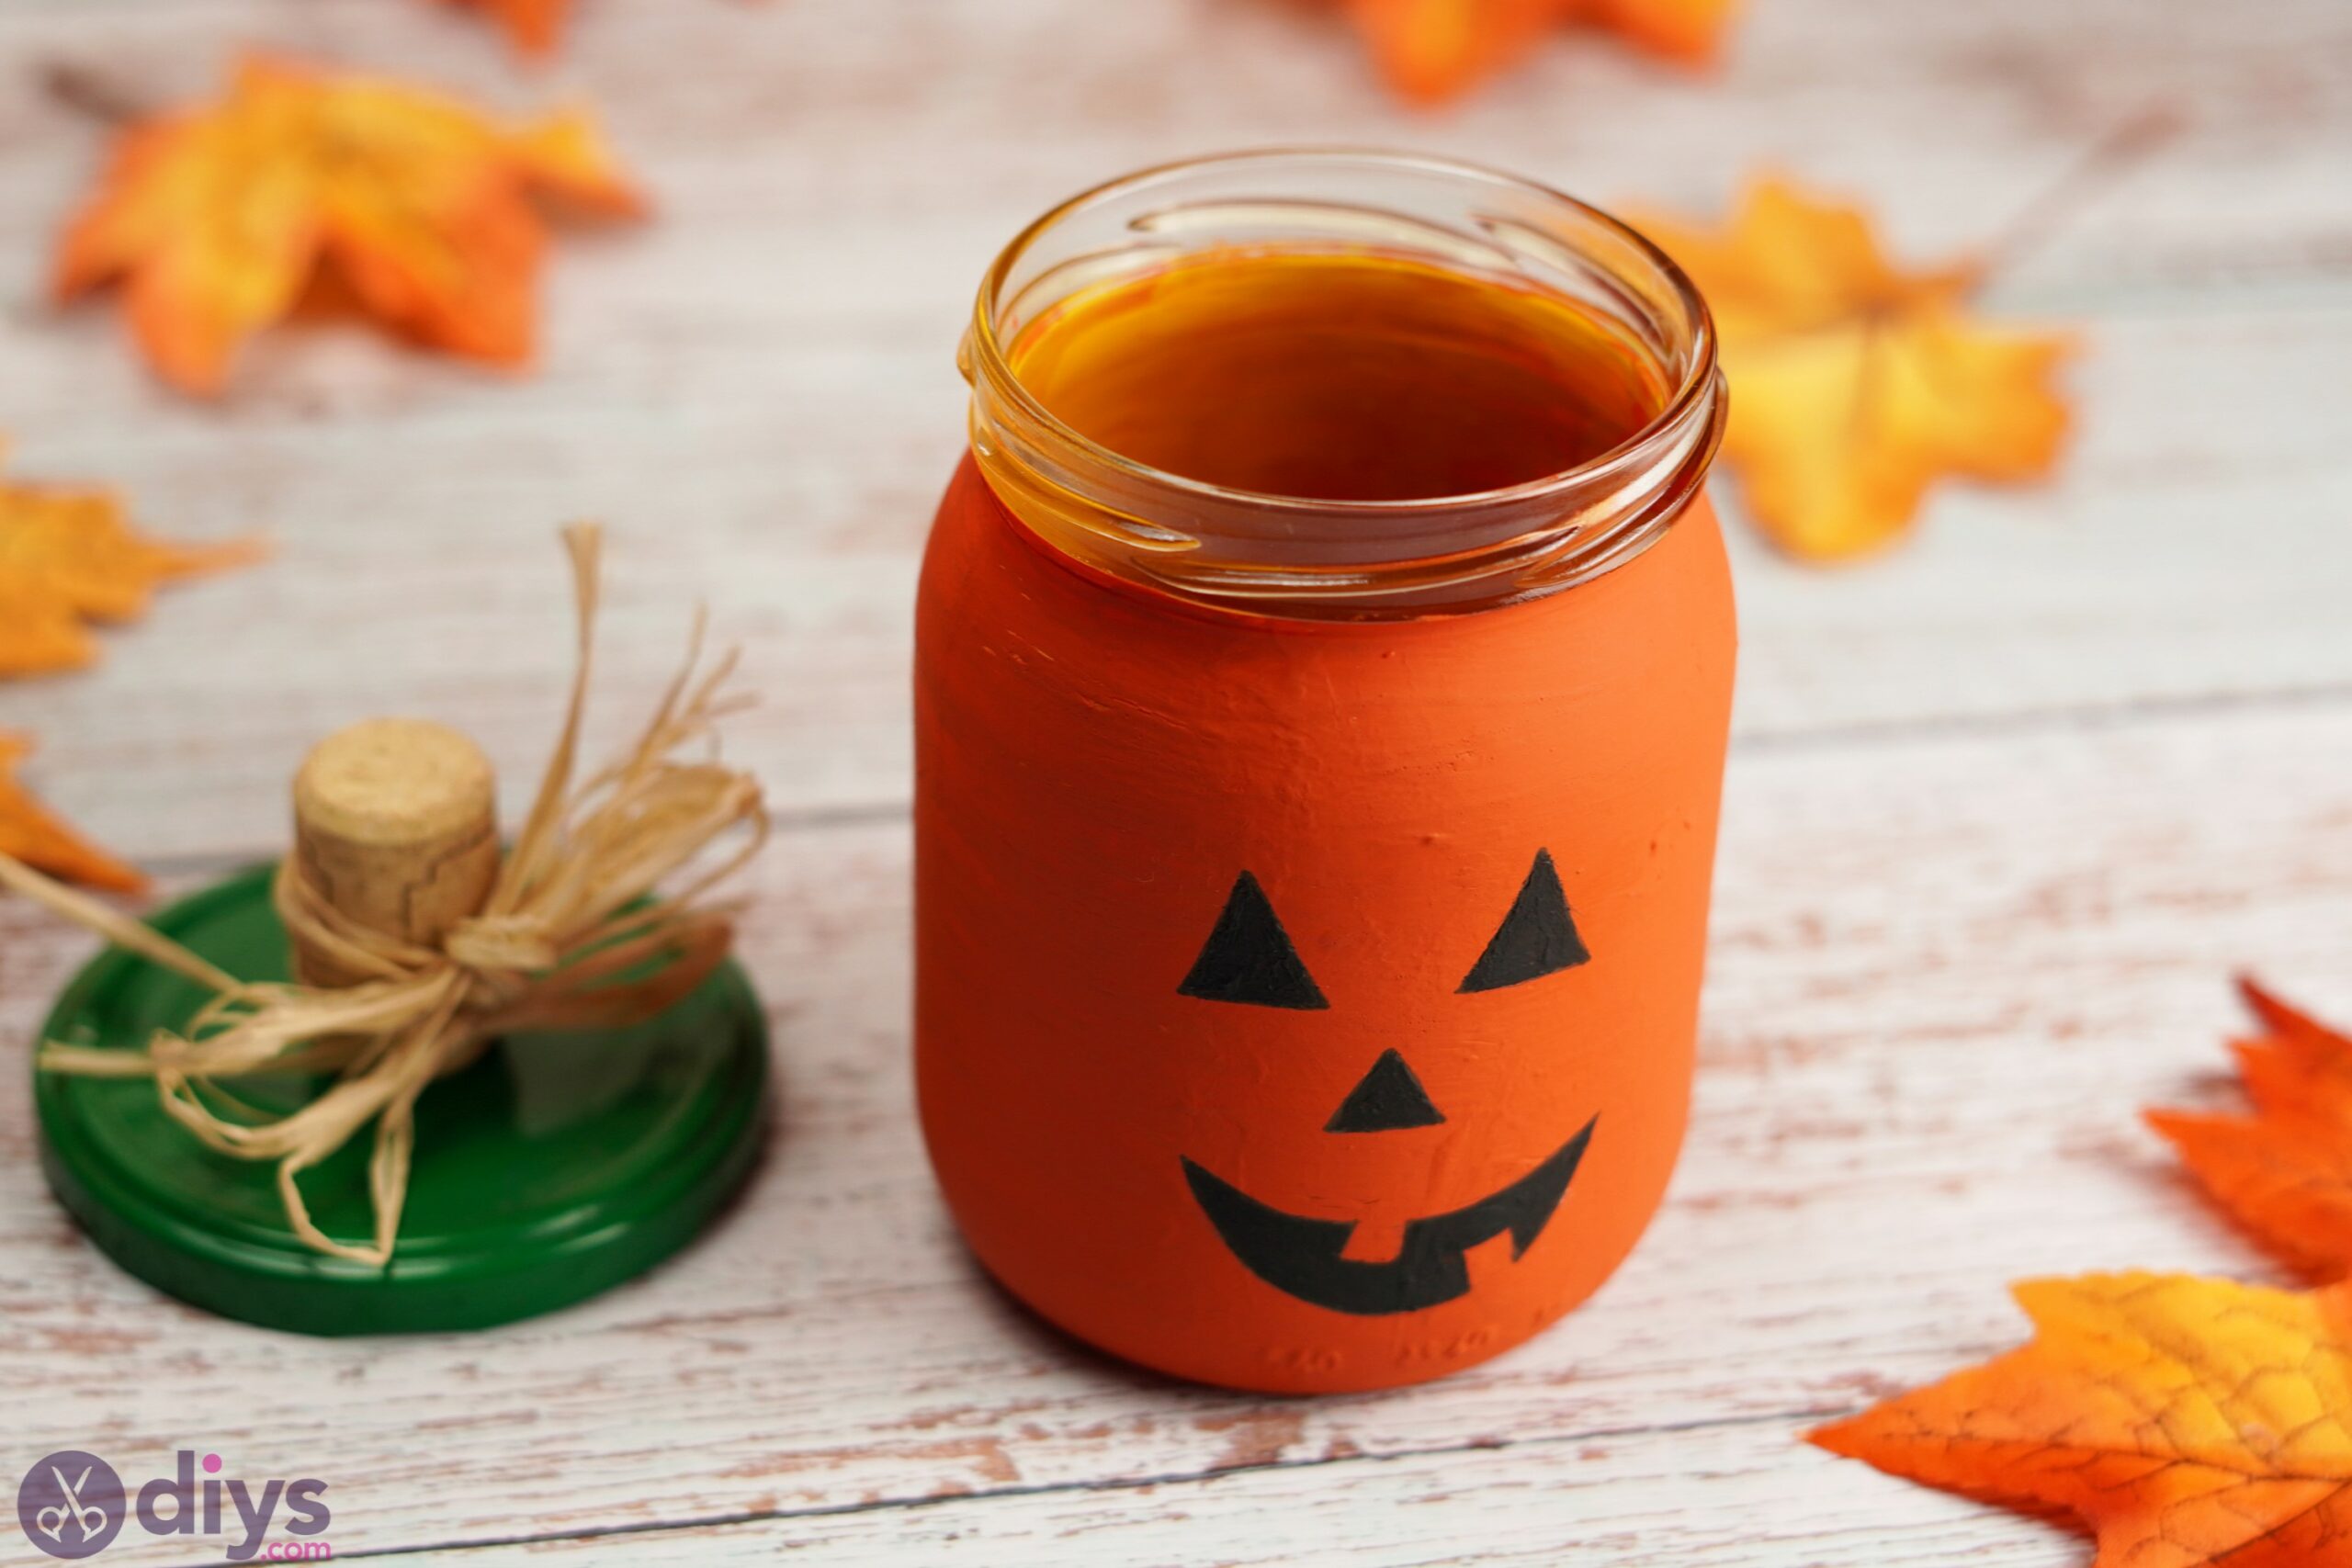
Step 5: Glue the Top of the Halloween Mason Jar
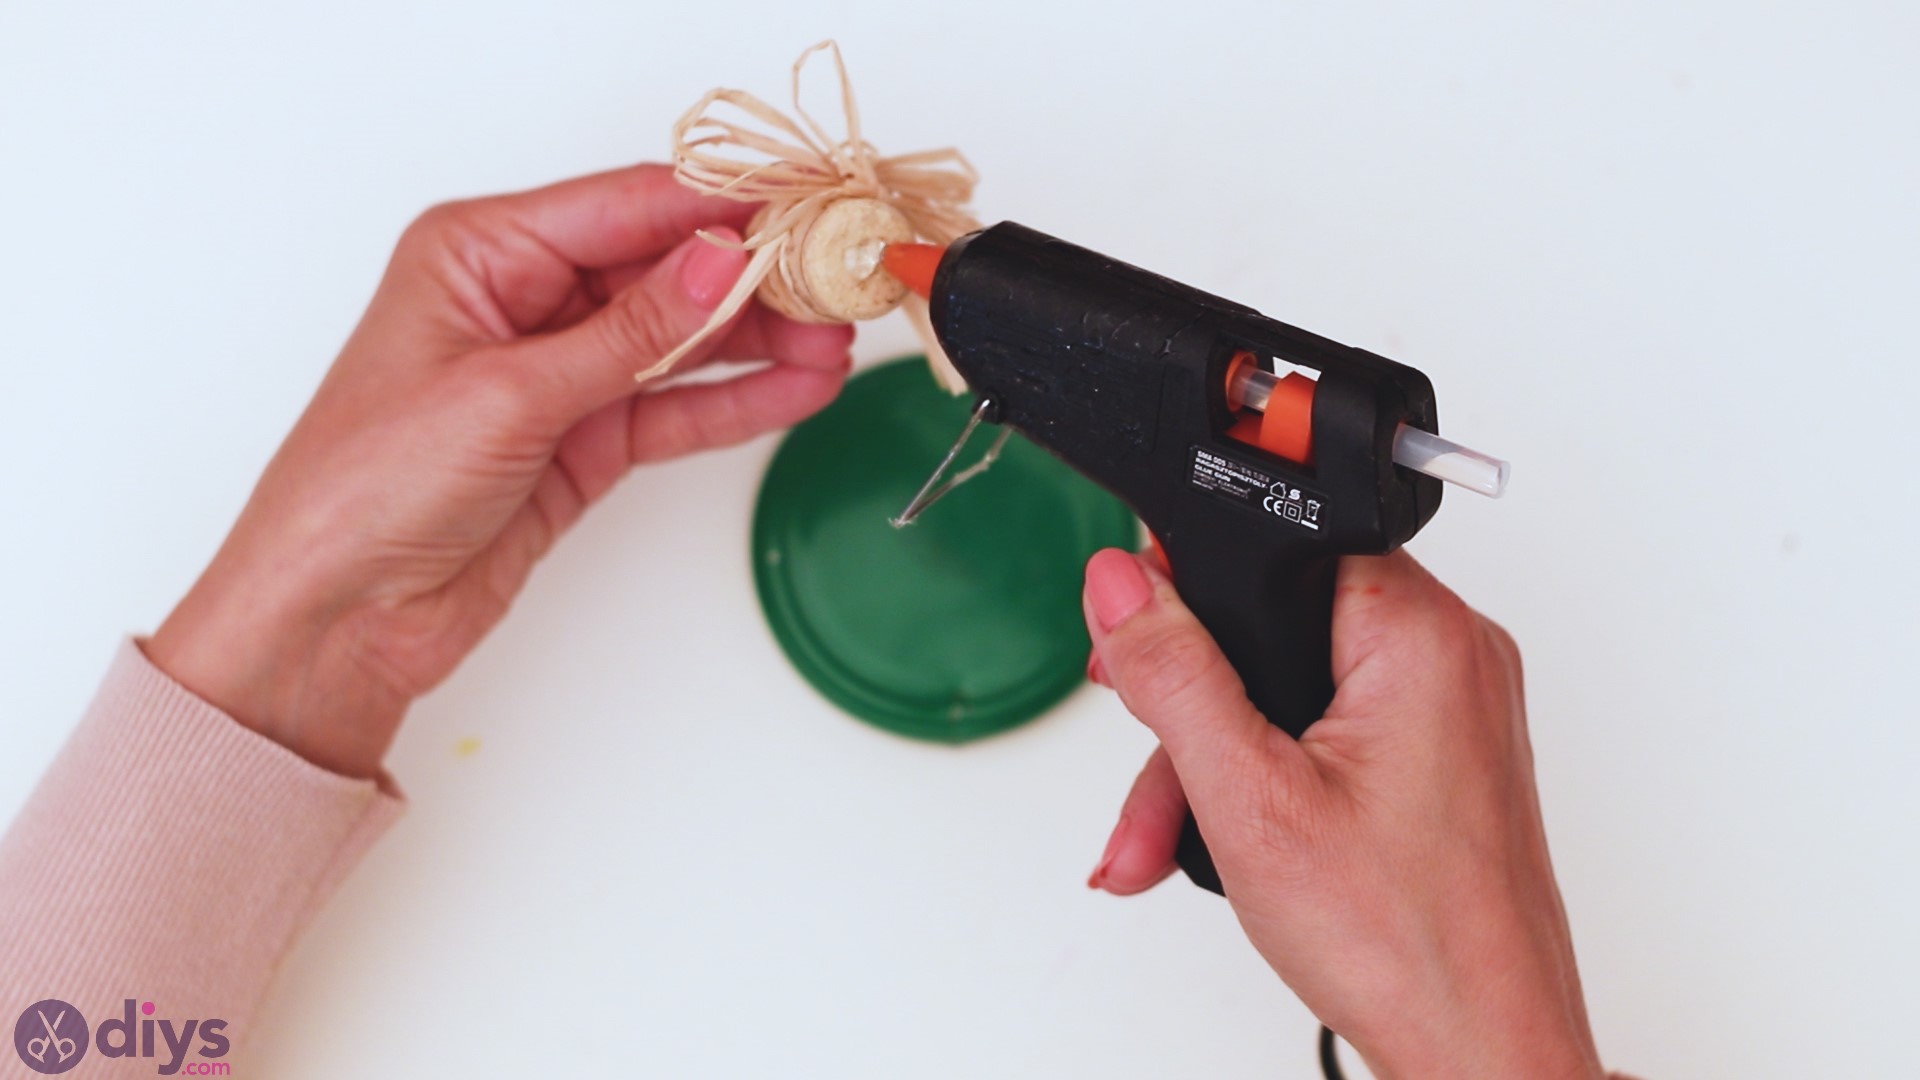
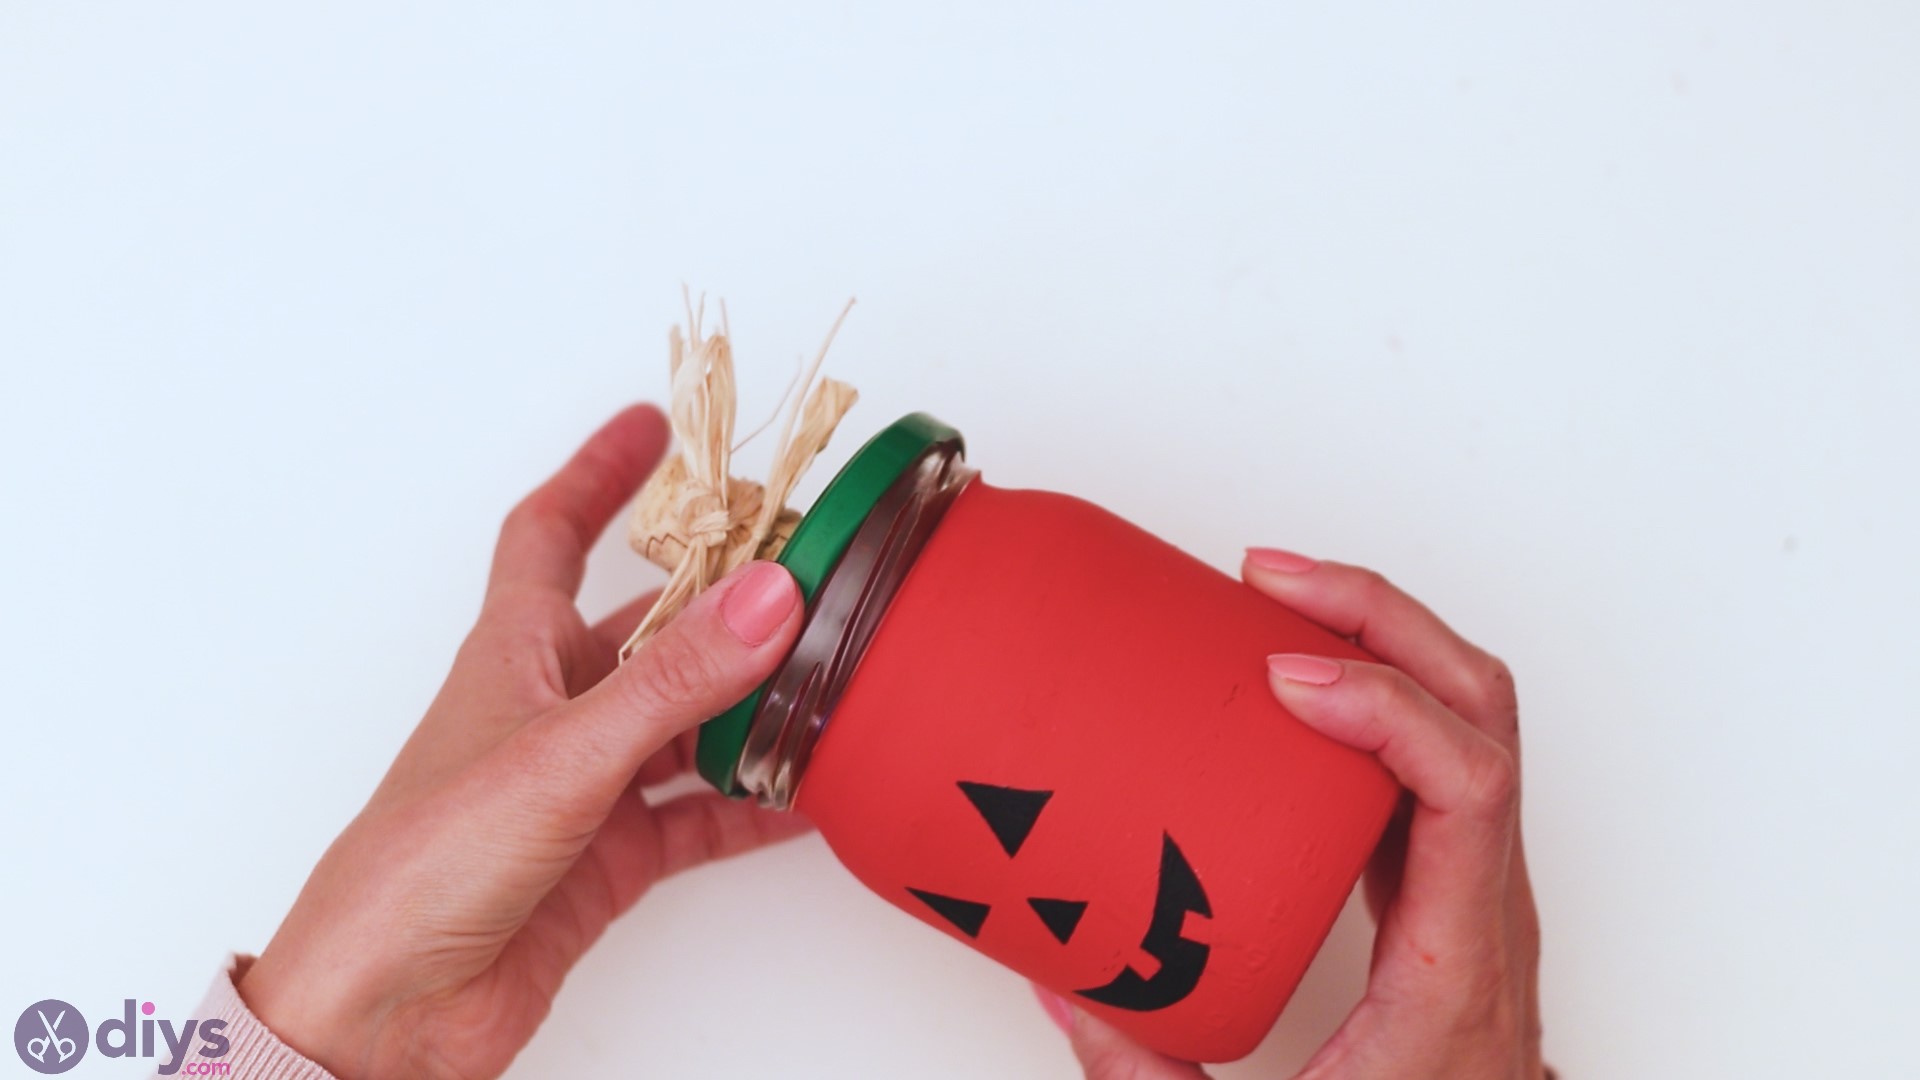
Now that your wine cork is ready, you can grab theglue gunand put some hot glue to its bottom.
Then, push the wine cork on to the middle of the Mason jar. You’ll want to keep pressing it for a minute, so the glue solidifies. When it’s done, you’ll want to be able to lift the lid by the cork.
Look how cute the top of the Halloween mason jar looks!
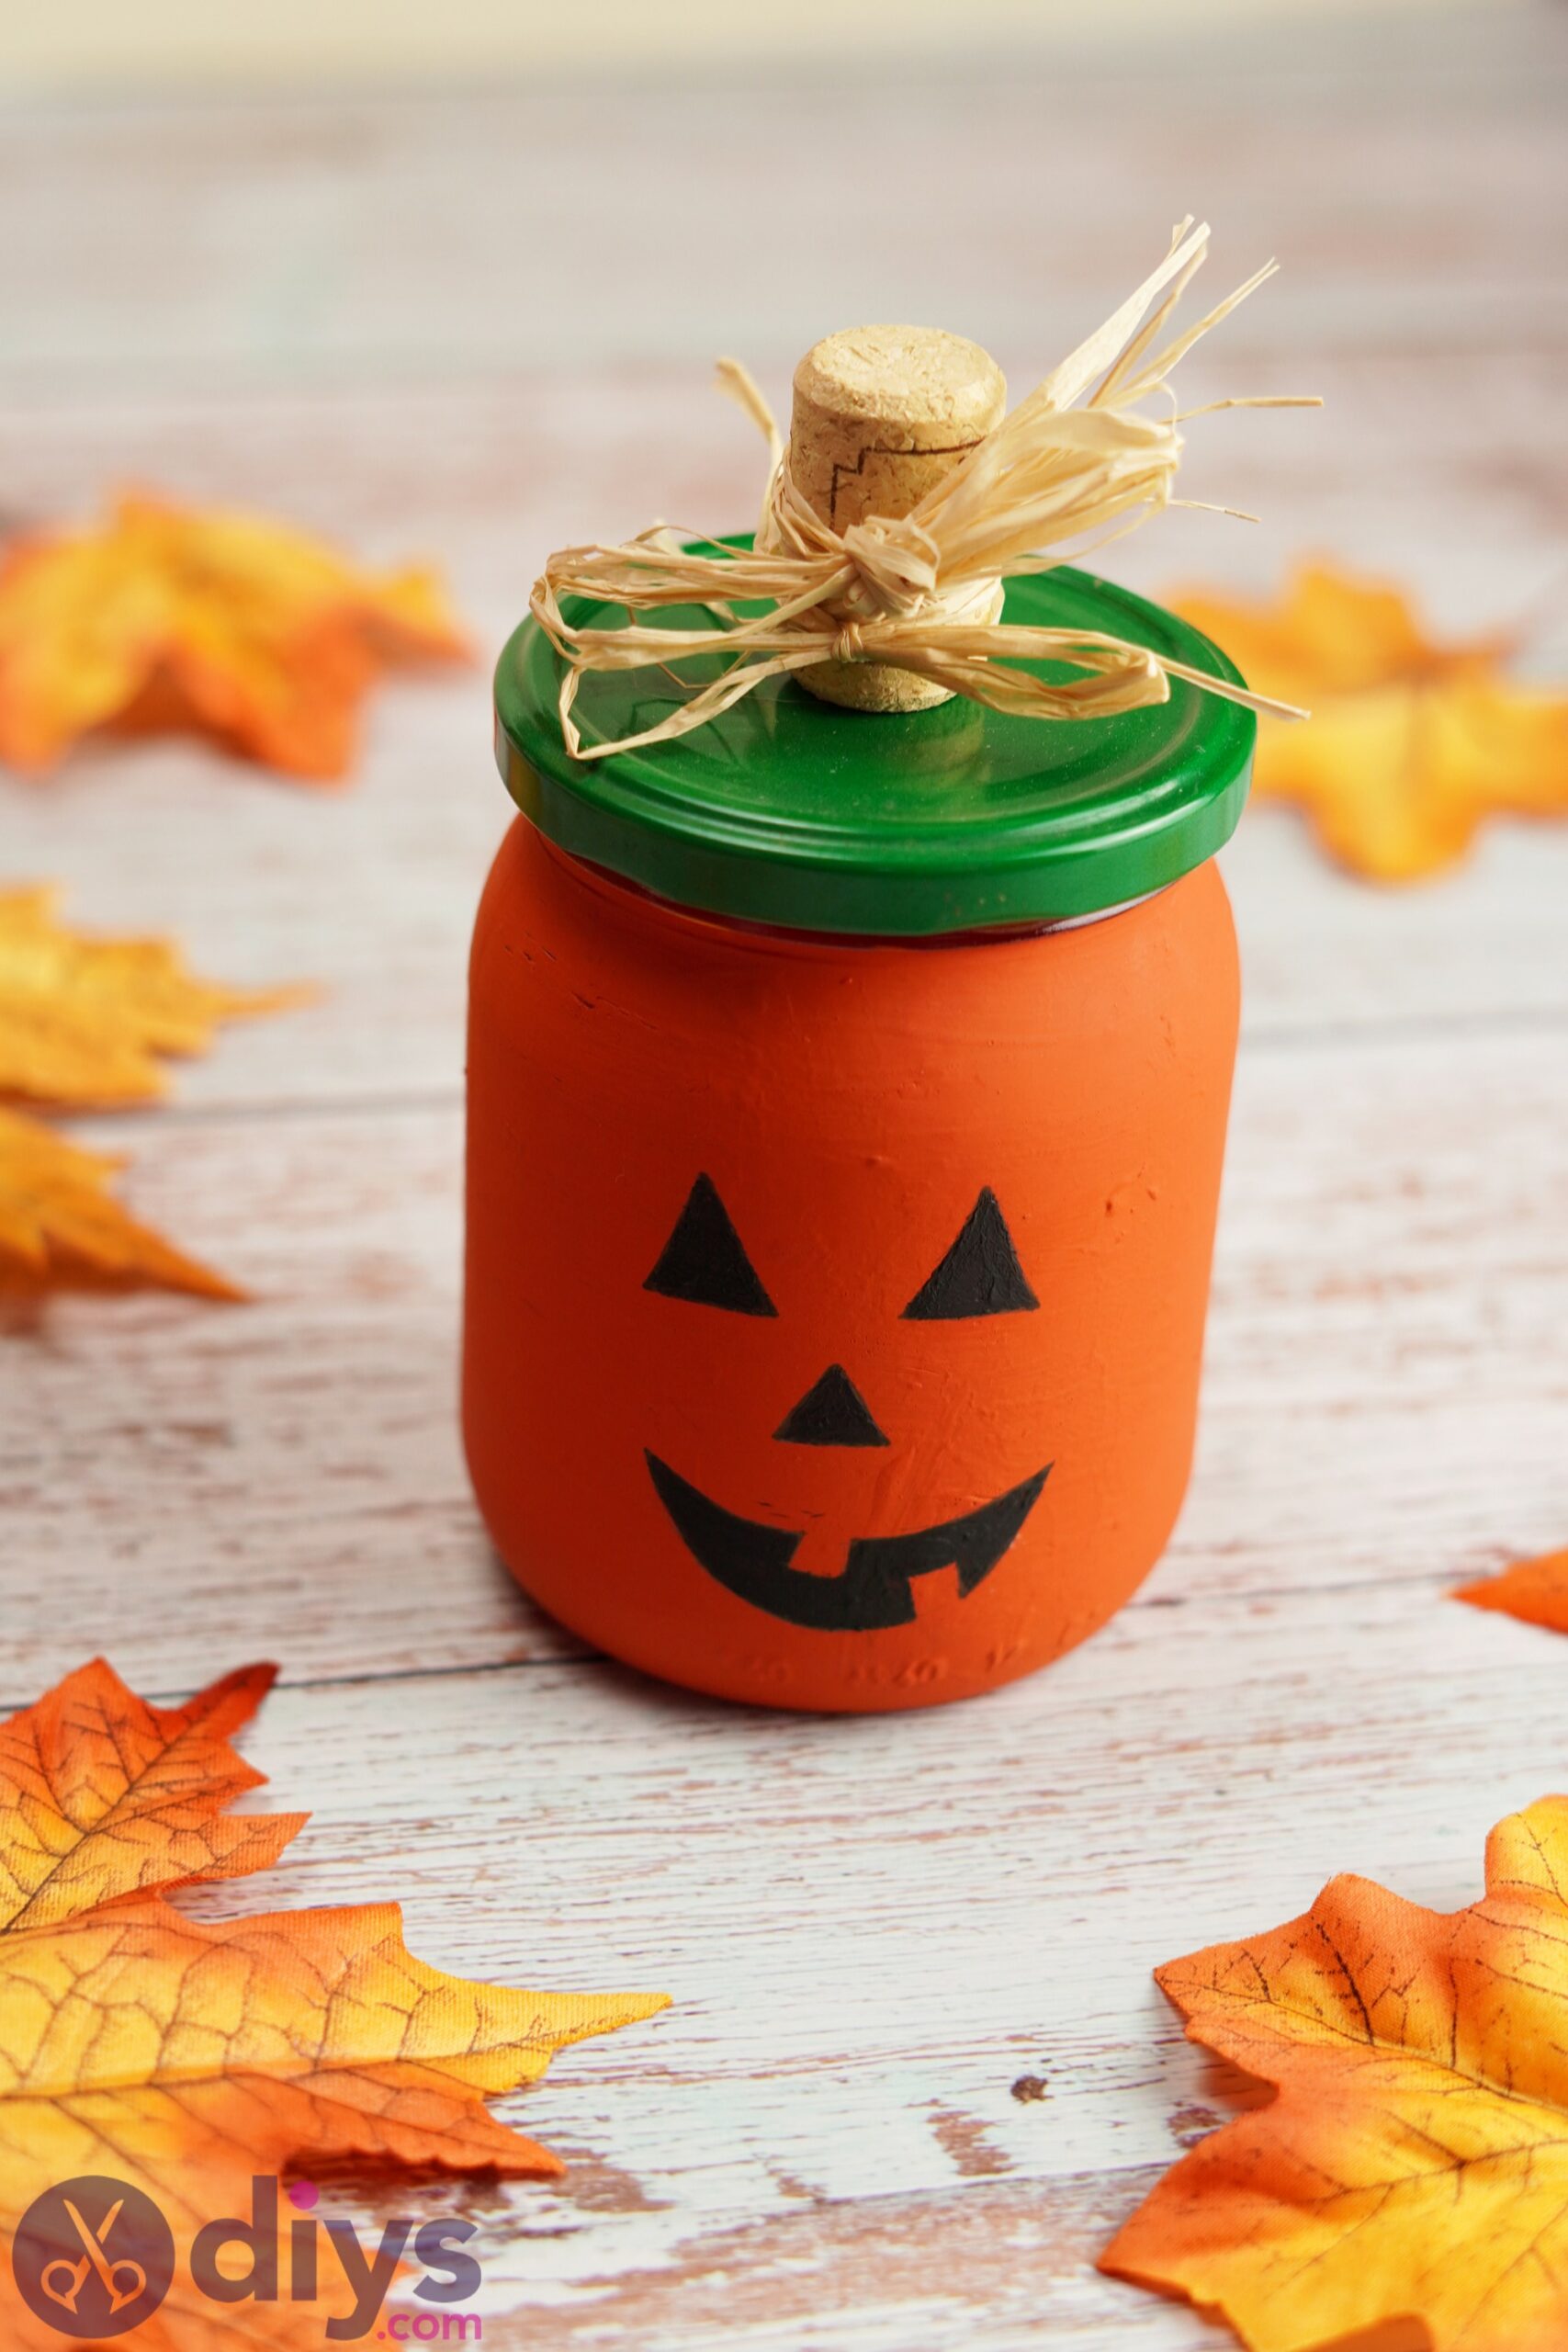
Step 6: Finish Your Halloween Mason Jar

Now that both the jar and the lid are complete, you want to join the two together. That’s easy enough!
Final Thoughts on Halloween Mason Jar
Now that this DIY project is done, we can sit back and admire it. As you can see, it didn’t take very long to have this done, so you can make more of them to use as decorations, or maybe gift to friends and family.

