DIY Concrete Vase with Rose Pattern
Updated on November 19, 2025


Have you ever tried your hand at a new crafting technique, had a lot of success with it, and then basically found yourself obsessed and on the hunt for even more things to make in that way? That’s how I’ve been feeling lately about DIY concrete crafts! Recently, I found some silicone moulds and forms in my local craft store and they filled me with ideas, so I started experimenting. That’s how I came up with the idea of making a little concrete flower vase! I documented the process so other people might learn how it’s made as well and I was very glad that I did so, because I wasecstatic with how cute it turned out.
If you’re like to try out the technique as well, check out these step by step instructions complete with photos! If you’d rather follow along with a video tutorial, scroll to the bottom of this list to find precisely what you’re looking for.
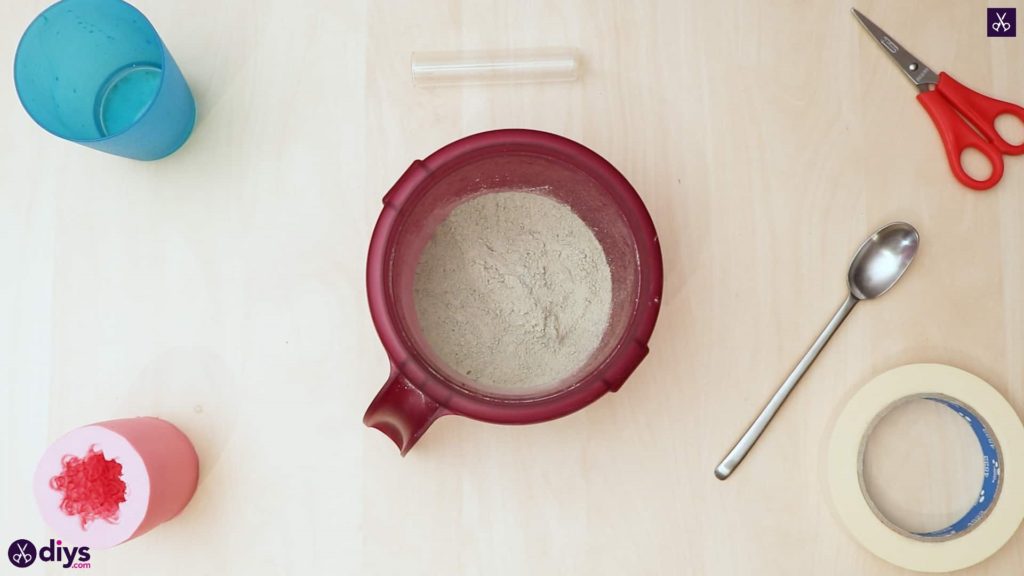
For this project, you’ll need:
- Paint (light and dark pink)
- A paintbrush
- A spoon
- A plate
- DIY fine particle cement
- Water
- A silicone form
- A small glass vial
Step 1: prep
Gather your materials!
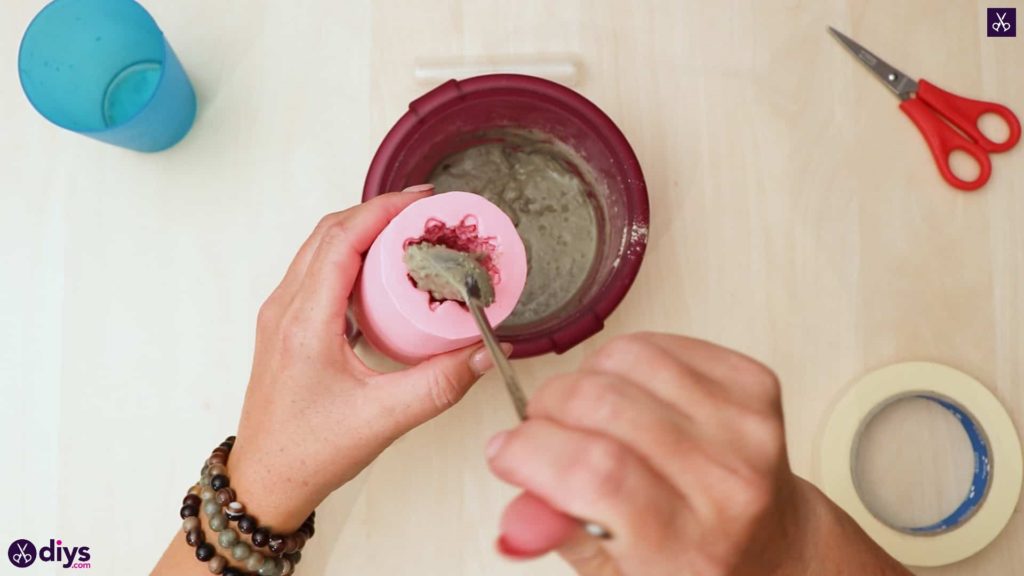
Step 2: mix your concrete
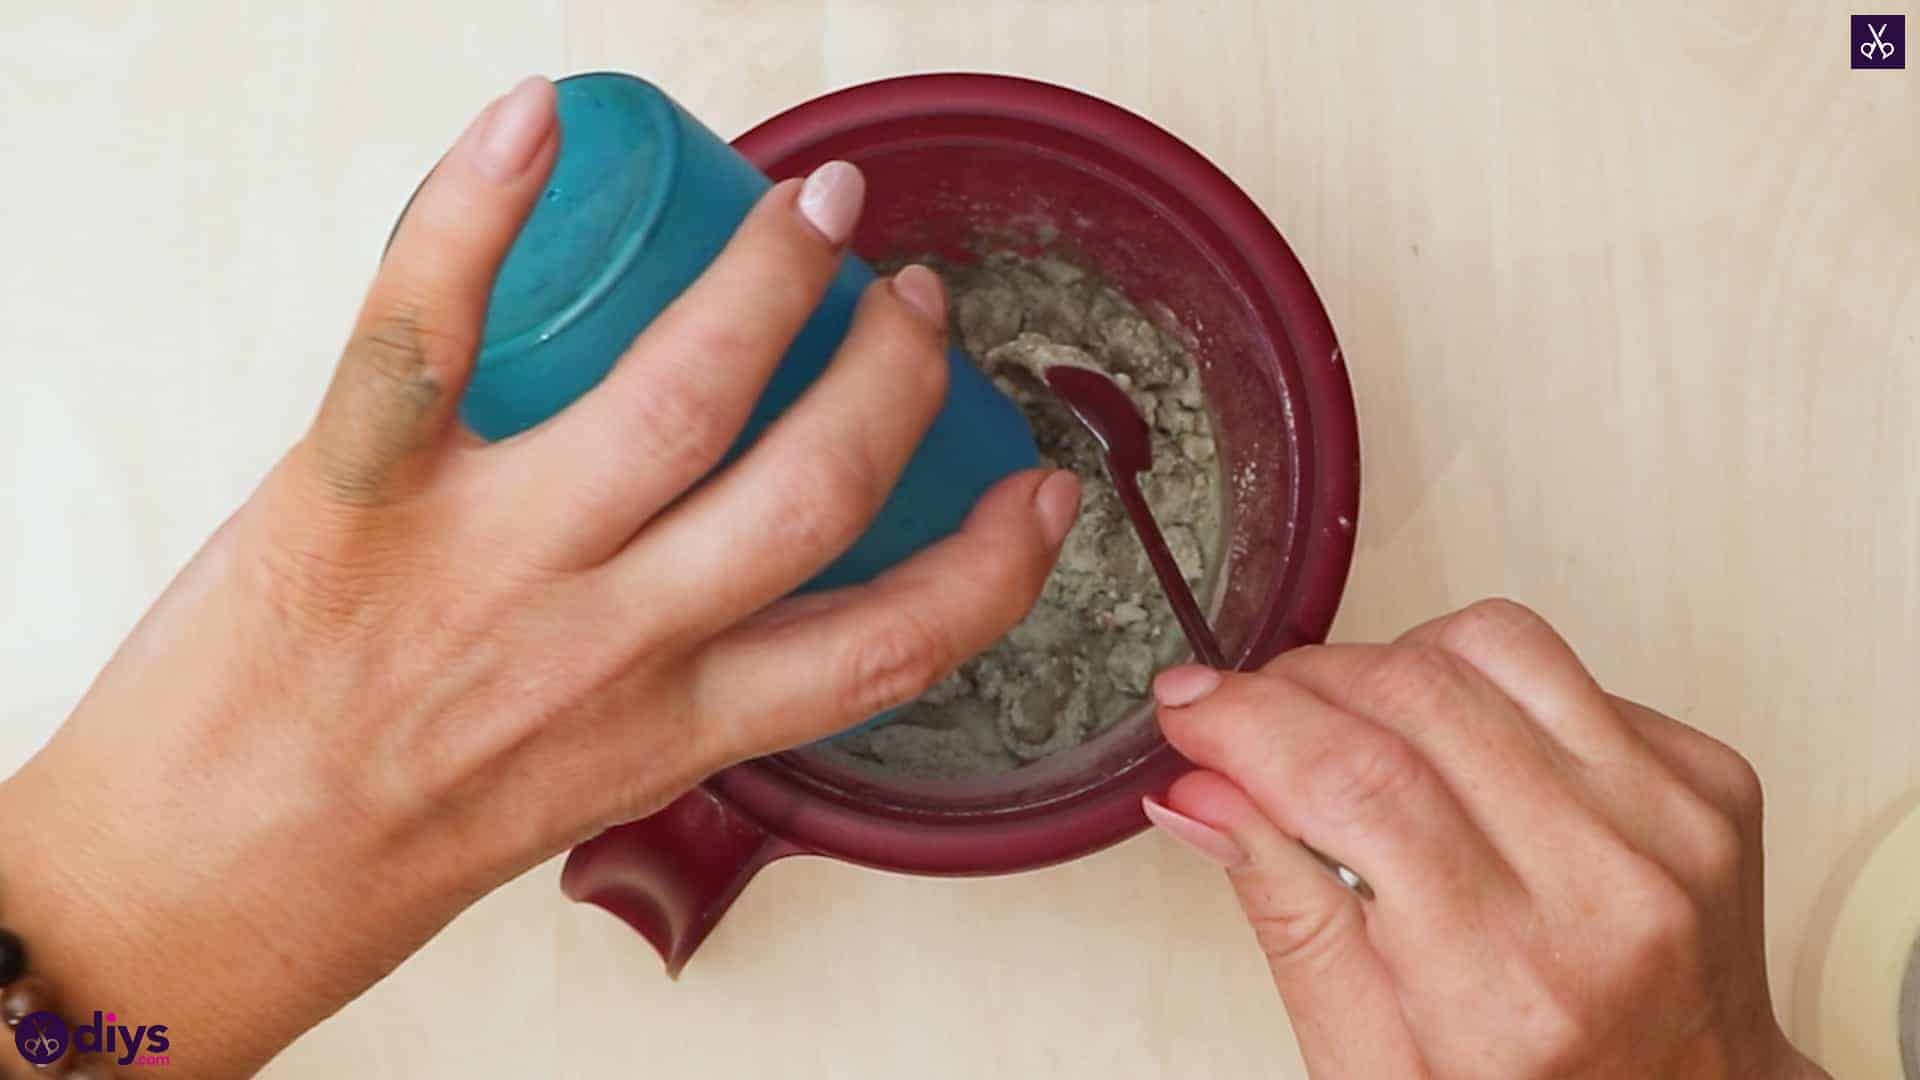
Pour your water into your DIY concrete mix and stir it with your spoon. Check the packaging of your mix to get the right ratio of water to powder, since it can very from brand to brand.

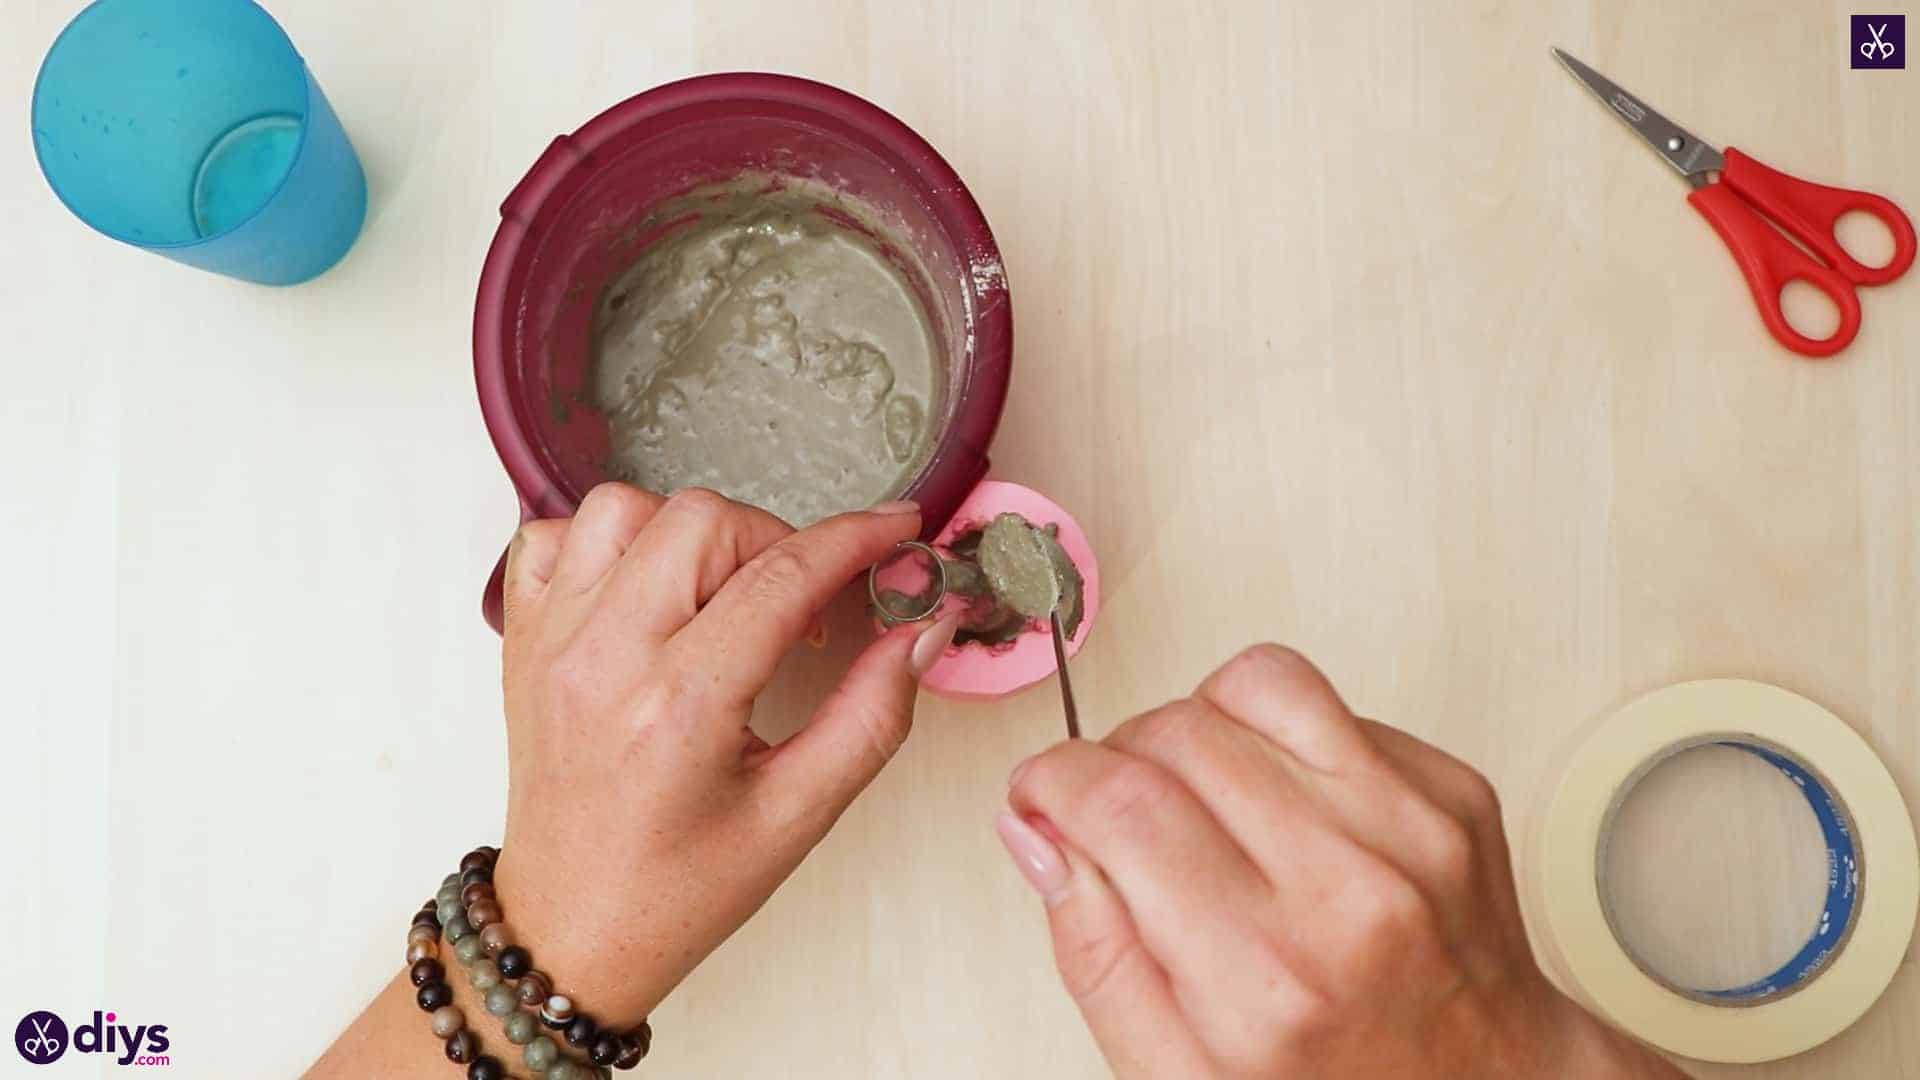
Step 3: fill the mold
Once your concrete is mixed, use your spoon to fill your silicone form. Fill it until it’s nearly to the top, but leave a tiny bit of space so the concrete doesn’t overflow with the next step.
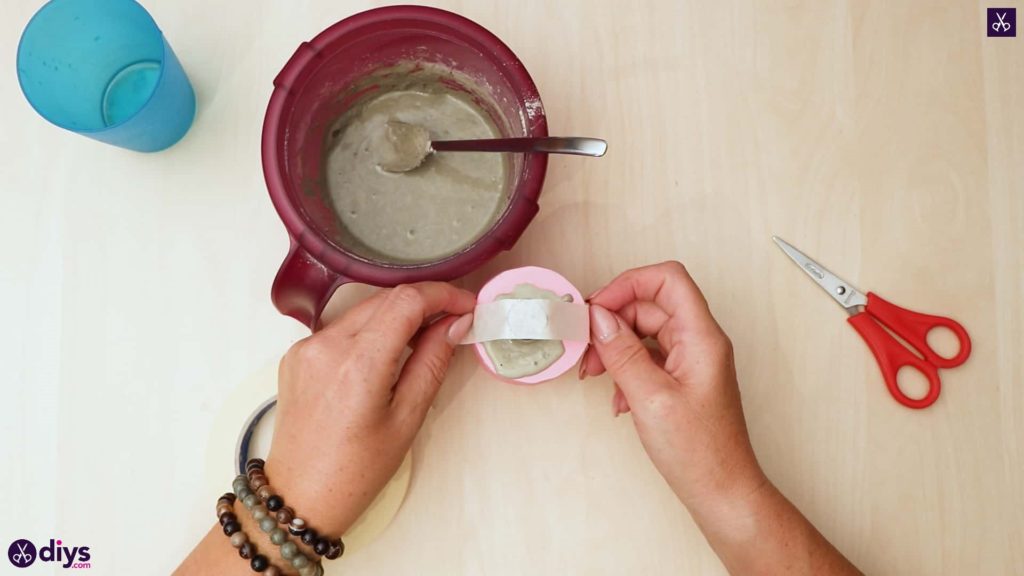
Step 4: insert vial
Press your glass vial into the concrete mix, right in the center of your mould so it doesn’t touch the edges around it. Keep filling around the vial if necessary until your mould is full and even.

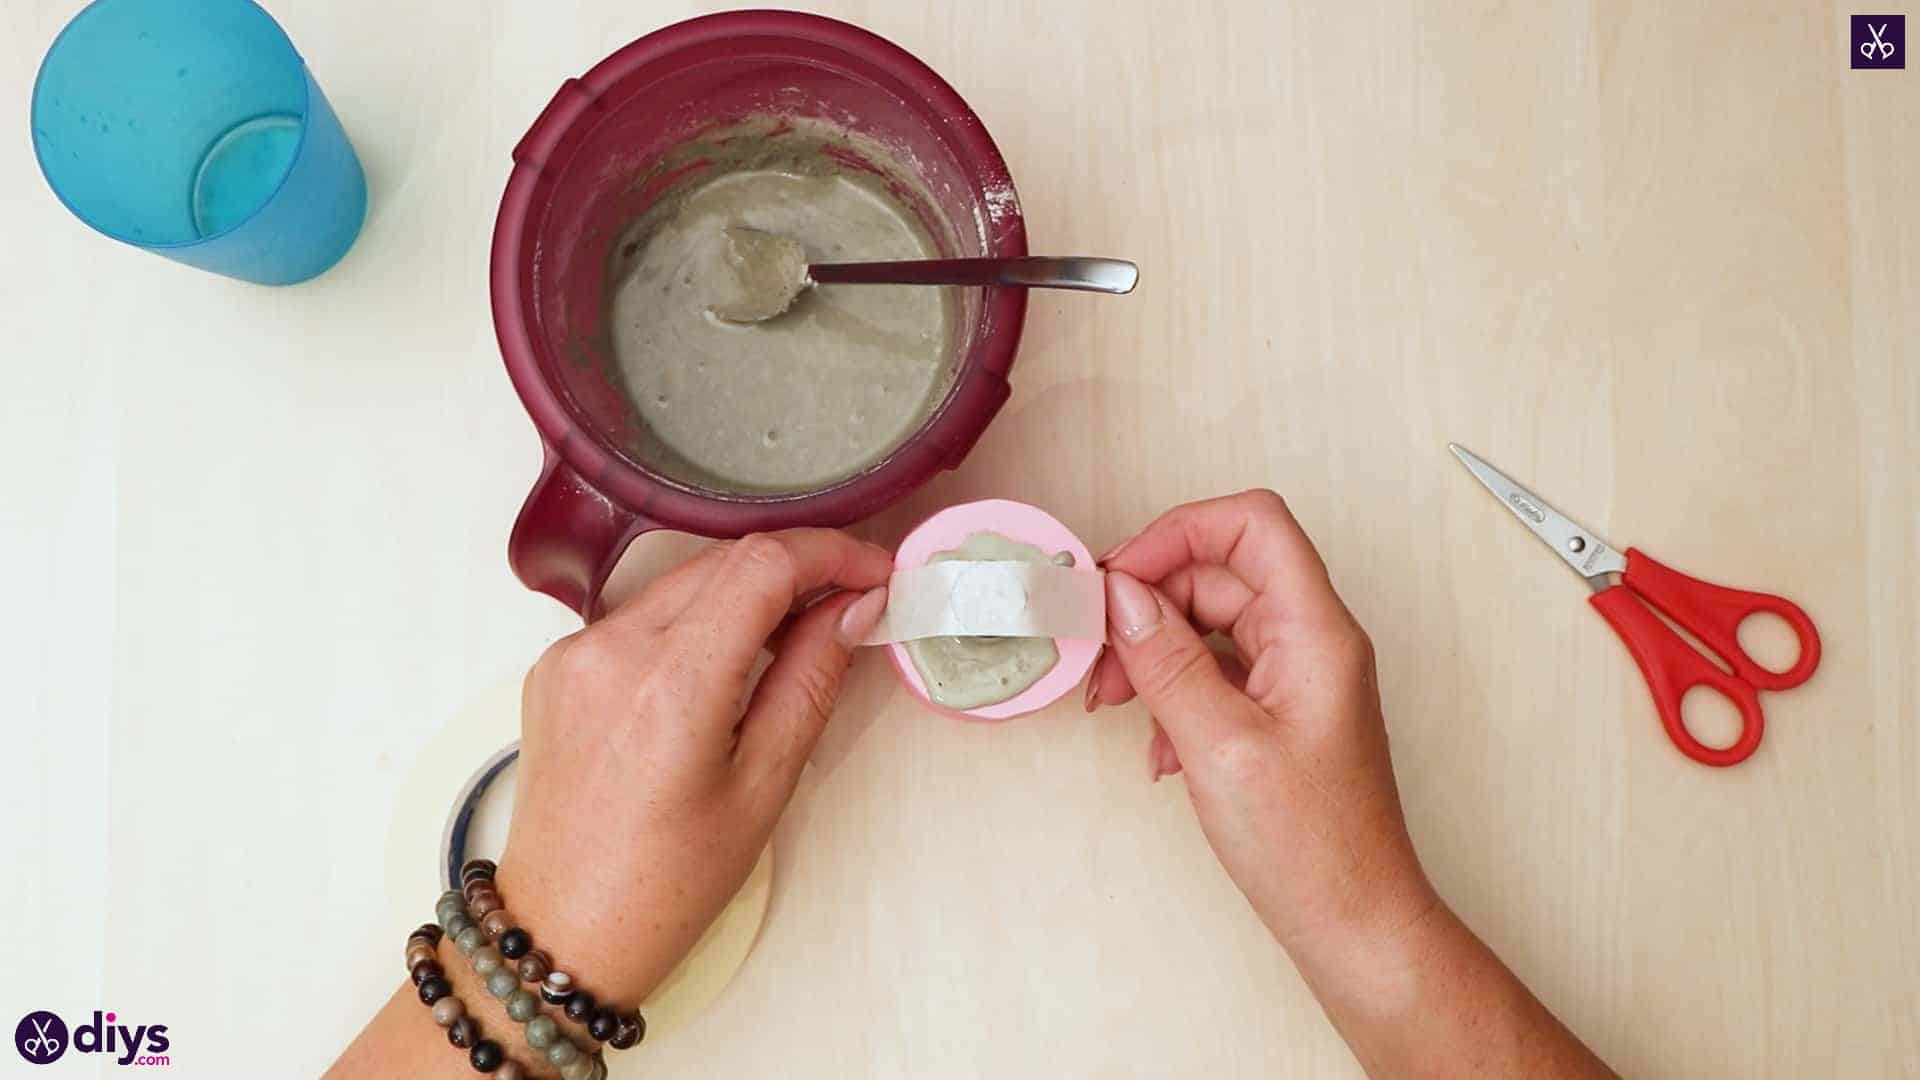
Step 5: tape down
Cut a strip from your tape and use it to secure the glass vial in place by sticking the ends down on the side of the mould, passing the middle of the tape over the vial to hold it upright. Set the whole thing aside to dry.
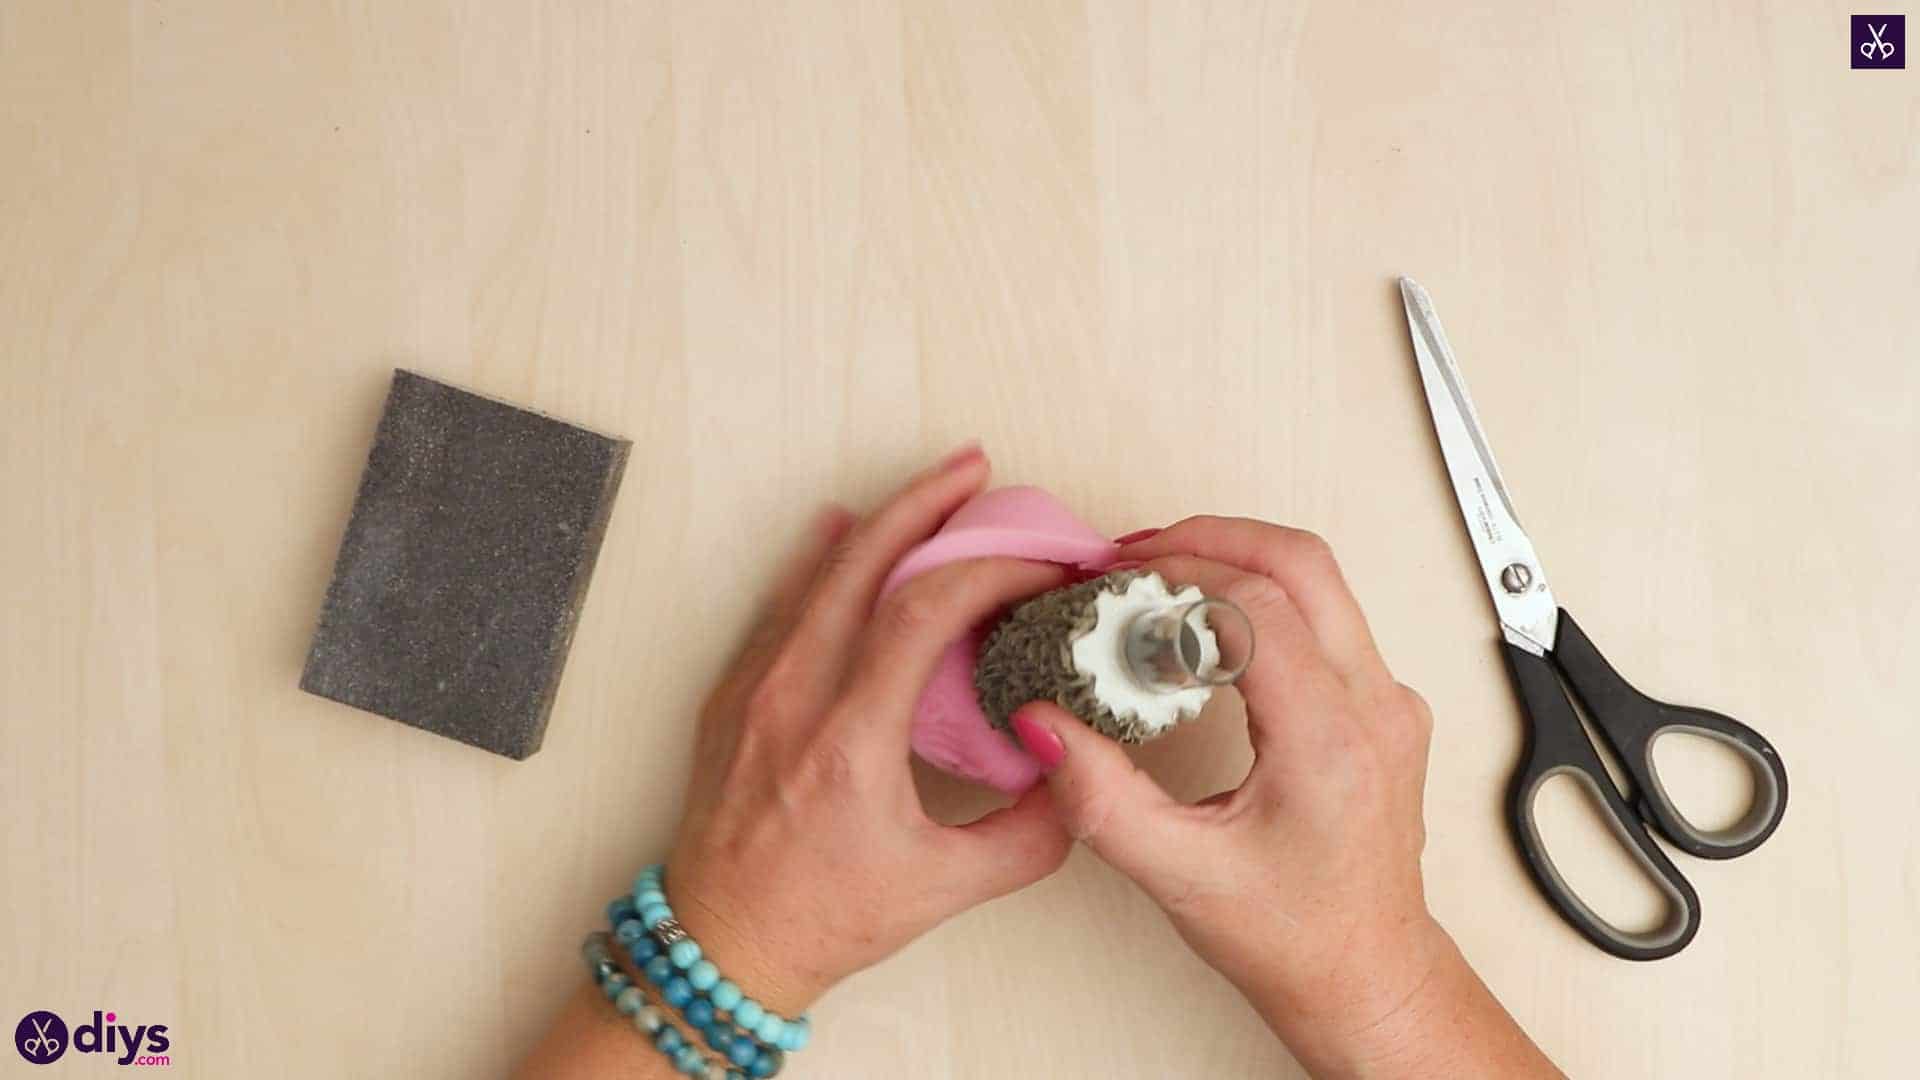
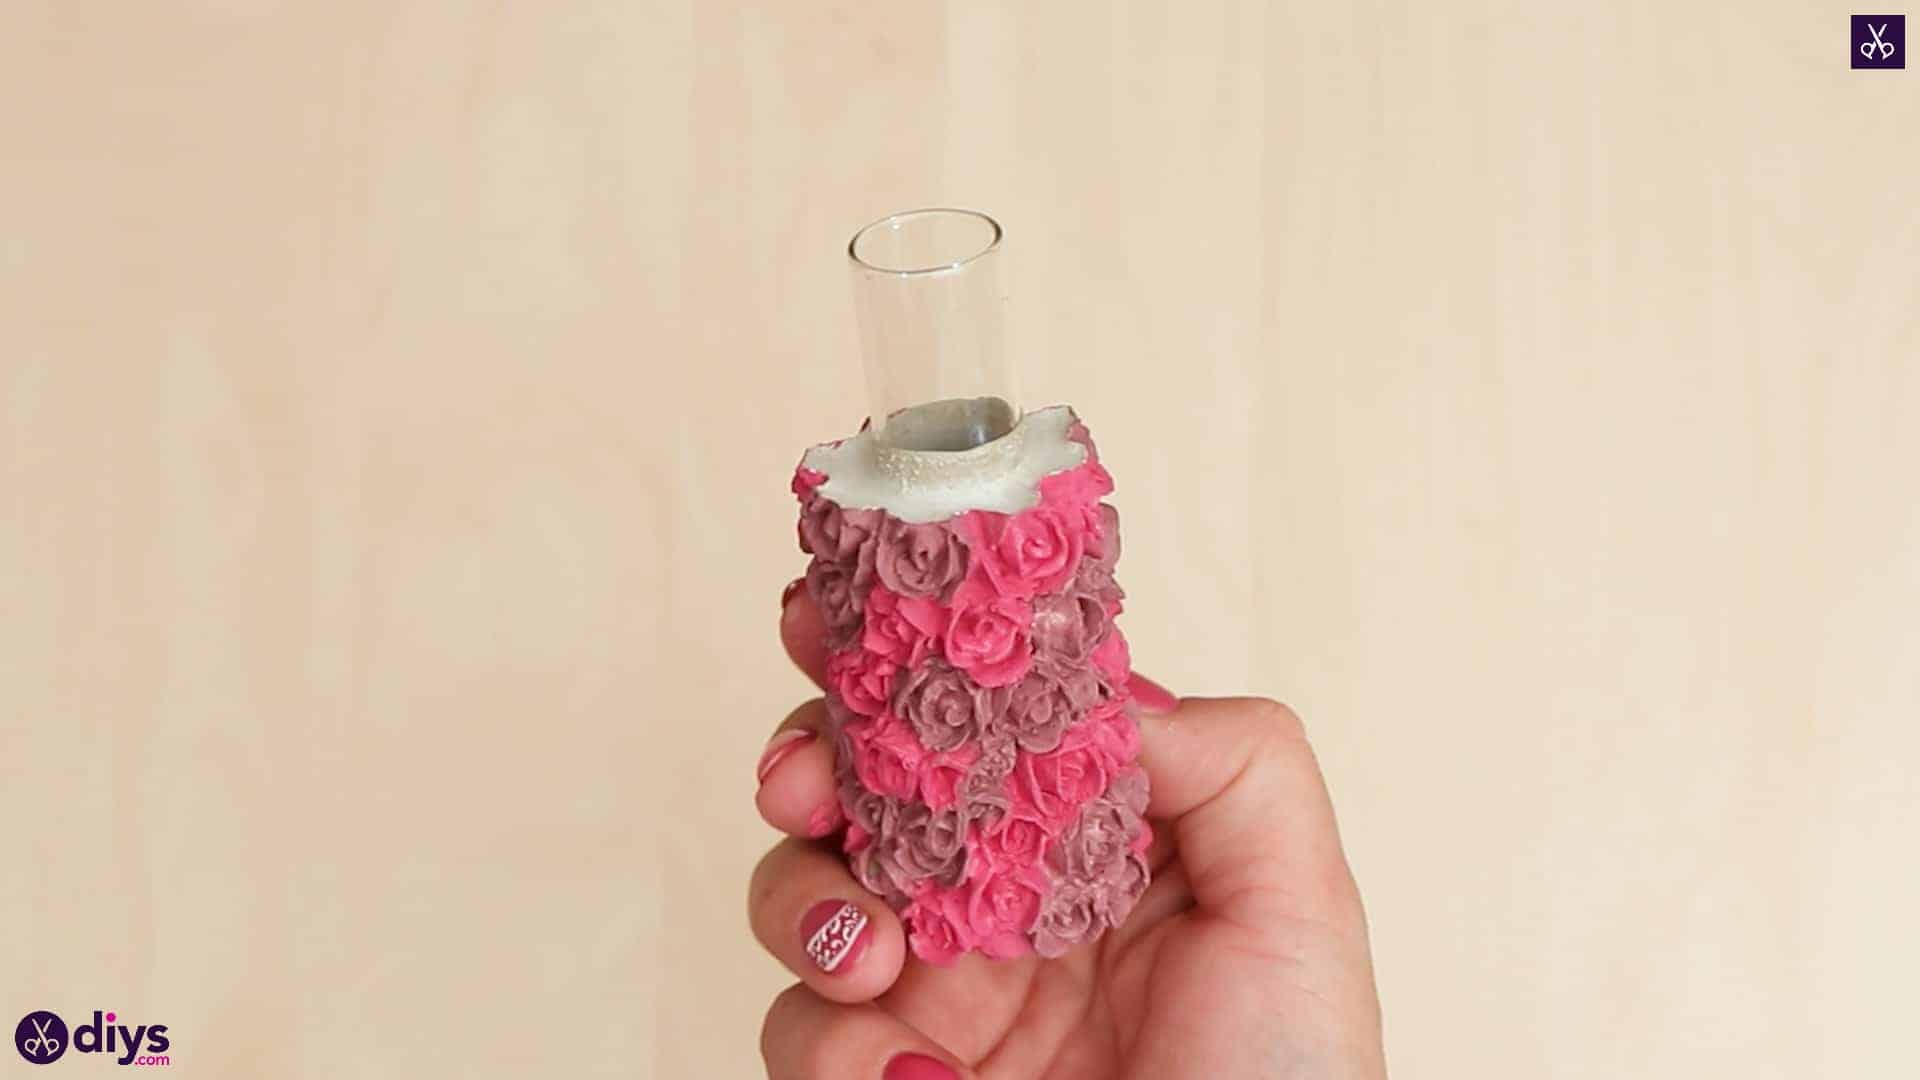
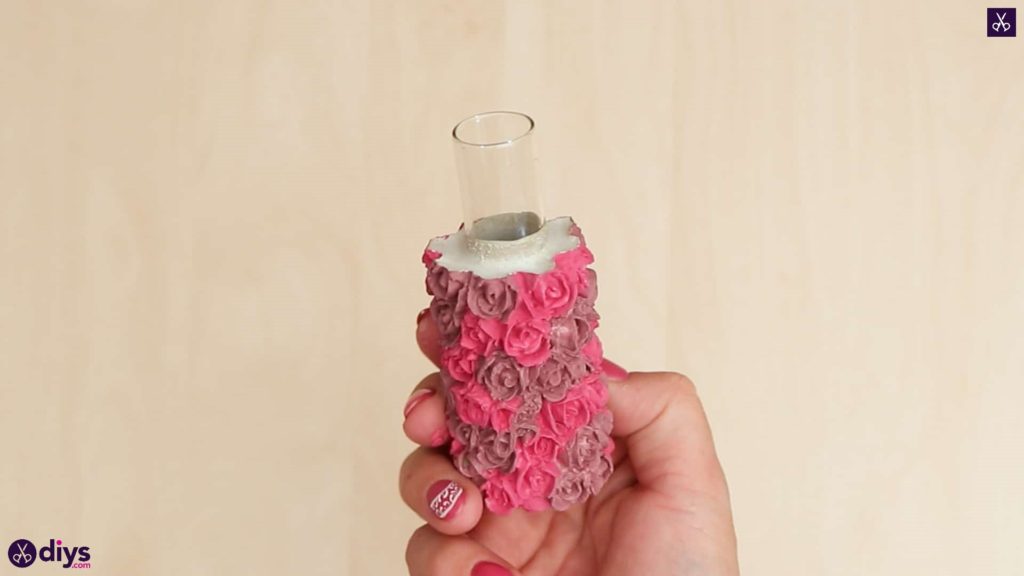
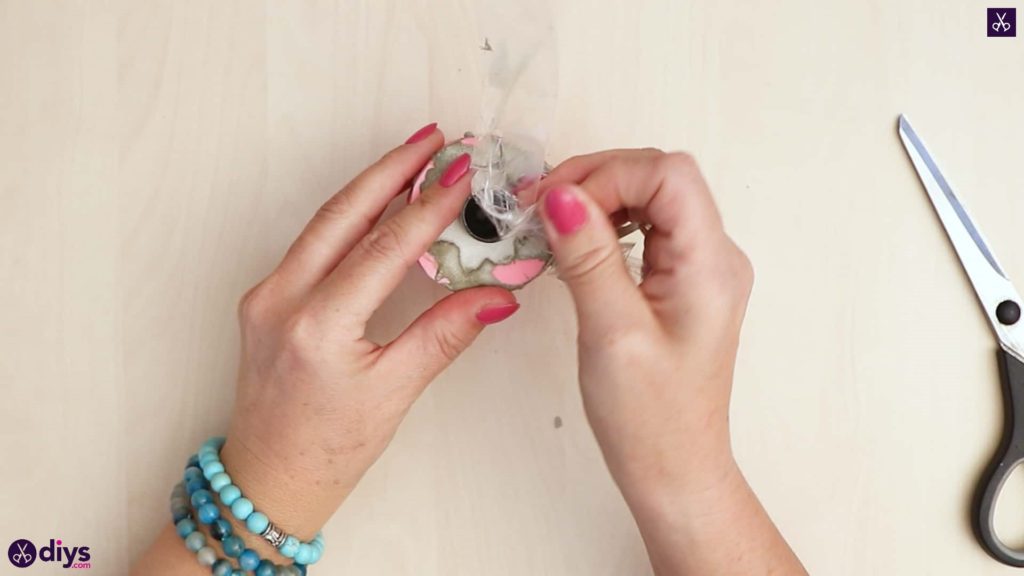
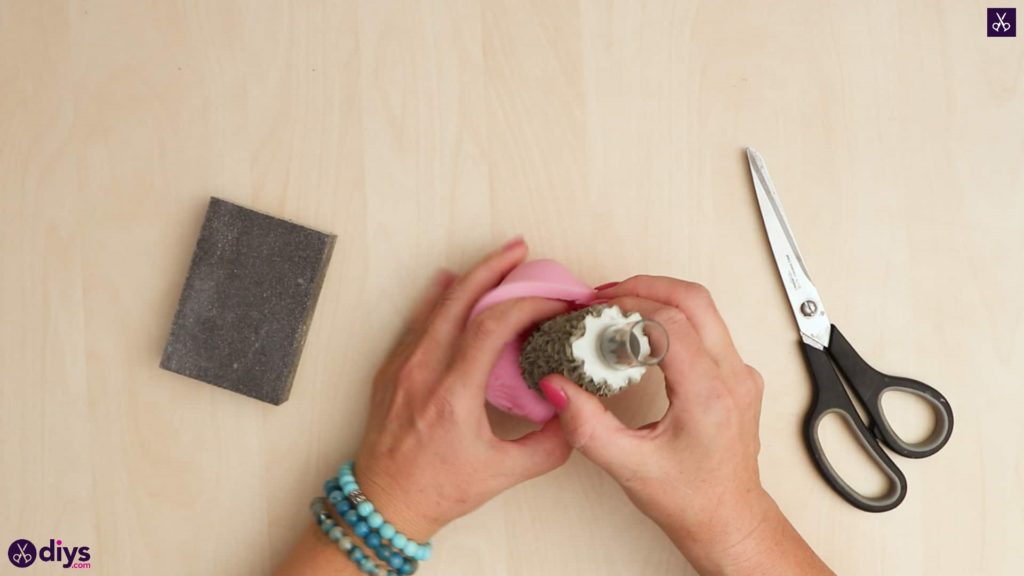
Step 6: remove from mold
Once the concrete has dried all the way through, remove the tape carefully. Then peel the mould back and take the newly formed concrete vase out. If the top edge is bumpy and irregular looking, your your abrasive block to smooth it down (but try not to sand off any of the flowers near the top).
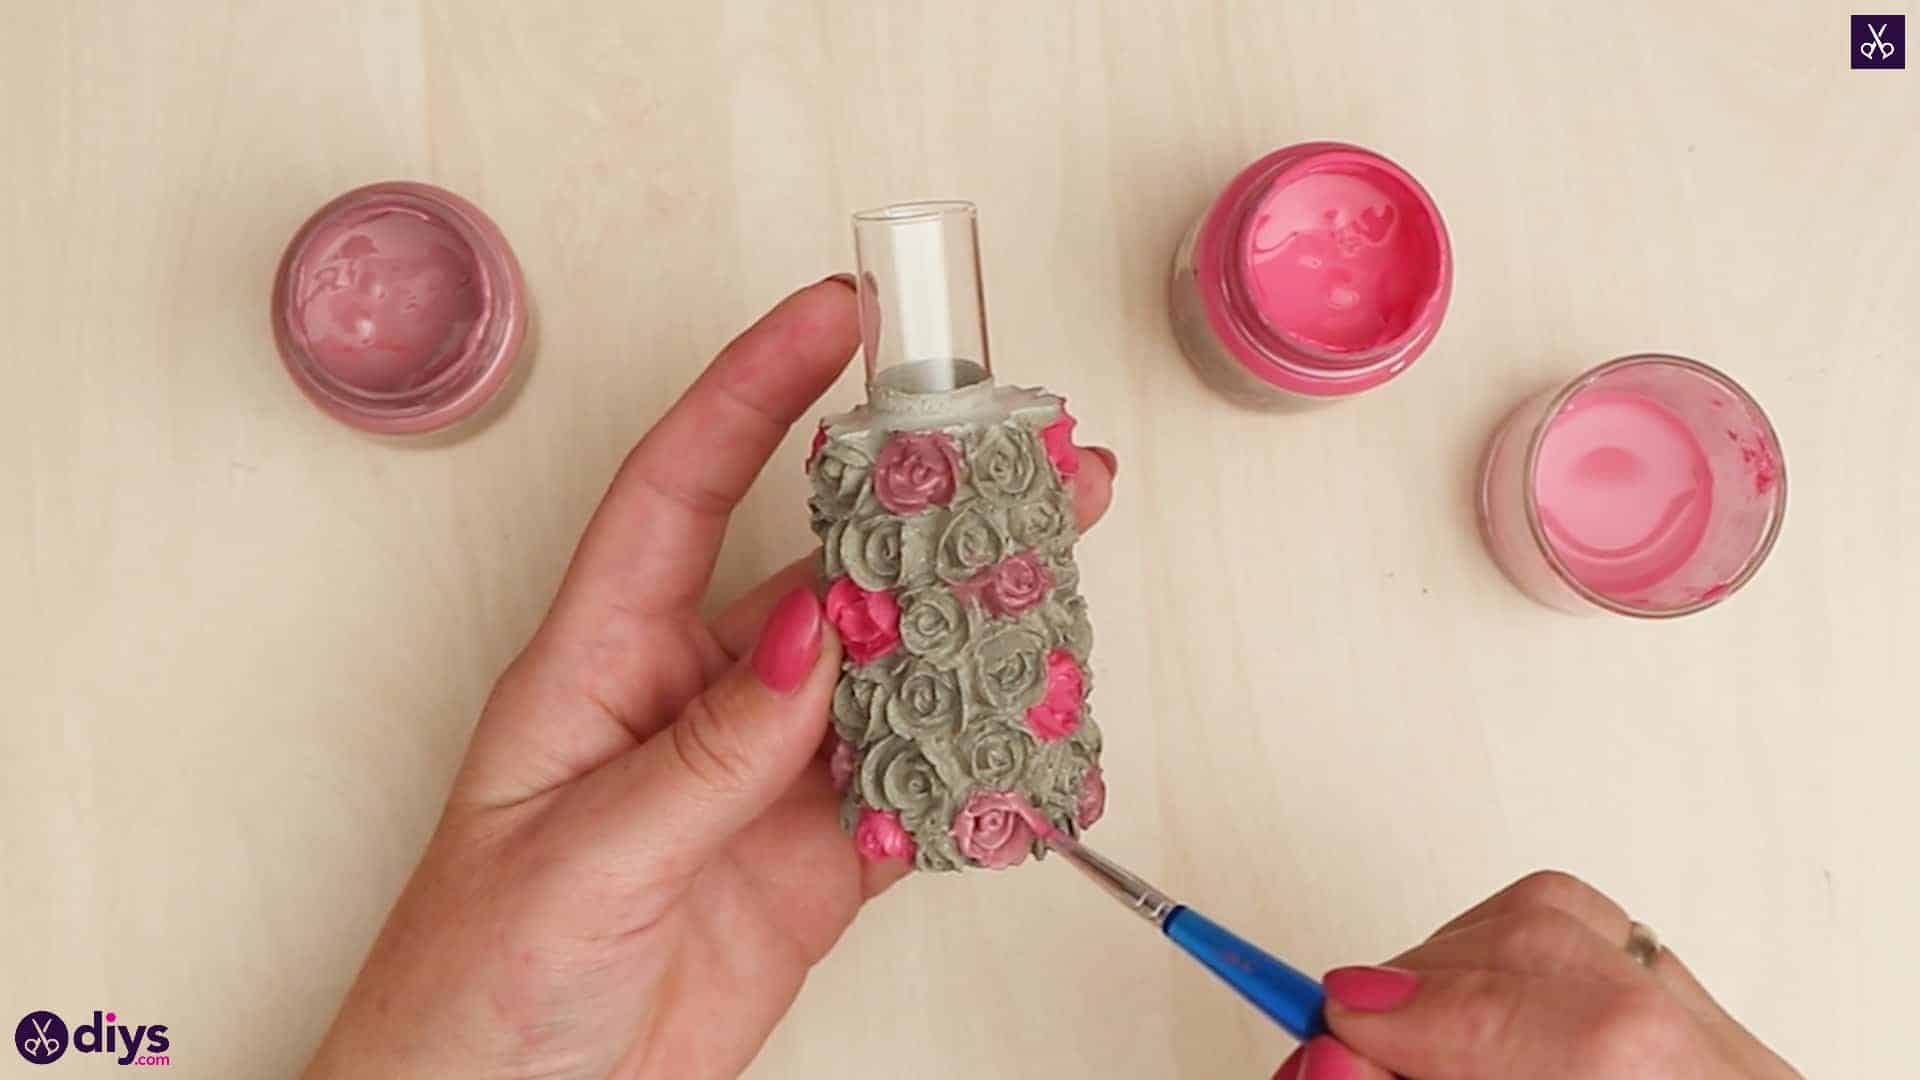
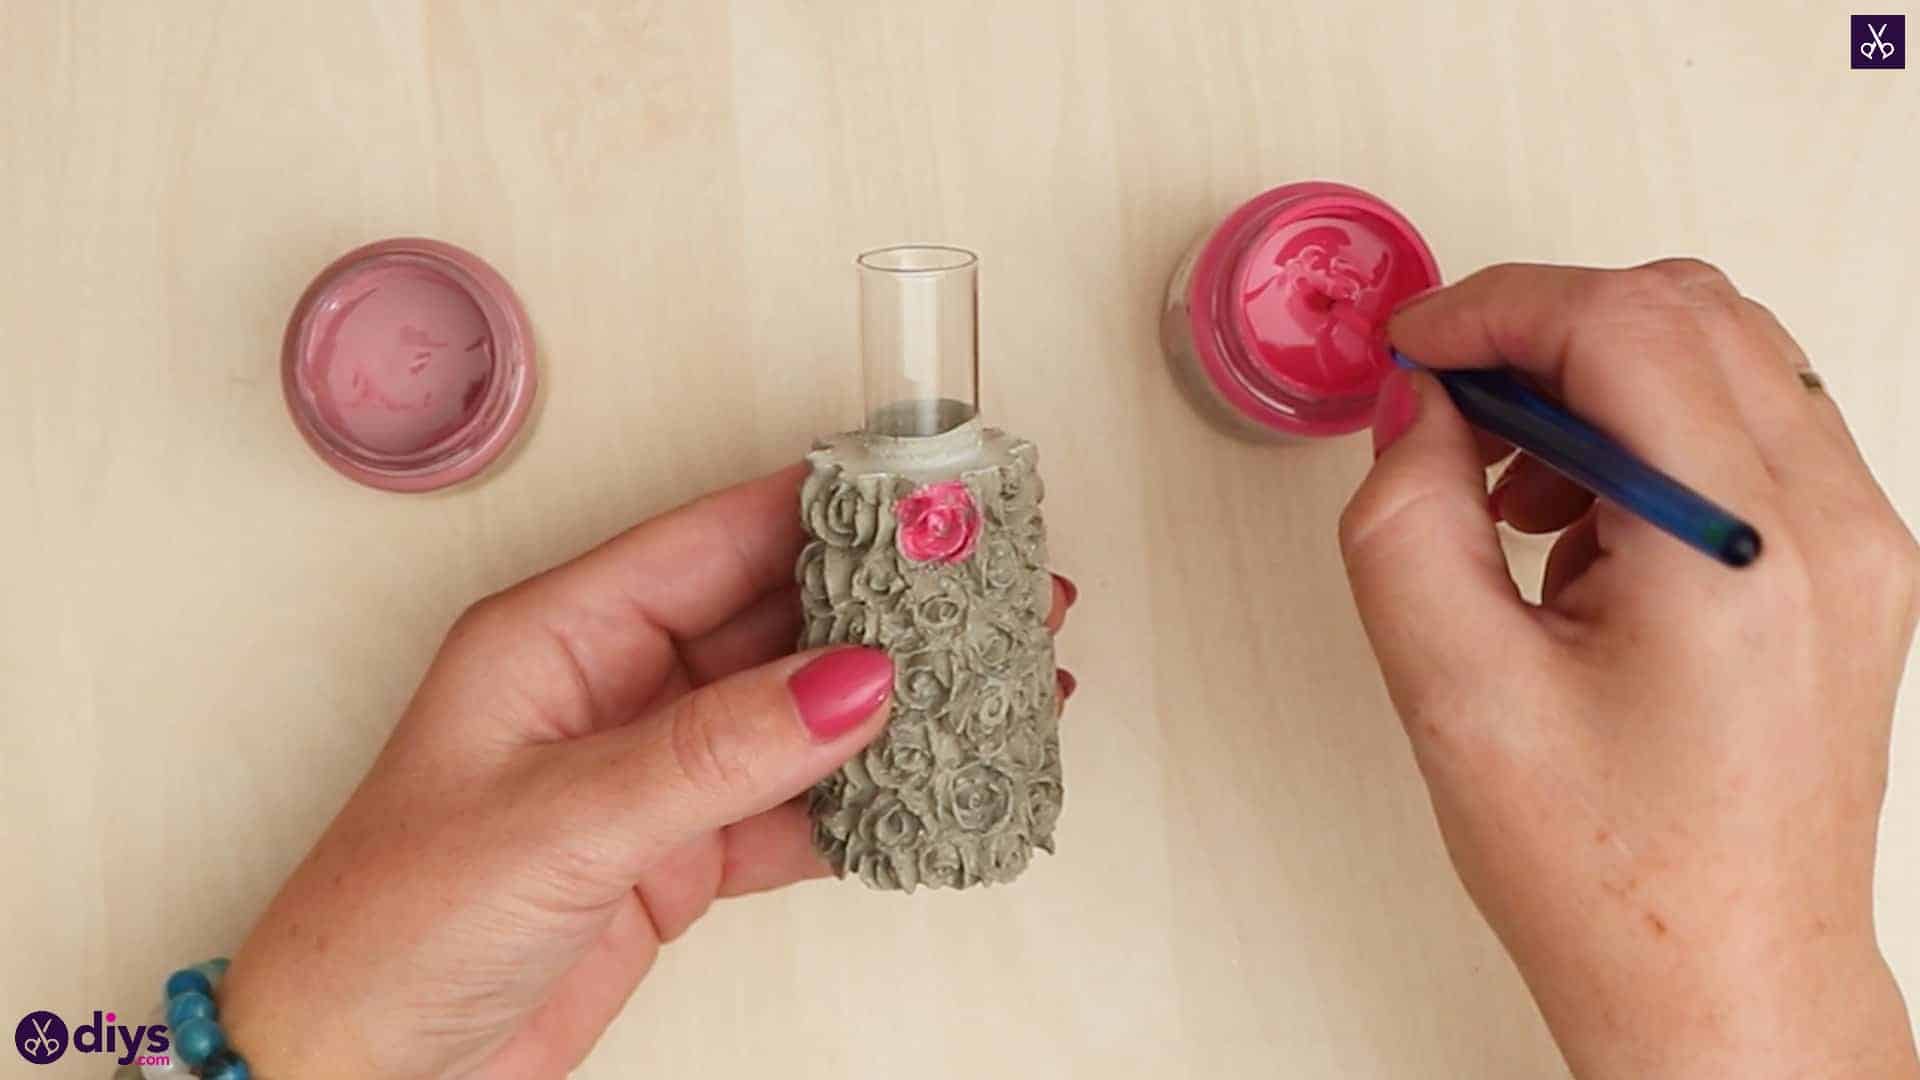
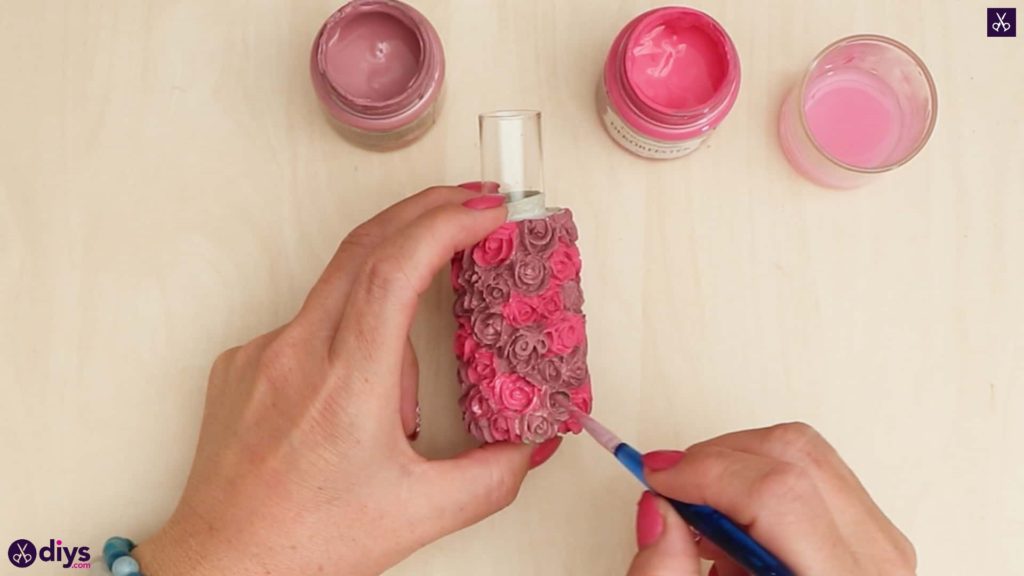
Step 7: paint
Paint your flowers or details! I used different shades of pink to give the flowers all across the outside of the vase some dimension. Set the whole piece aside to dry once more.


That’s all there is to it! Just in case you’d like to try this project out for yourself, here’s a fantastic tutorial video to help you!