How to Make DIY Candle Art for Valentine’s Day in 7 Easy Steps
Updated on February 14, 2023


Making candle art is a wonderful way to breathe life into an ordinary candle and personalize it to your tastes. Read on to discover how to easily create candle art at home in seven easy steps for Valentine’s Day.

DIY candle art is a unique candle decorated with various elements that make it stand out. It provides a unique way to add creative flair to any room or space and can be used both indoors and outdoors for beautiful displays. Additionally, decorating a candle is a fantastic way to put crafting materials to good use, such as sequins, rhinestones, buttons, or ribbons. However, the candle stops being functional since the decorative elements are at risk of becoming a fire hazard.
Embellishing a candle is a relaxing activity for adults and children old enough to safely handle scissors and a hot glue gun. This guide describes the supplies and step-by-step instructions for making DIY candle art. It comes with images, a video guide, and additional tips and tricks. The project shouldn’t take more than 30 minutes.
Supplies
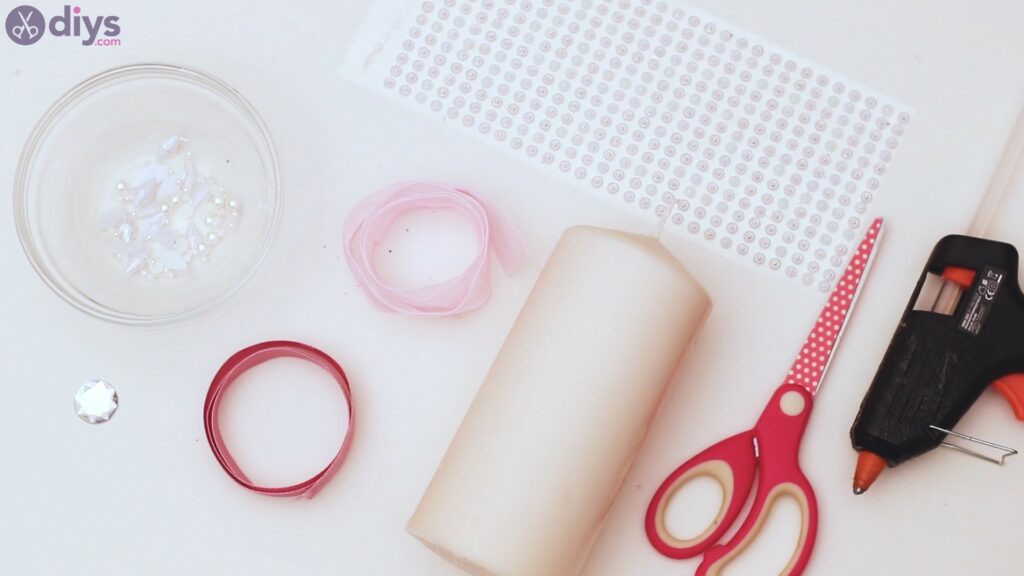
- Large, plain candle
- Rhinestones of various shapes and sizes. We used large (1), medium diamond-shaped (16), medium pearl-shaped (16), and tiny pearl-shaped (11).
- Sheer ribbon
- Silk ribbon
- Hot glue gun with glue
How do I make candle art?
Follow these step-by-step instructions to create candle art:
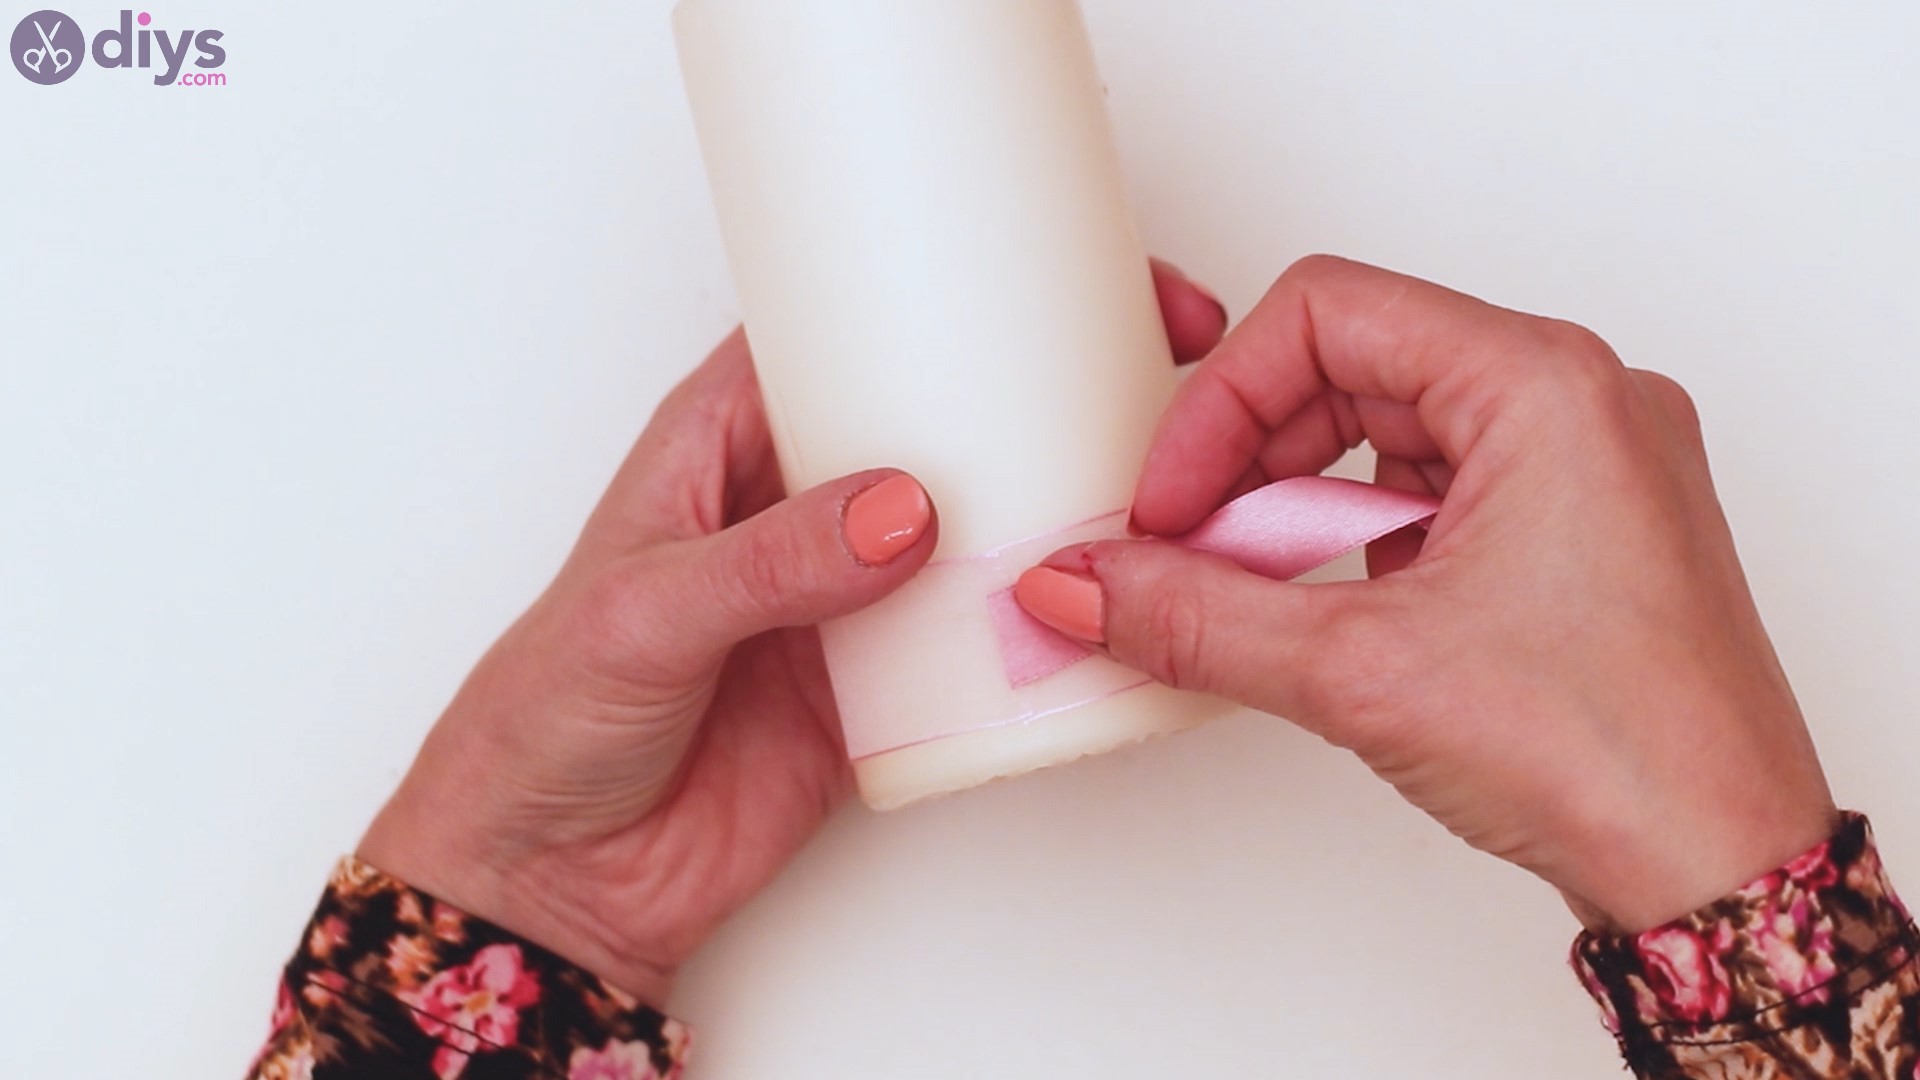
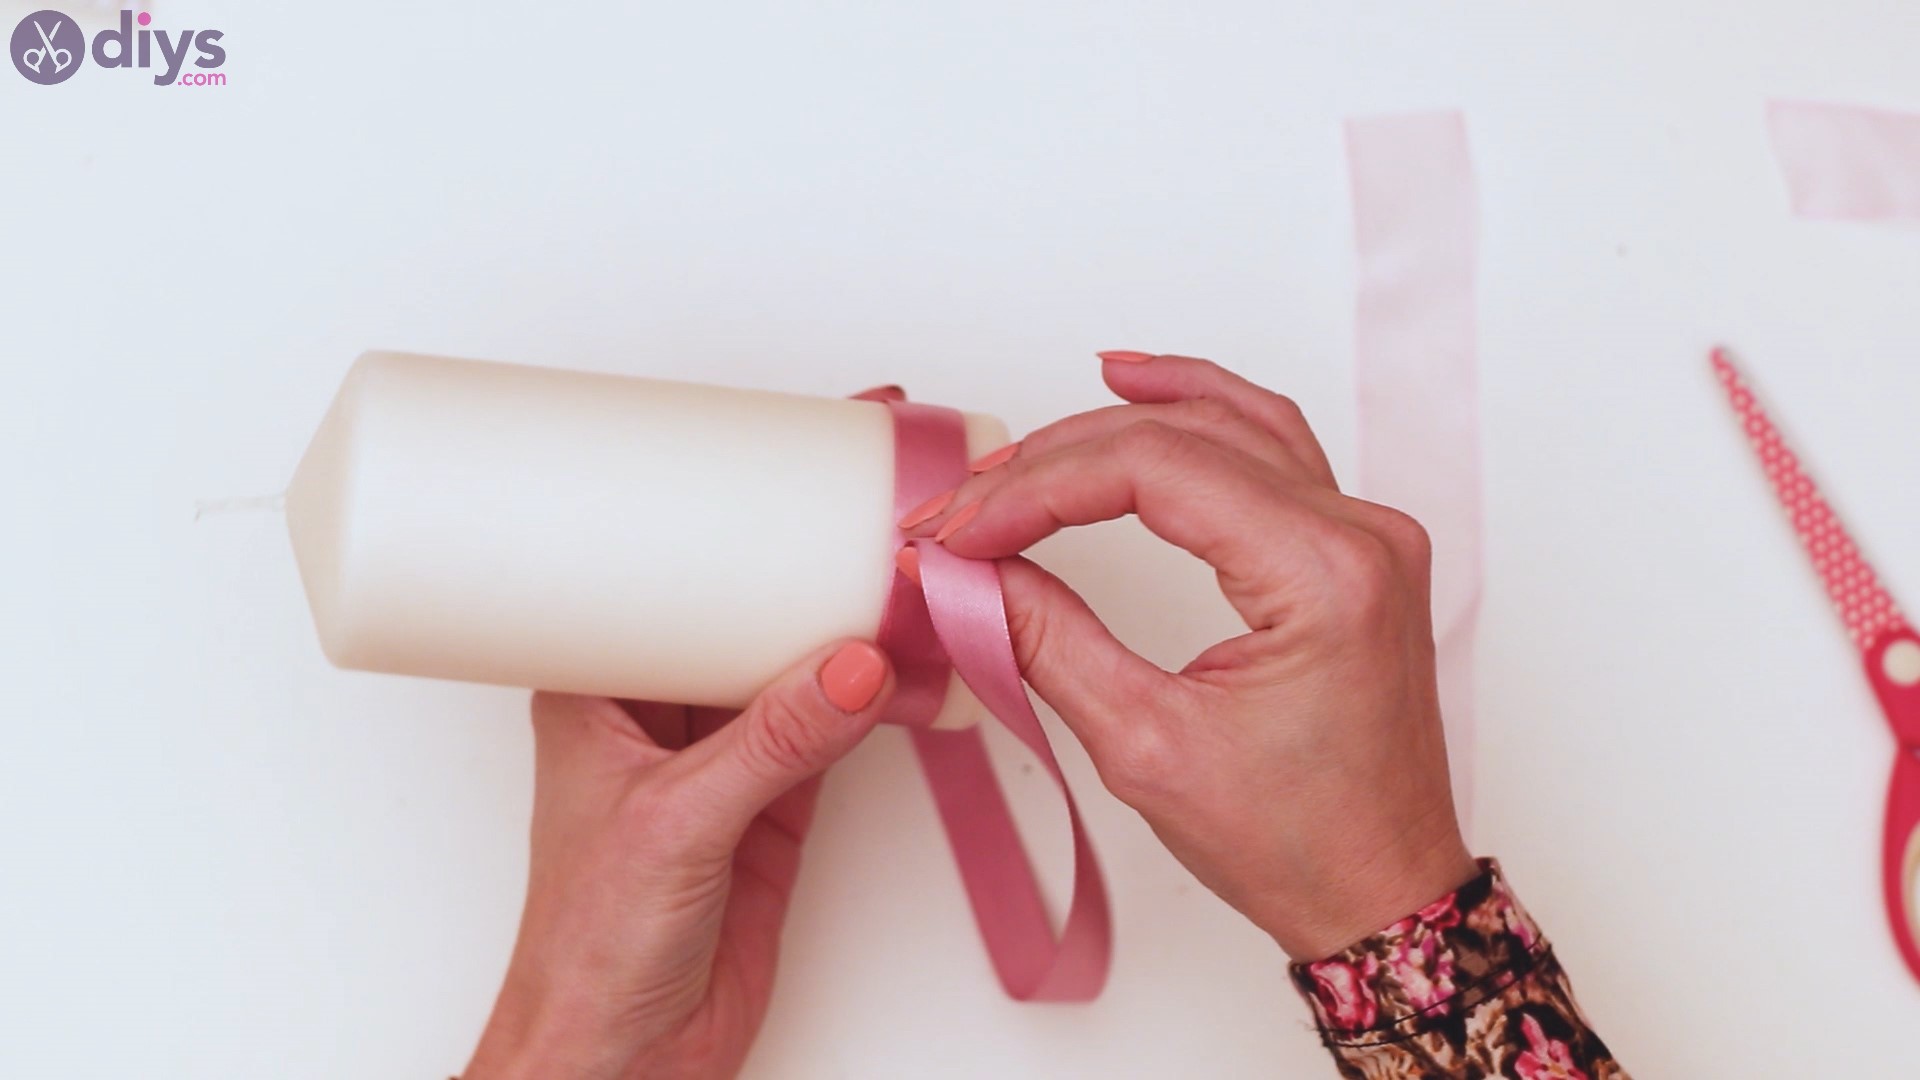
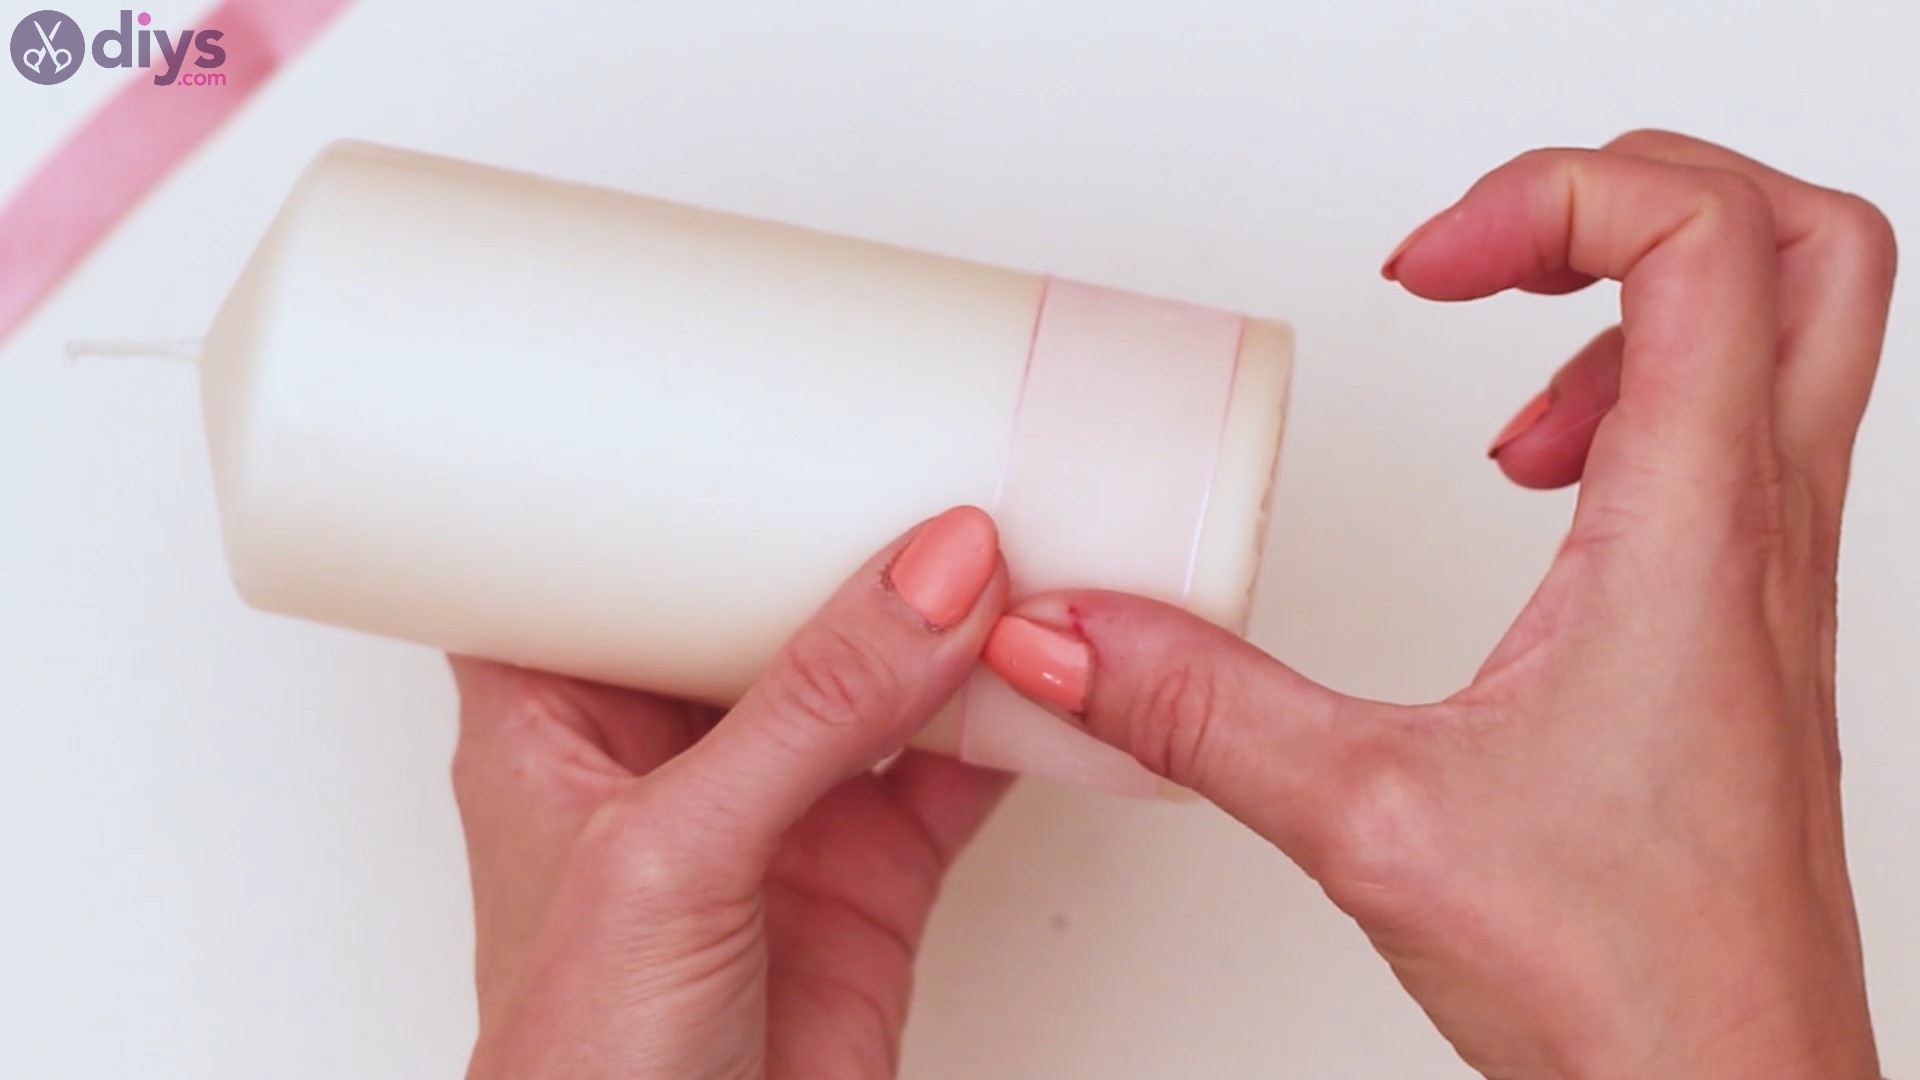
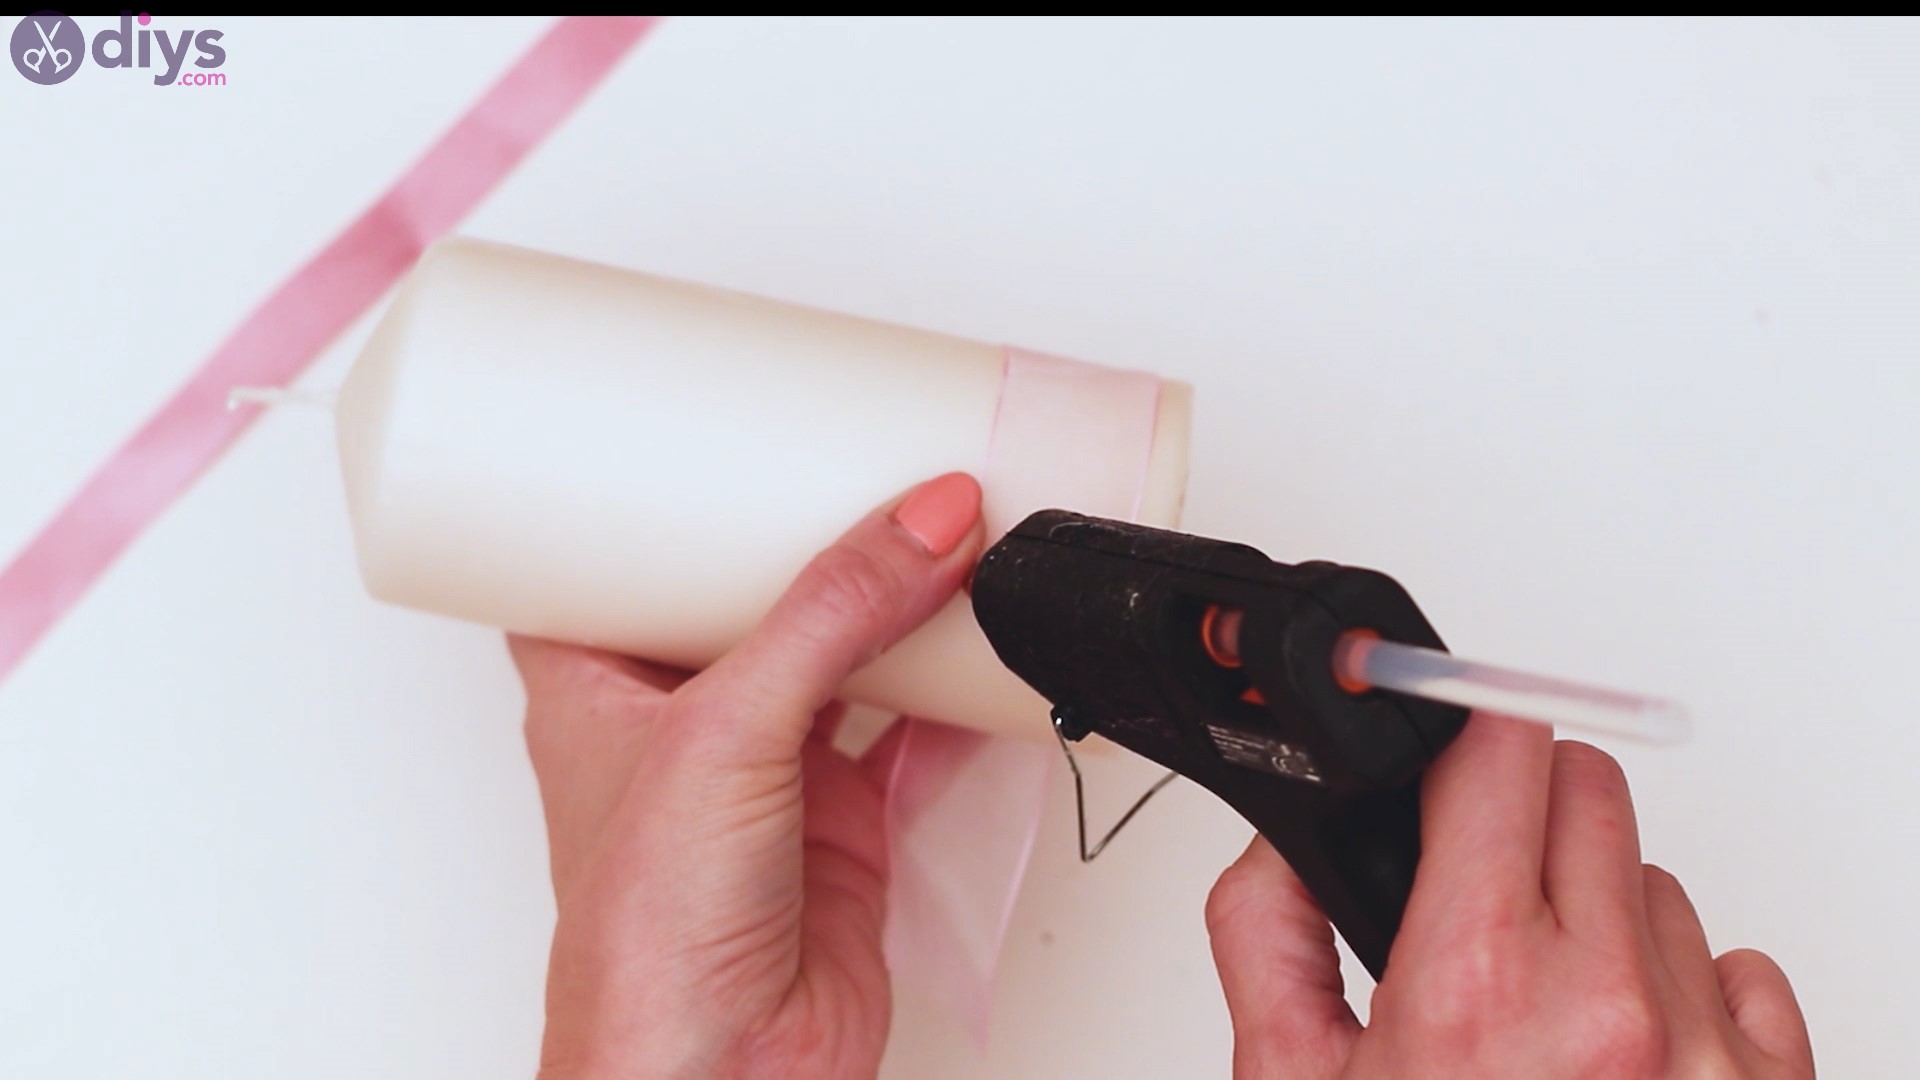
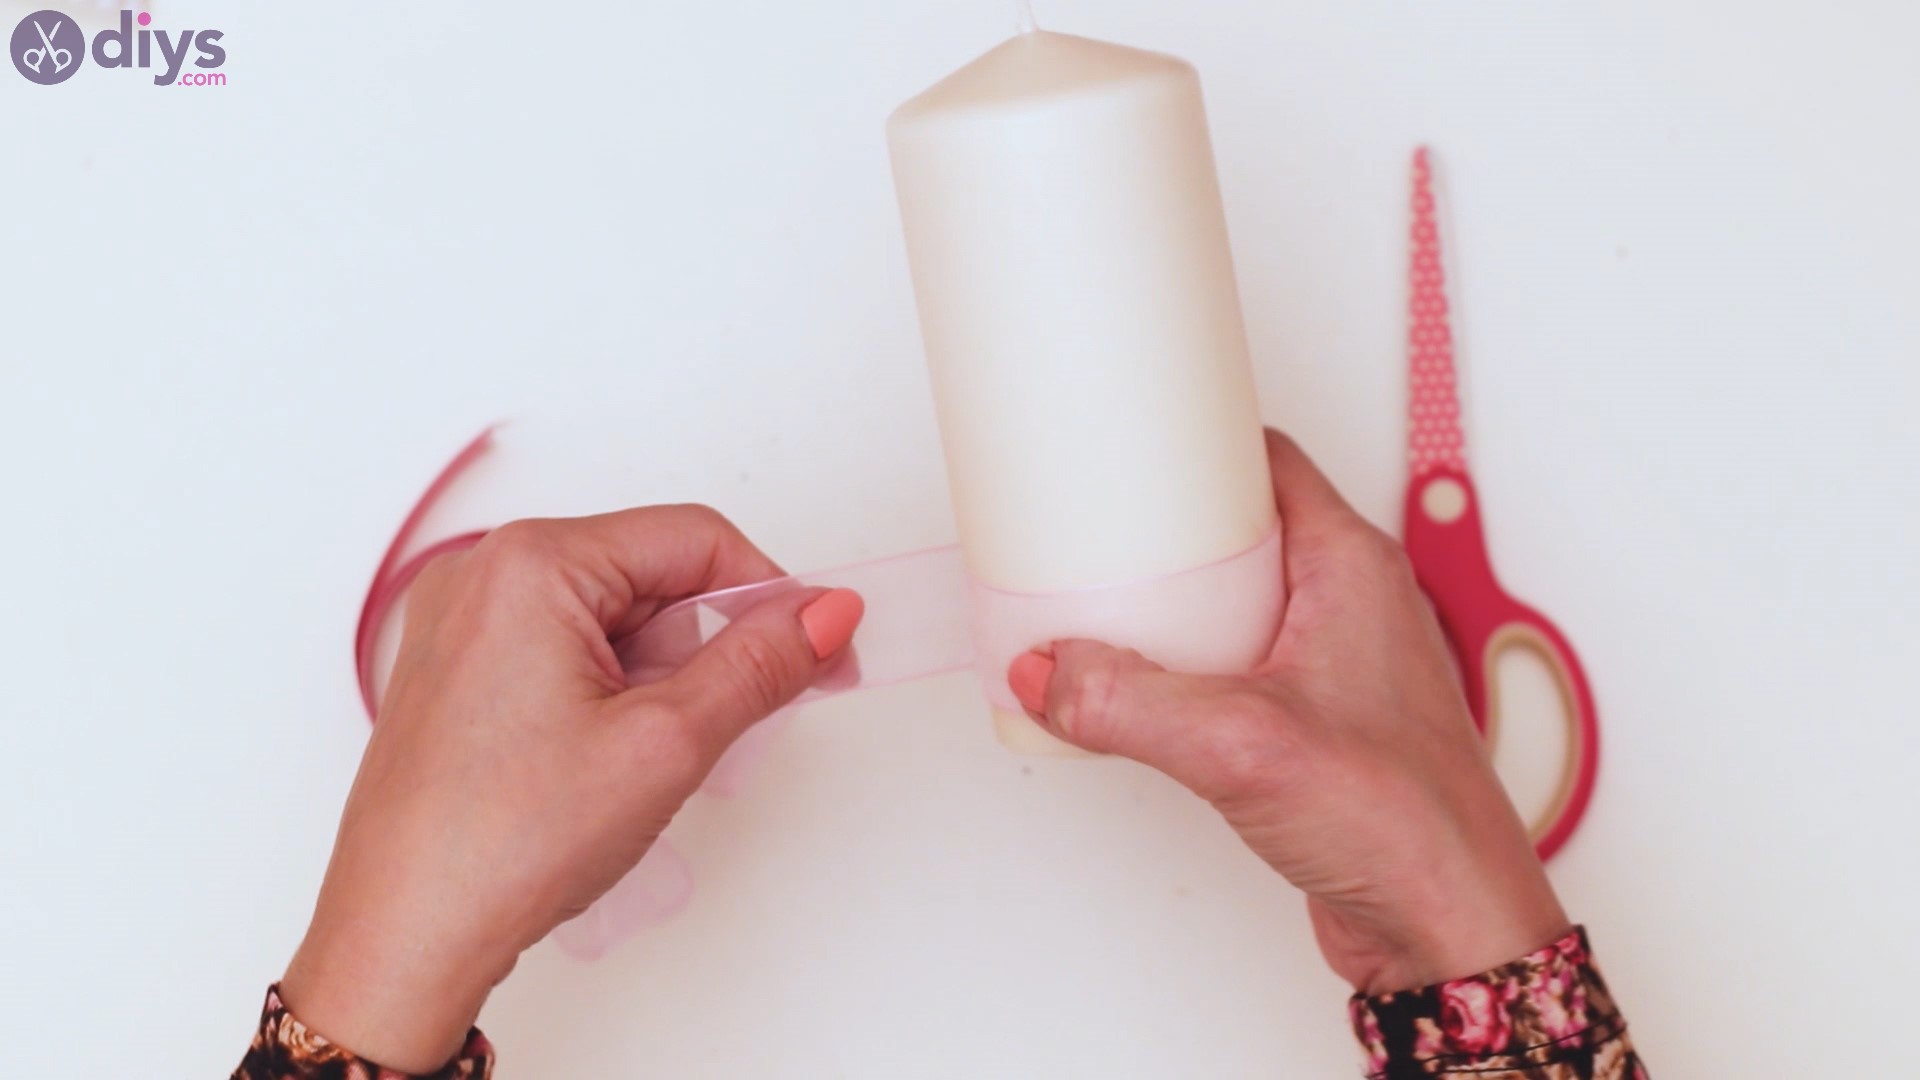
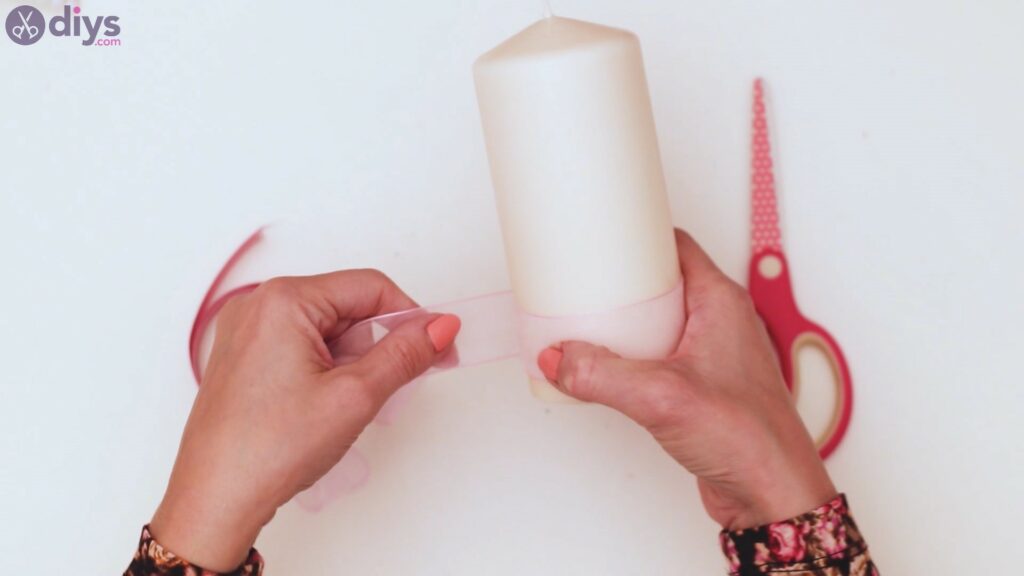
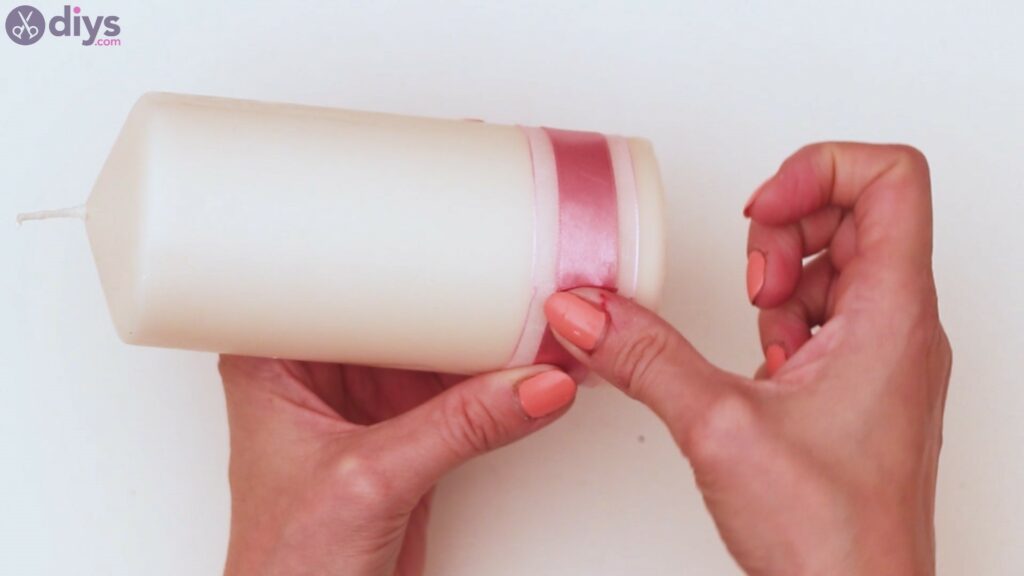
- Wrap the first ribbon: Start by wrapping the sheer ribbon around the base of the candle. Cut the excess ribbon, apply glue to the back, and press it firmly against the candle.

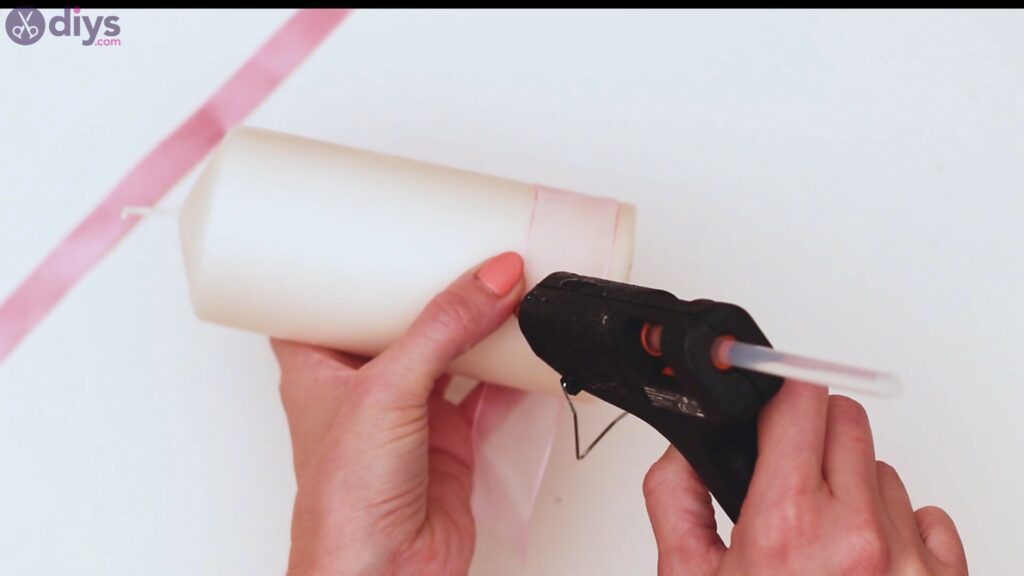
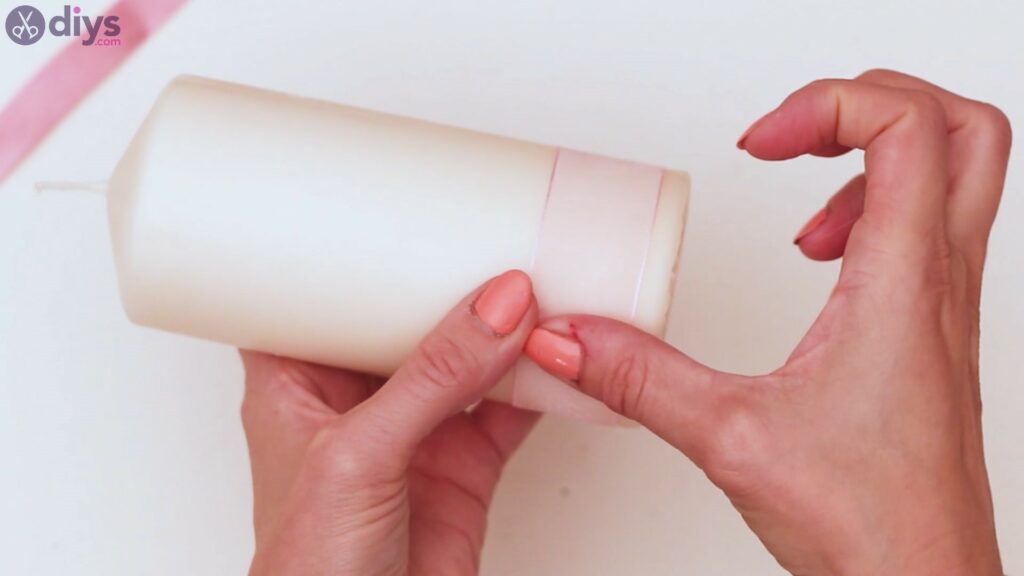
- Wrap the second ribbon: Continue by wrapping the silk ribbon in the same way as before, overlapping the sheer ribbon.
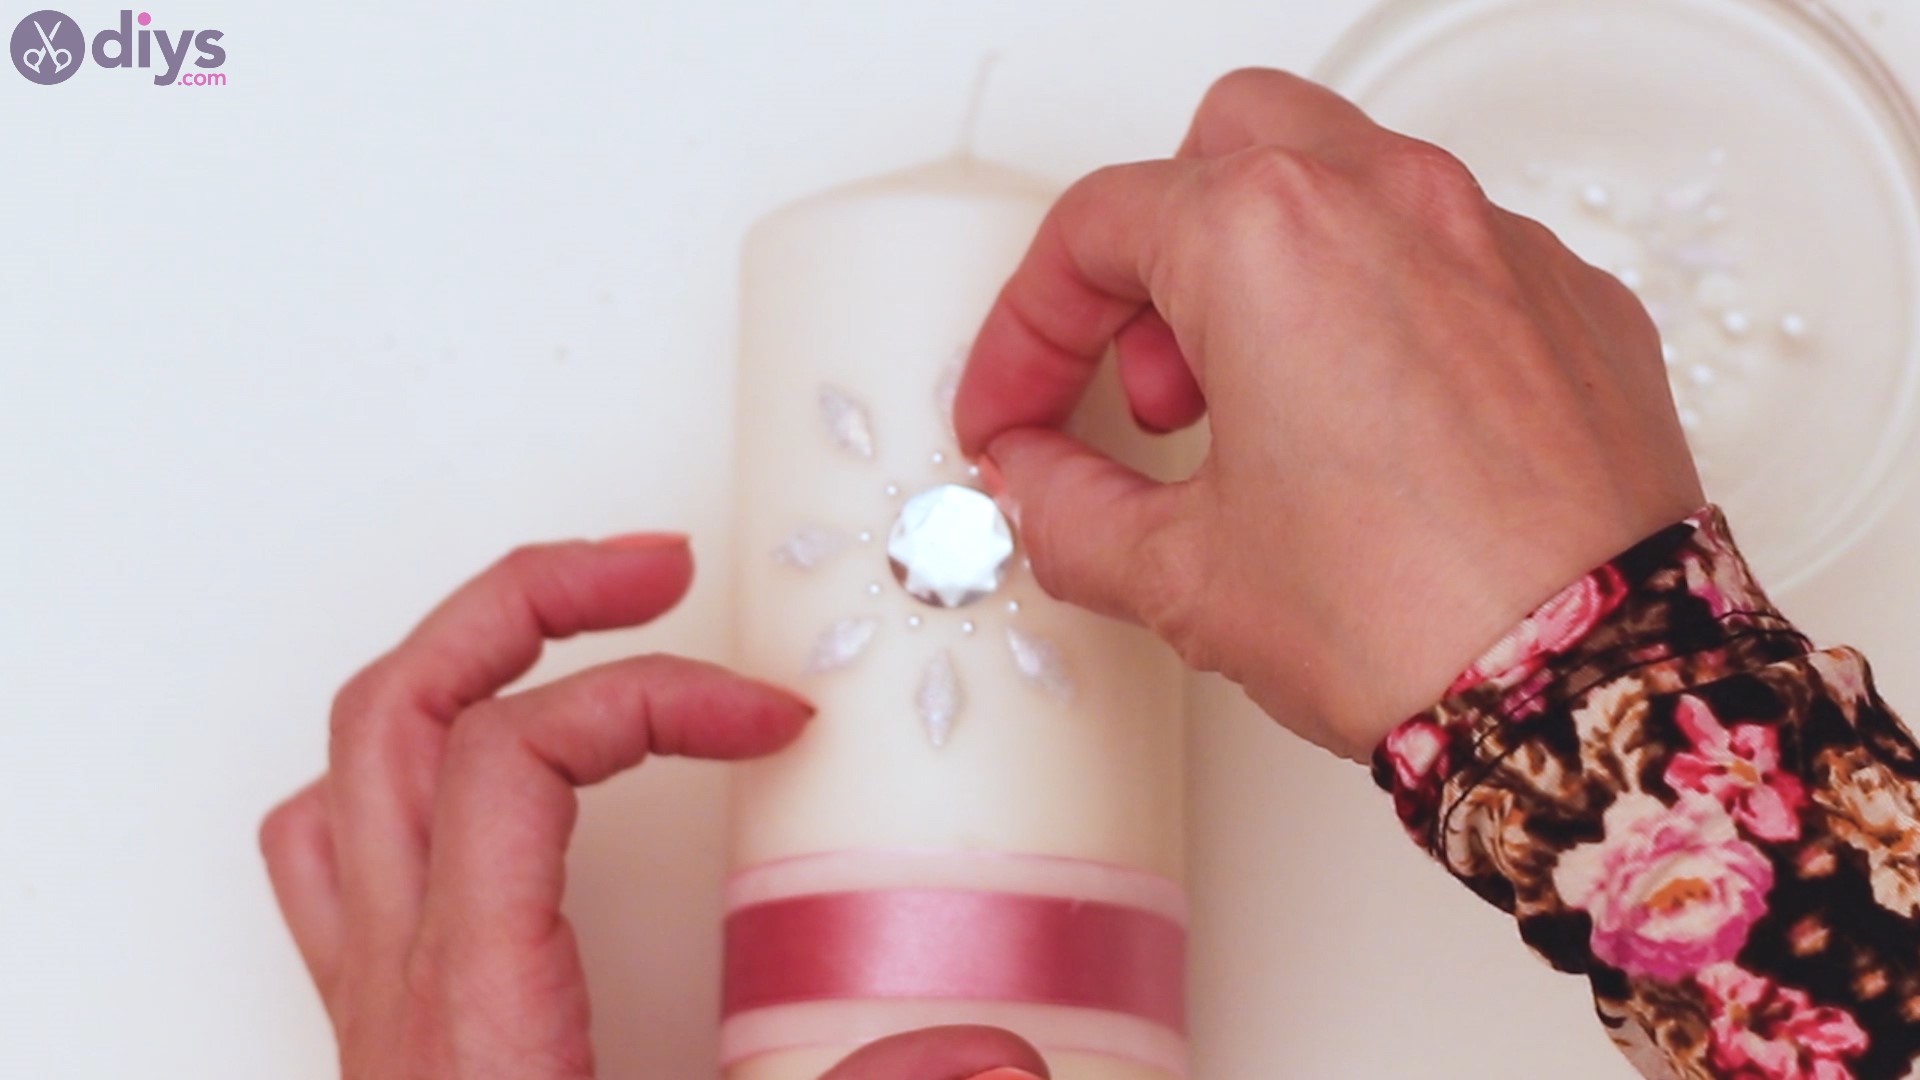
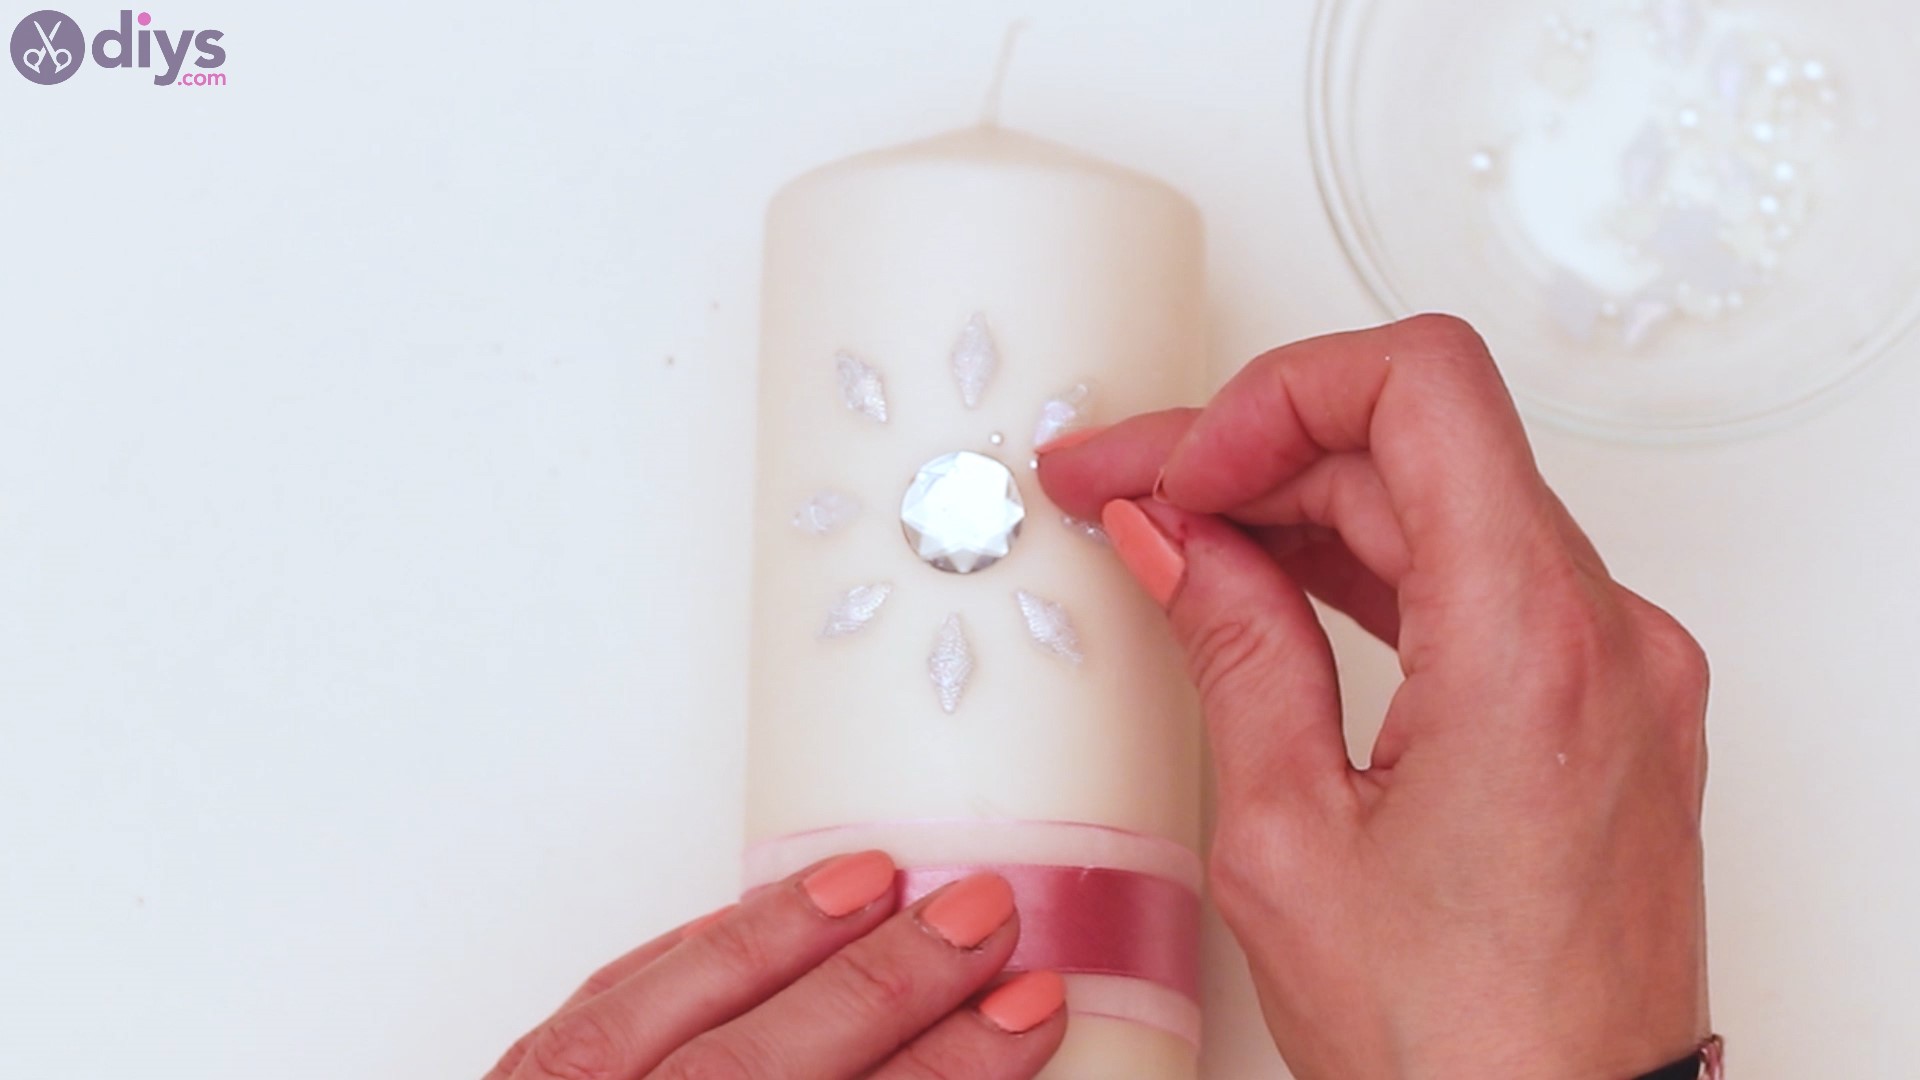
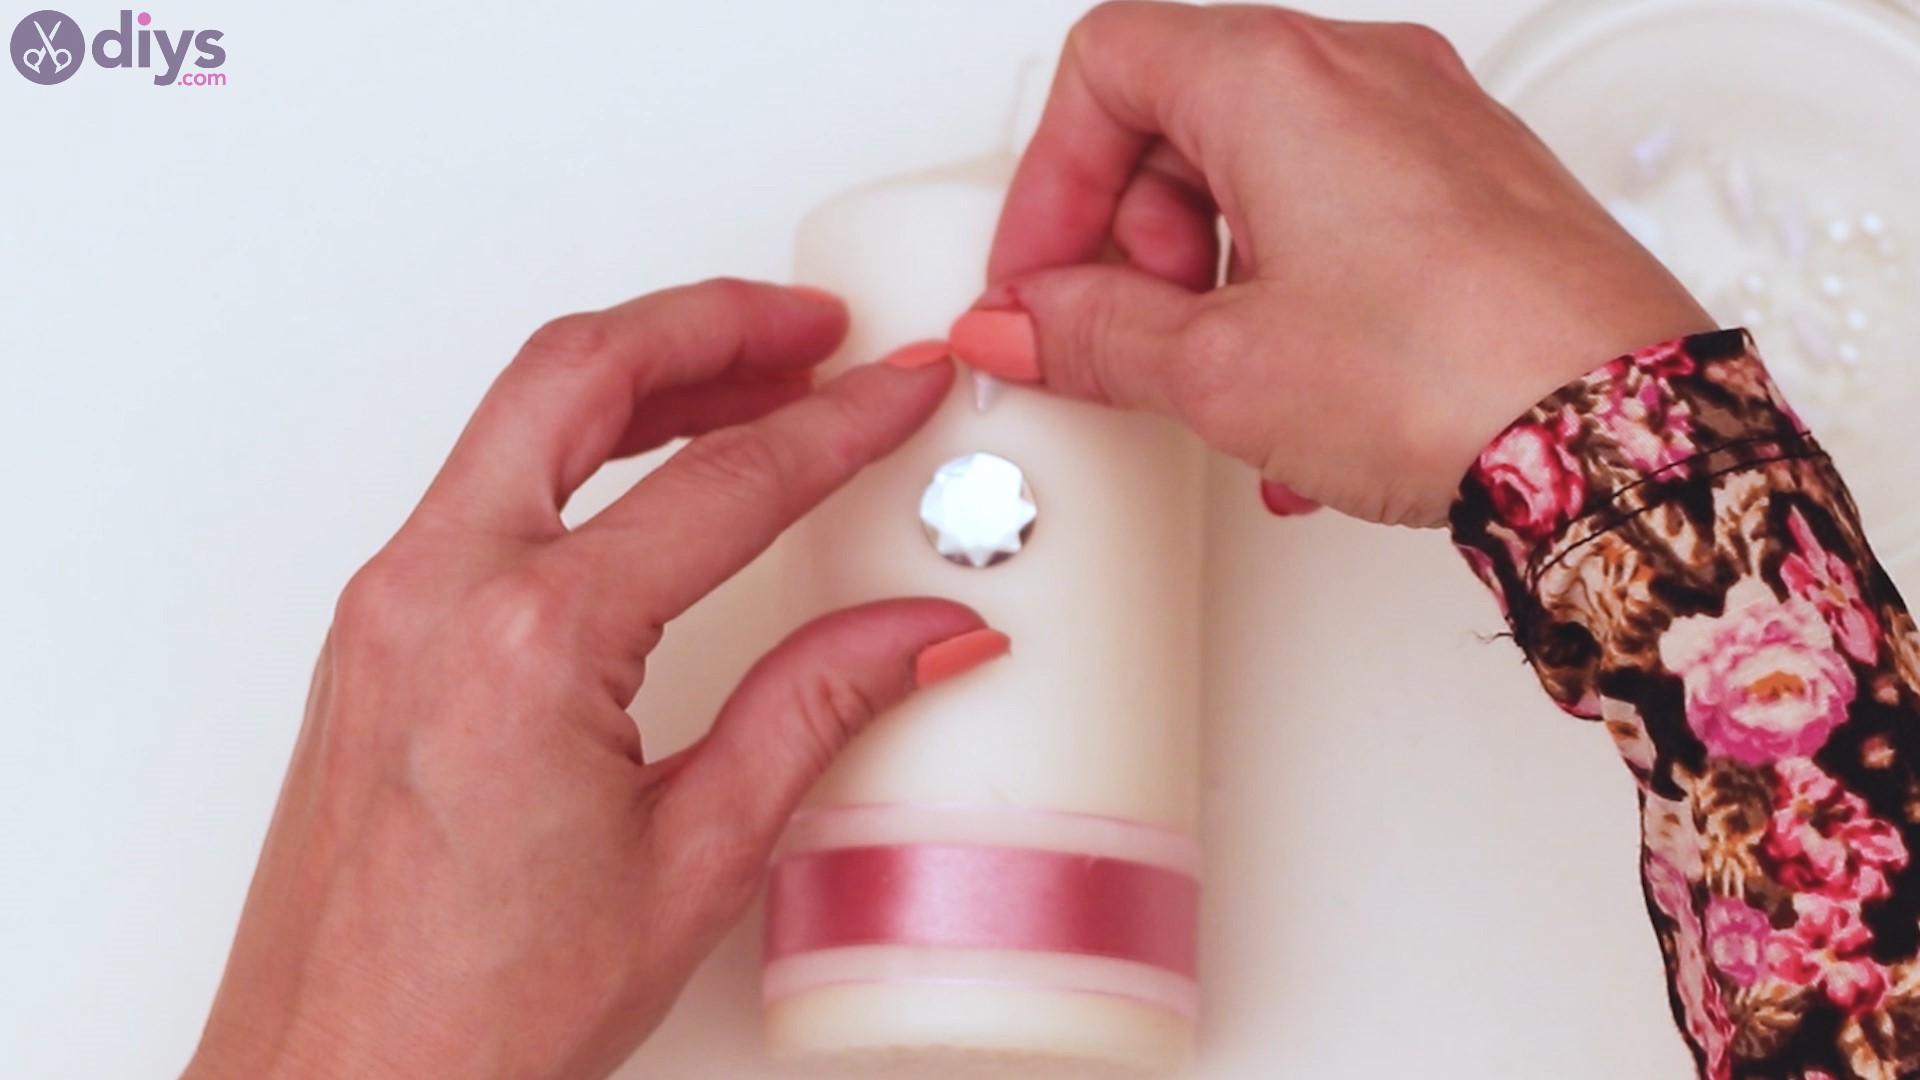
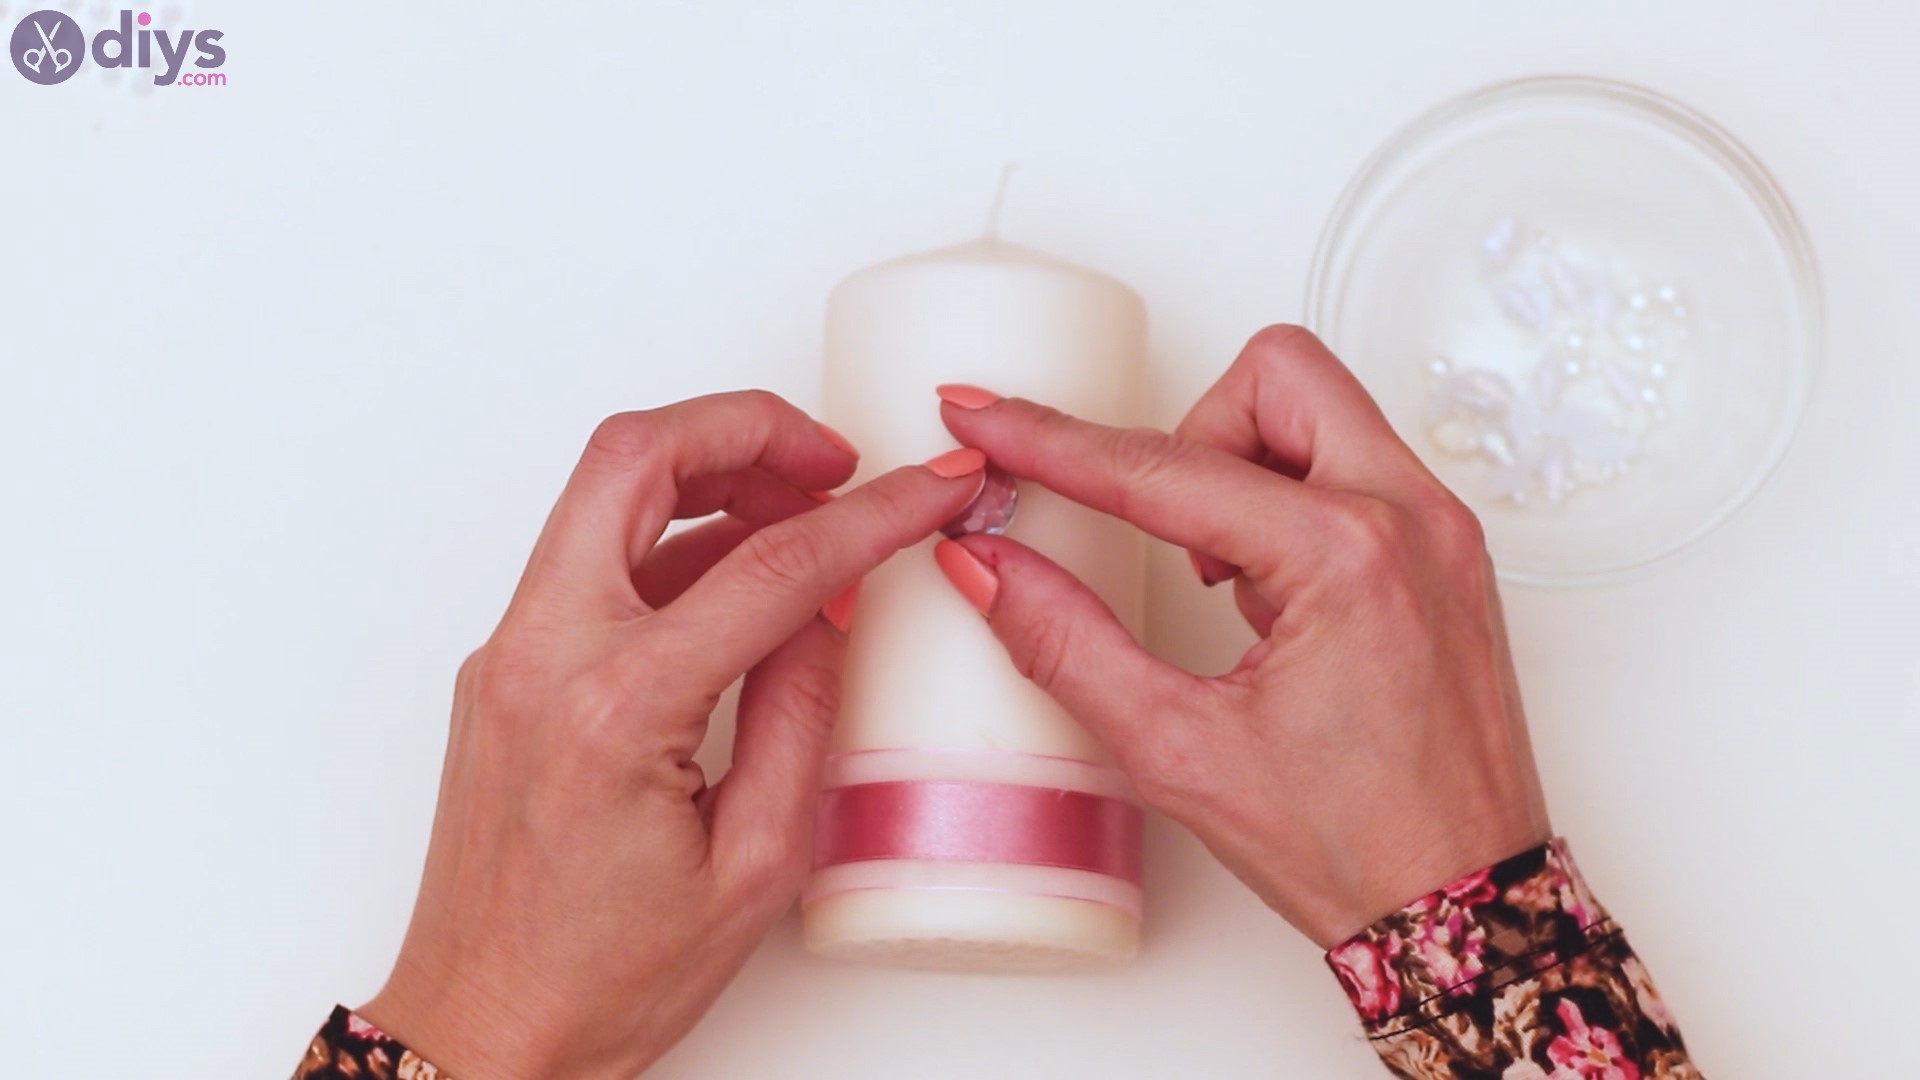
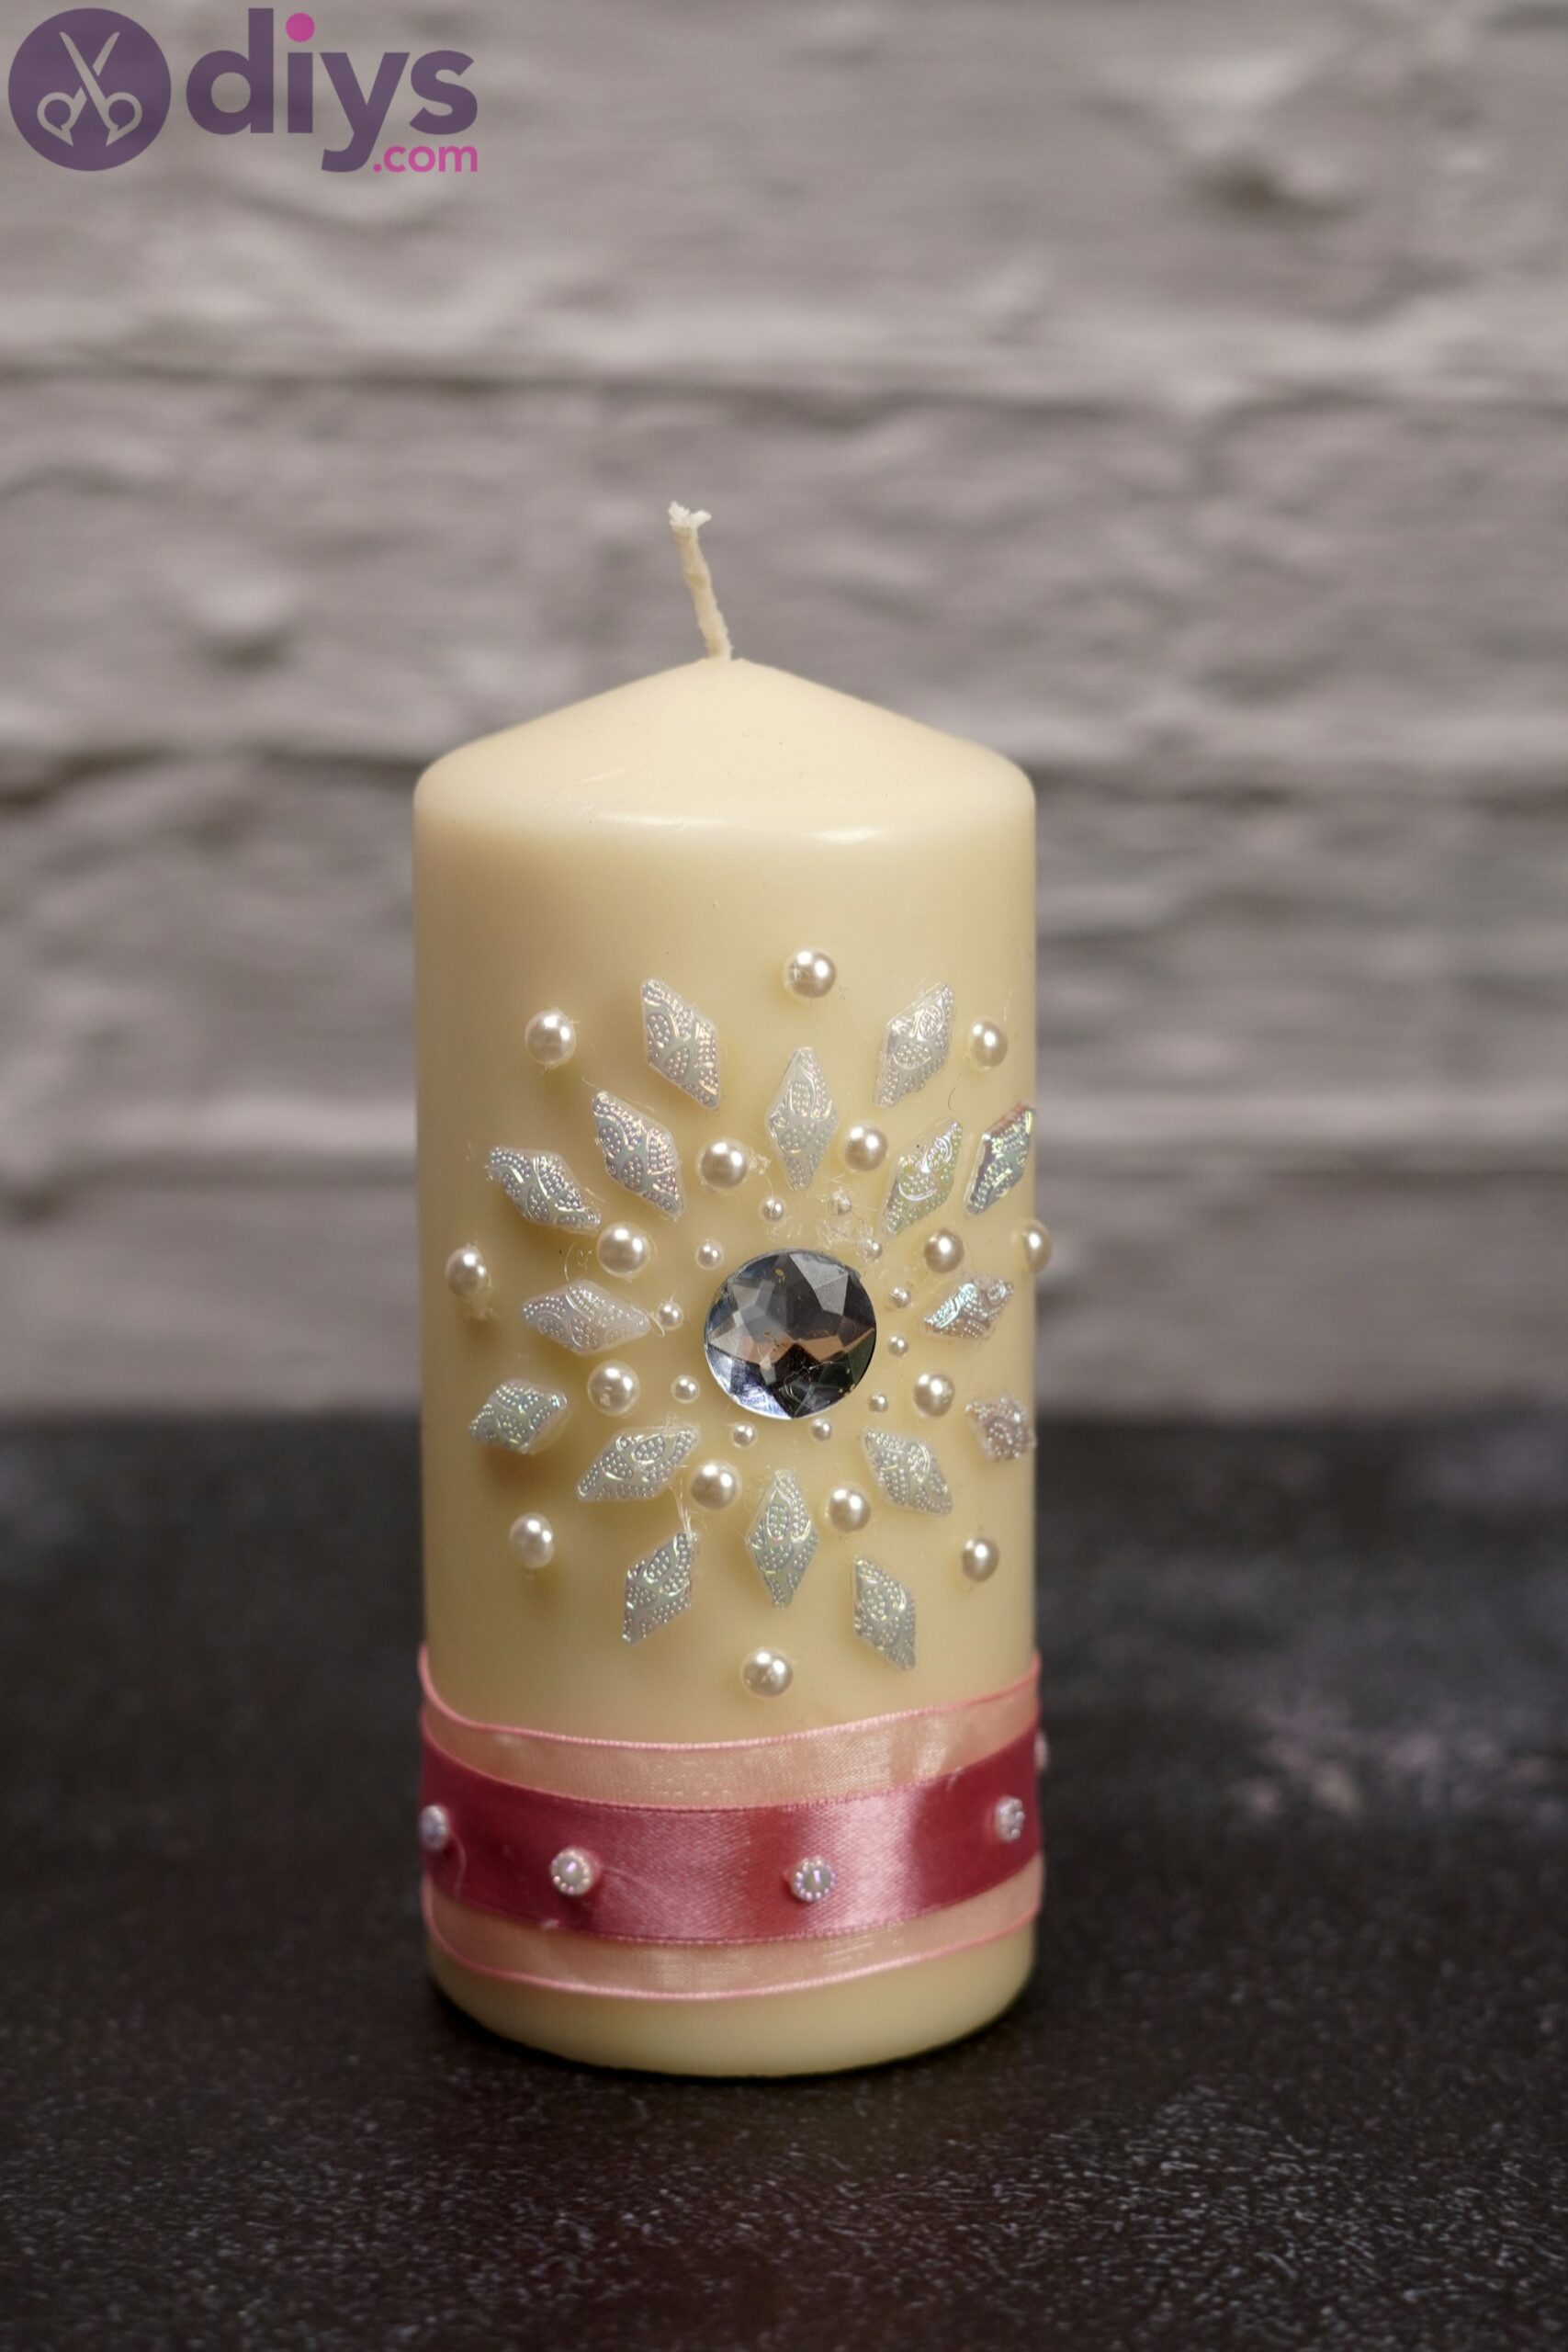
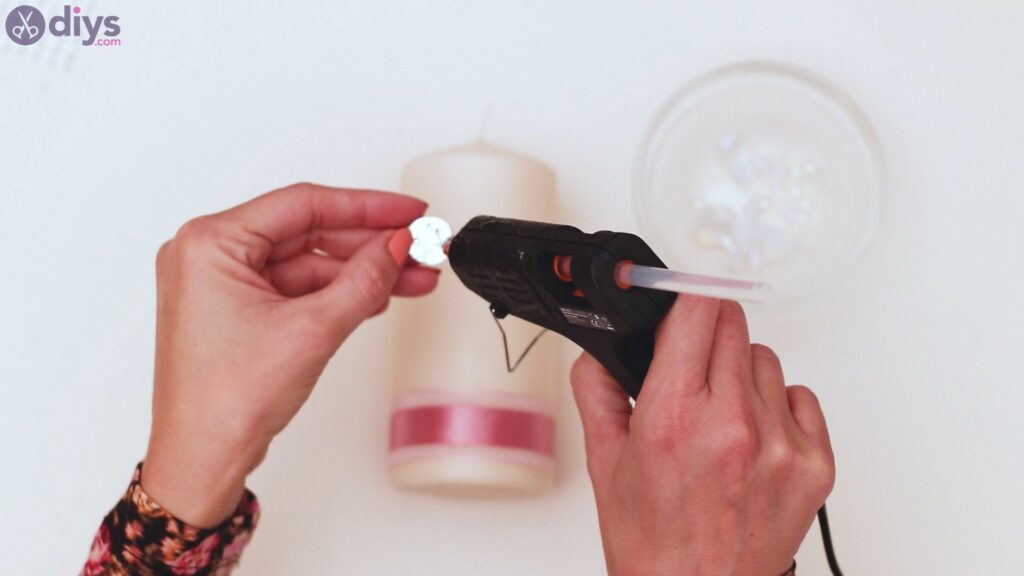
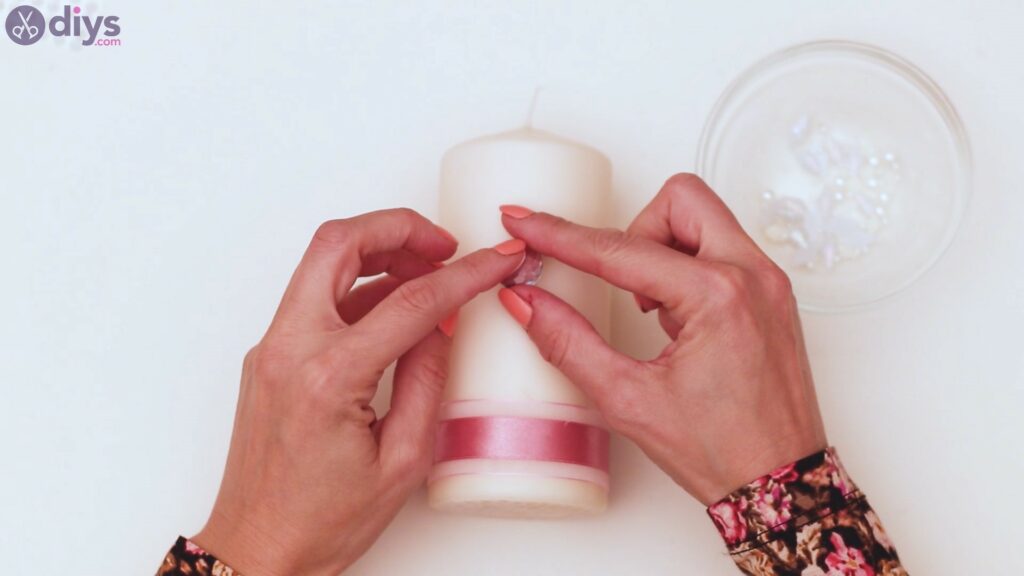
- Attach the large rhinestone: Add hot glue to the back of the large rhinestone and place it in the middle of the candle, leaving plenty of space between the large rhinestone and the wrapped ribbon to clear the area for the other gems.
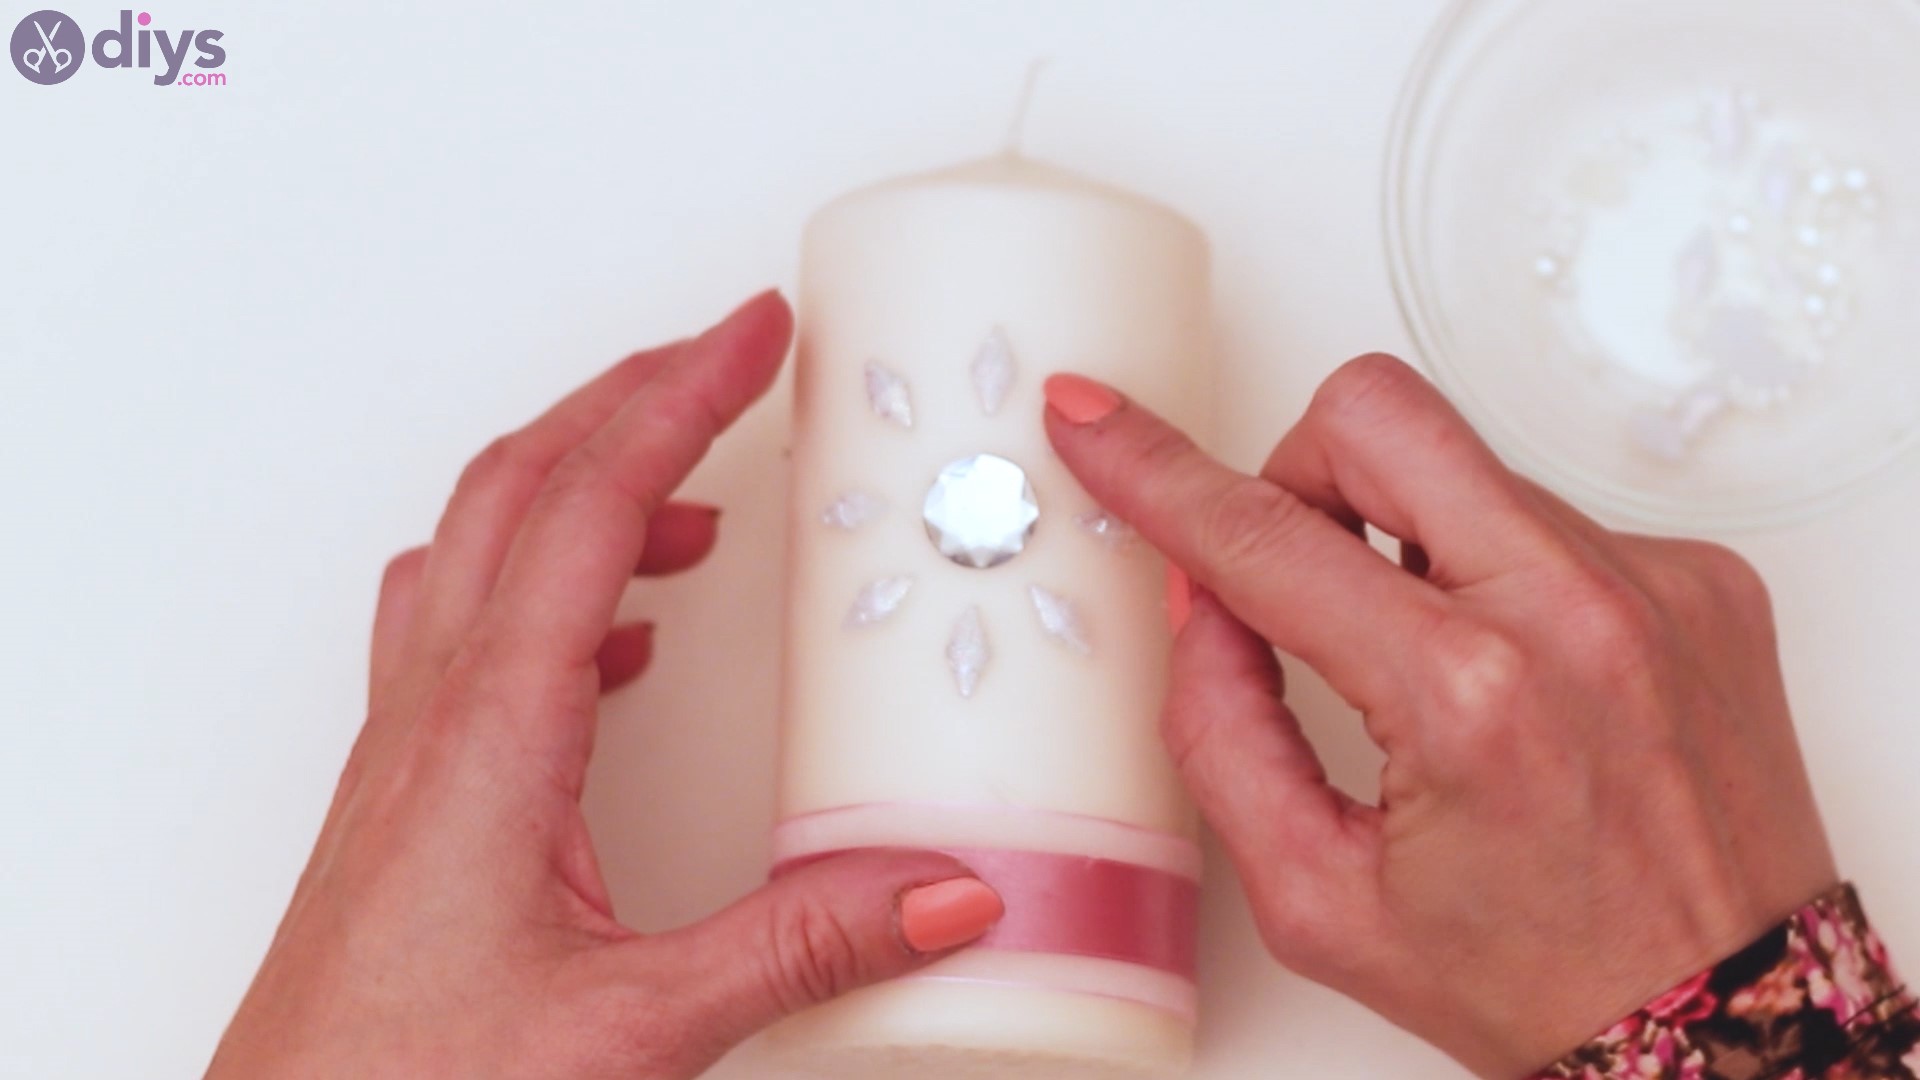
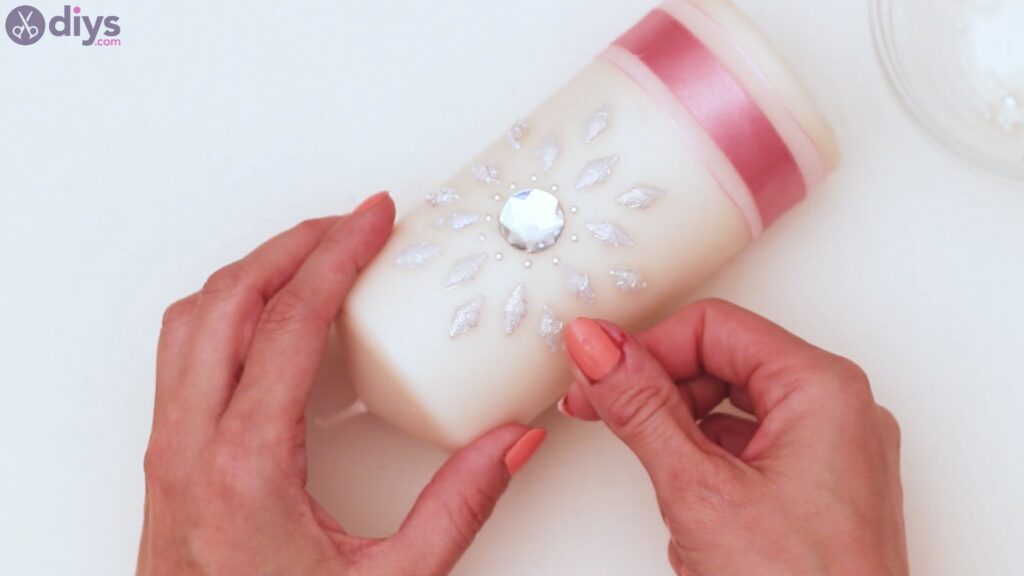
- Attach the first row of diamond rhinestones: Add glue to the medium diamond-shaped rhinestones and arrange them in a circle around the large piece; evenly space the gems to create a symmetrical pattern.
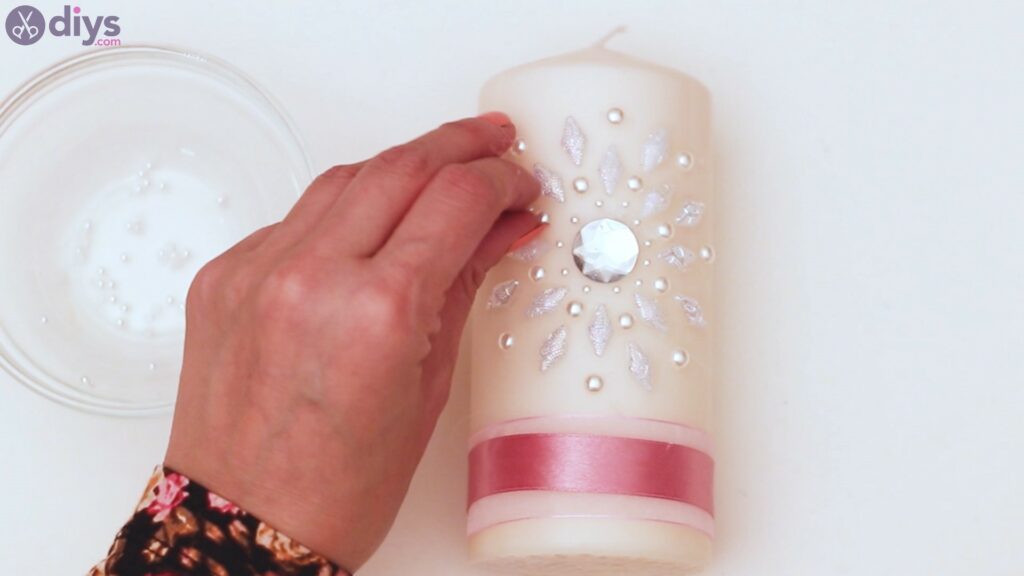
- Add the small pearl rhinestones: Glue the small pearl-shaped rhinestones in a circle between the central gem and the diamond pieces.
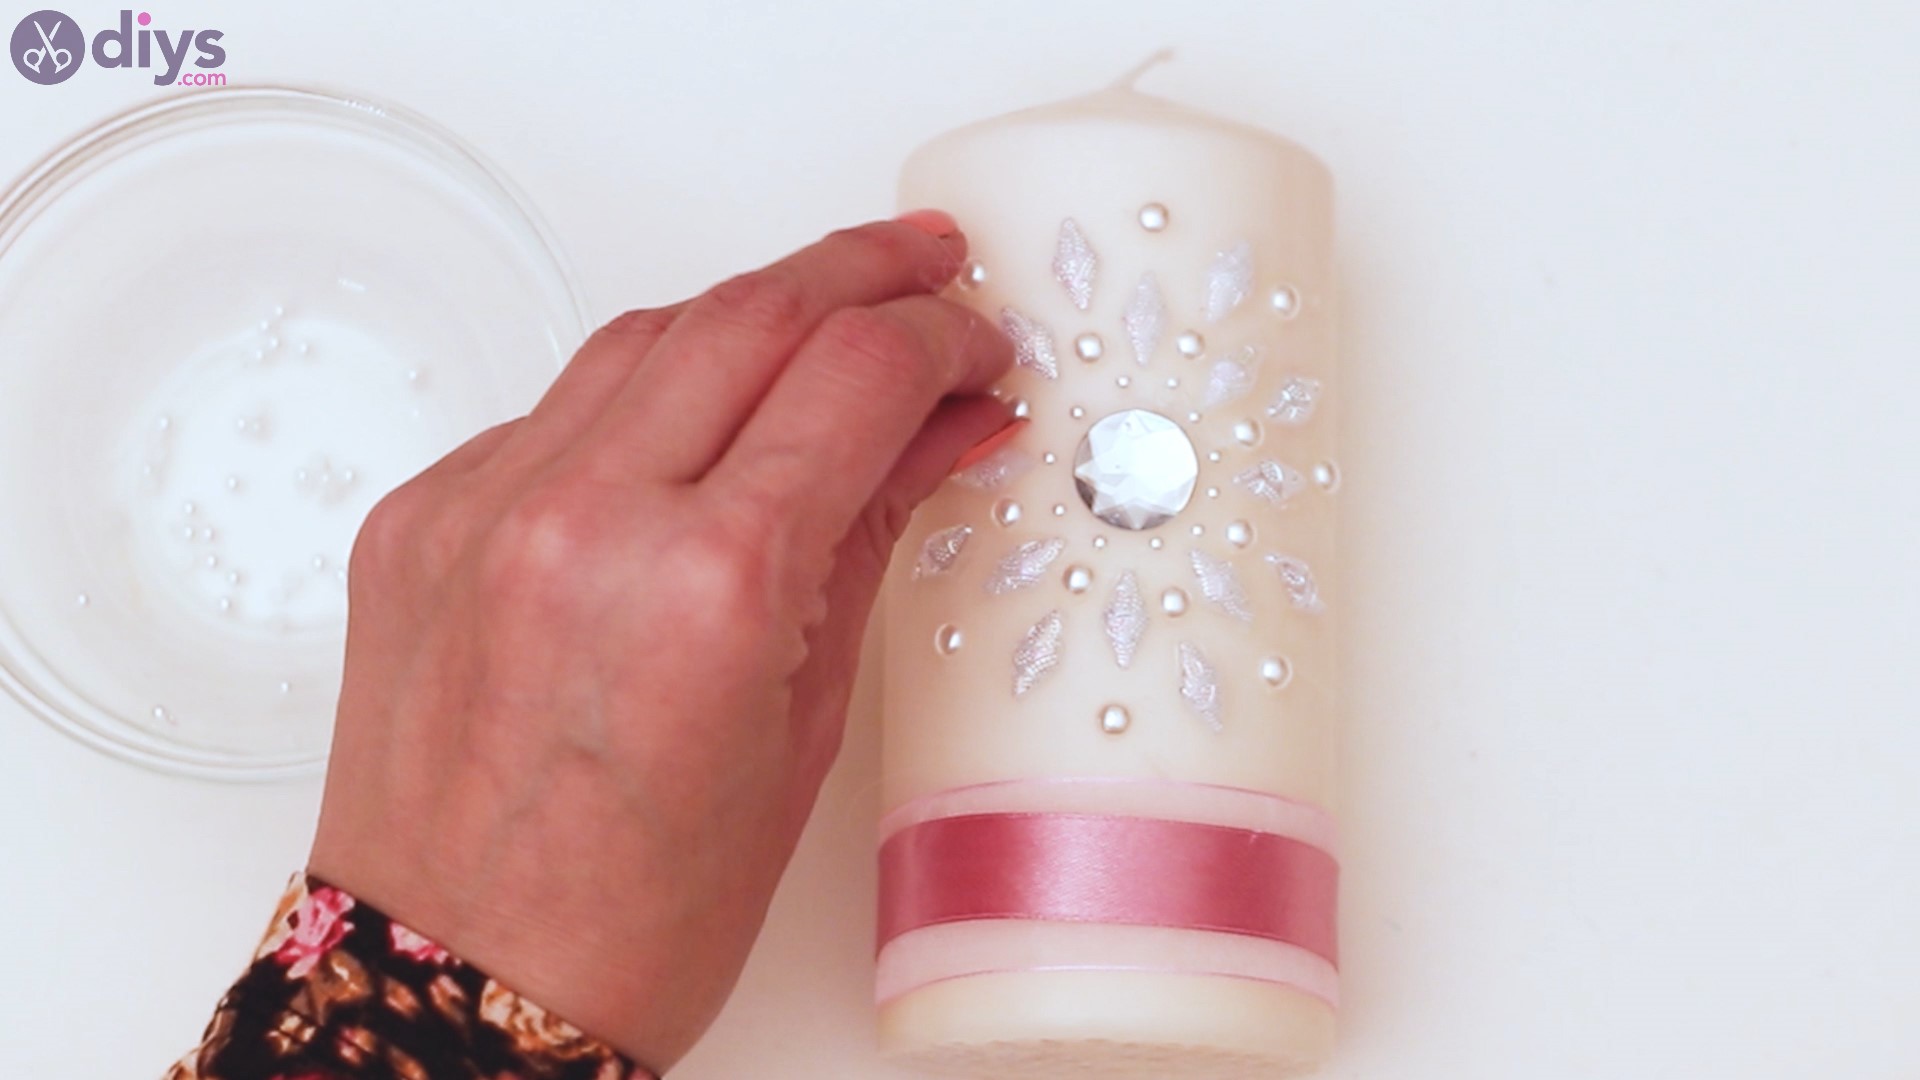
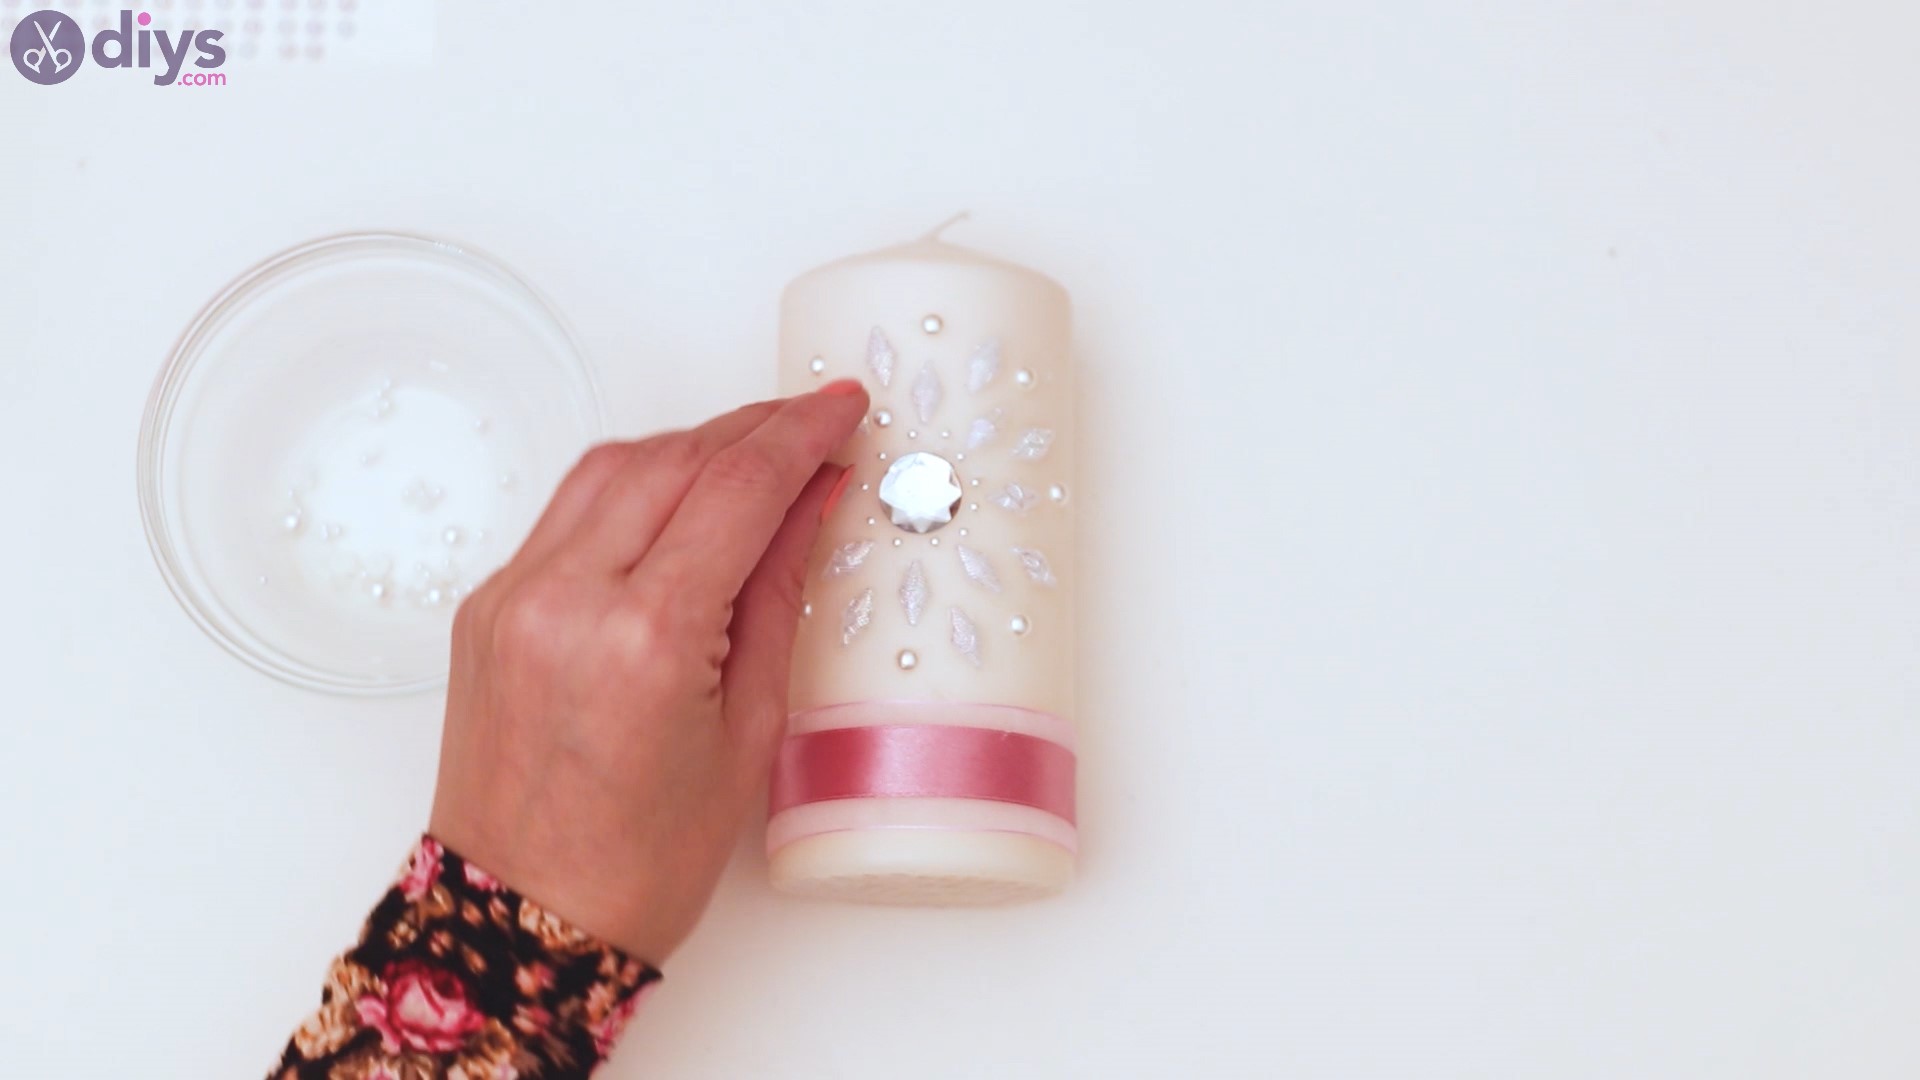
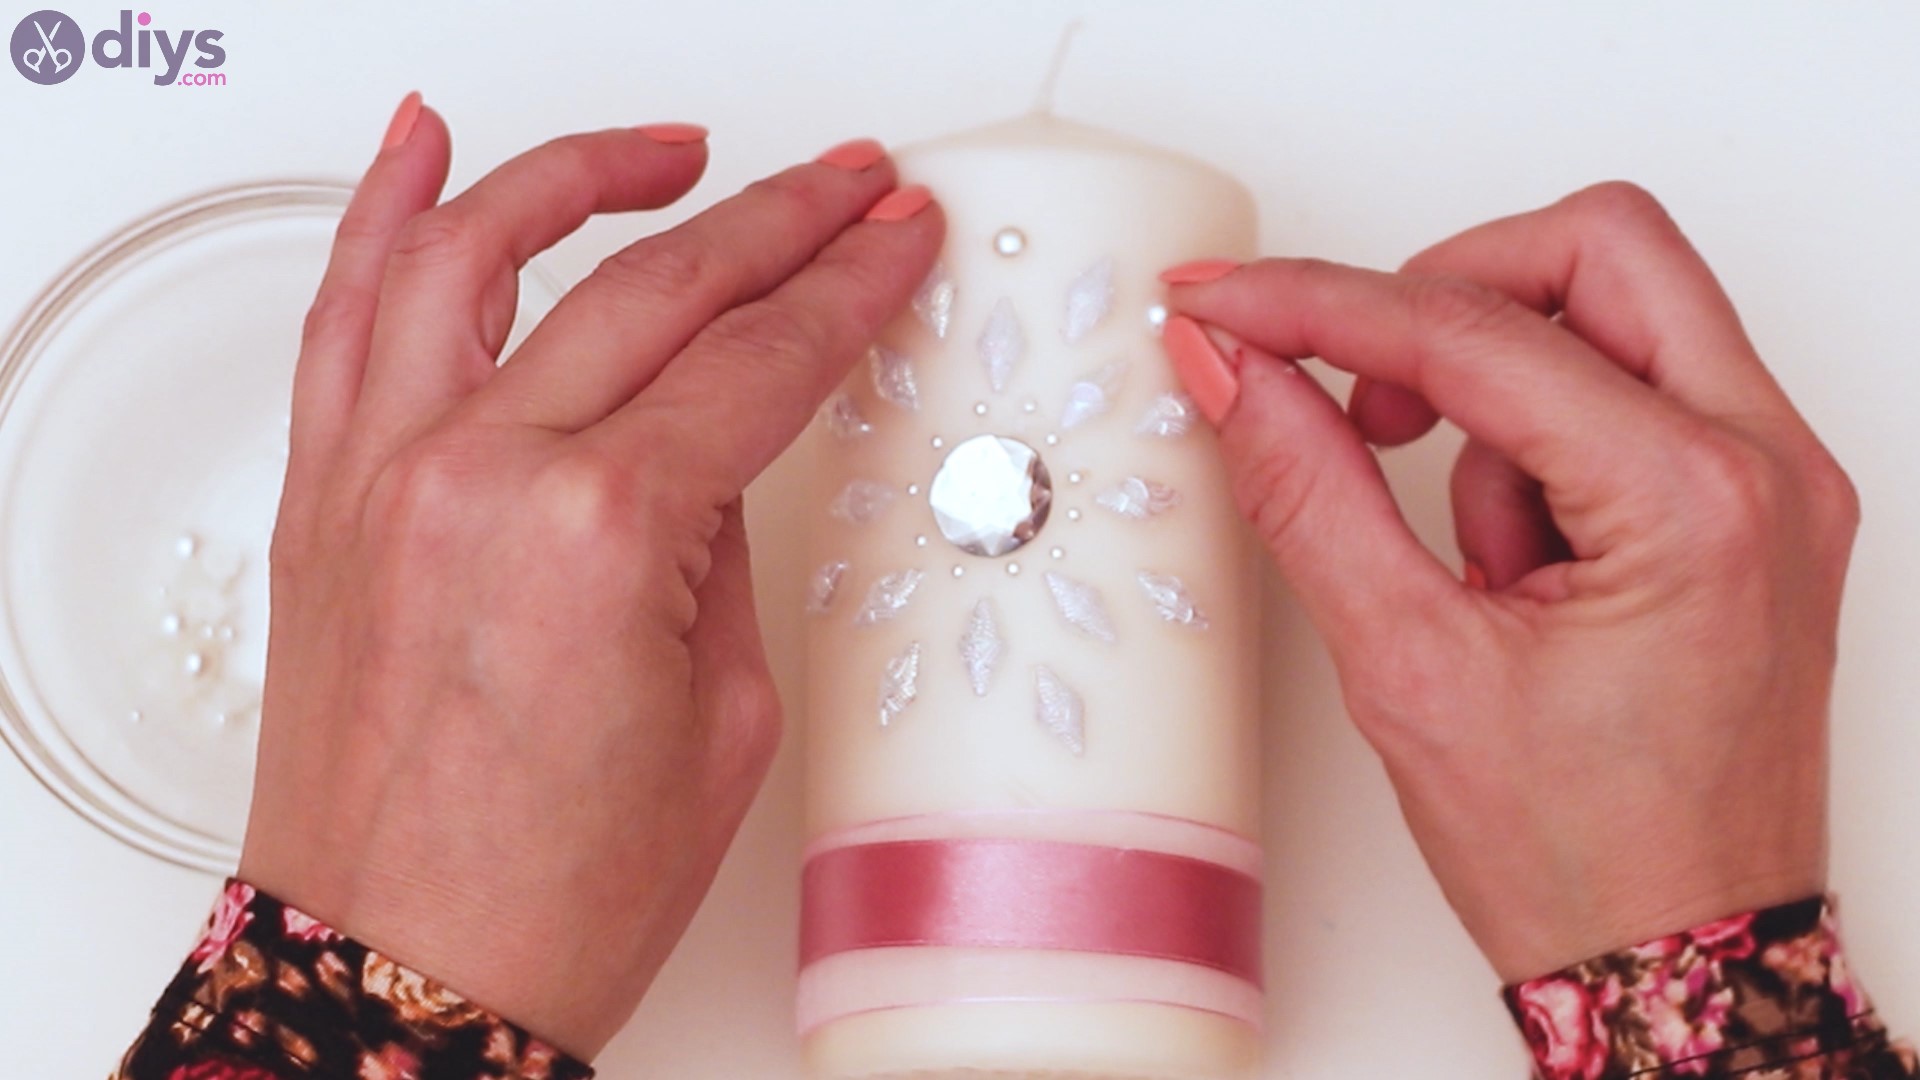
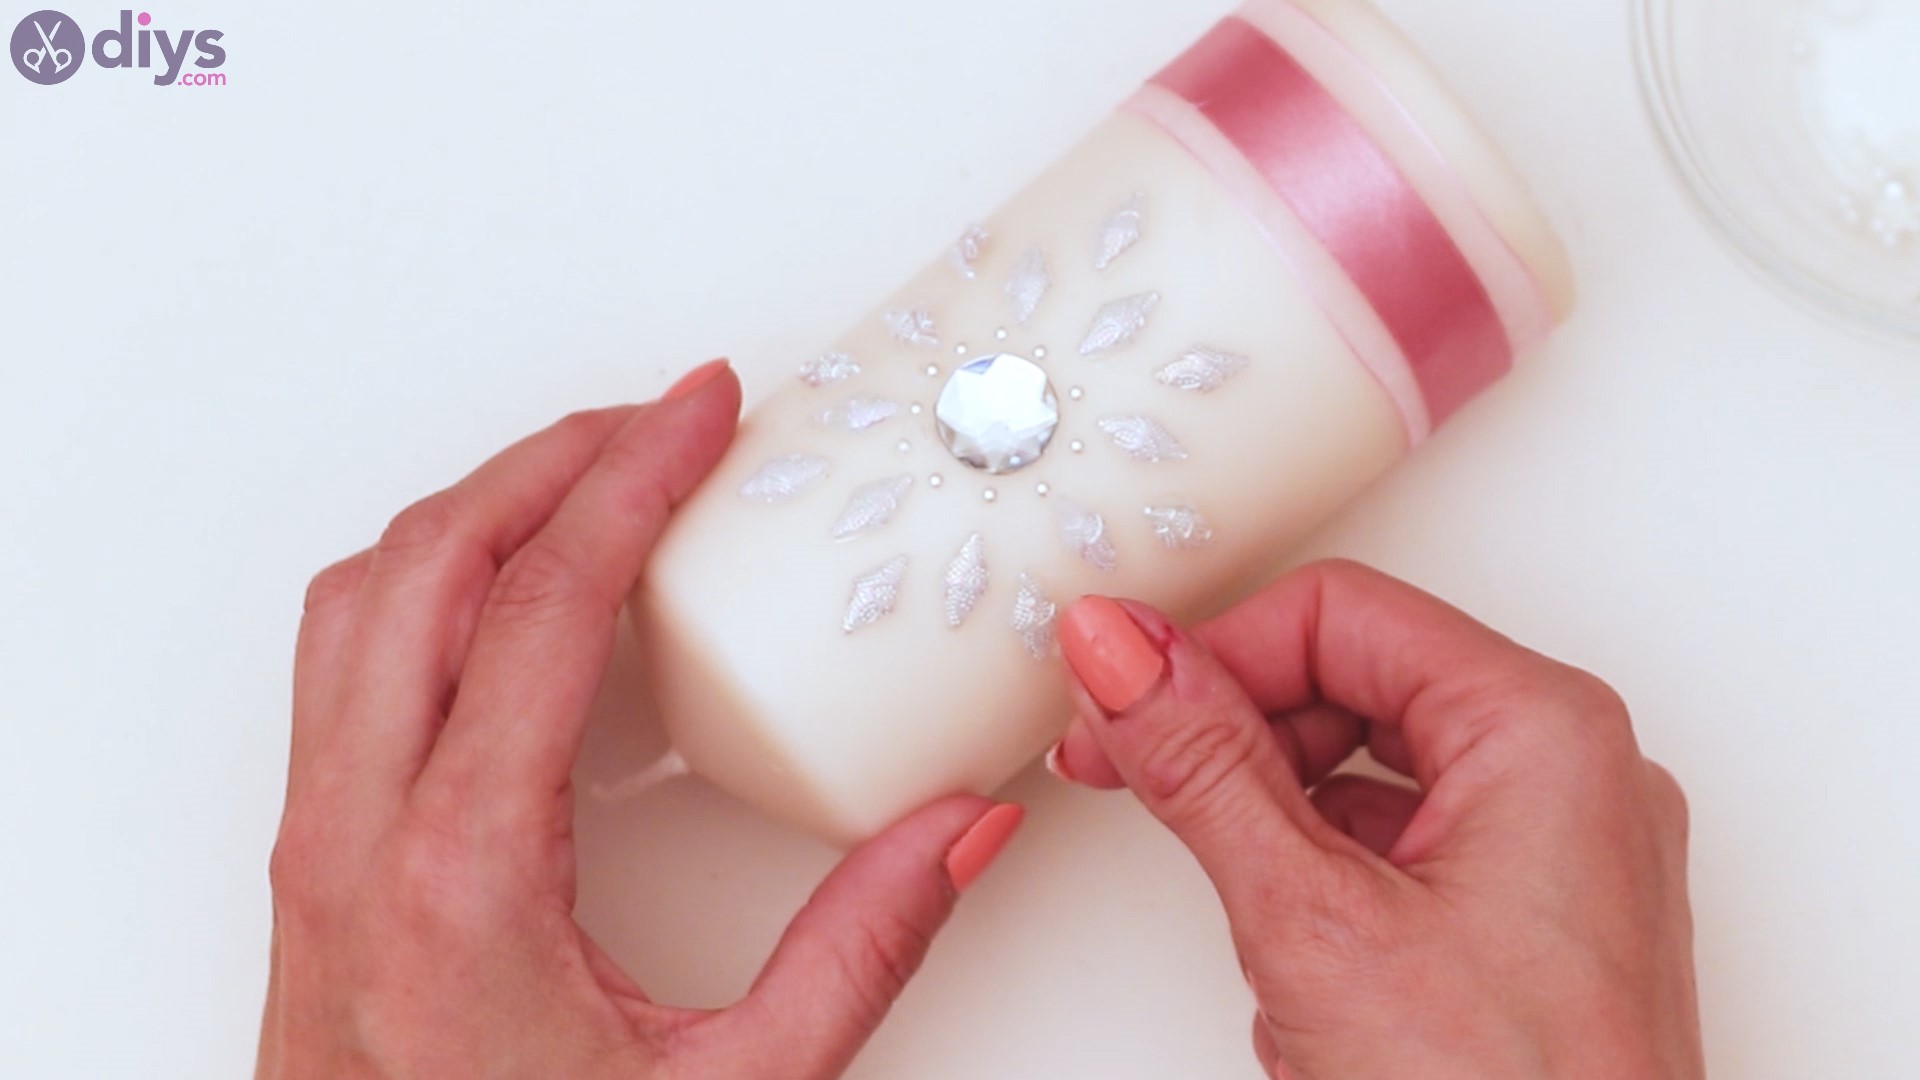
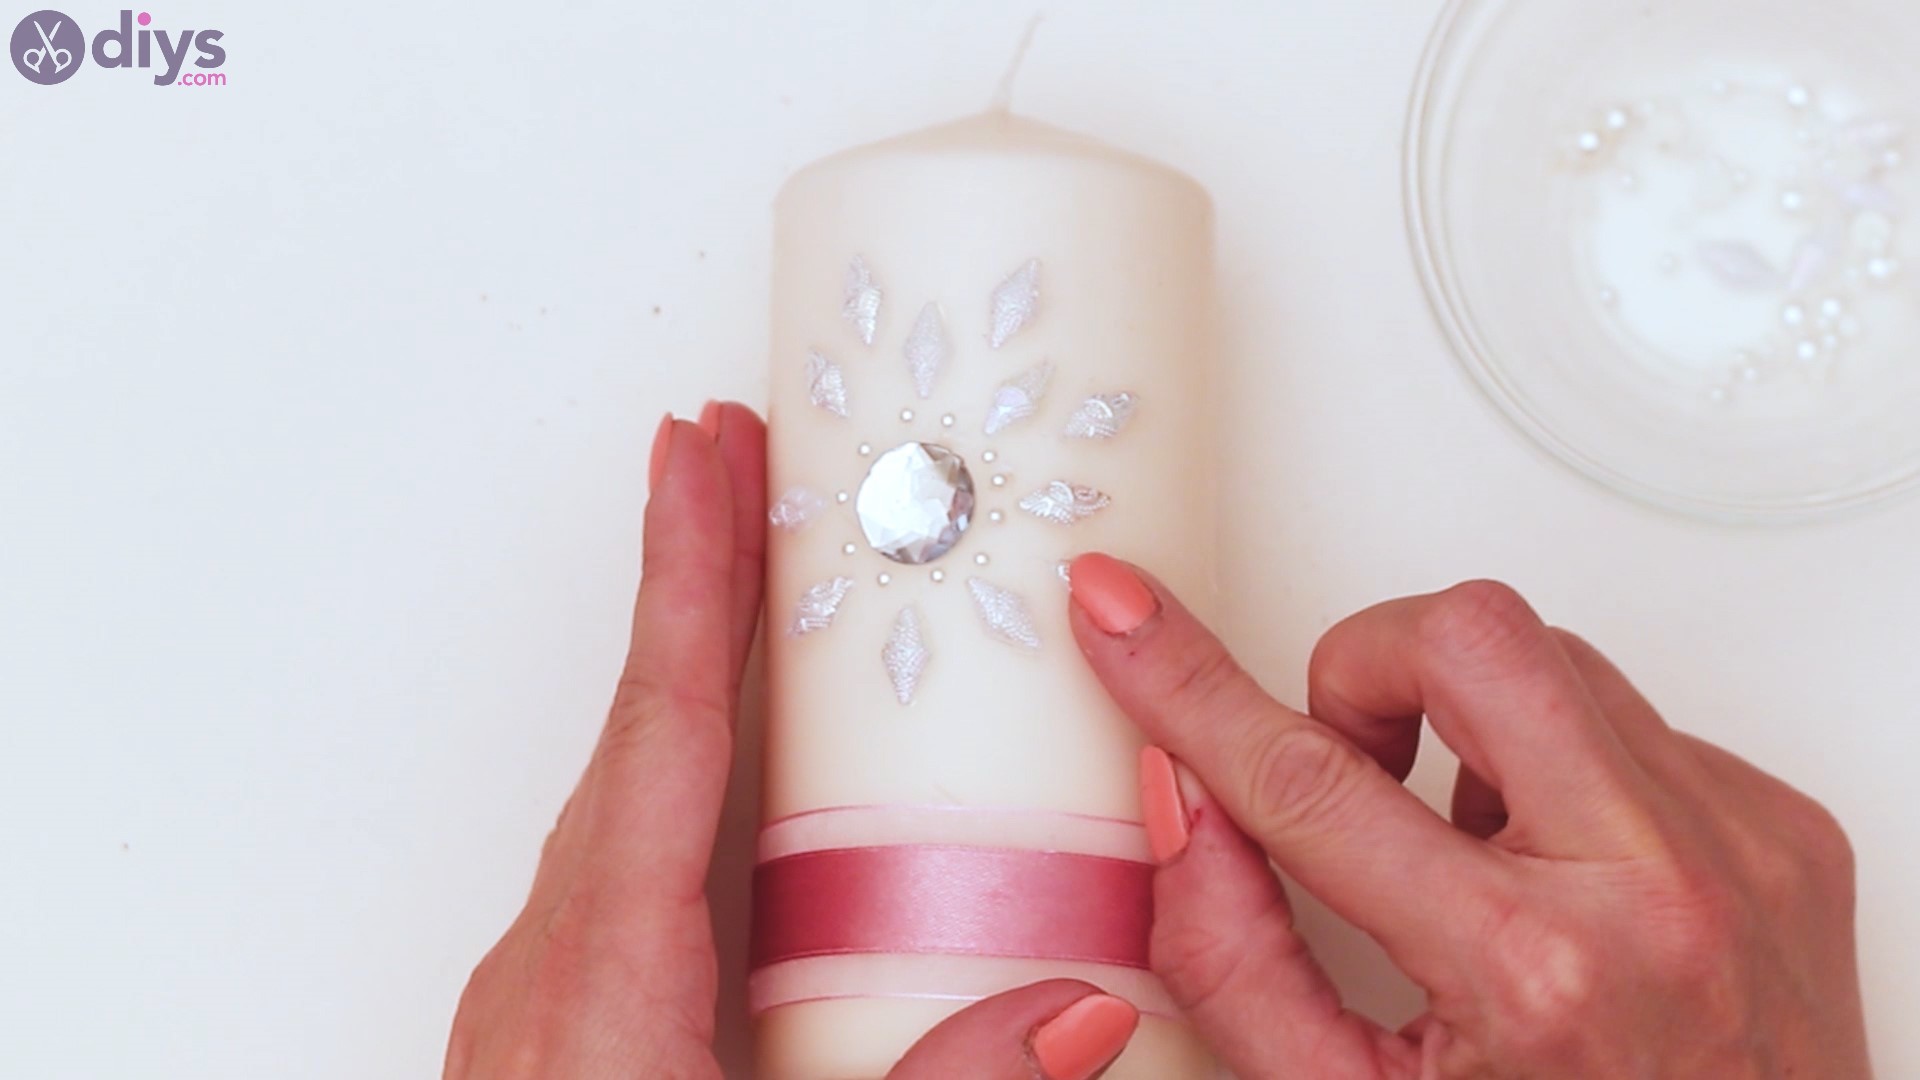
- Attach the second row of diamond rhinestones: Arrange the next row of medium diamond rhinestones in a circle around the pearl layout, gluing each gem in between the previously attached diamond rhinestones.
- Add the medium pearl rhinestones: Glue the medium pearl rhinestones in between the diamond rhinestones – both rows. Your DIY candle art is now complete!


More tips and tricks
Check out the following tips and tricks for improving or changing your candle art:
- Use a huge candle: The bigger the candle, the more room you’ll have for extensive, intricate rhinestone patterns.
- Try colorful rhinestones: Create cheerful candle art by using colorful rhinestones instead of white ones.
- Paint the candle: Add interest to your candle art by painting it with a specific color or pattern.
- Replace the rhinestones: We used three types of rhinestones for this project. However, to create unique designs, feel free to experiment with other decorative elements, such as costume jewelry, glitter, or sequins.
- Make a pattern for decorations: Sketch rhinestone patterns on paper to envision the design before poking the candles and adding the gems; it’s a good way to avoid mistakes. Feel free to explore various patterns, such as floral or abstract.
- Create a table centerpiece: Consider a bundle of candles decorated the same way or with various designs to create a table centerpiece. Use this centerpiece for special events, like Valentine’s Day dinner.
Conclusion
Candle art is a fun and creative DIY craft for the entire family since there is no limit to the designs you can put together. The steps outlined in this guide should give you a good starting point in creating this unique decoration. Check out more Valentine’s Day decorations.