How to Rework Your Kitchen with Butcher Block Countertops
Updated on November 19, 2025


Check out the ultimate guide to using butcher block countertops: types, styles, finishes, installation and maintenance tips, ideas, and more!
Butcher block countertops are popular because they are sturdy and can be used for daily tasks. They come in many colors and can make a bold statement in any kitchen. Who doesn’t want to roll up their sleeves and get elbow deep in pizza dough, bread dough, or cookie dough on a beautiful kitchen countertop?
If you’re interested in installing one in your kitchen, it’s essential to take the time and do your research. Keep reading to find out everything there is to know about butcher block countertops, including types, finishes, construction styles, pros and cons, and maintenance tips.
We’re also teaching you how to build, install, and finish a butcher block countertop using lumber boards from the hardware store if you don’t want to turn to a professional.
And, if you’re open to suggestions, we recommend the best butcher block oil, stain, and finish. You can also check out some images for more inspiration on how to decorate your kitchen.
Table of Contents
What Are Butcher Block Countertops?
Butcher block countertops are made of wood shaped into large planks or blocks to be used as the surface of a countertop. They usually contain several pieces of wood glued together so that they can be sanded and finished to create a smooth, level surface.
No two butcher block countertops are precisely the same because no two pieces of wood would have identical grains or colors. The differences in color, grain patterns, knots, and other natural characteristics add character and charm to your countertops, enhancing your kitchen with warmth and beauty.
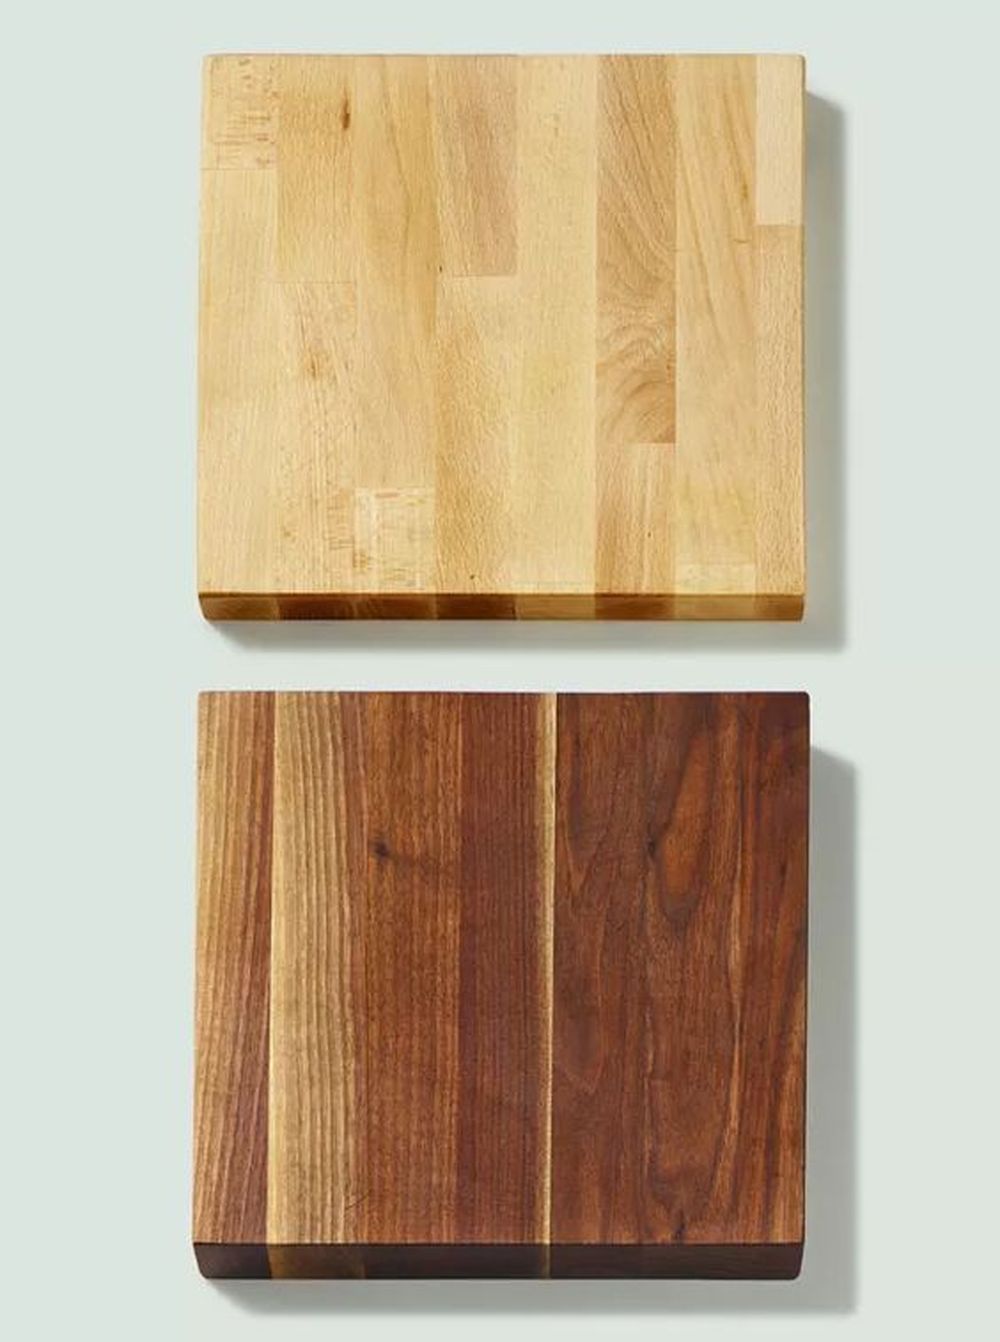
Types
Butcher block countertops are available as solid wood or laminate surfaces. Maple, oak, and cherry wood are the typical materials used. They may also be constructed of bamboo if it is properly sealed. The hardwood used for butcher blocks varies by type and color.
While some homeowners prefer modern-looking dark stains for their butcher block counters, others who want an antique look may decide on a light finish or paint theirs white after installation.
Maple 
Maple butcher block countertops are light in color and have a tight, even grain. In fact, maple is the most lightweight closed-grain hardwood. It’s also the most common because maple butcher block countertops are strong, resilient, and incredibly affordable.
Oak
Oak butcher block countertops are medium-colored with a coarse, open grain. They are adamant and long-lasting. However, oak is not intended for meal preparation in the kitchen. Instead, it adds character to a room, so oak butcher block countertops are primarily decorative.
Cherry
Cherry butcher block countertops have a middle tone with a tight, fine grain. They are strong and durable but are expensive than maple butcher block countertops. Thanks to the deep red color with brown undertones, cherry adds warmth to any kitchen.
Bamboo
Bamboo is hard and dense grass cut into slices to form bamboo slats. The pieces are then adhered together and wetted to create bamboo butcher block countertops.
They may be finished with a sealer and painted or stained. Bamboo is more affordable than other types of butcher block and requires less maintenance than solid wood, paint, or laminate finishes.
Walnut
Walnut butcher block countertops are dark brown with straight or wavy grain patterns. Since walnut is such a dense and heavy wood, it’s perfect for heavy-duty kitchens. Thanks to its rich and deep hue, walnut is a favorite among customers. But walnut butcher block countertops are also more expensive than other options like maple.
Beech
Beech is a light wood with a fine, smooth grain. It has a very even texture, and the neutral color of beech makes it perfect for any type of kitchen design. Since beech is affordable but still strong and durable, beech butcher block countertops are quite popular among homeowners, especially in Europe.
Birch
Birch butcher block countertops are light in color and have a tight and even grain. What makes birch so popular is that it’s a strong wood, ideal for kitchen countertops. It has a subtle pink hue that gives a bit of personality to the room and blends well with other design colors.
Tigerwood
Tigerwood can be stained to achieve a wide range of tones, and the result is steeped in character. Its distinctive grain and color make it a popular choice for luxurious home design projects like tigerwood butcher block countertops, built-in cabinets, and kitchen islands.
Acacia
Acacia wood is a relative of the mesquite tree known as the poor man’s walnut. It has a dark brown color with a pronounced grain pattern.
Acacia butcher block countertops are extremely hard and sturdy, making them one of the most popular choices for kitchen islands, dining tables, and even bathroom countertops.
Mahogany
Mahogany butcher block countertops are dark brown with a fine and straight grain. They contain a large amount of natural oil that makes them resistant to water stains and heat damage. Thanks to the oil, mahogany is also easy to care for and maintain.
Customers often choose mahogany butcher block countertops because of their unique beauty and the luxurious look they add to any kitchen. However, mahogany is one of the most expensive materials.
Laminate
Some manufacturers produce laminate butcher block countertops. These are made of various types of wood laminated together, covered in a thick layer of resin, and then topped with a photo of wood grain.
You can also find laminate butcher block countertops in various colors to perfectly match your kitchen’s aesthetic. These types of butcher block countertops are easy to clean and virtually scratch-resistant. However, they tend to look dated over time.
Finishes
Solid wood butcher block countertops can be sanded and finished without affecting the wood grain or color. Many types of wood finishes are available, and here are some of the most popular ones for butcher block countertops:
Oil Finish
An oil finish soaks into the wood and seals it in, providing a natural look and feel. It’s easy to apply and protects the wood from spills and scratches. However, you need to reapply an oil finish every few months to keep the wood protected.
Wax Finish
A wax finish is also practical and ensures a natural look. At the same time, it prevents the wood from getting stained or scraped. It’s less durable than an oil finish, though, so you will need to reapply it more often.
Varnish Finish
A varnish finish is the most durable type of finish and can be used on both wood and laminate butcher block countertops. It’s important to note that a varnish finish will change the color of the wood, so it’s best to test it out on a small area before adding it to the entire countertop.
Lacquer Finish
A lacquer finish is long-lasting and feasible. The result is a smooth and glossy surface, perfect for kitchen countertops and other surfaces in high-traffic areas. But you can inadvertently damage it with common household cleaners and chemicals, so it’s best to avoid using these as much as possible.
Polyurethane Finish
A polyurethane finish provides a formidable barrier over the wood while still allowing its natural grain to show through. It’s scratch-resistant, easy to apply, and maximizes protection from chemical damage. However, polyurethane takes longer to dry than other finish options like lacquer or varnish.
Construction Styles
In addition to the wood types and finishes, it’s worth considering the construction style when shopping for butcher block countertops. Here are the most notable aspects of edge grain, end grain, and face grain:
Edge Grain
Edge-grain butcher block countertops are made of solid wood, with the outer veneer or face grain of the wood running vertically, creating a striking pattern on your countertops. They are sturdy and cheaper than other styles. Plus, they can be refinished many times if needed.
End Grain
On the other hand, the outer veneer of end-grain butcher block countertops runs horizontally. This gives the countertop a checkerboard look. Plus, it provides more strength and durability, making it a good choice for high-traffic areas. It also makes end grain more expensive than edge-grain butcher block countertops.
Face Grain
Face-grain butcher block countertops are made of wood planks, with the outer veneer running vertically as well. The difference is that face grain has a more polished look than the edge and end grain countertops, making it ideal for kitchen islands as its beauty will be on full display.
However, face-grain butcher block countertops are susceptible to damage made by chops and cuts. So it’s best to prepare meals on a cutting board rather than directly on the countertop.
Pros and Cons
There are multiple advantages to using butcher block countertops. However, it wouldn’t be fair to leave out the disadvantages. Here’s what you can expect when making this addition to your kitchen:
PRO: Versatile and forgiving
Butcher block countertops are highly versatile. You can use them for various purposes in the kitchen: a cutting surface, a baking surface, a work area for food preparation, or a tabletop. Unlike rougher countertops like concrete or stone, butcher block won’t dull your knives.
Thanks to the soft surface, you won’t make a racket in the kitchen either. So if you feel like baking a cake or preparing a salad in the middle of the night, you won’t wake up your family or neighbors.
Additionally, if you are the clumsiest person you know, keep in mind that there’s a lower risk associated with breaking dishes that fall on wood countertops. In this case, stone countertops should be avoided at all costs.
CON: Sensitive to damage
Although butcher block is forgiving, it’s also sensitive to damage. Even if using a butcher block countertop as a cutting board is possible, it’s best to avoid this scenario. You’ll have to be careful with knives and other sharp objects as they can easily gouge the wood.
Plus, acidic foods like grapefruit or tomatoes can etch the surface in time, so it’s best to avoid leaving them on the countertop for too long. Any dish dropped can make a dent.
Unless the wood countertop has a waterproof, heat- and stain-resistant finish, any unwiped water spots or hot pot left too long can damage it. If you’re not careful, your beautiful butcher block countertops could start to look a bit neglected.
PRO: Nicks and gauges can be quickly restored
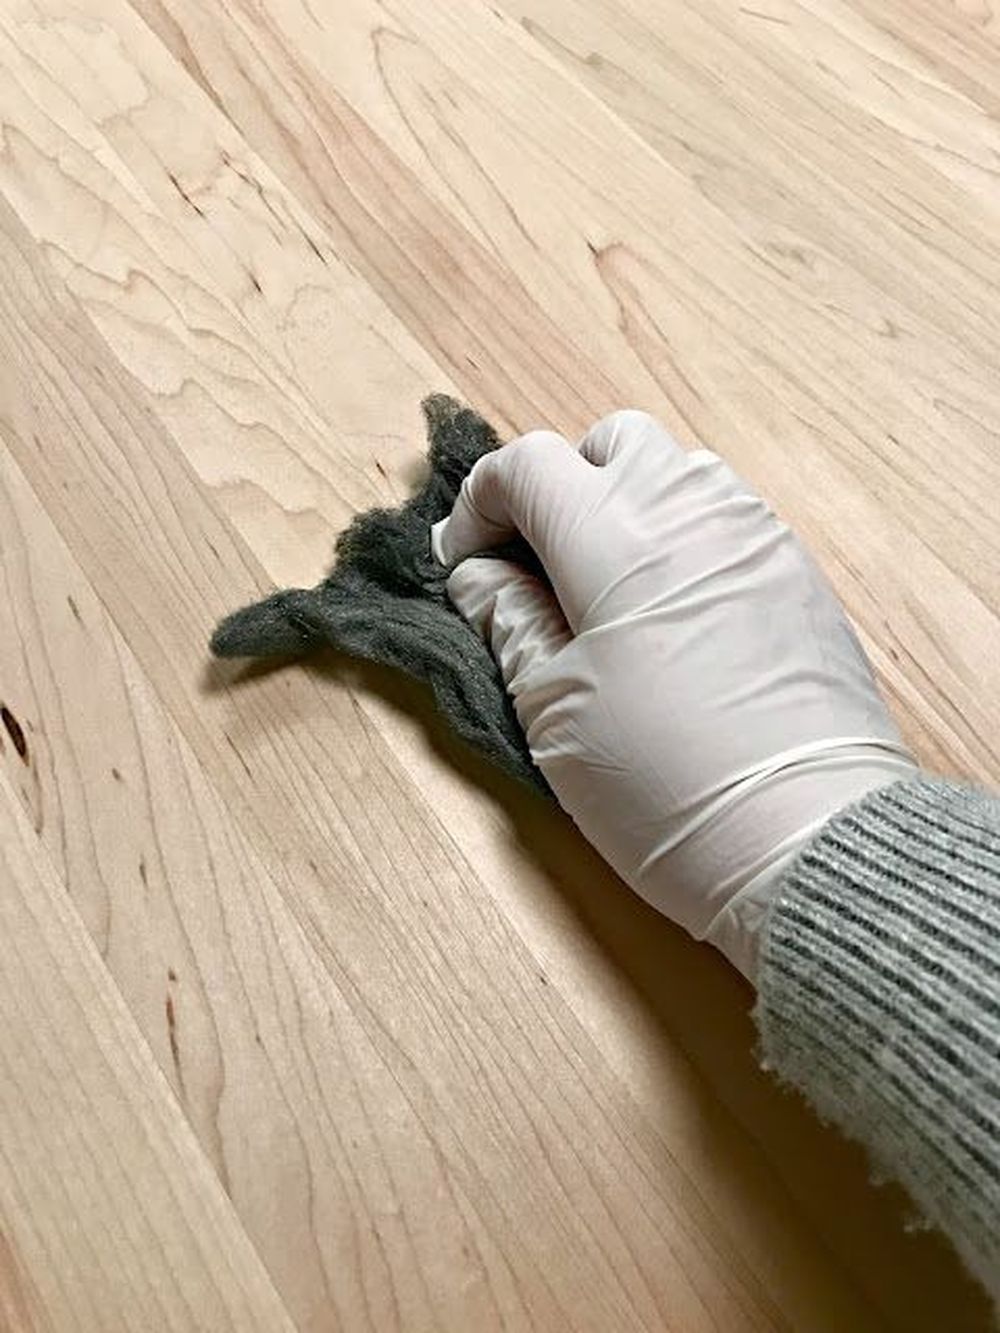
Nicks and gauges inevitably show up with use over time. Luckily, you can effortlessly fix this issue. It’s not a bad idea to invest in some wood filler when noticing any dents or cracks on your countertops, especially if they’re apparent.
If the wood filler proves ineffective, you can turn to fine sandpaper and oil to eliminate imperfections, stains, spills, and heat marks.
PRO: Easy to clean
Short-term cleaning isn’t a problem for butcher block countertops since a simple combination of dish soap and water is enough for daily maintenance.
If you don’t want to turn to commercial cleaning products for weekly cleaning, you can use a bit of vinegar or lemon juice diluted in water to disinfect the surface and eliminate odors. You can use a neat trick for deep stains: adding salt to a half-cut lemon and rubbing it on the damaged section.
PRO: Choose your hardwood and grain
One of the best things about butcher block countertops is that you get to choose the wood type and grain. For instance, you can go with a light maple, cherry, dark walnut, or mahogany.
Additionally, you get to choose from three types of grains: end grain, edge grain, and face grain. Your decision will impact not only the butcher block countertop’s design but also toughness, durability, maintenance, and price.
CON: Long-term maintenance can be a drag
While some people may find the look of a butcher block countertop appealing, others may find it challenging to keep clean over time. The wood needs to be regularly treated with food-grade mineral oil or beeswax to seal and protect it from moisture. If not, the wood can become stained, scratched, and even rotted.
PRO: Durable if maintained properly
Butcher block countertops can last a lifetime if they are properly maintained. Solid wood butcher block countertops are the most durable, but even laminate surfaces will last for years without showing much wear if they are properly cared for. At the same time, a laminate surface will not absorb stains as a solid wood butcher block countertop.
CON: Pricier than other models
If you’re wondering how much butcher block countertops are, keep in mind that they are typically more expensive than other types of countertops. Furthermore, the price may vary by wood type, finish, and area you live.
Expect to pay $40 to $100 per square foot on average, covering the installation and materials. Costs may double for custom butcher block countertops, resulting in $200 per square foot. And it doesn’t include the backsplash.
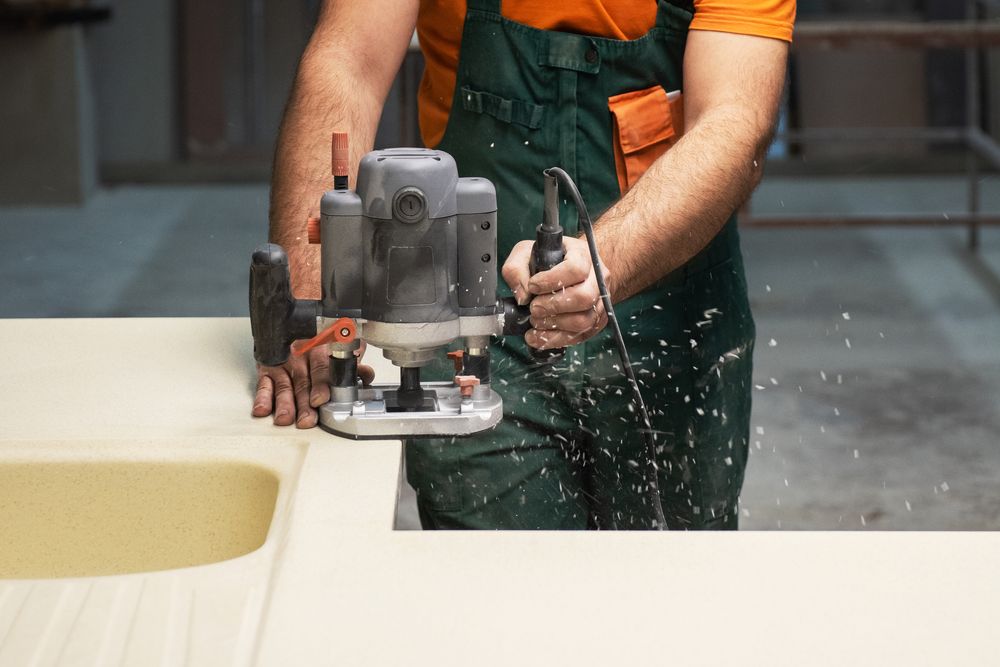
PRO: Can be installed by DIYers
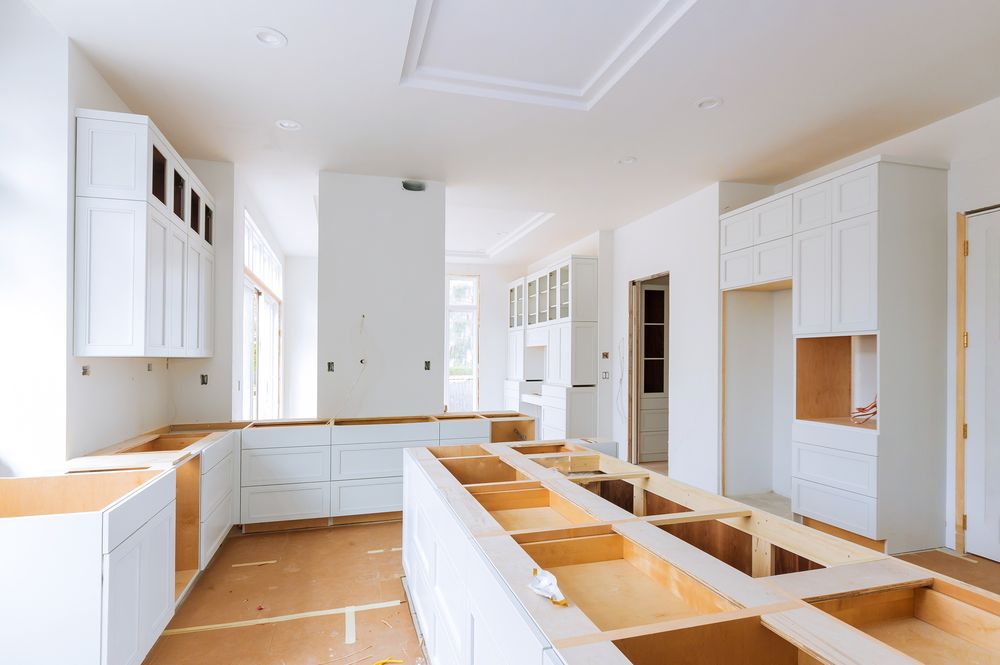
Butcher block countertops are easy to install because they are light and somewhat pliable. With some practice, even a rookie can cut to fit the counters. The installation instructions are similar to those for laminate countertops, which means that the work required is significantly less than other types of countertops.
So, if you’re handy with a hammer and a circular saw, you can significantly reduce costs by installing butcher block countertops yourself instead of hiring a professional contractor. It might be tricky with complex projects, though.
How to Make a Butcher Block Countertop
Building a butcher block as a DIY project can be incredibly expensive when considering the necessary tools and materials. Simply put, it’s cheaper to buy it from a manufacturer, especially since you can give out the measurements to fit your kitchen.
However, if you’re keen on making DIY wood countertops without turning to a professional for help, we found an excellent YouTube video tutorial uploaded by B&O Craftsman, which explains everything you need to do:
- Measure your kitchen to see how much wood you need (length and width).
- Buy lumber boards slightly longer than the measurements. This way, you can leave room for error and trim a bit off the ends later when making the final adjustments. If you get 2×10-inch lumber boards, you shouldn’t need to glue together more than three pieces to reach the desired depth level of the countertop.
- Lumber usually has round edges when purchased from the hardware store. So you will have to cut them off with a table saw before proceeding any further. It’s necessary to do this on three sides at least. If you prefer the rounded edge on the countertop side that faces you, leave it as it is.
- Cut the wood in even lengths so that the joints will be seamless. If you’re using a circular saw, make sure to use a straight edge as your guide.
- Use a planer to smoothen the lumber boards’ top side to remove the saw marks. Repeat this process until you are pleased with how the surface feels to the touch. If the panels have a bit of a bow, it’s best to plane them by hand. This way, there will be no gaps when clamping the boards together.
- Use a biscuit joiner or doweling jigs to create dowel holes at each end of the boards. This will help keep the panels in place when you’re gluing and screwing them together.
- Next, use wood glue and clamps to bond the boards together. Make sure that the glued joints are flush with each other before tightening the clamps.
- If your clamps are just shy of holding all three boards, you can glue the first two together into a large board and extend it upright. Next, screw support boards perpendicularly to the back of the large panel, glue the third piece to the large board, and use the clamps again.
- Let the countertop dry for 24 hours before finishing.
- Once the glue dries off, remove all glue squeeze-outs using a low-surface planer.
- Cross the large board at an angle with a hand planer to smoothen any remaining imperfections. At this point, you might notice minor improvements in the surface.
- Sand off the board. It might take a while.
- Apply pre-stain conditioner to level the high and low spots.
- Rub off the excess conditioner with a piece of cloth.
- Stain the board. For example, you can use food-safe mineral oil or beeswax. Apply the sealant with a cloth and let it dry for 12 hours before using your countertop.
- Place your new butcher block countertop in the kitchen and check if the ends need trimming. Make the necessary measurements using a ruler and a pencil. Then, you can cut off the ends using a hand saw. Before doing so, it’s a good idea to mark the cuts with painter’s tape since it will avoid any splinterings on the countertop.
- Sand off the edges where you made the cuts.
How to Install Butcher Block Countertops
If you’re interested in saving costs by installing a butcher block countertop without using a professional, here’s what you need to do:
- Disconnect the plumbing system in your kitchen and remove the faucet, electrical cooktop, dishwasher, and other appliances.
- Eliminate the binds between the countertop and backsplash. For example, you can easily loosen up and remove silicone with a knife or cutter. Meanwhile, a screw gun is a fast way to remove screws.
- Remove the current countertop. Take your time and act slowly since you don’t want to damage the backsplash. If necessary, make relief cuts to the countertop to wiggle out pieces.
- If you must add more than one long countertop on a single side of the wall, make a template to see how the corners meet. This also helps with marking cuts for the sink and identifying curves on the back wall so that you can make the necessary adjustments.
- Trace the template on the countertop with a pencil (including the seams). Make the cuts with a circular saw by considering the markings. Double-check the template and countertop to ensure you make the cuts correctly. Attach the slabs to see if they fit.
- If you need to fit a countertop into a corner, use a miter joint or a butt joint for L shapes.
- Sand off any rough edges after making the cuts using fine-grit sandpaper.
- Place the new butcher block countertop and mark the wall stud locations on its surface.
- Place the countertop on the cabinets and connect them using miter bolts, pocket holes, a biscuit joint, or all.
- Add construction adhesive to the top part of the cabinets and securely attach the countertop to the cabinets using cabinet corner braces or brackets with elongated holes. Make sure to align the front side with the cabinets.
- Remove the braces or brackets once the glue dries off and seal the edges to the wall, sink, and other appliances with clear silicone. Smooth the silicone and allow it to dry.
- Install the sink and other appliances, then reconnect the plumbing system.
How to Seal Butcher Block Countertops
After installing your butcher block countertop, it’s time to give it a nice finish. If you’re wondering how to finish butcher block countertops, here are our tips:
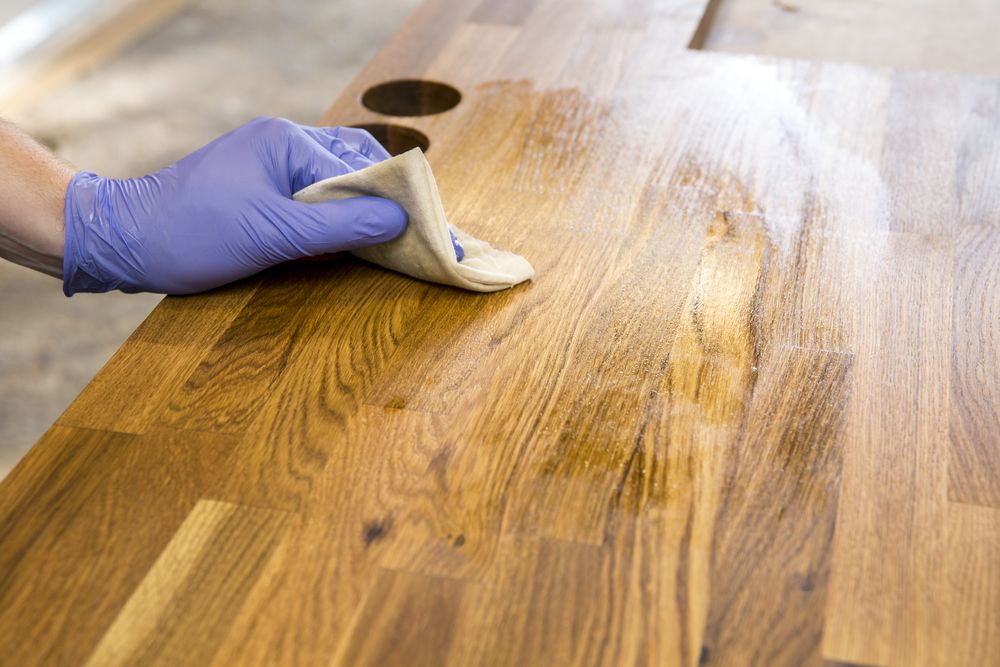
- Use food-safe mineral oil or beeswax.
- Apply the sealant with a cloth and let it dry for 12 hours before using your countertop.
- Check the ends of the countertop for any trimming needs and cut off the excess using a hand saw. Sand off the edges until they’re smooth before applying the sealant.
If you’re unsure about which brands to use for the finish, here are our recommendations:
1. Thirteen Chefs Food Grade Mineral Oil – Best Butcher Block Oil
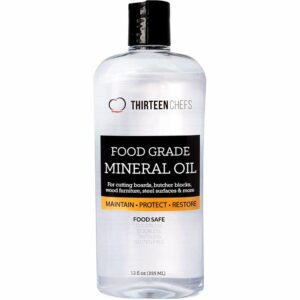
Thirteen Chefs Food Grade Mineral Oil protects and restores butcher block countertops by preventing cracks and stains.
It has a push-applicator cap and comes in a standard bottle that you can easily squeeze. And it works great with butcher block kitchen islands.
To use it, you have to clean the countertop with a bit of water and dish soap, let it dry, and pour mineral oil to cover the entire surface.
Use a paper towel or a rag to spread it evenly and moisturize the wood. You shouldn’t use the countertop for 4 hours after applying this oil.
View price on Amazon2. Tried & True – Best Butcher Block Stain
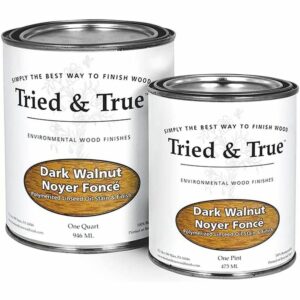
Tried & True can be used to restore and protect butcher block countertops.
It has a tint base, so it won’t leave white stains on the wood after being absorbed.
The stain is made from 100% renewable ingredients and is safe for food and skin contact.
Multiple colors are available, including cherry, dark walnut, golden oak, java, and mahogany.
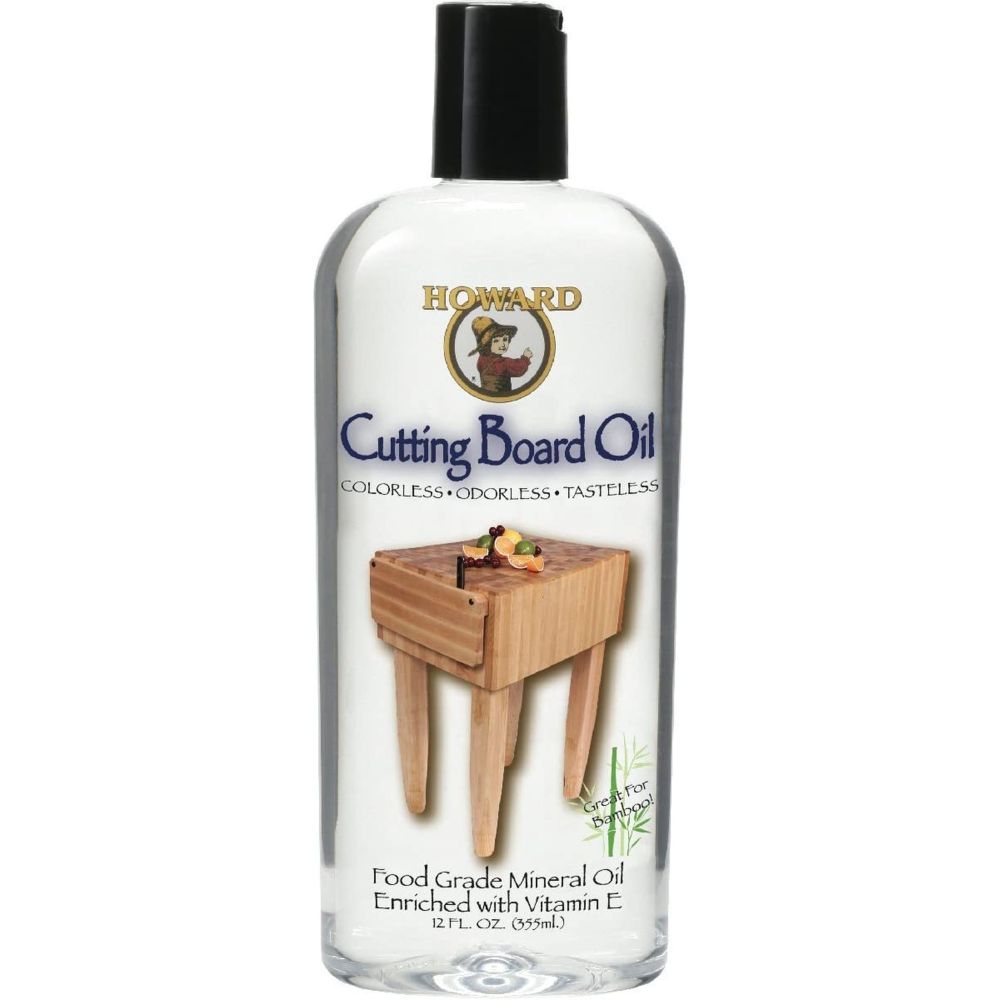
View price on Amazon3. Howard Cutting Board Oil – Best Butcher Block Finish
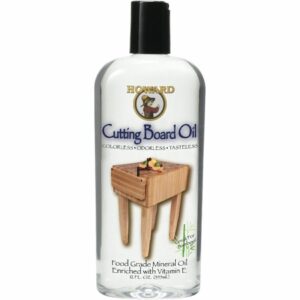
Howard Cutting Board Oil is colorless, tasteless, and odorless.
It’s suitable for seasoning countertops, butcher block cutting boards, and wooden utensils.
The oil brings out the natural color of the wood and protects it from cracks and stains. Furthermore, the oil is stabilized with Vitamin E.
View price on AmazonHow to Care for Butcher Block Countertops
Maintenance can be a hassle for butcher block countertops since you have to reseal them every 3 to 4 months. Other than that, you have to clean them daily.
It’s essential to mention that, in the case of DIY butcher block countertops, the level of maintenance depends on how you work on the project before the installation. If you have dedicated enough time and attention to smoothen the surface, and eliminate glue squeeze-outs, you shouldn’t have any long-term maintenance issues.
How to Clean Butcher Block Countertops
Here are several maintenance tips for your butcher block countertops:
- For daily cleaning, use a moist cloth and baking soda or soap made from natural ingredients instead of chemical-based cleaners.
- Avoid putting hot pots directly on the wood since it may leave permanent stains.
- Use trivets before placing heated items or containing drink spillage onto the surface.
- Do not cut frozen foods or acidic fruit on the countertops since it could damage the surface.
- Keep knives sharp by using steel for honing. This will help you avoid countertop scratches.
- If you notice water spots or your butcher block countertop seems a bit dry, use mineral oil for moisturization. You can also mix beeswax and mineral oil in a 1:2 ratio for an improved finish.
- To treat stains such as red wine and coffee, scrub them off using baking soda and dish soap. After washing the surface with soapy water, rub lemon juice on the affected area.
- Do not clean butcher block countertops weekly because it will strip away the protective coatings that keep moisture at bay. Let food particles accumulate before wiping down the surface with a warm cloth and cleaning agent. Reseal the wood afterward.
Ideas and Inspiration
Check out the following photos for more inspiration on butcher block countertops:
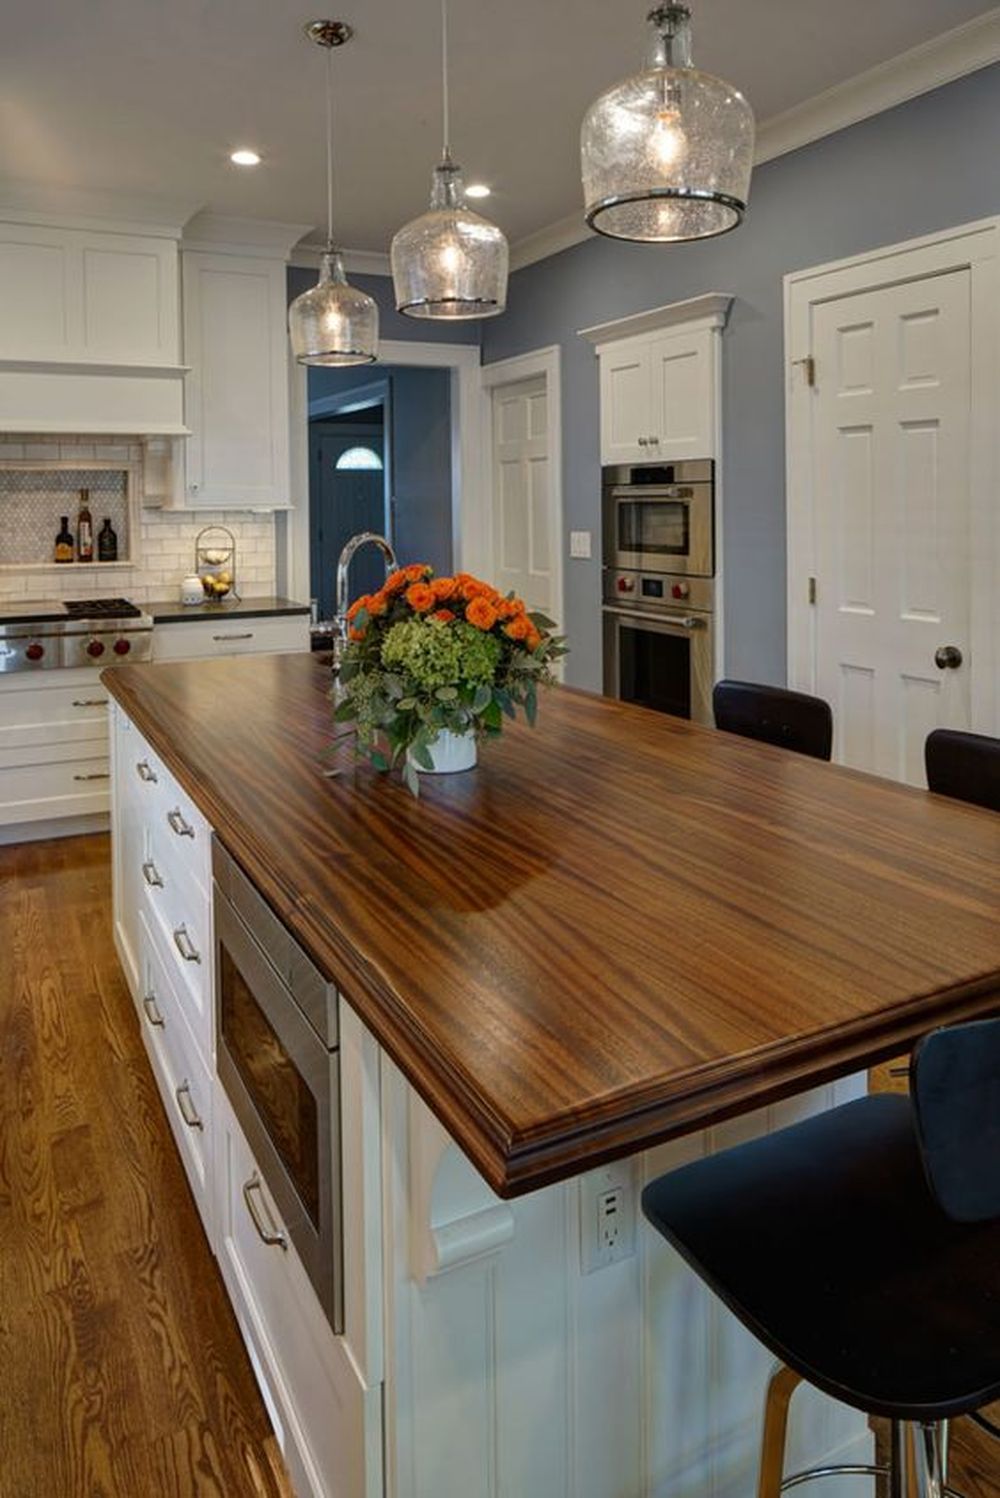
1. Butcher Block Island
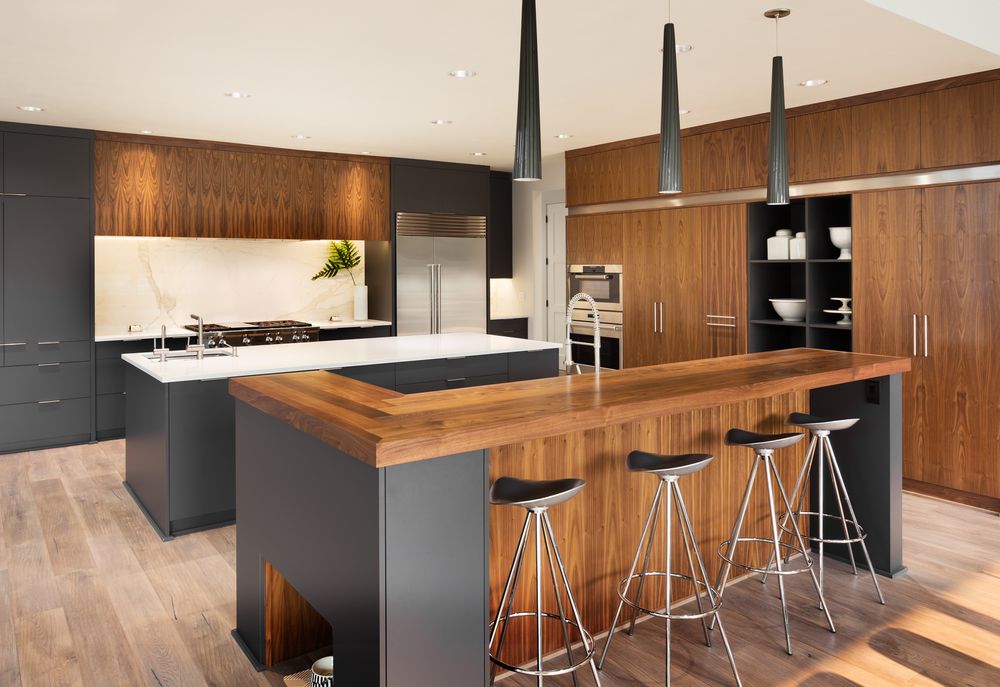
If you want to make your kitchen look luxurious, you can’t go wrong with a butcher block island. It perfectly blends with stainless steel appliances and hardwood cabinetry. Besides, you can put various accessories on the surface, such as potted plants and fruit baskets.
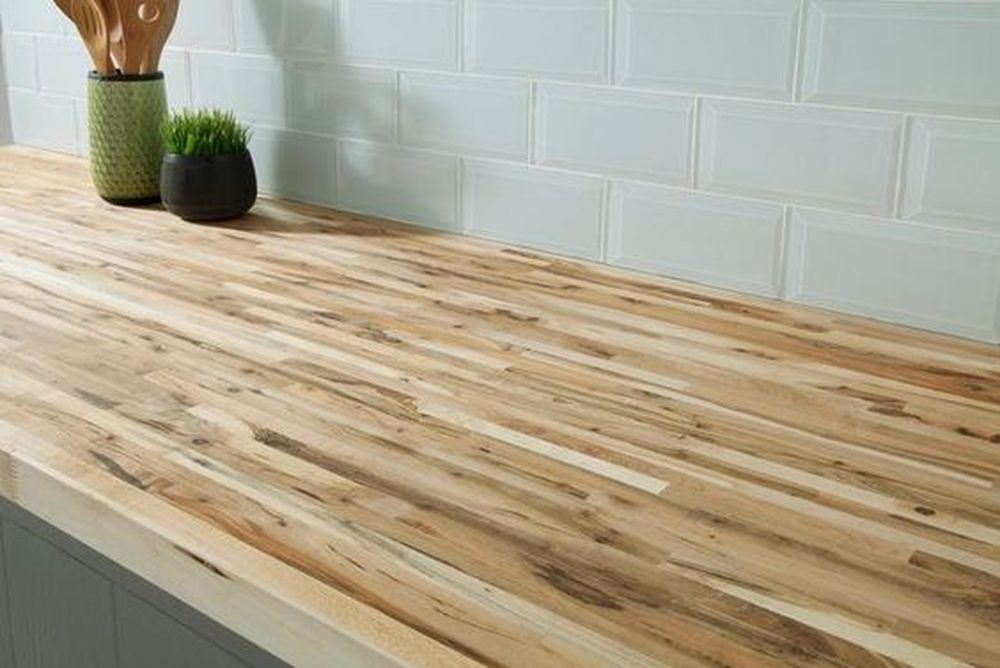
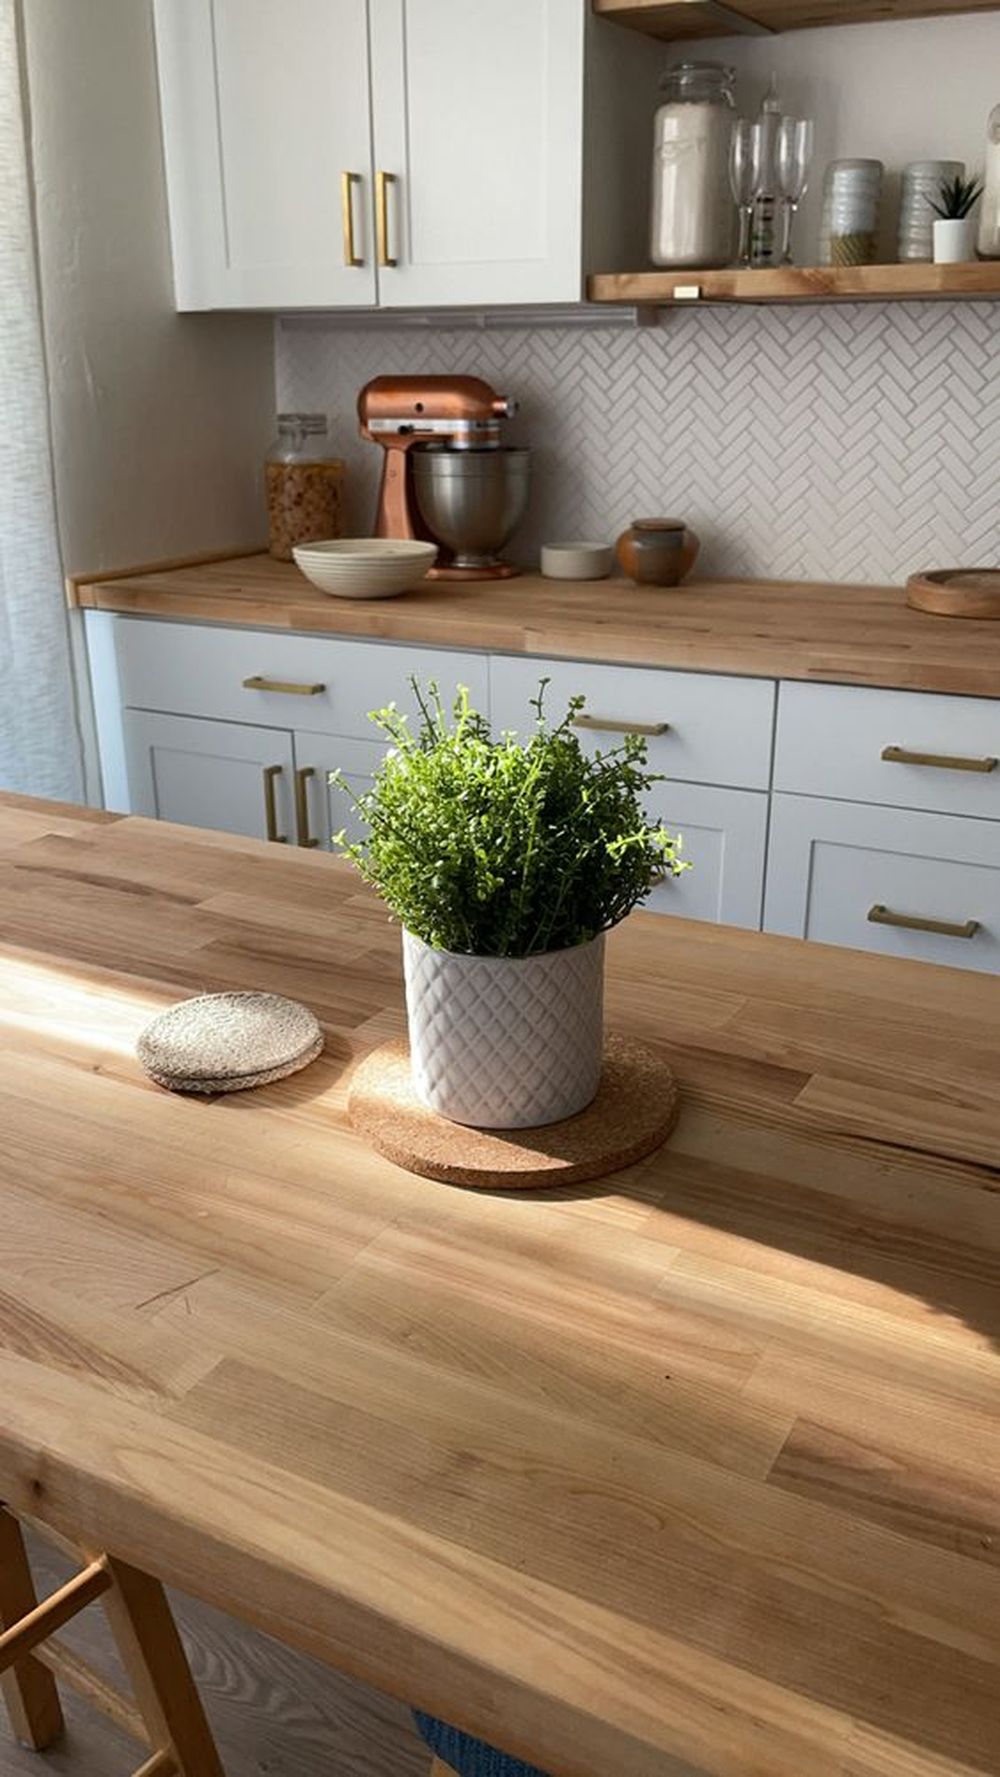
2. Wood Kitchen Countertops
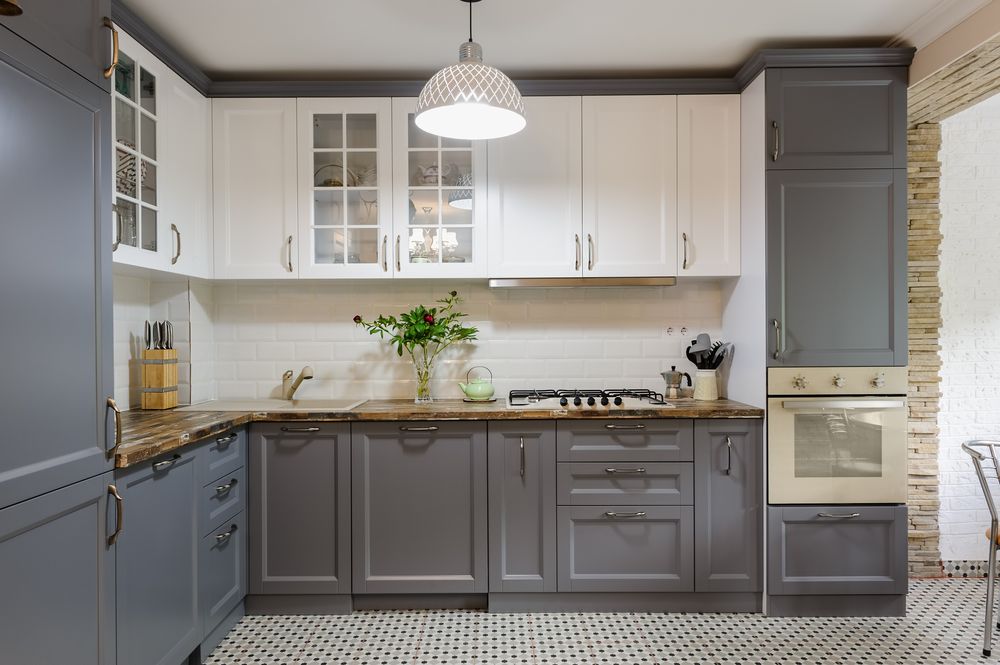
A wood kitchen countertop is an excellent choice if you’re looking for a more contemporary look. This photo showcases how well it works with white and grey cabinets, together with a subway tile backsplash. And, of course, its natural color brings warmth to the room.
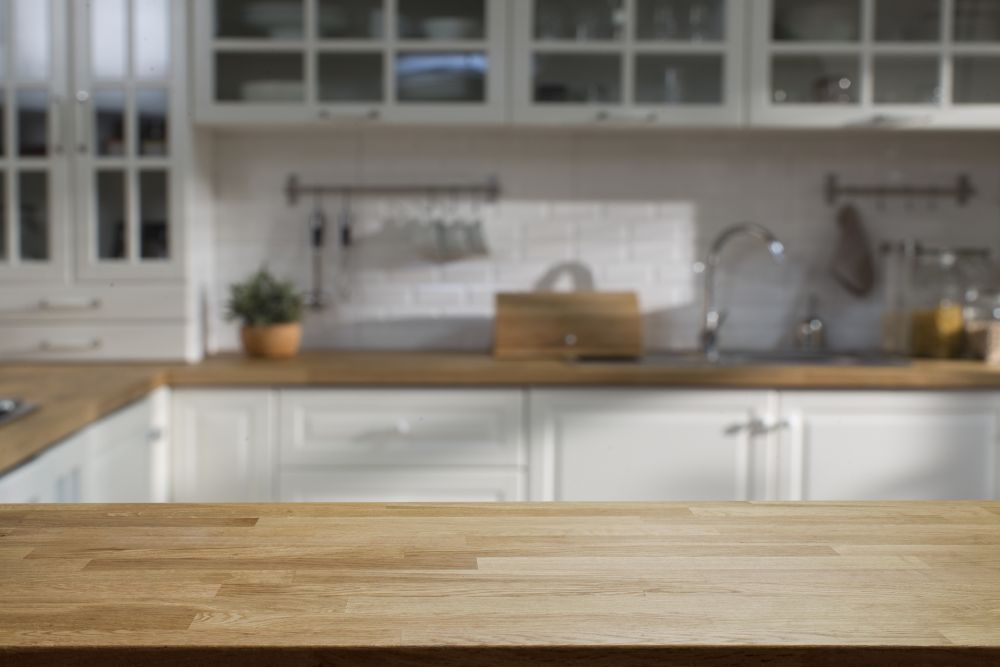
3. Butcher Block Kitchen Countertops
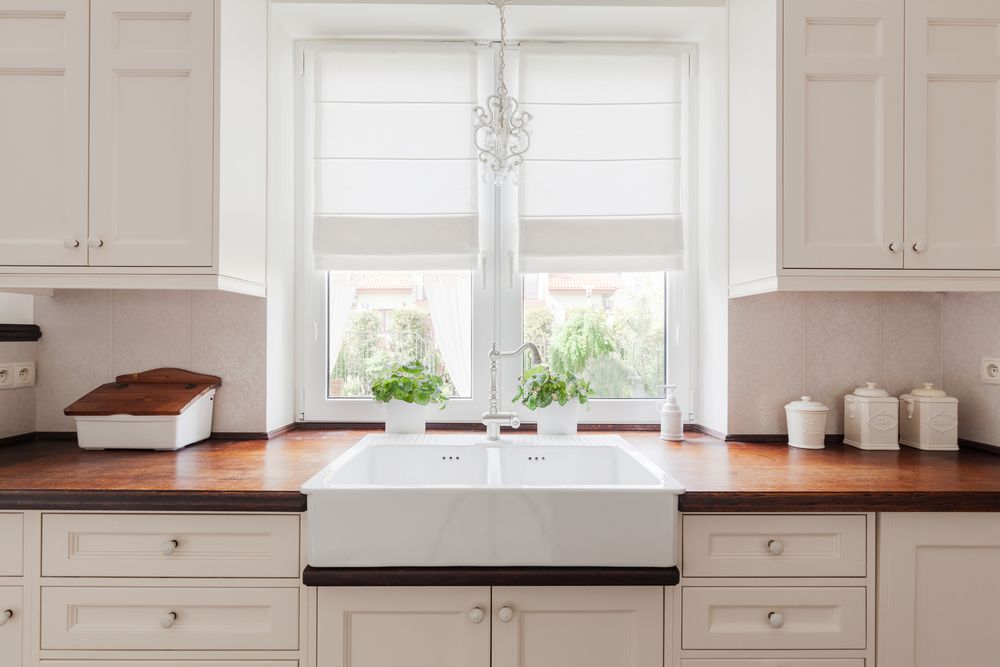
If you want to create an elegant look in your home, you can’t go wrong with a butcher block kitchen countertop. Check out the image above to see how it looks in an all-white kitchen with a farmhouse sink! It’s pretty obvious how the dark solid wood complements the bright cabinetry.
4. Butcher Block Island Top
A butcher block island top is incredibly versatile and can spruce up any kitchen with modern wooden details, even a classical one. You can use it as is or refinish the surface to match your cabinets and tiles. It’s a pretty clever way to add warmth and character to your cooking space.
5. Wood Bathroom Countertop
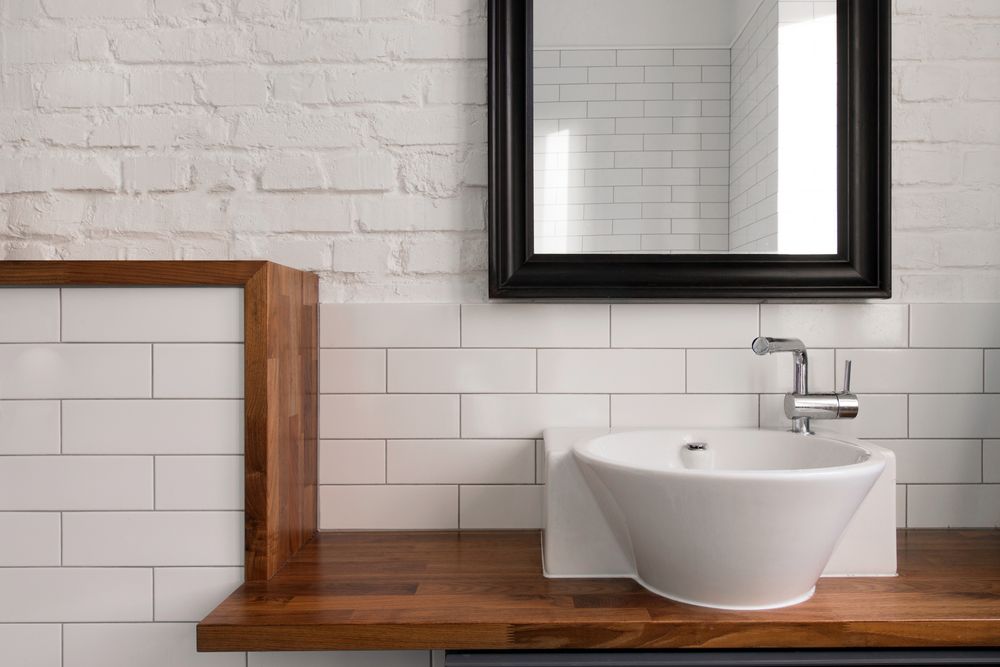
Wooden countertops aren’t only for the kitchen! You can use them in the bathroom, too, as this image shows. This wood bathroom countertop is made from MDF, which is why it has a modern look. You can use it to create a sophisticated bathroom by adding white and chrome fixtures and accessories that contrast with the dark wood.
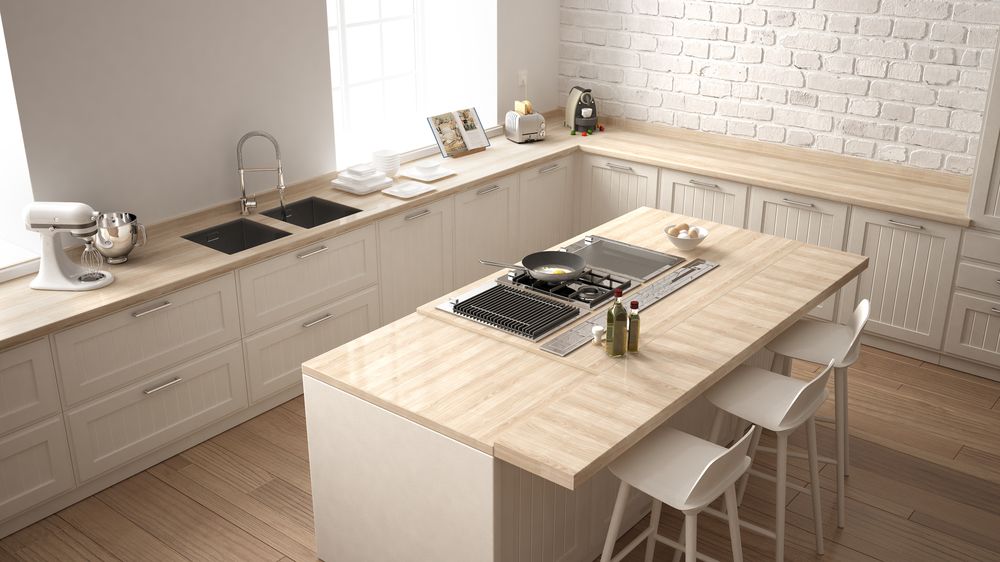
6. Butcher Block Island Countertop
A butcher block island countertop is ideal for kitchens with an open floor plan because it can serve as a buffet or bar. You can even put stools around it to use as a breakfast bar.
The light wood is a beautiful contrast to the dark cabinets in this image. And, as you can notice, the same wood is used for the cabinets, door, and window frames to make the kitchen feel organic.
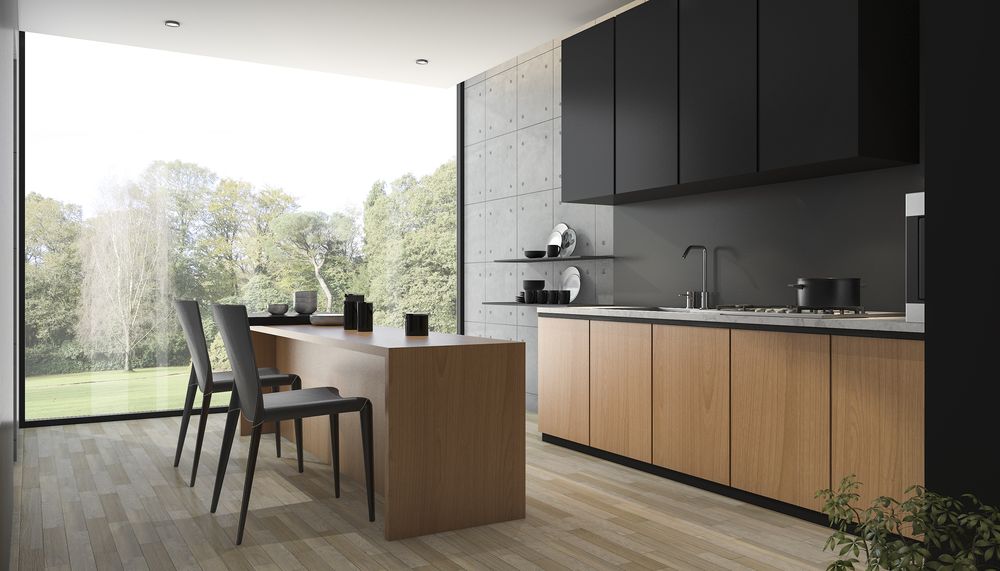
7. Kitchen Island with Butcher Block Top
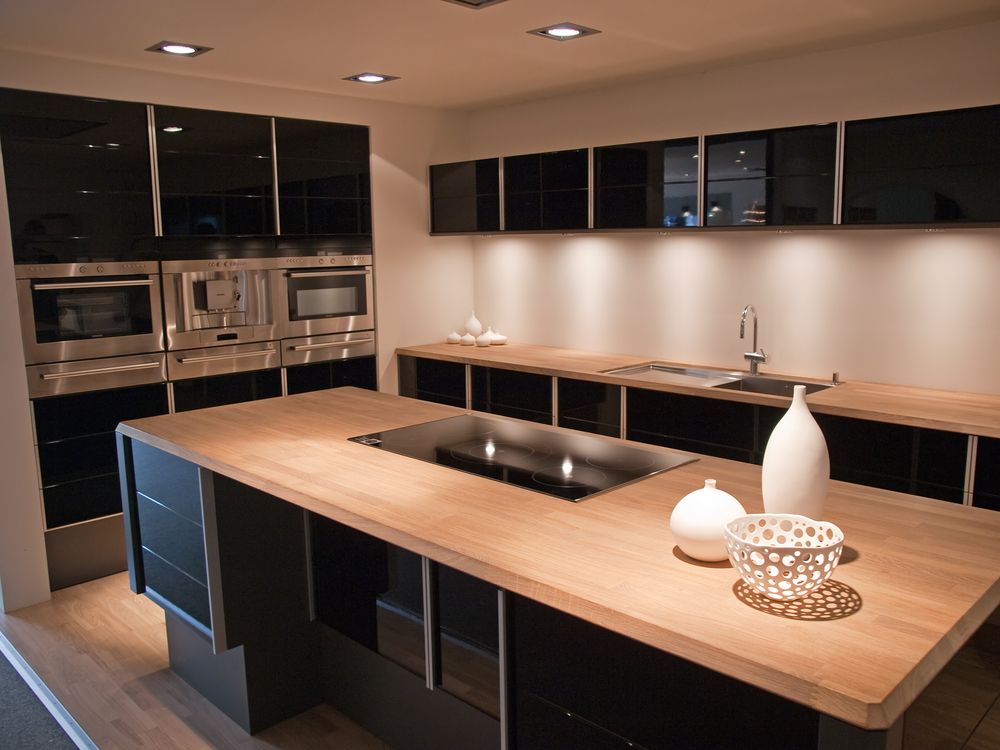
A kitchen island with a butcher block top is a great way to add extra counter space to your cooking space. It’s also easy to install. This photo showcases how a modern kitchen works with dark cabinets, stainless steel appliances, and a light butcher block countertop. It’s exquisite.
8. Wood Island Countertop
Here’s another take on a modern kitchen that’s predominantly dark. However, the wood island countertop adds contrast and warmth, creating a cozy environment for the entire family.
9. White Cabinets with Butcher Block Countertops
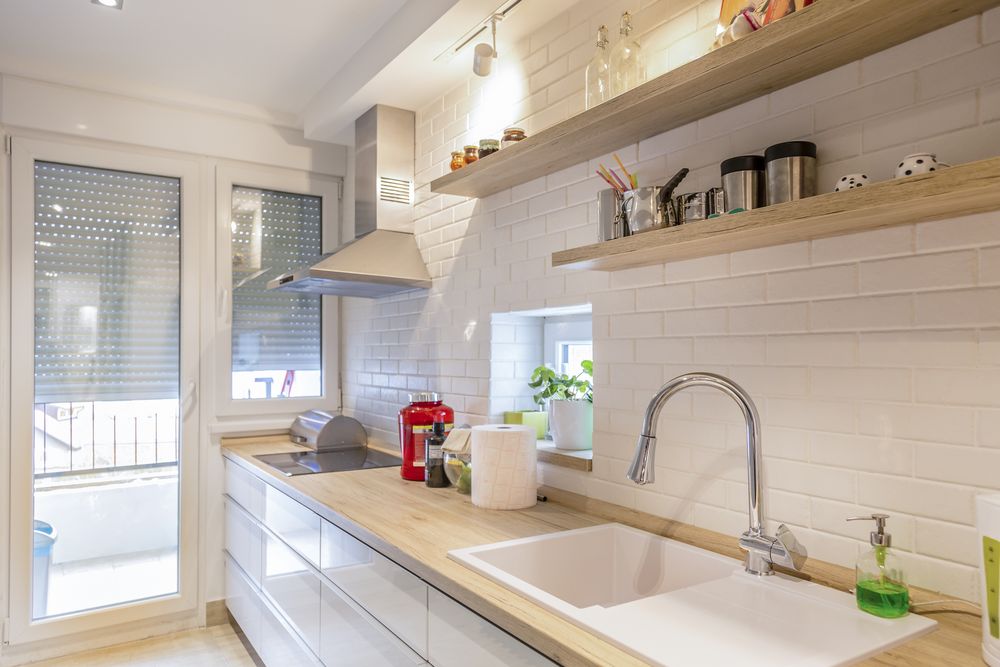
If you want to include wooden countertops in your kitchen, you don’t have to go all out and use wood flooring. Here’s an example of white cabinets with butcher block countertops. You can notice the light wood in the countertop as well as the butcher block floating shelves.
10. Chopping Block Countertop
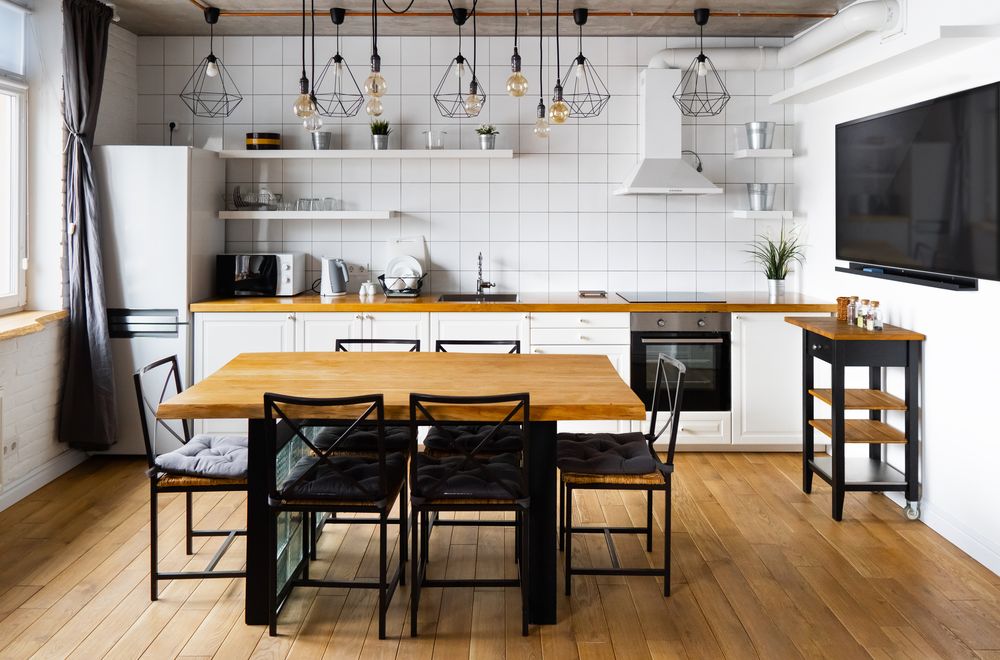
A modern Scandinavian-style kitchen with an eat-in black-and-white design would be incomplete without a chopping block countertop. And, if you pay attention to the photo, you can see the same wood is used in a butcher block table.
FAQ
Find out more information about butcher block countertops:
How much are butcher block countertops?
The cost of butcher block countertops depends on several aspects: wood type, finish, and geographical location. You have to pay $40 to $100 per square foot on average, including installation. However, if your kitchen has unique characteristics that require more time and work, the price may double.
Are butcher block countertops durable?
Yes, butcher block countertops are durable and can last a lifetime if maintained properly. Follow our maintenance tips to learn more: do not place hot pots or acid fruit directly on the surface, chop food on a cutting board, quickly remove any stains, reseal the wood regularly, and so on.
Where to buy butcher block countertops?
You can find butcher block countertops in most home improvement stores, such as IKEA, Home Depot, Lowes, and Menard’s. It’s also possible to order them online from various retailers.
What are the benefits of butcher block countertops?
Butcher block countertops are durable, easy to clean, eco-friendly, and add a warm look to any kitchen. You can even install them yourself to save money on installation. Plus, they’re a great way to showcase your DIY woodworking skills.
What are the drawbacks of butcher block countertops?
The main disadvantage of butcher block countertops is that they require more maintenance than others. You have to reseal the wood every few months and be careful with sharp knives, hot pots, and food left on the surface. If you don’t maintain them properly, they may start to look old and worn down.
How to join butcher block countertops in a corner?
You can join butcher block countertops smoothly, without any gaps or limitations. To do that, you need to use a miter joint or a butt joint to keep everything tight and smooth. It’s best to make a template and use it as a guide before cutting the wood.
Final Thoughts
If you’re looking for a new countertop that will add character and warmth to your kitchen, butcher block countertops are excellent options. With so many varieties of wood available, you can find the perfect color and finish to match your style and taste. Just be sure to consider the maintenance requirements before making your final decision.
How do you plan to decorate your kitchen with butcher block countertops? Let us know in the comment section below!