Bird Of Paradise Growing Problems And Solutions
Updated on November 1, 2021
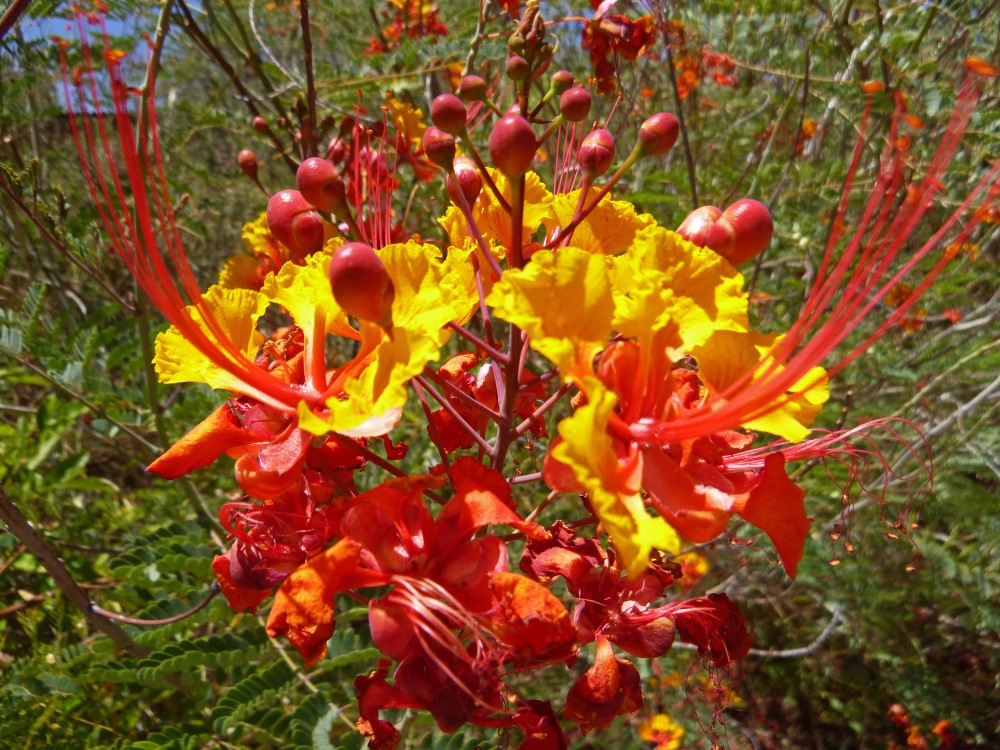
When it comes to the Mexican bird of paradise, the name says it all. This is a houseplant that adds as much drama to the surrounding setting as a Mexican soap opera. From the exotic colors to the unique shapes of the flowers, there’s a lot to admire and crave about this outlandish plant.
But maybe drama is the last thing you’d want from a houseplant, especially the kind of drama that signals that all’s not well with this plant. From fungus to cold temperatures, the plant gets stressed a lot. When repotting it you’ll also need to do your best to reduce the shock of transplanting it. In short, there’s a lot to watch out for if you want to keep the plant happy and flowering every year.
Bird Of Paradise Fungus
When fungus hits your bird of paradise it will make sure that you notice it. The spots cover the leaves and grow to join together as the infection spreads. And although the infection remains close to the surface and poses no permanent risk to the leaves or the plant itself, it still sticks out like a sore thumb and ruins the beauty of the houseplant.
The spots are often gray and circular. But sometimes they grow out of shape especially if you neglect to treat them. They start on the upper side of the leaves and spread to the lower side and stems as well.
The main culprit behind the fungus is too much moisture either in the soil or in the air. Pests can also carry the fungal spores to the plant so eliminating bugs is a good way to keep the exotic plant safe.
How to Fix It
Time is not on your side when it comes to the bird of paradise leaf fungus. Even if the weather changes and humidity drops, the spores of the fungus remain in the soil and on the leaves waiting for the right conditions to grow back again.
So if you want to prevent the spread of the fungus, cut off all the infected leaves and dispose of them safely. Collect any fallen leaves because they might also be infected and burn them. Avoid touching the wet soil then getting in contact with the plant since that will only spread the fungal spores.
After getting rid of the infected leaves, spray neem oil all over the plant and the soil. It’s a natural insecticide that also works well on this fungus. You can use other commercial fungicides in the market but some of them kill the leaves as well as the fungus. Spray a small area of the plant first and check on it a few hours later. If the fungicide has no effect on the leaves, you can spray the rest of the plant.
Don’t water the plant from above and avoid sprinkling water over the leaves or stems to prevent the spread of the fungal infection.
Transplanting Bird Of Paradise
If you grow a bird of paradise in the garden, there might come a time when you have to move it to a different location. Maybe the current spot is not getting enough sun or the plant is not protected from strong winds.
But even if you grow it in a container, you’d still need to repot the plant which also entails taking it out of the soil and exposing the roots to the air. This can send the plant into a state of shock that affects its growth and blooming. So you need to choose the right time to transplant the exotic plant and know when not to move it.
How to Fix It
As a general rule, you should not try to transplant an established bird of paradise plant with large foliage. The root system of the plant is too complex and has developed well enough that disturbing it could prove to be fatal for the plant. Here’s how to transplant a young bird of paradise plant.
- Water the plant thoroughly one day before transplanting it to get the soil wet.
- Measure the trunk of the plant and for every inch, move 12 inches away from the base of the plant in every direction.
- When you have marked a circle around the trunk, dig deep and try not to cut the main roots.
- When you have dug a large trench around the plant, shake it by the trunk from one side to the other to dislodge the roots.
- Spread tarp near the plant and pull it out of the soil and immediately place it on the tarp. Wrap the plastic around the roots.
- Dig a hole in the new spot as deep as the hole you just made and a few inches wider.
- Put the plant in a wheelbarrow and move it to the new spot.
- Remove the tarp and ease it into the hole so that the soil mark on the trunk aligns with the top of the hole.
- Fill back with soil and firm it. Water thoroughly.
Potted Bird Of Paradise
Although the most common place for the bird of paradise is in the garden, it’s not unusual to also see it growing as a potted plant. But that is not as easy as it sounds. For this tropical plant, both sunlight and high temperatures are vital parts of the surrounding environment.
If you live in zones below 8, then the chances of growing the plant in your garden and having it bloom every year are slim. The only option is to grow it indoors and provide enough heat, light, and humidity to thrive. Sometimes you’ll have to strike a delicate balance between all of these conditions and more often than not, something goes wrong.
How to Fix It
To make things easier for you, start the plant indoors in a planter and when the weather warms up outside, take the plant to the garden gradually. By the end of the summer, bring it indoors again and wait until the next spring. This gives you the best chances of seeing those adorable blooms on the plant every year.
The best type of soil for the potted bird of paradise is one that is well-drained. You can fill the container with a regular potting mix with extra perlite for added drainage and aeration. Terra cotta pots are better than plastic ones since they protect the roots against excessive heat. They also don’t tip over easily under the weight of the plant.
If you have short growing seasons, then the plant will spend more time indoors than outdoors. This calls for investing in a heat mat and a grow lamp. Set the heat mat to 55 degrees F at night and 80 degrees F during the day.
Place the grow lamp about 10 inches away from the potted plant and turn it on between 10 to 12 hours every day.
As for watering and care, allow the top 2 inches to dry out between irrigations. Water the plant deeply to get the soil moist but not wet.
Yellowing Leaves On A Bird Of Paradise
The yellow color and leaves don’t go together. In fact, they’re a good sign that your bird of paradise is having some trouble in paradise. This trouble could be the result of poor watering patterns, inadequate lighting, or the work of pests.
At first, you might not notice that the large leaves of the plant are changing color. They still look glossy and shimmer in the sun. But soon, the discoloring takes over one side of the broad leaf. First, the green color fades, and yellowing discoloration replaces it. Then the yellowing turns brown as the infected part of the plant dries out completely. Before long, the whole leaf dies out and falls. More leaves will follow suit if you don’t act quickly.
How to Fix It
To get to the bottoms of yellowing leaves on the bird of paradise plants, you’ll need to examine the three causes of the problem. These are
- Lighting: Dim or even medium light is not enough for this tropical plant used to full sun exposure. If you’re placing the container near a window, rotate it 45 degrees every few days to ensure that all the leaves are getting their fair share of the sun. If you don’t get sun for days, place a grow lamp close to the pot and turn it on between 10 to 12 hours a day.
- Water: For a tropical plant, this exotic plant doesn’t like too much water. Check the soil before irrigating the pot and make sure the top 2 inches are dry. Too much water causes the roots to rot quickly which leads to yellowing leaves.
- Pests: Whiteflies, scales, aphids, and opogona crown borers are the type of bugs that cause serious damage to the structure of the plant. They eat through the stems and disrupt the internal pathways that carry moisture and nutrients to the leaves. Spray your plant with neem oil to eliminate the bugs and cut off the yellowing leaves to trigger new growth.
Deadhead Bird Of Paradise Flowers
Say what you like about the glorious flowers of the bird of paradise, they don’t look that charming when they’re spent. Dead or fading flowers don’t just drop to the ground the way most other plants do. In the case of the bird of paradise, the spent flowers stay hanging on the stems creating a health hazard for the plant and any neighboring vegetations that you care about.
As part of your care and maintenance work for this bird of paradise, you’ll need to deadhead the flowers. This prevents fungi and pathogens from festering in the heart of the rotting dead flowers and infecting the plant itself.
Not to mention that the dead flowers with their faded colors and overriding brown tones are the last things you’d want to open your eyes in the morning to. Your guests will admonish your gardening skills and your neighbors will never forgive you for this flagrant neglect.
How to Fix It
Besides the above reasons, you wouldn’t want your flowers to complete their life cycle and produce seeds. This is usually an invitation for all types of larger bugs to make a nest in the dead flower and lay their eggs. So how would you deadhead the flowers?
As the name suggests, you’ll wait for the flowers to fade then cut them with a pair of scissors or pruning shears. Make sure the tools are sterilized to avoid contaminating the plant.
For extra protection, use thick gloves and eyeglasses to protect yourself against flying debris and shrapnel.
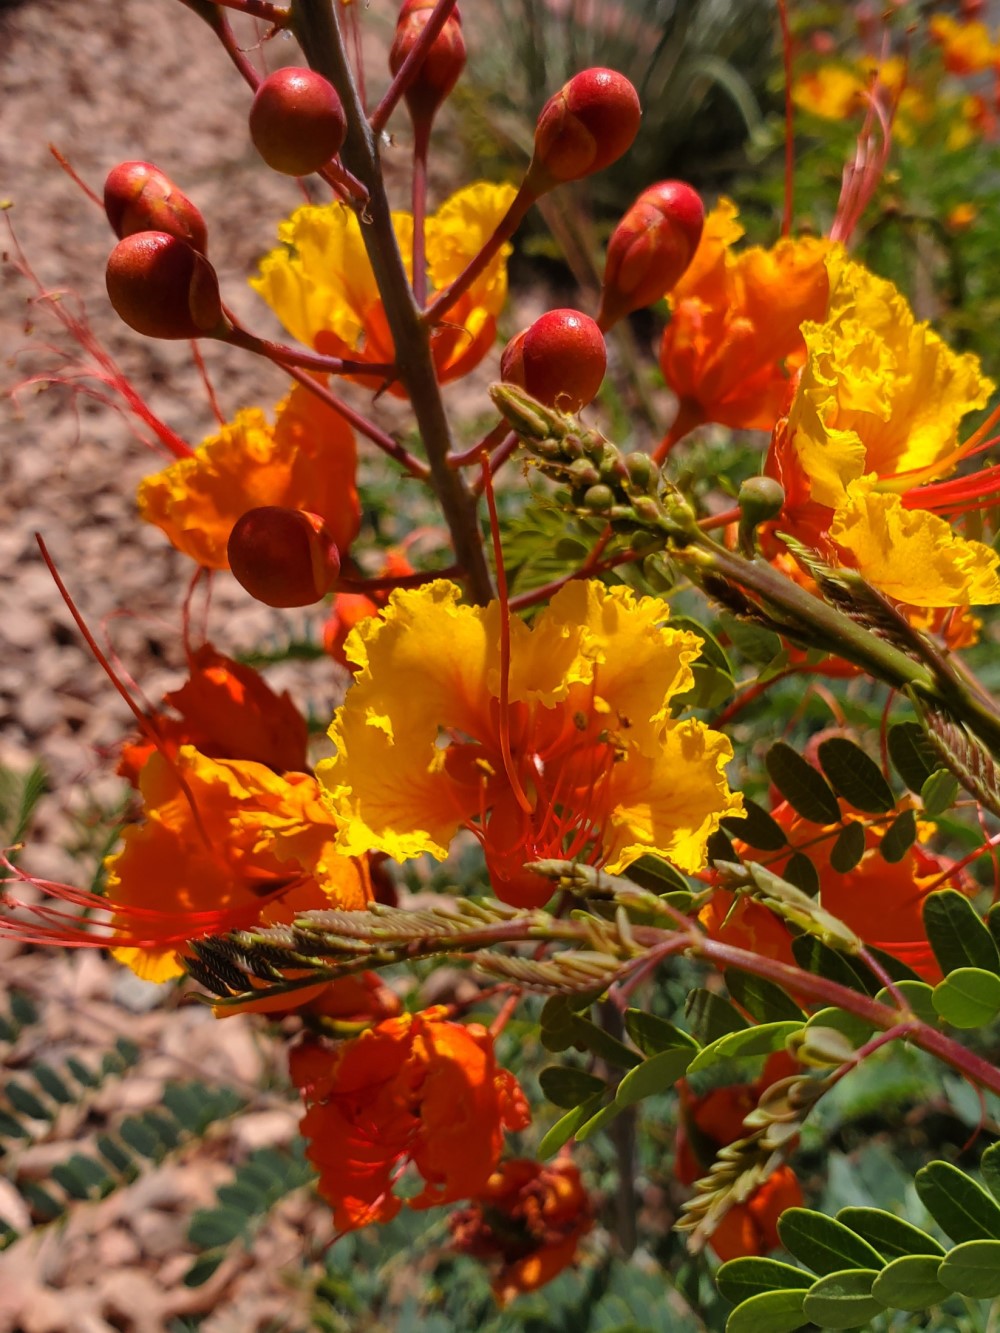
You don’t have to wait for the flower to be totally dead before cutting it. If the orange colors are already fading, that’s a good sign, the flower is entering the last stage of its life and is ready for deadheading.
Cut the flower along with the stalk that carries it. This encourages the plant to grow more flower buds if it’s still early in the flowering season.