Beets Care – How To Grow And Harvest Beets
Updated on November 19, 2025
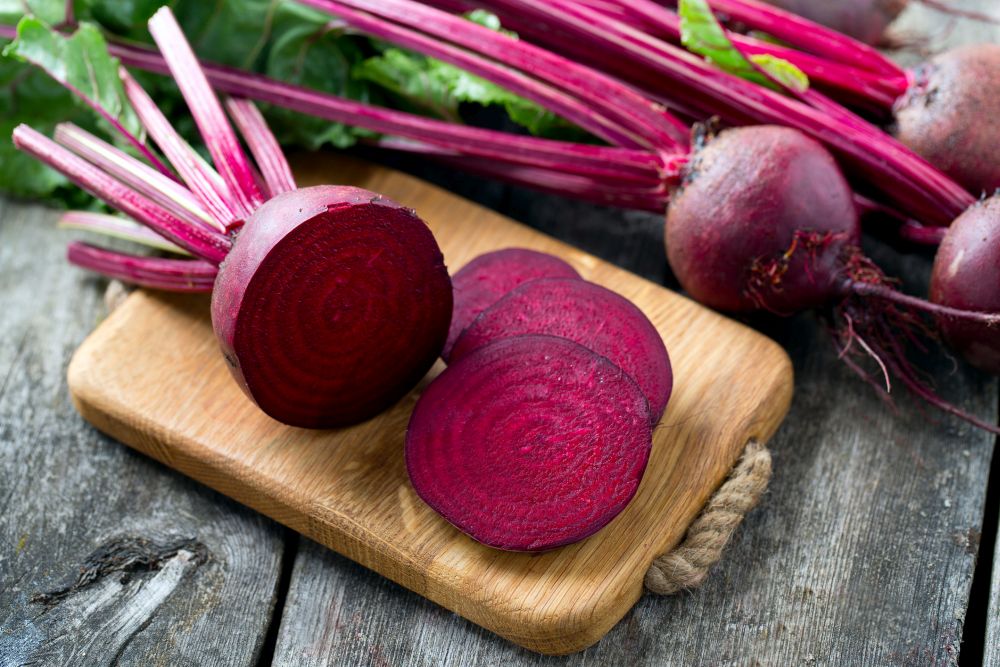
Deep purple and plump beets are more than eye candy. The roots of the plant are packed with nutrients without increasing your calorie intake. Rich in protein, fiber, magnesium, folate, and vitamins B6 and C, beets are the ultimate ingredient for your salads. You can eat them raw, pickled, or roasted.
So naturally, you’d want to know how to grow beets in your garden. Rather than buy it at the grocery store, you can grow it and enjoy the fresh beetroots. Not only that, but you can try out different varieties and get a taste of the less commercial cultivars that they don’t sell at the store. Thankfully, growing and caring for beets are no different from many other plants. They are easy to care for and won’t put you out. Read on to find all you need to know about how to grow and harvest beets.
All About Beets
Beets (Beta vulgaris) usually refer to the whole plant. Beetroots refer to the taproots which are packed with flavors and nutrients. The leaves are called greens and are good for salads. They have an earthy taste which turns some people off. But if you’re not a fan of the taste of raw beets, you can simply cook or pickle them.
An annual veggie, beets originally hail from Europe. Their long shelf life made them an ideal plant to grow and store. It sustained people during the long winter months and on long voyages. And the fact that beets have a high tolerance for different weather conditions, that made them an ideal crop to grow. You can plant it in any hardiness zone between 2 and 11. Neither the harsh cold nor sweltering heat has much impact on the size or taste of the beetroot.
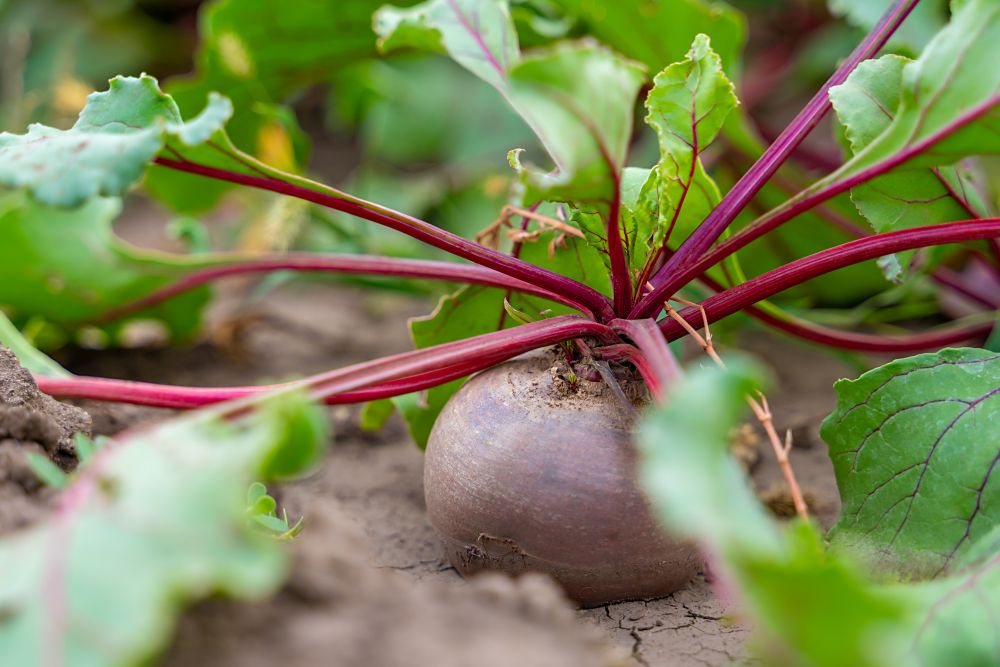
And for a plant with such a large root, the above-ground part of the beets is usually small and compact. The mature plant usually grows to about 18 inches tall and 24 inches wide. This allows you to grow a few plants in a limited area in your garden. You can even grow it in a container and harvest a few succulent beetroots twice a year.
It’s even possible to grow beets in the early spring and again in the summer. That way, you will have enough beets to keep you stocked all year round.
Beets Varieties
Although the predominant color of beets is dark red, other more colorful varieties and cultivar exist. They usually have interesting colors such as golden and even striped. Some varieties have sweeter and more succulent leaves than others. Here are some beets varieties you can try for yourself.
- Kestrel: A hardy cultivar known for its succulent deep red beetroot. The plant also has a high resistance to both heat and diseases. You can grow it in zones 10 and 11, and the hot sun will not damage the roots. The beetroots are ready to harvest only after 50 days from planting the seeds.
- Red Ace: A superb cultivar that produces tasty and tender greens and sweet red roots. The roots are not prone to zoning where red and white circles alternate as a result of exposure to heat. The roots mature within 60 days after planting. Good for salads, roasting, and pickles.
- Bull’s Blood: If you live in a cold zone, then this cultivar is the right one for you. Short of frost, it has a high resistance to other harsh weather conditions. The cultivar gets its name from the deep red and flashy leaves. You can start harvesting the leaves within 40 days and the roots after 50 days from planting the seeds. Some people grow it for its ornamental values as well as its tiny baby beetroots.
- Lutz Green Leaf: As the name implies, this cultivar is grown for its delicious leaves. You can grow it in the fall and harvest and store the sweet roots throughout the winter. While the tasty leaves are great for salads, you can cook the heart-shaped roots to add flavor to your dishes. The beetroots are ready to harvest after 70 days.
How to Grow Beets
After settling on the right cultivar for your zone and culinary needs, it’s time to look for the seeds online. This is usually the best way to grow beets. It allows you to experiment with more than one cultivar at the same time. Here’s how to start beets from seeds in simple steps.
- Get the beets seeds from a reputable source and test them in the water. Discard the seeds that float since they will not germinate.
- Pick a spot in the garden that gets 6 hours of sun a day and till the soil. Mix in organic compost or granular fertilizer 6 weeks before the time you plan to sow the seeds.
- Depending on the variety you choose, you can grow beets in the early spring after the last frost or in the fall.
- Divide the plot into rows and sow the seeds about one inch into the soil.
- Space the seeds about 4 inches apart. You’ll thin them out later.
- Cover the seeds with a thin layer of soil without packing it.
- Water the seeds every day to keep the soil moist. If you let the soil dry out, the seeds will not germinate in time, if ever.
- If you want to have a long beets harvest, you can sow the seeds in succession at 14-day intervals. This will keep your fridge stocked with fresh greens and beetroots throughout the season.
- Once the seeds germinate, hold off the water and wait for the top 2 inches of the soil to go dry before watering it.
- When the seedling is 2 inches tall, thin out the plants, only keeping the healthy and strong seedlings.
Beets Care
If starting beets from seeds sounds easy, that’s because it is simple and straightforward. Caring for the plant is a no-brainer, either. Watering and protecting them against pests and diseases would be your top priority for the 7 to 9 weeks of their short lifetime in your garden.
Soil
Although technically, beets do well with different types of soil, including clay, that’s not the ideal soil for them. You would want to amend your clayish soil to make it as close to loamy soil as you can. This is why you’d want to break the topsoil and add organic materials to improve the texture and tilth of the soil. Loamy soil is well aerated and doesn’t retain water. Make sure any debris or weeds are removed well in advance to keep the taste of the beetroots and greens as pure as possible. As for the pH levels, they should be between 6.0 to 7.0, which is neutral to just barely acidic.
Water
The only time you’ll need to water the beets every day is when they’re still seeds in the soil. Once they sprout, you will hold off watering and allow the topsoil to dry out. Despite the succulent leaves and plumb beetroots, beets don’t need more watering than your average perennial or veggies. That means you’ll need to give the plants about one inch of water once a week. If the soil dries out too fast in the hot summer months, you can use mulching to improve moisture retention. Mulching also keeps the taproots of the plant cool in the summer and prevents root zoning problems. Remember to factor any rainfall in that equation and cut down on watering as long as the soil is moist.
Fertilizer
Rich soil is essential for the success of your beets. Lack of essential nutrients not only will result in a meager crop but also impact the taste and flavors of the greens and beetroots. If you’re not happy with the results of the soil tests you perform before planting beets, amend the soil with copious amounts of rotted manure and organic compost. Mix the organic material well into the soil and let it rest for a few weeks before planting the seeds. Sidedress the growing plants with a well-balanced 10-10-10 fertilizer if the plant still shows signs of malnourishment. Experts recommend using slow-release organic compost since chemical fertilizers affect the natural flavors of the veggie.
Light
Since there are two parts of the plant that you care to harvest, the leaves and taproots, you need to place the beets in a sunny spot. Partial shade is also agreeable to the veggies as long as they still get filtered or dappled light for at least 6 hours a day.
As for the ideal temperatures, beets, for the most part, are cool-zone plants. Excessive heat can cause root zoning where the beetroots have alternate white and red circles. This is why the best times to plant beets are in the spring and fall. If you think the soil temperature is too hot for the beetroots, cover the soil with a 3-inch thick layer of mulching as protection.
Pests and Diseases
While the leaves of the beets are just as important an edible part as the beetroots, they become the target of pests early on in the life of the plant. We’re talking about flea beetles, leafhoppers, caterpillars, leaf miners, and aphids. The telltale sign is usually holes in the leaves. Look for the culprits and hose them out with a garden hose. Neem oil and a swab soaked in rubbing alcohol are also good ways to get rid of pests.
As for diseases, fungal and bacterial infections, as well as root rot, are common problems with beets. You might notice brown or dark spots on the leaves. The best way to deal with them is to remove the infected leaves and dispose of them safely. If all the leaves in the plant are infected, uproot it and burn it to prevent the spread of the disease to the rest of the patch.
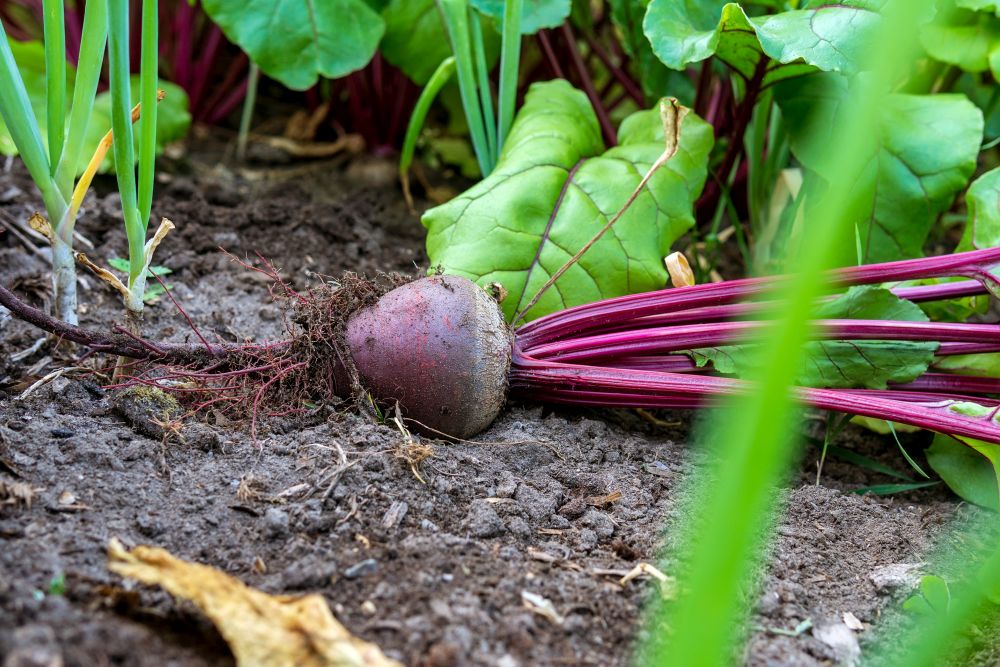
Harvesting Beets
Fighting pests and diseases might not be easy, especially when your beets attract so many insects and bugs. But after about 7 weeks, all your hard work bears fruit, and you’re ready to harvest the leaves and beetroots. Some cultivars mature within 50 days, while others need about 70 days from the time you plant the seeds to harvest.
To harvest the greens, use a sterilized blade and cut the leaves close to the ground. The leaves are their sweetest and crispiest when they’re about 6 inches long. As for the beetroots, they need to be ripe before you can collect them. To harvest the taproots, hold the leaves near the base firmly in your hand and pull the root out. Beets have a good shelf life, and you can store them in a cool and dry place for weeks or even months.