DIY Chalkboard Pantry Labels
Updated on November 19, 2025
Everybody’s talking about this spring cleaning. Not only cleaning, but this can be a great occasion to make some effective pantry organization, because admit it, after months of stacking things in the cupboards not all is immediately findable. From spices, to flour, to rice and baking sprinkles, I’m sure some organization will help sort things out. Below we’ve broken it down into three easy steps you can follow to help get you started, right from the basics.
First, the basics
In order to have organized cupboards, go and shop loads of organization boxes and glass jars. Opt for various sizes, even for very big ones if you have a large family. We prefer glass as a material, but also plastic will be okay if you plan on cleaning it a little more frequently.
Secondly, the habits
Have the habit of always filling up those jars. Think it as “if it’s empty, you’ve failed”. Just after your grocery shopping make a jar tour and top up all the ones that are nearly empty. When cooking, if you happen to finish a jar fill it immediately or you’ll never remember to do it.
Label everything, the DIY way
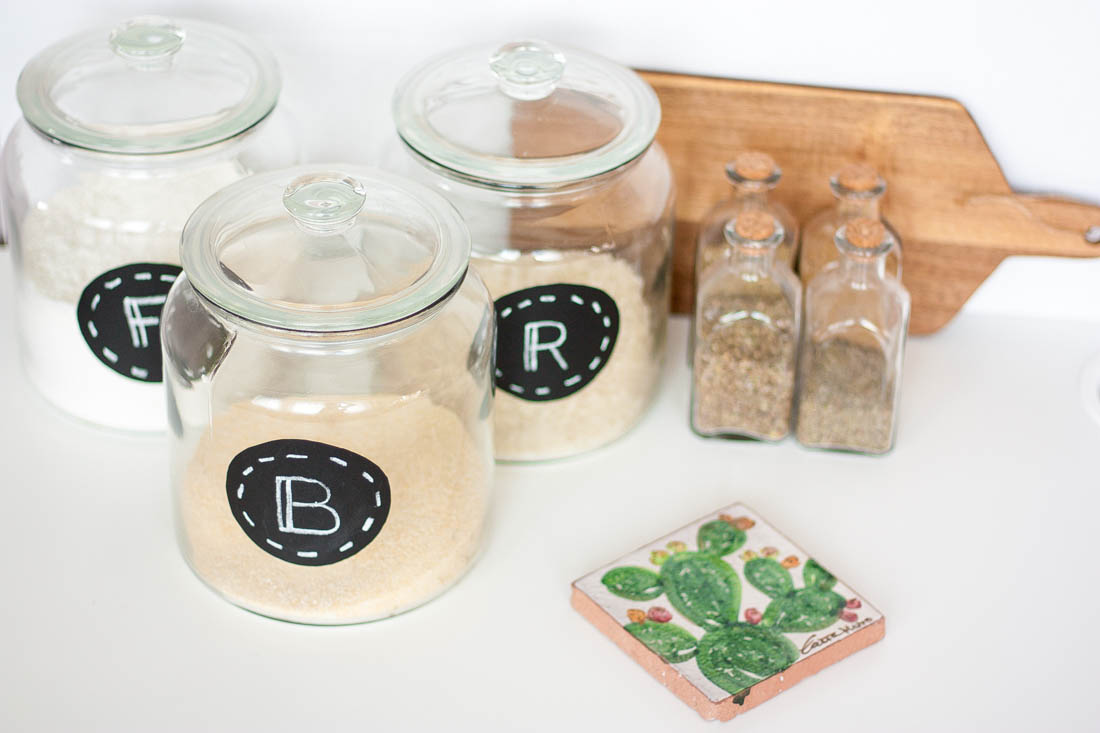
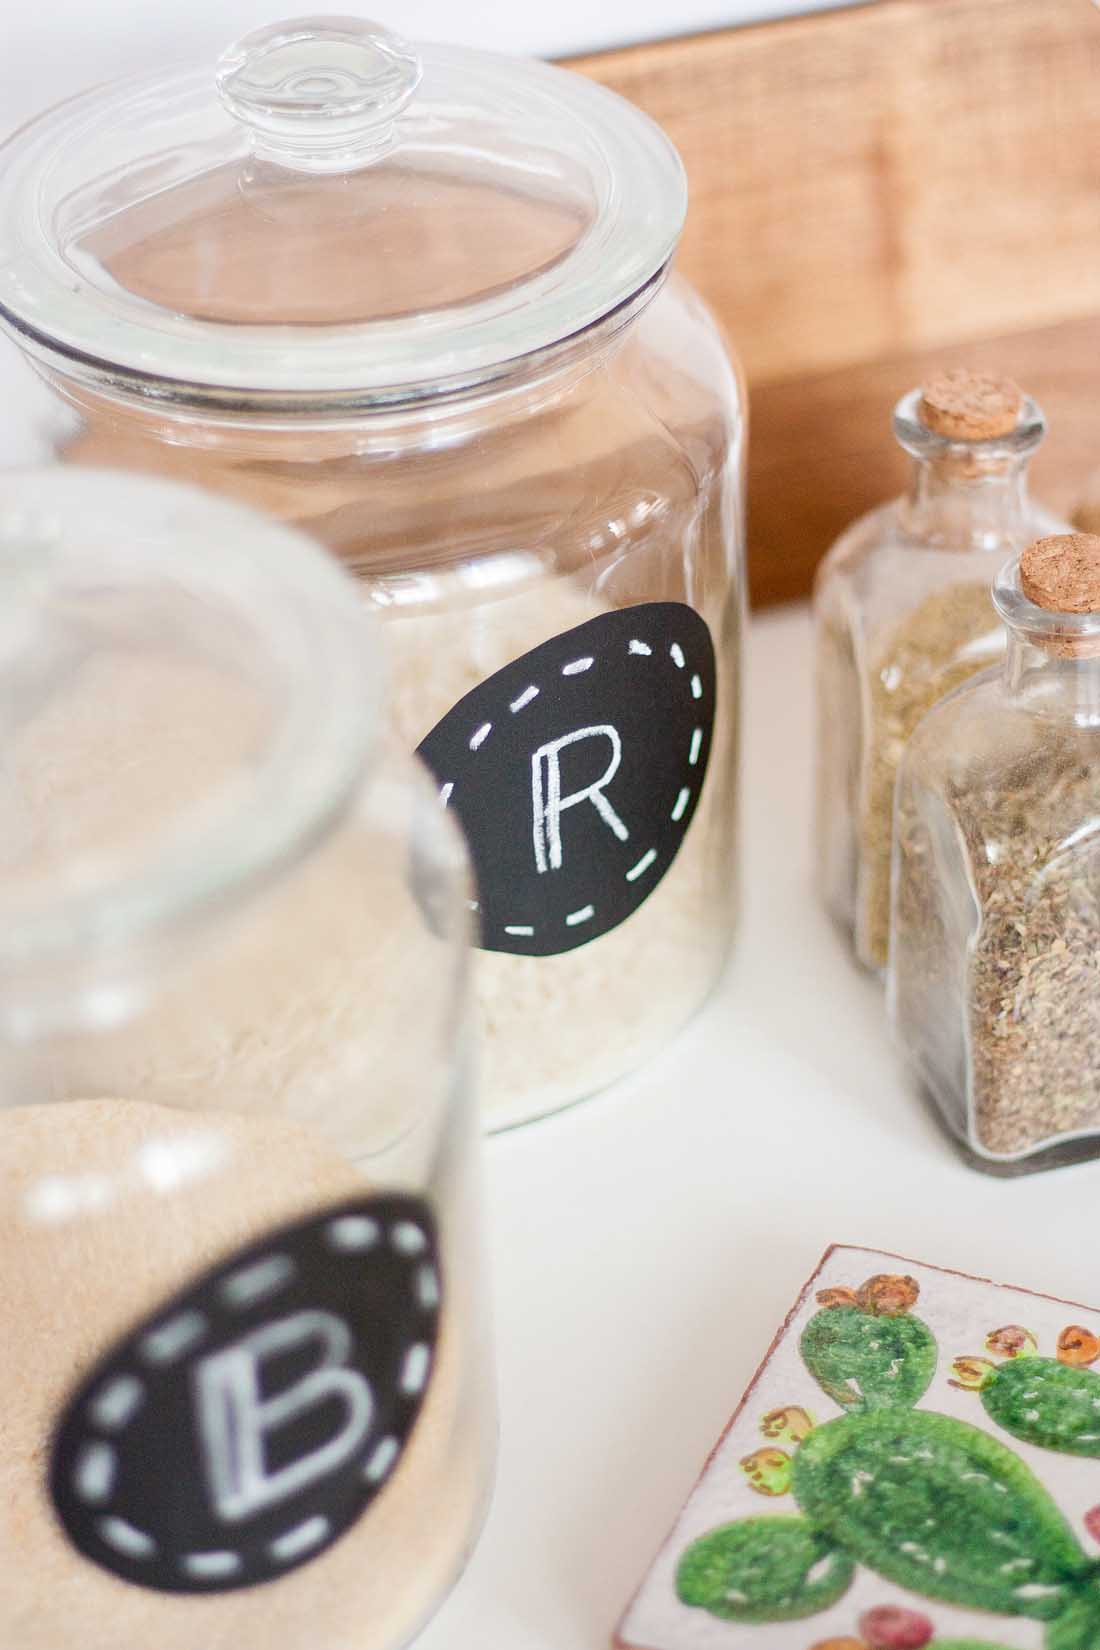
Finally, if you have lots of jars (and especially if they’re visible in your kitchen) use jar labels to easily find your desired item. Chalkboard labels are the best if you plan to change food inside the jar. Here’s how I made my DIY chalkboard labels:
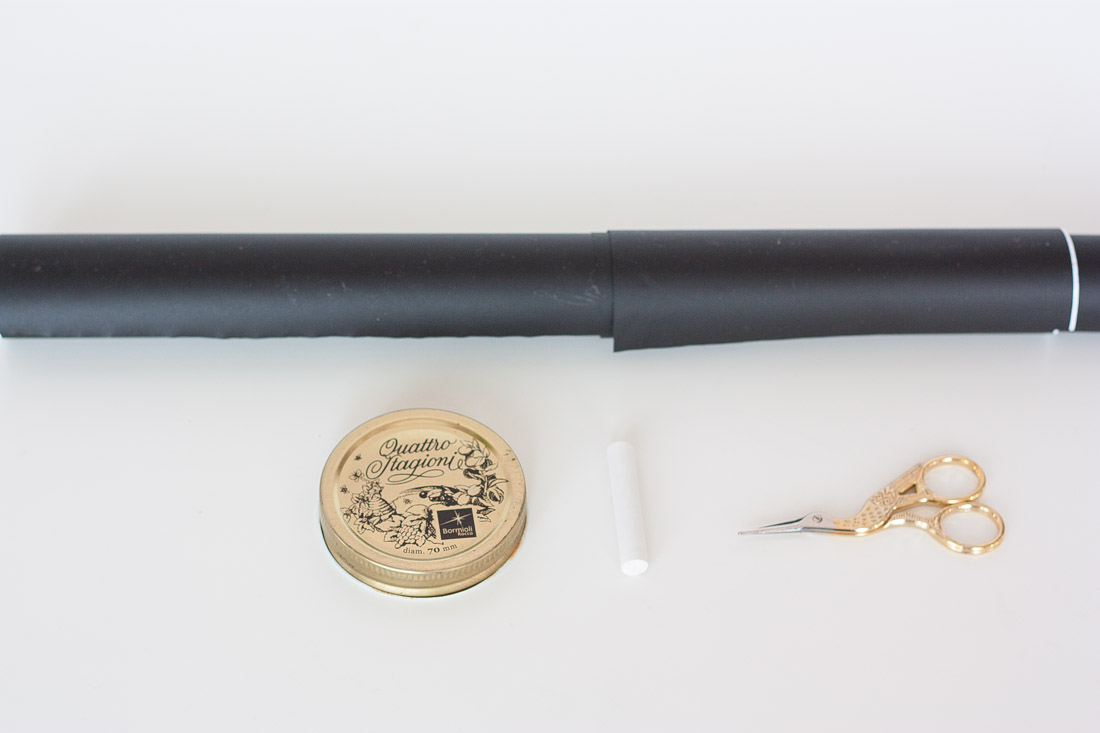
Supplies
- Adhesive chalkboard
- scissors
- pencil
- a round object for the shape.
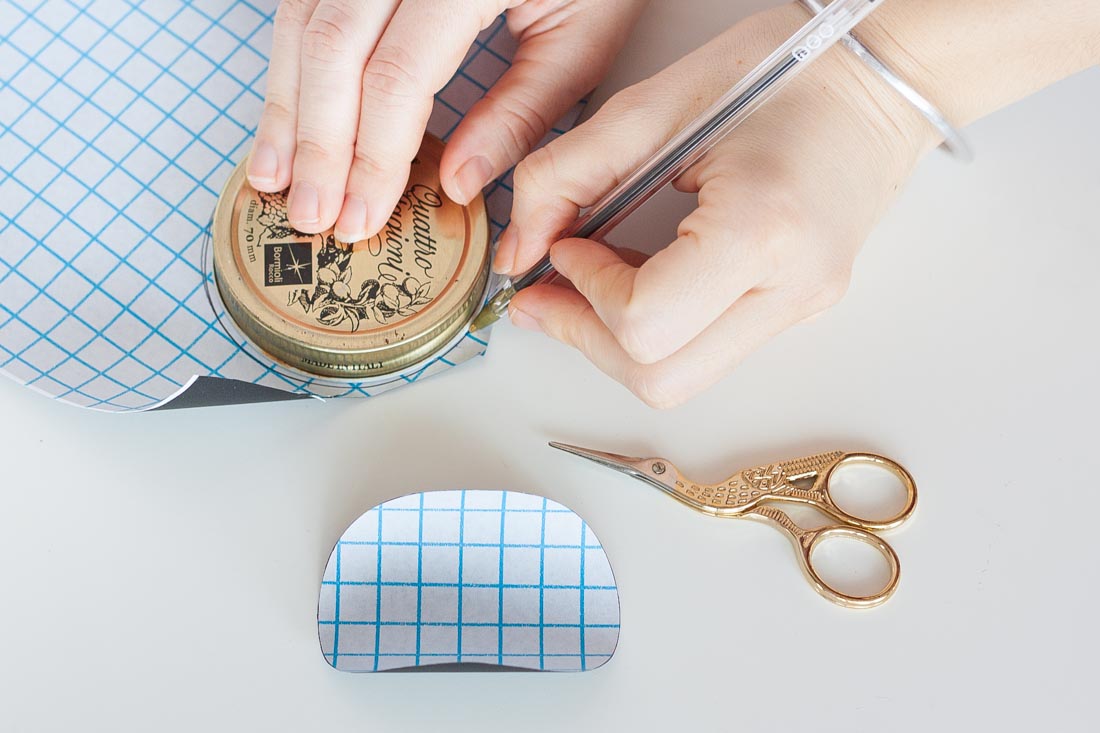
1. Draw round shapes on the back of the adhesive paper and cut them out. One for each label.

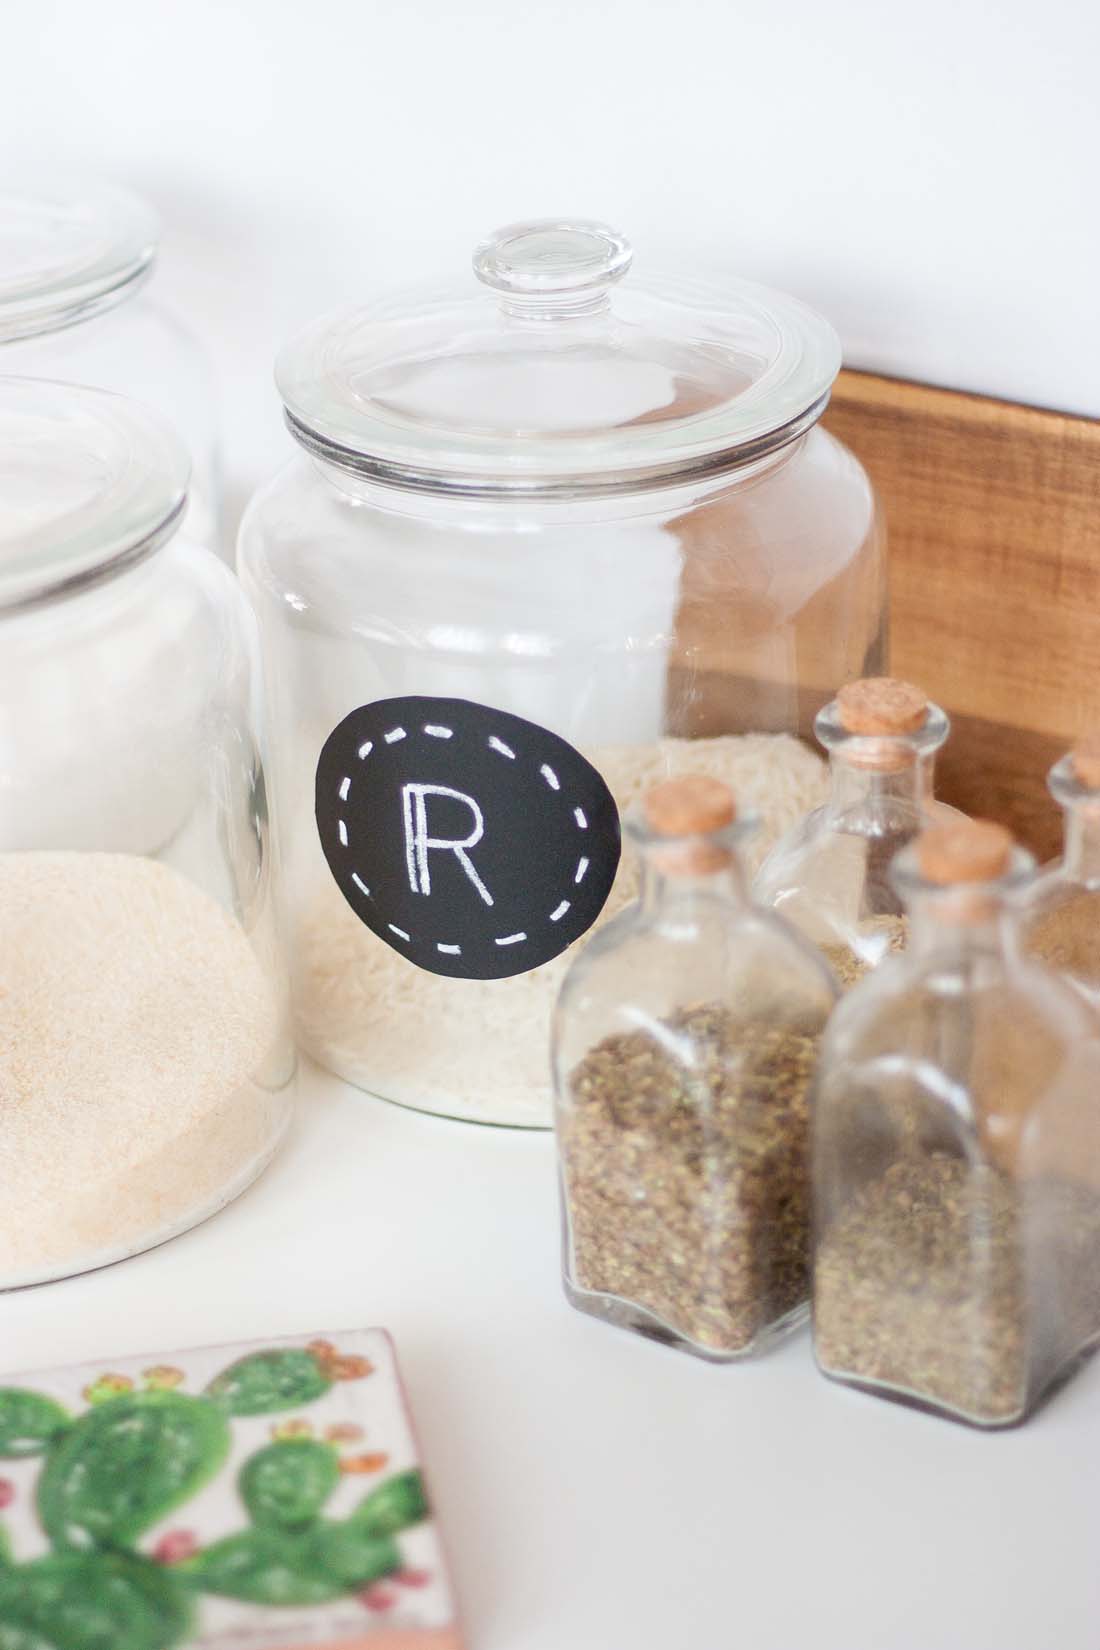
2. This one’s tricky, pat attention. Since applying round shapes on a round object will result in a visually oval shape, and we visually would be more pleased on a round shape, we have to modify slightly the roundness of our labels. Make them slightly oval and cut off a small amount from the top and the bottom of each one. Now of you place them on the oval surface of your jars they will look round, even if they aren’t
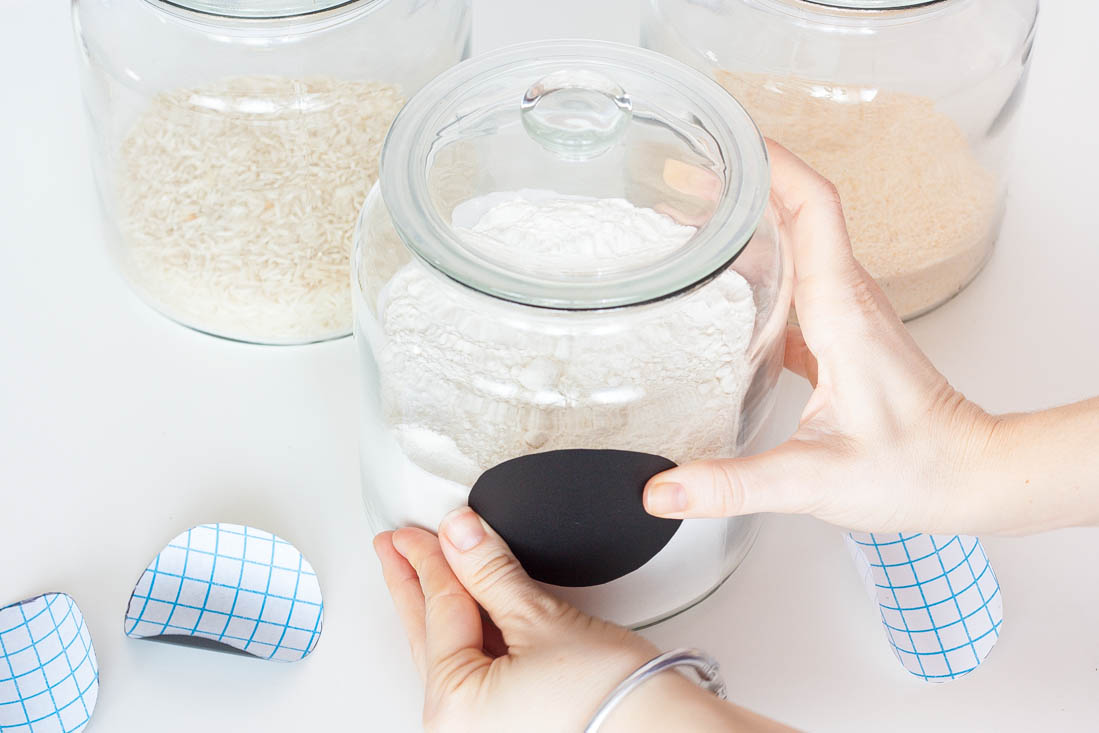
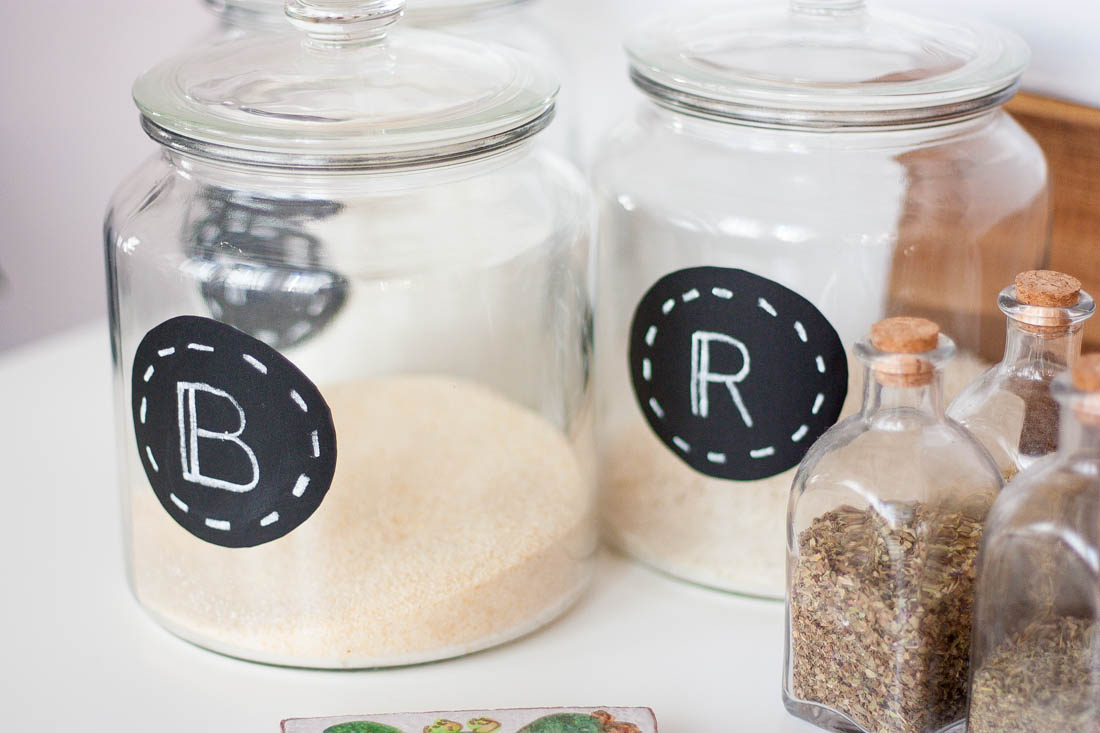
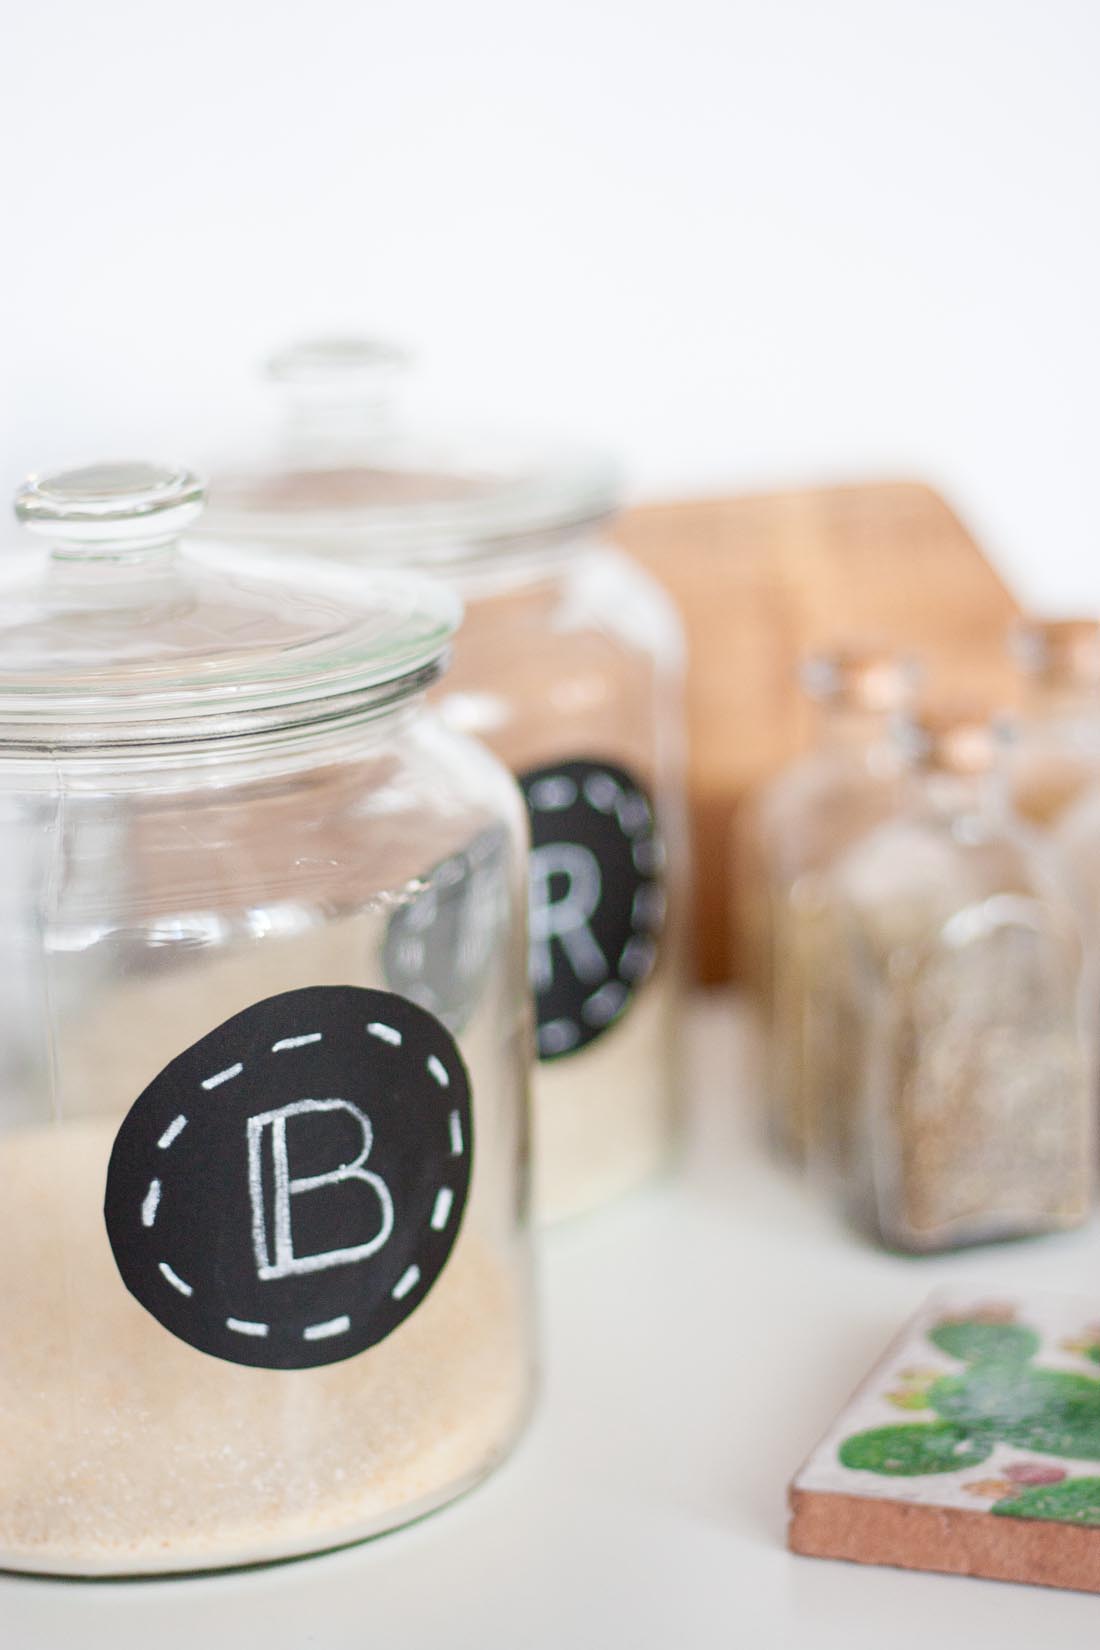
3. Finally, stick them to the jars all well aligned.
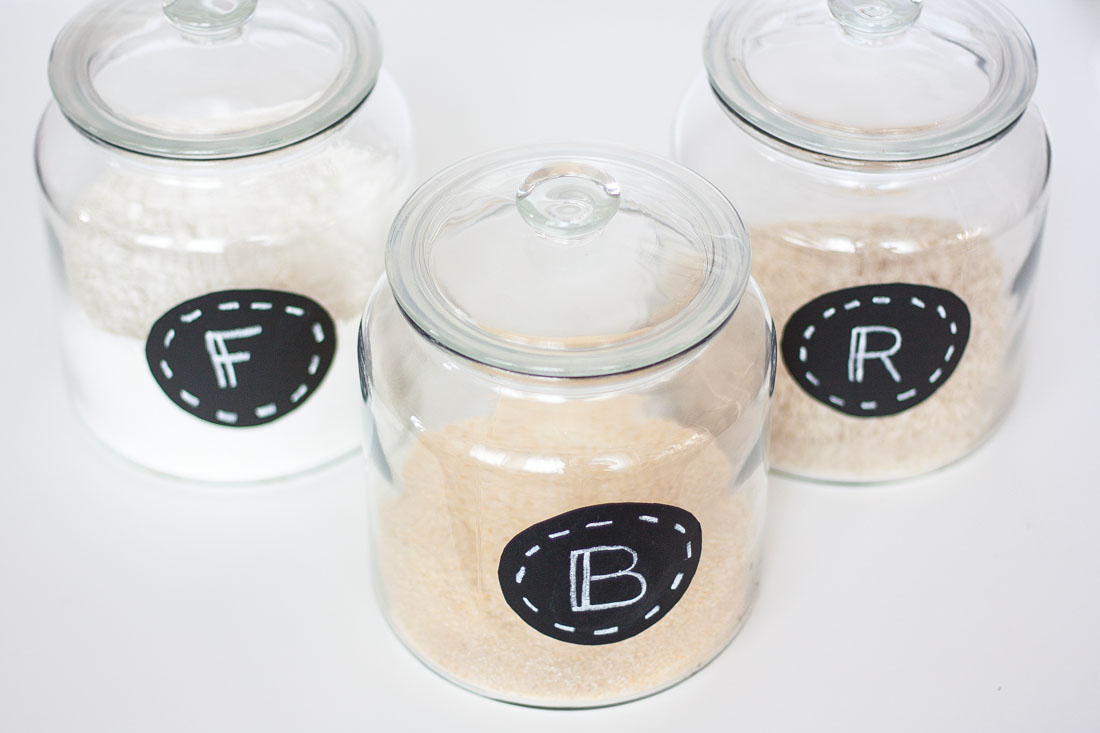
4. Have fun with chalks! Based on your talent, you may write the whole name of the item or just the first letter like I did. The sky’s the limit.