Worm Castings: How to Make Earthworm Castings and Use Them
Updated on November 19, 2025
When it comes to fertilizers, nothing beats worm castings. They’re a natural, organic food that your plants absorb easily. Whether you have a fully blooming garden or keep a few potted plants at home, worm castings can do wonders for your plants and your soil as well. Not only do they aerate the soil and stimulate the growth of the plants, they also prevent root diseases and keep pesky bugs such as thrips, cutworms, and aphids away from your garden.
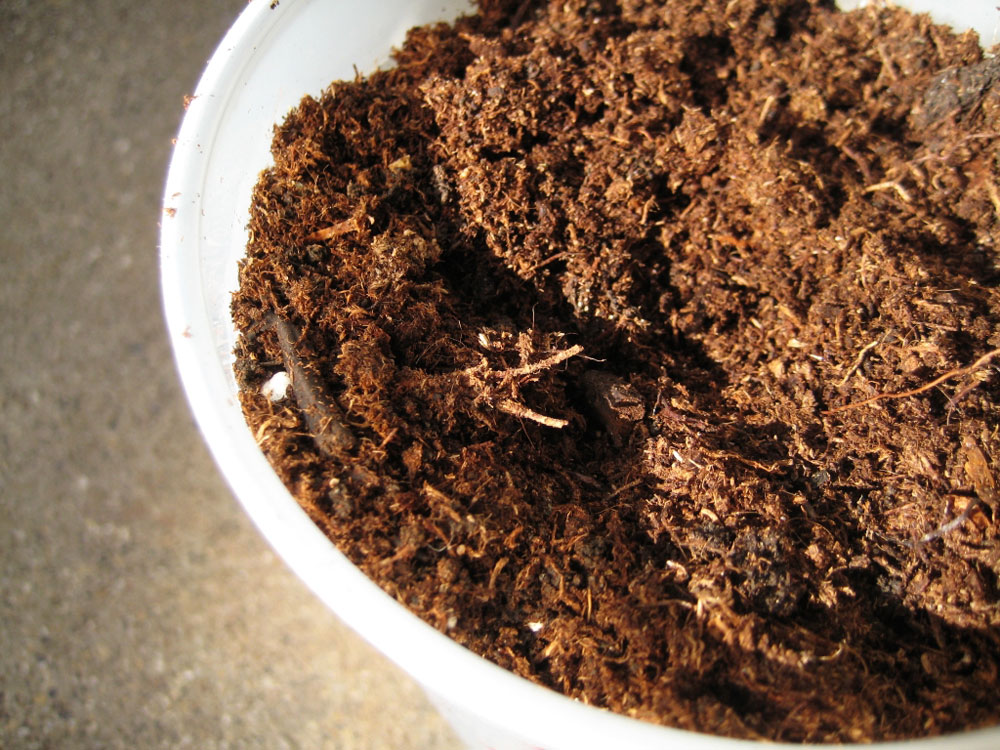 Image by Megan (tofuttibreak) on Flickr (CC license)
What are Worm Castings?
Worm castings are the droppings of the red wiggler worms. These worms are a gardener’s best friend because they leave behind a valuable deposit rich in enzymes and good bacteria. Add in traces of animal manure, bits of plants, and worm cocoons, and you got yourself an organic fertilizer like no other.
The castings also have about 50 percent more humus and 5 percent more nitrogen than what you get in your garden soil. They’re chock-full of minerals that the plants need such as phosphorus, calcium, magnesium, potassium, and concentrated nitrates. The worm droppings contain decent amounts of carbon, zinc, manganese, borax, iron, cobalt, and copper.
While all these goodies are water-soluble making them readily available to the plants, they come out of the worm body covered with a thin layer of oil that takes time to degrade. This allows this pure organic fertilizer to stay in the garden for a long time feeding the plants slowly and improving the water retention of the soil.
But perhaps the best feature you’ll come to appreciate about worm castings, or vermicast as they’re sometimes called, is the fact that they’re practically odorless. The bacteria inside this organic waste do their magic thoroughly cleansing, neutralizing, and deodorizing the soil.
Benefits of Worm Castings
Worm castings are safe to use both for indoor and outdoor garden plants as well. As a natural soil supplement, they can be used on trees, potted plants, and even flowers and vegetables.
But the benefits don’t end there.
- The slow release of the nutrients prevents the plants from absorbing more chemical compounds or heavy metals than they need.
- Worm castings enrich the soil with nitrogen better than other organic plant waste and reduce the concentration of carbon.
- Humus is a growth stimulator for plants. With the high concentration of humic acid in the worm castings, not only the plants grow better, but all the microflora systems as well, making the soil healthy and disease-free.
- Worm castings neutralize a high pH level in the soil which makes it easier for the plants to absorb nutrients.
- Since worm castings form clusters in the soil, this improves soil aeration and water retention.
- The material is itself odorless and acts as a natural repellent for plant-eating pests.
How to Use Earthworm Castings
For such a versatile and multi-purpose natural fertilizer, you’d be surprised at the various ways you can apply it to improve your soil. In general, worm castings have 4 uses.
-
Fertilizer
This is the most likely scenario you would be using worm castings for. They are easy to apply. Just spread them around the garden using a spreader. You can also dig a little around each plant and drop a handful then add water. The plants will absorb as much as they need so there’s no risk of burning or damaging the plants no matter how delicate they are.
-
Soil conditioner
Worm castings have a low pH level (only 7) and thus can help neutralize a barren soil high in carbon or pH levels. Use your hoe to turn the topsoil then add worm castings liberally. Water the patch and watch plants and flowers blossom.
-
Germination
You can mix worm castings with sand as an efficient germination material. The ratio is one portion of warm castings for every 4 portions of sand. Mix well and add to the soil. It will feed the soil for the next three months without the need to add any other fertilizers or compost.
-
Liquid fertilizer
If you prefer the convenience of watering and fertilizing the plants at the same time, castings come in handy. Since they dilute easily in water, mix one cup of castings into a gallon of water and set it aside for a week. The liquid then can be sprayed on the plants to nourish them and repel the bugs at the same time.
How to Make Worm Castings
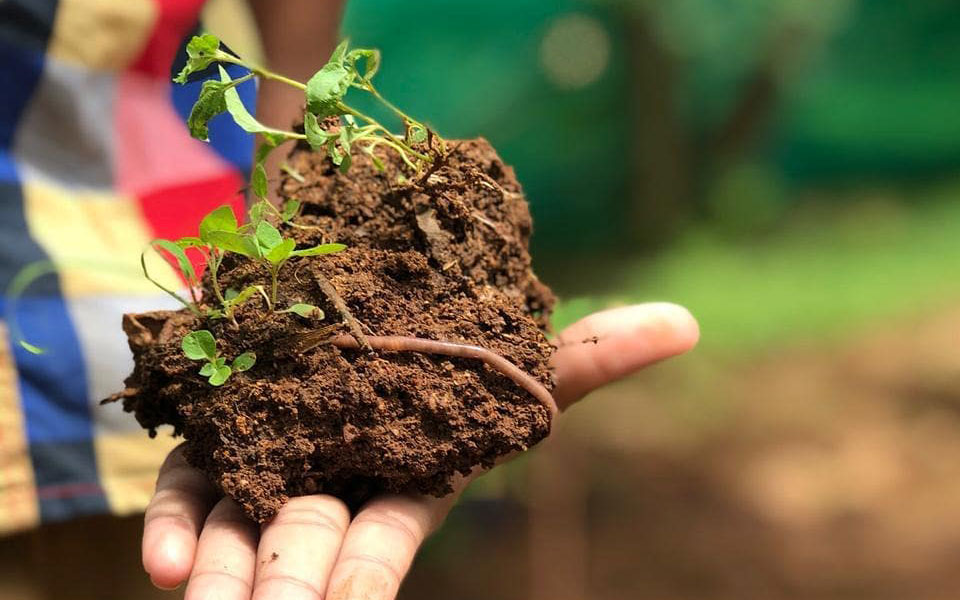 Image by sankranthi_organic_farms
To make worm castings, you need to grow earthworms. The process itself is easy and the worms are not really high maintenance. You’ll need a few shallow wooden boxes or plastic bins to keep the worms. Each box should be about 10 inches deep and comes with drainage holes.
Worms like it warm, humid, and on the dark side. The best place to keep the worm boxes is in your greenhouse. If you don’t have one, then the cozy place under the kitchen sink will work just as fine.
As for furnishing, you can go as minimalistic as you can. The bottom layer should be a mixture of sand and newspaper strips. On top of that fill the box with natural products such as cotton meal, leaves, compost, peat moss, and manure. This is the natural food for earthworms. It both nurtures and fattens them up. Now introduce the worms to their new home and leave them alone for a while.
How to Harvest Worm Castings
Worms process the food and nature takes care of the rest. They break down the material, digest it, and give you worm castings. But before you can use the precious stuff, you’ll need to harvest it first.
To harvest the castings you can do it manually by separating the worms from the material using a large sheet of paper or clean cloth. If you don’t have the patience for that, then just clear out a side of the box, add fresh food for the worms there, and wait for them to make the journey to that side. Now collect all the castings and use them as an organic fertilizer for your plants.