DIY Wine Cork Planter – How to Make a Beautiful Wine Cork Planter
Updated on November 19, 2025


Having beautiful decorations in your home will help keep your spirits up, even more so when flowers are involved. One of the things we like best is to create these decorations that are practical and beautiful by taking things we had around the house and turning them into something beautiful.
One of these things is a wine cork planter that will turn something like a dull metal planter into a real showpiece. With a little bit of time and love, we can make it work.
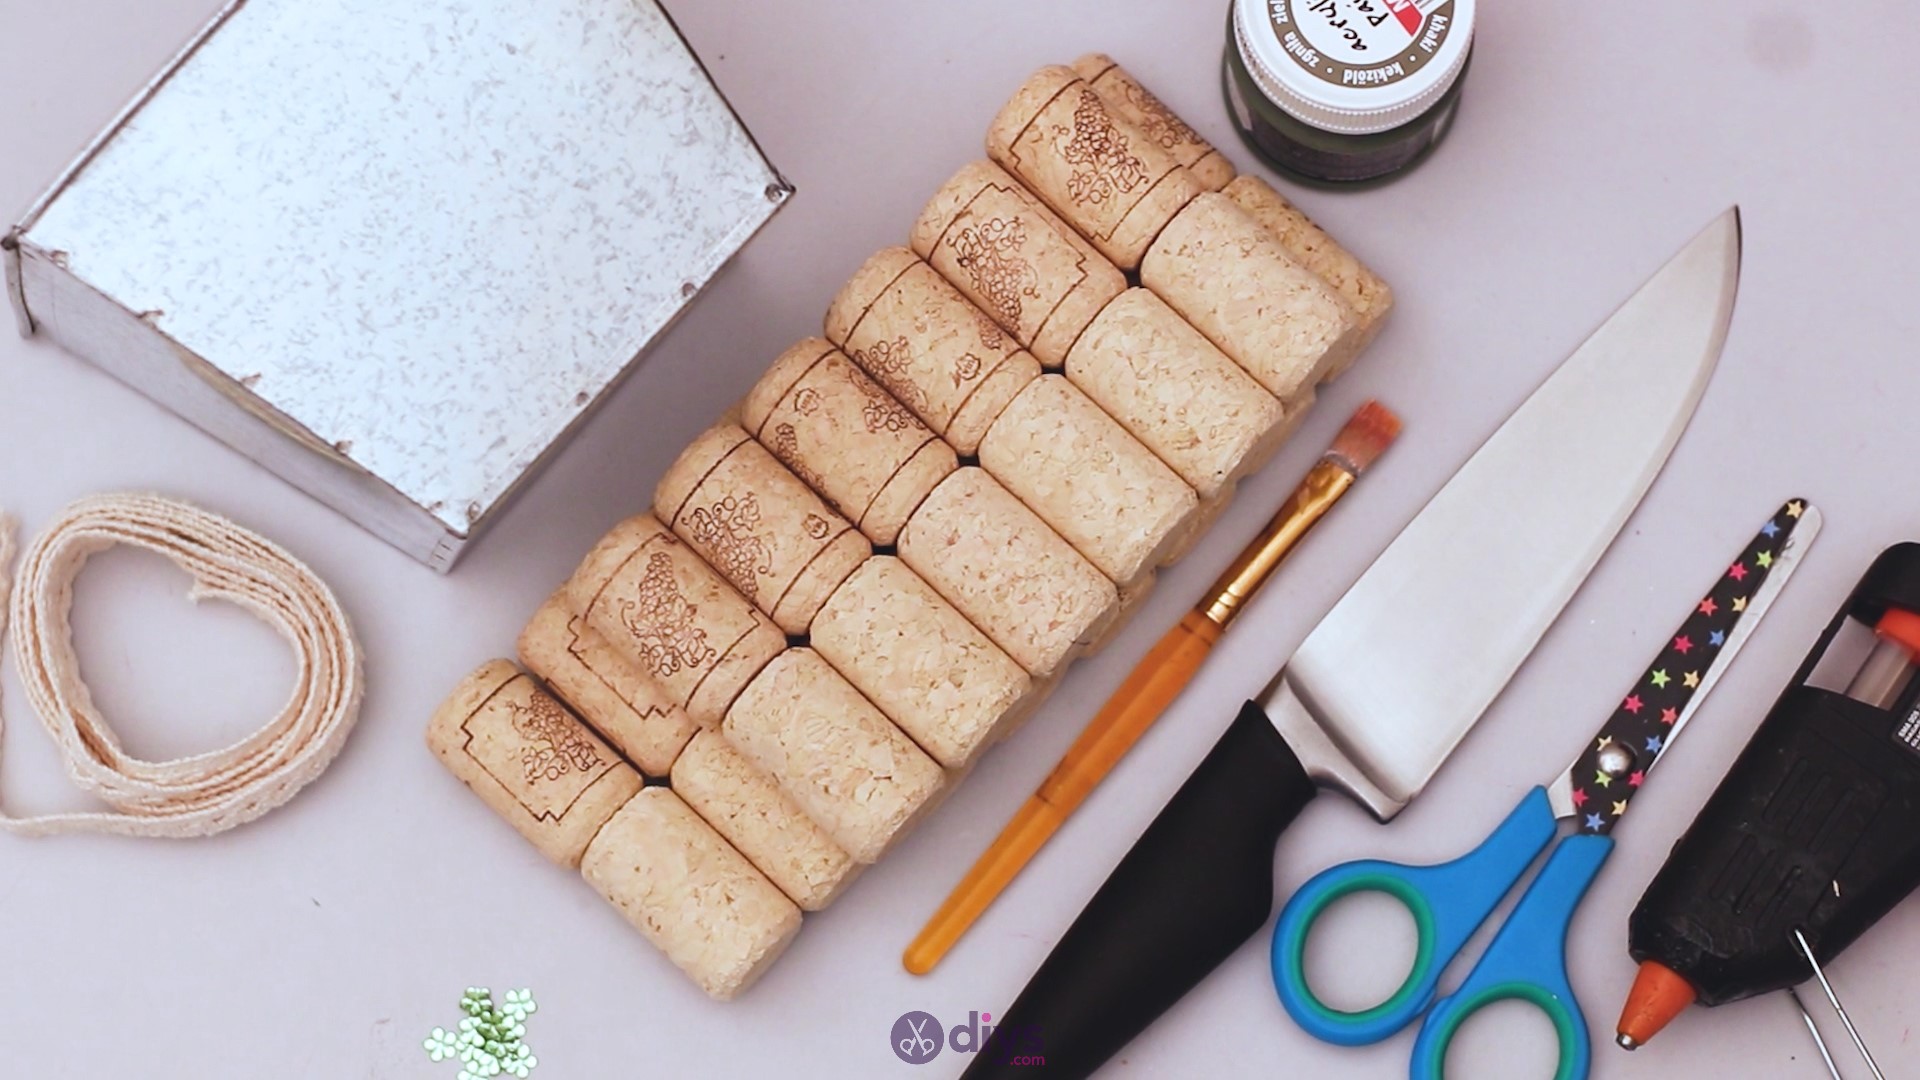
Materials for wine cork planter
- metal planter
- wine corks
- lace ribbon
- olive green acrylic paint
- paintbrush
- knife
- scissors
- glue gun
- small flower decor
How to make a wine cork planter
Before you start creating your wine cork planter, you want to gather all your materials so you have them on the work table. Sharpen up your knife, clean out your paintbrush, make sure the glue gun power cord reaches an outlet, and you’re good to go.

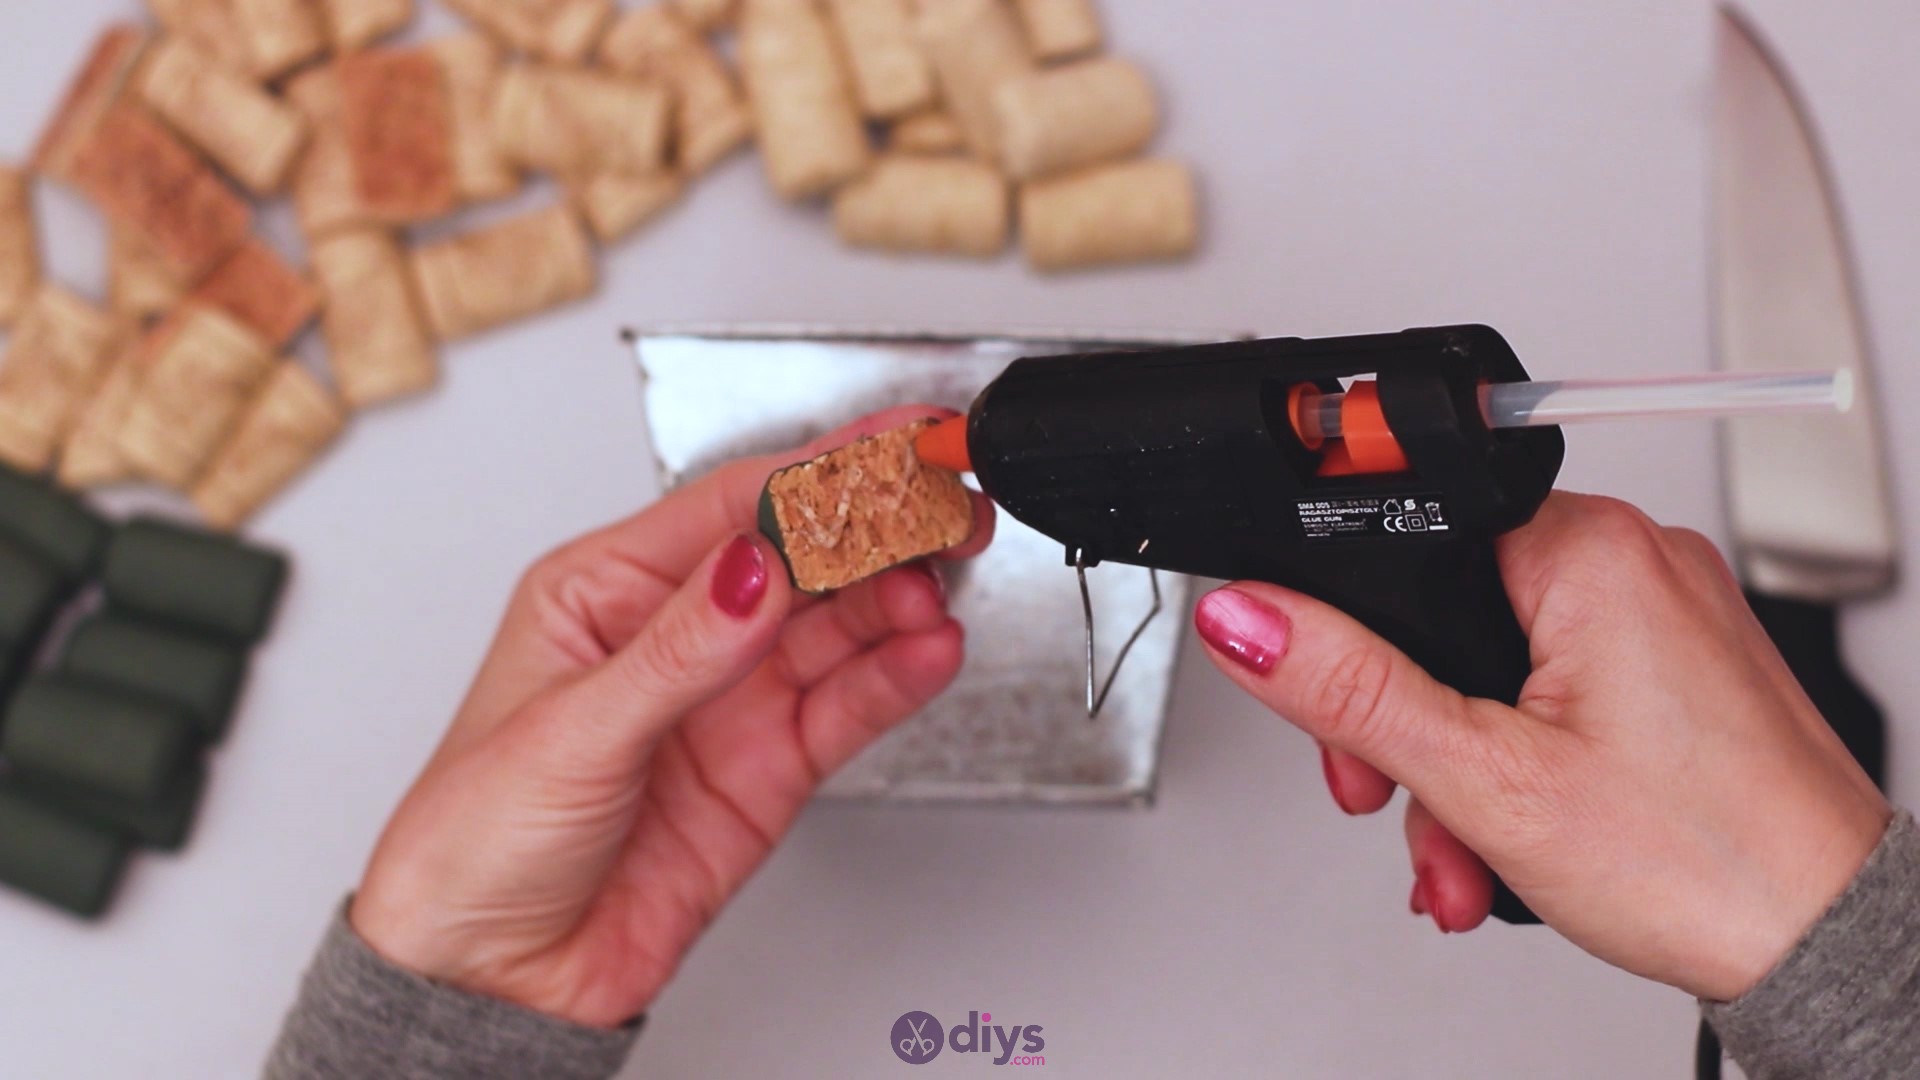
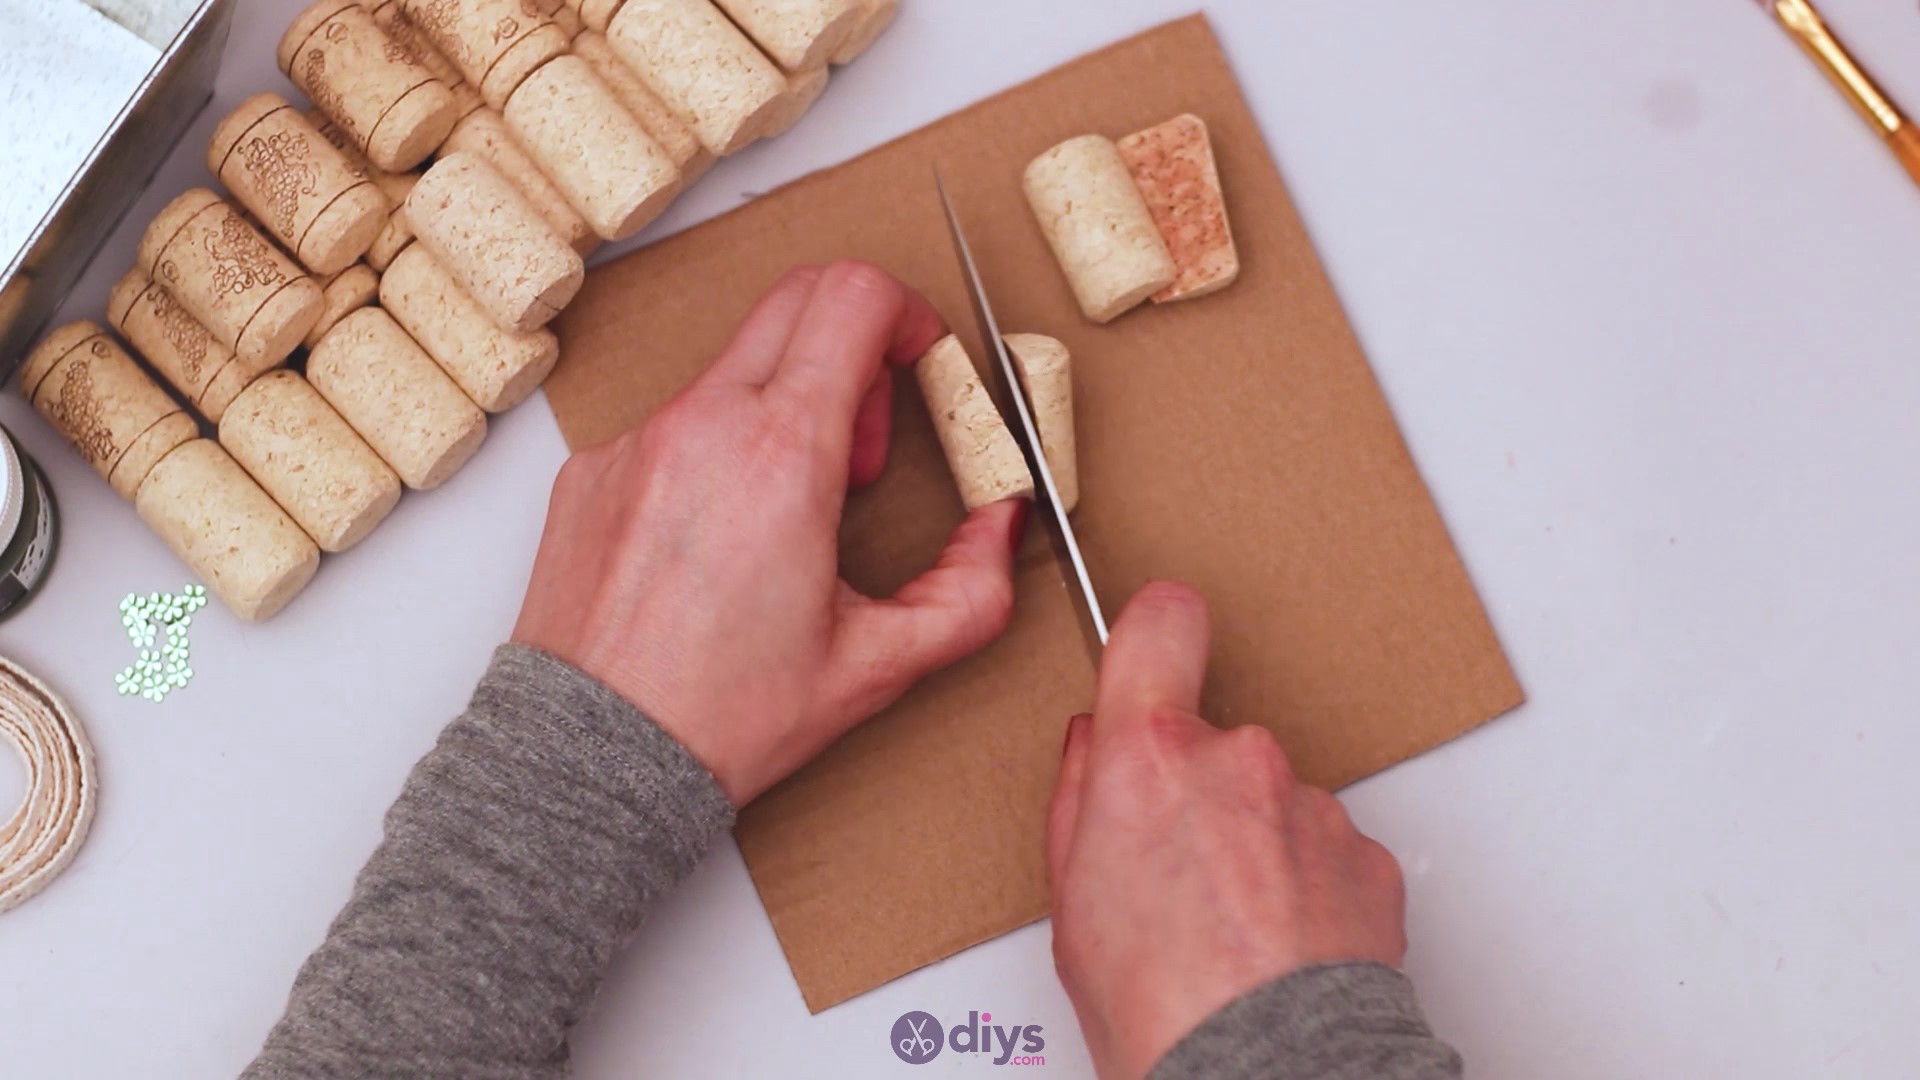
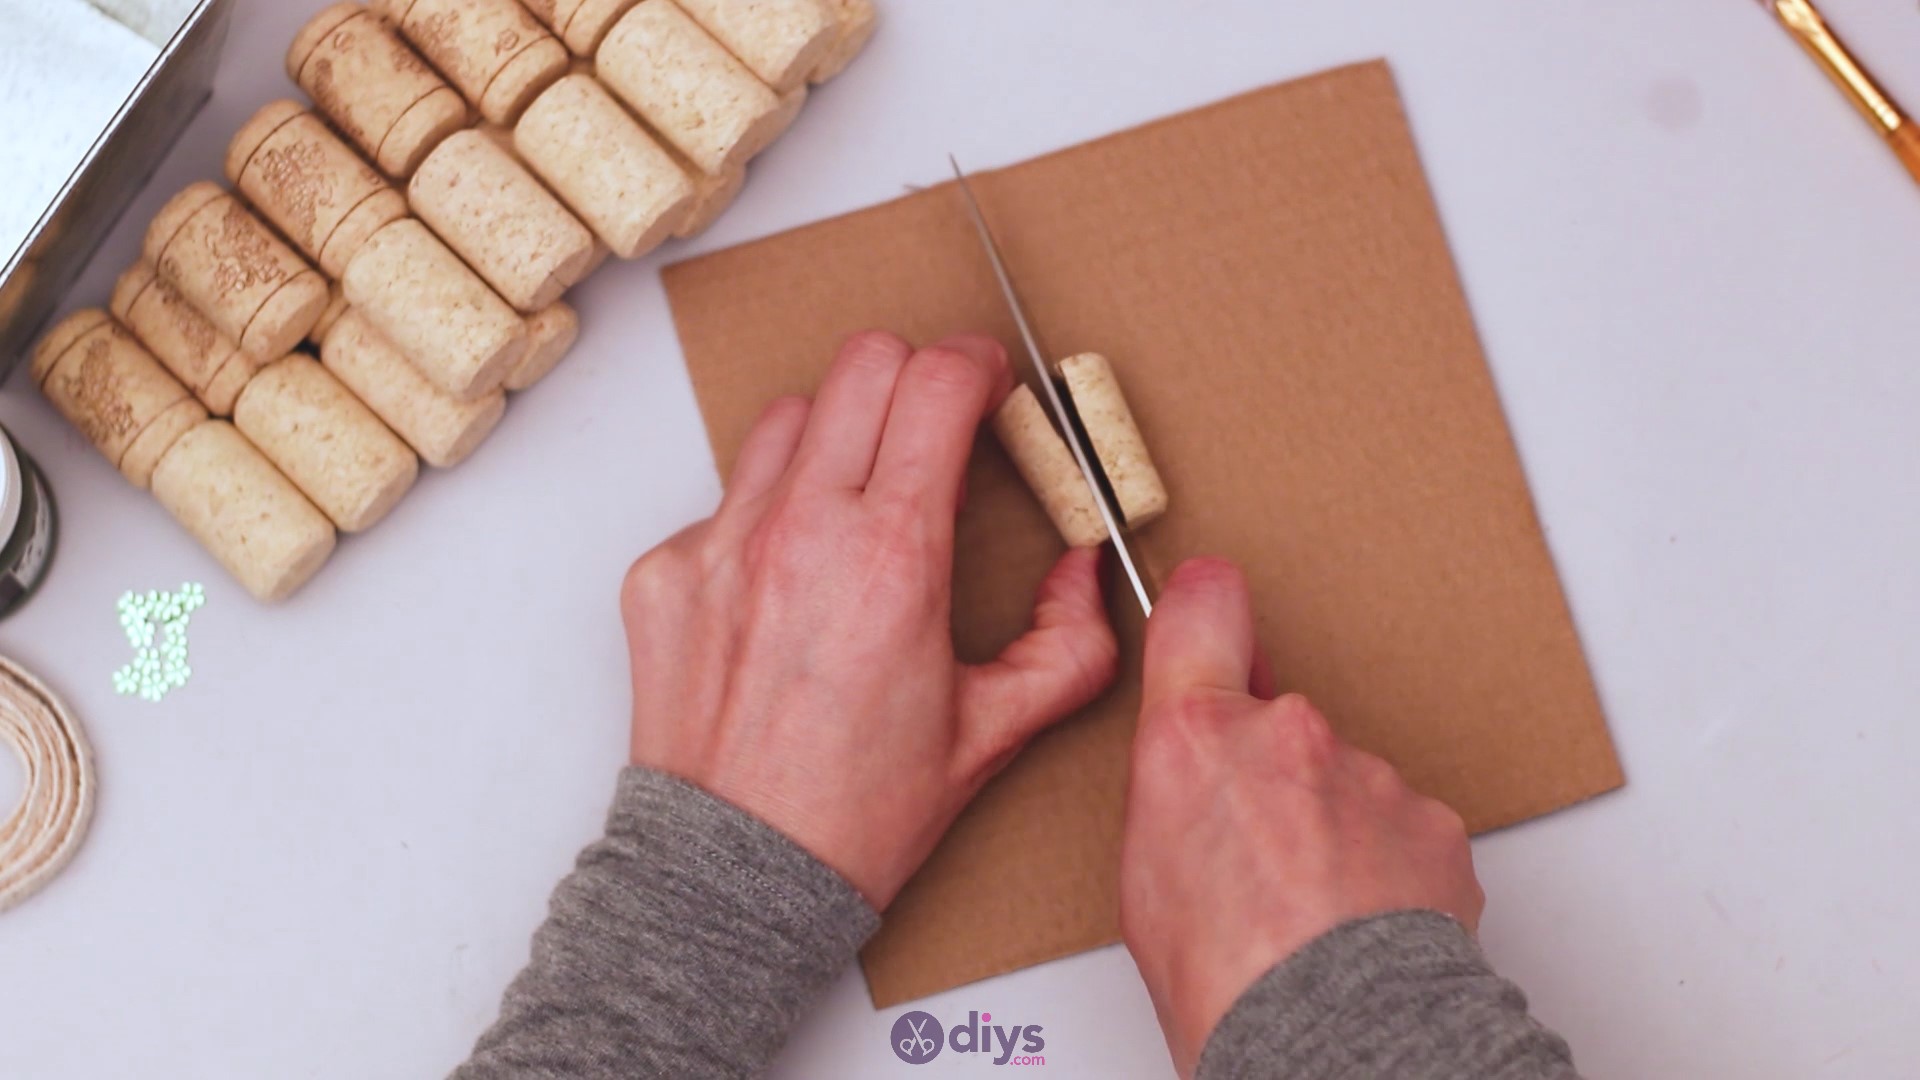
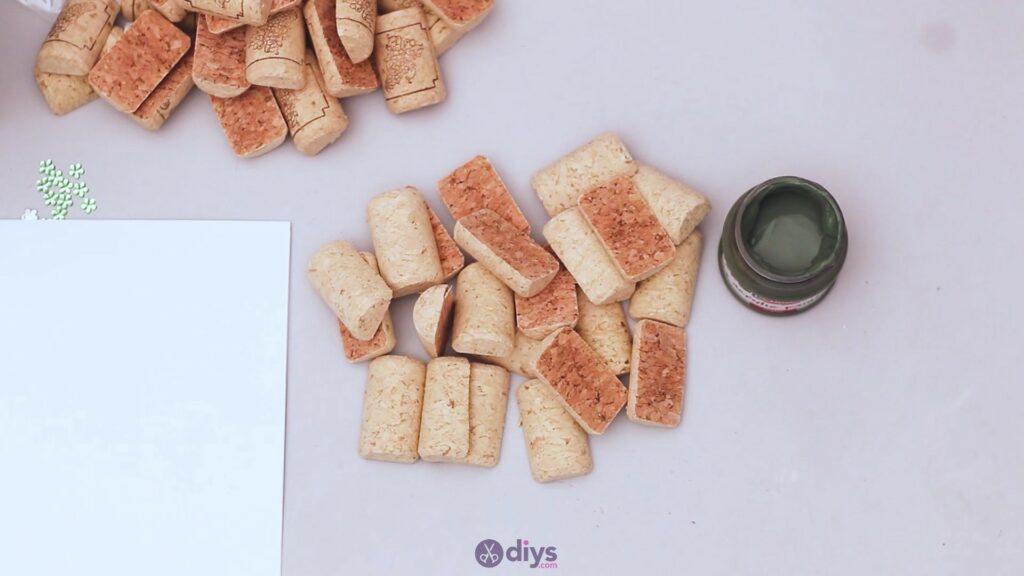
Step 1. Cut the wine corks
You’ll be adding wine corks on the sides of themetal planter, which means you’ll need for them to have a straight side. So, take the wine corks and yourknife and cut them vertically. Try to make the cuts as straight as possible and the cork halves equal.

Cut until you’ve gone through the entire pile and split it in two areas.

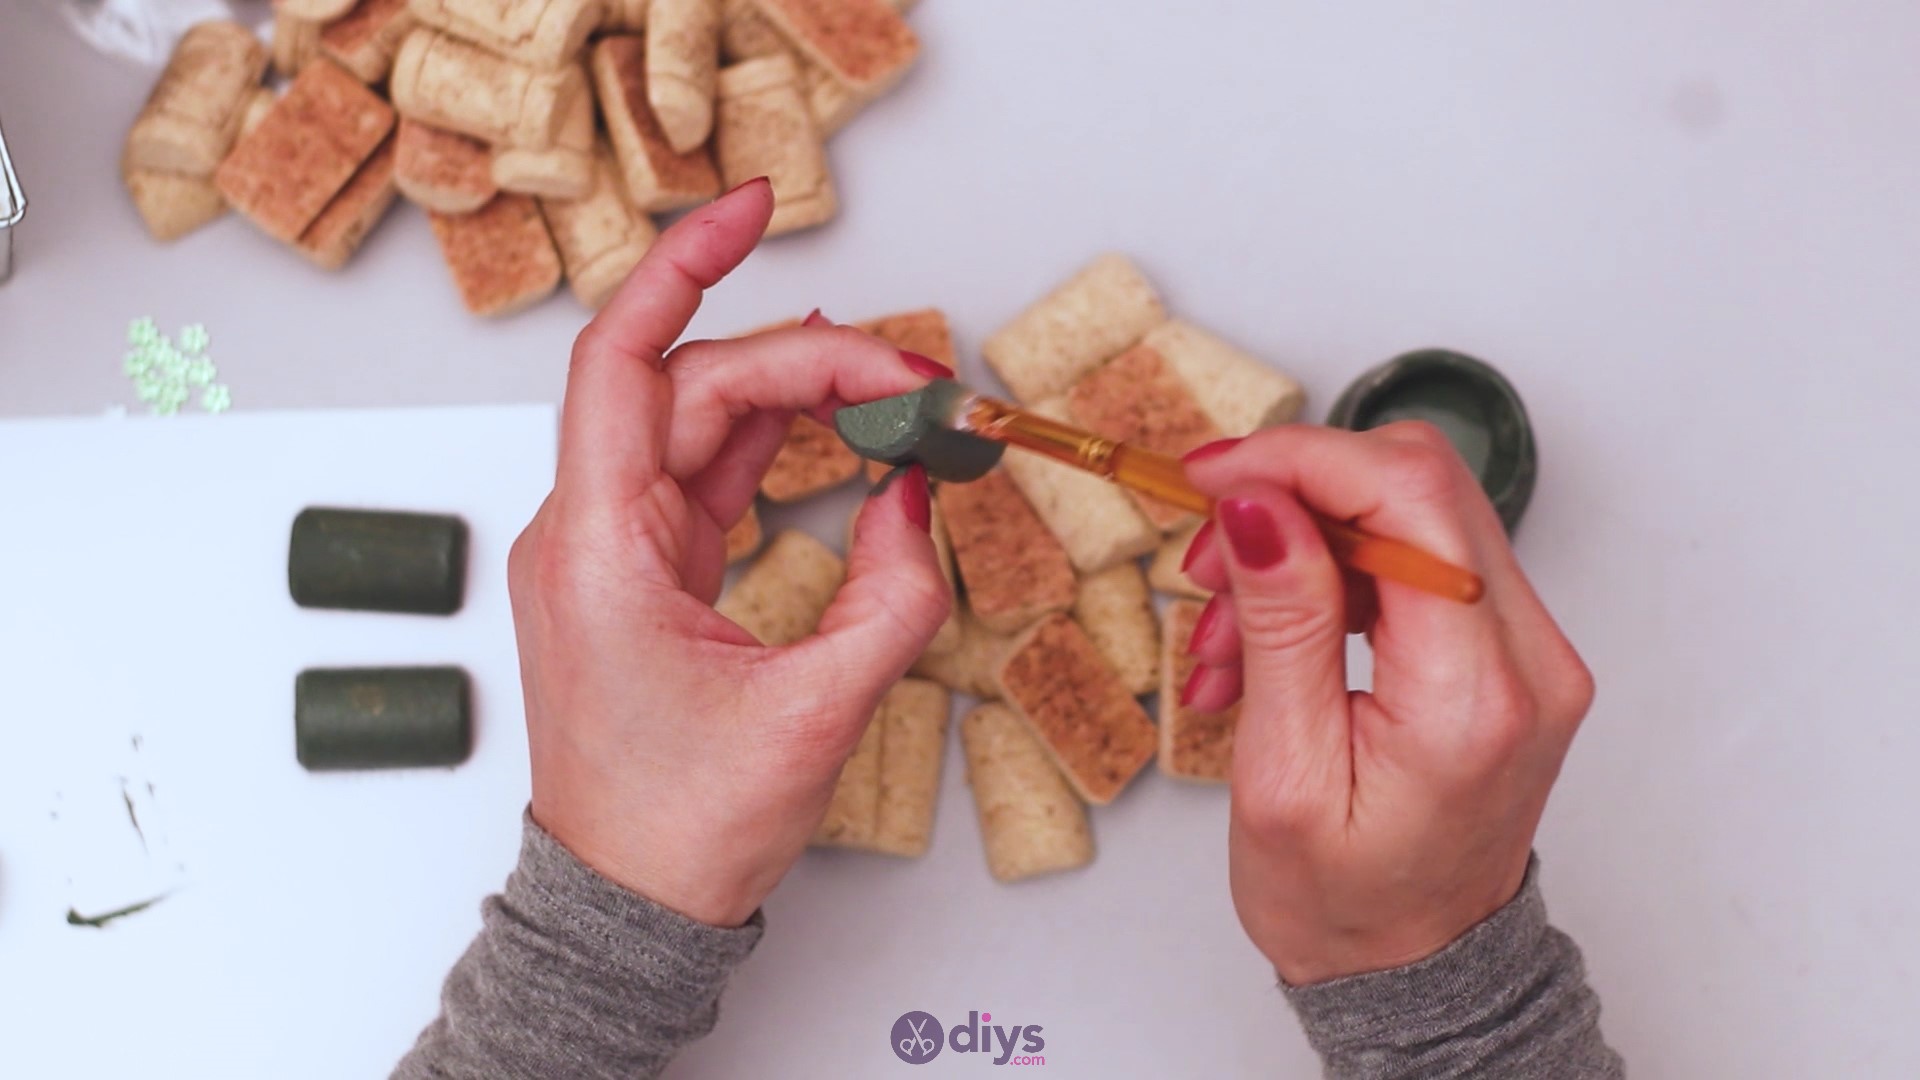
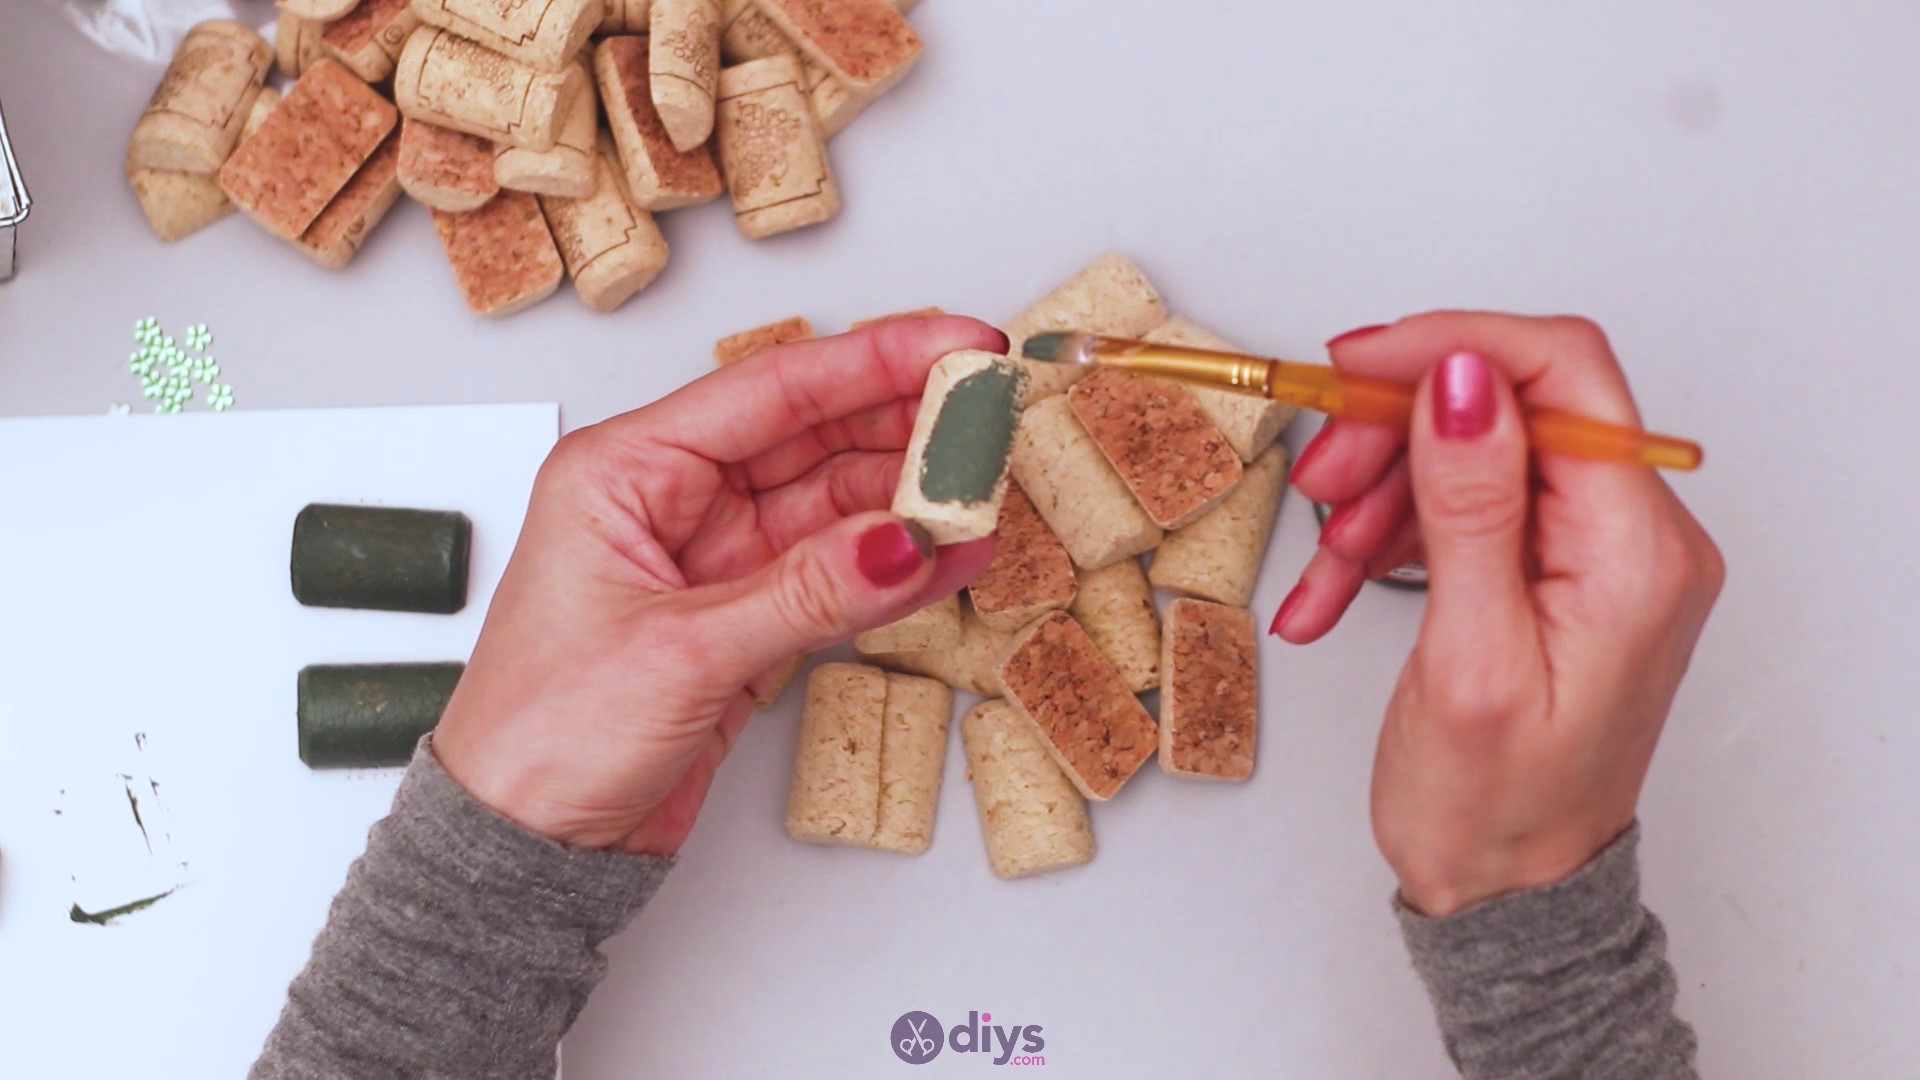
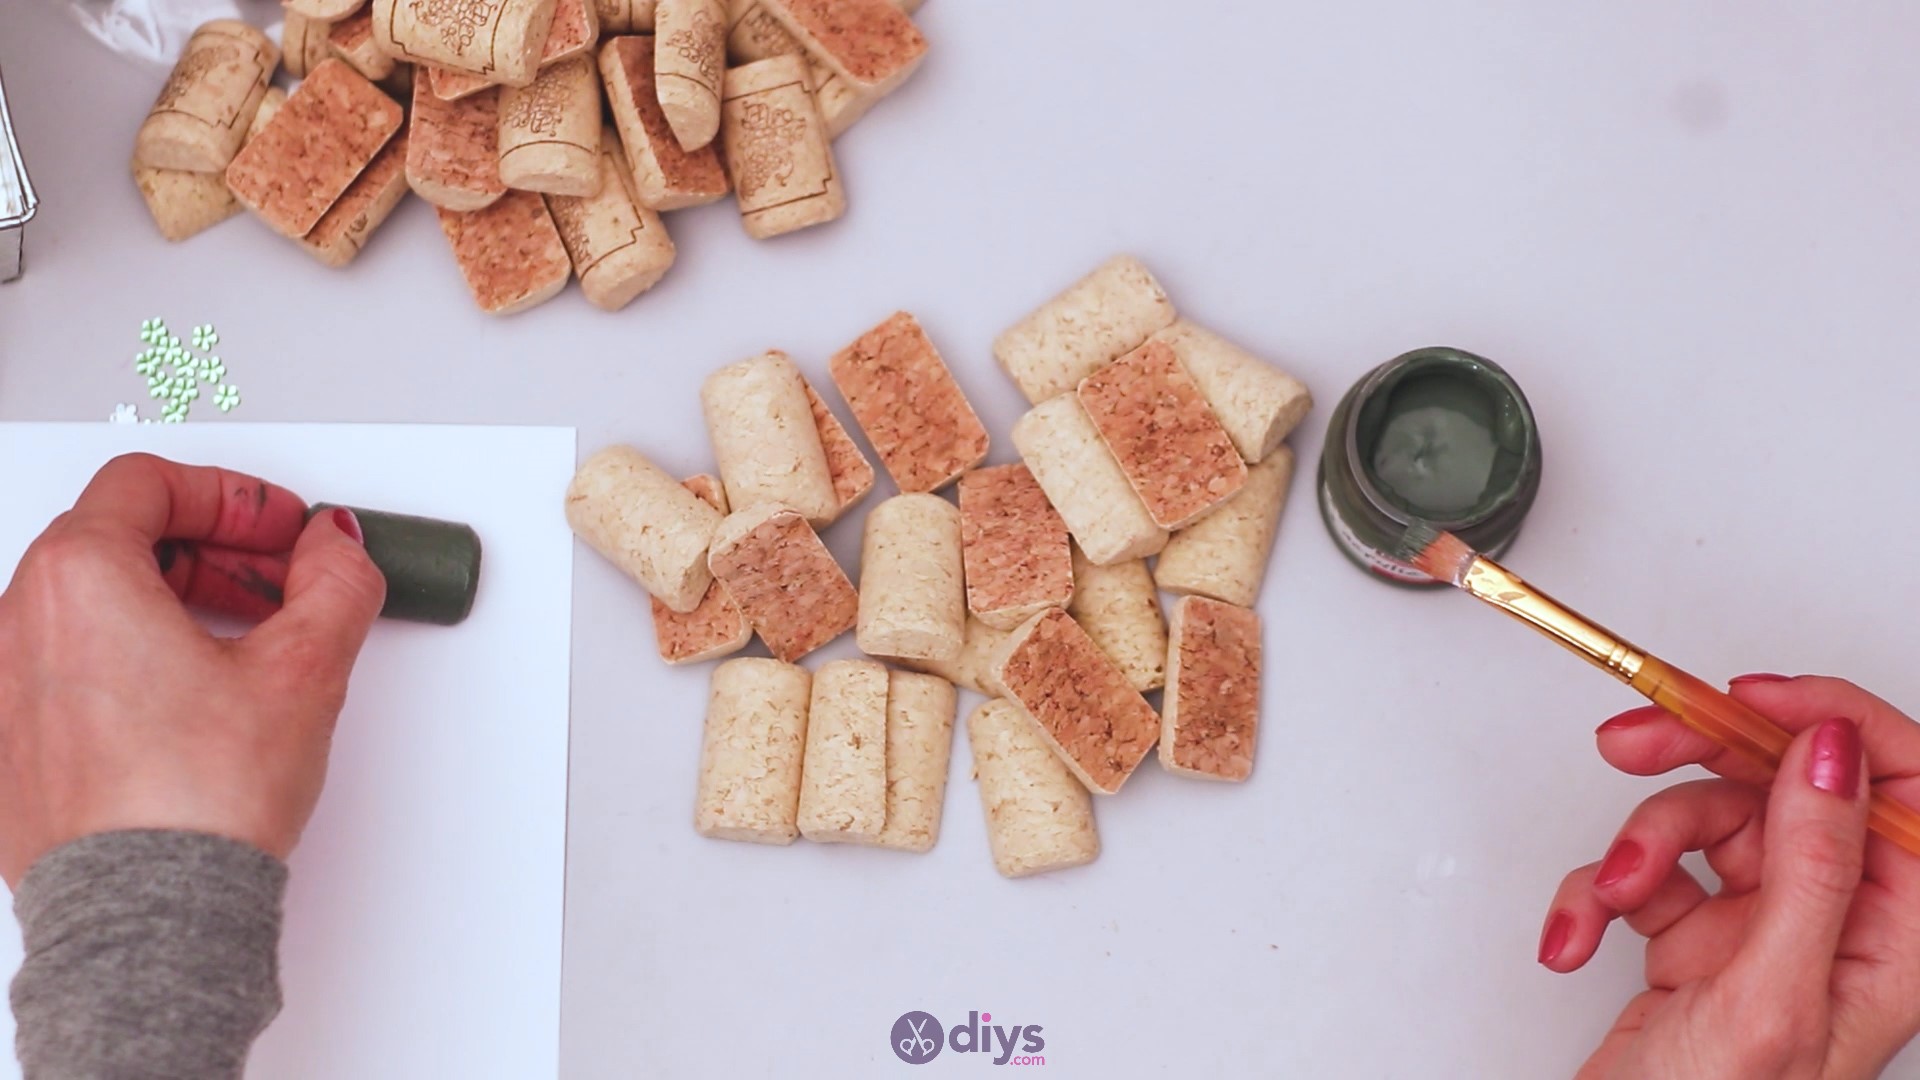
Step 2: Paint the wine corks
The next step is to take a portion of the corks and to paint them. Grab thepaintbrush and theolive green acrylic paintand start painting the halves. You’ll want to cover the entire top area, as well as the sides. You can leave the bottom of the cork as is.

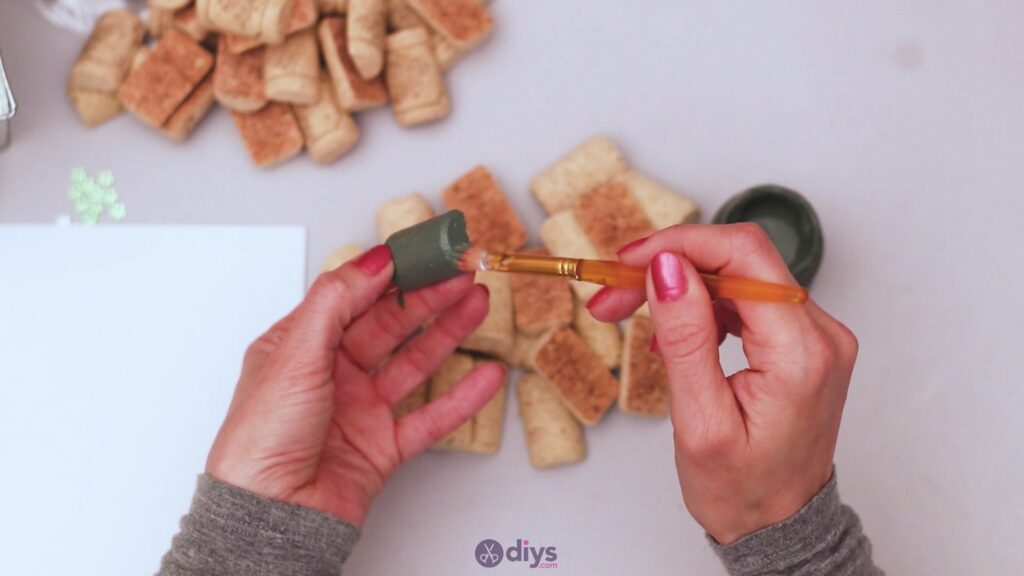
Place the painted corks on a piece of paper and leave them off to dry. Since we’re using acrylic paint, it shouldn’t take too long before the paint dries. Also, acrylic paint is pretty easy to spread over the material, so you won’t need to add any extra water.


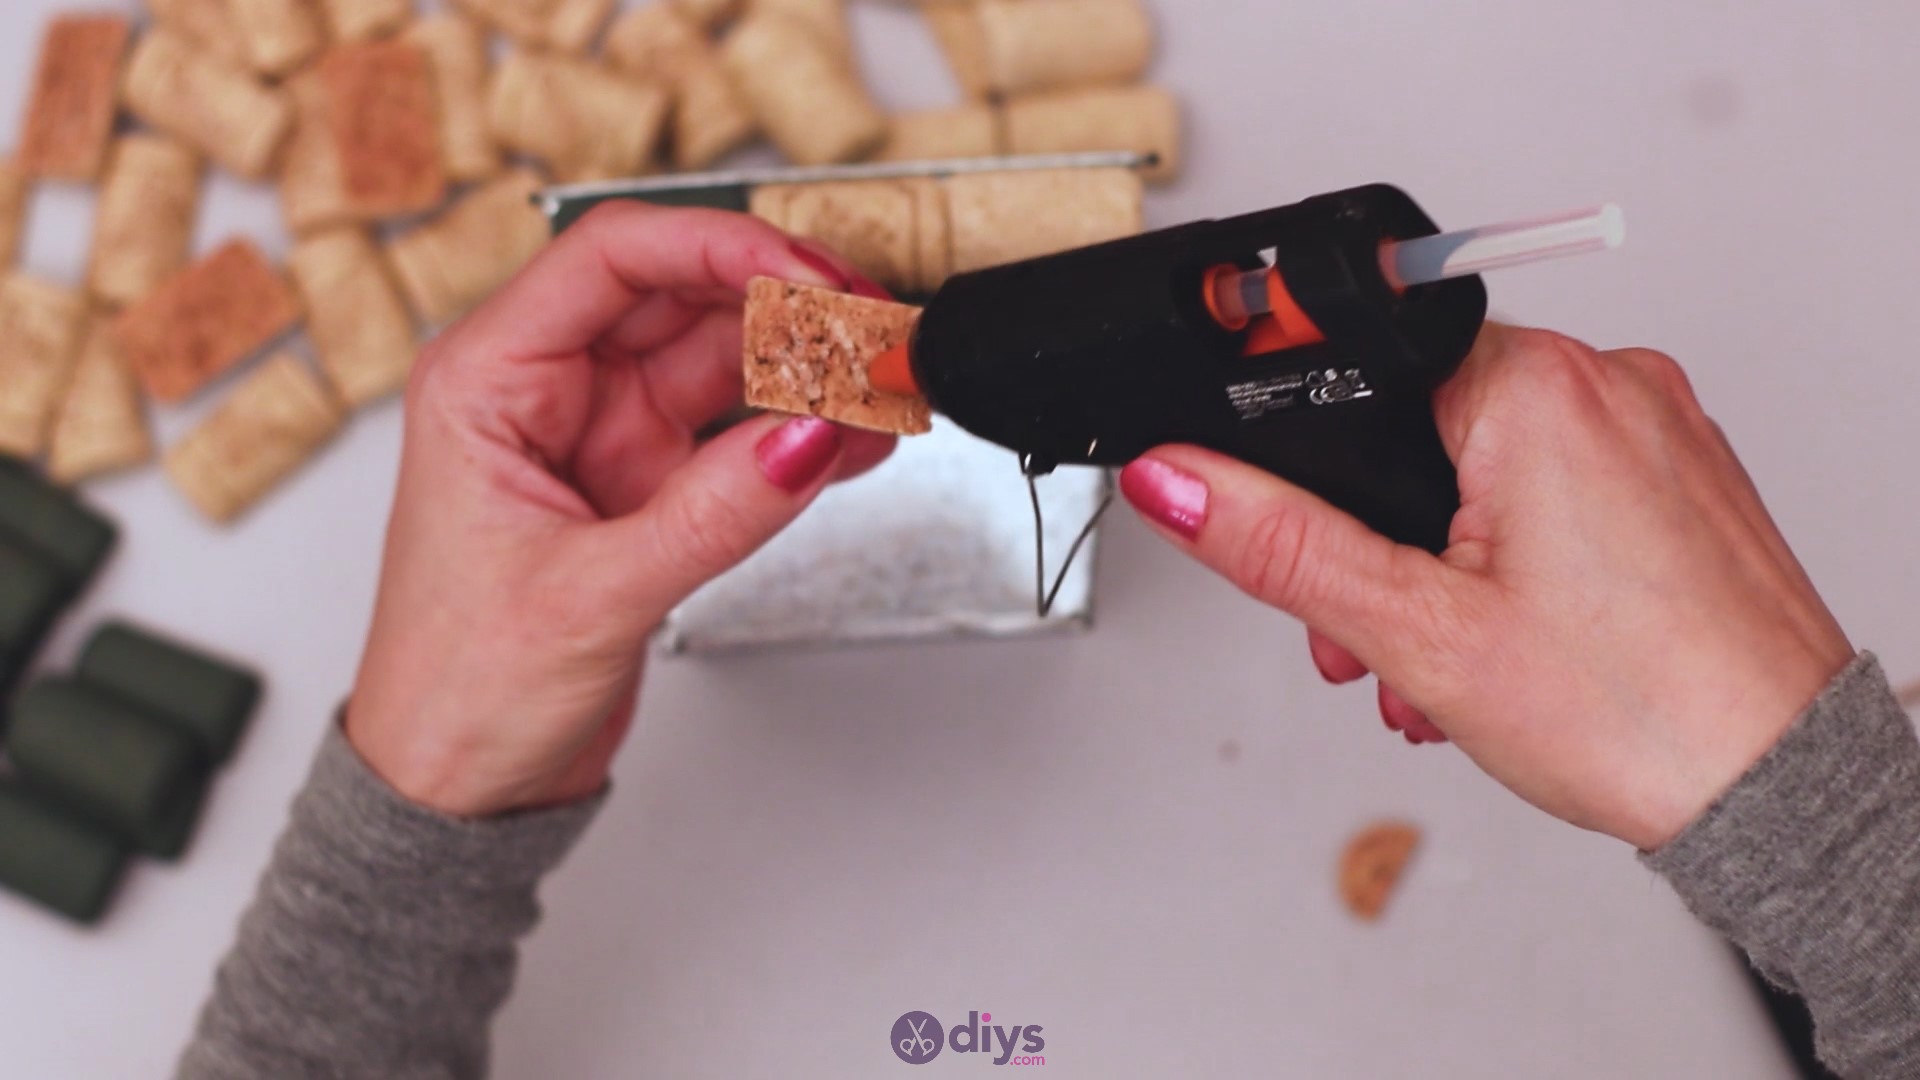
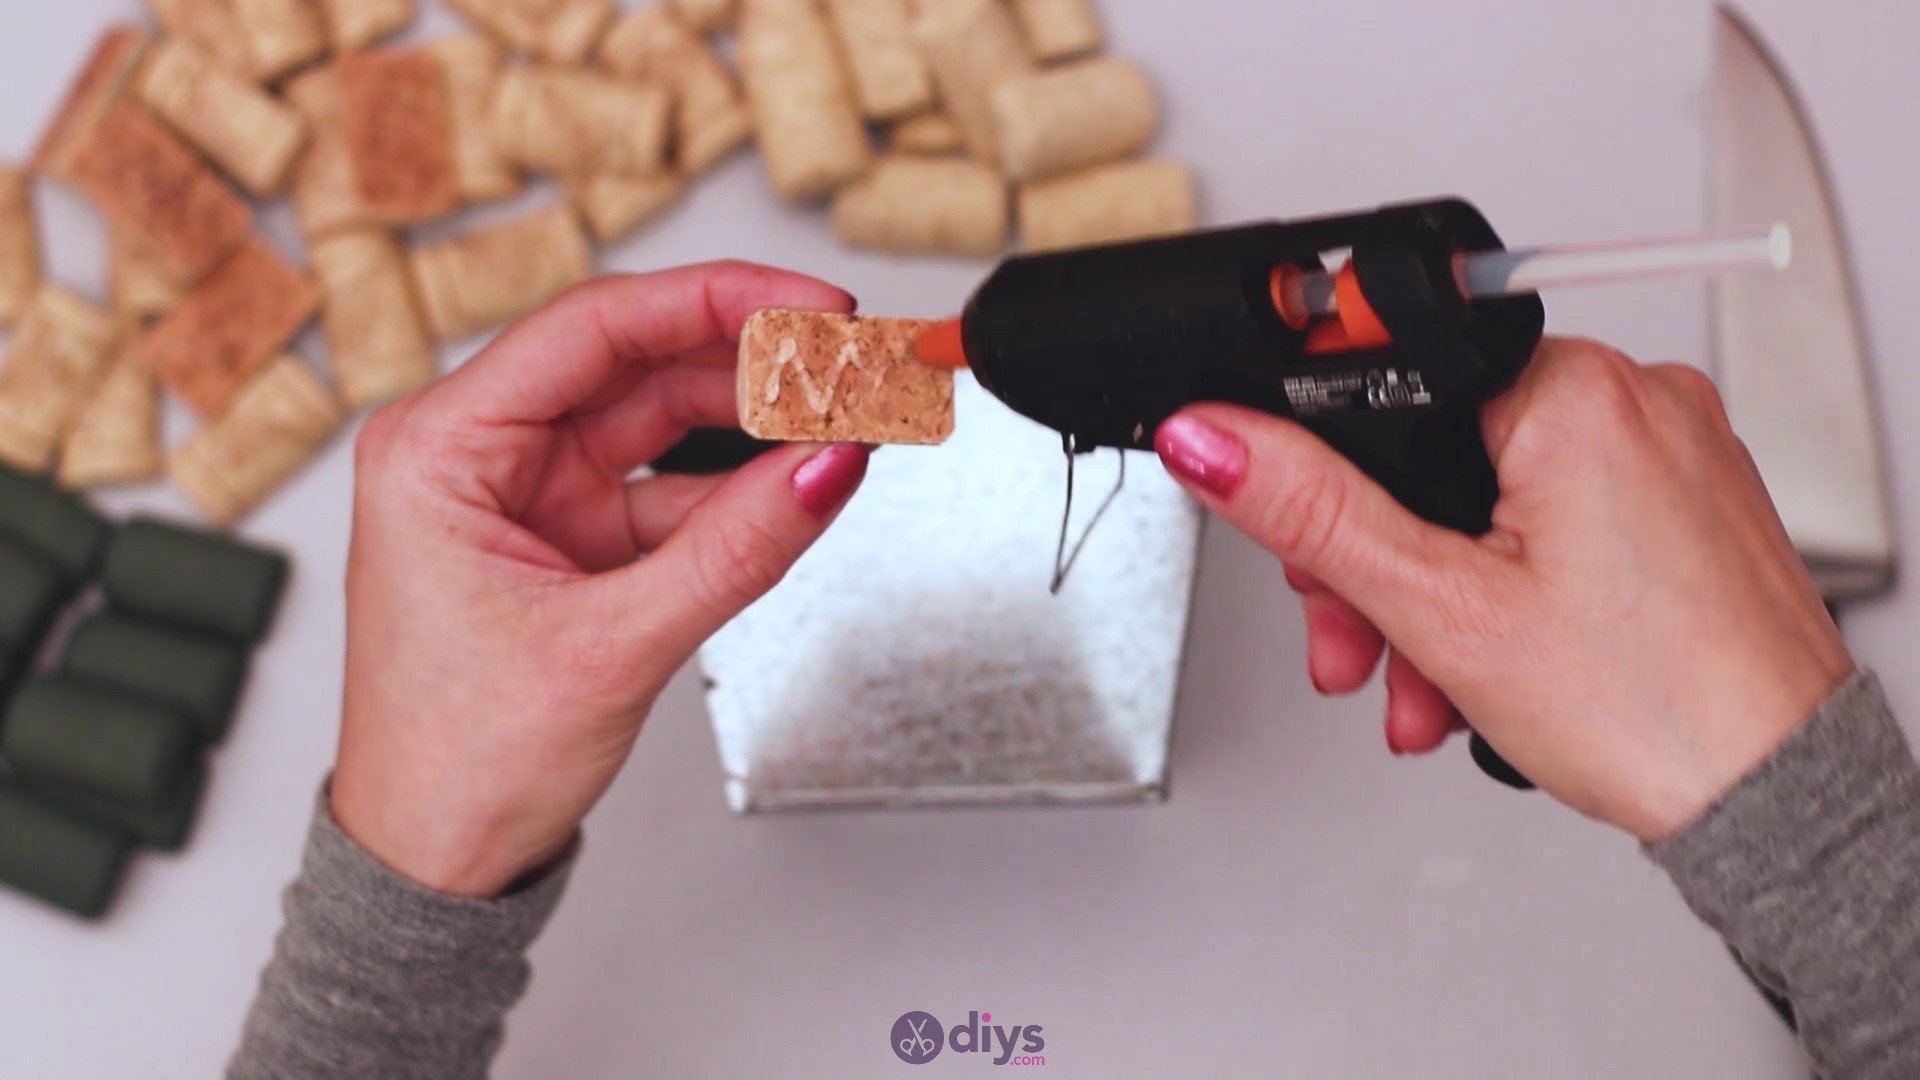
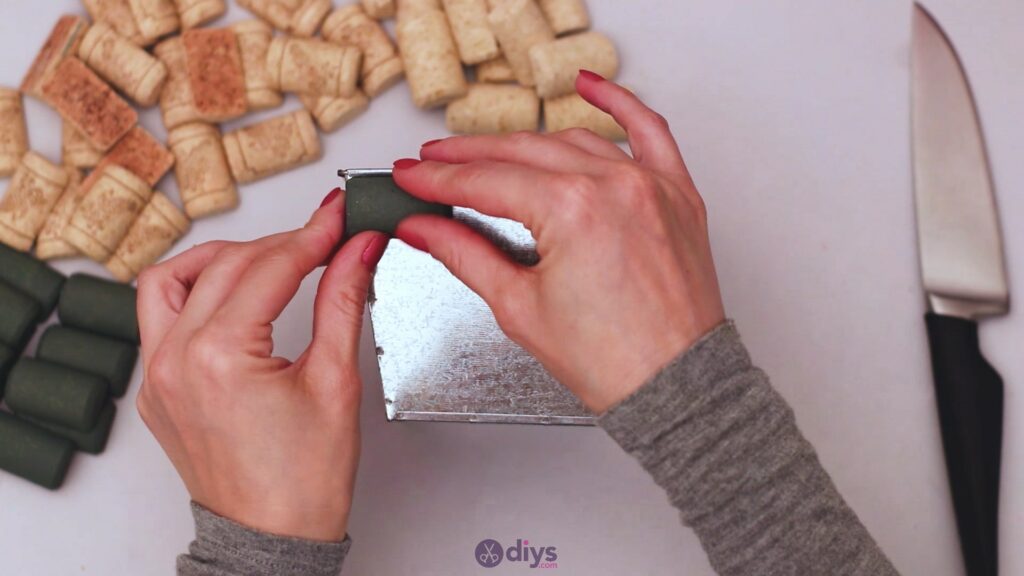
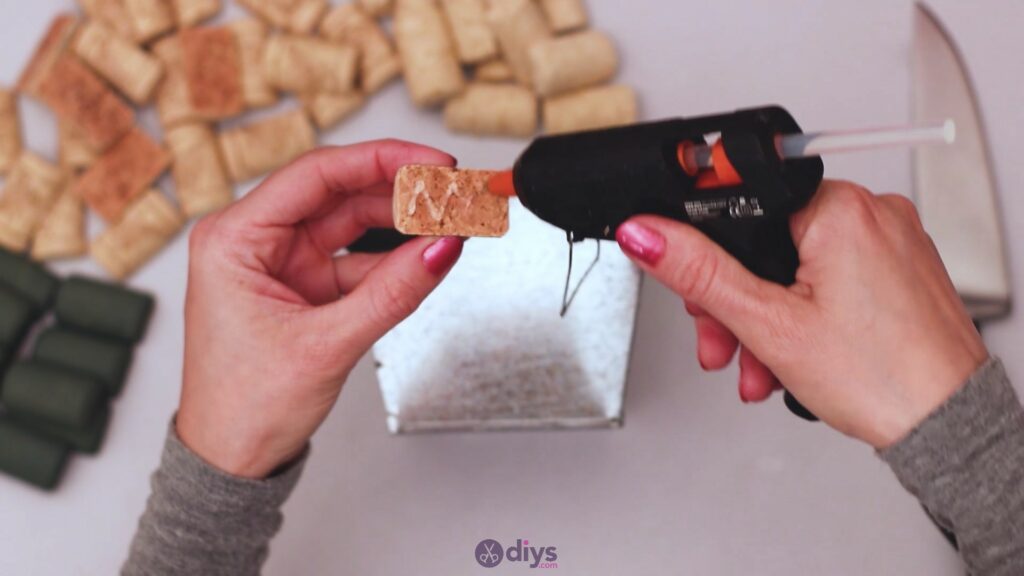
Step 3: Glue the wine corks
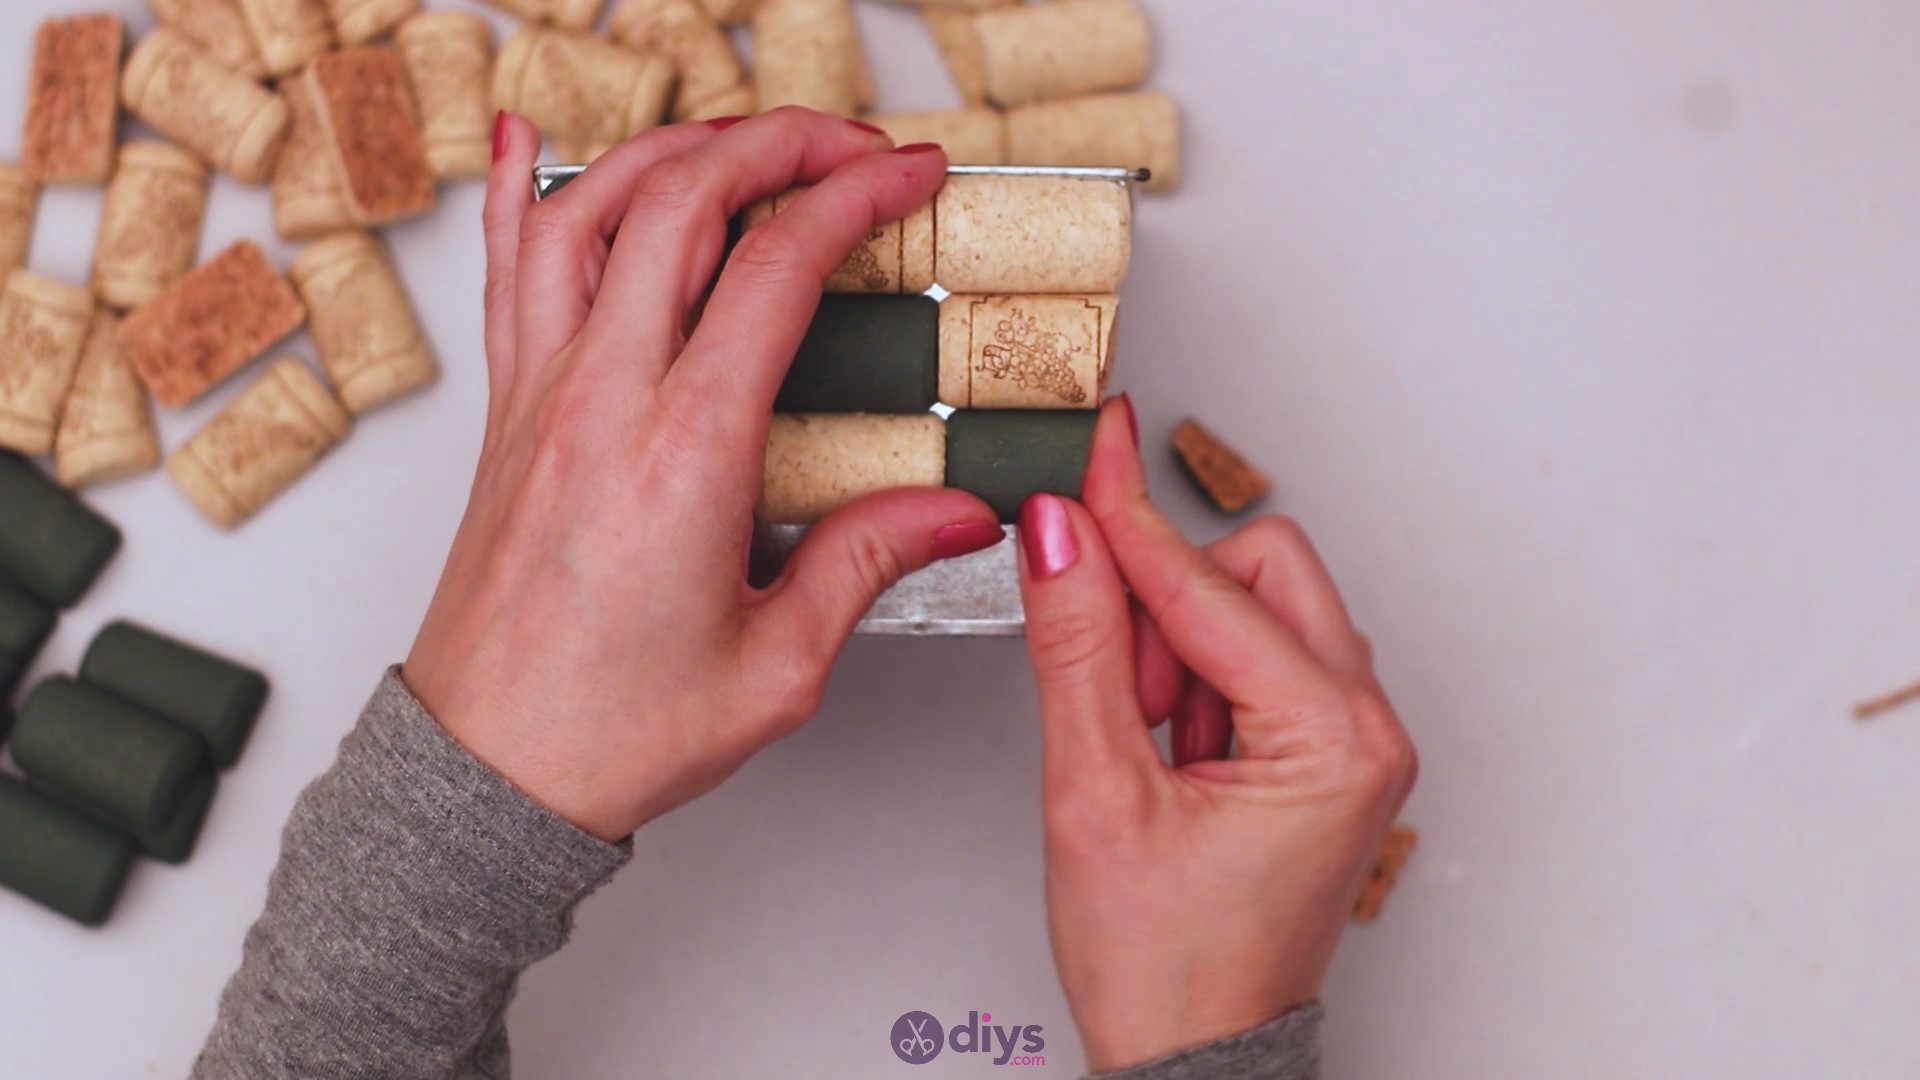
The next step is to start gluing the wine corks to themetal planter.Place the metal planter on its side, get theglue gunand add hot glue to the unpainted area of the sliced wine corks. Press the wine corks neatly, starting at the top, right near the lip of the planter.

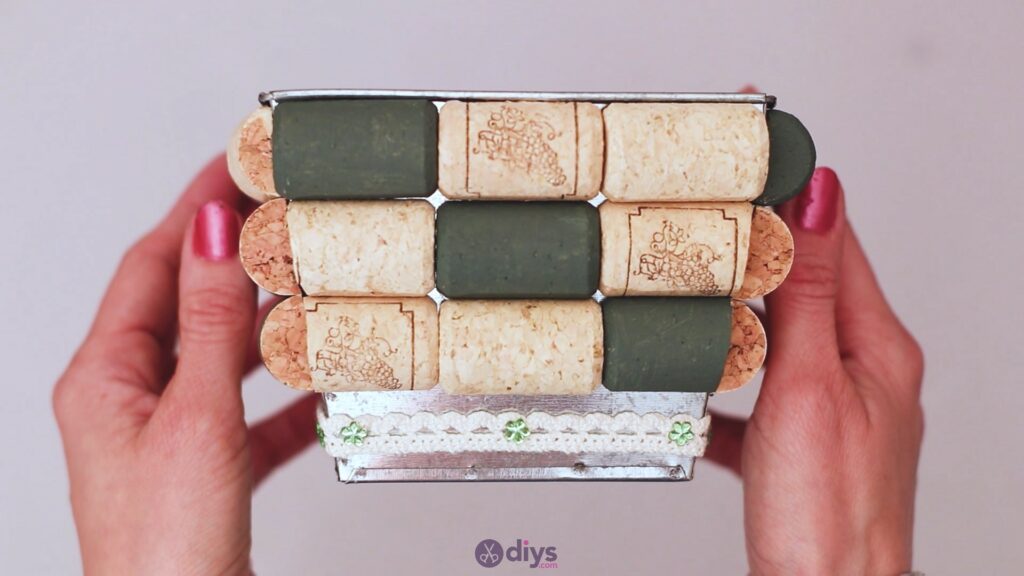
Continue adding the wine corks. Alternate the painted corks with the natural ones to give the design more dimension. You don’t need to create a pattern, but mix them up however you see fit.

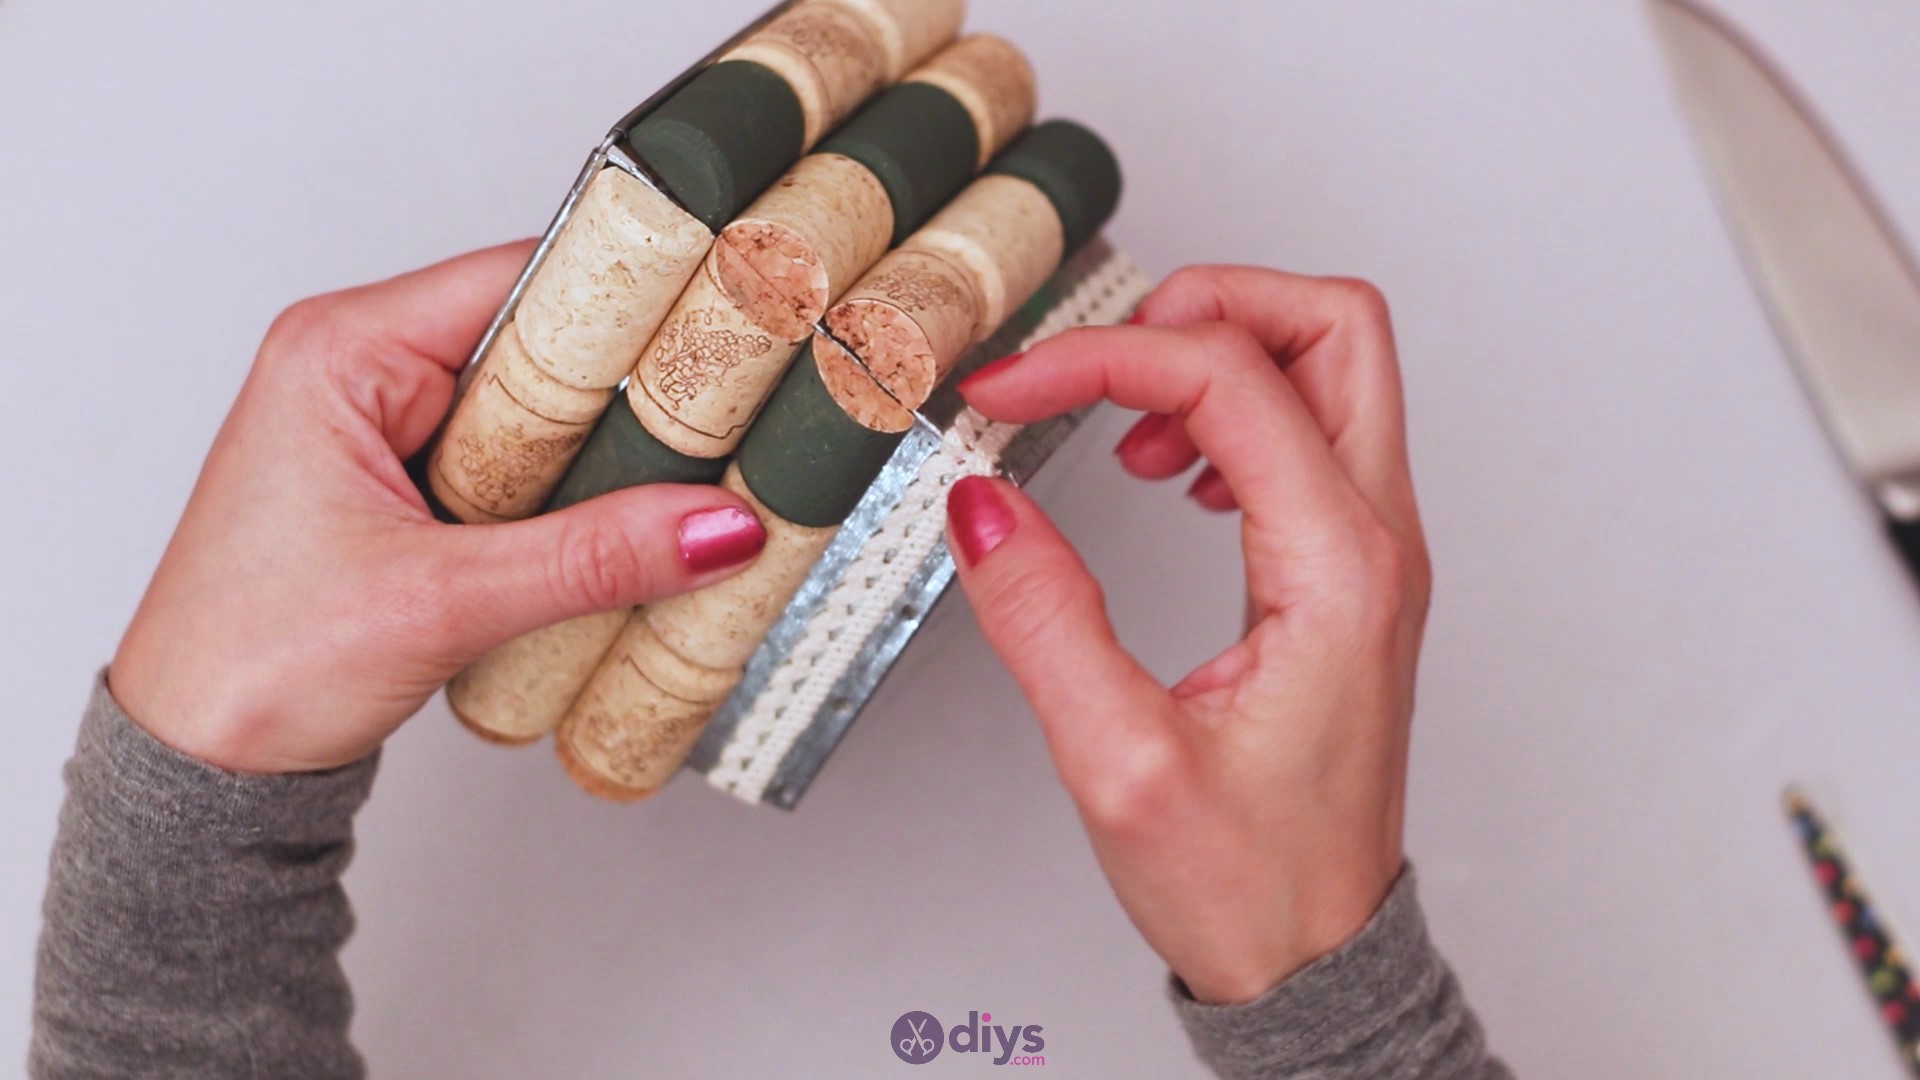
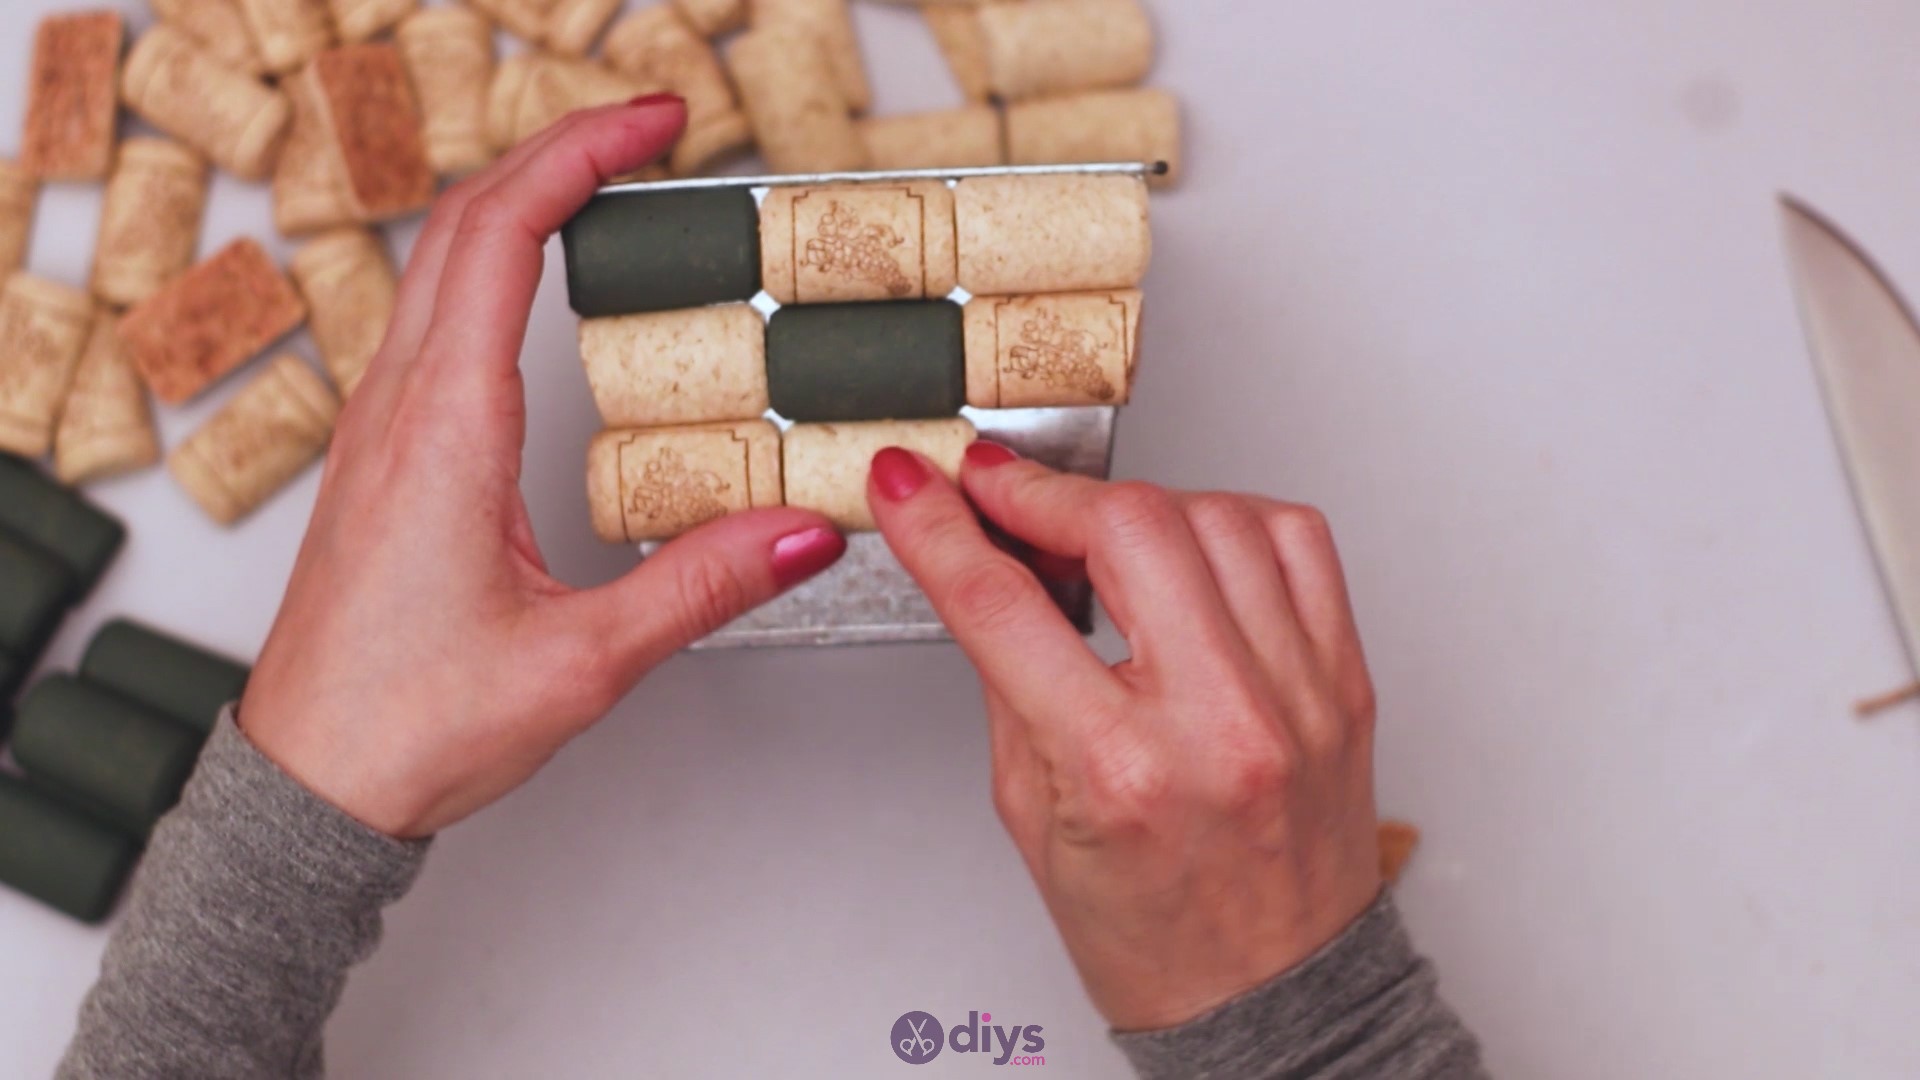
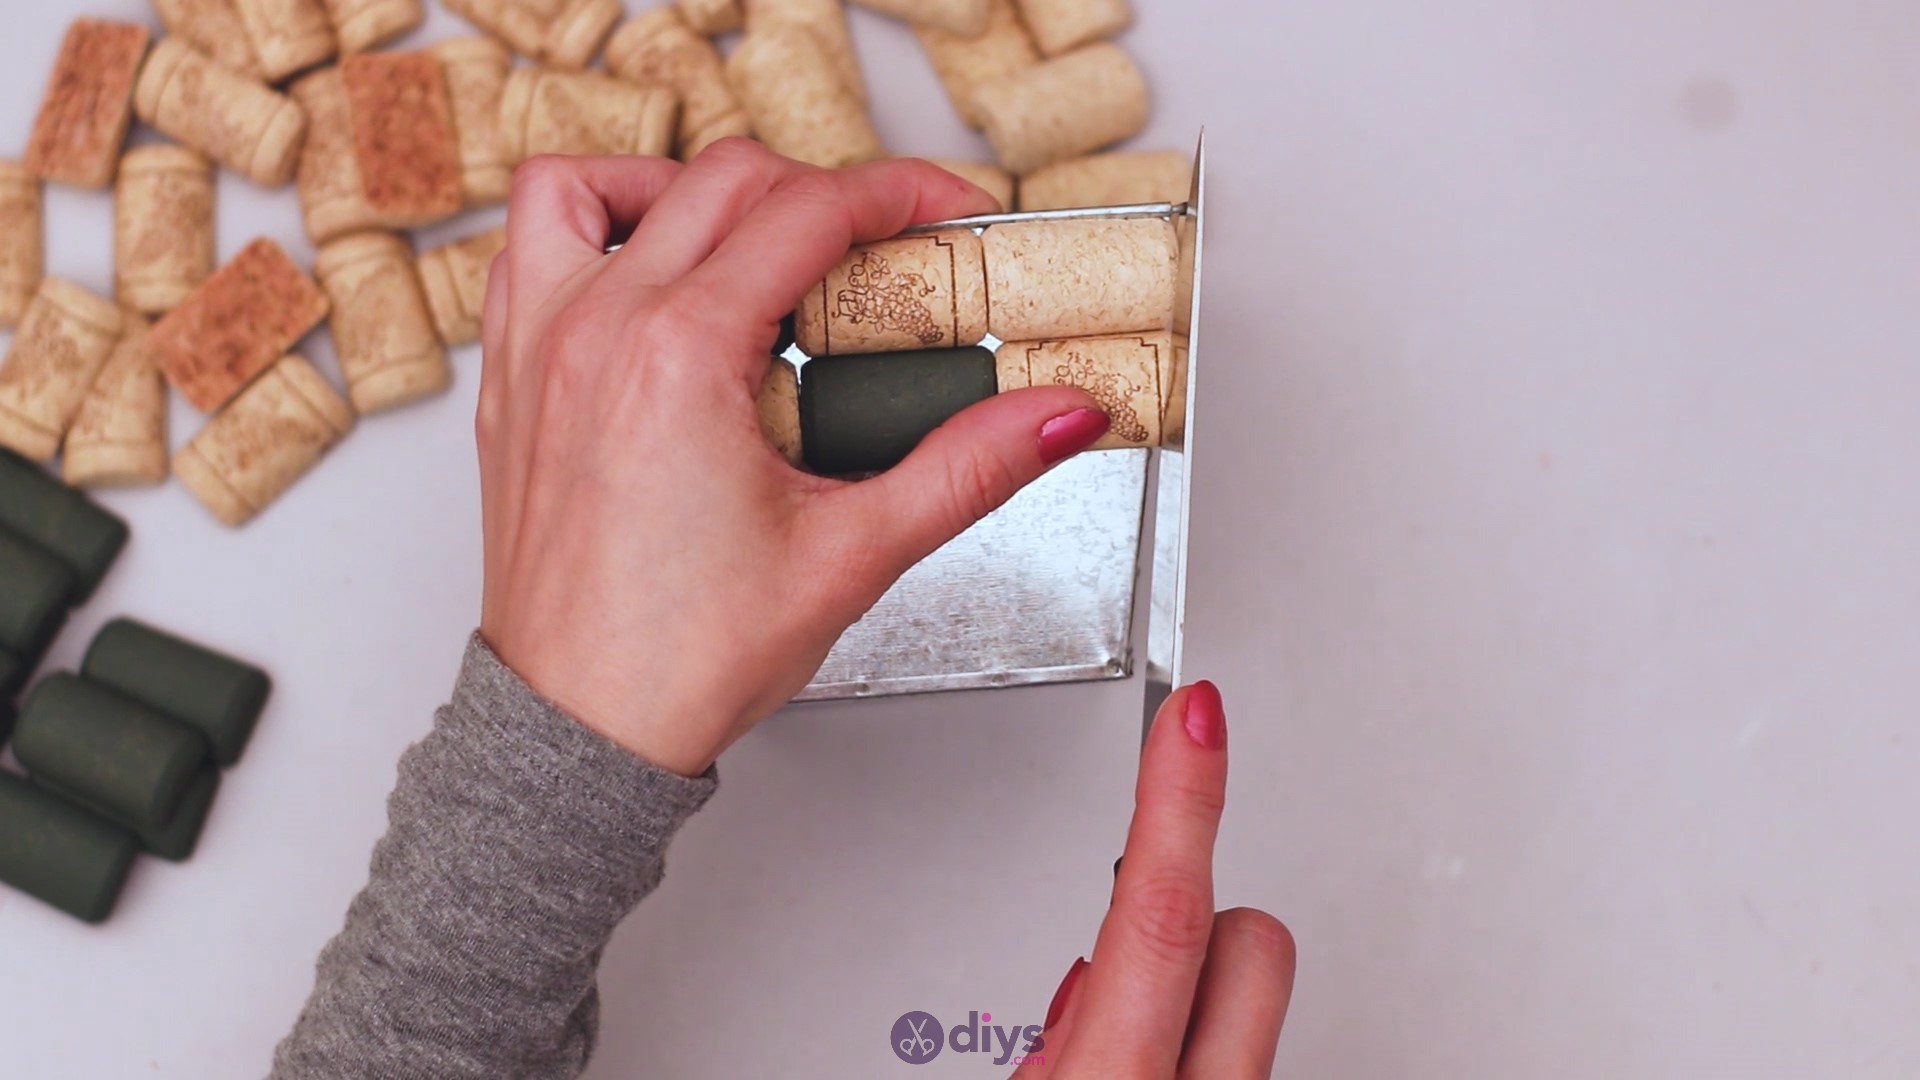
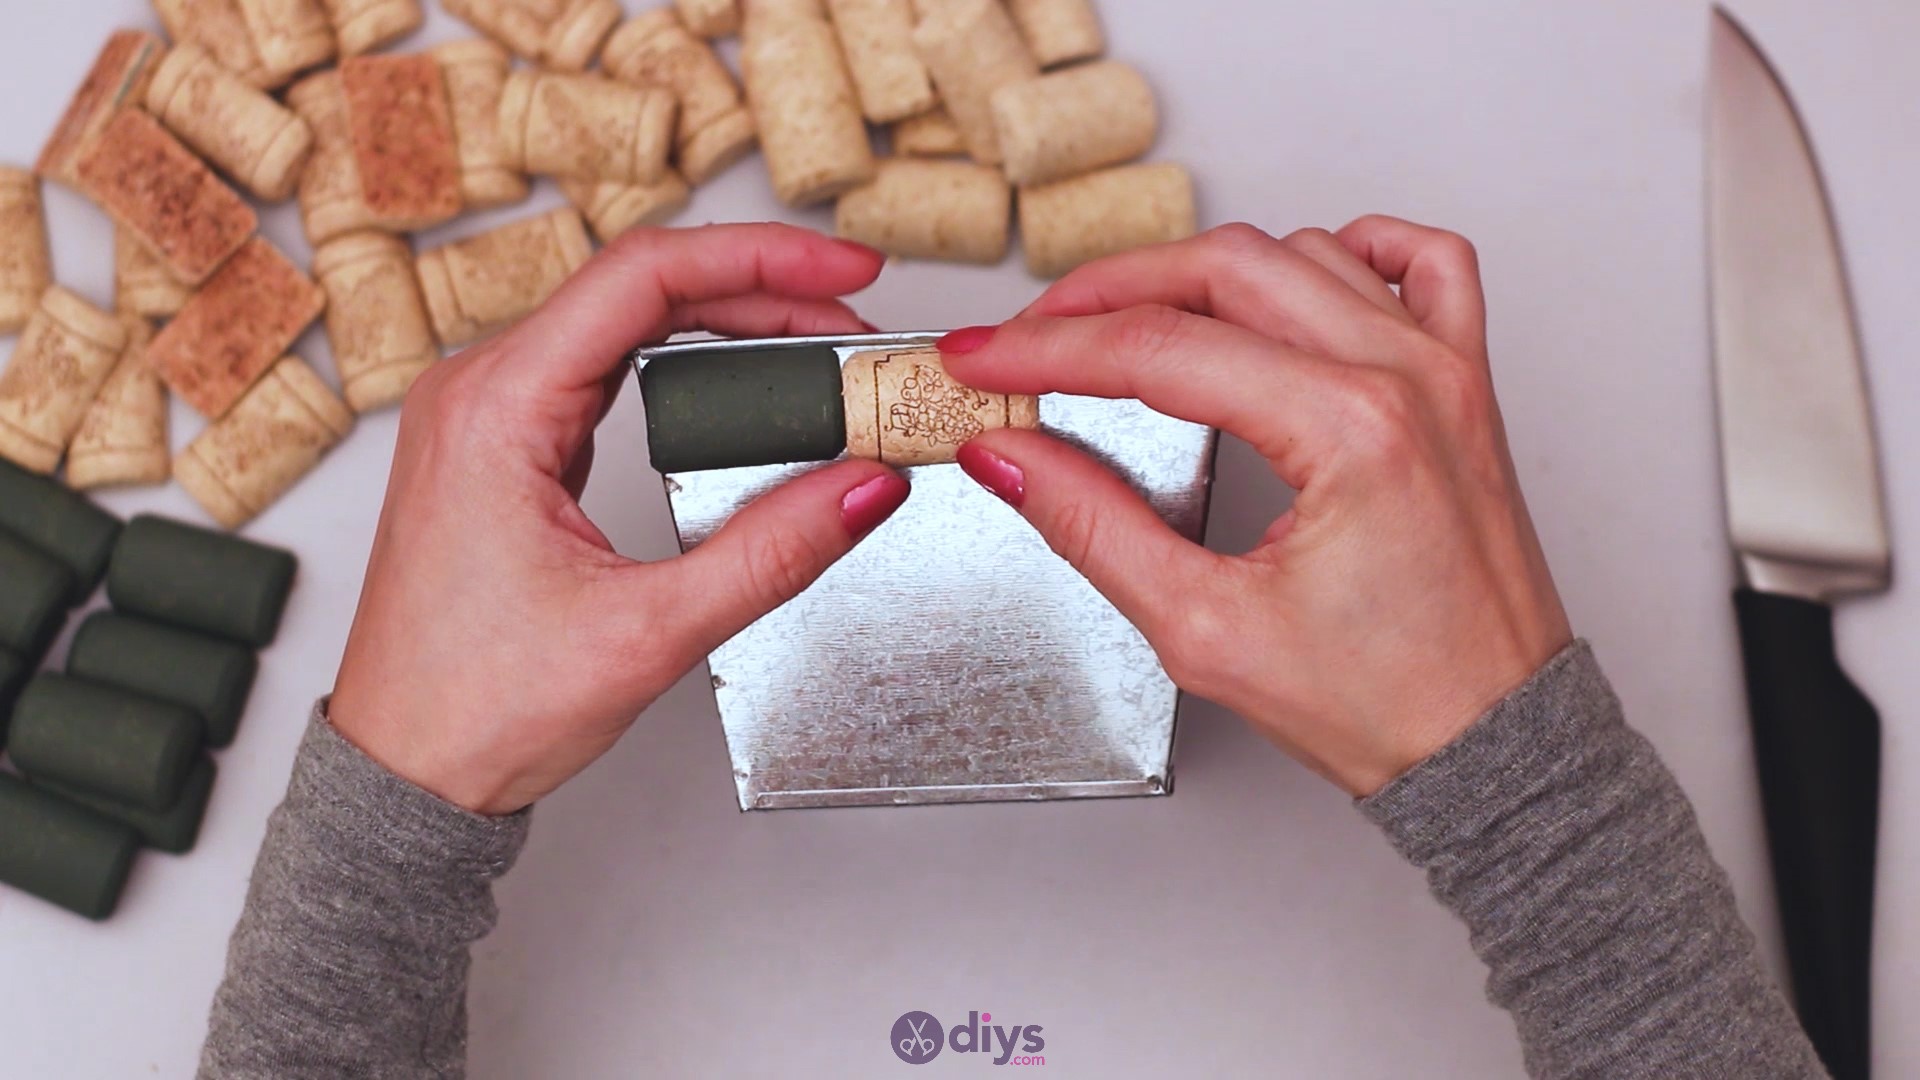
Continue with the second layer of corks. Since the sides of the planter are not straight, you’ll want to cut the pieces that go on the sides before permanently attaching it to the planter. Glue the middle piece first, and then add the cork on the right side. Take the knife and cut the excess.
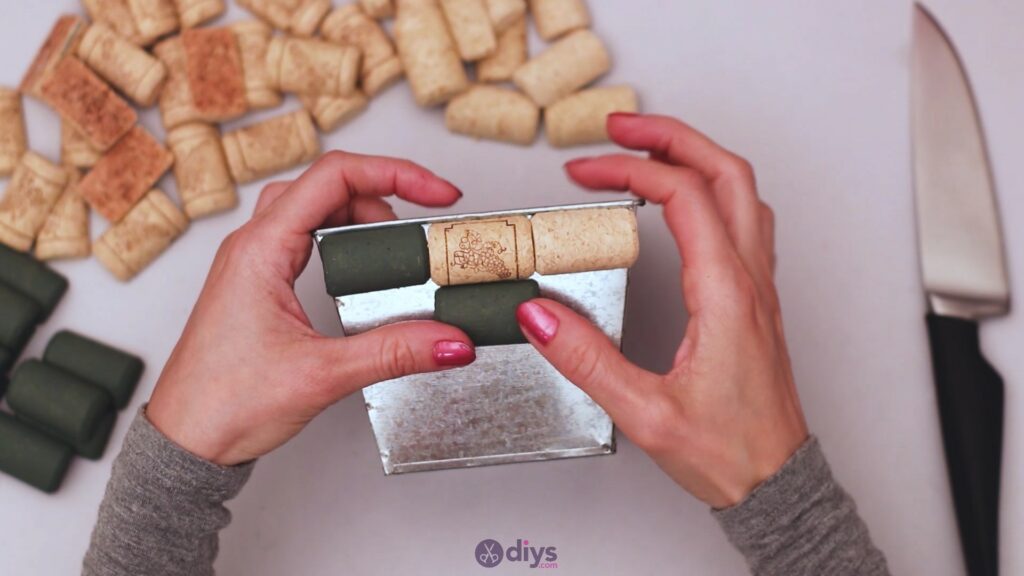

Once the cork has the final shape, you can go ahead and add hot glue to its back before placing it on the planter.


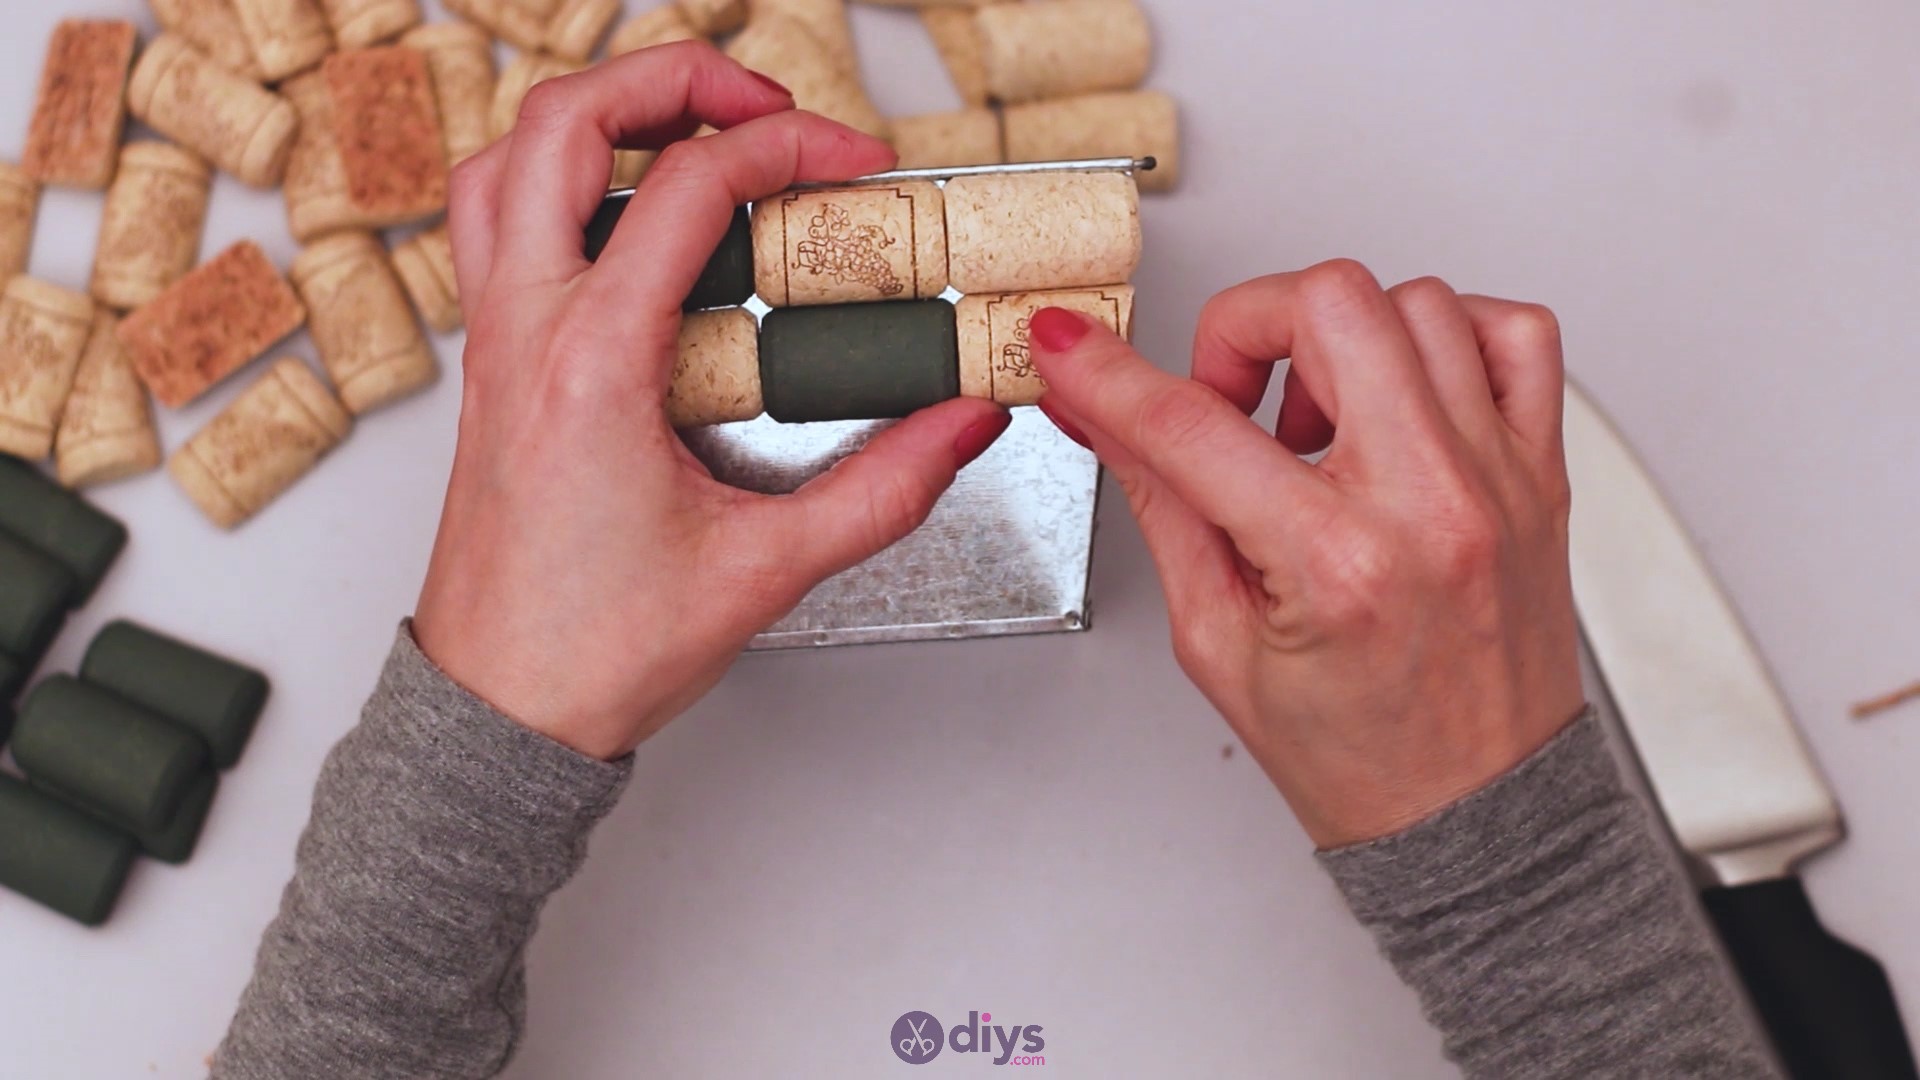
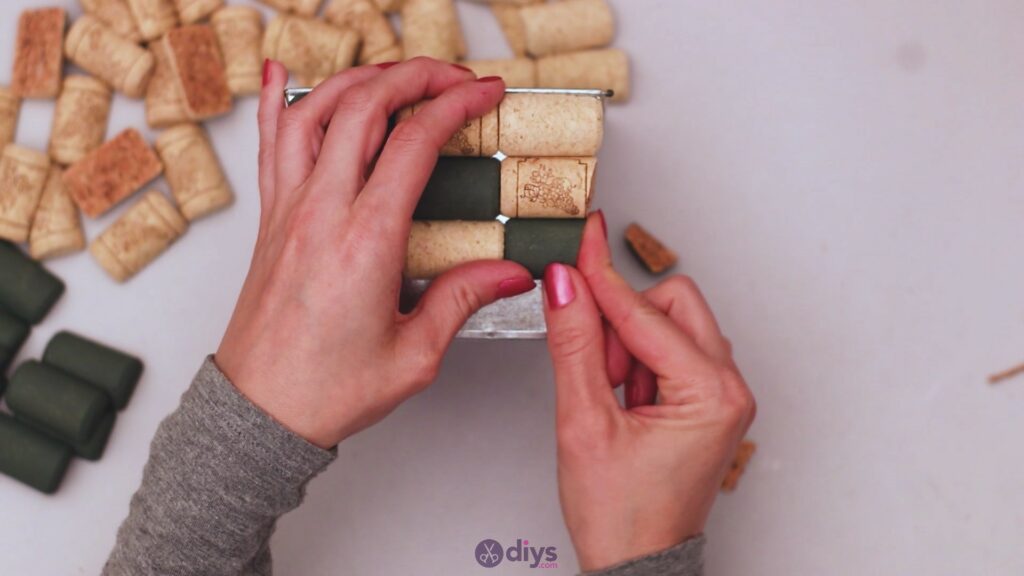
Do the same for the other pieces you’re adding to the planter as you move downward. We only added three levels of wine corks, but depending on the size of the one you’re using, you can add more. You want the bottom area to remain without wine corks, however, so you can use other decorations.
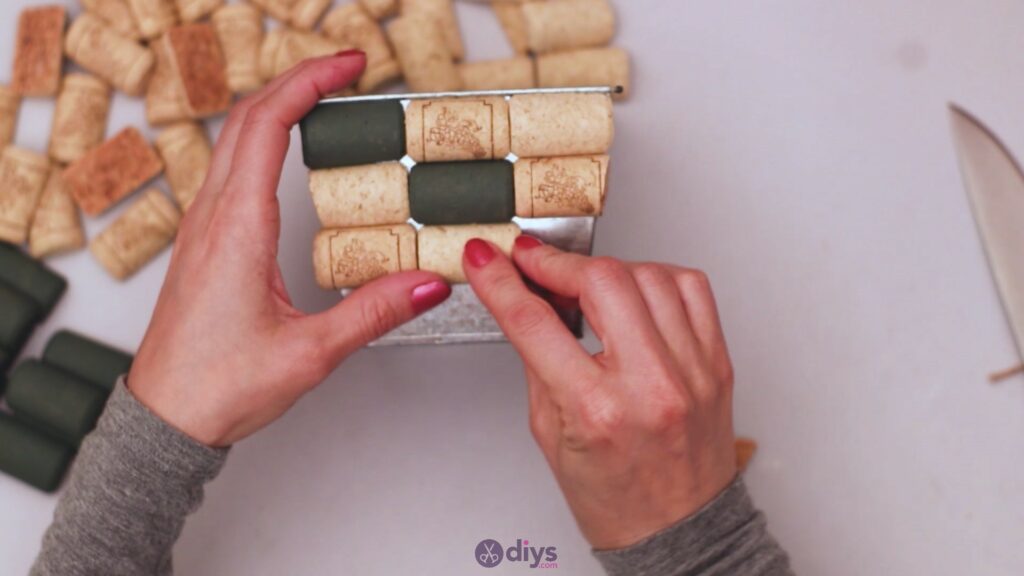
Turn the planter on all sides and add wine corks as you go. Follow the same rules as you have up until now and make sure the middle corks line up.
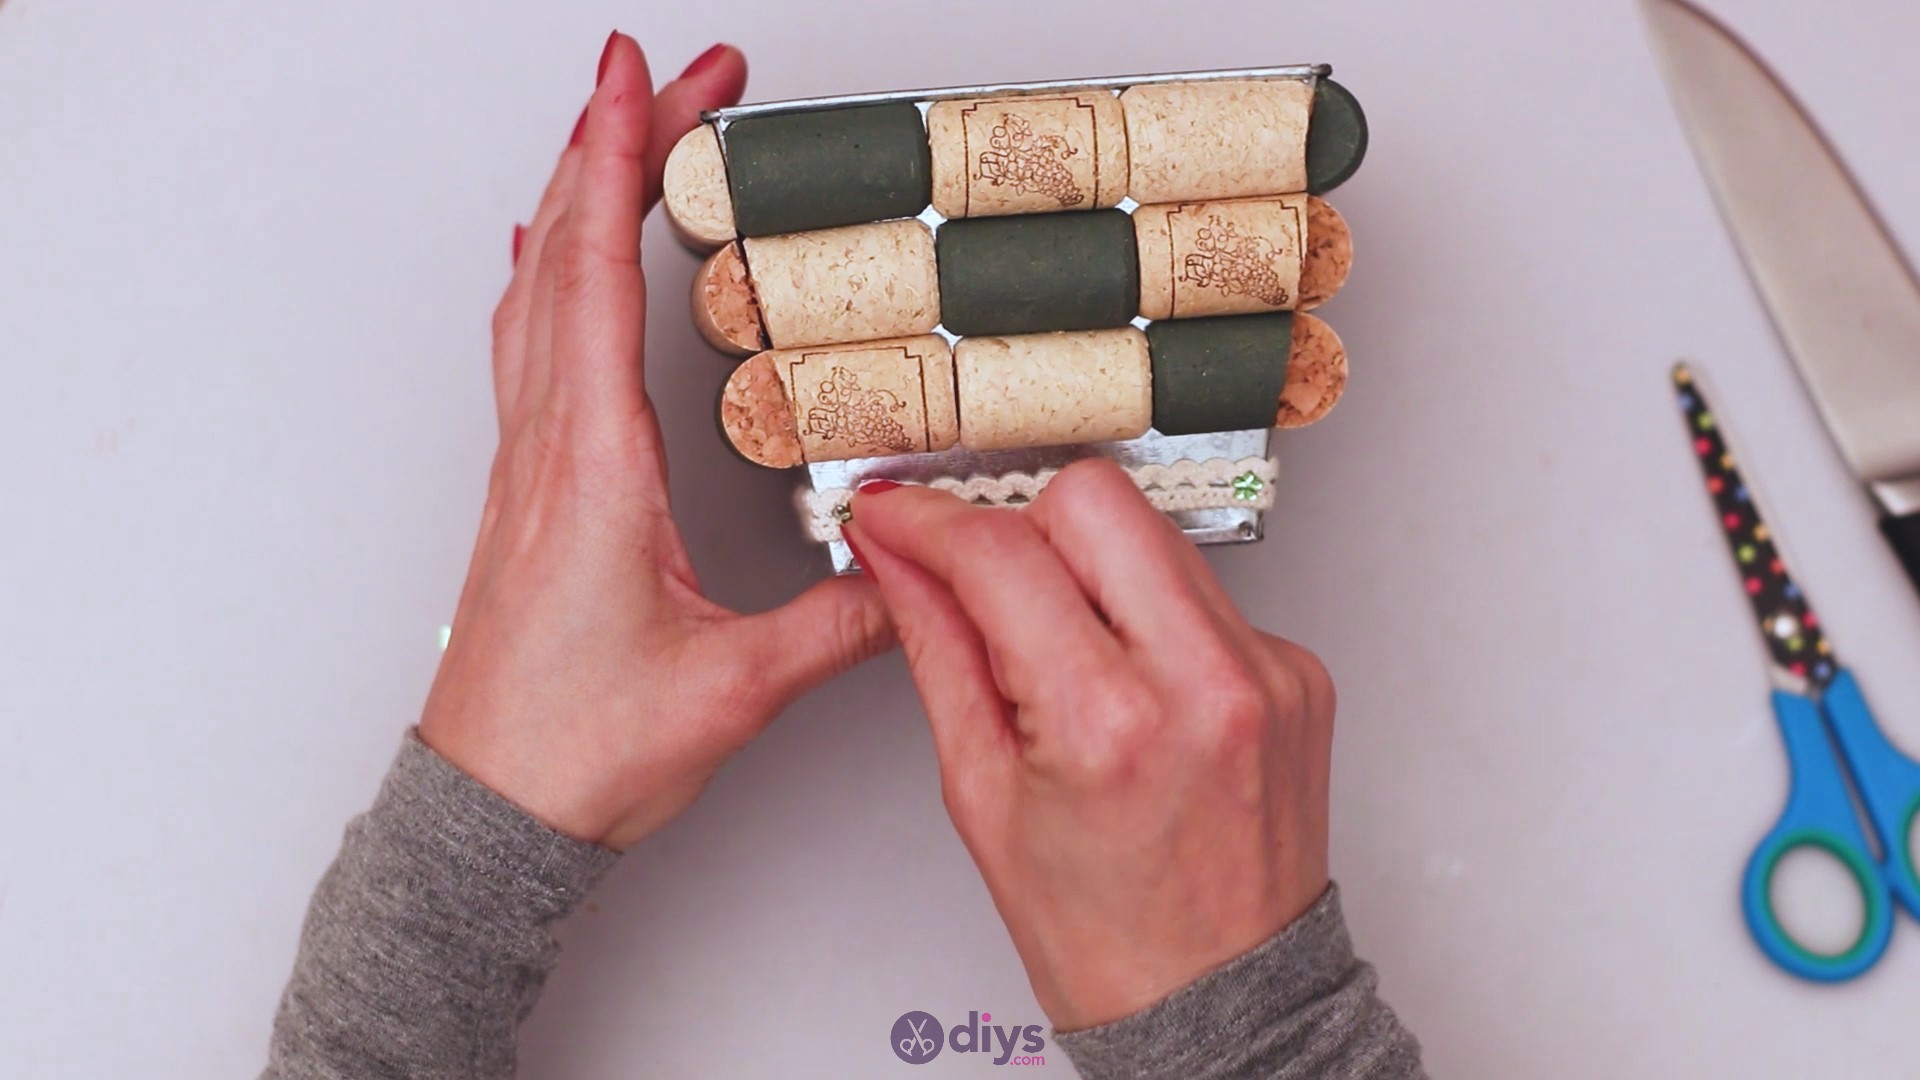
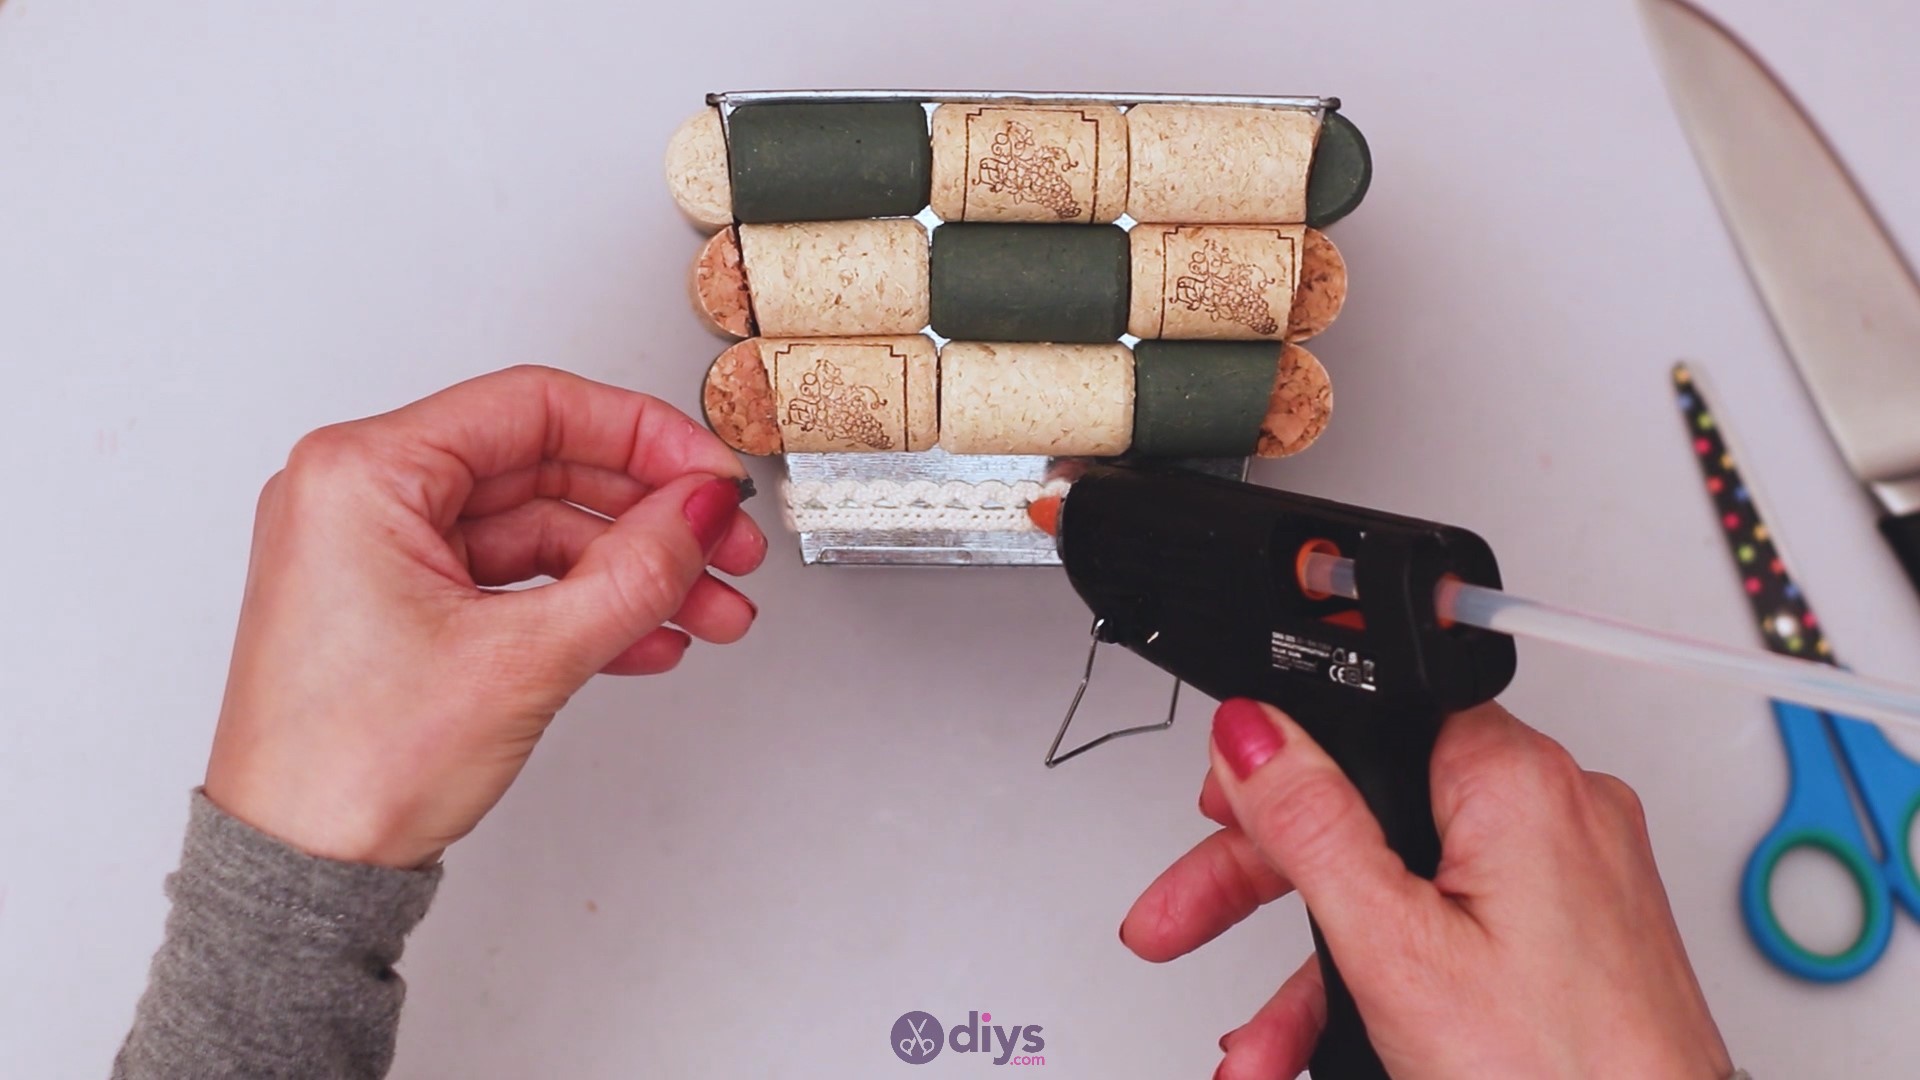
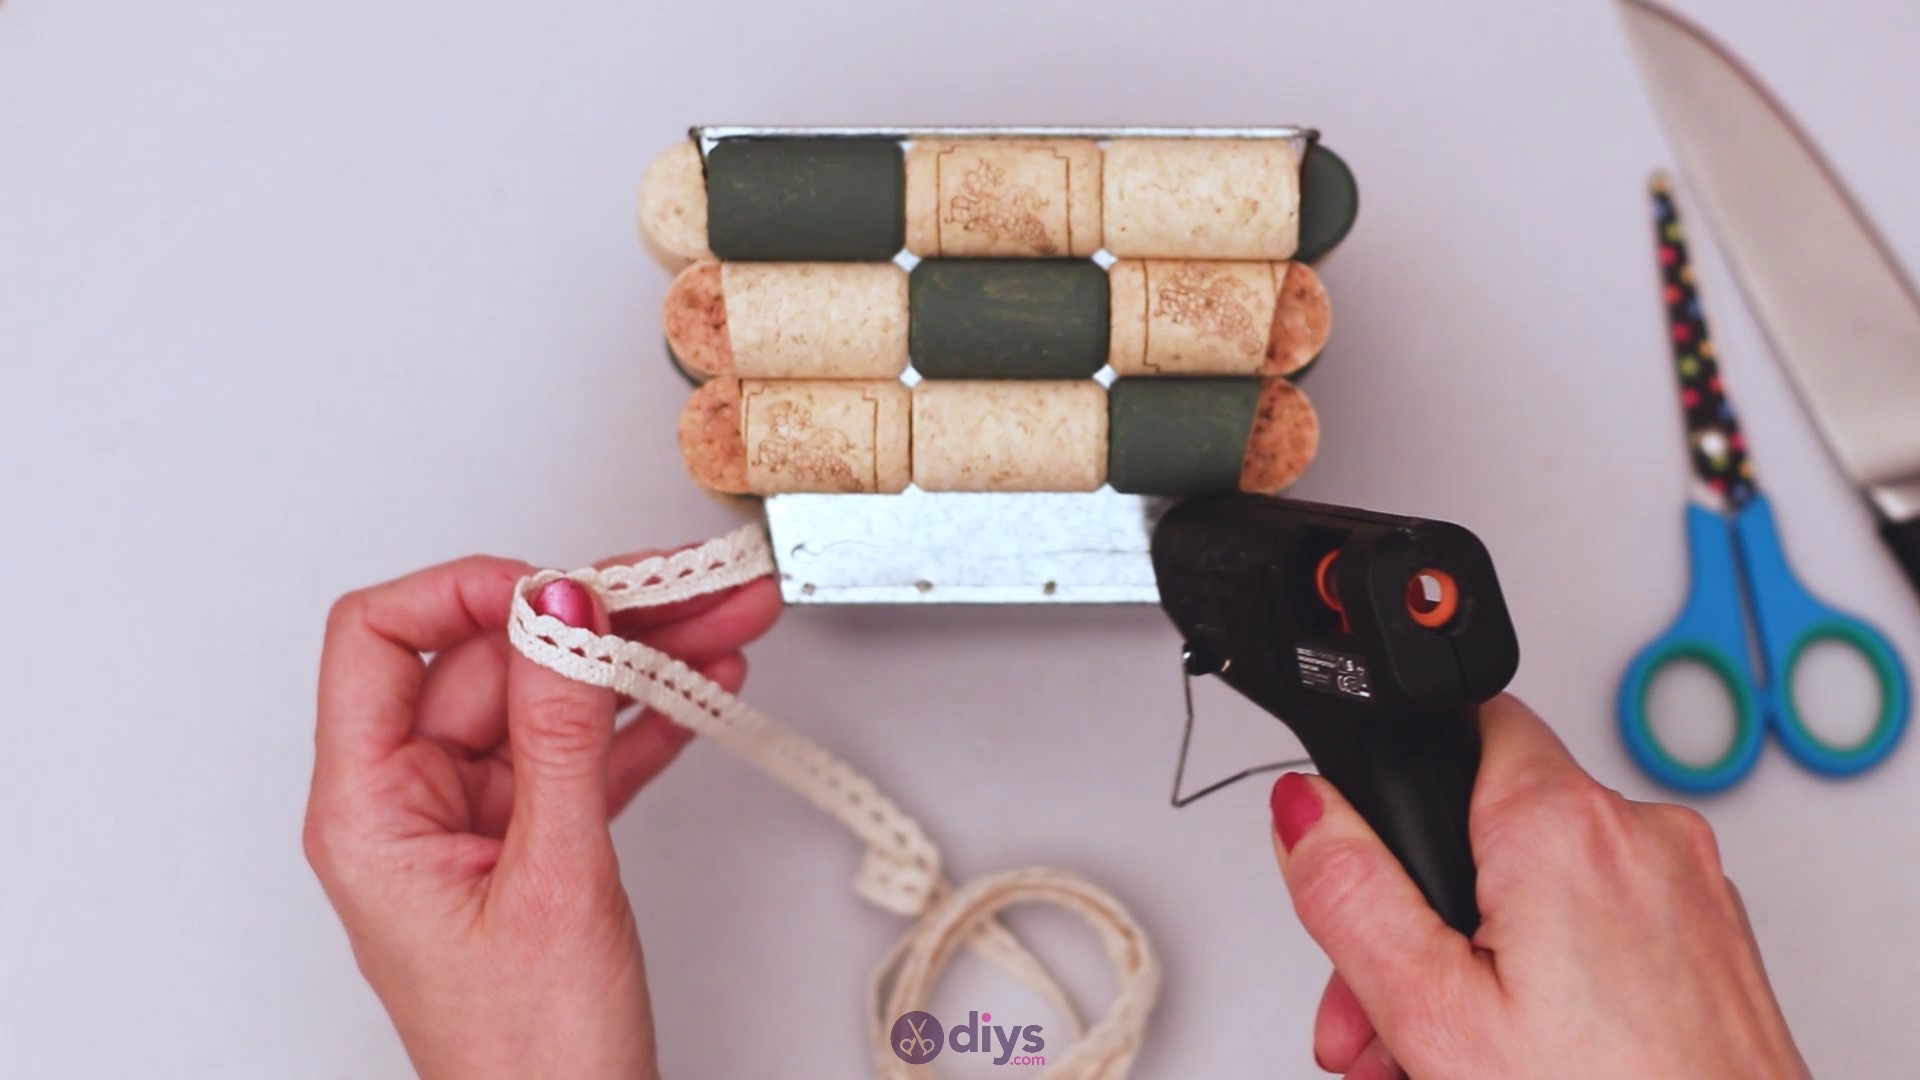
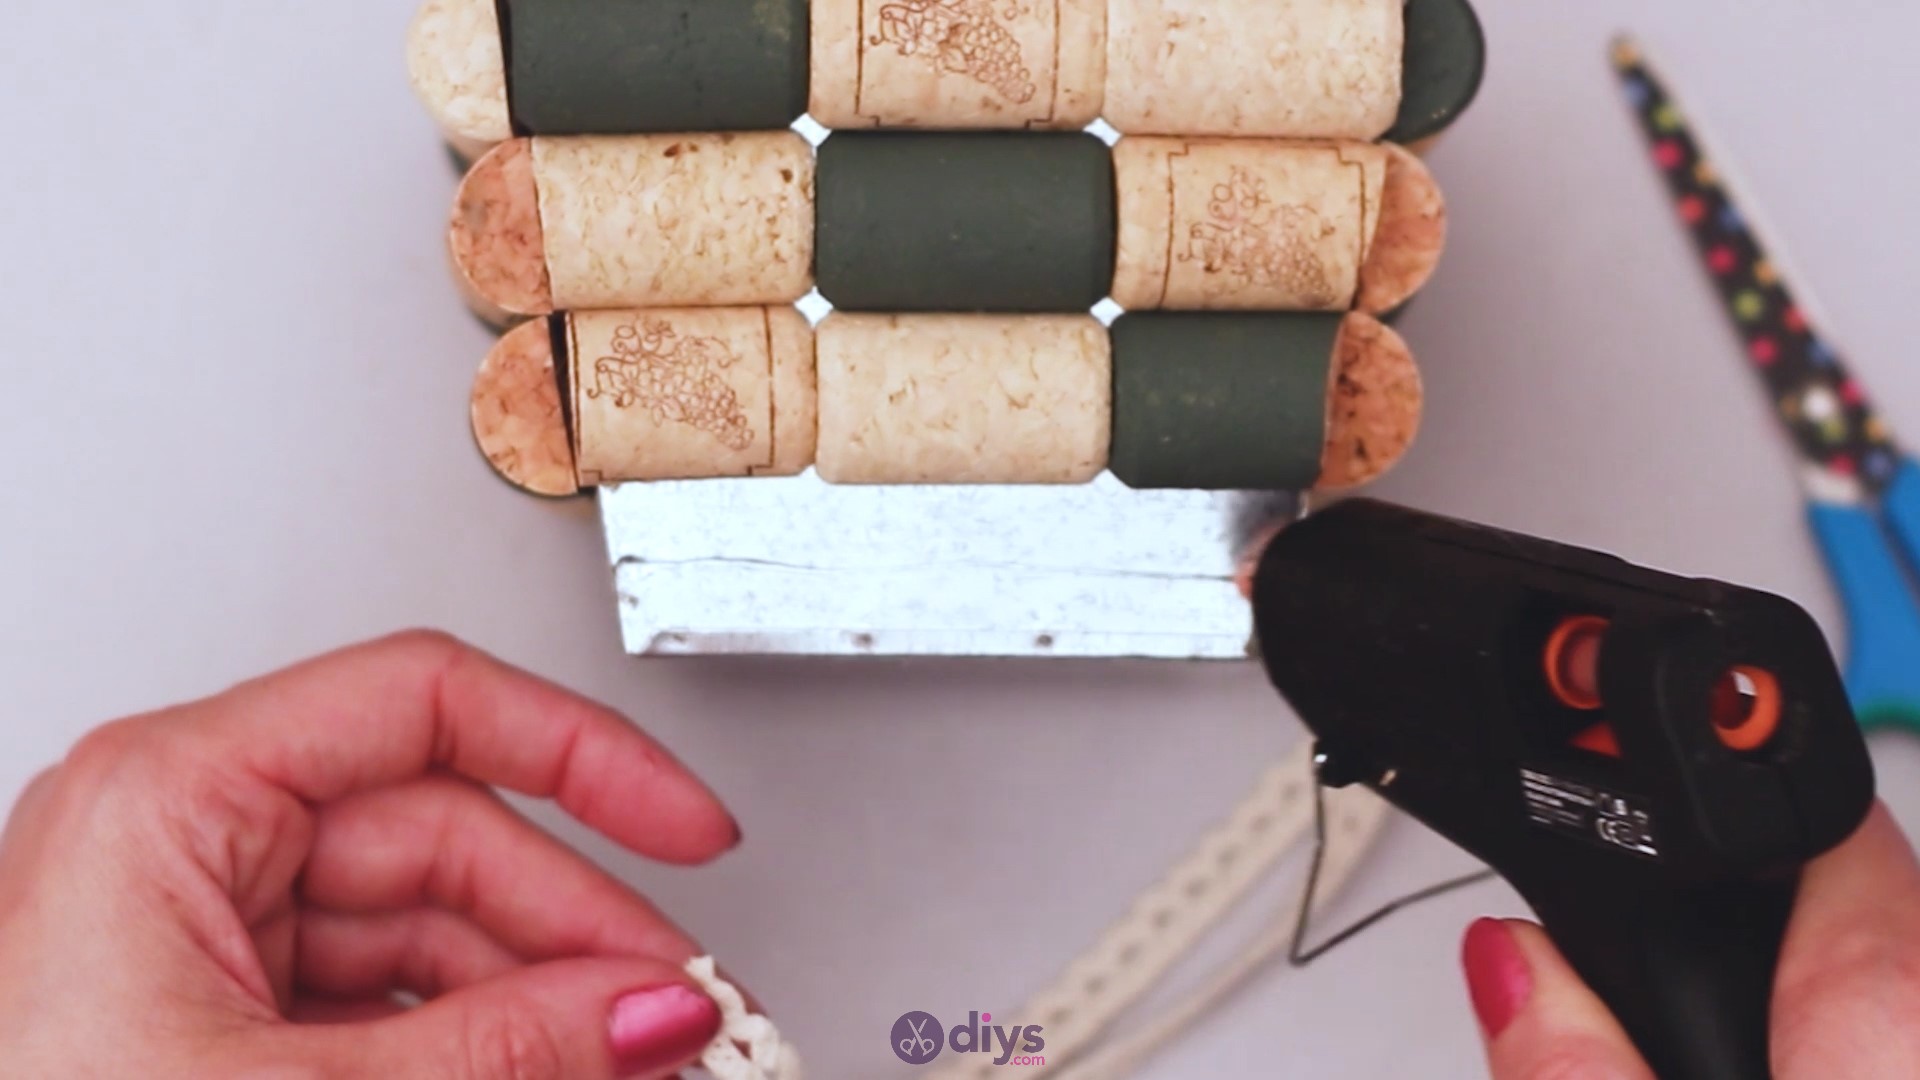
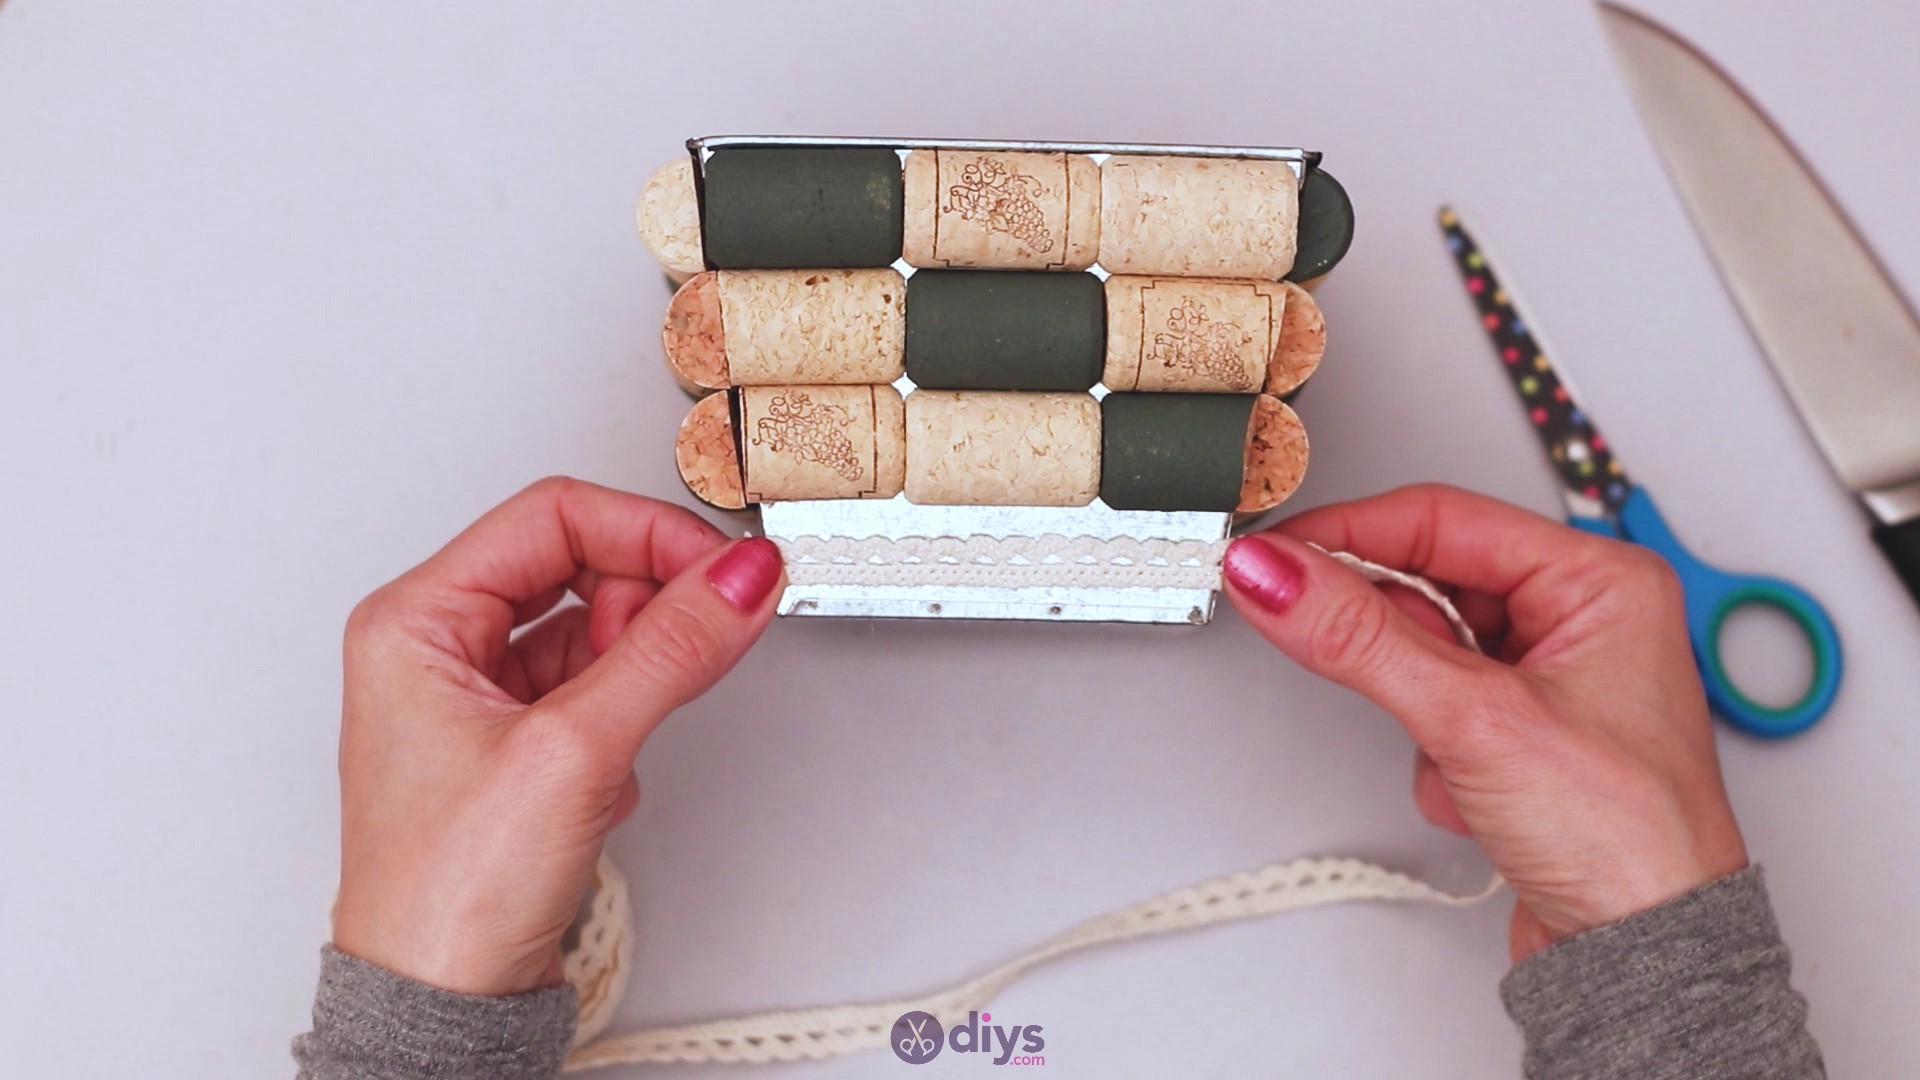
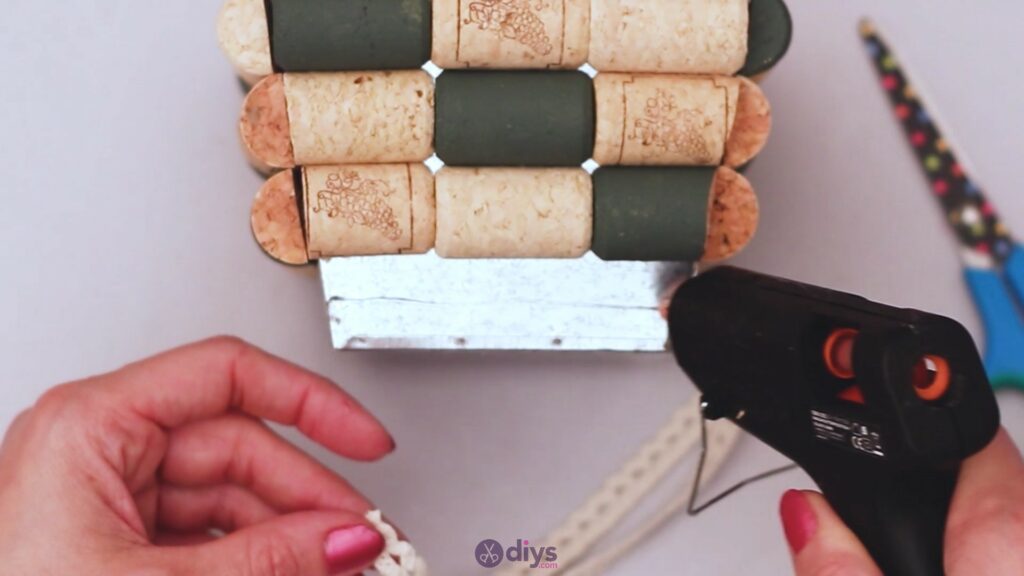
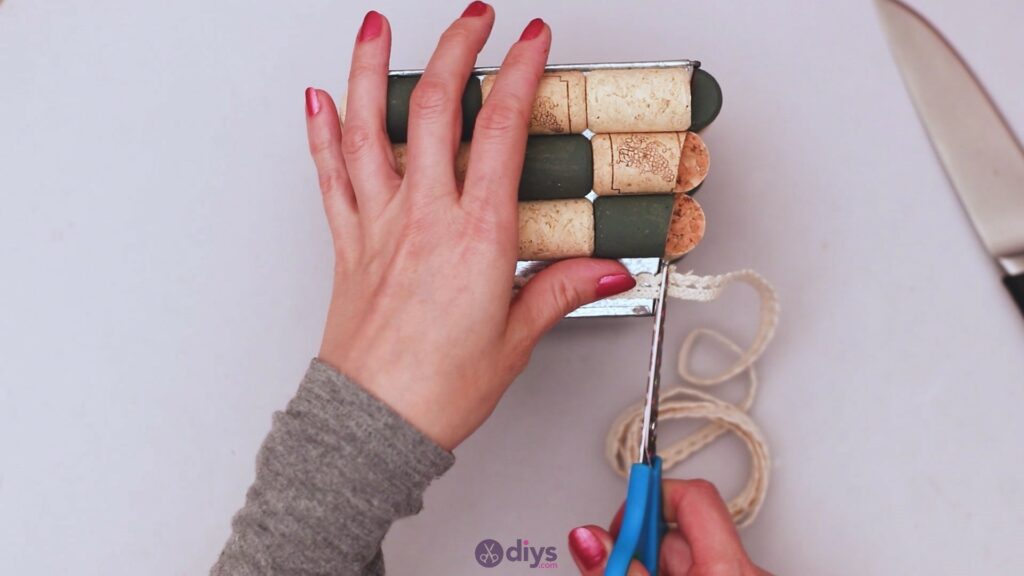
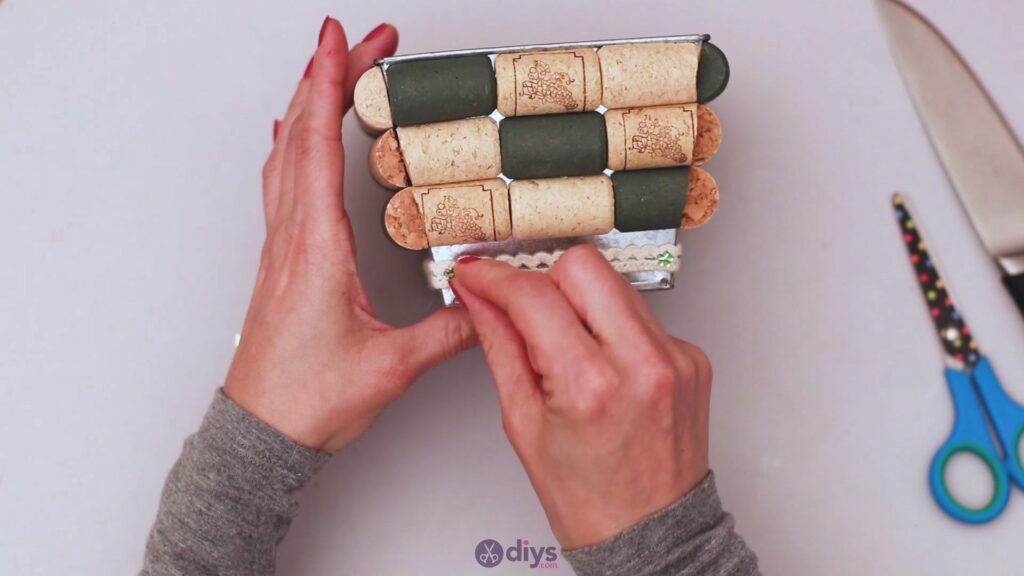
Step 4: Add the Lace Ribbon
Now, we’re going to decorate the bottom area of the planter. Grab the lace ribbon and check to see where it fits best. Then, take theglue gunand trace a straight line where you want to add the lace. We left equal distances above and below the ribbon. Press the ribbon into the glue and make sure it is arranged neatly.

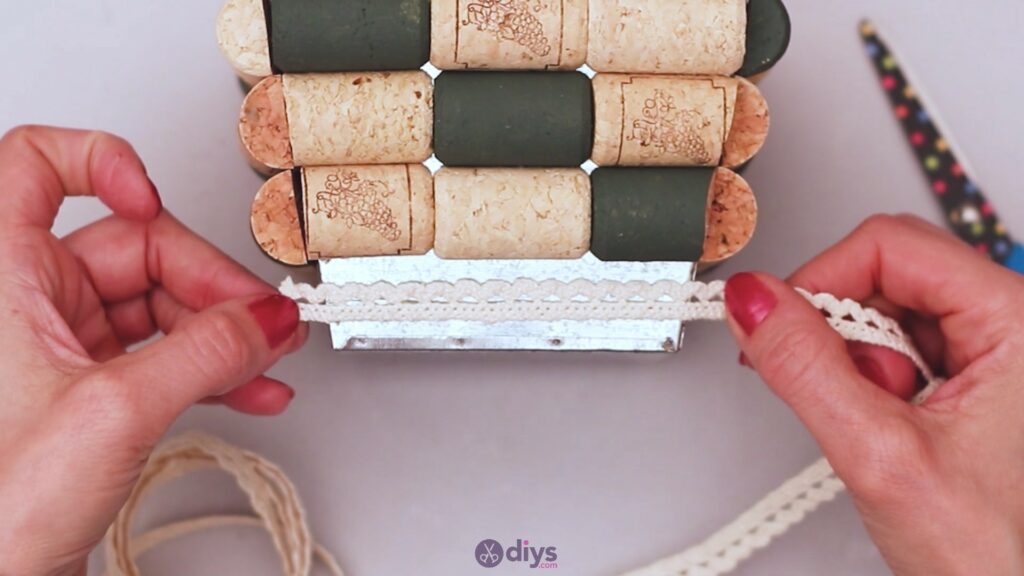
Turn the planter on all sides and keep adding the lace ribbon, making sure to hold it straight. Be aware that since the sides of the planter are not even, the material might try to “pull” you in a different direction.
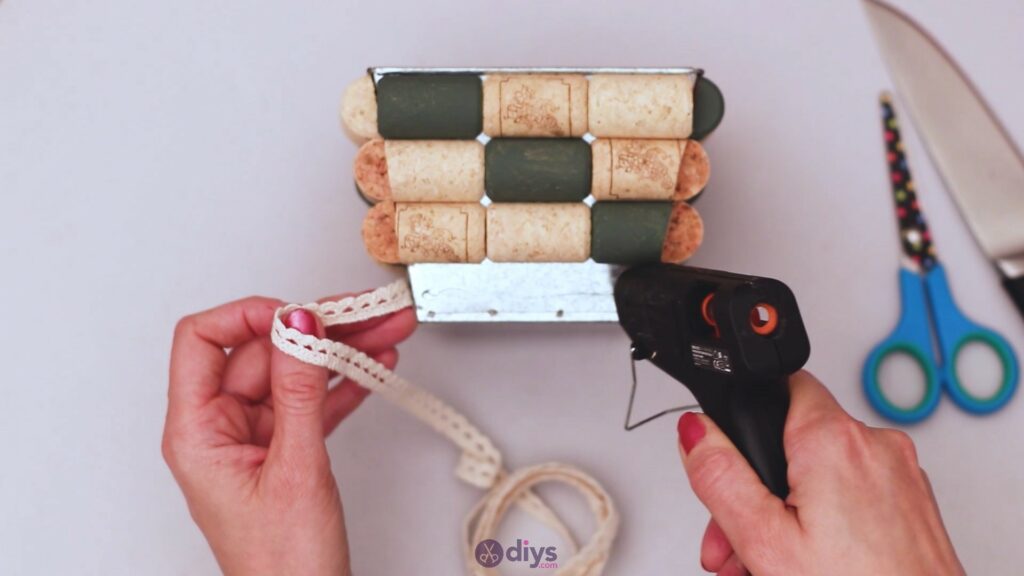
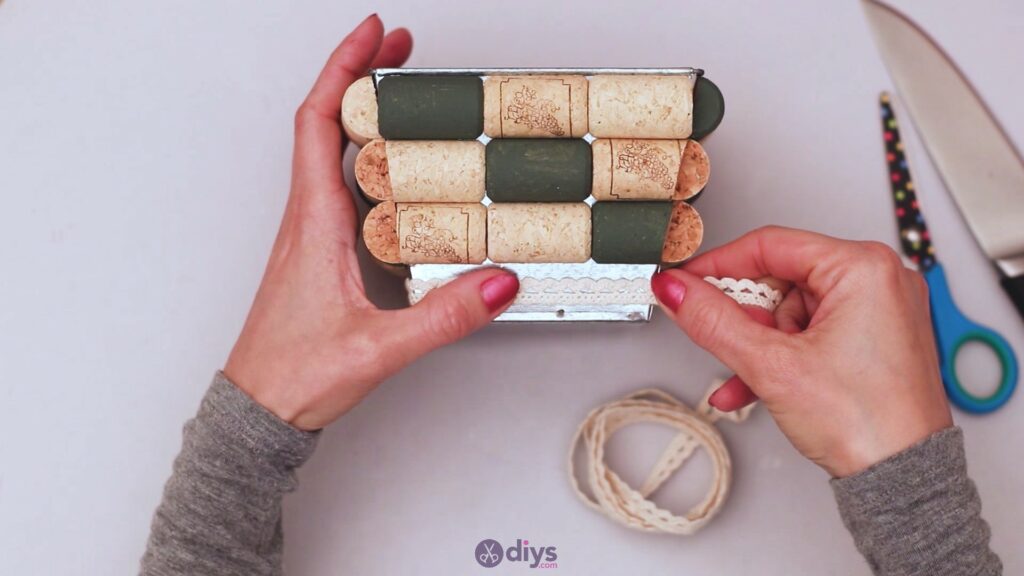
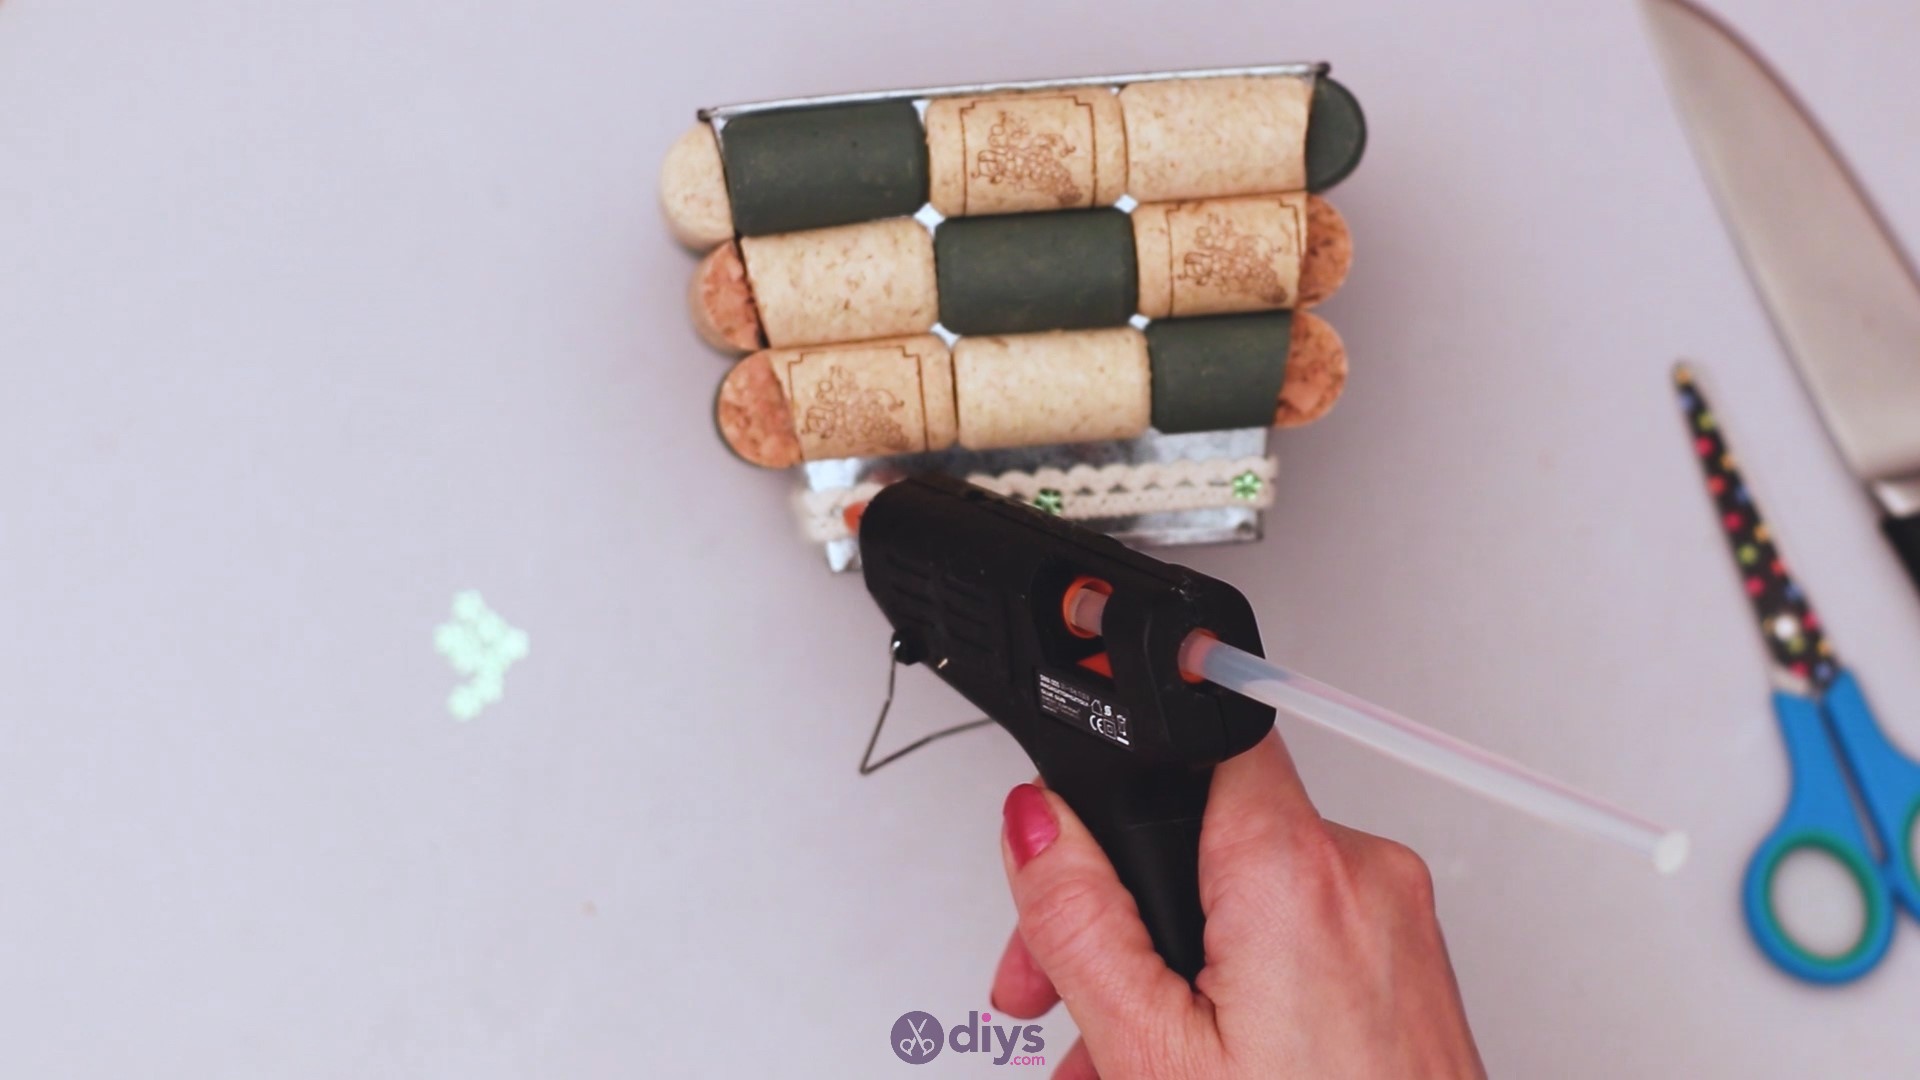
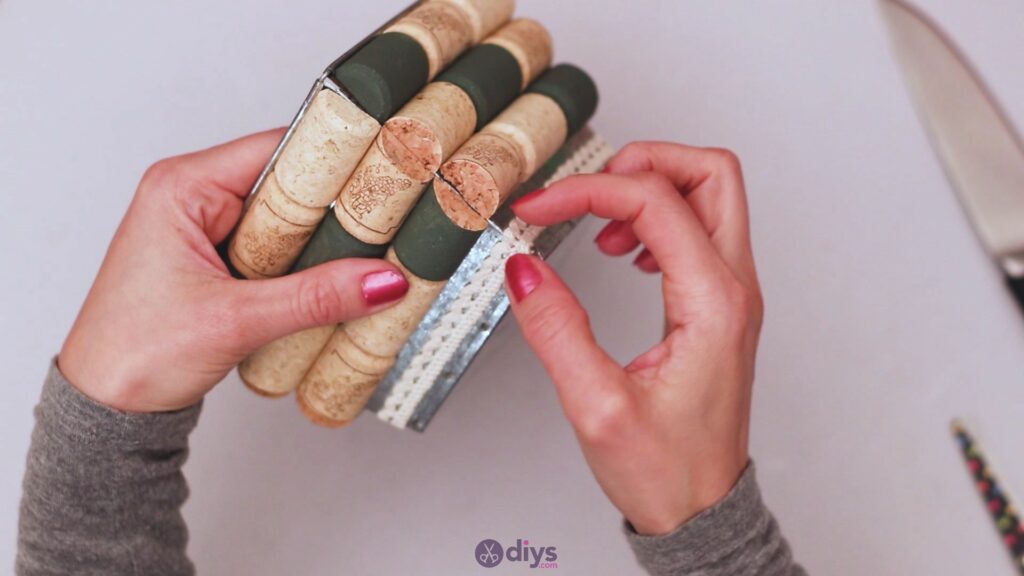
When you’ve reached around the planter with the ribbon, give it a little bit more length and cut the excess fabric. Place a little hot glue over the edge of the ribbon that you’ve already glued down to the planter and place the other end over it, to give it a seamless feel.
Be careful with the edge so the pieces lay down nicely one over the other.
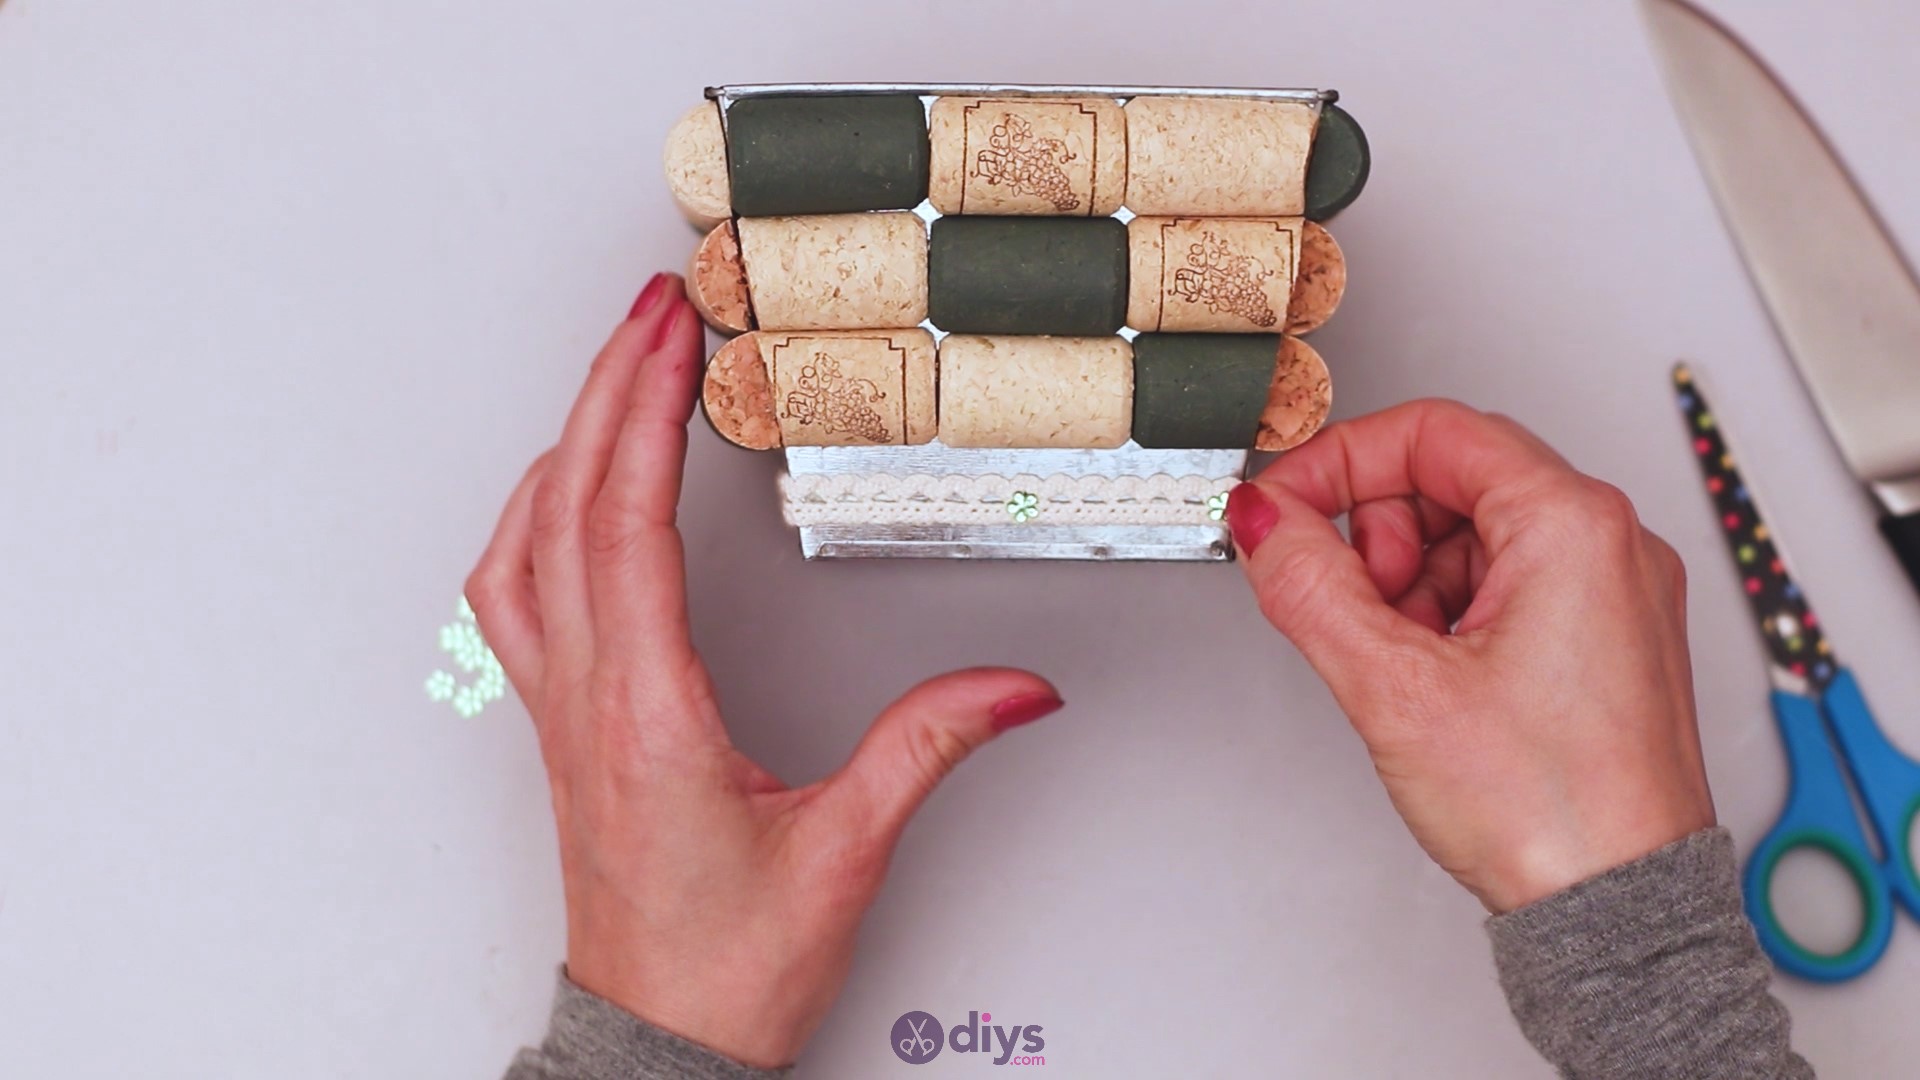
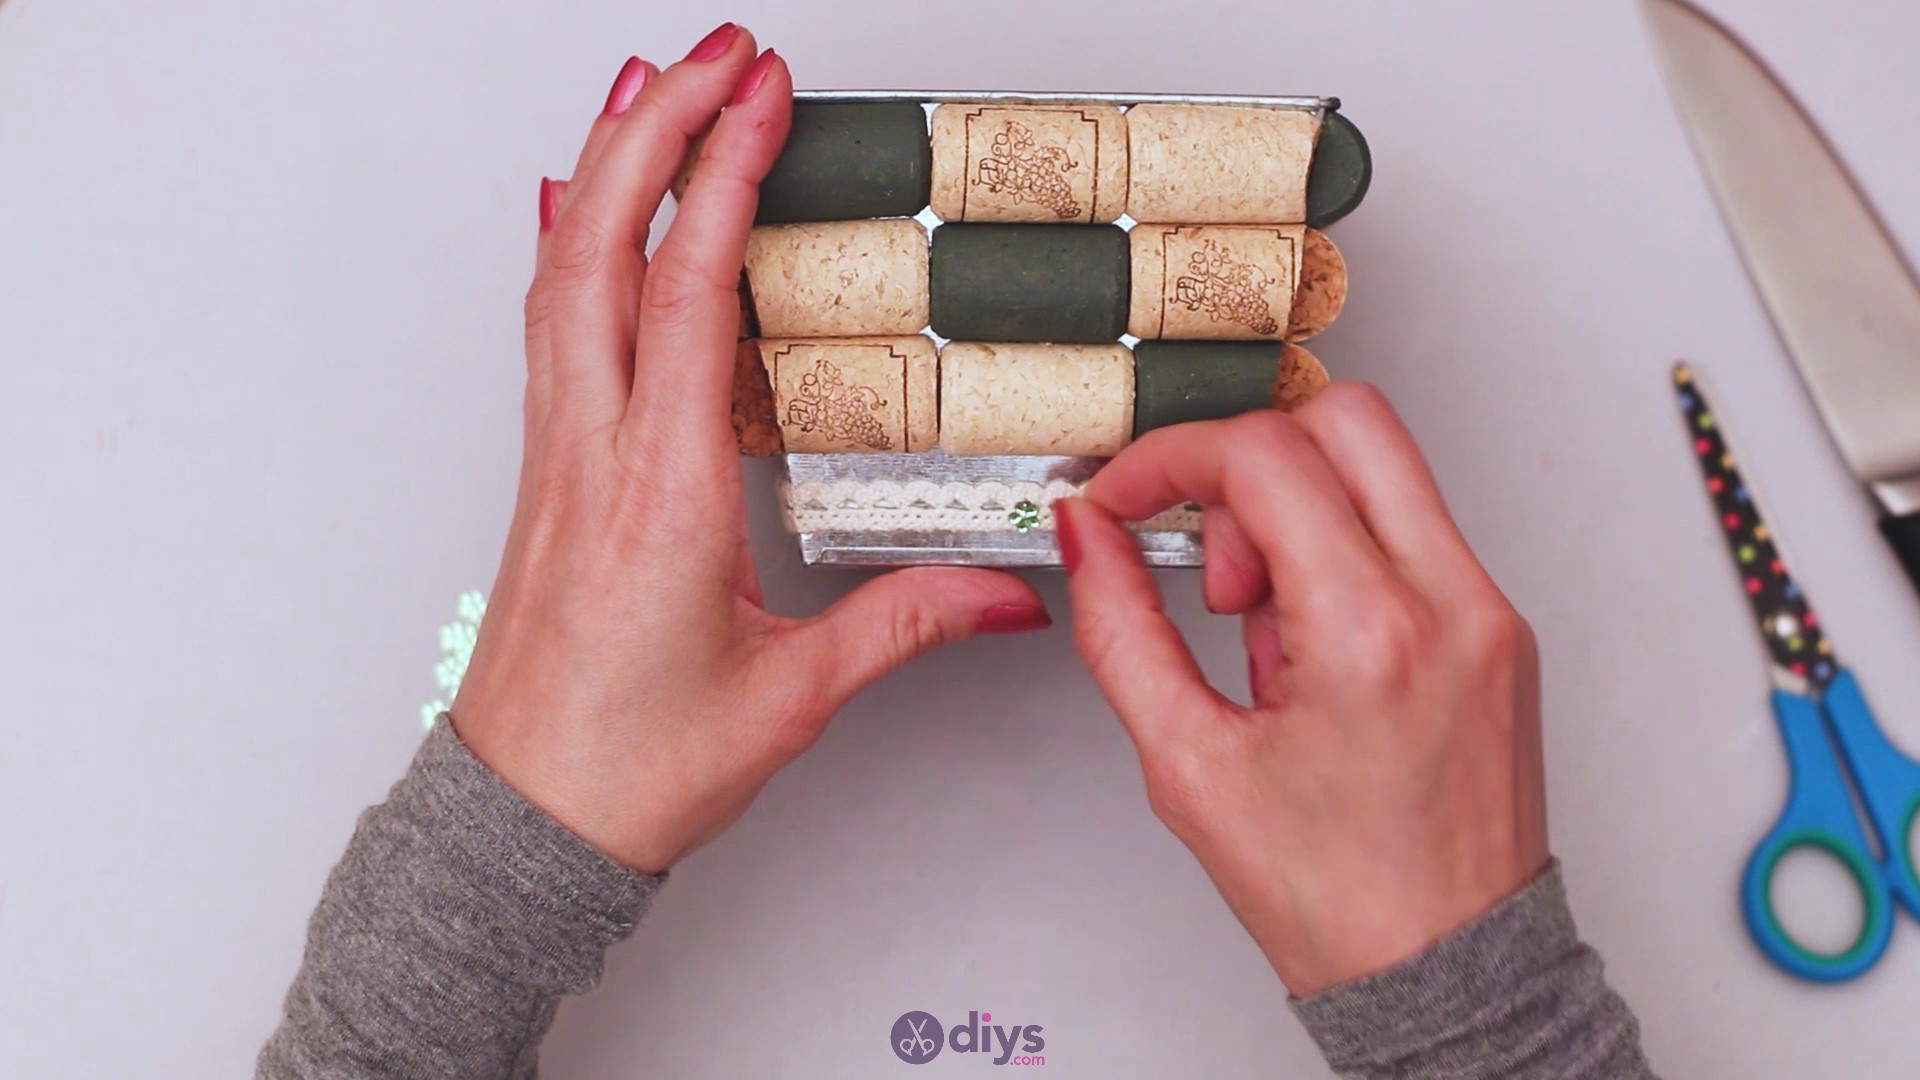
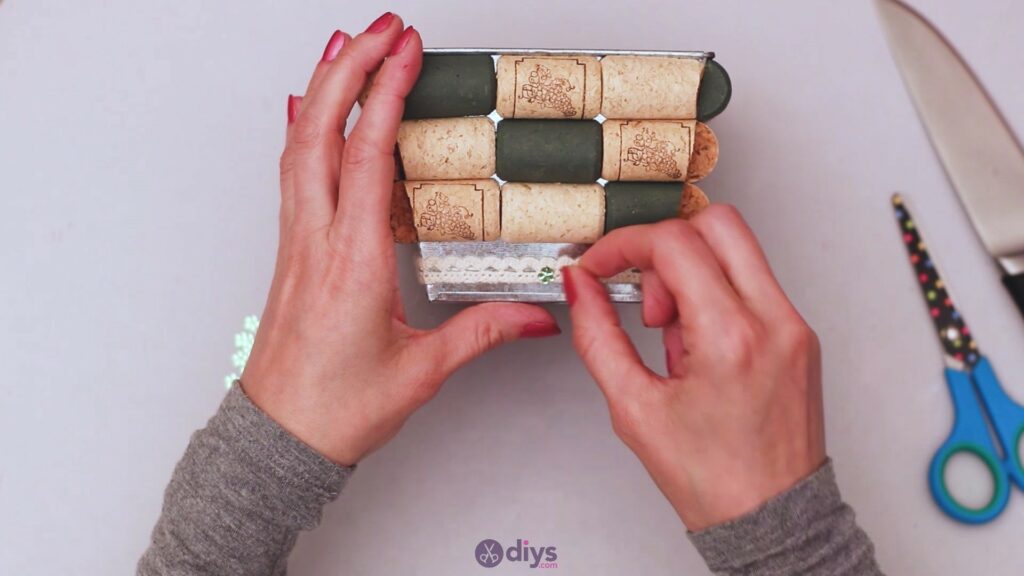
Step 5: Decorate the planter
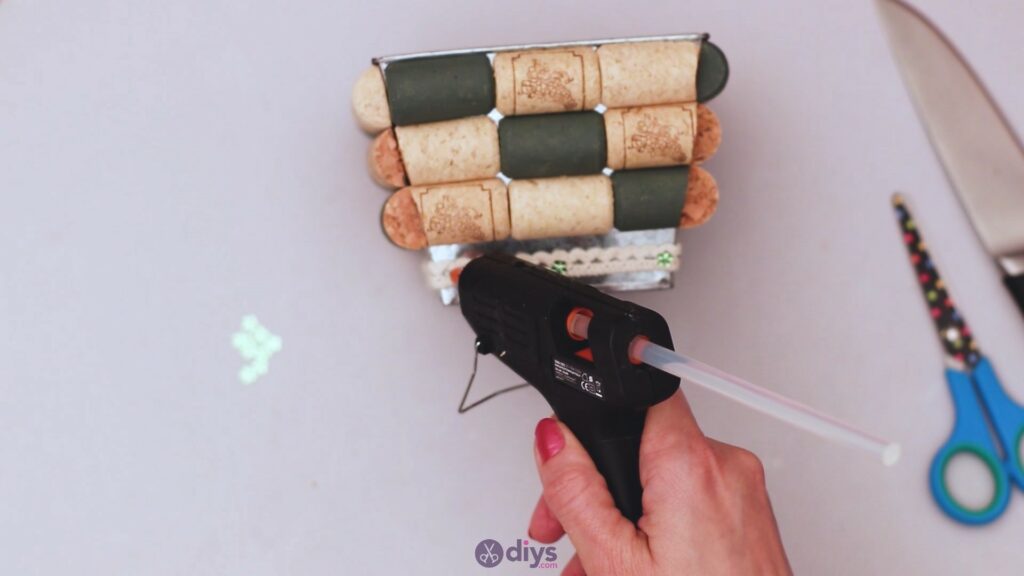
The list of materials we mentioned also includes some small floral decorative pieces. Ours are green, which go well with the olive green we used for painting the wine corks. Add a few dabs of hot glue and place the small flowers over them.


Turn the planter on all sides and keep adding the small flowers over the lace ribbon. You can obviously choose a different type of decoration if you have them or didn’t find small flowers like ours.
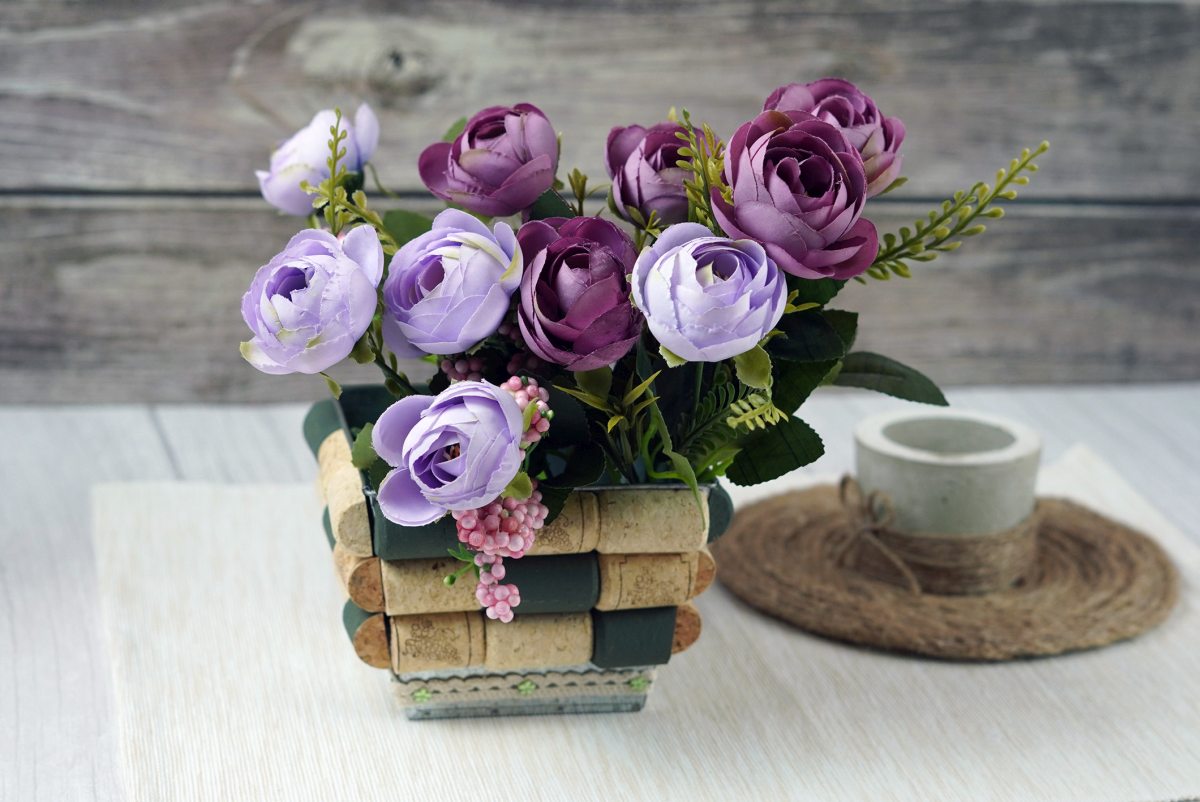
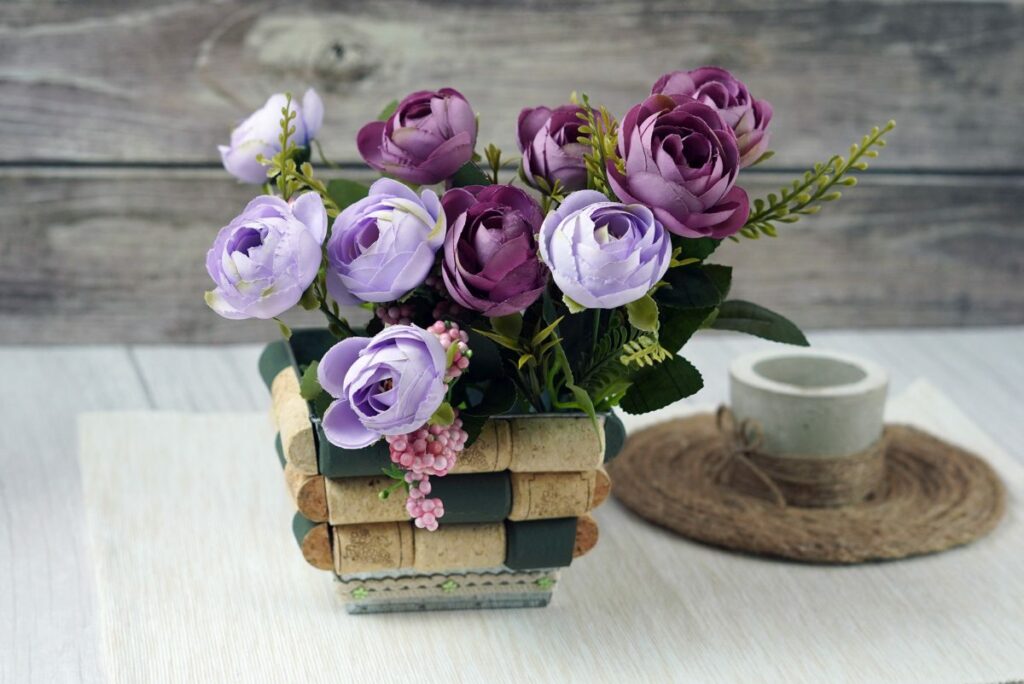
That’s it! Check out how different the planter looks now! It’s completely transformed from the plain ugly metal look it had before. Add some soil and some of your favorite flowers and you’re good to go. If you’d prefer plastic flowers, you can also go that route and use something that will never wilt and doesn’t require too much attention from your part.
While we went with the olive green paint, you can choose a different shade. The same goes for the lace ribbon and the decorative flowers. We laid down the groundwork, but imagination is your only limit here, so go ahead and create your own beautiful design. Share your designs with us and allow us to enjoy the view!