DIY Wine Cork Photo Frame
Updated on November 19, 2025


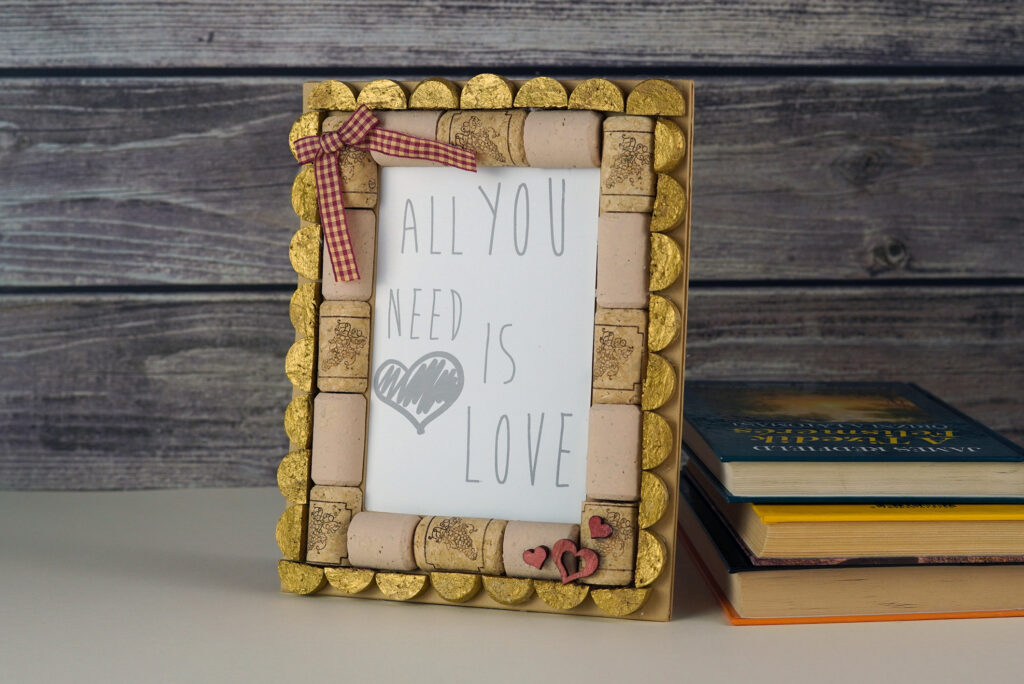
While some DIY projects may seem a bit daunting, this project for a DIY wine cork photo frame is super easy and super impressive once it is all done and ready to gift. You will easily be able to find the time it takes to whip up this simple project and you will also be saving a bundle on a more expensive gift that has less meaning behind it.

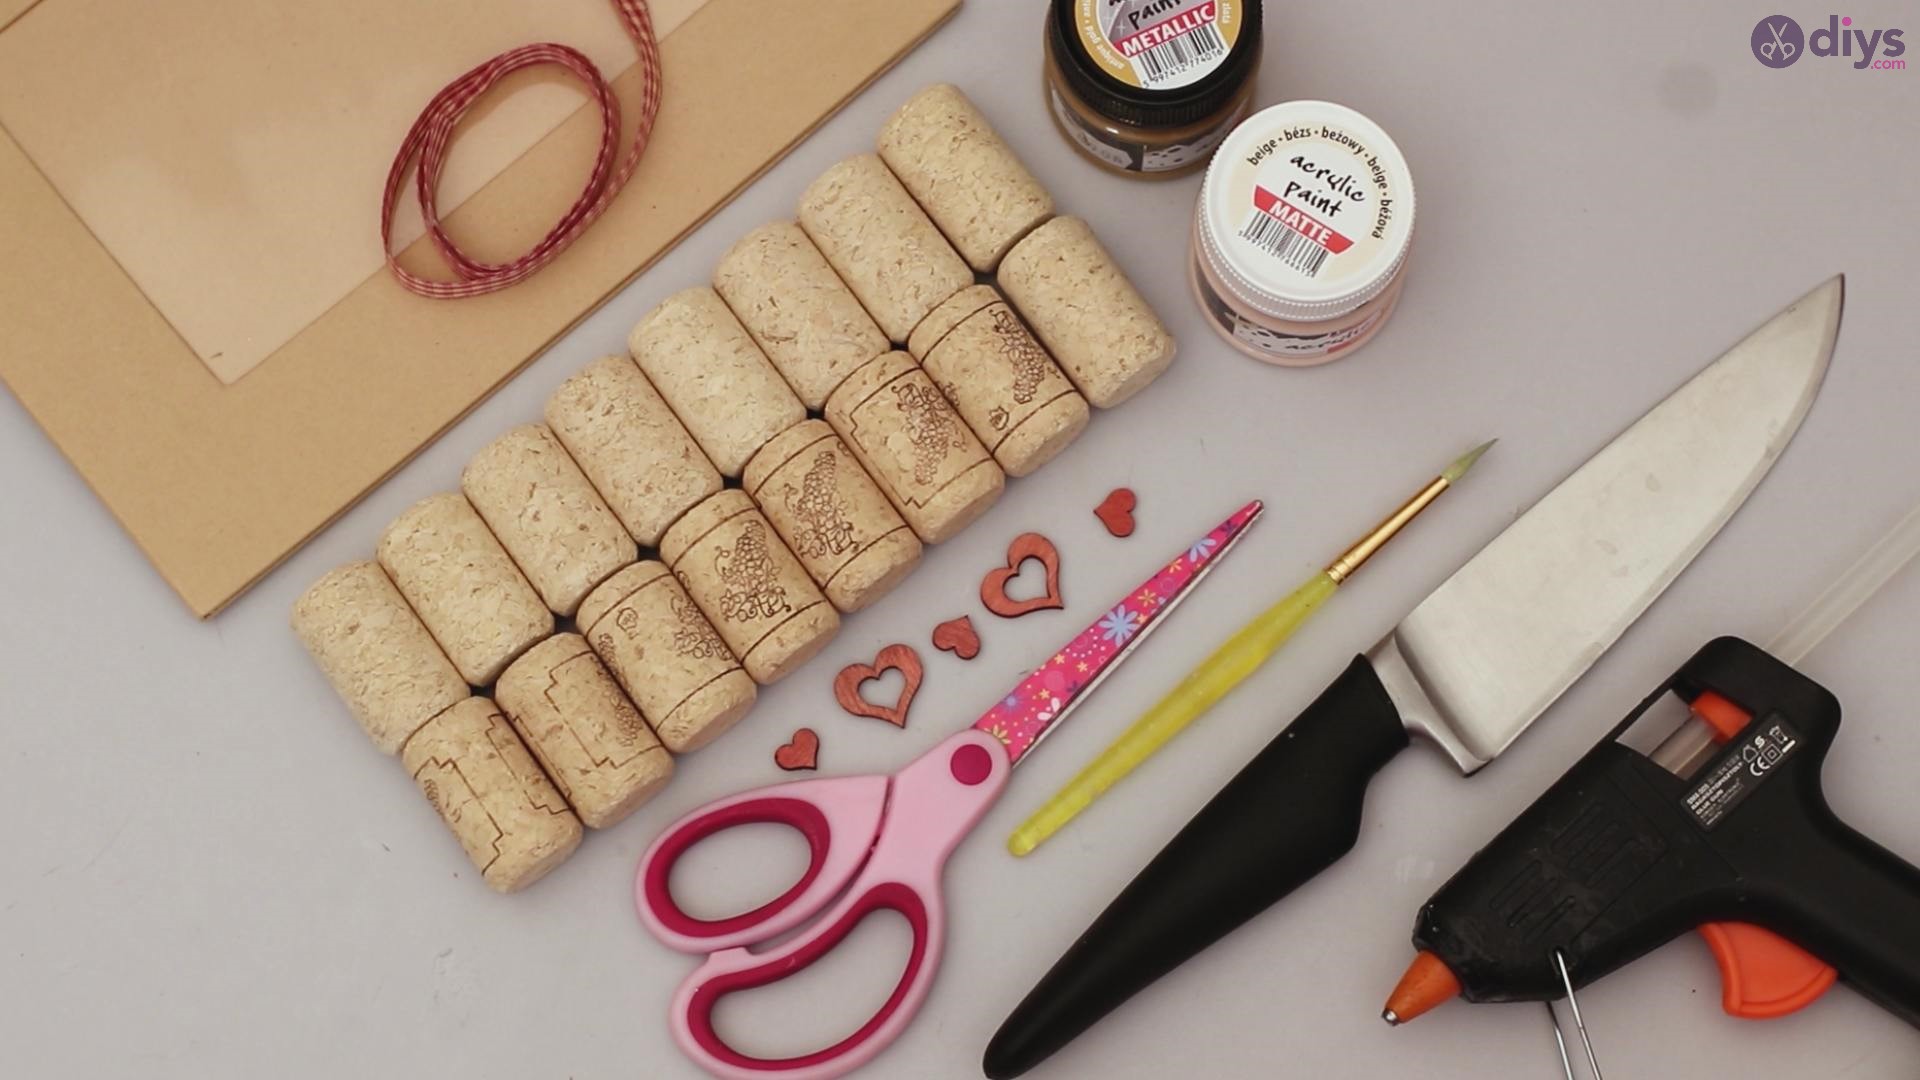
Materials you’ll need for Wine Cork Photo Frame:
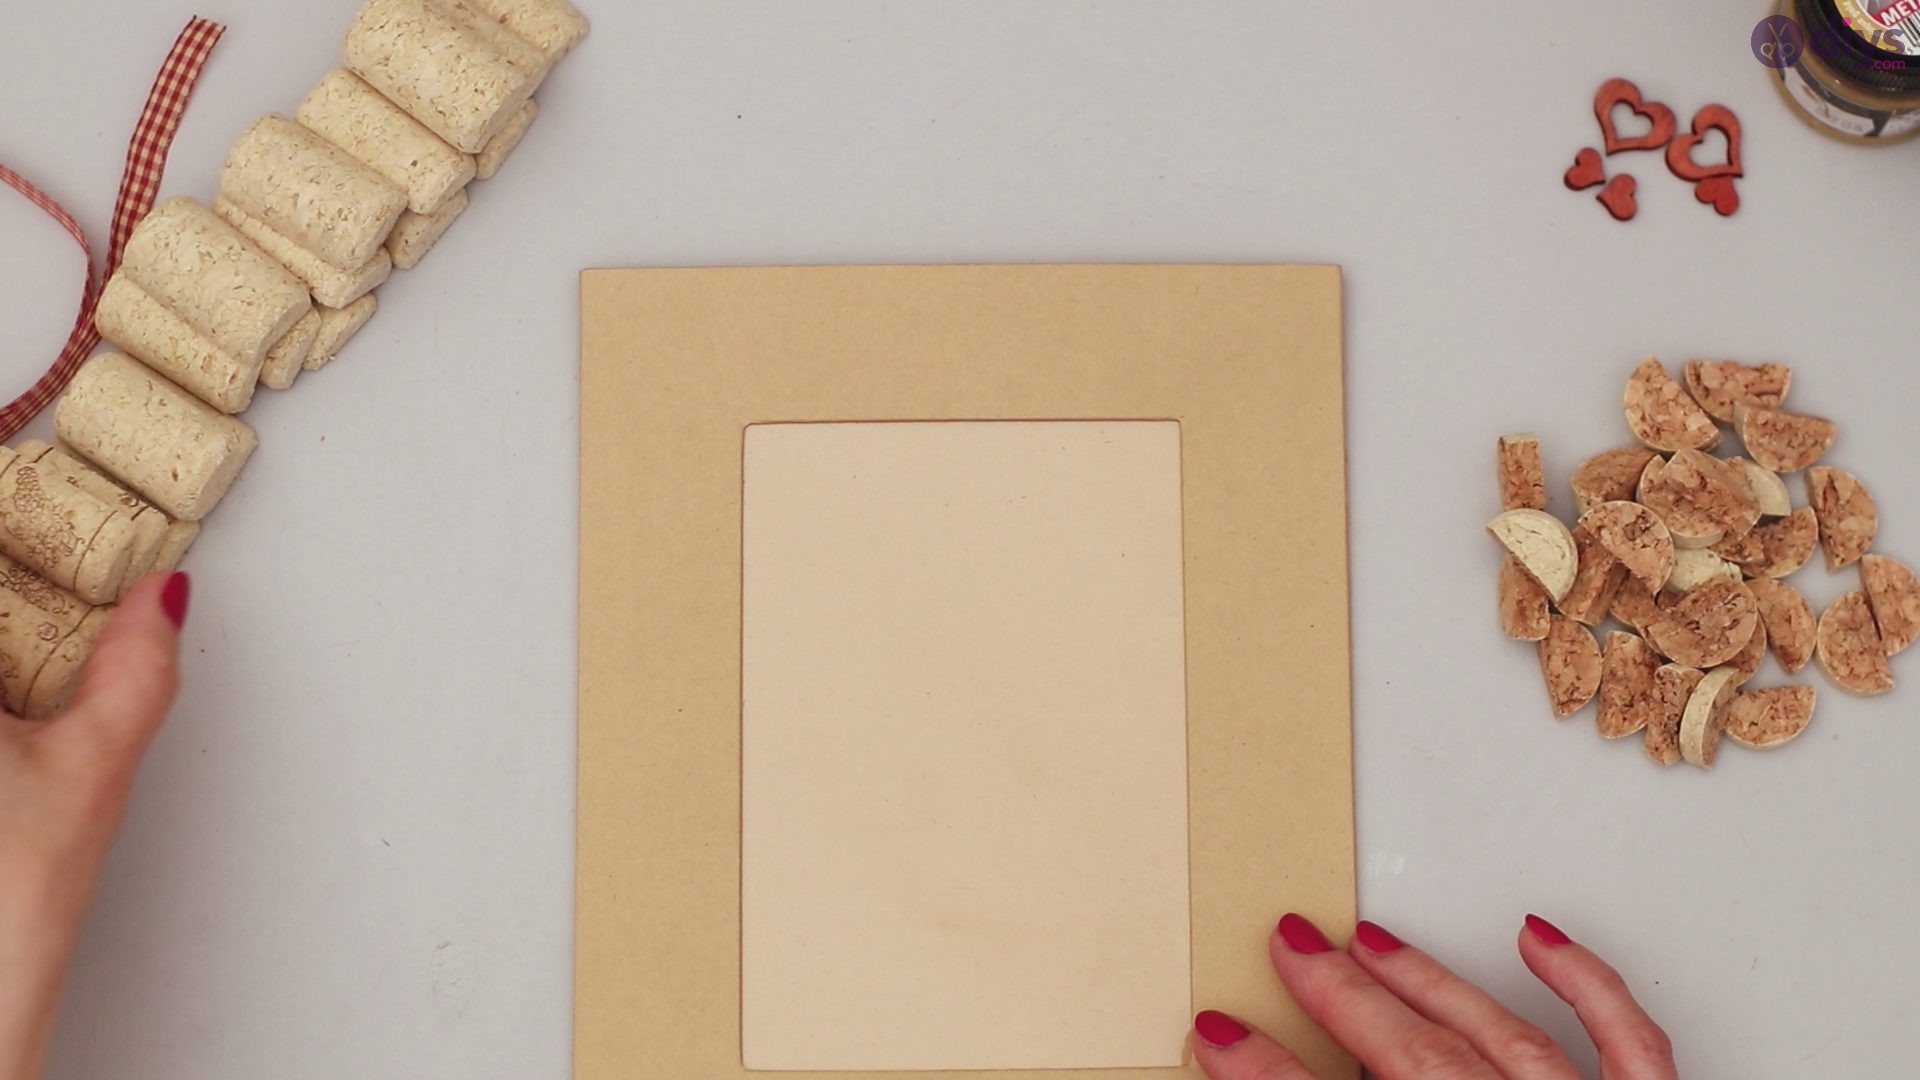
- Paper picture frame
- wine corks
- knife
- paint brush
- gold
- creme acrylic paint
- silk ribbon
- small heart décor
- glue gun
- scissors
How to make the Wine Cork Photo Frame:
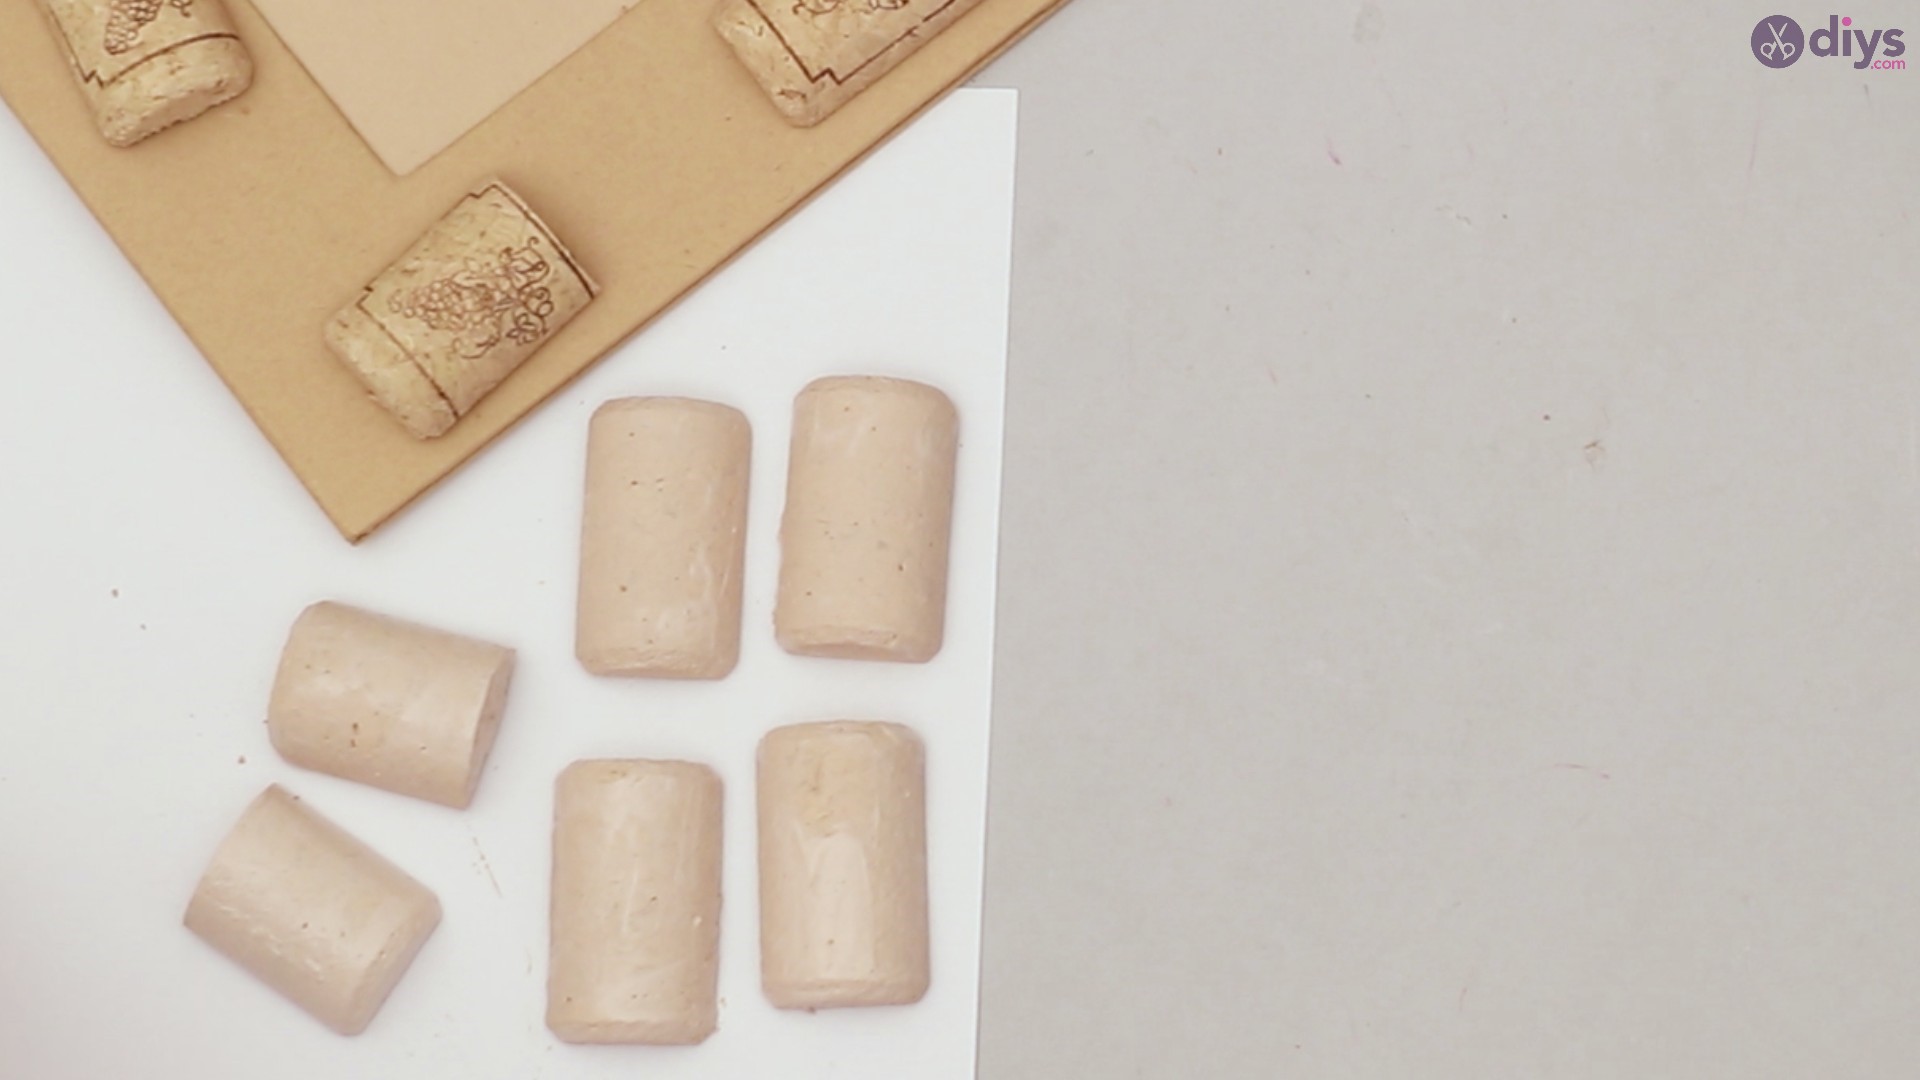
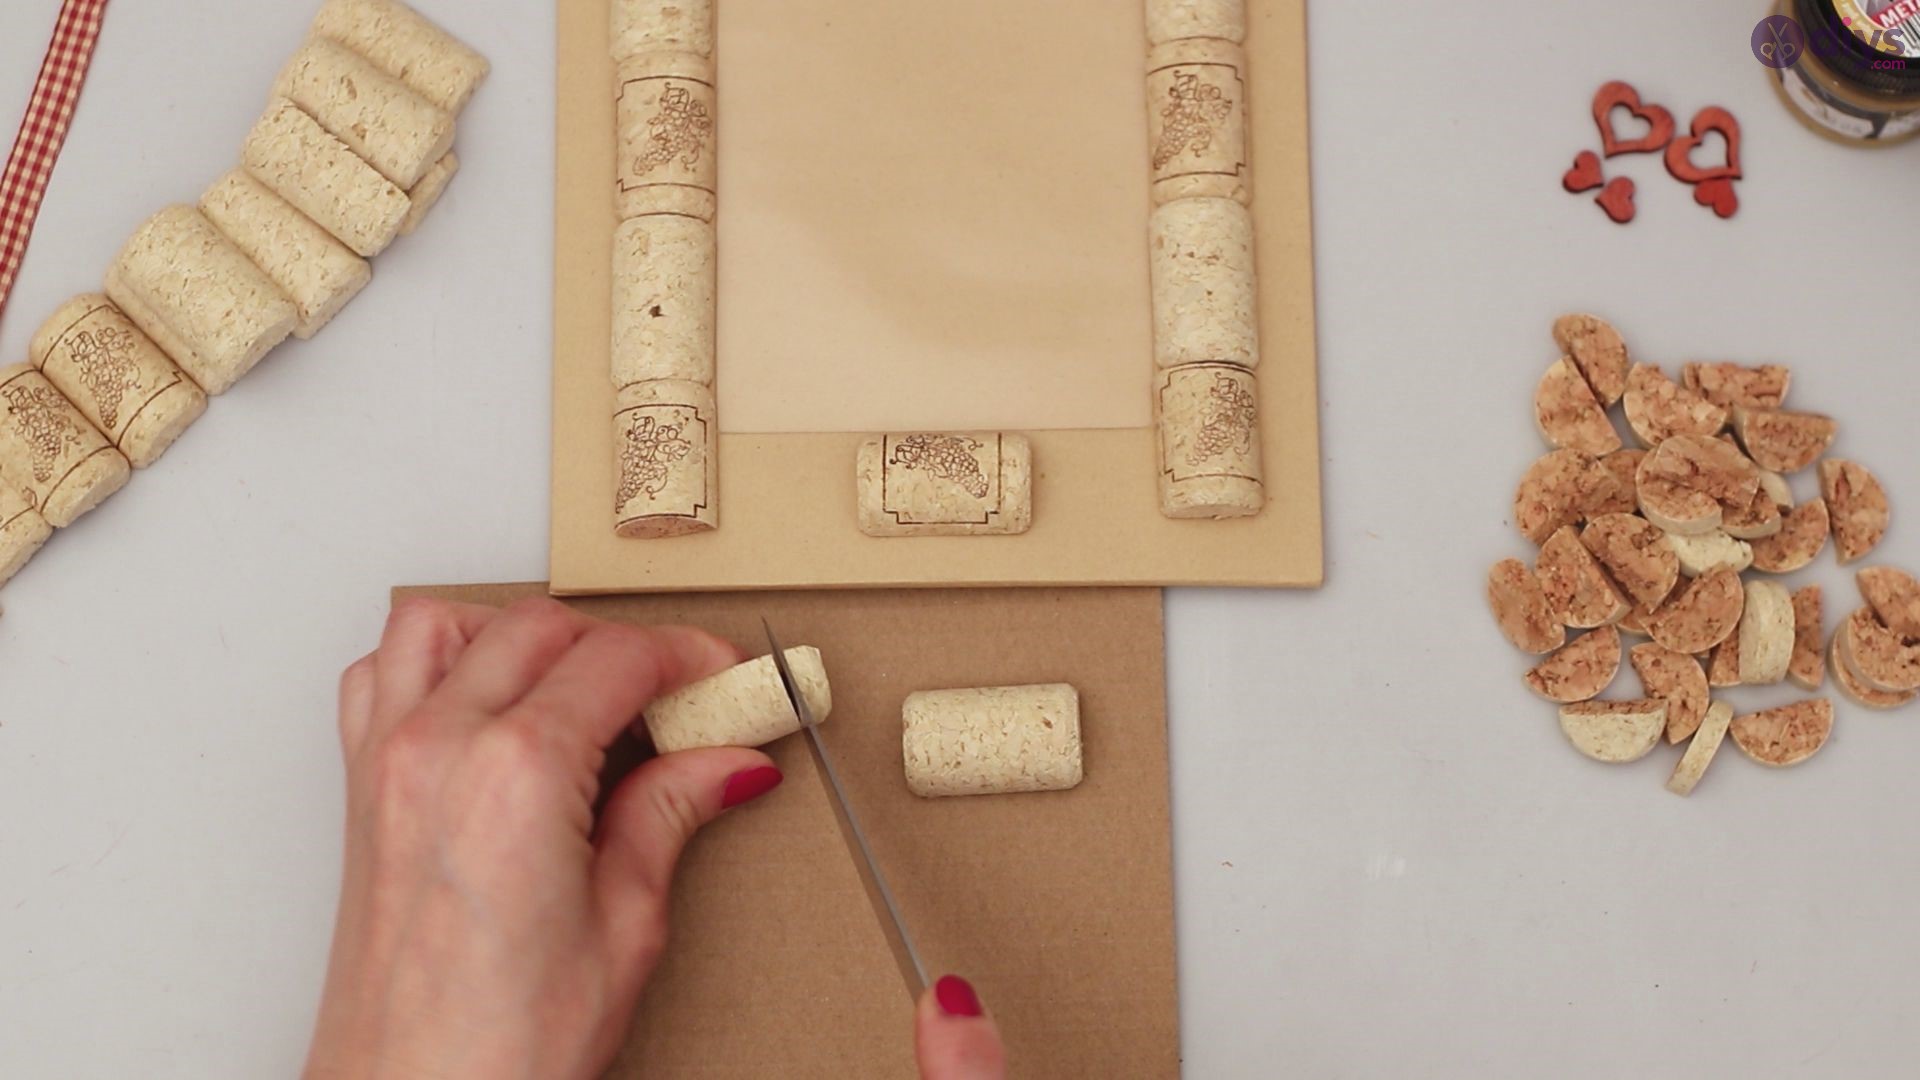
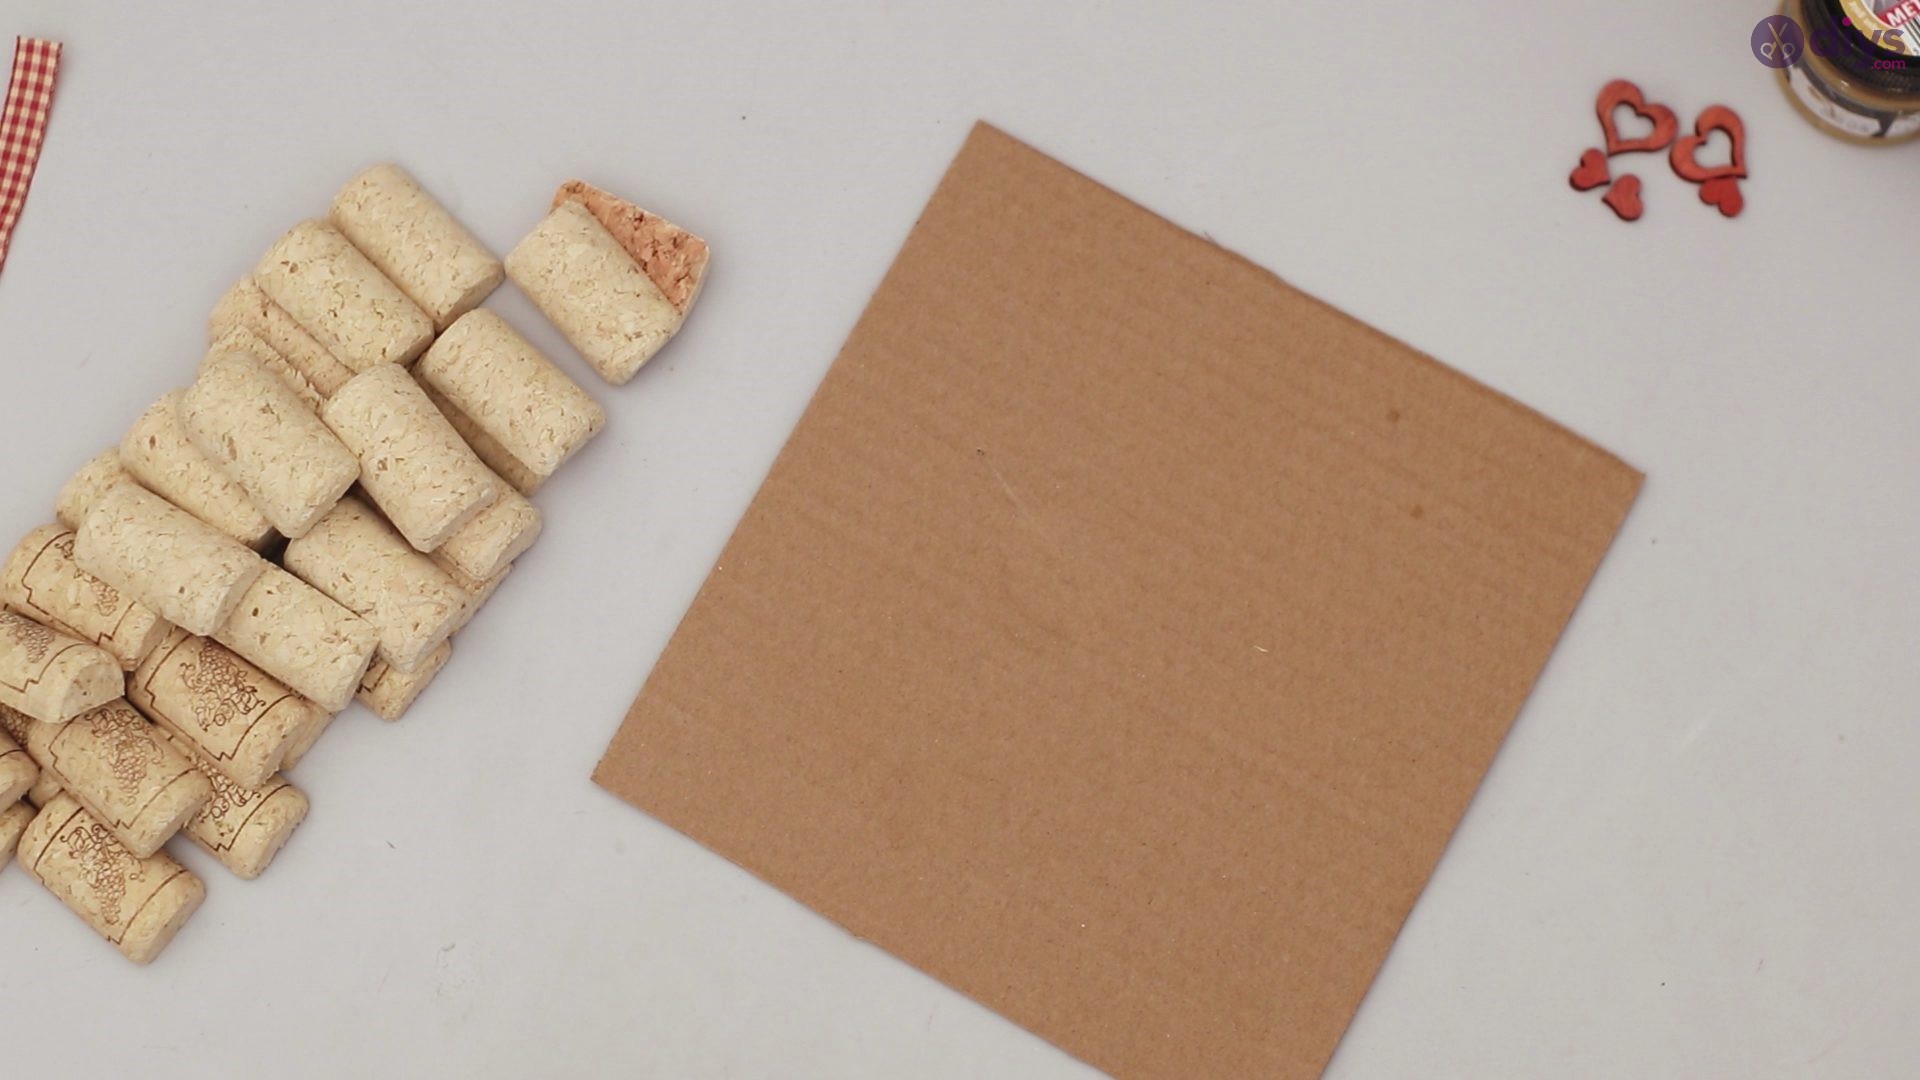
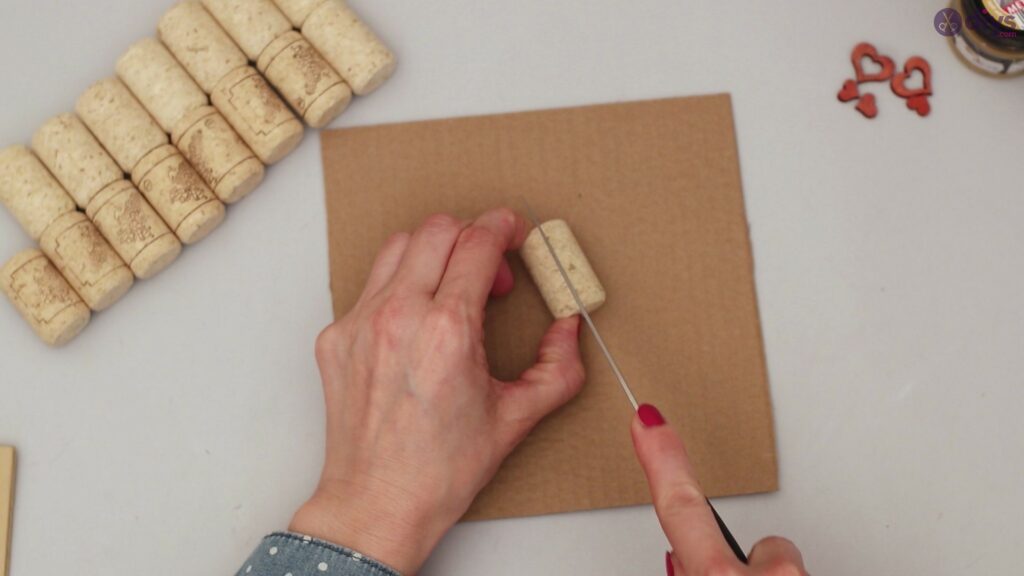
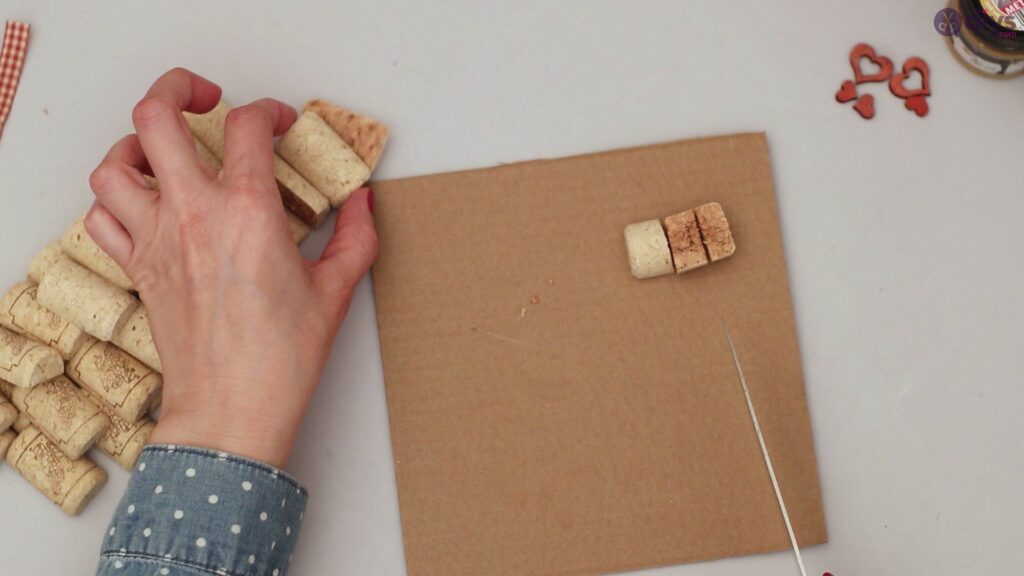
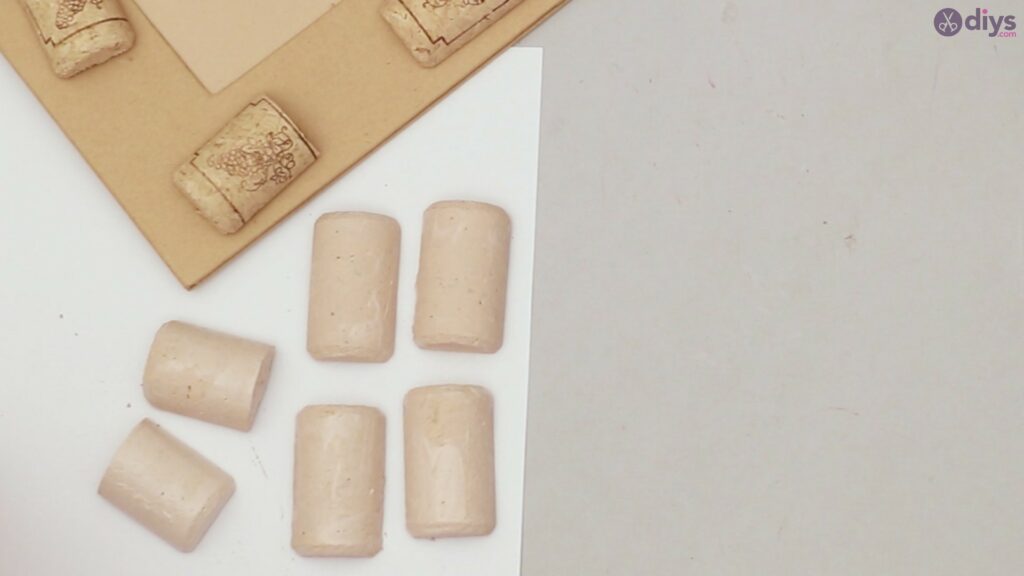
Step 1: Prep your corks
You’re going to want to carefully start cutting your corks in half lengthwise. These longer pieces of halved cork will run along the edges of the cardboard to create a border. Make sure to save all your corks so you can cut embellishing pieces as you go to paint and let dry later.
Your corks should be able to lay flat without any areas of the cork lifting up at all.
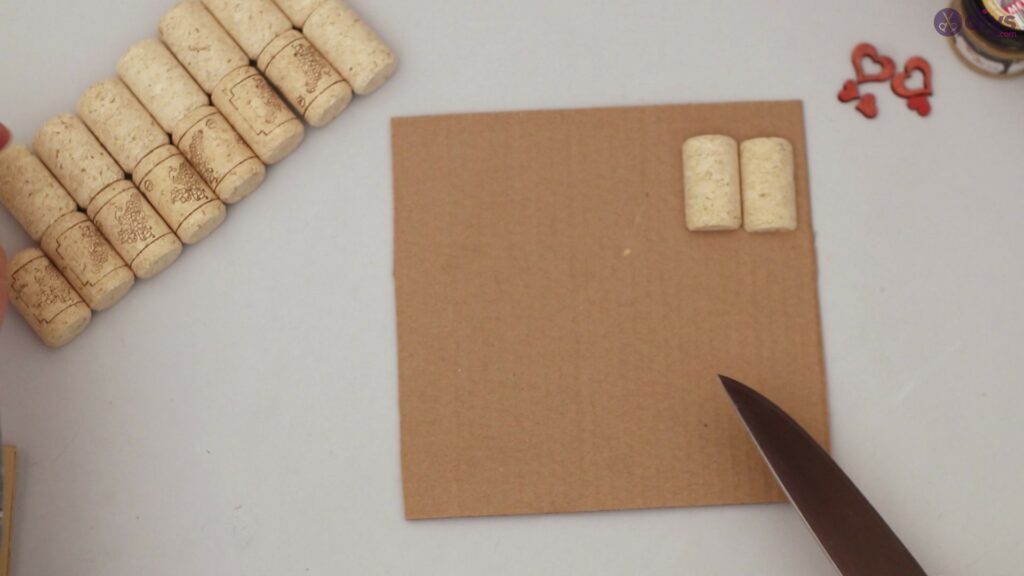
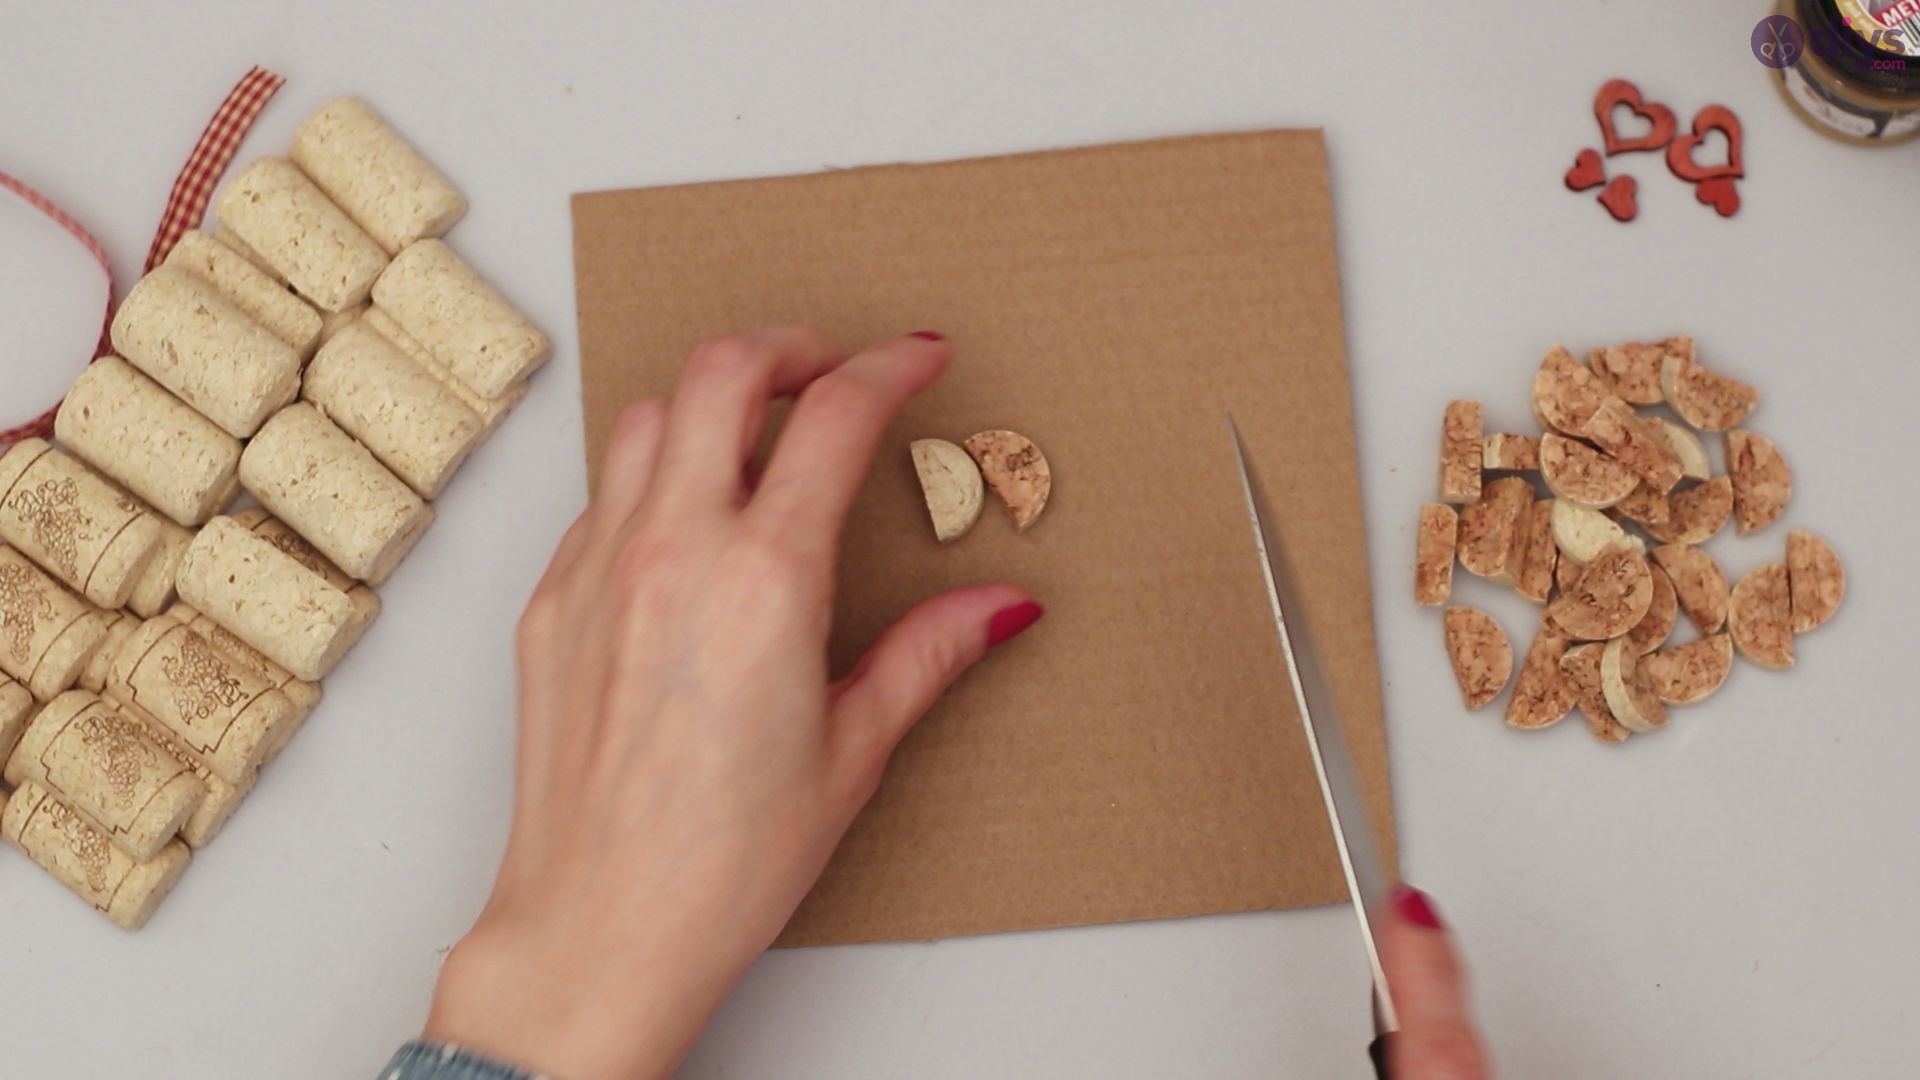
Once you can cut enough corks to make a perfect border, you can cut other pieces of cork width wise to create little half circle pieces. These pieces will be painted and used to create gorgeous embellishments around the flat halved cork border.

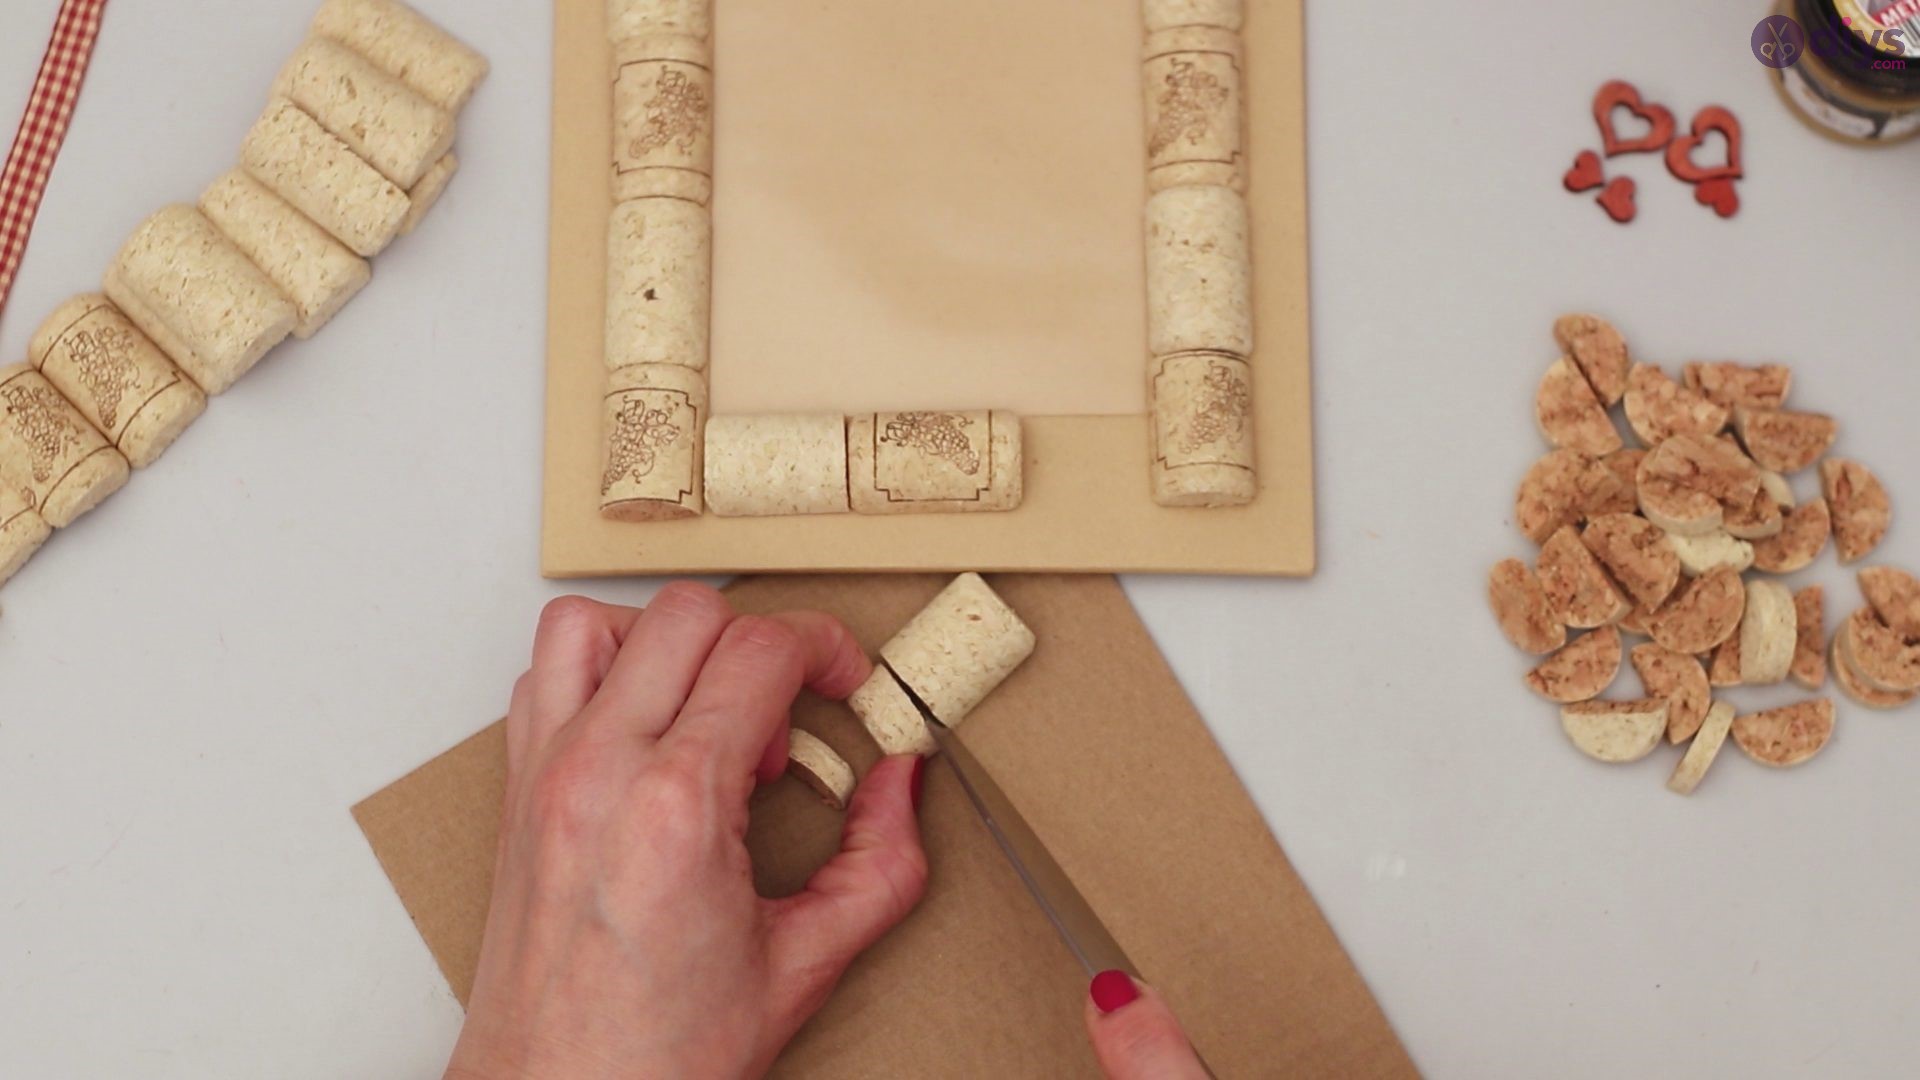
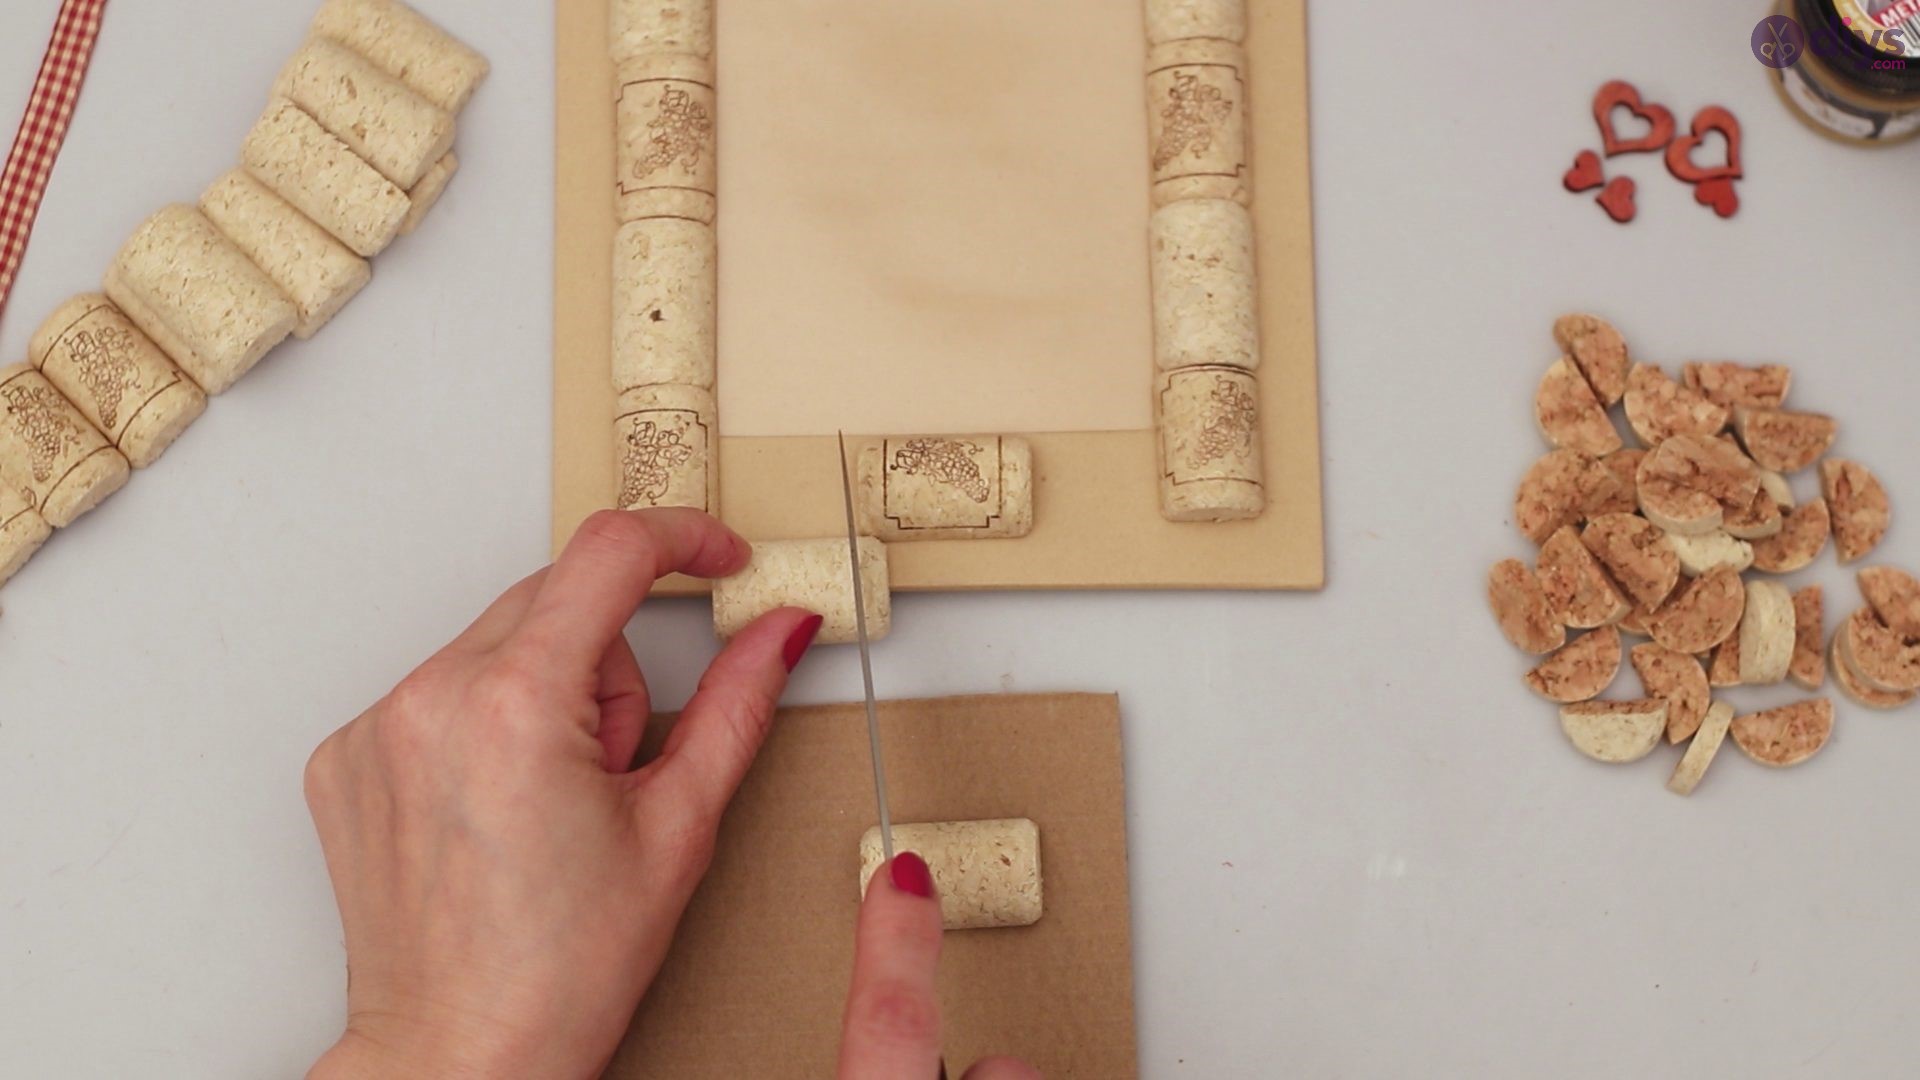
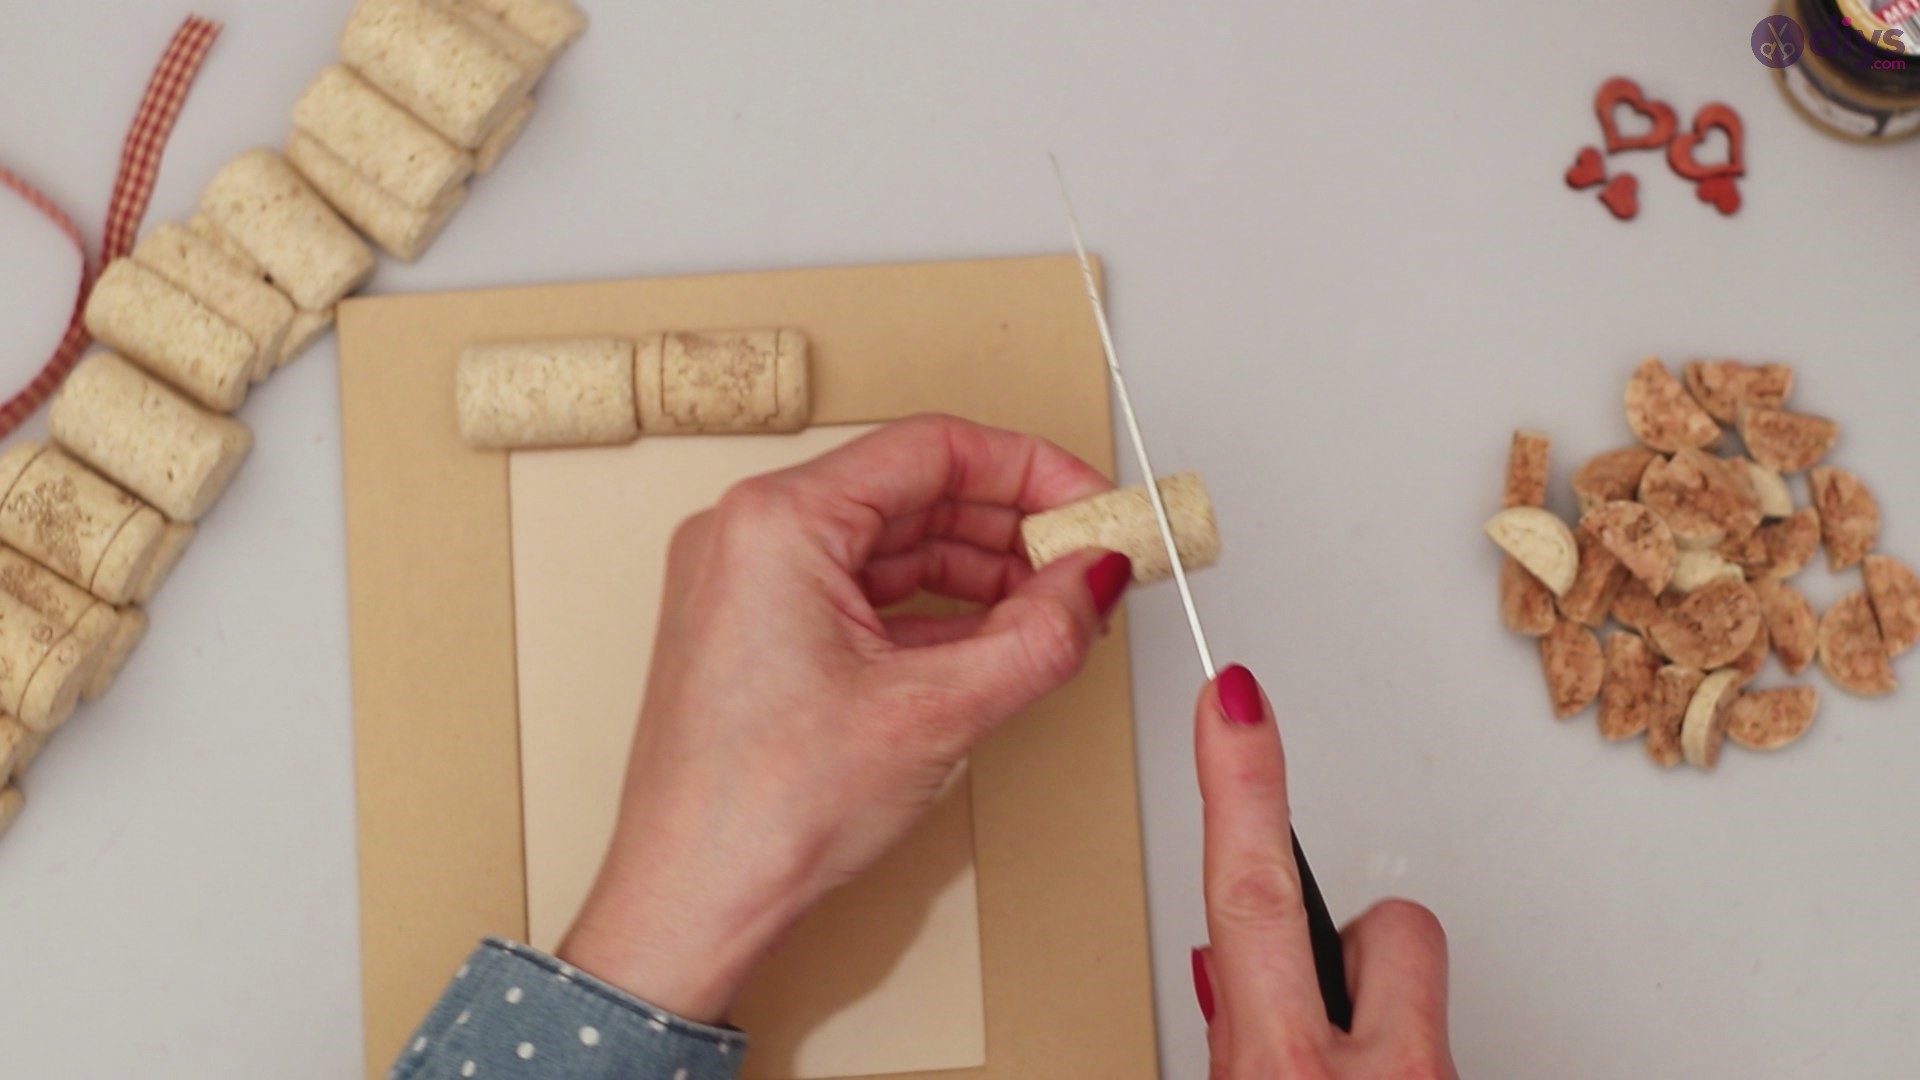
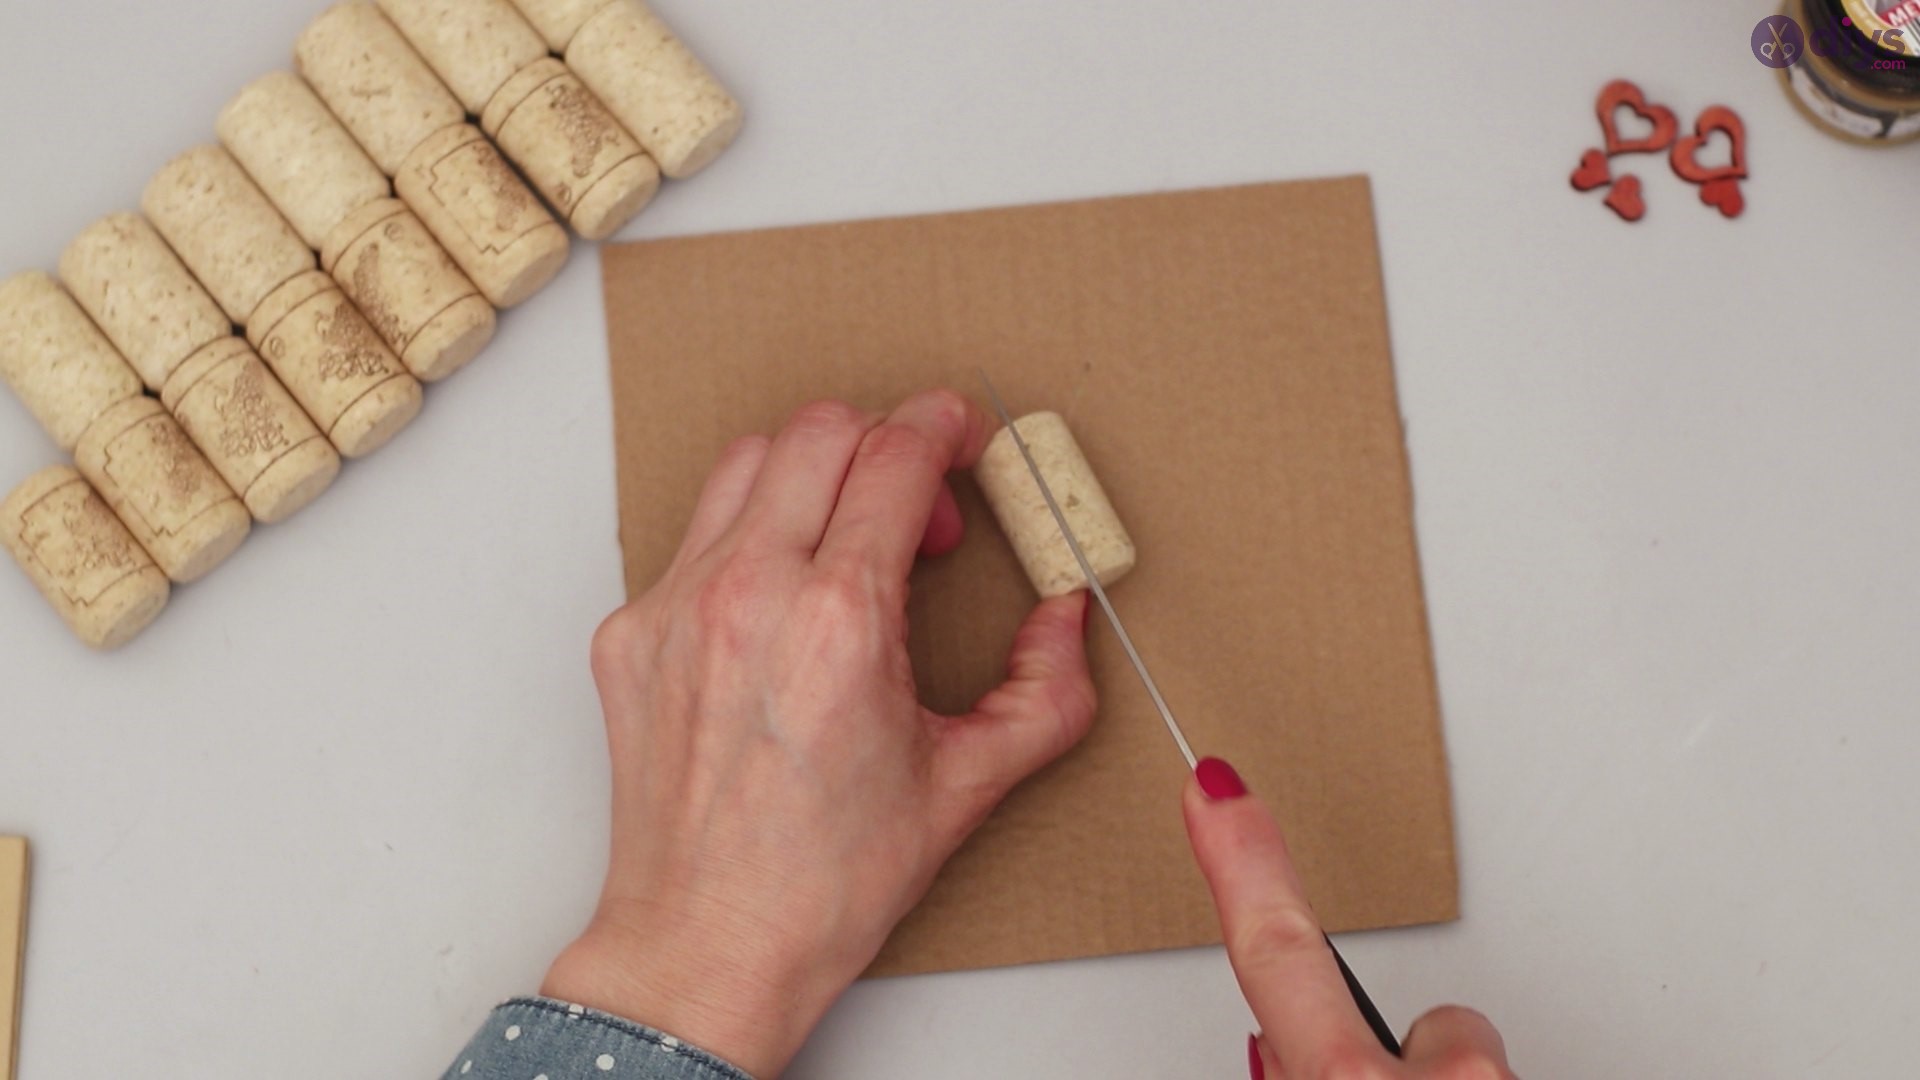
Step 2: Cutting Cork Embellishments
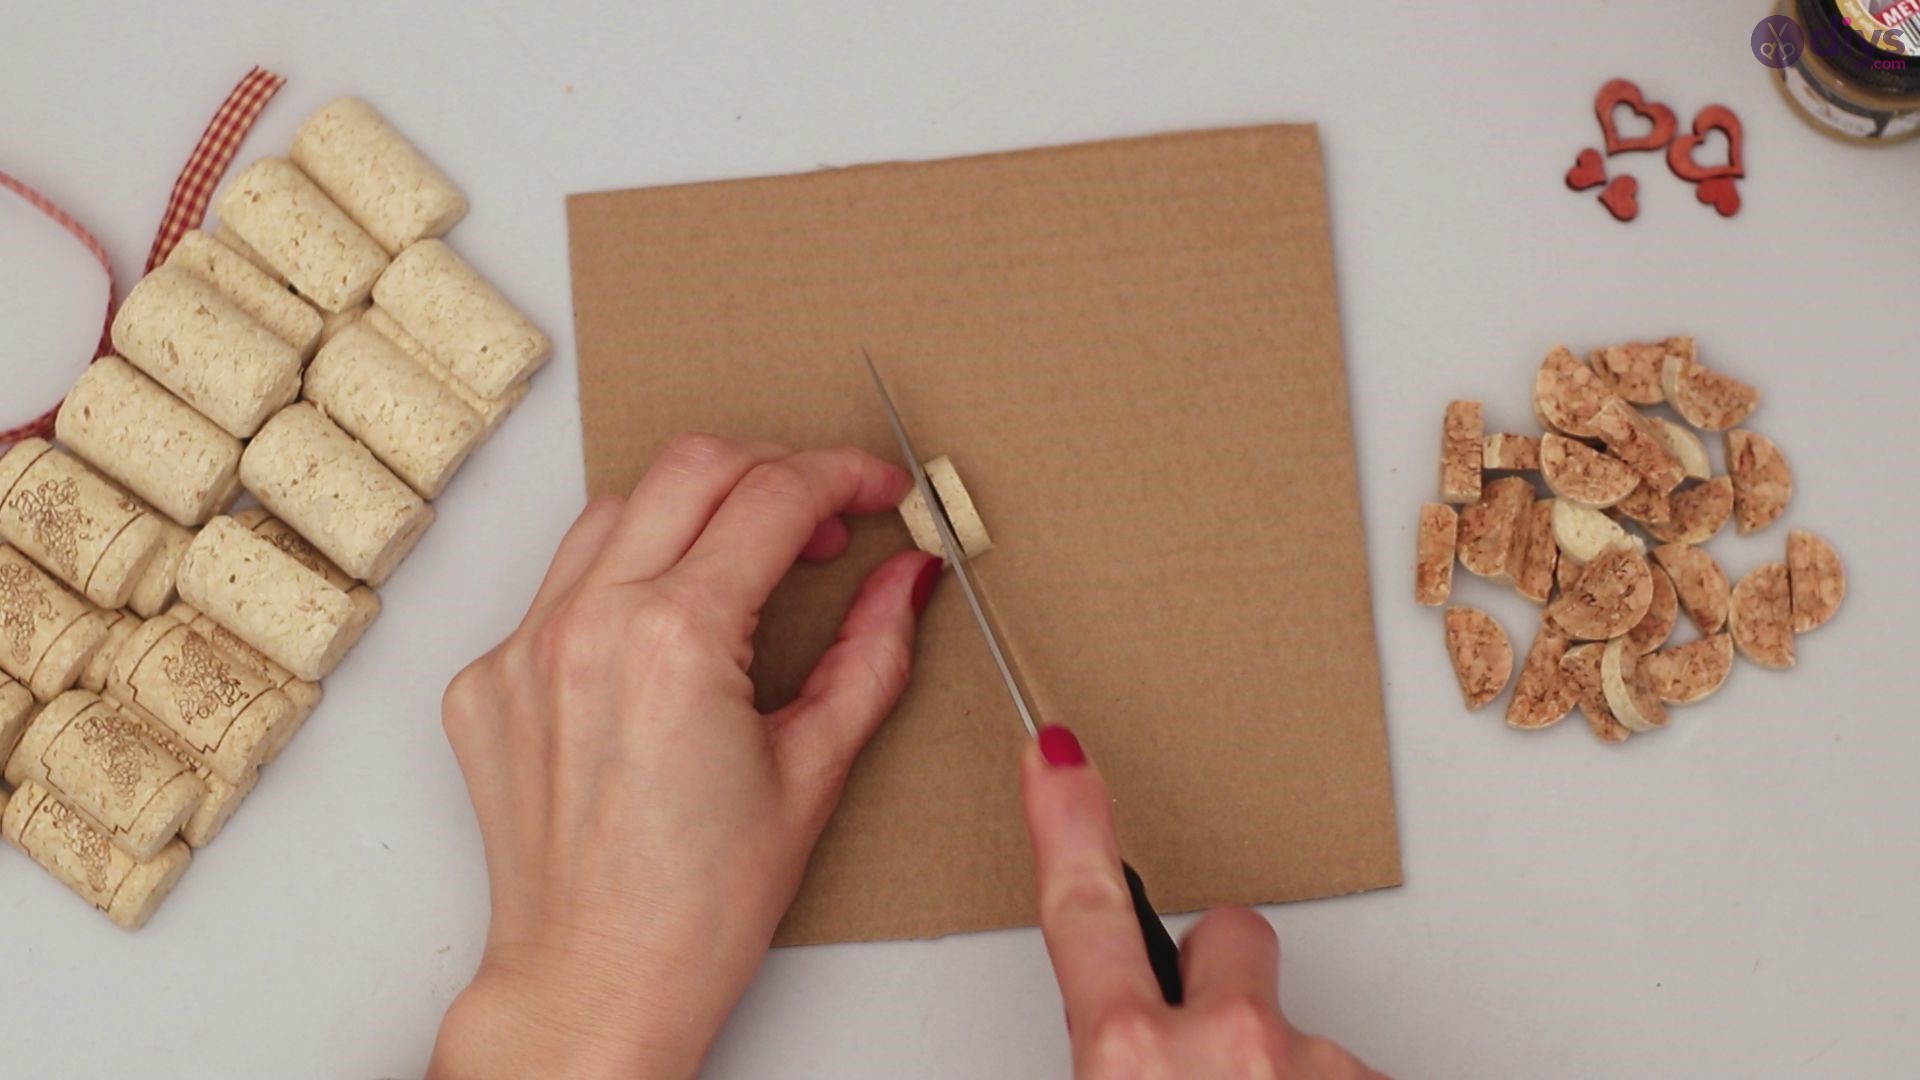
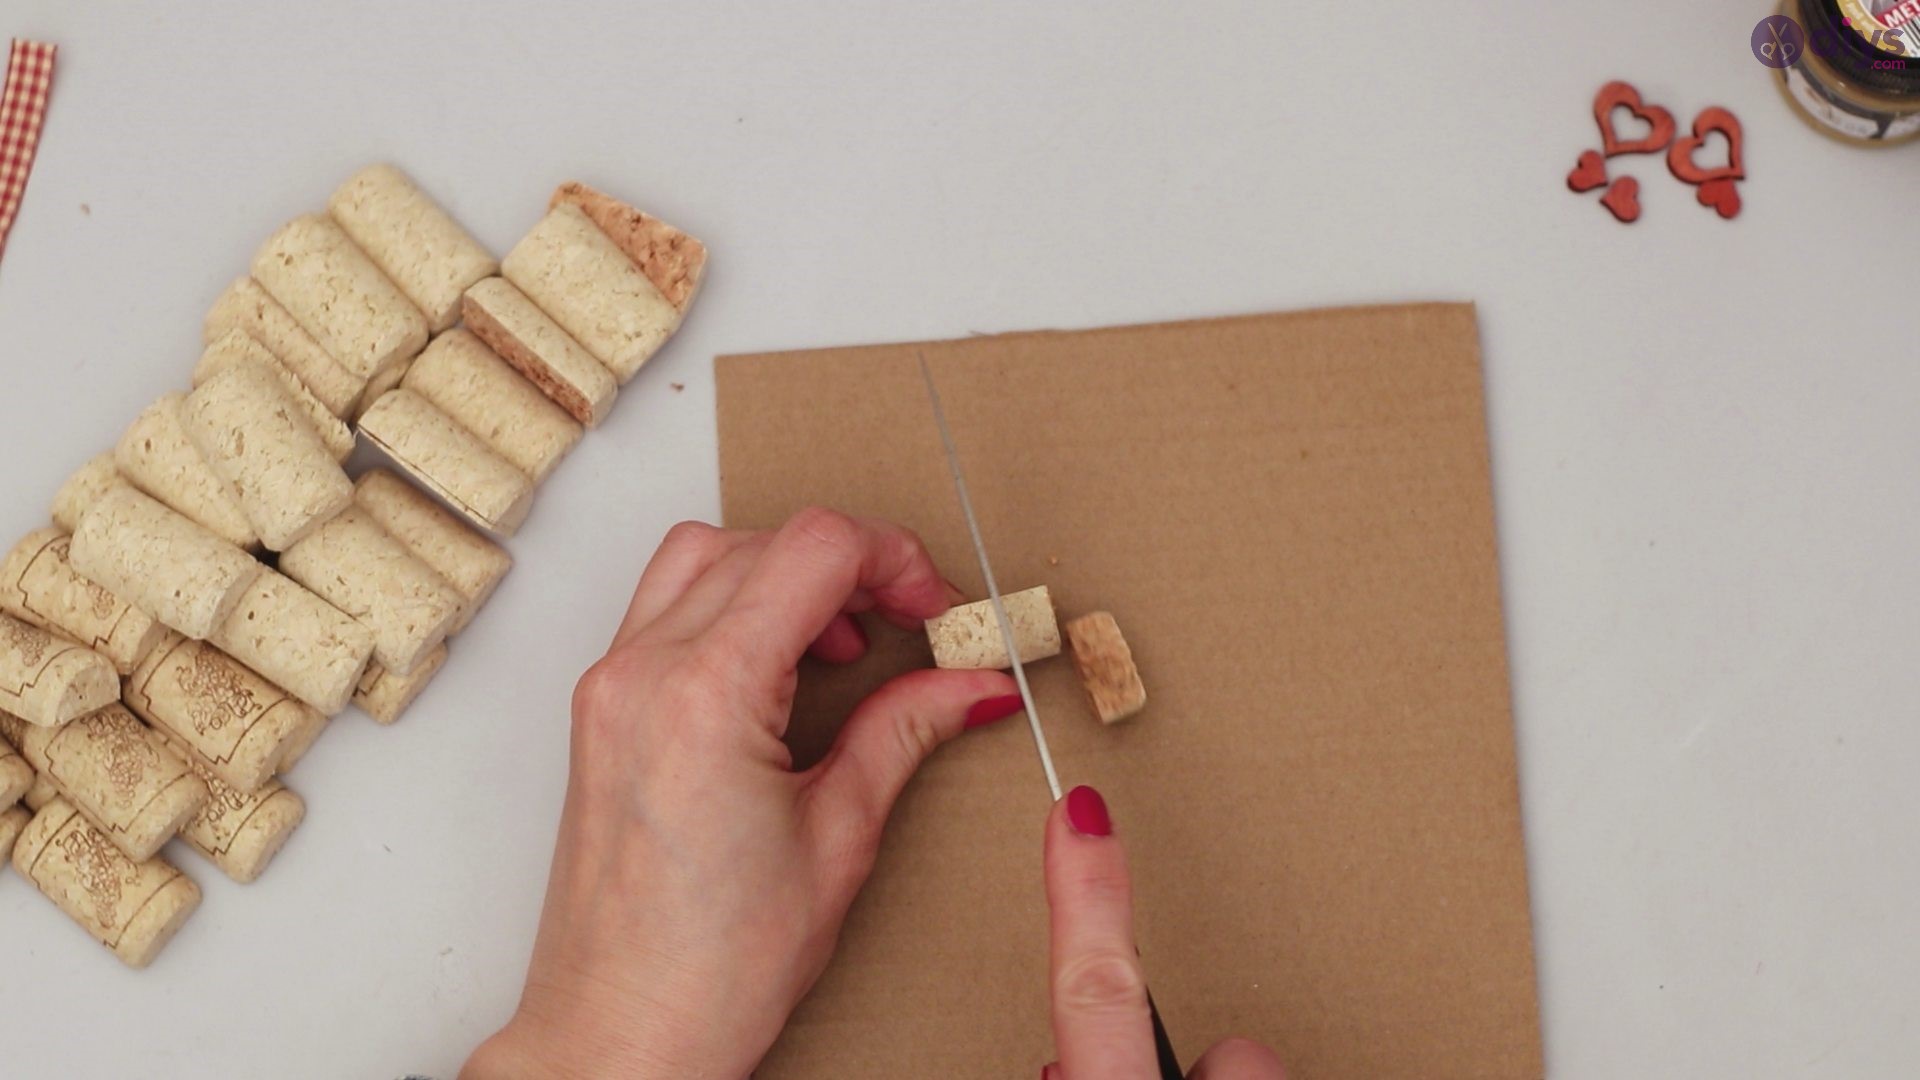
Make sure to use a super sharp knife to make the cork cutting easier, but always be careful when using a knife, too. Cut the cork halves in smaller pieces lengthwise to create half circles and smaller pieces that can be used as decoration. These pieces don’t have to be perfectly uniform cut, you can have fun with varying sizes and shapes if you desire.

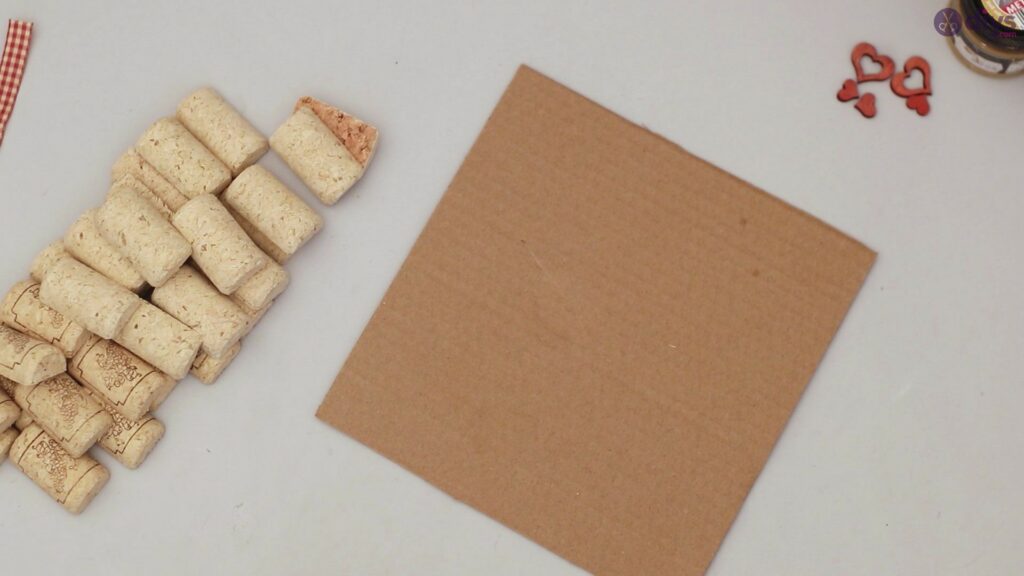
Once you have a good pile going, make sure to set aside as these tiny pieces could easily fall to the floor. Be especially careful if you have small children or pets in the house that could accidentally swallow these tiny pieces.


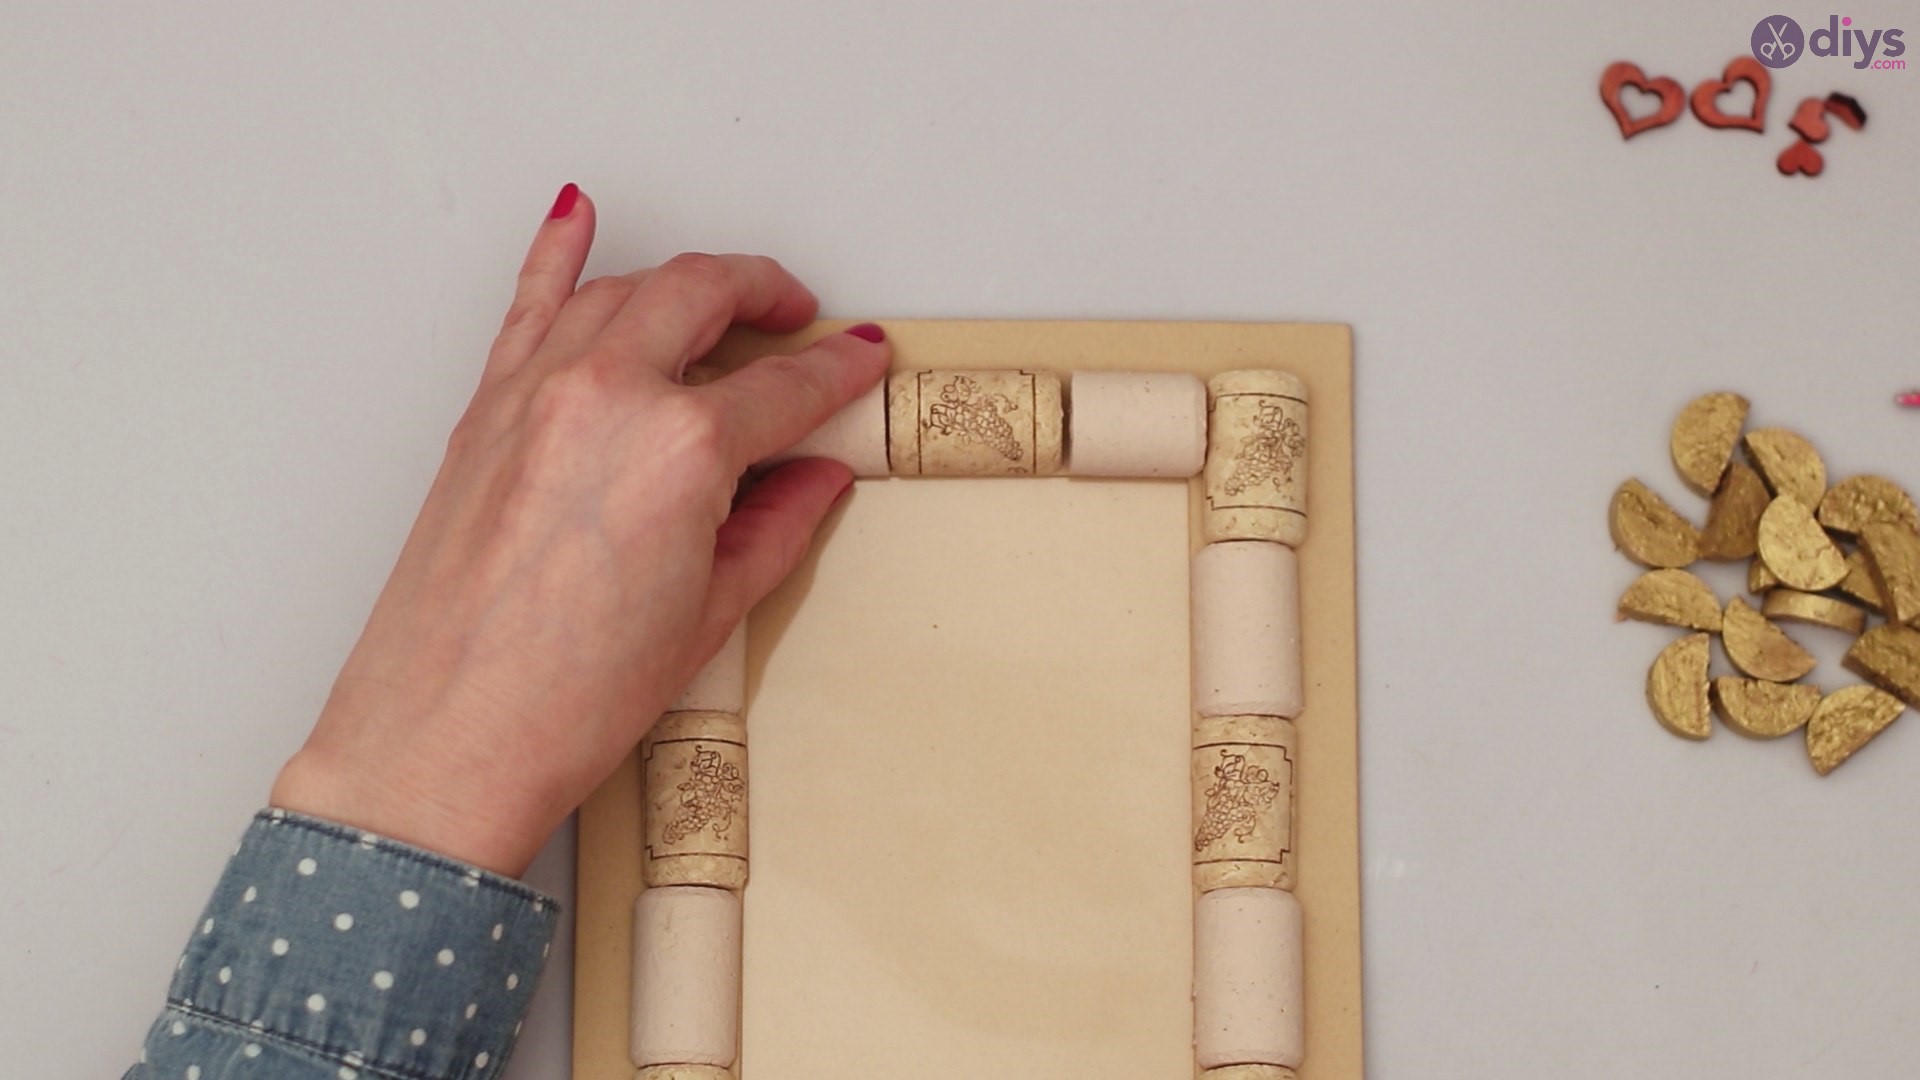
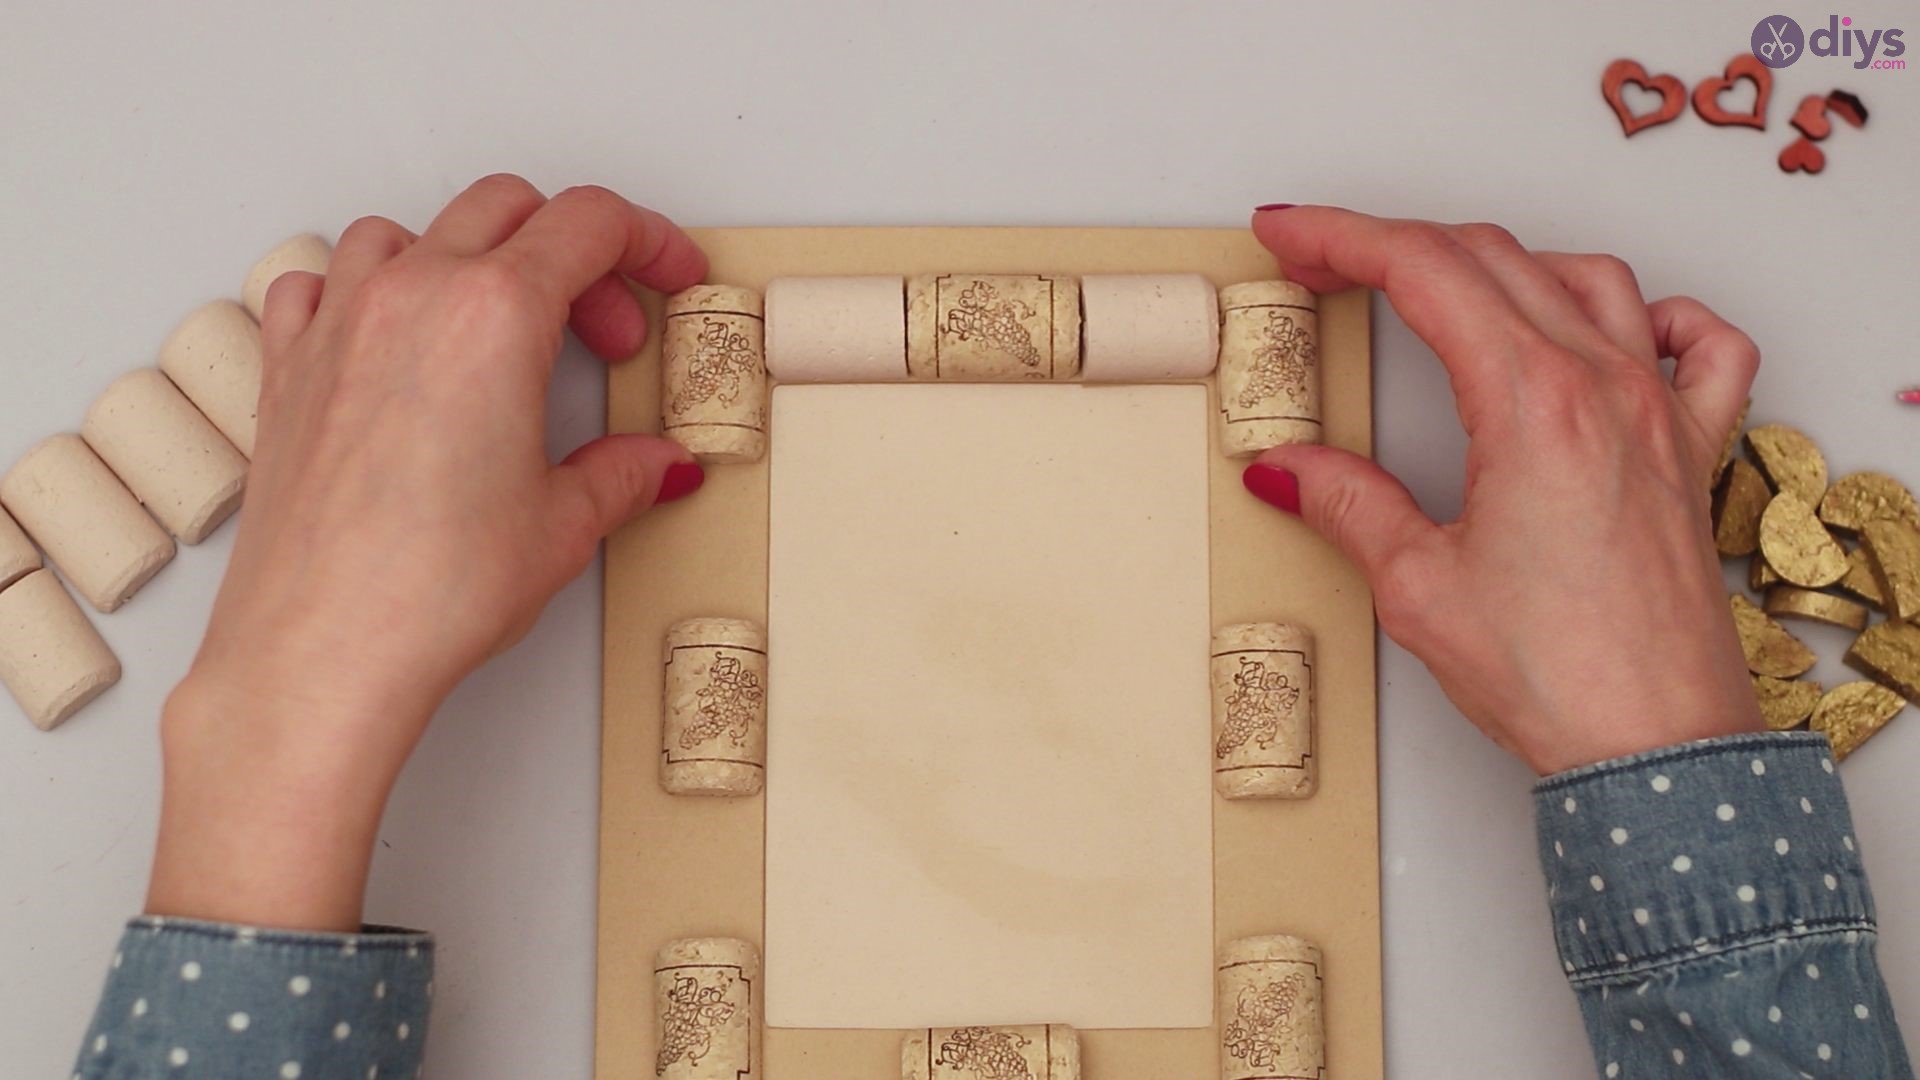
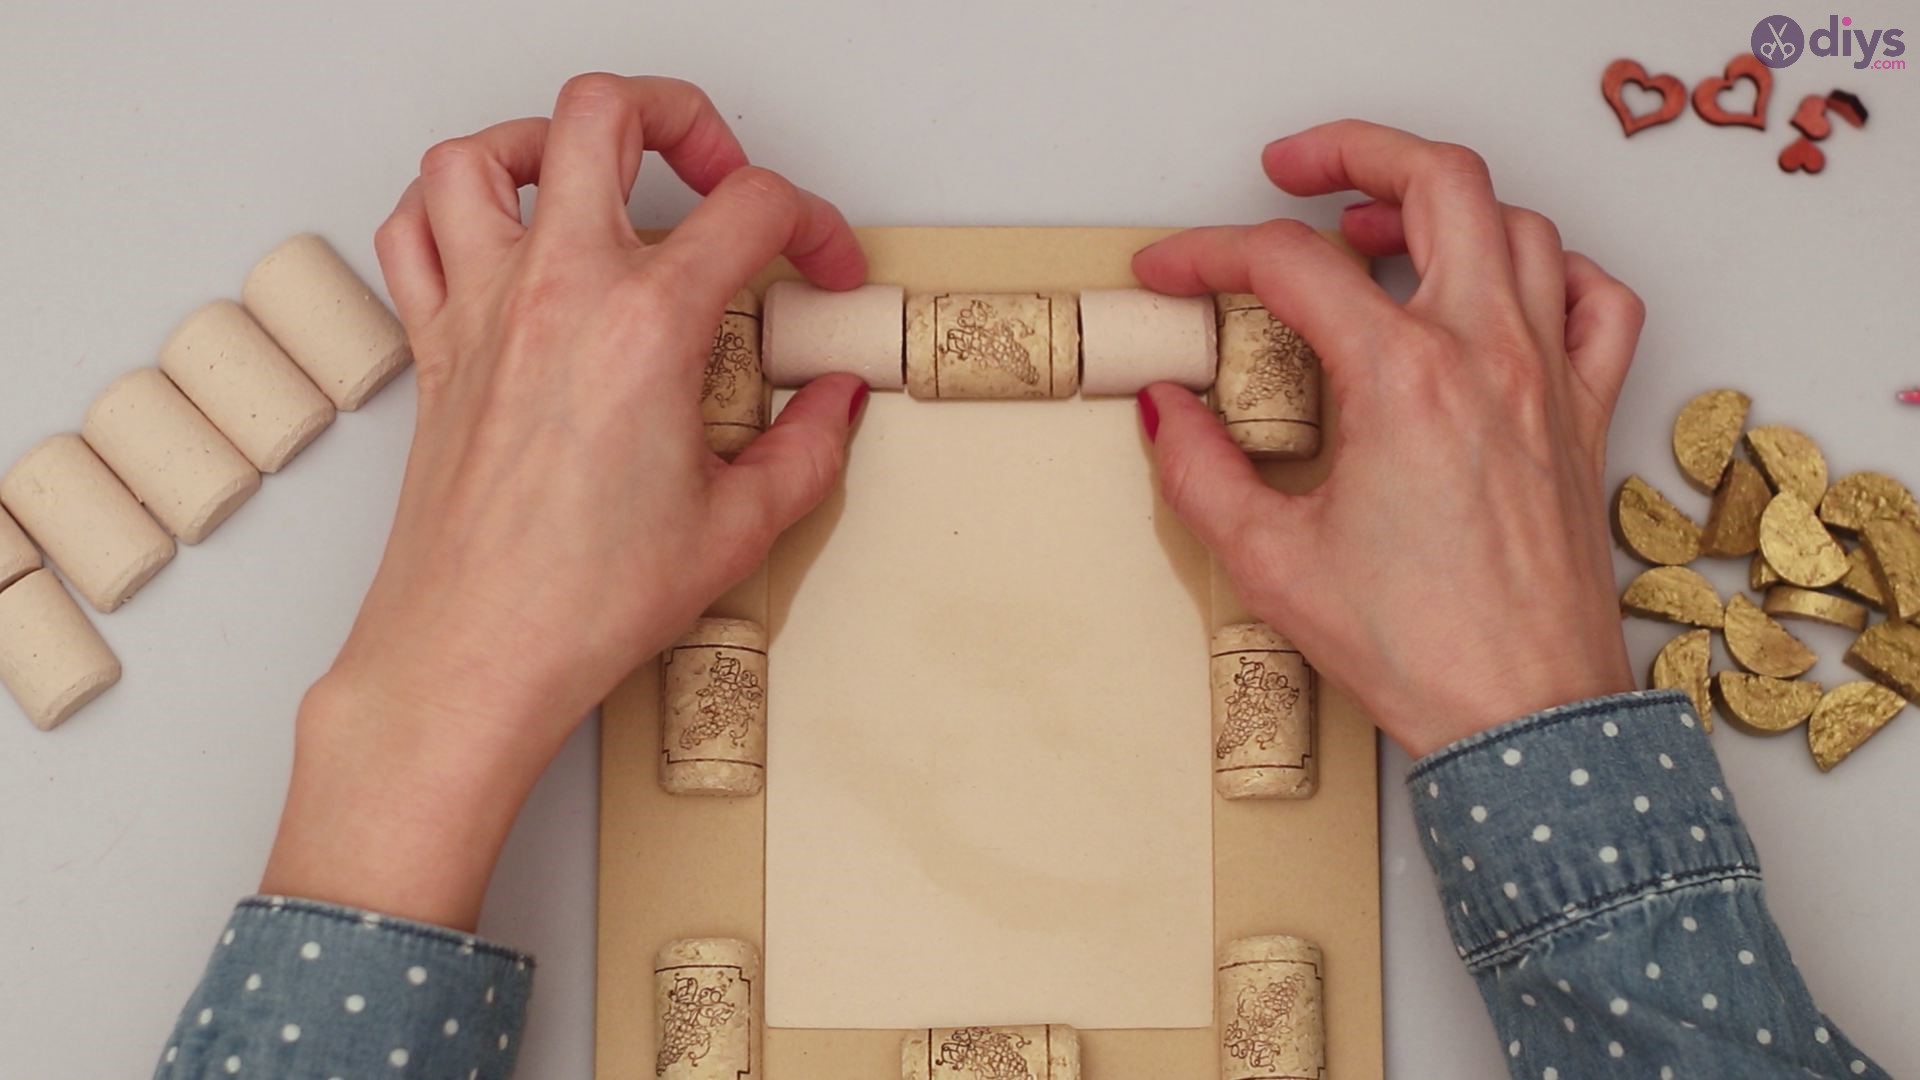
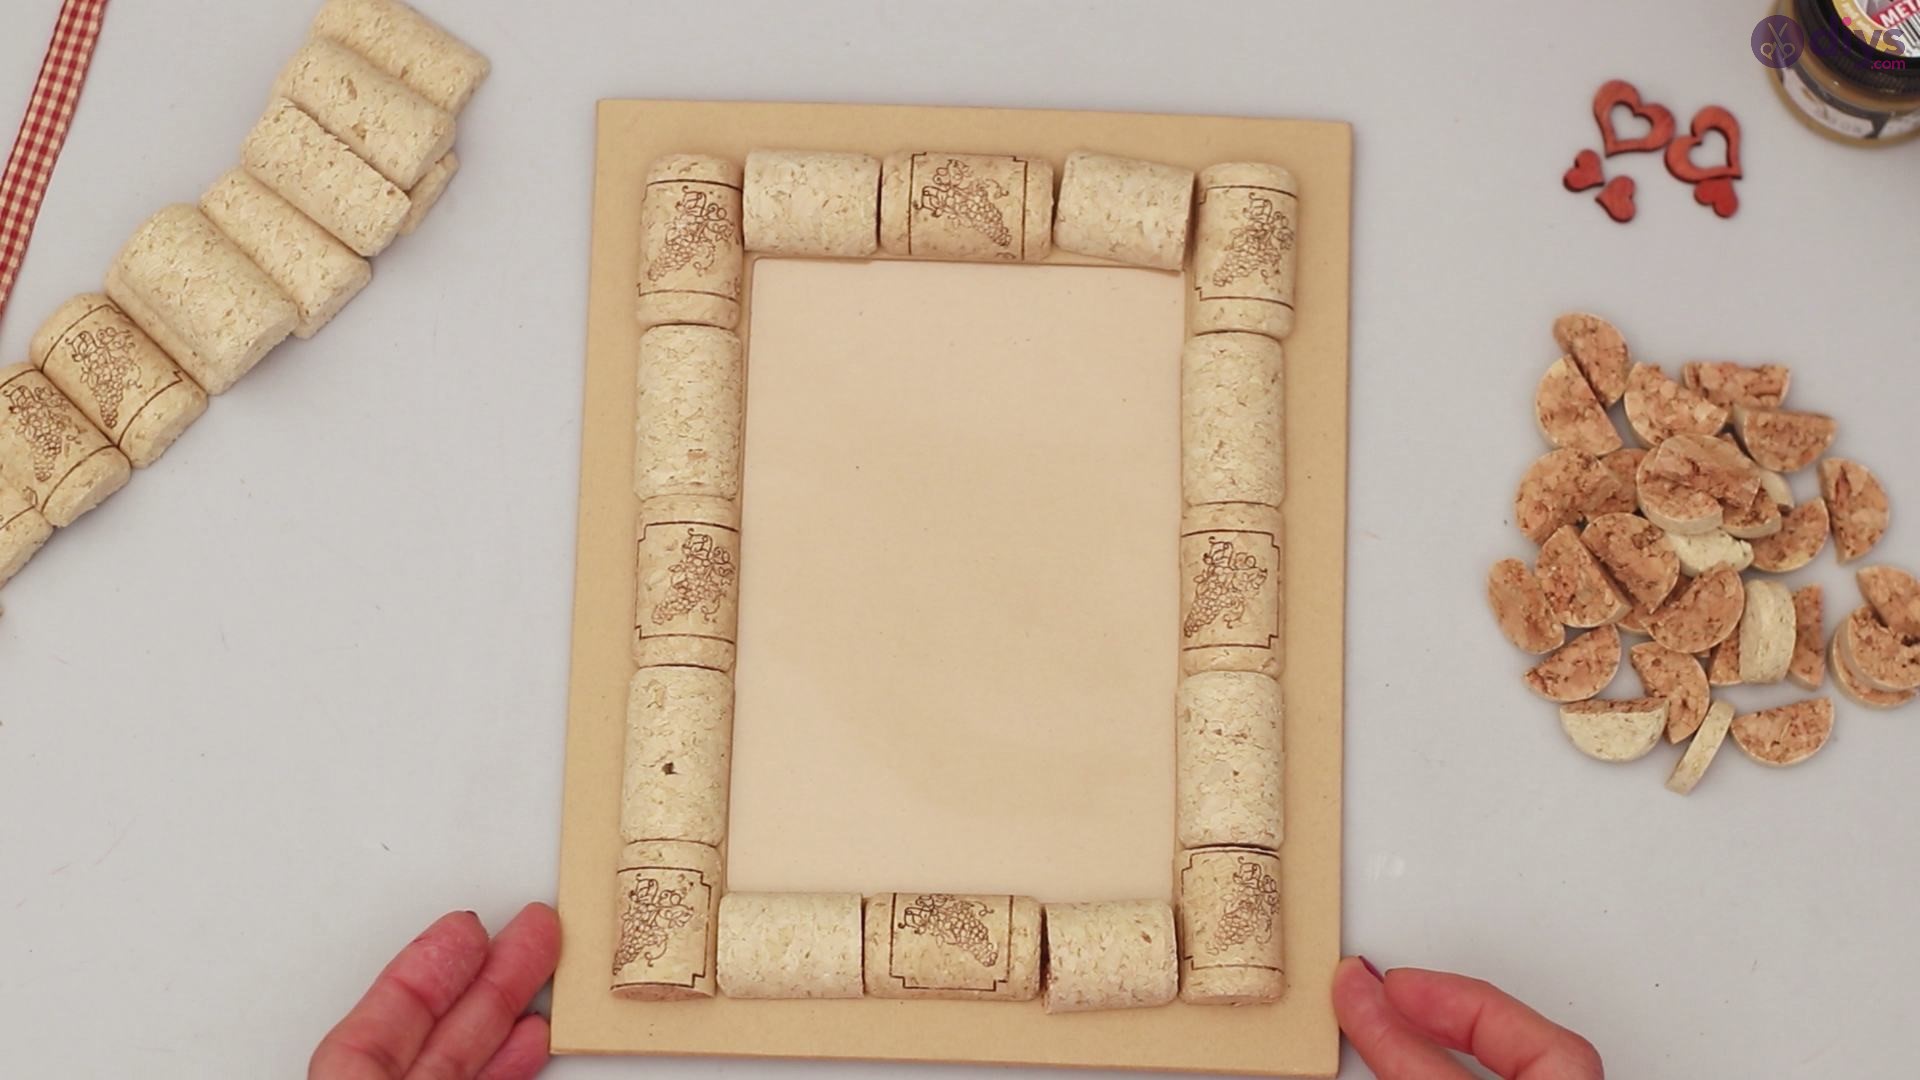
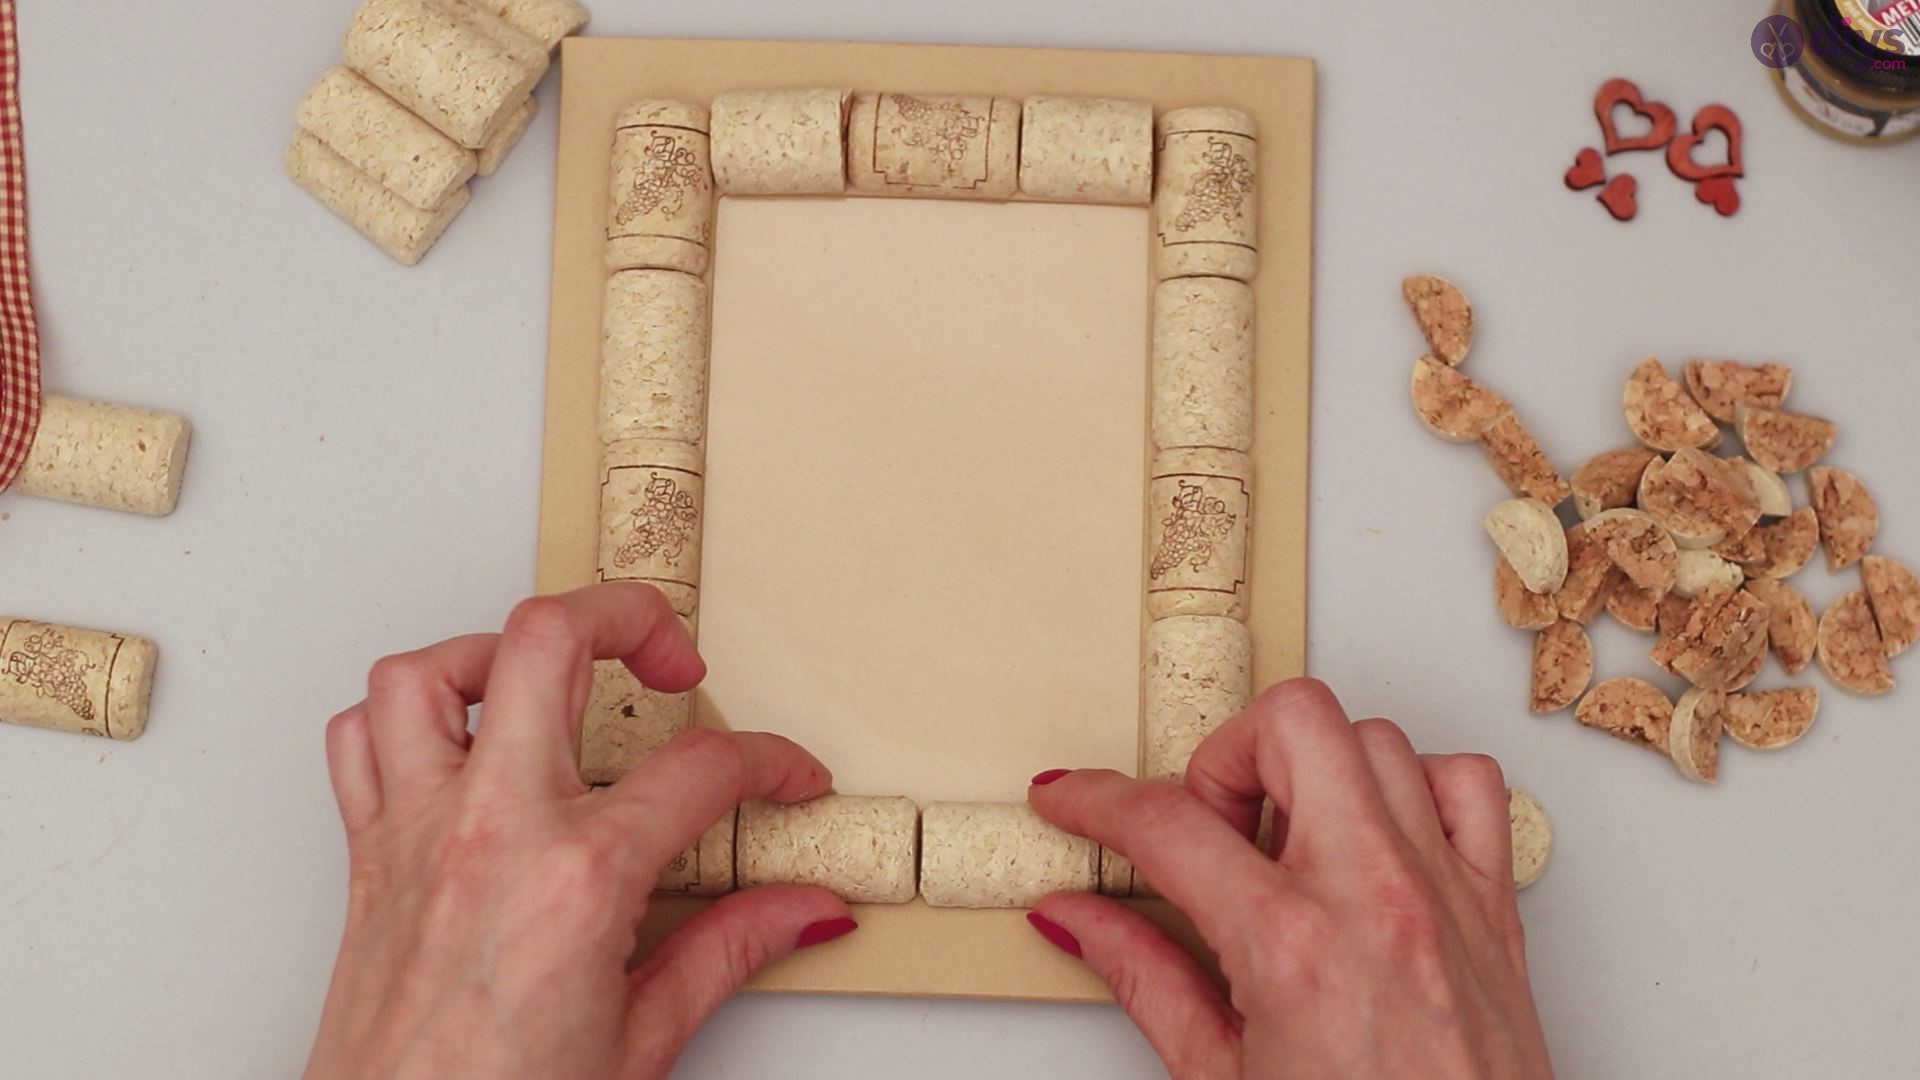
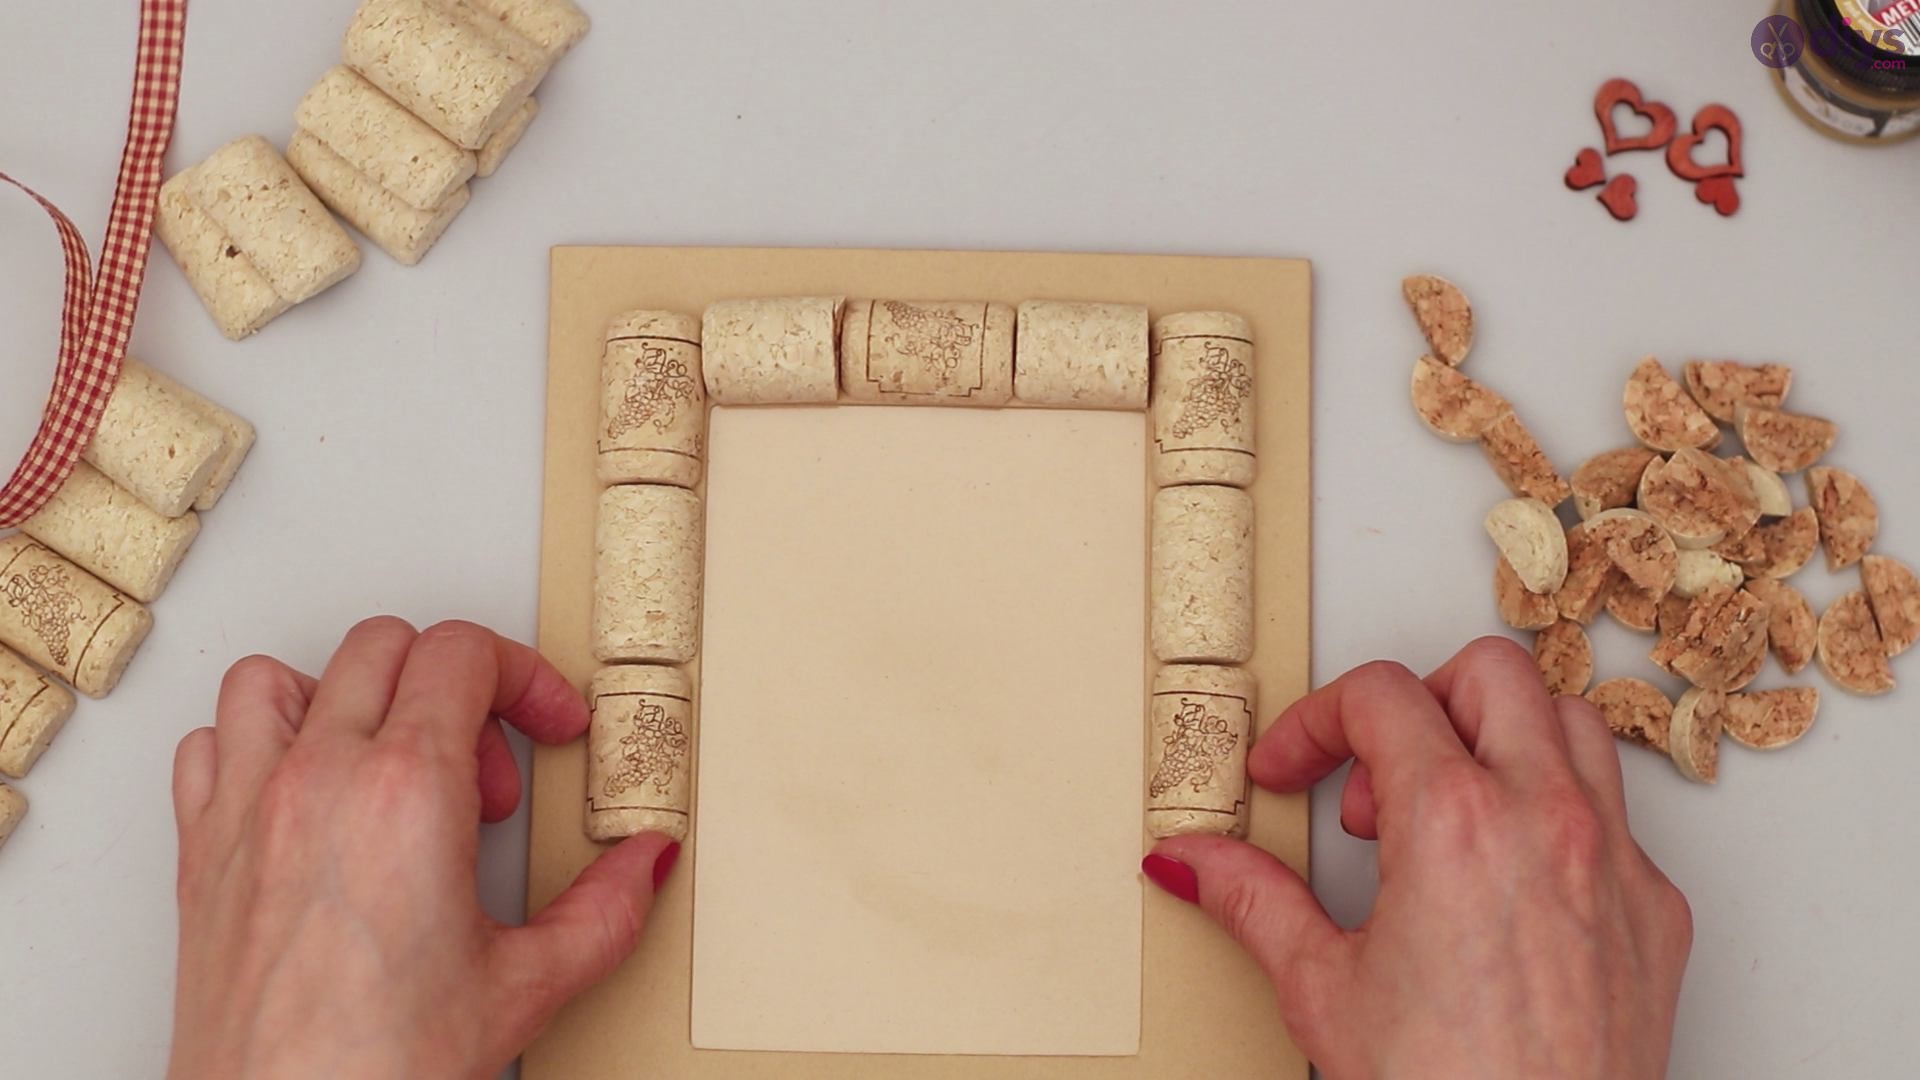
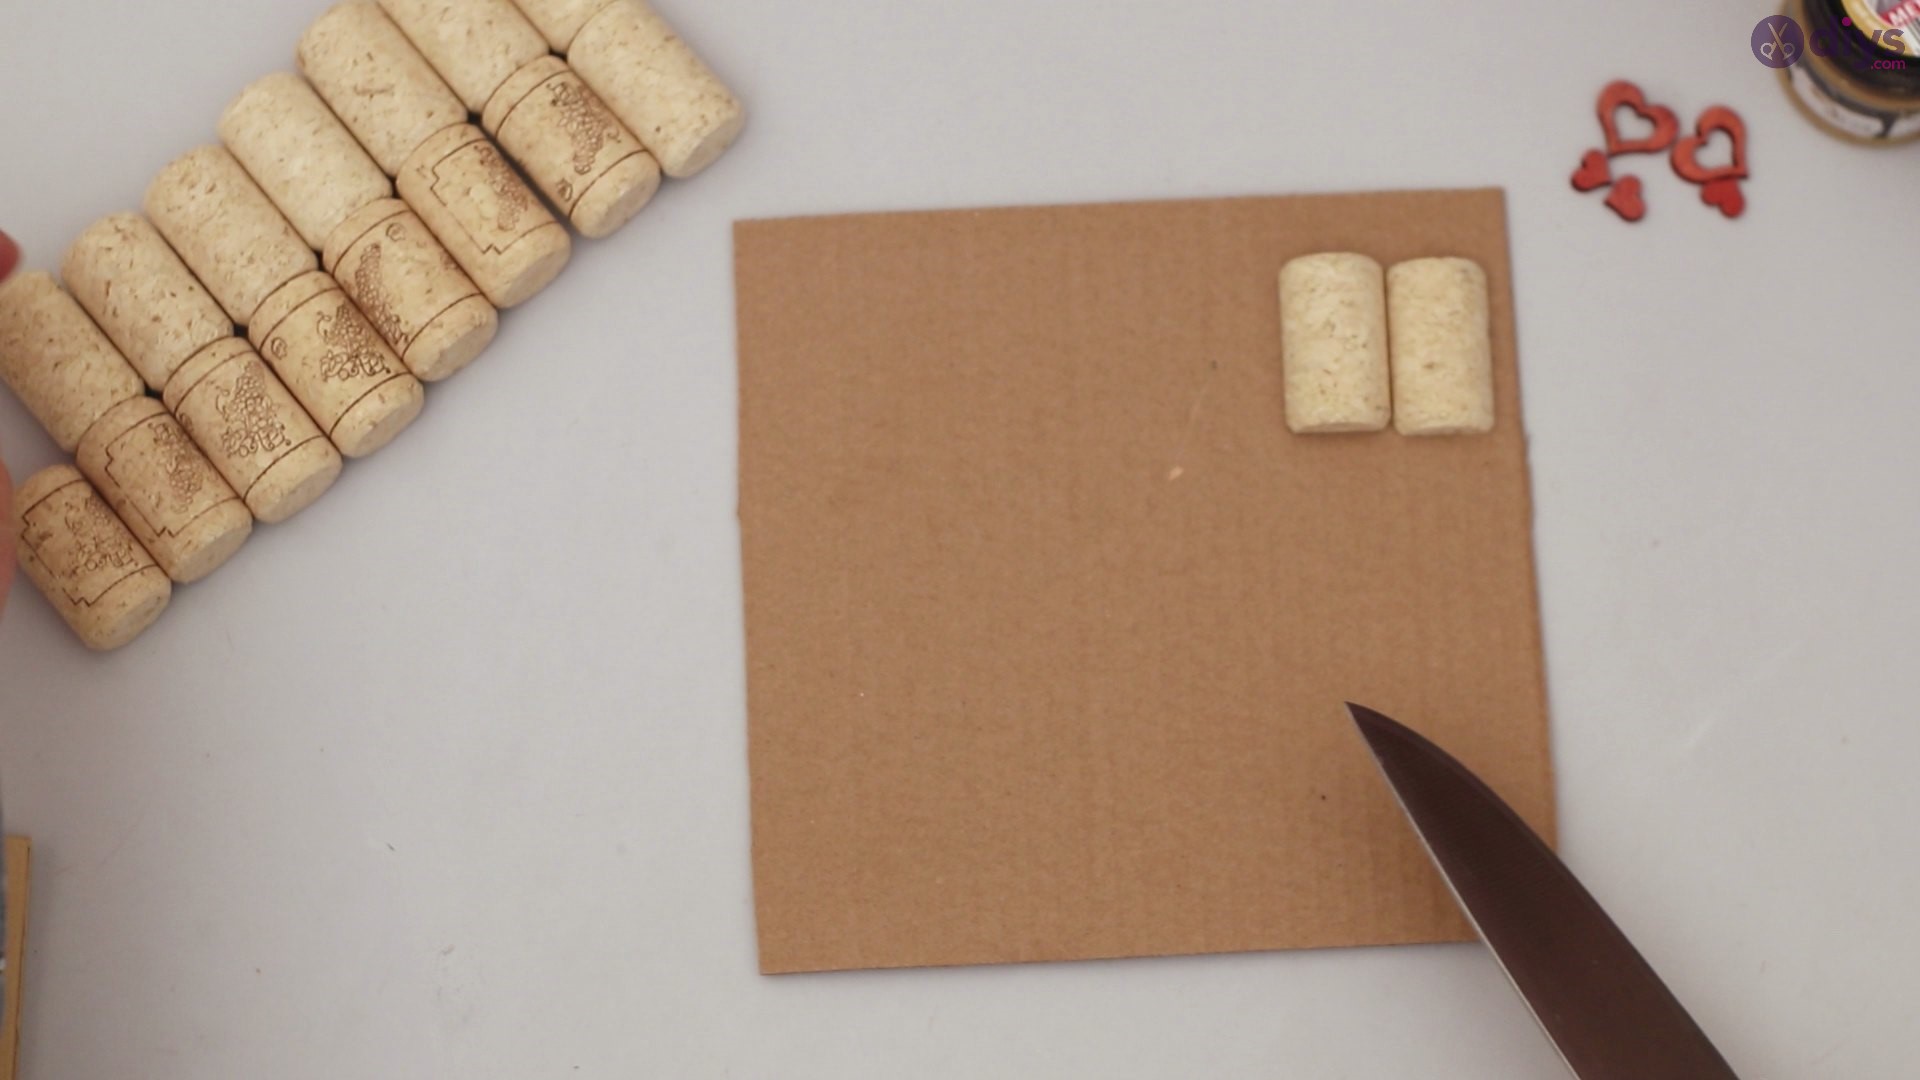
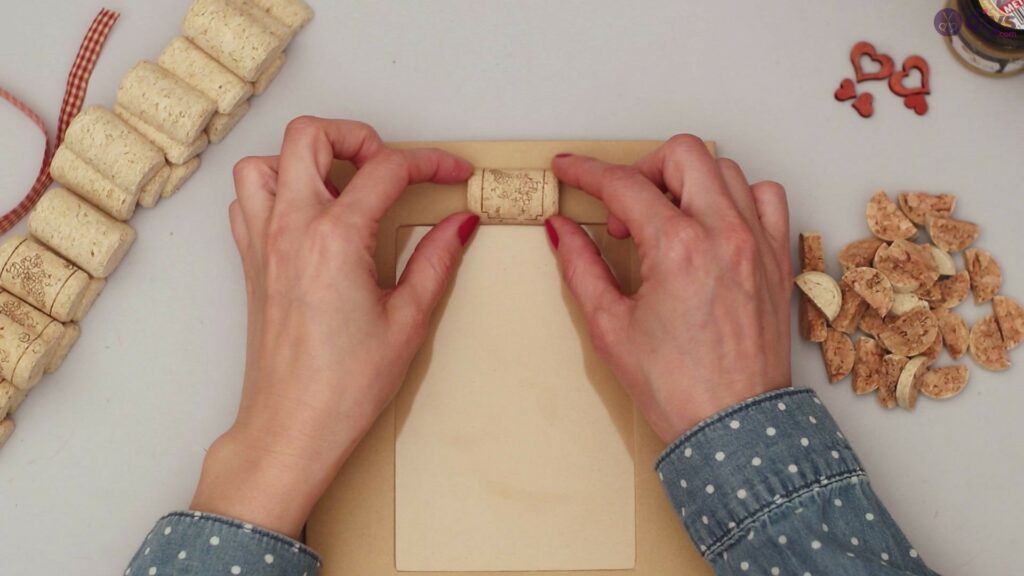
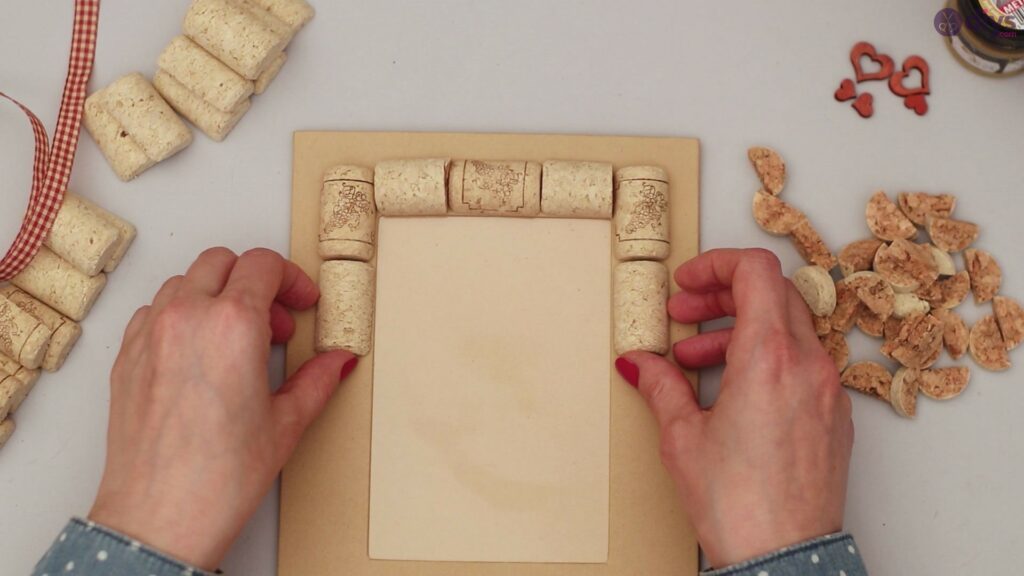
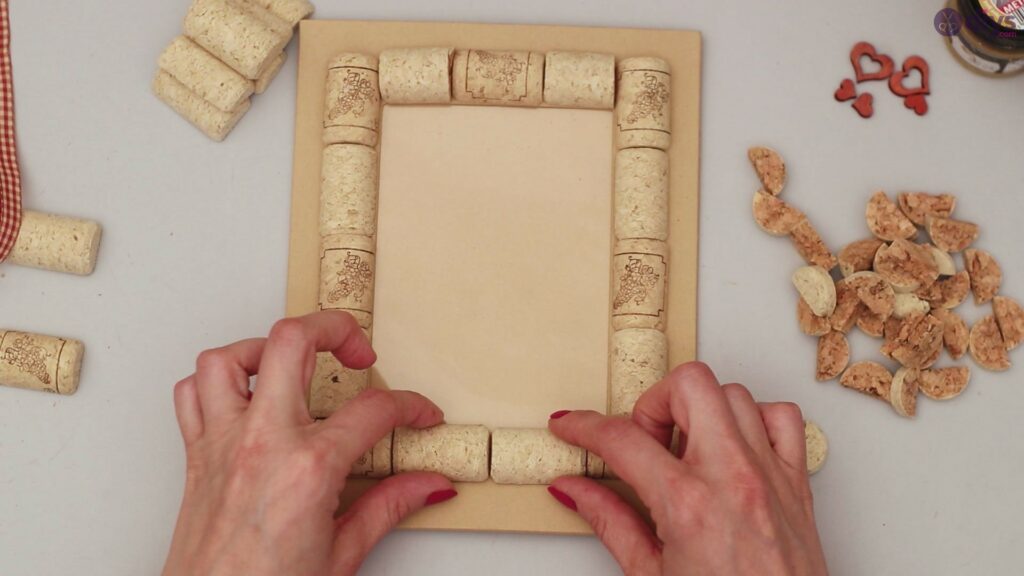
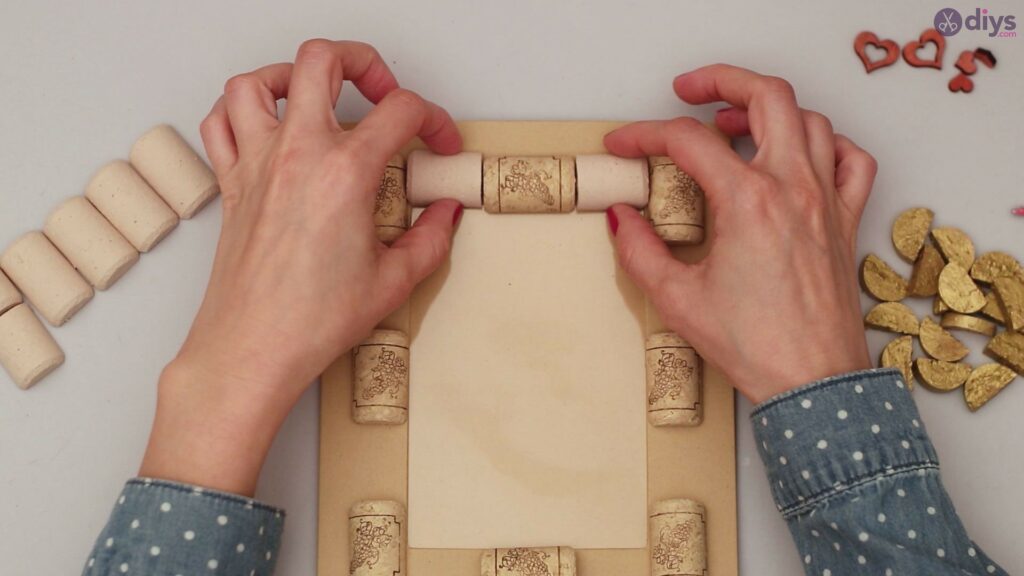
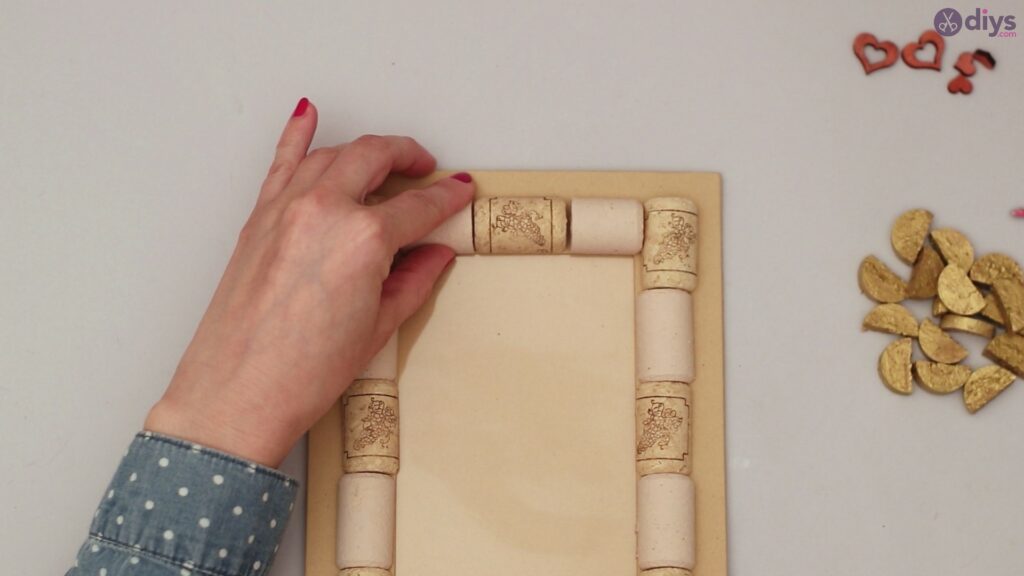
Step 3: Time to Border
Use your larger halved cork pieces to start to border the photo frame area. To mix up textures, you can pair one cork half with a logo or print with two opposing bare cork halves. The varying textures and patterns can add some depth to the overall look of the frame. You are not gluing right now, just pairing pieces together to see what looks good.

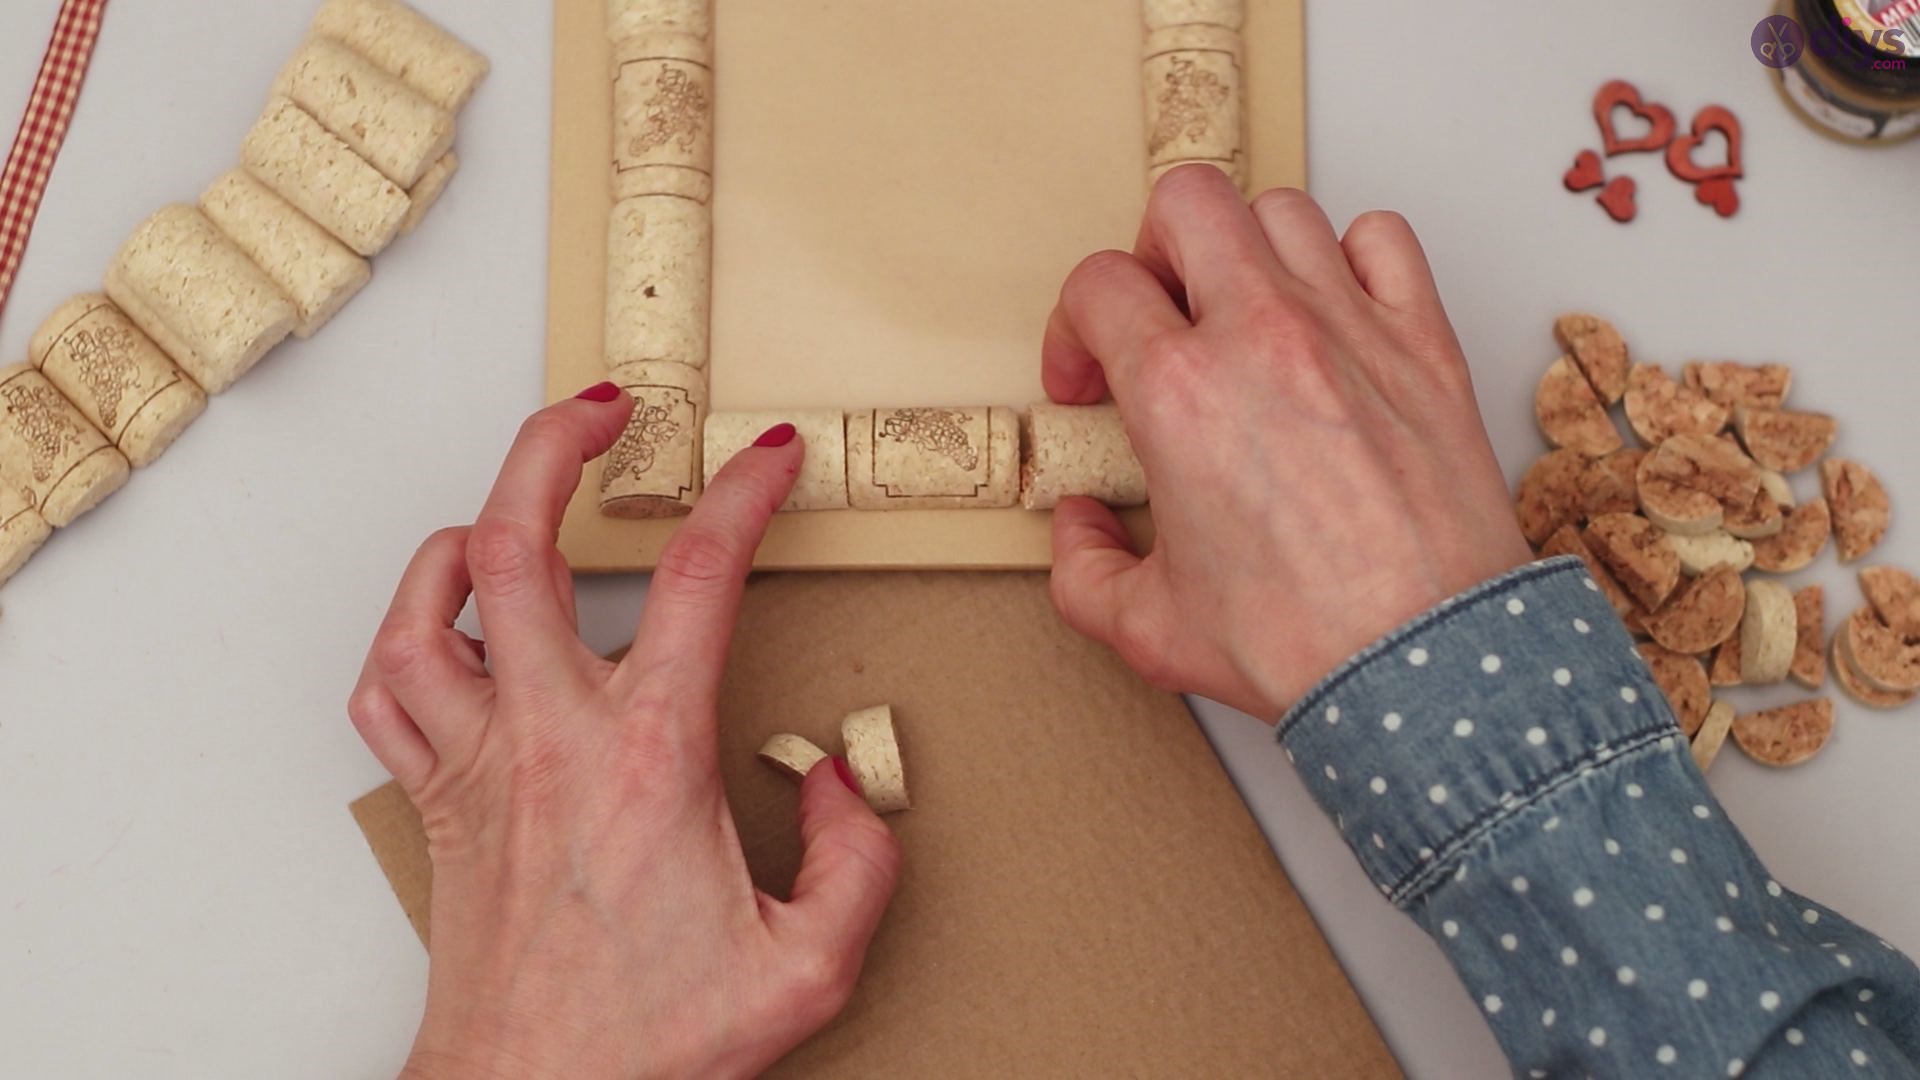
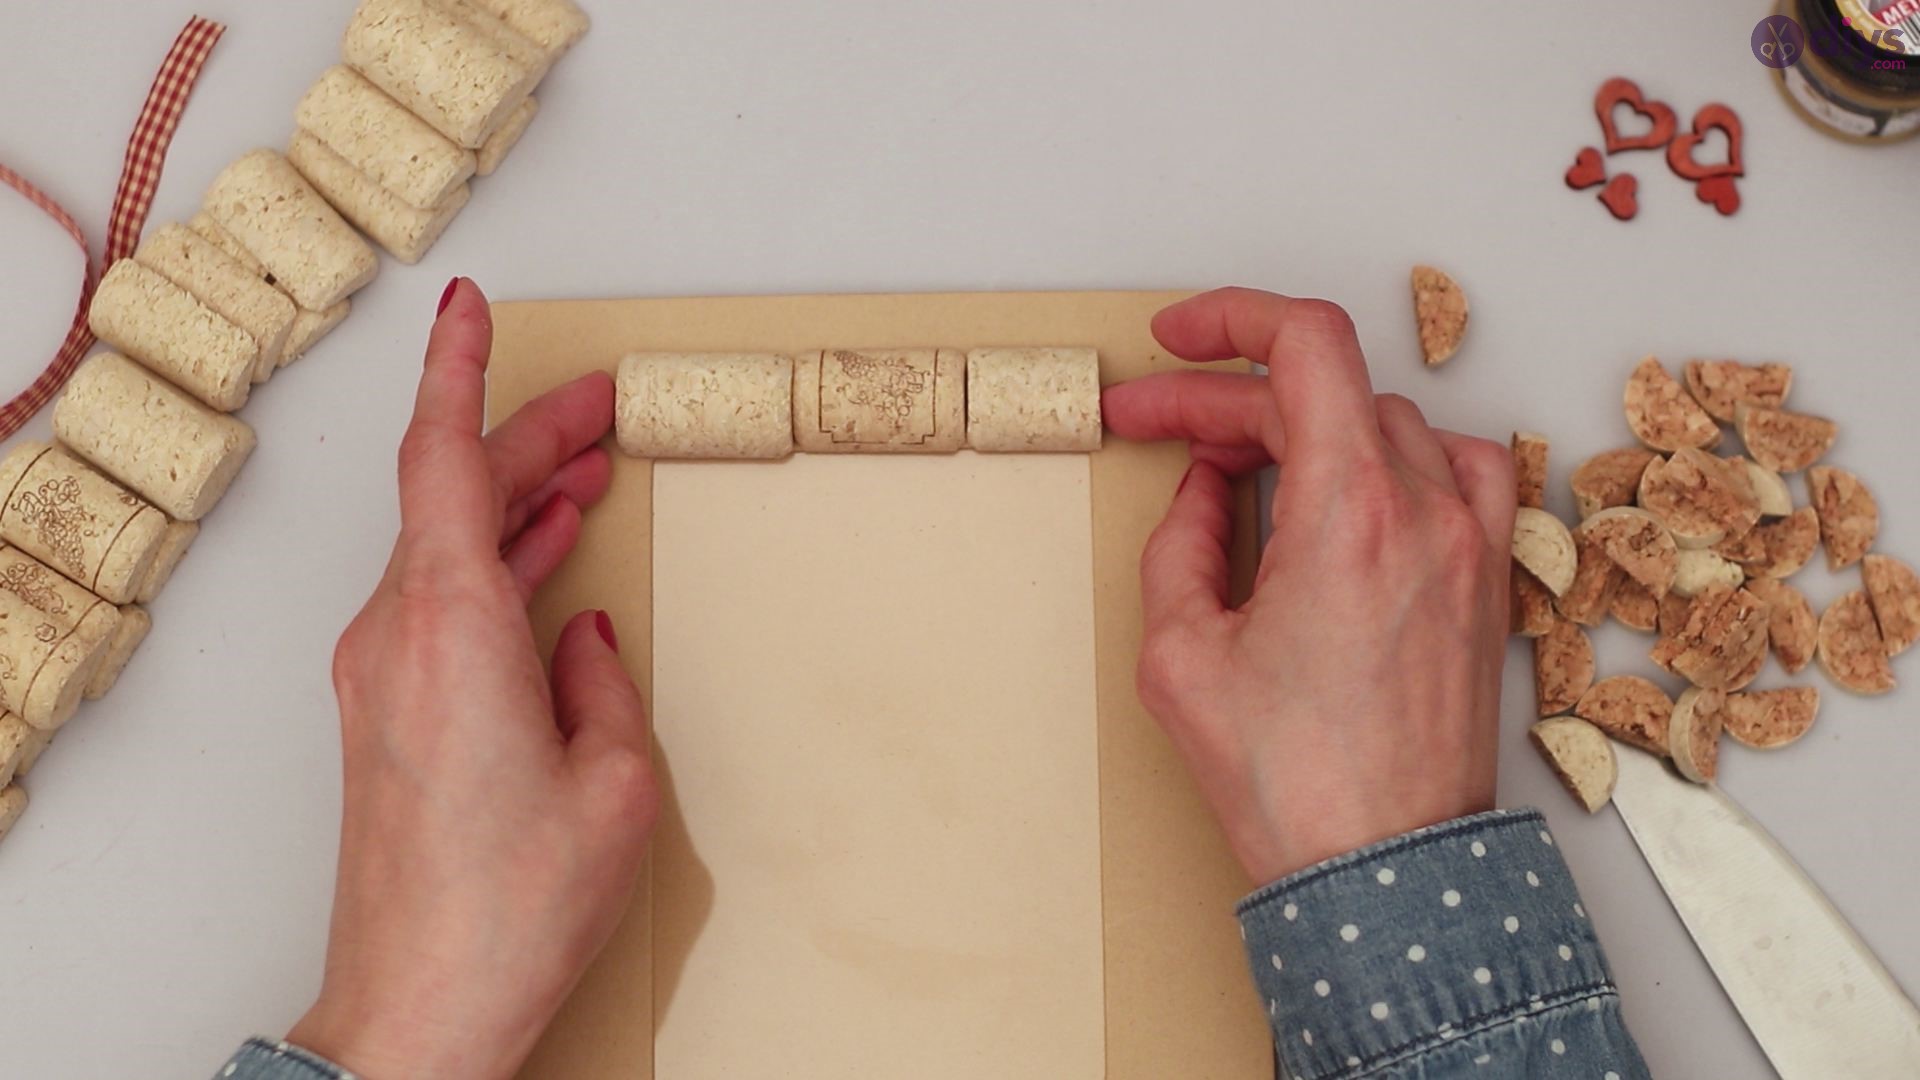
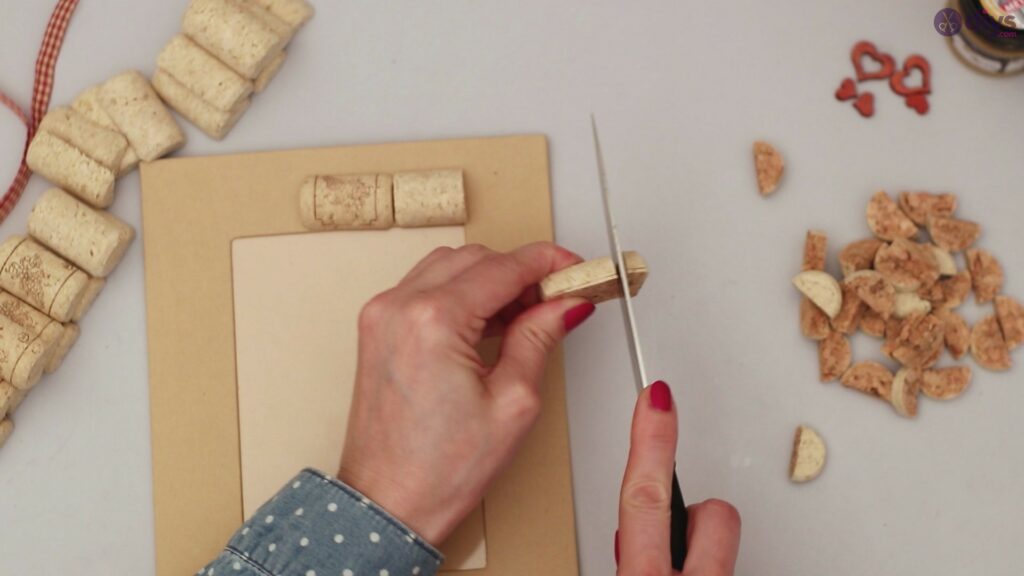
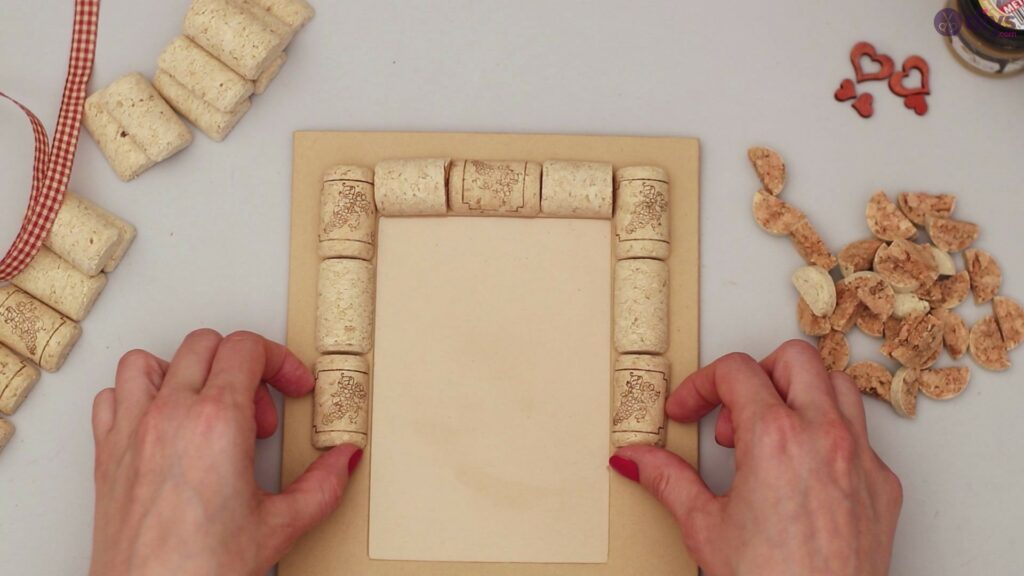
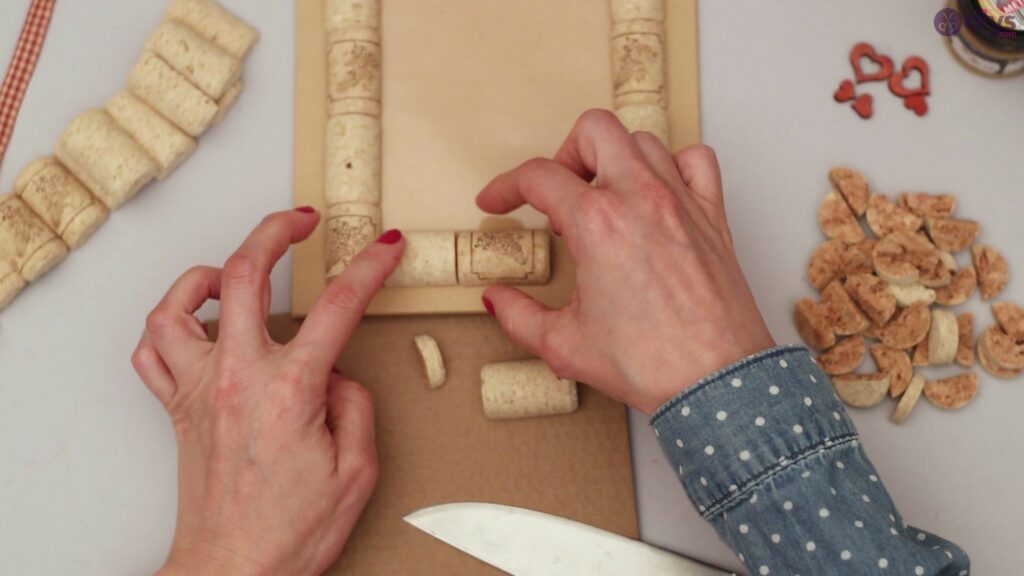
Make sure your cork pieces are not too big or long, and if they are, you can trim them easily by using your sharp knife from earlier. This is just to make sure your entire border will fit and there will be no overlapping pieces or too long sides.

Remember to be careful while cutting!

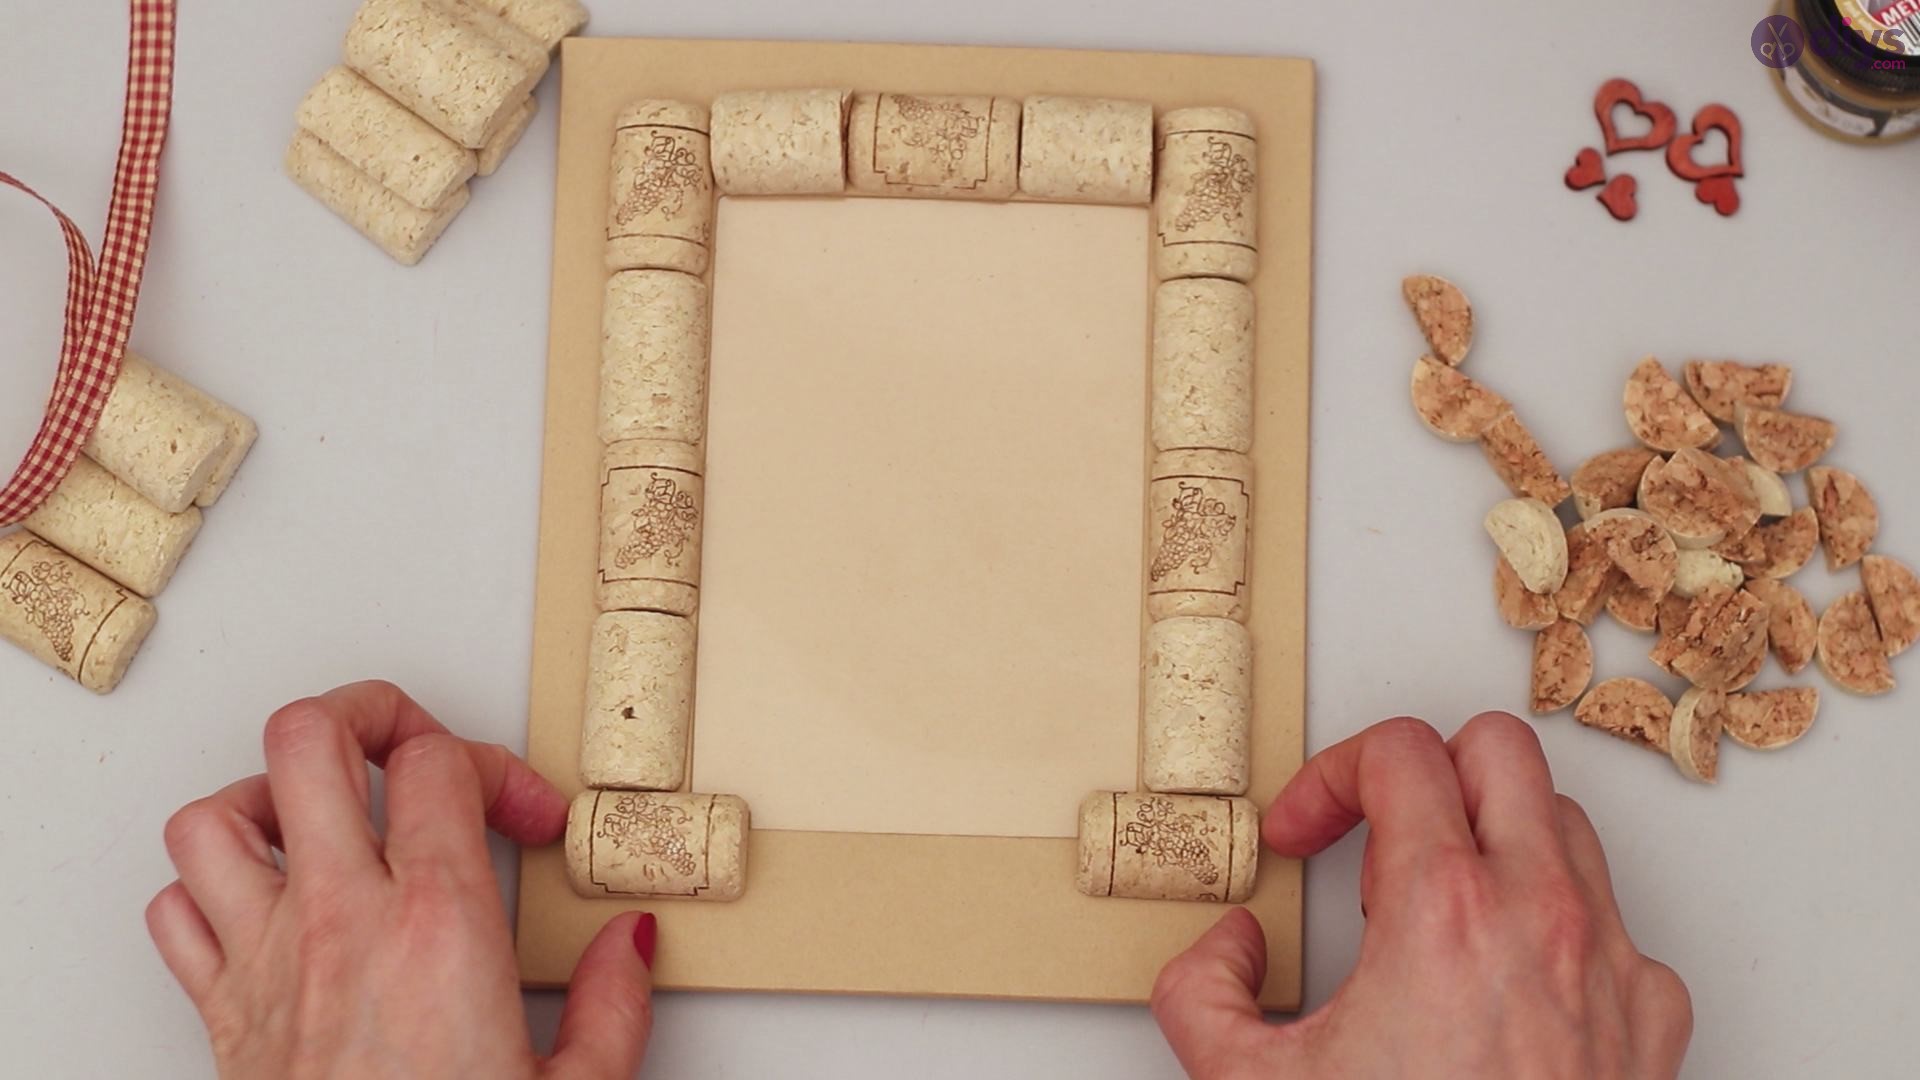
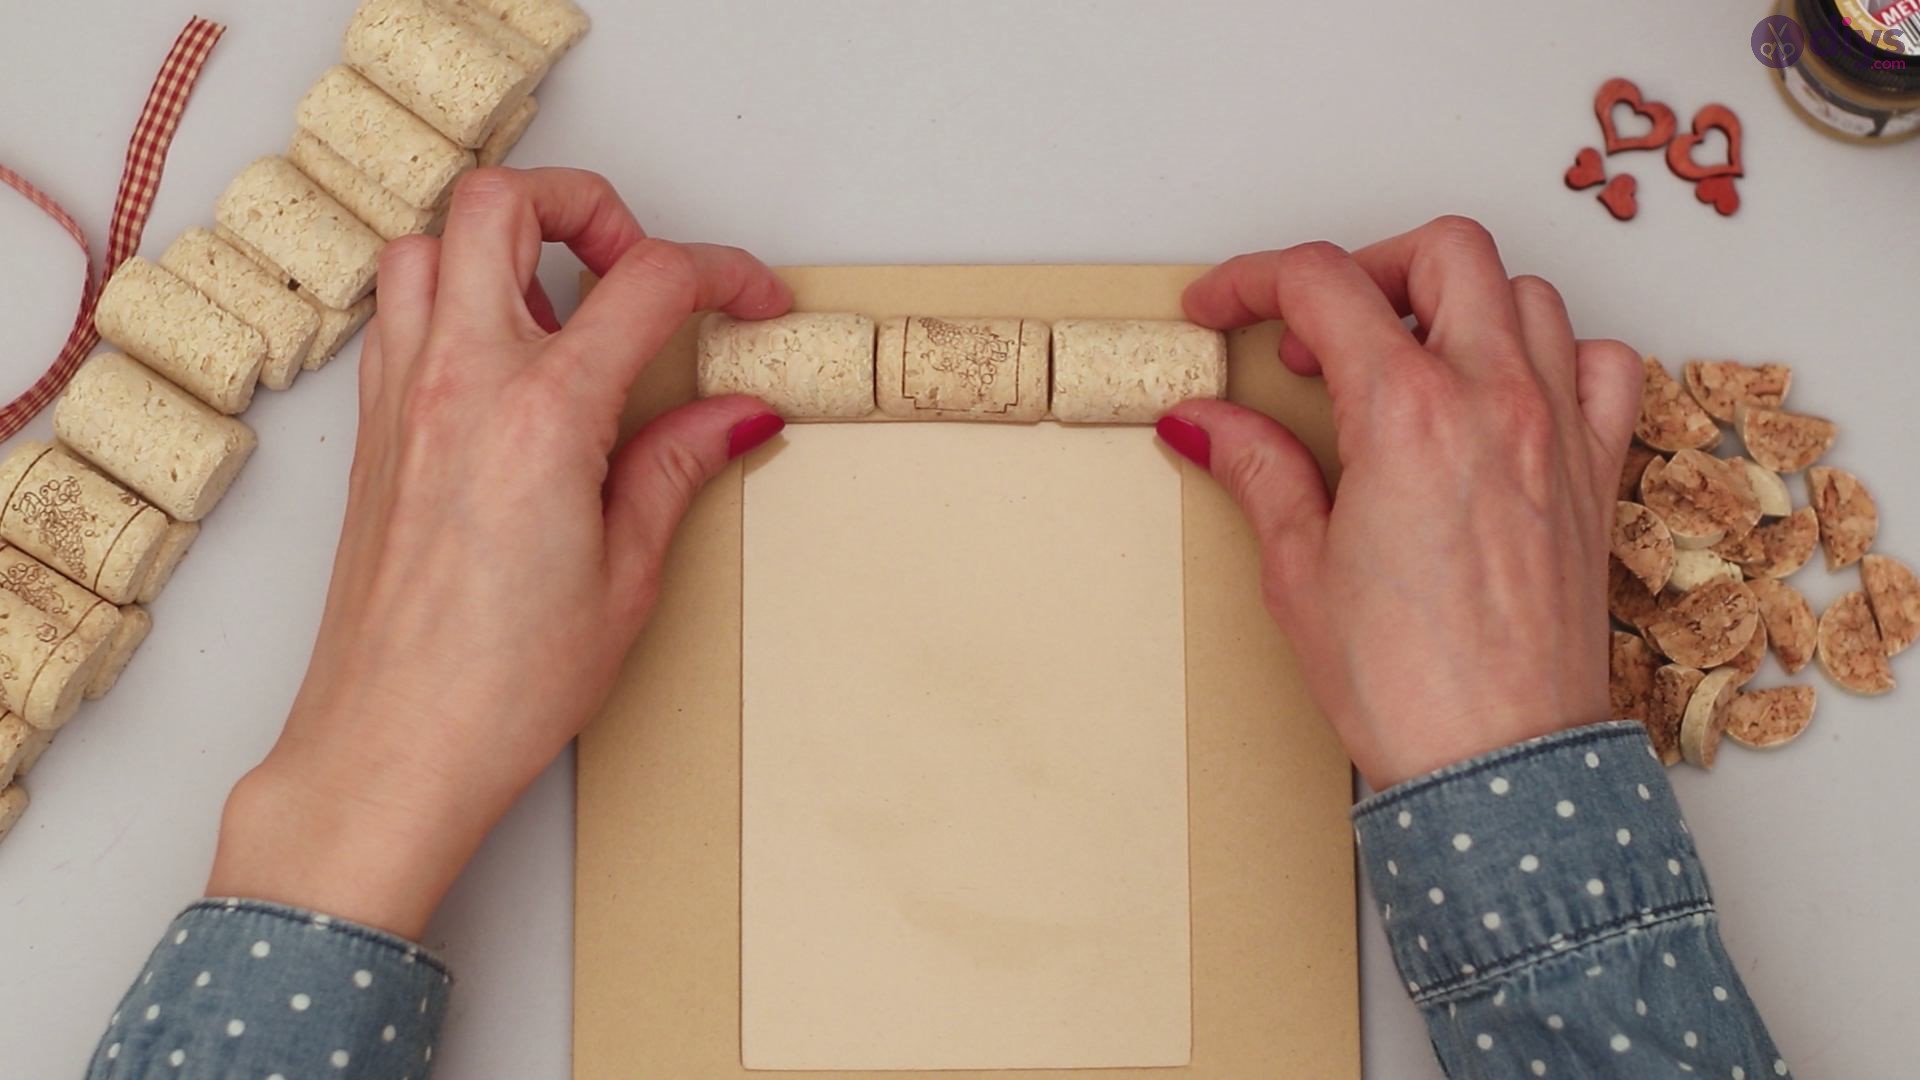
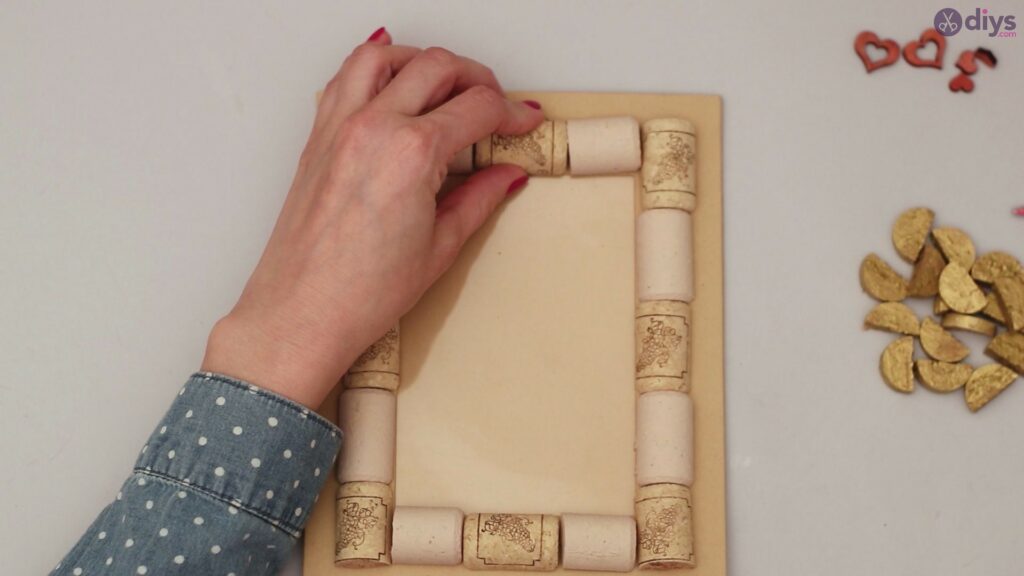
The more even the sides, the better the whole frame will look, so remember to actively be lining up your pieces as you go.


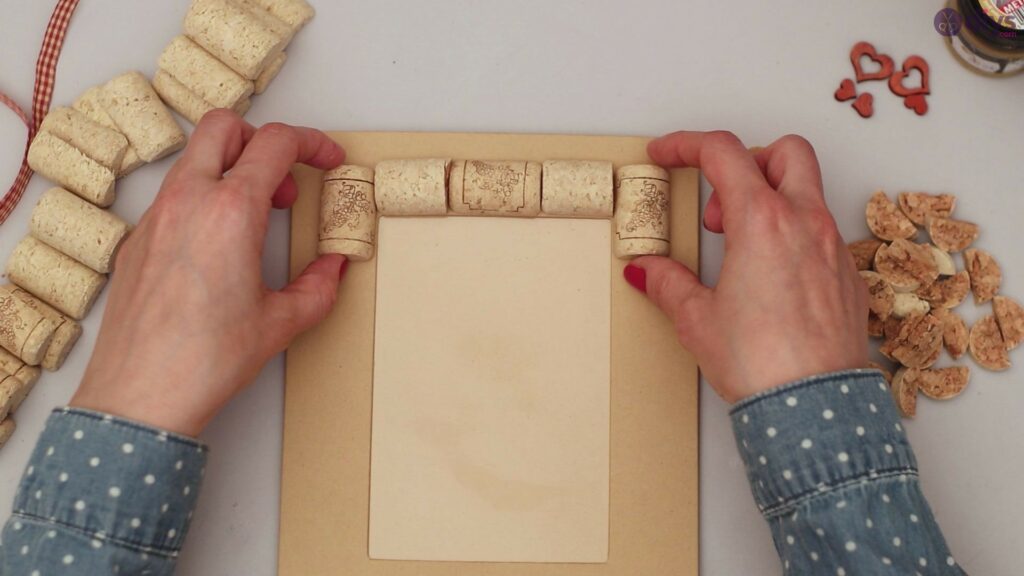
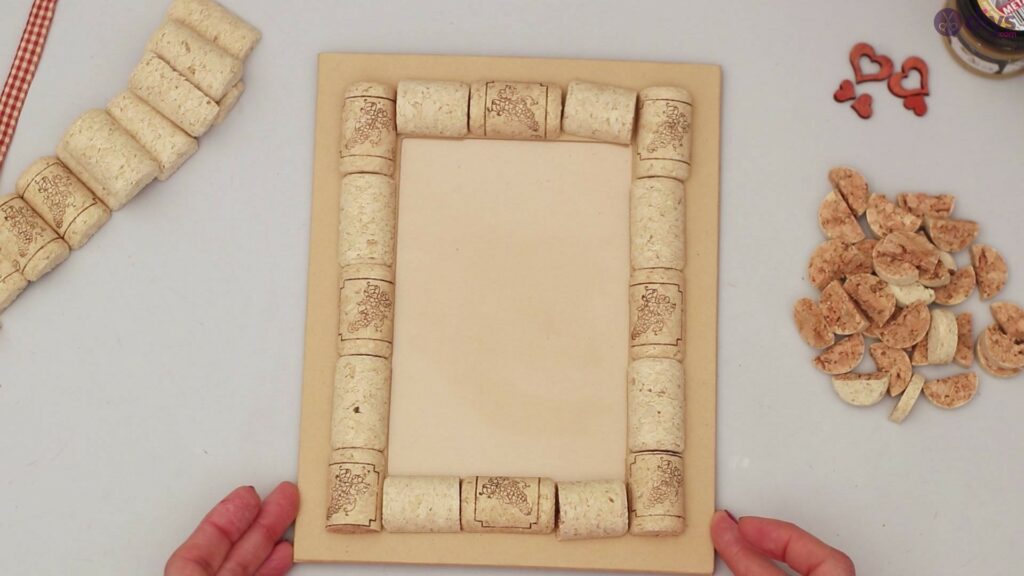
See how great an even border looks? Take your time and cut each piece correctly so you have a perfectly even line all along the sides.
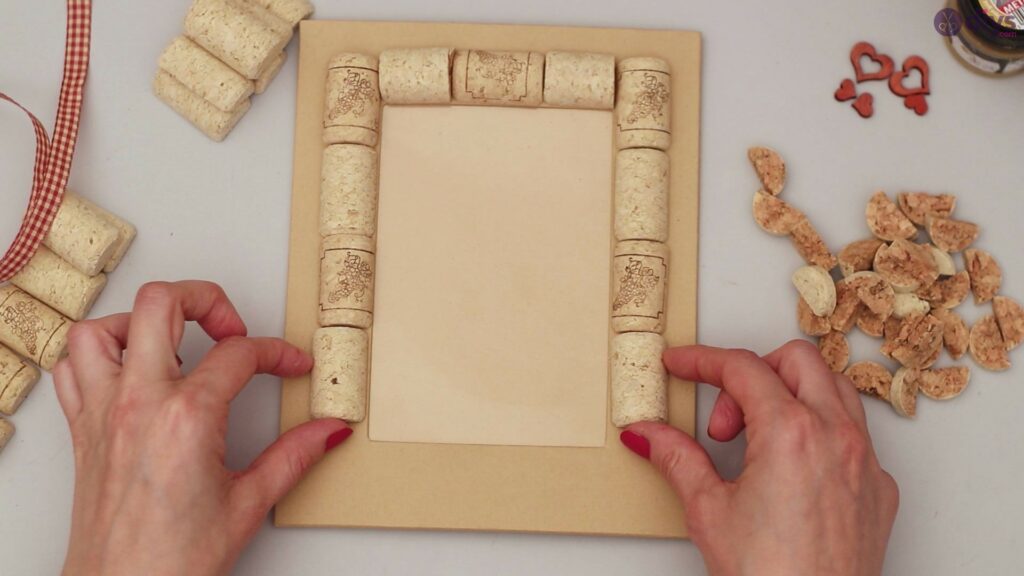
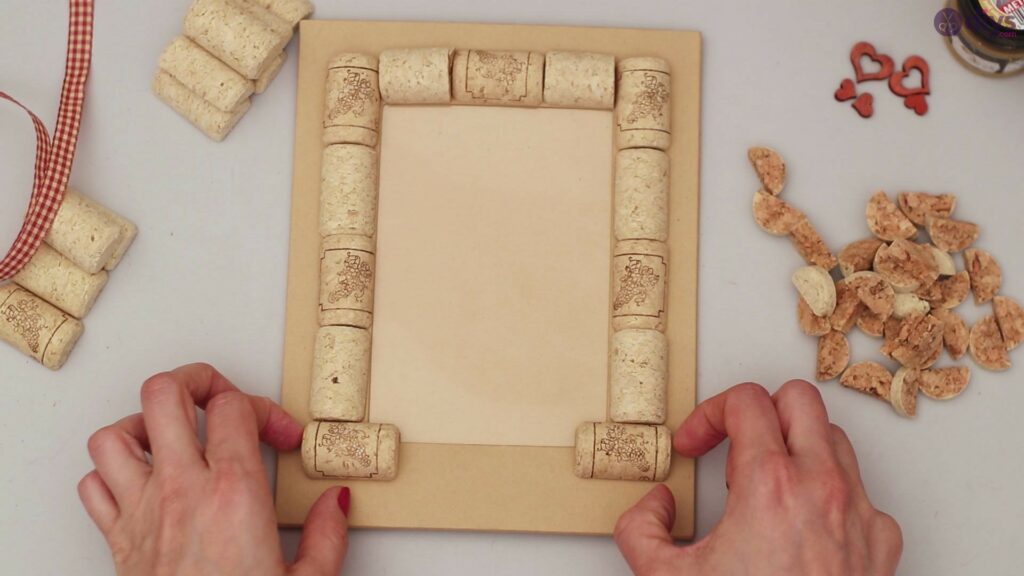
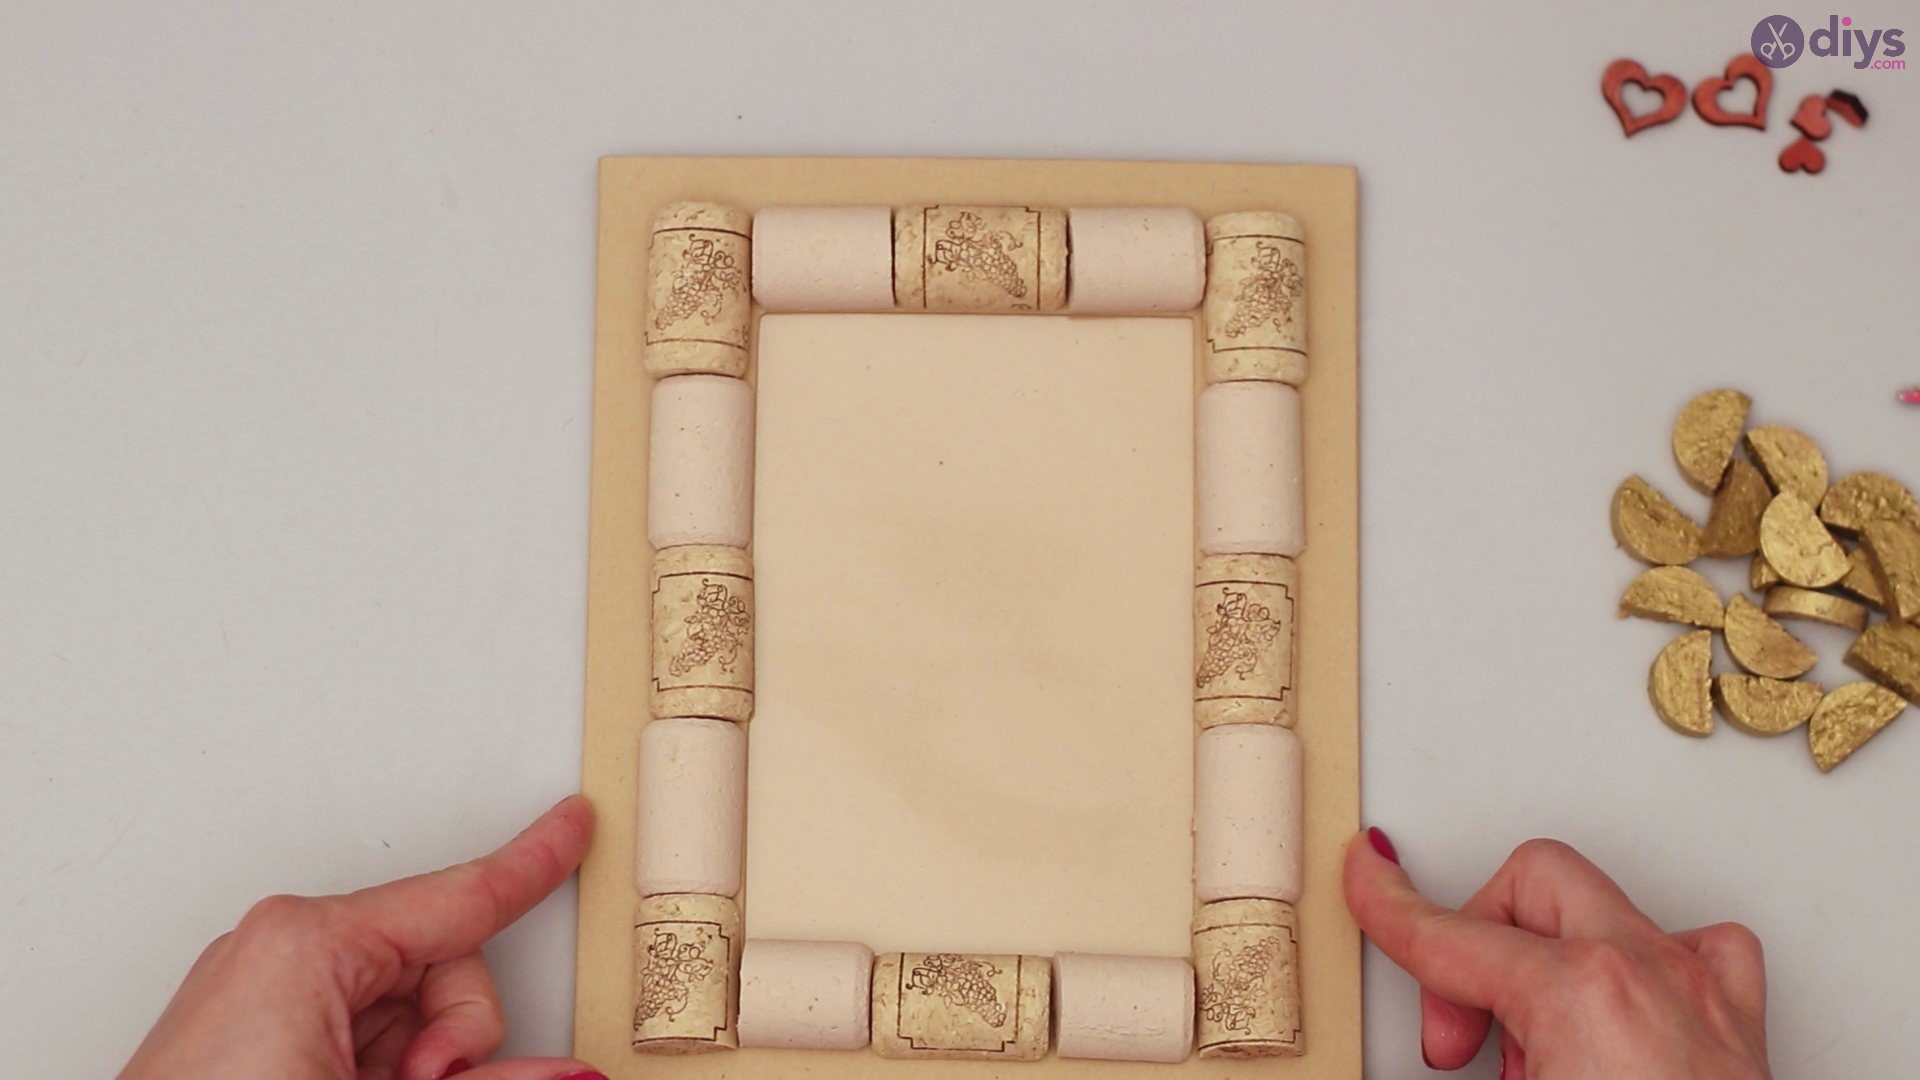
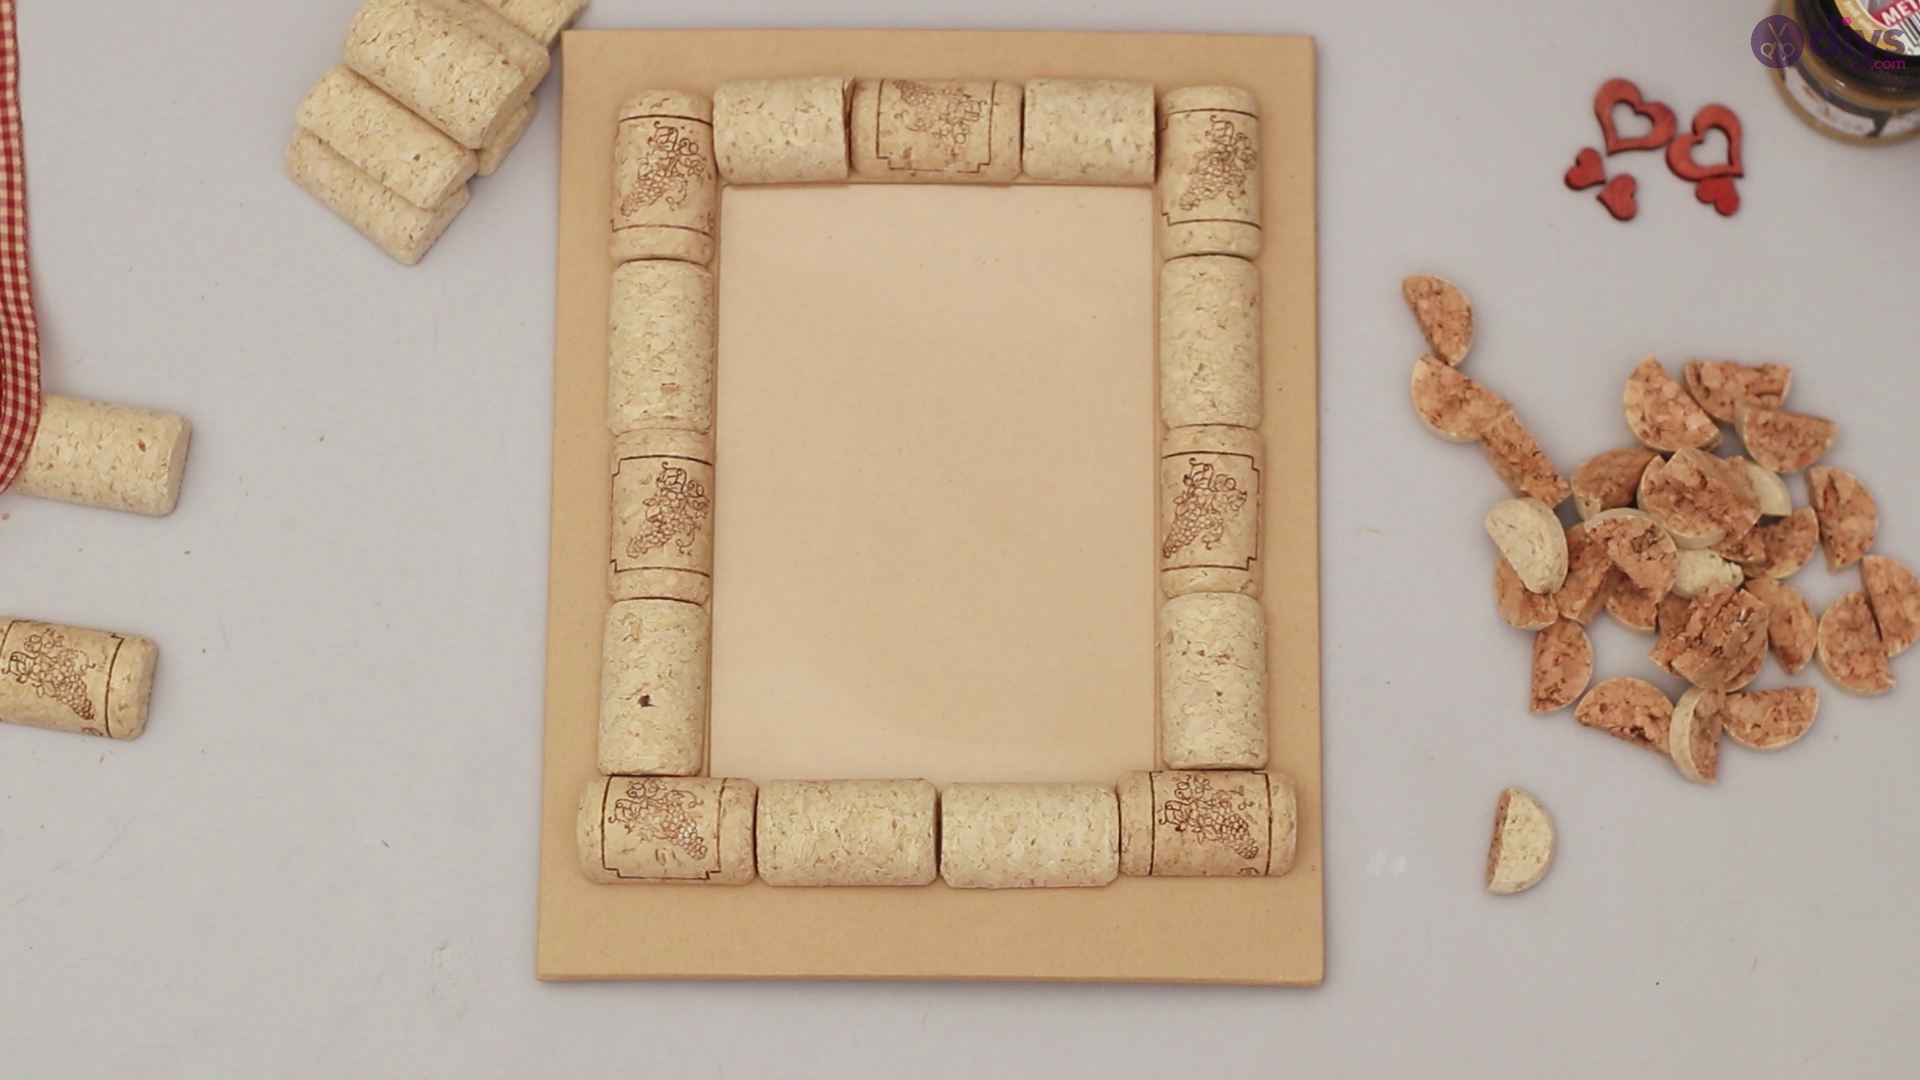
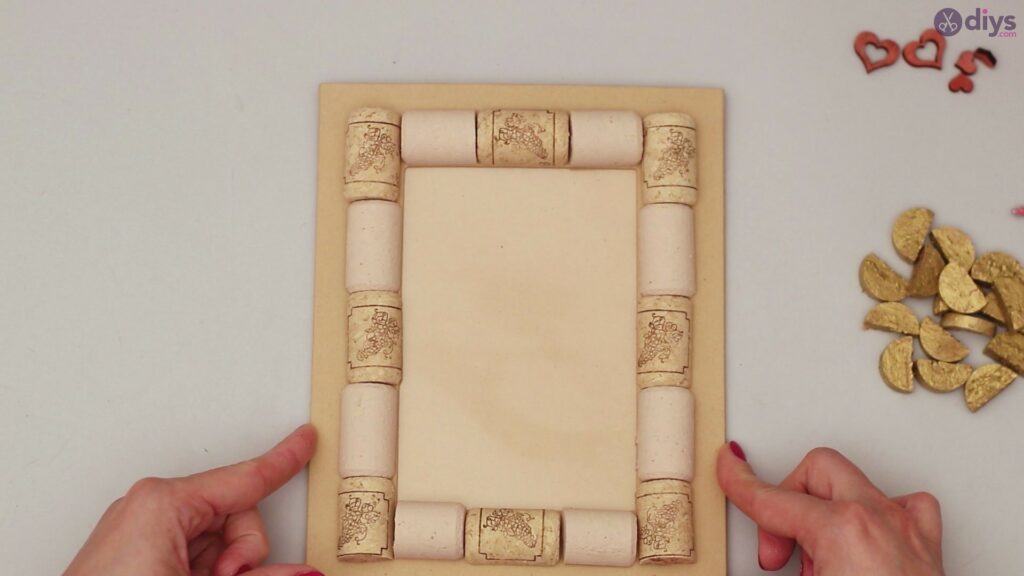
Keep lining all your cork pieces up until you’ve made a complete border on all sides of your photo frame area.
See how great that looks? All the sides are perfectly even and all the pieces fit nicely together.


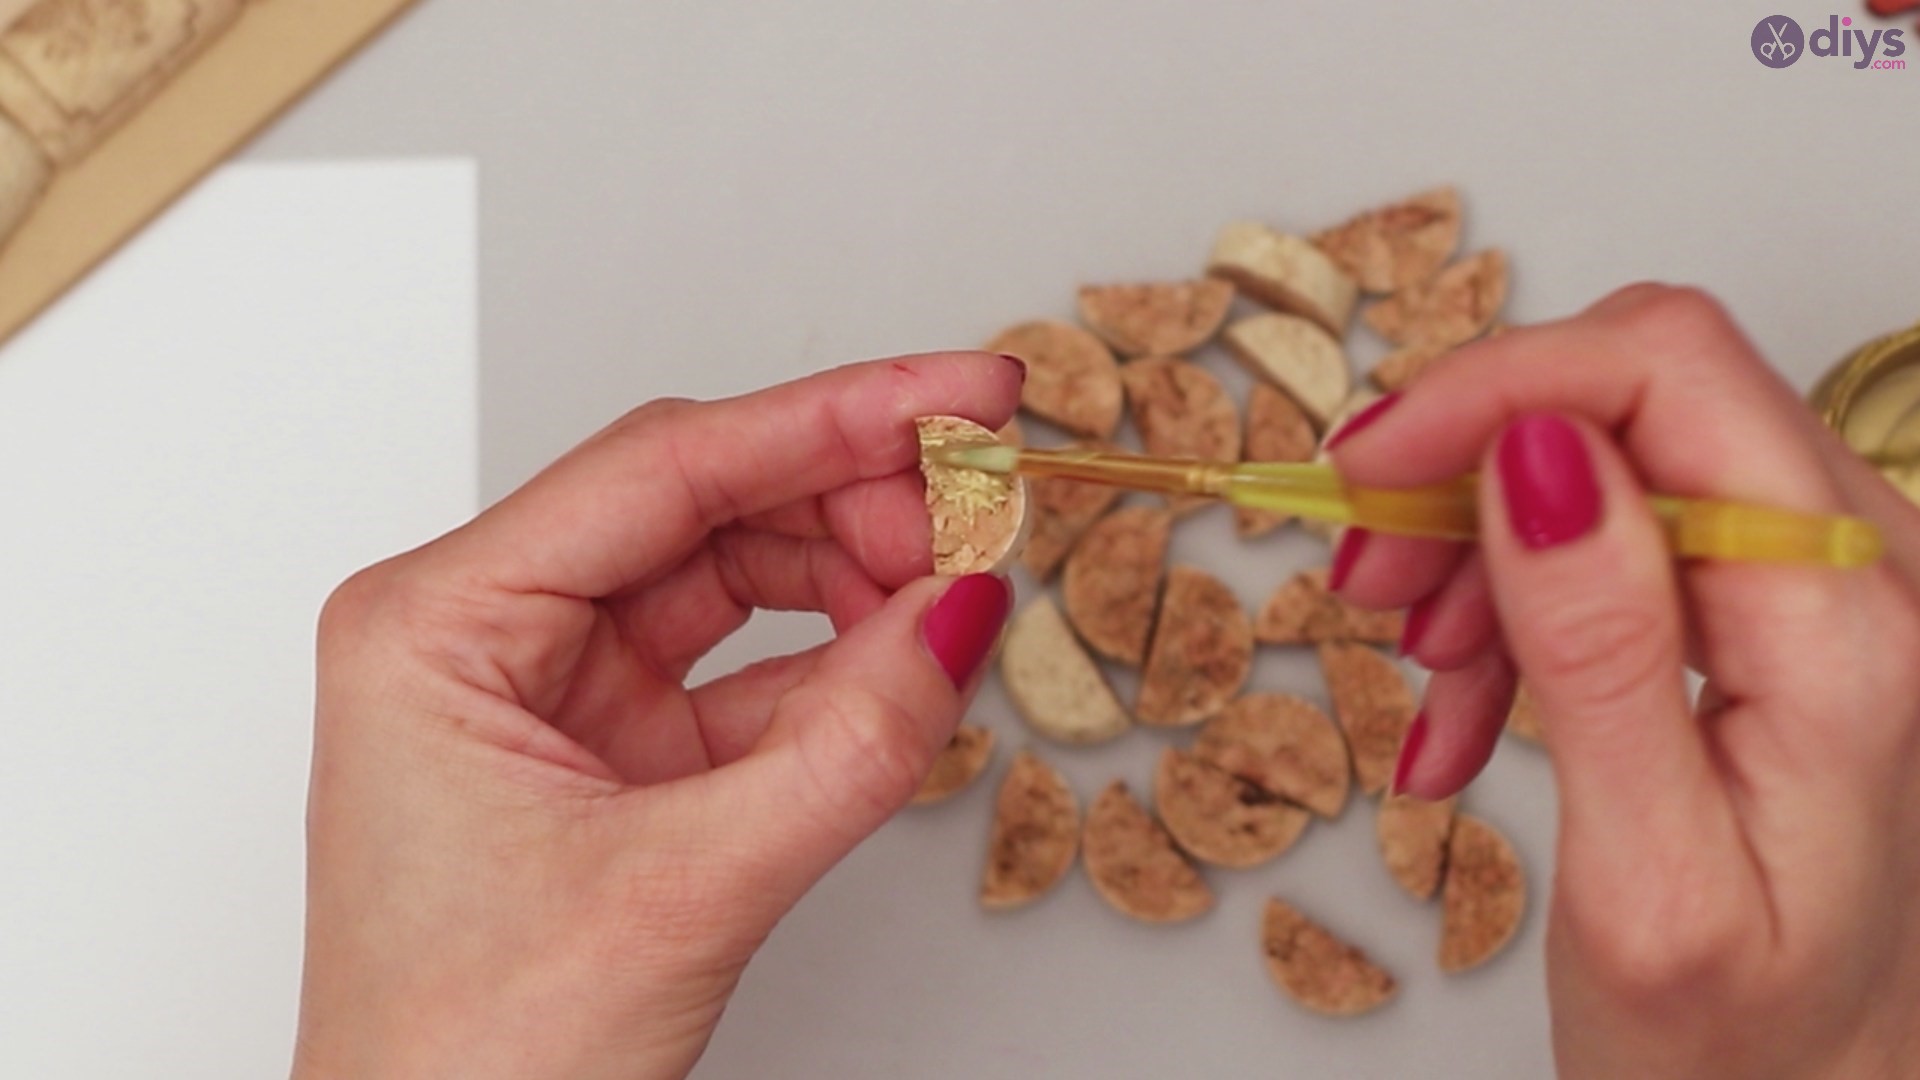
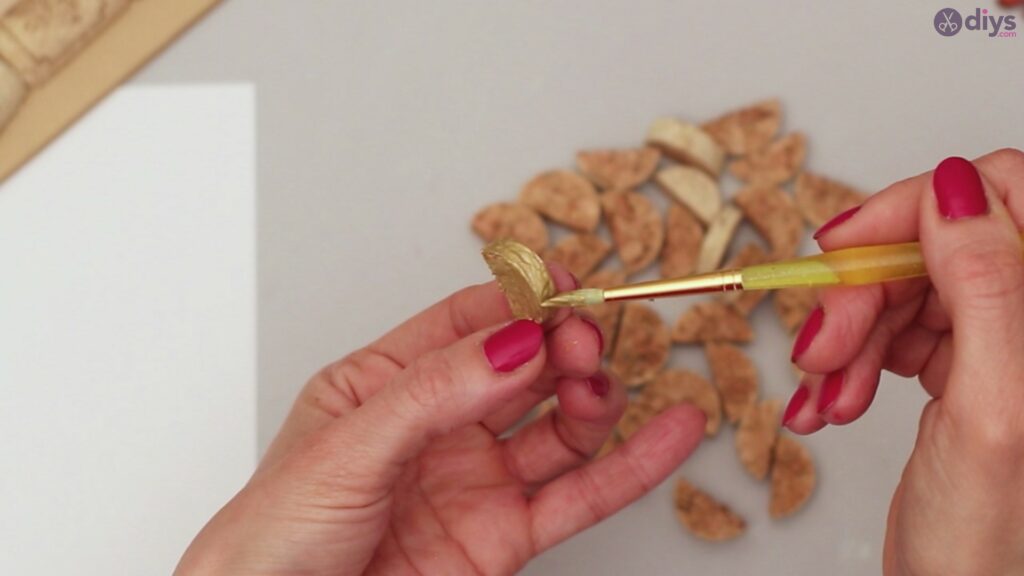
Step 4: Embellishments
Now that your main framing cork pieces are aligned, you can start to cut those embellishing pieces you cut before. Paint these pieces any color you like, but some of the most festive colors are gold, silver or anything metallic or sparkly. Remember these are accent pieces so keep your main frame border colors bold, and these accent pieces a bit more bright and vibrant. Get creative with it!
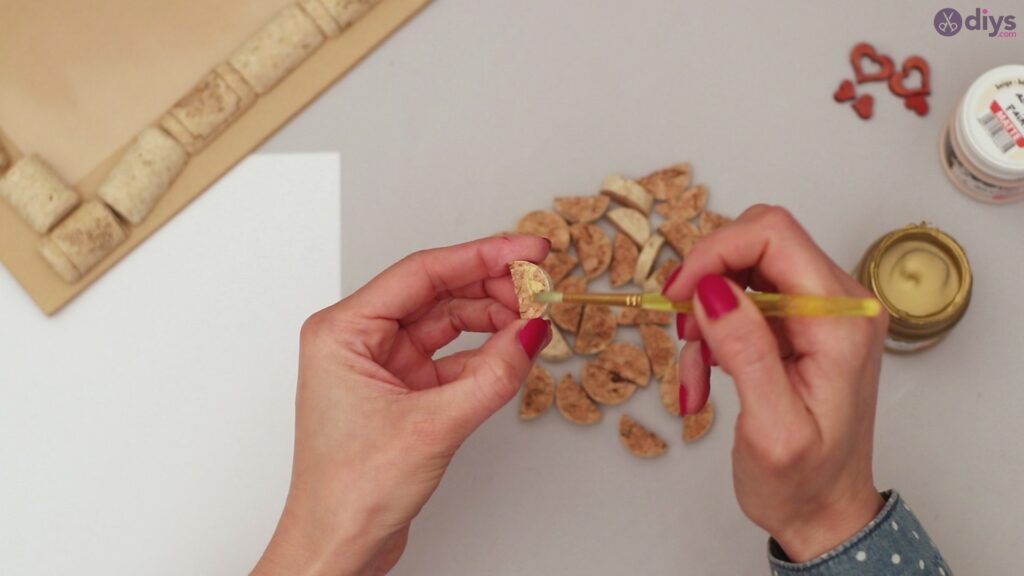

Make sure to coat these tiny pieces evenly on all sides.
Make sure to let these tiny pieces dry completely before moving them around or trying to apply them to the actual frame.
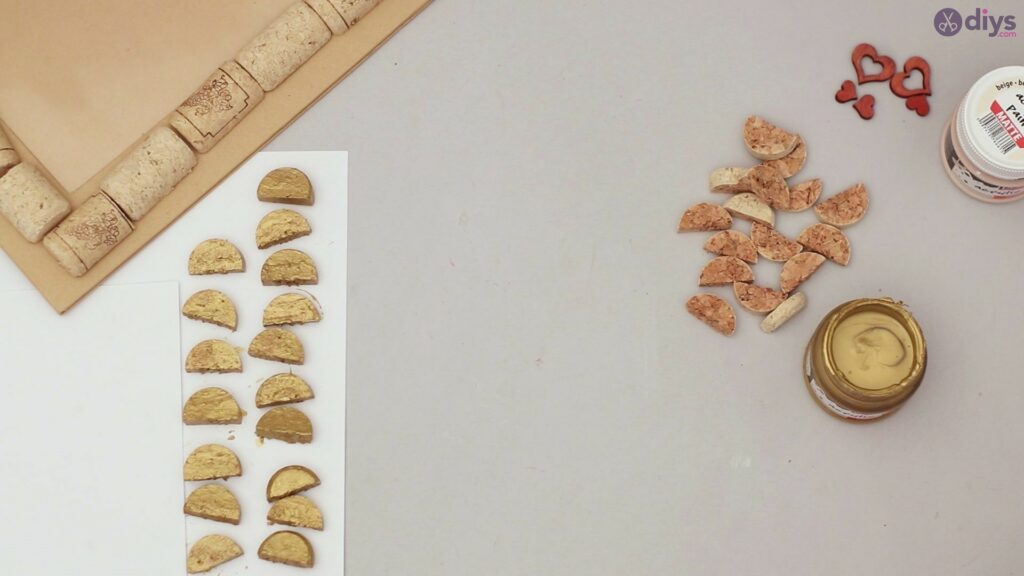
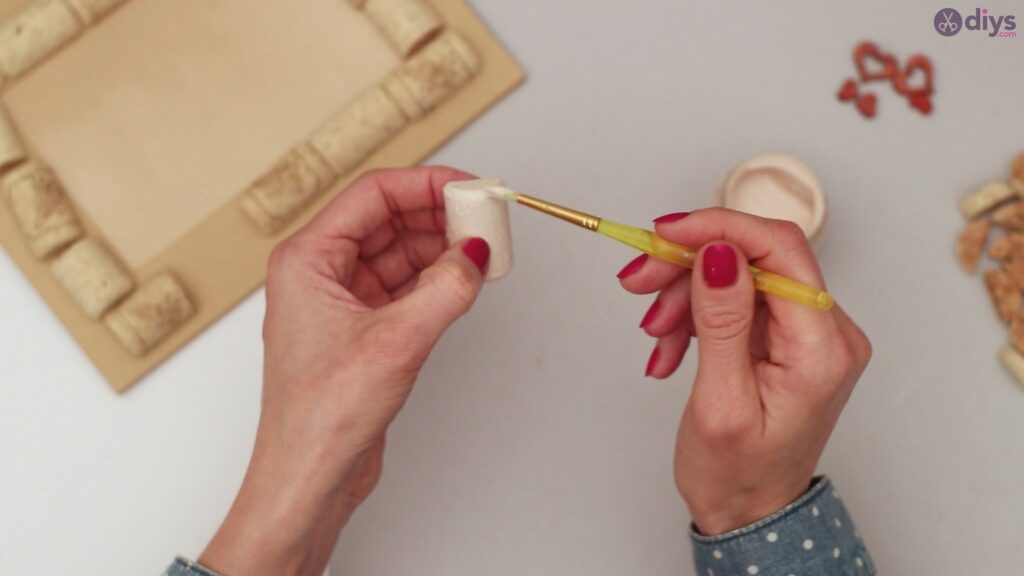
Step 5: Painting the main border
As your accent pieces are drying, you a paint your main cork frame border with whatever colors you choose. Just like the accent pieces, make sure to get all the sides in order to present a completely painted frame.

Now that you have your pieces painted, you can better see how your frame will look once it is all glued together. Use these loose pieces to get a good idea on how you want to frame your border that way you can tell exactly what it looks like before you seal the deal with glue.

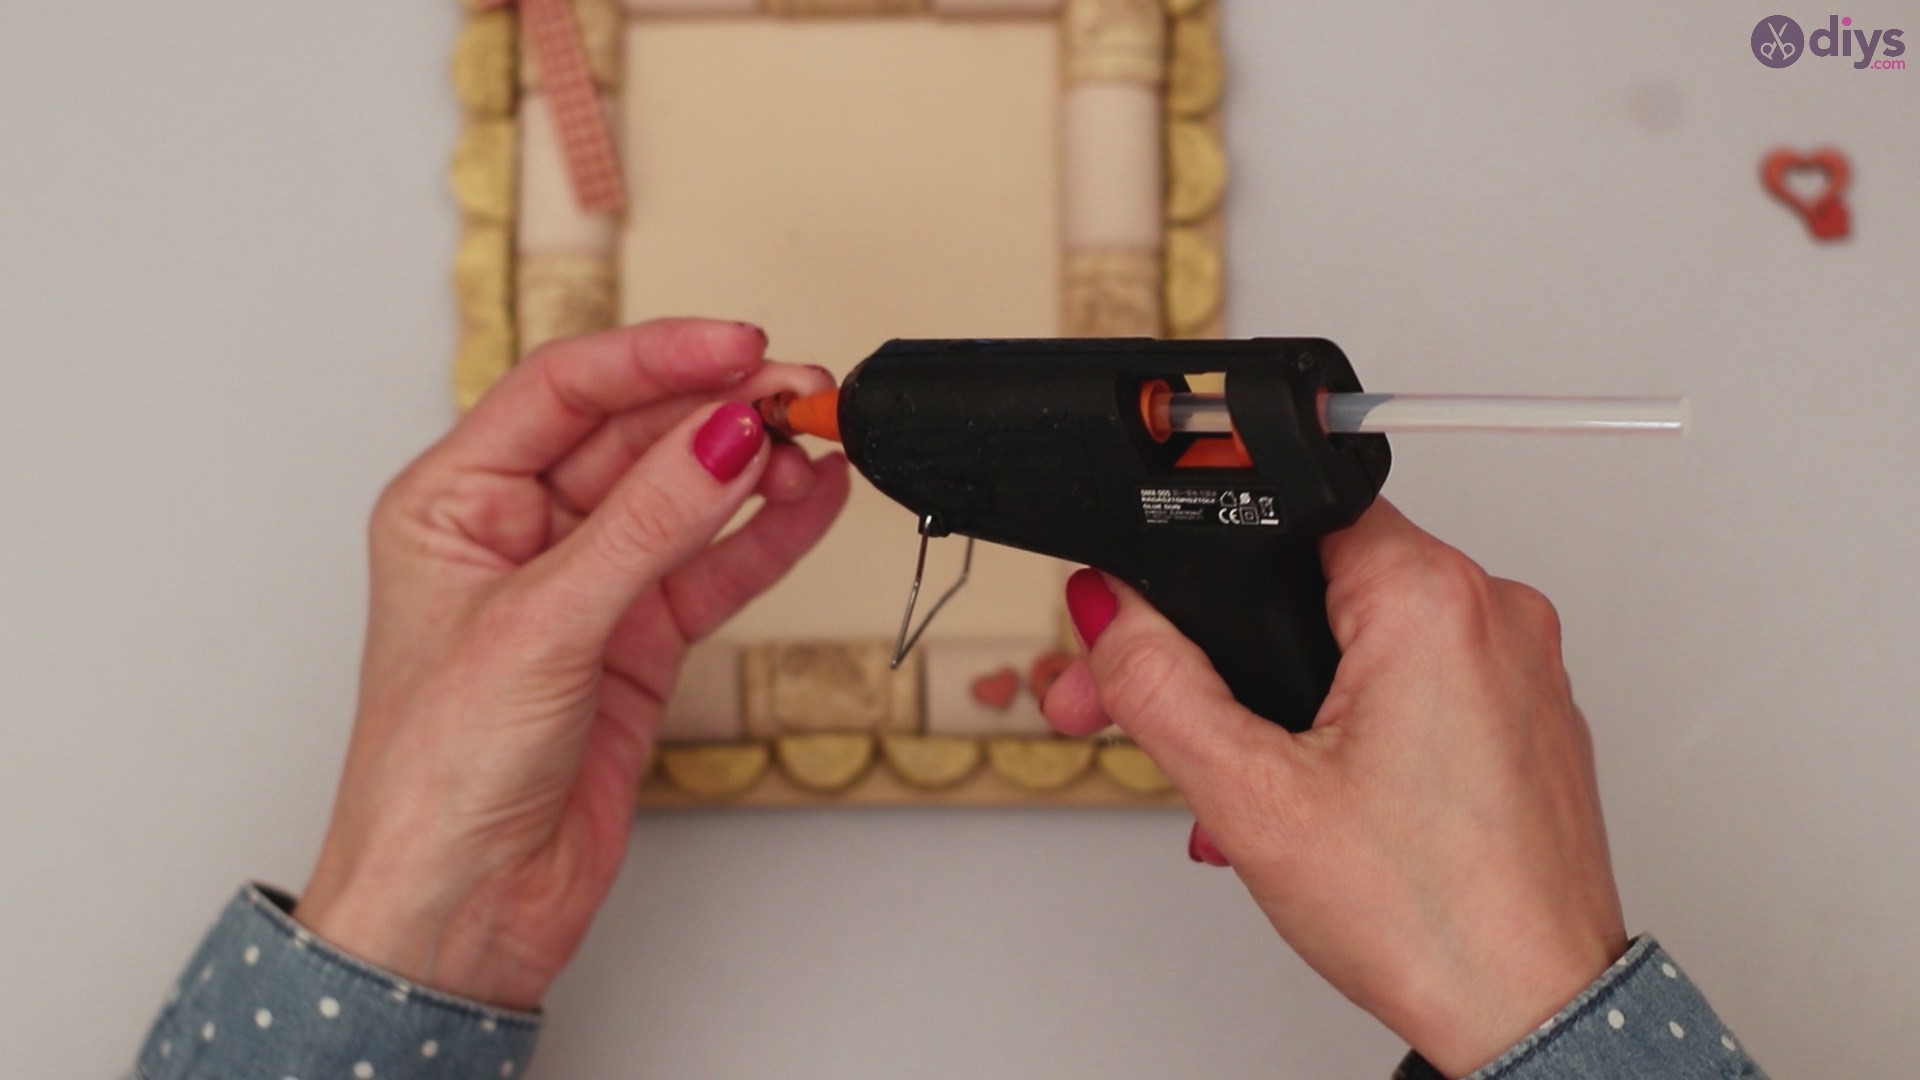
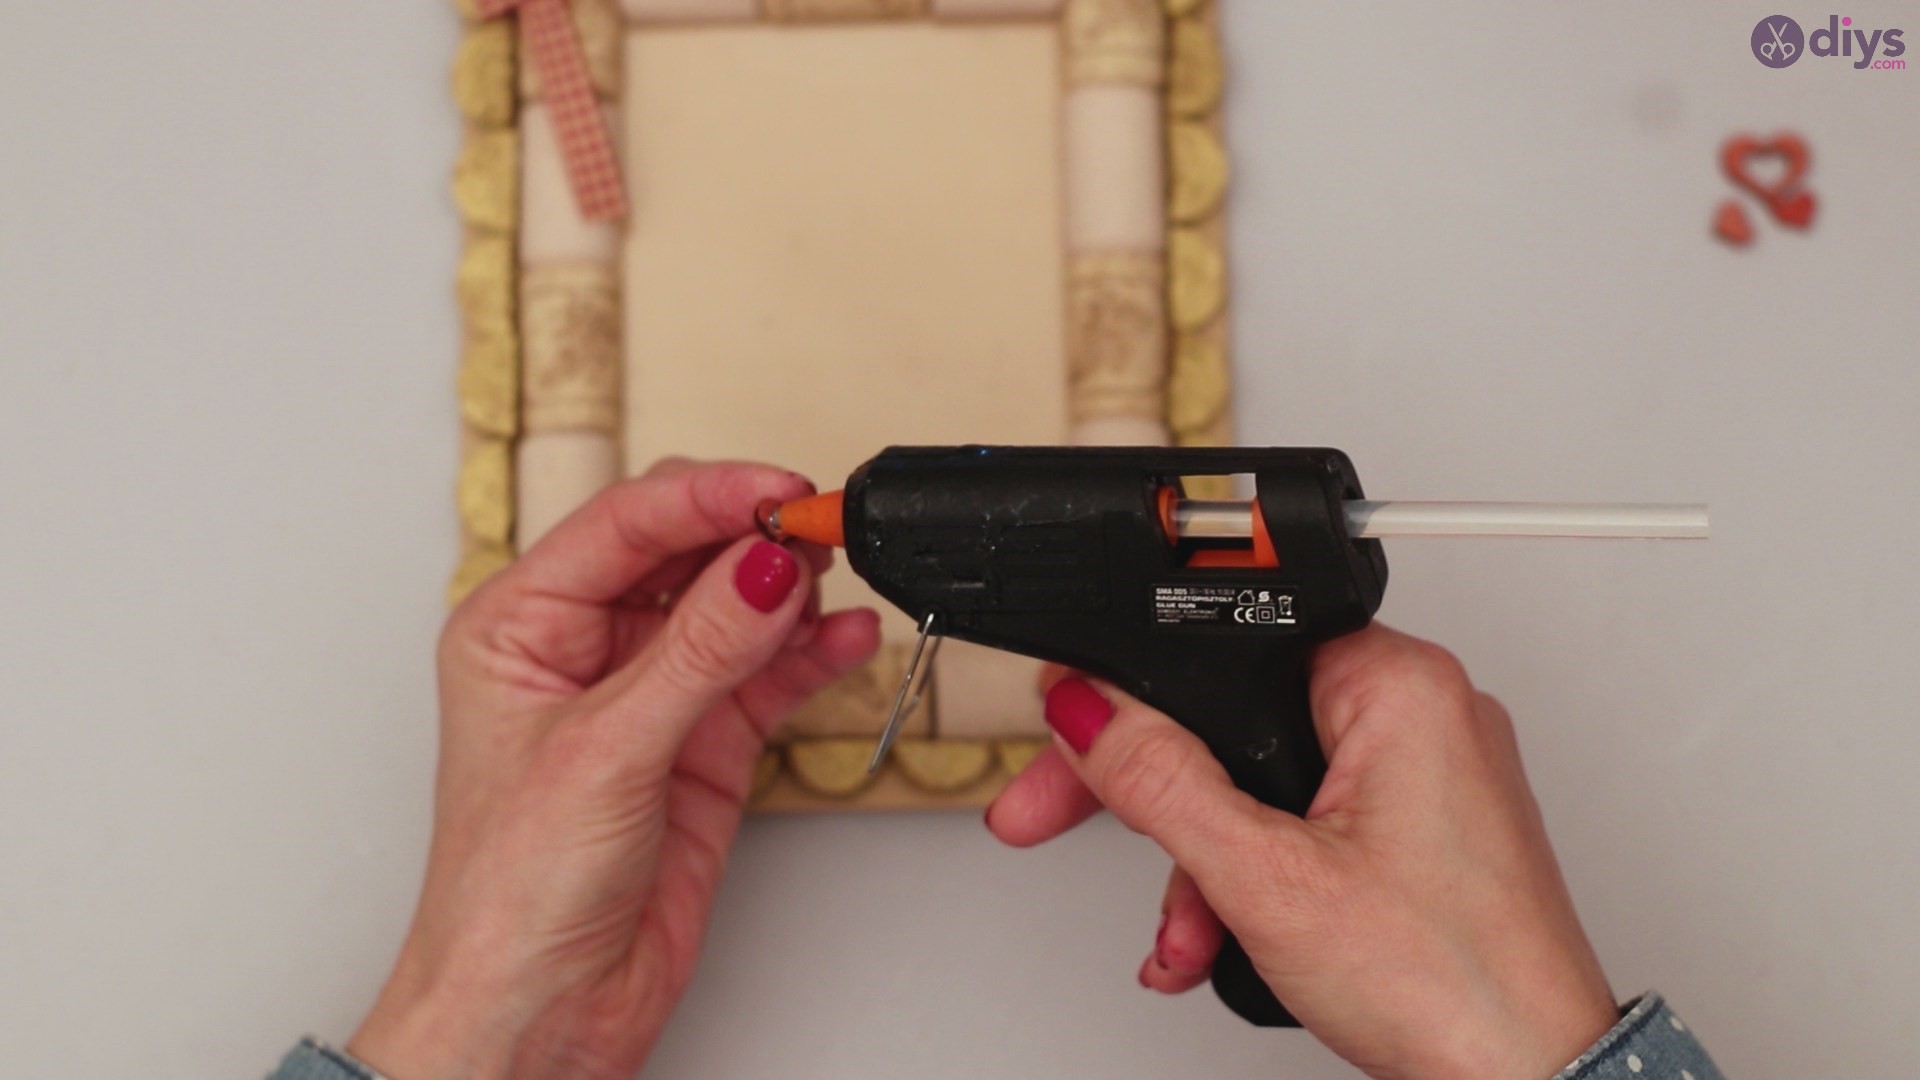
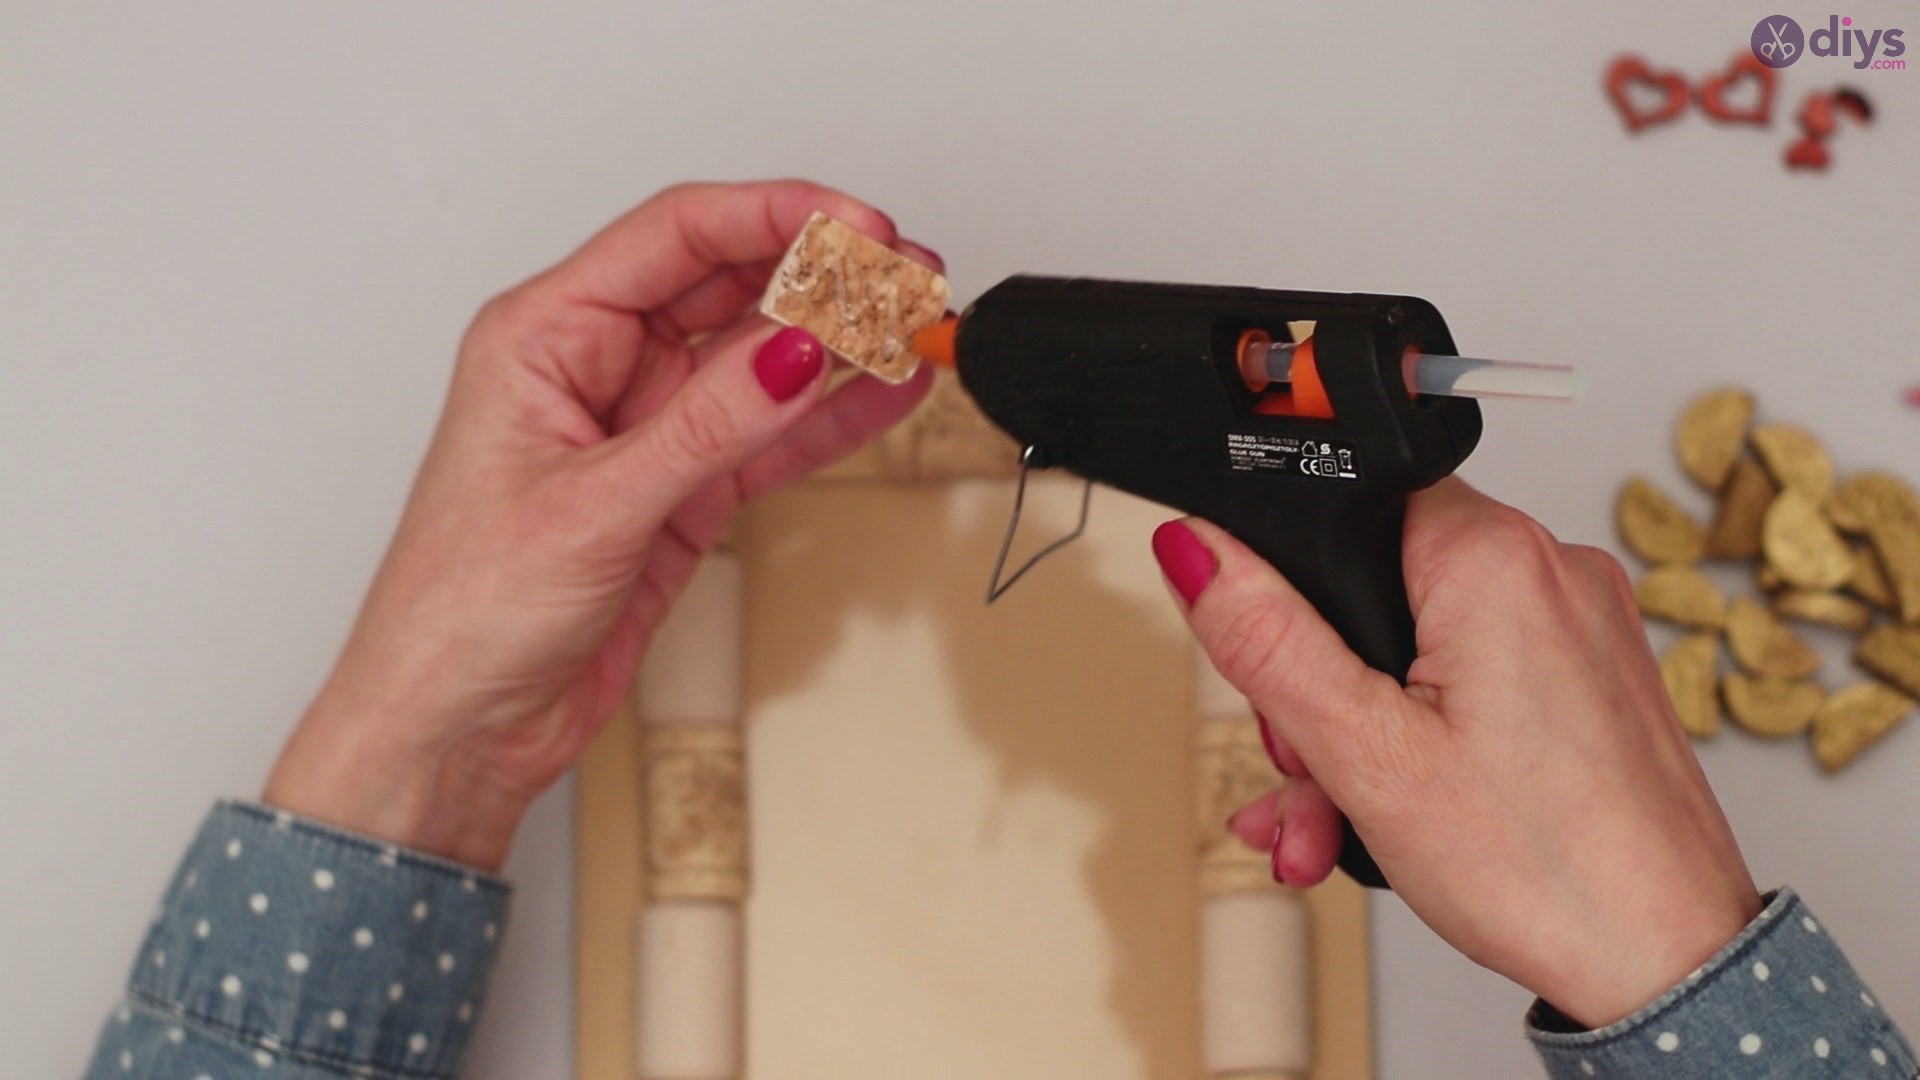
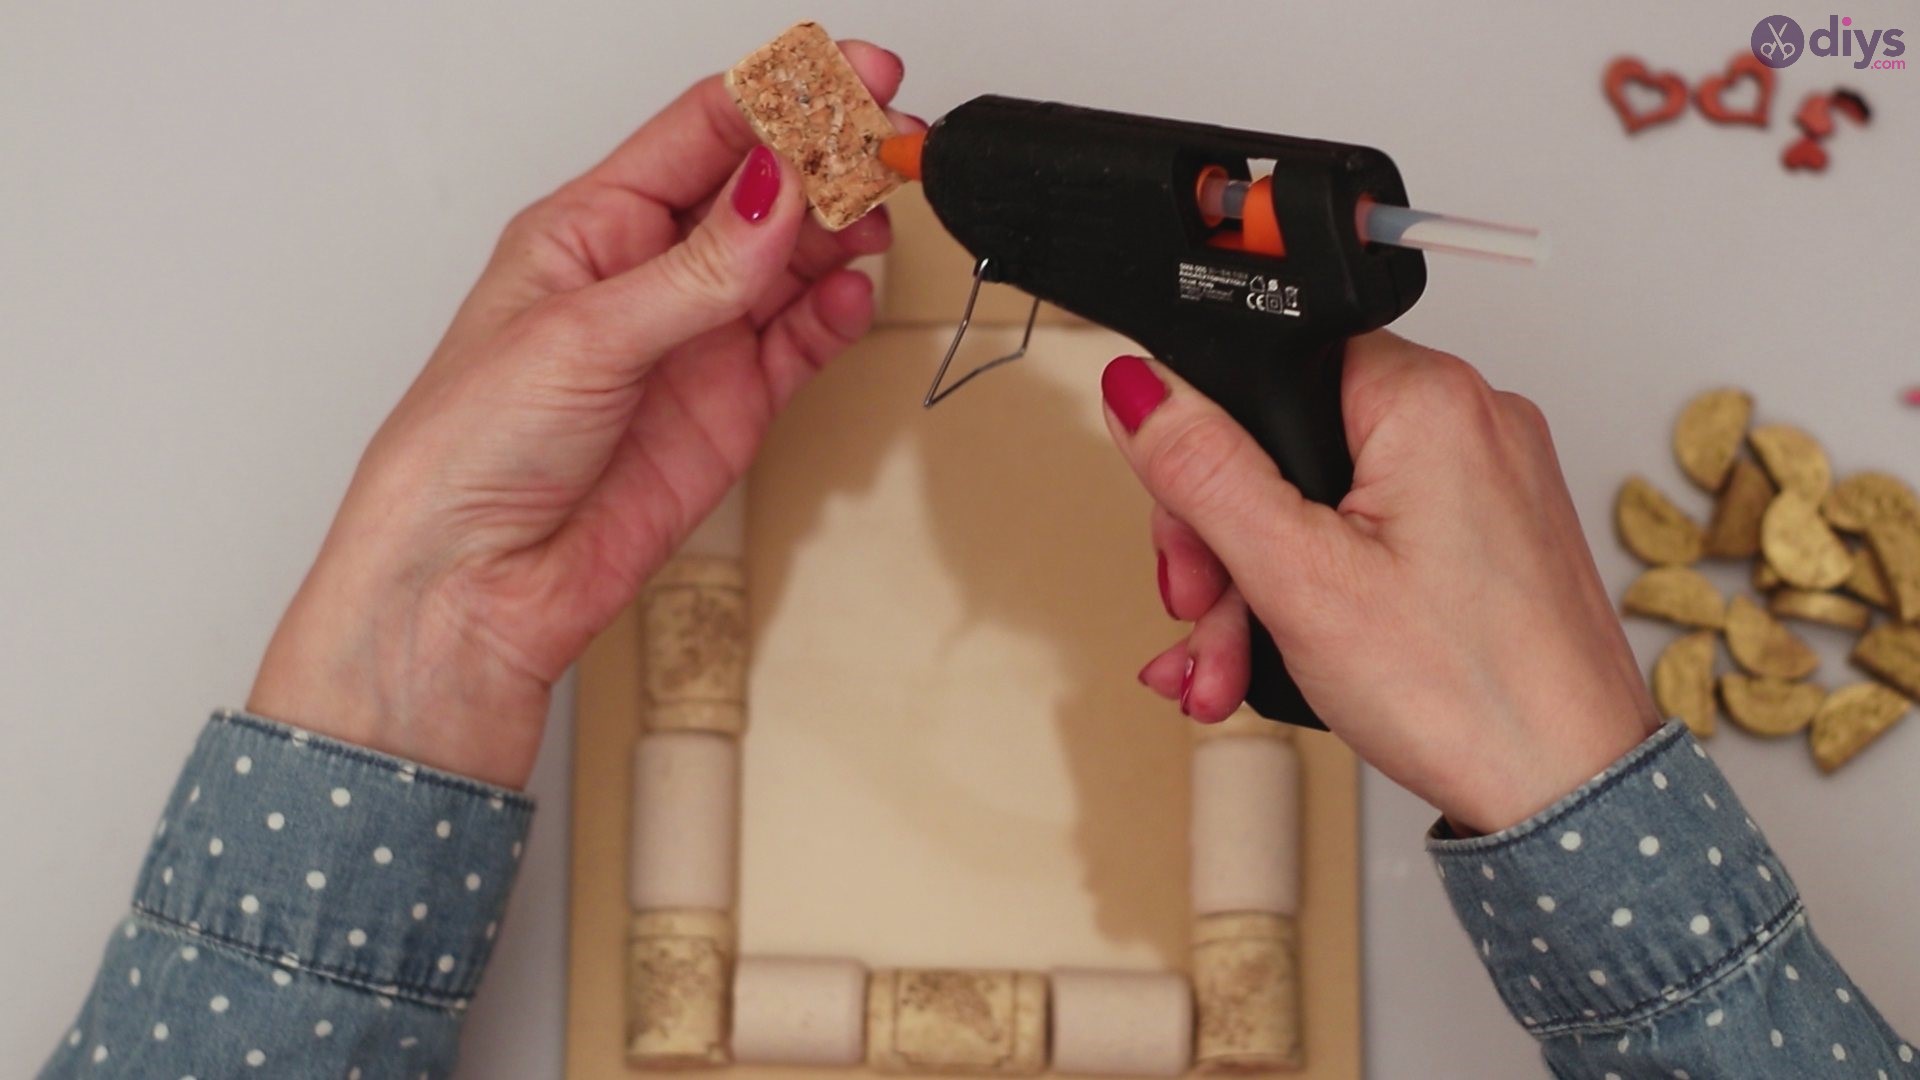
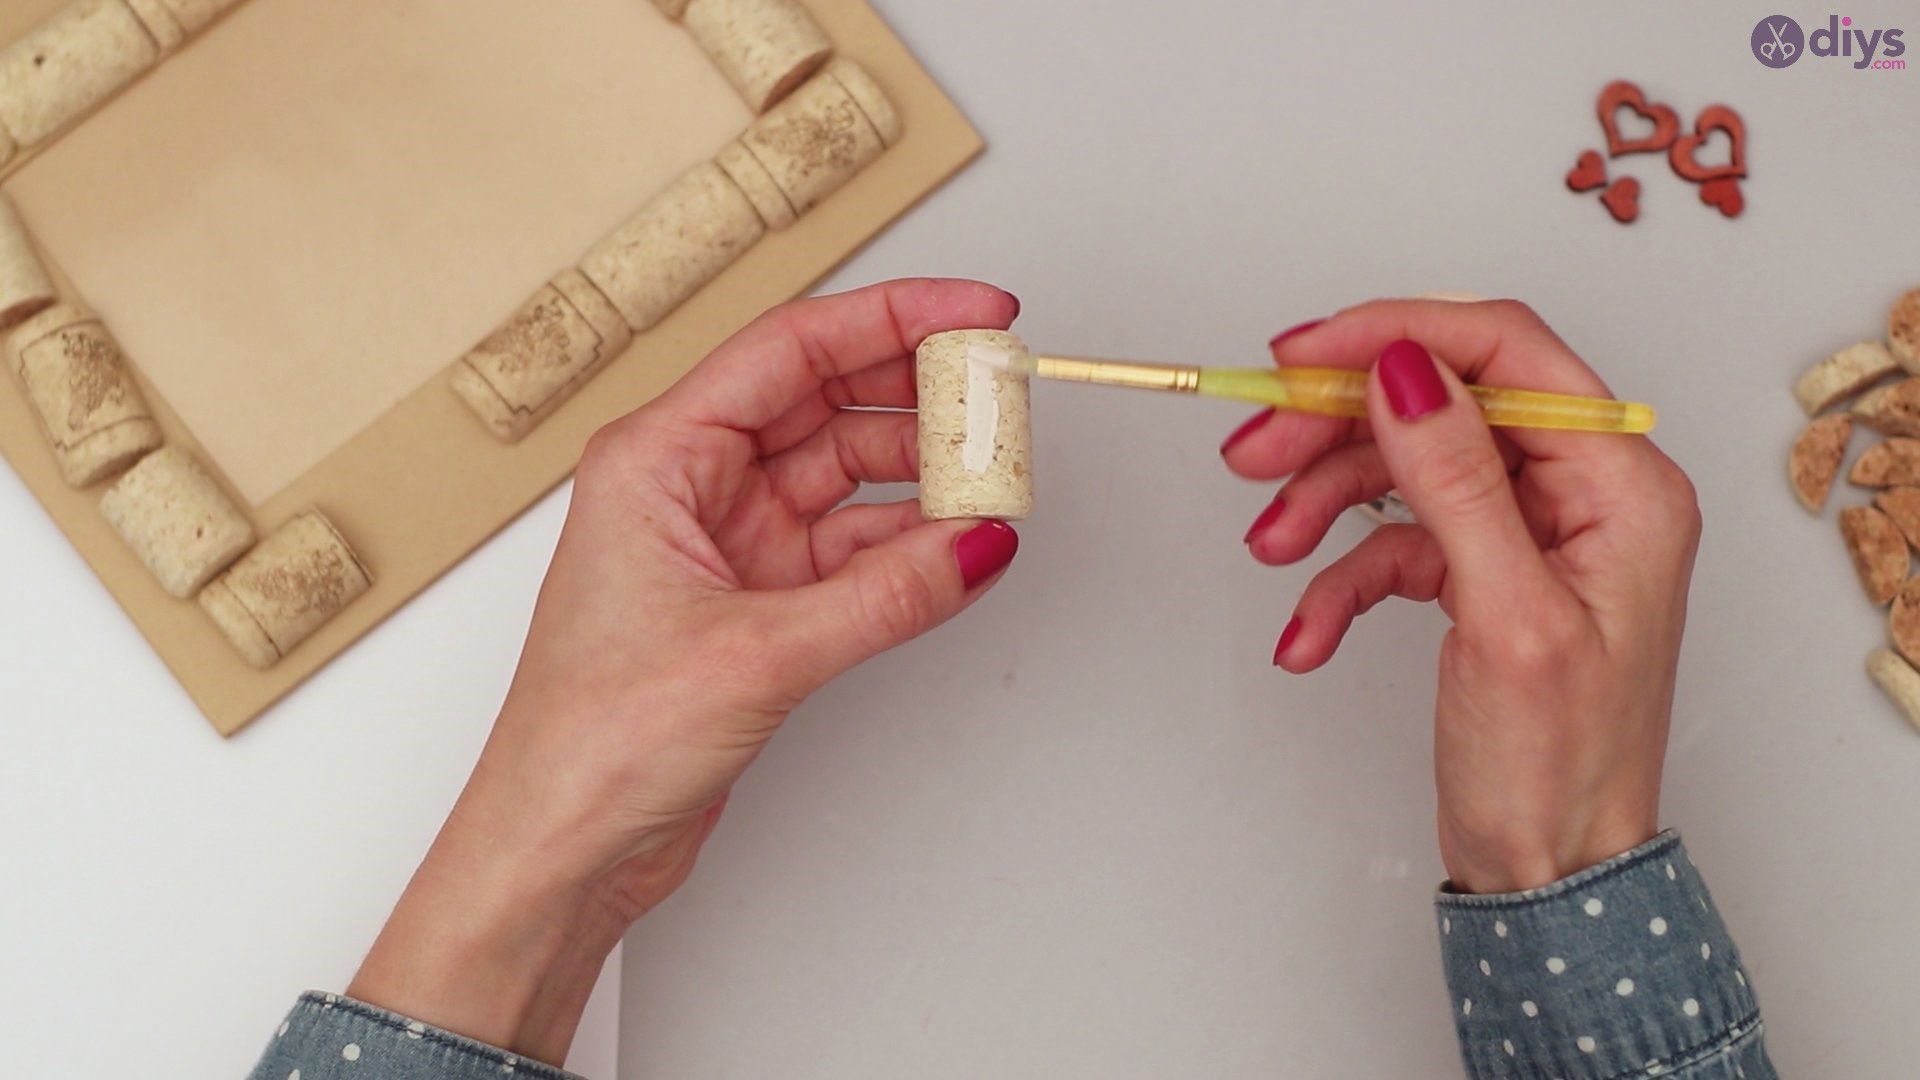
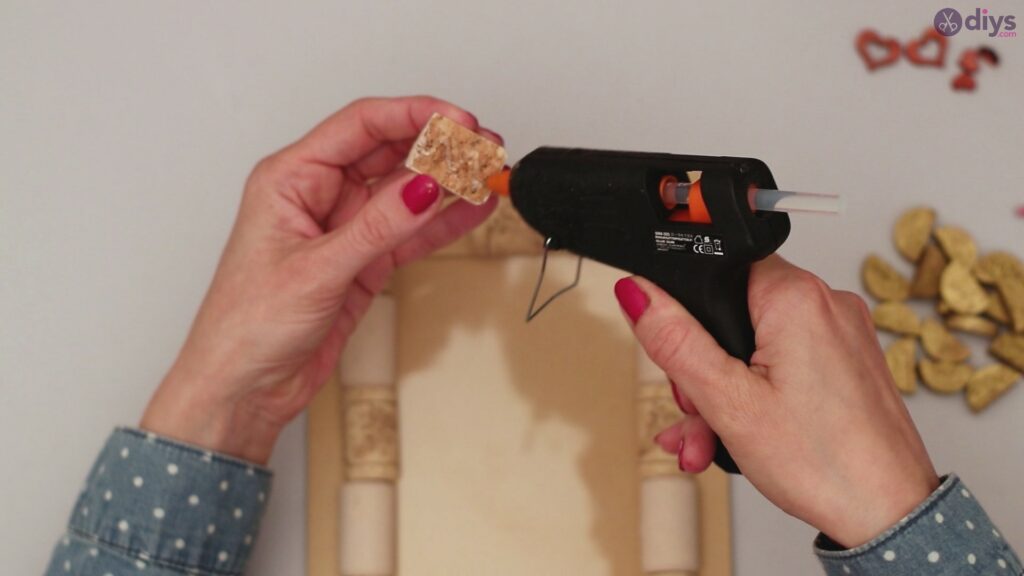
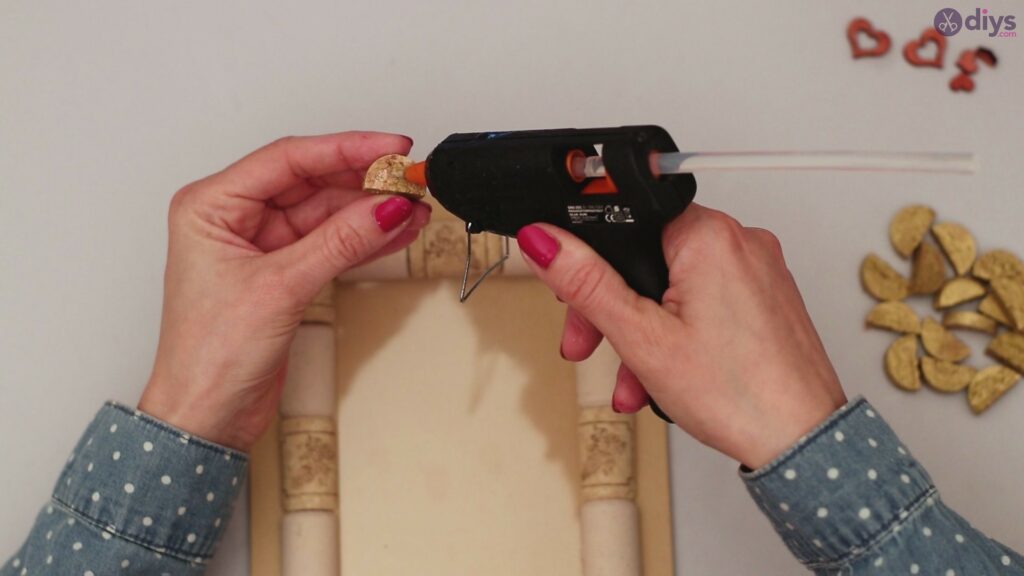
Step 6: Ready to Glue
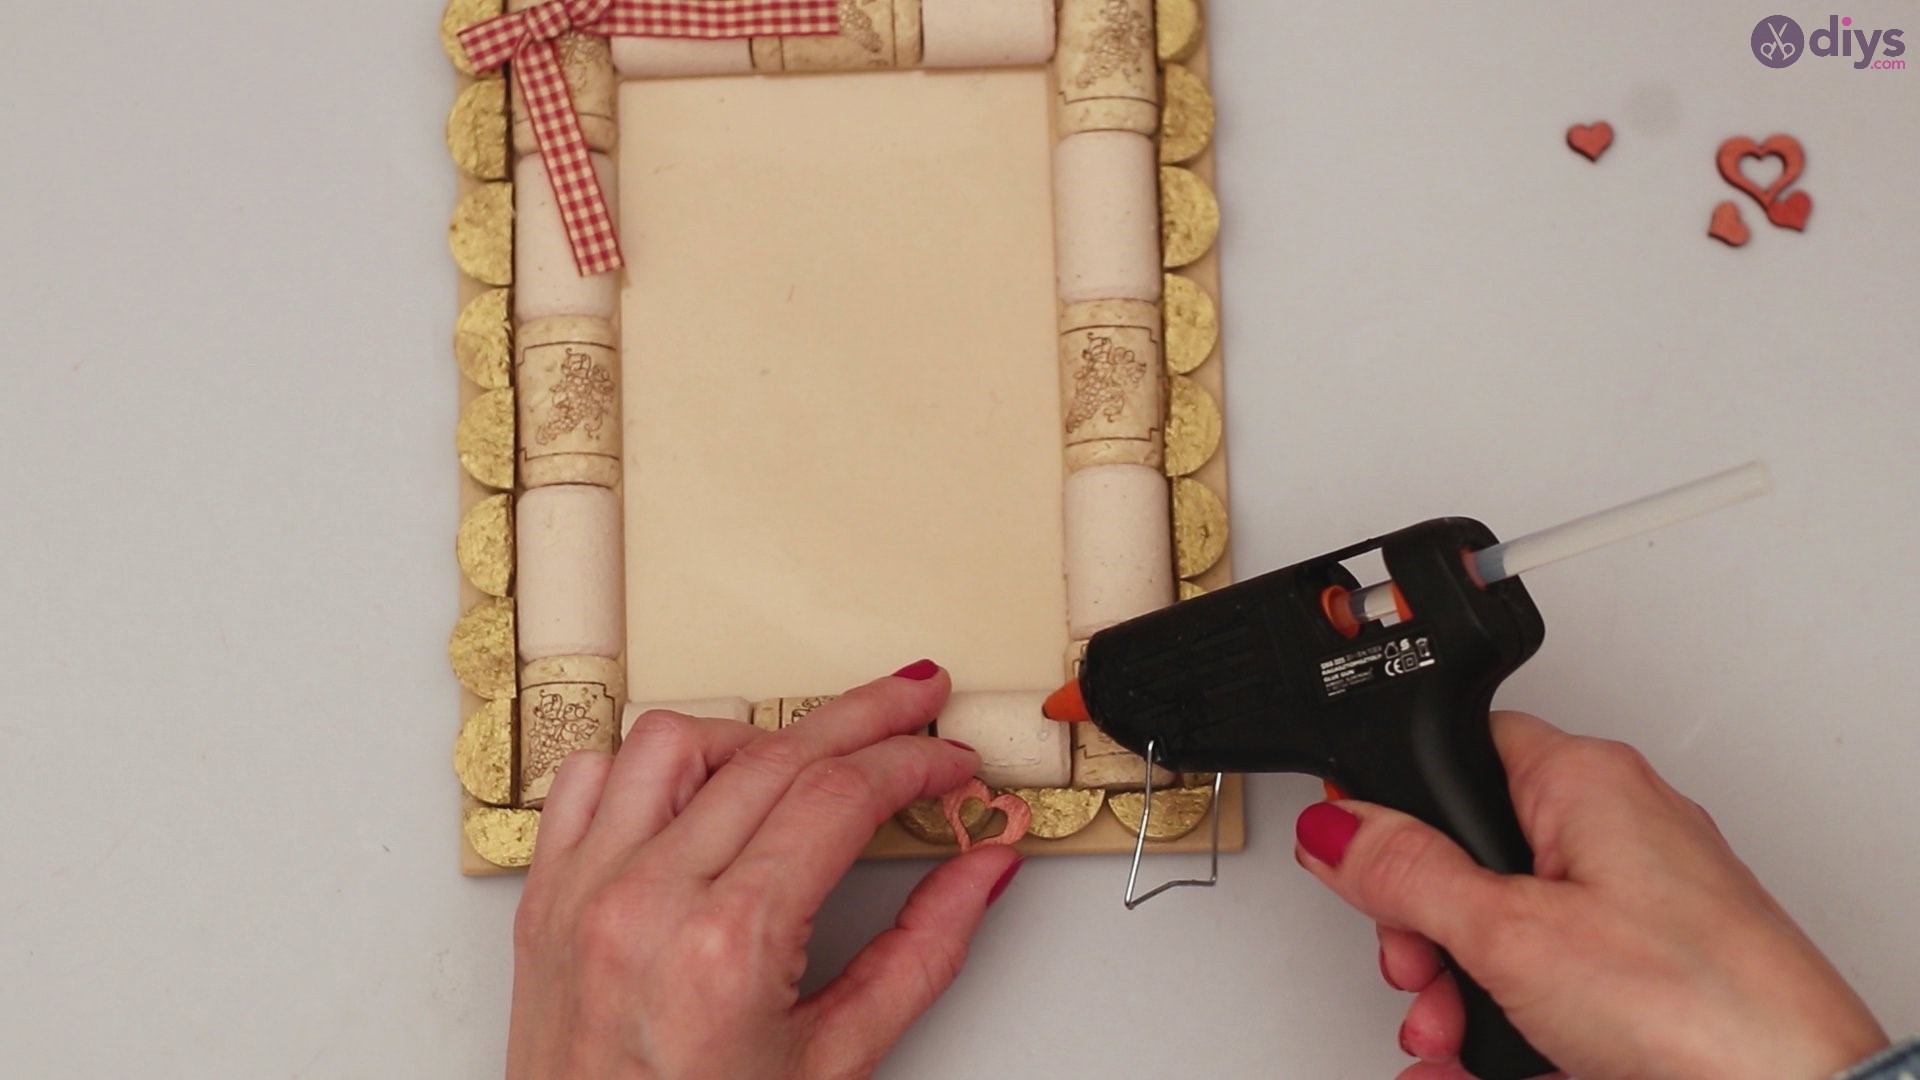
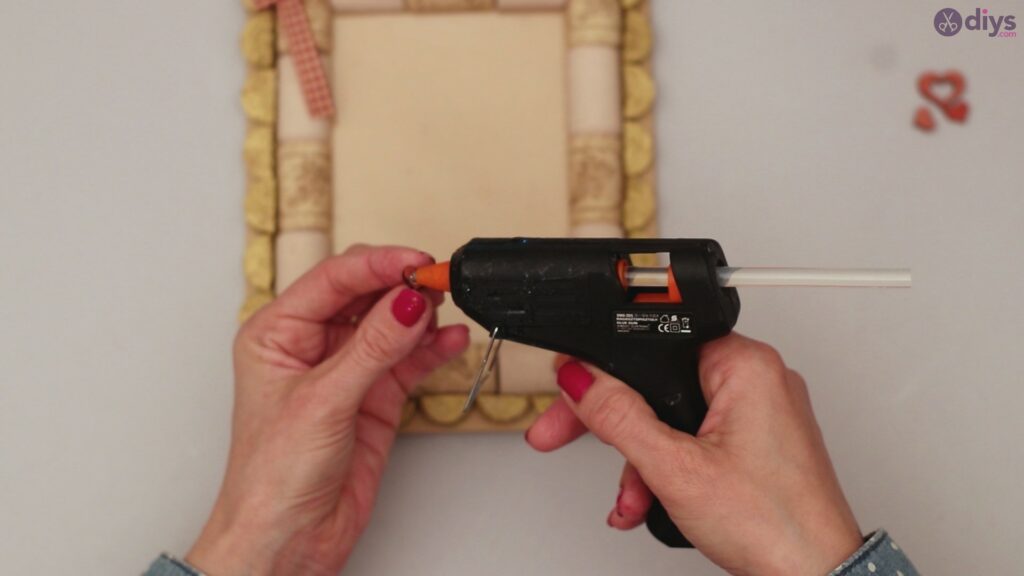
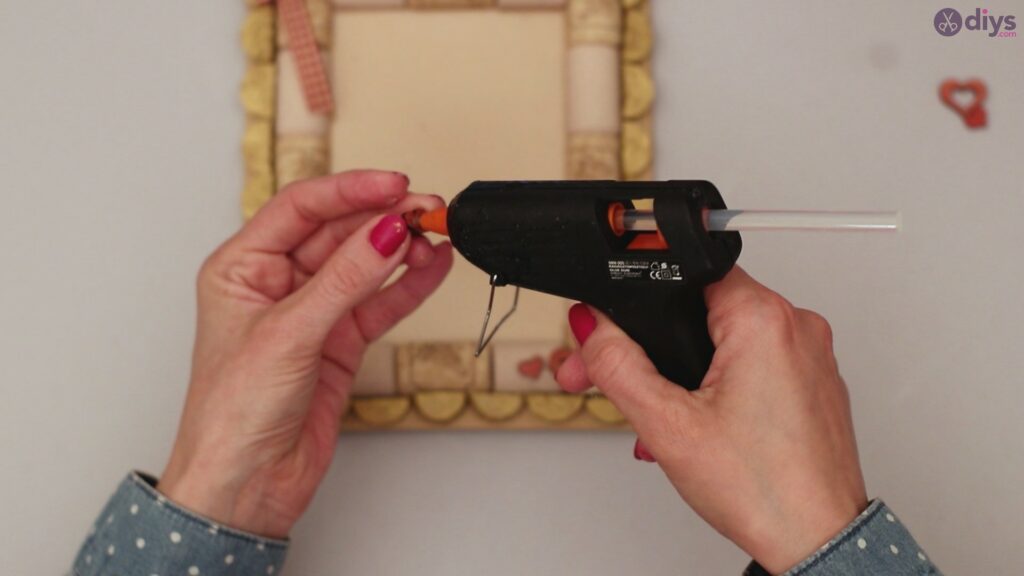
Using your glue gun, drizzle the gun across the ends of the cork piece in order to get it fully covered with a thin line of glue. If you have too much glue on these pieces, the glue will run out of the sides of the cork as you’re trying to press it down. This causes unsightly dried glue that you want to try to avoid. Just use a minimal amount of glue in order to get it down without having any spill over.

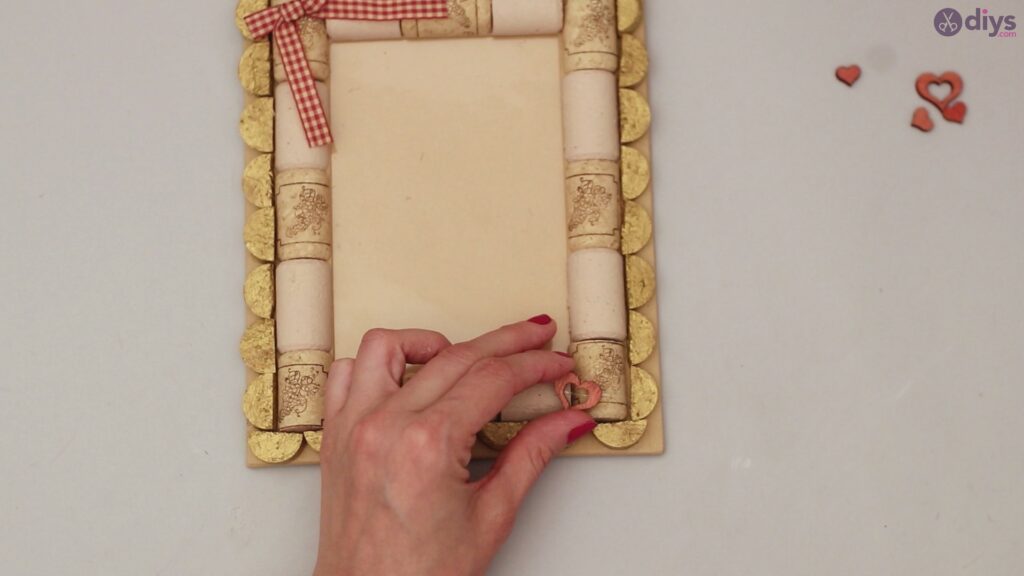
Step 7: Glue the Embellishments
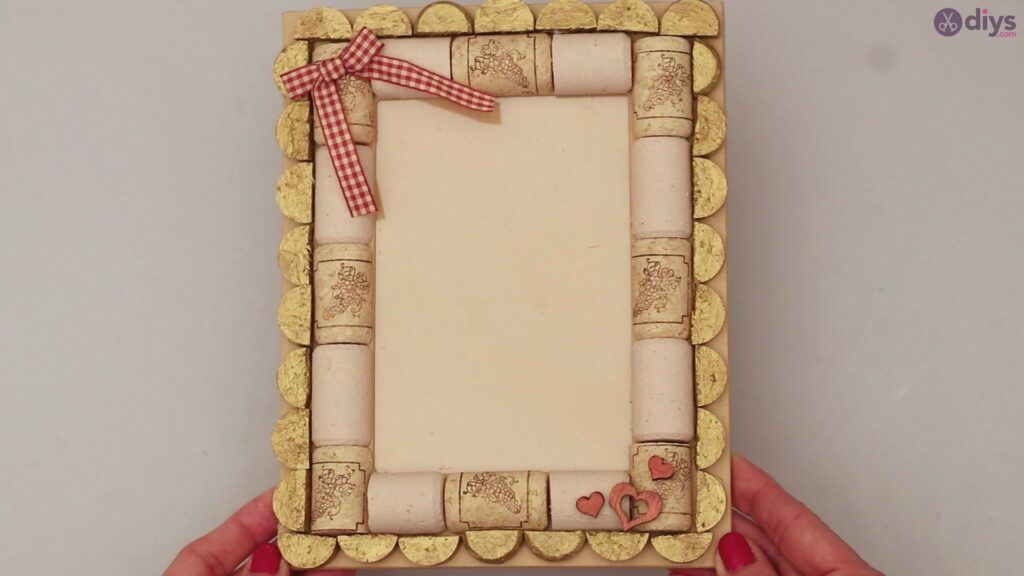
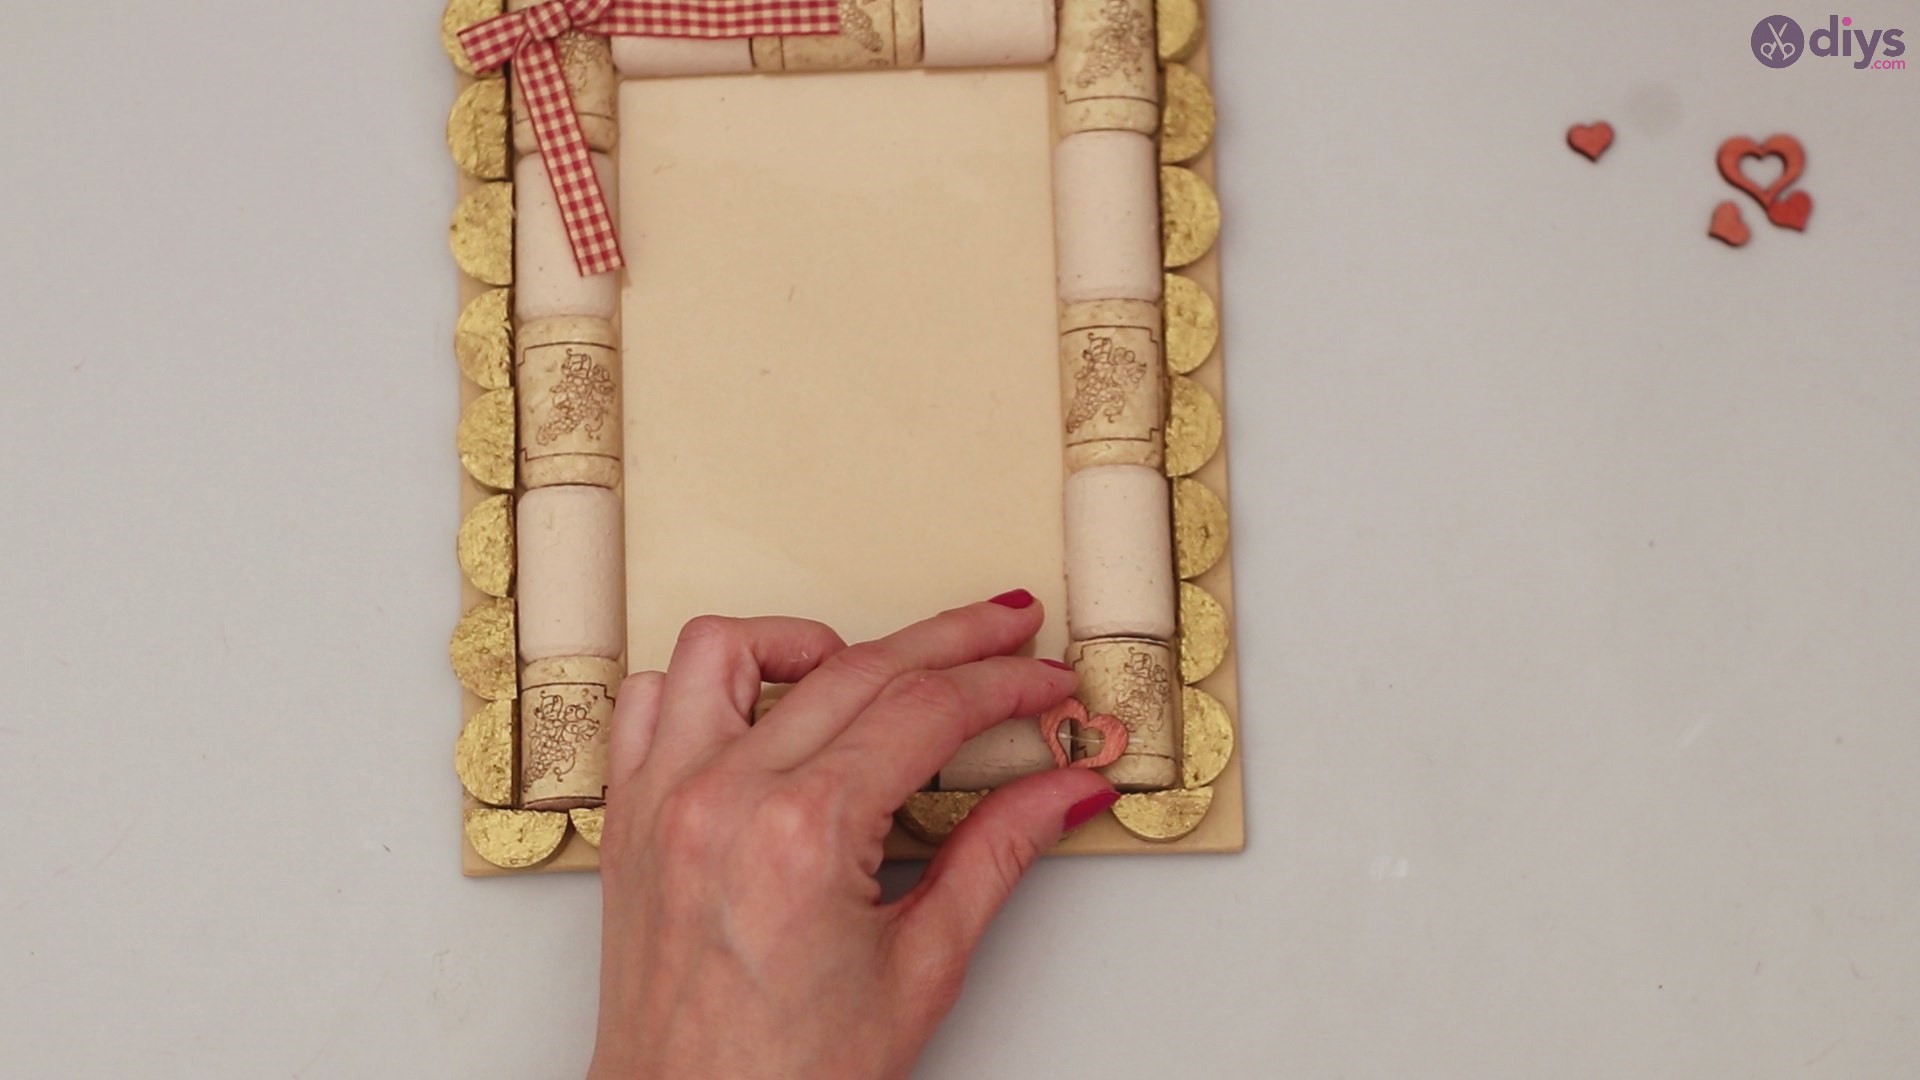
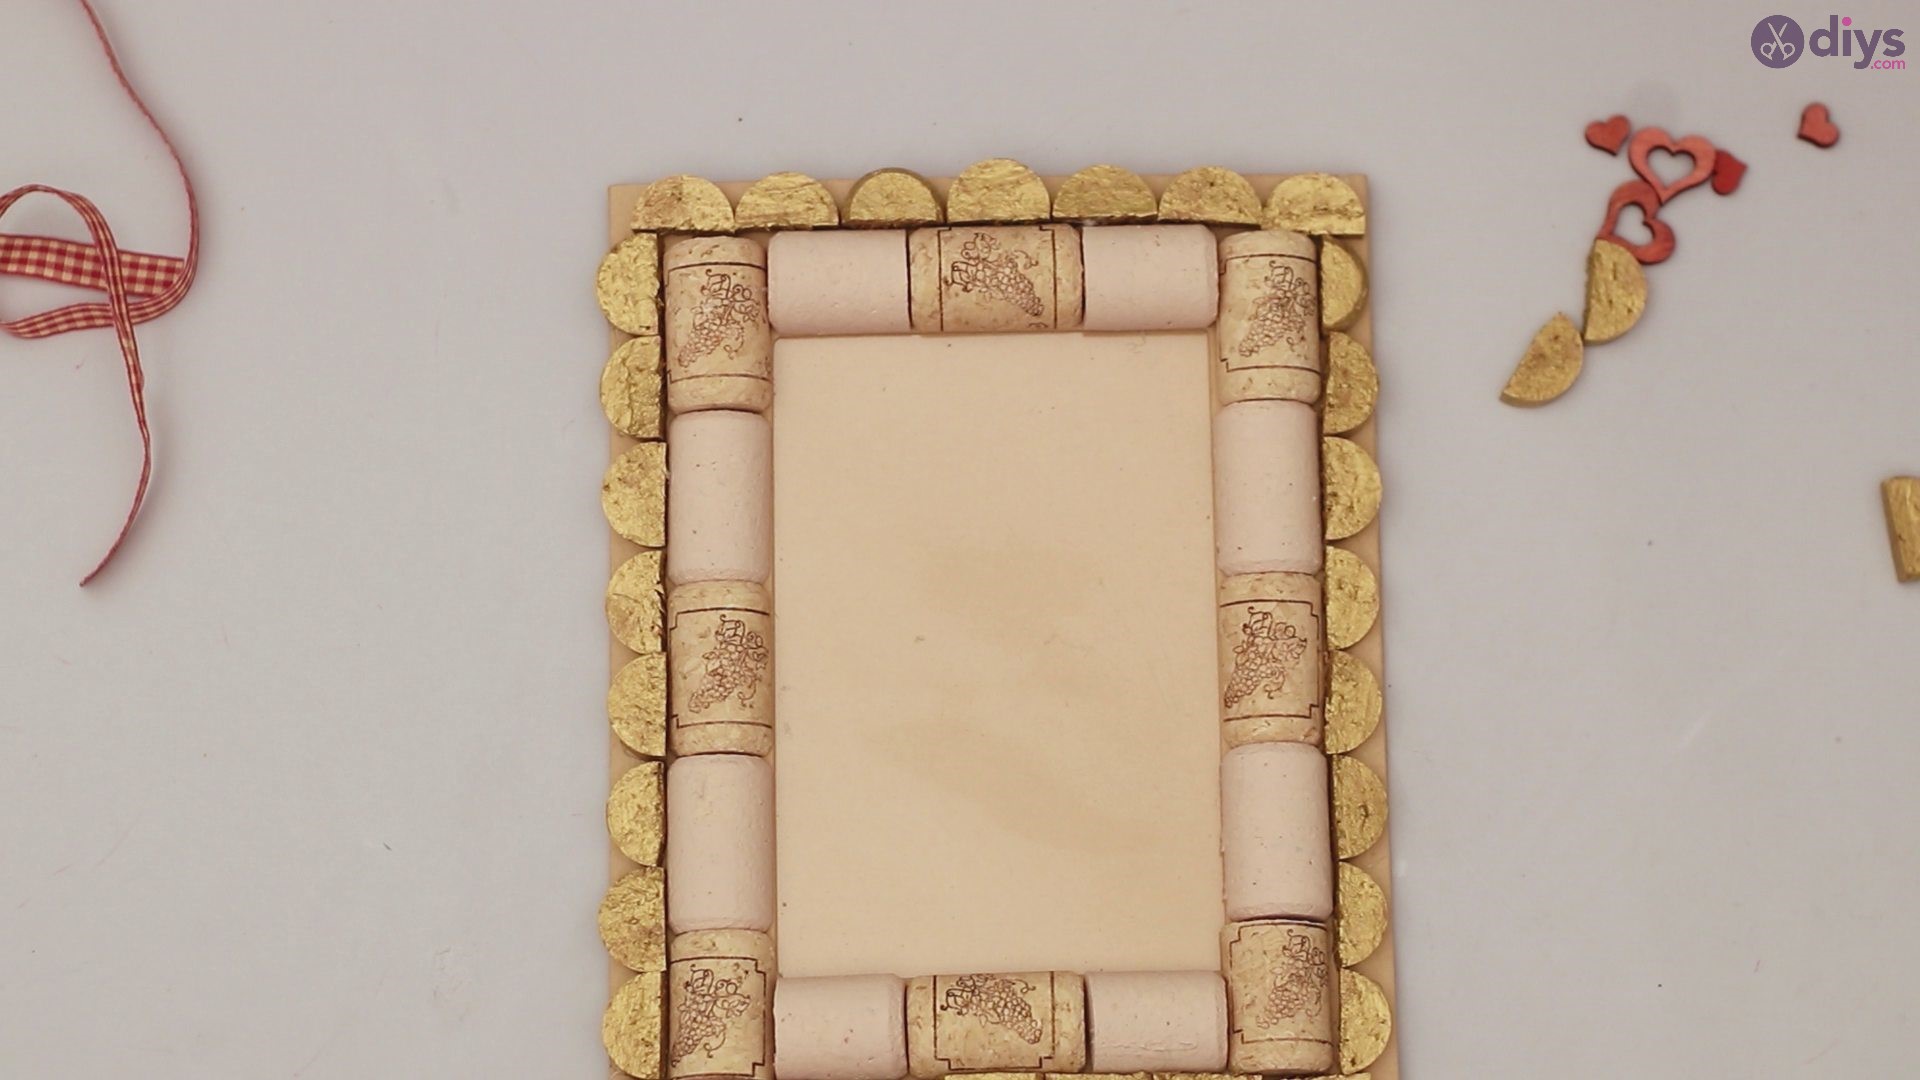
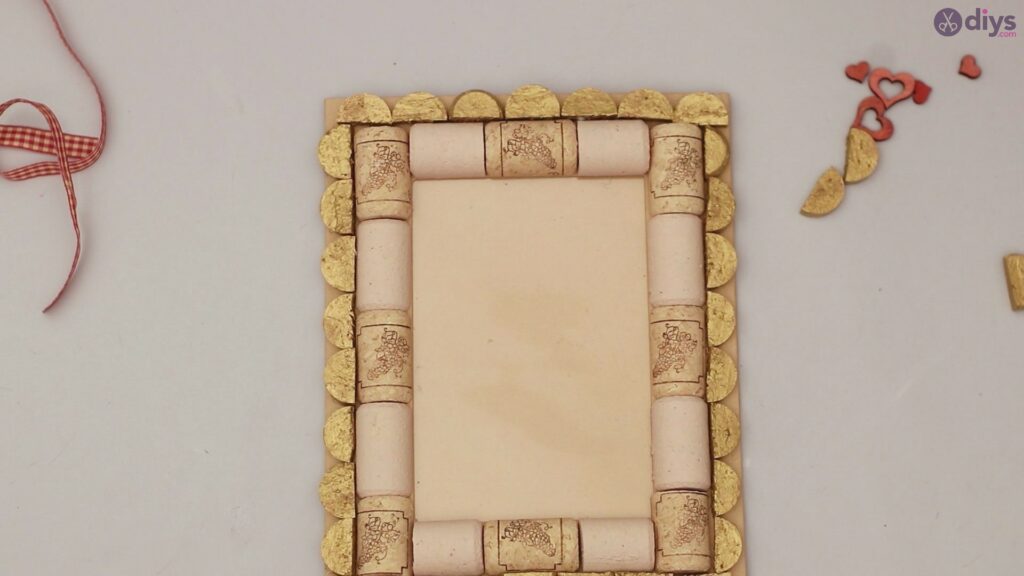
Now that your main cork border is secure, you can now start to place your bordering accents to see how they will compliment your main cork border. Once they are exactly how you like them, start gluing them with dots of glue to make your frame really pop.


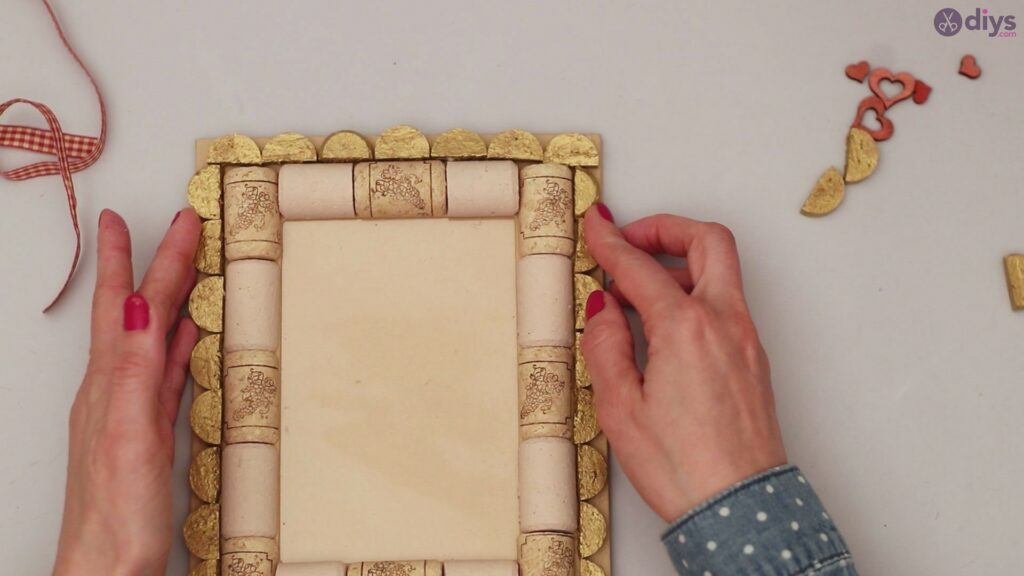
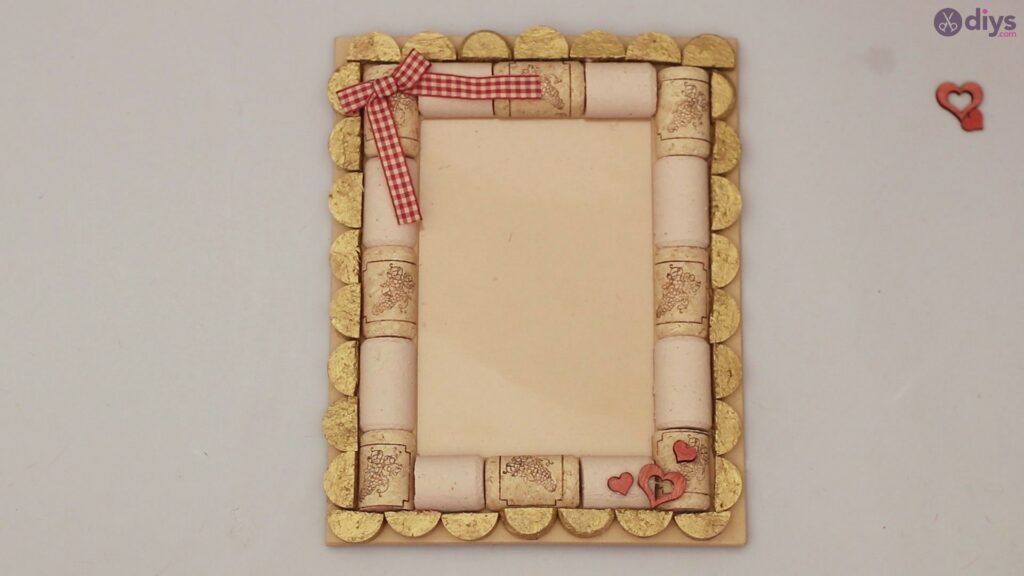
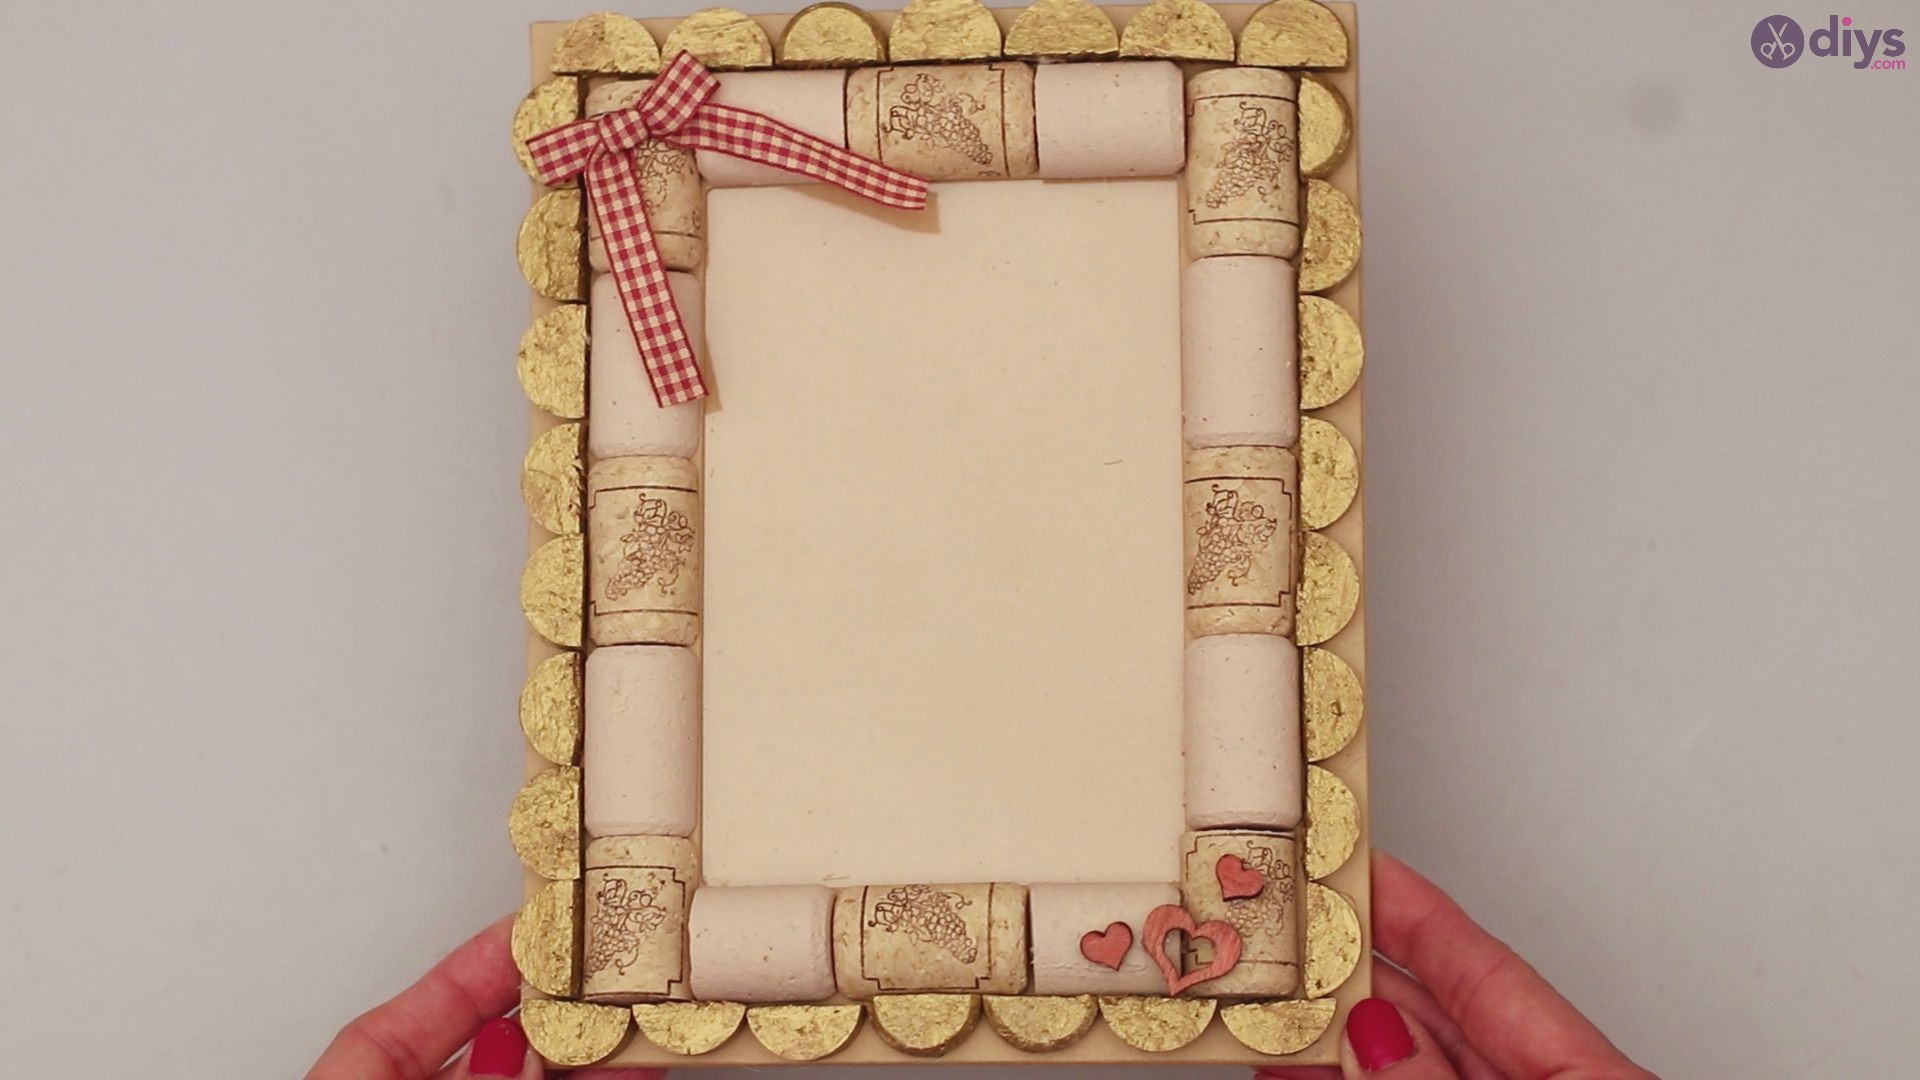
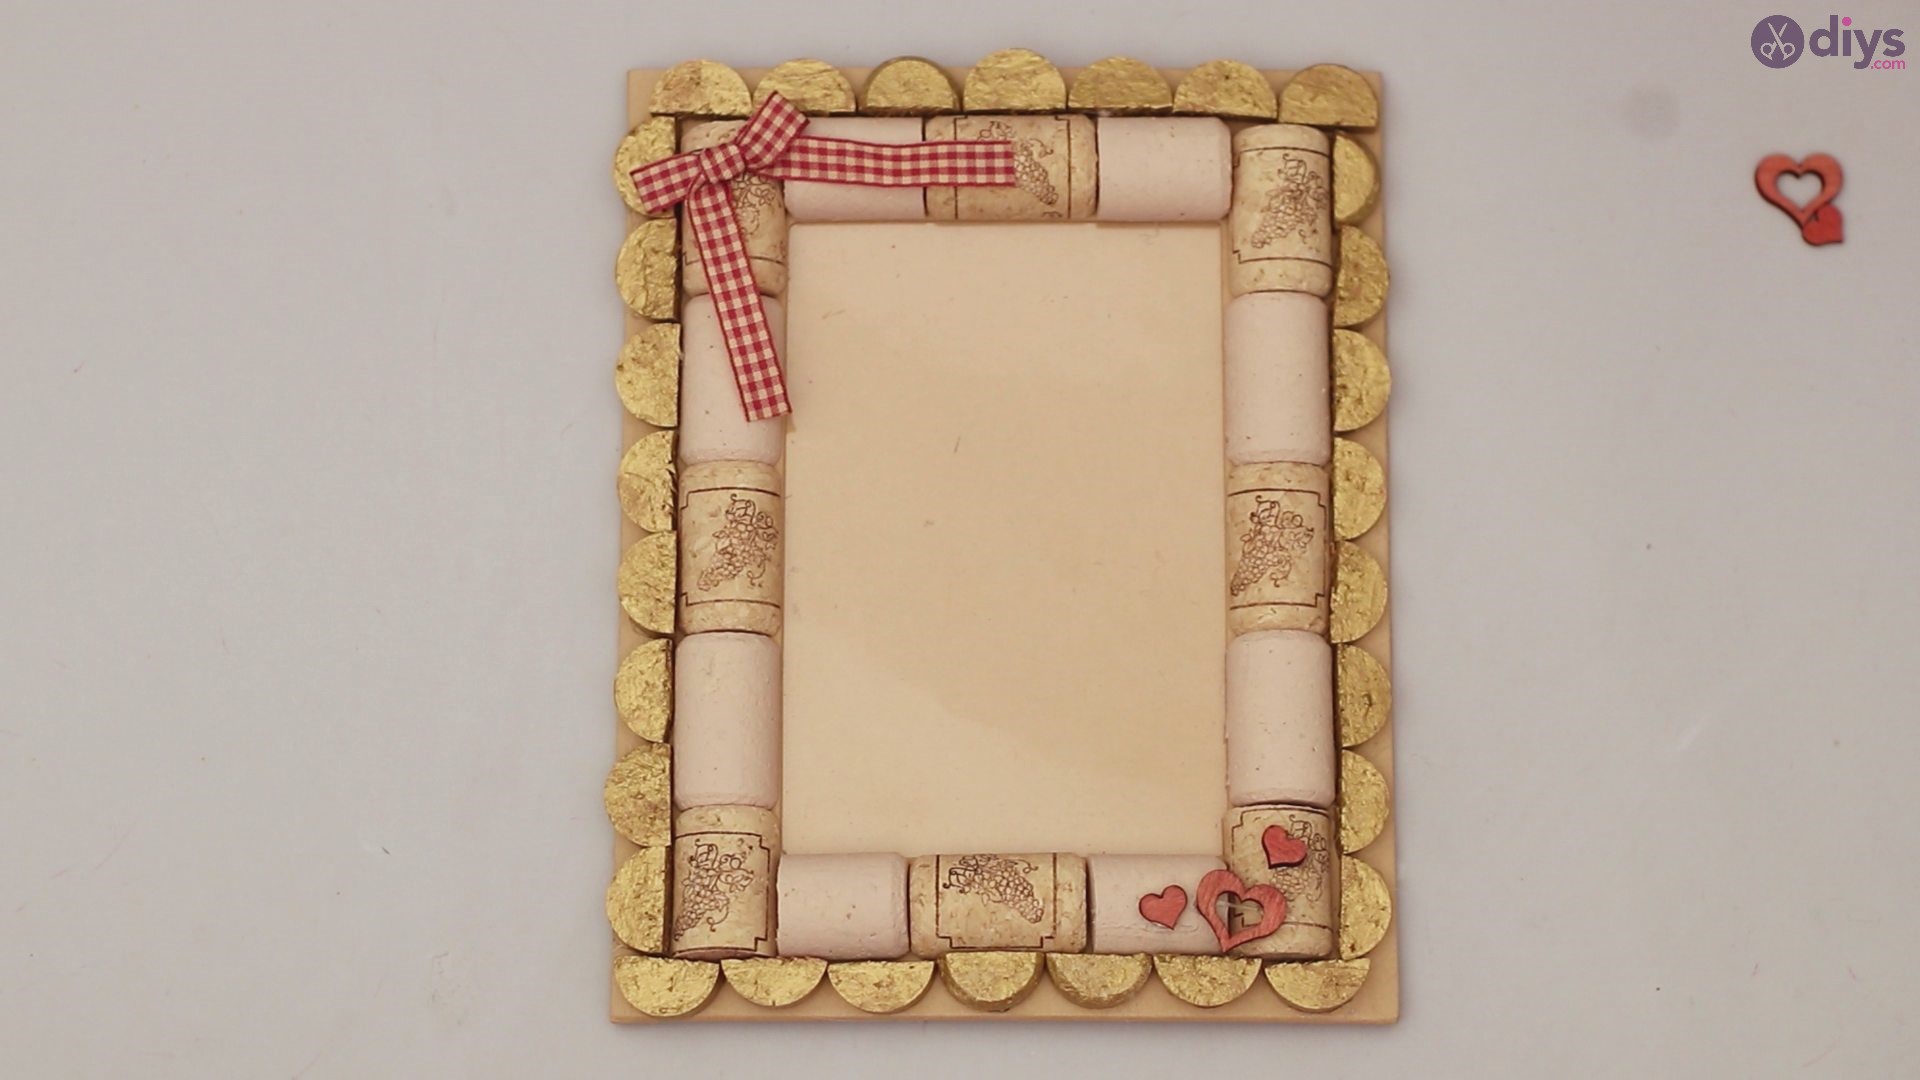
Look how gorgeous this frame turned out!
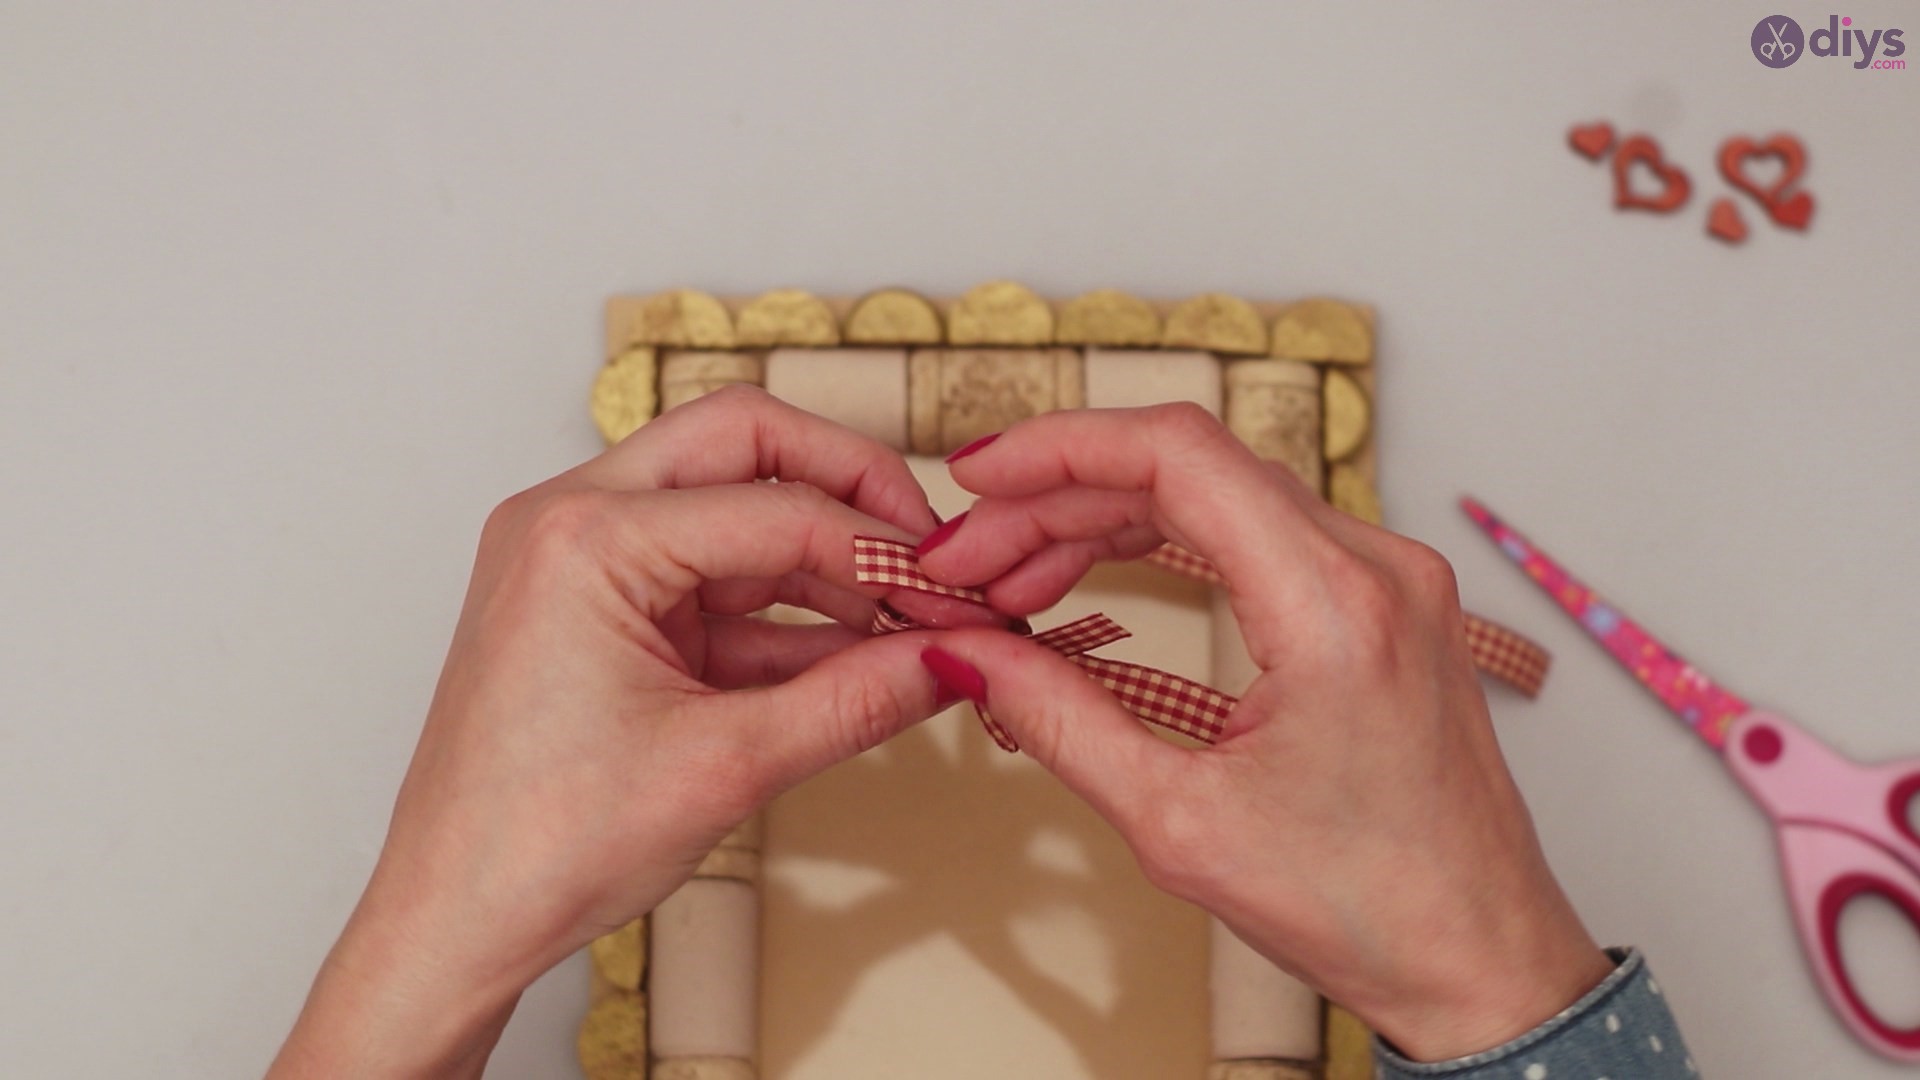
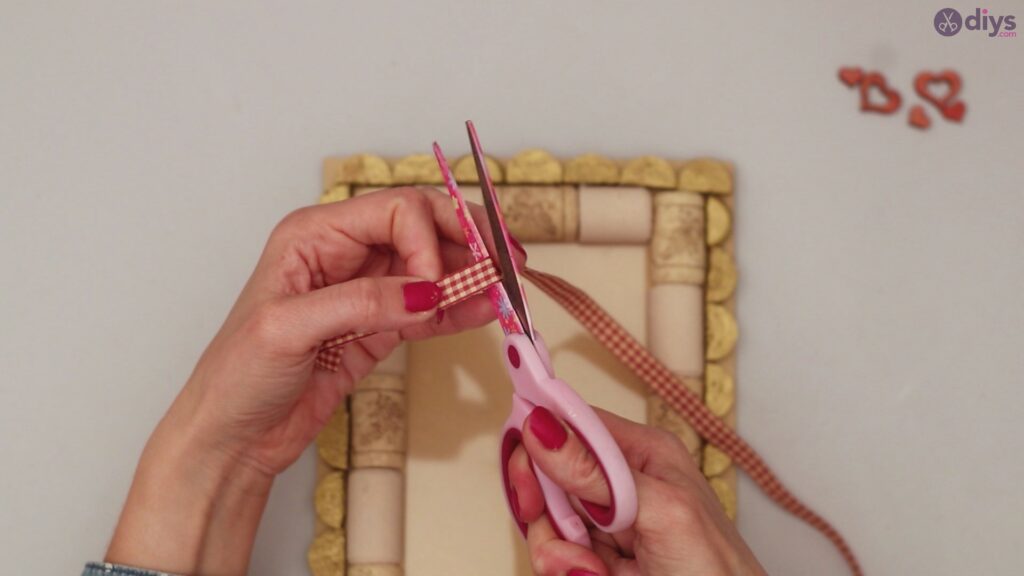
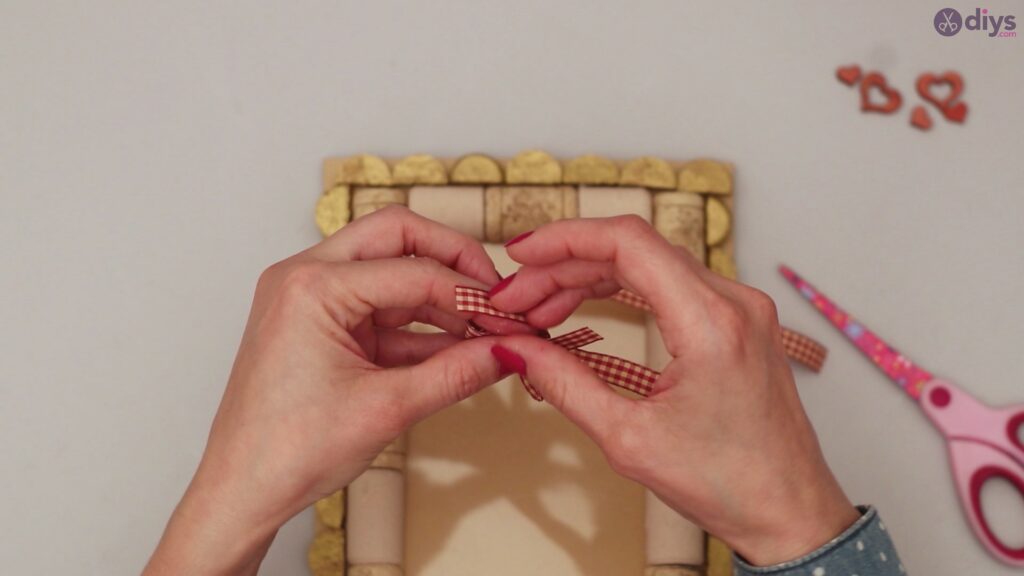
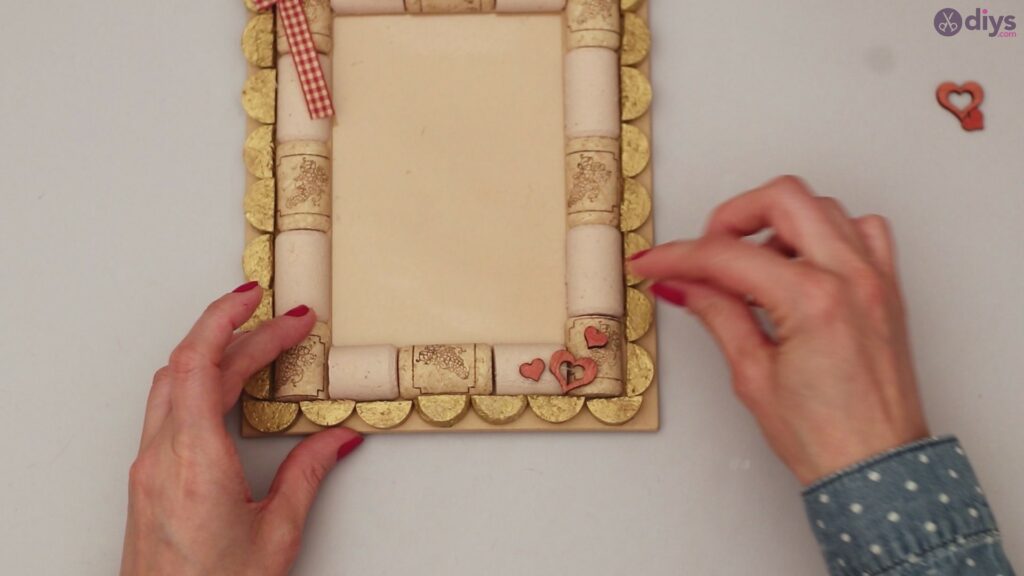
Step 8: The Final Accents
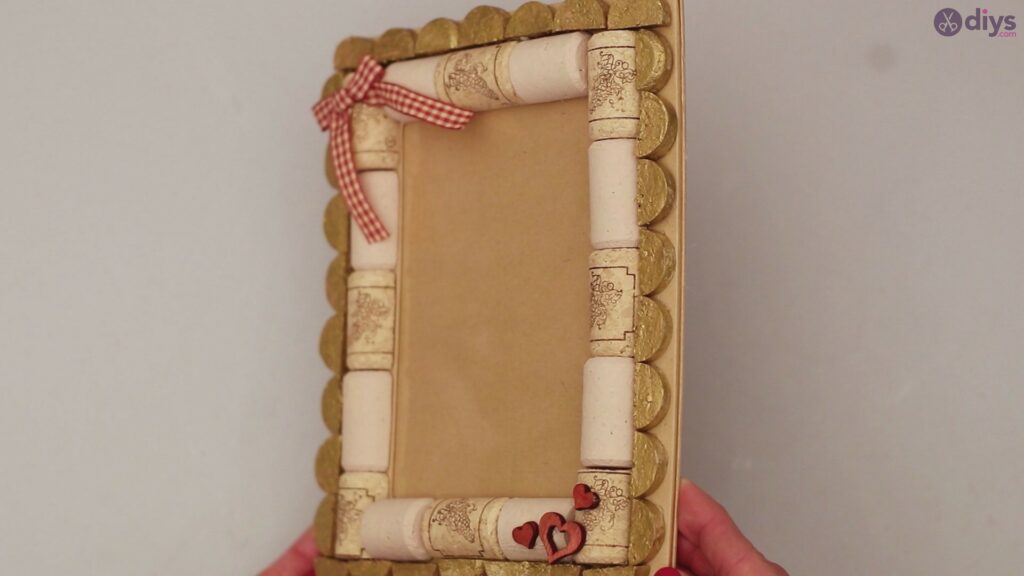
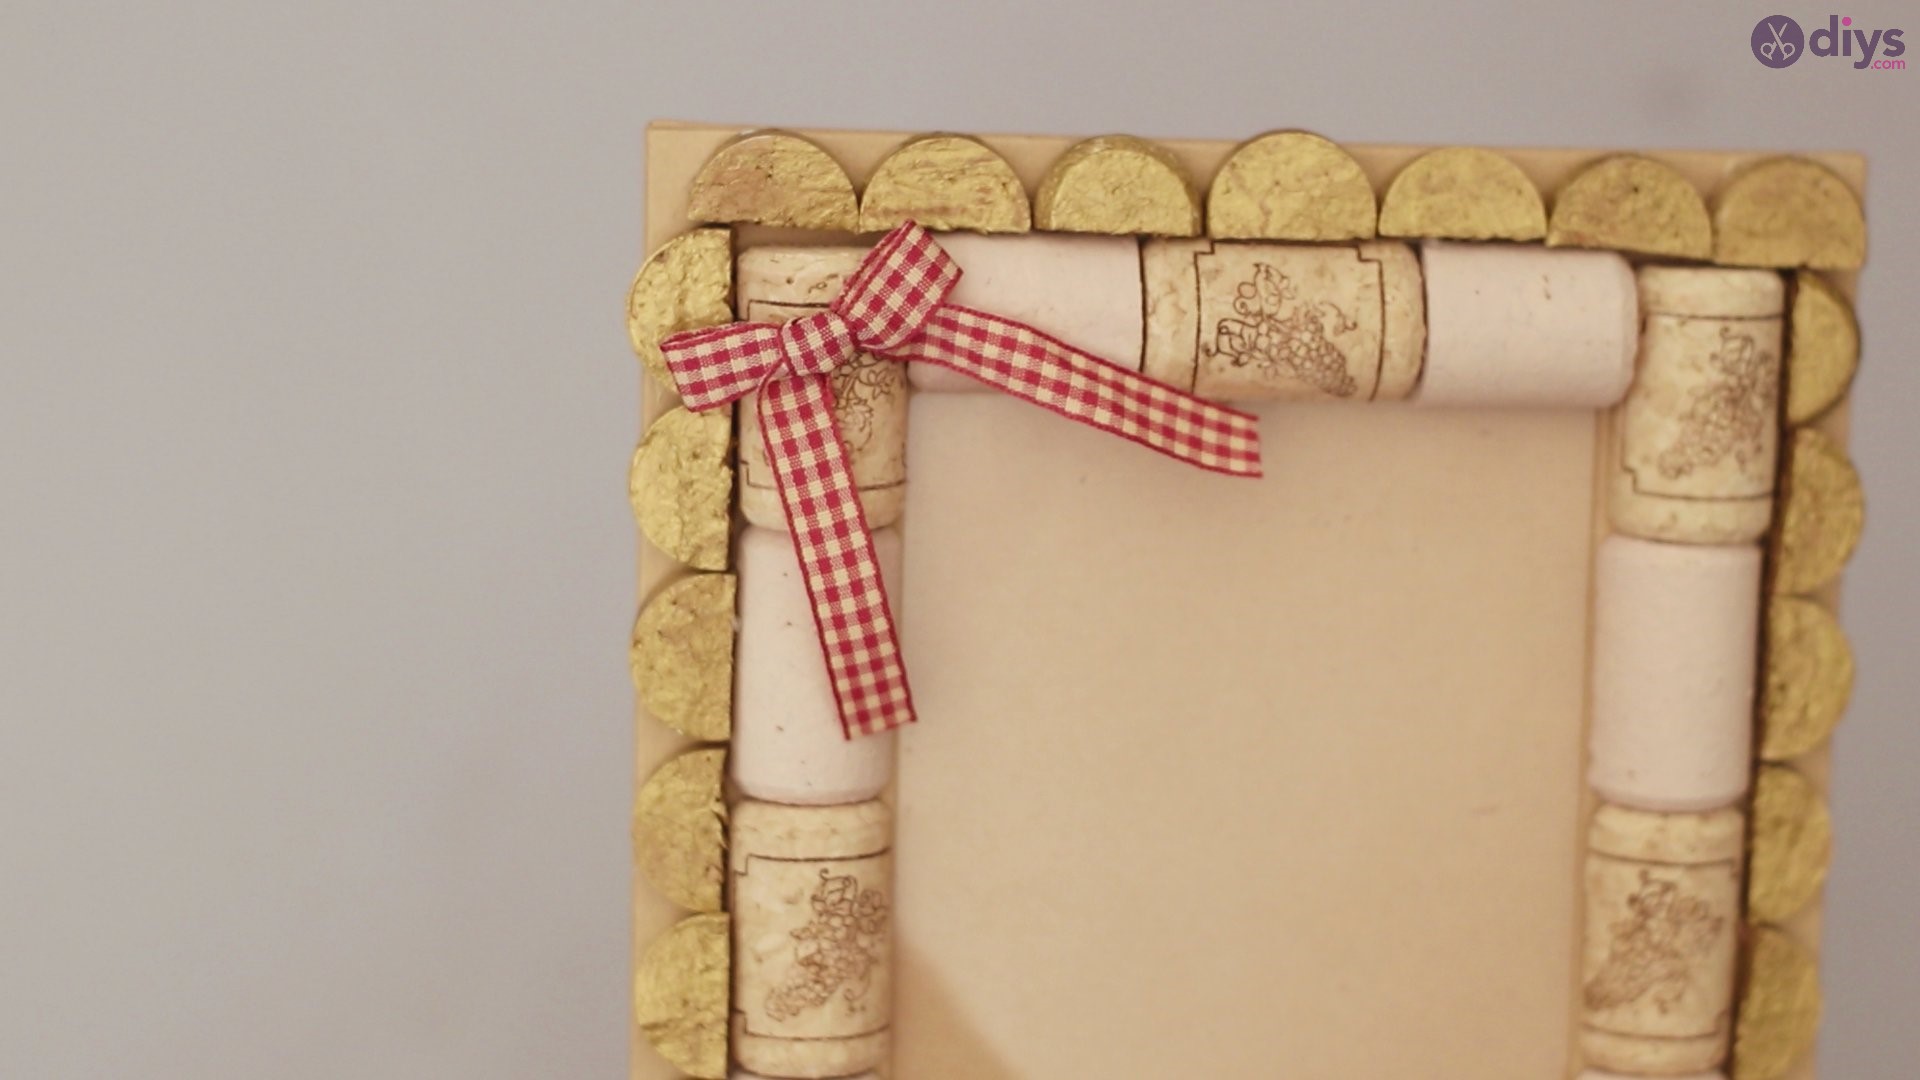
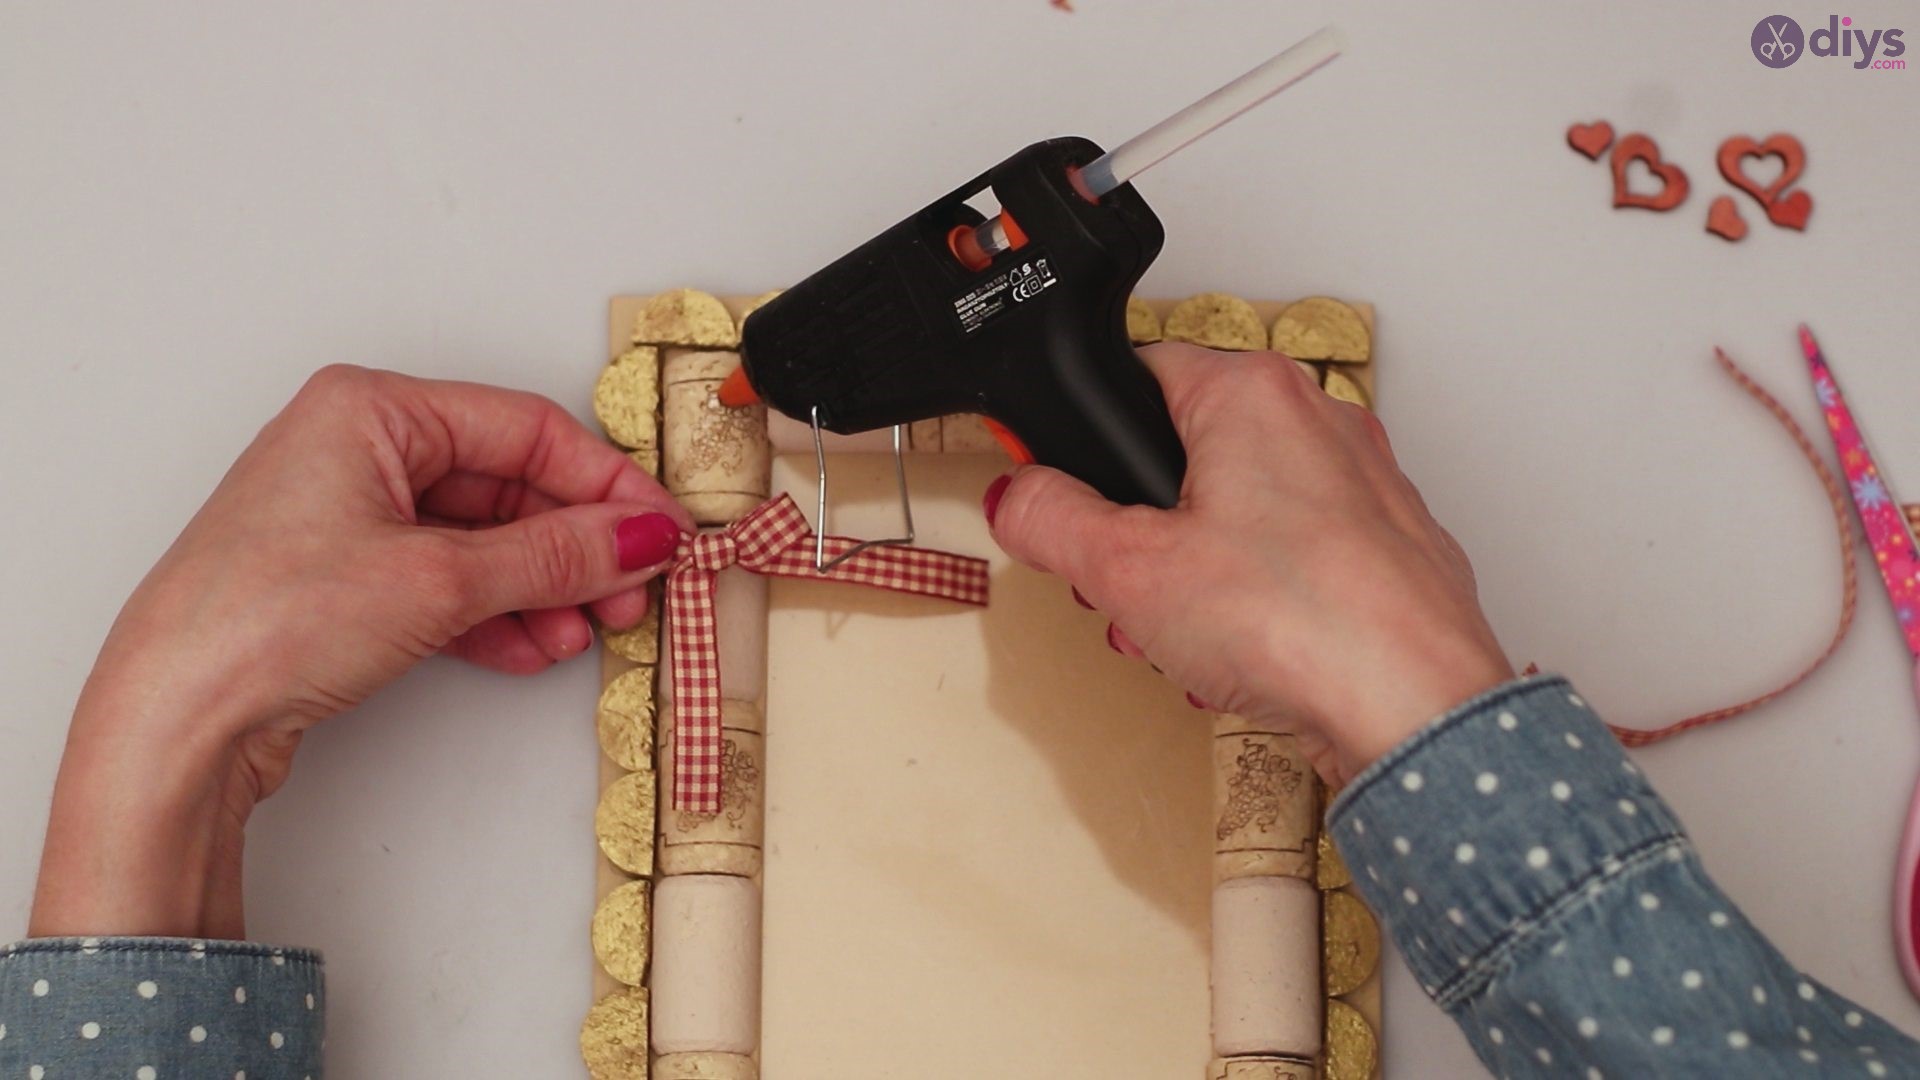
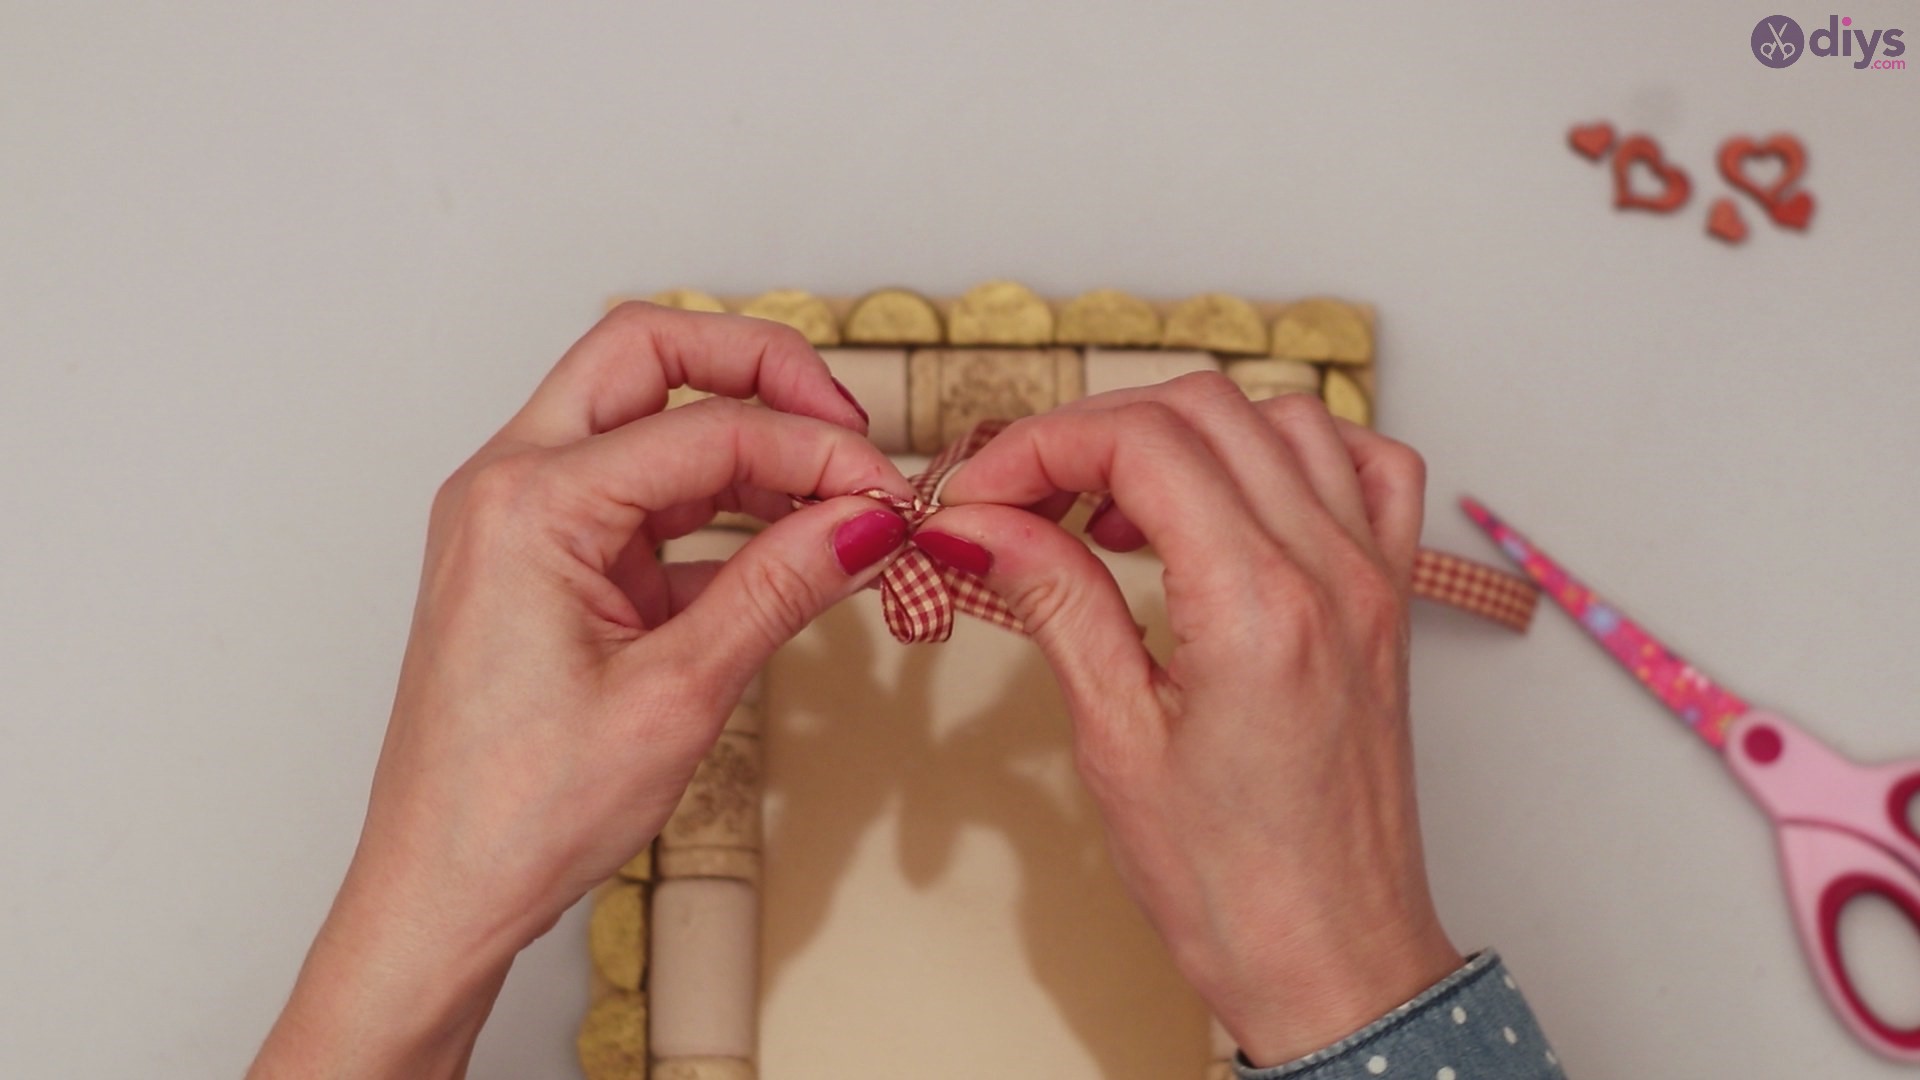
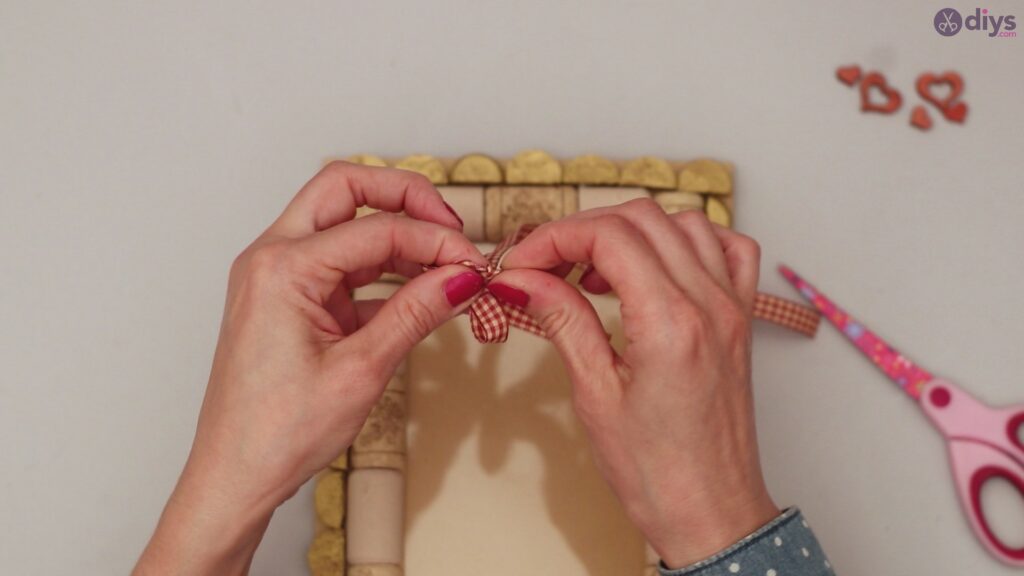
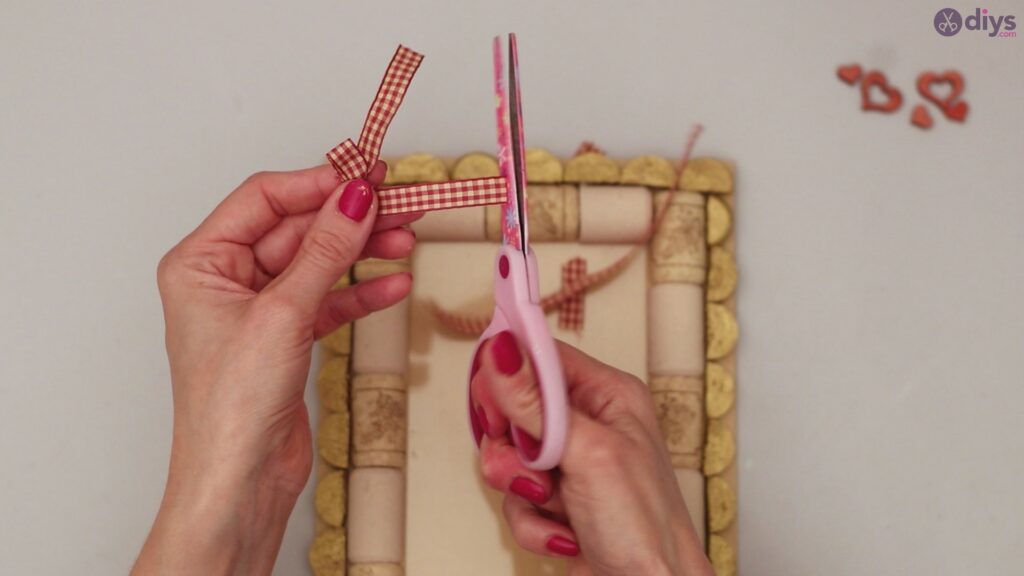
Now that all your cork pieces are glued down, you can work on adding accents like a bow or ribbons.
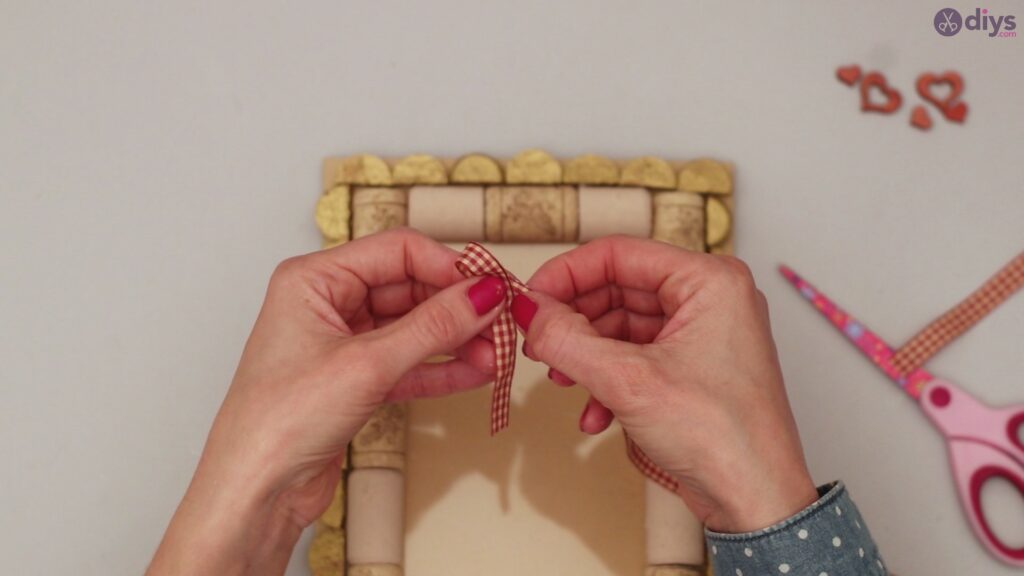
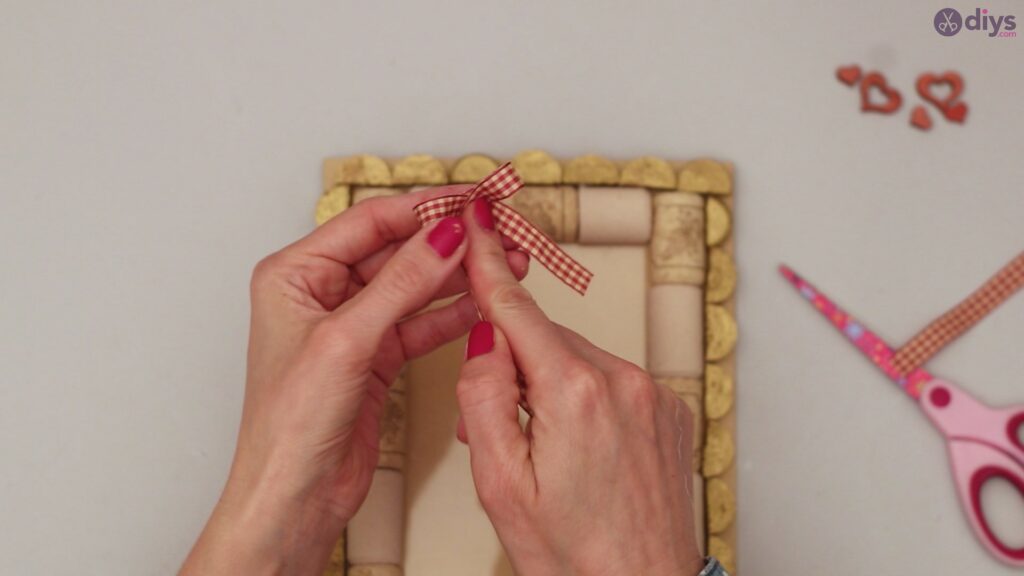
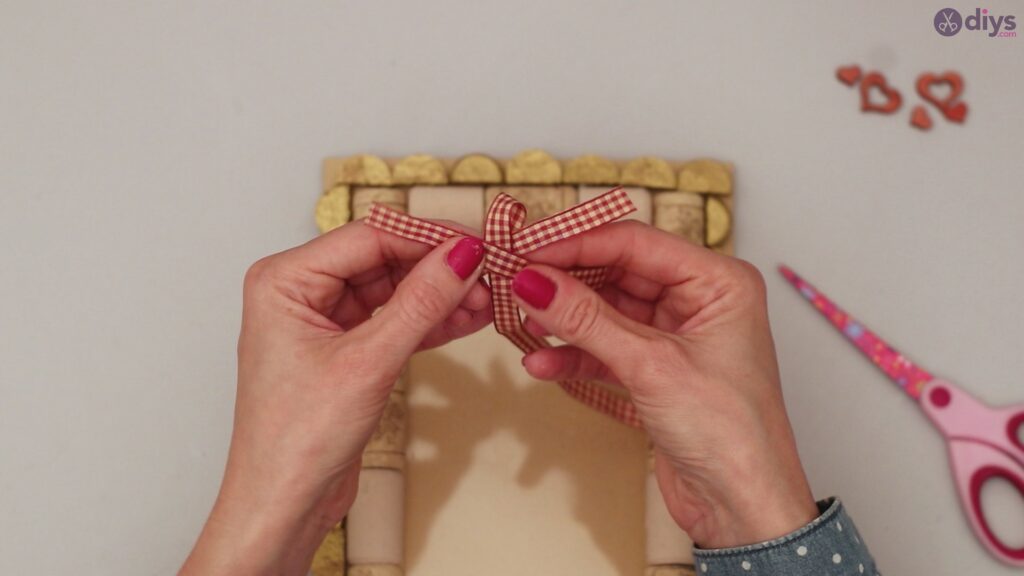
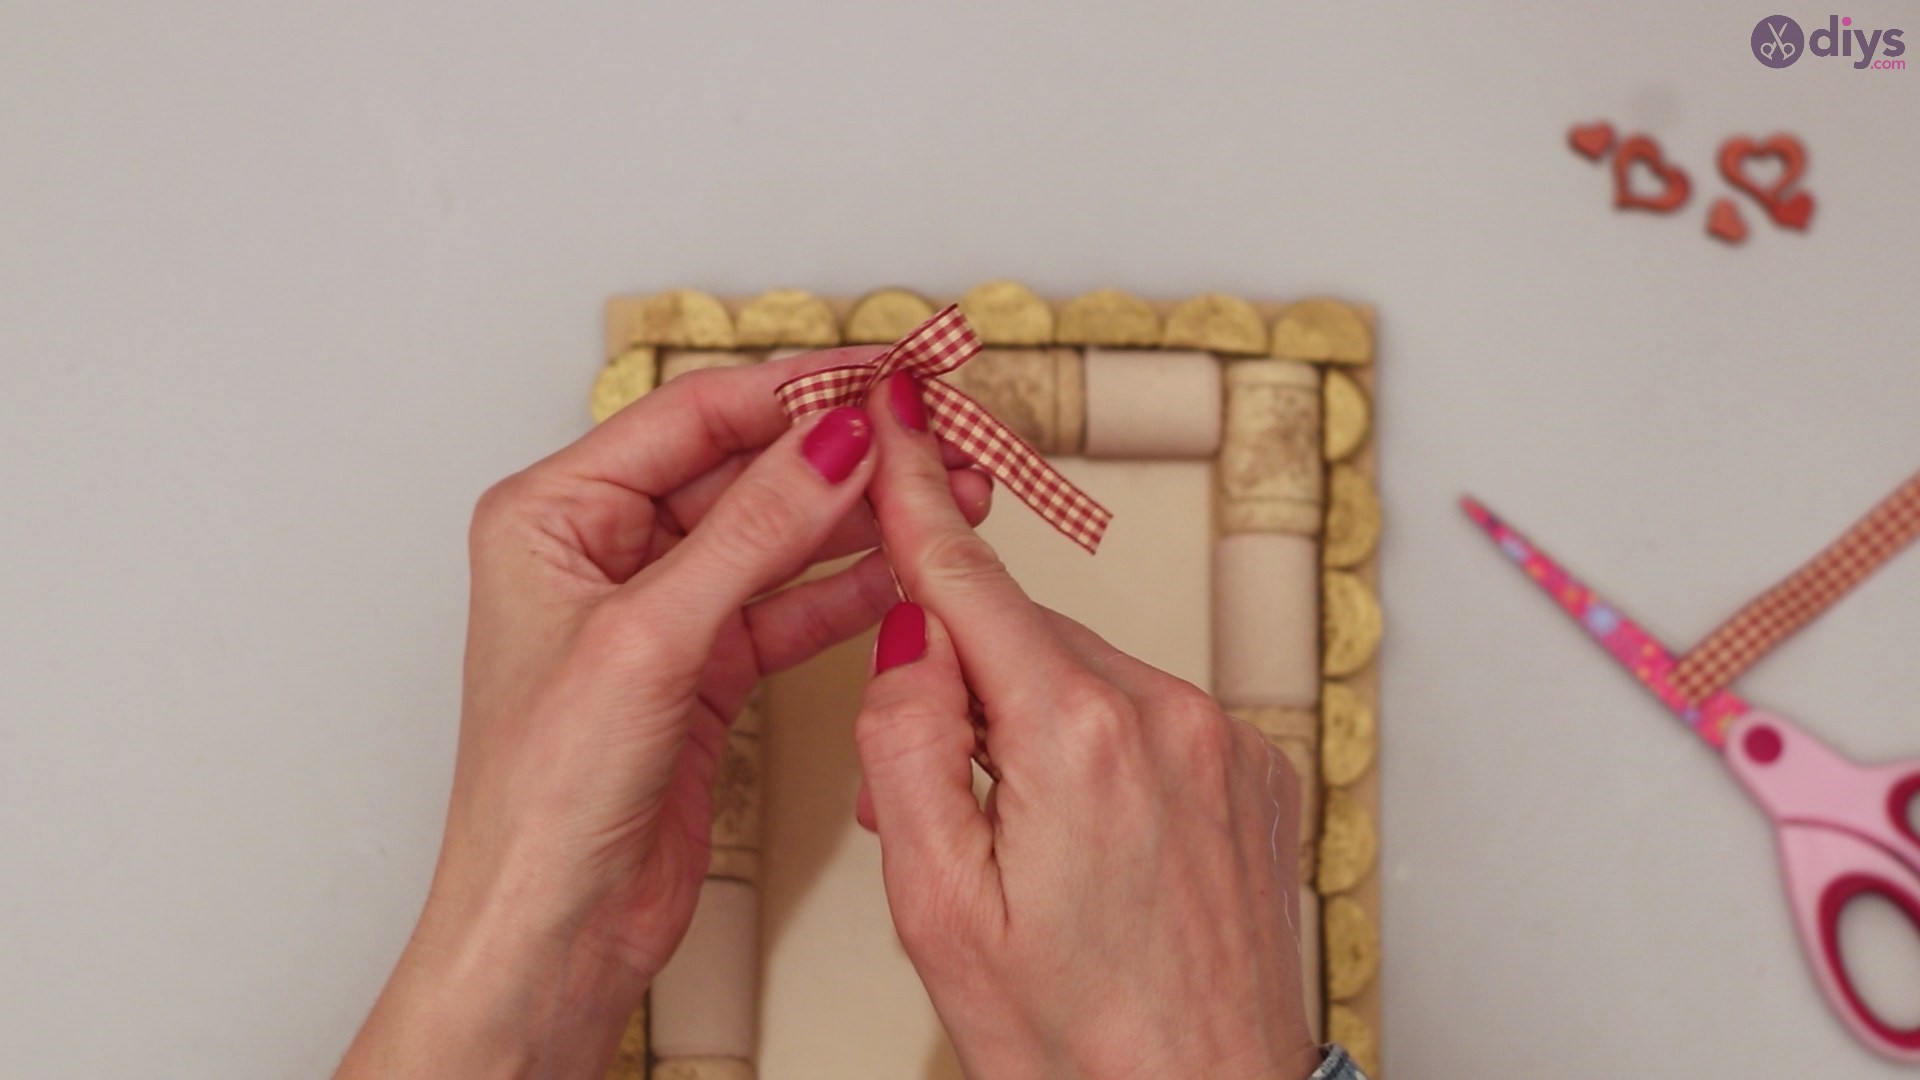
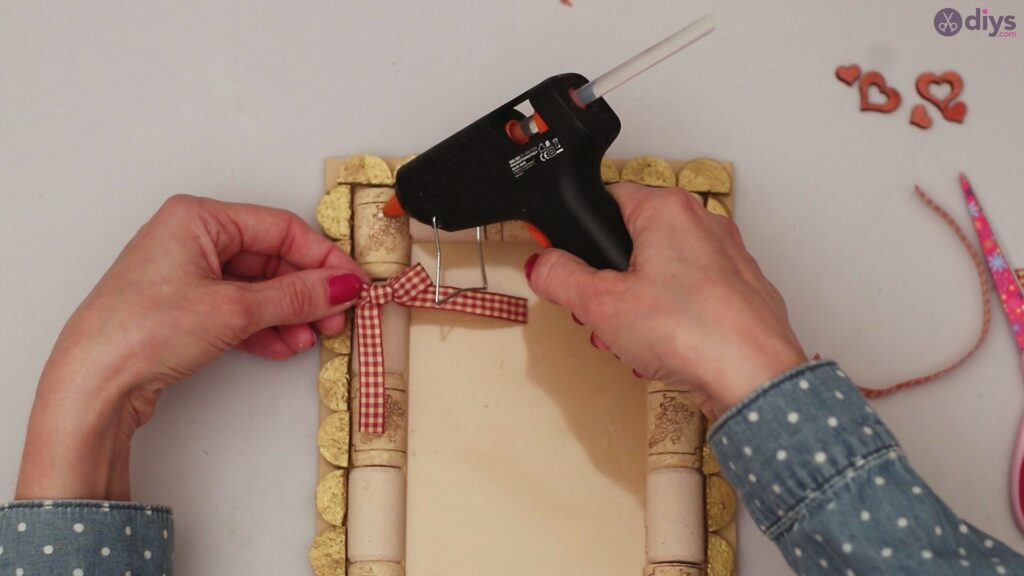
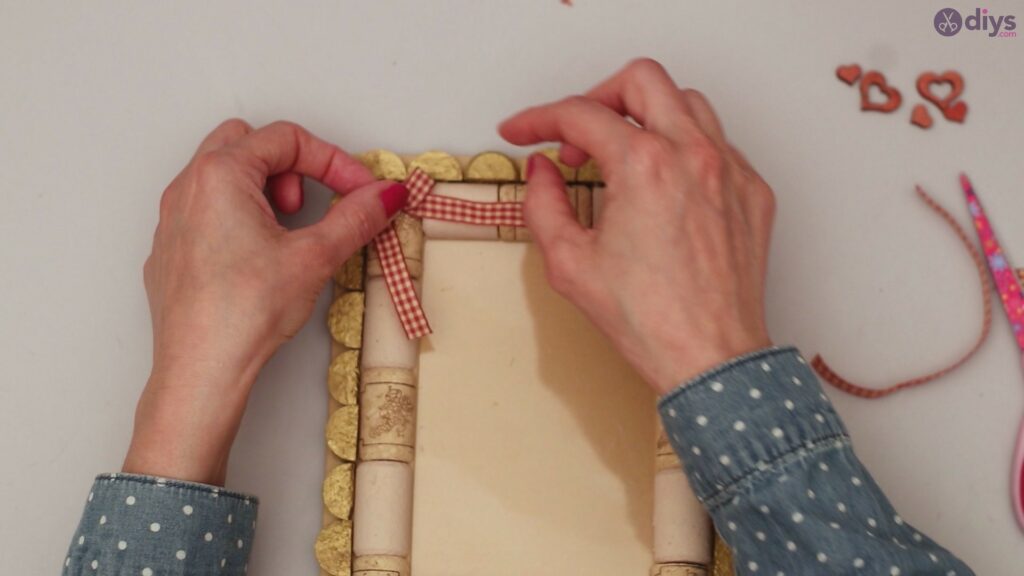
Tie your bow as large or as small as you like to fit onto the frame.

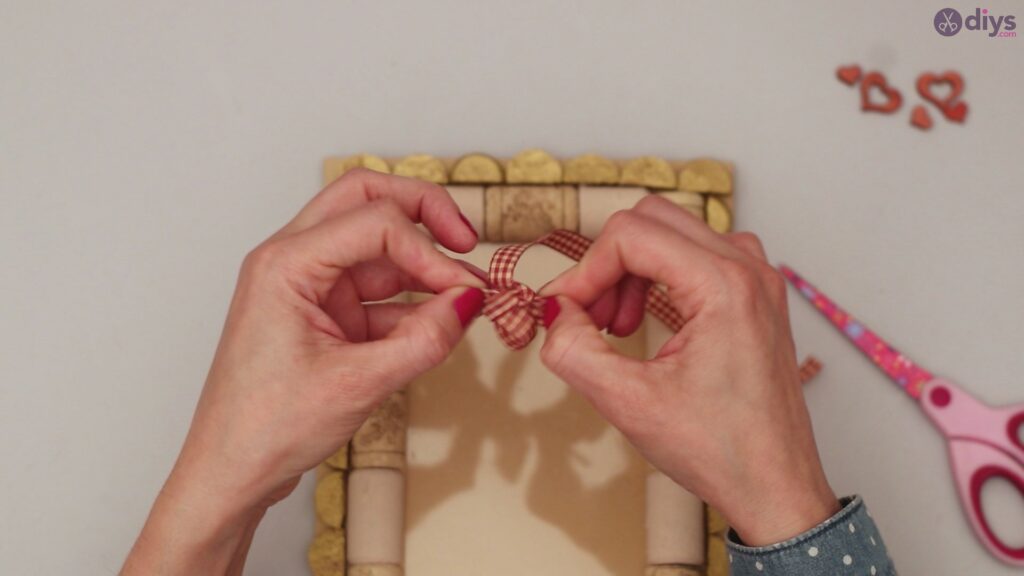

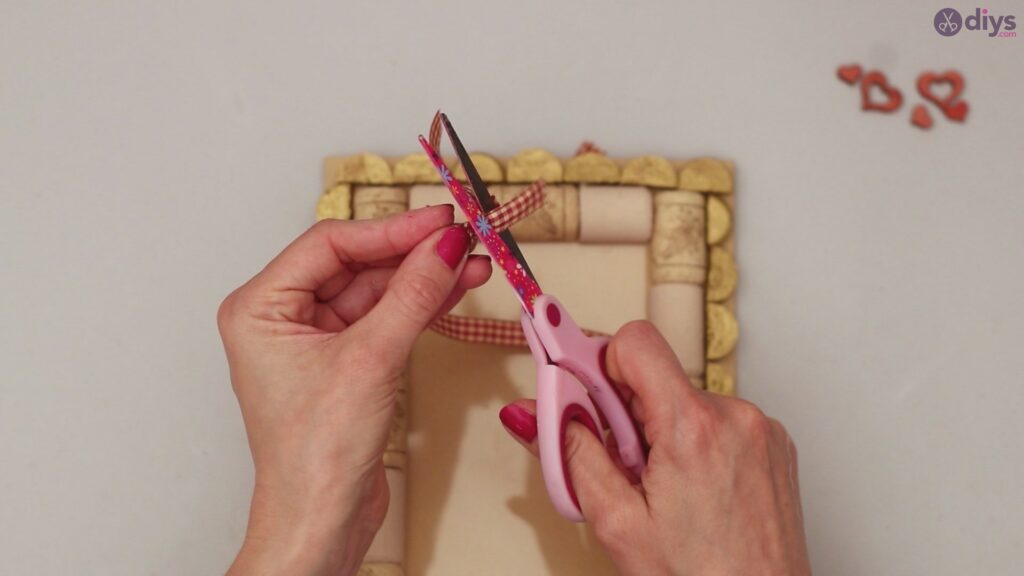
Once your bow is perfect, glue it down with a dab of hot glue.
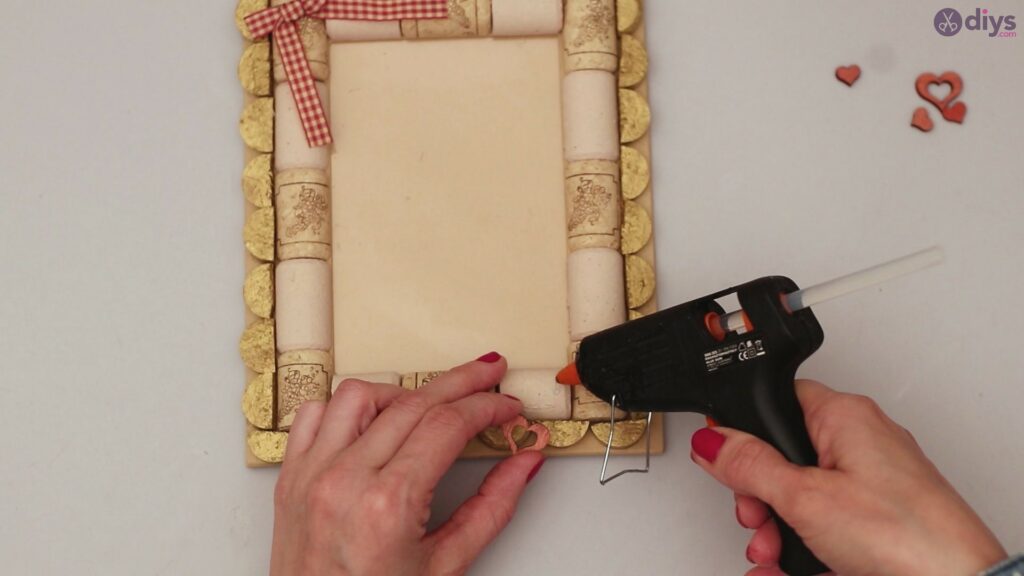
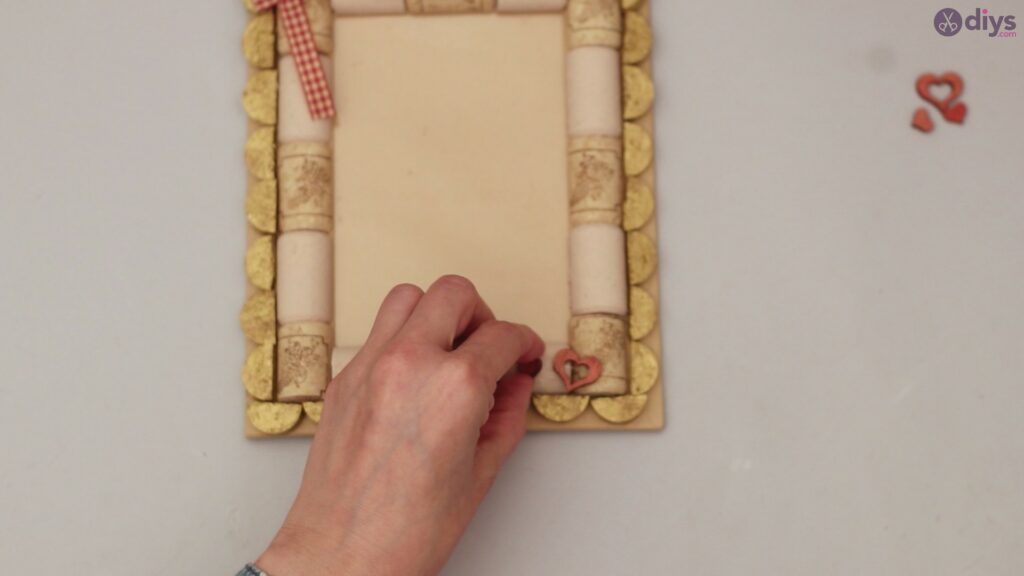
You can also add other small accents in the corners like hearts or stars to really make the frame pop.
Ready to gift!