DIY Wine Cork Jewelry Organizer
Updated on November 19, 2025


You don’t have to turn online to find the perfect jewelry organizer, you can simply make one! With just a few simple materials, you can easily make a handmade jewelry organizer that would make an amazing gift for someone or yourself! You can easily hang all kinds of jewelry, such as earrings, necklaces, bracelets and pretty much any kind of jewelry you may have that you want to organize.
Materials for DIY Wine Cork Jewelry Organizer:
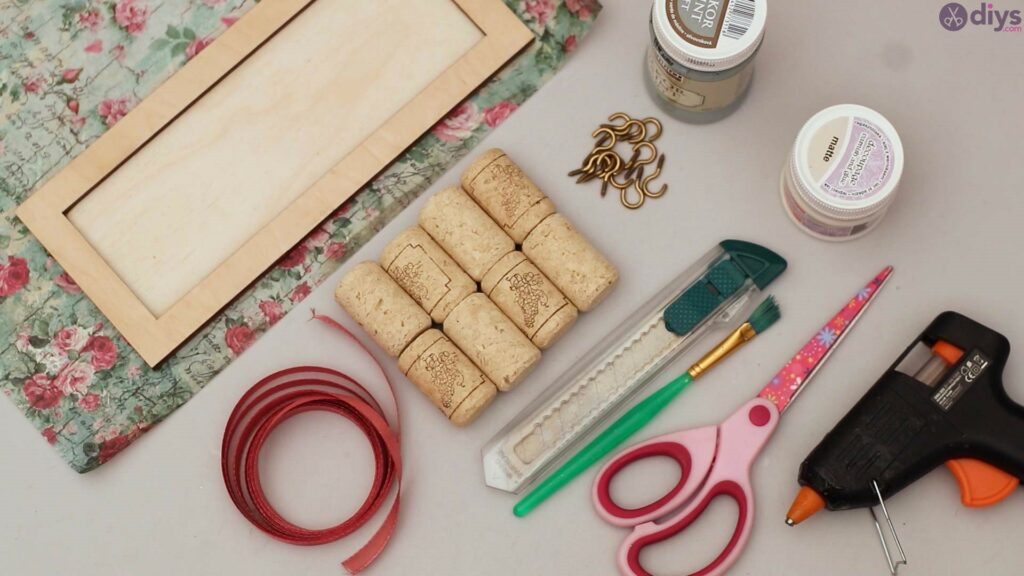
- Wood board
- decoupage glue
- Rice paper
- wine corks
- hooks
- green acrylic paint
- paint brush
- scissors
- silk ribbon
- folding utility knife
- glue gun
DIY Wine Cork Jewelry Organizer – Step by step:


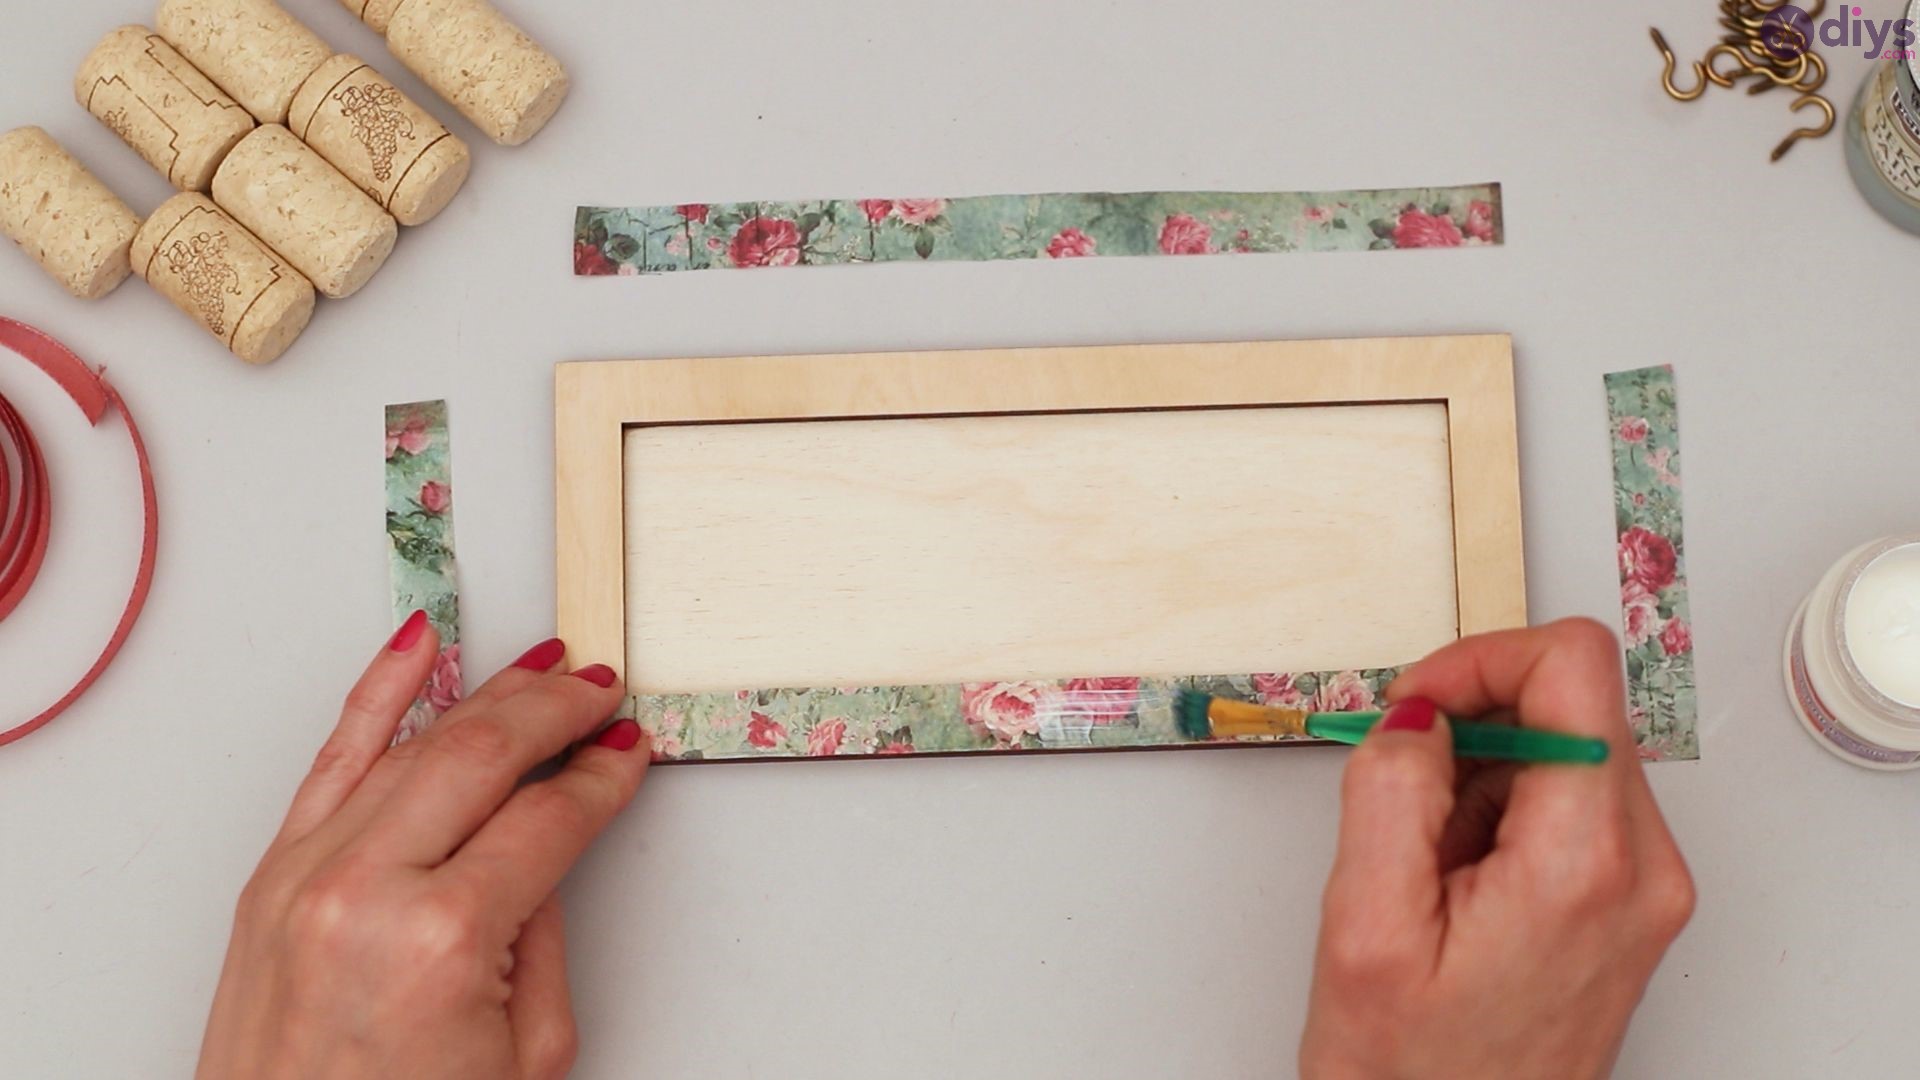
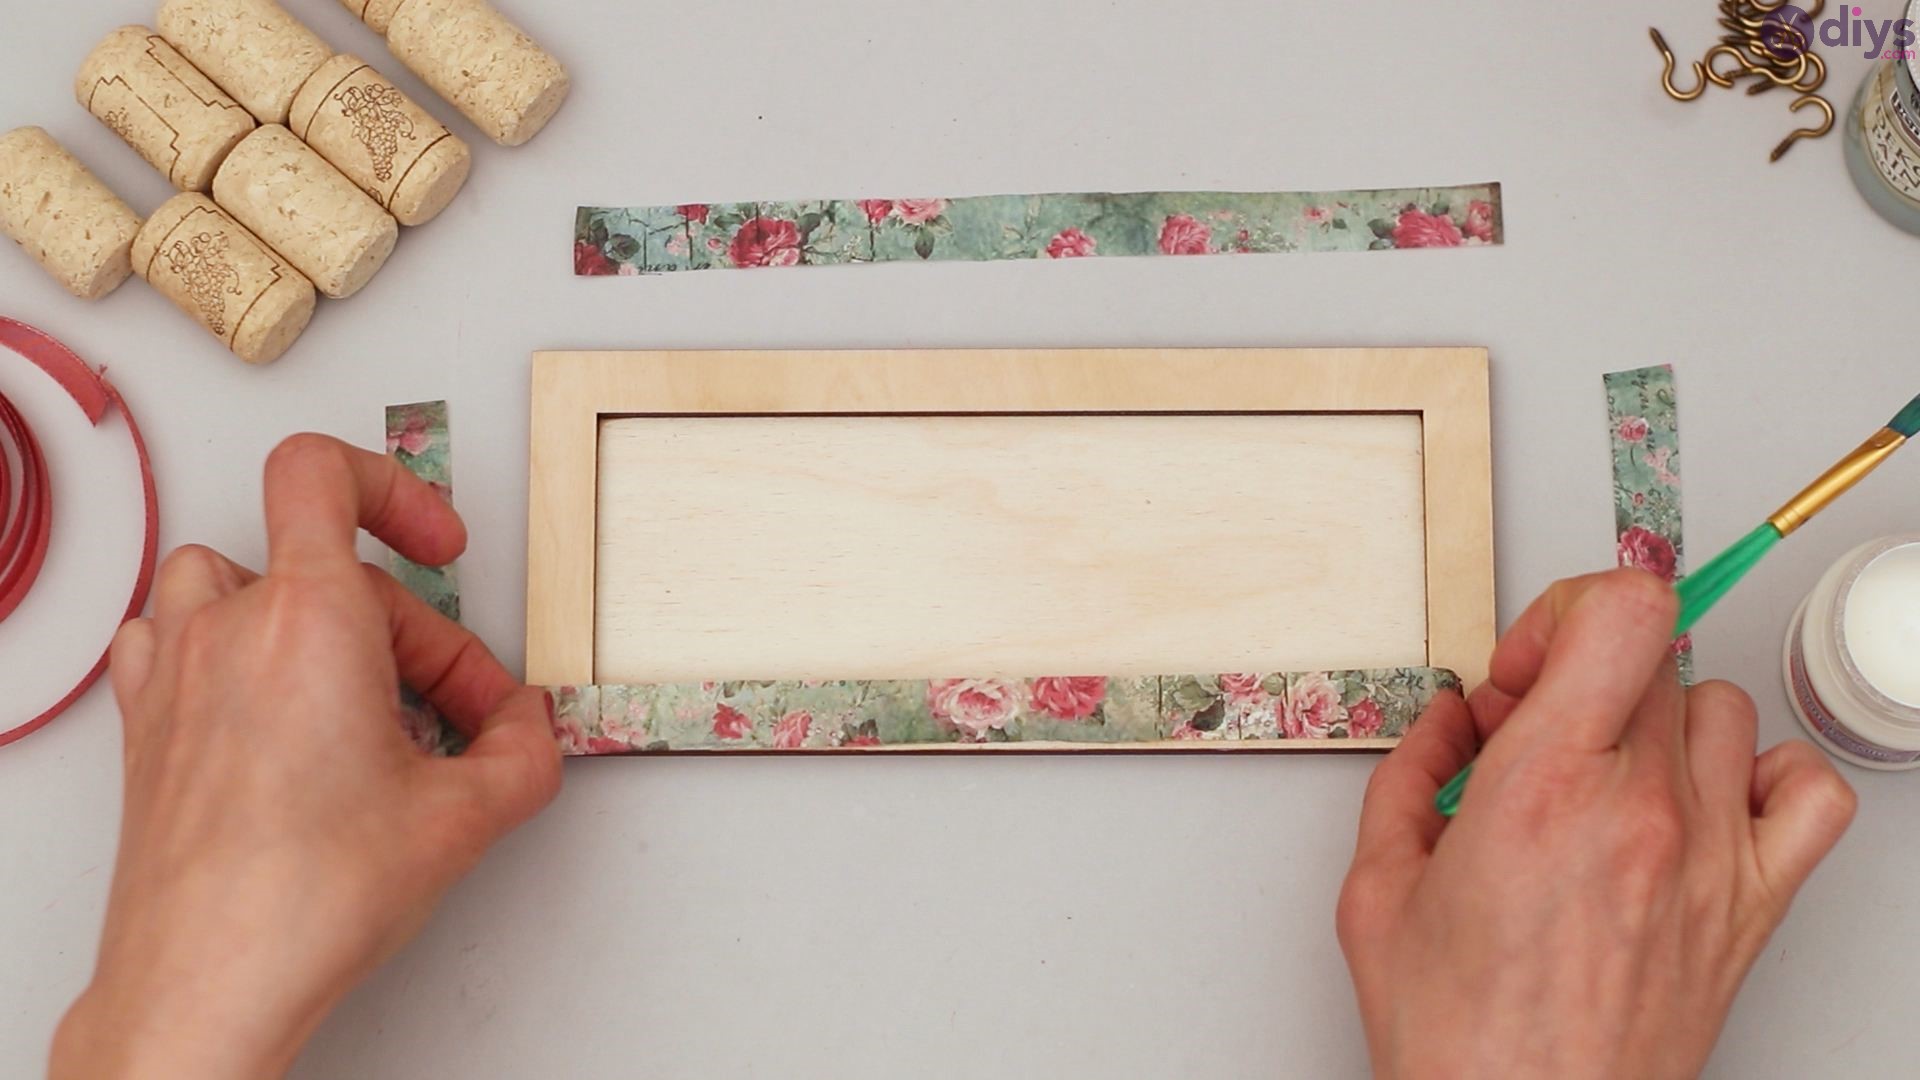
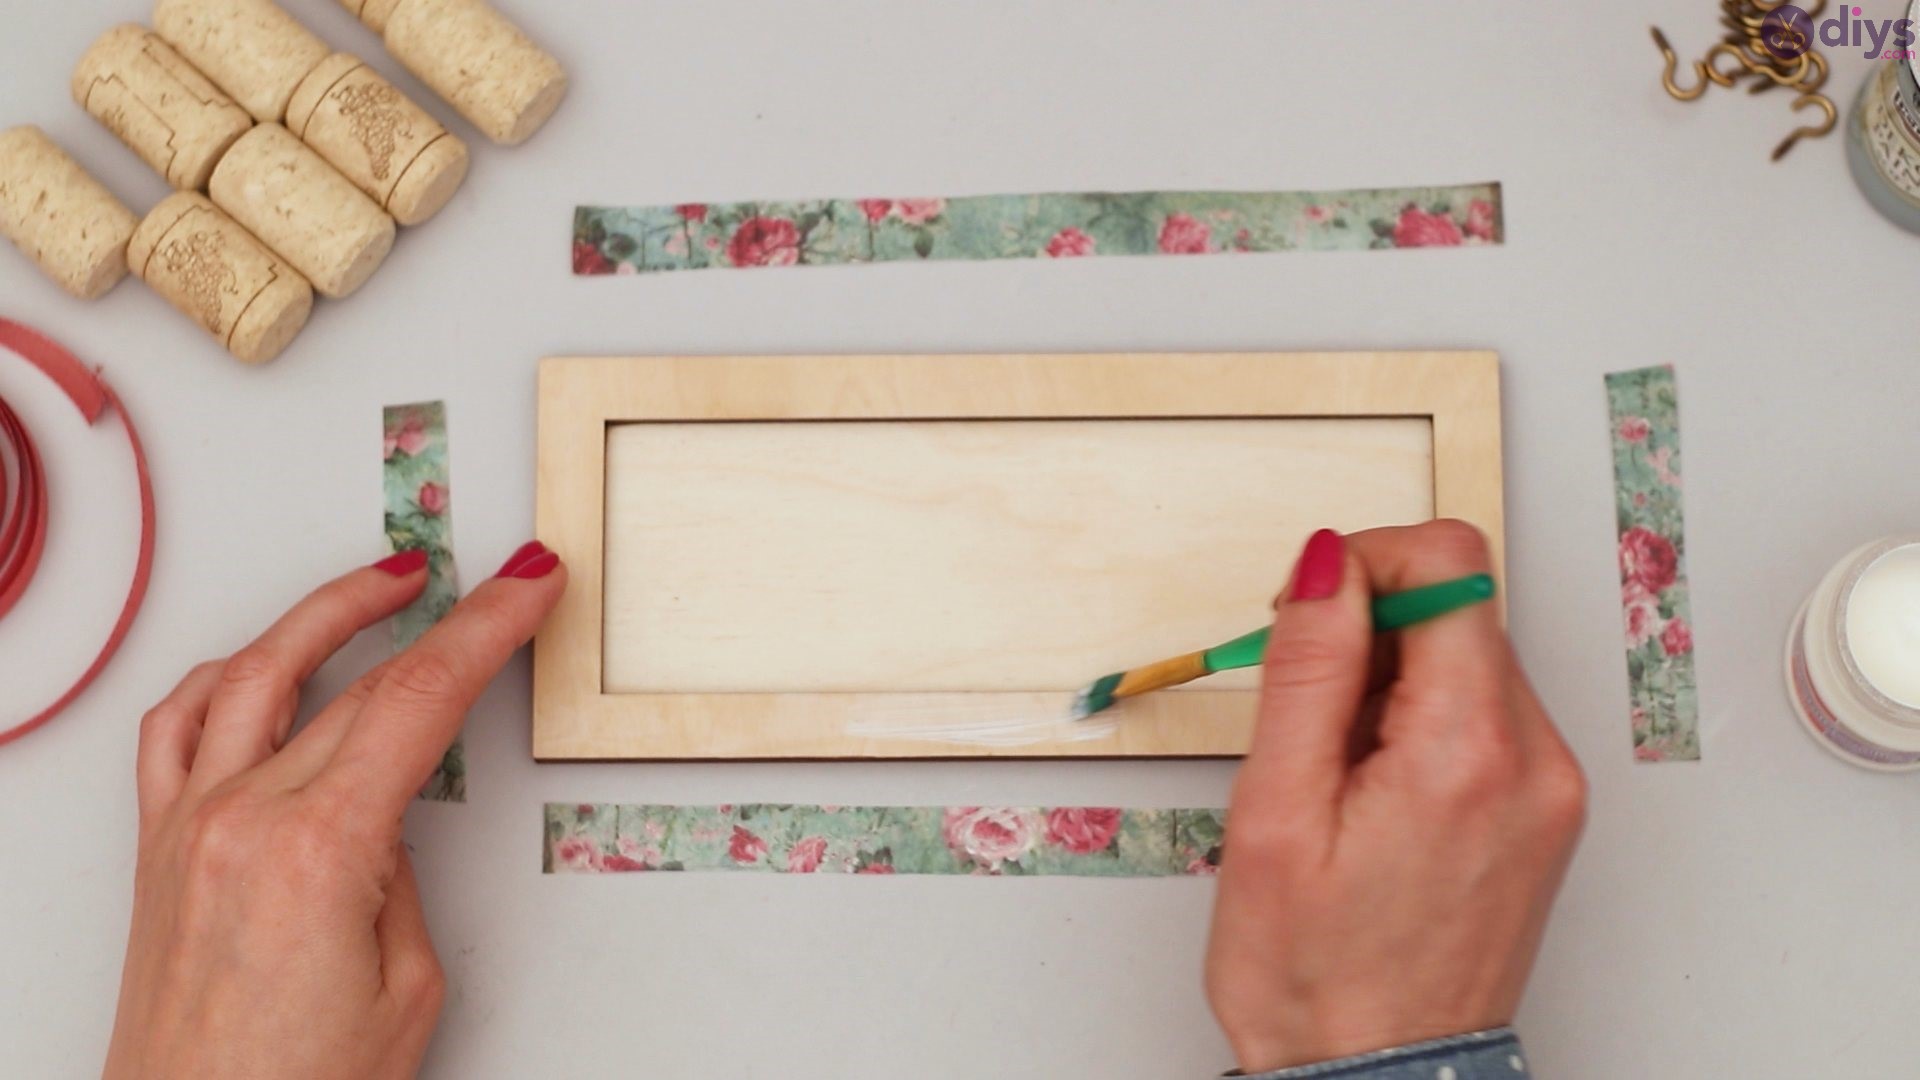
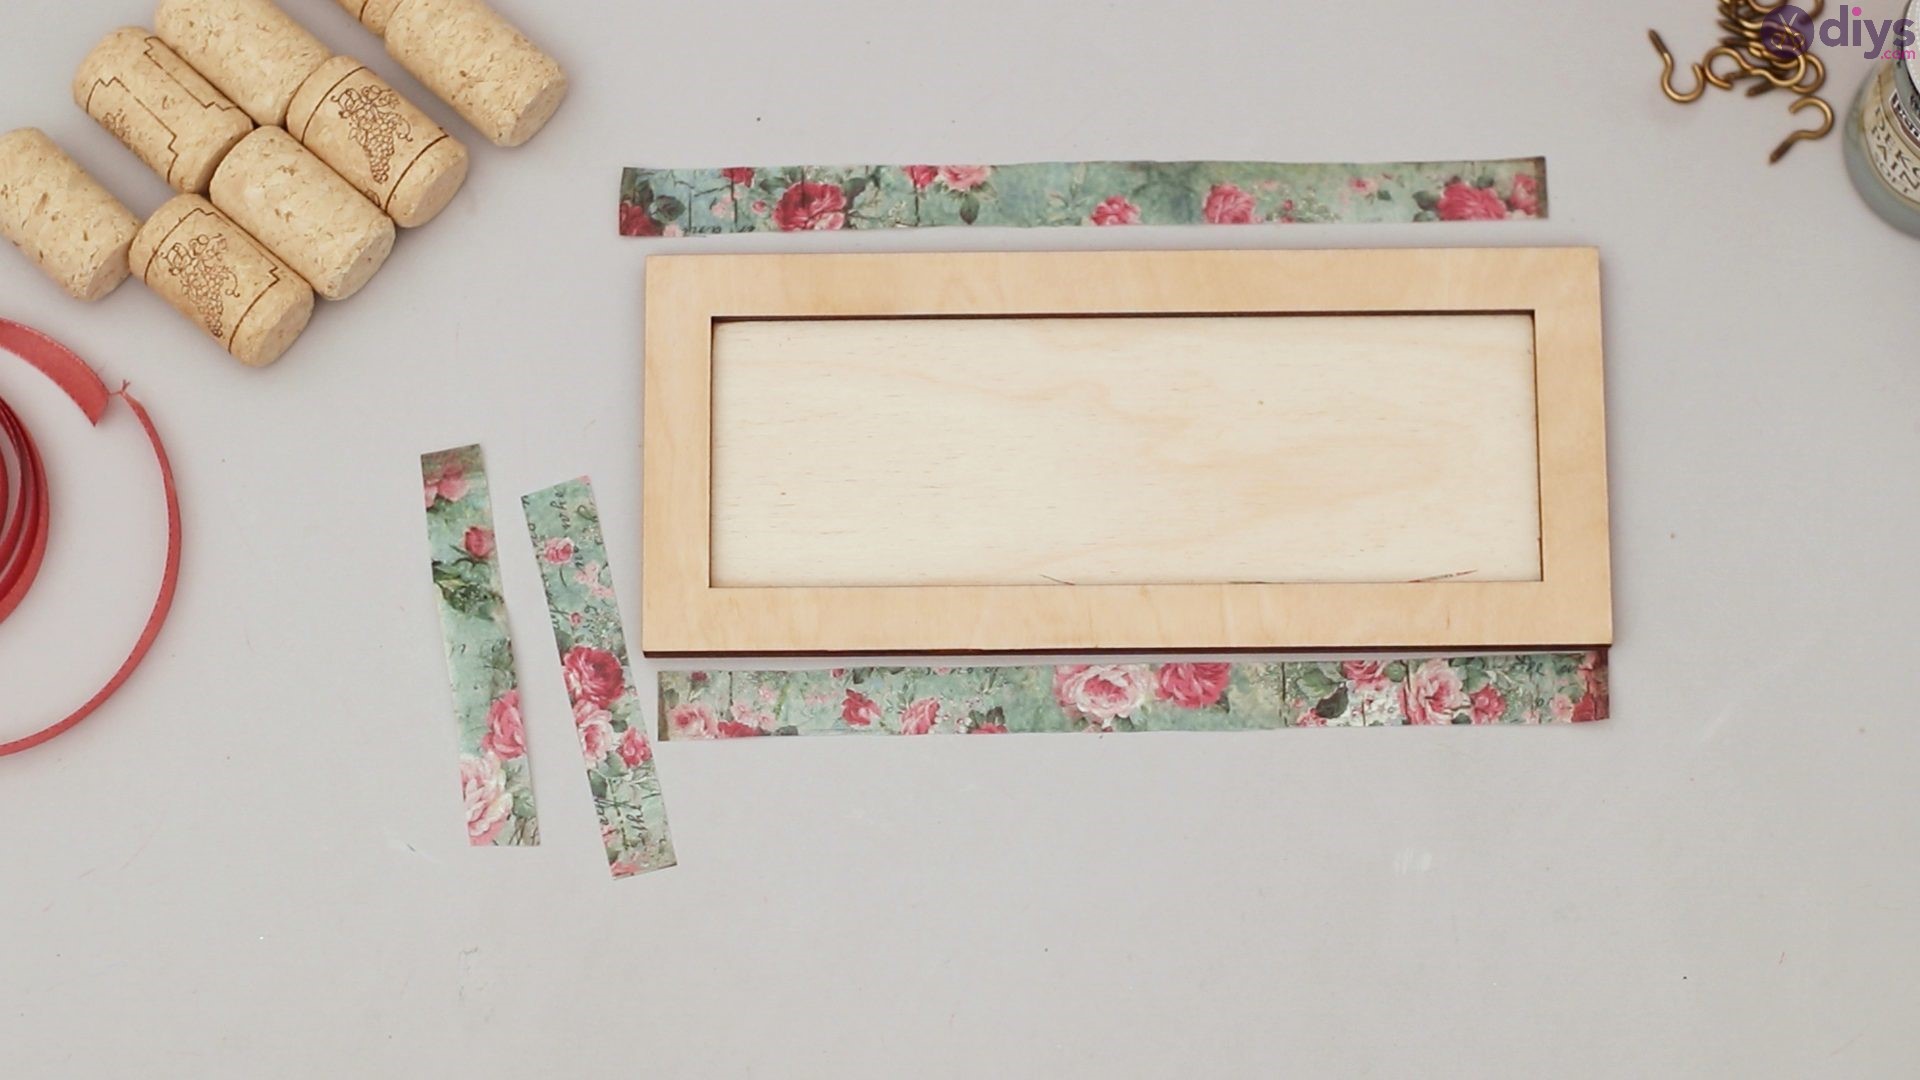
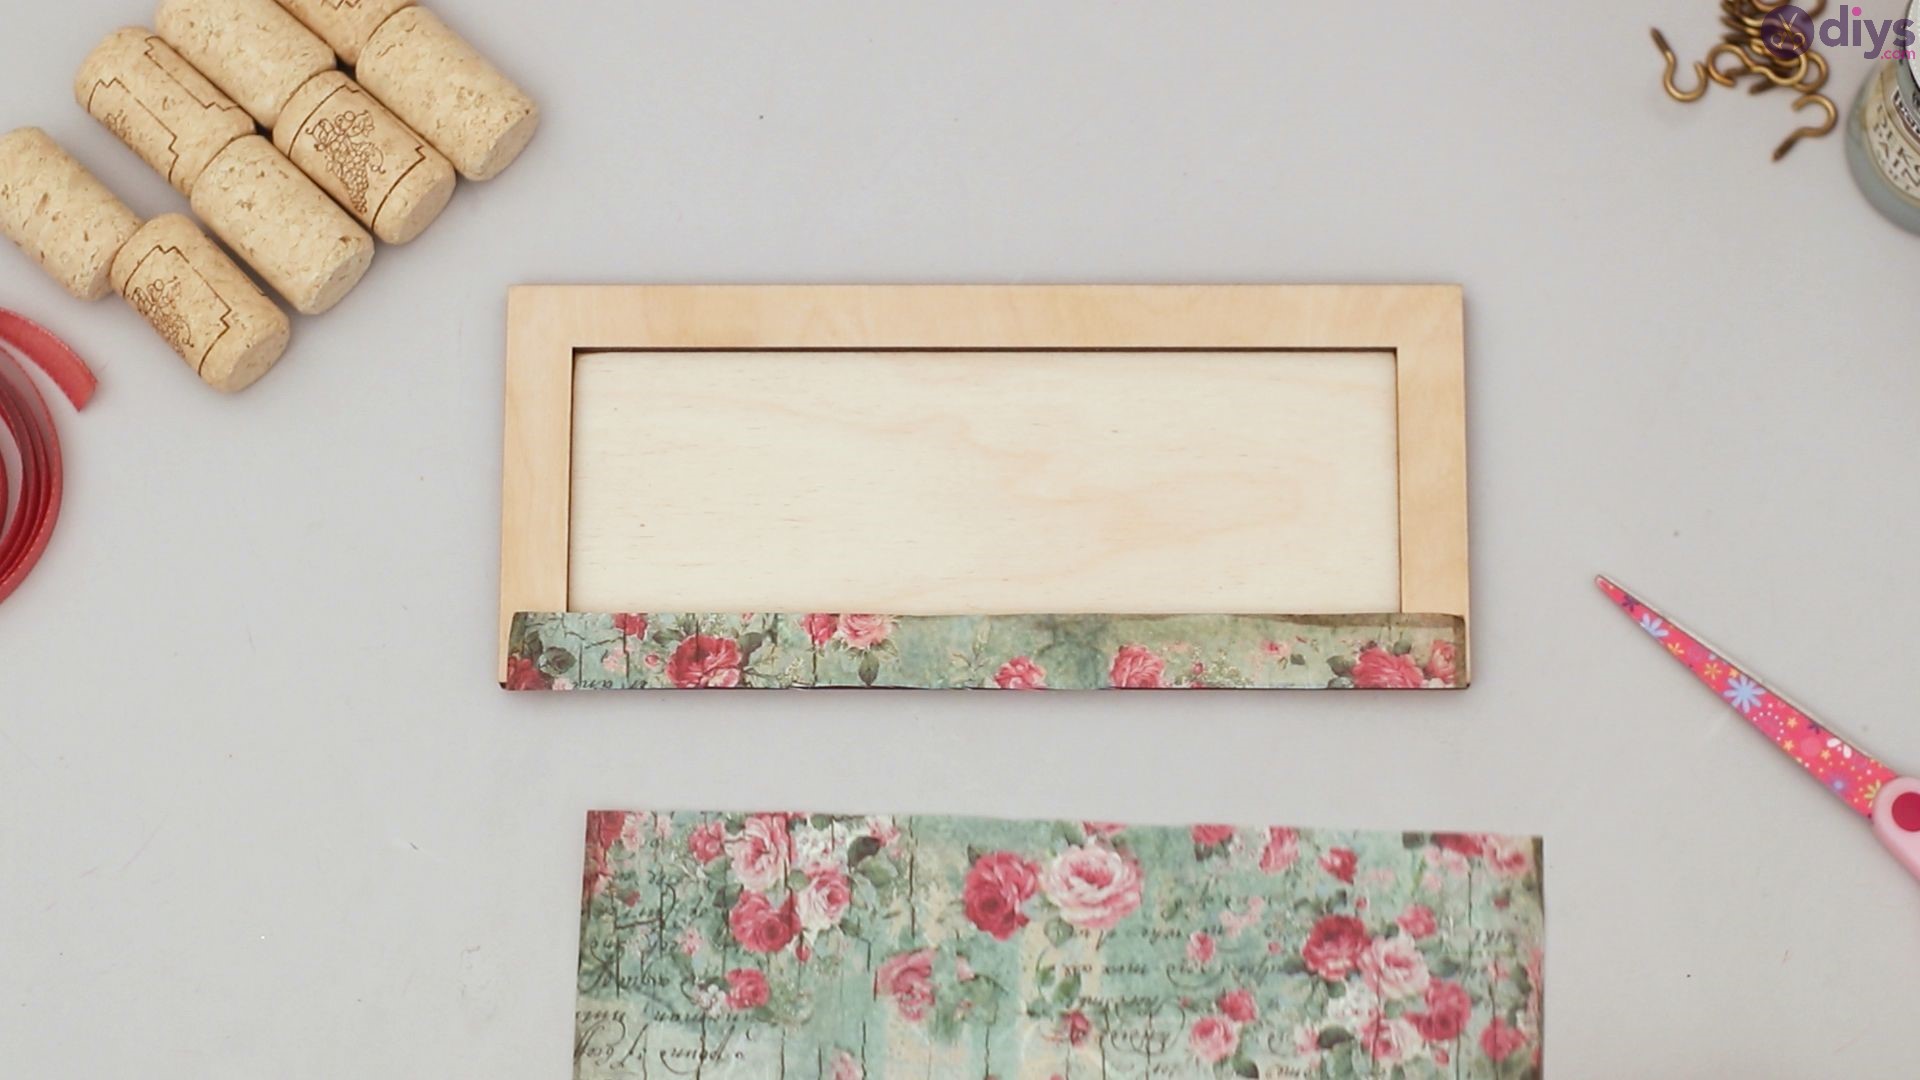
Don’t glue on your rice paper pieces just yet, make sure that you have all sides of your board covered before you start to glue. Gluing should always be the very last step so you can be sure that you have even borders.
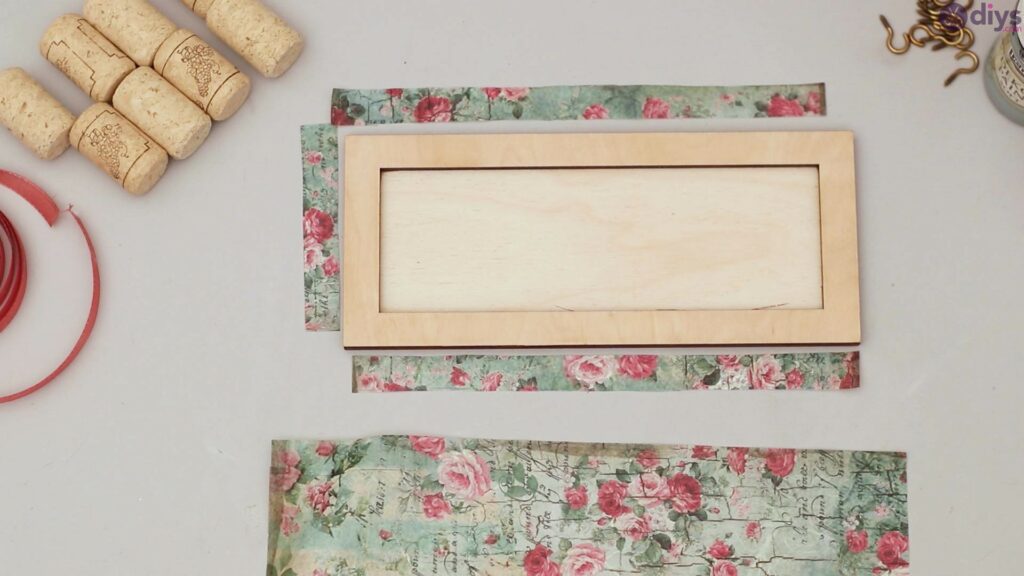
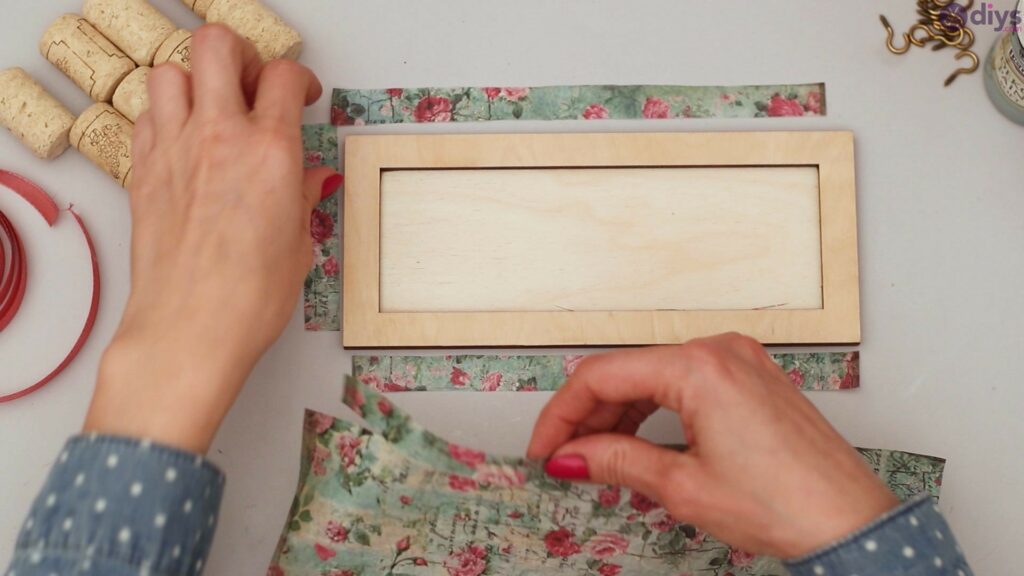

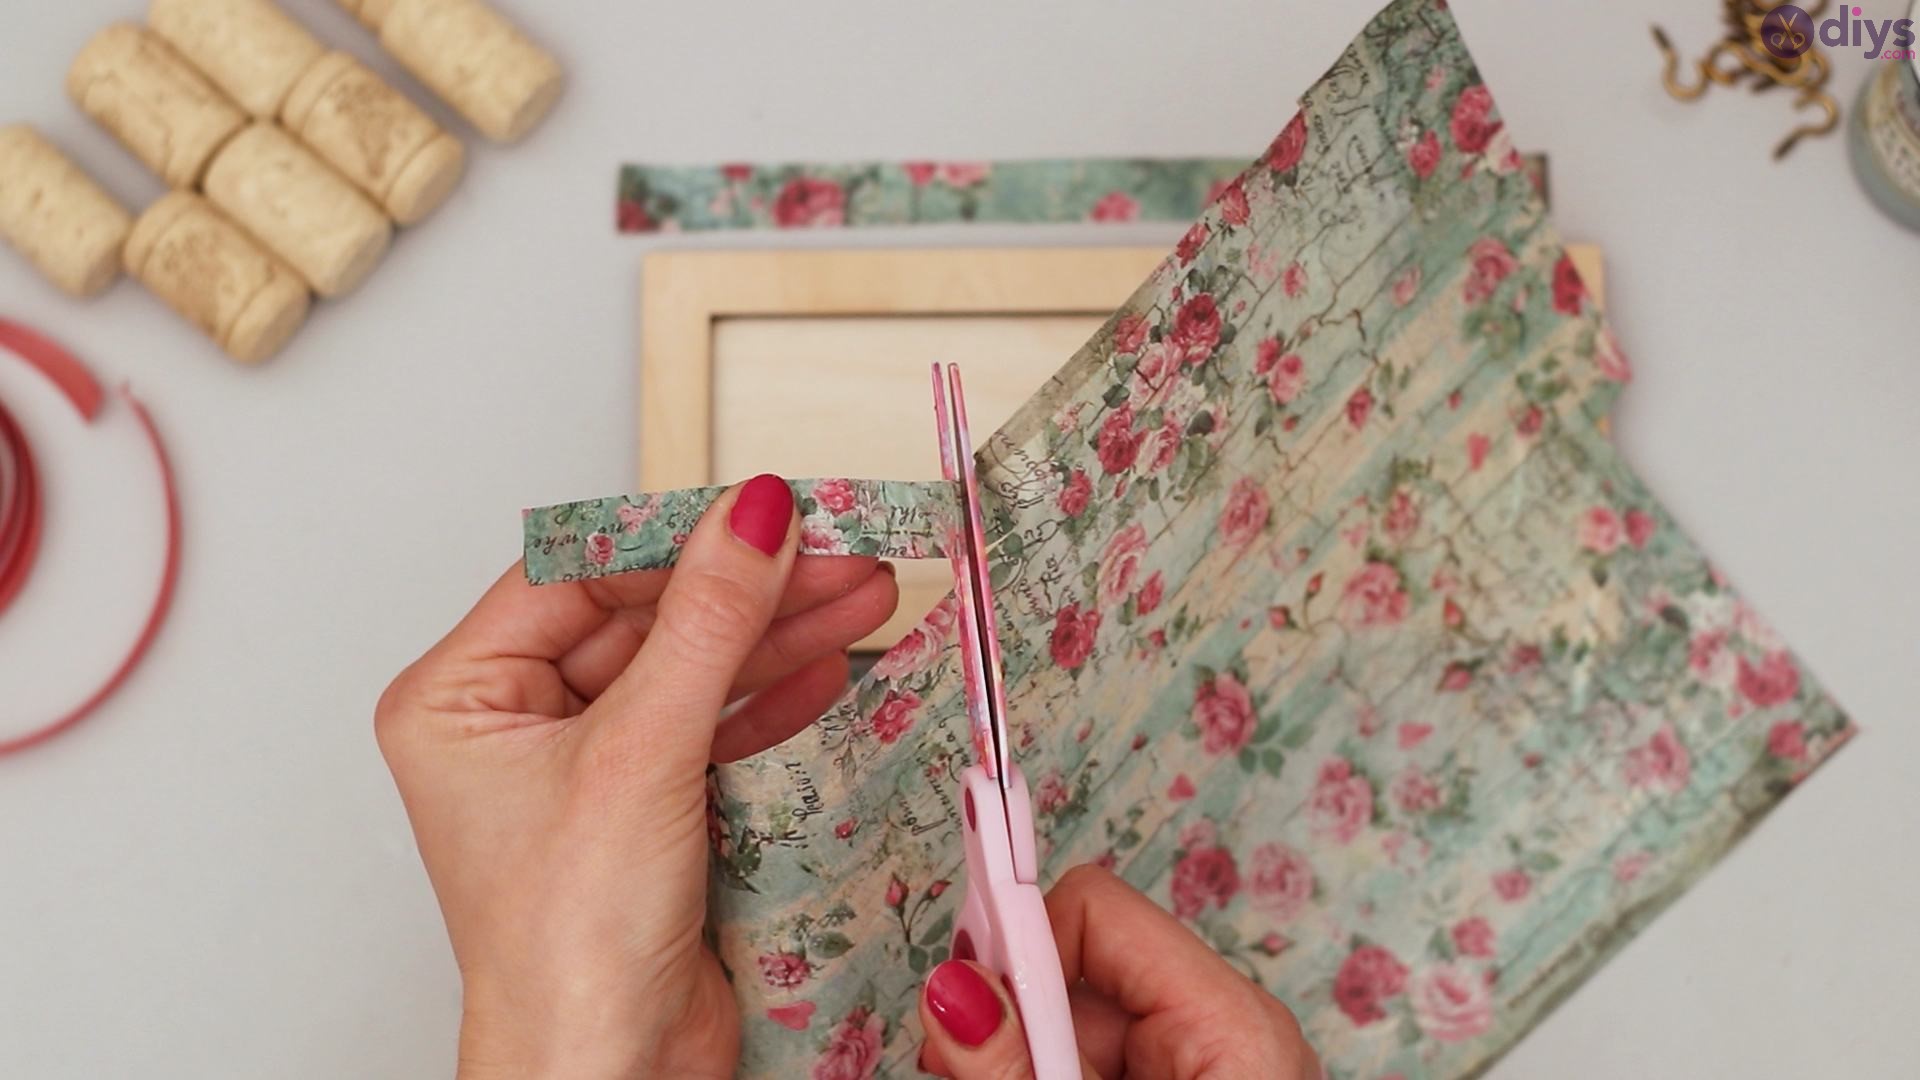
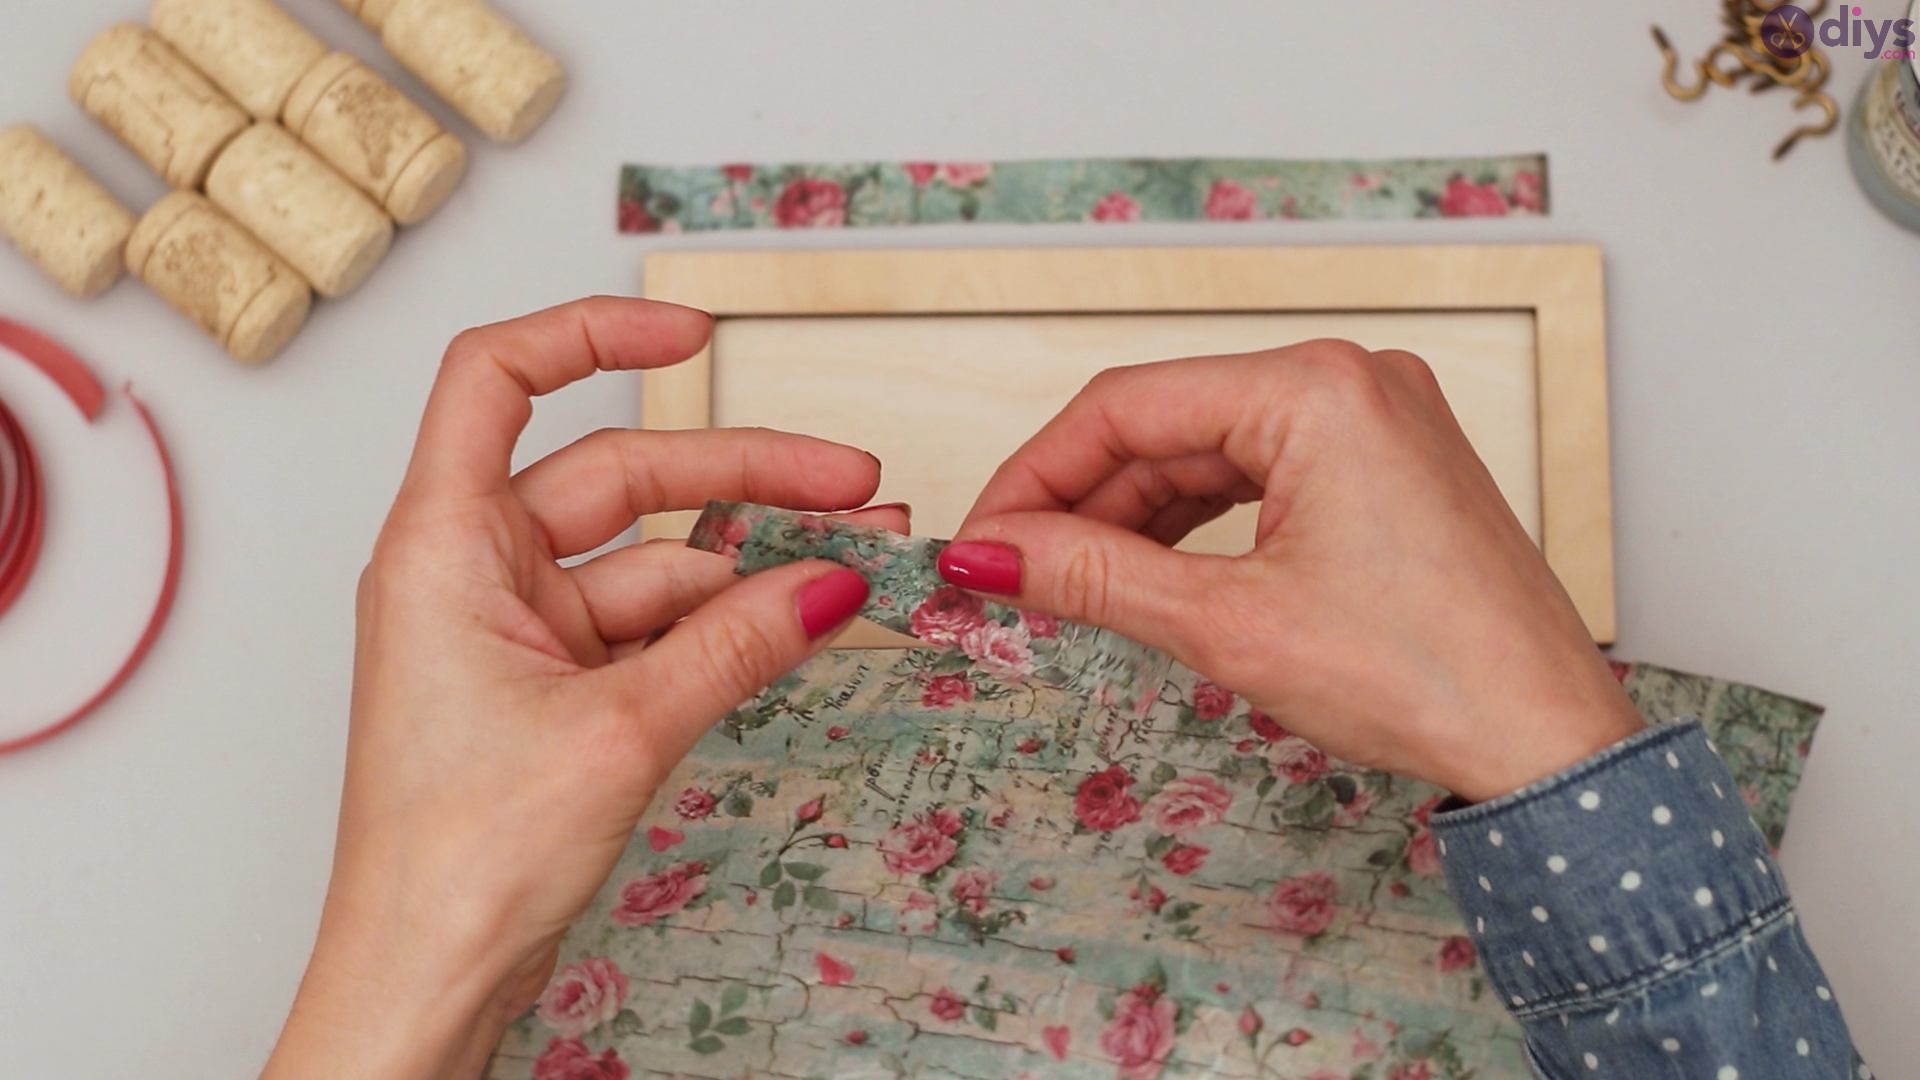
Also make sure to cut in straight lines so that your borders are all even and neat. It’s harder to cut a strip once it’s already glued on to your board, so try to get all your lines even before the gluing process.


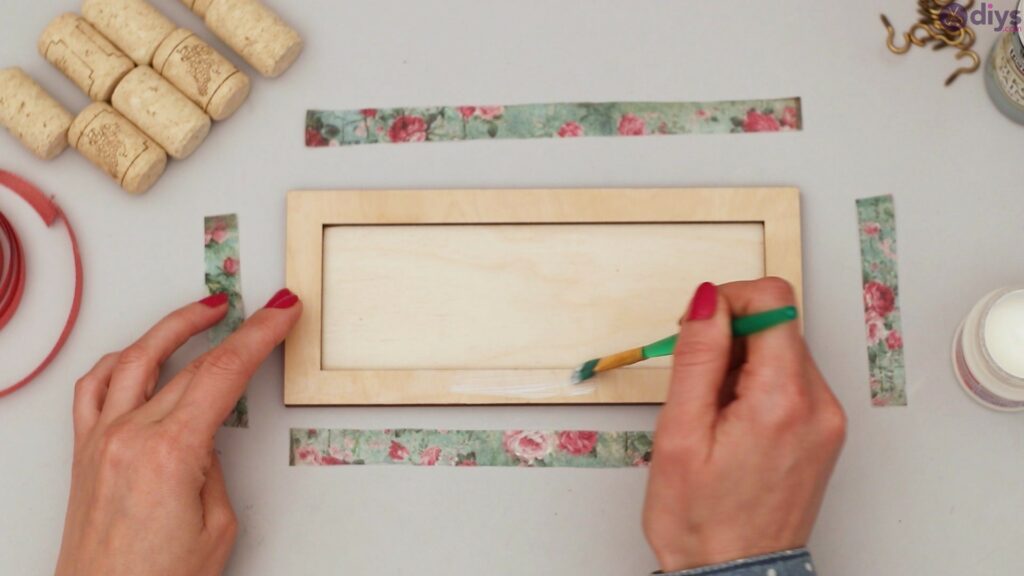
Step 2: Gluing your borders
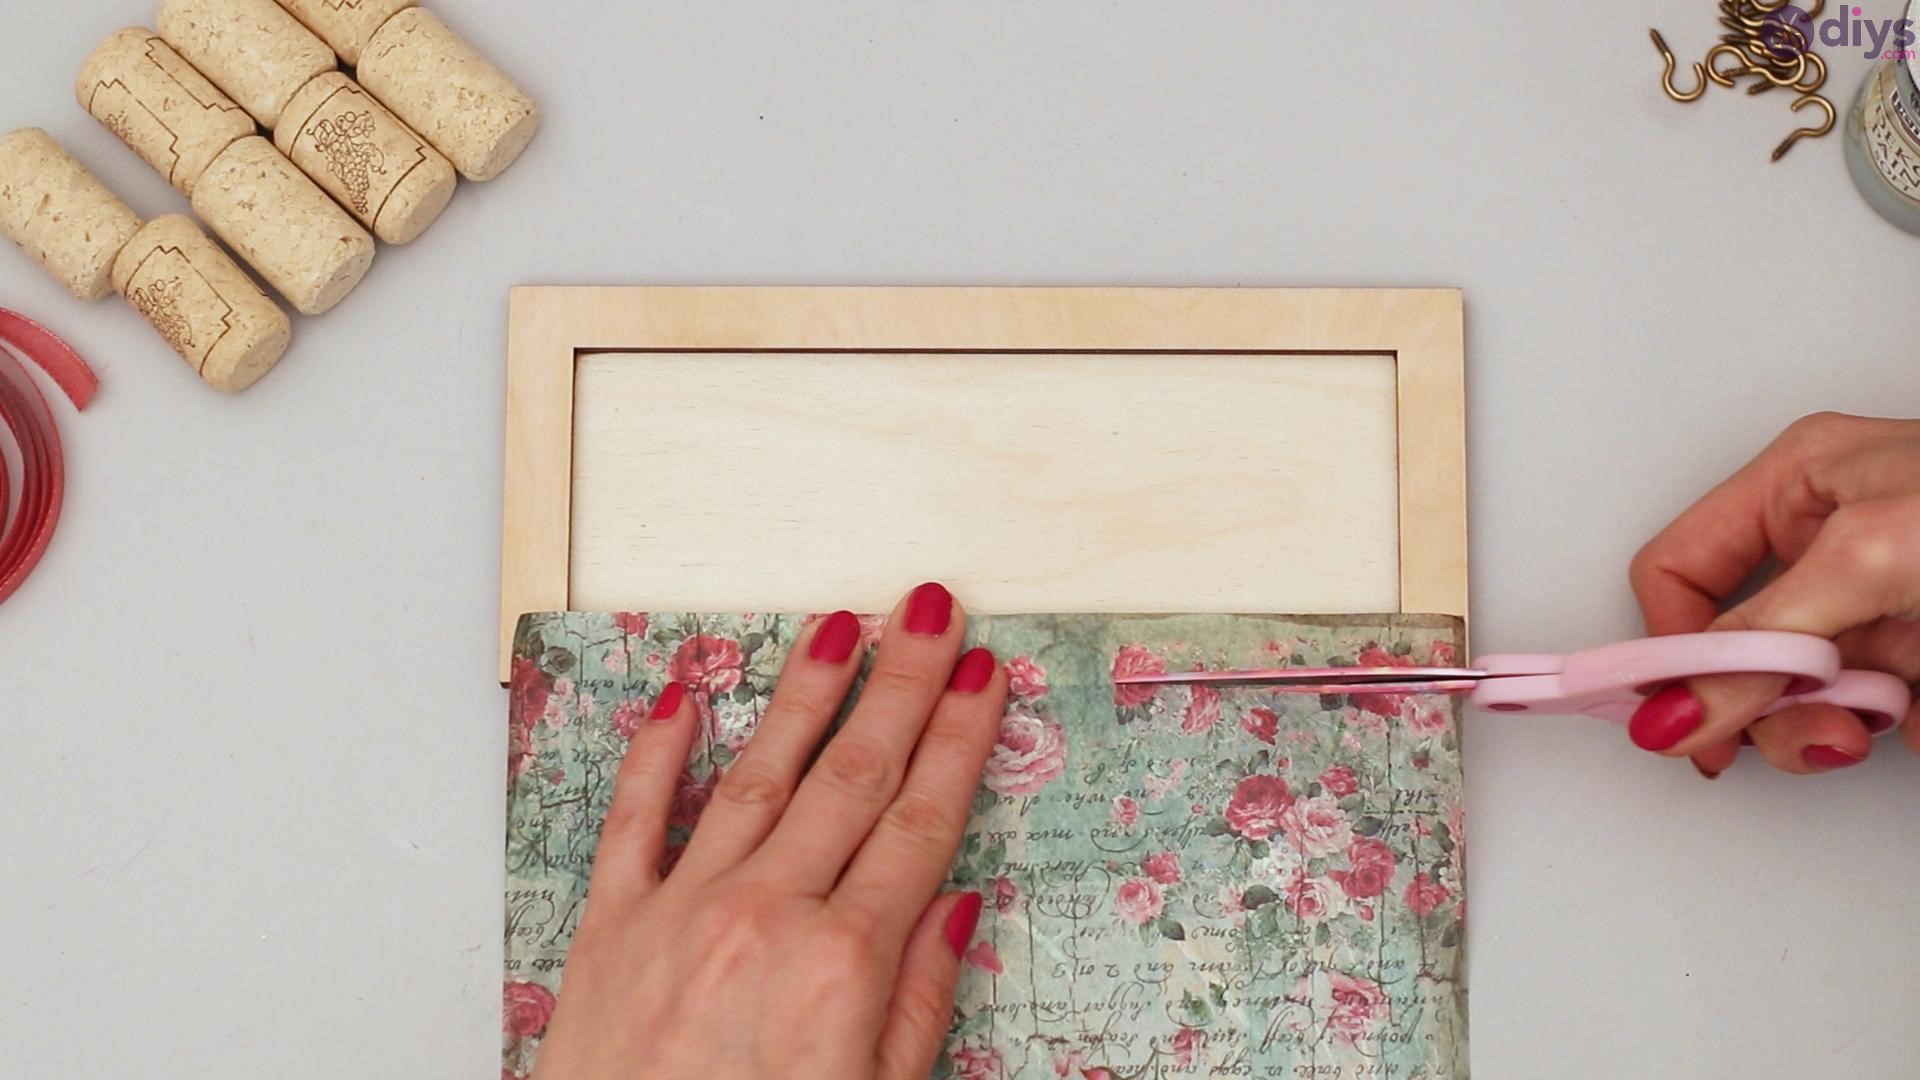
With your decoupage glue, paint a fine layer of glue on the outside border areas so that your rice paper will stick on. You want to be sure that these layers of glue are thin so that your rice paper doesn’t wrinkle or bubble up due to too much glue. Rice paper is delicate, so keep this in mind as you start to spread your thin layers of glue on each side.

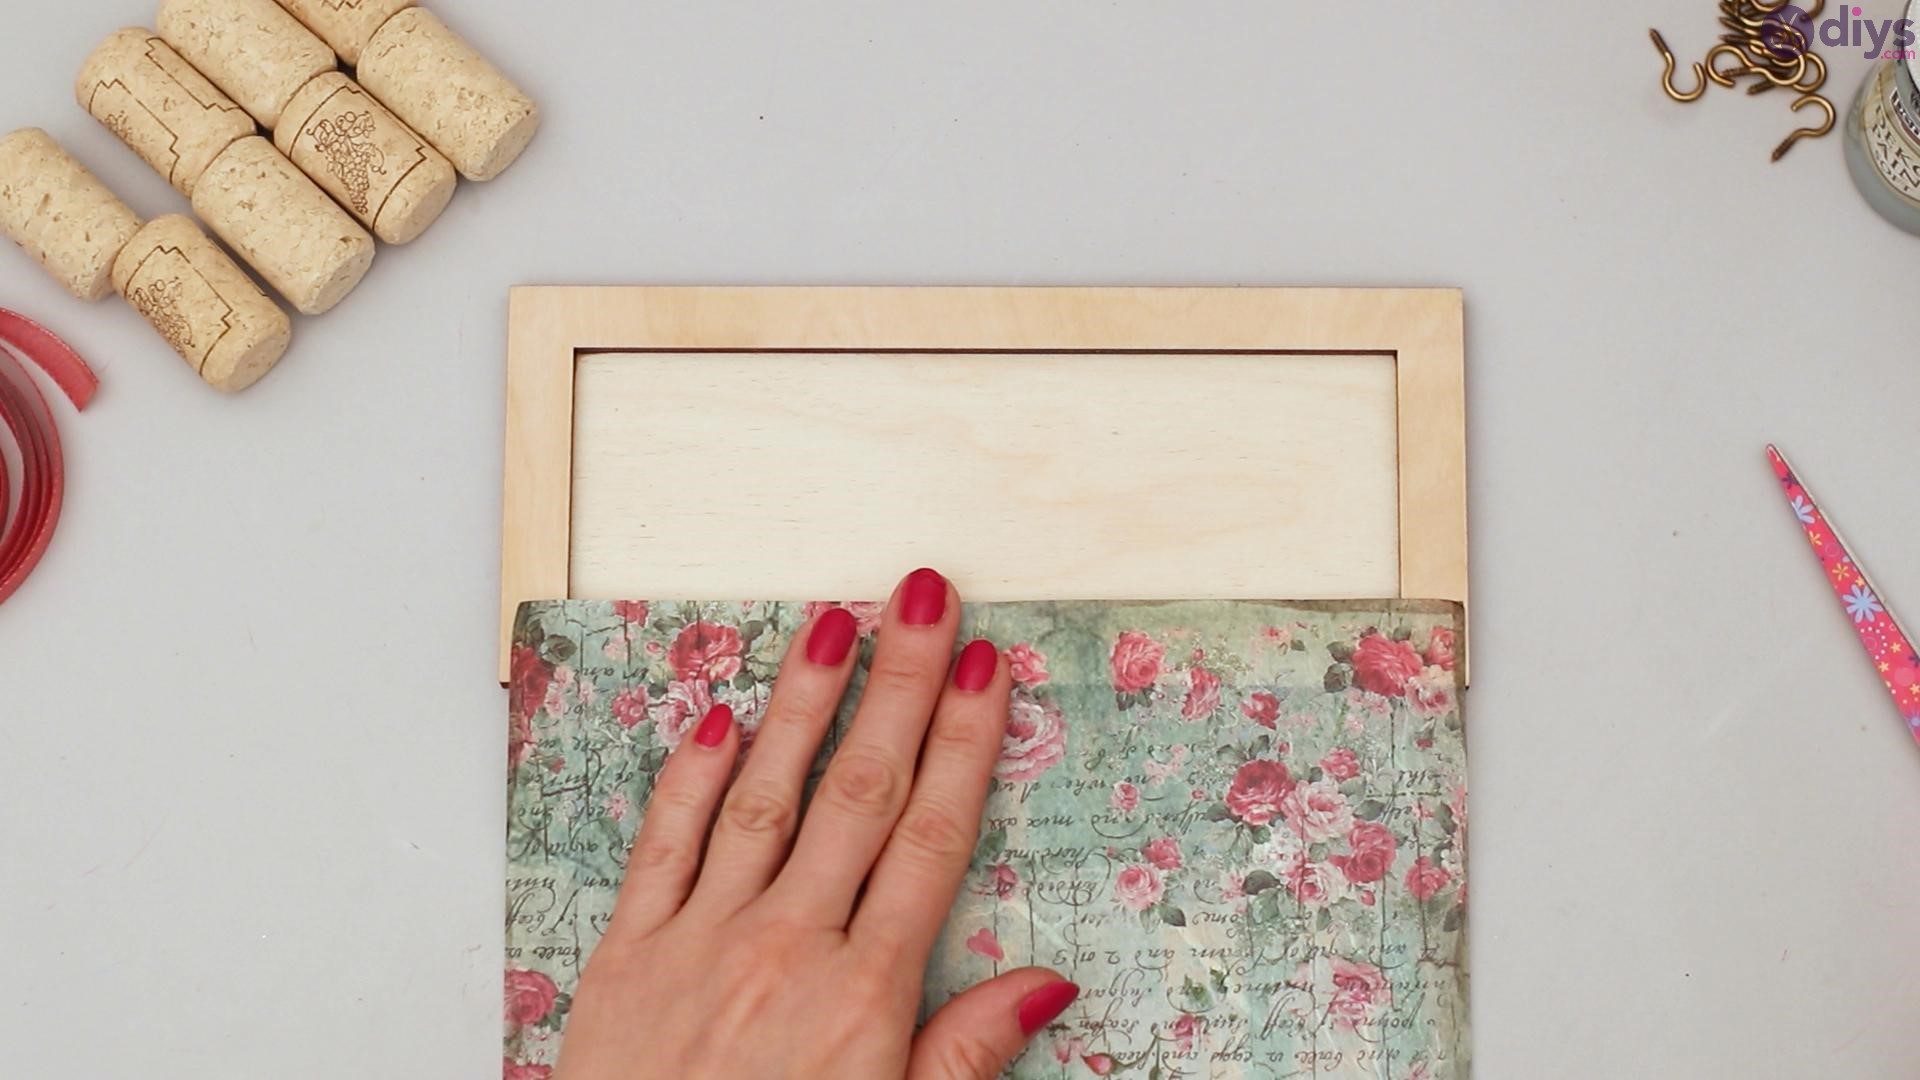
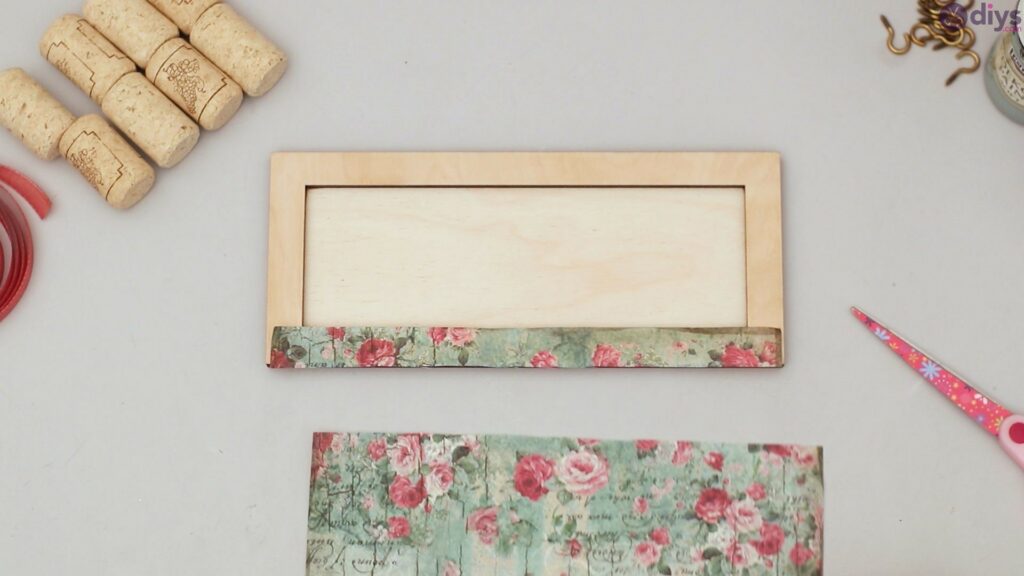
Once you’ve very carefully placed your thin strip of rice paper on the border, go over the strip again with more decoupage glue. This will seal the strip in place and prevent it from tearing or ripping over time.
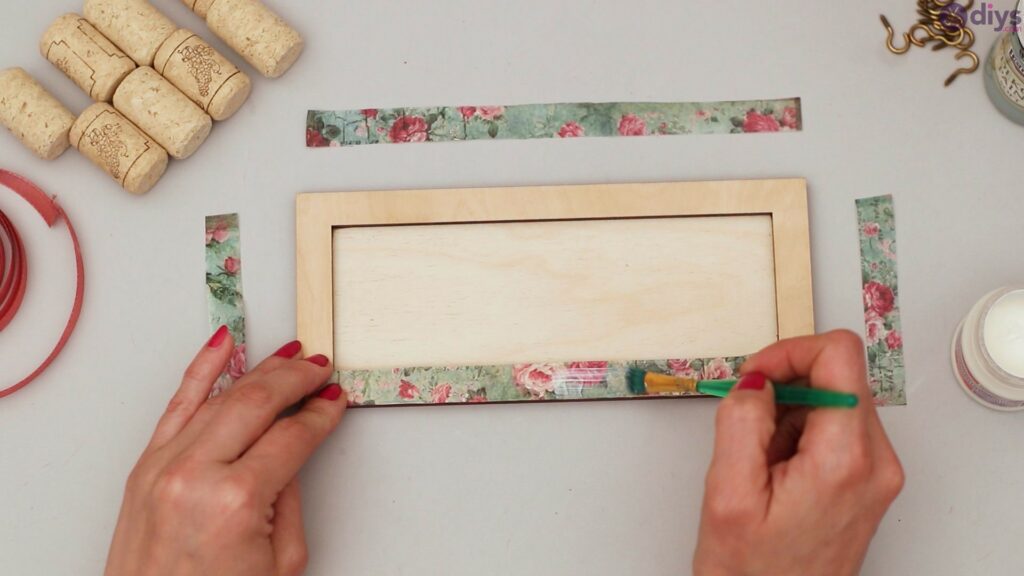
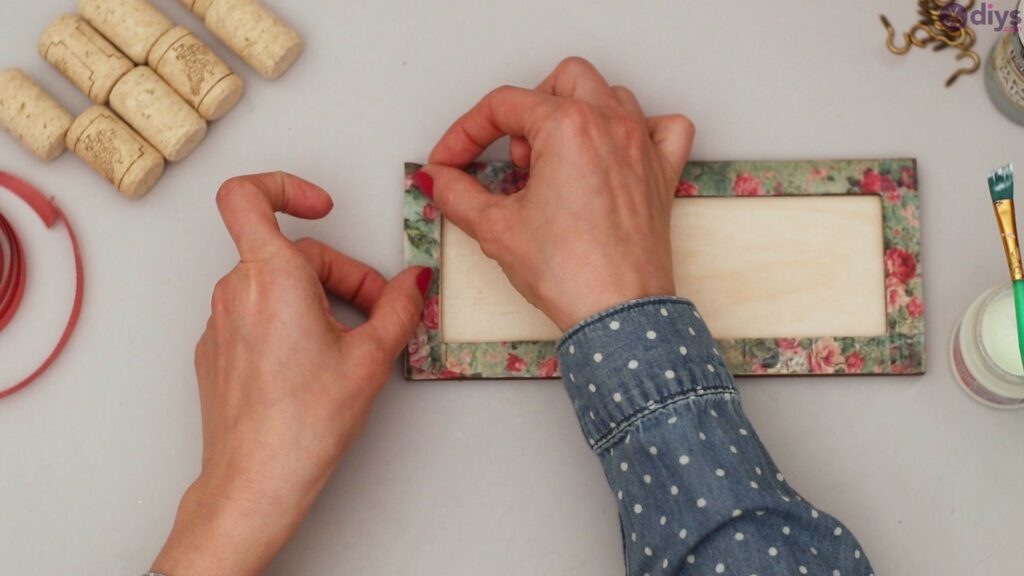
Repeat this process for each side of your organizer, going over each thin strip with more decoupage glue.

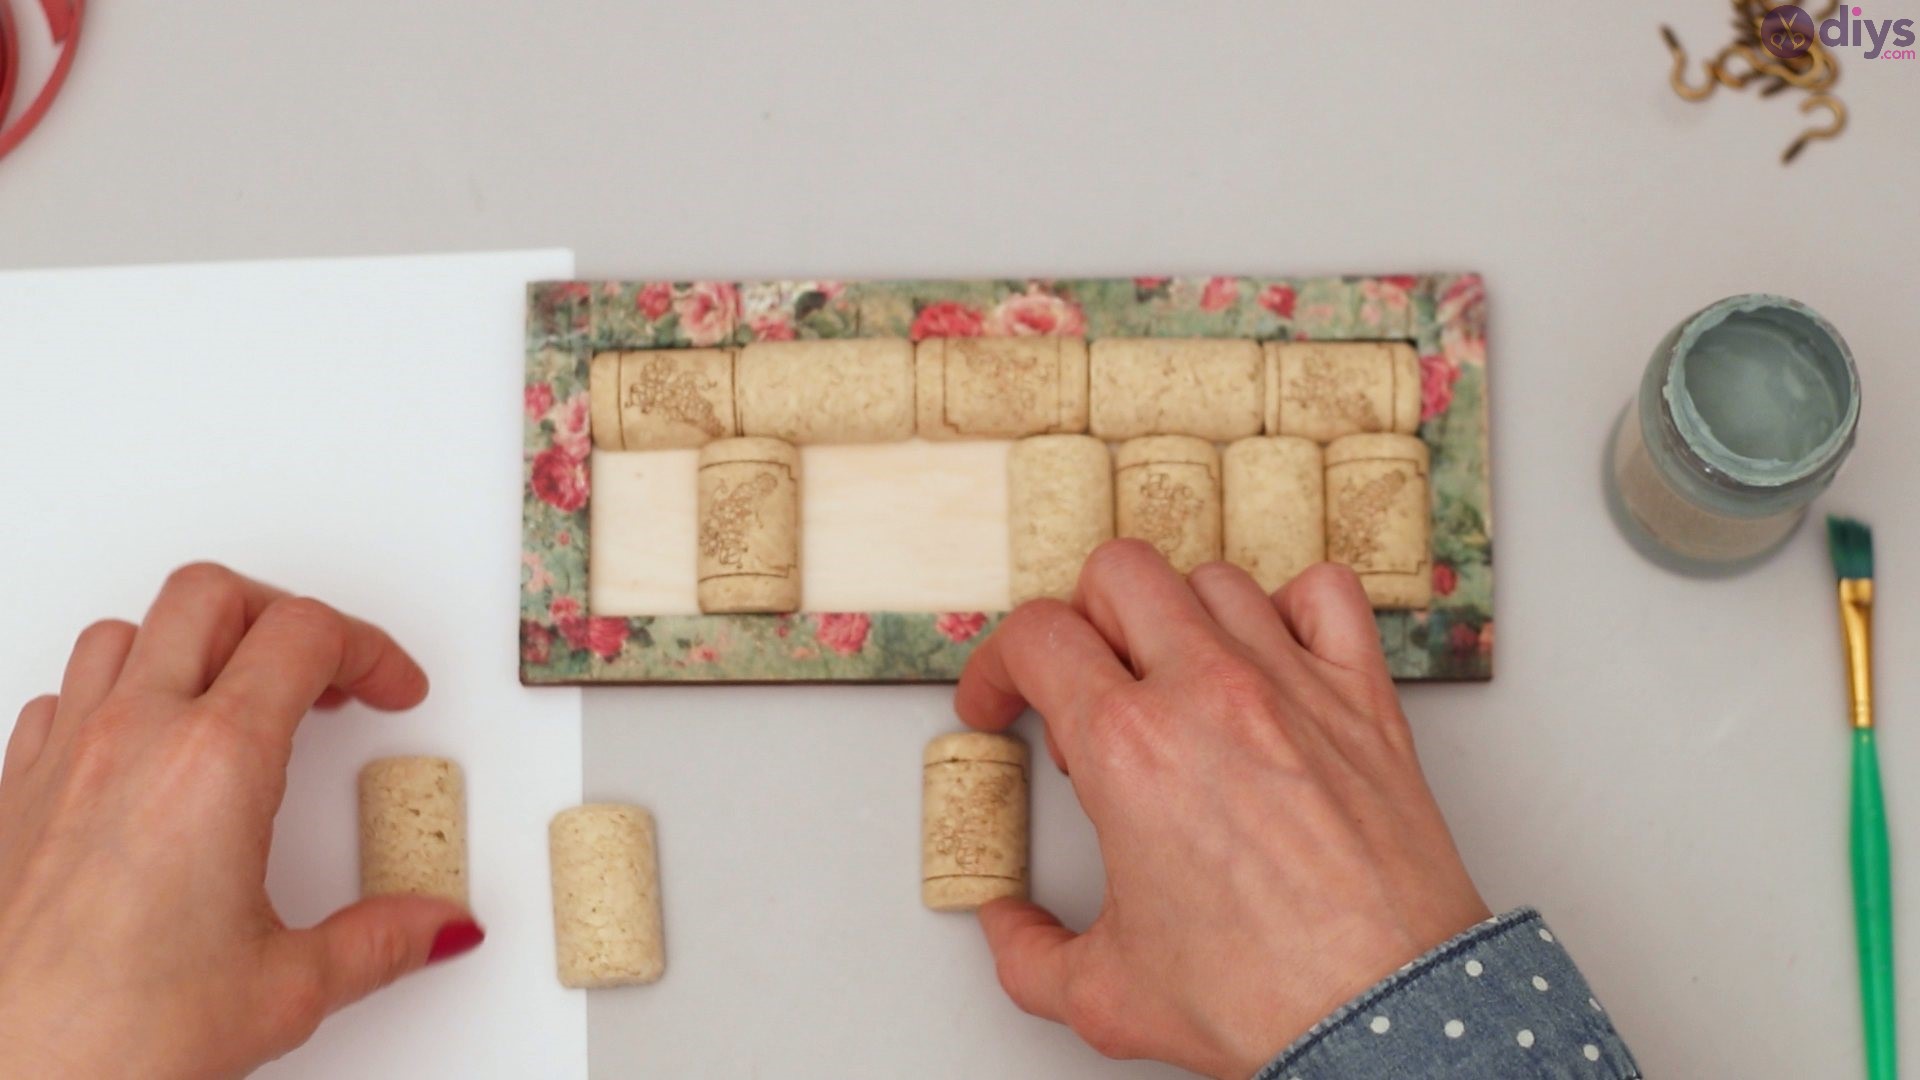
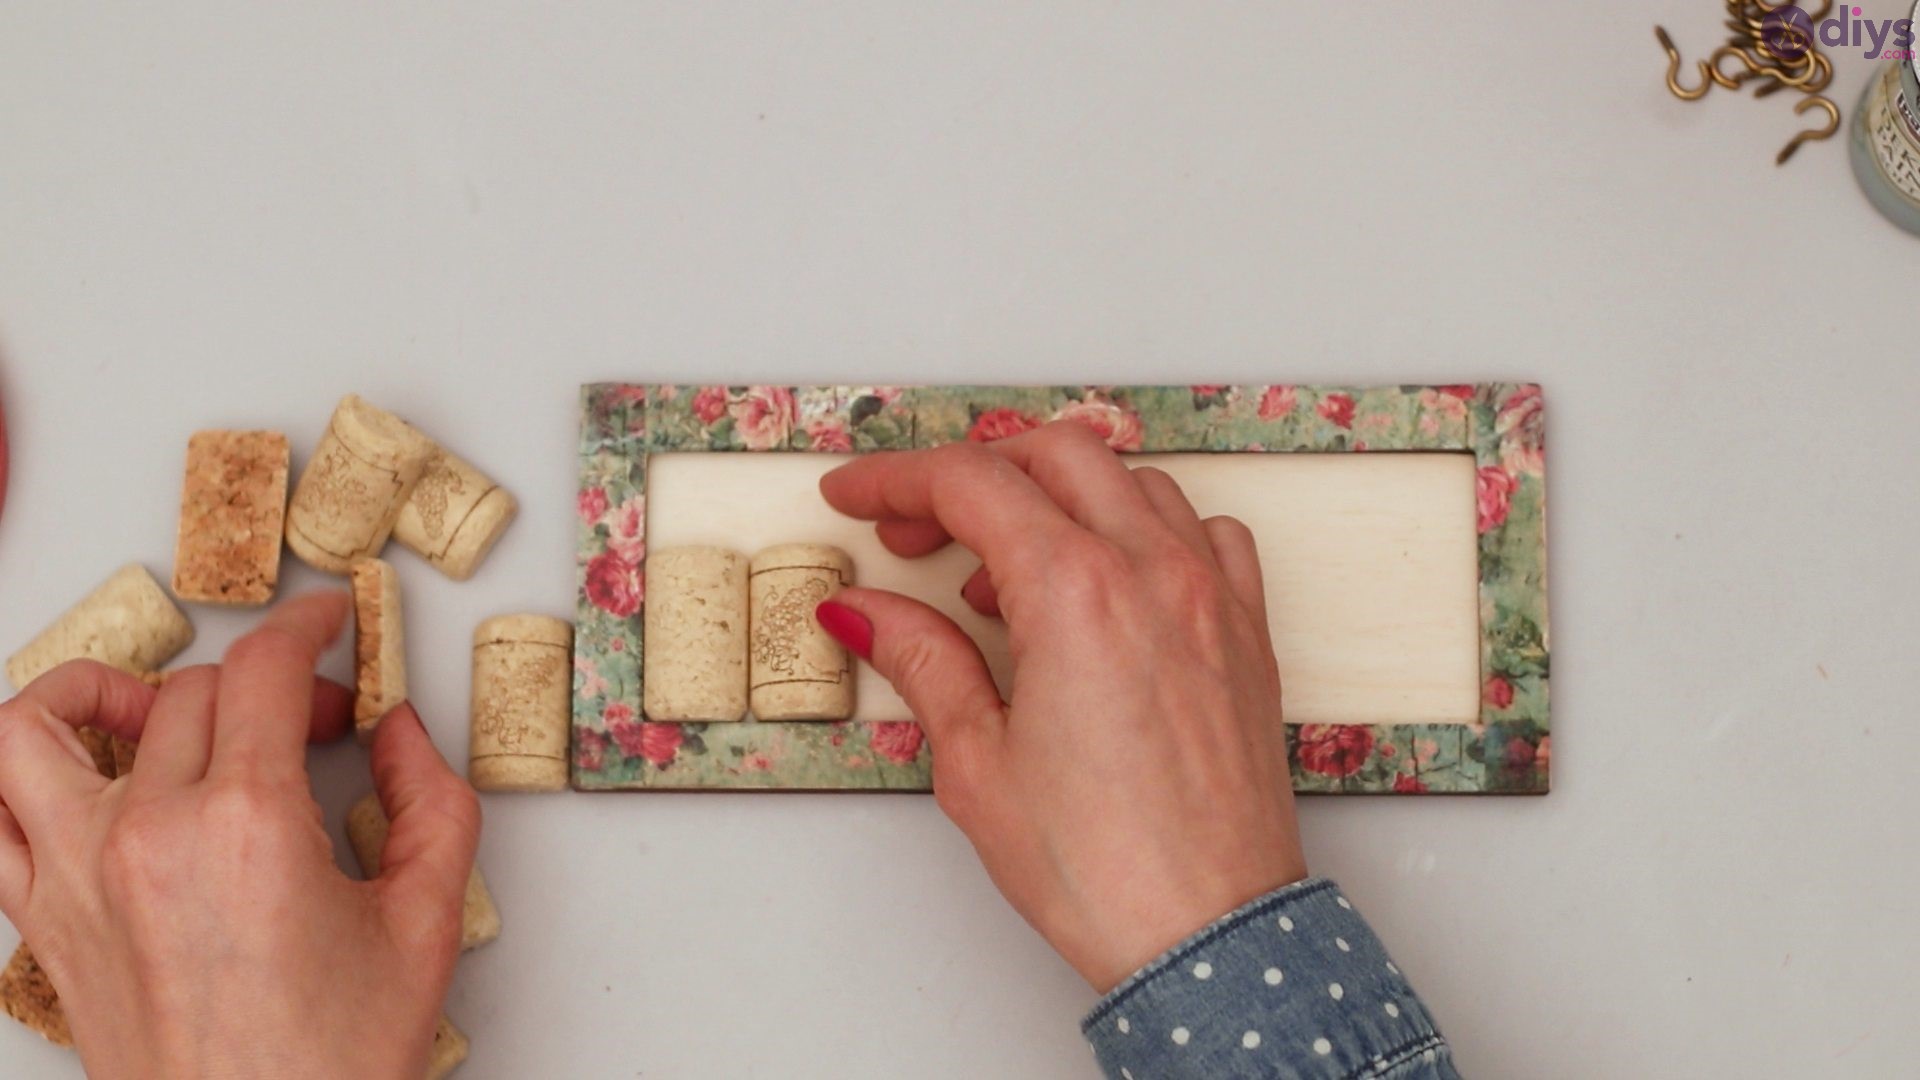
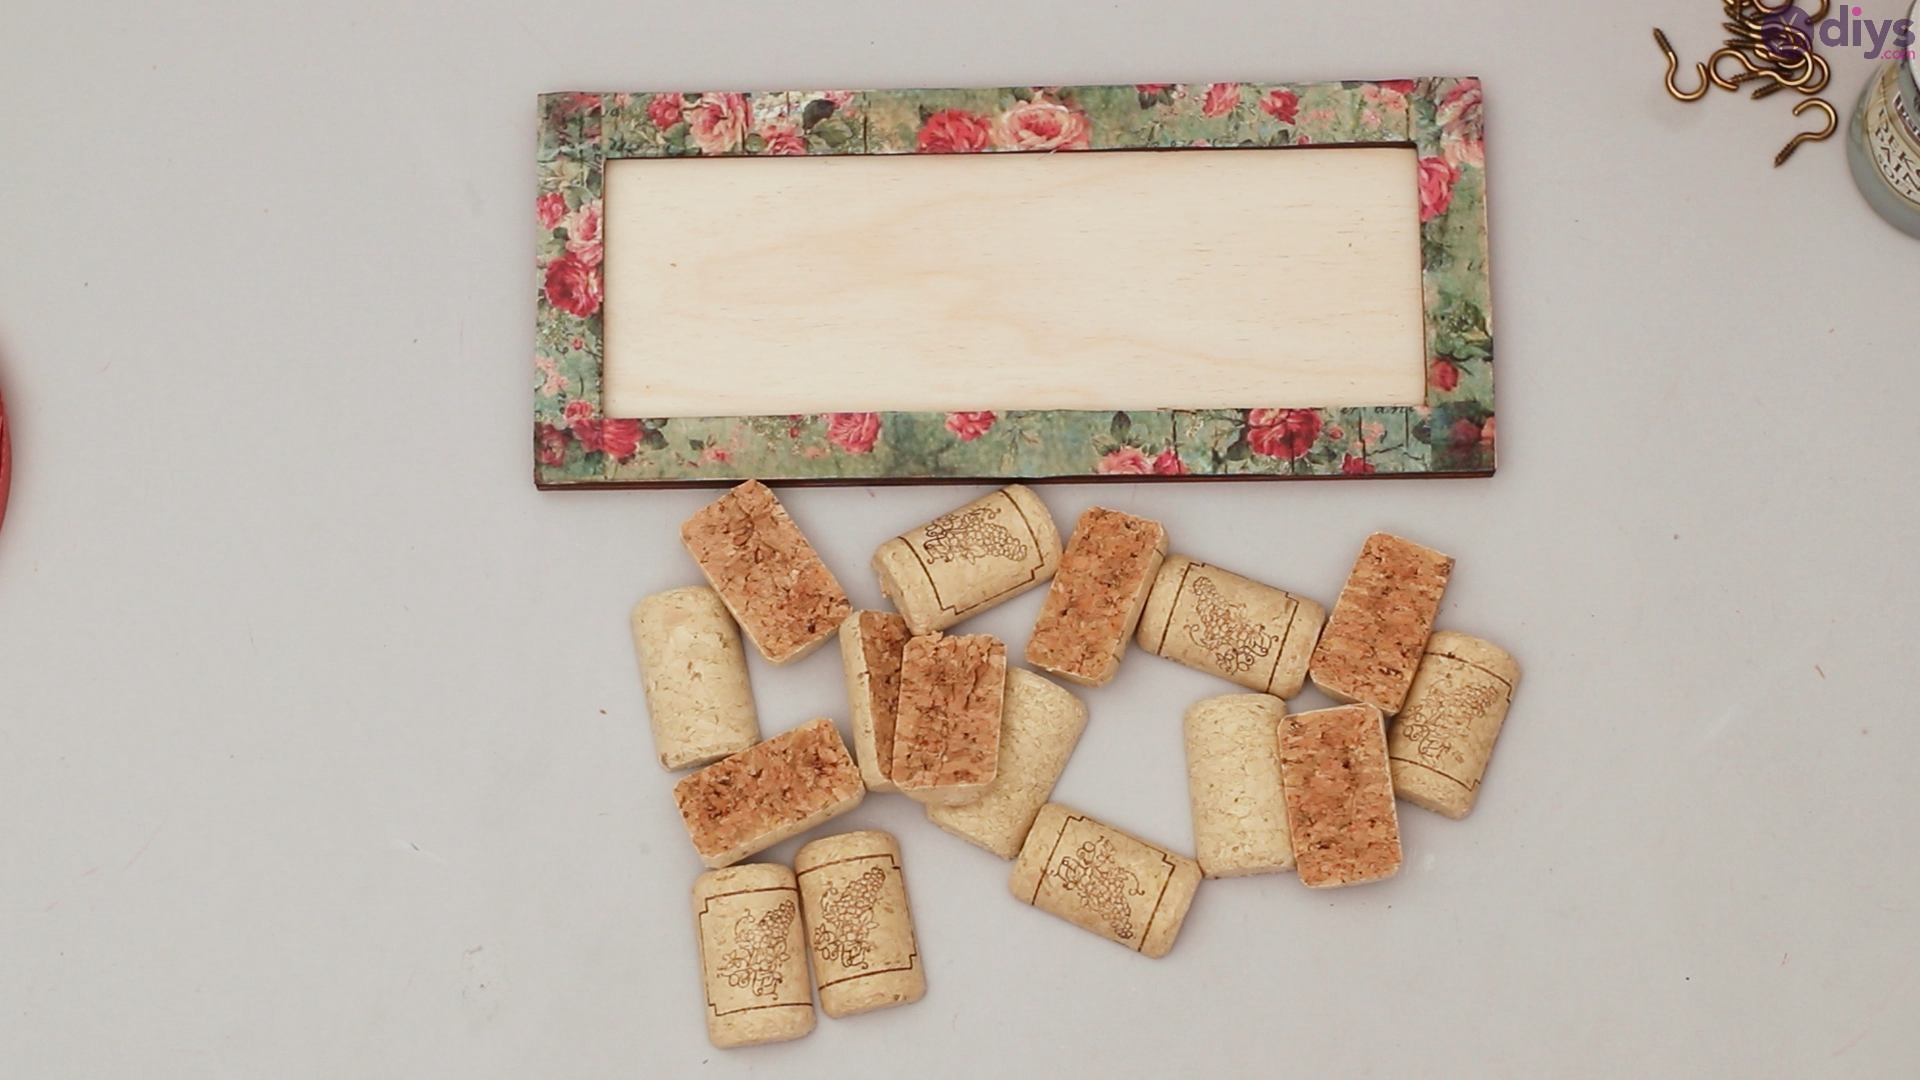
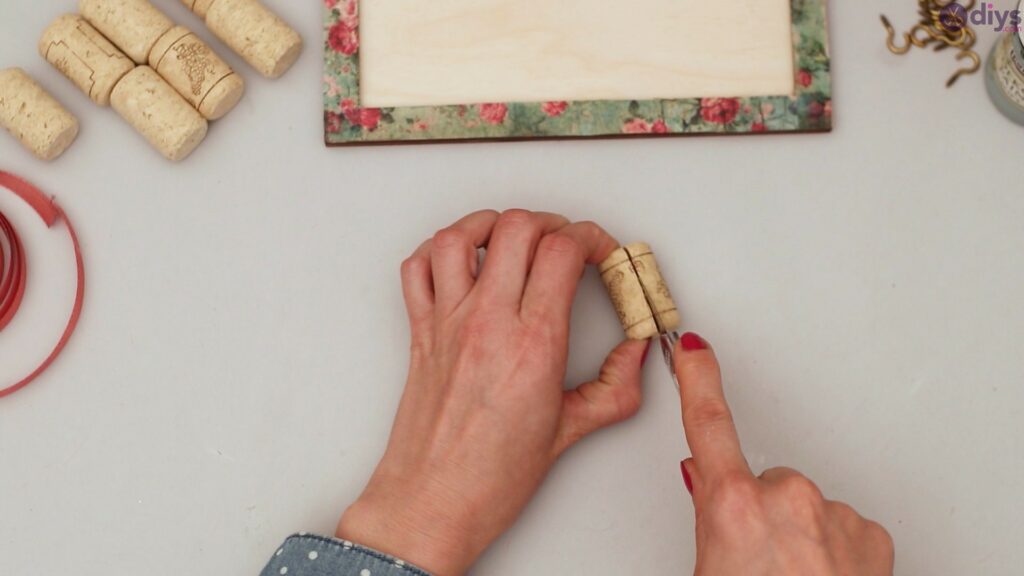
Step 3: Cutting Your Corks
Using a very share knife, cut your cork pieces in half. These pieces will be used to create the backdrop of your jewelry organizer. These corks will hold your hooks in place in order to securely hold earrings, necklaces and bracelets.
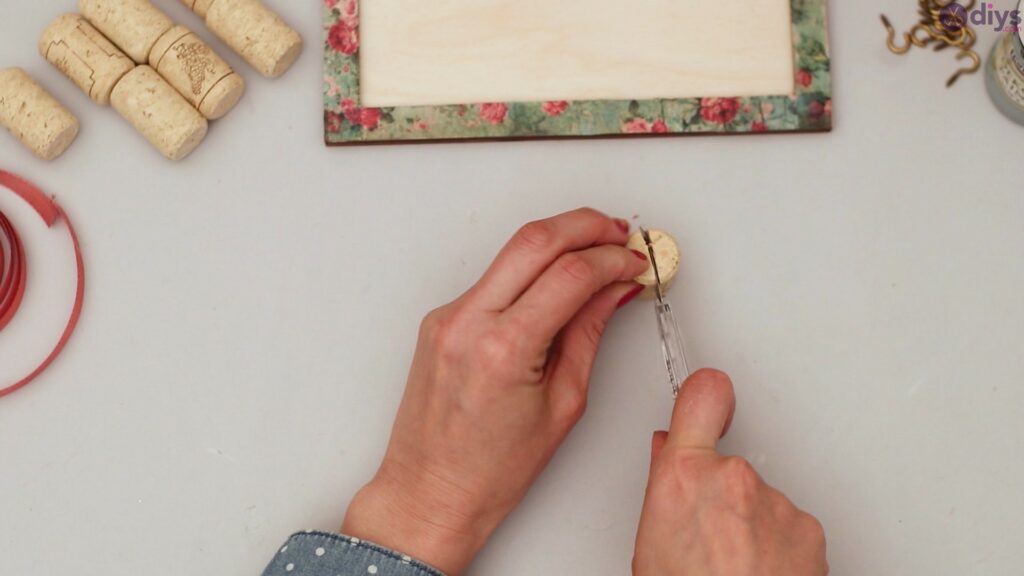
Make sure to cut enough corks to cover your jewelry organizer. You will probably need about two rows of six to eight cork halves depending on how large or small you are making your jewelry organizer.

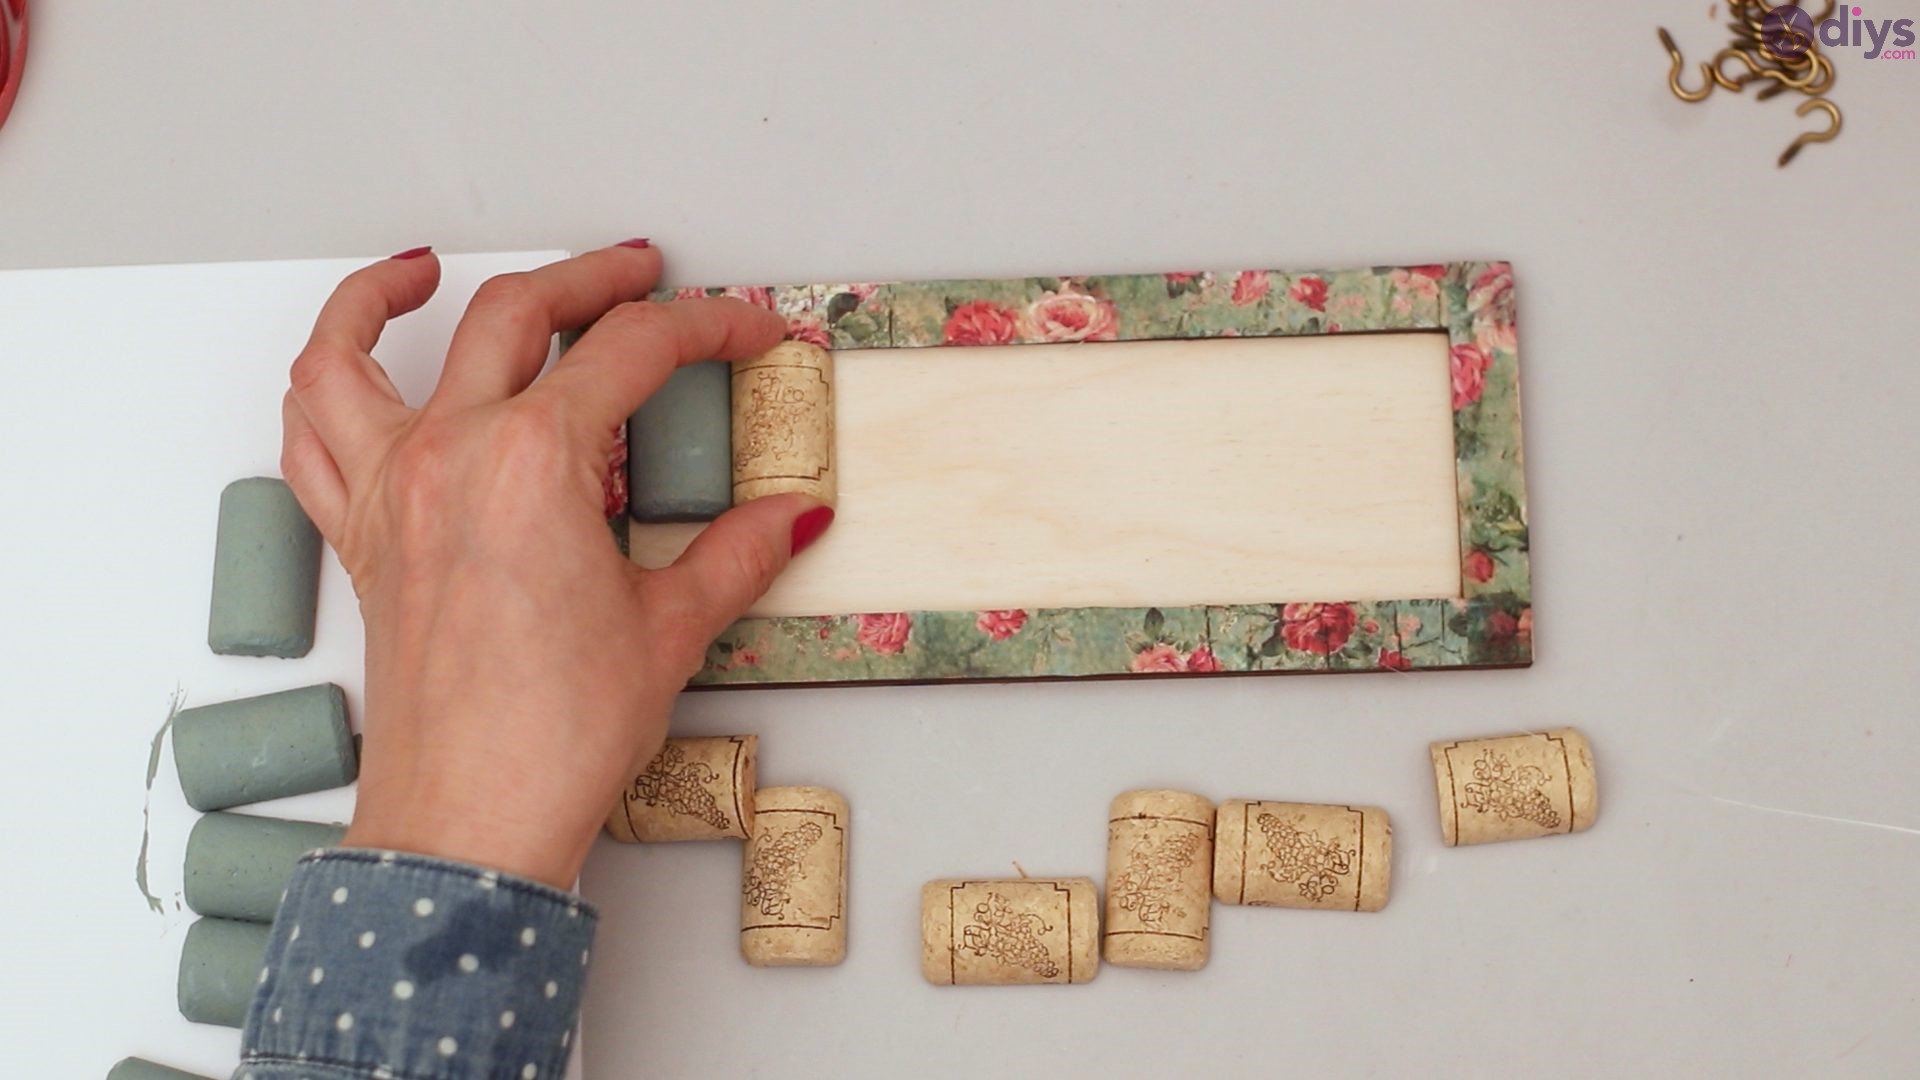
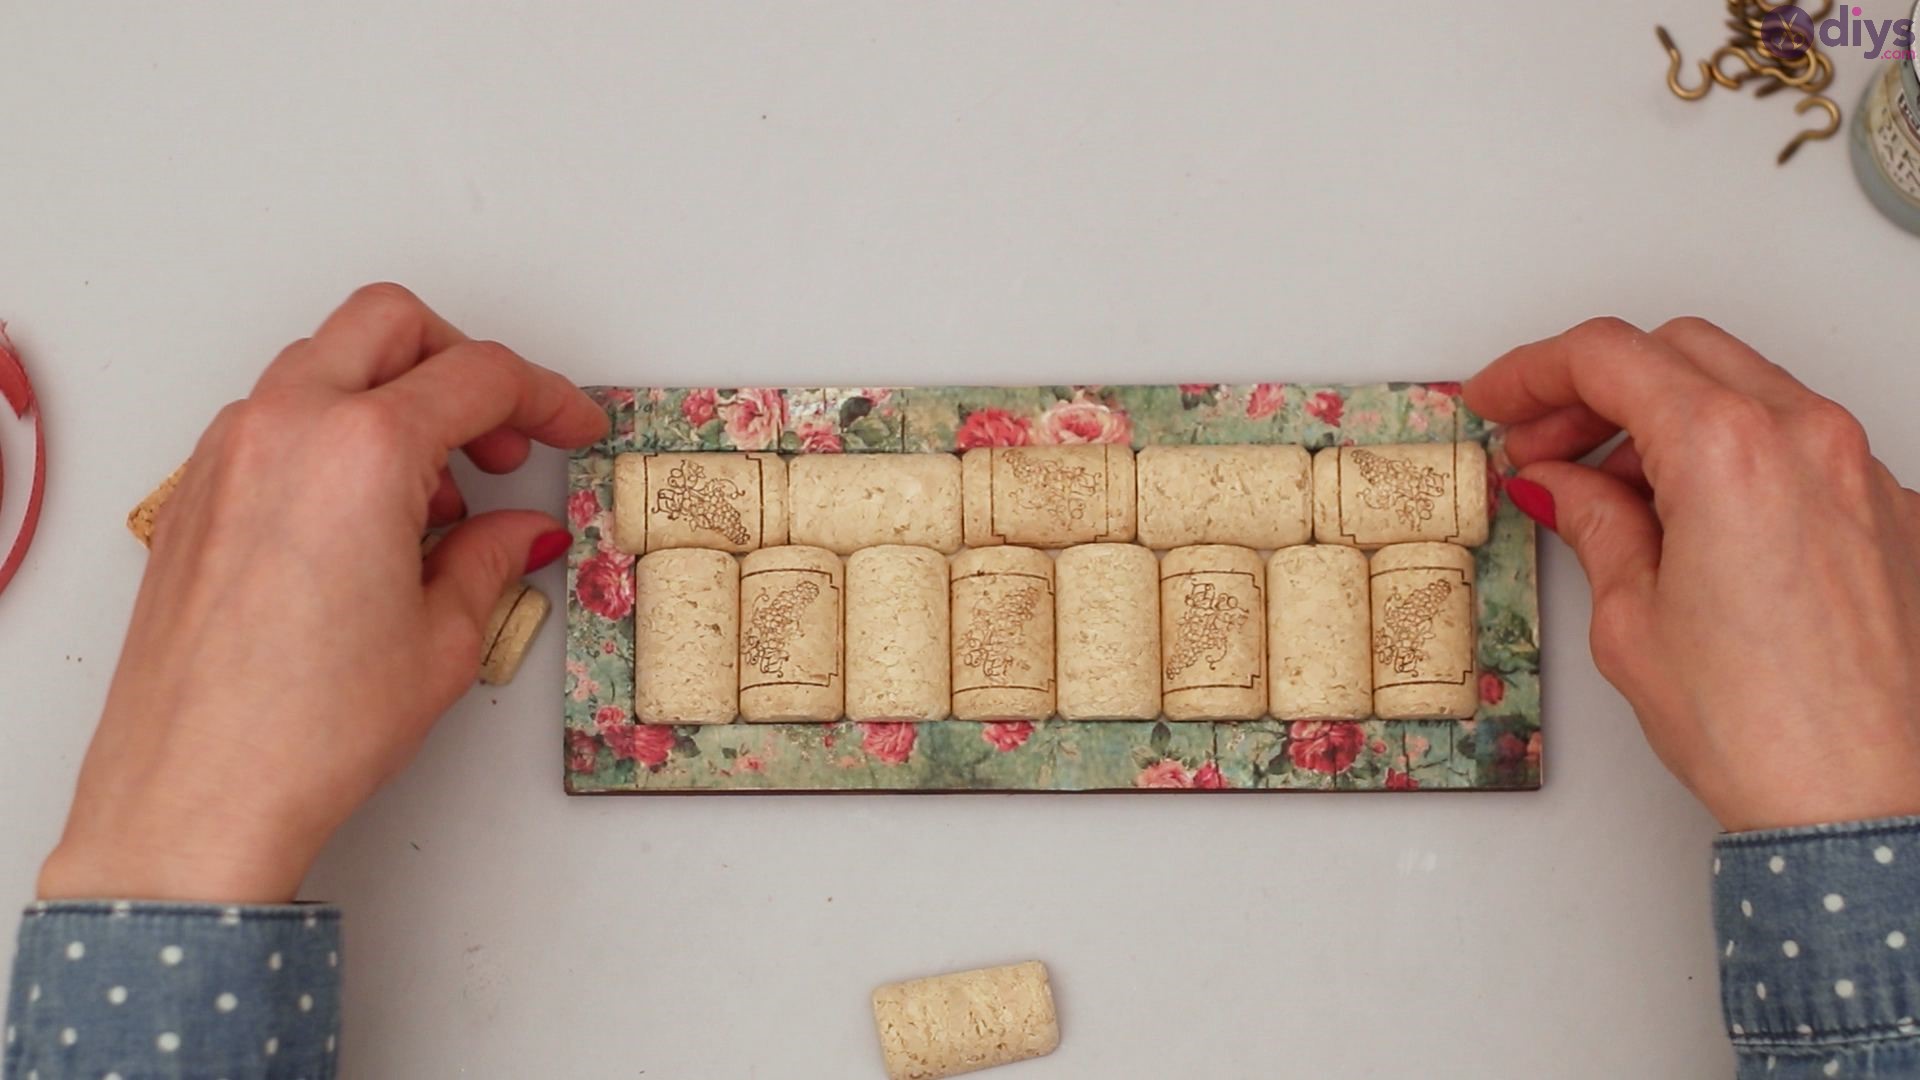
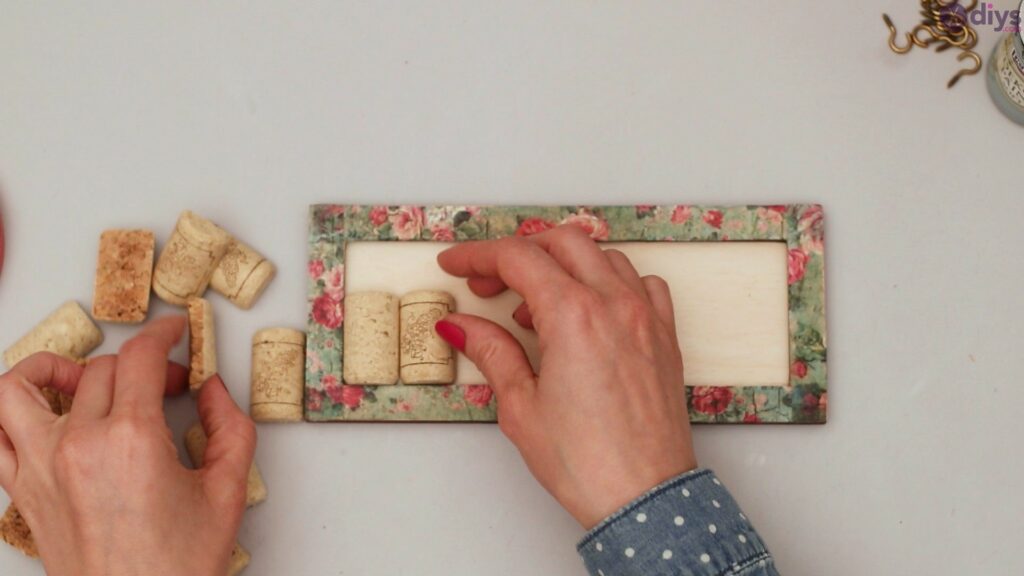
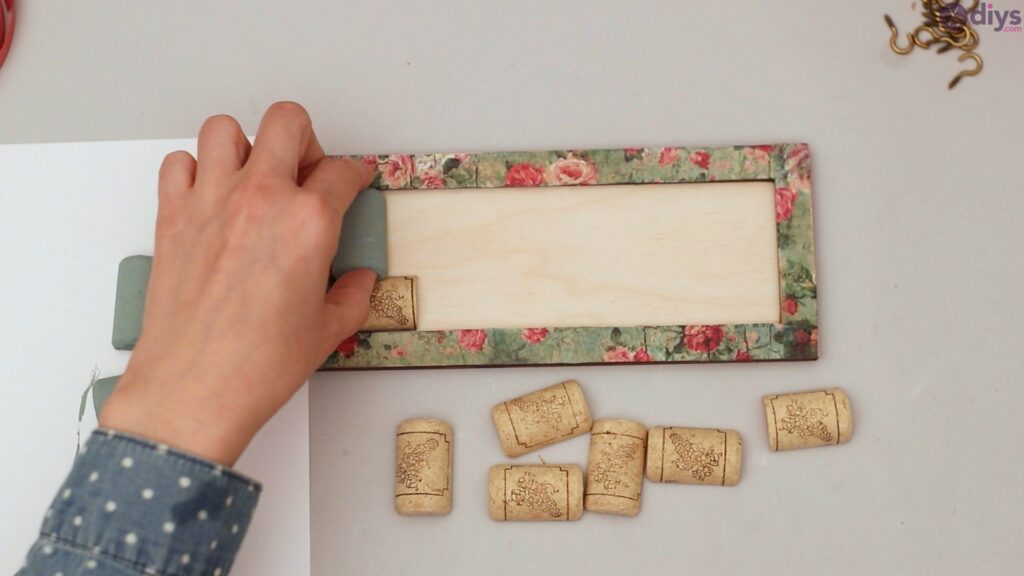
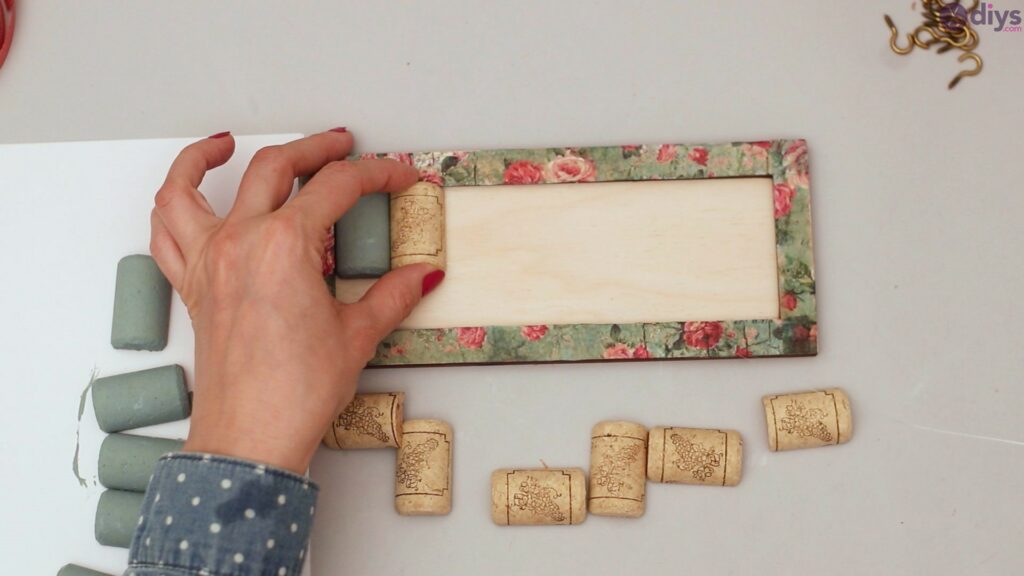
Once you have all your corks cut, you can get a better idea of how they will all fit by placing the dry pieces on the board. This will give you a good idea on how to glue your corks.
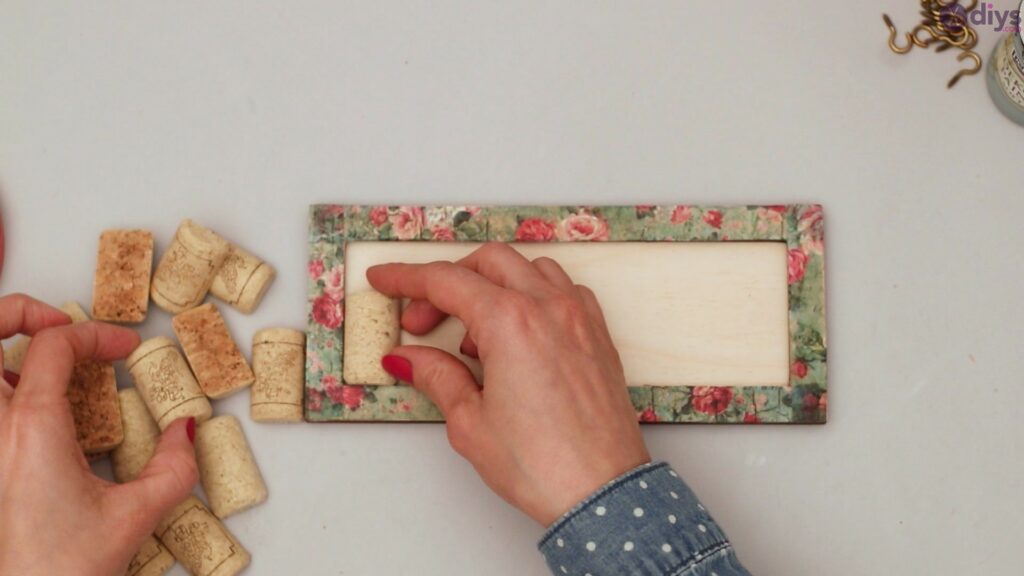

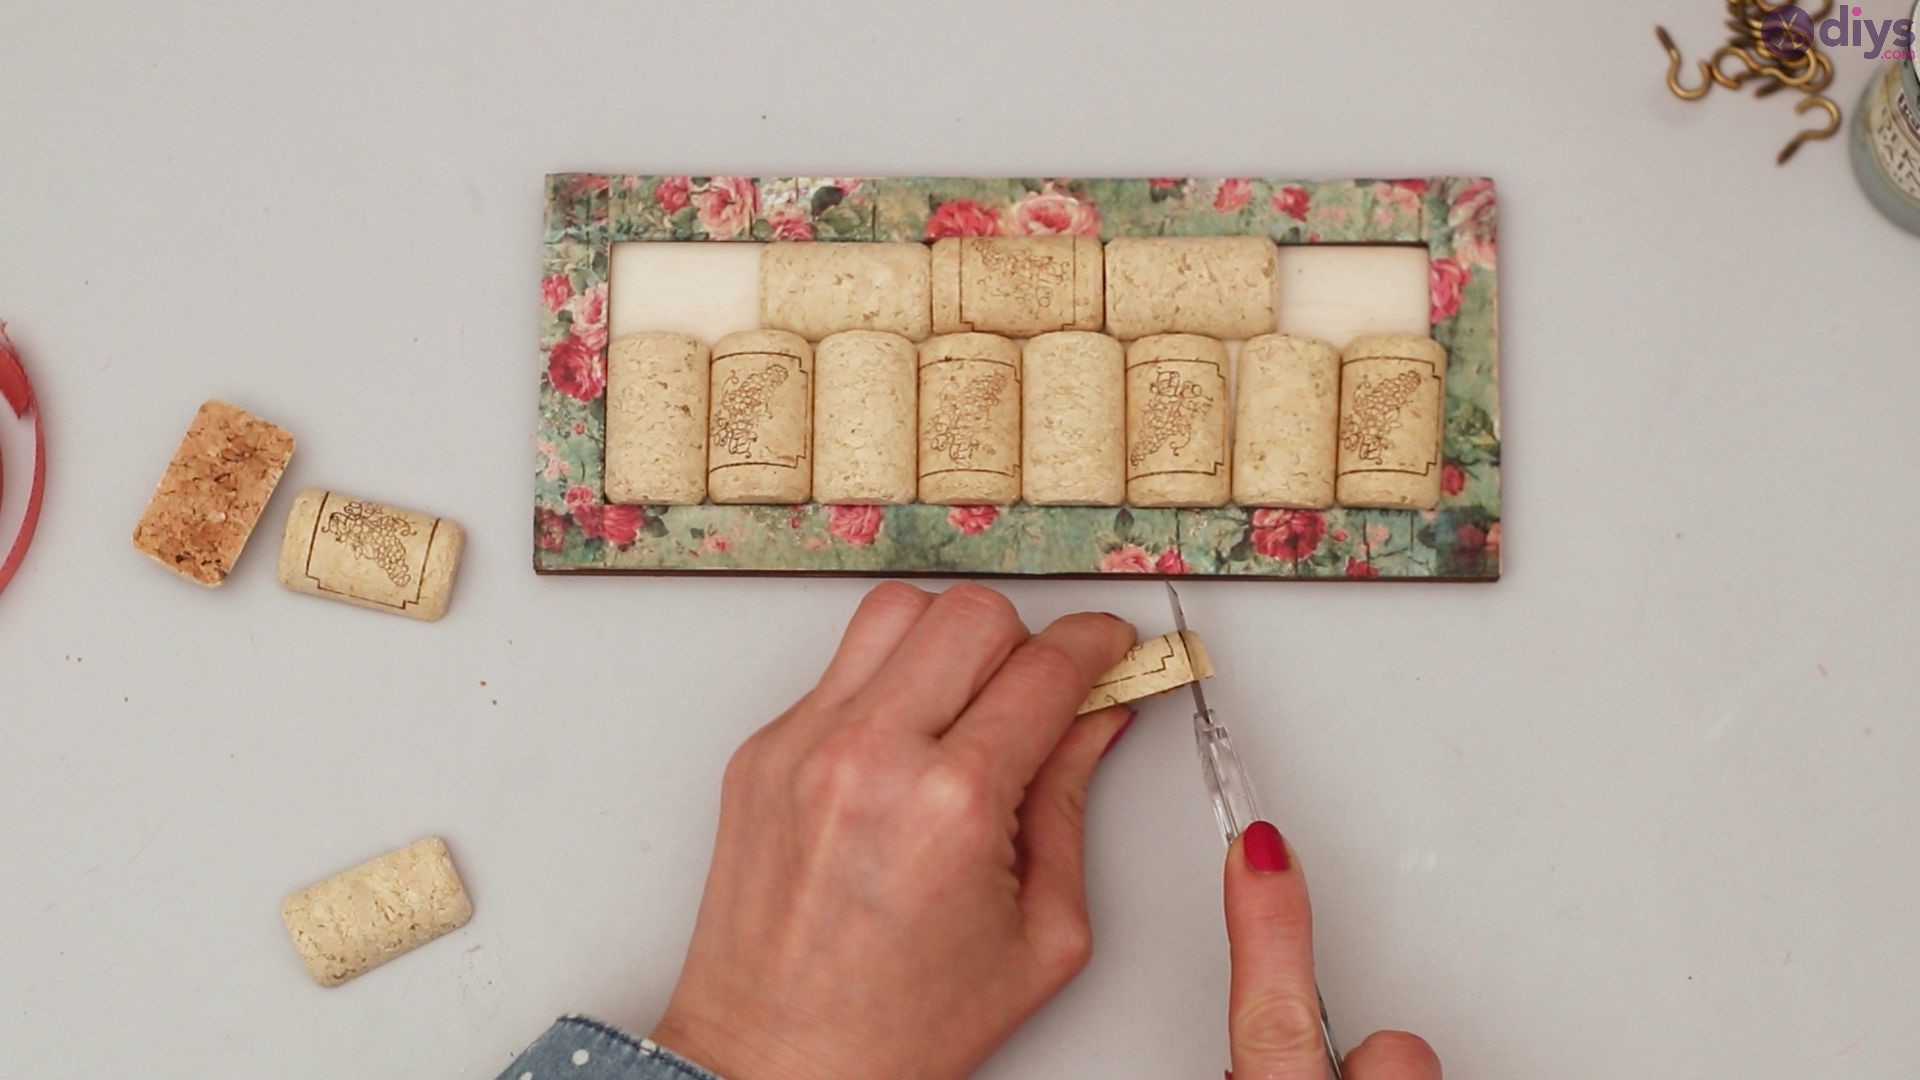
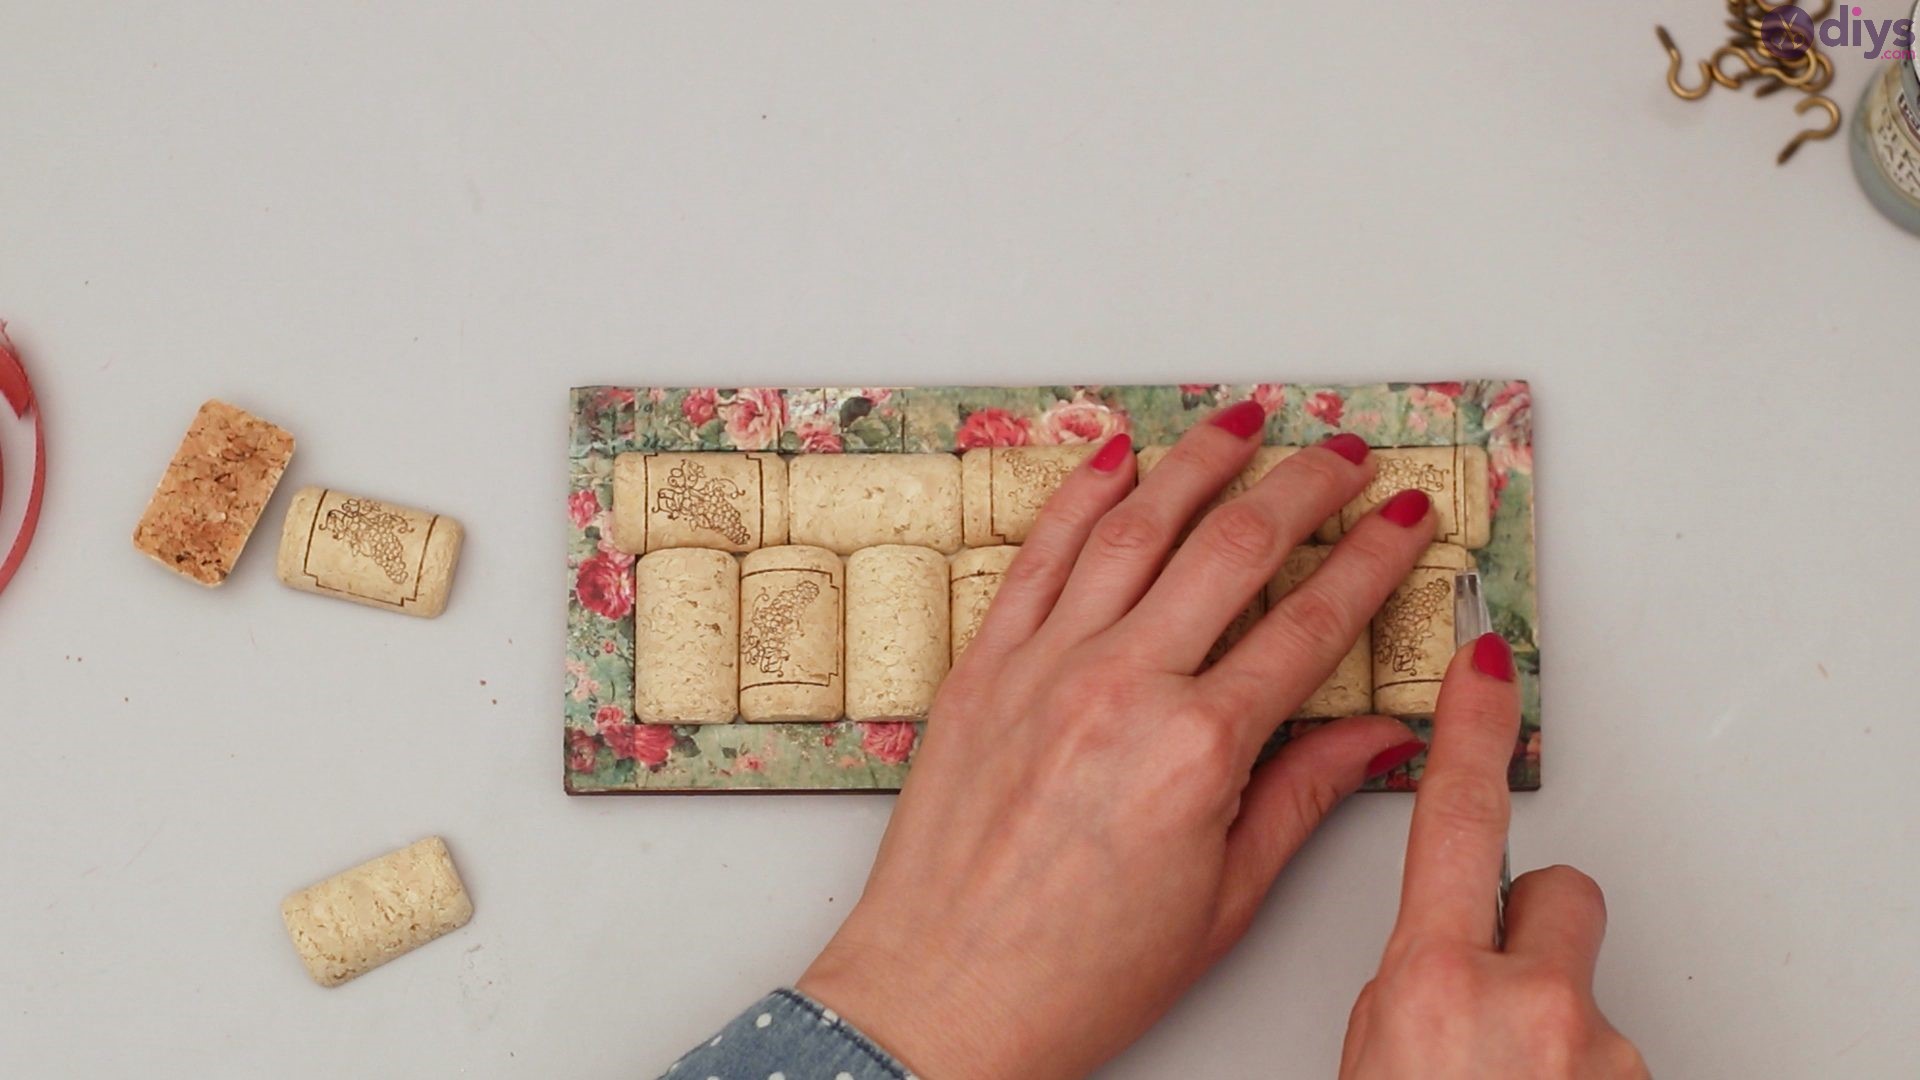
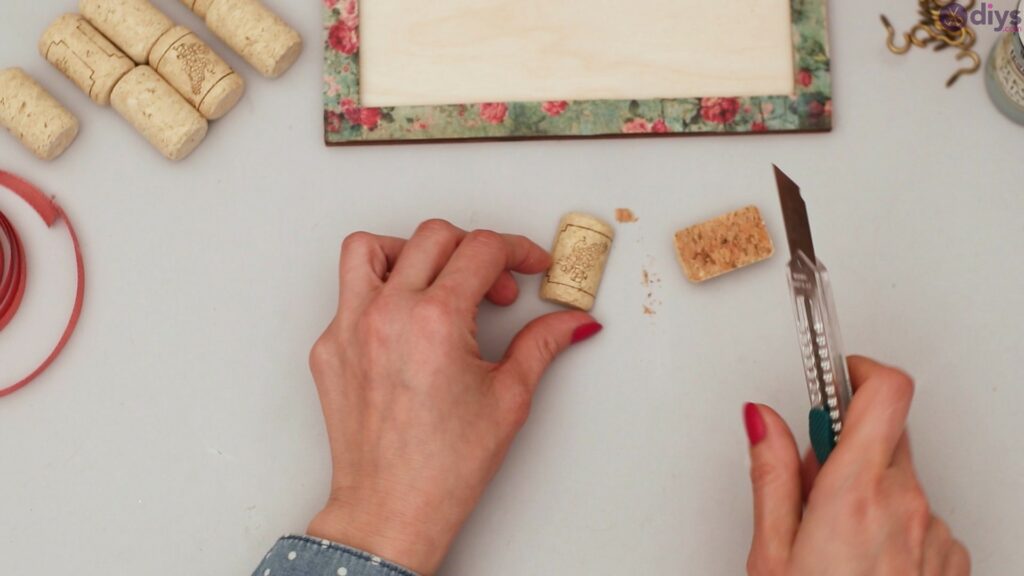
Step 4: Trimming
Trim any overlapping cork pieces with your sharp knife. Since these cork pieces will probably not fit perfectly, it’s ok to trim off any excess pieces of cork so that none are touching the sides of the rice paper borders.
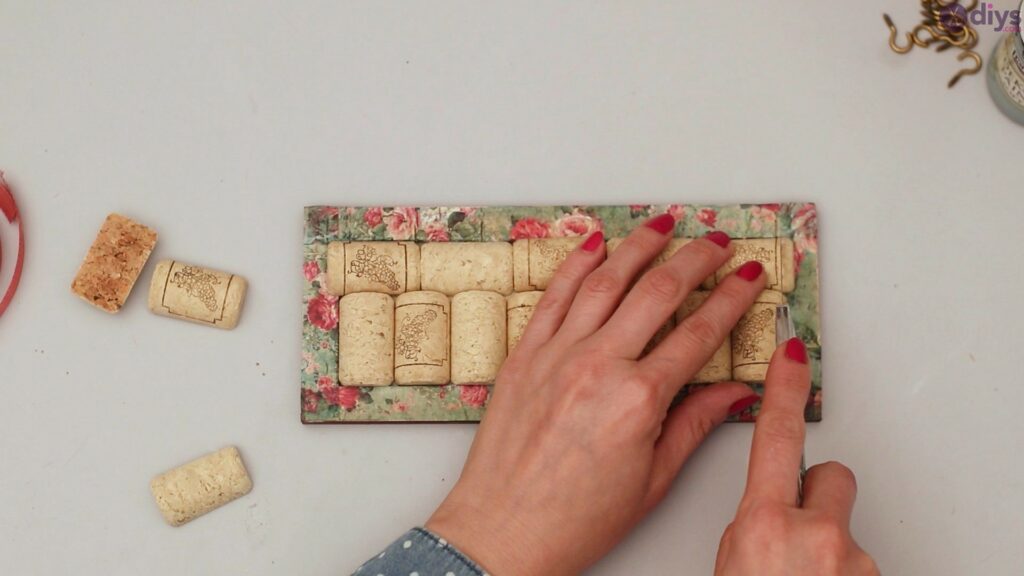

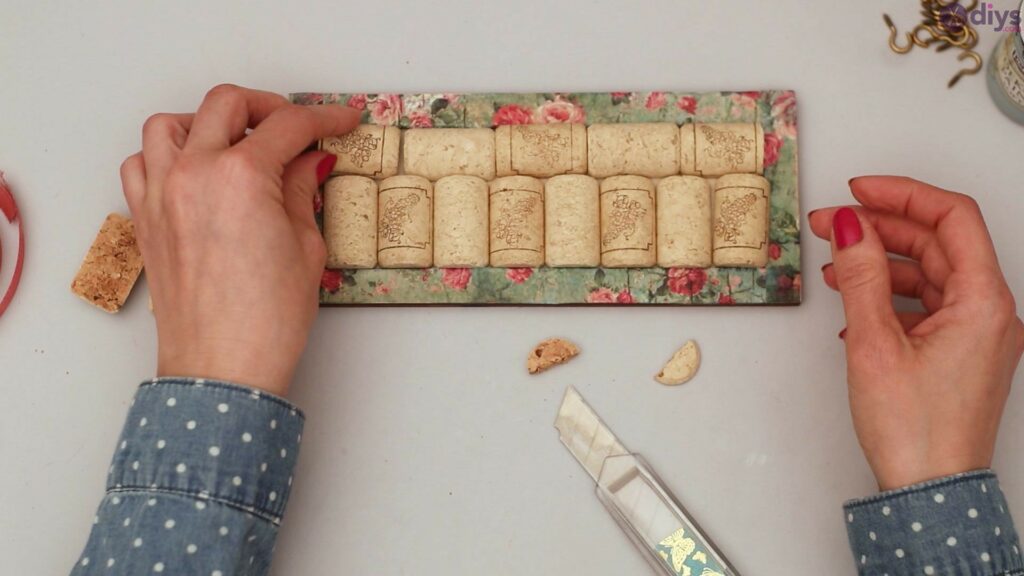
Using the trimming process, you can be sure that all of your cork pieces fit evenly on the board and that there are no overlapping pieces.
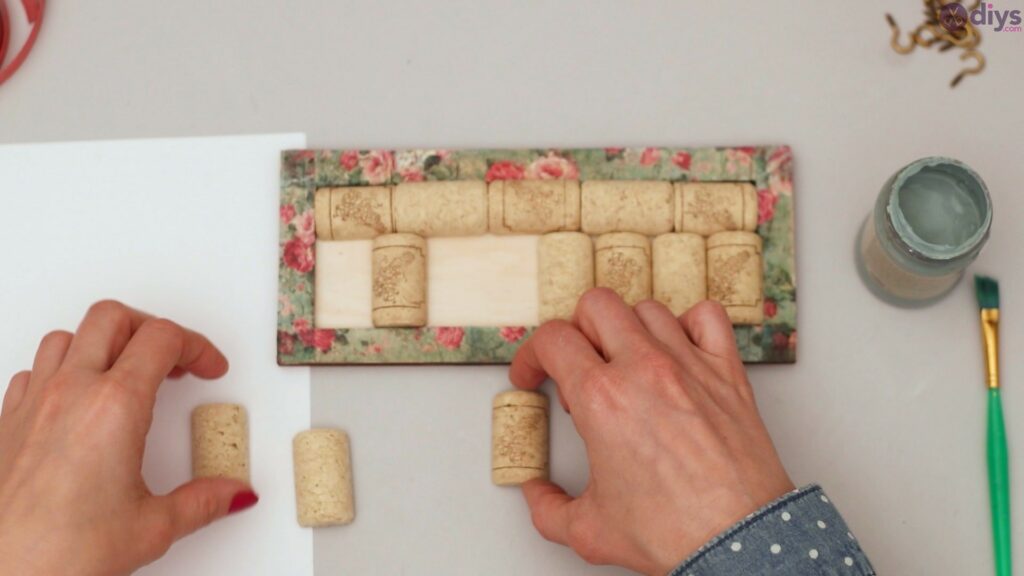
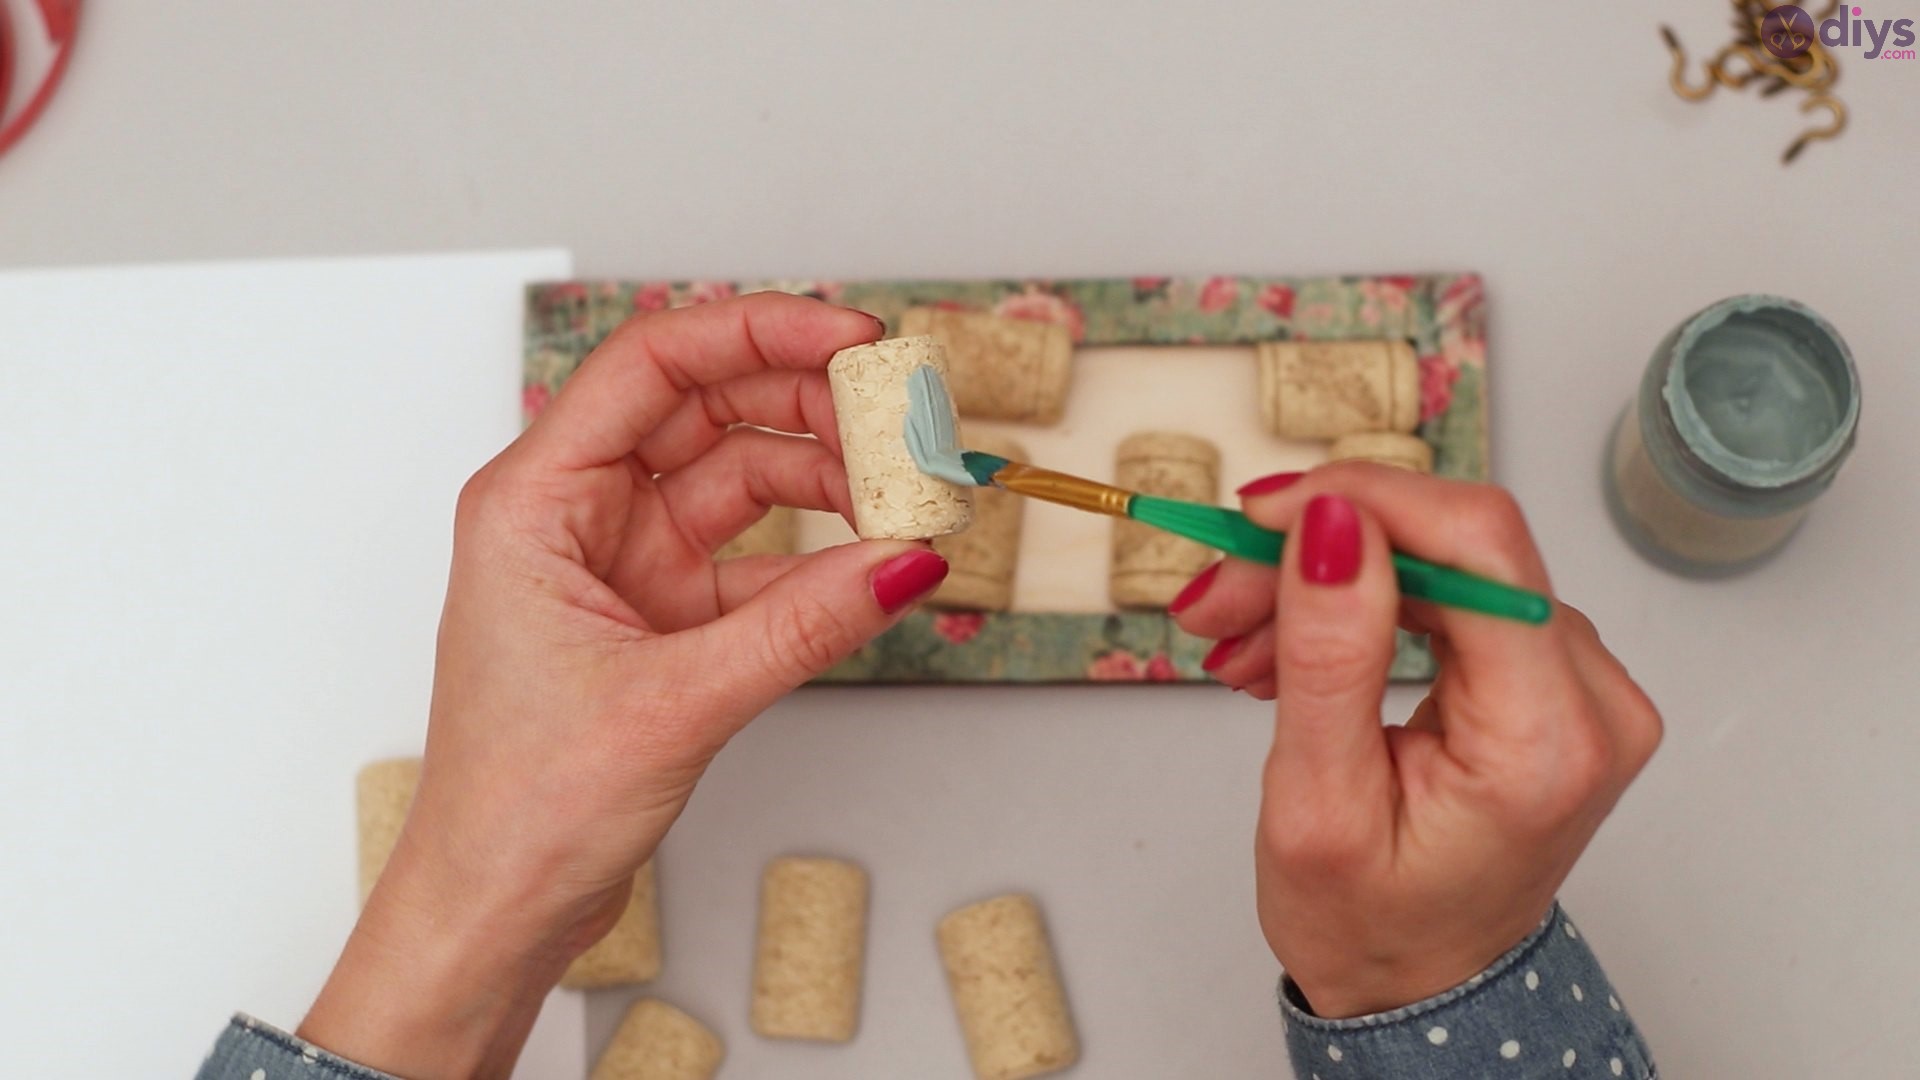
Step 5: Painting
Once your cork pieces are all trimmed and you know exactly how they will fit on the board, you can start to paint them. You can paint them any color you’d like, but you should use more than one color to create an interesting pattern and colors scheme that will really catch the eye.

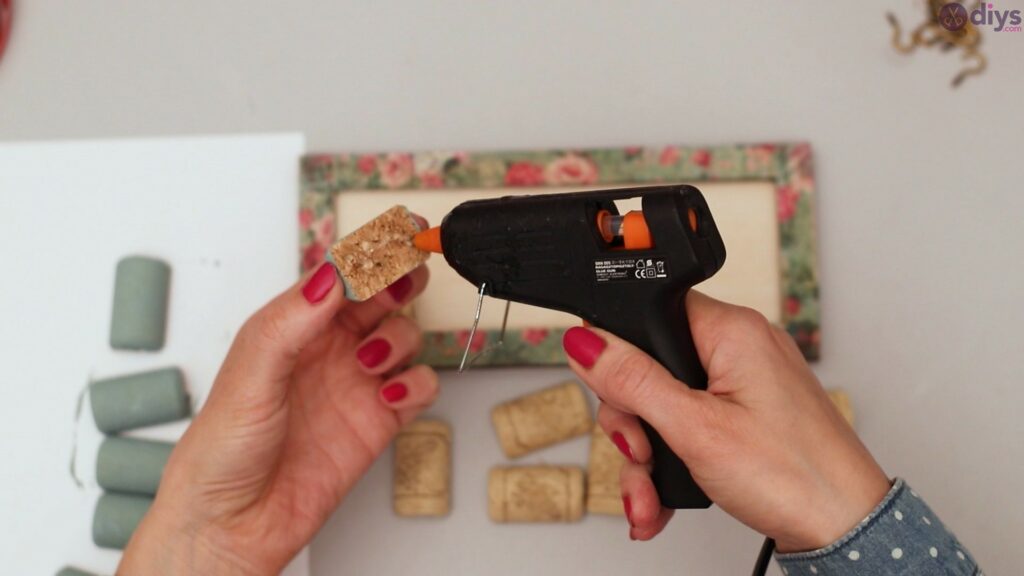
Step 6: Time to Glue!
Once your cork pieces are all painted and you know how you want them arranged on your board, you can start to hot glue them in place. Make sure to only use a dab of hot glue, as you don’t need much to secure the pieces on and too much will create unsightly spillover which is never good for this kind of art project.
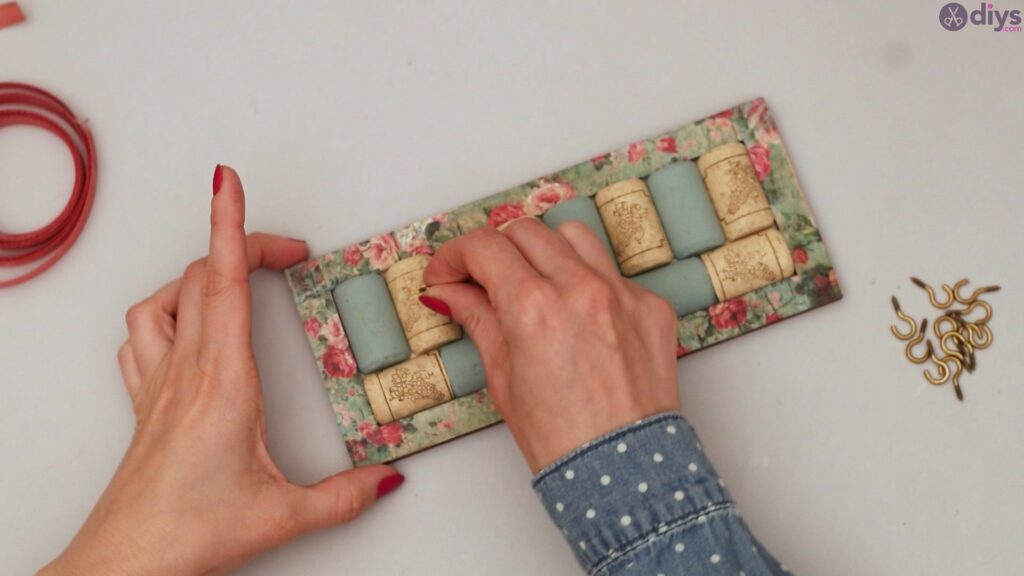
Make sure you keep your pattern in place and glue as you go.
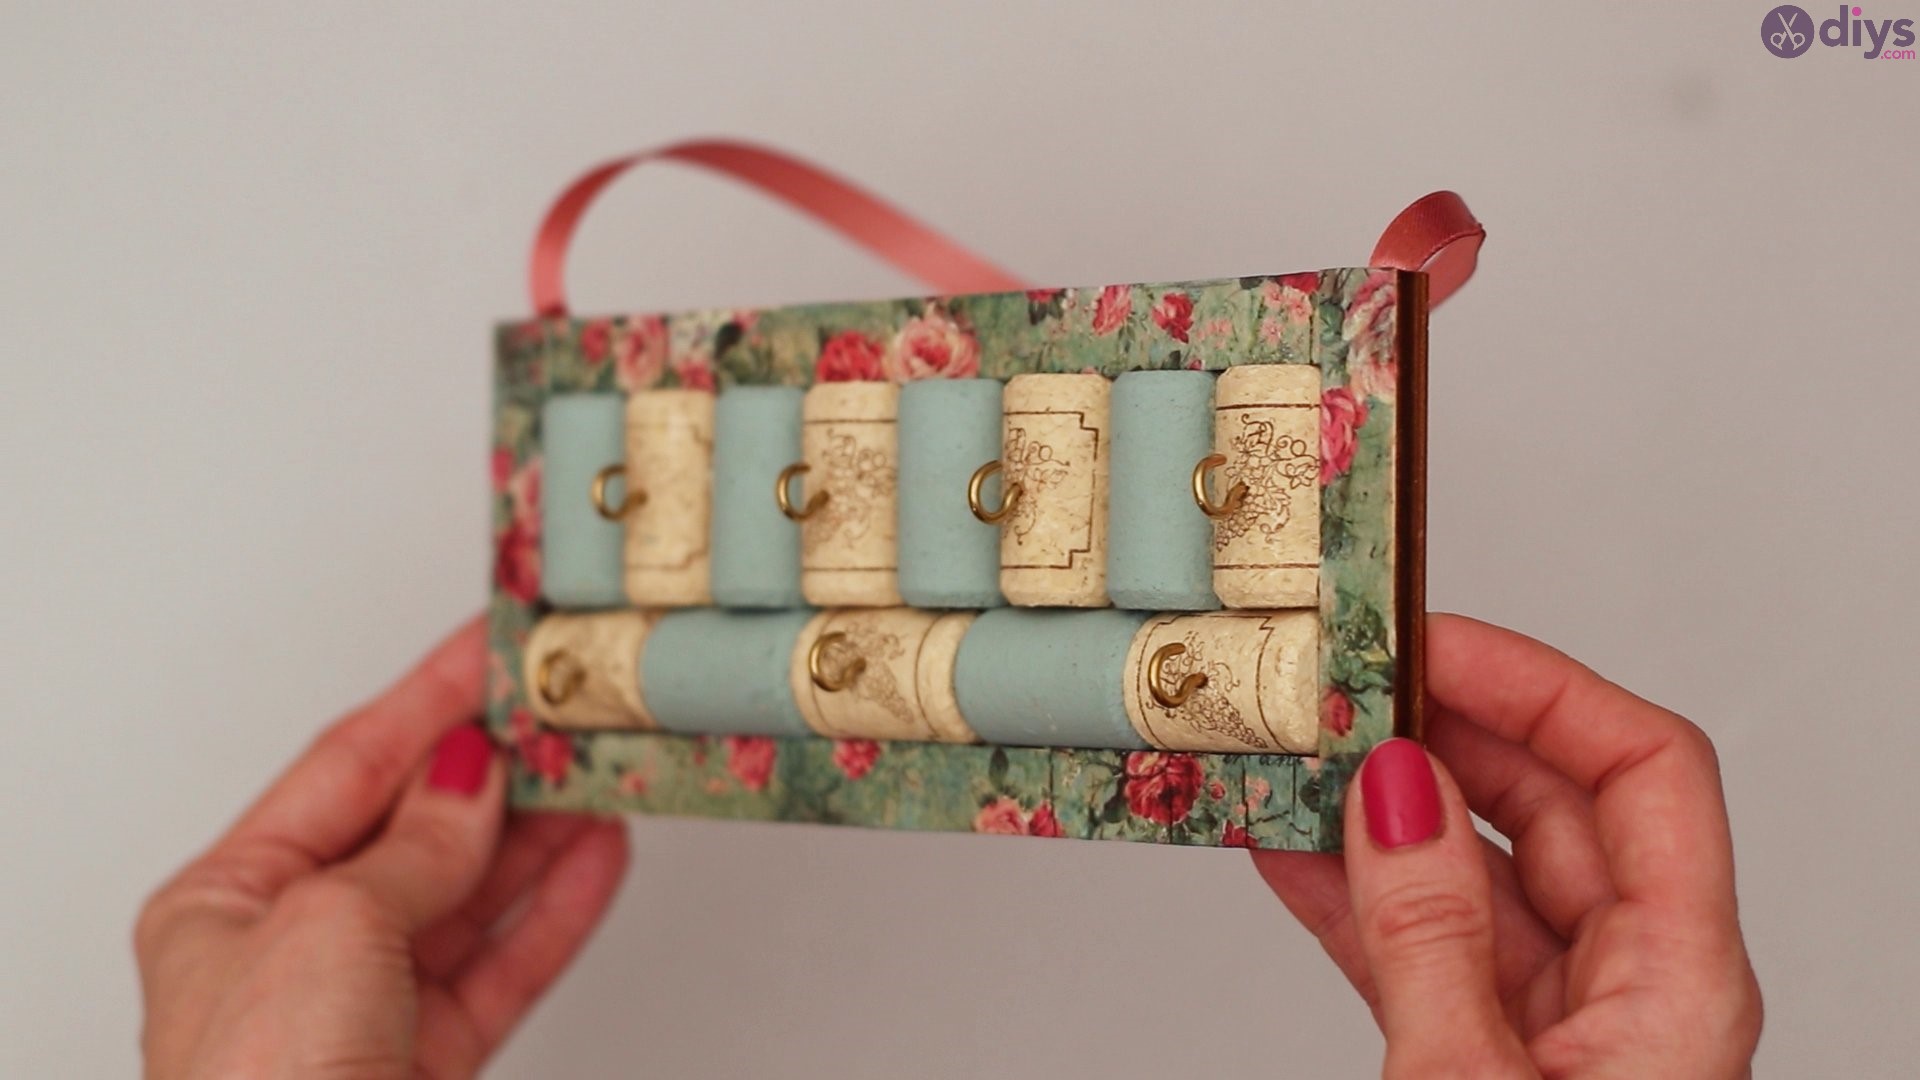
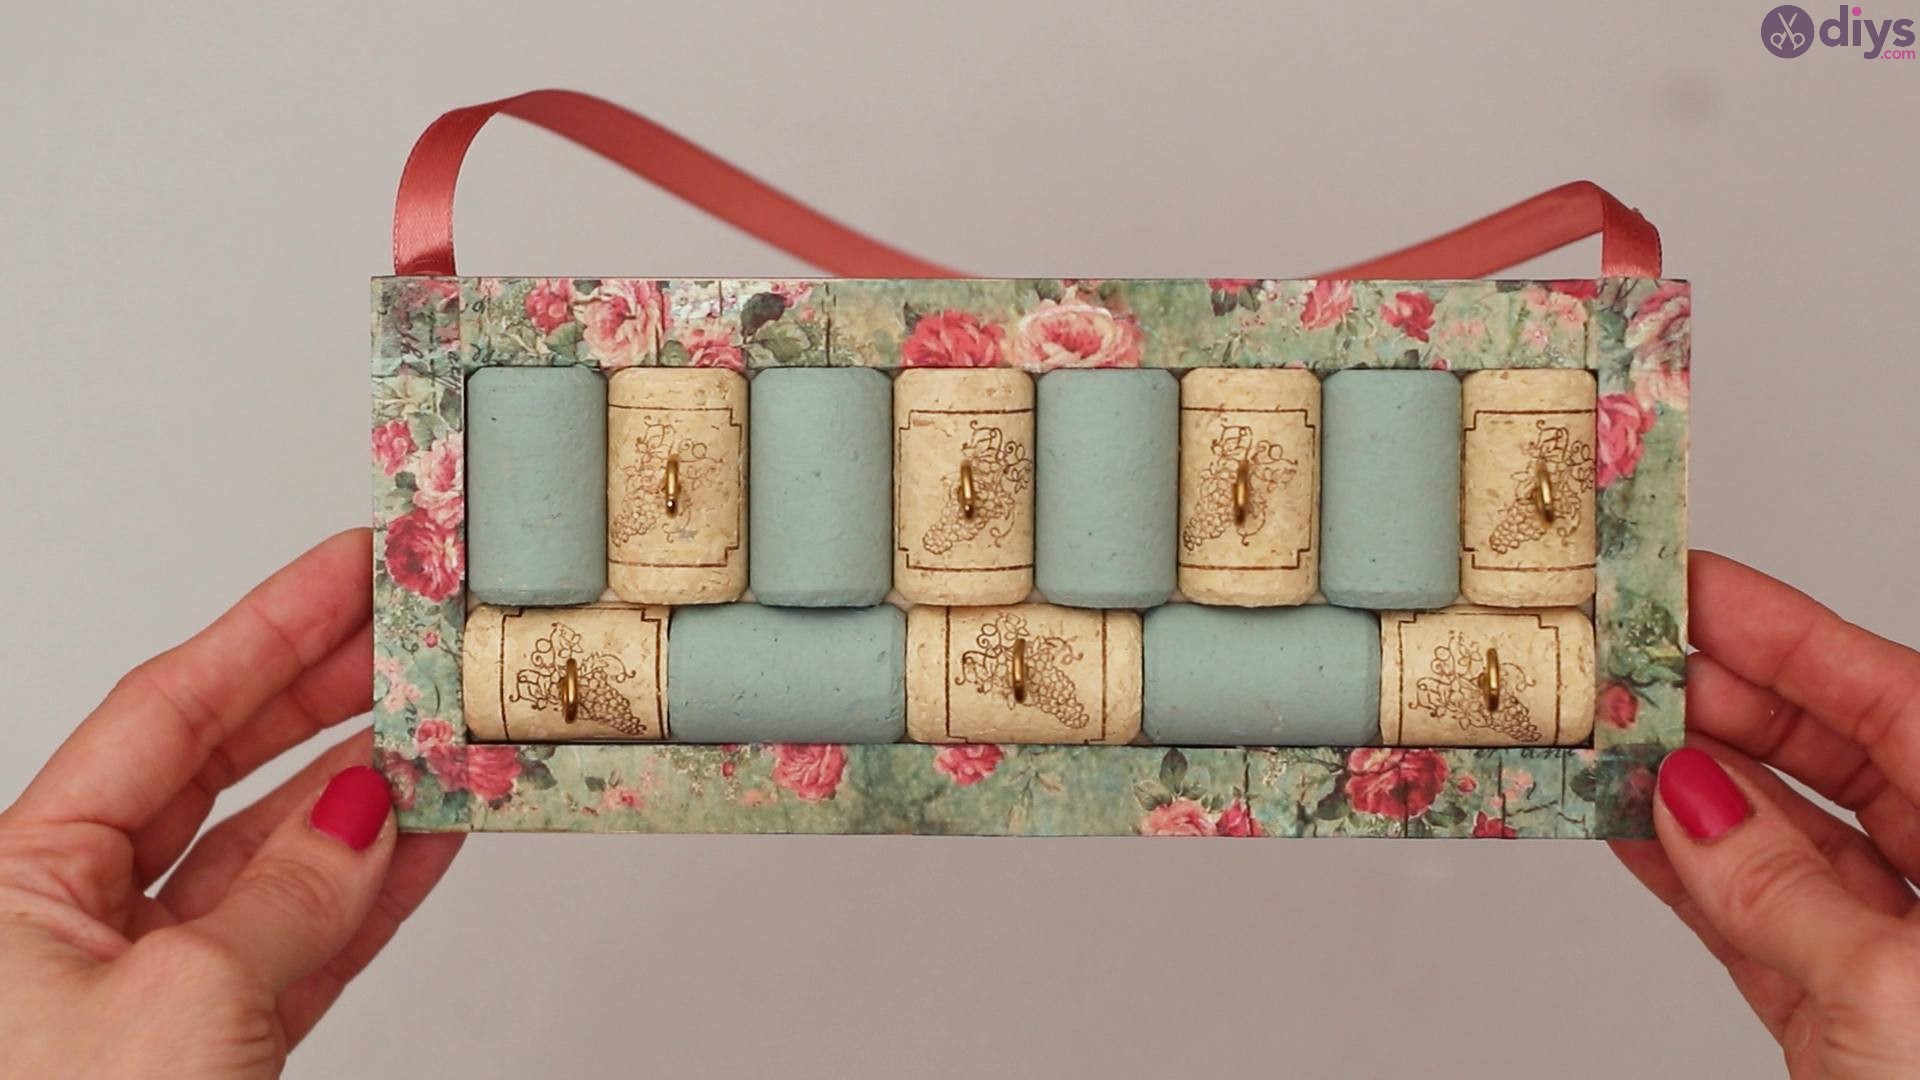
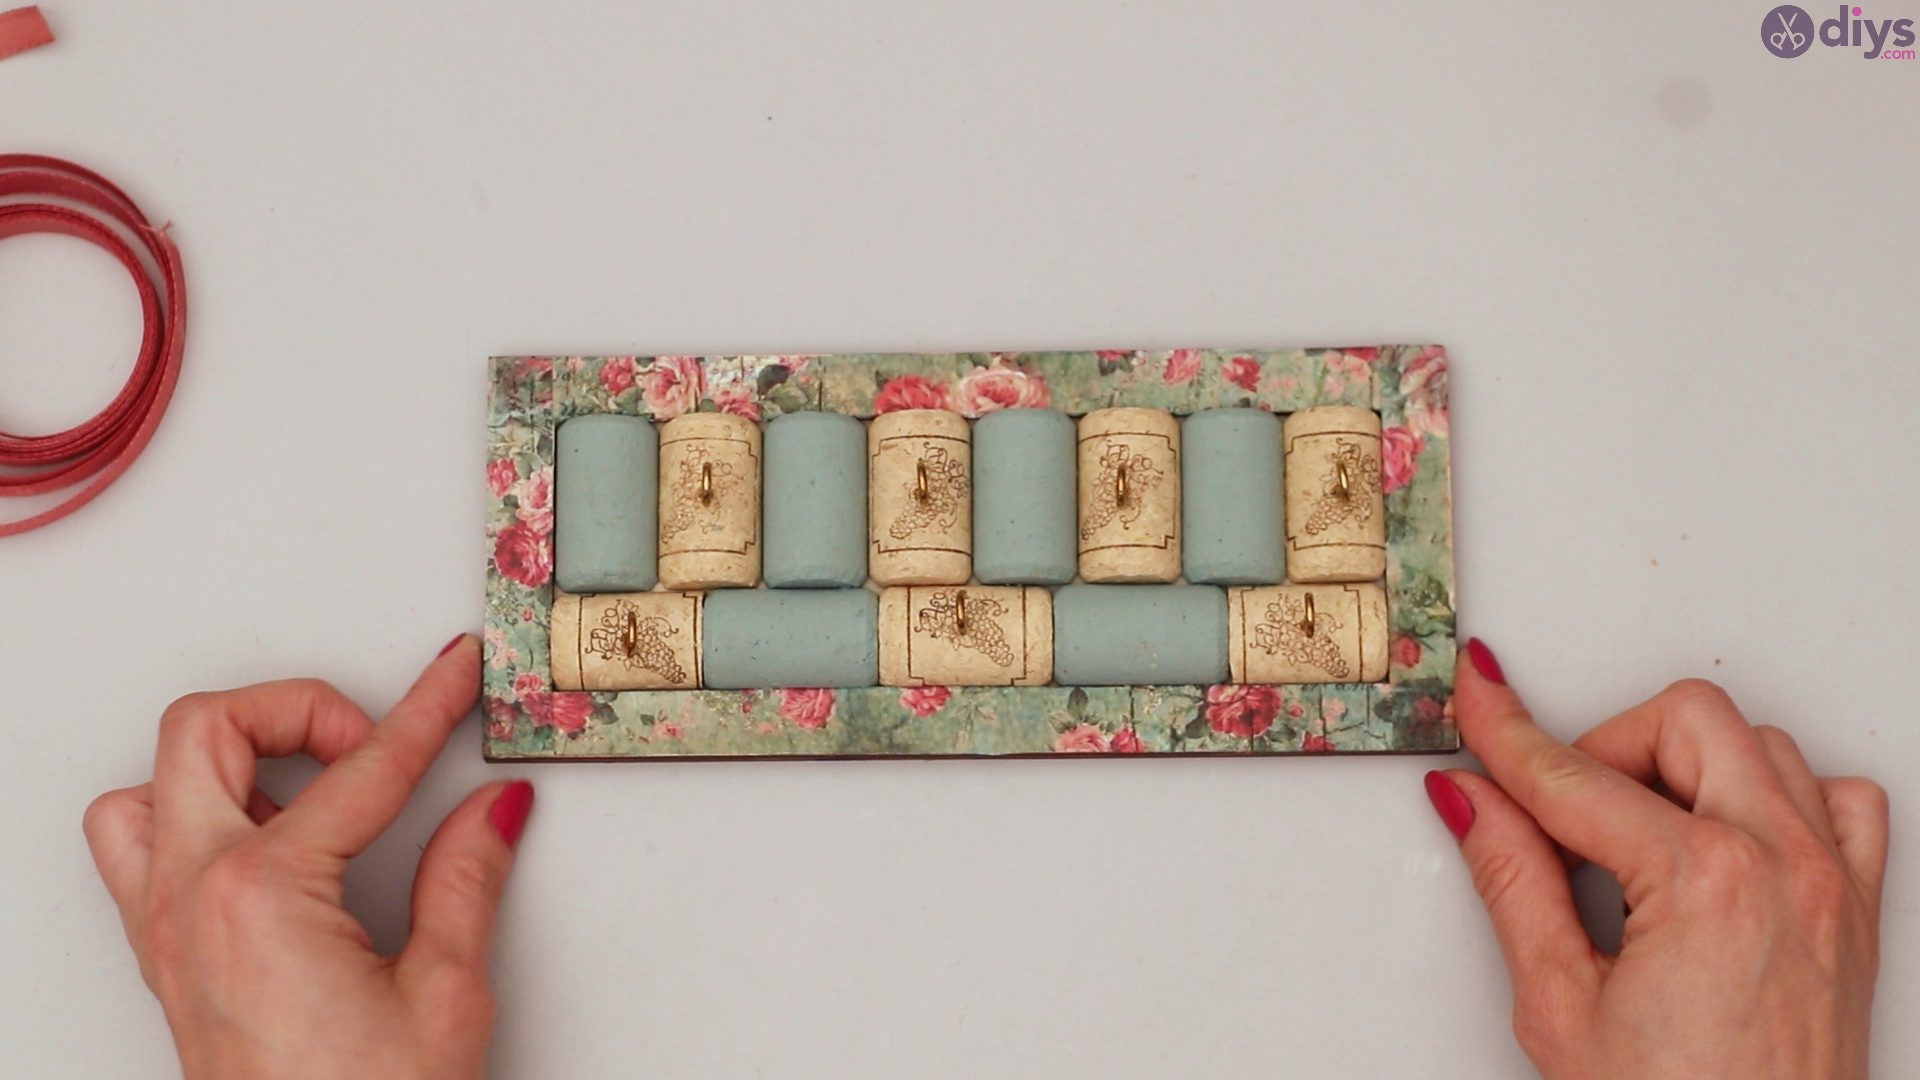
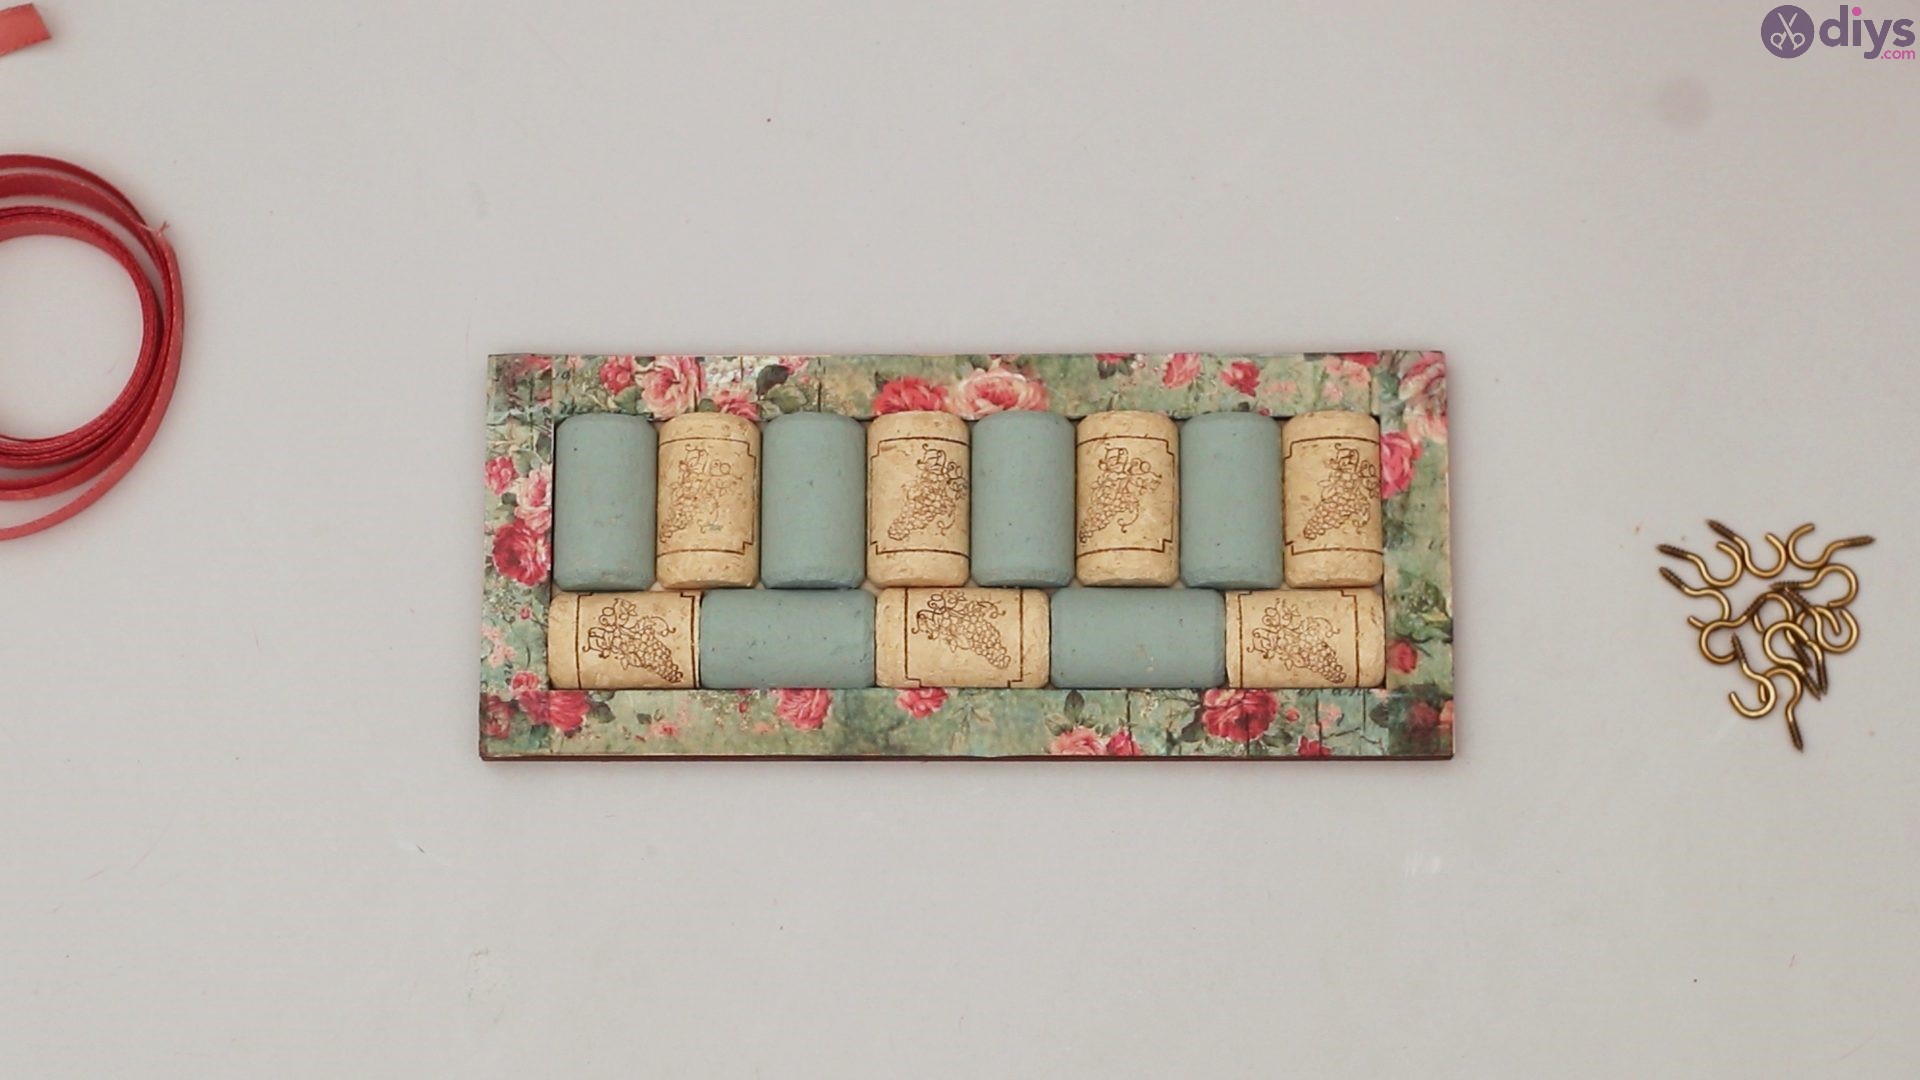
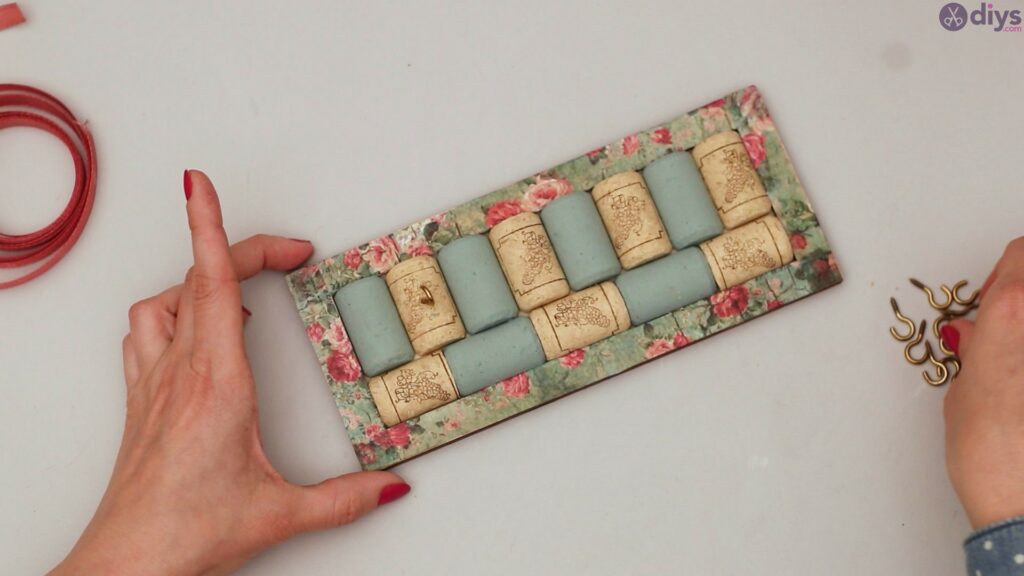
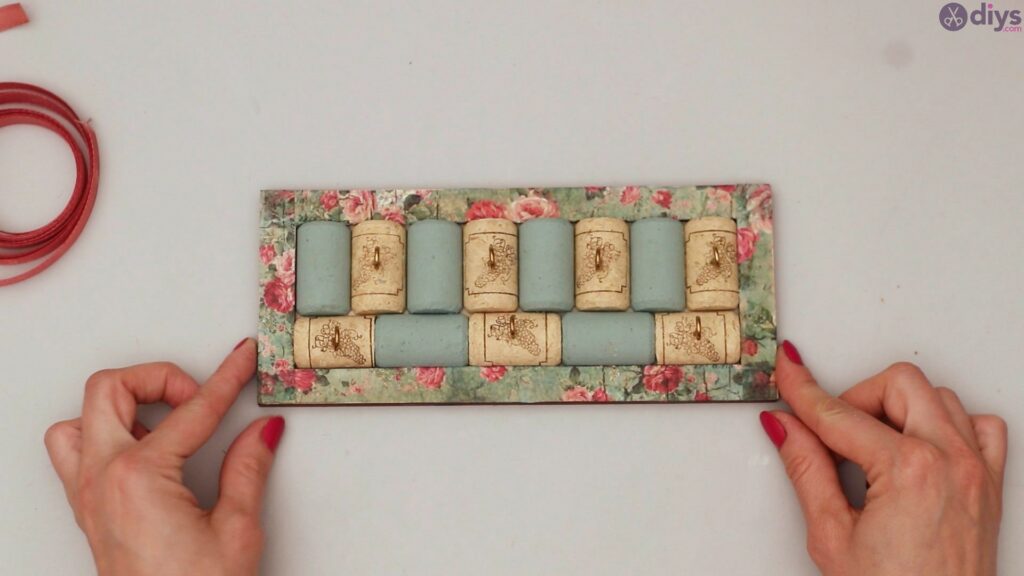
The finished glued board should look something like this. Perfectly in place with all your colored corks in the right place.

Step 7: Screwing in the hooks
Take your small hooks and start to twist them into the cork by rotating in circles. The pointed edge will drive into your cork pieces with ease. You should make sure your hooks are tight, but not overly tight to where the hook will start to cause your cork pieces to split. Keep an eye out on that.
You should be able to have anywhere from six to seven hooks depending on how you want your jewelry organizer arranged.
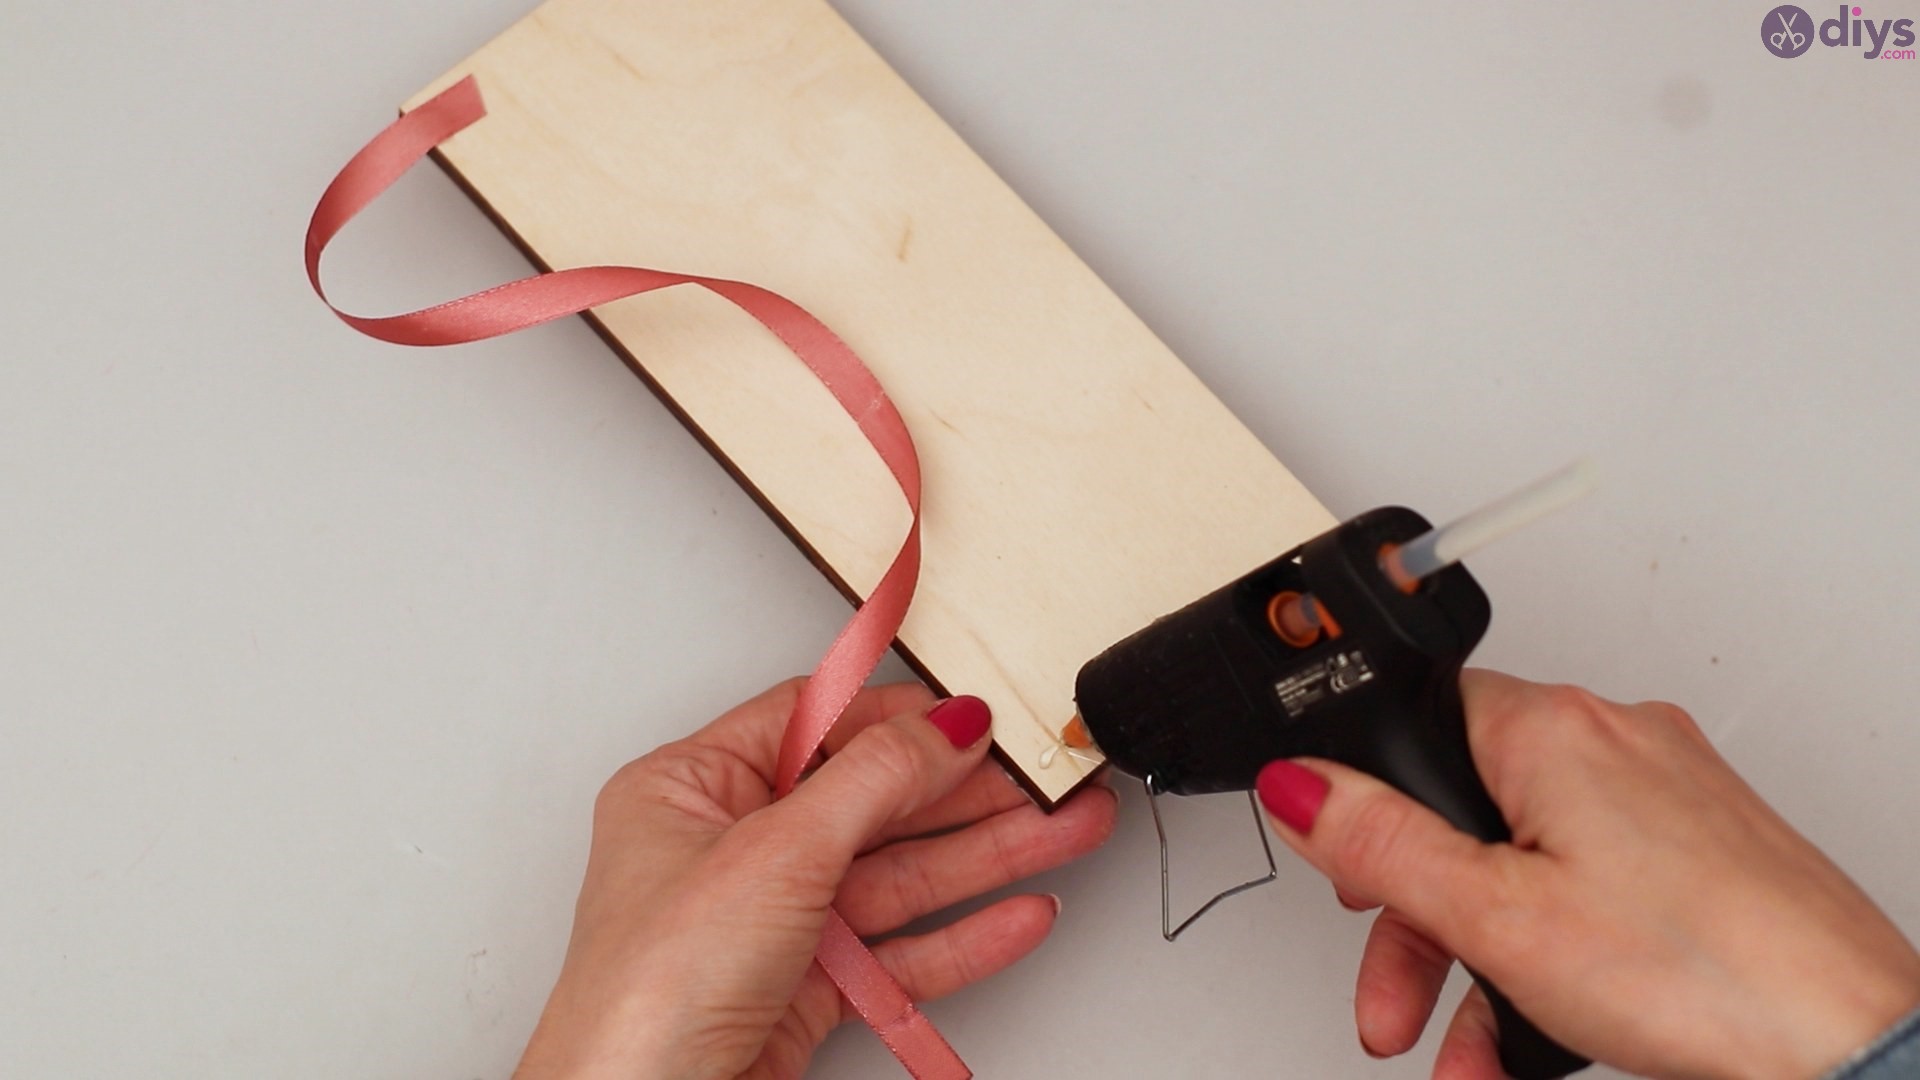
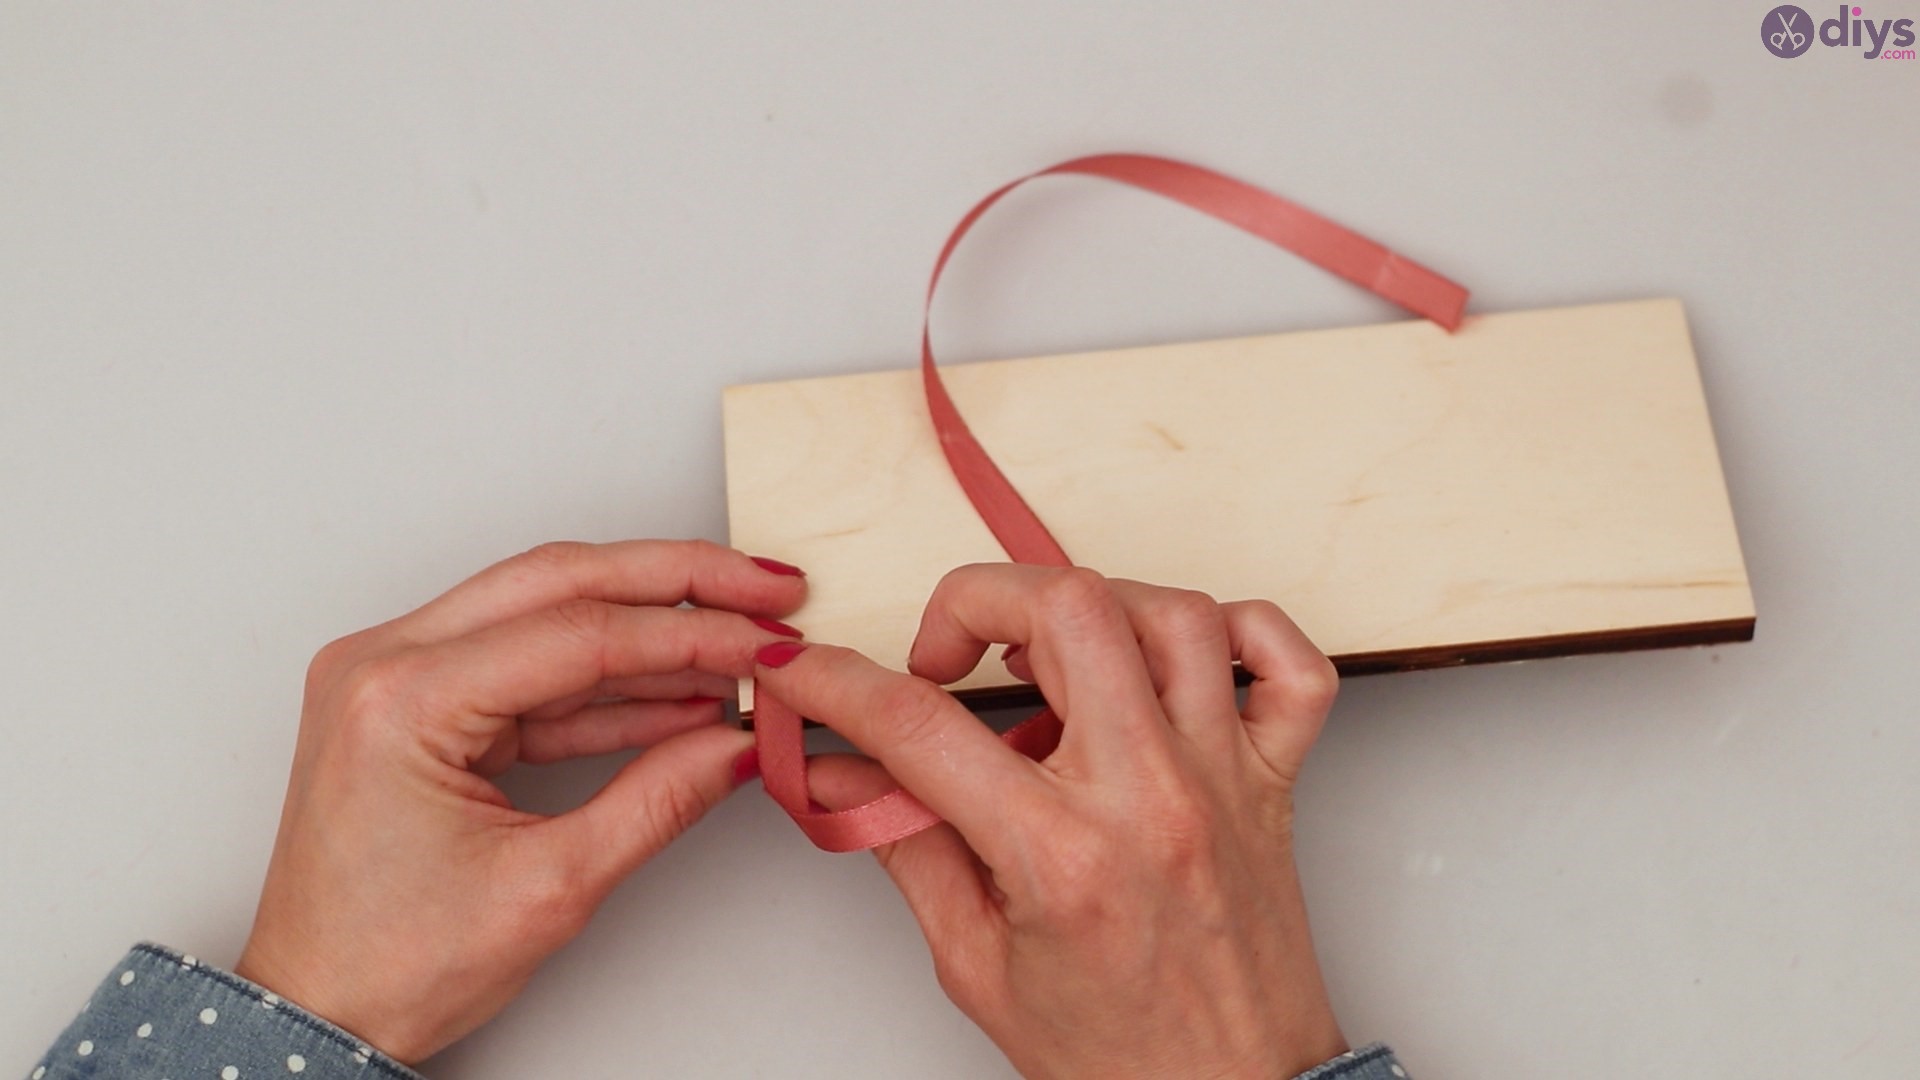
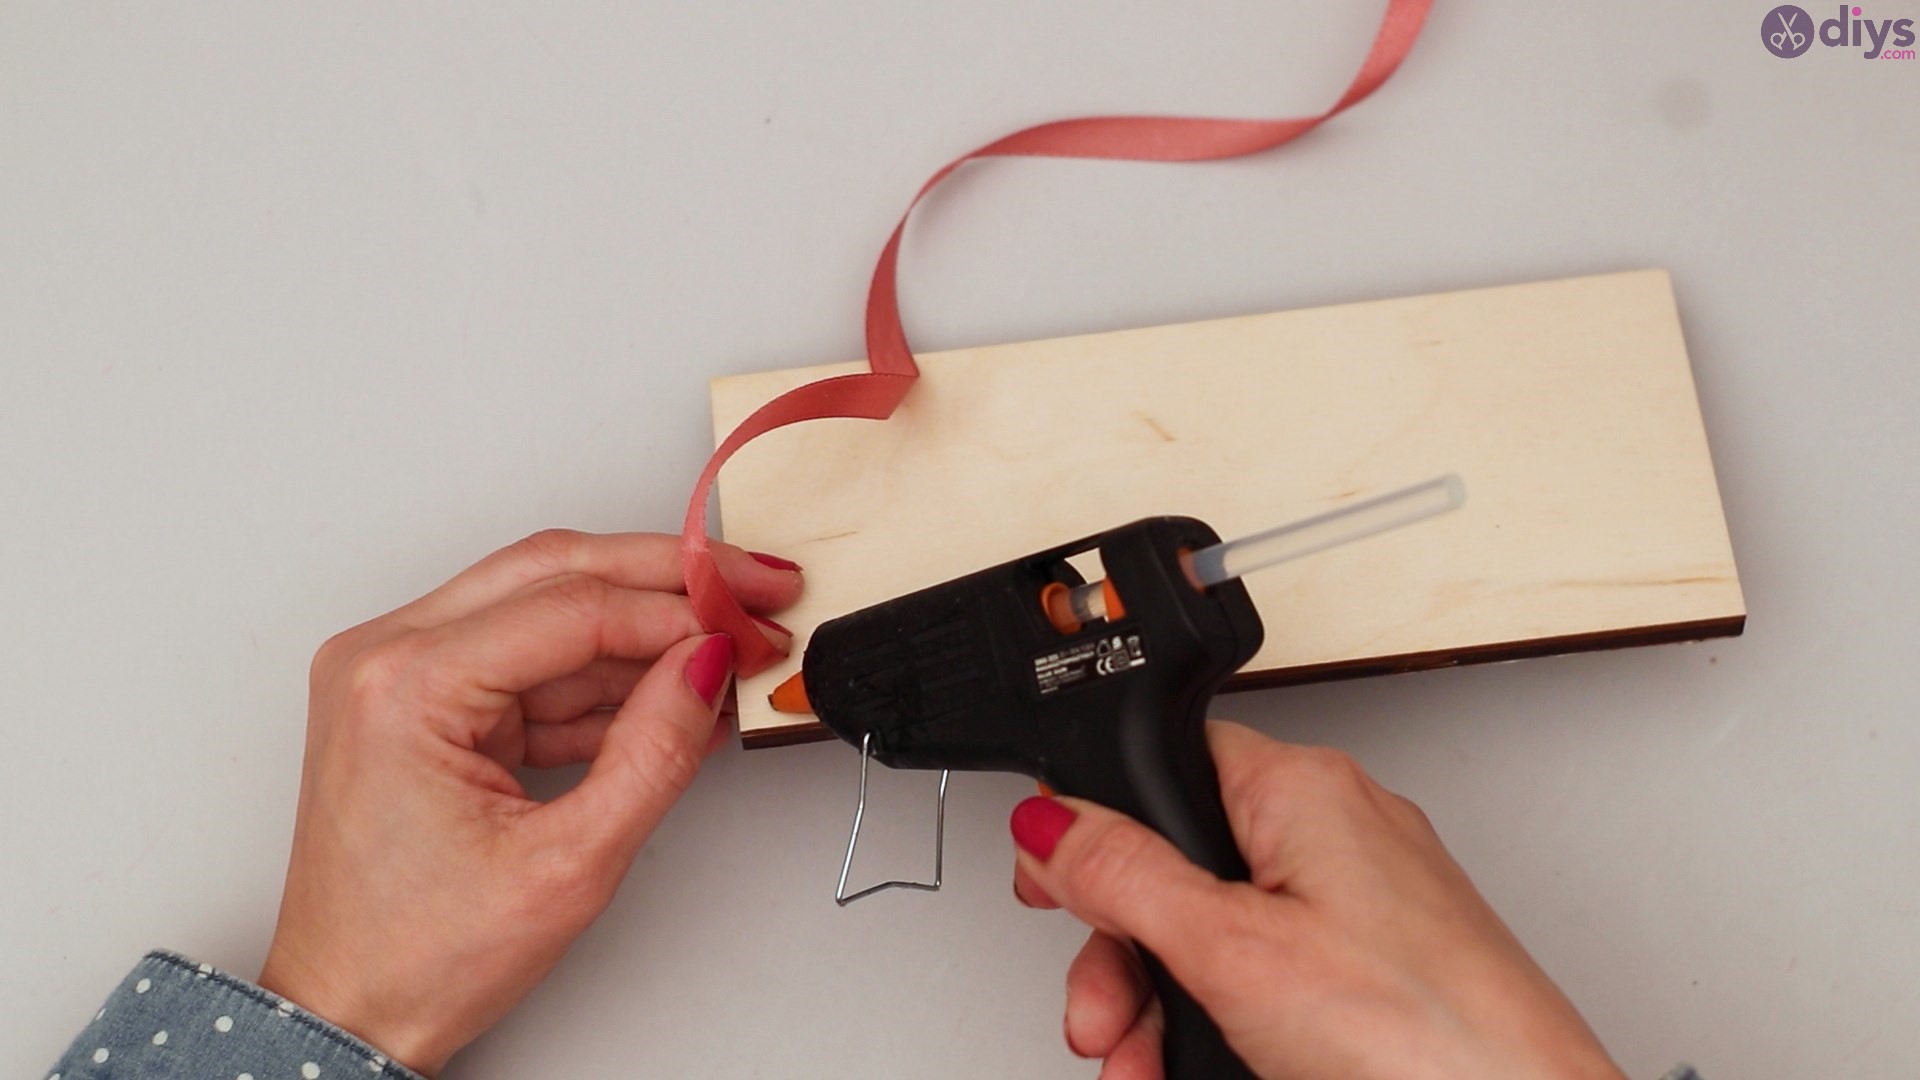
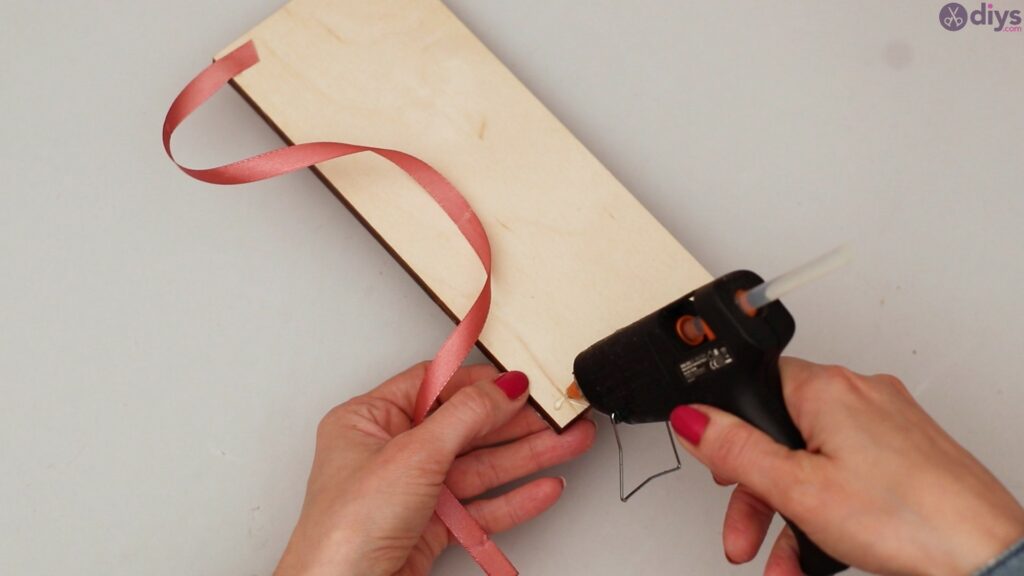
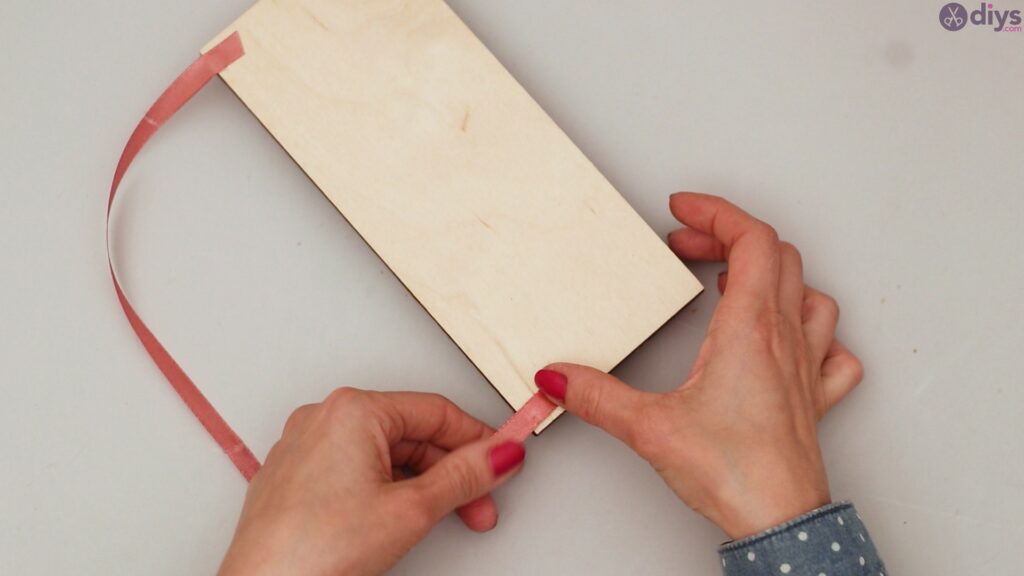
Step 8: Ribbons
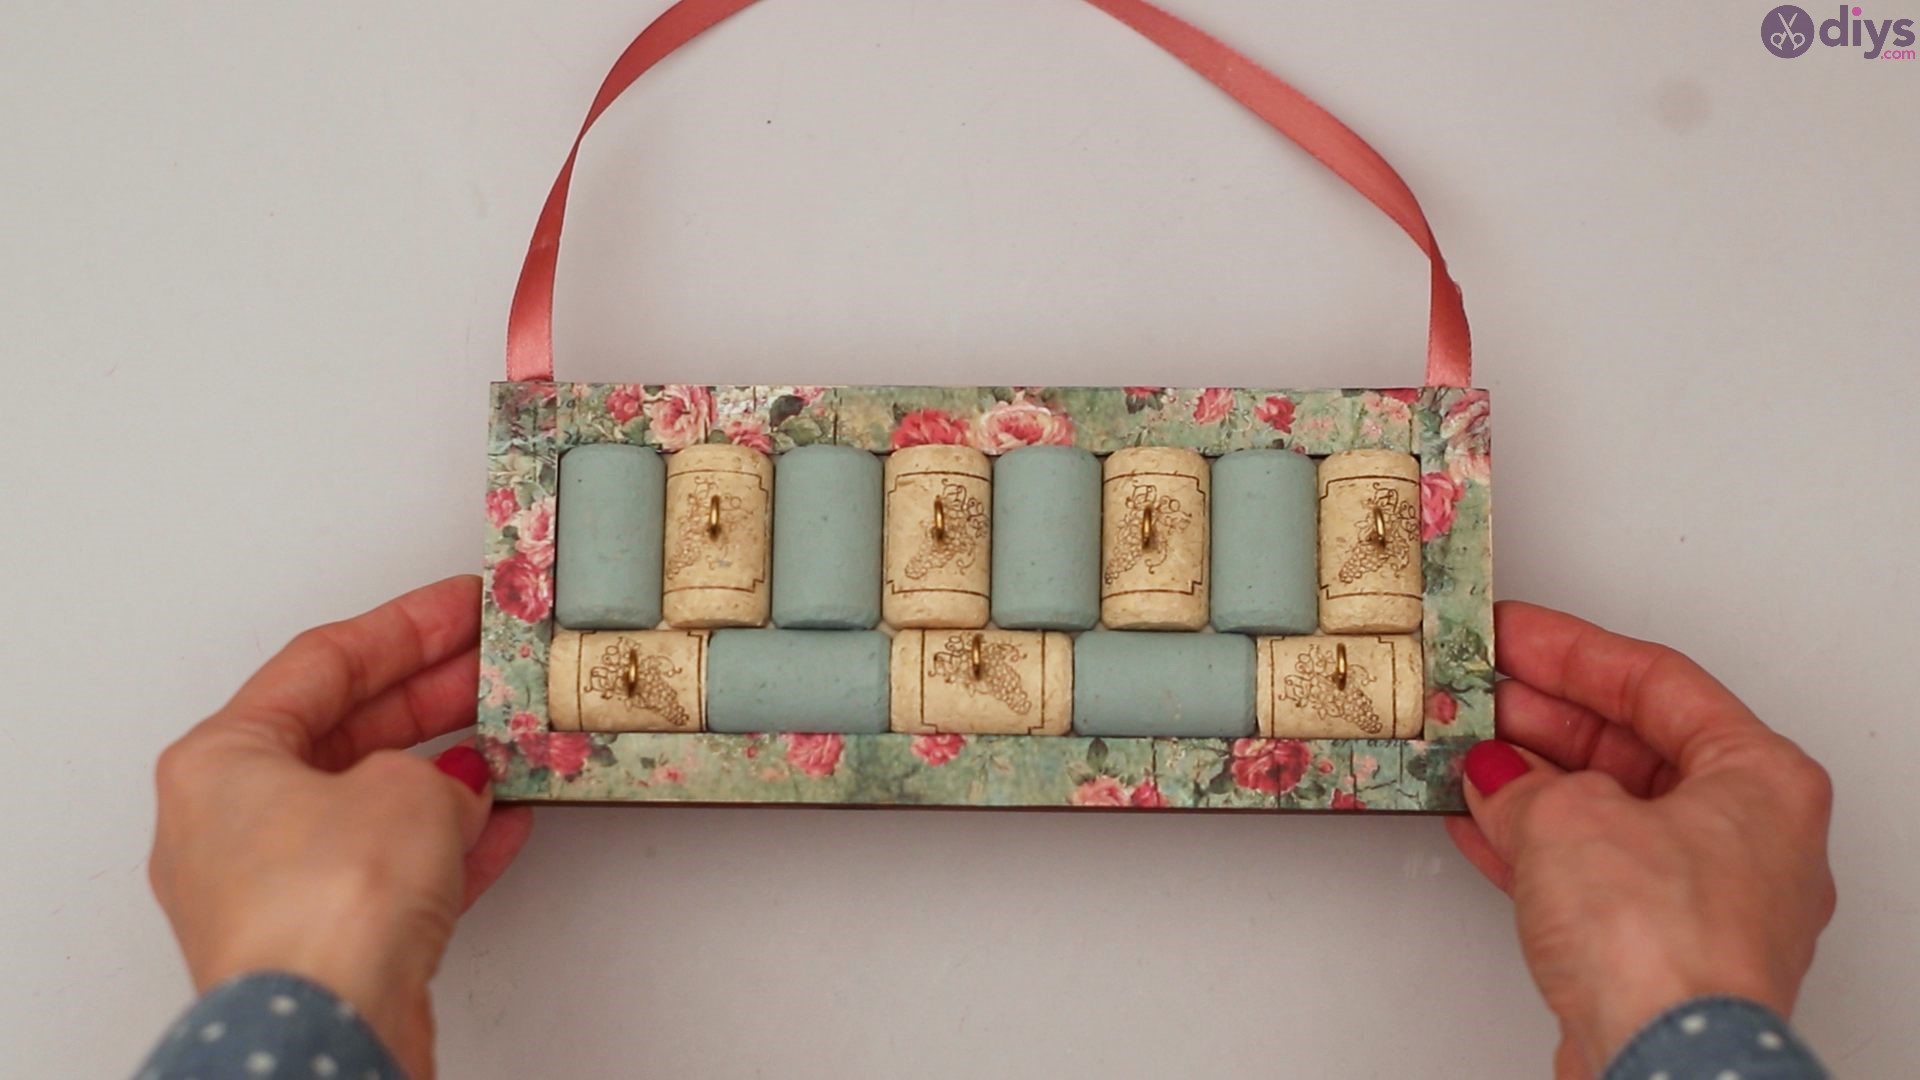
Now that your corks and hooks are all in place, you can adorn your piece with the silk ribbon that will hang in the back of your organizer. This will be the ribbon used to hang your organizer from the wall or mirror.

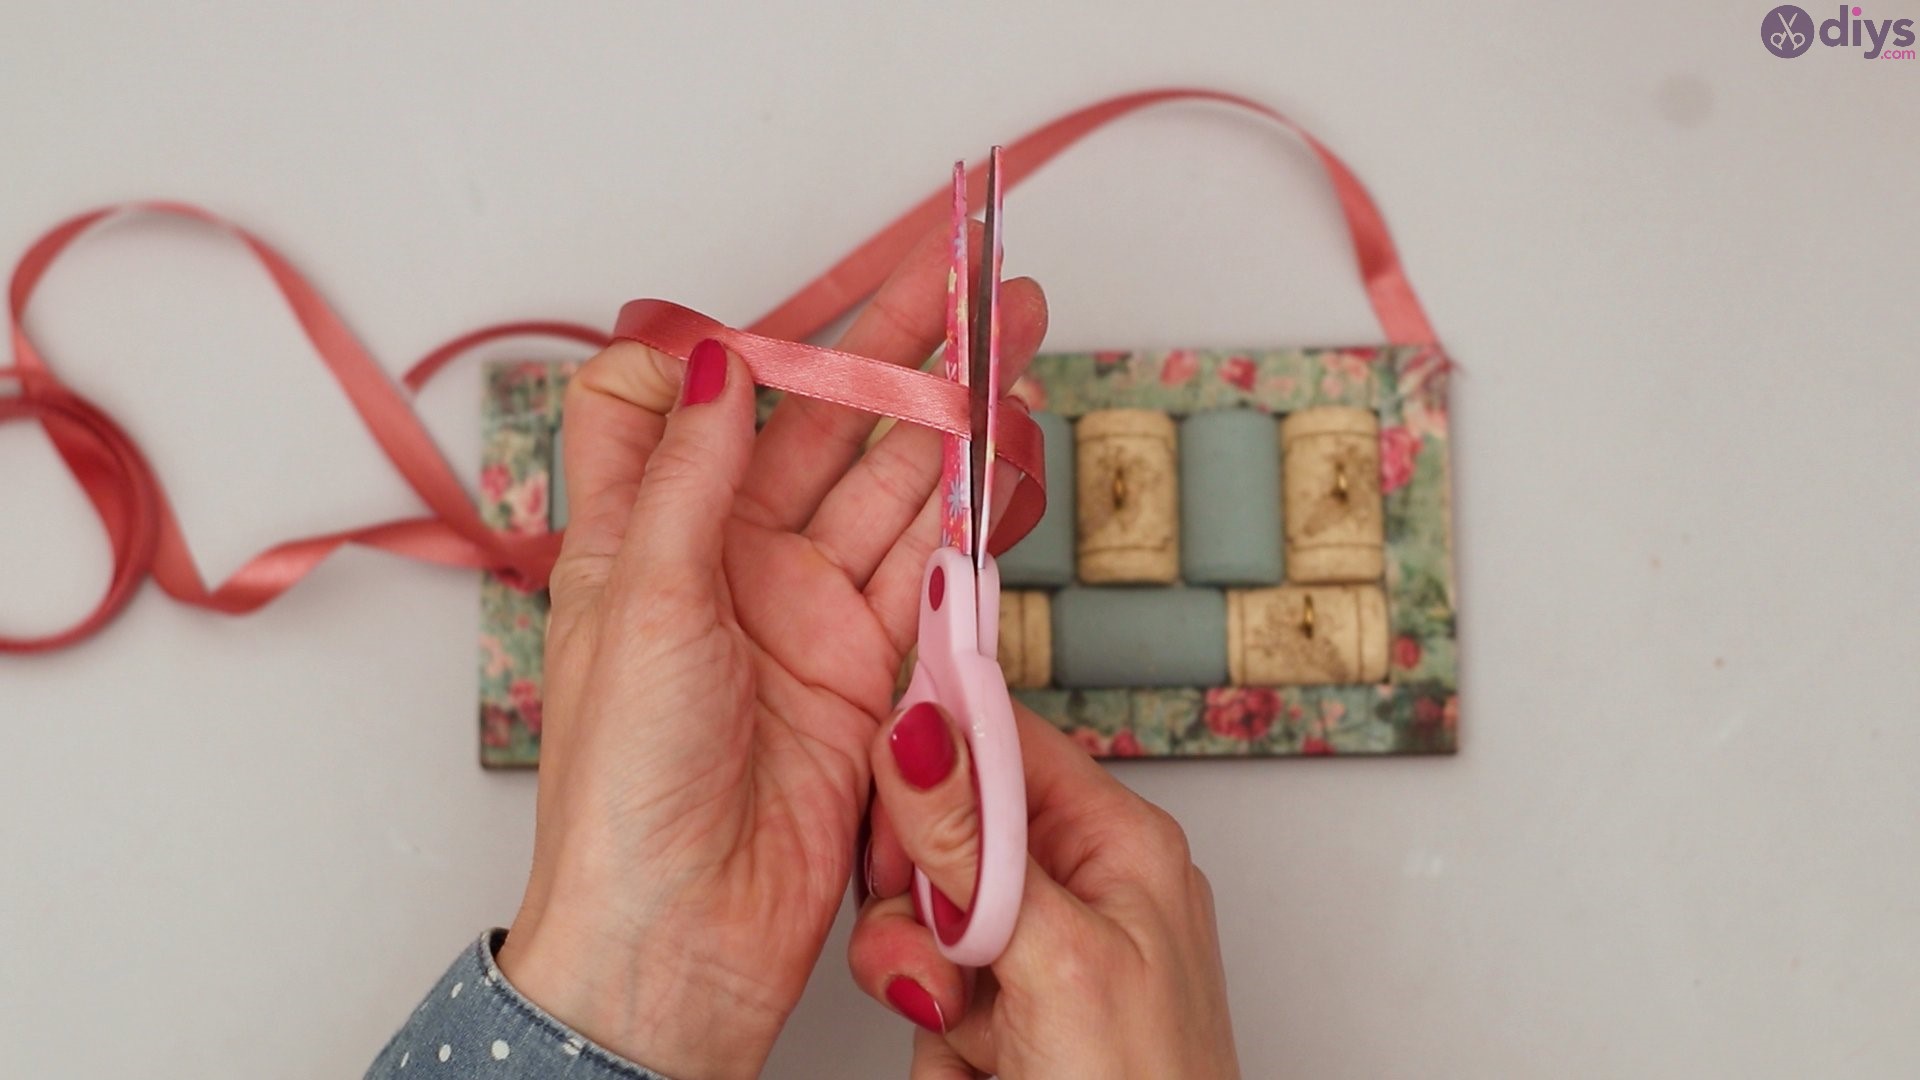
Make sure you cut a ribbon long enough to be able to hang from pretty much anywhere.

Use hot glue to secure your silk ribbon in place on the top right and left corners.


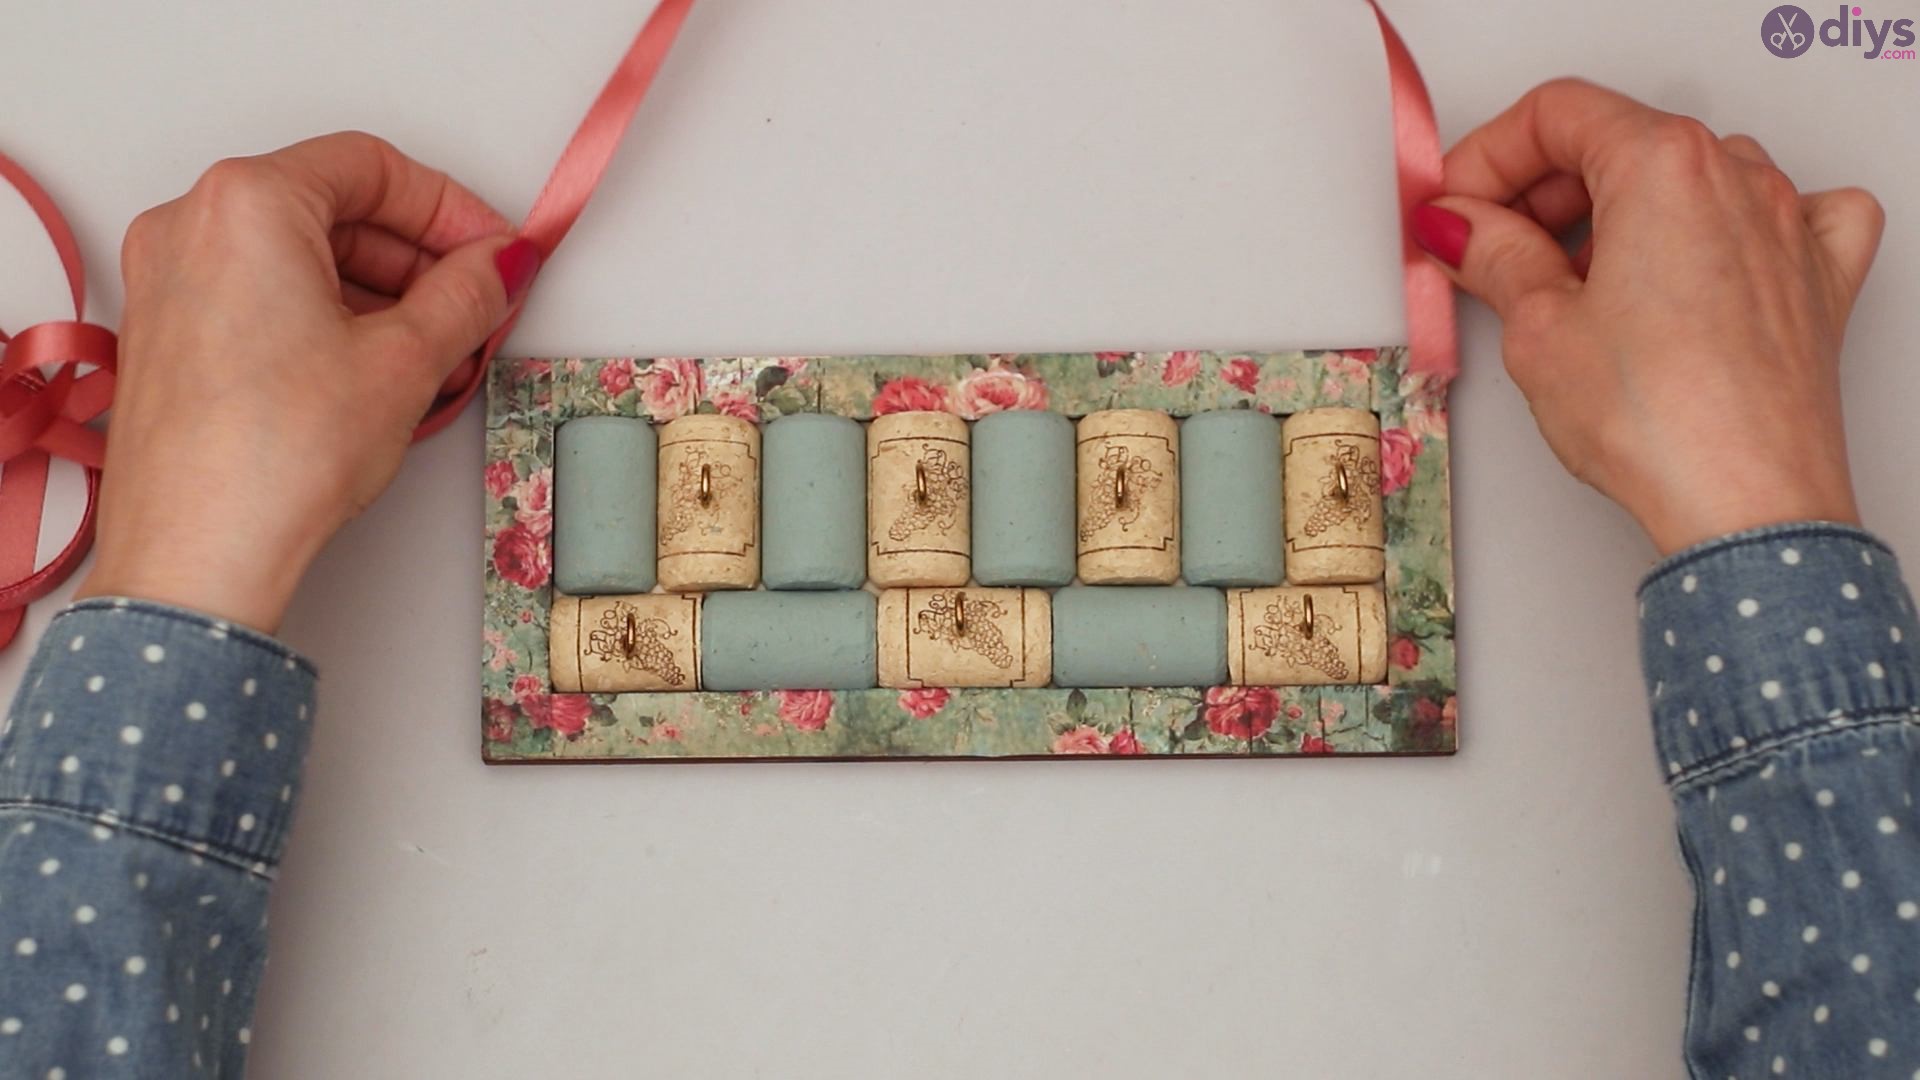
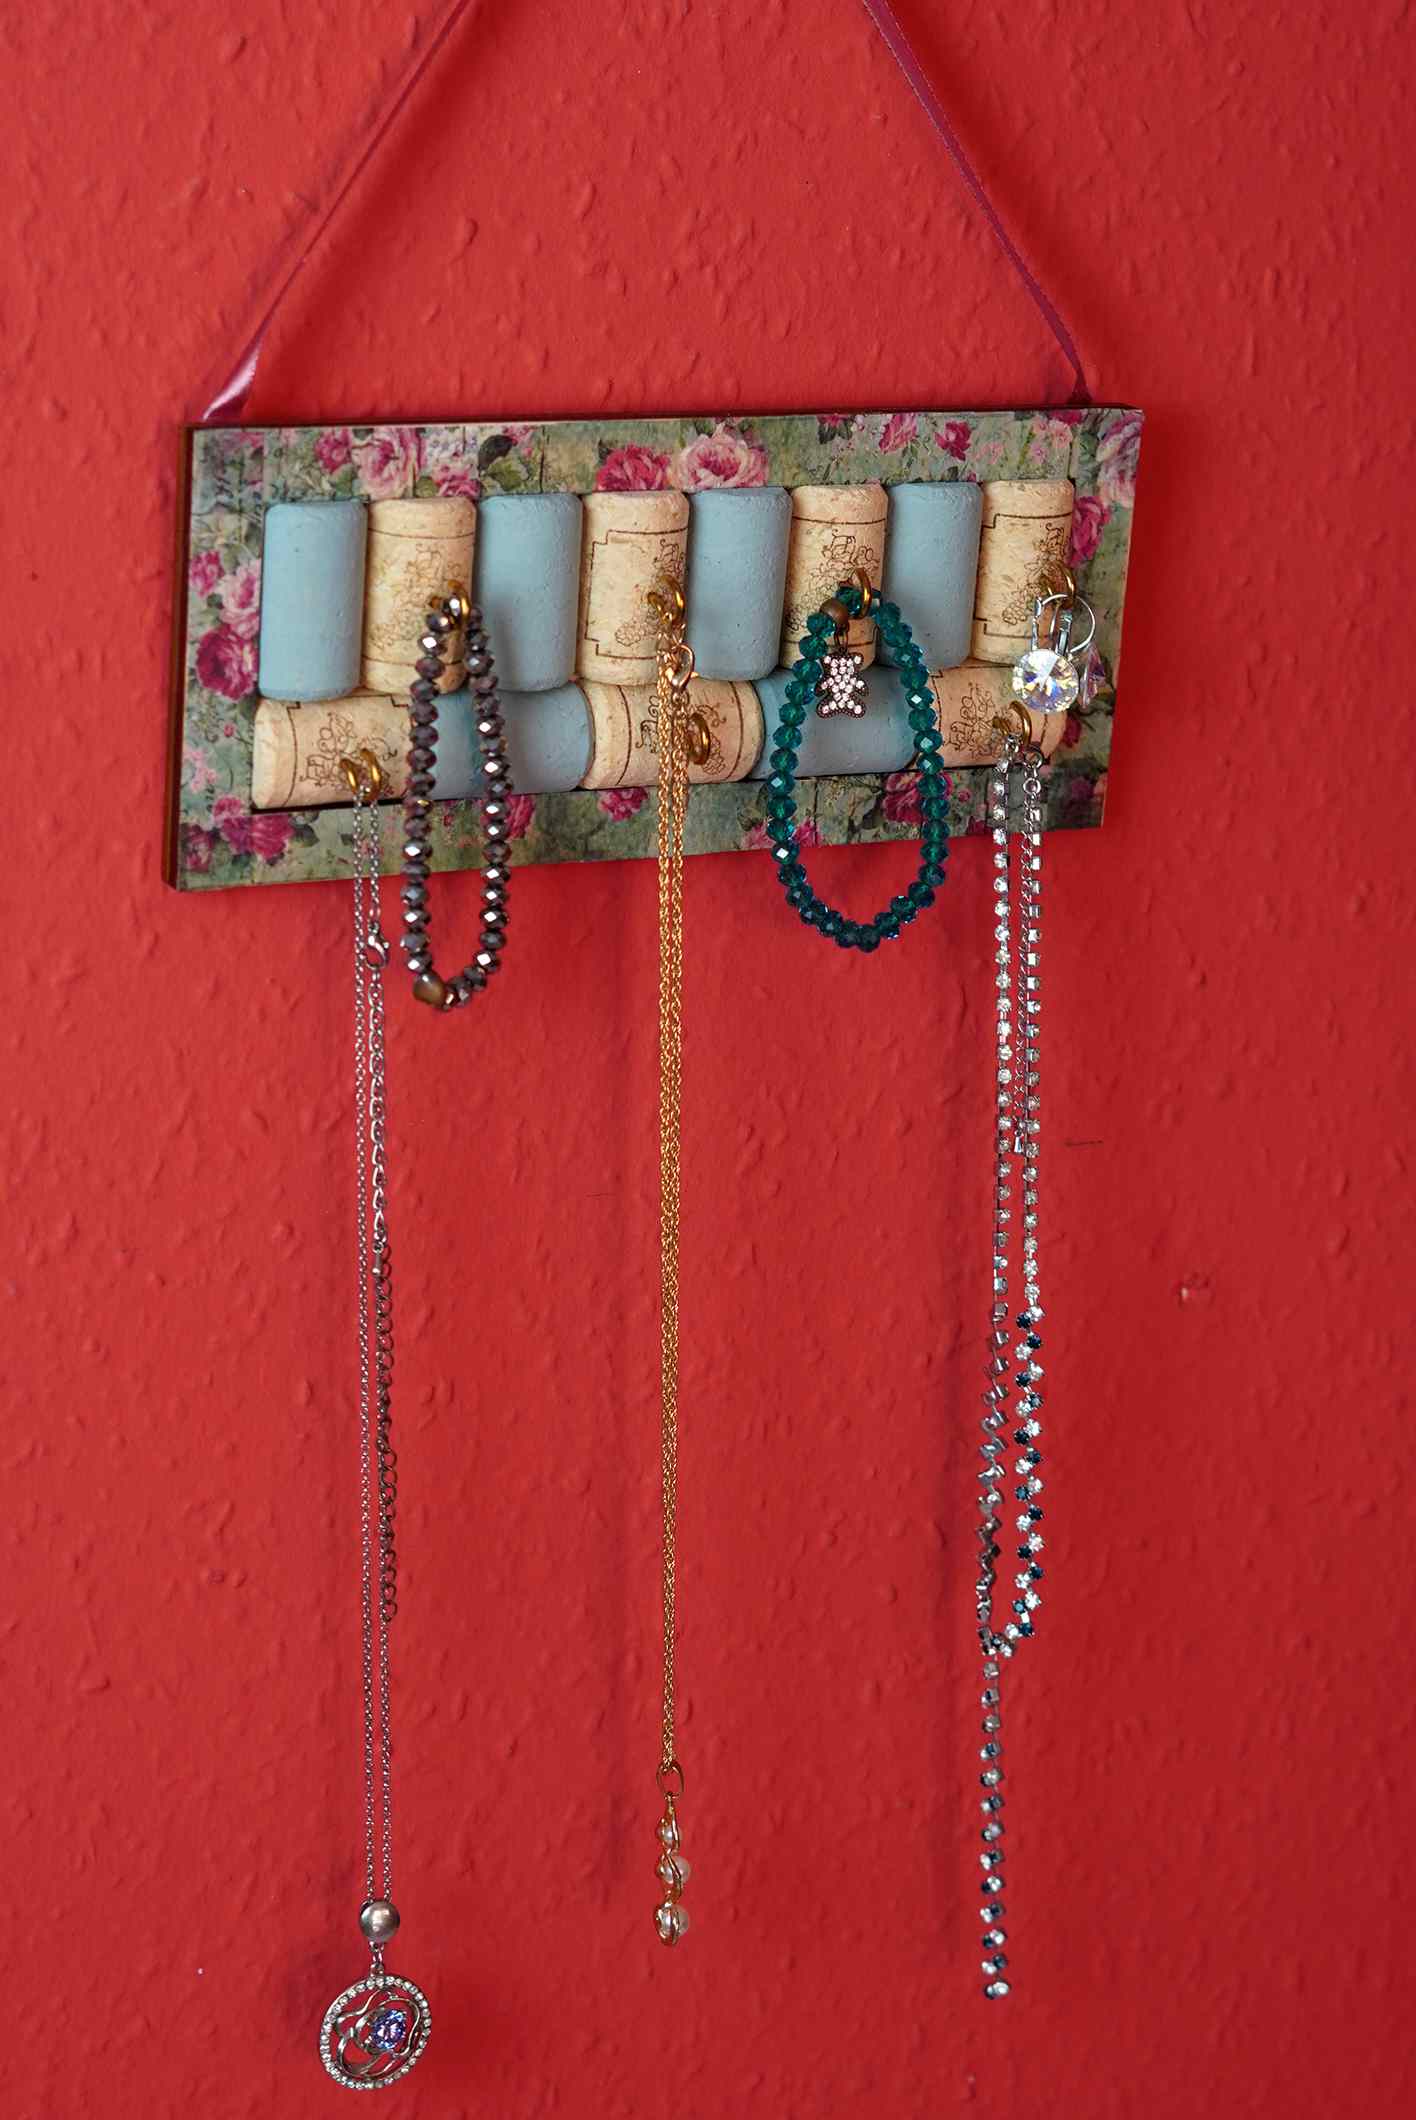
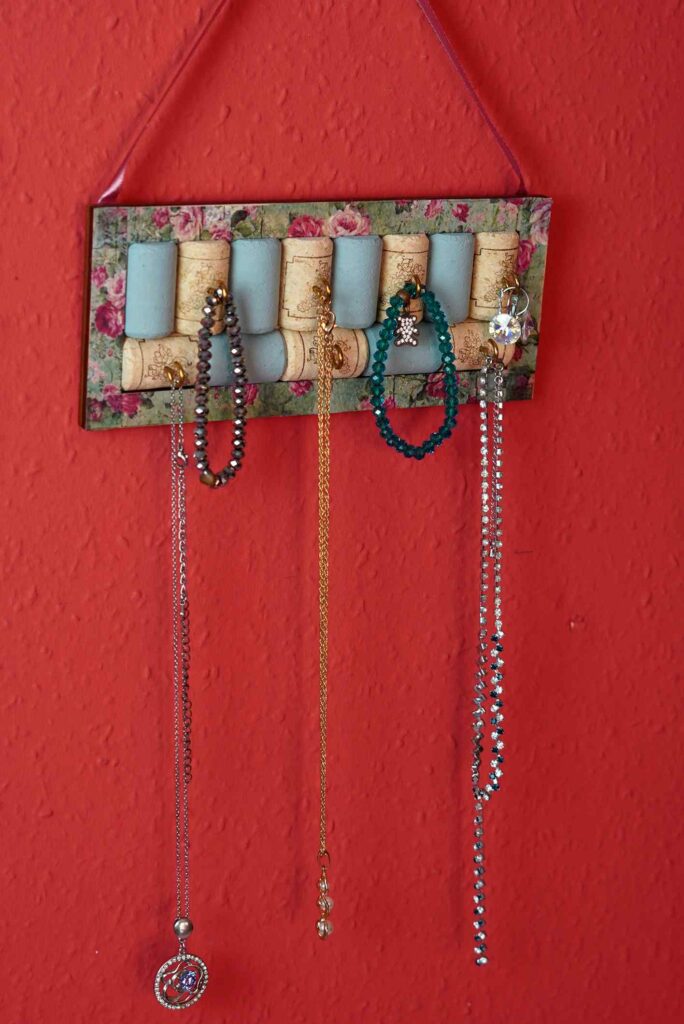
Once your ribbon is glued and dried, you will see exactly how your finished wine cork jewelry organizer will look.

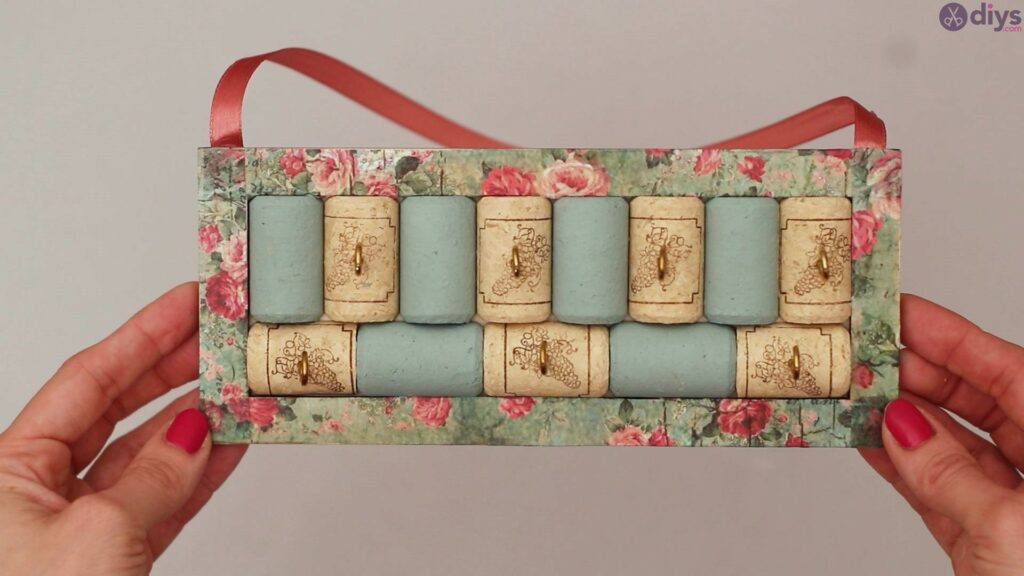
The finished product!

You see? Not a hard project at all and such a cute gift idea. You can personalize these jewelry organizers even more by using the recipient’s favorite colors or patterns of rice paper. It’s a truly cute gift that anyone who owns jewelry will love. It’s a nifty way to give a personalized gift that is also really useful and fun to look at. Anyone who receives this gift is sure to appreciate the handmade creation.