DIY Hanging Wine Corks Decoration – Easy and Quirky
Updated on November 19, 2025


Wine corks are versatile DIY materials and we love using them for various crafts, including this really cool hanging decoration. Using natural materials makes this hanging wine cork decoration nice to look at and perfect as a gift for your friends, whether they love wine or not. Let’s see how we can reach this result!
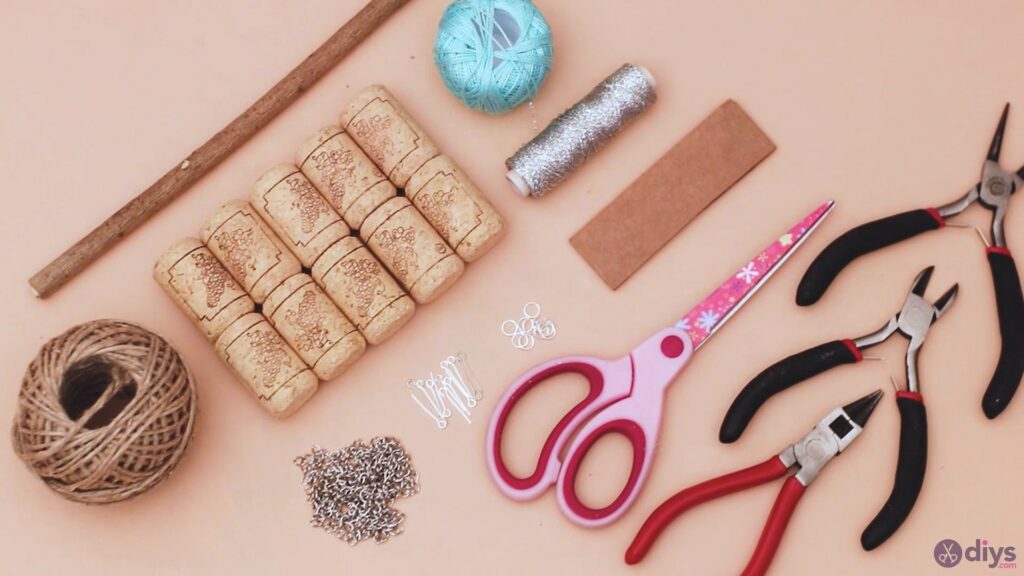
Materials for DIY Hanging Wine Corks Decoration
- Wine corks
- Branch
- Hemp twine
- Blue embroidery thread
- Silver twisted yarn
- Cardboard
- Mounting ring
- Chain
- Loop mounting rod
- Scissors
- Pincers
- Conical tongs
DIY Hanging Corks Decoration – Step by Step
If you have the materials prepared, you can start your brand new project. We used ten corks in our design and you can follow in our footsteps or try your own design. Since we’ll be handing them two by two, we found it’s better to have an uneven number of hanging threads, so make sure you stick to this recipe even if you deviate from the recipe.
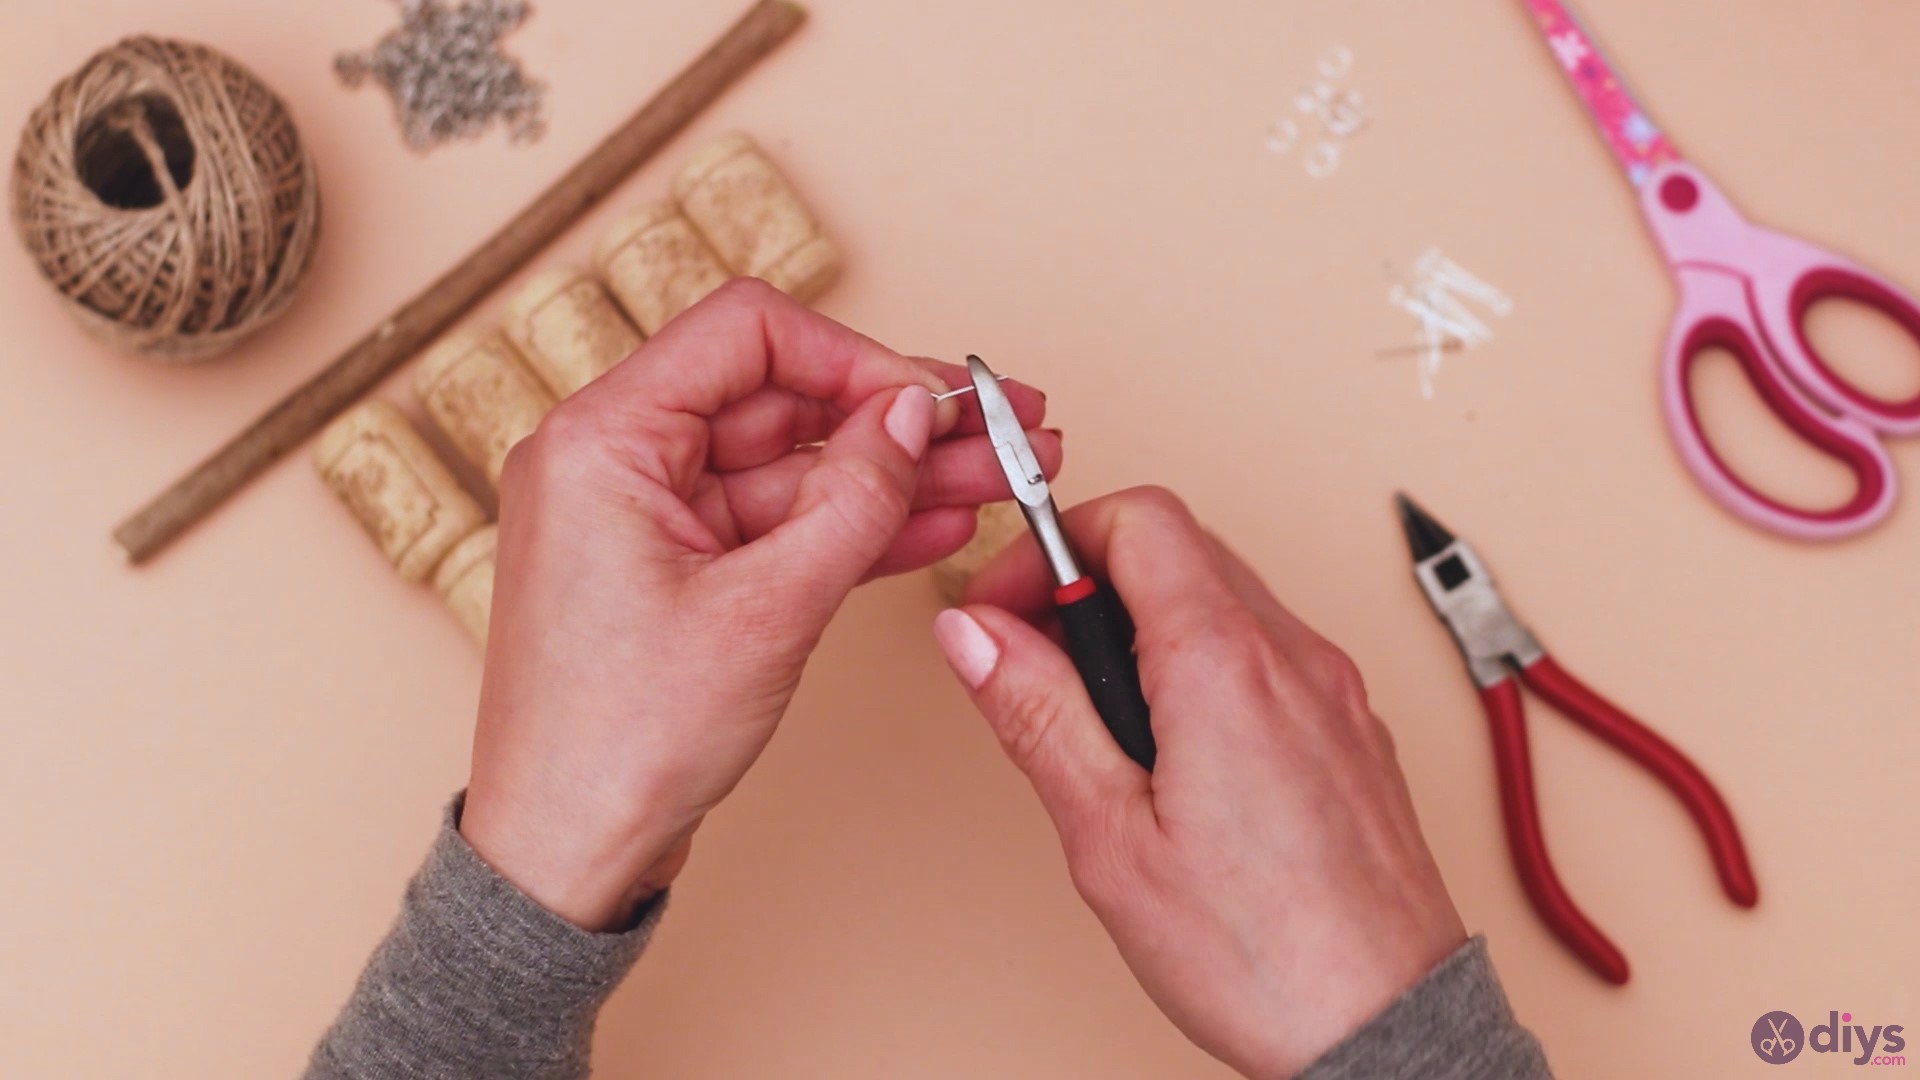
Step 1: Prepare the corks
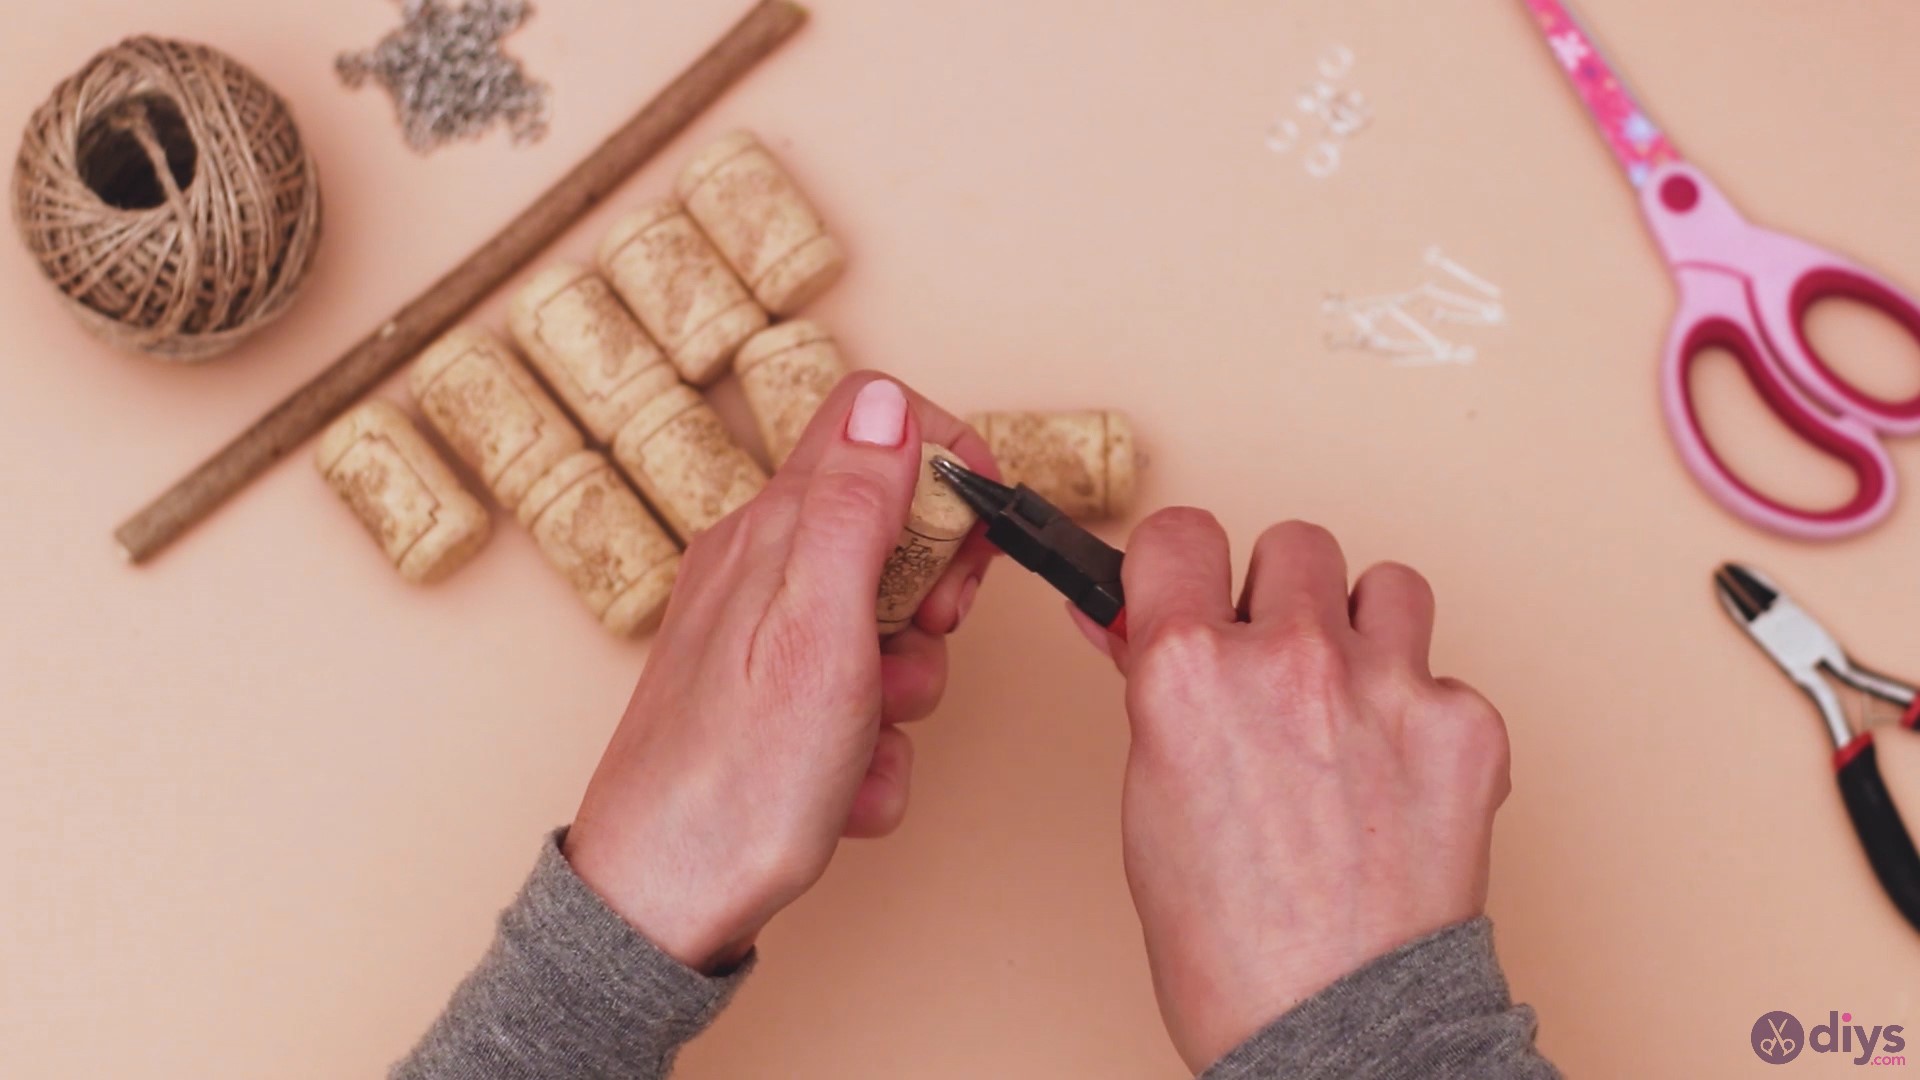
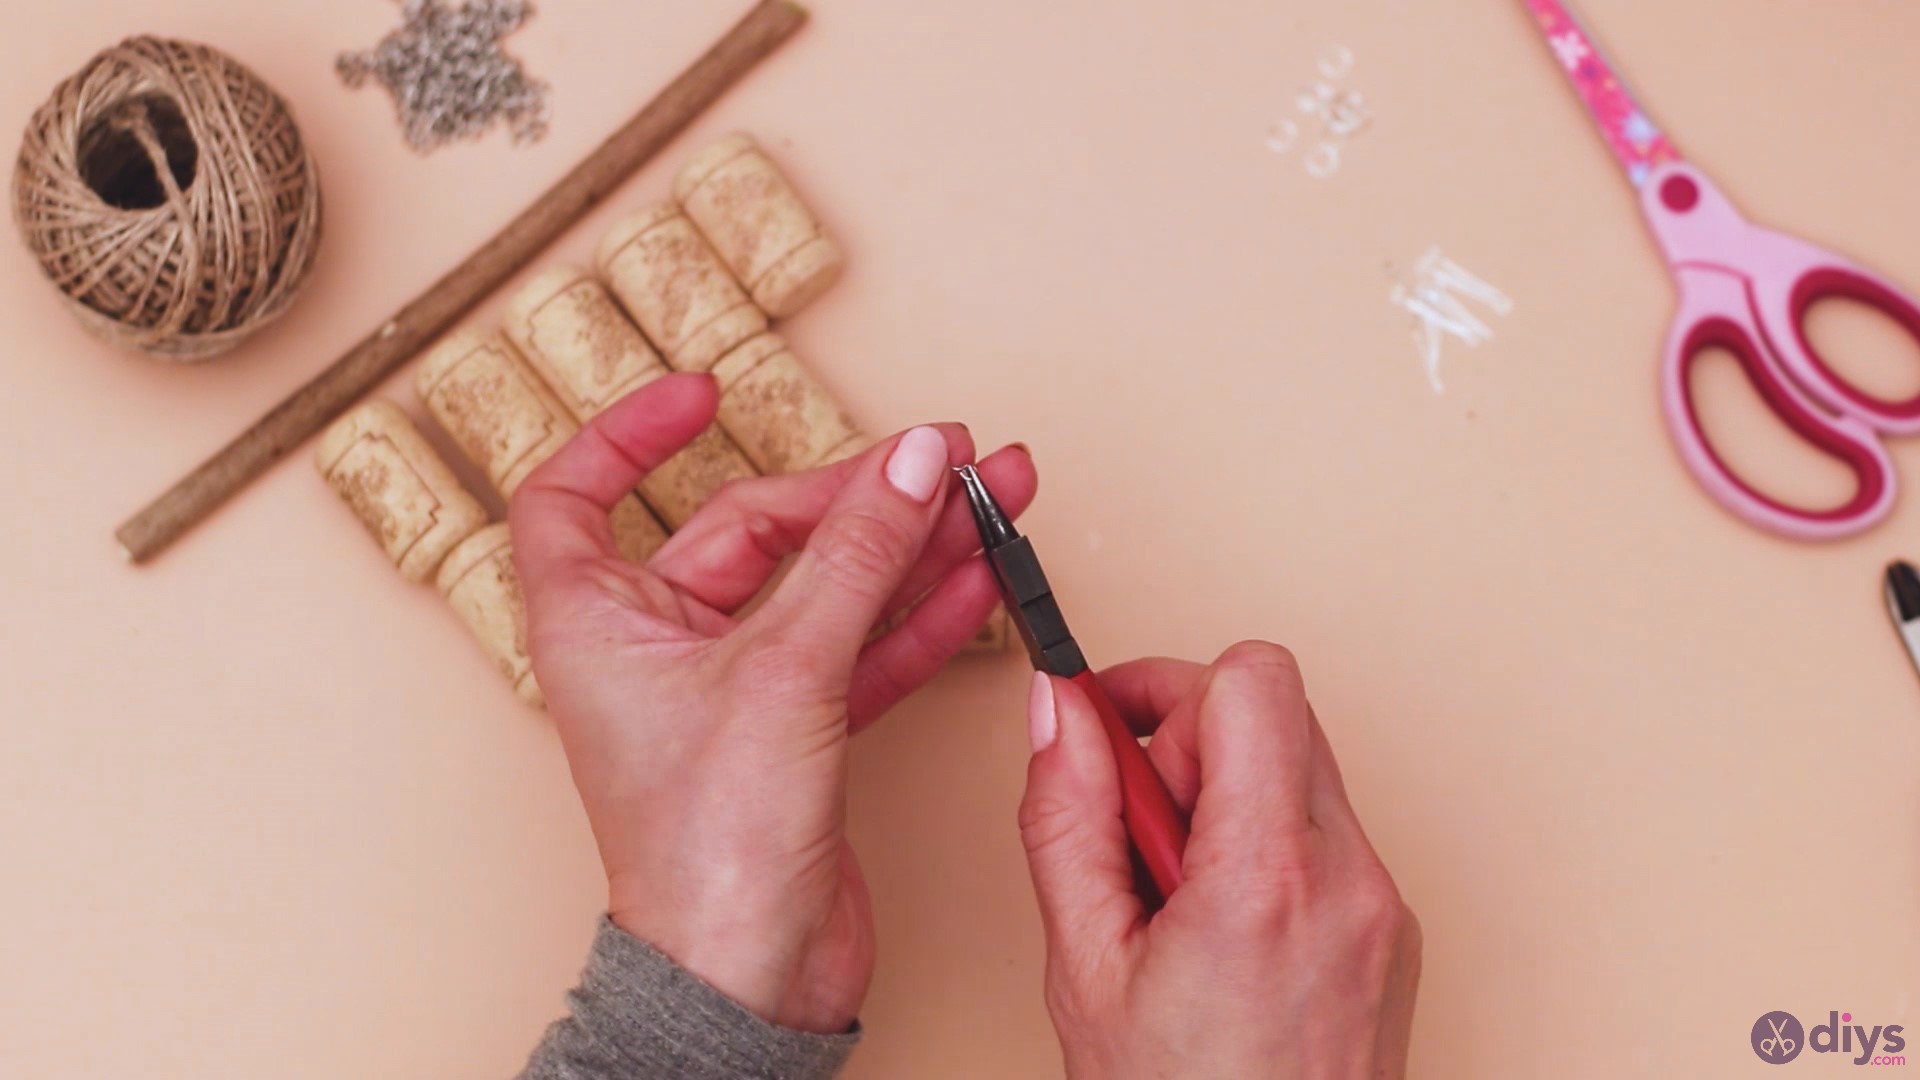
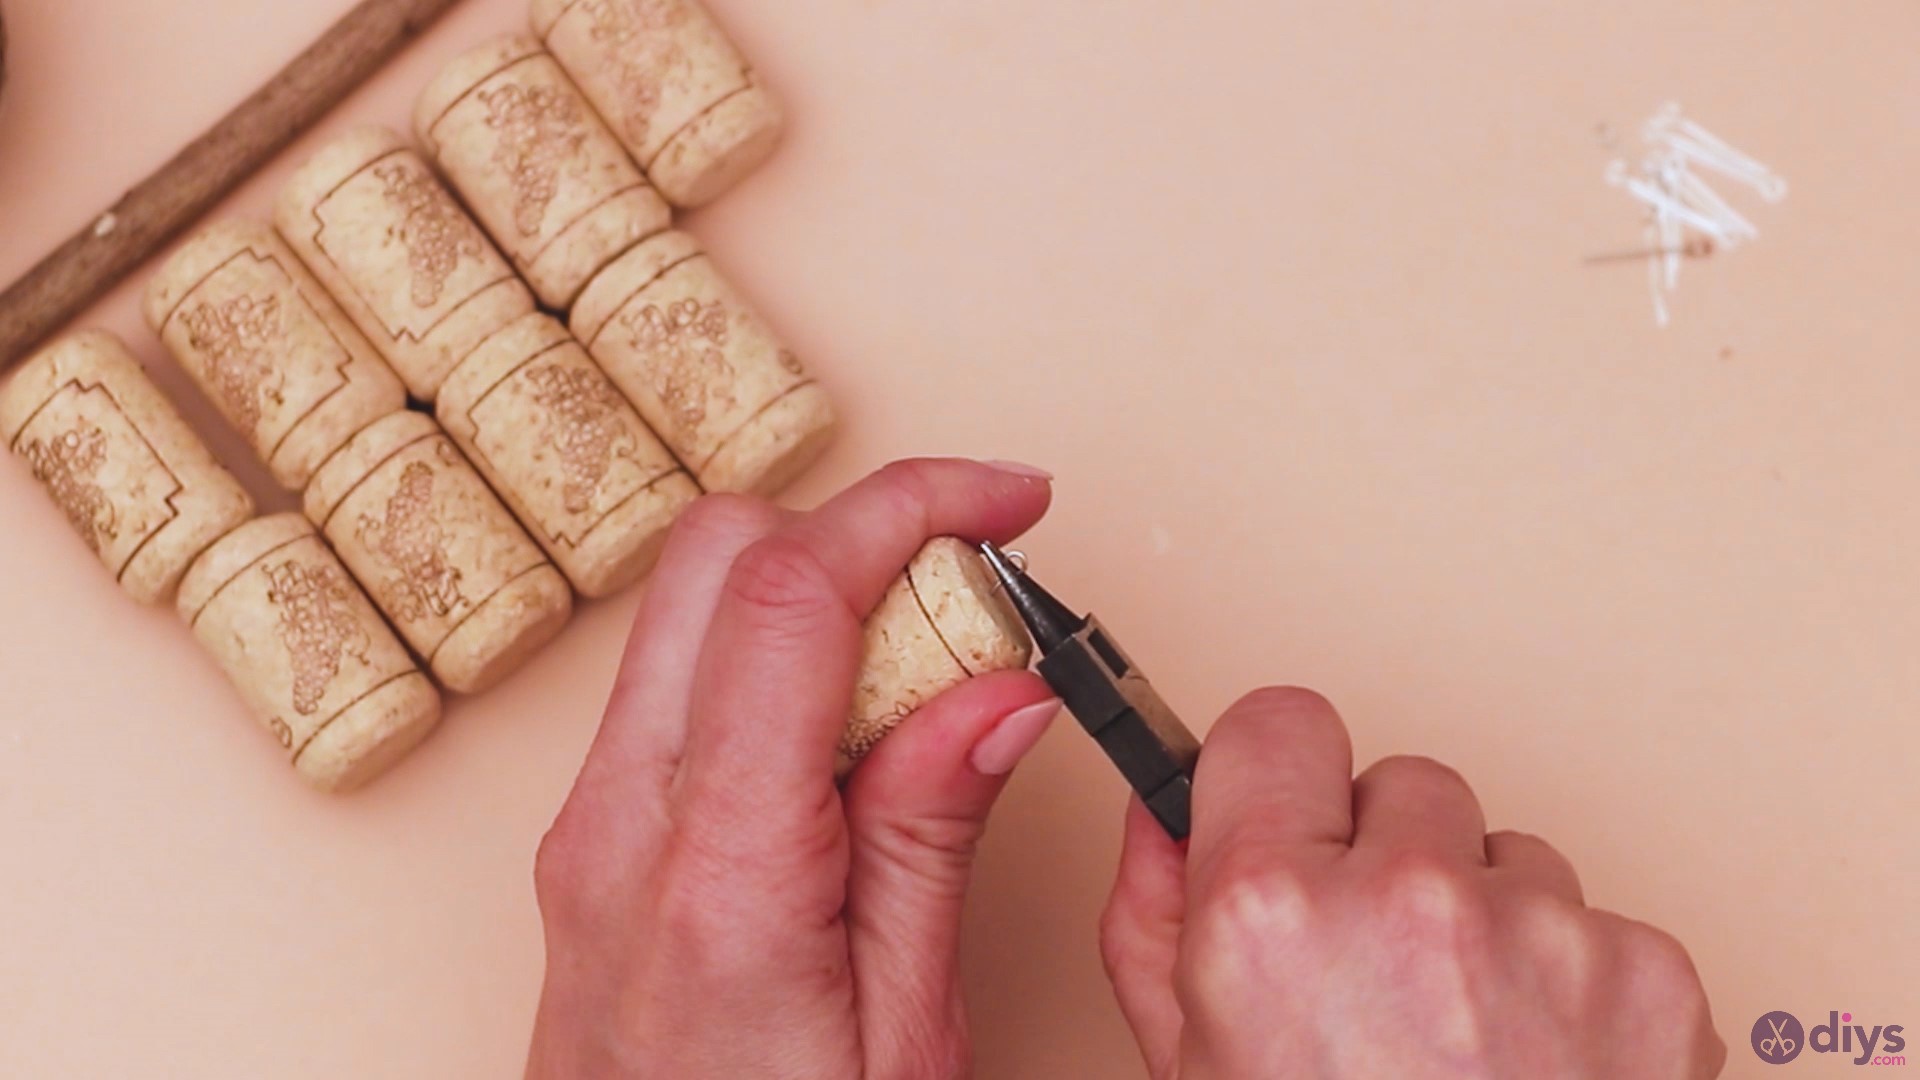
We need to start by preparing the corks. Take the loop mounting rods and the pincers and cut them shorter. We prepared 16 of these items.
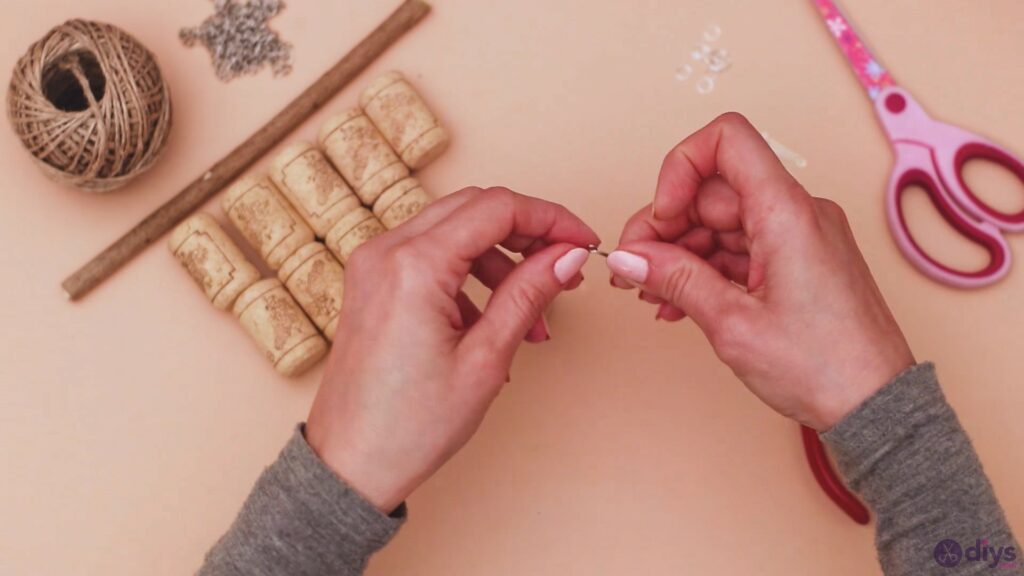
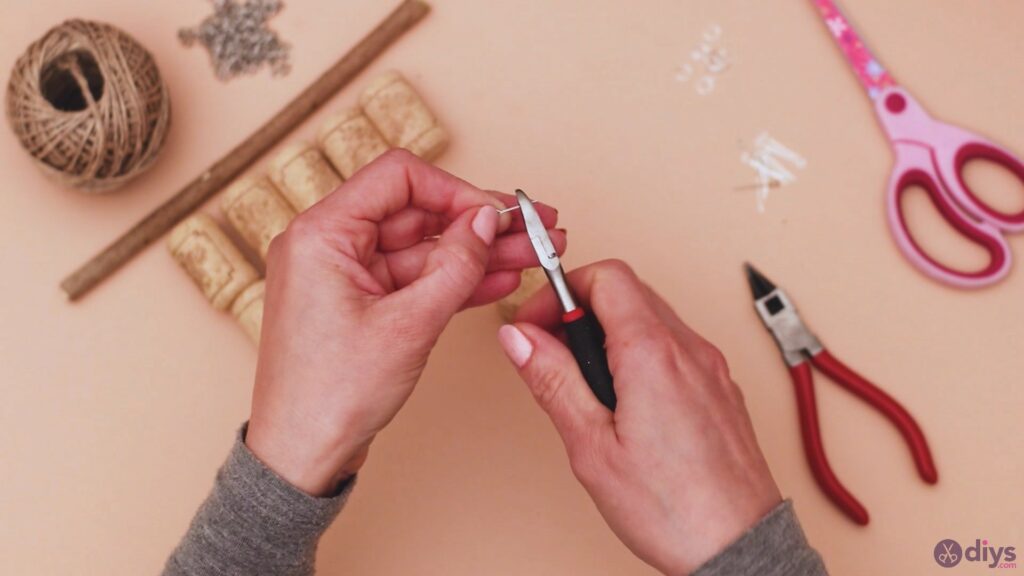
Press the loop mounting rod in the middle of the cork. Grab your conical tongs to aid you in pushing the rod in the cork, even by twisting if necessary.
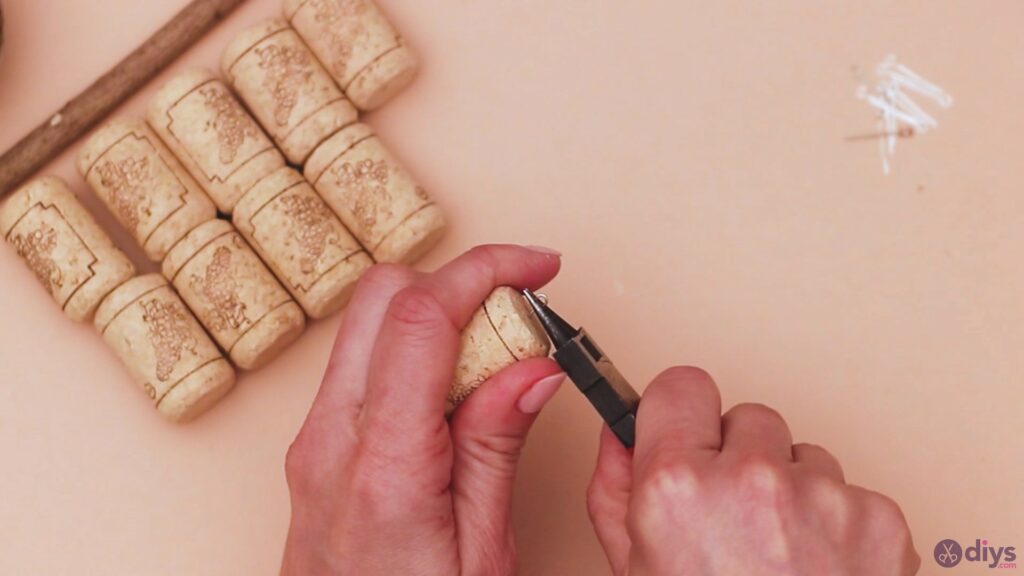
Grab another rod and repeat the process with another wine cork. Make sure the rod doesn’t fall out and it is well-positioned. 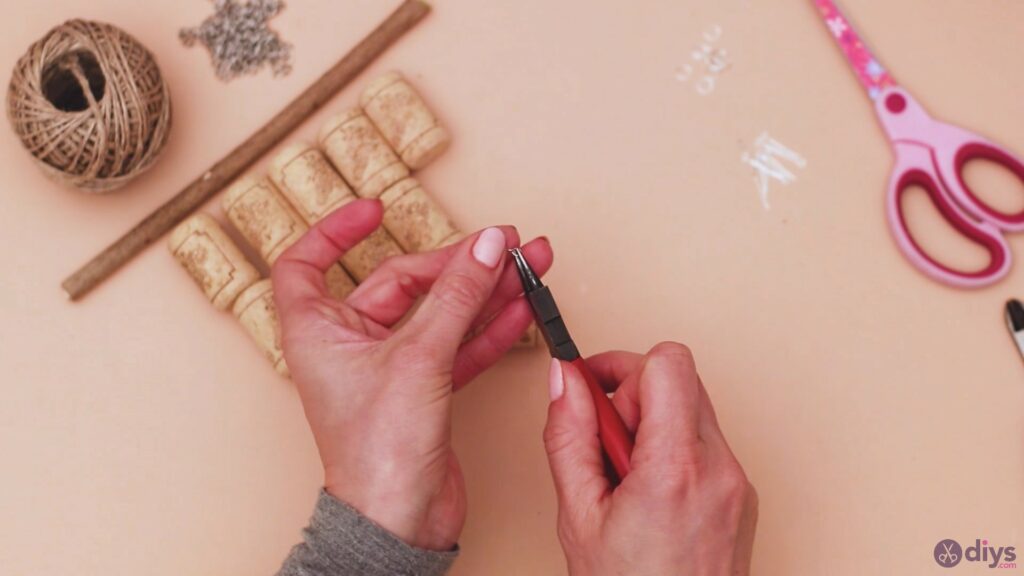

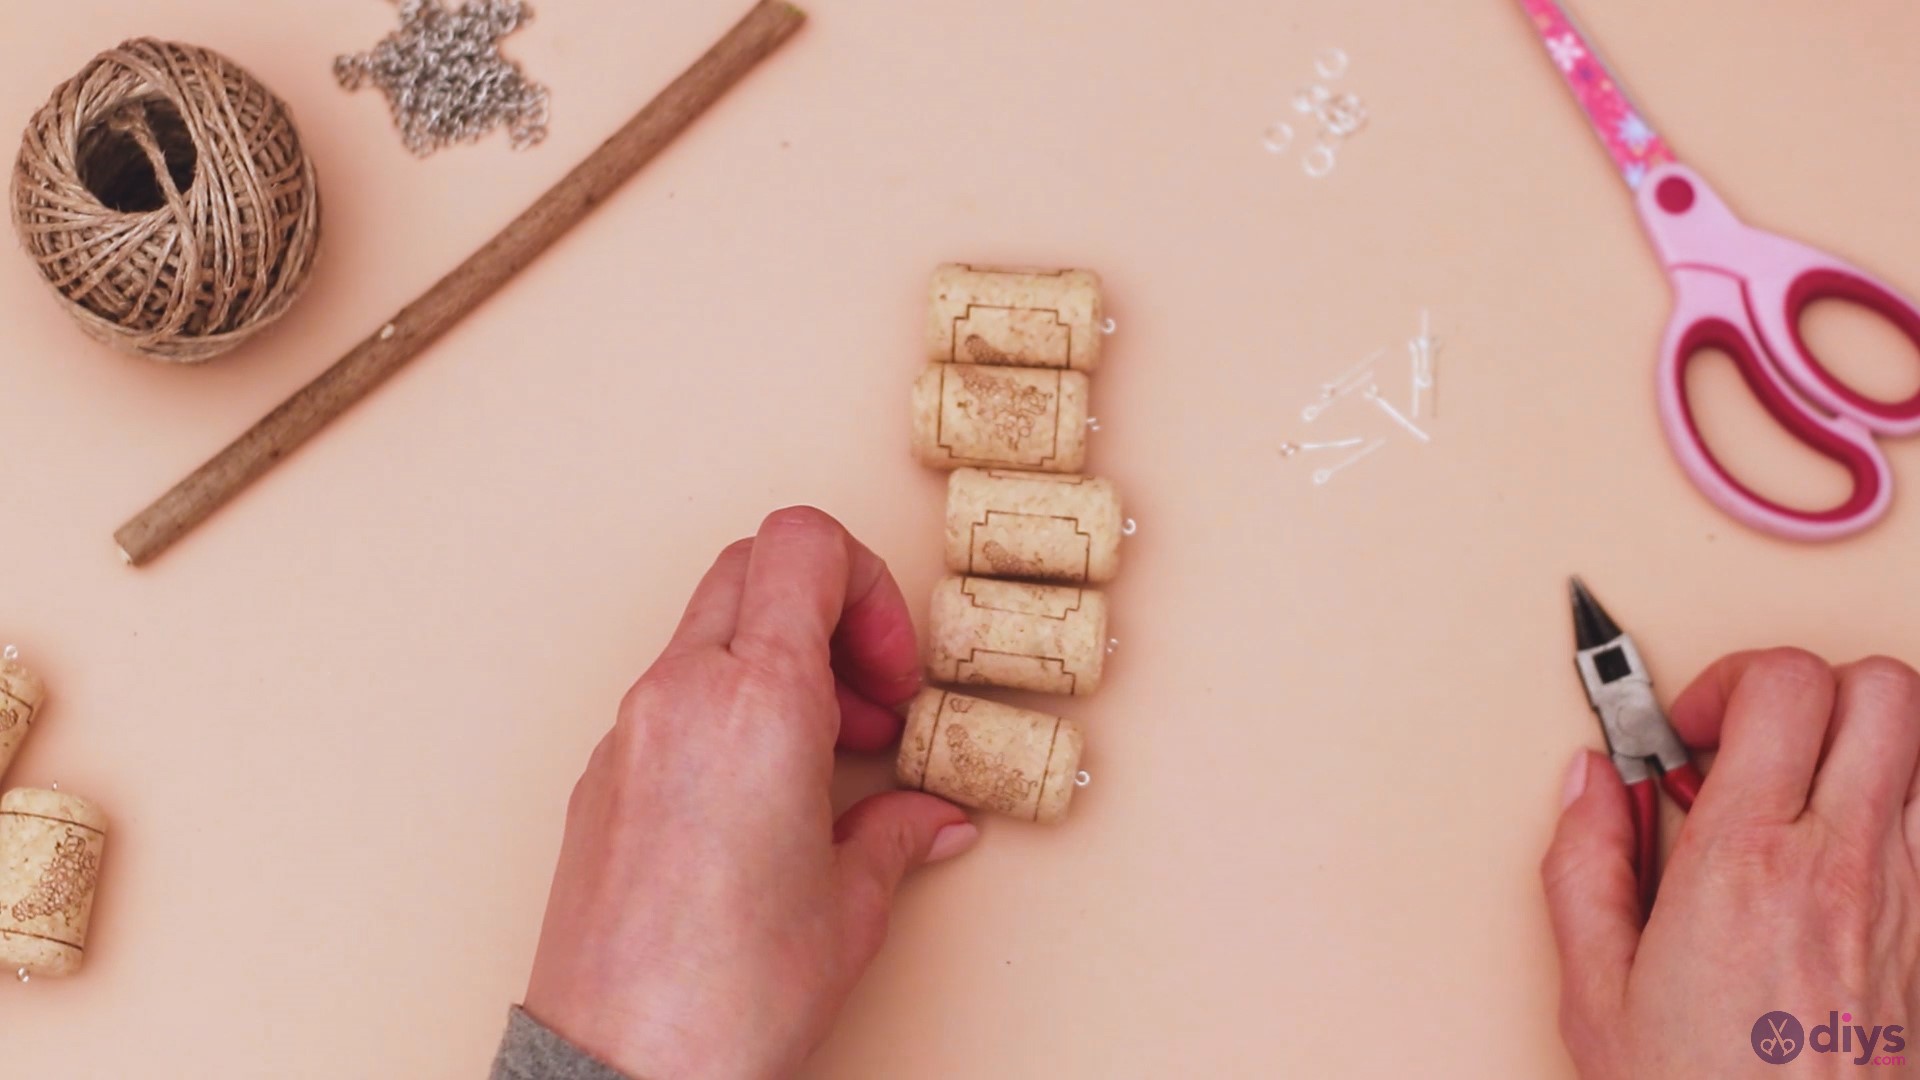
You’ll want for five of the corks to have loop mounting rods on both ends, while the other five will only need the rods on one side.
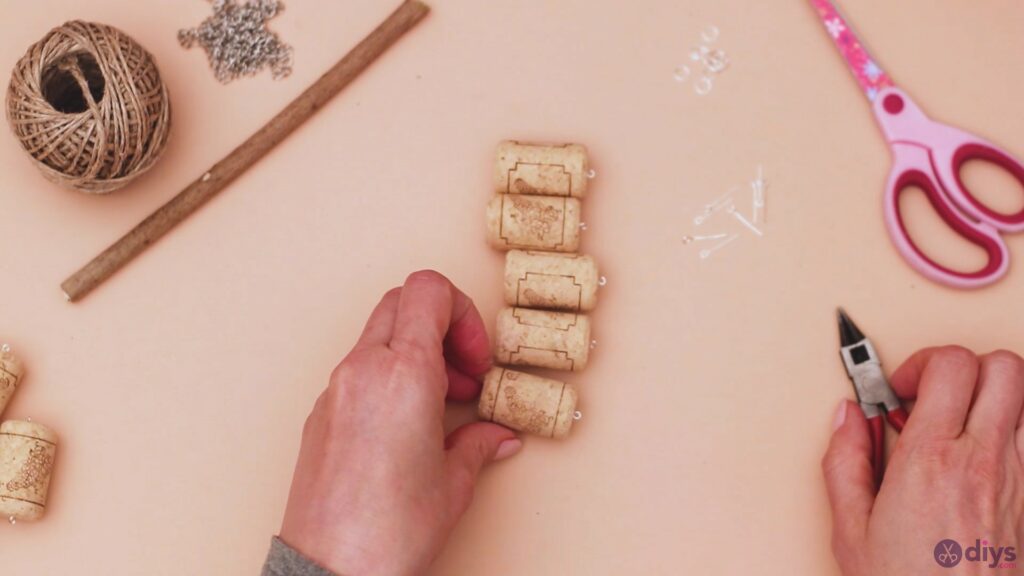
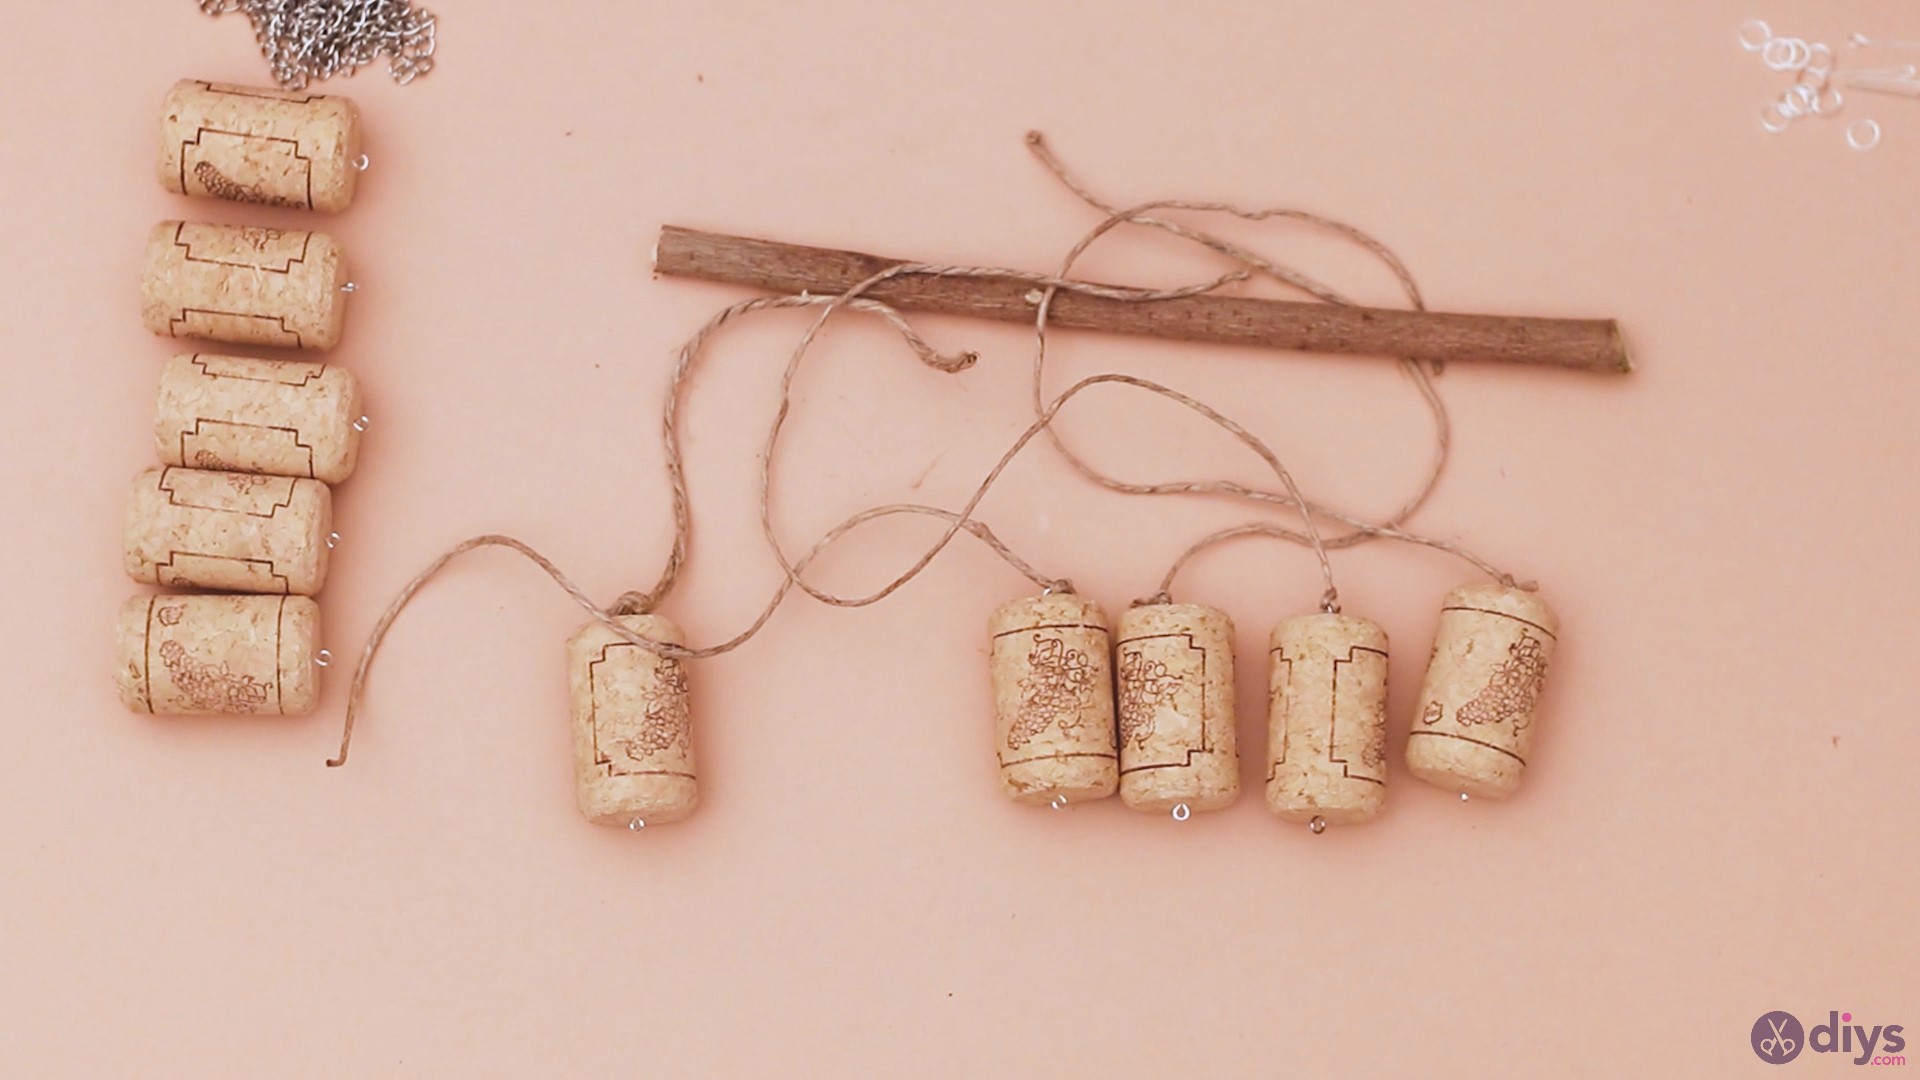
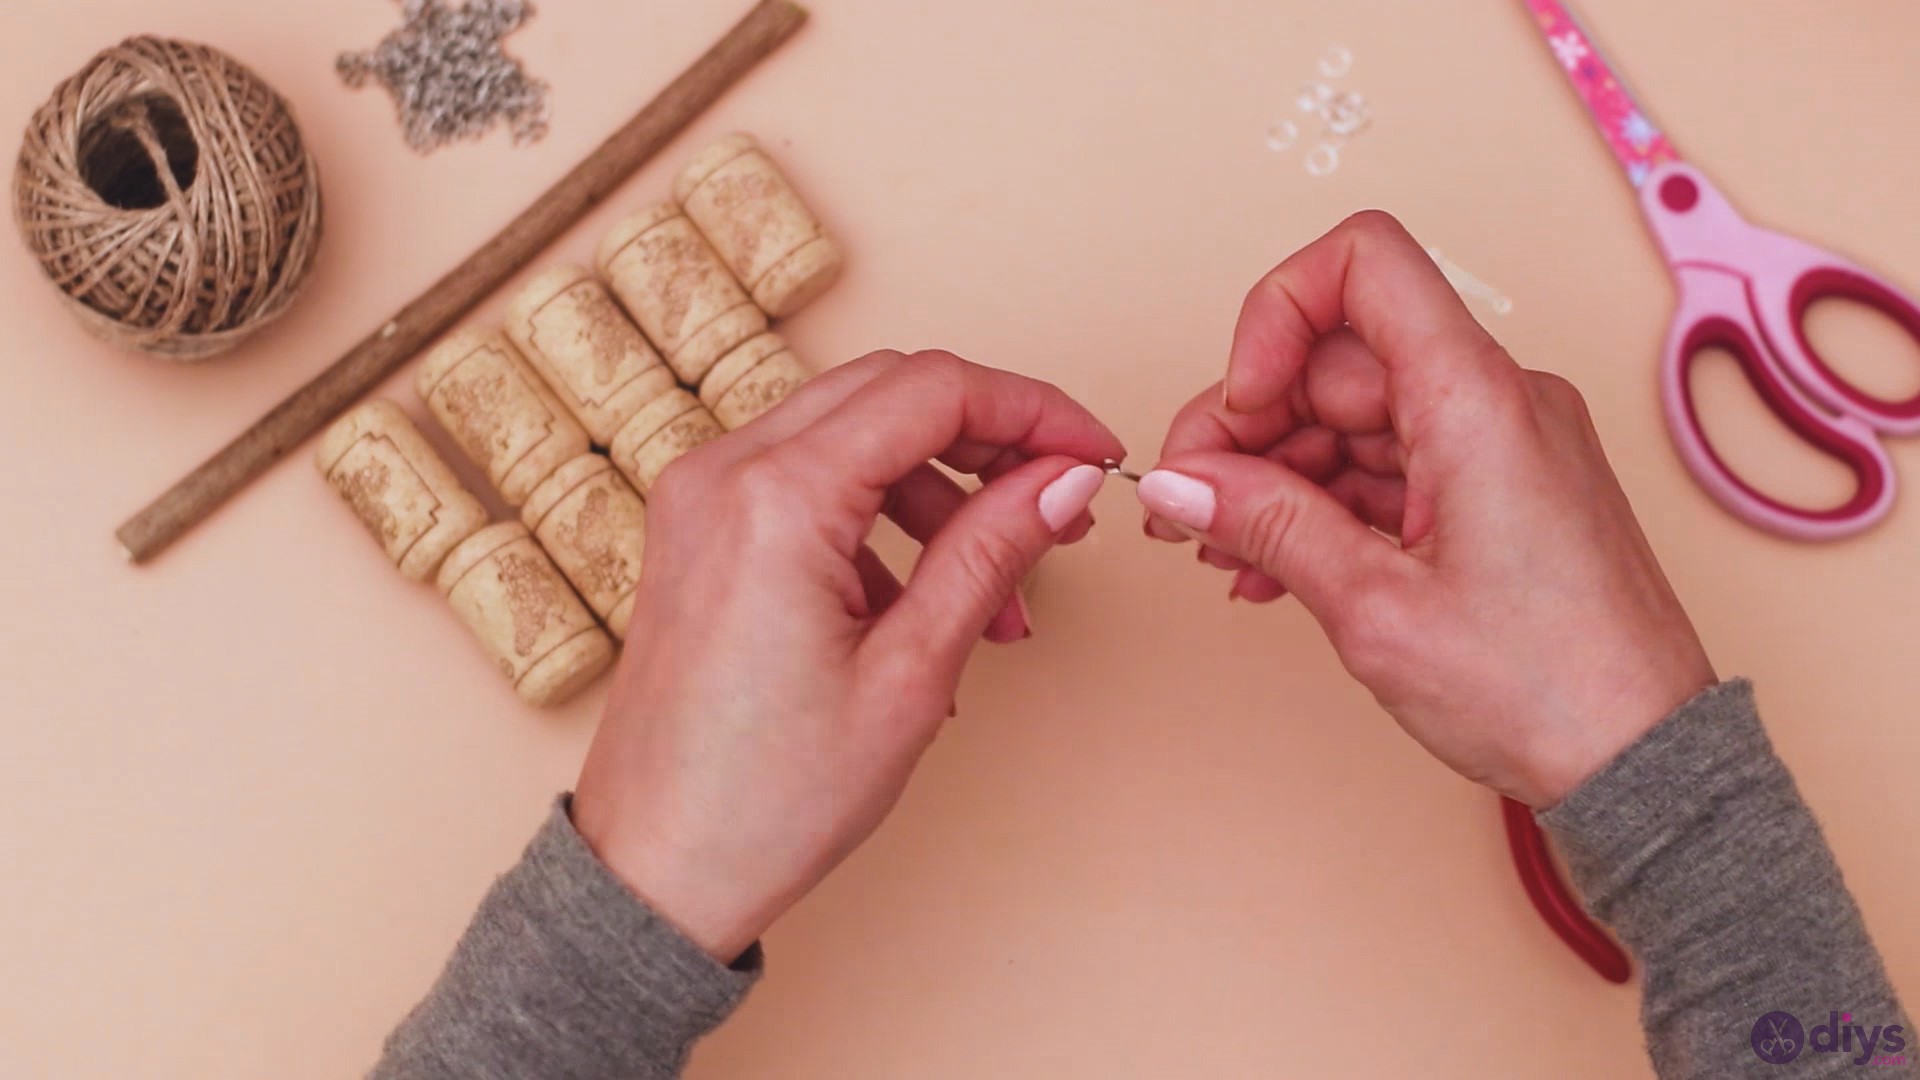
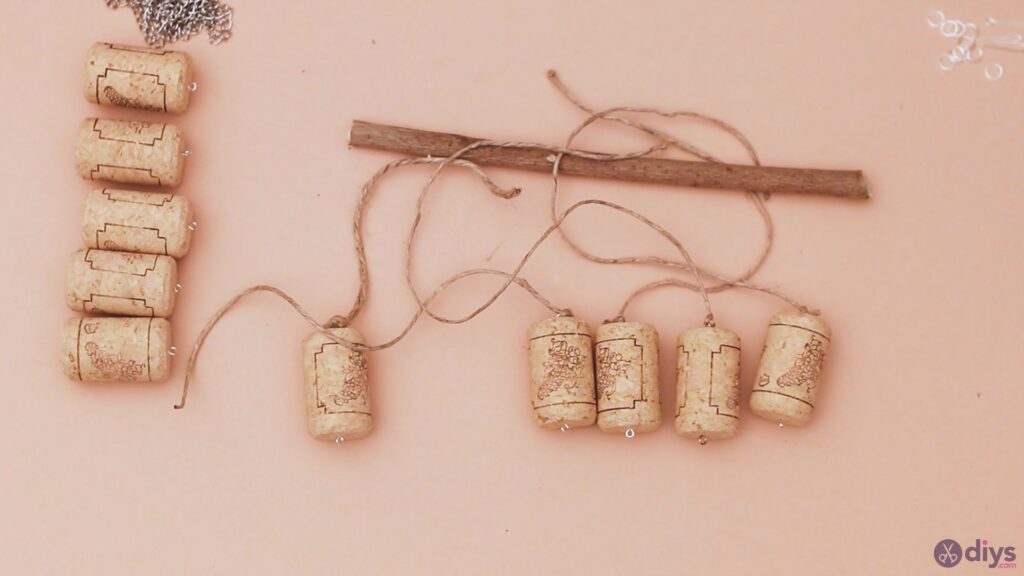
Step 2: Cut the hemp twine
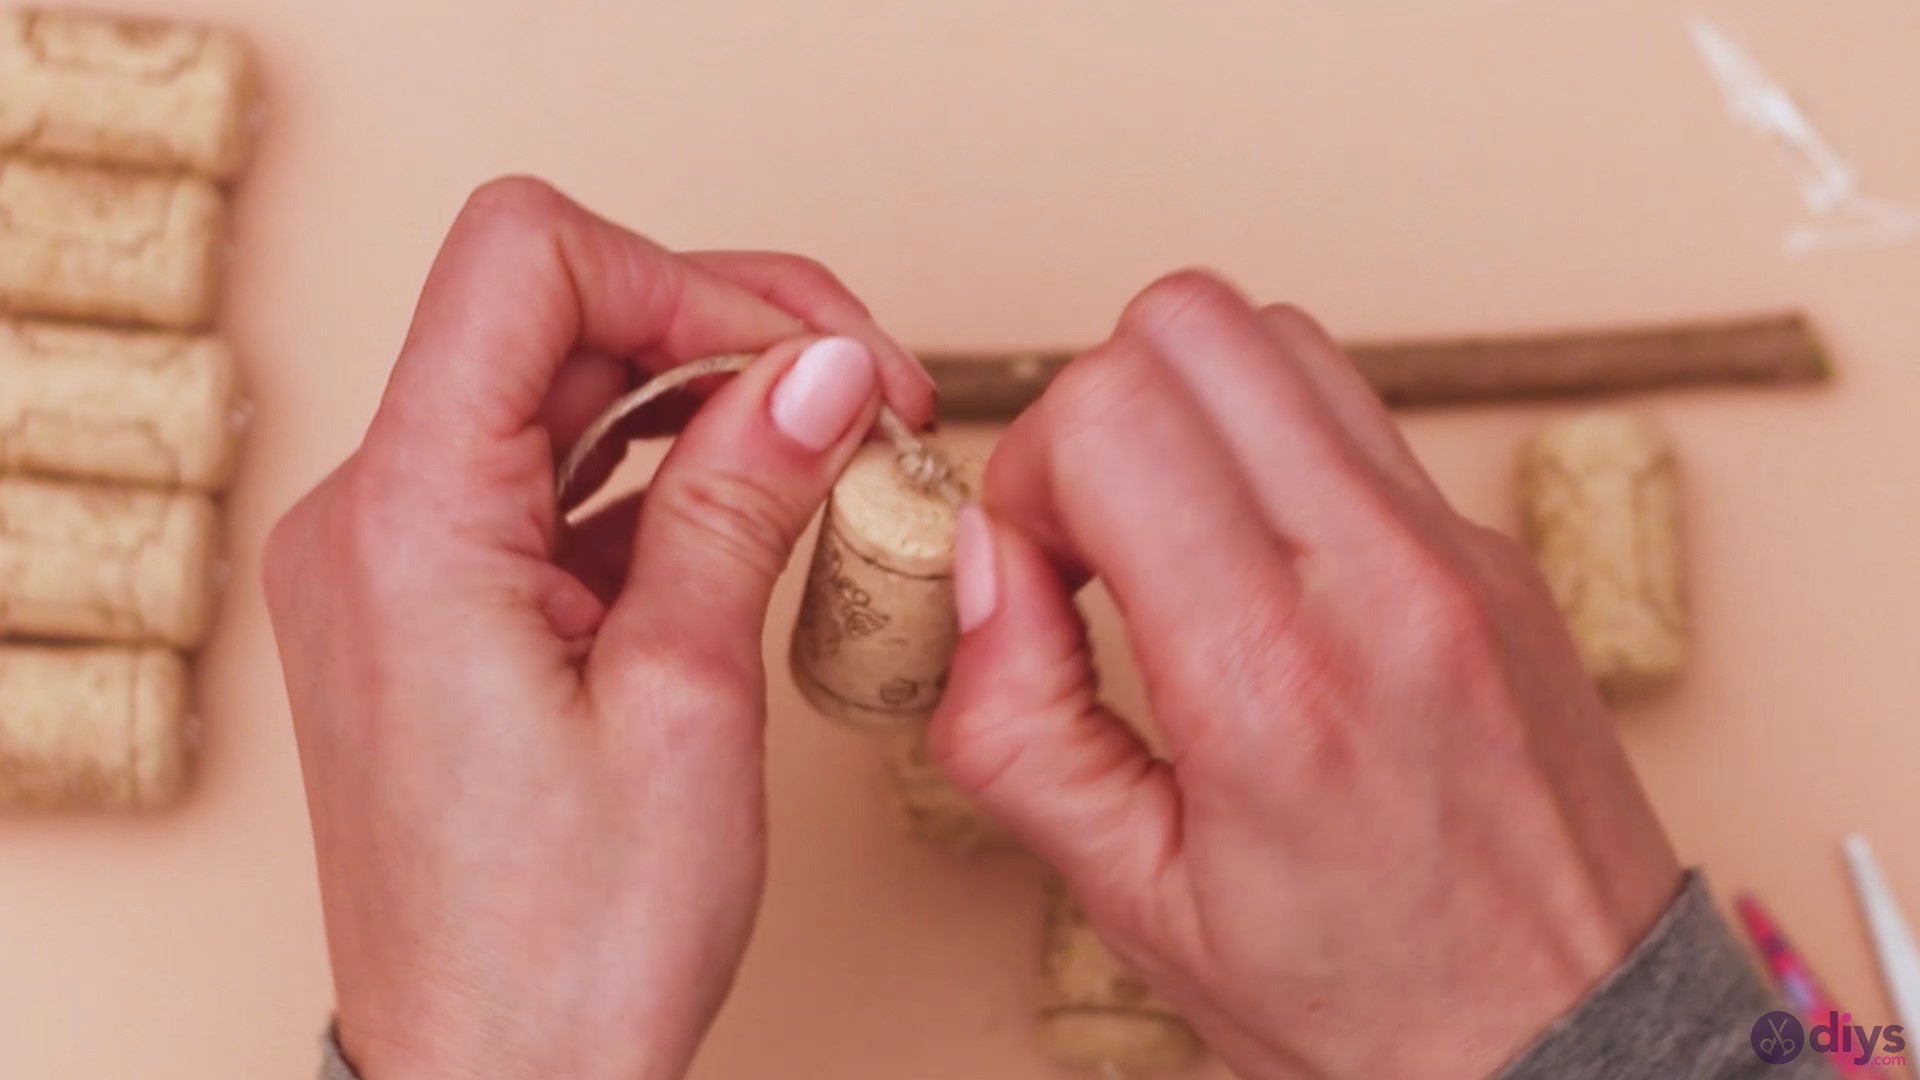
Next, you need to get the hemp twine and prepare five threads. Make sure you leave enough length to it that you can adjust it later on, when you hang the wine corks.
Push a thread of hemp twine through a loop of one of the five wine corks that have loops on both ends. Repeat the process for all five corks.

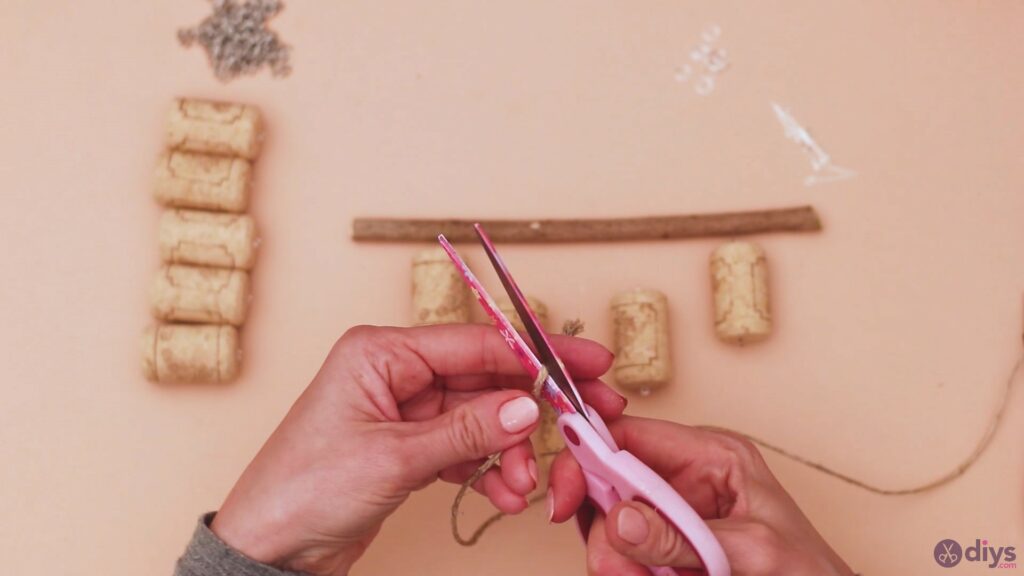
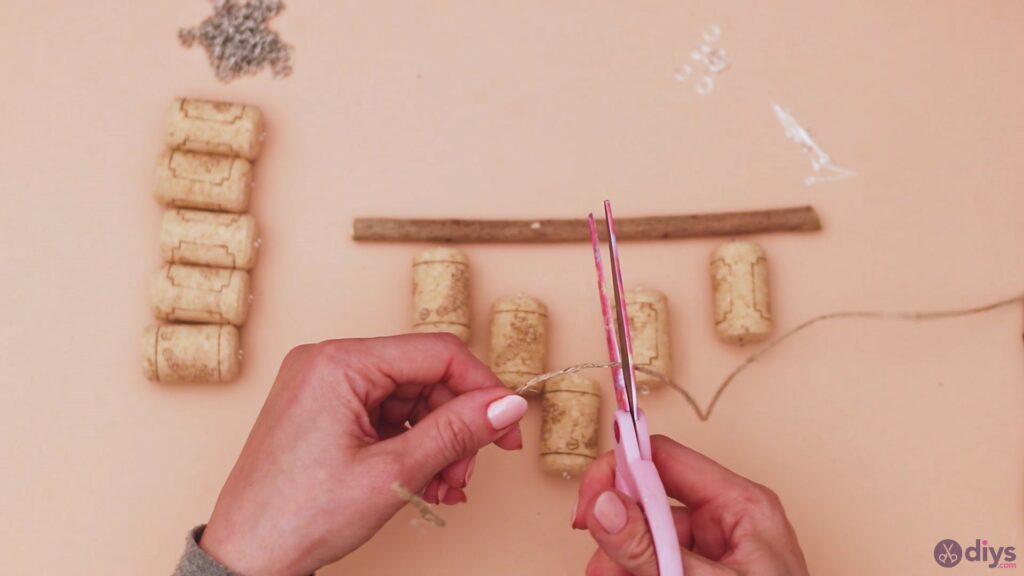
Tie a double knot to secure the thread to the wine cork. Cut off any excess twine, making sure to leave the longer end intact.

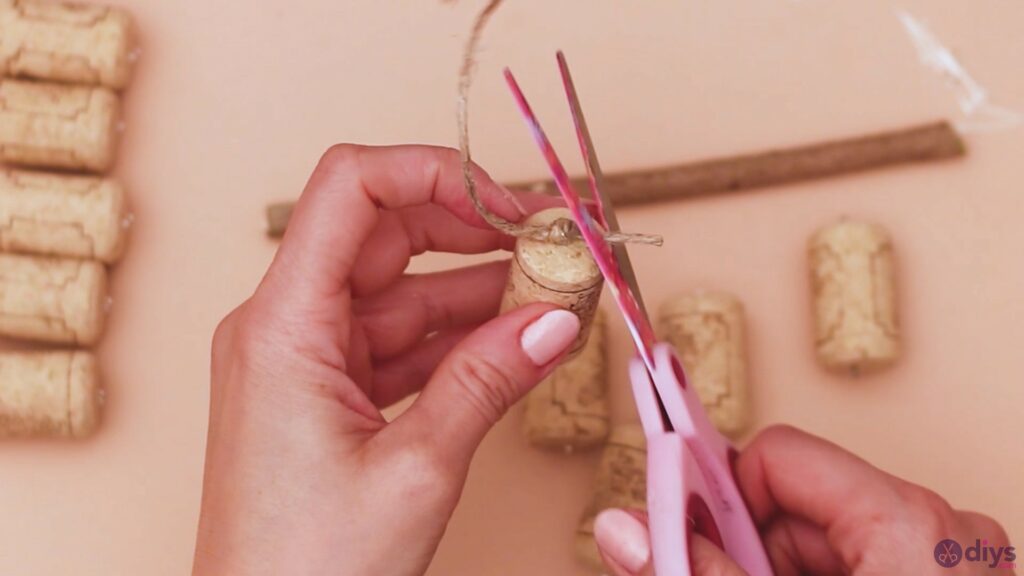
This is how your wine corks should look at this point.
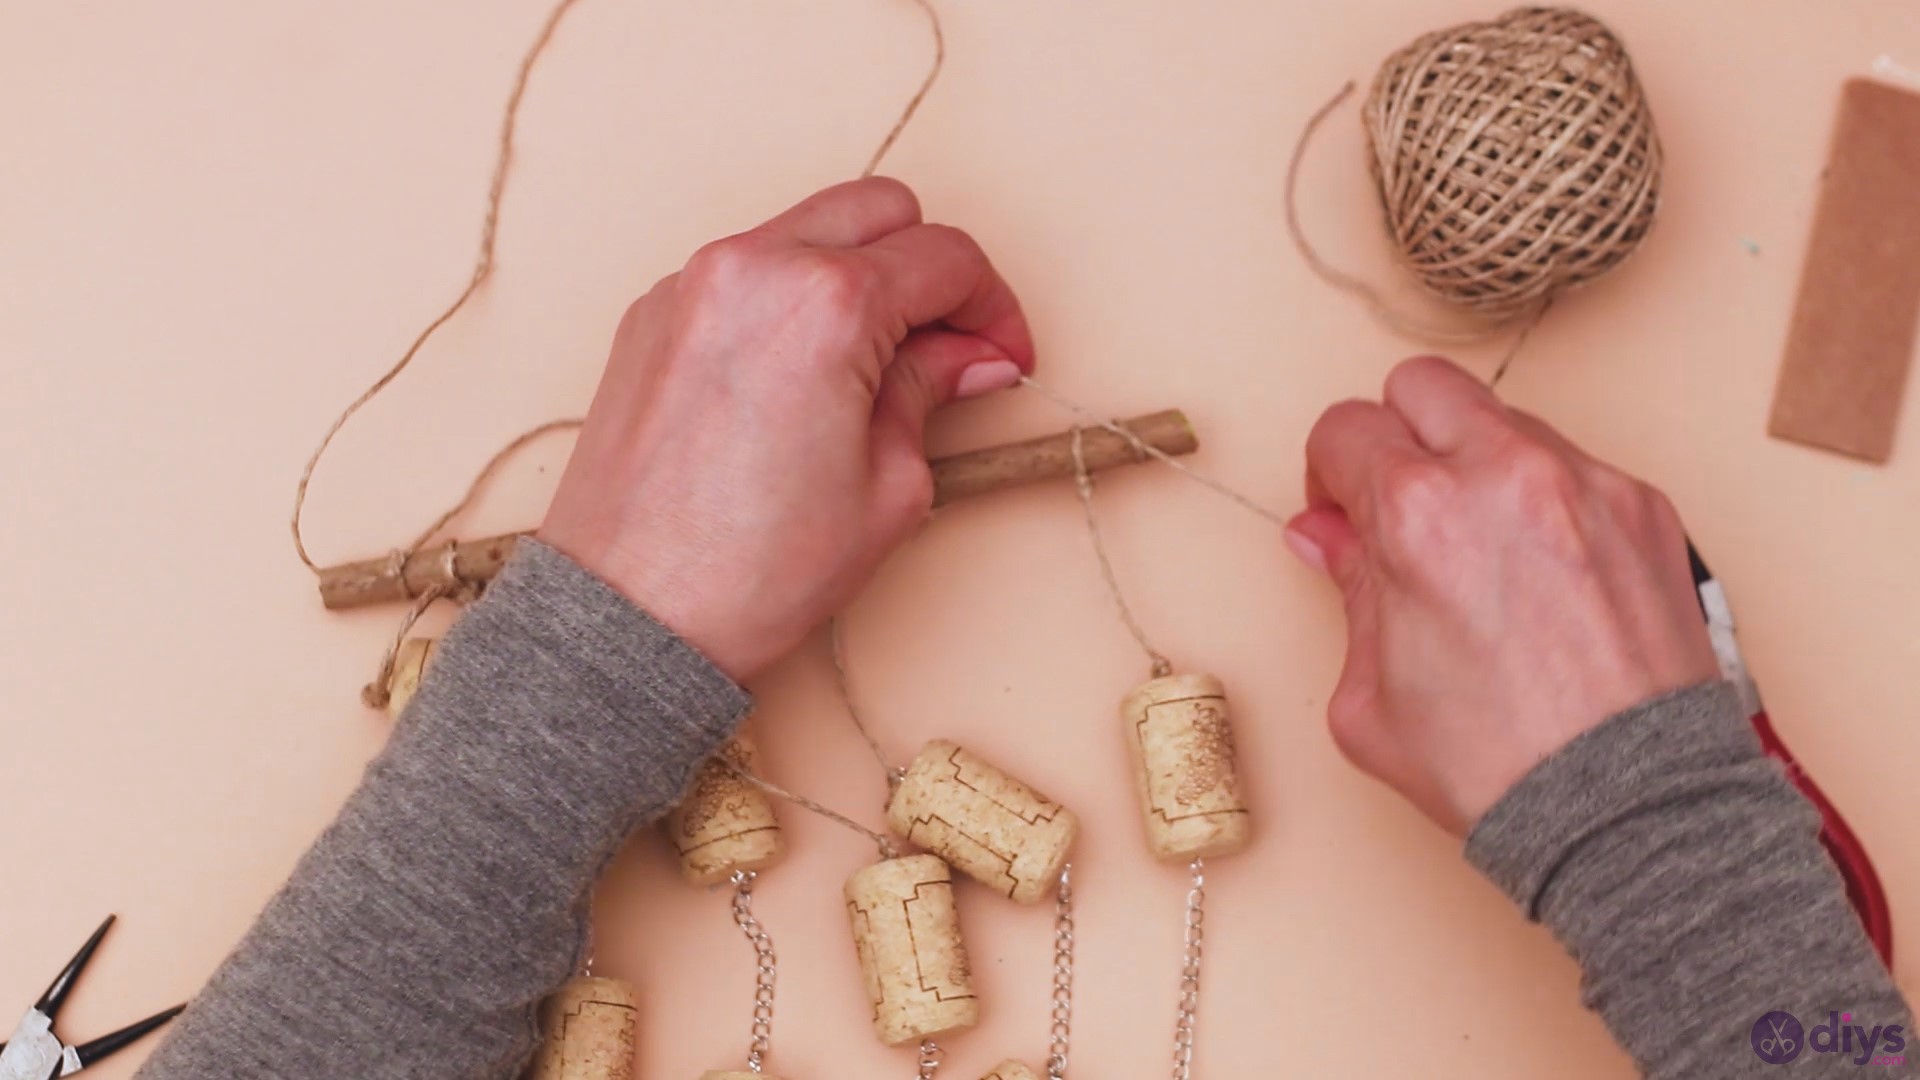
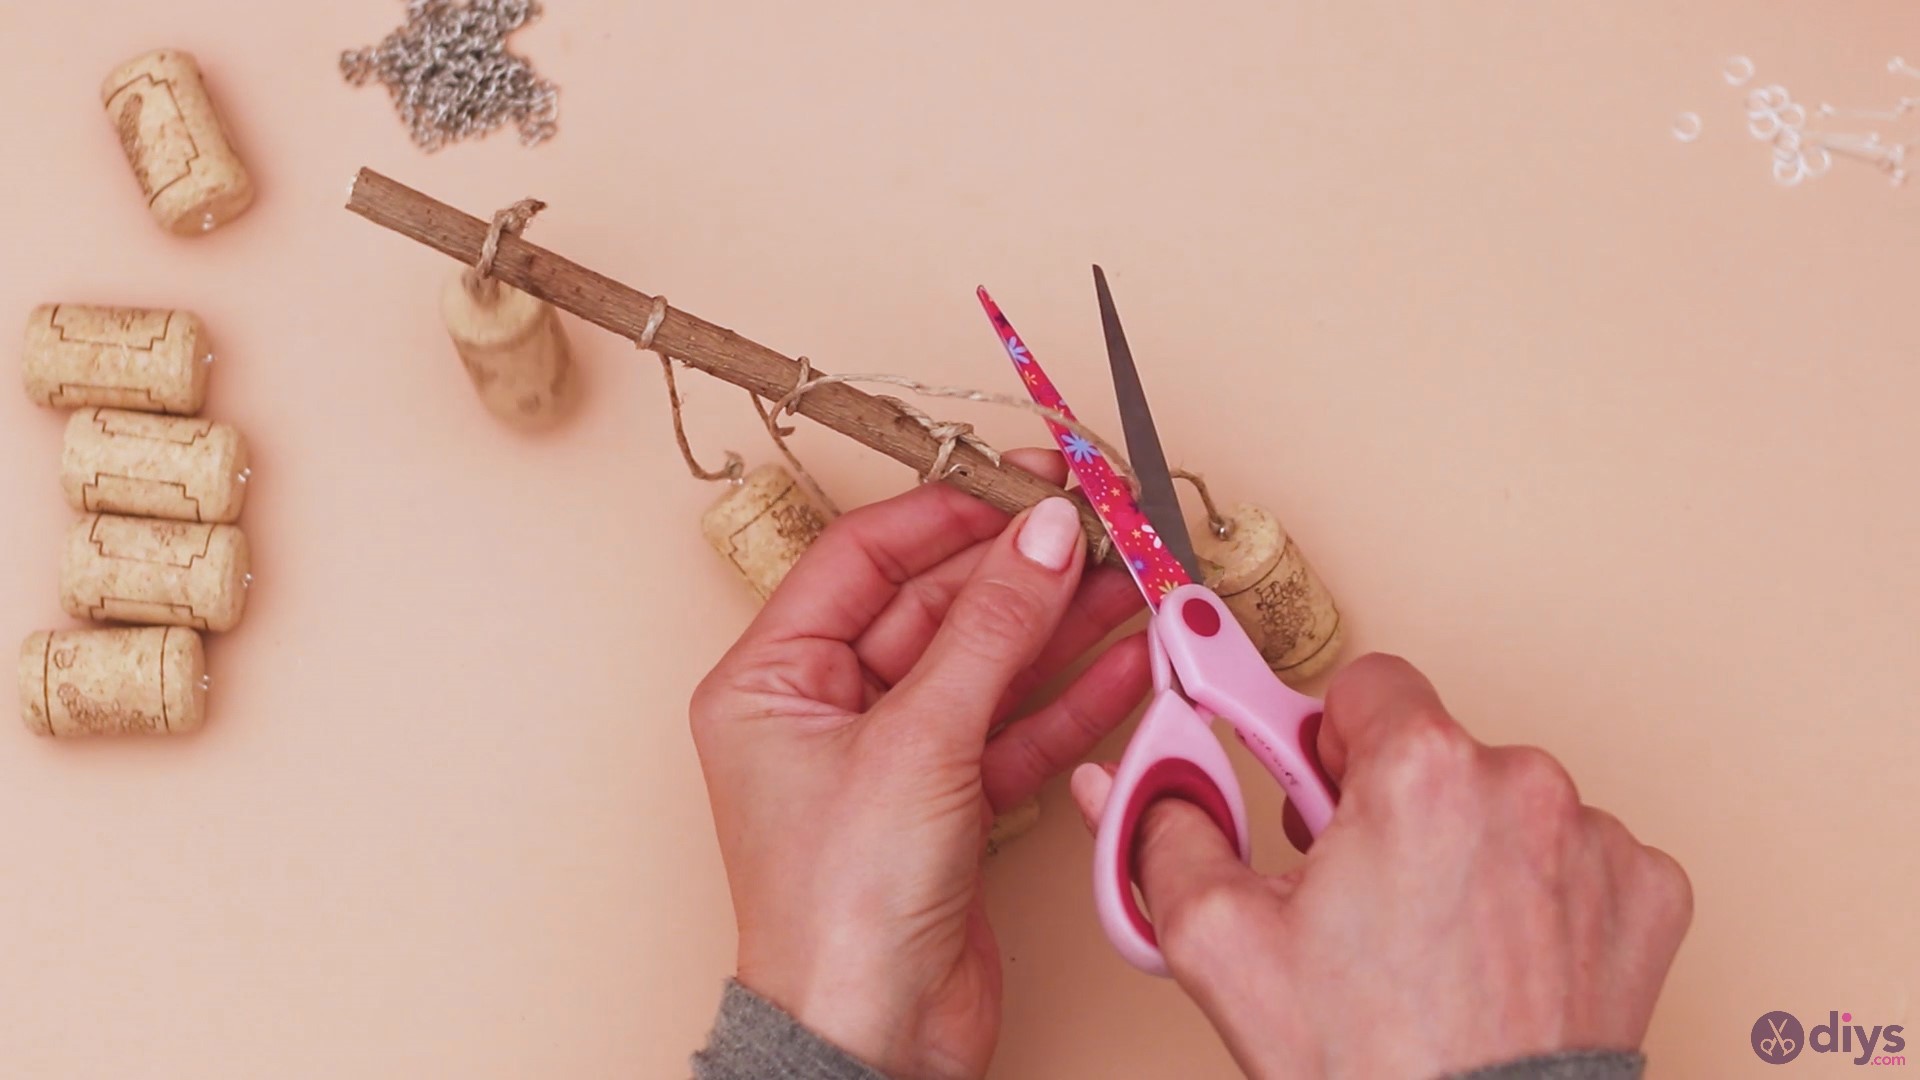
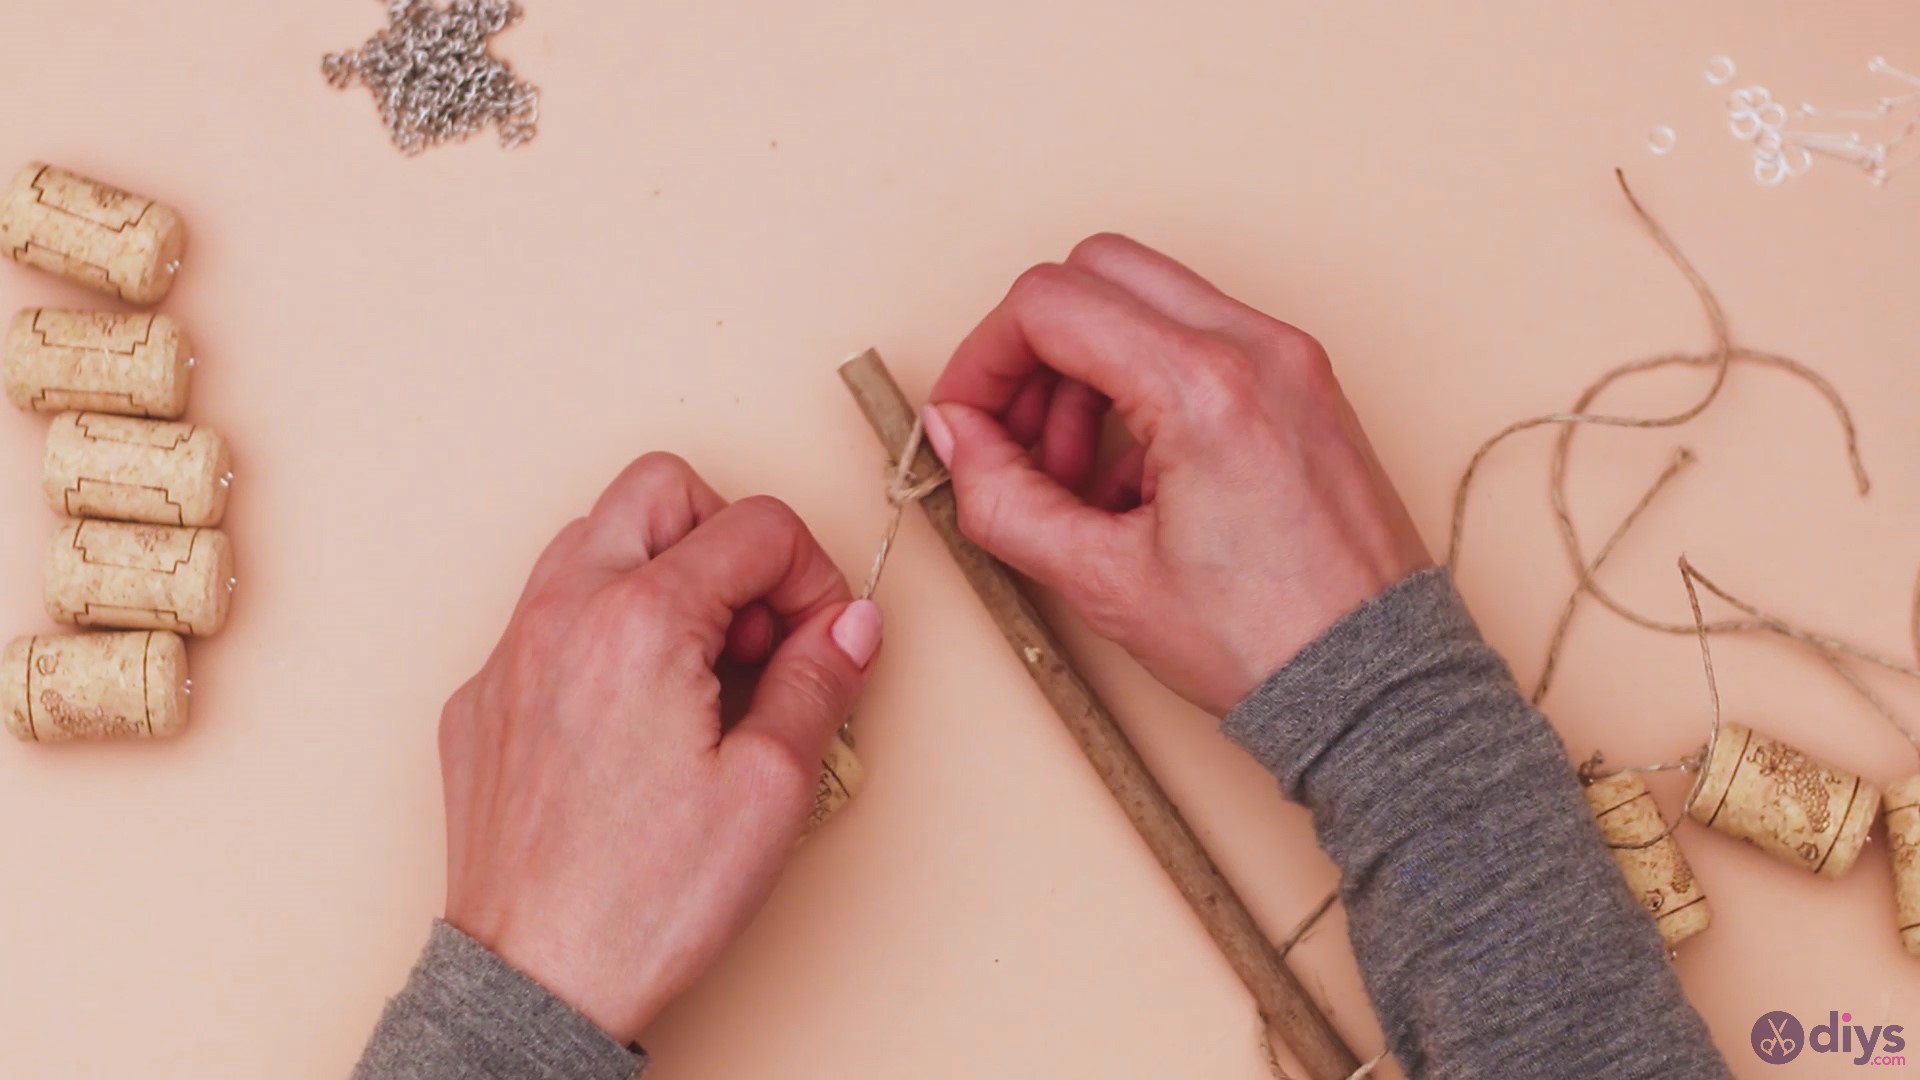
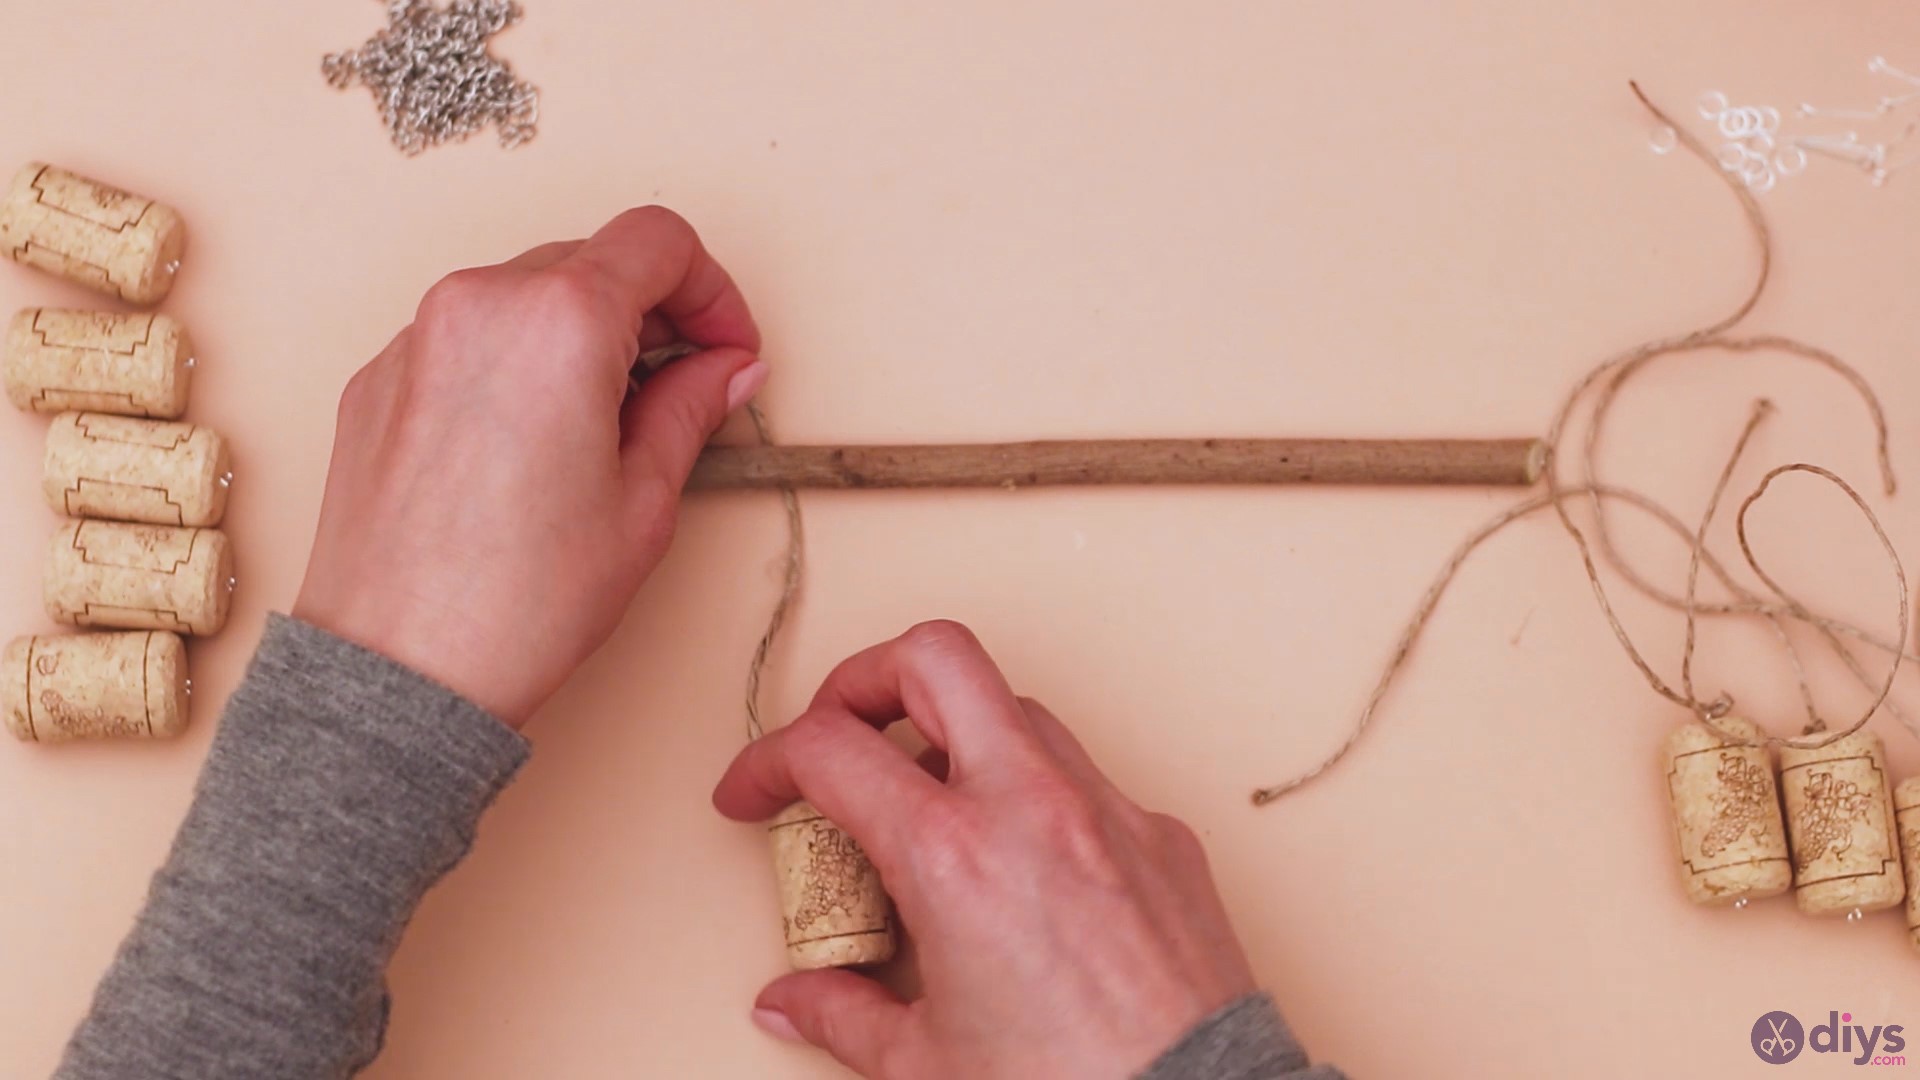
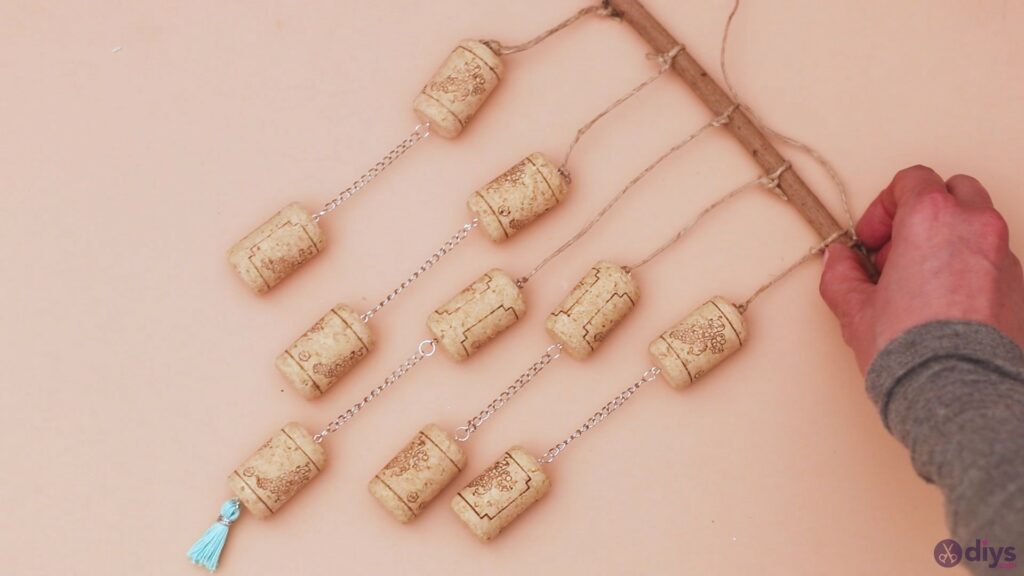
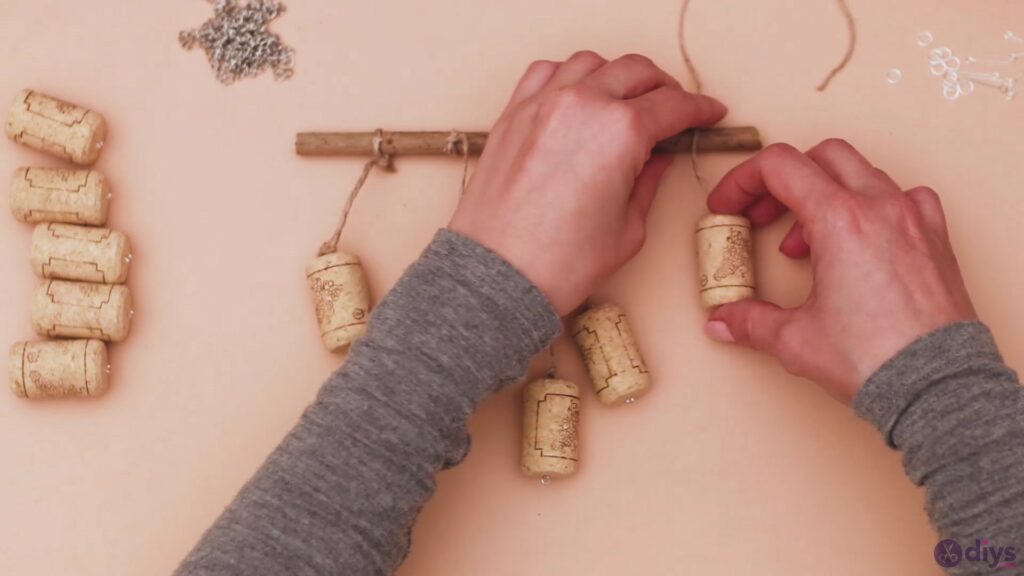
Step 3: Tie the hanging wine corks to the branch
We hope you managed to find a nice and straight piece of a branch for the project, although one that’s a bit crooked will do just fine too. In fact, it may give it more charm.

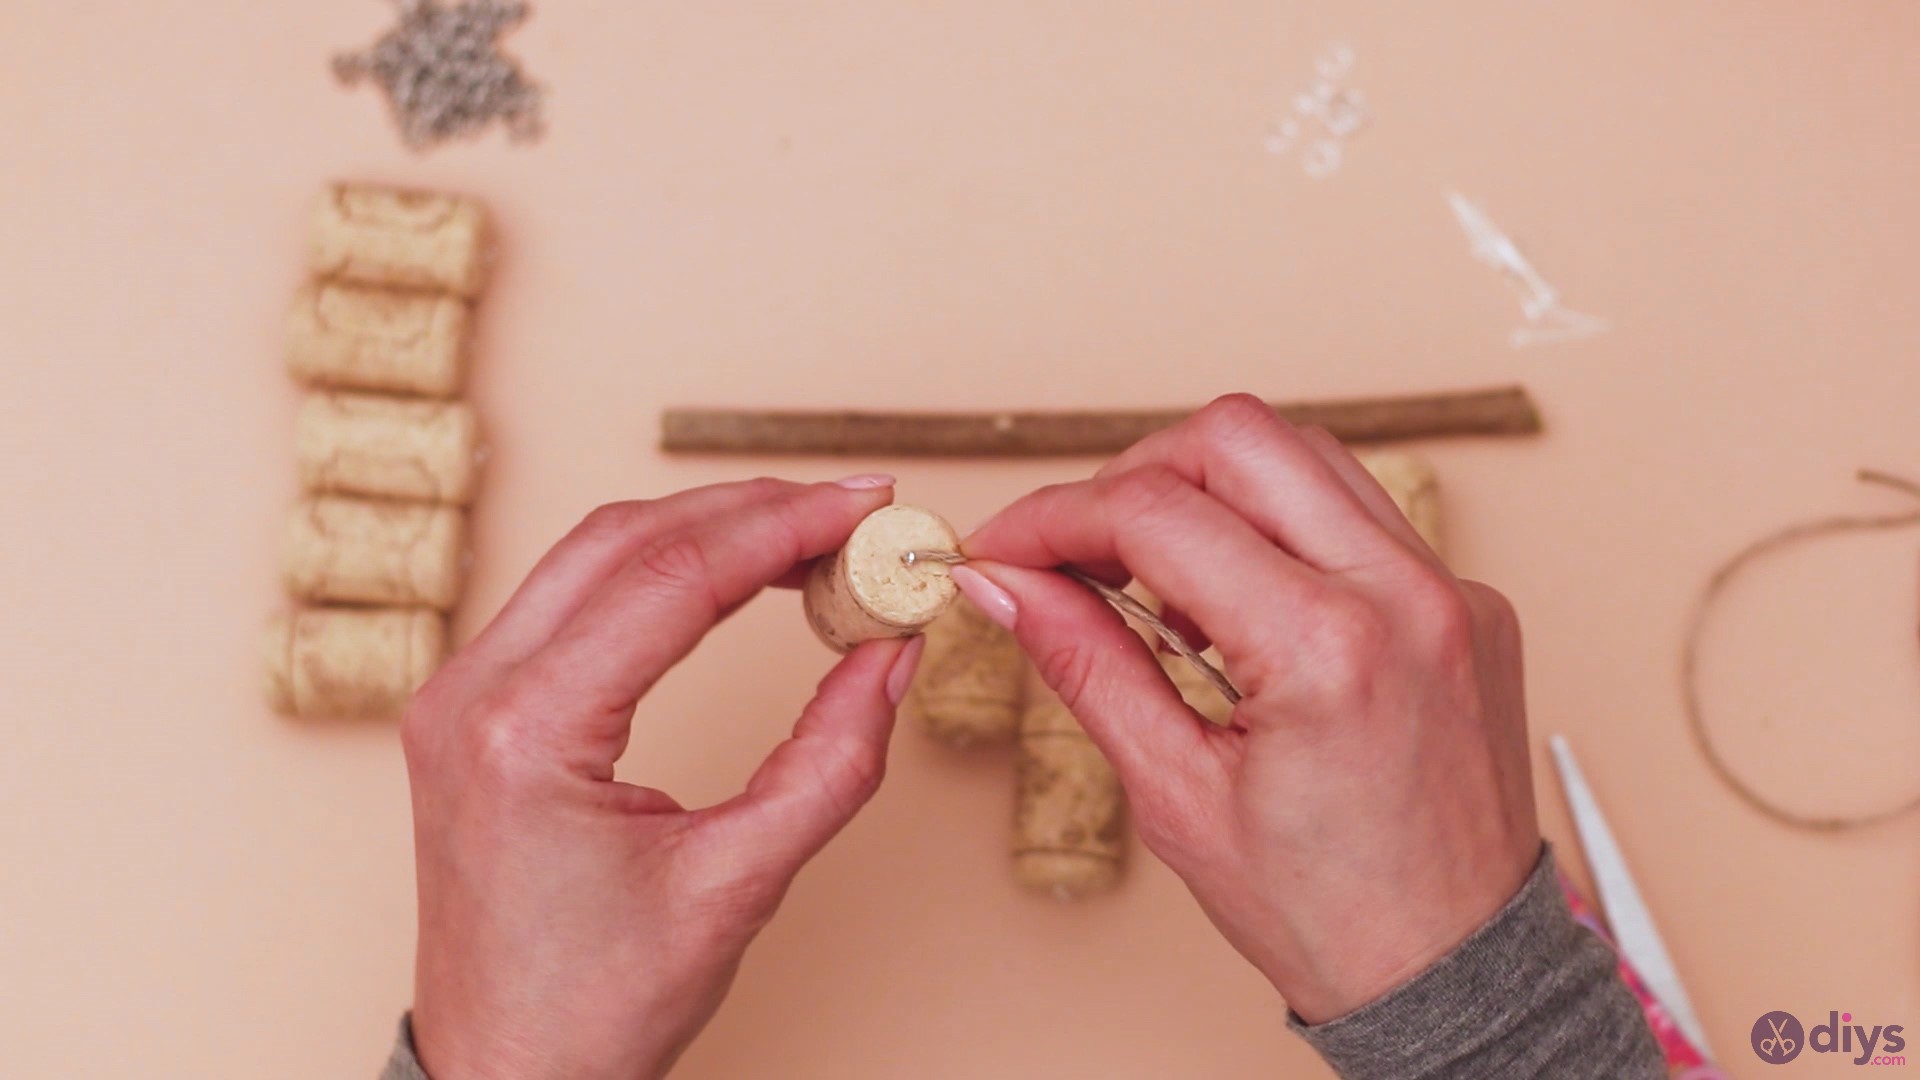
Tie the ends of the hemp twine to the branch. Make sure you secure the twine with a double knot so they don’t fall off later on.

Add the threads at equal distances so they look neat. Our tip for you is for the first and last corks to have the shortest twines, the ones next to them a little more length, and the middle cork to have the longest thread, creating a V shape.
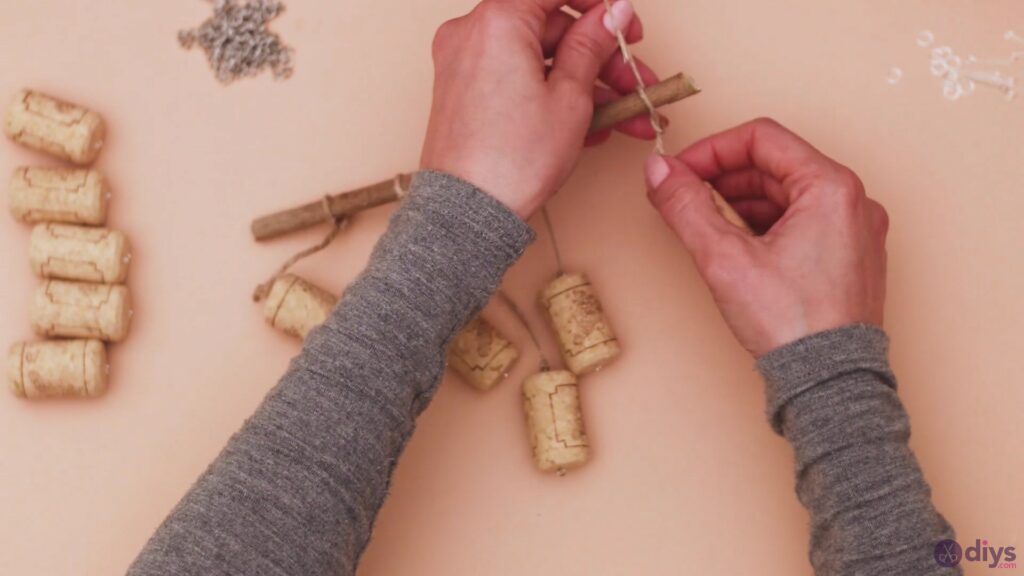
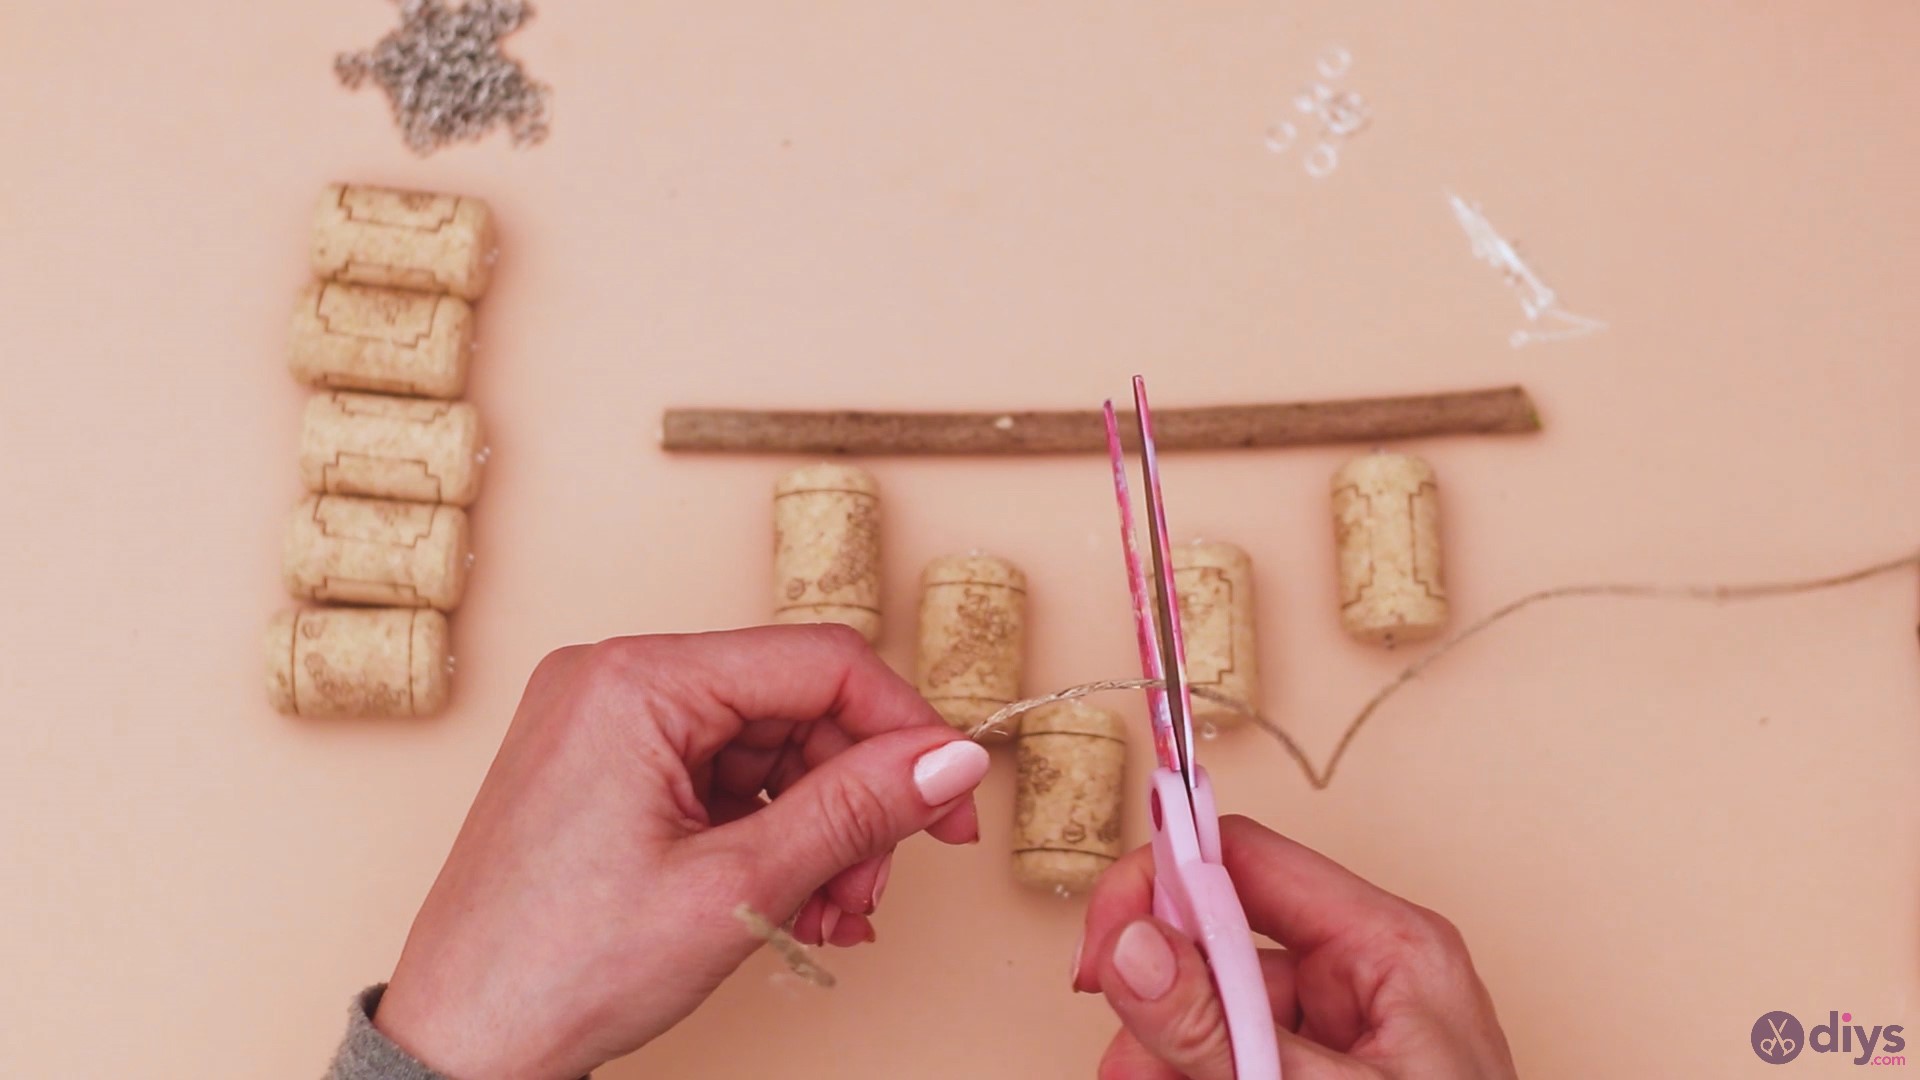
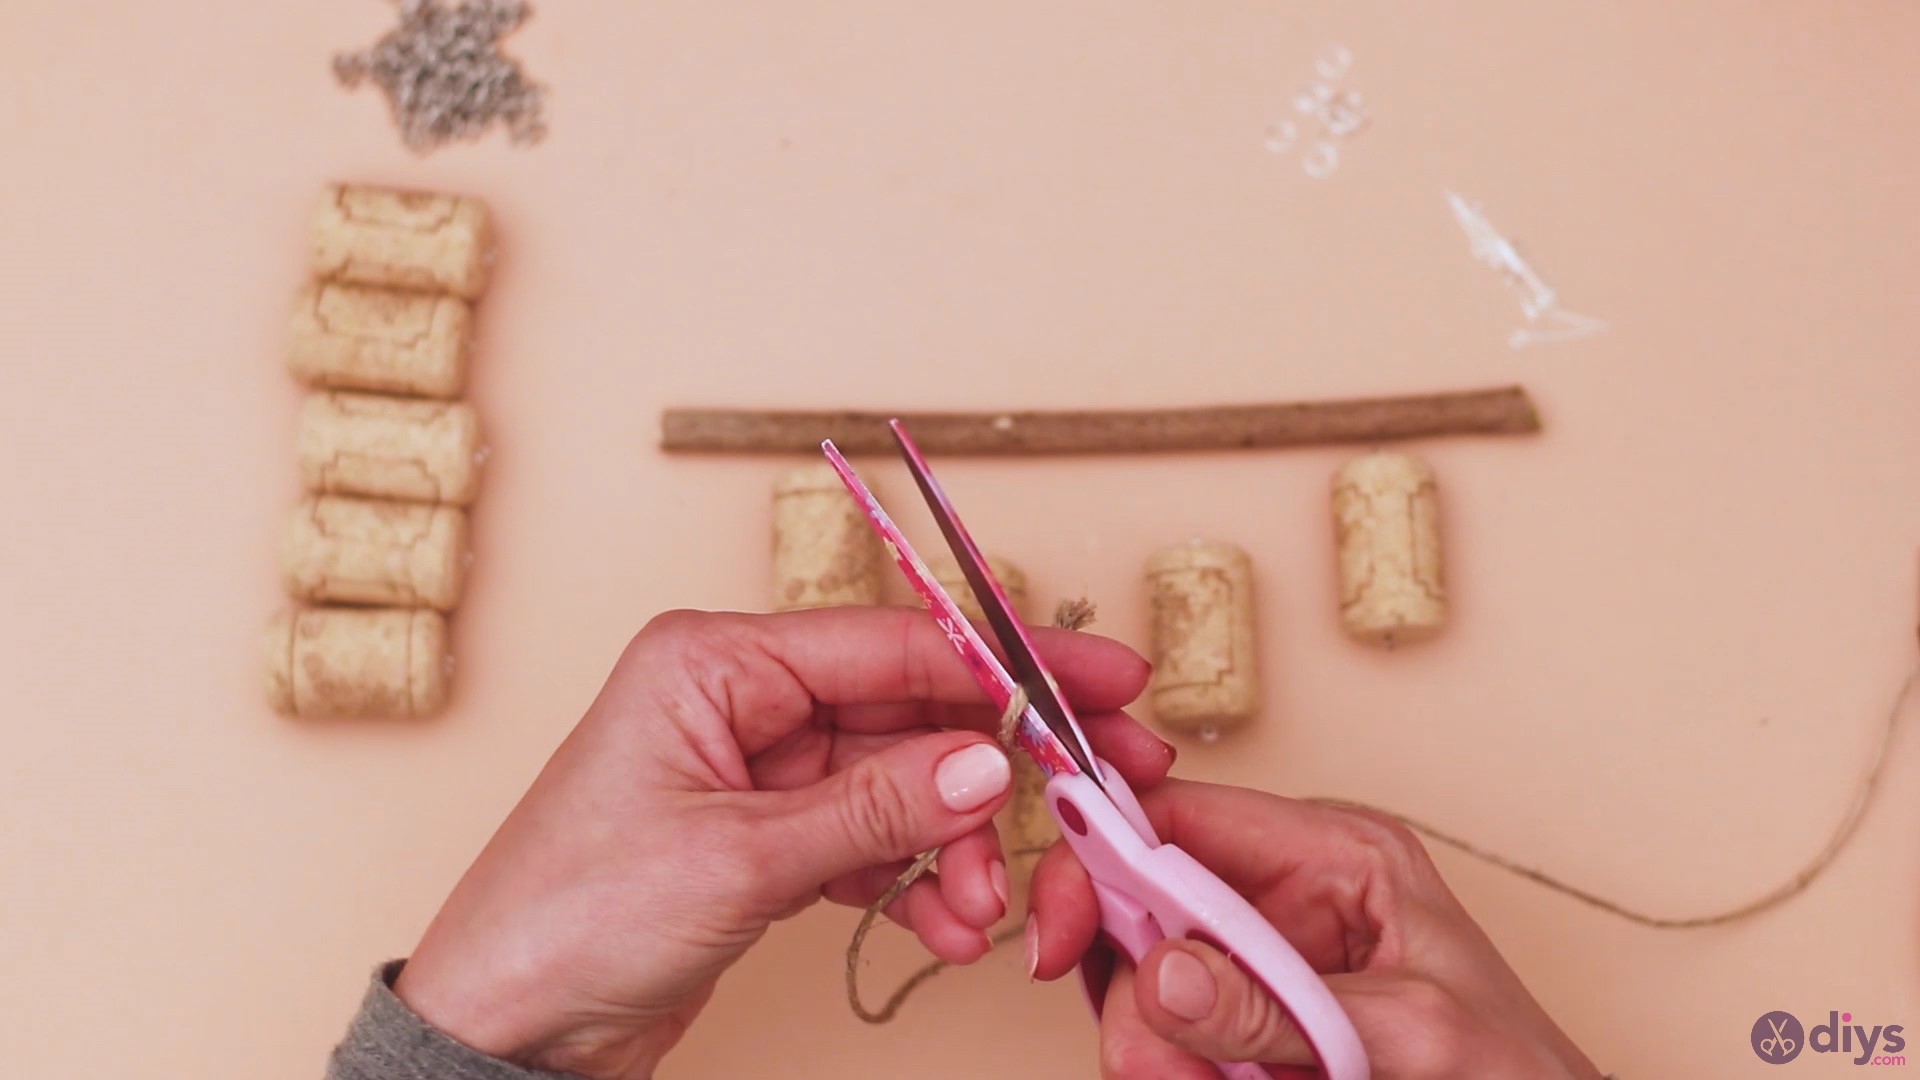
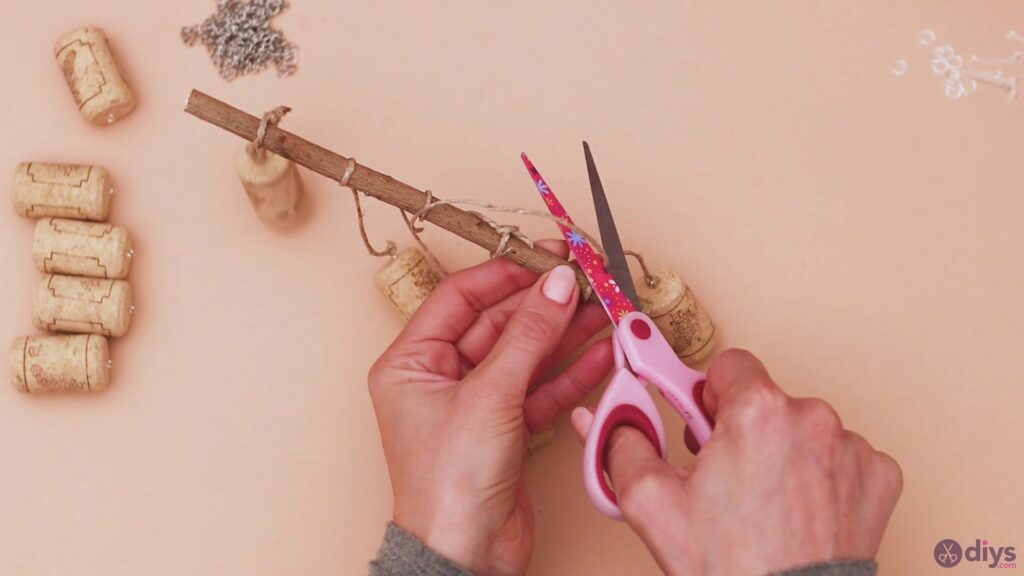
Clean out the project by cutting the excess hemp twine. Please make extra sure the knots are secure before you cut off the twine. It’s easy enough to fix if you fail, but there’s no damage in double-checking, right?
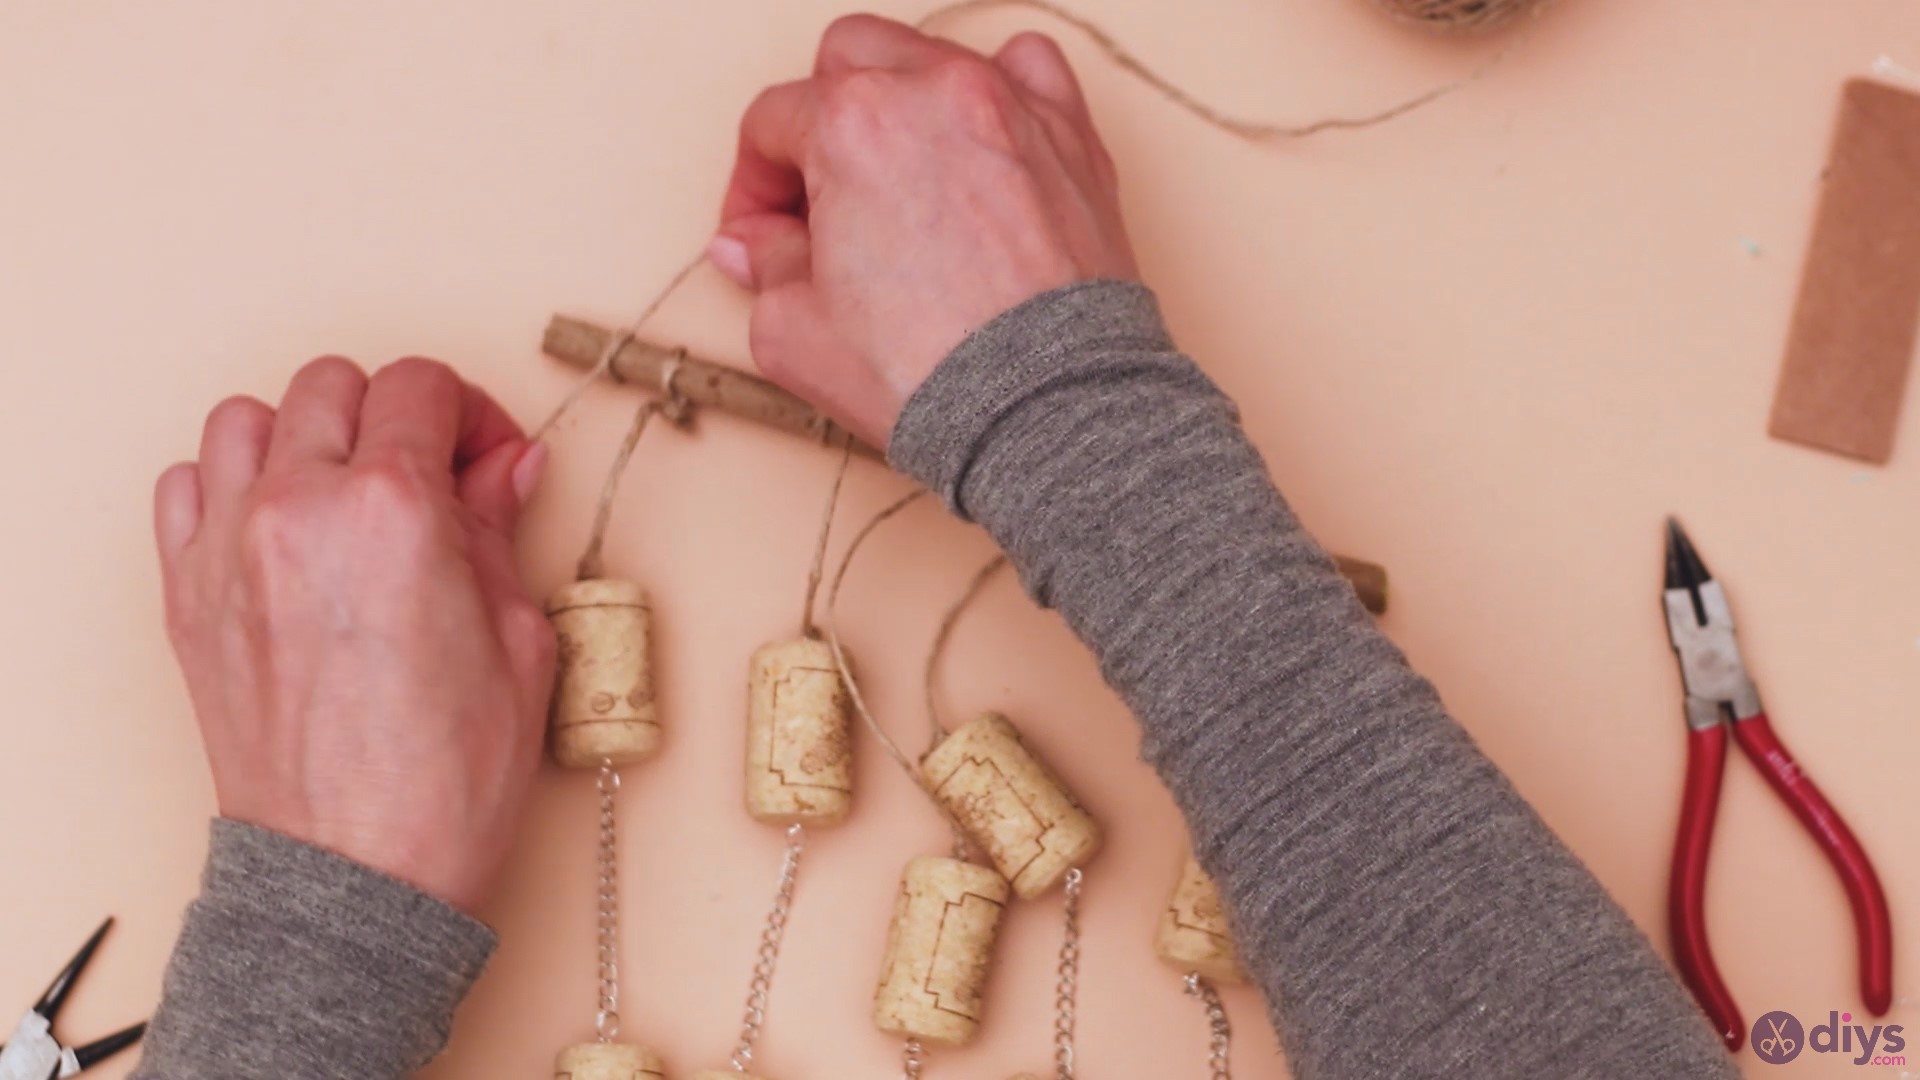
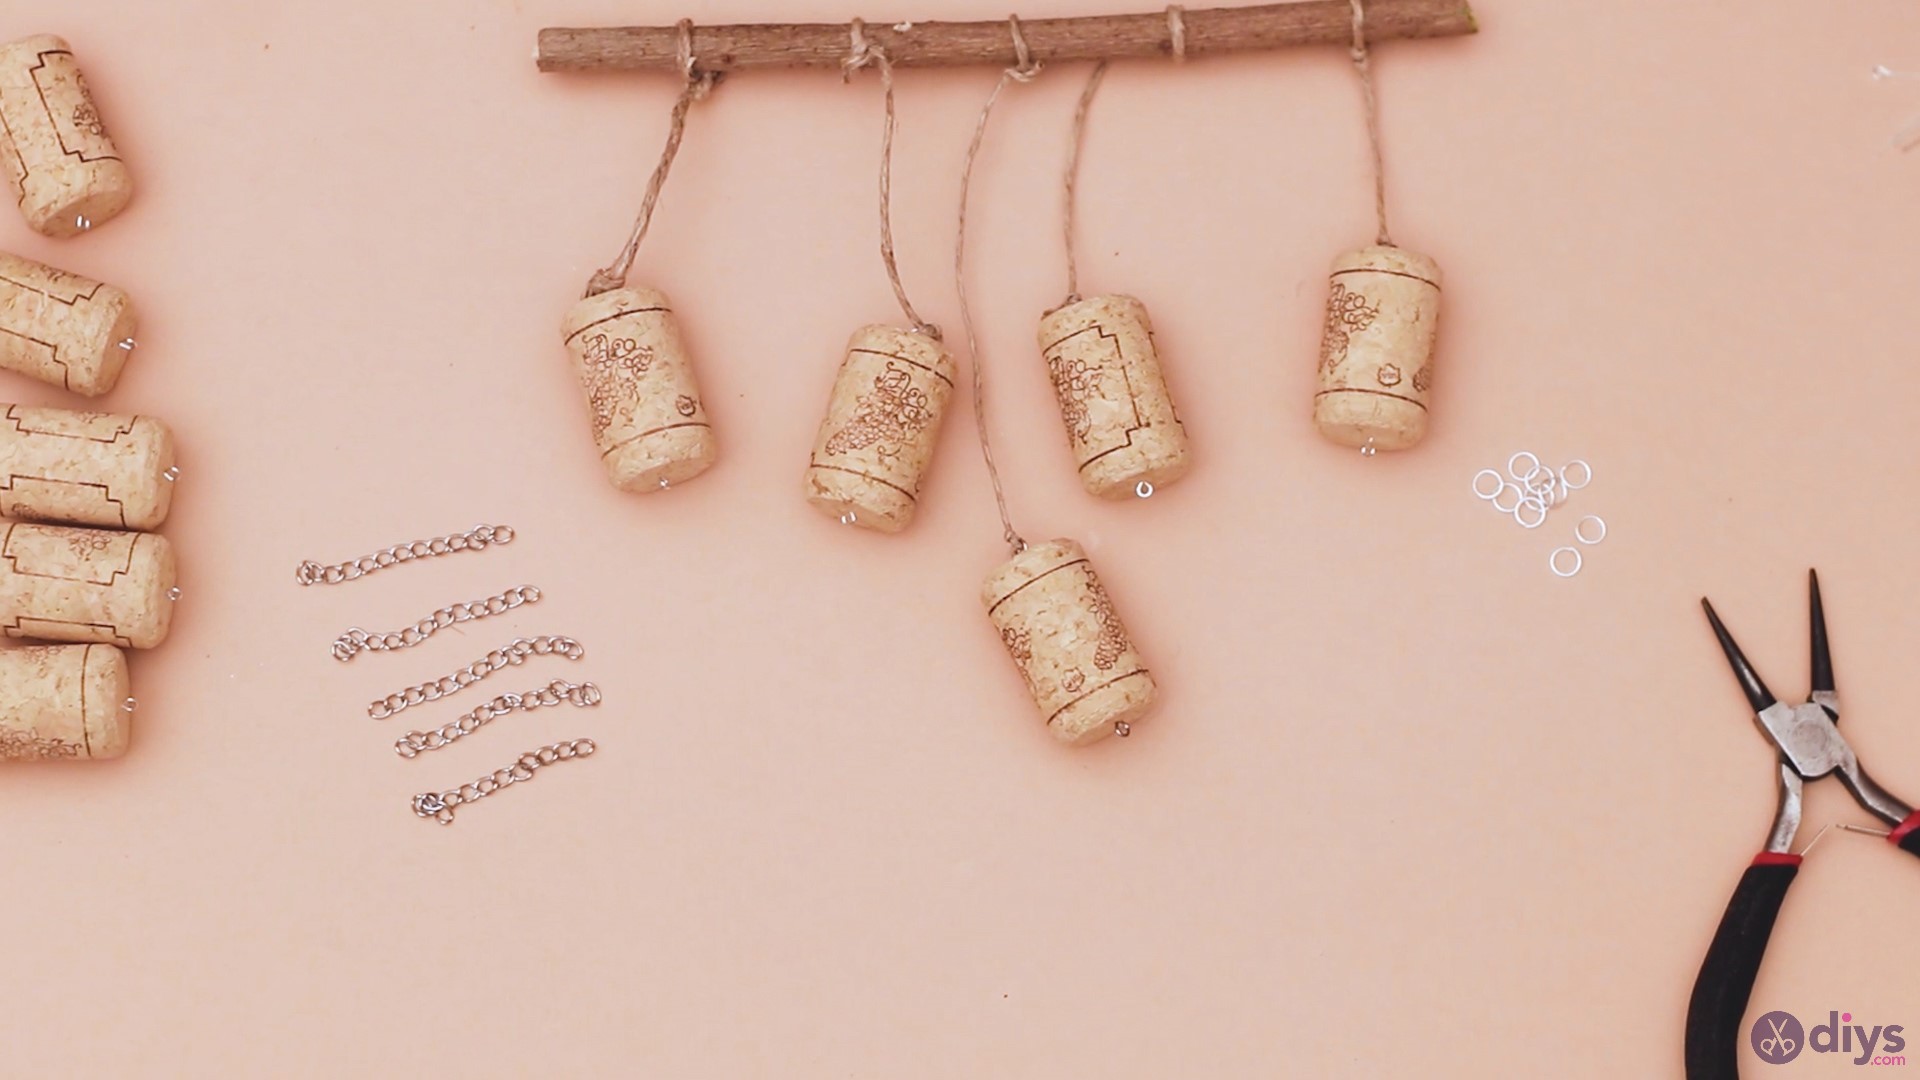
Step 4: Cut the chain
For the next step, you want to take the chain and the pincers and cut five same-length pieces. Whether it’s easier for you to measure them against each other or count the links in the chain, it’s up to you, but make sure they’re the same.
There you go! You now have five short chains that you’ll use for the next step of our project.

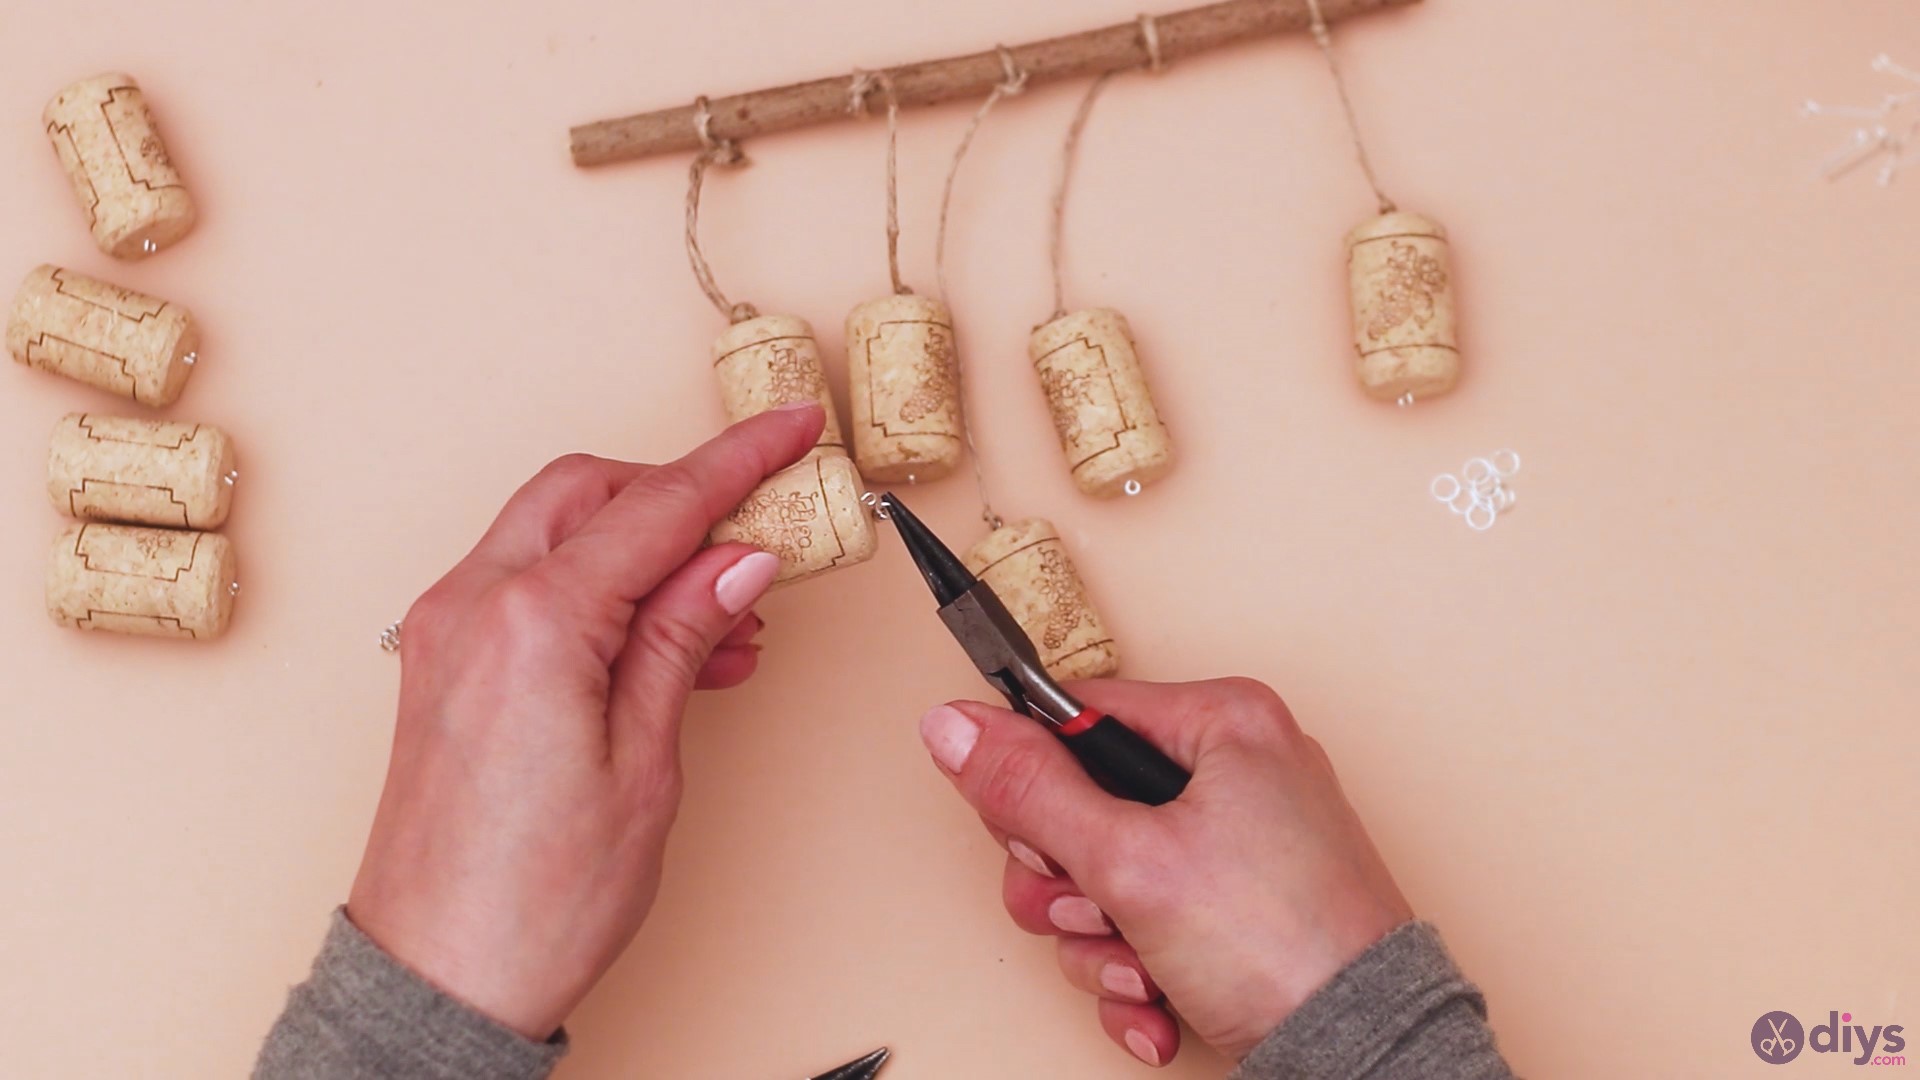
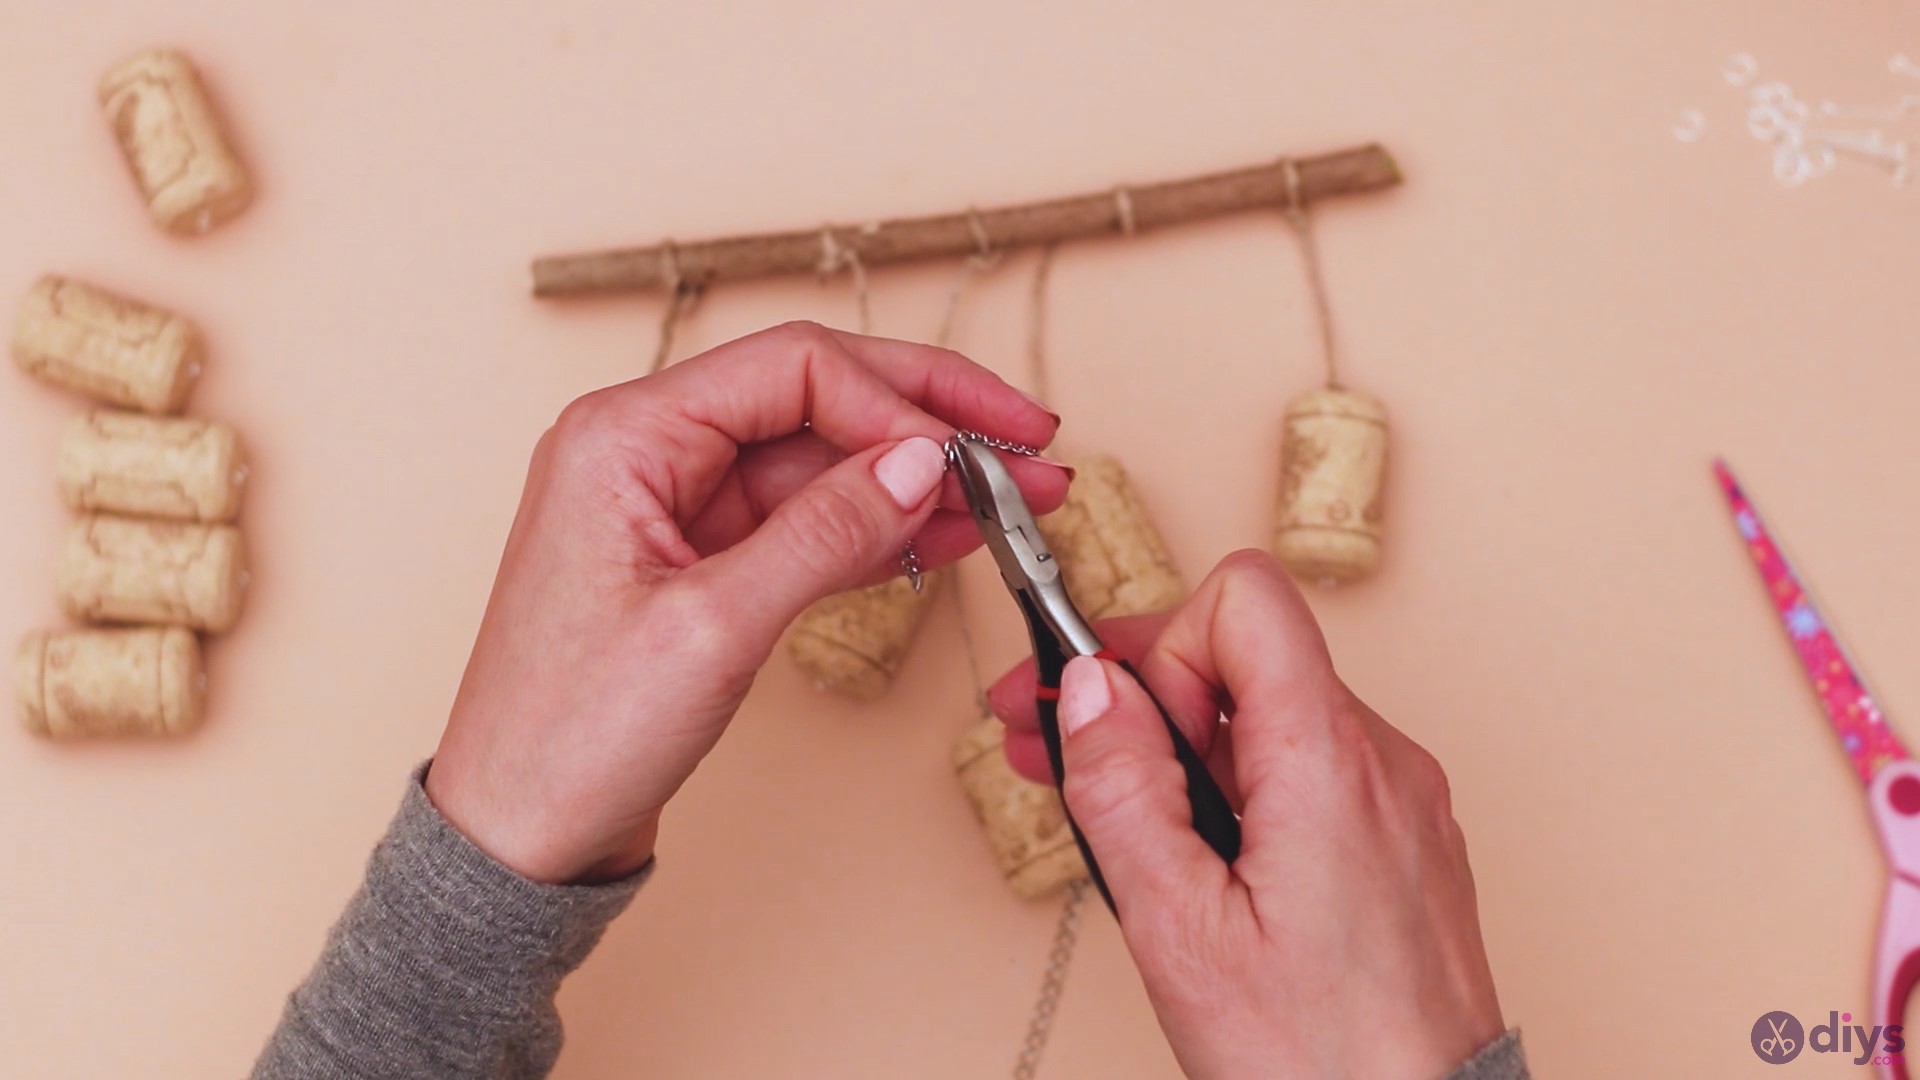
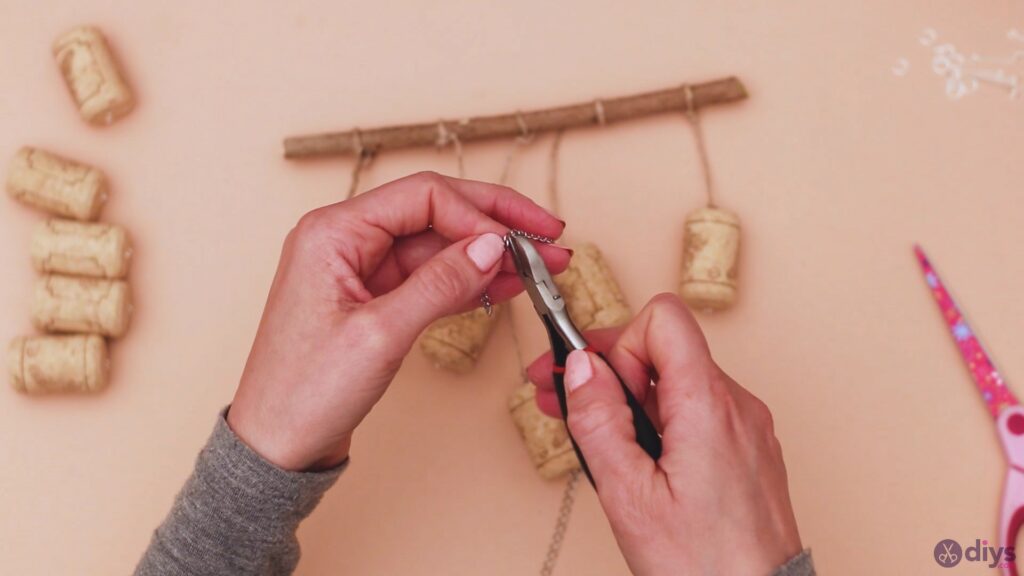
Step 5: Secure the chain to the hanging wine corks

Next, you need to take the conical tongs and a mounting ring. Pick up one of the chains and pass the ring through the end link.
Use your other tongues to take hold of the loop attached to the wine cork. Bring the chain with the newly-attached mounting ring and pass the ring through the loop too.
Use the tongs to twist the ring so it closes properly. Make sure the ends are touching so the chain doesn’t escape.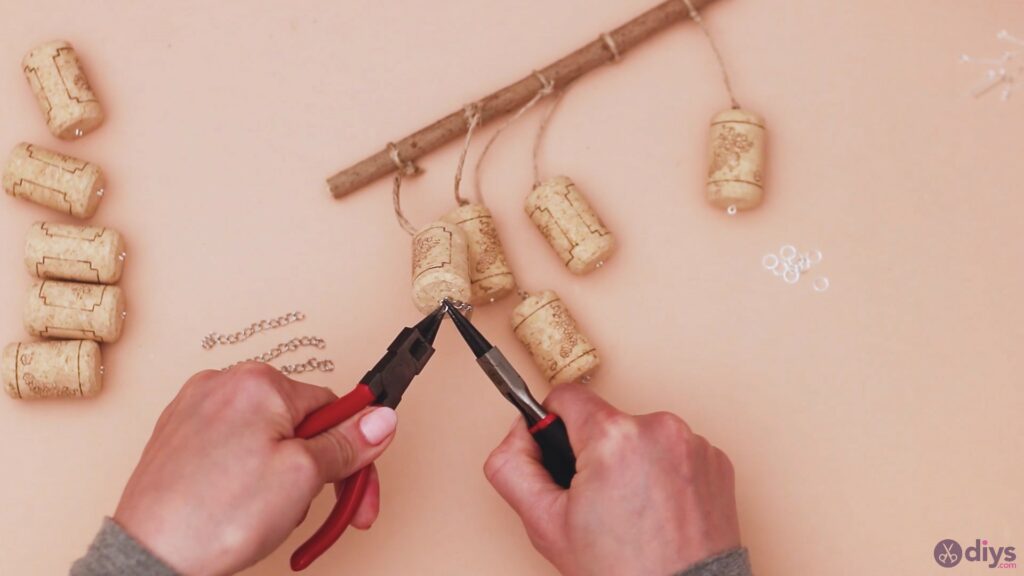
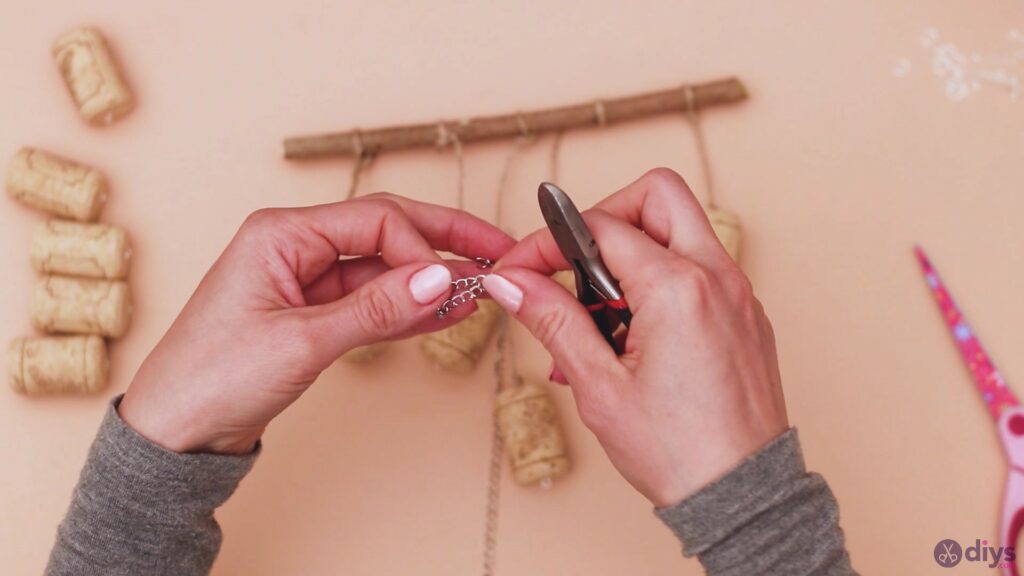
Repeat the process for all five wine corks. Always make sure the mounting rings are properly closed even if it means you have to use a little bit of force.
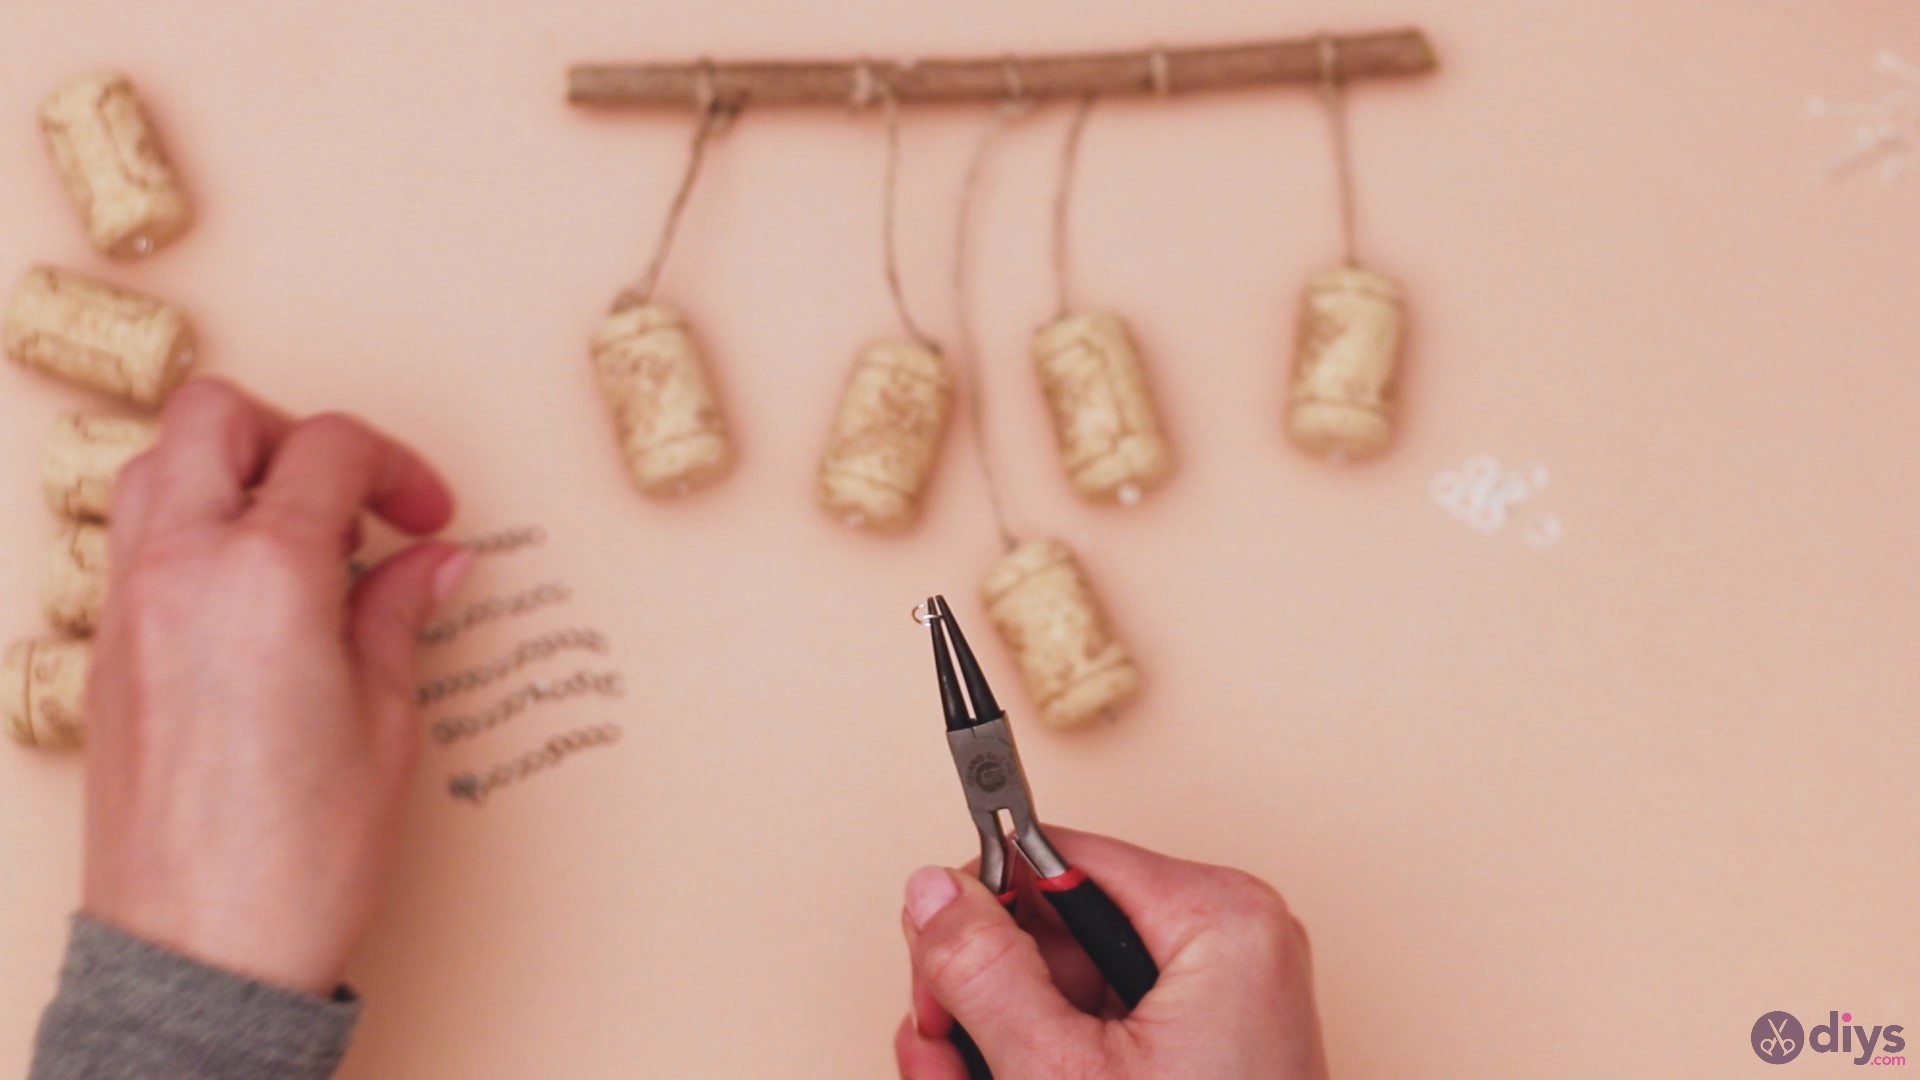
Now, go ahead and take another mounting ring and pass it through the bottom link of the chain.
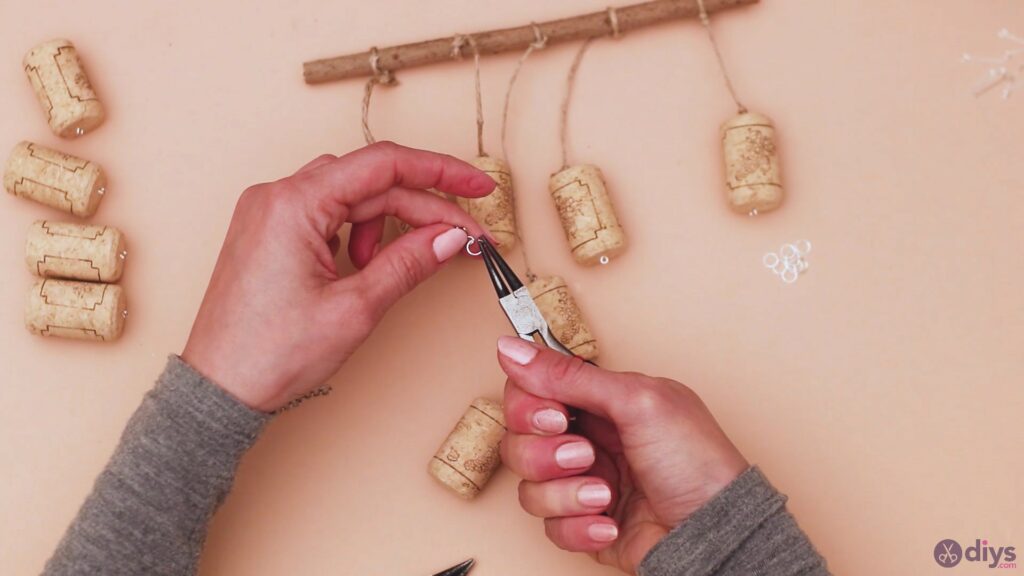
Bring in one of the five wine corks that have a loop on one side only and push the loop through the mounting ring.

Use both conical tongs to straighten out the mounting ring and close the gap so the wine cork doesn’t escape. Once more, use pressure if necessary.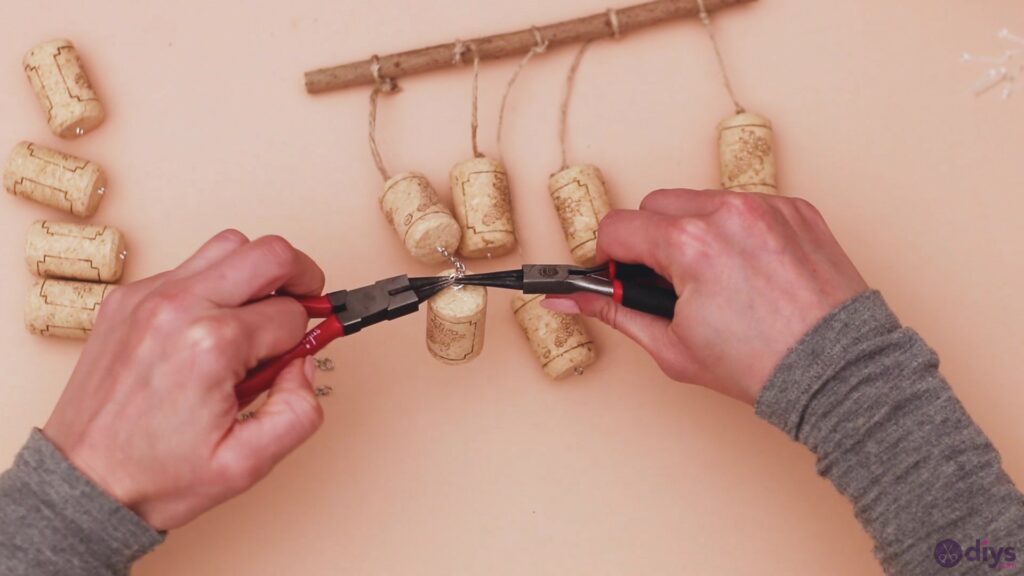
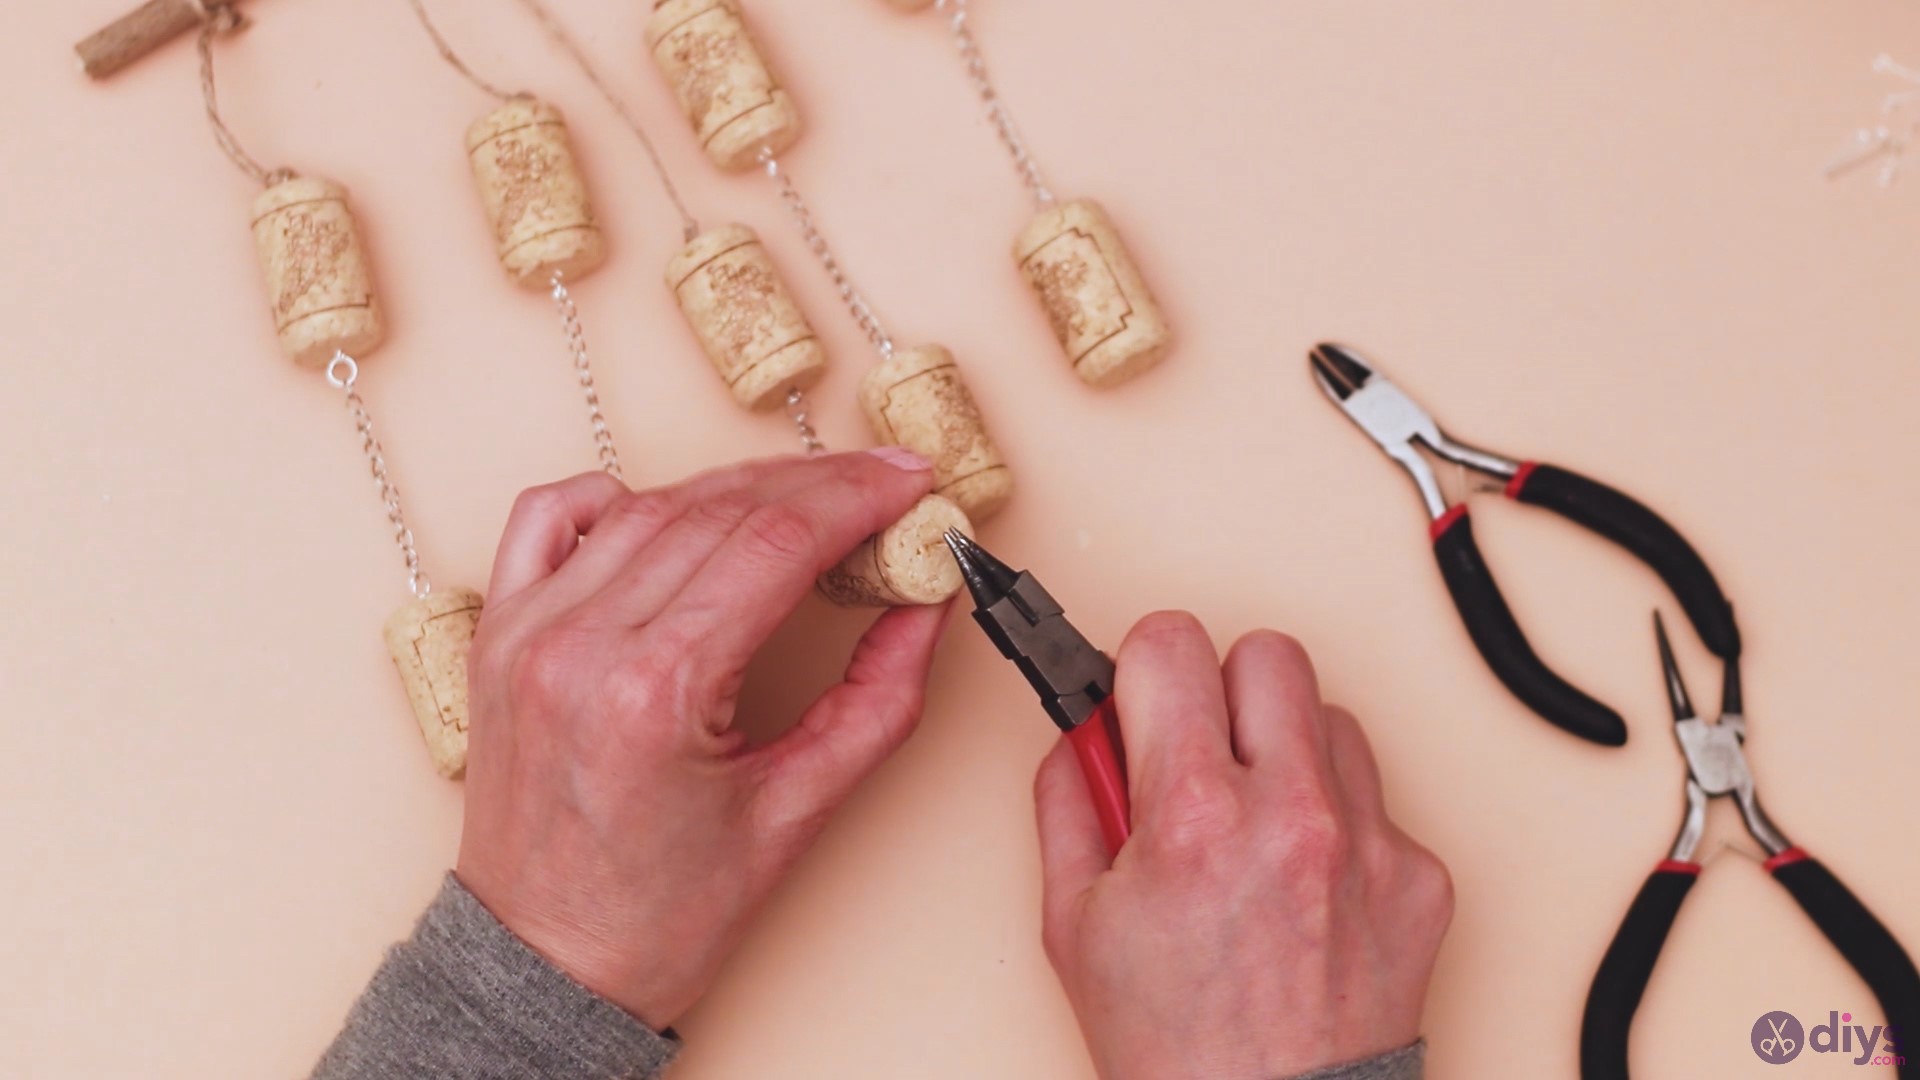
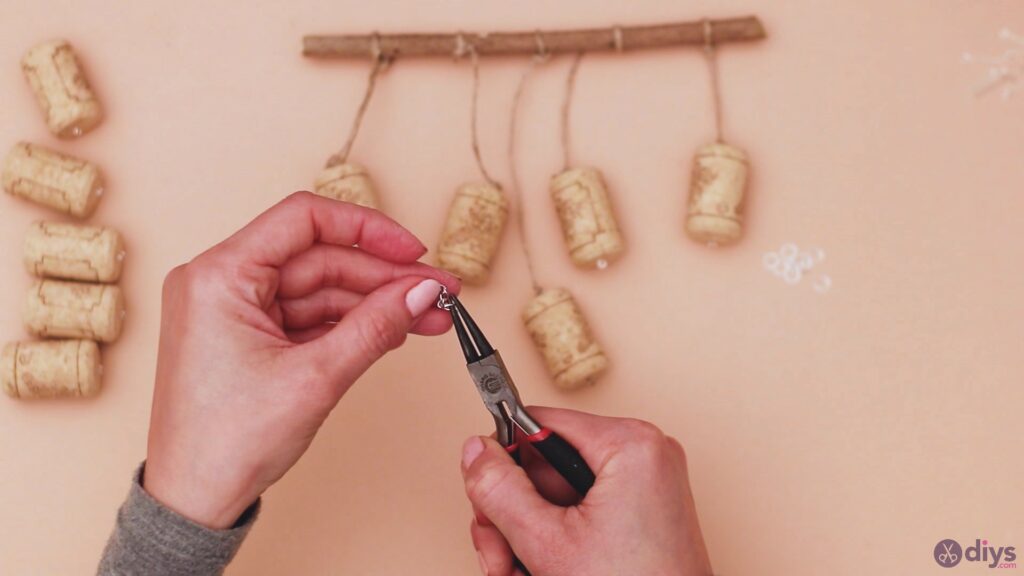
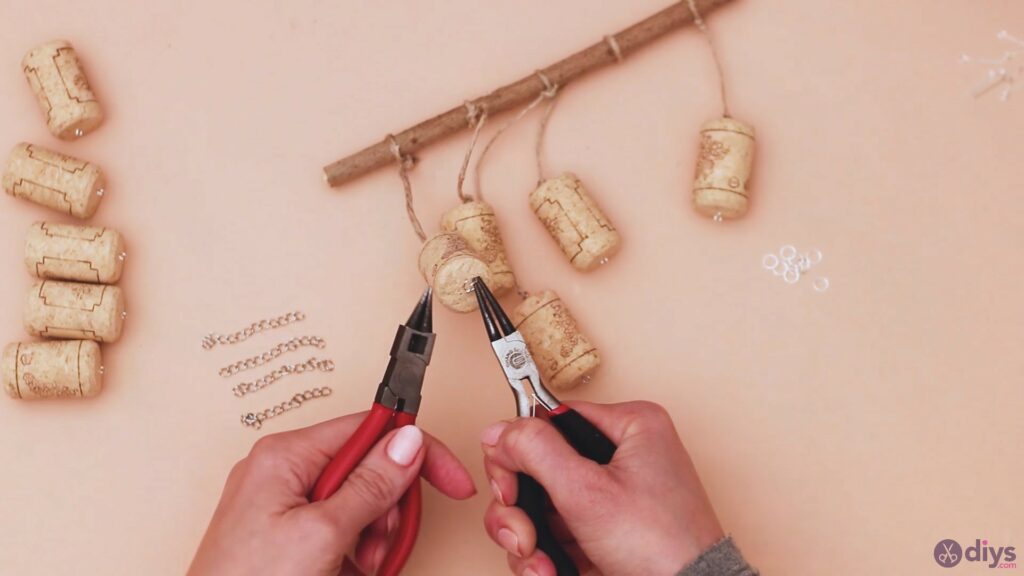
Add an extra loop mounting rod to the middle hanging wine cork. Make sure it is securely in place before proceeding.
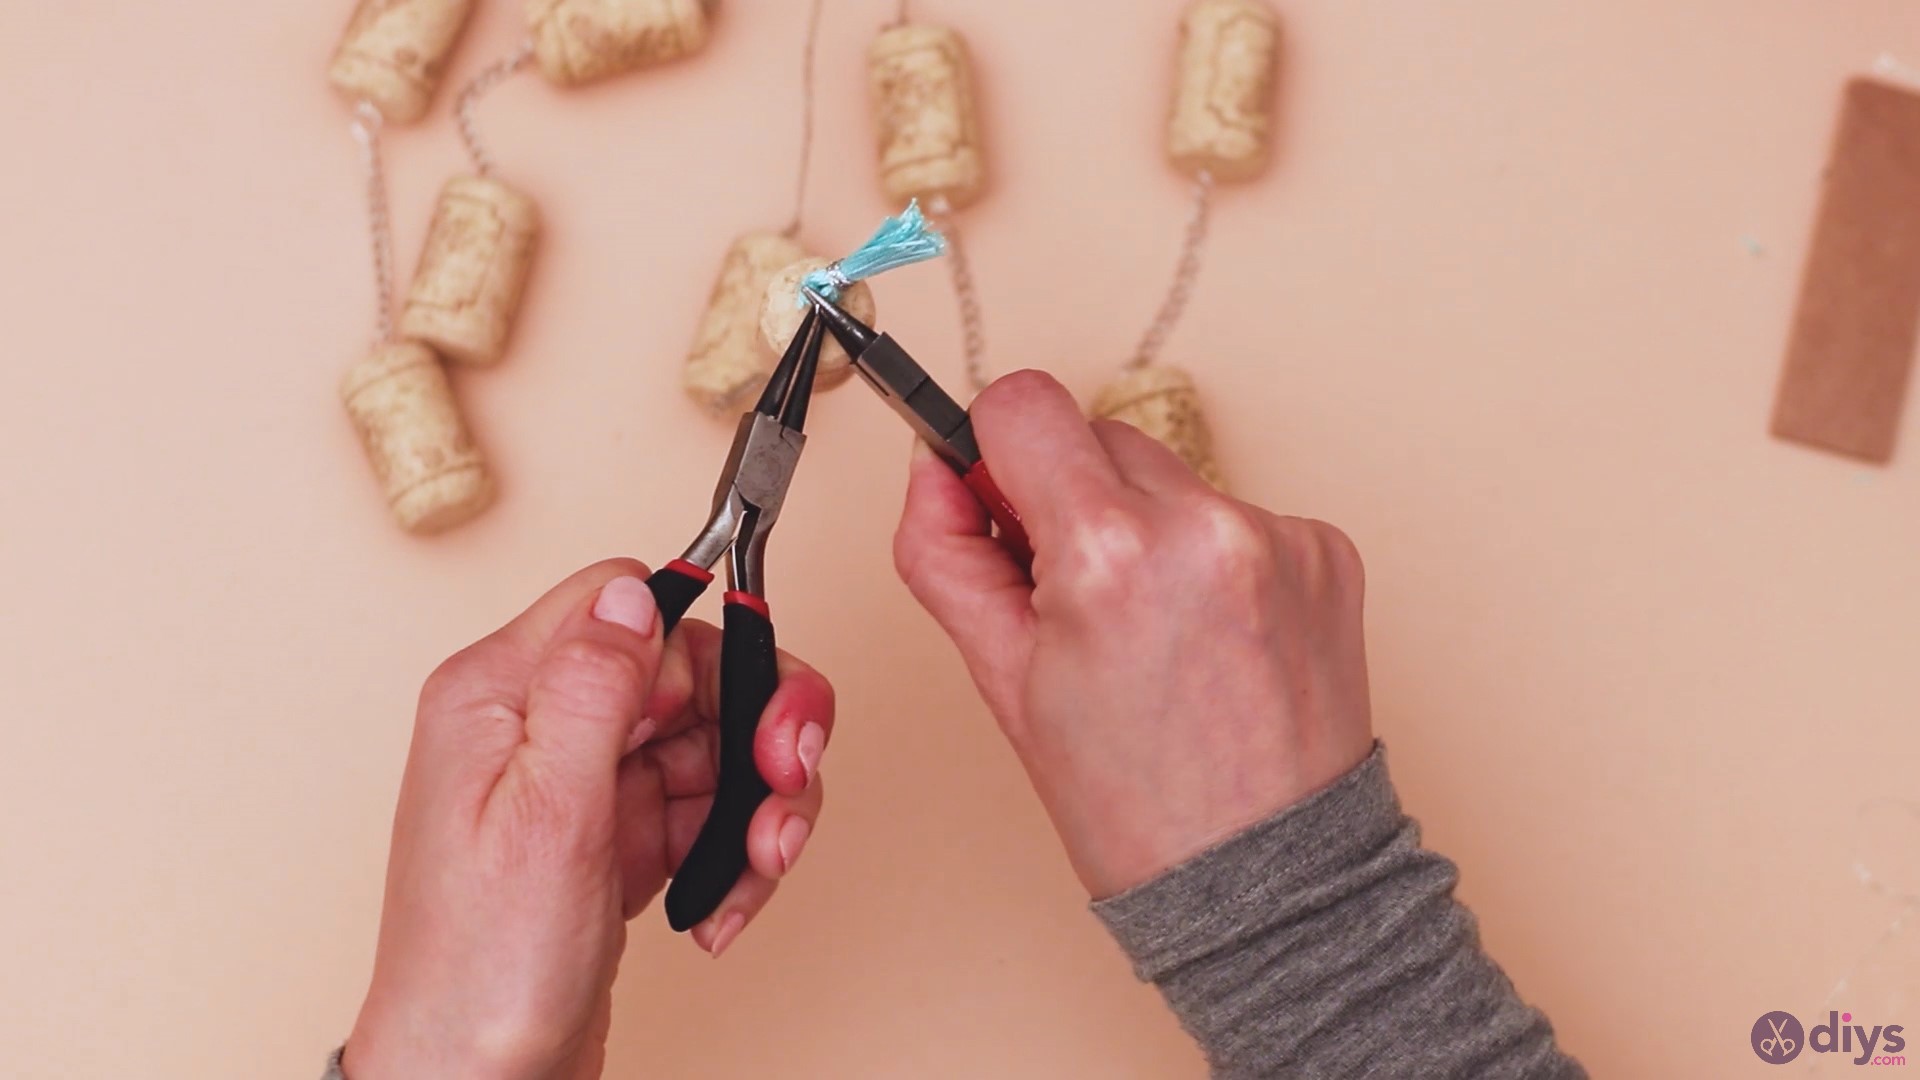
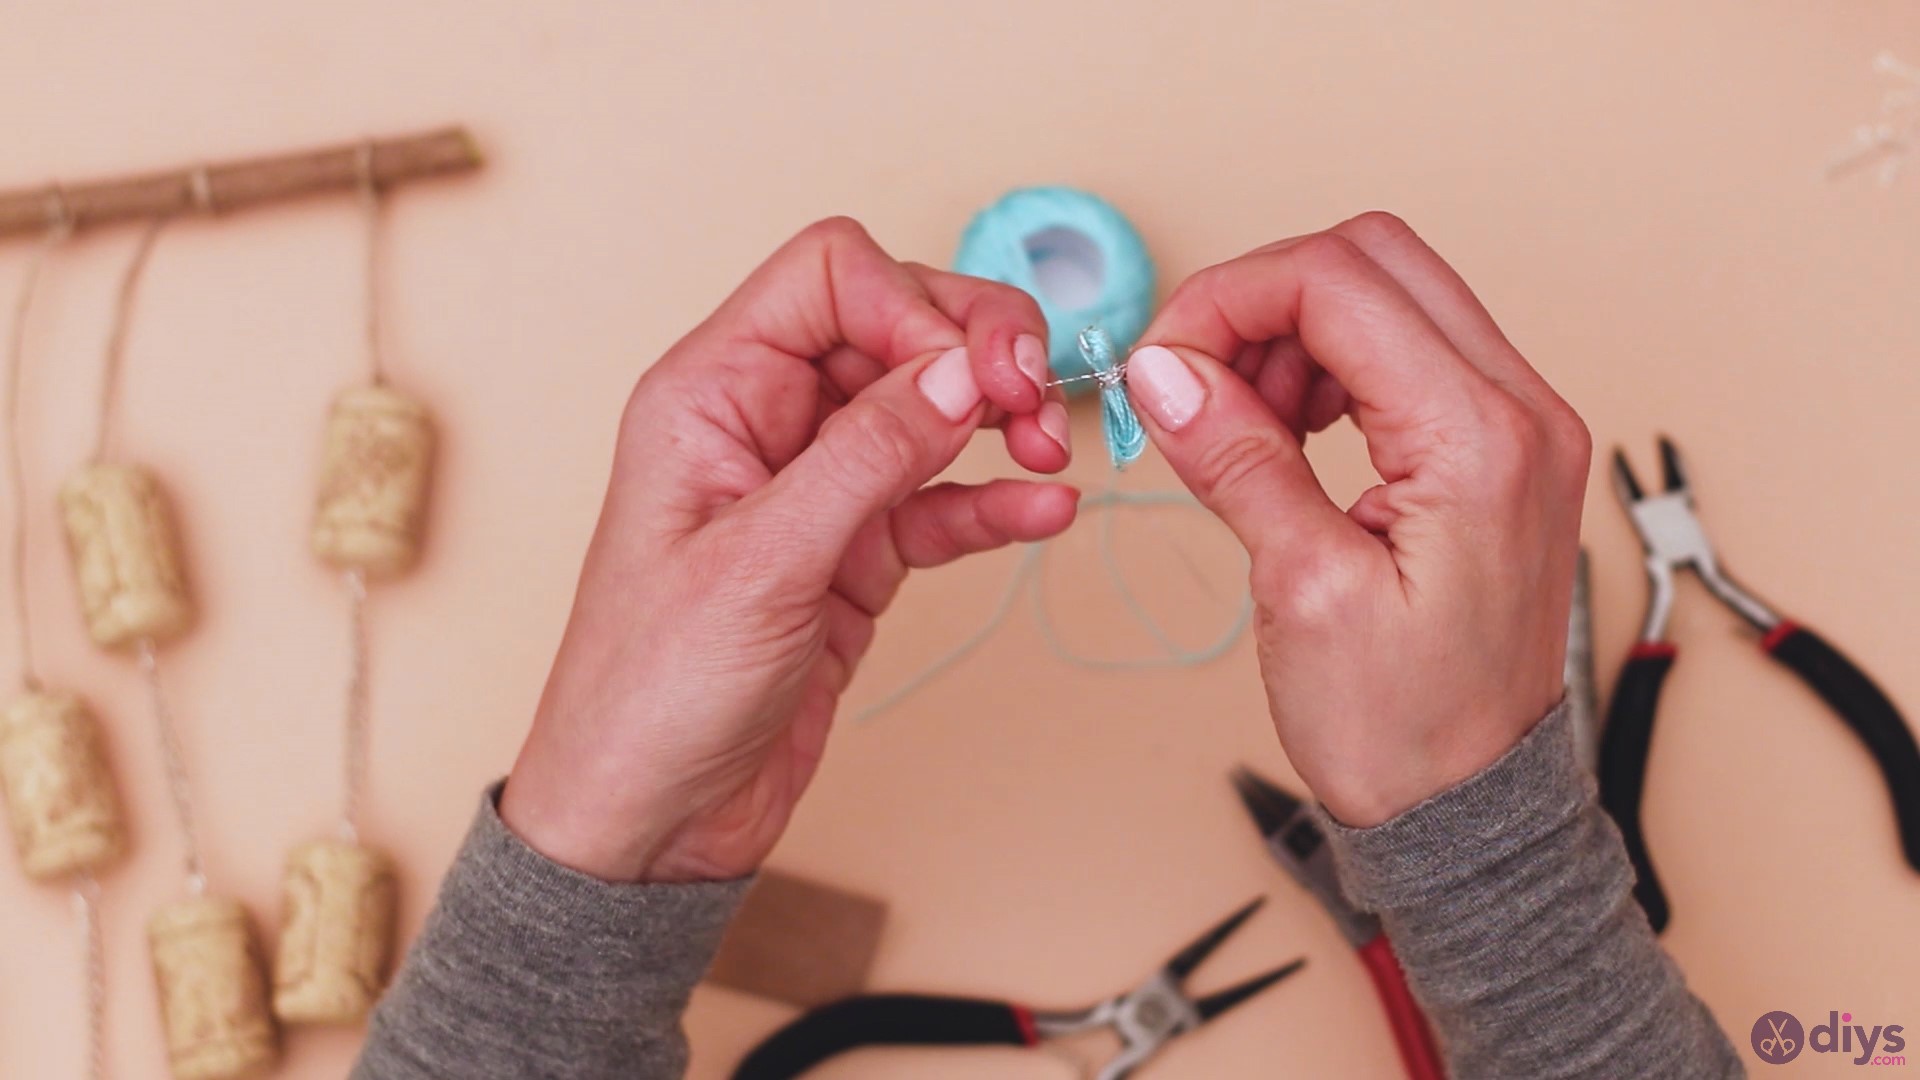
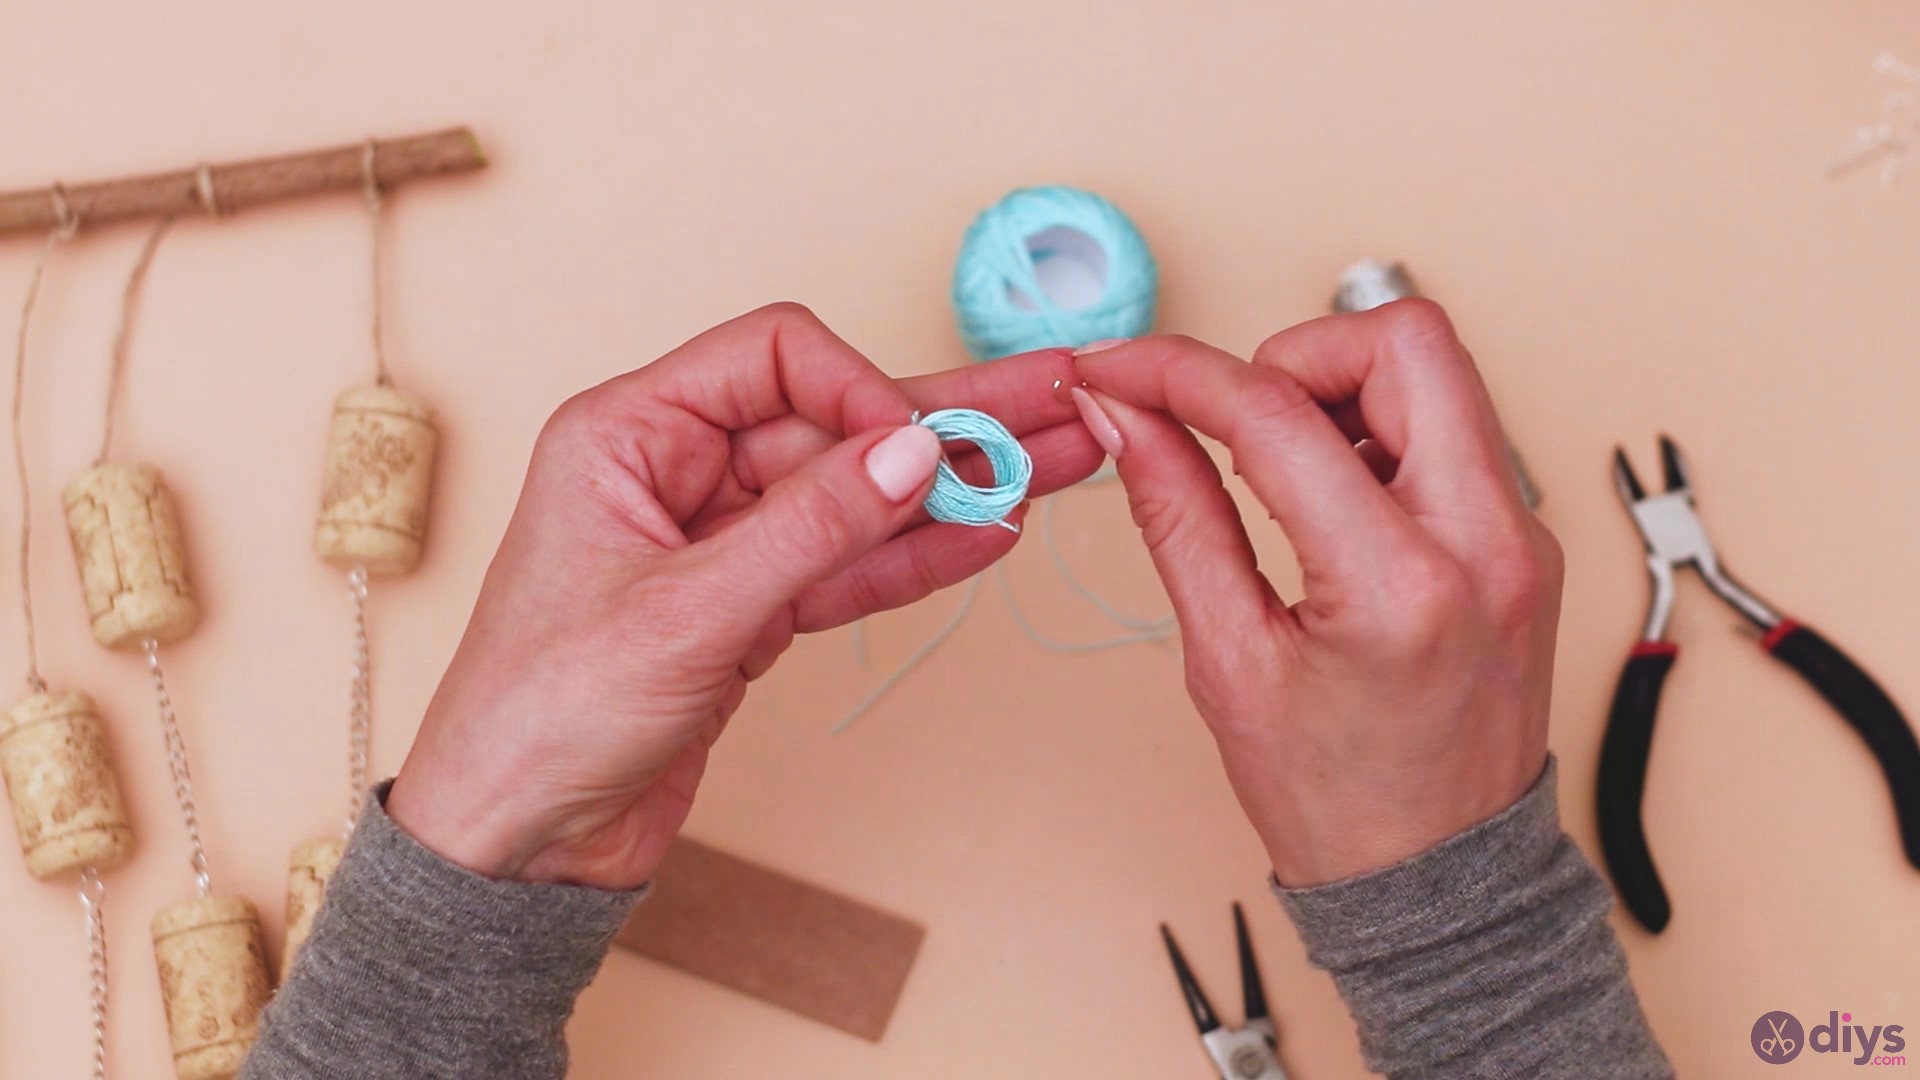
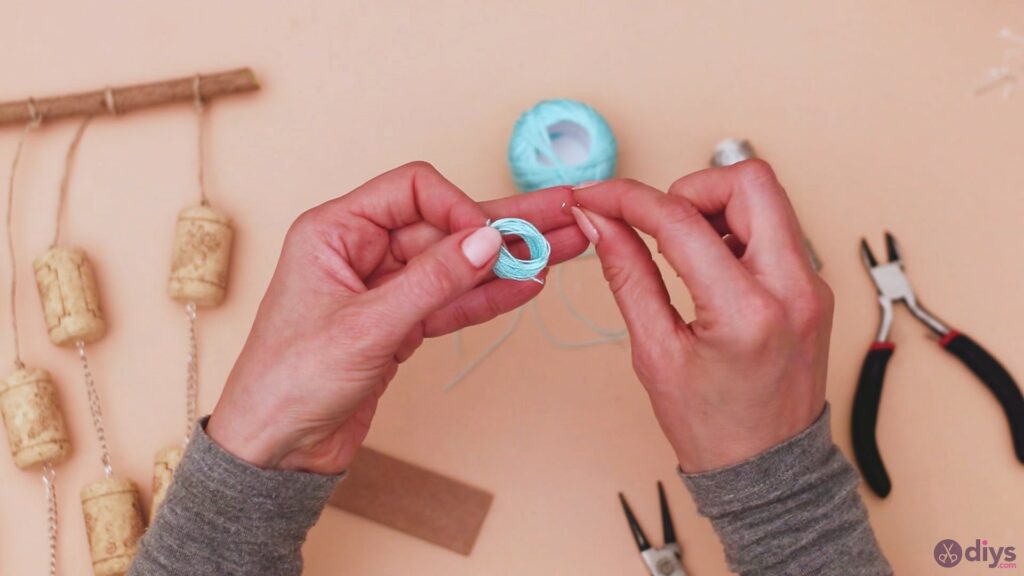
Step 6: Create a tassel
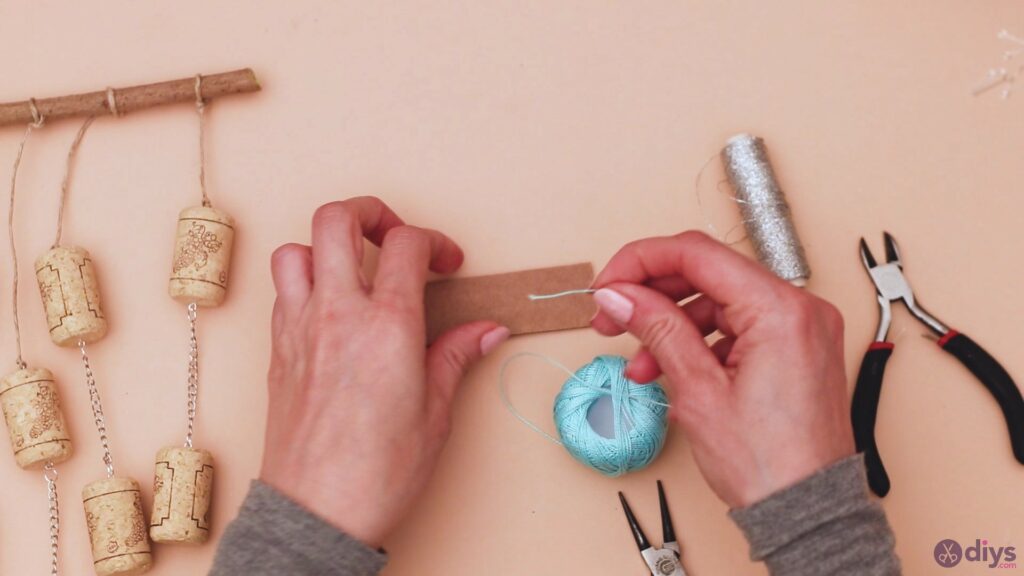
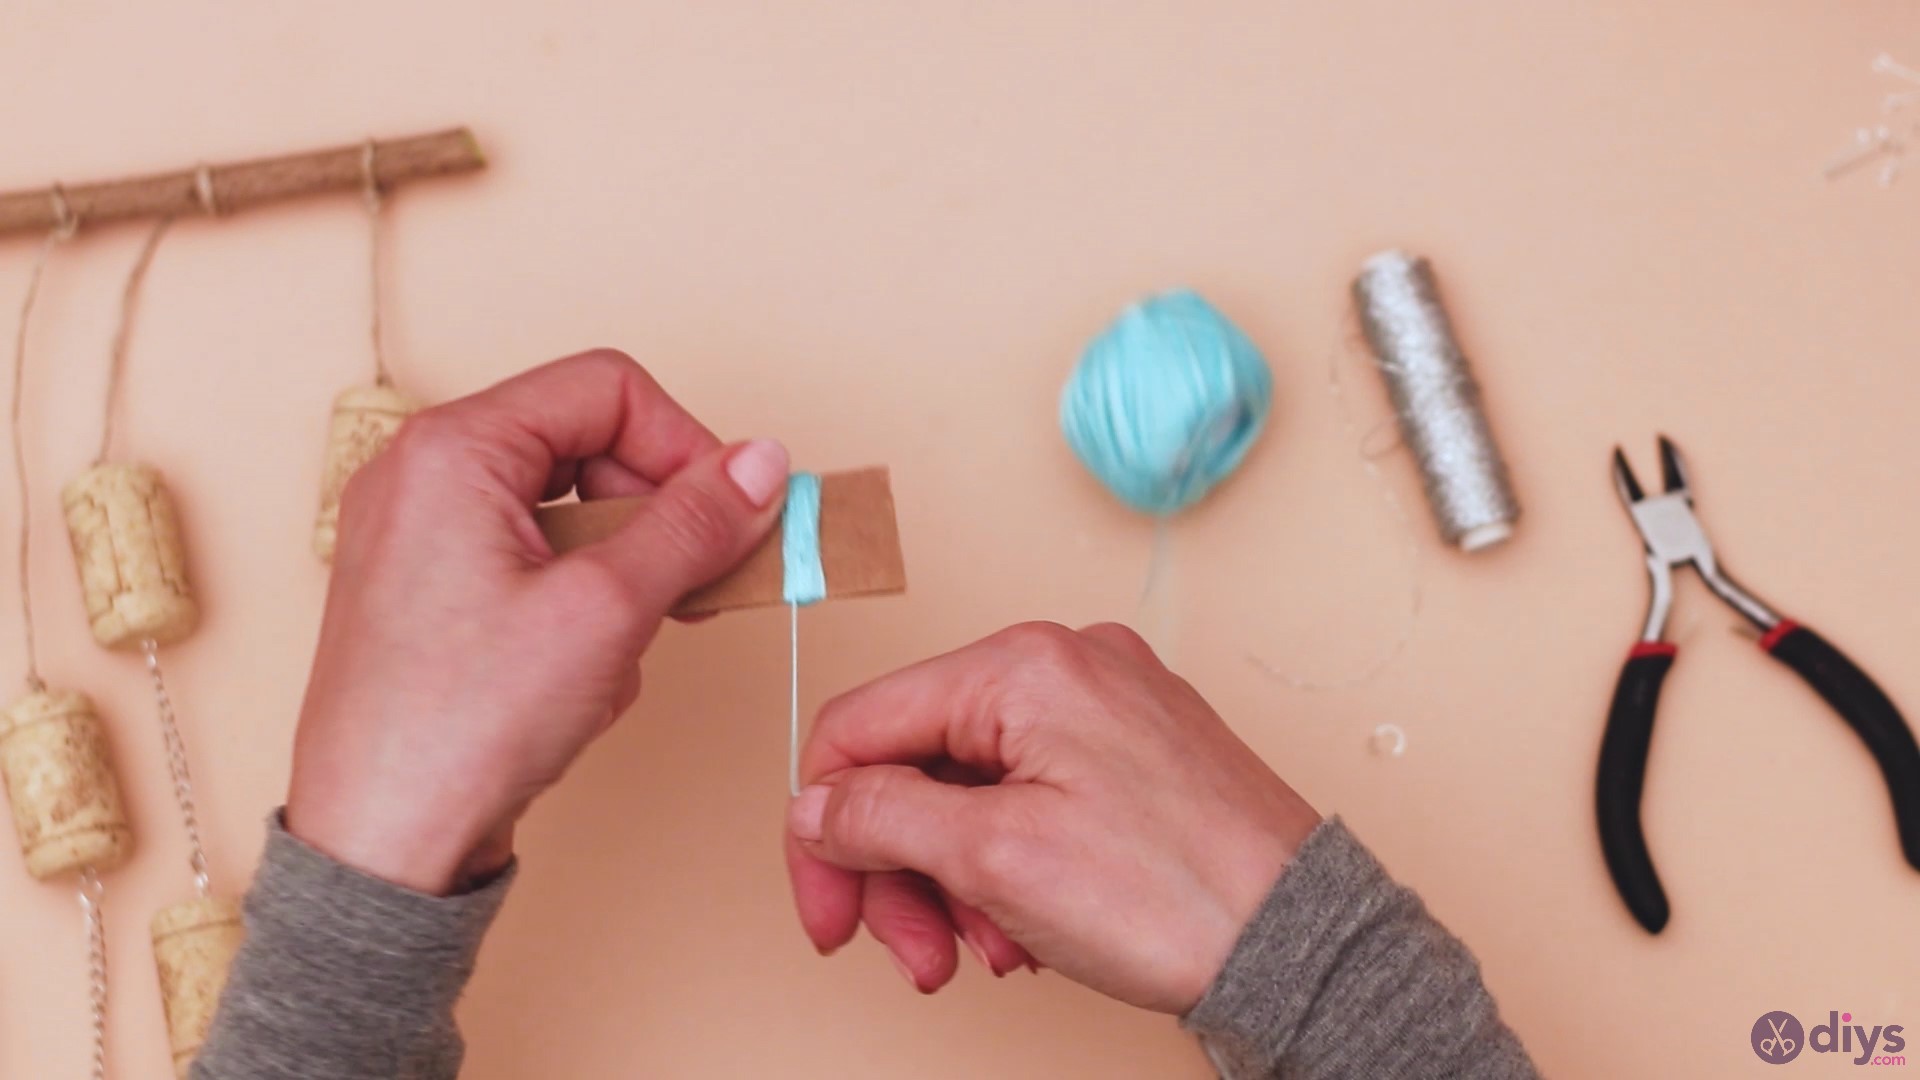
For the next step, we’re going to use the blue embroidery thread. You can use a different color if you prefer, but we really loved this soft blue shade. Get the piece of cardboard and start wrapping the embroidery thread around one end. Try to keep the thread in one place, as shown in the picture below.
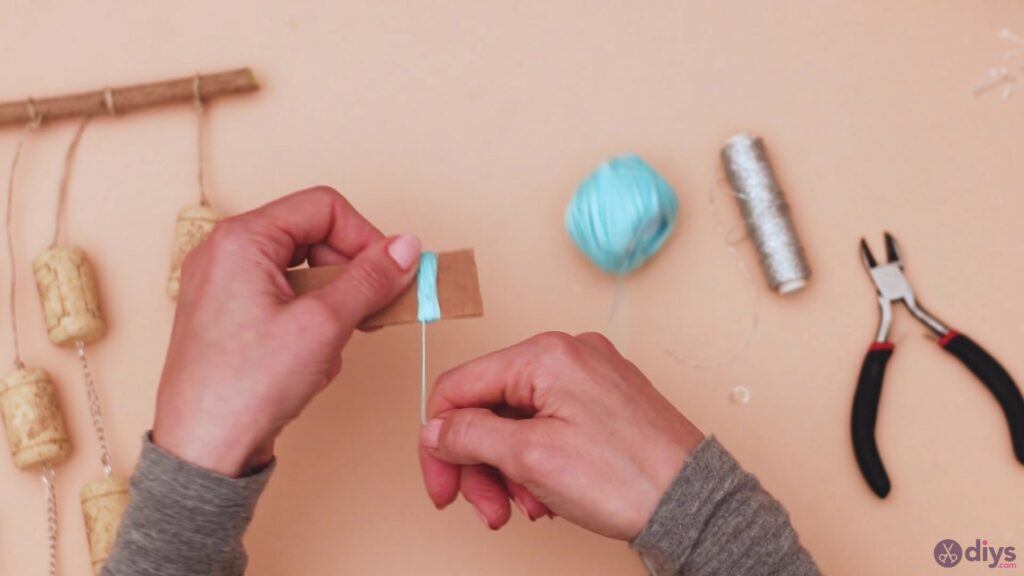
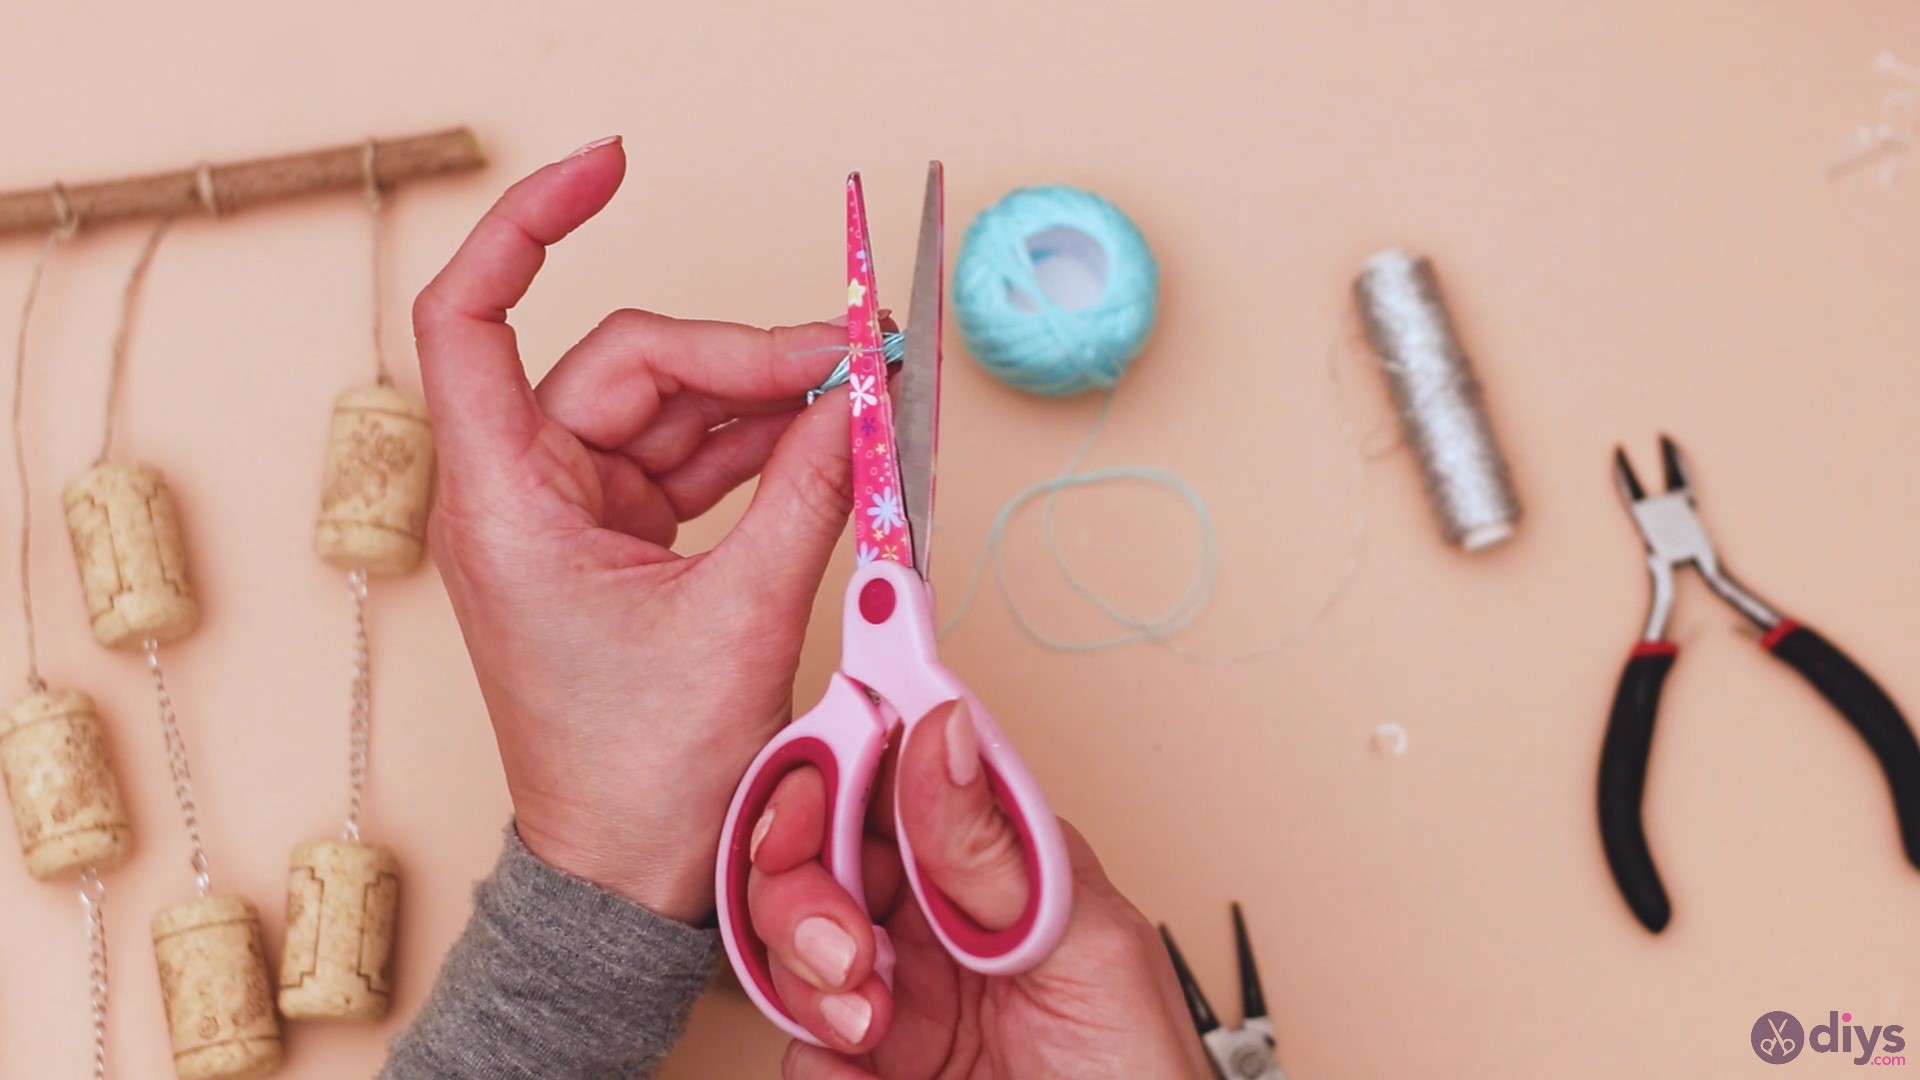
Once the thread has built up a bit of thickness, take it off the cardboard. and cut the thread from the spool, as we don’t need any extra.
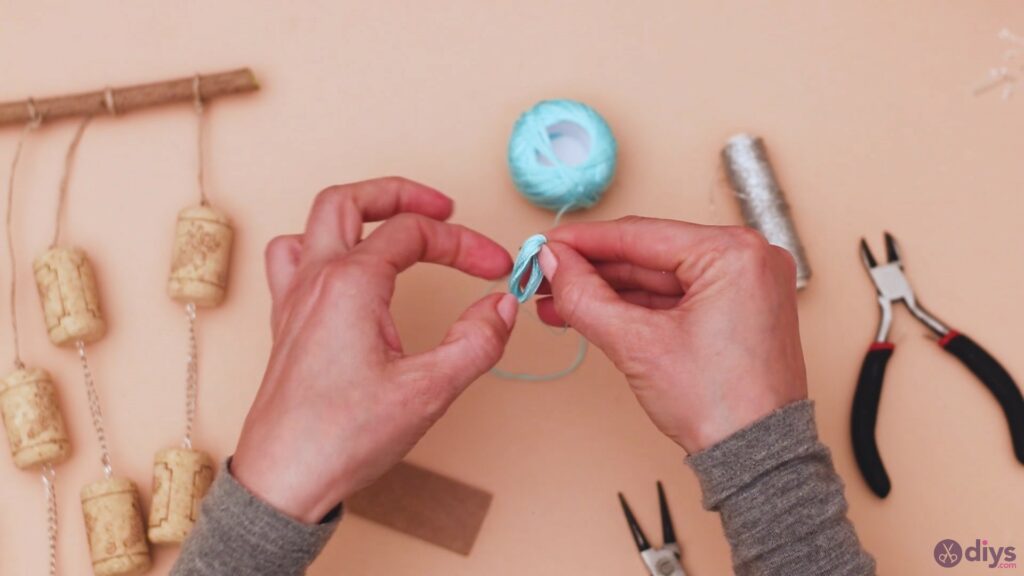

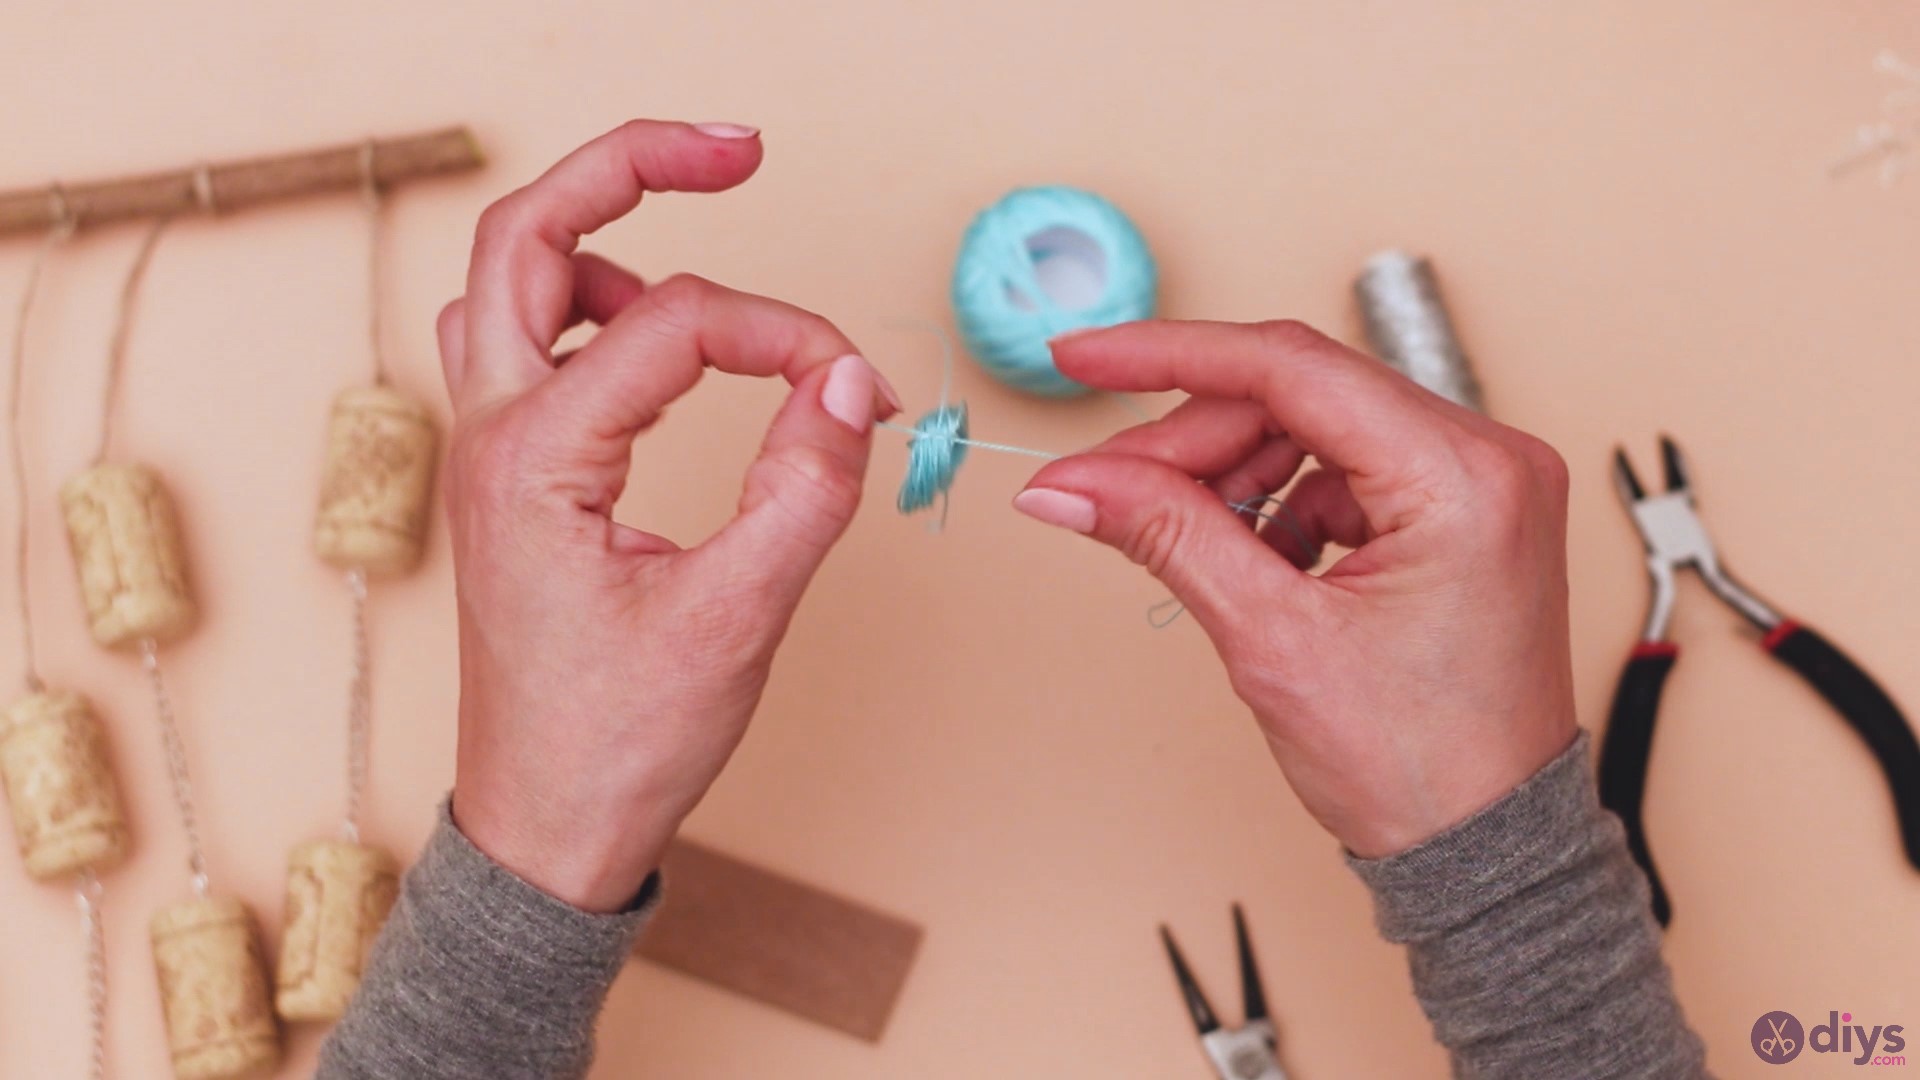
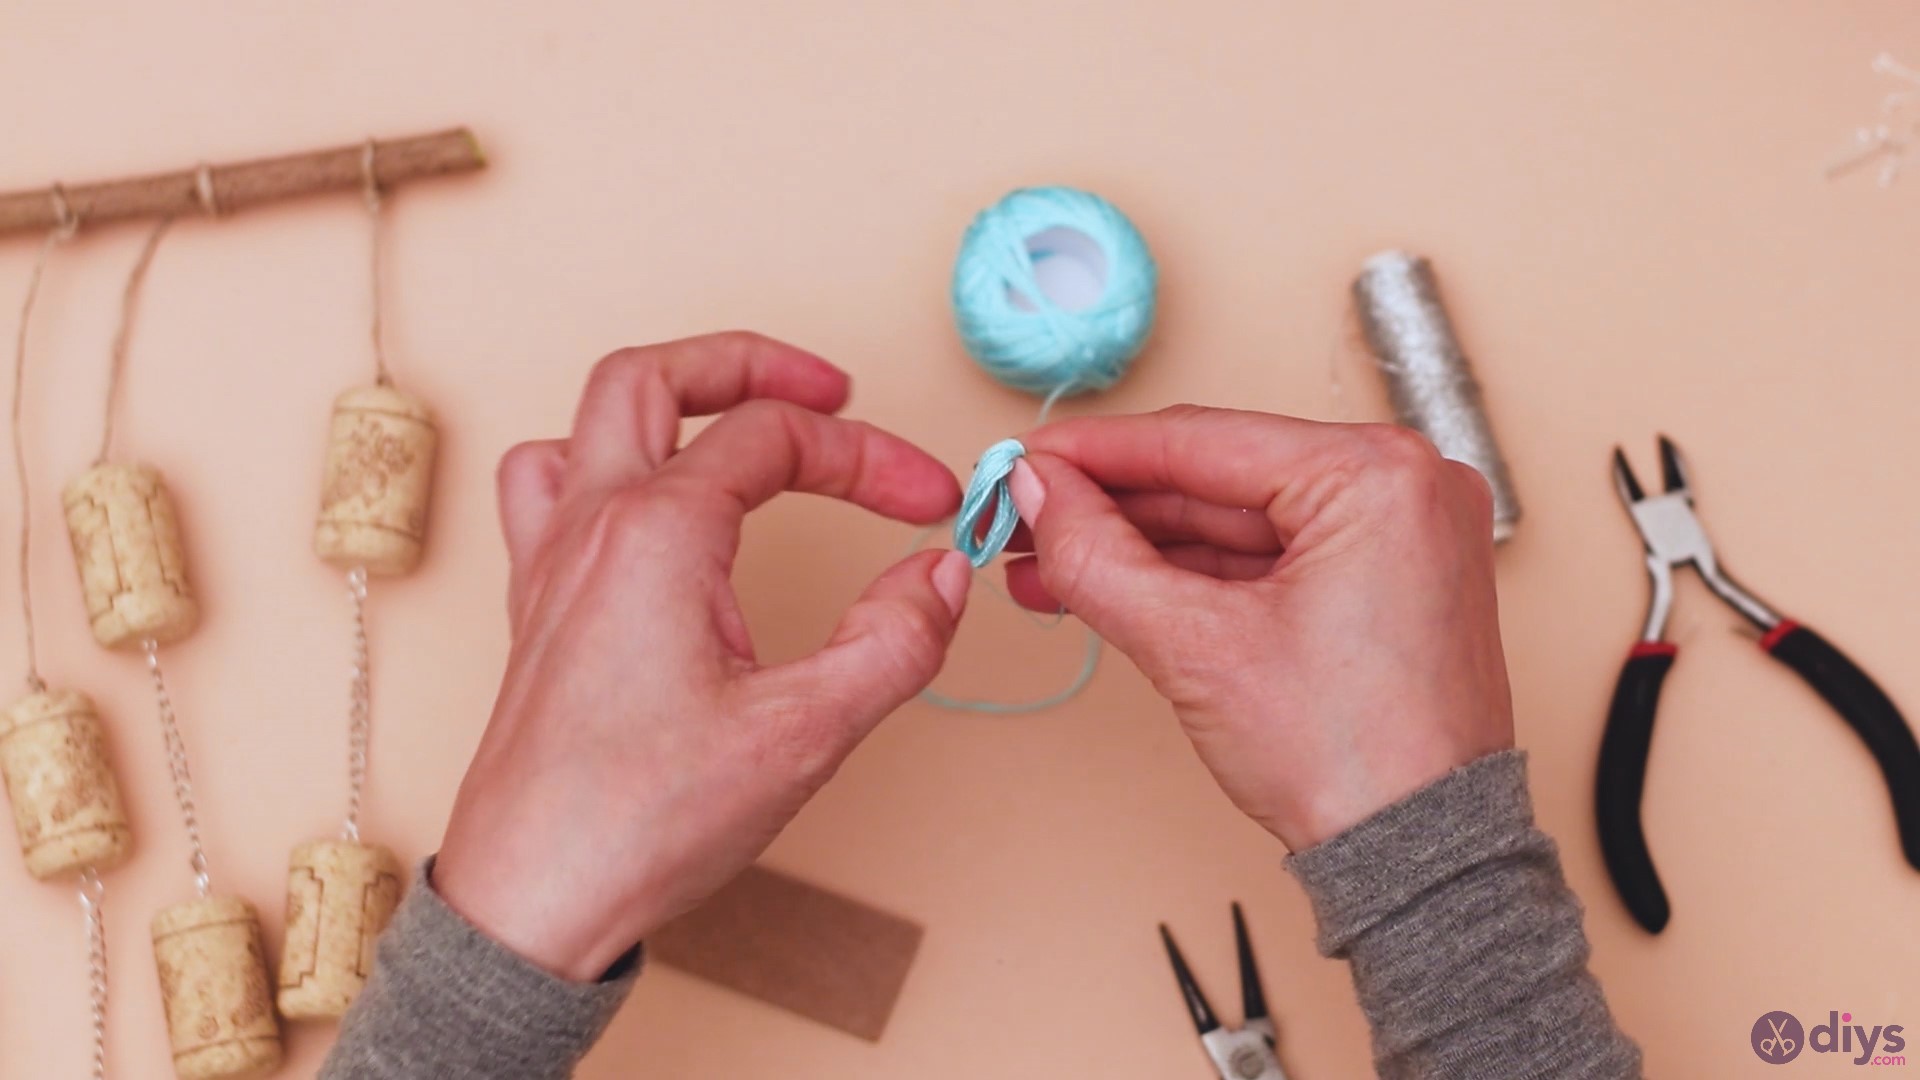
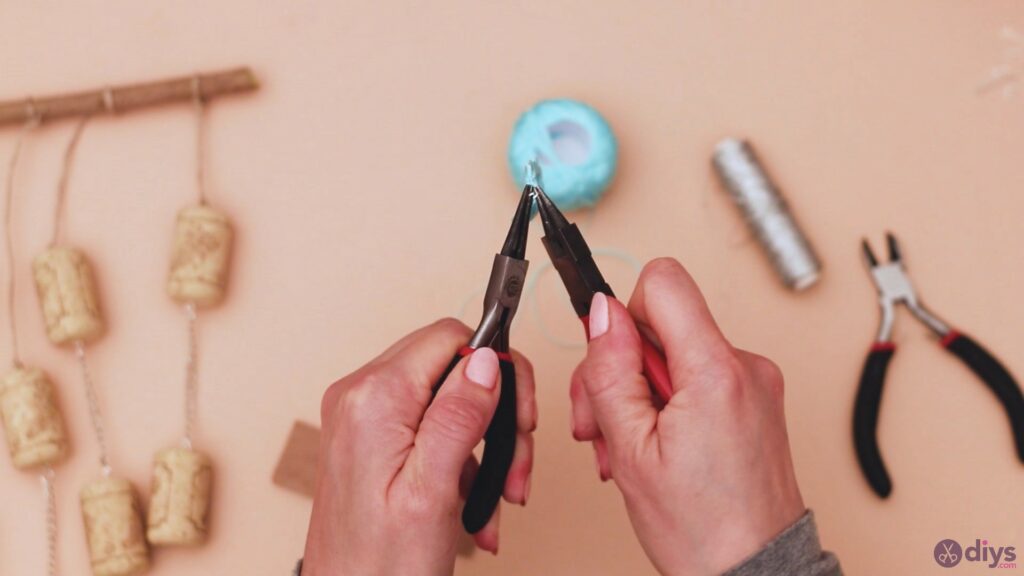
Use the end of the thread to tie a knot around the middle of the loop we created. Make sure the knot is double so it doesn’t unravel. Cut any extra thread resulted after you tied the knot.
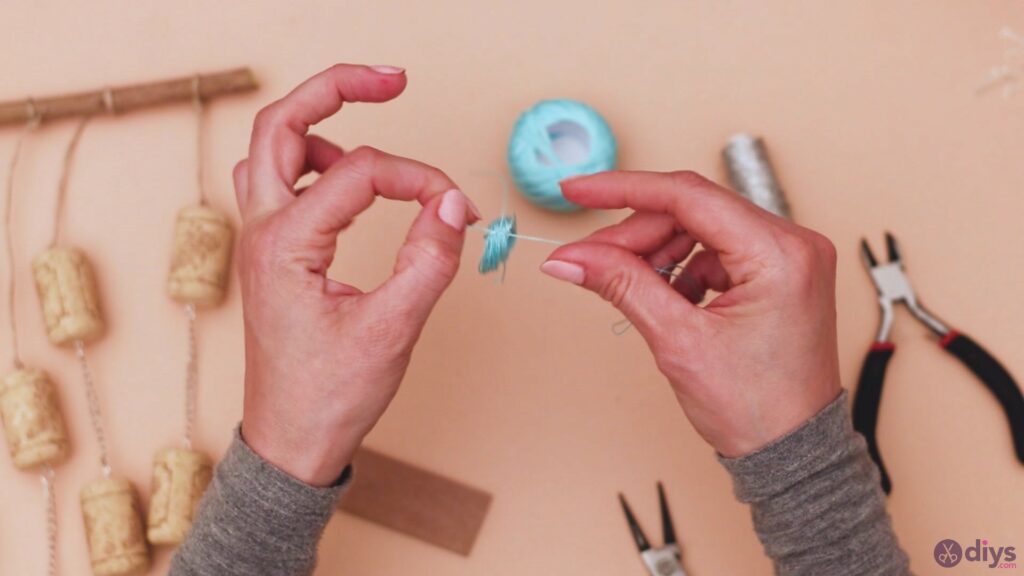

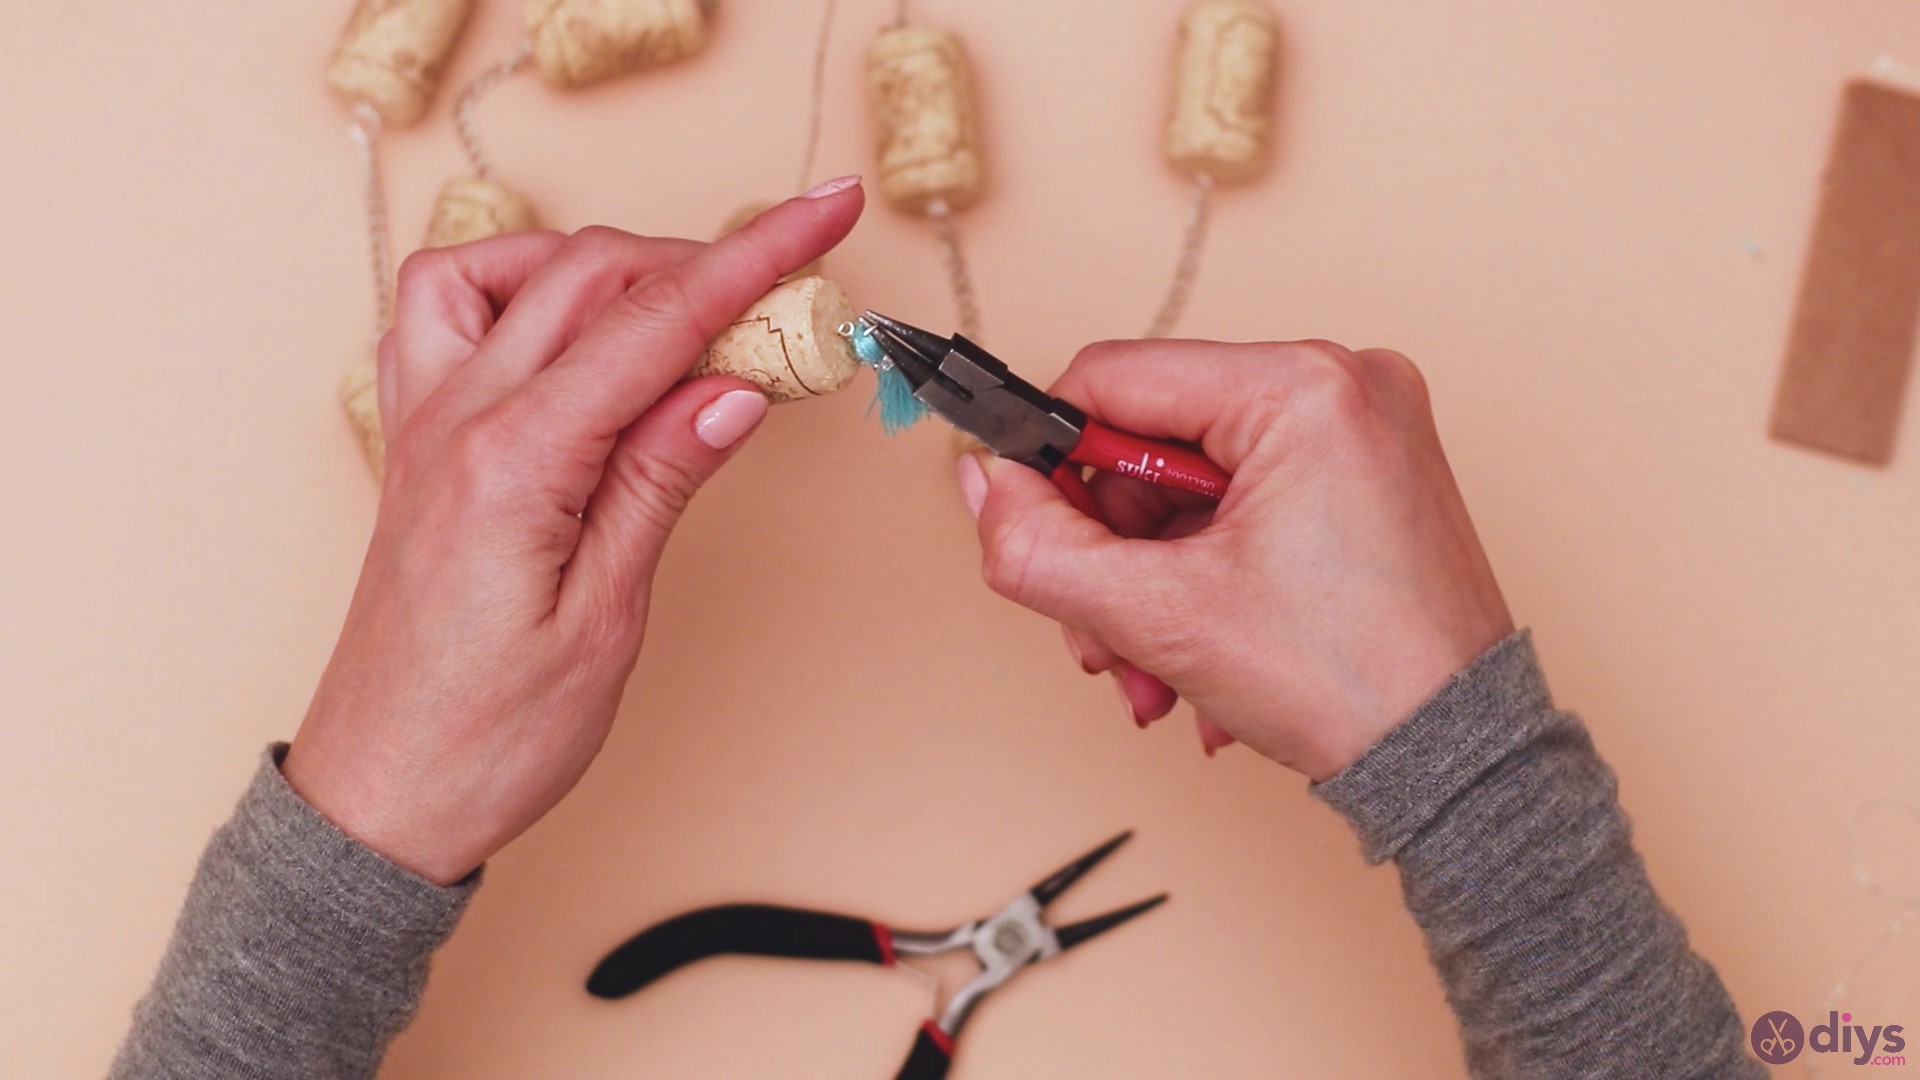
Use a mounting ring to go through the middle of the loop. You’ll want all the threads in your loop to pass through the ring, so be patient to fit them all in there.
Use the conical tongs to close the mounting ring together. They’re pretty malleable so it should be easy to ensure that it doesn’t open later on.
Holding on to the mounting ring, flatten out the loop of embroidery thread. Take the silver twisted yarn and start wrapping it around the loop, just a little below the mounting ring. Take a few passes around the blue thread in order to create a beautiful “waist.”
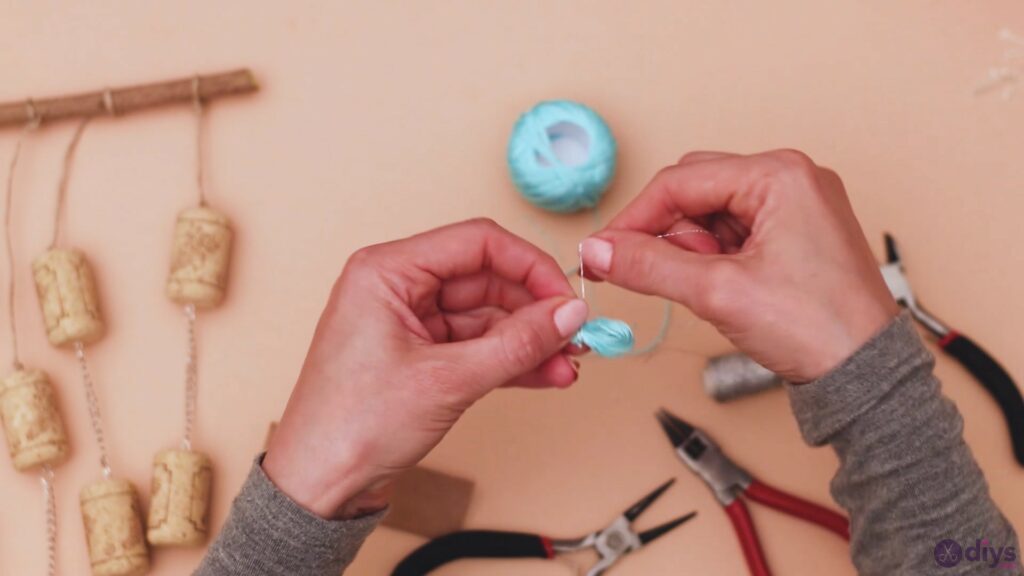
Tie the silver yarn together tightly and cut off the excess thread.

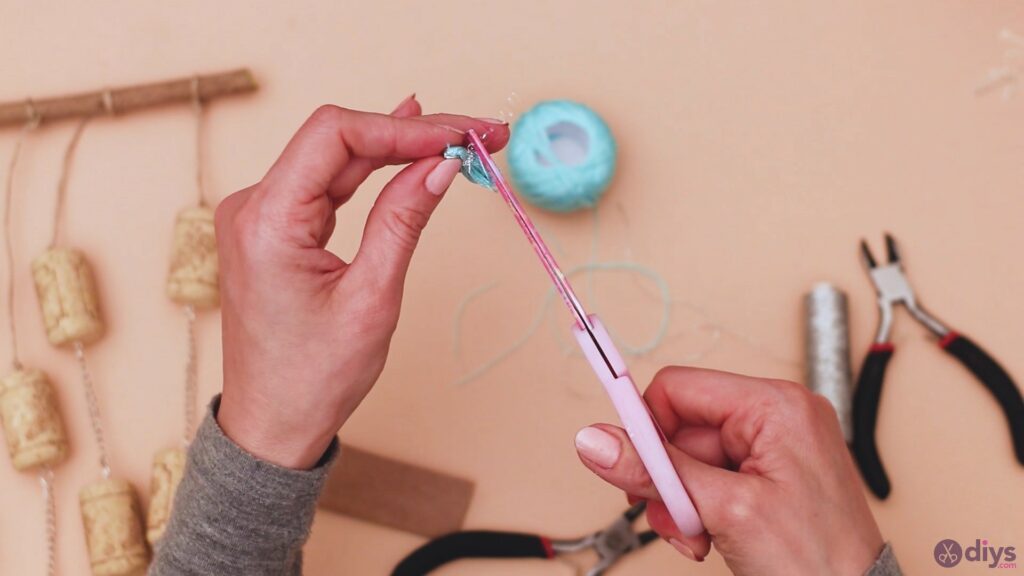
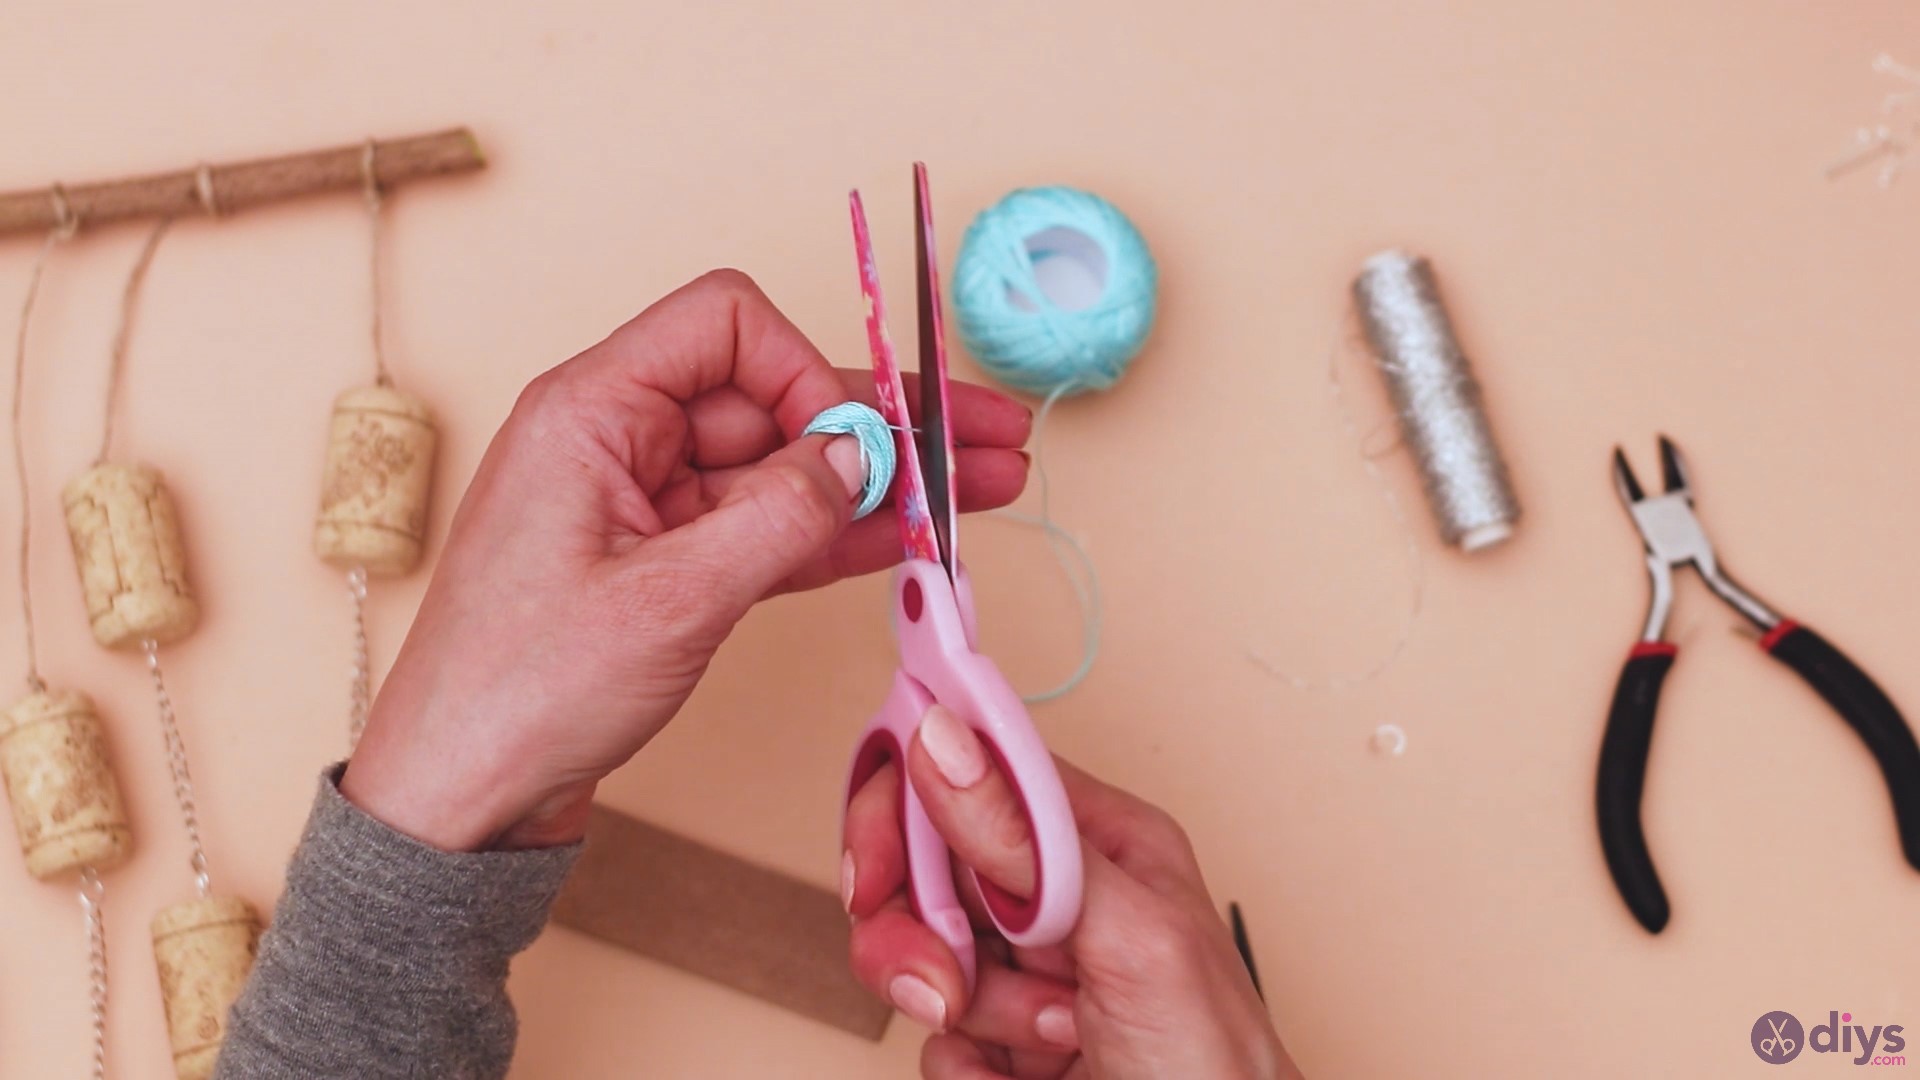
Since you’re already cutting extra thread, use the scissors to also cut the blue embroidery thread loop. Hold the loop steady and pass the scissors through the middle of it and slowly cut through the thread.
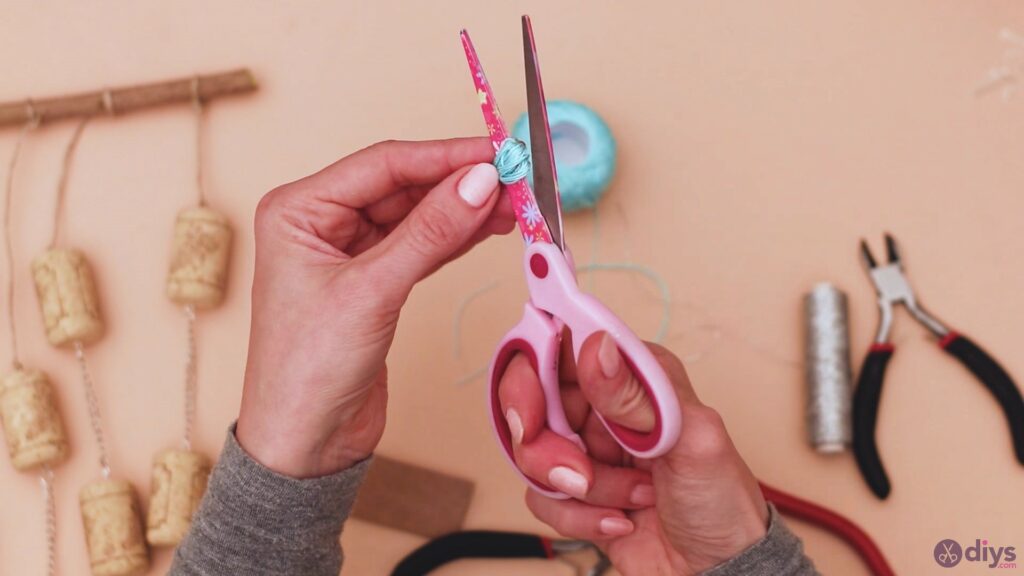
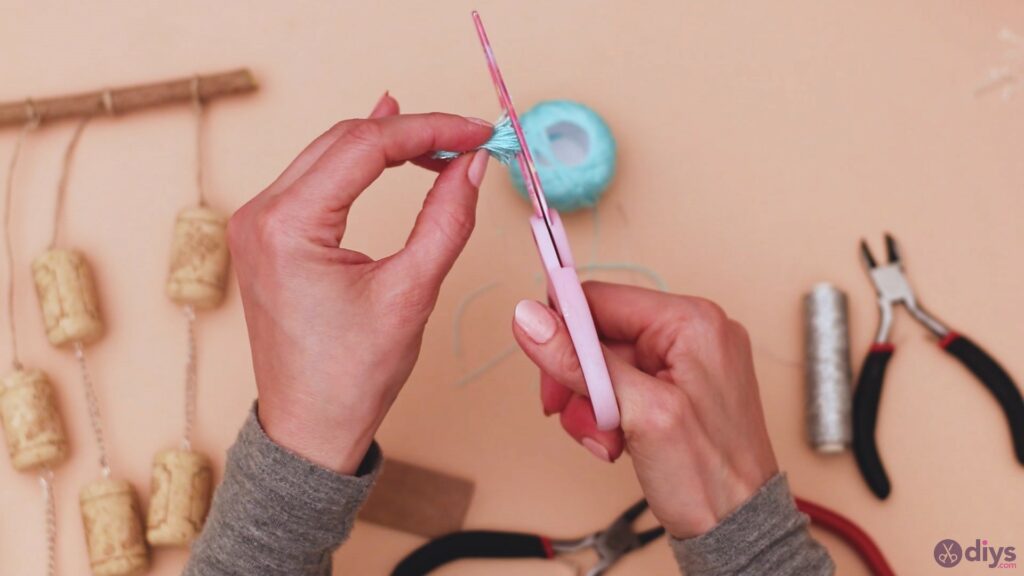
It is quite likely that the result was not anywhere near as perfect as you’d want it to be, so trim the brand new tassel you created so the threads are equal.
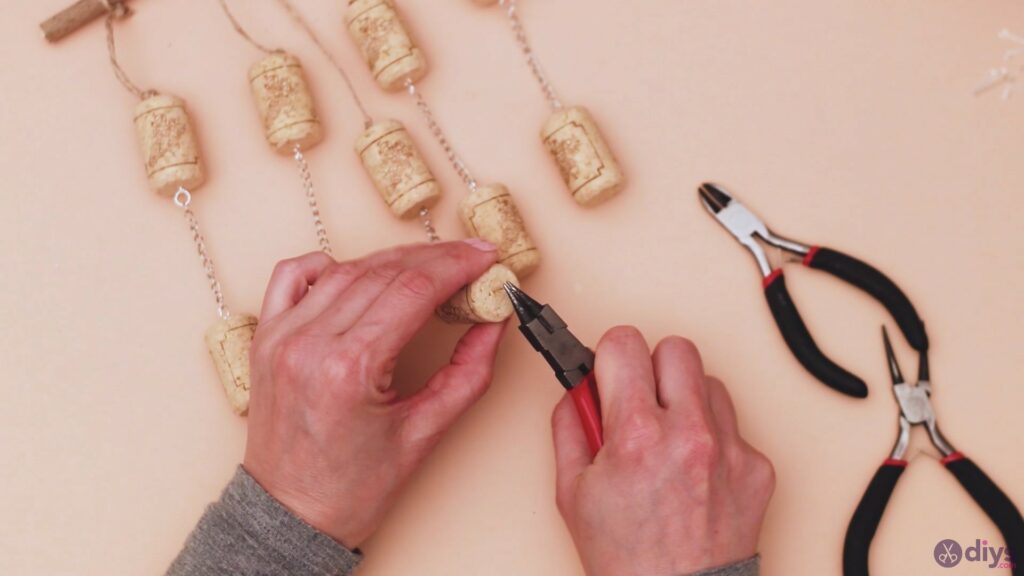
Get your conical tongs again and separate the ends of the mounting ring a bit – enough to push the loop from the bottom of the middle wine cork in. Tighten the mounting ring once more, when you’re done.


Step 7: Apply the finishing touches
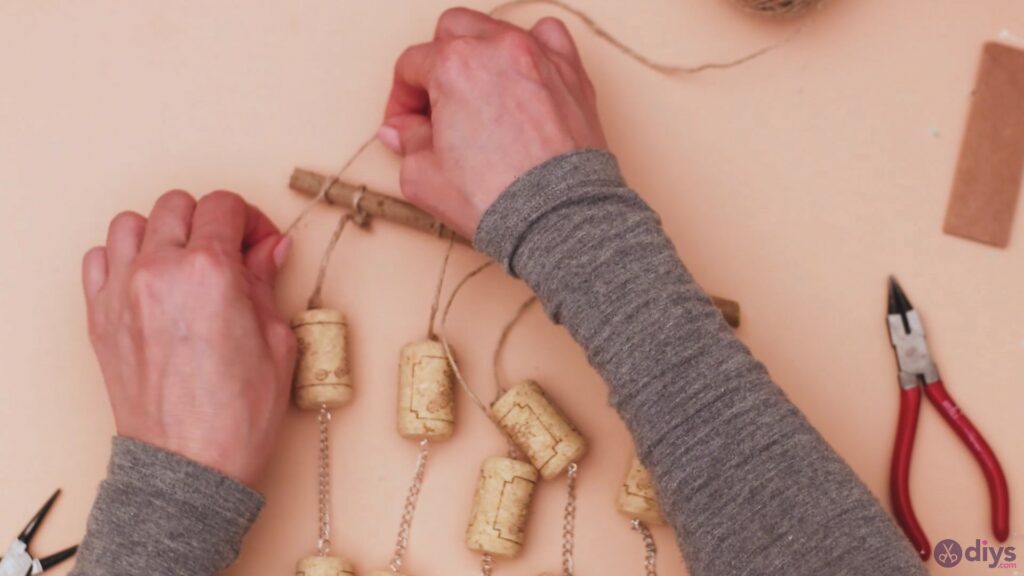
For the last step of this project, you need to make this hanging wine cork decoration… hang. Get some of that hemp twine you have and tie a tight knot at one end of the branch.

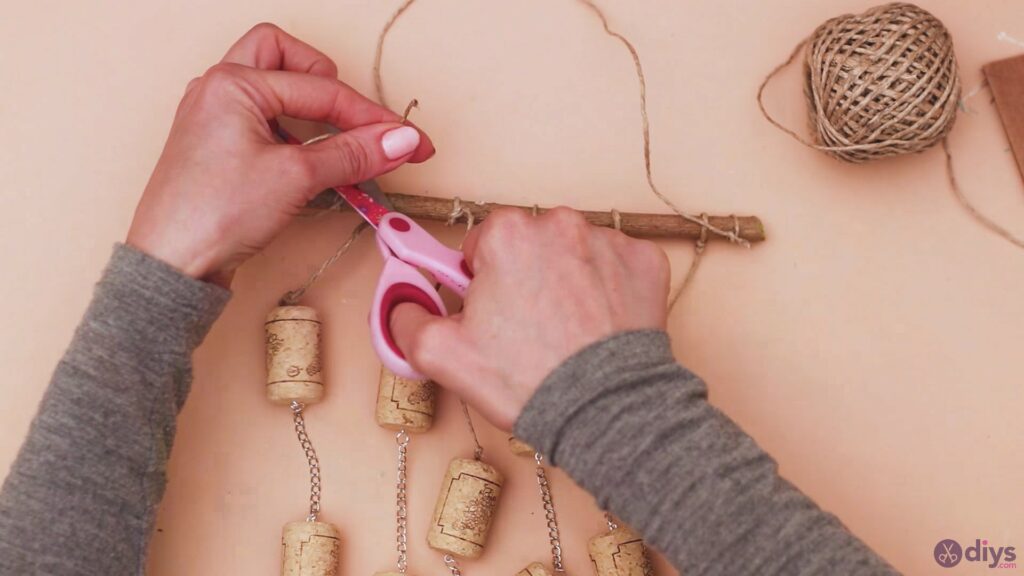
Leave enough length to the twine that you can hang it on a wall and tie another knot at the other end of the branch. Always make sure you’re doing double knots to secure the thread and are pulling tightly. Hemp twine knots, in particular, are quick to unravel. Cut any excess thread and clean out the design.

There you go! Look what a nice hanging wine cork ornament! You can add more wine corks, if you want, add extra layers, and so on. You can even make tassels for each cork if you wanted.
We found this to be a pretty simple project and it’s also one that comes with quite a bit of flexibility, allowing you to personalize it however you see fit. It’s a great addition to your walls, suits your porch, or the beach vibe in your home. It could also make a great gift for your best friends’ next birthday as it will always be something to remember you by.