Tillandsia Ionantha Care: How to Grow & Care for the Air Plant
Updated on November 19, 2025
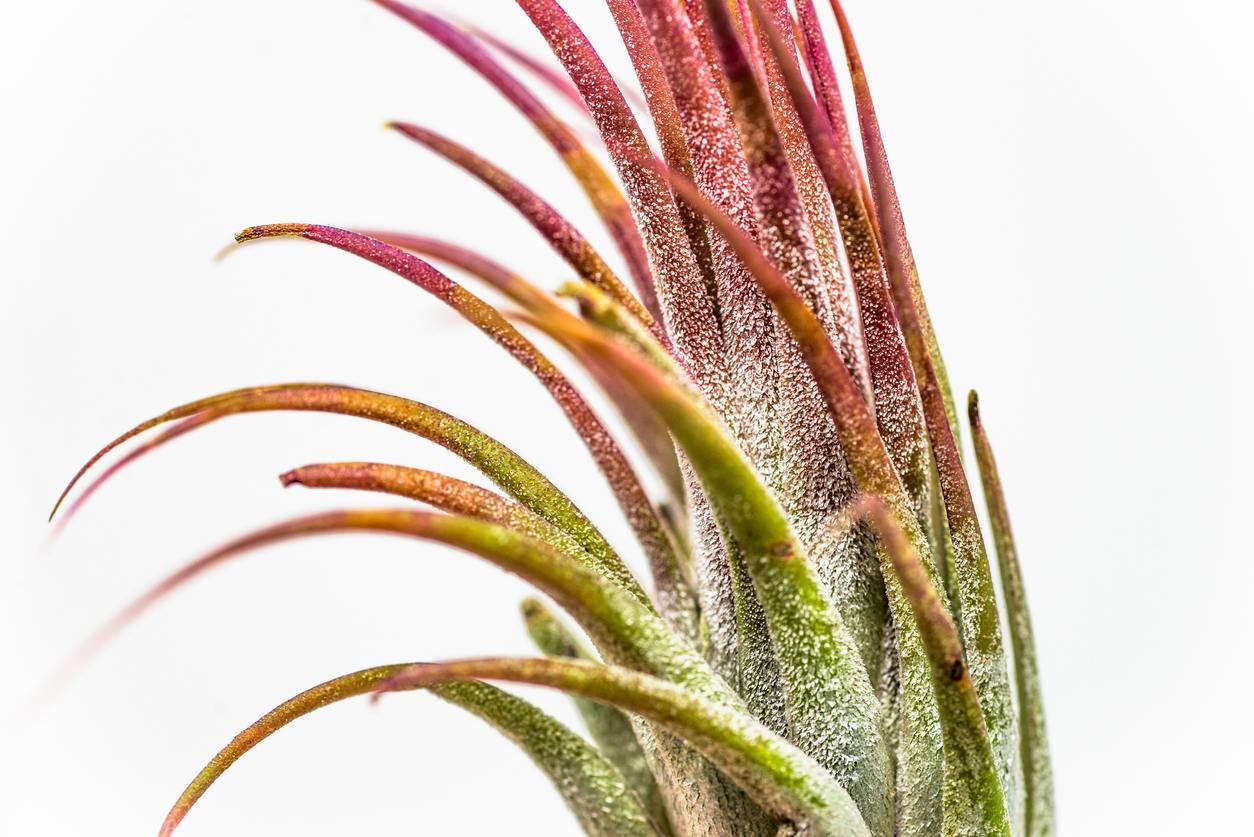
You won’t often come across a houseplant with a colorful texture on the leaves yet doesn’t need a soil-based growing medium to thrive. And it’s no wonder why the Tillandsia Ionantha is quite commonly labeled as the Air plant. In this guide, we’ll check out the bits and pieces you need to work with in order to grow and take sufficient care of your Tillandsia Ionantha plant.
More About the Ionantha Air Plant
The Air plant got its start from Mexico. It’s also native to Costa Rica as well as other parts of Central America. As it matures, the Air plant produces shoots made of a varying display of colors that range from purple to blue. With just a routine misting schedule and a south-facing window, you can see your Ionantha plant grow rapidly without hiccups.
Most Tillandsia varieties have been growing on trees and using their tiny roots to find support from tree branches. To achieve a complete bloom, your Air plant would roughly take up to 3 years. They can live for about 5 years and later begin to wane off after blooming.
Tillandsia Ionantha Care Tips
Flowering & Fragrance
For air plants, blooming only takes place once. Some bloom inflorescence flowers in the form of spikes that stay alive even for months, while others produce transitory blooms that only survive for a few days. During the blooming cycle, the plant will direct most of its nutrients and vitality to the development of the pups.
After blooming, it’s quite normal for your little Tillandsia Ionantha to appear pale and wilted. We, therefore, recommend misting your plant gently and avoid making the bloom wet since it would cause the flowers together with other parts around the foliage to rot.
Light & Temperature
Tillandsia Ionantha takes up an optimal shape and height when growing under bright indirect sunlight. If you expose it to extreme sun rays, the plant may begin to shrink and the leaves will get scorched indefinitely. Growing under the USDA hardiness zone 9, that practically means the Air plant prefers an outdoor environment.
And the ideal temperature for this cultivar is anything between 15-26 degrees Celsius. Even though your Air plant might do well under warmer temperatures coupled with clean air circulation, it also needs some moisture so you need to keep the humidity levels in check.
If you’re looking to grow it indoors and the room is too hot and dry, you want to adjust the moisture conditions to fit its tailored growing requirements.
You can also use fluorescent grow lights to match the lighting environment your Air plant intensely needs. The plant shouldn’t be any further than 36” inches from the full spectrum artificial light. It also needs to access the light for at least 12 hours per day or 6 hours if it’s under natural sunrays. After watering your Air plant, it will need dry air so the water can get absorbed and drain quickly.
Watering & Feeding
You’ll need to soak your Tillandsia Ionantha in water for at least 10 minutes every once a week. As another way out, mist it using a spray bottle for about 2-3 times a week between the soakings to keep your plant hydrated. Unlike most other houseplants, the Air plant absorbs water through the leaves instead of roots.
After watering, make sure to shake off any excess water that gets stuck in the middle of the lant to avoid rotting or oozing a foul smell. Placing your Tillandsia Ionantha in a spot with ample air calculation would help it dry out entirely in less than 4 hours after watering.

You also want to avoid growing it near areas with extremely hot or cold conditions. Direct sun exposure or positioning the medium close to heater/AC units would cause irreparable damage to your Air plant. Intense heat, for instance, would make the leaves wilt and lack the energy for nutrients uptake from water.
Use soluble fertilizer and feed it to the plant using a spray bottle.We’d recommend using the fertilizer at least once per week during the warmer months of spring and summer. Avoid feeding your Air plant during winter when growth enzymes are dormant.
Soil & Transplanting
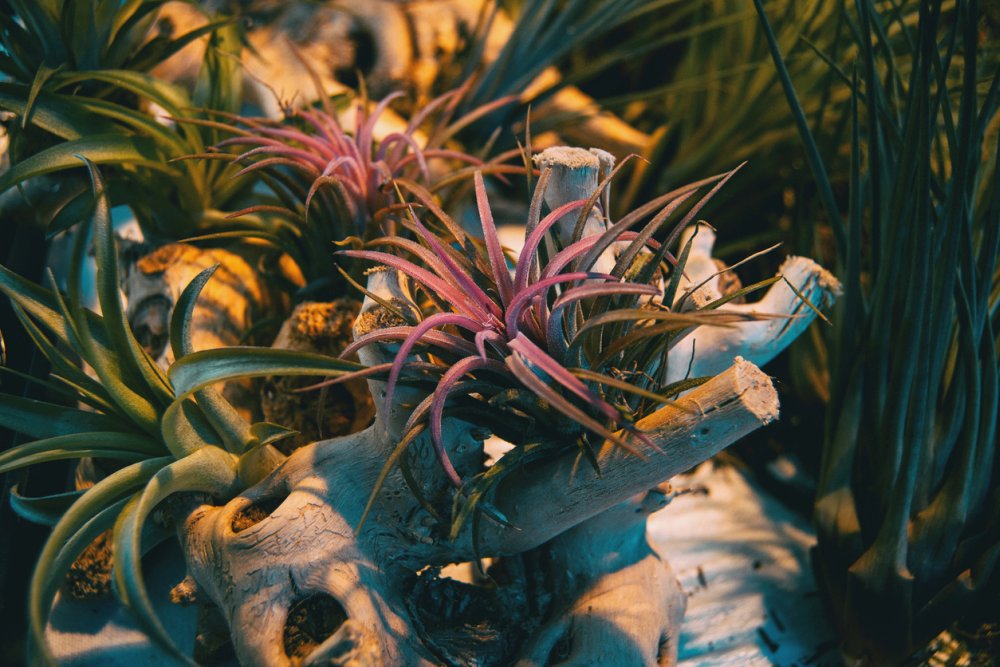
Same as its close cousin, the Tillandsia Xerographica, it doesn’t grow in soil. Instead, your Air plant will grow in water or secure itself a support base on branches or other plants. It can also grow in pieces of wood. Other common areas suitable for growing this cultivar include terrariums, vases, glass globes, cork barks, and shells.
Smaller air plants would find it easy to stay affixed, while huge ones need to be placed on an object sitting on a table or desk, so they can form a solid root system to help them mount tightly against the area they’re growing on.
Use glue or a piece of wire to mount your Tillandsia Ionantha onto one of the objects we just suggested. Apart from identifying a place where it will attach itself to, there won’t be any potting or transplanting needs you’ll need to take care of.
Common Pests & Diseases
The most common pests that affect the overall well-being of your Air plant are mealybugs and scale. Use a waxy cotton together with Isopropyl alcohol to get rid of any visible mealybugs on the leaves. Mealybugs tend to cause damage to the younger leaves by sucking the juicy sap that’s tucked inside.
You also want to inspect the underside of the leaves for scale insects since that’s where they hide the most. To know whether your Air plant is gravely infested with scale insects, you’ll see some shell-like bumps on the stems, while the leaves will begin to turn yellow and eventually fall off from the parent plant.
How to Propagate the Tillandsia Ionantha Plant
How better could you relish the aura exhibited by the Tillandsia Ionantha houseplant rather than having multiple of them in your indoor space? You definitely need to grasp a few tips on how to propagate your Air plant. But first, you need to gather tools such as wire cutters, a misting bottle, a bowl of water, a natural wood plant, and a pair of pliers.
Propagating your Air plant using pups will require you to be a little patient, but the results would be breathtaking. You can harvest the pups right after the first bloom cycle since this is when the reproduction process begins.
Anytime the seeds fall from the parent plant, there are chances some would develop naturally into mature Air plants. Even so, pups make the best choice when it comes to the propagation and can reach up to a third or half the size of the mother plant. To propagate the Tillandsia Ionantha using pups, you need to:
- Use a pair of sterilized scissors to remove a few pups attached to the base of the mother plant.
- Pups don’t do well in isolation so you want to grow them in groups.
- Don’t remove any pup until it’s at least one-third the size of the parent plant.
- You can alternatively choose to harvest the offsets that develop on the edges of the mother plant if especially it’s growing outdoors.
- Place the pups under bright indirect light and follow through with the nurturing tips we just hinted out.
Benefits & Uses of the Tillandsia Ionantha
You can use this variety as a decorative houseplant since it can hang inside a room and flourish even when there’s limited light access. This slow-growing epiphyte is one kind of a miniature houseplant that rarely needs grooming.
It only has basic needs that aren’t strenuous for a beginner. And since there are no soil or transplanting requirements to deal with, your plant will grow much faster without needing to wait for the roots to spread up so they can take in nutrients.