DIY Tall Concrete Flower Pot
Updated on November 19, 2025


I’ve been playing with all different shapes, sizes, and styles when it comes to DIY pots and planters and I was happy with this slightly taller model I made last week that I just couldn’t help documenting all the steps that went into it so that other crafters an try their hand at making their own version as well.

Check out these step by step instructions complete with photos! If you’d rather follow along with a video tutorial instead of written words, scroll to the bottom of this post to find just what you’re looking for.

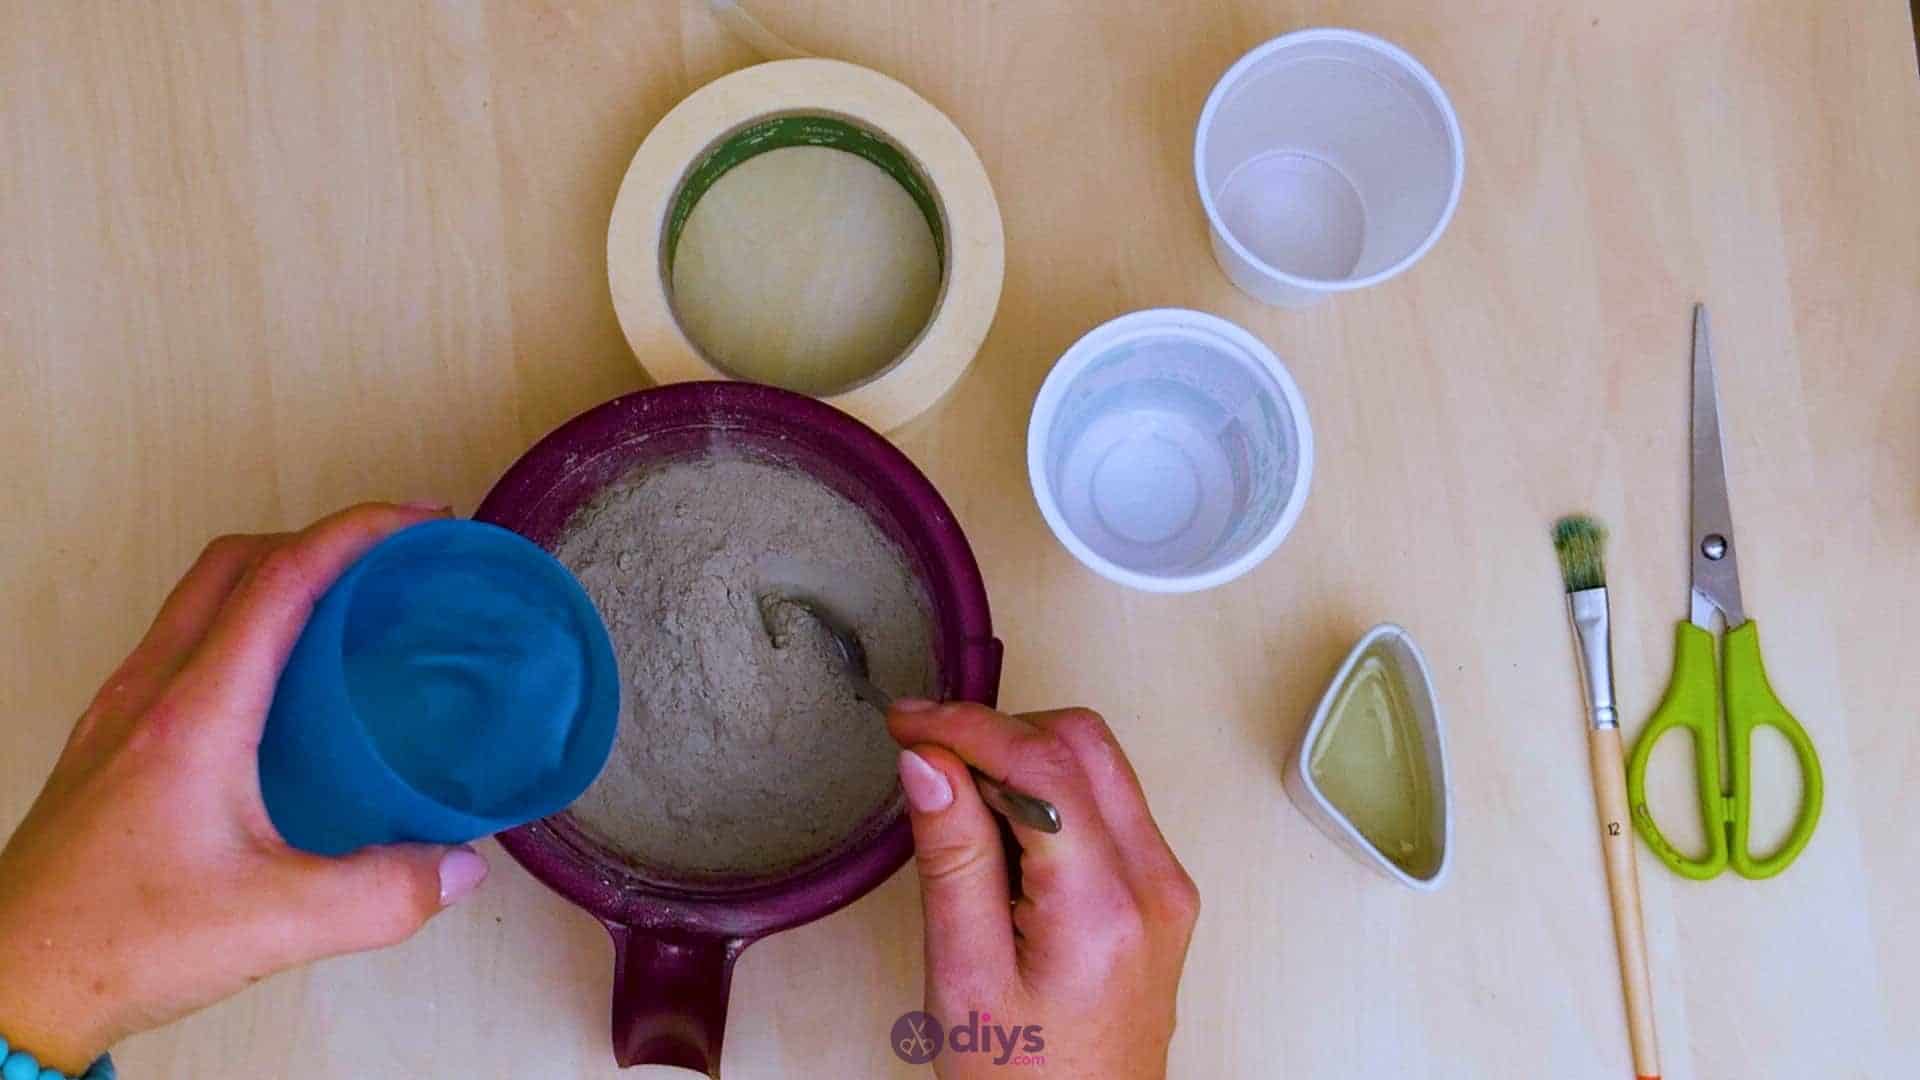
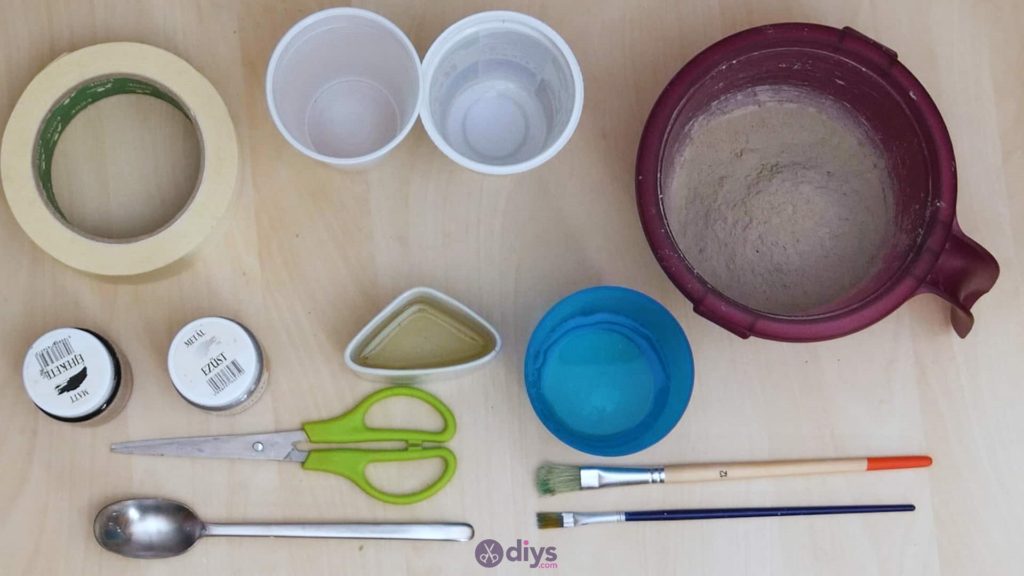
For this project, you’ll need:
- DIY fine particle cement
- Water
- A spoon
- Scissors
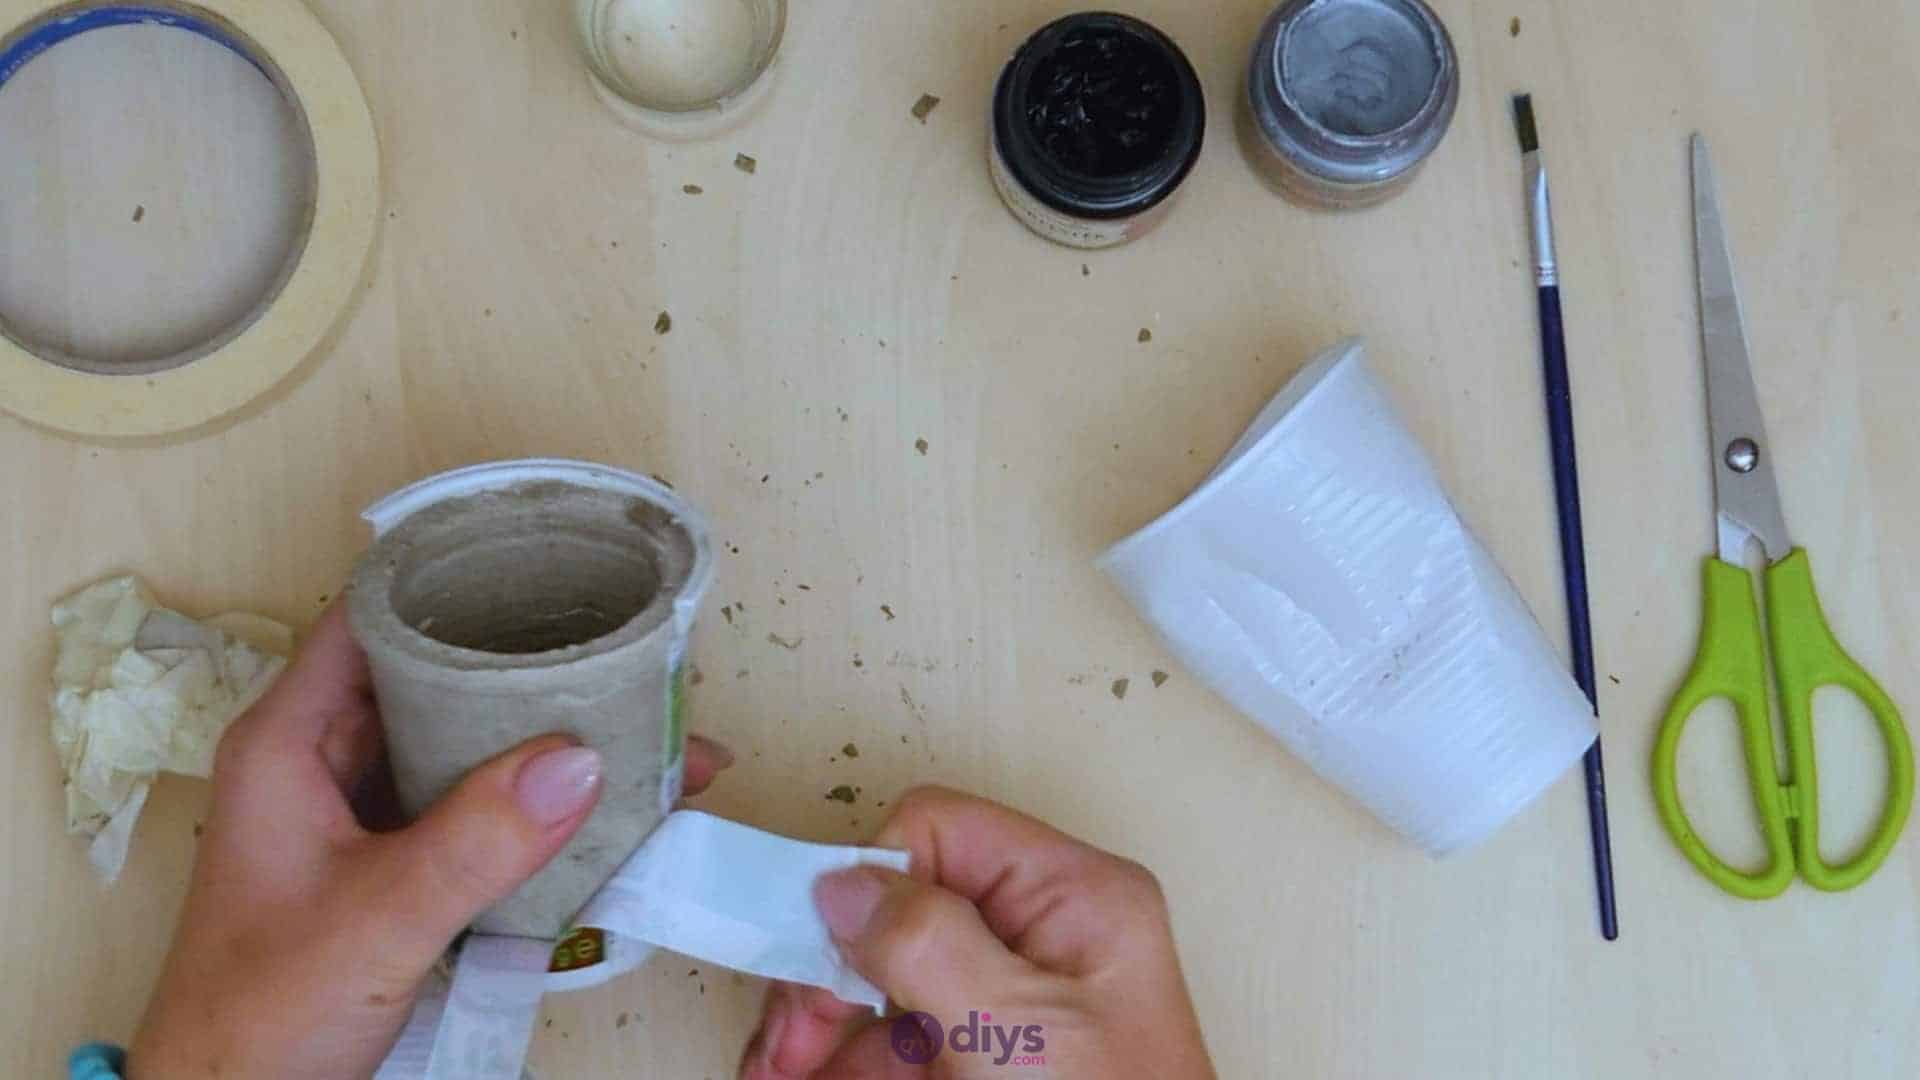
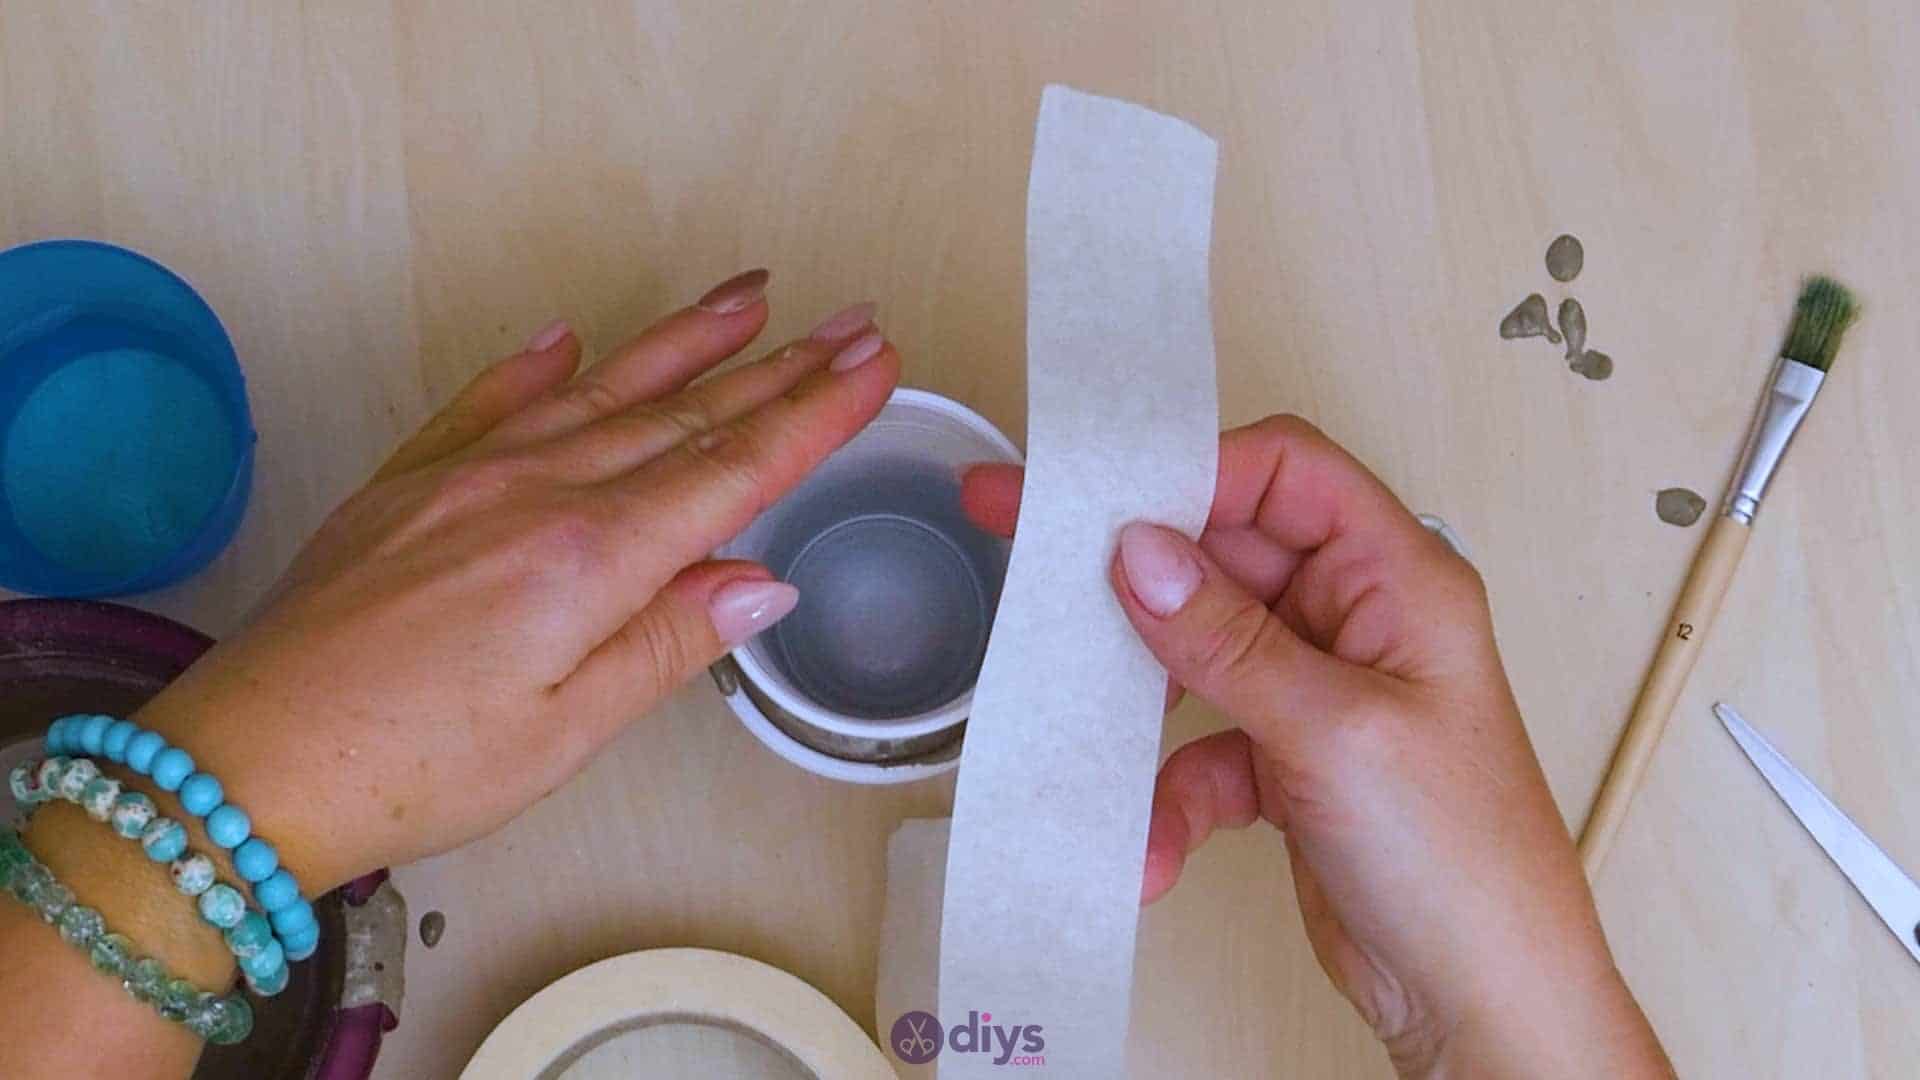
- Tape
- Oil
- A paintbrush
- Acrylic paint (silver and black)
- An empty plastic yogurt cup
- A plastic cup

Step 1: Gather your materials!
Double check your materials list and get everything in front of you.
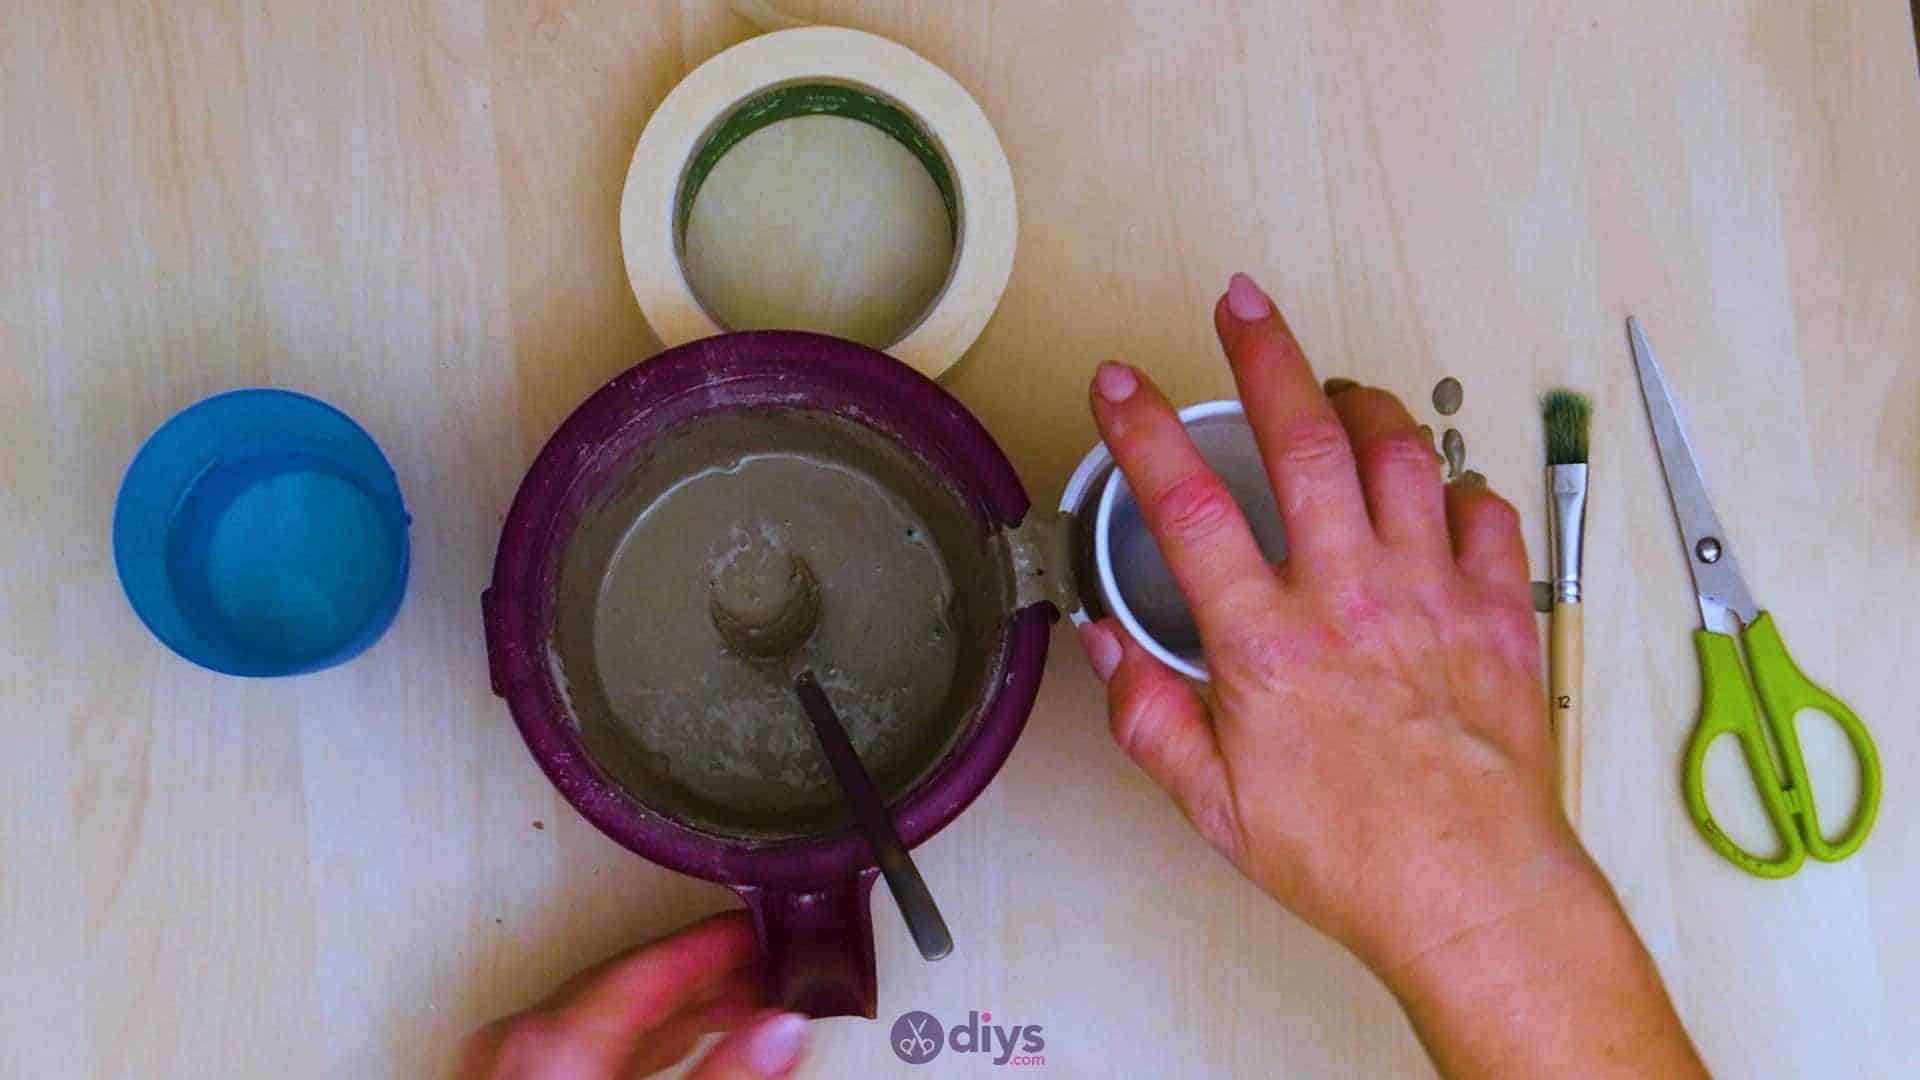
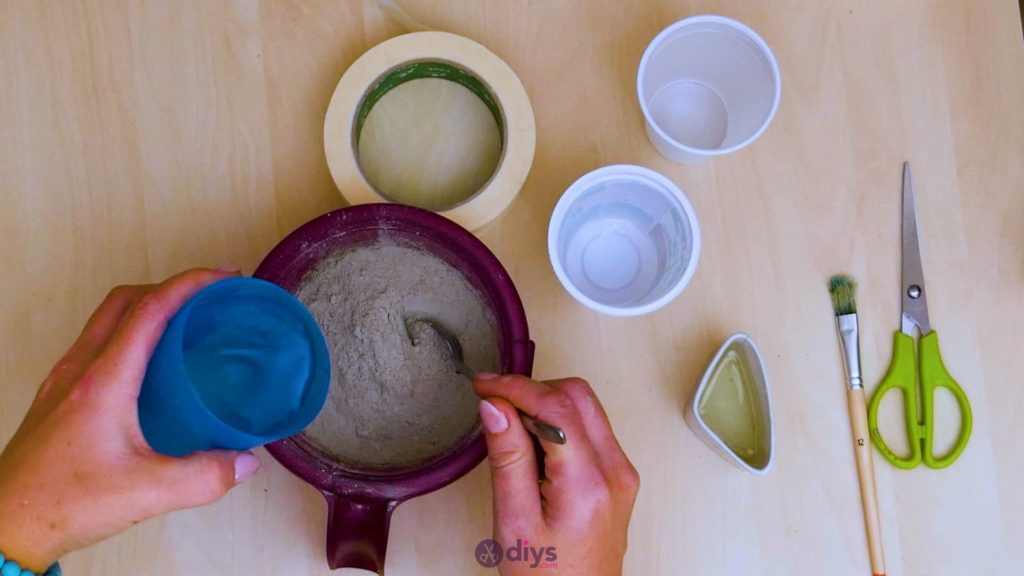
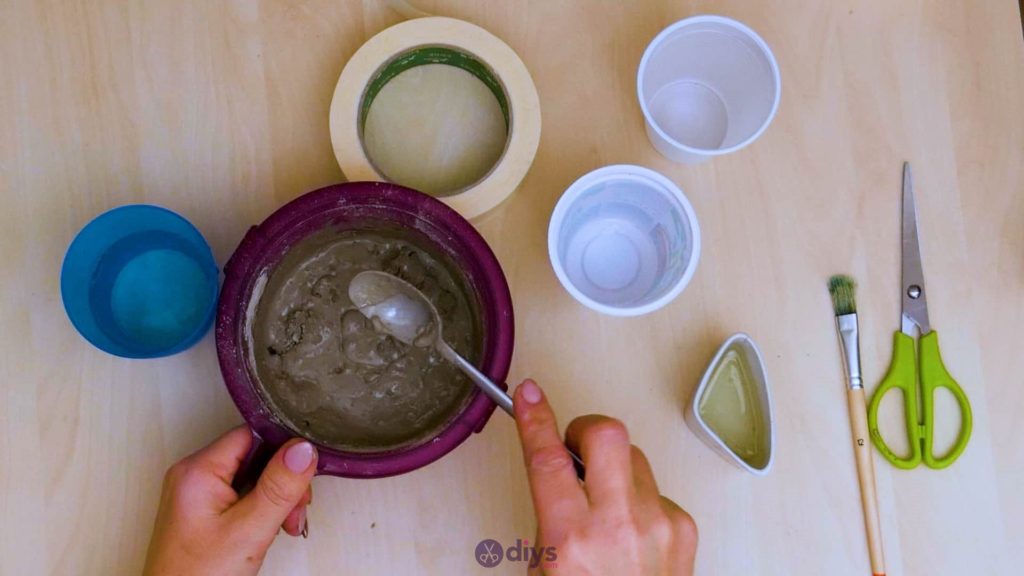
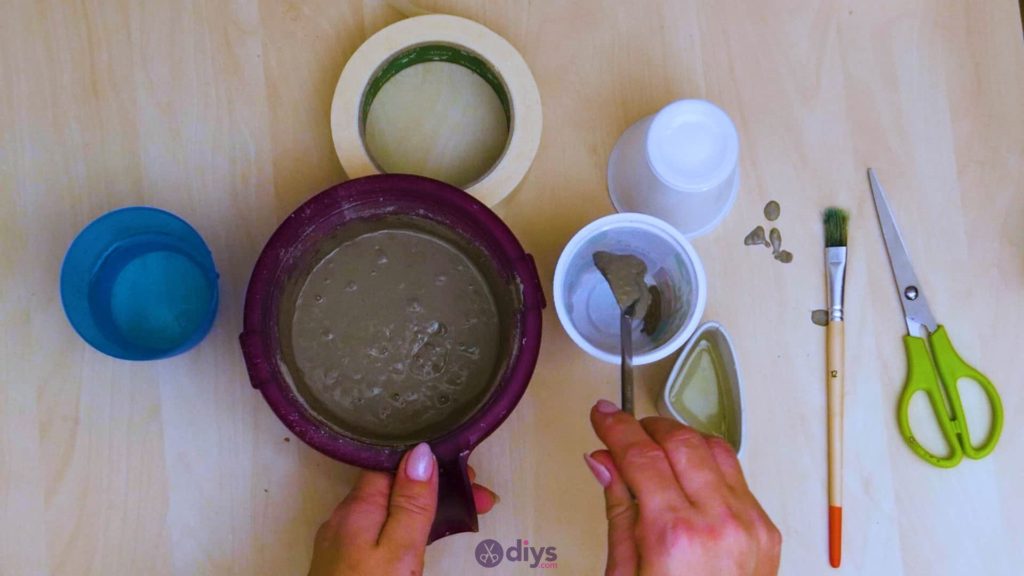
Step 2: mix the concrete
Add water to your DIY fine particle cement mix and stir it with your spoon until you get it clump free and the right consistency. Follow the directions on the back of your package to get the right ratio of water to powdered mix, since it can vary from brand to brand.
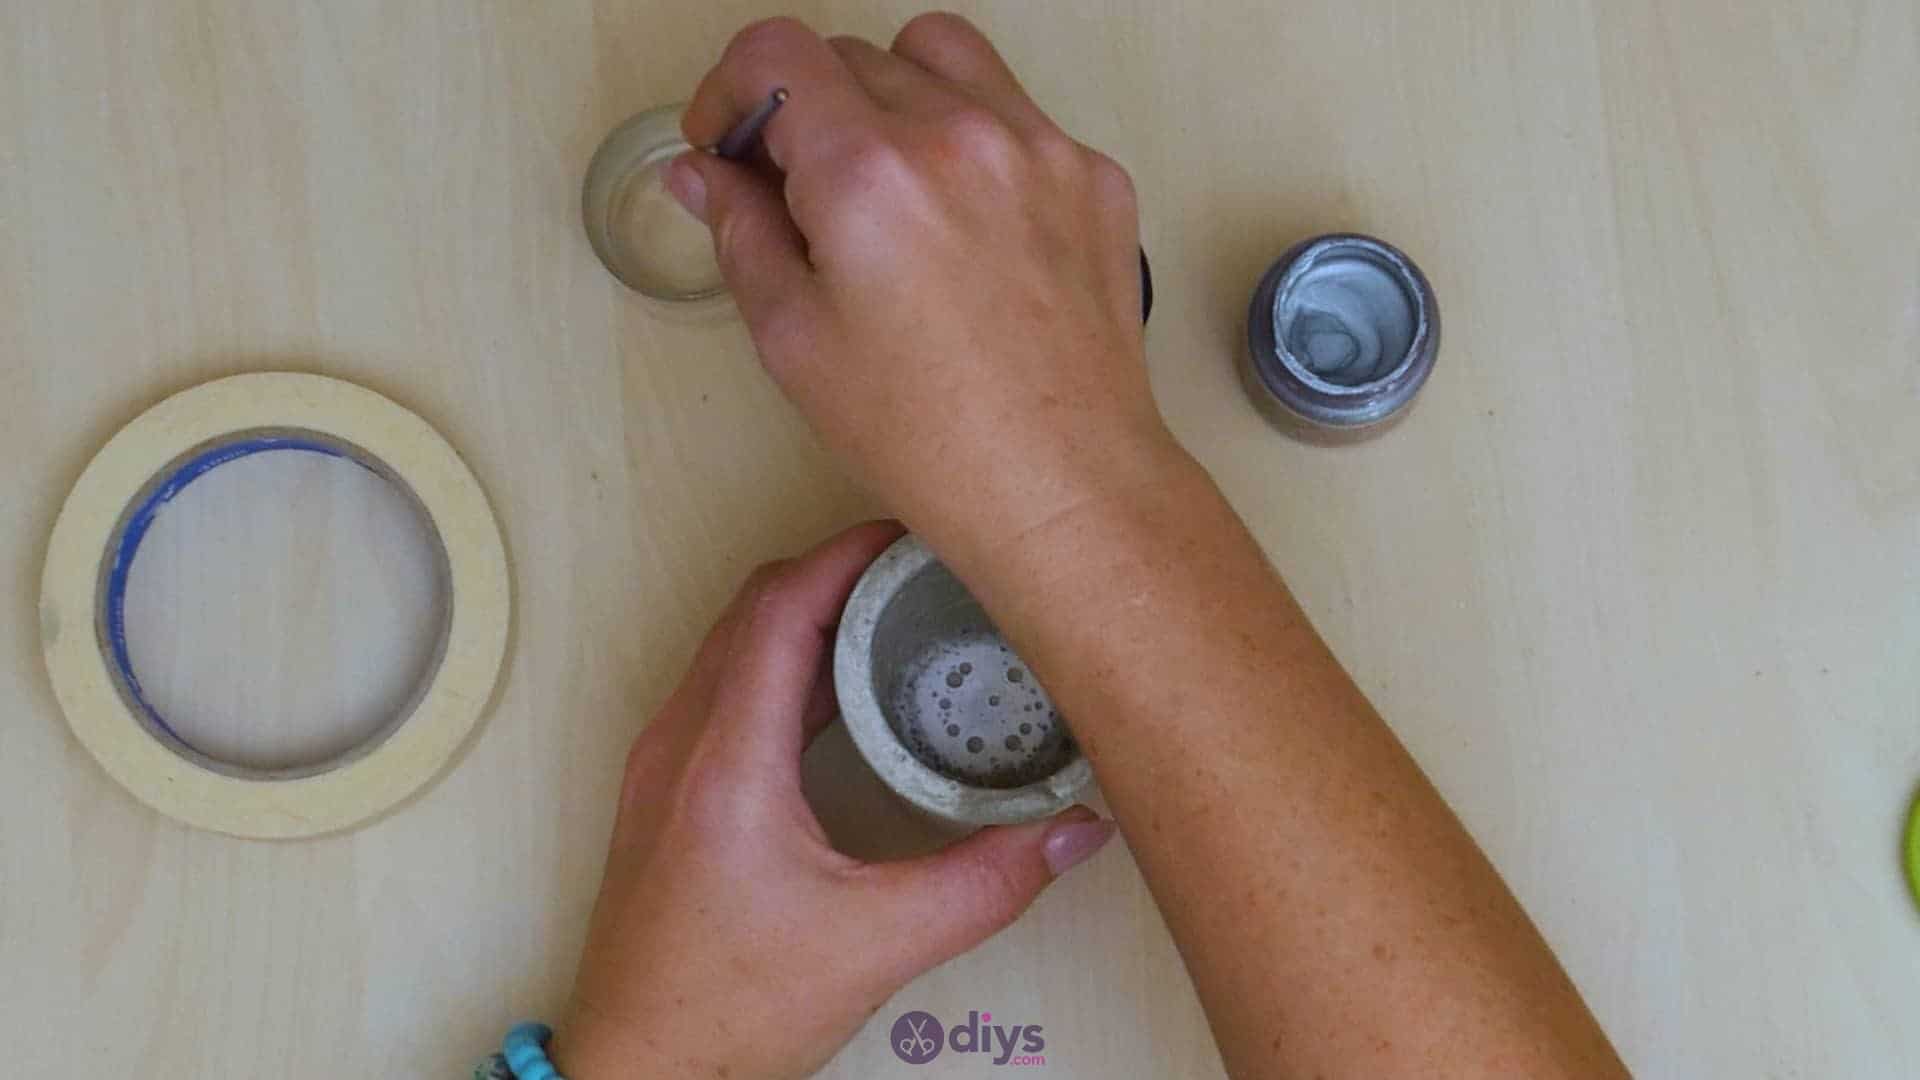
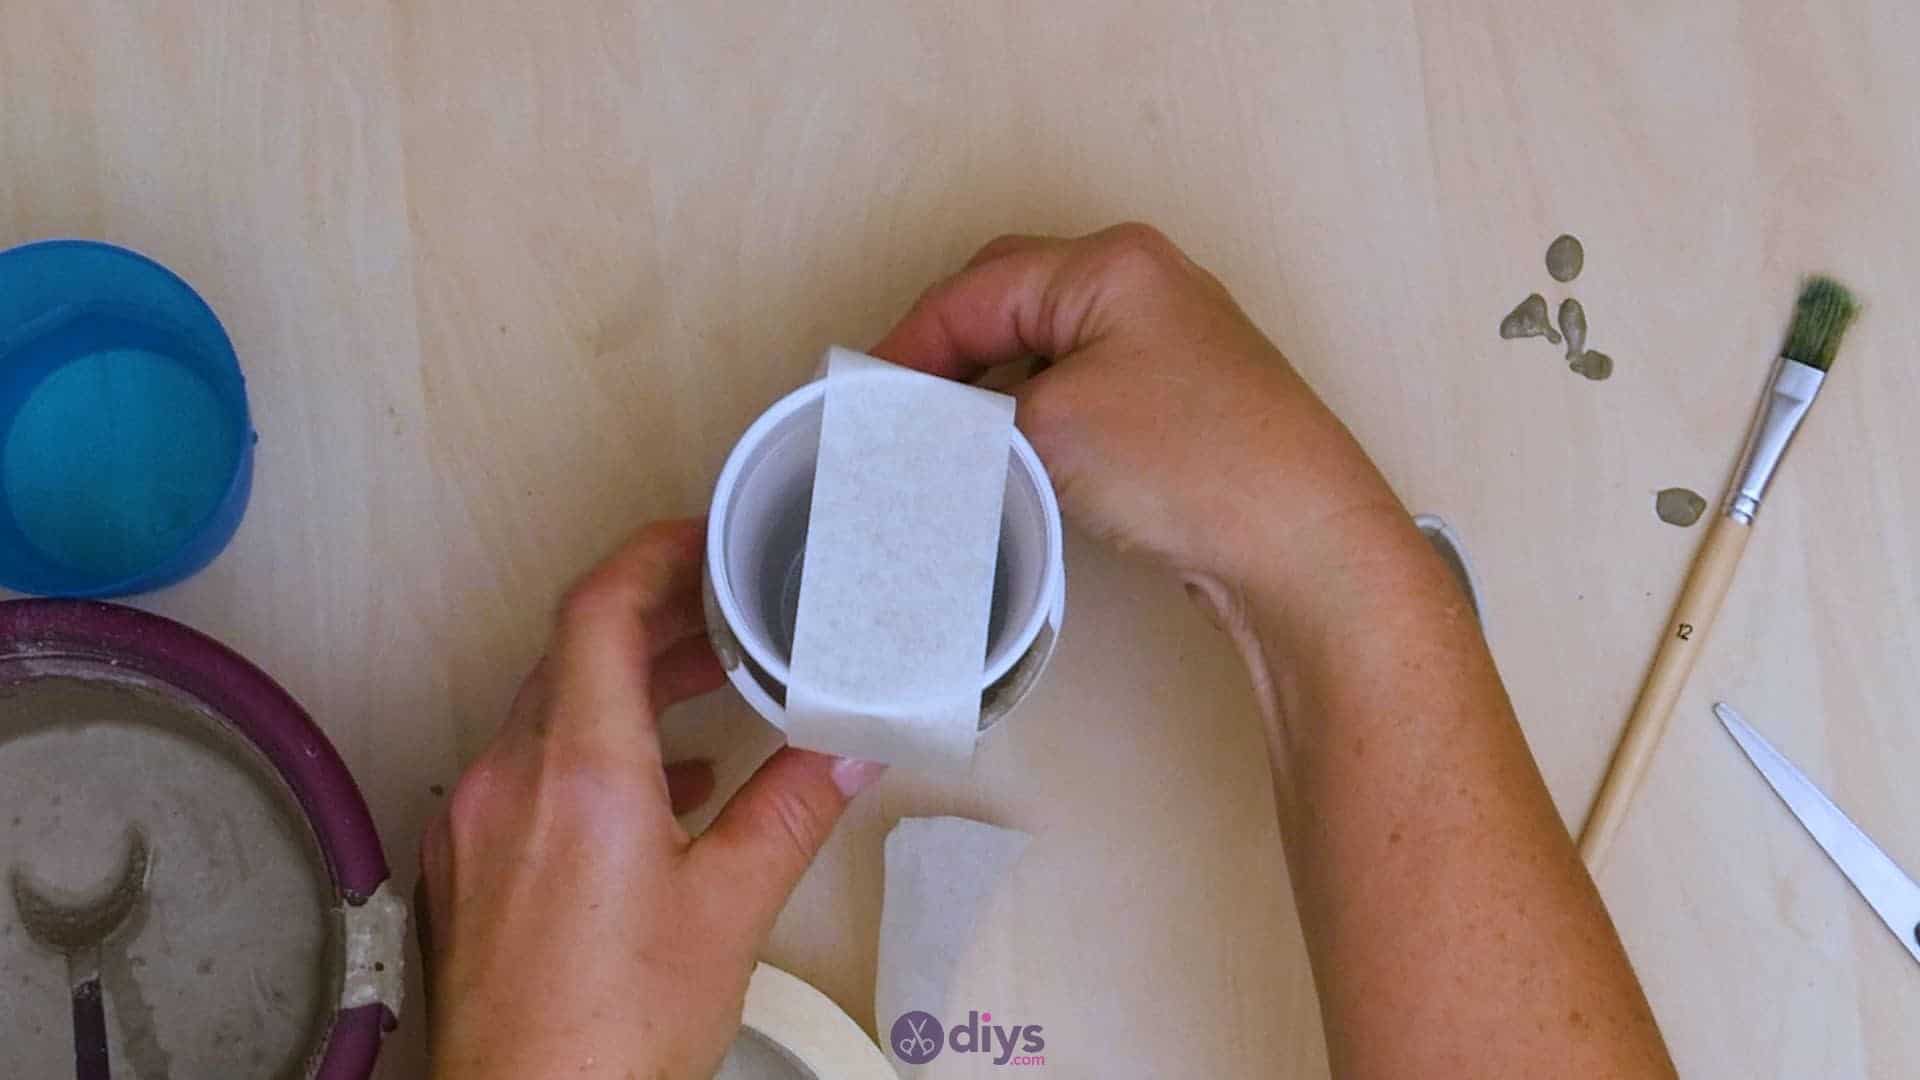
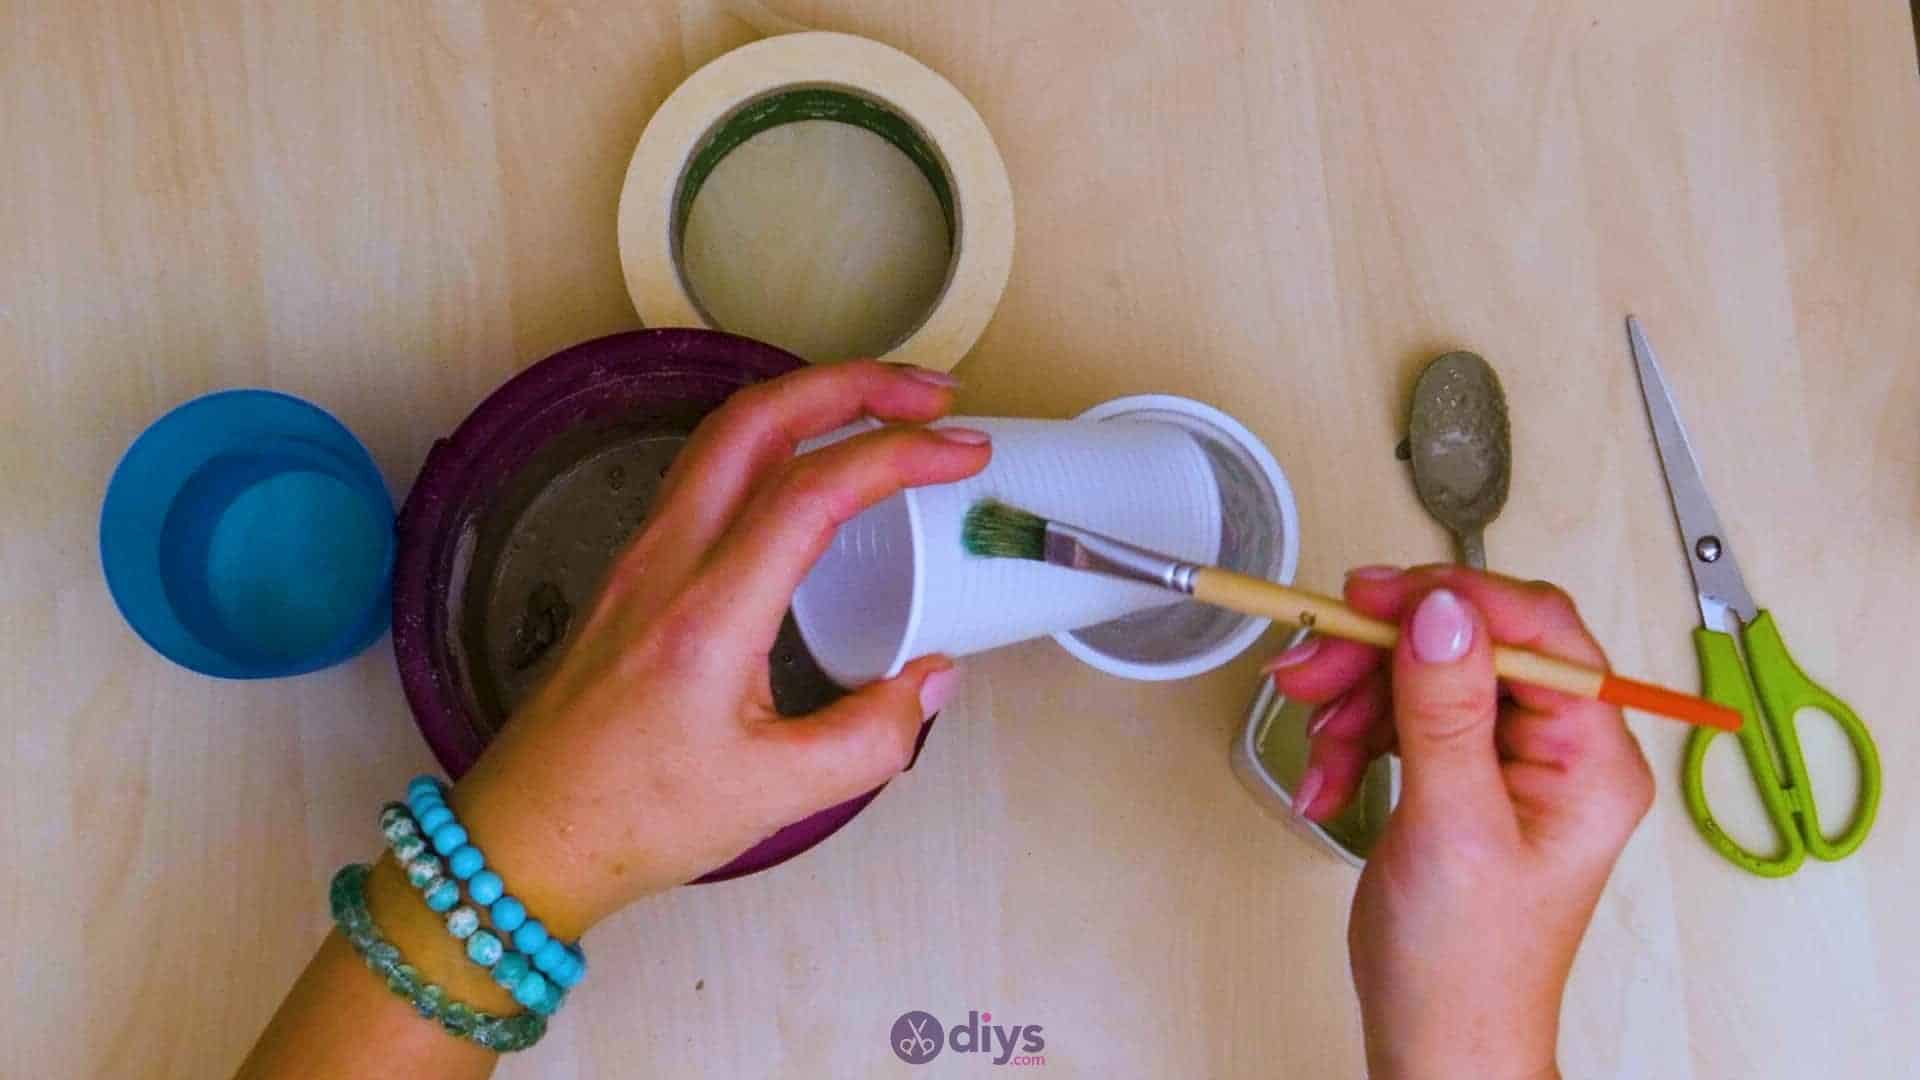
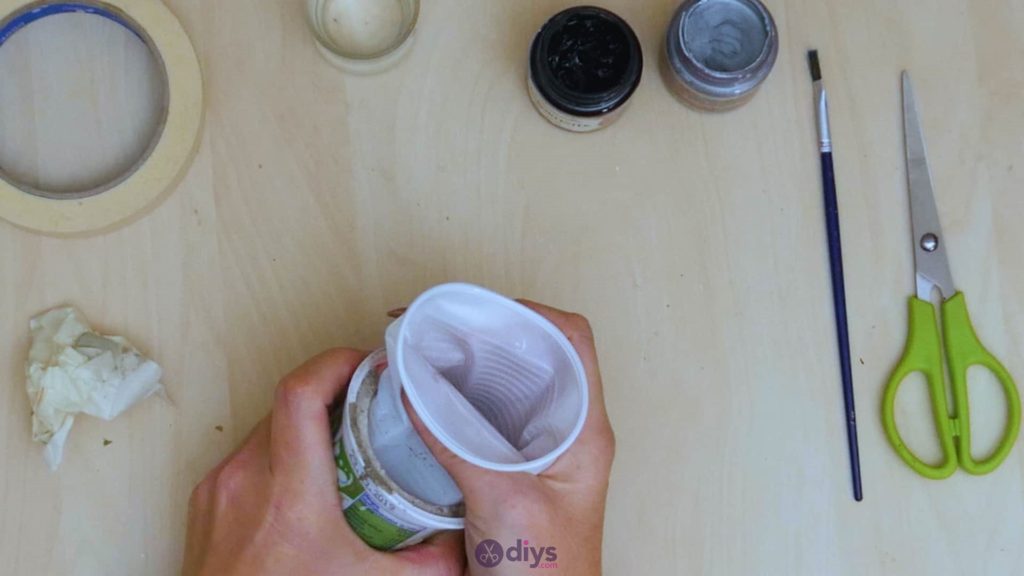
Step 3: oil your containers
Use your paintbrush to coat the entire inside of your empty plastic yogurt tub with oil! This stops the wet cement mix from sticking to the plastic as it dries, which will make it easier to remove your final shape in the end. Make sure the oil covers the entire bottom and all the way up the sides. Then use the brush to coat the outside surface of the plastic water cup all the way across the bottom and up the sides. This will stop this cup from sticking the cement when it dries as well, since this is what you’ll use to make the inside space of the flower pot in a moment. Set this cup aside for now.
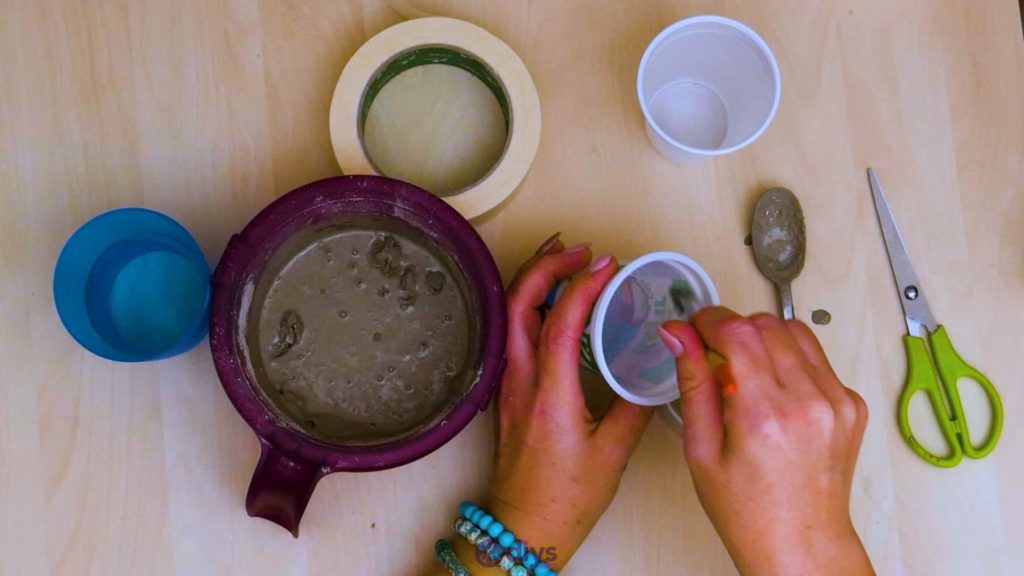

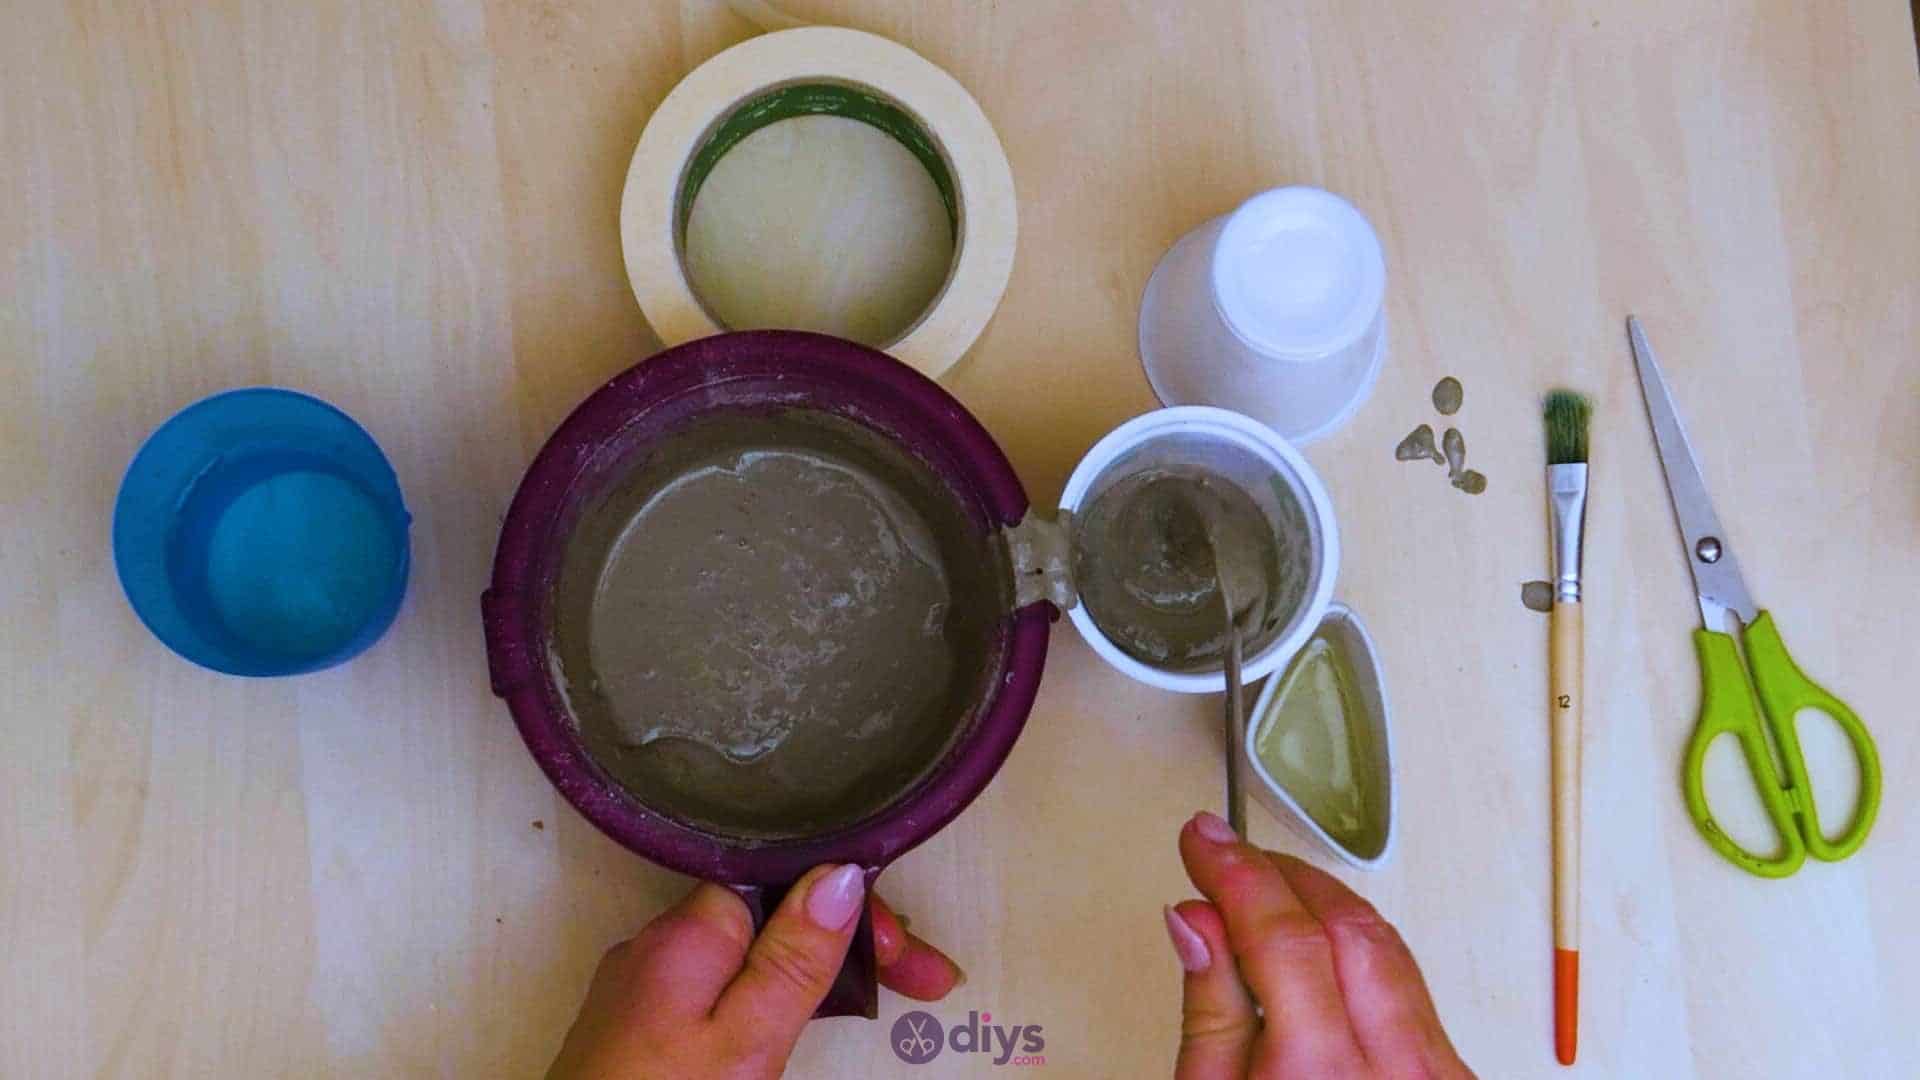
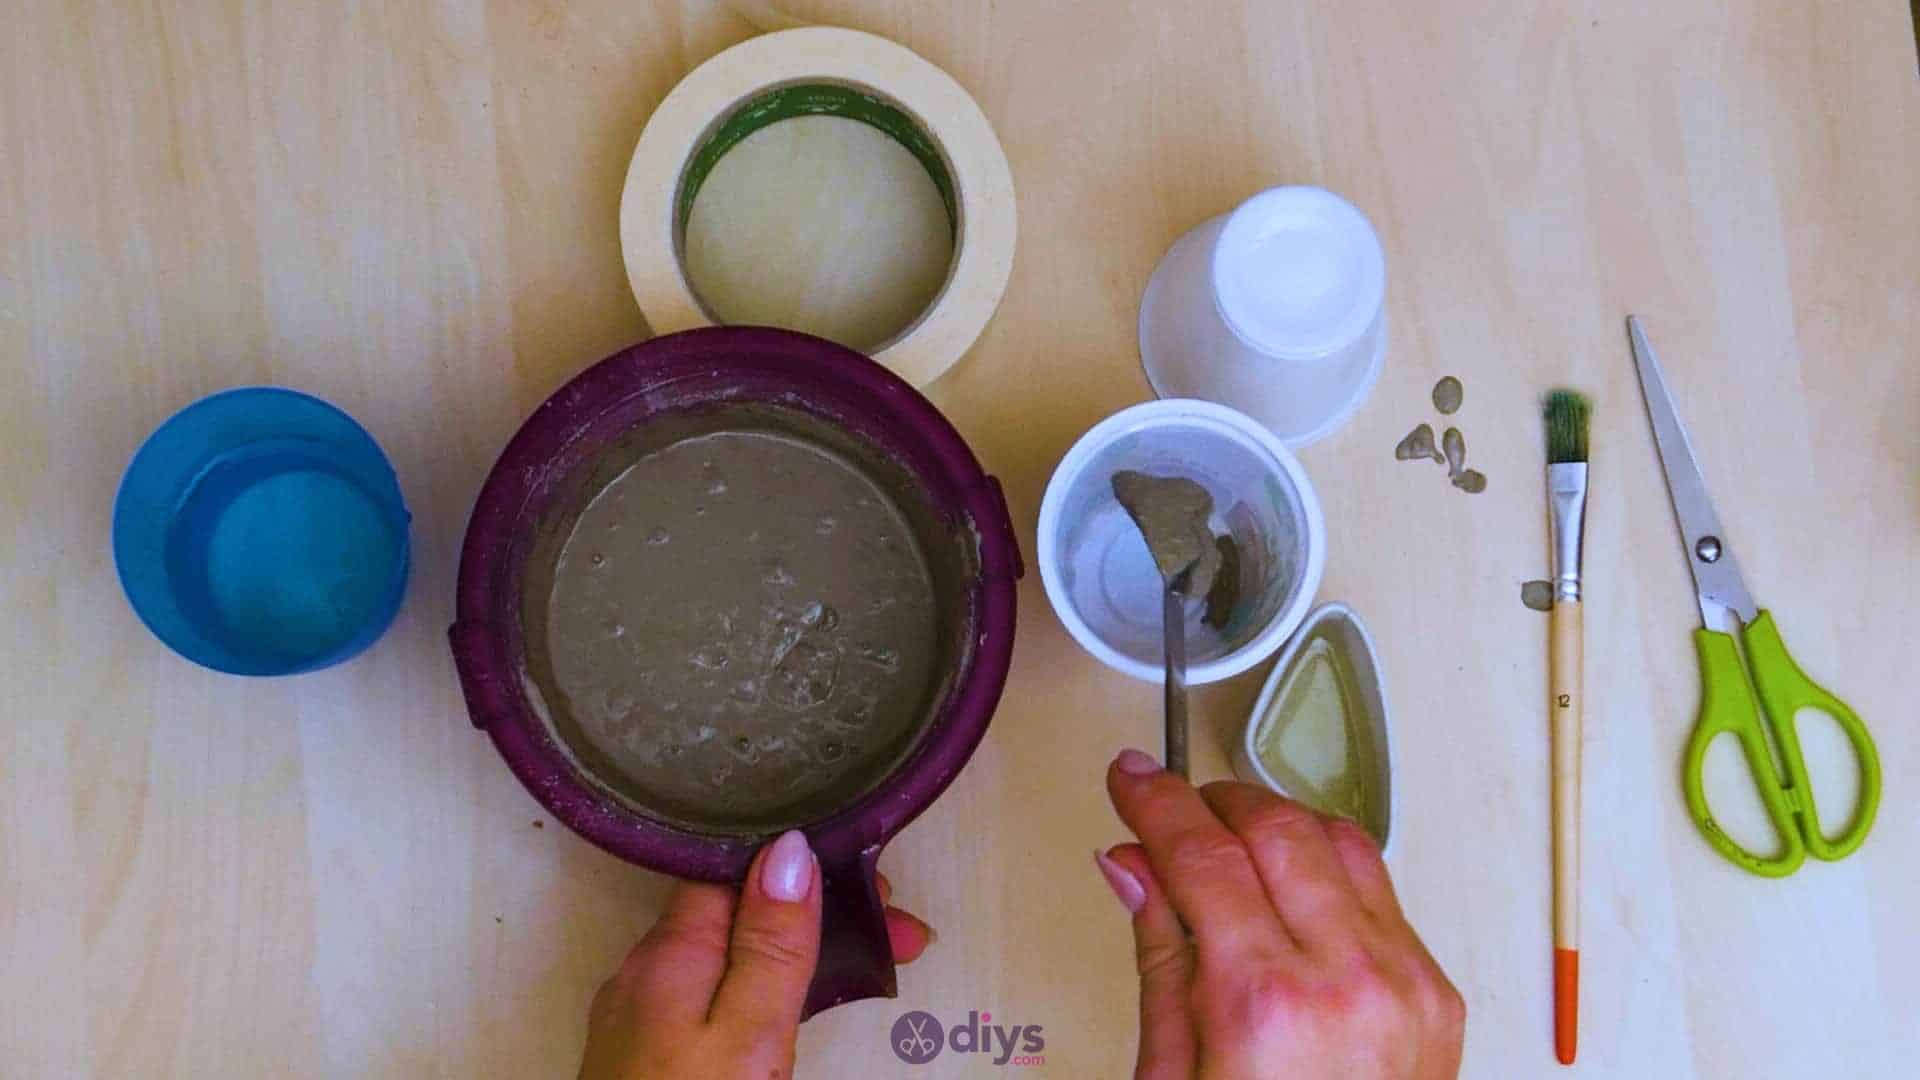
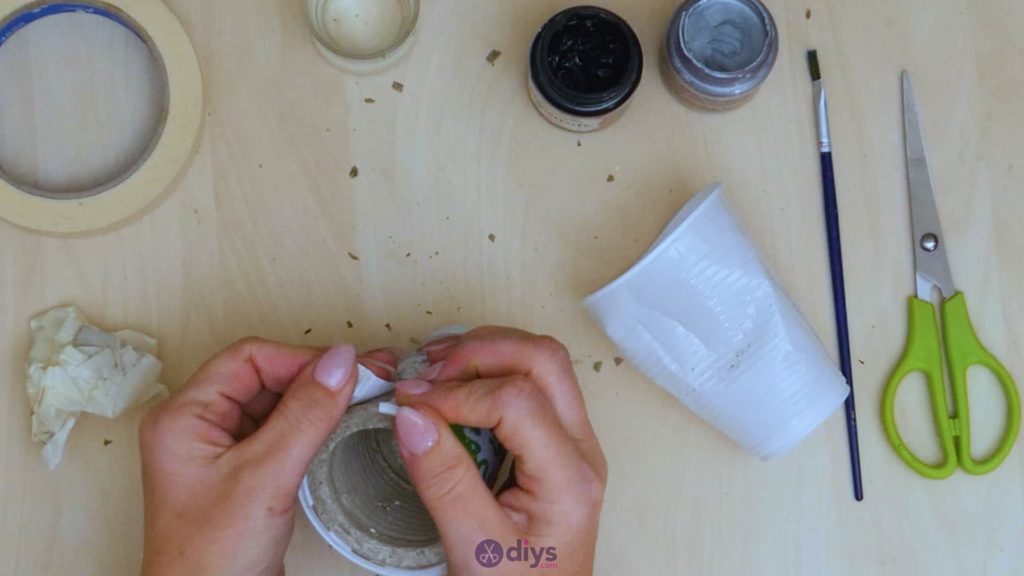
Step 4: pour concrete
Use your spoon to fill the empty plastic yogurt cup with a wet cement mix! Fill it almost all the way to the top, leaving a few centimeters leeway so that it doesn’t overflow and spill out the sides when you press the second cup into the centre in a moment. Once you’ve filled it to your satisfaction, use your spoon to smooth the surface so the top of your flower pot is nice and even. You can also tap the bottom of the yogurt cup lightly on the tabletop to even the surface out and rid the mix of air bubbles.

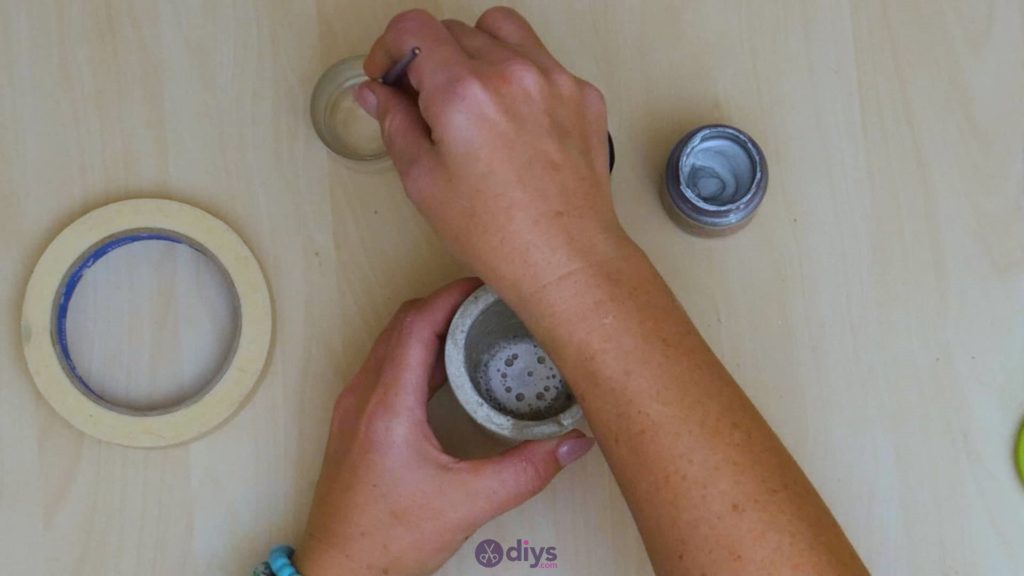
Step 5: shaping
Position your second plastic water cup over the centre of your yogurt cup and slowly push it down into the wet cement mix. Push if far enough that you’ll have a good sized depression in which to plant something, but not all the way to the bottom; you don’t and it to moveall the cement out of the way so that you have holes in the bottom of your flower pot. Once you’re happy with where the cup sits, stick a piece of tape across the top of both cups from edge to edge to hold it in place. Set the whole thing aside to dry.


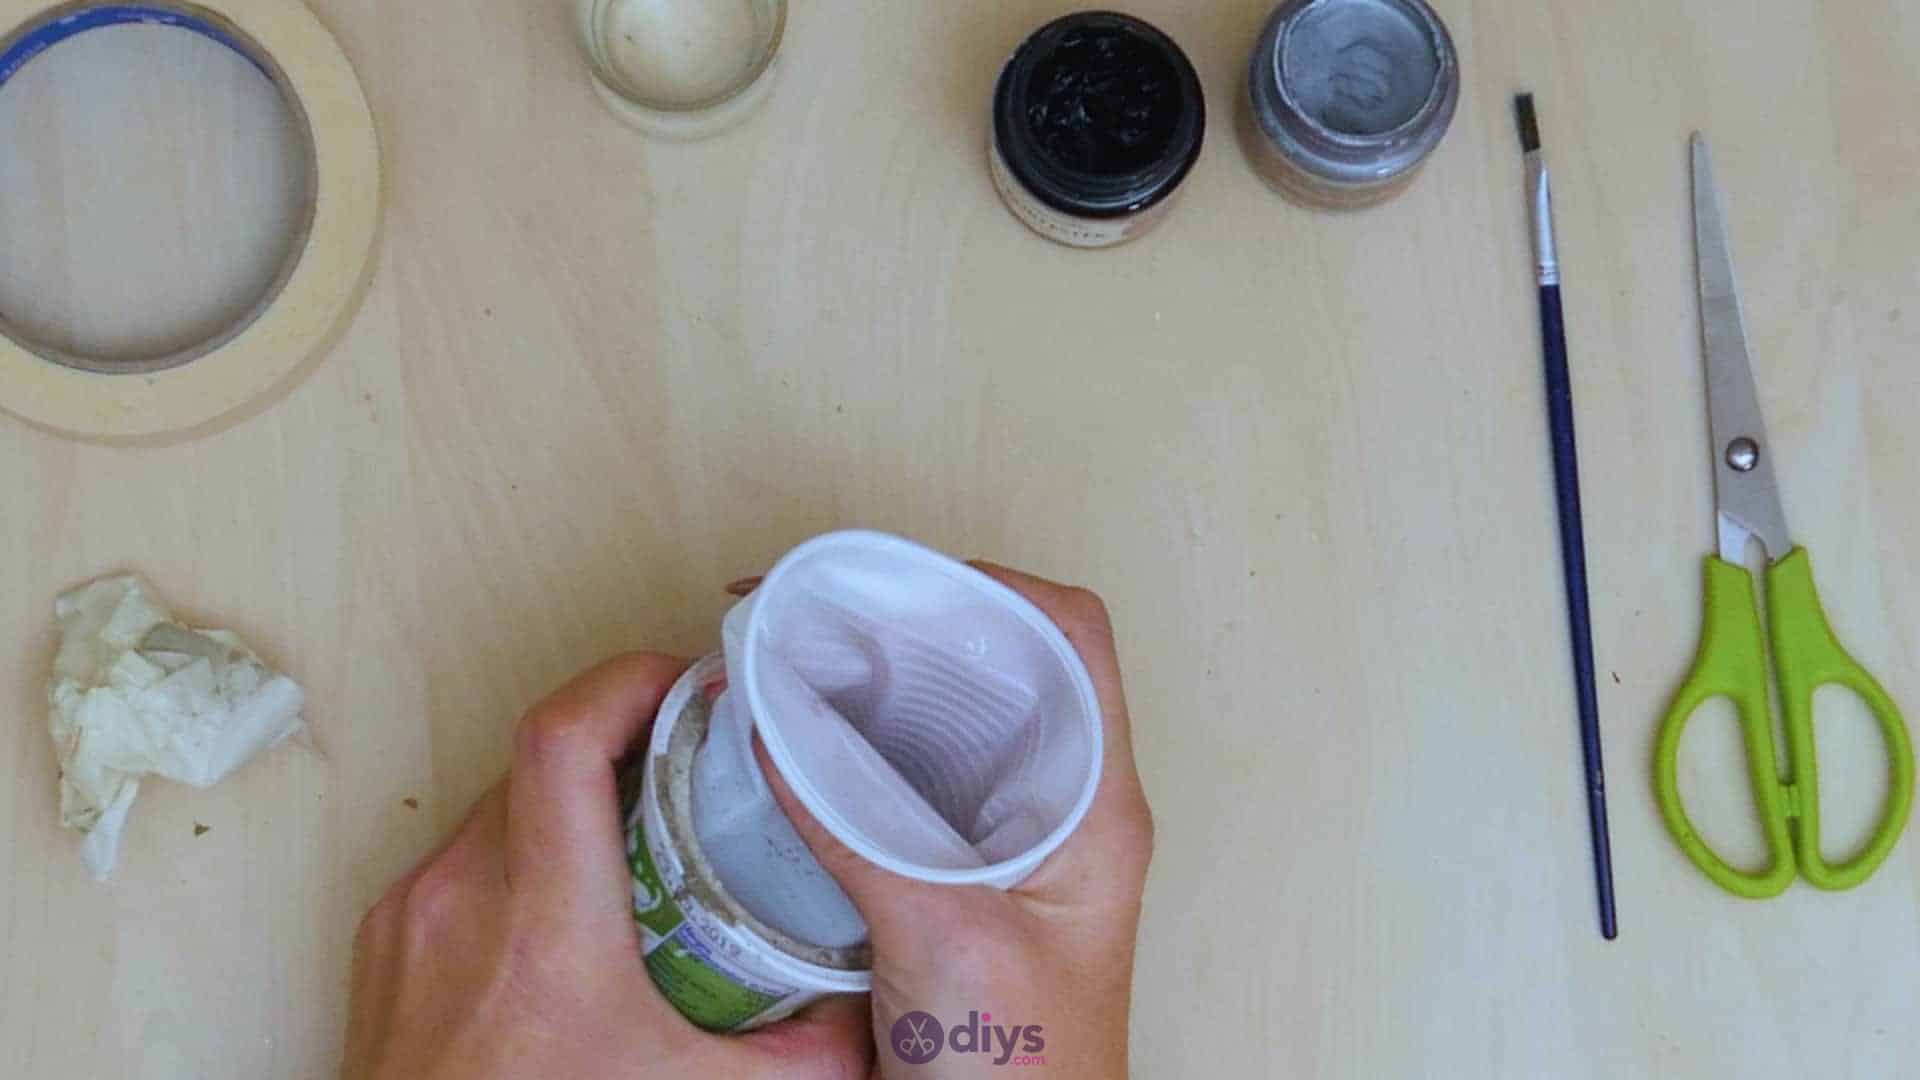
Step 6: remove from mold
Once your cement mix has dried completely and thoroughly, all the way through the middle, pull the plastic water cut out of the centre. I found that crumpling it or collapsing it into the middle helped. Then pop the new concrete shape out of the yogurt cup. If you find it a little difficult to remove, use your scissors to cut down the sides of the cup and peel the plastic away. You can use an abrasive block or a piece of sandpaper to smooth the outside and top edges of your pot out if you’d like, but I kind of liked the natural texture my concrete pot had, so I left mine.


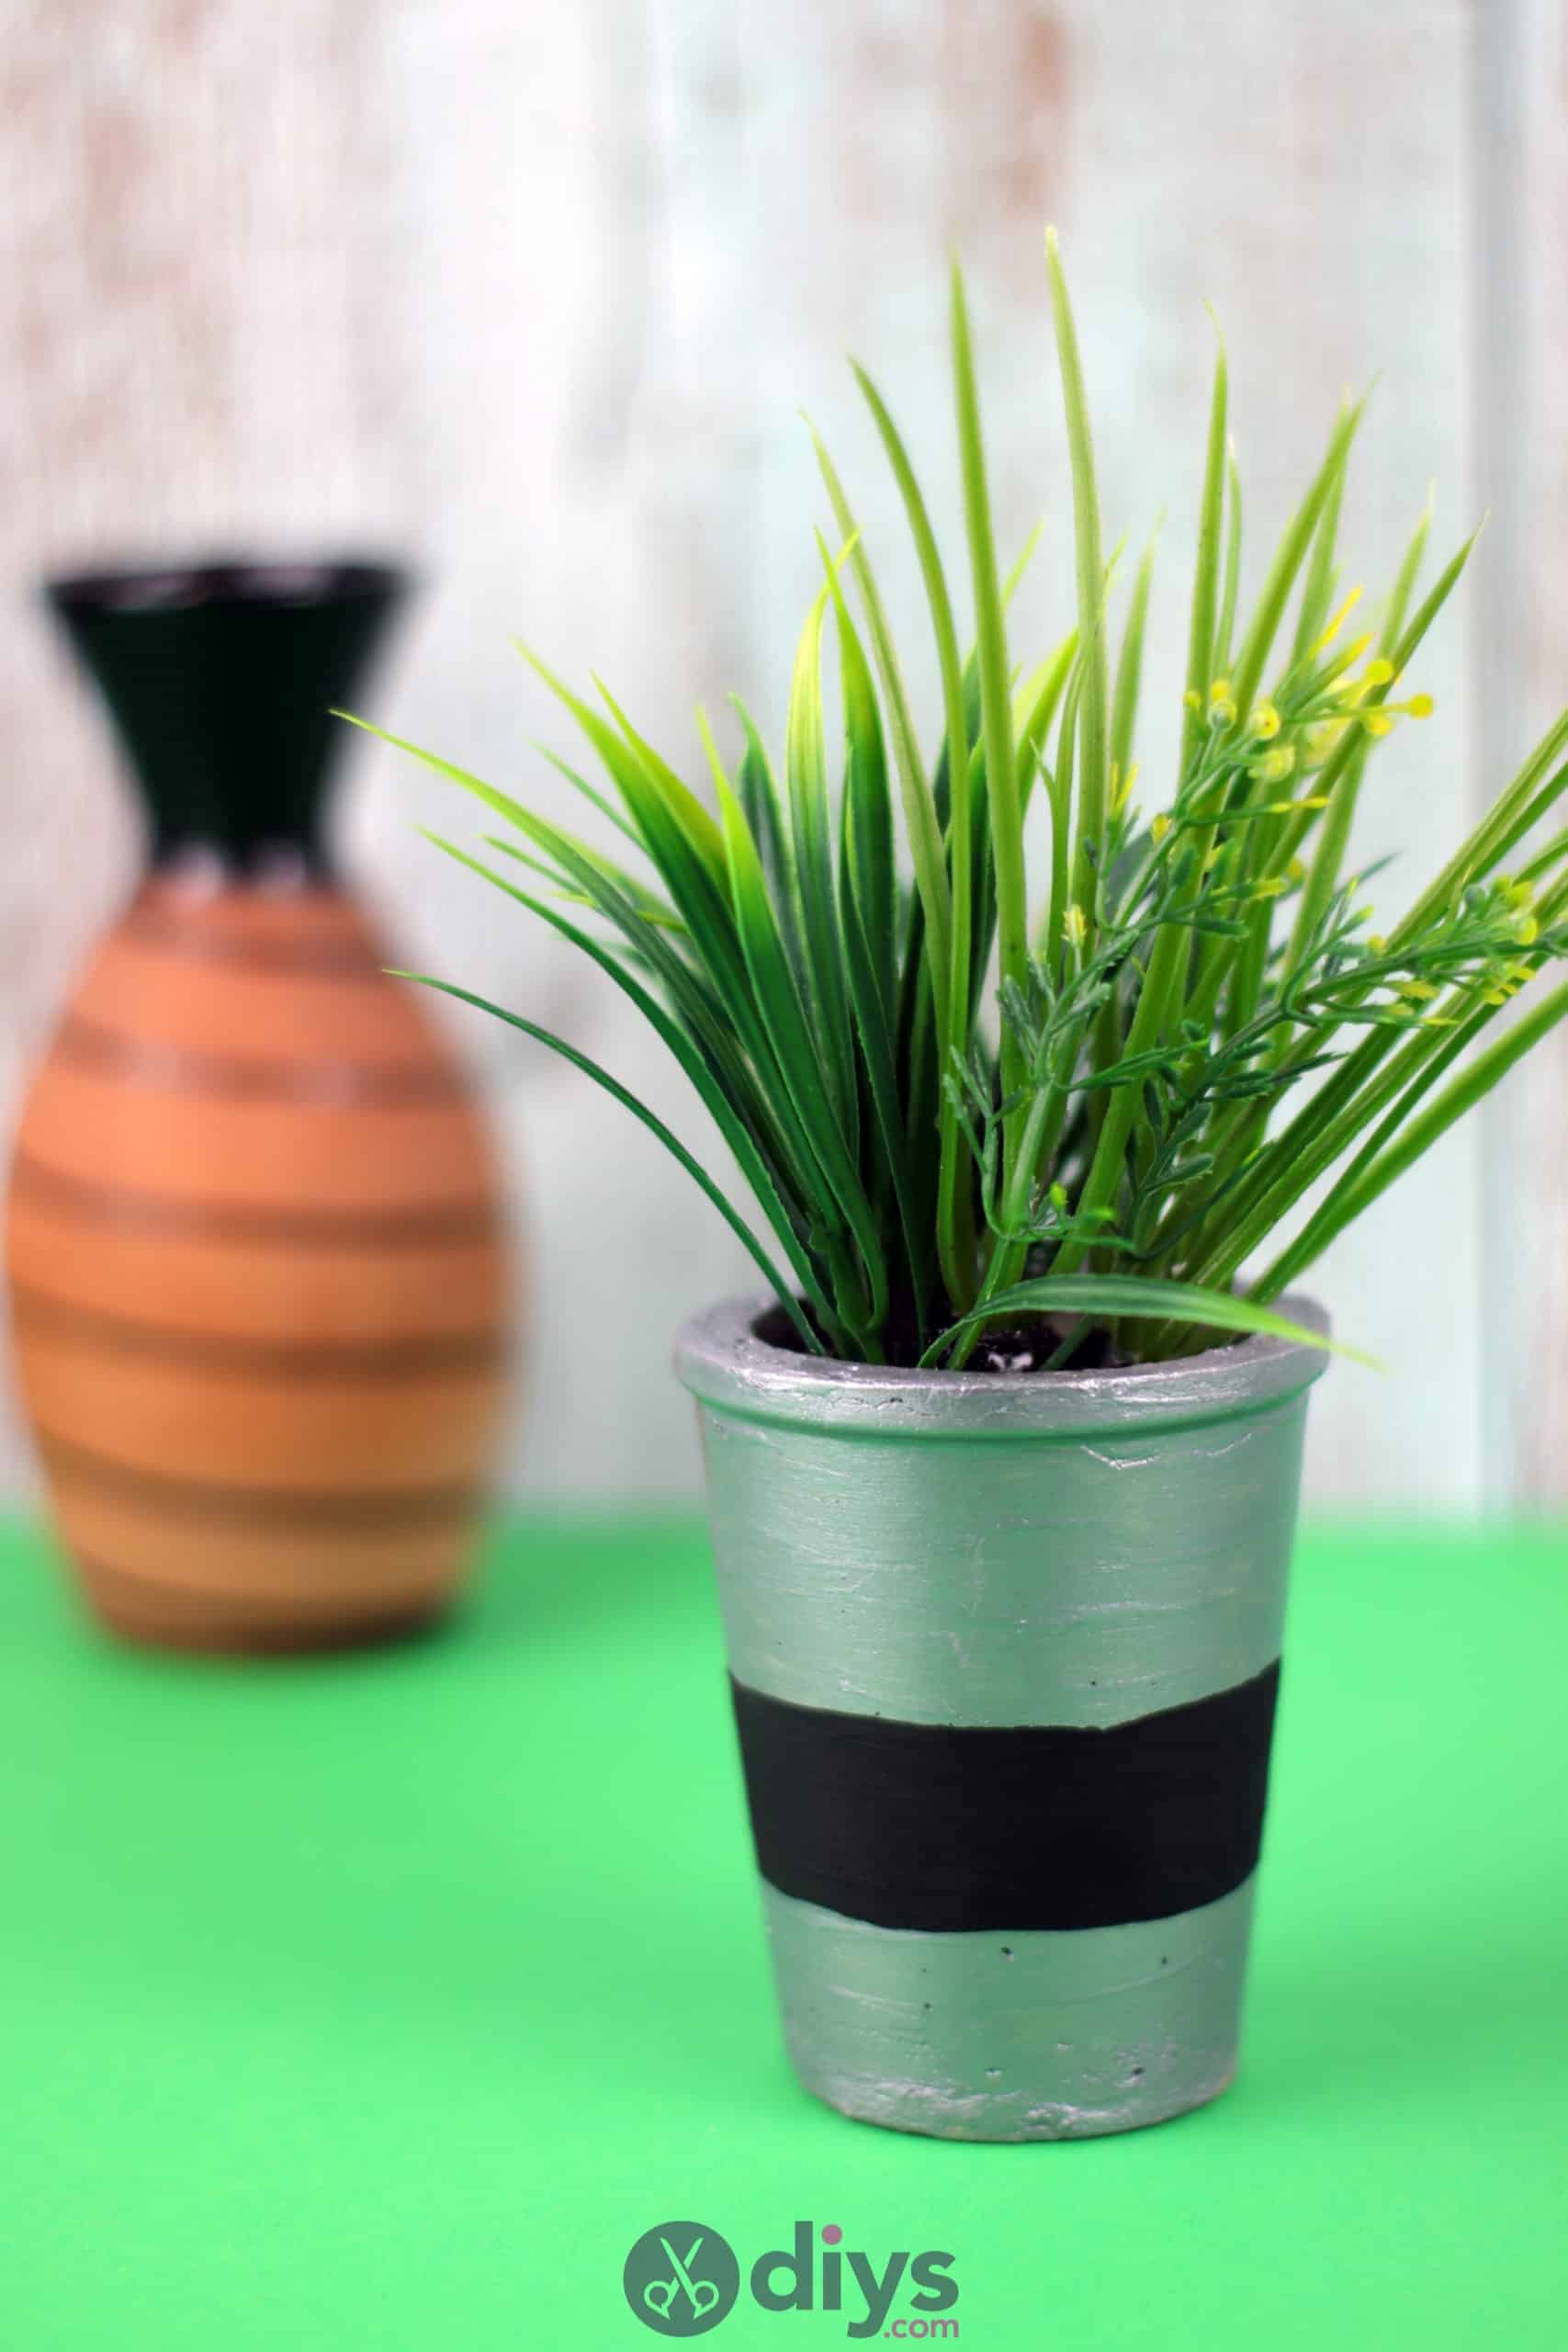
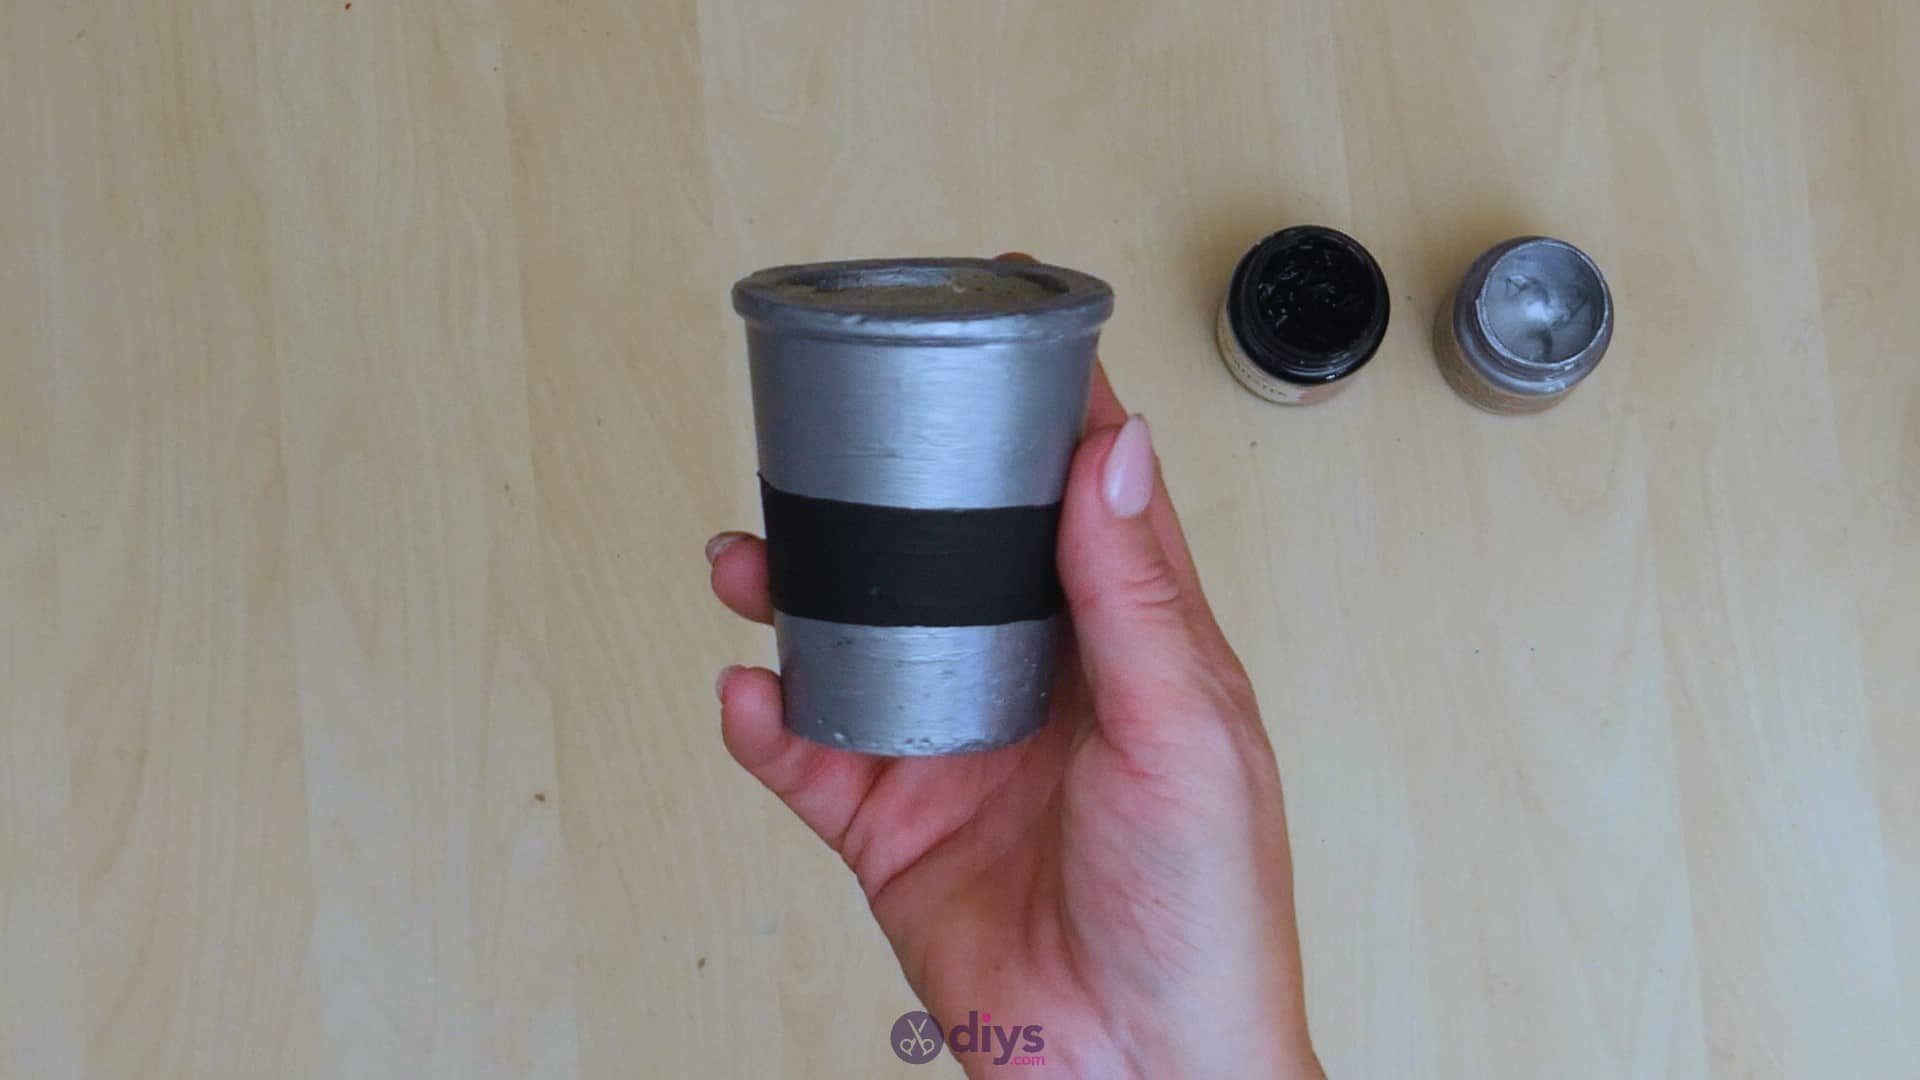
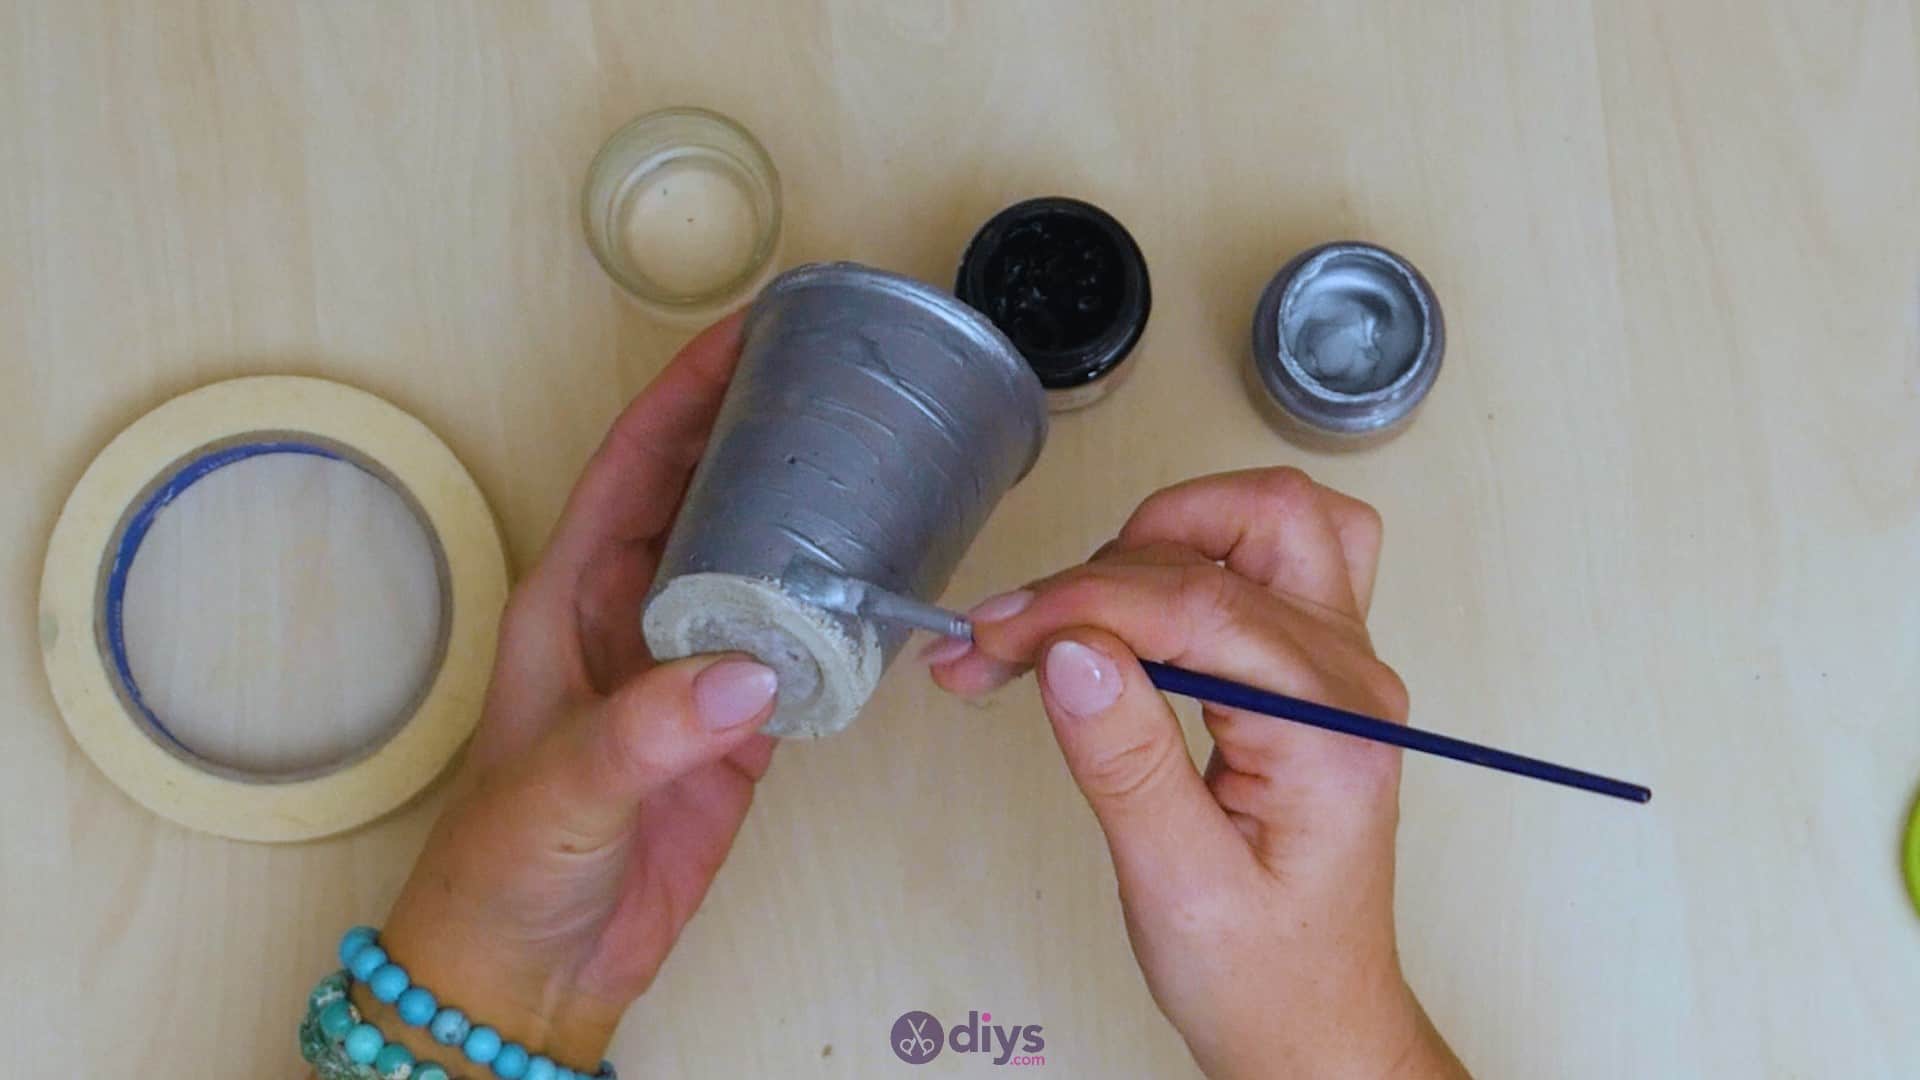
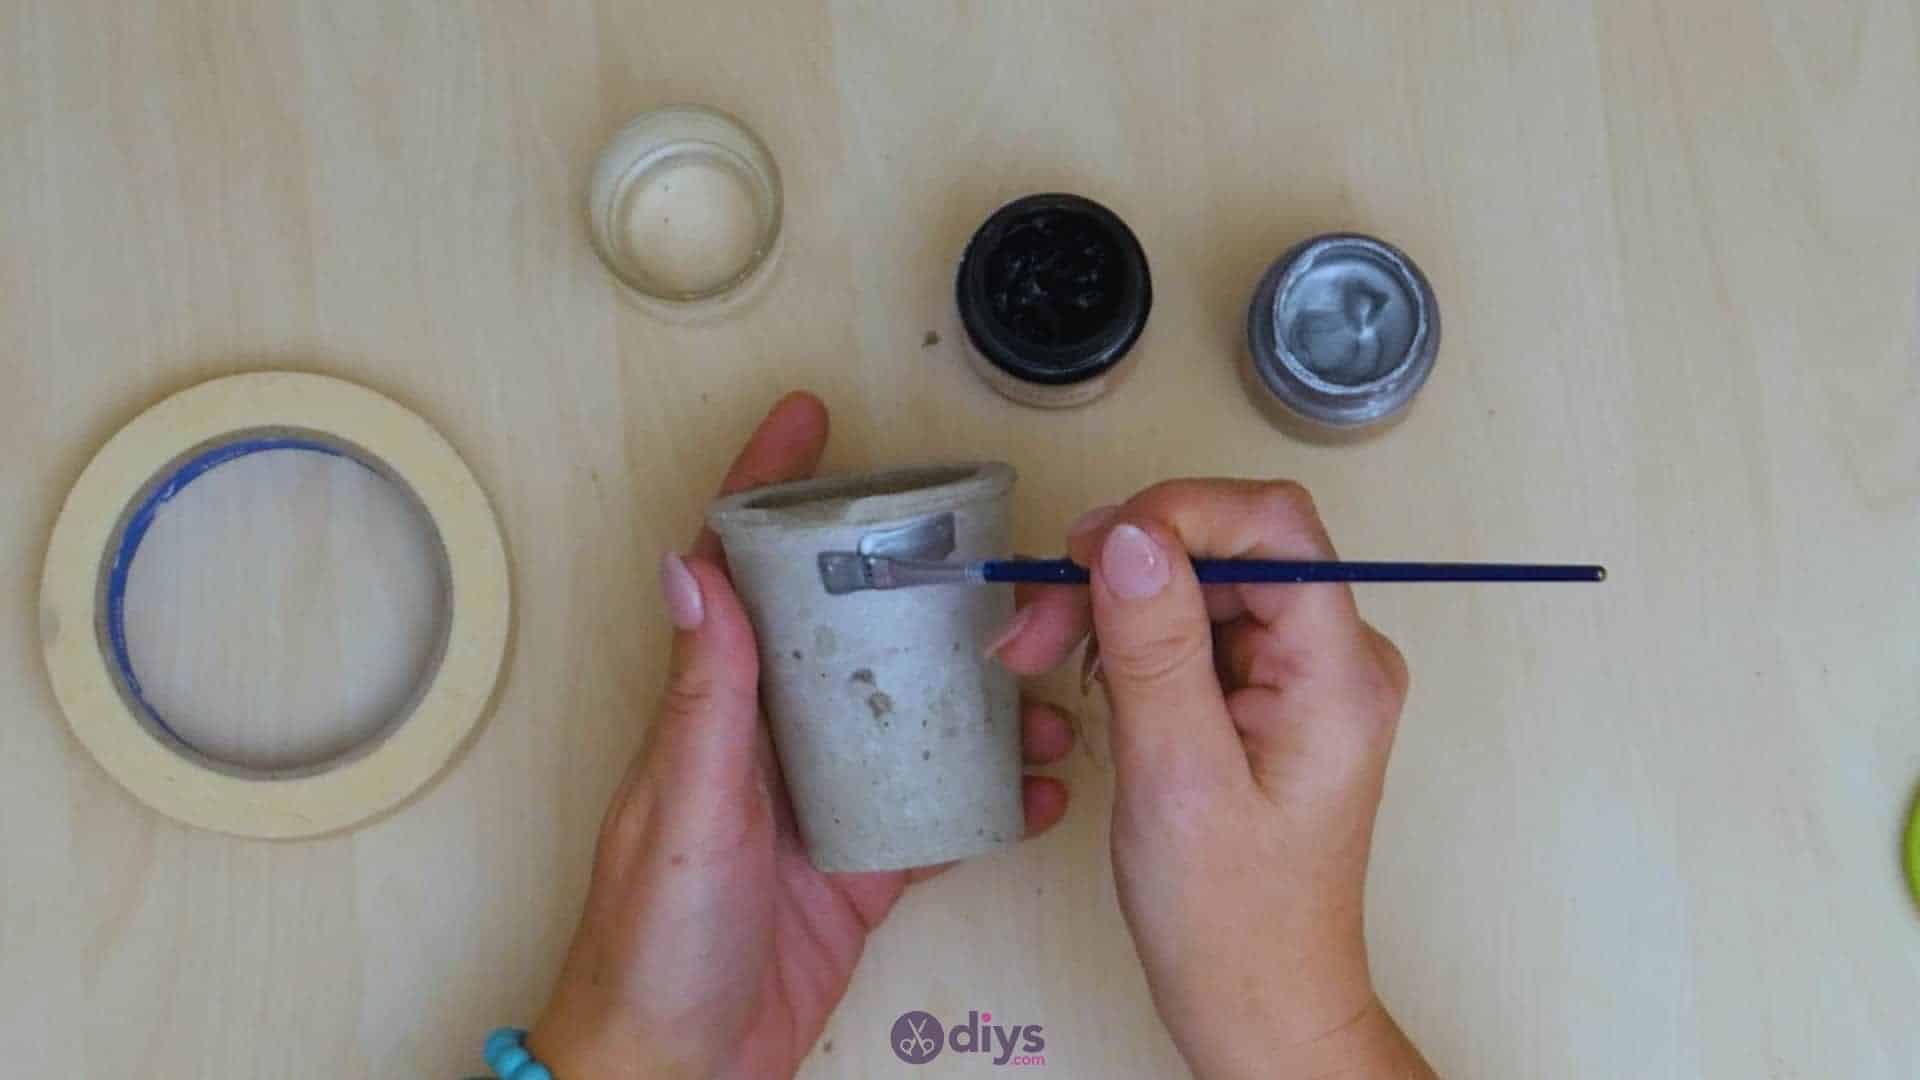
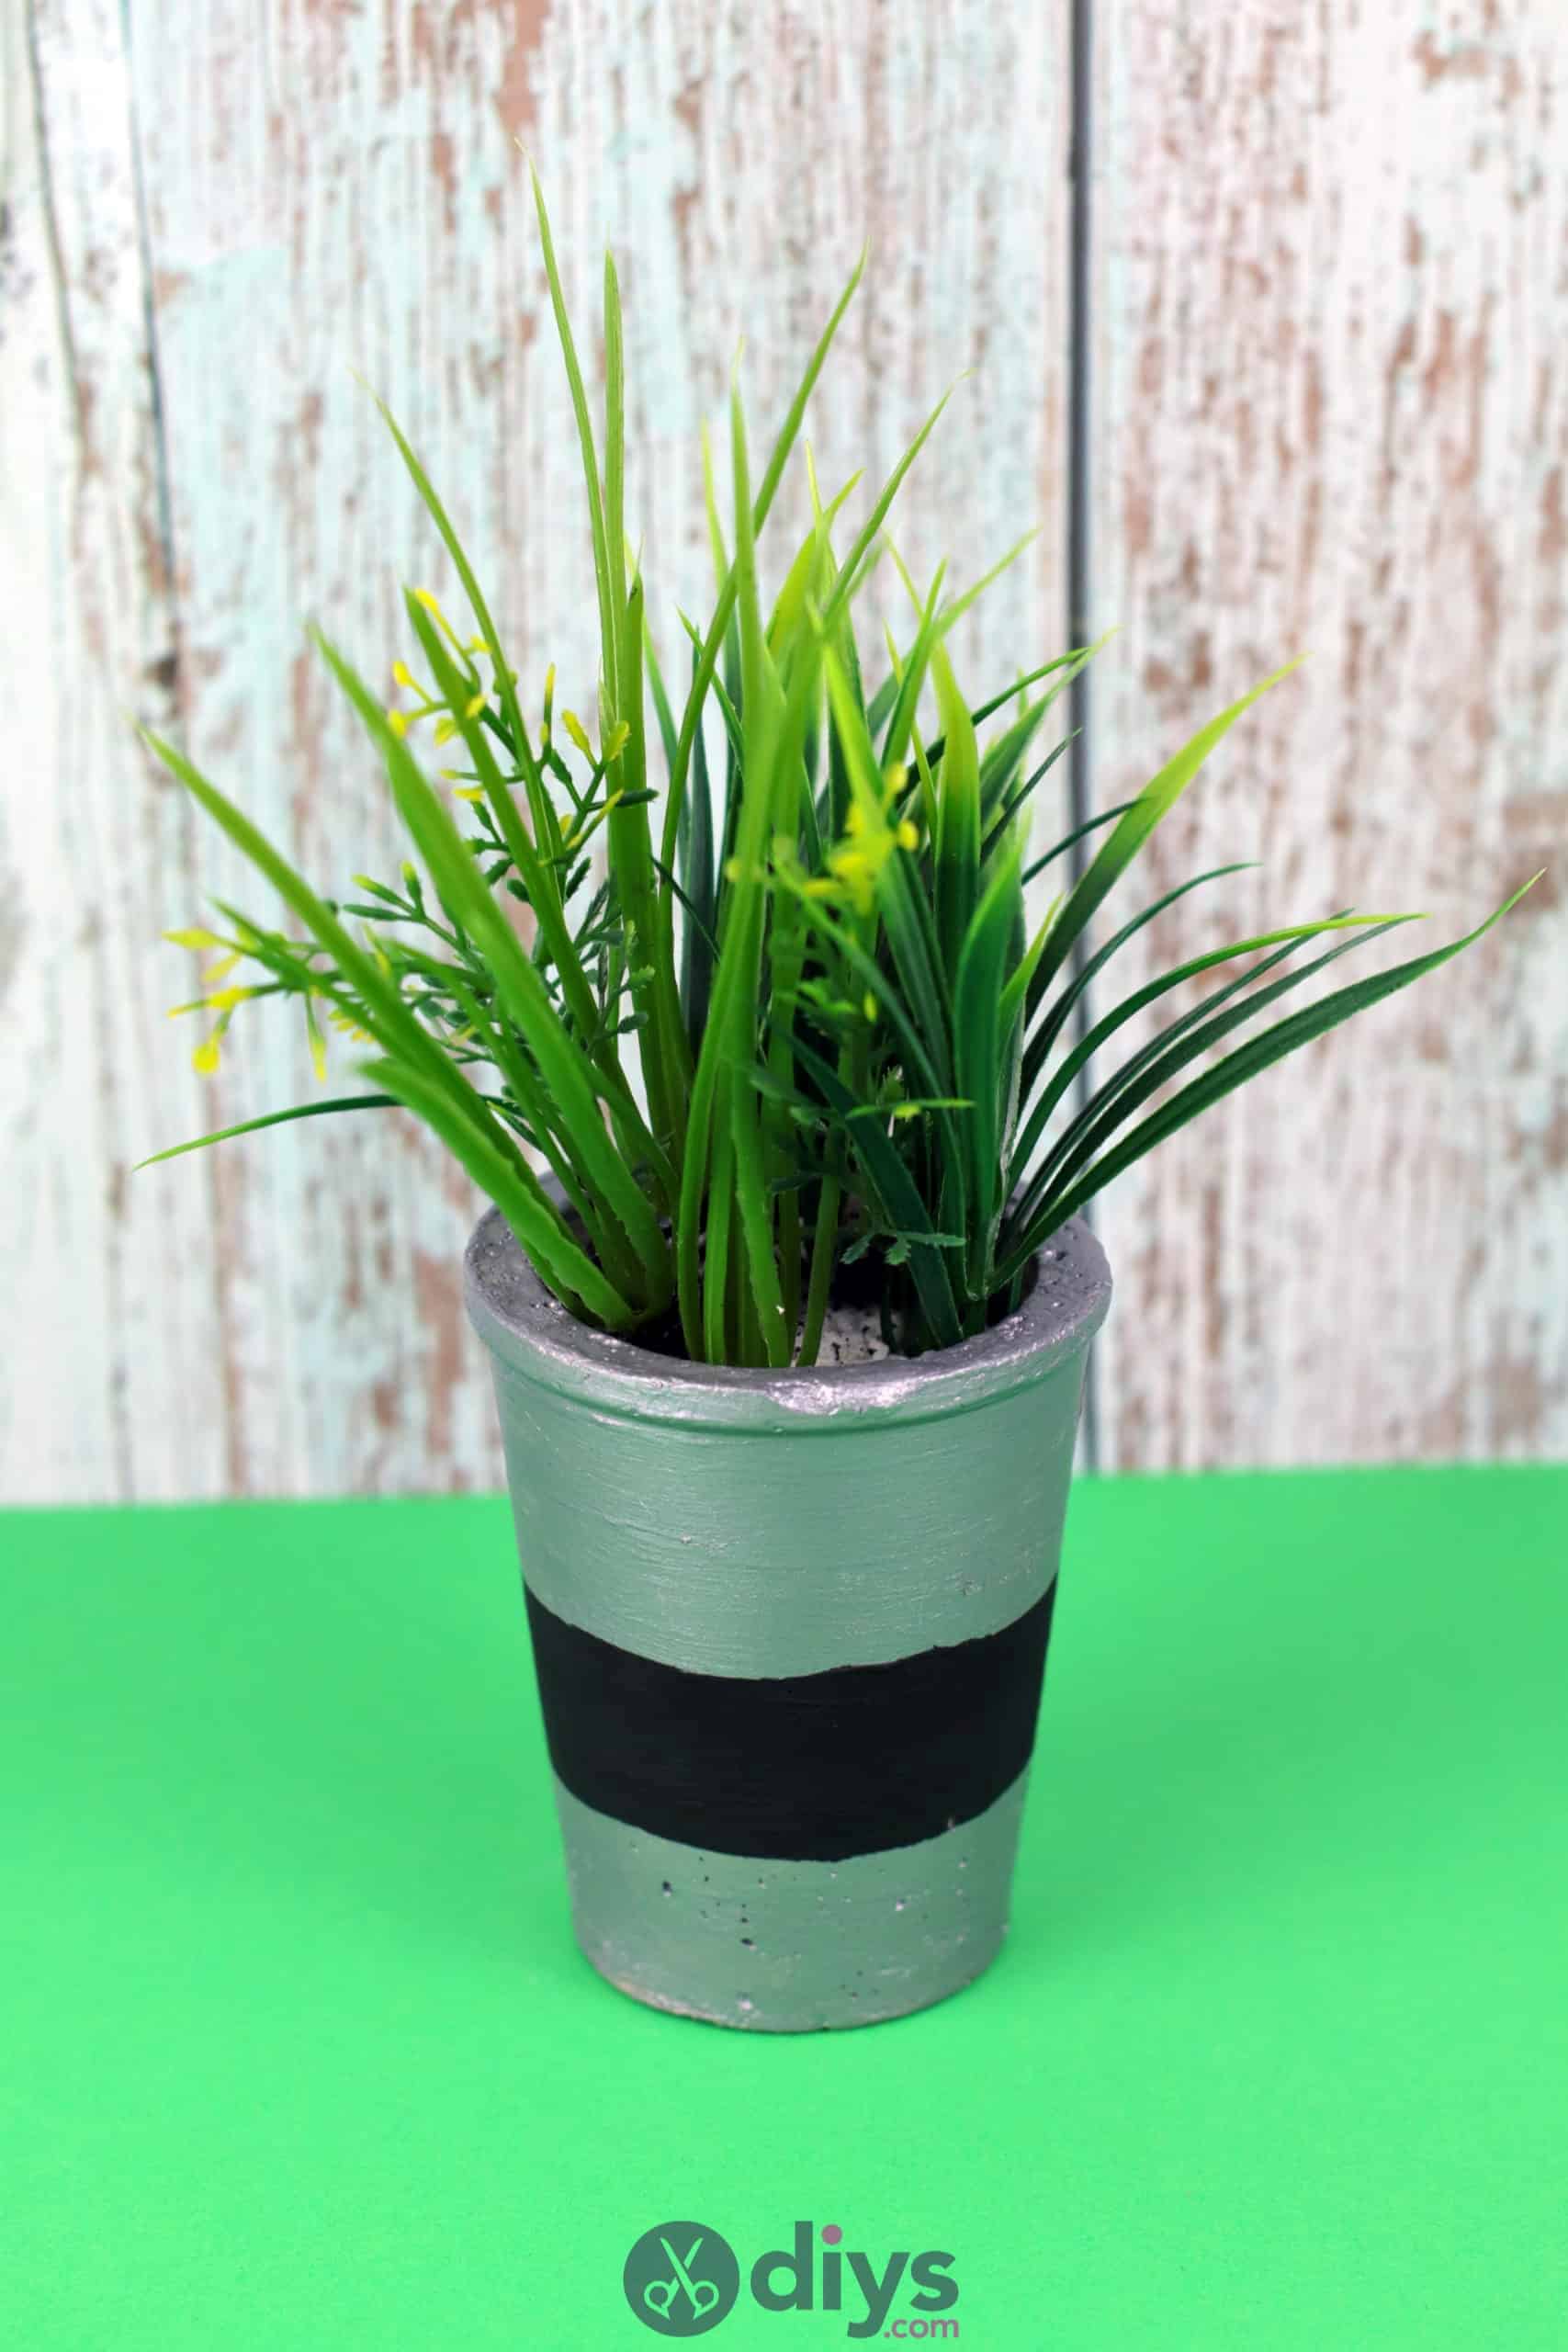
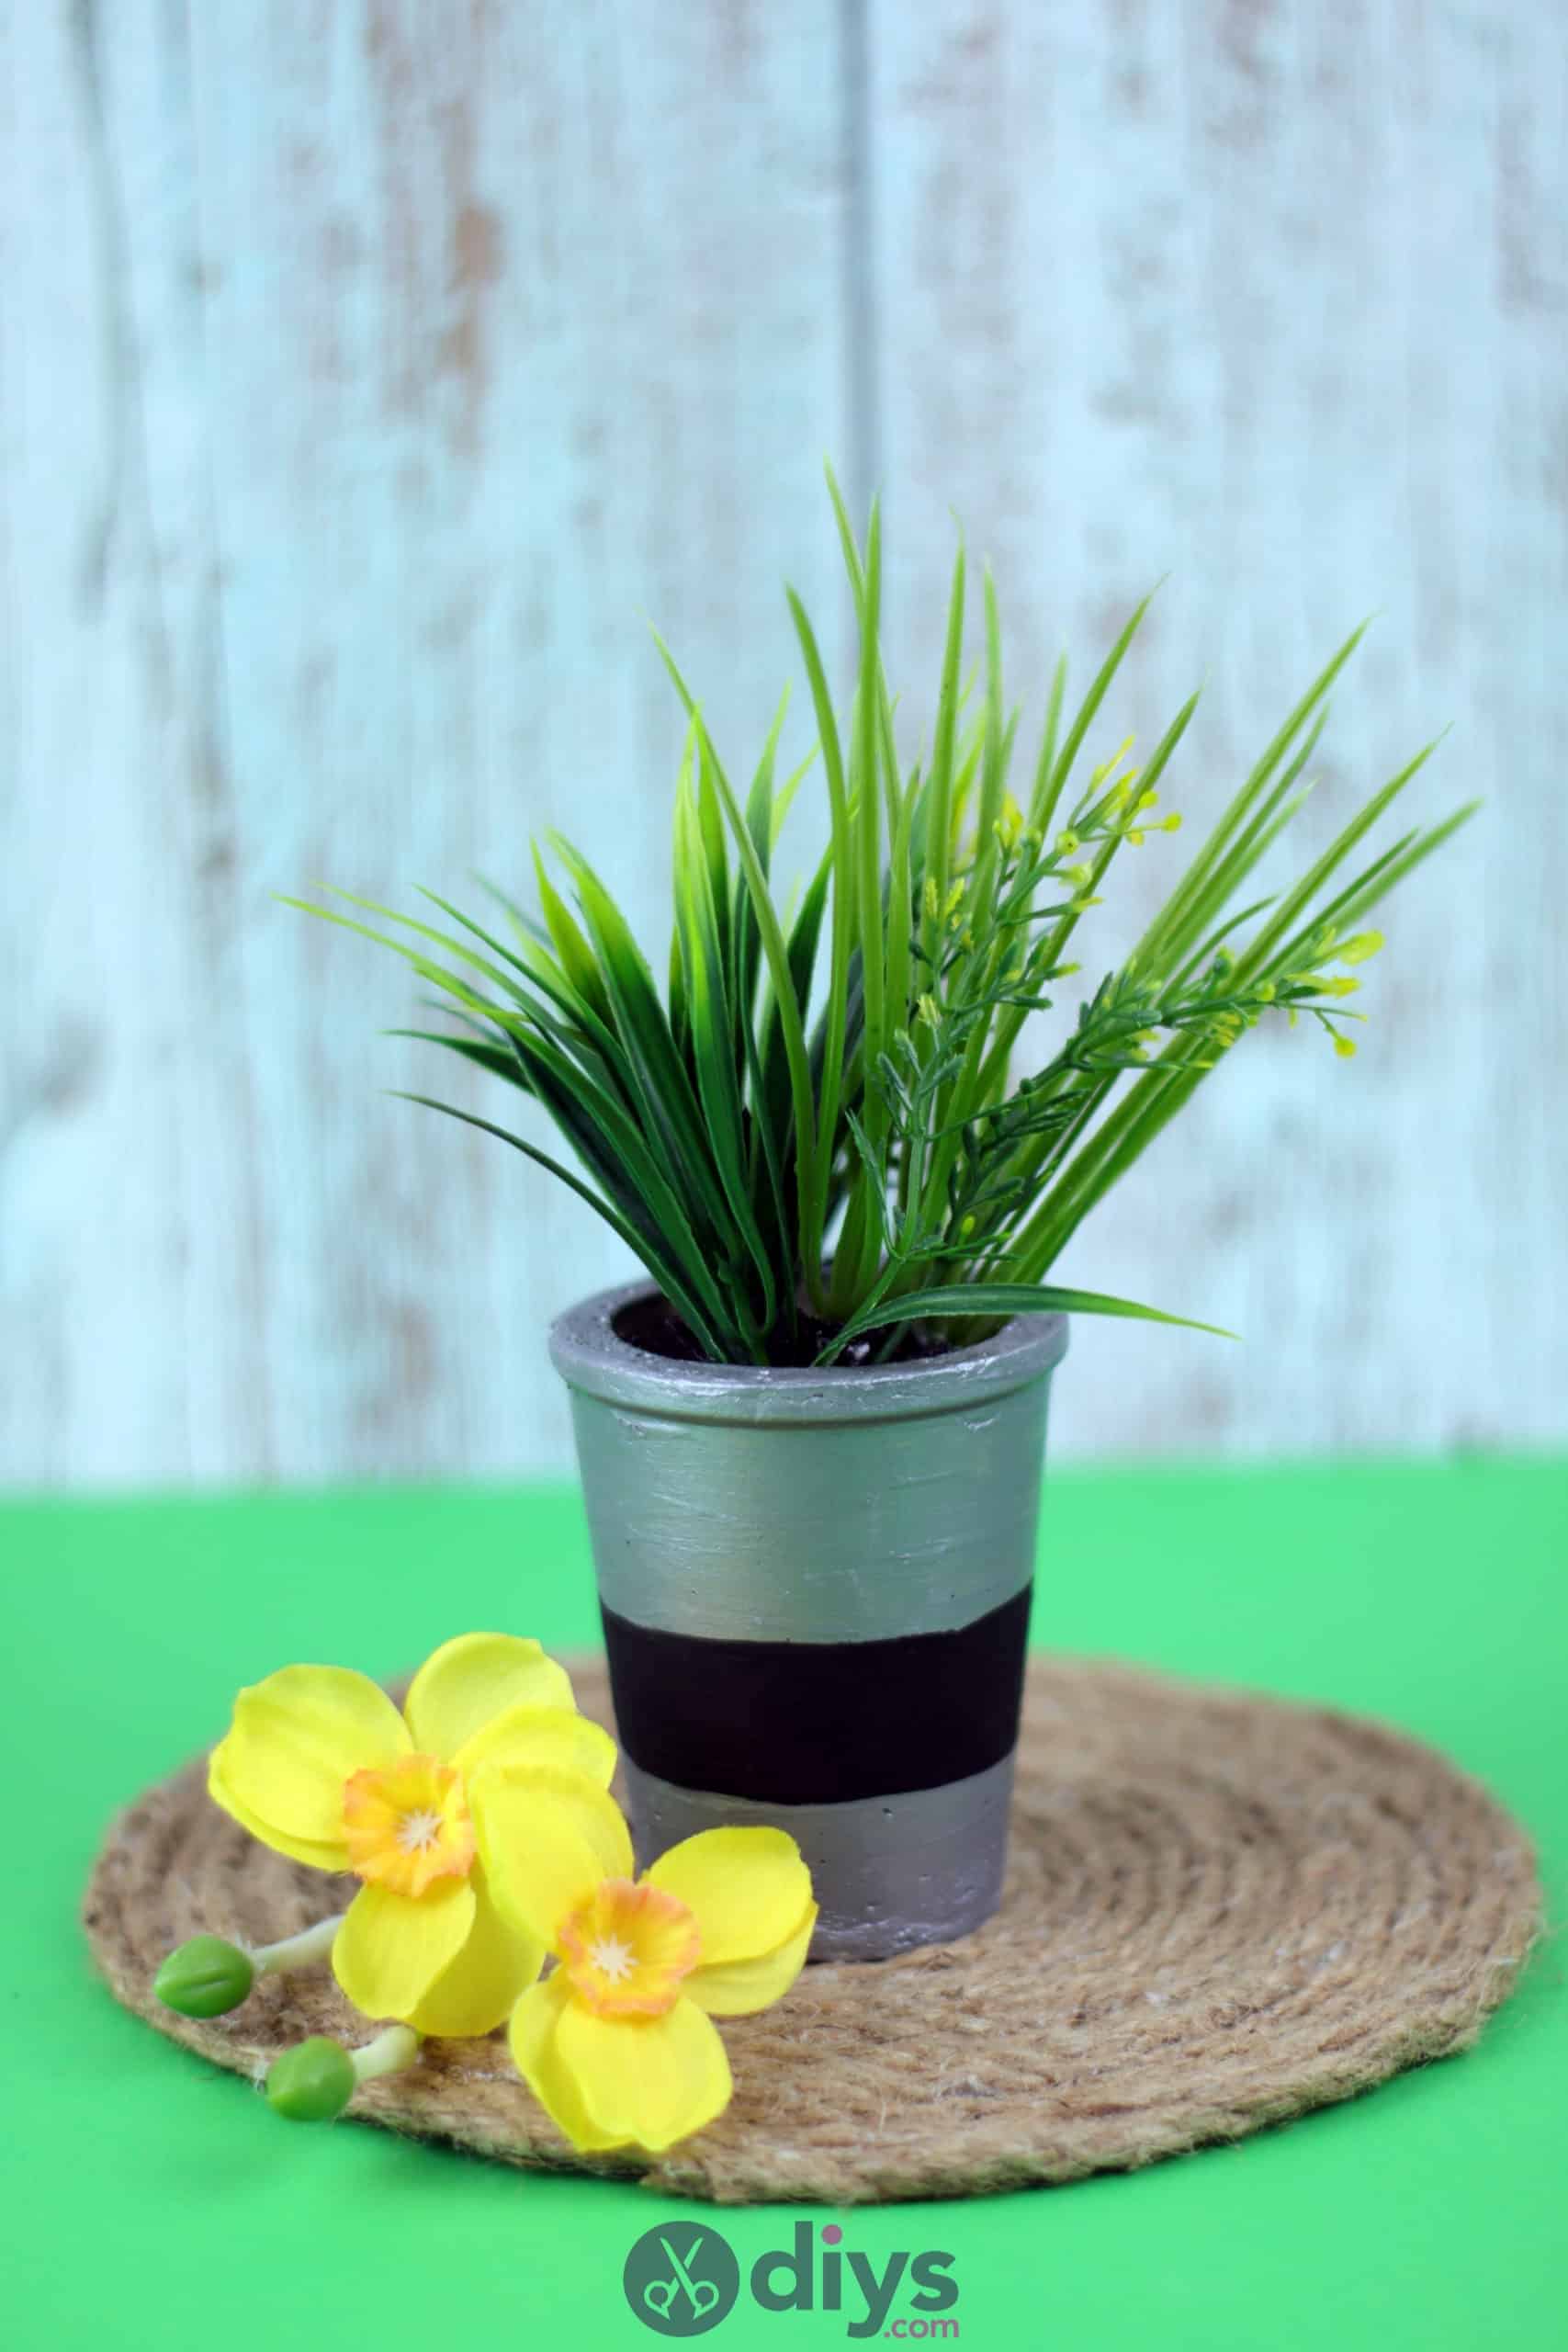
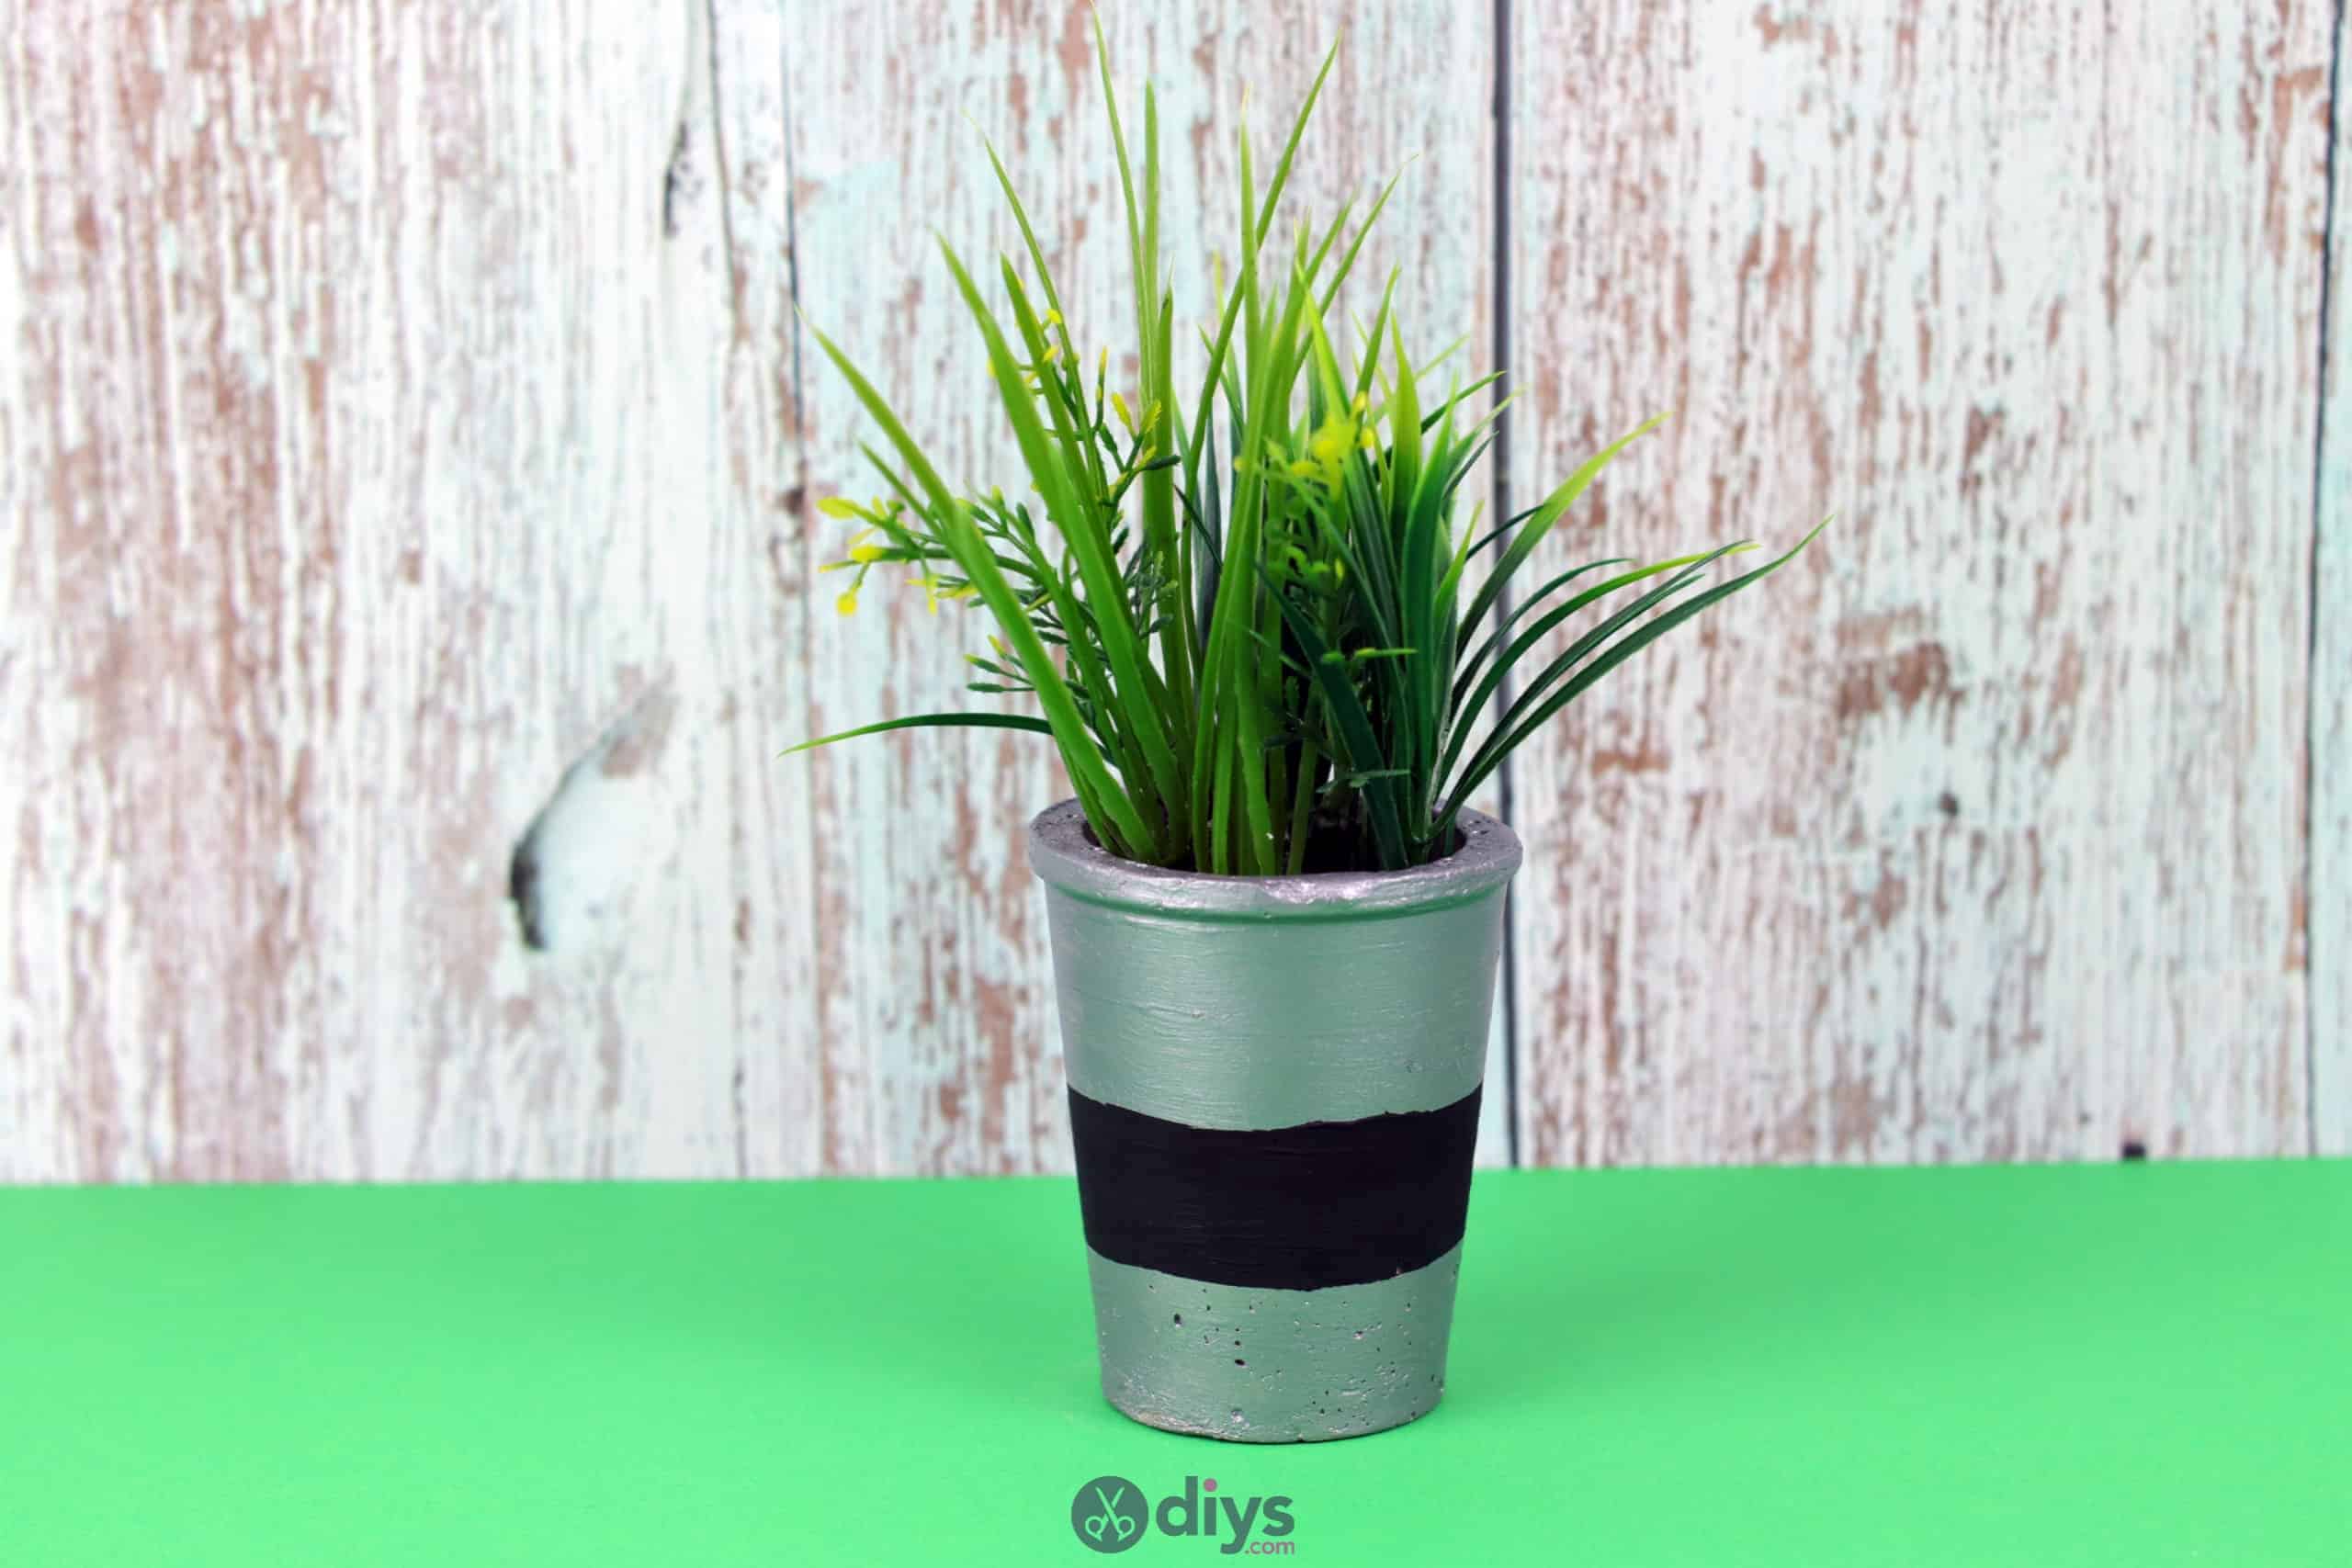
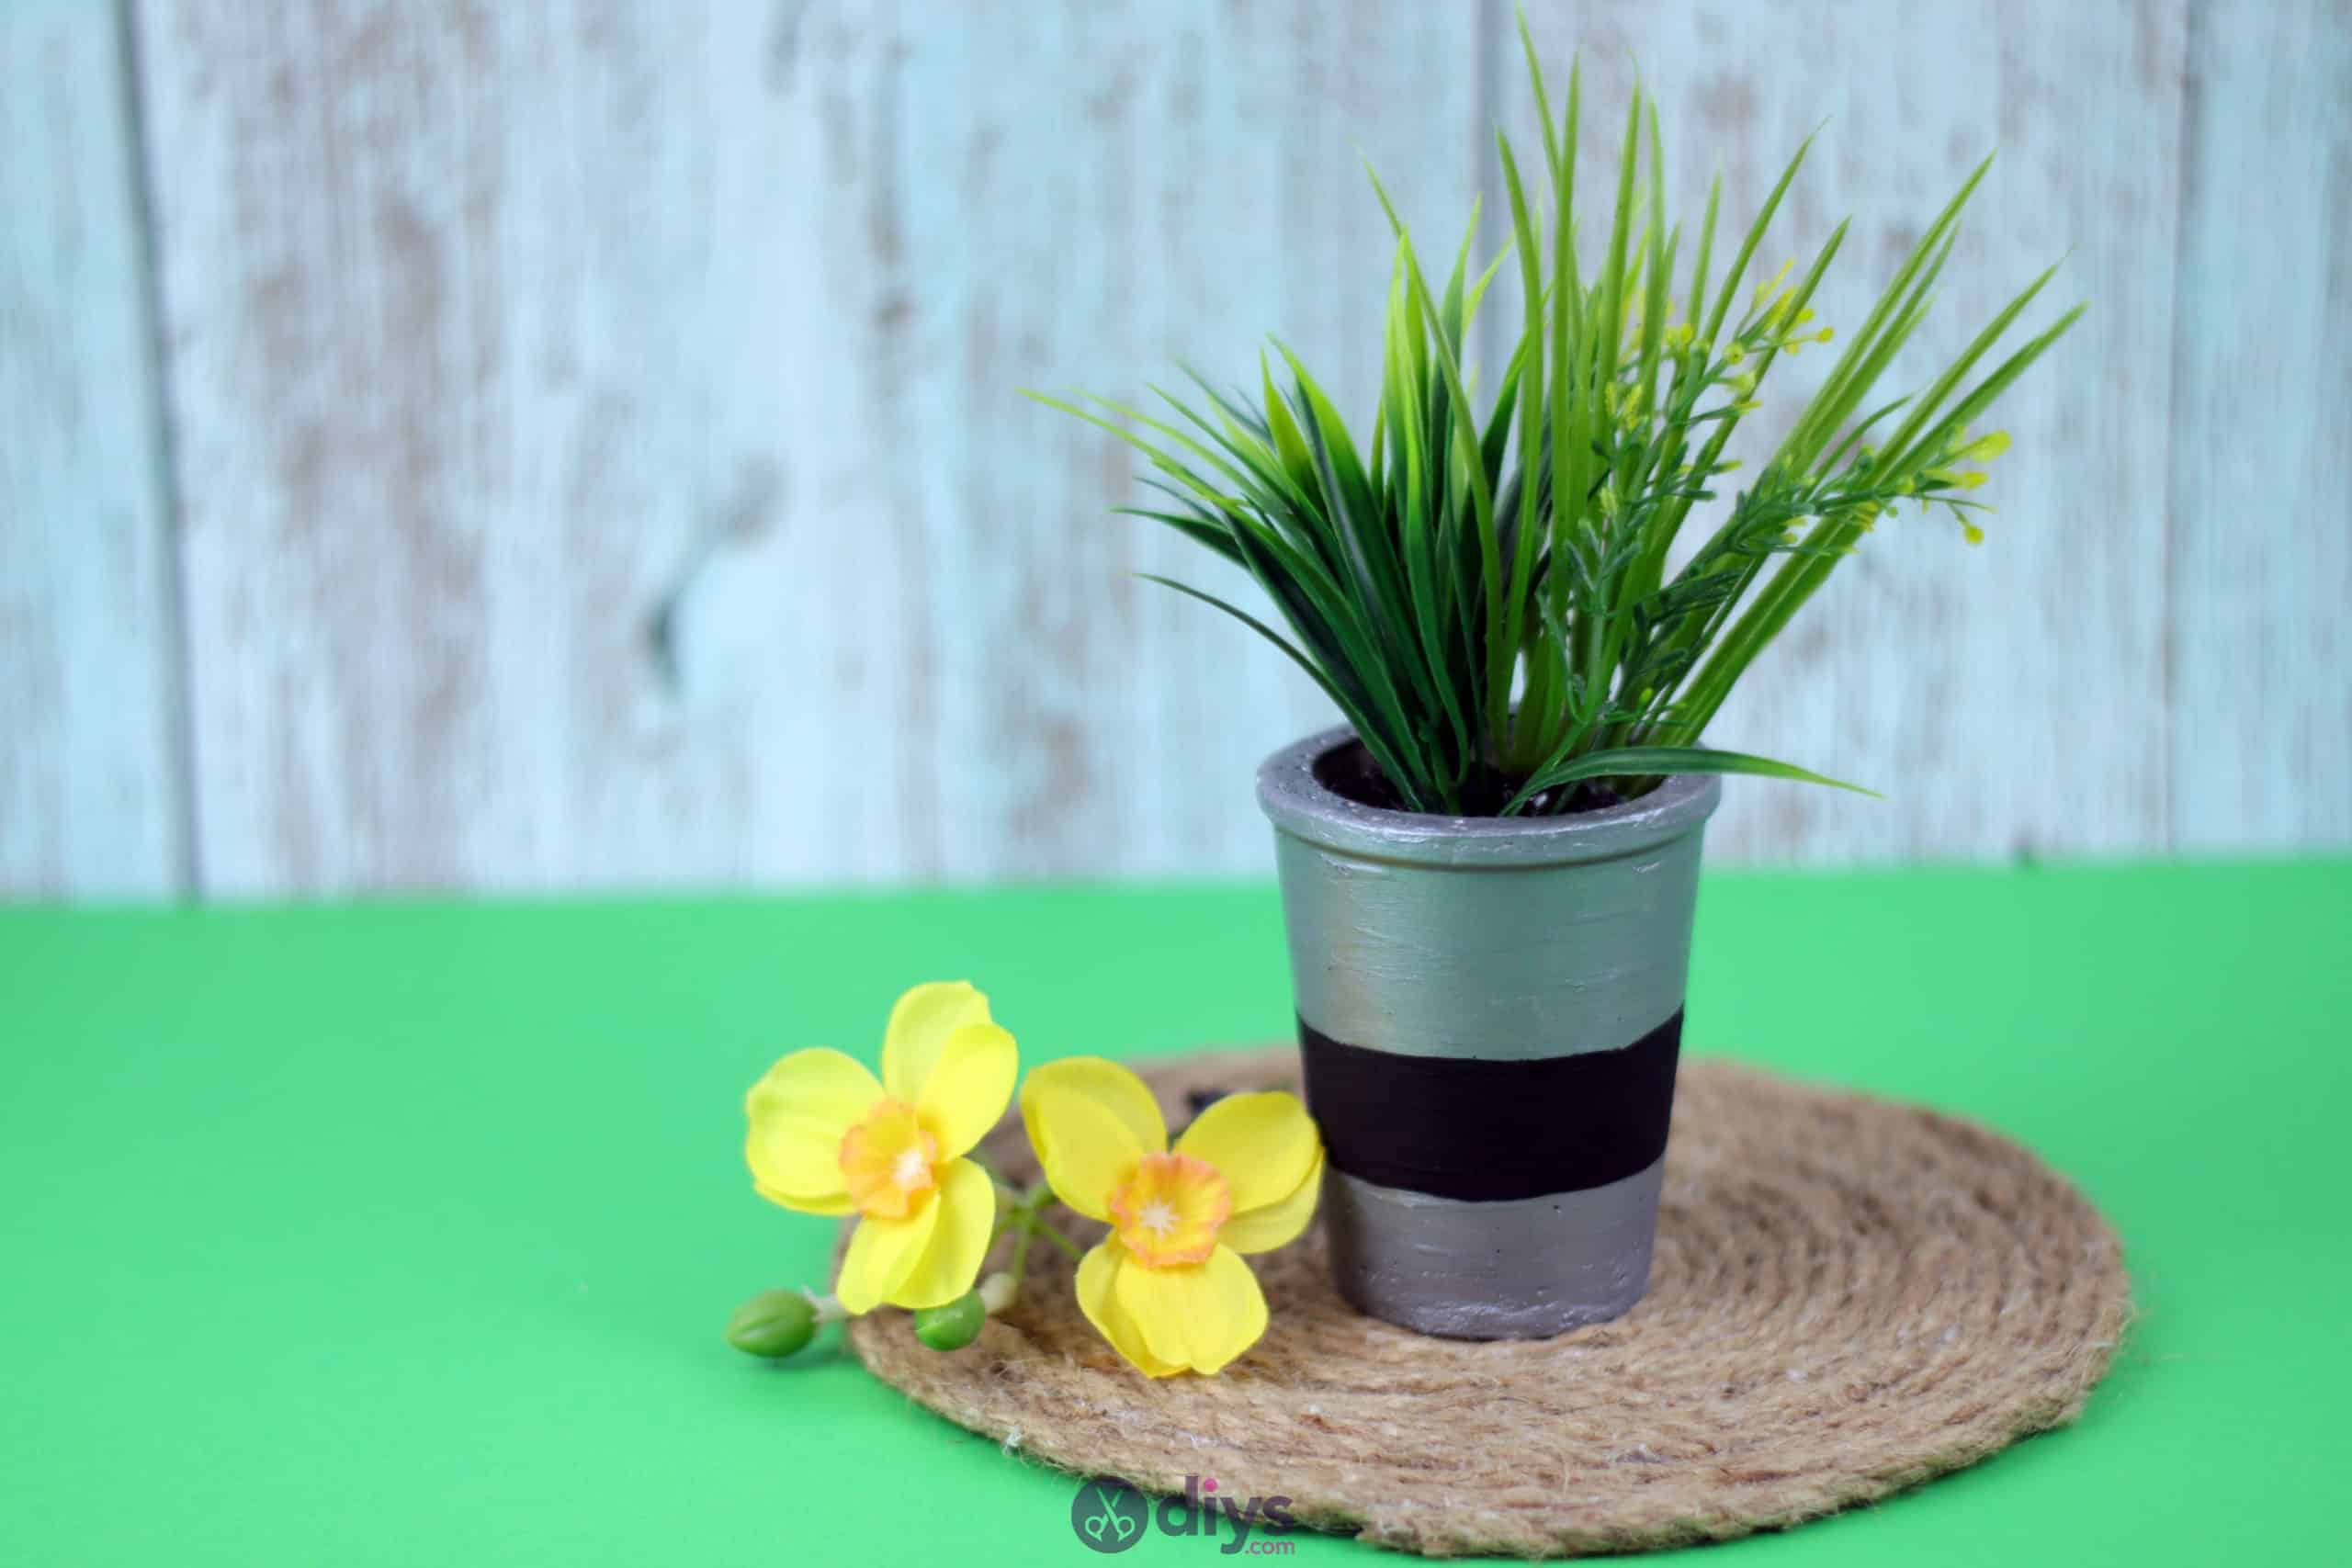
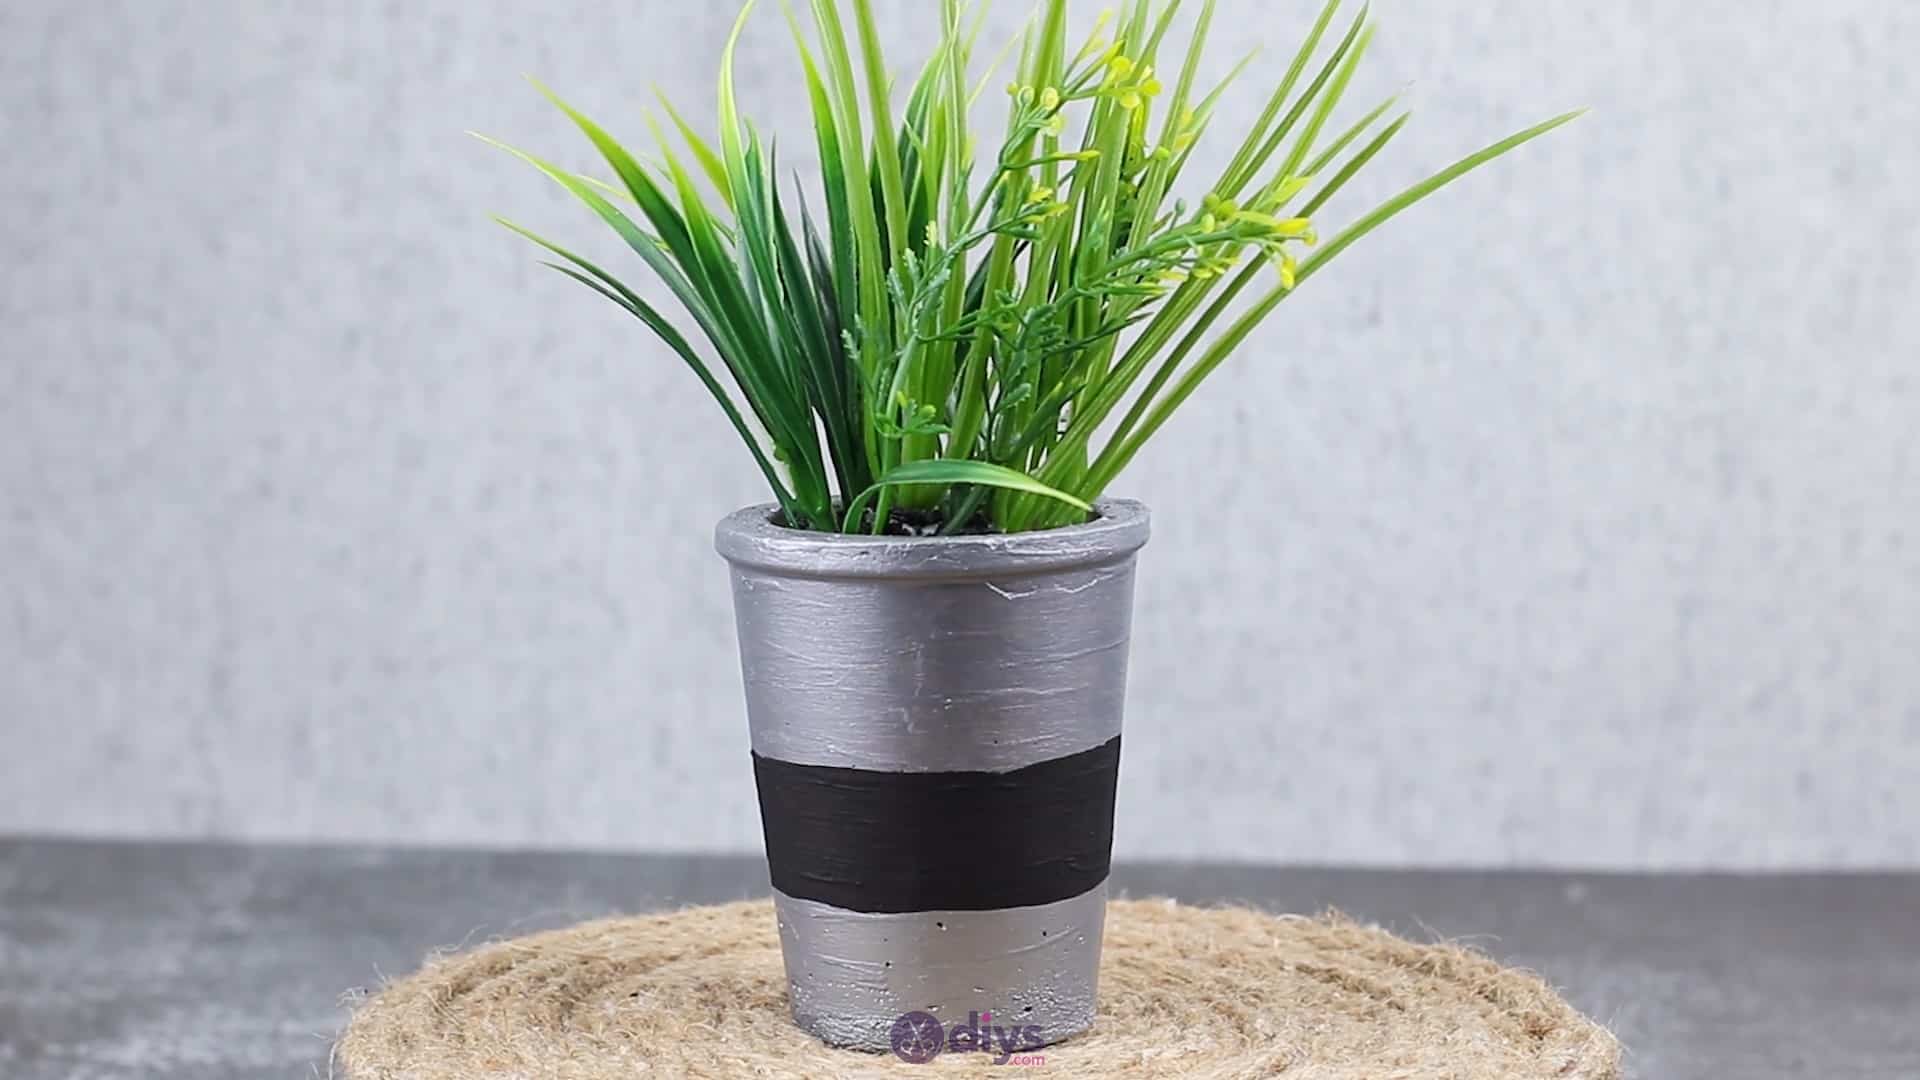
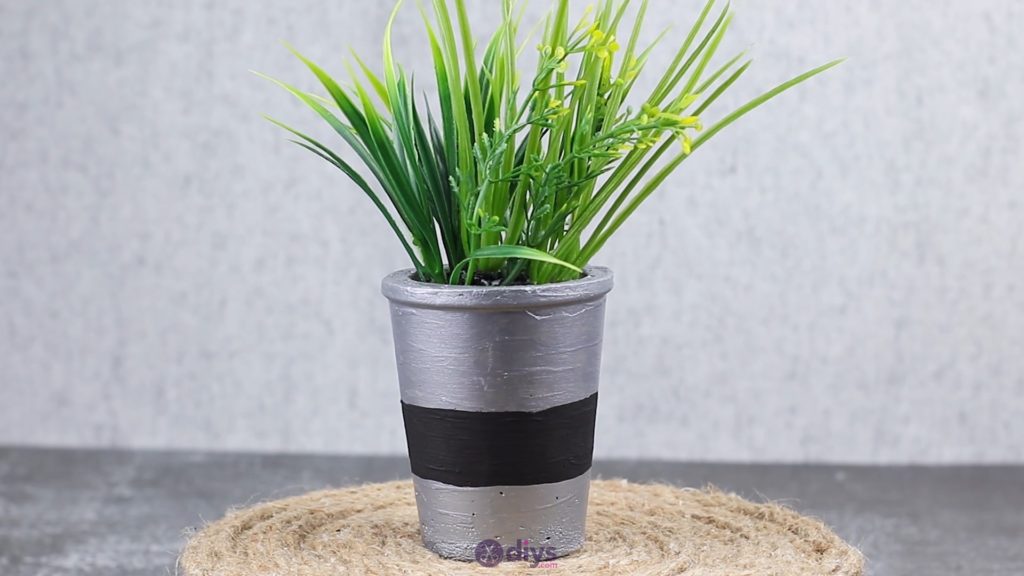
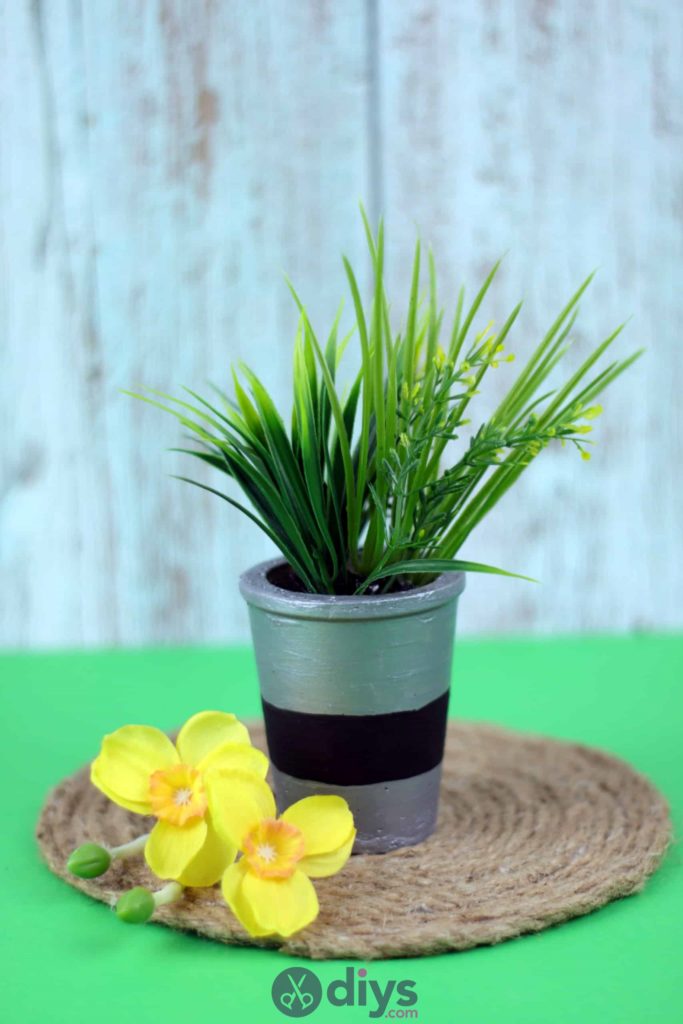
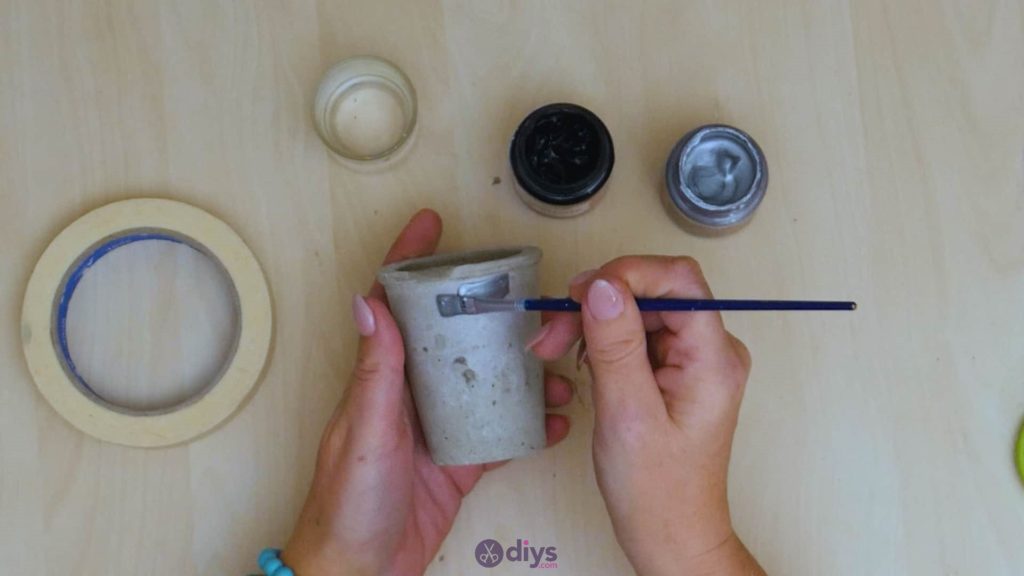
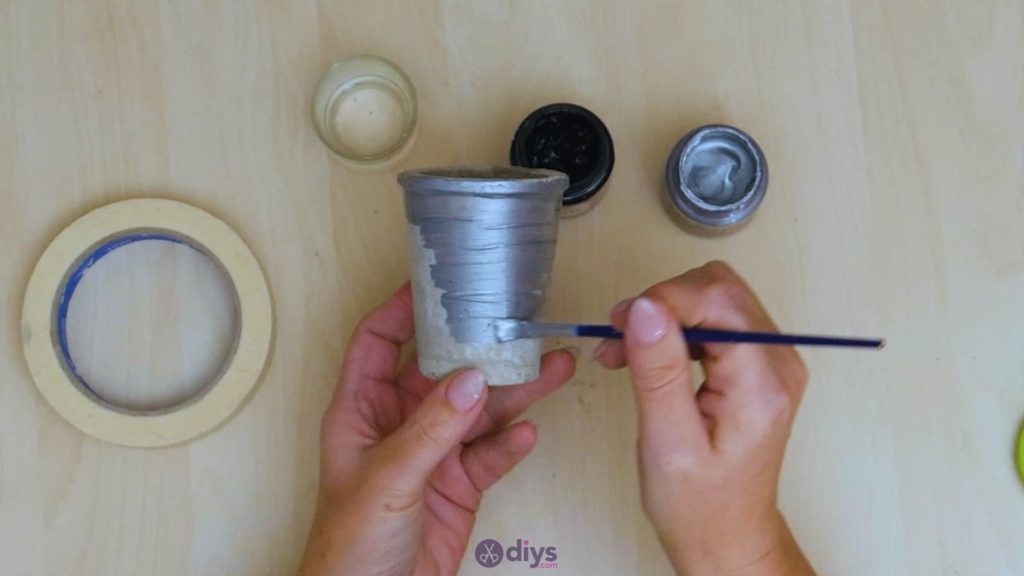
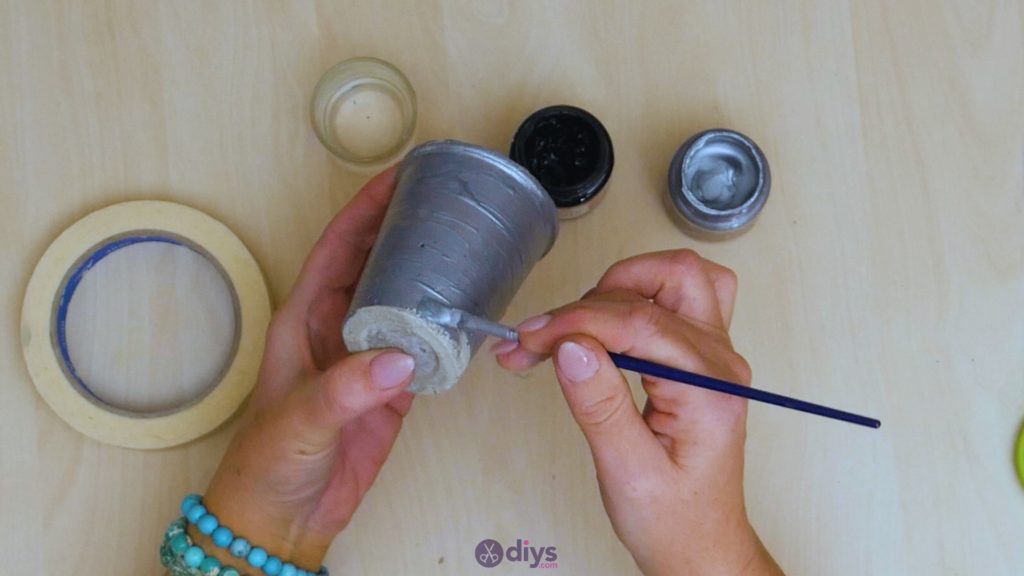
Step 7: paint
Use your paintbrush to paint the entire outside surface of your flower pot silver! Set it aside to dry.


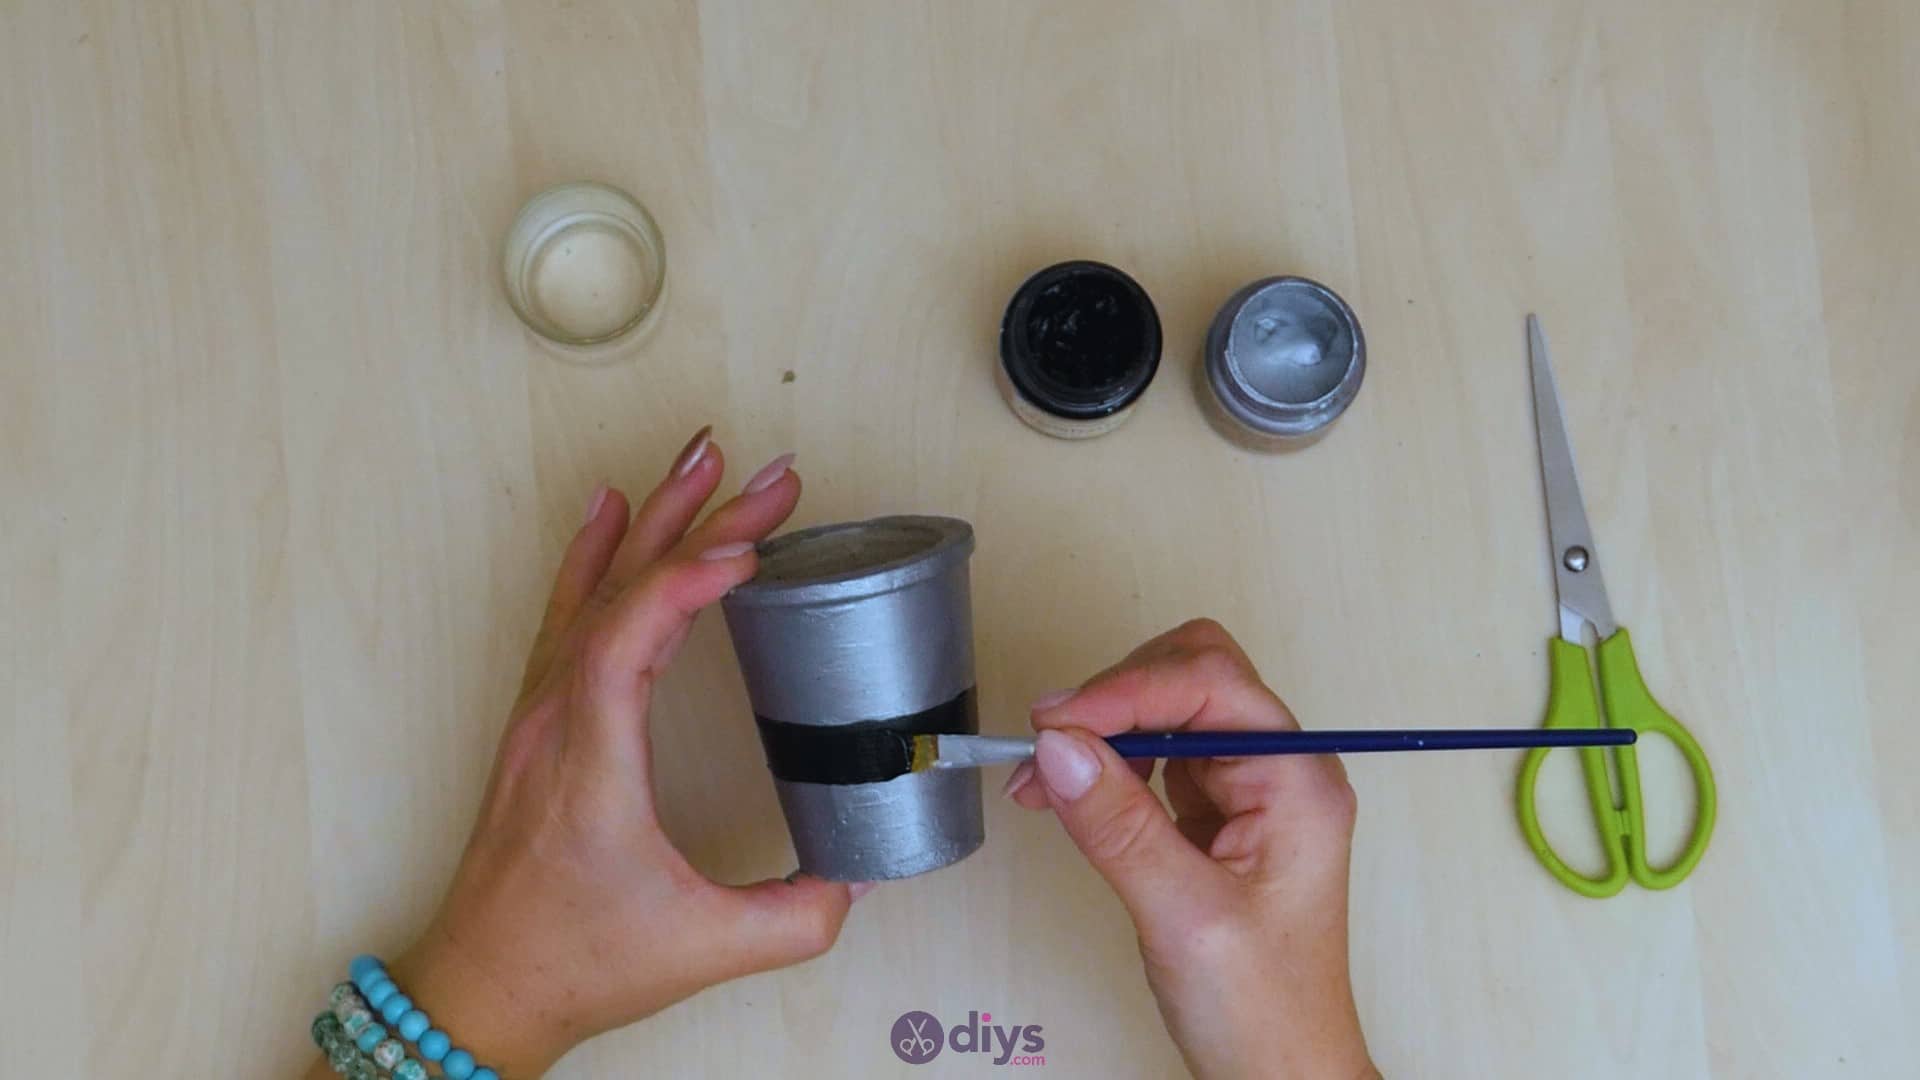
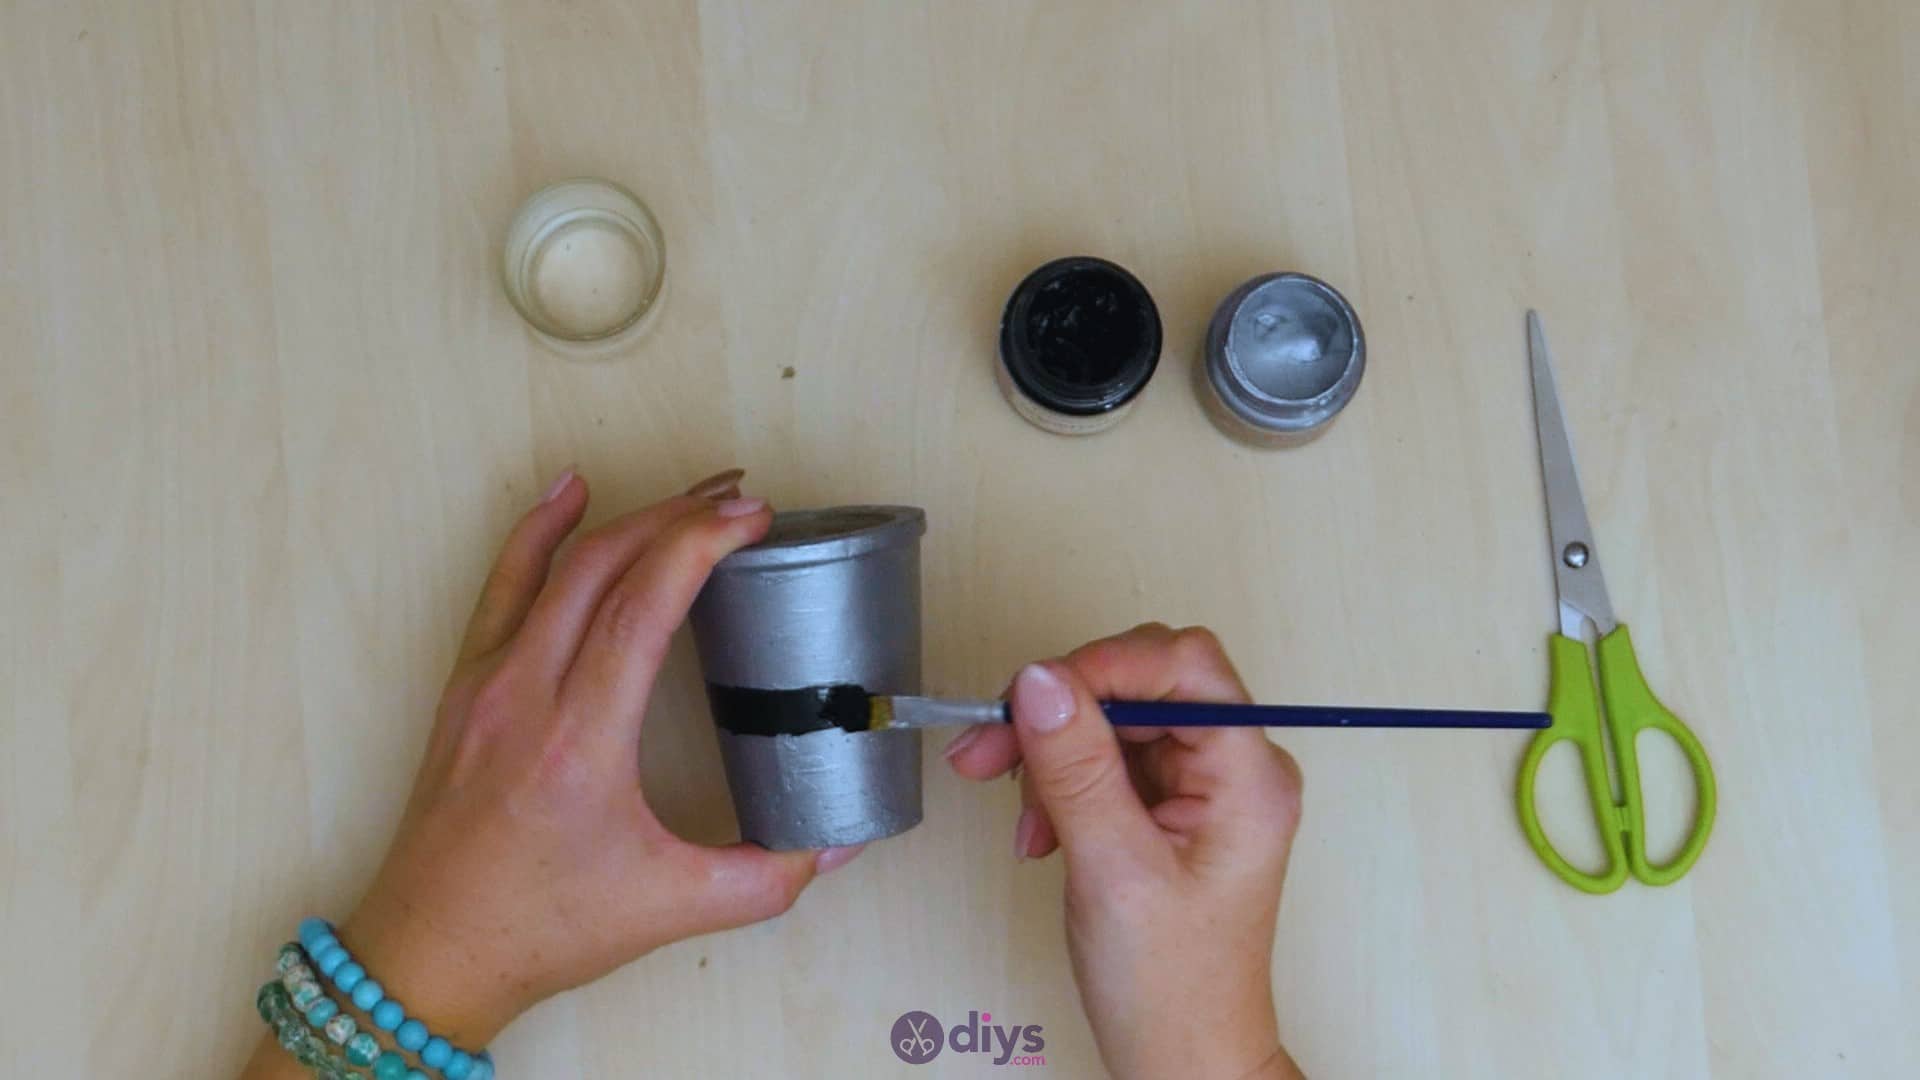
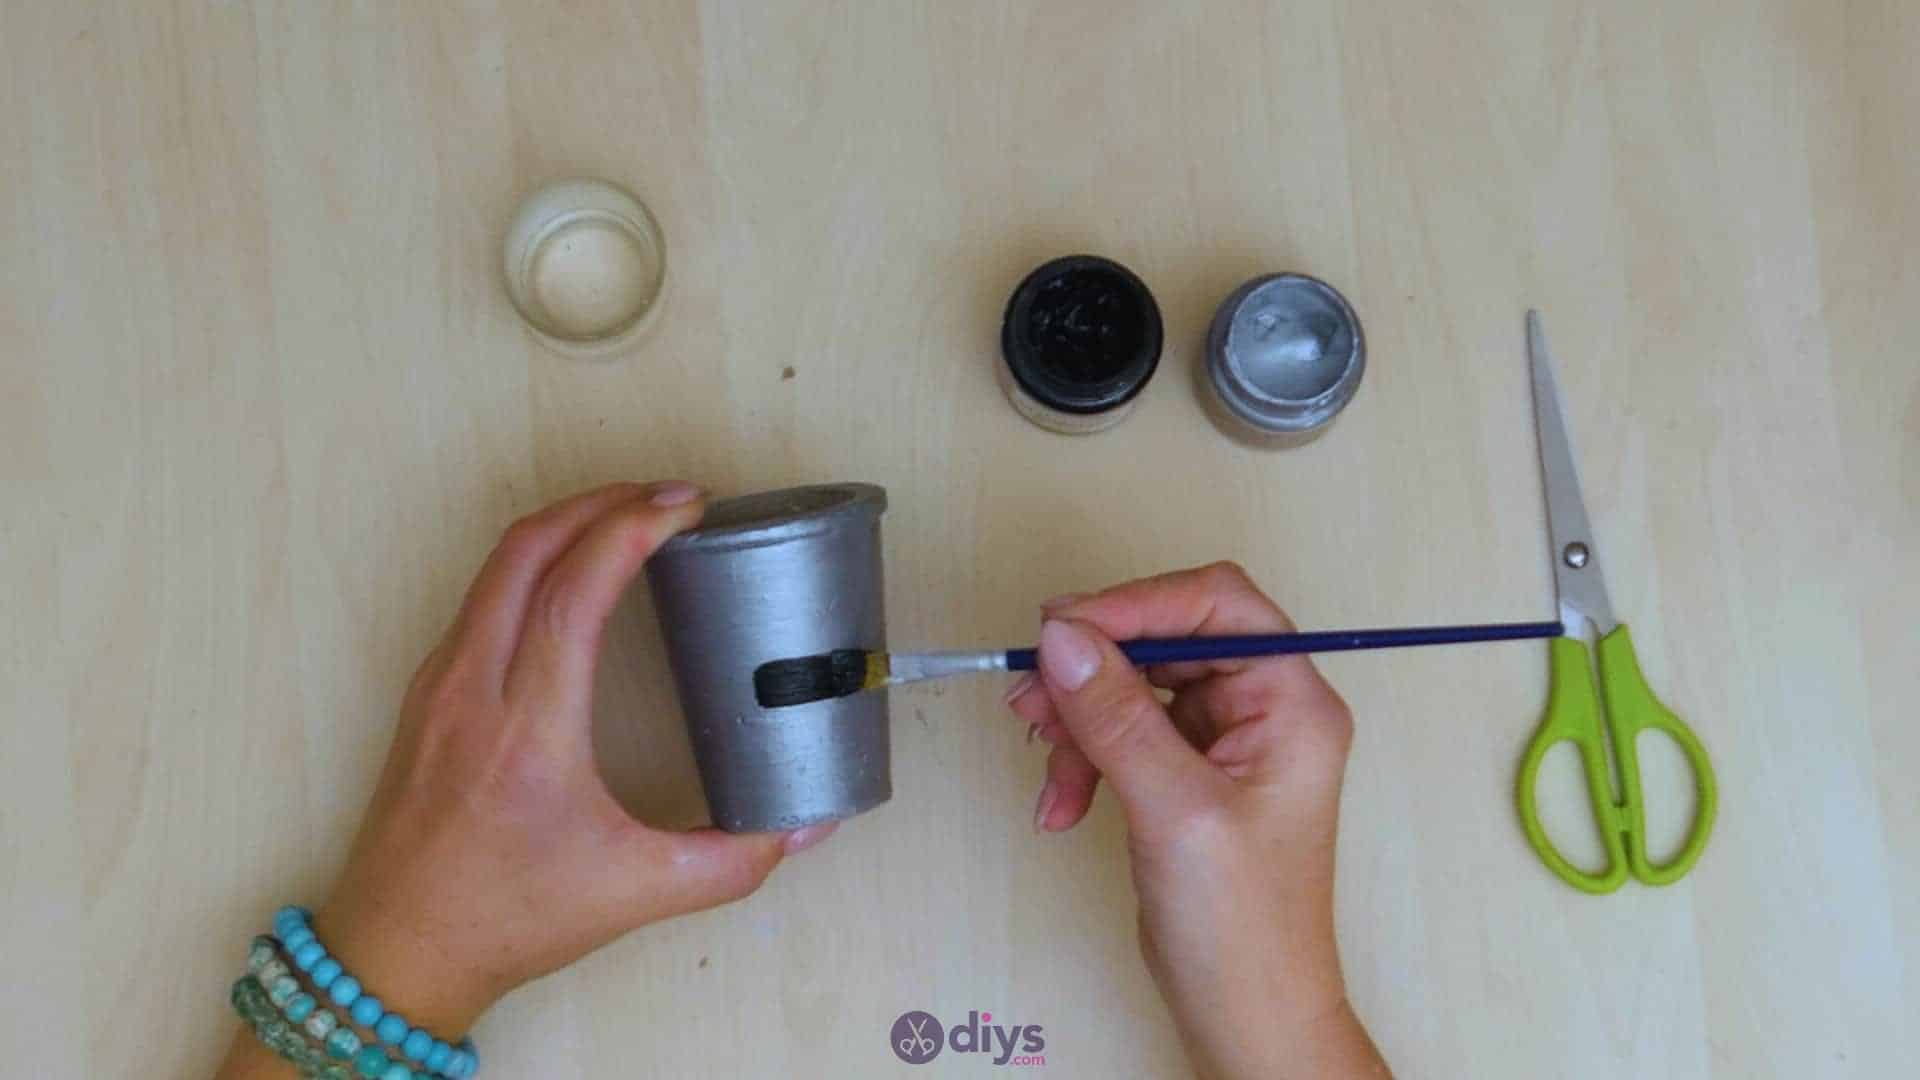
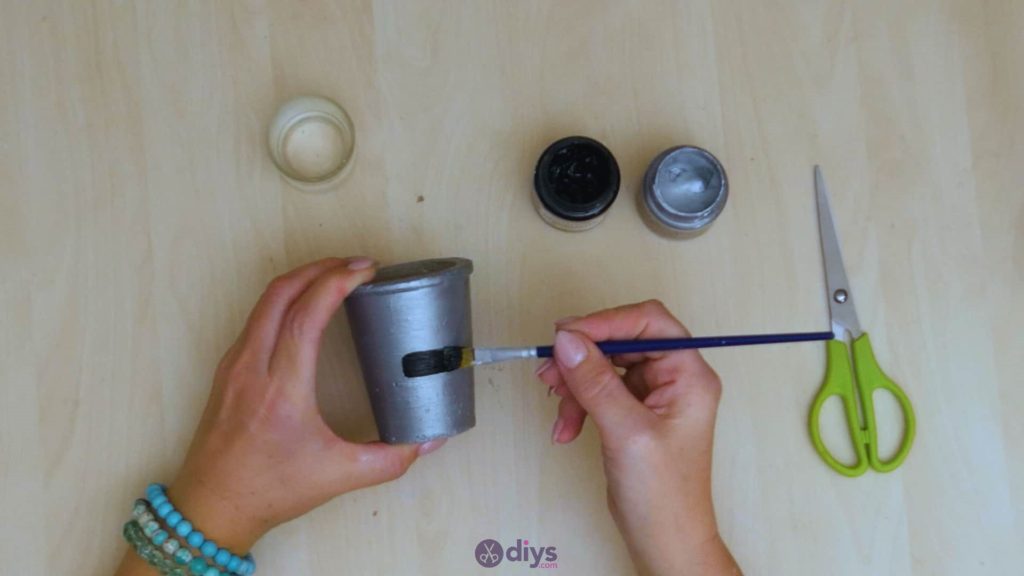
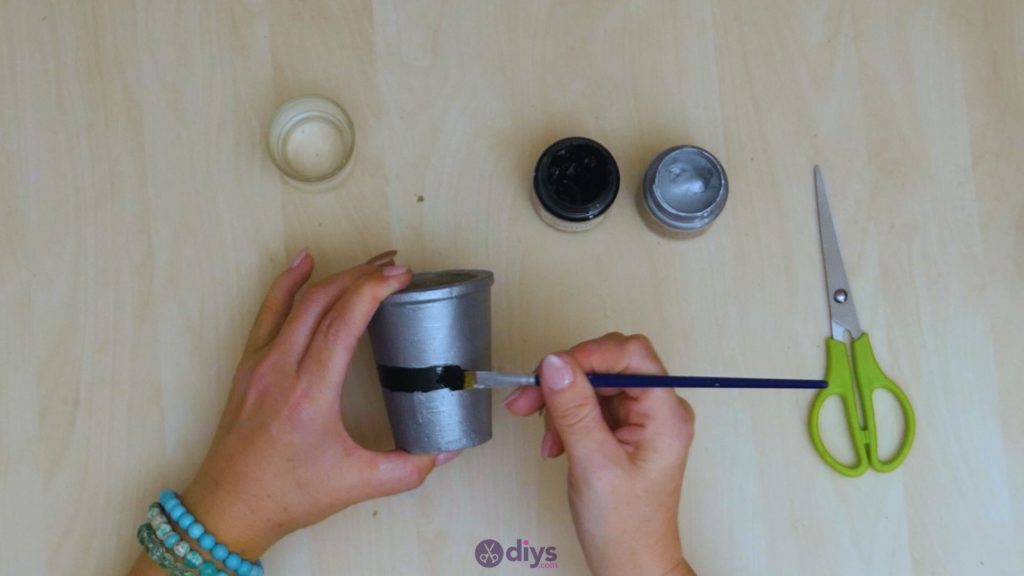
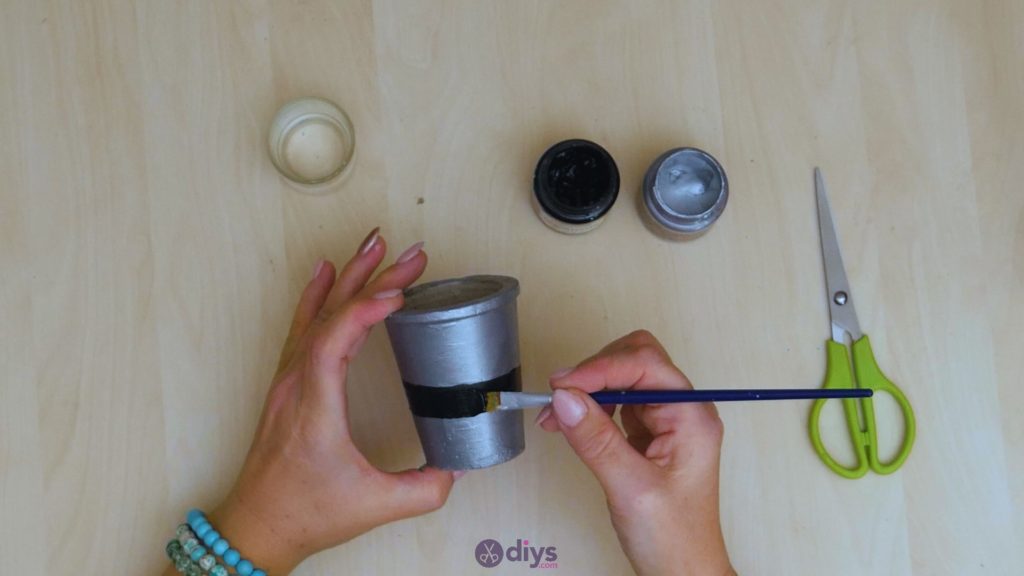
Step 8: add detail
Once your silver paint is dry, use your paintbrush and black paint to add a stripe all the way around your flower pot, about halfway up. Set it aside to dry once more.


Your flower pot is officially ready to use as soon as it’s dry! Feel free to get creative with colours or embellishments however you please if you’d rather not keep things metallic and chic looking like I did; you can still use this basic technique as a guide. Just in case you’d like to try this project out for yourself, here’s a fantastic tutorial video to help you!