Beautiful Summer Bun with Flowers Hairstyle
Updated on November 19, 2025


if you’ve got a special event coming up during the summer months, or just love to style your hair in gorgeous little do’s, but the heat makes it difficult, then a beautiufl summer bun with flowers is the hairdo for you! Check out how I assembled this simple and cute one right here!

If the idea of a low, comfortably loose bun with some flower embellishments appeals to you, then you’ll be glad to learn that I decided to outline the steps for my simple, summery style. Check out these step by step instructions complete with photos! If you’d rather follow along with a video tutorial instead of written words, scroll to the bottom of this post to find just what you’re looking for.

For this style, you’ll need:
- Hair elastics
- Bobby pins
- A brush
- A fine tooth comb with a pointed end
- Hairspray
- Flower clips
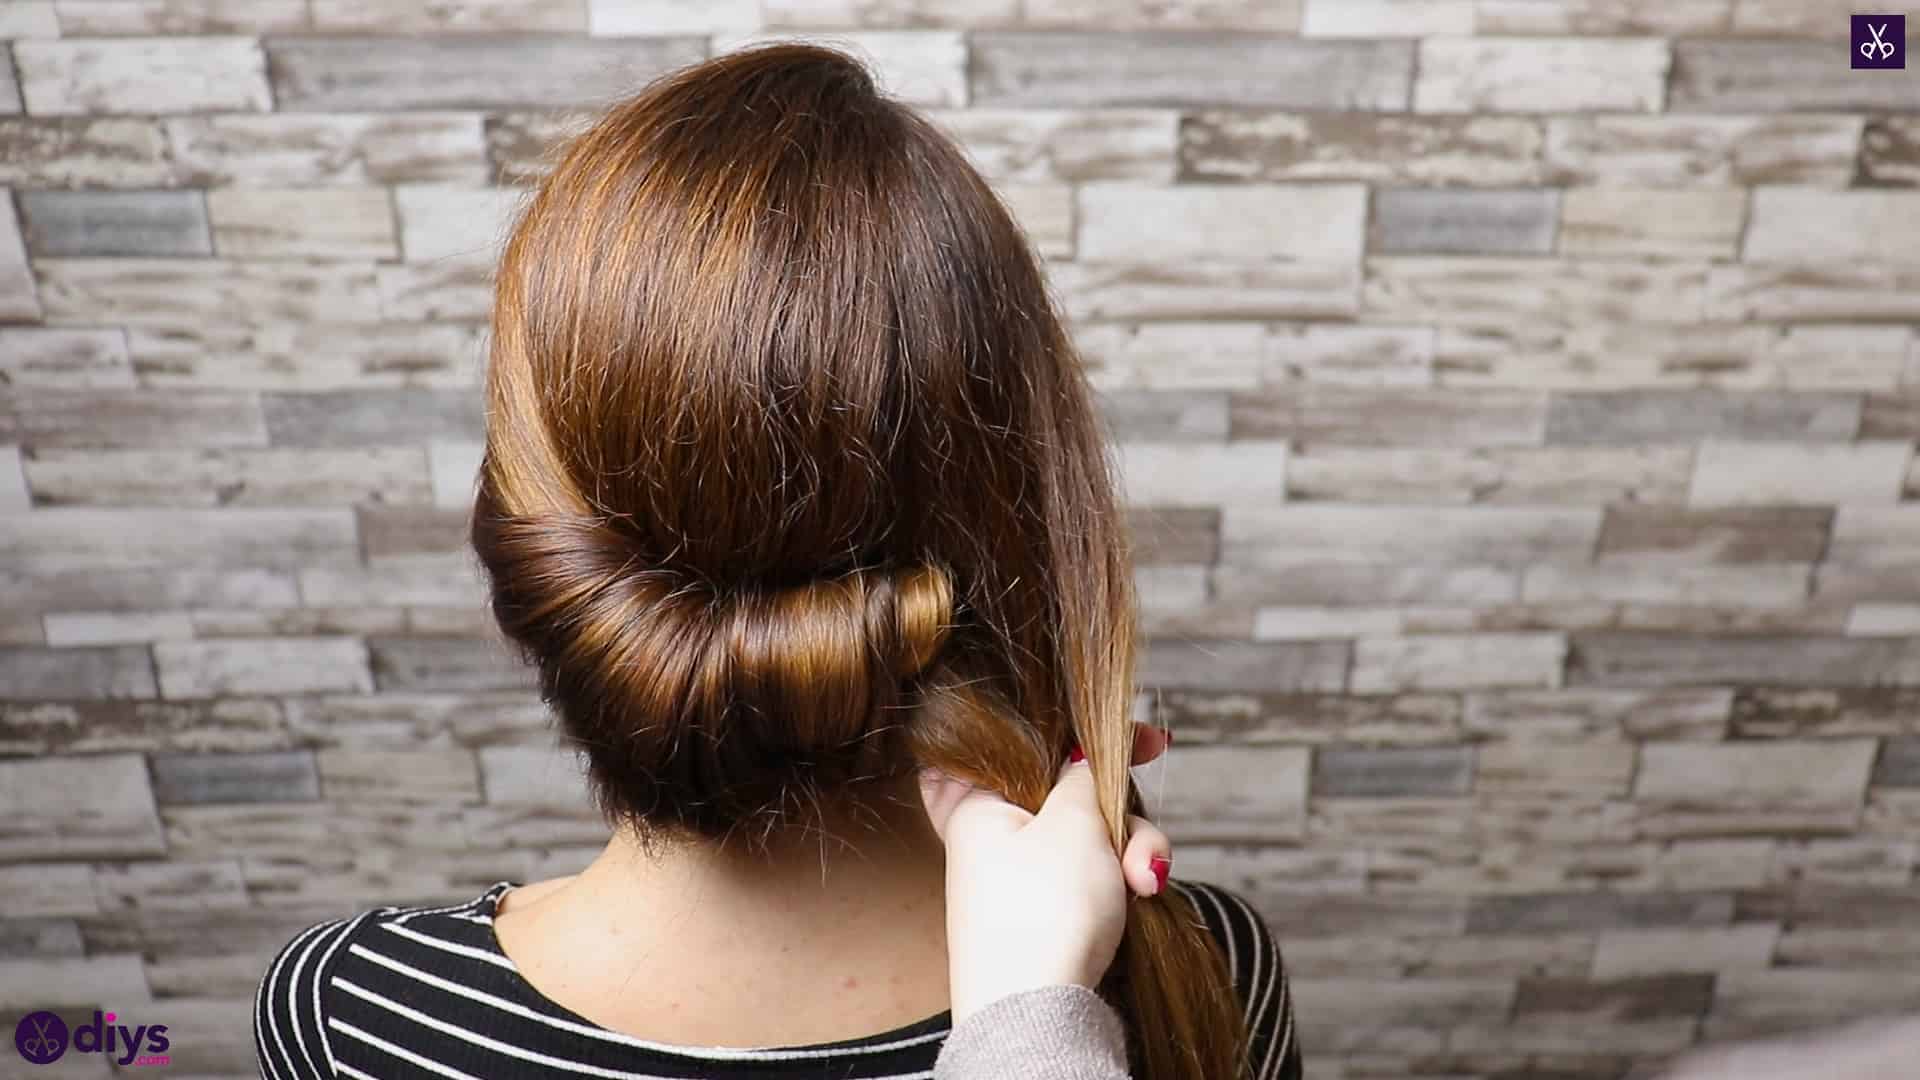
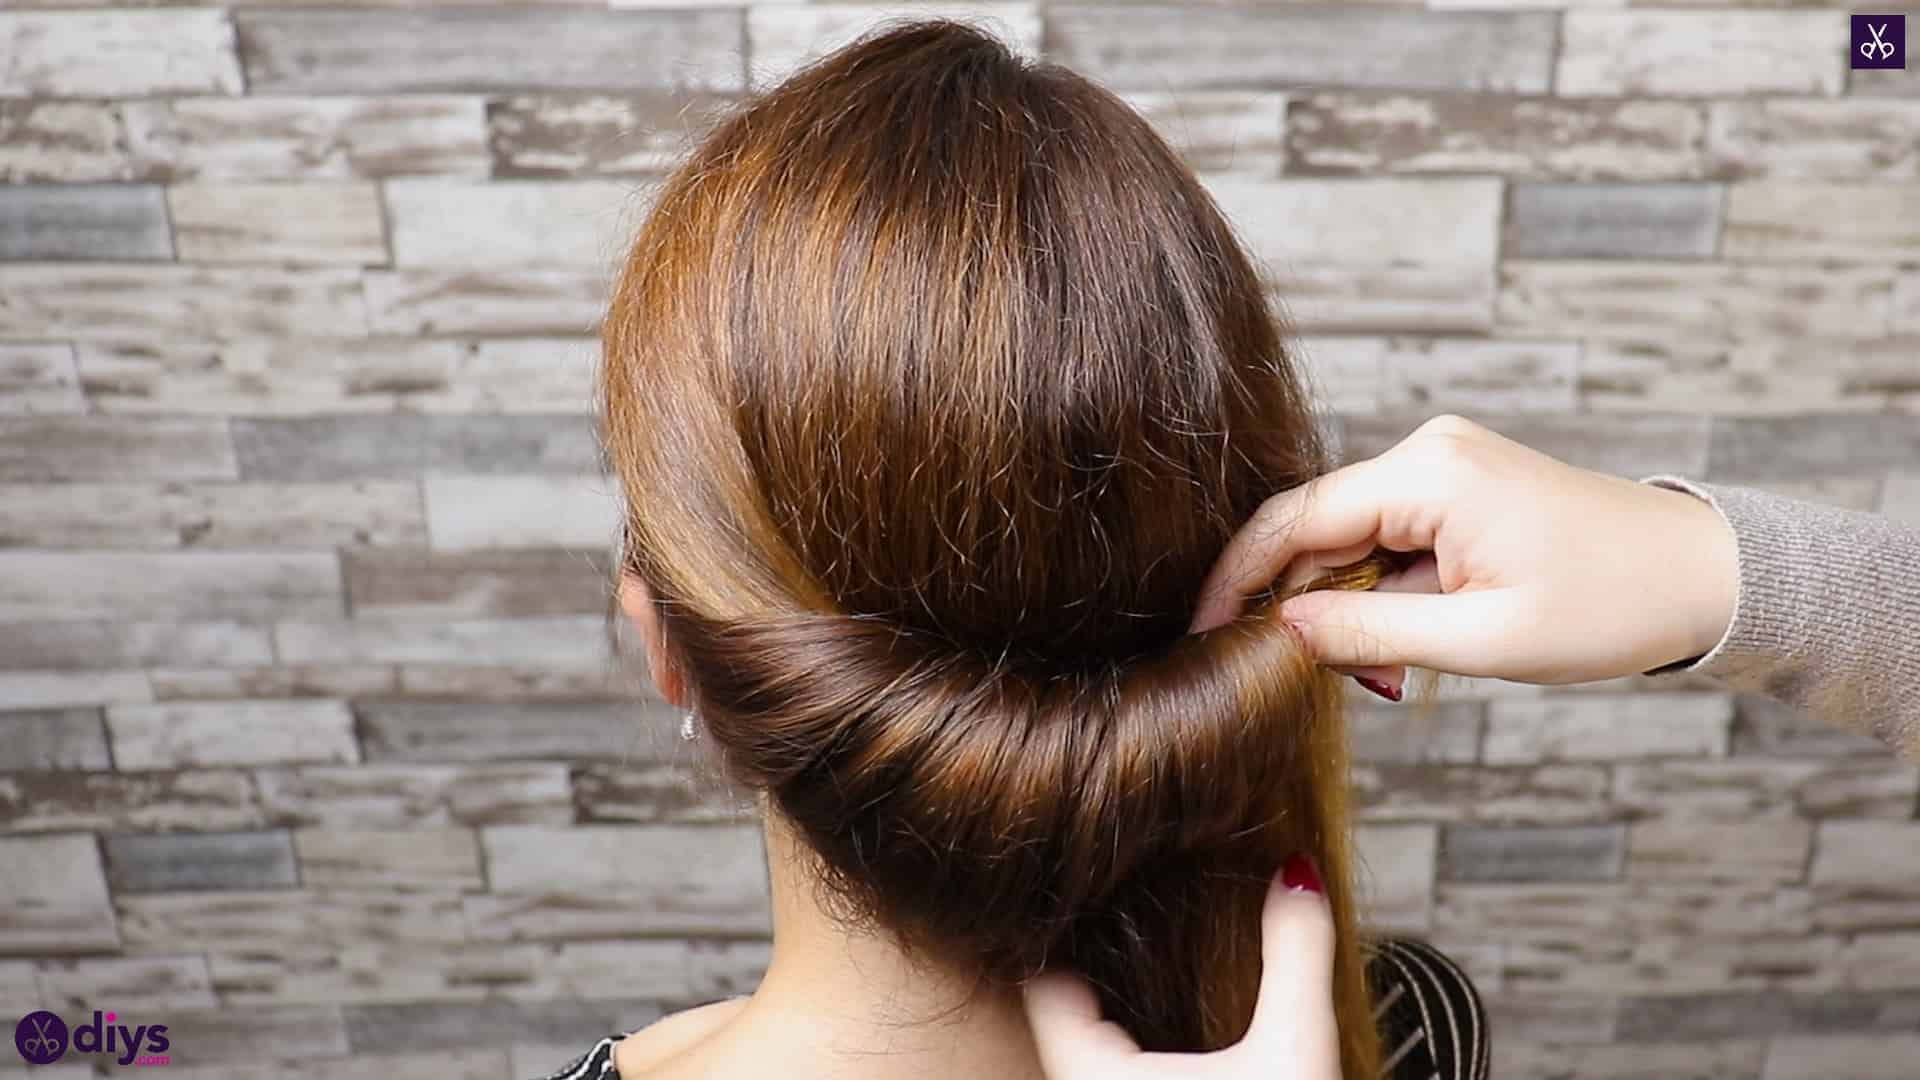
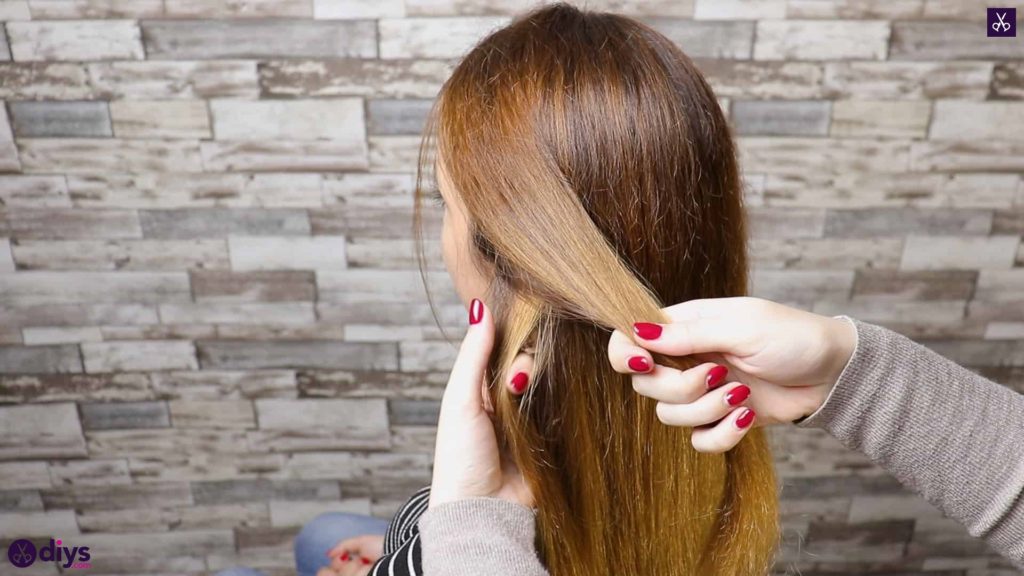
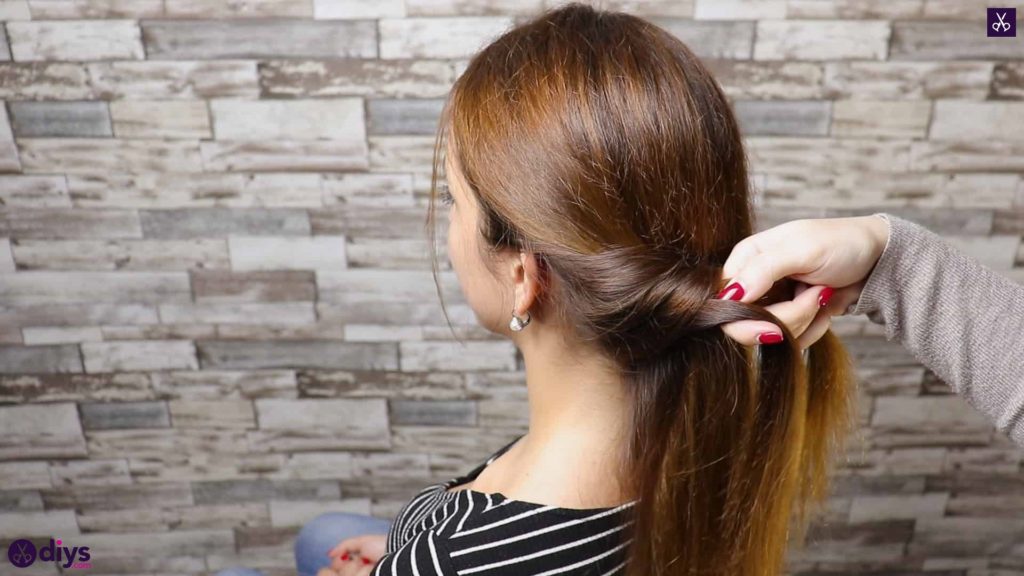
Step 1: brush and twist
Brush your hair through entirely so it’s free of tangles. Choose which side you want your flowers to sit on when you’re finished and start styling the hair on the opposite side of that, at the front. For example, I started at the front left of my hair because I wanted the style to swoop towards, gather in, and feature flowers on the back right. Start with a top front section about an inch thick and pull it gently back, keeping things relaxed and casual rather than very taught. Then reach underneath that section to grab another strand of about the same size and a little lower, pulling it out to bring it up and around your first strand, sort of twisting or wrapping it around that piece and tucking it behind. Hold those two together in your right hand and use your left to repeat the gathering and upwards wrapping process, moving along towards the bottom and back of the head naturally to gather more loose hair beneath where you’ve already picked up pieces. You’ll notice a loosely gathered twist forming across the nape of the neck.

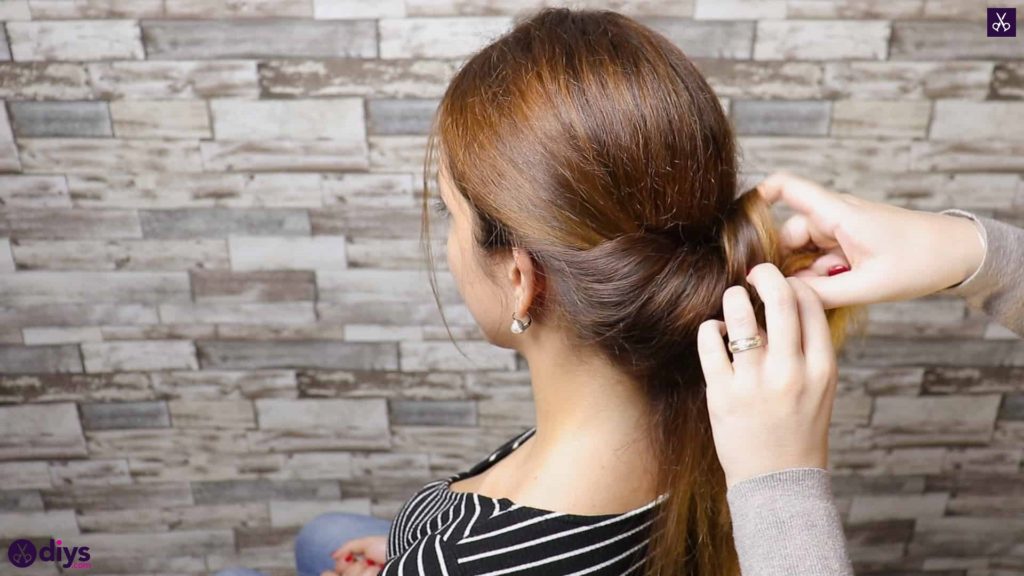

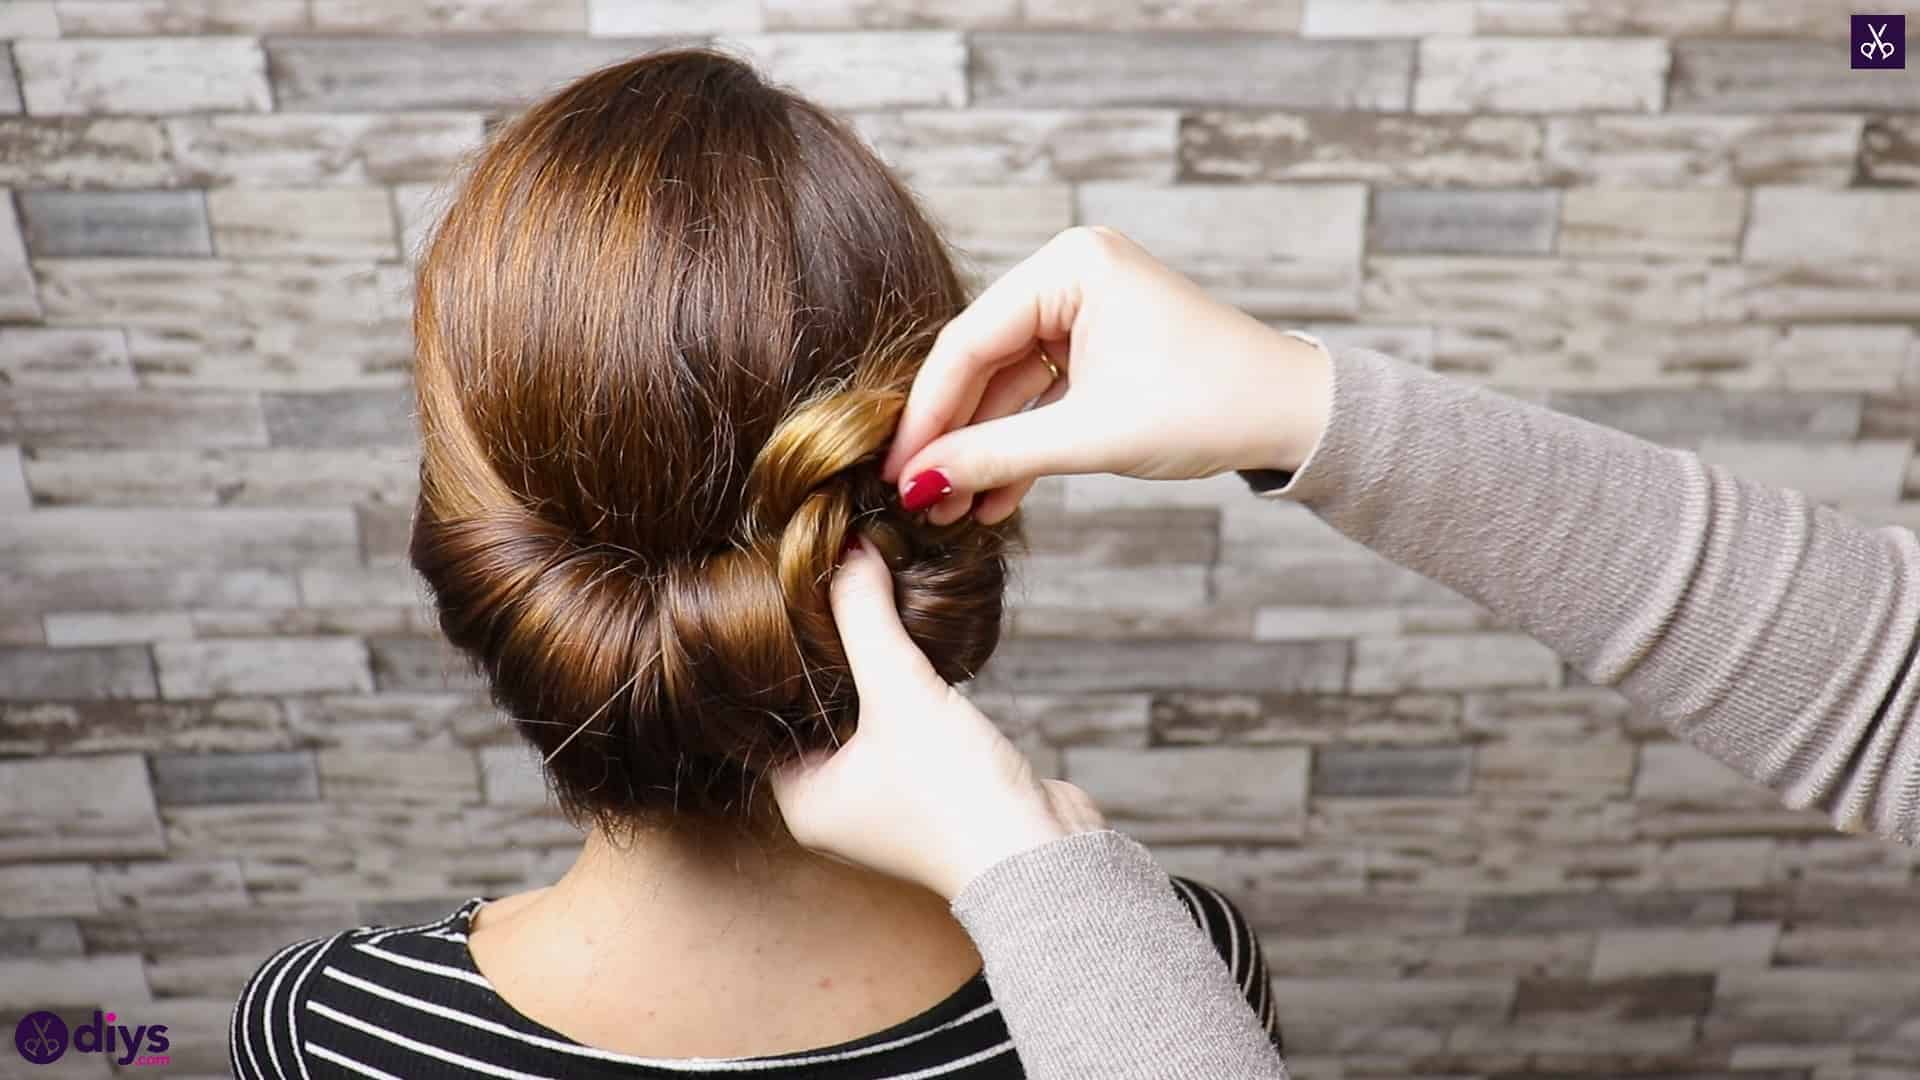
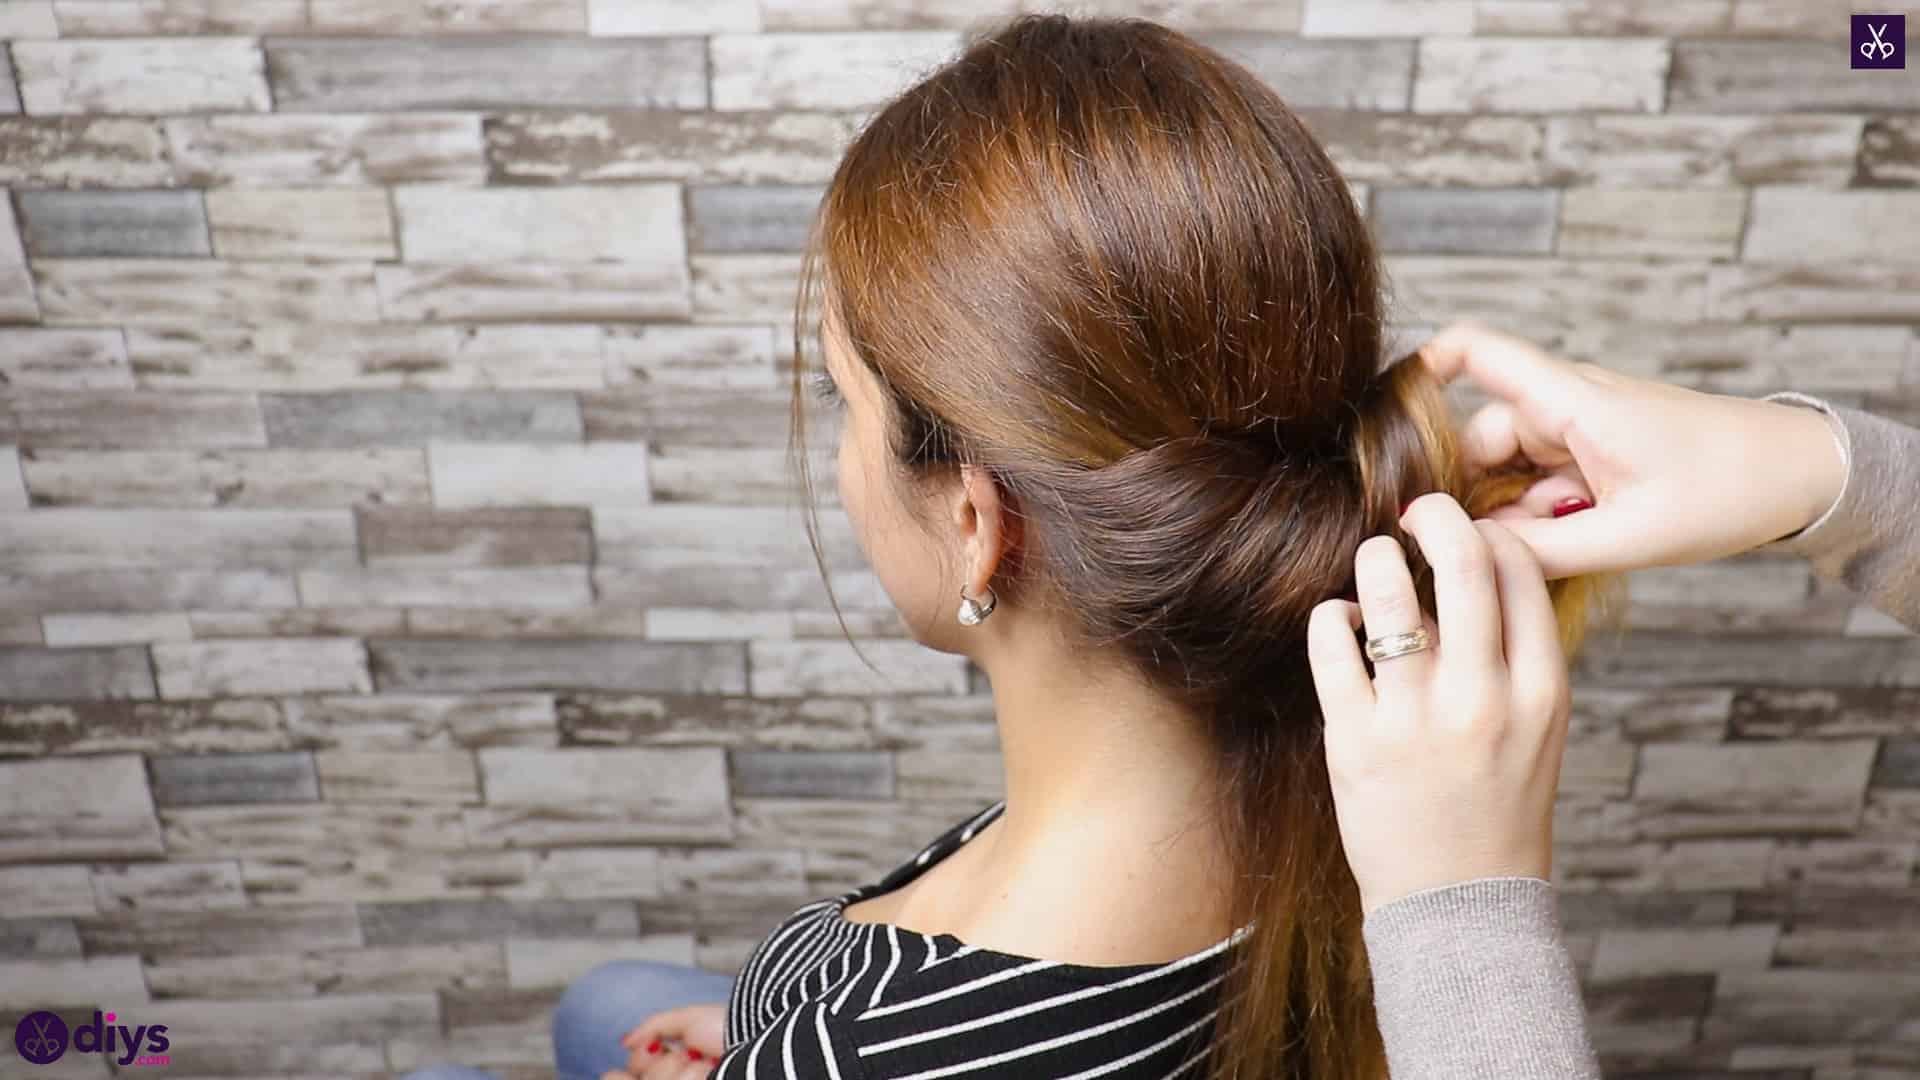
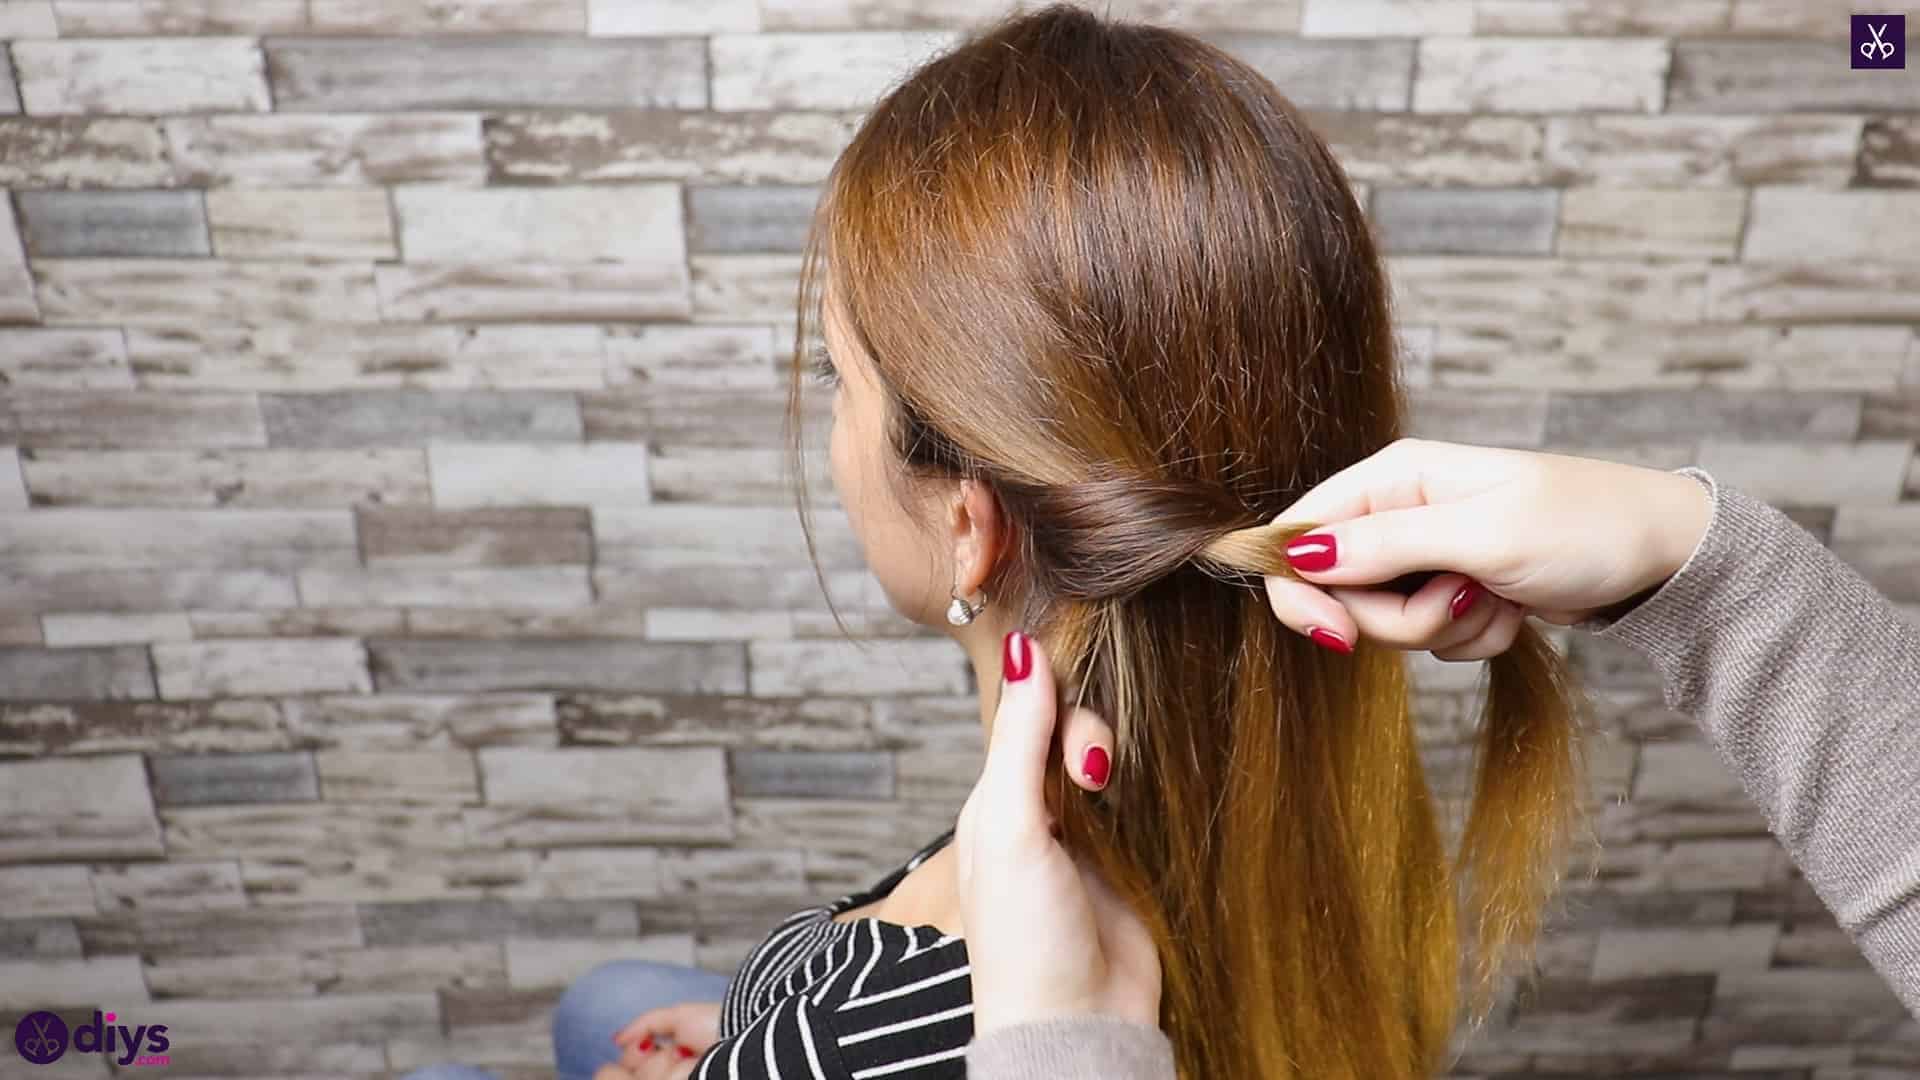
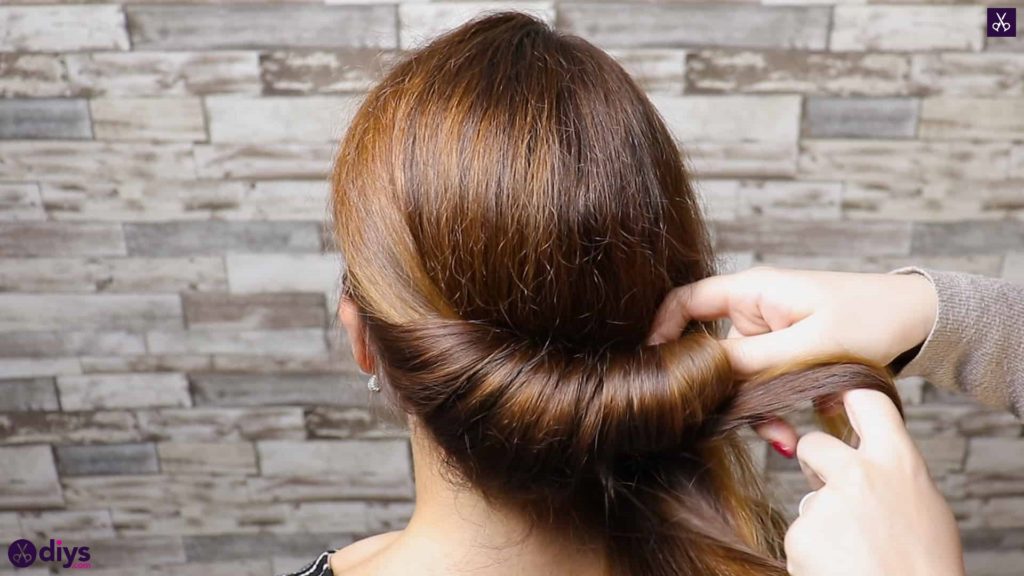
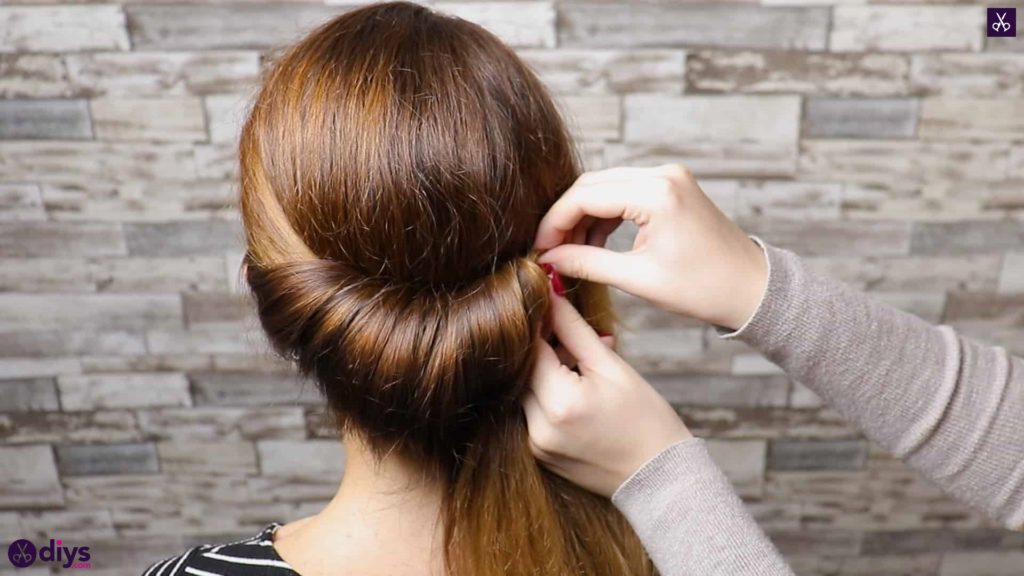
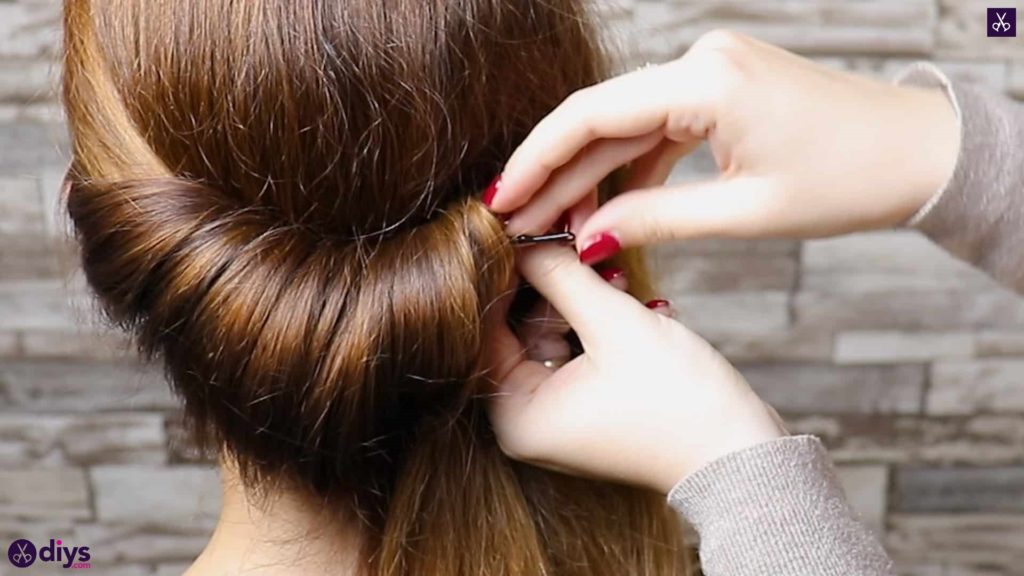
Step 2: twist and pull
As you pass the nape of the neck with your twists, your shape will start rising again because the hair you’re gathering from underneath will now be coming from higher on the other side, giving you a bit of a smile-shape along the back. Keep going with the same method until the hand that’s holding all the twisted ends in place while you work reaches a spot level with your right ear. Use bobby pins to pin the gathered ends of your wrapped pieces into place there by the ear, anchoring your smile-shape. You’ll notice that you have a sort of cascade of hair coming from the end of what you’ve just pinned and what hasn’t yet been gathered from the right side of your head yet; this is correct!

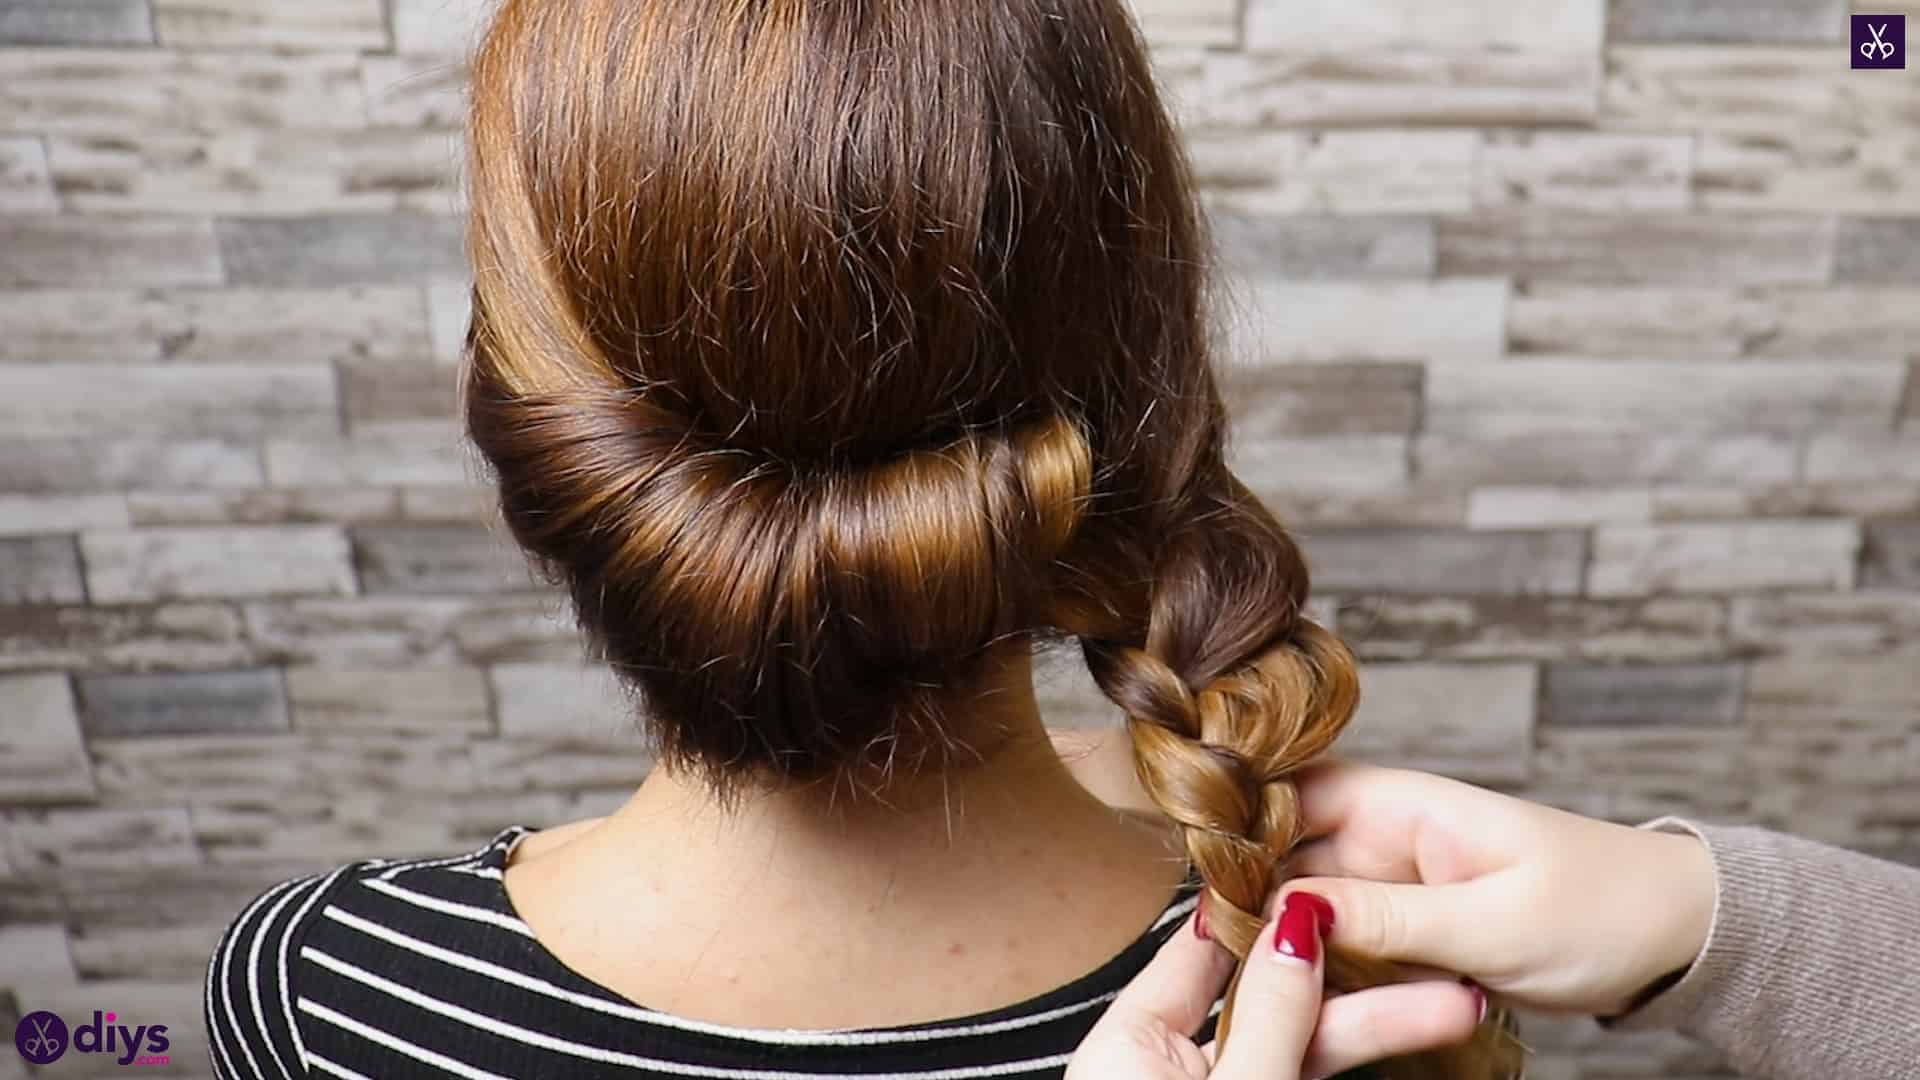
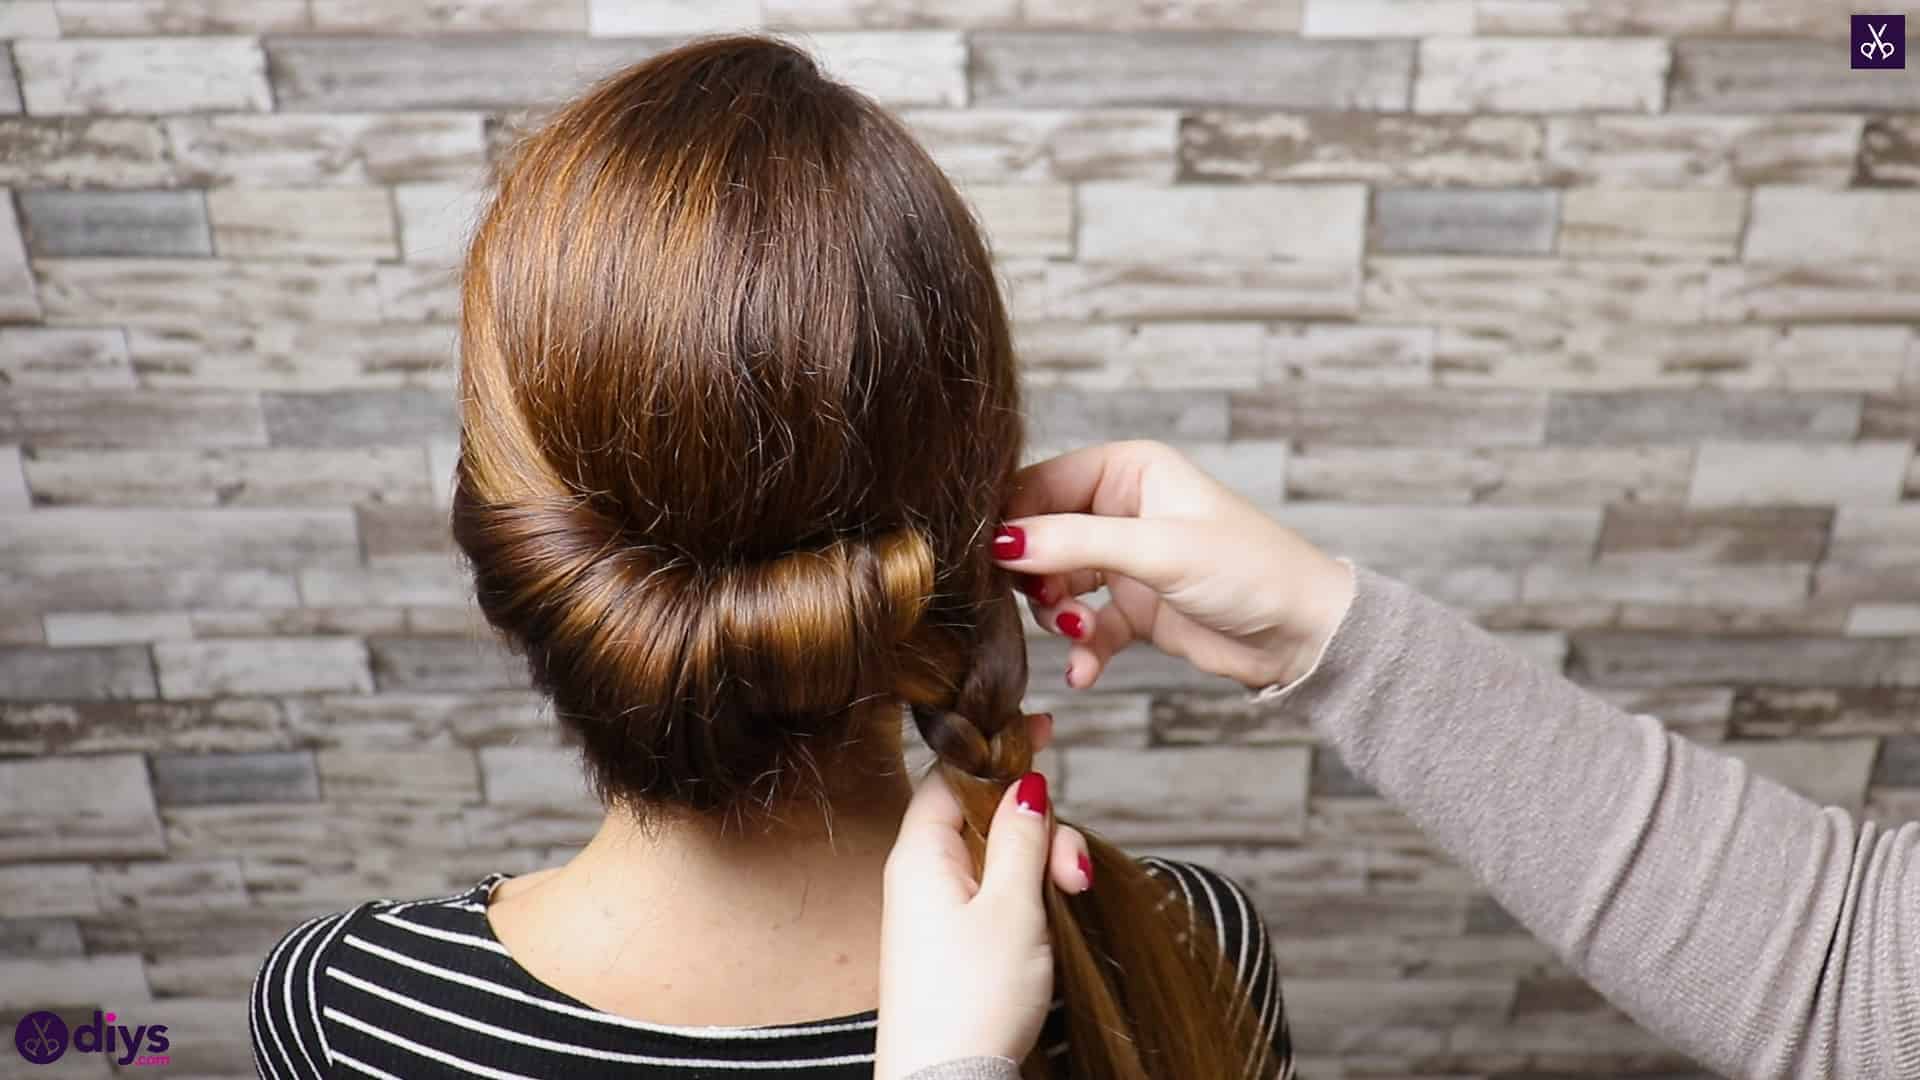
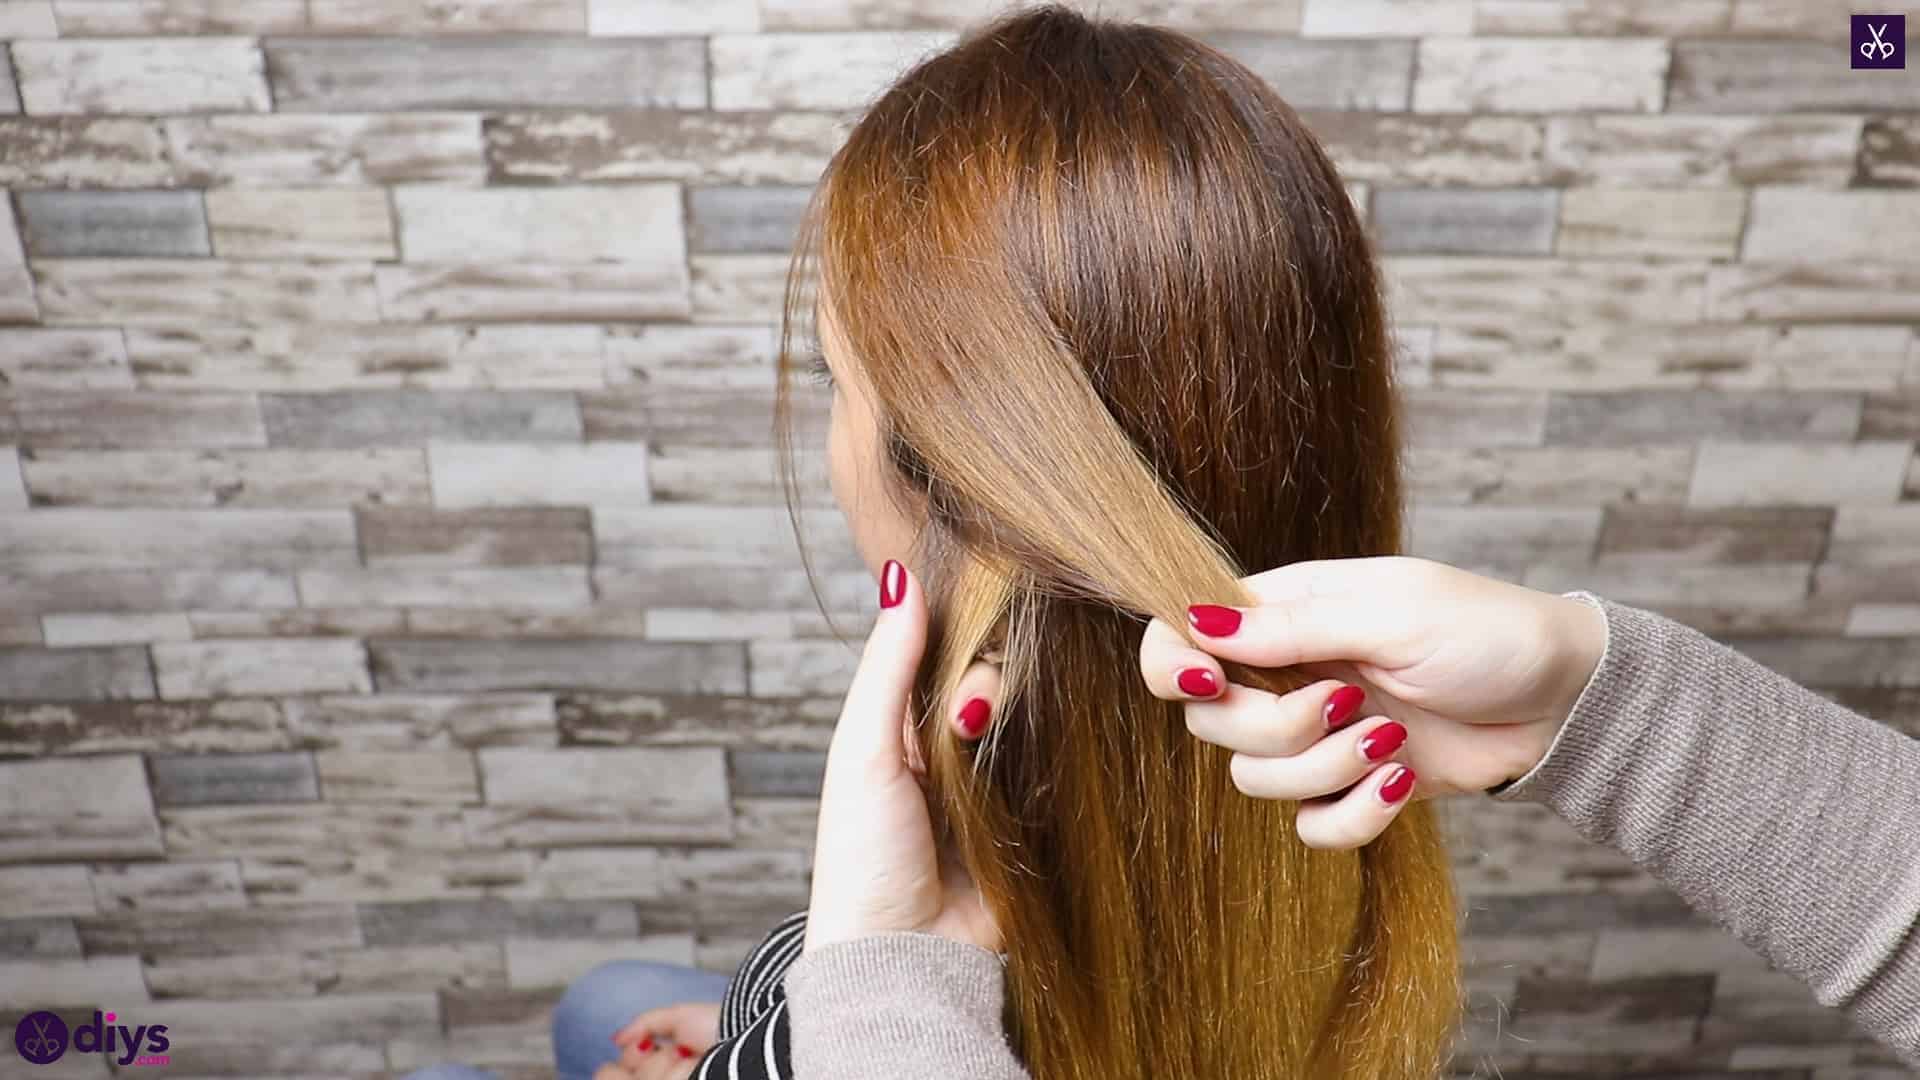
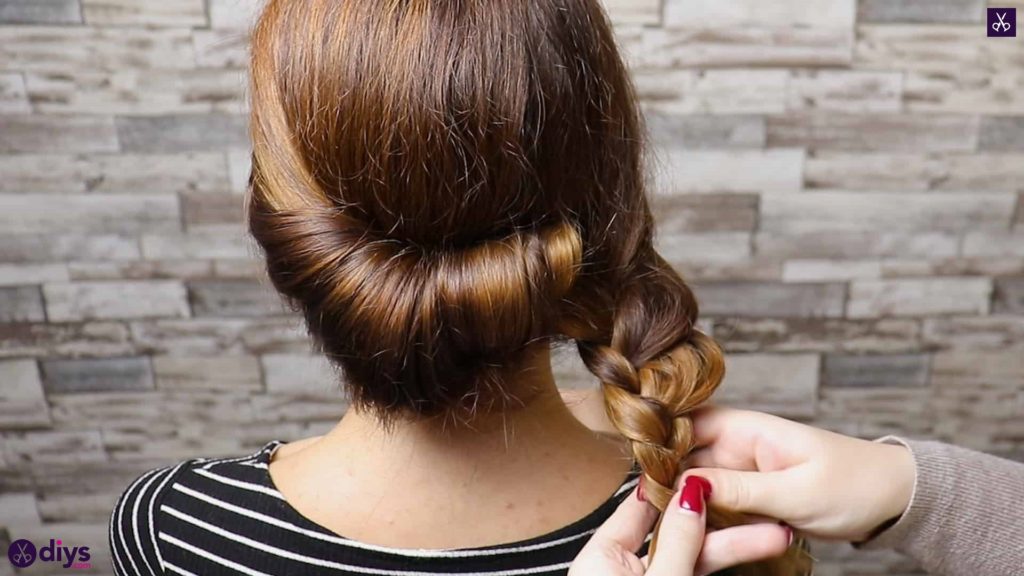
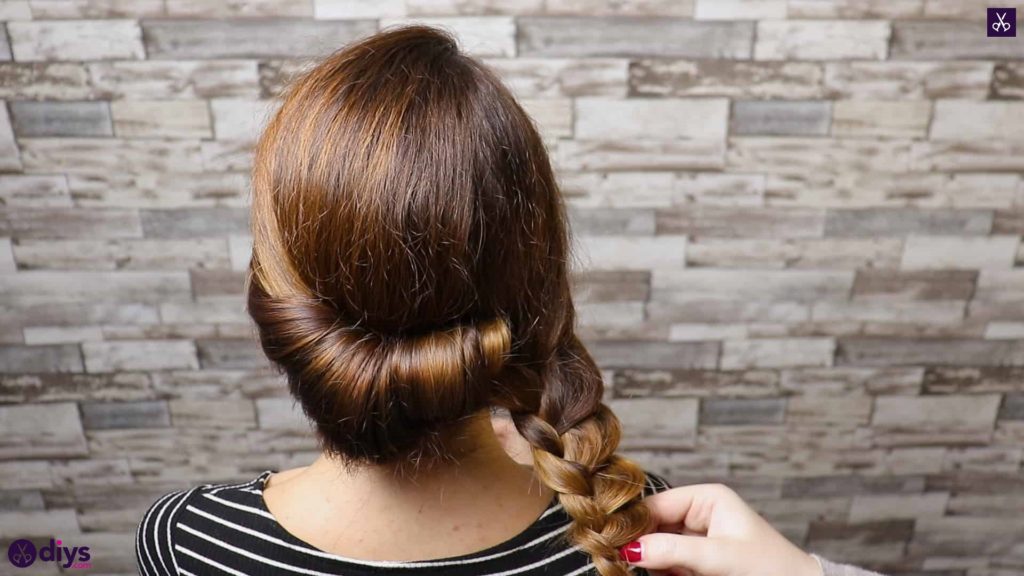
Step 3: braid the rest
Gather all of the remaining hair that wasn’t twisted away already in one hand and split it into three even sections. Now braid these sections in a classic, simple three-strand braid, bringing each outside strand over the middle one and alternating all the way down. Make the style a little more relaxed and Boho chic looking by stopping to loosen your braid’s weave here and there, giving the strands you’ve woven in a small tug to make the braid look more voluminous (without pulling so hard that you pull anything loose). When you get to the bottom and you can’t braid anymore, fasten the ends with a small hair elastic.


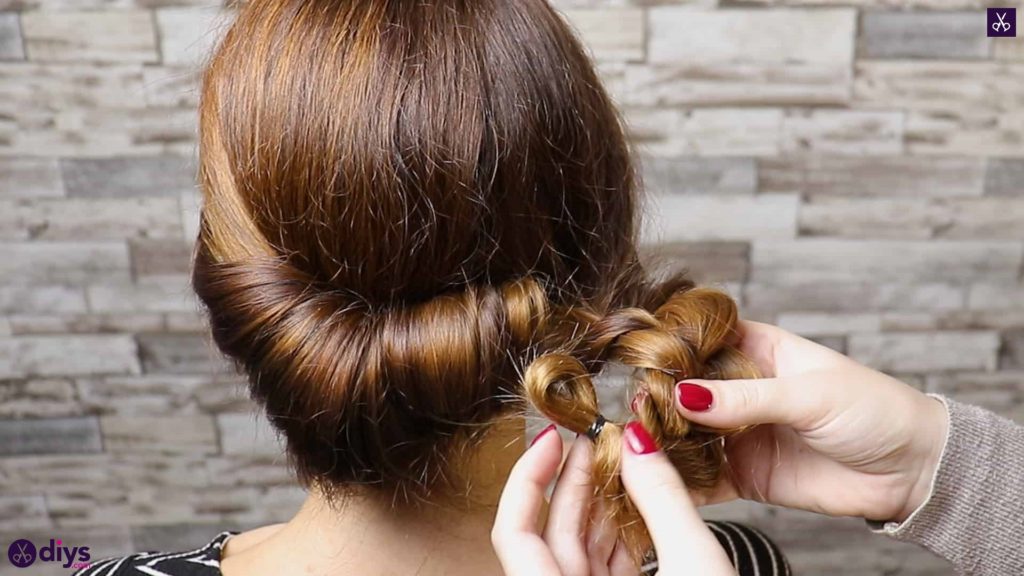
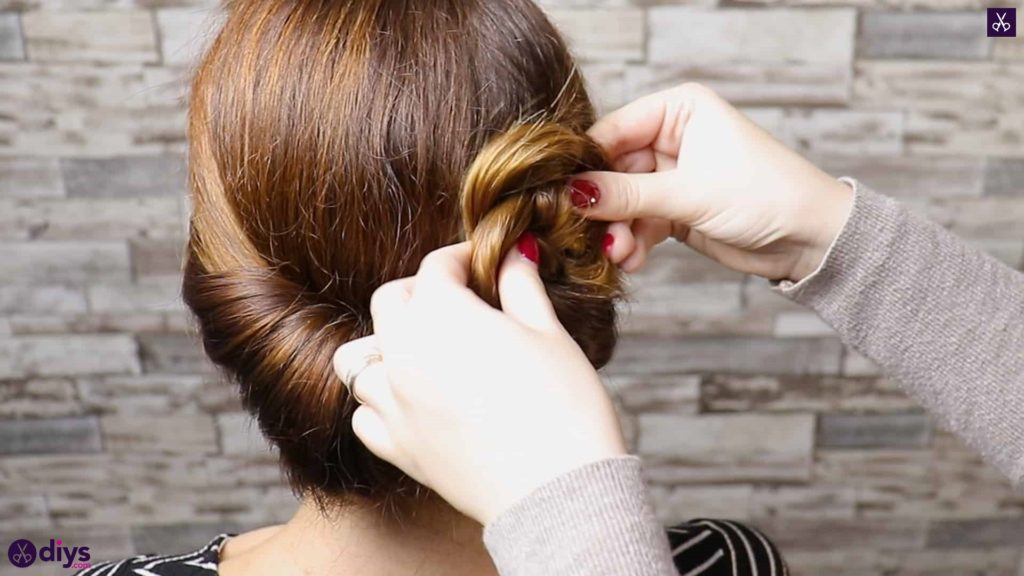
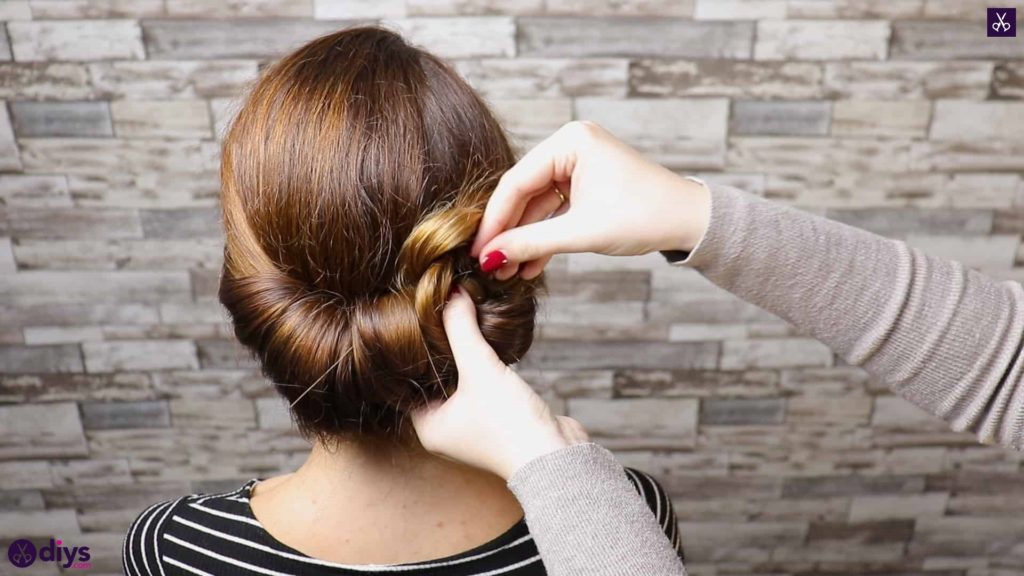
Step 4: loop and finish the braid
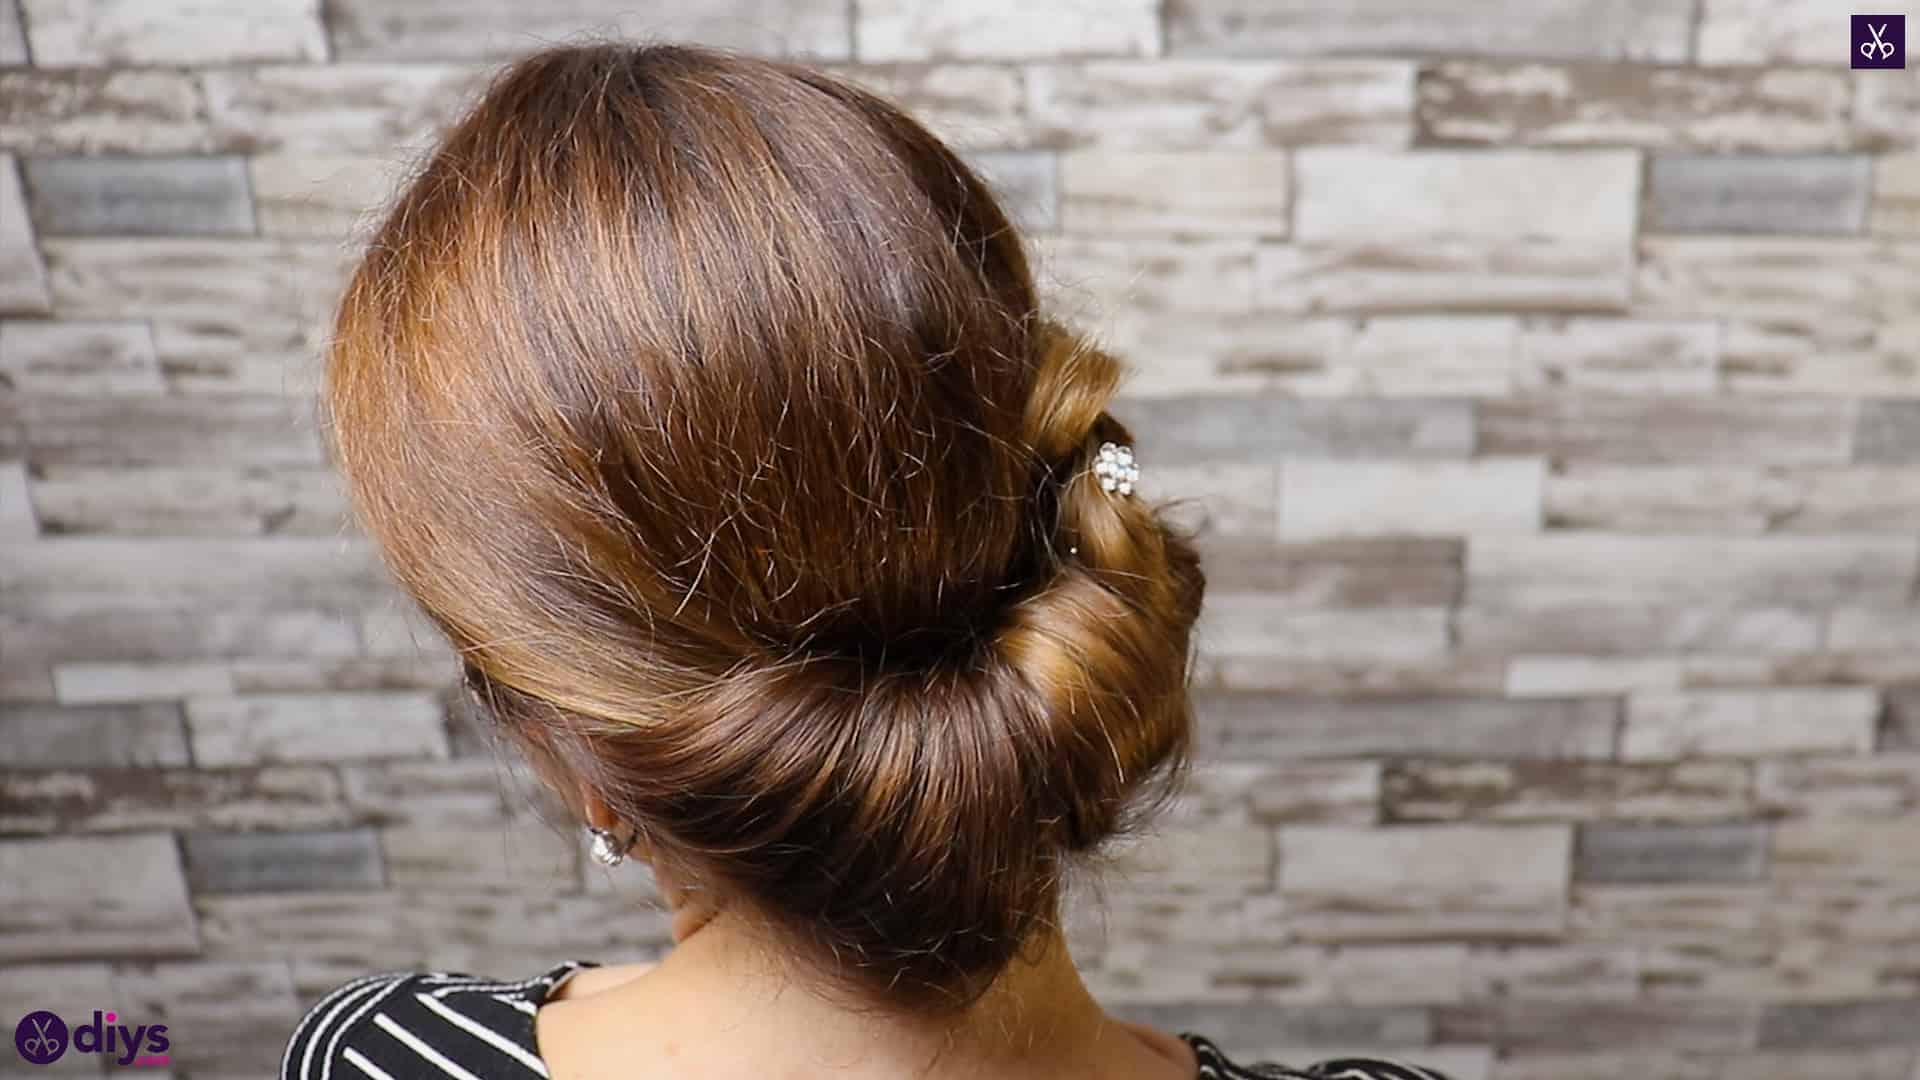
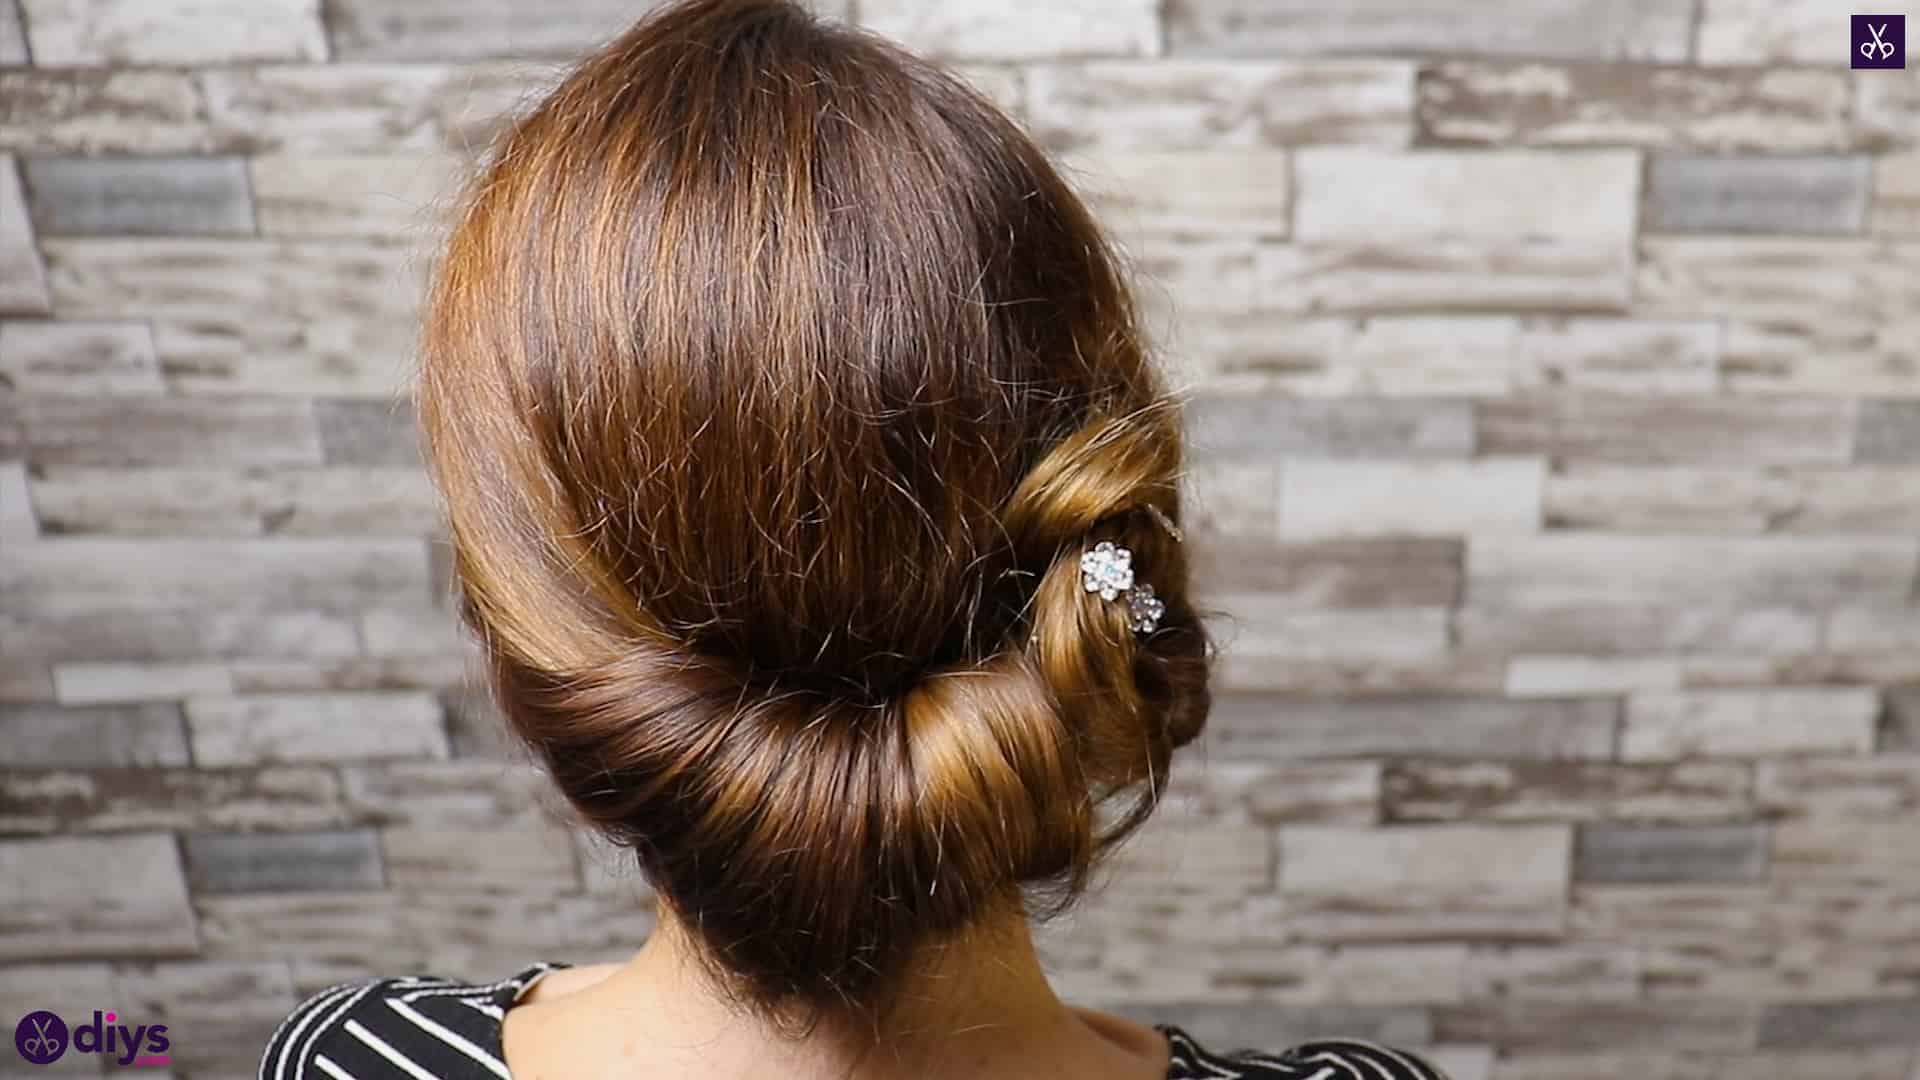
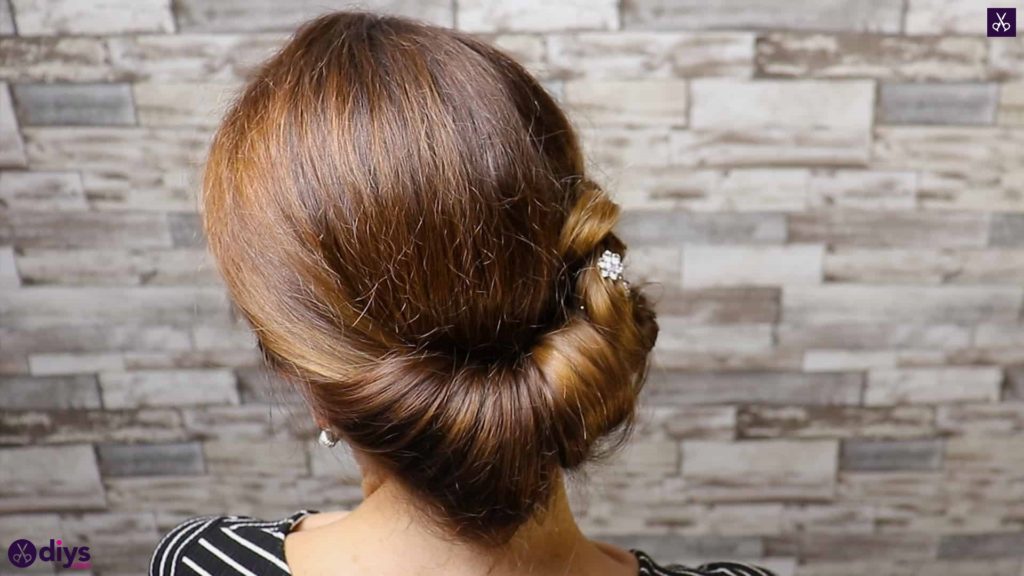
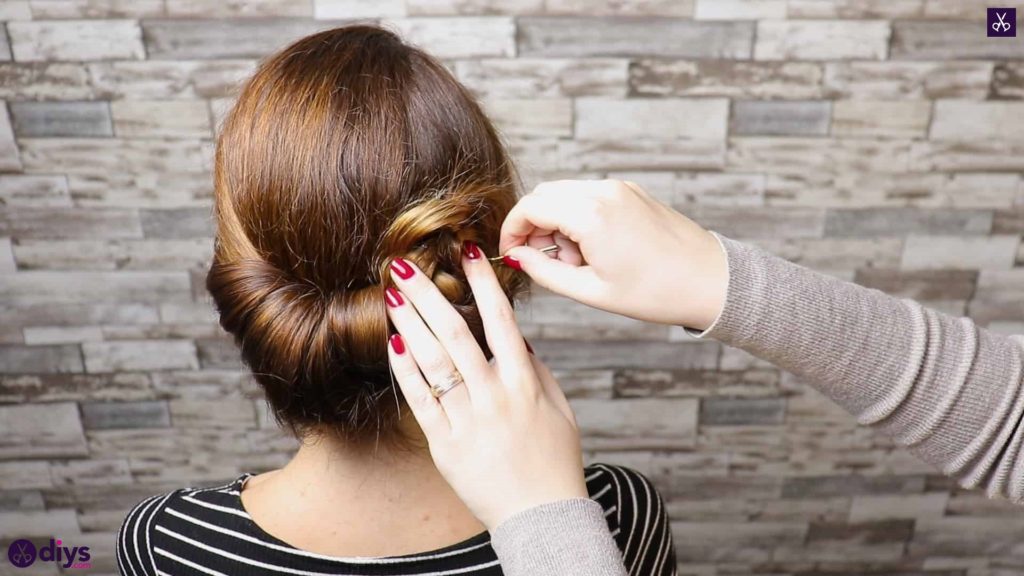
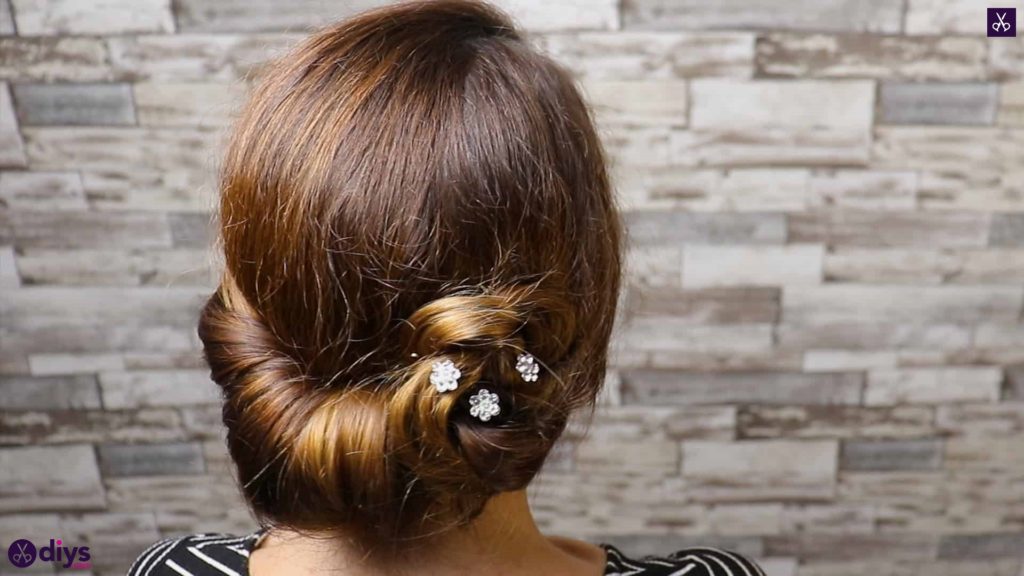
At the end of your braid where you put that elastic in, pull the hair from between two elastic rounds in order to make a loop. Don’t pull the ends all the way back through the elastic; you just want to tug them out slightly to give yourself something to anchor the end of the brain into the style by later. Curling the end of the braid upwards and in on itself, kind of around the loop, gather it into the spot where you anchored your twisted semi-circle with pins down earlier. That’s where your bun will lie. I spiralled mine around itself, a little bit like a cinnamon roll, and then inserted a pin through the center to anchor down that looped end in order to keep it from unravelling. Stabilize the bun there at the end of the twist however you need to with bobby pins, hiding them in amongst the hair. Just be carful not to flatten the bun too much; let some of that braided texture show!

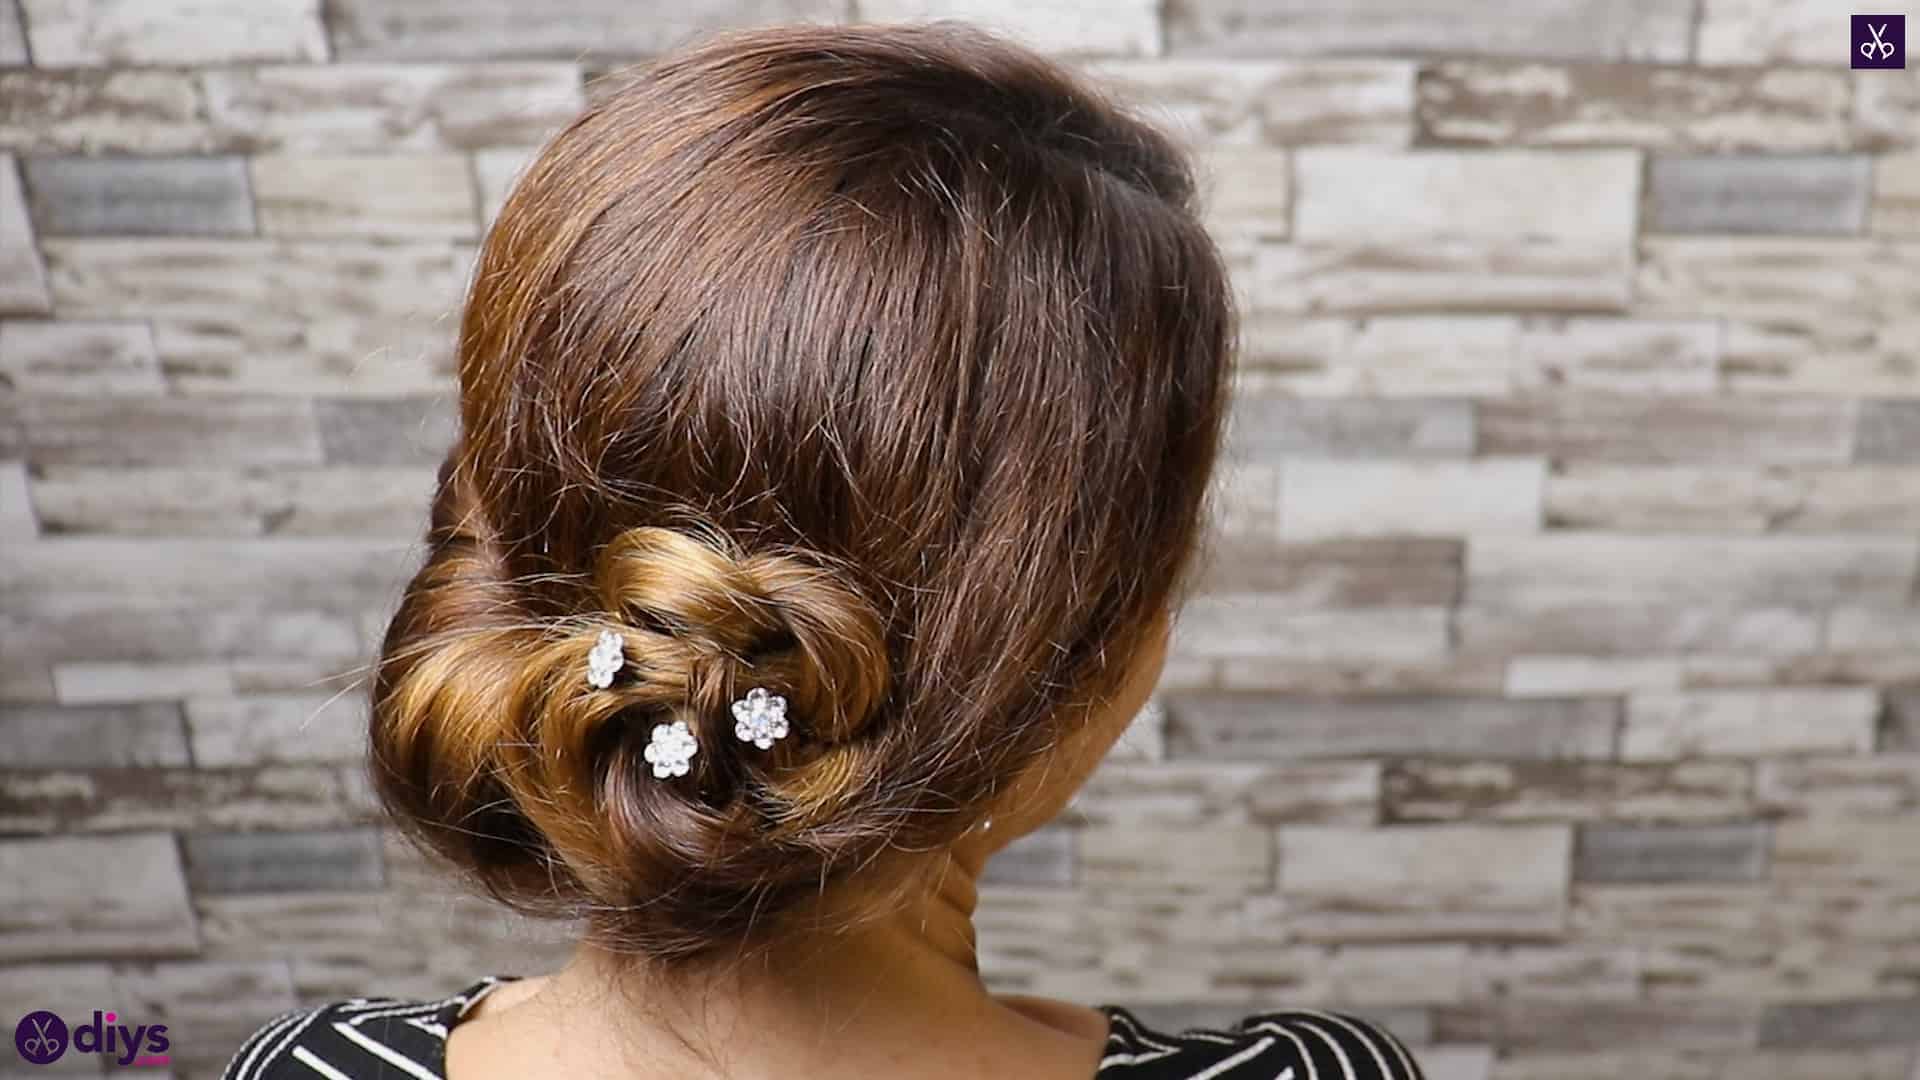
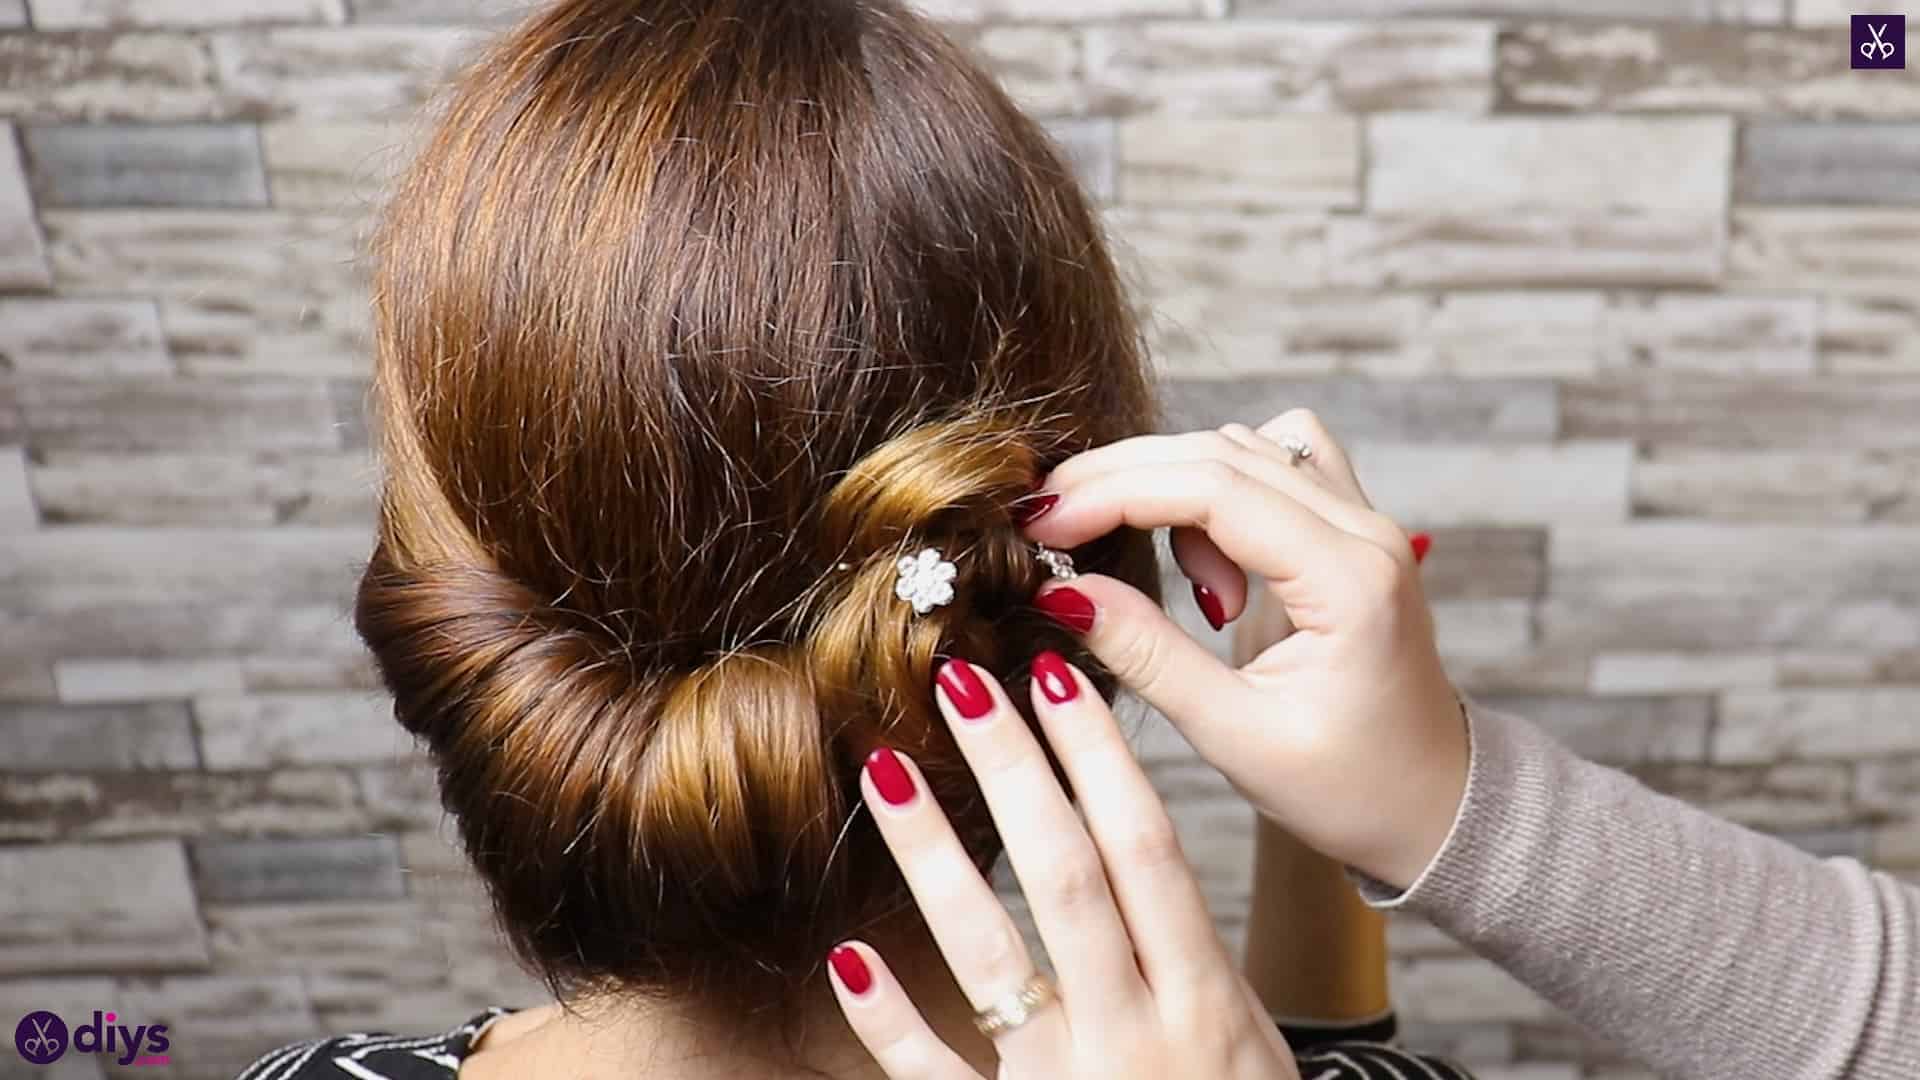
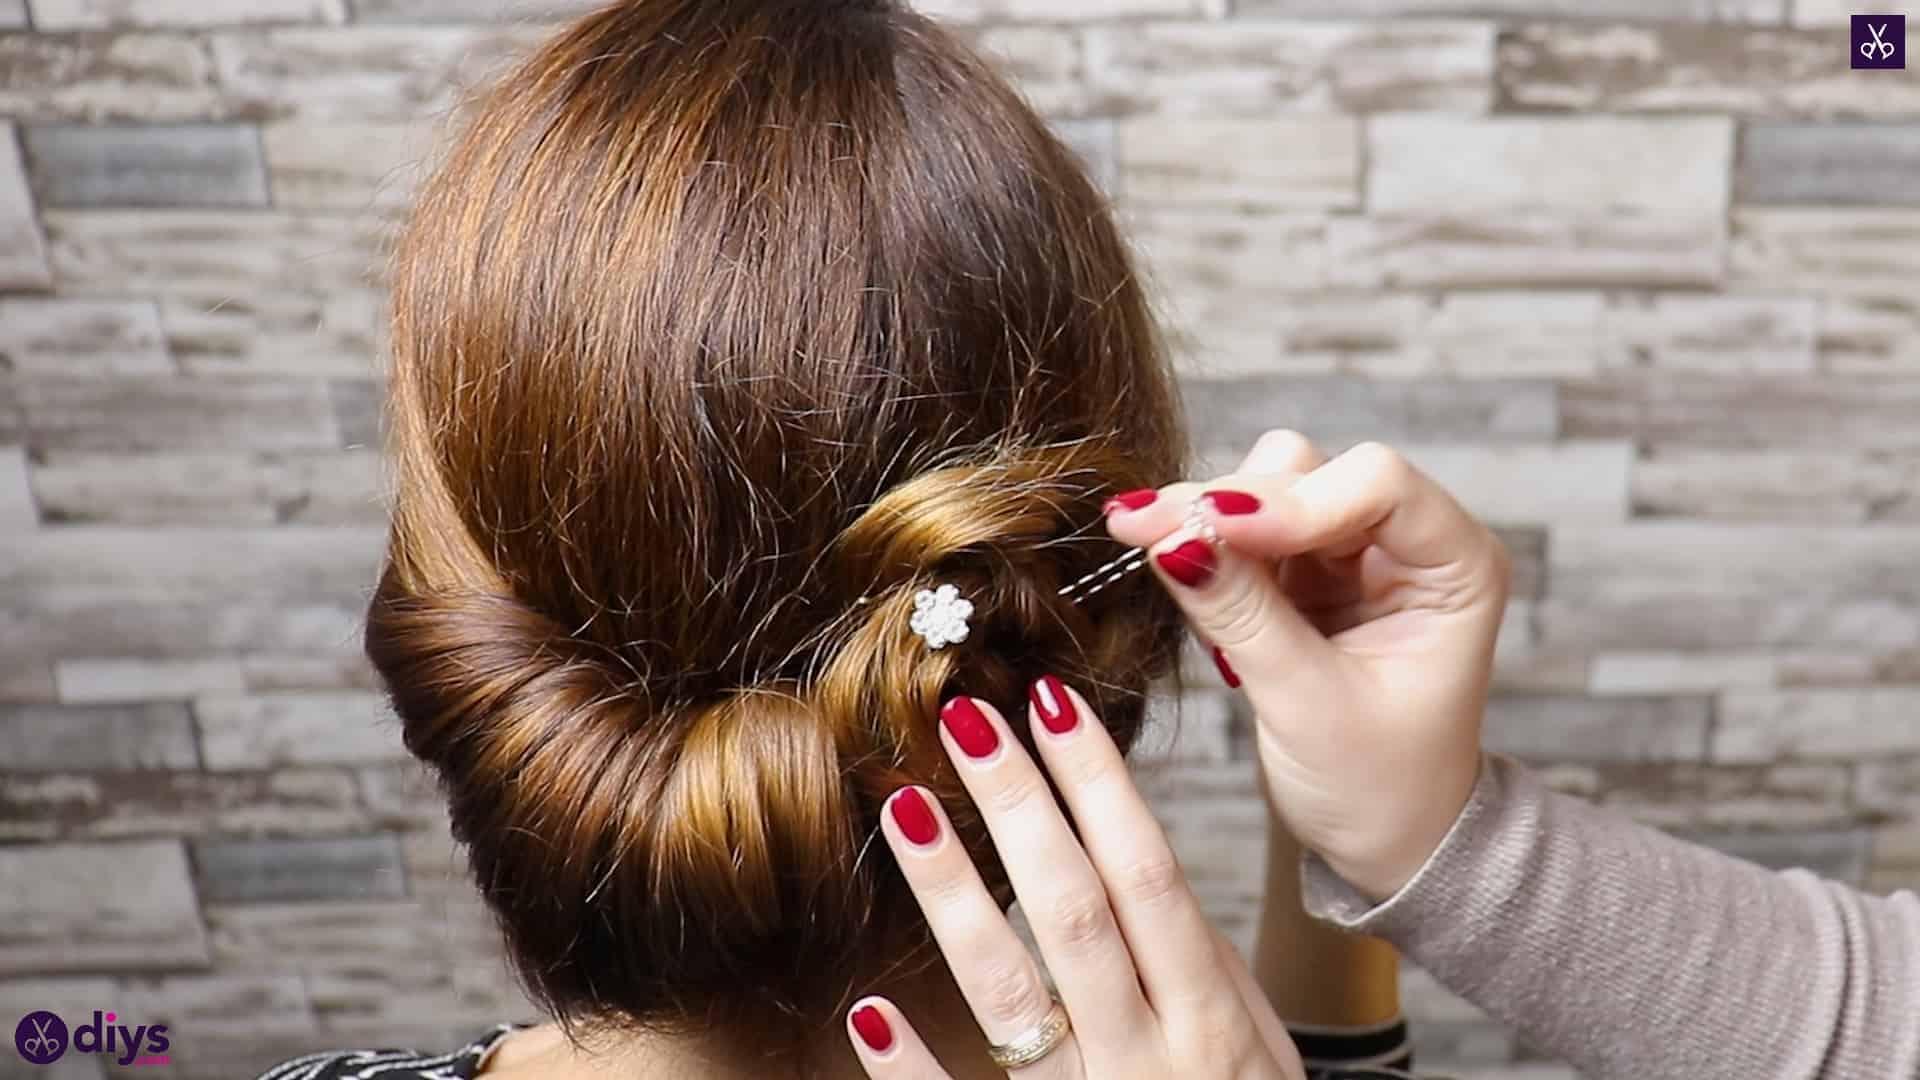
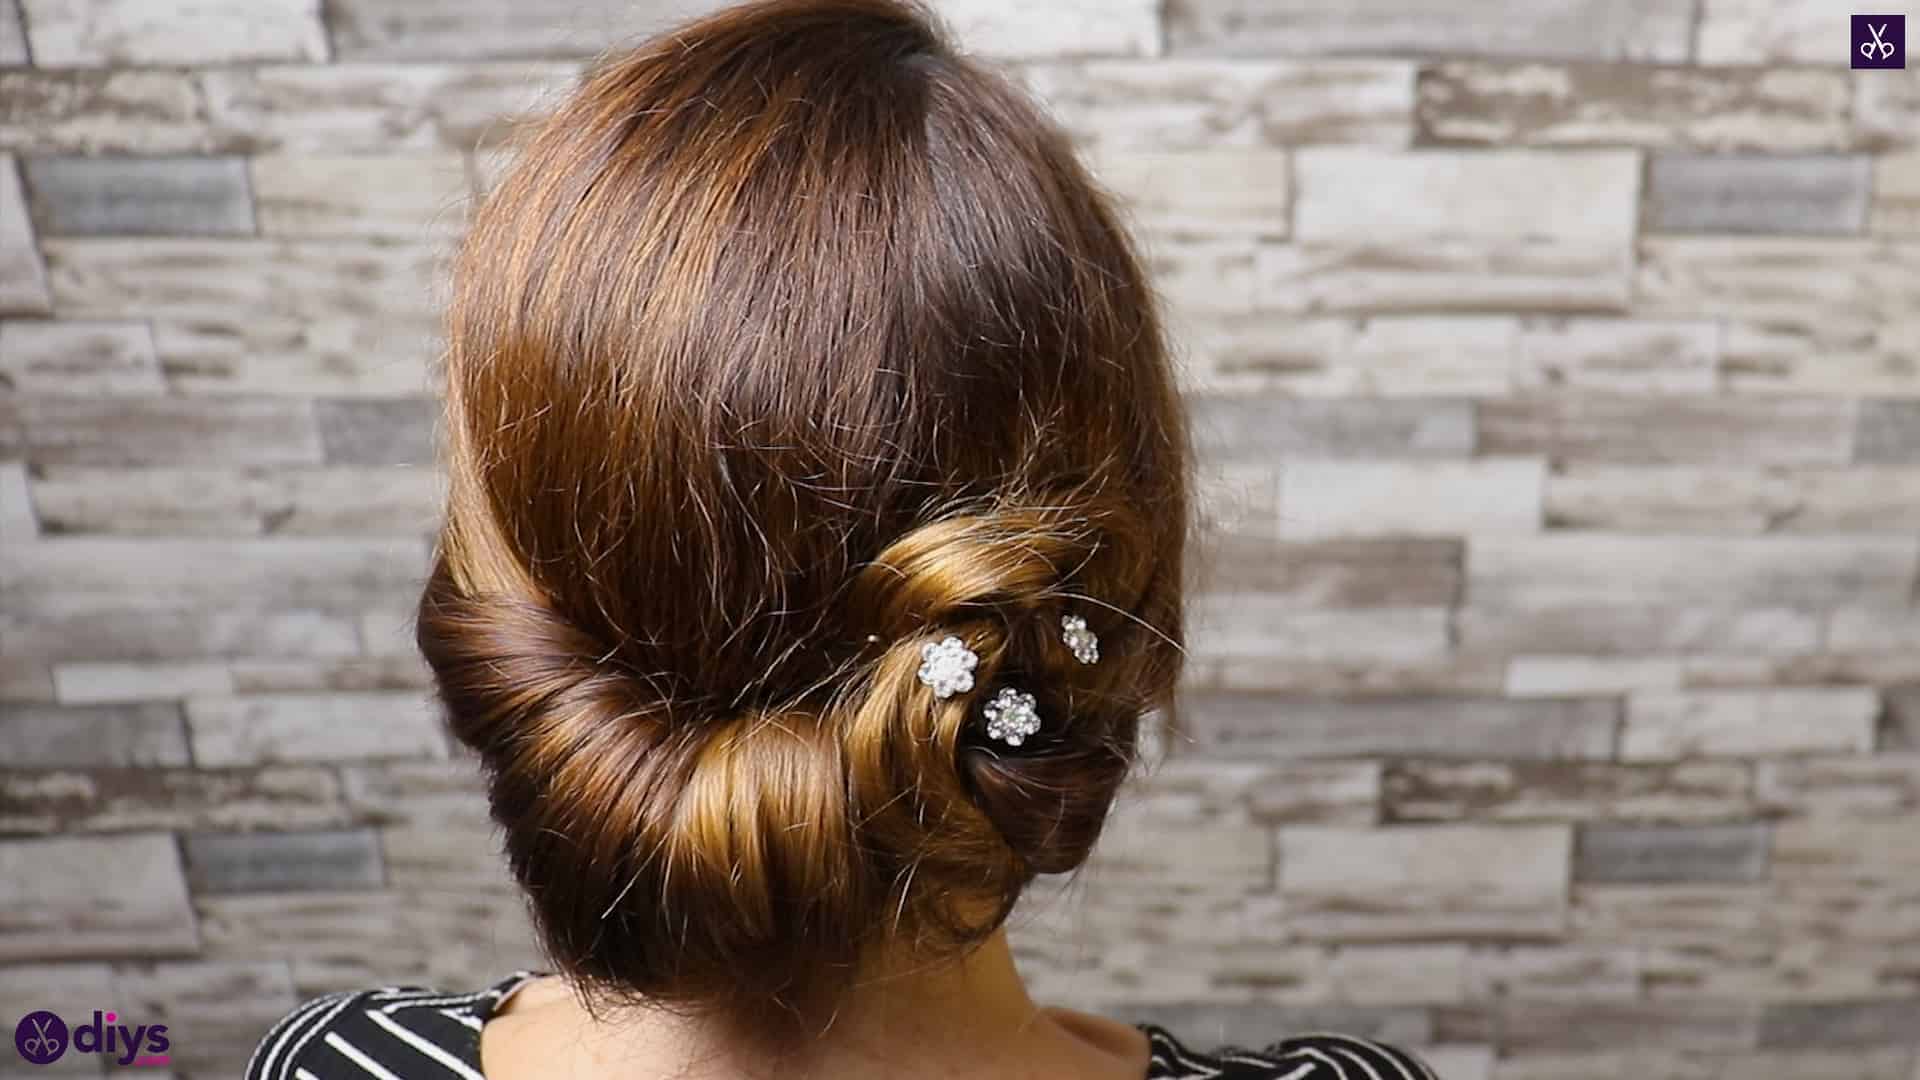
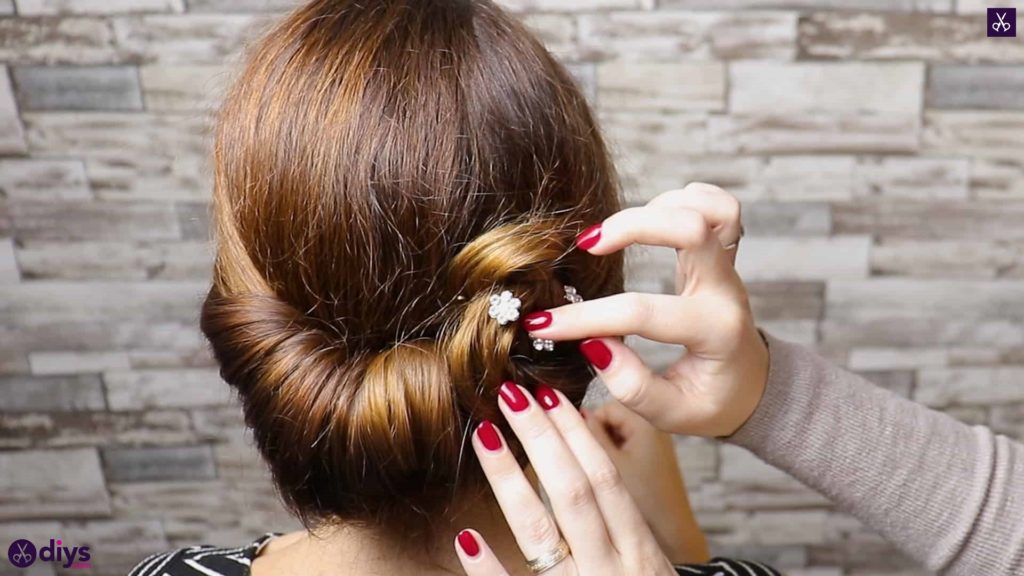
Step 5: embellish
Add your flowers! My little floral pieces were bobby pins with rhinestone blossoms on the end, so I slid them right into the hair like any other pin, placing them strategically so the flowers look like a little cluster.


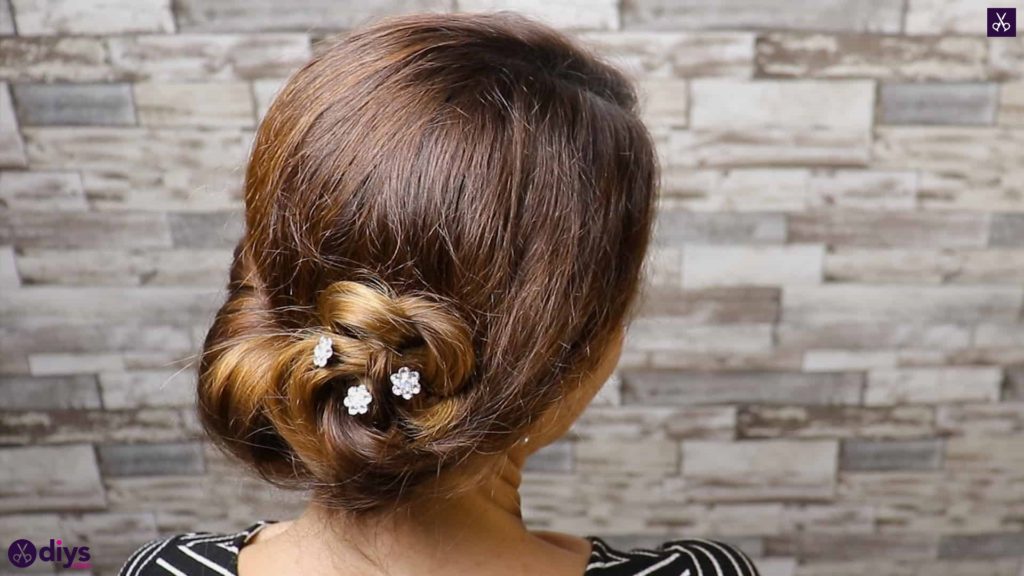
Feel free to get creative with the kinds of flower pins, clips or embellishments that you nestle into your bun for your summery look! Just in case you’d like to try this style out for yourself, here’s a fantastic tutorial video to help you!
