DIY Simple Felt Glasses Case
Updated on November 19, 2025


I’ve been a glasses wearer ever since I was a little kid, but I’ve long been the kind of person who forgets about, loses, or breaks the cases that all pf my pairs of glasses have ever come in. Because I only have to wear my glasses sometimes, however, I’m finding more and more that it would, in fact, be very convenient indeed to have a case to put them in when I’m not reading (and it would probably help me stop losing my actual glasses themselves as well). I know that I could very easily go out and buy myself a glasses case at various stores, but the crafter in me is forever convinced that making something by hand, whenever possible, is always the more satisfying option than just purchasing it. That’s how I found myself making this adorable felt glasses case last week!
I keep more than one pair of glasses in my house at all times and even have one in my purse and one in my car, so naturally it made sense that I make more than one glasses case as well. That gave me plenty of opportunity to document the process that went into making the little felt cases, just in case other crafters wanted to try it out as well. Check out these step by step instructions complete with photos! If you’d rather follow along with a video tutorial instead of written words, scroll to the bottom of this post to find just what you’re looking for.

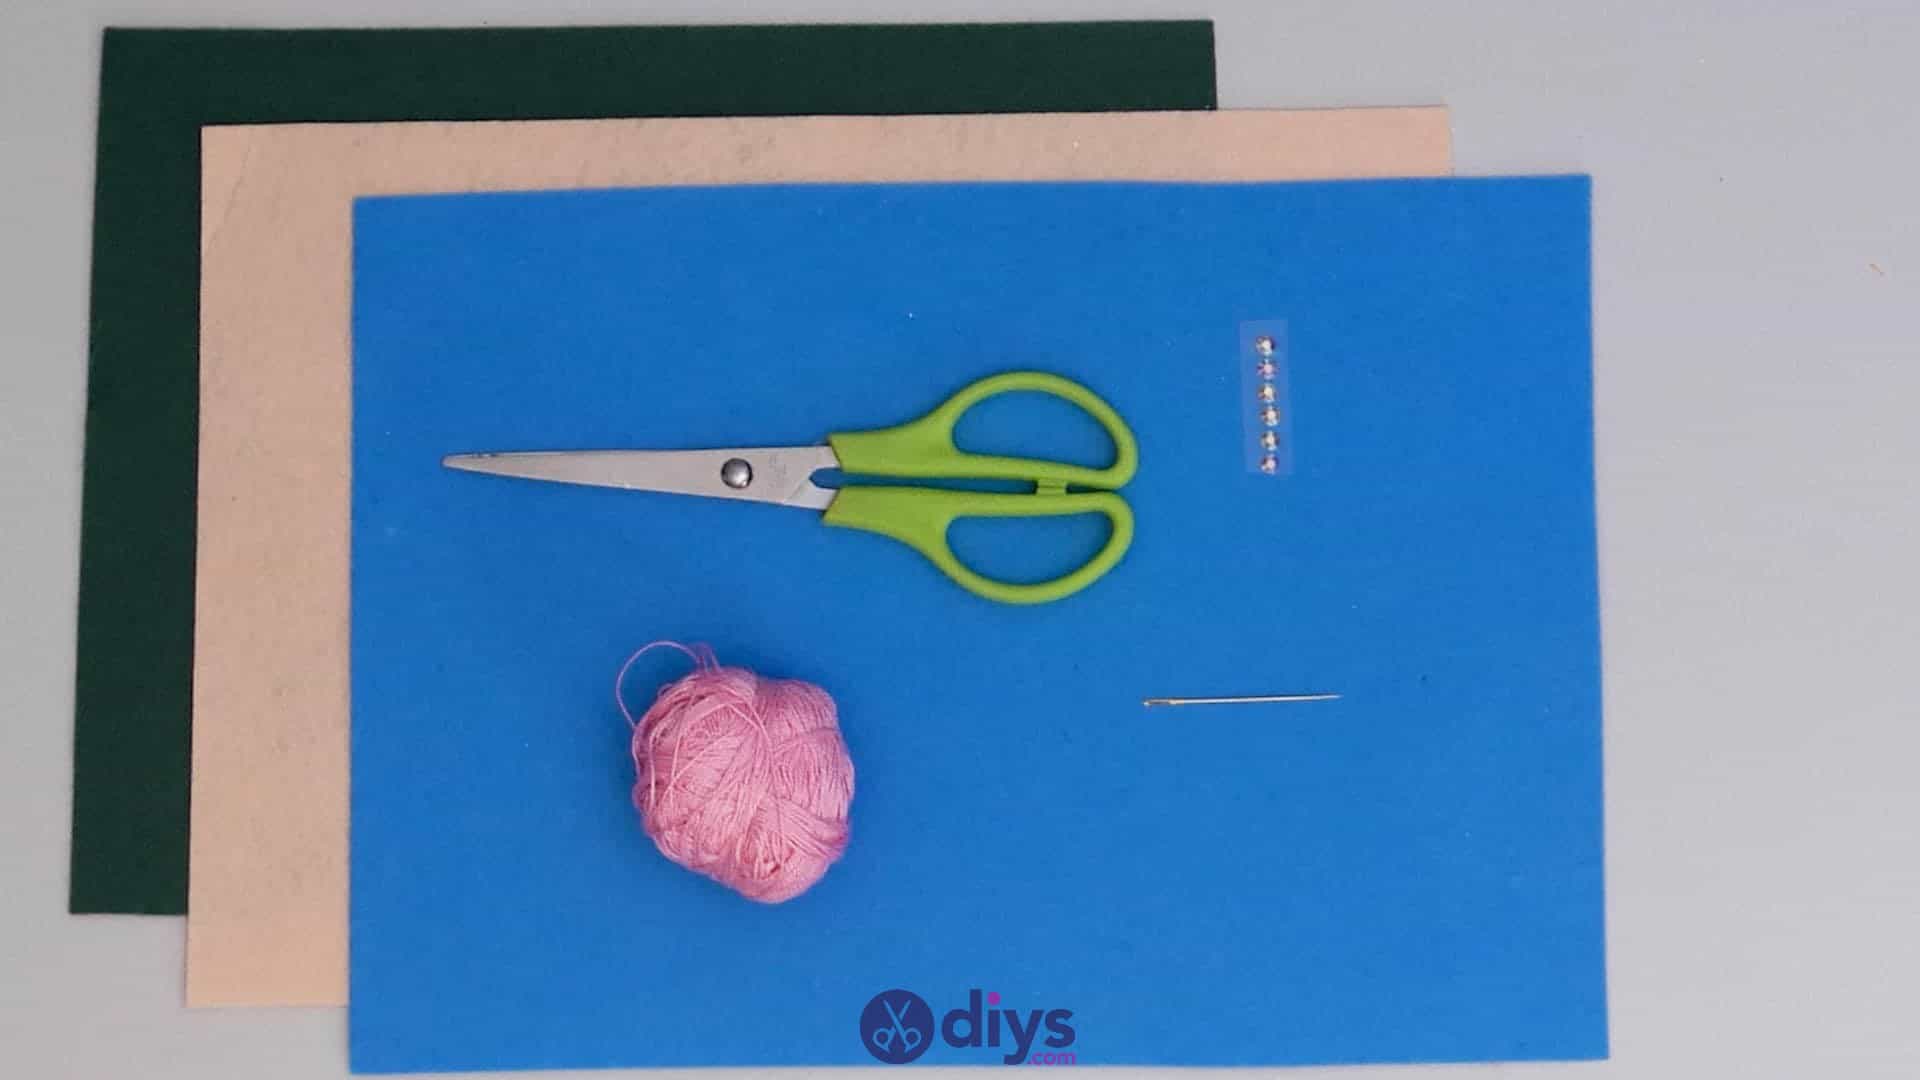
For this project, you’ll need:
- Scissors
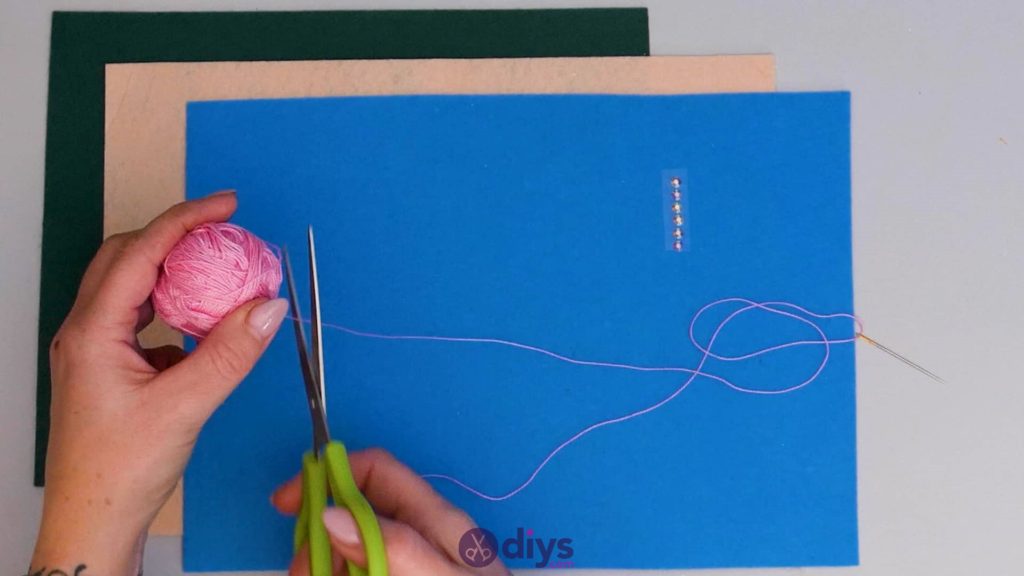
- Felt (blue, yellow, and green)
- Pink thread
- A sewing needle
- Rhinestones
Step 1:
Gather your materials!

Step 2:
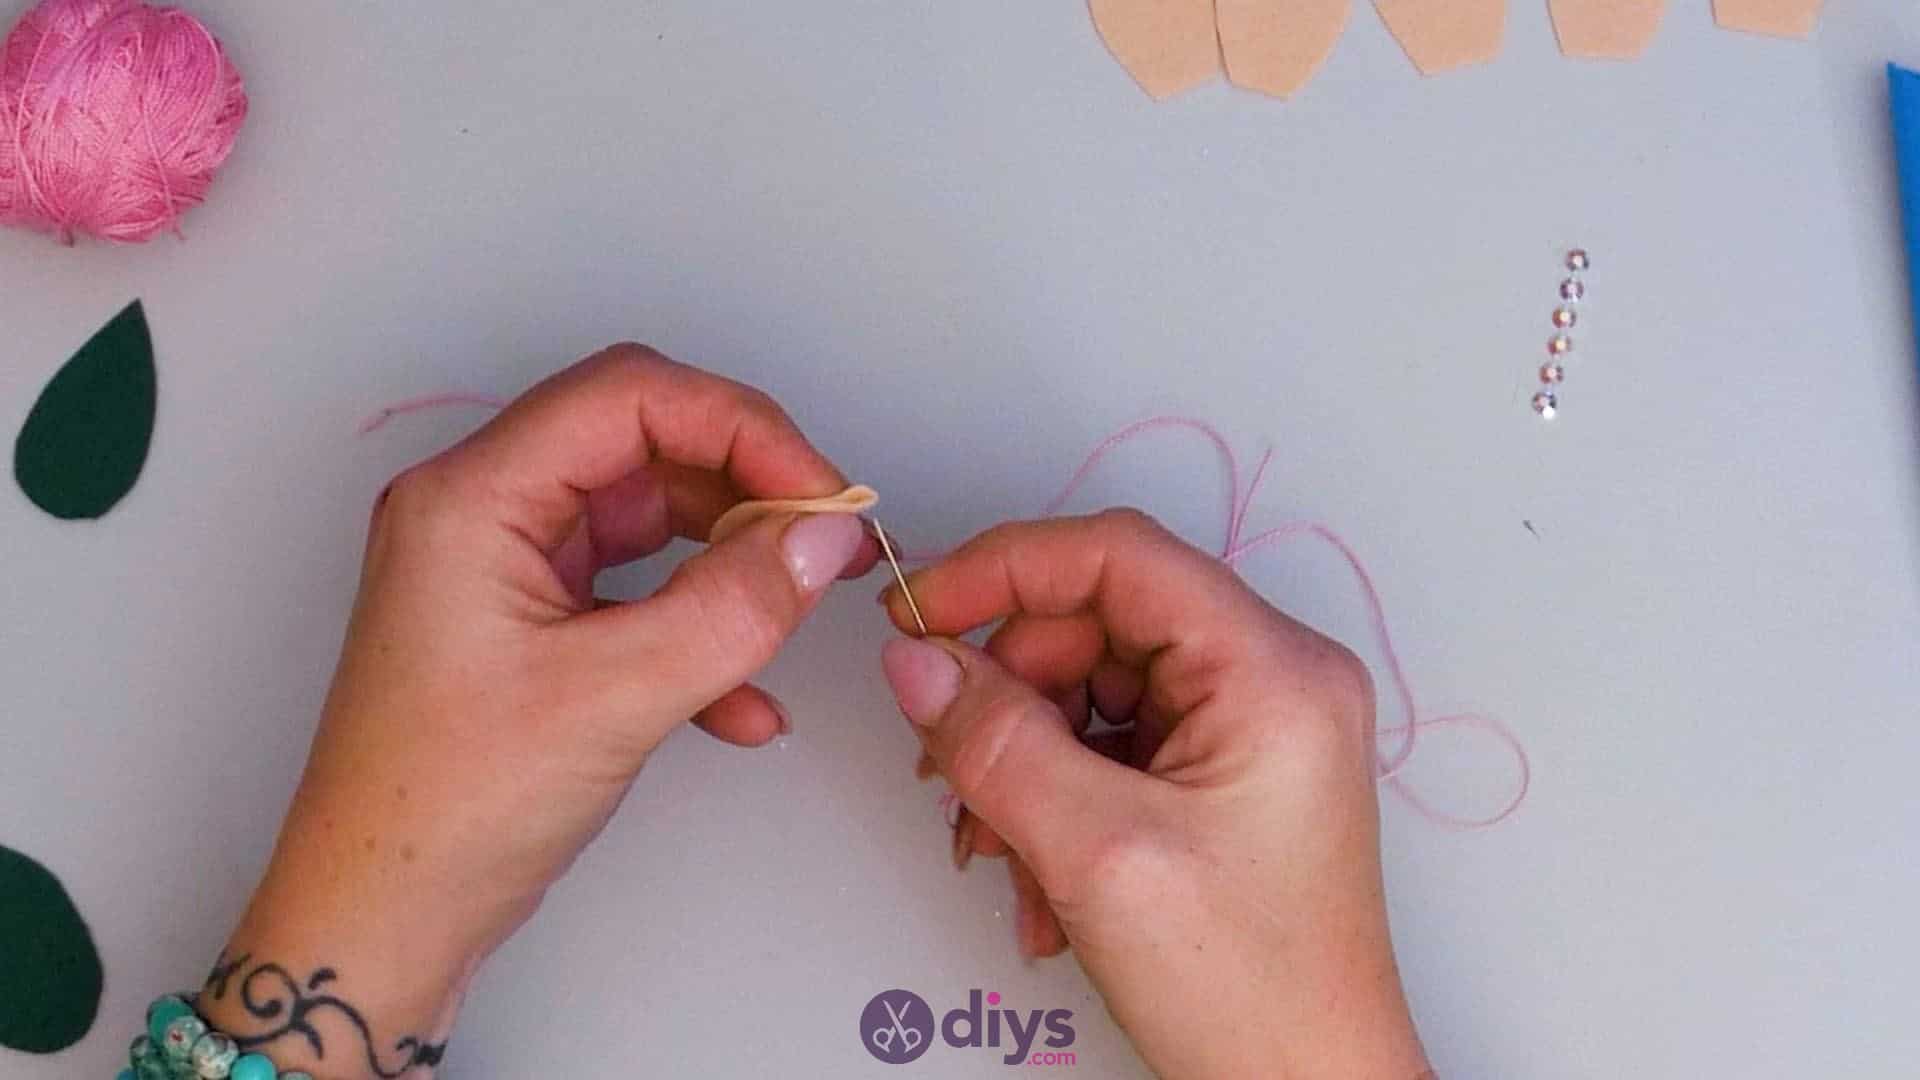
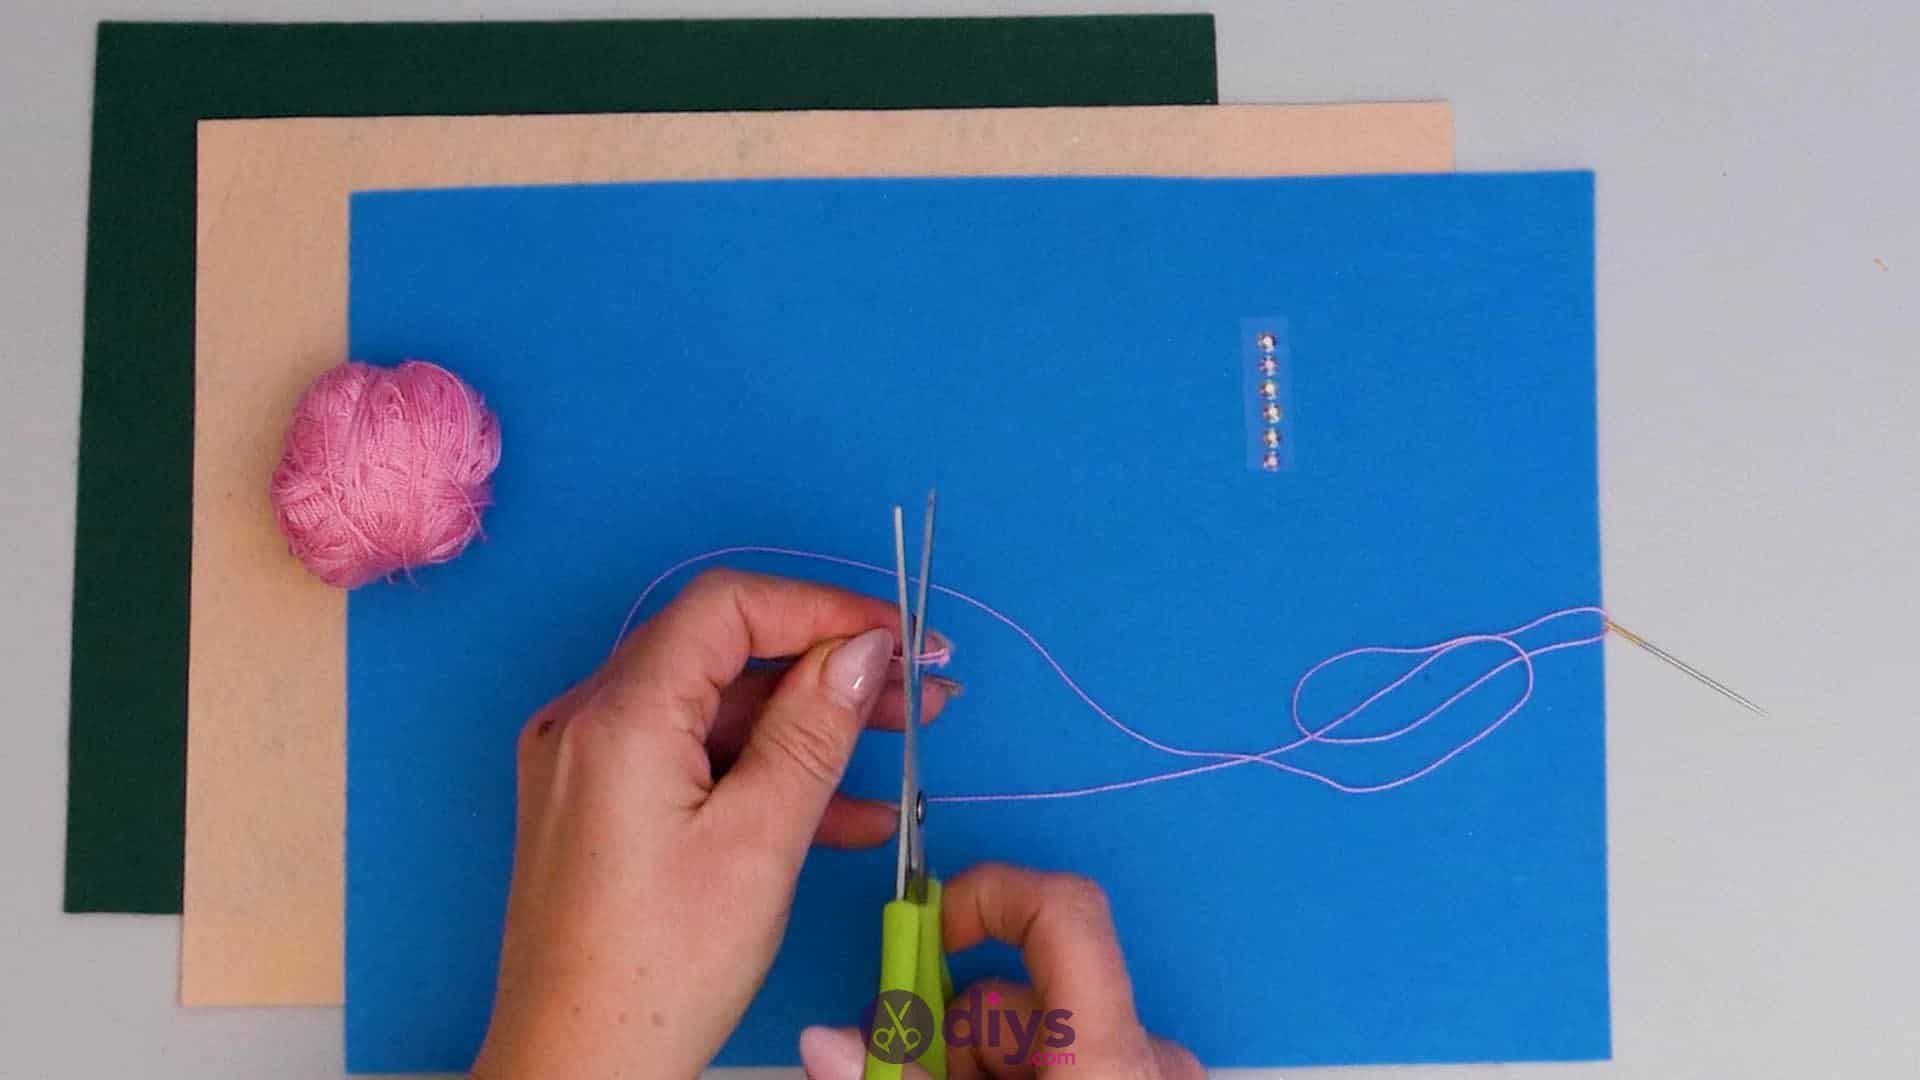
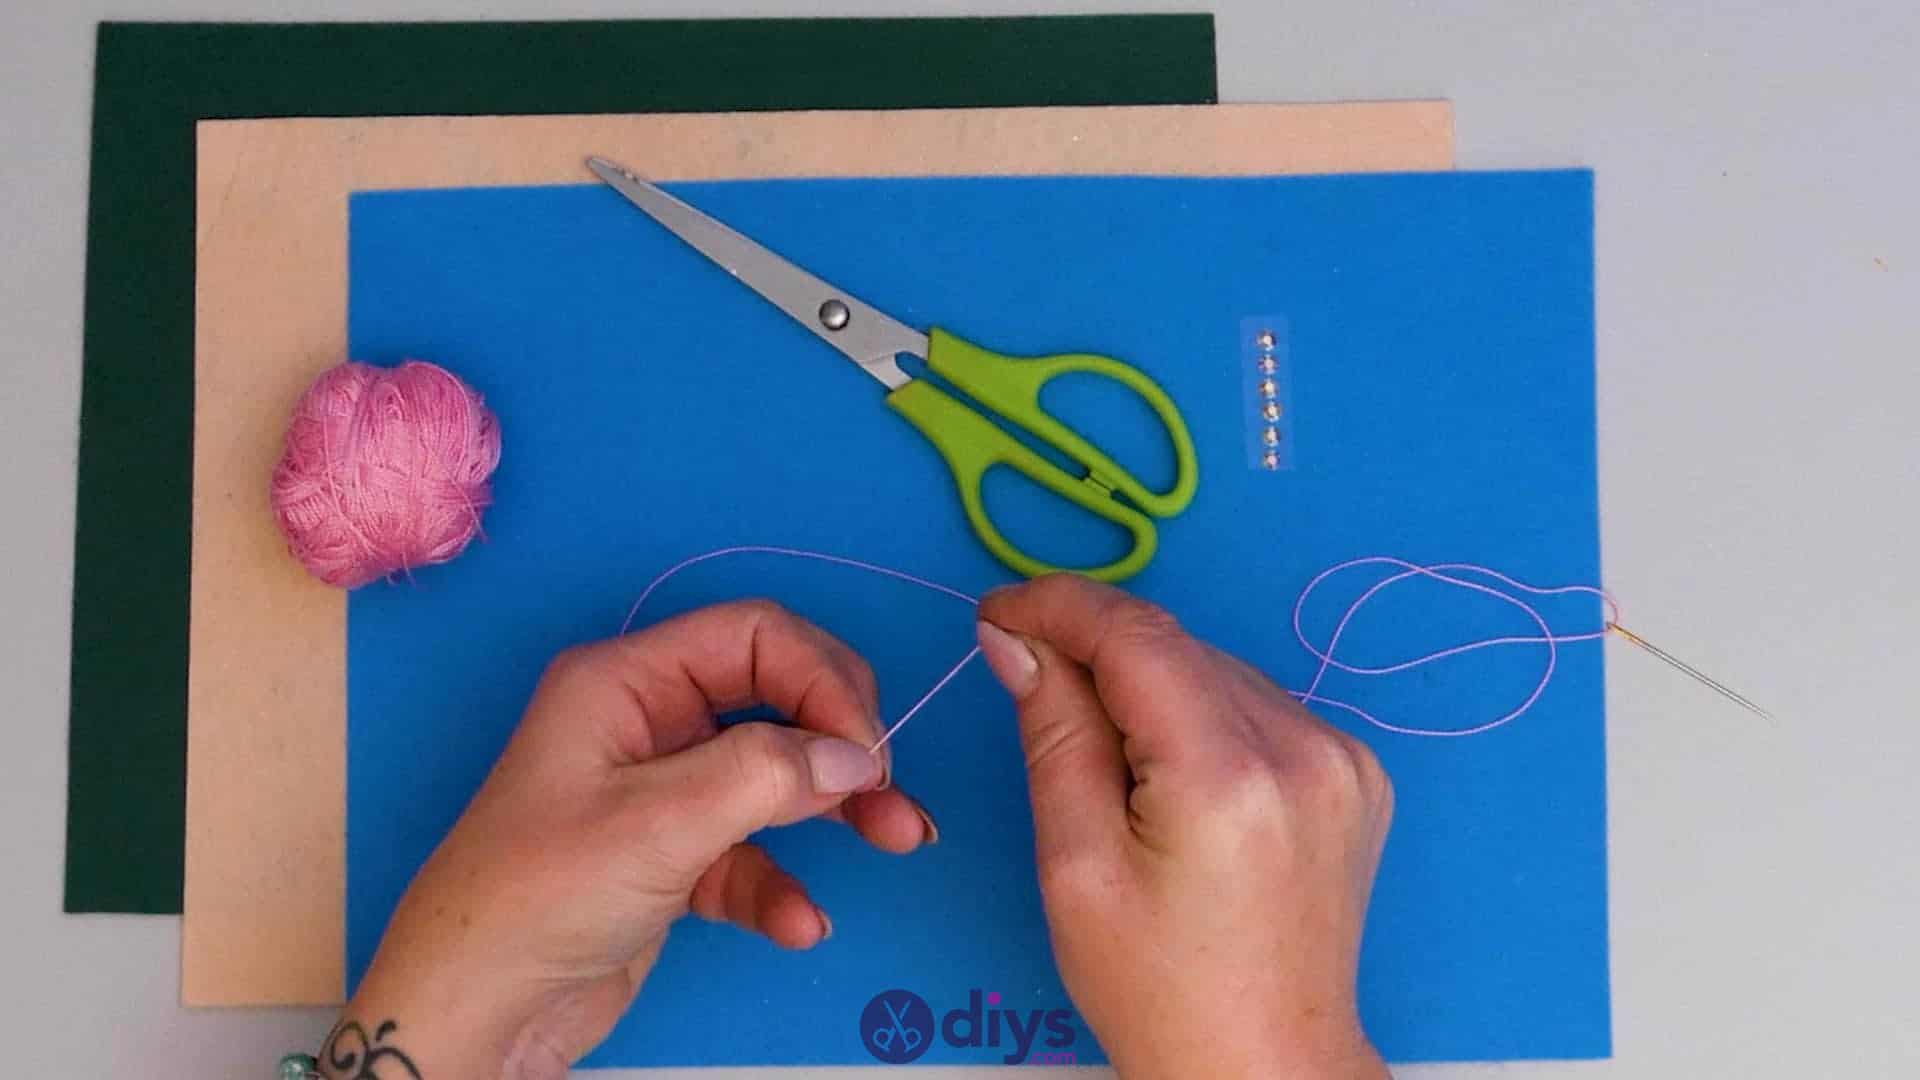
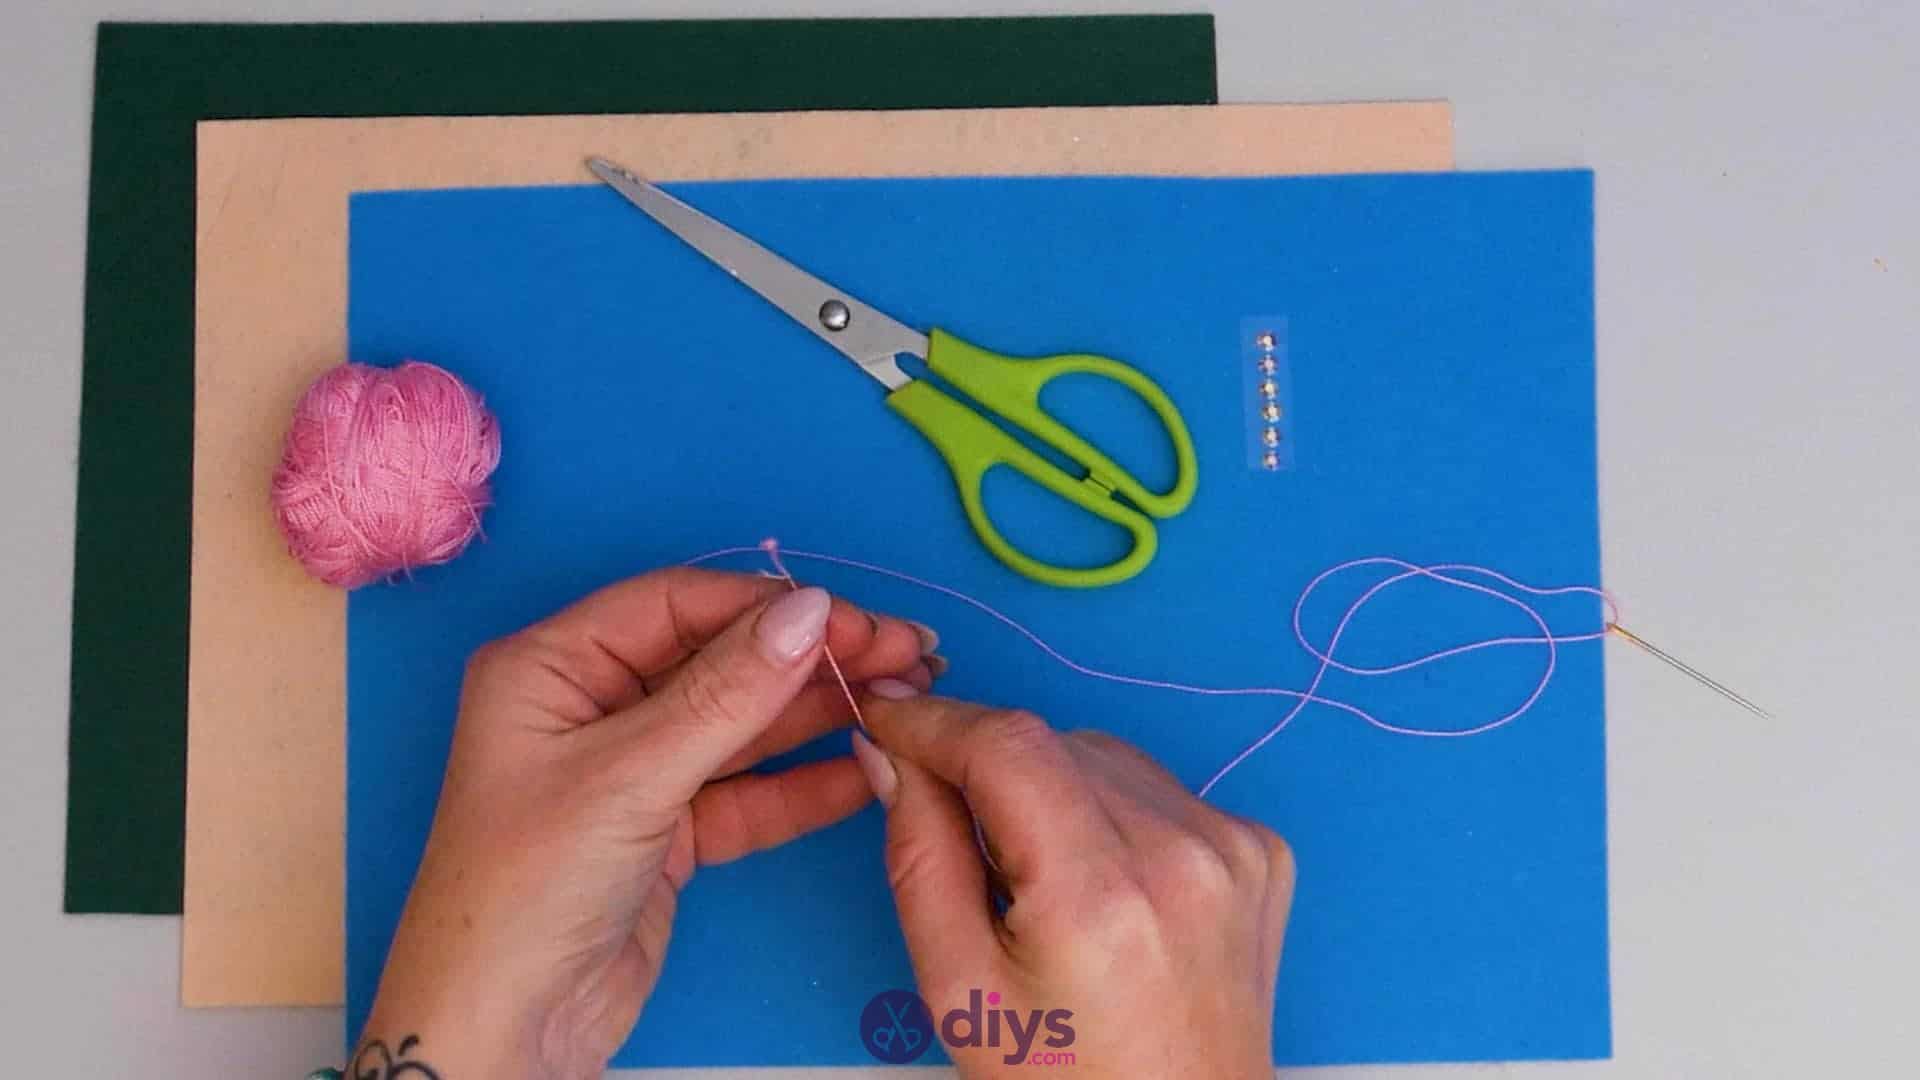
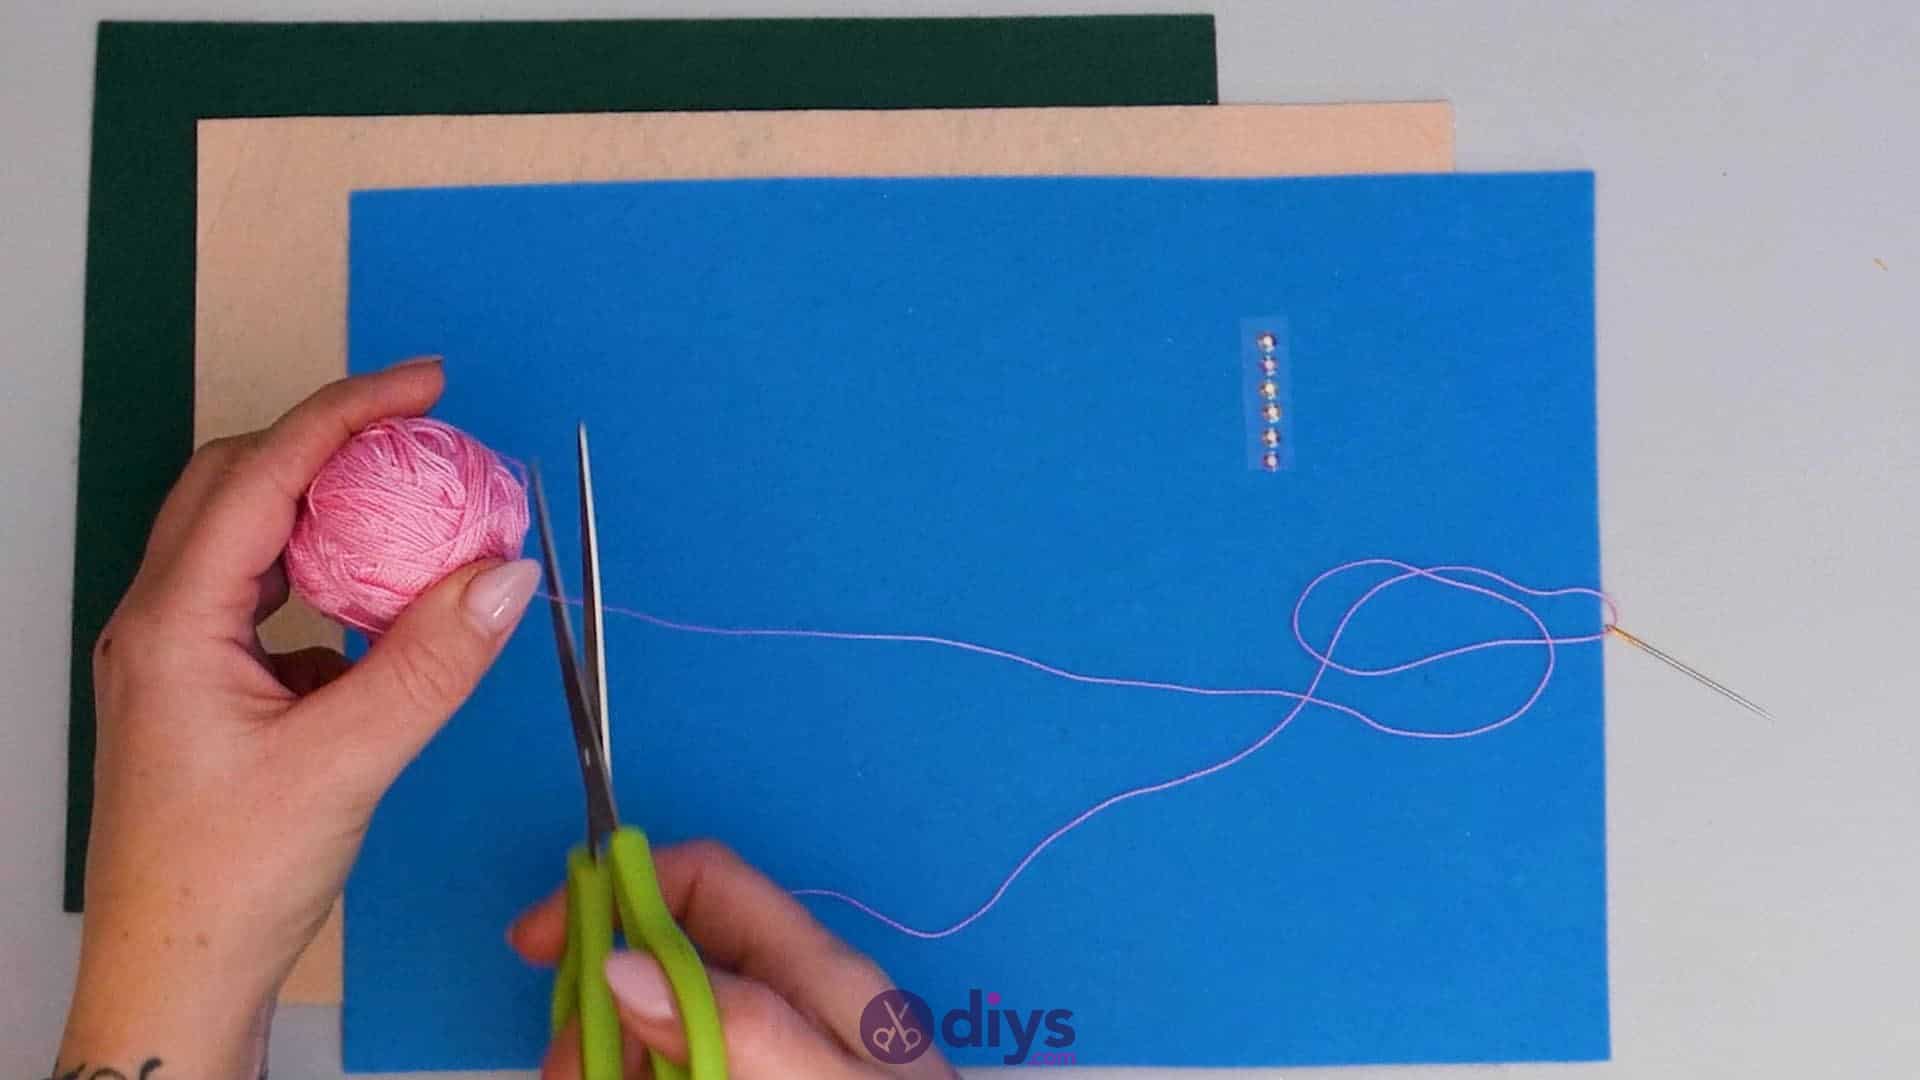
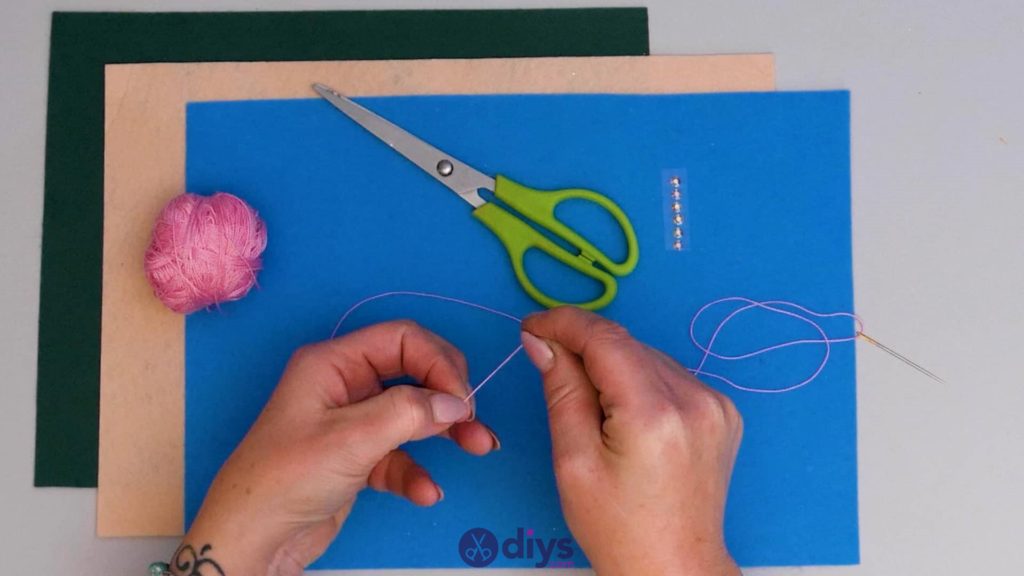
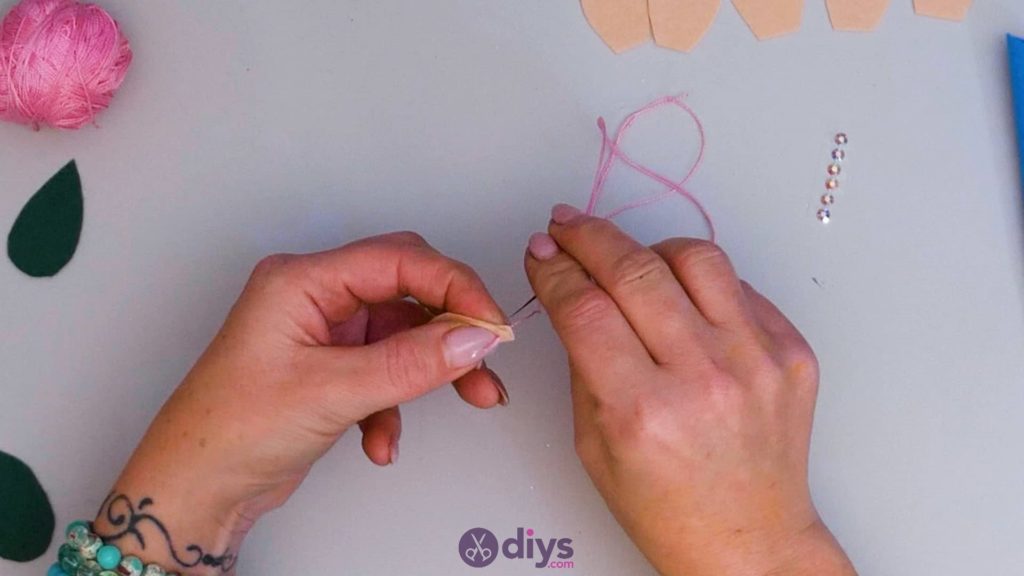
Thread your needle with your pink thread so you’re ready to hand stitch once all of your felt pieces are cut! I measured out a length of thread about 20 inches long and threaded one end through the eye of my sewing needle, pulling the thread through until the needle rested at the halfway point. This let me fold the thread over to me its ends, giving me ten inches of thread space to work with when I stitched. Knot the ends so the thread stays anchored when you start your loop stitch in a moment and use your scissors to trim any excess off the knot for neatness.


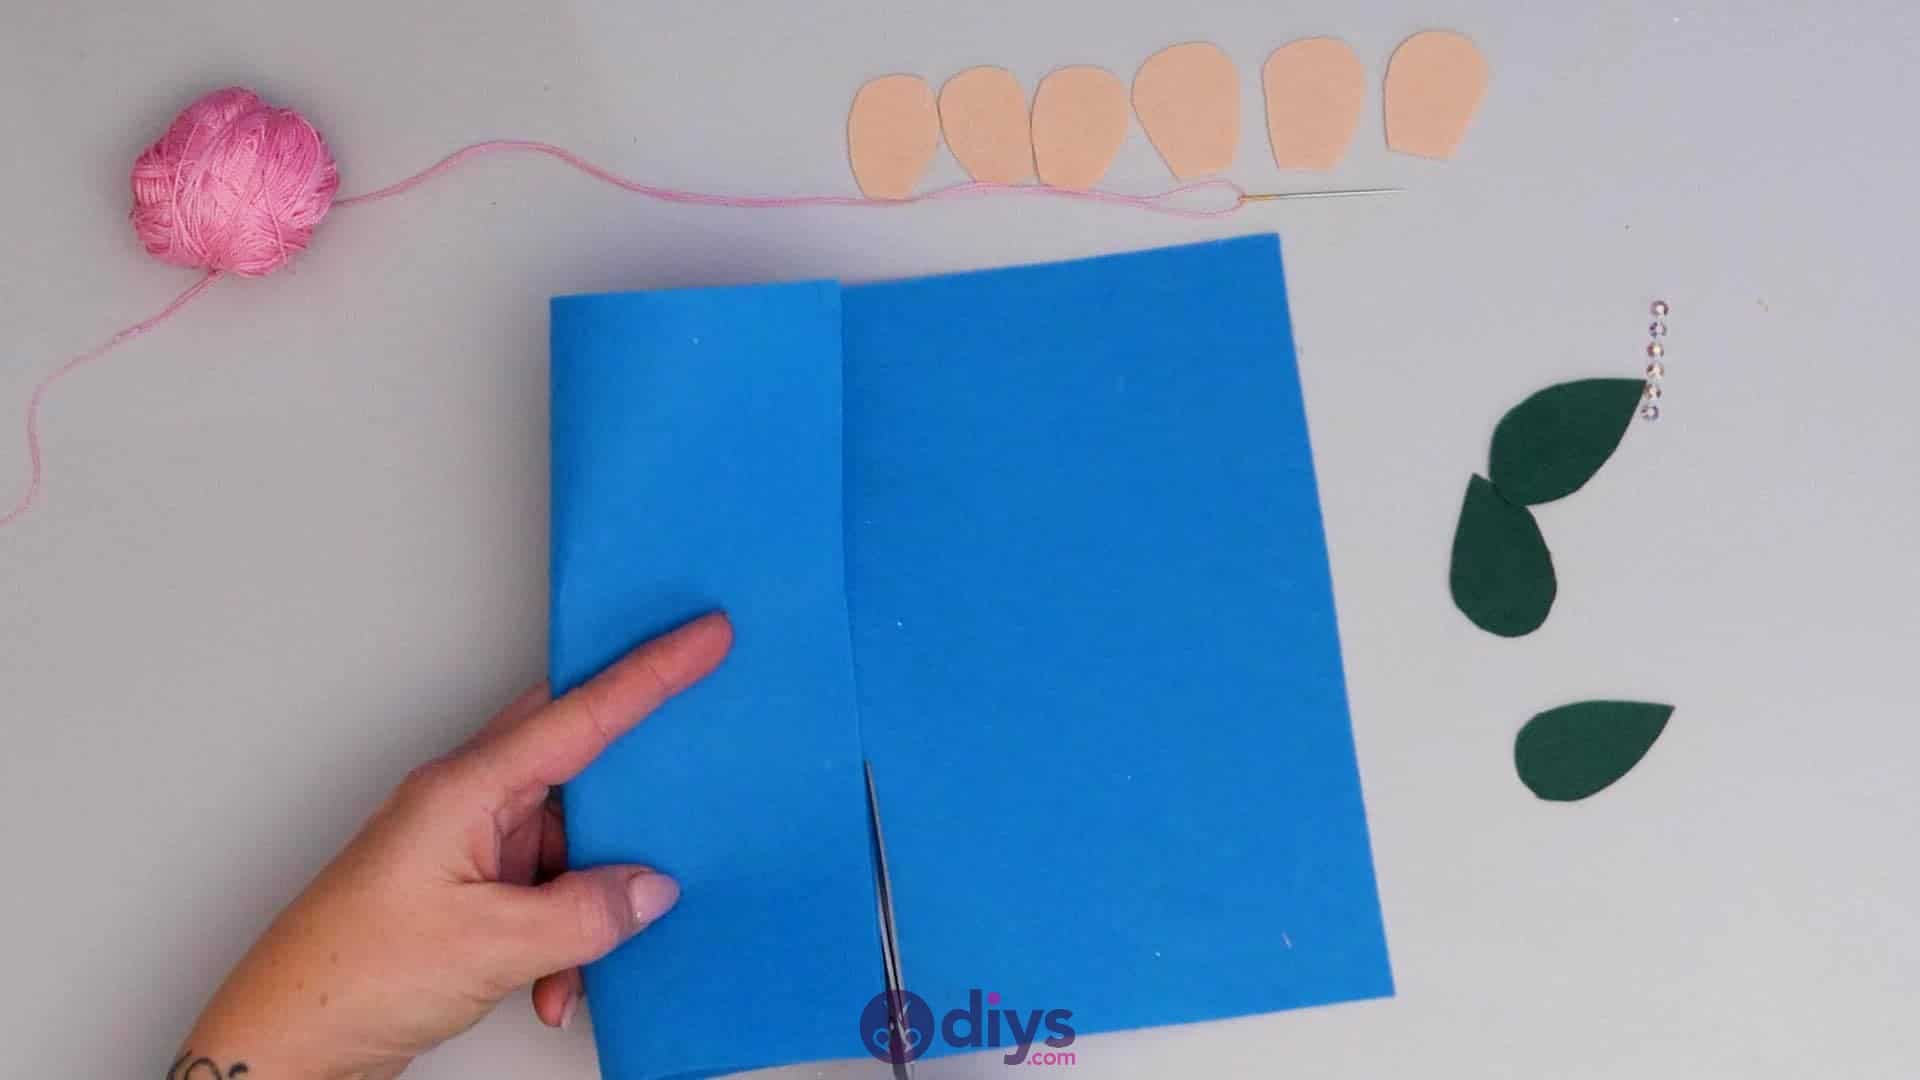
Step 3:
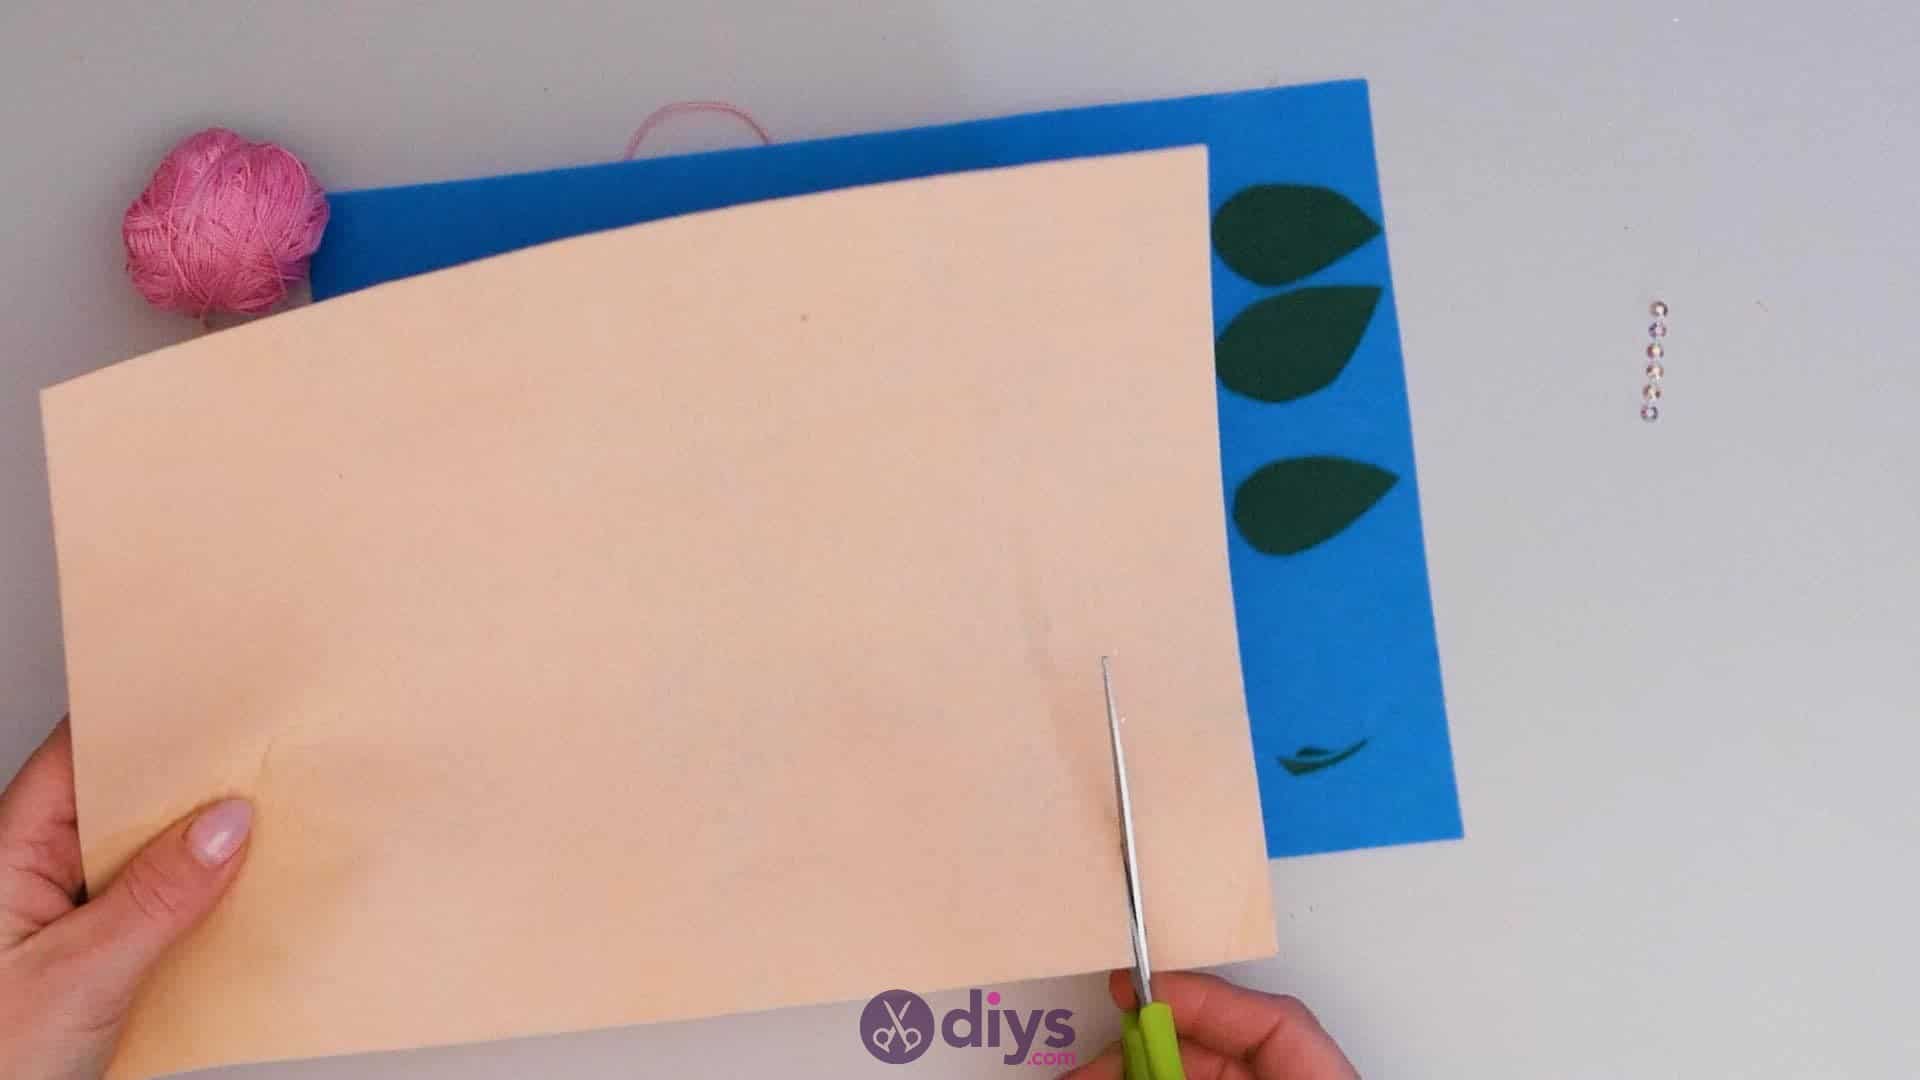
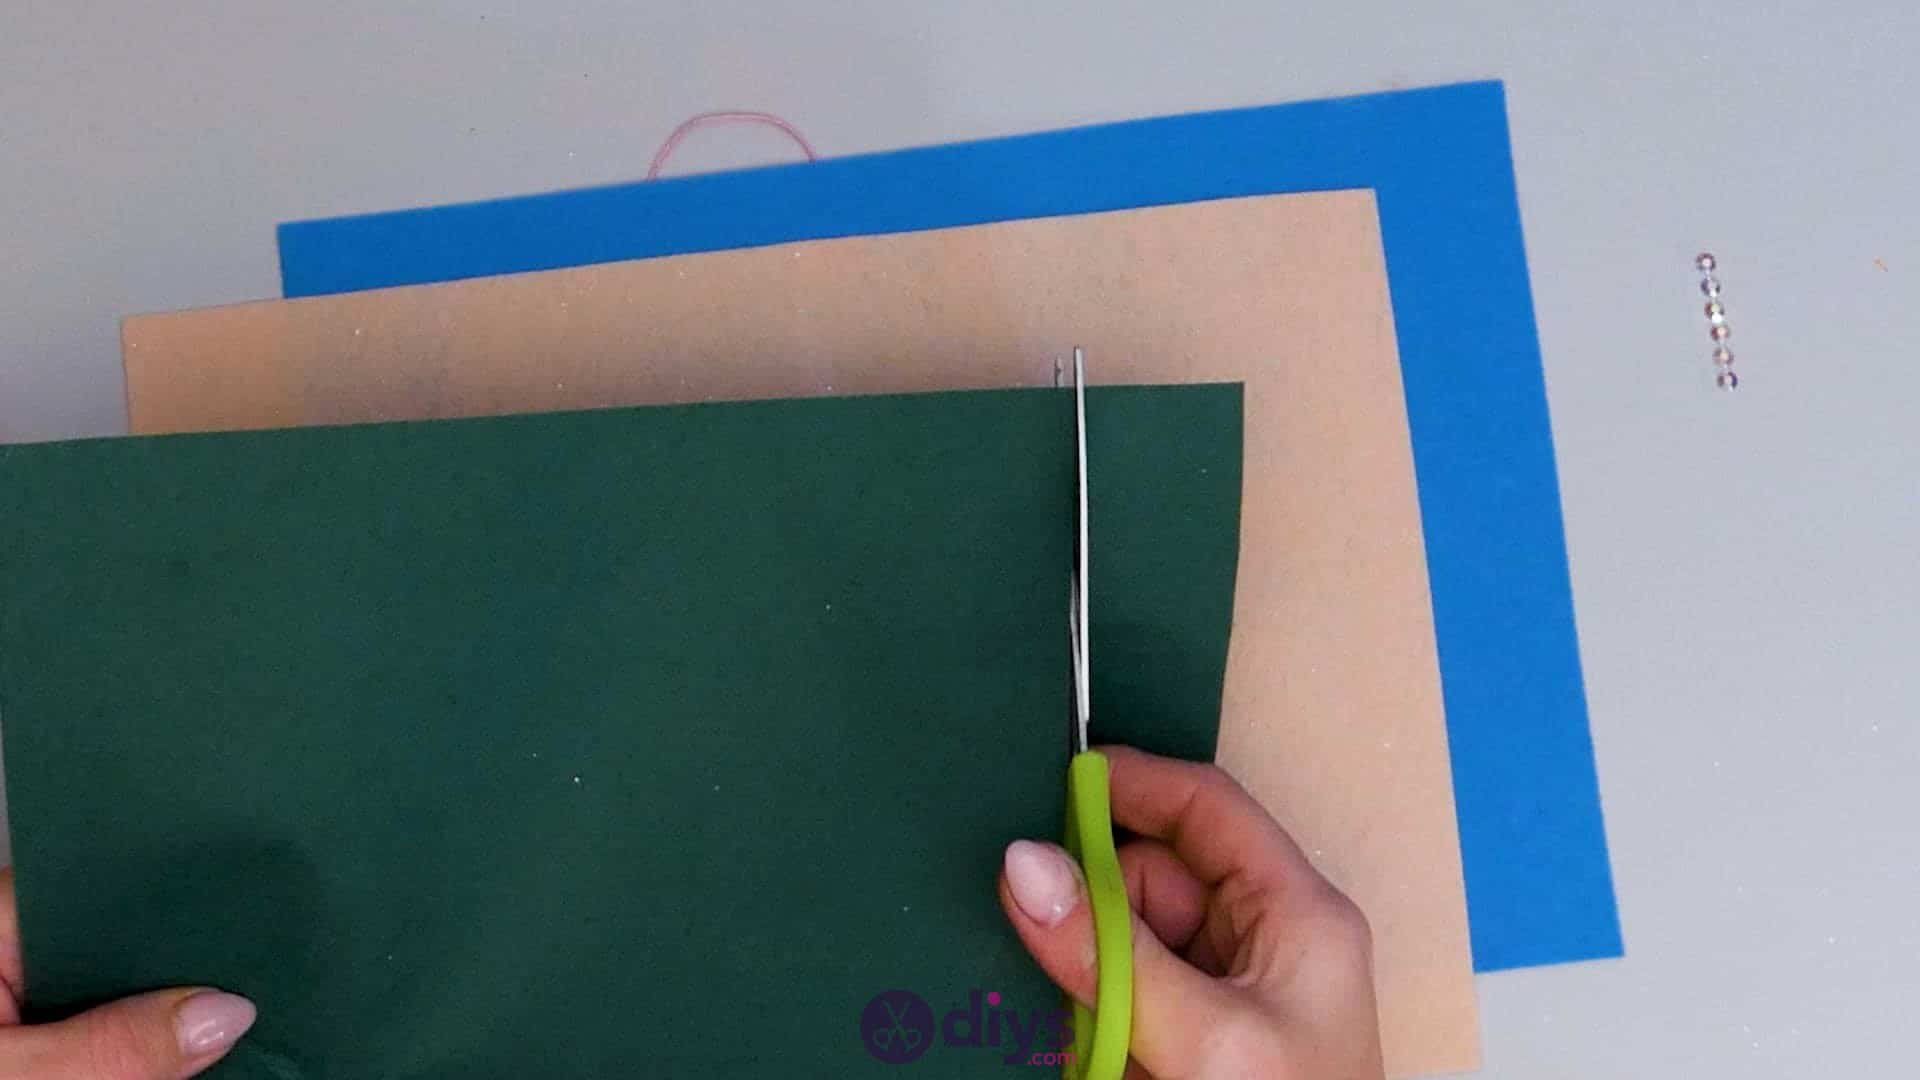
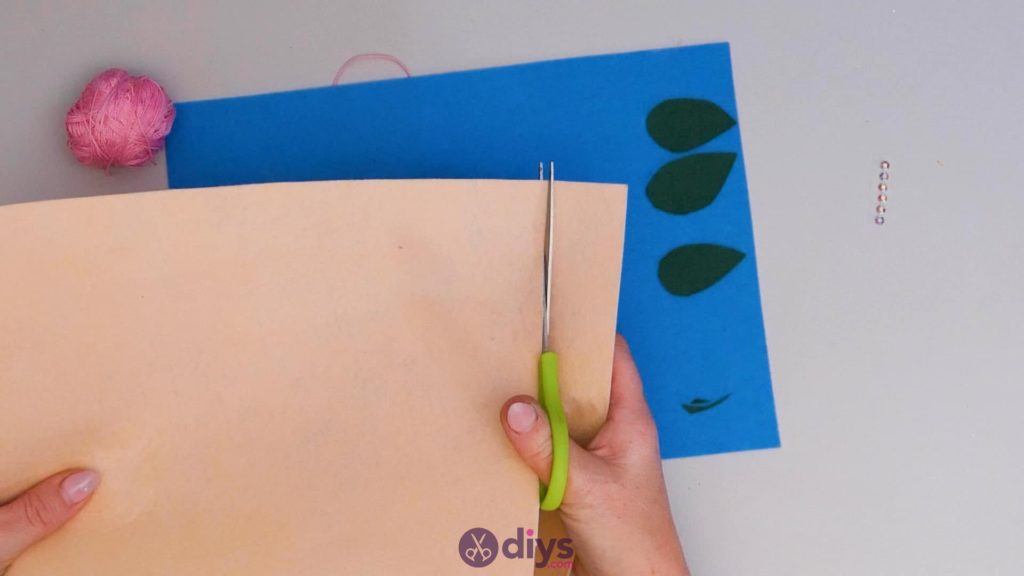
Turn your sheet of green felt landscape-wise so its long edges are the top and bottom and its short edges are the sides. From the right hand side, cut a rectangular strip about half an inch wide and the whole height of the sheet. Then use your scissors to cut three inch-long rectangles from the strip. Carefully round off the corners and straight edges of these little rectangles into a sort of teardrop shape to make three little green leaves. Set these aside for the moment.


Step 4:
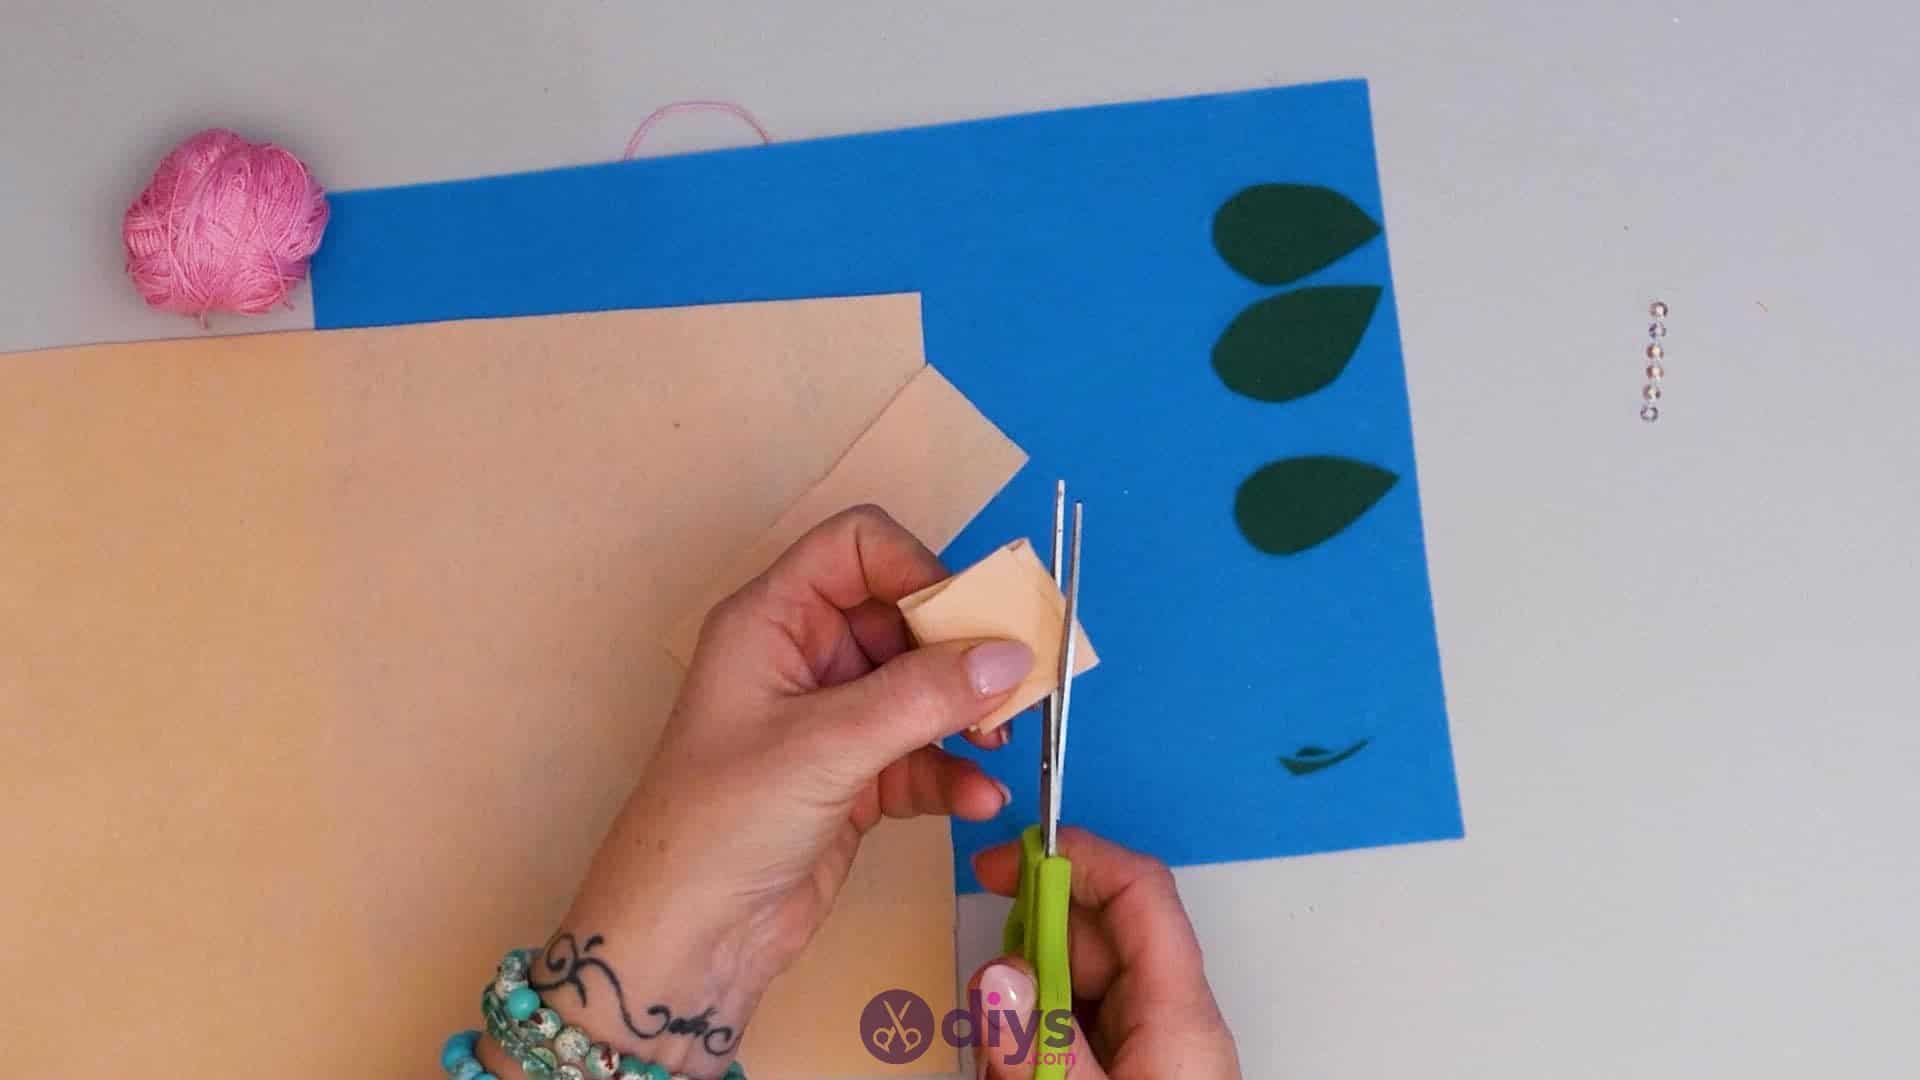
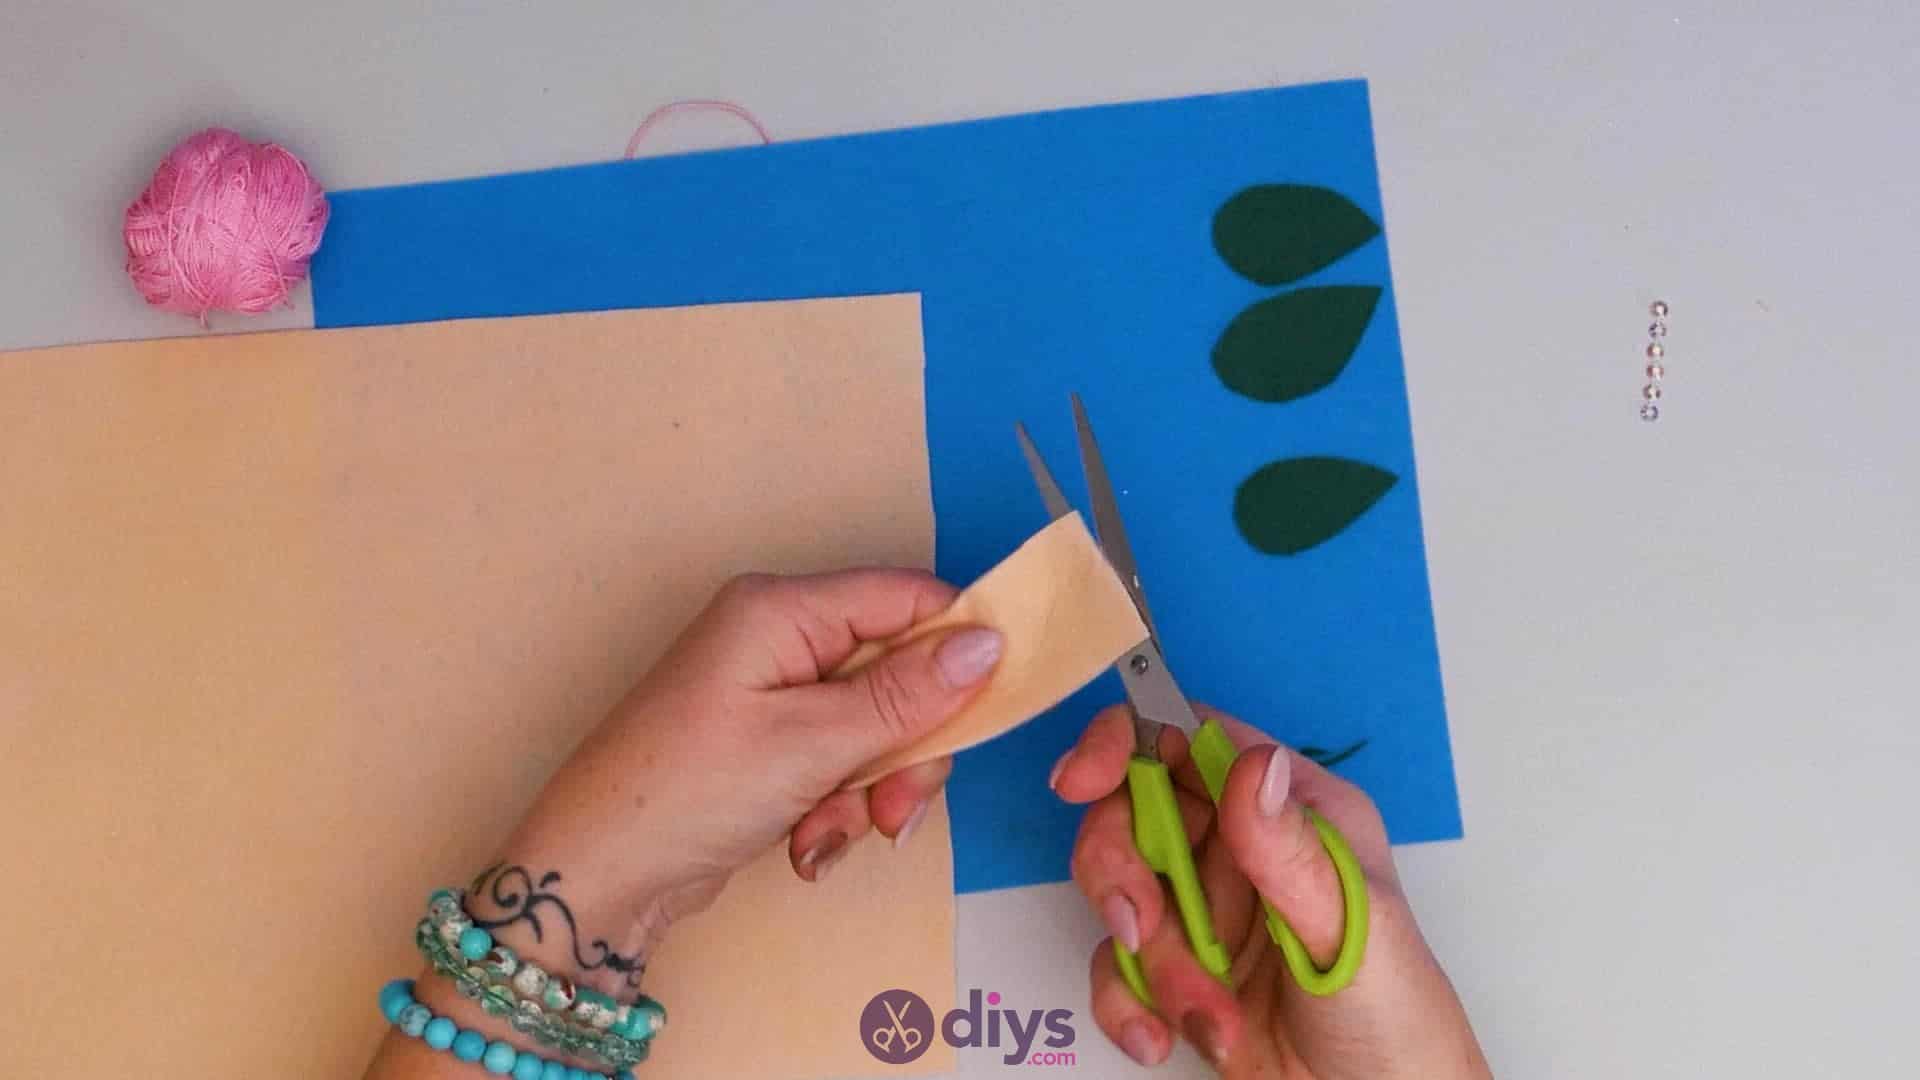
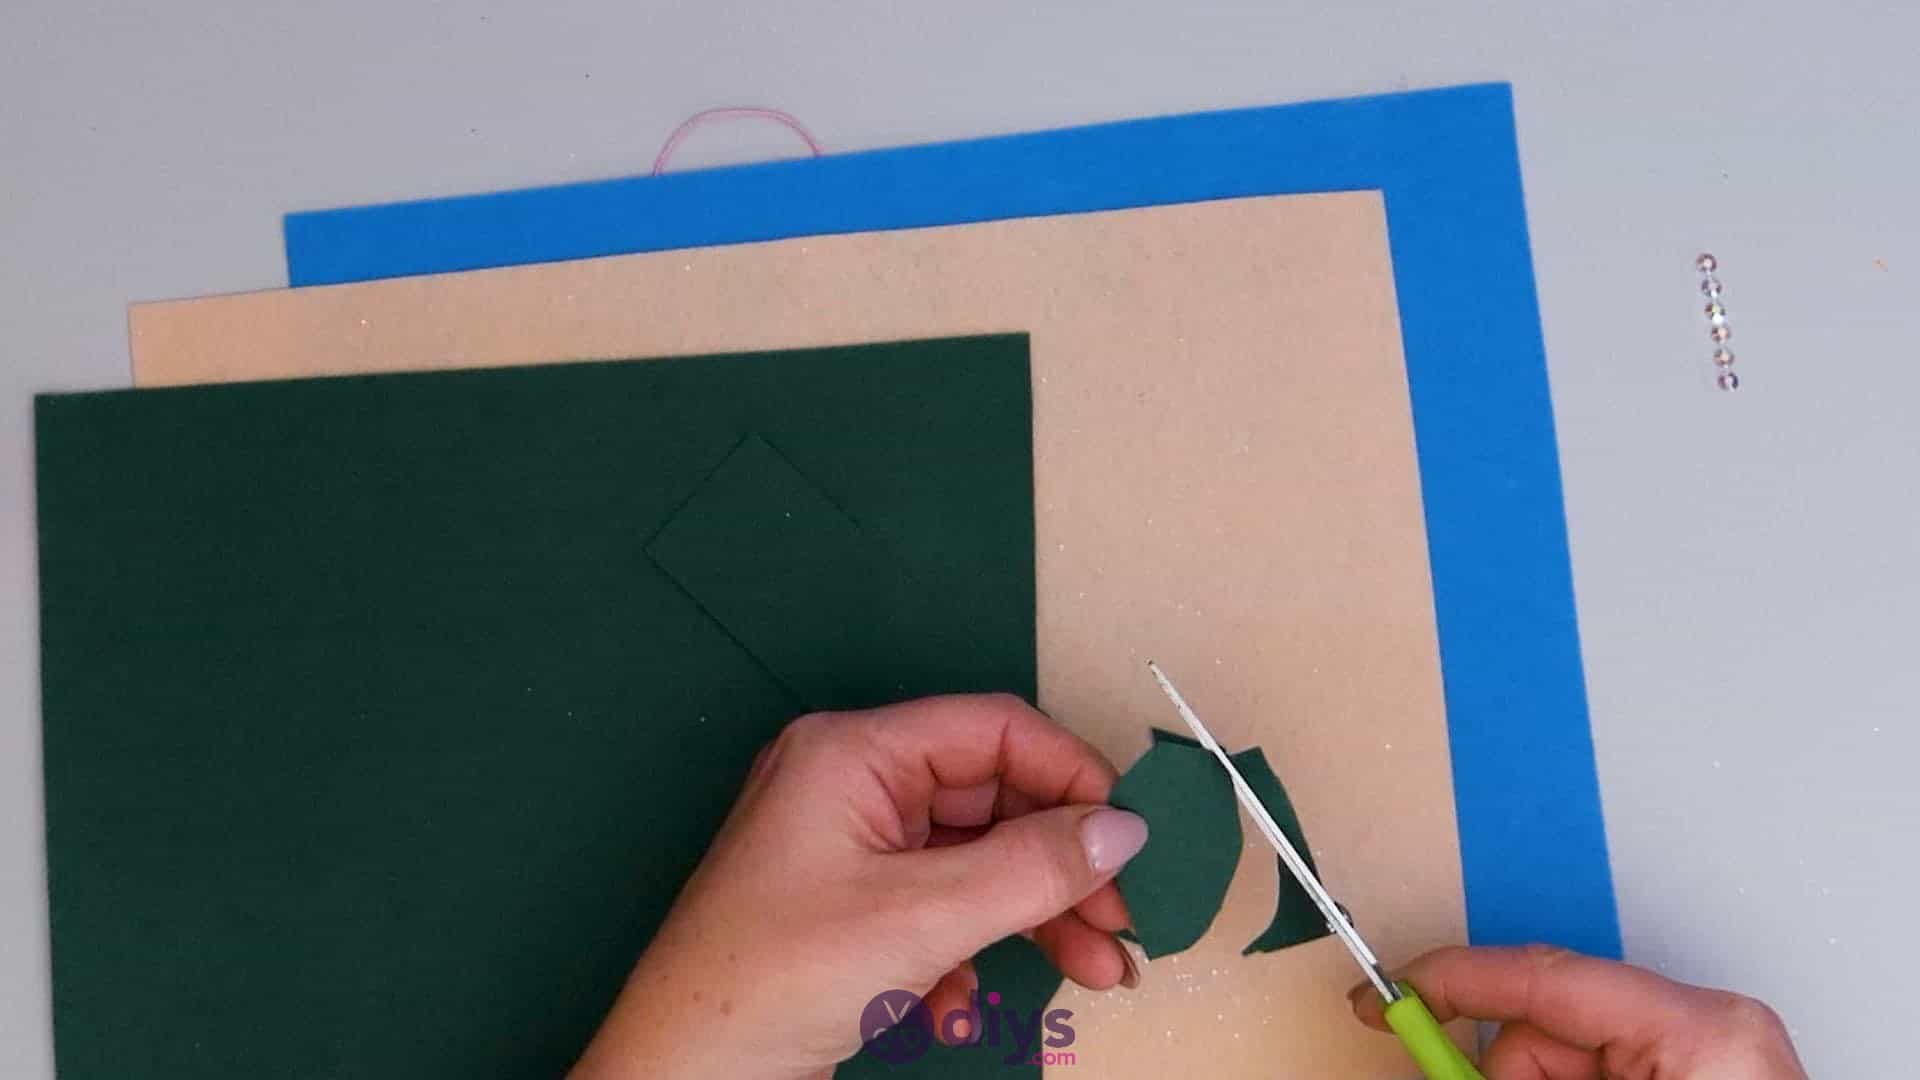
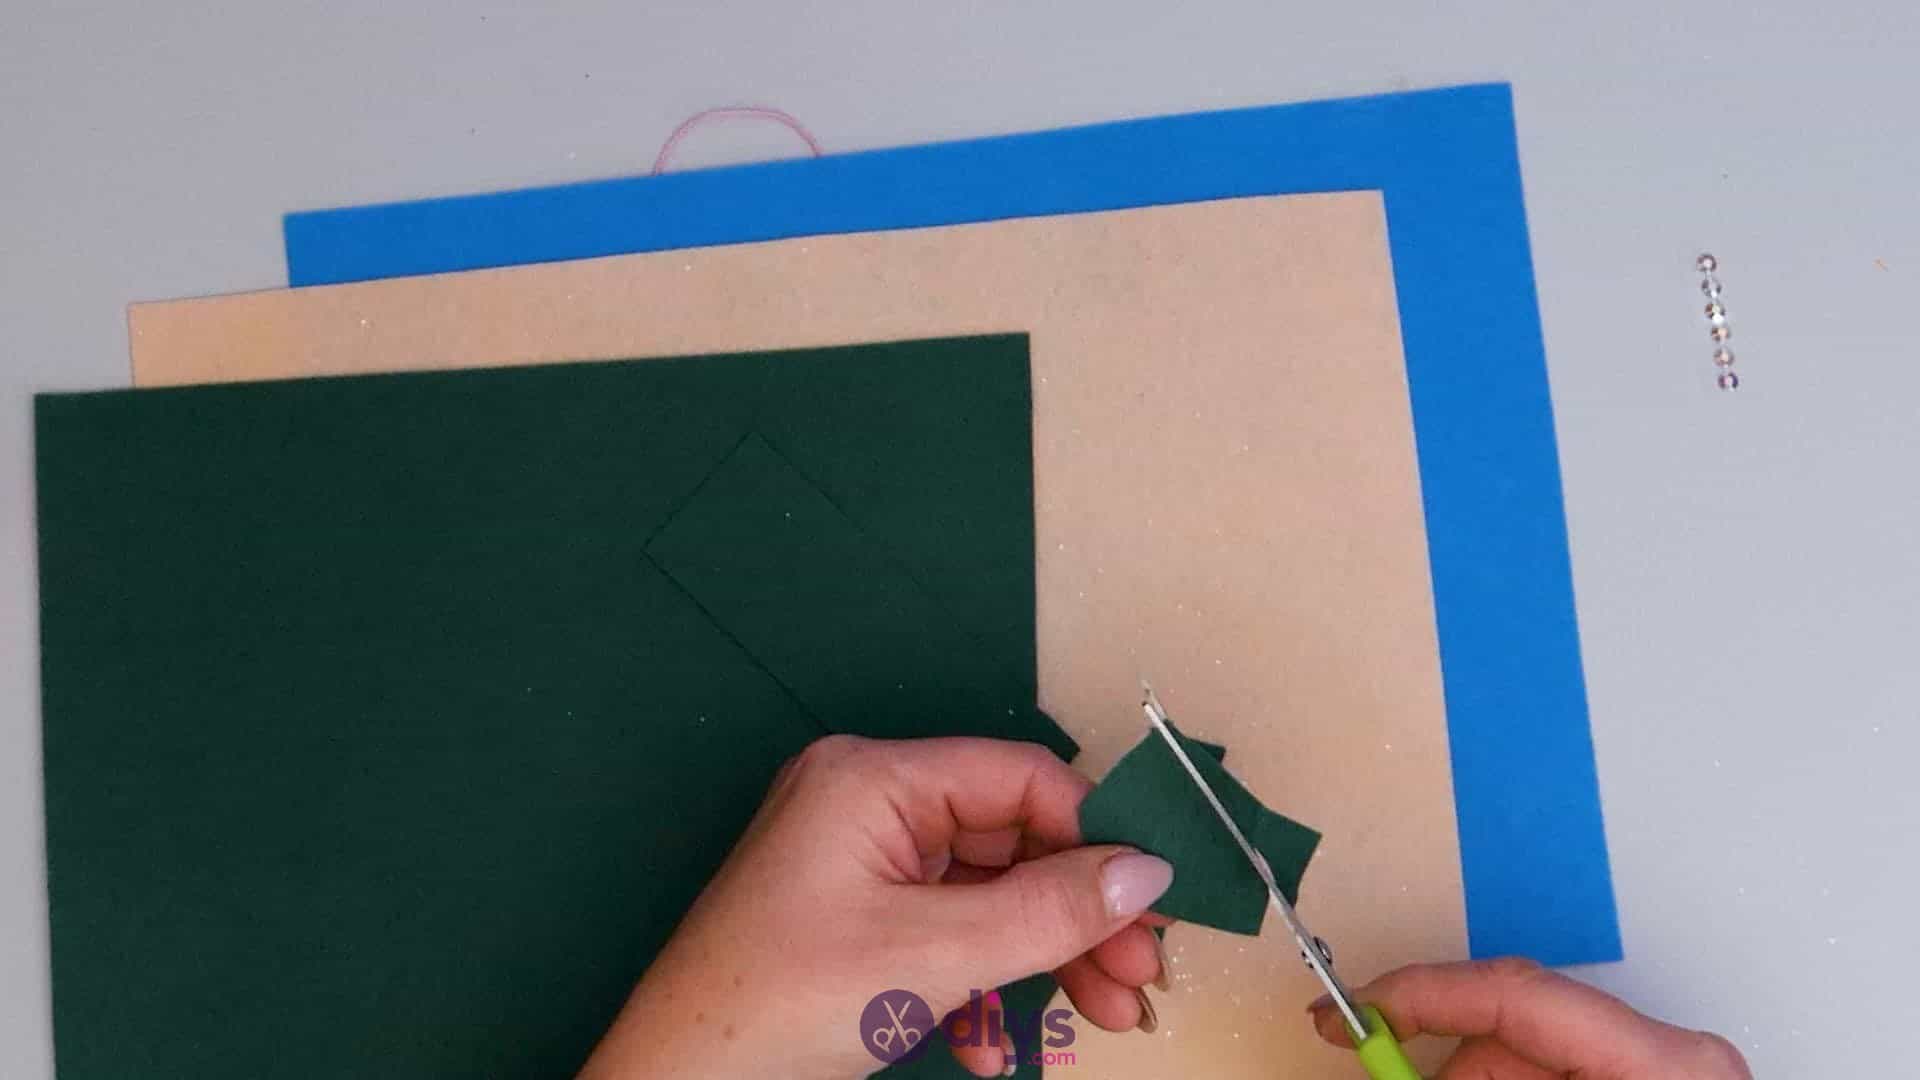
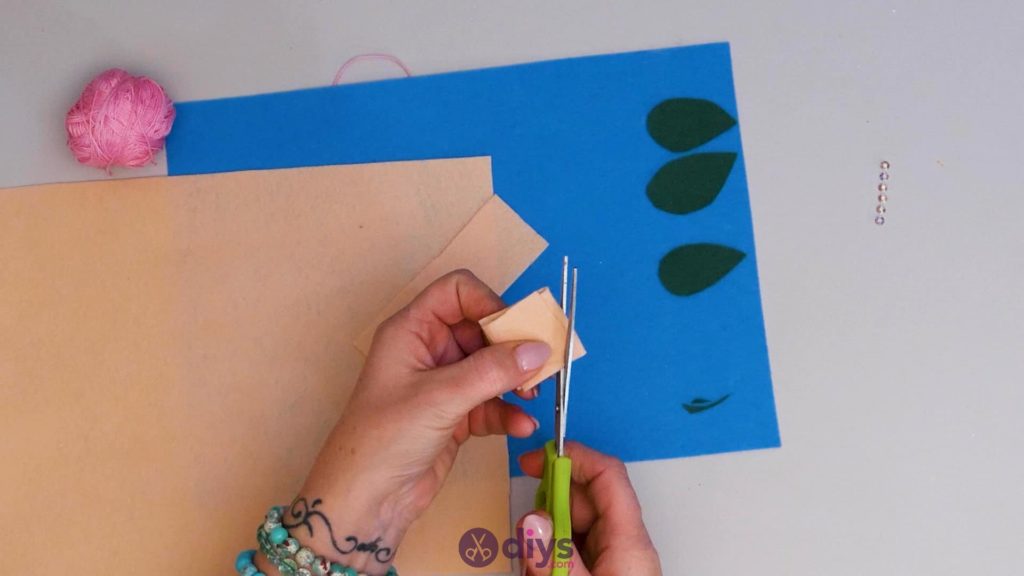
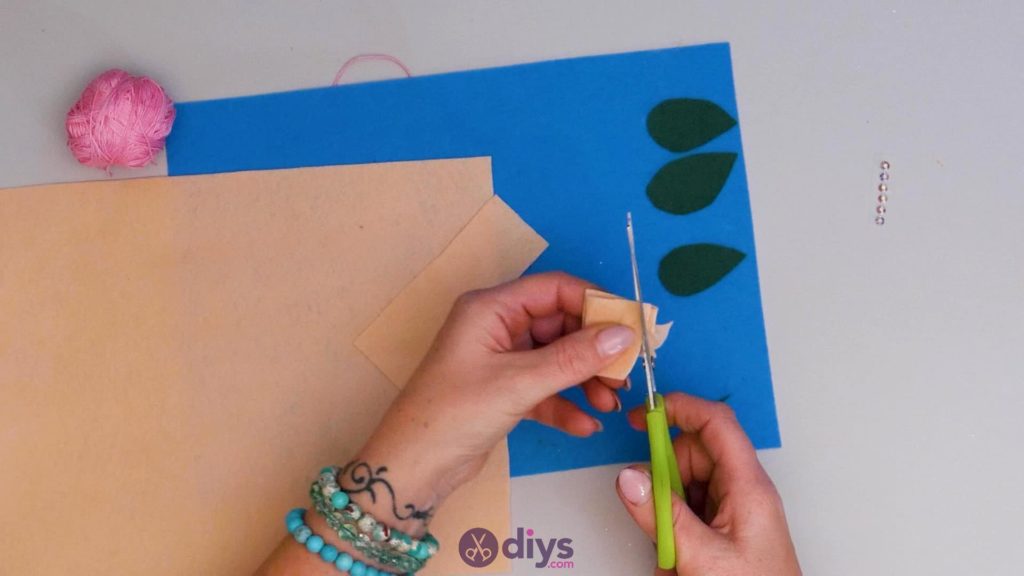
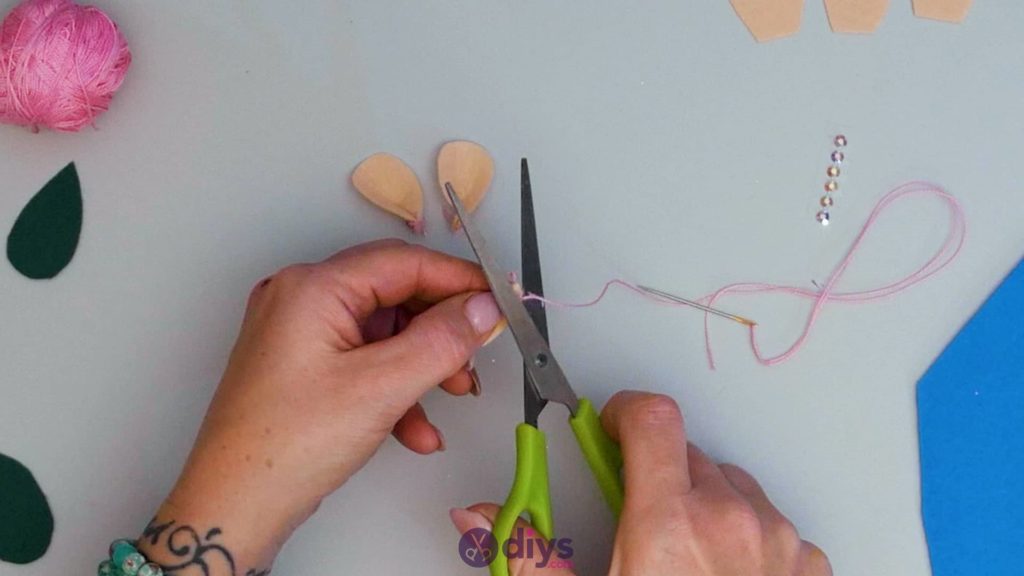
Cut a half inch side strip from one short end of your yellow piece of felt just like you did before. Cut six inch-long rectangles from this strip (I did mine by folding the strip until I had six layers and then cutting through the creases so my layers had free edges) and pile them together, holding them all in place as one. Use your scissors to cut the shape of a flower petal, keeping the bottom edge straight and then angling the sides outward slightly, widening towards a rounded top. Make sure you cut through all six of your layers at once to make six shapes that are all an identical size and shape. You now have six flower petals! Set them aside with your leaves for now.


Step 5:
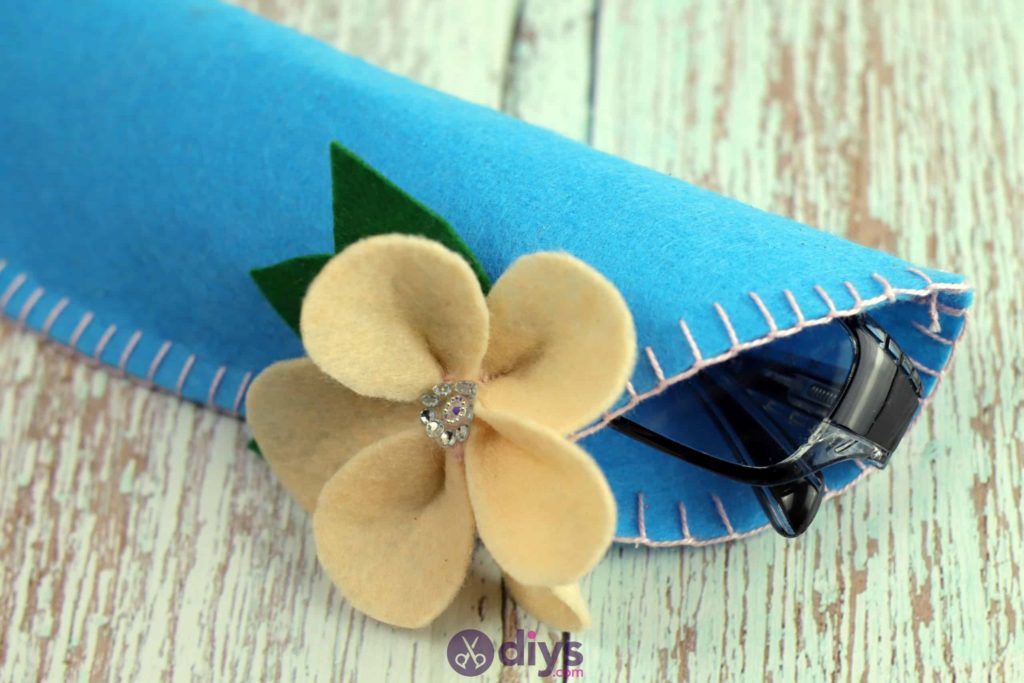
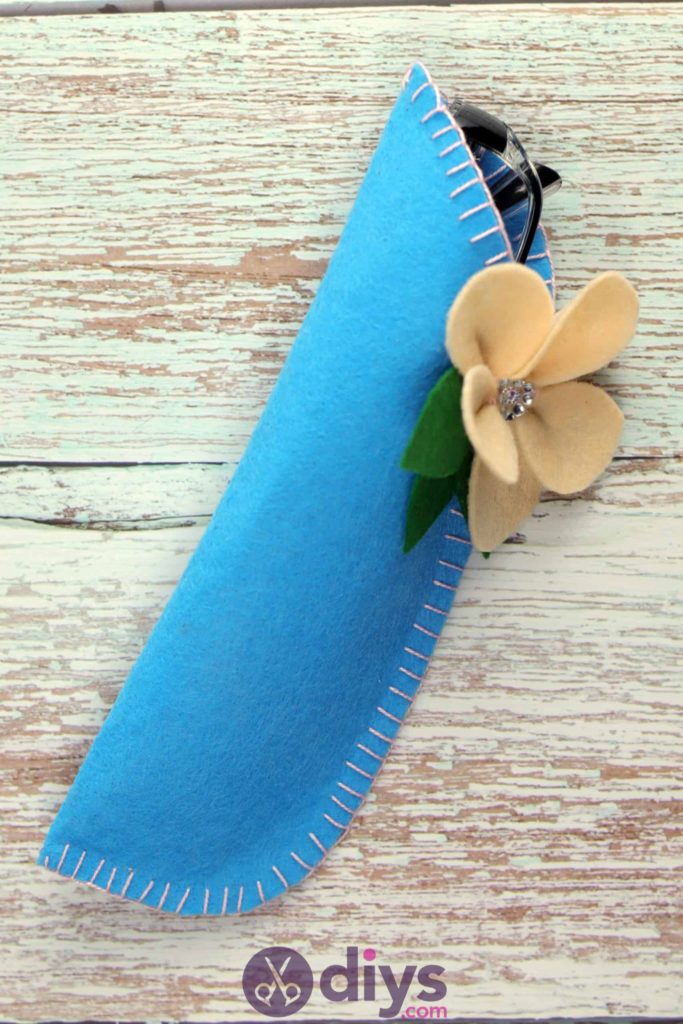
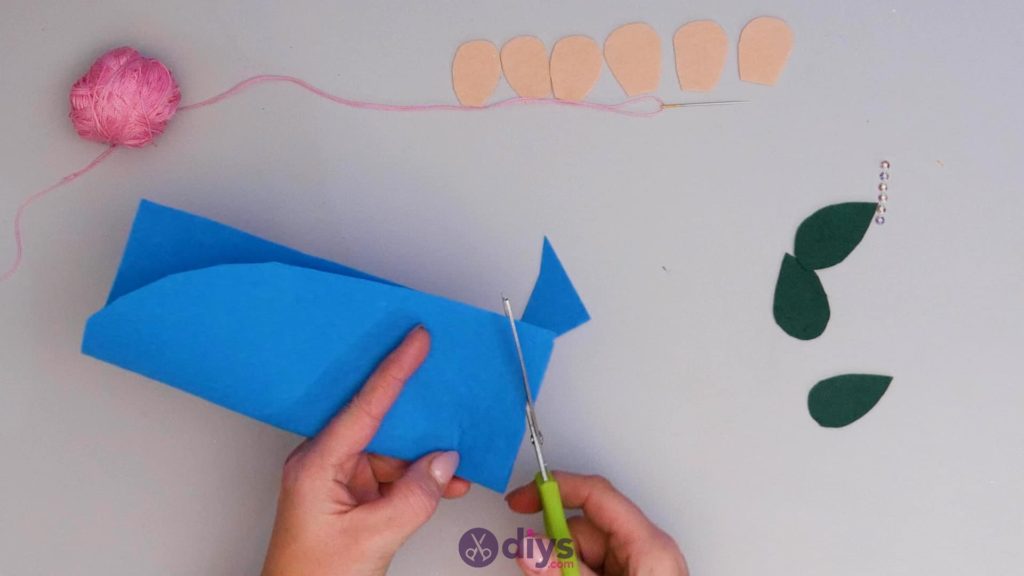
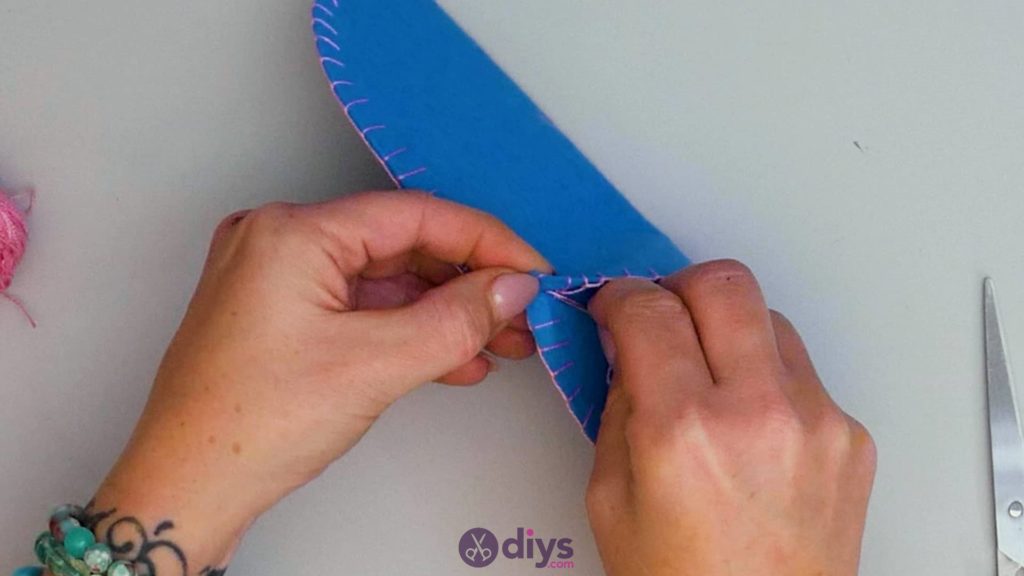
Turn your piece of blue felt landscape-wise like you did before and fold the short edge in from the left side about three inches, making sure its top and bottom edges stay even on the front and back. If your glasses are a style that need a smaller or larger fold to fit right and stay in the case, feel free to adjust the width of your fold as you need. Crease the folded left side and then use your scissors to trim the excess of the underside off to make a new edge even with your top one on the right side. This will be the actual sleeve of your case, while the other felt pieces make up a cute flower embellishment.

Step 6:
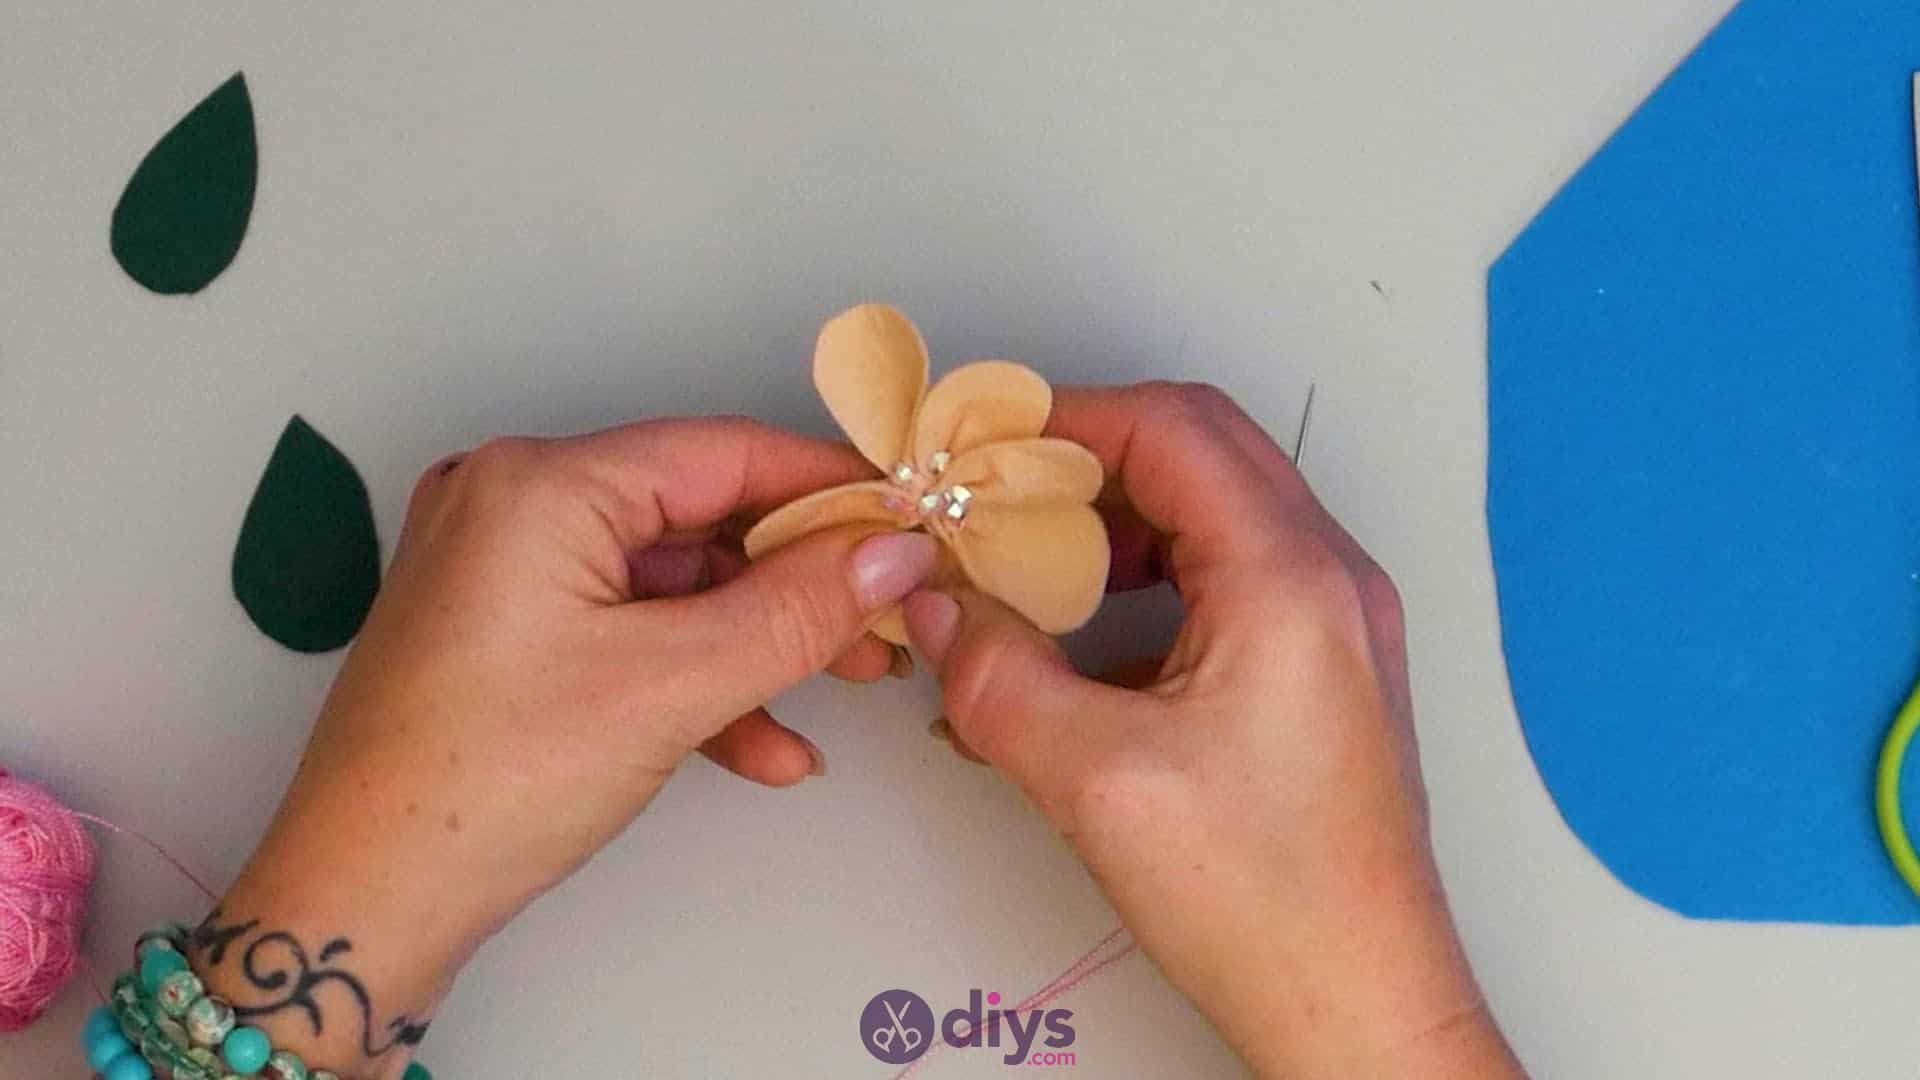
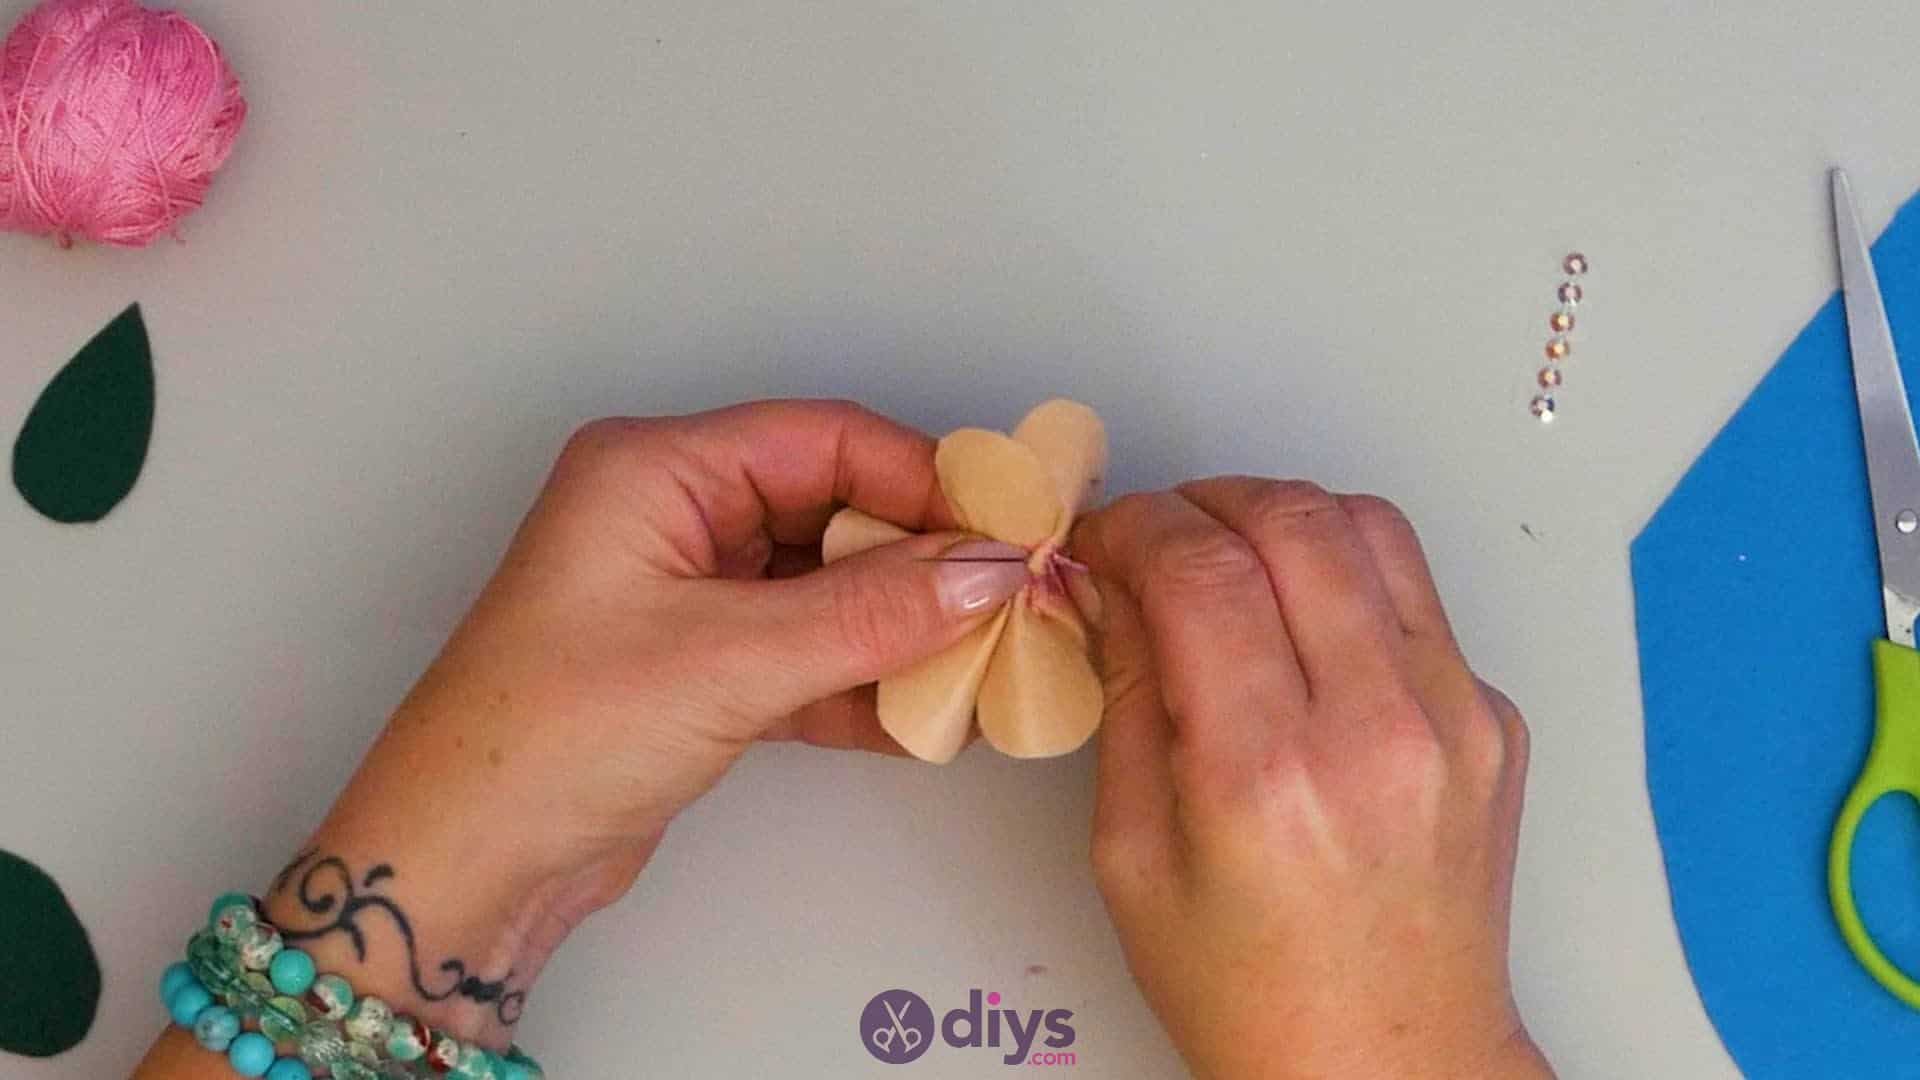
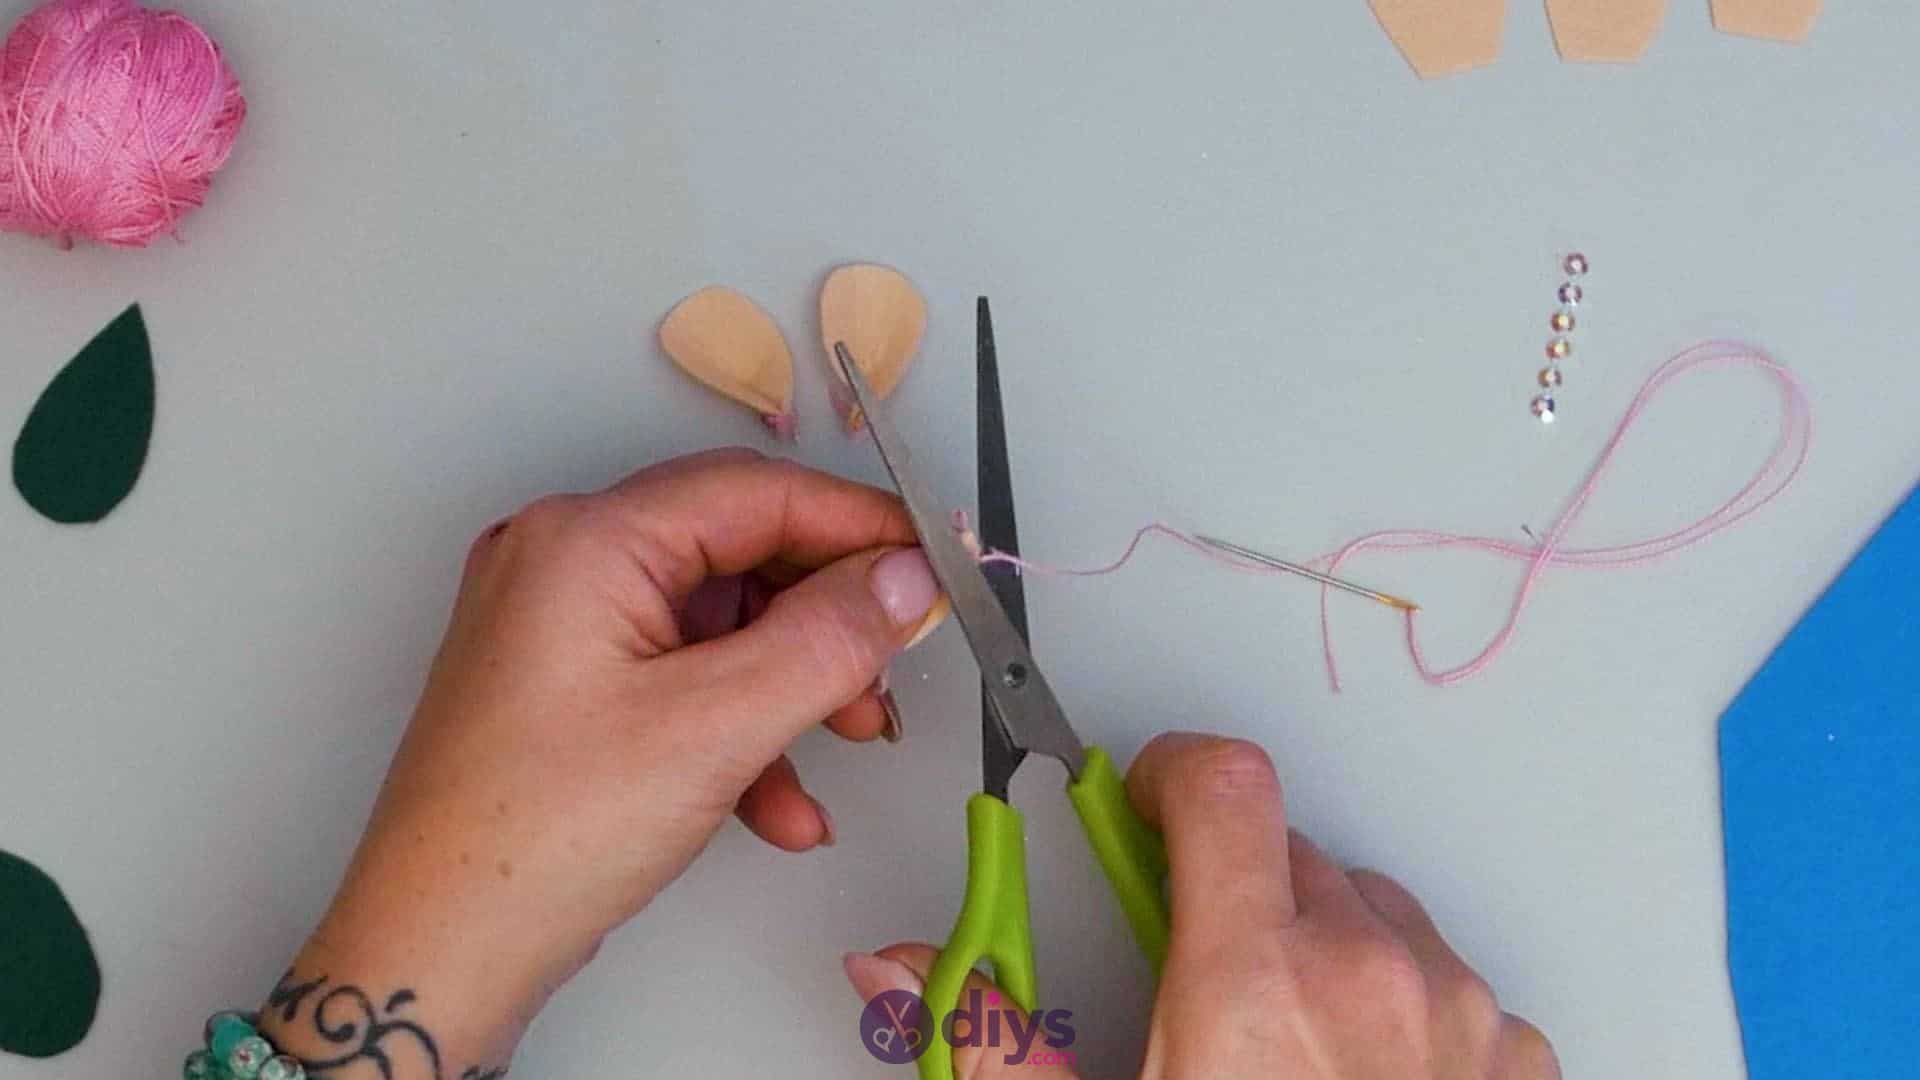
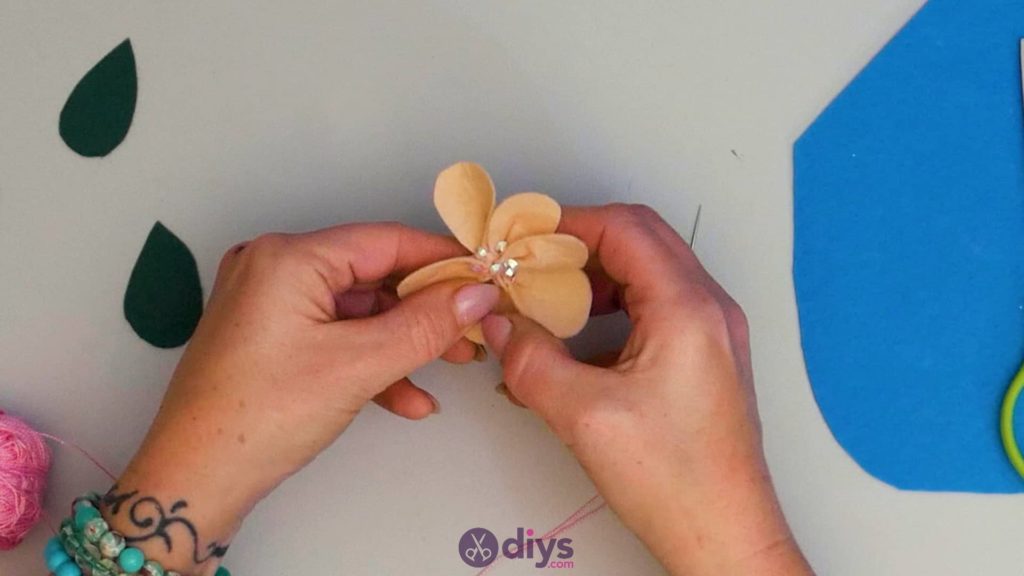
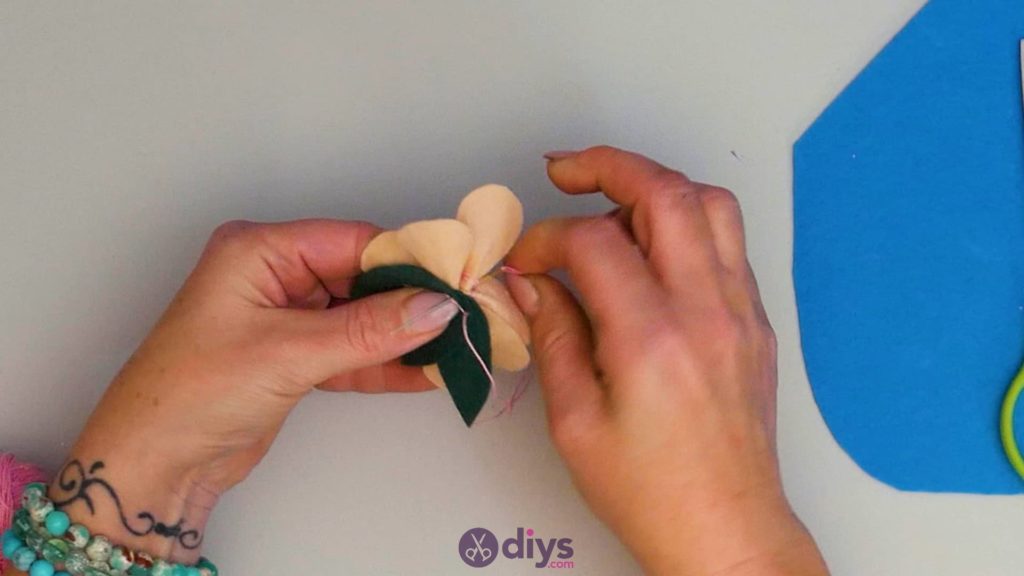
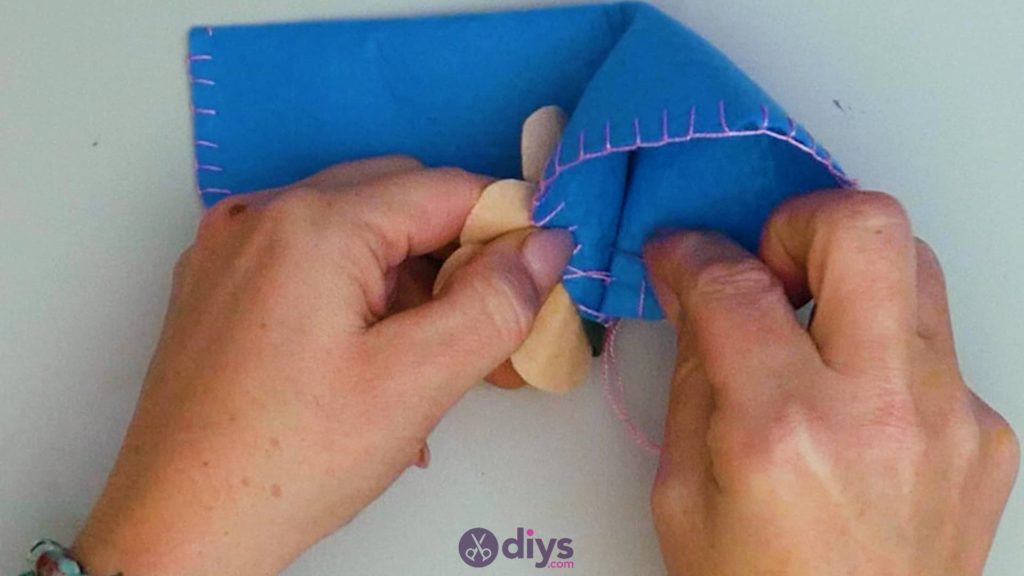
Make your flower! First, fold the straight bottom edge of your first petal inwards so the corners meet up against each other then then use your needle and thread to stitch them into place. You can use a simple, basic hand stitch to lash them together two or three times. Knot the end and trim the excess. Your petal is not pinched at the bottom which gives it a curved shape towards the top like an actual flower. Knot the ends of your threaded needle once more and repeat this pinching and stitching process with each of your other fine petals. Once you’ve shaped all of them, sew their stitched ends together in a bundle to make your flower! I started forming mine beginning with two lashed together side to side at their pinched bases and continuing around, letting their curved and widened shape naturally start forming a circular bundle. Knot and trim the end once you’ve got all your petals sewn into place.

Step 7:
Rhinestone the centre of your flower! This adds a bit of sparkle and charm and looks like the pollen of the flower. My rhinestones already had a quality adhesive on the back so I simply stuck them into place, but you can use fabric glue or hot glue to stick yours down if they aren’t self adhesive. I nestled one stone in the inside of each petal’s pinched base and then put one more right in the centre where the flower bases all met, just to make my work look a little neater and hide some of the exposed stitching.
Step 8:
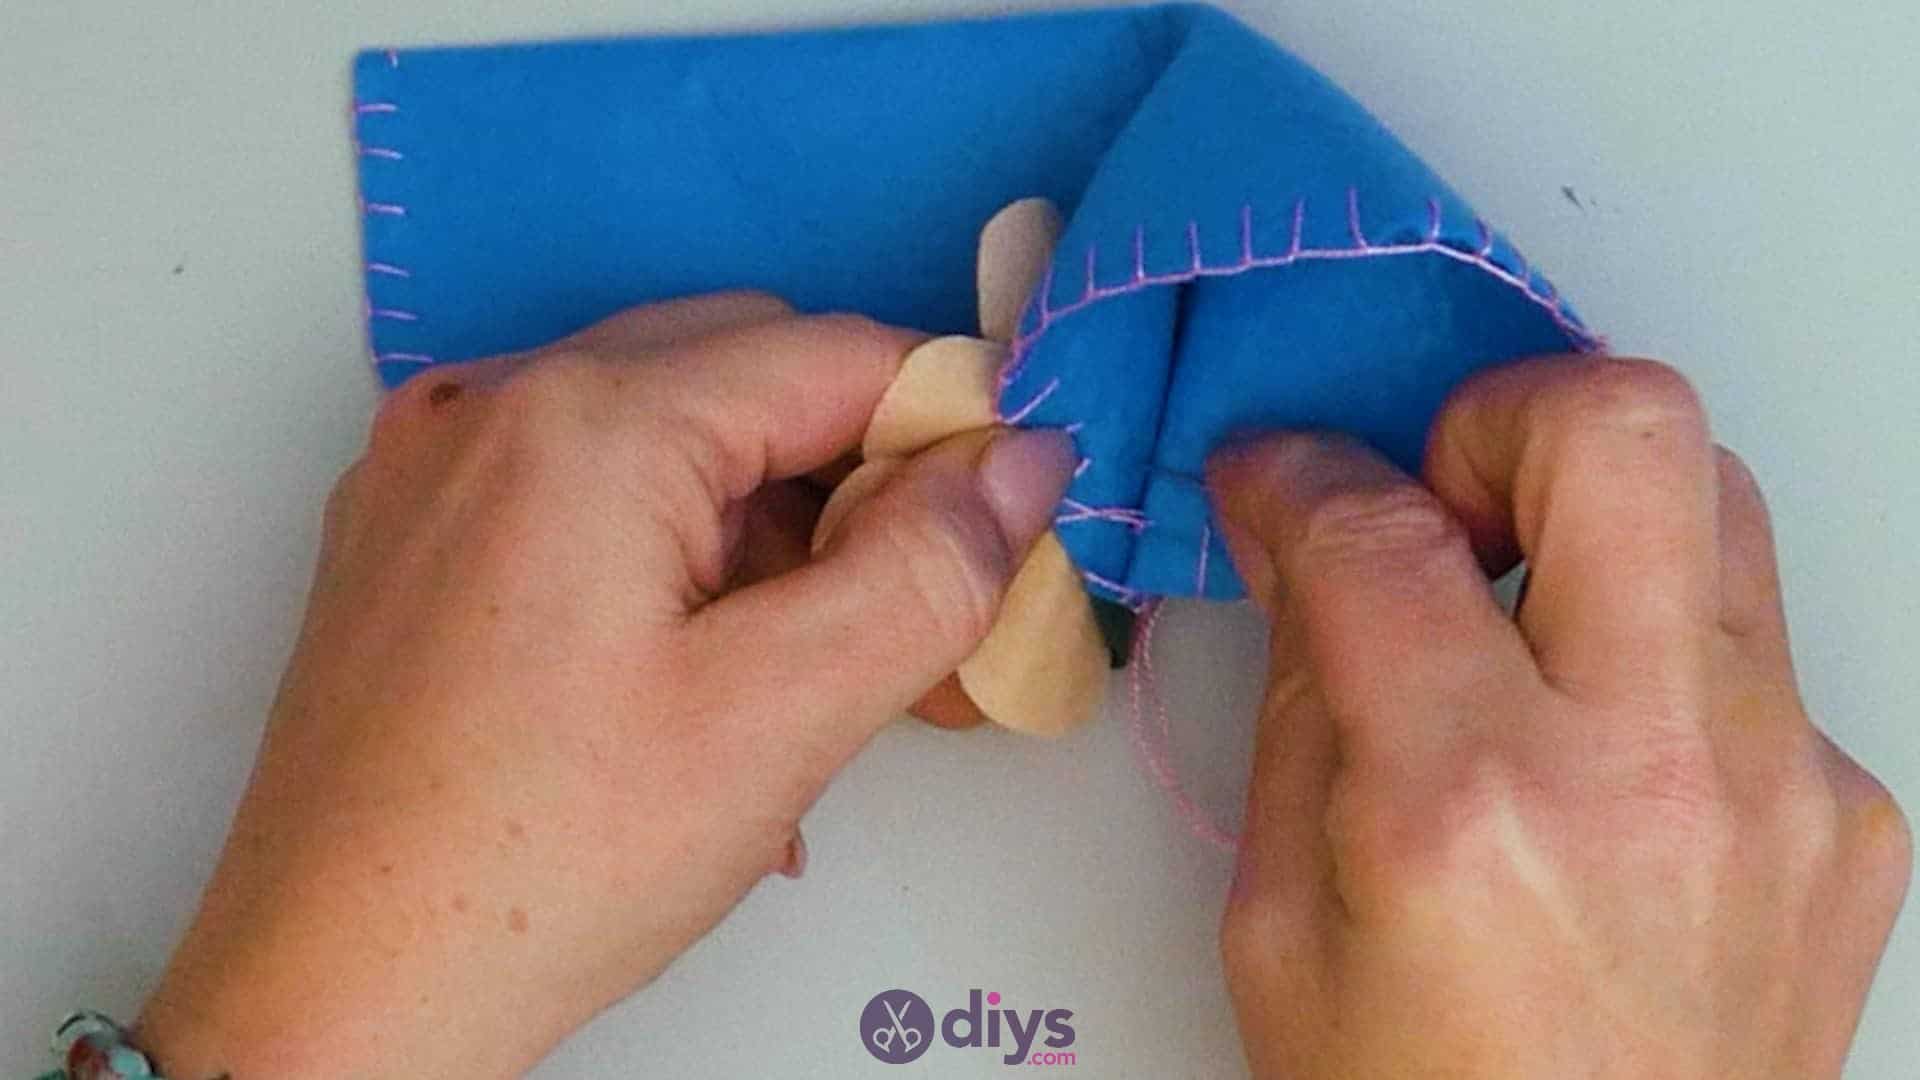
Stitch your three leaves to the bottom side of your flower! I started with one, poking my needle through the layers in the underside of the flower so as to not affect how the rhinestoned front that people will actually see on the case looks. Stitch your first leaf into place at its rounded end, letting the pointed end stick out the edge of the flower between the petals. Then stitch another leaf into place, layered there at the base of the flower’s underside but angled differently so the tip sticks out in a different spot; I rotated my second leaf just over 90 degrees from the first. Rotate your last leaf again to fill the wide space between the other two and stitch it into place as well.
Step 9:
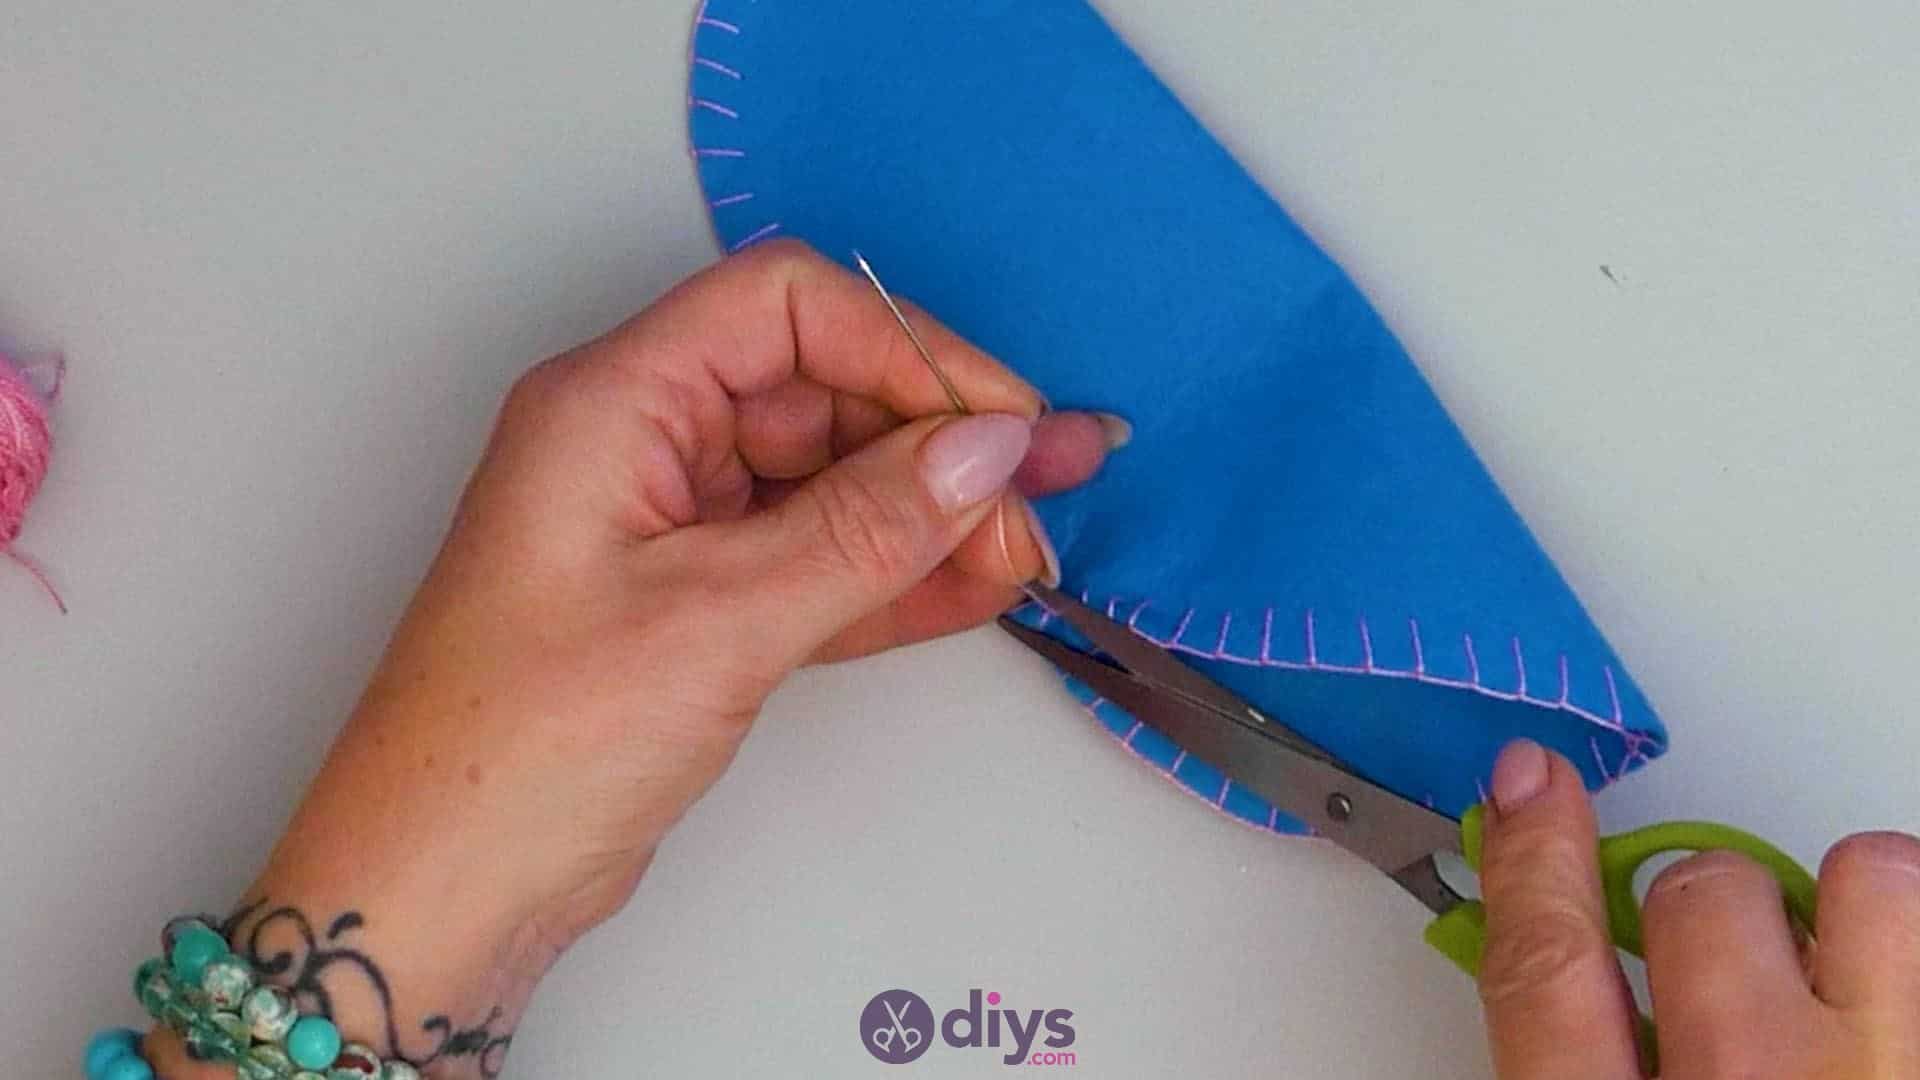
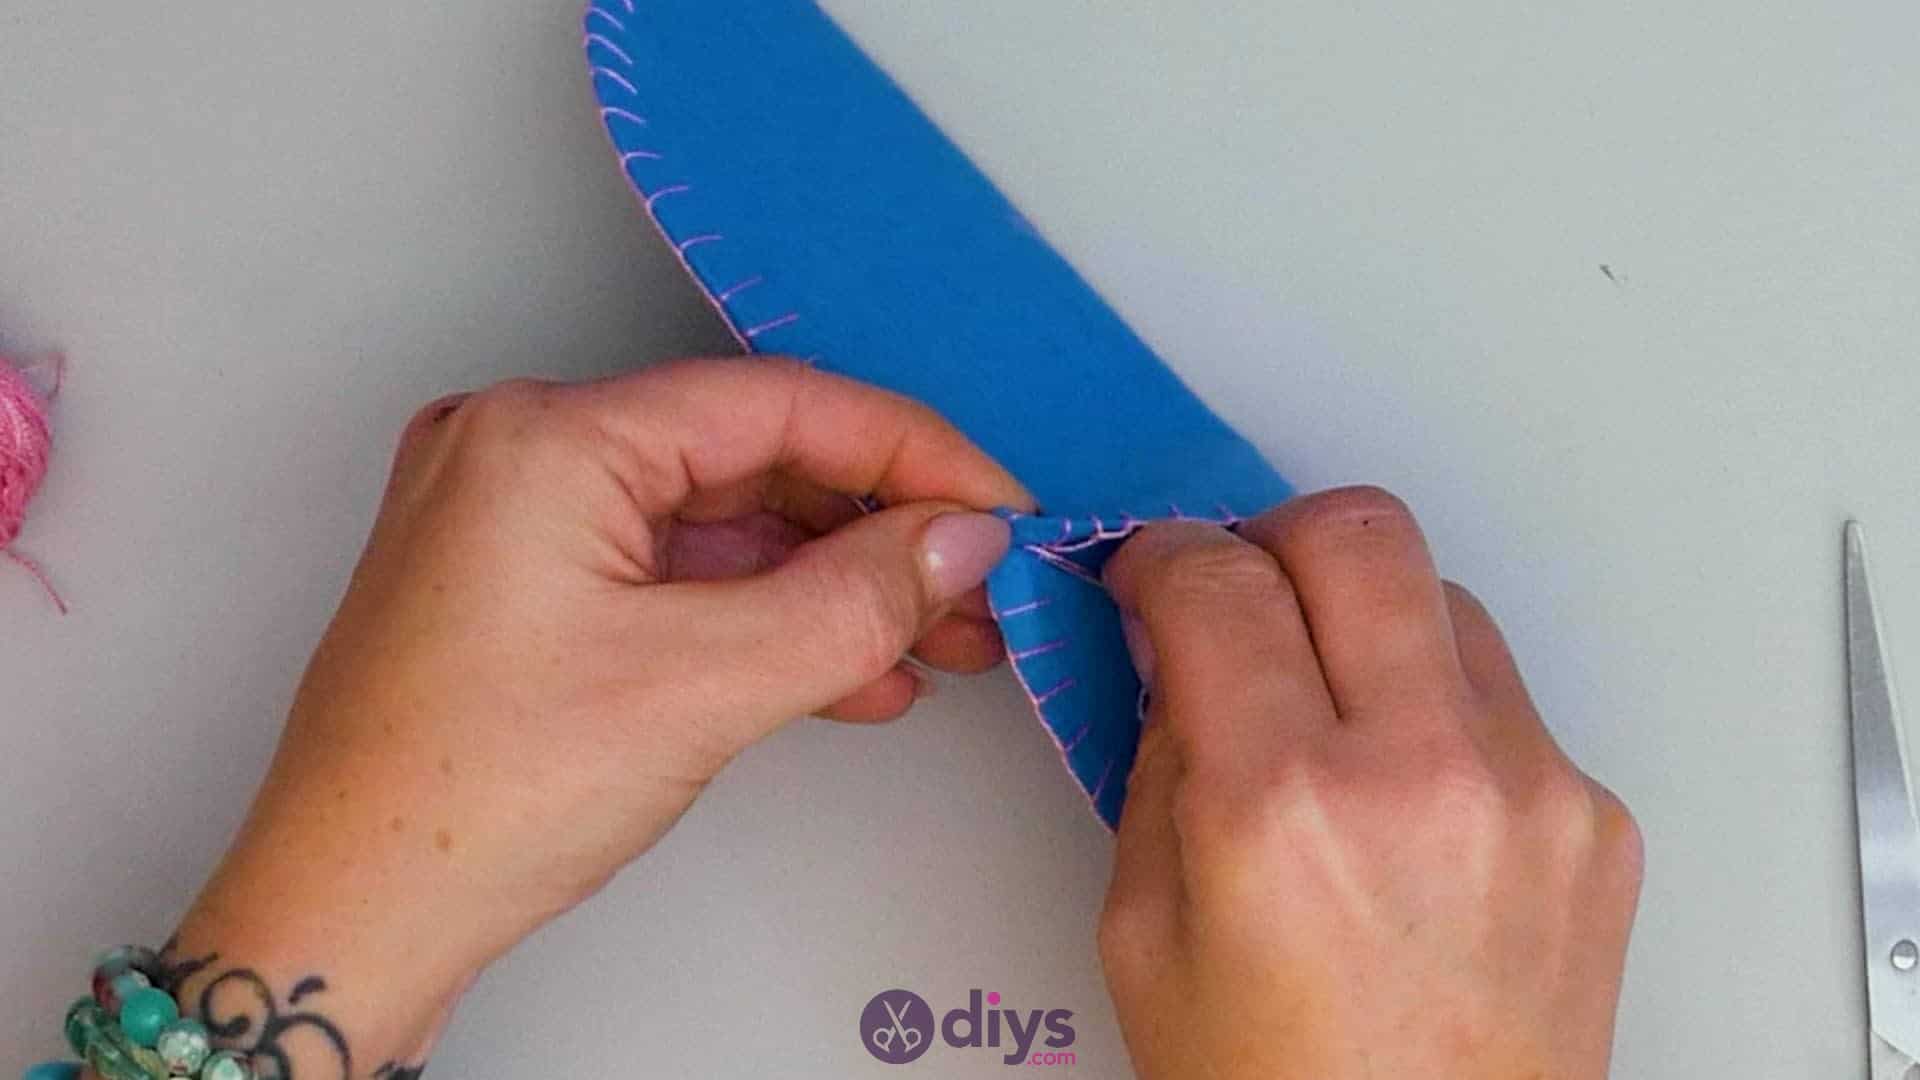
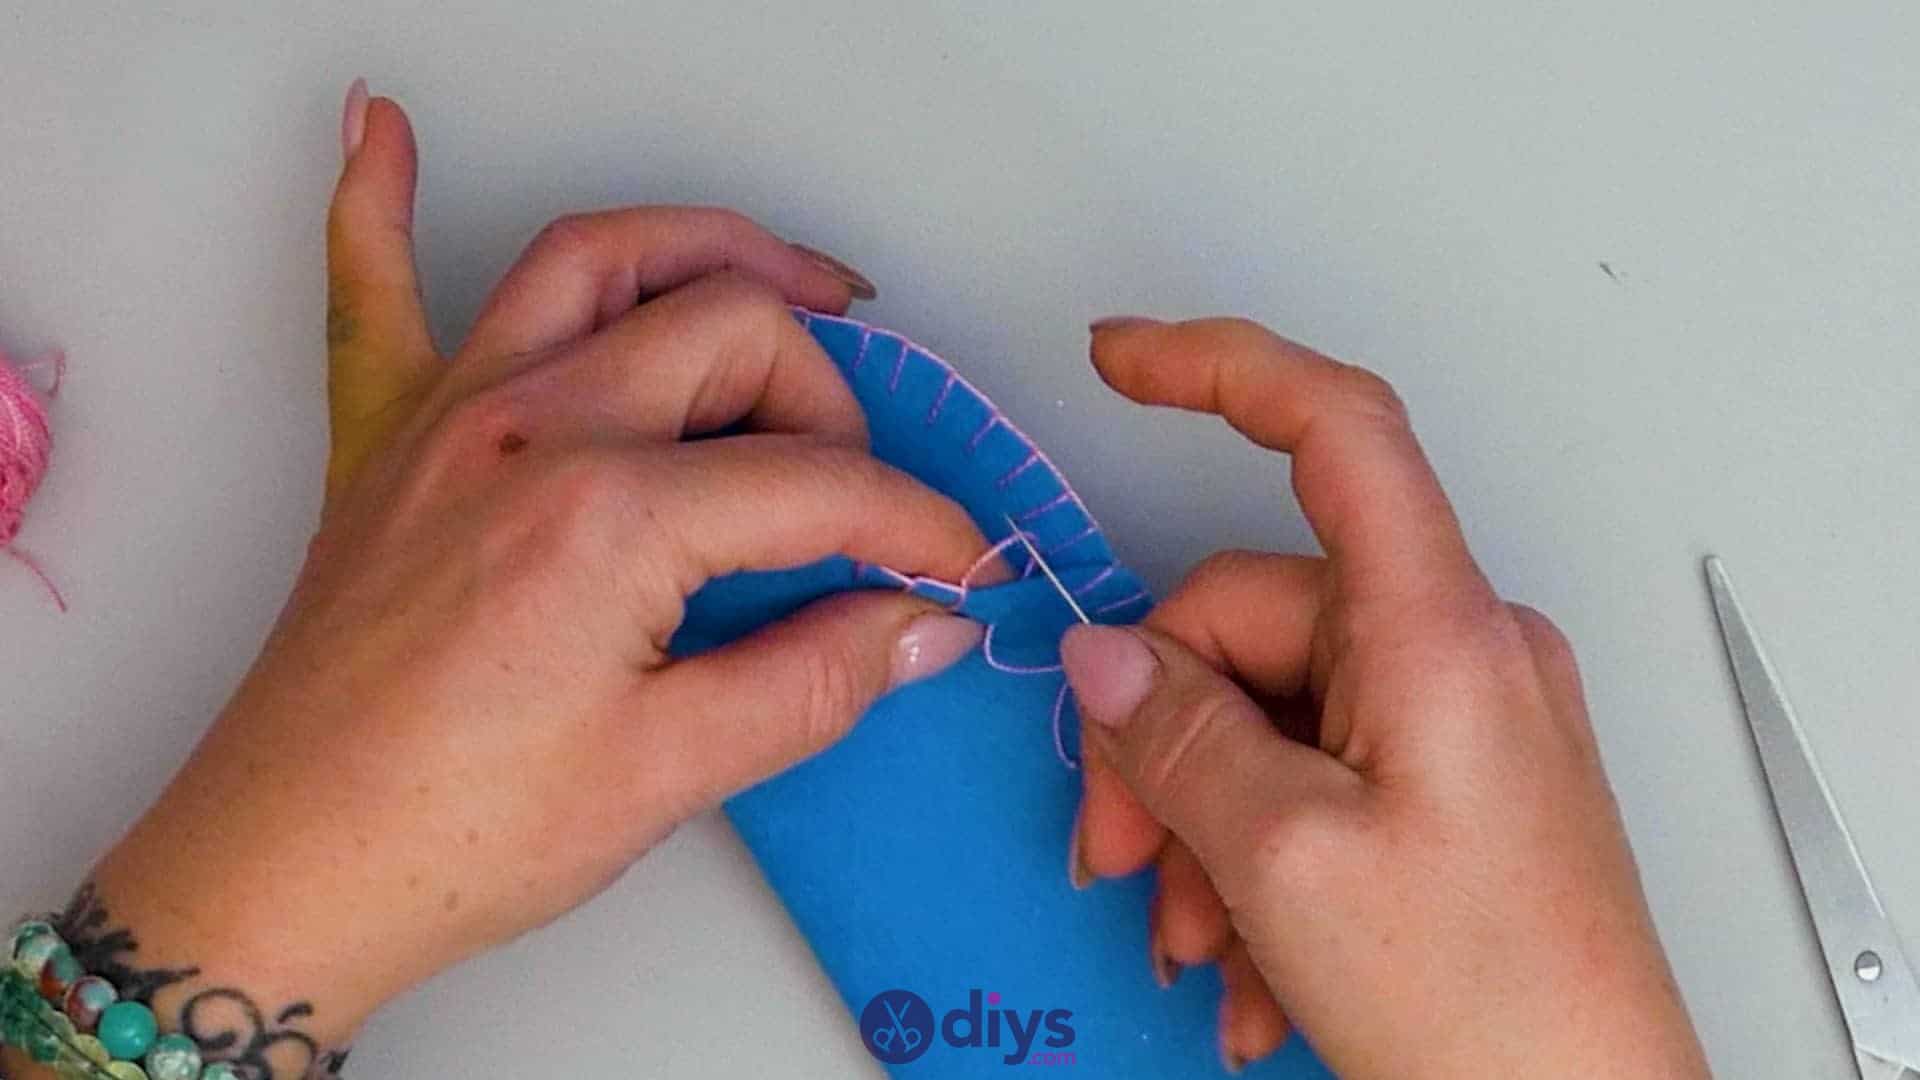
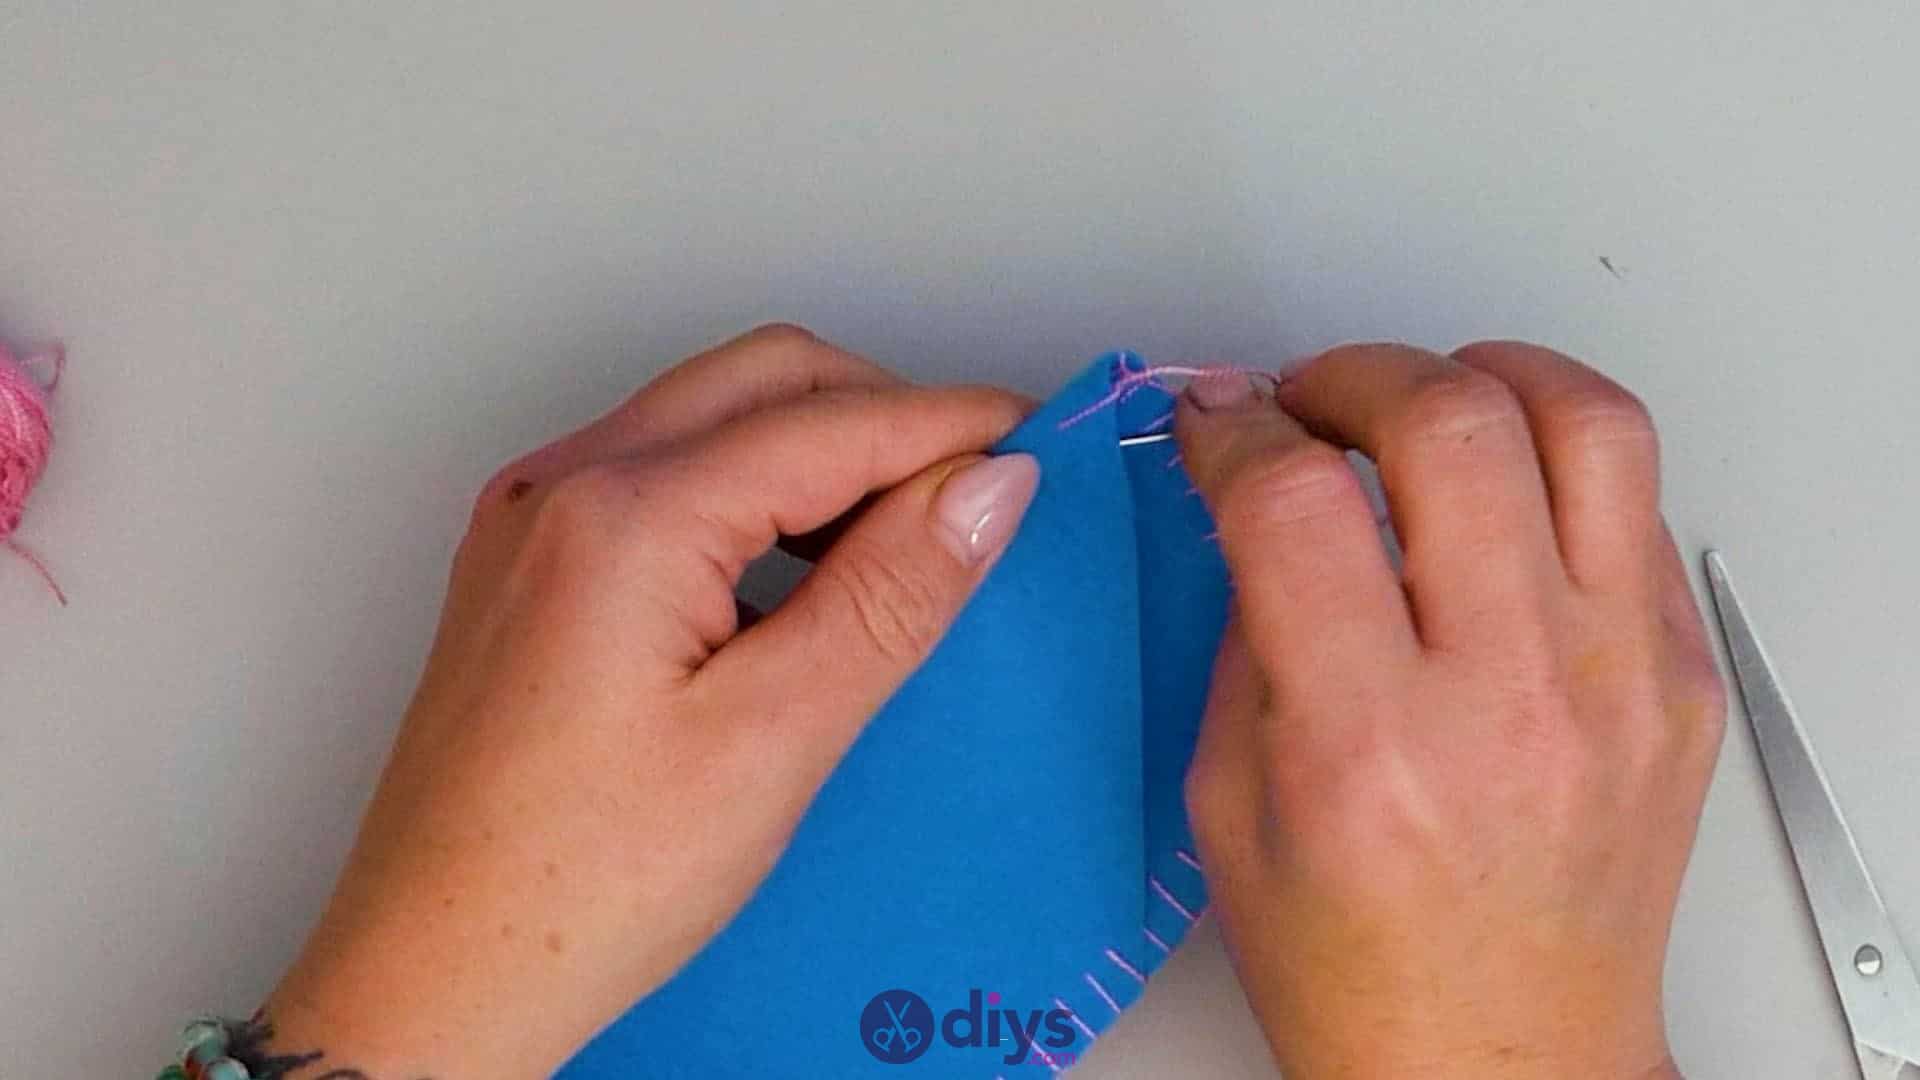
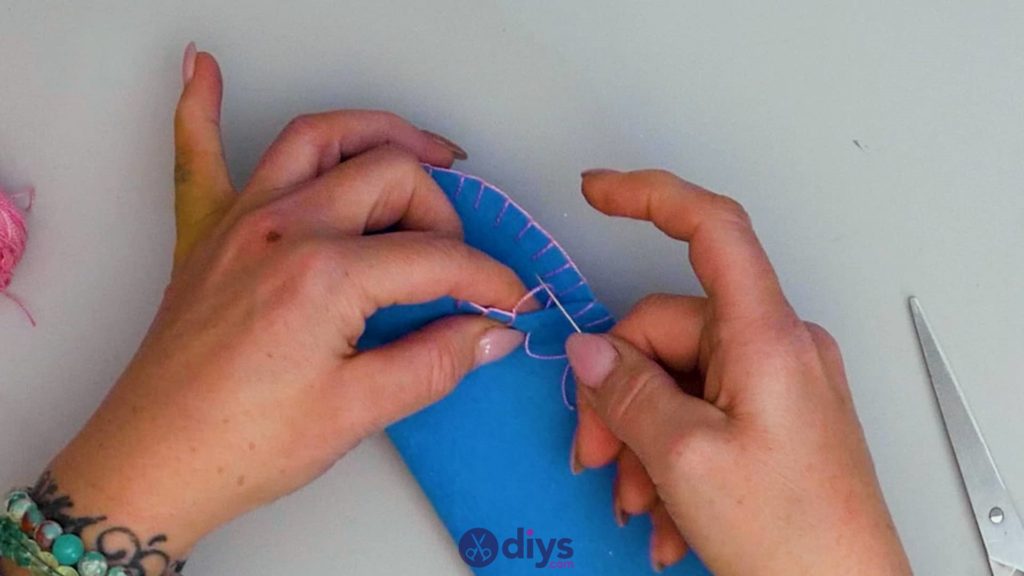
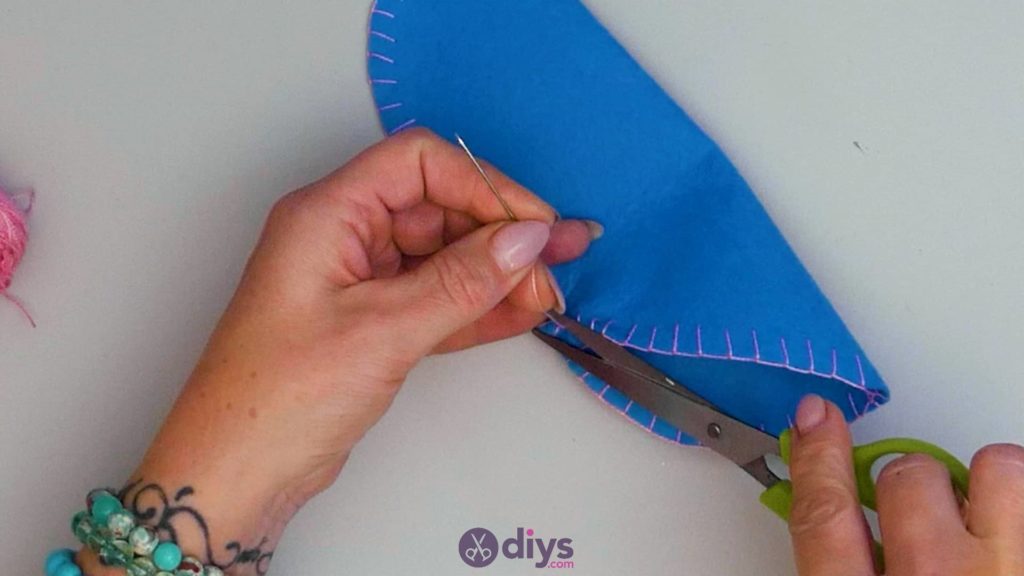
Use an exposed looping stitch to seam the edges of your blue sleeve piece together, but with some cute, decorative flair! On the side that you want to make the bottom of your case, pass your needle through the very corner from the inside to the outside in your crease. This anchors the knot where it won’t be seen, for neatness. Then pinch your edges together again and put your first stitch (a regular one) through both layers from one side to the other. Bring your needle back around to the bottom, over and around the edge instead of further along the top where you just pulled it through, and pull the thread gently through so it wraps around the edge. You’ll always pass your needle into the bottom, out through the top, and back around the edge to the bottom, rather than just passing the needle back and forth through the felt to get a trail of stitches next to each other. As you go, however, loop your needle through the previous stitch before you pull it tight to meet the edge! This adds an extra thread that follows along the very edge of your seam, showing off the colour of the pink thread a little more and linking your looped stitches together, adding a bit of cute detail. Continue stitching like this across the case’s bottom, around its curve, and up the side, almost to the top edge. When you get to where the second curve starts, however, you’ll swap to stitching through only one layer of felt at a time rather than both. This lets you add the cute stitched detail you’ve been creating and give the project a neatly finished edge while still making your your case has a top opening, rather than sewing the whole thing closed so you can’t fit your glasses in. Where the second curve starts, switch to passing your needle only through one side of your felt (it doesn’t matter which you do first) and then continue the stitches all the way up, around the curve at the top that’s opposite the creased point where you started seaming at the other end, and back down the other side of the folded felt until you get back to the point where you split off at the curve. With your needle and thread on the inside of the sleeve’s opening, knot the thread off and trim the excess. Your seam and edging are finished and you now have a whole glasses sleeve!

Step 10:
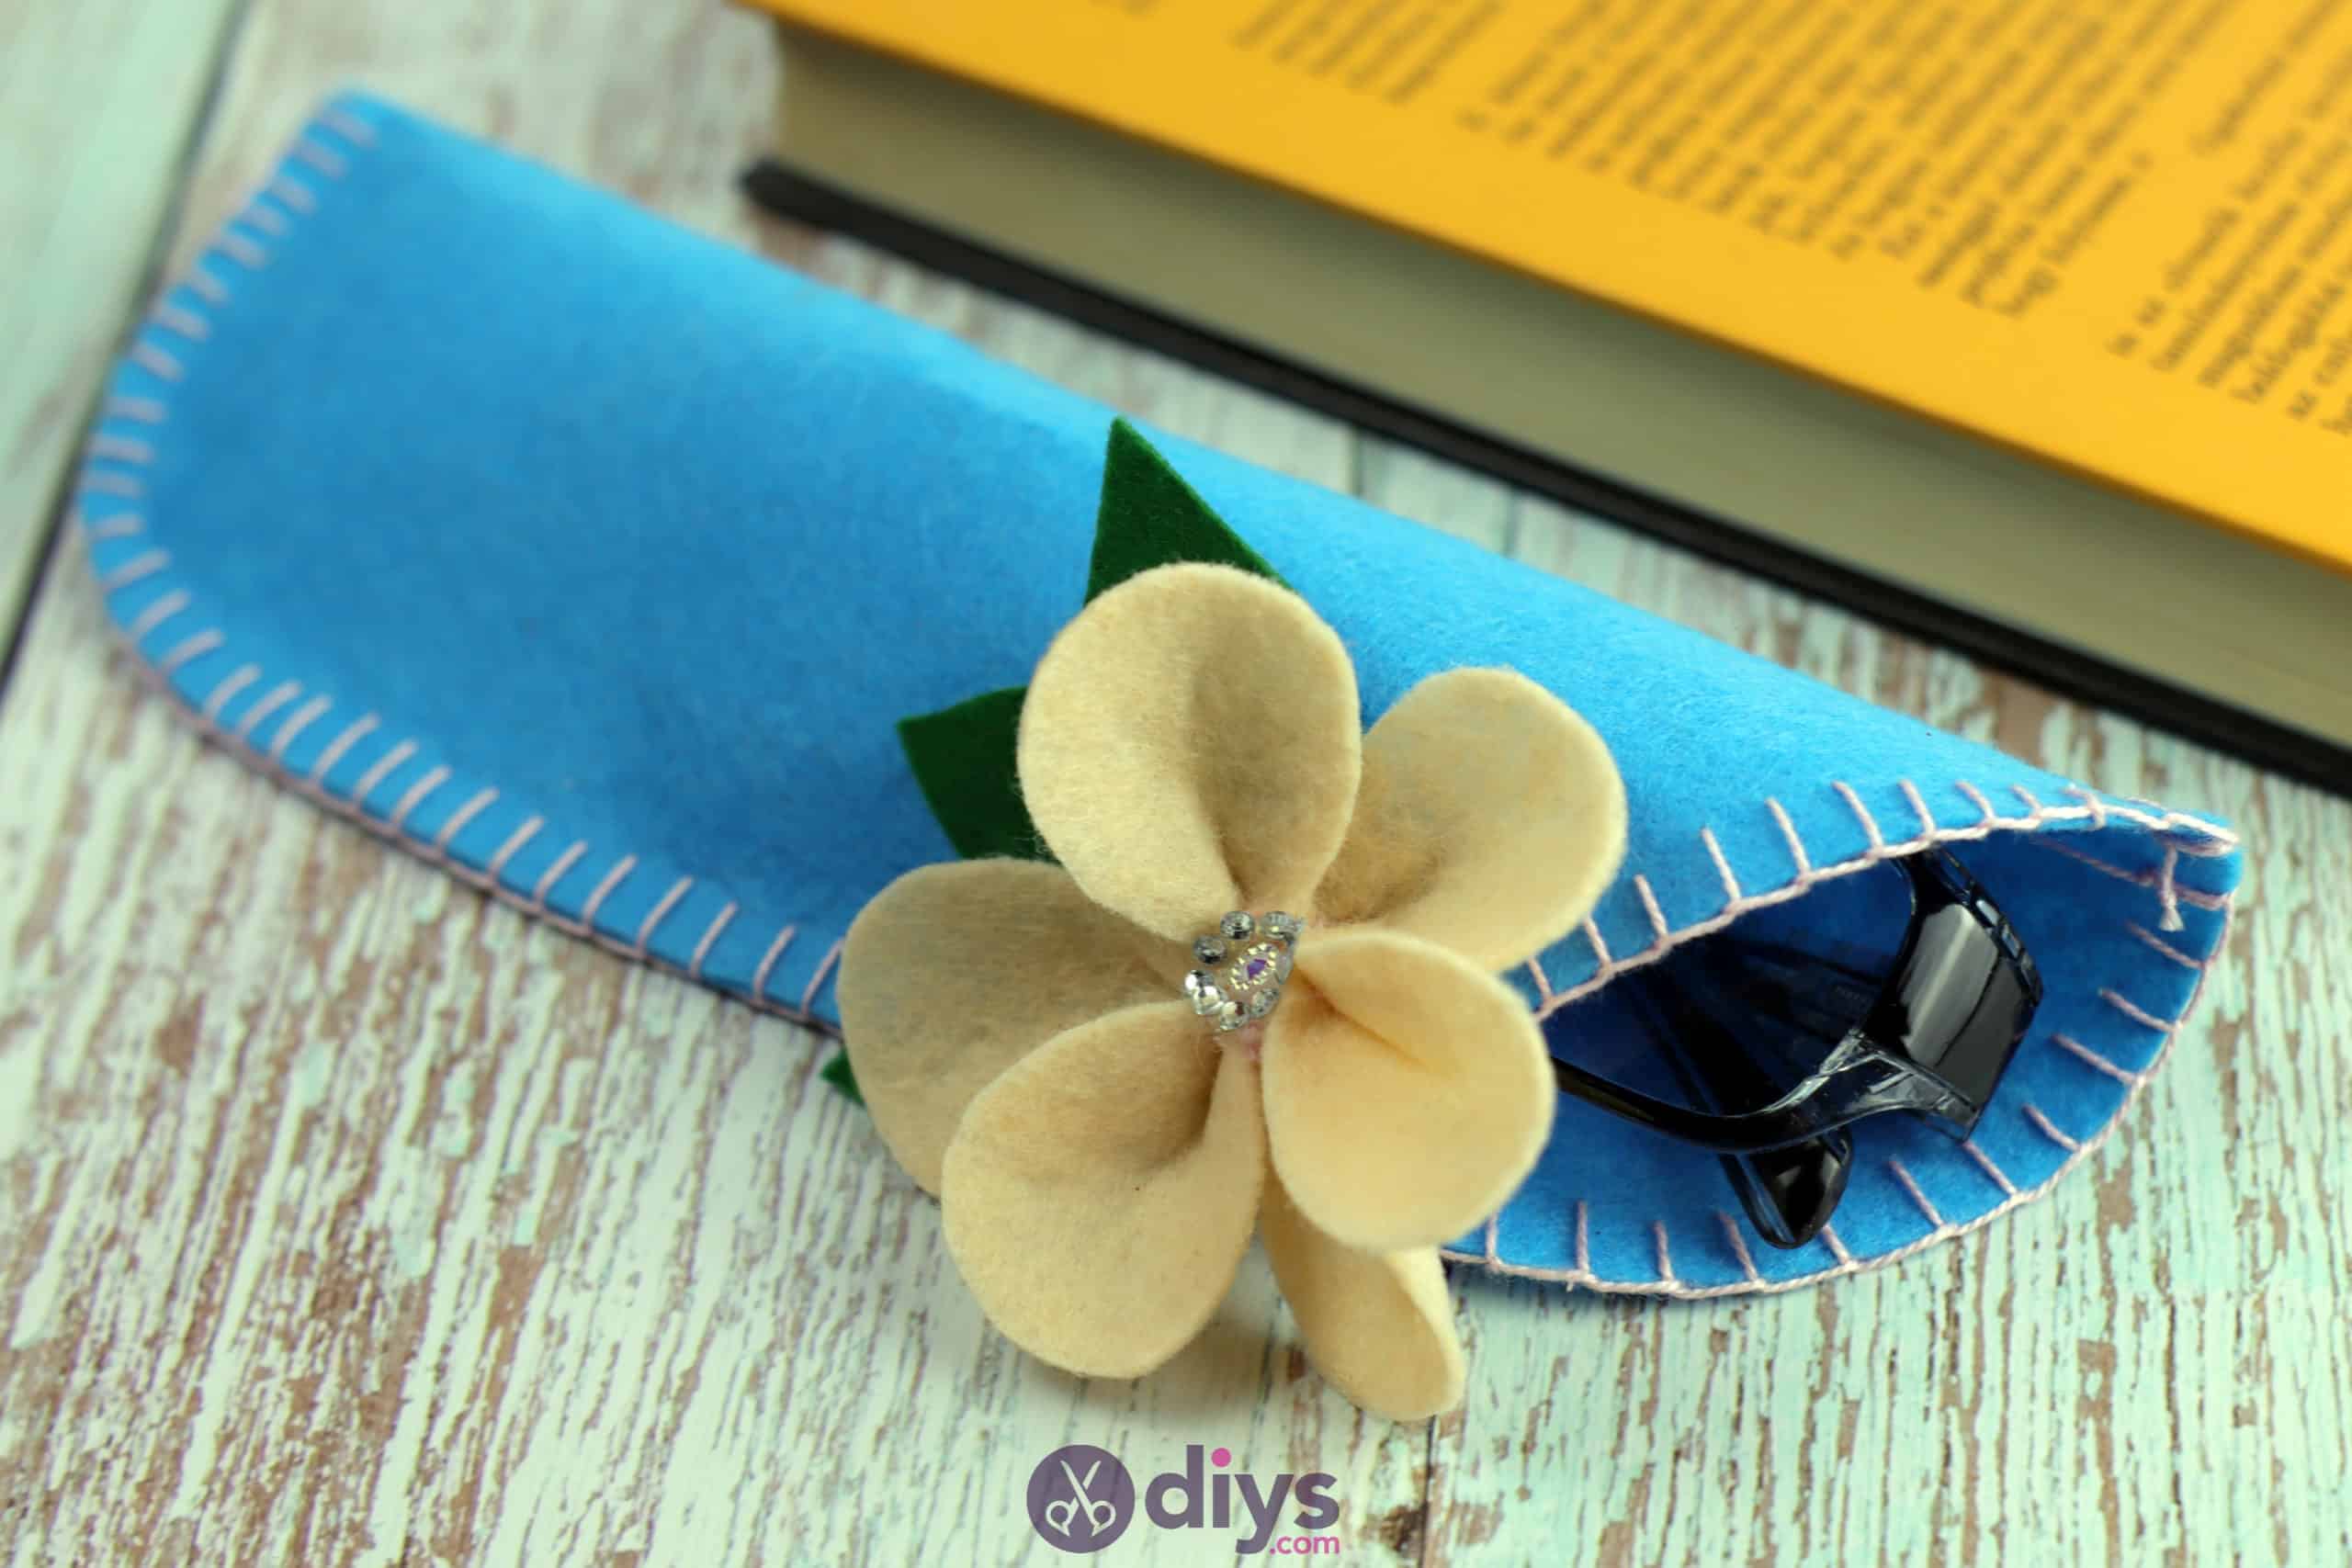
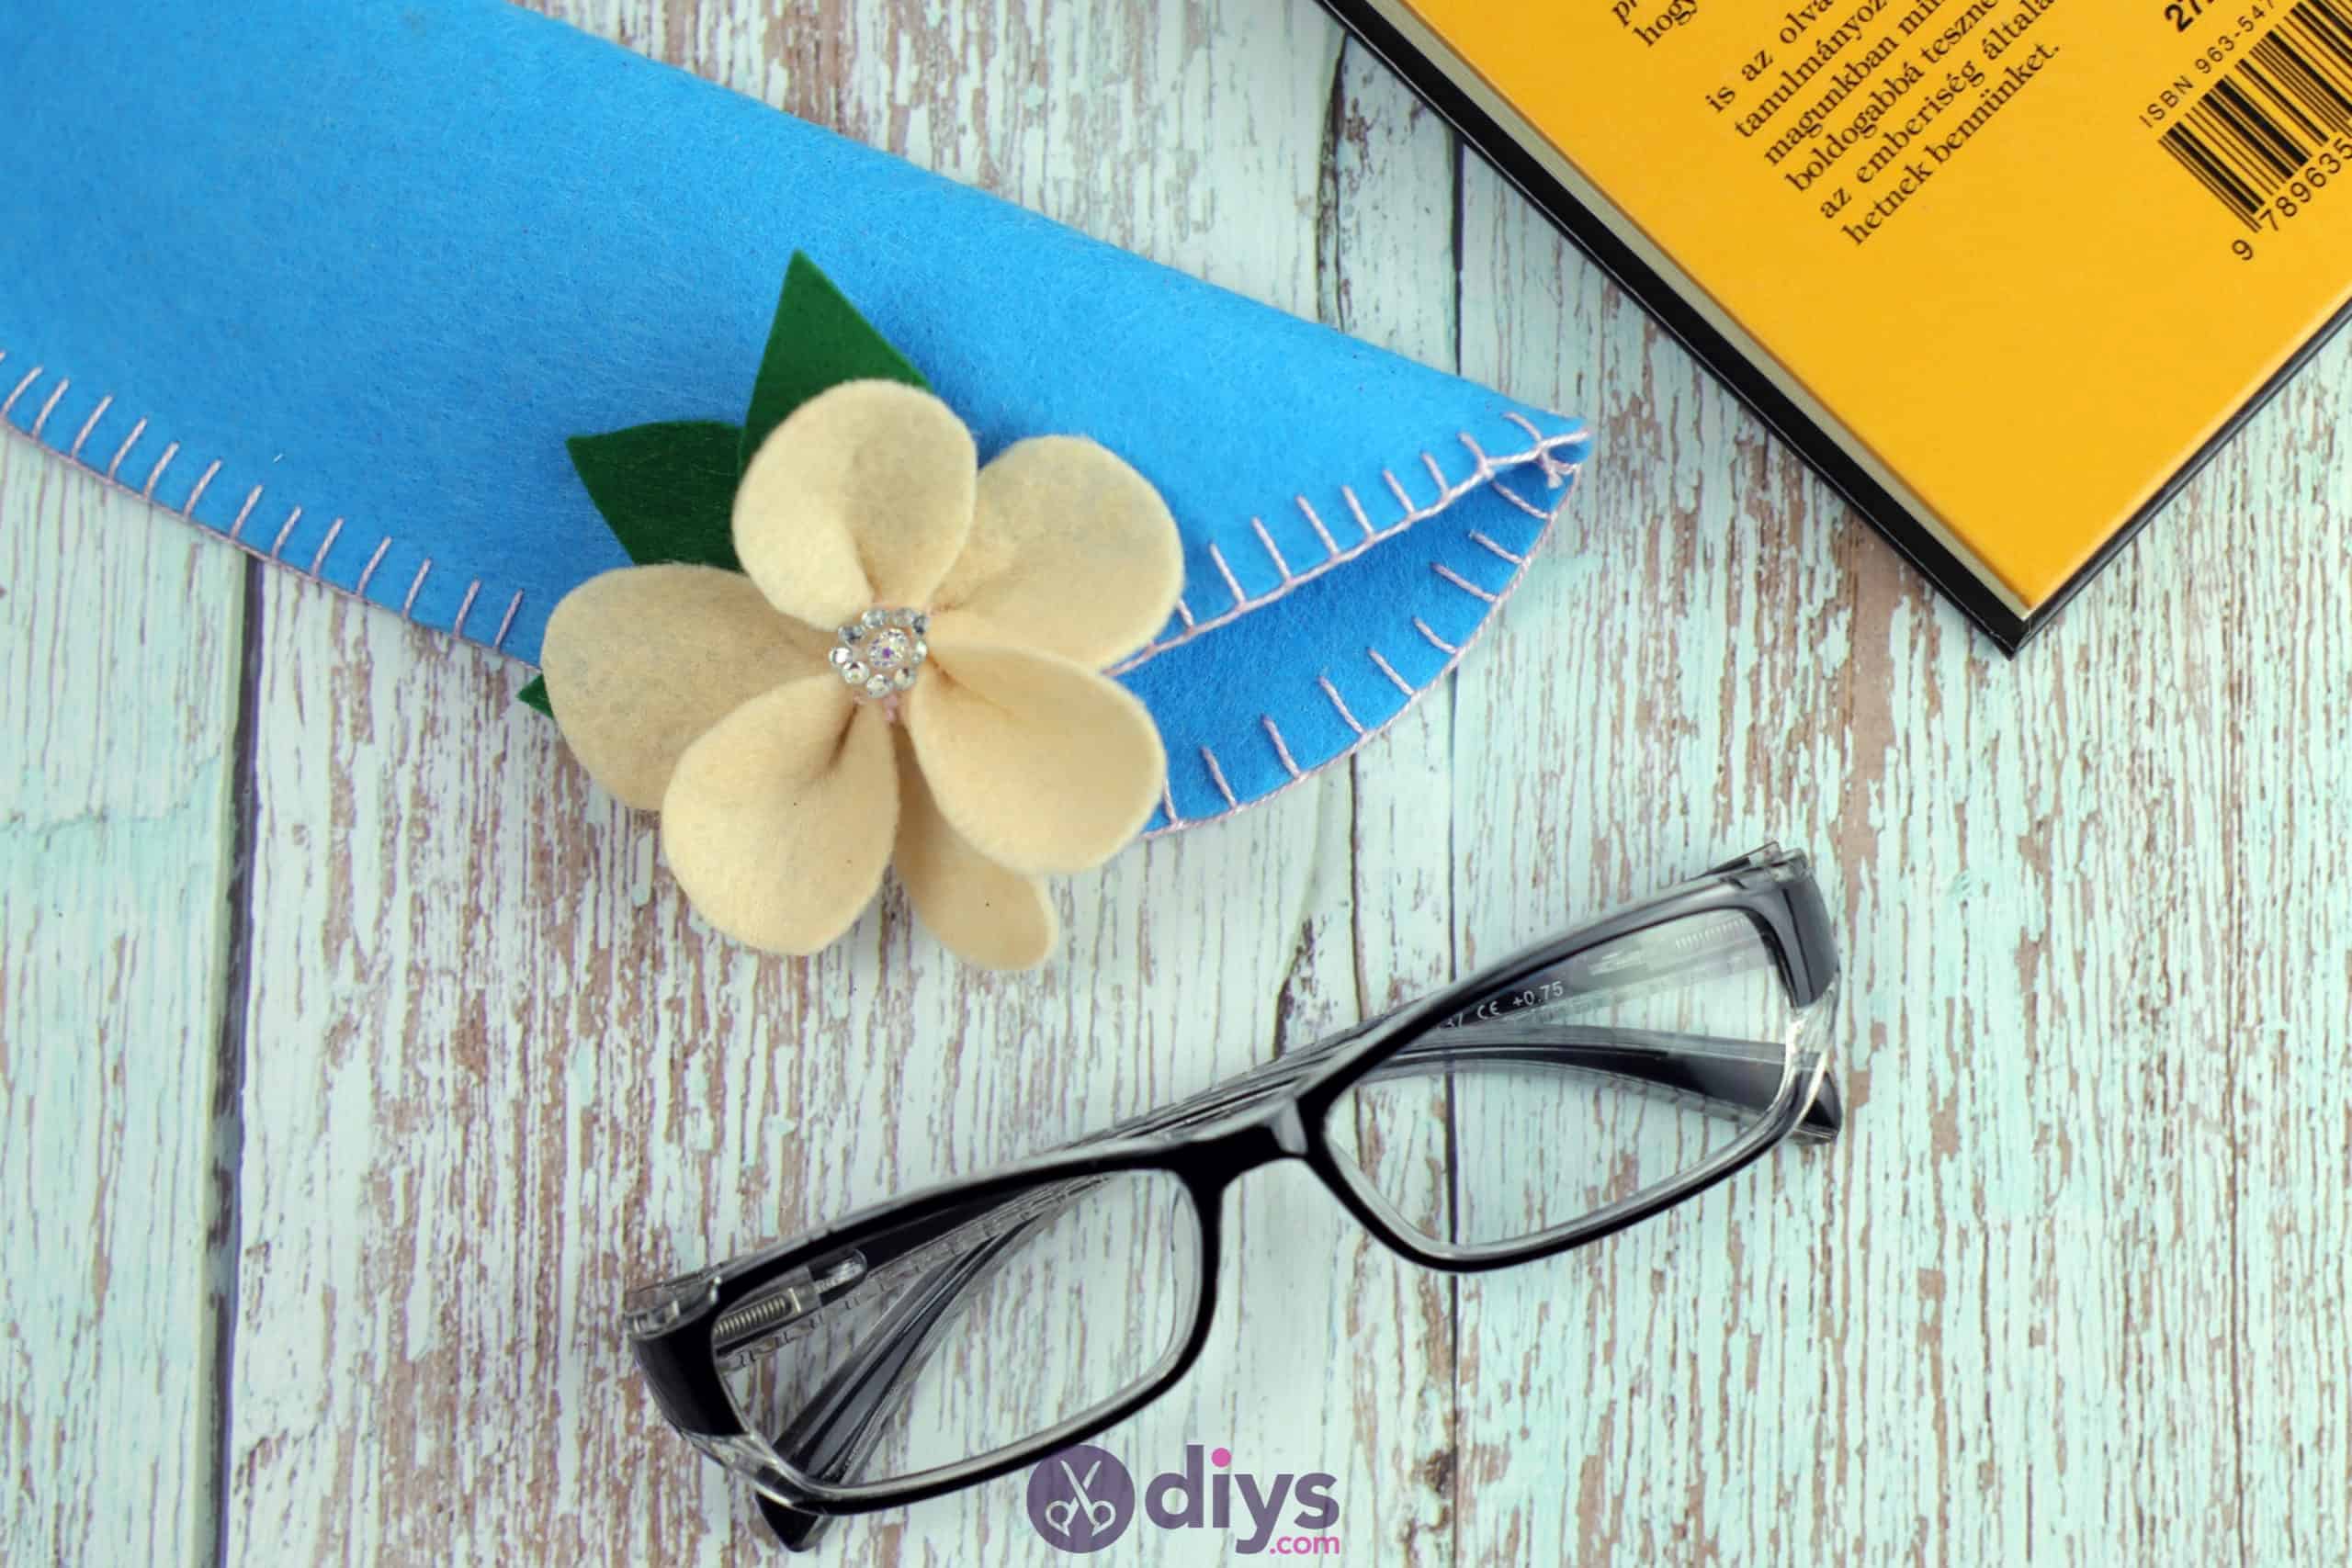
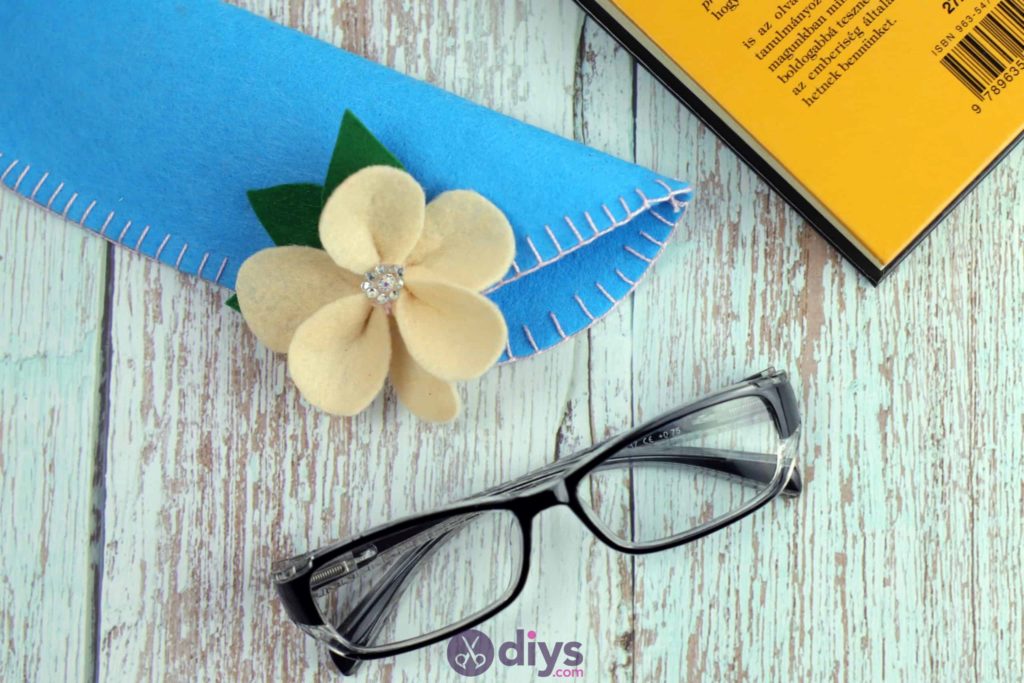
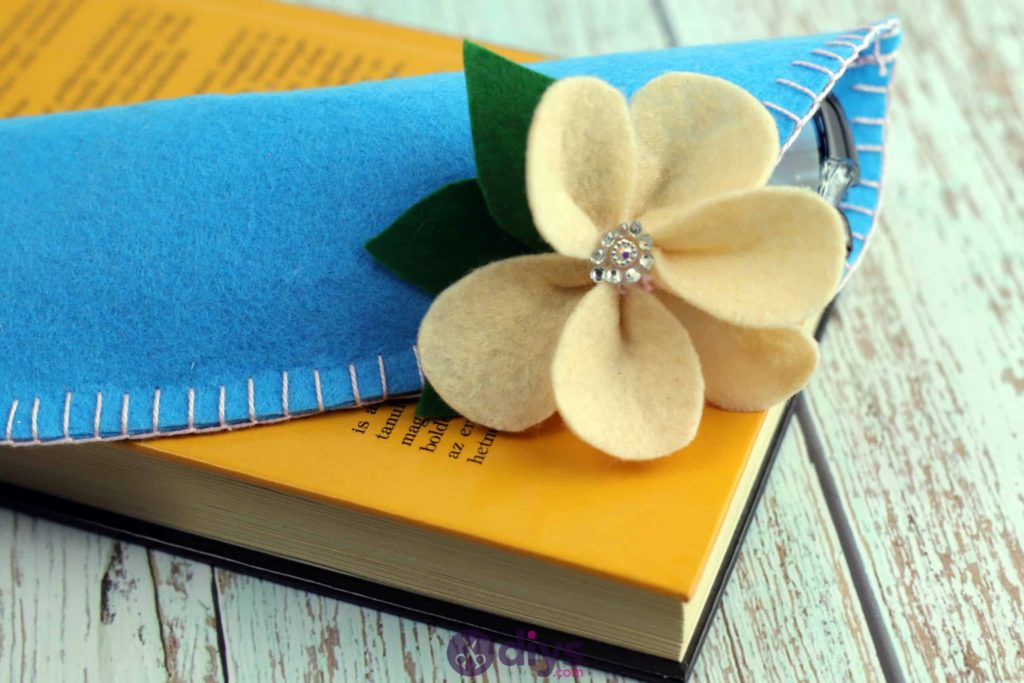
Stitch the felt flower you made earlier onto the blue sleeve you just finished for a bit of cute detail and embellishment! Place the flower where you want it (I chose to put mine near the split where my sleeve’s opening started as I was doing my seaming and edging) and start simply tacking it on with your needle and thread from inside the sleeve. This keeps your stitching and knotting underneath the flower and on the inside where the work can’t be seen, making things look a little neater.
You’re all finished and ready to pop your glasses into the case! Of course, you can feel free to play with colours on both the sleeve and the flower, or embellish the sleeve different all together if you’re not quit as in the mood for celebrating springtime as I have been lately. Just in case you’d like to try this project out for yourself, here‘s a fantastic tutorial video to help you!