DIY Simple Concrete Pencil Holder
Updated on November 19, 2025


Liven up your desk or make a cute DIY gift with this easy to follow step by step tutorial on how to make a DIY concrete pencil holder! Keep scrolling to see just how we put tis one together.

And you can customize this with a different color paint, too! Check out those step by step instructions complete with photos below! If you’re more of a visual learner and you’d rather see all the steps in live action, scroll to the bottom and take a look at my full video tutorial instead.
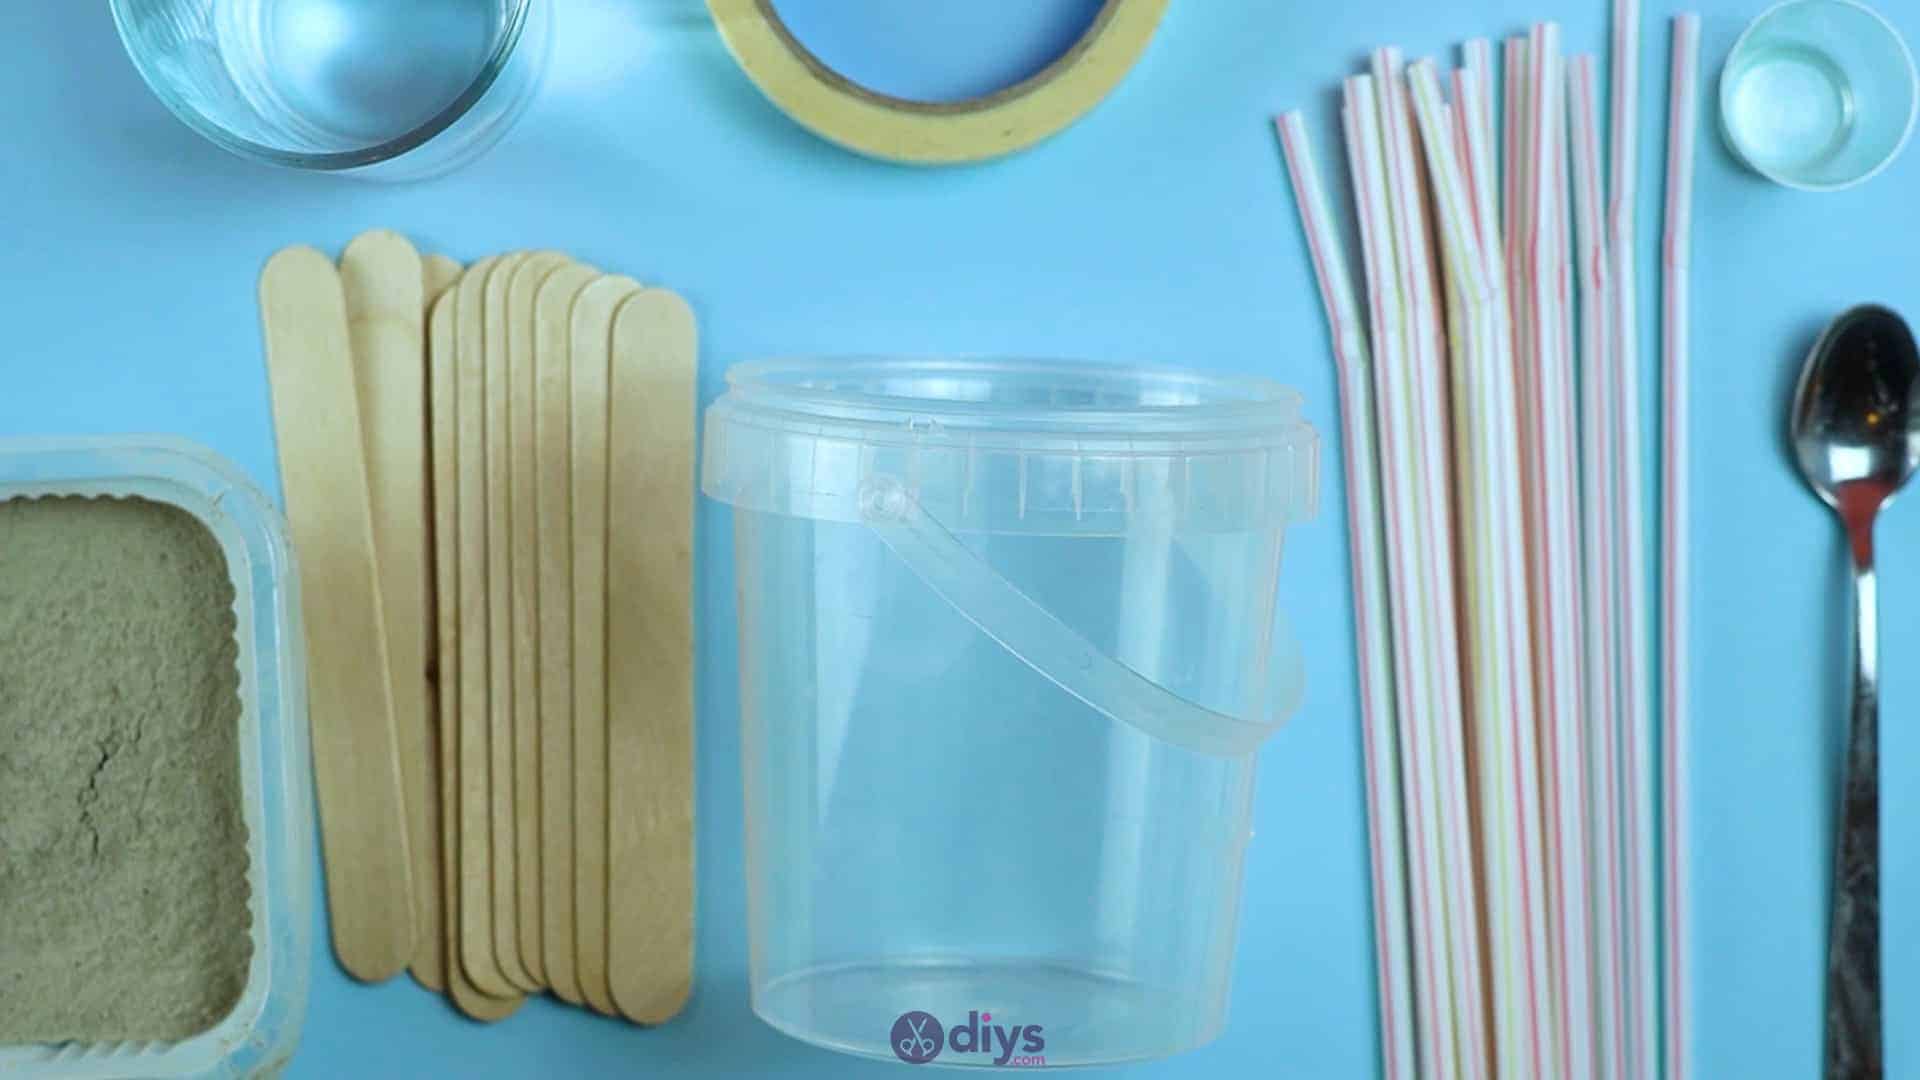
For this project, you’ll need:
- Fine particle cement mix
- Water
- Plate
- Spoon
- Tape
- Oil
- Paintbrush
- Acrylic paint
- Plastic cups
- Straws
- Scissors
- Wide popsicle sticks

Step 1: Gather your materials!
When dealing with concrete projects like this, it’s important to have all your items in front of you before you begin.

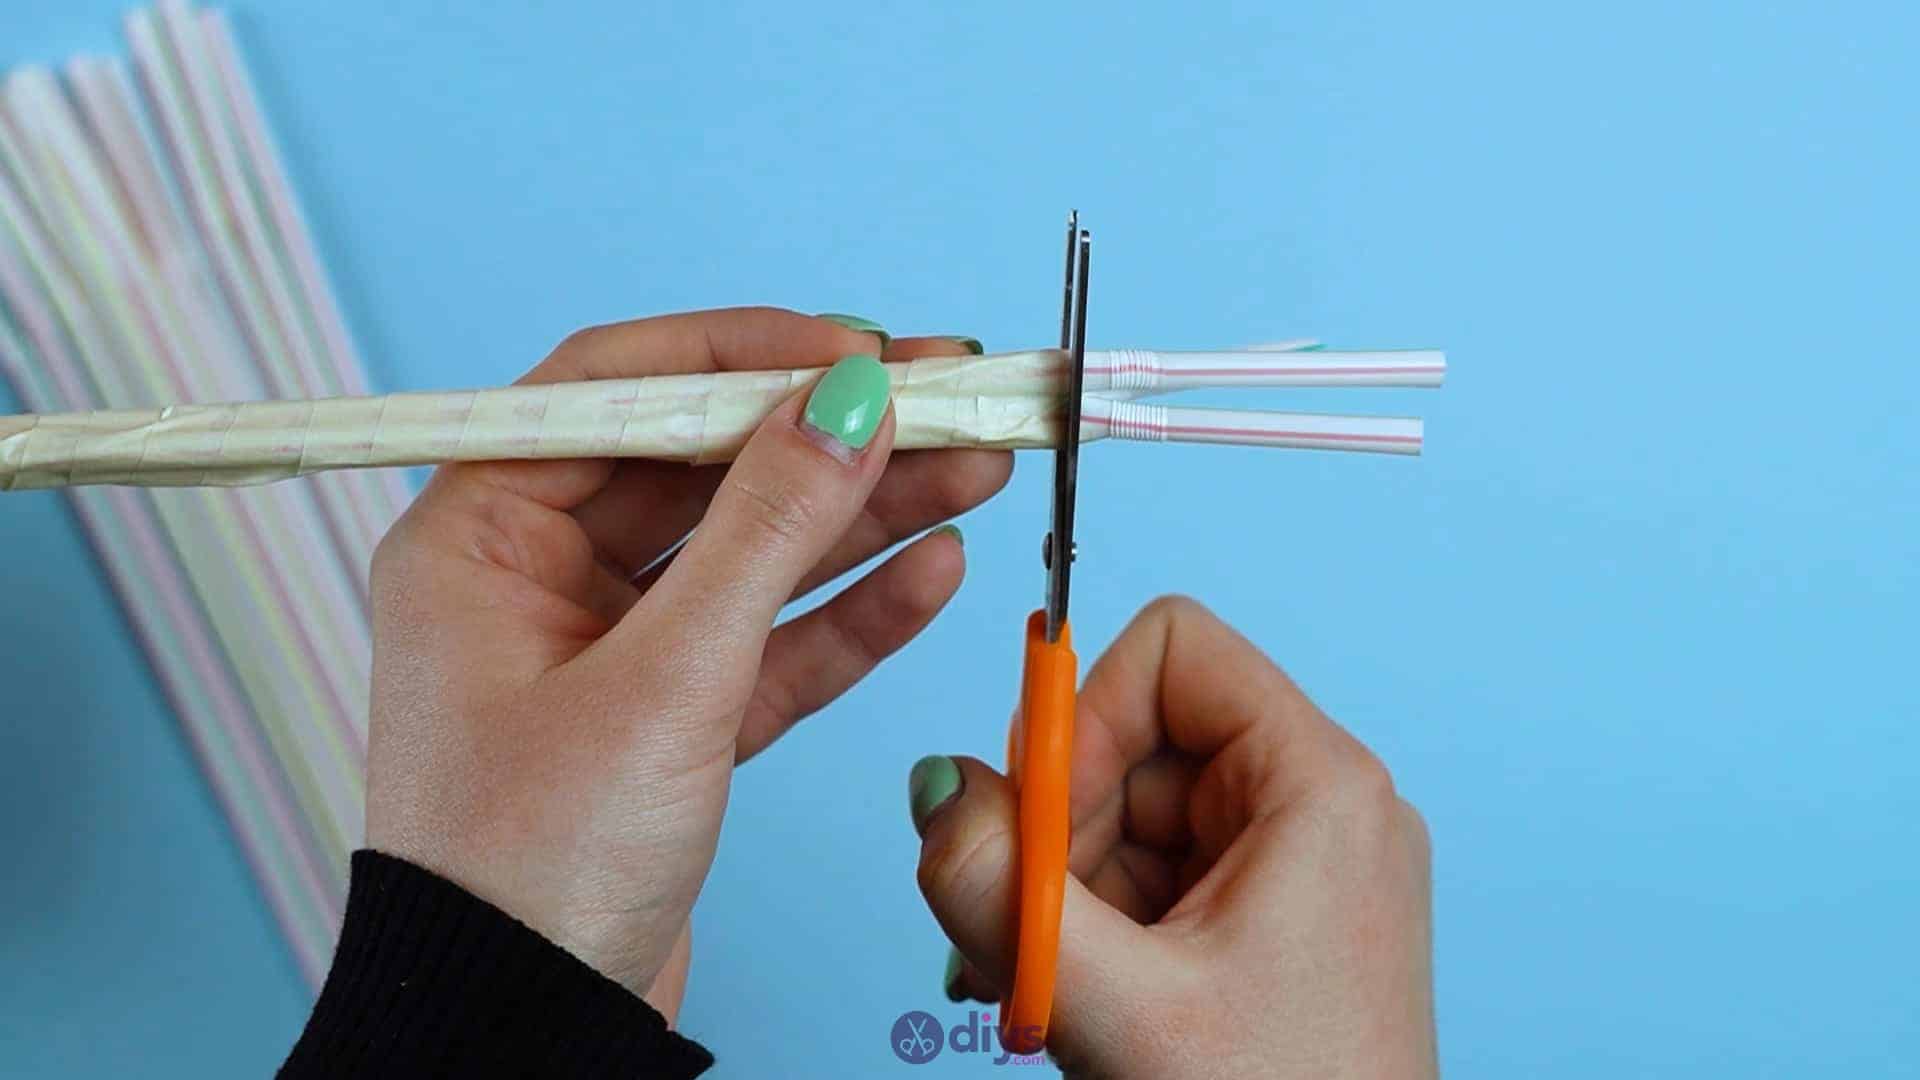
Step 2: preparation
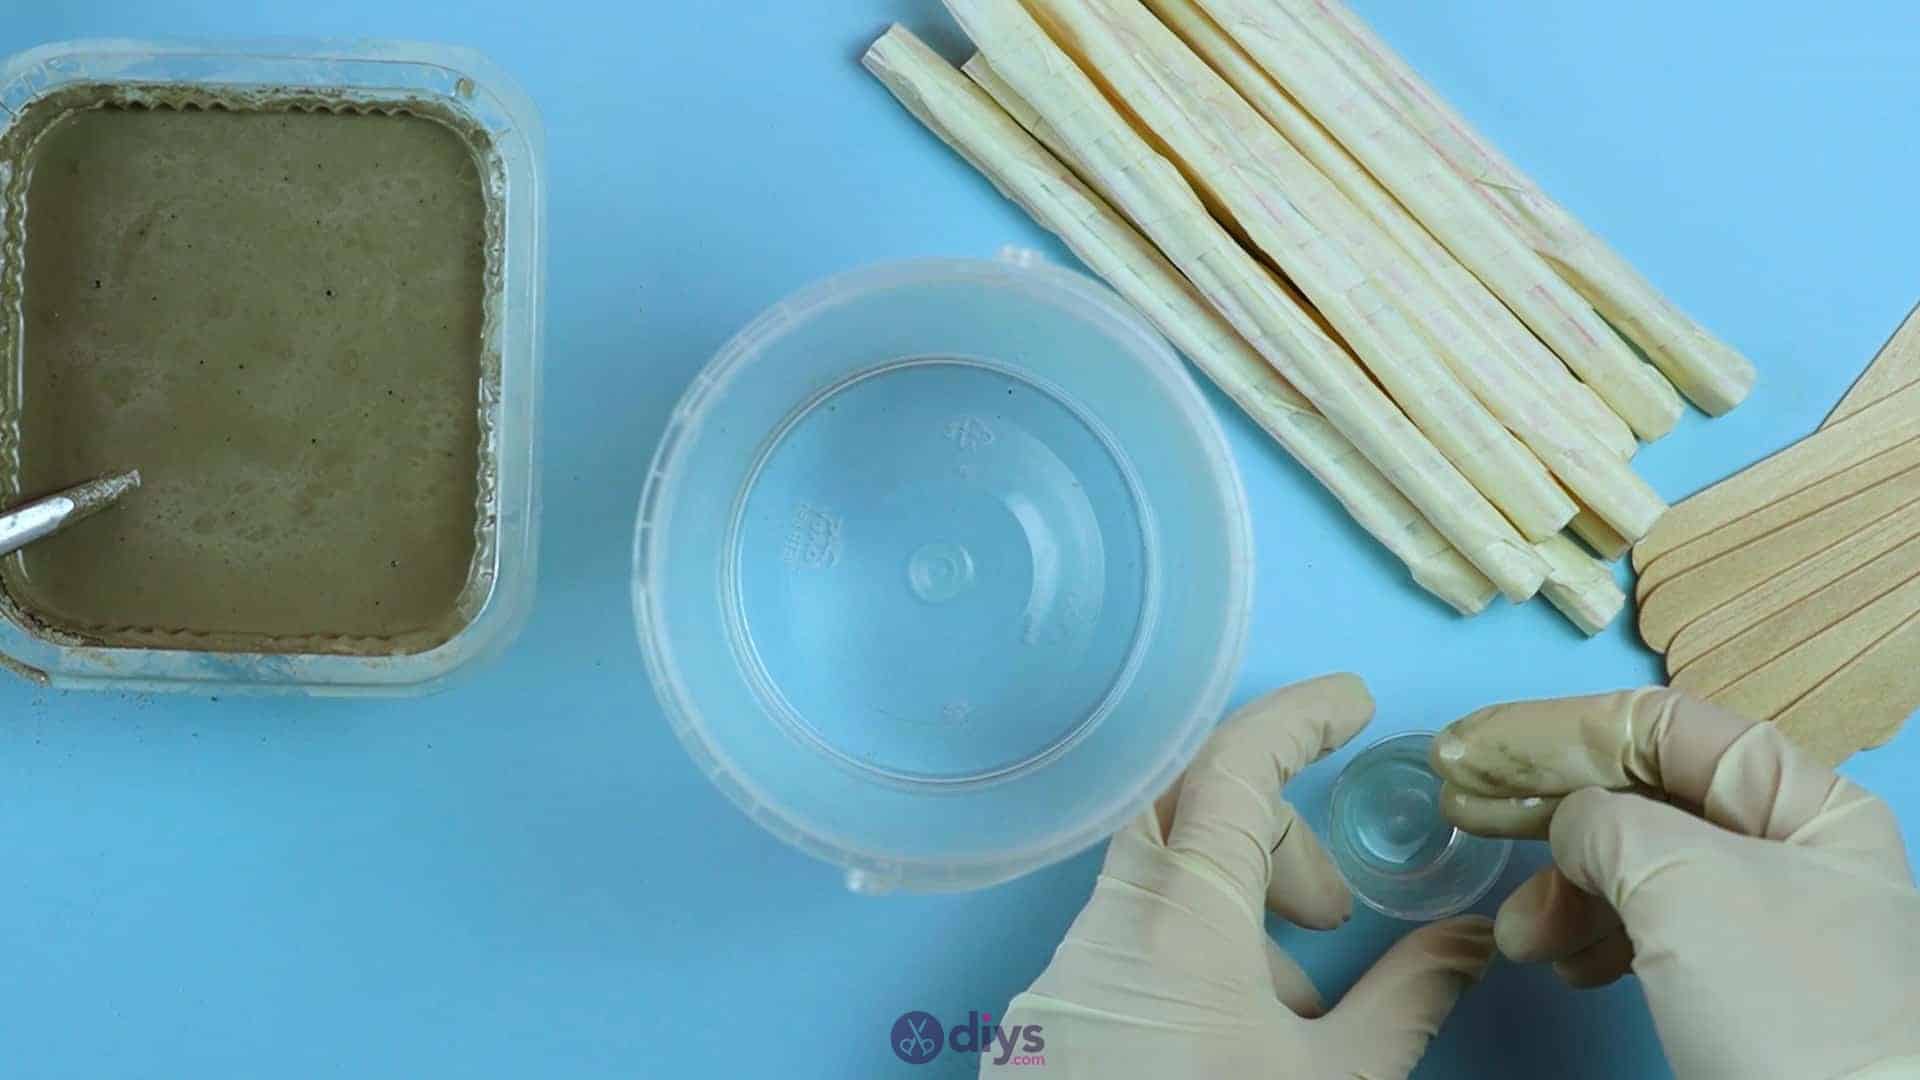
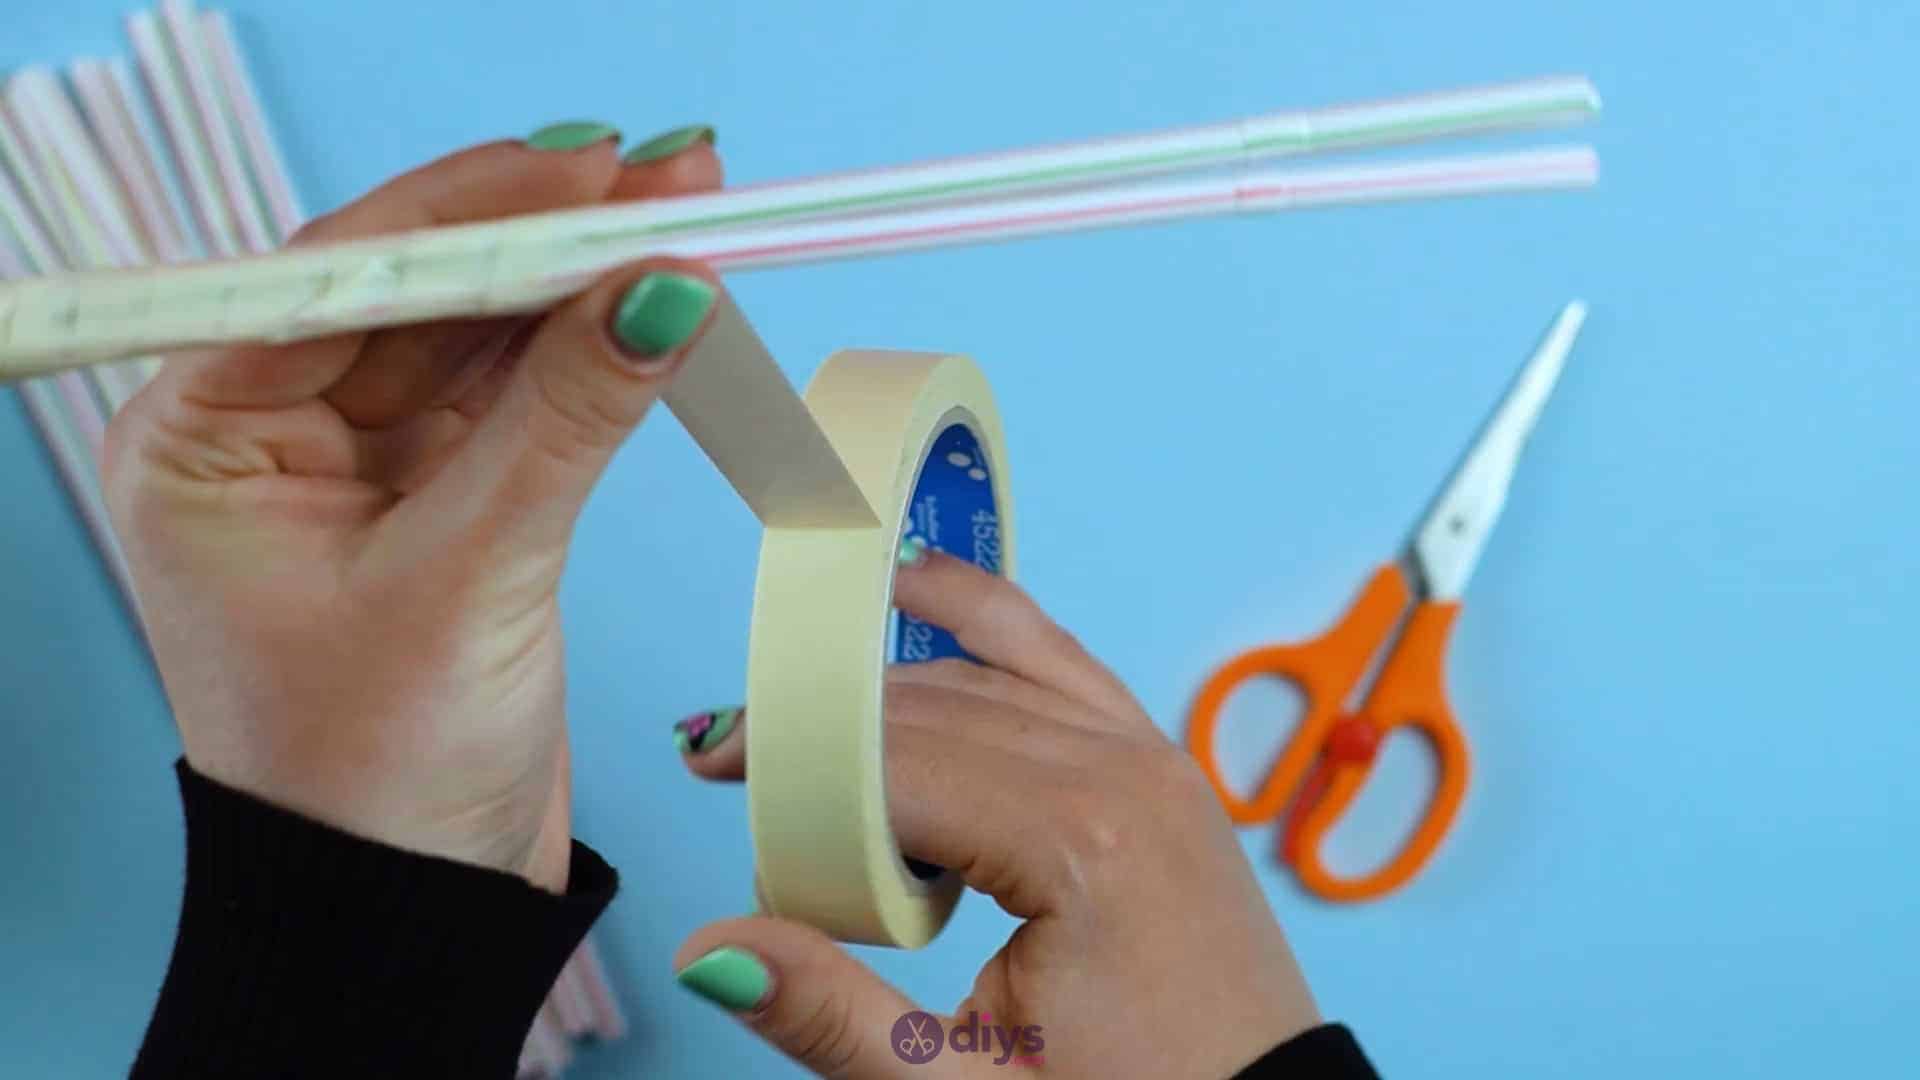
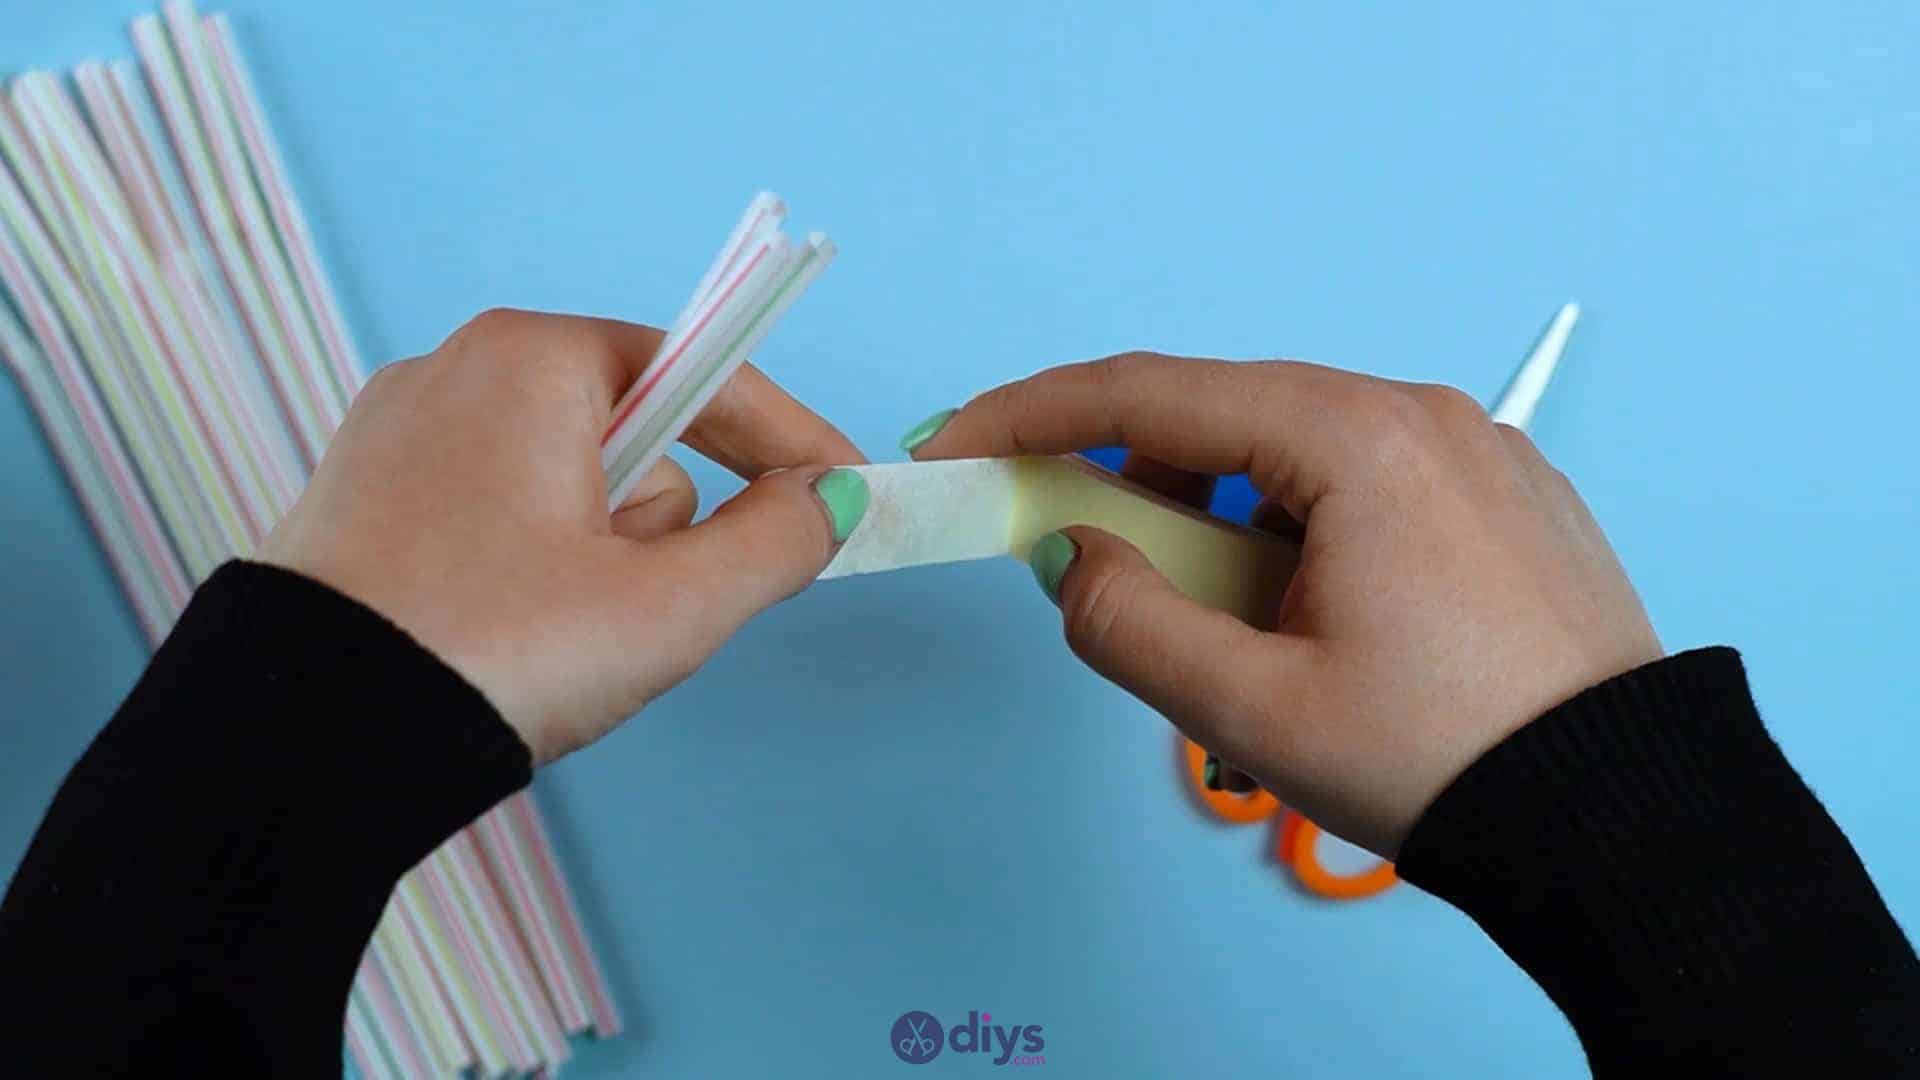
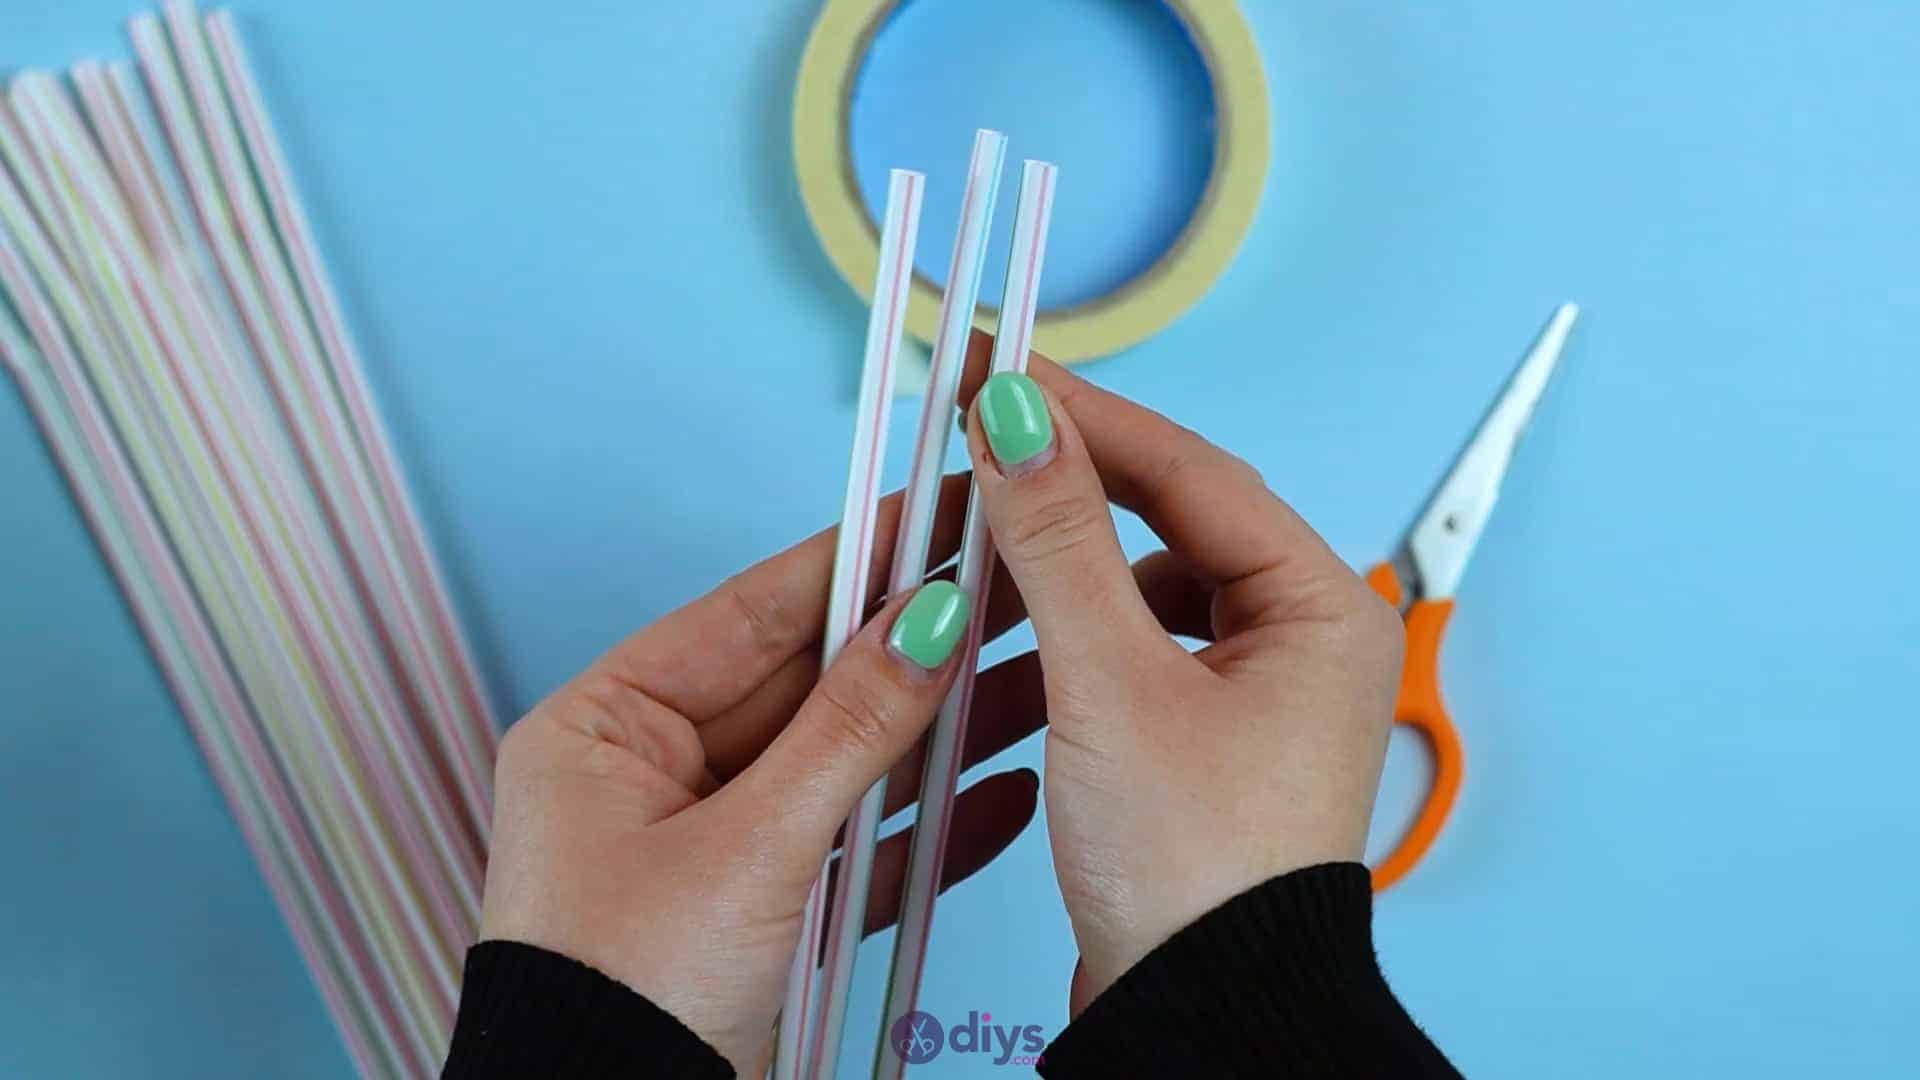
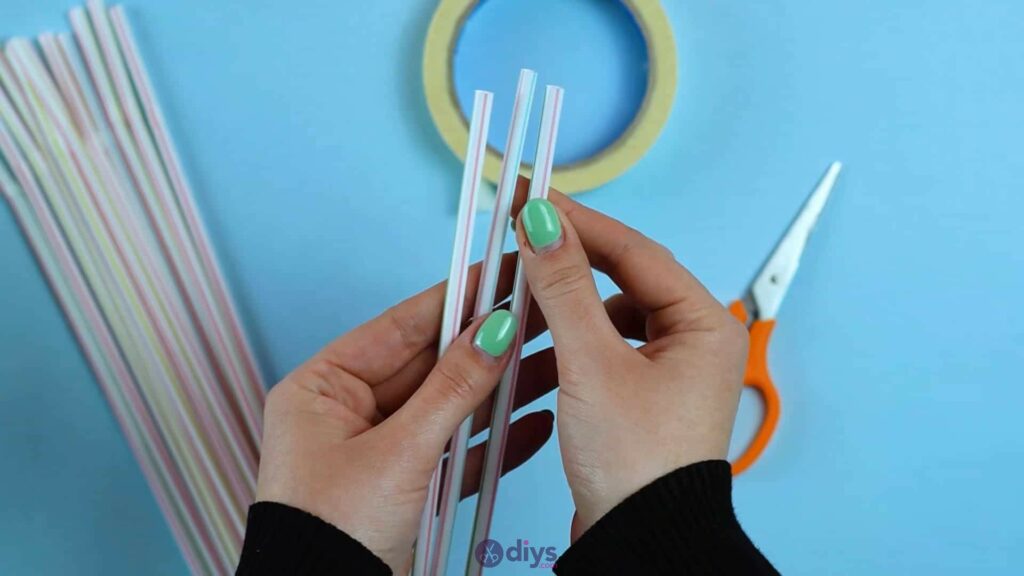
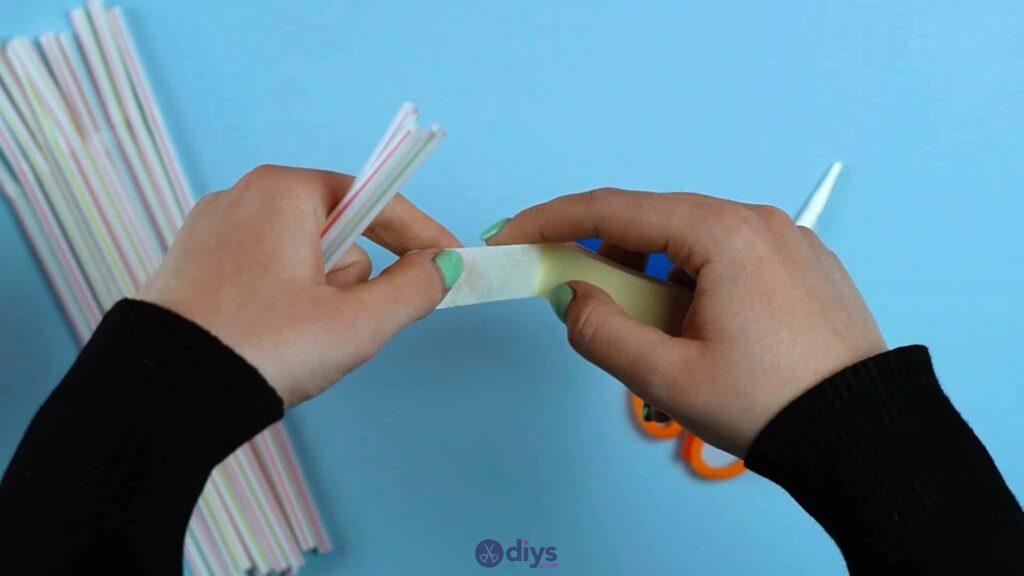
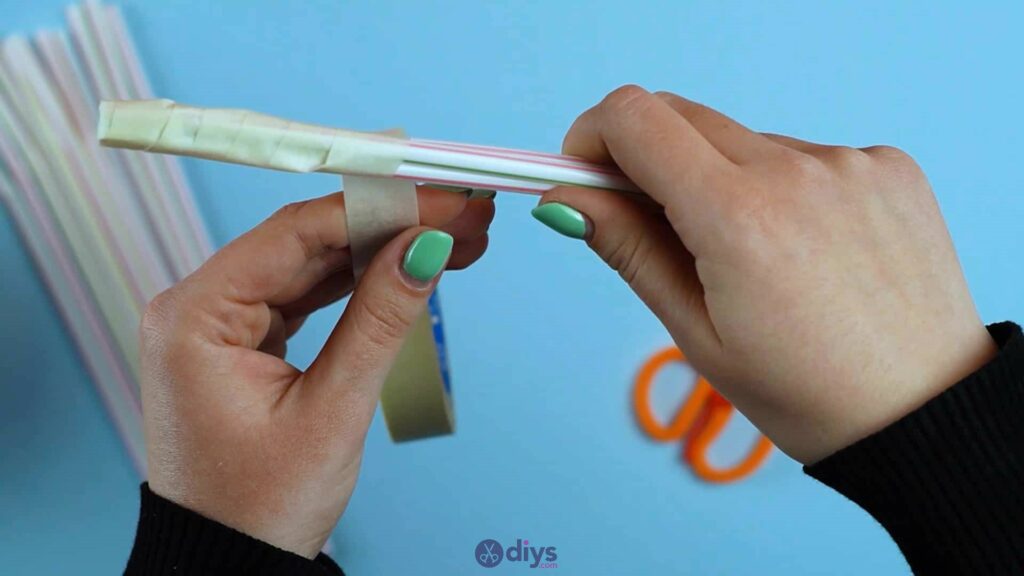
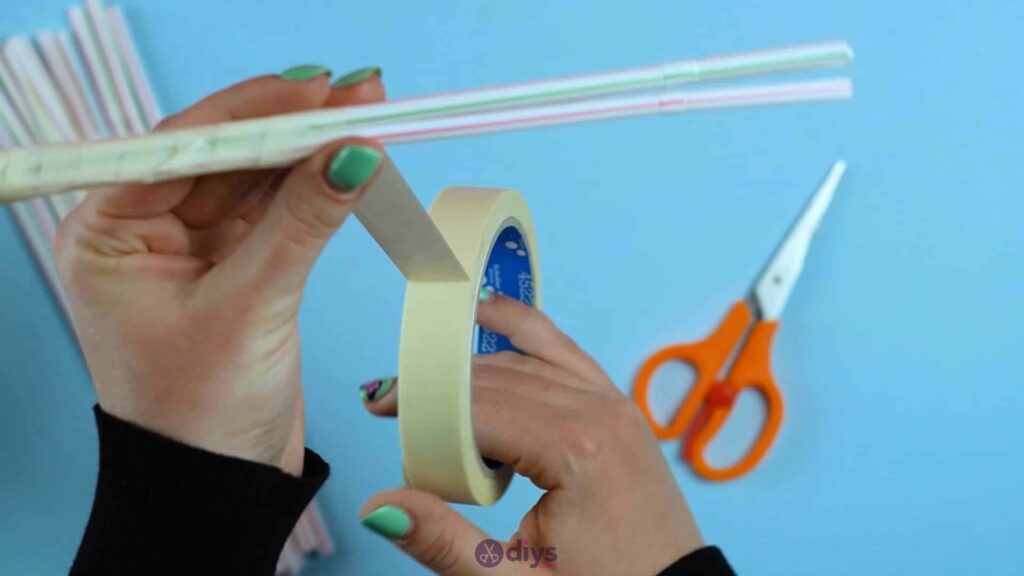
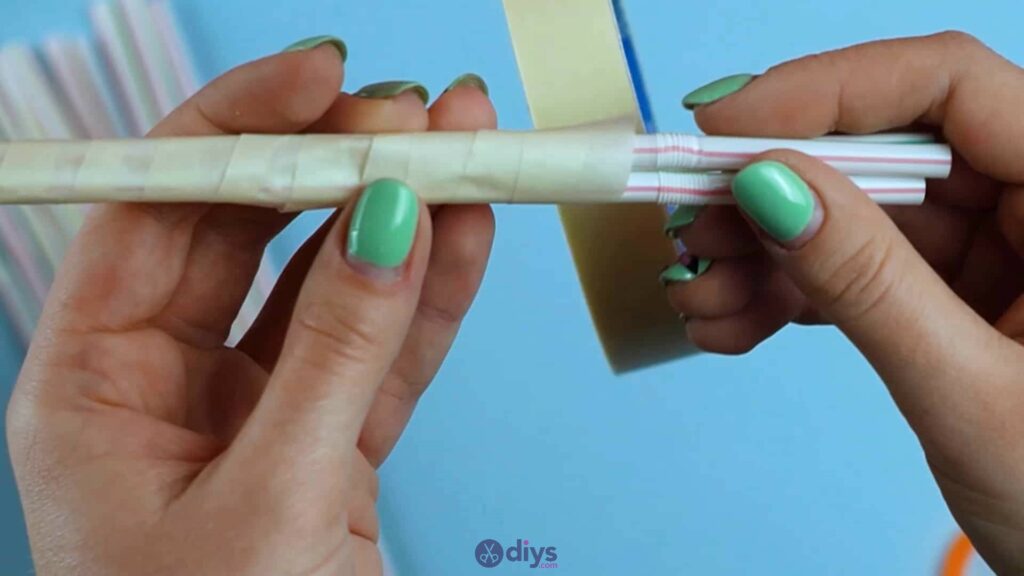
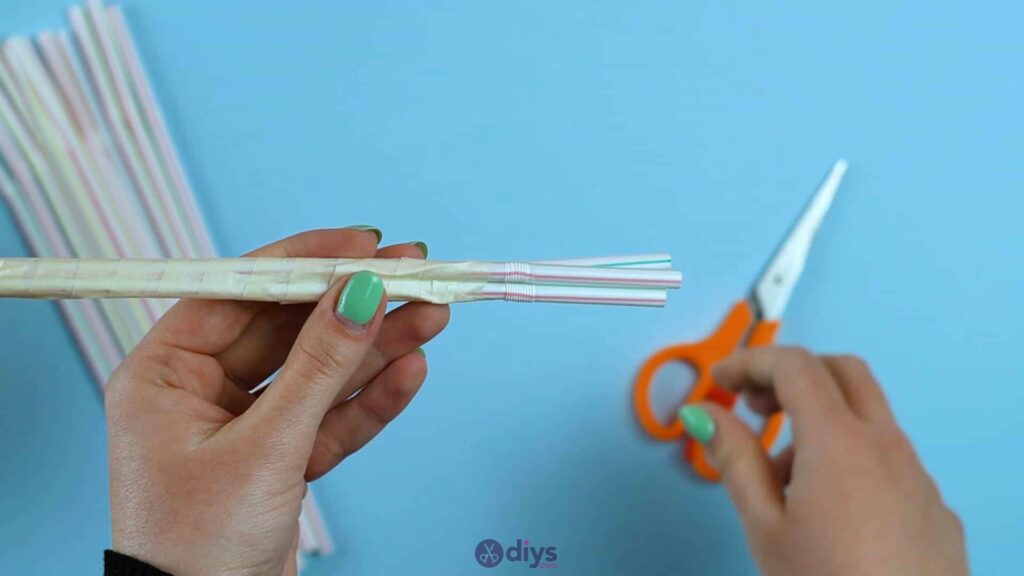
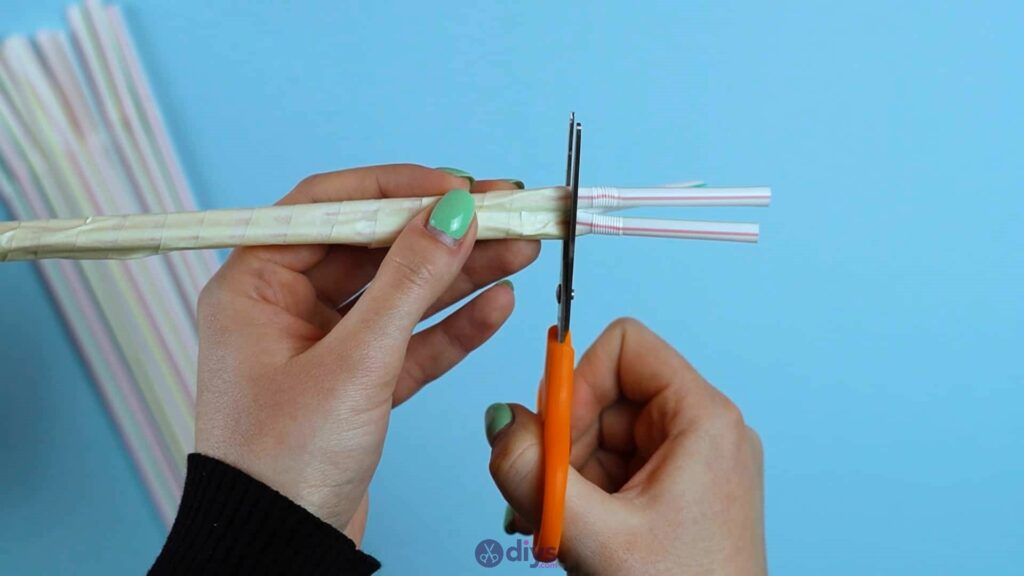
Start by preparing the placeholders that will make holes in the drying concrete mix for your pencils to sit in later. You’ll use your straws and tape for this. Put three straws together, holding them in a bundle so their ends are all even with each other. Tear off a piece of tape about an inch long and place the middle of the piece over one end of your straw bundle, so the tape covers the holes in that end of the straws entirely. Fold the ends and sides of that tape piece down to stick them in place.
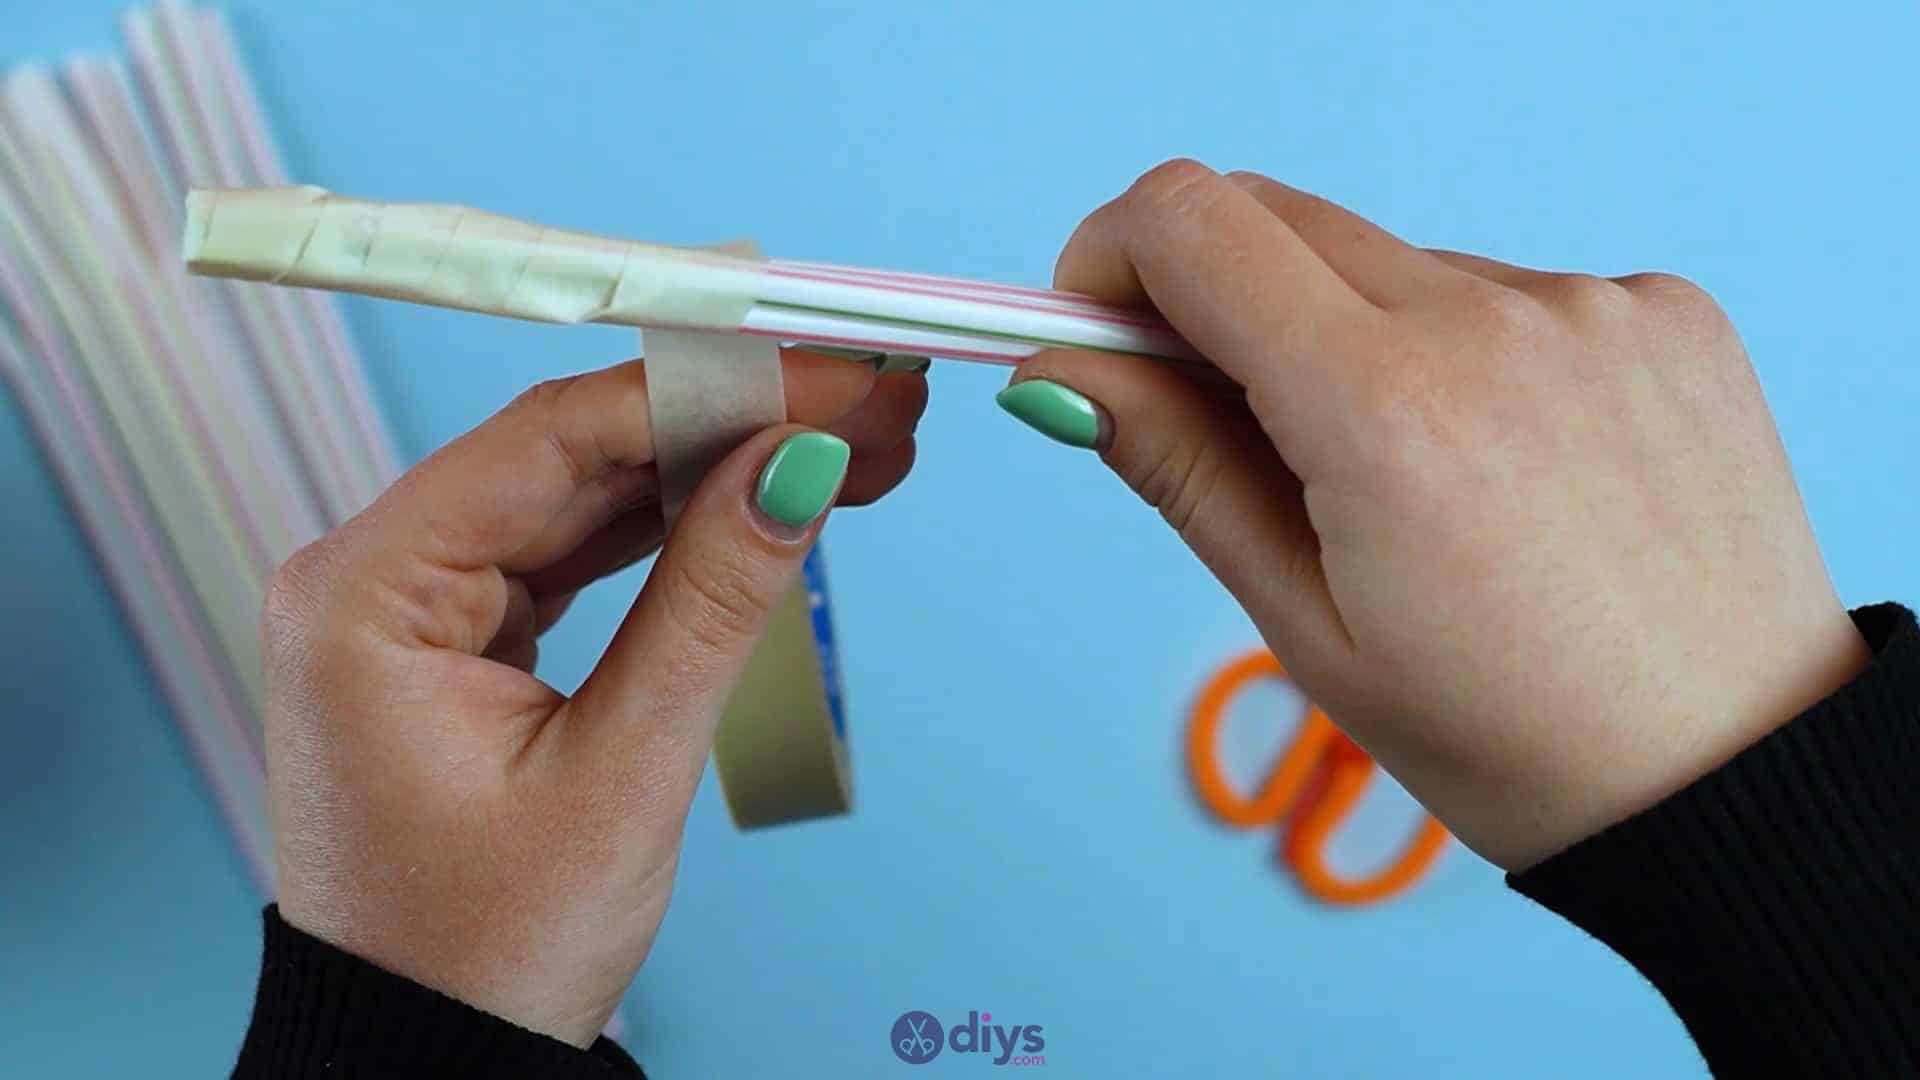
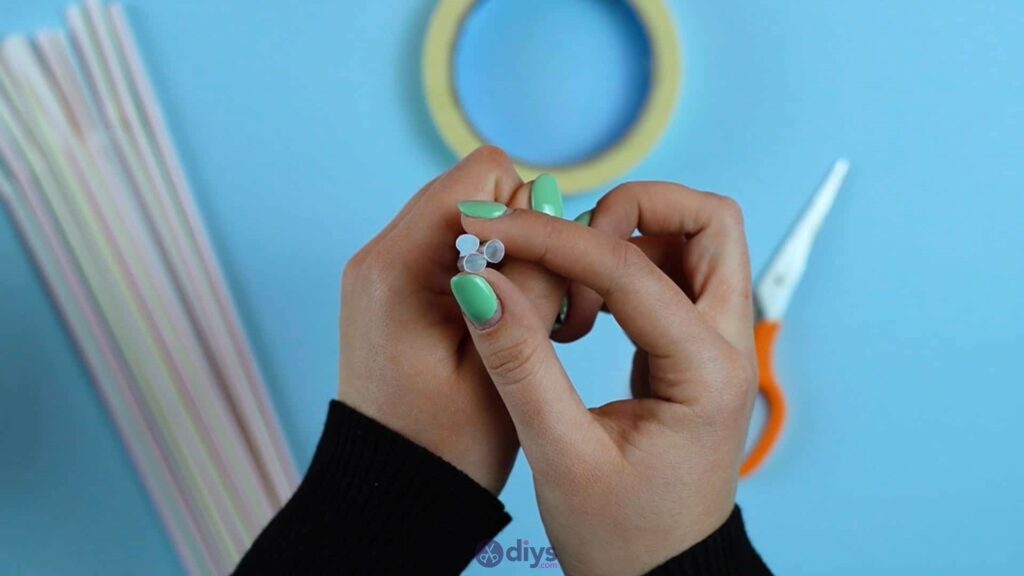
Next, turn the tape so it runs horizontally and stick the tip near the ends of the straws to cover the tape sides you just stuck down. Start wrapping the new tape around and around the straw bundle, binding them together. Move your tape slightly downwards as you go so it spirals down the length of the straws as you wrap. Continue until you’ve covered about three quarters of the straws’ lengths and then tear or trim your tape off and stick the new end down. Use your scissors to trim off the excess ends of all three straws sticking out beyond the tape.
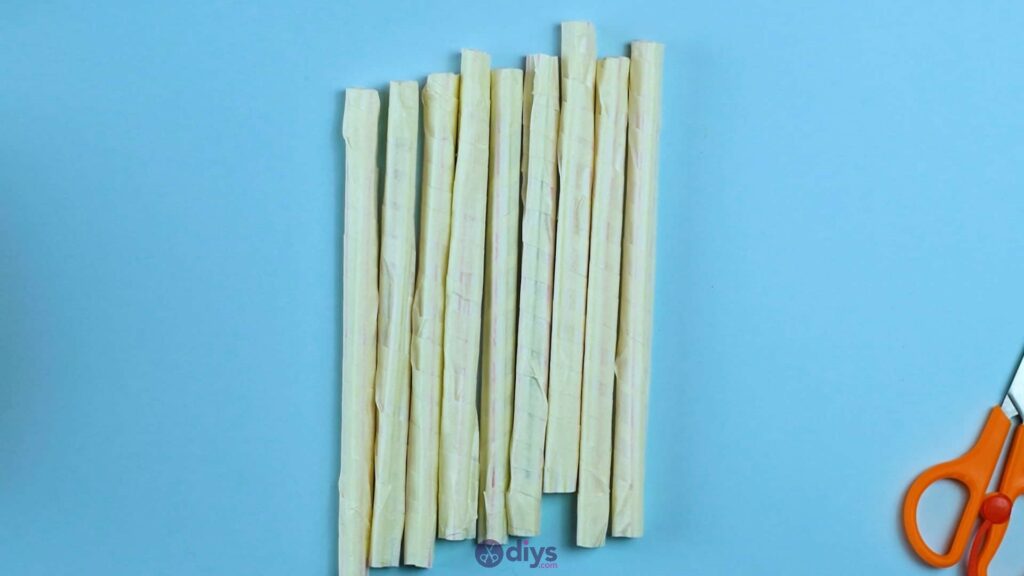
You’ve officially made one place holder! Repeat this process several more times until you have as many place holders as you’d like the pencil holder to be able to hold when it comes to loading it with your writing utensils at the end. I made nine in total.
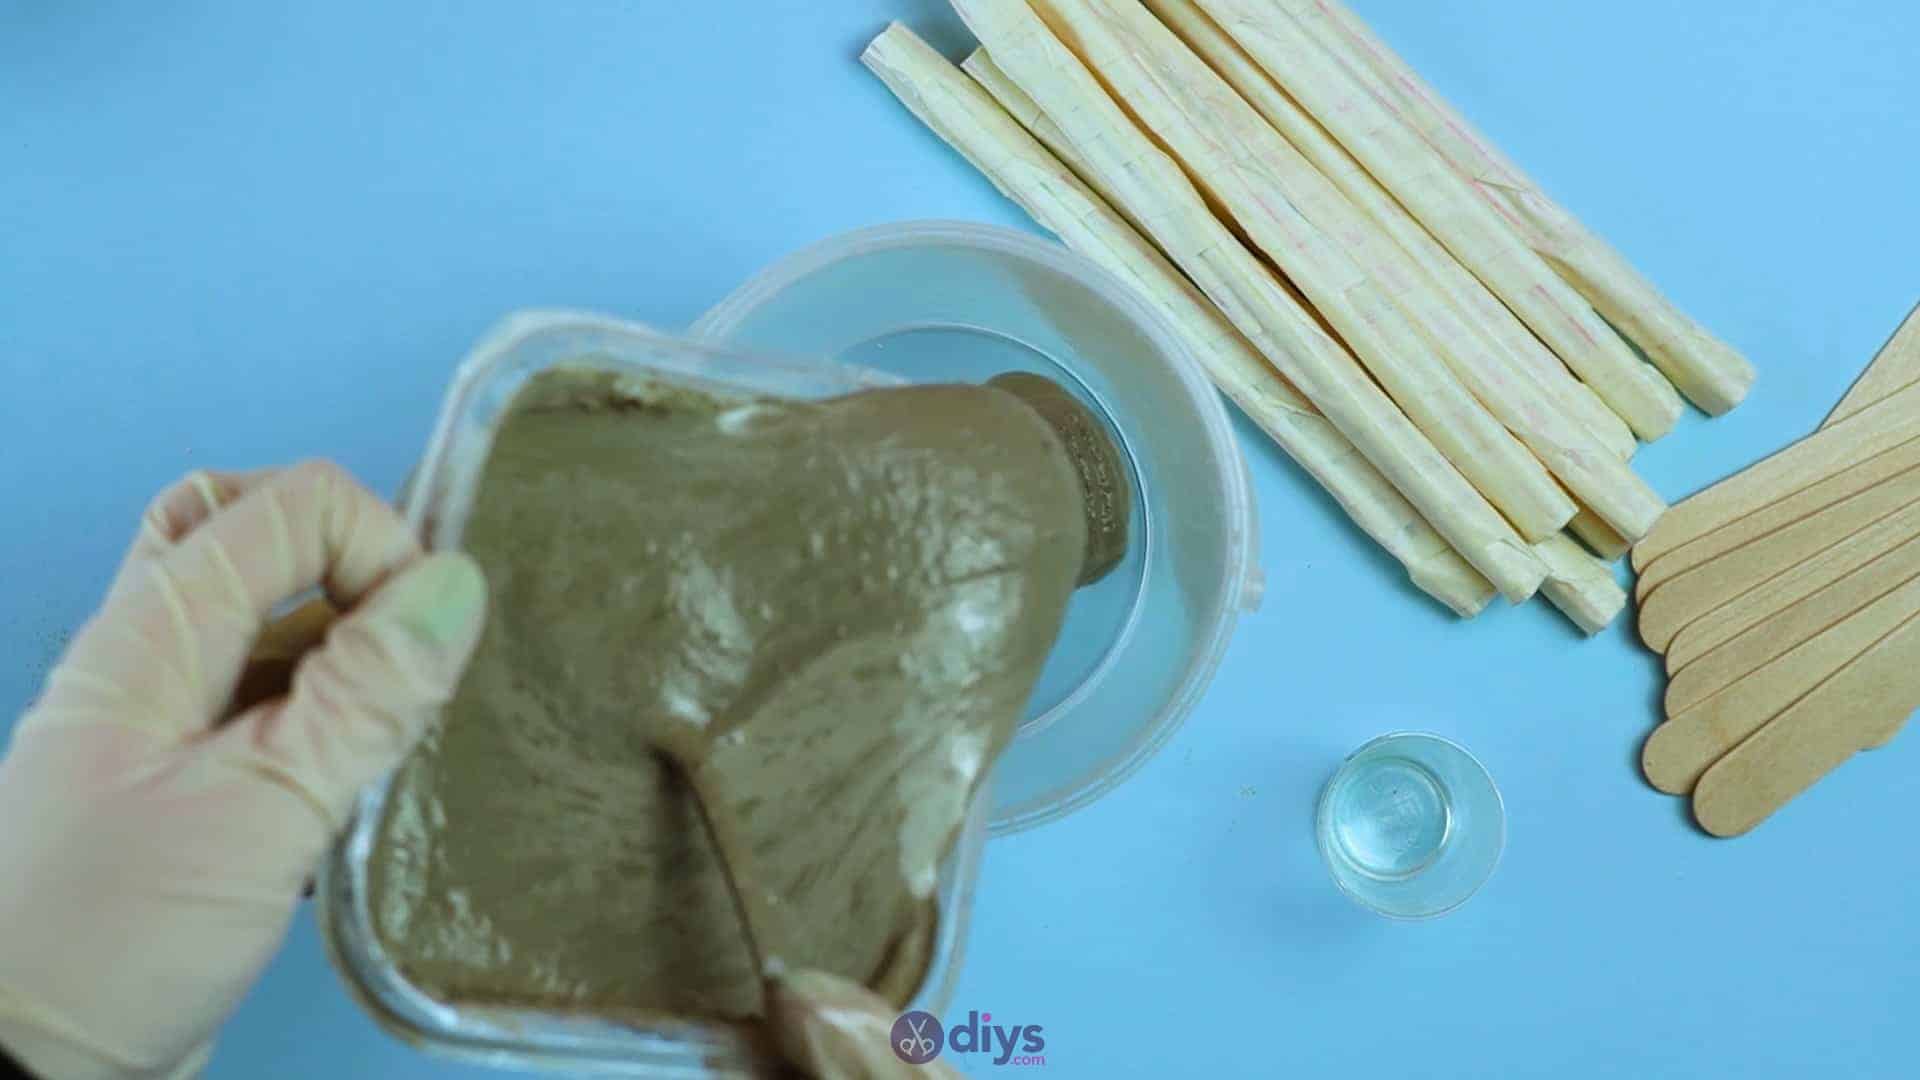
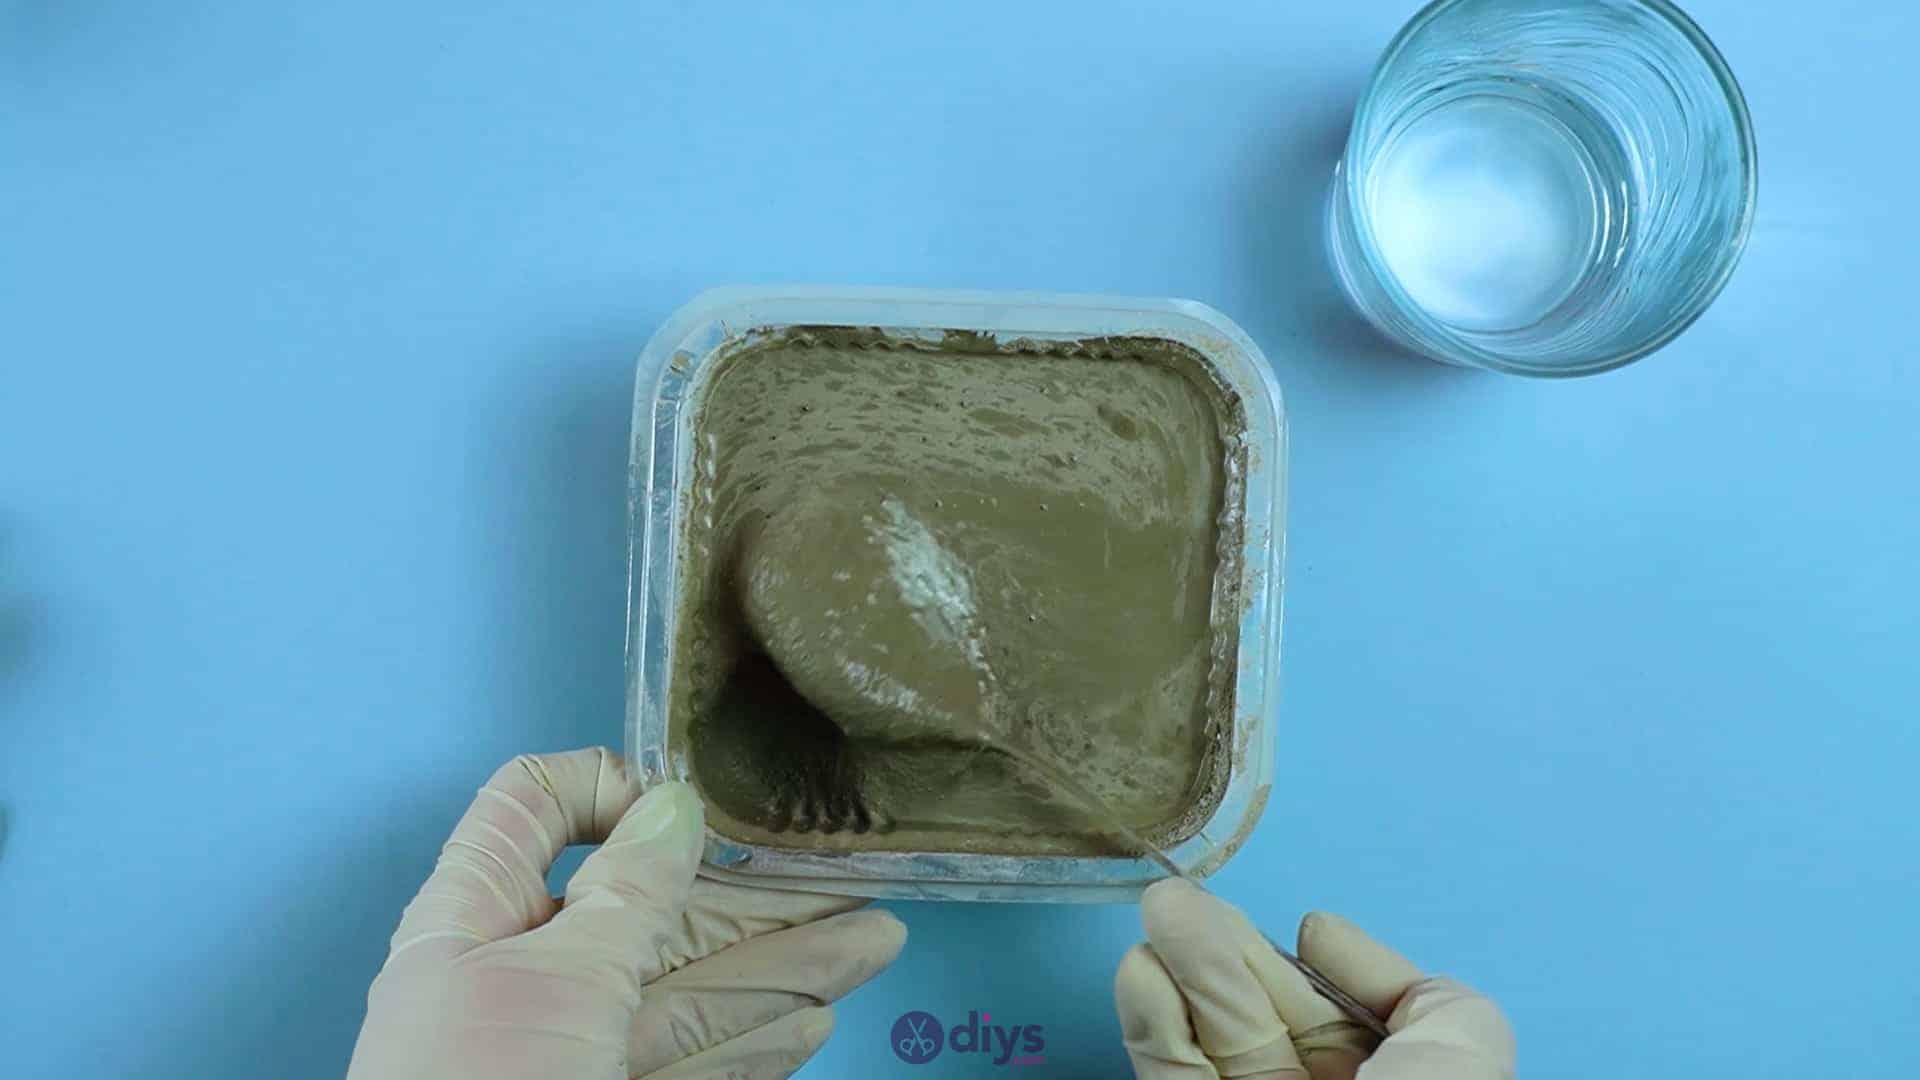
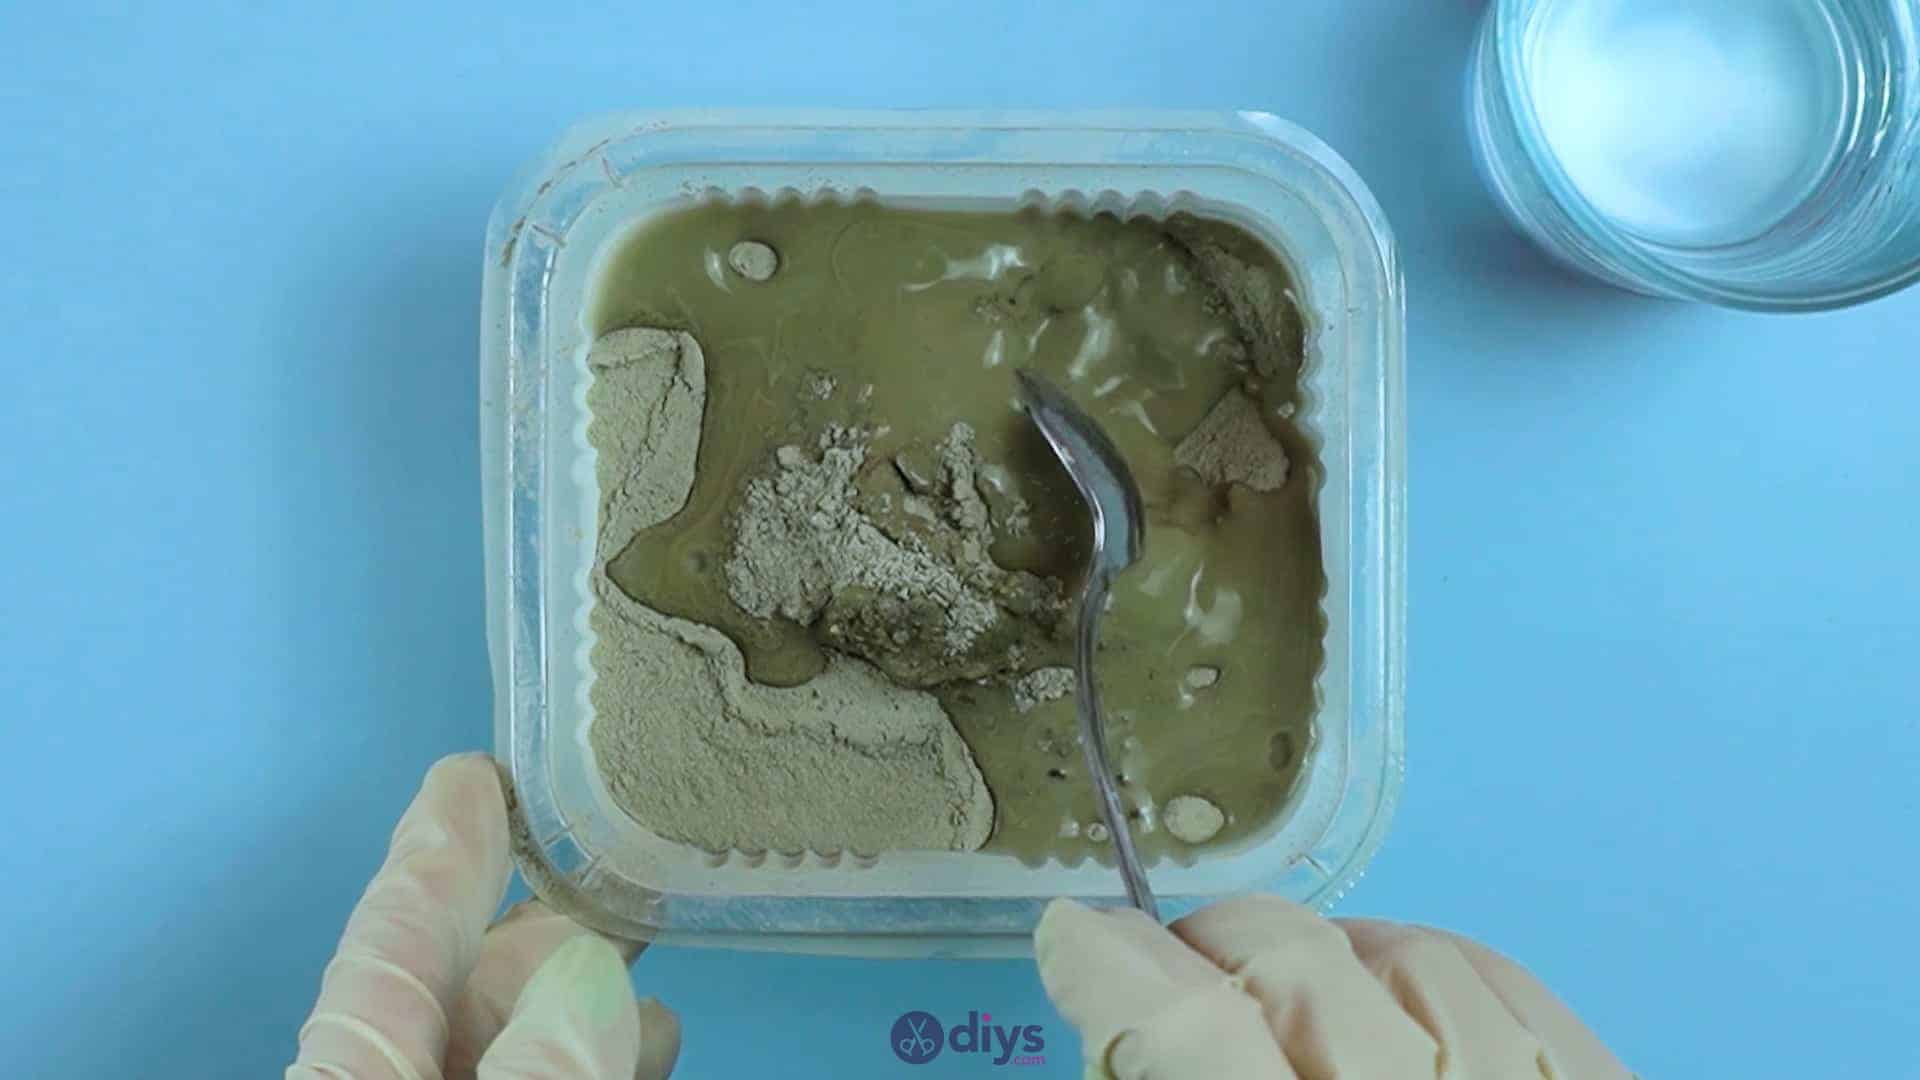
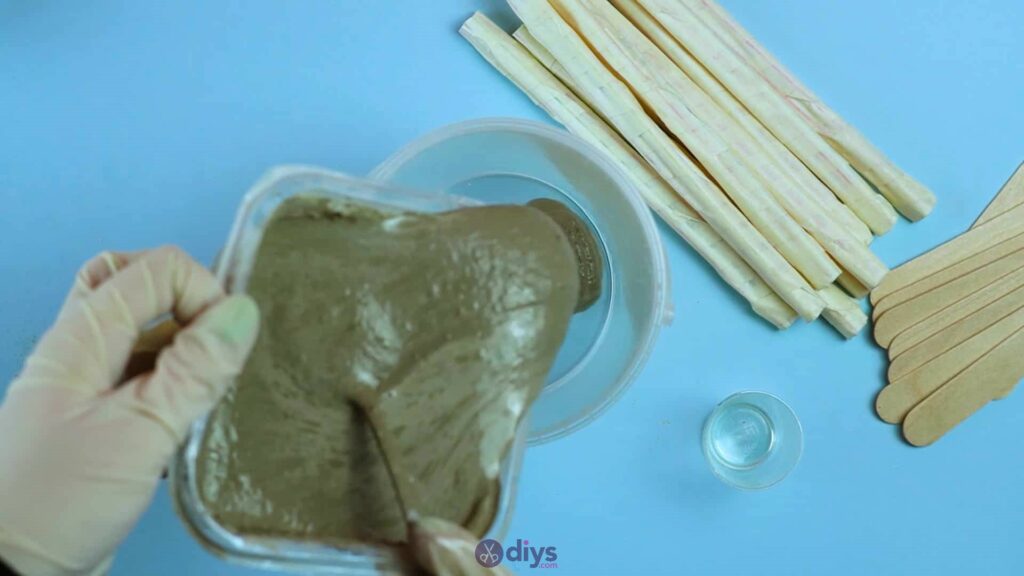
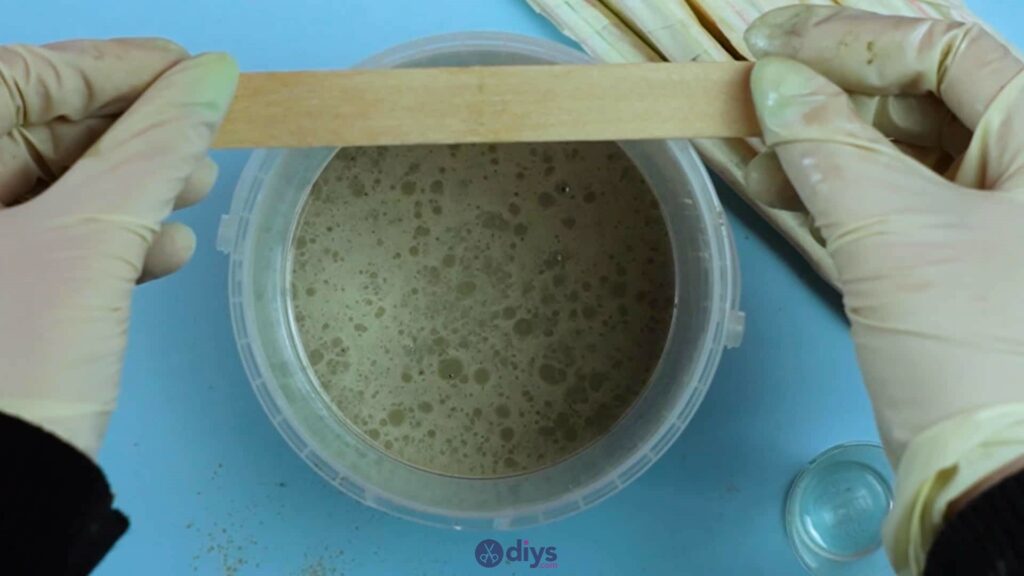
Step 3: mix the concrete
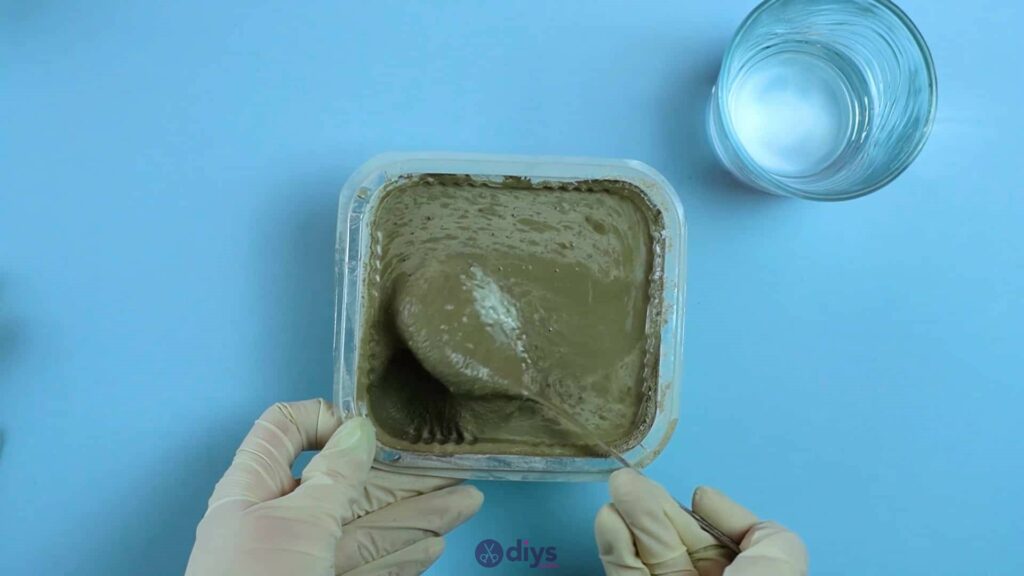
In a disposable plastic container (or one that you’ve specifically saved for crafting and not eating from), use your spoon to stir your DIY fine particle concrete powder mix and your water together. Keep mixing until it’s the right consistency and free of clumps. Check the instructions on your packaging to get the correct ratio of mix to water for the specific kind you’re using; it can vary from brand to brand.


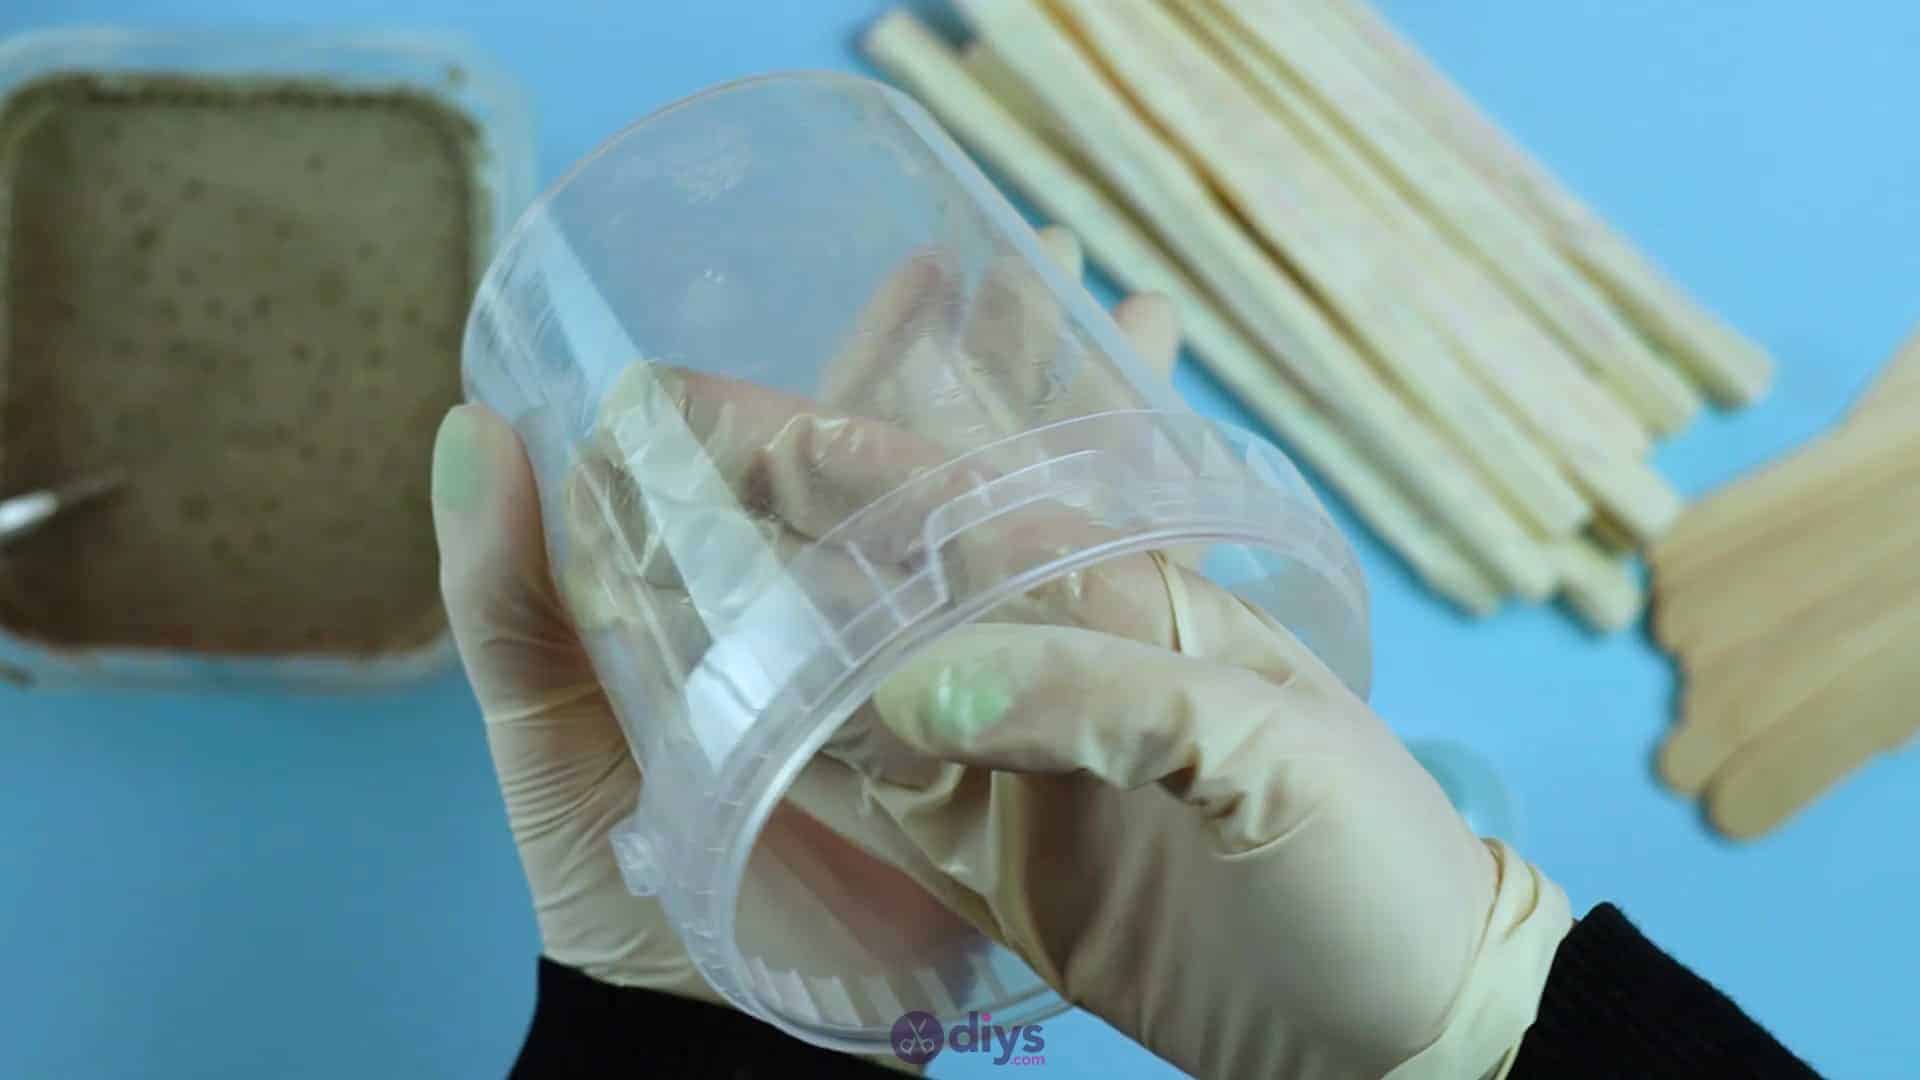
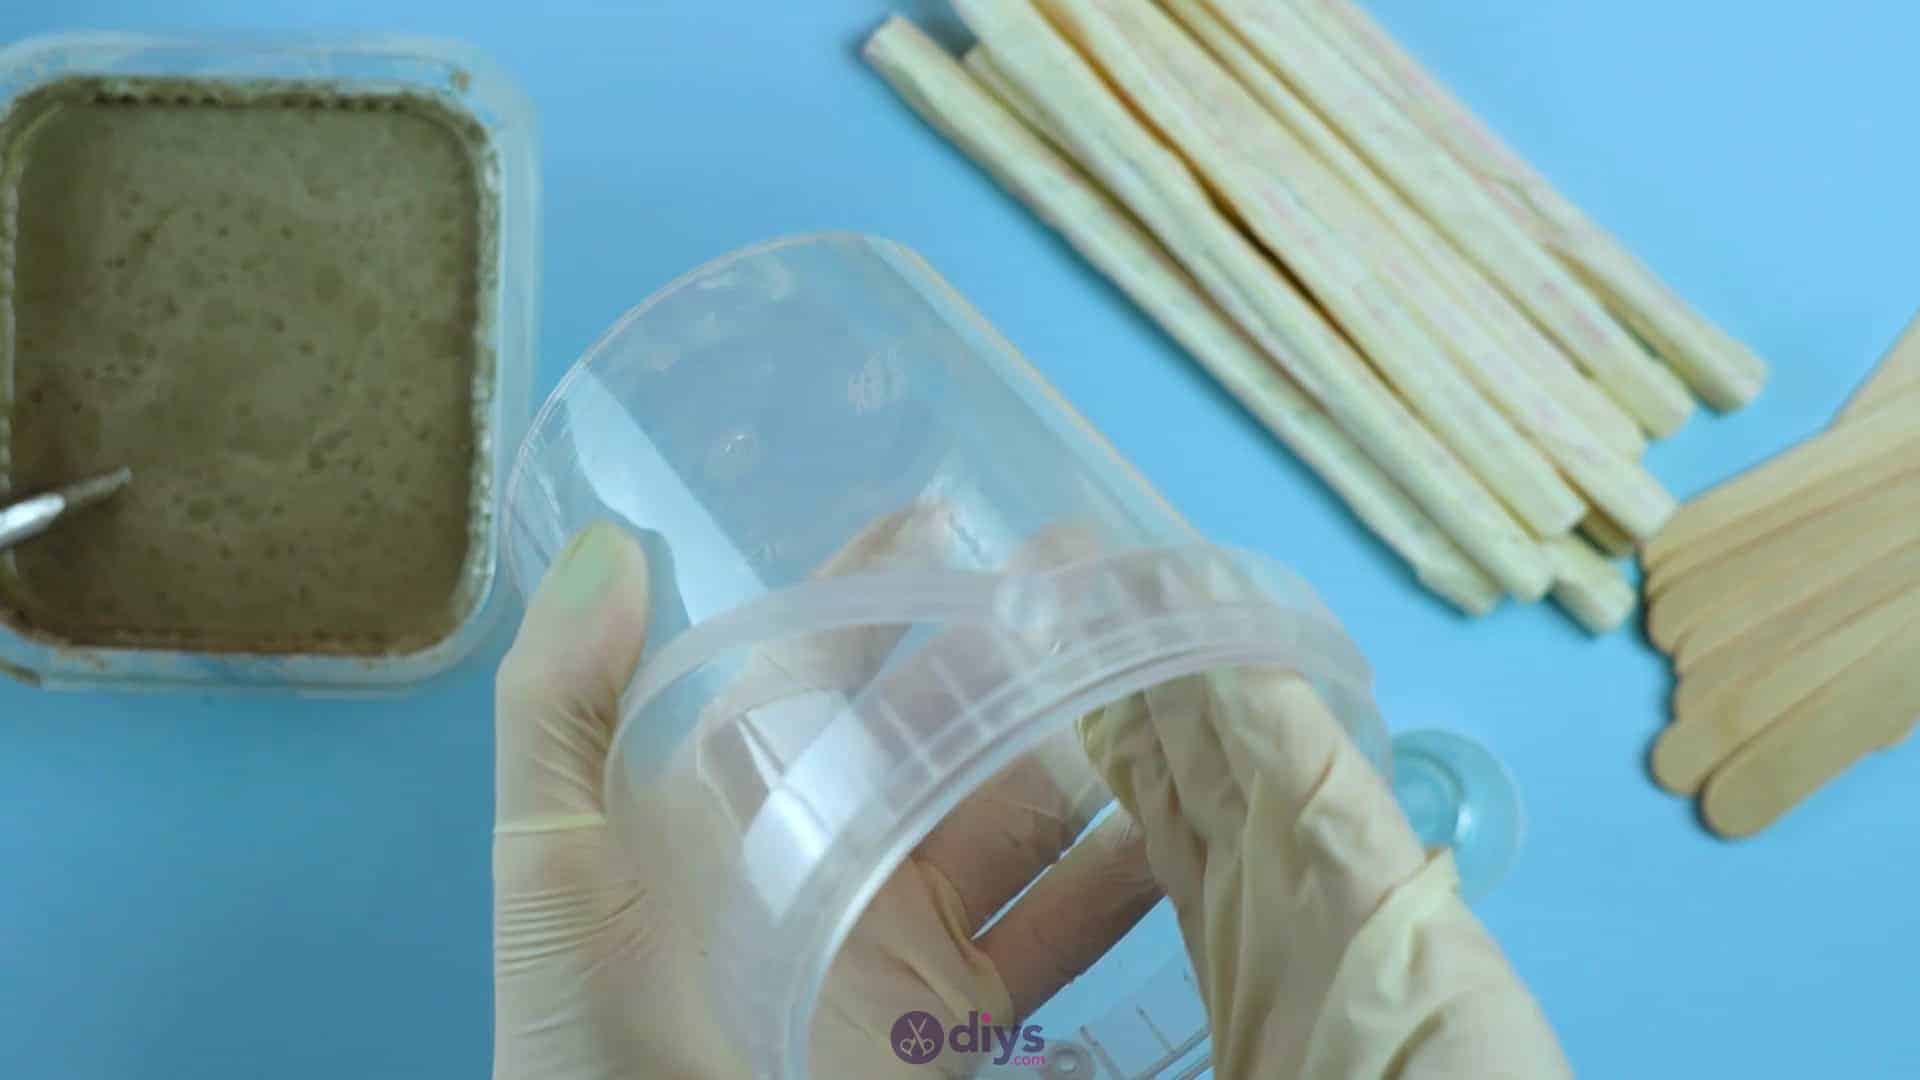
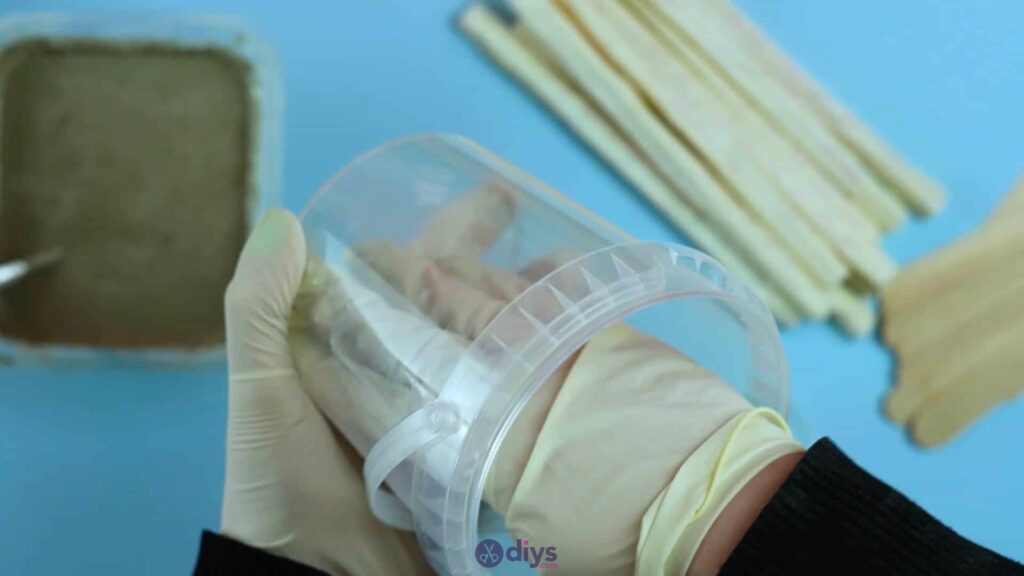
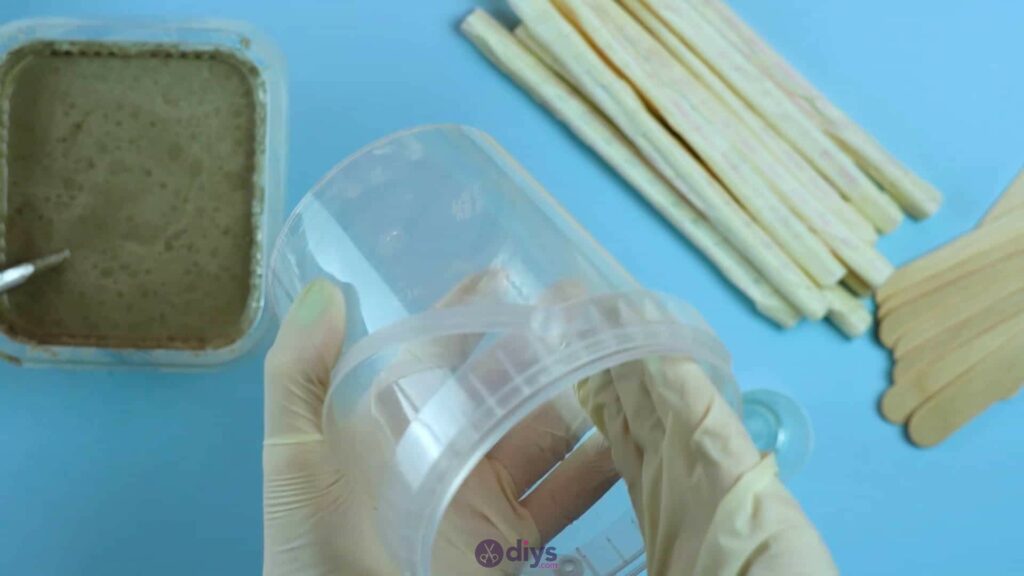
Step 4: oil the cup
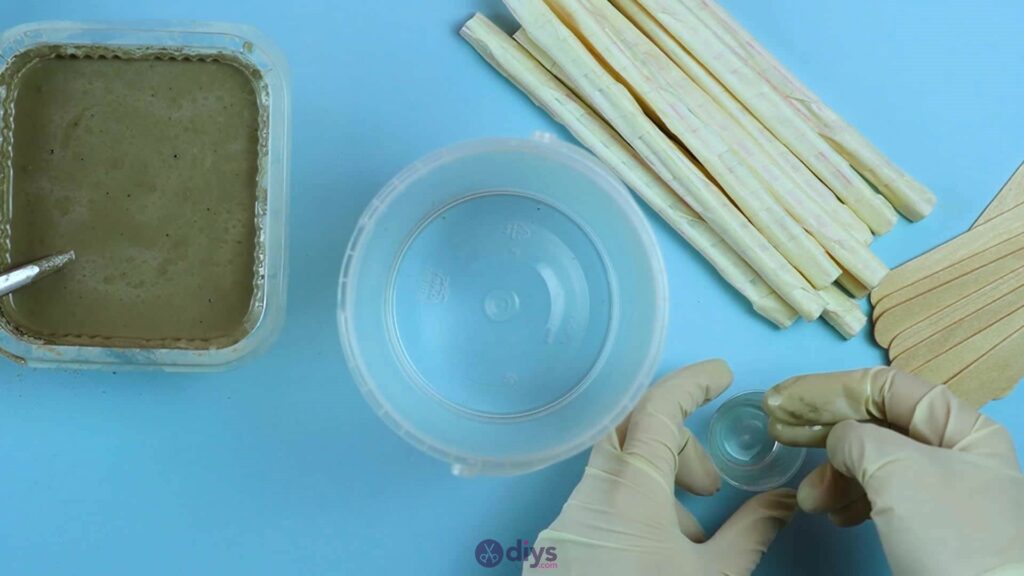
Coat the inside of your cup (I used an old bucket that some crafting clay came in and that I’d held onto) with oil. Any kind of cooking oil (like canola, olive, or vegetable) will do. I just used my fingers because I was wearing plastic gloves in order to keep my sensitive skin from touching the concrete mix (which isn’t actually harmful butmight dry your skin out), but you can use a paintbrush if you prefer. Coat the entire bottom and all of the inner sides of the cup. This oil will stop the concrete mix from sticking quite so badly to the plastic as it dries, making your finished piece easier to remove later on.

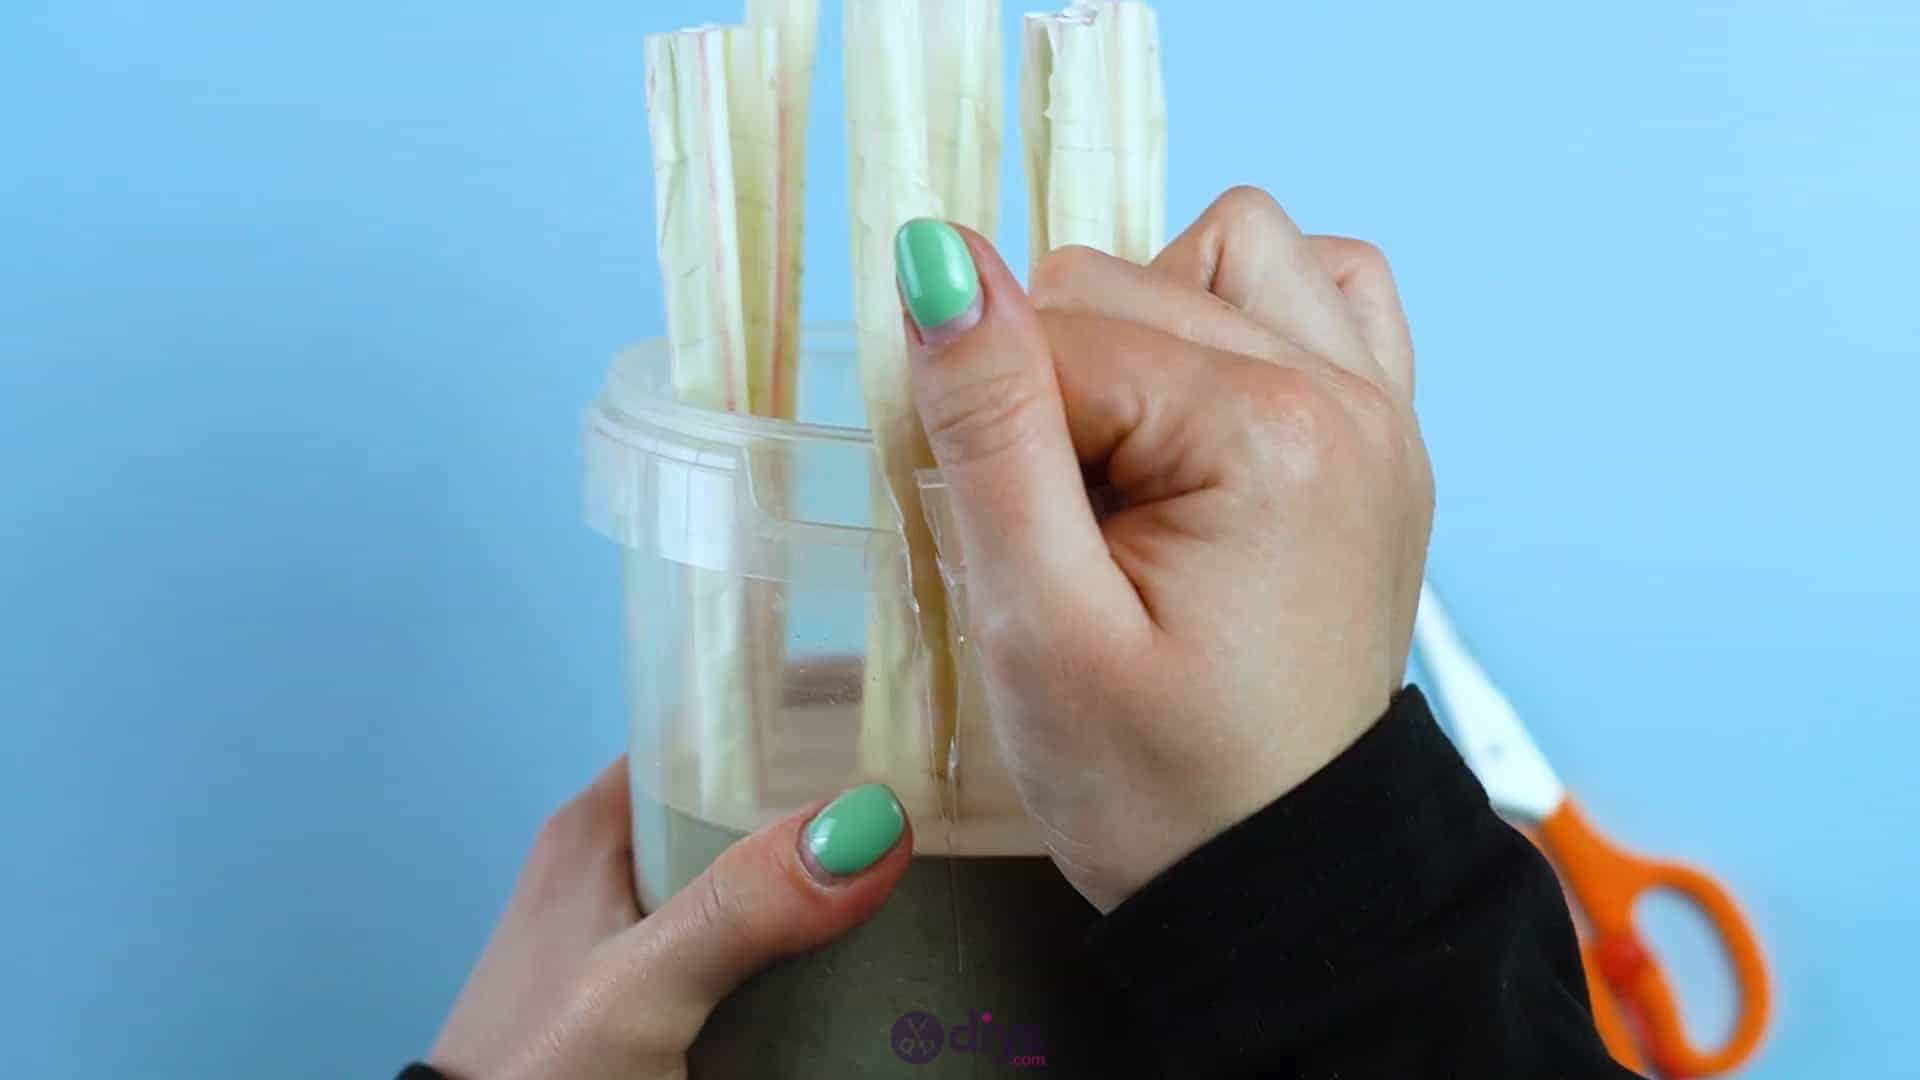
Step 5: pour the concrete
Pour your wet cement mix into your plastic cup, filling it about two inches deep. You don’t want to make your piece too tall because you’ll want to be able to stand even short, long-sharpened pencils up in it later on. Once you’ve fill the cup to your satisfaction, feel free to smooth the surface with your spoon or even if out and free it of air bubbles by lightly tapping the bottom of your cup on the tabletop.
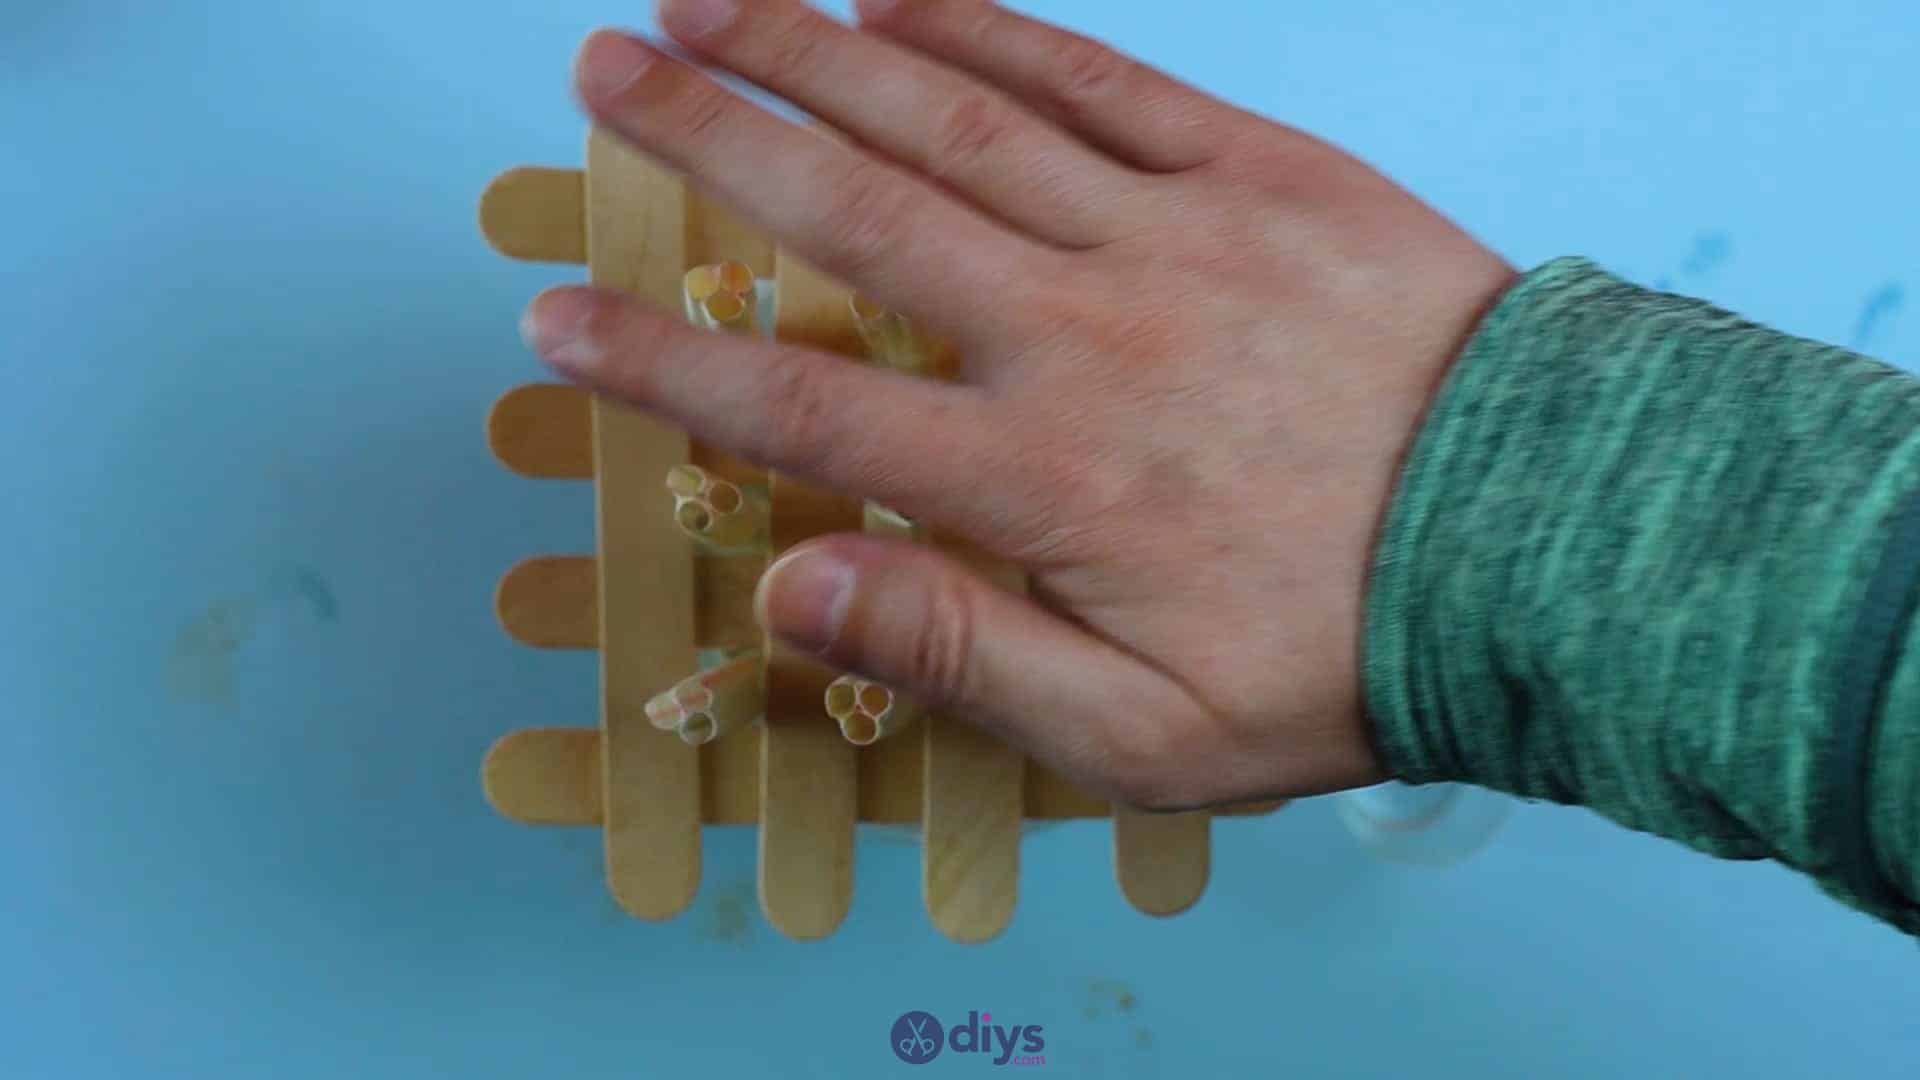
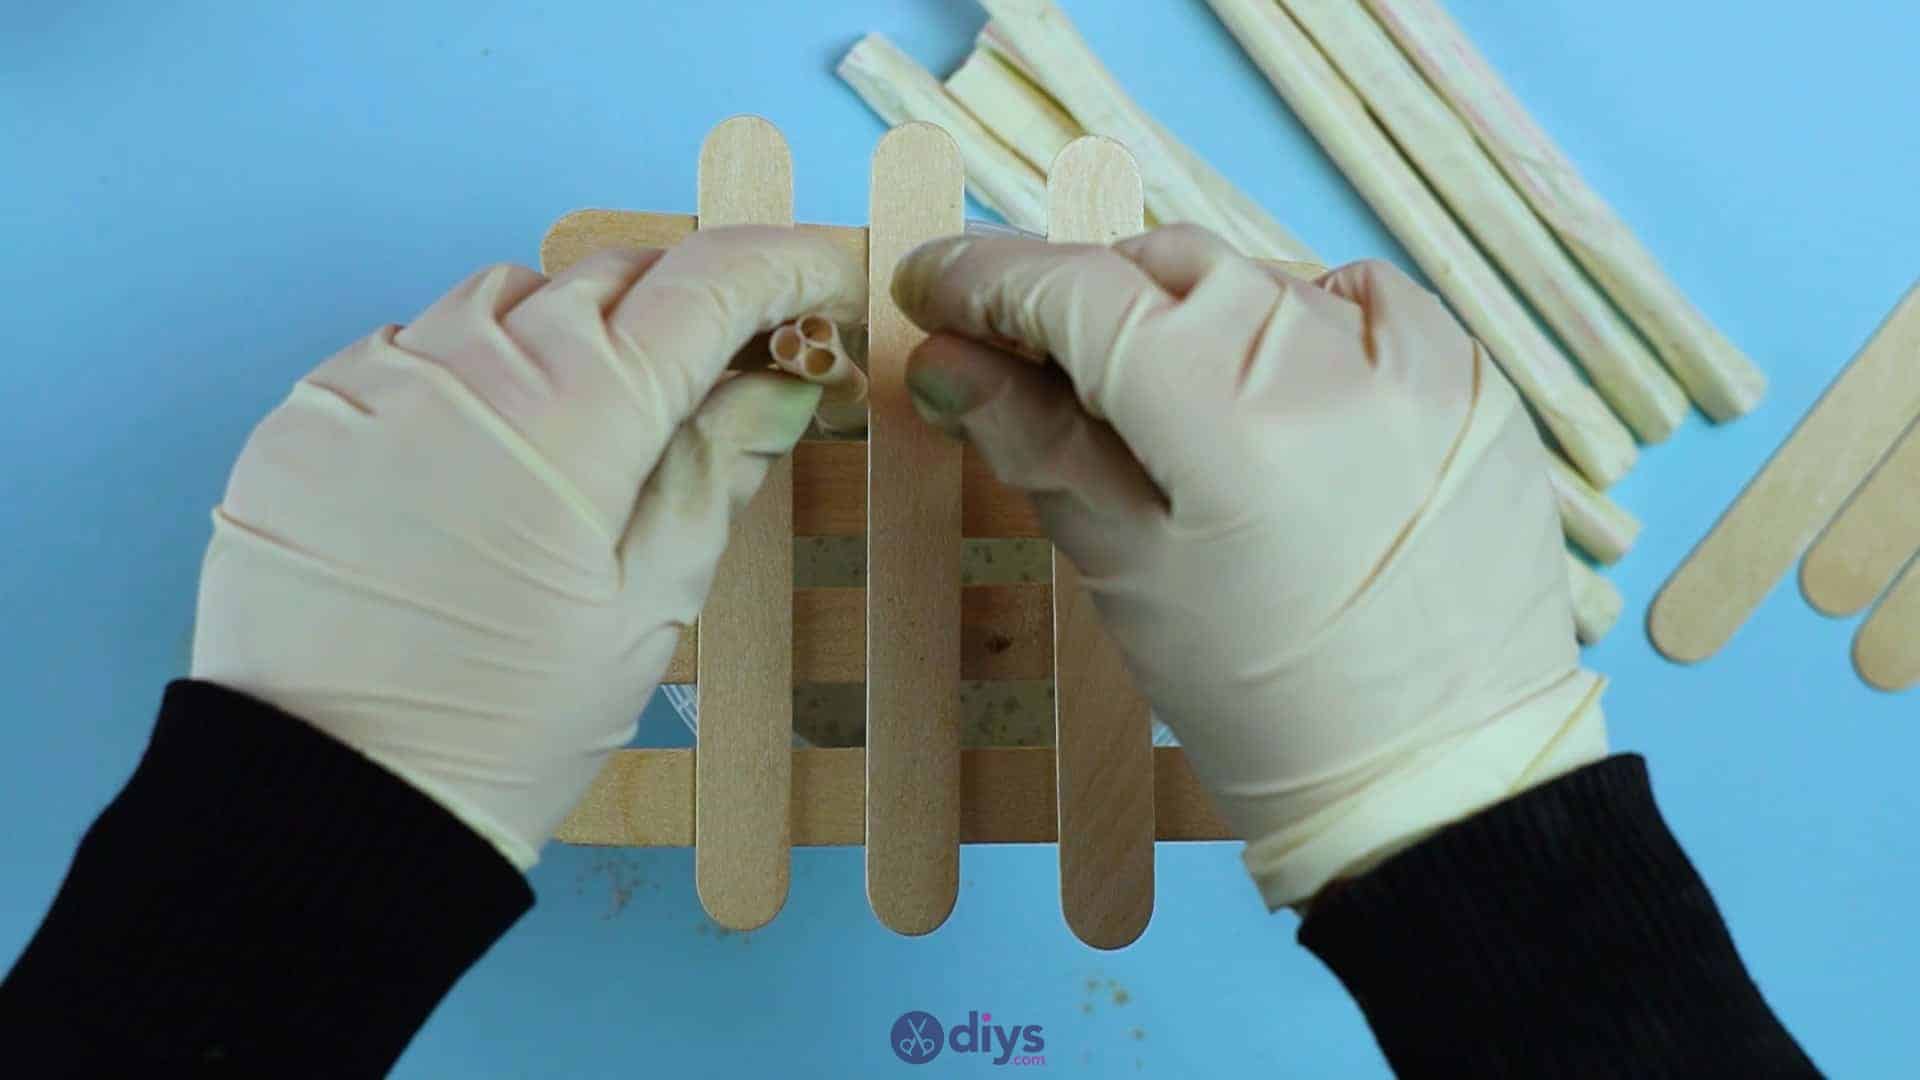
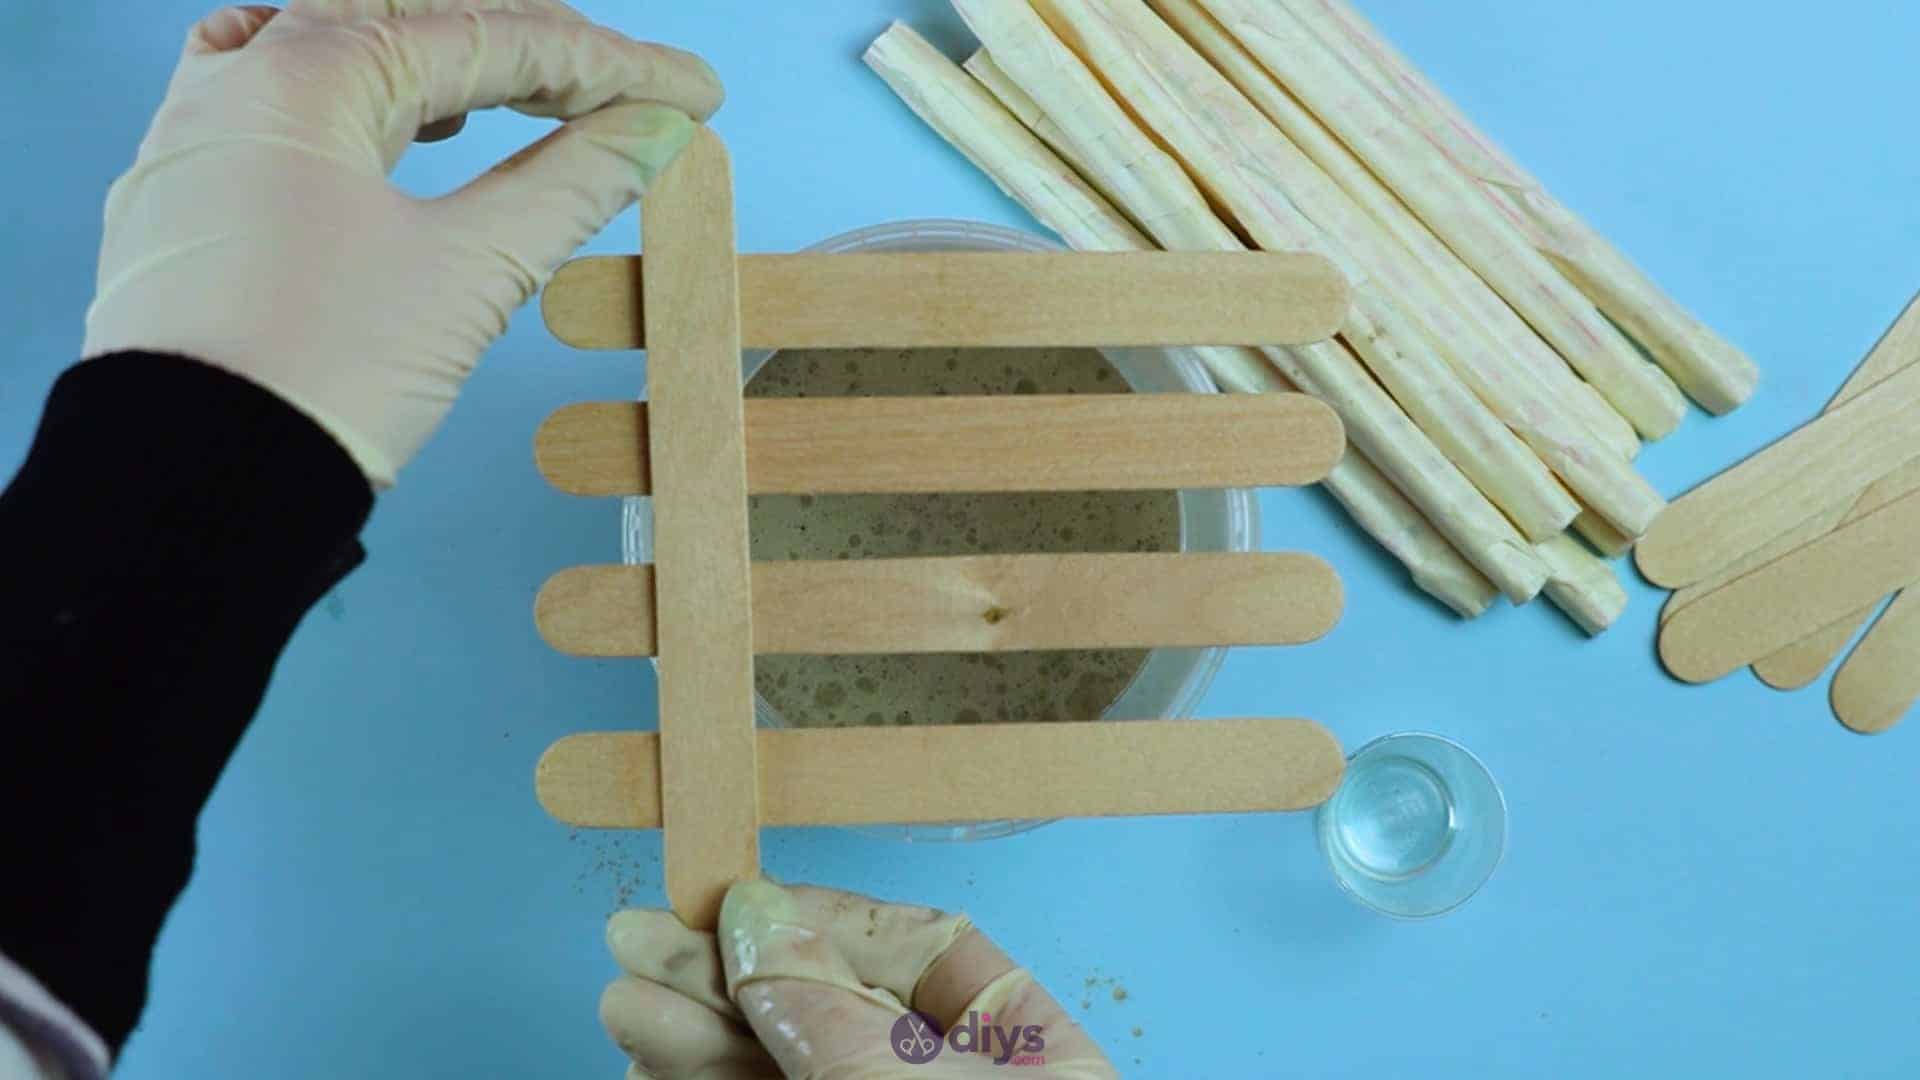
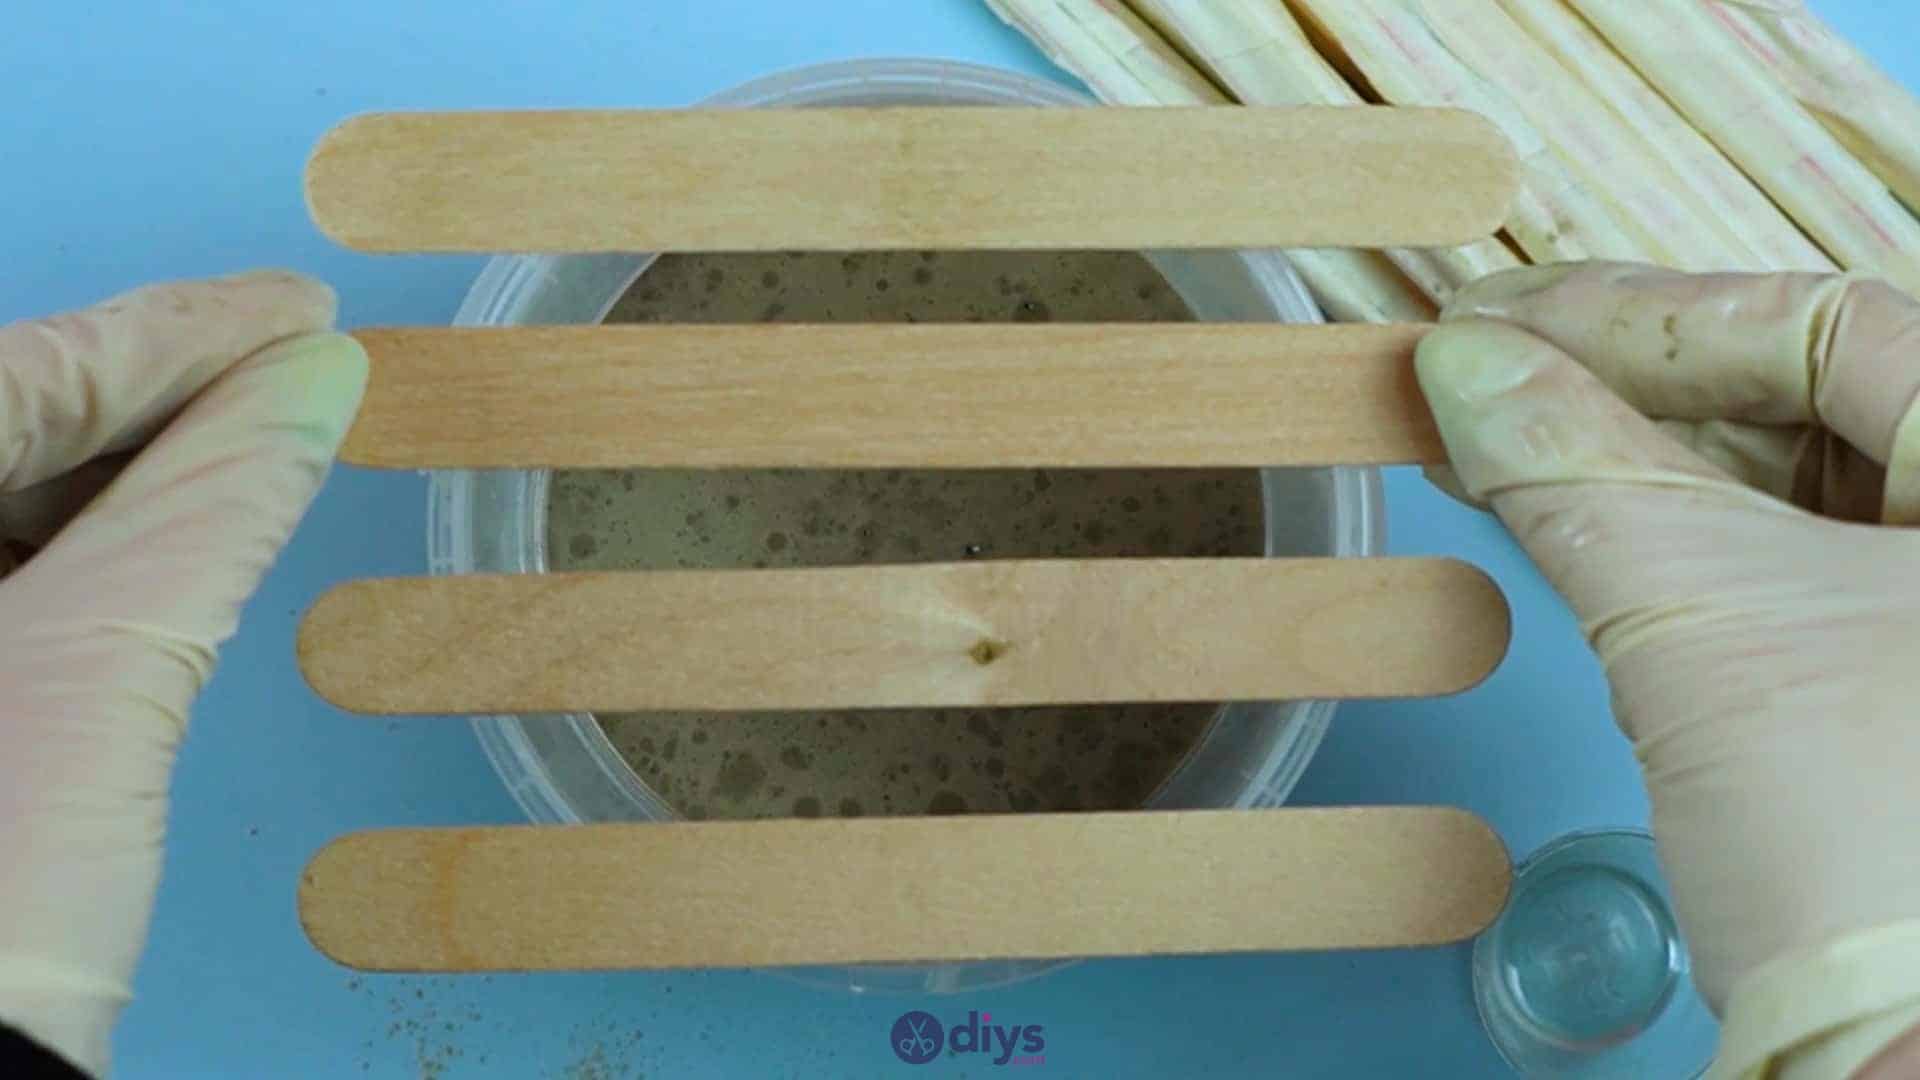
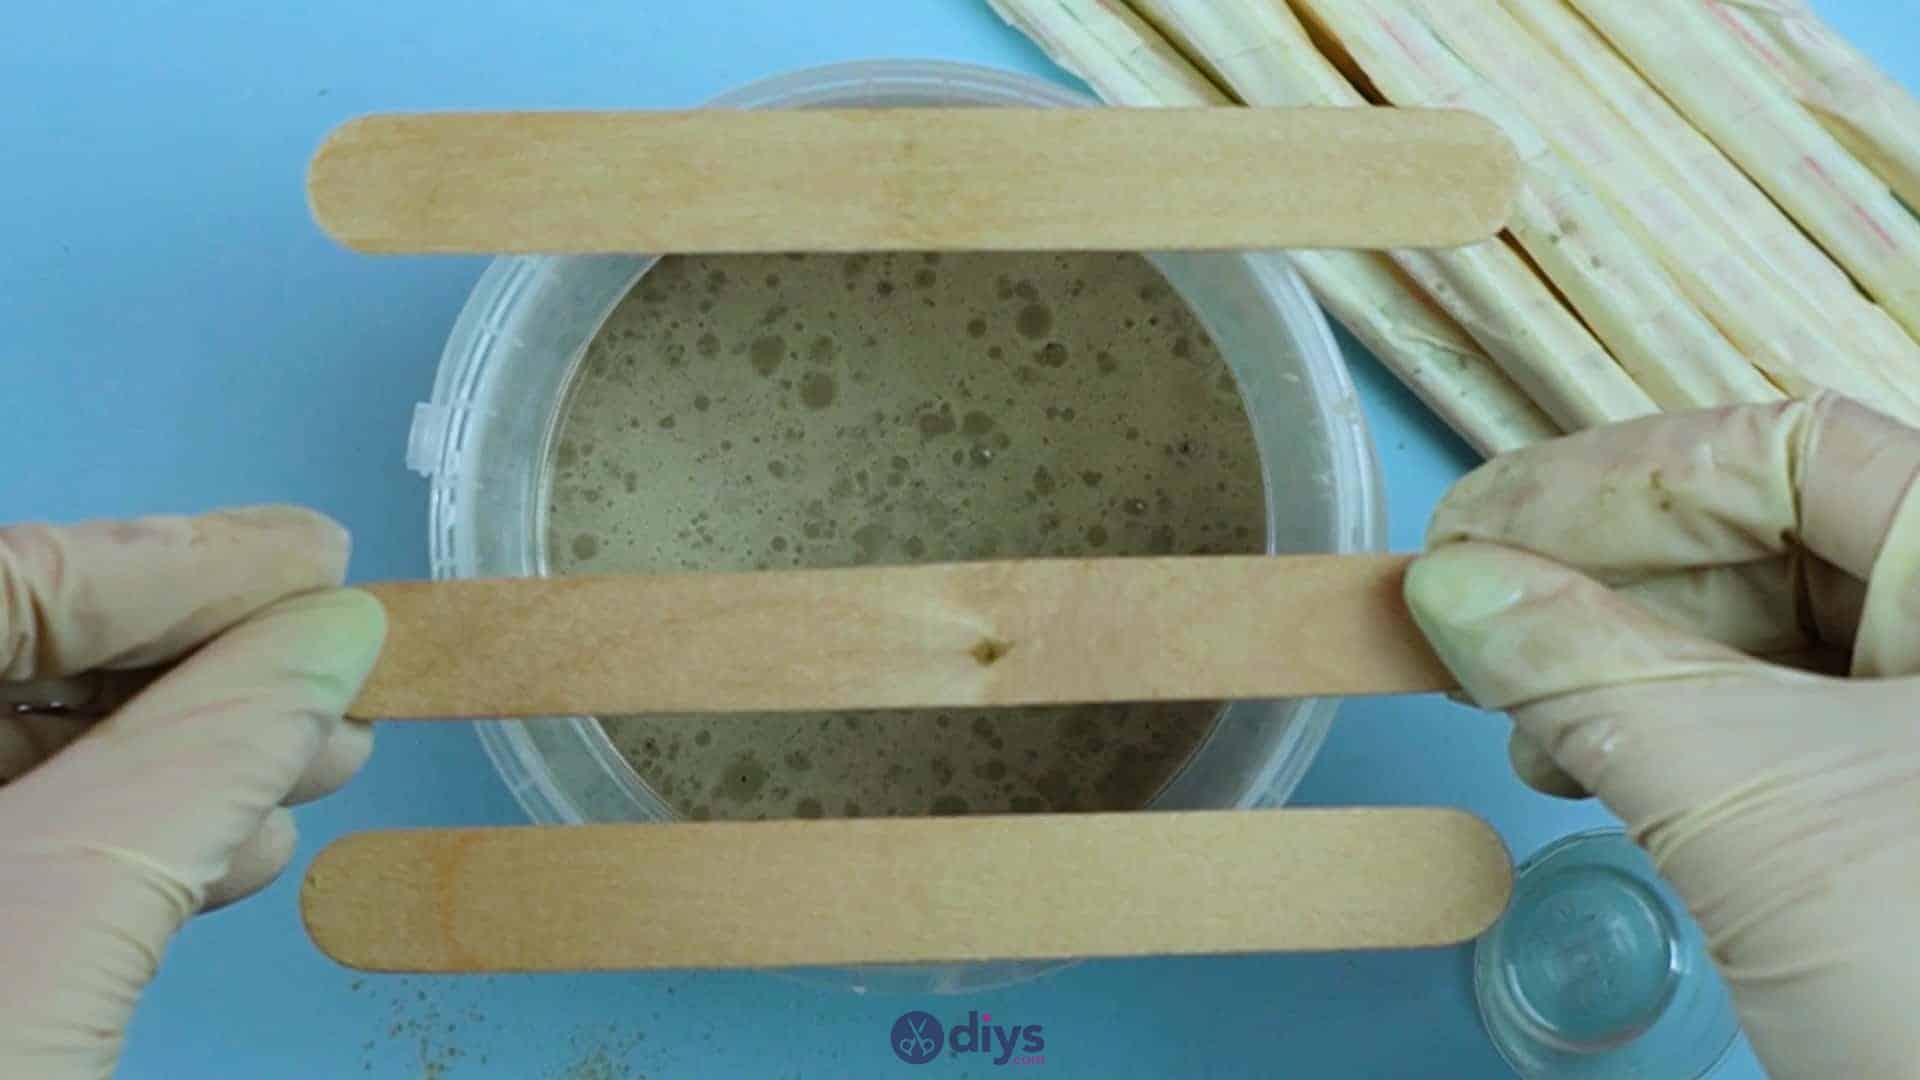
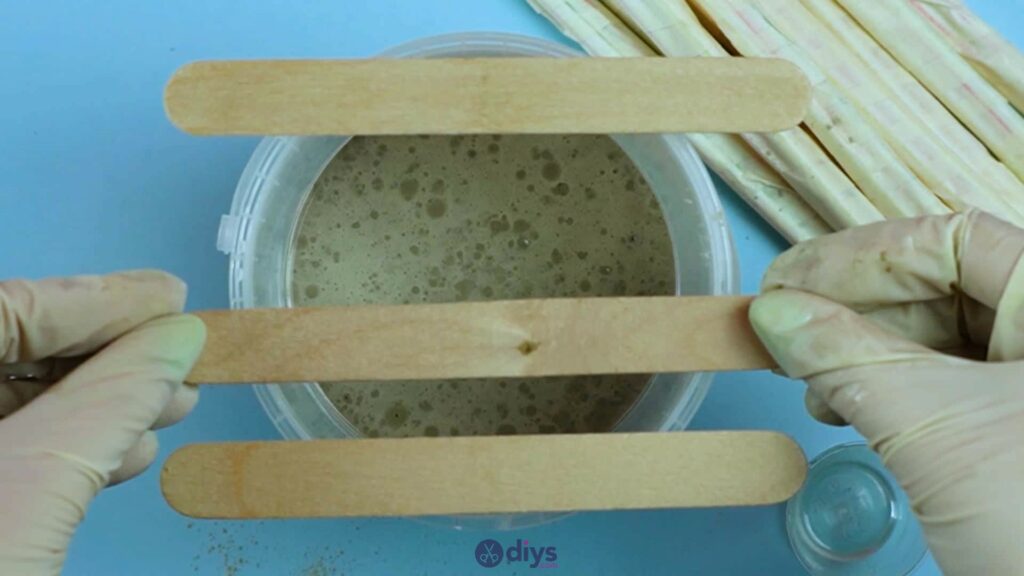
Step 6: make a grid
Now you’ll make a grid out of popsicle sticks across the top of your plastic cup. This will help keep your straw bundles standing as placeholders while your pencil holder dries, holding them upright so they don’t lean and create pencil holes that make the pencils stick out at weird angles. Start by laying four popsicle sticks horizontally across the opening of your plastic cup, spaced evenly apart. Then lay four more popsicle sticks the other way, lying them across the first set vertically so they create a grid with little square holes, also spaced evenly apart. Carefully insert your straw bundles into the holes, trying not to shift the sticks from their even placement. If you lay four sticks by four sticks like I did, you should have nine square holes in your grid, perfect for your nine straw placeholders. When you’re happy with how everything sits, set the whole piece aside to dry.


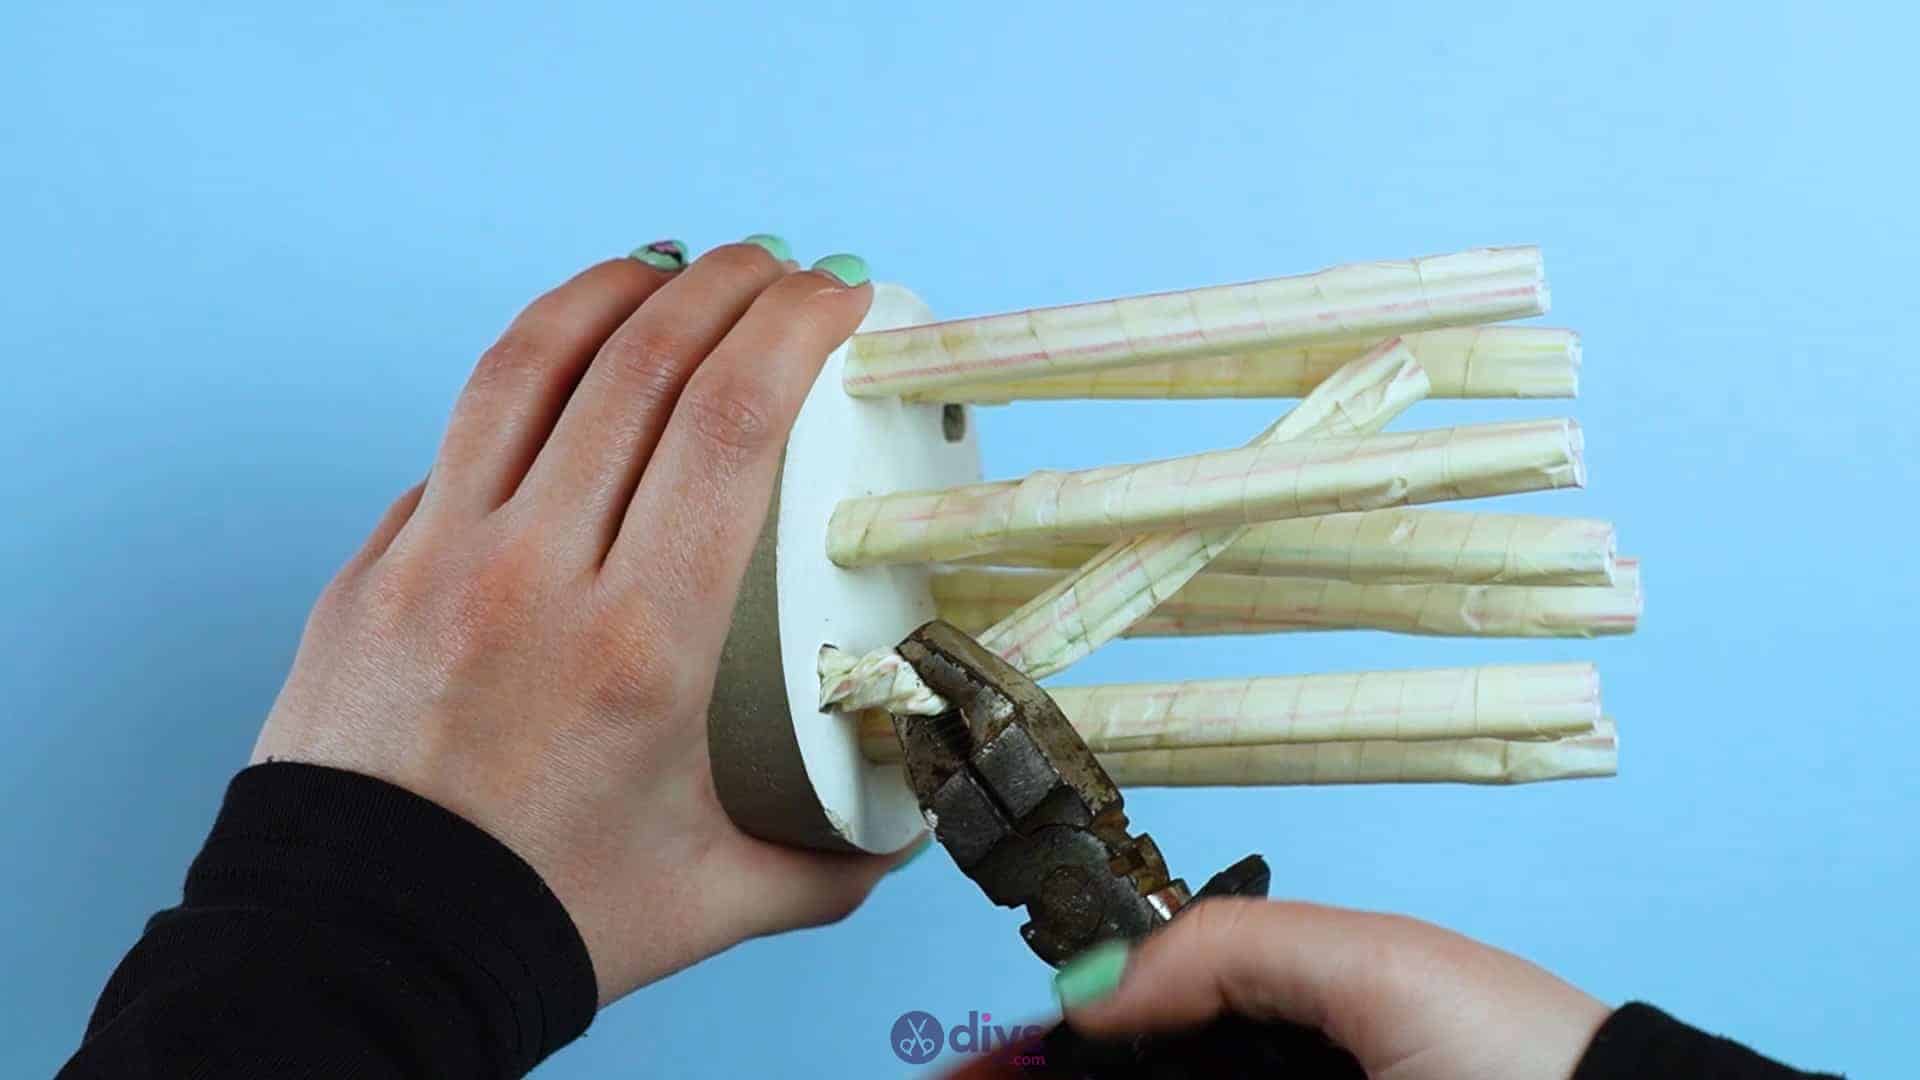
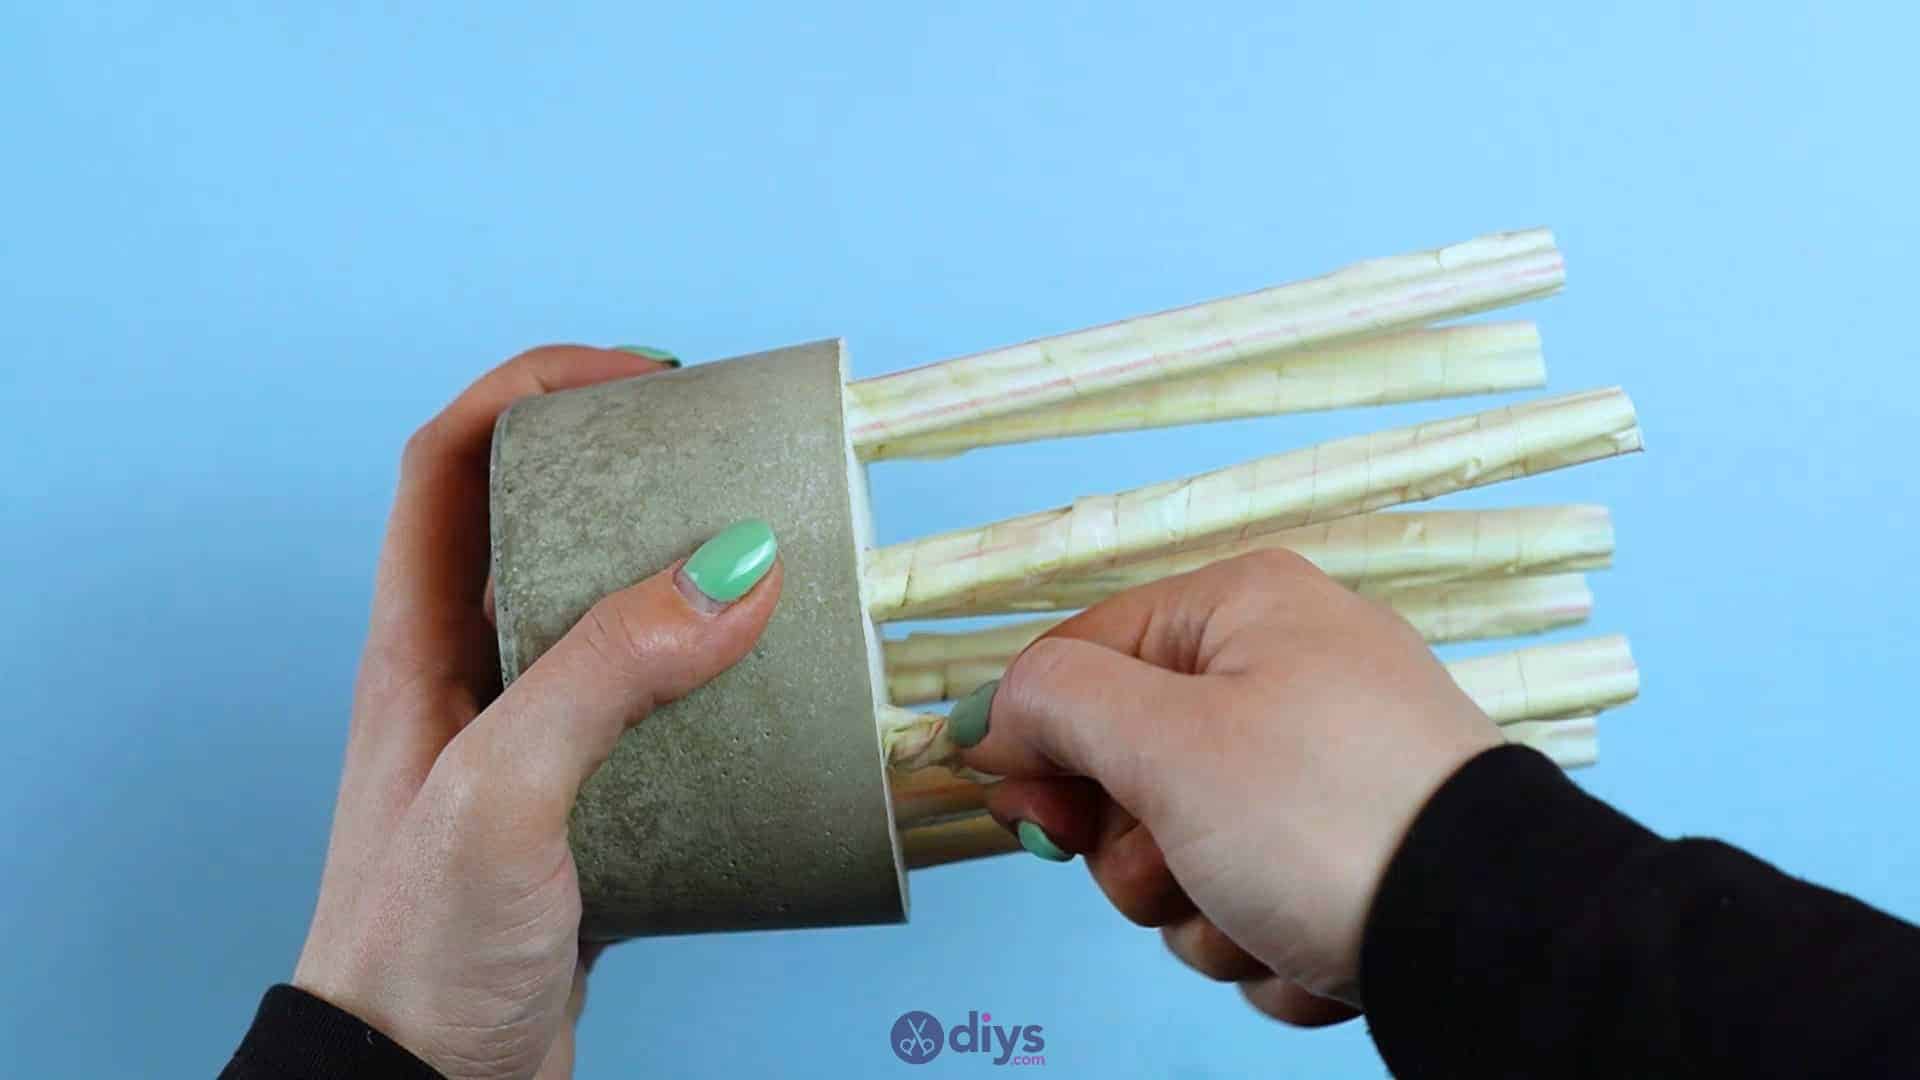
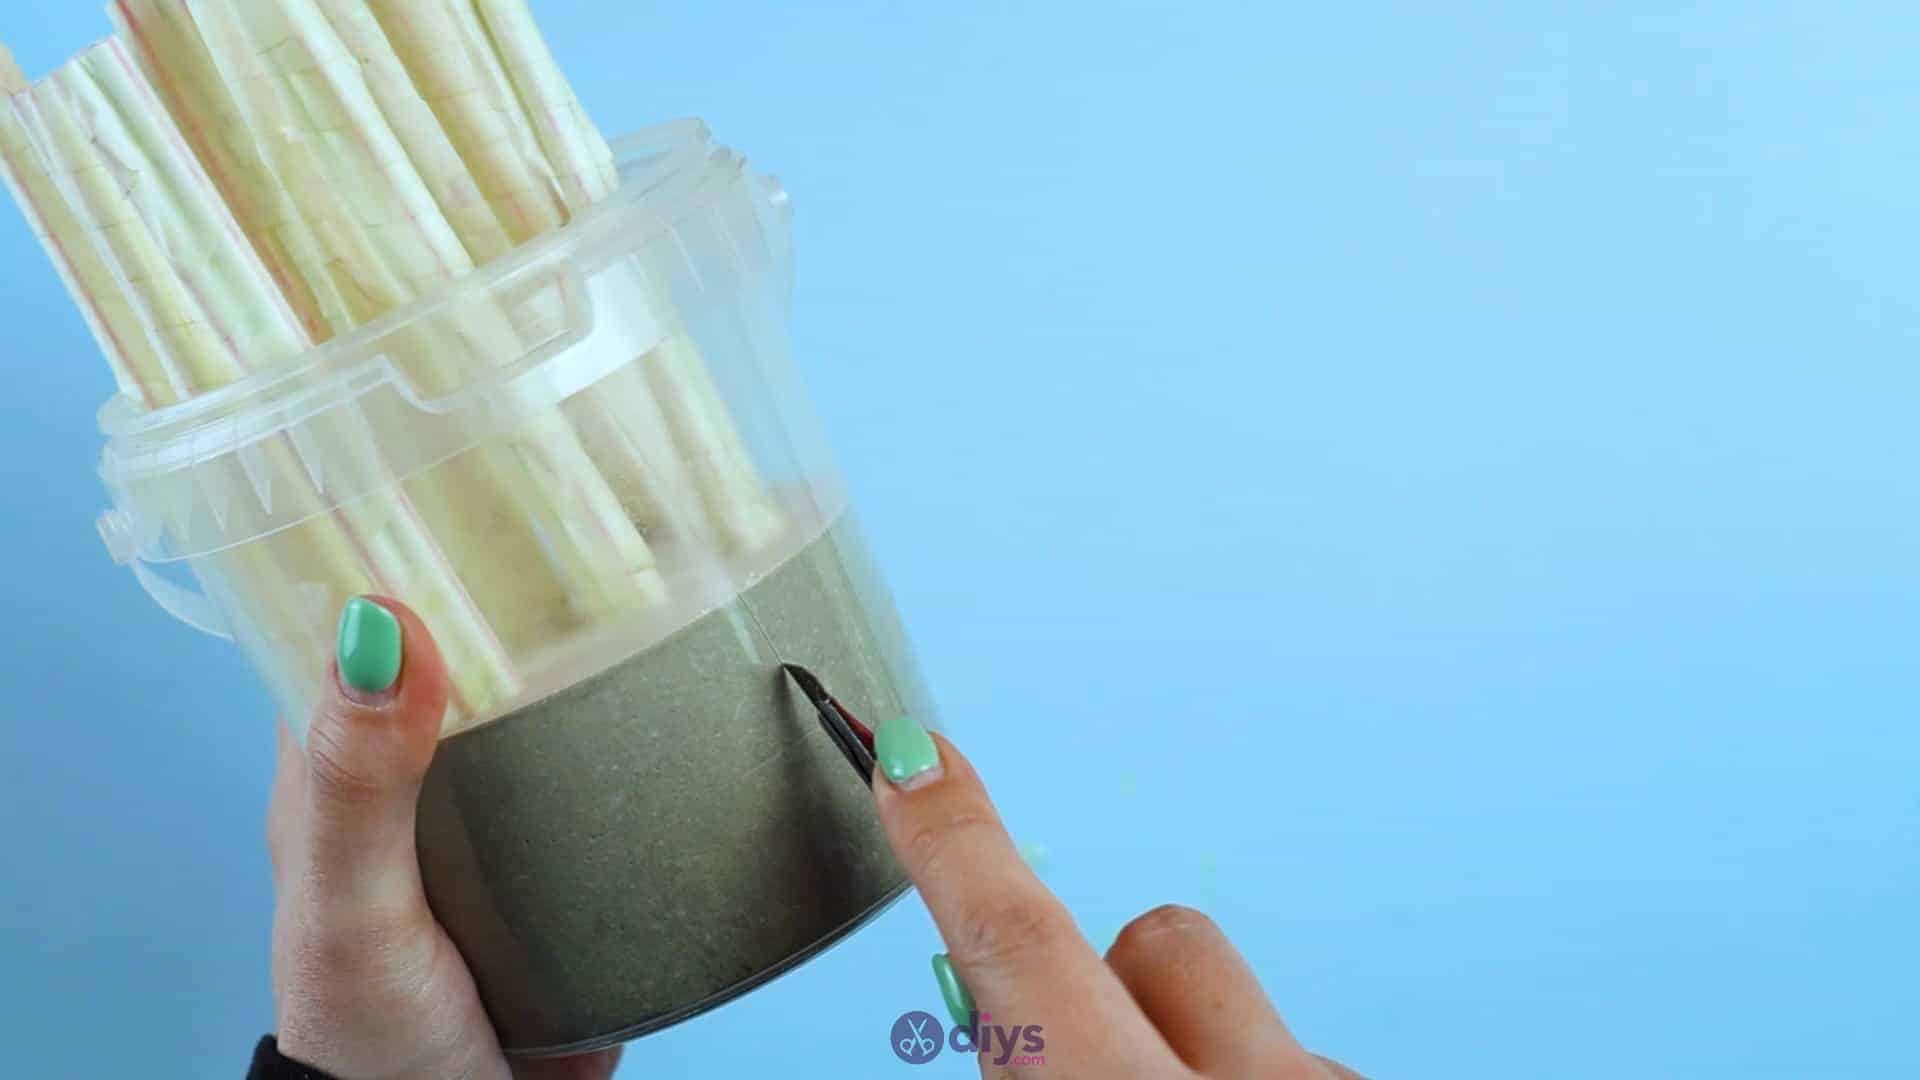
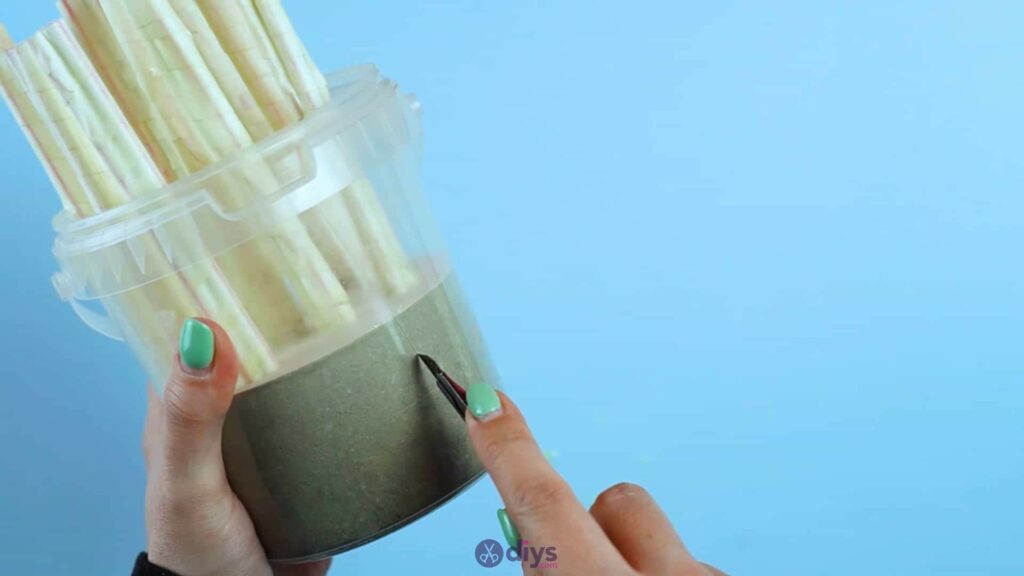
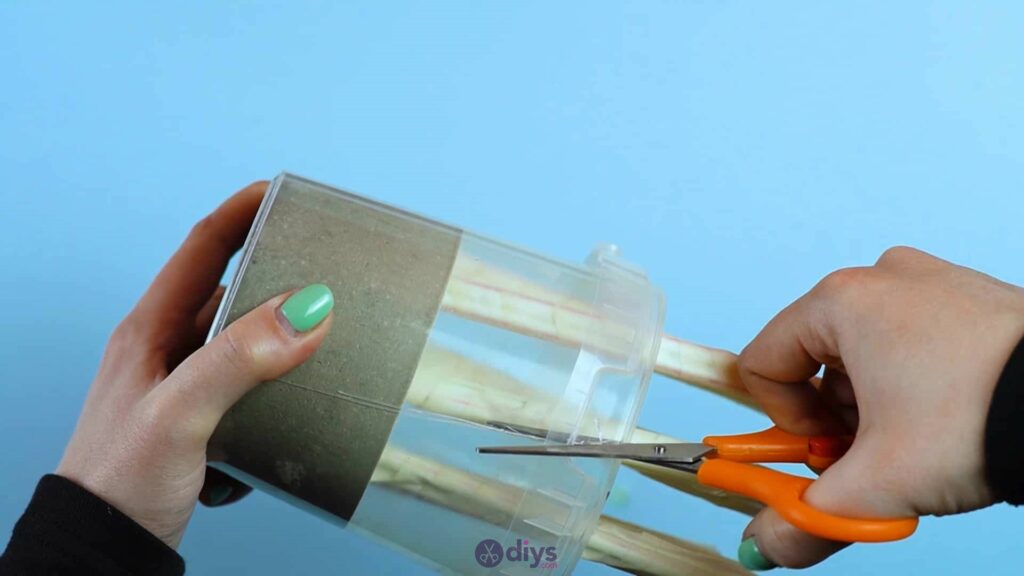
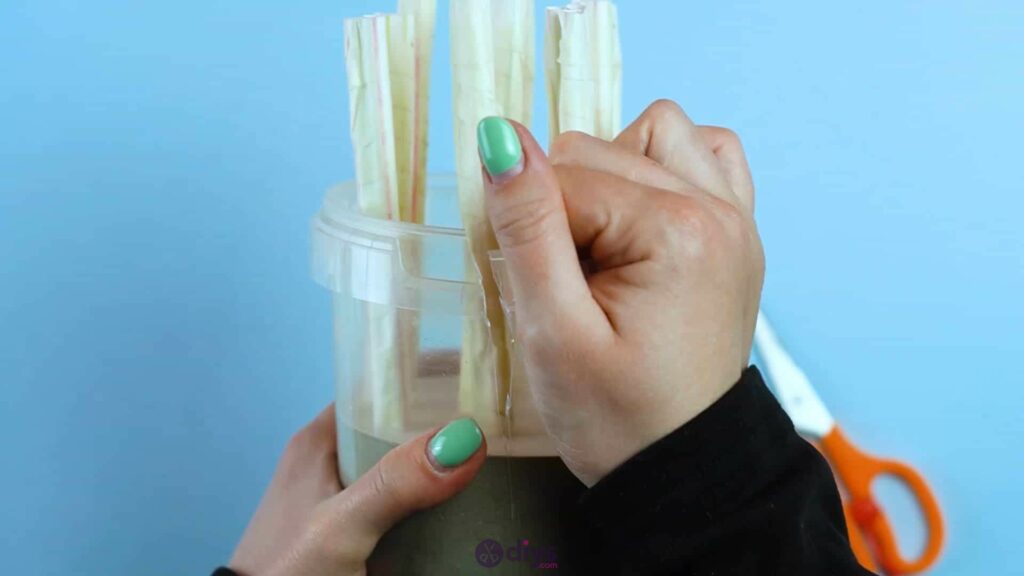
Step 7: remove mould
Use a crafting knife and scissors to cut down the side of the plastic cup so that you can more easily peel or bend it back from your dried concrete shape and pop the new pencil holder out of the space inside. Next, pull your straw placeholders out. The tape and straws shouldn’t stick or leave pieces behind but they might be a little bit difficult to get out, so feel free to use pincers like I did. You could also use sandpaper or an abrasive block to smooth the top and side surfaces of your holder if there are rough patches or inconsistencies, but mine looked and felt okay!

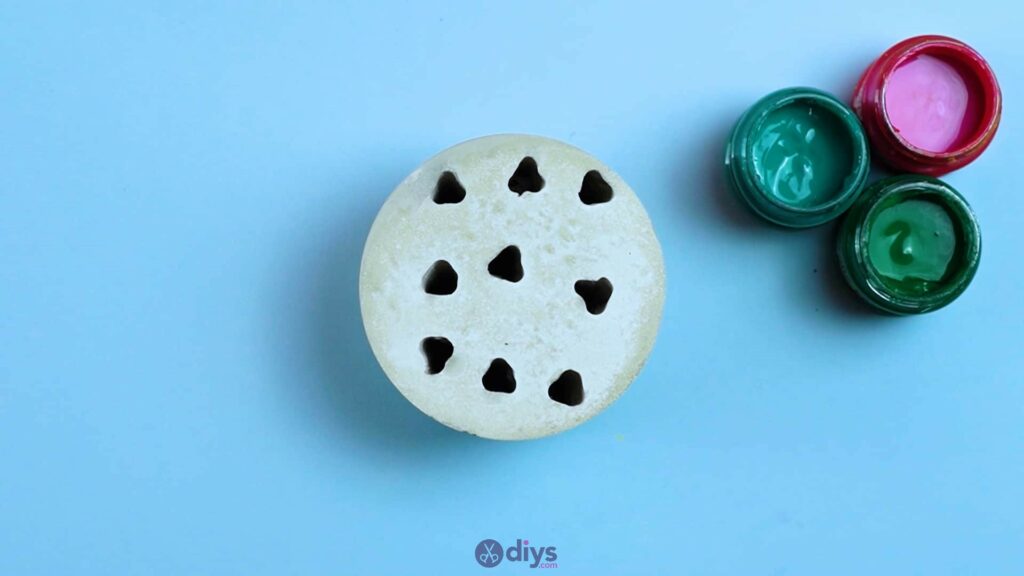

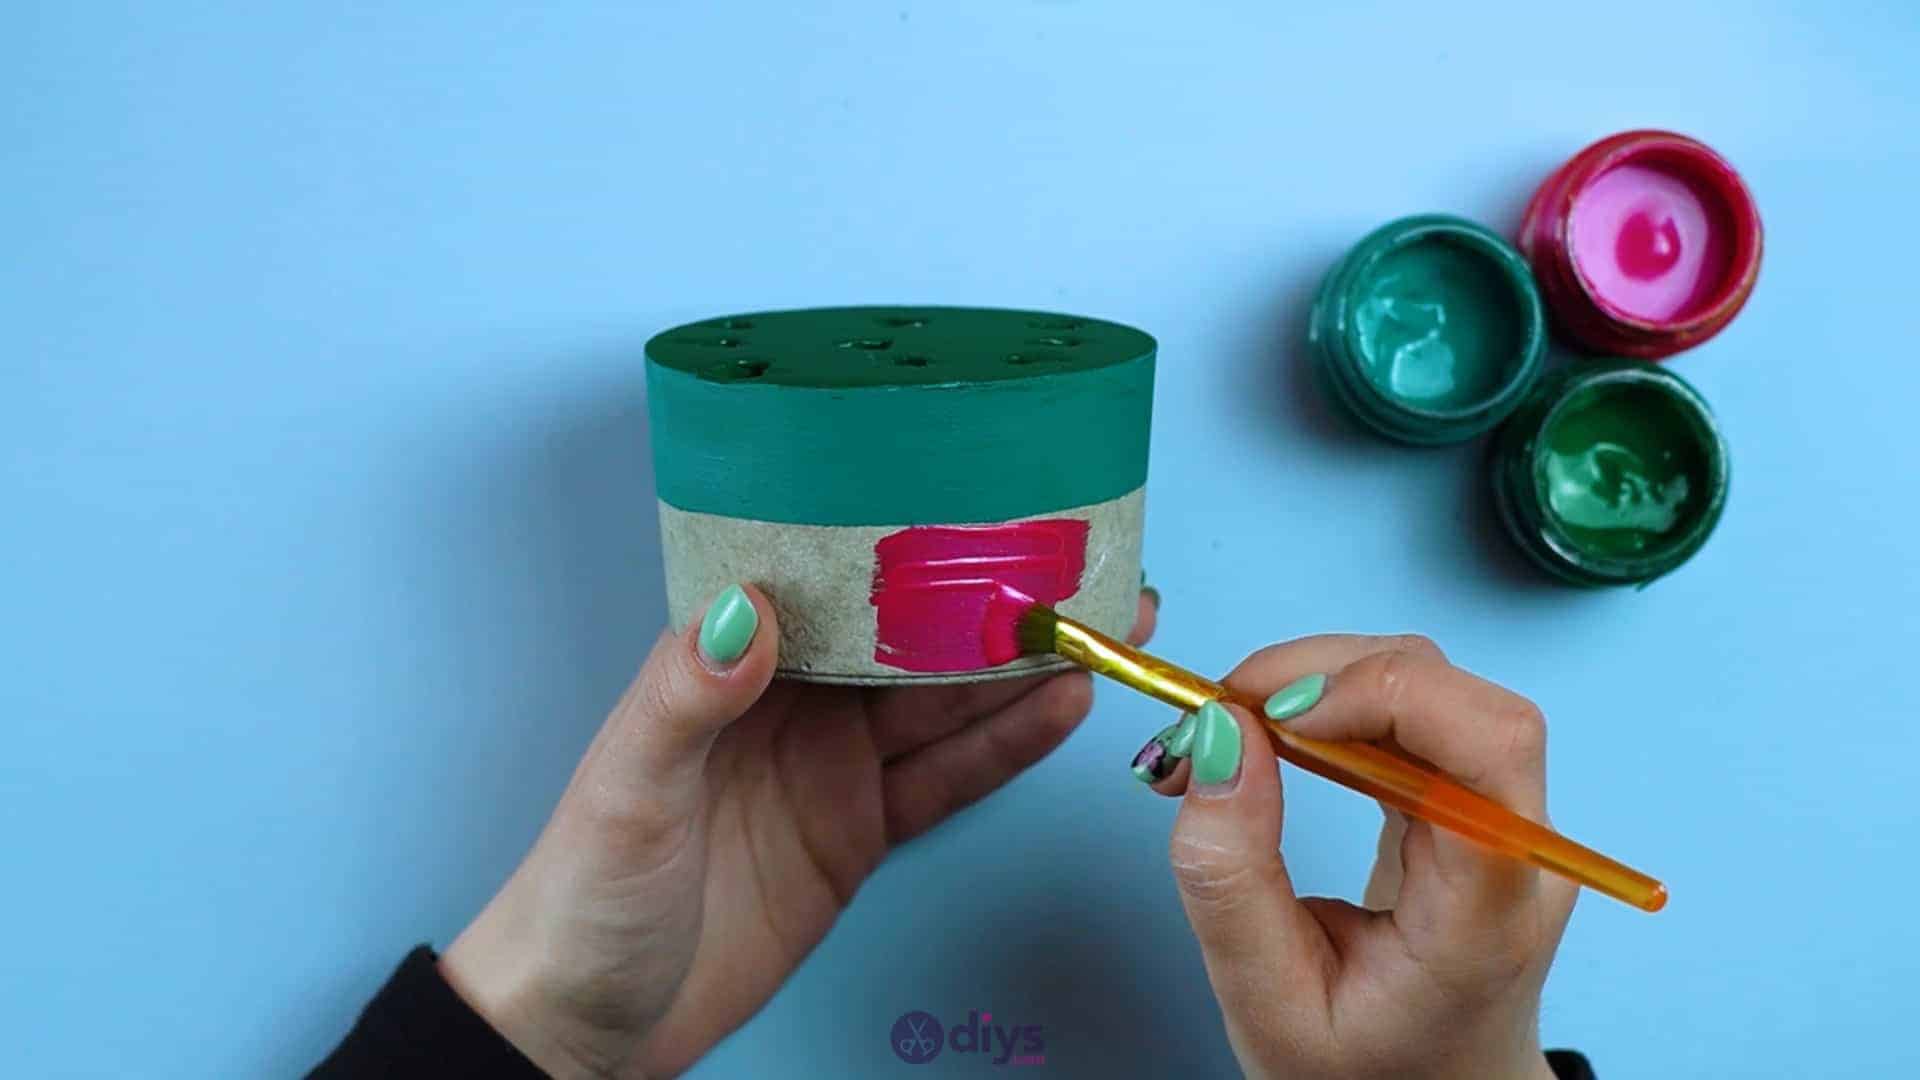
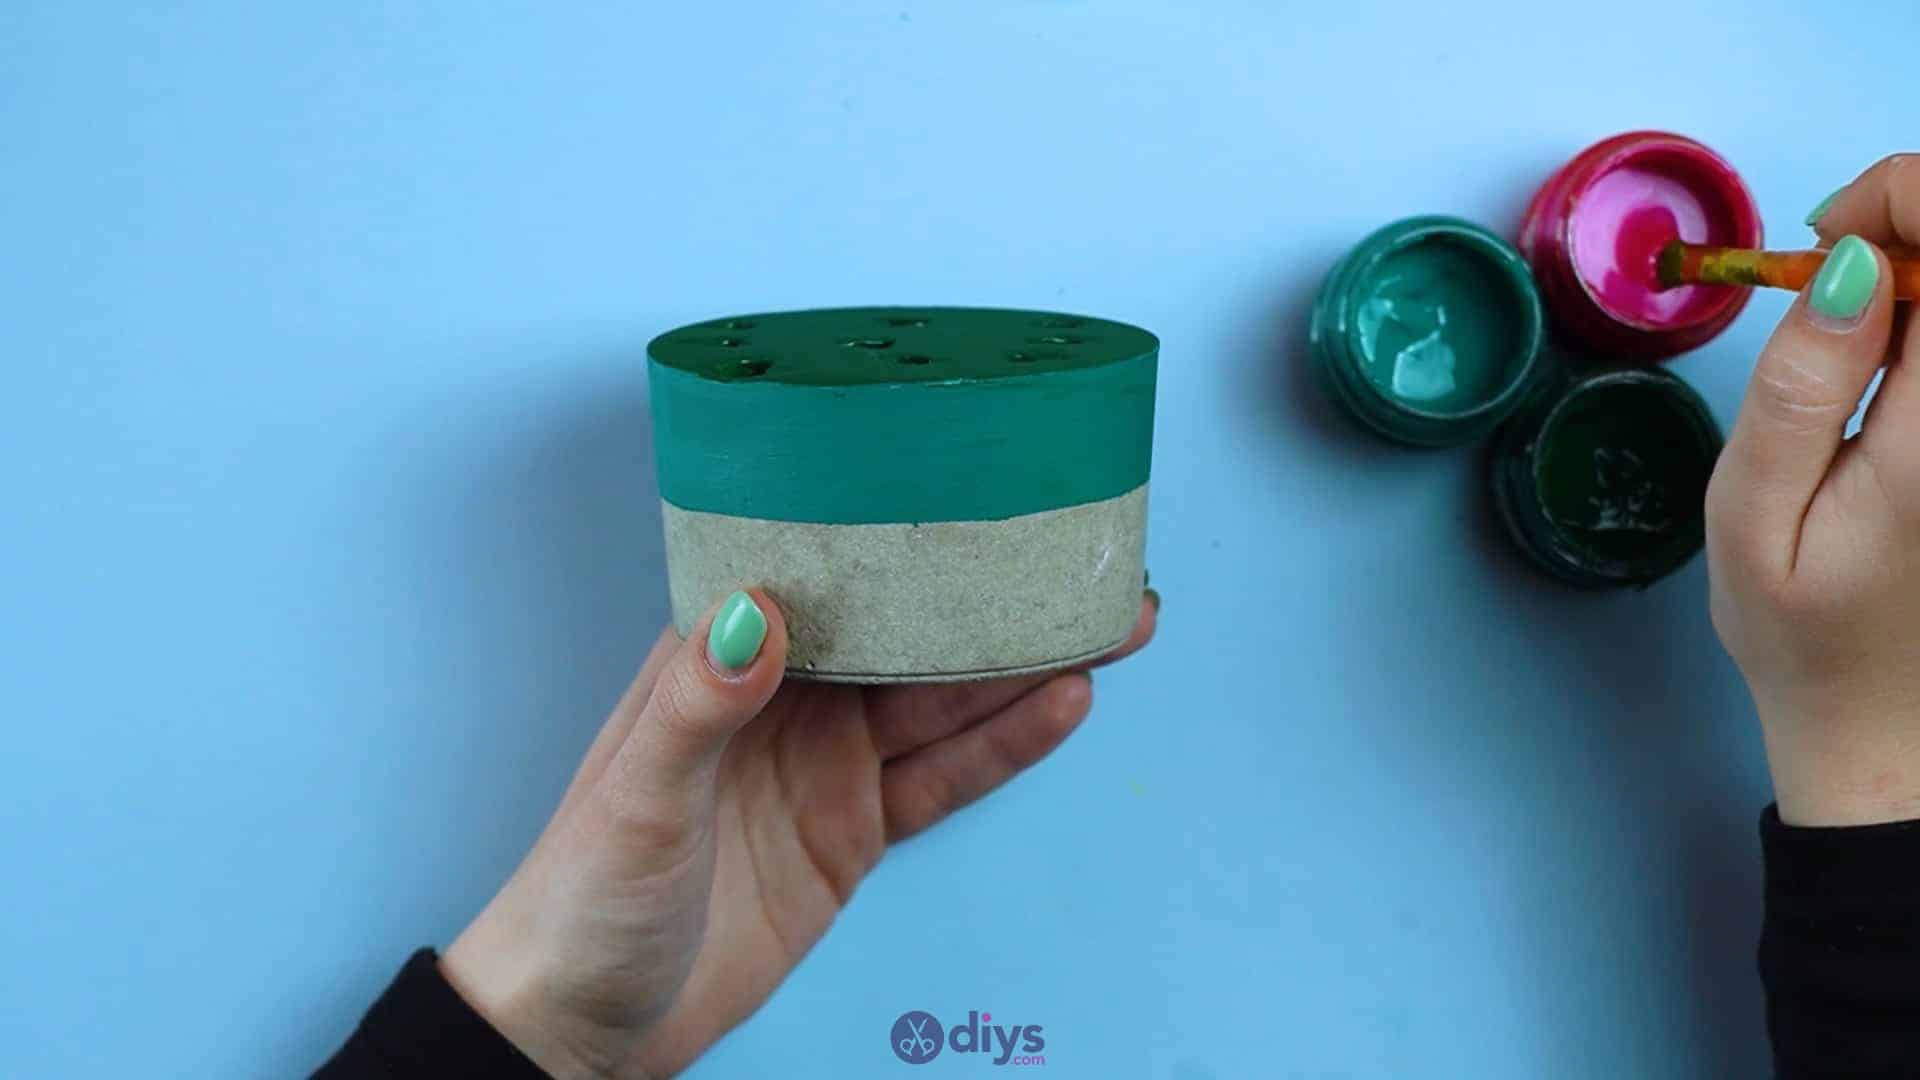
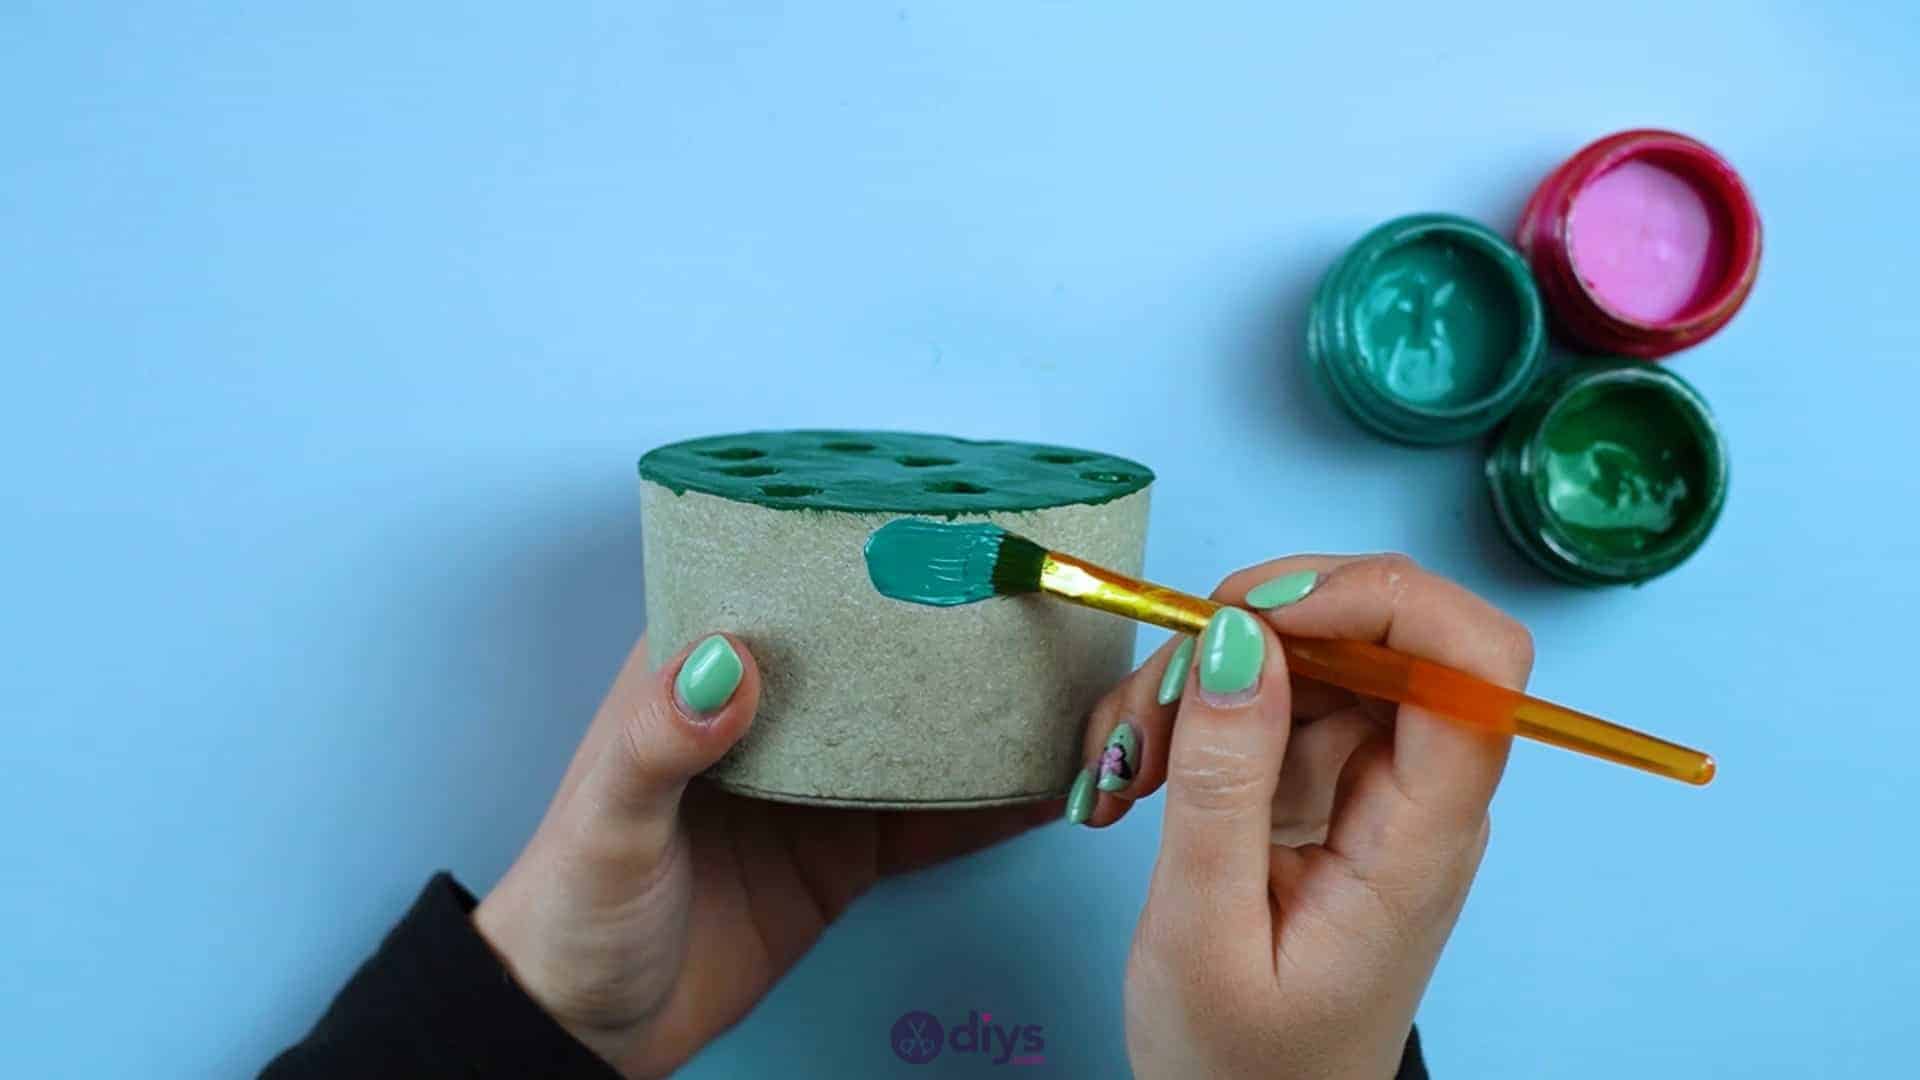
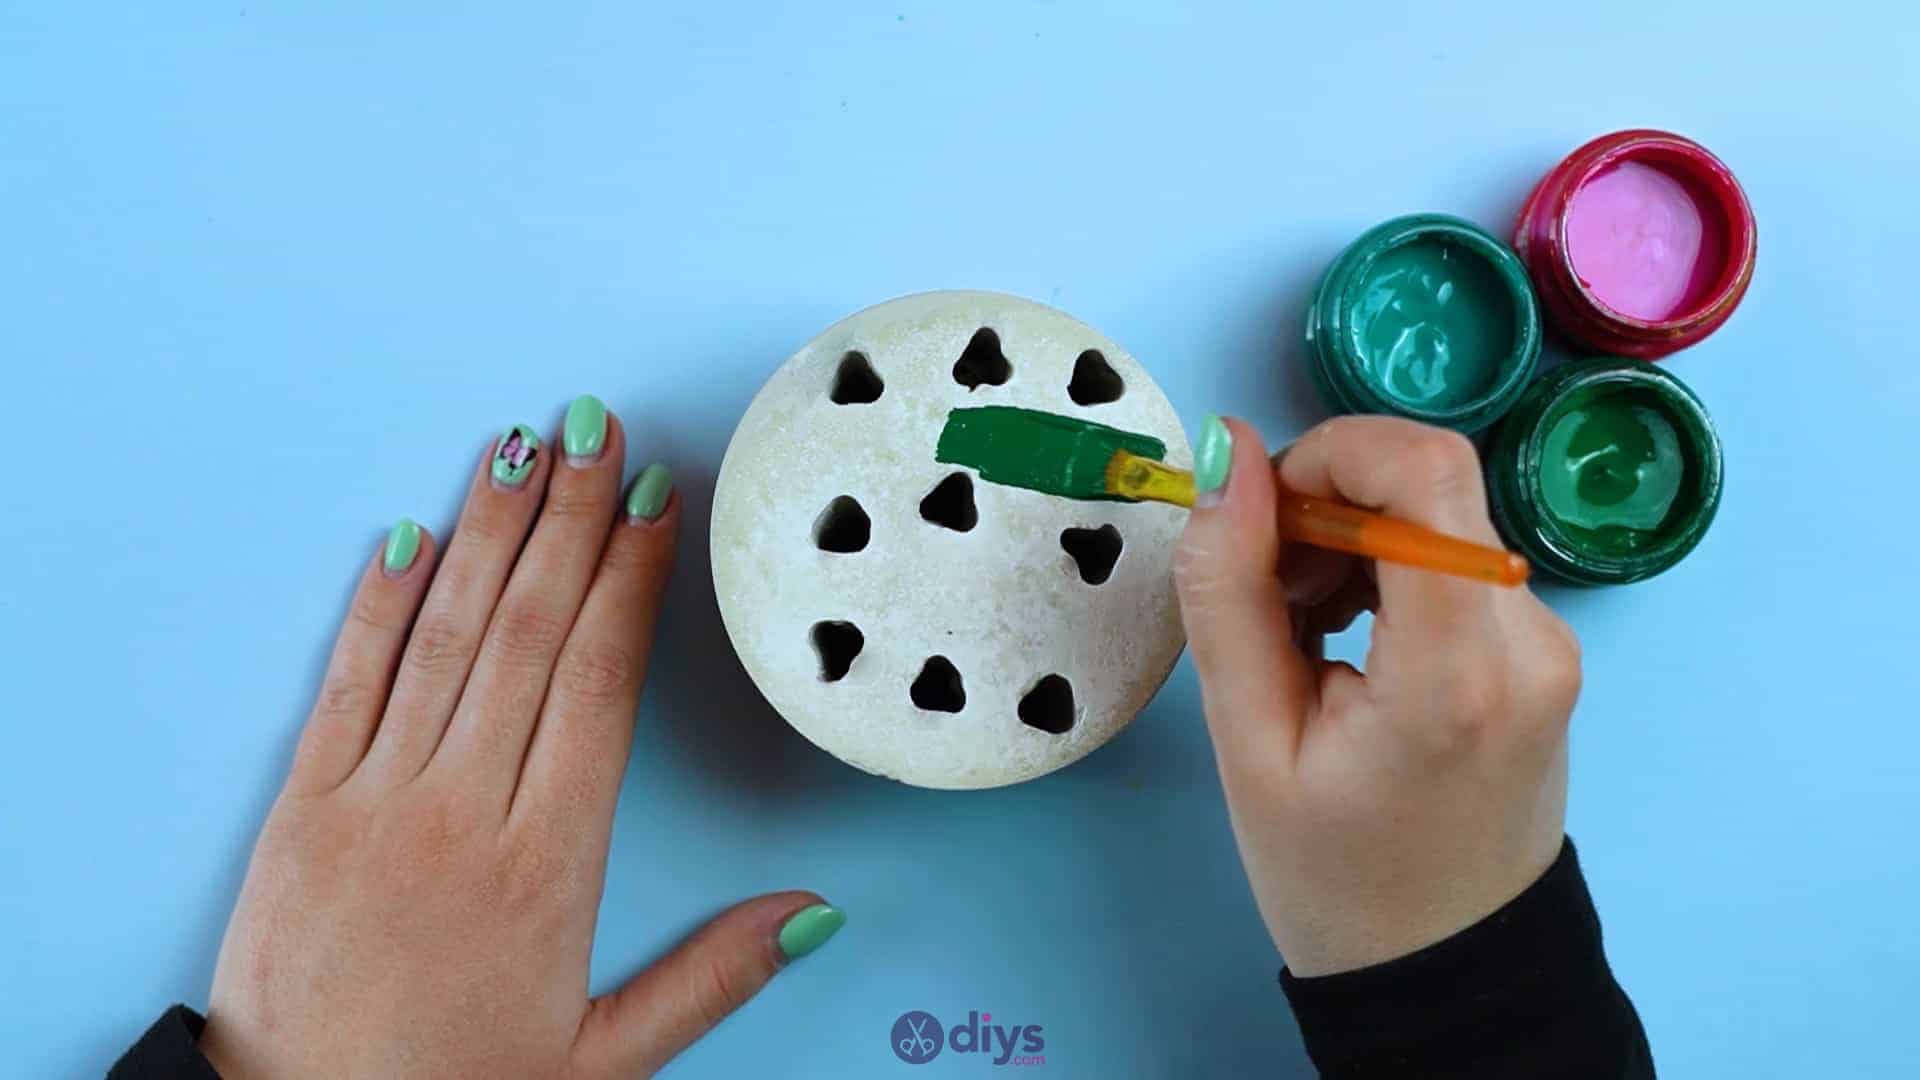
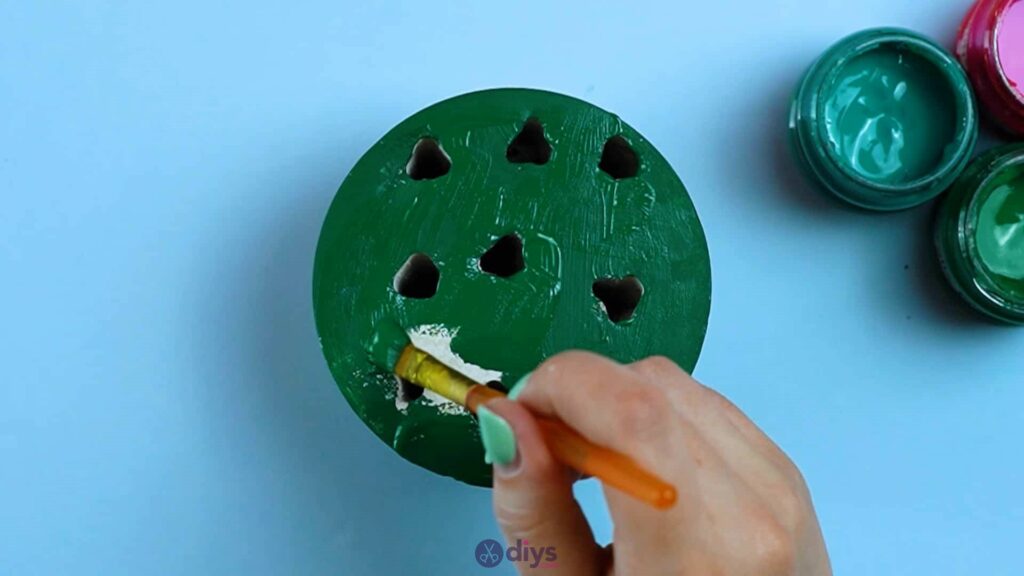
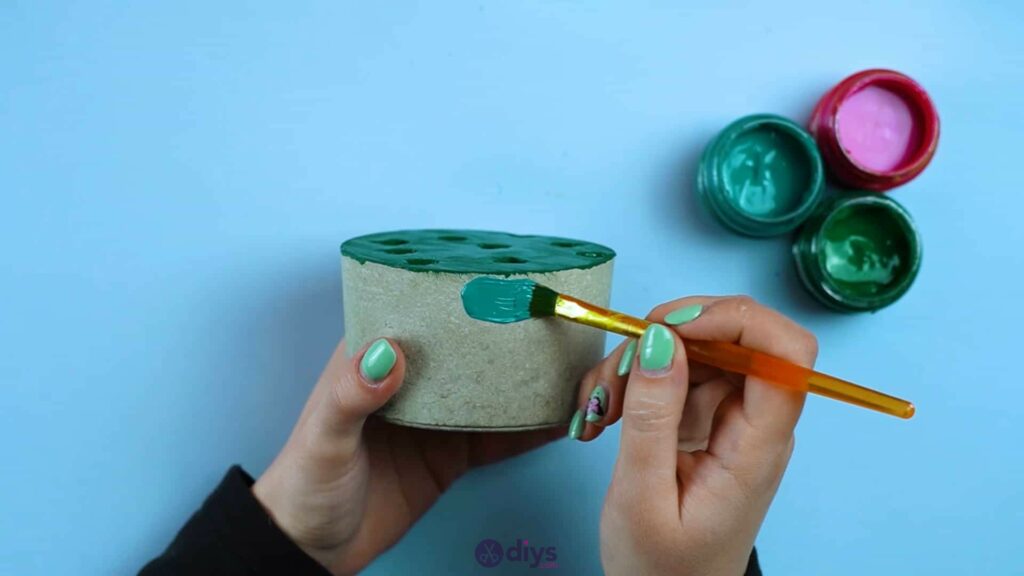
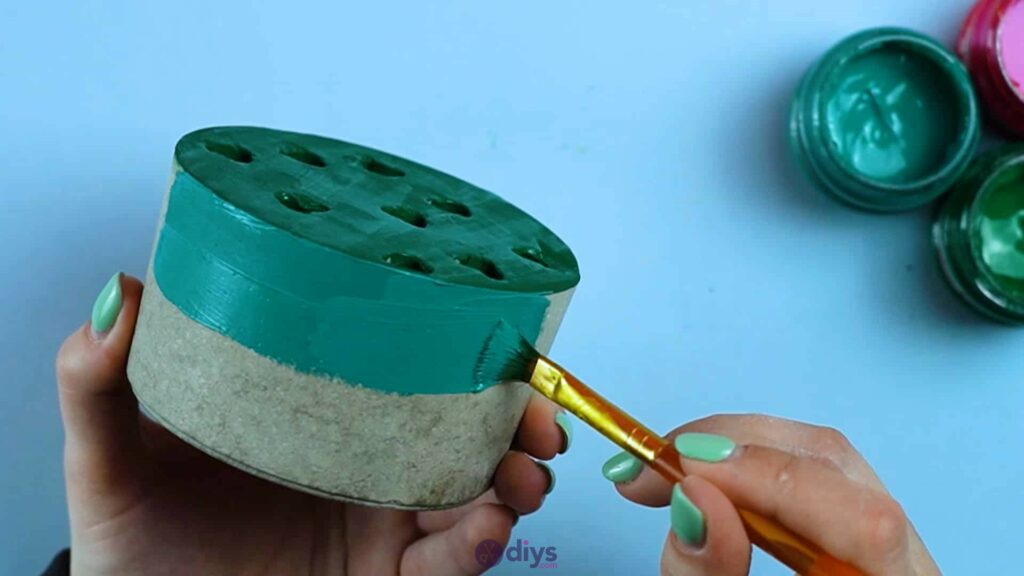
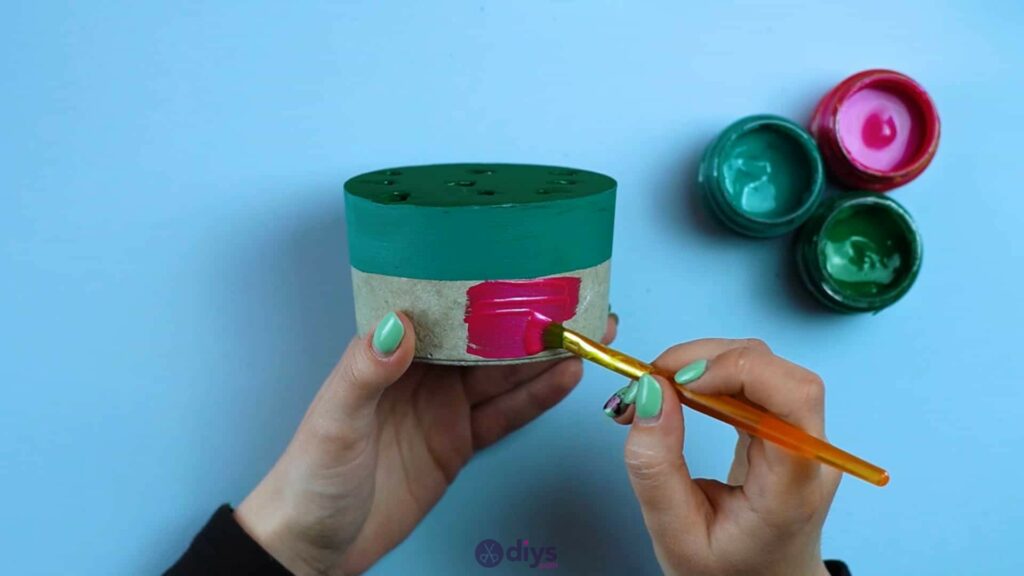
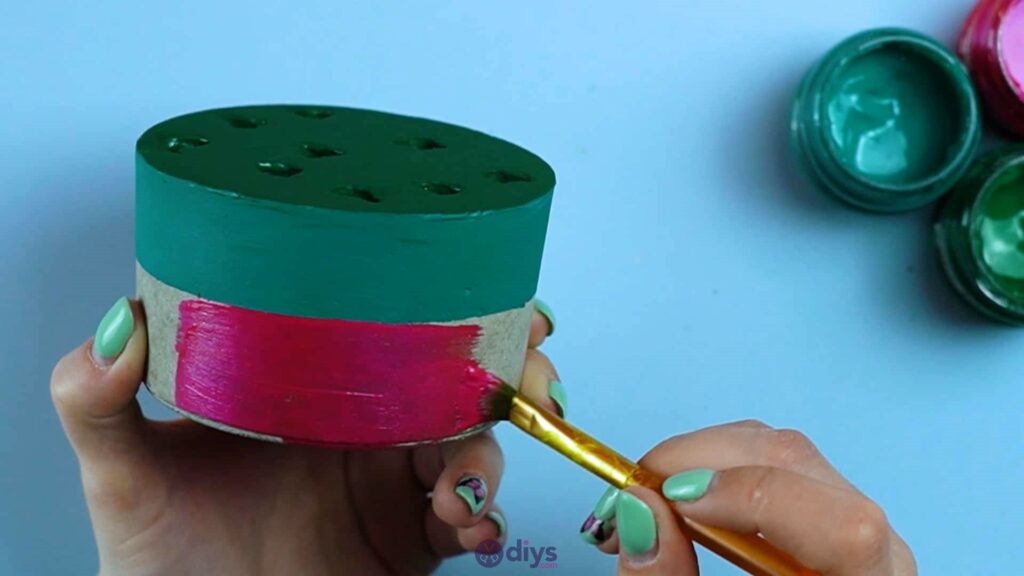
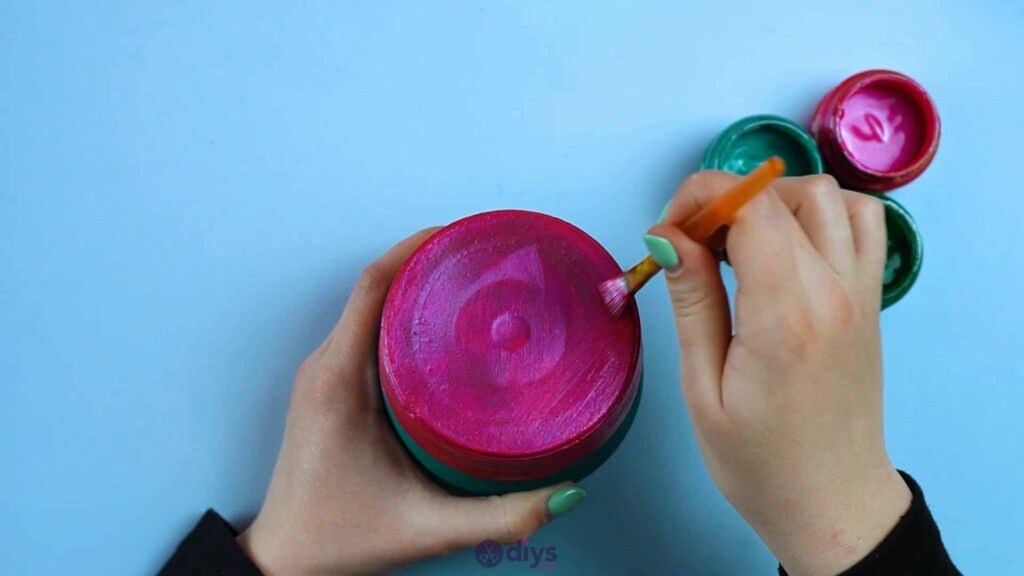
Step 8: paint
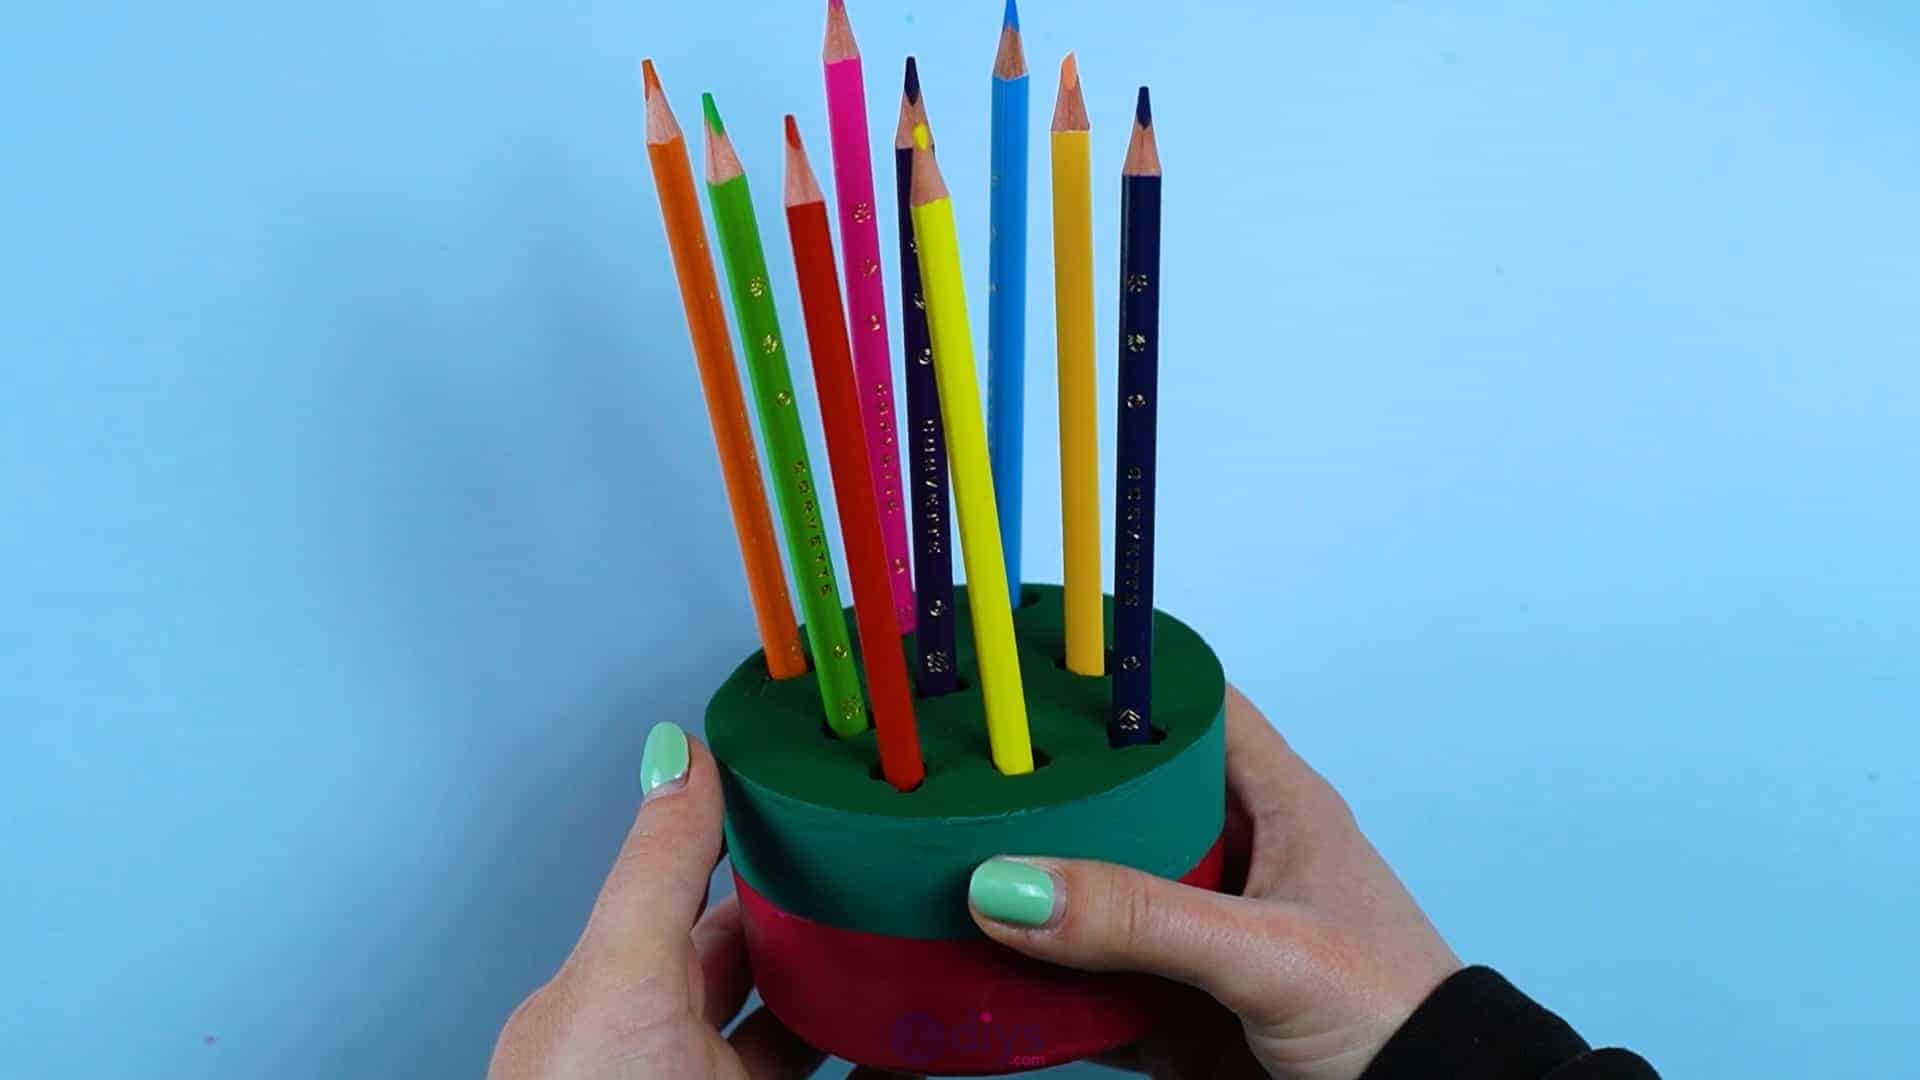
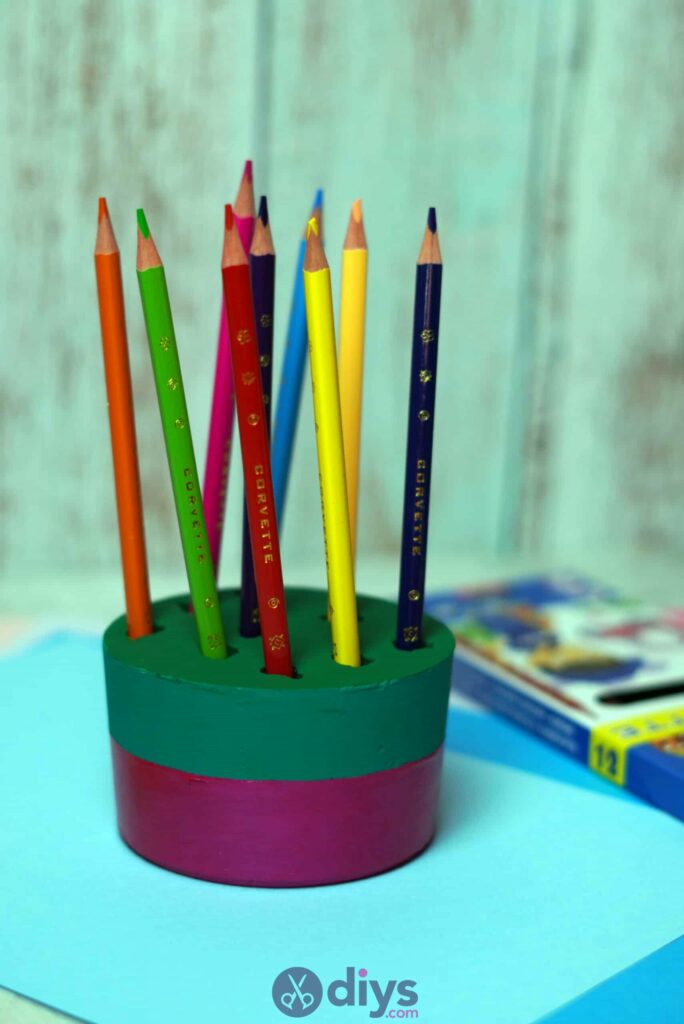
Use your paintbrushes and paints to add colour, detail, and personality to your pencil holder! I created a dual coloured colour blocking effect on mine by painting the top surface and half the sides one colour, then painting the bottom half another colour, letting the two meet in a ring around the middle. When you’re happy with how it looks, set the whole thing aside to dry.


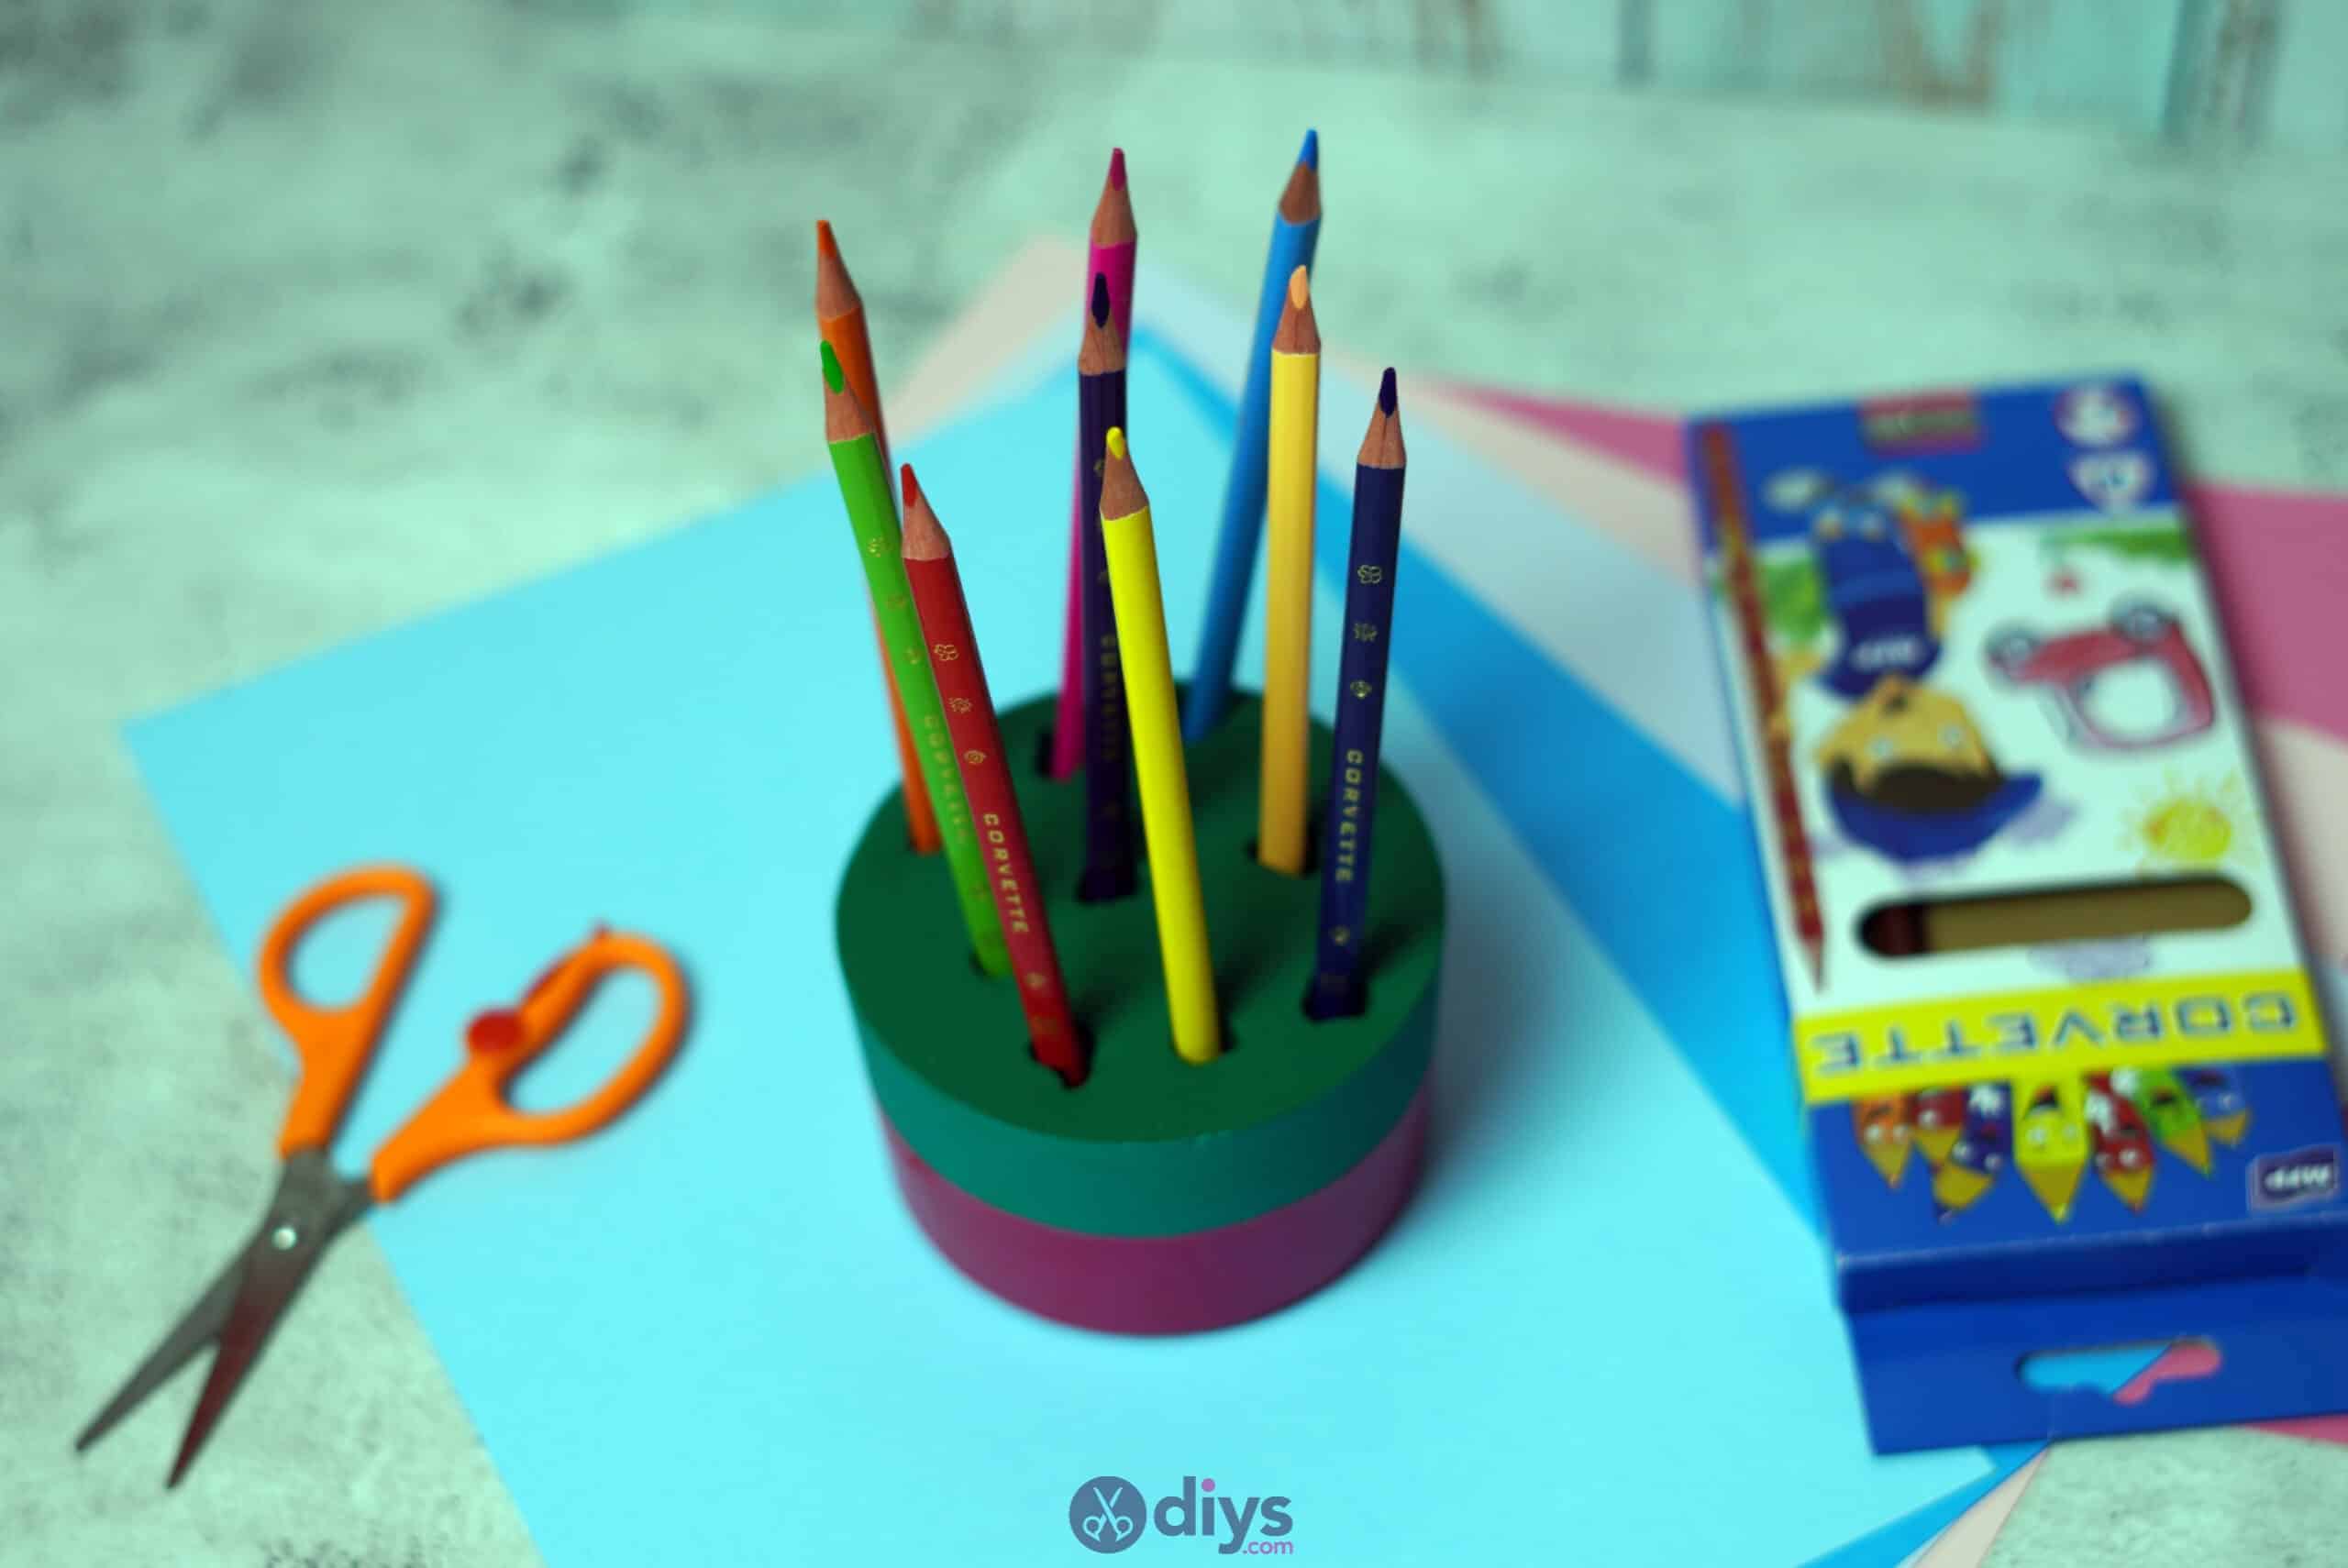
Step 9: finished!
Pop your pencils into the holes in your pencil holder and voila!
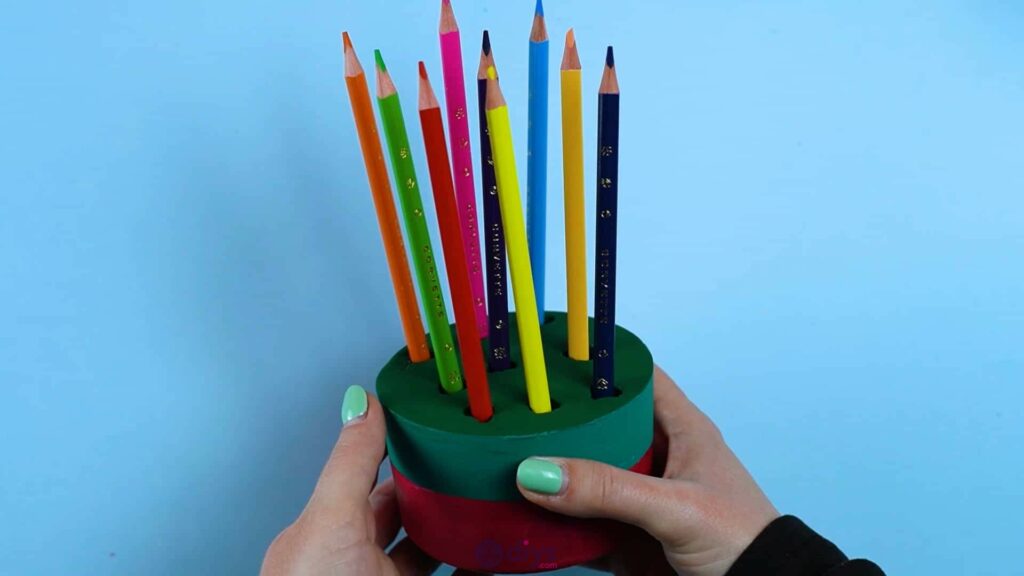
You’re all finished and your pencil holders is ready to use. Of course, you can feel free to play with colours, patterns, and details when it comes to painting your piece. You could even use a square tub instead of a rounded one to get a different shape. Get creative! Just in case you’d like to see the basic techniques in action, however, here’s an awesome video tutorial to help.