3 Quick Everyday Hairstyles – Video Tutorial
Updated on February 17, 2021


Have you ever looked at your hair in the morning and decided that you want to addsome kind of style to keep it back and out of your face, but without pulling it tightly back and really putting it up? I find that sometimes I need a quick, loose style that’s easy to do, adds a little character, but gives my scalp a rest and doesn’t feel tight by the end of the day. That’s why I’ve been playing a lot lately with easy, looser styles that just involve pulling a bit of hair in from the sides rather than swopping it all up and back in a smooth updo. I’ve actually come up with a few concepts I really like and have repeated a few times now, so I thought I’d share my favourites.

Check out these step by step instructions complete with photos! If you’d rather follow along with a video tutorial instead of written words, scroll to the bottom of this post to find just what you’re looking for.
For each of these styles, you’ll need:
- Hair elastics
- Bobby pins
- A brush
- A fine tooth comb with a pointed end
- Hairspray
Style 1: “The mini fishtail”
Step 1: start your braid
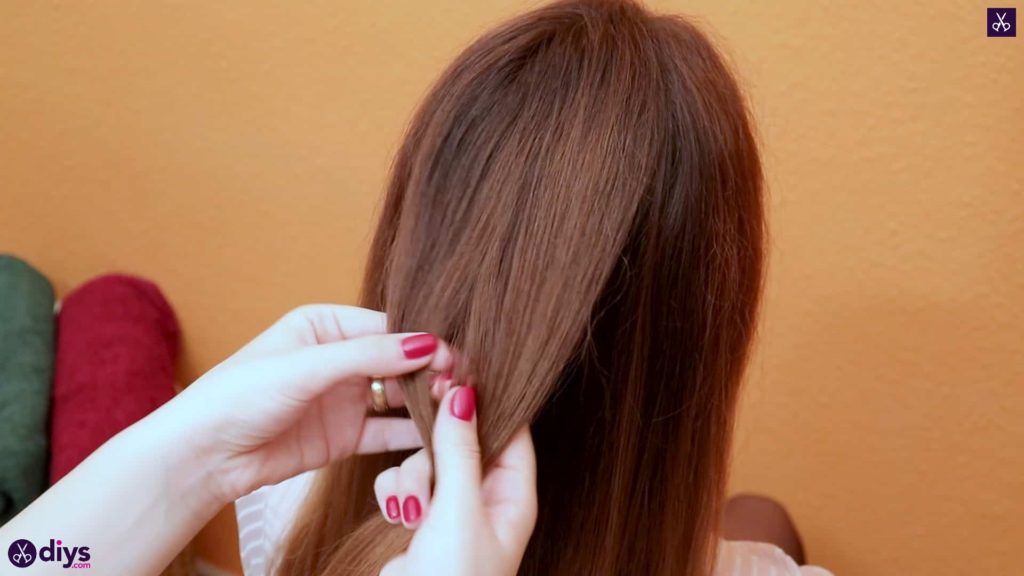
Do some simple, loose fishtail braiding! Start by sectioning a small piece of hair right at the back of the head and splitting it in half down the middle so you have one section in each hand. Keep things loose and relaxed so you’re working about level with the nape of the neck. Pull a small strand loosely from the right side at the front of the hair, bringing it back to rest in the middle between your two original sections.
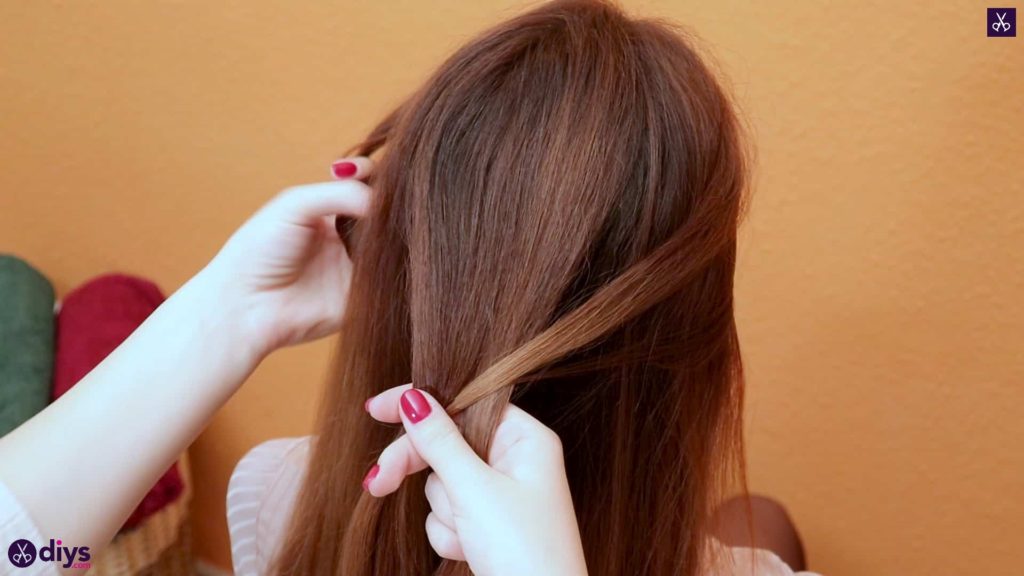
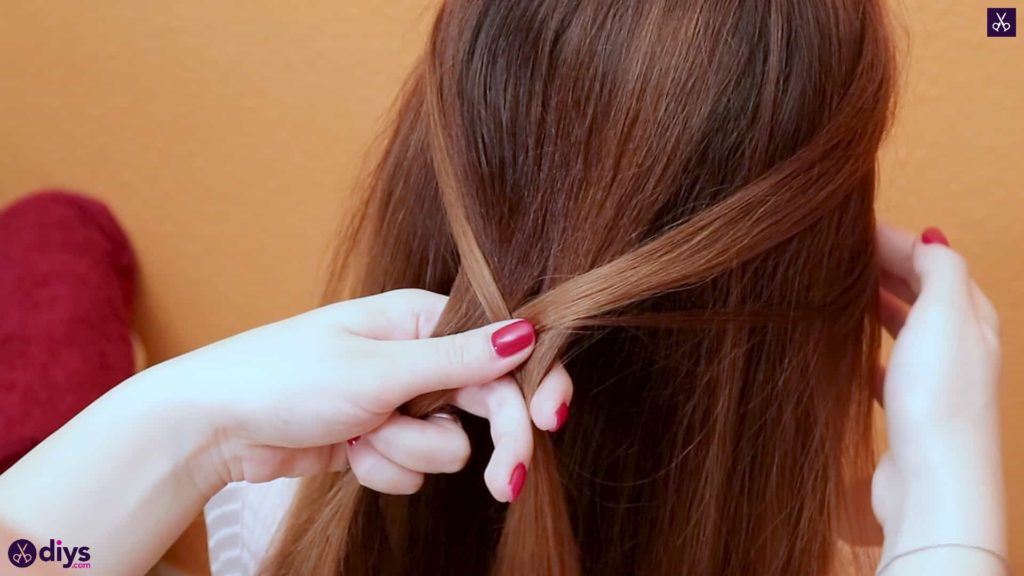
Remember not to pull hard; this isn’t a tight style. Now bring a small section or strand in from the front of the left side. Repeat this process, bringing relaxed strands in front the front of the hair and across the rest to sit in between your original two back sections, alternating right then left each time. When you bring each piece to the middle at the back, let it cross over kind of naturally where it falls into place; you’ll notice that the strands weave loosely and lightly down the center and rest with the section on the opposite side (and hand) to where you pulled the strand from. This effect is called fishtail braiding because it looks like the way scales weave on an actual fish’s tail as they taper towards the fins.

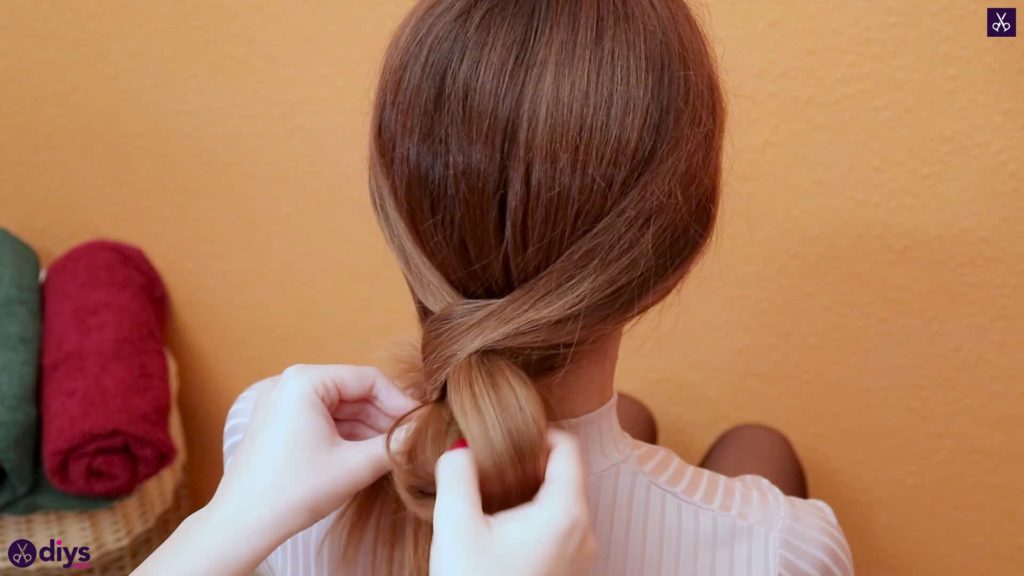
Step 2: finish with a tie
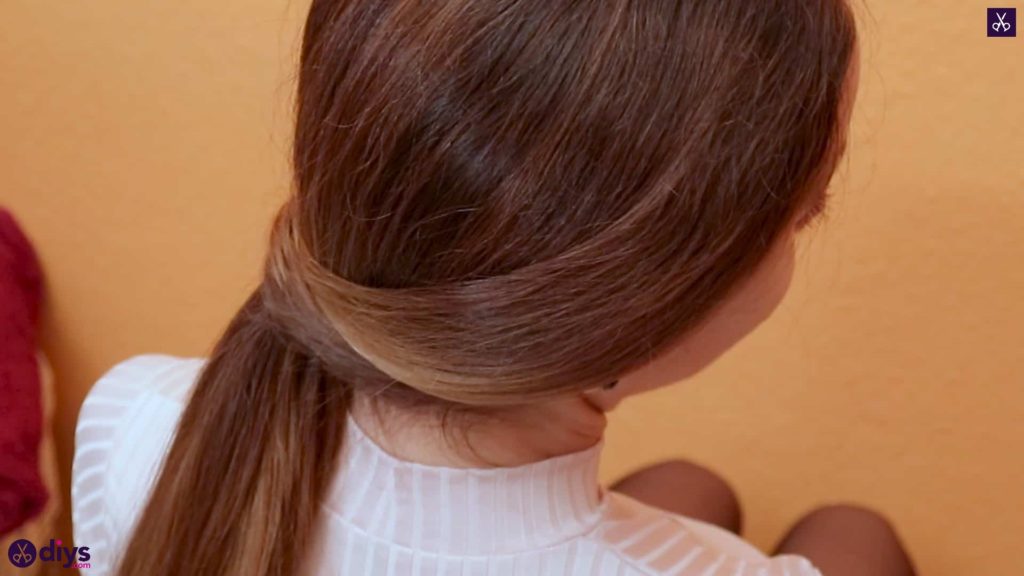
Continue the fishtail method until you’ve got an inch or two done, then pull your two sections away from each other and downward to wrap them around the rest of your hair that you left hanging down, so it gathers like a low ponytail in the middle between them. Bring the two sections together underneath that hair and use a small hair elastic to tie them into place. Adjust and settle the hair until you’re satisfied with how it sits and the two pieces look like one.

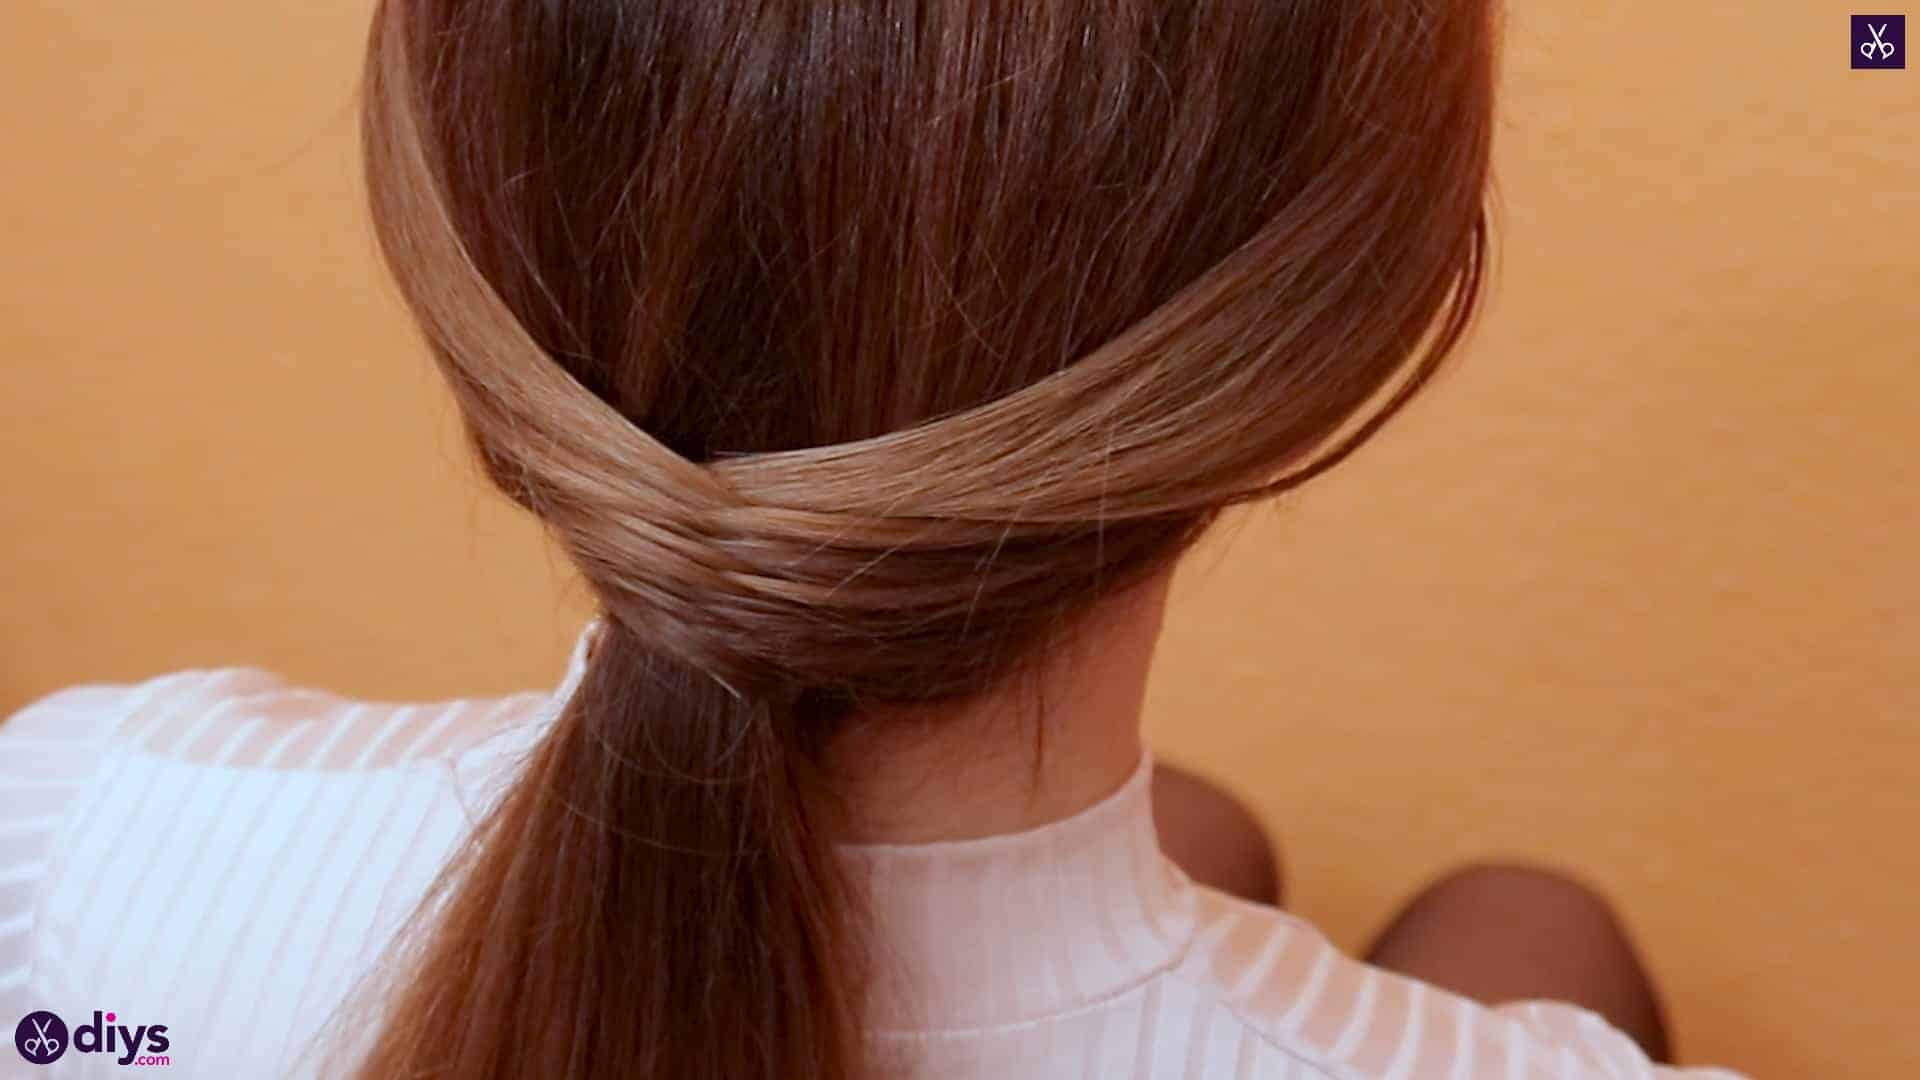
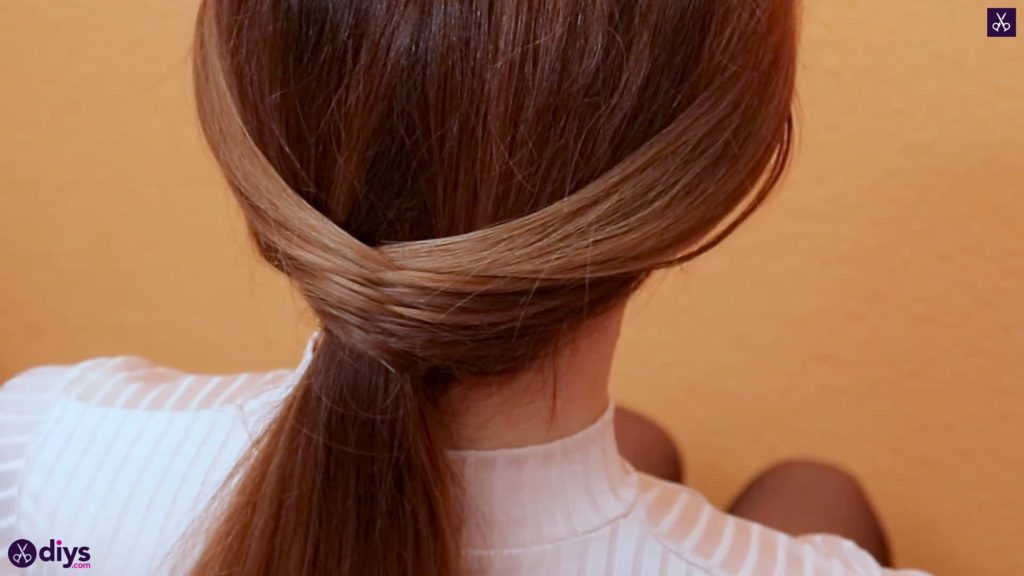
Style 2: “The low twist-and-loop pony”
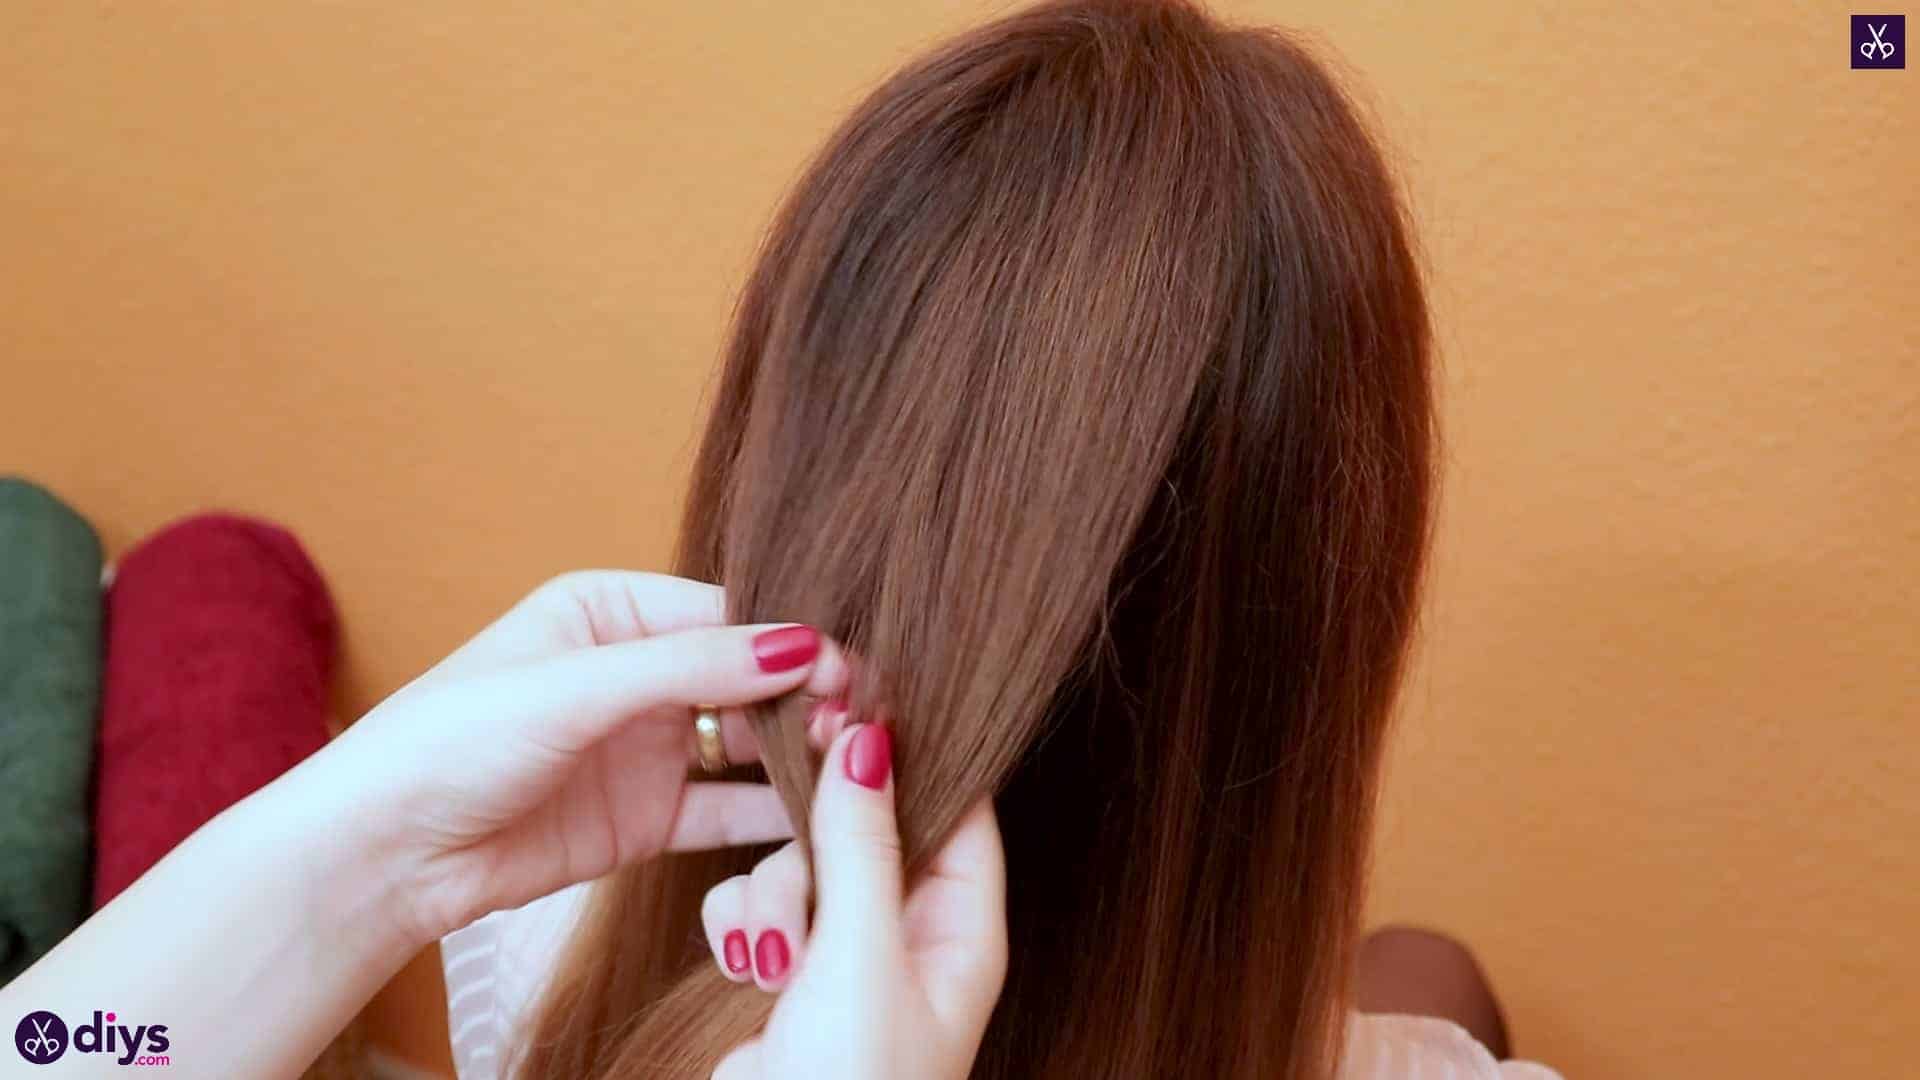
Step 1: section the hair
Brush your hair through entirely to get rid of all tangles. Let it part naturally. Take a section about one inch wide from the front of each side and gently pull each back to meet at the center. Do not pull up and back like you would for a high ponytail; keep things loose so your pieces meet low, near the nape of the neck. Fasten the pieces together about an inch lower than the nape using a small hair elastic.

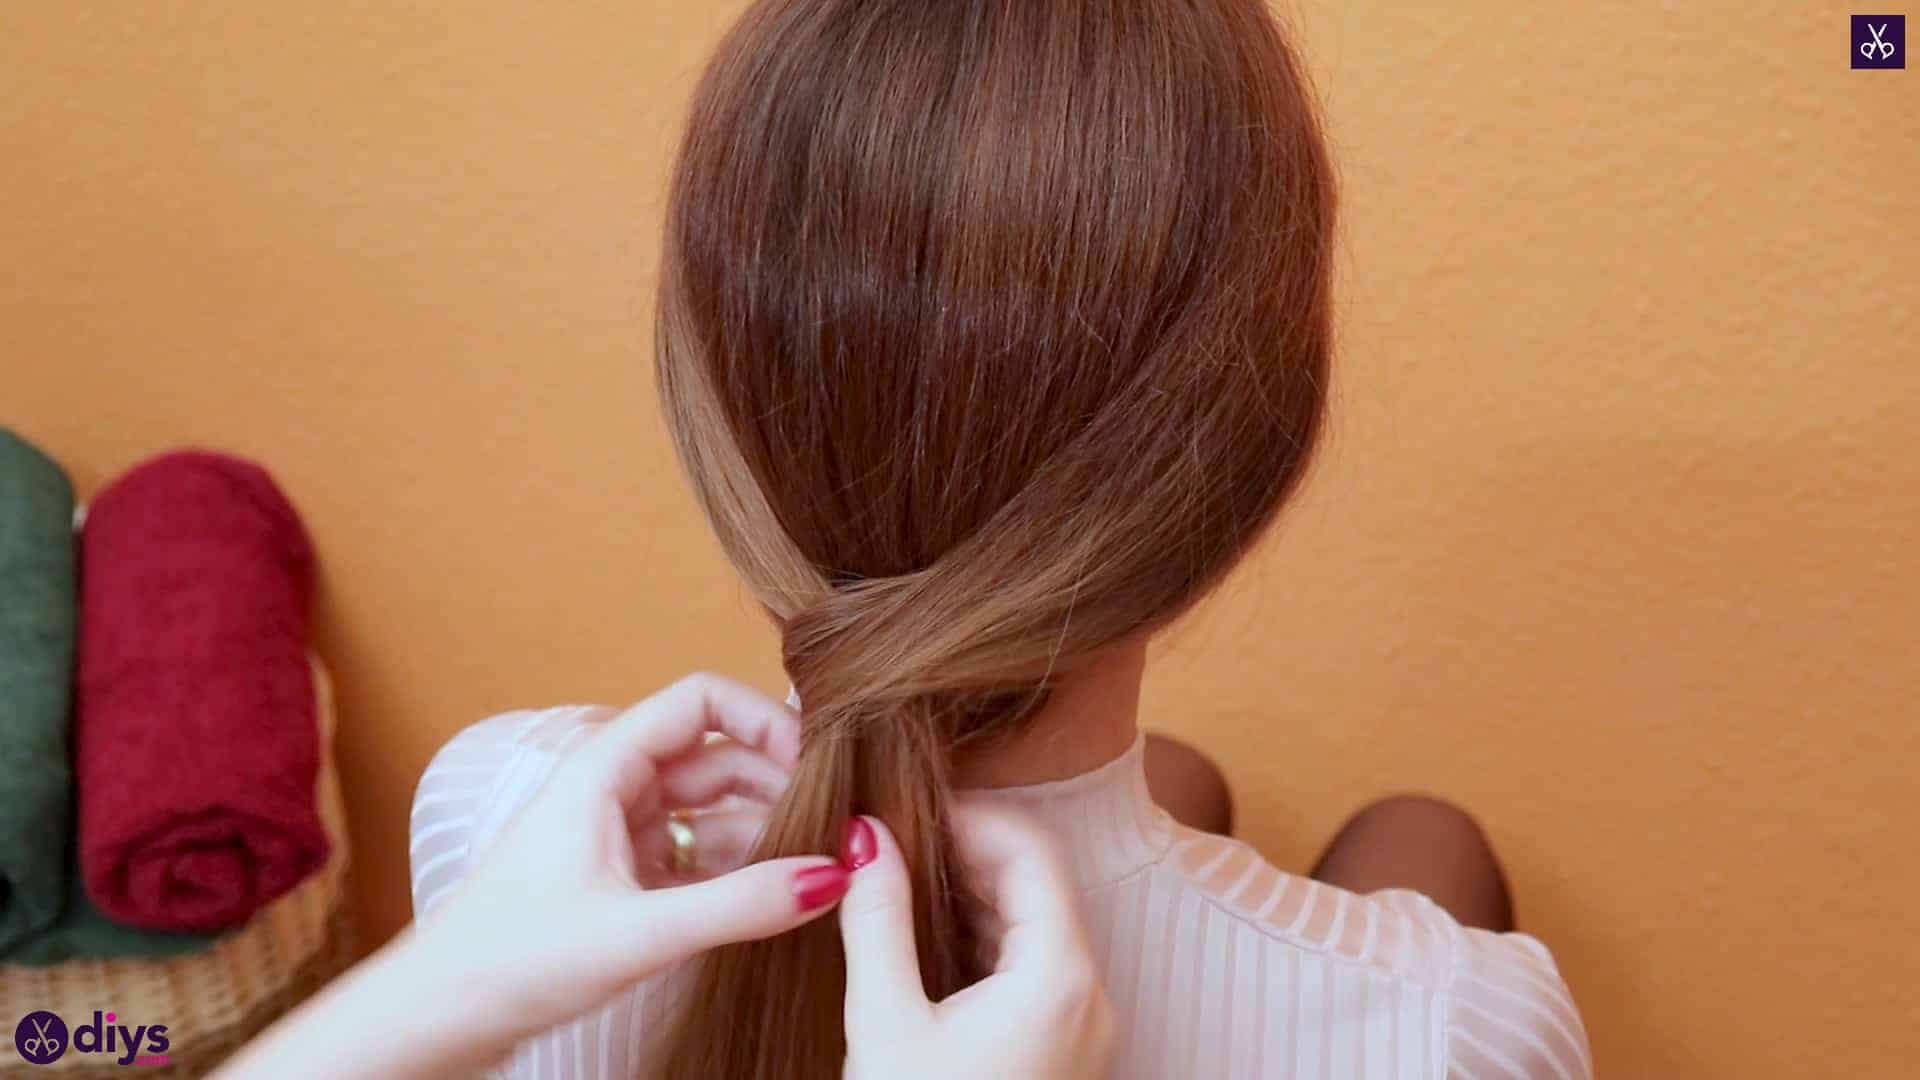
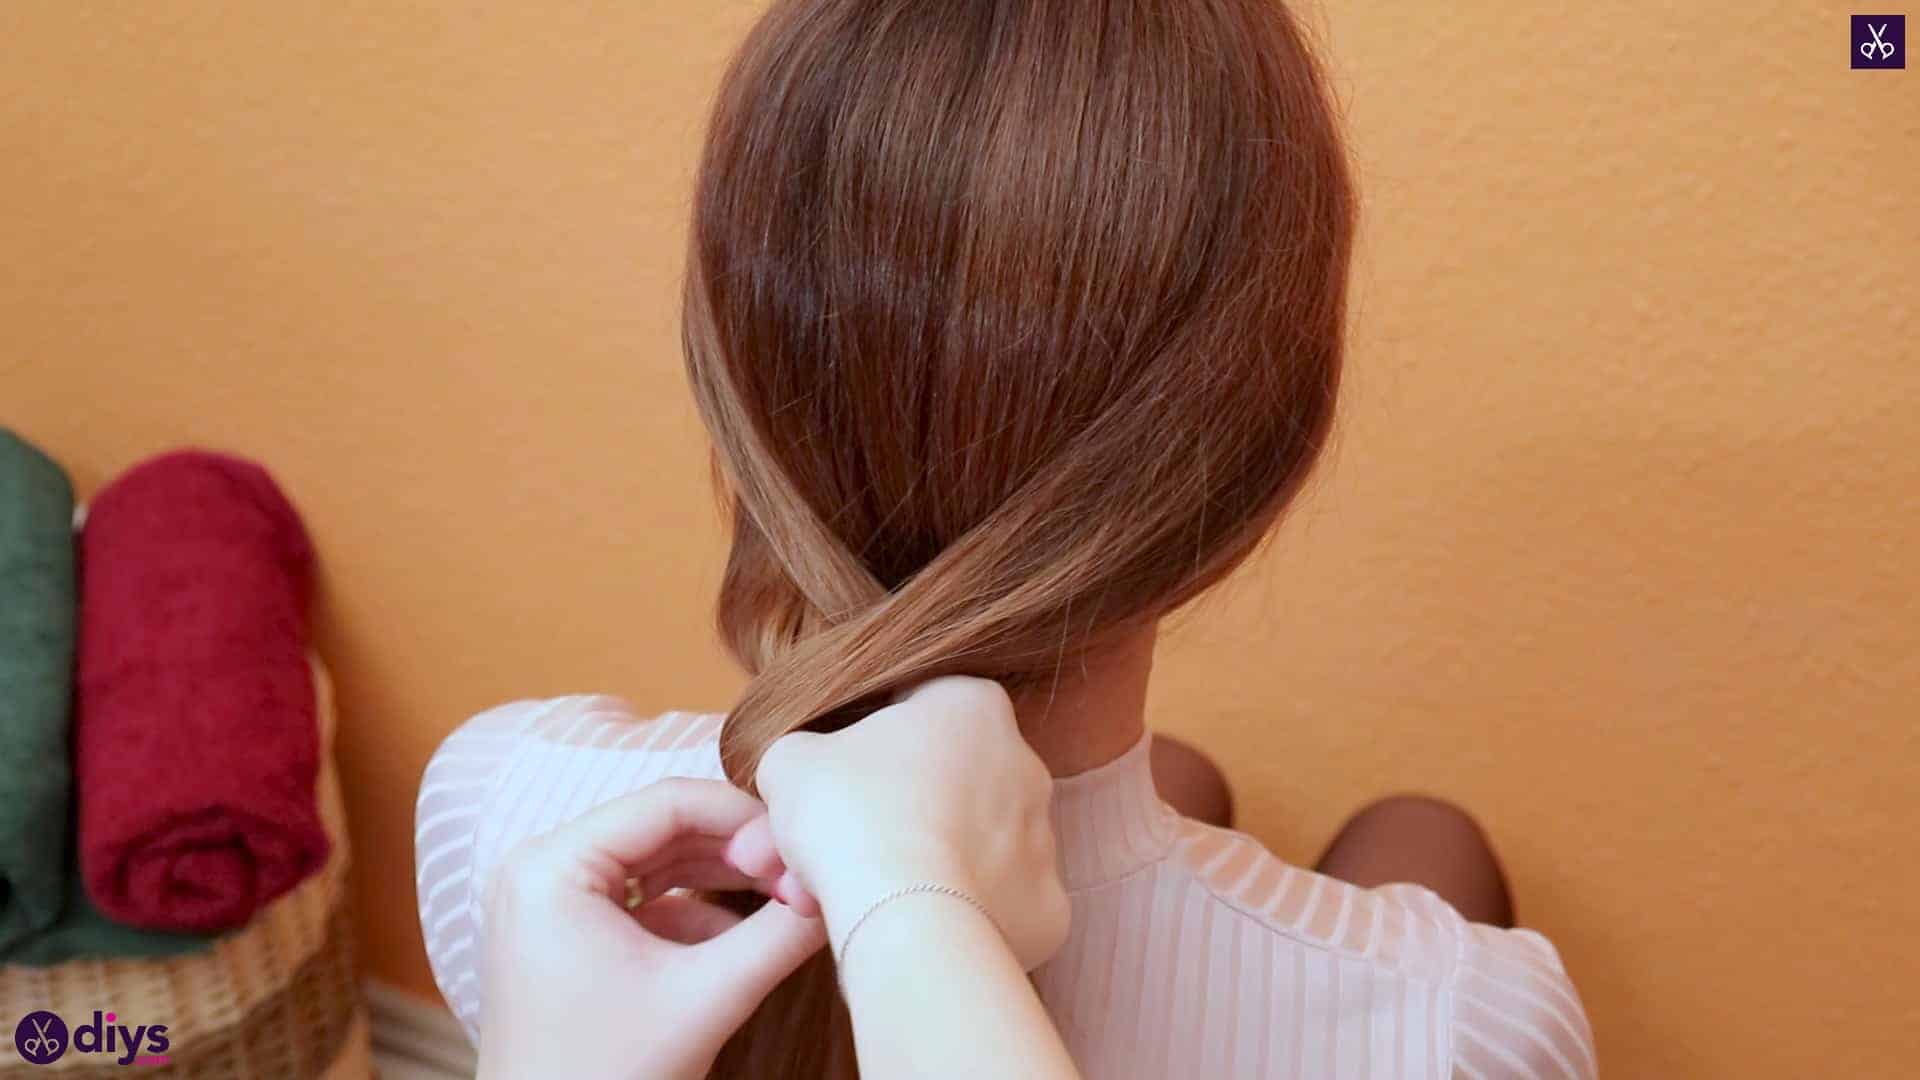
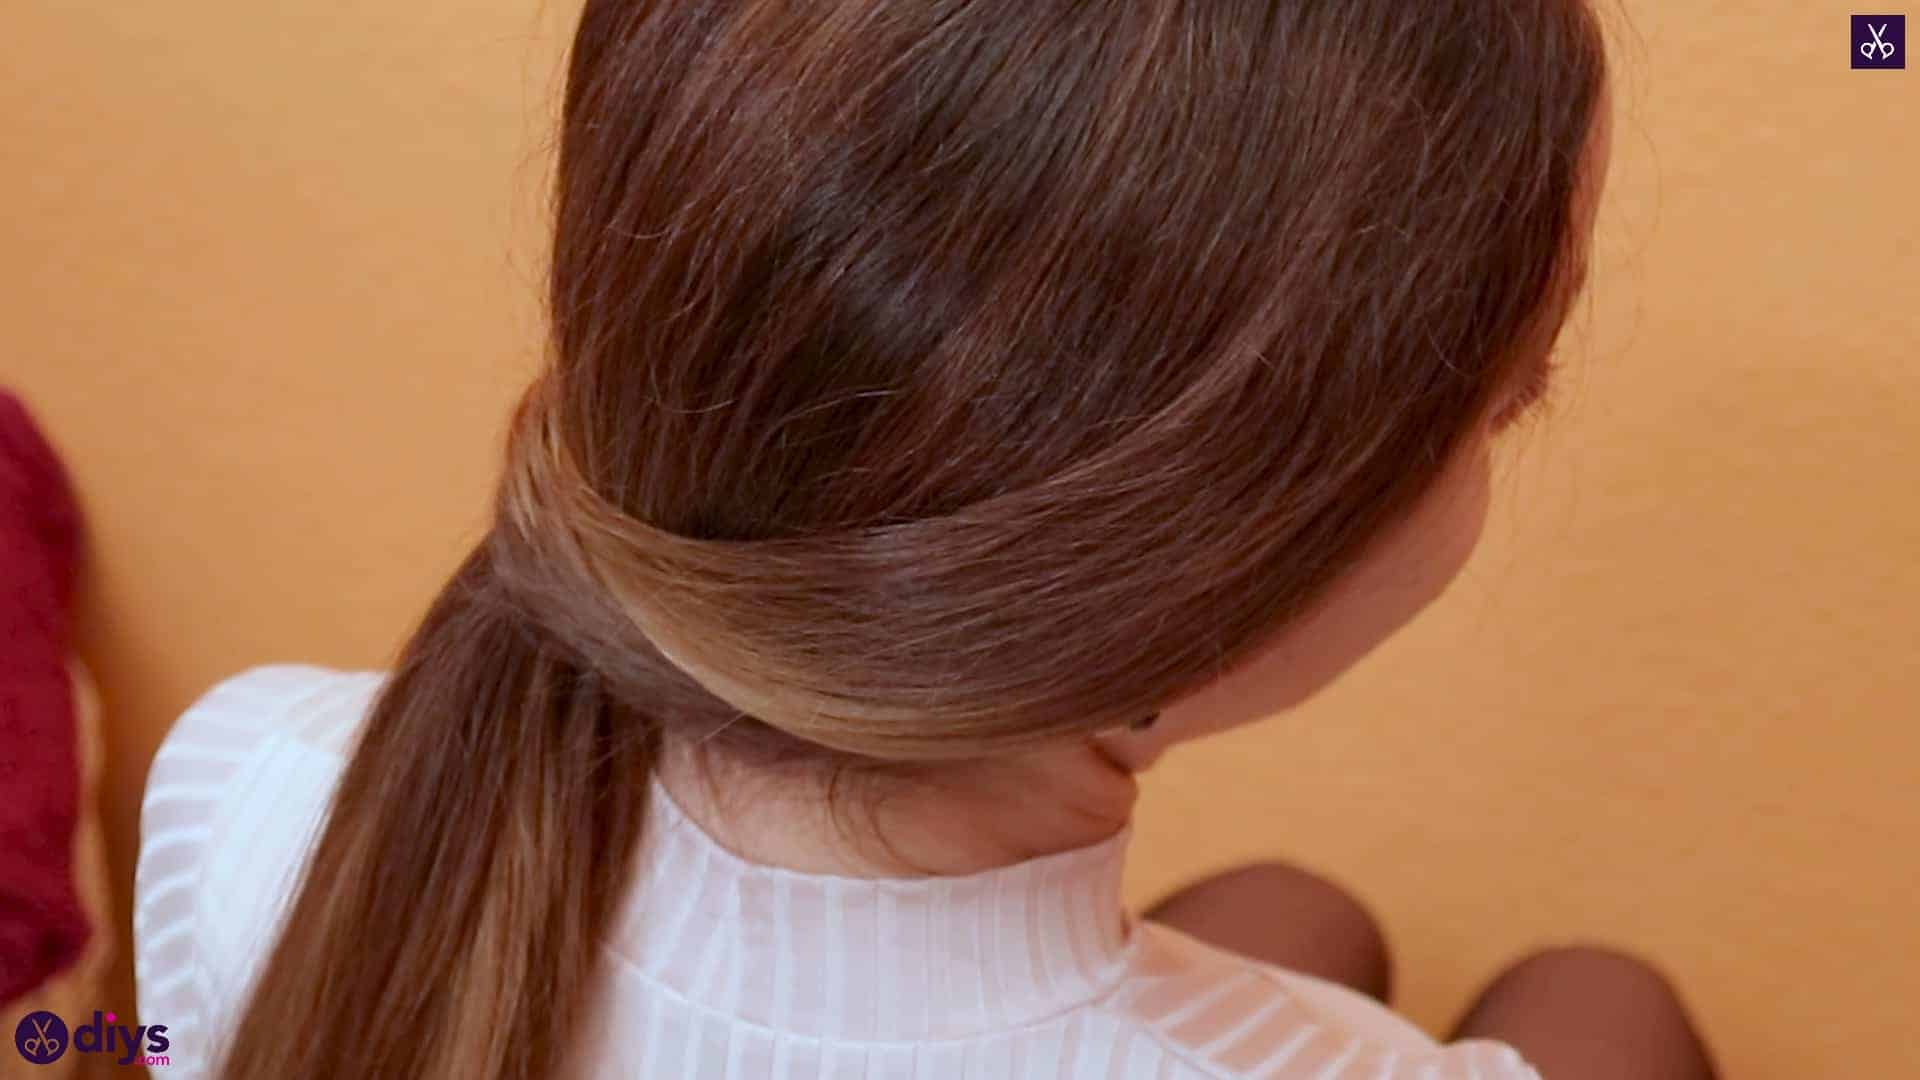
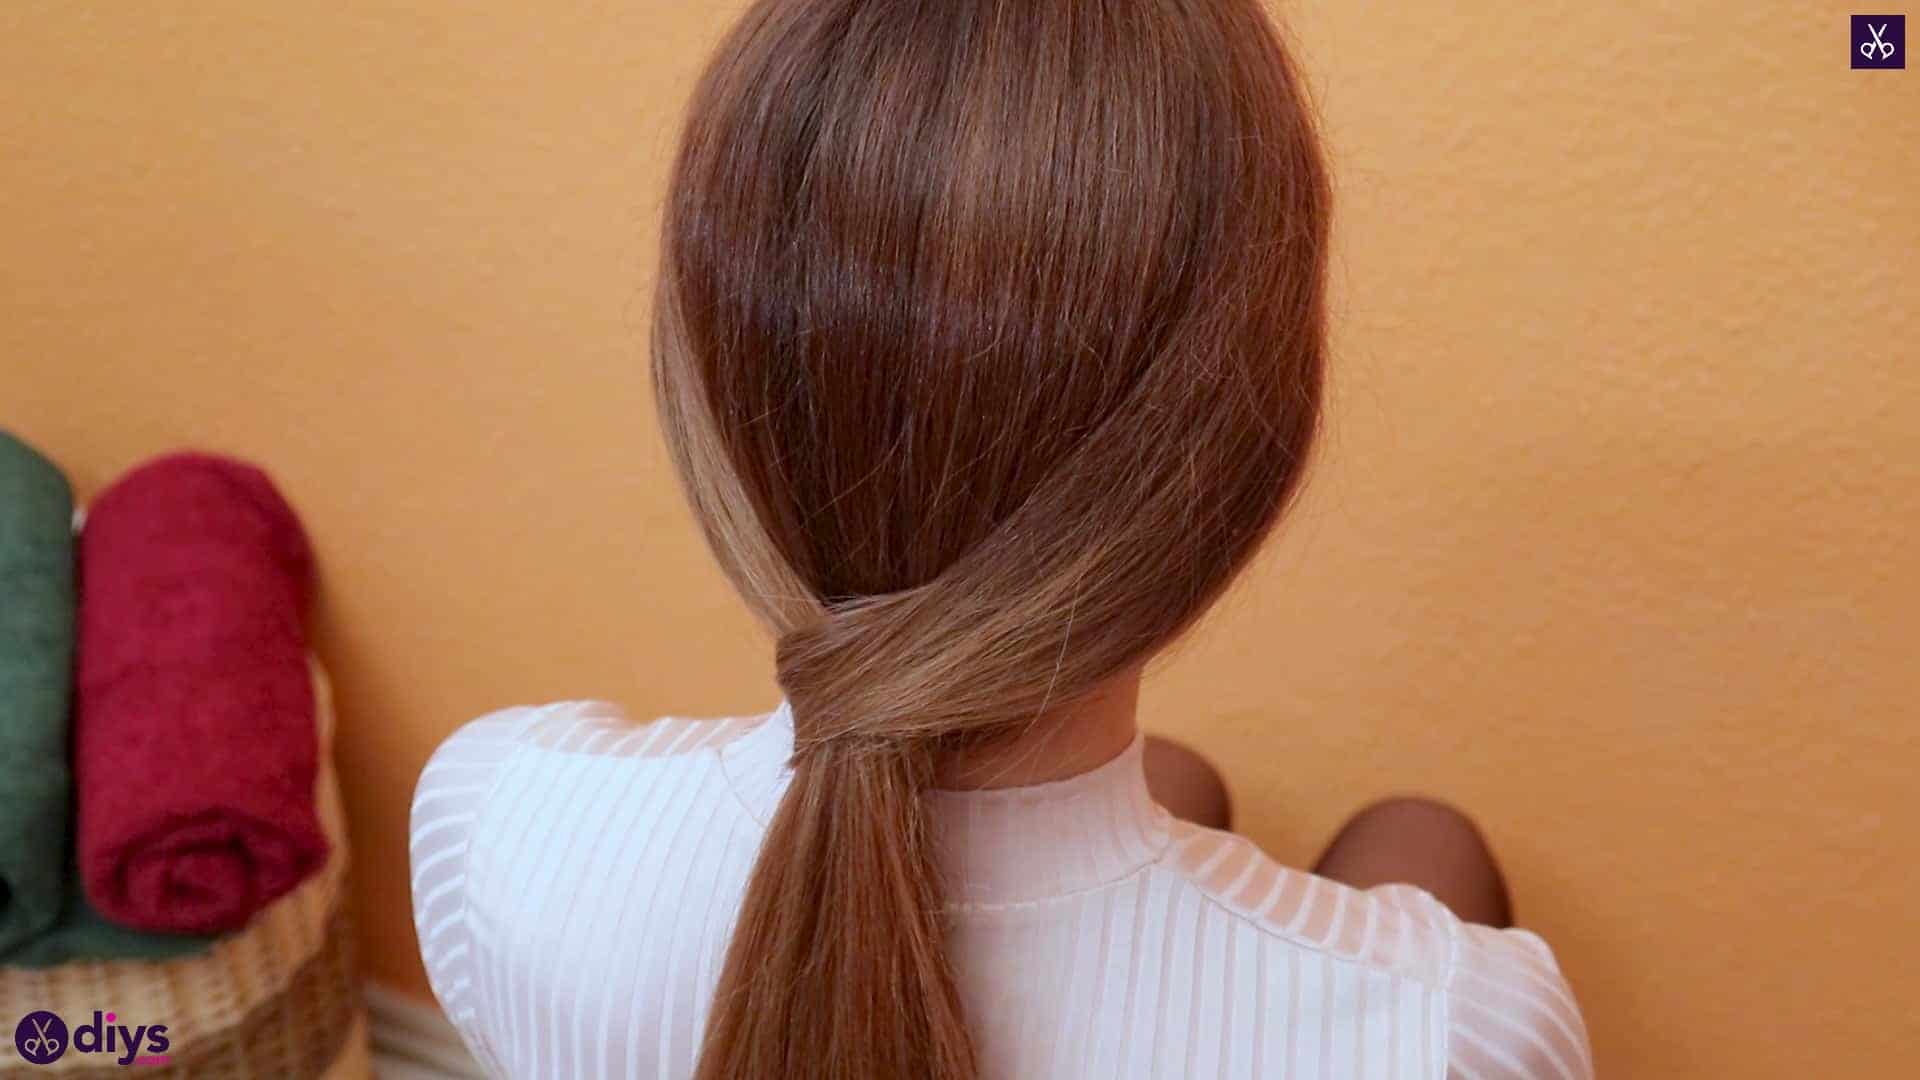
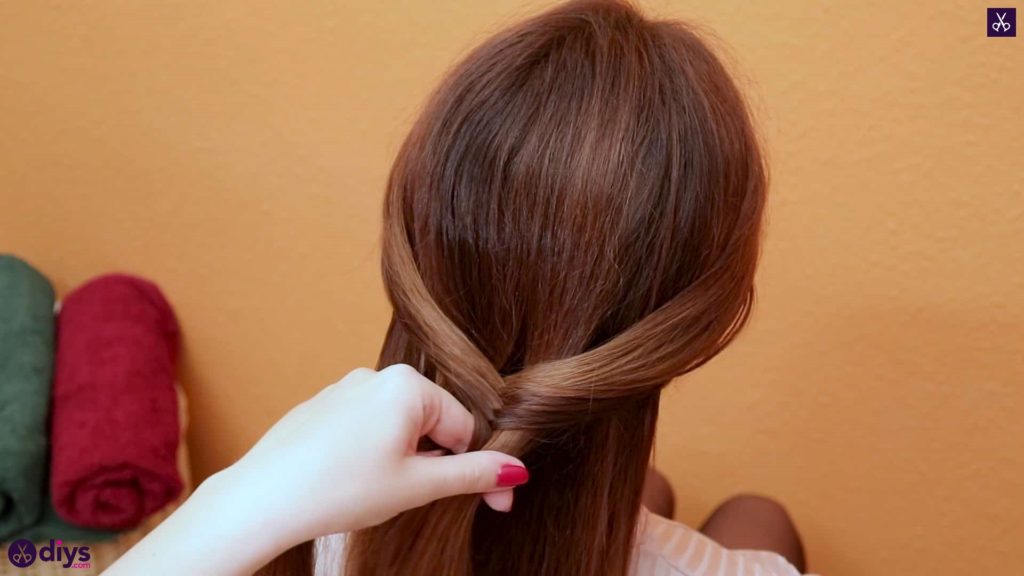
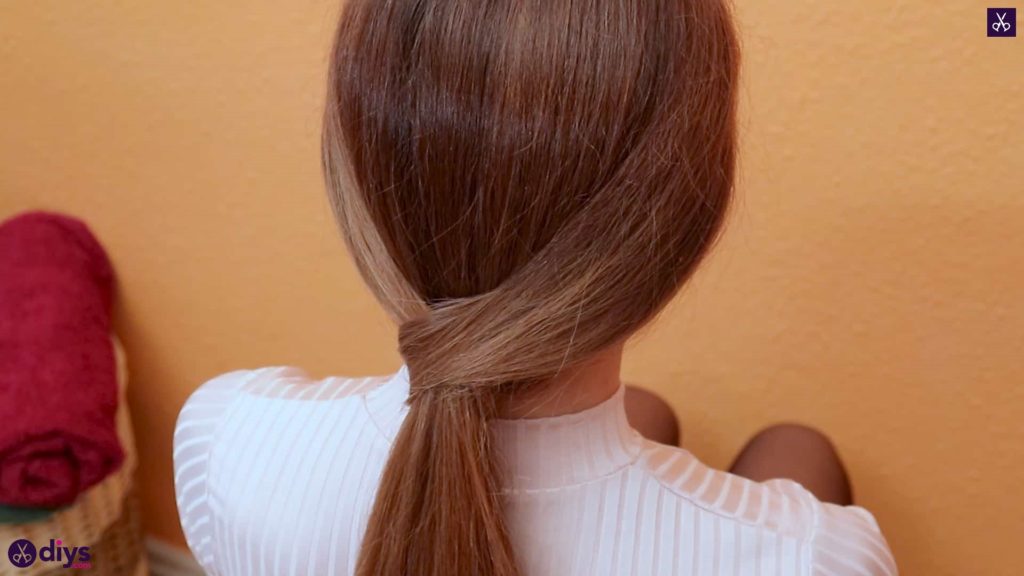
Step 2: loop
Lift the two conjoined pieces up high enough to slide your hand underneath, putting the thumb and forefinger of your right hand up between them in a sort of L-shape. Turn your whole hand over to the left so the two pieces twist but keep your thumb and forefinger wide so they maintain an opening, letting the twist happen above your hand while the fastened hair turns over. Now use your other hand to gather the rest of the hair into one handful like a low ponytail. Grasp this with the thumb and forefinger that are still through the twisted loop and pull that whole lower section of hair up and through the opening your fingers made. Adjust the newly wrapped low ponytail to sit just right.


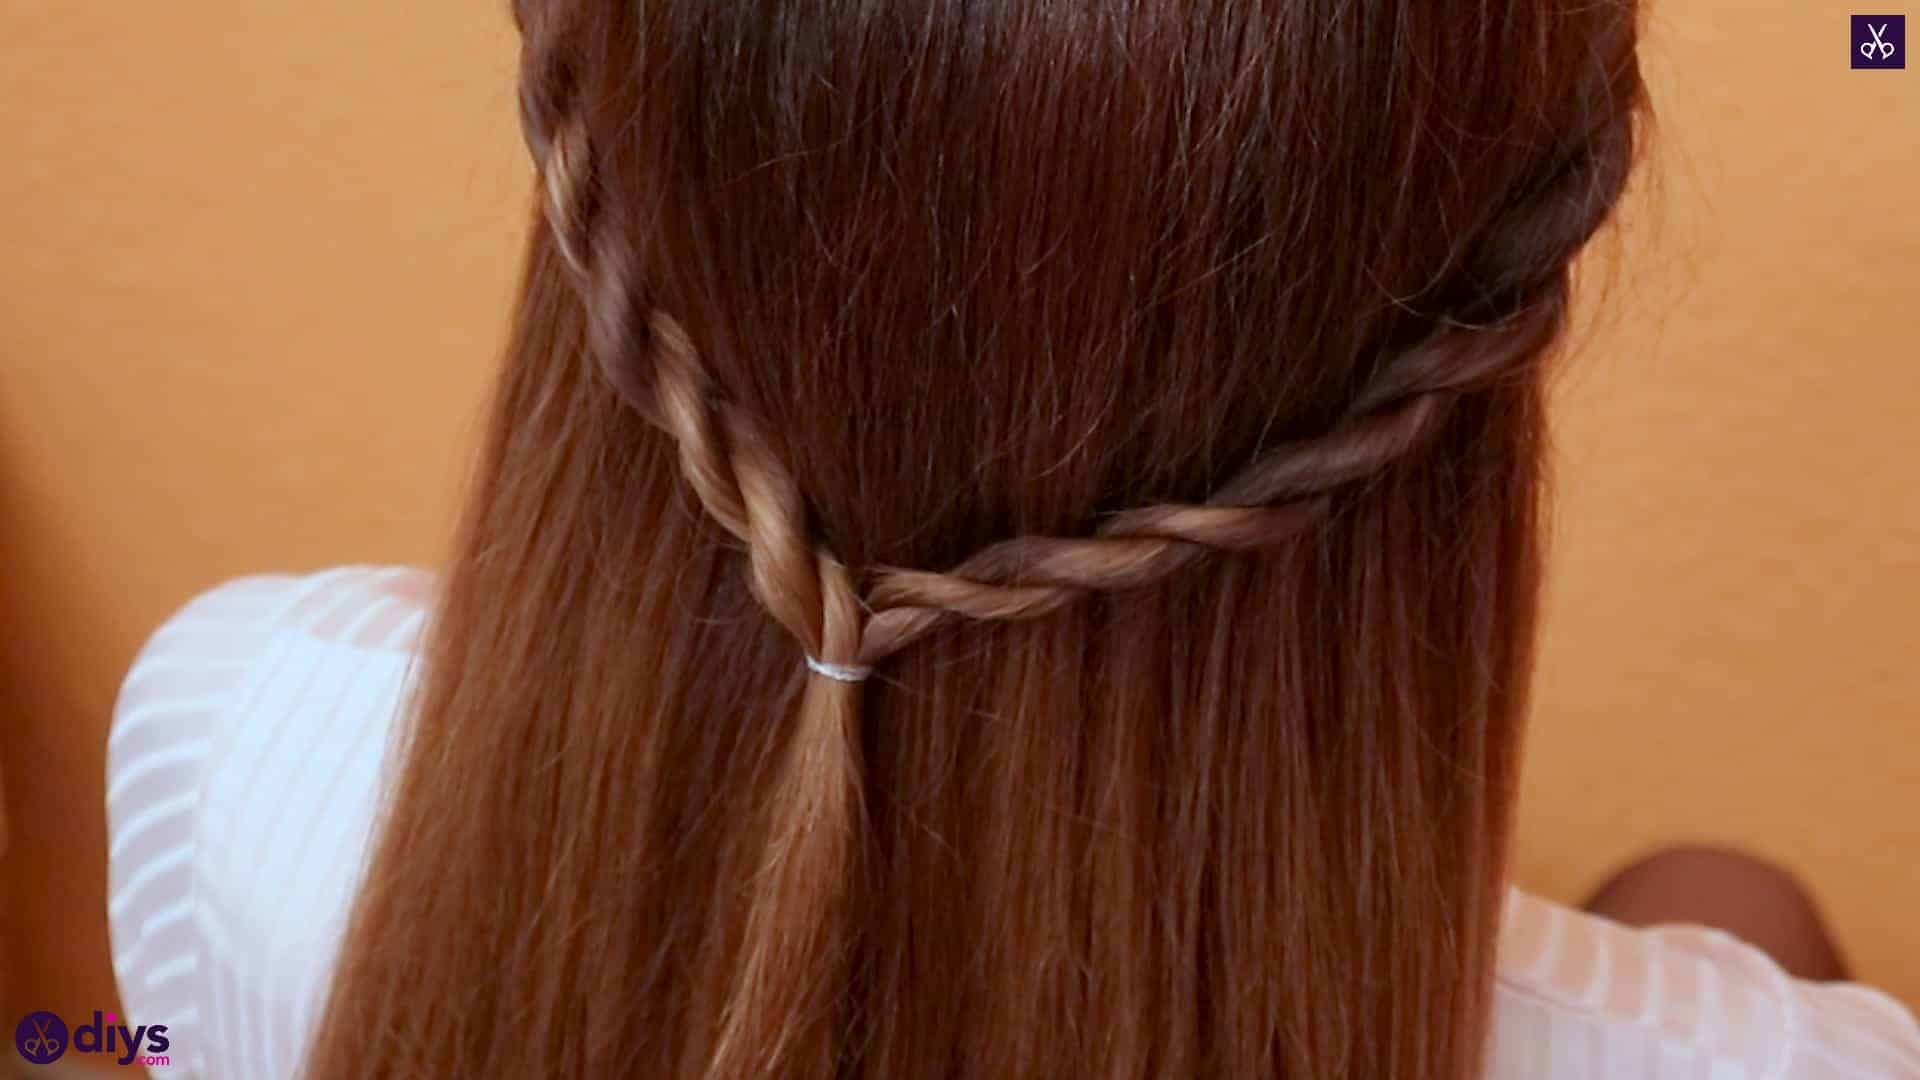
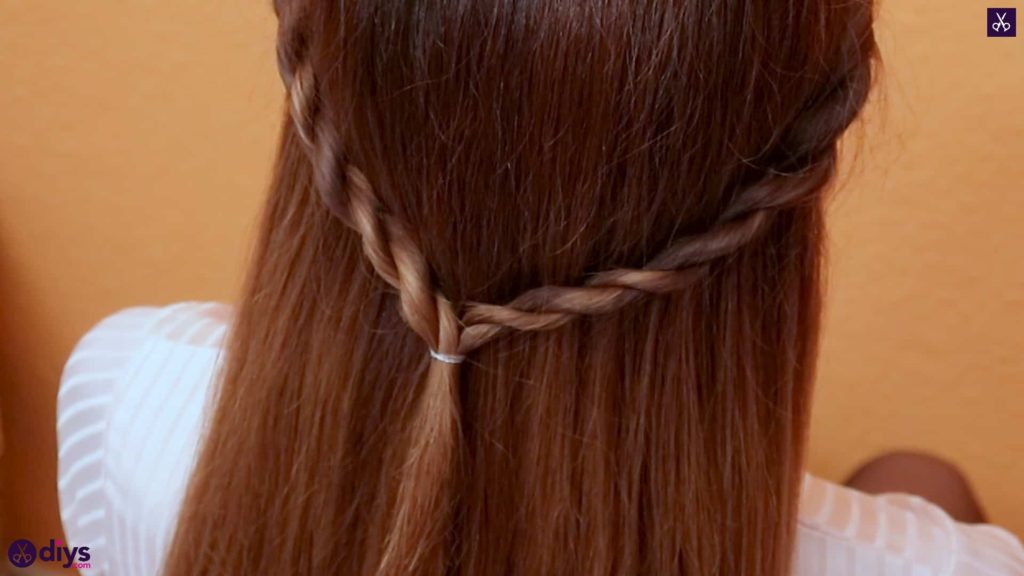
Style 3: “The relaxed mini-twists”
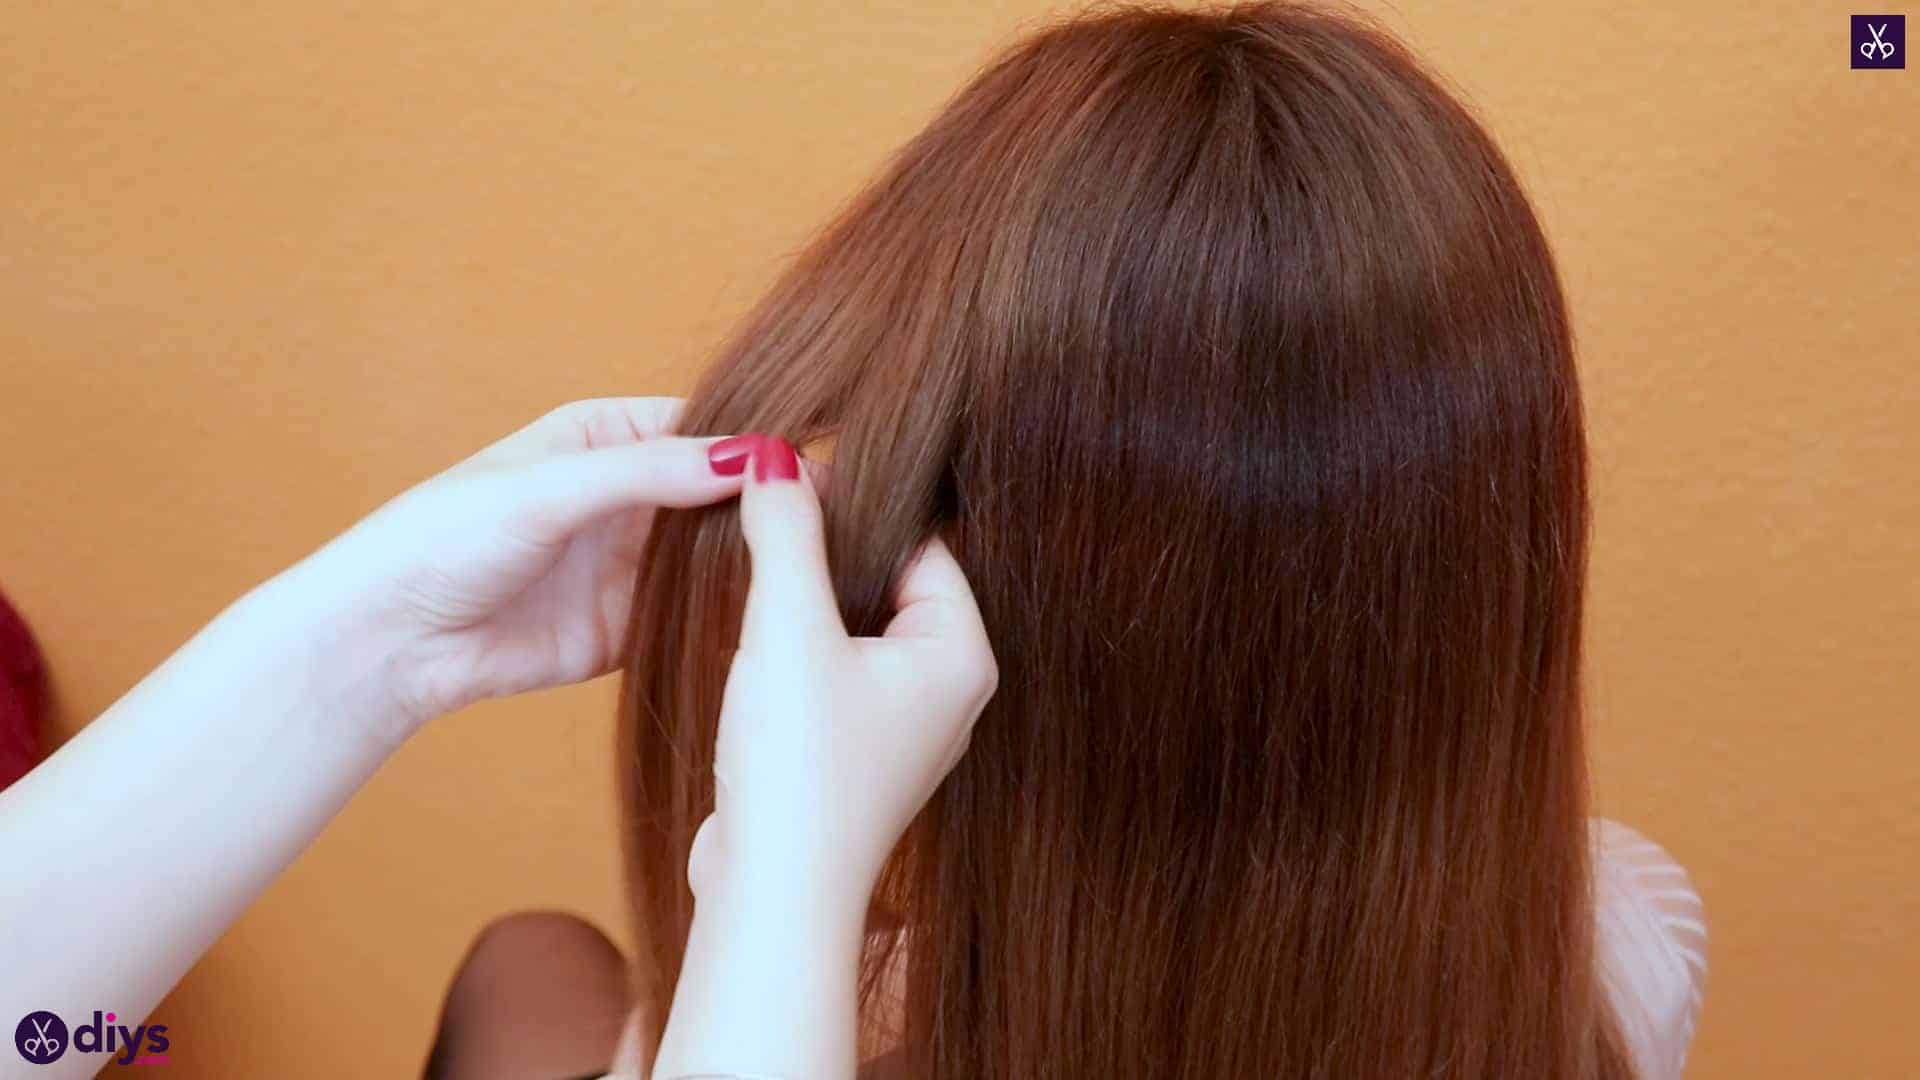
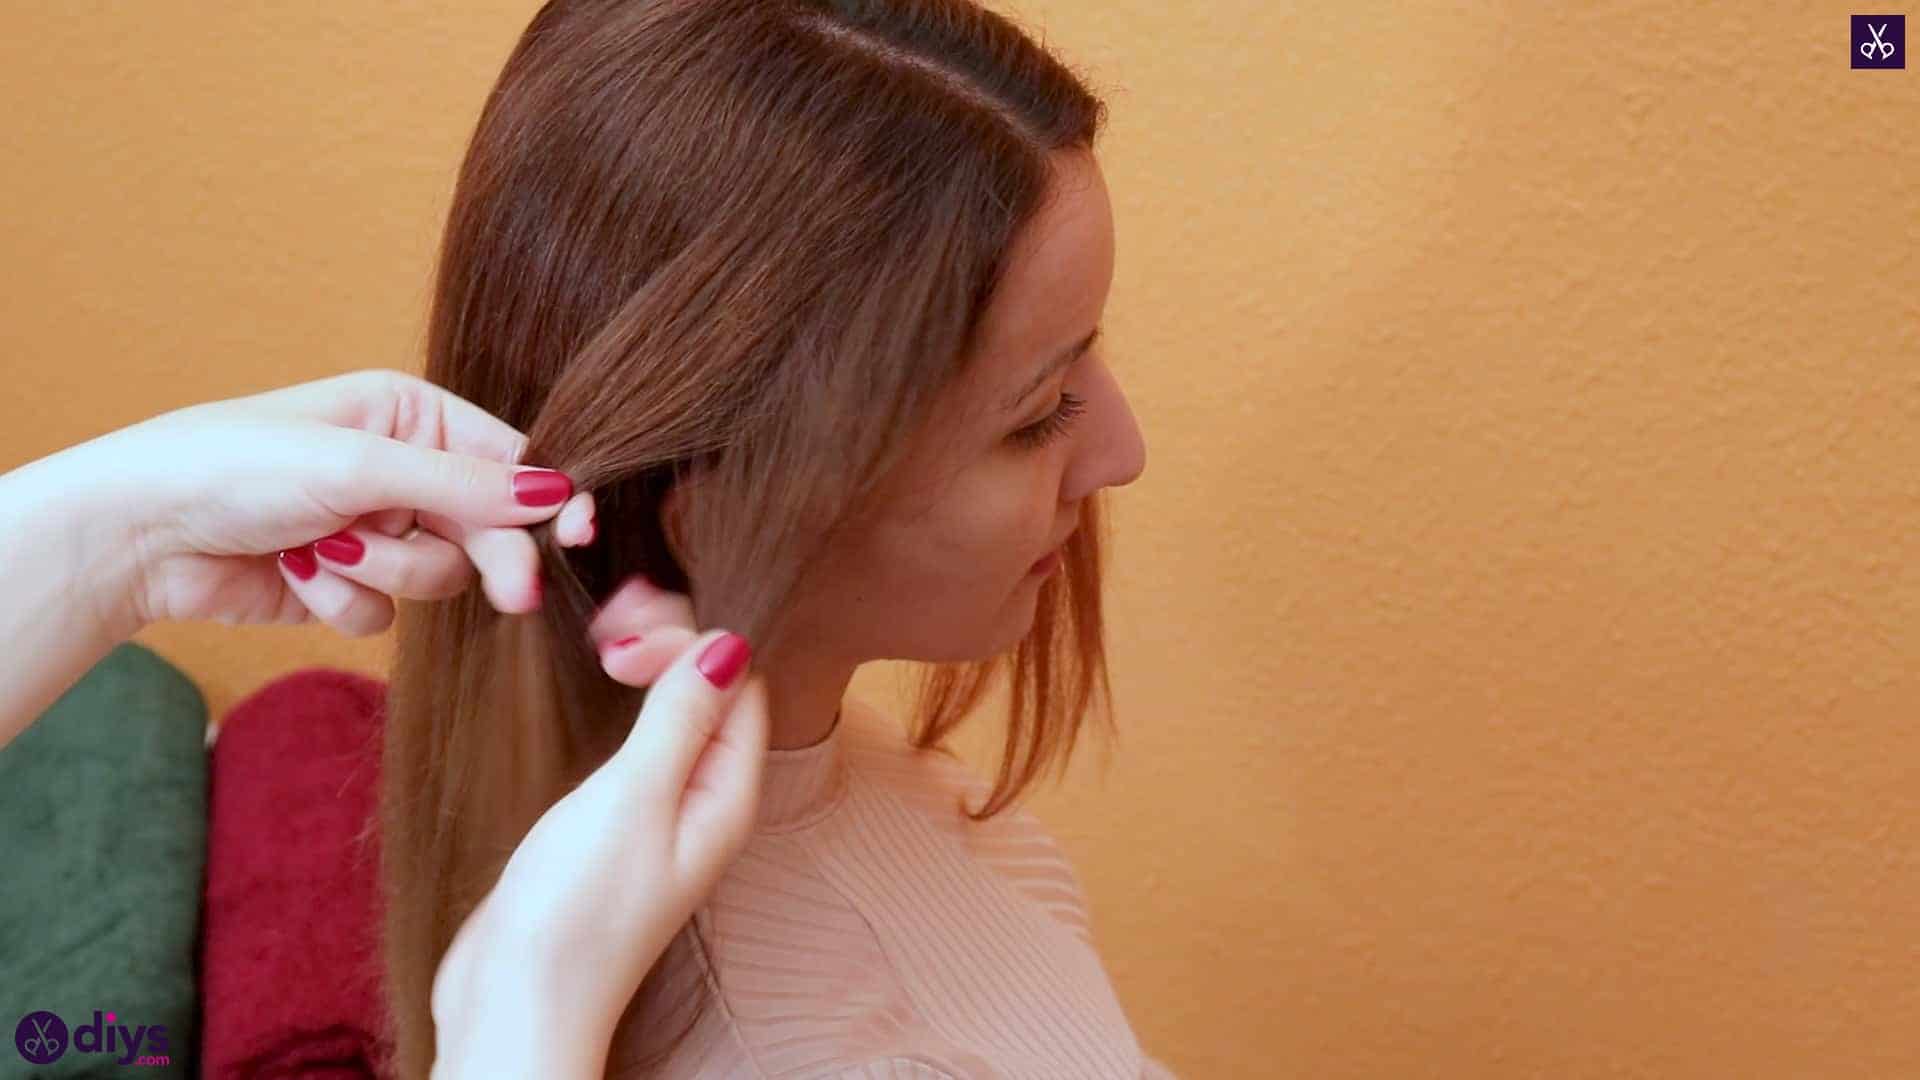
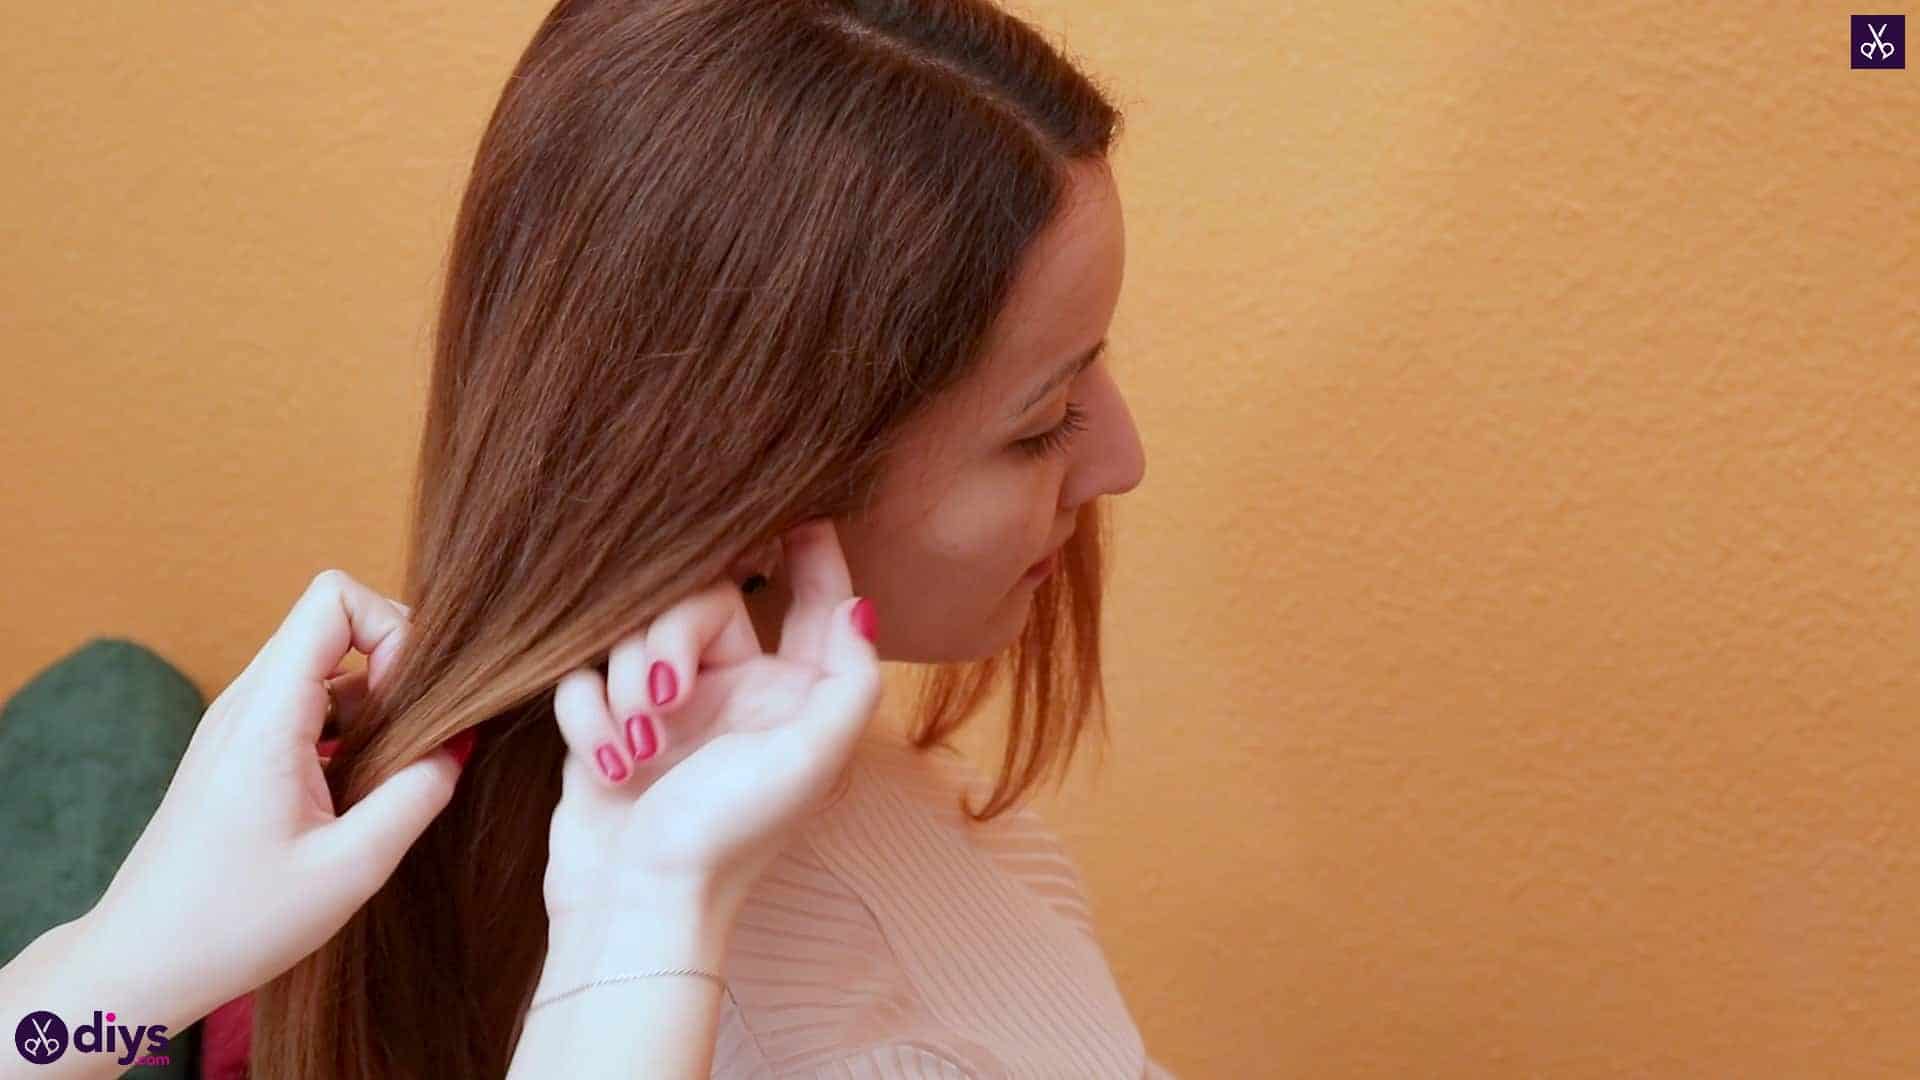
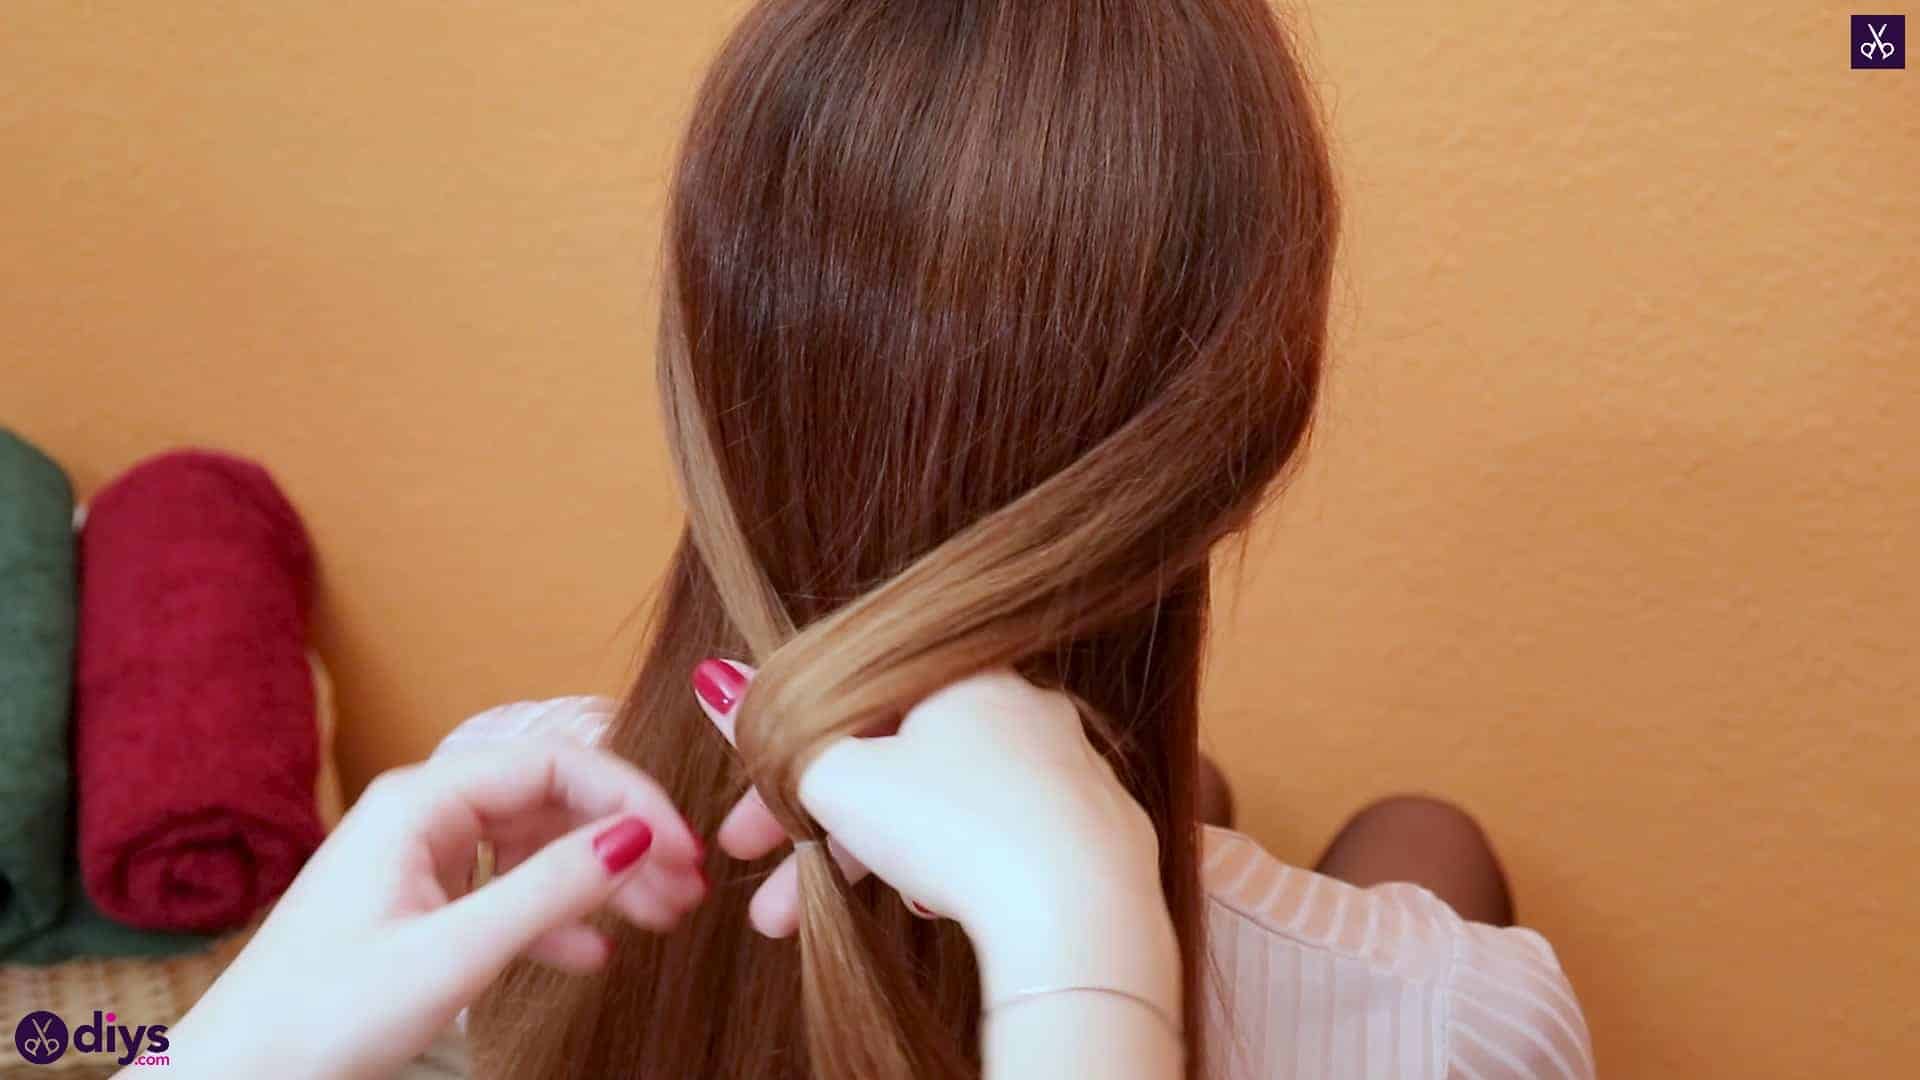
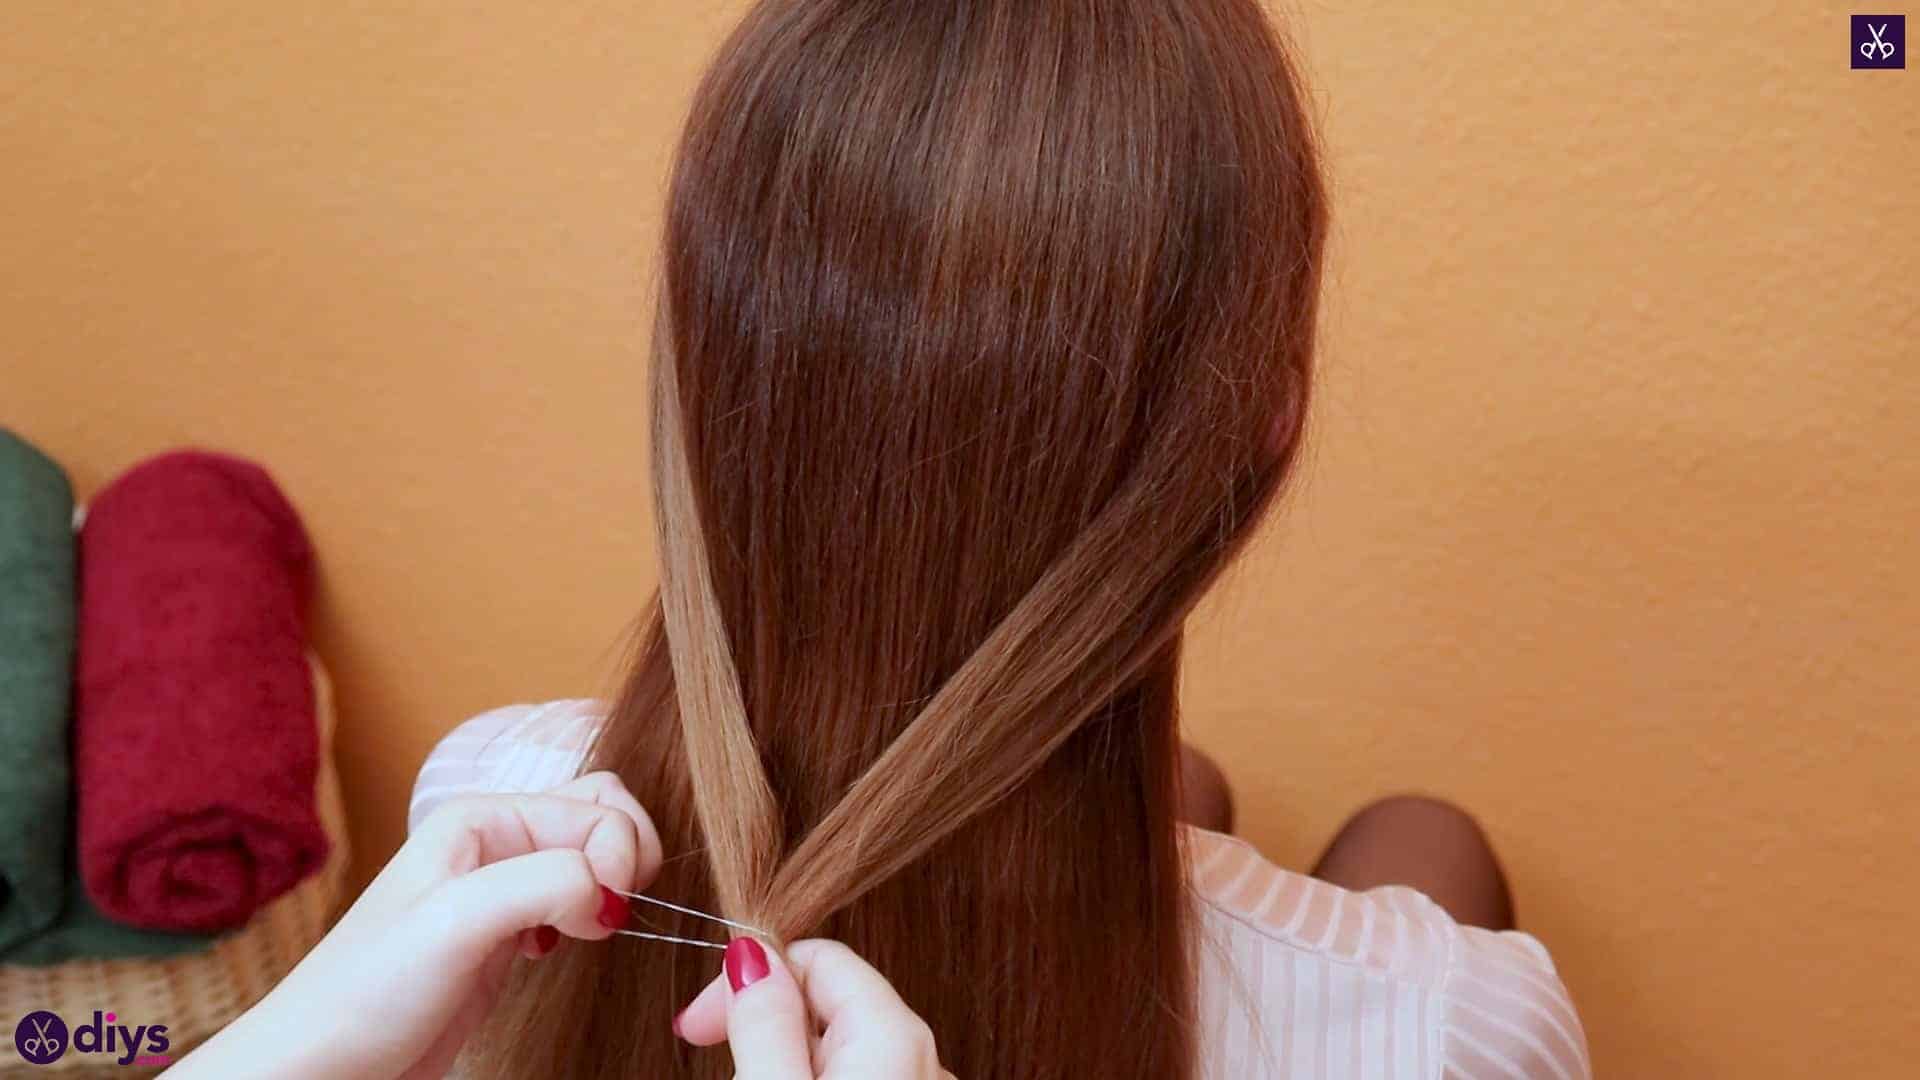
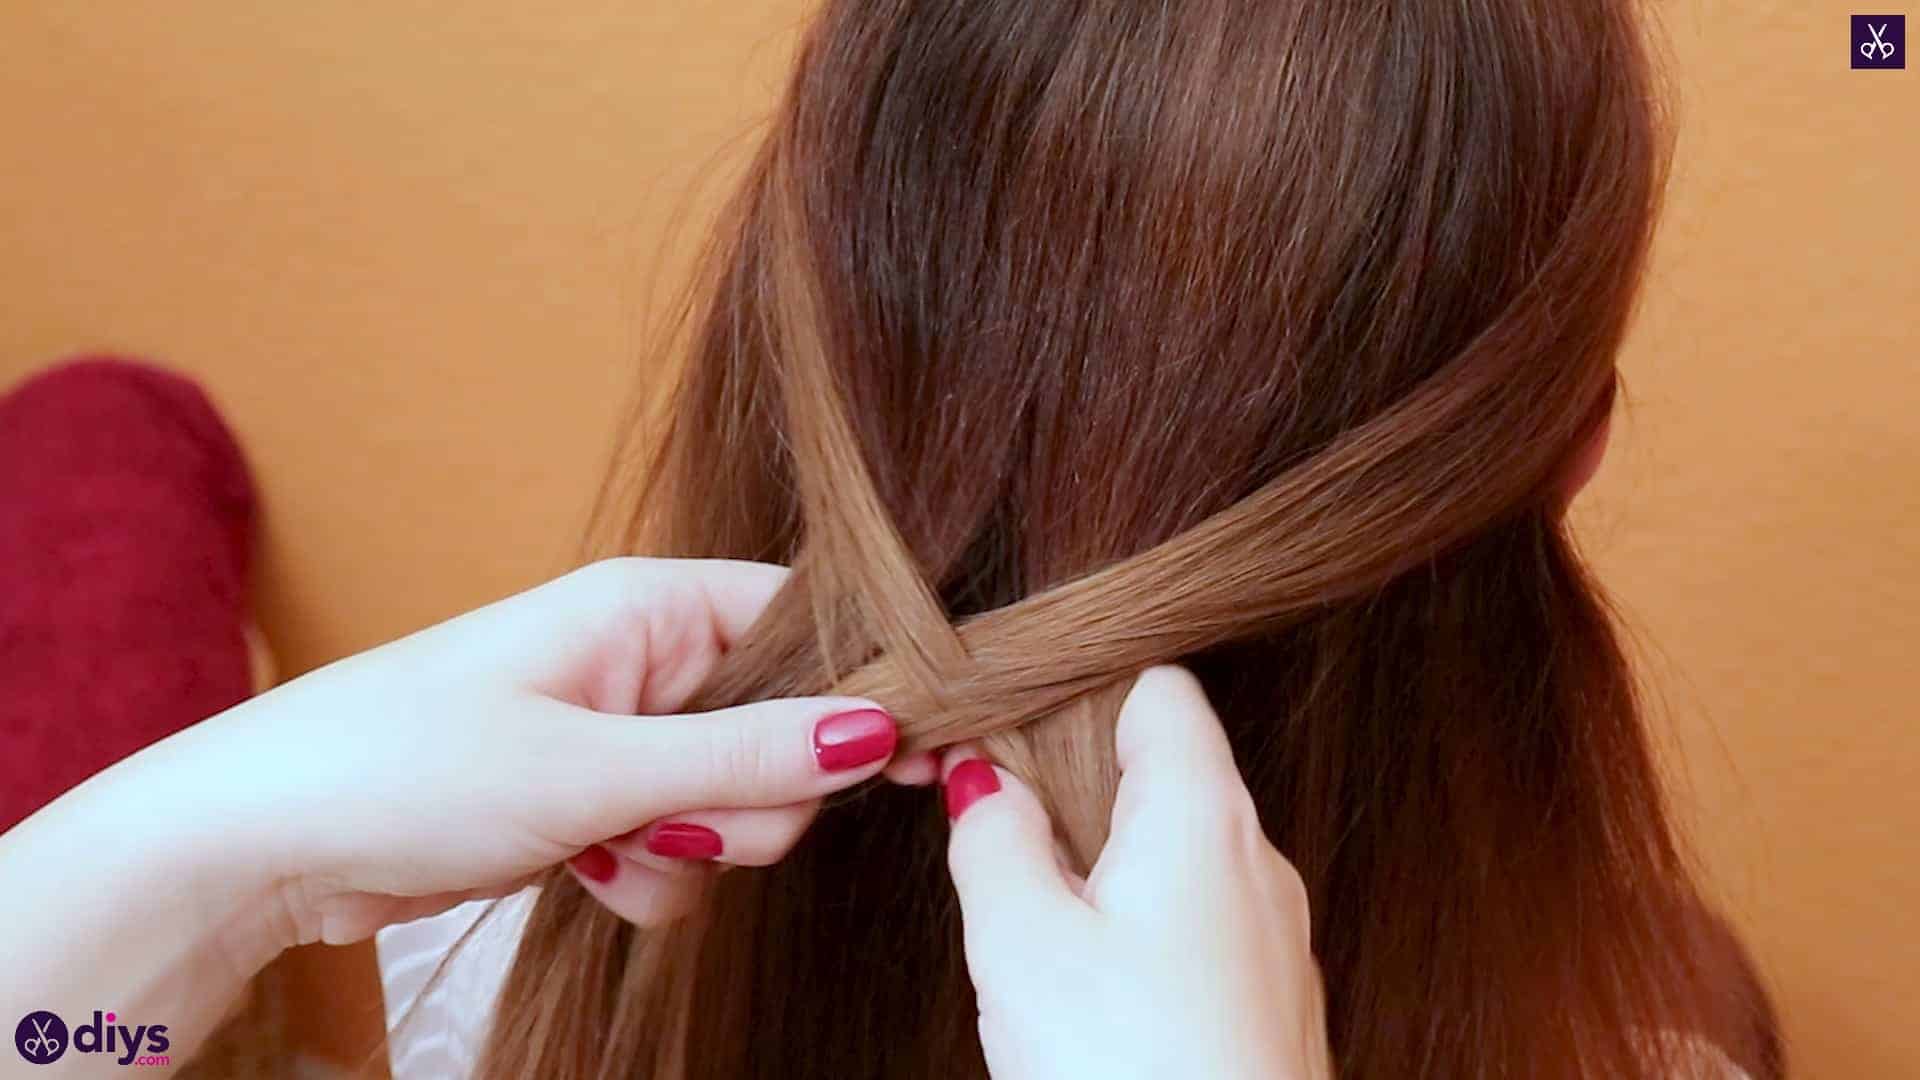
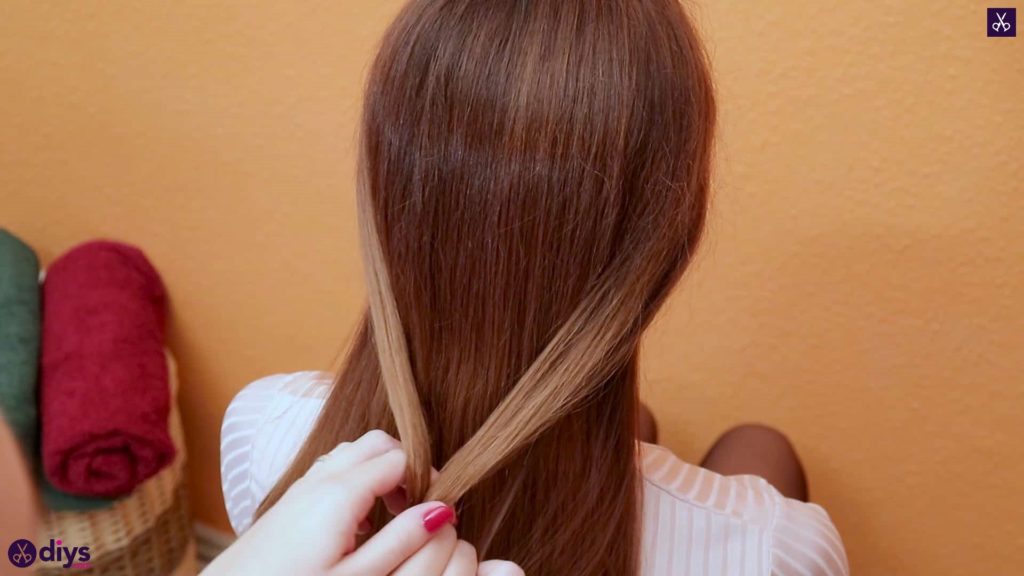
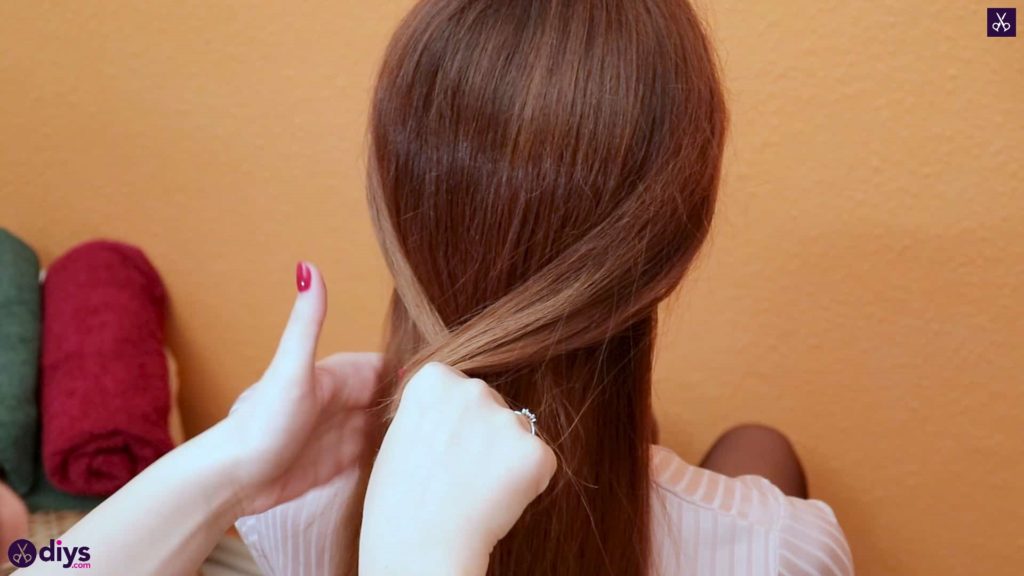
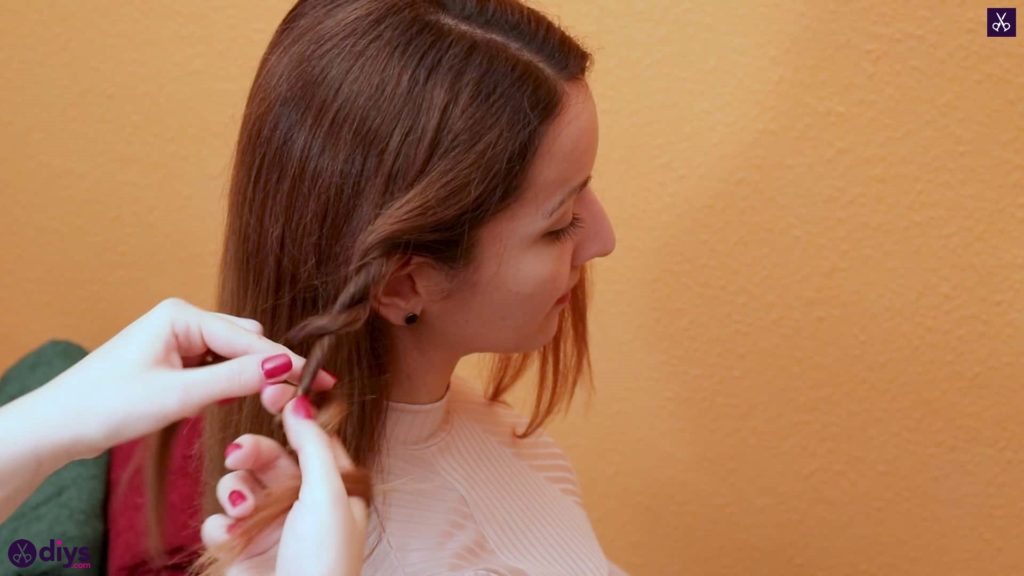
Step 1: brush and twist
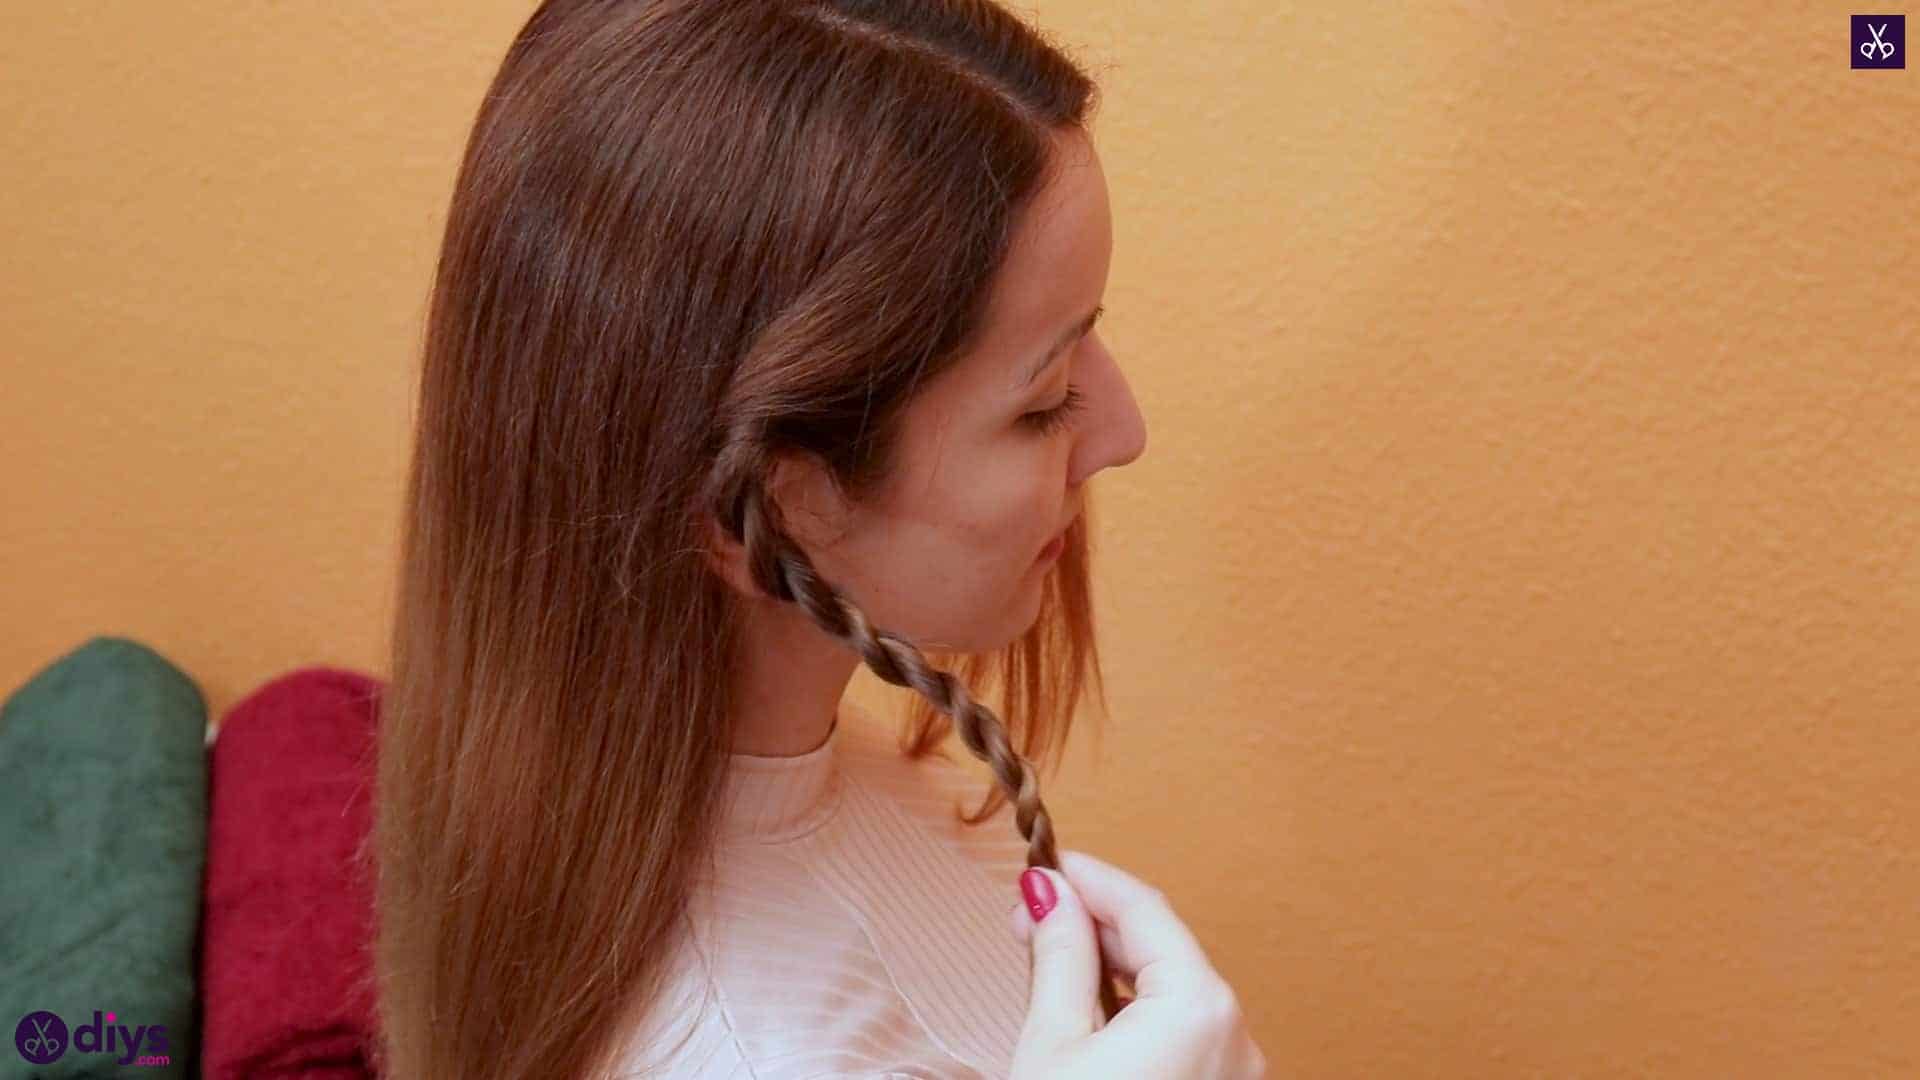
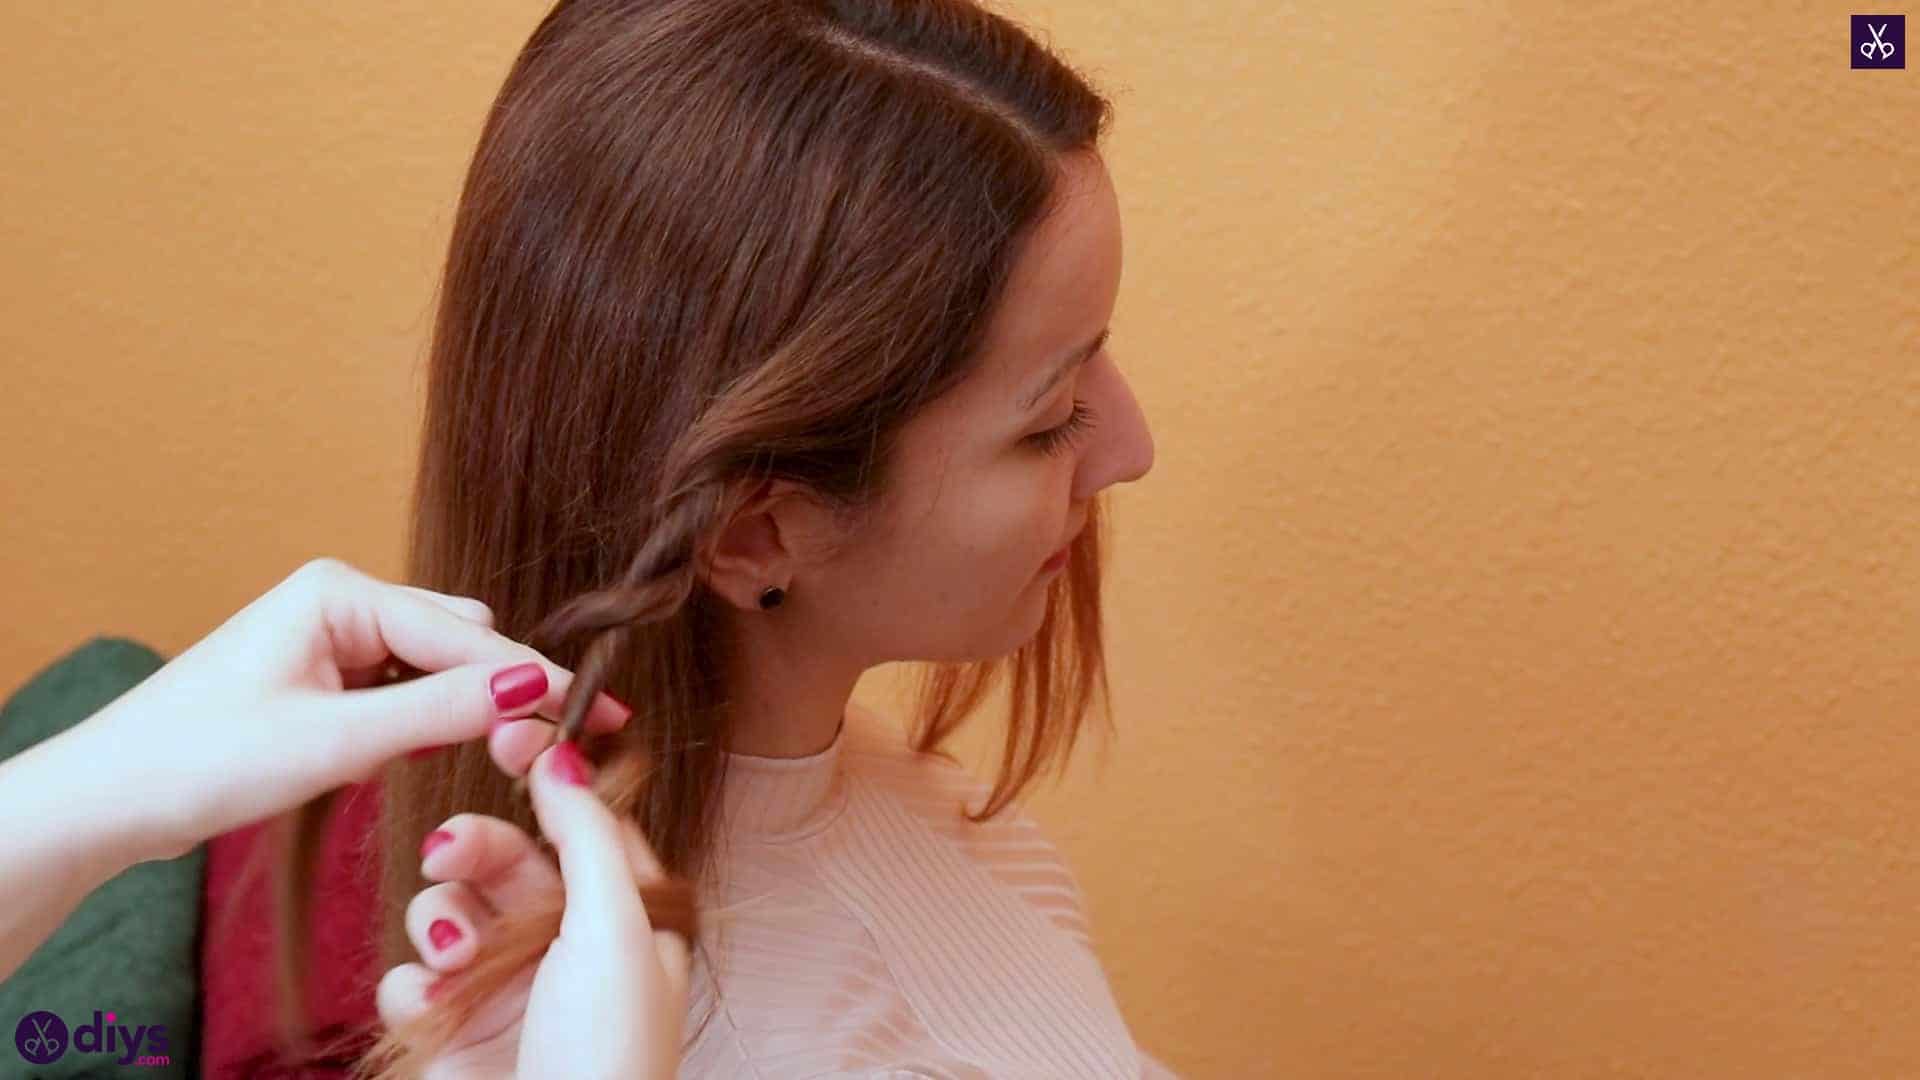
Brush your hair through entirely so it’s free of tangles and let it part naturally. Take a section of hair from the right side and, letting it hang gently where it’s comfortable, split it in half so you have two sections; one in each hand. Twist these two sections around each other; the best way to do this with good definition and a sold twist that won’t come undone is to give the strand in your right hand a twist to the right and then pass it over the left strand to your left hand, taking the left strand from underneath and into your right hand. Then twist that strand and pass it over the other, repeating the whole process over and over until you’ve reached the bottom of the hair’s length and your strands are too short. Pin, hold, or tie the end of this twist for the moment so it doesn’t unravel while you do the other side.


Step 2: repeat
Repeat the entire process on the left side as you just did on the right. If you feel better twisting to the right again because you’re right handed then do so, but if you’re more comfortable twisting to the left to match the side and create balance, that’s fine too. Direction isn’t pivotal; you just need twists! Hold onto the ends of this strand when you’re done to keep it from unravelling as well.

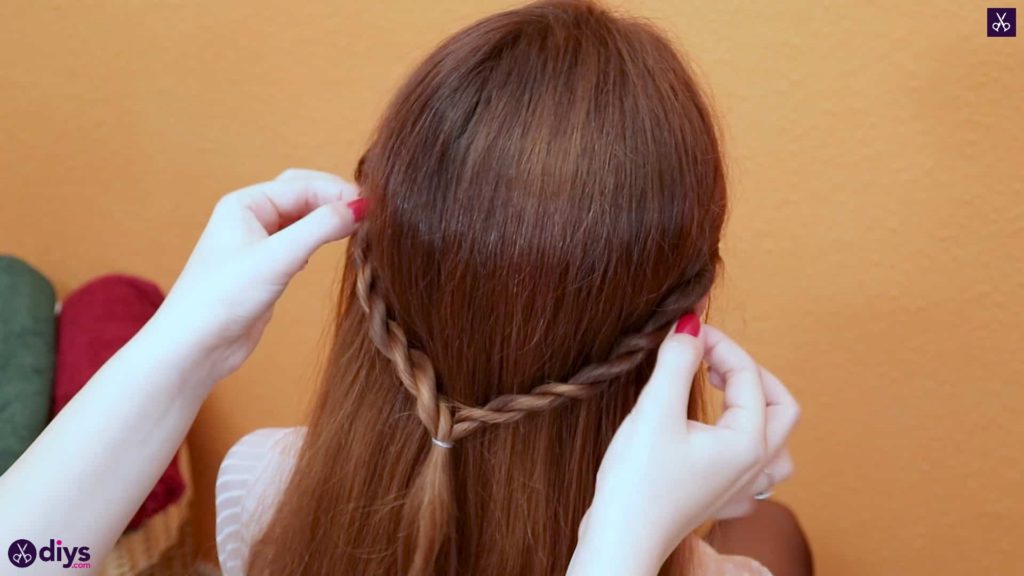
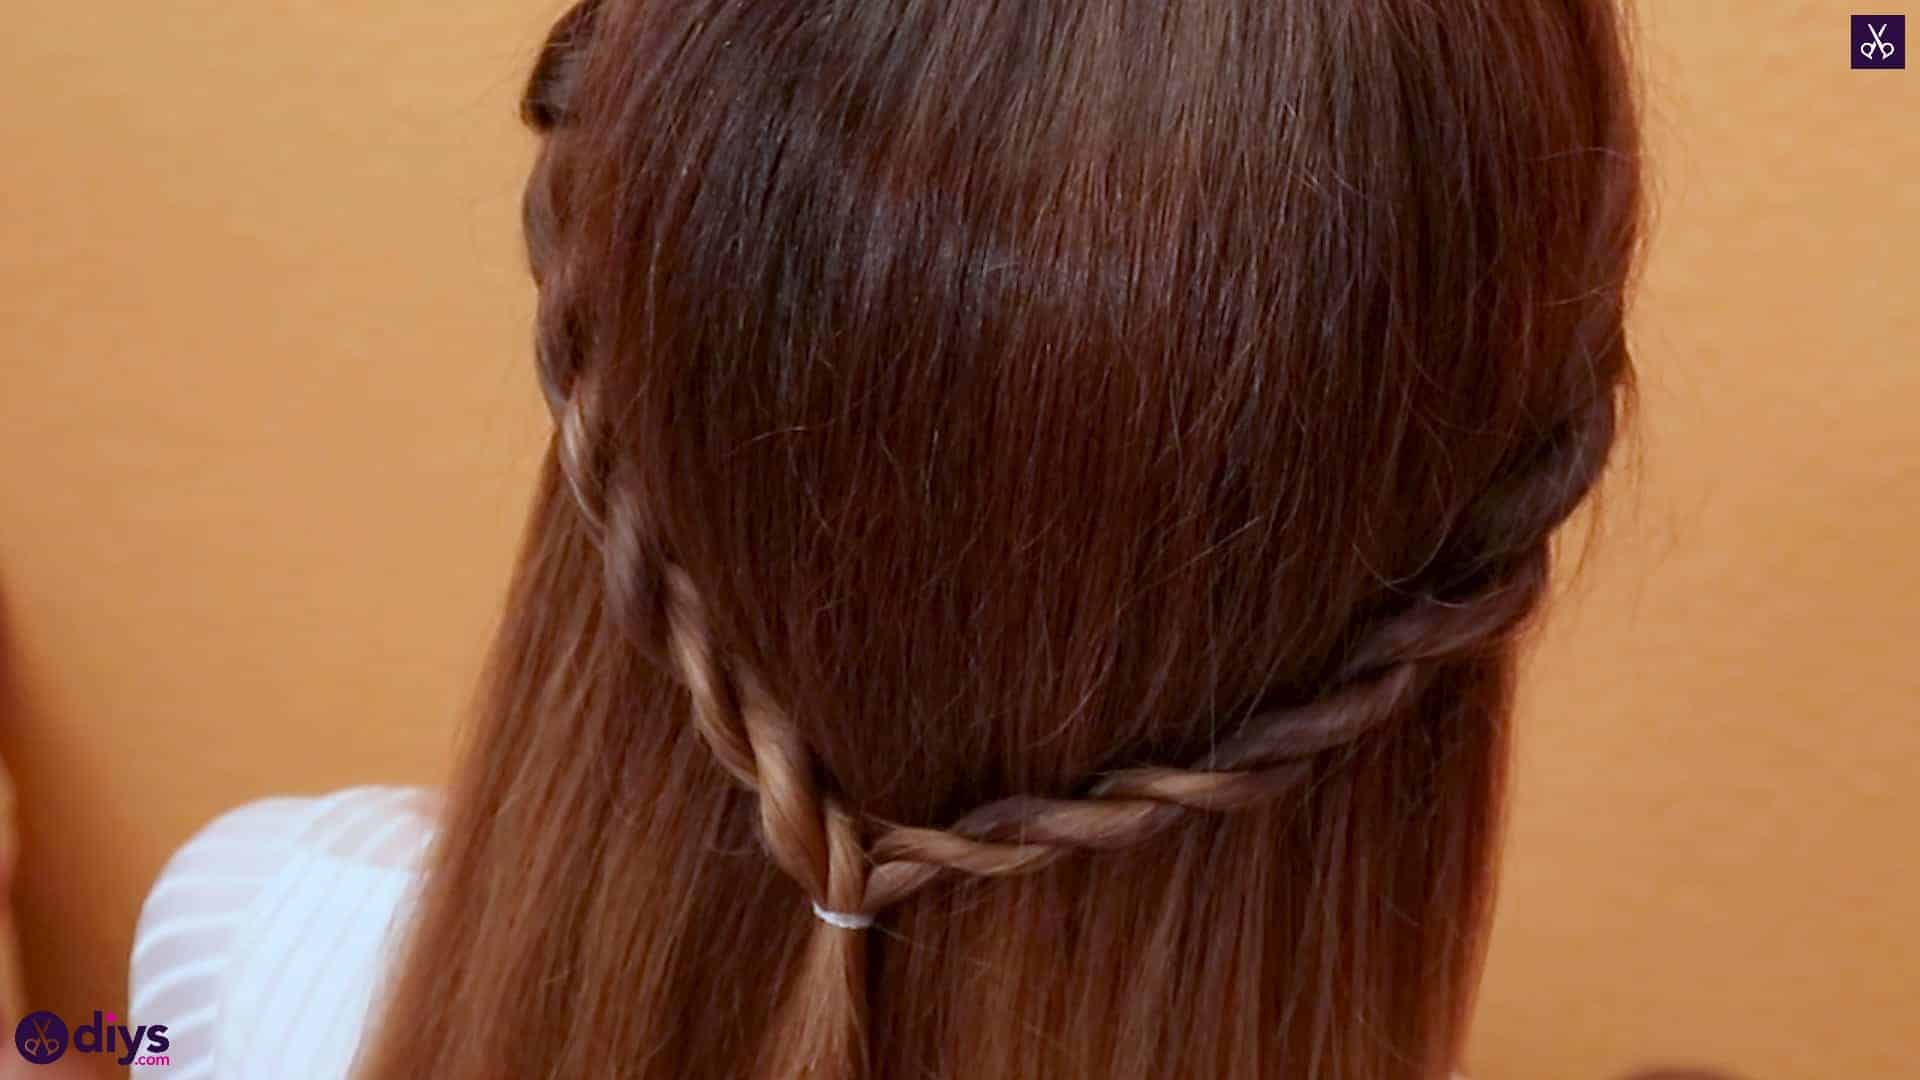
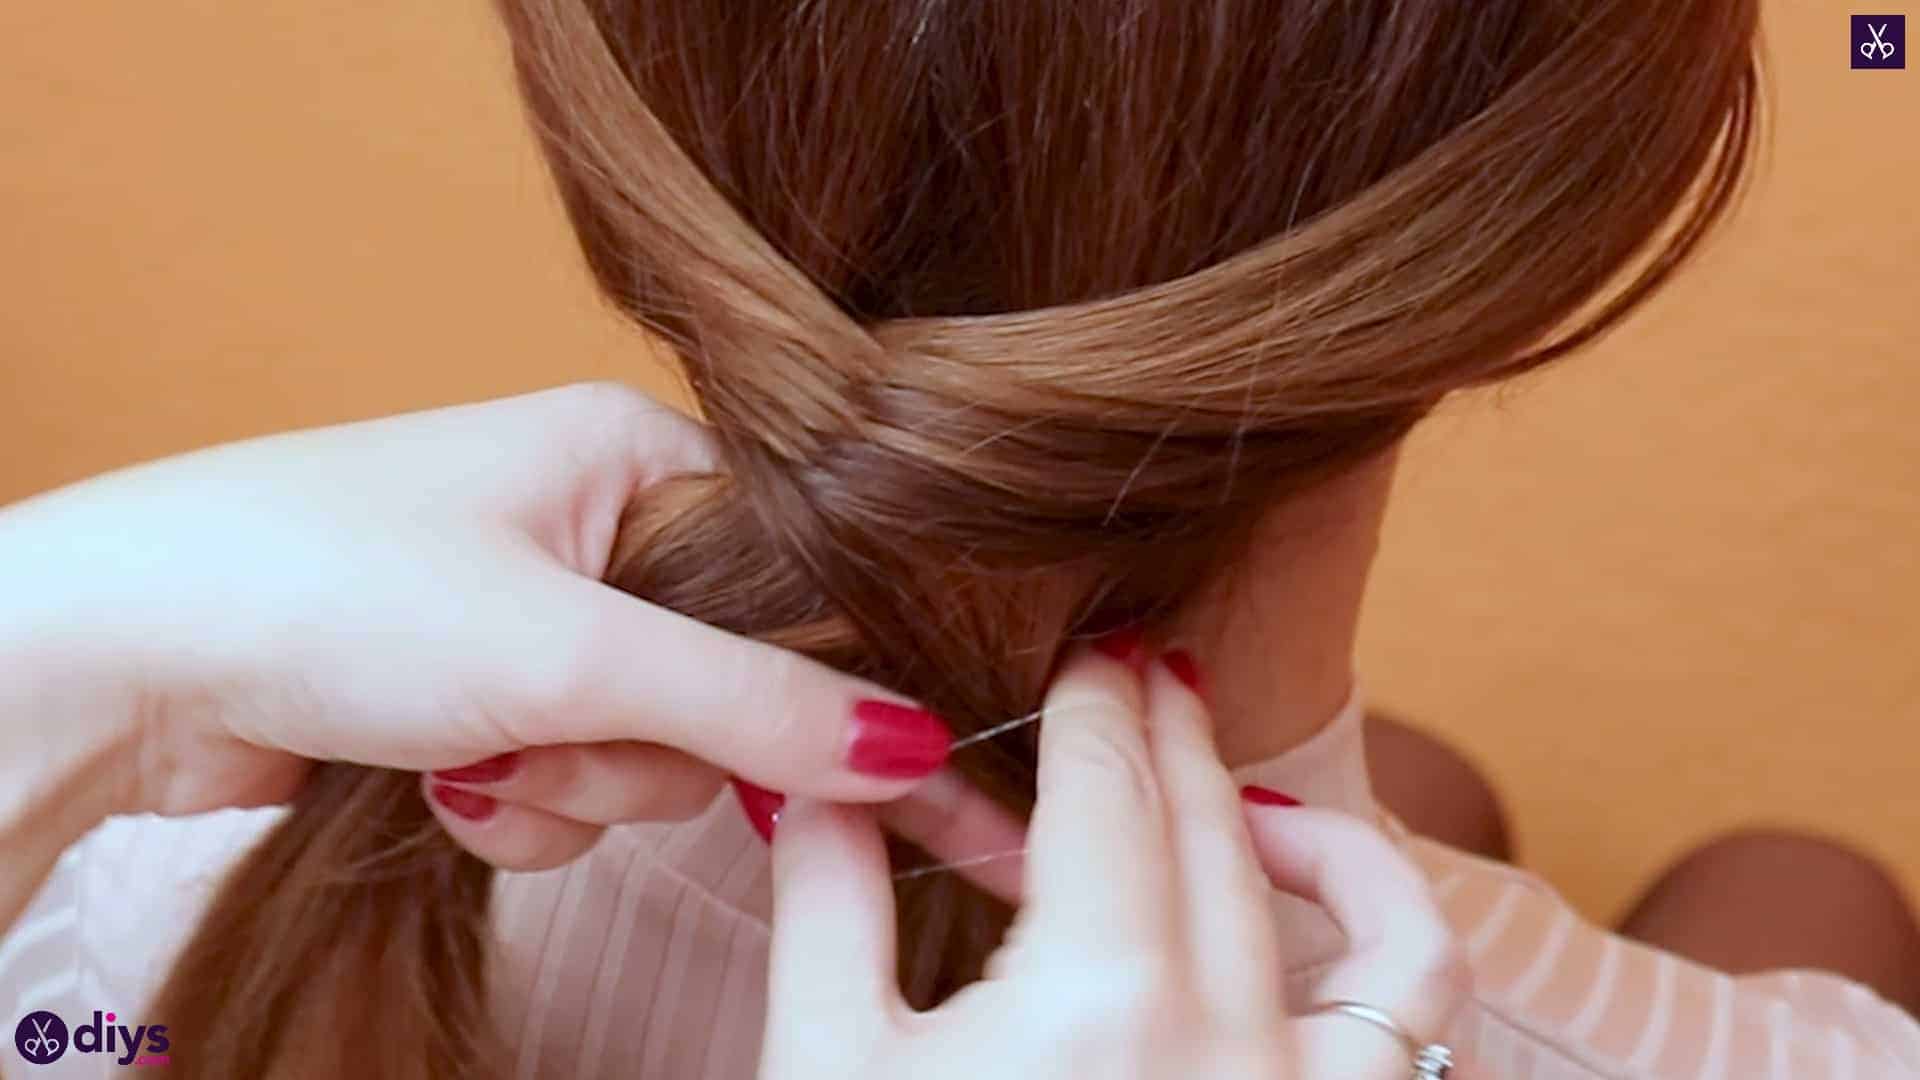
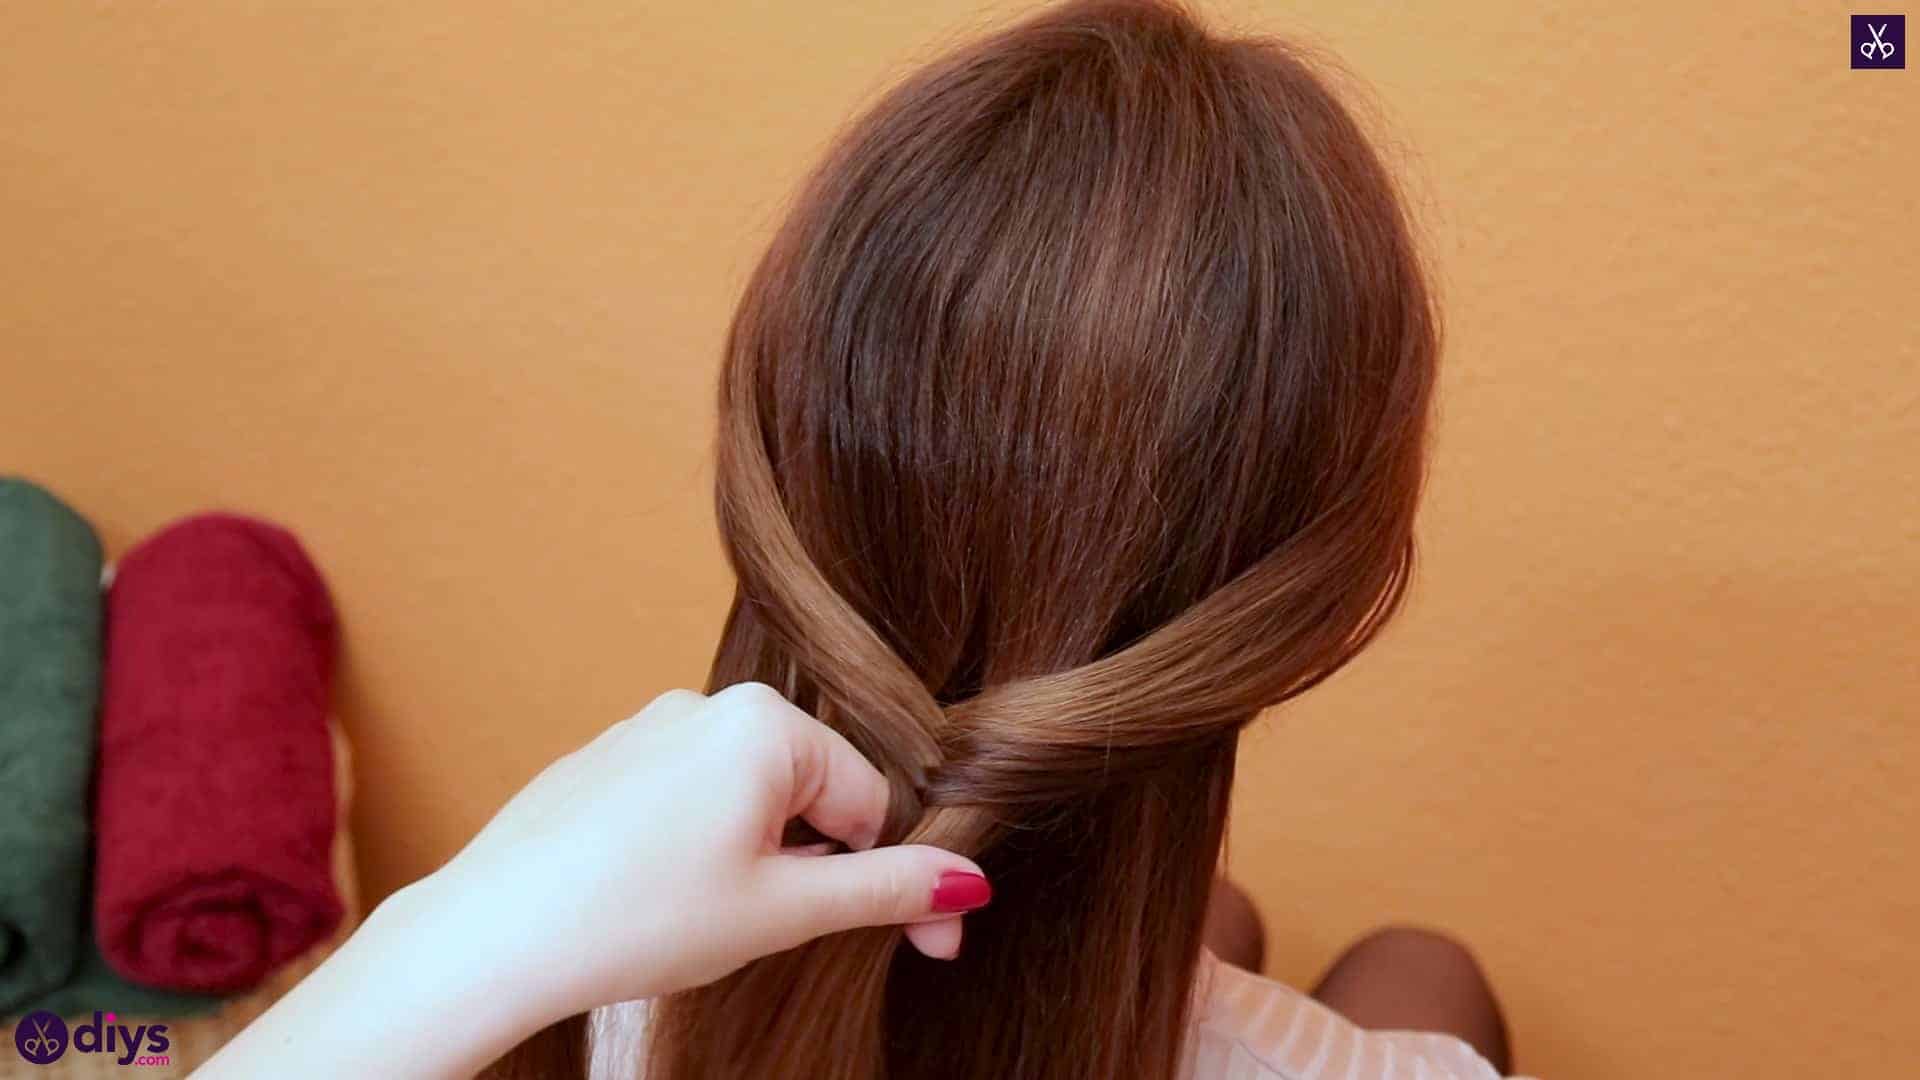
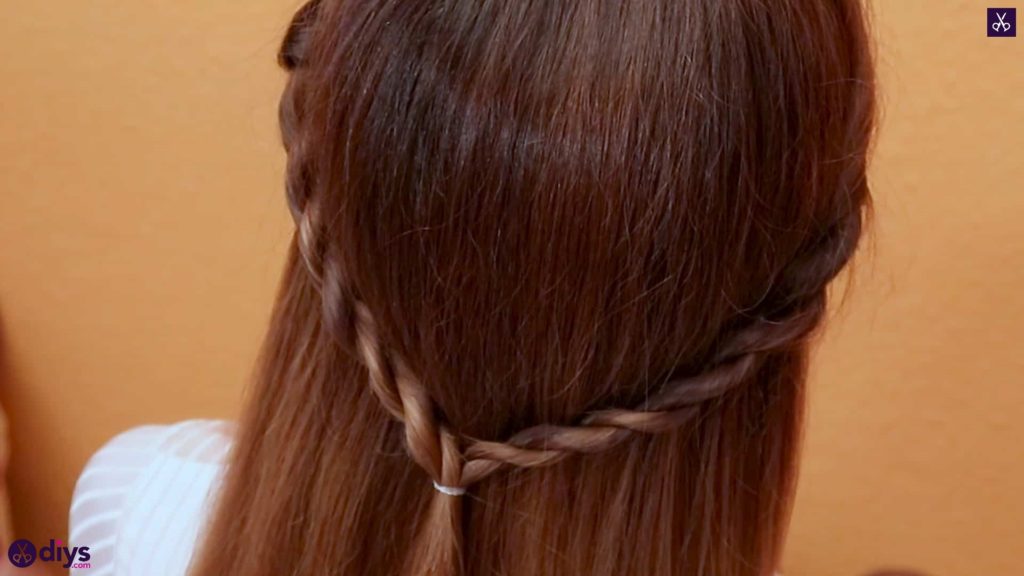
Step 3: finish with a tie
Bring both twisted strands around to the back, nice and loose so they meet in the center just about the nap of the neck. Don’t pull tightly; the goal is once again a relaxed, simple style. Hold your strands together where they meet and fasten them in place there with a small hair elastic (if you pinned or tied the ends of the first strand to hold it while you worked on the second, you can free them now in favor of pinching the two twists together where they meet). Untwist or brush out the hair below the elastic if some of it is still twisted and adjust or settle the style until you’re happy with how it sits.
Just in case you’d like to try any of these styles out for yourself, here’s a fantastic tutorial video to help you!