How to Make Real Looking Paper Roses Step by Step
Updated on November 19, 2025


If we’re being honest, I’ve always loved paper based crafts. Even the simple cut and paste crafts I make with my kids give me a little DIY thrill. Every once in a while, however, I get the itch to make something a little more advanced. Being a lifelong lover of flowers in addition to being a crafting enthusiast, I doubt it’ll surprise you to learn that I recently fell in love with making realistic paper roses. In fact, I’ve made enough now that they’re dotted all over my house and people have started asking how they’re done. That’s why I decided to lay it out for other people to follow along.
Check out these step by step instructions complete with photos! If you’d rather follow along with a video tutorial instead of written words, scroll to the bottom of this post to find just what you’re looking for.
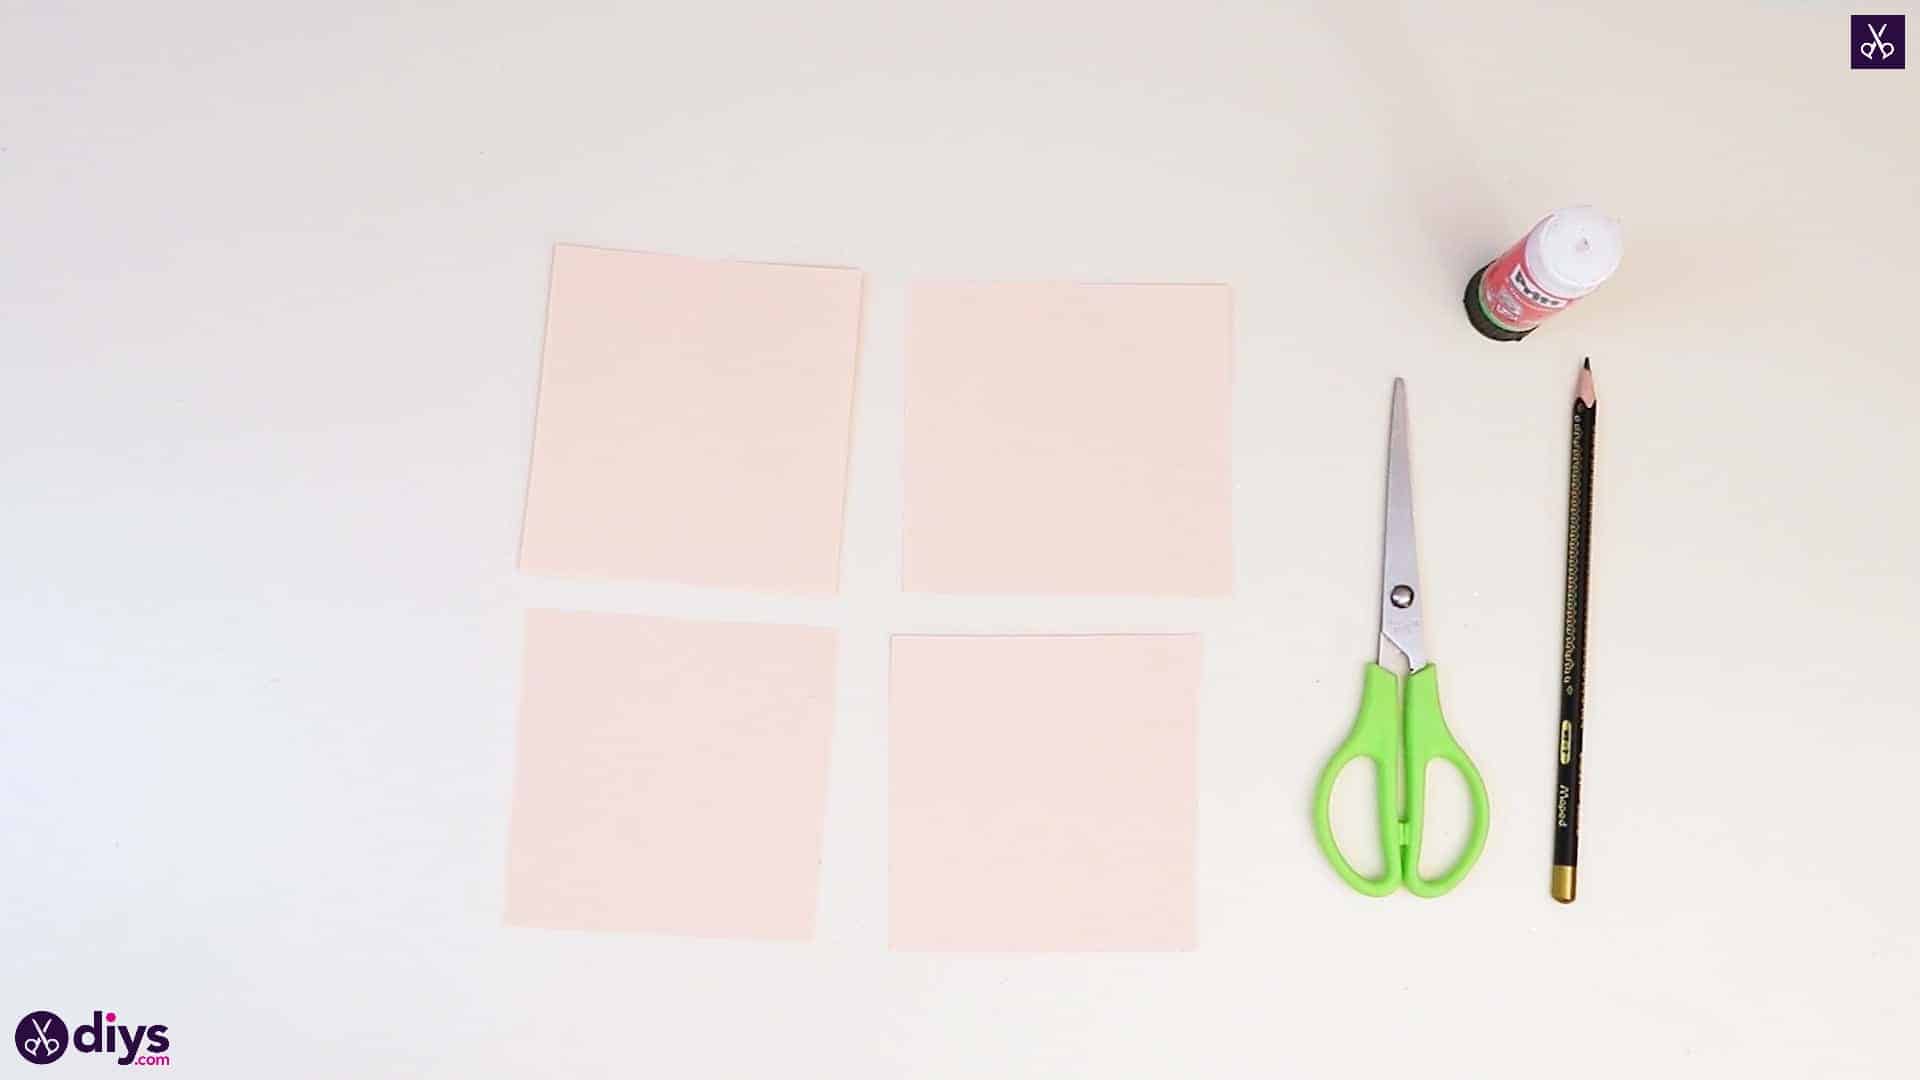
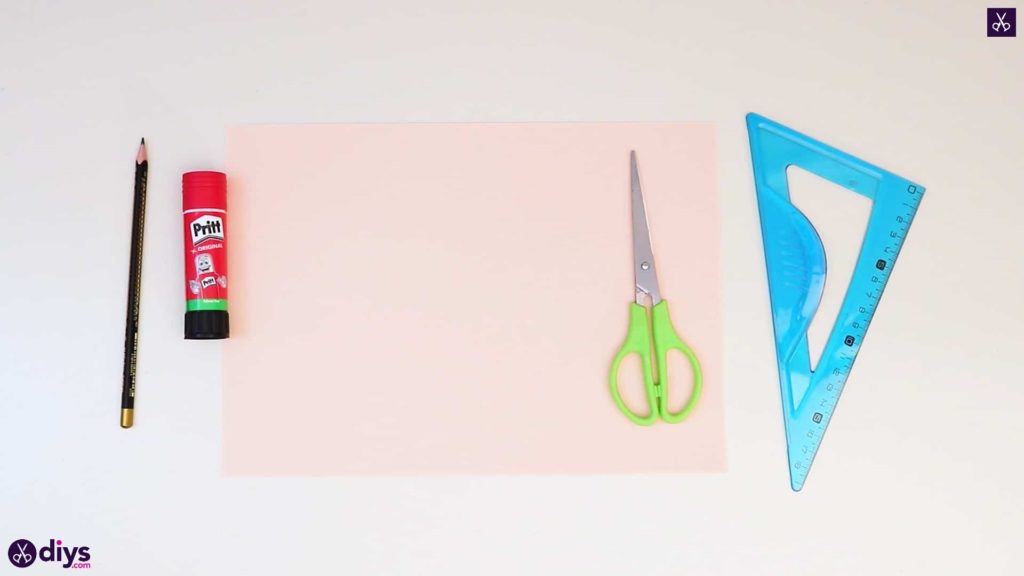
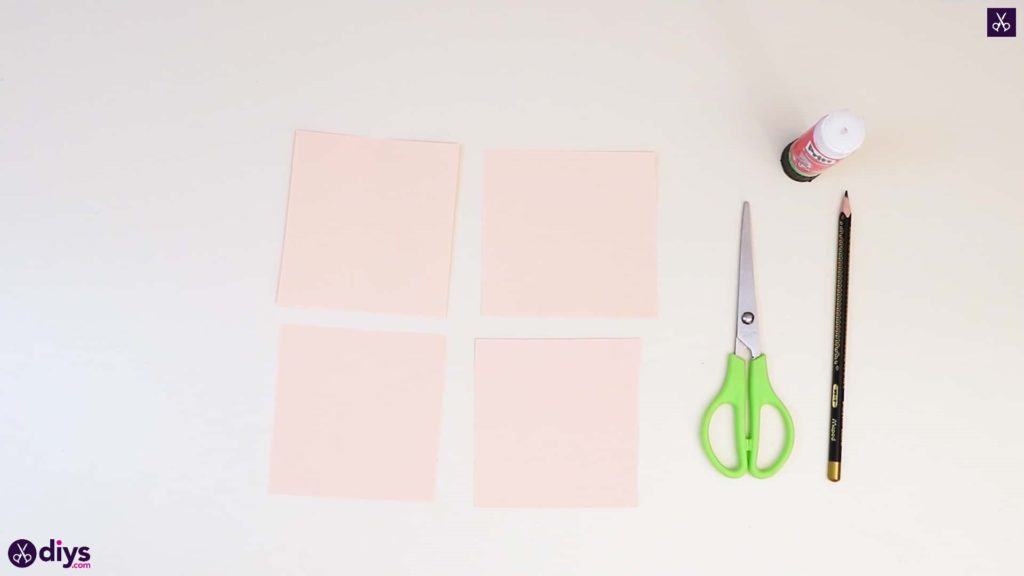
For this project, you’ll need:
- Pink paper
- A pencil
- Scissors
- A glue stick
- A ruler
Step 1: get ready
Gather your materials from your list!
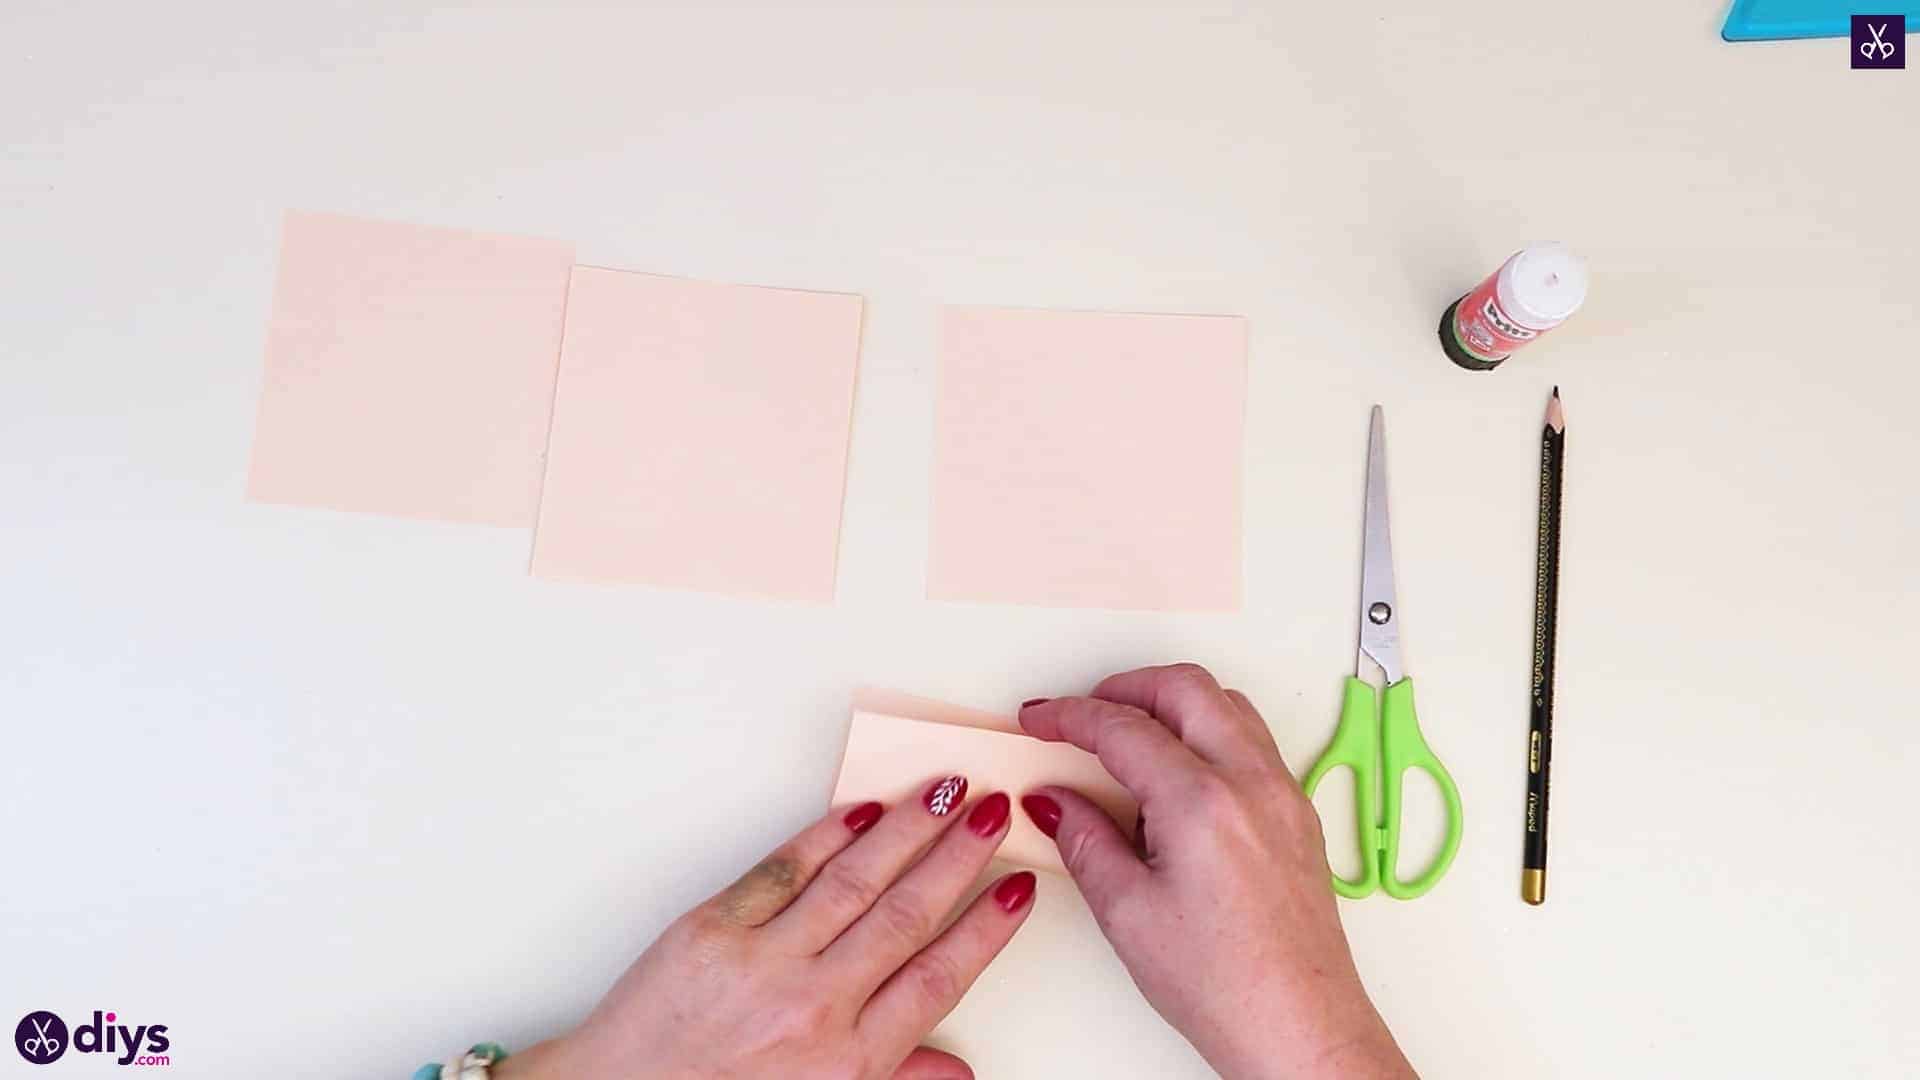
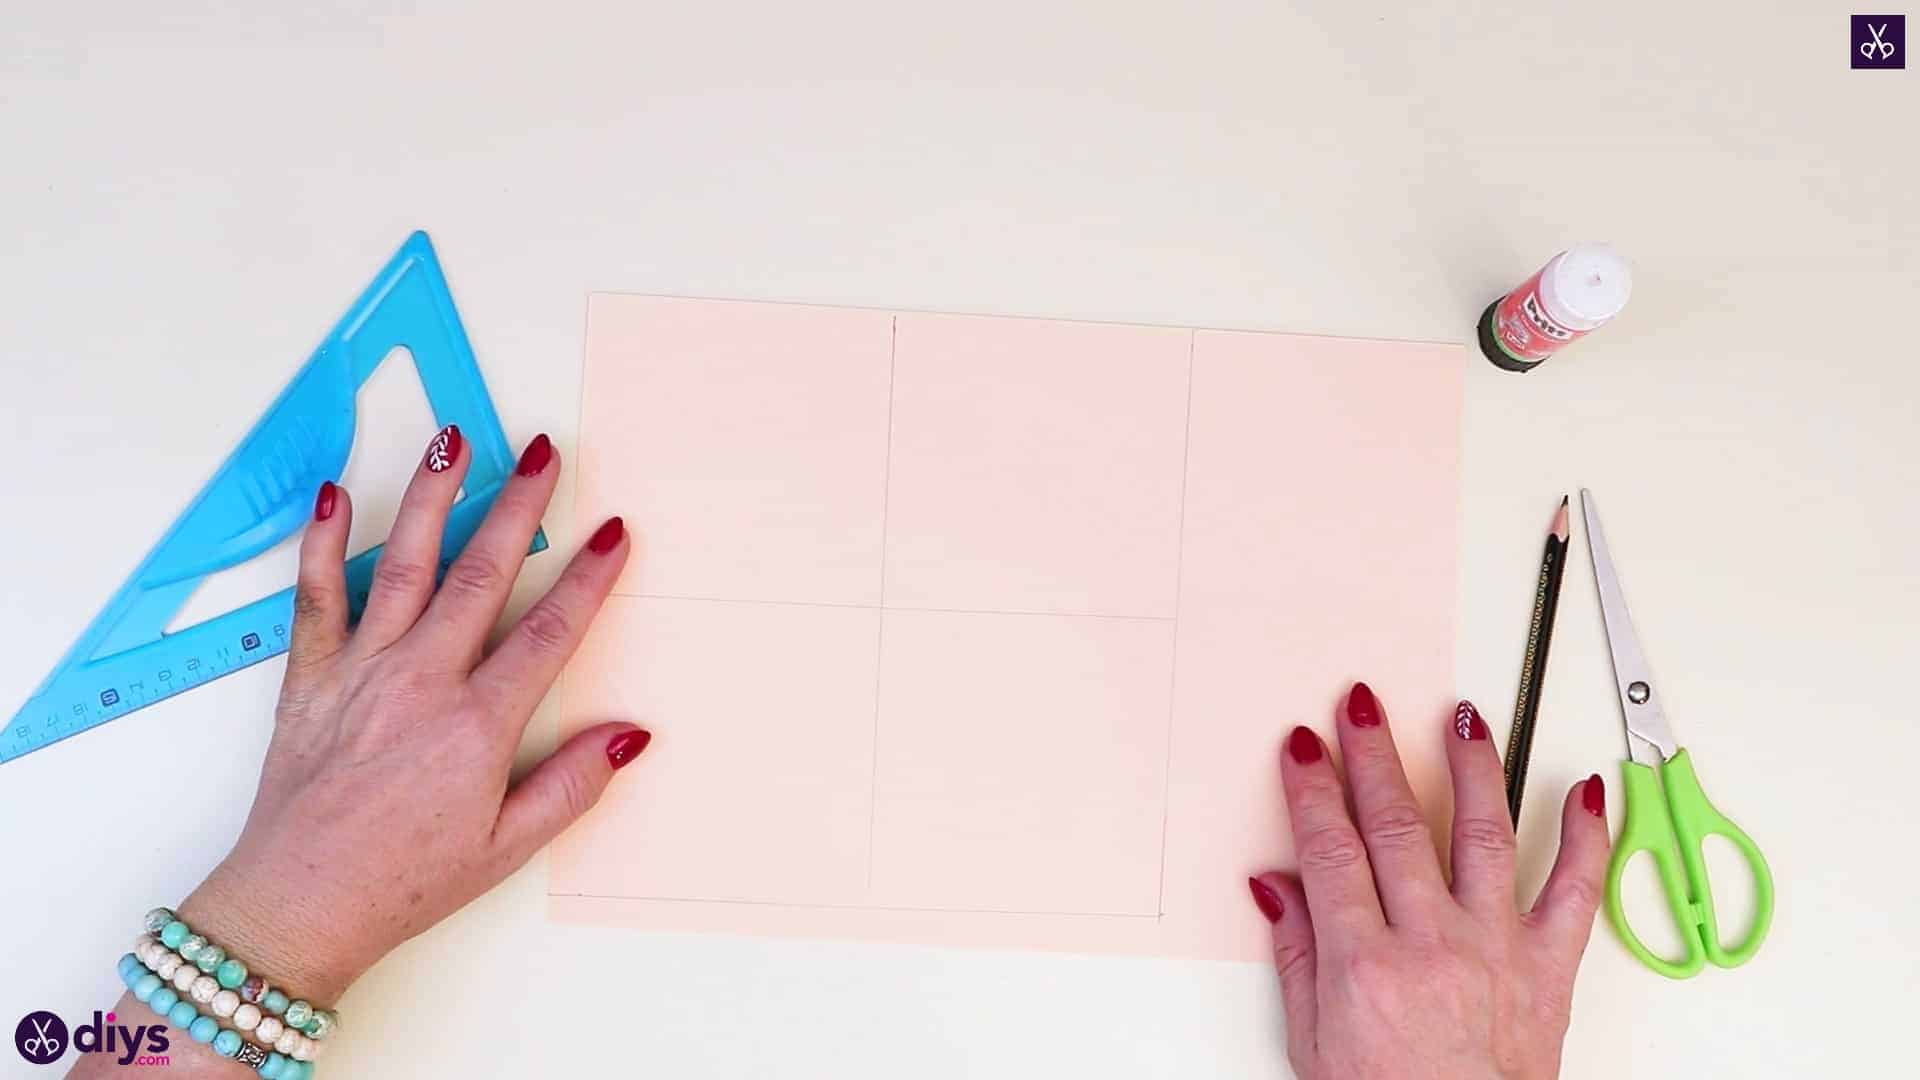
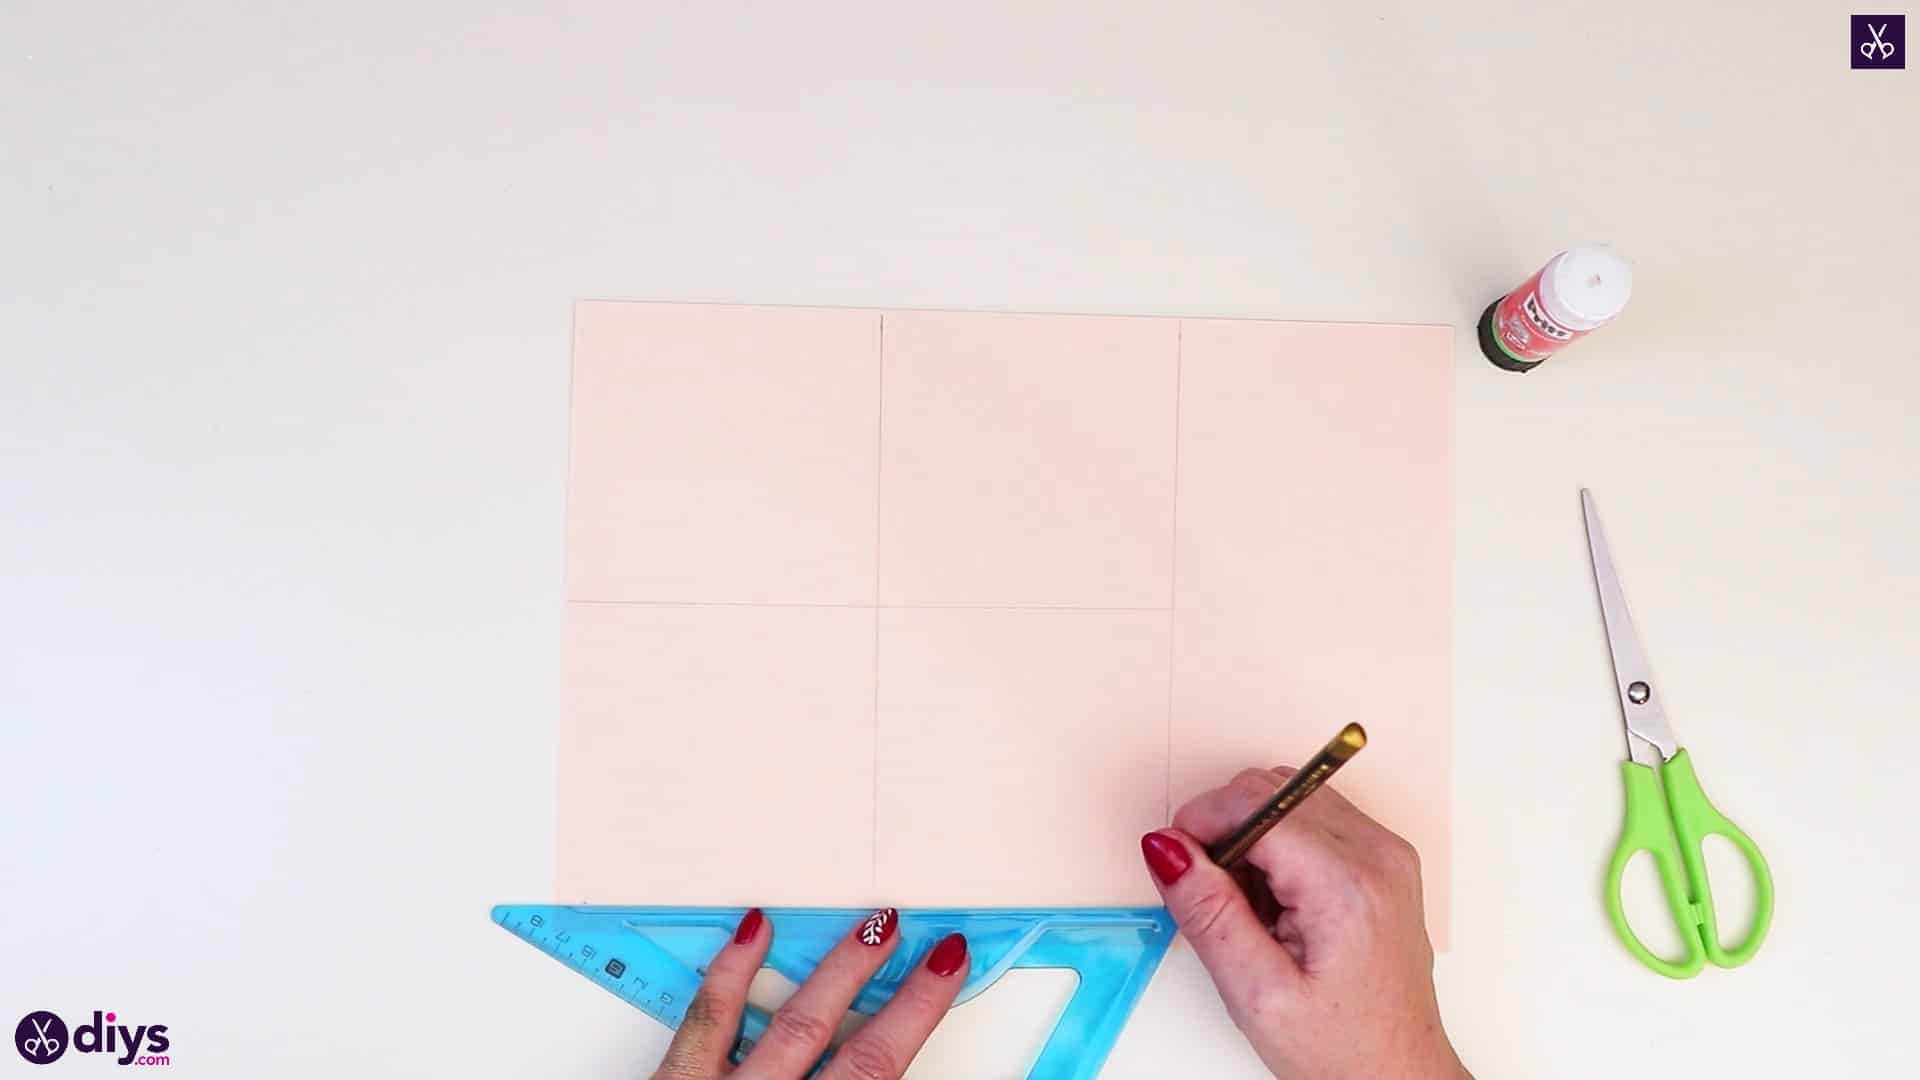
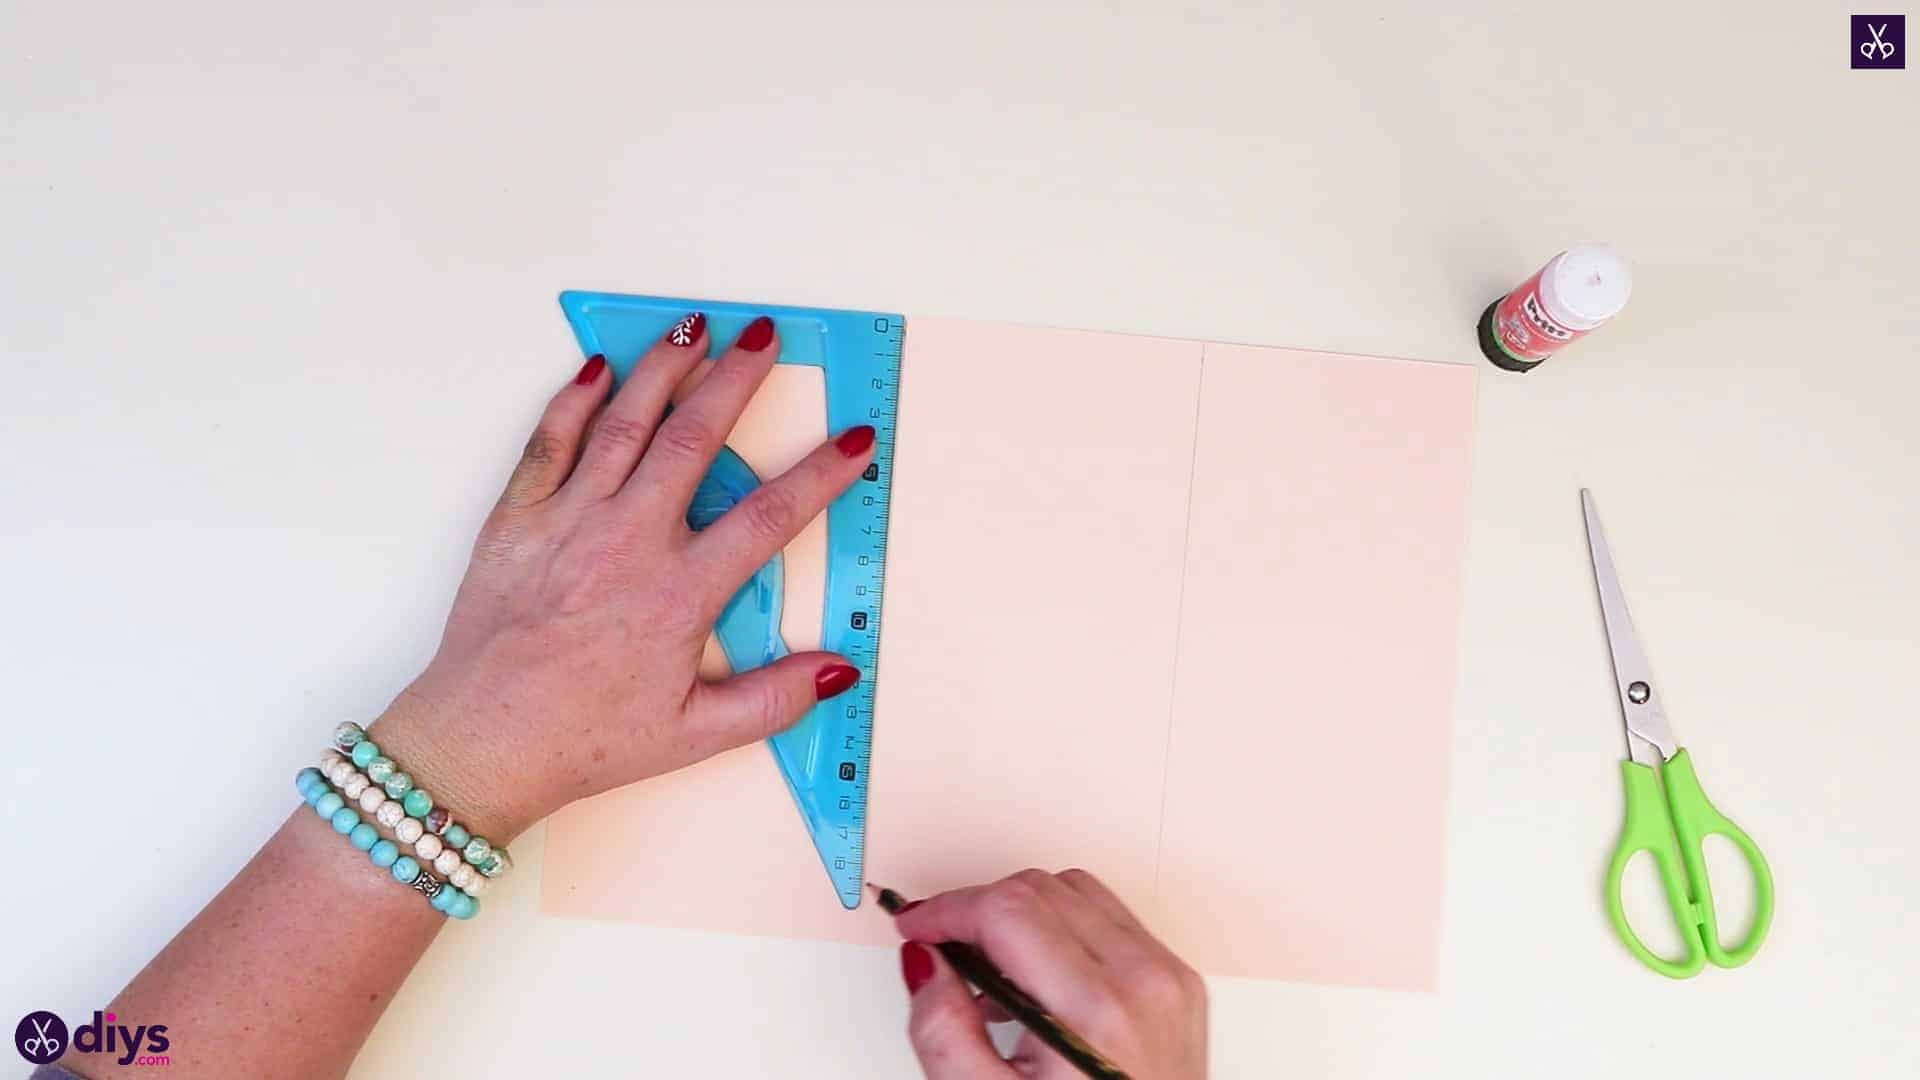
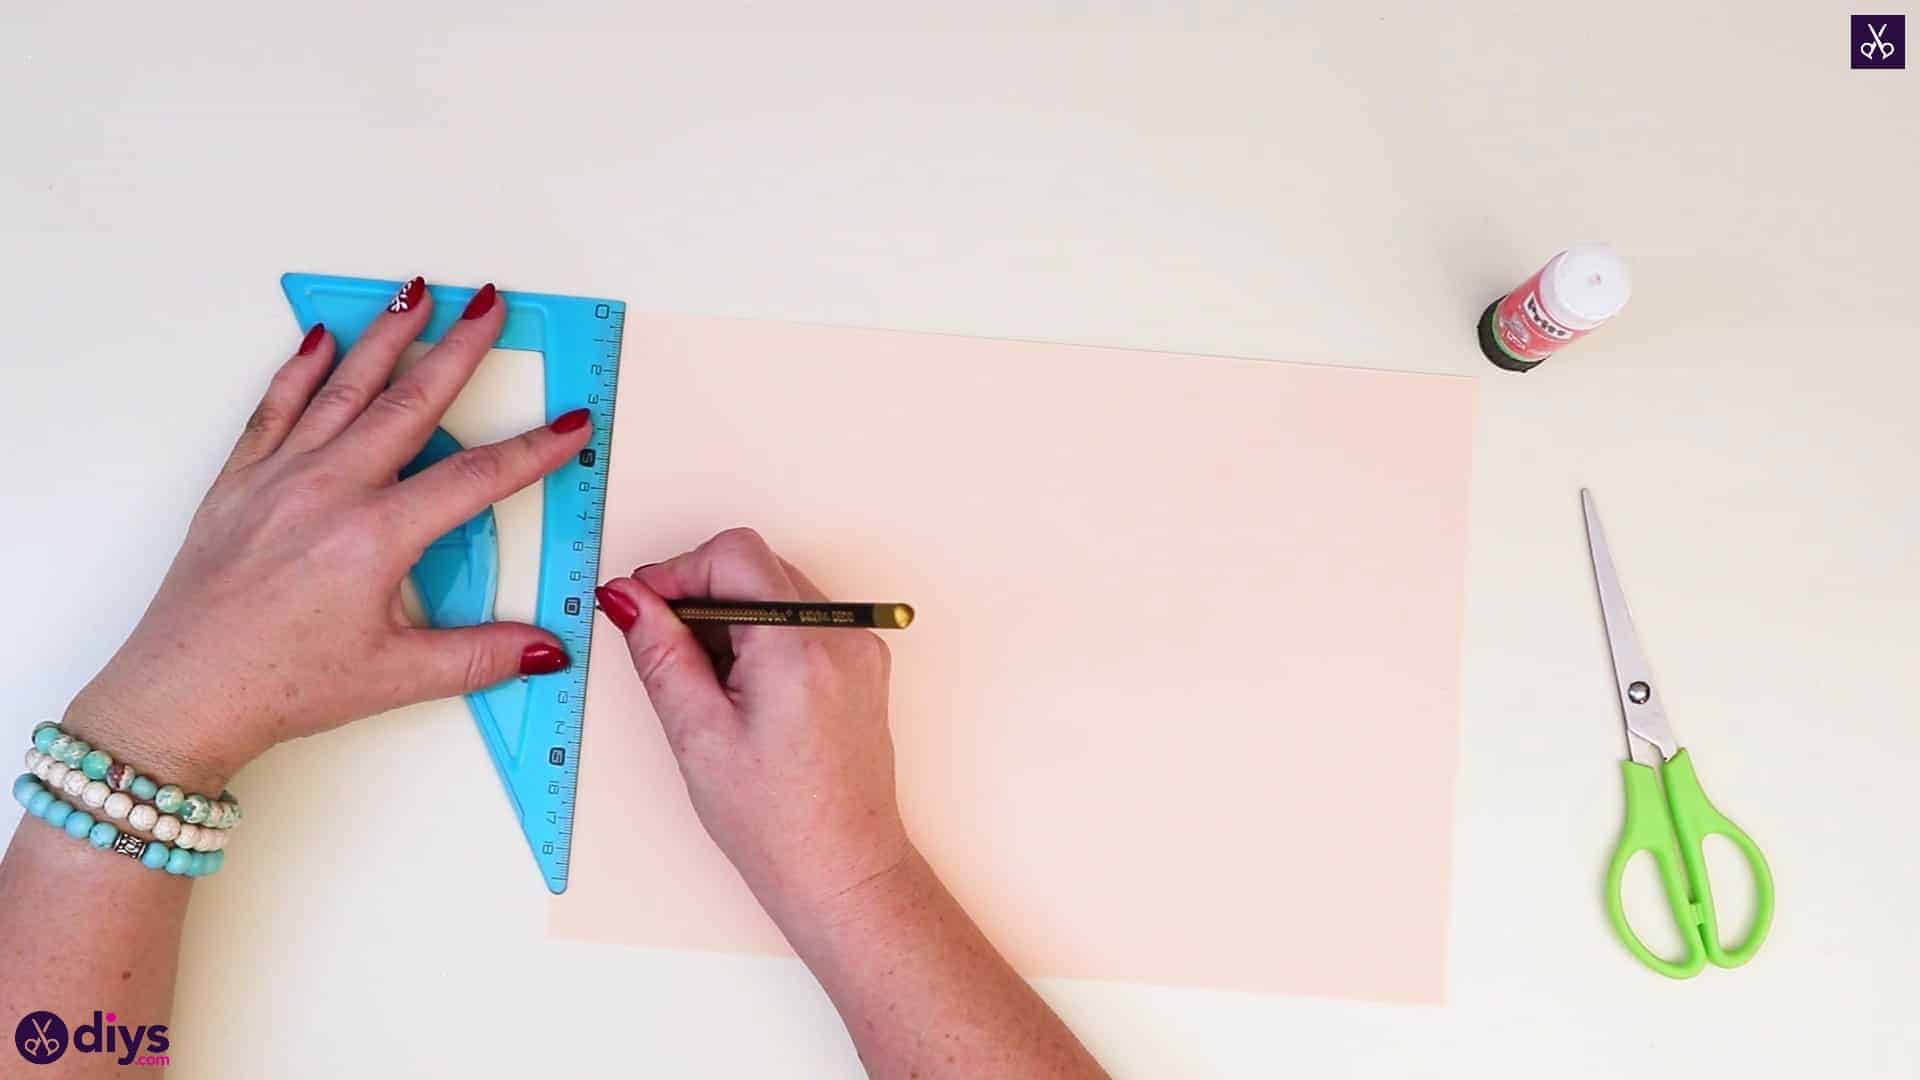
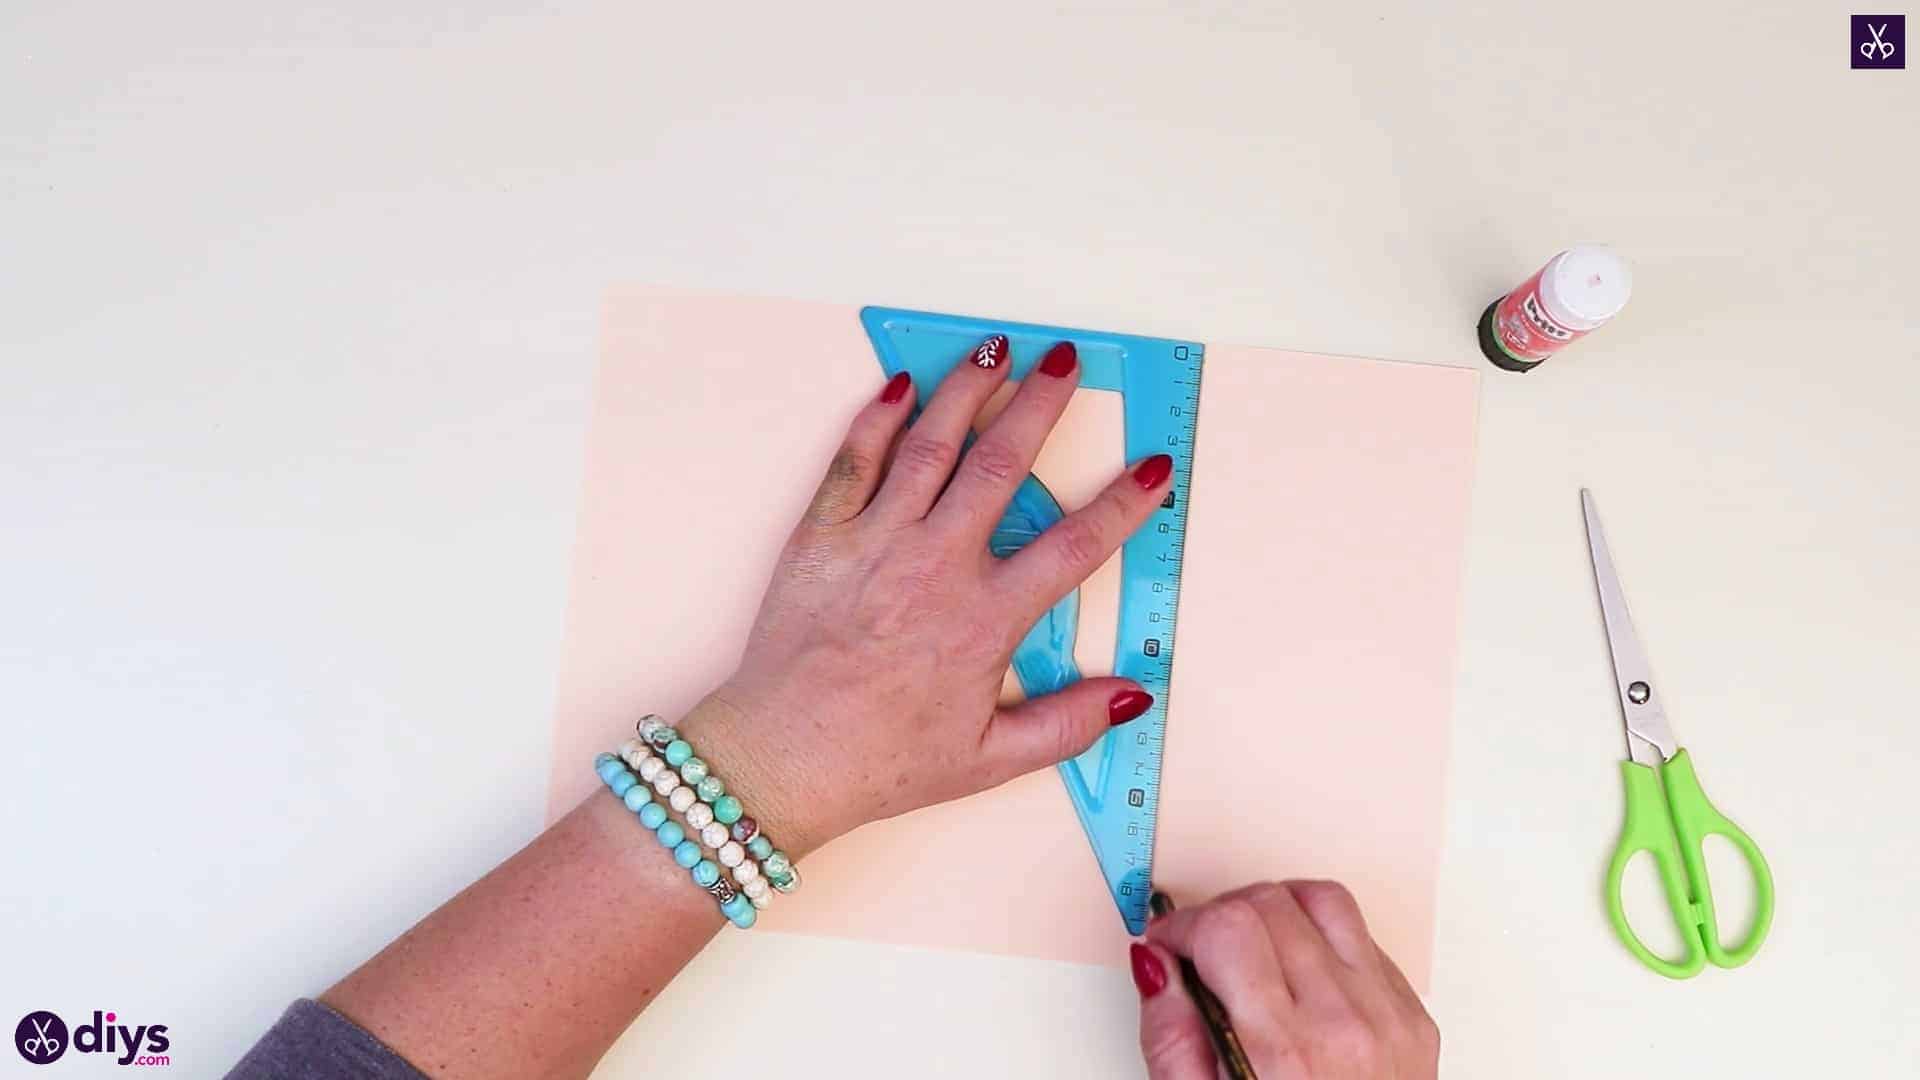
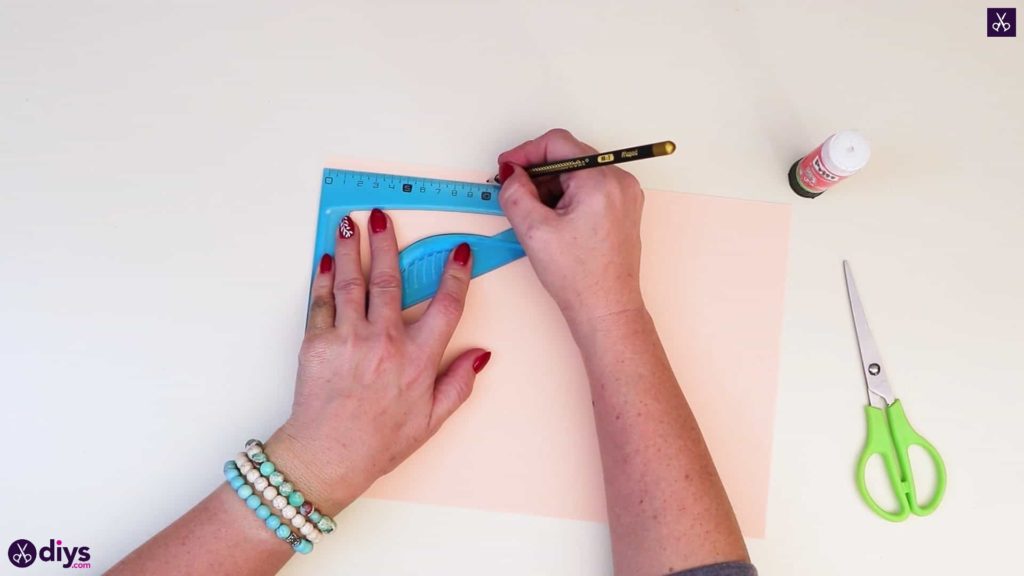
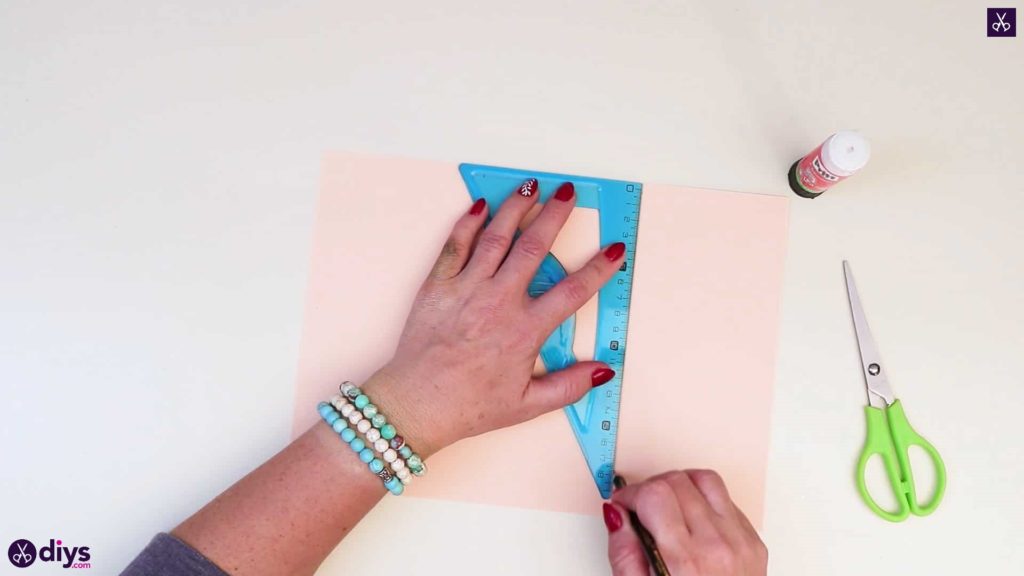
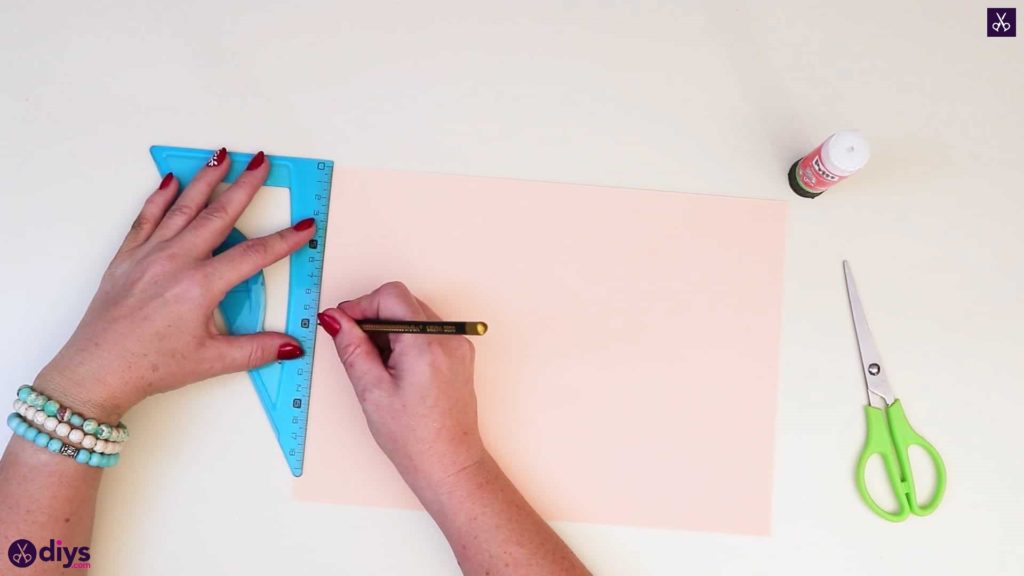
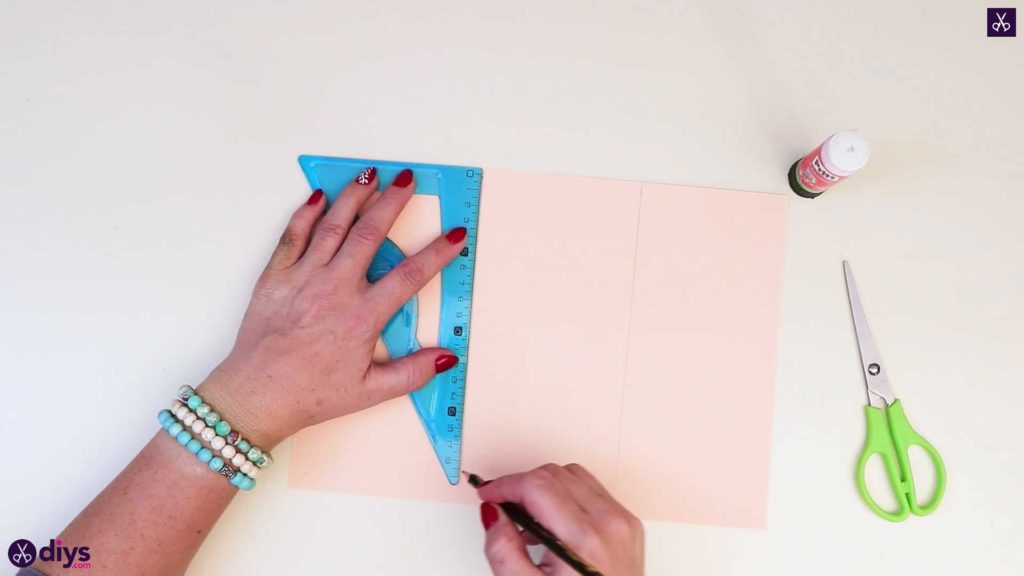
Step 2: measure and cut
Turn your pink paper to sit landscape on your tabletop. Use your ruler to measure the length of the longer edge along the top and mark it at its thirds with your pencil. Then measure the shorter edge along the side and mark it at its half. Then draw lines all the way across the page from each mark; three vertical lines that split the page into thirds across its width and one horizontal line that splits the page in half across its height. If it makes you feel better about keeping your ruler even while you draw your straight lines, measure the same points at the third and half on the sides across from your originals so you know precisely where your ruler should meet the other side vertically and horizontally. You’ll see six equally sized squares when you’re done. Carefully cut these out. You will actually only used four of these, or your flower will probably be too thick to look realistic.


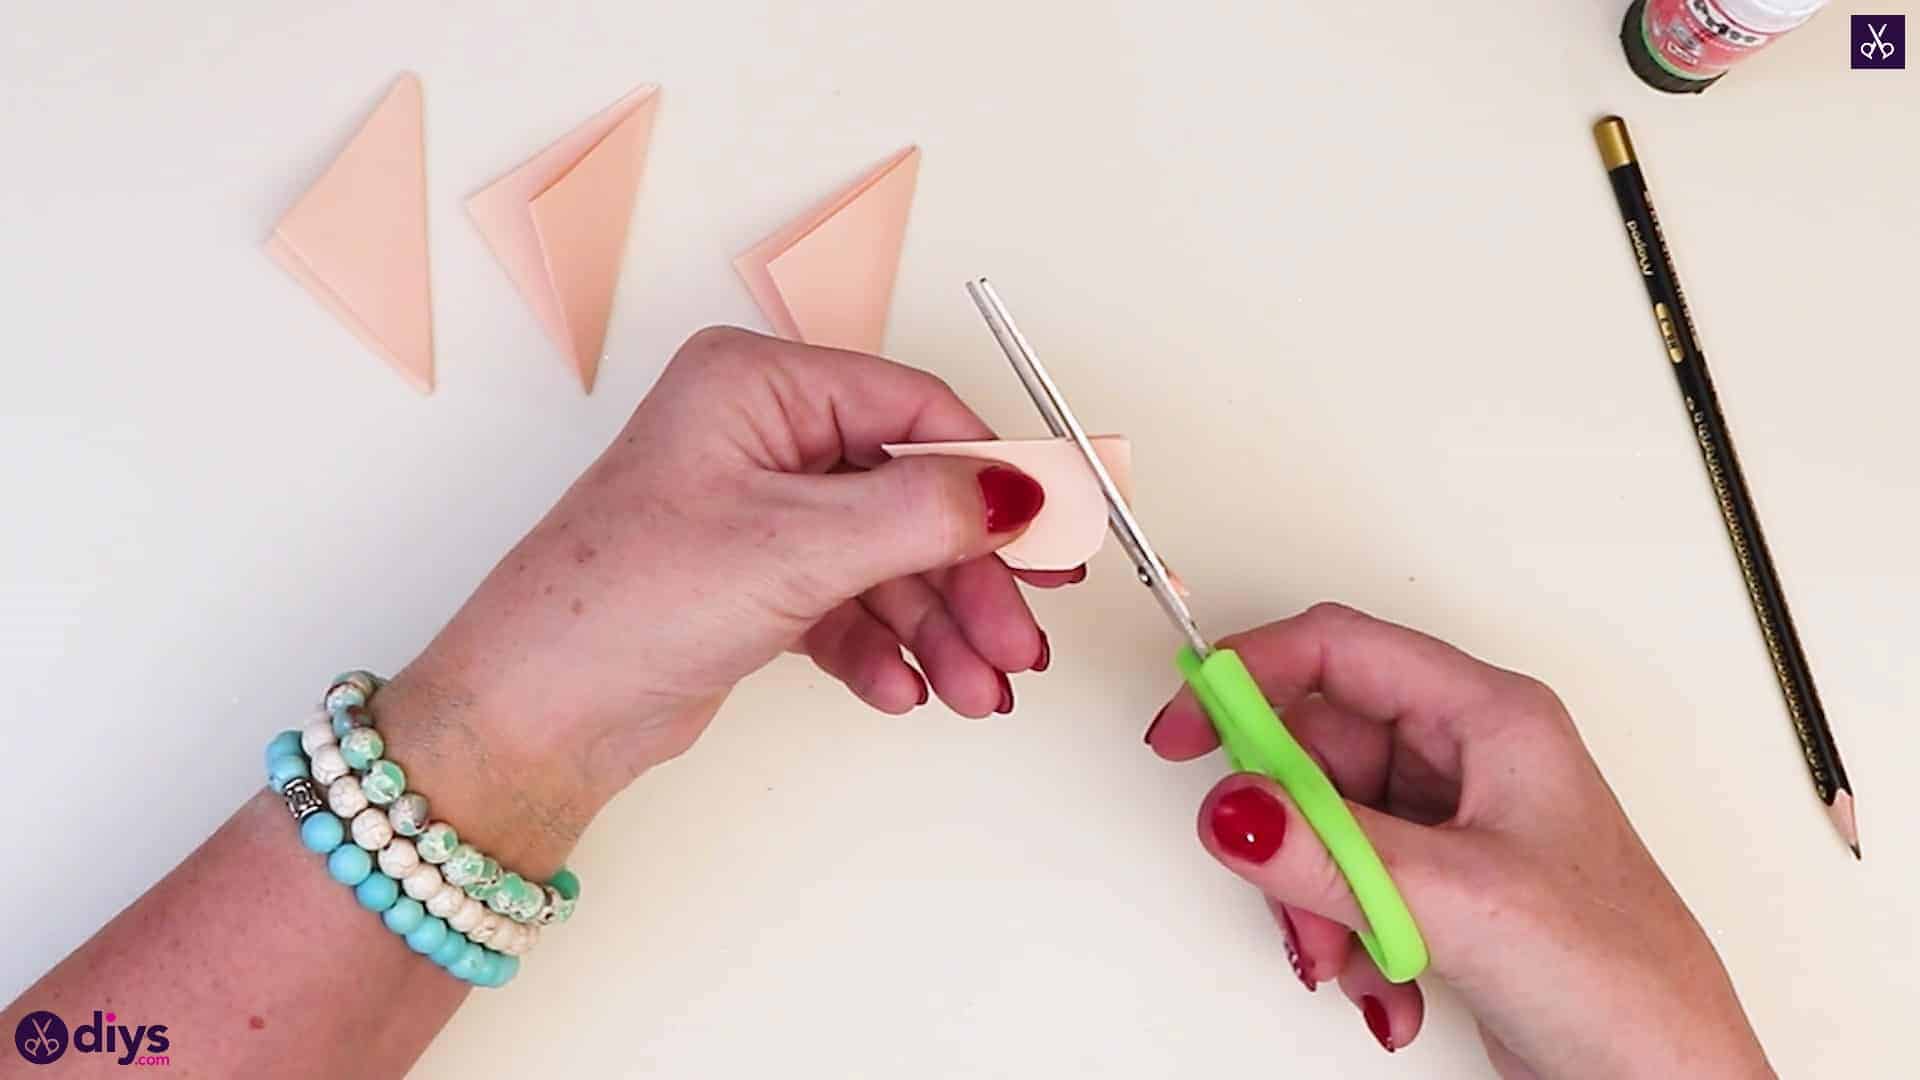
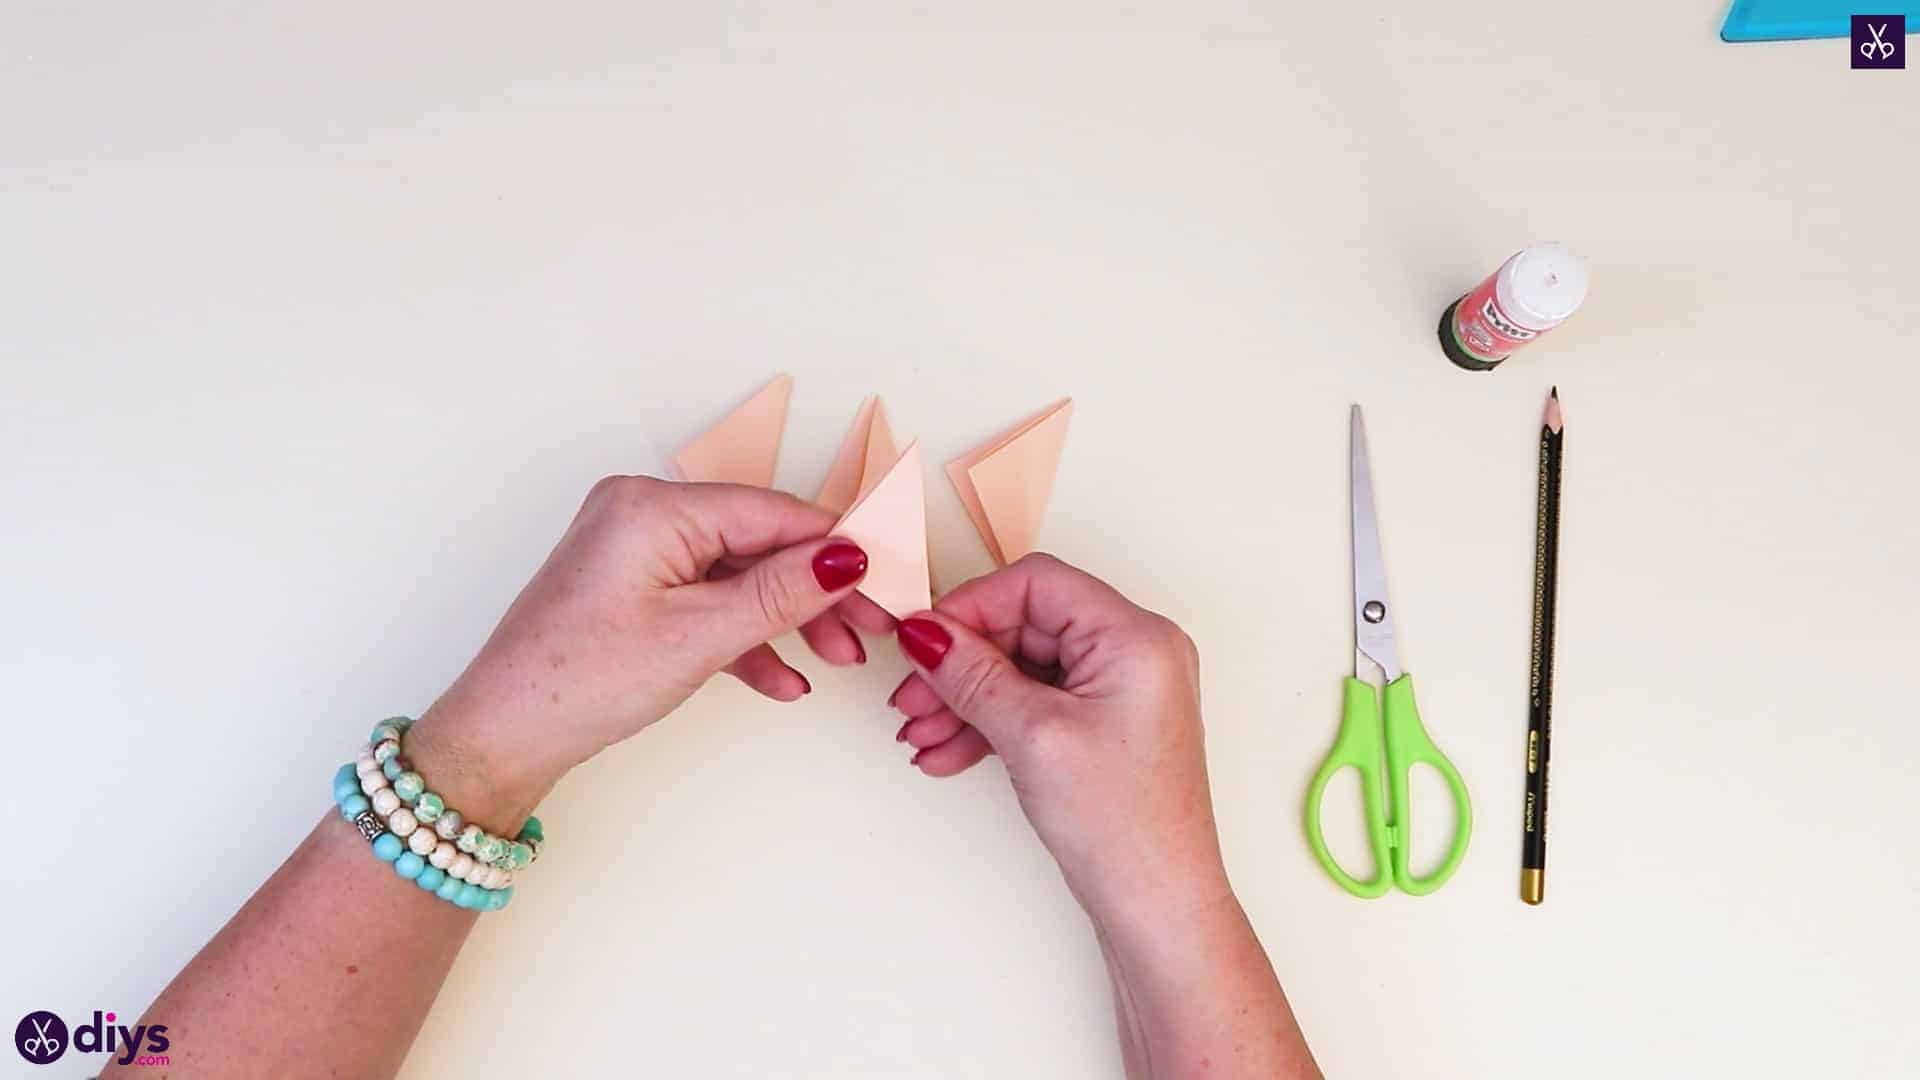
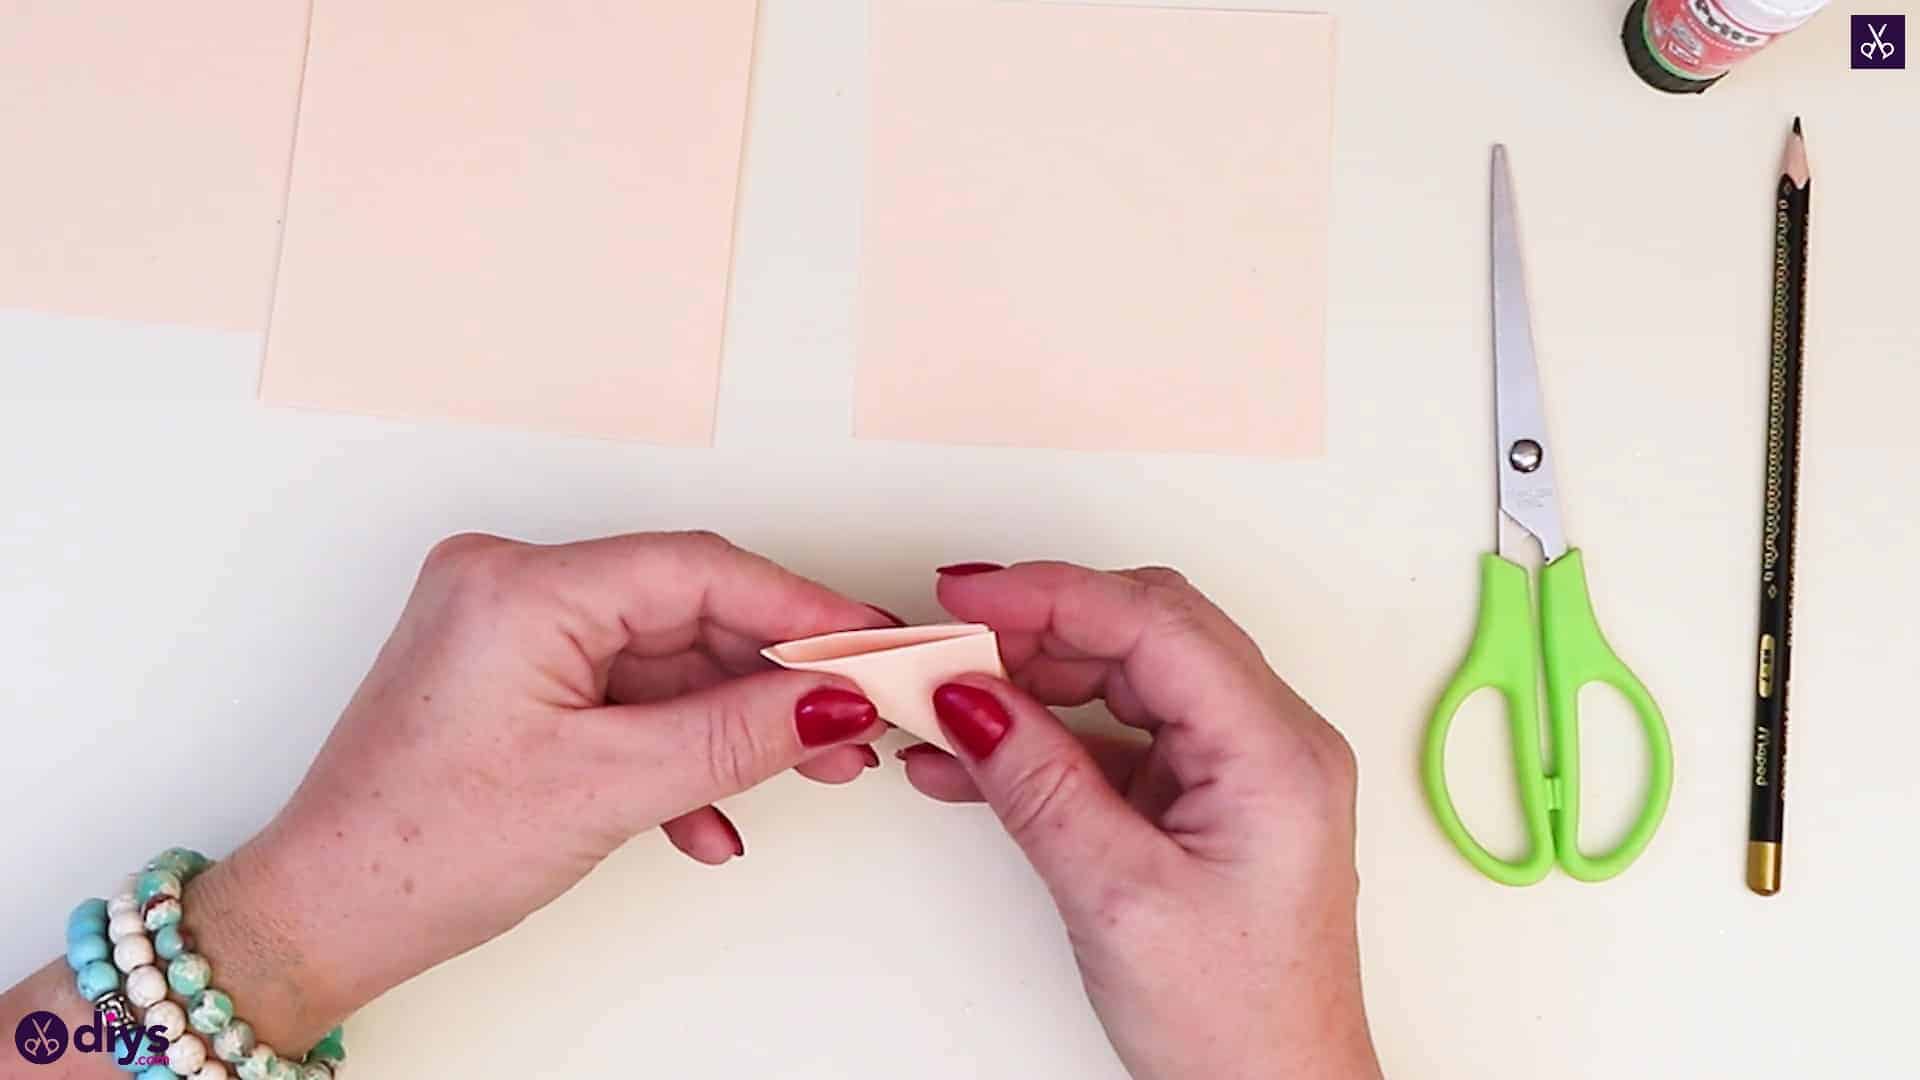
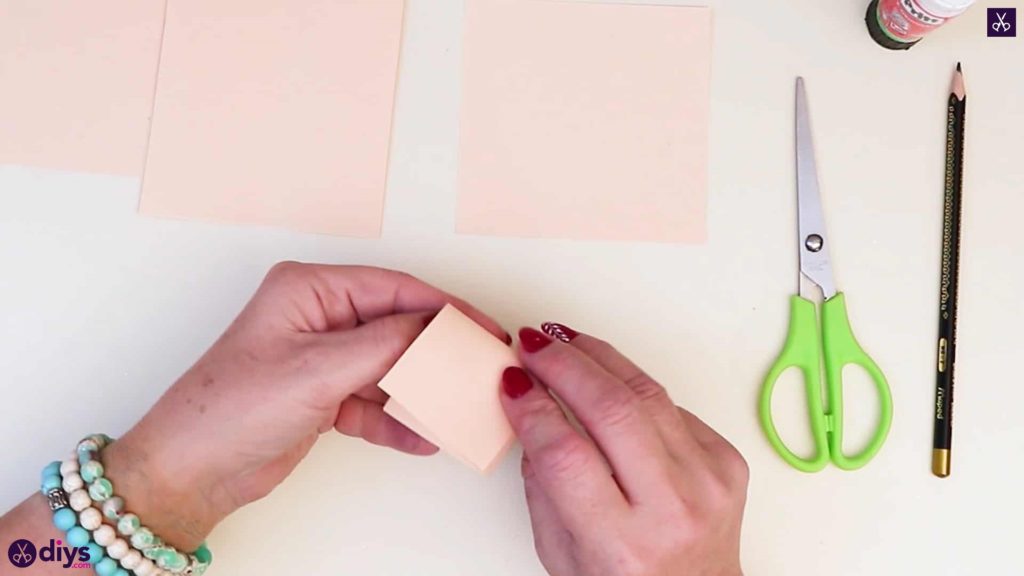
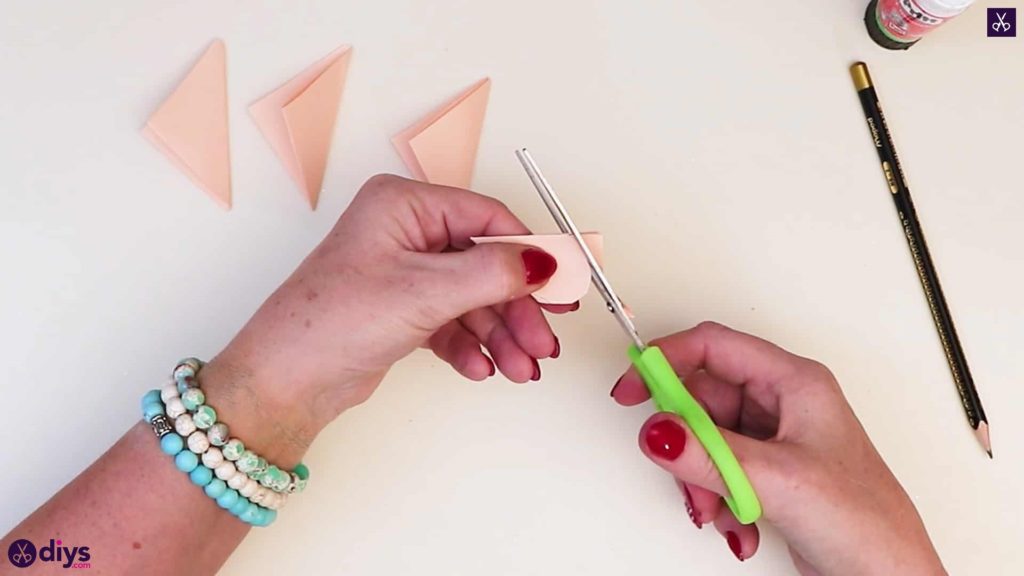
Step 3: make the triangles
Take your first square and fold it neatly and evenly in half so you have a doubled rectangle. Turn it and fold it in half again so you have another even square, but layered and smaller. Next, fold this new square a quarter turn so it looks like a diamond instead and bring the bottom point up to meet the top point, folding the square long its diagonal to make a layered triangle shape. Repeat this process with all of your squares until you have six little layered triangles.

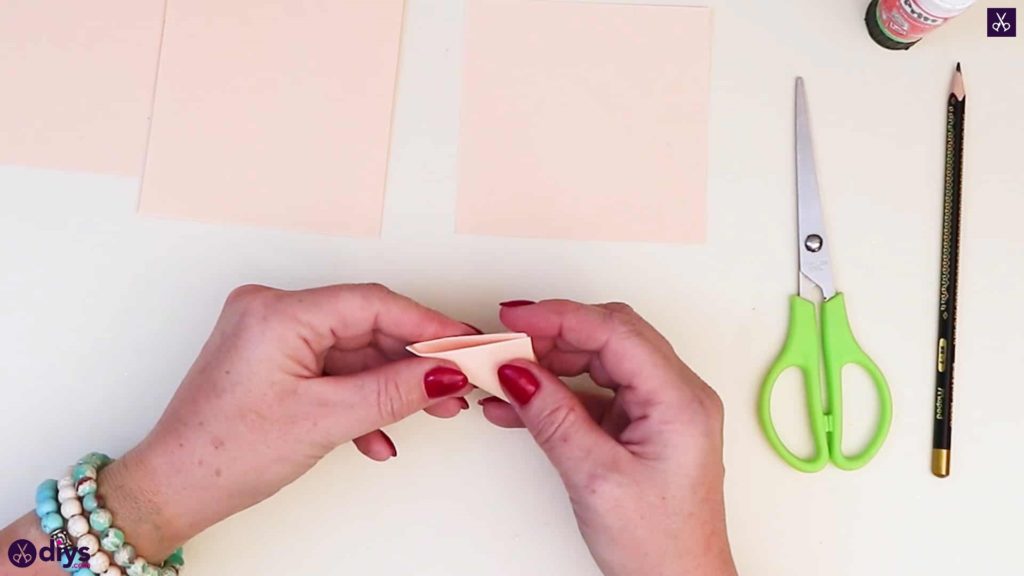
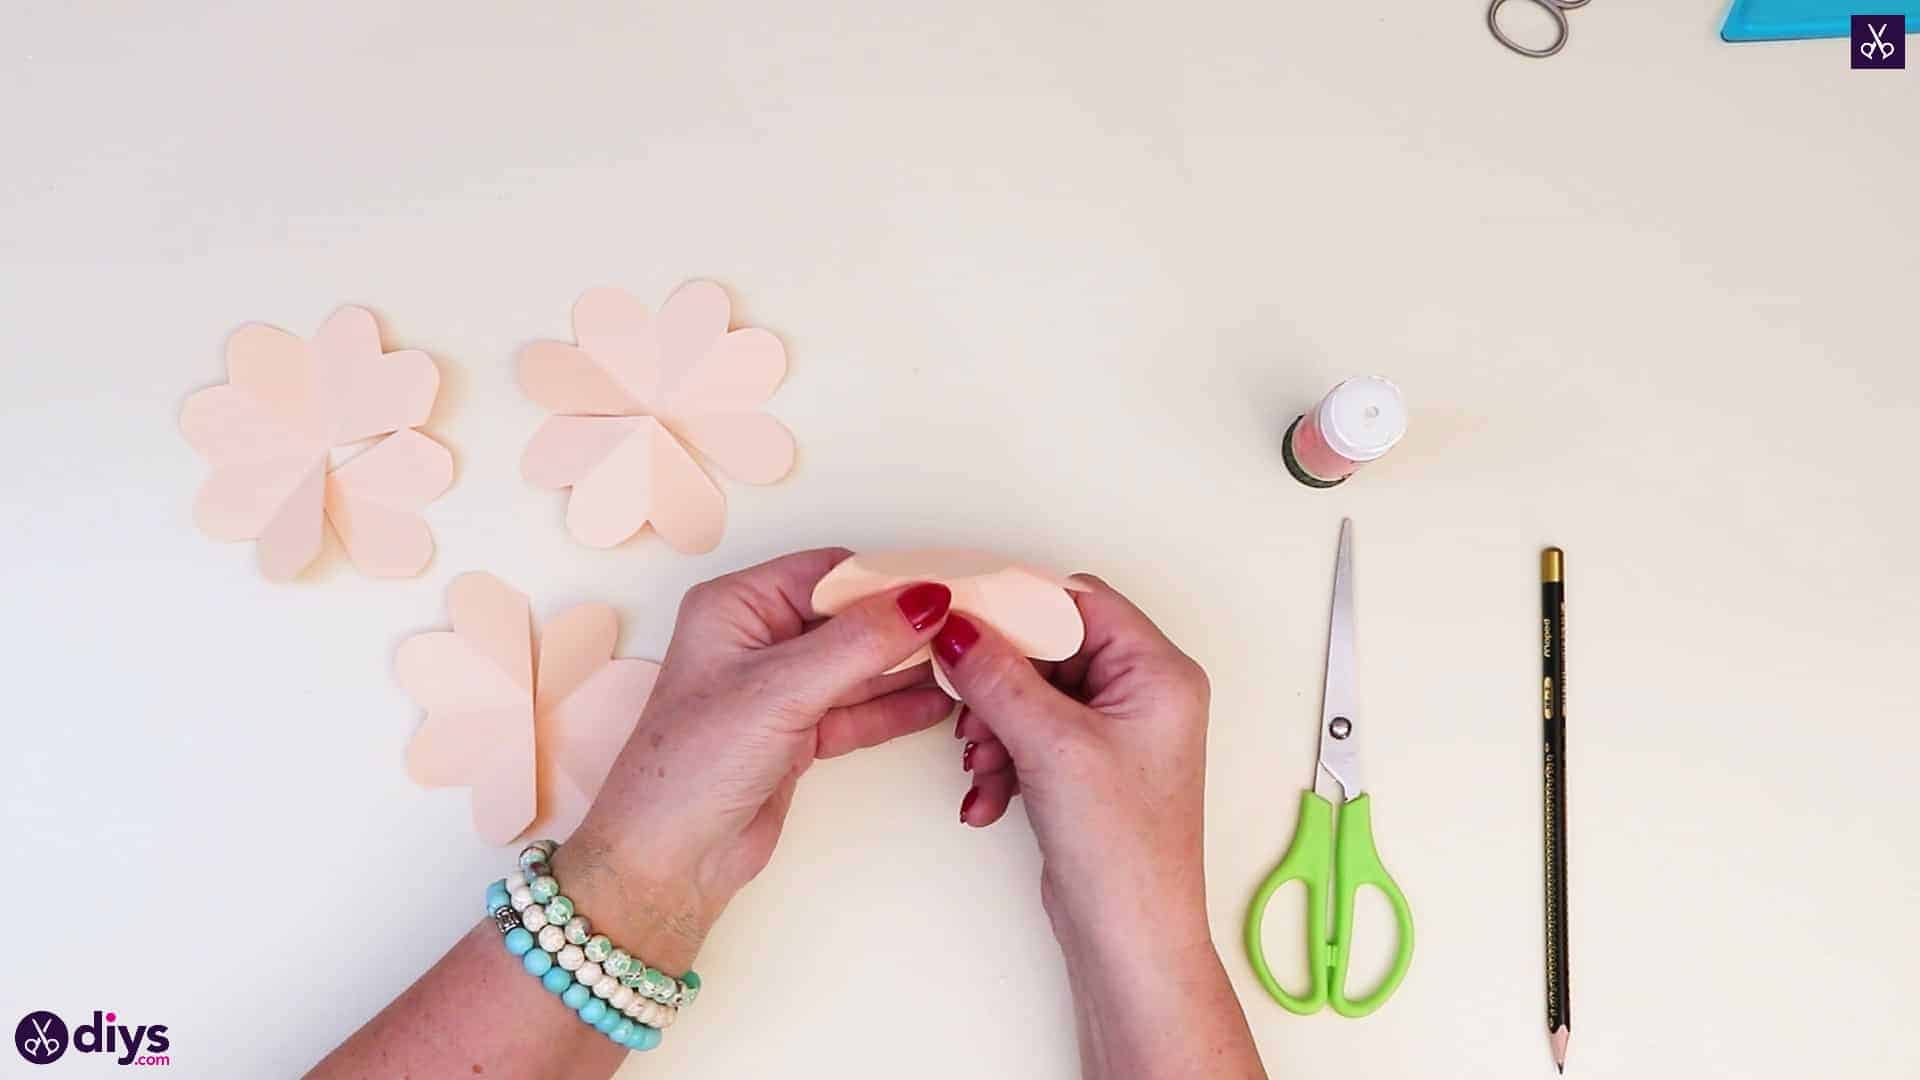
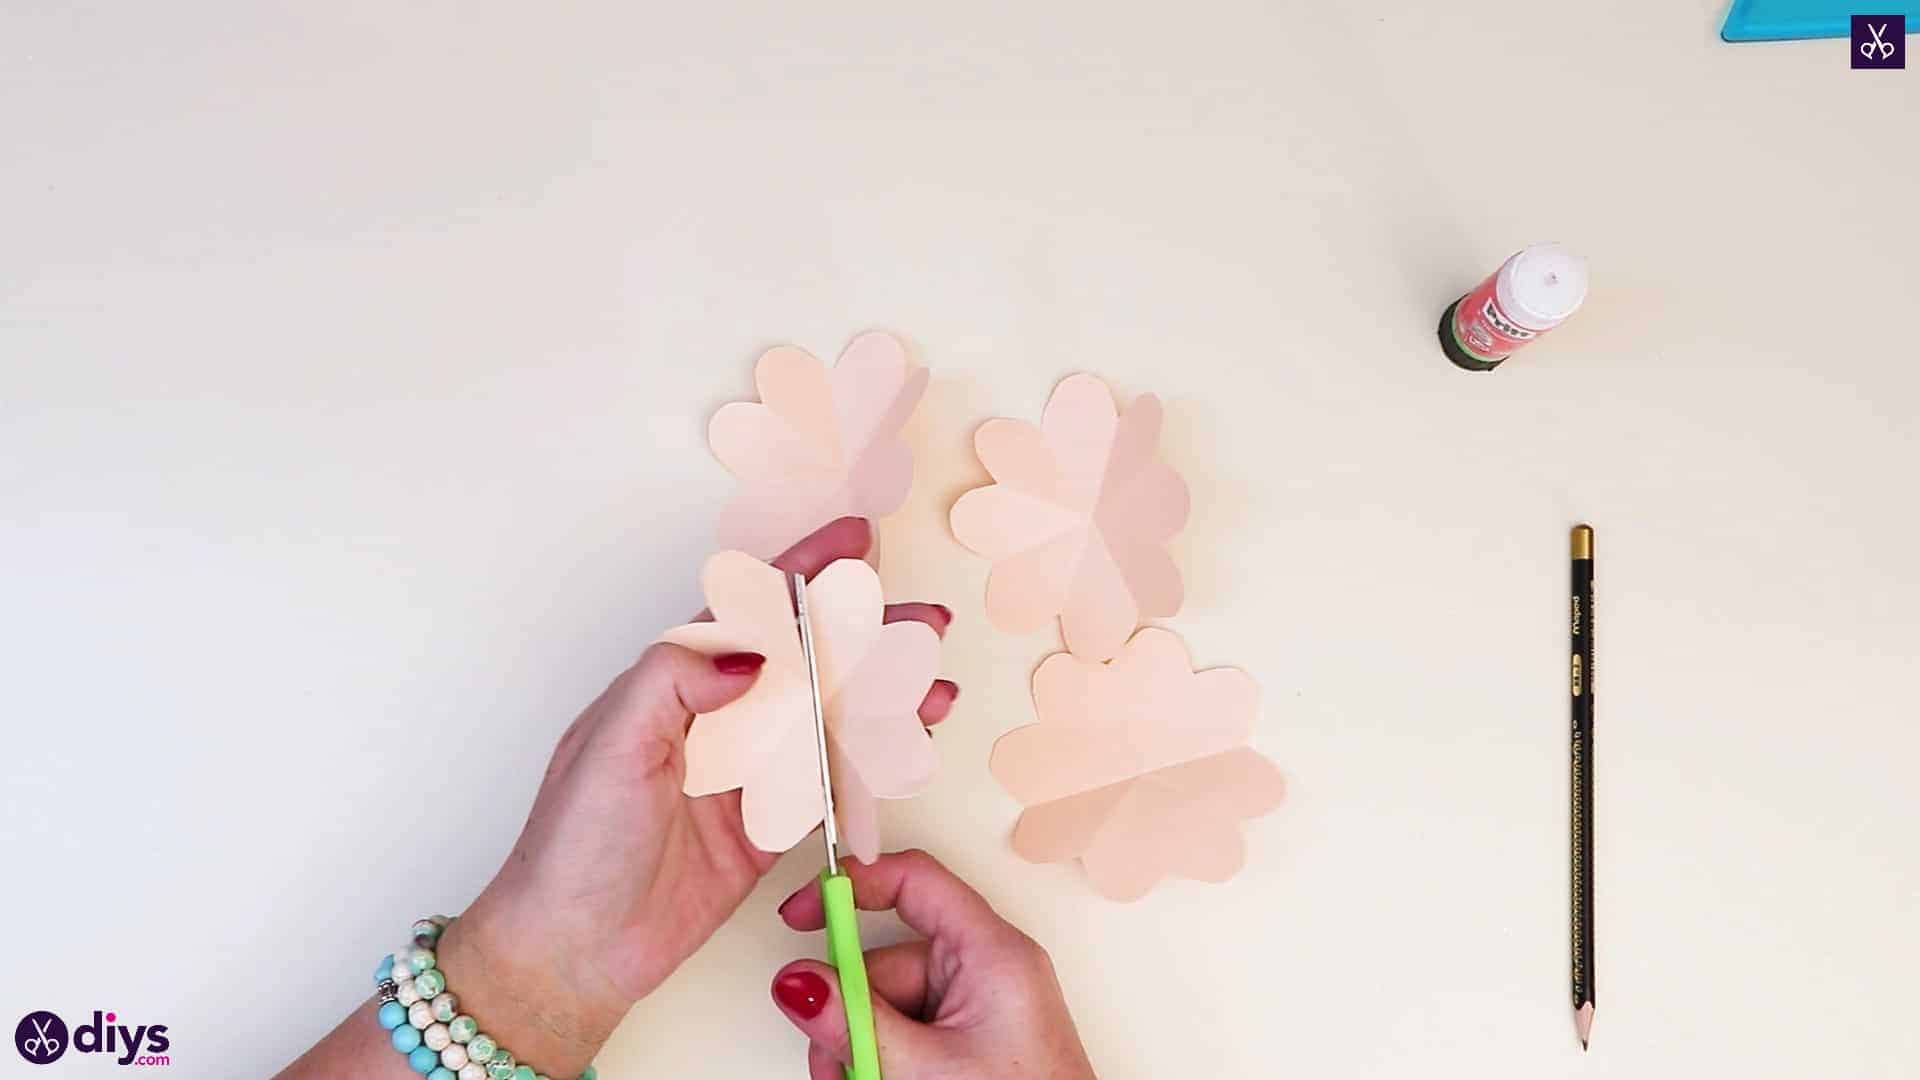
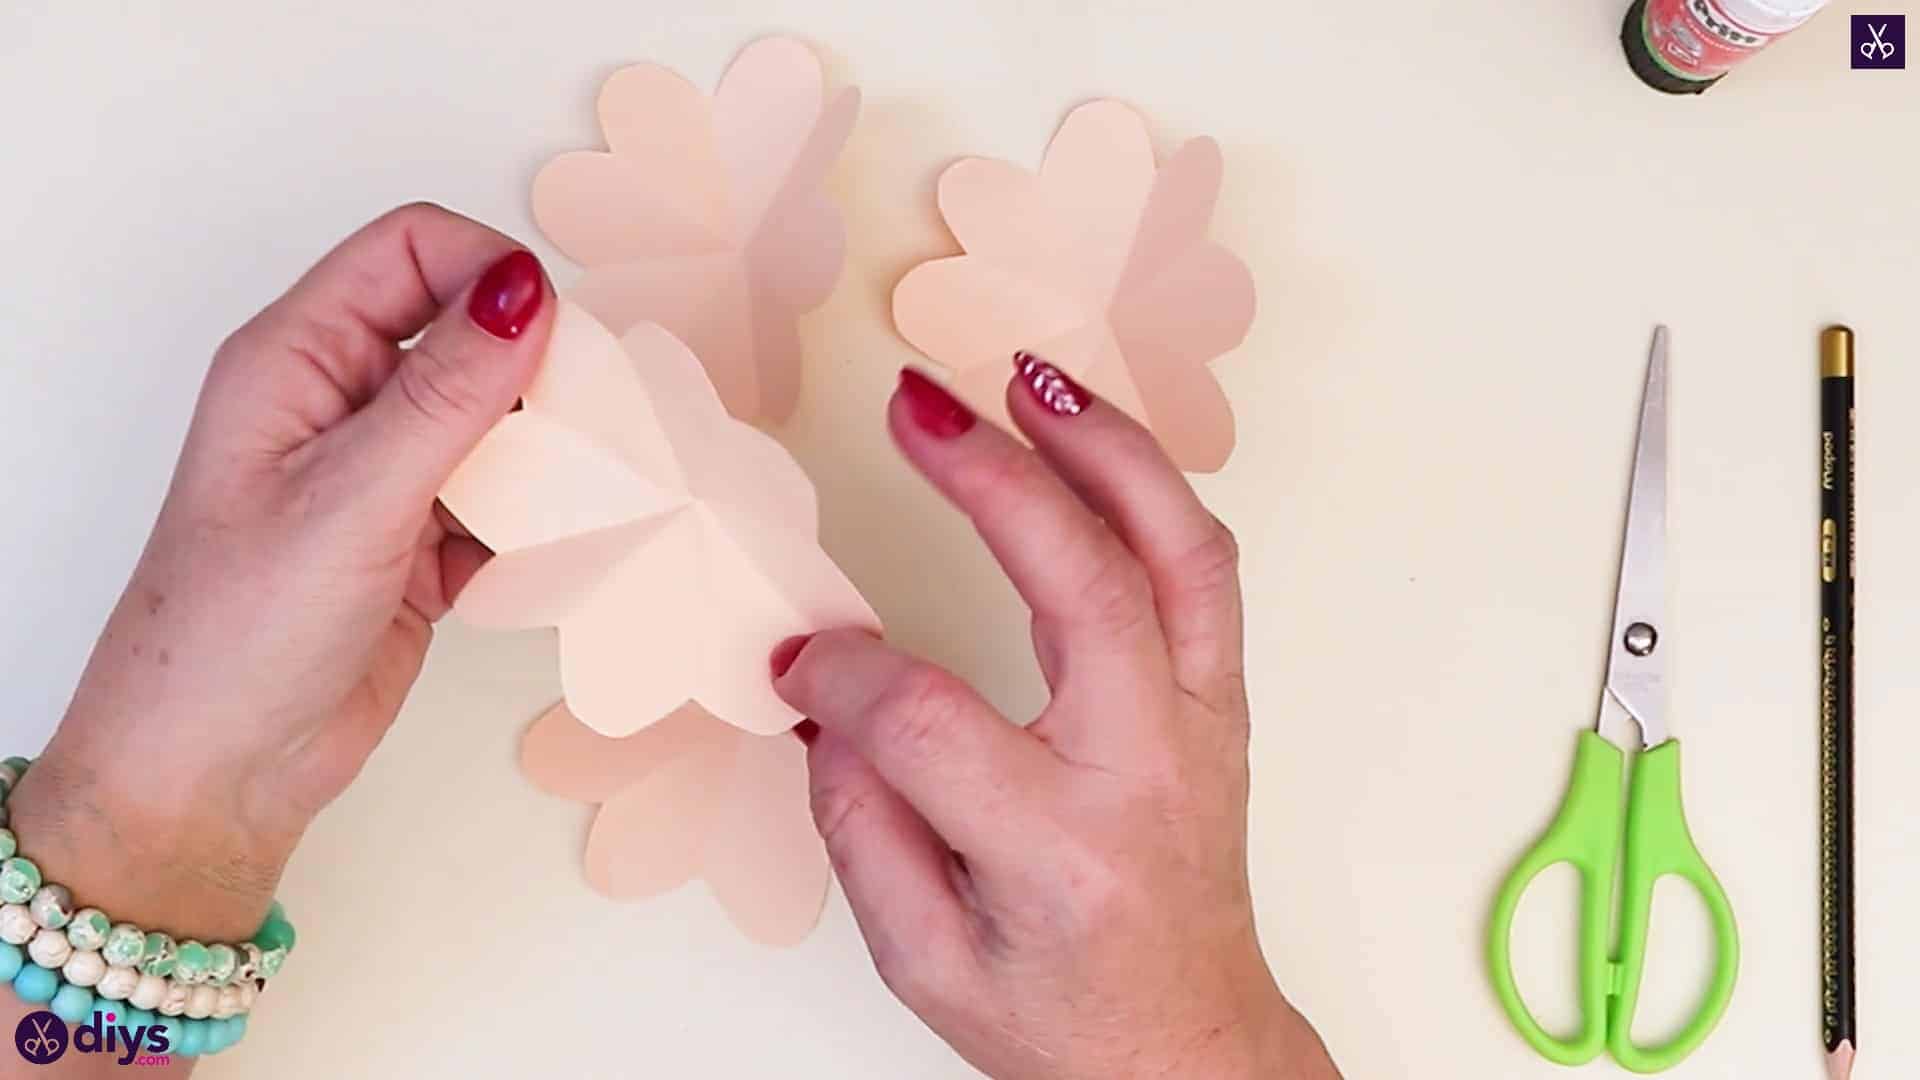
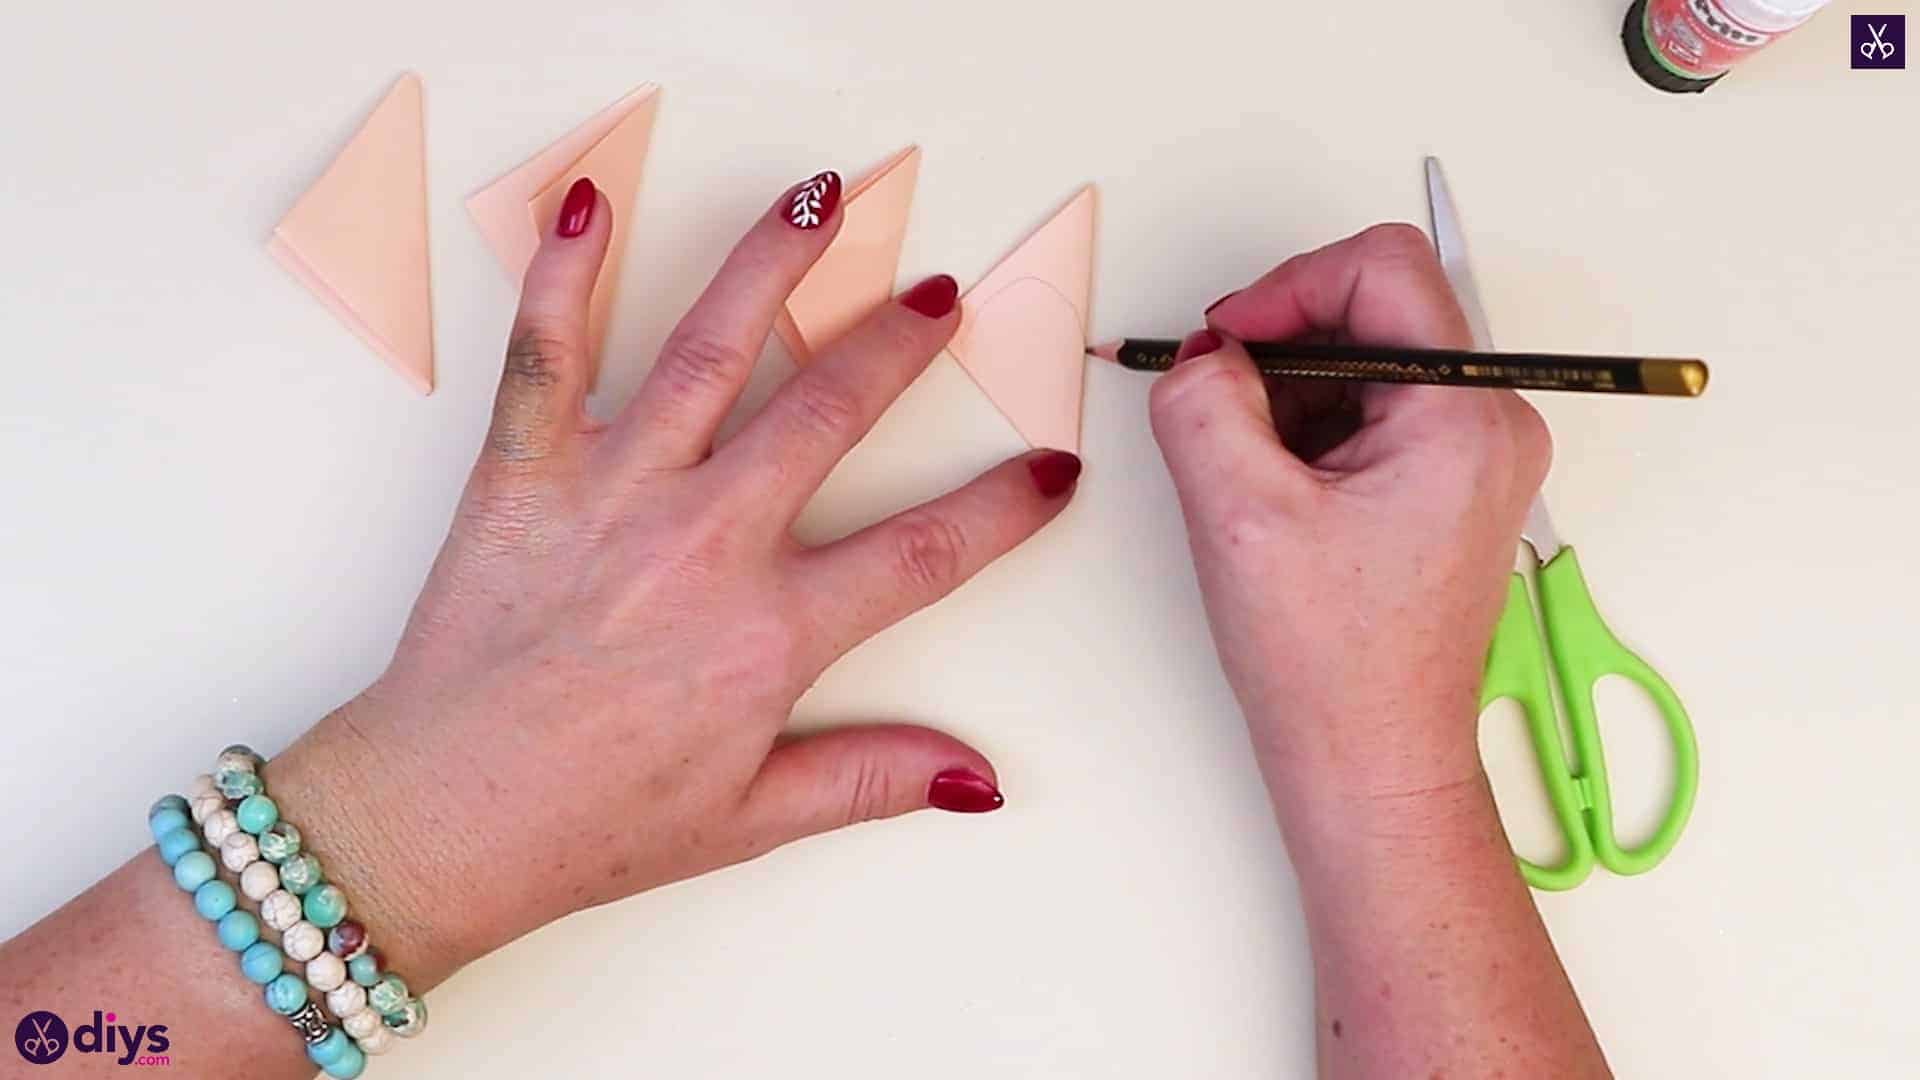
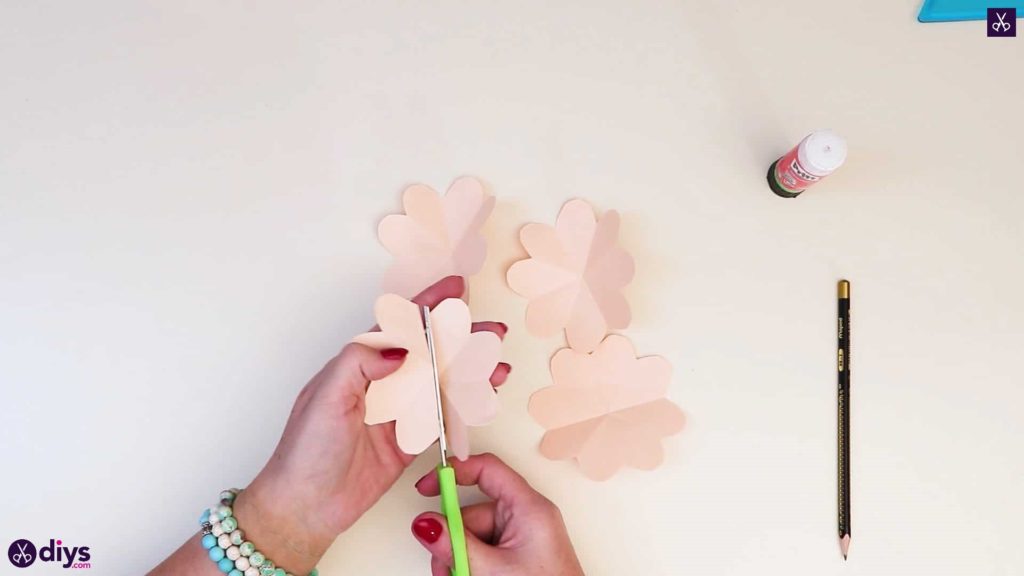
Step 4: shape and cut the petals
Turn your triangles sideways and draw an arching shape that starts near the side tip (which used to be the top tip of the triangles), curves upwards, and stops evenly on the opposite side. Cut along each of these lines to round the new top points off each one, making an upside down teardrop shape. When you unfold each piece of paper, you’ll see that you now have four flower shapes!


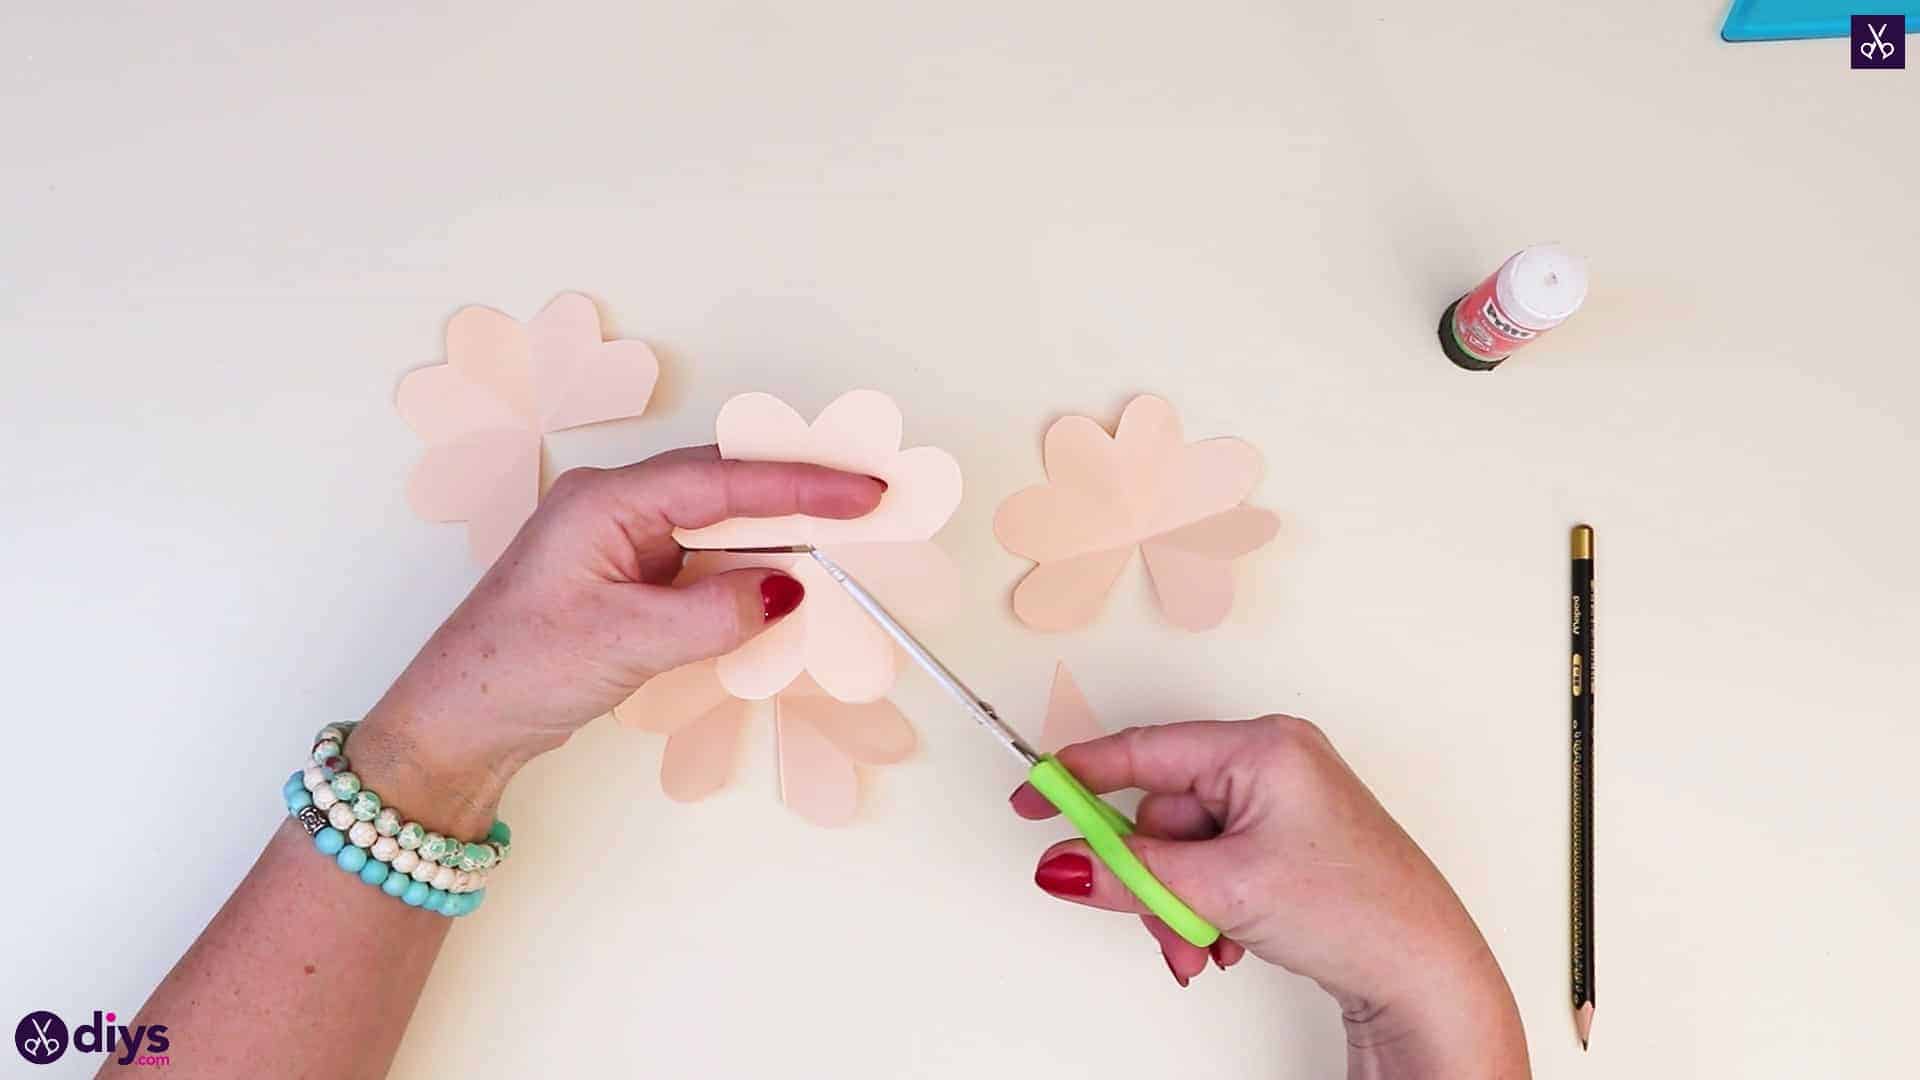
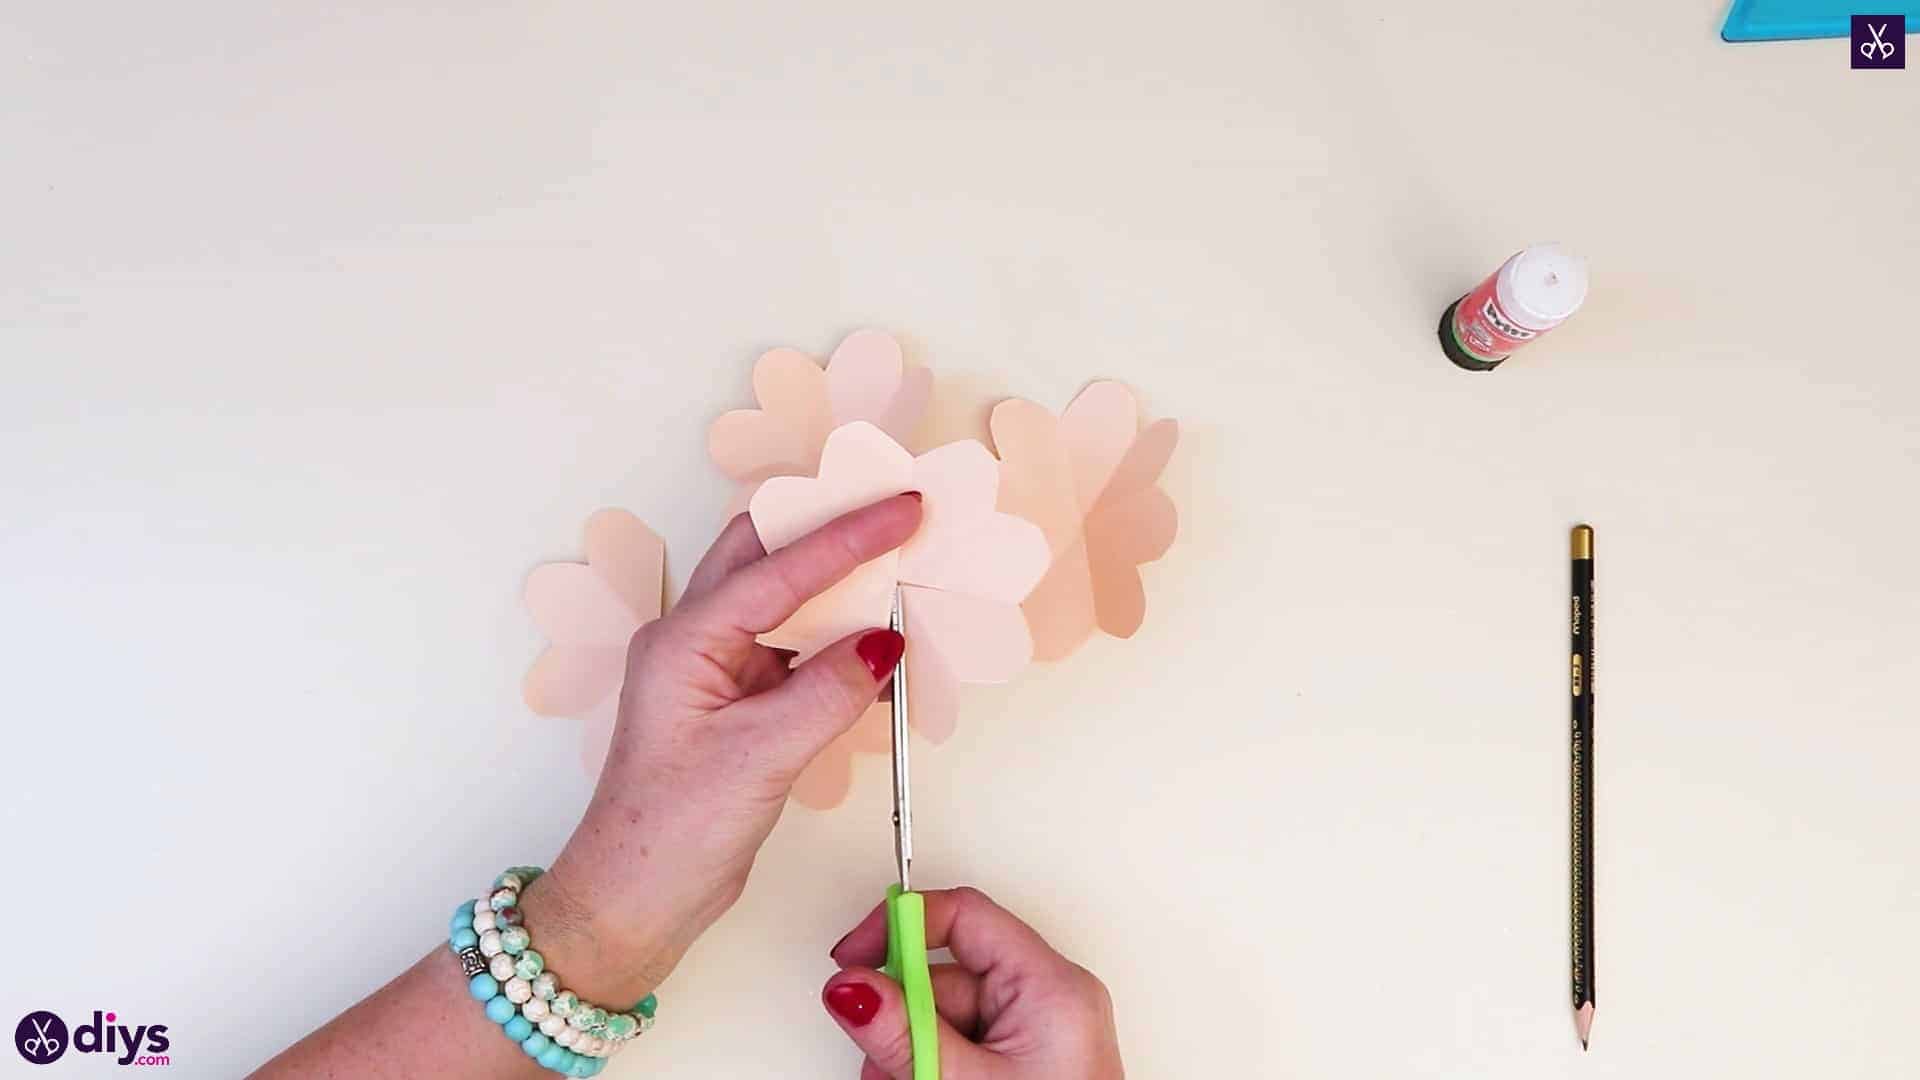
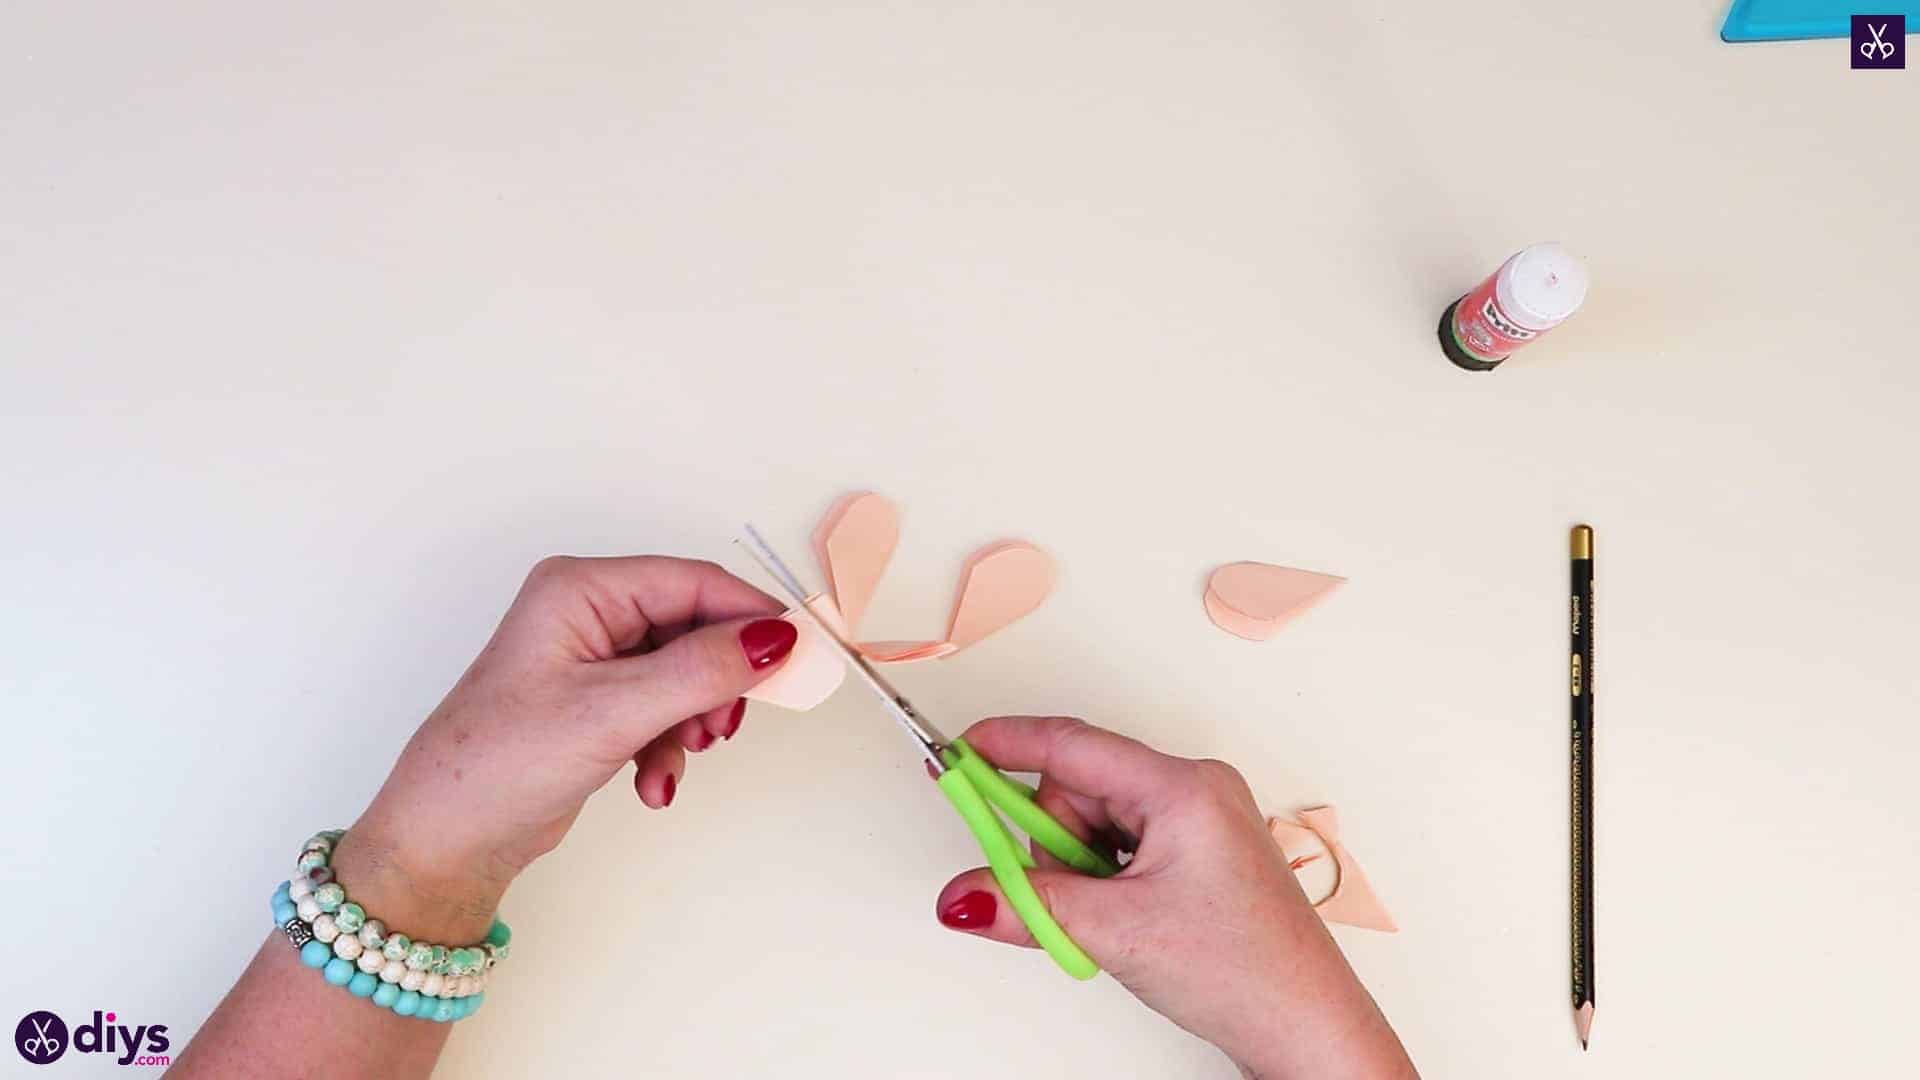
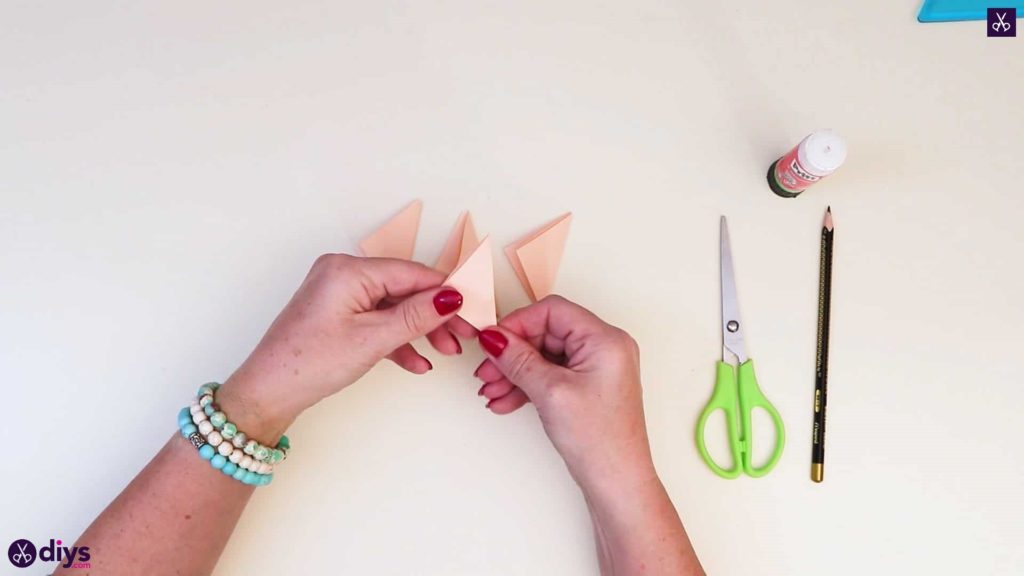
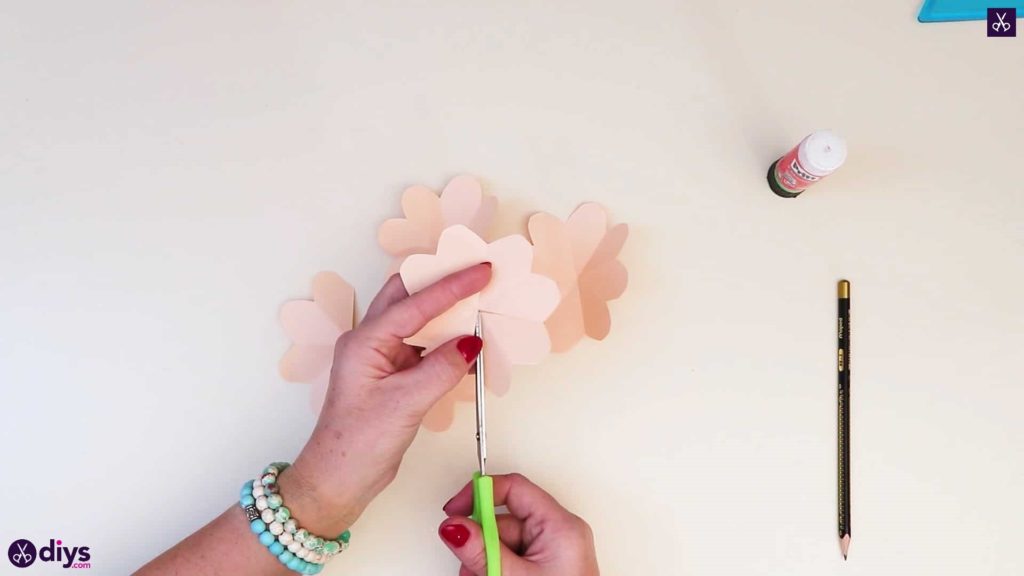
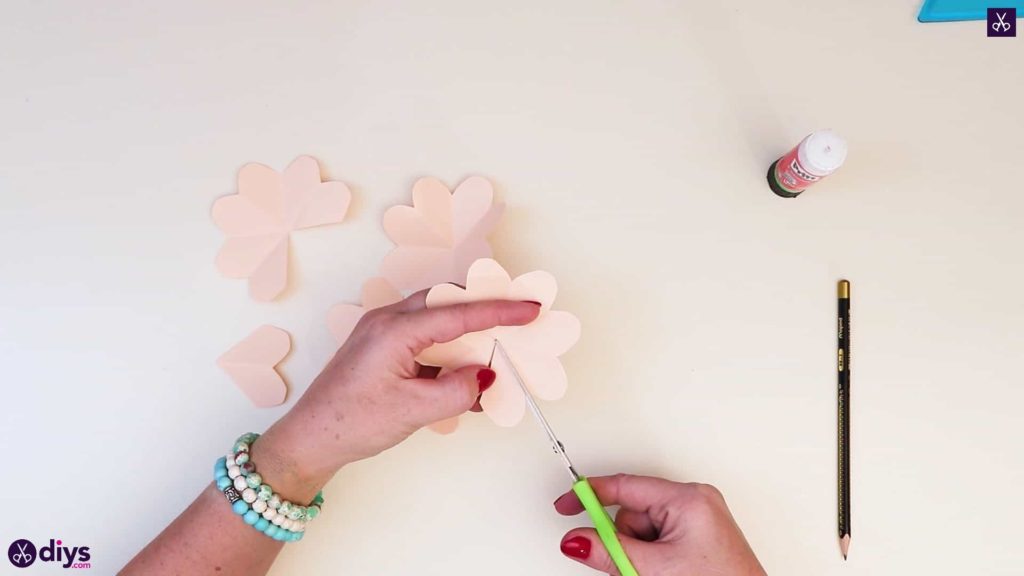
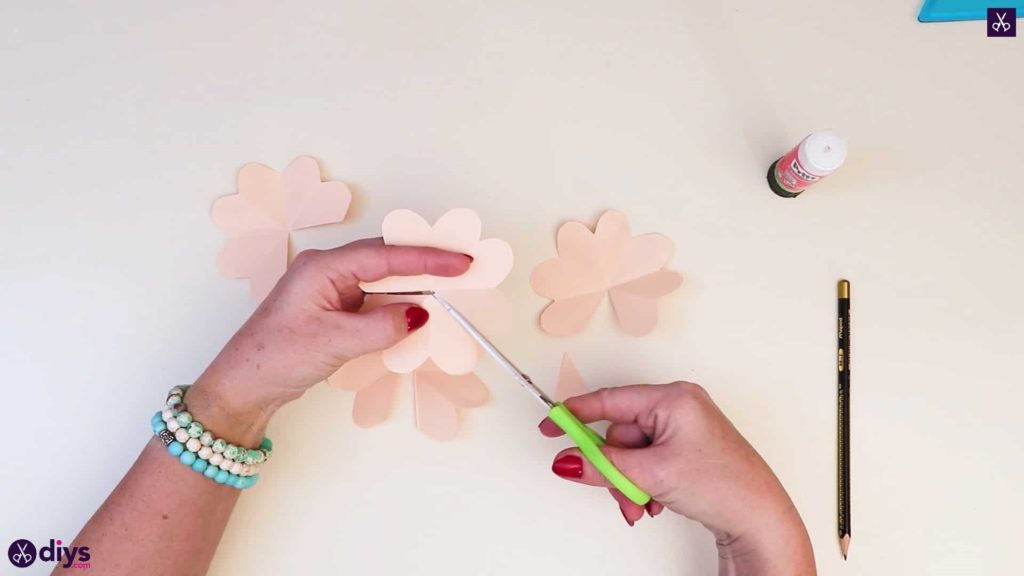
Step 5: cut your petals
You’ll notice your petal pieces have eight rounds along the edges each. Cut your four petal pieces in the following ways:
- Cut your first petal piece in half with four rounds on one side and four rounds on the other.
- Cut a heart shape from the second petal that has two rounds at the top and a bottom point reaching the centre, leaving you with six rounds in the other piece.
- Cut a single round from your third petal piece that points to the middle the same way as the previous heart shape, leaving you with a second piece that has seven rounds.
- Cut three rounds from your last whole petal piece, pointing towards the centre in the same way. This leaves you with one last piece that has five rounds on its edge.
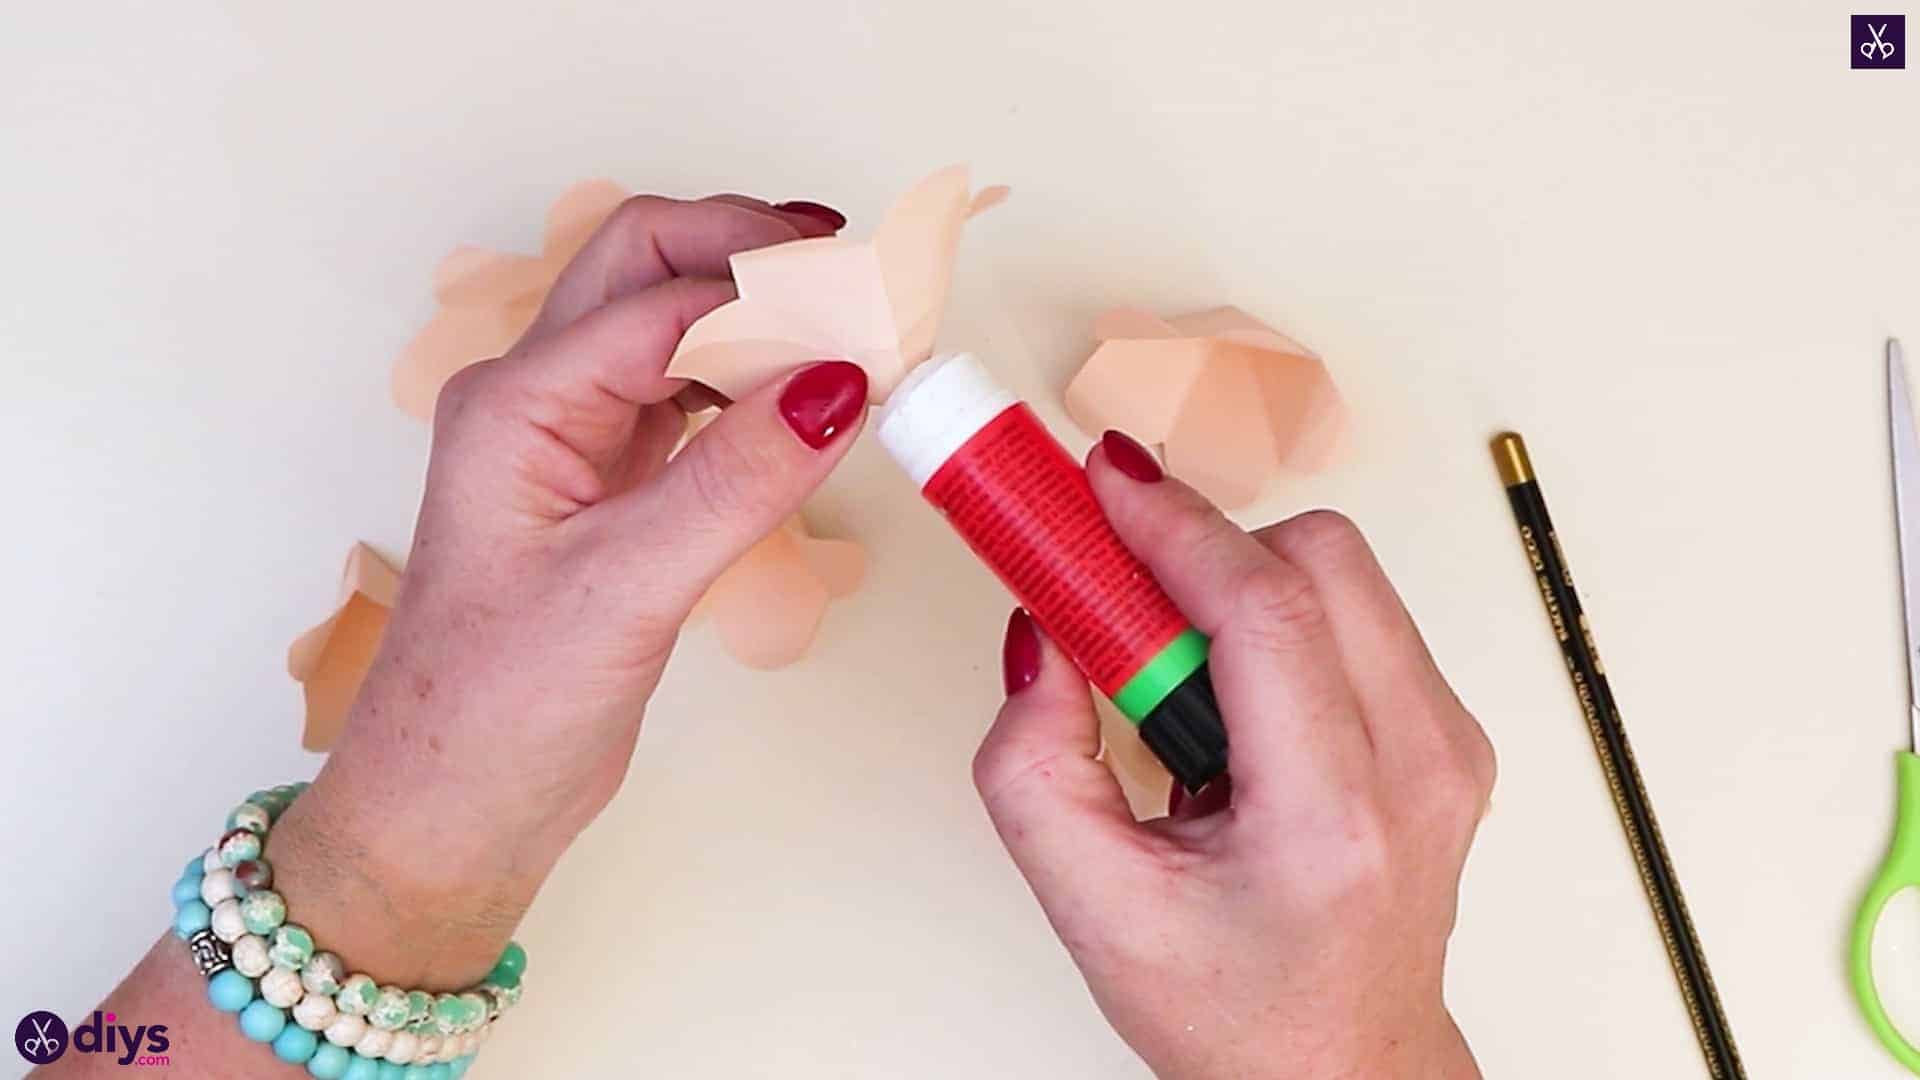
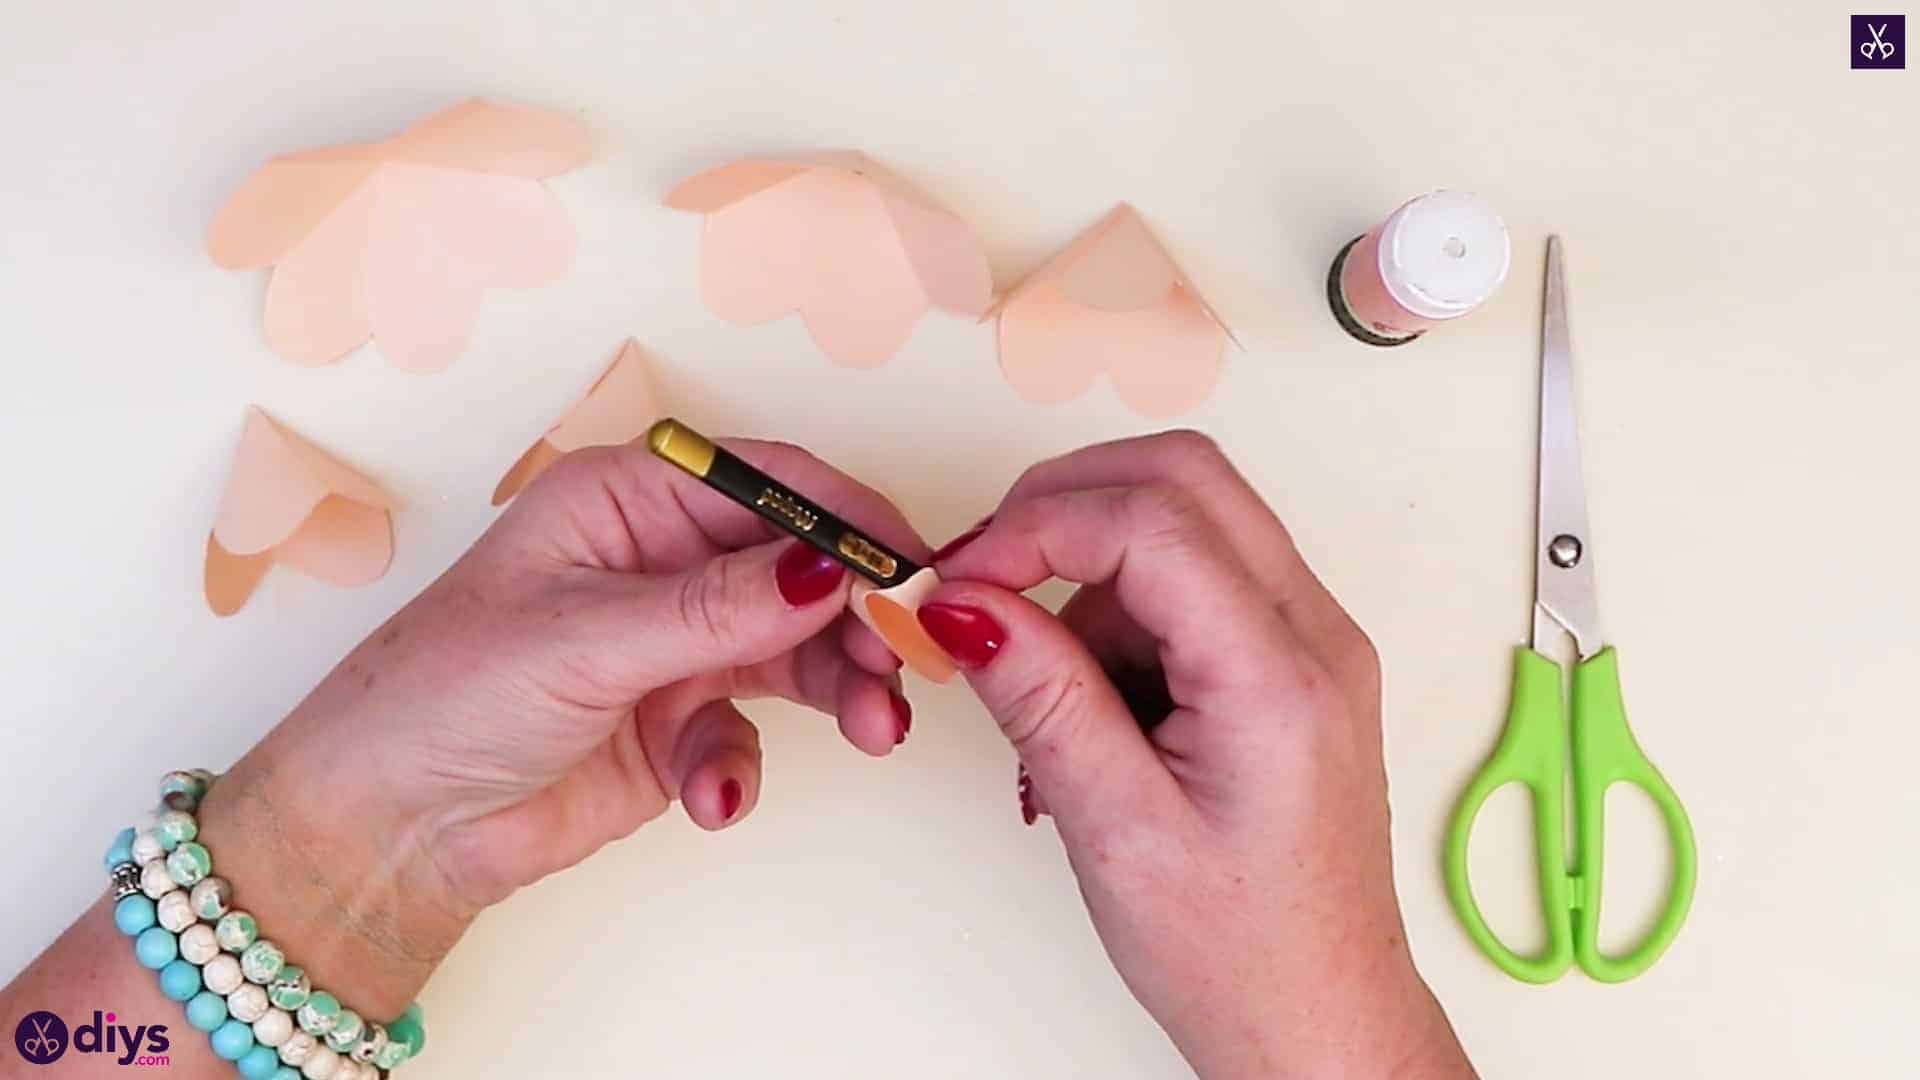
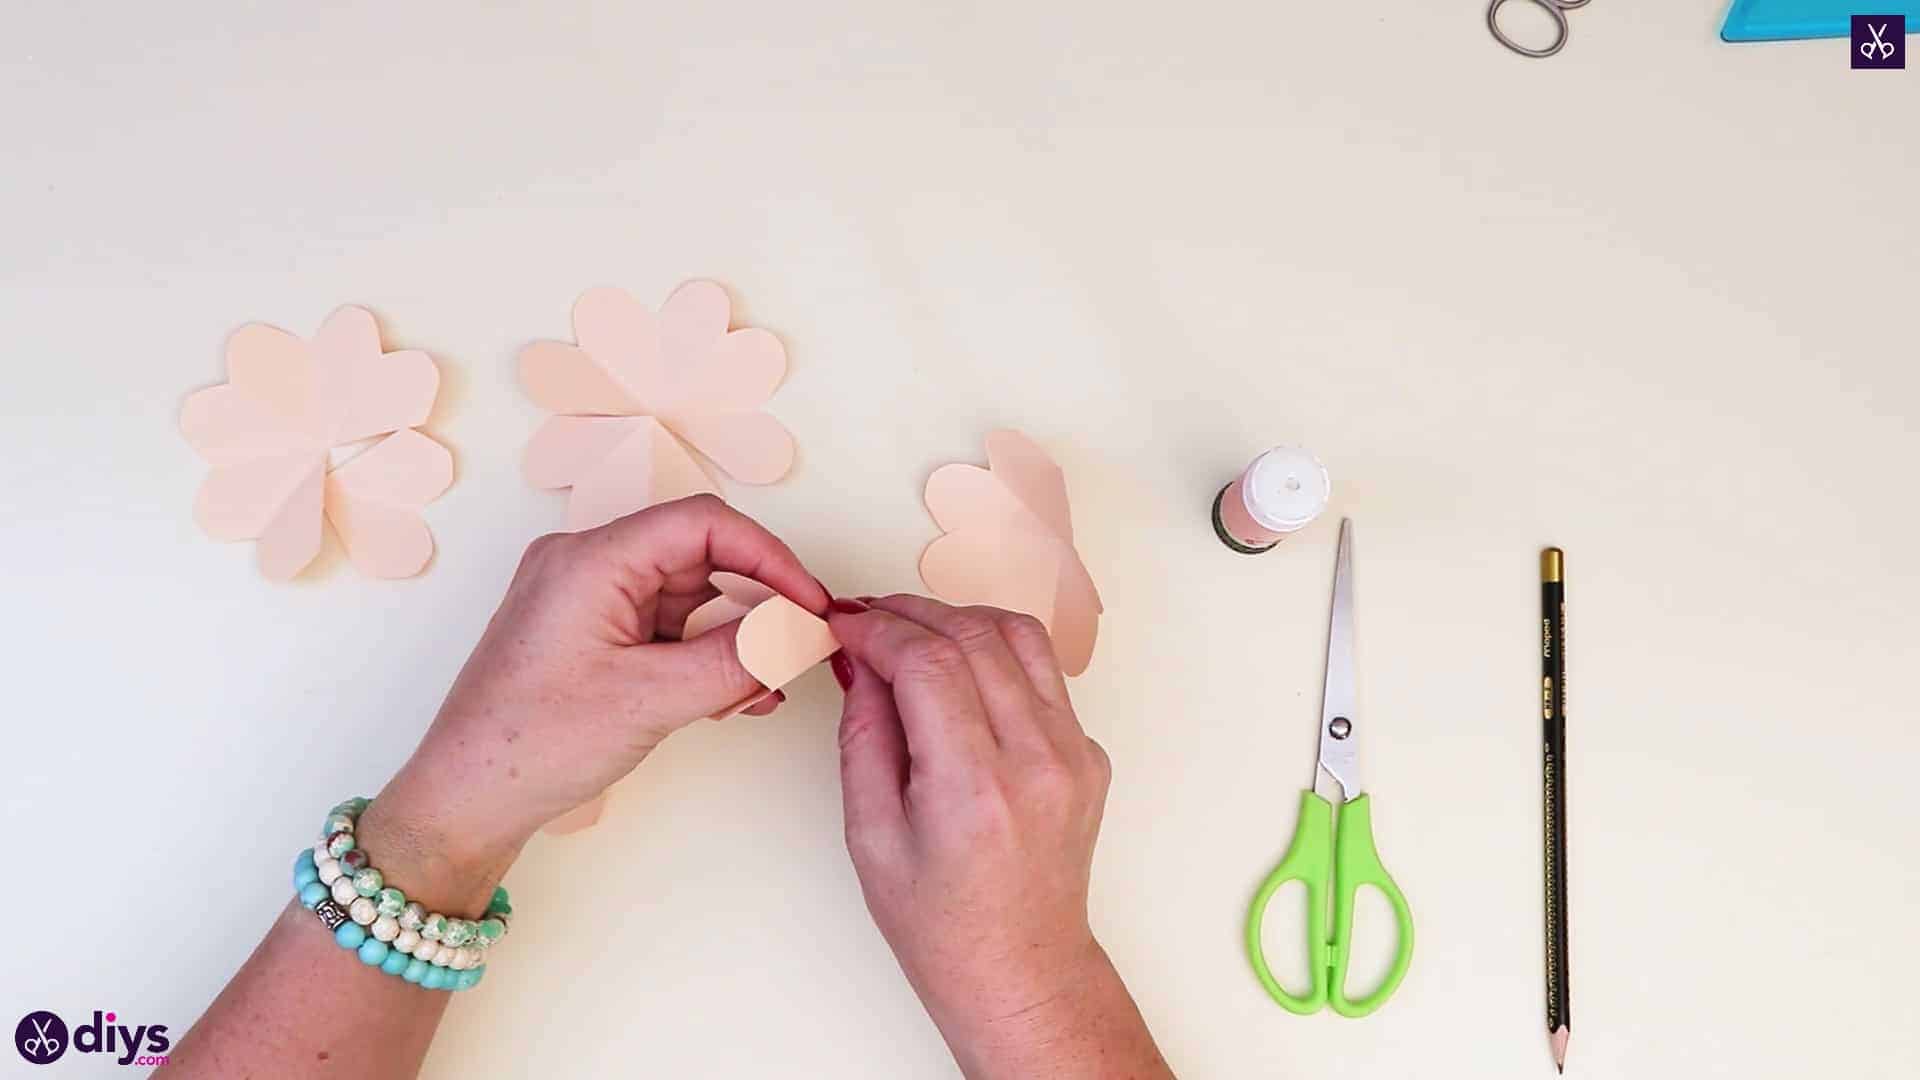
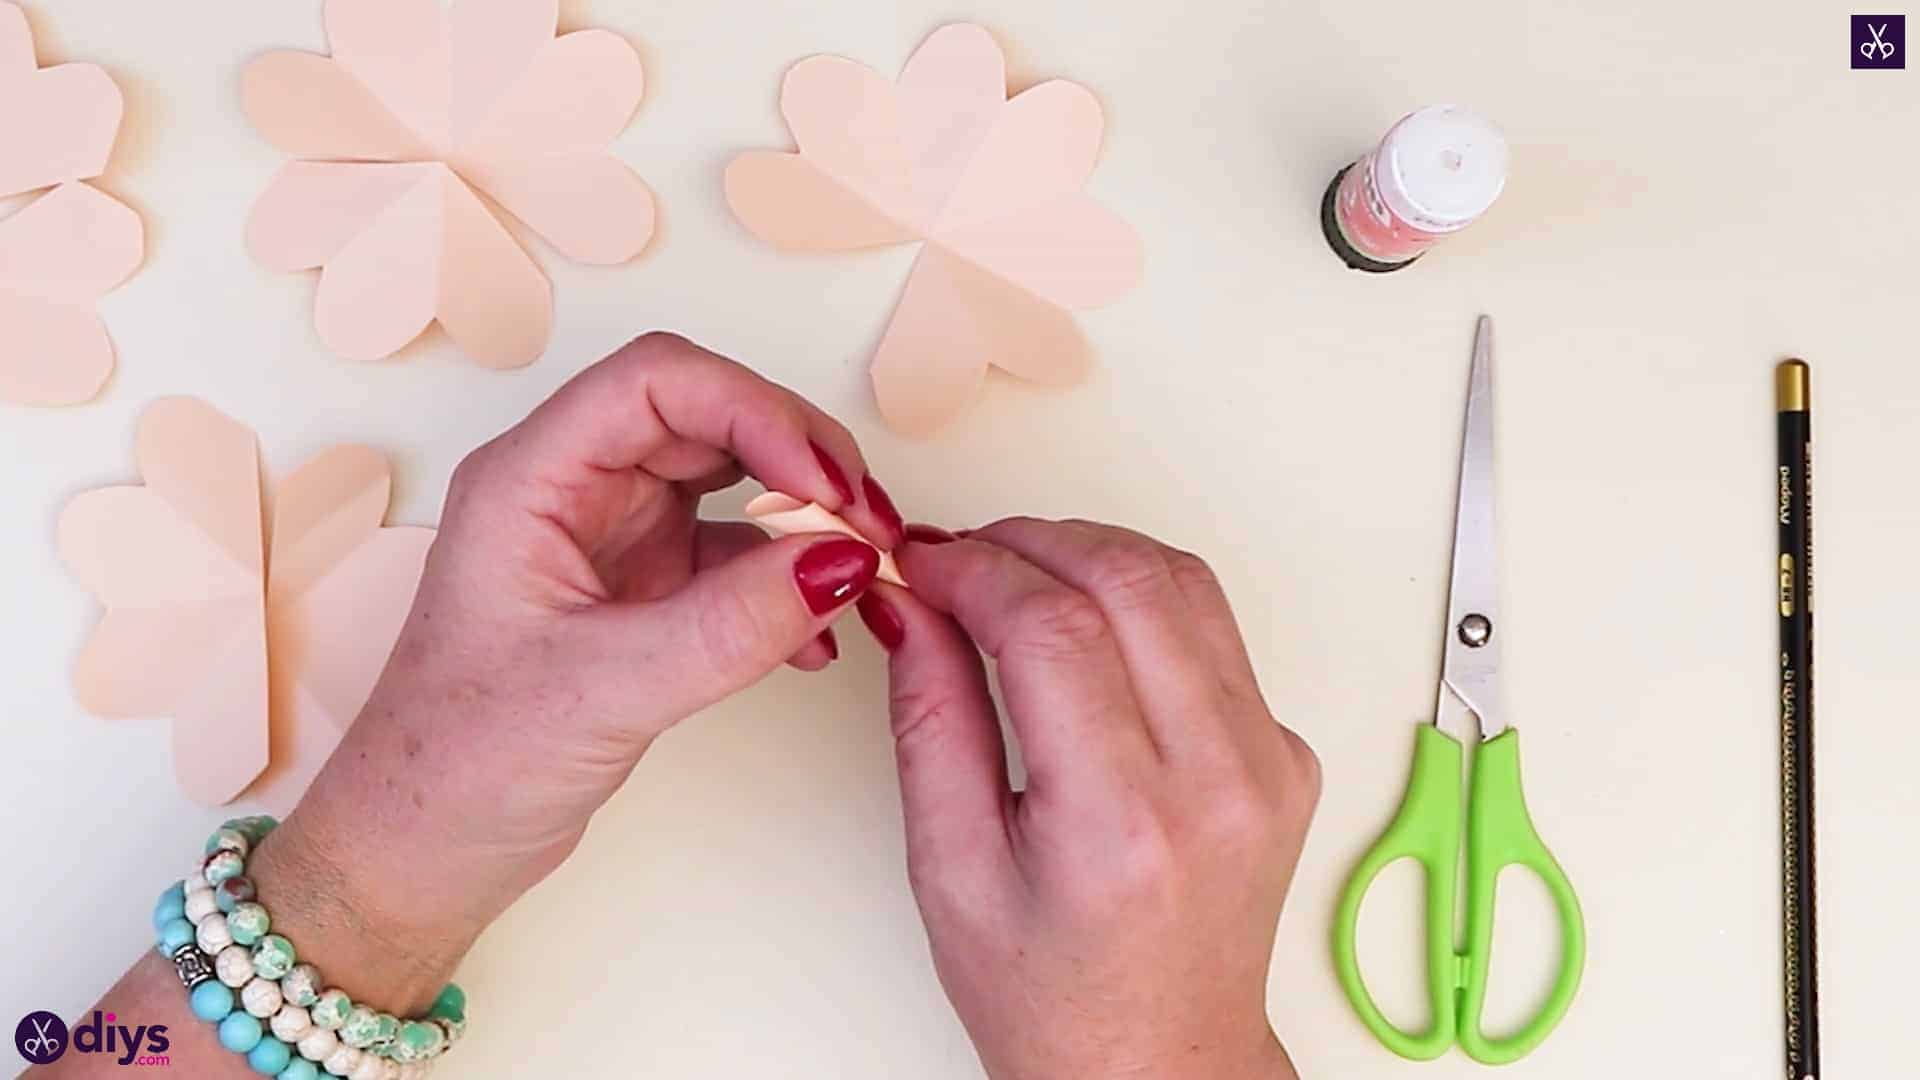
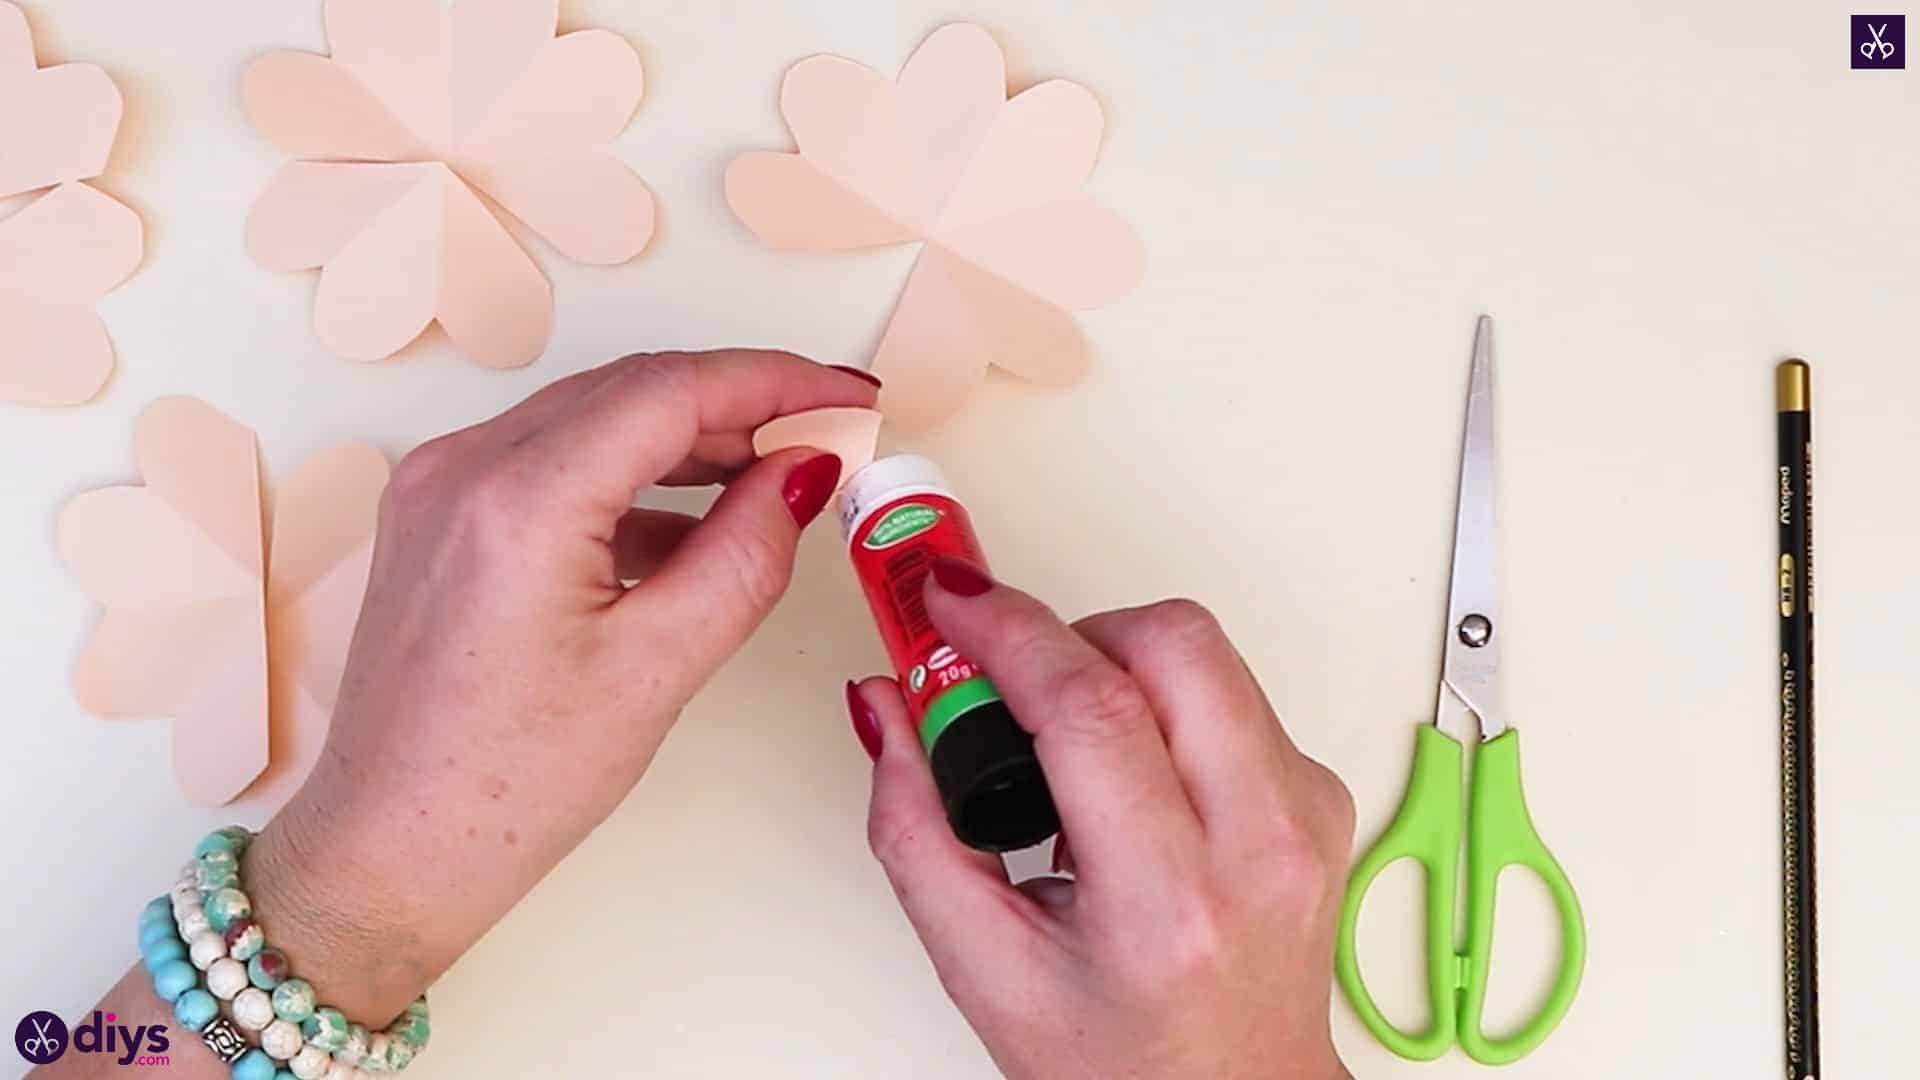
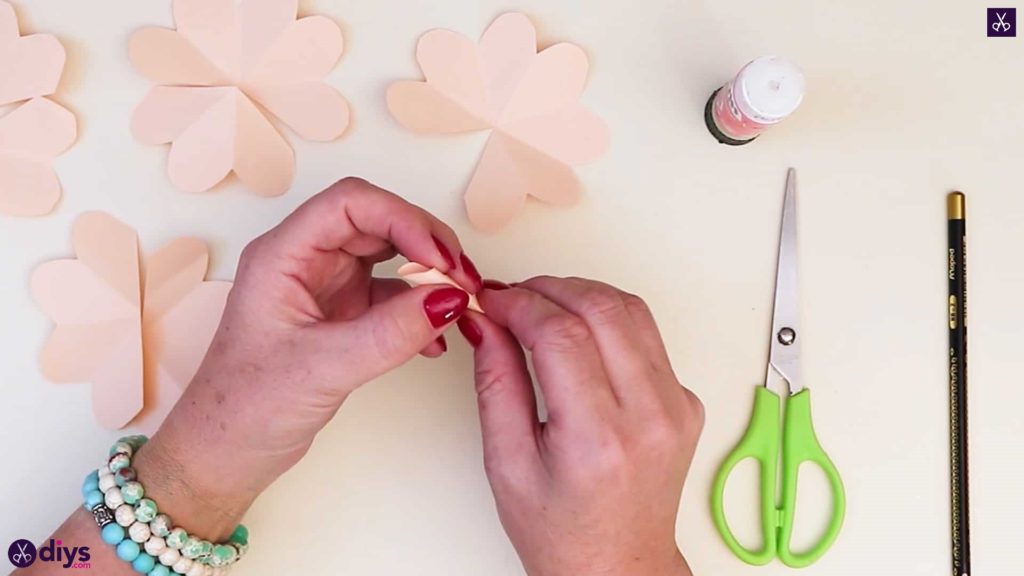
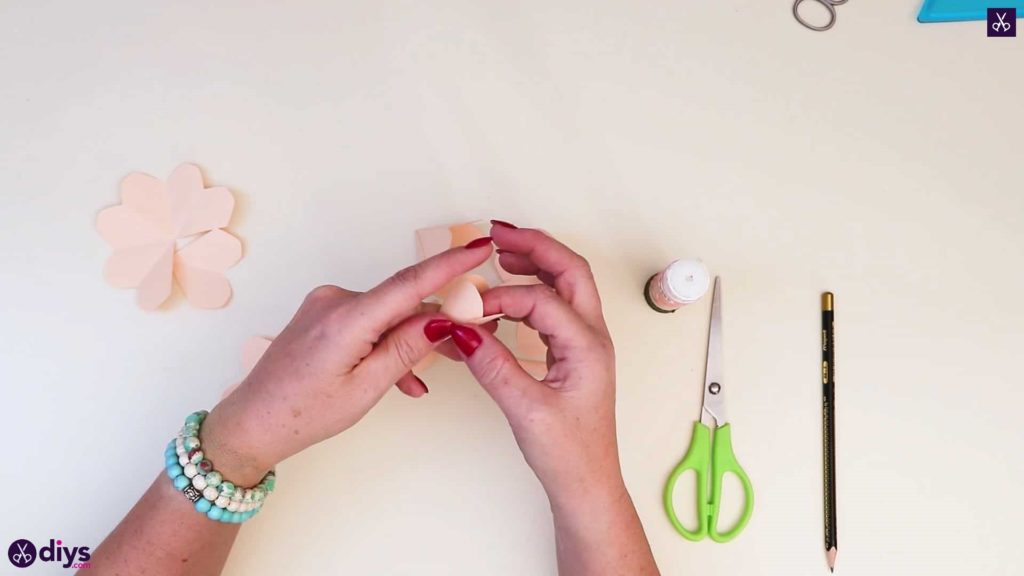
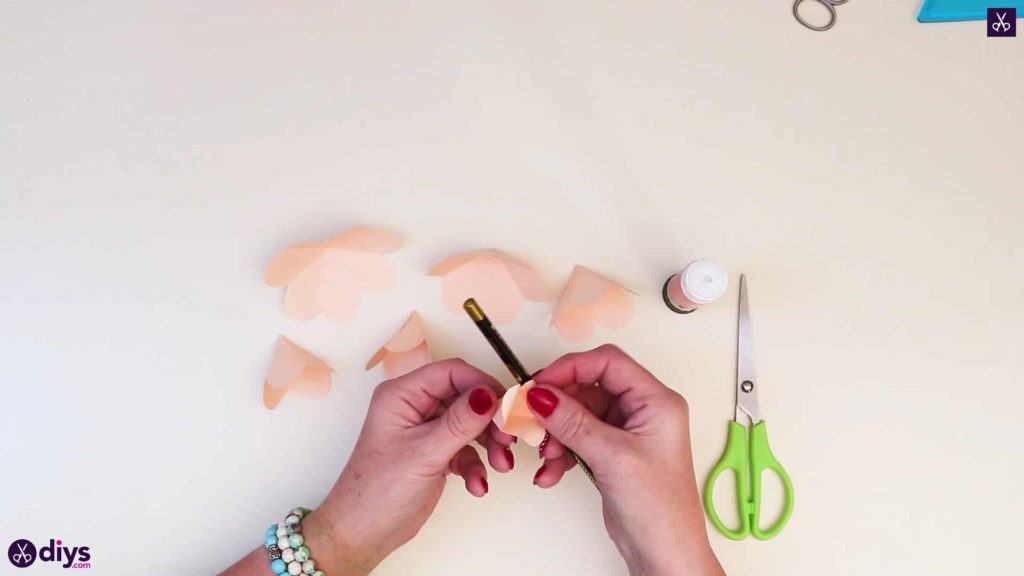
Step 6: start gluing
Start with the piece that has a single round on the top, holding it with its point downward. Apply glue along the straight right edge and roll the left side opposite that inward, curling it to meet the glue. Stick the edge down. This will eventually be the center of your flower. Set this aside for now.

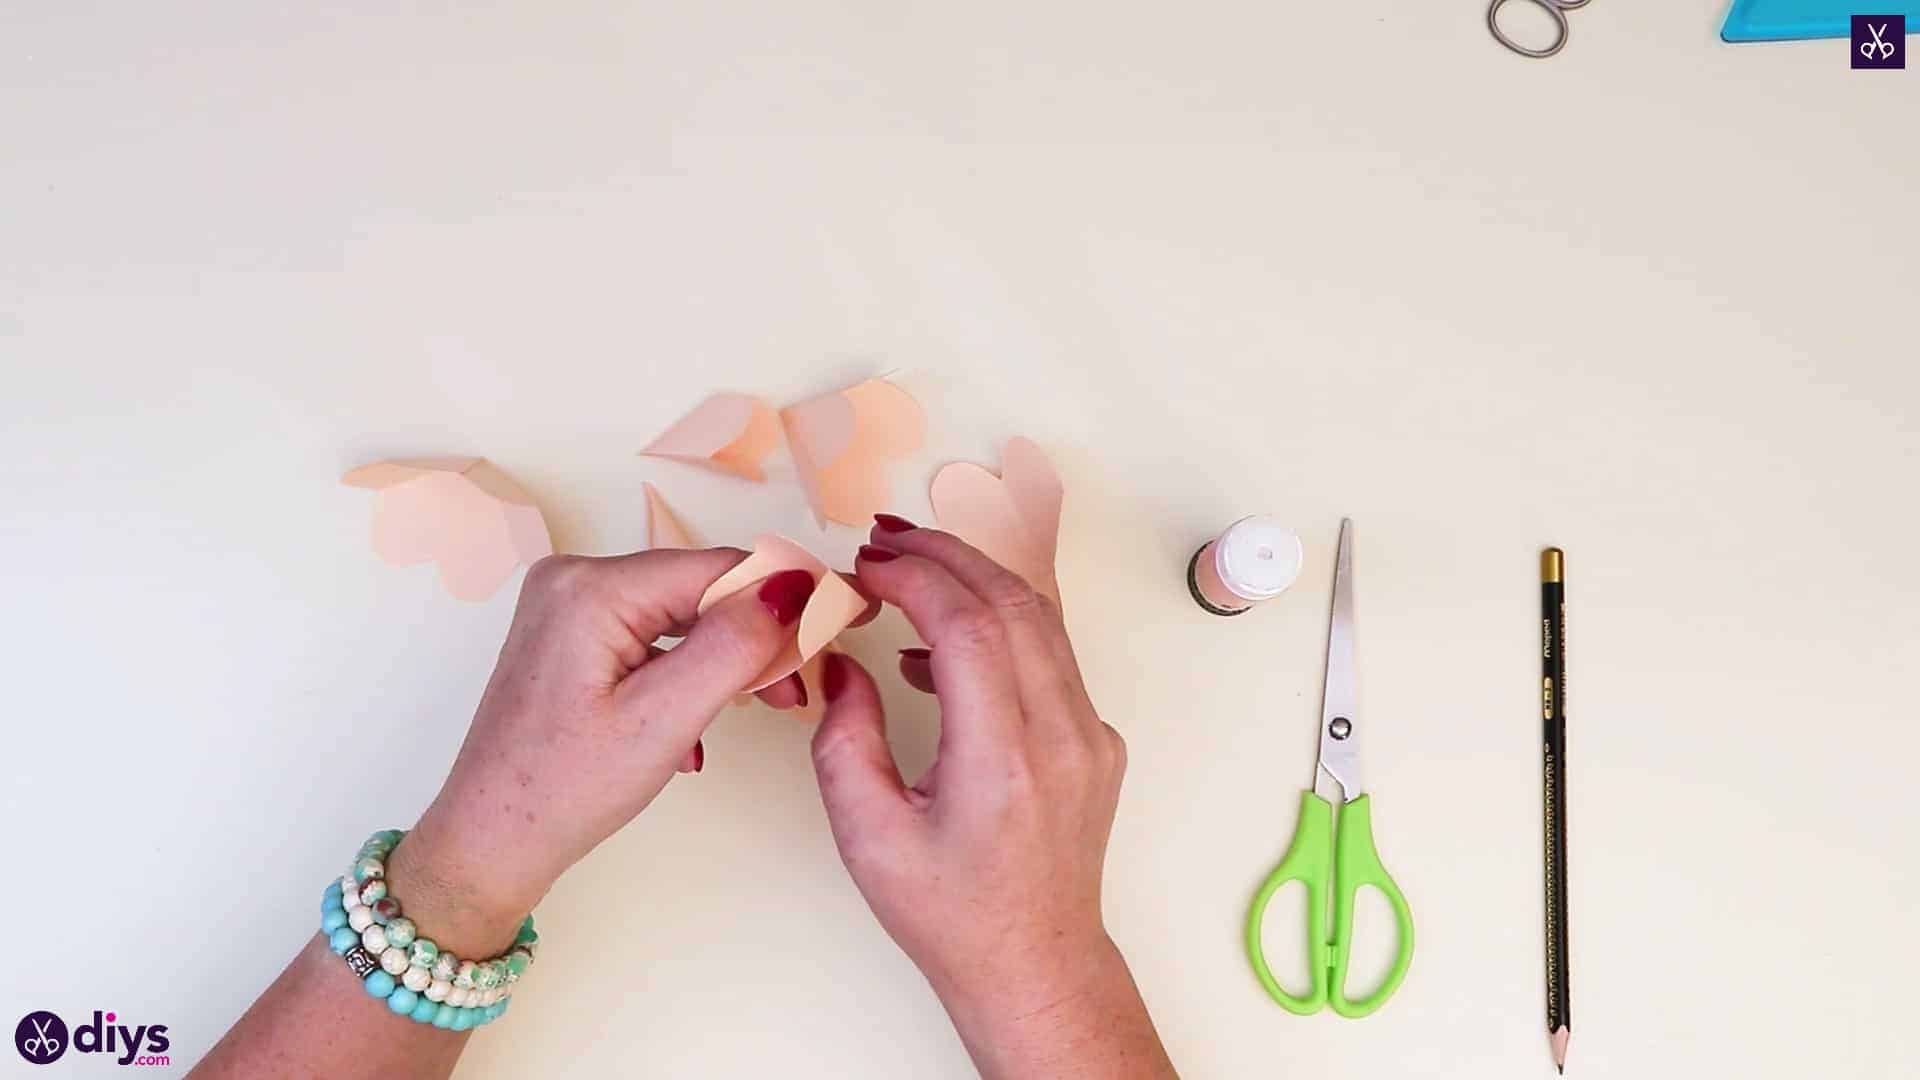
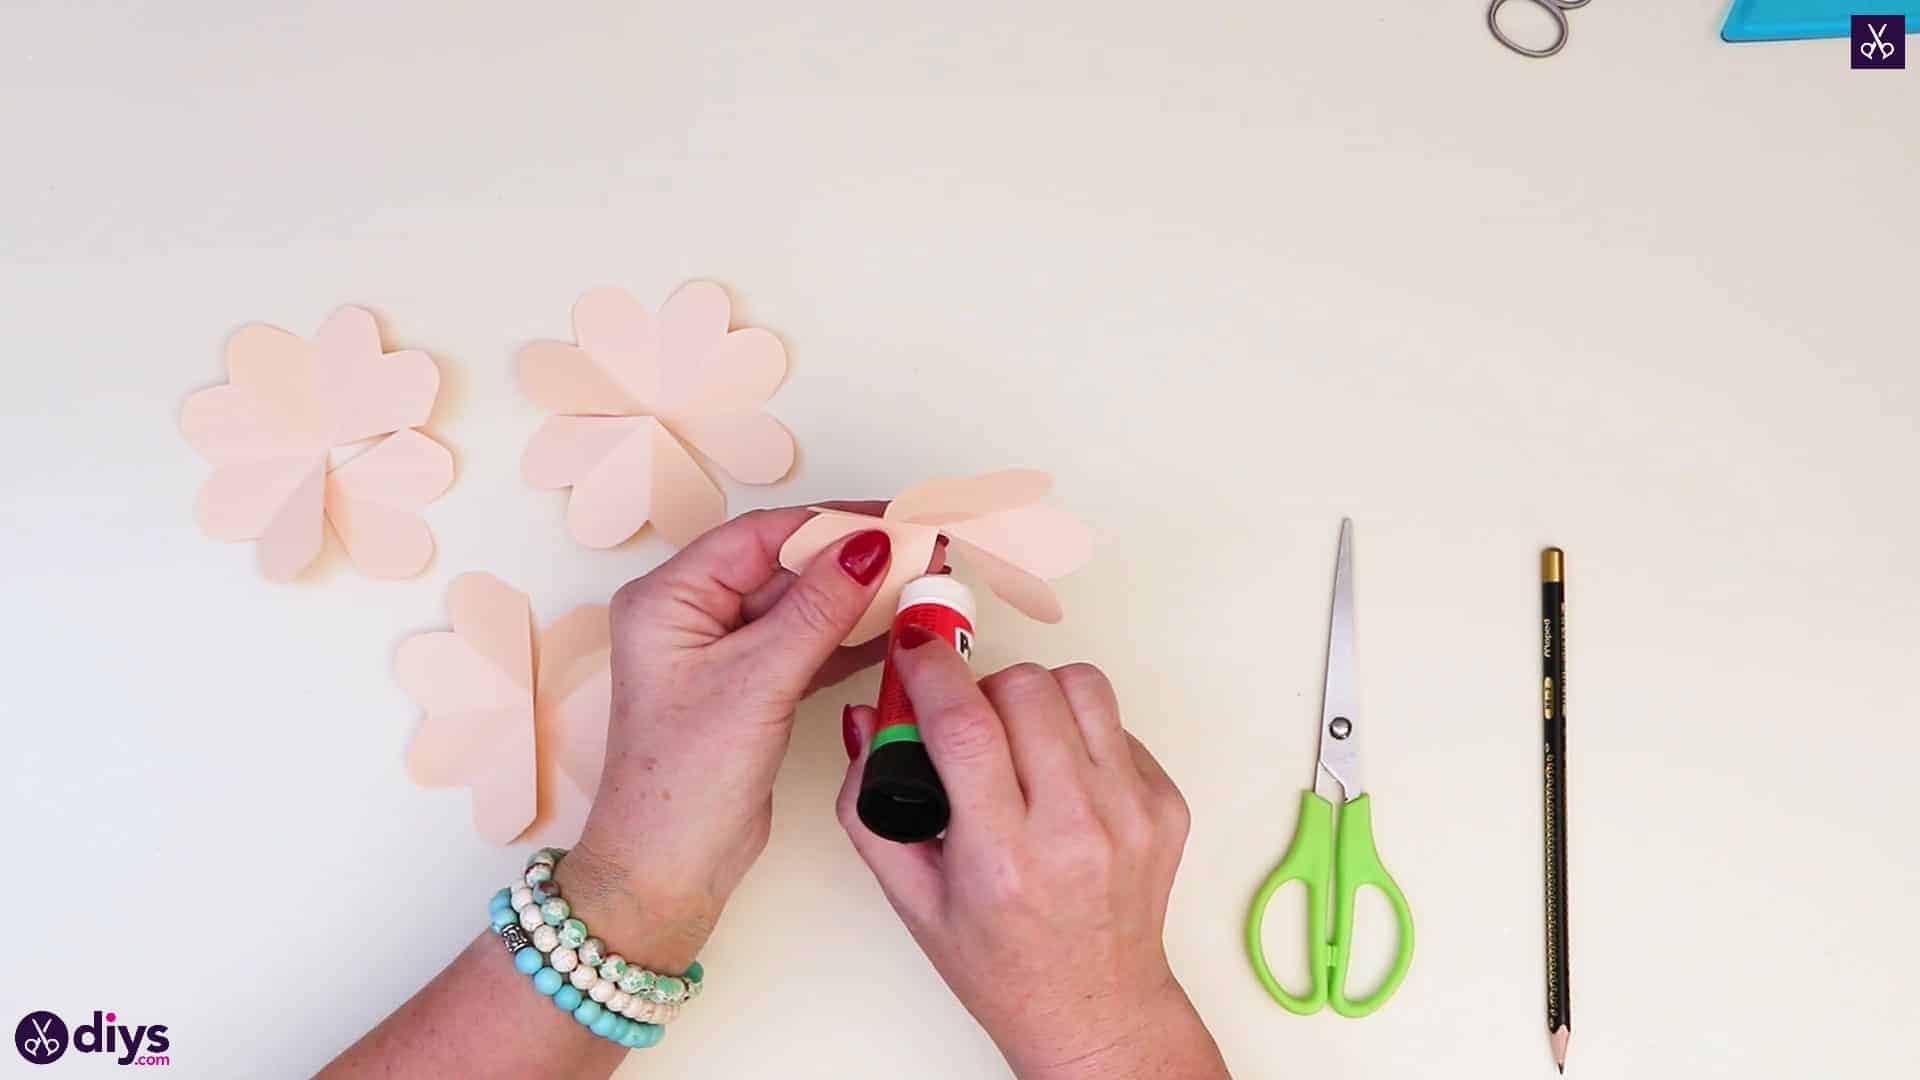
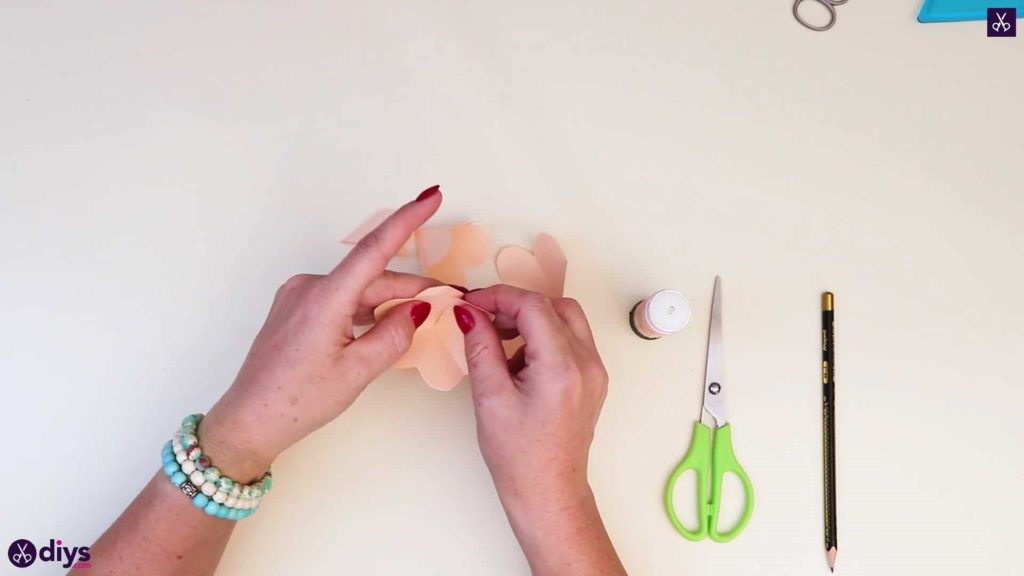
Step 7: make the bowl
Next work with the piece that has seven rounds along the edge. Repeat the gluing, curling, and sticking process; apply glue on one side of your cut edge where you cut the single slice out and pull the other edge to meet it, sticking it down. You now have a piece that resembles a scalloped bowl.


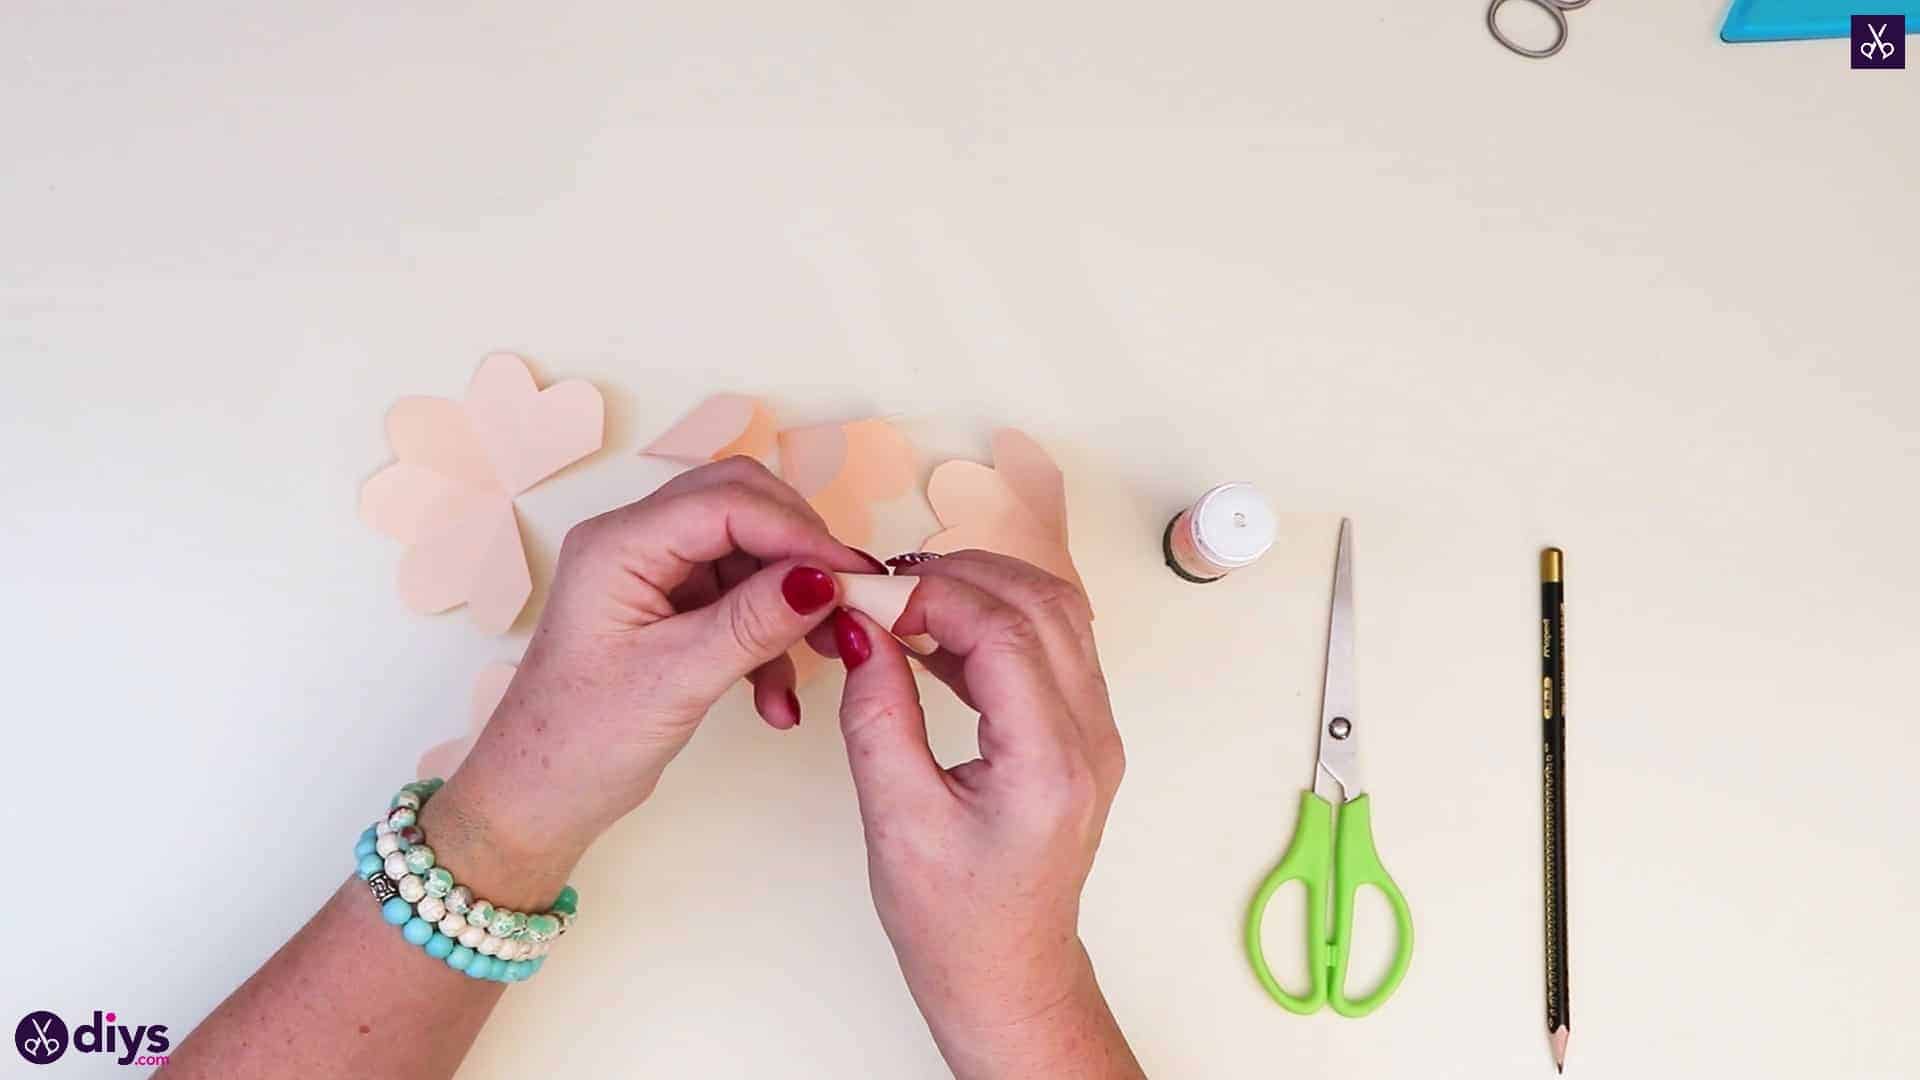
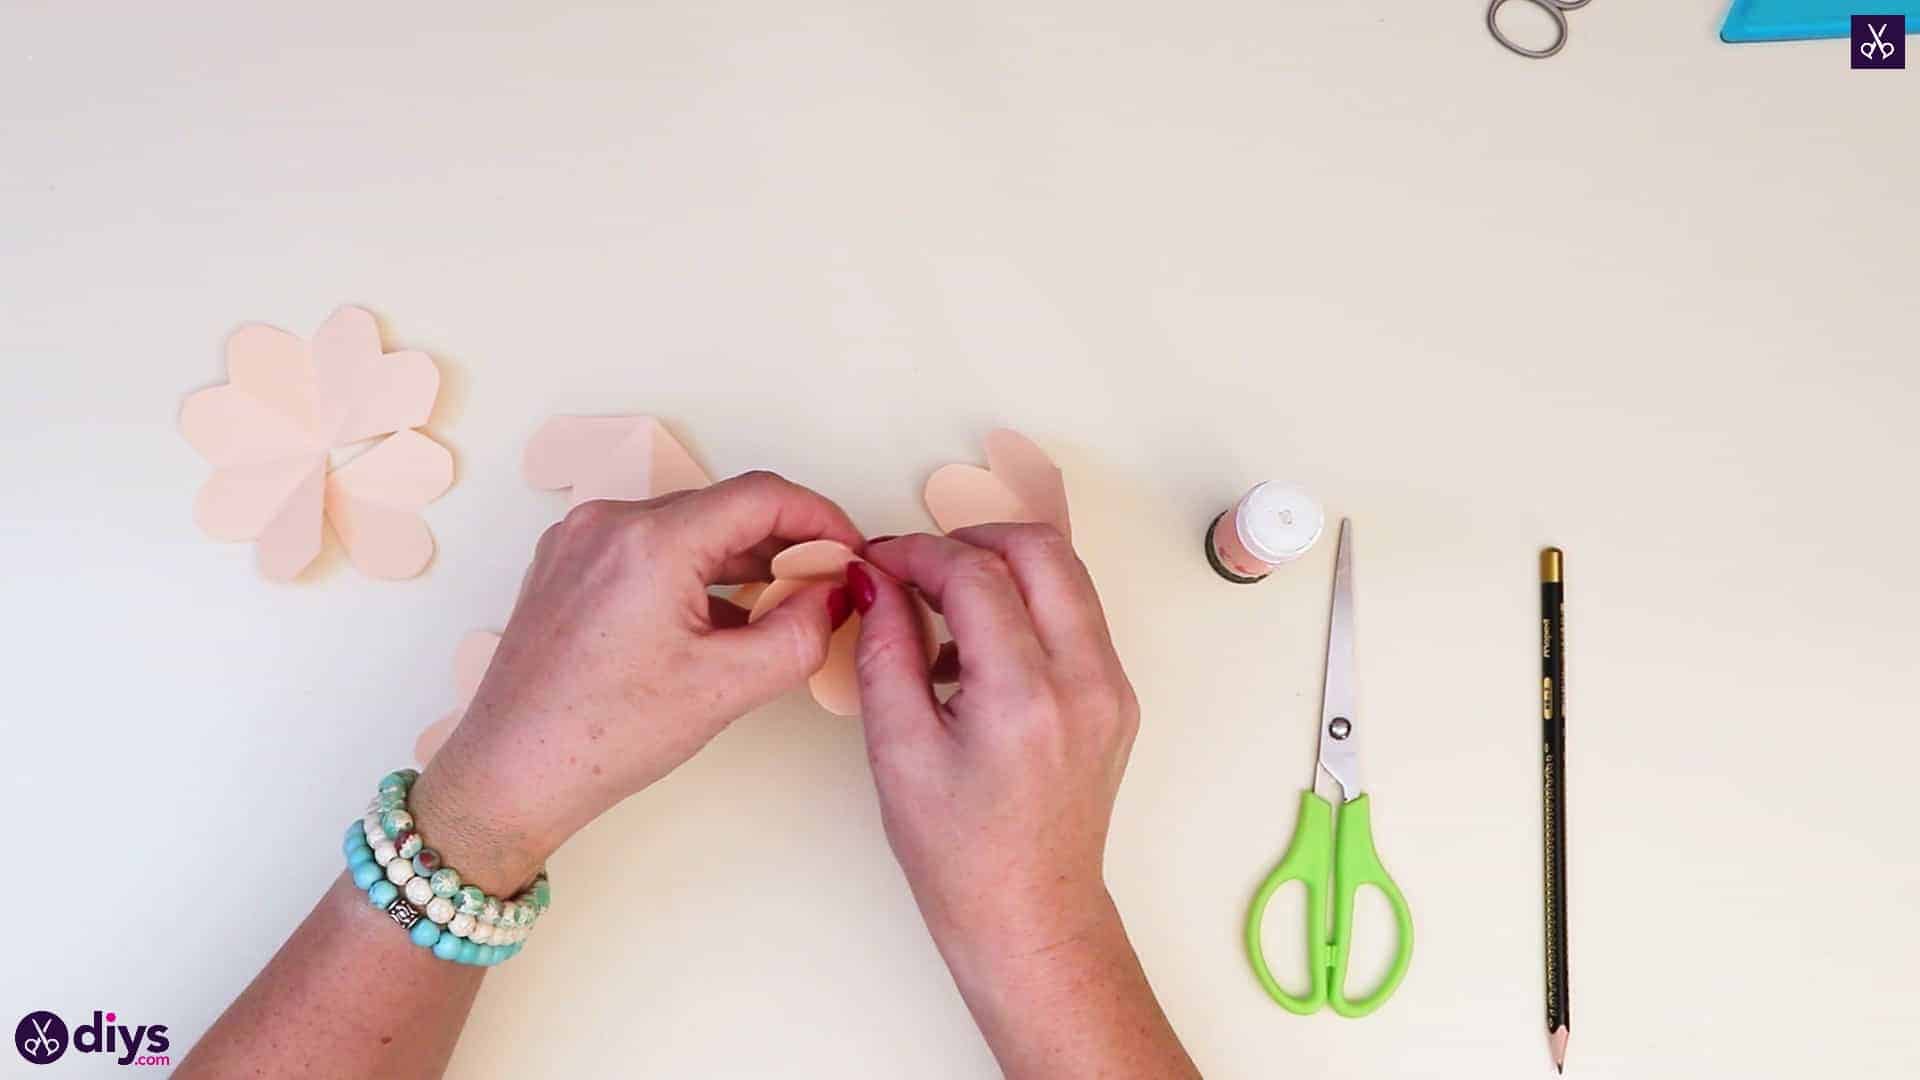
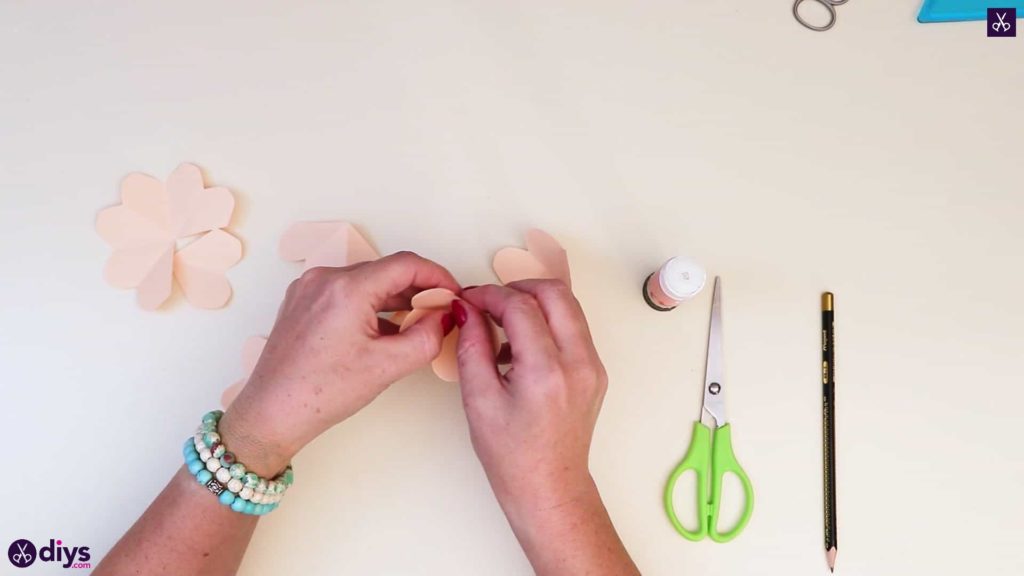
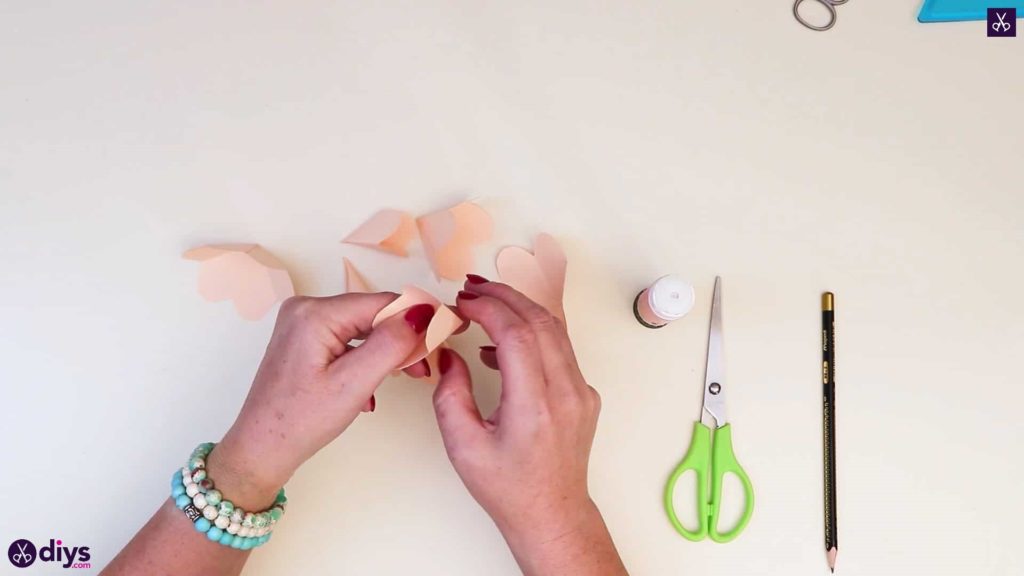
Step 8: repeat
Repeat this whole sticking, pulling, and gluing process with every single petal piece you have left. You’ll finish with a series of curved pieces that decrease in width and are sized perfectly to fit together or inside each other like nesting dolls.
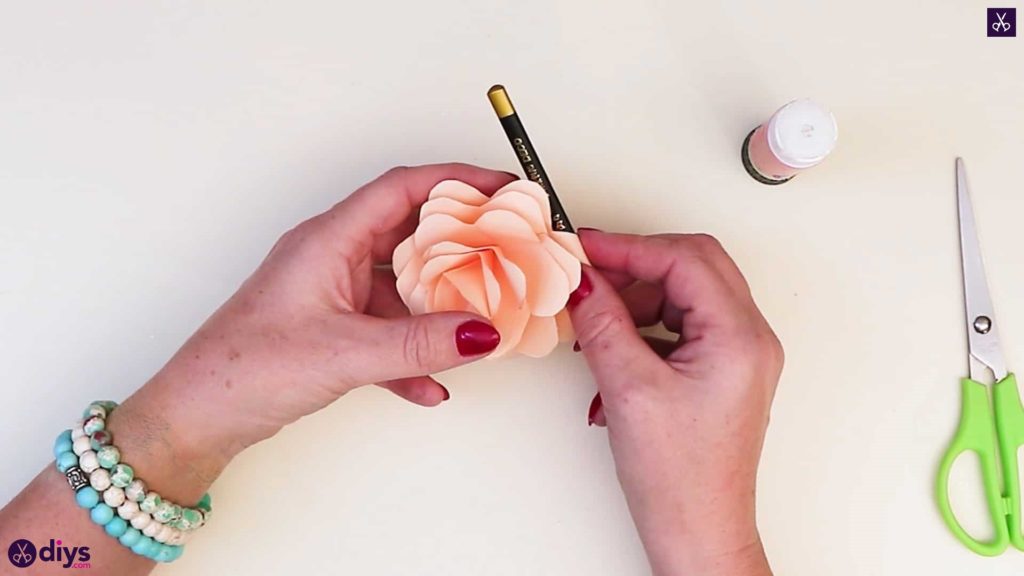


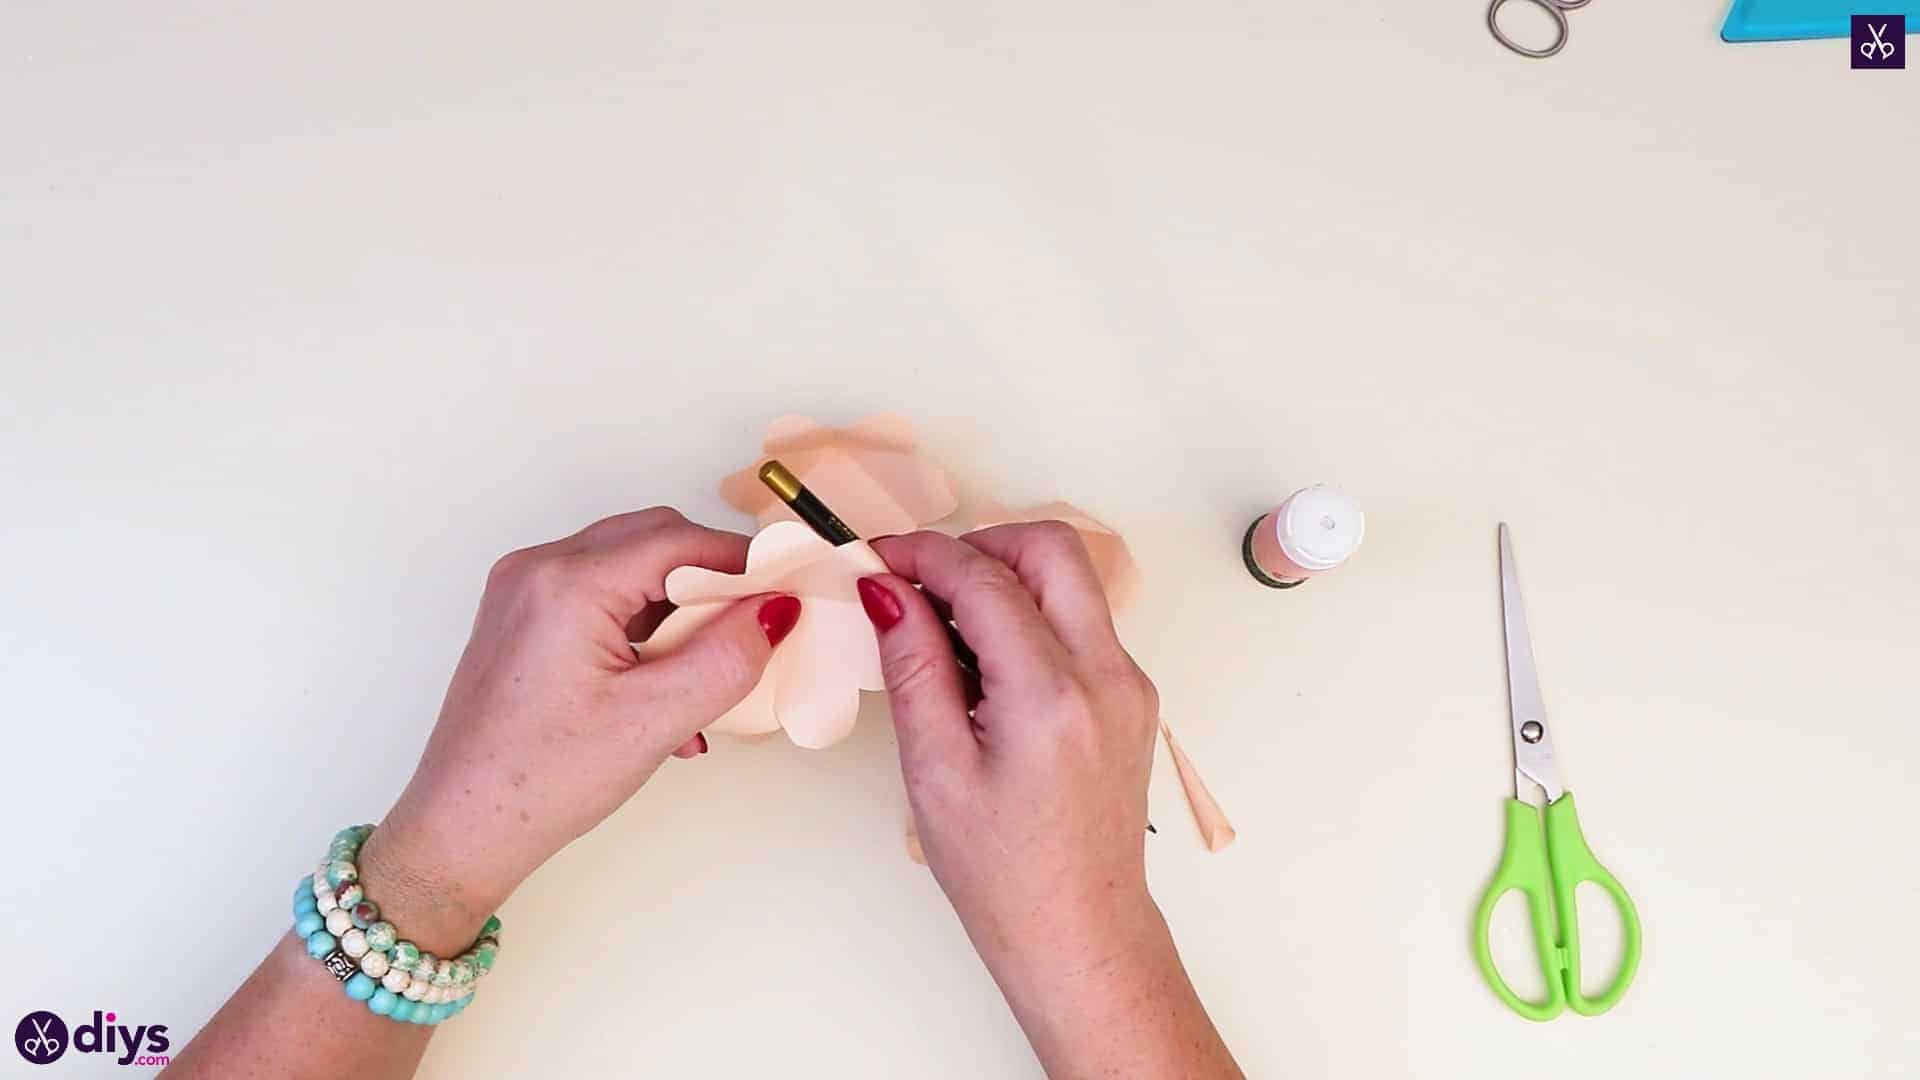
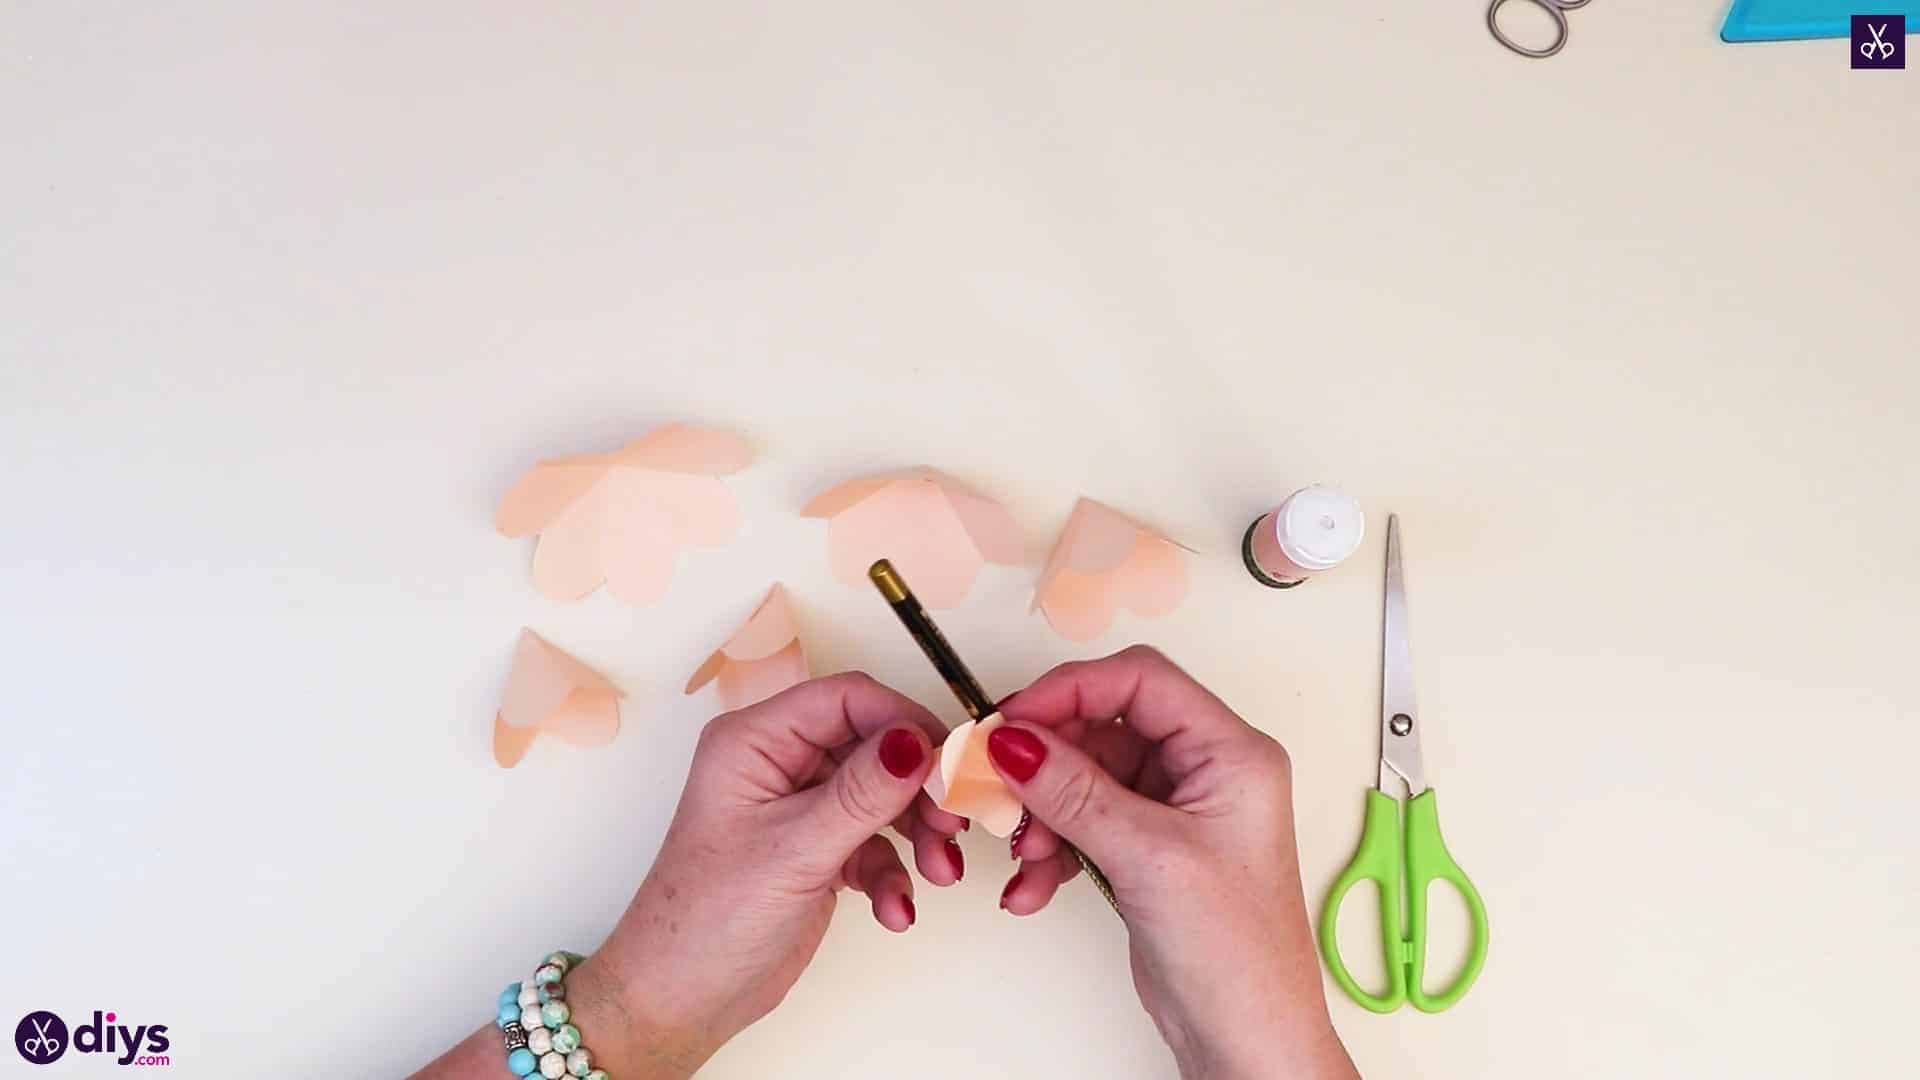
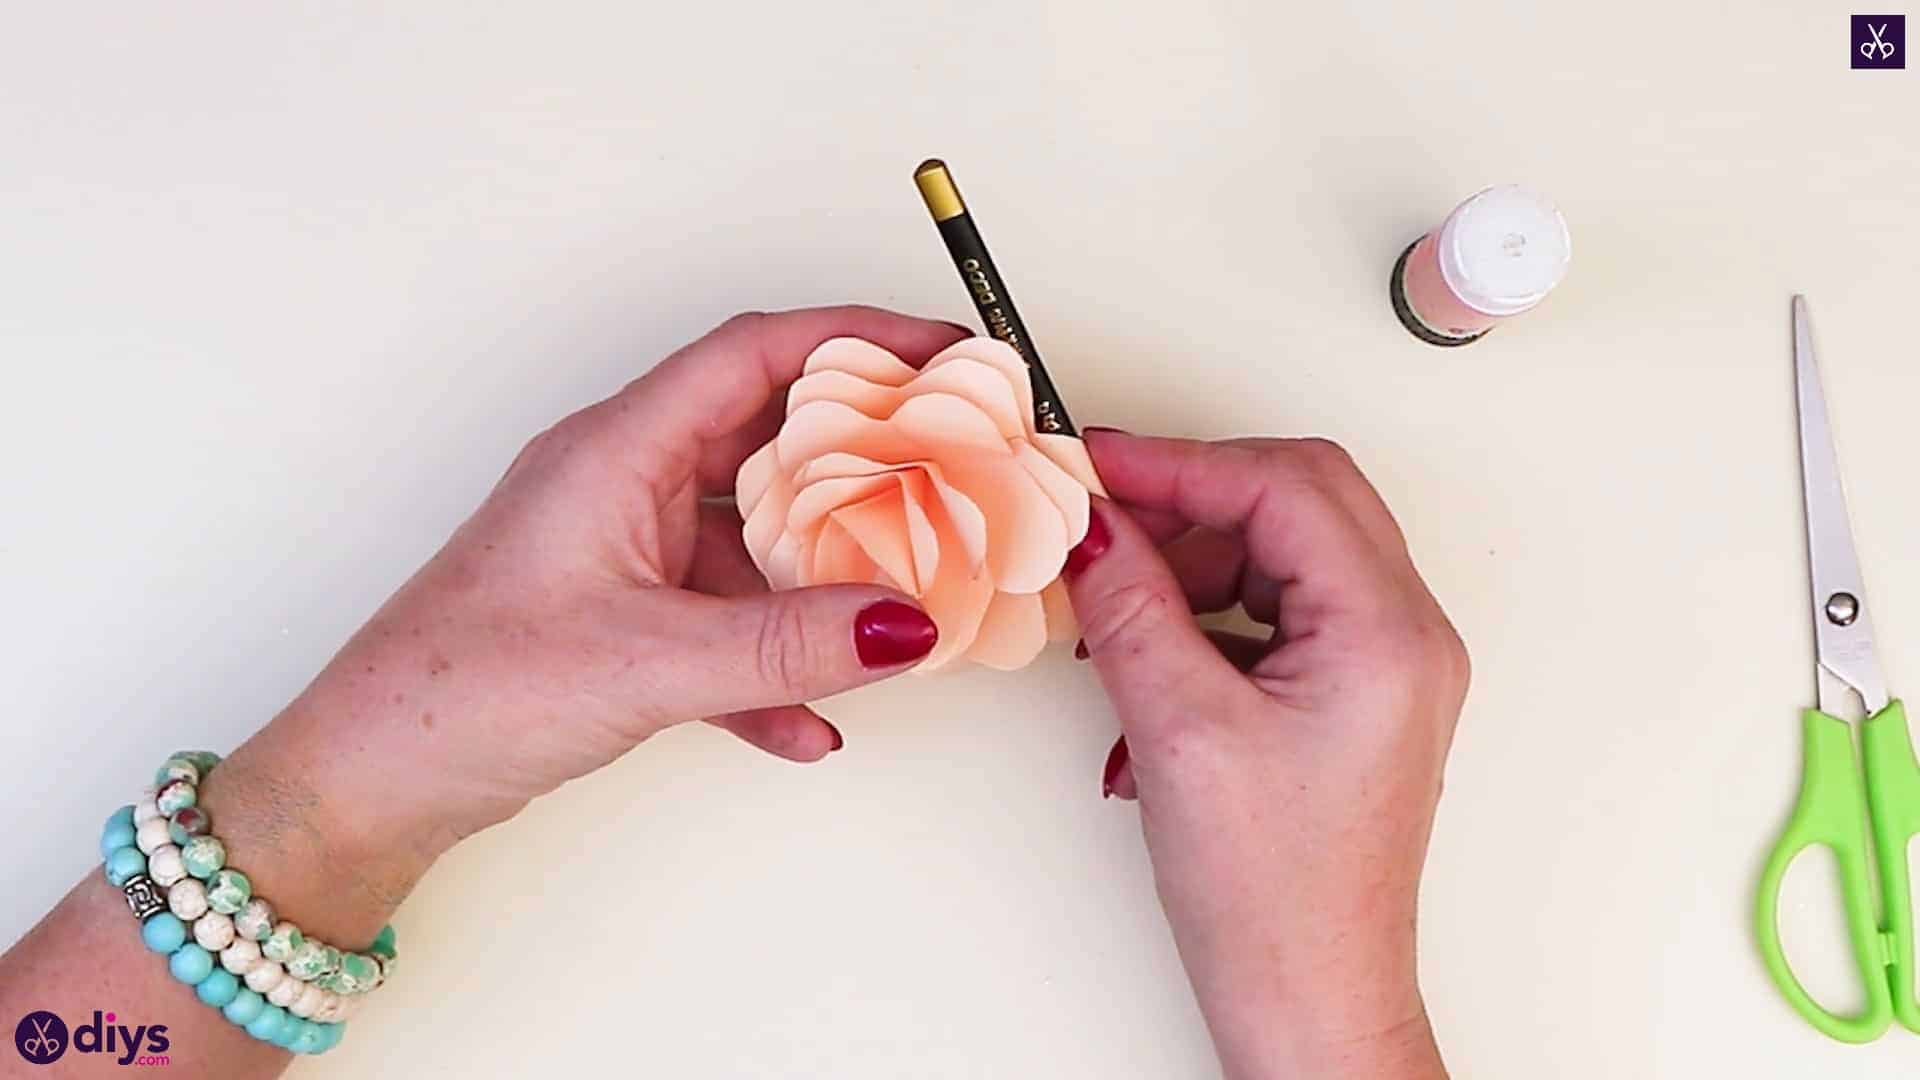
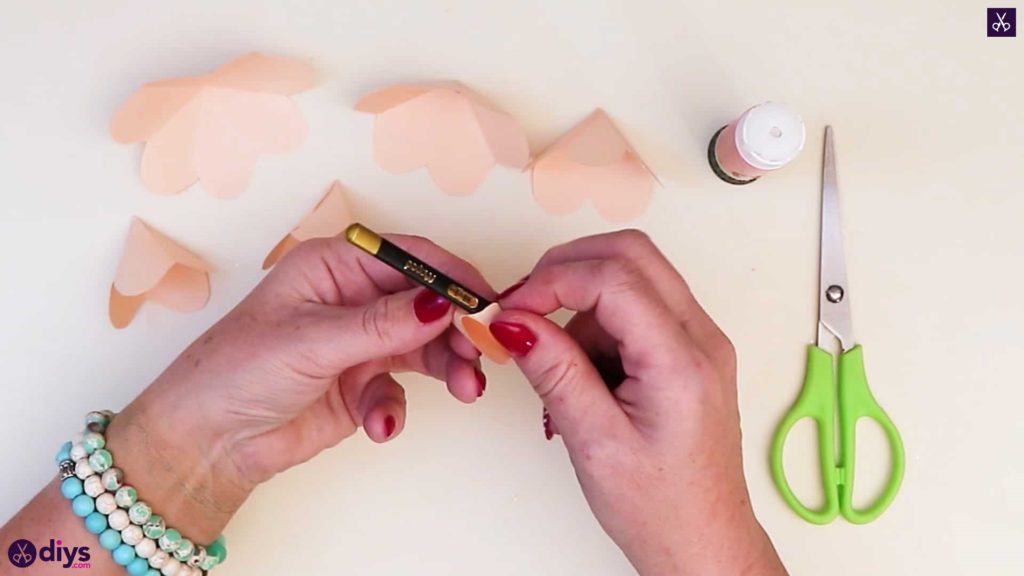
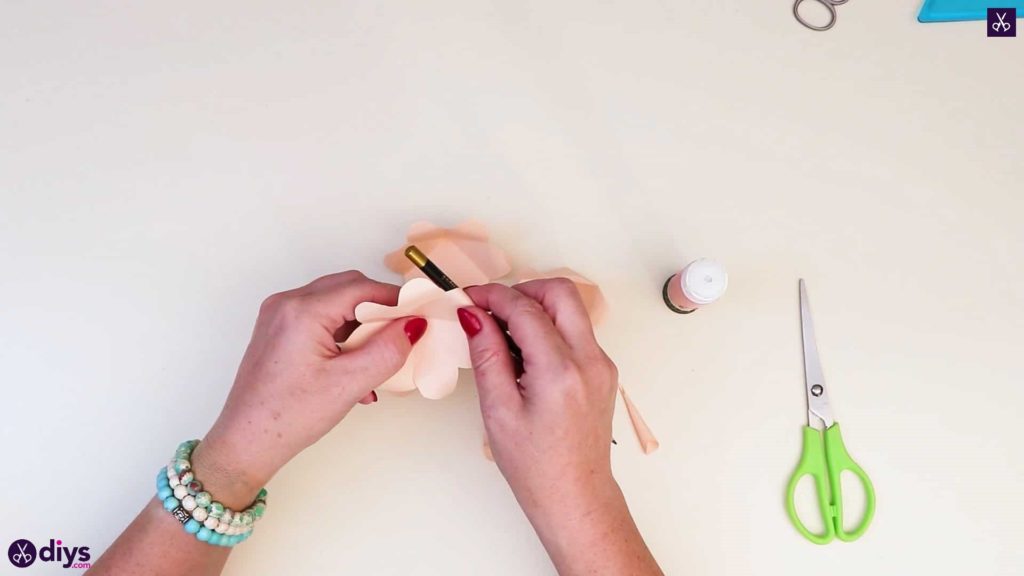
Step 9: curl the ends
Using your pencil, curve each of the rounds on each of your pieces backwards, away from its center and over or around the pencil. This will help your flower look like its blooming in realistic layers.
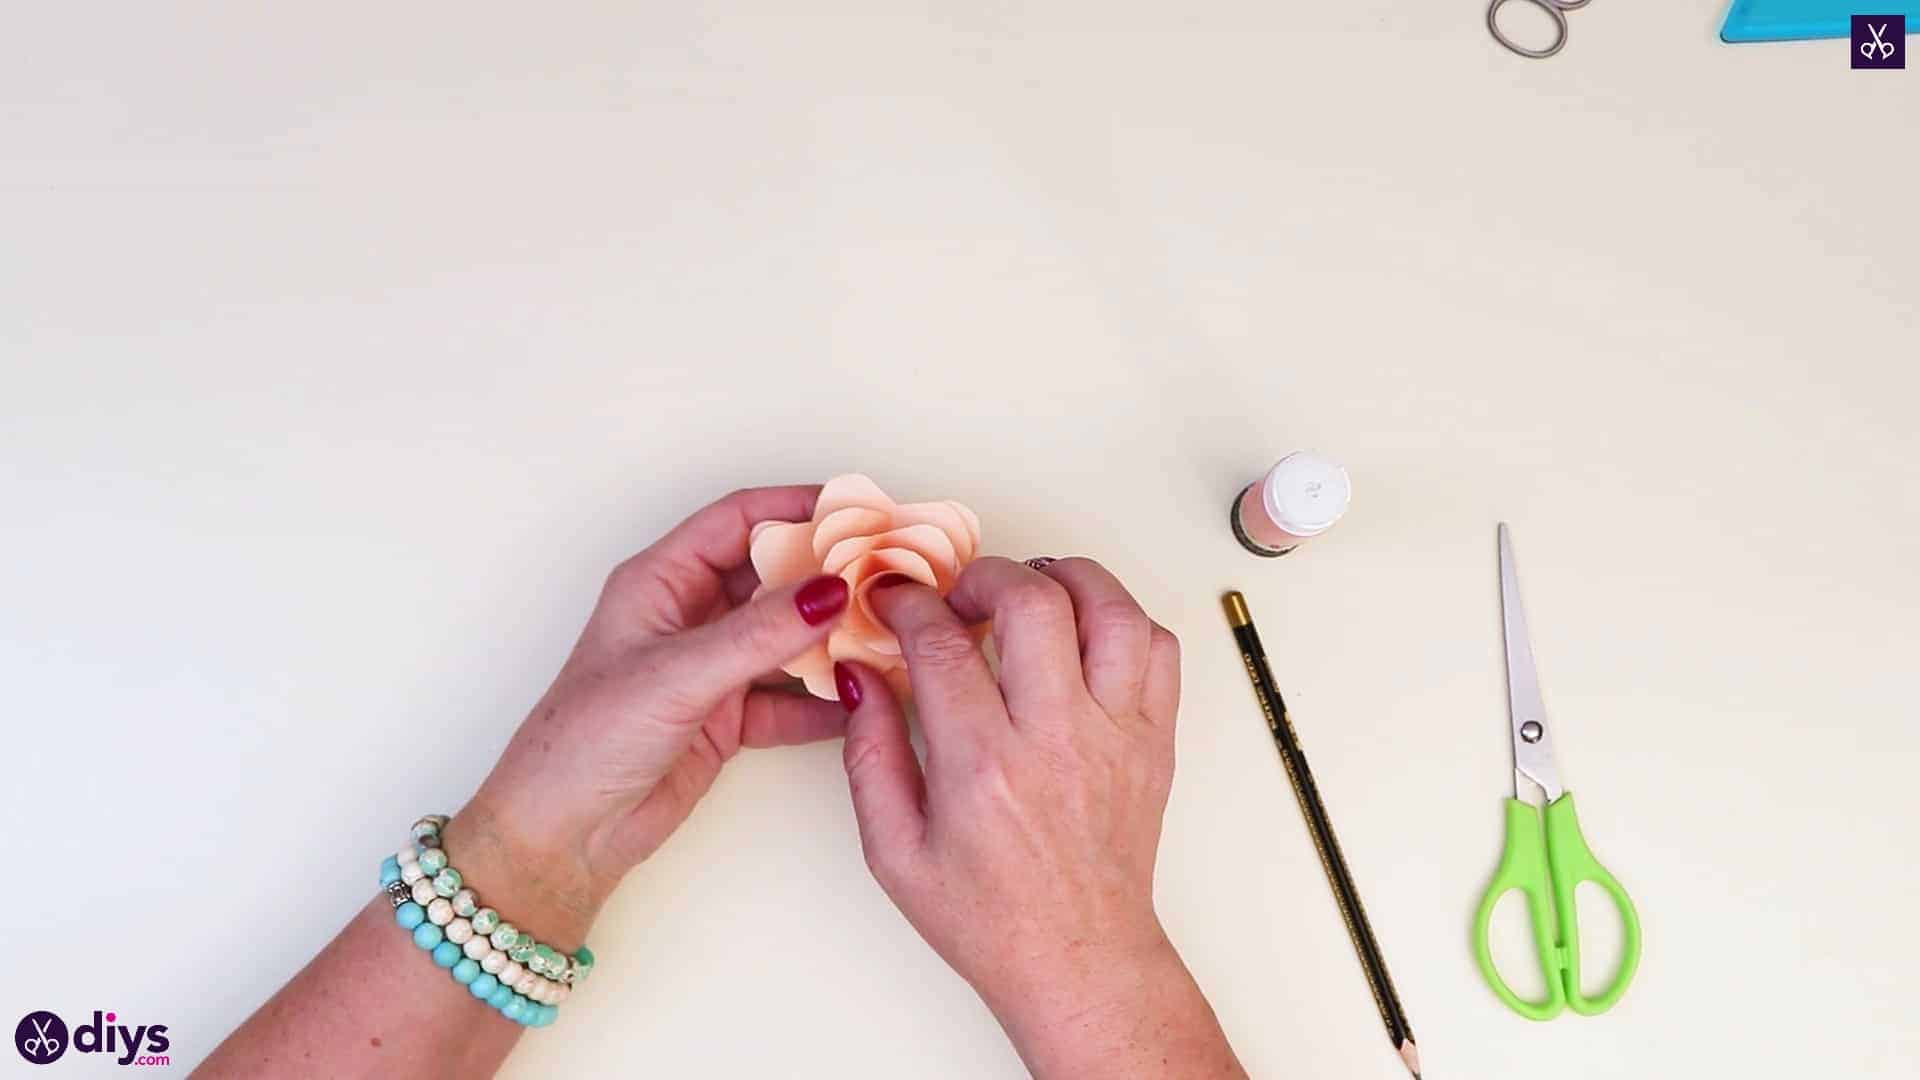
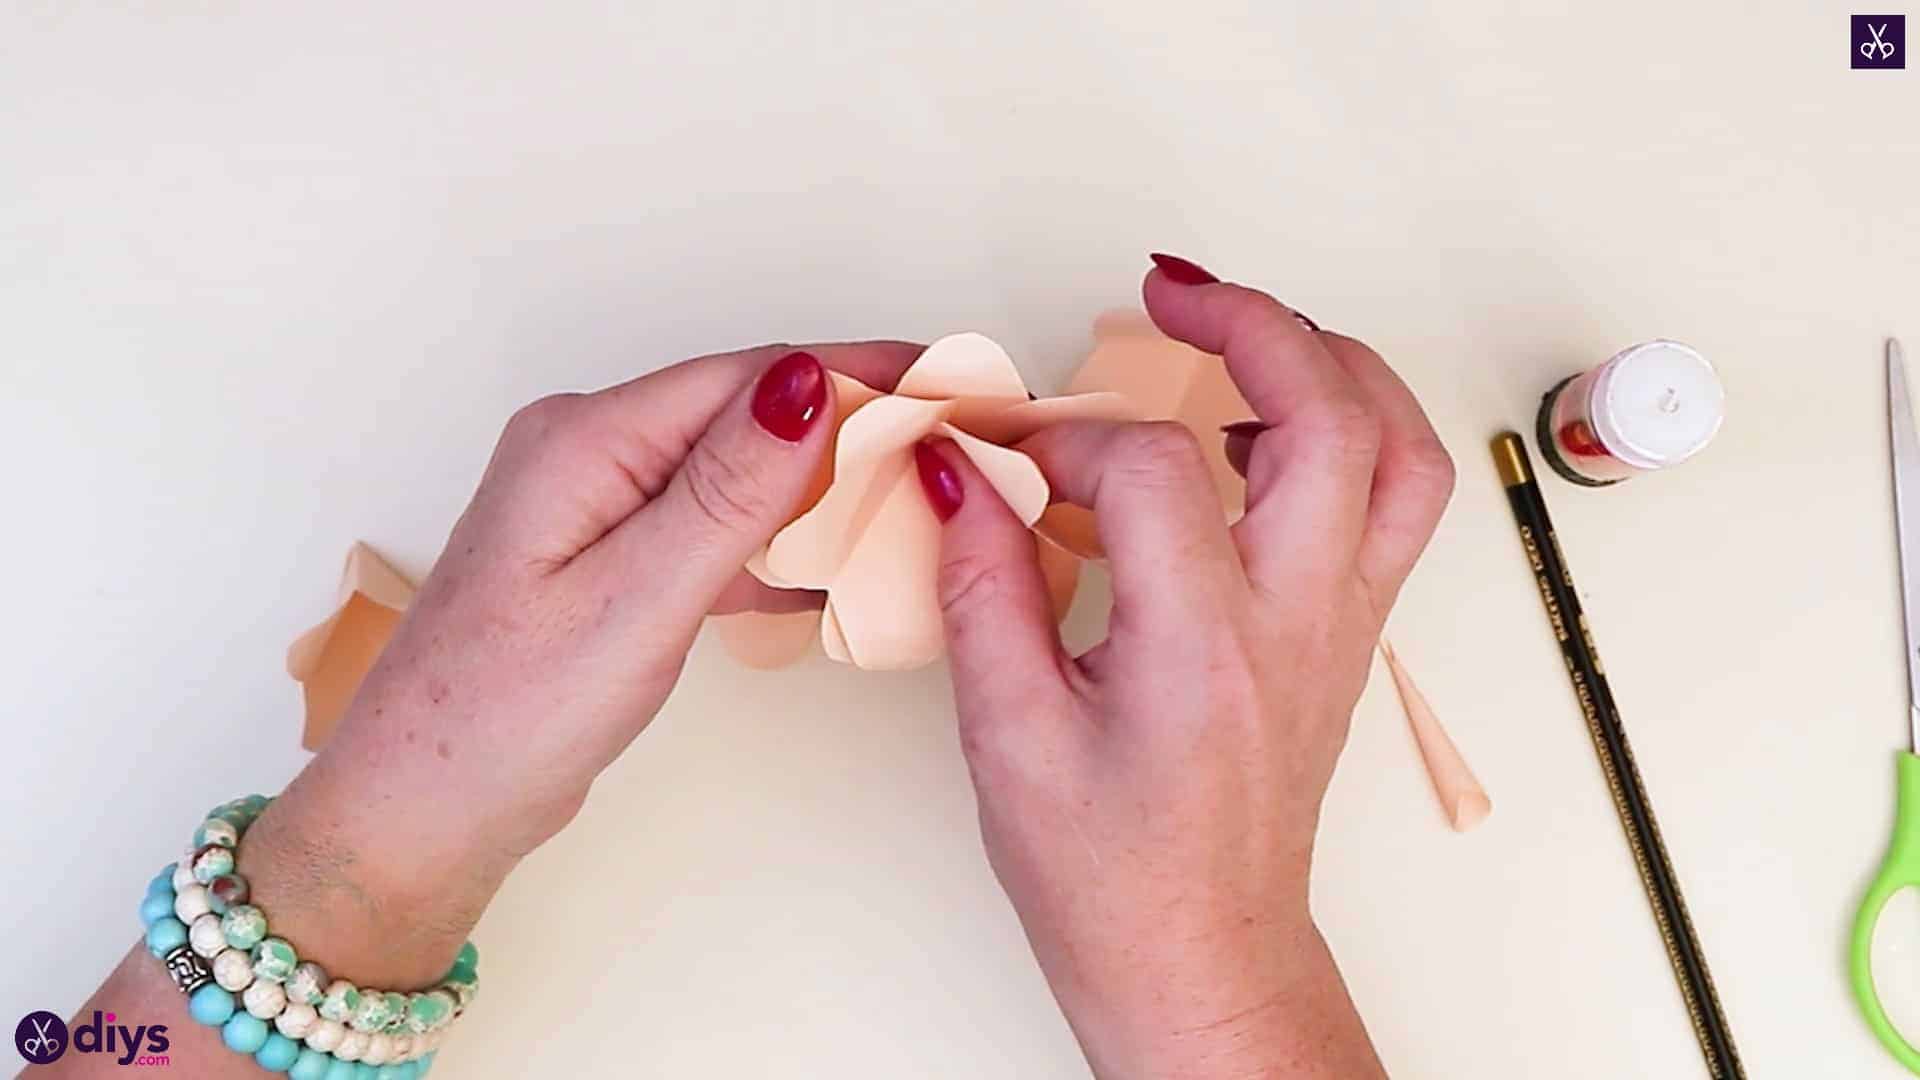
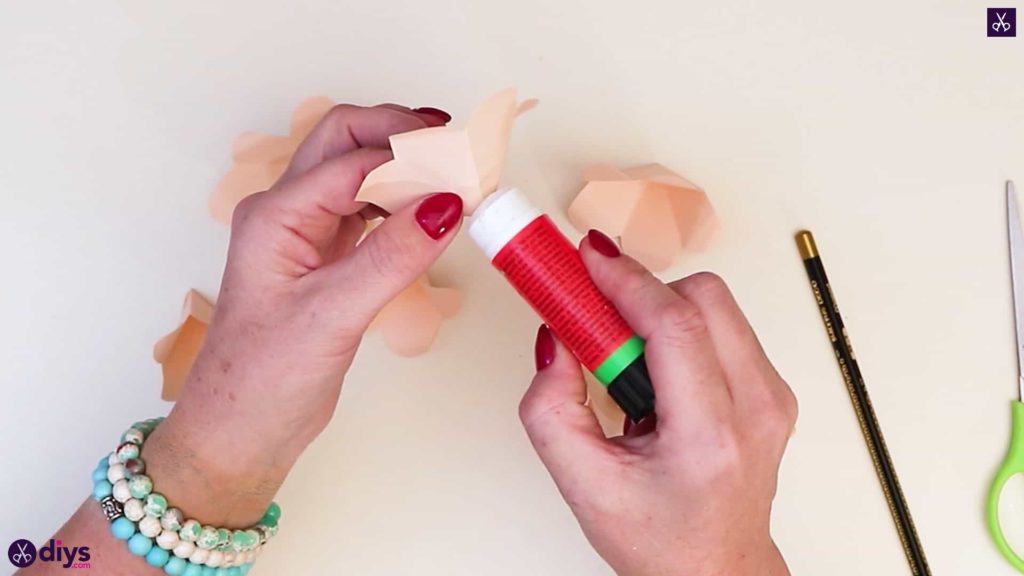
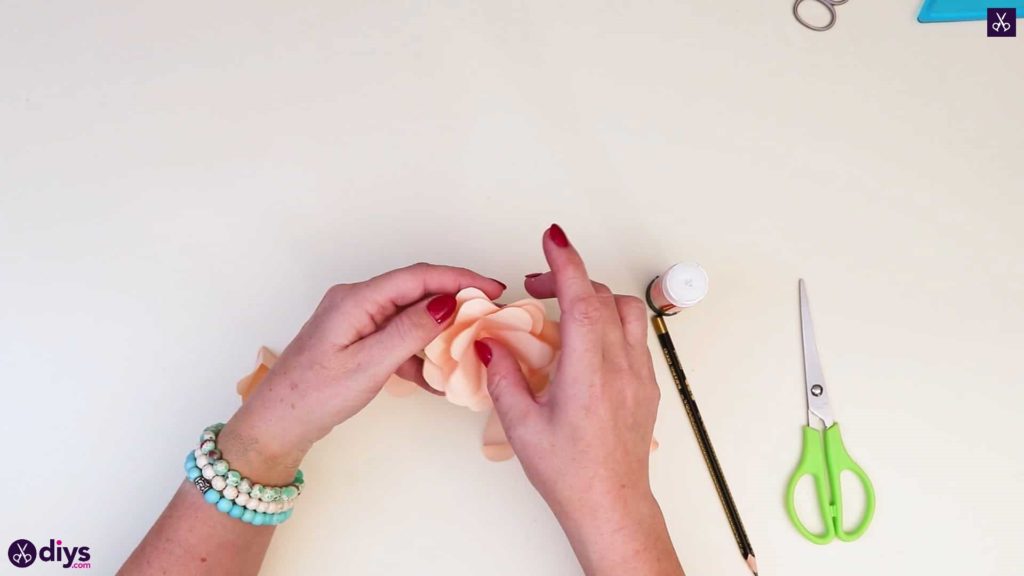
Step 10: assemble
Arrange your piece according to size so you can easily find them from biggest to smallest. This makes things easier because you’re going to layer them in that order! First, apply glue to the outside base point of yoursecond biggest piece, then nestle it into the largest piece and stick it in place in the corresponding base. Then apply glue to the base of the third biggest and nestle it into the second biggest. Repeat this until all your pieces are layered into each other in descending order, finishing with your smallest piece made of the single round petal.
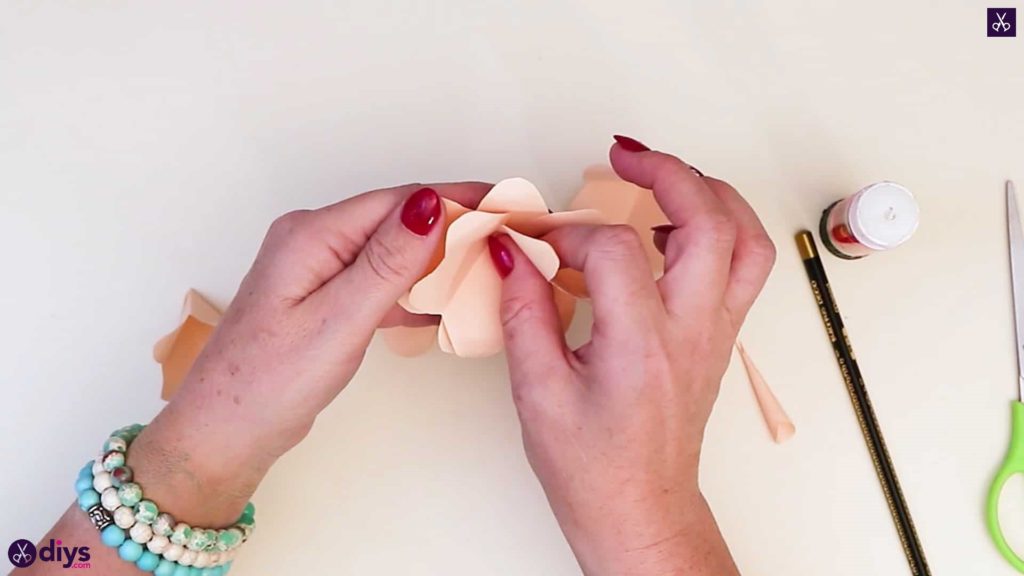
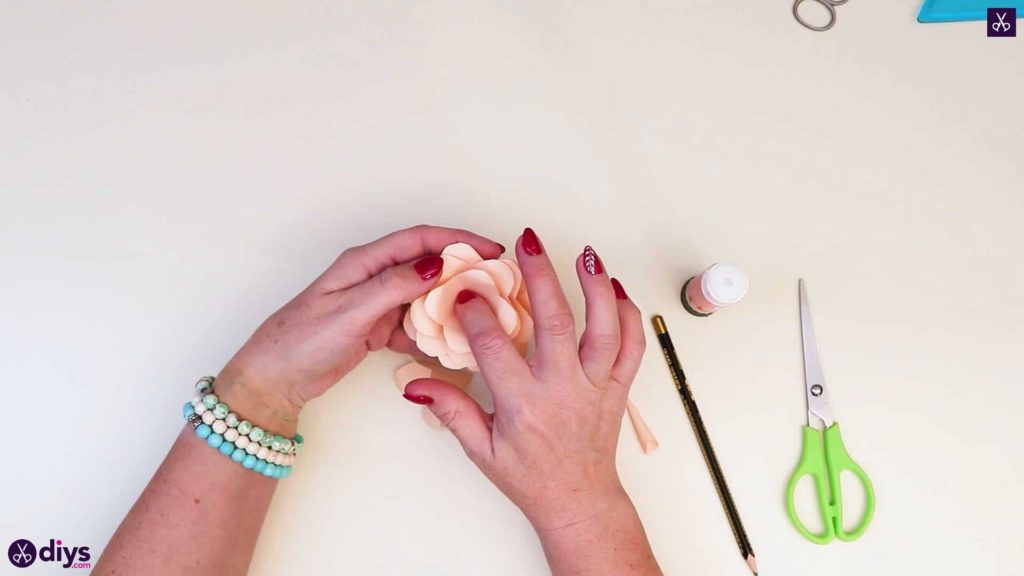
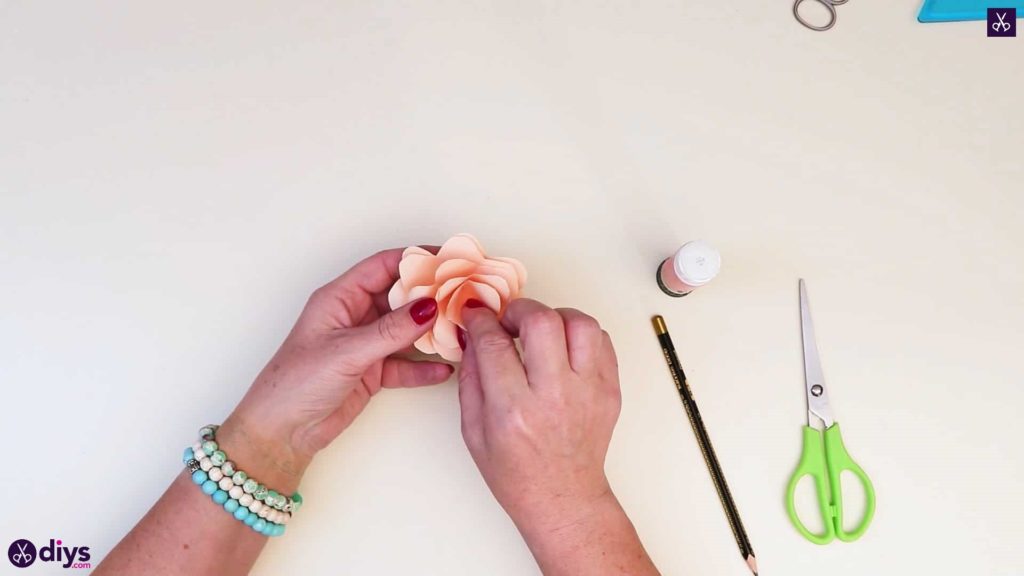

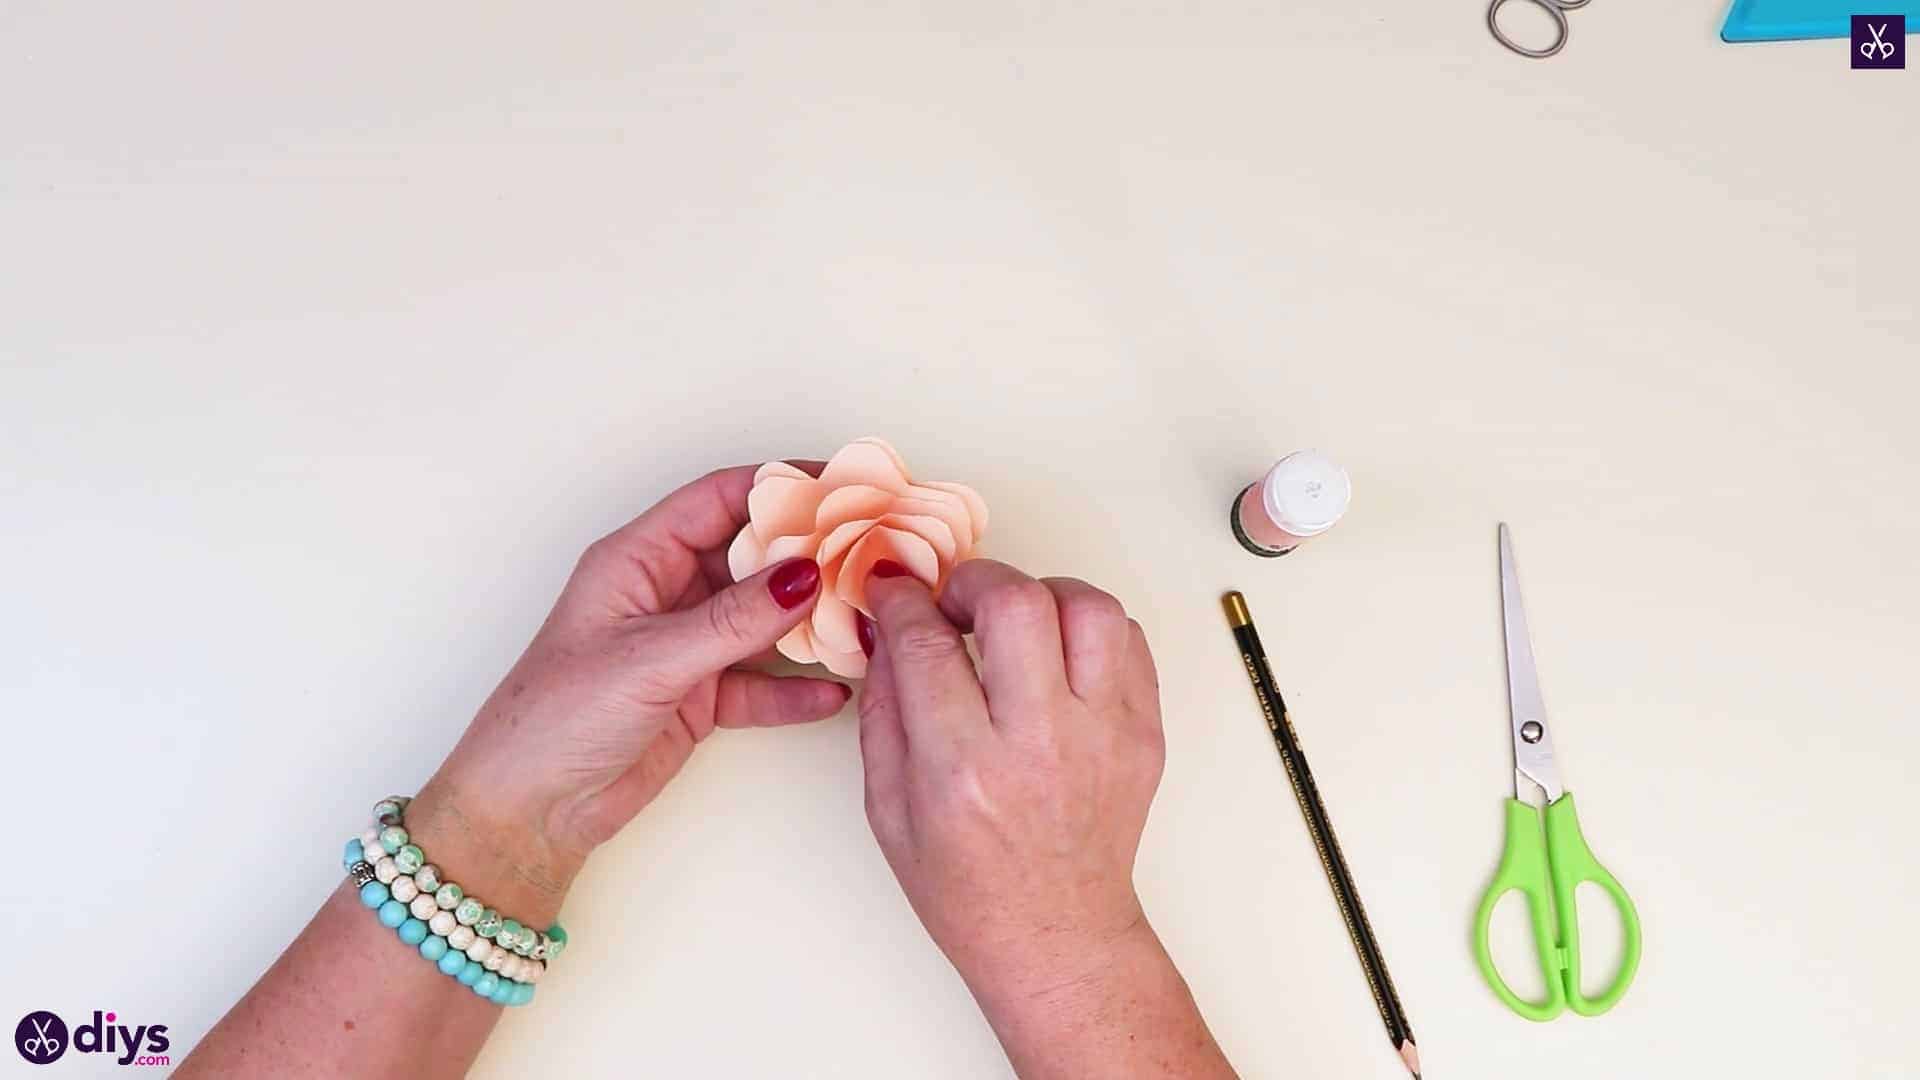
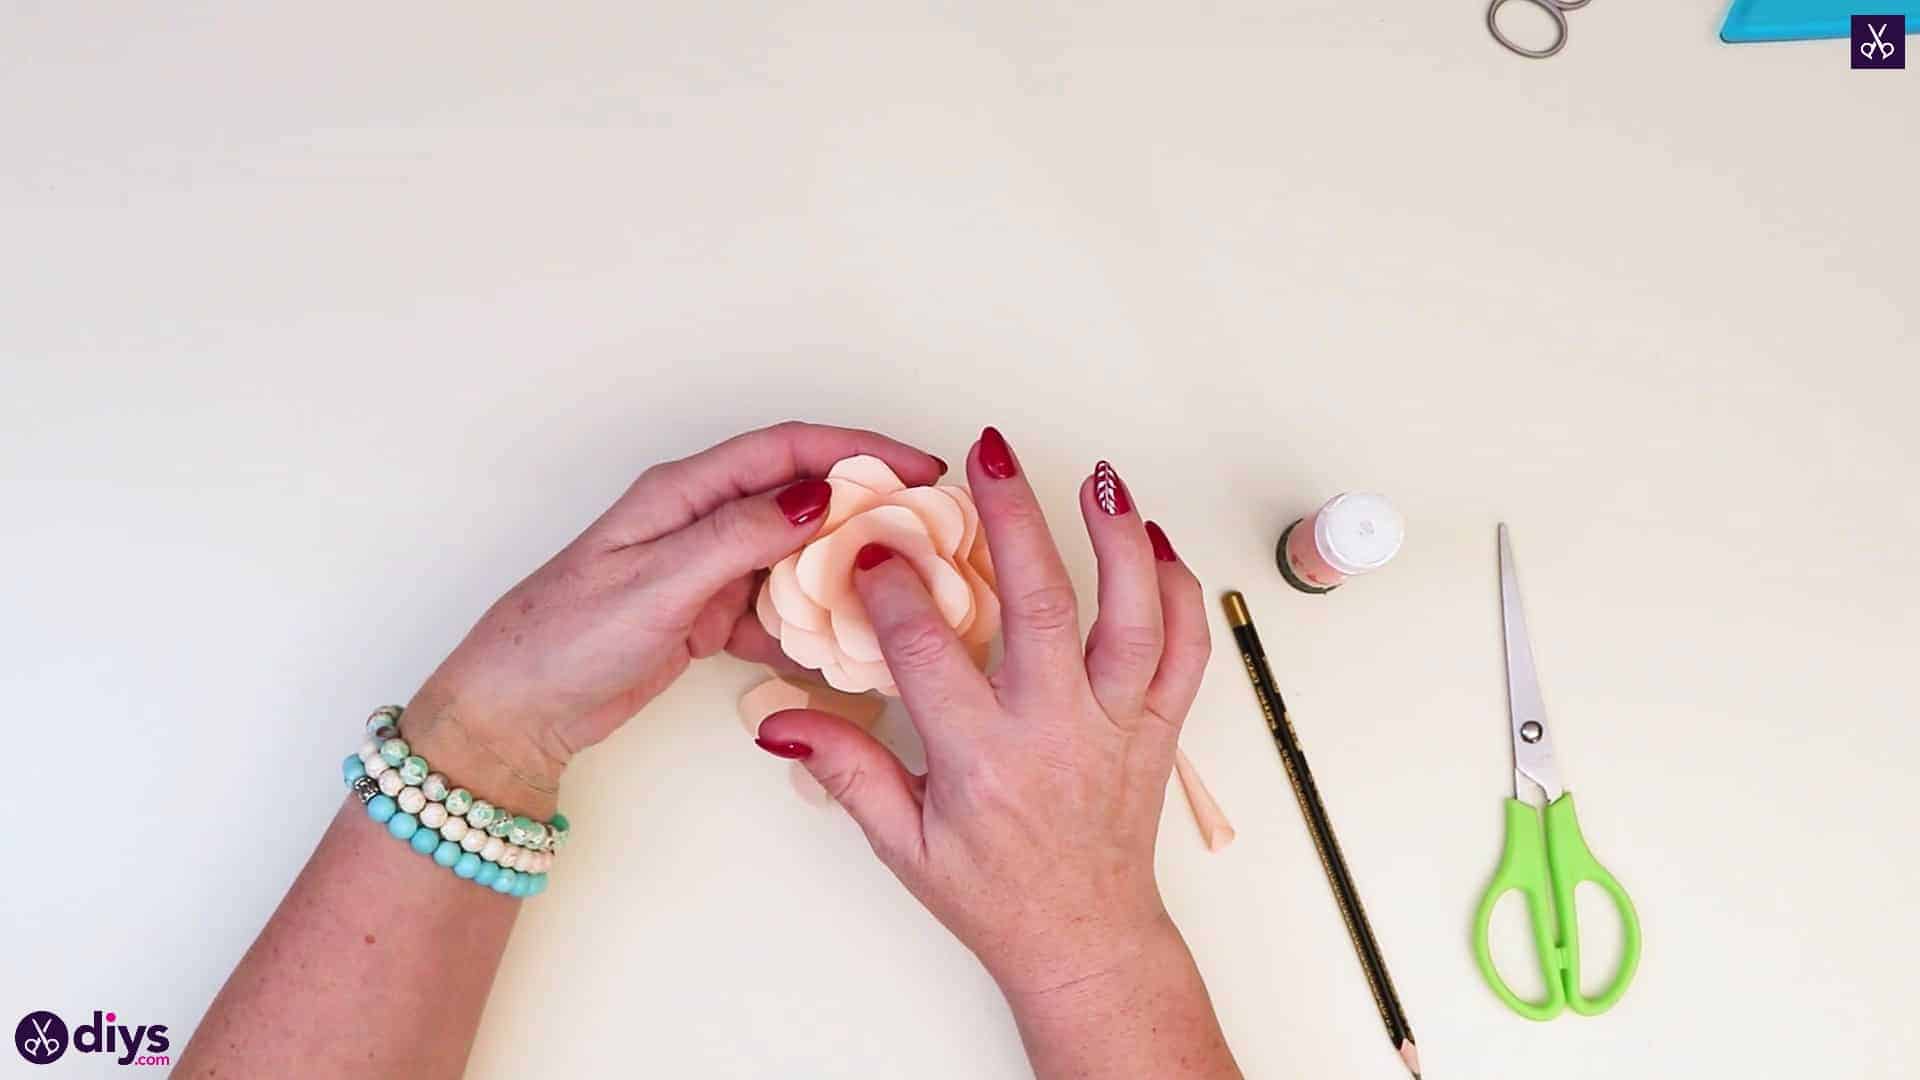
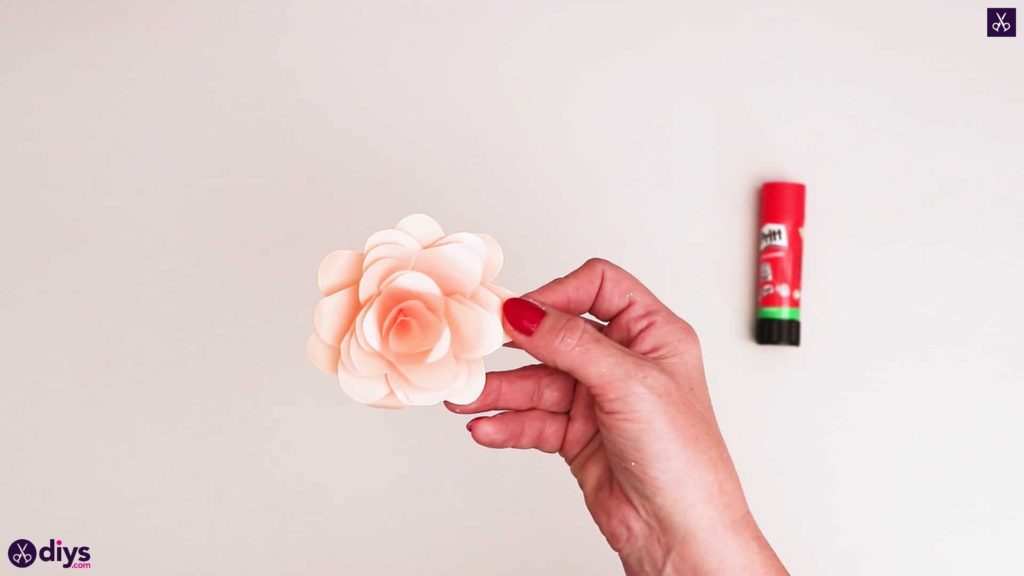
Step 11: finishing touches
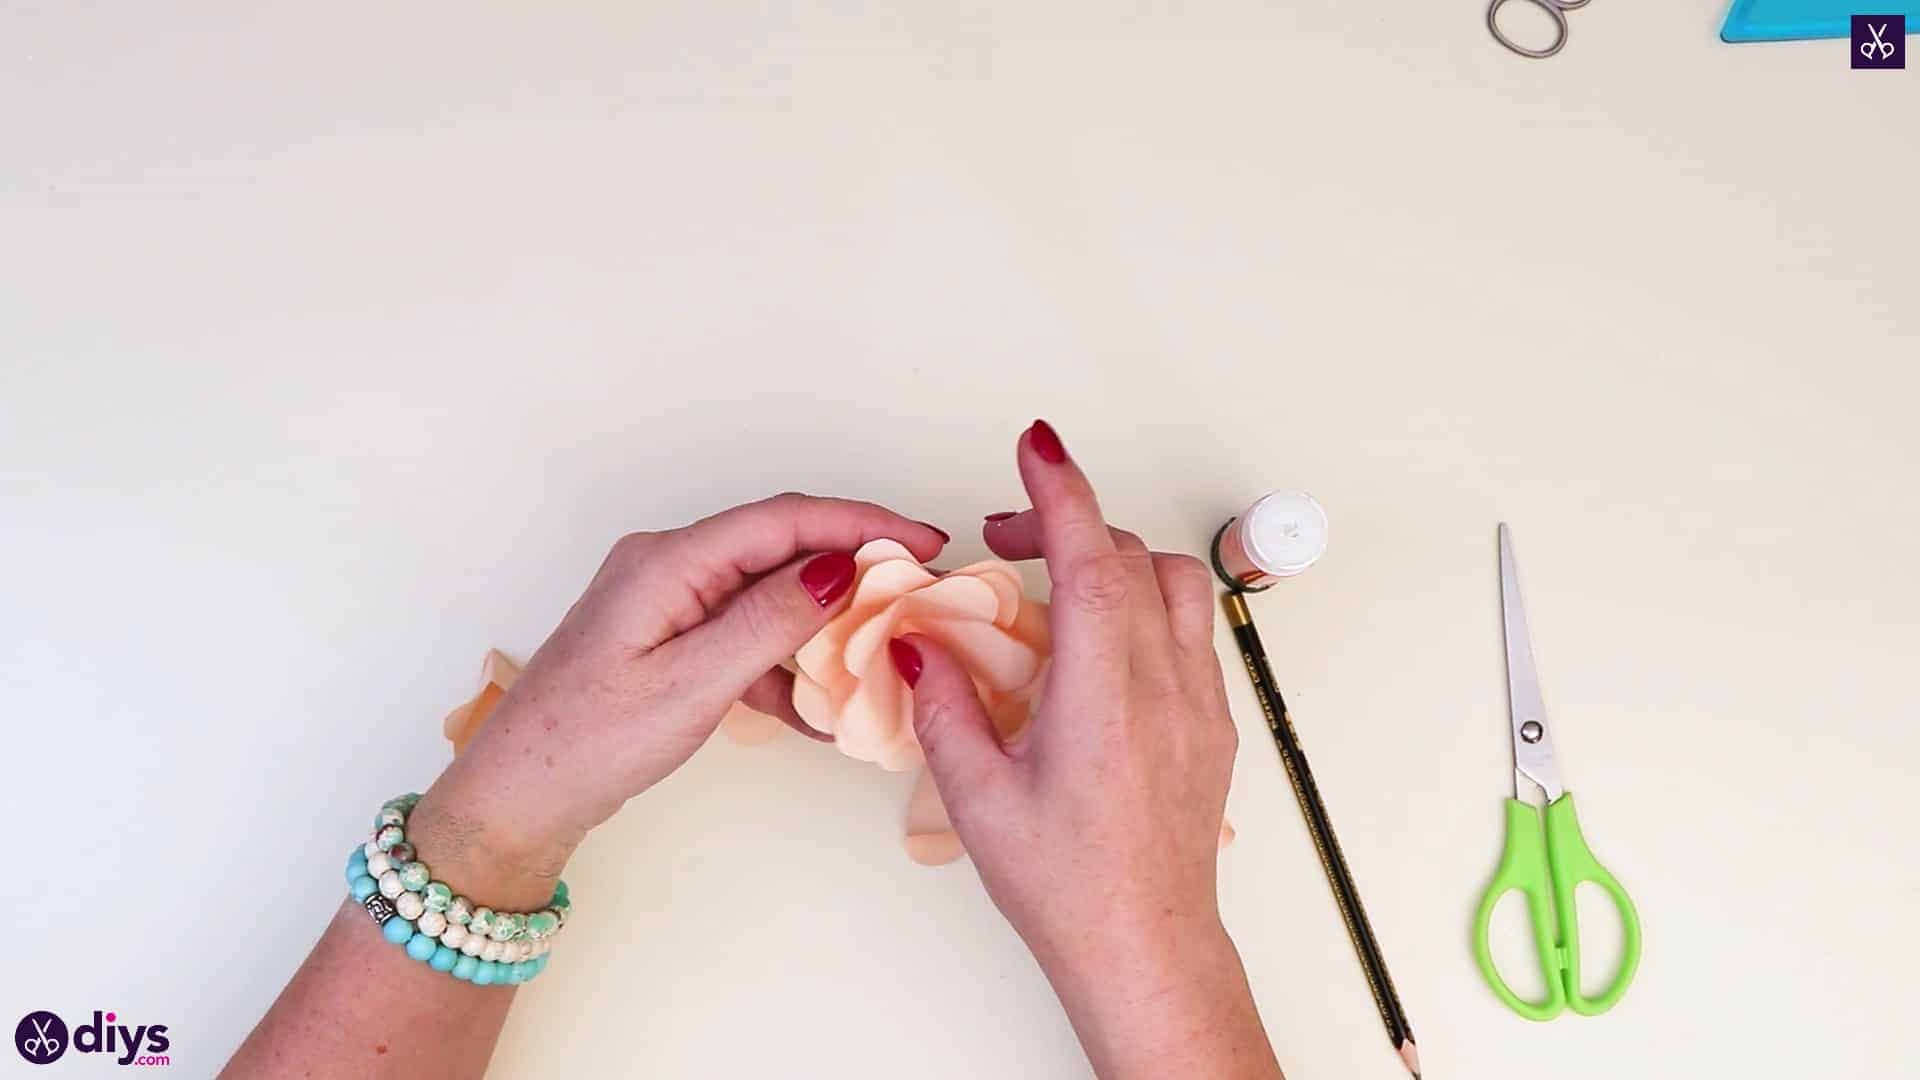
Fix up your layered petals if you need to by bending them back over your pencil once more to put the finishing touches on your flower.
You’re all finished! Now you get to choose what you’ll turn your flowers into; I set some on my mantel as they are, stick some to my vanity mirror, and even glued a plain hair clip to the bottom of one so I can wear it. Just in case you’d like to try this project out for yourself, here’s a fantastic tutorial video to help you!
Looks pretty love it