DIY Simple Popsicle Stick Napkin Holder
Updated on November 19, 2025


Recently, I taught my kids how to make awesome DIY popsicle stick napkin holders that look like little fences after we read a book about miniature fairy houses. This was a great way to involve colour and cute details, make something practical that they can display with pride, and do it all with something so simple to use that they could do it all mostly by themselves.

As usual, I love the way our project turned out, so I couldn’t resist showing everyone else how it’s done. Check out these step by step instructions complete with photos! If you’d rather follow along with a video tutorial instead of written words, scroll to the bottom of this post to find just what you’re looking for.
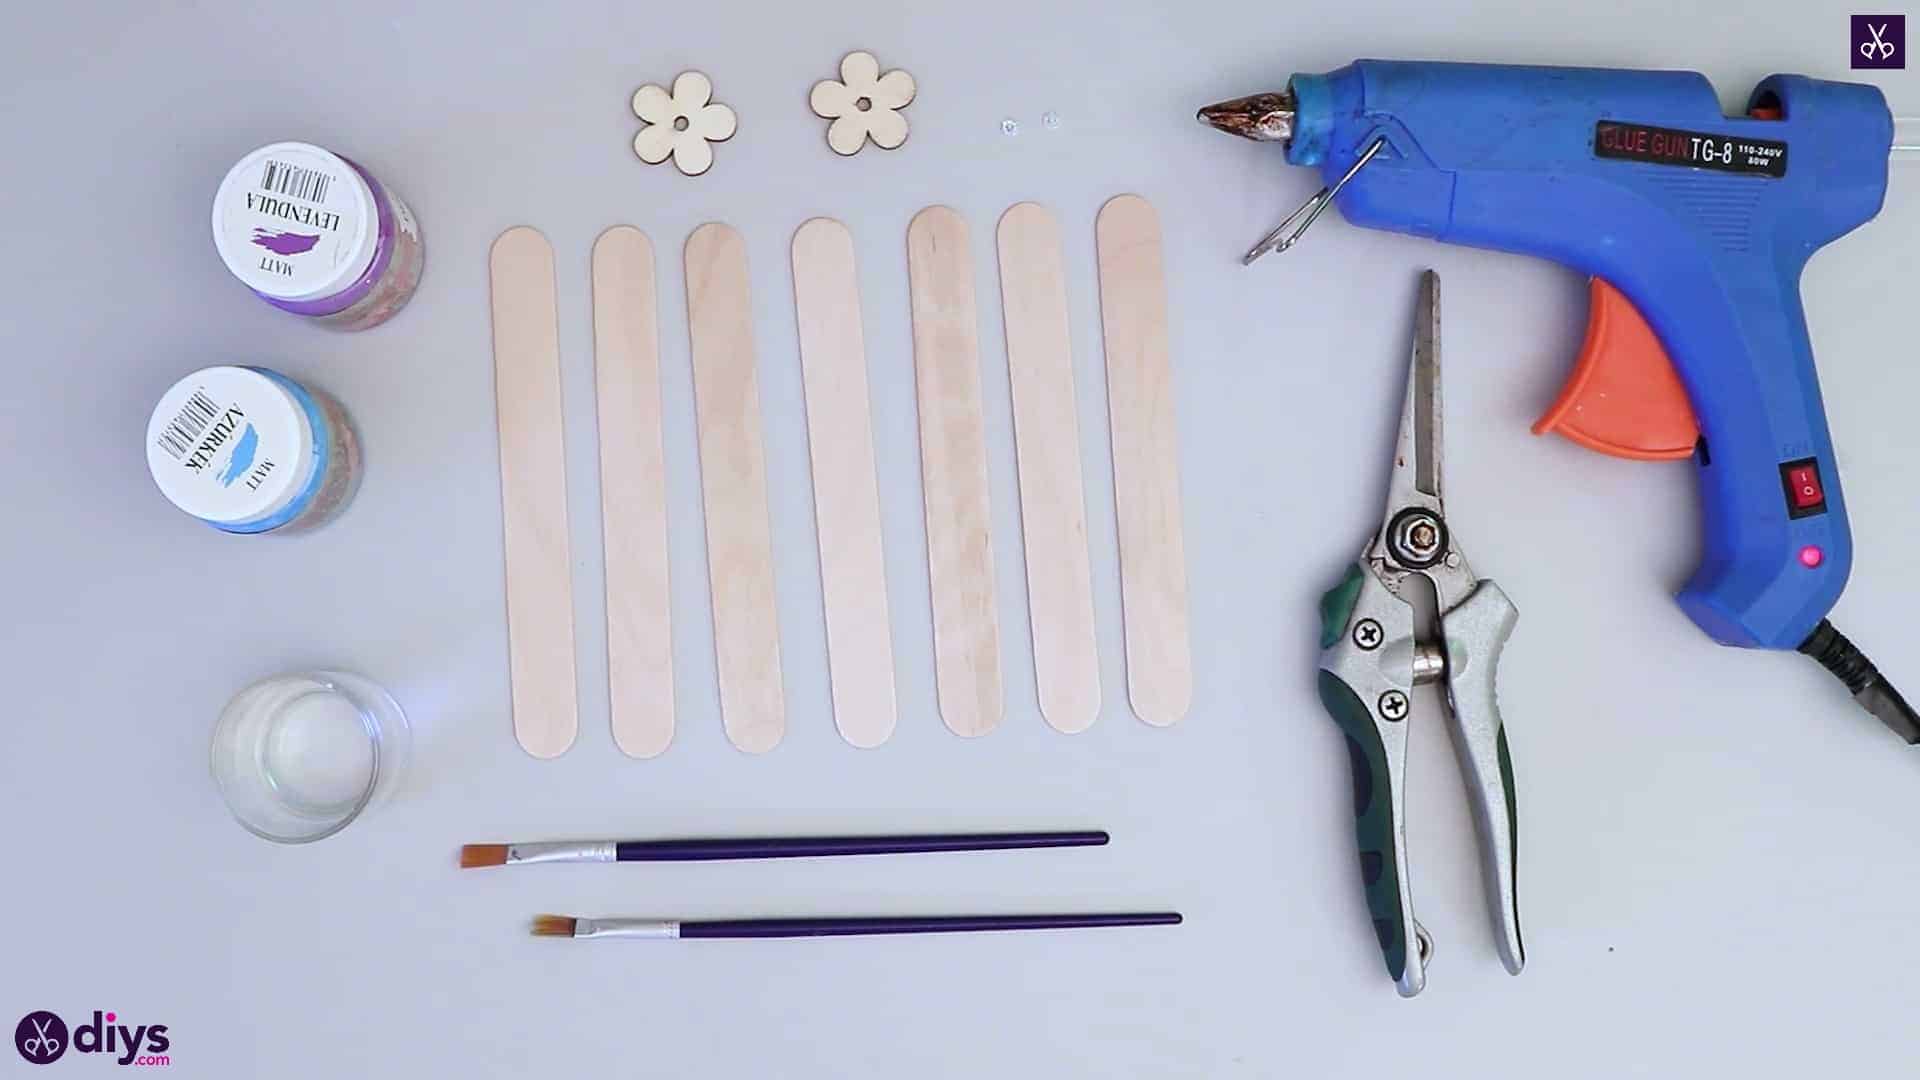
For this project, you’ll need:
- Popsicle sticks
- Paint (blue and purple)
- A paintbrush
- Two wooden flowers (and two beads for their centers if you like)
- Hot glue
- Secateurs
Step 1: Gather your materials!
Get everything you need from your list.

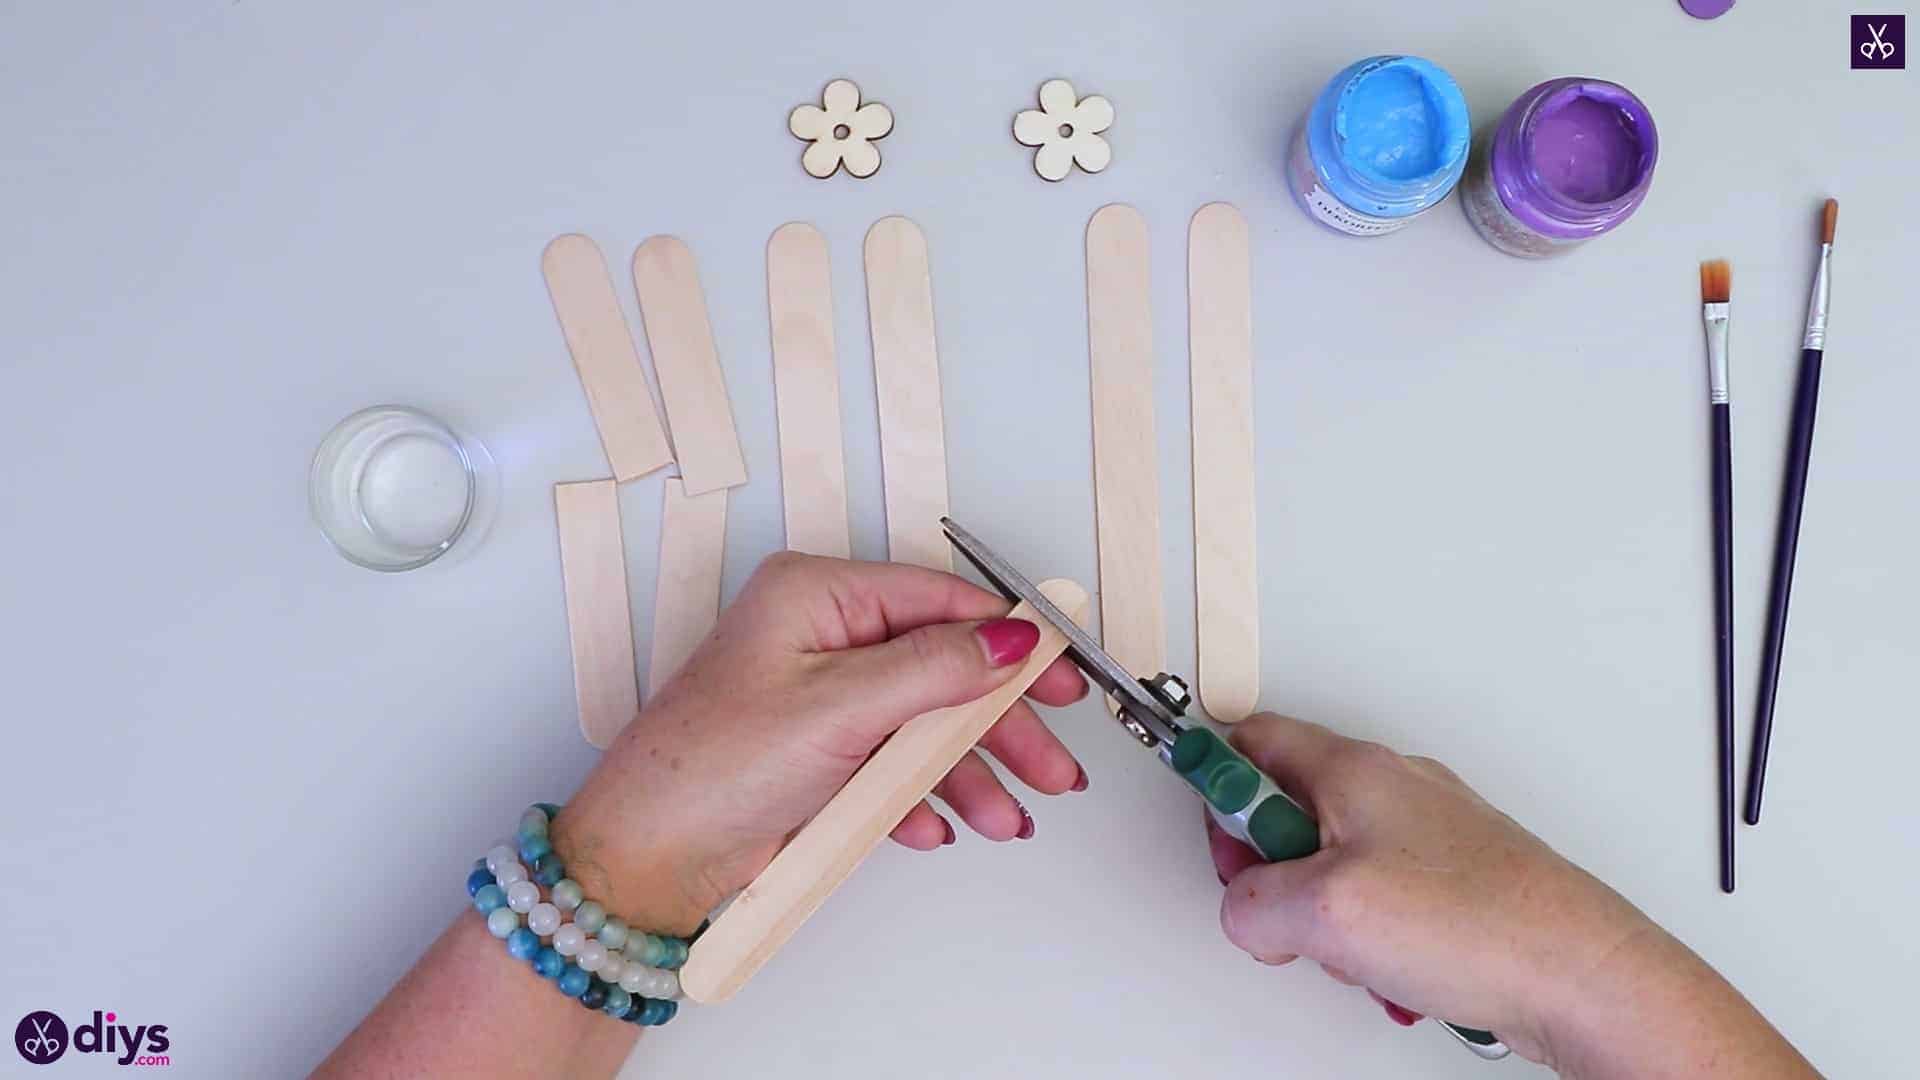
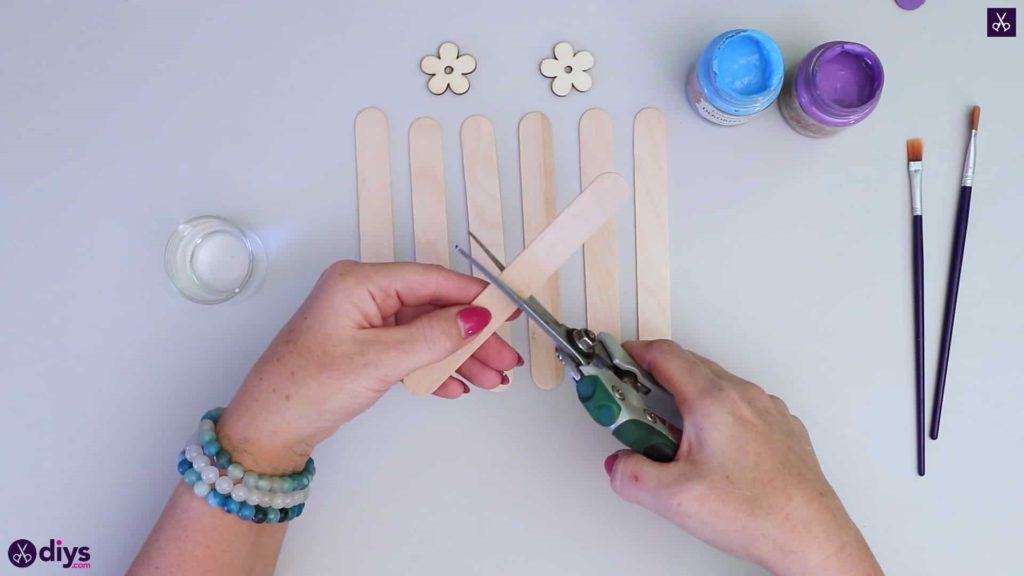
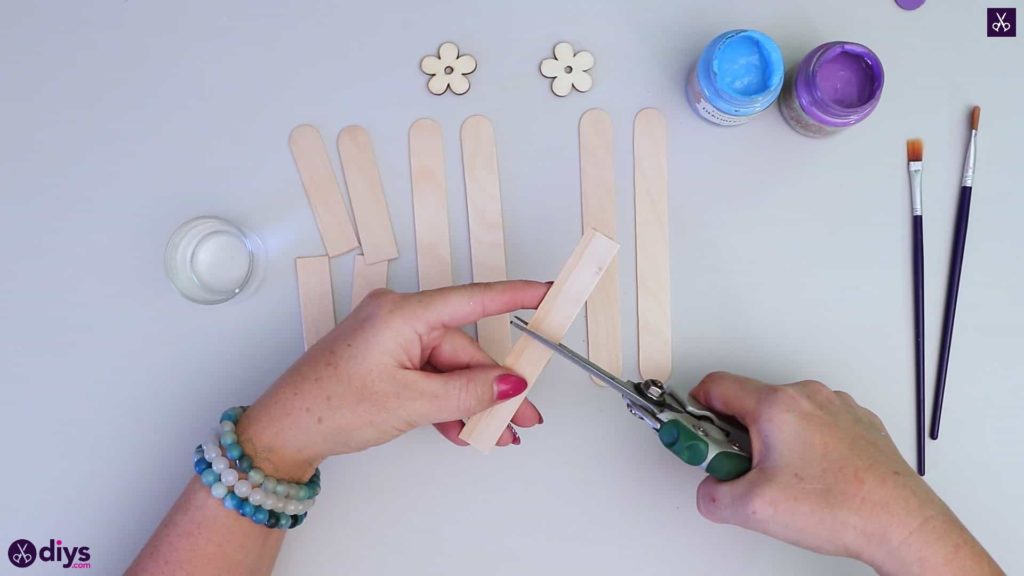
Step 2: cut your sticks
Use your secateurs to cut two of your popsicle sticks into even halves and set them aside. Next, cut the very tips of the rounded ends off of a third popsicle stick and then cut that in half too so you have two pieces roughly the same length s the others, but this time with blunt ends instead of the regular rounded ones that the popsicle sticks already had.

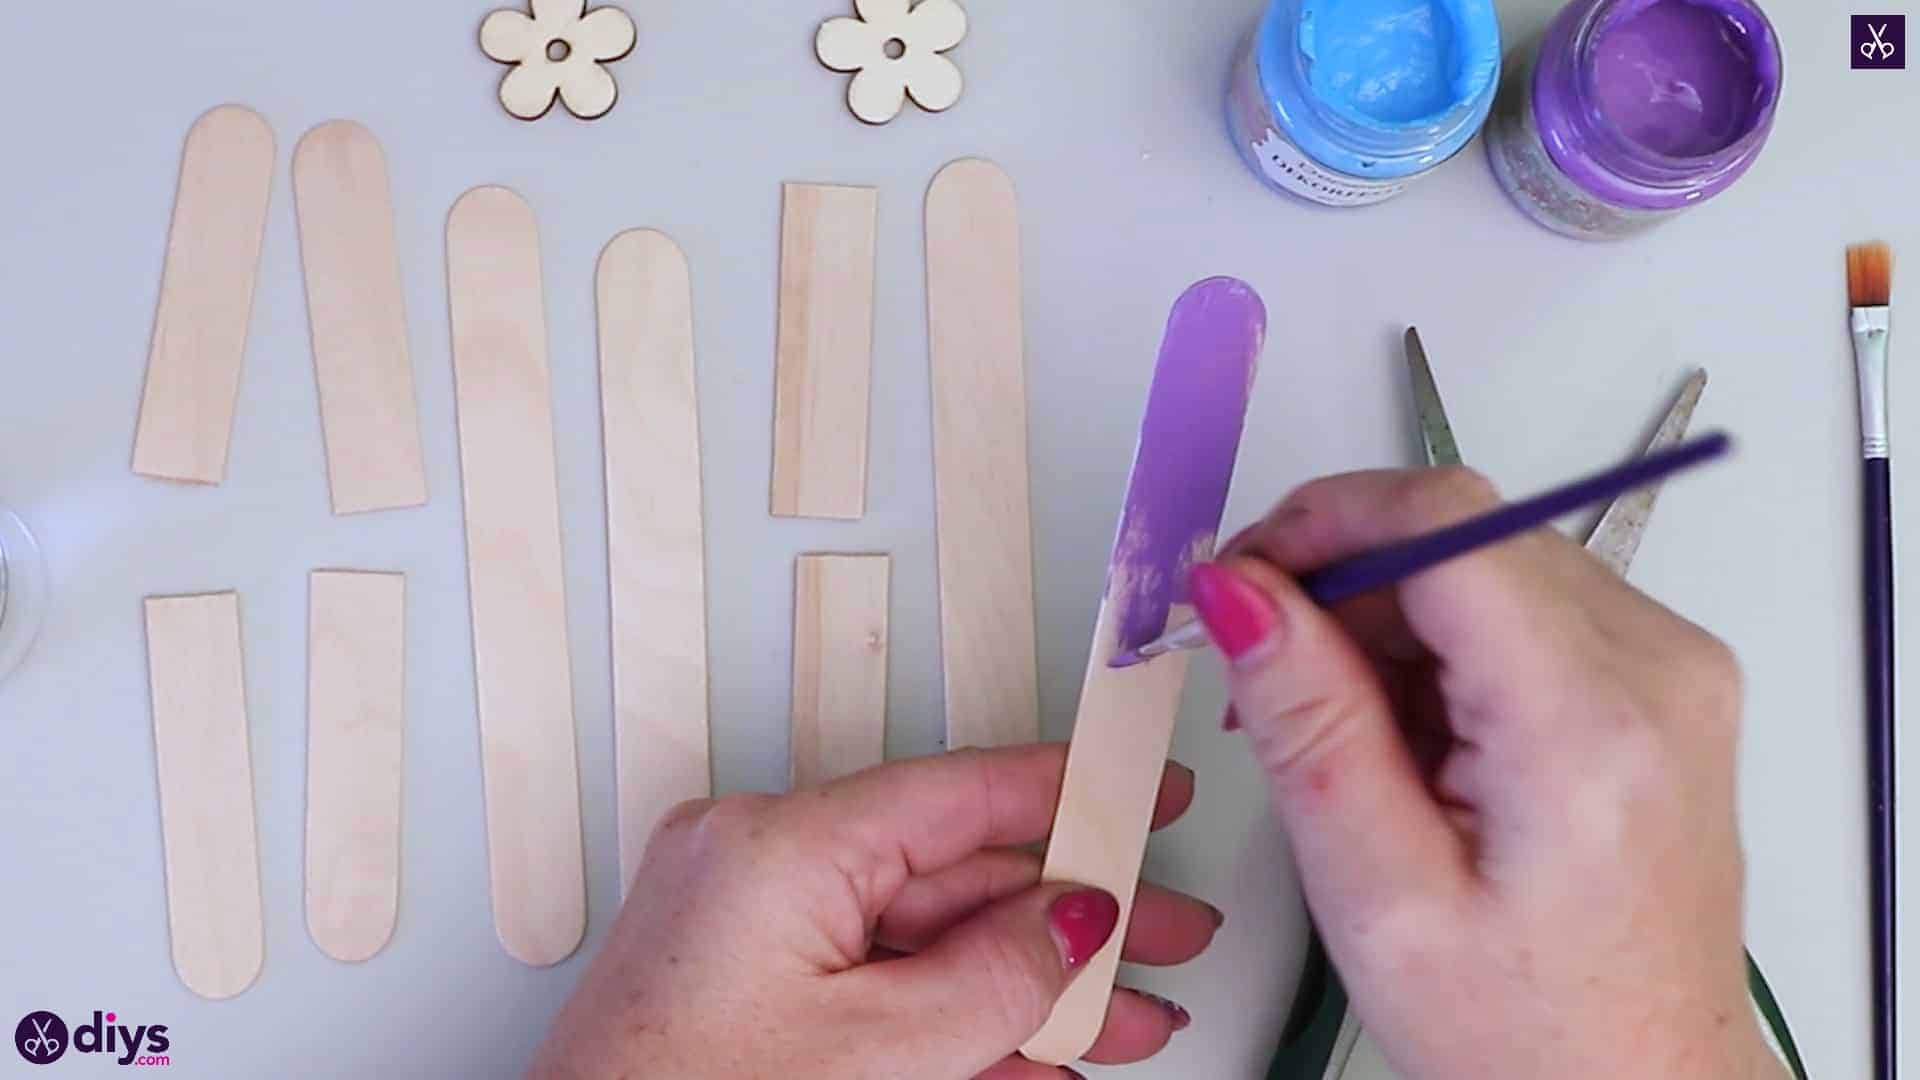
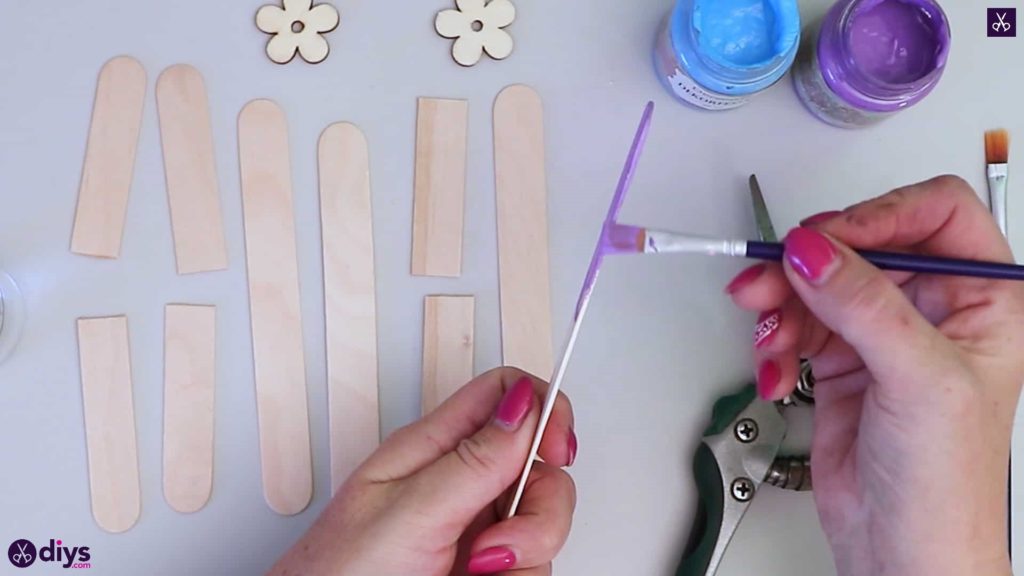
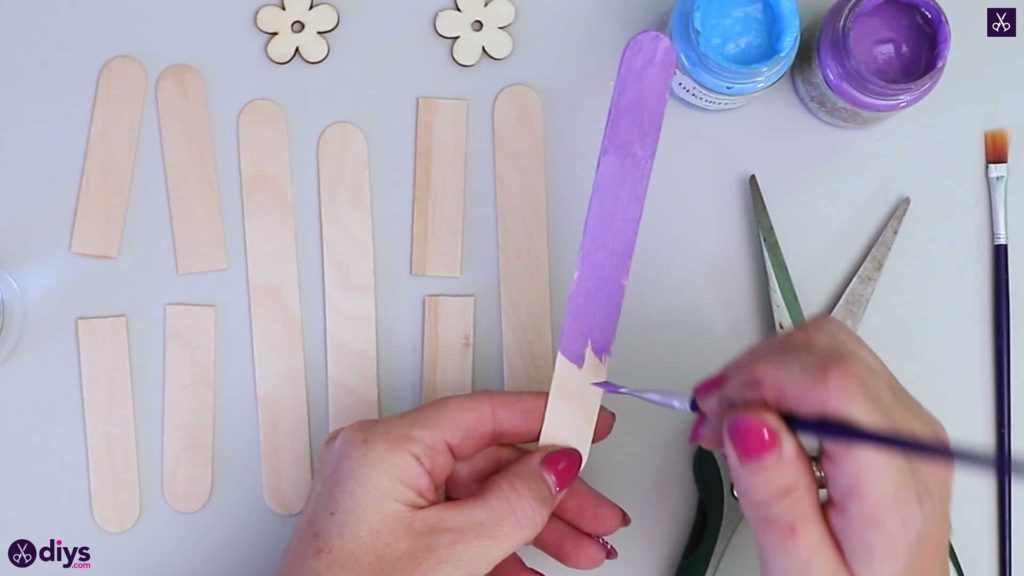
Step 3: paint
Paint all of your popsicle stick pieces purple! Of course, you can use another colour if you prefer, but we were going to a fun fairy-like theme. Once your sticks are painted, set them aside to dry.

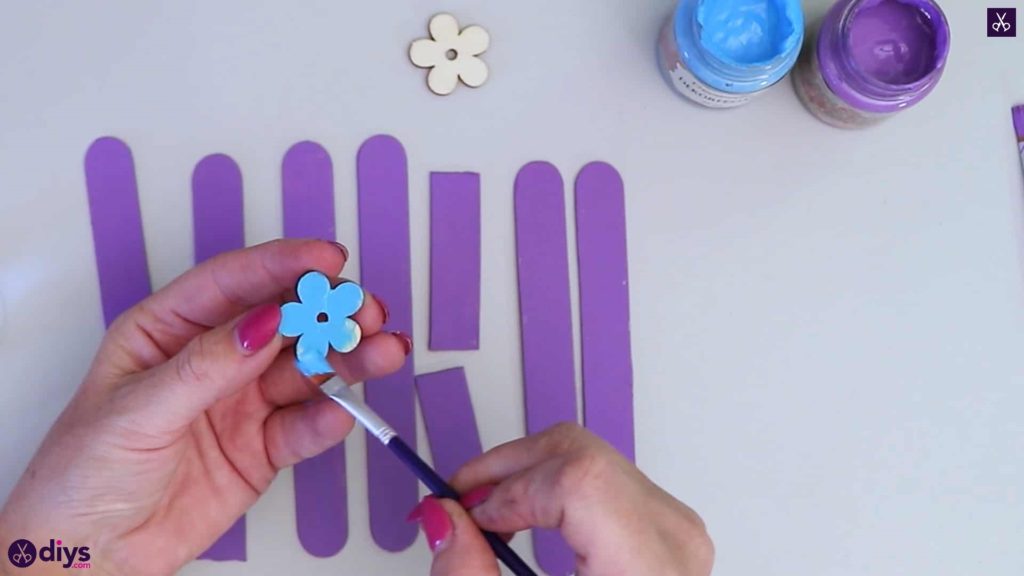
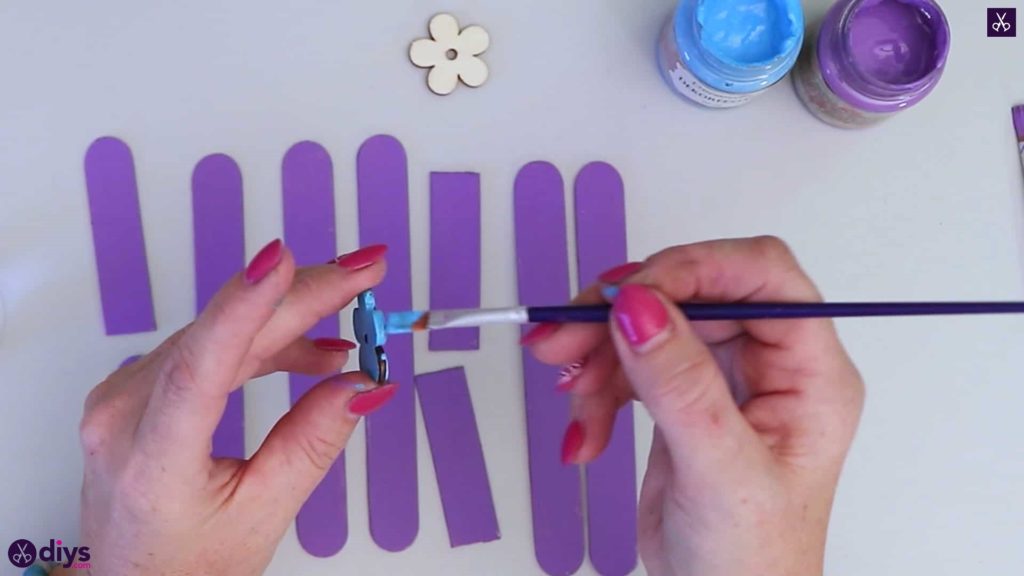
Step 4: paint the flowers
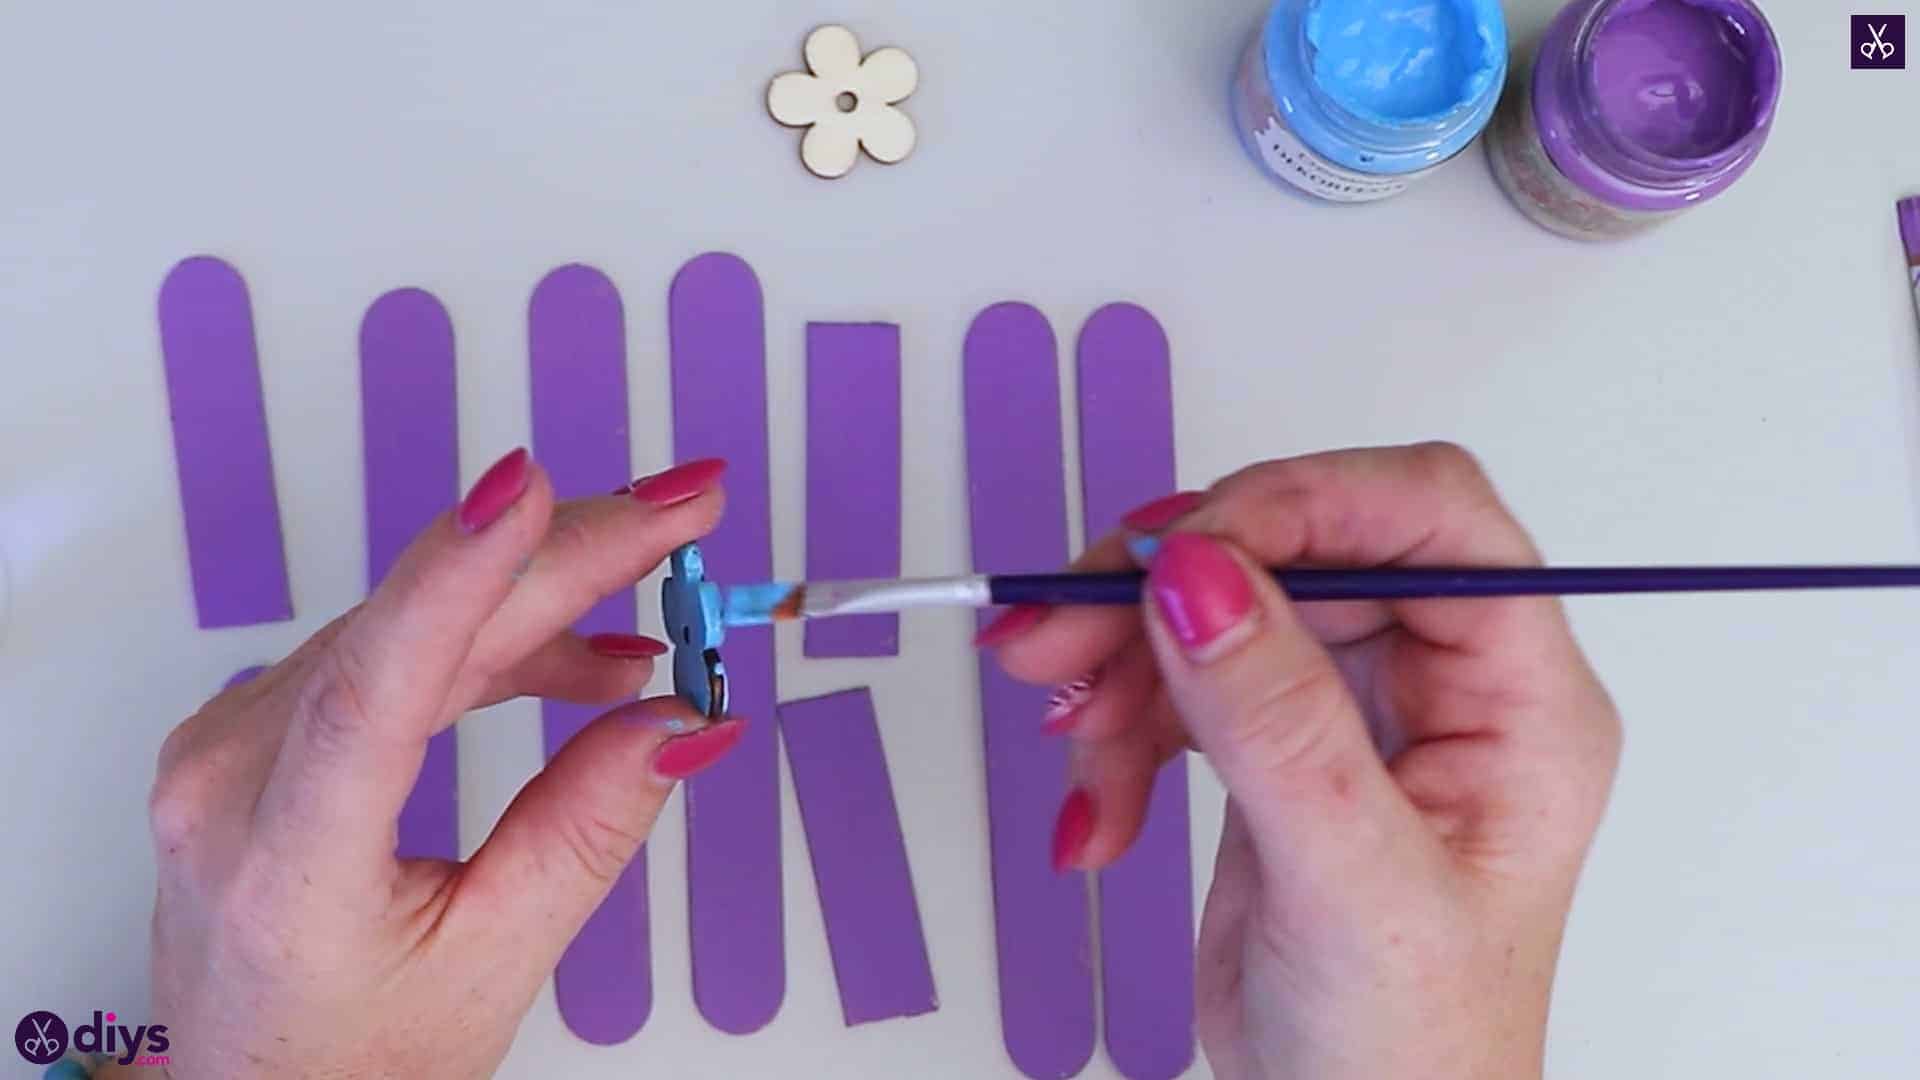
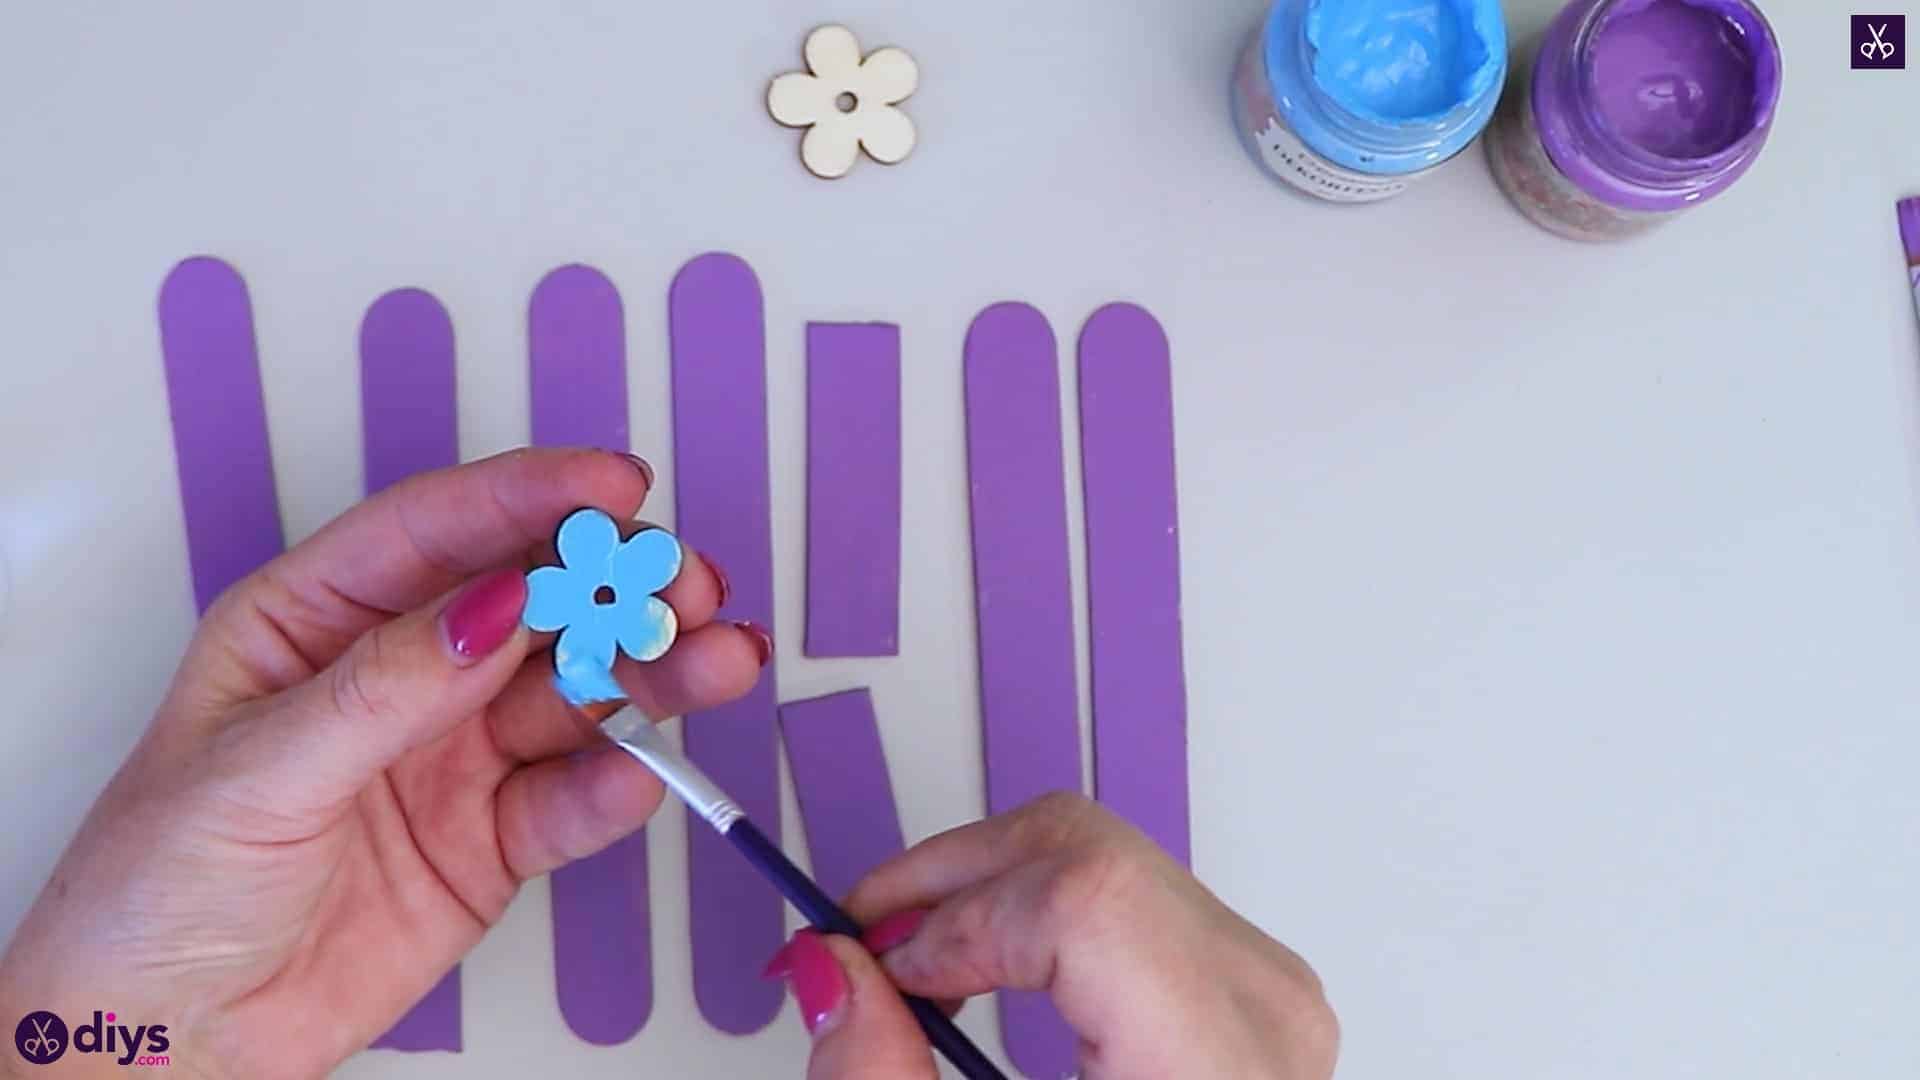
Paint your wooden flowers blue, or whatever colour you please! Set them aside to dry too.
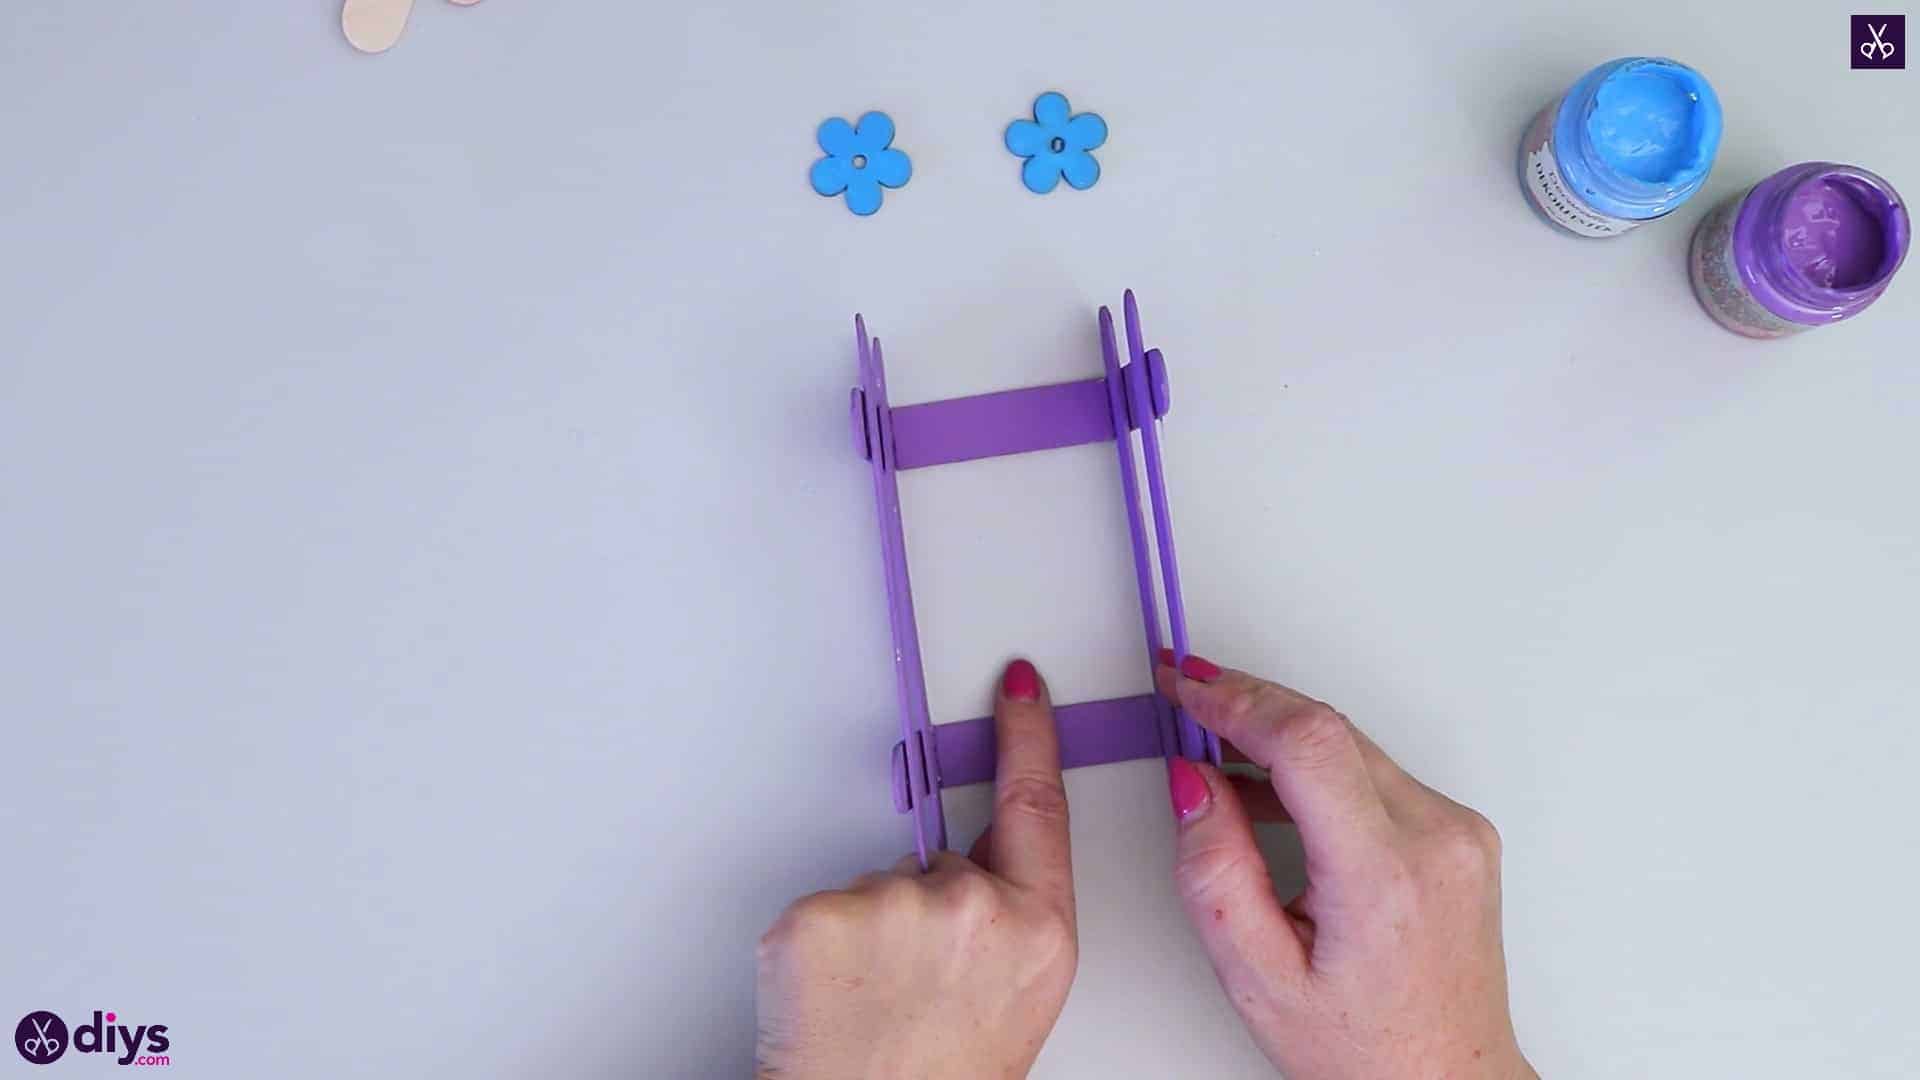
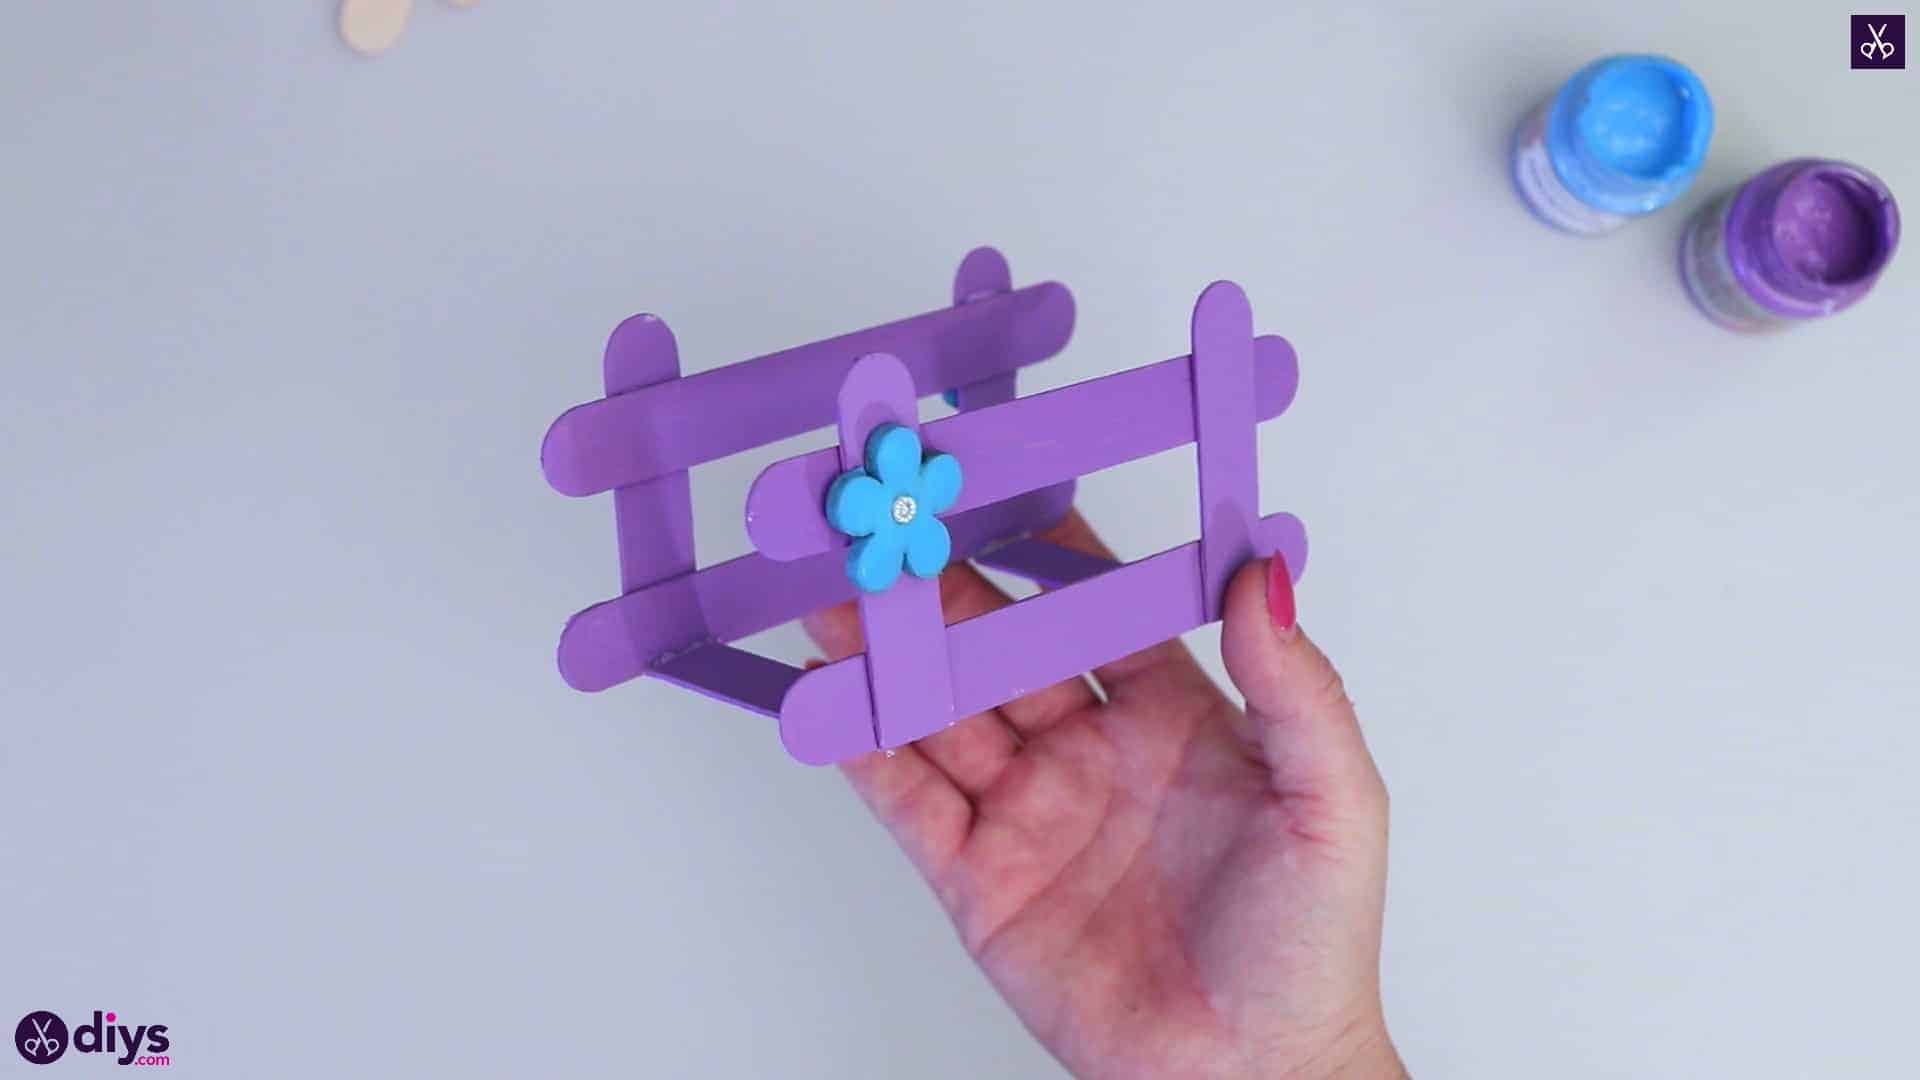
Step 5: start assembling
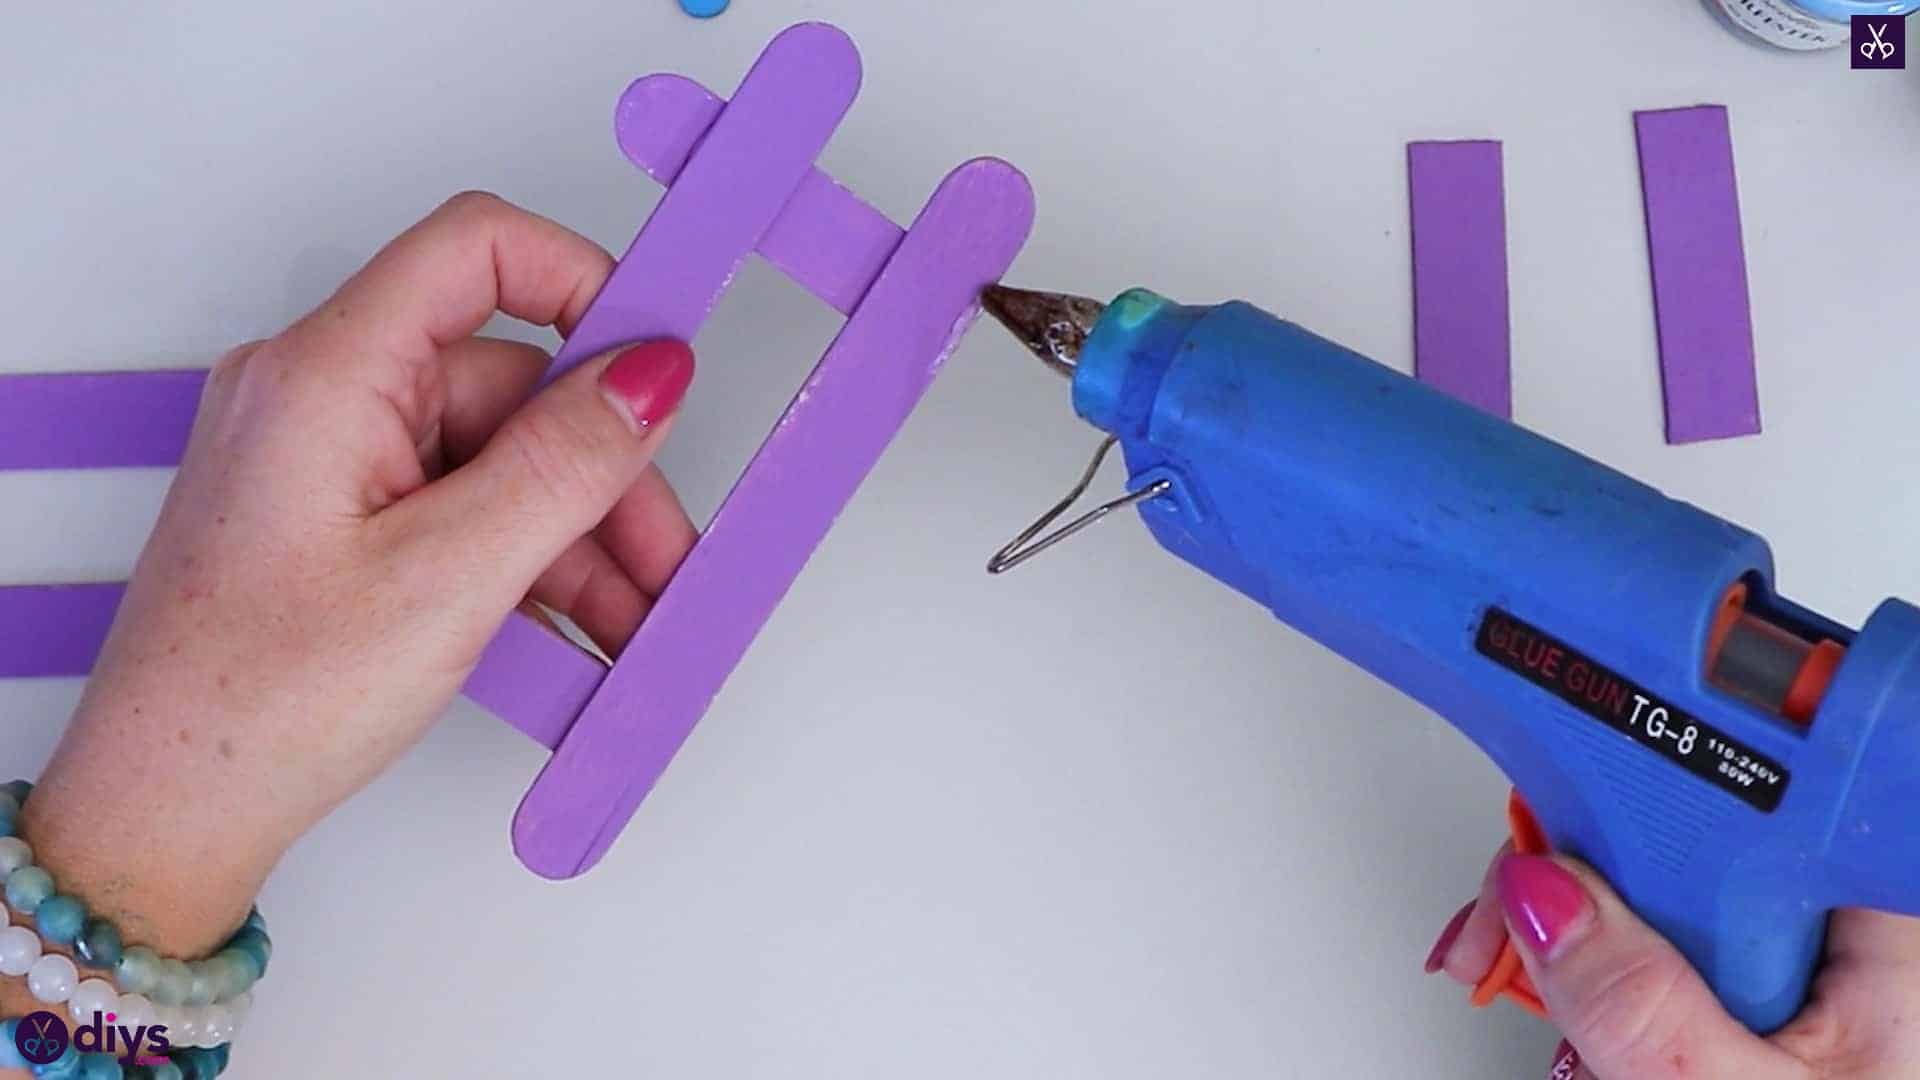
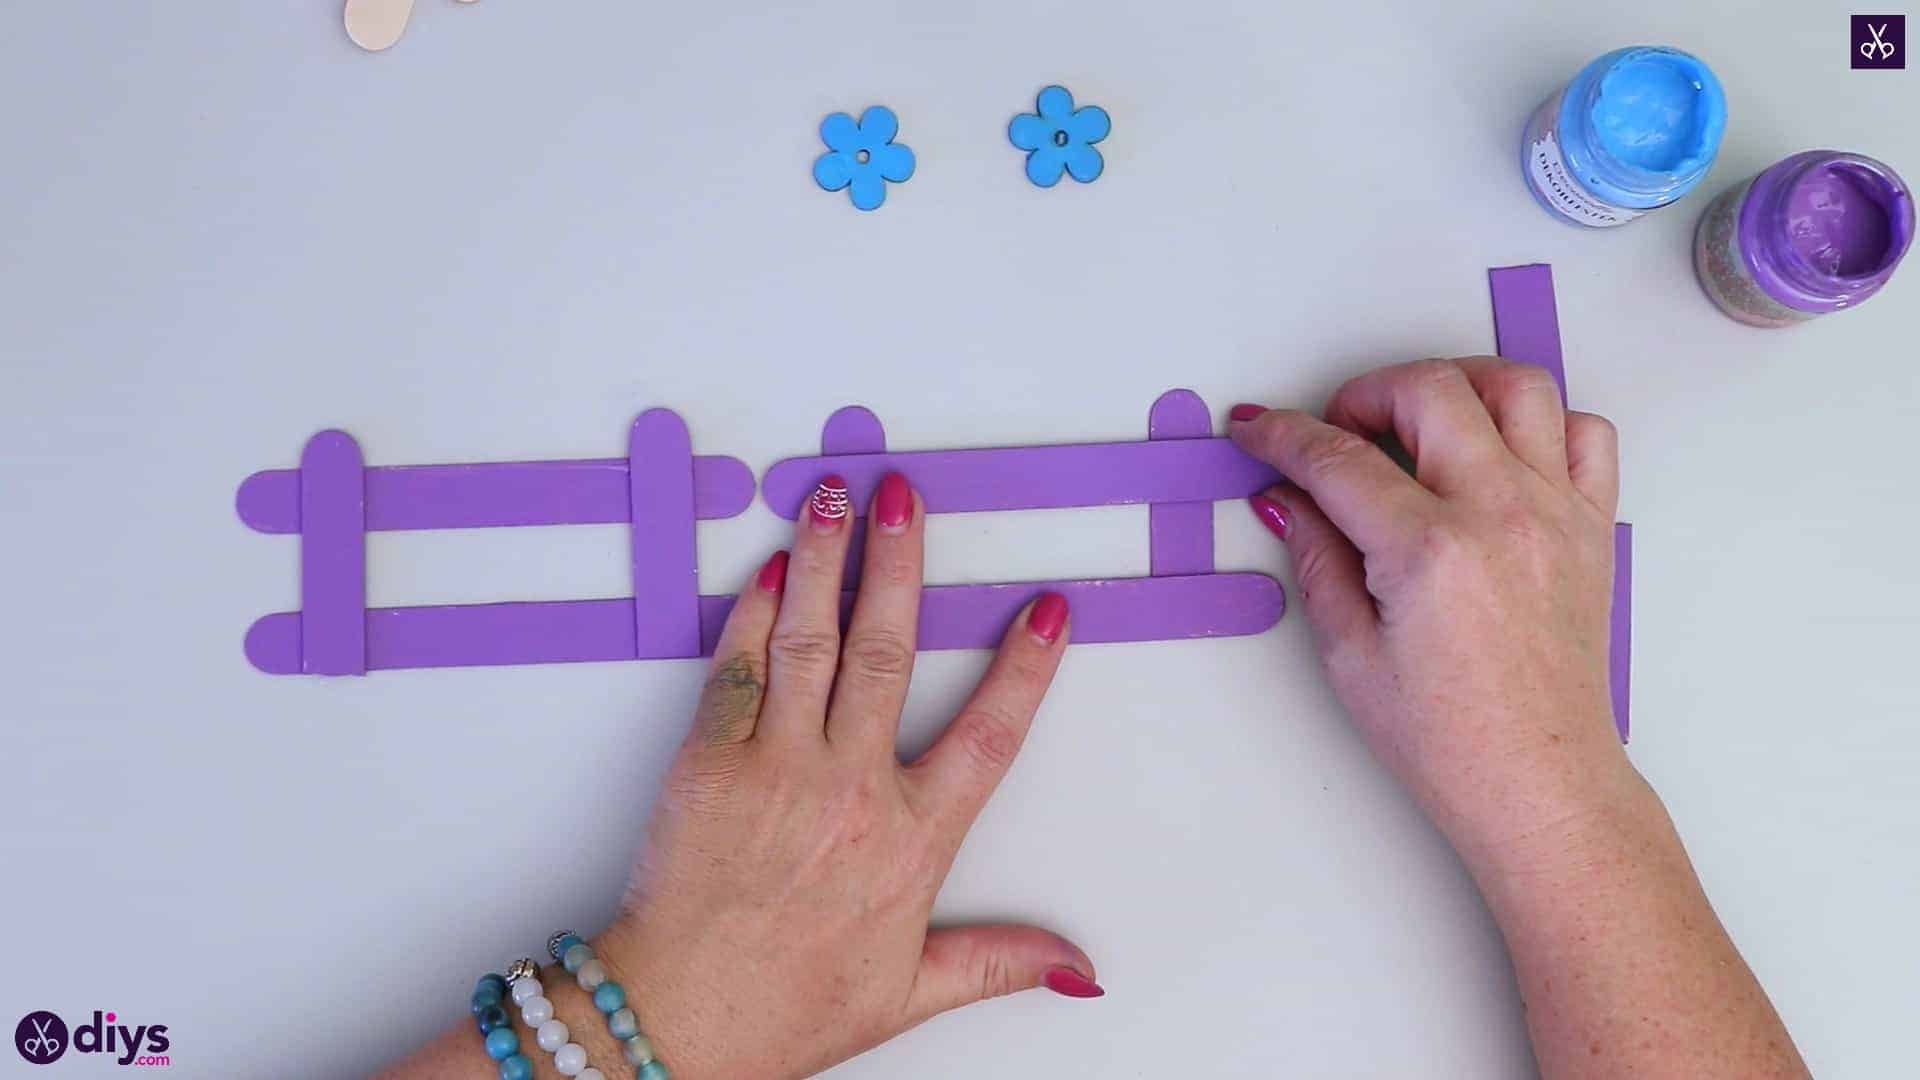
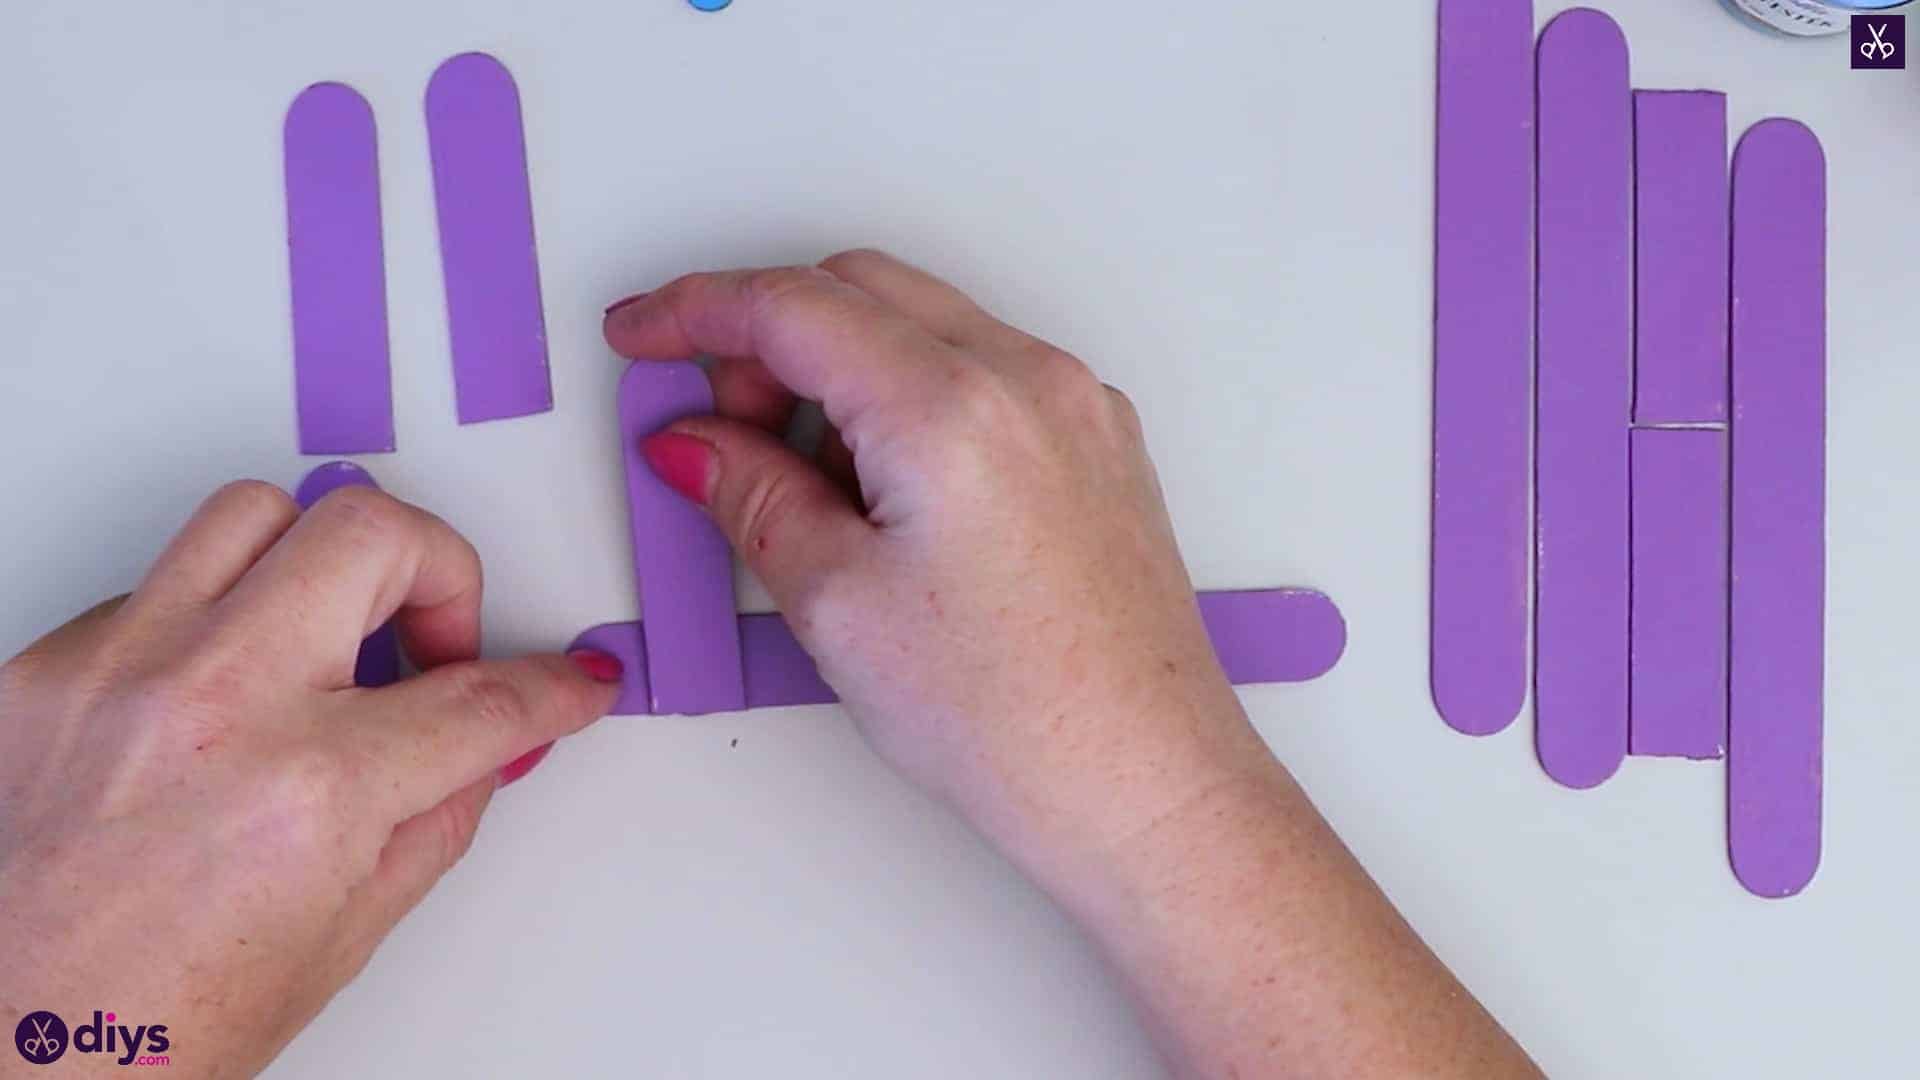
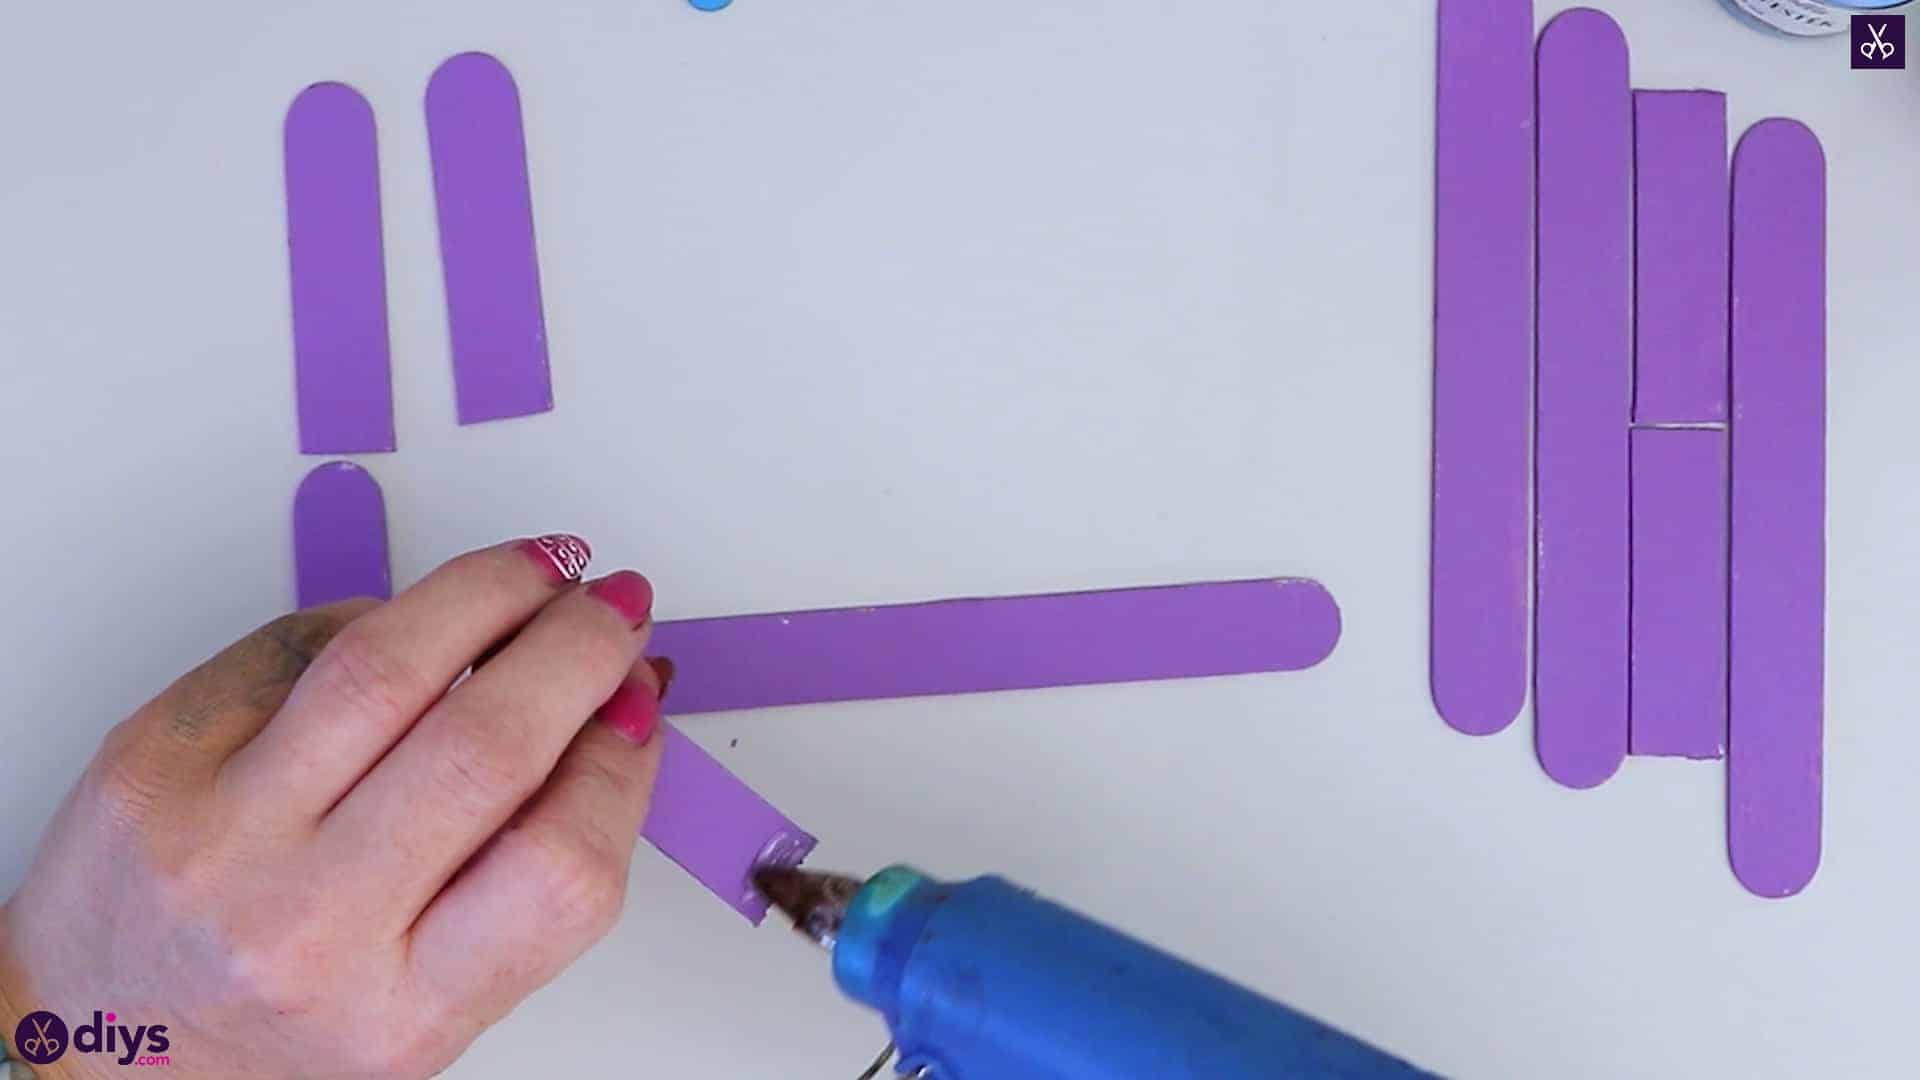
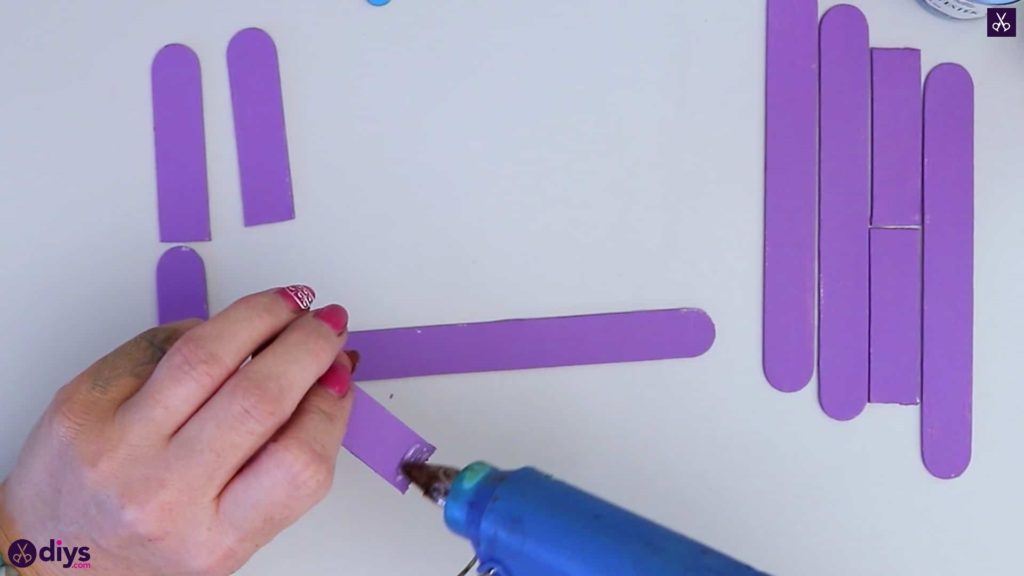
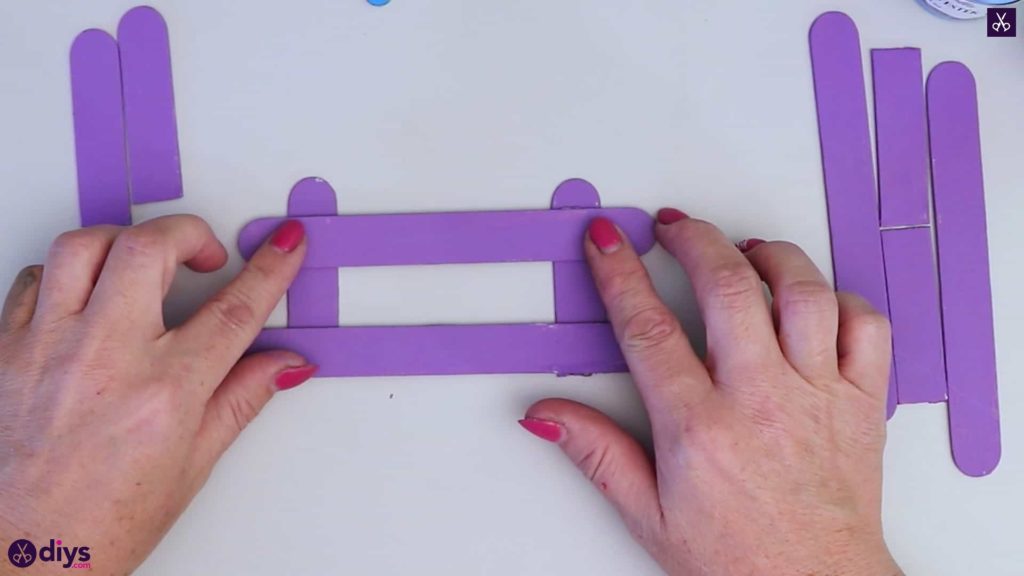
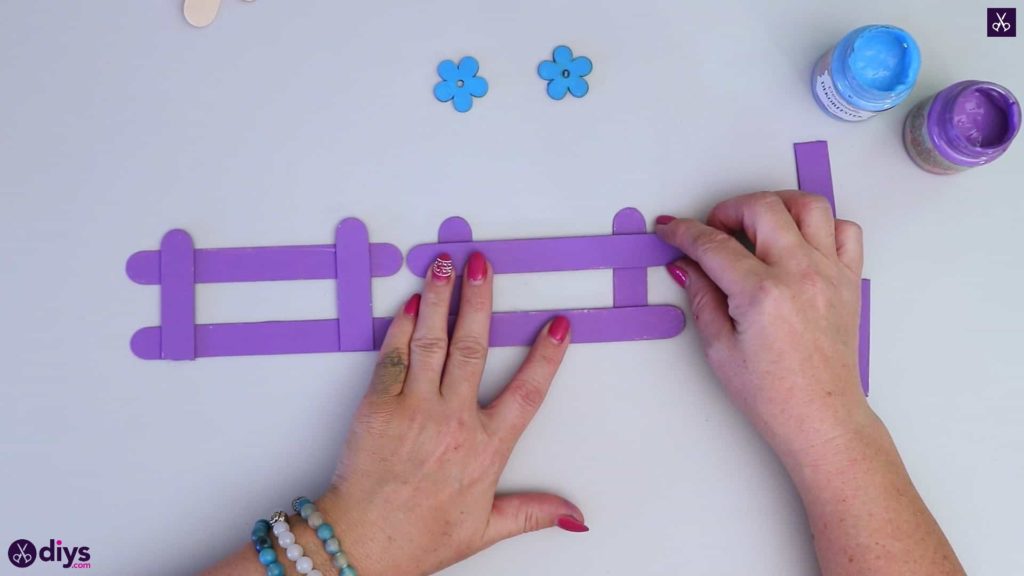
Lay one of your whole popsicle sticks horizontally on the table and then apply hot glue to the cut end of two of your popsicle stick halves that still have rounded ends. Stick them vertically to your horizontal stick, one at either end about half an inch in from that stick’s rounded tip on each side, lining them up so the cut ends are even with the bottom edge of your base stick. Next, turn the whole piece over and apply hot glue to each vertical half that you just stuck down, about a centimetre below the rounded tip again. Turn another whole stick sideways or horizontal like the first one and stick it down across the two vertical sticks like the first one so they sit parallel. You now have one side of your fence napkin holder finished. Repeat all of the steps you see above to complete a second piece exactly the same so your napkin holder has a second side.


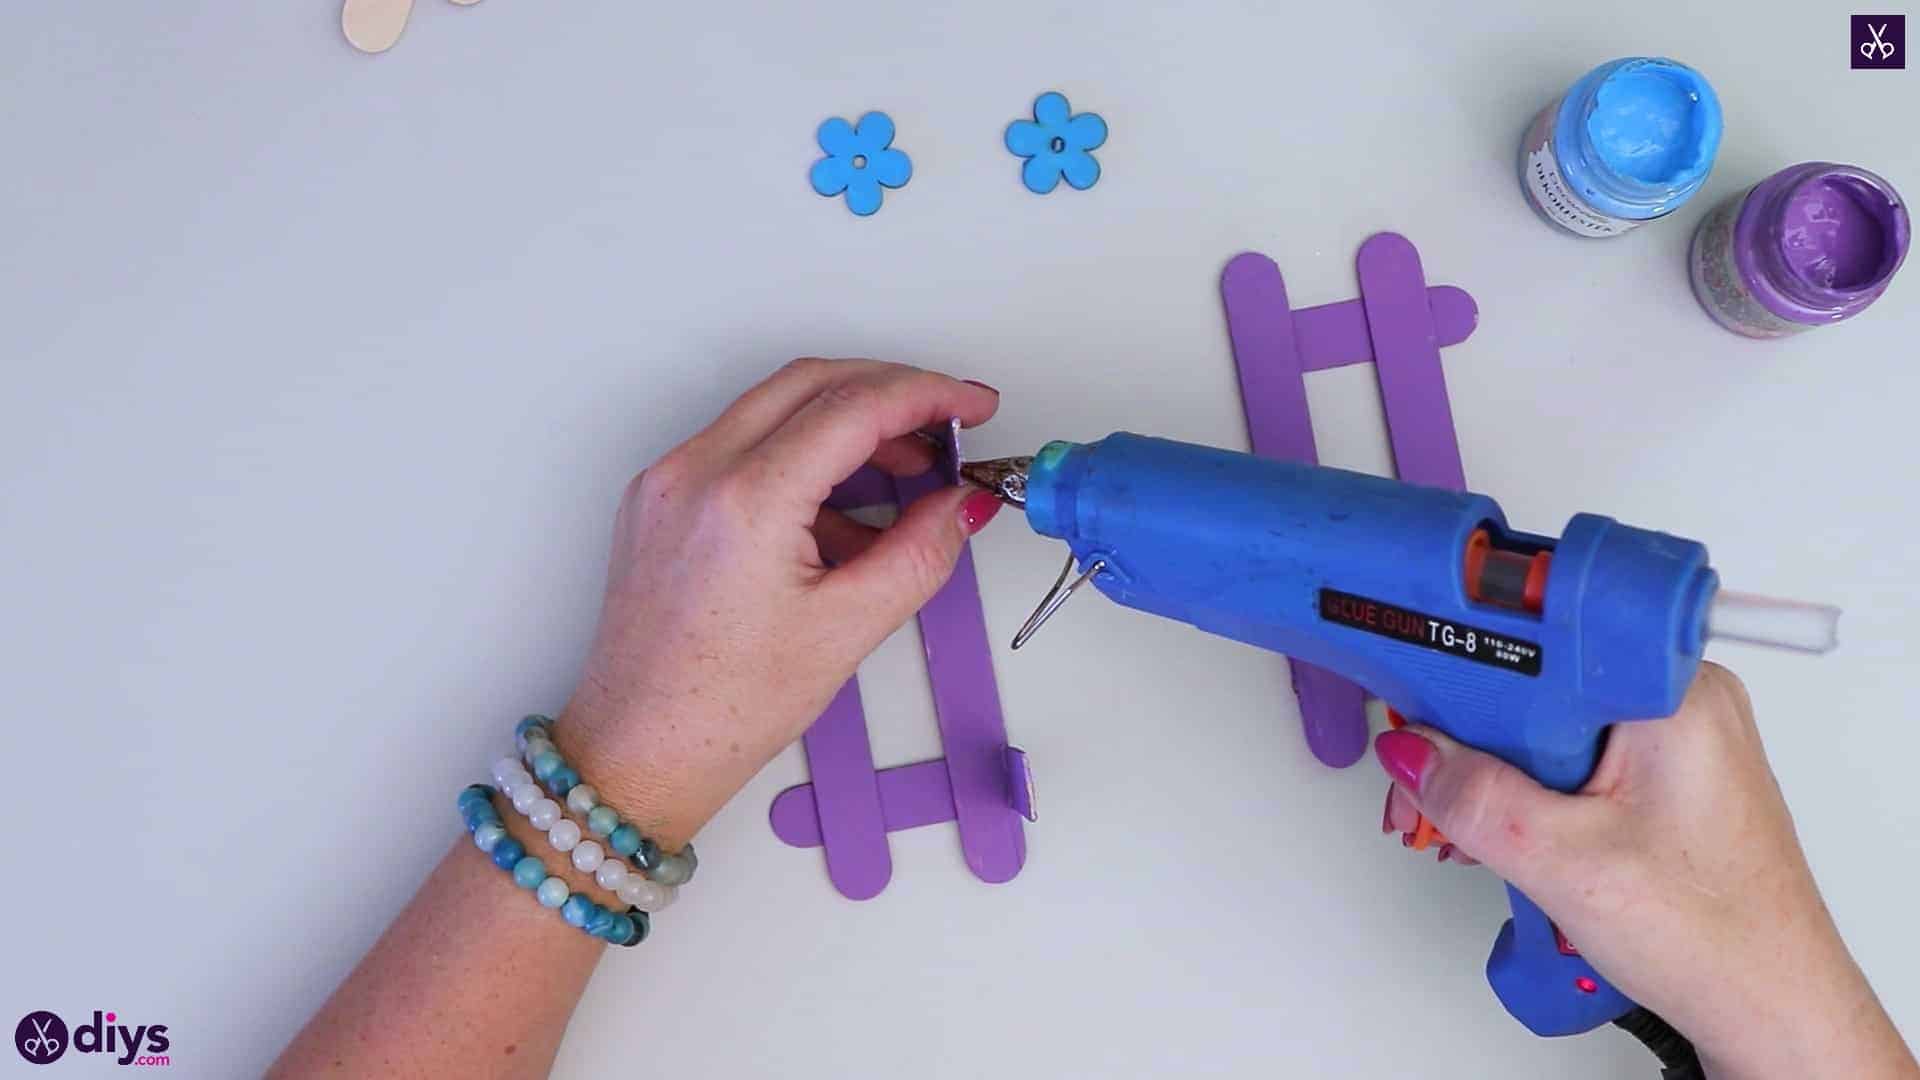
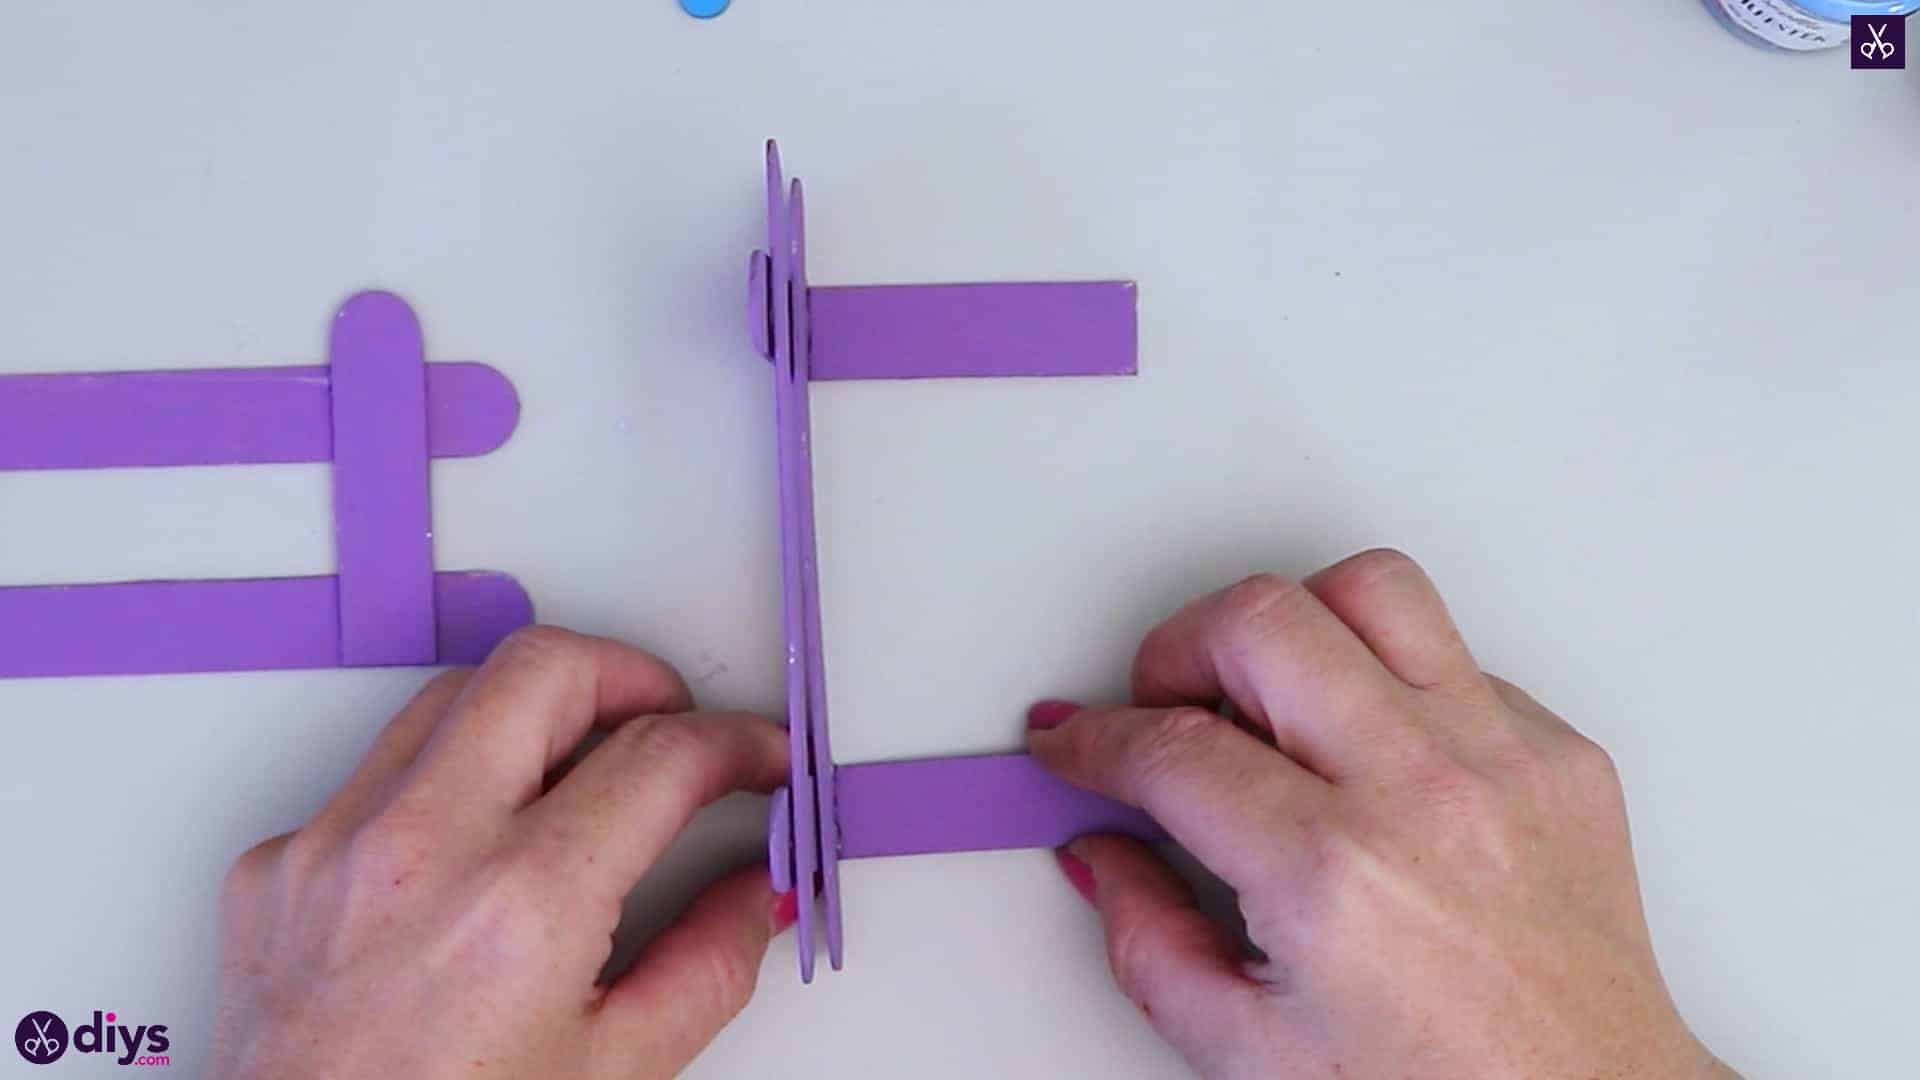
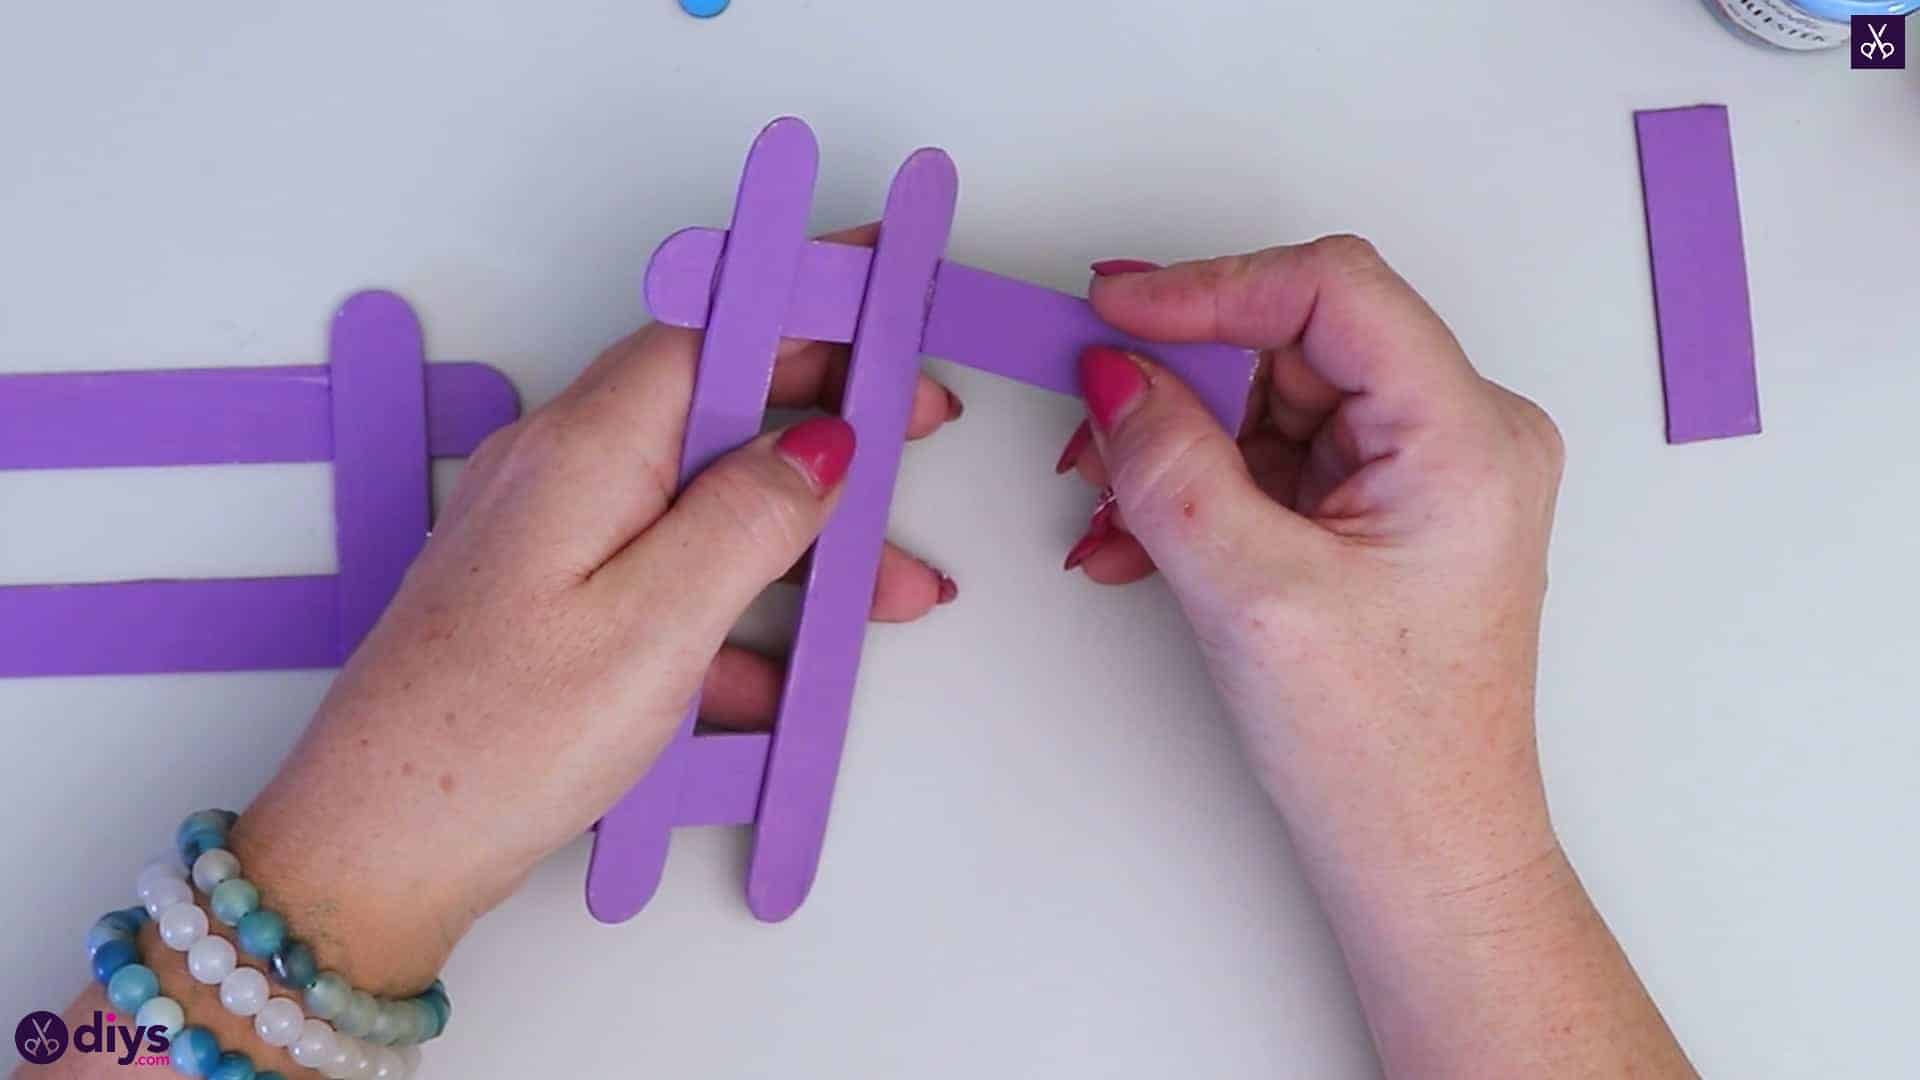
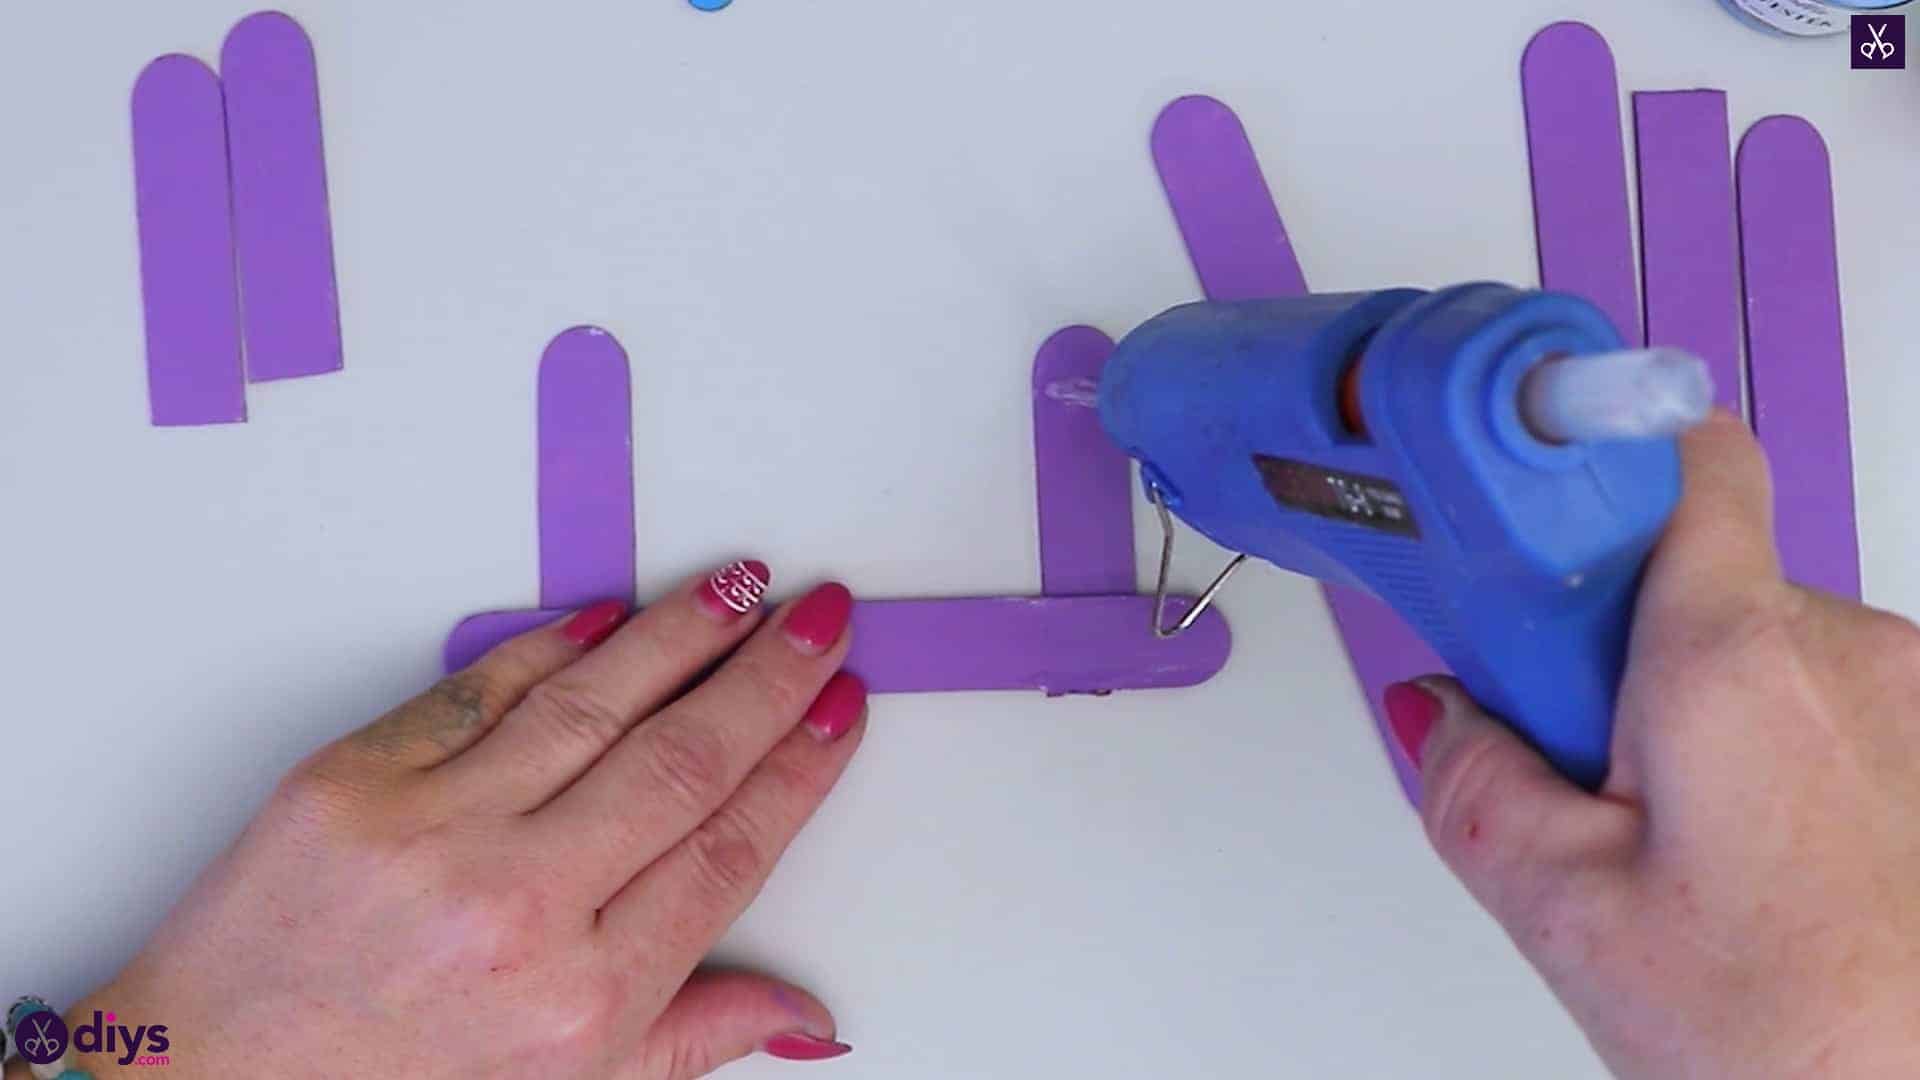
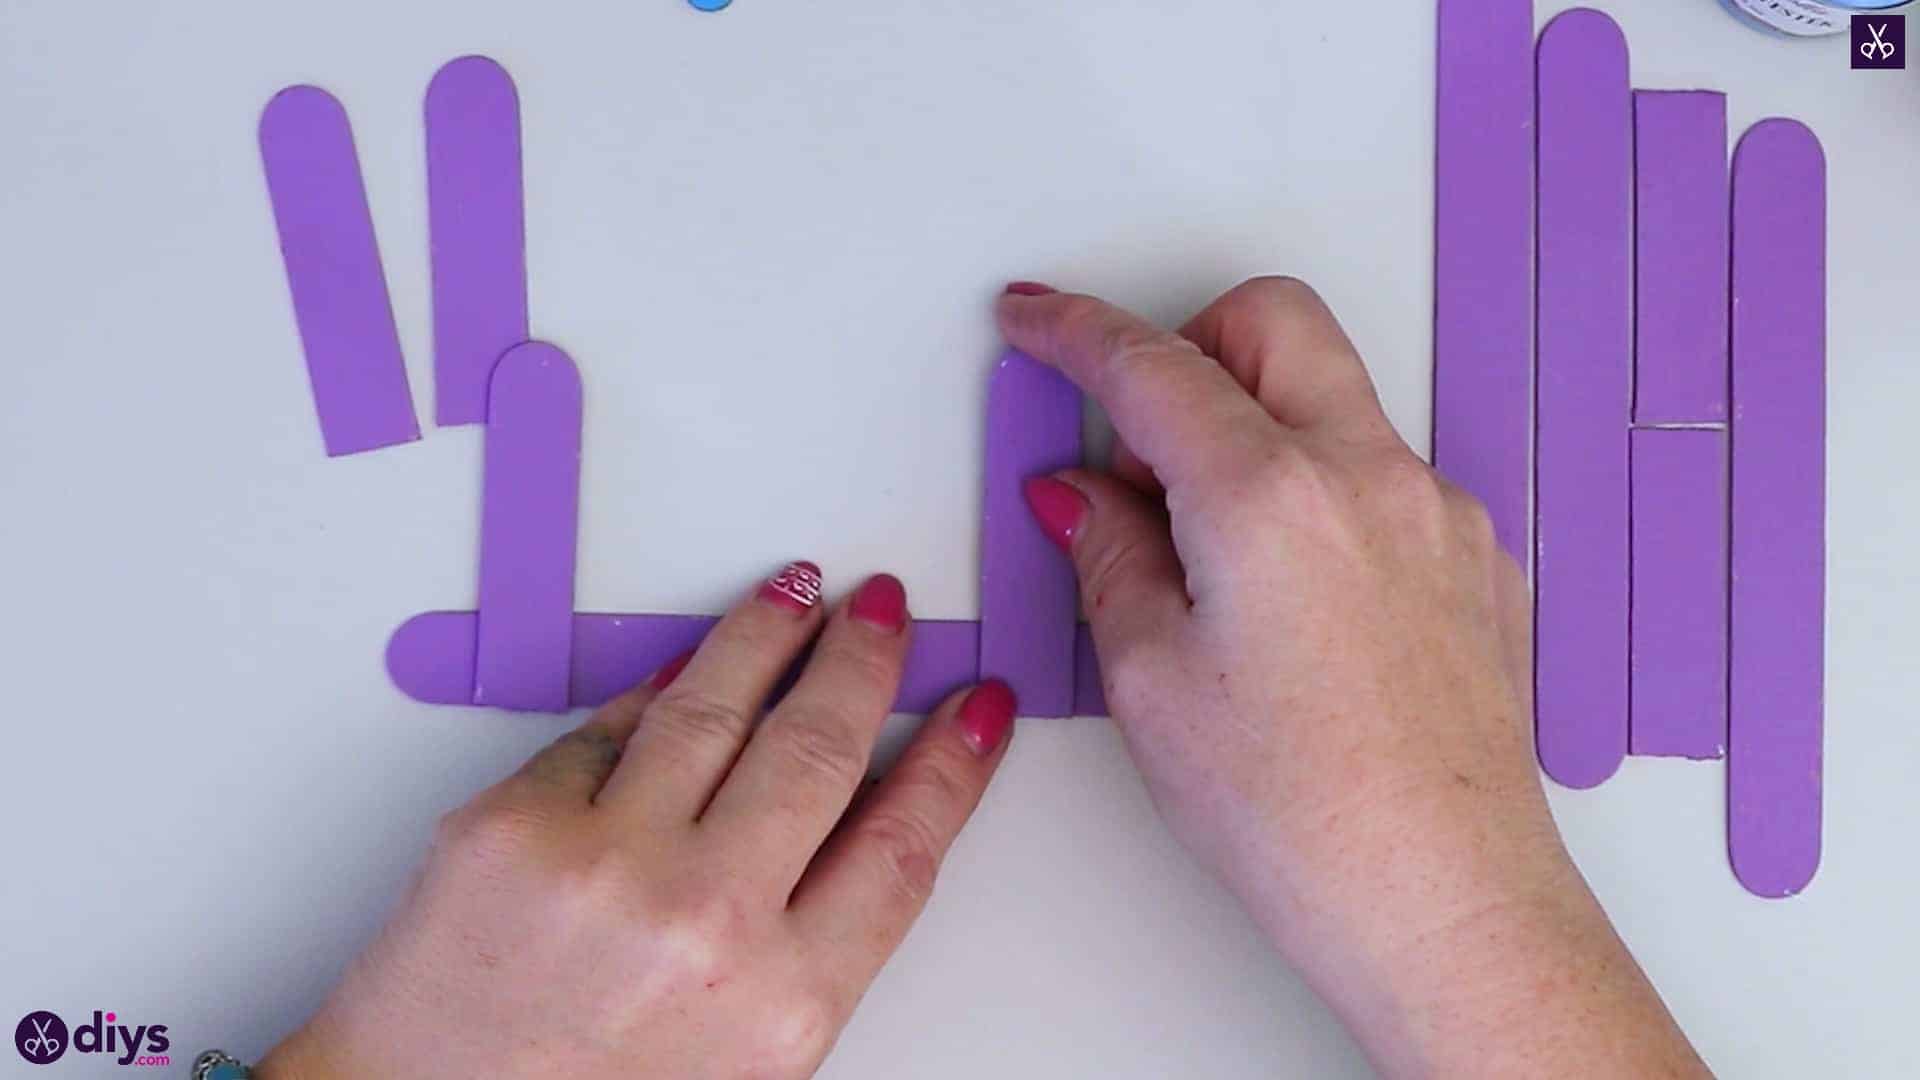
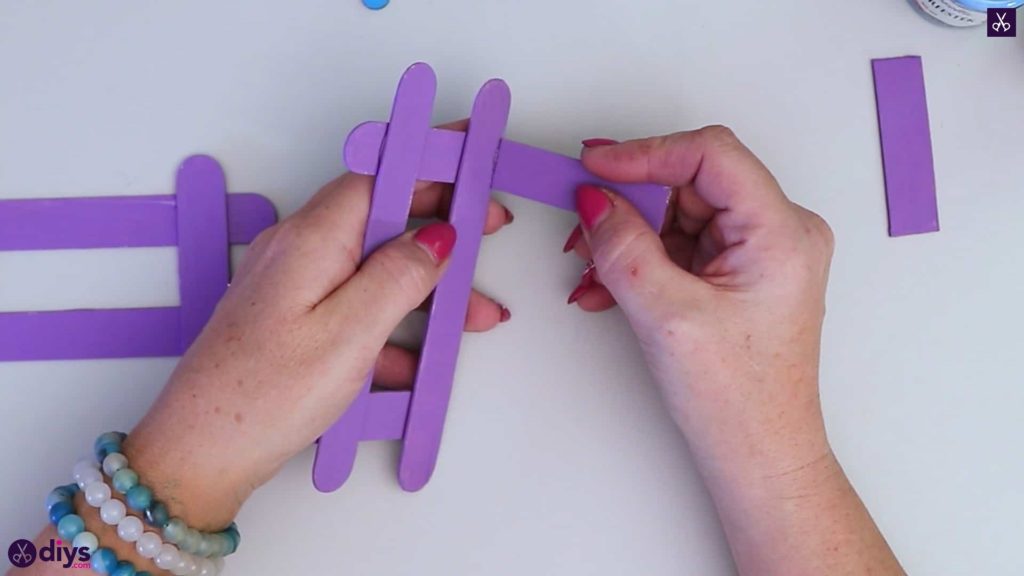
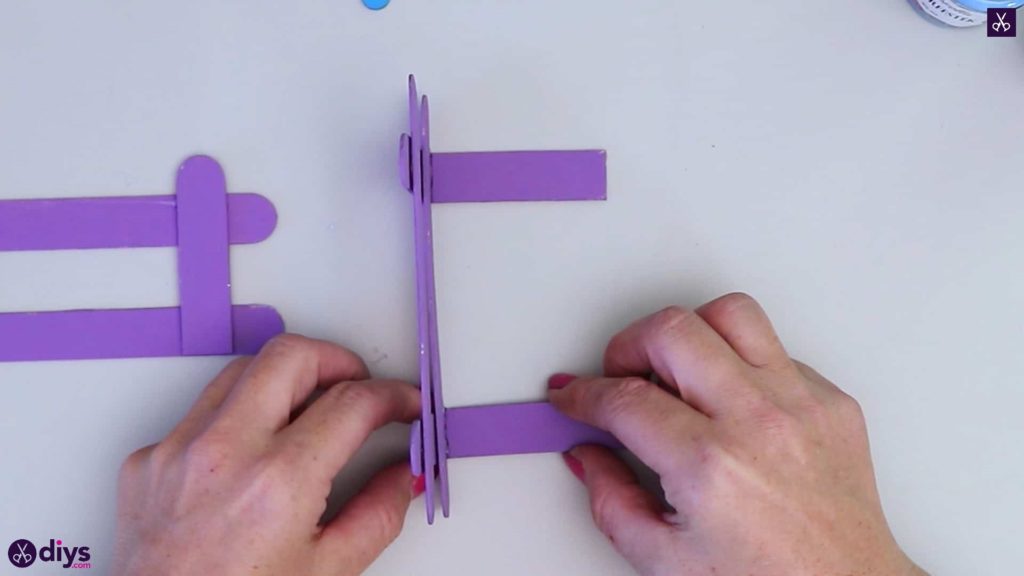
Step 6: attach sides
Pick up your first fence piece so the horizontal pieces are facing you and the vertical pieces are on the back. Apply a strip of hot glue to the very bottom edge evenly with where each cut end of the vertical pieces sits on the other side. Stick a straight edged half in each of those places perpendicularly, so they stick upwards if you lay your napkin holder side flat on the table. These pieces will by the bottom of the napkin holder that support the napkins. Apply hot glue to the flat edges that aren’t already glued to a holder side, right where you made your cuts. Stick your second napkin holder side down with its horizontal sticks facing the first one and its vertical pieces lined up with these bottom supports, just like the side opposite. Hold the pieces in place until the quick-drying hot glue has hardened if necessary.

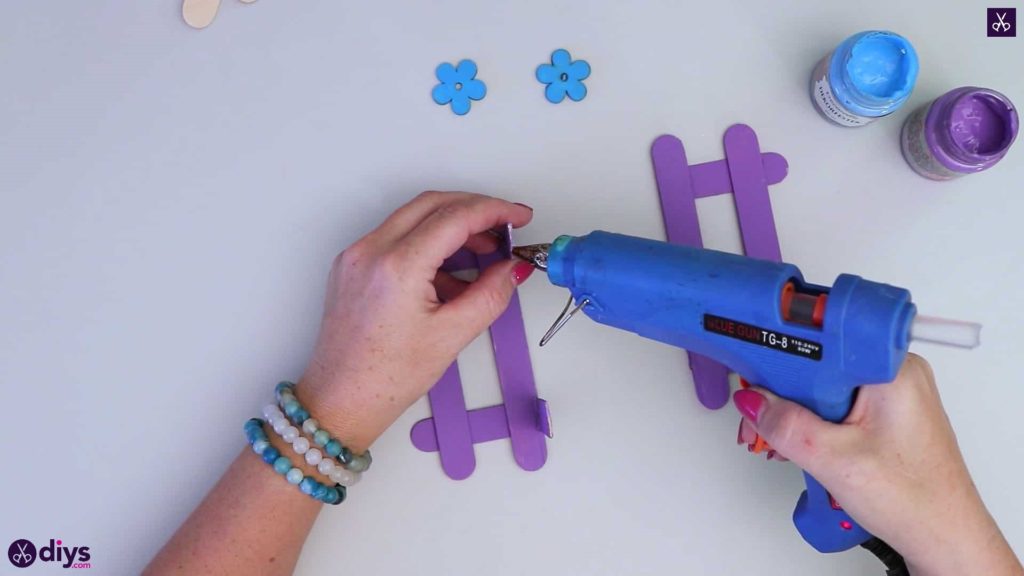

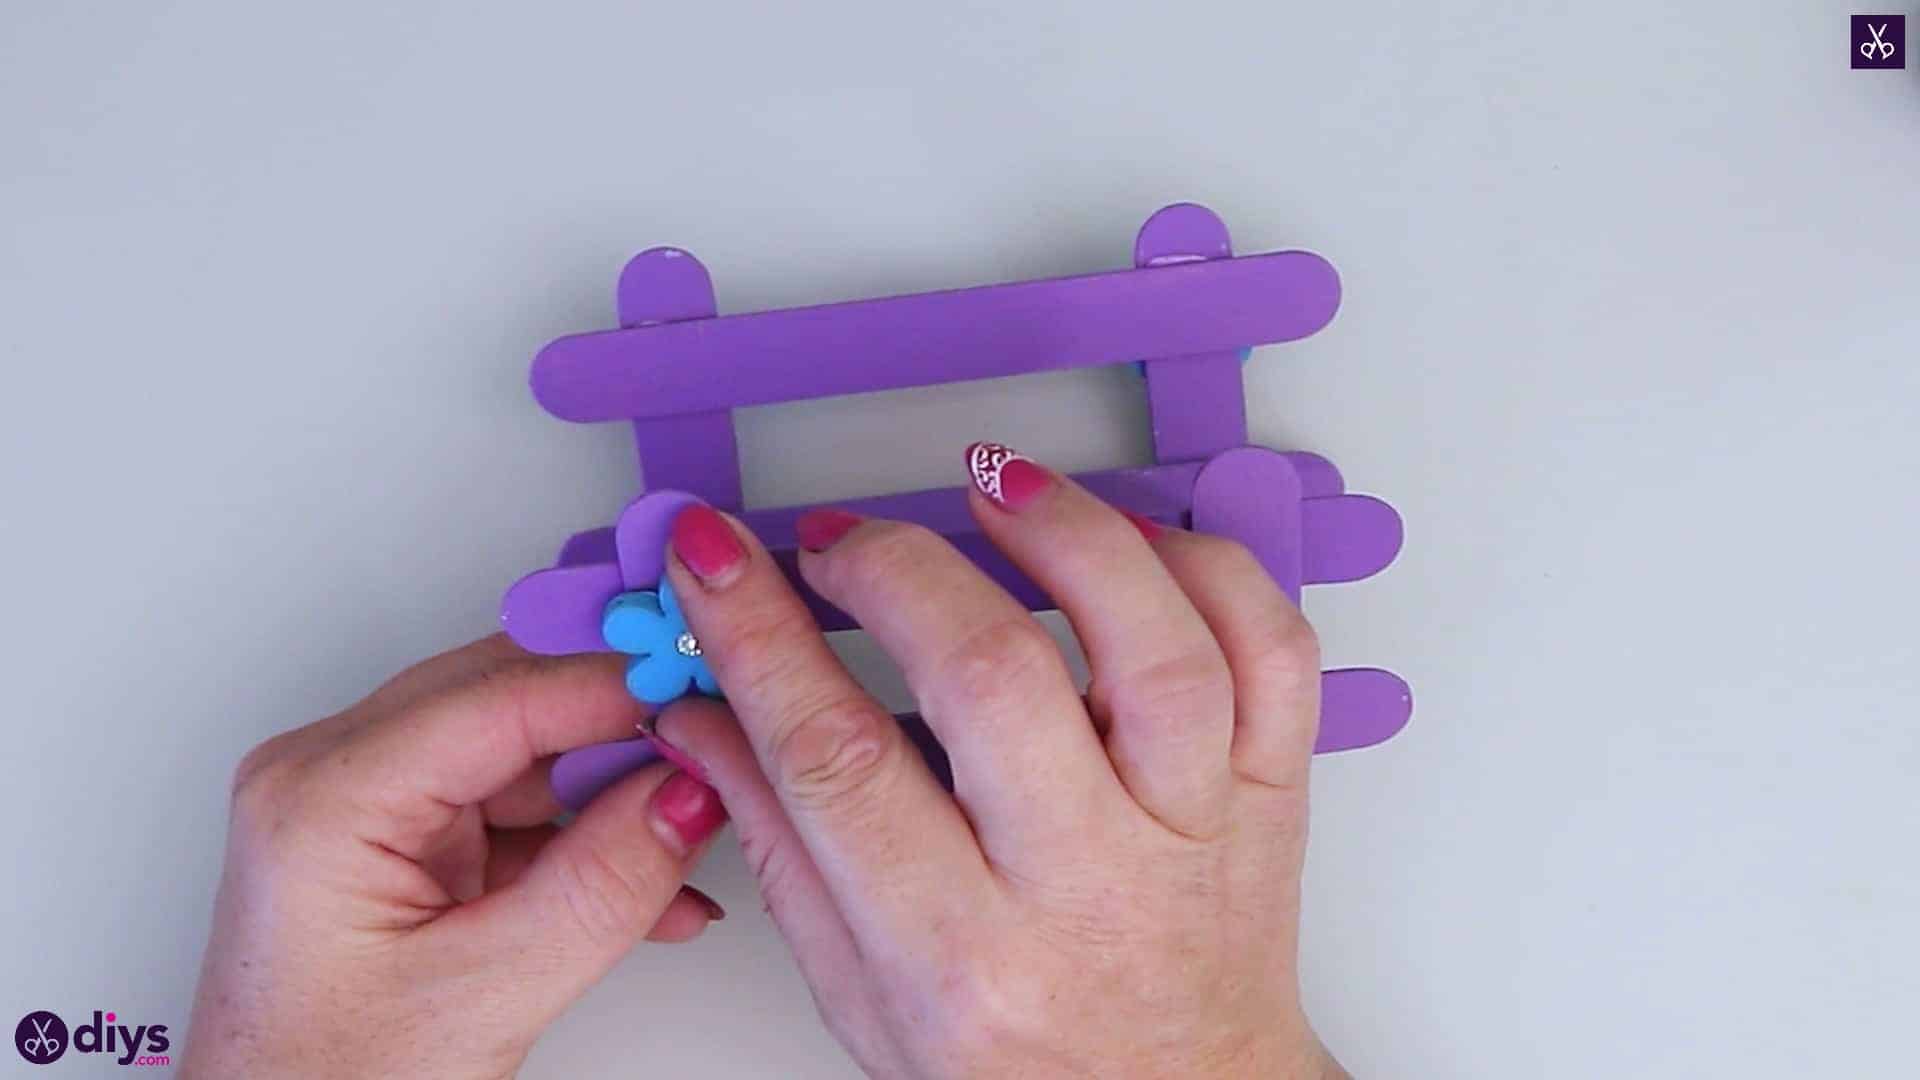
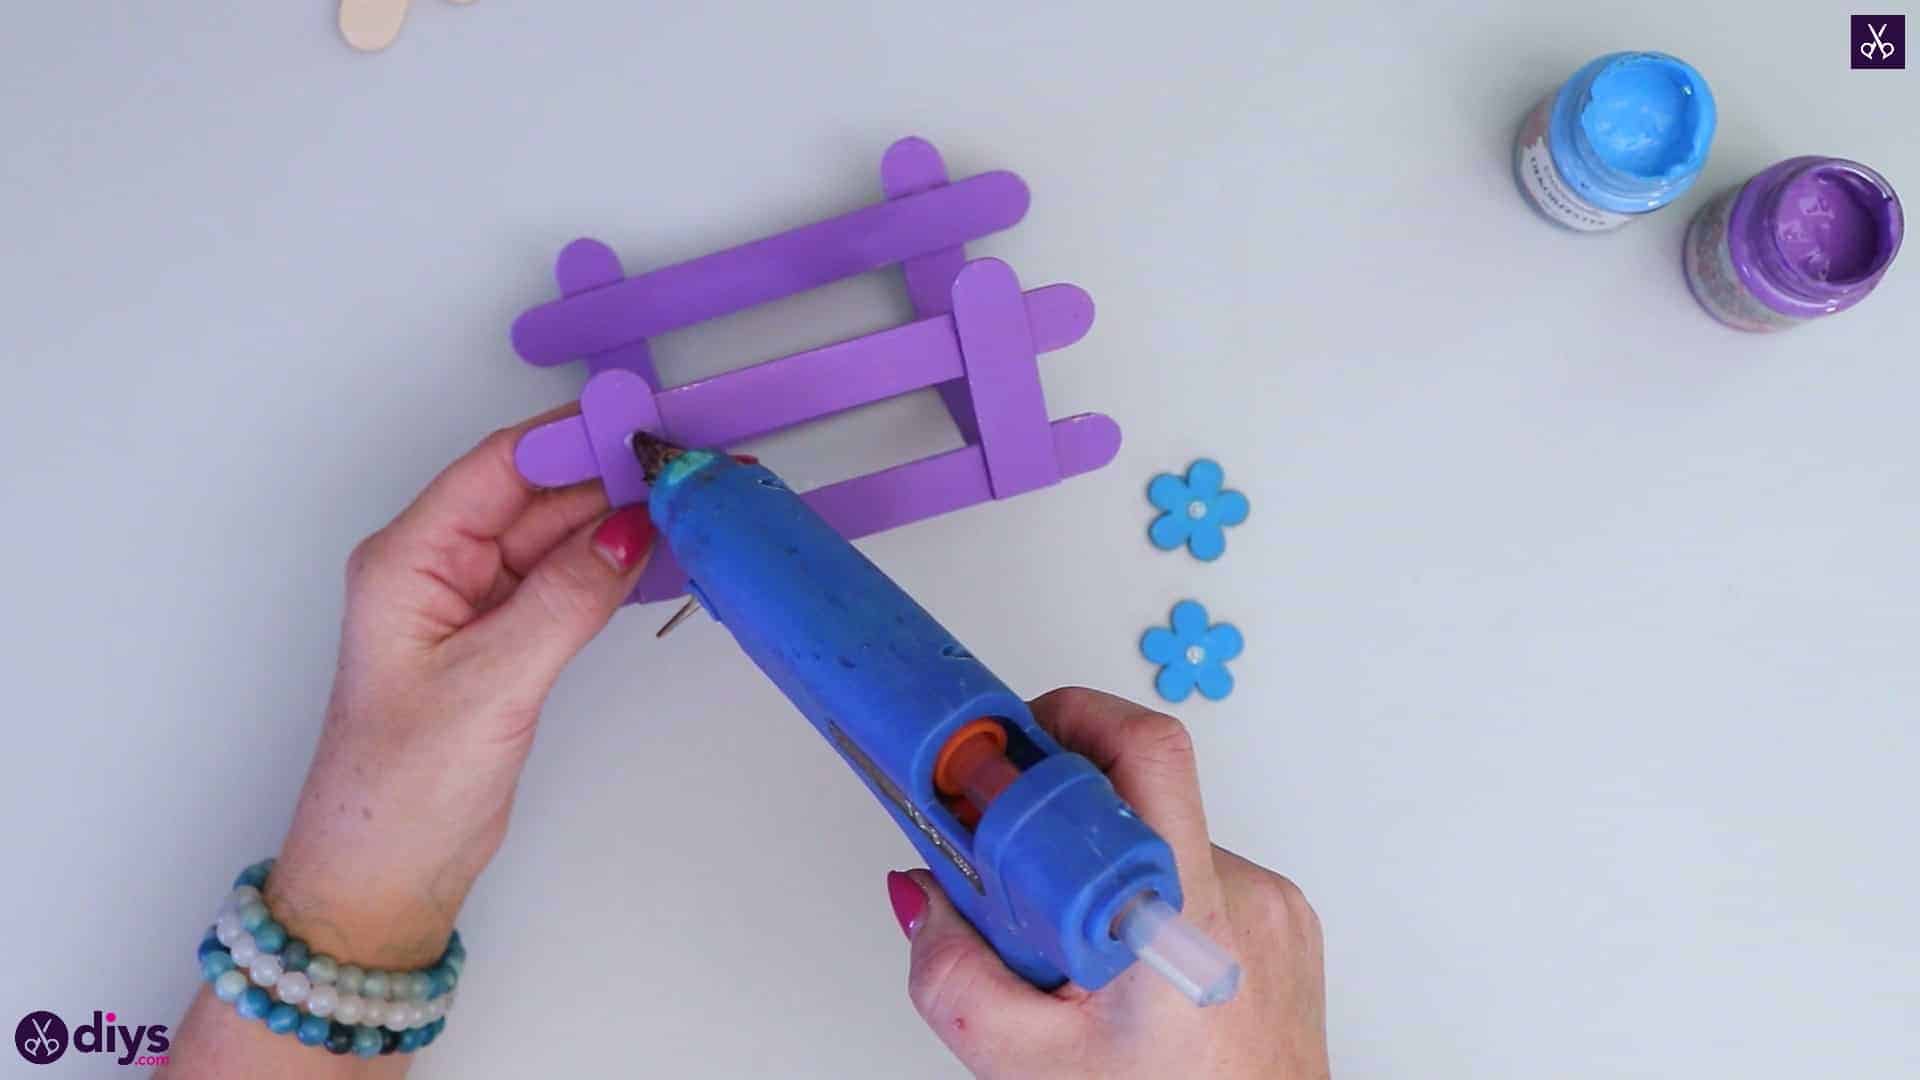
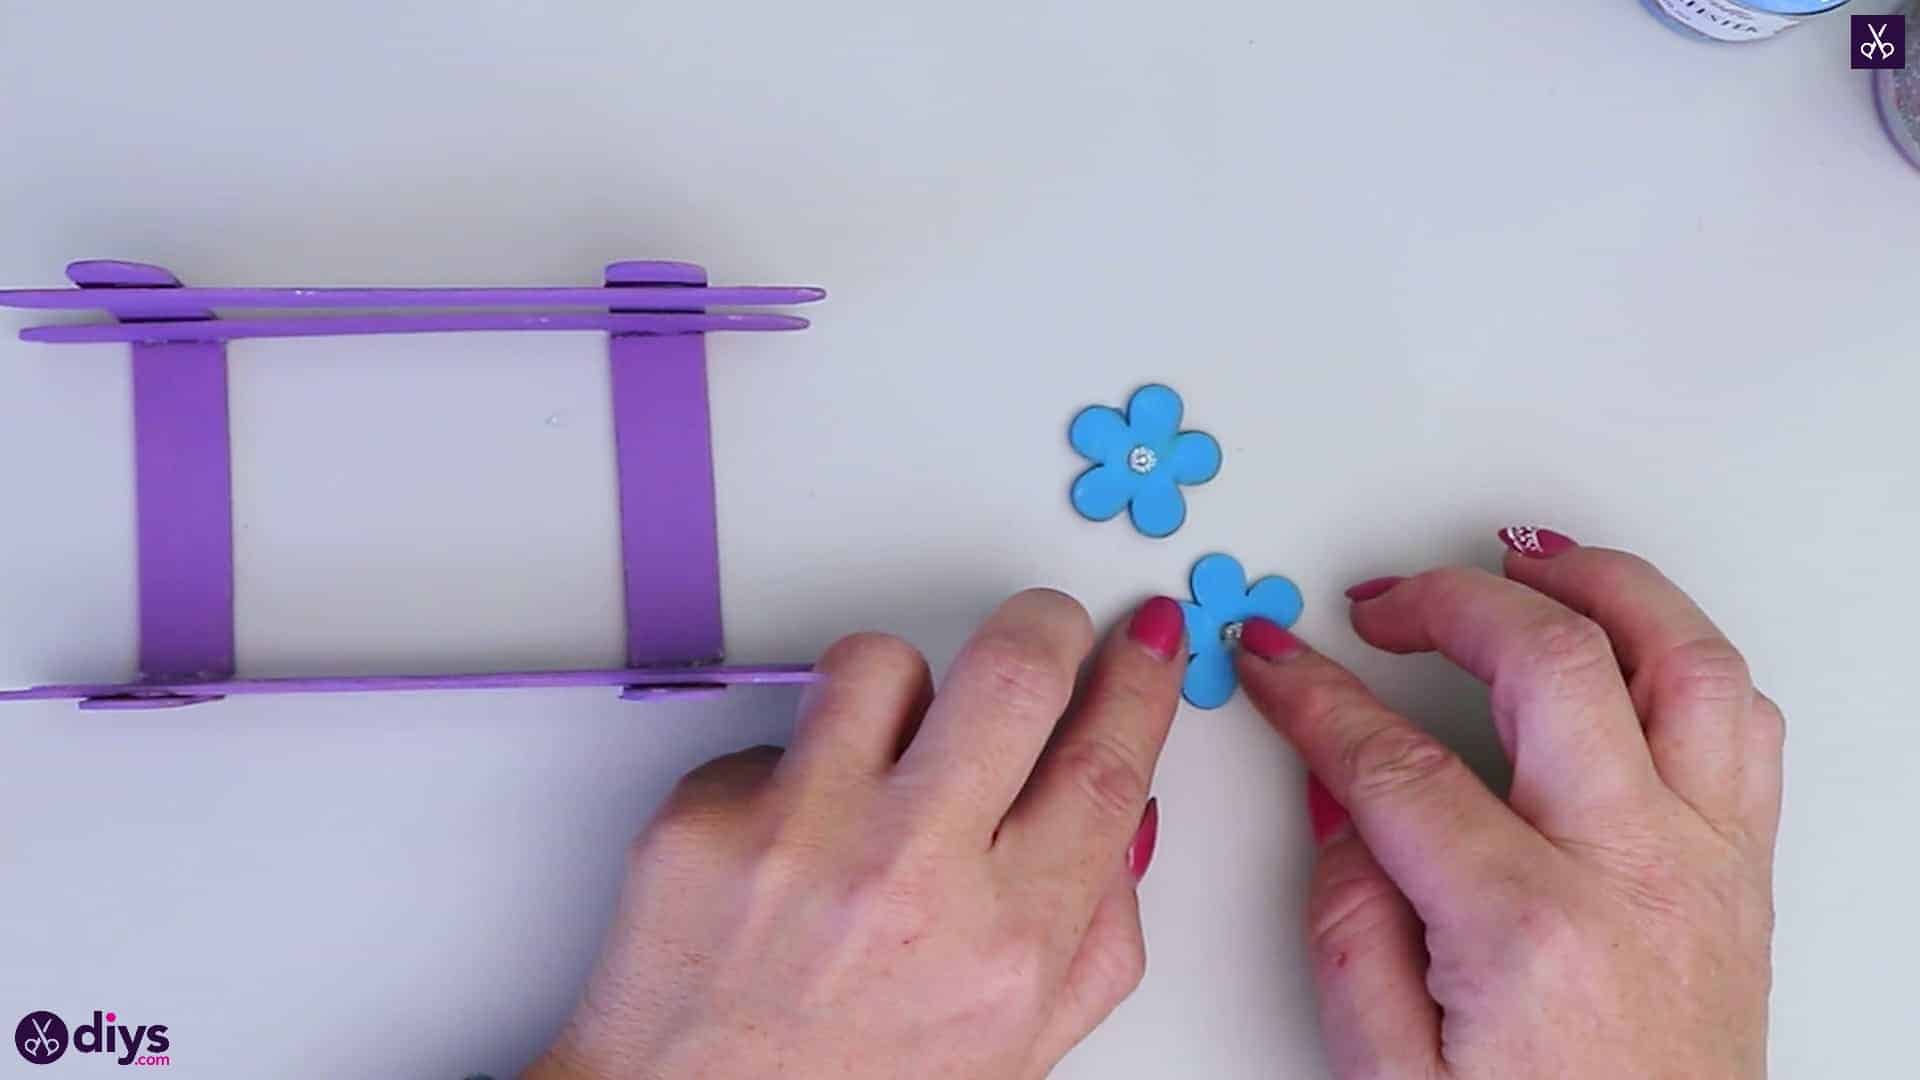
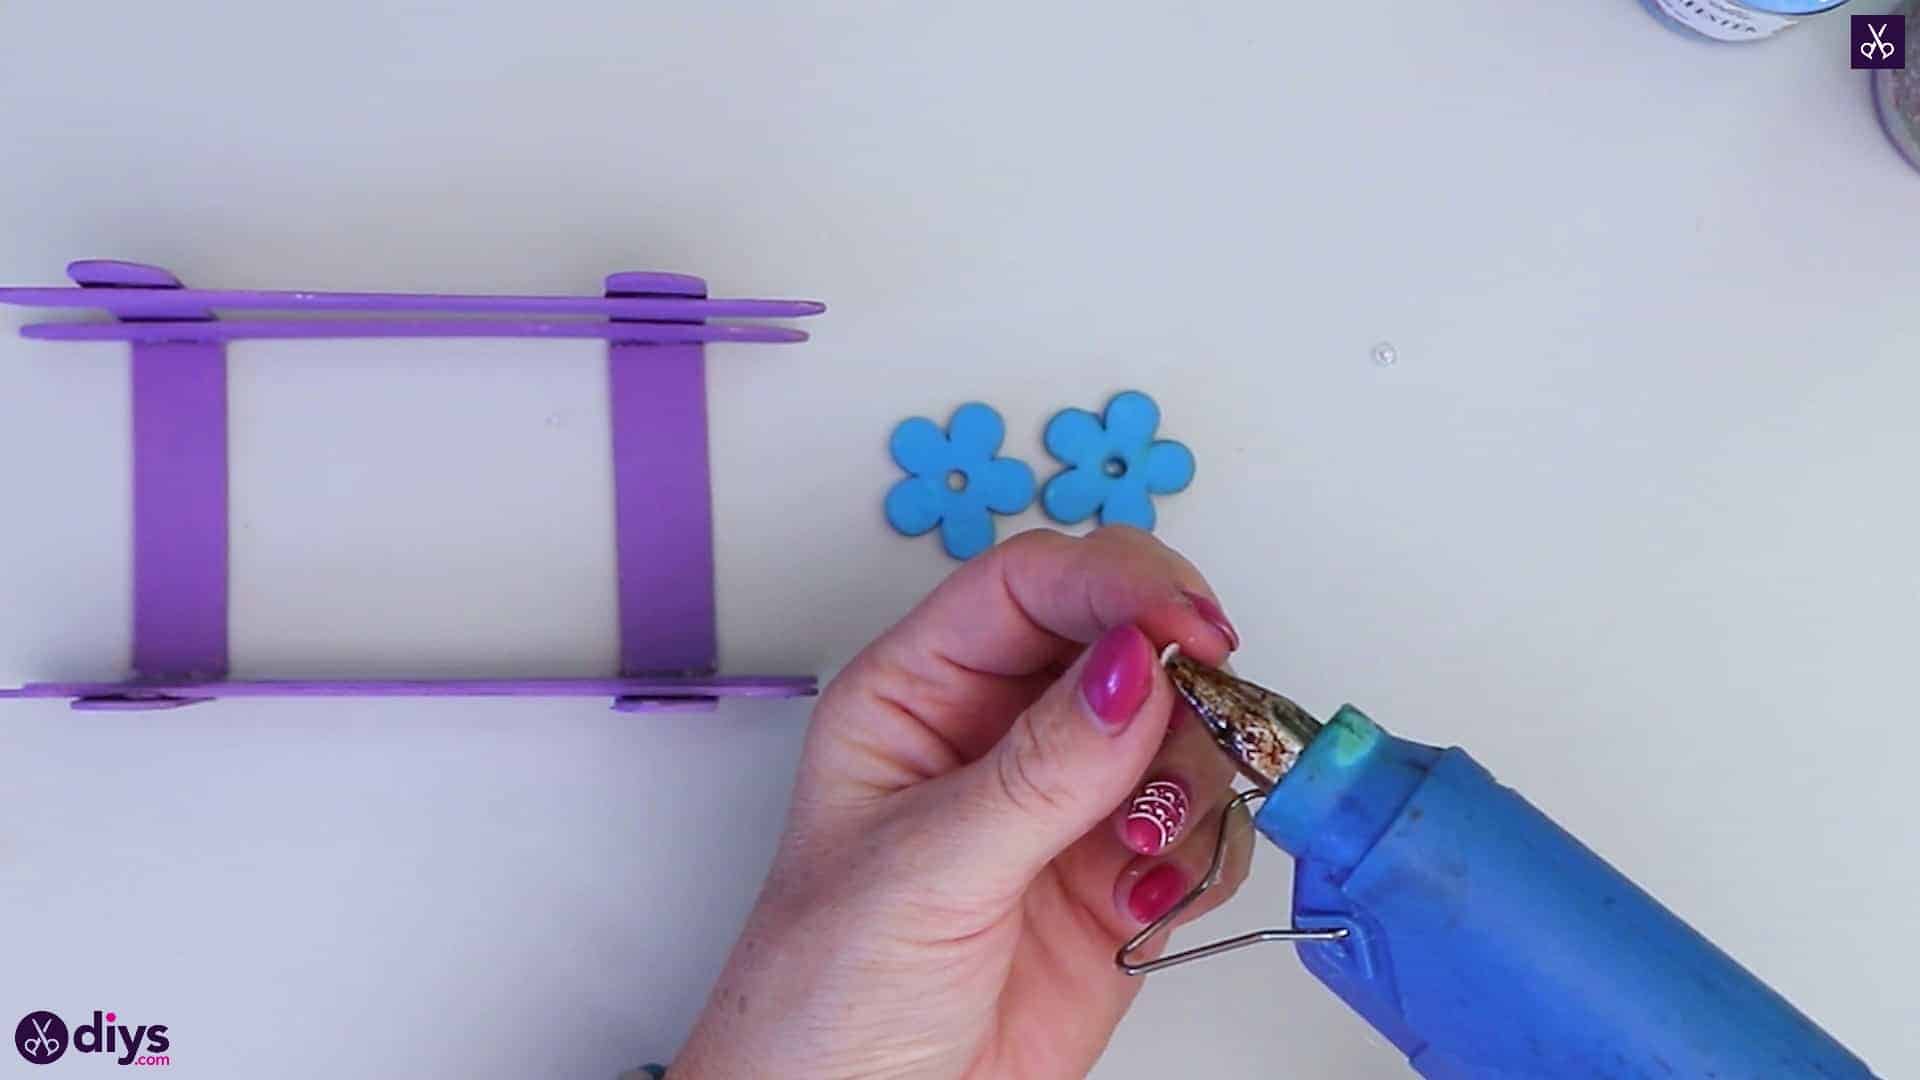
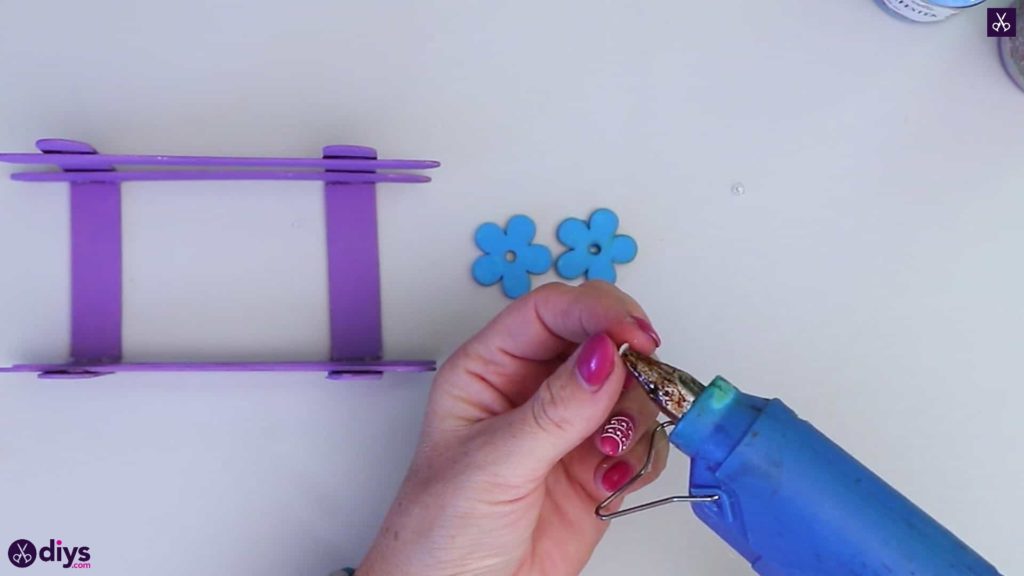
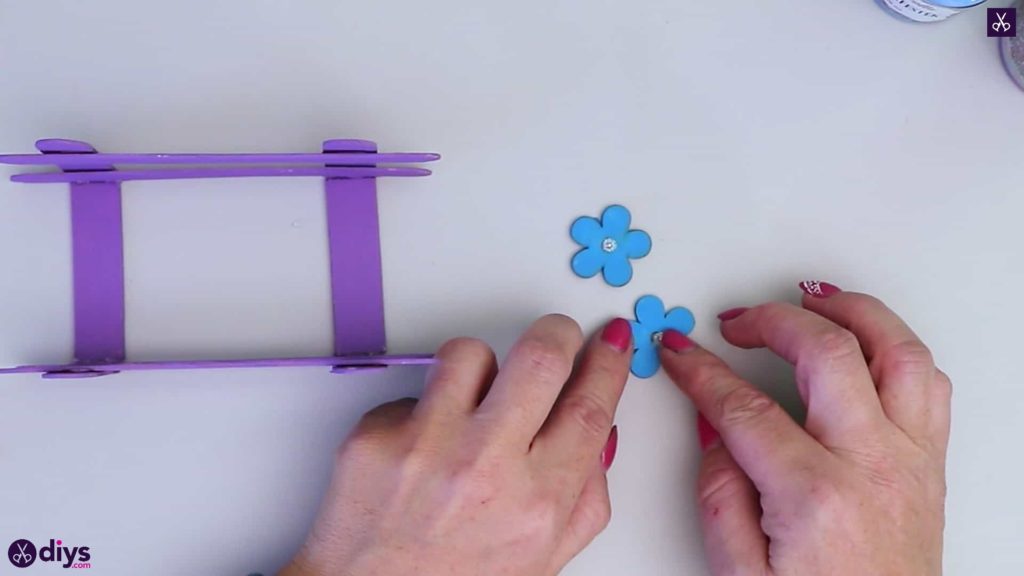
Step 7: attach center of flowers
If you have gems or beads to stick in the center of the two wooden flowers you painted blue, use your hot glue gun to stick them in place.
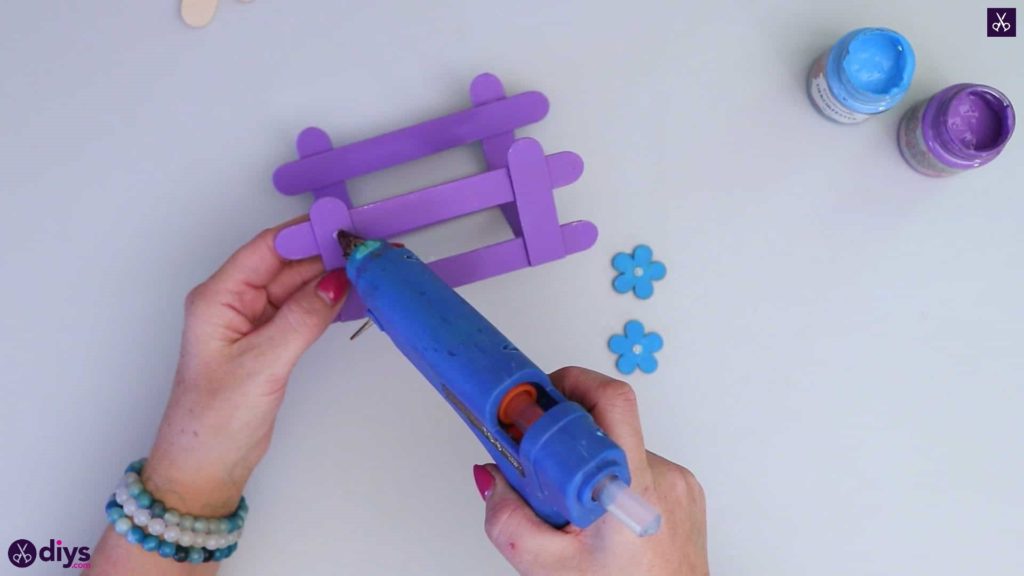
Step 8: glue the flowers
Apply glue to the top left side of one vertical post, near the rounded end, and stick your flowers down there! I actually decided to only go with one of mine in the end because I preferred how it looked.


You’re all finished! This is the kind of craft that you can use this basic design as a guide for but get as creative with as you like when it comes to details and embellishments. Just in case you’d like to try this project out for yourself, here’s a fantastic tutorial video to help you!