DIY Pom Pom Muffin
Updated on November 19, 2025


If there’s one little crafting element that I can say with confidence that I havealways loved since I was a child, I’d have to say that that’s absolutely yarn pom poms! I learned how to make them as a kid and have been making all kinds of fun, creative things ever since. That’s why I decided to teach my own kids how to make yarn pom poms recently! They took to it like ducks to water and I was very impressed, so I’ve been collecting simple pom pom based crafts lately so they can enjoy learning how to turn their pom poms into something rather than just fluffy balls. That’s how we found ourselves making pom pom muffins and cupcakes!
I always love it when people share tutorials for the things they’ve made that I can follow along with, so I wanted to return the favour! Check out these step by step instructions complete with photos! If you’d rather follow along with a video tutorial instead of written words, scroll to the bottom of this post to find just what you’re looking for.

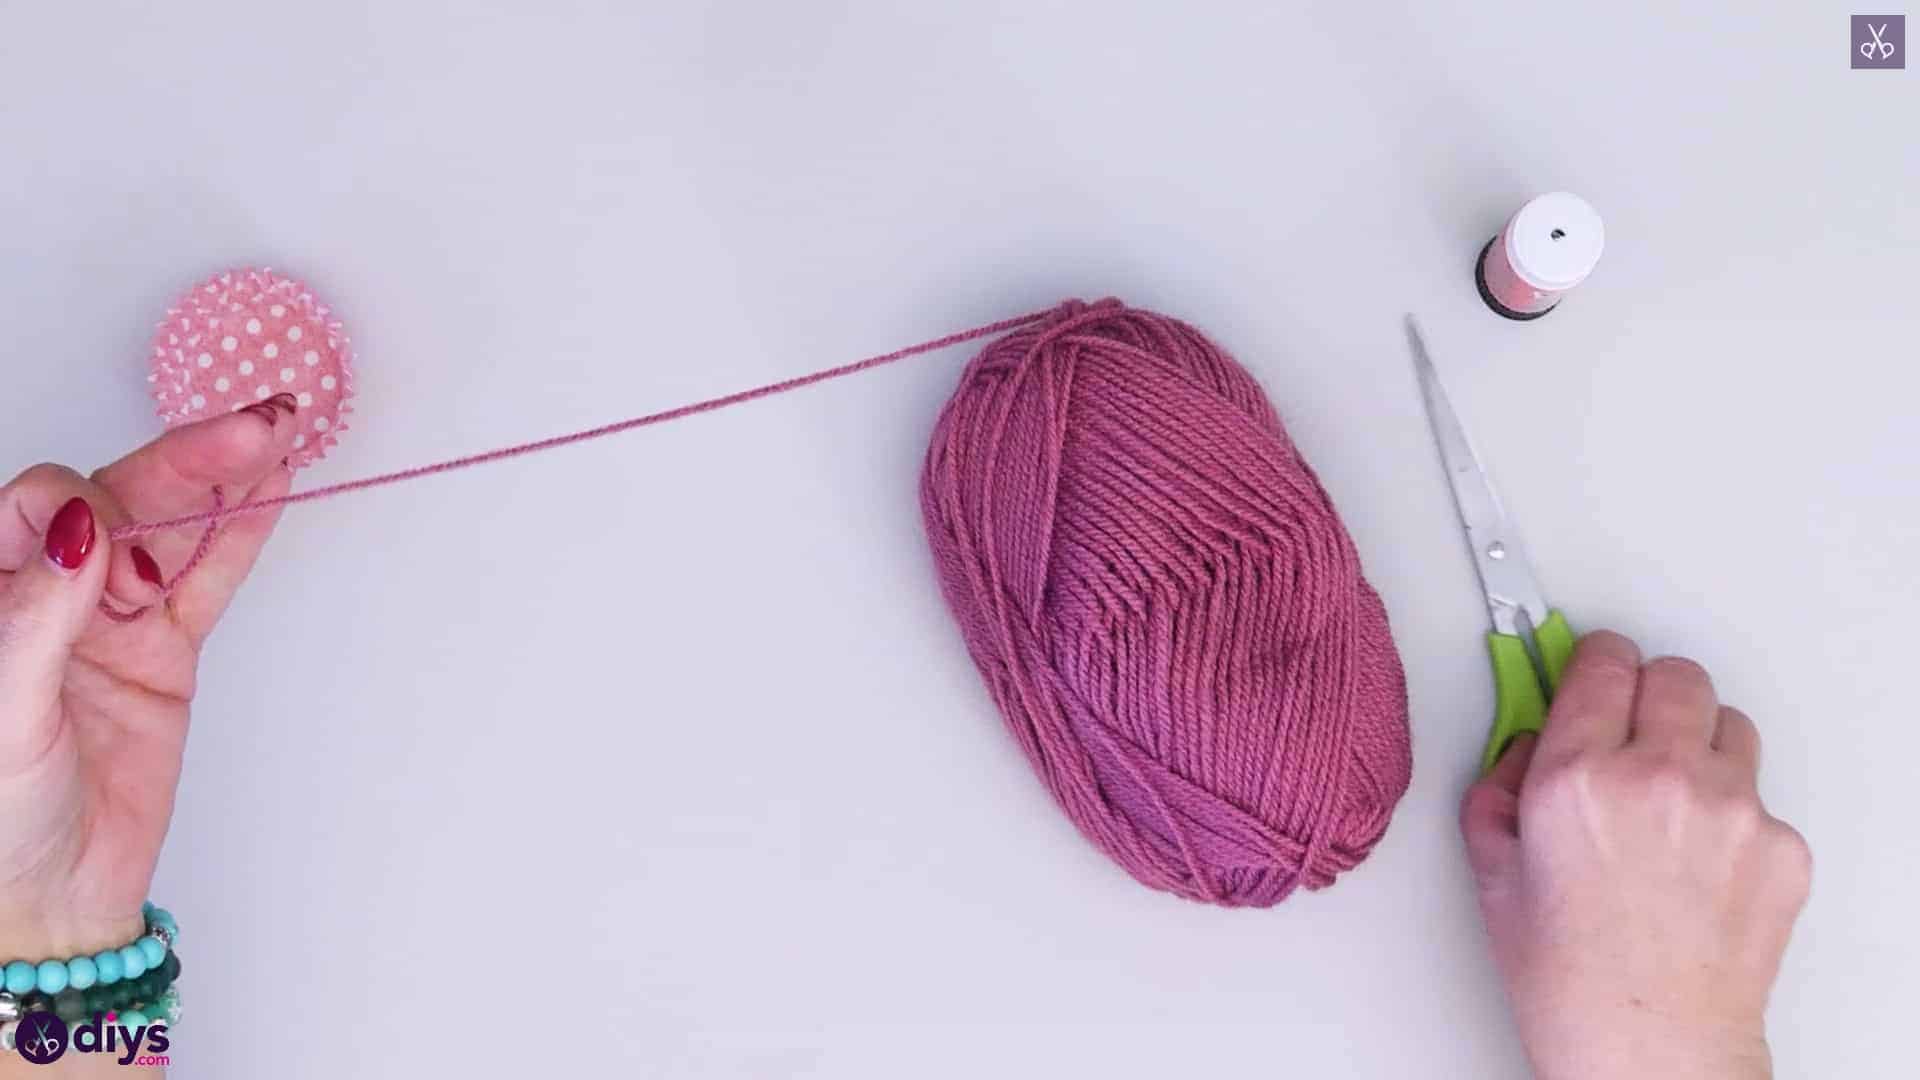
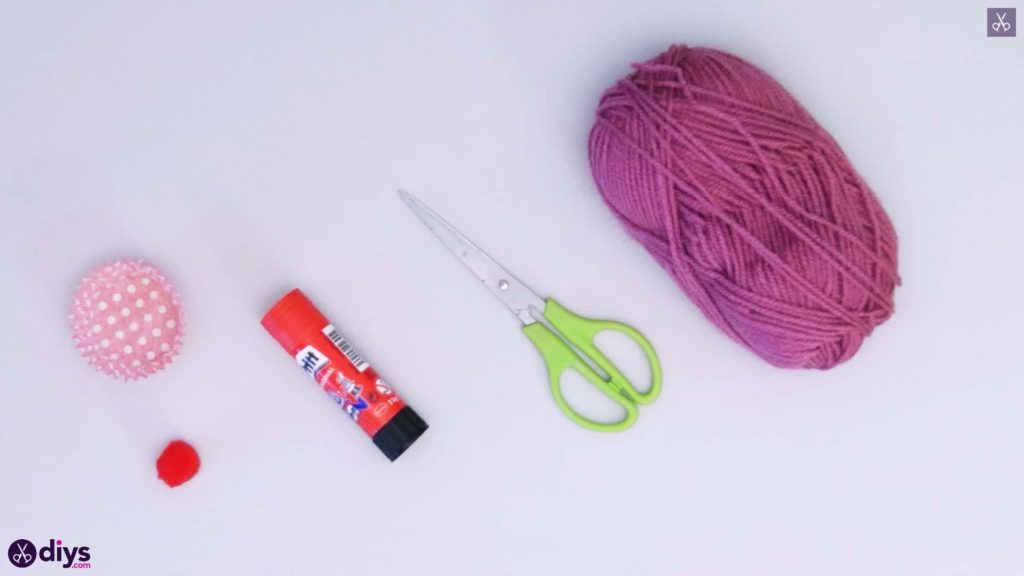
For this project, you’ll need:
- Purple yarn
- A red crafting pom pom
- Scissors
- A glue stick
- Paper cupcake liners
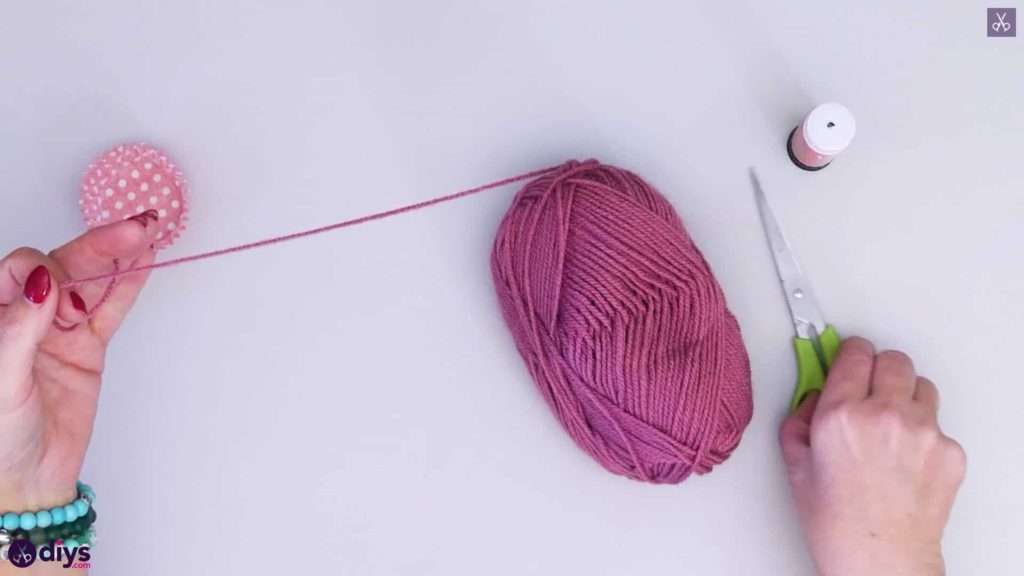
Step 1: check your list
Gather your materials!
Step 2: make your pom poms
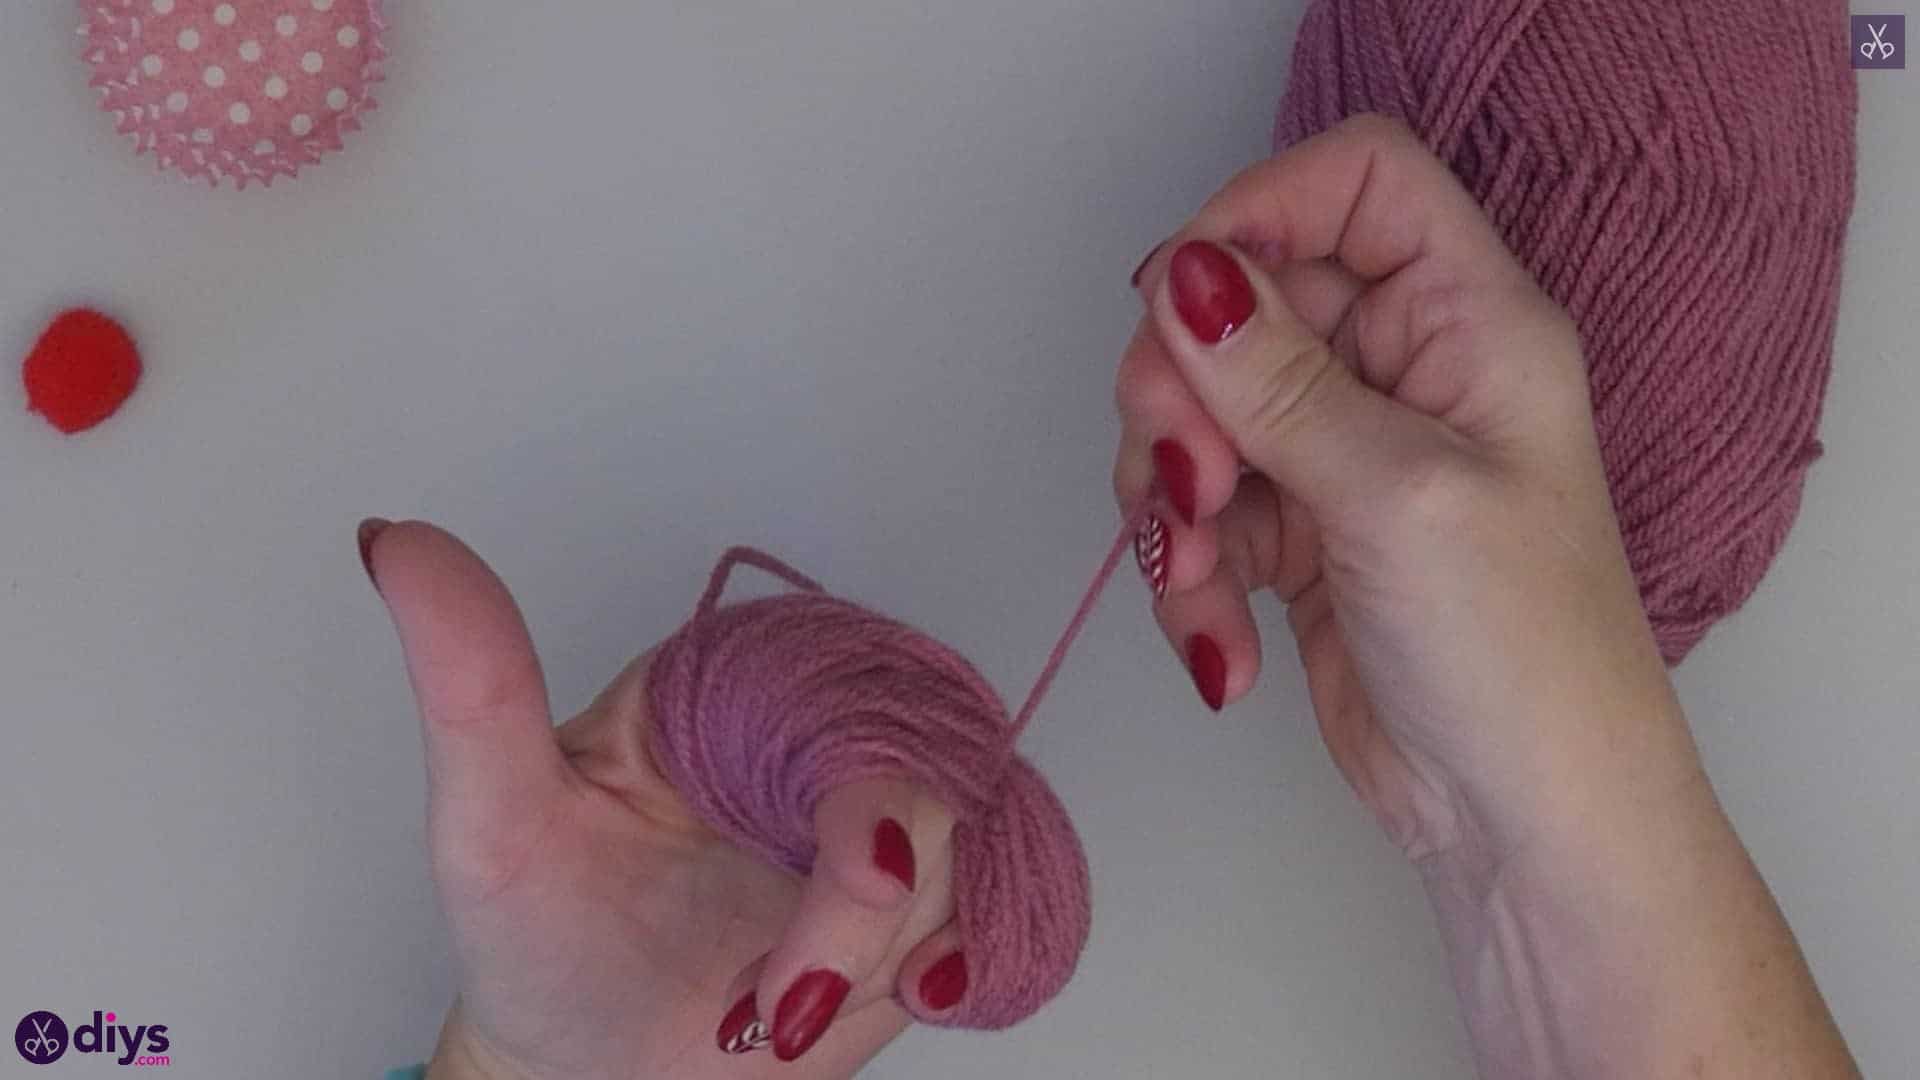
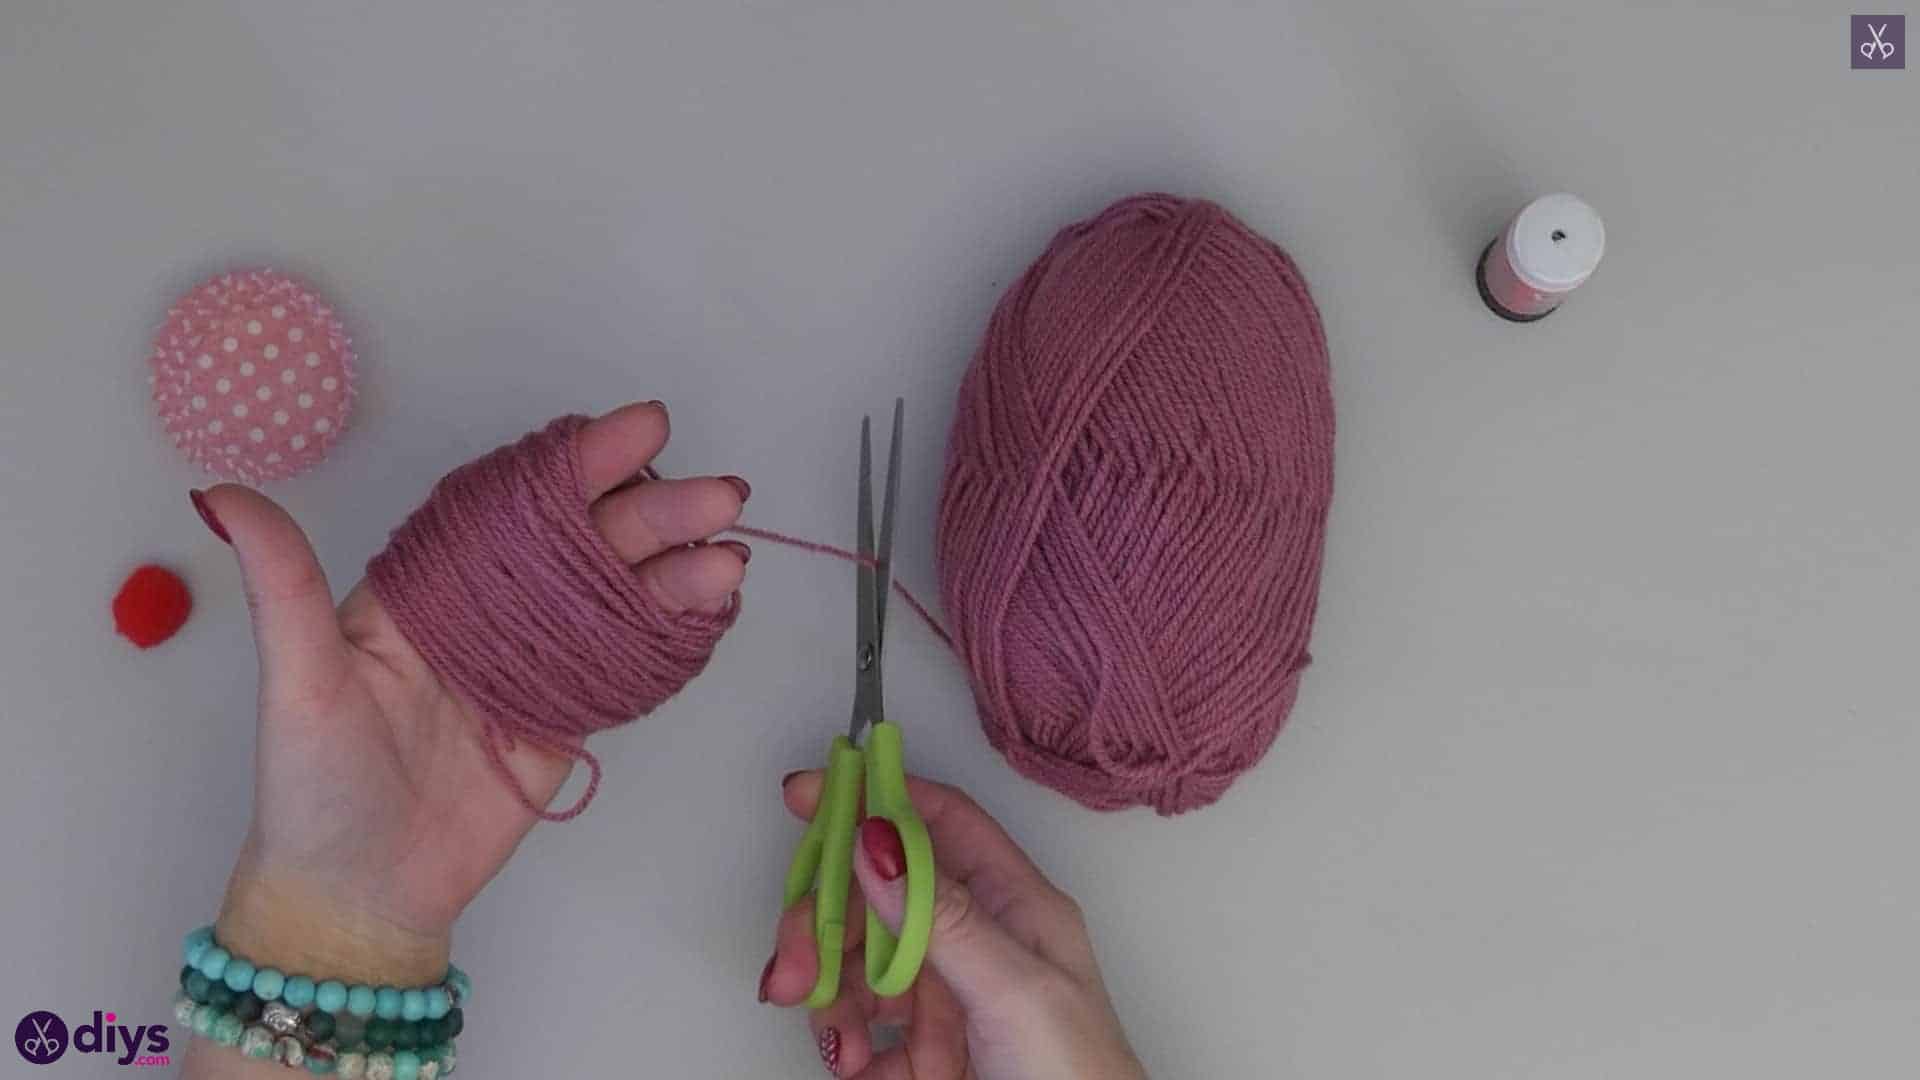
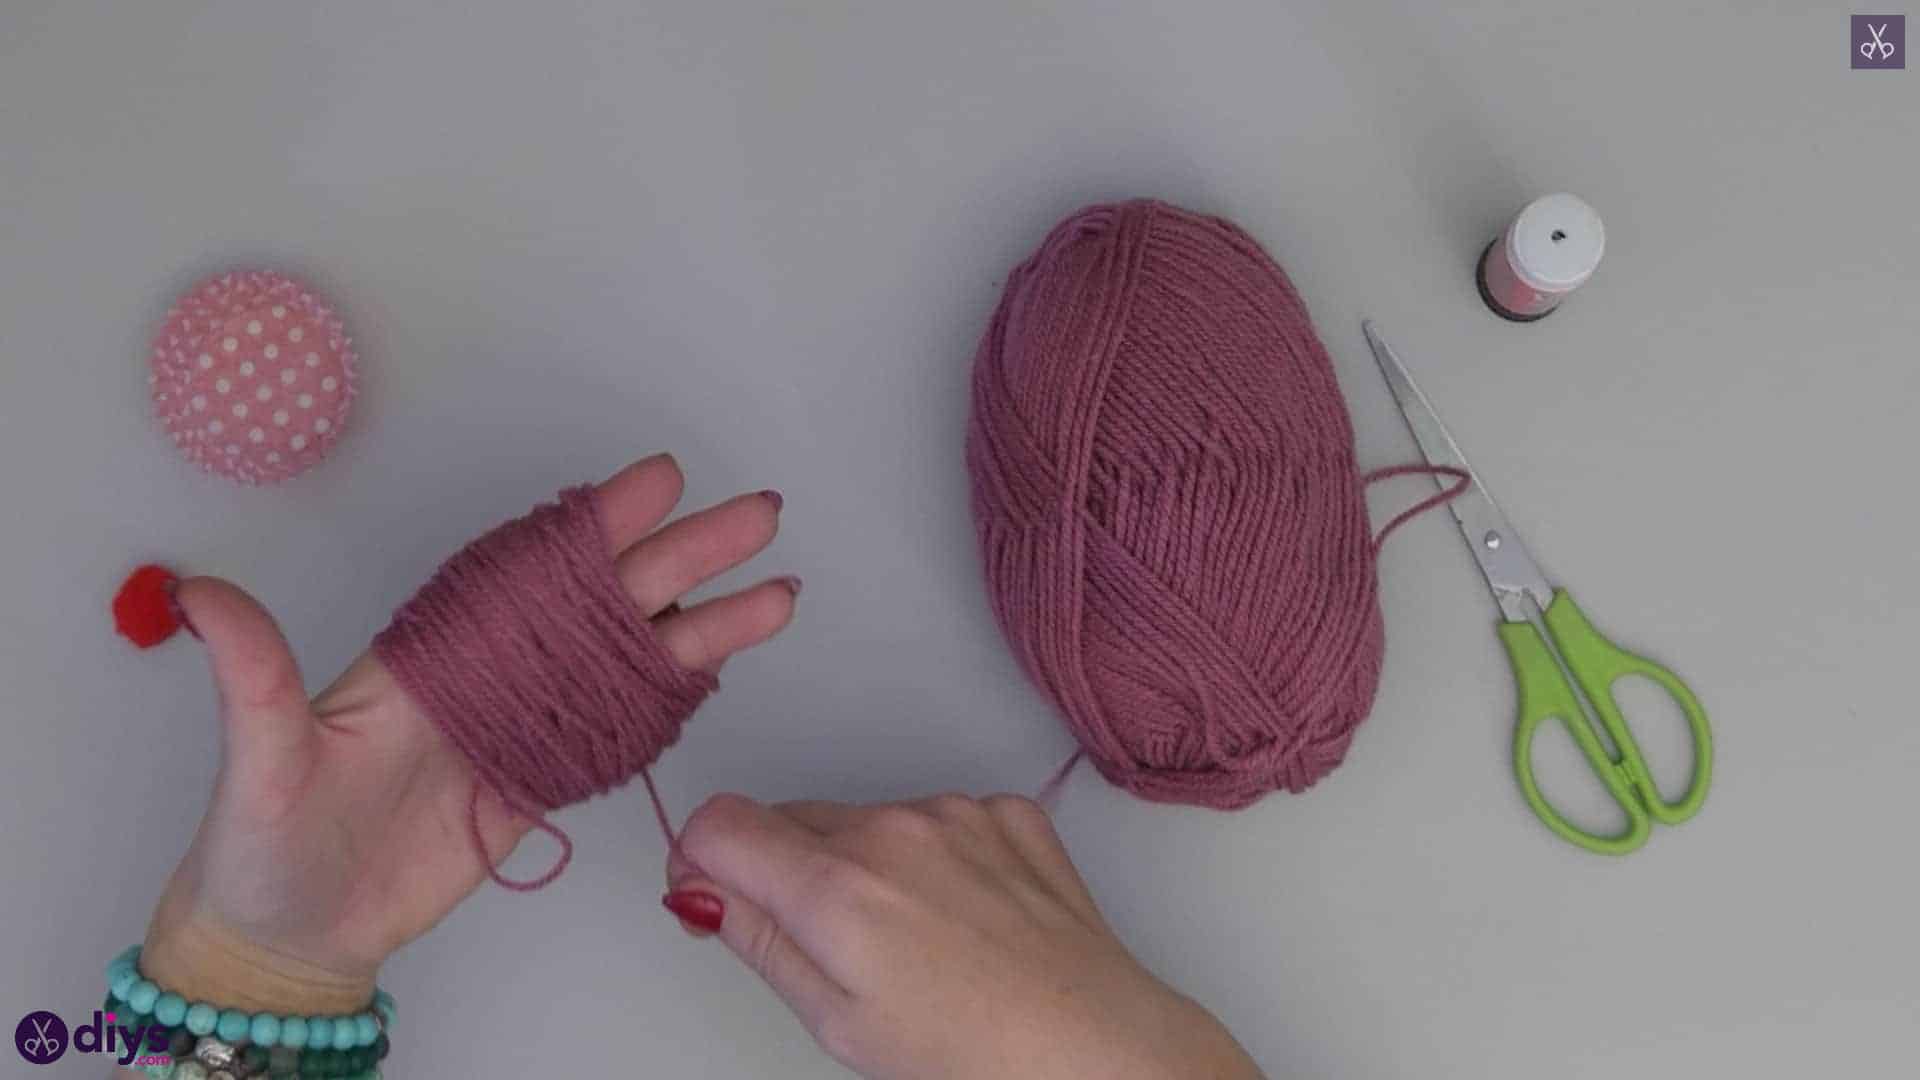
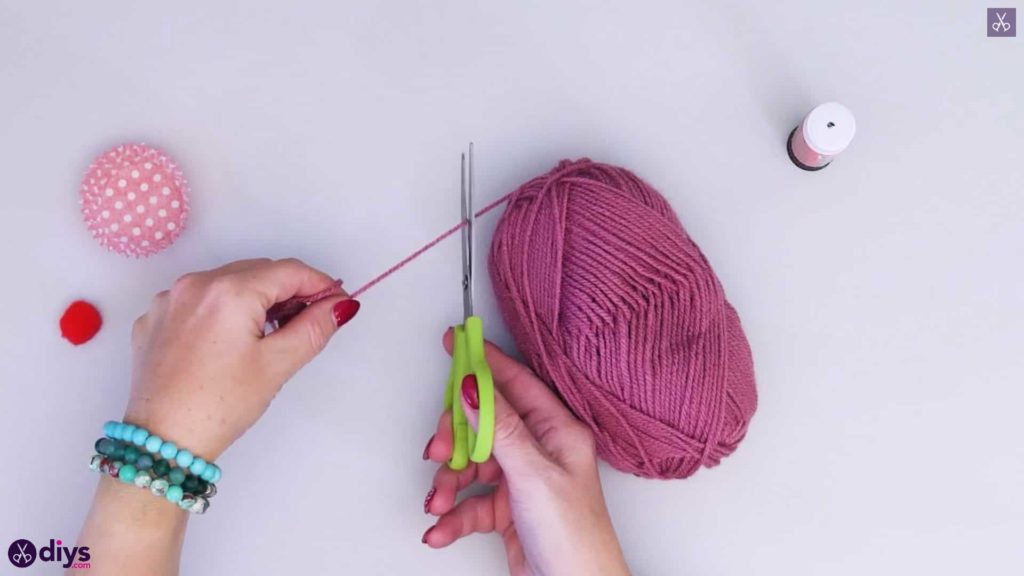
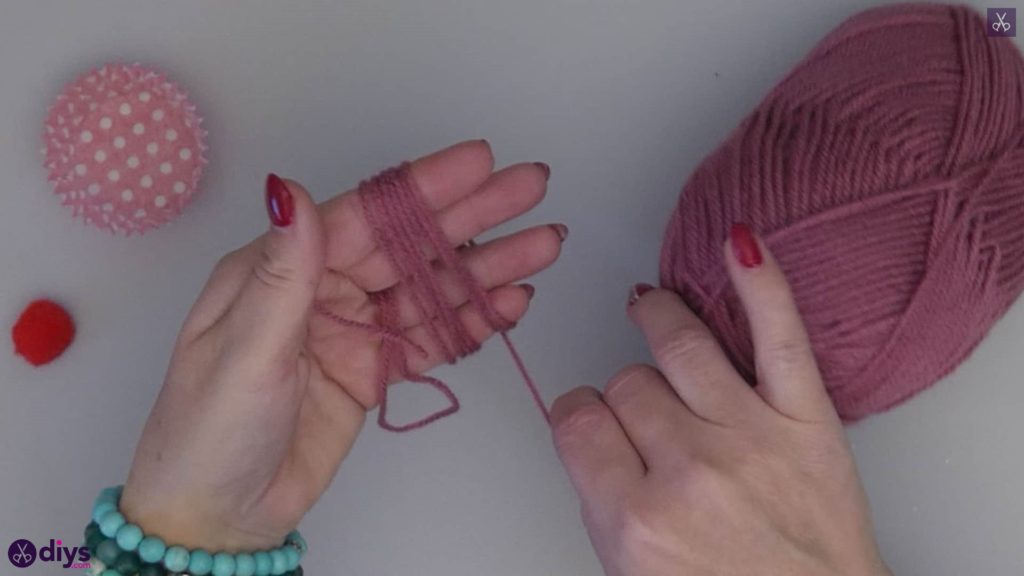
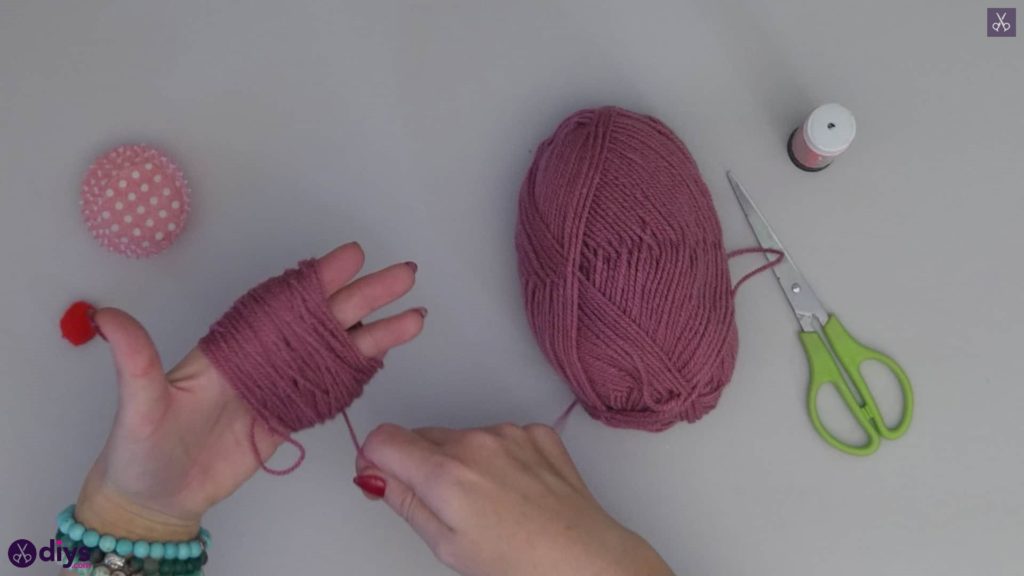
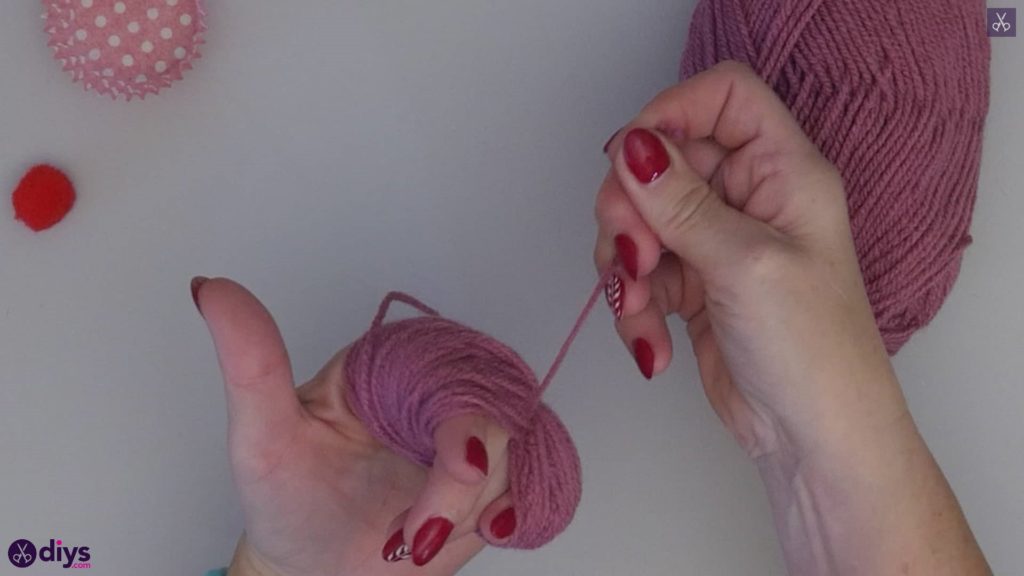
Make the base of your pom pom! Start by cutting a piece of yarn about six inches long. Fold it in half so its loose ends meet and the other end bends at the halfway point and creates a loop. Put this loop, wit the bend on the same side as your palm, between your middle and ring finger, pulling it all the way down to the base of your fingers, with even excess on either side of your hand. Then take the live end of your ball of yarn and rest it against the insides of your fingers vertically, so it passes over all of your fingers perpendicularly, pinning the end in place with your thumb. Start wrapping that string of yarn around the full height of all of your fingers held together, building the yarn up like a bundle. You can slide your thumb out once you’ve wrapped enough yarn around your hand to hold the end in place for you. Try not to pulltoo tightly.
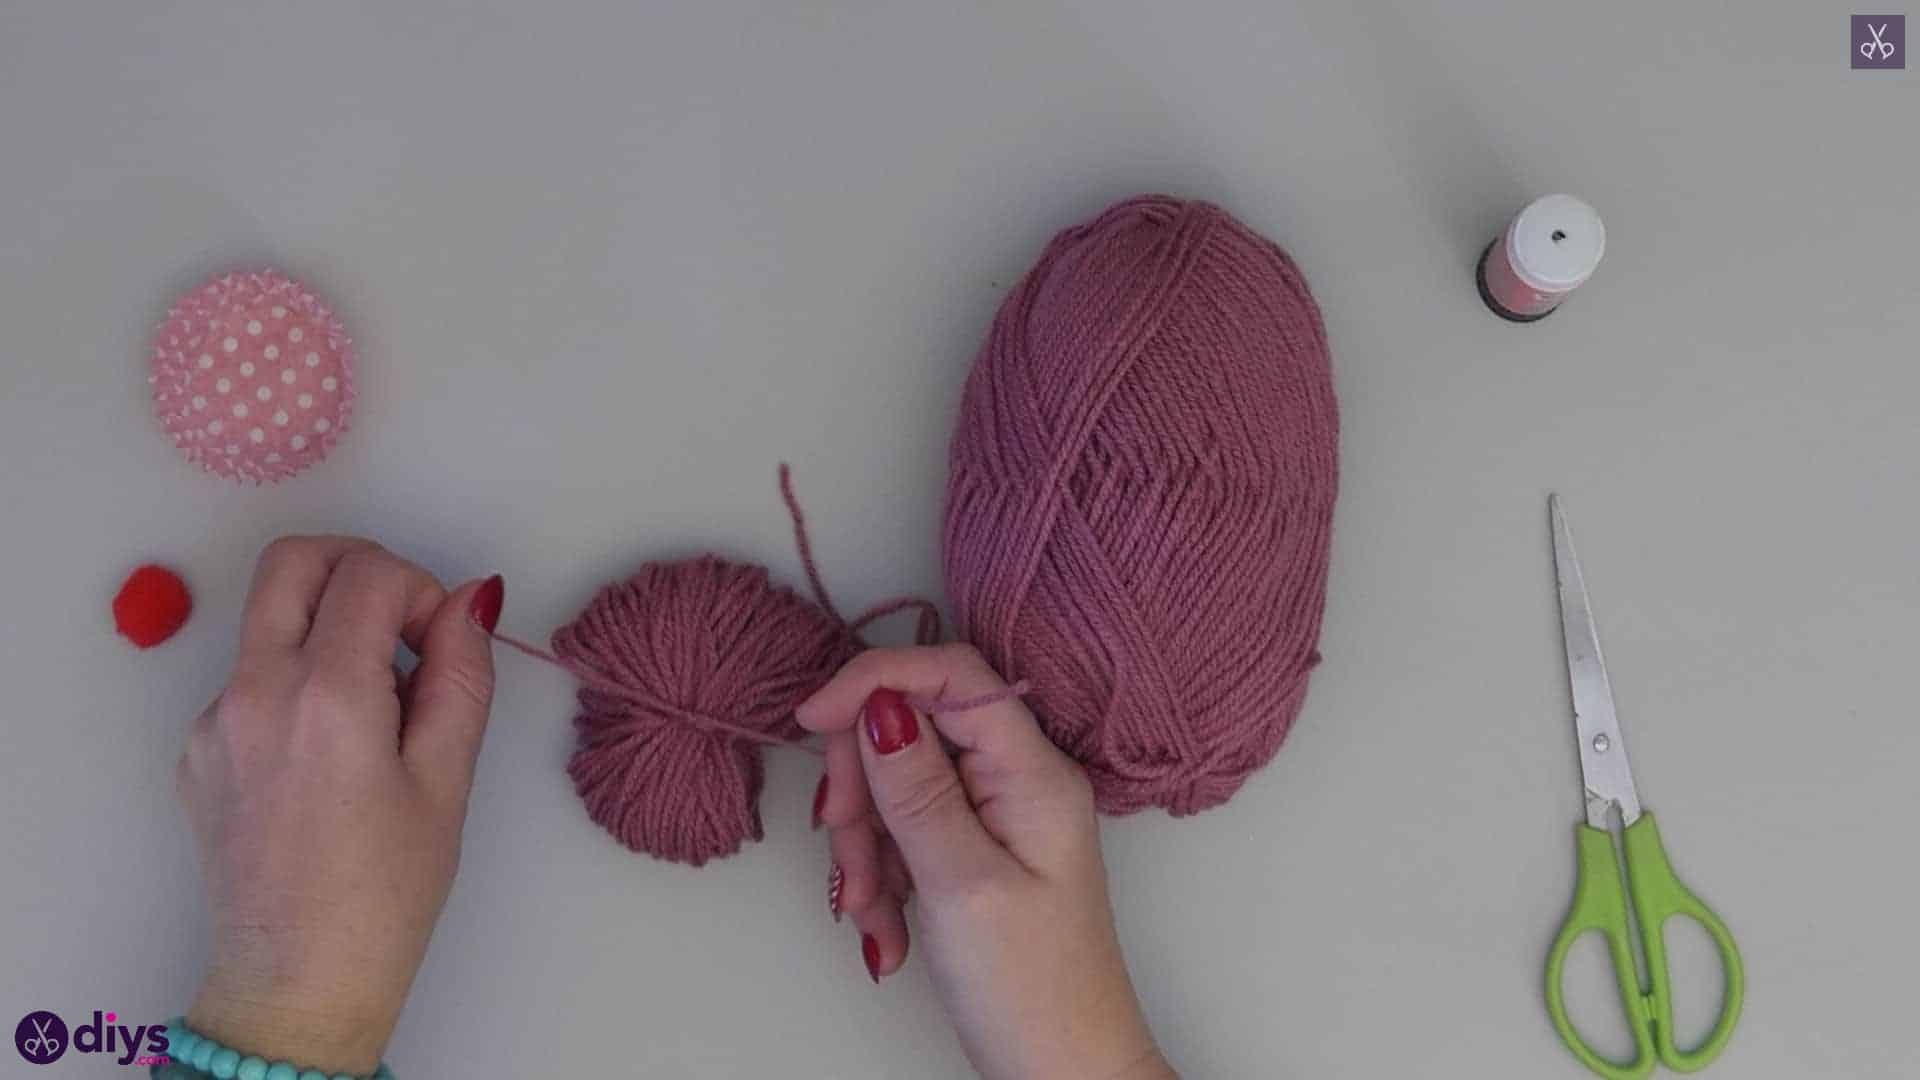
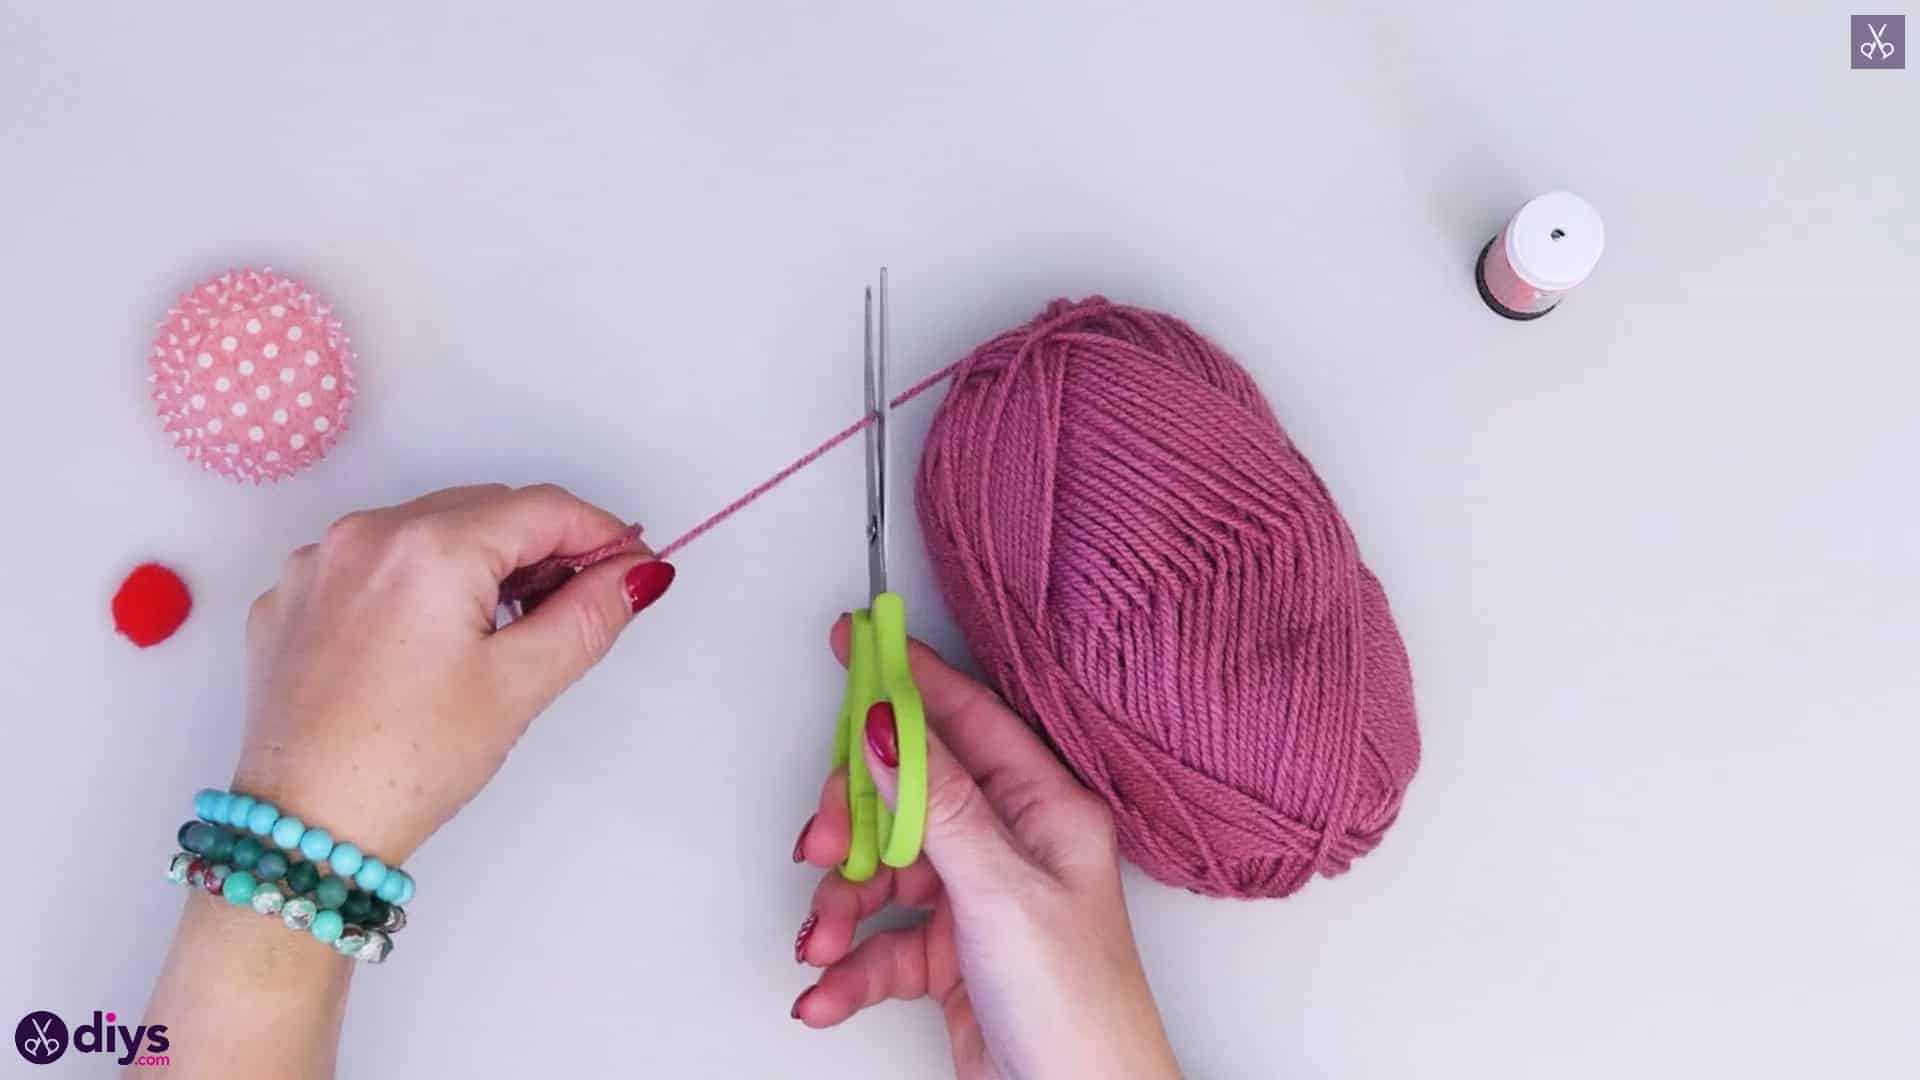
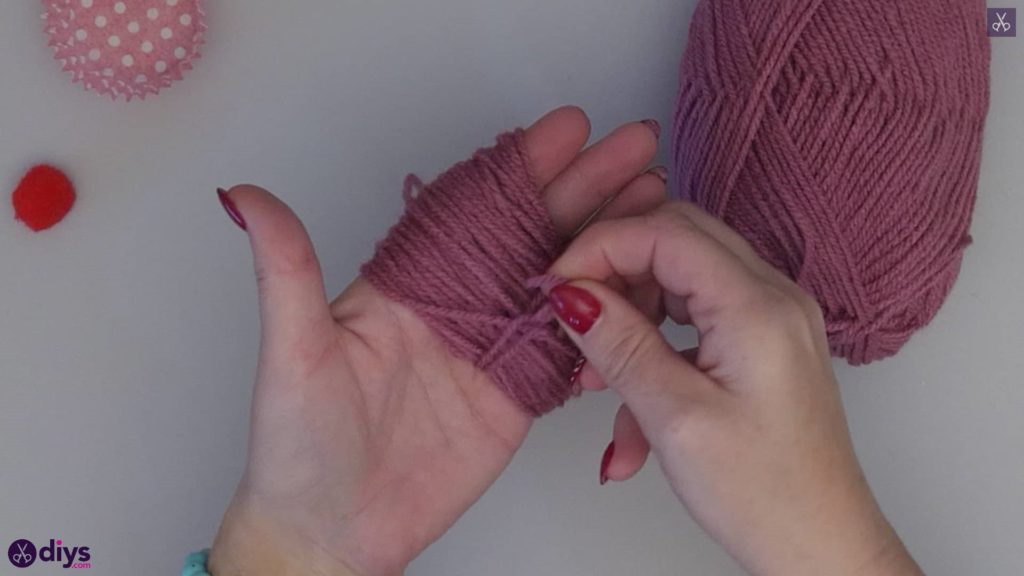
Once you’re happy with how much you’ve wrapped (the more you wrap, the more dense and fluffy you pom pom will be; I wrapped until my bundle was about half an inch thick). Bring the live yarn back to the front and trim it from your ball of yarn and hold the end in place with your thumb once more. Now go back to the first loop piece you put between your fingers initially and slide it towards the yarn bundle. Bring the ends and the loop around the bundle to meet each other and slide the ends and loop towards each other. Pass the ends through the loop and tighten it like a slip knot. Carefully slide the whole bundle off the ends of your fingers and then pull the ends of your slip knot piece away from each other and wrap them a few times around the centre of the bundle that you’ve already cinched, then knot them securely.

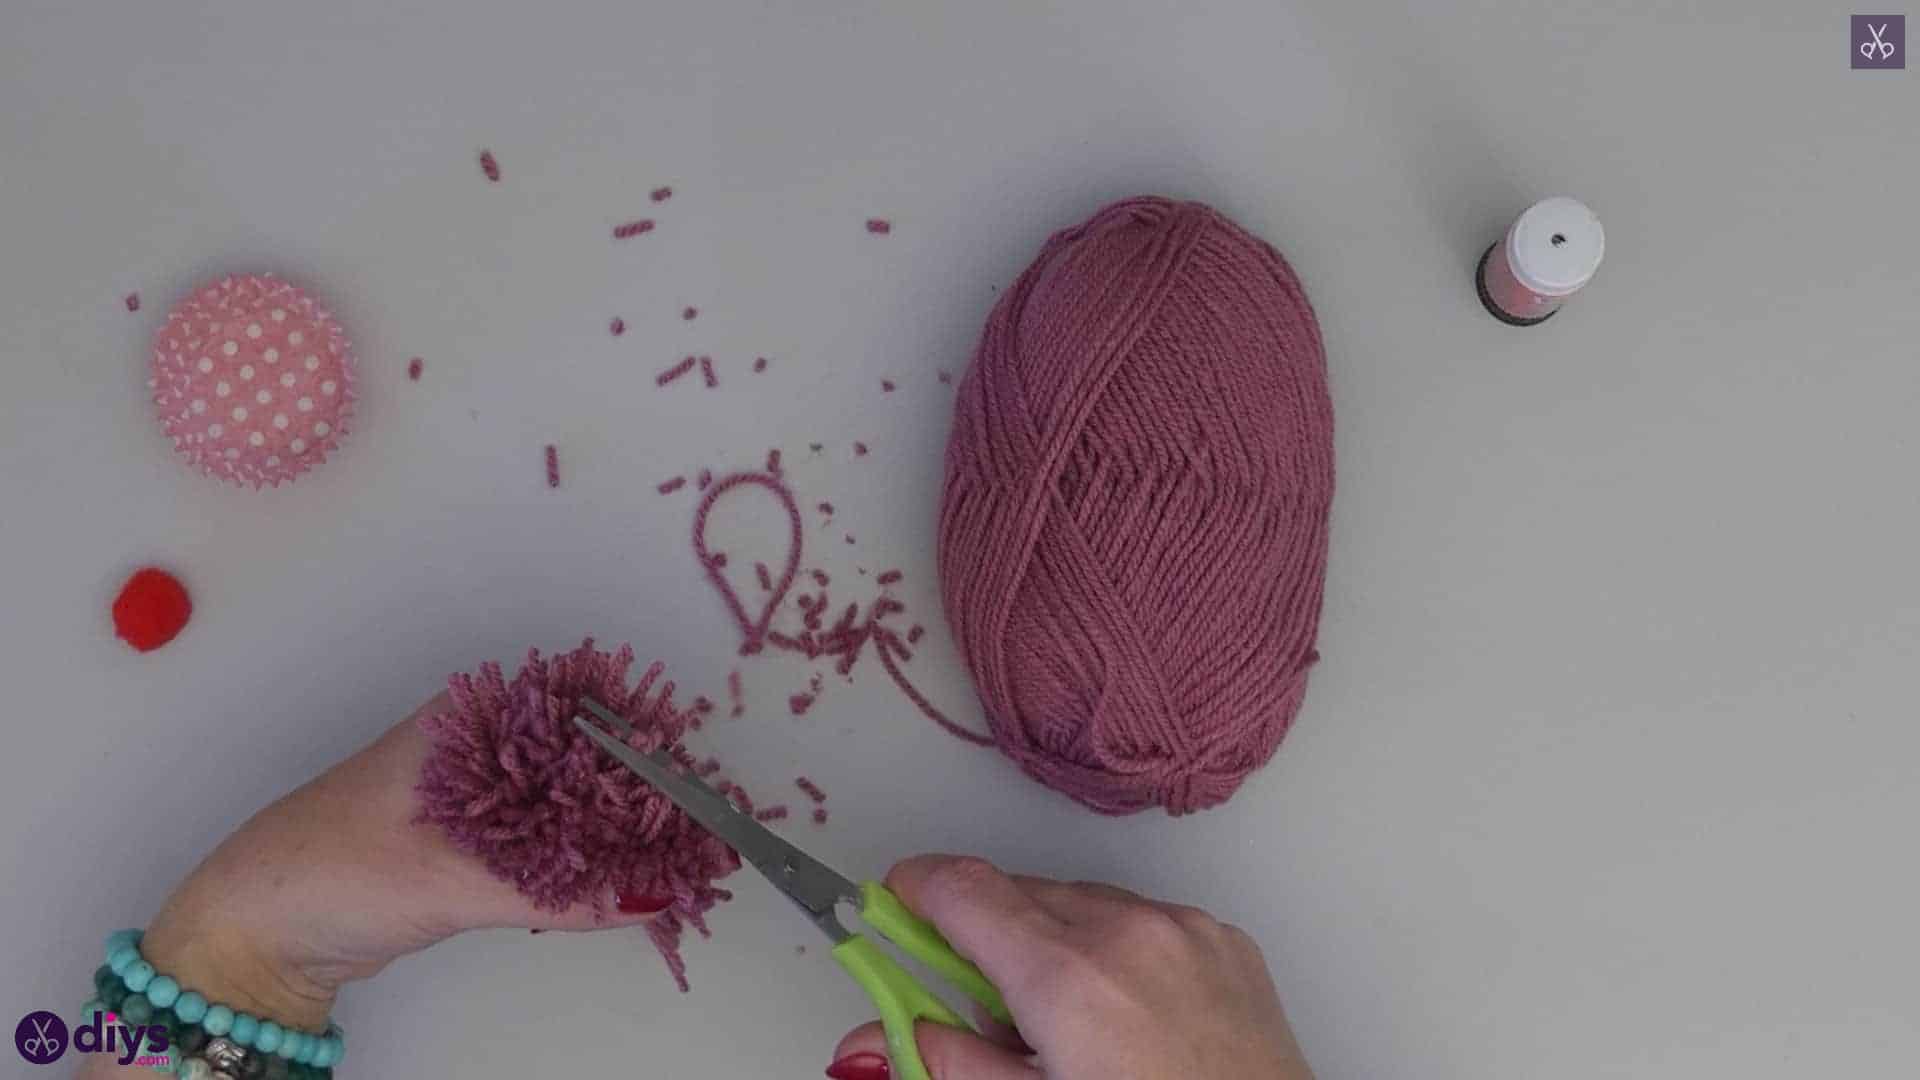
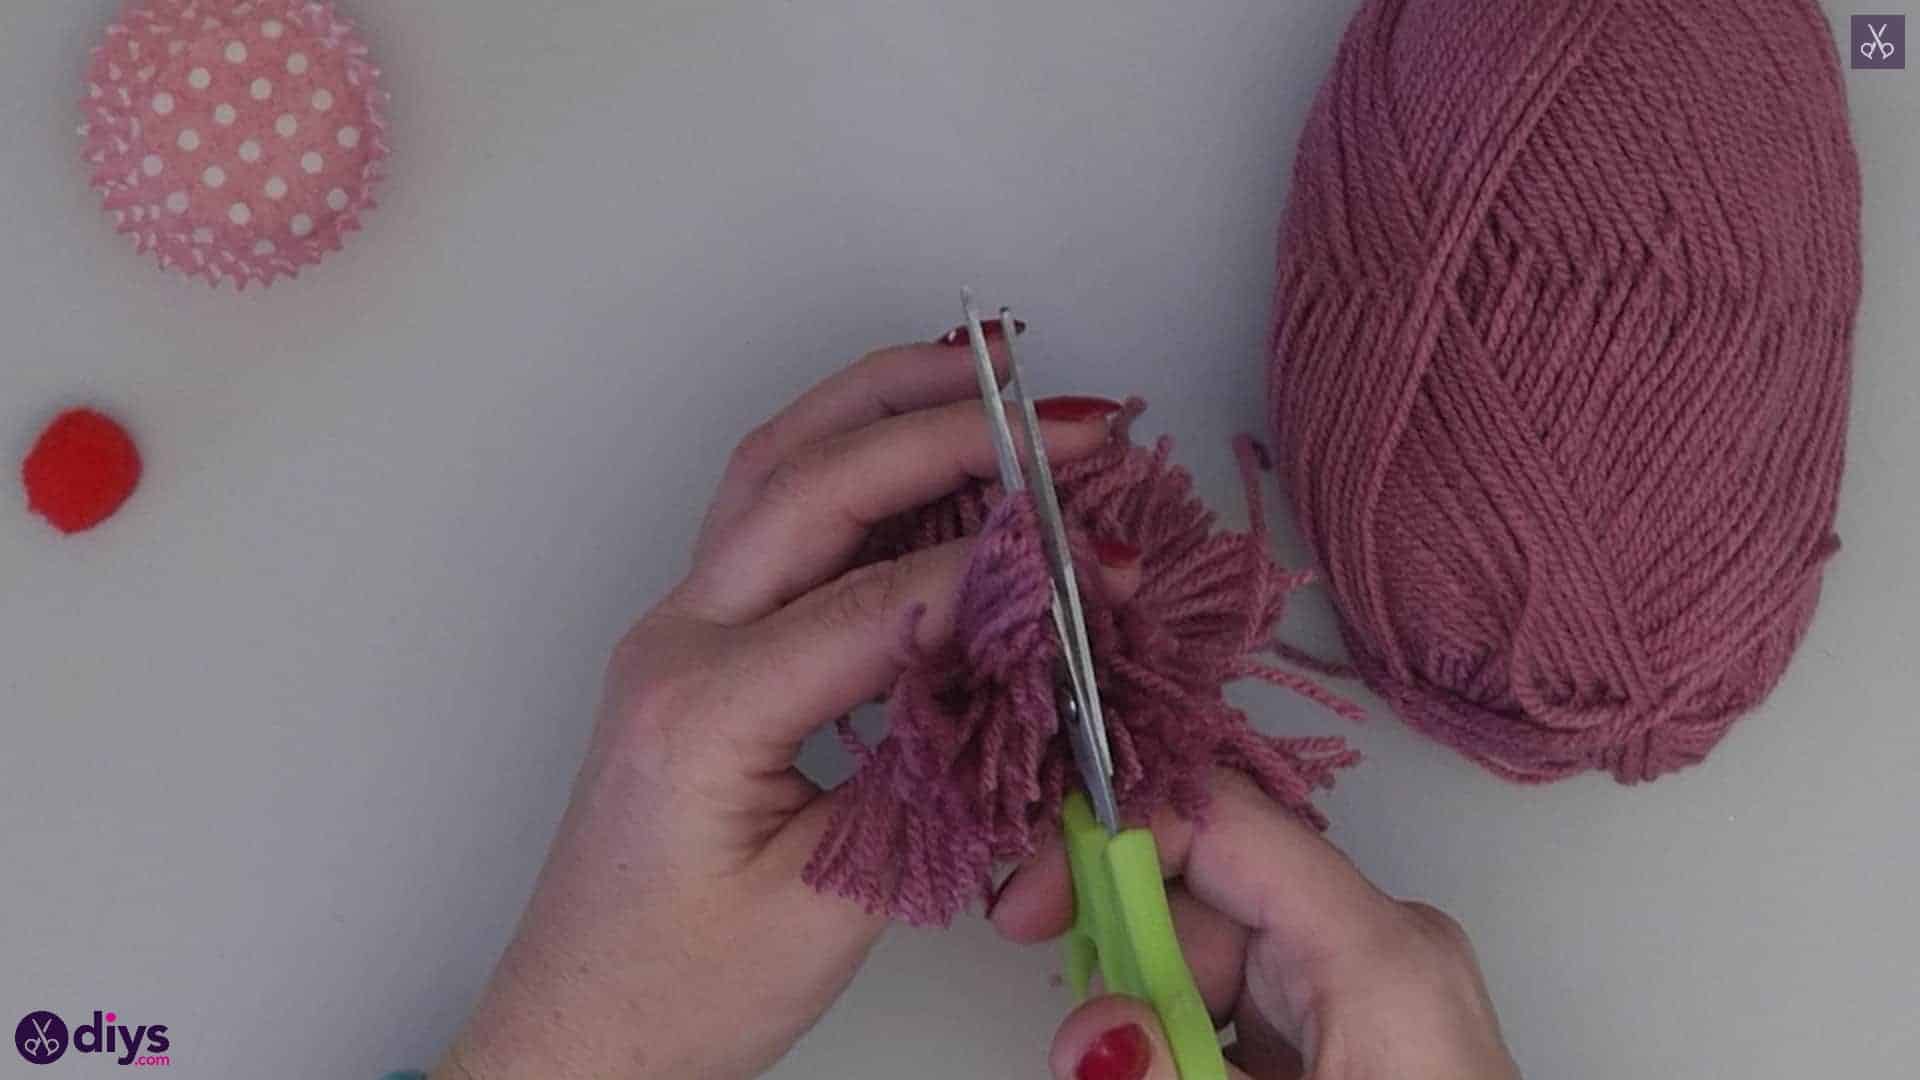
Step 3: cut and shape
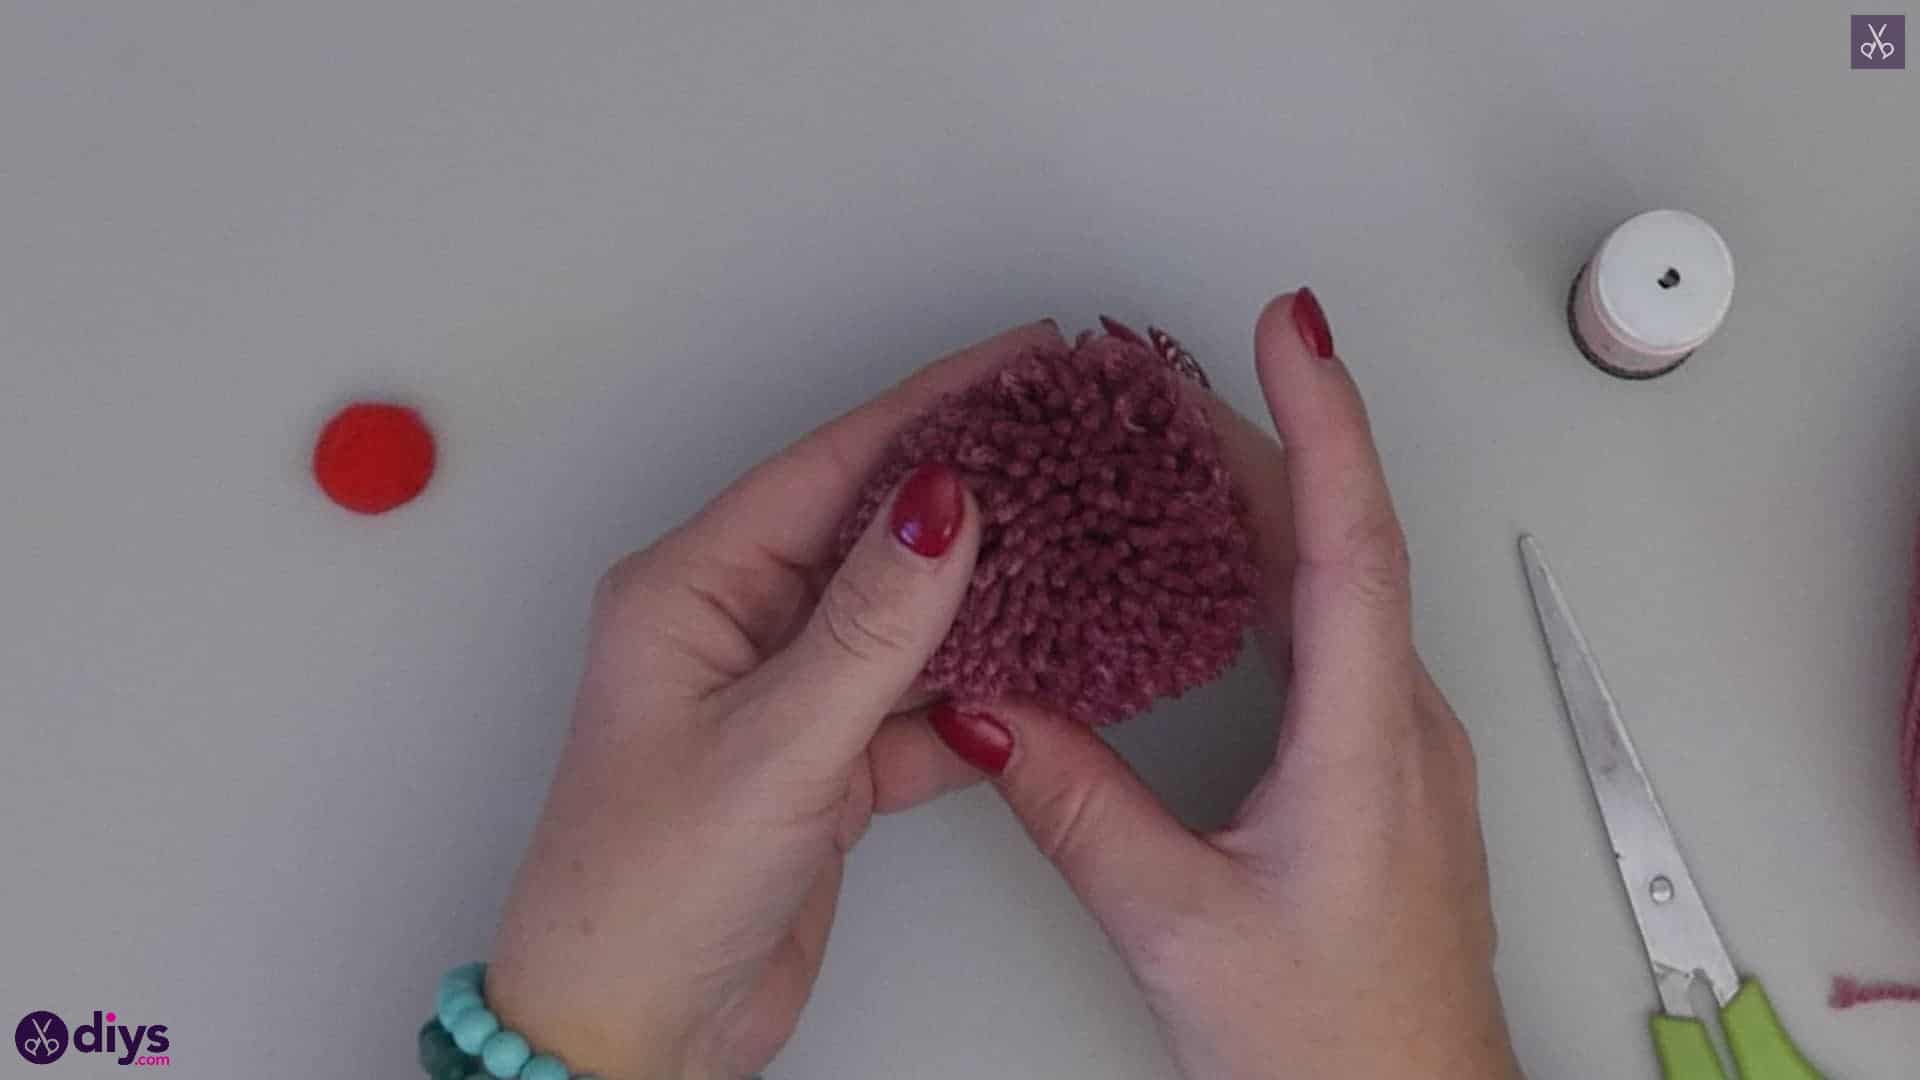
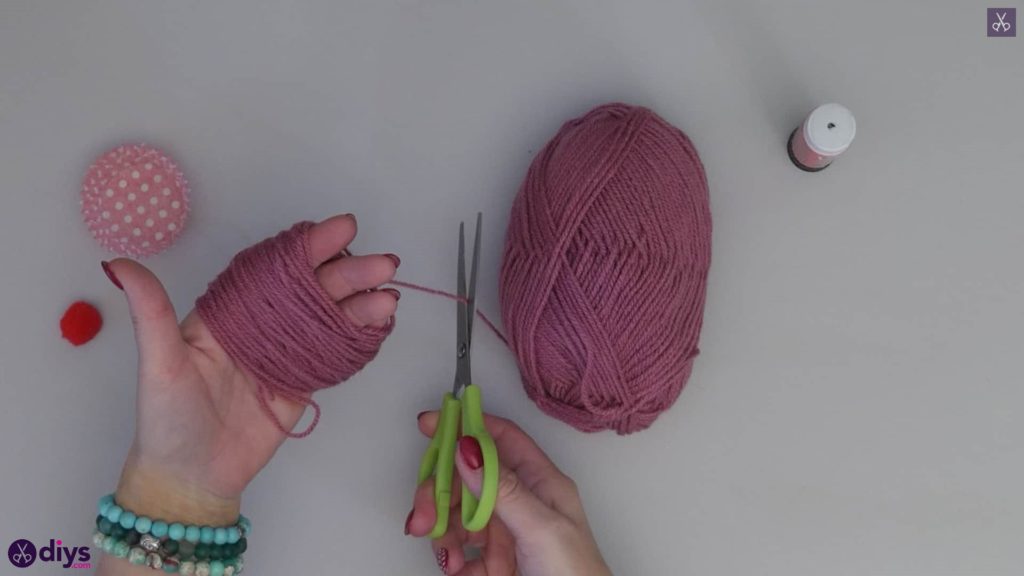
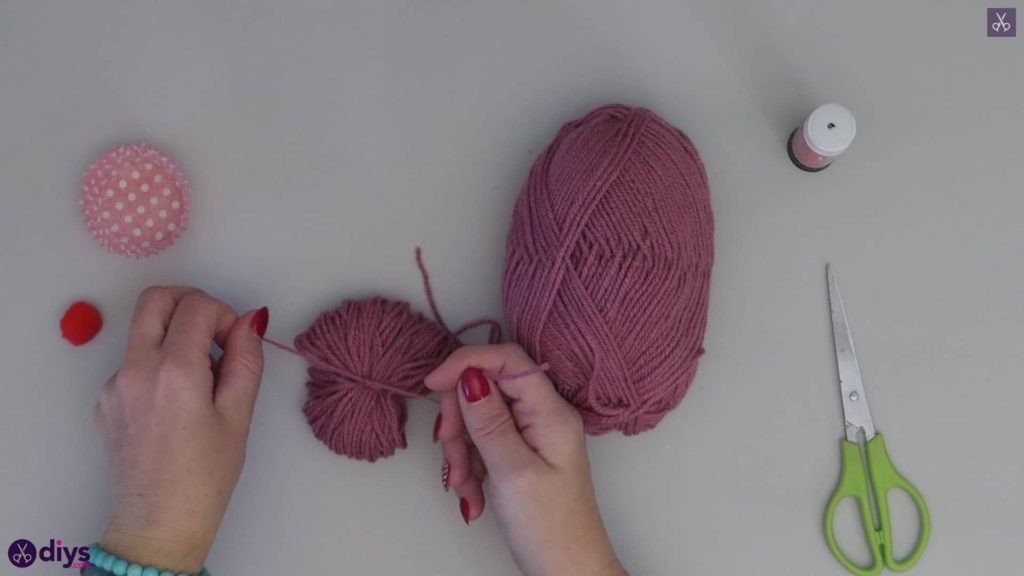
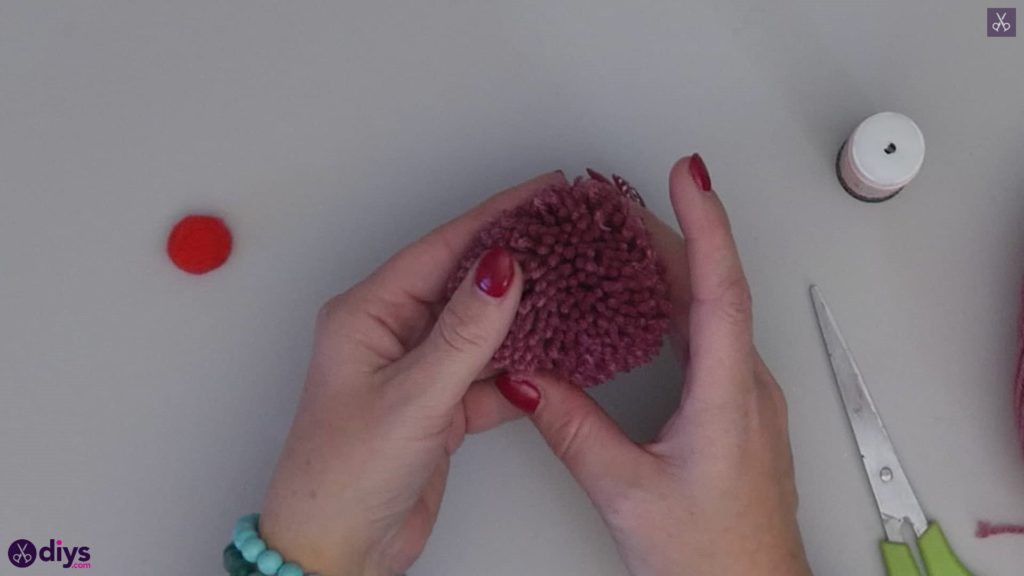
Use your scissors to cut the bundles of yarn loops on either end of the shape you’ve made, on the sides of where you’ve cinched the whole bundle in the middle. This frees the fringed ends of your pom pom so they spring apart. Fluff these ends so they create that spherical shape you’ve seen in pom poms before and then use your scissors to trim the ends all over (including the ones that were once part of your slip knot loop) until you have a smoothly even fringed surface.


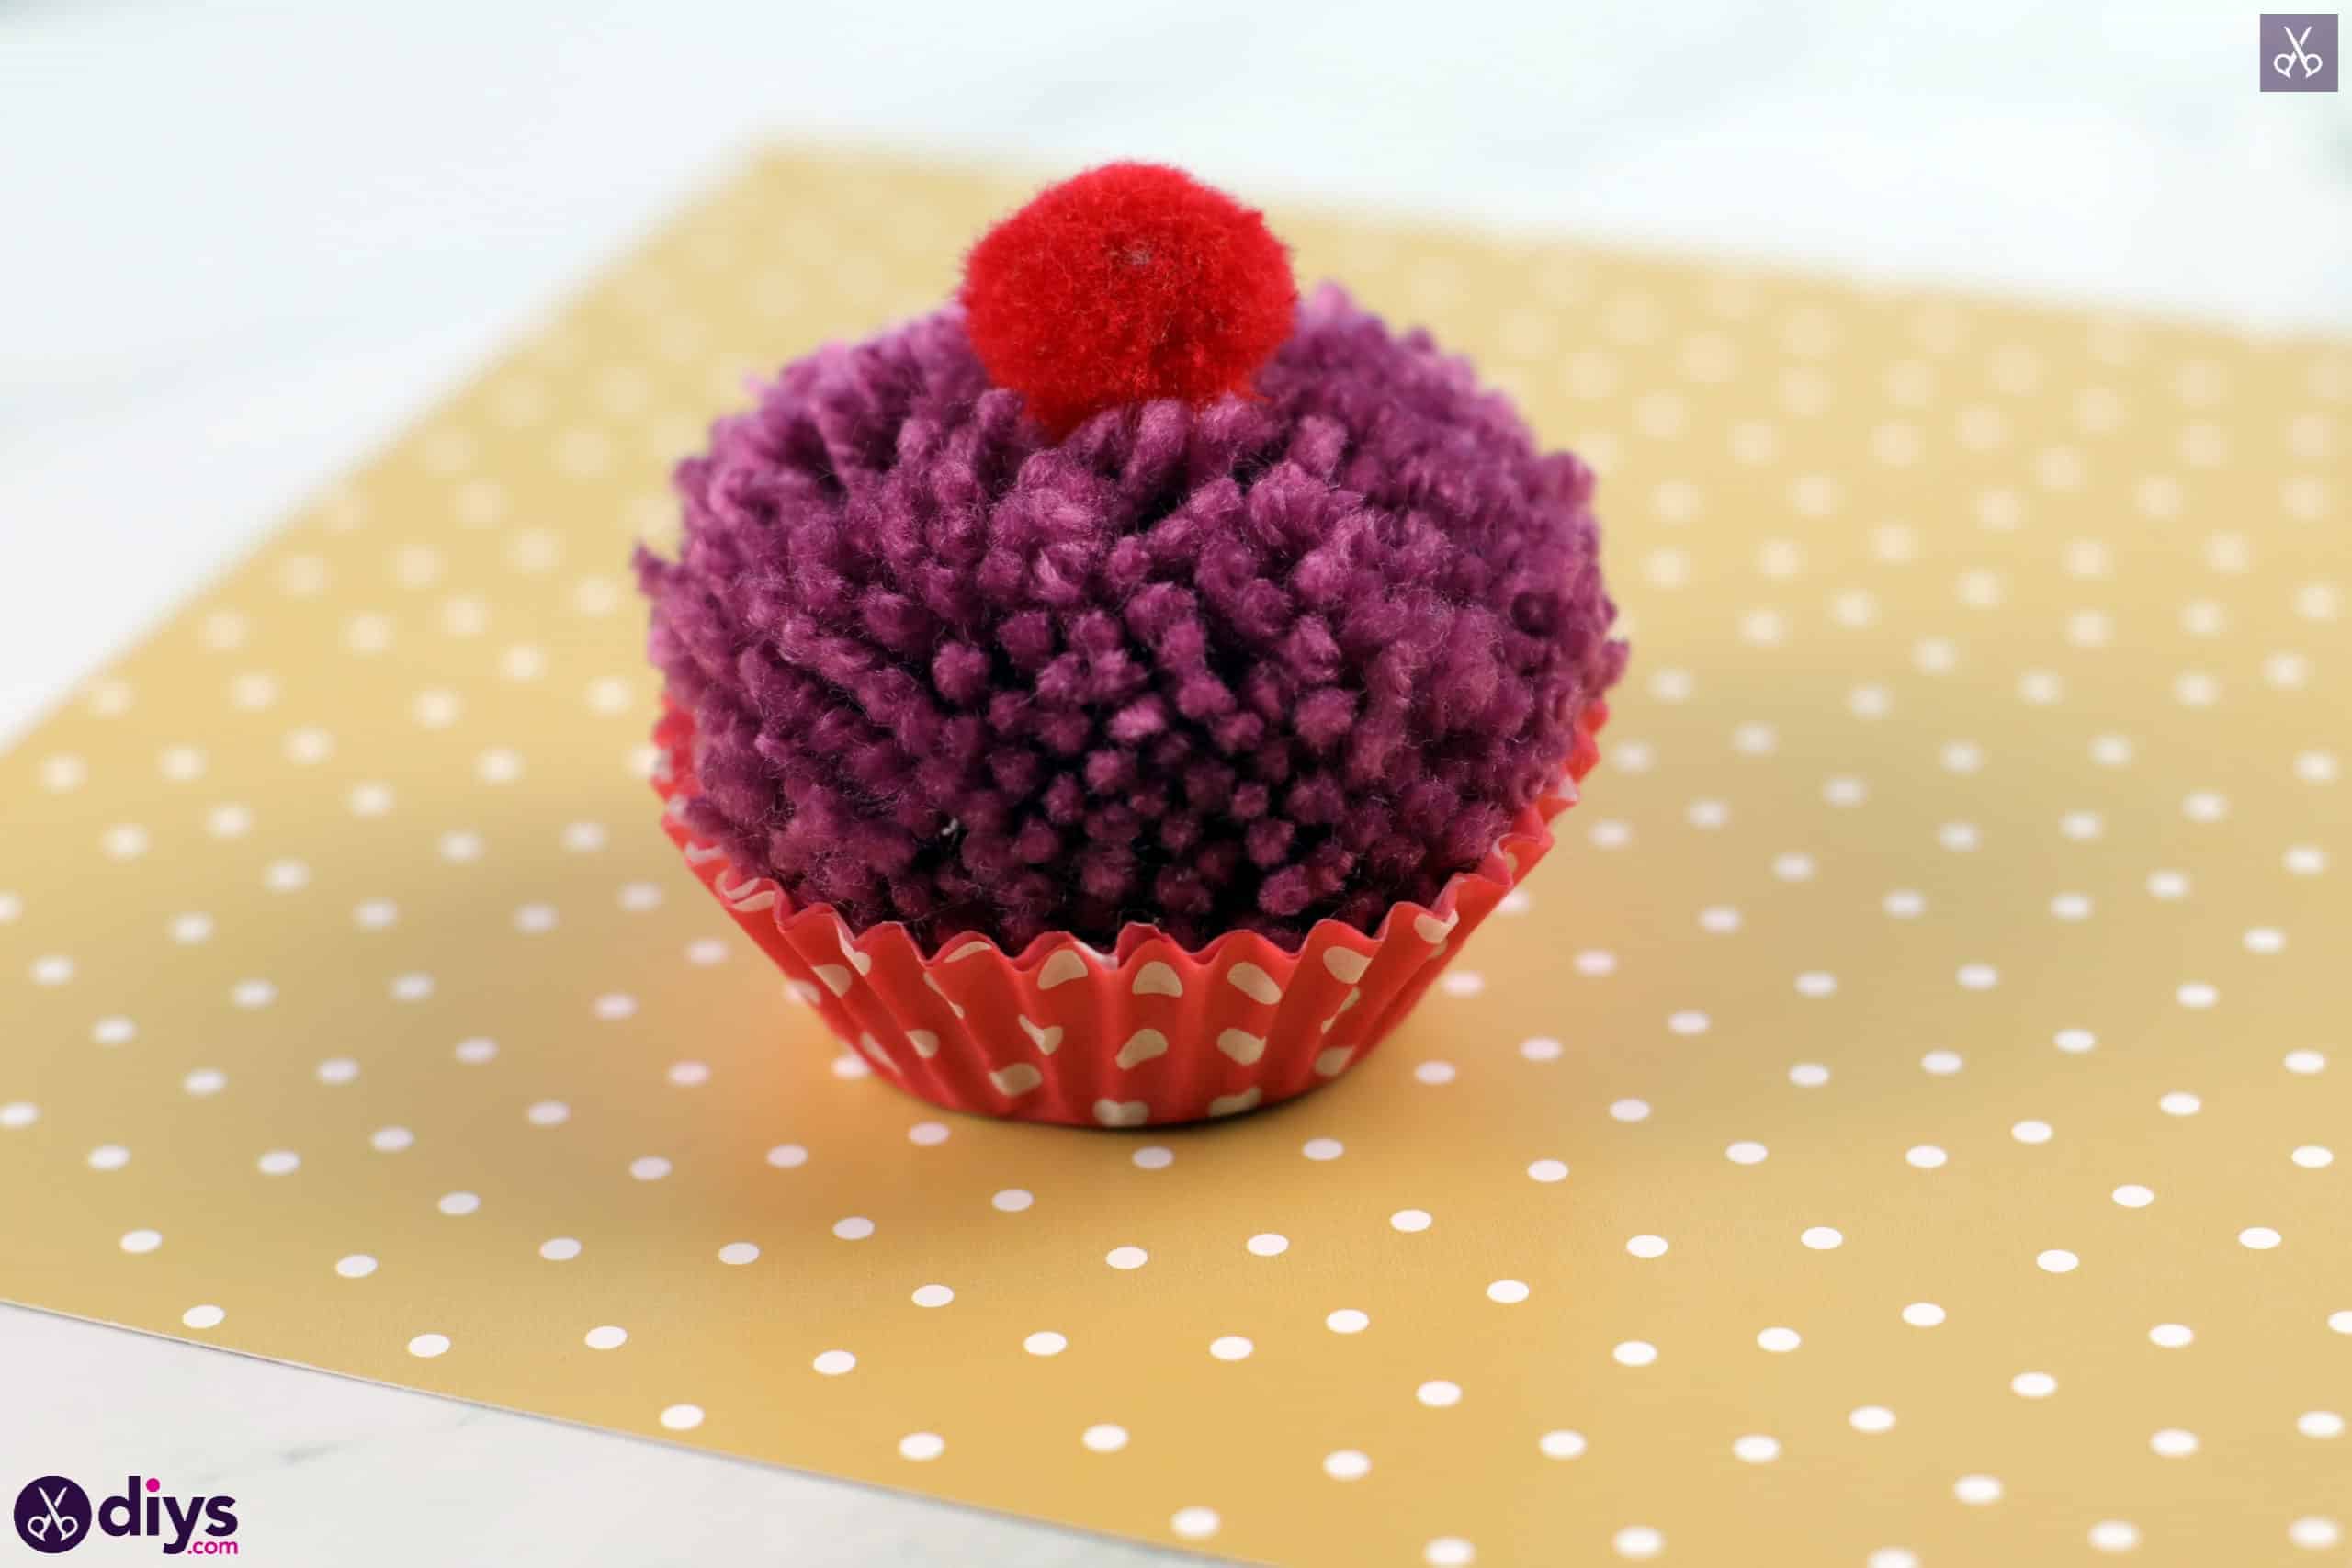
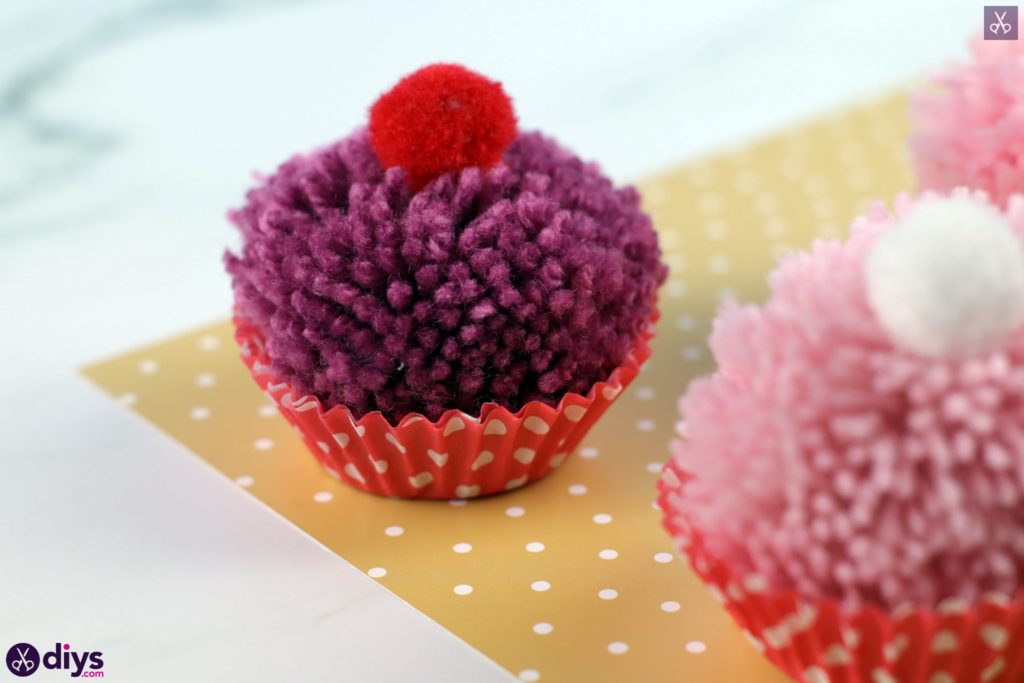
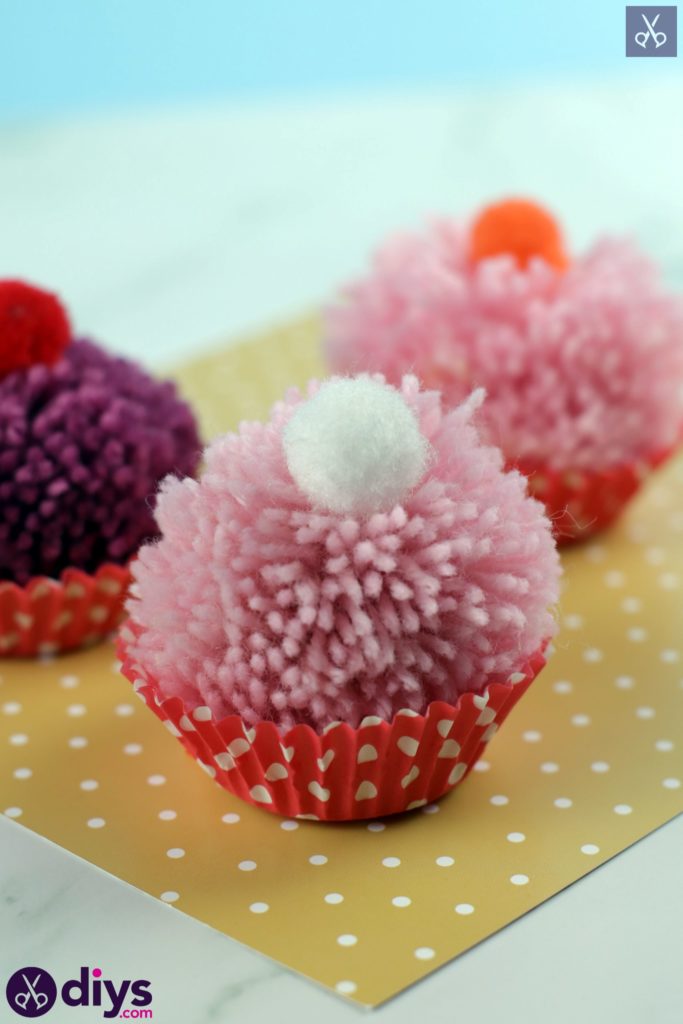
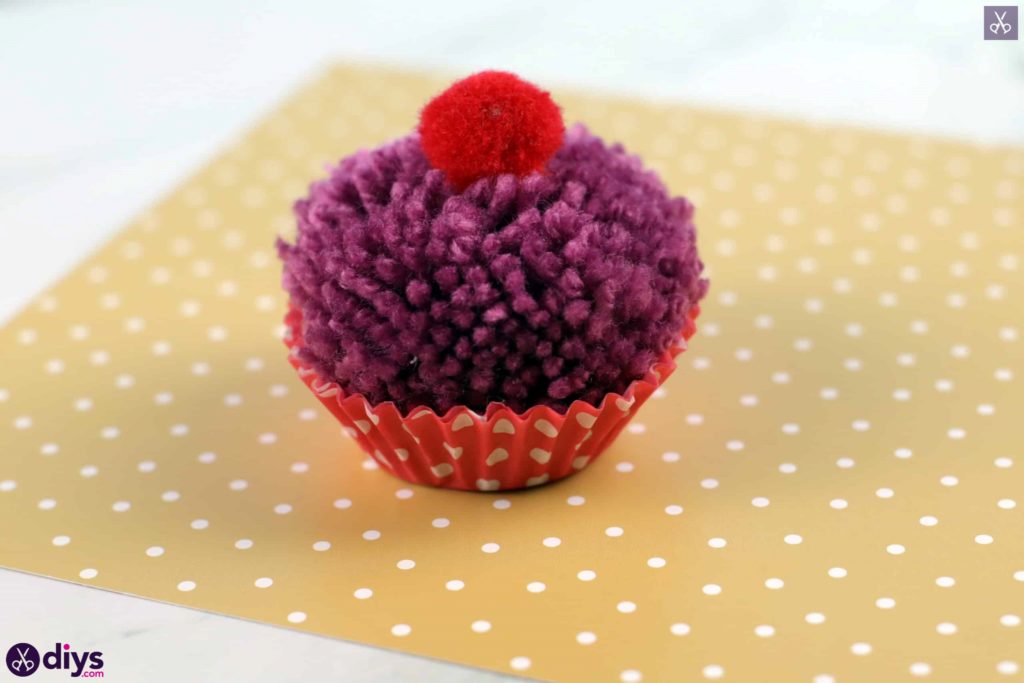
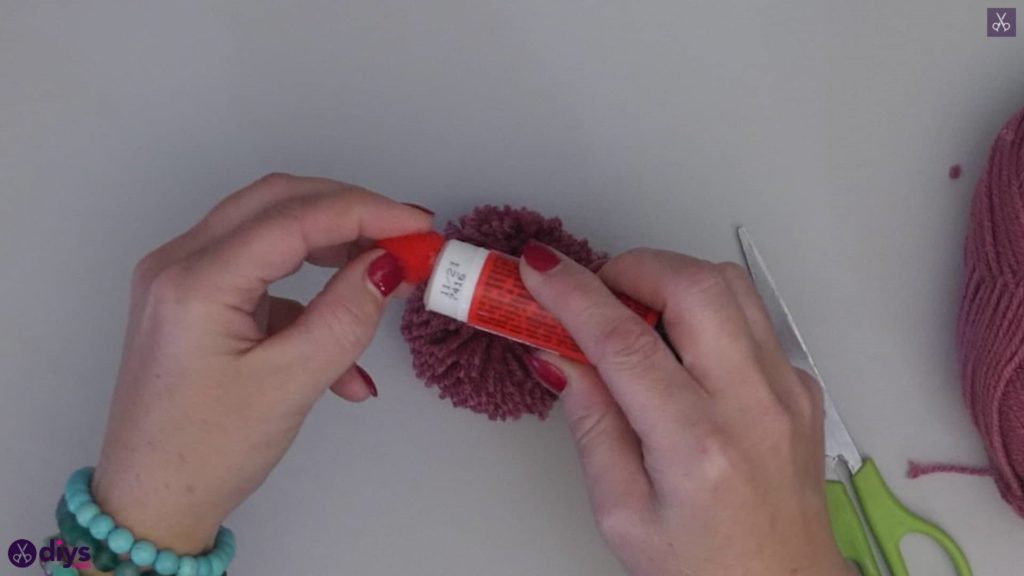
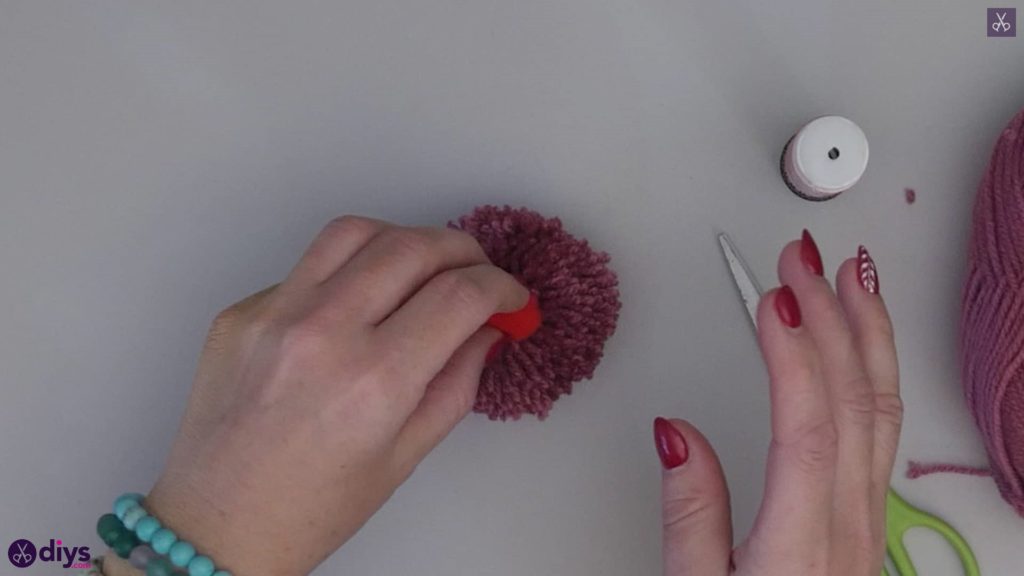
Step 4: glue
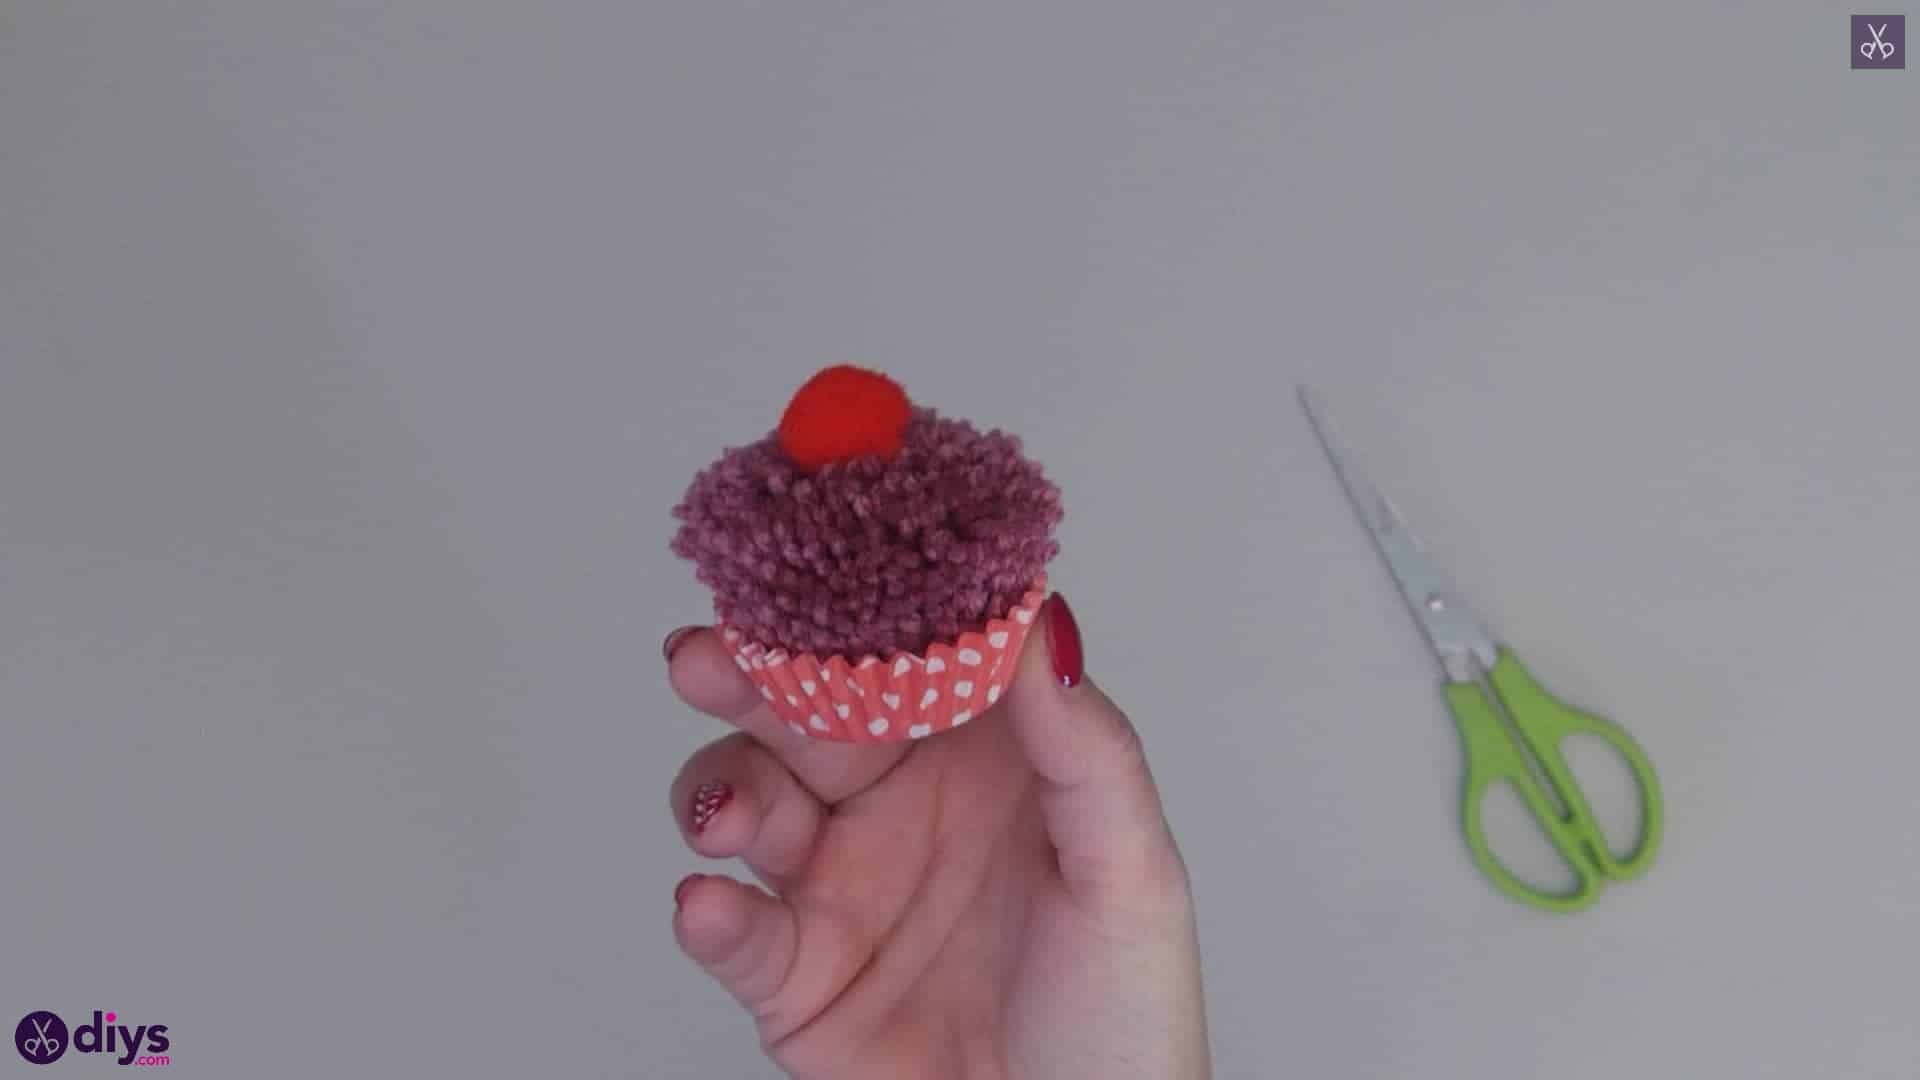
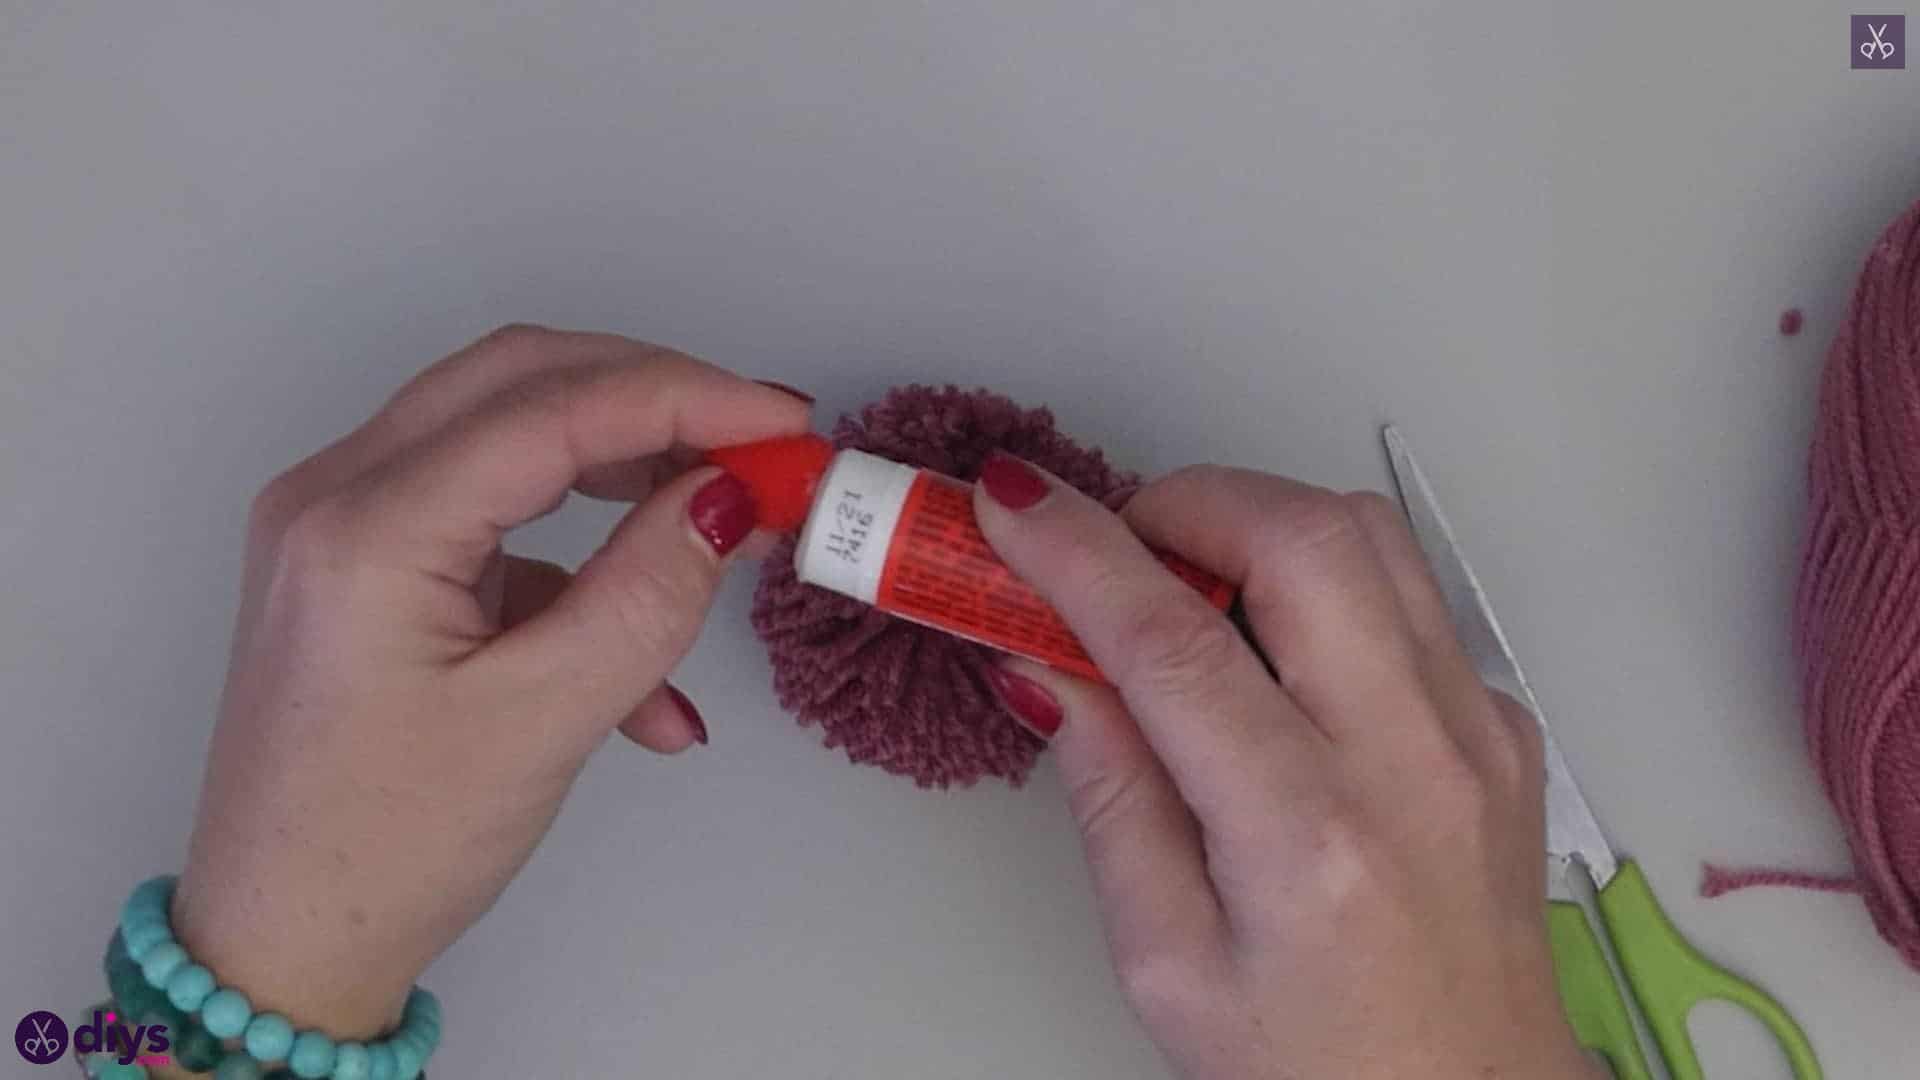
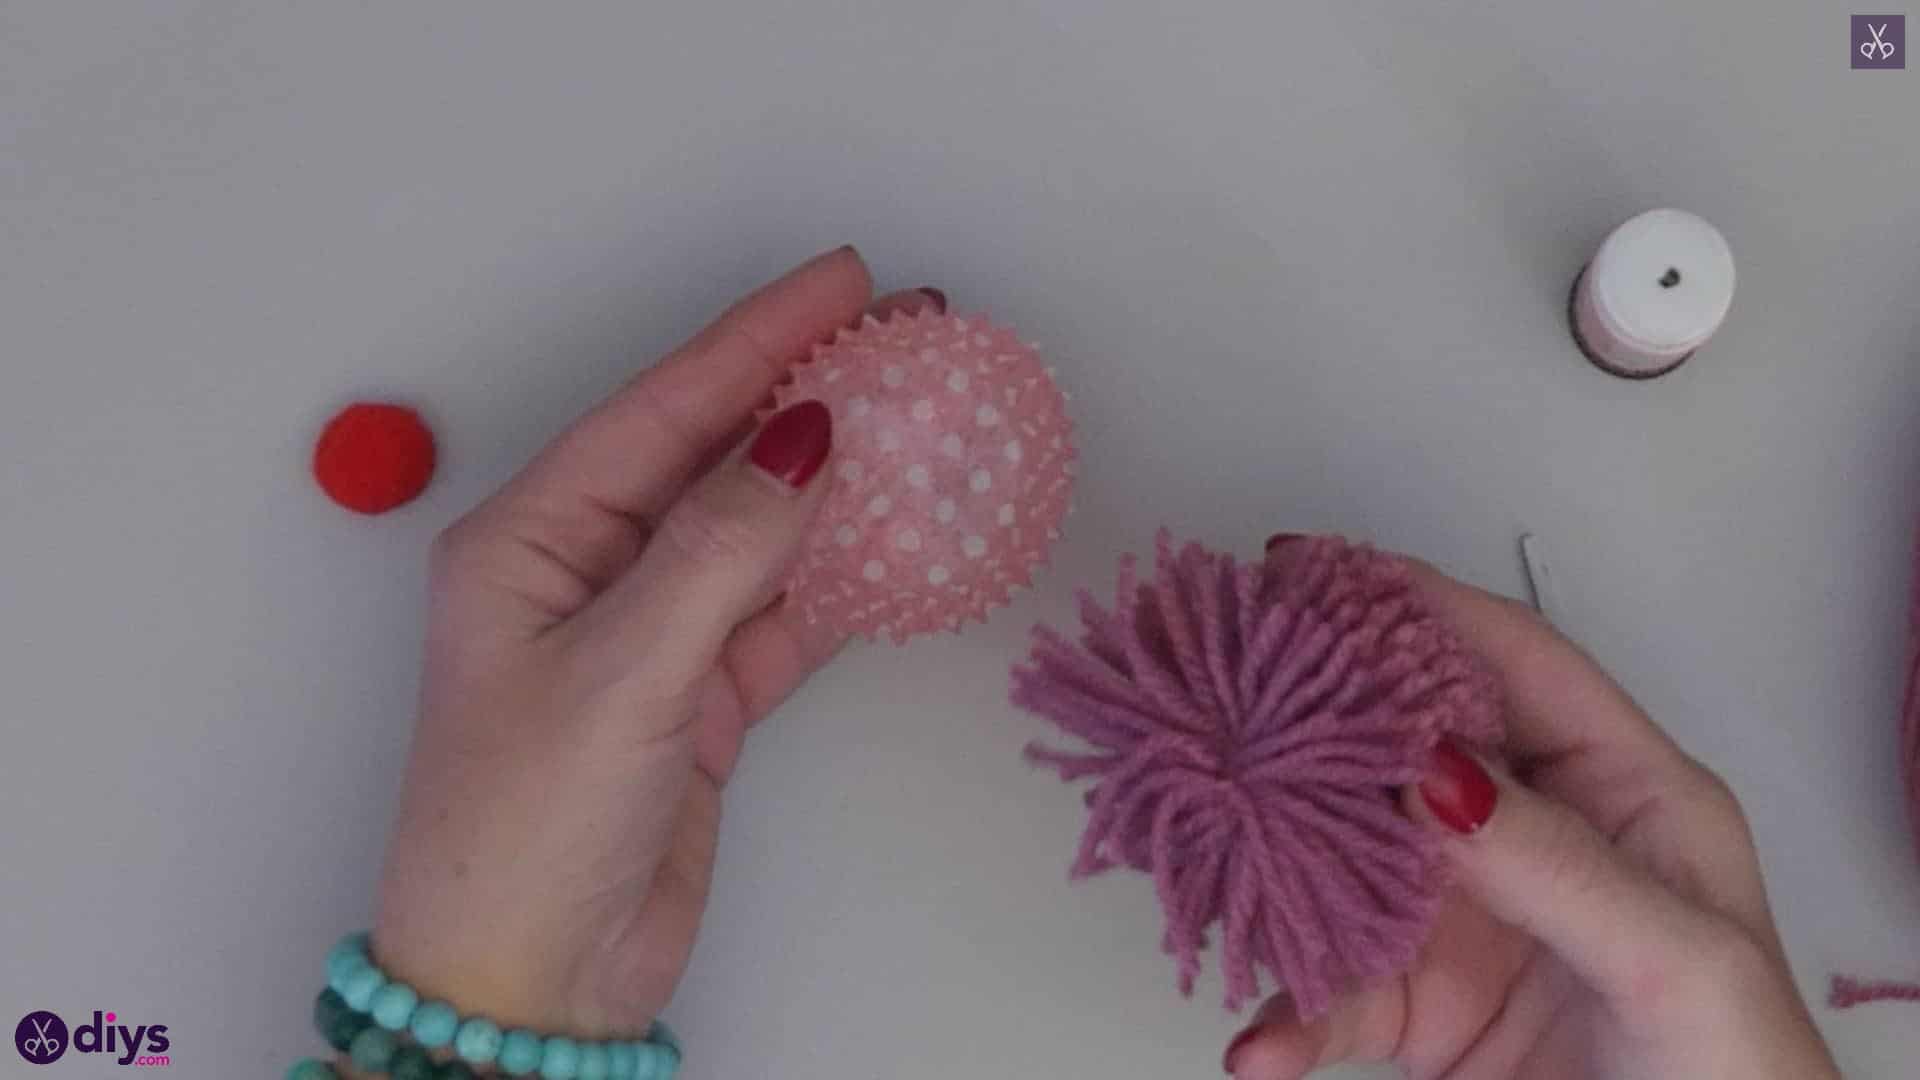
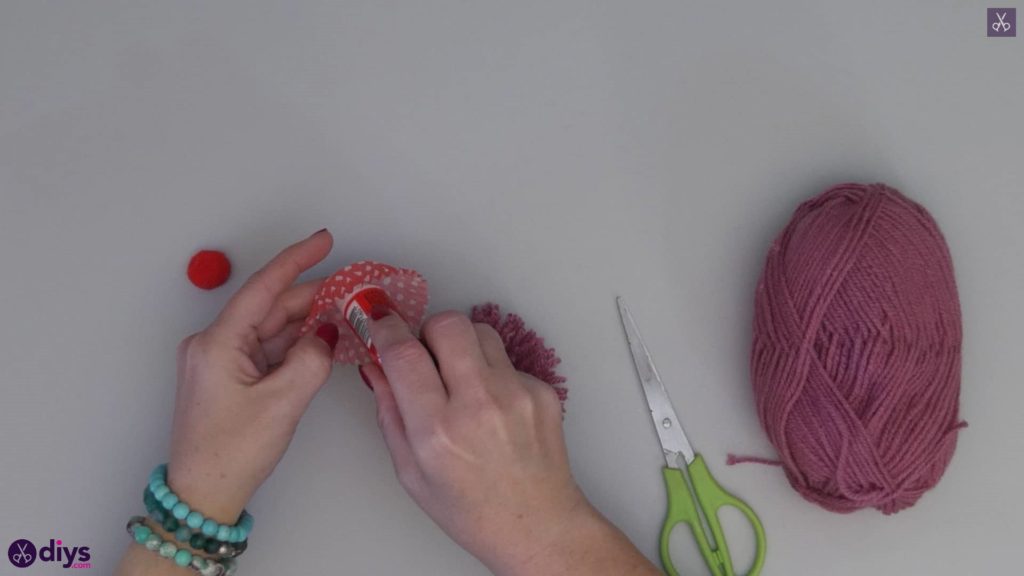
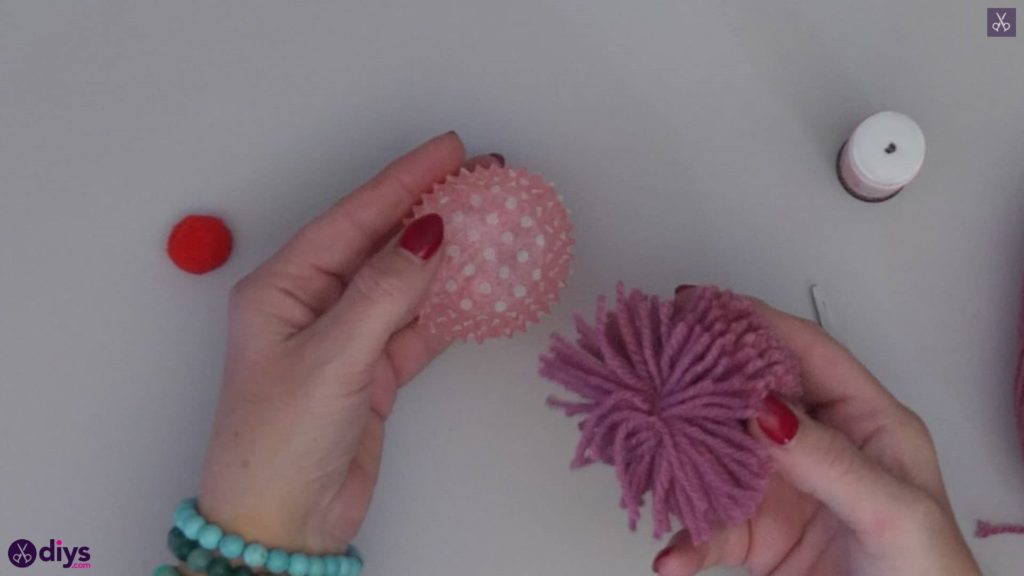
Apply glue to the inside bottom of a paper cupcake liner, then take your pom pom and press it into the liner so it sticks to the bottom and nestles inside, filling its little cup shape. I set the outside bottom of my cupcake liner down on the table and carefully pressed the pom pom into it against the table to really make it stick. Just make sure you don’t crush the sides of your liner as you press down. Finally, apply glue to one side of your red crafting pom pom and press it into the top centre of your yarn pom pom to look like the cherry on top of a cupcake.
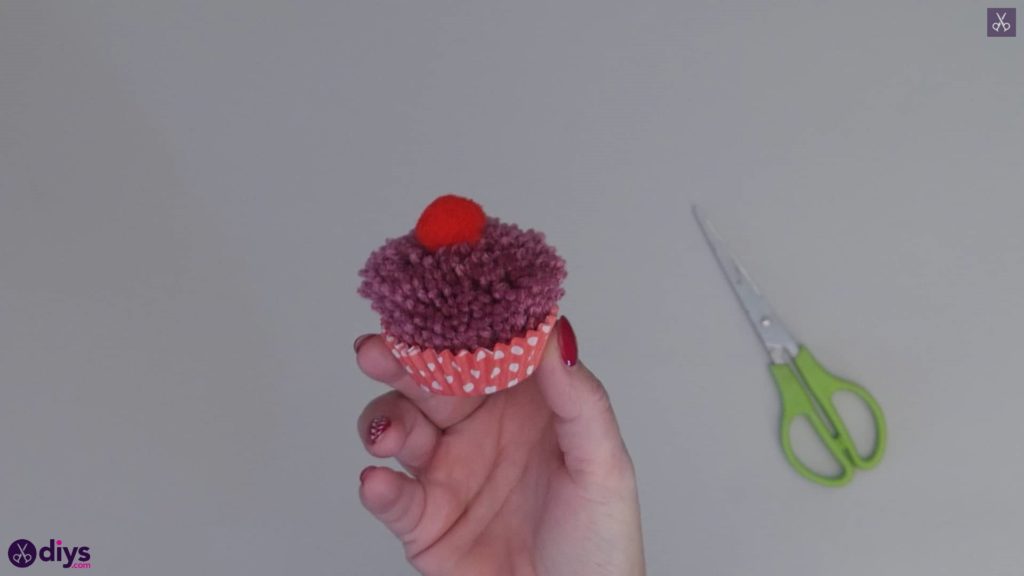
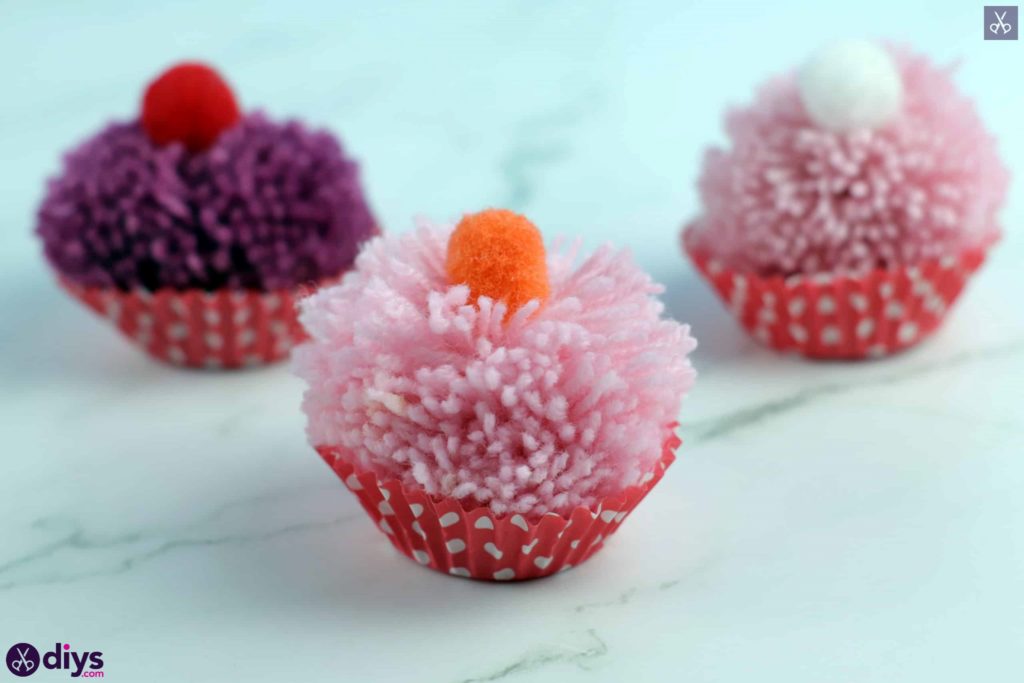
That’s really all there is to it! Feel free to get creative with different colour combinations when it comes to the yarn and the cherry pom poms. Just in case you’d like to try this project out for yourself, here’s a fantastic tutorial video to help you!