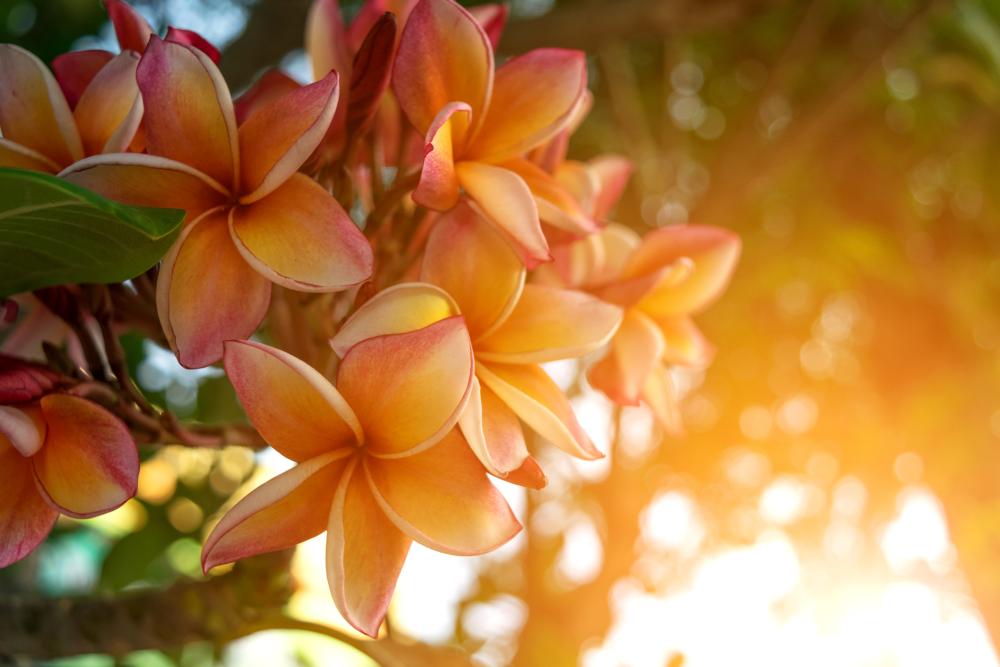
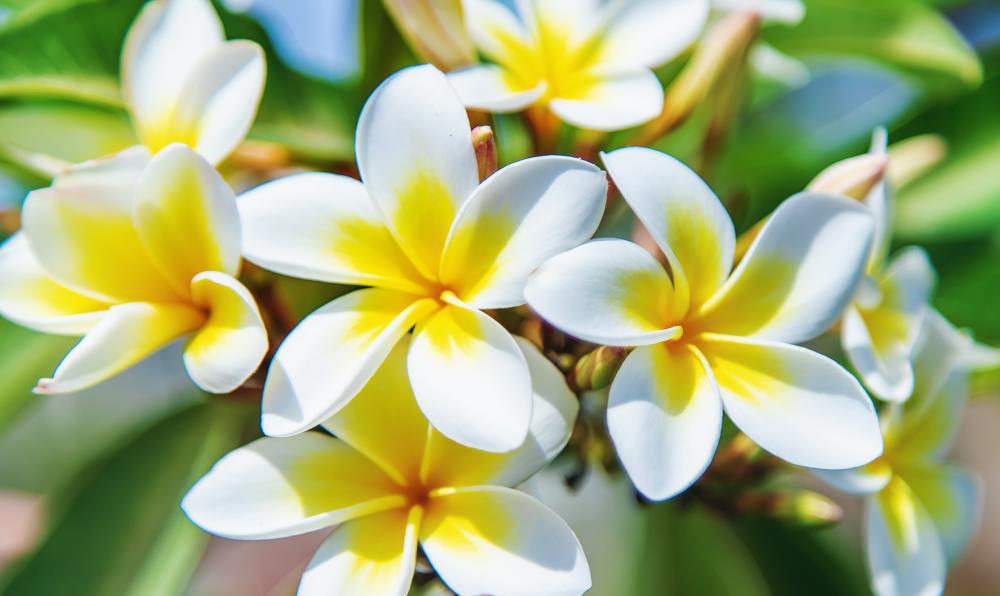
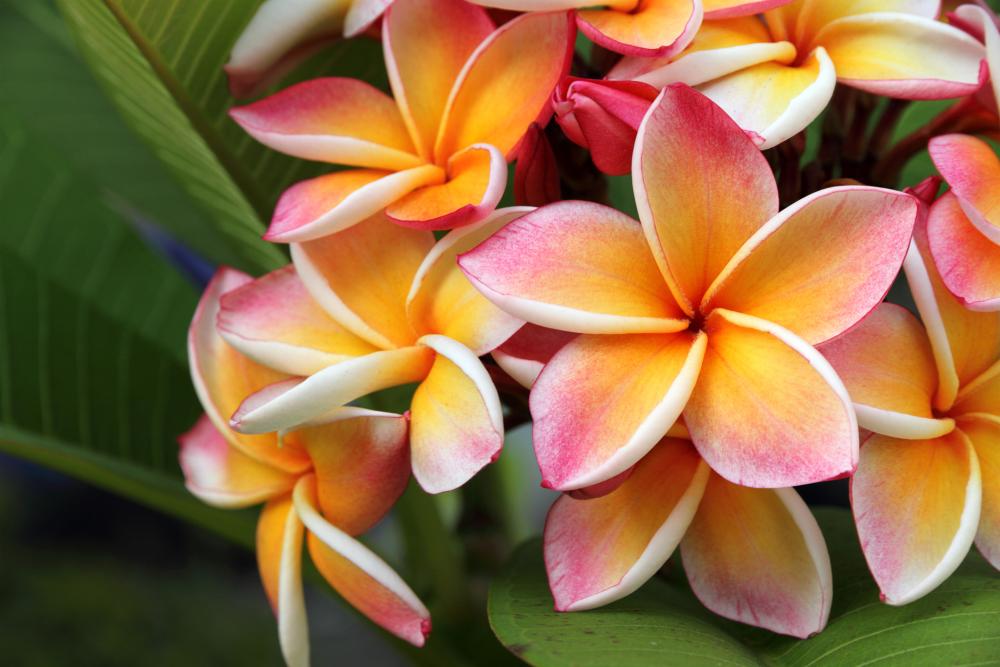
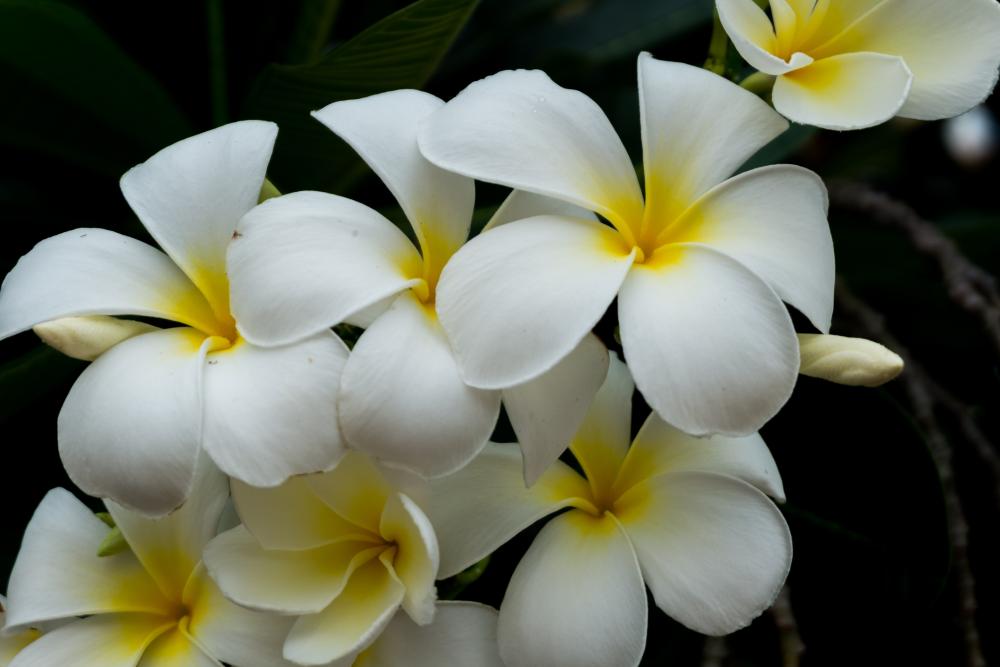
Why Plumeria Doesn’t Bloom And 5 Other Growing Problems
Updated on October 26, 2021
As a tropical plant, plumeria is only good as a houseplant. Unless you live in the southern parts of Florida or have a handy greenhouse, plumeria will only survive indoors. But high temperature and humidity aside, this tropical beauty is rather sensitive to other growing conditions.
For example, it might respond to adequate light by not blooming. Sometimes the buds would drop and the plant would not branch as expected. But these are typical issues when growing a tropical plant in non-tropical settings. Not to mention that moving the plant has to be done with the utmost care or you’d risk losing your precious flowering houseplant.
So what can you do when your plumeria doesn’t bloom? Read on to find out how to deal with different plumeria growing problems.
Plumeria Does Not Bloom
How many times have you stared at your non-blooming flowering houseplants and regretted all the time and effort you put into them? Unfortunately, plumeria is also prone to not blooming at times. And no matter how beautiful the glossy leaves are, the plant isn’t half as ornamental as when its blooms are in full display.
So what causes the plumeria to hold its blooms and keep growing its light green foliage? For one thing, it could be light deprivation. Lack of nutrients and pruning can also contribute to the problem. Not to mention that onslaught of pest infestation that could send the plant into a shock and prevent the flower buds from developing.
But then there might be a very good reason for the absence of blooms. The plant might just be too young or the new stems are still under 2 years old. As a perennial plant, plumeria will bloom when it has turned its third year.
How to Fix It
Apart from the natural cause of young age, when your mature plumeria stops blooming one spring, you need to put on your detective hat and go find the cause then fix it. Here are the main possible causes and what you can do about each one of them.
- Check that the plant is getting 6 hours of bright light every day during the growing season. Move it to a window sill facing the west or south for maximum light exposure.
- Look for signs of thrips, mealybugs, and scale since they can interfere with the normal growth rate of the plant and prevent flowers from developing. Apply neem oil spray in case of heavy infestations.
- Feed the plant without liquid fertilizer with about 50 percent phosphorus content. This will encourage flowering. Apply the fertilizer once a week in the early spring and throughout the summer.
- Prune the plant regularly to encourage new shoots that will bear flowers when the right time comes. Usually, stems that are two years old or older will have blooms every spring.
- Check that the temperature in the room is above 65 degrees F during the daytime and doesn’t drop below 50 degrees F at night.
Plumeria Bud Drop
Sometimes the plumeria will develop flower buds but right before those buds open, they simply drop. Once again you have to look for the growing conditions surrounding the plant to find the real reason for the bud drop. They’re usually the same reasons that prevent the plumeria from blooming in the first place.
So why did the buds emerge only to drop before opening? It might be that some of the conditions around the plant changed suddenly overnight. This sudden change catches the plumeria by surprise and rather than continue with supplying the buds with nutrients and moisture, the plant abandons them as a self-preservation mechanism.
And here again, you wouldn’t want to confuse natural flower drop with bud drop. Most flowering plants can abandon some of their blooms or buds as a way to lighten the load. But if the dropping buds are more than the ones on the stems of the plant, then you know you have a problem on your hands.
How to Fix It
One of the main reasons for the bud drops is the temperature fluctuations. Especially if the difference between daytime and night temperatures is huge. Sometimes unforeseen weather conditions lead to a sudden drop in temperatures at night. The tropical plumeria unused to the cold evenings would drop the buds to conserve resources.
Lack of sunlight can also lead to flower drops. It often happens when you get an overcast sky for a few days in a row even in the middle of summer. You can use a LED light to compensate for the lack of natural light around the plant.
Root rot is another cause of bud drop. The sensitive roots of the plant don’t like to sit in waterlogged soil. When that happens, the roots will rot and the flower buds not getting enough nutrients, and moisture from the roots will drop as a result. Check the roots of the plant and repot it in fresh soil if needed to save it.
Making A Plumeria Branch
A common problem that many people face when growing plumeria is that the plant tends to become spindly over time. The branches grow lopsided and the plant loses its balanced structure. Lack of pruning tends to make this problem even worse.
And unlike other plants in the house or the garden, pruning plumeria has to be done at the right time and according to certain rules. Making the wrong move could deform the plant or even interfere with its blooming habits.
How to Fix It
Regular pruning gives your plumeria a fuller shape and robust growth every year. It also encourages it to produce more flowers every spring. So when and how should you prune your plumeria?
- Prune the plumeria as soon as it turns its first year. The earlier you start your pruning, the healthier the plant grows.
- The best time to prune the plant is in the spring before the first flower buds have emerged.
- Always wear protective gear such as gloves and eyewear since the sticky sap that oozes out of the plant causes irritations.
- Use sterilized pruning shears to prevent contamination and spreading pathogens.
- Trim the stems where two branches meet and cut about 2 inches of each stem.
- If you want to change the shape and look of the plant, you can go as far as cutting 7 inches of the wayward branches.
- For a complete overhaul of the plant, cut it back to about 5 inches above the soil.
- Apply cuts of downward 45 degree angles to prevent the sap from blocking the cuts.
- Keep in mind that pruning the tree heavily will reduce the number and quality of the blooms the following year. However, by the second year, the plant will get back to normal and you can expect an above-average blooming season.
Plumeria Rust Fungus
So far we have been dealing with problems caused by poor care and inadequate growing conditions. These are usually easy problems to fix. But other times the problem is beyond your control and has little to do with your plant caring skills. I’m talking about the various diseases that the plant is prone to.
One of those is rust fungus, a serious infection that happens when the temperature and humidity levels are high. This specific infection targets only plumeria plants and the culprit behind it is the fungus Coleosporium plumeria.
At first you’ll notice brown spots on the upper surface of some of the leaves. With time, the spots spread out and infect more leaves. Eventually, the glossy green leaves turn brown and some of them will drop. Curiously, the infection doesn’t affect the stems or roots of the plant and only targets the leaves.
How to Fix It
The first time plumeria rust was discovered was in 1902. The disease infects some varieties of plumeria but not others. So when choosing a plumeria to grow, focus on the disease-resistant varieties especially Plumeria stenopetala and Plumeria caracasana. Other than that, you can also protect your plant against the disease by following these easy steps.
- Remove the fallen leaves and burn them.
- Collect the infected leaves off the plant using sanitized tools and also dispose of them safely.
- Improve air circulation around the plant and remove weeds and debris.
- Prune the plant to allow airflow into the inner stems and prevent the disease from spreading.
- Midges have shown great success in controlling the damage and spread of plumeria rust.
- If all else fails, use fungicides to protect the plant.
Repotting Plumeria
Although plumeria is actually a tree, you can grow it indoors and with proper pruning, you will have control over the height and spread of the plant. However, that means you’ll have to repot the plant every so often to prevent it from becoming root-bound.
Usually, that interval between repottings should not exceed one year. This after all is a tree with a robust root system. Even when the tree itself has a slow growth rate, the roots are actively spreading and reaching for new depths. So check the root system once a year to determine if you need to repot the plumeria or wait for a few more months.
How to Fix It
To repot the plumeria, you should wait for the fall or winter when the tree is dormant. Ease the plant out of the pot and check the root system. If the roots are entangled and spiraling around each other, you’ll need to cut some of the roots.
Select a pot a little larger than the current one and fill it with a general-purpose potting mix. Add some organic materials to the soil to improve drainage. Avoid using organic compost or aged manure since they have an off-putting odor.
Place the plant in the pot and spread the roots. Then fill with more potting mix. Water the pot to get the potting mix moist.
Moving Plumeria Plants
Even a plumeria growing in the garden needs to be moved sometimes. That could be because the tree is no longer getting enough light due to a larger tree casting a shadow over it. Or you might need to move the tree to change the landscape.
Either way, you’ll need to move the plumeria carefully and choose the right time to do it.
How to Fix It
Start preparing for moving the plumeria one year ahead. The roots will need to be pruned first. So dig around the root system and cut the large and deeply entrenched roots. By the time you’re ready to move the tree new roots would have developed which are easier to manage.
In the spring and before the new growth has emerged, that’s the best time to move the mature tree. Water the soil well one day ahead to get it soft. Then dig around the roots taking precautions not to damage the root ball. Lift the tree up and wrap a tarp around the root ball.
Prepare the new location and mix the soil with plenty of organic materials. Then dig a hole as deep as the root ball and slightly wider. Spread the roots into the hole and backfill with soil. Firm the soil around the tree and water immediately.