Pinto Beans: How to Grow, Care, And Harvest Pinto Bean Plant
Updated on November 19, 2025
Pinto beans are one of the easiest veggies to grow in your garden. Named for its colorful beans, the word “pinto” means painted in Spanish. But apart from its appealing look, the beans themselves are nutritious, packed with protein and fiber to help with the digestive system.
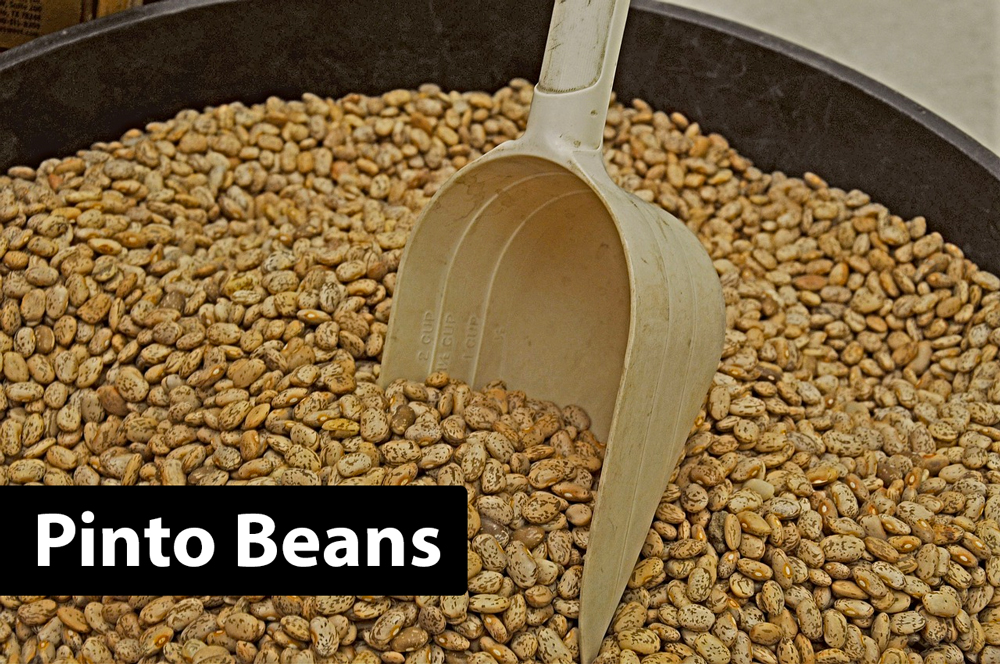
The skin of the beans is covered with red dots and swirls on a light green background. This makes pinto beans a must grow plant in your garden for its landscaping looks if not for its nutritious values and health benefits.
Recent research attributes healing values to the pinto beans. These range from fending off cancer to preventing cardiovascular conditions. The antioxidants in the beans, known as polyphenols, help prevent cancer cells from forming in the body. It also reduces inflammation thanks to the abundance of kaempferol in these particular beans. The legume is also rich in protein, carbohydrates, and a litany of other nutrients.
So how do you go about planting, caring, and harvesting pinto beans? Read on to find the answers to all the questions on your mind about this luxurious veggie.
What you Need to Know
One of the most appealing features about pinto beans is that you can either eat them green or dry. You can collect the young beans and eat the green snaps when they’re still soft. Or you can wait for them to harden on the plant, then gather and dry them.
But for the beans to mature and dry, they need hot and dry weather as well. The bean patch needs to be an open area that gets plenty of sunlight. At least 6 hours a day of the full sun are required for the growth and flowering of the plants.
You should also allow the soil to rest between crops. Pinto beans are notoriously demanding on the soil. So make sure each patch gets a break of at least 3 years from the beans before you can plant the legumes again.
When you pick a spot, make sure it’s a permanent bed for the beans. These plants don’t like to be transplanted. However, they’re fine having companion plants such as cucumbers, strawberry, and celery. Neither plant in this group will compete or crowd the others out of existence.
That said, you should never plant smelly plants such as onion, leek, or garlic in the same patch as pinto beans. The beans will taste awful whether you eat them green or dry. Fennel is also another plant that you should avoid using as a companion to pinto beans.
How to Grow Pinto Beans
Now comes the fun part. I admit, there’s a little bit of work involved here but the rewards very much compensate for all the hard work. So let’s get to it. The following steps walk you through the process of planting pinto beans.
- Before you plant the pinto beans, soak the seeds in water overnight. Give them the floating test to remove any bad seeds.
- Test the soil and make sure the pH levels are between 6 and 7. Well-balanced, fertile, and rich soil is good for the beans.
- Make sure the soil is well-drained. Soaked soil leads to the roots of the beans rotting quickly which is fatal for the plant.
- Add a liberal amount of compost and organic materials to the soil and mix well. This reduces the need for chemical fertilizers later on.
- Plant the seeds making sure the eye of the bean is facing upward. Keep the depth to one and a half-inch in the soil.
- Maintain a distance of 4 inches between each seed to allow them enough space to grow and spread.
- Plant the beans in rows with 2 feet between each row to let you walk between them and remove the weeds.
- Water the patch well and keep the soil moist until the beans germinate.
- Since the beans need warm soil to sprout, cover the patch with black plastic to fend off the drop in temperature at night.
- After the beans sprout within about 14 days, thin them out to about a plant every 6 inches.
- Remove any weeds in the area and keep it clean from debris.
- Give the beans some liquid fertilizer in small doses to encourage growth.
Pinto Beans Care
Once the pinto beans start to grow and their lush green leaves cover the patch, that’s when you need to roll up your sleeves and get down to the real work of making the red beans grow and prosper.
Water
Pinto beans don’t like soaked or waterlogged soil. As mentioned their roots don’t do well in such soil and the plant will perish. Your best clue that the plant needs watering is when the topsoil goes dry. Avoid spraying the leaves with water as this leads to fungal infections which impact the productivity of the crop.
Mulch
As with most other veggies, pinto beans benefit a lot from a thick layer of mulch covering the topsoil. For one thing, mulch keeps the soil warm at night and helps with water retention. It also prevents weeds from growing and keeps other pests and bugs at bay.
Weeding
You will need to stay vigilant about what grows in your pinto beans batch as long as the beans haven’t matured and are ready to harvest. The first weeding is done the first week after the beans have sprouted. Here, you will thin the plants and weed out the less developed or sickly ones. After that and as long as the beans are in the ground, you need to remove all kinds of weeds that grow between the rows. This keeps the patch clean and gives the beans a better chance to grow and produce a good crop.
Fertilizers
The beans need two types of fertilizers. Organic compost and liquid fertilizers. The compost you need to mix with the soil before you plant the seeds. It will nurture the beans throughout their lifecycle. You can use the liquid fertilizer sparingly around the time the beans flower and again before the first pods appear. Once the beans are mature, stop adding fertilizers.
Troubleshooting Pinto Beans Problems
Not all your pinto beans patches will be a resounding success. Some will be very productive, while others will be meh at best. So how do you avoid these terrible failures and make sure your beans taste as good as they look? Here are some of the common issues you would face and what you can do about them.
- Deformed Seedlings: some seedlings come out of the ground looking anything but healthy. They might be missing their tips or have no leaves at all. This is often caused by larvae of the gray flies. Turn up the soil to kill the larvae and replant the beans.
- Stunted Plants: the plants look underdeveloped and don’t grow even with a dose of fertilizer. This is caused by cold weather or cold soil. Make sure the soil temperature is above 60 degrees F at all times for the seeds to sprout.
- Yellow Leaves: the leaves are often the target of many attacks. In this case, it’s thrips which are the culprits. These black bugs feed on the leaves and wreak havoc with the whole plant. Remove the infected leaves to protect the plant.
Harvesting Pinto Beans
You can either harvest pinto beans as immature and green pods to be eaten fresh or wait for them to mature and fully develop on the plant. Or you can try a bit of both. A healthy patch of pinto beans offers a good crop and you can eat both the green and mature beans in one season.
The mature pod is about 6 inches long and is bright green. The beans inside appear as small beads and are as thick as a pencil. If you’re growing pole beans, then you can harvest the beans to encourage new pods to appear. Bush beans tend to grow and mature all in one go.
To harvest the beans, grab the mature pod by your gloved hand and pull it firmly to snap it at the stem. Make sure to collect the beans on a dry and hot day. If it rains before harvest time, take out the whole bean vine to prevent damage to the beans. You shouldn’t water the patch two weeks prior to harvesting for the same reasons.
Open the pods and collect the beans from inside. If you want to keep the beans fresh, then put them in a plastic bag and keep them in the freezer. If you prefer to dry them and use them all year round, then leave them to dry for about 3 days in a well-ventilated place. Then store them in air-tight jars.