How To Make a Pin Cushion Jar – Video Tutorial
Updated on November 19, 2025


If you’re a sewing crafter then this DIY pin cushion jar is the perfect craft for you! Cute and practical, also makes for an excellent gift for the sewer in your life. Scroll down to see just how we put this one together.

Like most crafters, I’ve always felt more satisfied when I’ve made something I need myself rather than just going out and buying a new one, even if it’s something very small and simple. I actually loved the first two I made so much that I decided to make a few more, option to document and the share the process for other crafty sewing enthusiasts to see as well.
If you like the sounds of making a mason jar pin cushion too, check out these step by step instructions complete with photos! If you’re more of a visual learner and would rather follow along with a video tutorial instead, scroll to the bottom of this post to find just what you’re looking for. Either way, happy crafting!
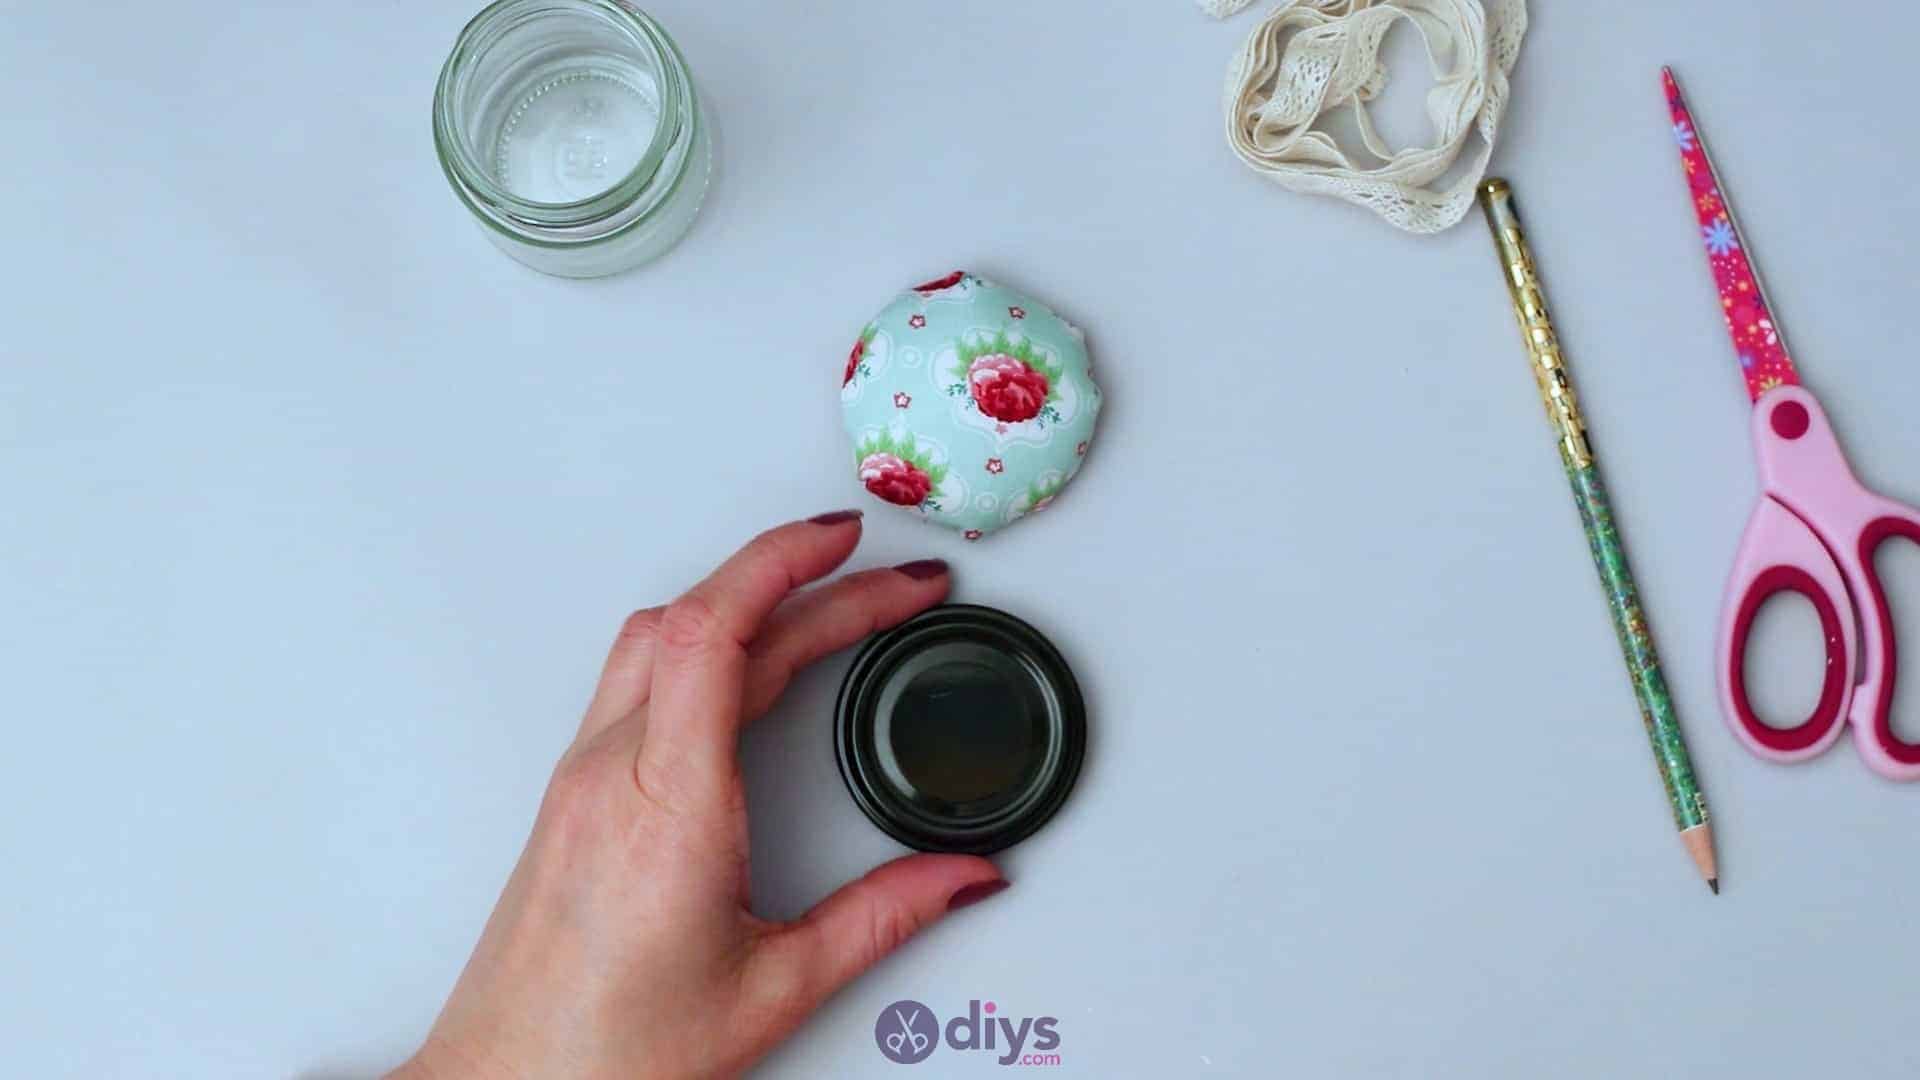
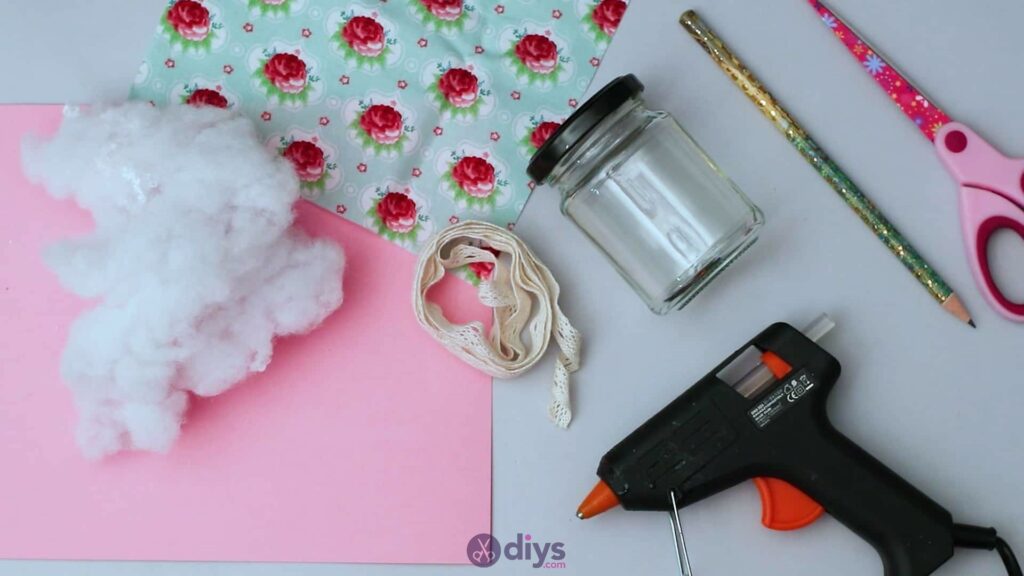
For this project, you’ll need:
- Mason jar
- Hot glue
- Scissors
- Fabric of your choosing
- Pencil
- Cardboard
- Fibrefill
- Lace ribbon
Step 1: Gather your materials!
Ensure you have everything from your materials list in front of you.
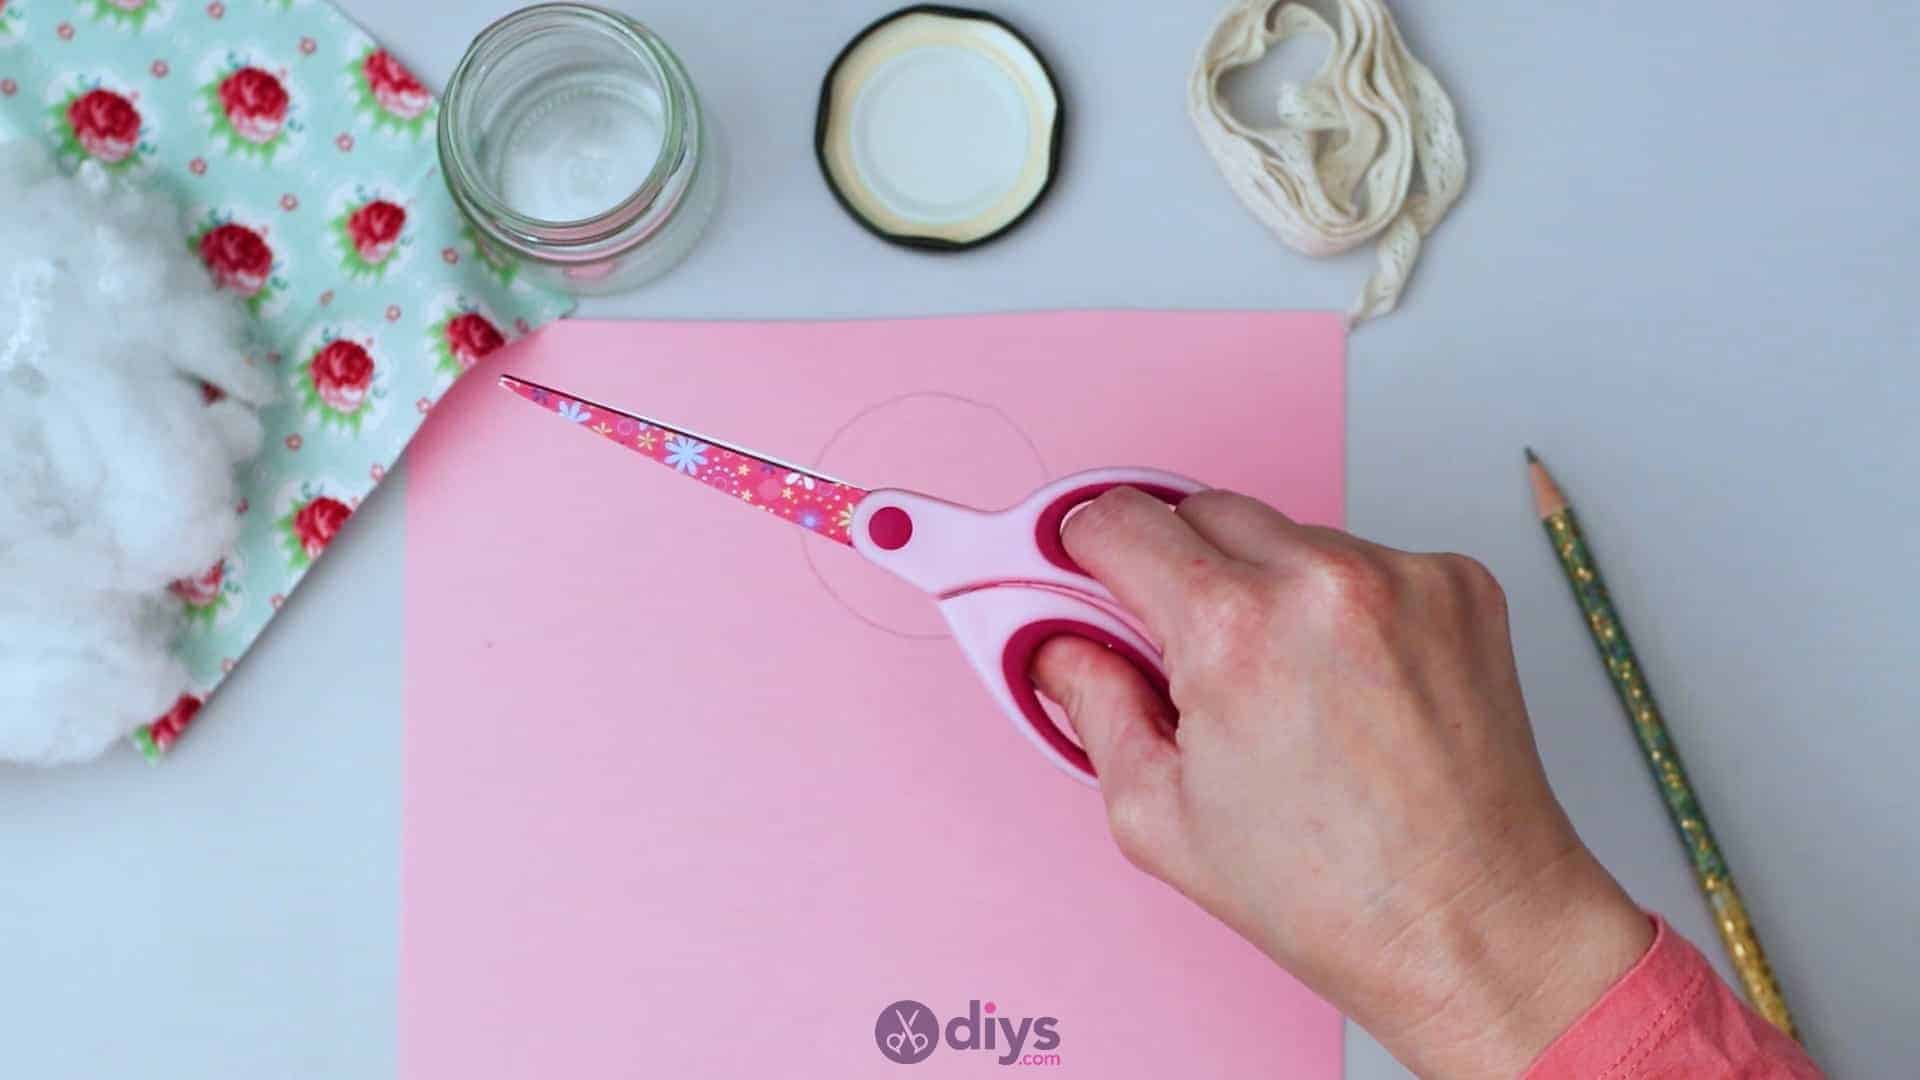
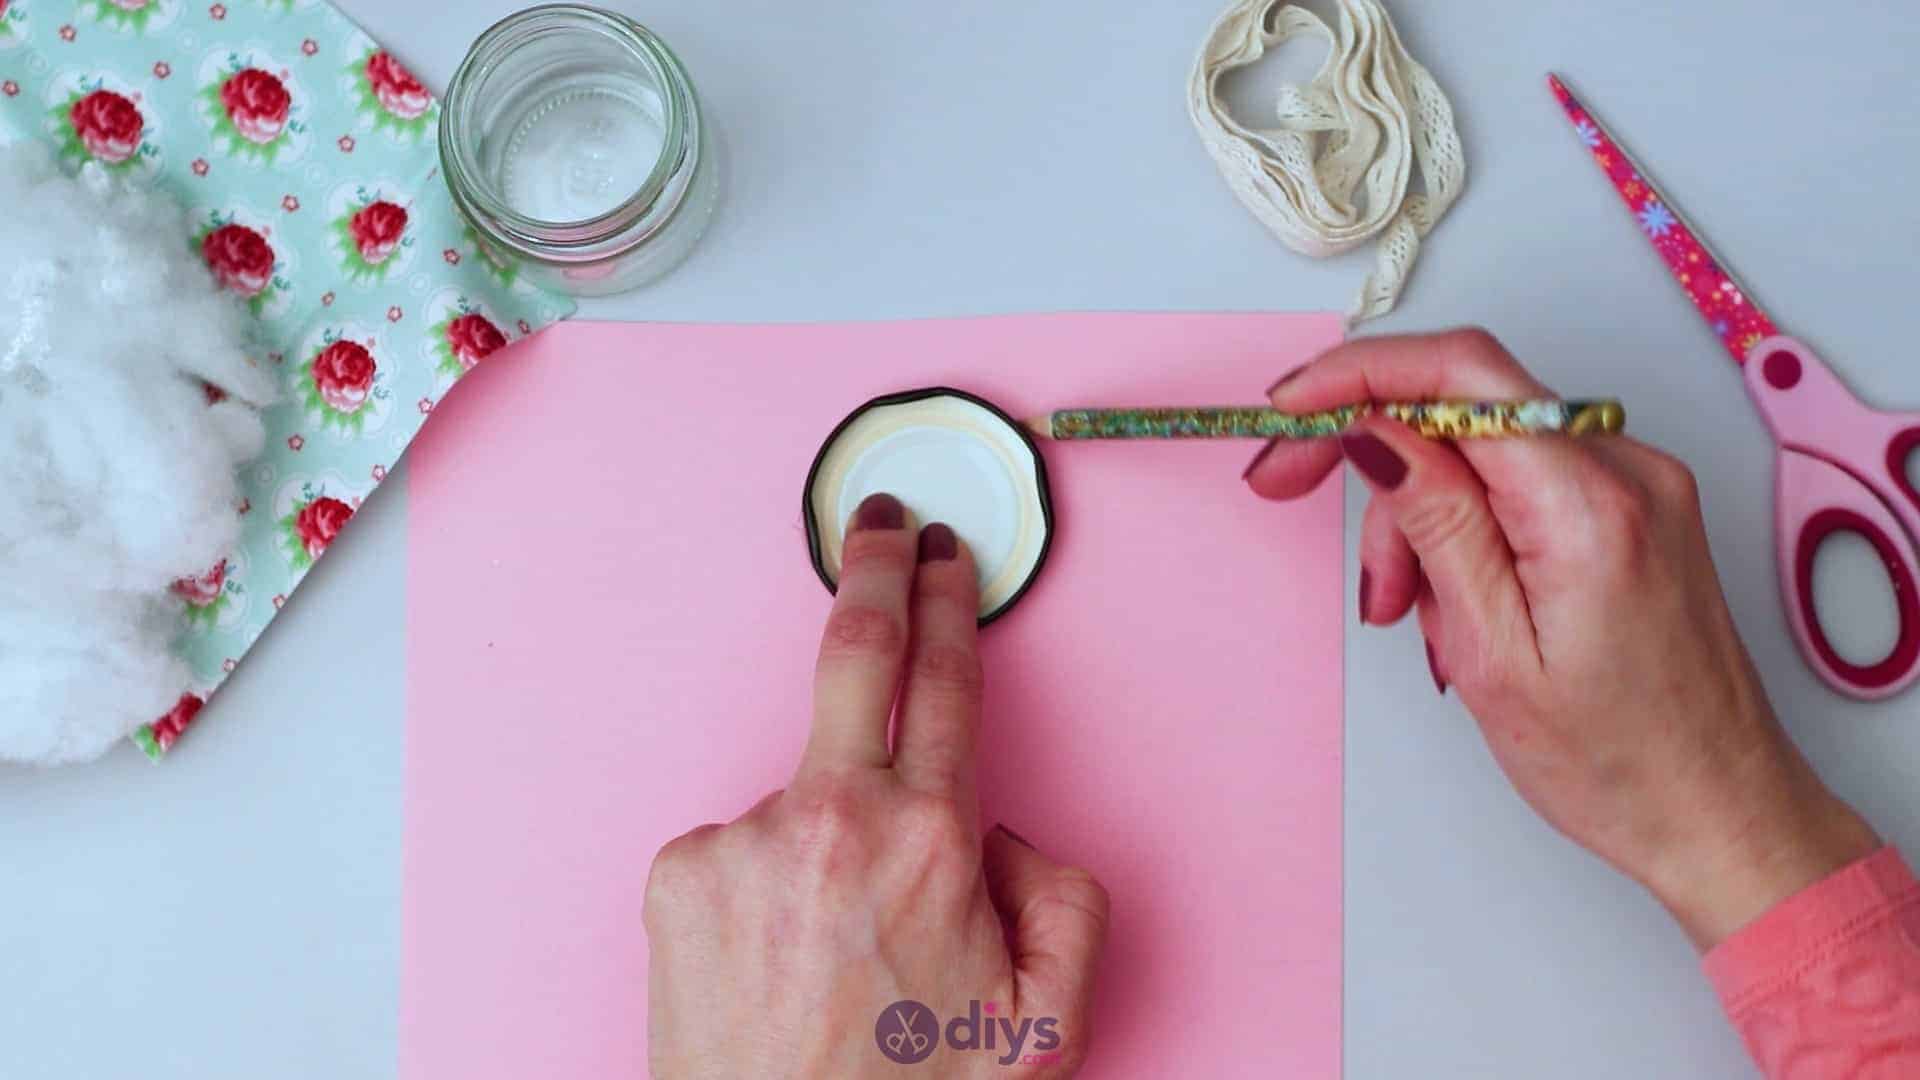
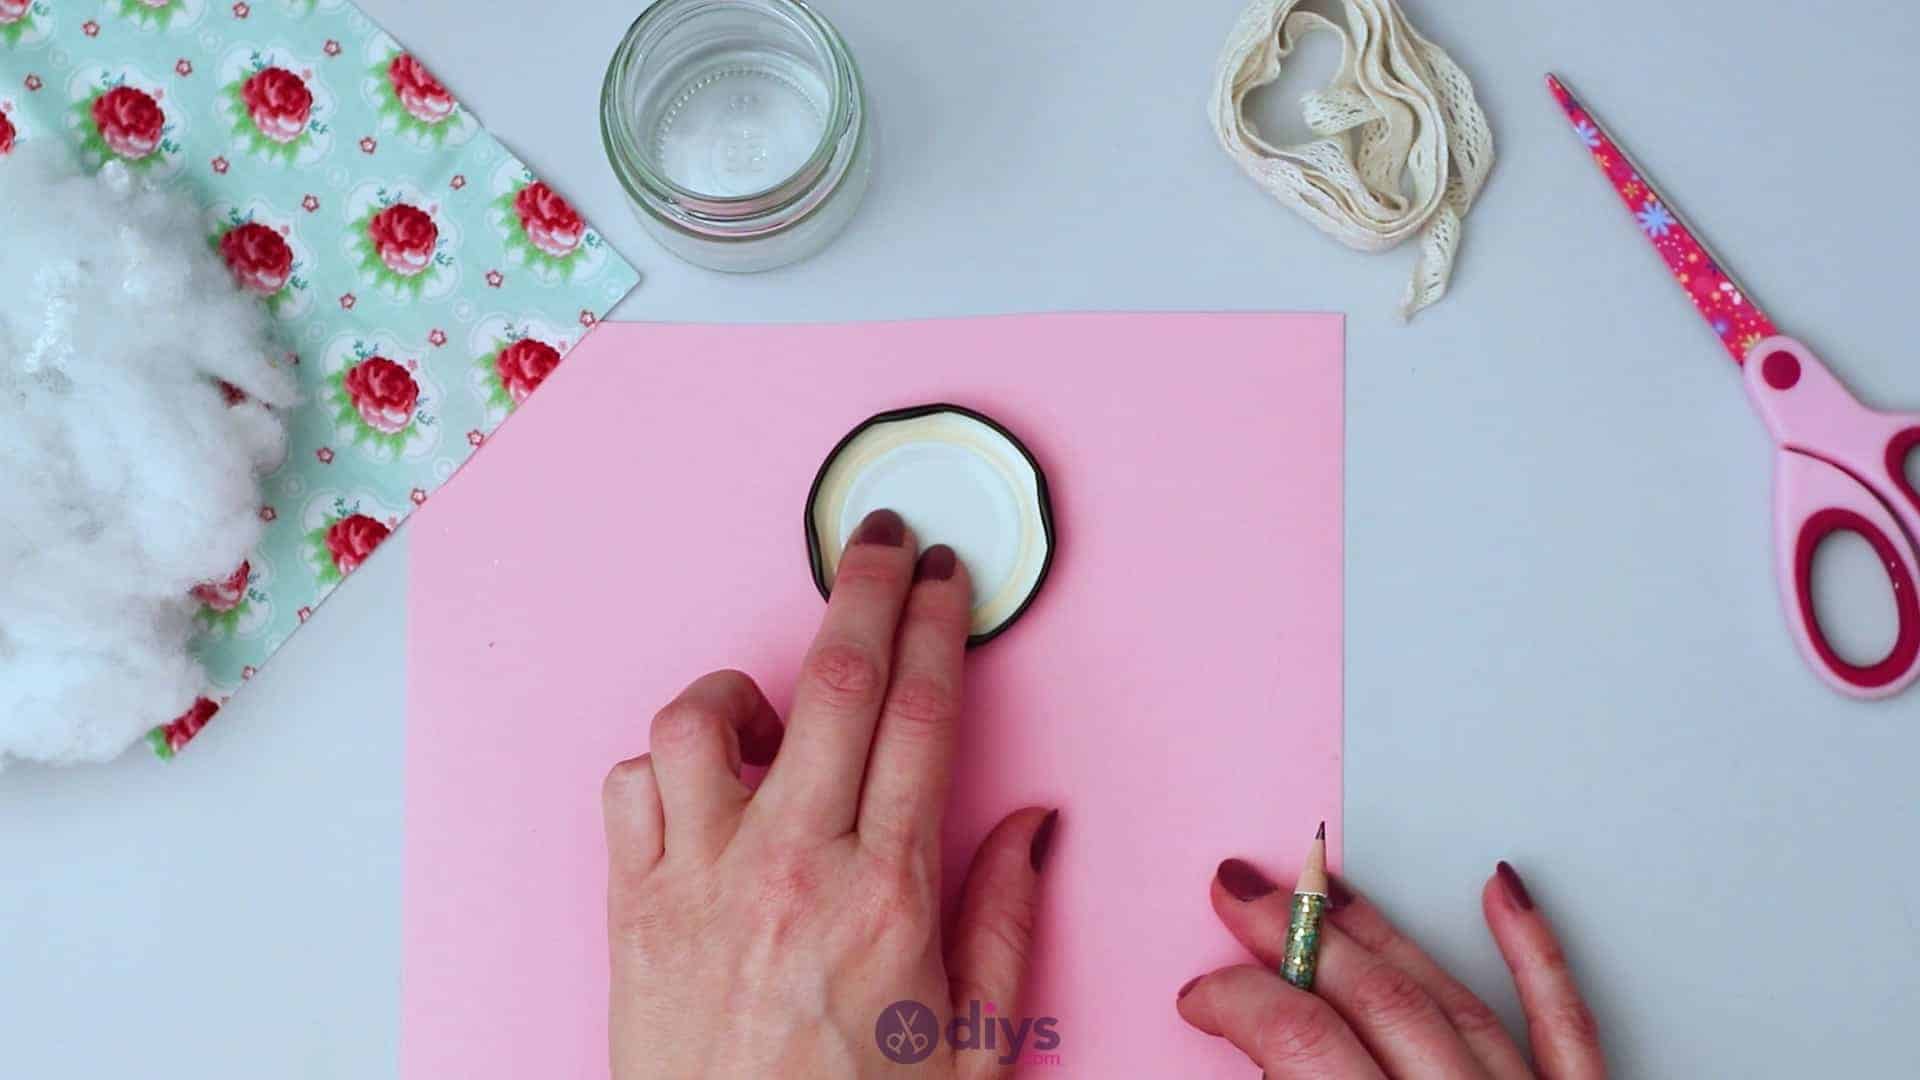
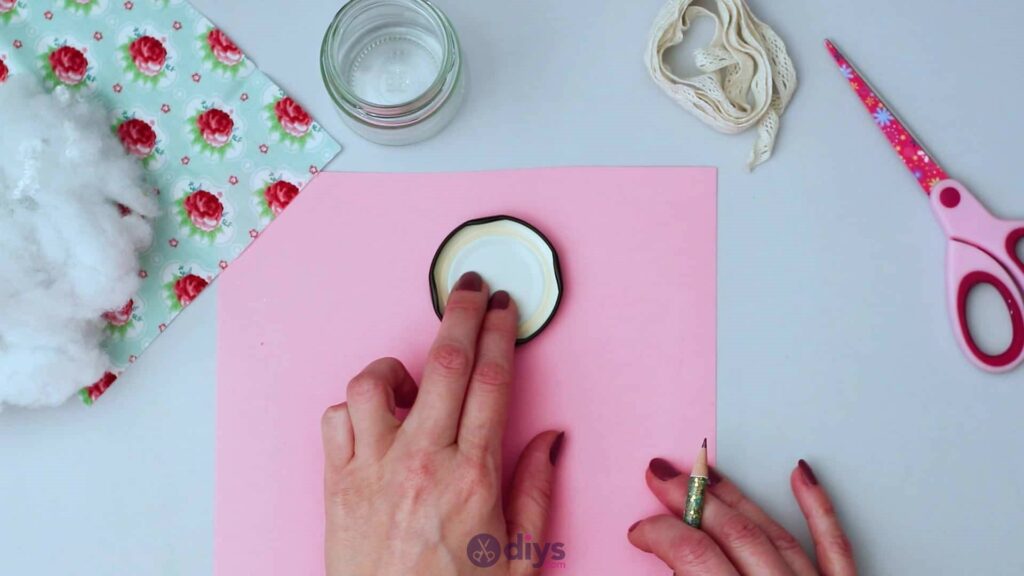
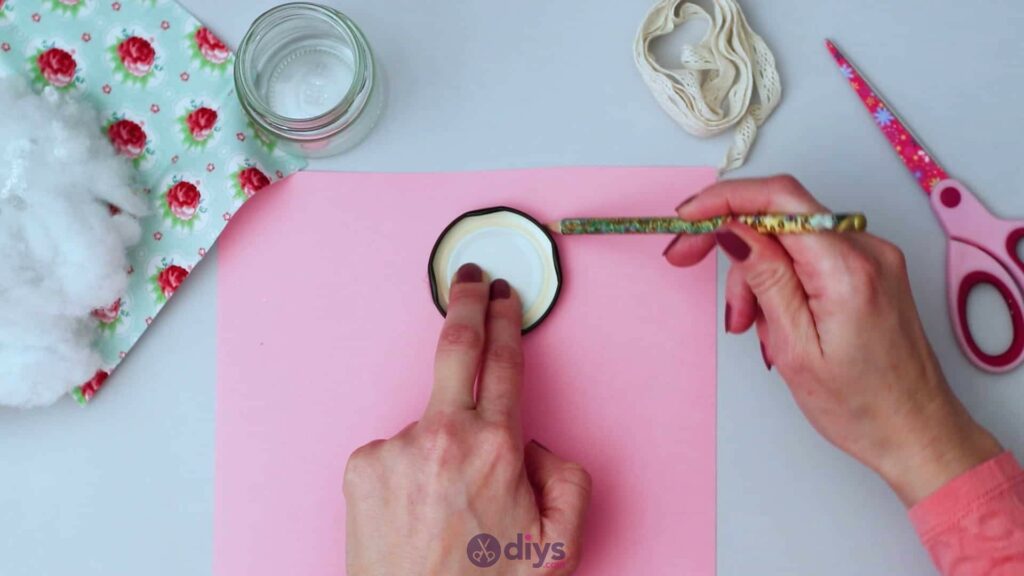
Step 2: Trace your lid
Remove your mason jar lid, turn it upside down, and place it on your piece of paper so the underside of the lid faces upwards. Use your pencil to trace all the way around the lid to create a drawn circle. Then, use your scissors to cut that lid-sized paper circle out.


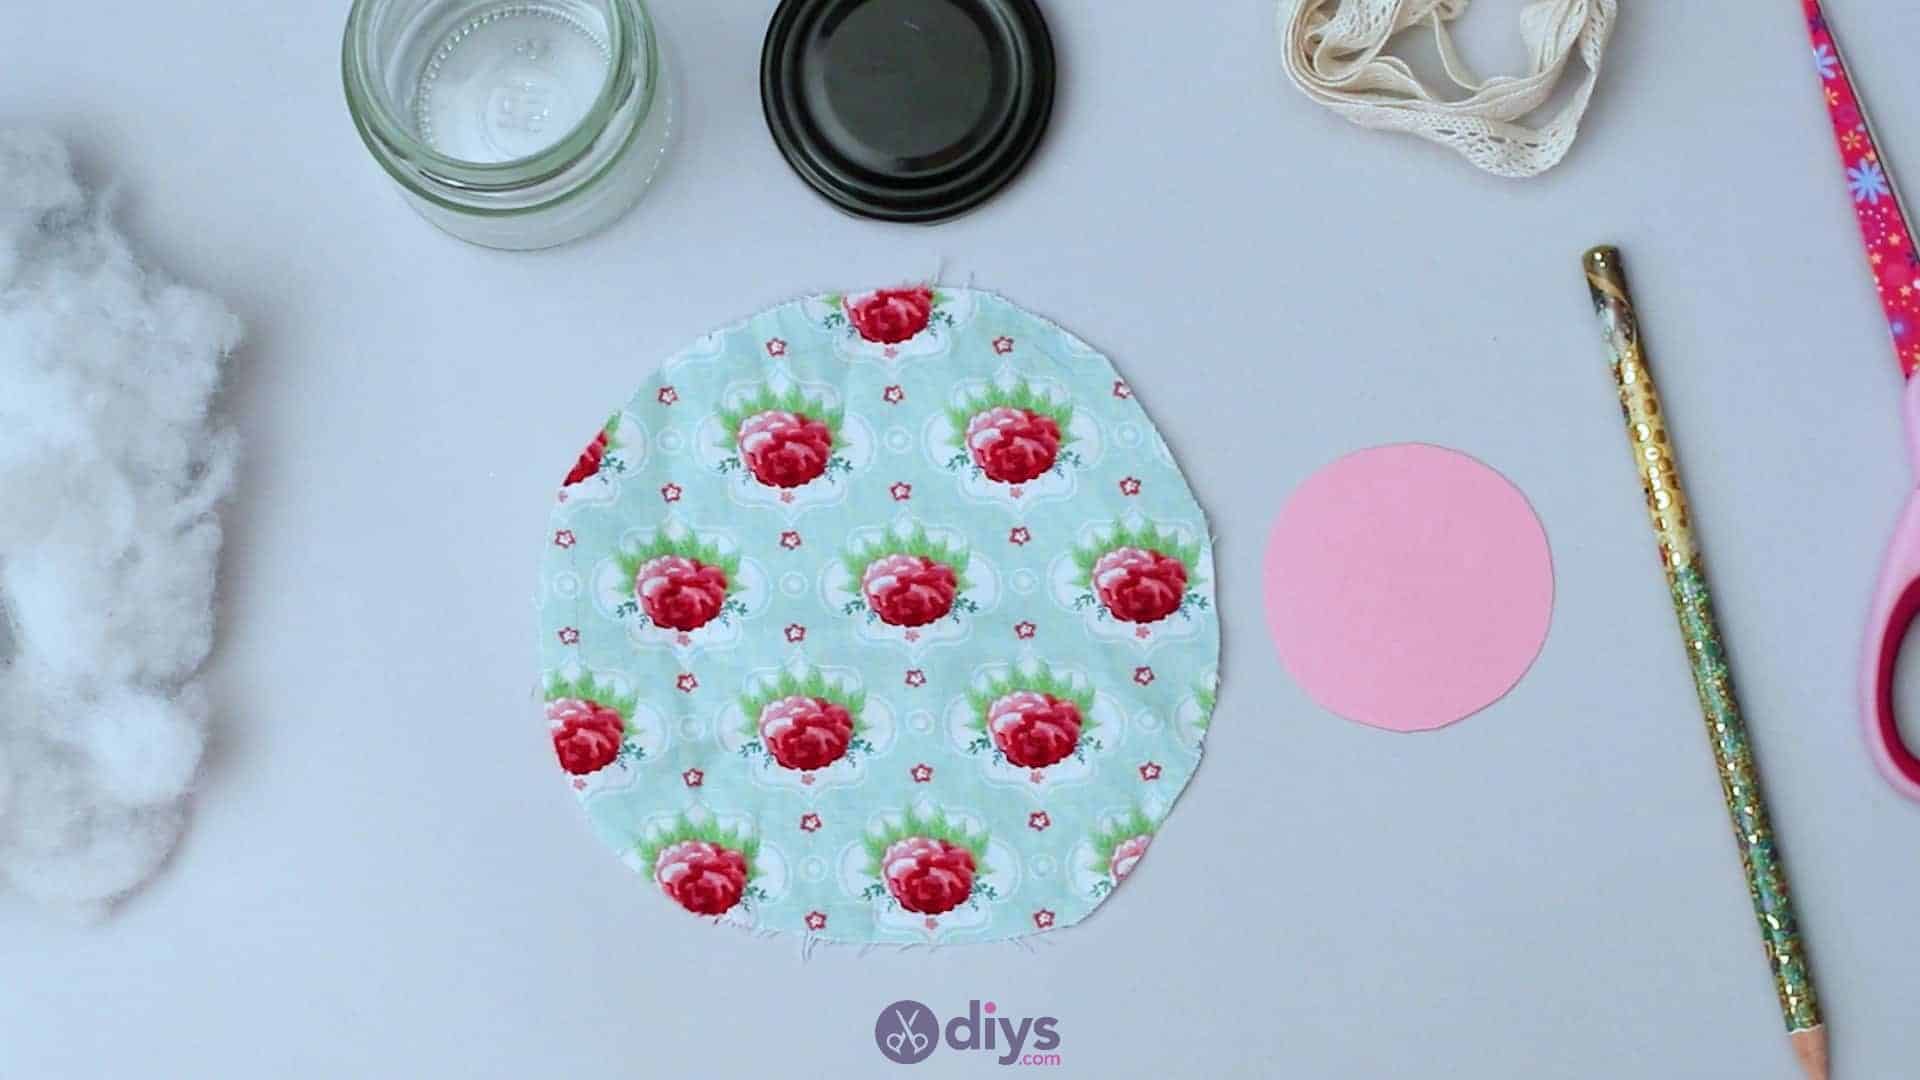
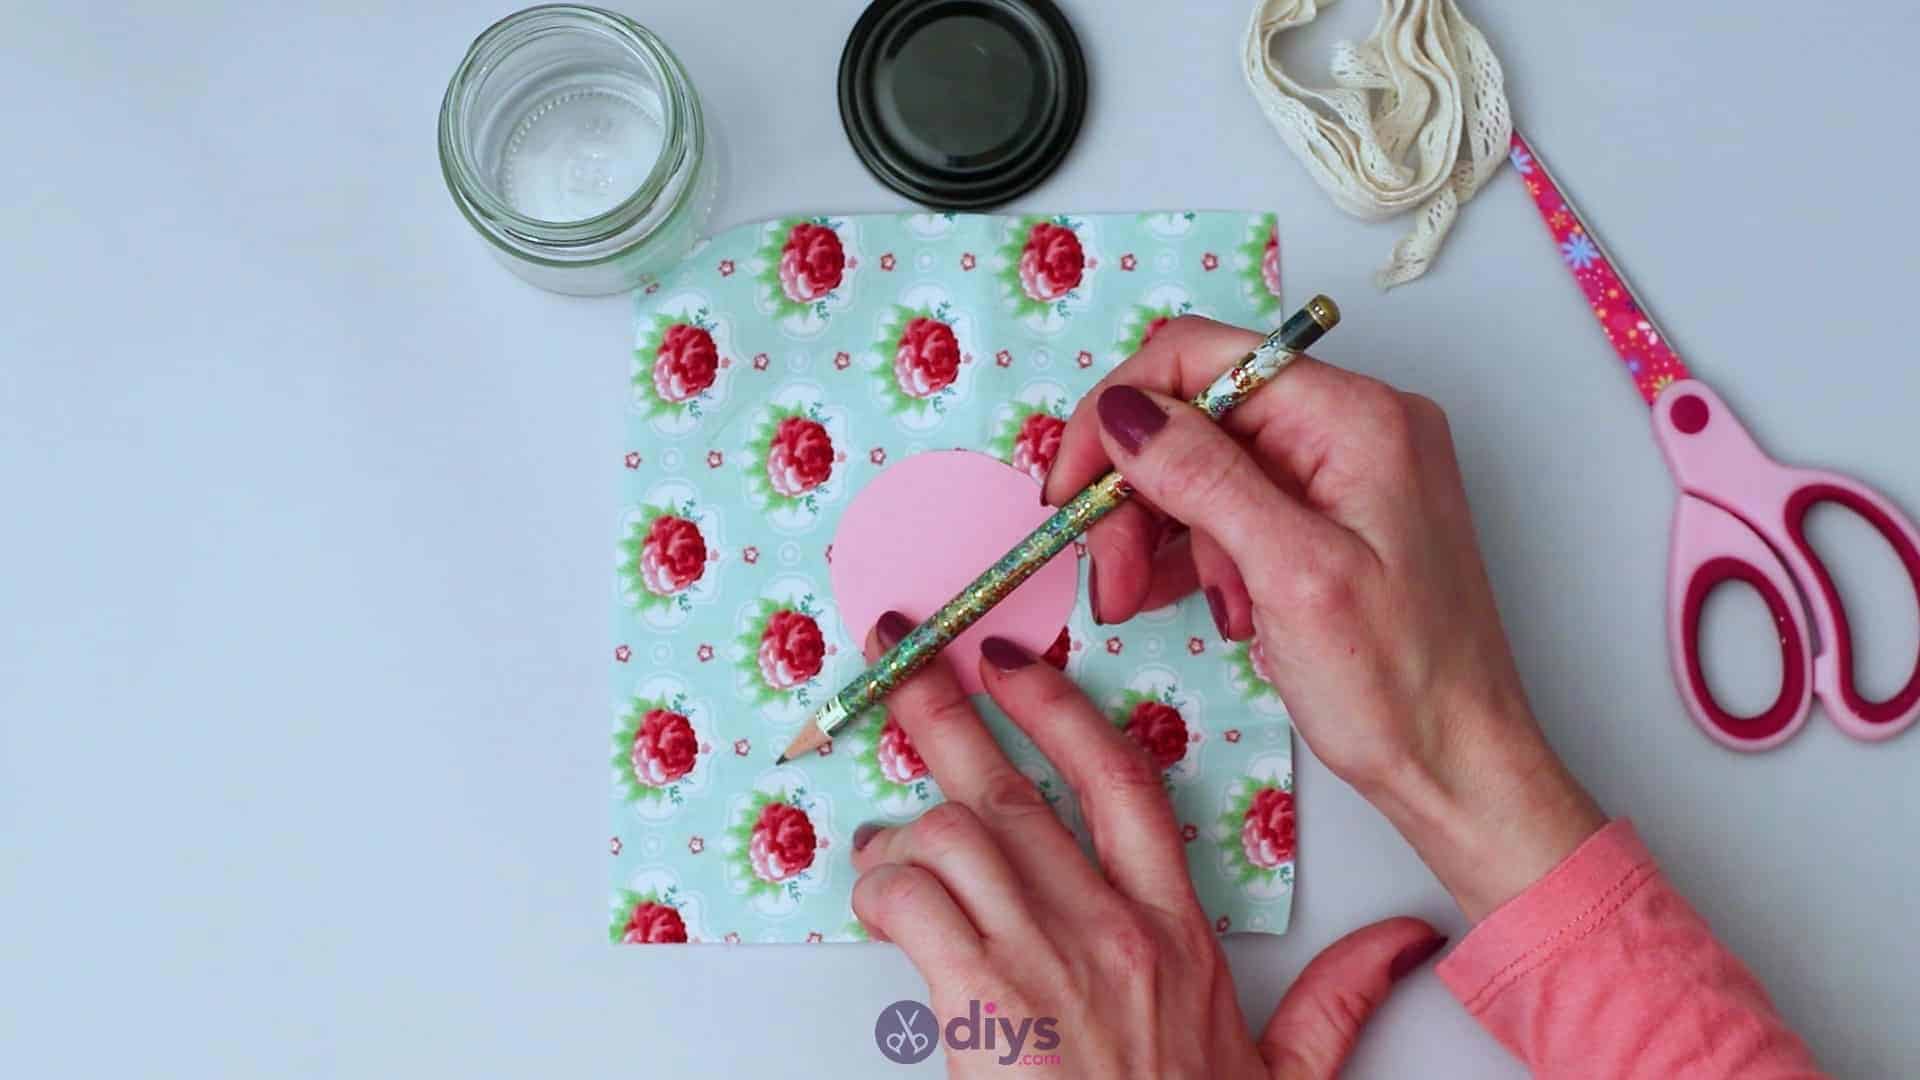
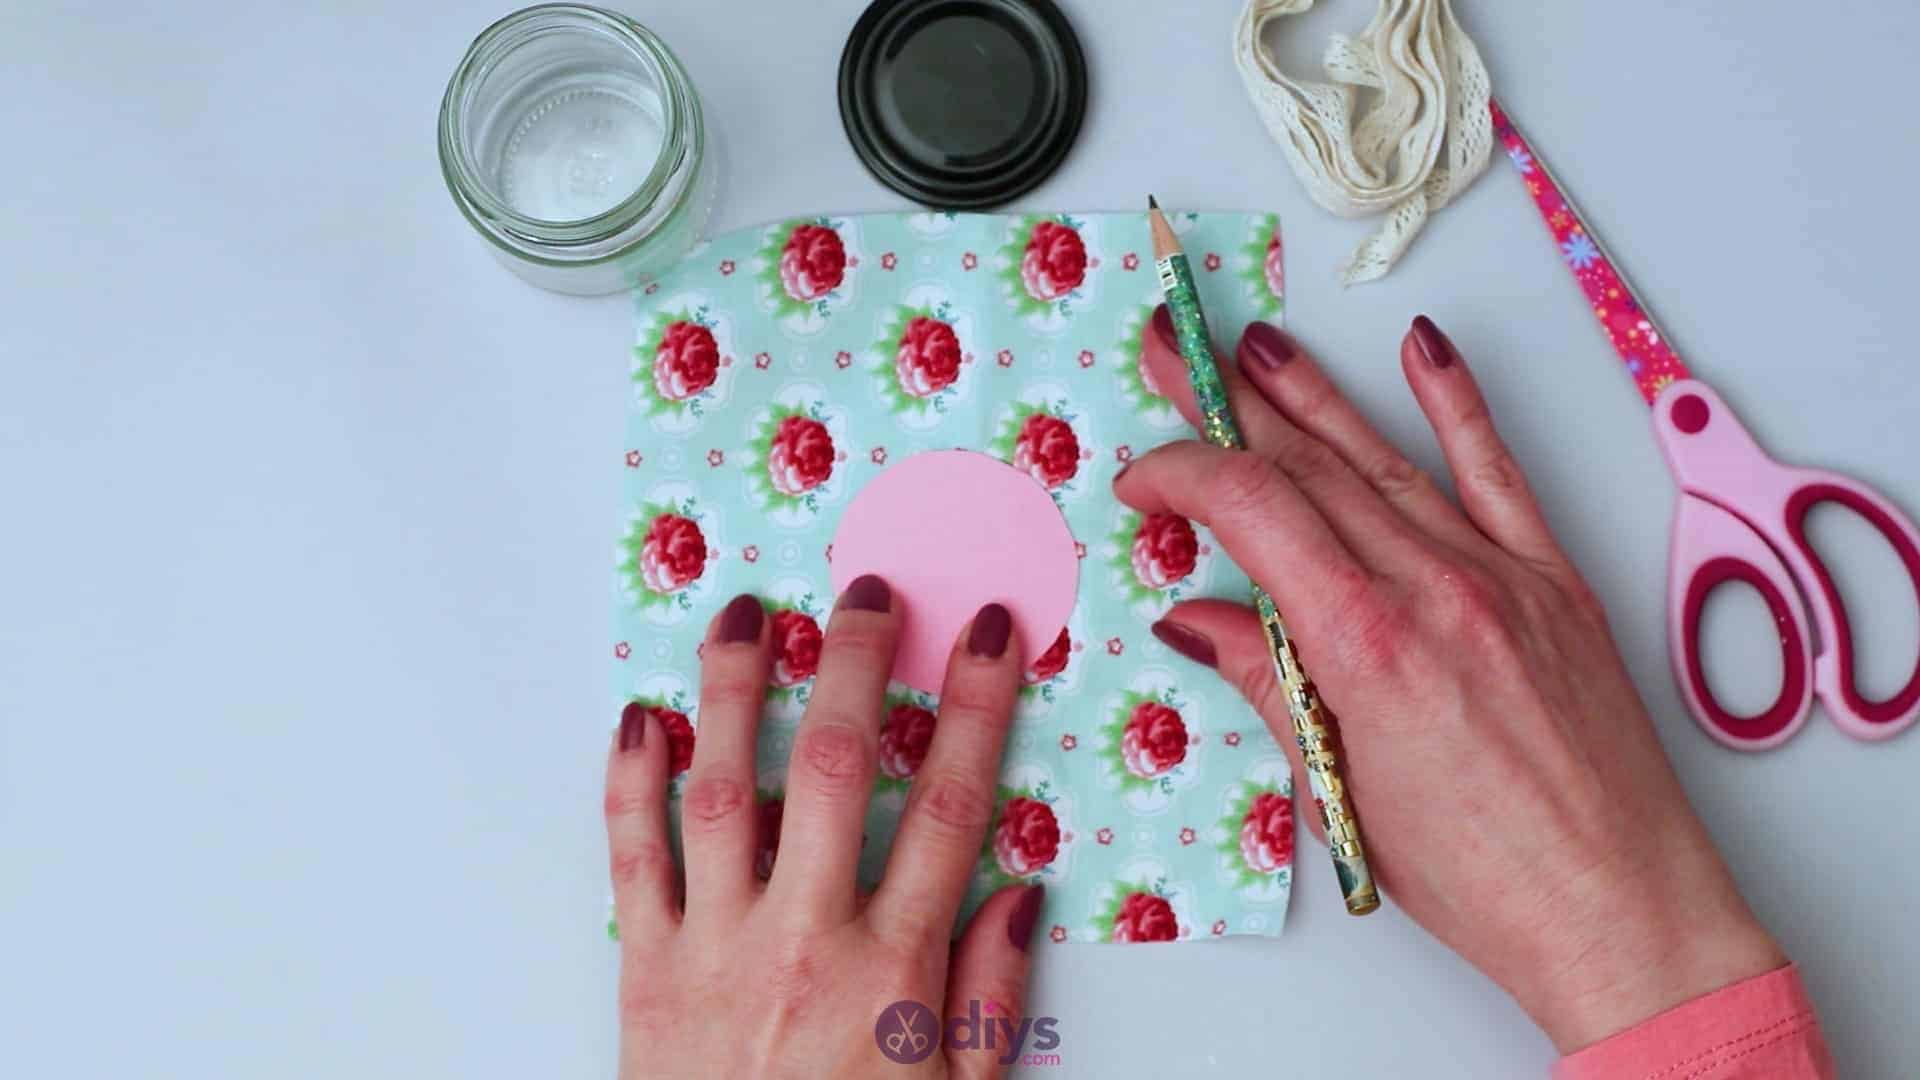
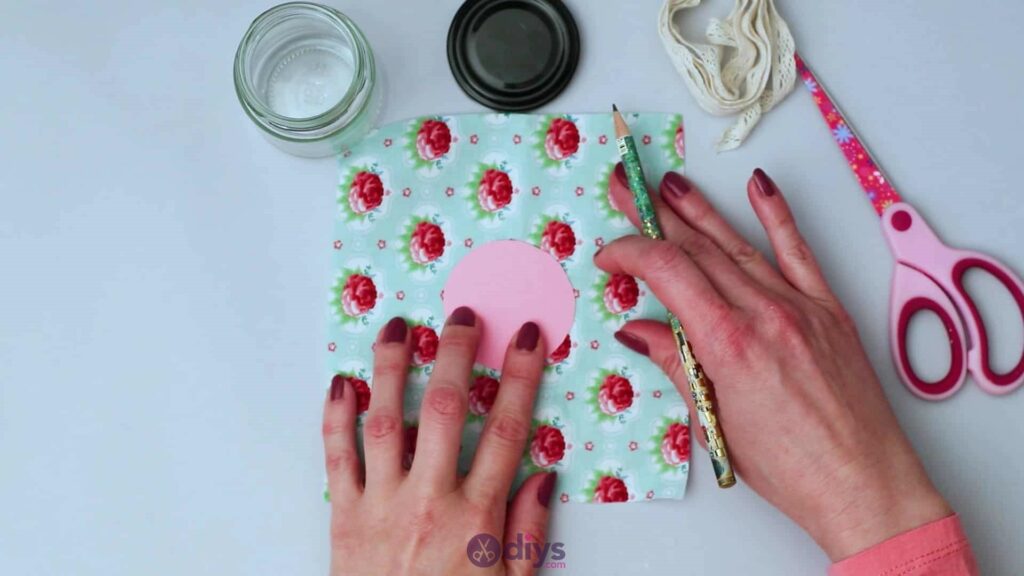
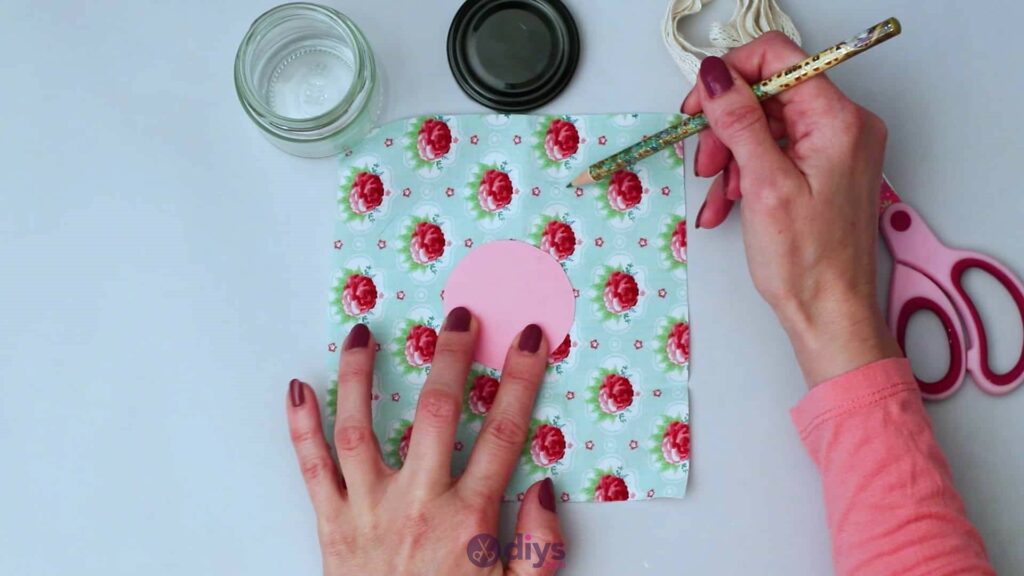
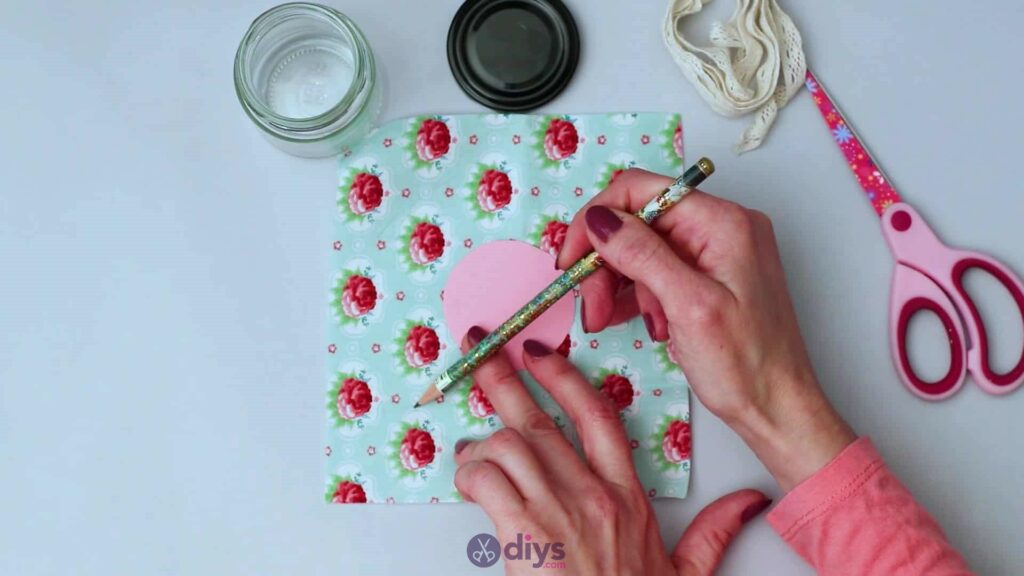
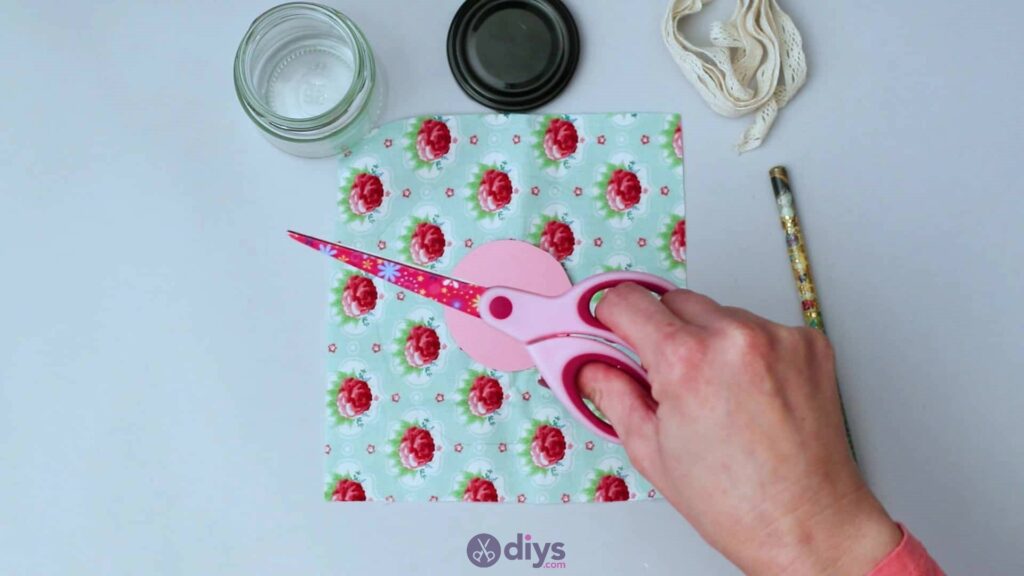
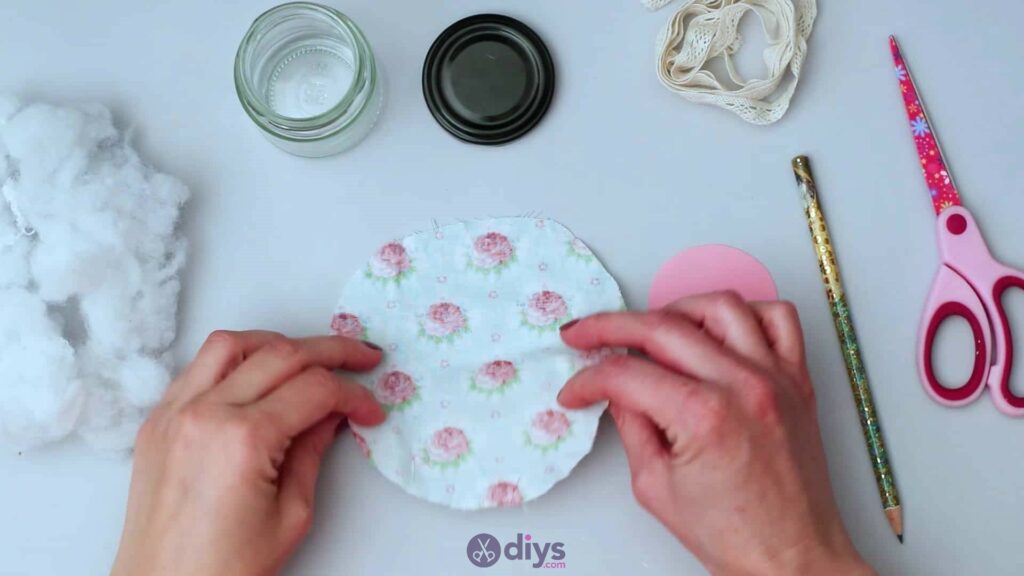
Step 3: Cutting the fabric
Now take your piece of fabric and place the paper circle on top of it like a guide, leaving at least two inches between the edge of the circle and the edge of the fabric piece you’re using (this is a great project for using up small scraps). Use your pencil to draw a larger circle around your paper circle, but making sure you leave a border space of about one inch all the way around the paper shape. Set the paper circle aside (but don’t throw it out; you’ll use it again in a moment) and use your scissors to cut out the larger fabric circle. Your measurements here don’t have to be extremely precise; you just need to leave yourself enough space to work with in future steps. Sketching and eyeballing it is fine!
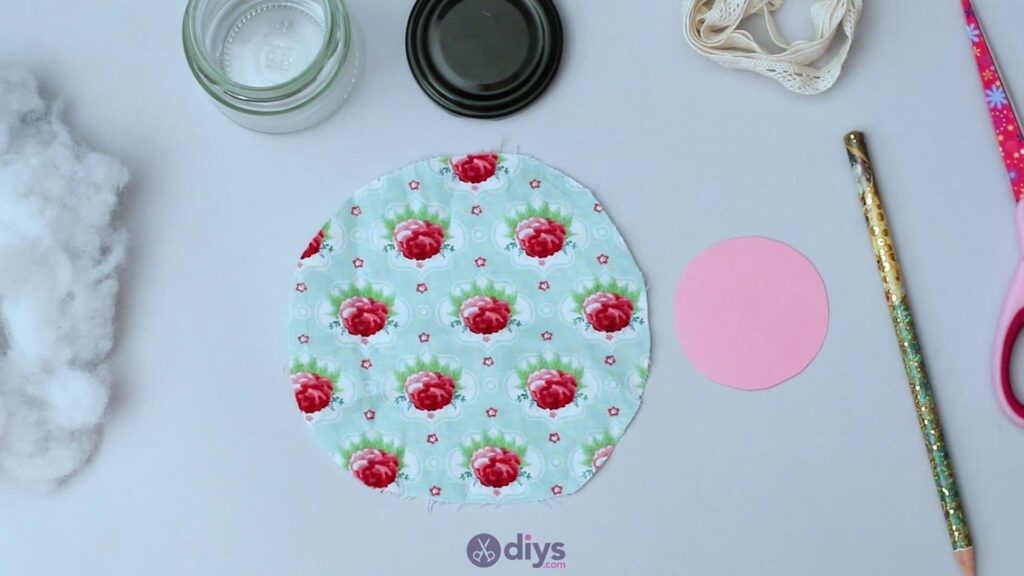
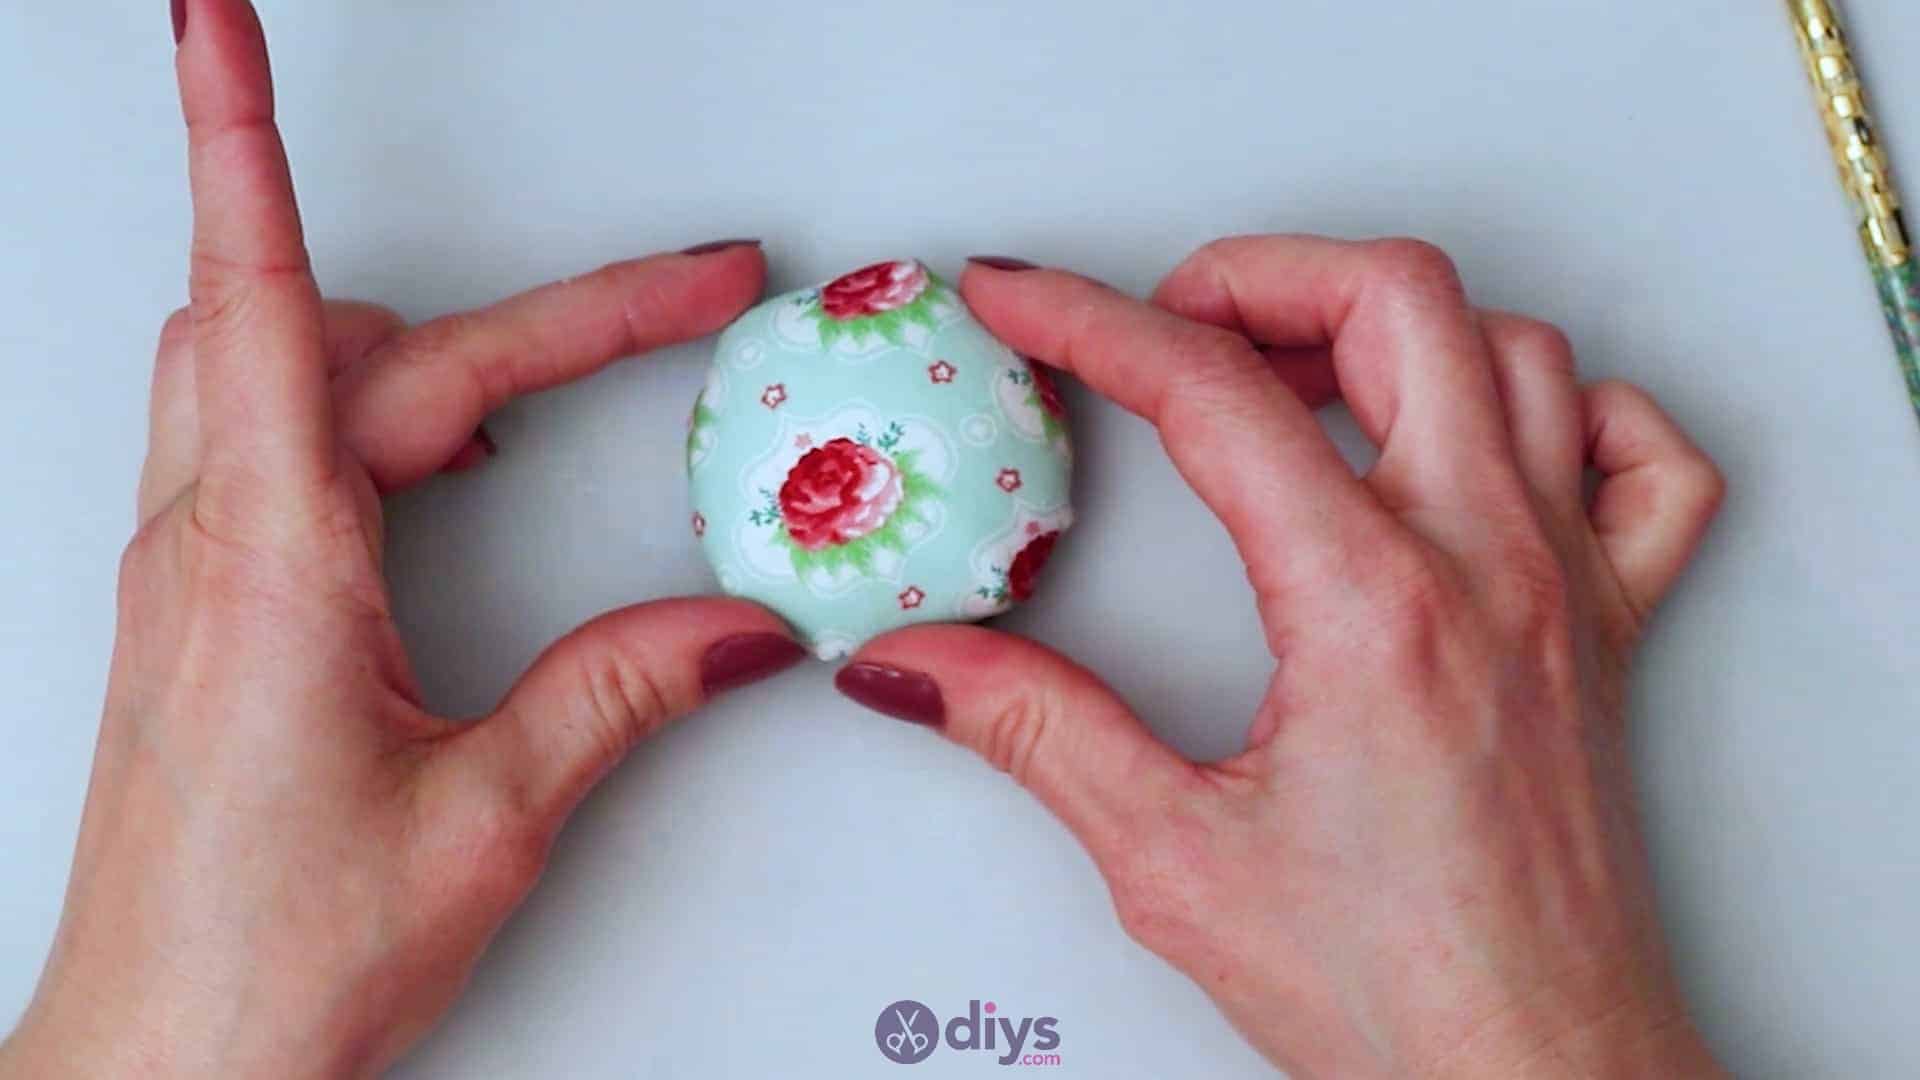
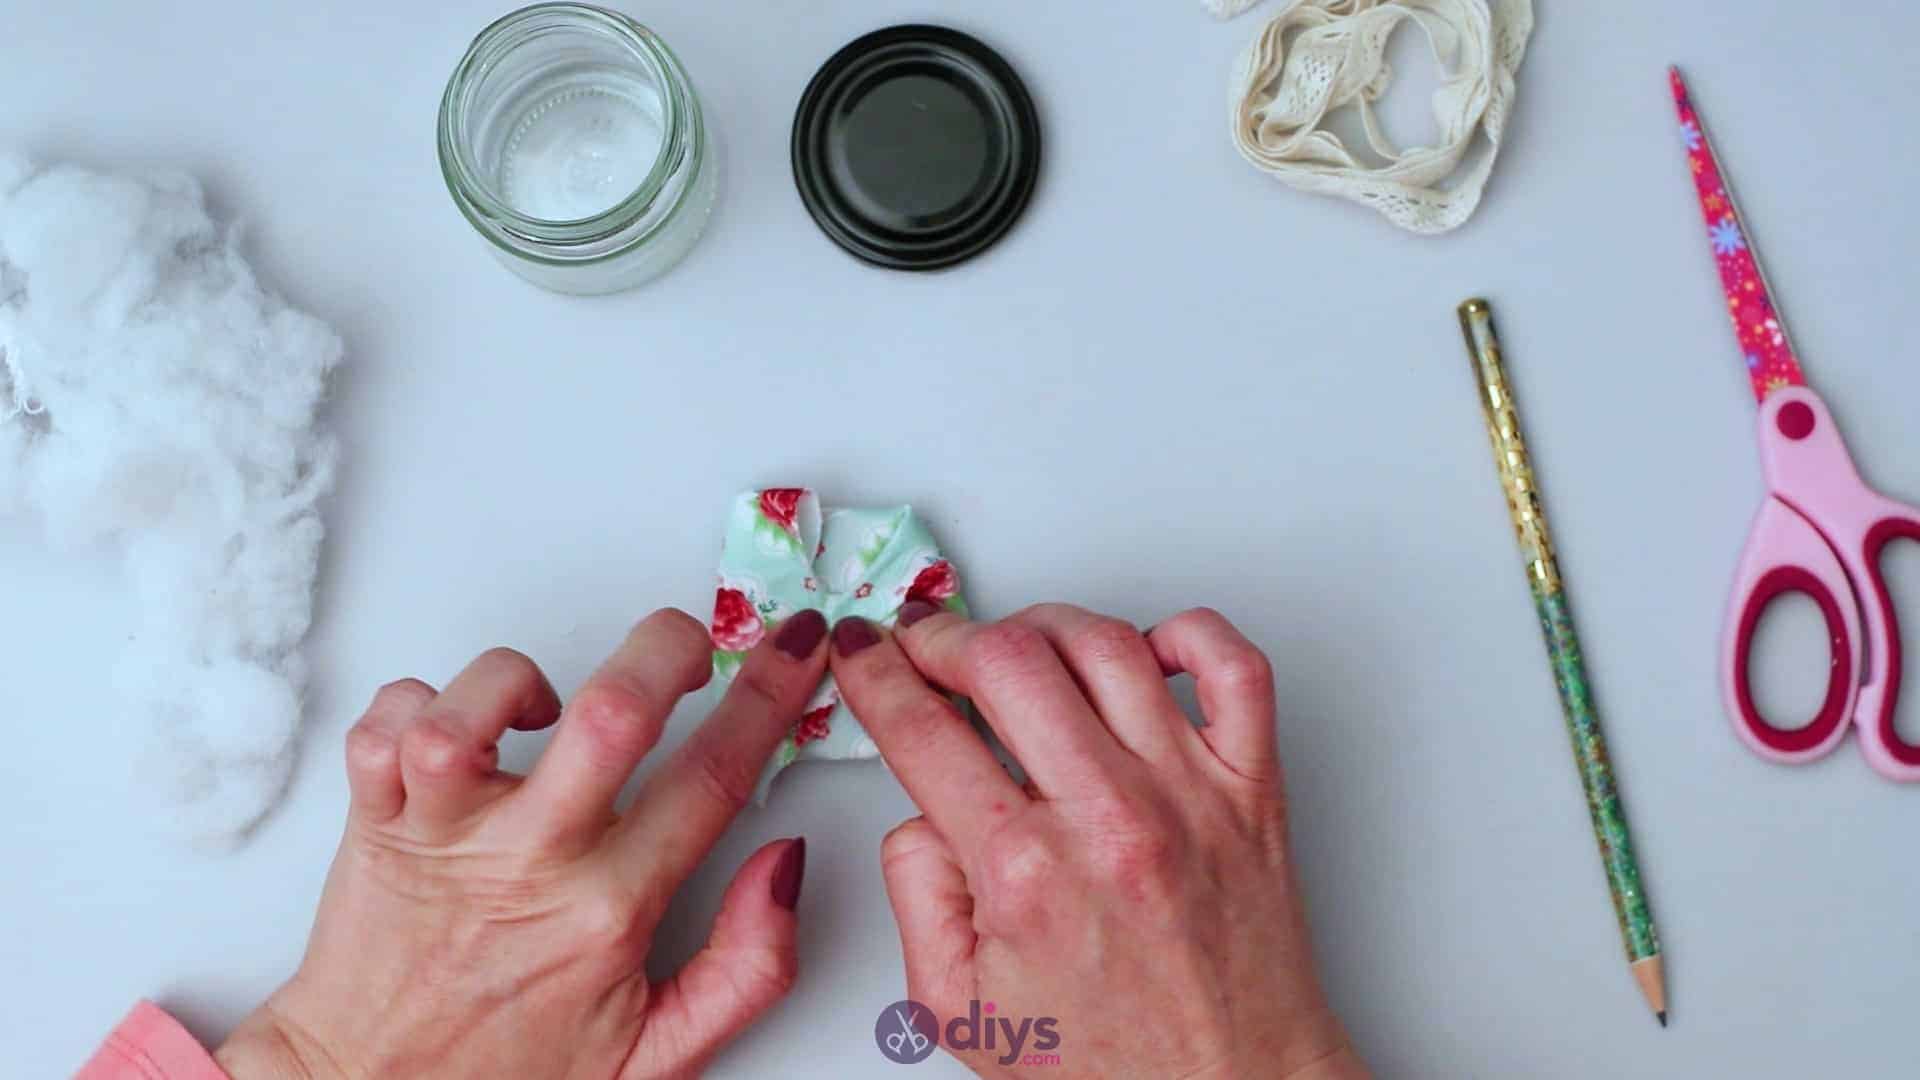
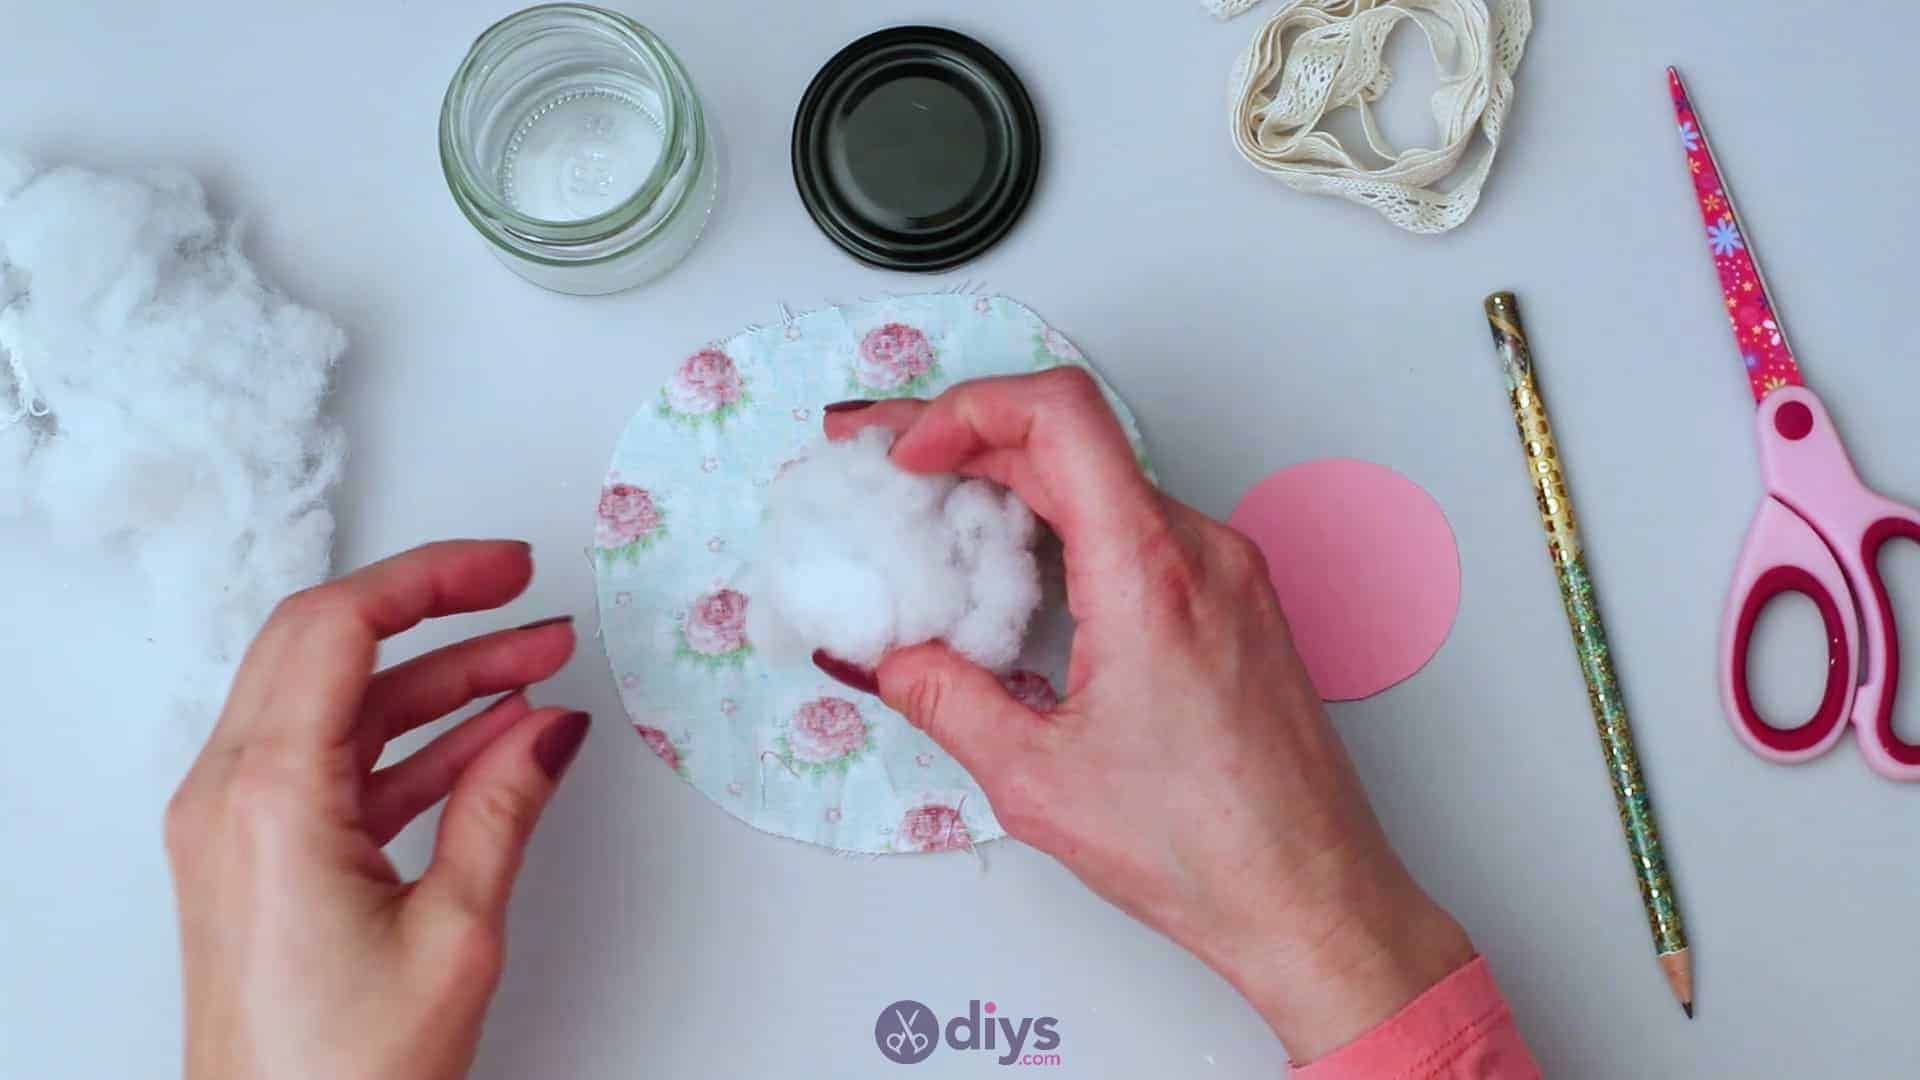
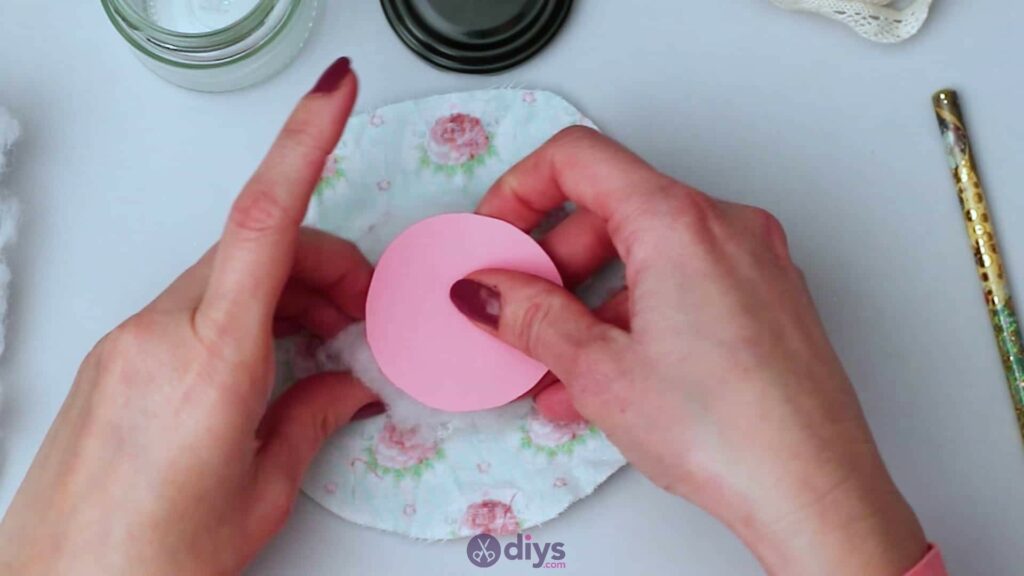
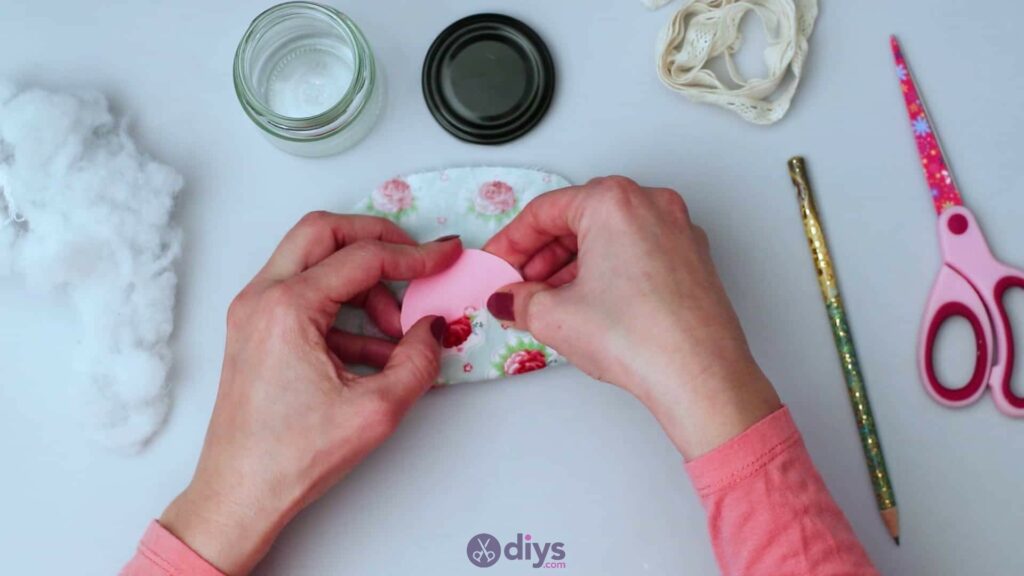
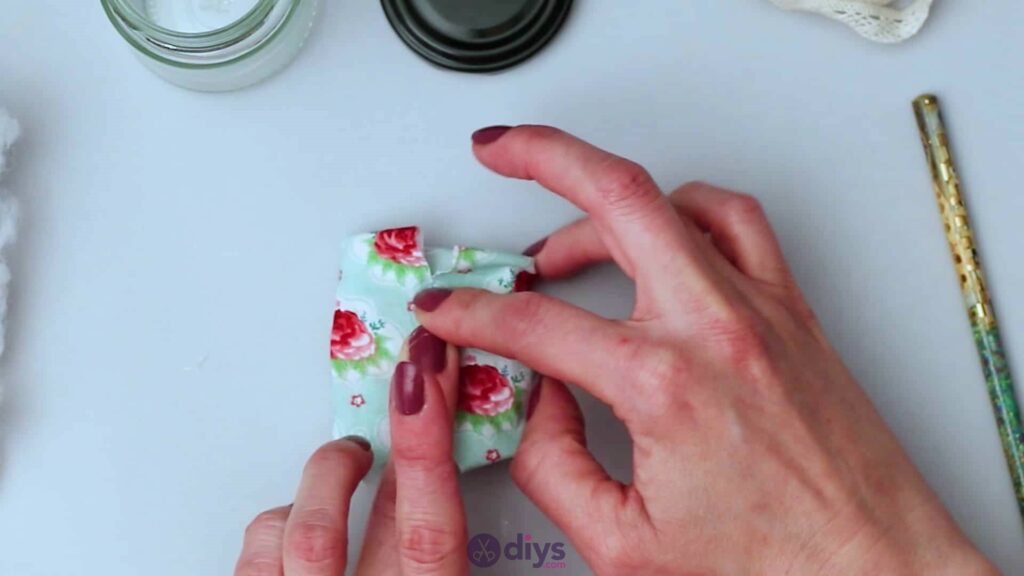
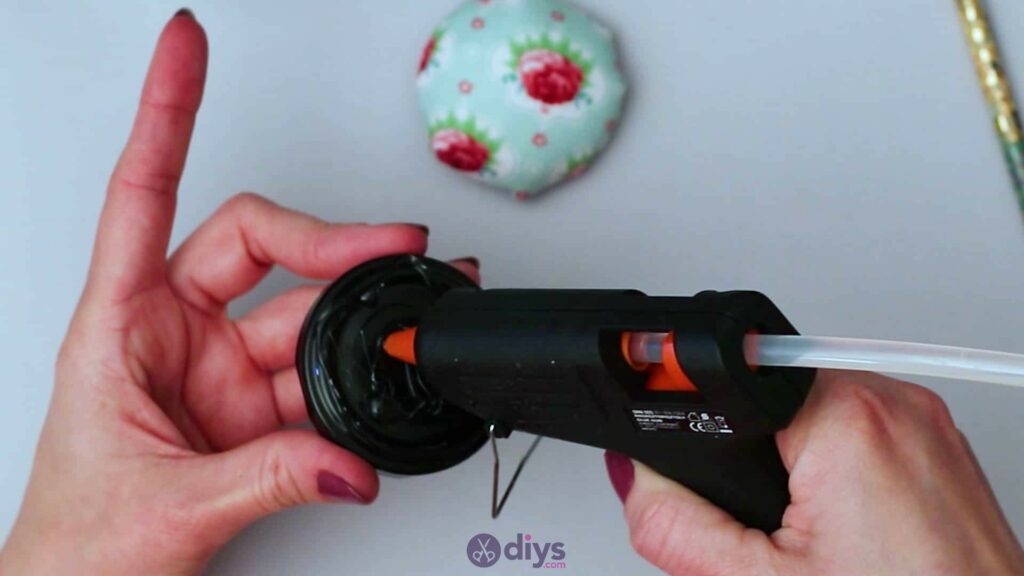
Step 4: Making the cushion
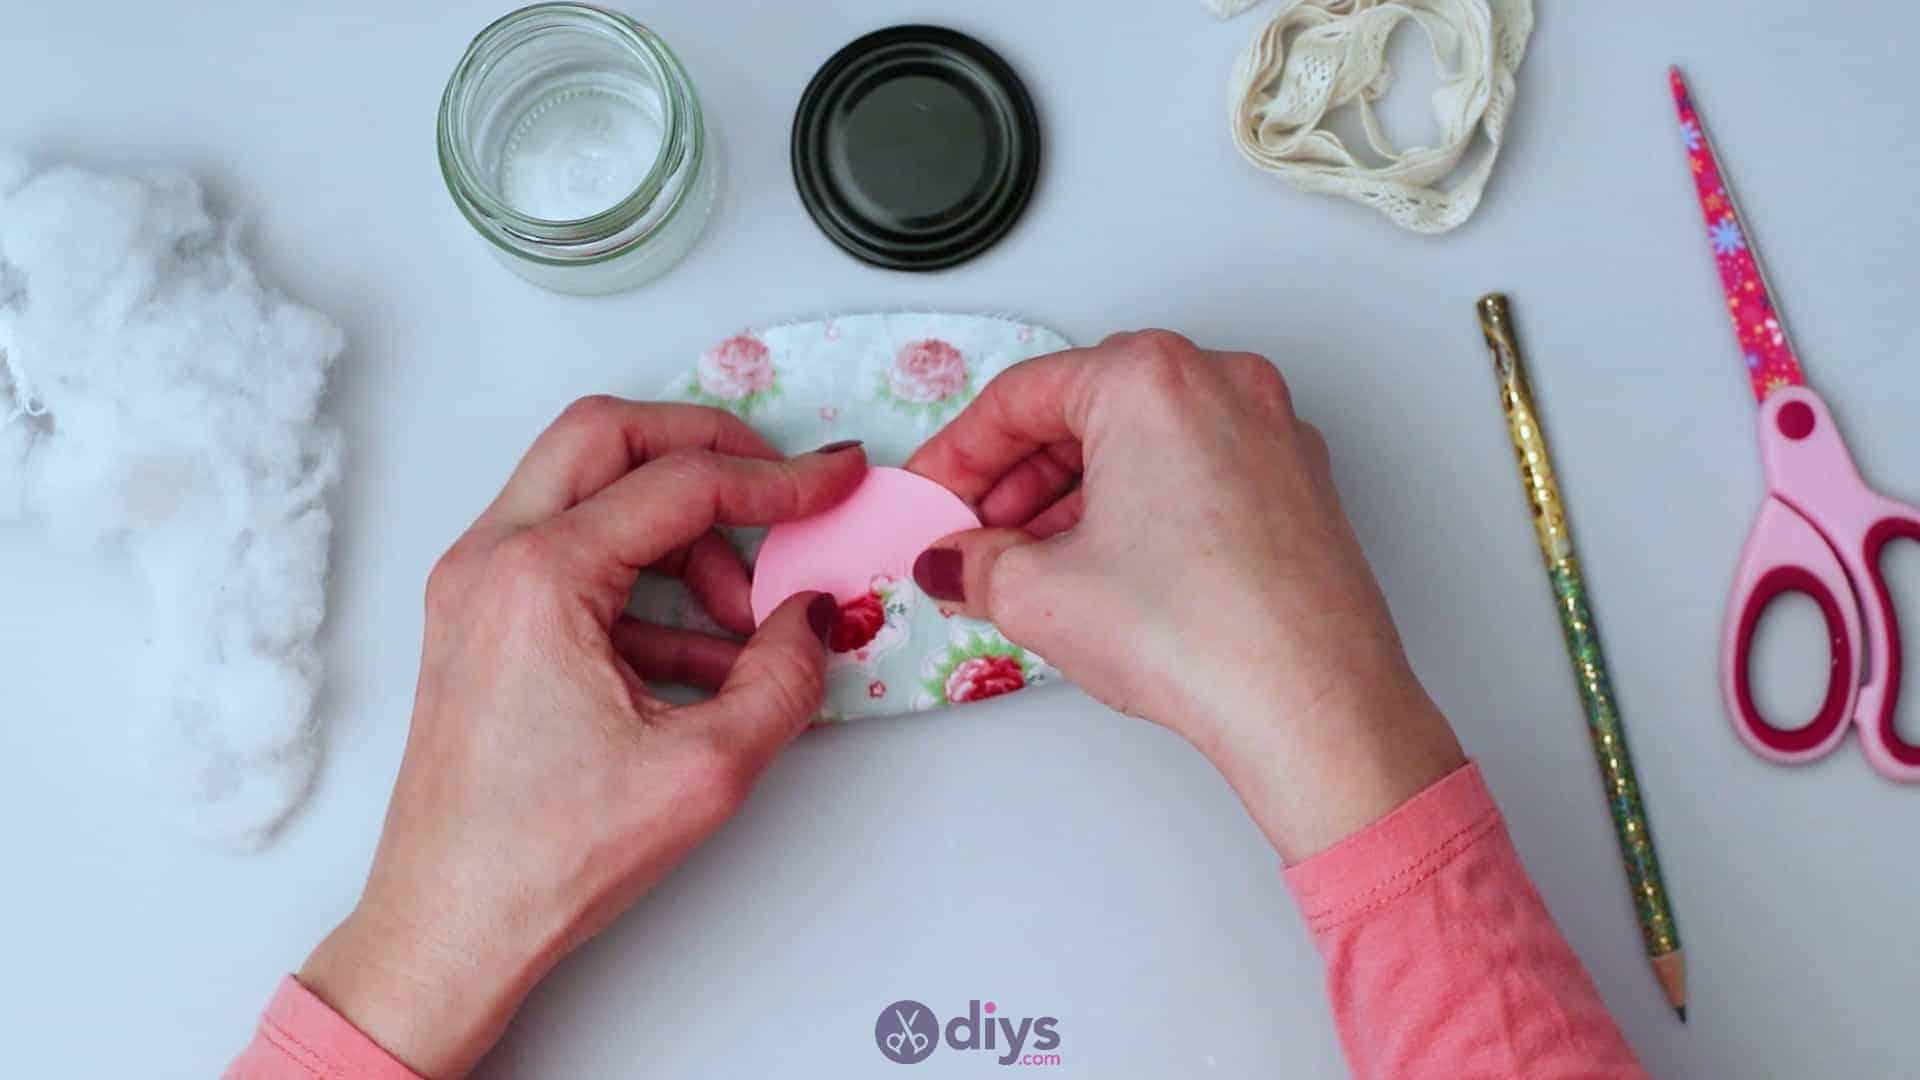
Now you’ll make the actual cushion part of your pin cushion! Turn your fabric circle over so the side that you want to show off faces down against your tabletop (for me, this was the clearly patterned side). Pull off a small handful of stuffing or fibrefill that’s about an inch in diameter, or roughly the same size around as your original paper circle. Put it in the very centre of your fabric circle and then place your paper circle on top, so the fibrefill sits between the two.
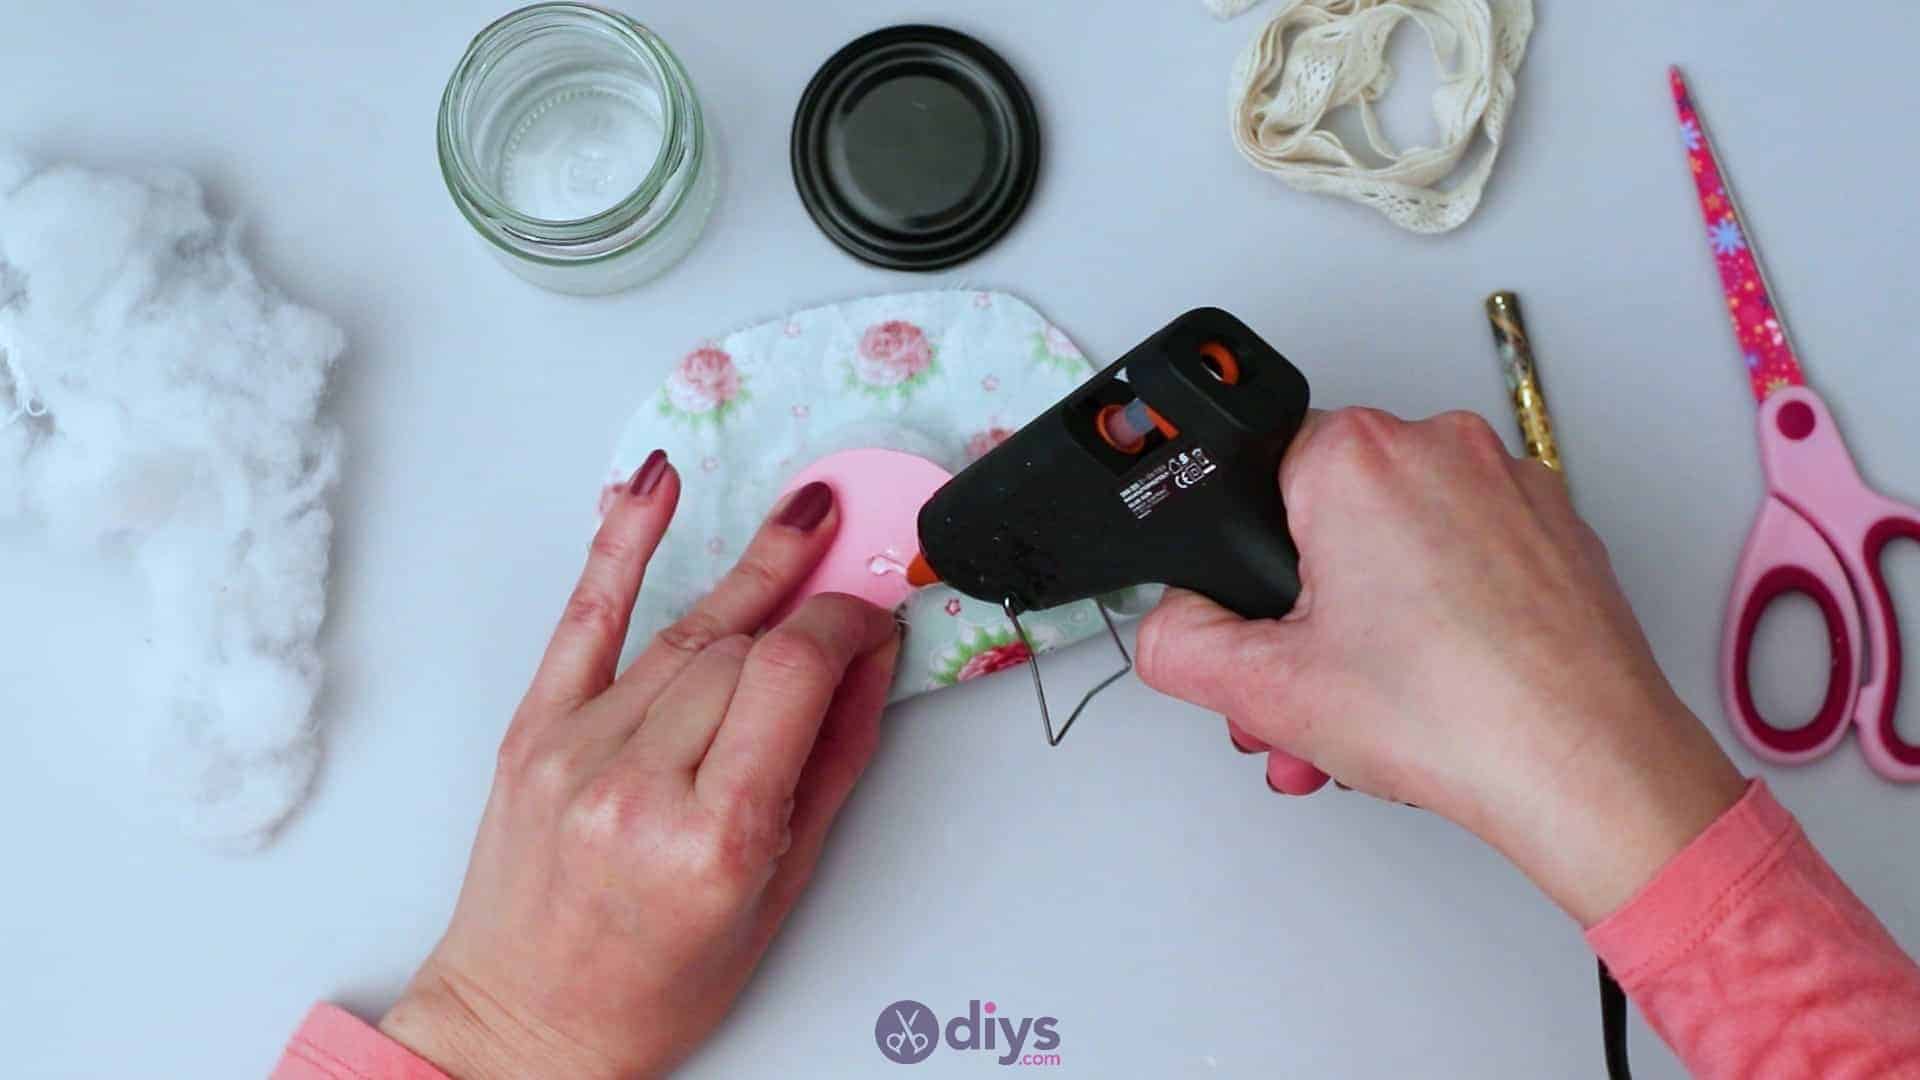
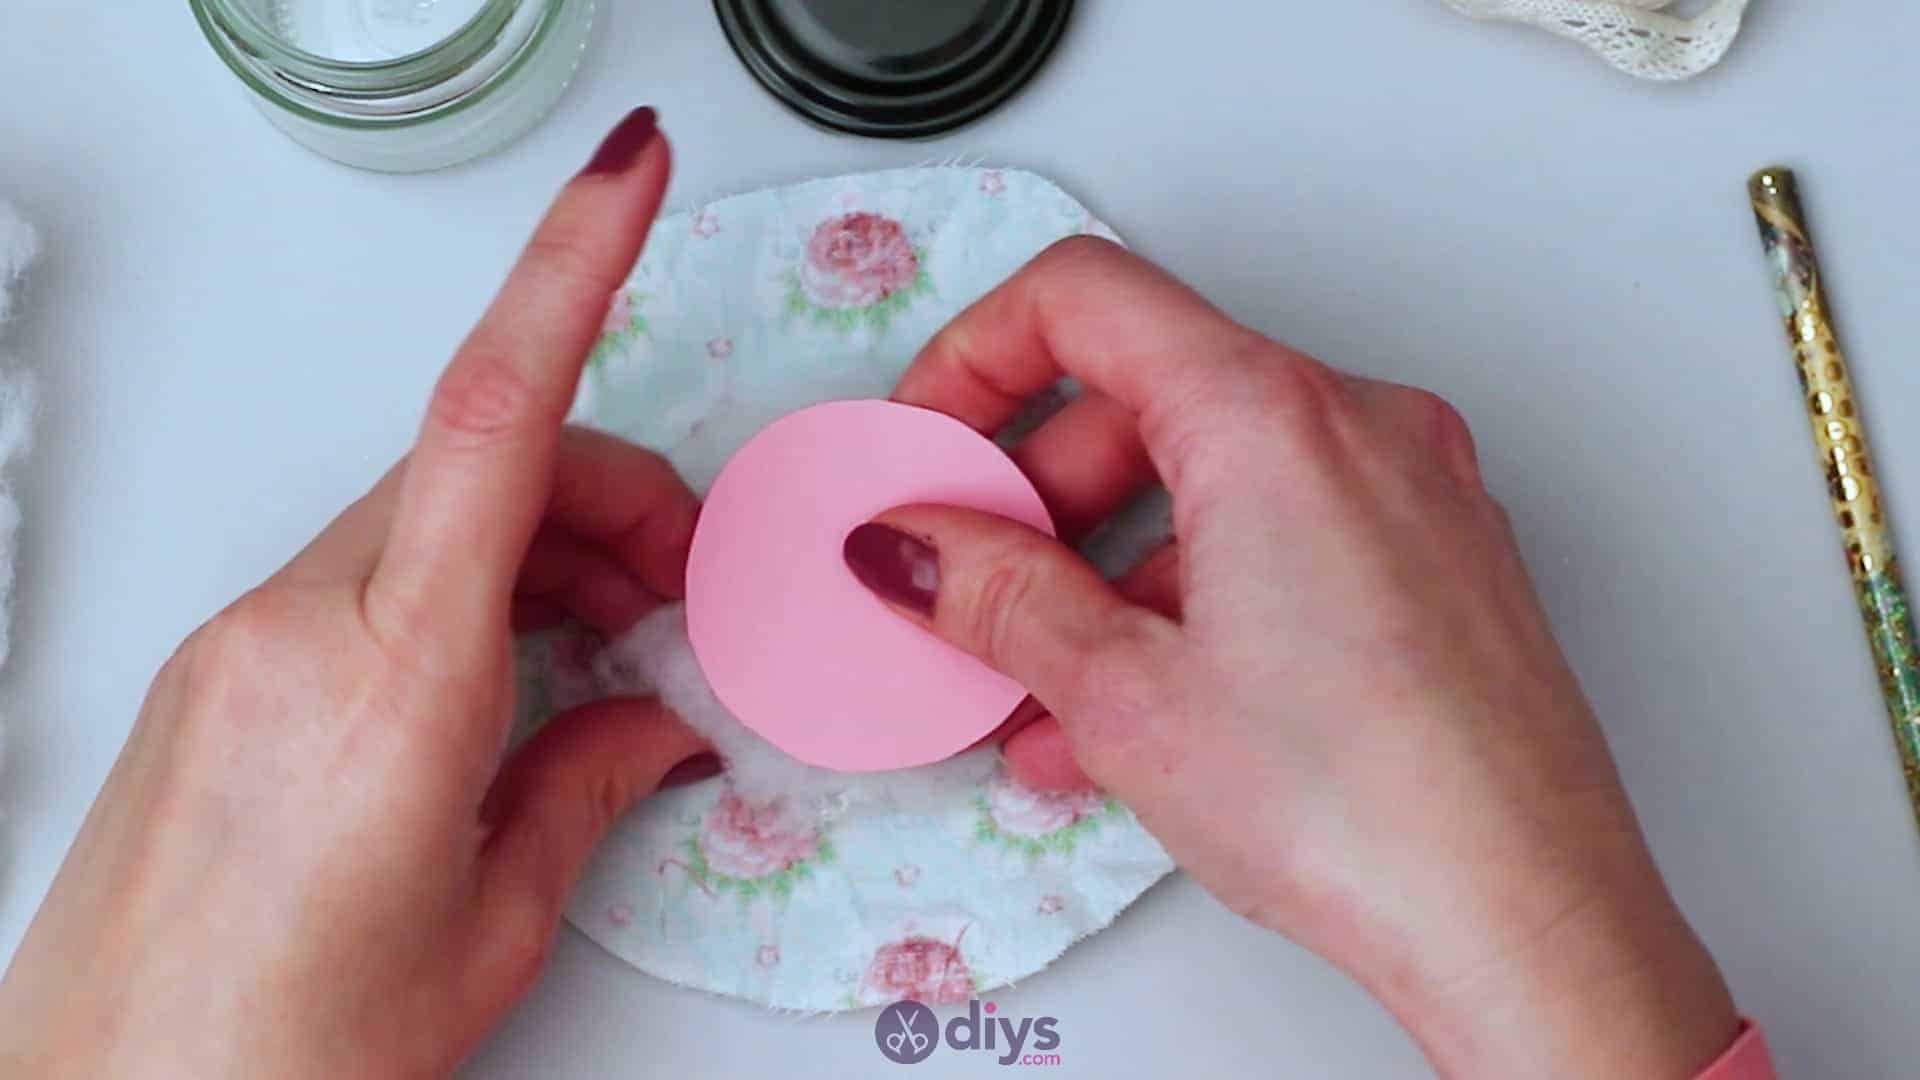
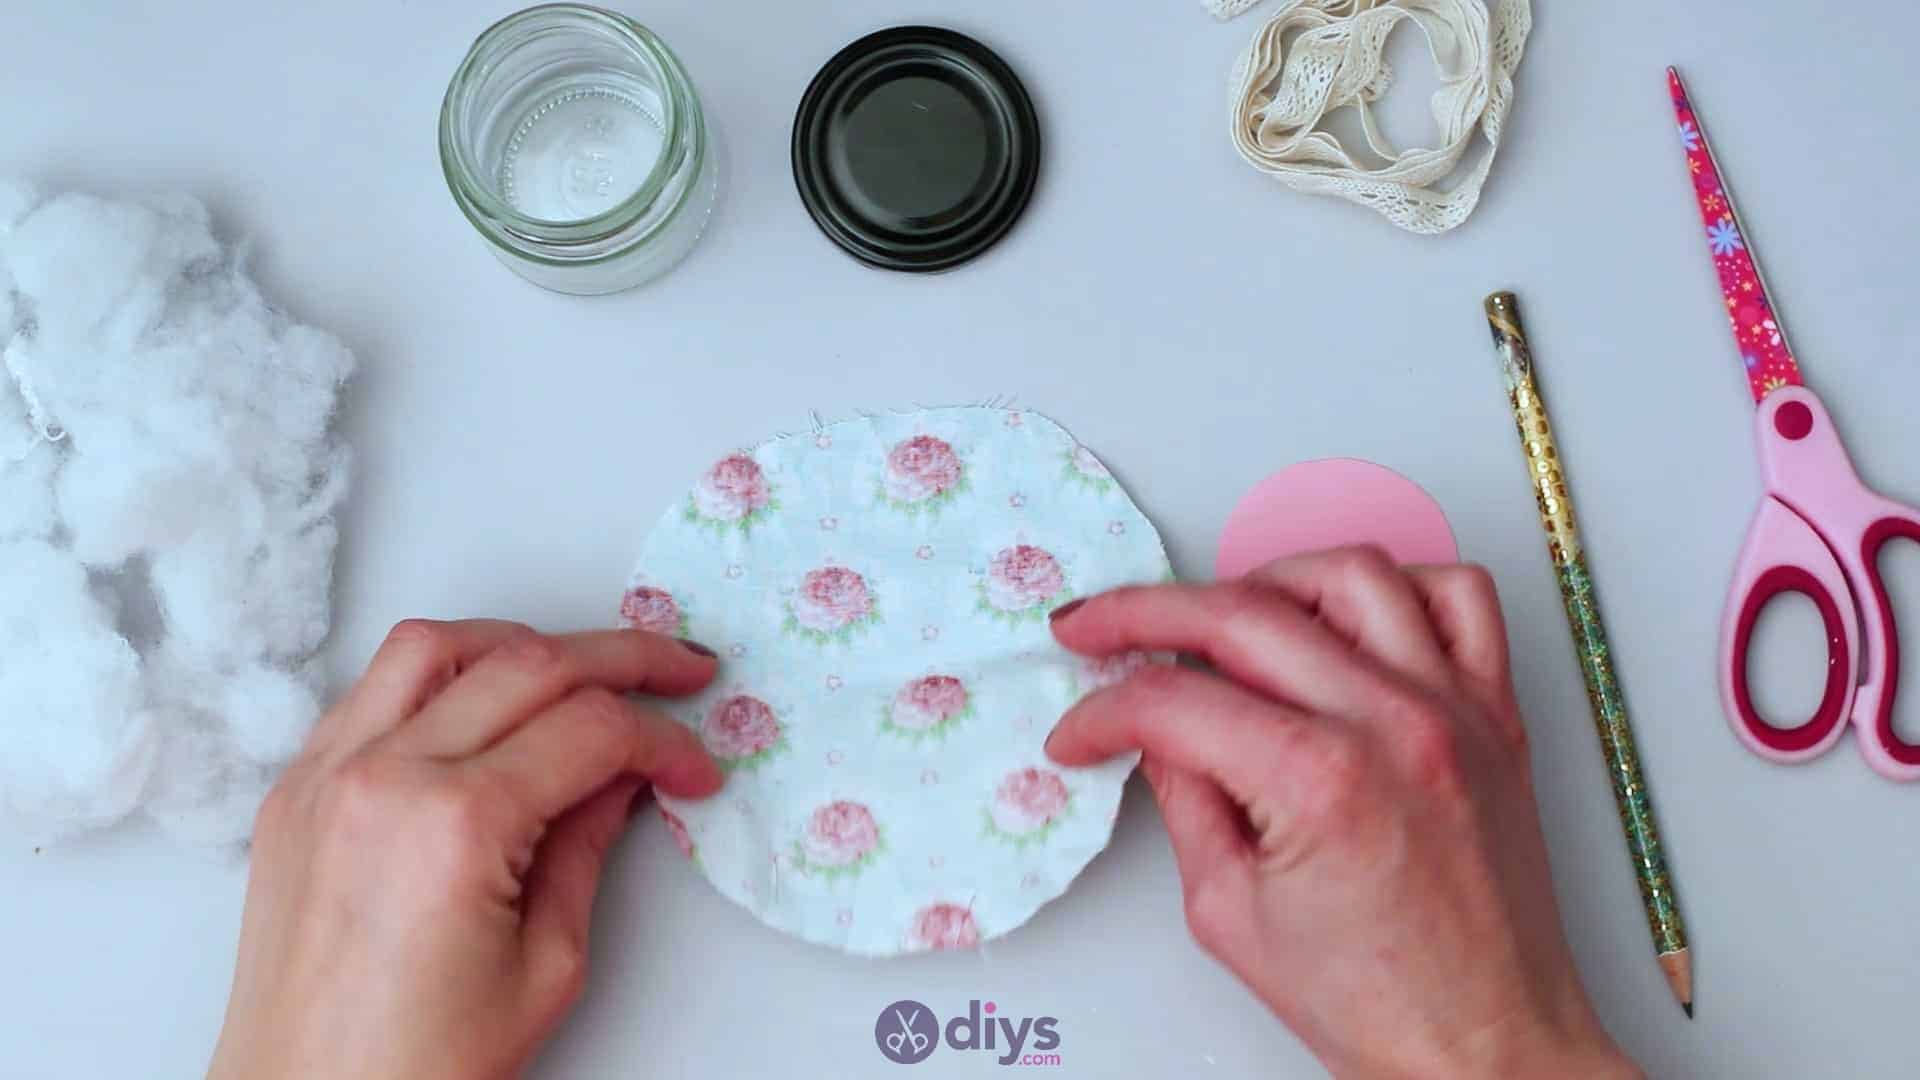
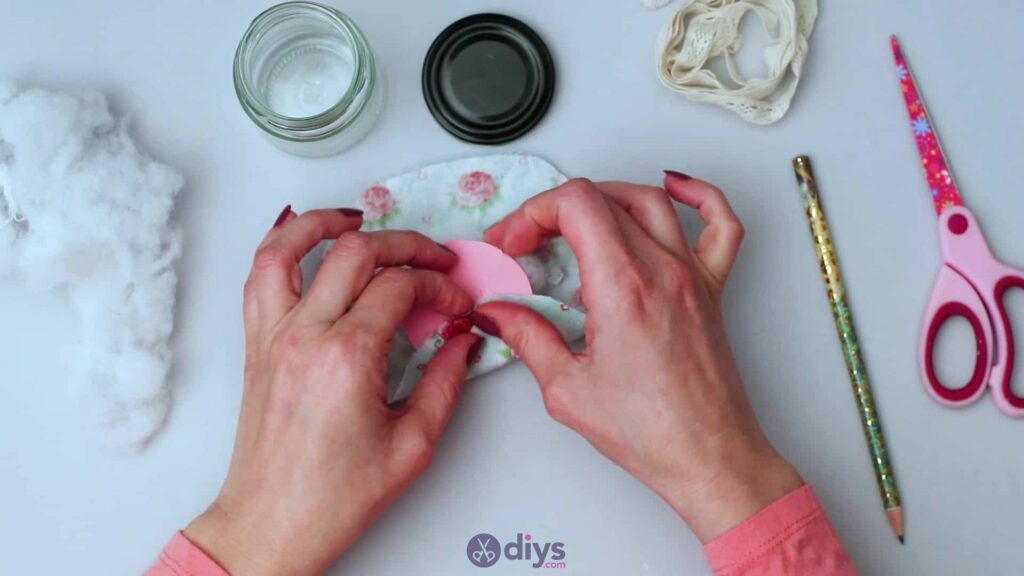
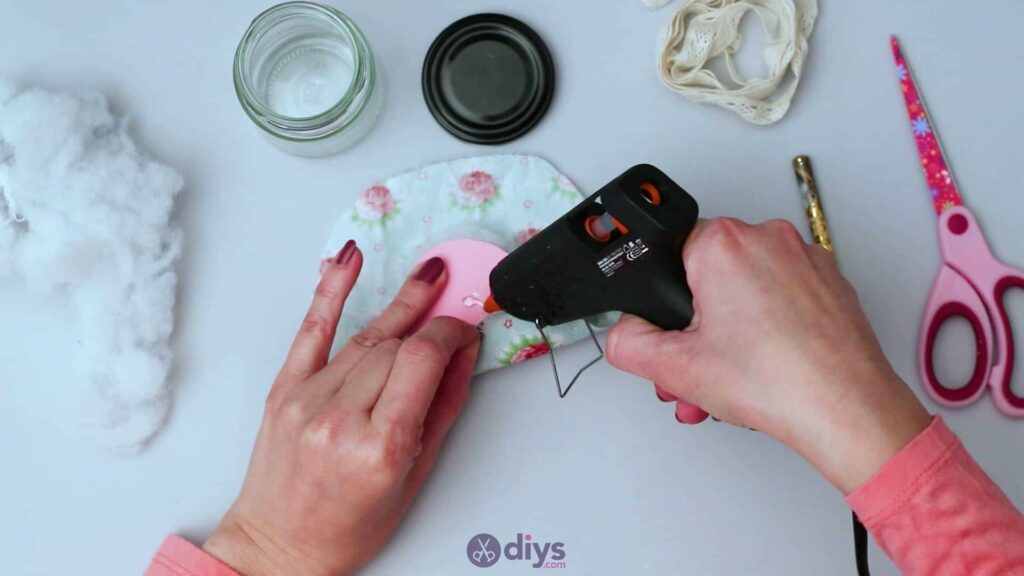
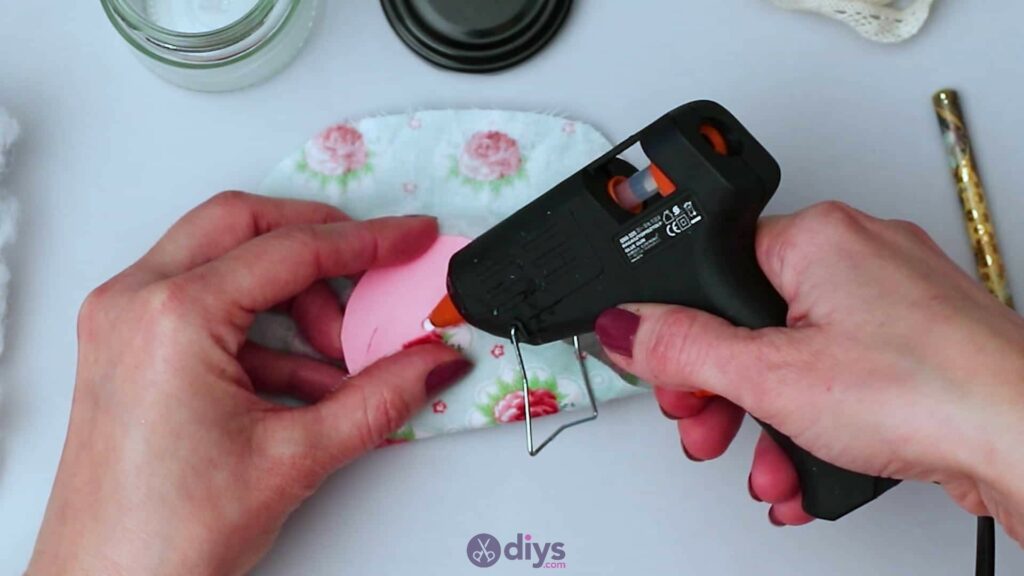
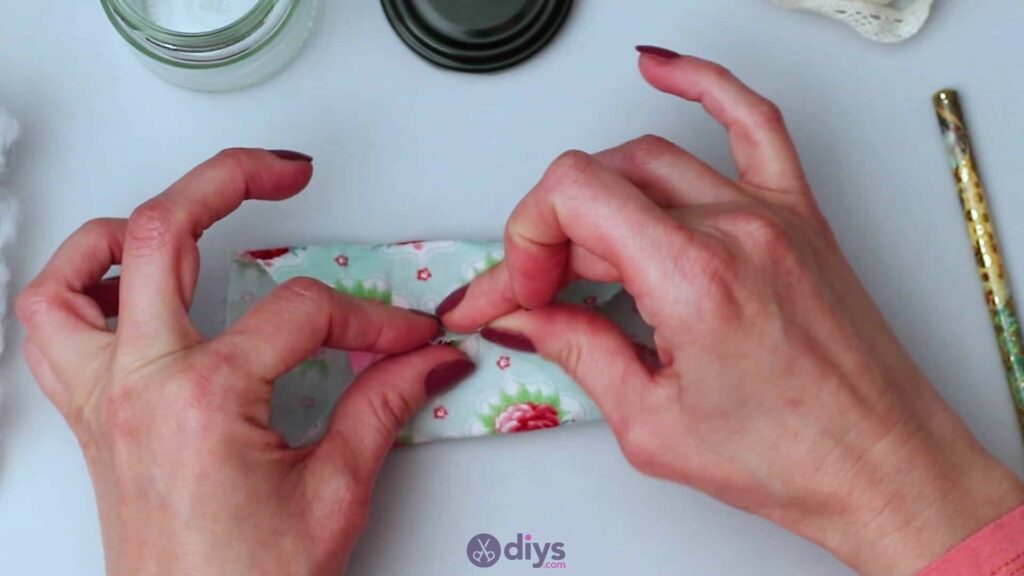
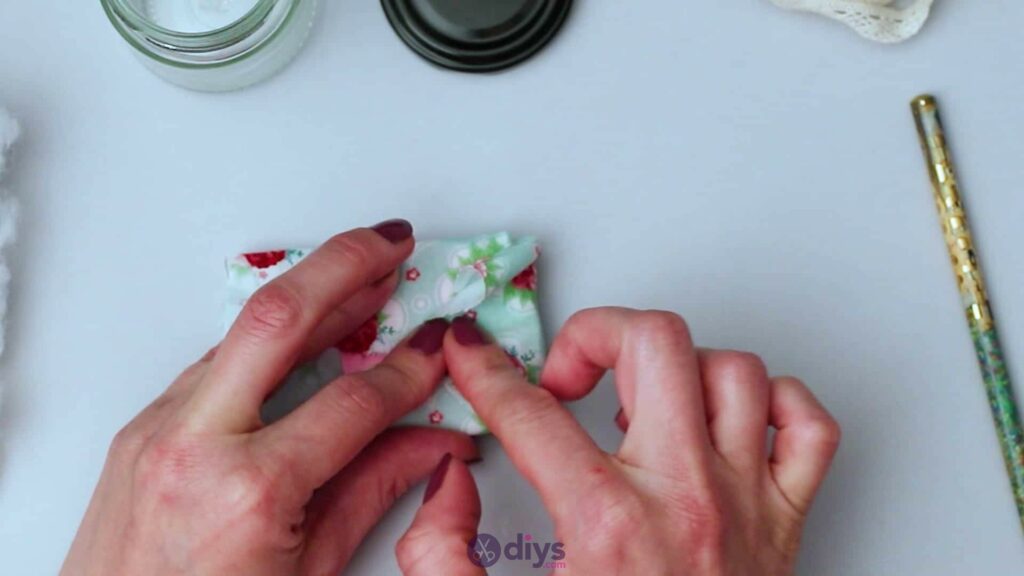
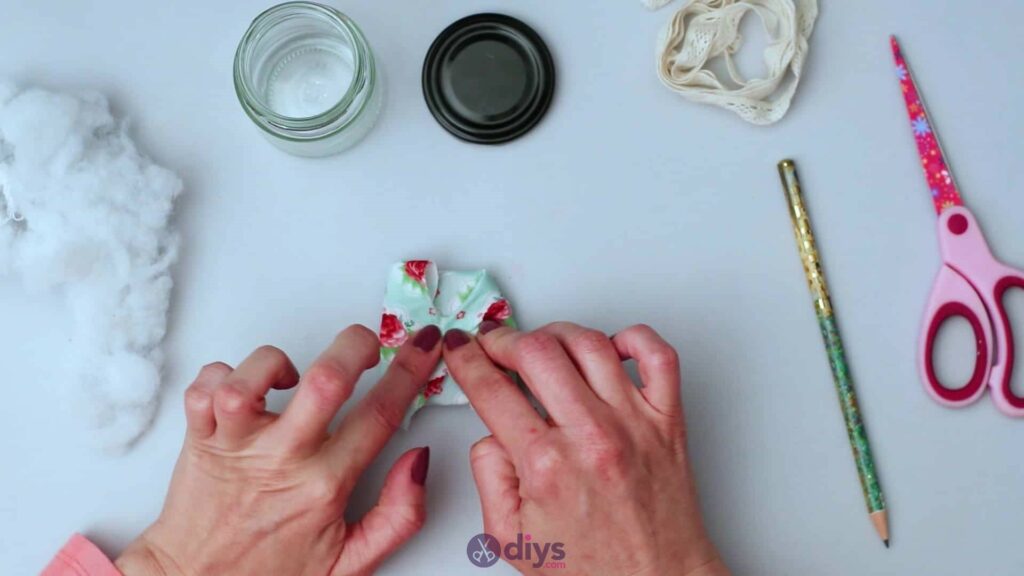
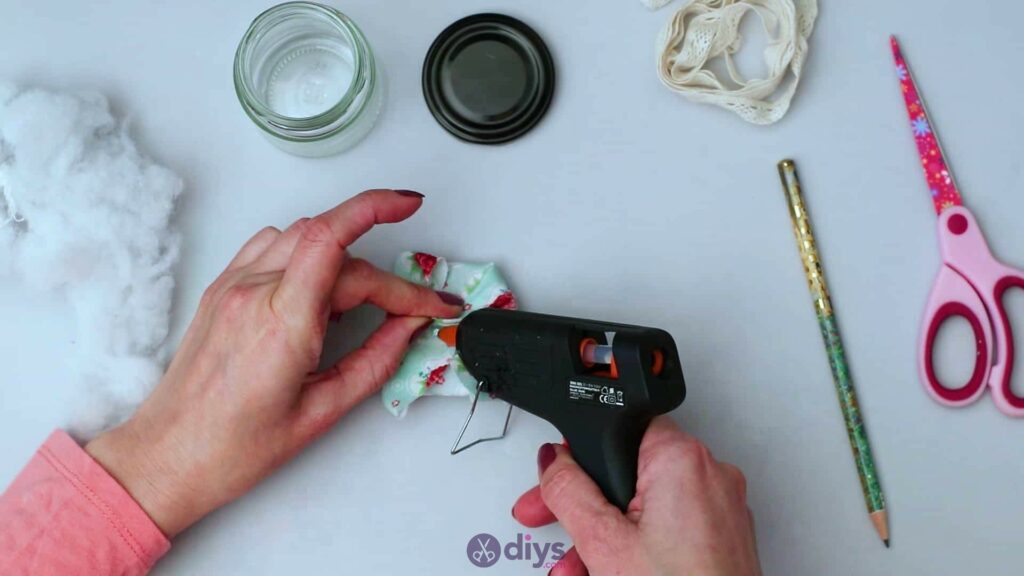
Use your hot glue gun to apply a bit of hot glue in the centre of your paper circle and fold the top of the fabric circle up and over the edge of the paper to close around the fibrefill and stick in the glue. Repeat this process with the bottom of your fabric circle and then both sides, enclosing your fibrefill inside. Finish the cushion off by folding the remaining bits at each corner of the glued underside you’ve been working on back on or under themselves (whichever you think looks neater) and into the centre, gluing the ends in place.
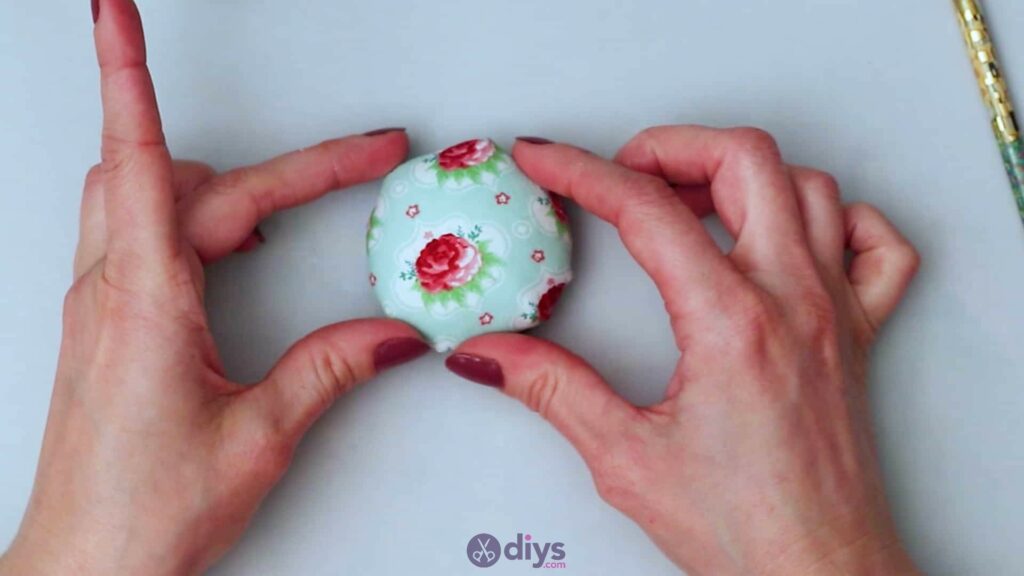
This will finish off the rounded cushion shape and fully enclose the fibrefill inside. Make sure that central points where you’ve been gluing the fabric to the paper circle is quite flat and neat as well, as you’ll need the cushion to sit just right on this bottom side in a moment.

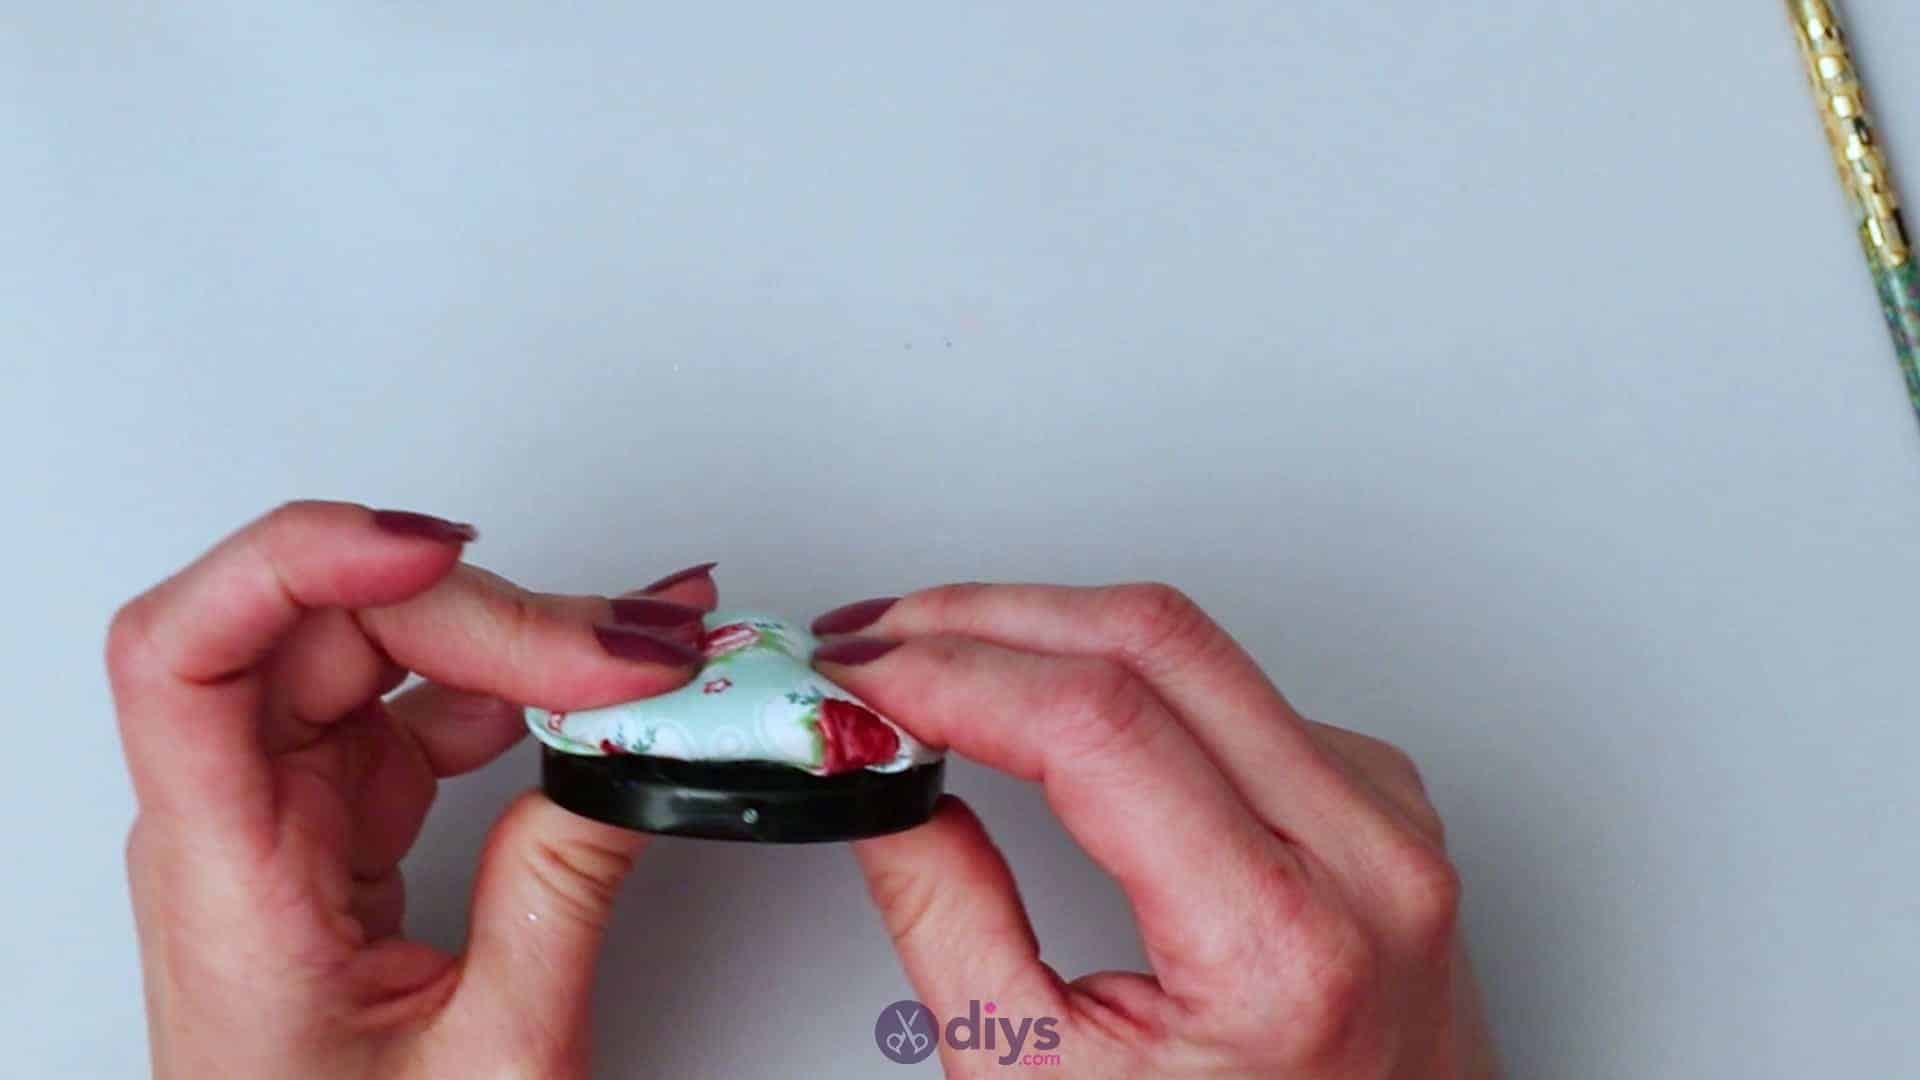
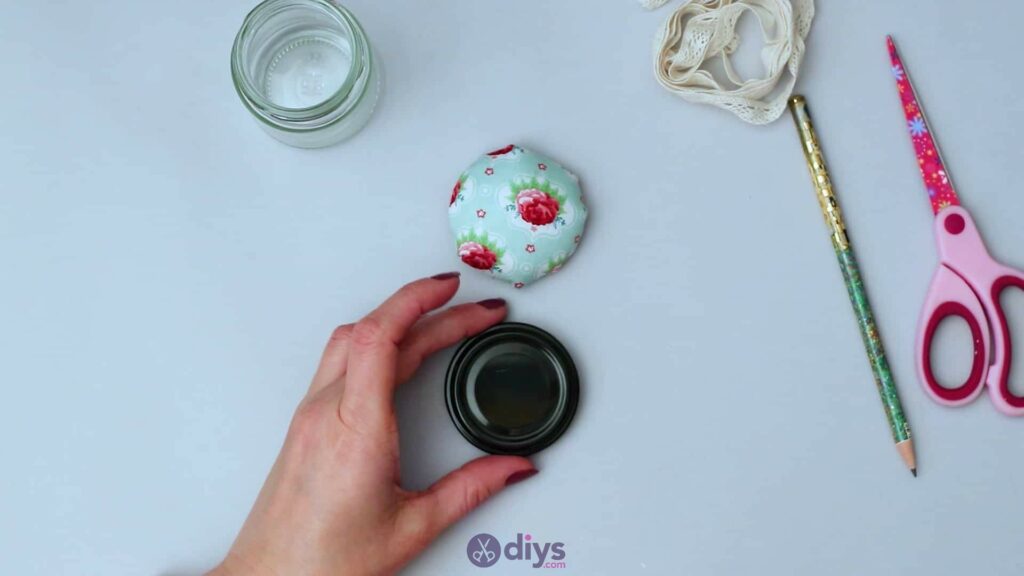
Step 5: Attach to lid
Use your hot glue gun to apply glue all around the edge of the top of your mason jar lid, and all over the centre of its surface as well. Turn the cushion you just finished over so its smooth, rounded side is upwards and stick its bottom side, where you did all that folding and gluing, down into the glue on the top of your lid. Do your best to line the edges of the cushions circular bottom up evenly with the edges of your lid. This shouldn’t be hard since you already measured them to each other’s size, but you still want to make sure they sit just right, rather than having your cushion shifted over slightly so it sticks over the lid’s edge on one side and leaves part of the lid’s top uncovered on the other.


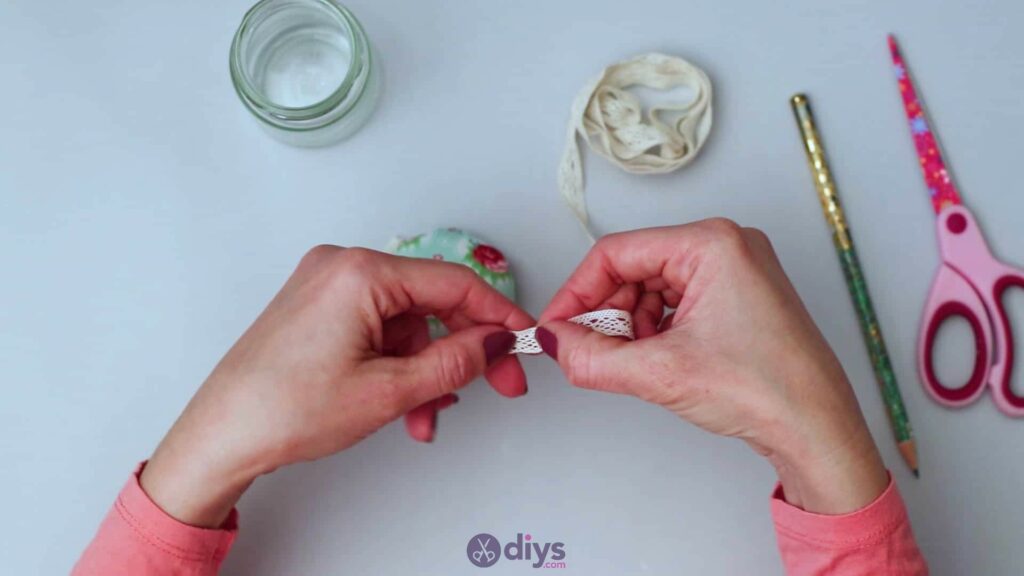
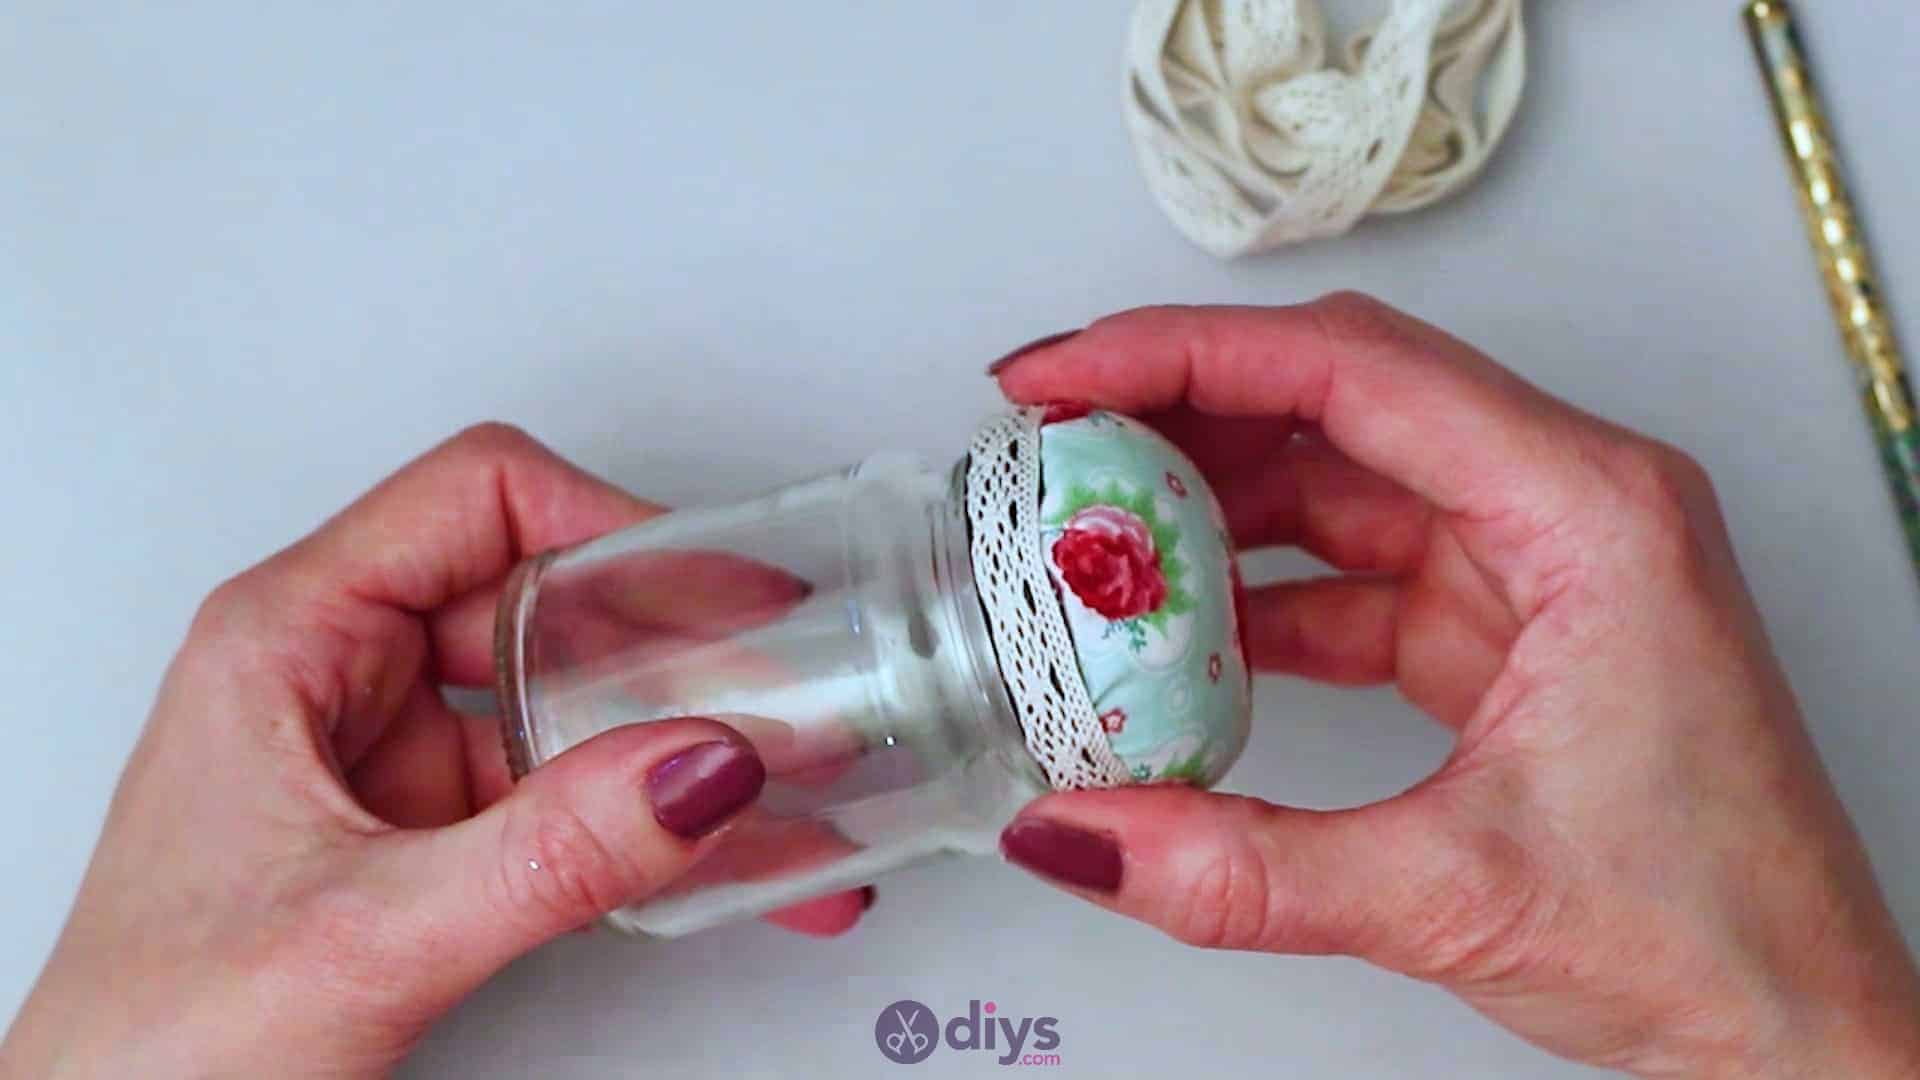
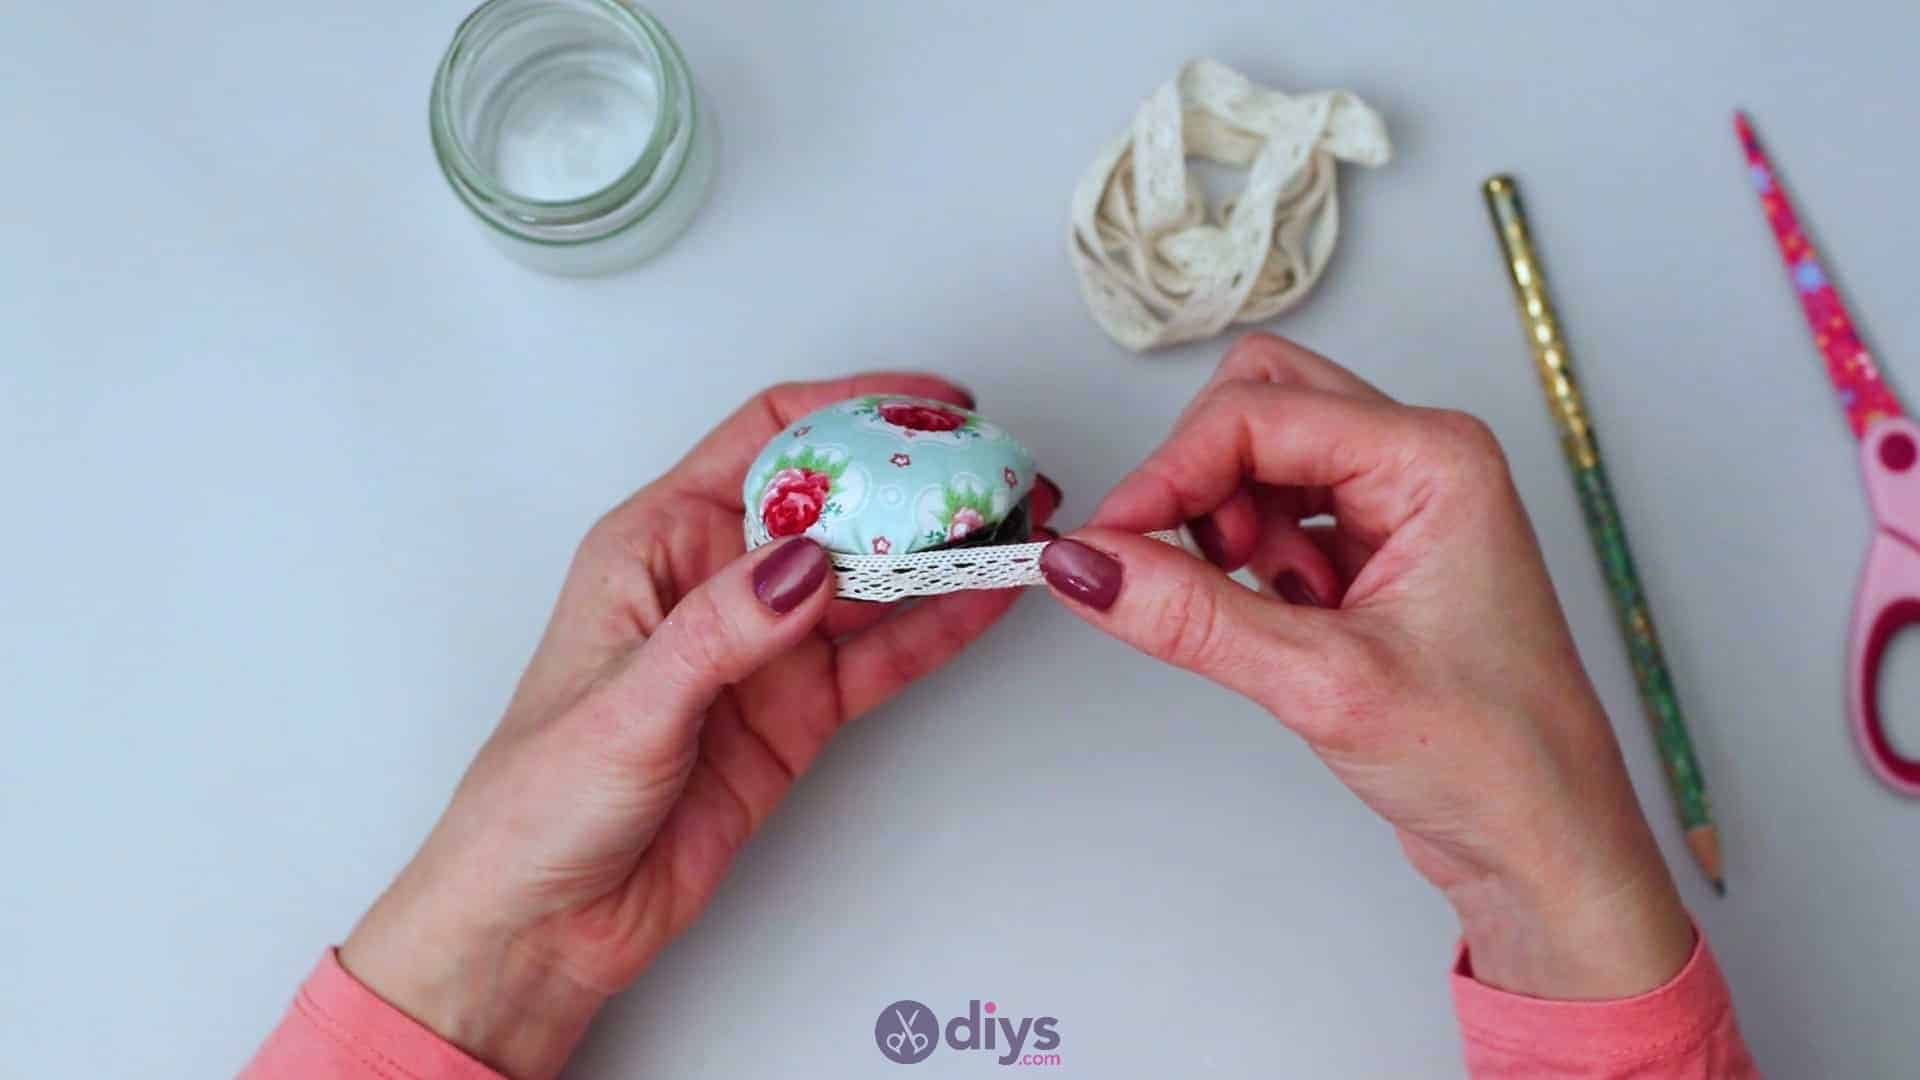
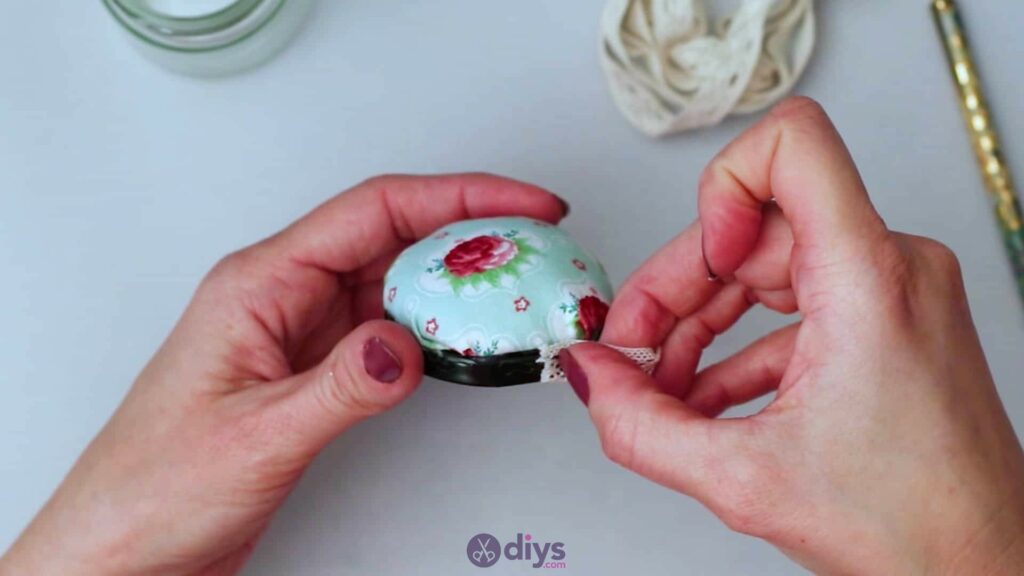
Step 6: Adding ribbon
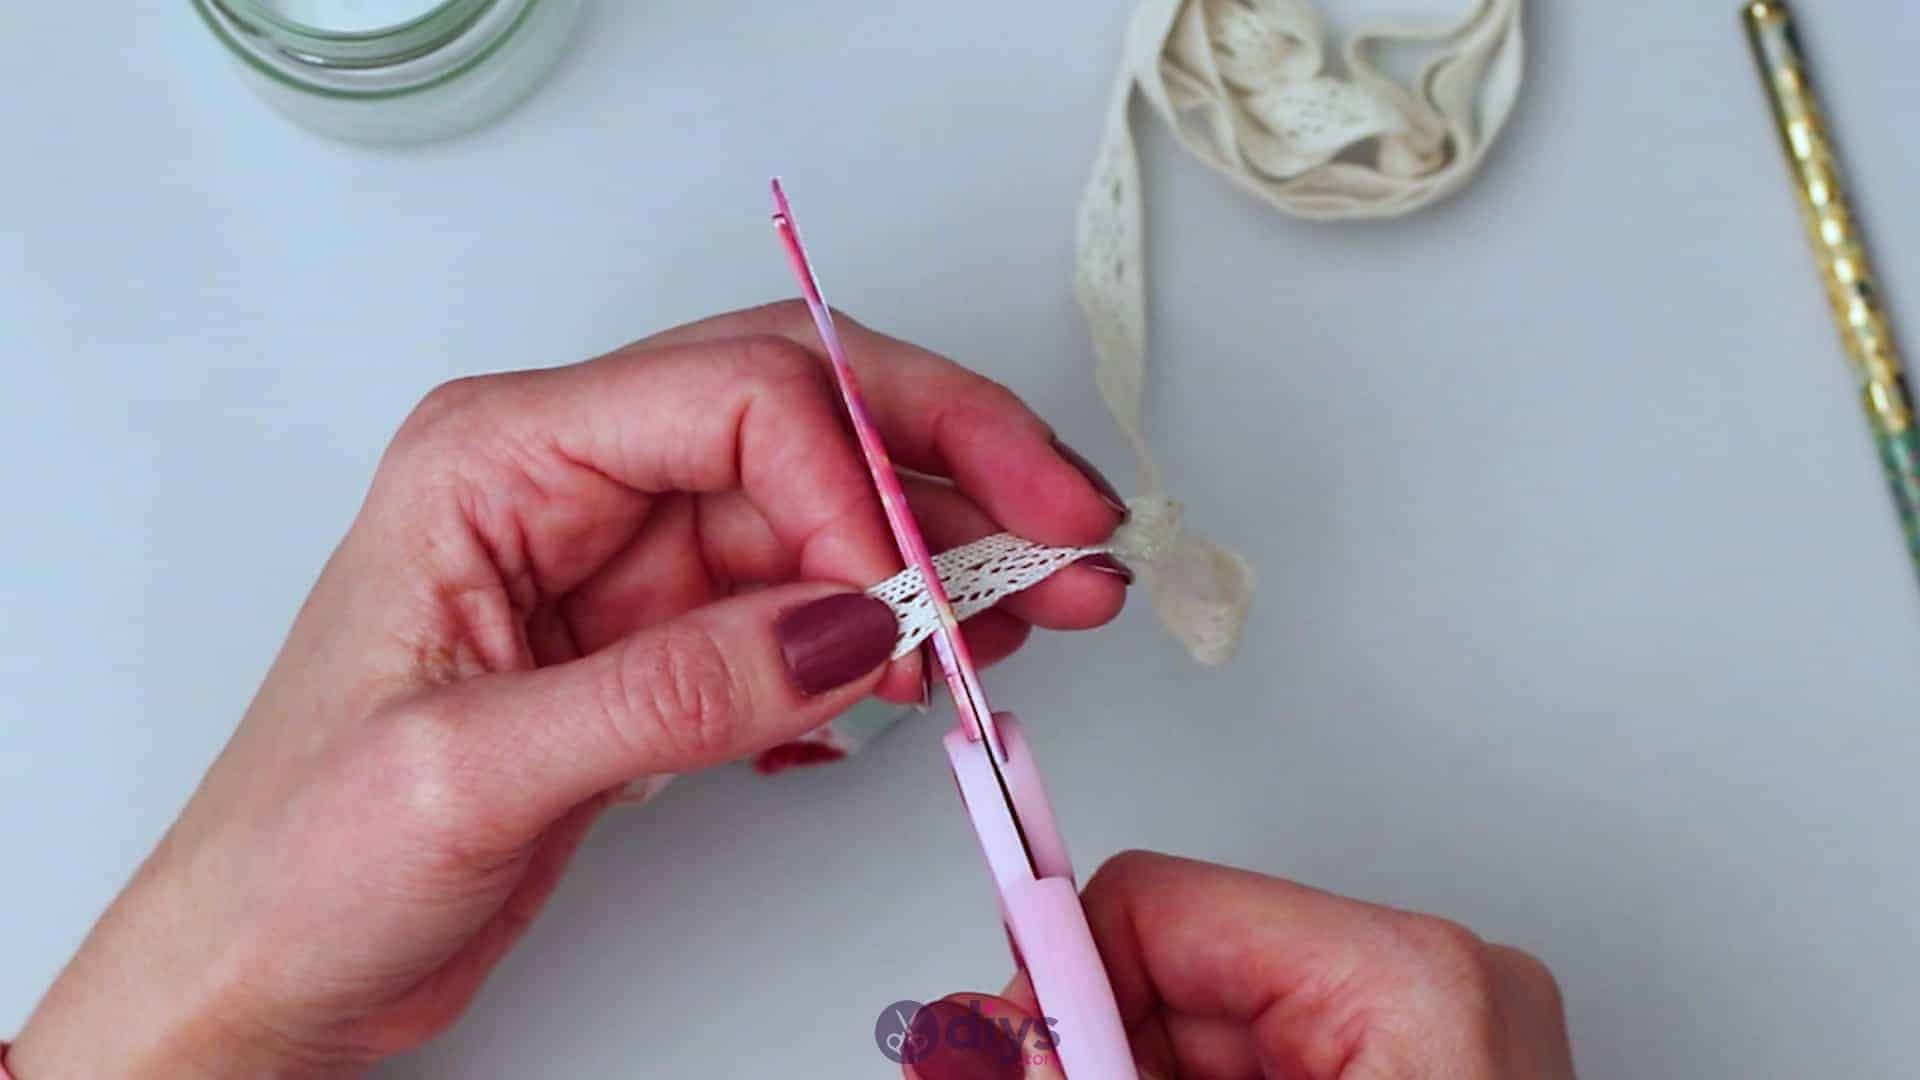
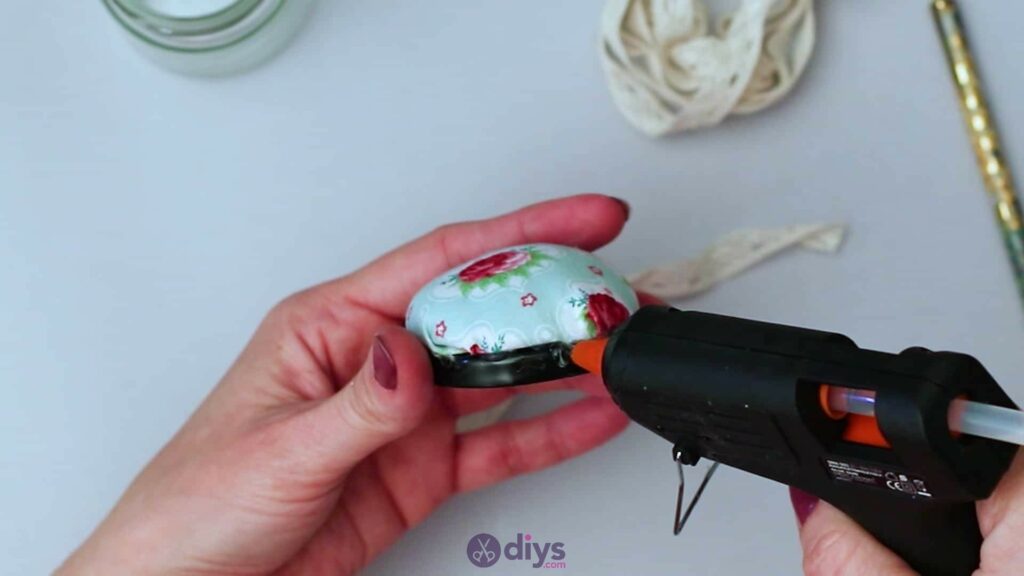
Measure out a piece of lace ribbon that’s the same length as the outside edge of your mason jar lid, all the way around. Leave a little extra on the length for a small overlap with the point you started at. Cut the ribbon. Turn your mason jar lid so you can clearly see the edge and apply a dot of glue right on the lid itself (not higher up on the fabric of the cushion). Stick the cut edge of your lace ribbon into this glue, making sure that the bottom long edge of your ribbon’s length lines up evenly with the bottom edge of your lid.
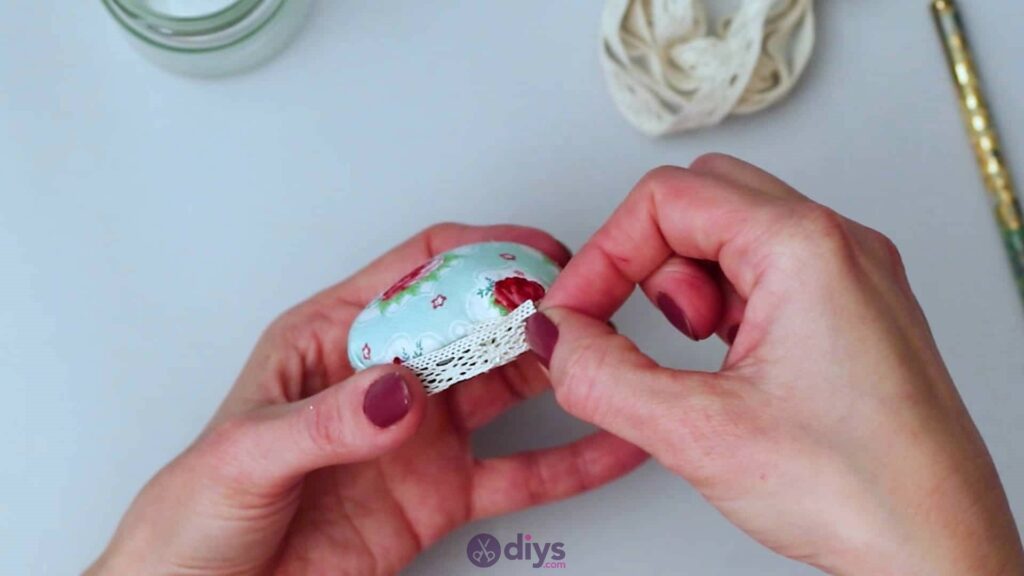
Wrap the ribbon all the way around your lid (keeping the bottom edges even throughout) until you get back to your first glued end. Apply a dot of glue on top of the ribbon there where you started and stick the loose end of your ribbon down there, with a small overlap for neatness. Use your scissors to neatly trim the excess ribbon. Your mason jar lid is now covered, giving your cushion a slightly more decorative looking base.


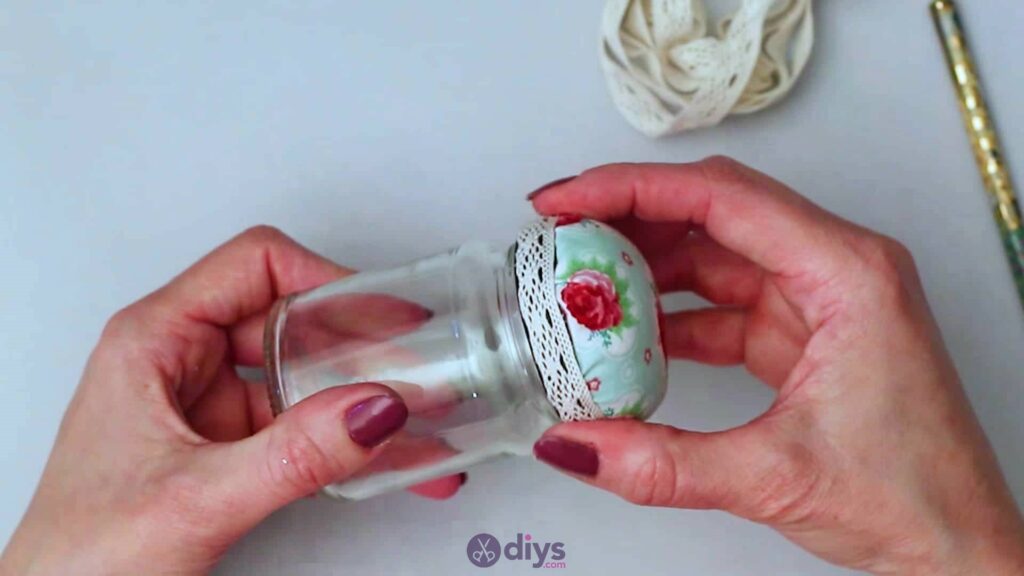

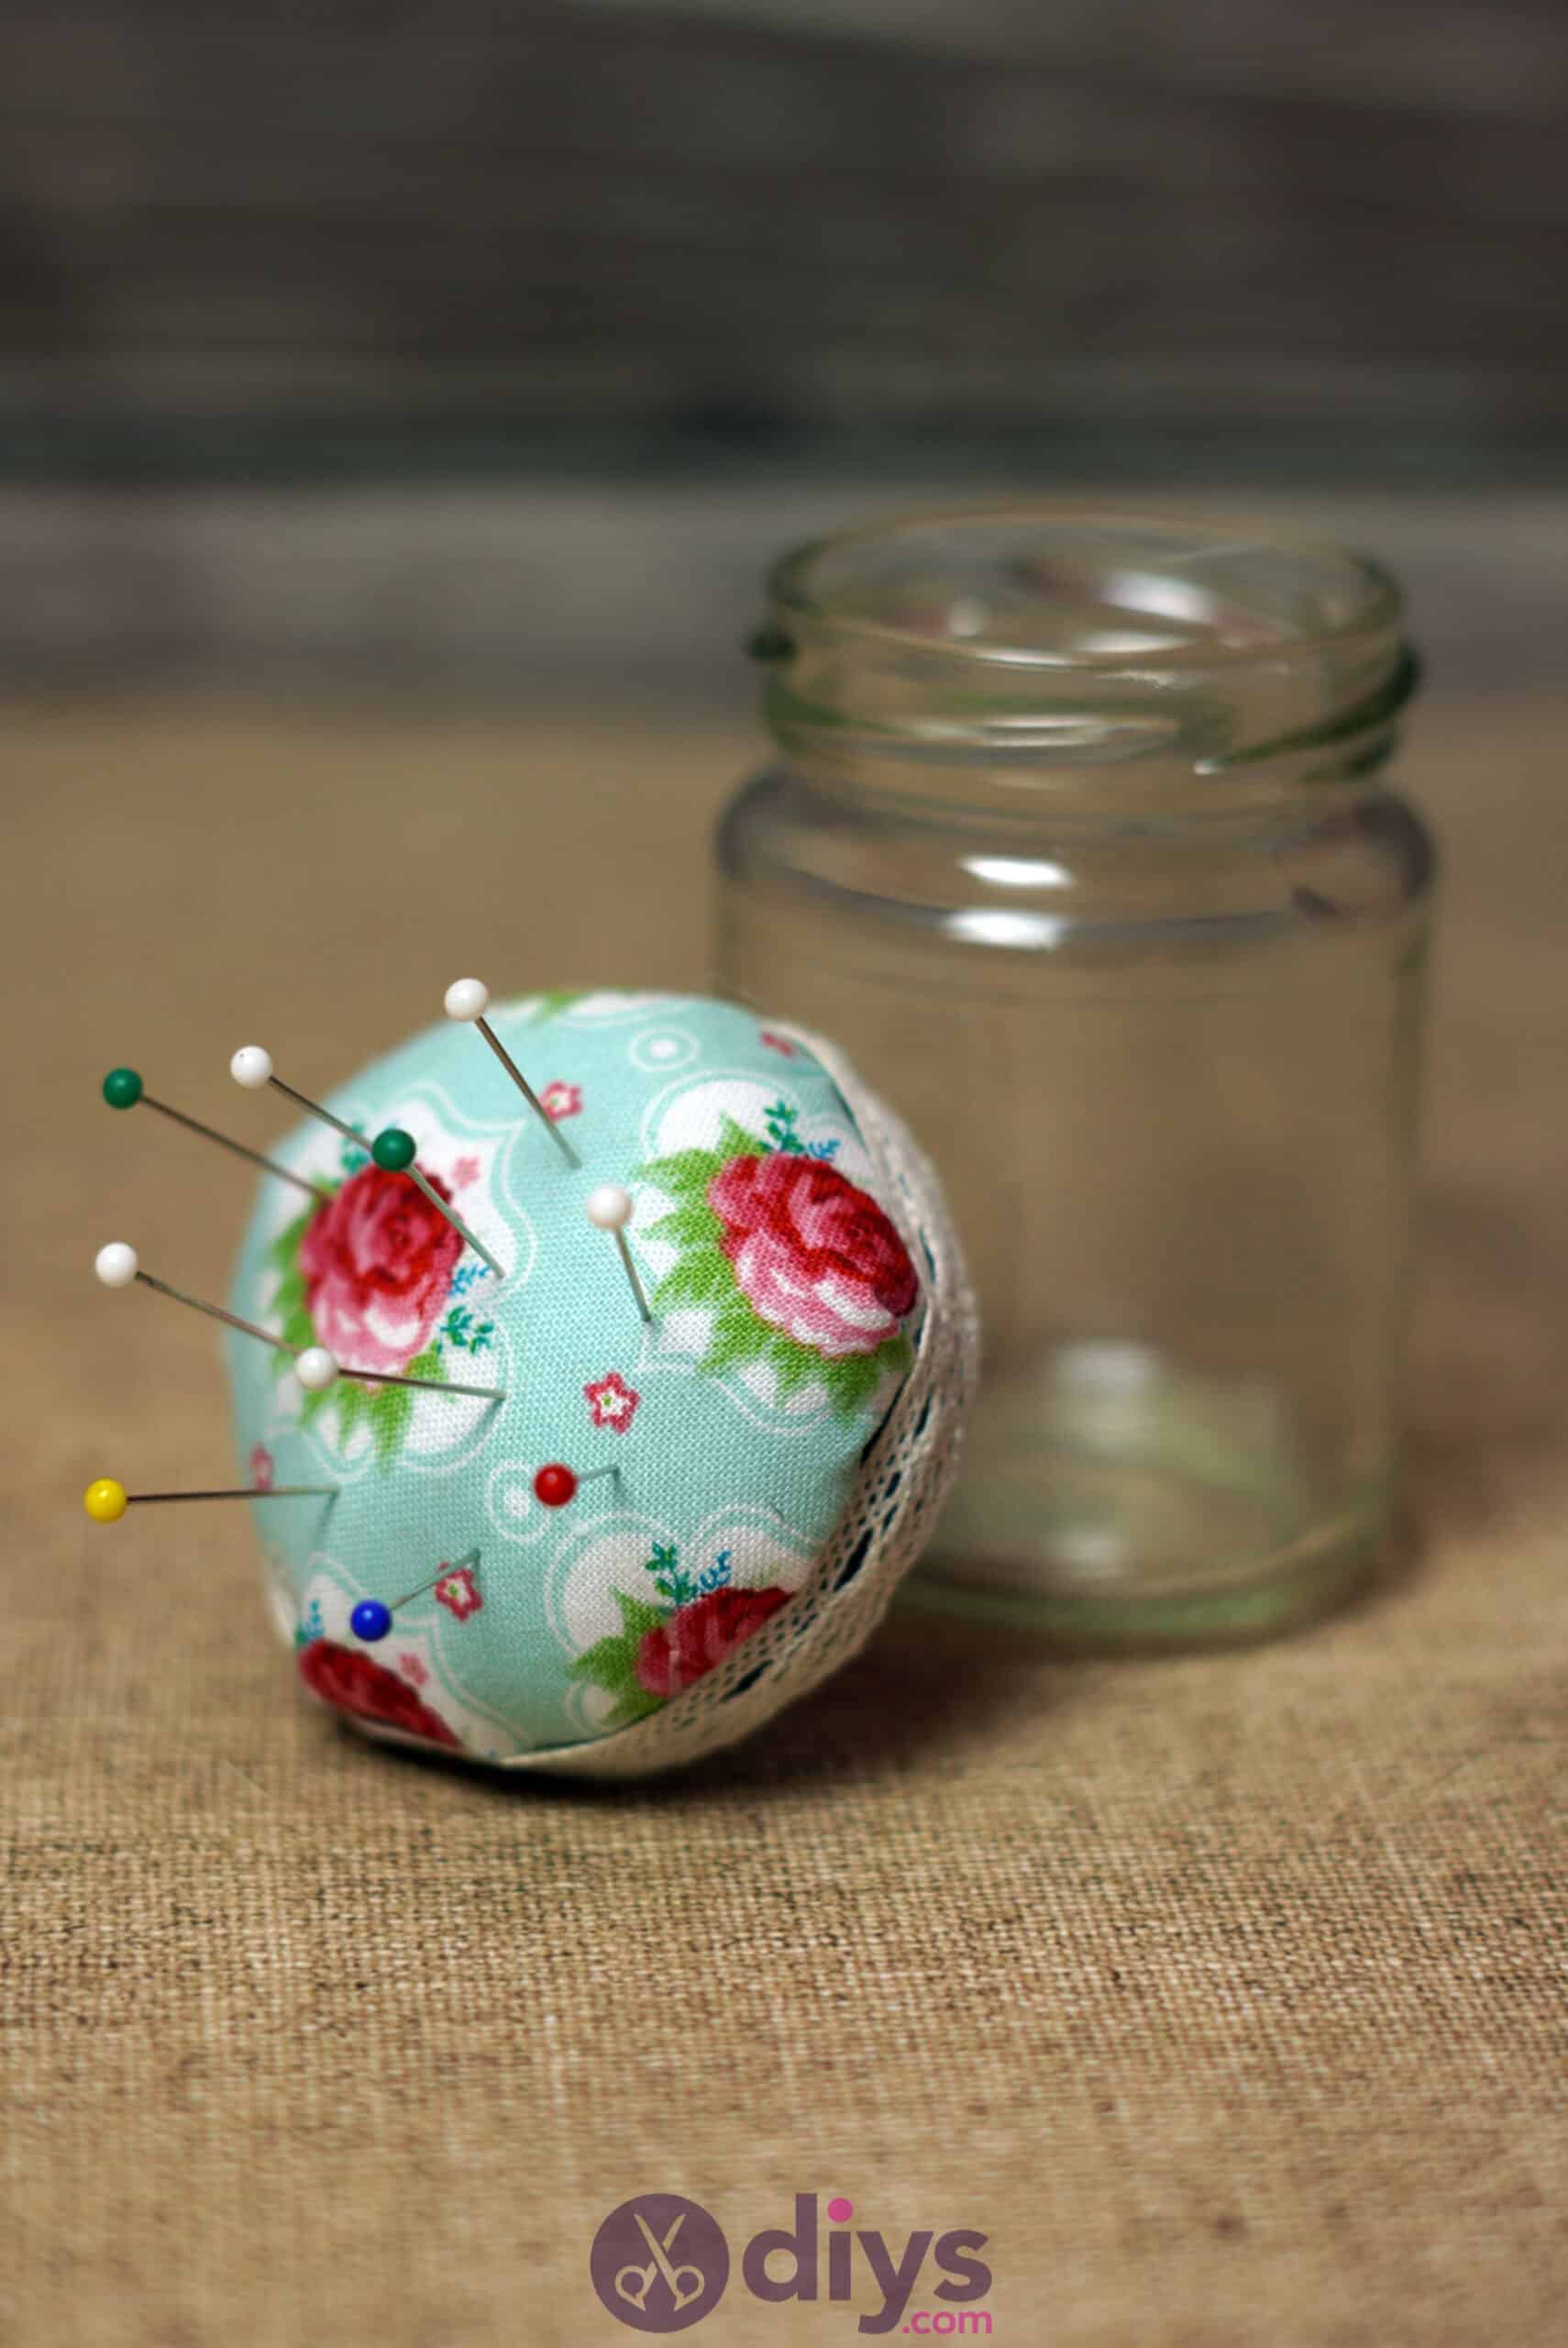
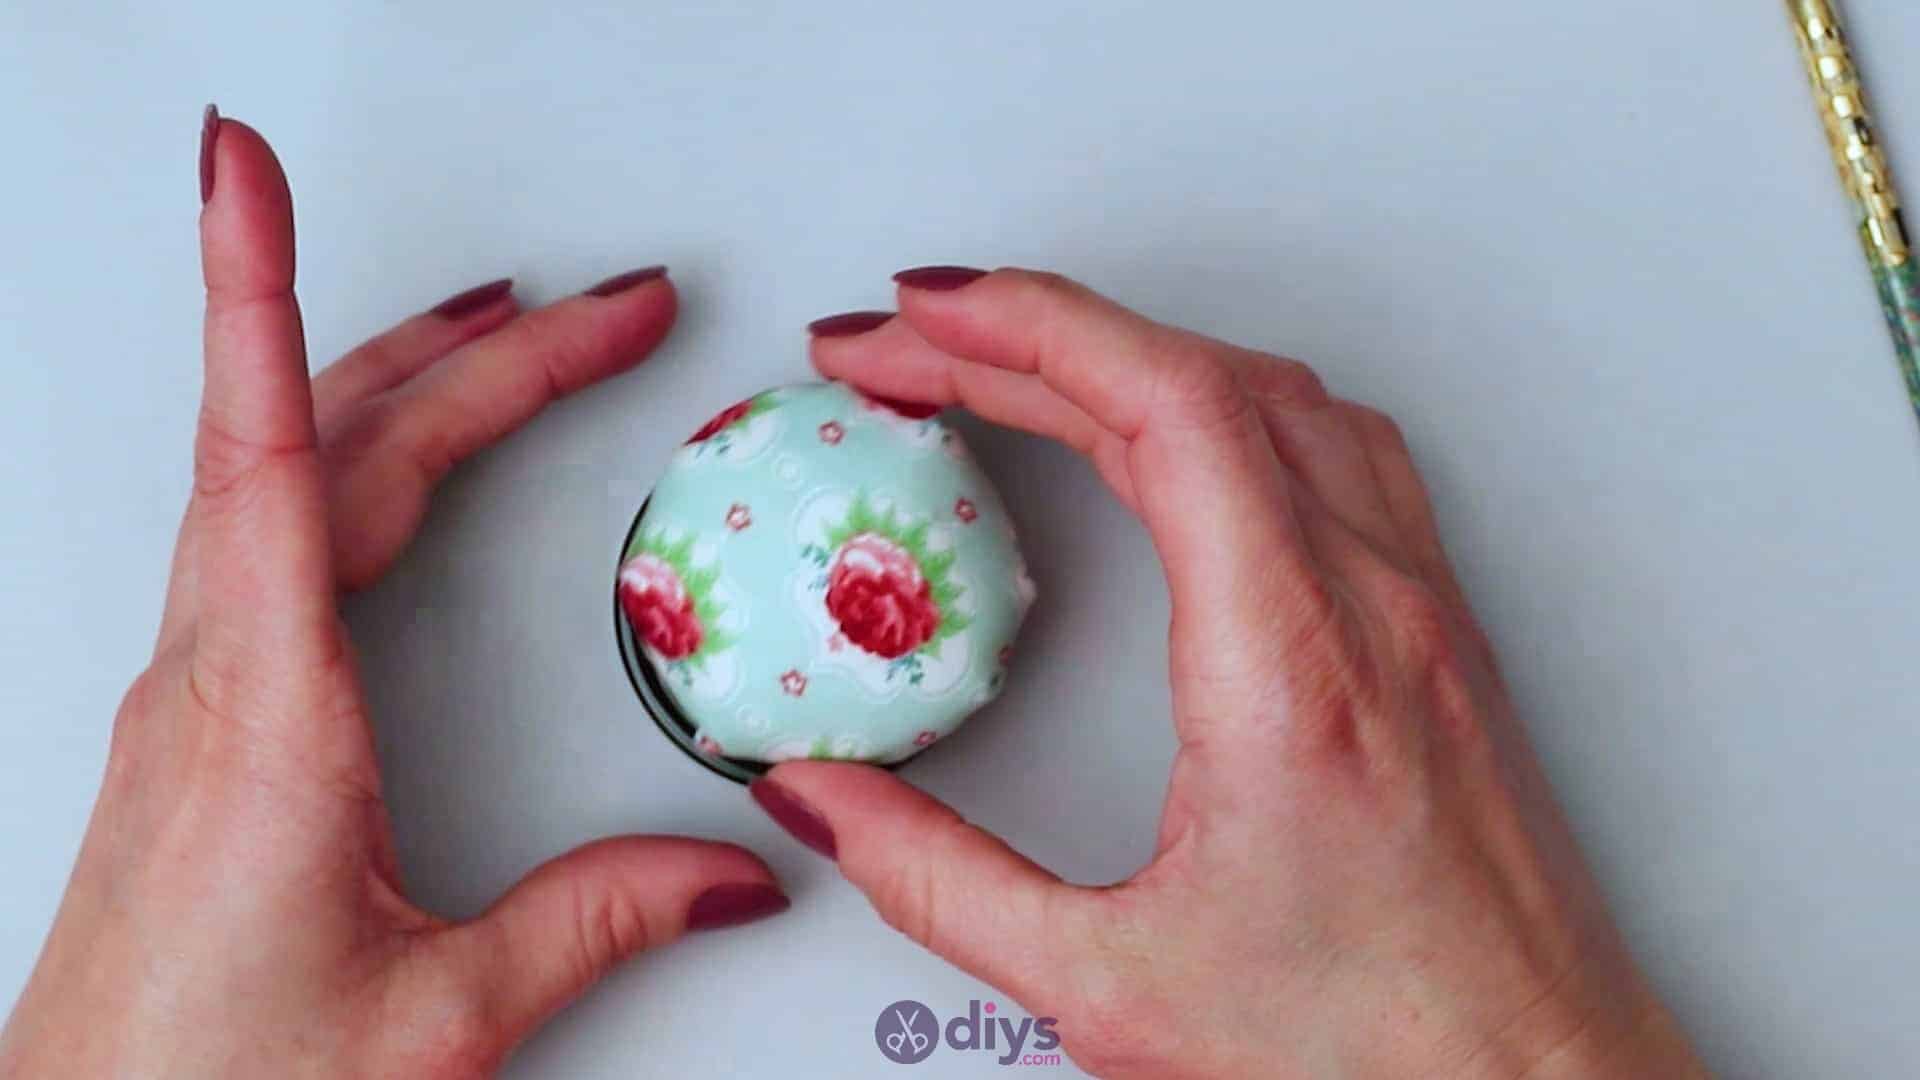
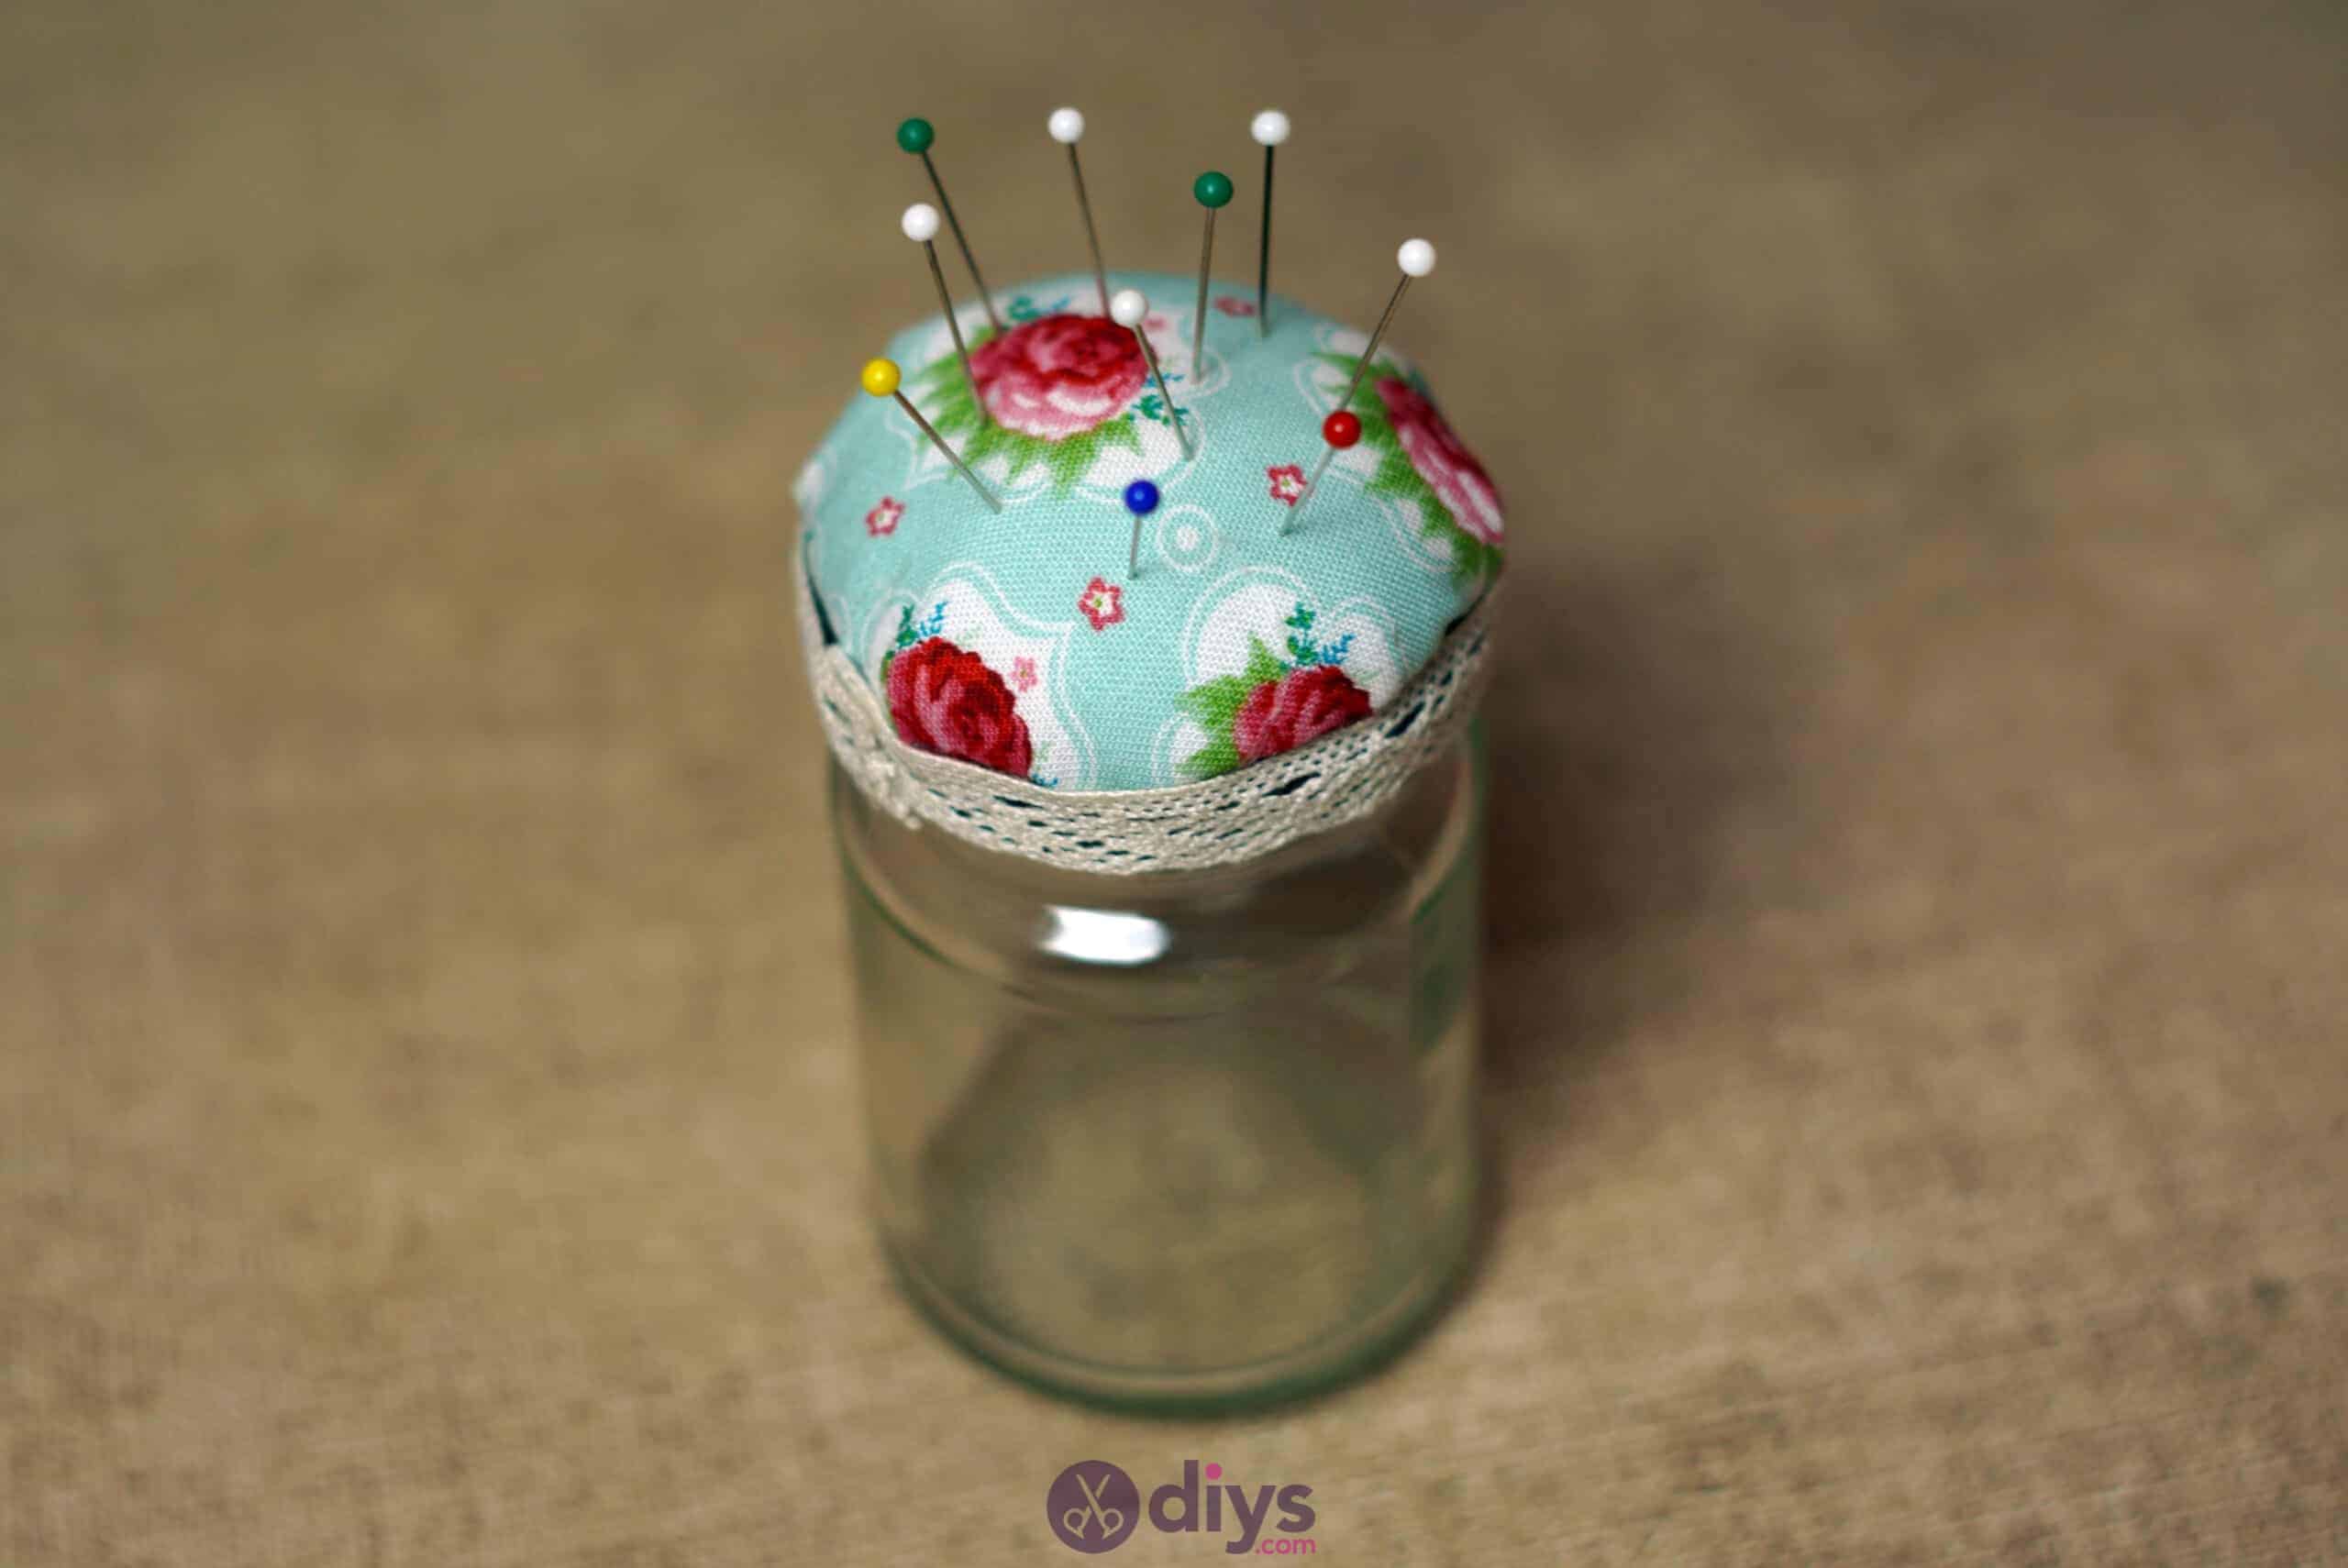
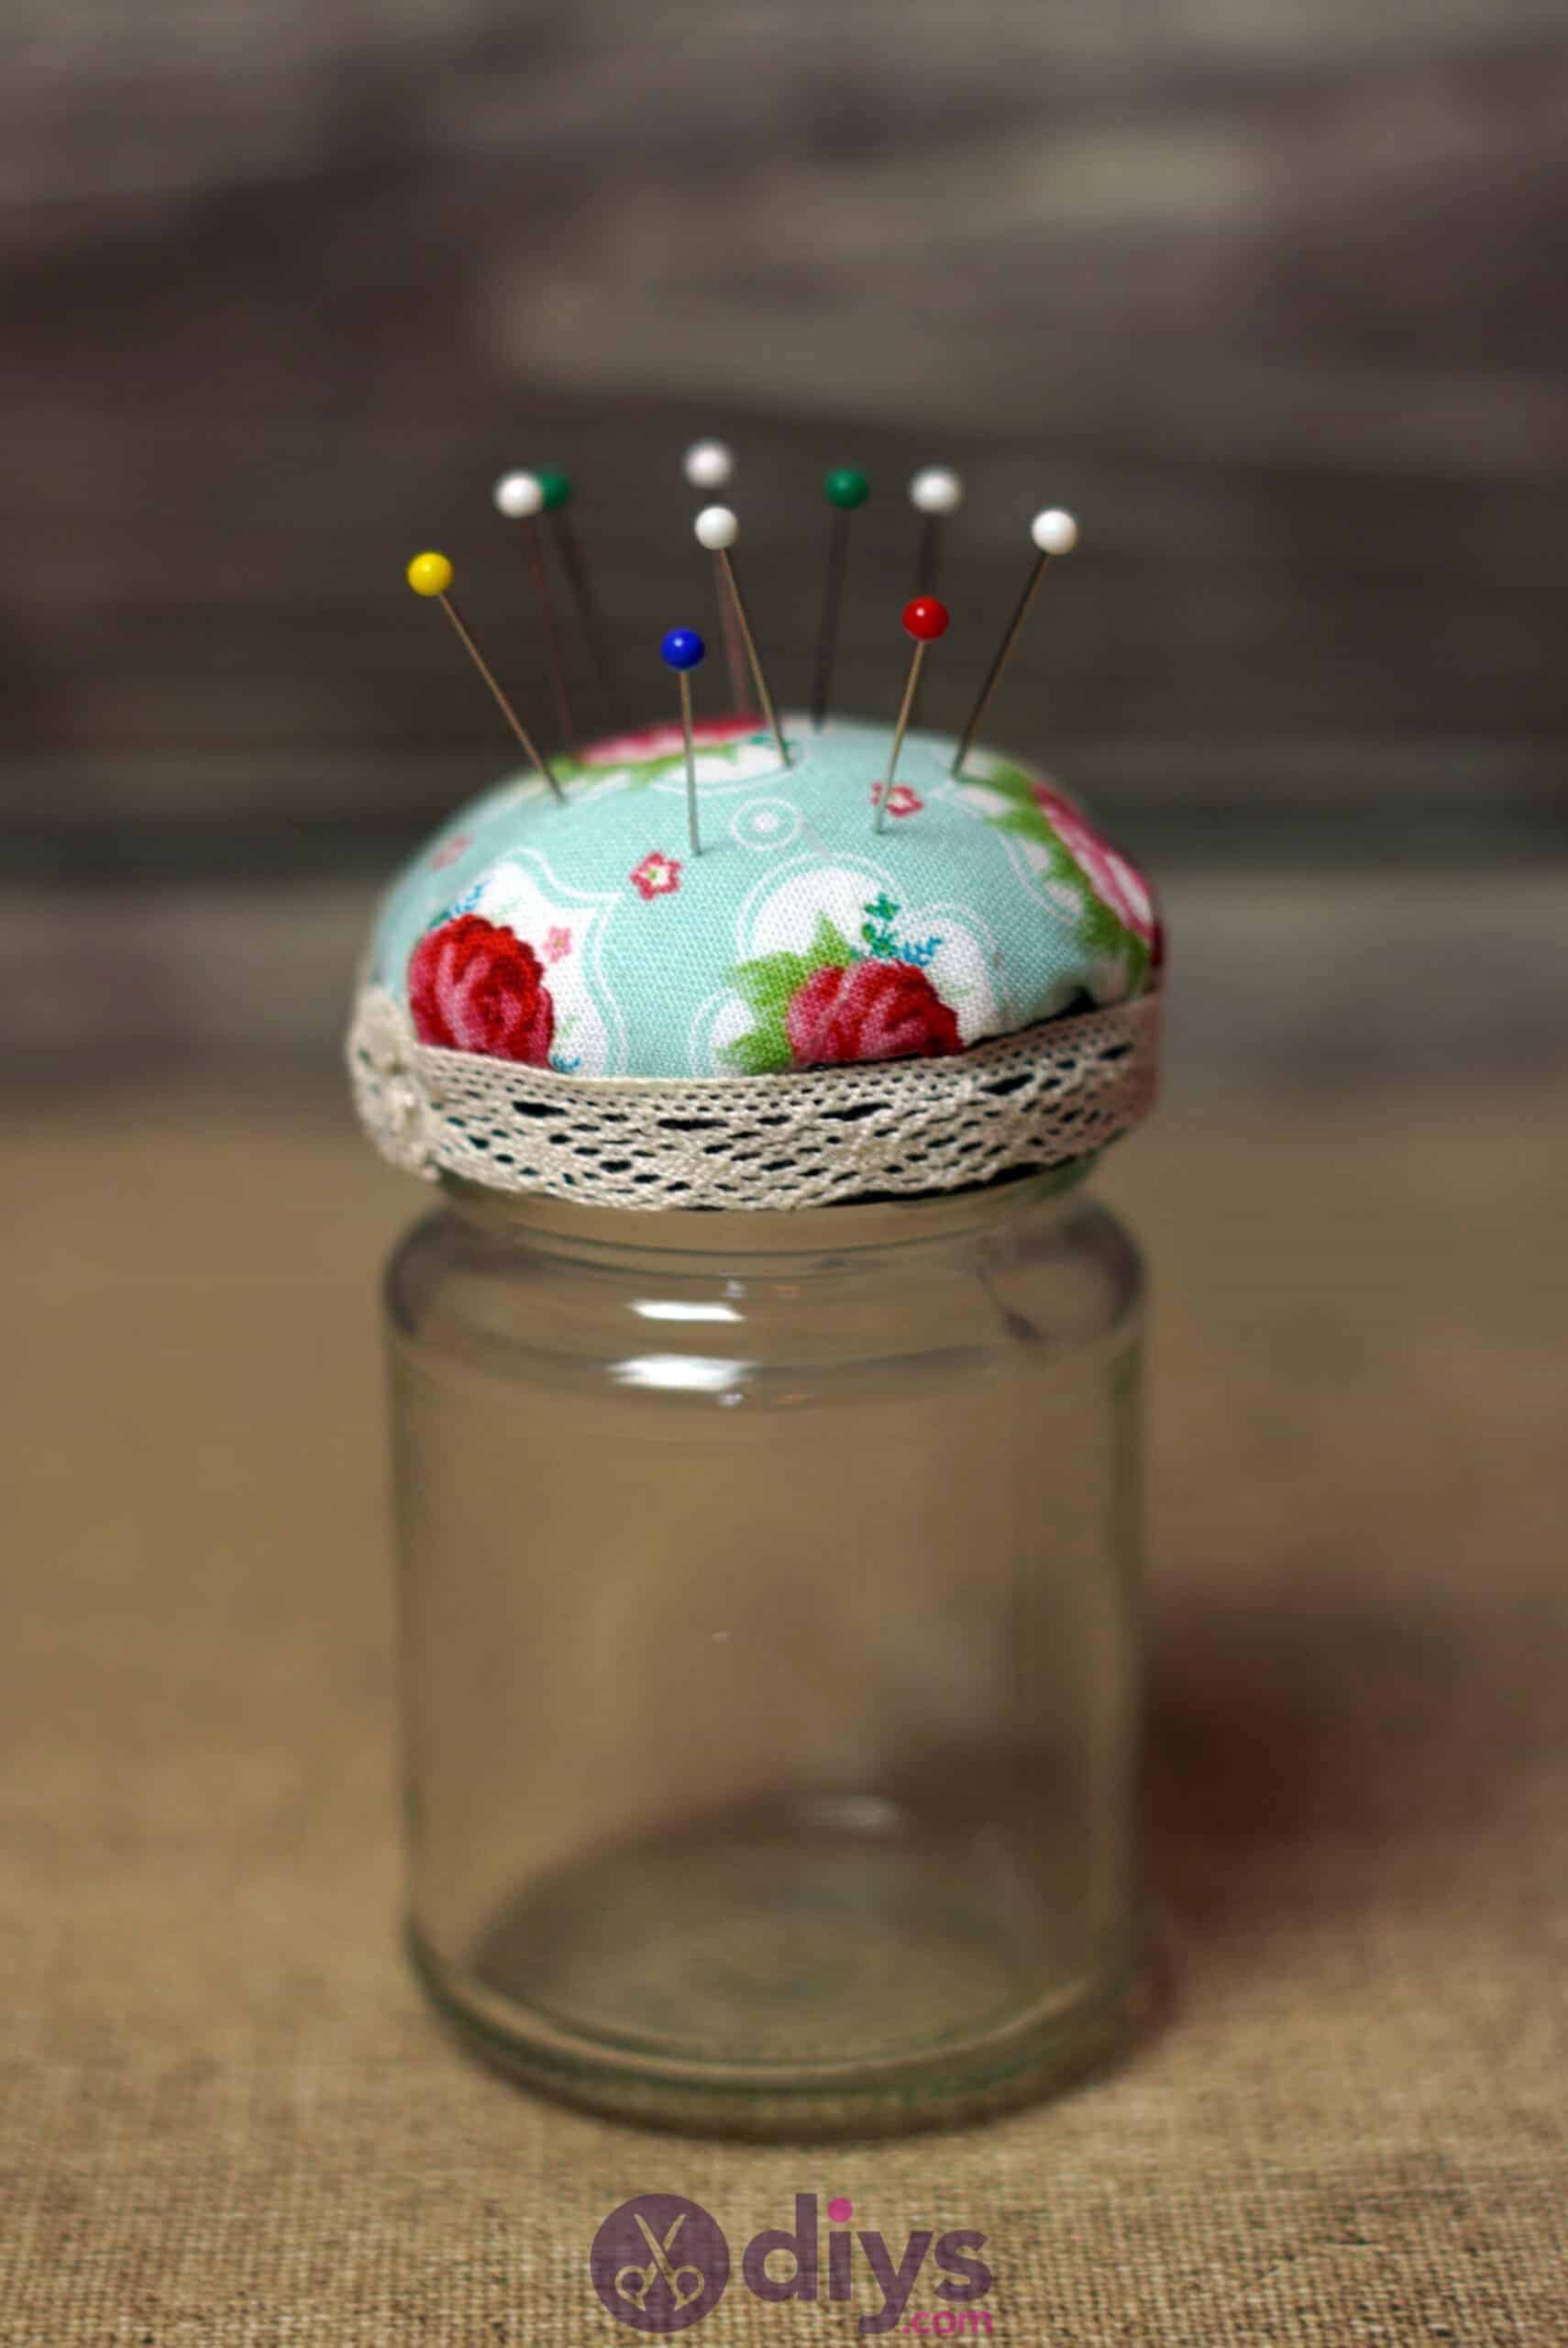
Step 7: All done!
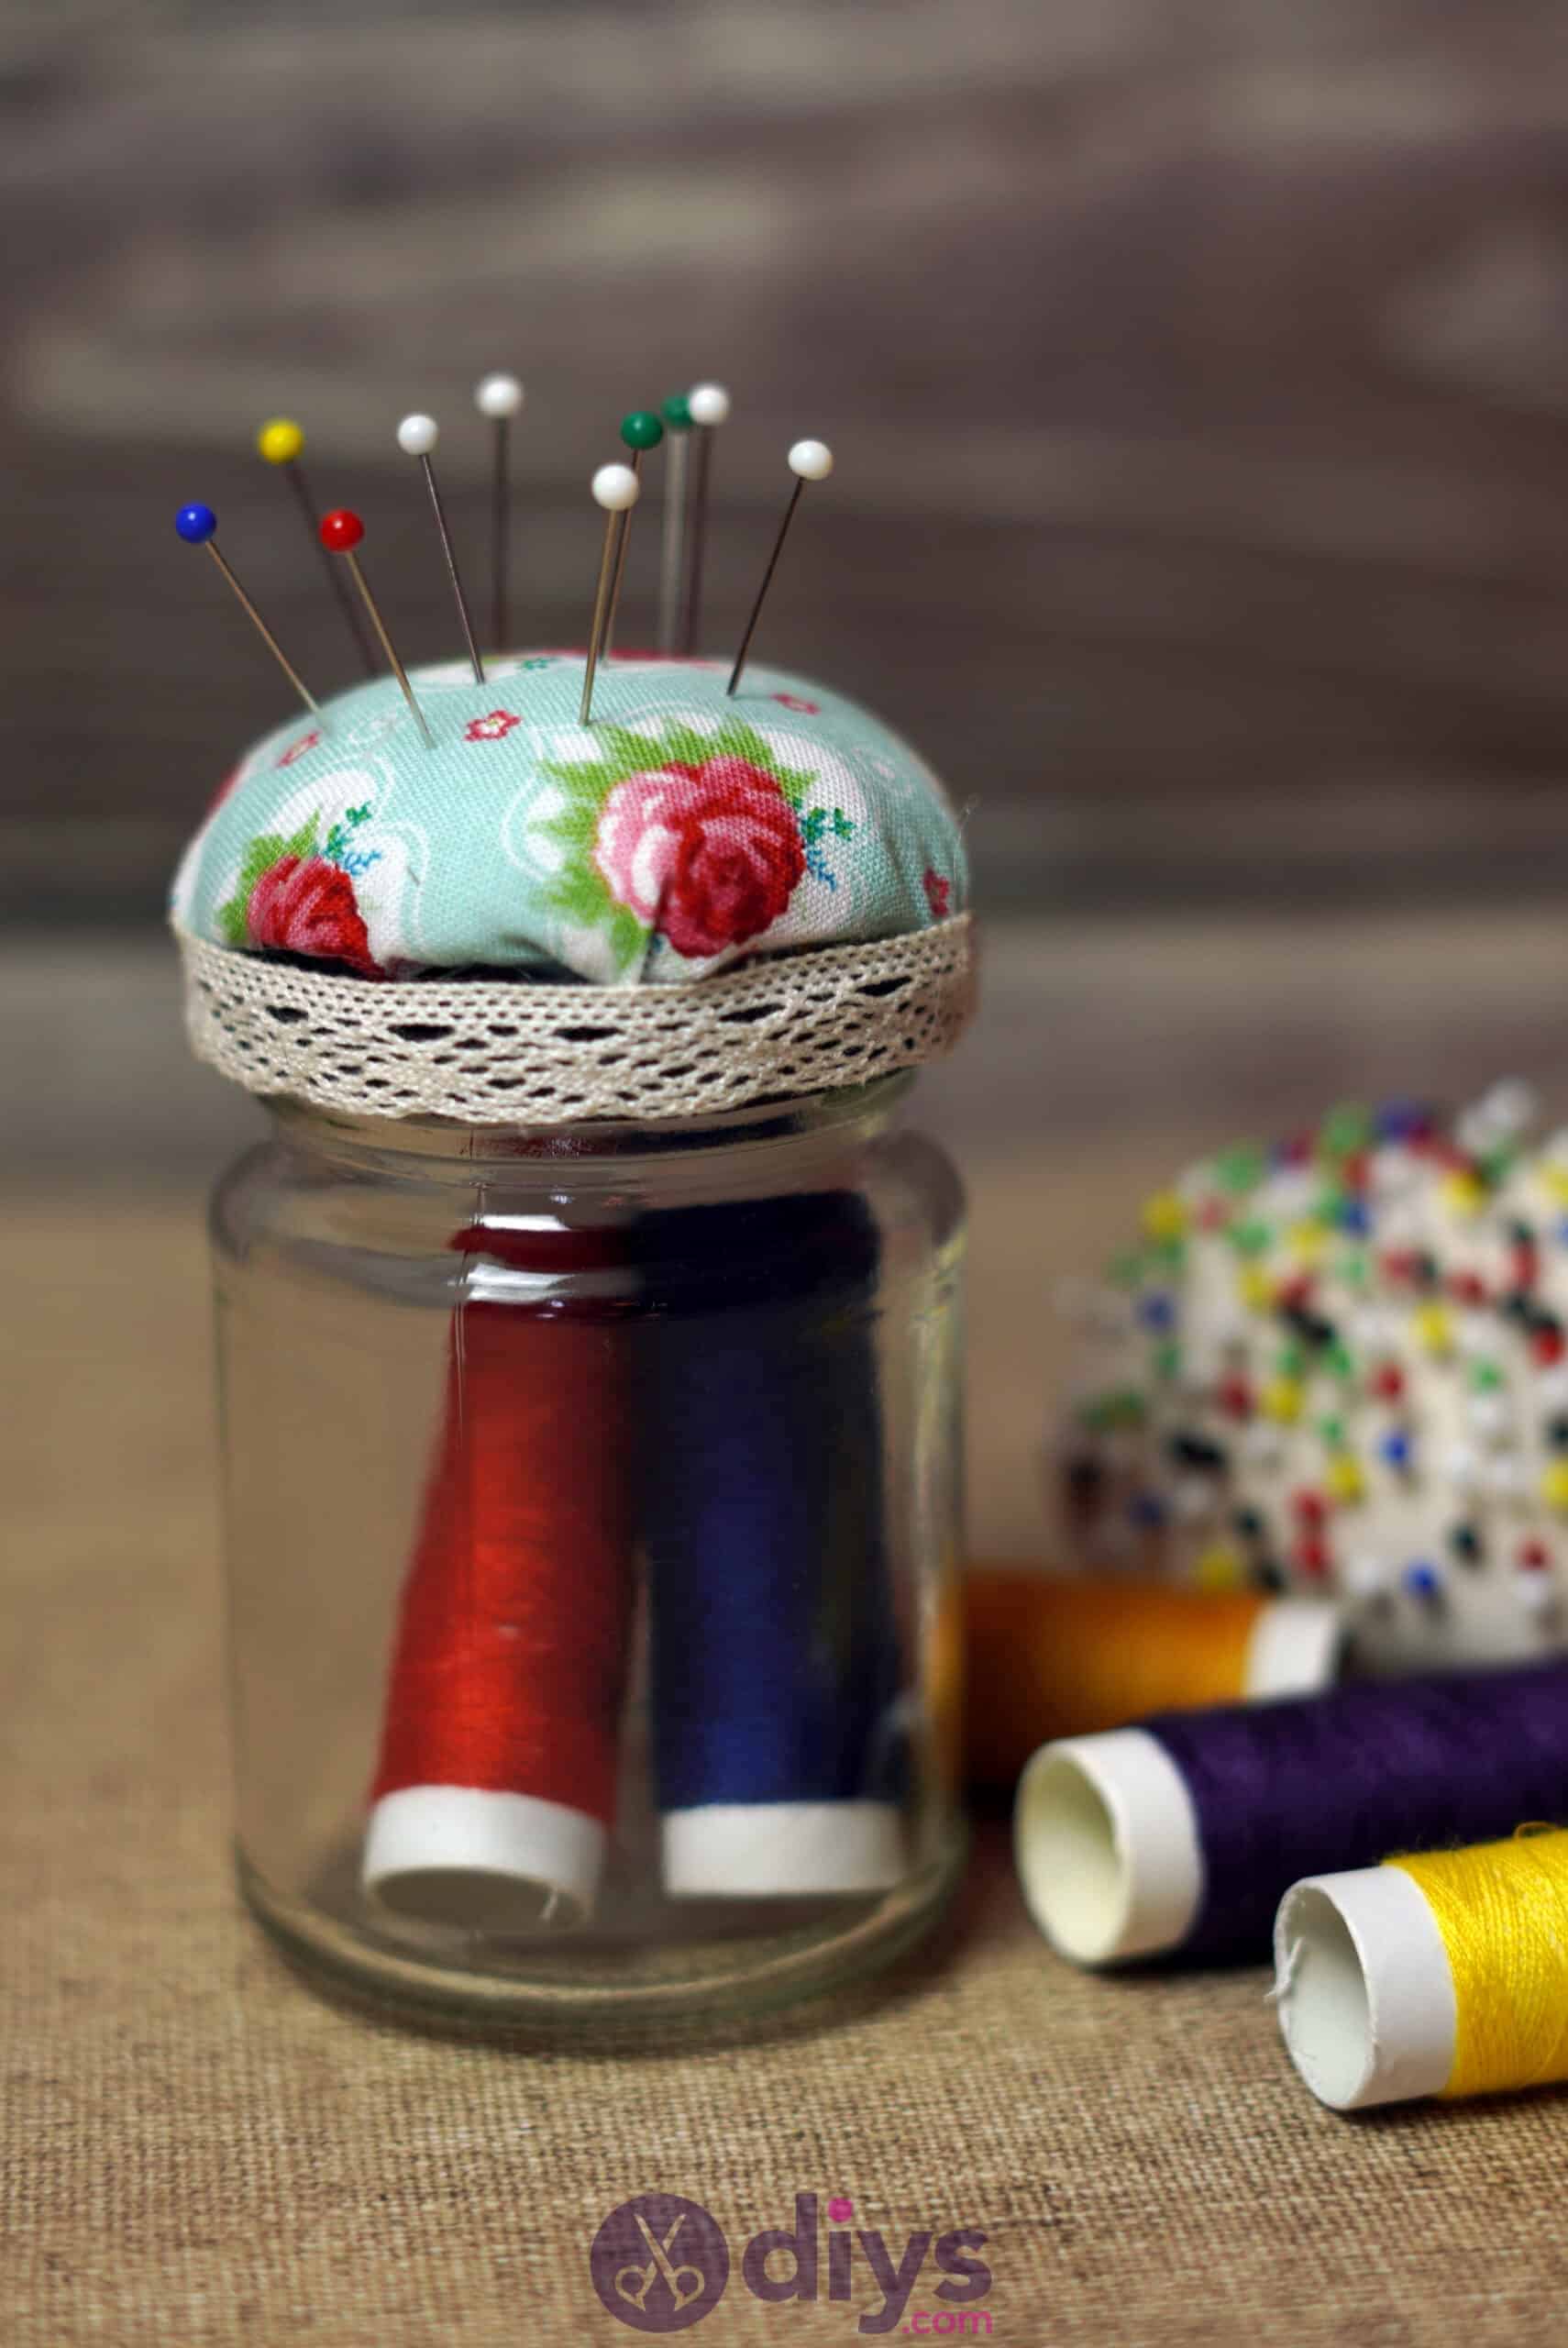
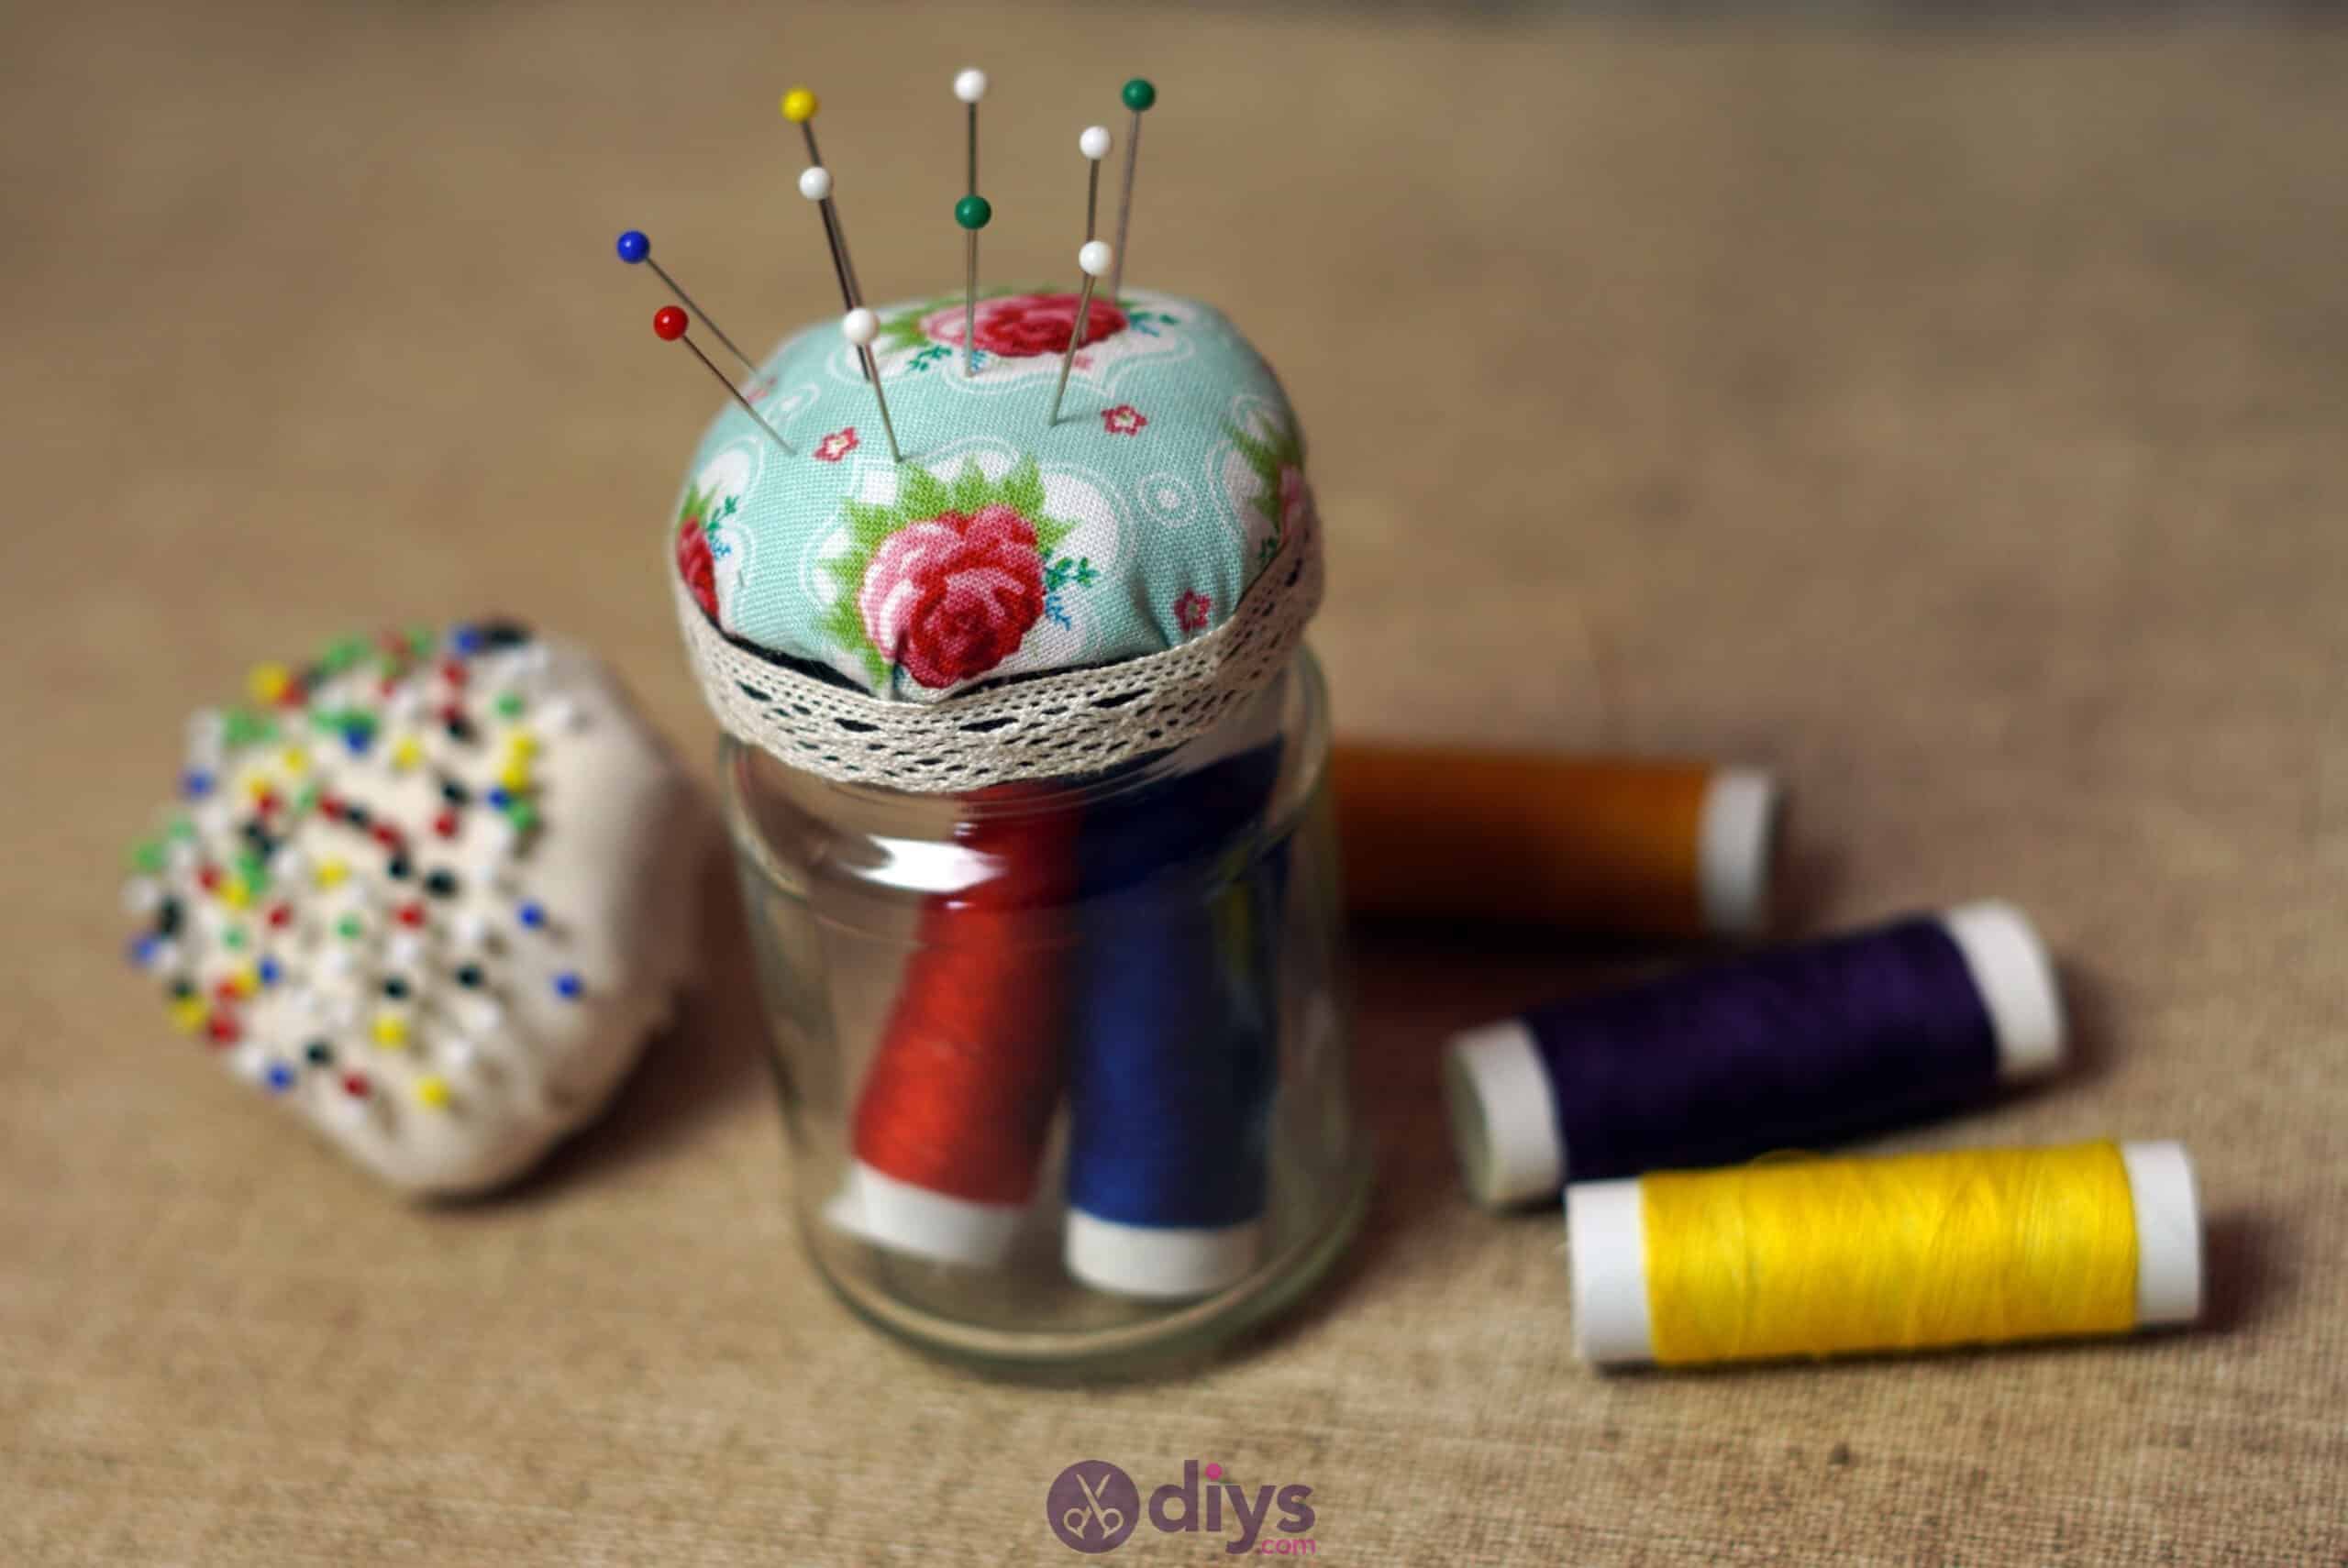
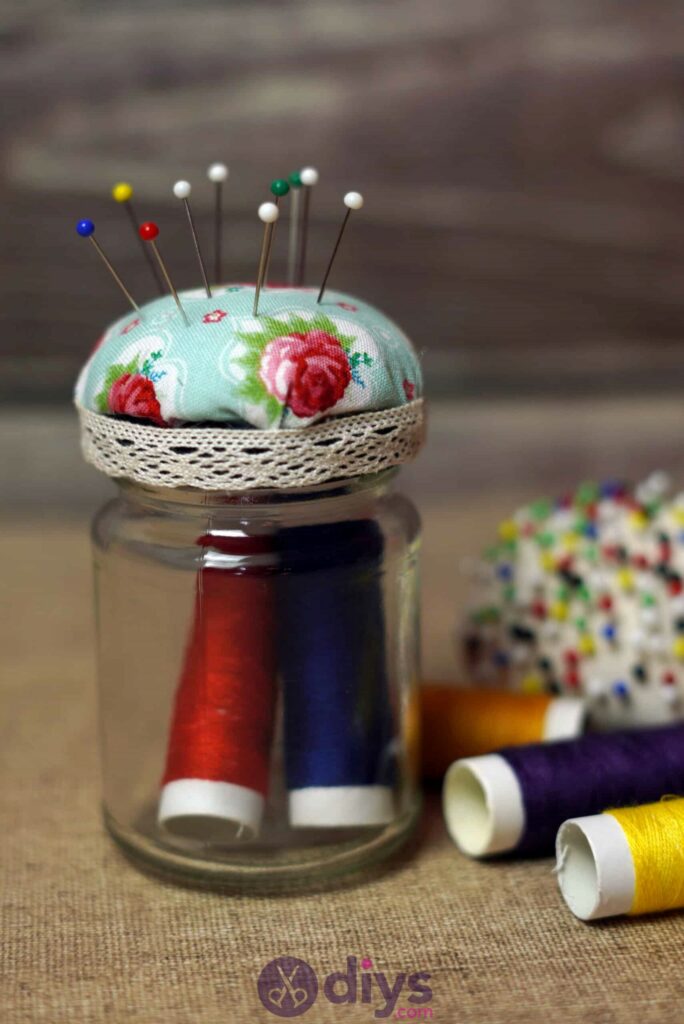
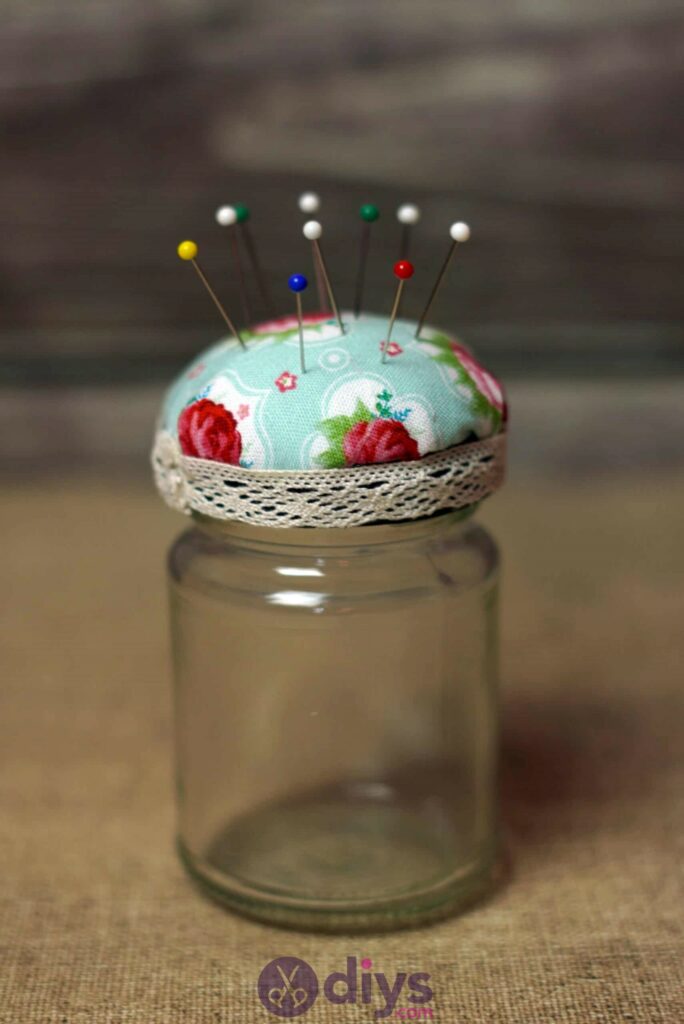
Screw your mason jar lid-come-cushion onto the top of your jar and voila! You now have sewing storage with a pin cushion built right onto the top.
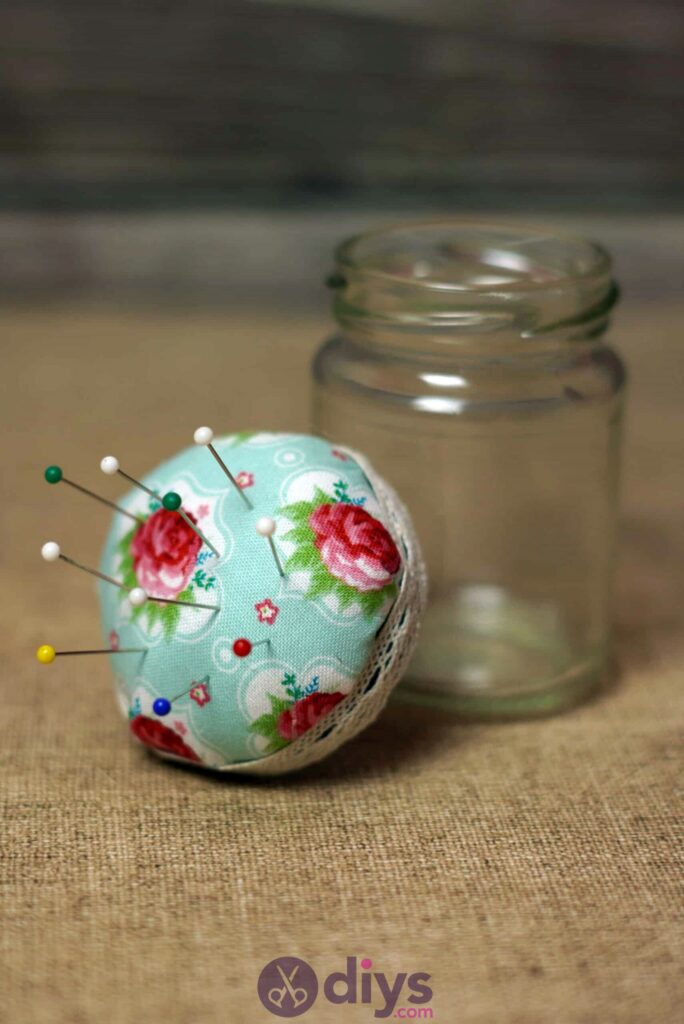
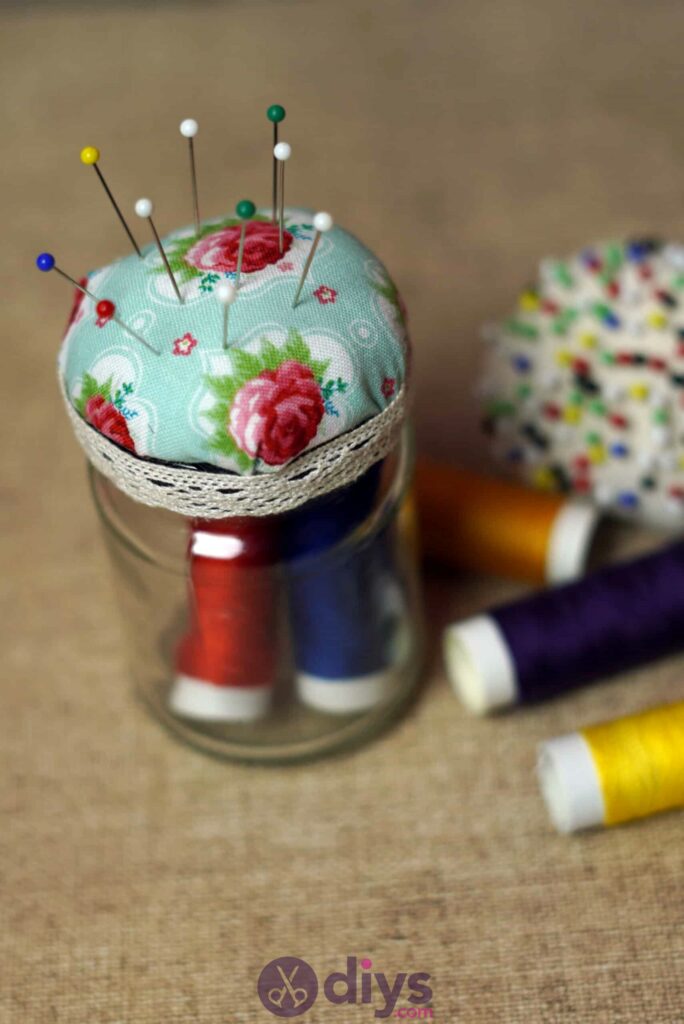
Fill your jar however you please! I filled mine with the very pins I’d use in the top, since my previous pin case wasn’t as durable as a glass jar. Just in case you’d like to try this project out for yourself, here’s a fantastic tutorial video to help you!