How to Make A Paper Heart Butterfly
Updated on February 28, 2021


Have you ever felt the crafting itch on a casual afternoon and found yourself wanting to do something simple and whimsical? Whenever I feel that way, I tend to start thinking about the simple cut and paste style paper crafts I remember doing as a kid. Sure, I’ve advanced my DIY skills since then, but there’s still just something so fun and fulfilling about getting back down to the basics and doing something cute and easy.
That’s how I found myself playing with strips of scrap paper until I’d made an adorable heart shaped butterfly! Here’s a full tutorial of how I did it (but you’ll also find a video version of these steps at the end, just in case you’re more of a visual learner).
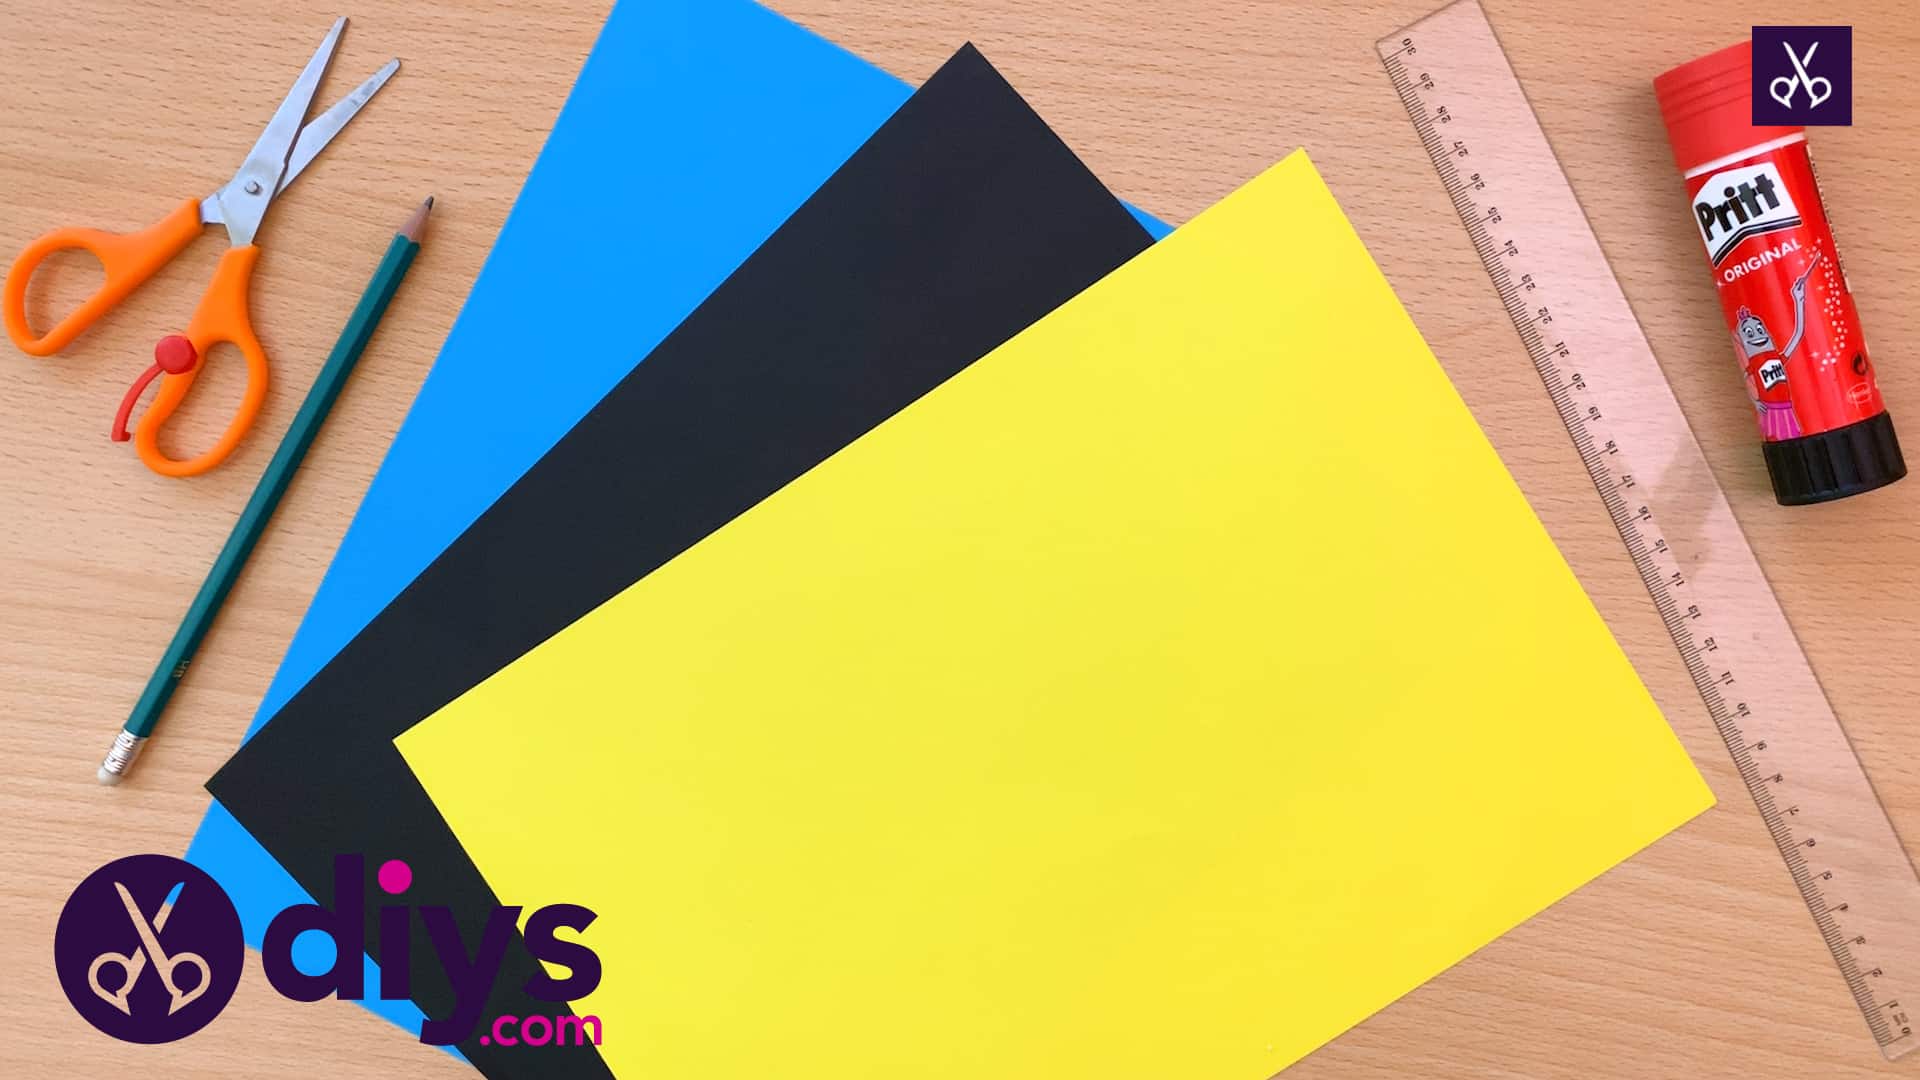
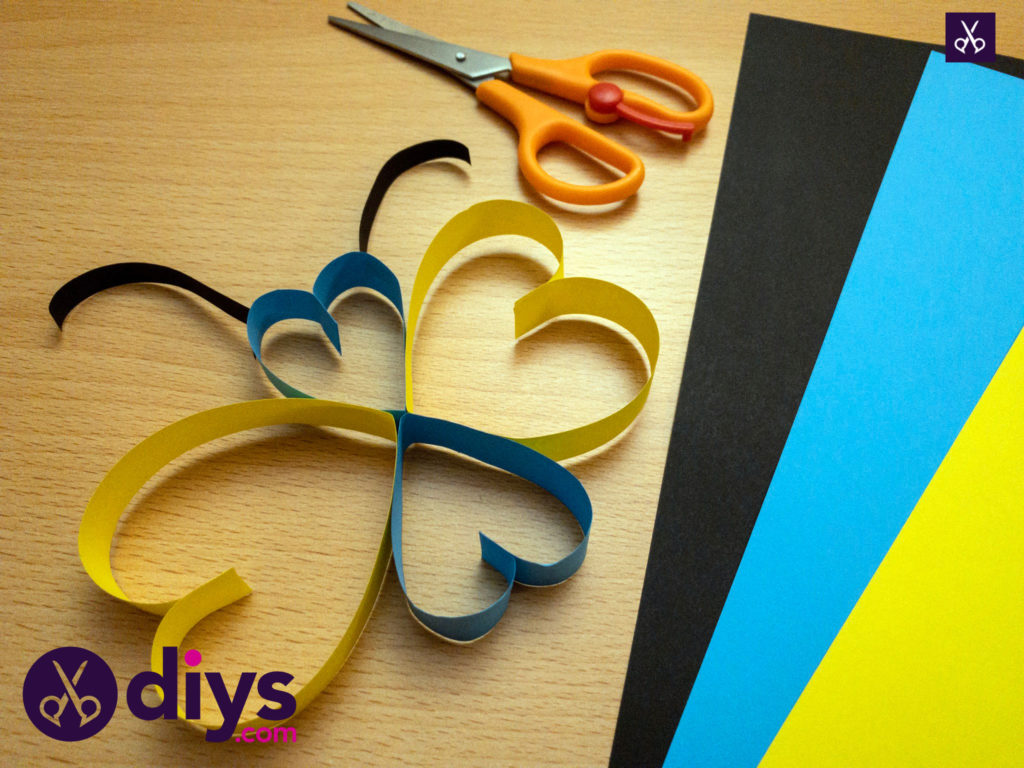
For this project, you’ll need:
- Paper (any colour you choose)
- Glue stick
- Scissors
- Ruler
- Pencil
Step 1: Gather your materials!
We used card paper, but you could also use regular, scrapbooking, or construction paper in any colours you please and it’ll work just as well.

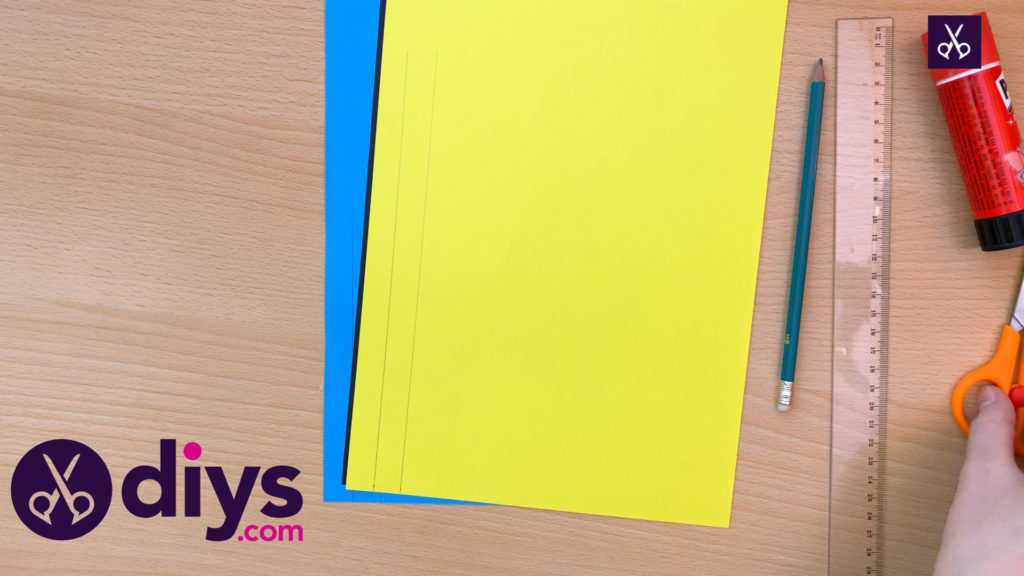
Step 2: cut strips
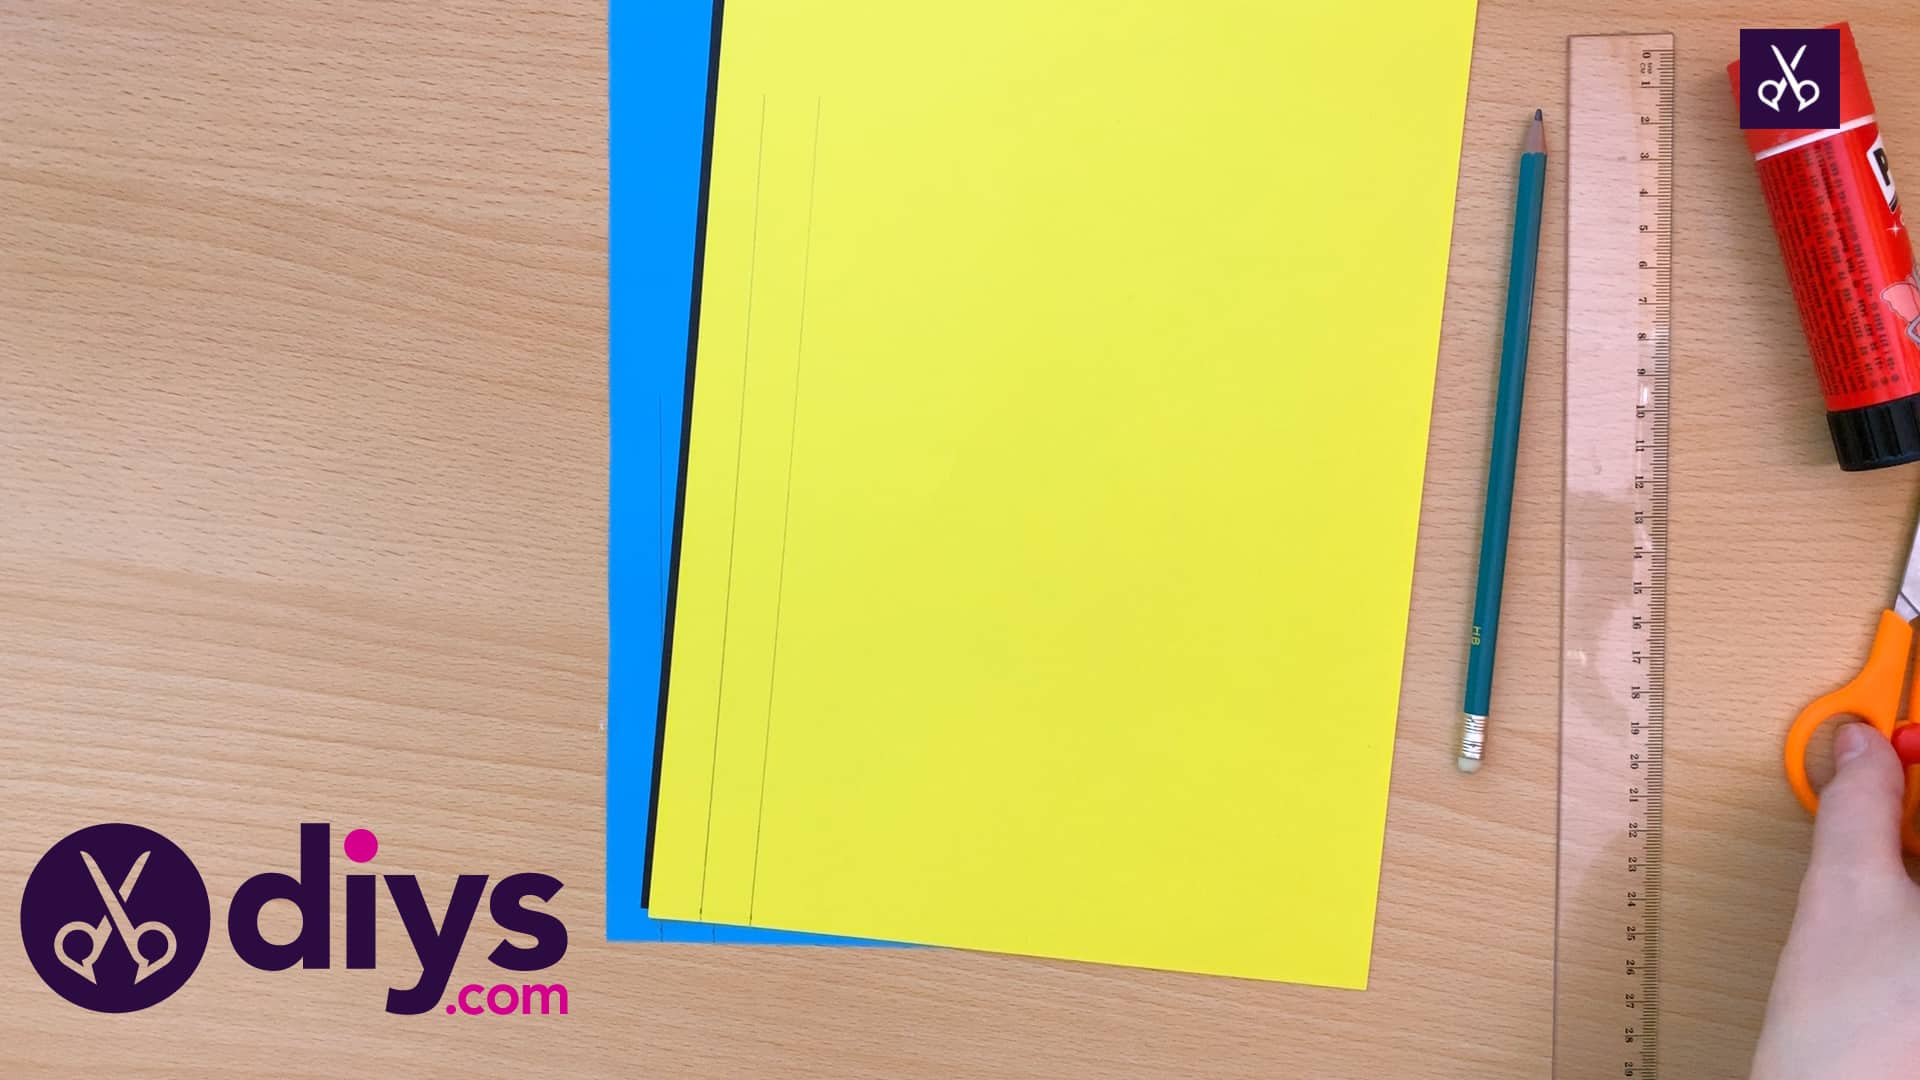
Turn your first piece of paper (choose whichever colour you’d like the body of your butterfly to be) vertically and, front the bottom left corner, make a mark about 16 cm up from the bottom edge and 1 cm in from the side edge. Next, make another mark the same height but an additional centimetre inward from your first mark. Take your ruler and draw a straight line down from each mark to the bottom edge, giving you two evenly spaced lines that are the same length.

Step 3: cut strips of yellow
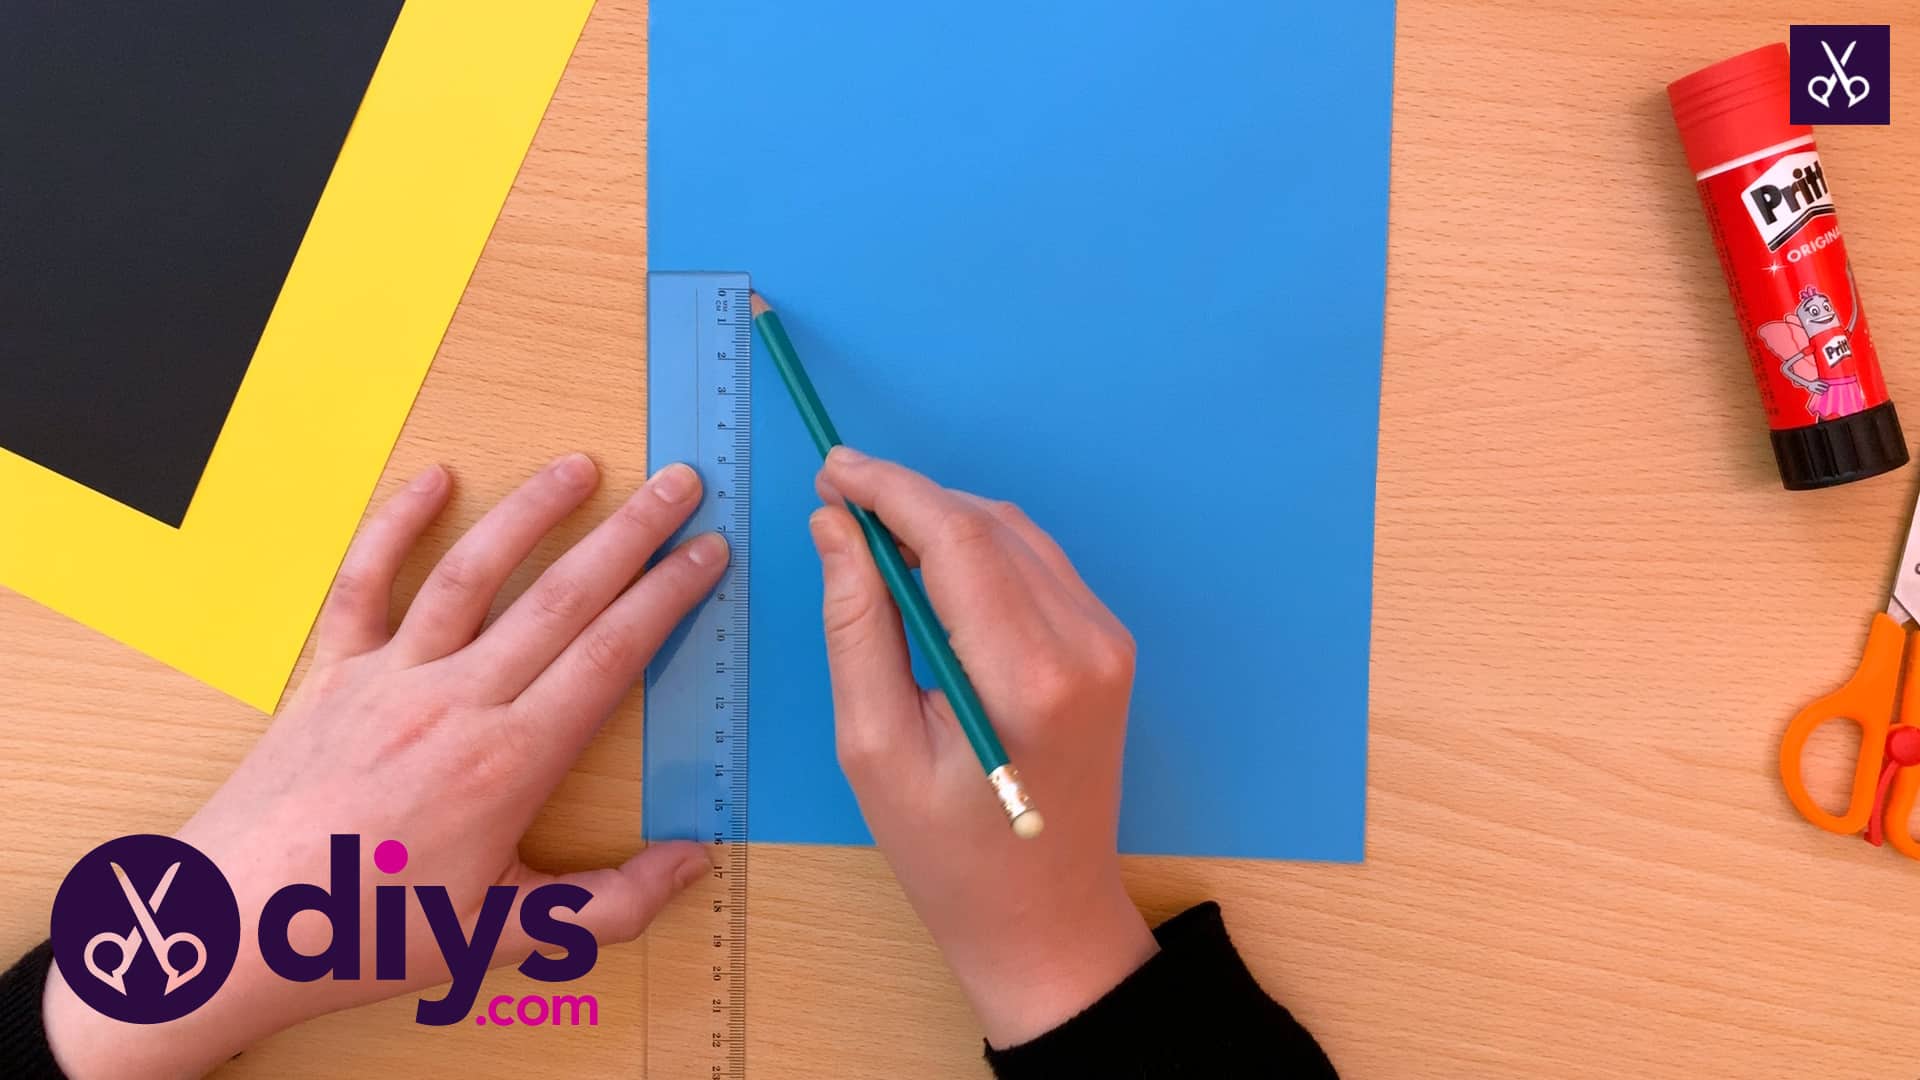
On your second page, repeat the marks and lines process with the same 1 cm width, but this time making your lines slightly longer. I made my marks on this second page 18 cm instead of 16 cm. This contrasting colour will make up your wings, and making the lines a little bit longer here will make your wings slightly larger than the body of the butterfly, just like the real thing. You’ll do a similar process on your last colour; I chose to use black here because these strips will make up the butterfly’s antennae. This time, however, I measured a width of half a centimetre and a length of only 6 cm, since the antennae are a much smaller part of the creature.
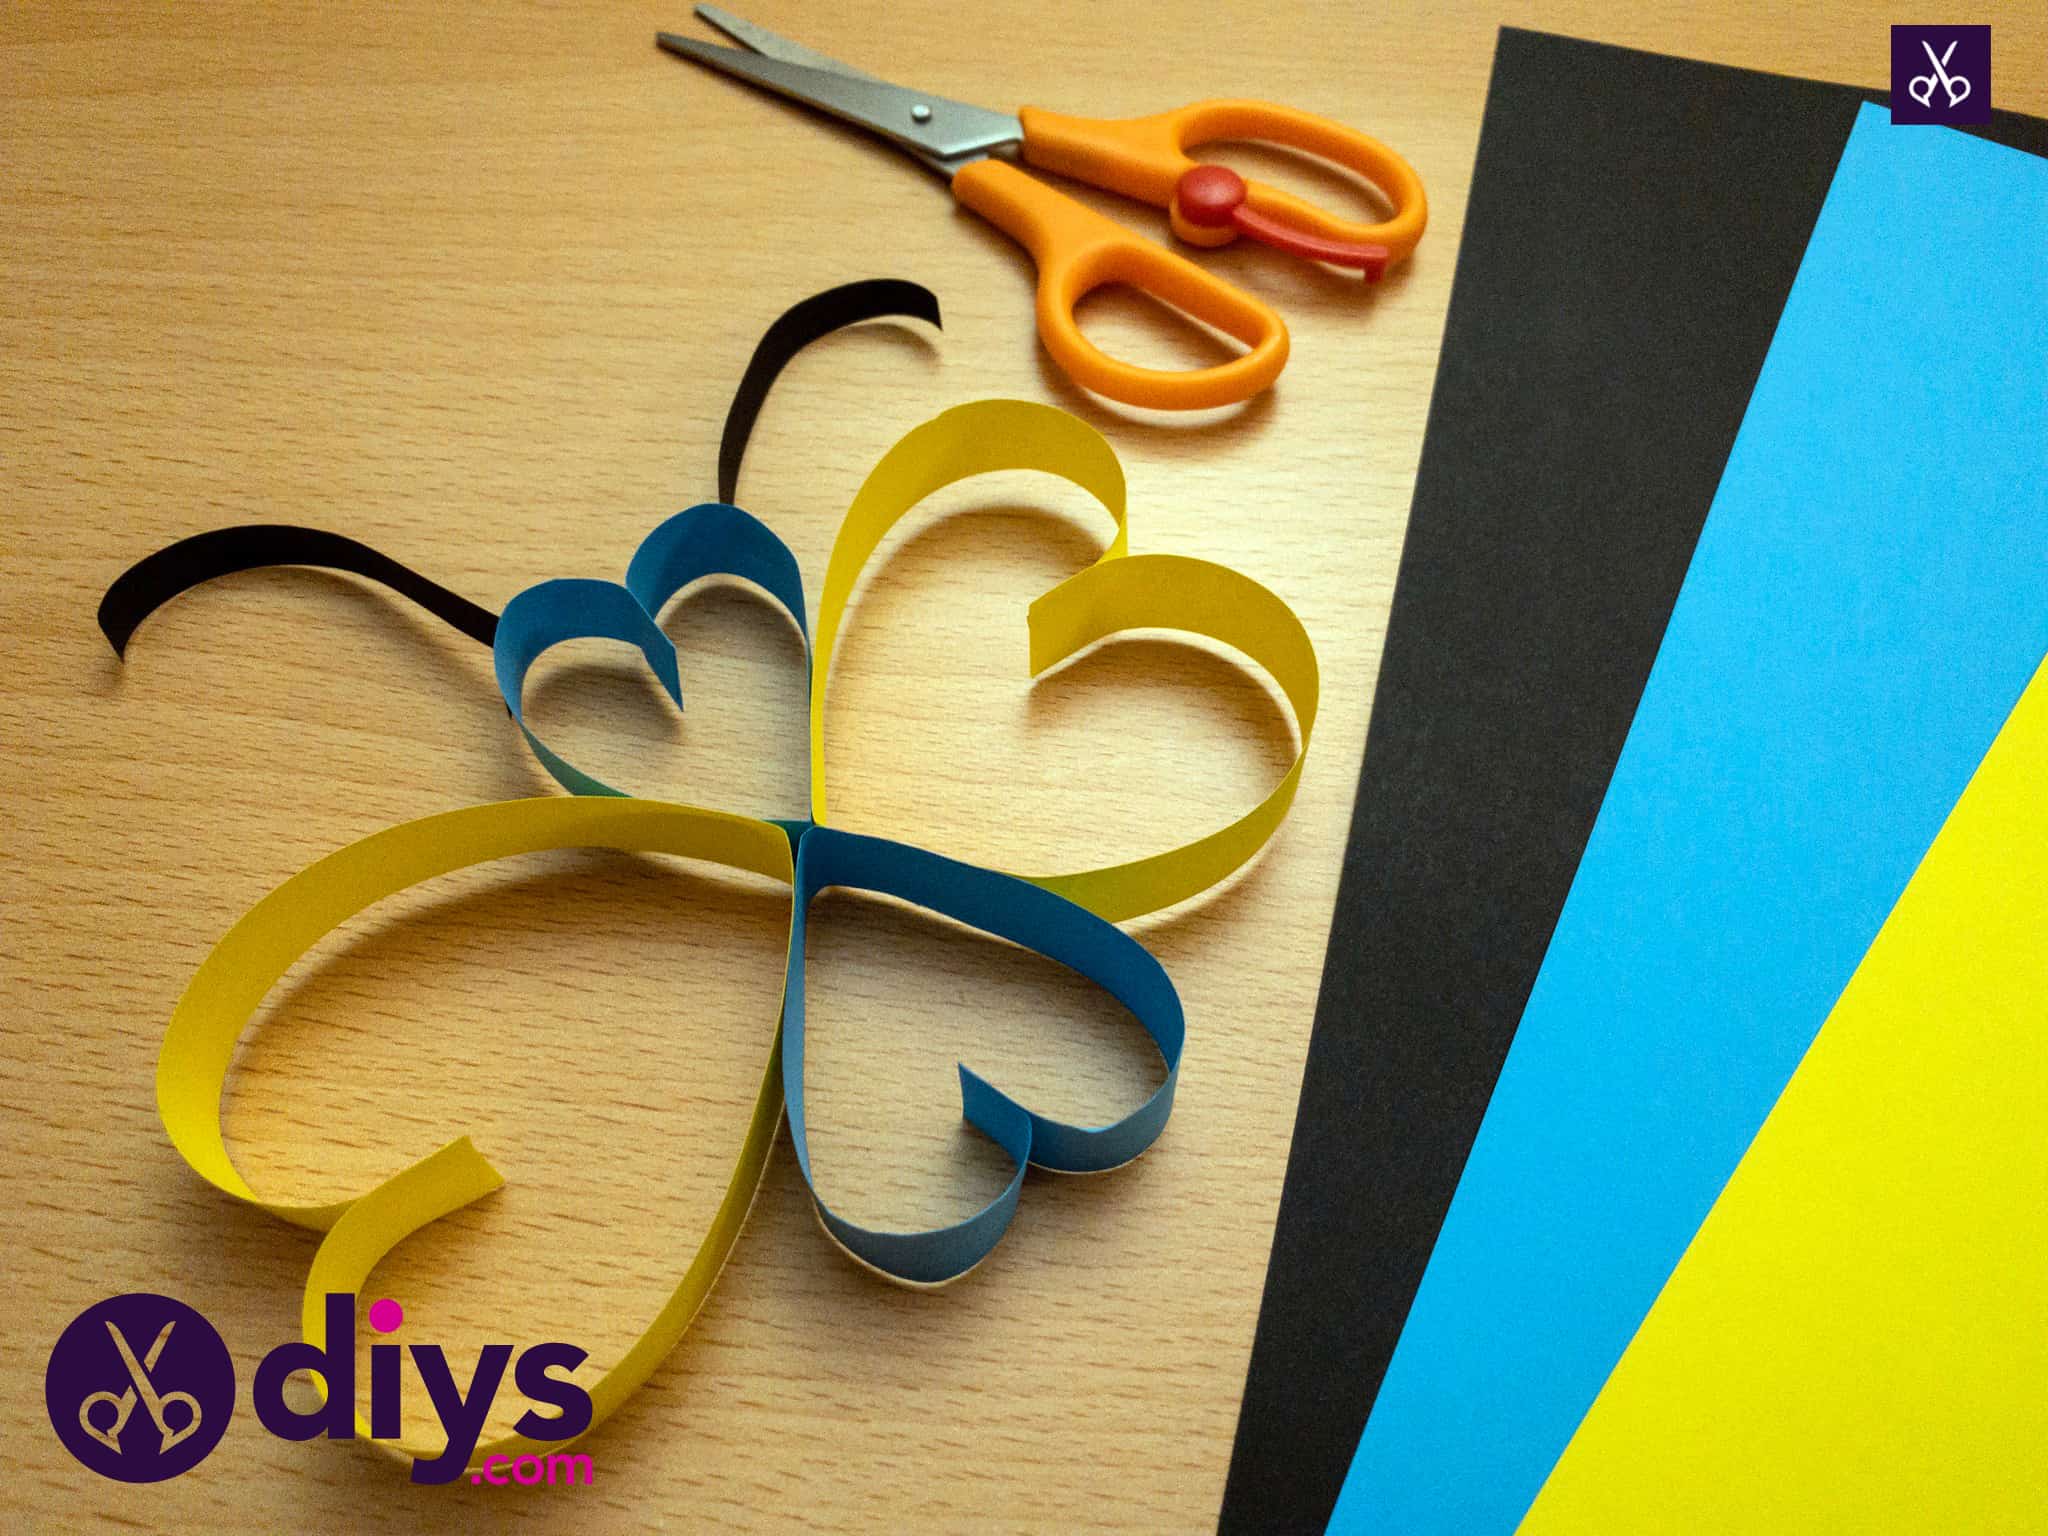
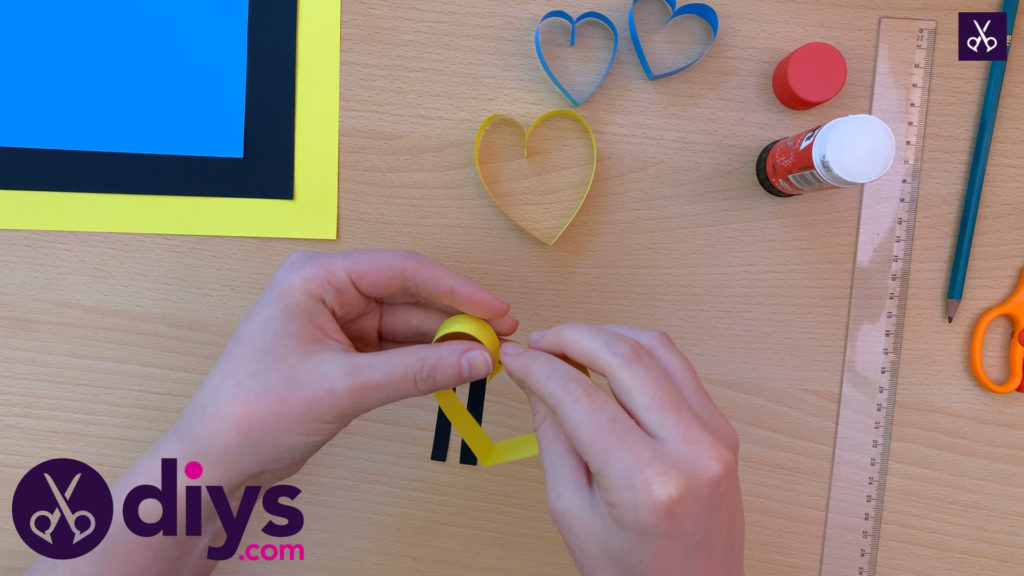
Step 4: form the hearts
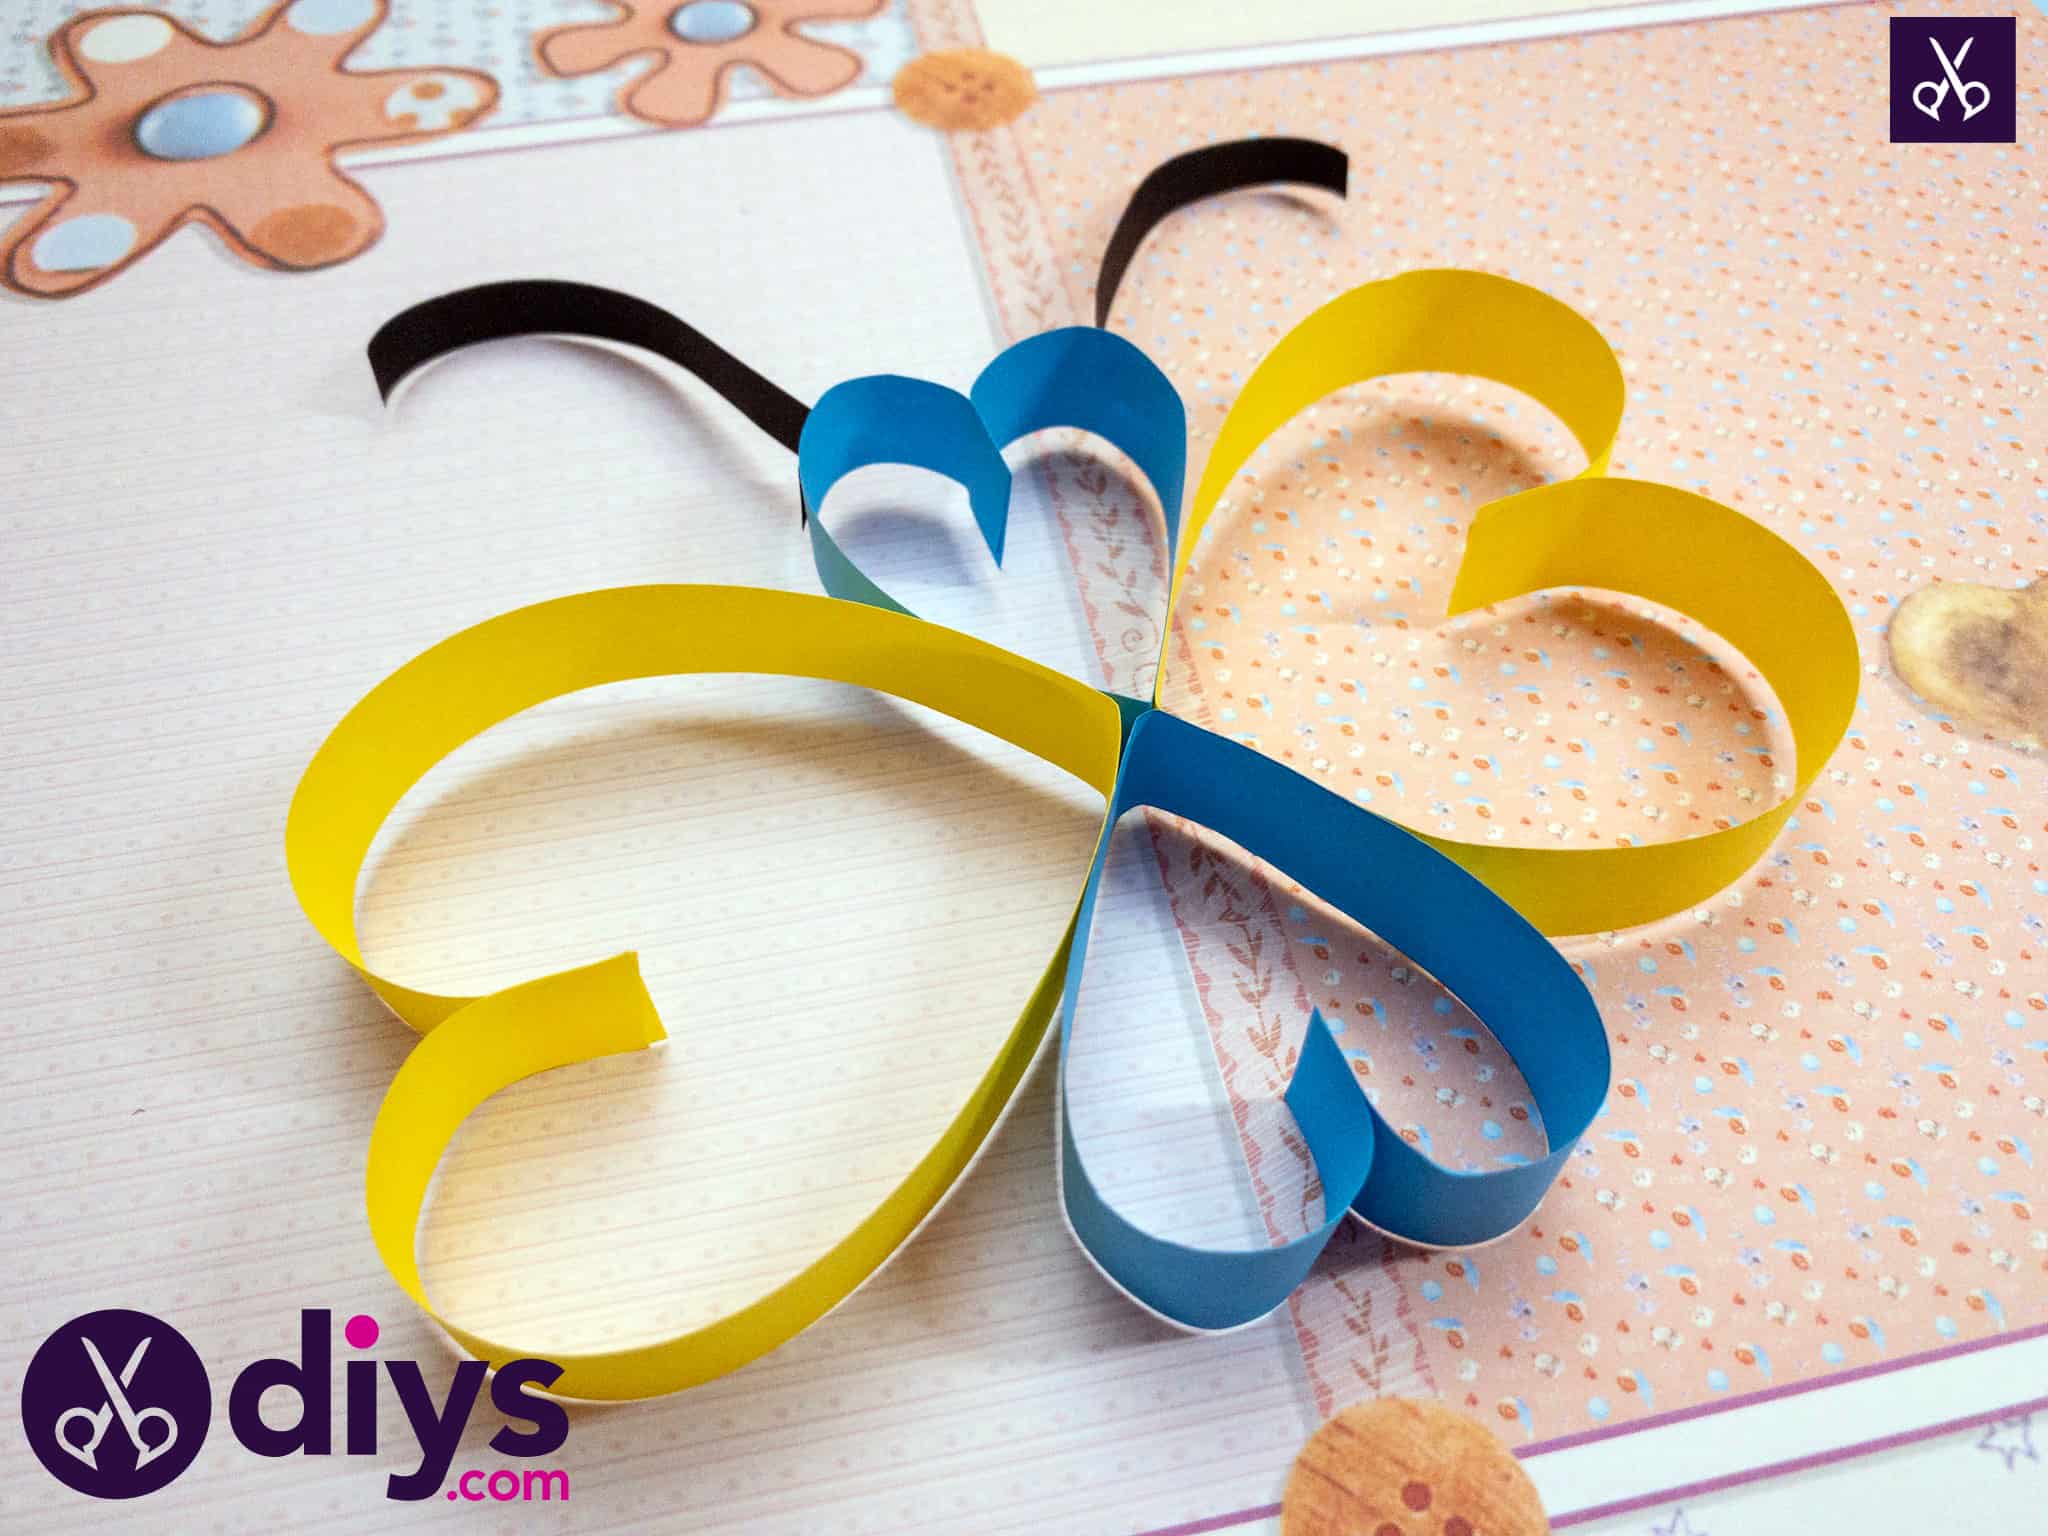
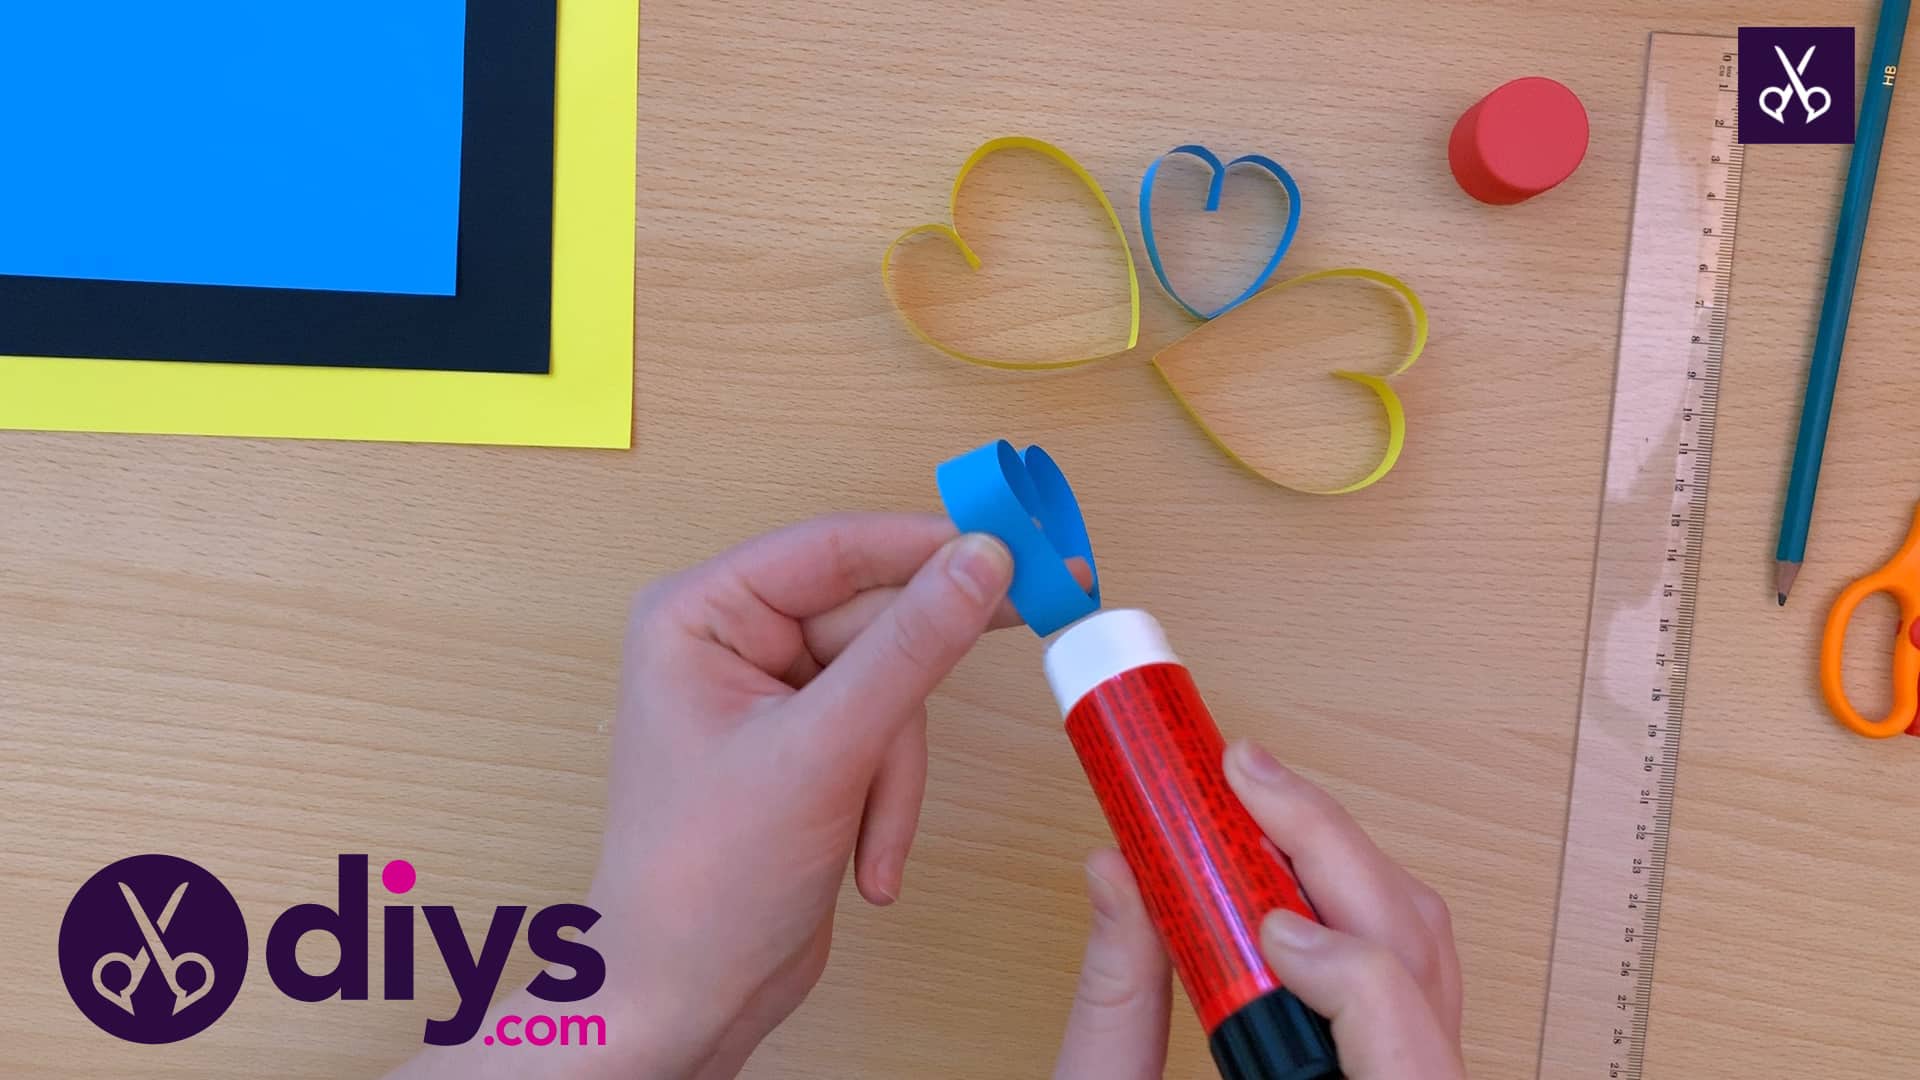
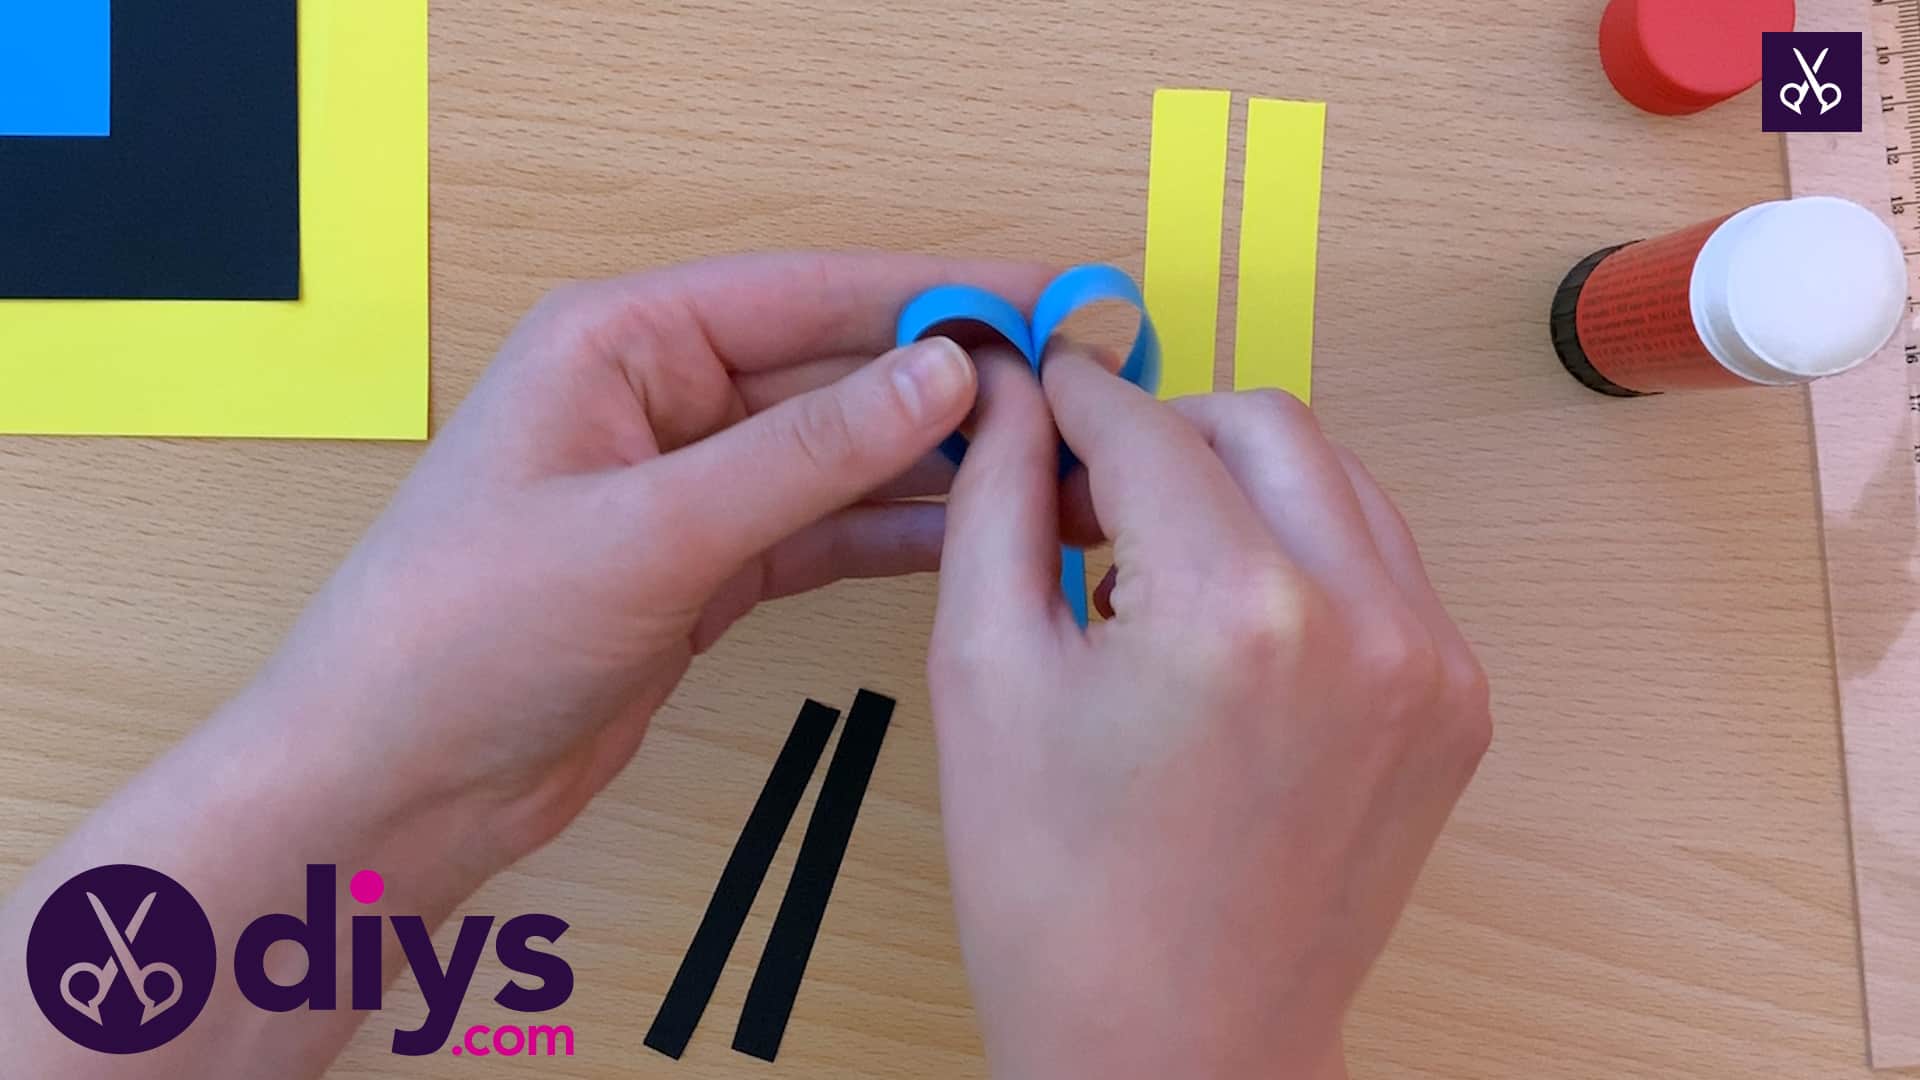
Cut out each of your six strips! Starting with your body colour (I used blue), apply glue to each end of your first strip, making sure to do it on the same side for both. Next, bend your strip in half to find the center and lightly pinch it there. This will make the bottom tip of your heart shape. Turn your ends in towards each other so that the outside bits that you applied glue to meet and stick them together. This makes the rounded pieces and center dip at the top of your heart. Hold the ends together for a few seconds so they stick and voila; you now have a paper heart. Repeat the process for your second blue strip too, so you’ll have two blue hearts in total (or two hearts in the right length to make your body, whichever colour you chose).


Step 5: repeat with yellow
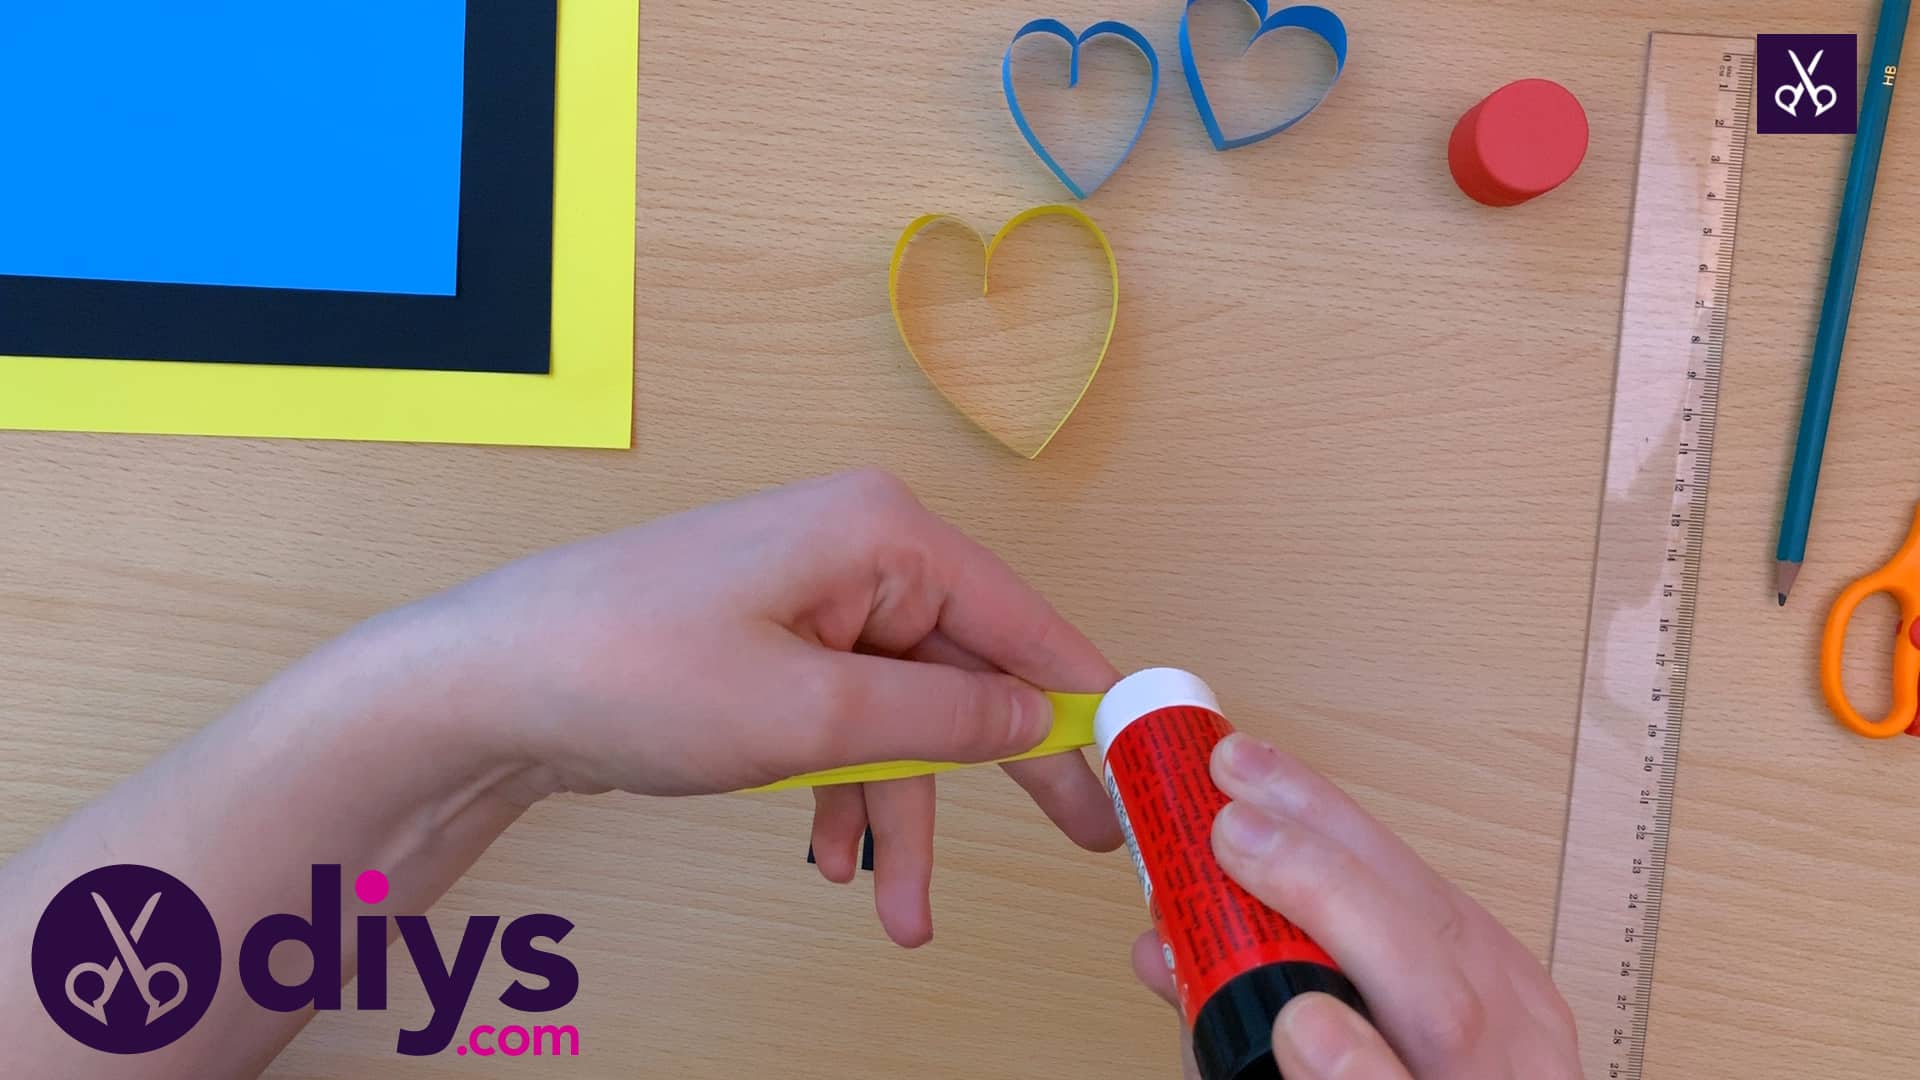
Repeat the same steps that you saw above, but this time for the strips that you sized out to make up your wings! For me, these were the yellow strips. The steps for making your hearts is precisely the same, but your finished shapes will be slightly bigger because you measured your strips a little longer. The only strips you will not make into hearts are your black strips (or whatever colour you chose to make into your antennae).

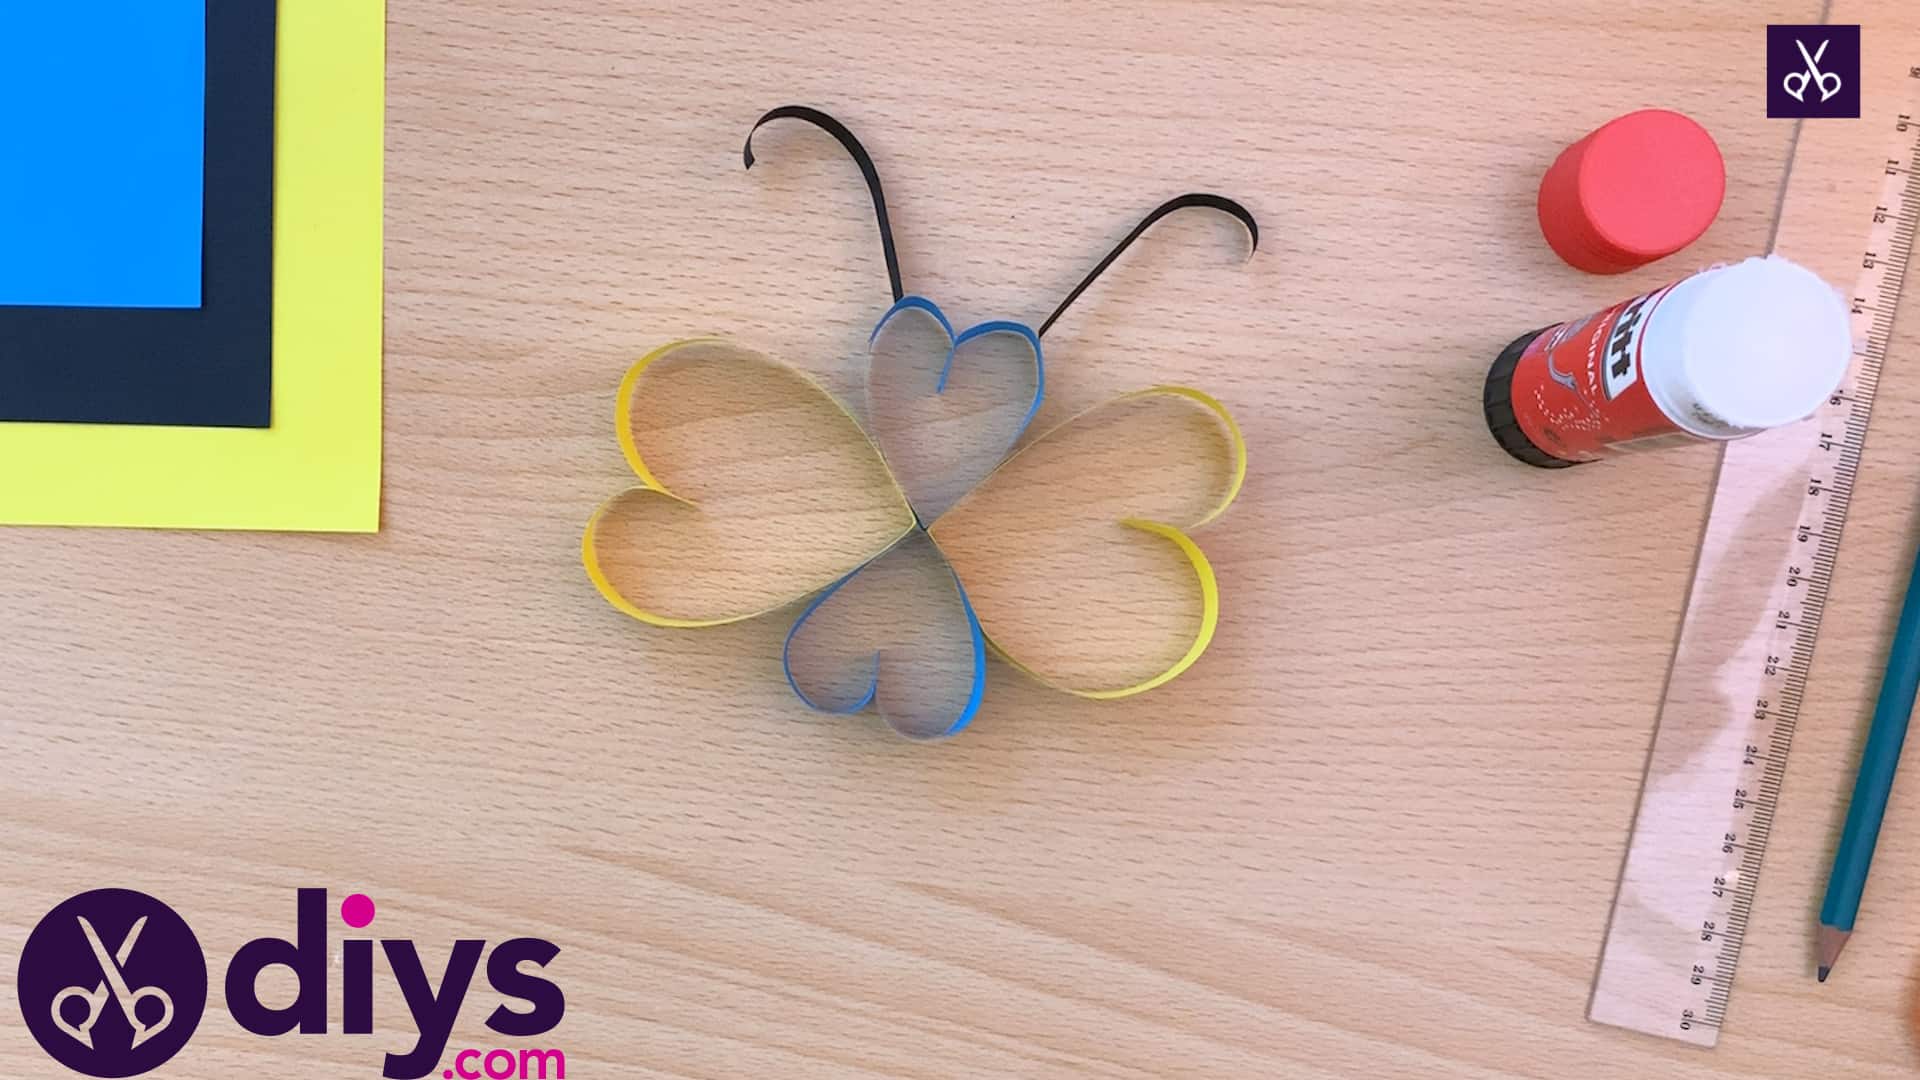
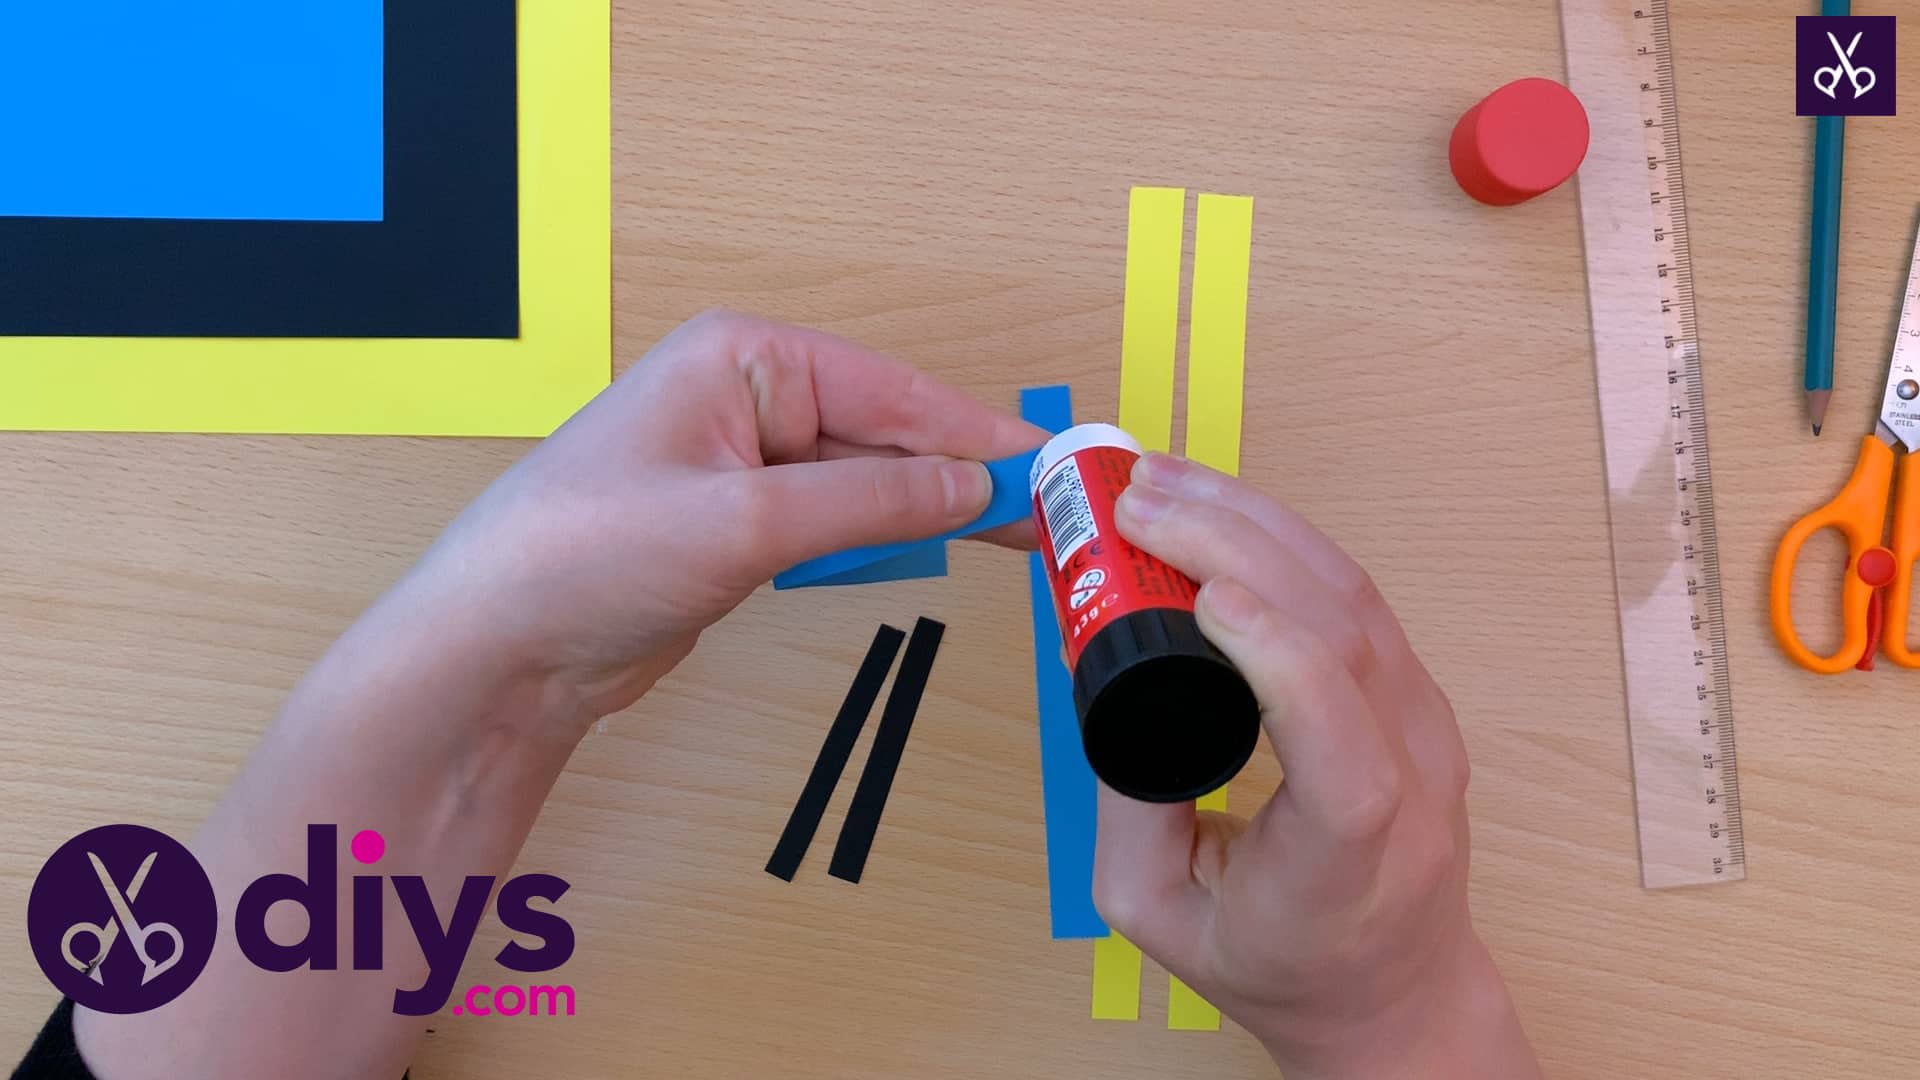
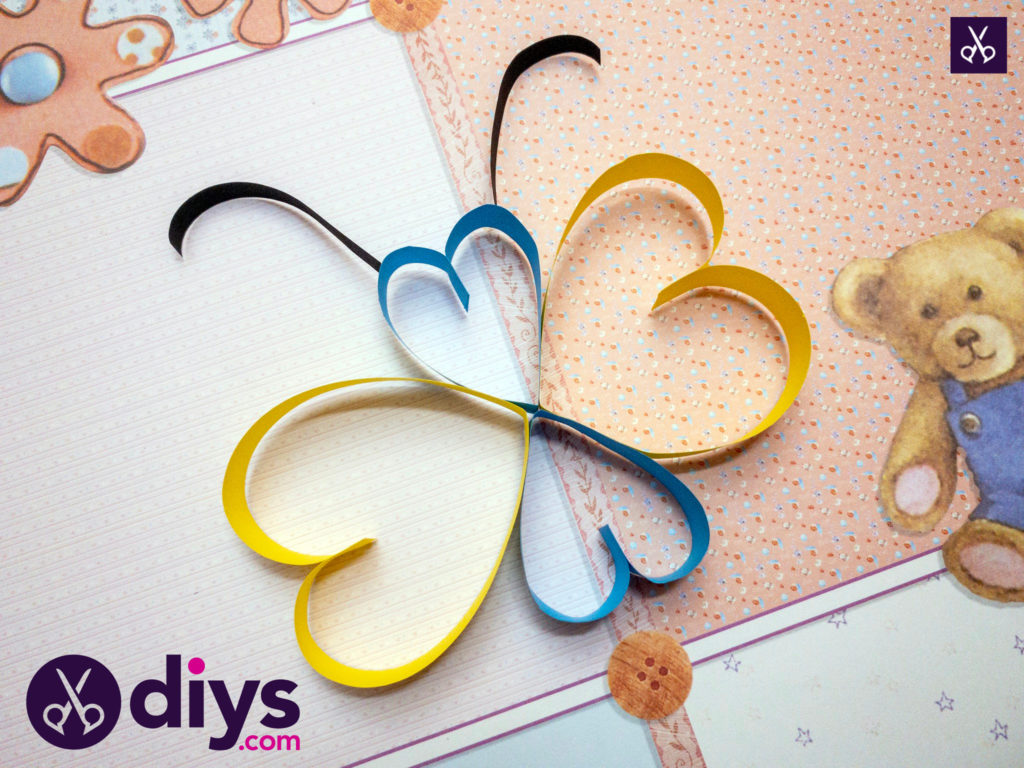
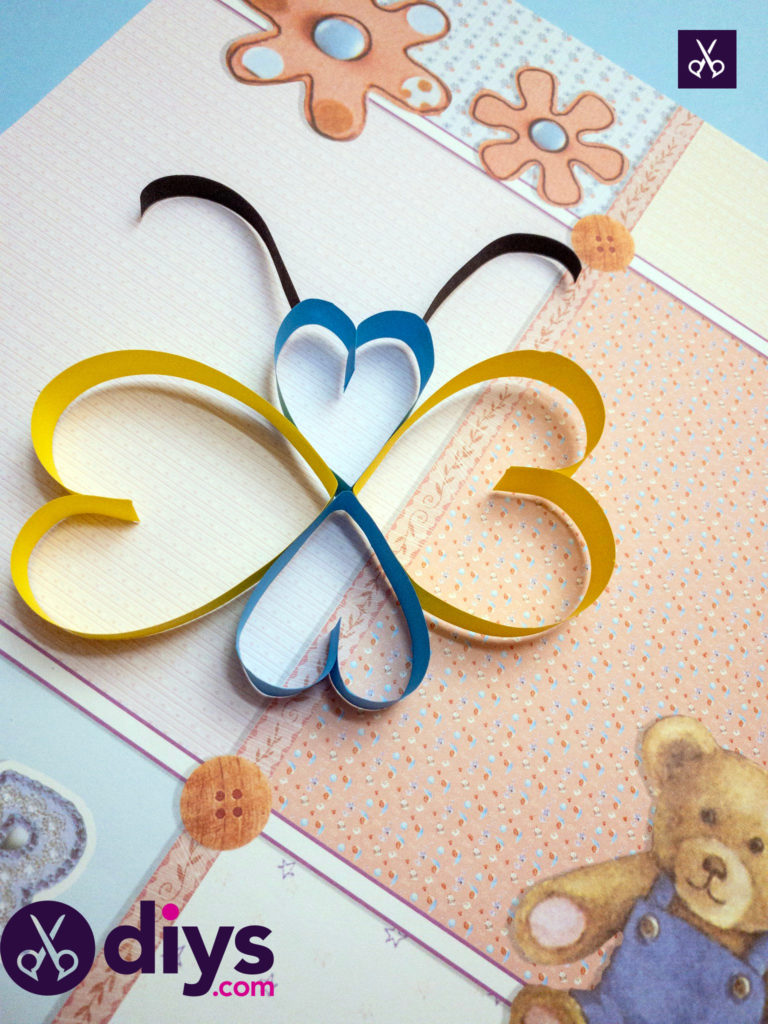
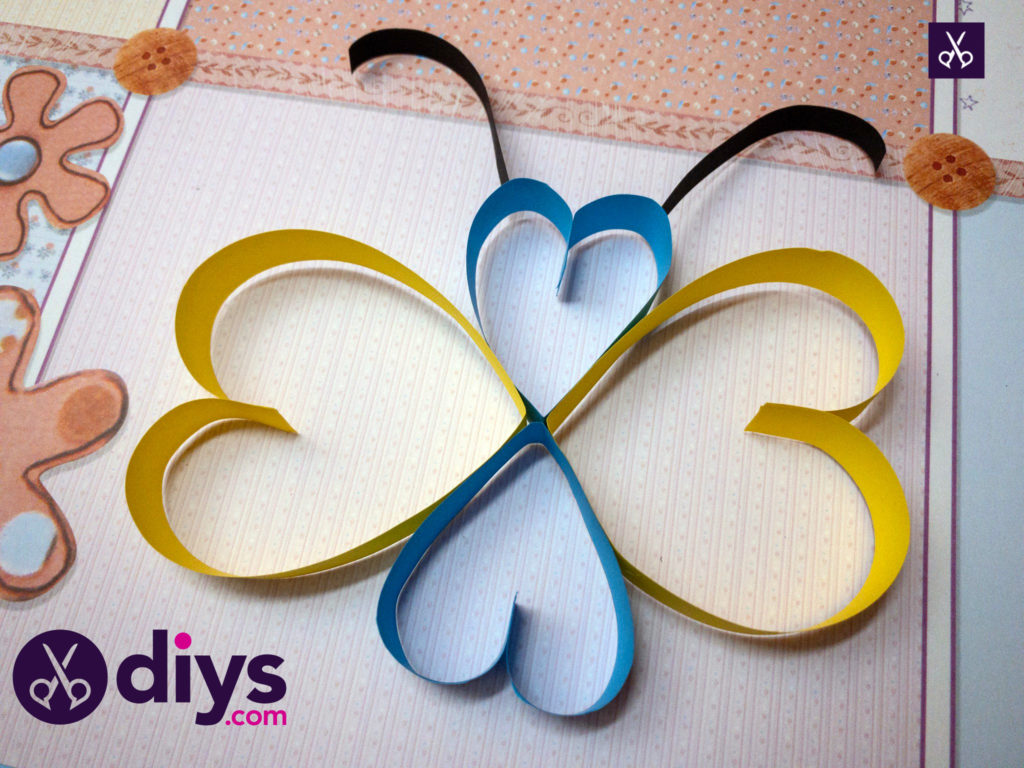
Step 6: Attach your body and wings!
You’ll do this by applying glue to the bottom points of the blue and yellow (or body and wing) hearts and sticking them all together. Smear some glue on either side of each heart and then stick them in an alternating colour pattern- blue, yellow, blue, yellow- so the larger wing pieces lie between and on either side of the smaller body pieces.

Step 7: add atenna
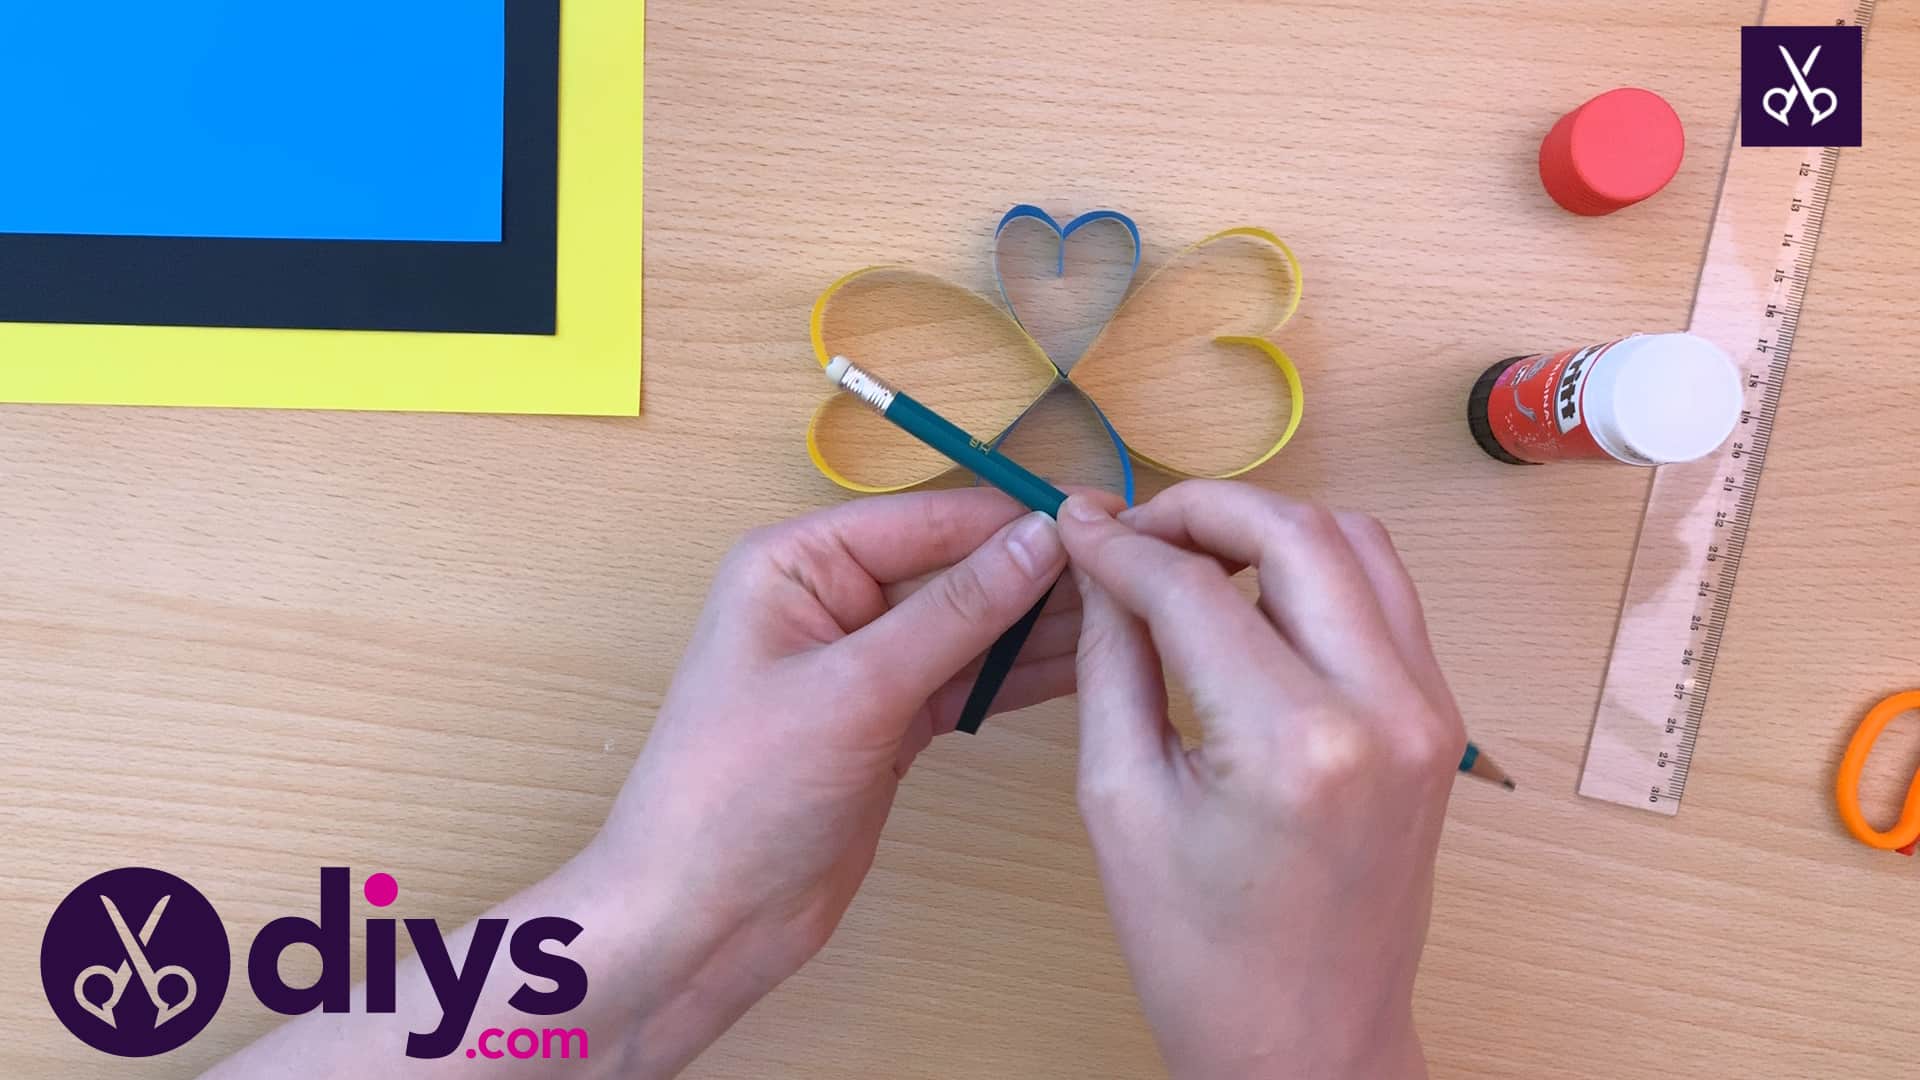
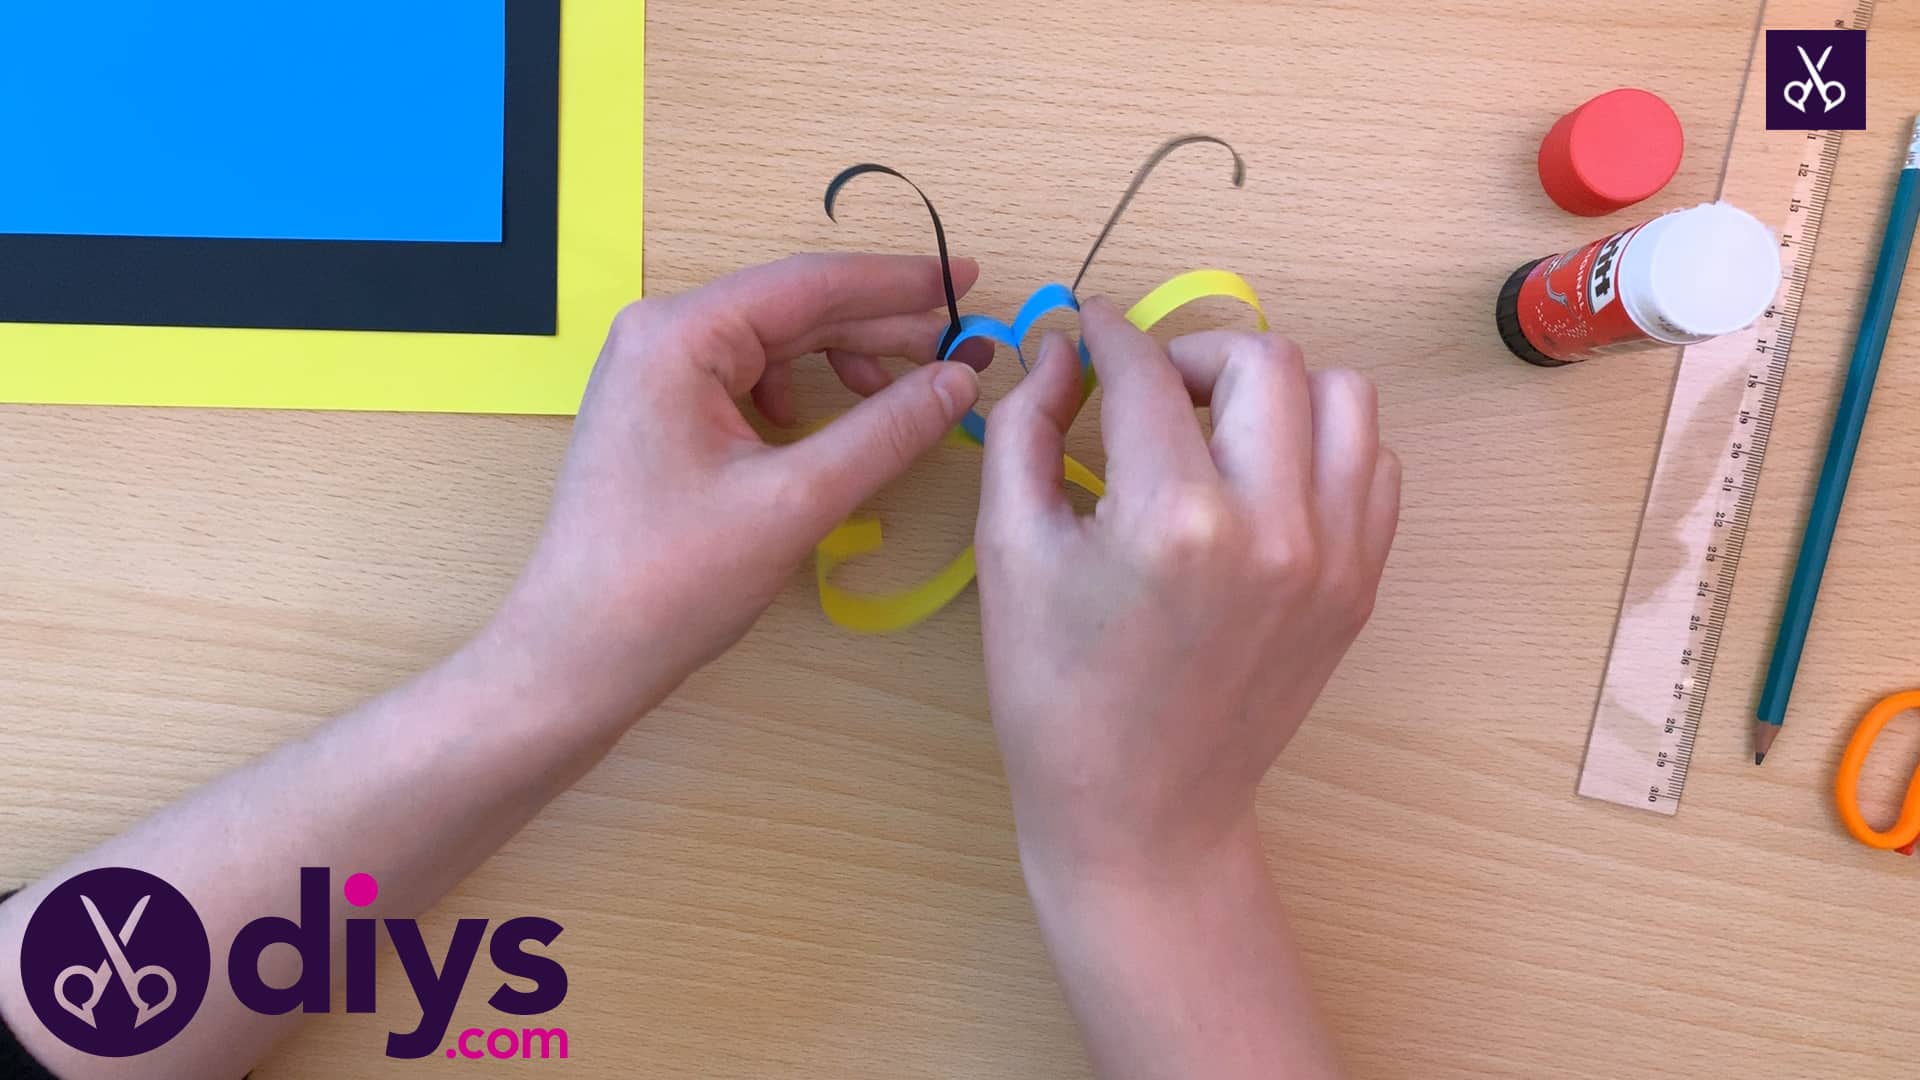
Curl the tops of your antenna strips to make them round off the way an actual butterfly’s antennae appear to arc. I did those by wrapping one end of each black strip around a pencil to loosely spiral it. Next, I bent the other end of each upwards slight to make a sort of flat tab that’s good for gluing. Apply the glue to the underside of this bent tab and press it onto the top of one of your body hearts so the antennae stick up and curl over at the top.


There you have it! This paper hearts butterfly might not be the most complicated project you’ve ever done, but I found it to be a nice, simple palate cleanser between other, more complicated crafts. There’s nothing like making something adorable with your own two hands and the simplest of supplies!

You can find a full, detailed video tutorial for this fun project here!
