Ingenious No-Sew Head Wrap
Updated on November 19, 2025

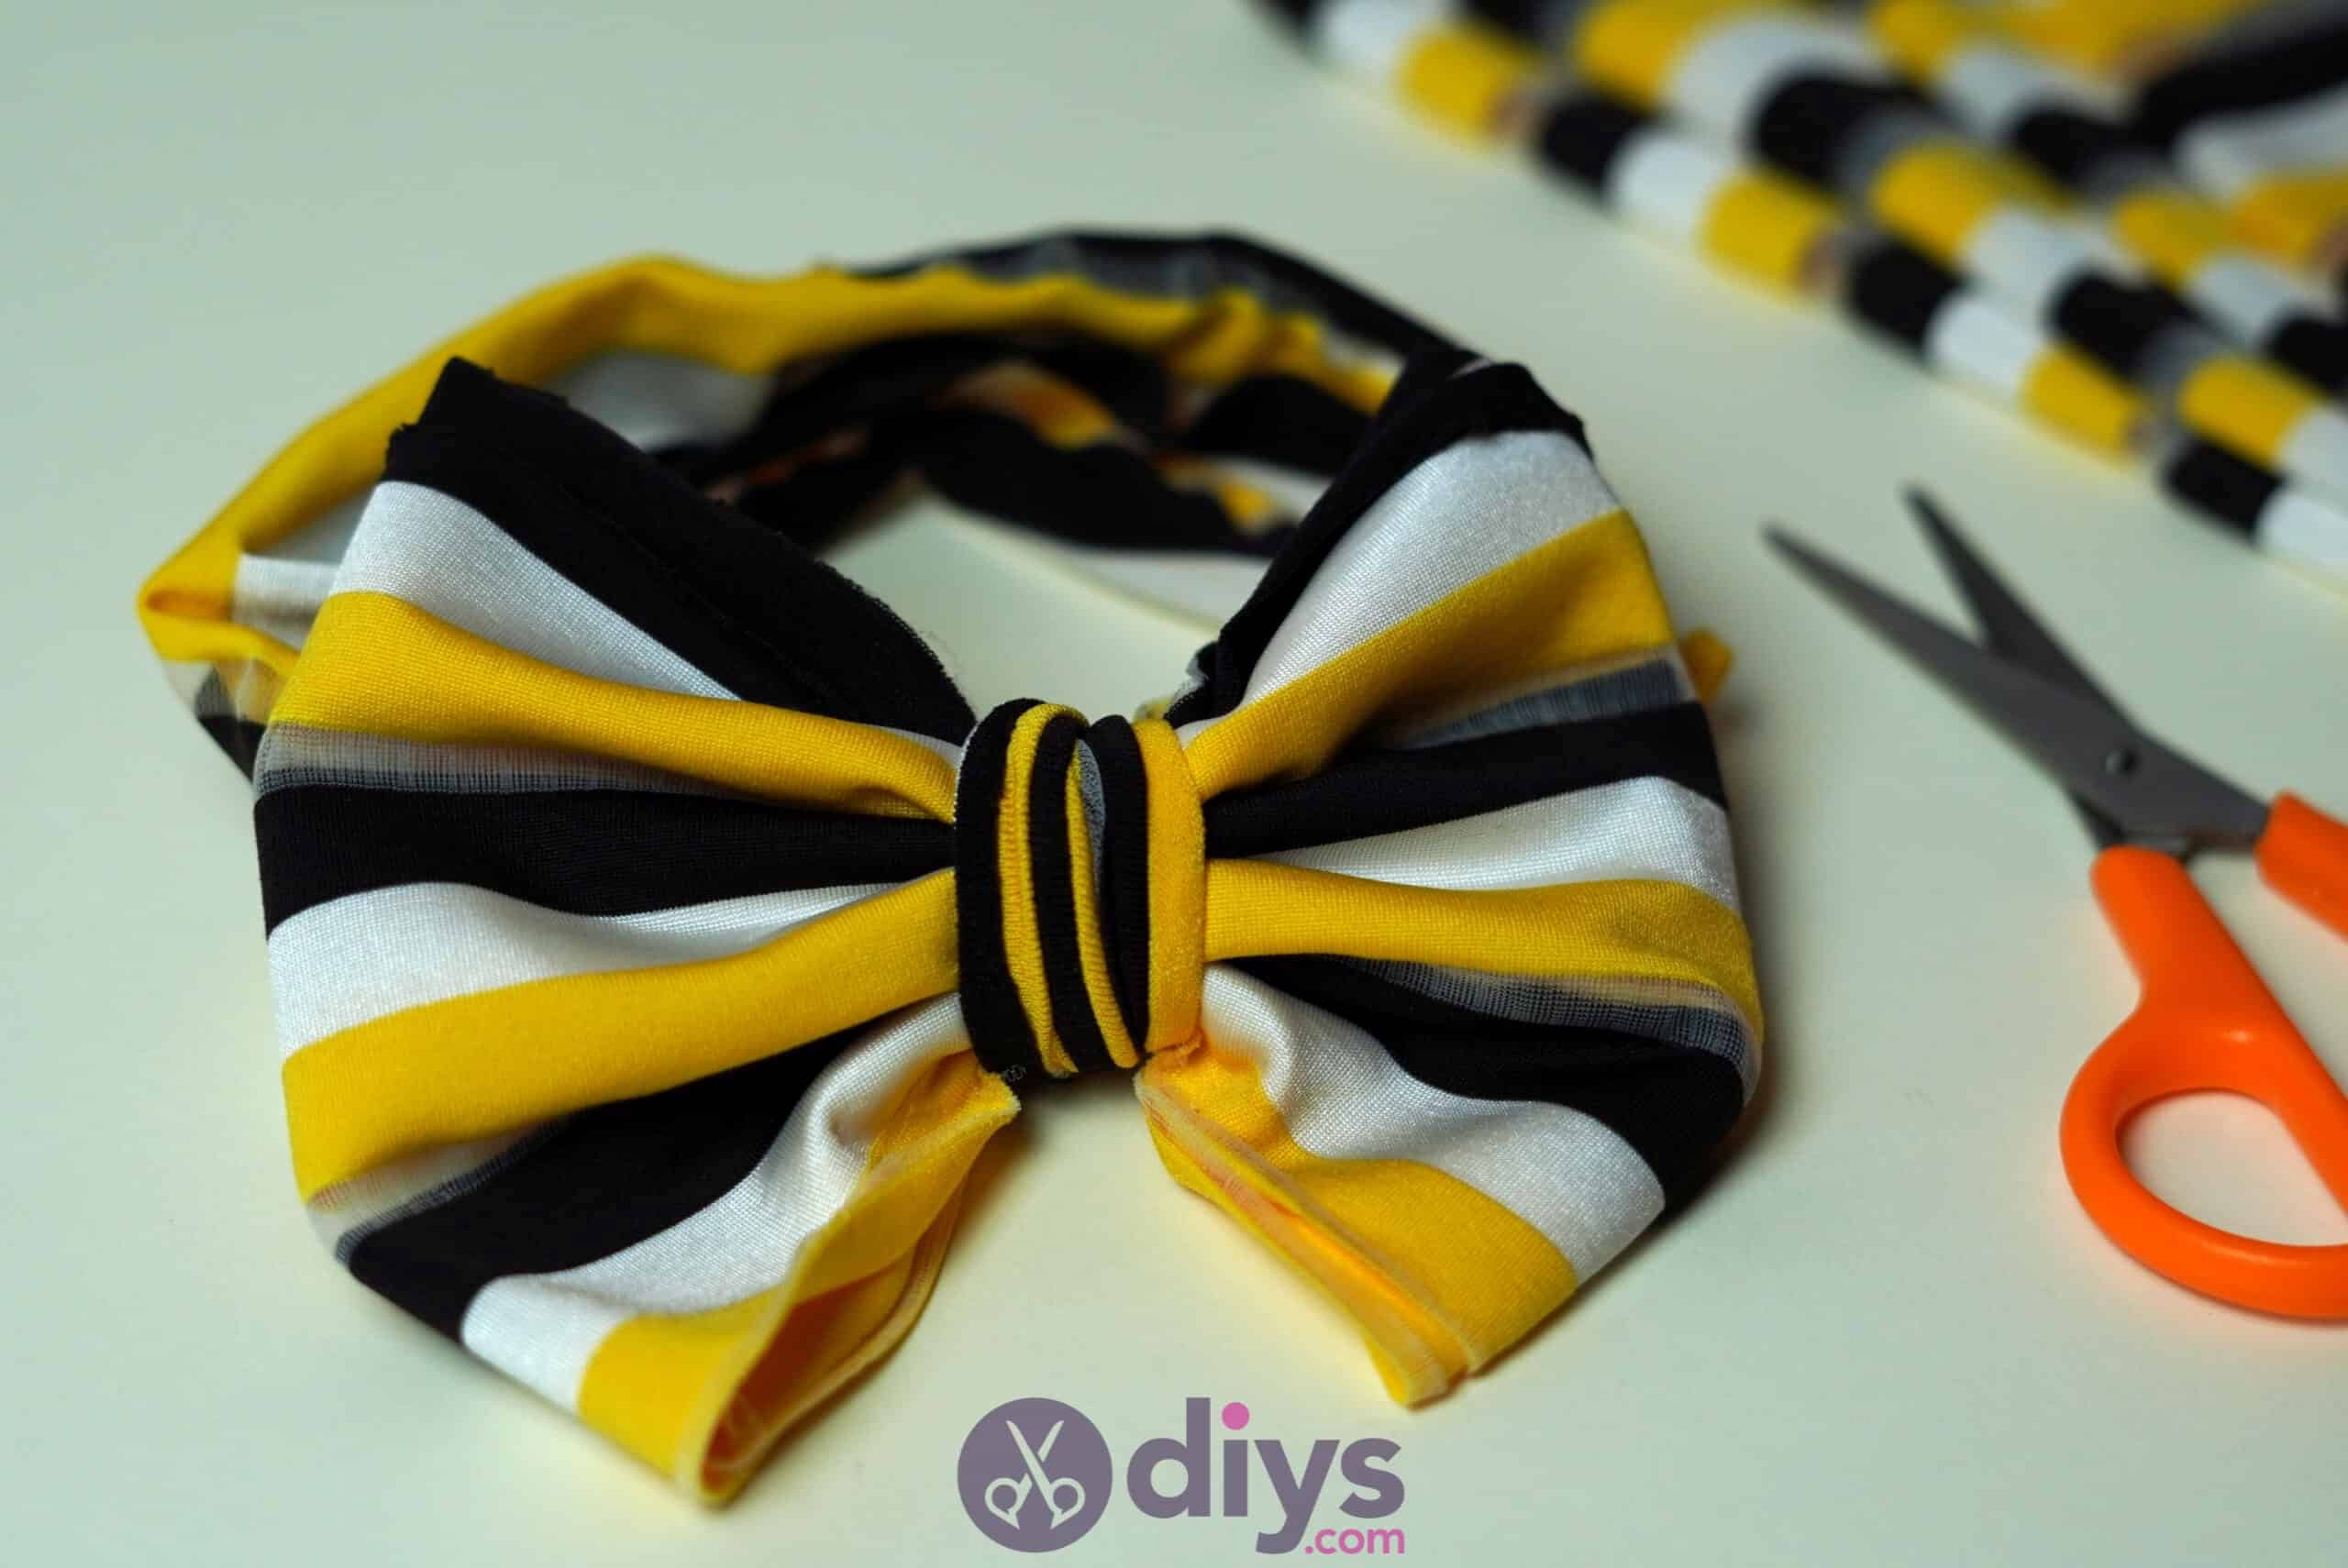


Making headbands and bows have never been easier with this step by step tutorial on how to make a no-sew head wrap. Scroll on to see just how we made this one!

Choose materials with colors you prefer to really personalize it. If you’d like to try her project out as well, check out the written instructions with corresponding photos below, or watch the video tutorial that you’ll find at the bottom of this post!

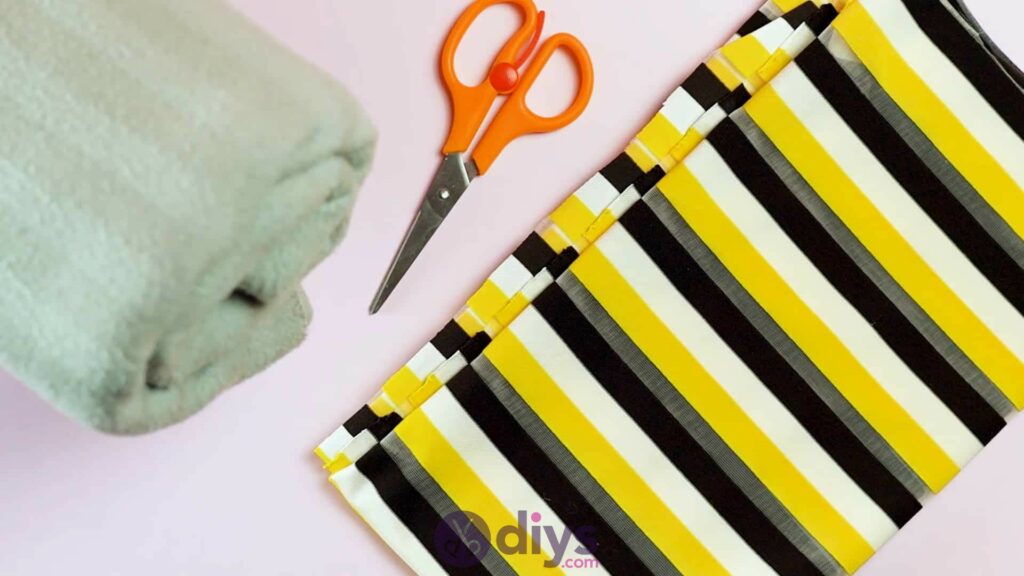
For this project, you’ll need:
- Patterned fabric
- Scissors
- A rolled blanket or towel


Step 1: Gather your materials!
Yes, that’s really all you need. You might even be able to get away with using scraps that you have no other use for because the project itself is quite small.
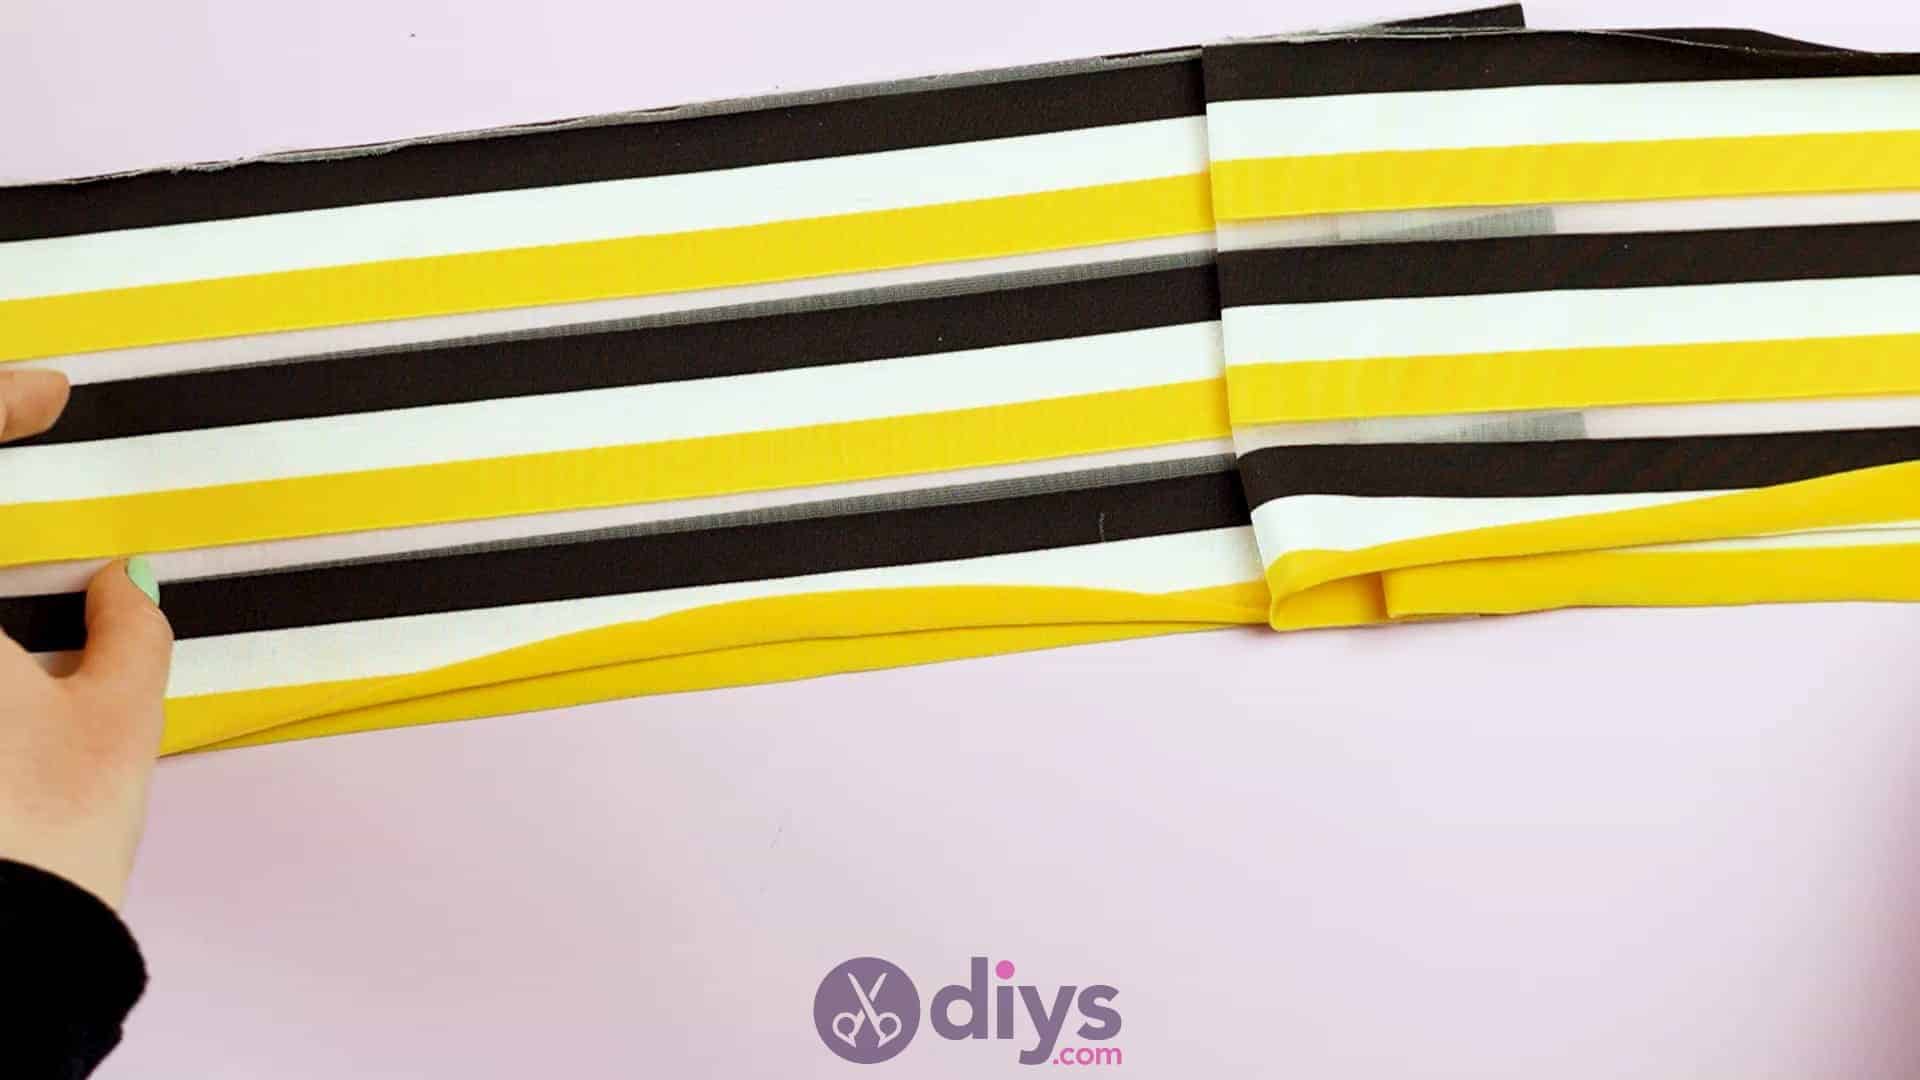
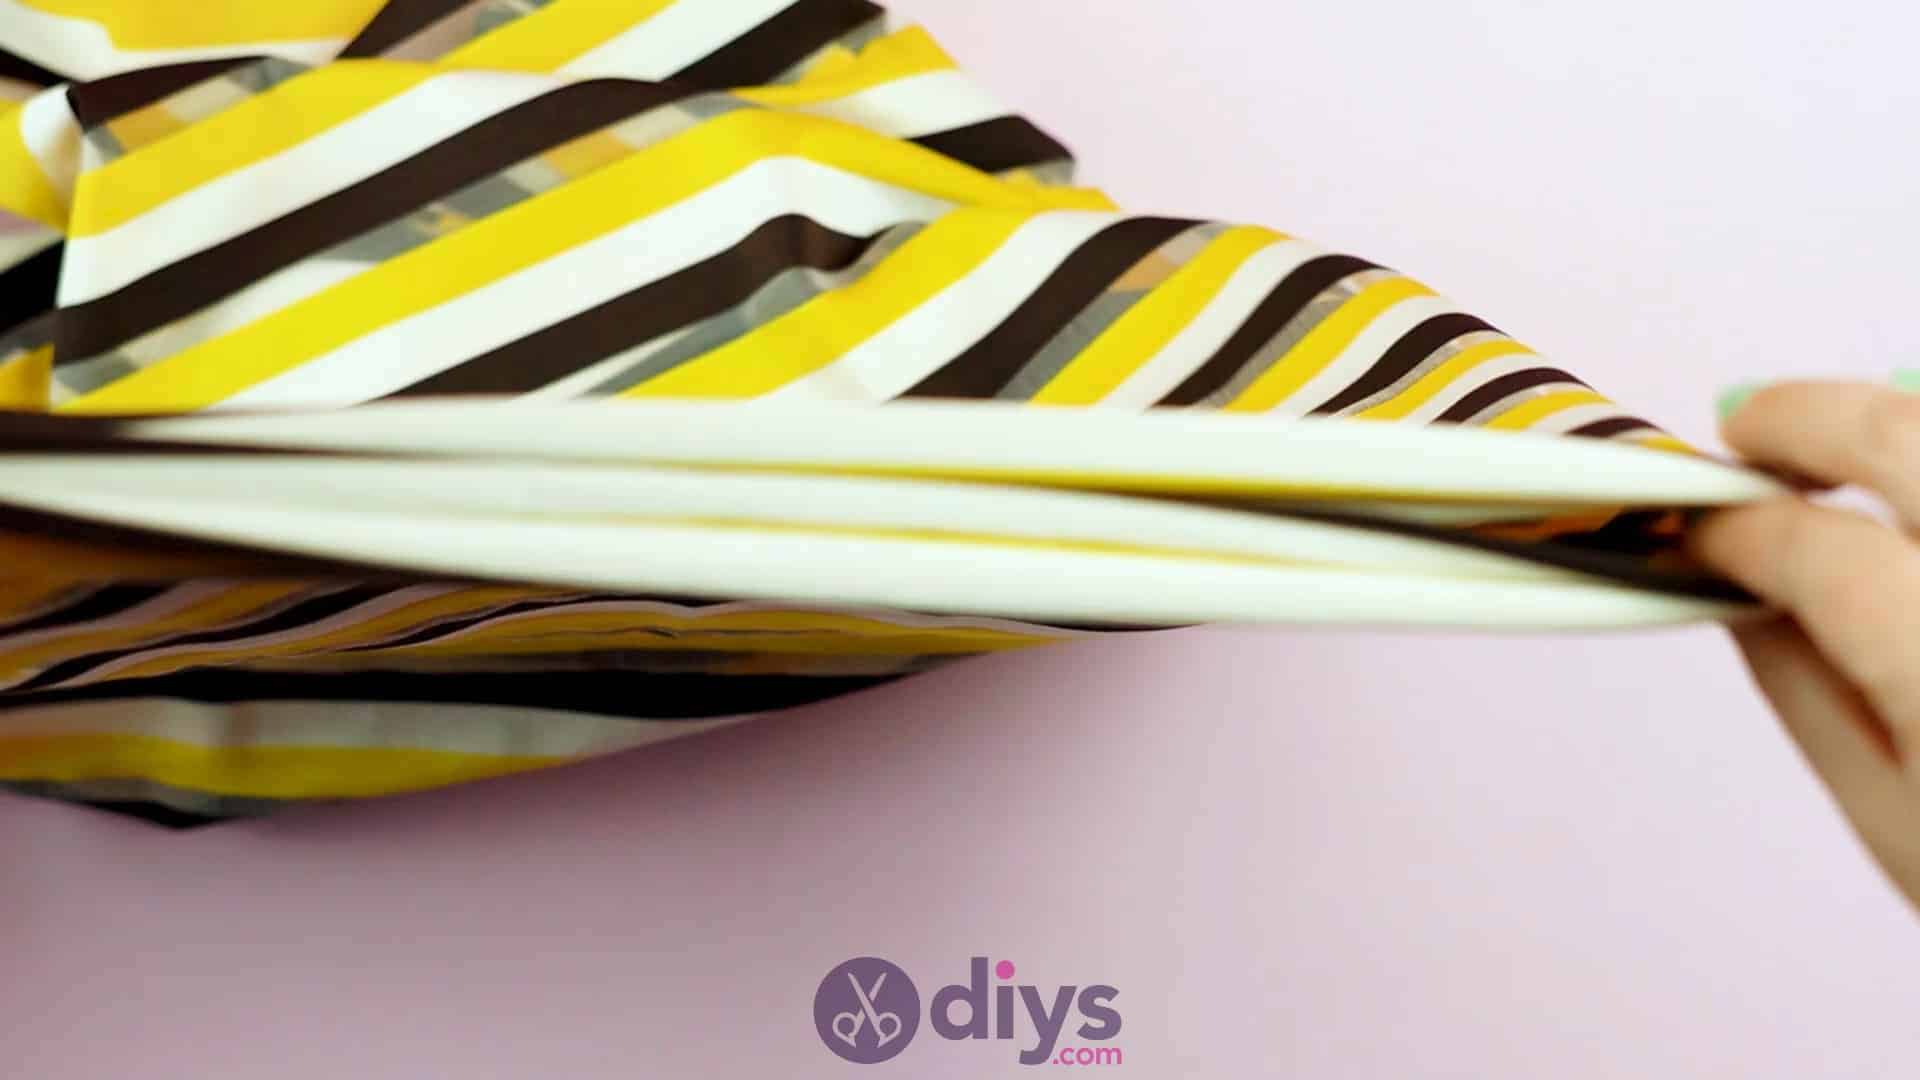
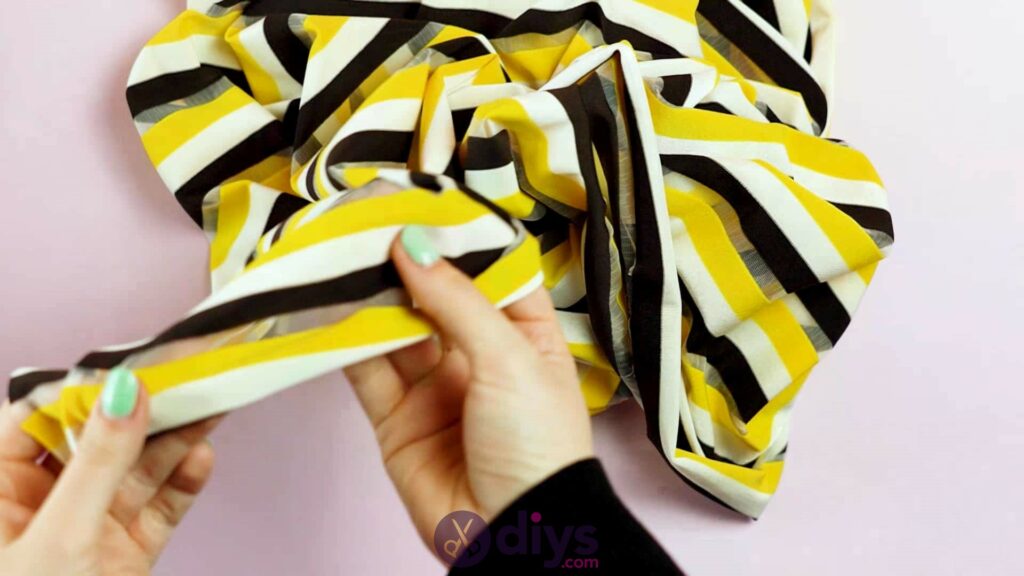
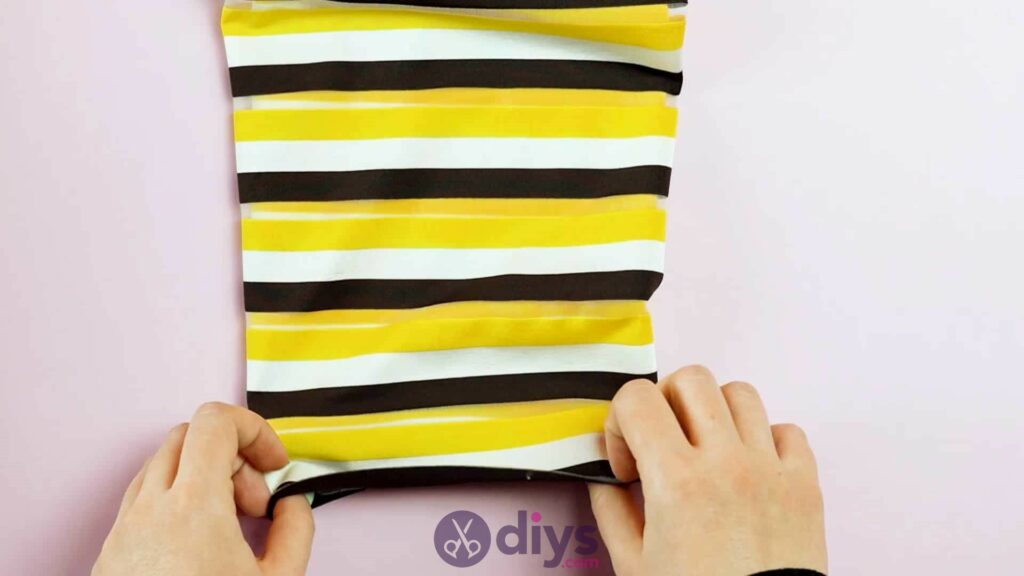
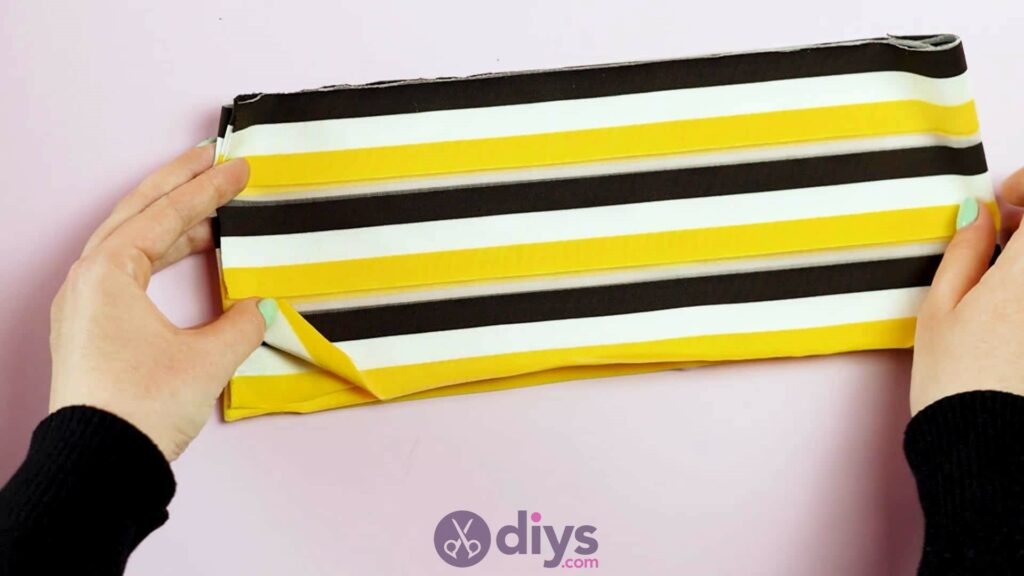
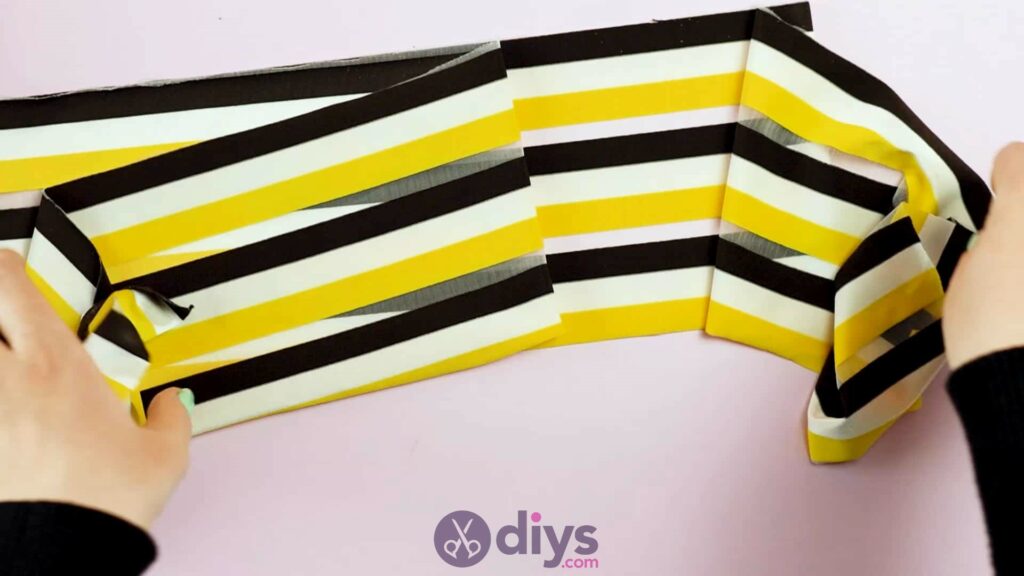
Step 2: fold the fabric
Find the corners of your fabric along the shorter edge (but no shorter than a yard or so) and bring the two together so that you fabric’s “right side” (i.e. the side of the fabric that has the brightly printed pattern on it and doesn’t look faded) is on the outside, with the other side on the inside. Crease it neatly and make sure all the edges of the piece are lined up nicely. Then take the corners of your folded piece and fold it along that same edge again, bringing the corners together in the same way. Fold it two more times in this manner. When you lay it neatly again, you’ll have a piece that’s got eight folded layers in total. My edge where I could count my layers was about four inches across.
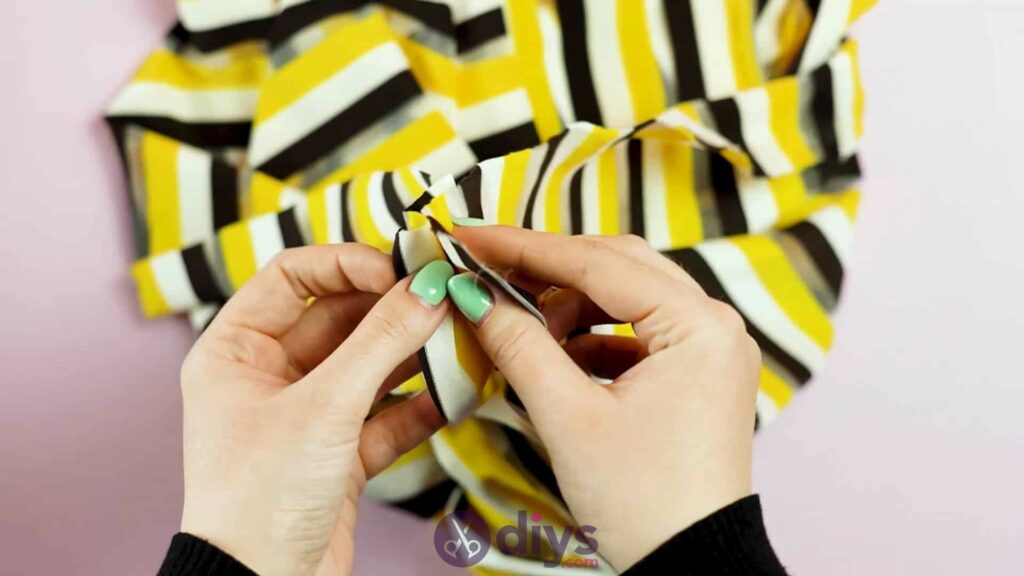


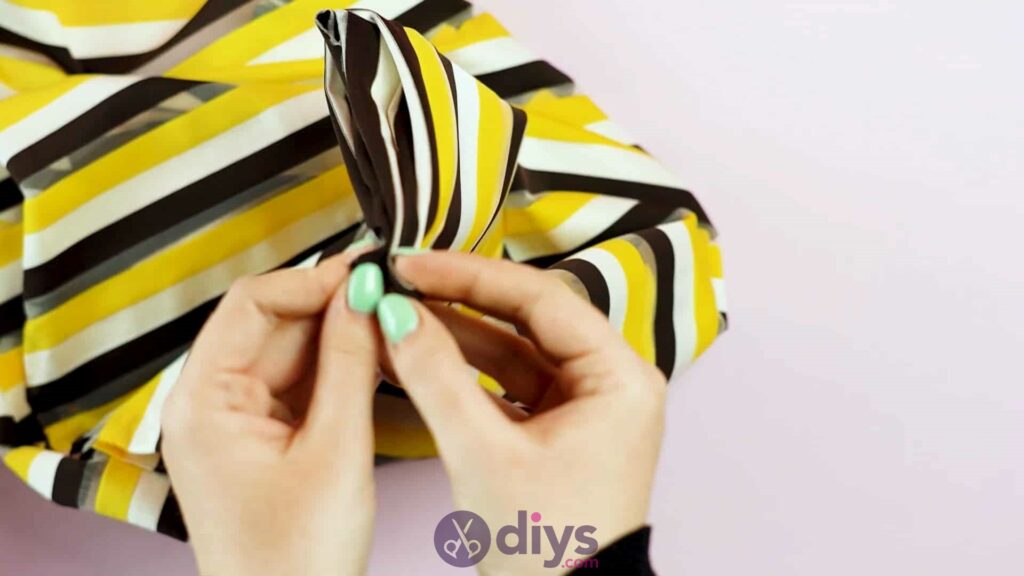
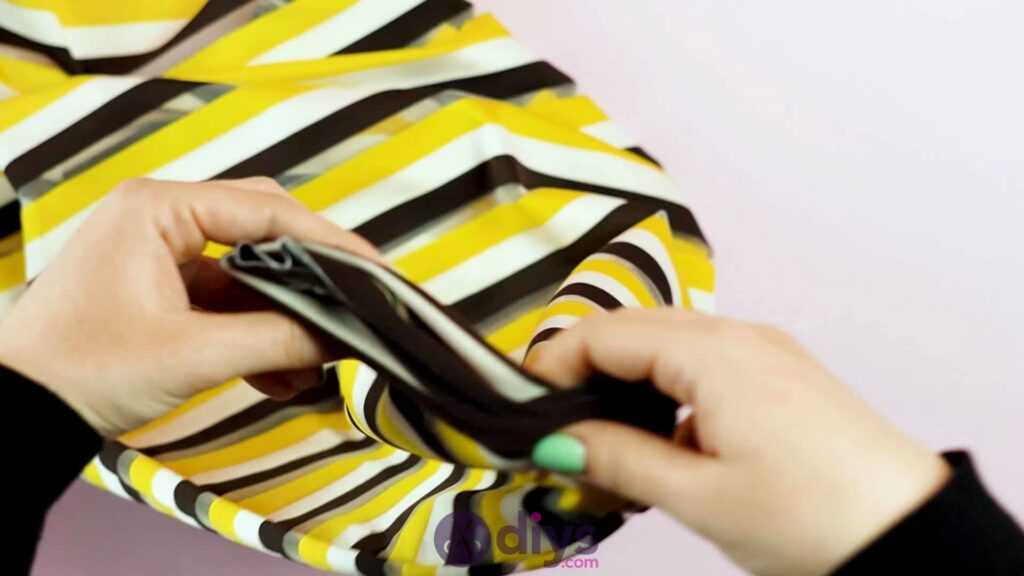


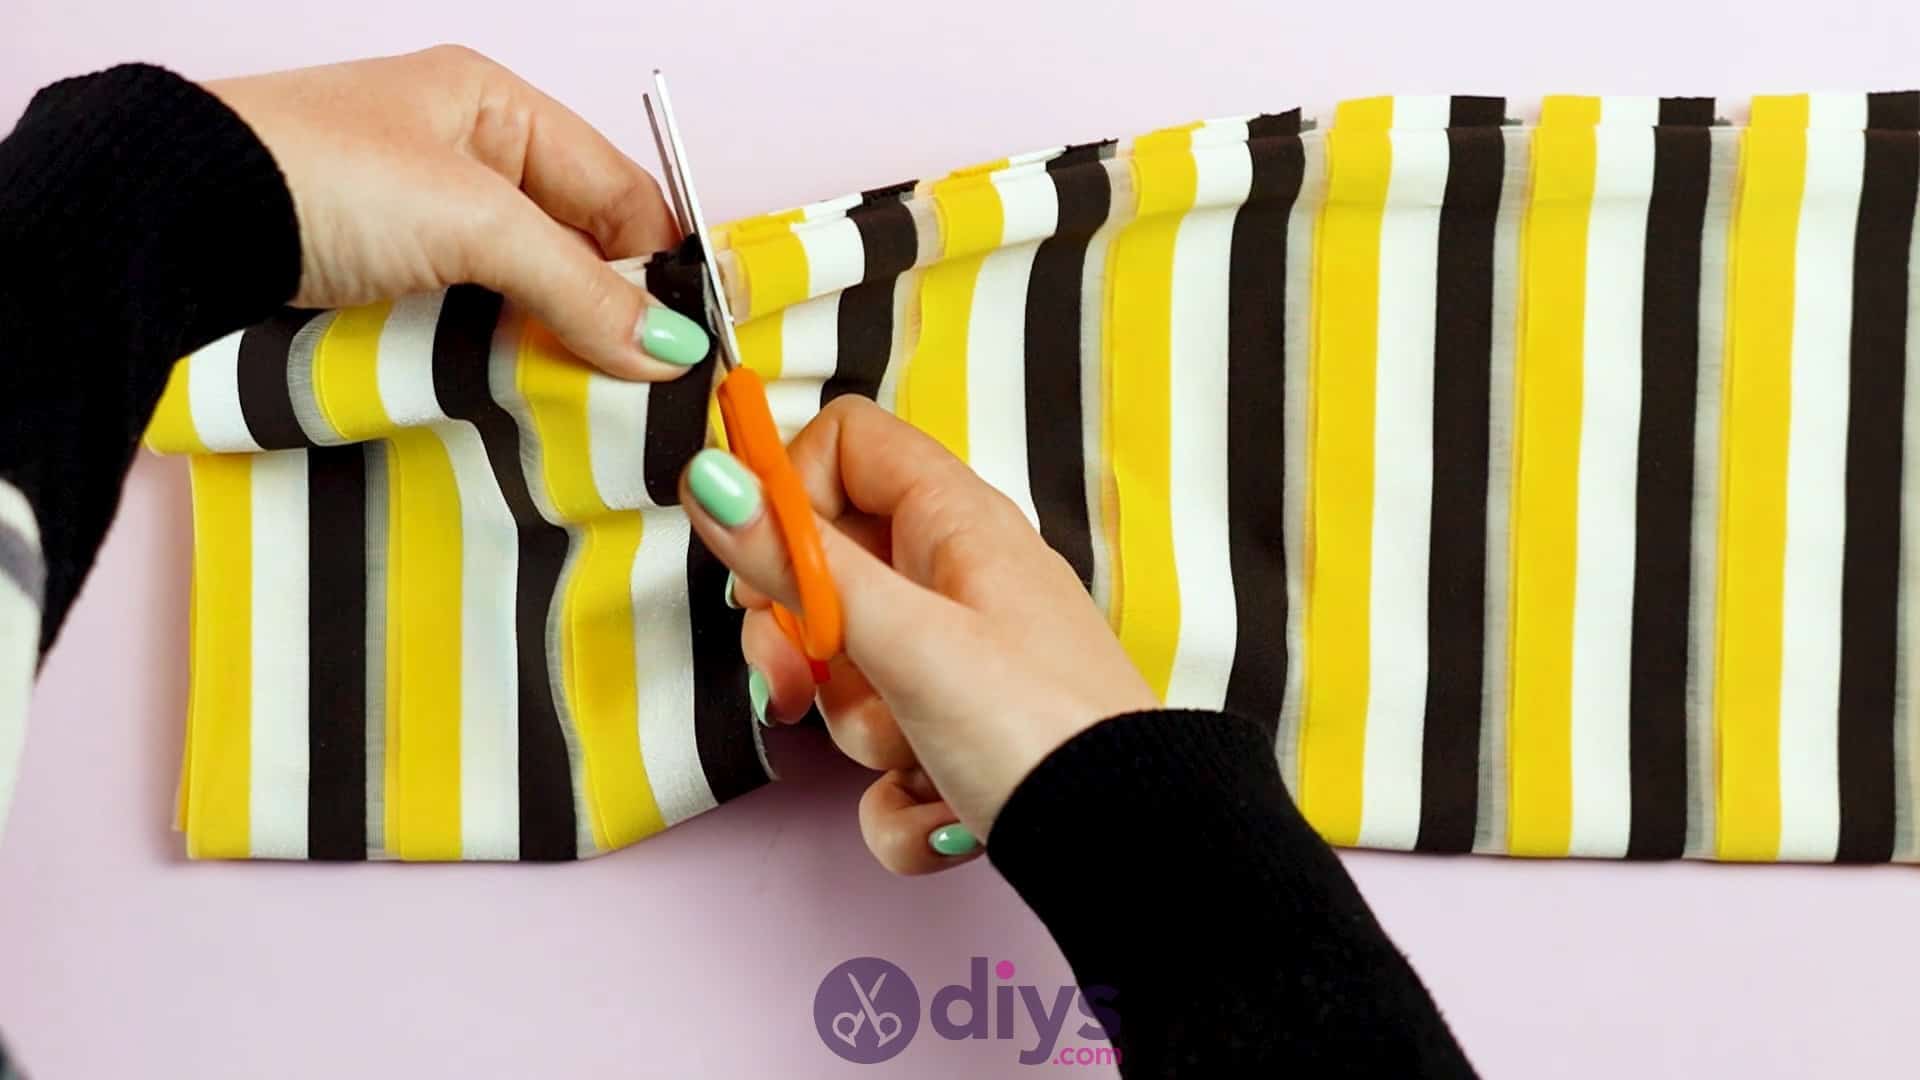
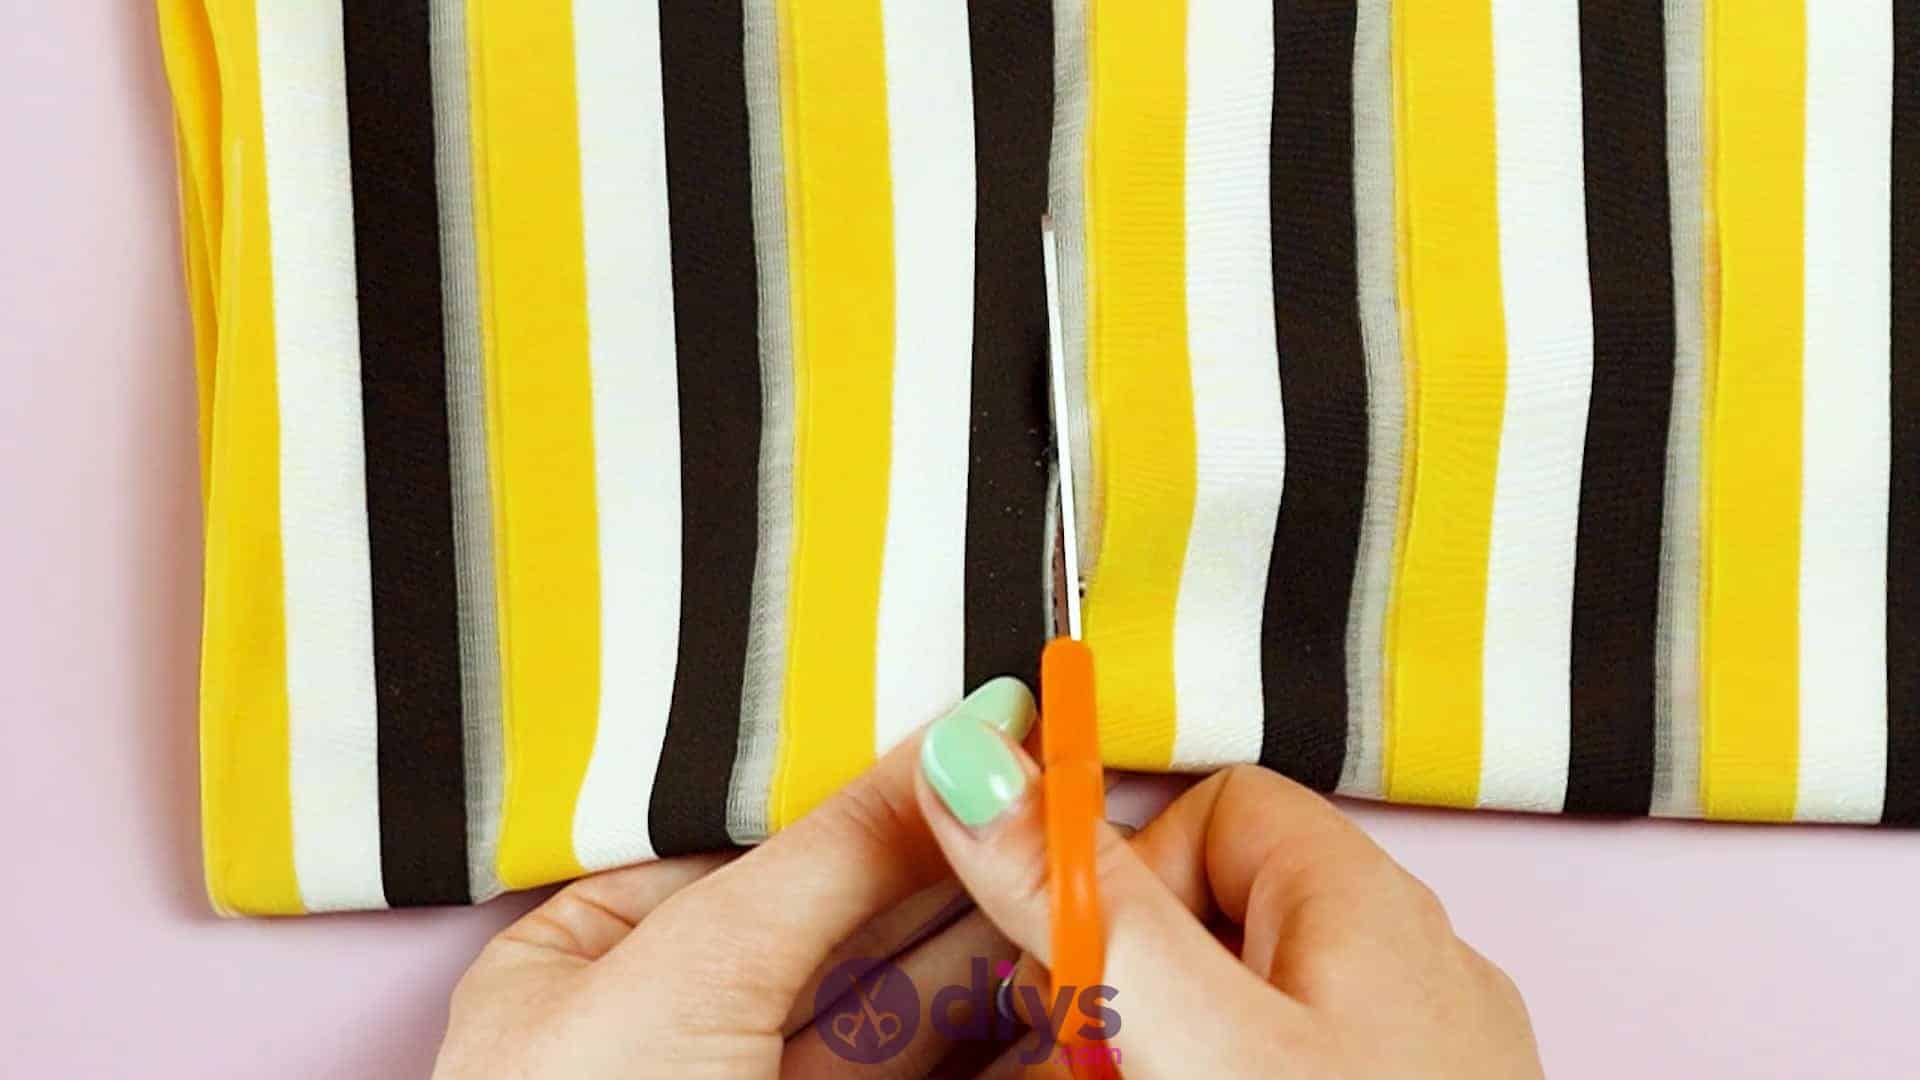
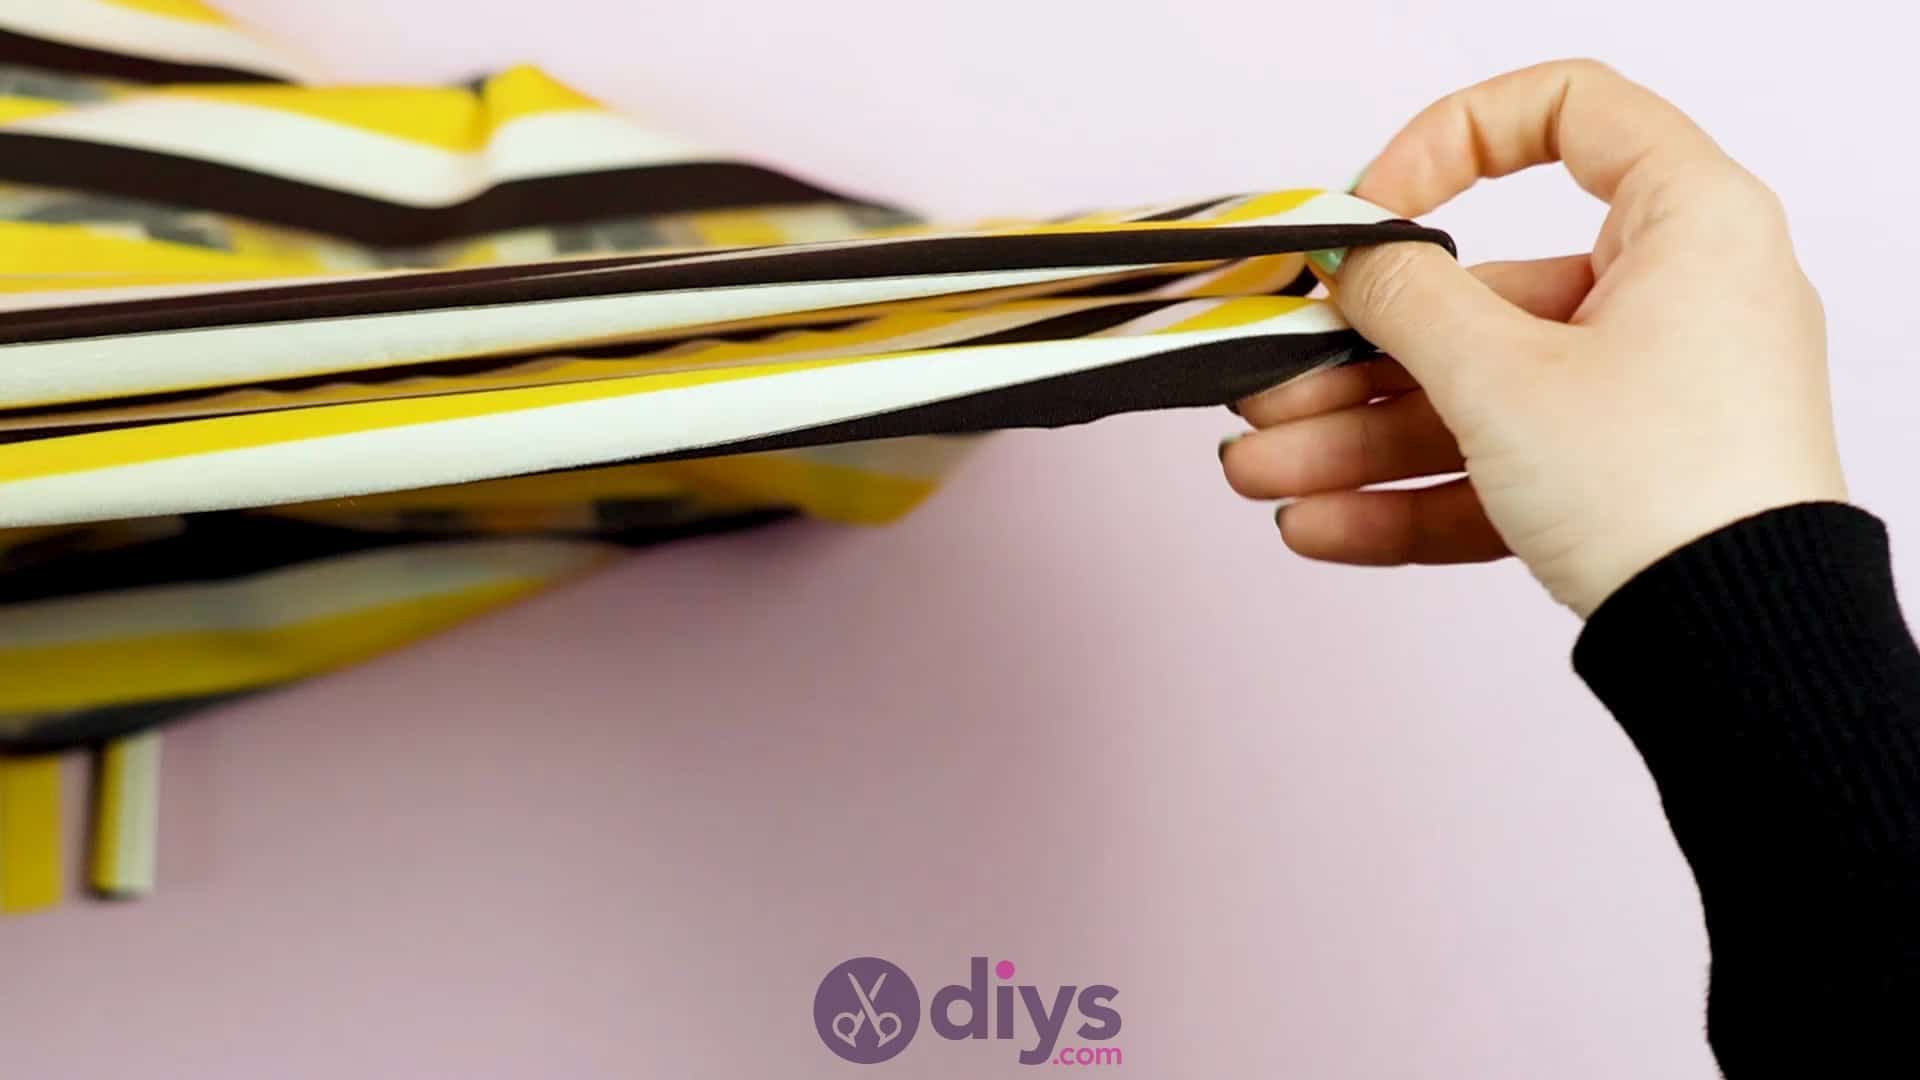
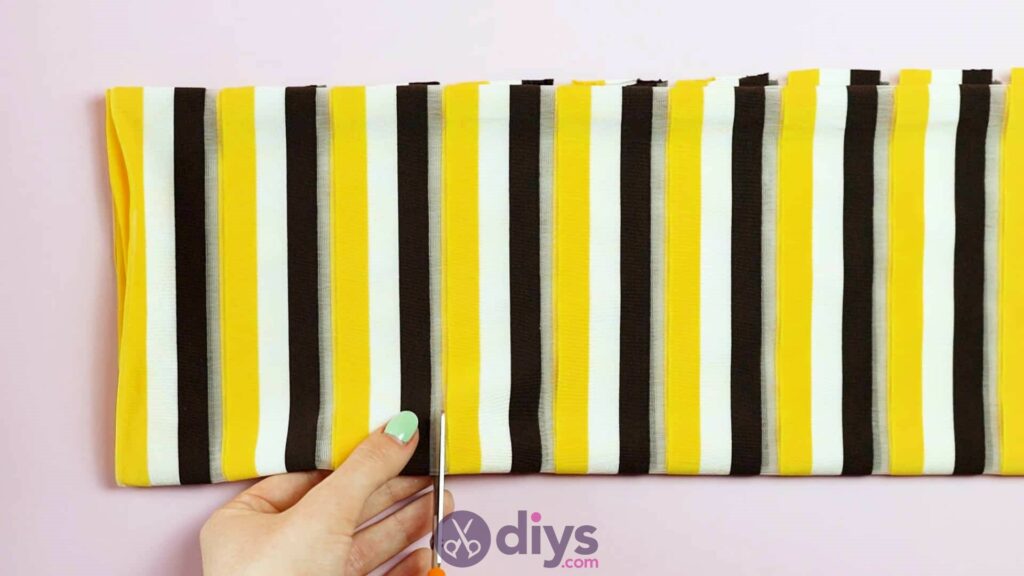
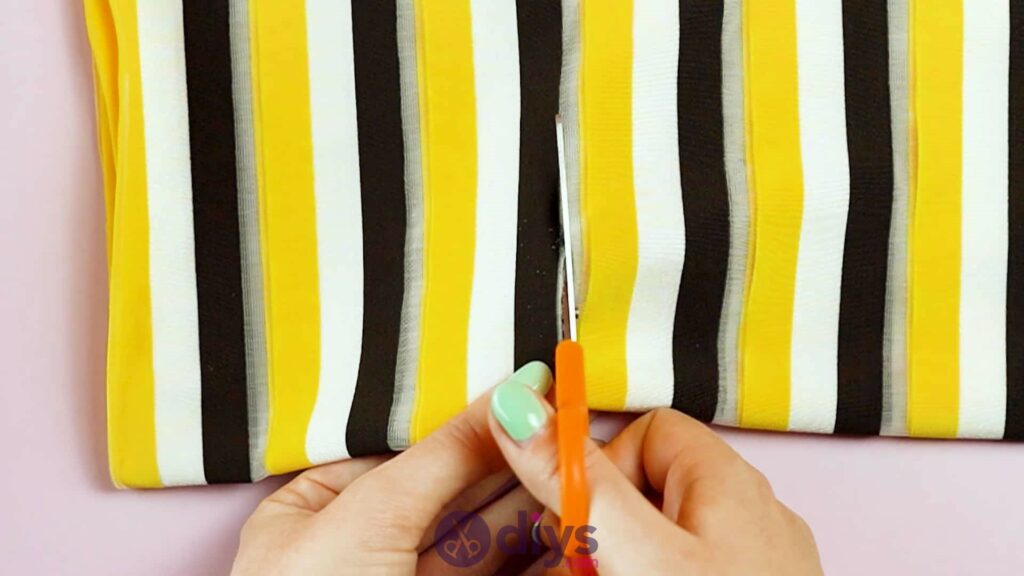
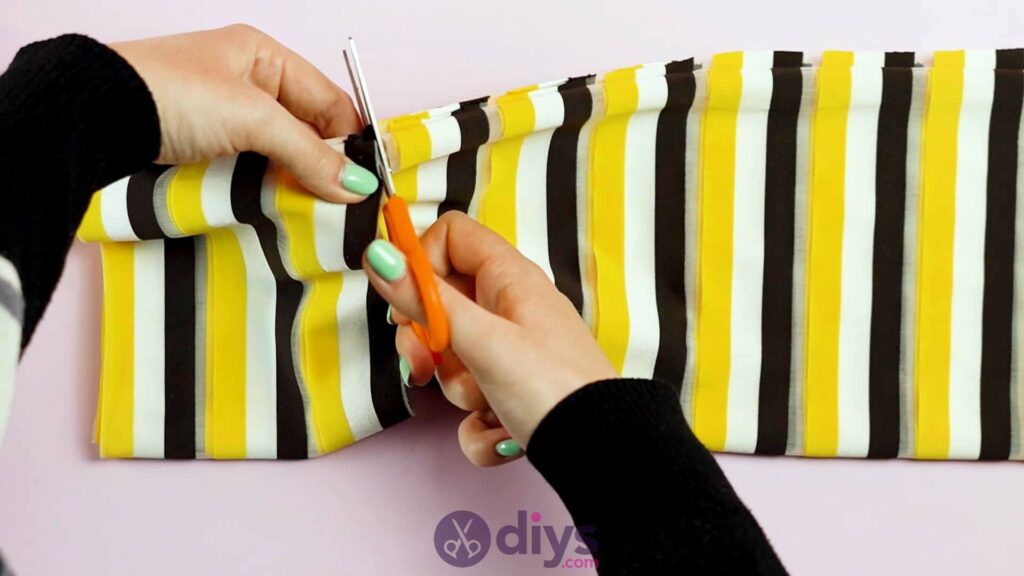
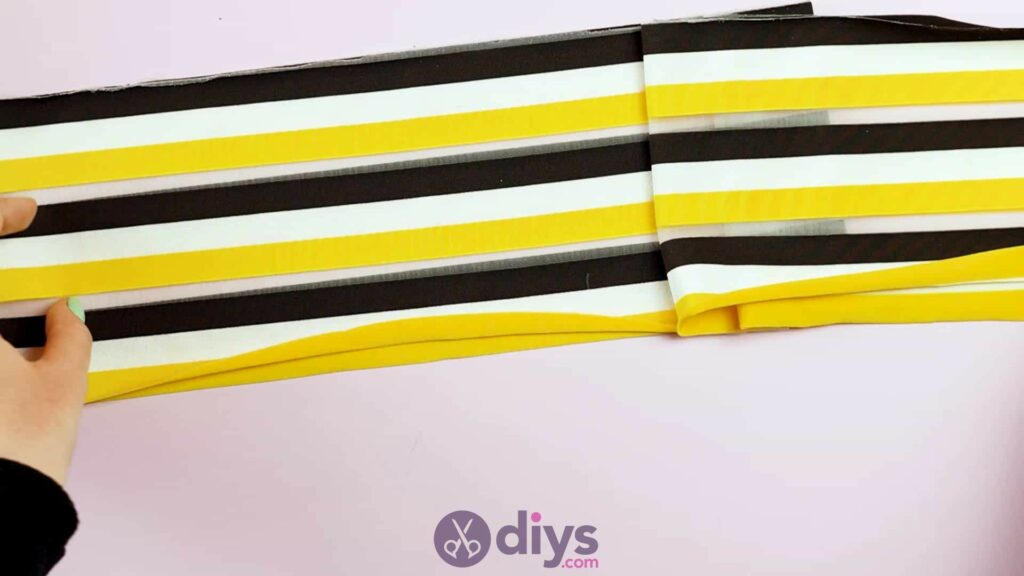
Step 3: measure and cut
Turn your folded piece so its length runs horizontally and, along its longer edge, find a place about three inches from the left side. Cut all the way across, making sure that you’re cutting throughall eight folded layers, giving you a new piece to work with that’s about four inches by three inches; it should be a small rectangle. You can now turn this rectangle 90 degrees and open it out, unfolding the layers so you have a strip to work with instead of a layered shape.


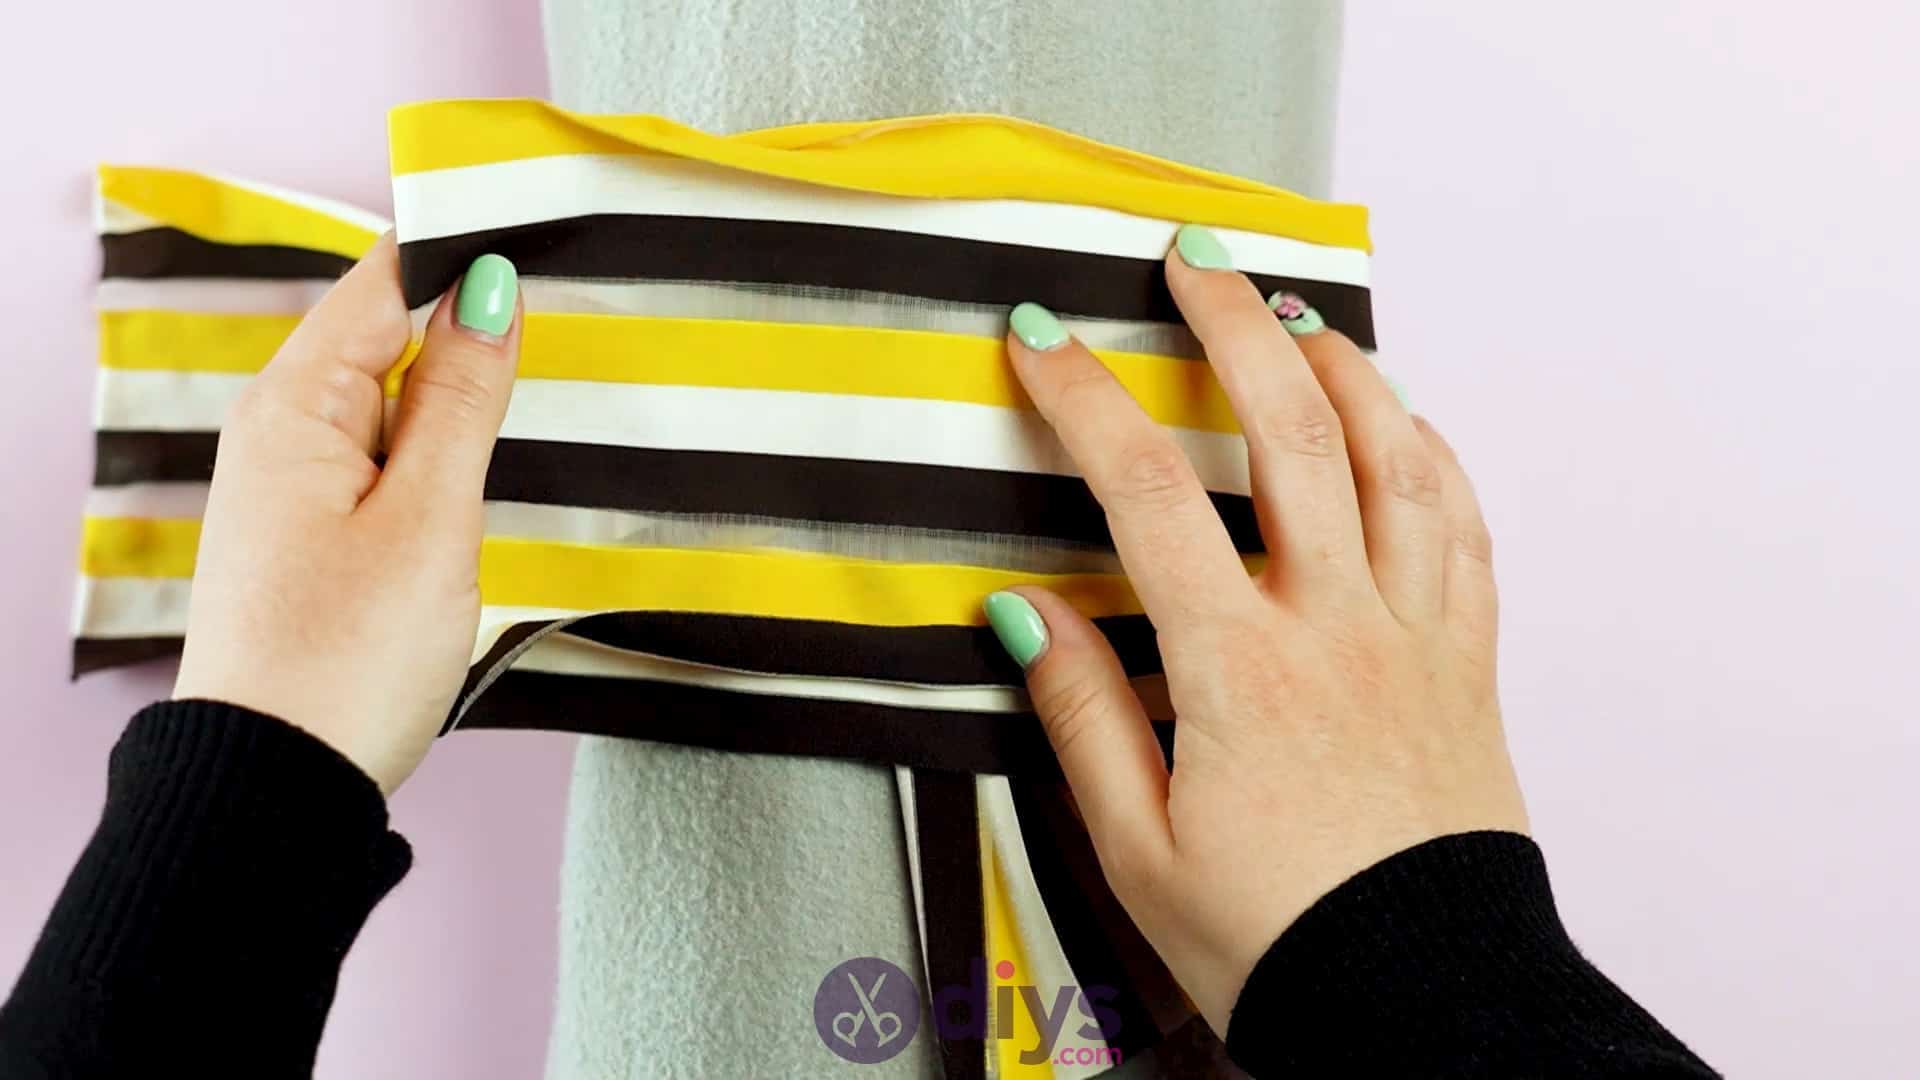
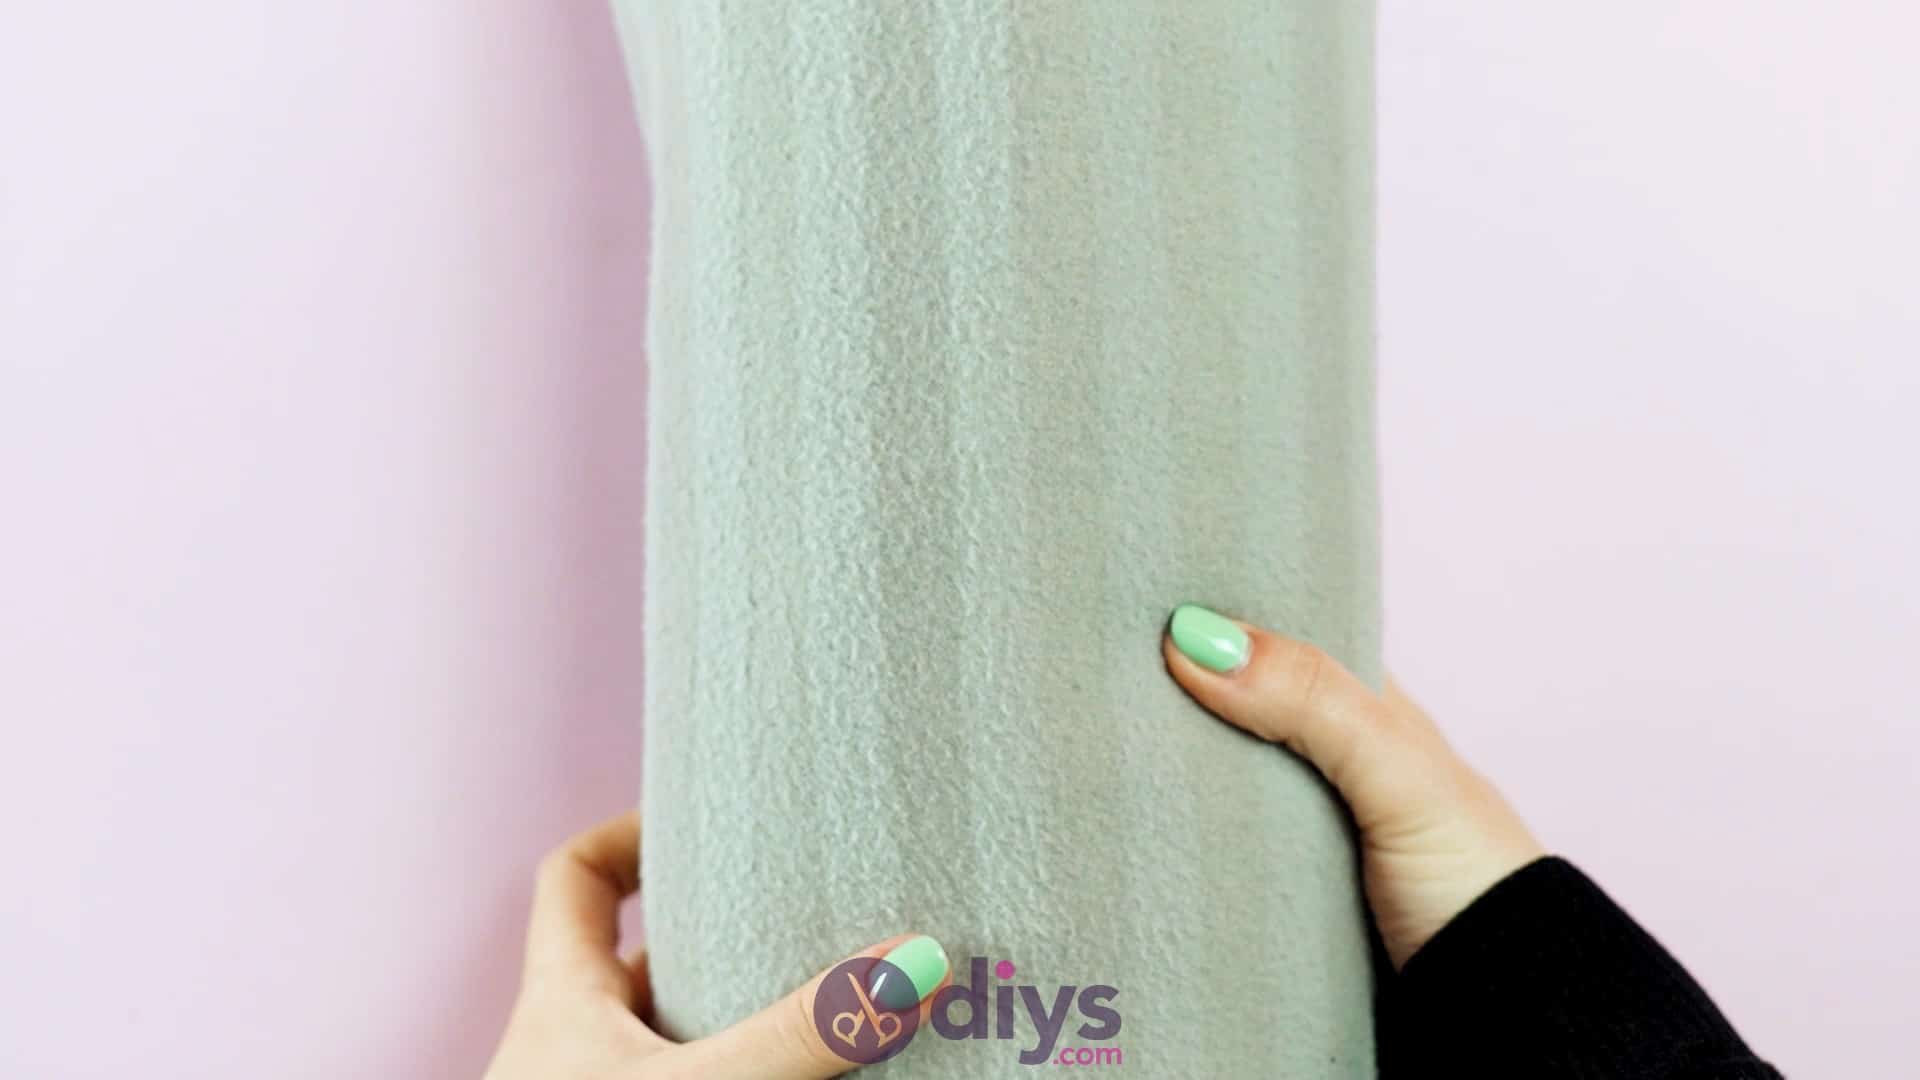
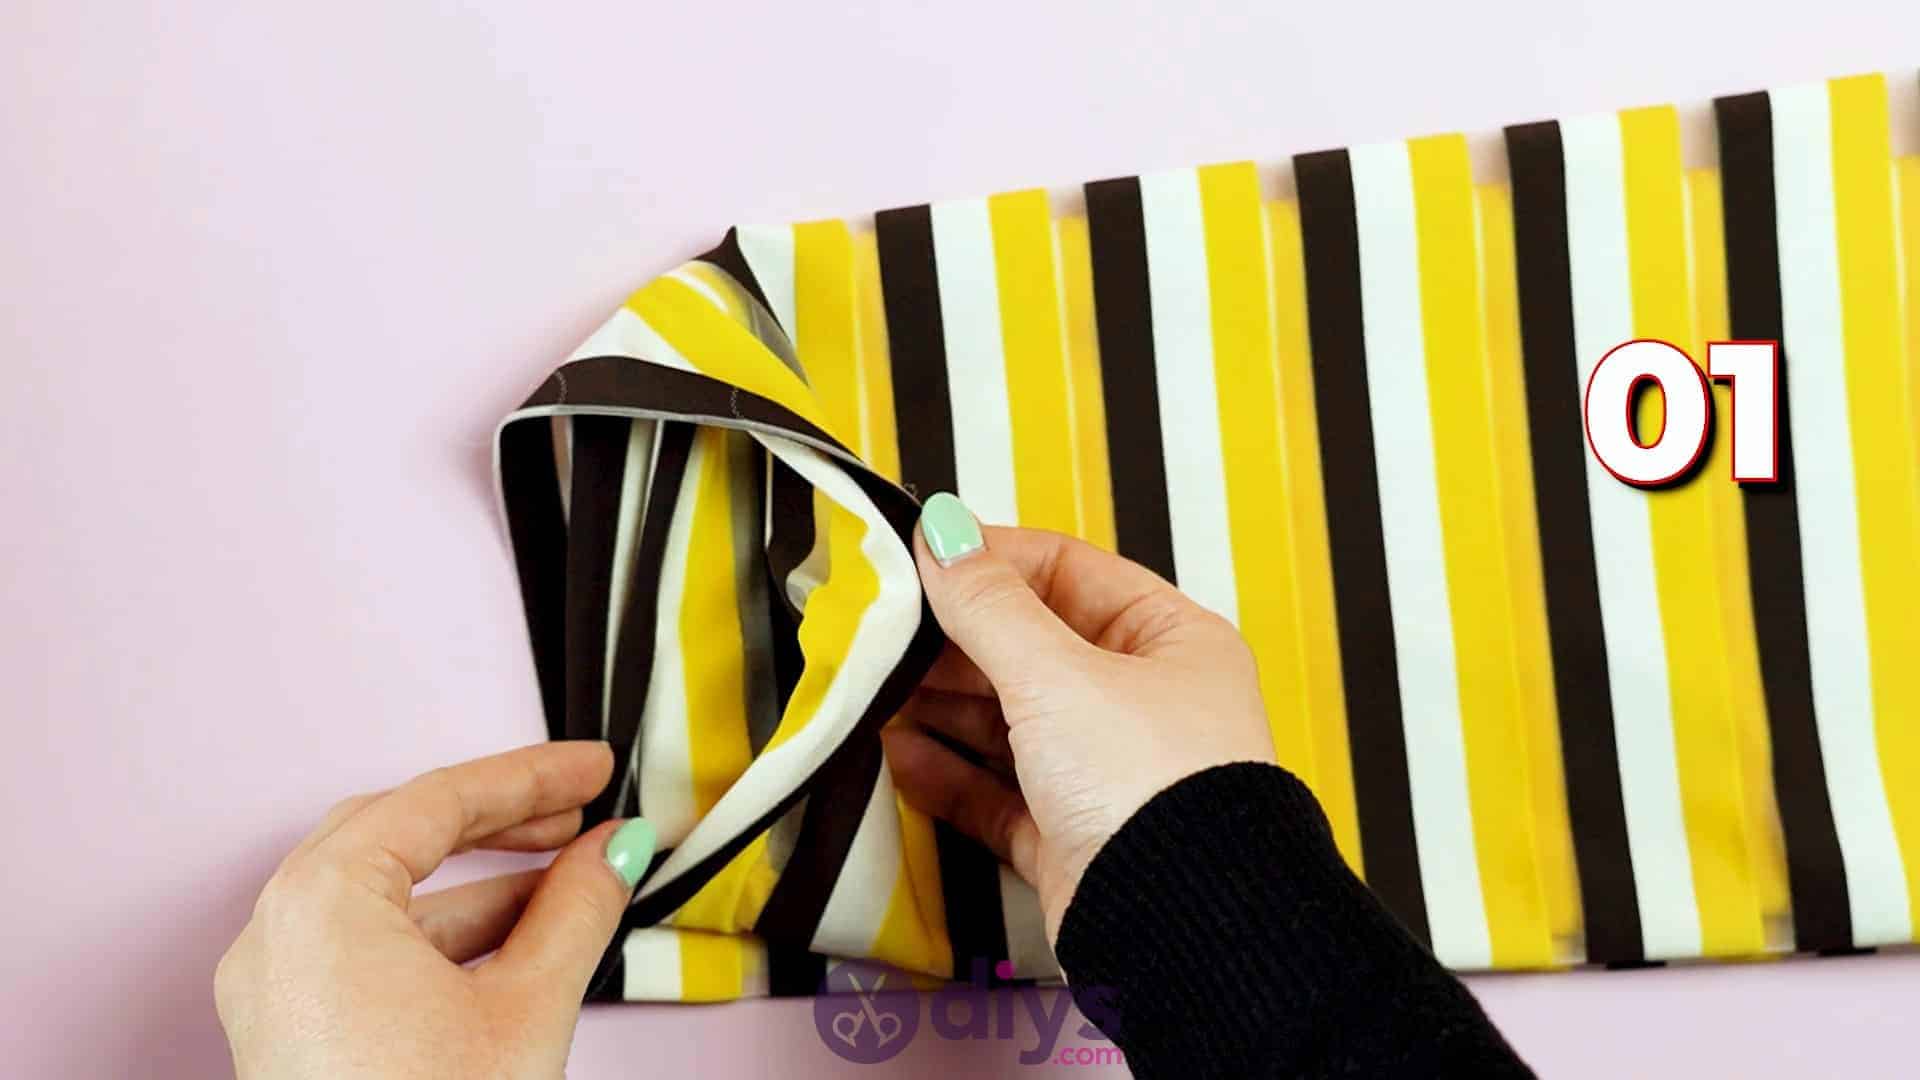
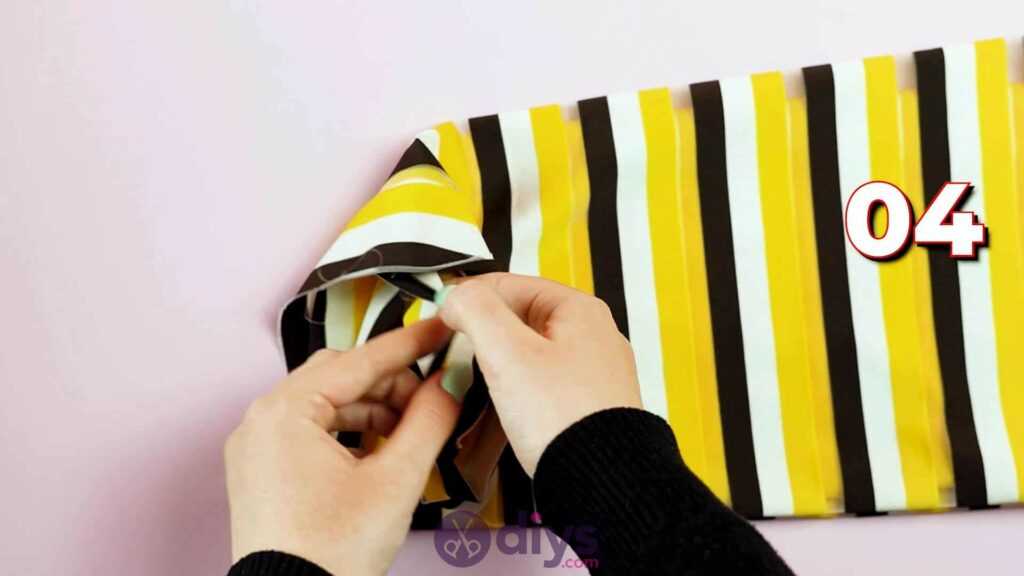
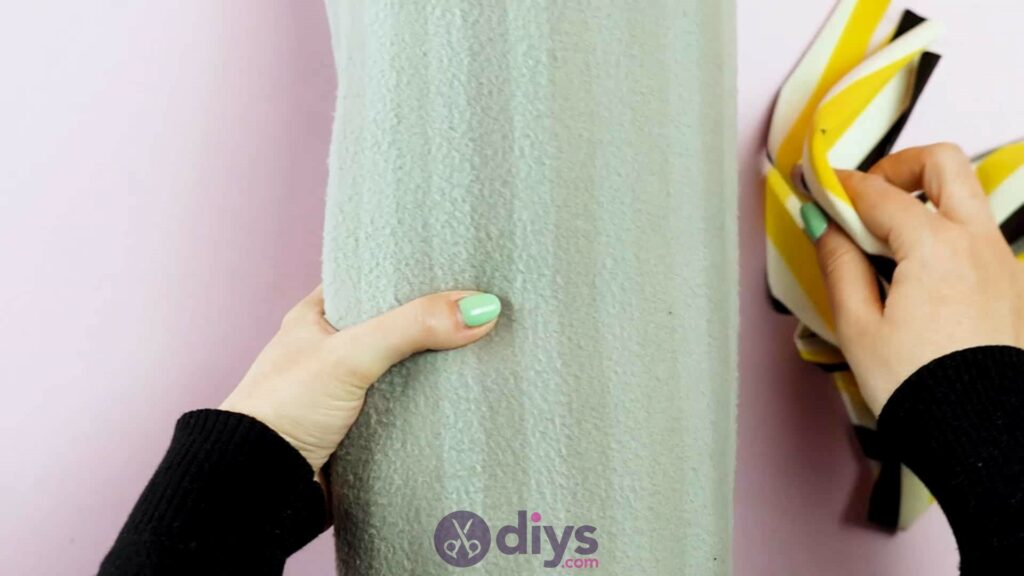
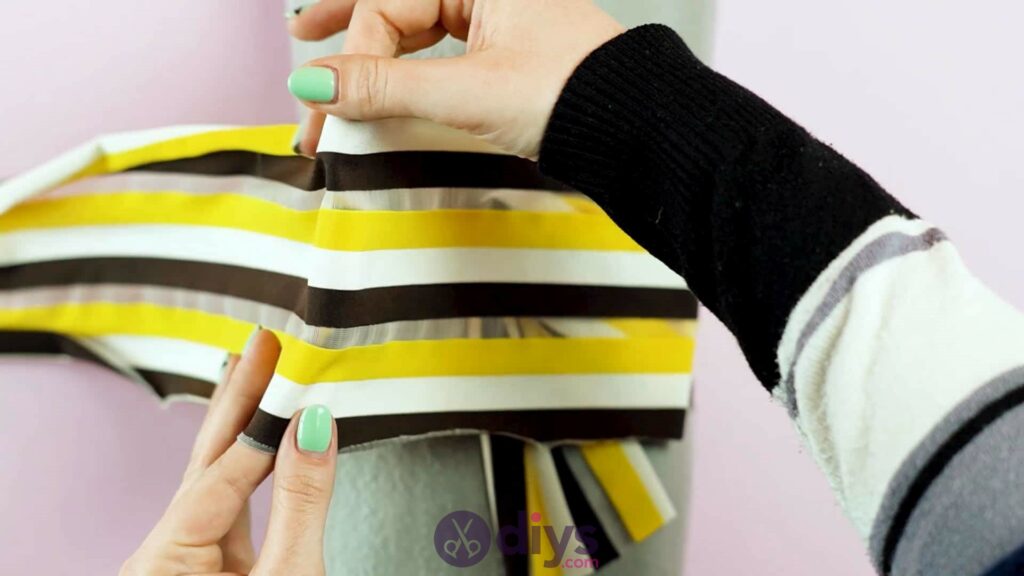
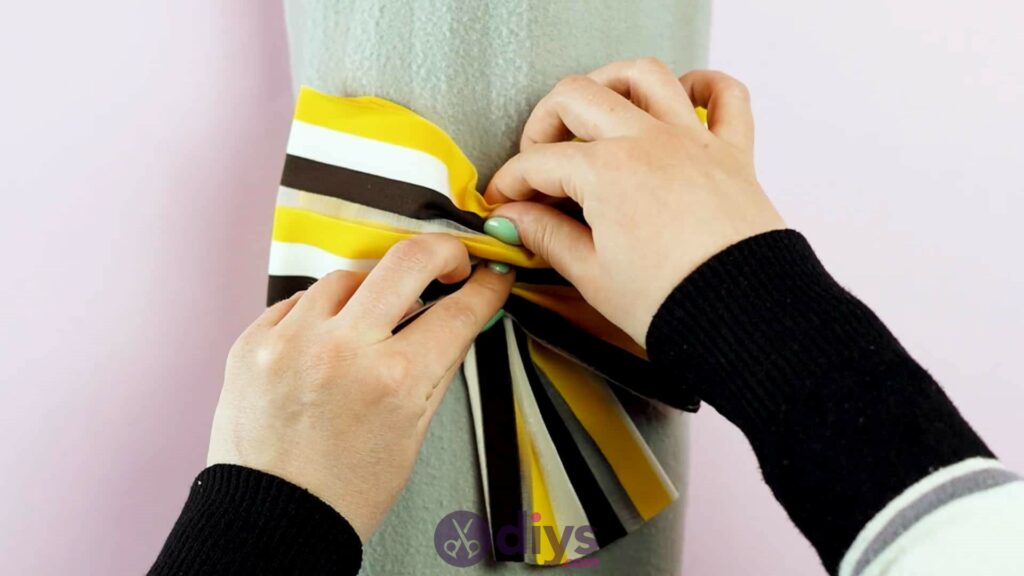
Step 4: use a towel to form it
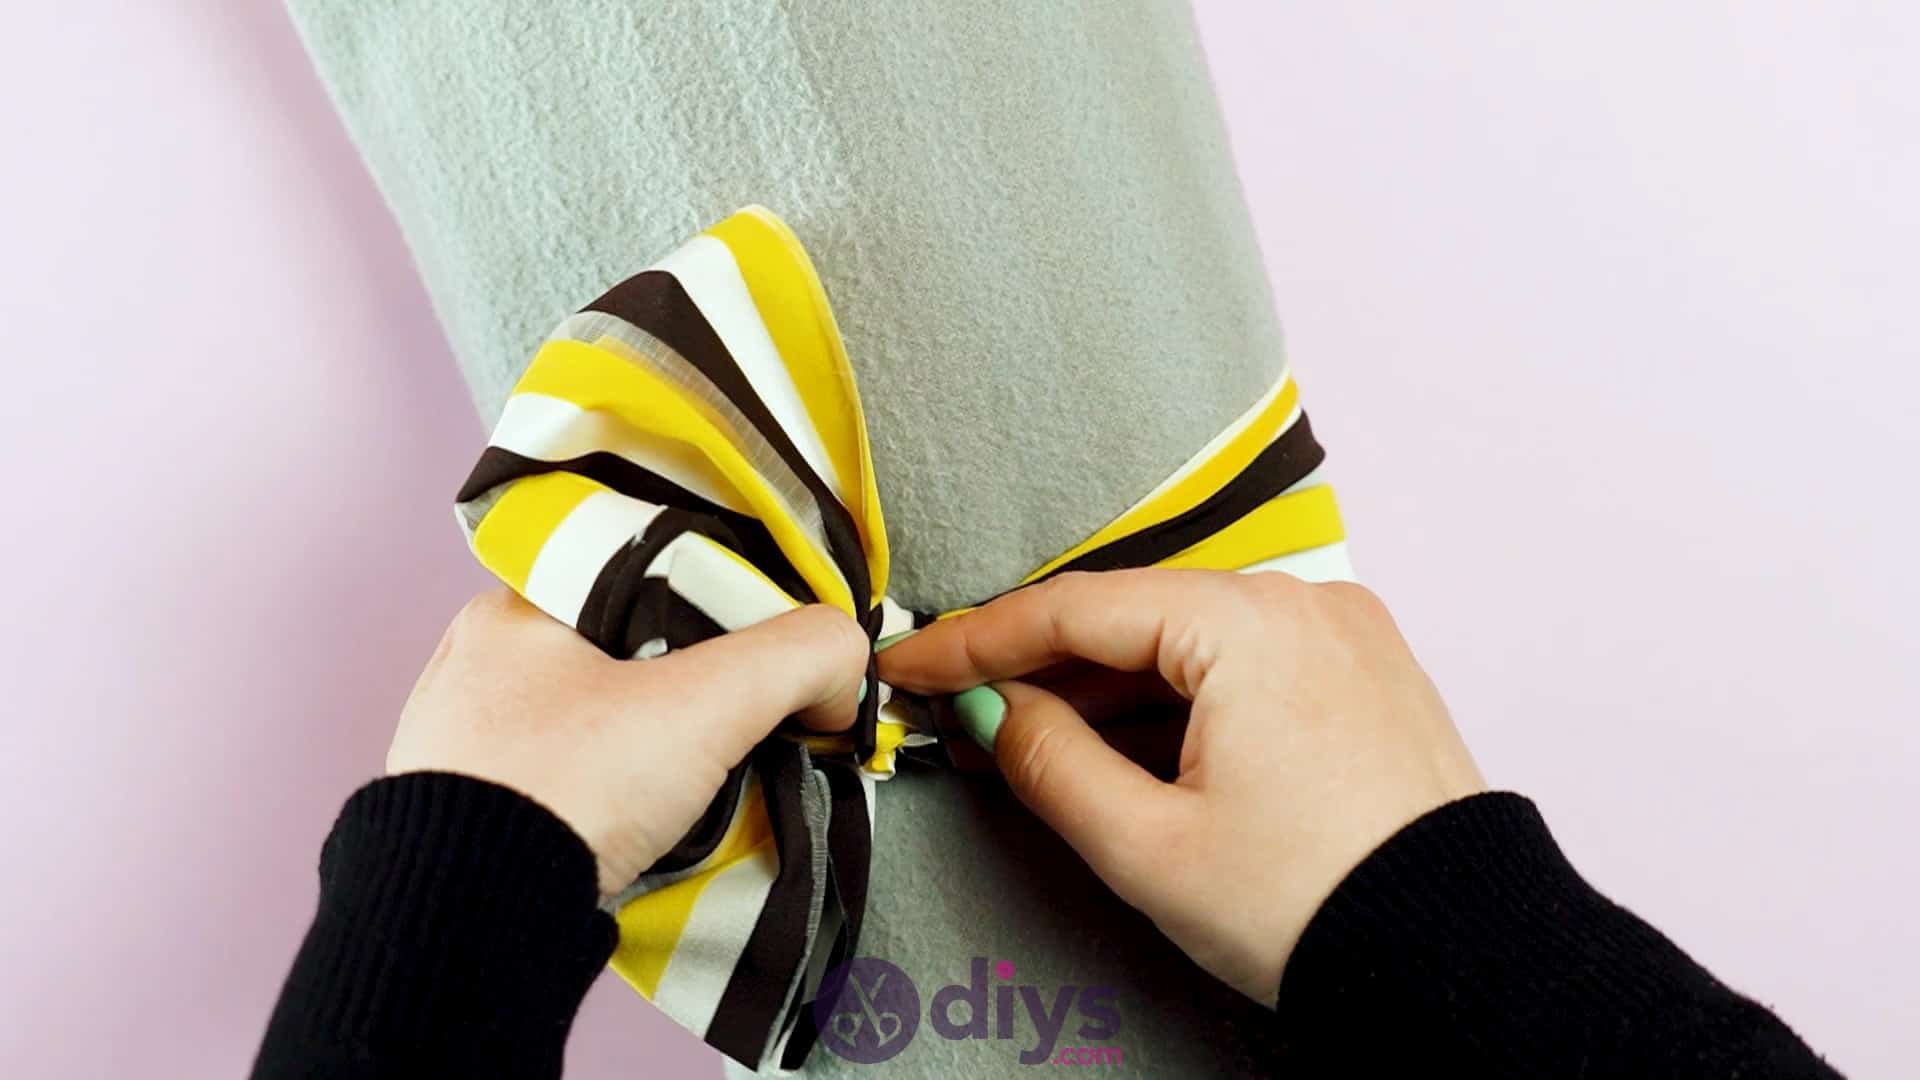
Fold a towel or blanket by three and then roll it from end to end; use whichever you have on hand that gets you a thickness around the sand size as the circumference of your head (or the head of whoever you’re making the wrap for). Rotate the roll so it’s lying vertical on your work surface. Slide the end of your fabric strip under the roll from the right, about halfway up the roll’s length, and pull it through just enough that you can smooth the strip flat and neatly bring it over the top of the roll to lay against it with its edge stopping just before it would have curved down the right side.
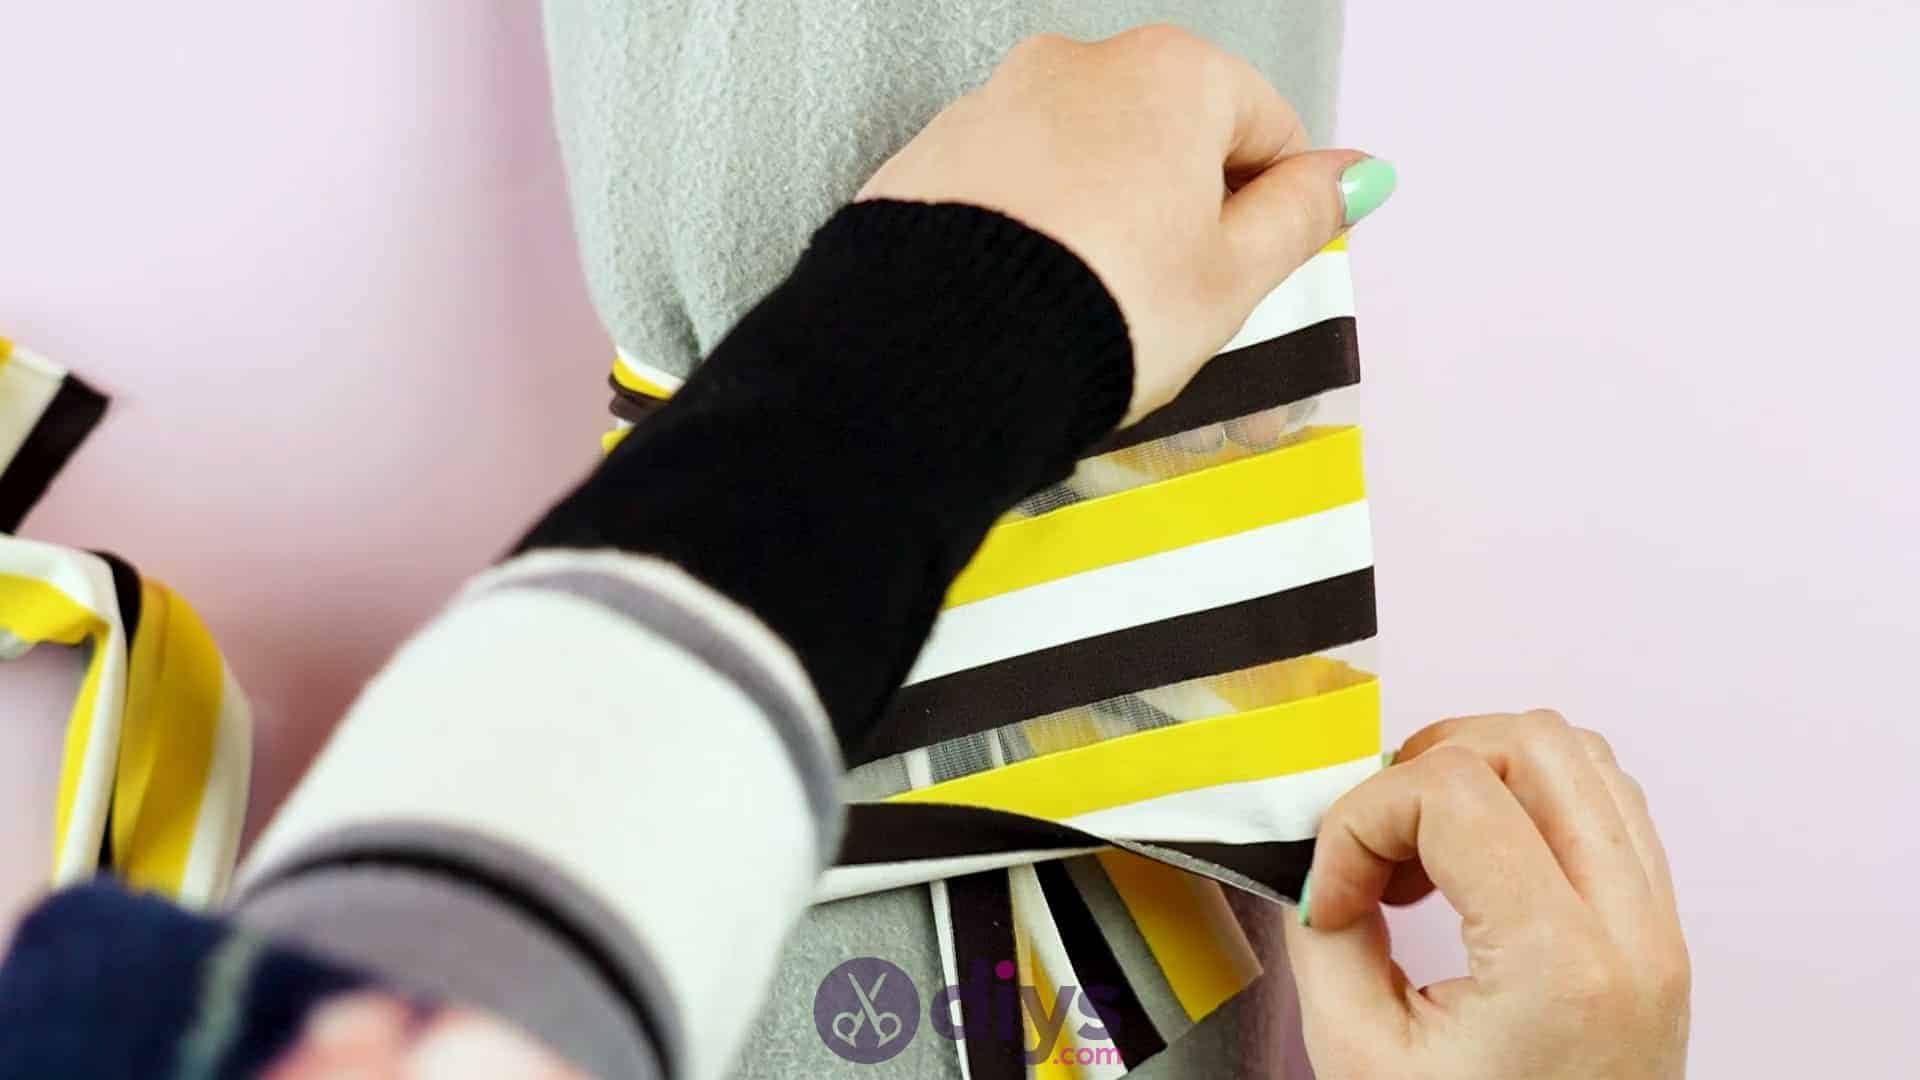
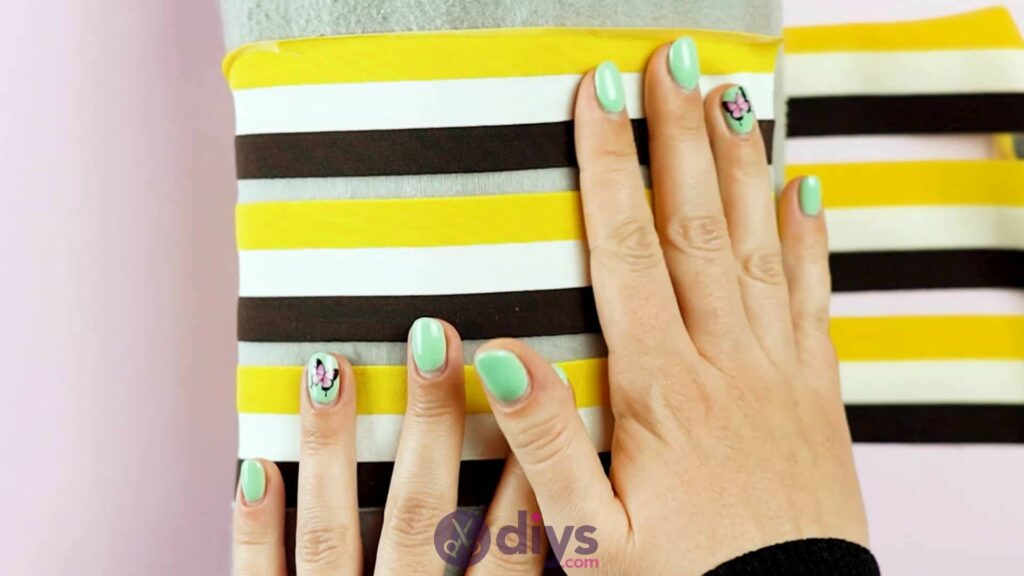
Hold this piece in place with your left hand and use your right hand to gather the remaining longer side of the fabric strip, bringing it up and across the left side. Pass the long right side into your left hand and hold it there while you use your right hand to pick up the shorter side from underneath that. Bring it up and around the longer side and tuck it underneath so it comes out the bottom, tying the two pieces around each other. Pull them slightly so they sit well against each other, but don’t pull so tightly that you really cinch the rolled towel; you still want this piece to fit around your head without being too snug.
This is a good point at which to make sure the fabric on each side that curves upwards on the roll is sitting nice and flat, rather than being too gathered or rolled in on itself. Having it flat now will make sure that’s how it sits when you put it on later.


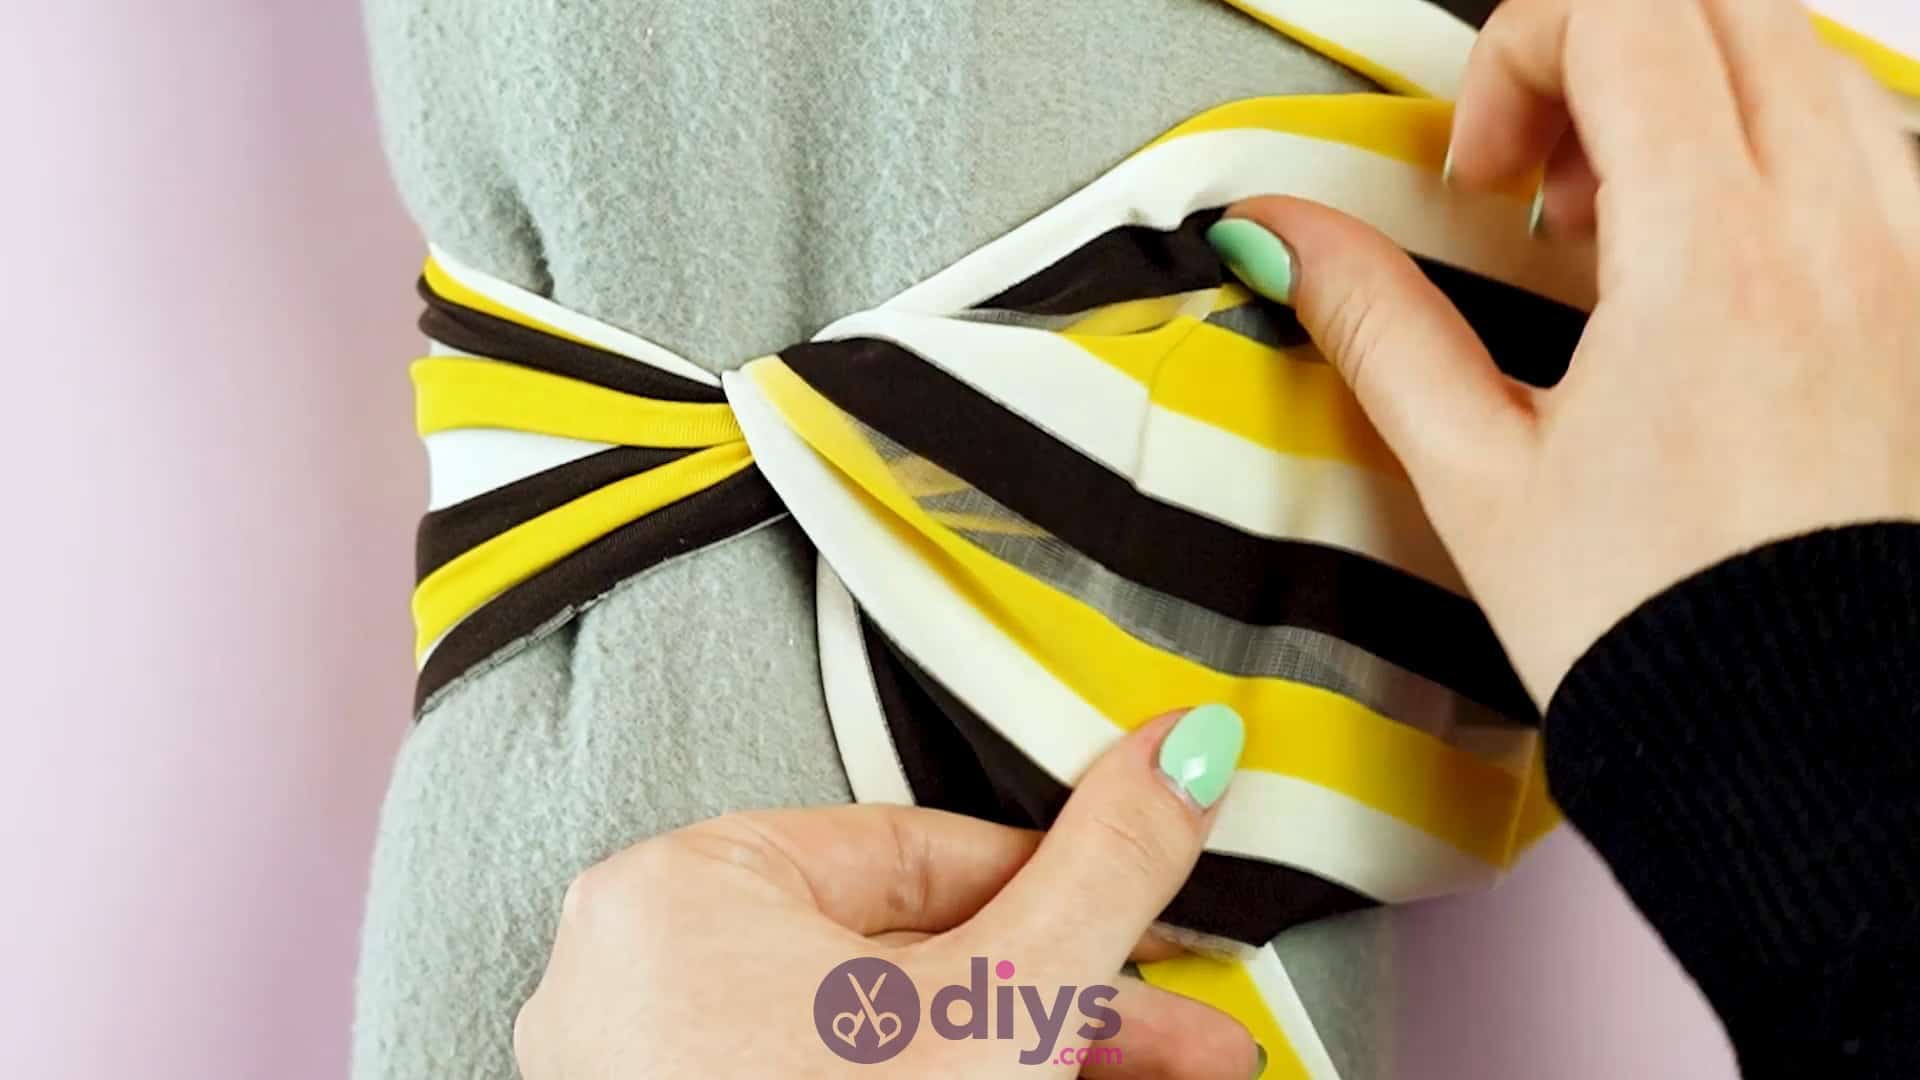
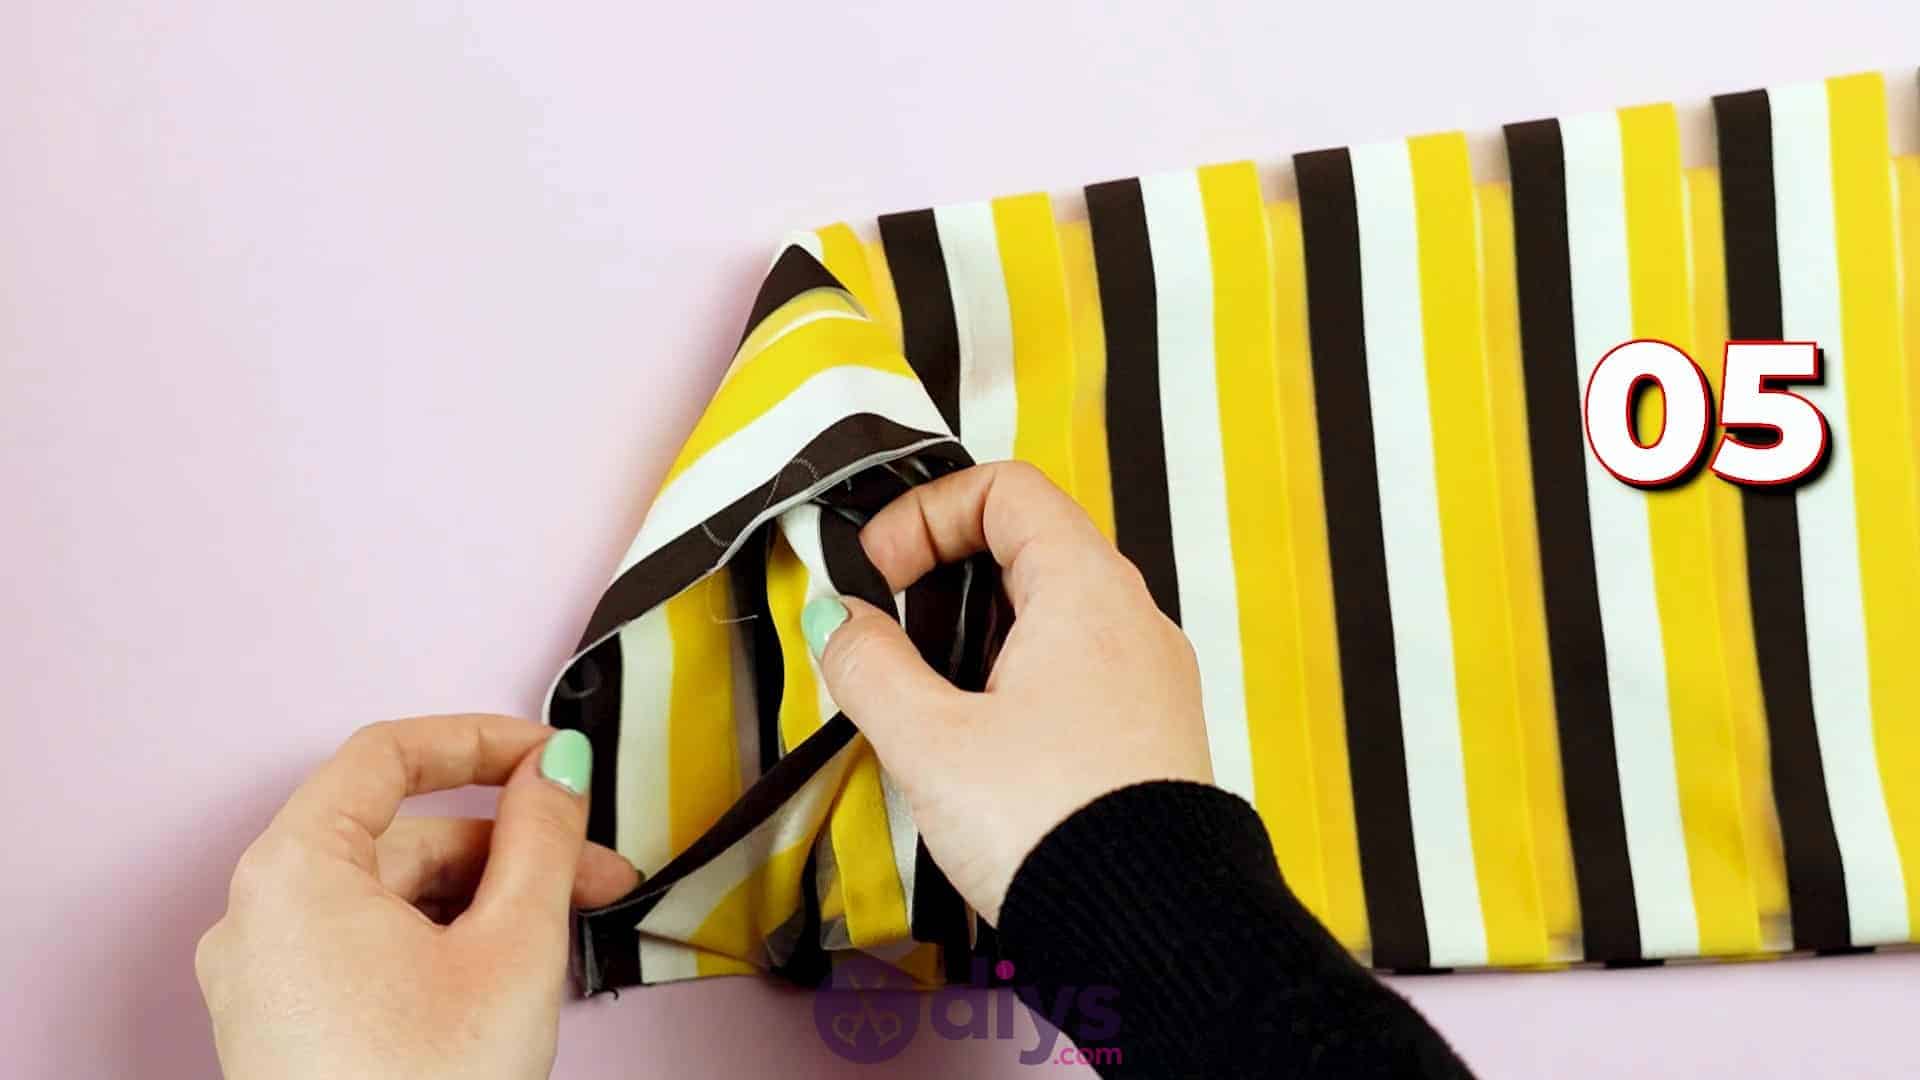
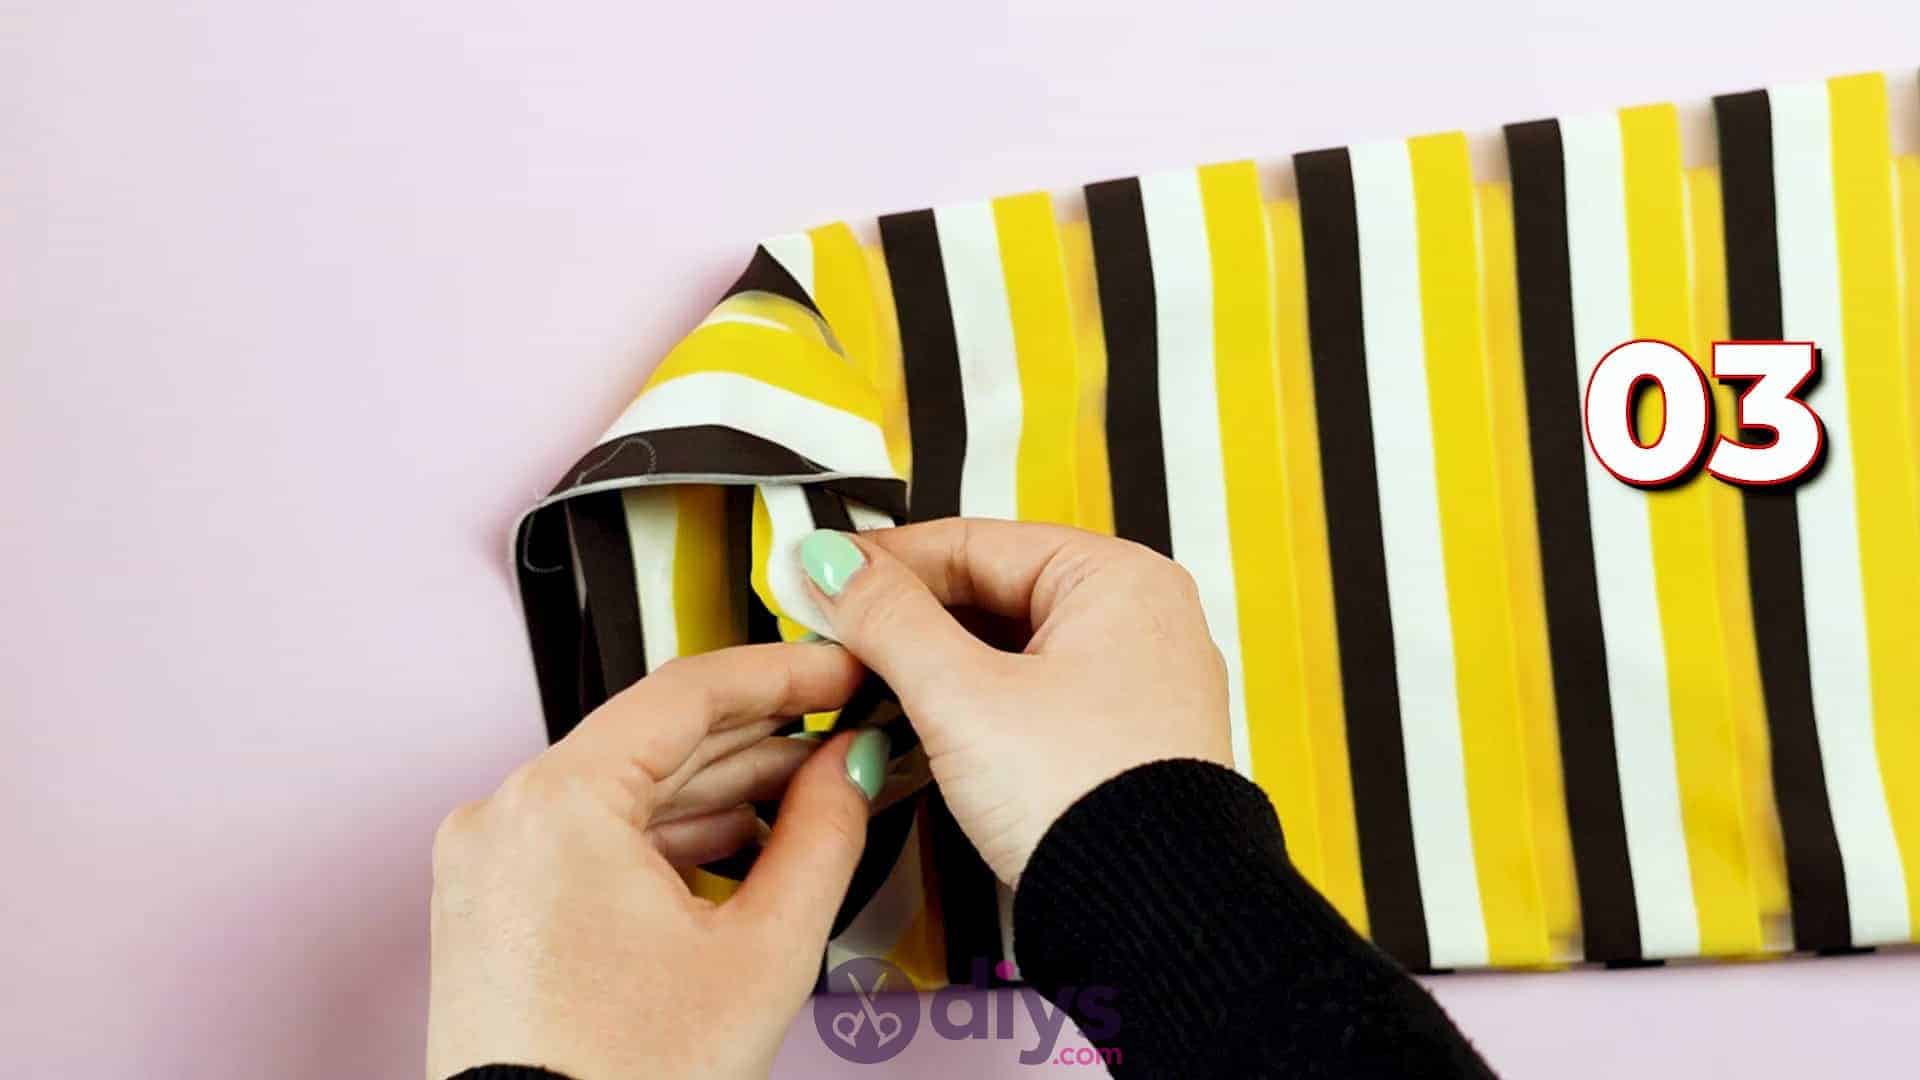
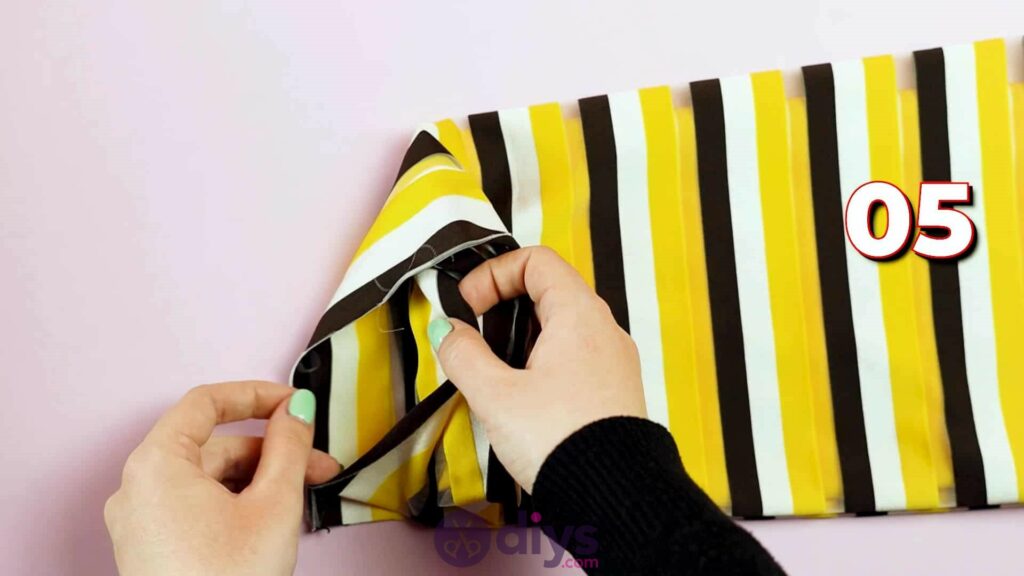
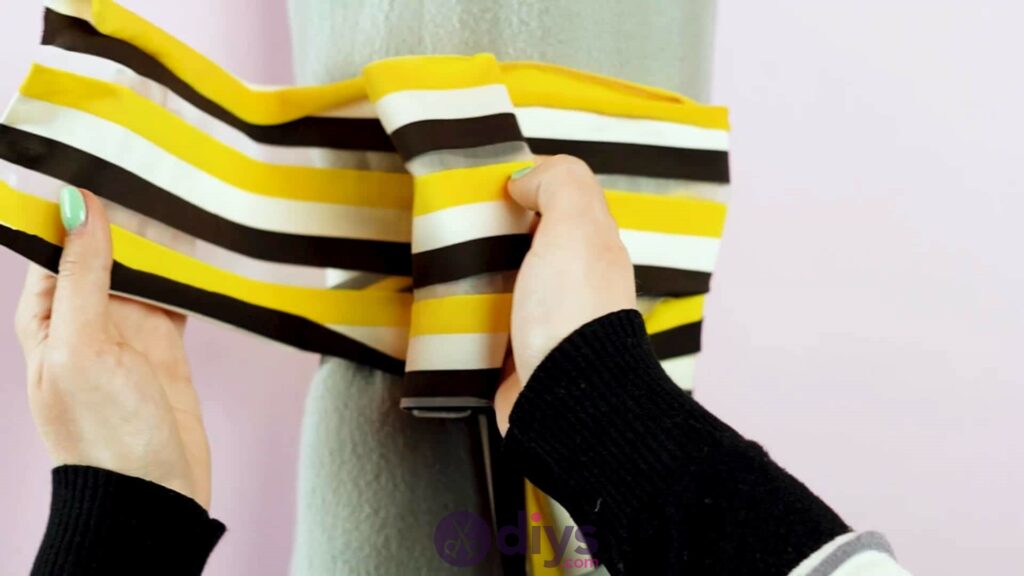
Step 5:
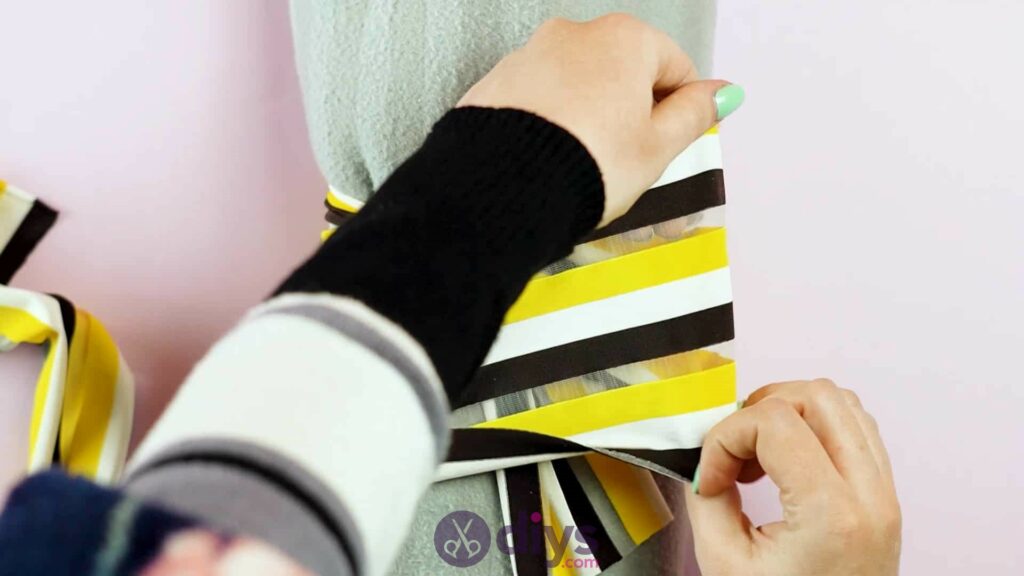
Now that you’ve tied the two sides around each other, you’ll see that your shorter side sticks out from underneath and angles downwards to the right. Smooth and flatten it so you can see its shape and edge. The longer side will be running upwards and to the left on the other side of your central tie. Bring this longer piece down and to the right, almost like you’re folding it back on itself to mimic the angle of the shorter piece. Unroll and flatten the longer piece so it covers the right side, with the shorter piece lying underneath it.
You should see that it almost resembles a sideways triangle, with the point in the center and the sides angling out to the right. Place your pal, on the longer piece just to the right of center and, with your other hand, pick up the long end and fold the piece over your hand, bringing it horizontally across your work towards the left. Your palm will keep a small length of fabric there like the side of a bow, with a crease being created where the size of your hand meets the fabric as it folds over the back of your hand. Without moving the fabric, slide your hand out and neaten the fold, creating a nice crease on the right side.
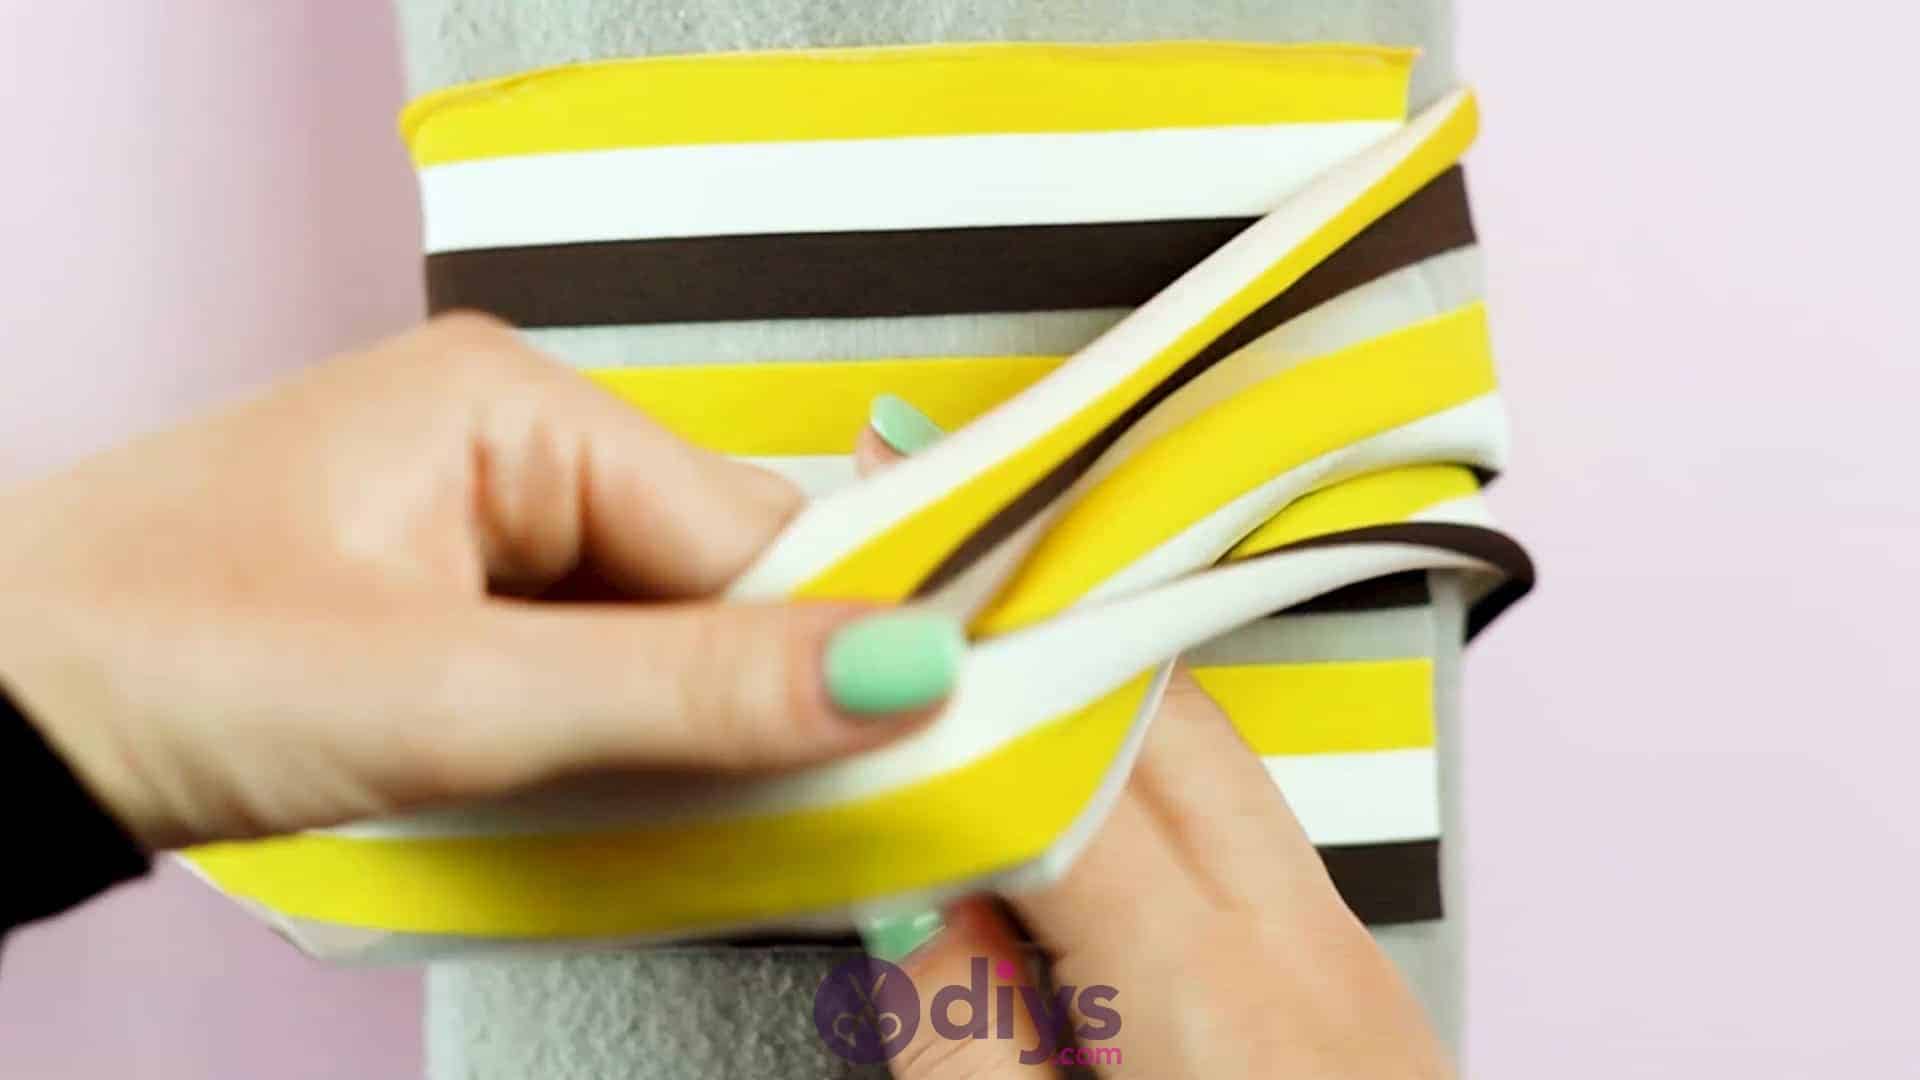
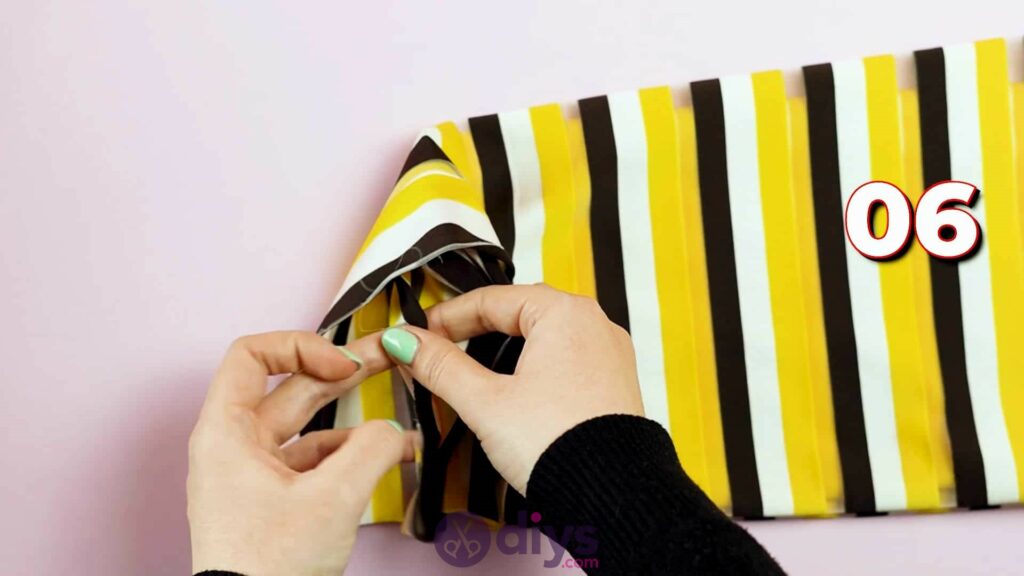
Step 6: adjust and fold
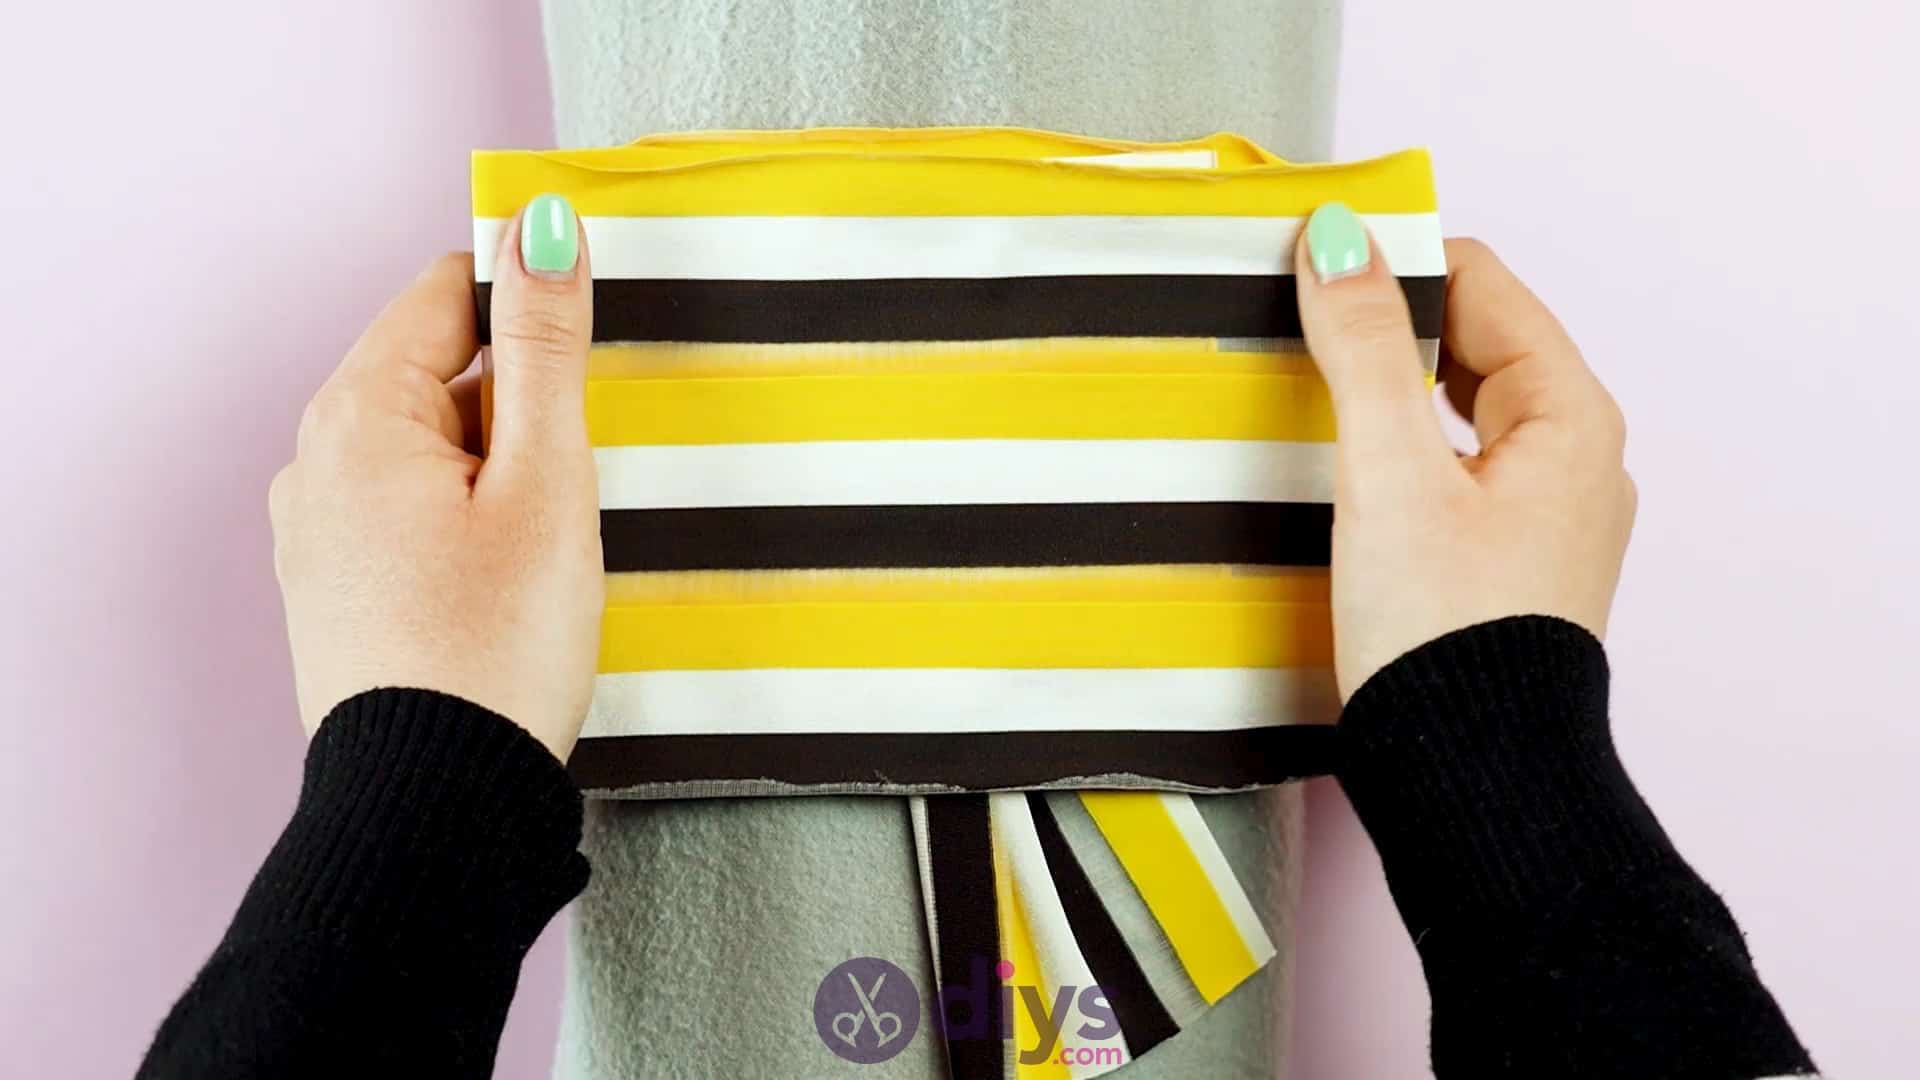
On the same long piece you’ve been working with, turn your attention to the left side. Without undoing the moves you just made, ensure that the long piece of fabric is laying nicely spread out and flat across the top of the towel. Find the place on the left side of the roll that measures about equidistant to where you just made that creased fold on the right side with your hand. Pinch that place on either side of your strip’s width (which will look like the top and bottom now since you’re working with it positioned horizontally) between your thumb and finger on each hand. Lift the piece to create another crease here and bring that new folded point back towards the right of the roll. You’ll surpass your previous righthand fold and actuallyunfold that in order to extend the piece out to the right on your tabletop, keeping your new folded spot in tact. Hold that new crease in your right hand and use your left to smooth and flatten the rest of the long piece against itself once more; you really want to keep things flat and neat throughout this whole process. Once things are lying neatly, carefully bring the crease in your right hand back over and across to the left, making sure that you’re folding the piece neatly over itself so it layers neatly, rather than letting it slide back or bunch. Bring the crease to sit on the left side of the roll, lying across the top so it runs just along the spot where the side of the roll starts to curl downwards. Make sure it’s lying flat, as usual.

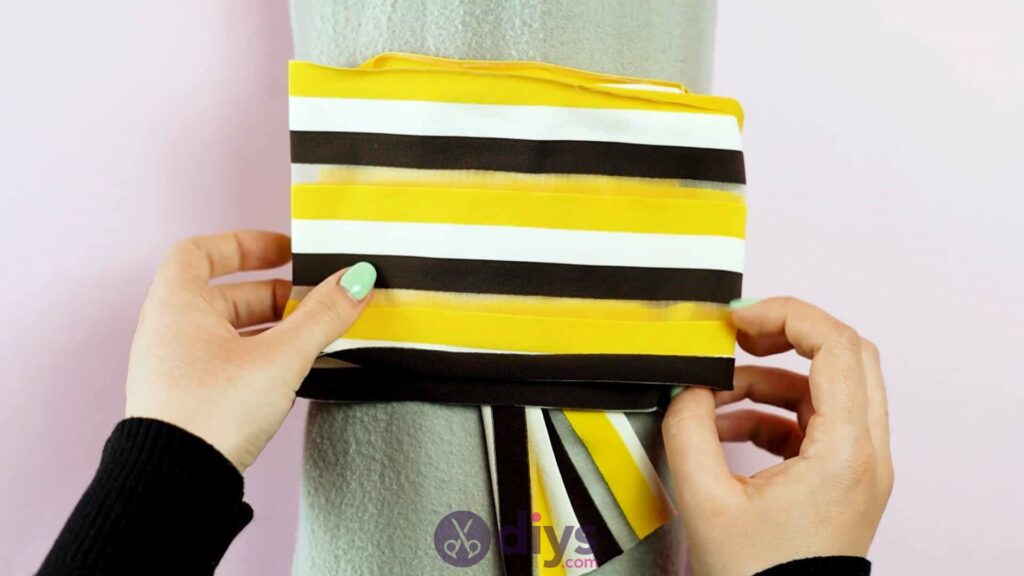

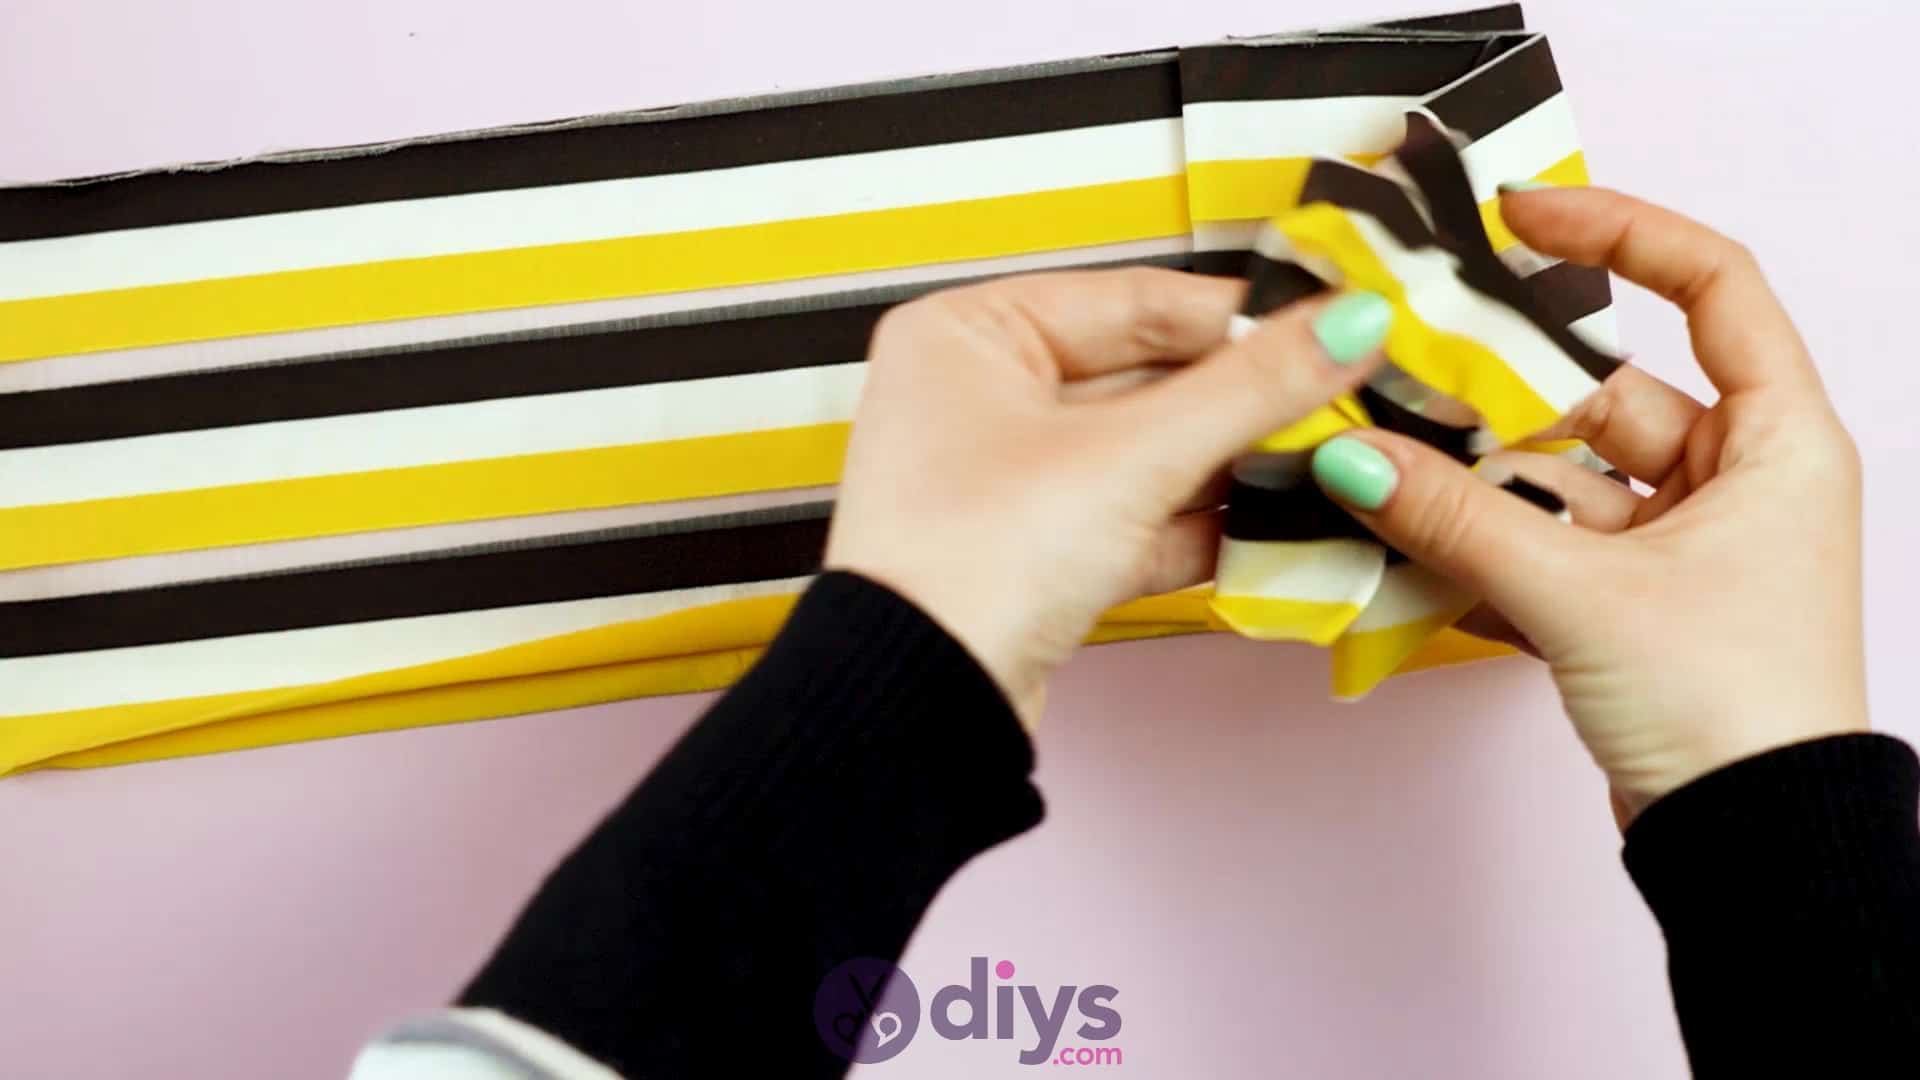
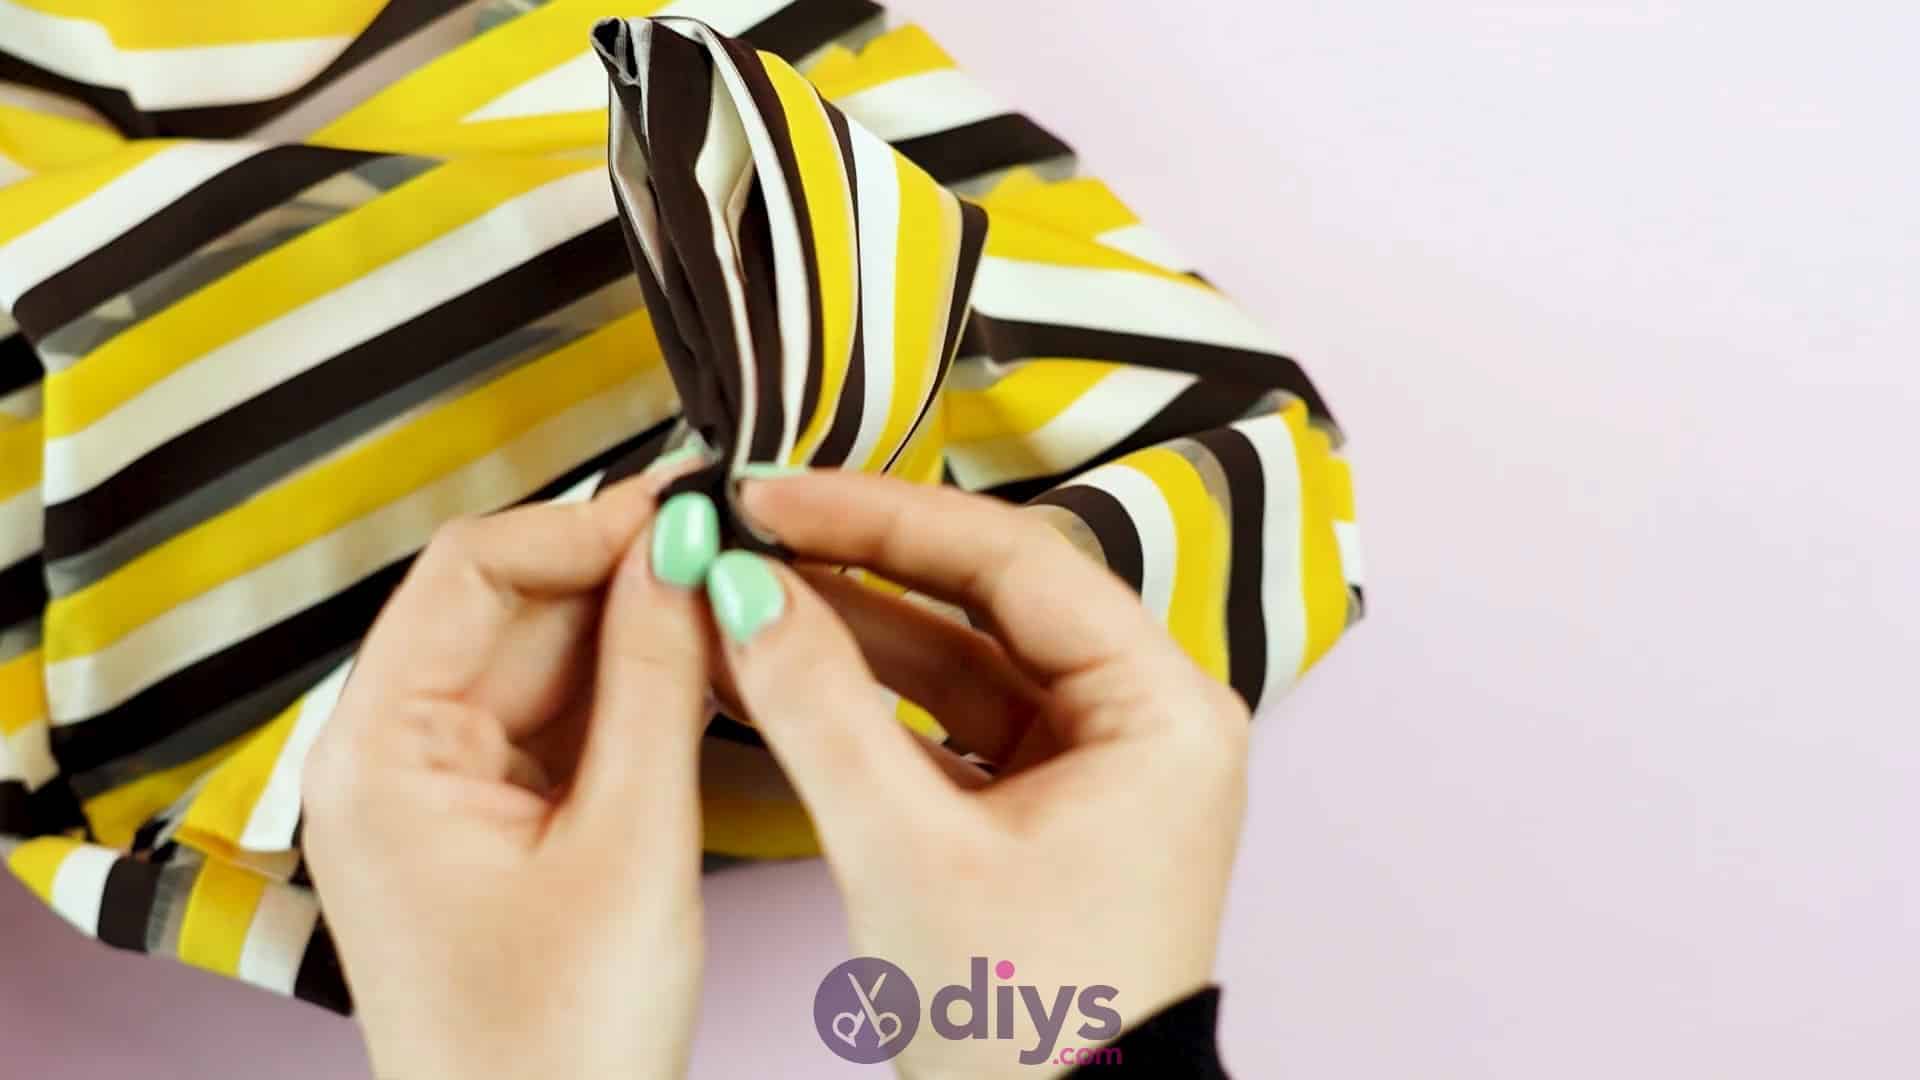
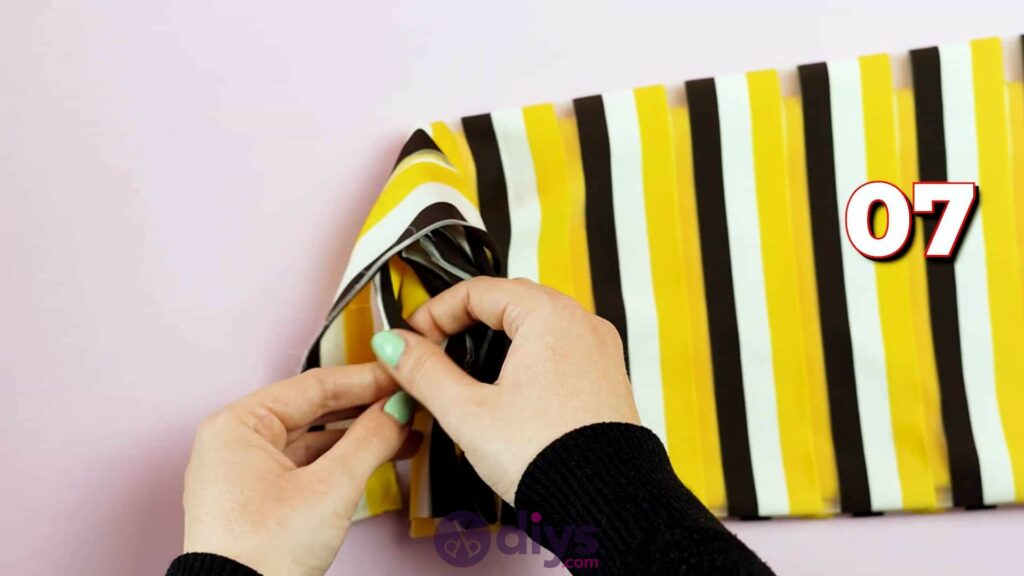
Step 7: prepare the bow
By now, you’ll only have a short length of fabric left like excess on the left side, about the same size as the folded and layered section you currently have lying across the top of your roll. Carefully lift the left crease you just laid down straight up with your right hand and use the left hand to tuck that last length of fabric on the left neatly underneath the folded section. Once again, you’ll make sure it’s lying flat and neat. Lie the crease piece in your right hand back down. These folded and layered pieces you’ve just created across the top will become your bow, with evenly sized pieces on either side.
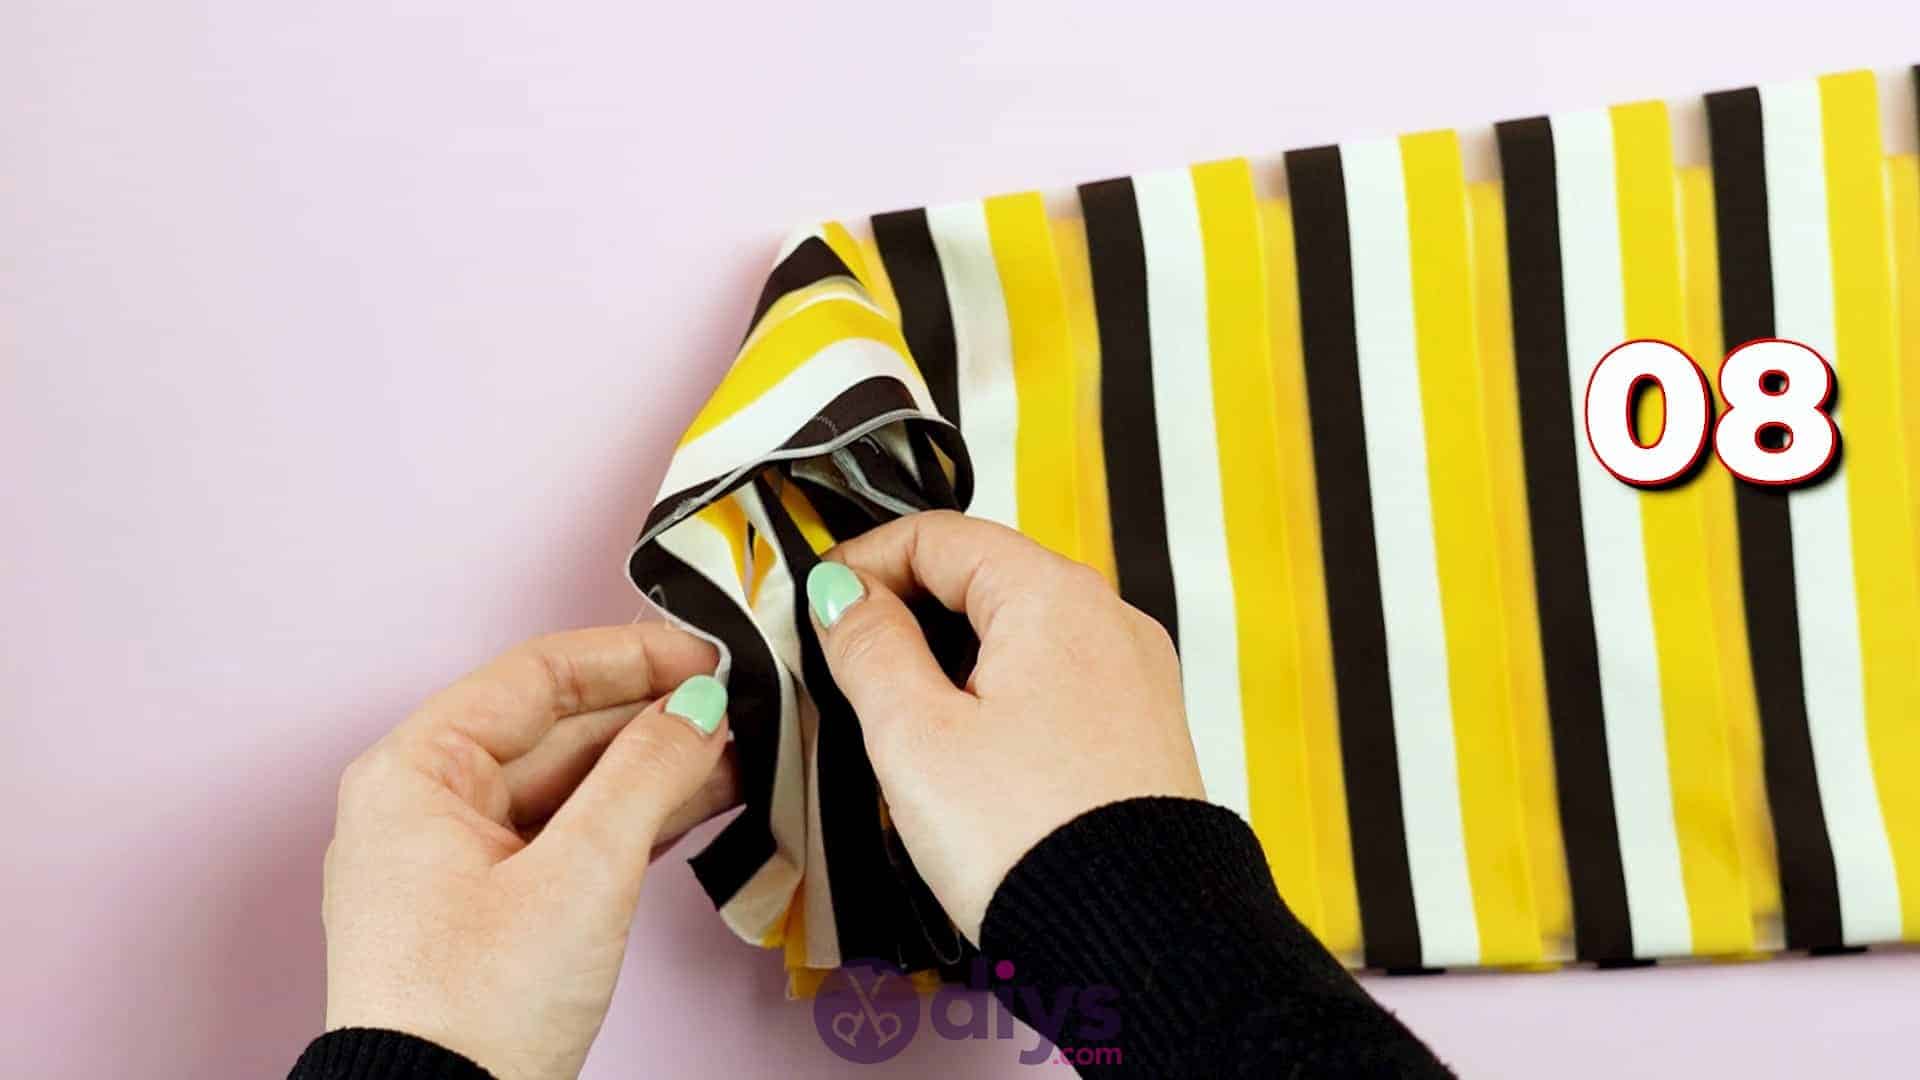
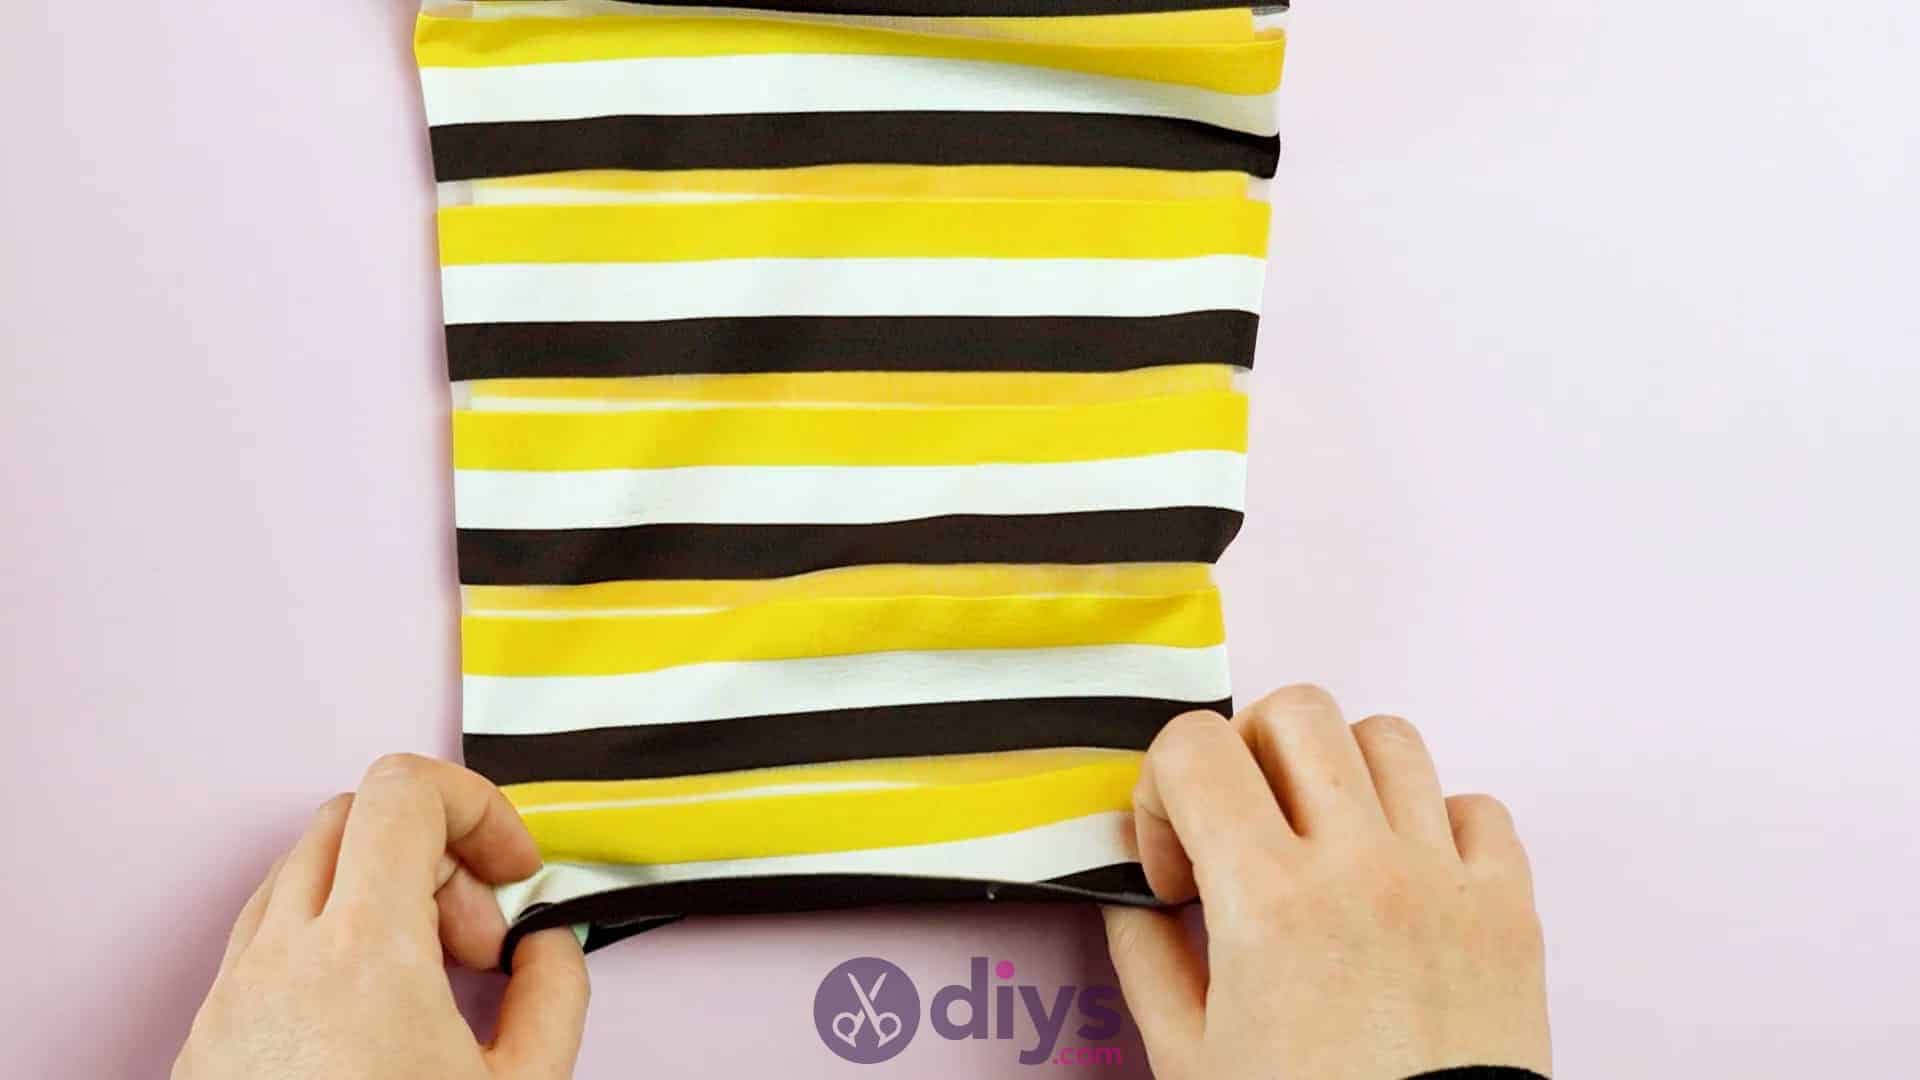
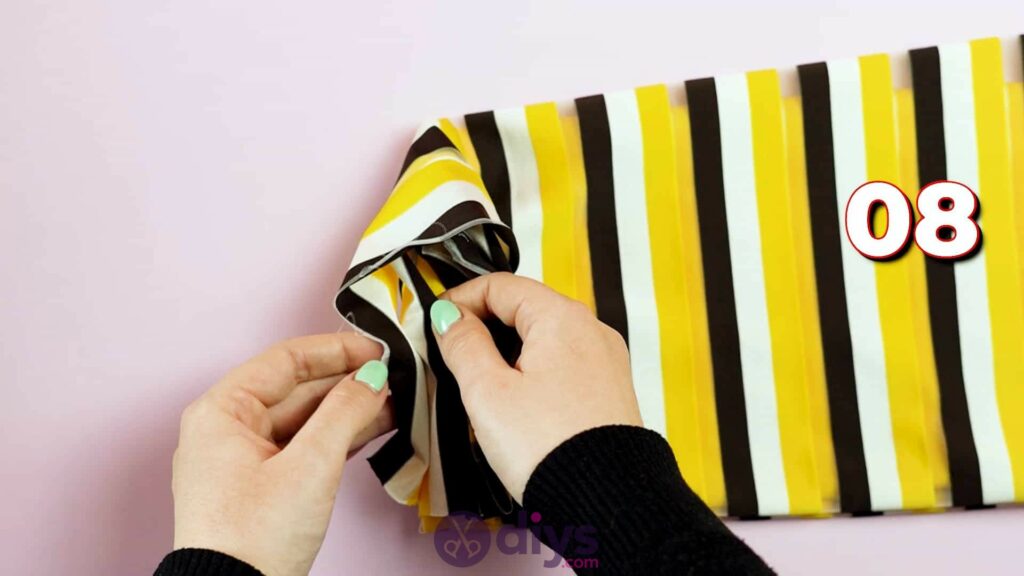
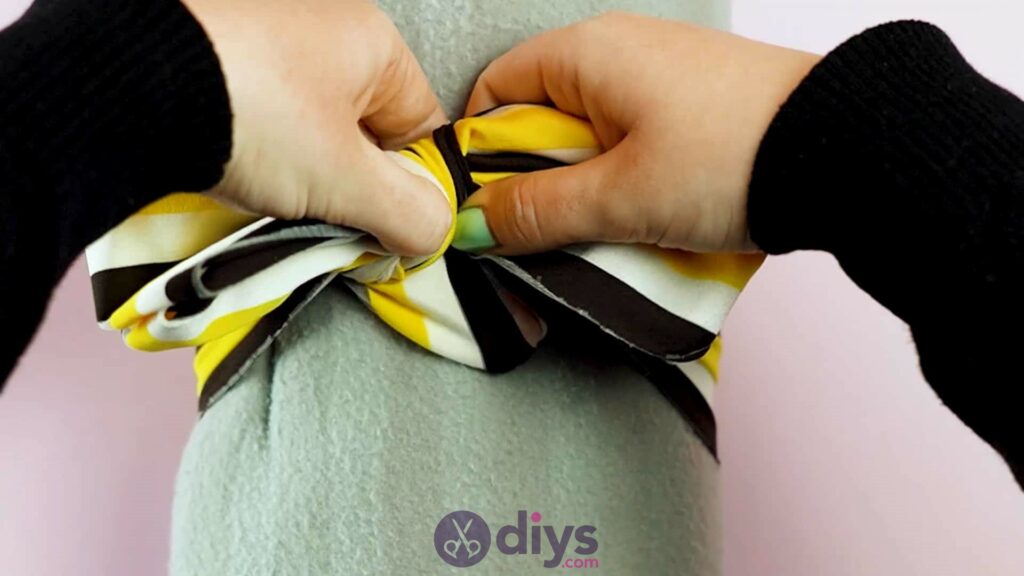
Step 8: cinch it
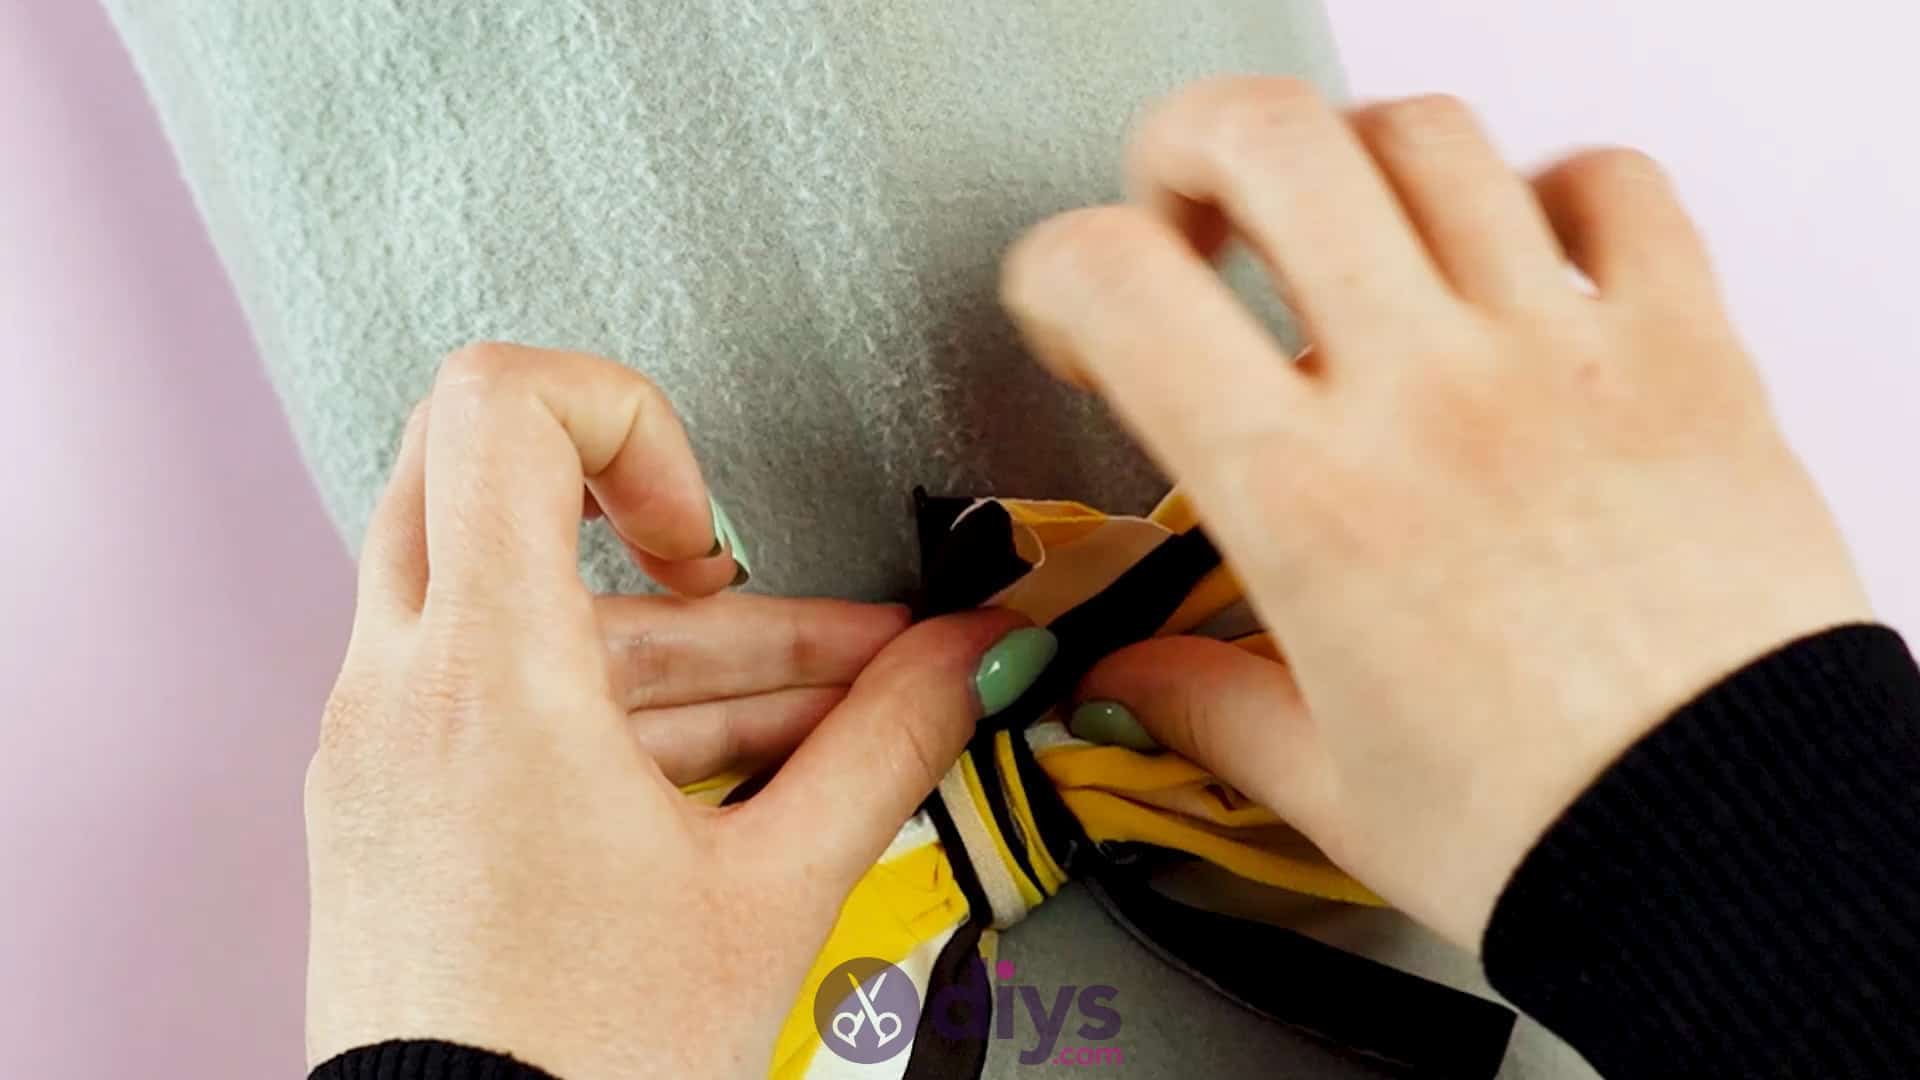
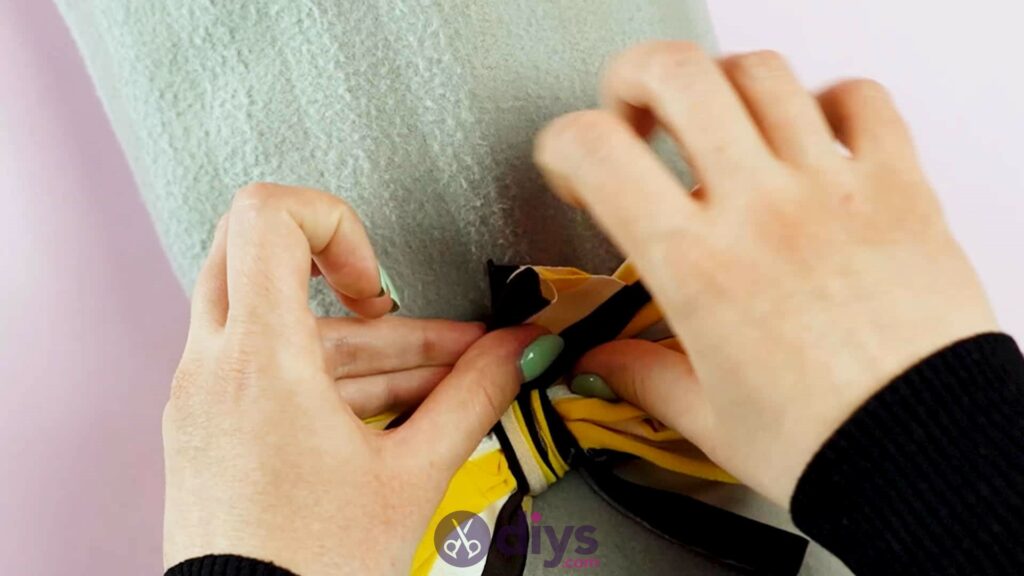
You’ll not see that you have a folded and layered rectangle on top of your roll with your original shorter side sticking out from underneath at the bottom. With both hands, carefully cinch the top and bottom of the folded rectangle towards each other so they gather in the center, with the squared off sides tapering in towards the middle. Keep the middle pinched with your left hand and use your right hand to grab that shorter end from underneath and bring it up and over the gathered center of the layered rectangle.
Tuck it underneath the back at the top so it comes back down towards the bottom. Still pinching the centre of what is now becoming the bow with your left hand, lift and turn the piece upwards so you can see the underside, where the shorter end you just slid down is now lying. Grab that end and gently pull it to tighten it around the middle of the bow and cinch it more tightly so it looks more pronounced and stays in place solidly. Don’t let go of that shorter end just yet.
Step 9: finishing the bow
Now that the middle of the bow has been wrapped and tightened, you don’t need to hold it in place with your left hand any more so long as you still have a firm grip on that shorter end with your right hand. Use the left hand to lift the right folded side of the bow, folding it towards the left gently so you can see underneath. You’ll see a spot where the right side of the main headband and the folded layers of the right side of the bow disappear into the gathered and wrapped center being held in place by the end in your right hand.
Pull that remaining end to the right and up towards that spot and tuck it between the band and the folded bow piece, straight through the hole in the center. Your end will pop out the left side; let right bow piece in your hand go and lift the left side of the bow instead to see where your remaining end has just emerged from the knot in the center, underneath the folded pieces. Give it a light tug to tighten it if you need to.
Step 10: finishing touches
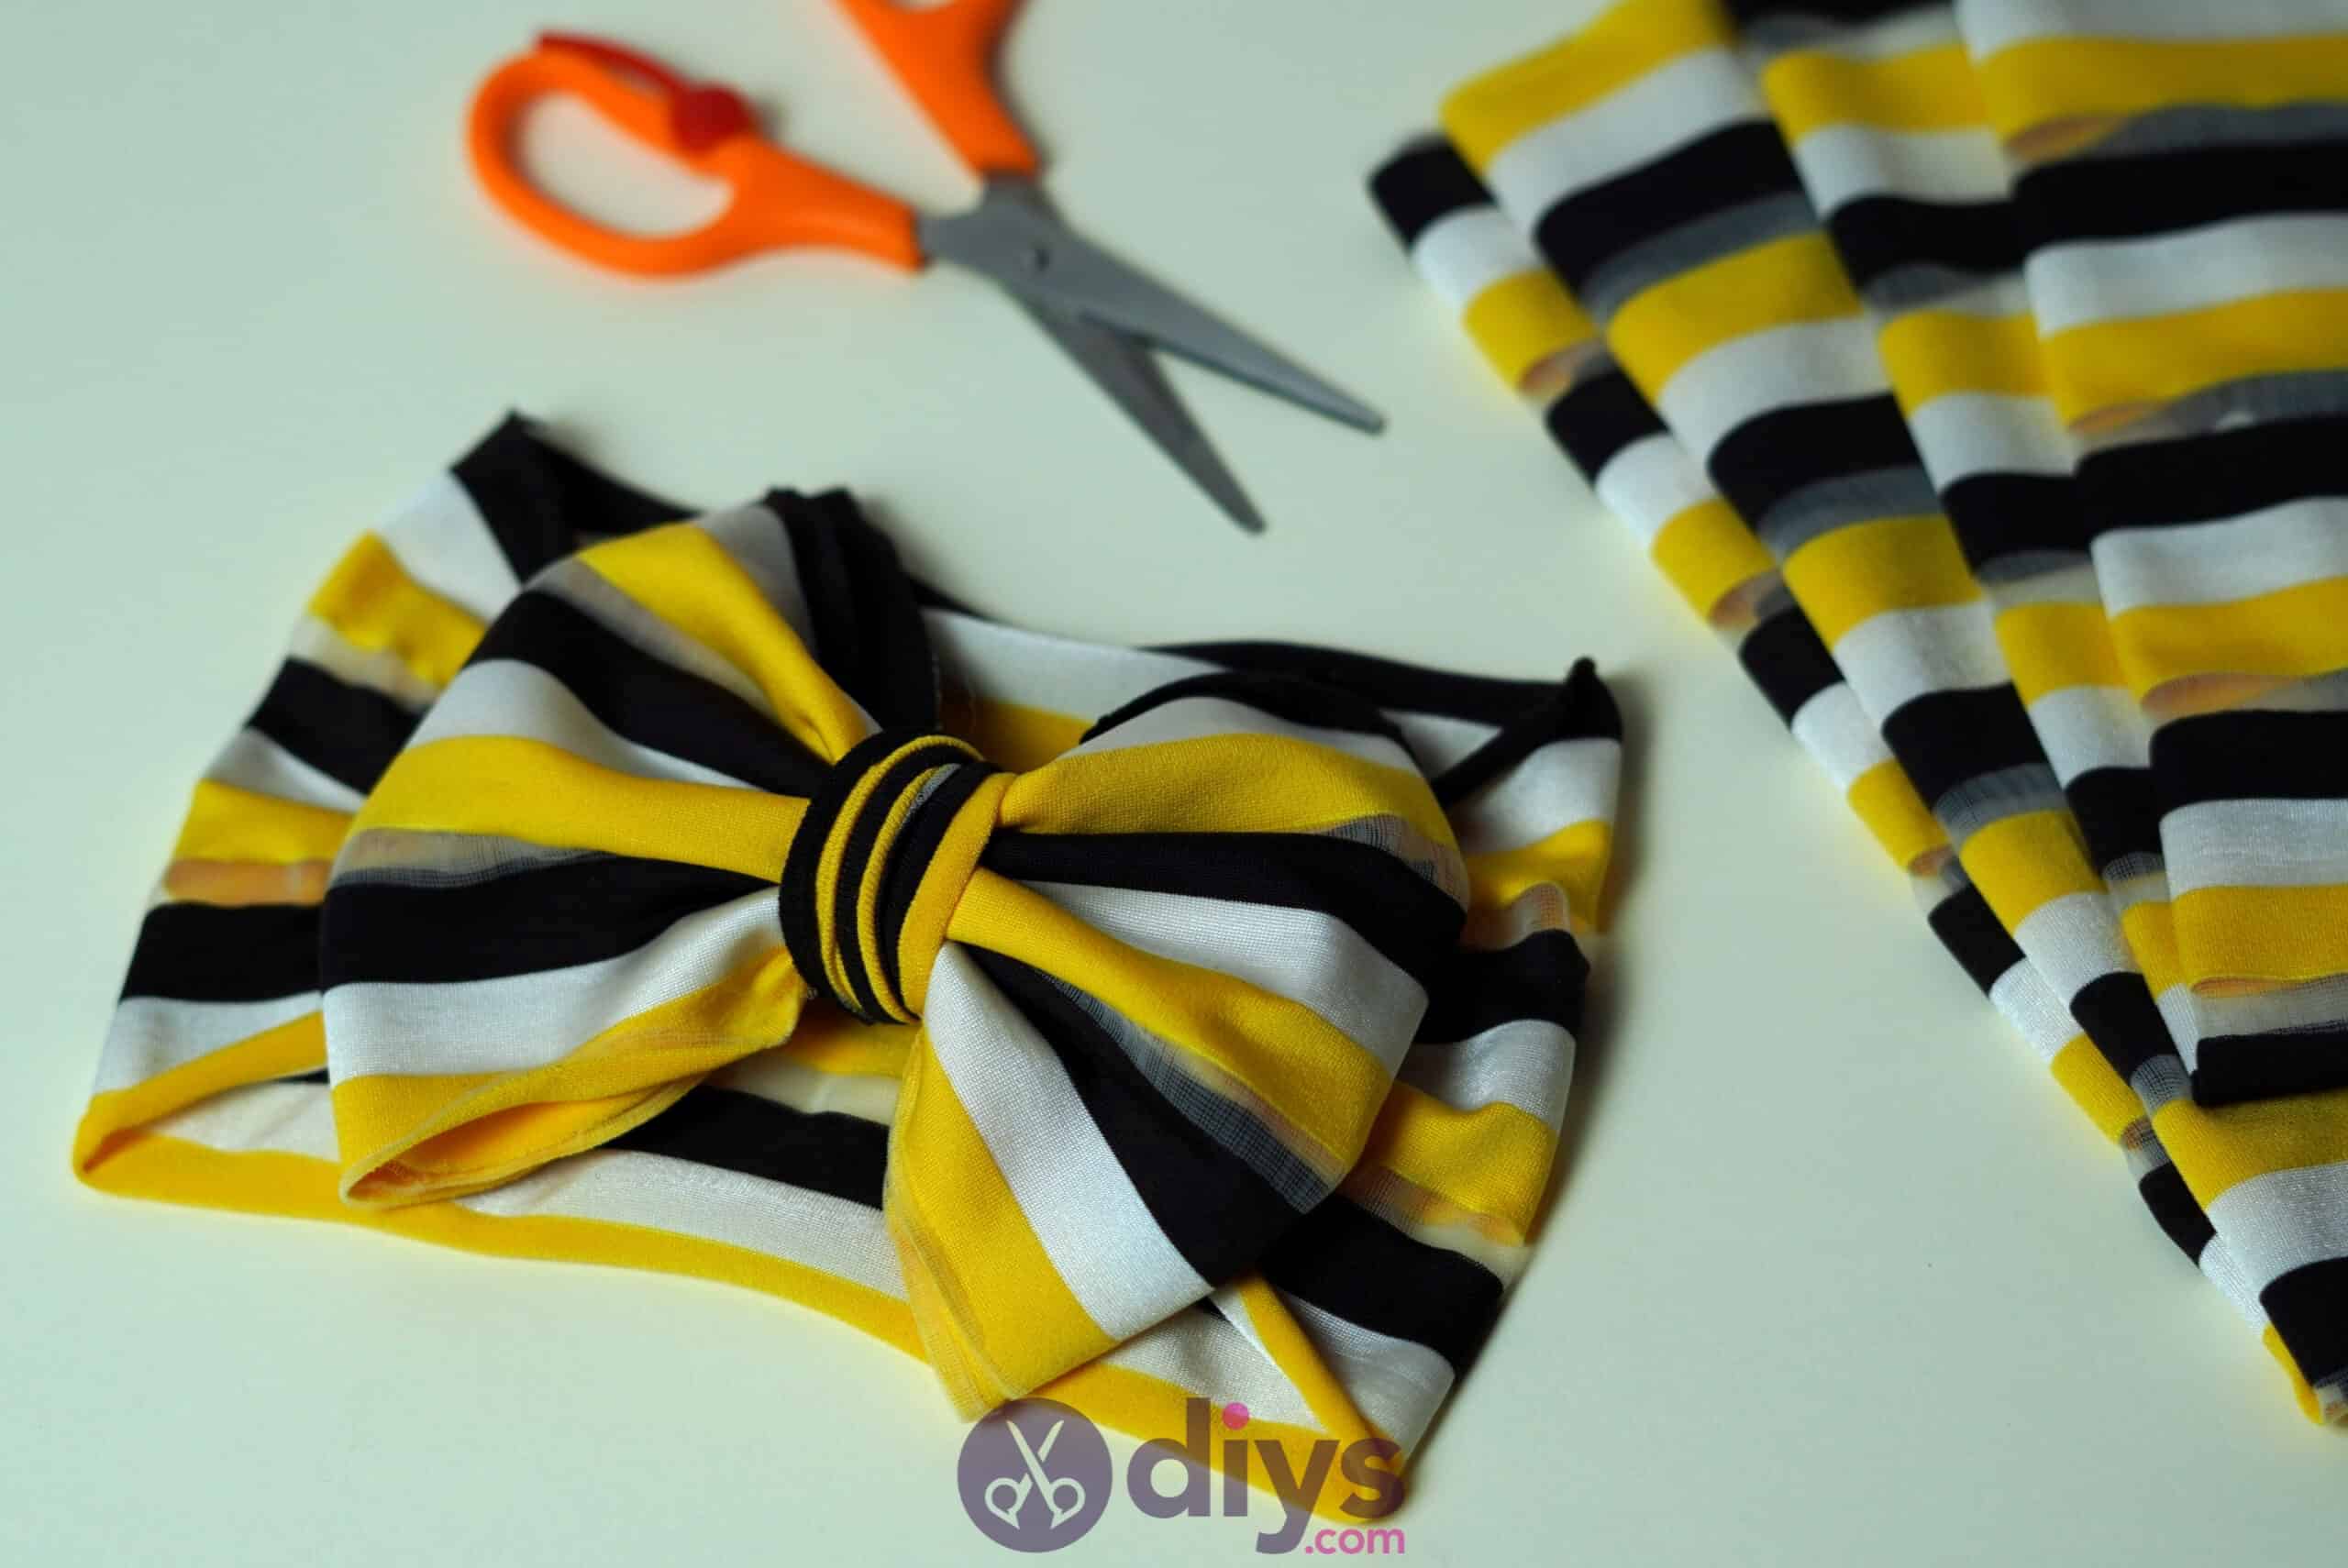
Use your right hand to tilt the bow forwards or downward towards yourself a little bit, while still holding the remaining short end in your left hand. You should be able to see where the piece you wrapped around the middle made a sort of band around the centre of the bow. Bring the end in your left hand around this and back towards the right, taking it into your right hand if that’s easier. Use your left hand to move the right side of the bow out of the way again and, just like before, tuck the ends of your remaining piece through the centre know from the right side for a second time. Grand the end where it pops out on the left, underneath the left side of your bow, and give it a tug to make sure it’s really through and isn’t going to slide back out to the right. This finished off your knotted centre, completes your bow, and fastens the end in place so your head wrap doesn’t unravel.

Smooth the folded and layered bow sides back into place and then slide the head wrap off the end of the rolled towel. You’re all finished! Slide the head wrap over your head, pull it back up against your hair, and unroll or flatten the sides, just like you did against the rolled towel. Not a single bit of needle or thread involved!


If you’d like to see each of these steps in action, check out this video tutorial as well.