Easy DIY Leather Catchall
Updated on June 25, 2021
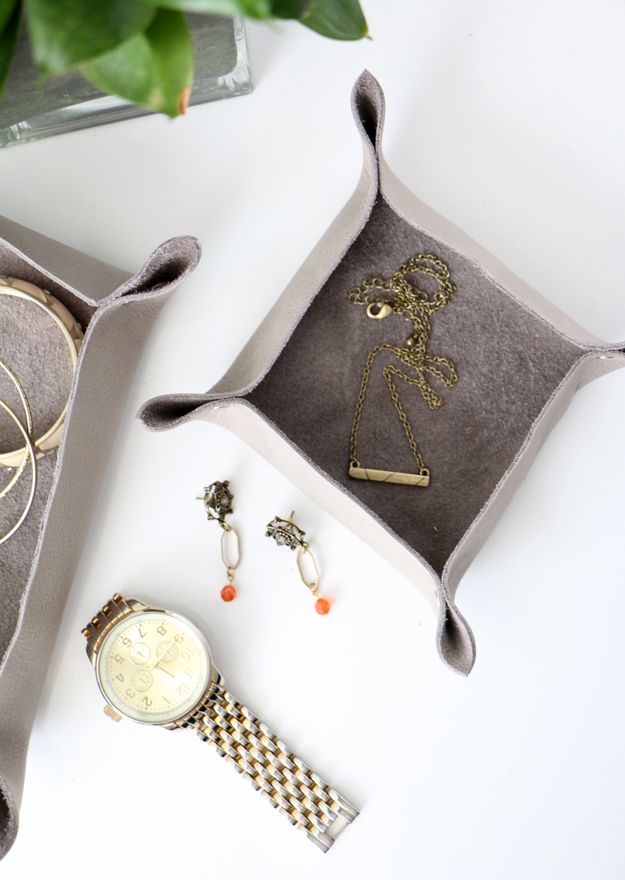
There is nothing more annoying than frantically trying to locate that missing earring before you head out the door in the morning. It’s time to stop losing your jewelry pieces and create a dedicated place to stash your goods. Having a permanent place to toss your favorite jewelry pieces will keep them from going missing and add extra time back into your day since you won’t be searching for that missing earring!
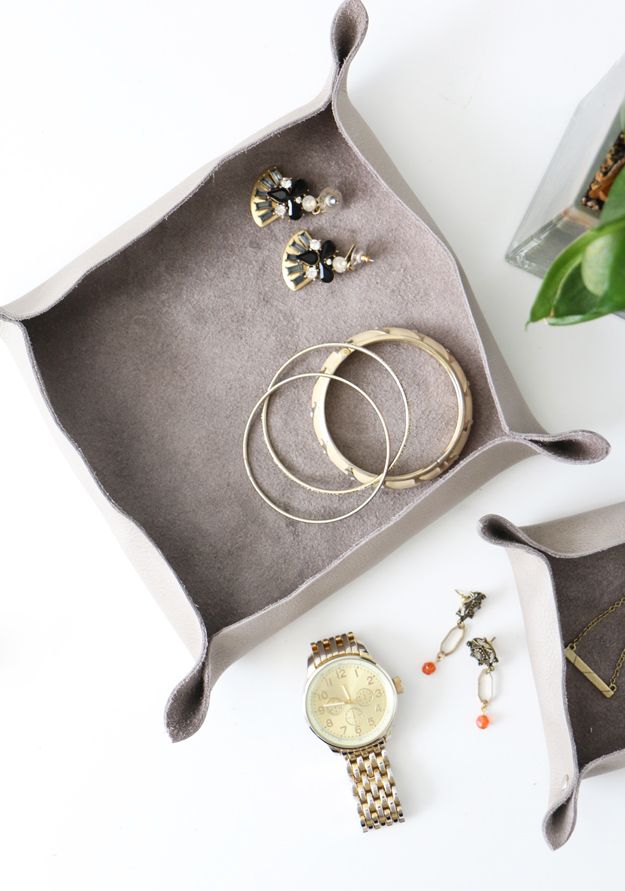
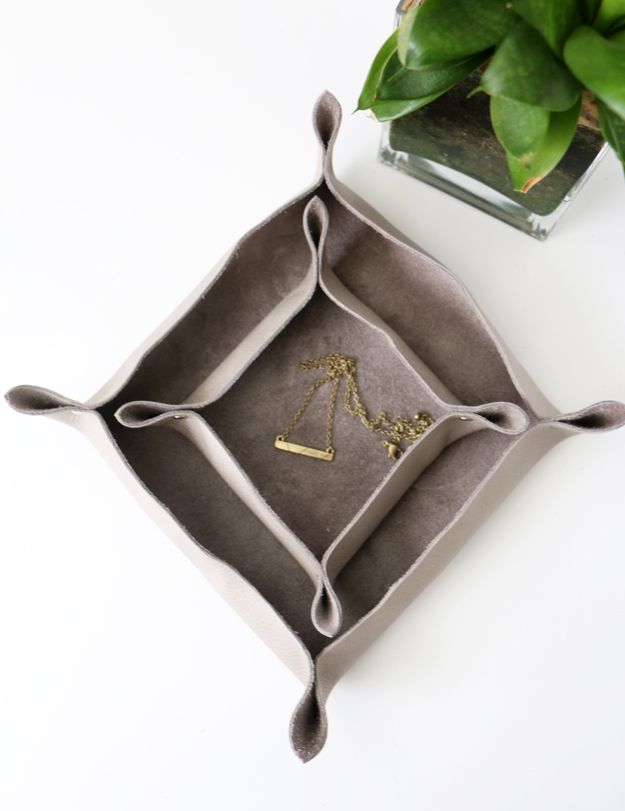
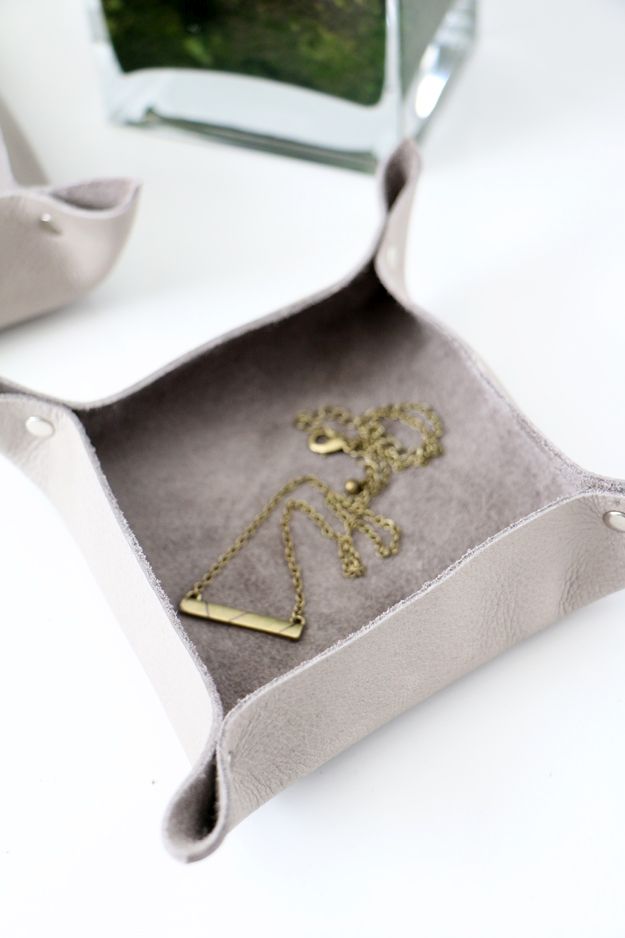
To create a luxurious home for your most treasured jewels, grab a piece of leather and make a super easy catchall. This catchall looks like it would cost a lot since it is made out of leather, but it is super cheap and easy to make. It adds the perfect touch to a dresser or shelf!
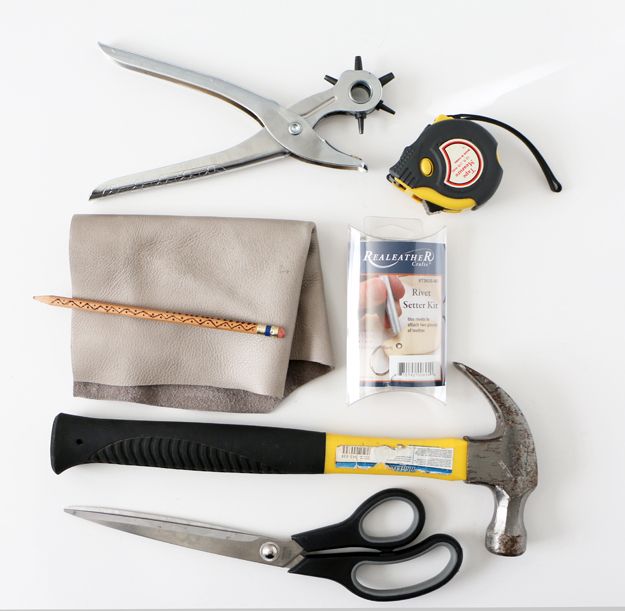
Here’s what you’ll need:
- Leather piece
- Rivet Setter Kit
- Scissors
- Hammer
- Ruler
- Pencil
- Leather Punch
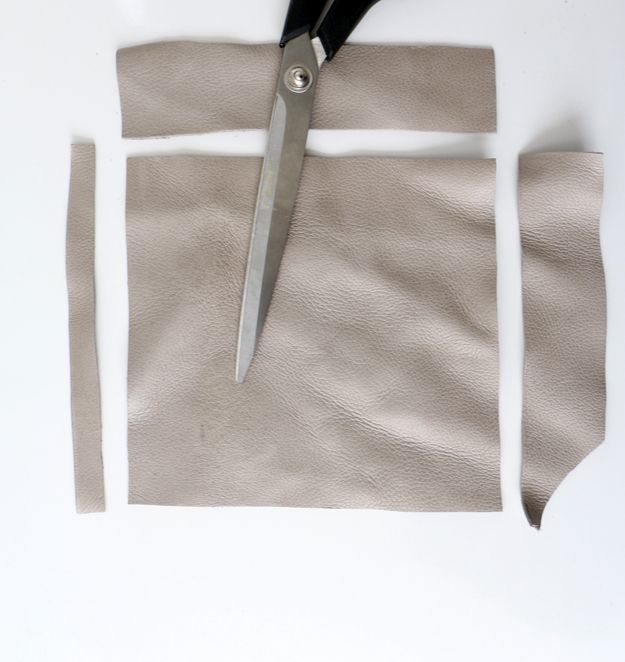
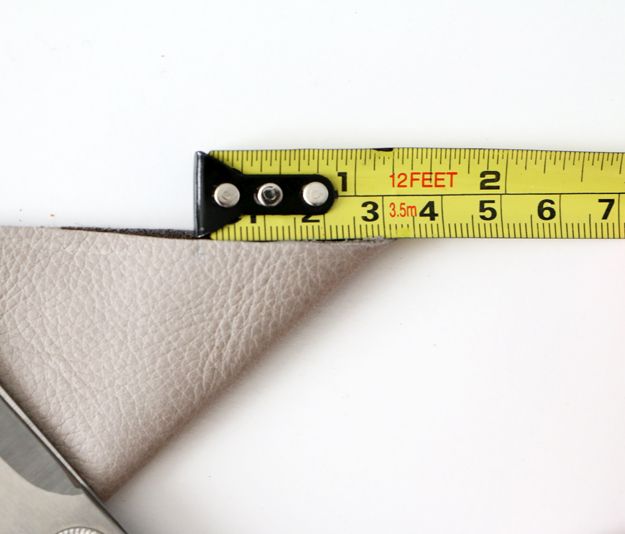
Step 1: Grab your ruler and pencil. You are going to want to create a square on your leather piece. I created a 7 inch square on my leather. You could make your square as small or as large as you would like.
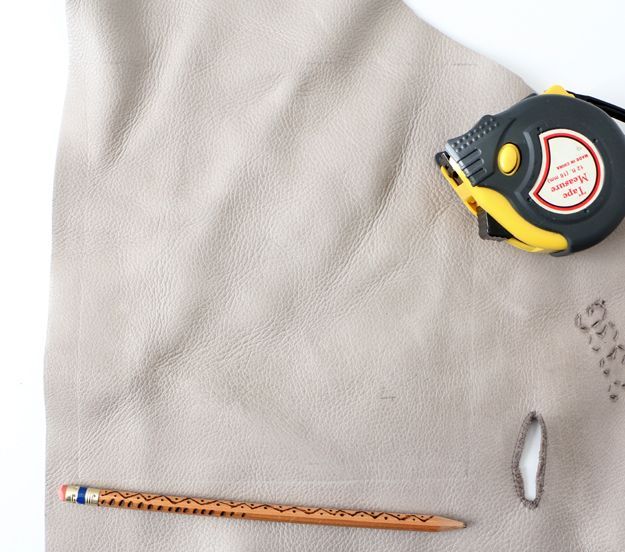
Step 2: Once you have measure out your square, go ahead and cut it out of your leather piece.
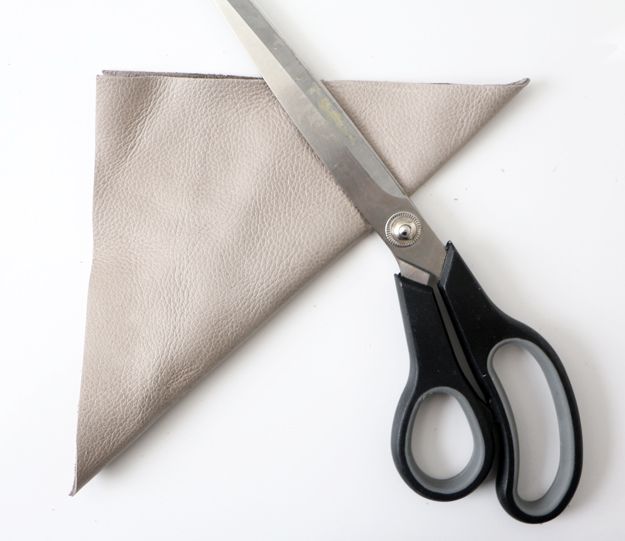
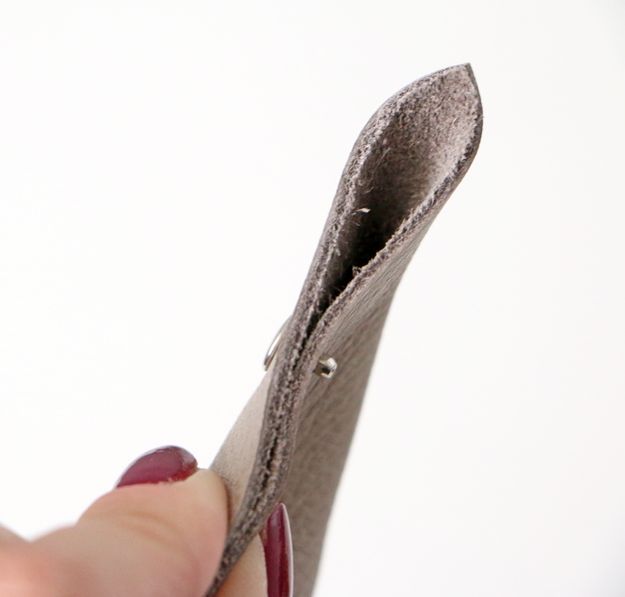
Step 3: After your square has been cut out, take the bottom corner and fold it over to the top left corner.
Step 4: Grab your ruler again and measure 1 ¼ inch from the end of your leather and mark it.
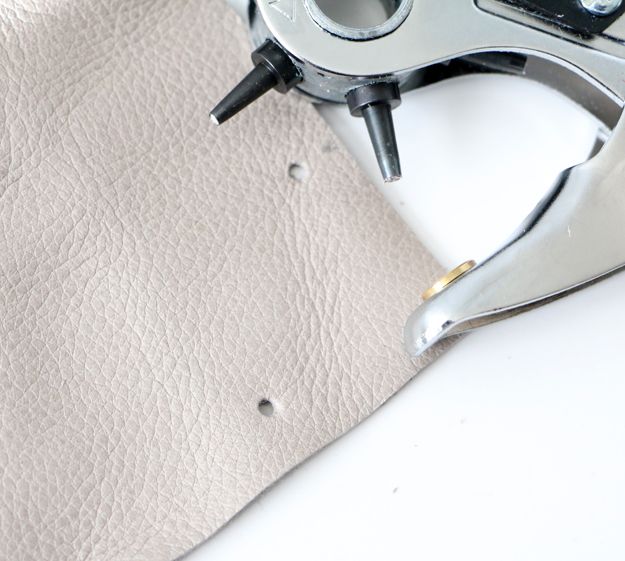
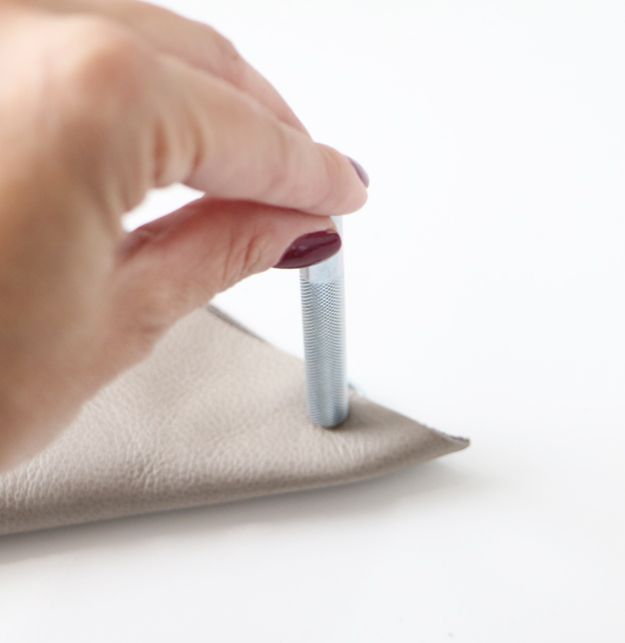
Step 5: Before you use your leather punch, you will want to adjust it so you get the right sized hole. I rotated my punch until I landed on the second to smallest hole.

Step 6: Place your punch about ¼ inch below the make you made on the corner of your leather. Squeeze the handles of your leather punch until it punctures the leather.

Step 7: Open your leather piece up. If you notice your punch did not go through the other side of your leather, you will want to give it a punch. You should be able to see an impression from your punch so you know where to press down.
Step 8: You will repeat the above steps on all four of your corners.
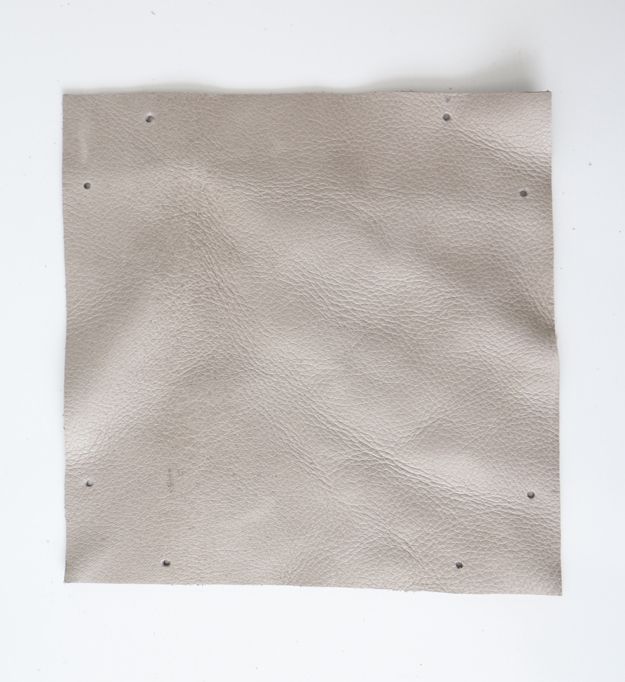
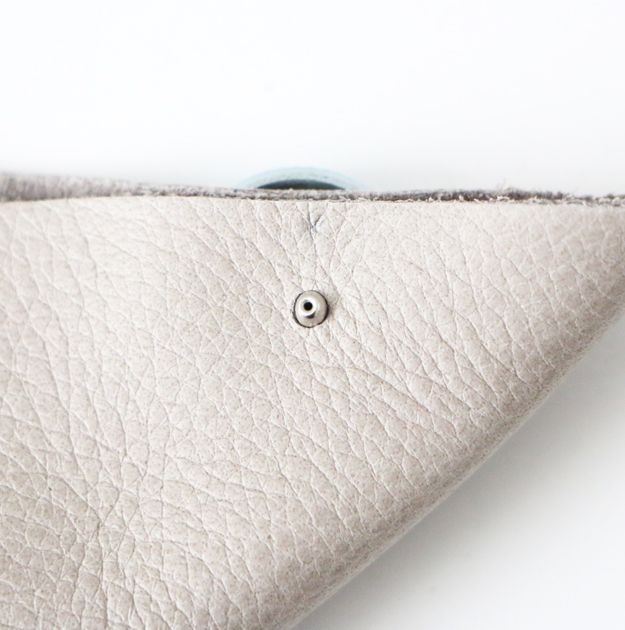
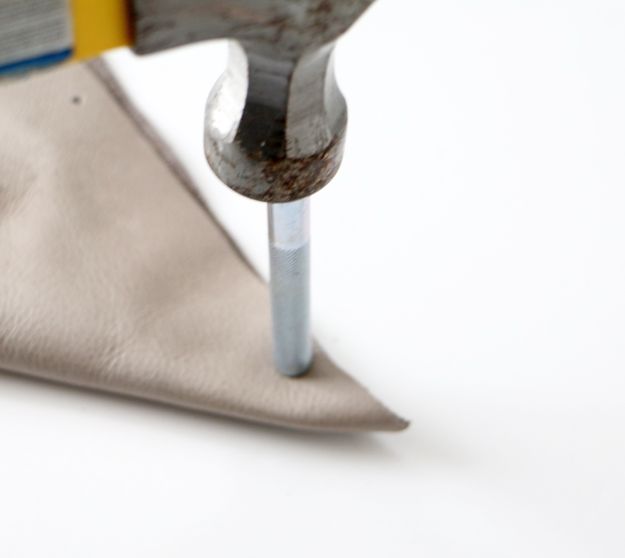
Step 9: Now it is time to add your rivets. You will grab one of your smaller rivets and place it through both holes you created in one corner of your leather.
Step 10: Next, you will lay the rivet base on your surface.
Step 11: Place your leather on top of the base with the circular side against your base.
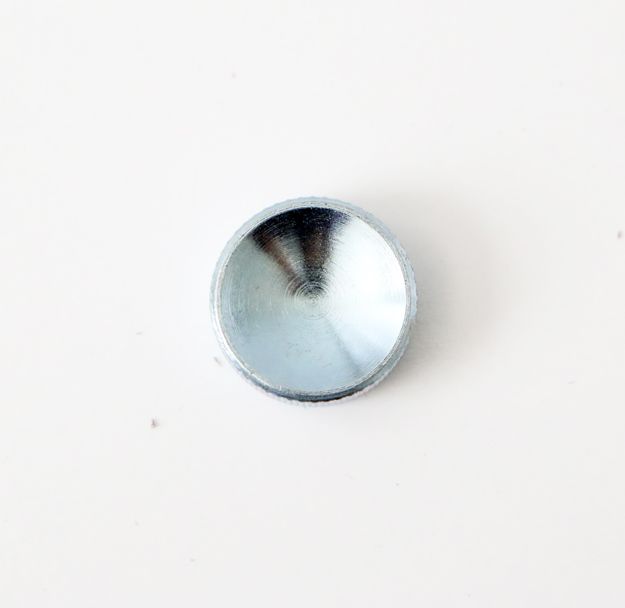
Step 12: Place the cap on top of the rivet. Grab your rivet setting tool and make sure the concave side is facing down.
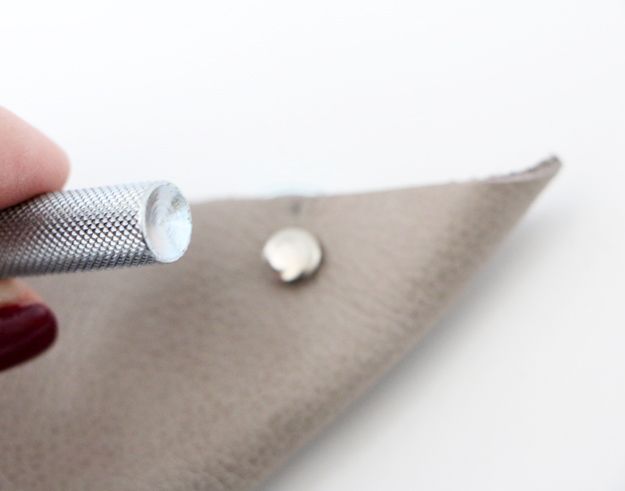
Step 13: Next, place your rivet setter on top your rivet cap.
Step 14: Give your hammer a few decent taps on top of your rivet setter. This will lock in the rivet cap with the rivet base.
Step 15: Repeat the above steps on all four corners of your leather piece.
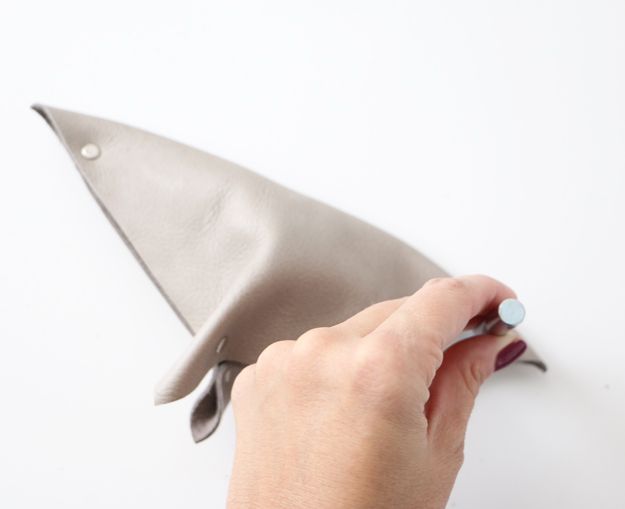
You are left with a leather catchall for all of your favorite jewelry pieces. They will never go missing again!