Valentine’s Day DIY Jewelry Organizer Photo Frame – A Gift From the Heart
Updated on June 29, 2021


As Valentine’s Day approaches, making a gift for your loved ones, even if we’re only talking about friends and family members, is something you should take into consideration. And what better way to do this than by creating something with your own two hands? A jewelry organizer photo frame seems like an ideal gift for all the ladies who need a way to keep their most-used pieces.

So, with just a little time and love, you can create a beautiful piece that’s also extremely useful and that will always remind the recipient of you.
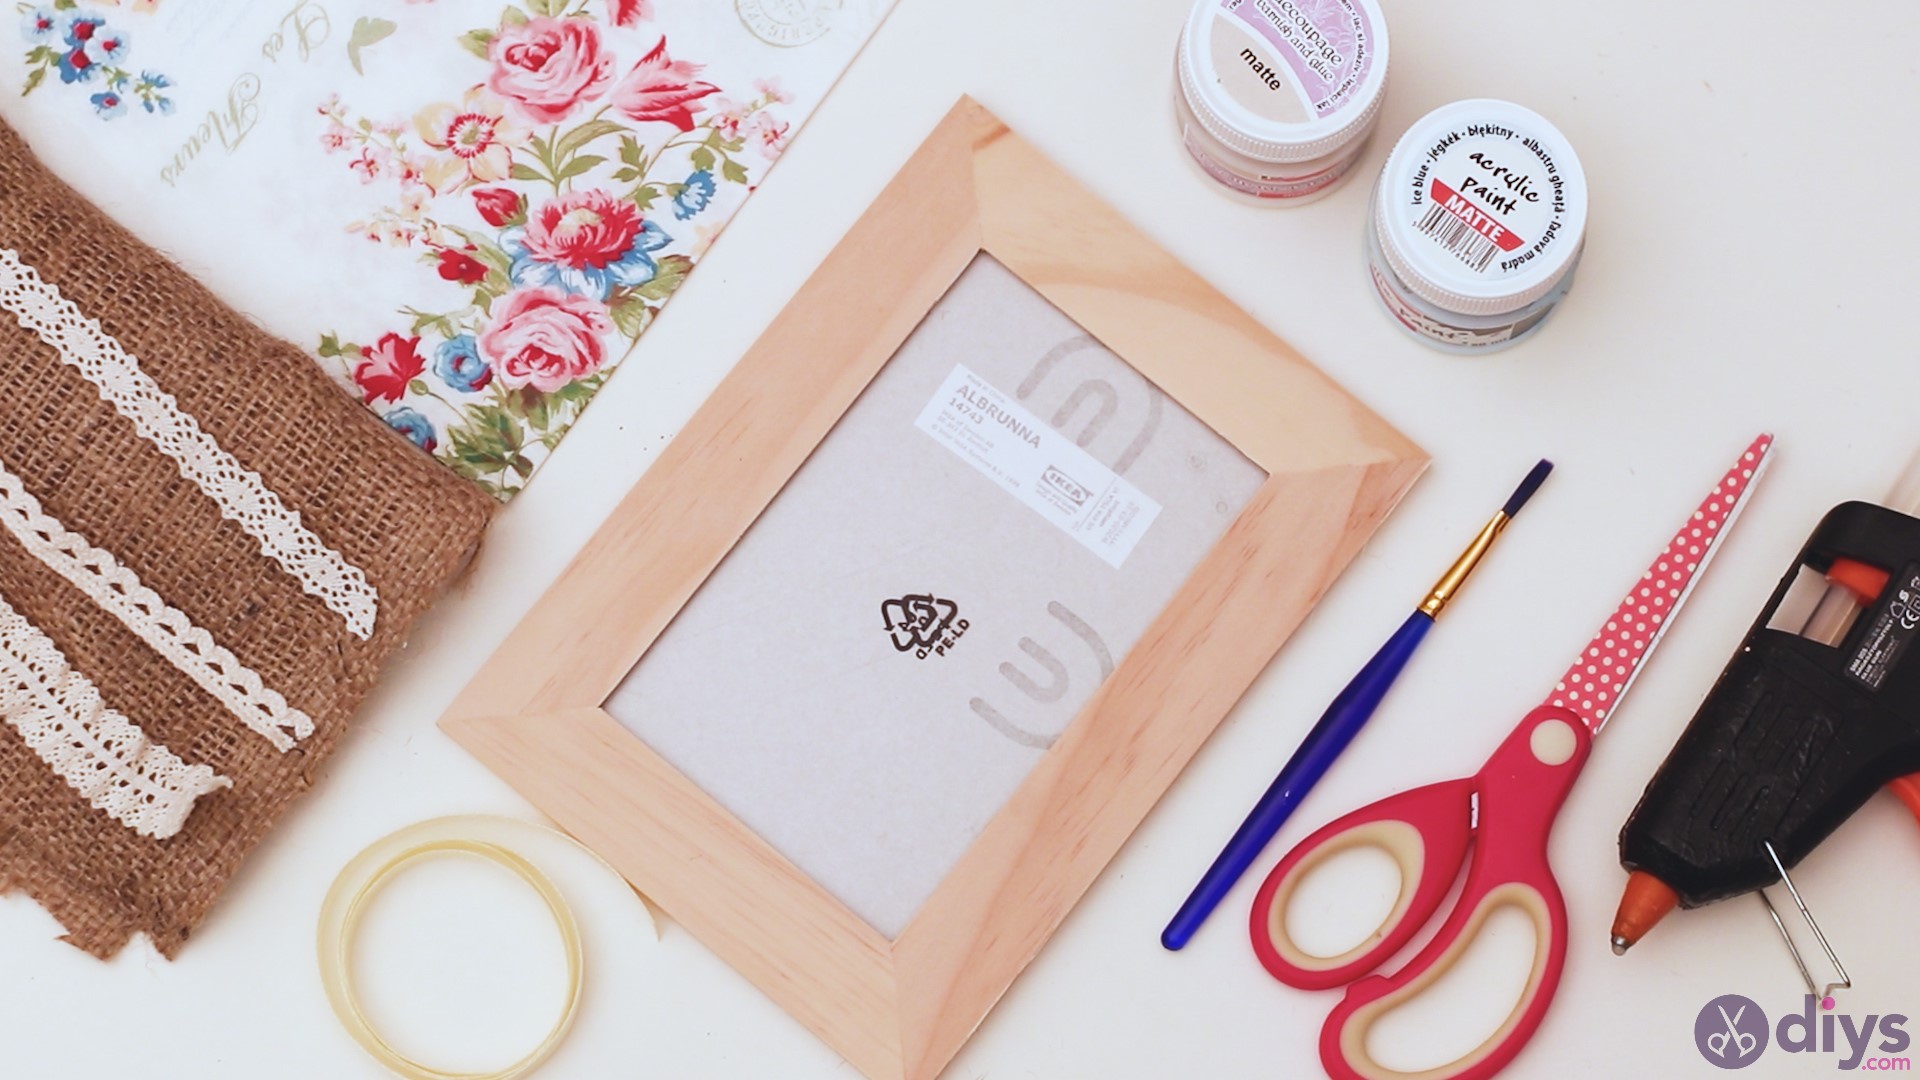
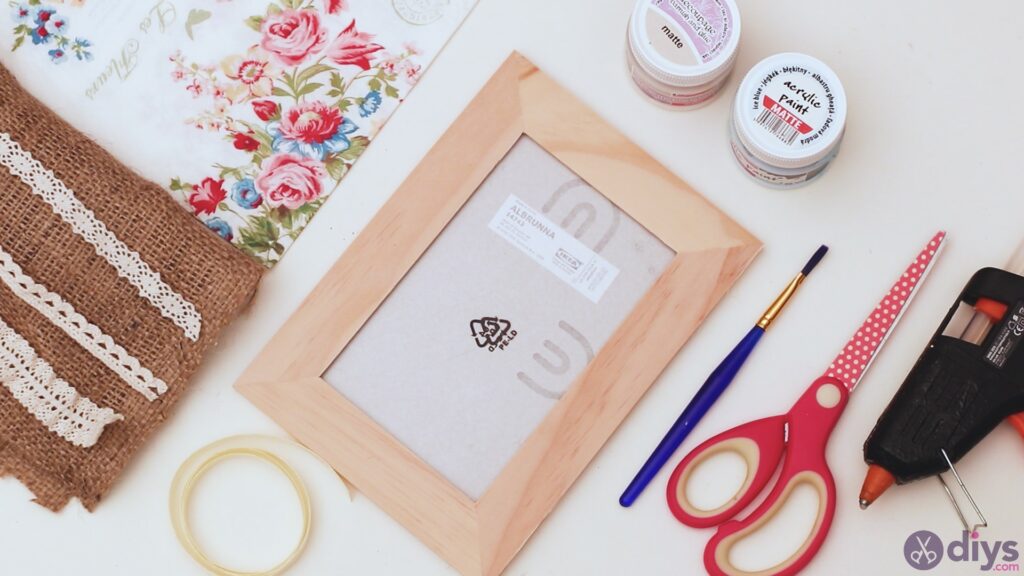
Materials for Valentine’s Day DIY jewelry organizer photo frame
- picture frame
- flower patterned decoupage paper
- burlap material
- silk ribbon
- lace ribbon
- decoupage glue
- light blue acrylic paint
- scissors
- glue gun
- paintbrush
How to make a Valentine’s Day DIY jewelry organizer photo frame
Before you start reading through our guide, you’re going to want to gather up all the required supplies. You really don’t want to break focus by running around your house trying to get that extra item you forgot about.
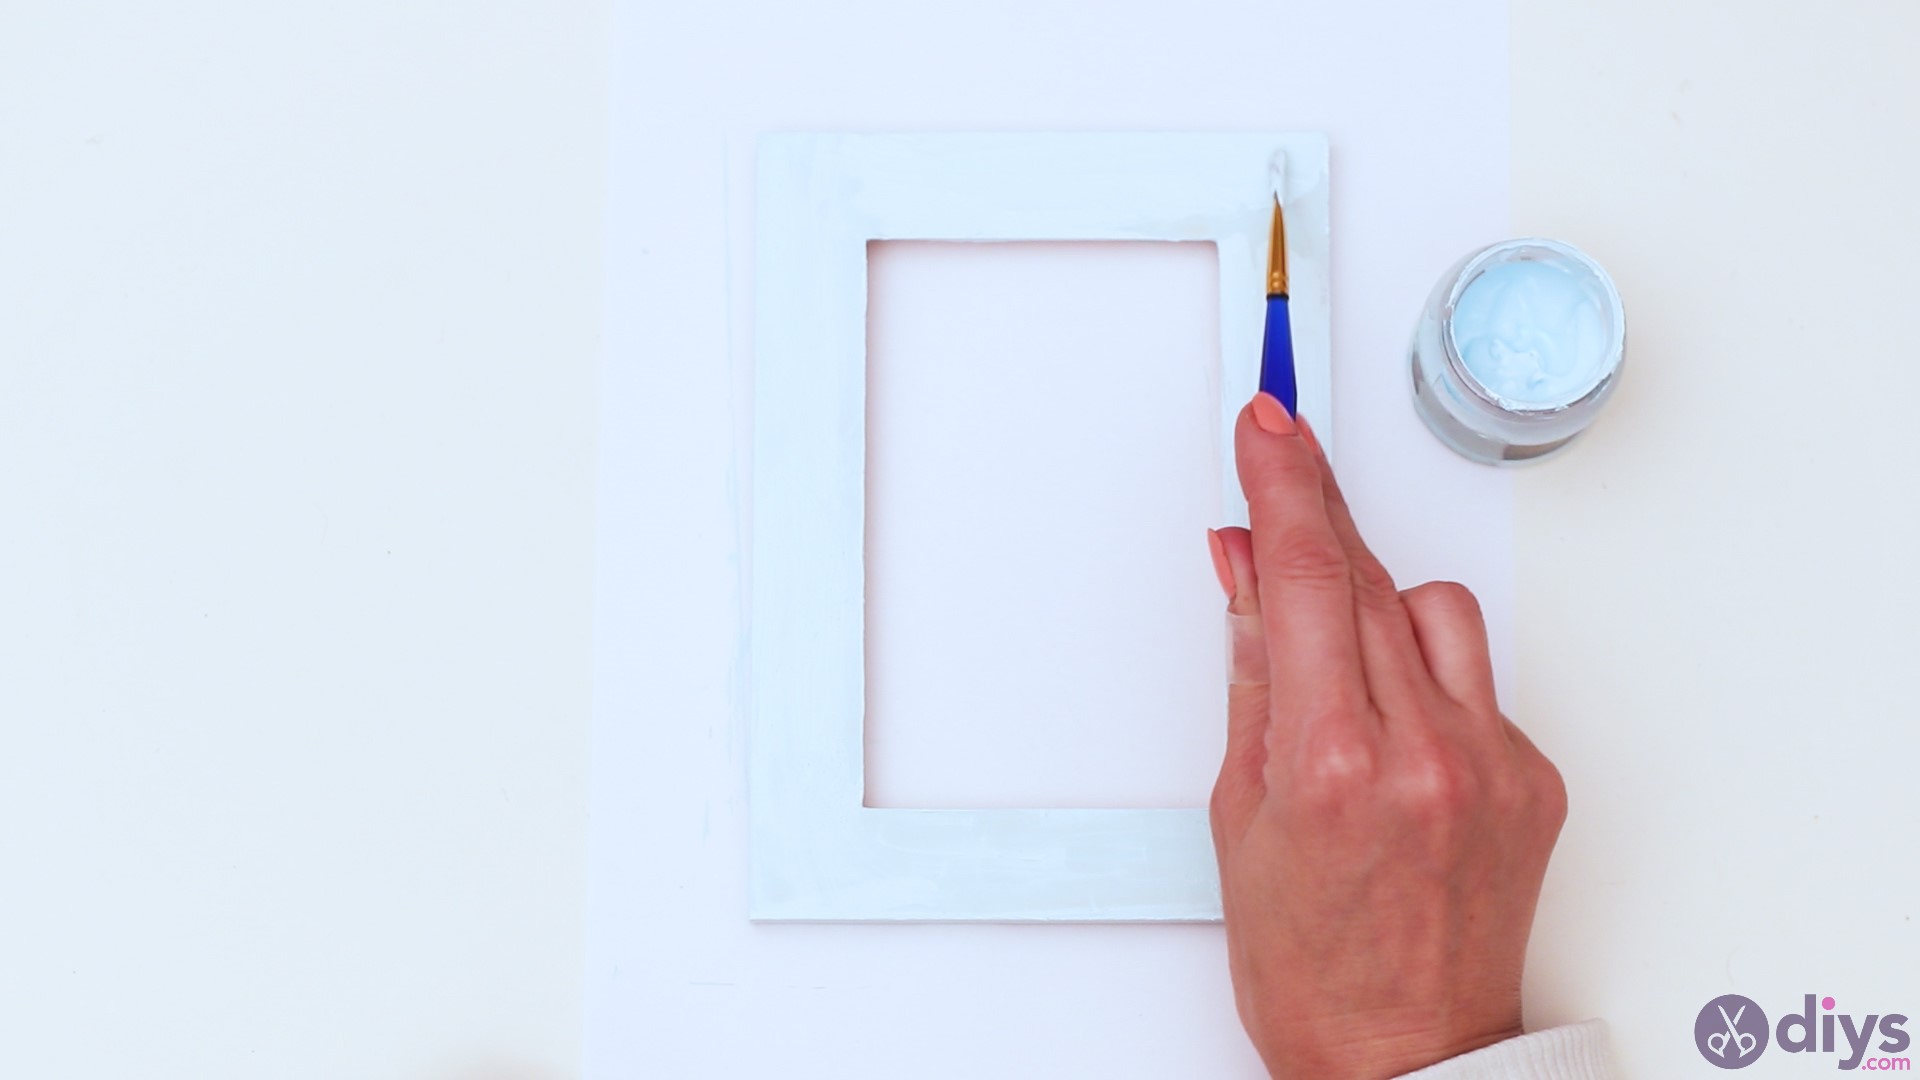
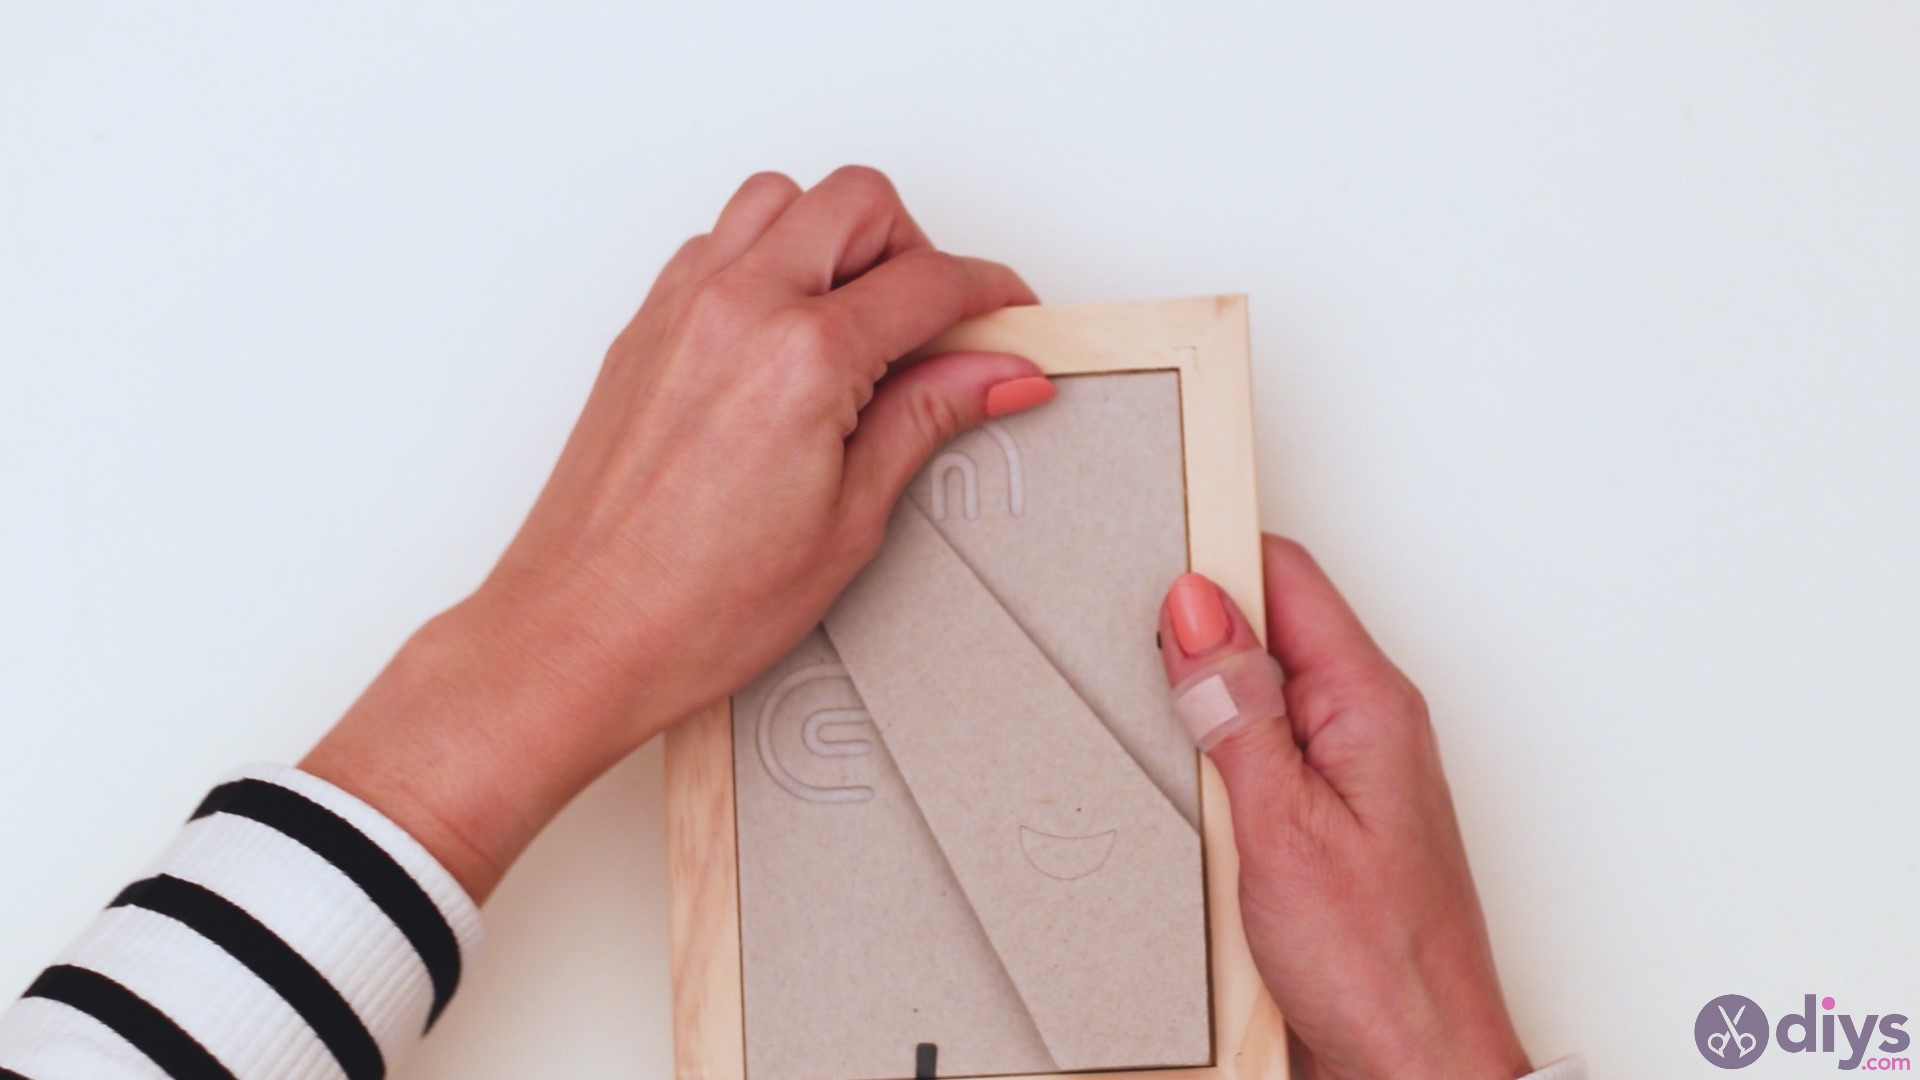
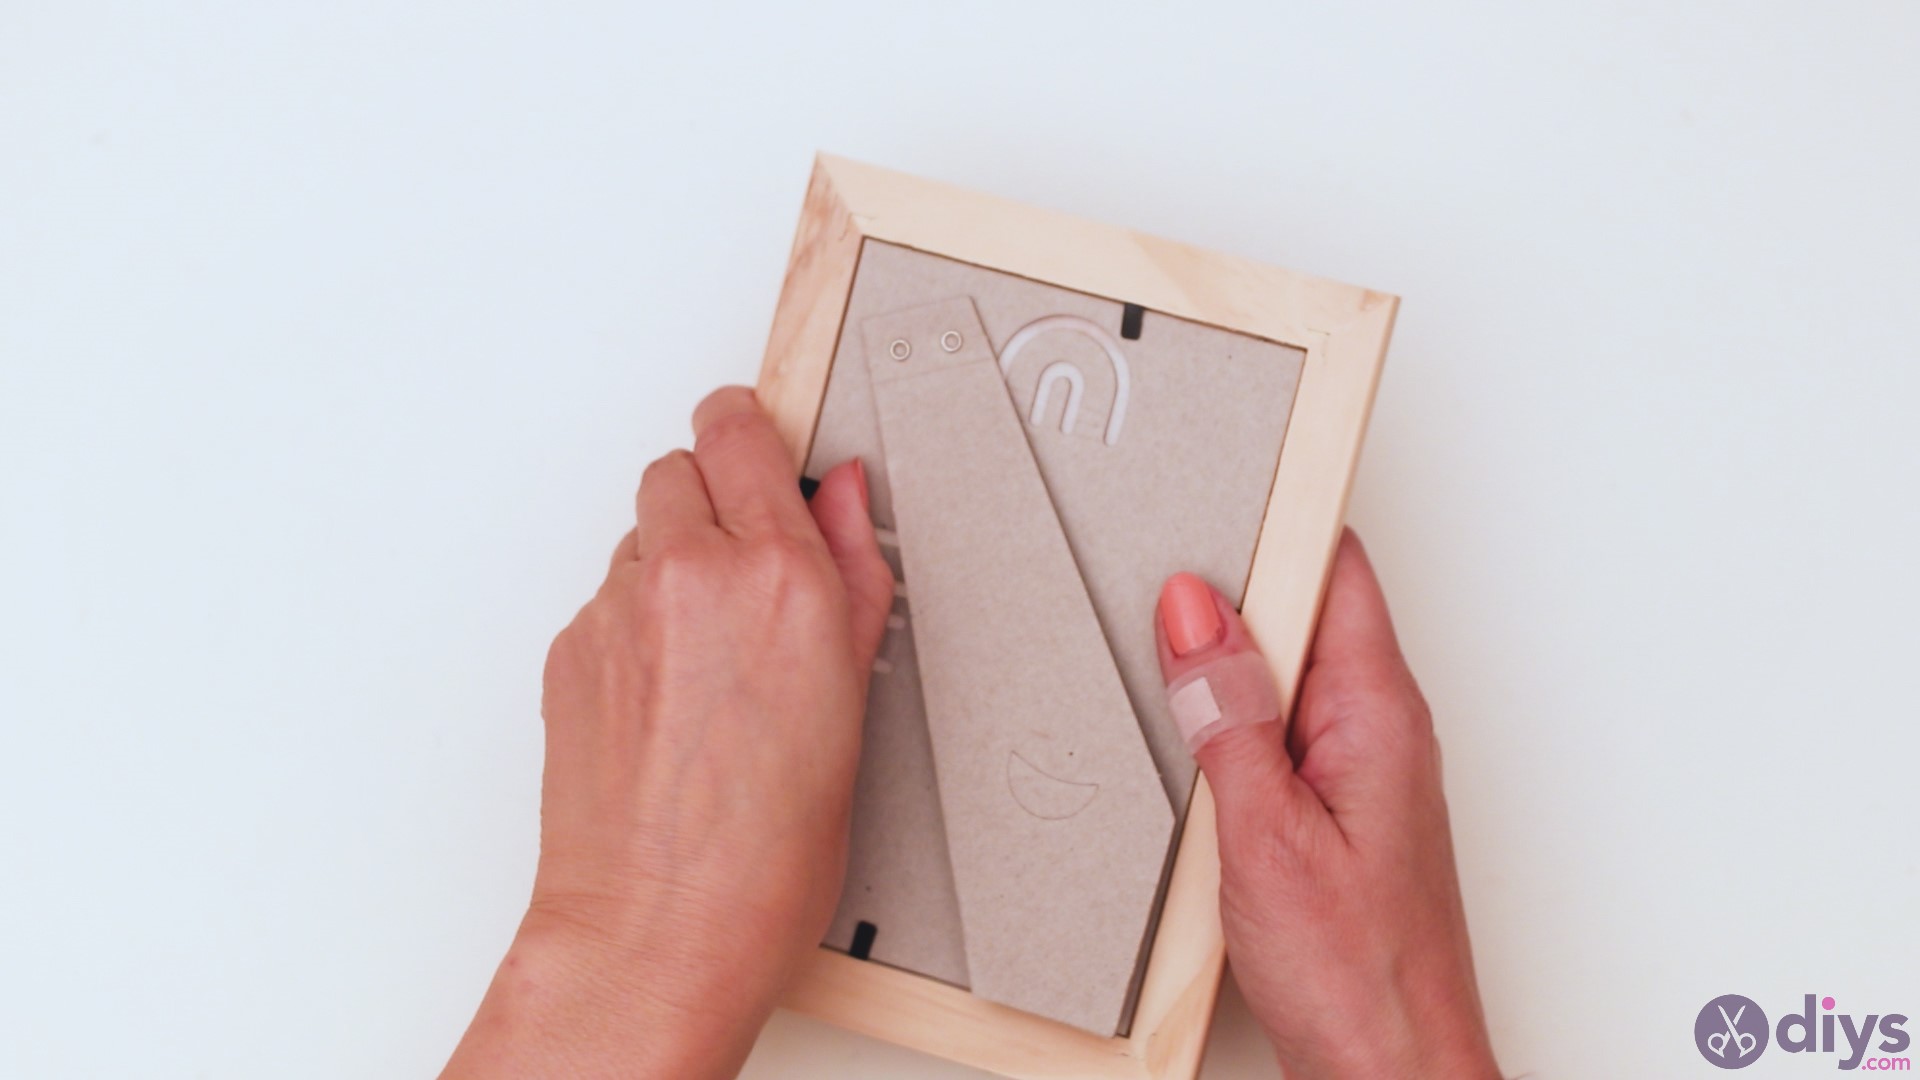
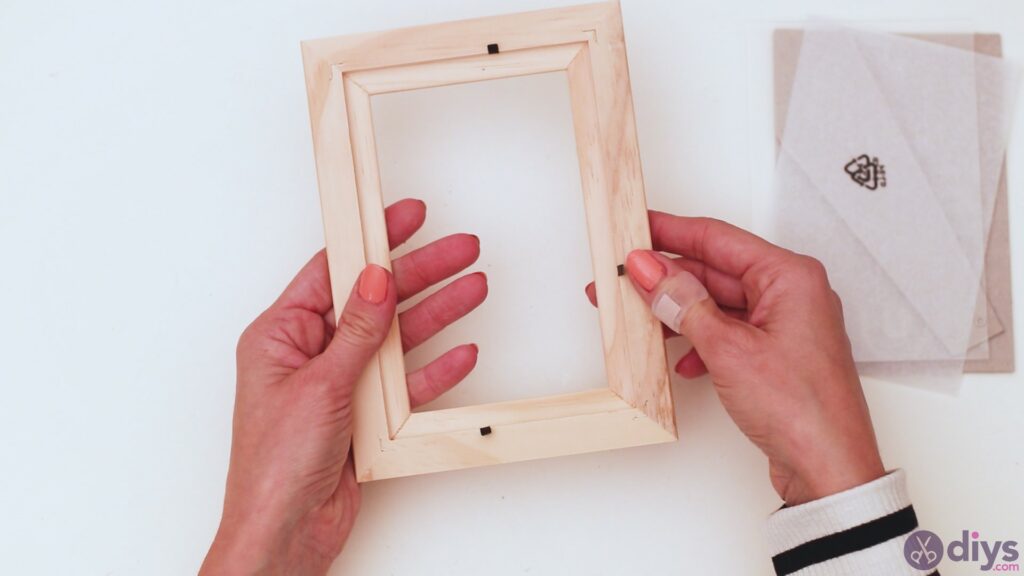
Step 1: Paint the photo frame
For our project, we went with plain wood frames from IKEA. You can probably find similar products in lots of places, but these ones are cheap and they’re good quality. So, turn the photo frame on the other side and remove the back paneling and the glass – well, it’s actually plastic, but you know what we’re talking about.


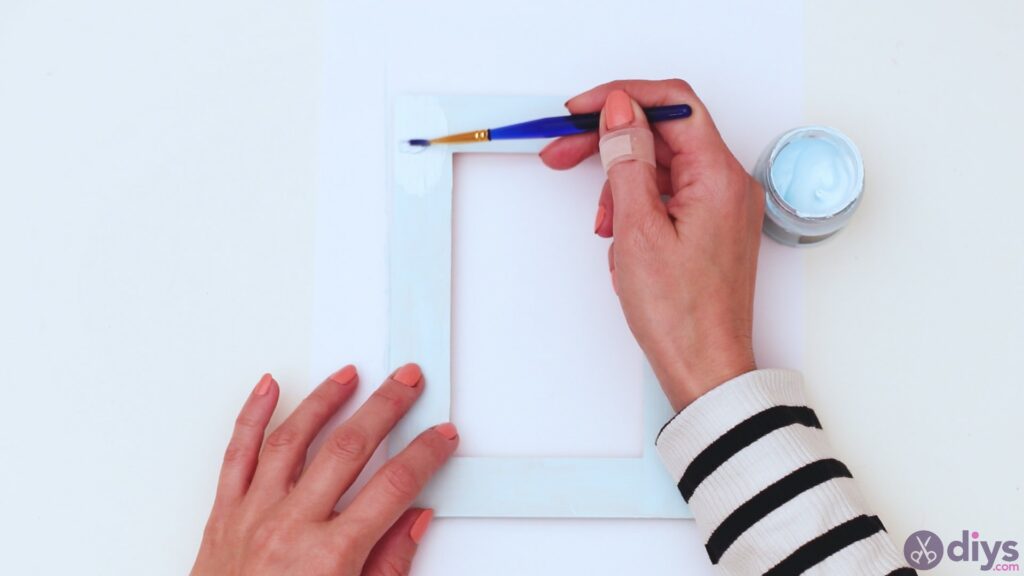
Turn the frame right-side-up again, get the acrylic paintand thepaintbrush and start adding in the color. We went for a really light blue as it will offer a nice backdrop for any napkin model you find.
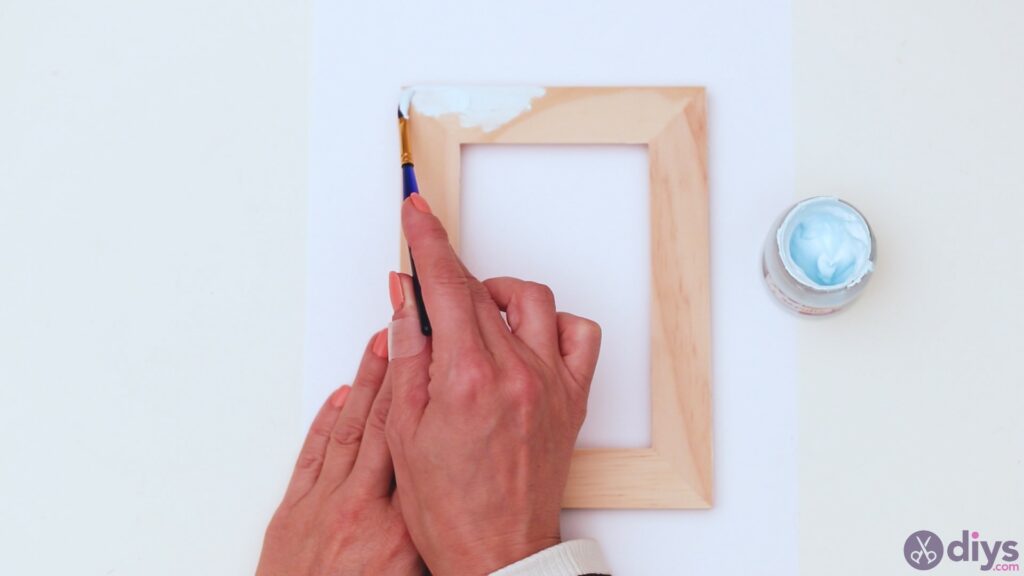
Make sure you also paint the sides of the frame, go carefully over the corners, and the inside edge of the frame too.
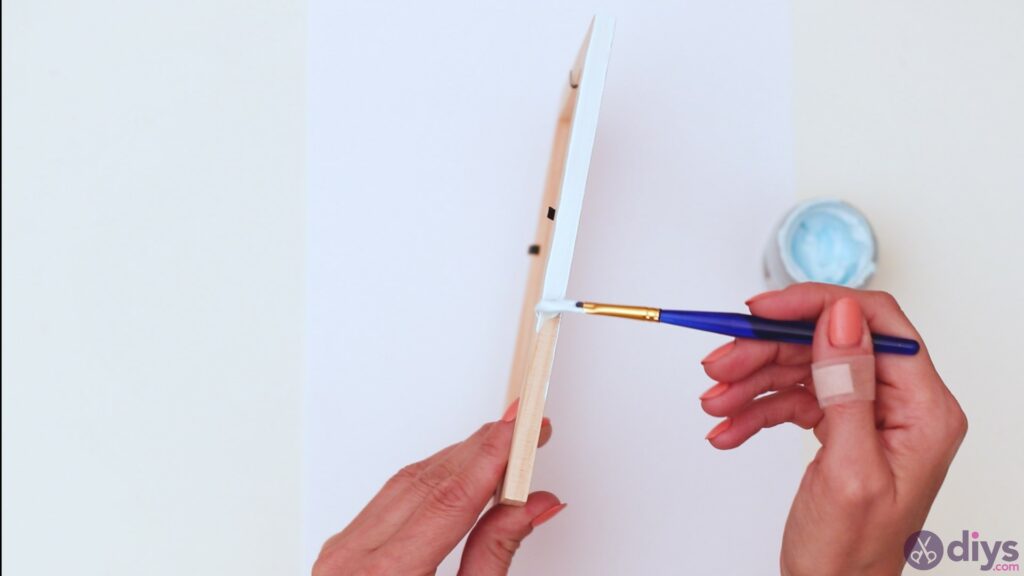
We allowed the first paint layer to dry and then went over it again. Since we’re using acrylic paint, the wait time shouldn’t be too large as this type of paint dries quickly. Make sure you don’t use any water here as it will dilute the color too much and you’ll just need extra layers in the end.

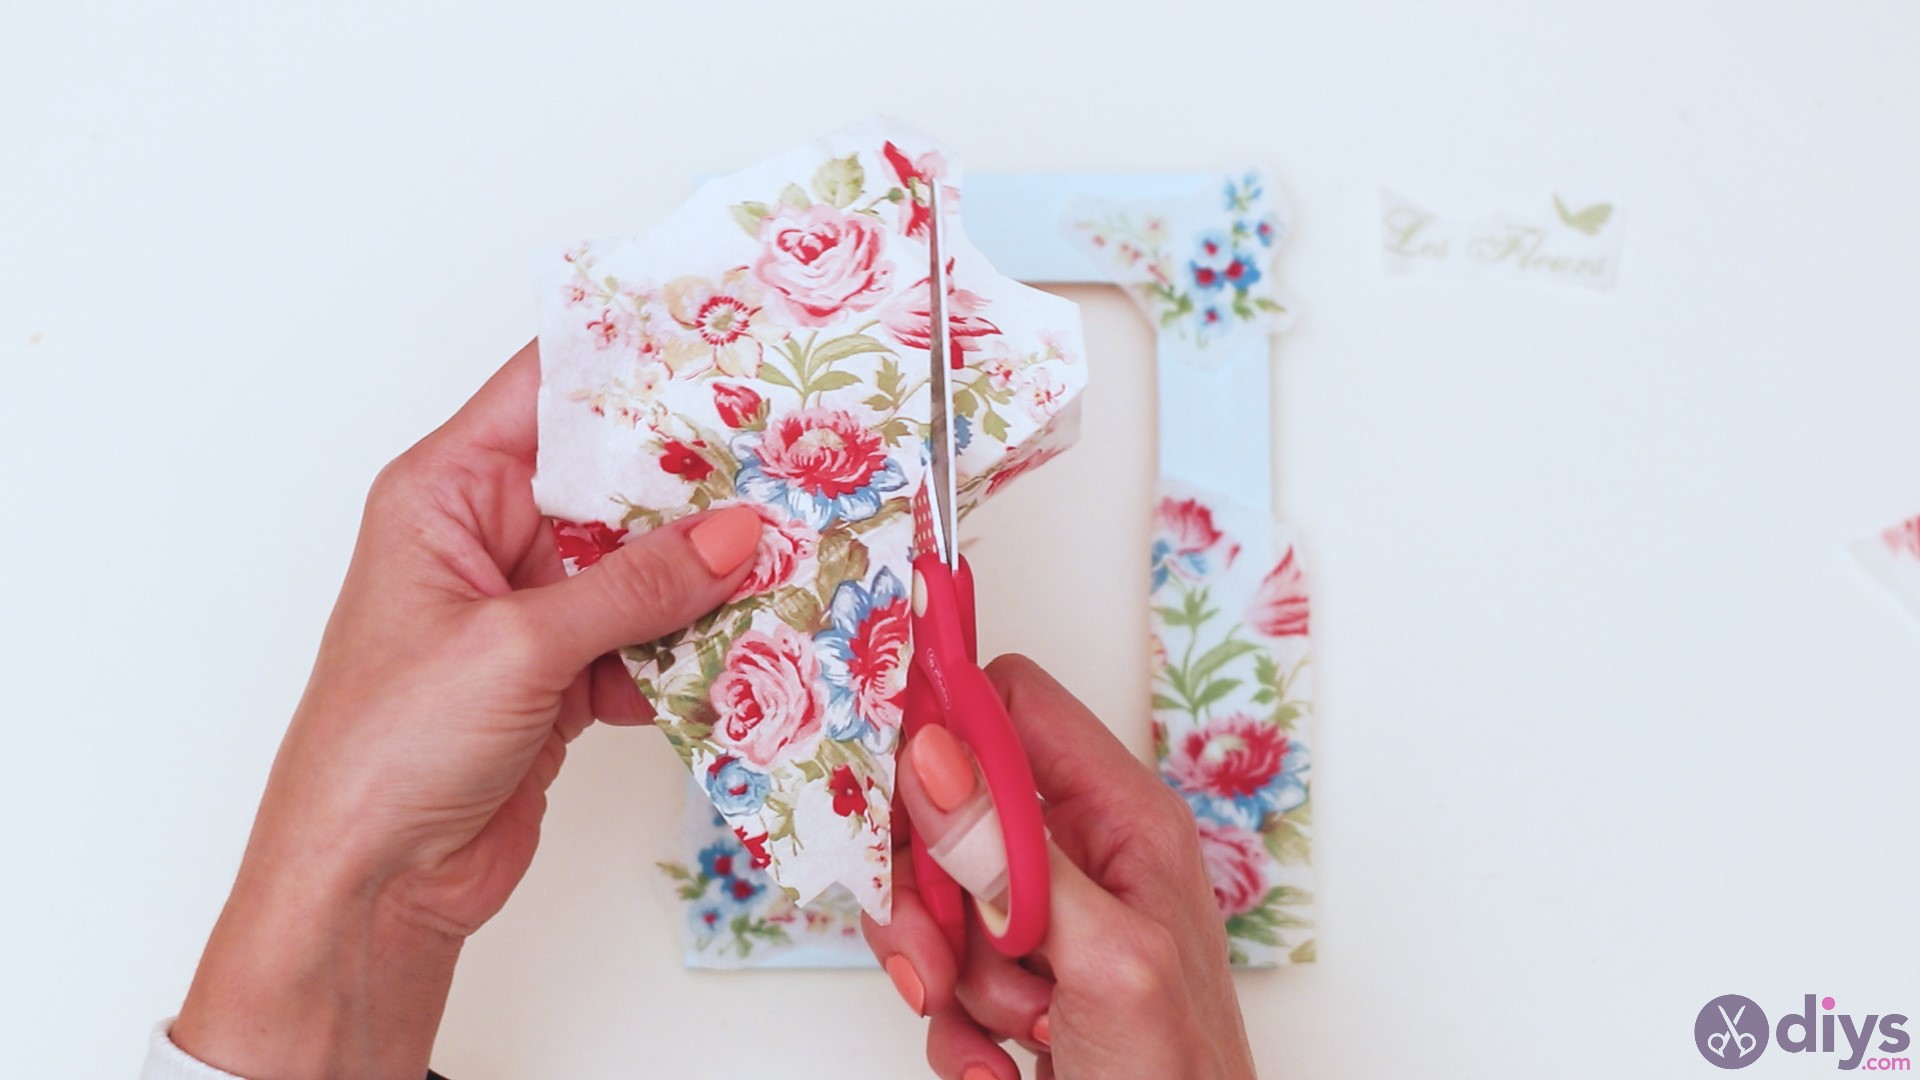
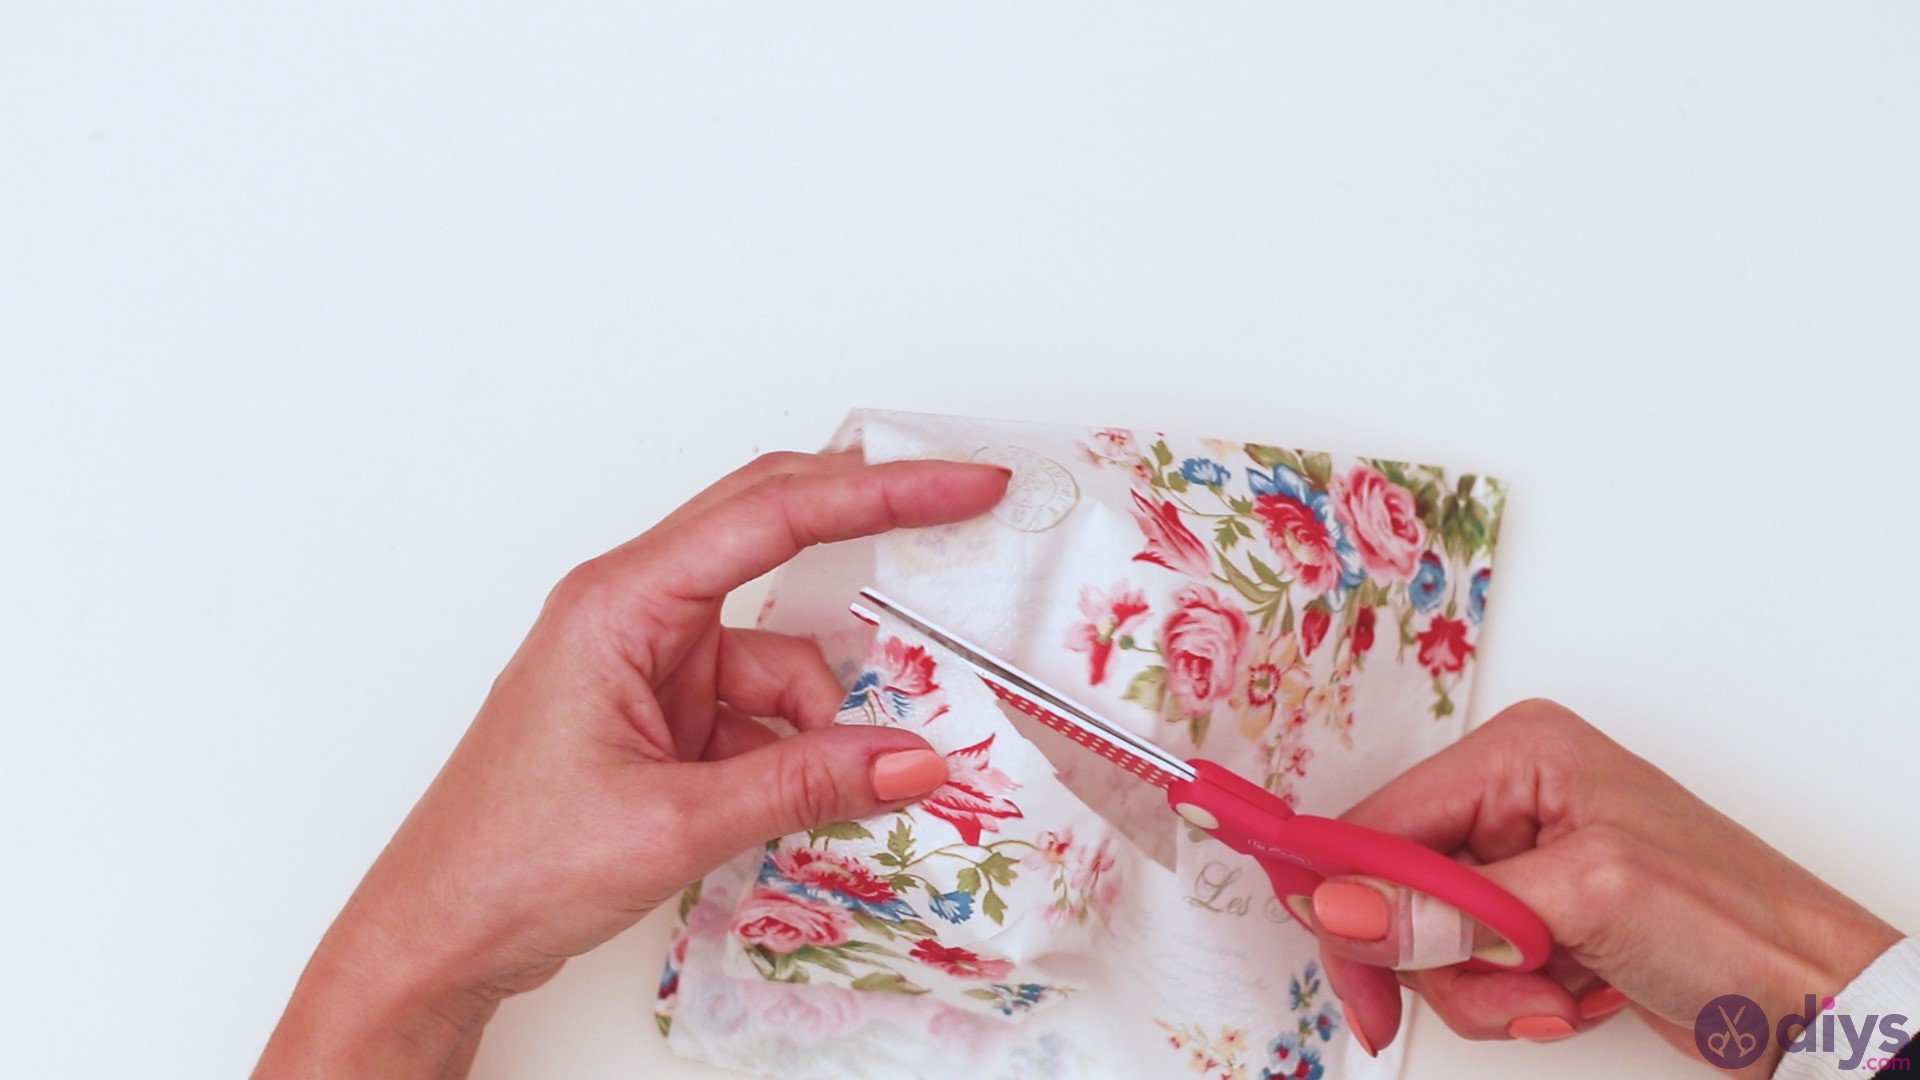
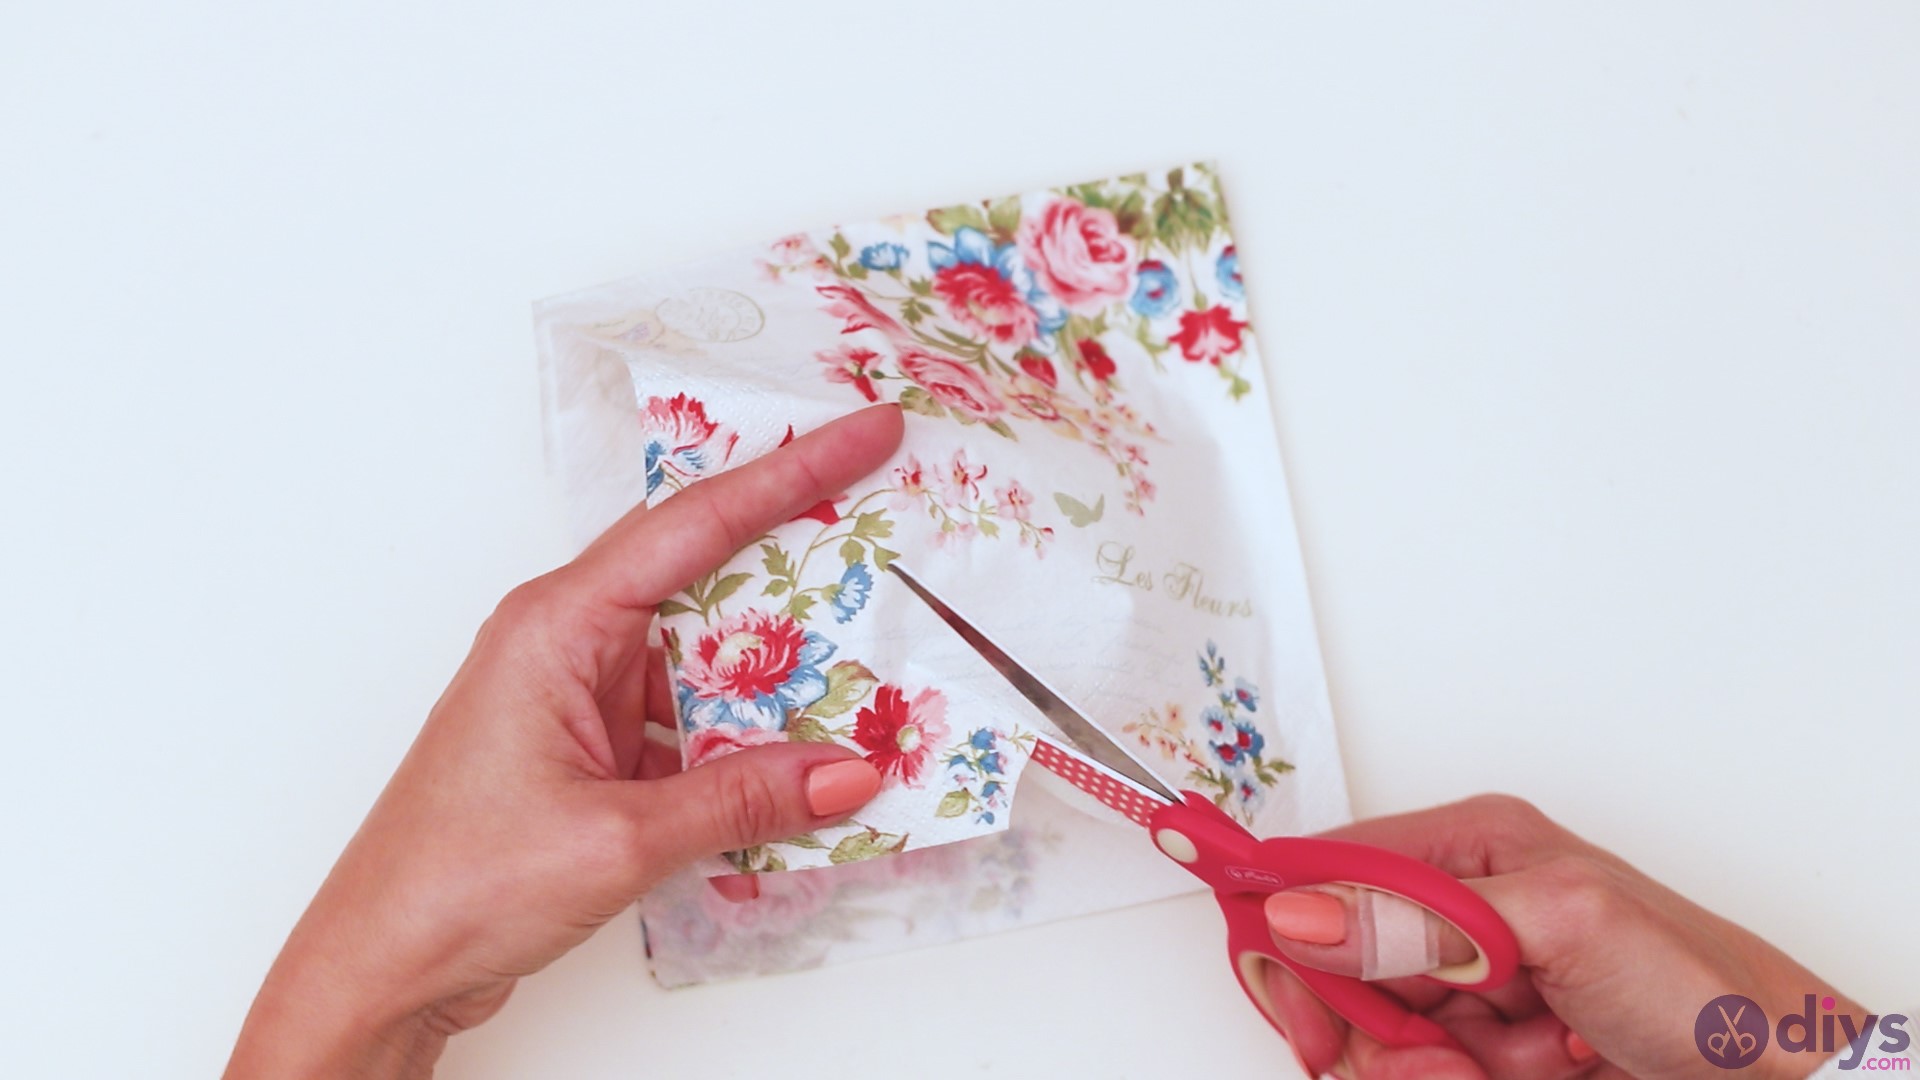
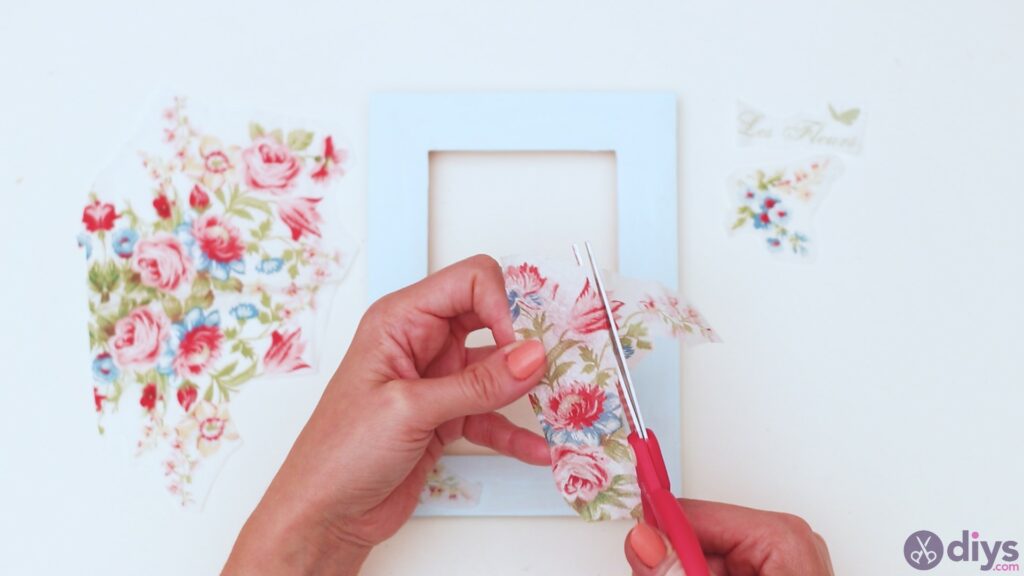
Step 2: Cut the decoupage paper
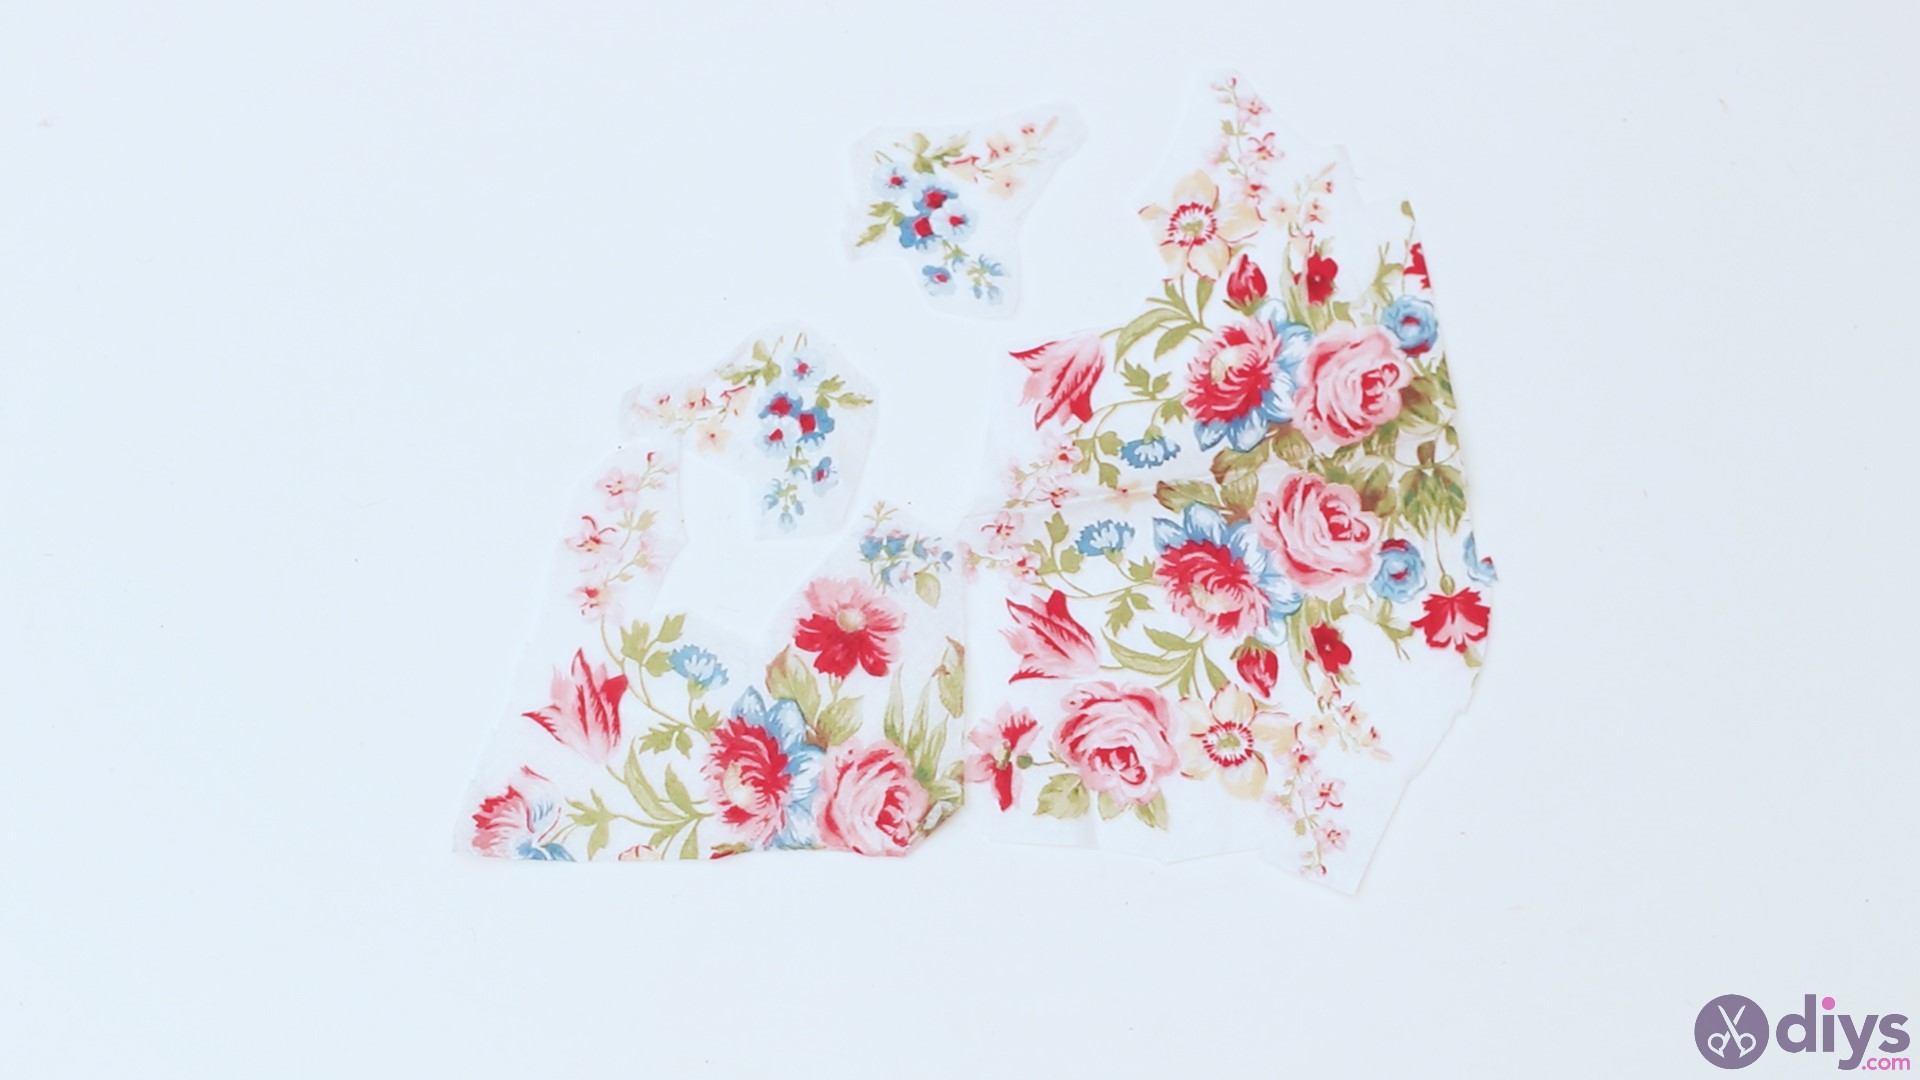
In order to make our design pretty today, we’re going with decoupage paper. We chose a pretty pattern that’s full of red and blue flowers. You can obviously go for a different model if you can’t find one exactly like ours, but it’s a pretty common model. We chose to cut out certain flowers off the paper.
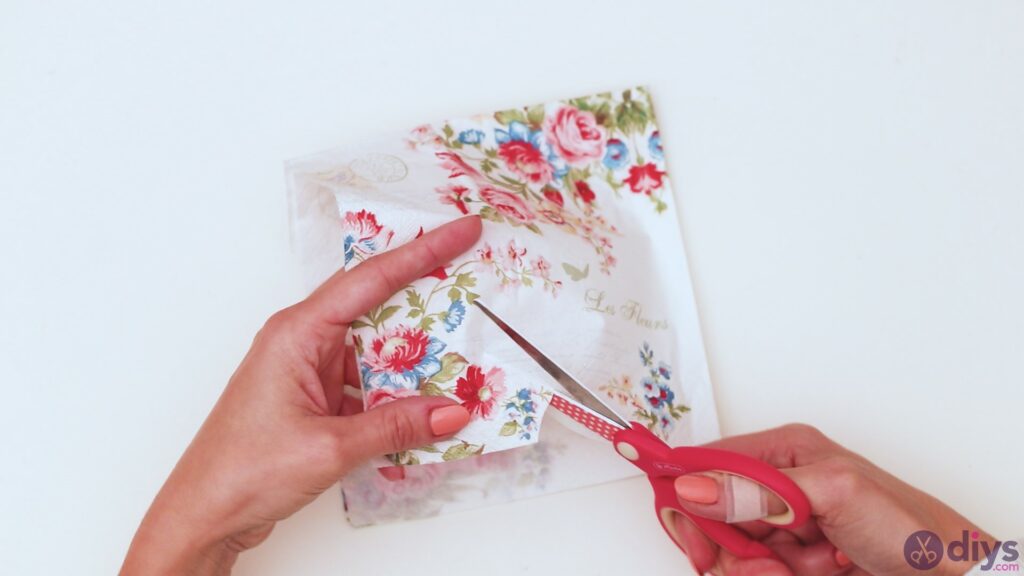

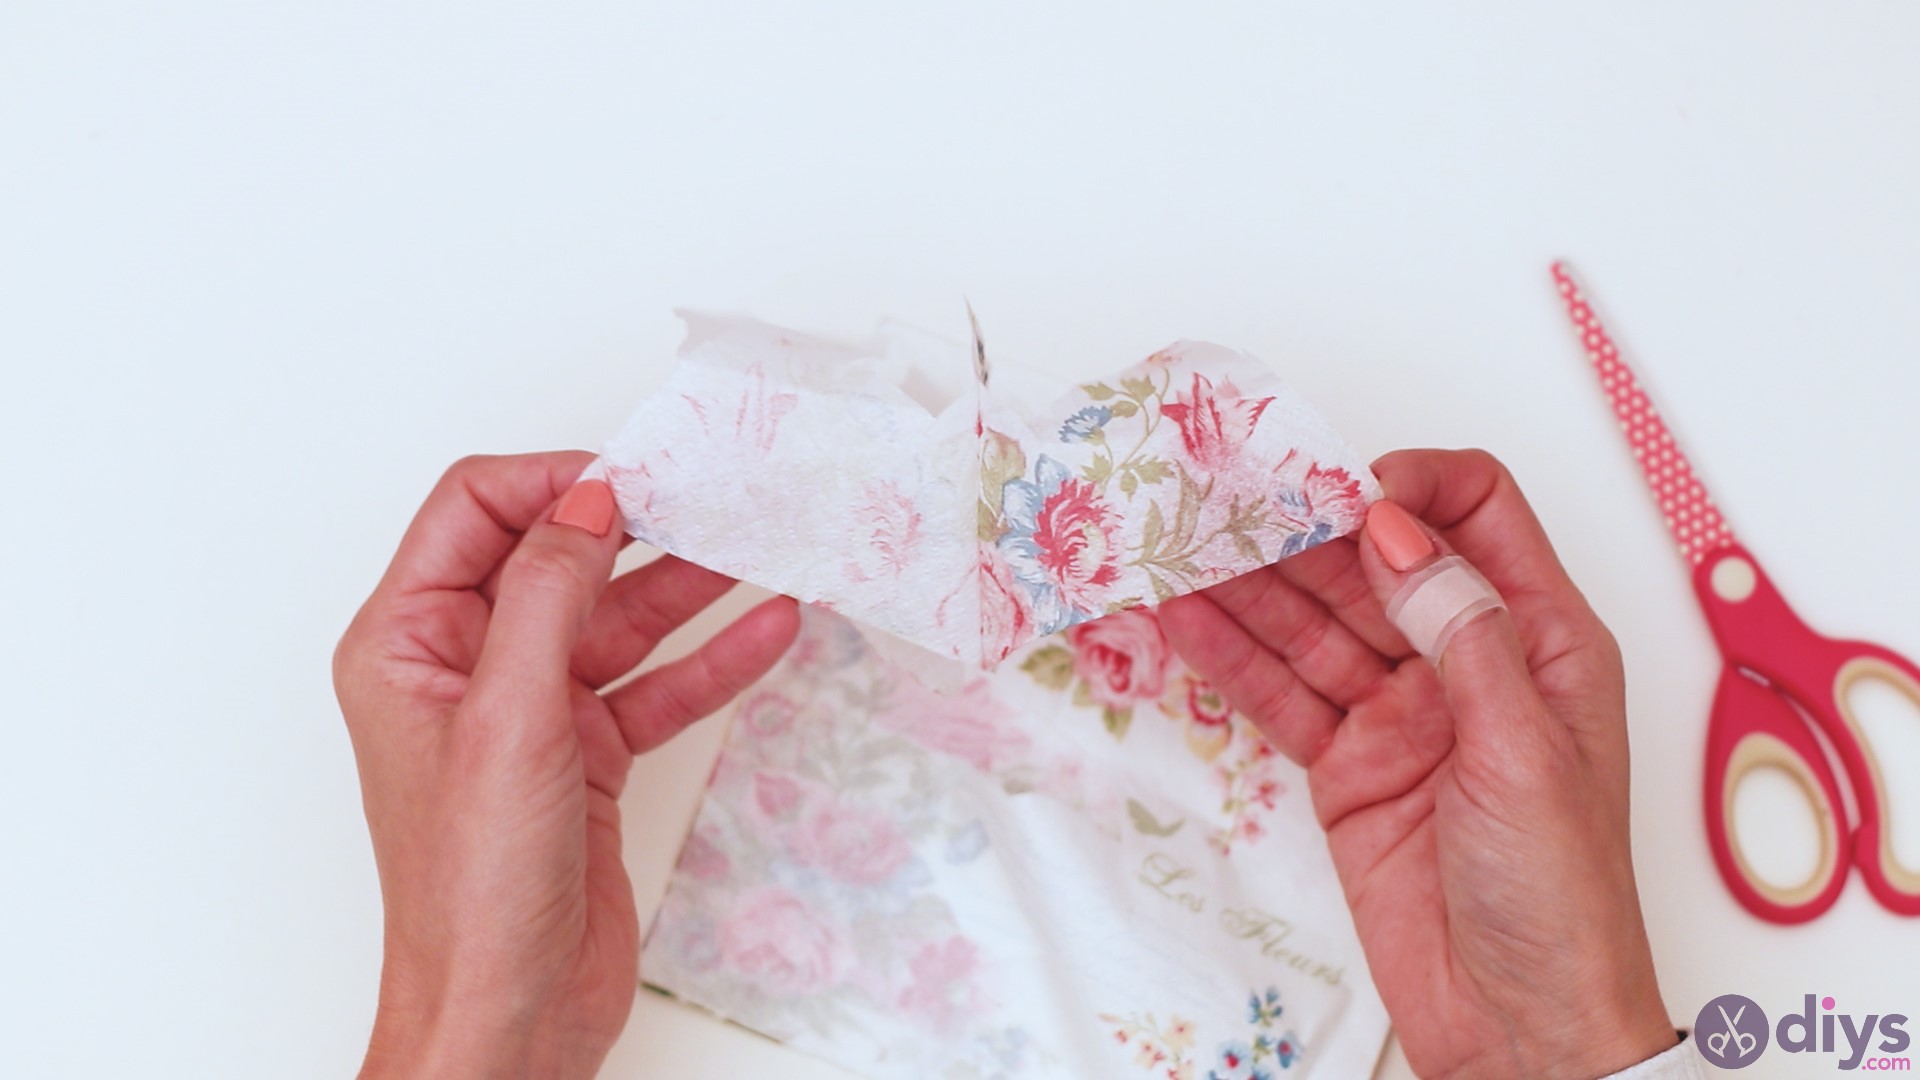
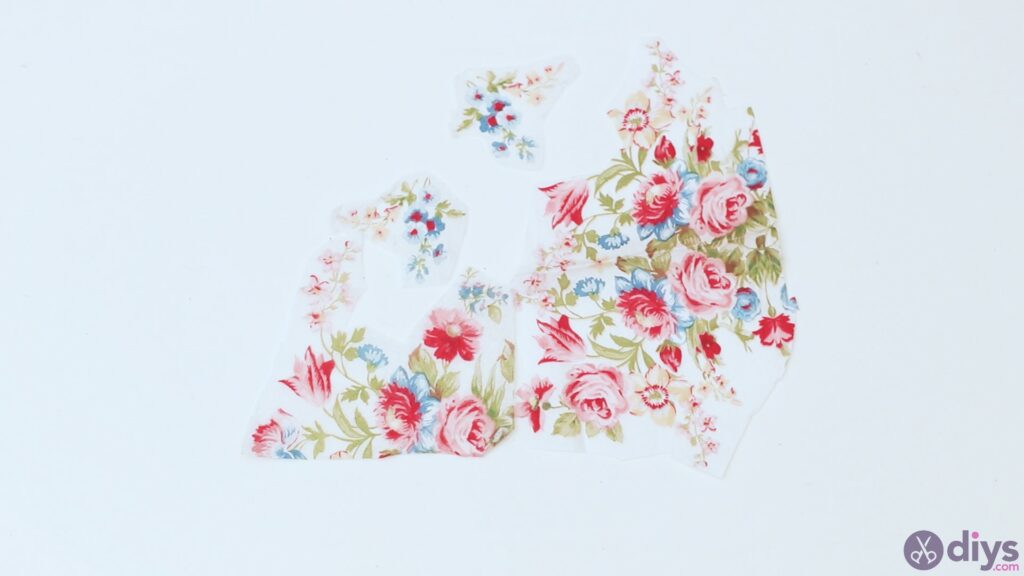
Separate the layers and set the one with the pattern aside, as you’ll use it in a minute.

Look how pretty the flowers are! Let’s see how we can arrange them best.
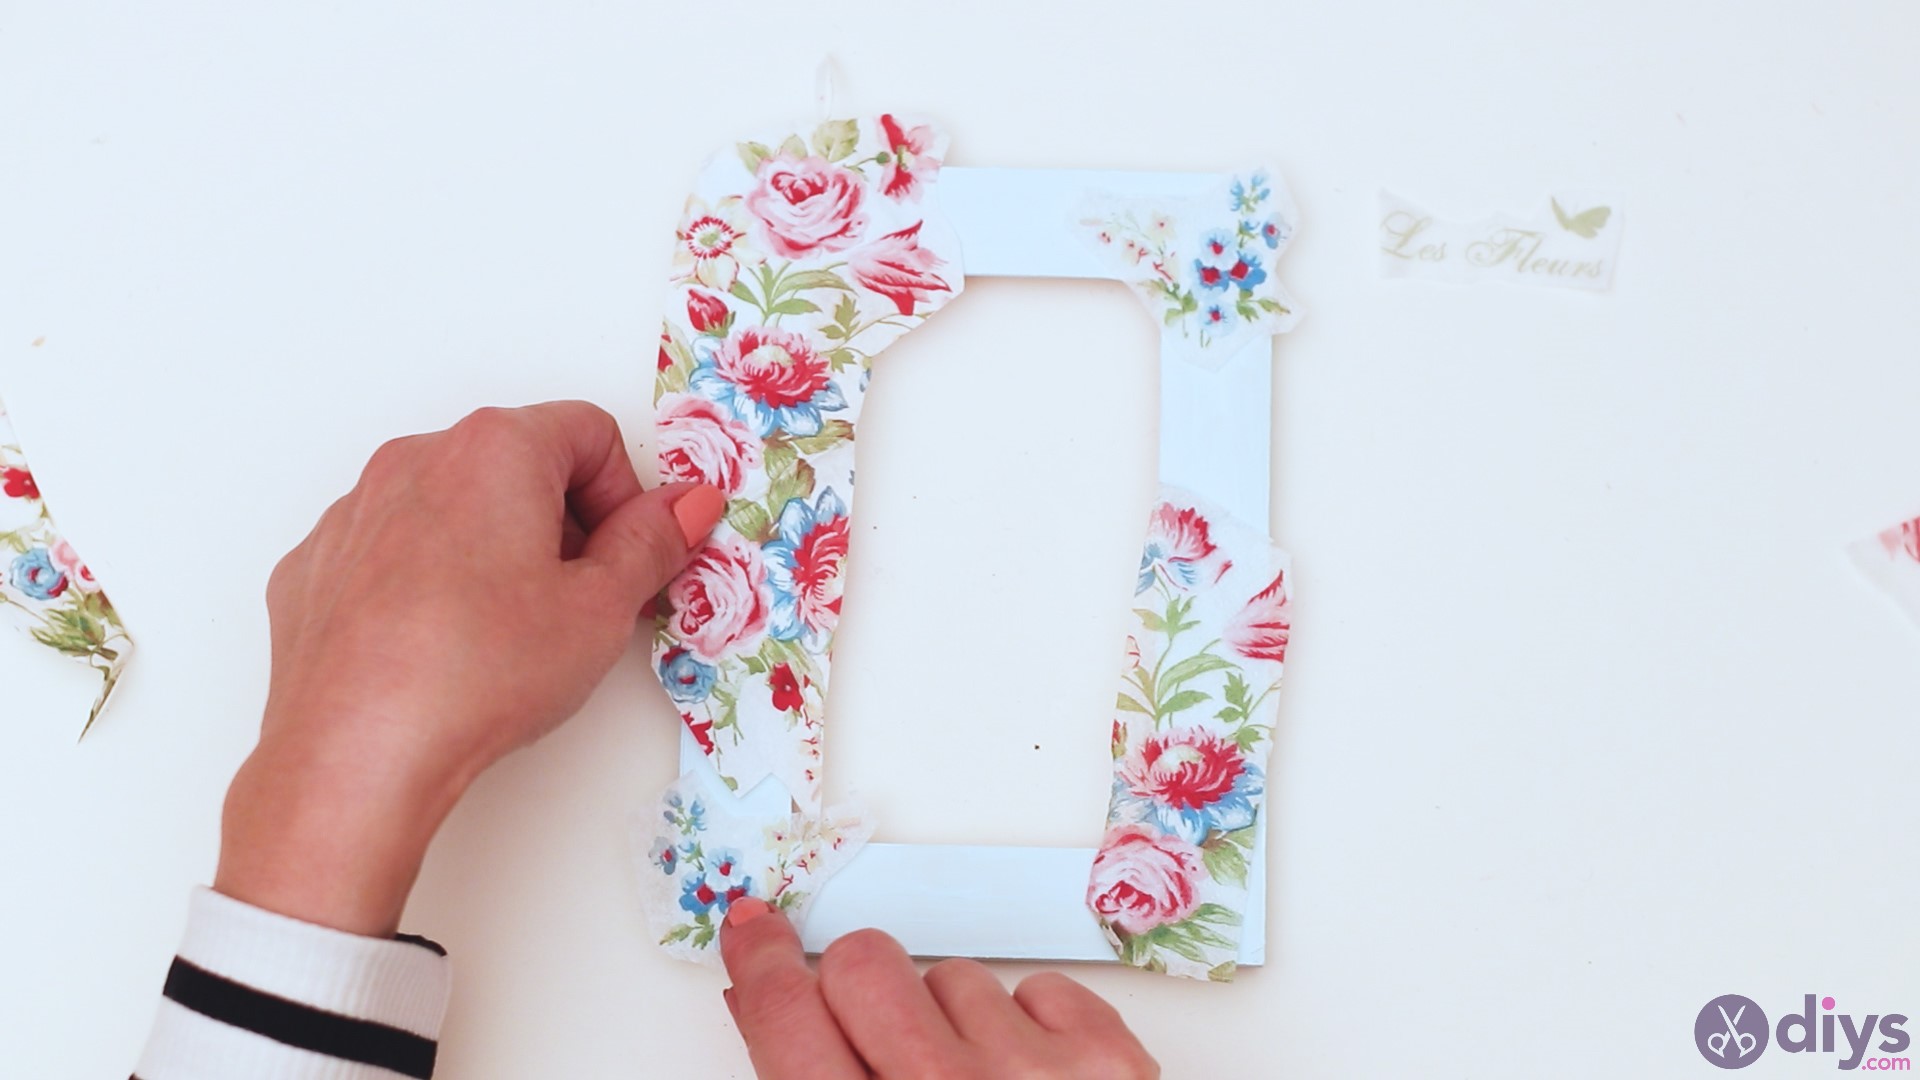
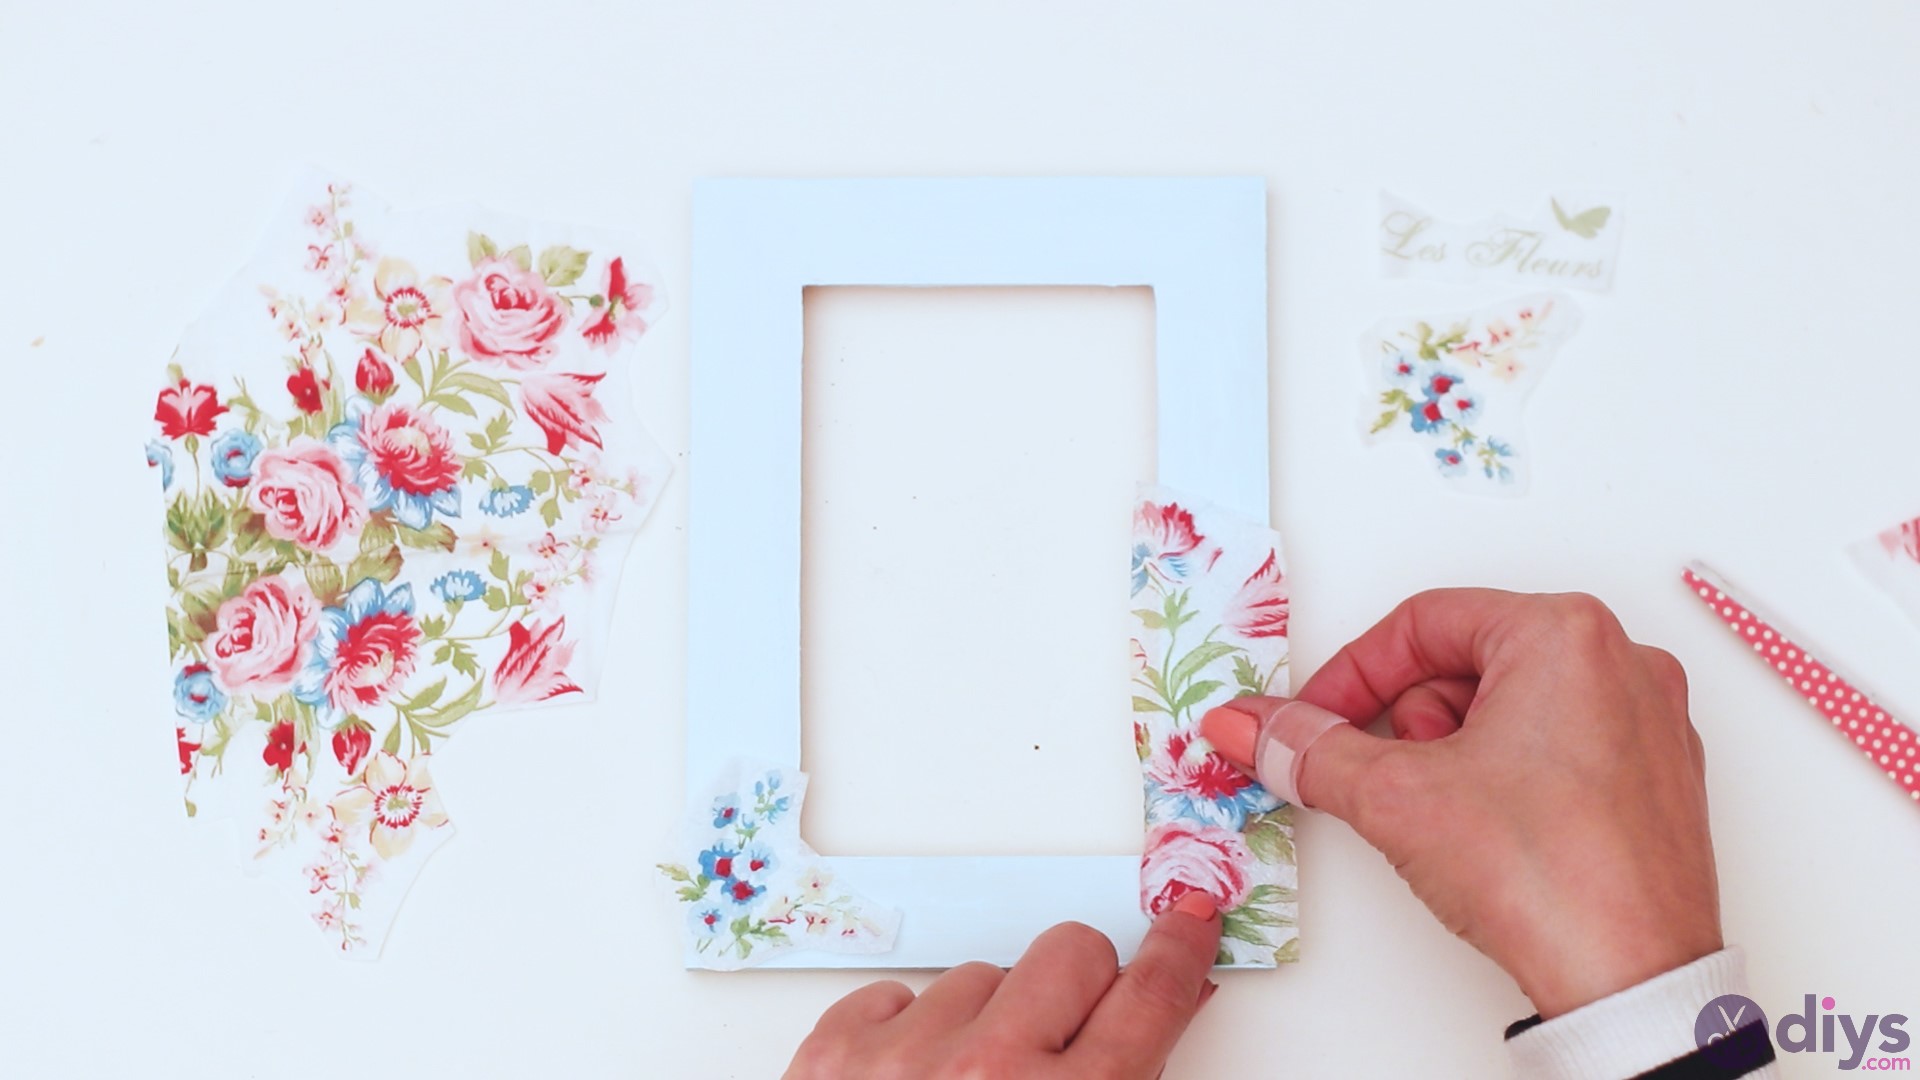
Step 3: Arrange the flowers
Now that you have all the decoupage paper flowers set aside, get your photo frame (make sure the paint dried well), and start arranging the flowers.
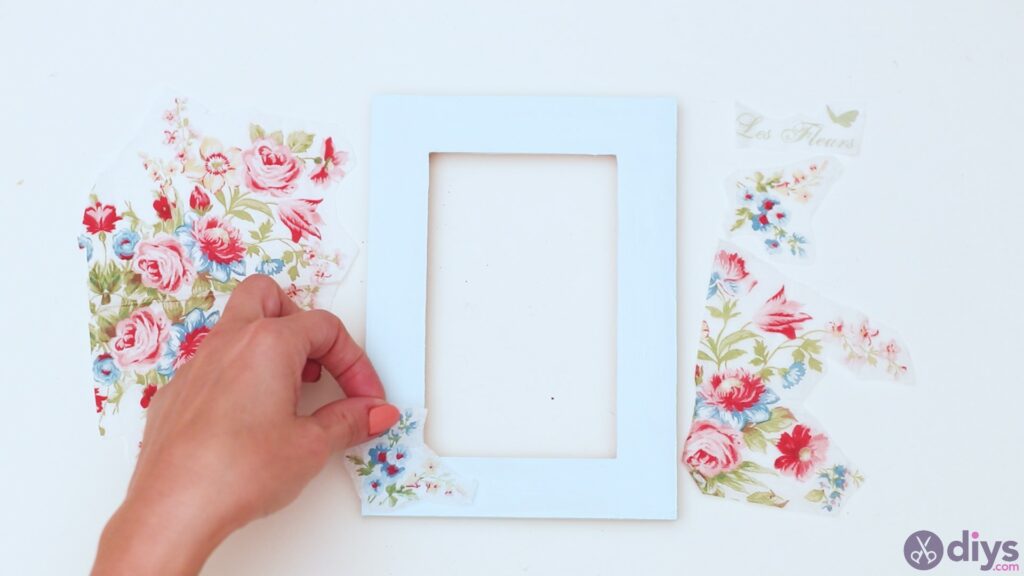
Make any needed additional cuts to the paper. You want the pieces to fit the frame and it’s no big deal if they go over the sides too much.

Prepare all the pieces and place them in the spot you want them in. Allow the frame to breathe too! We allowed some empty spots where the pretty blue paint shines through.


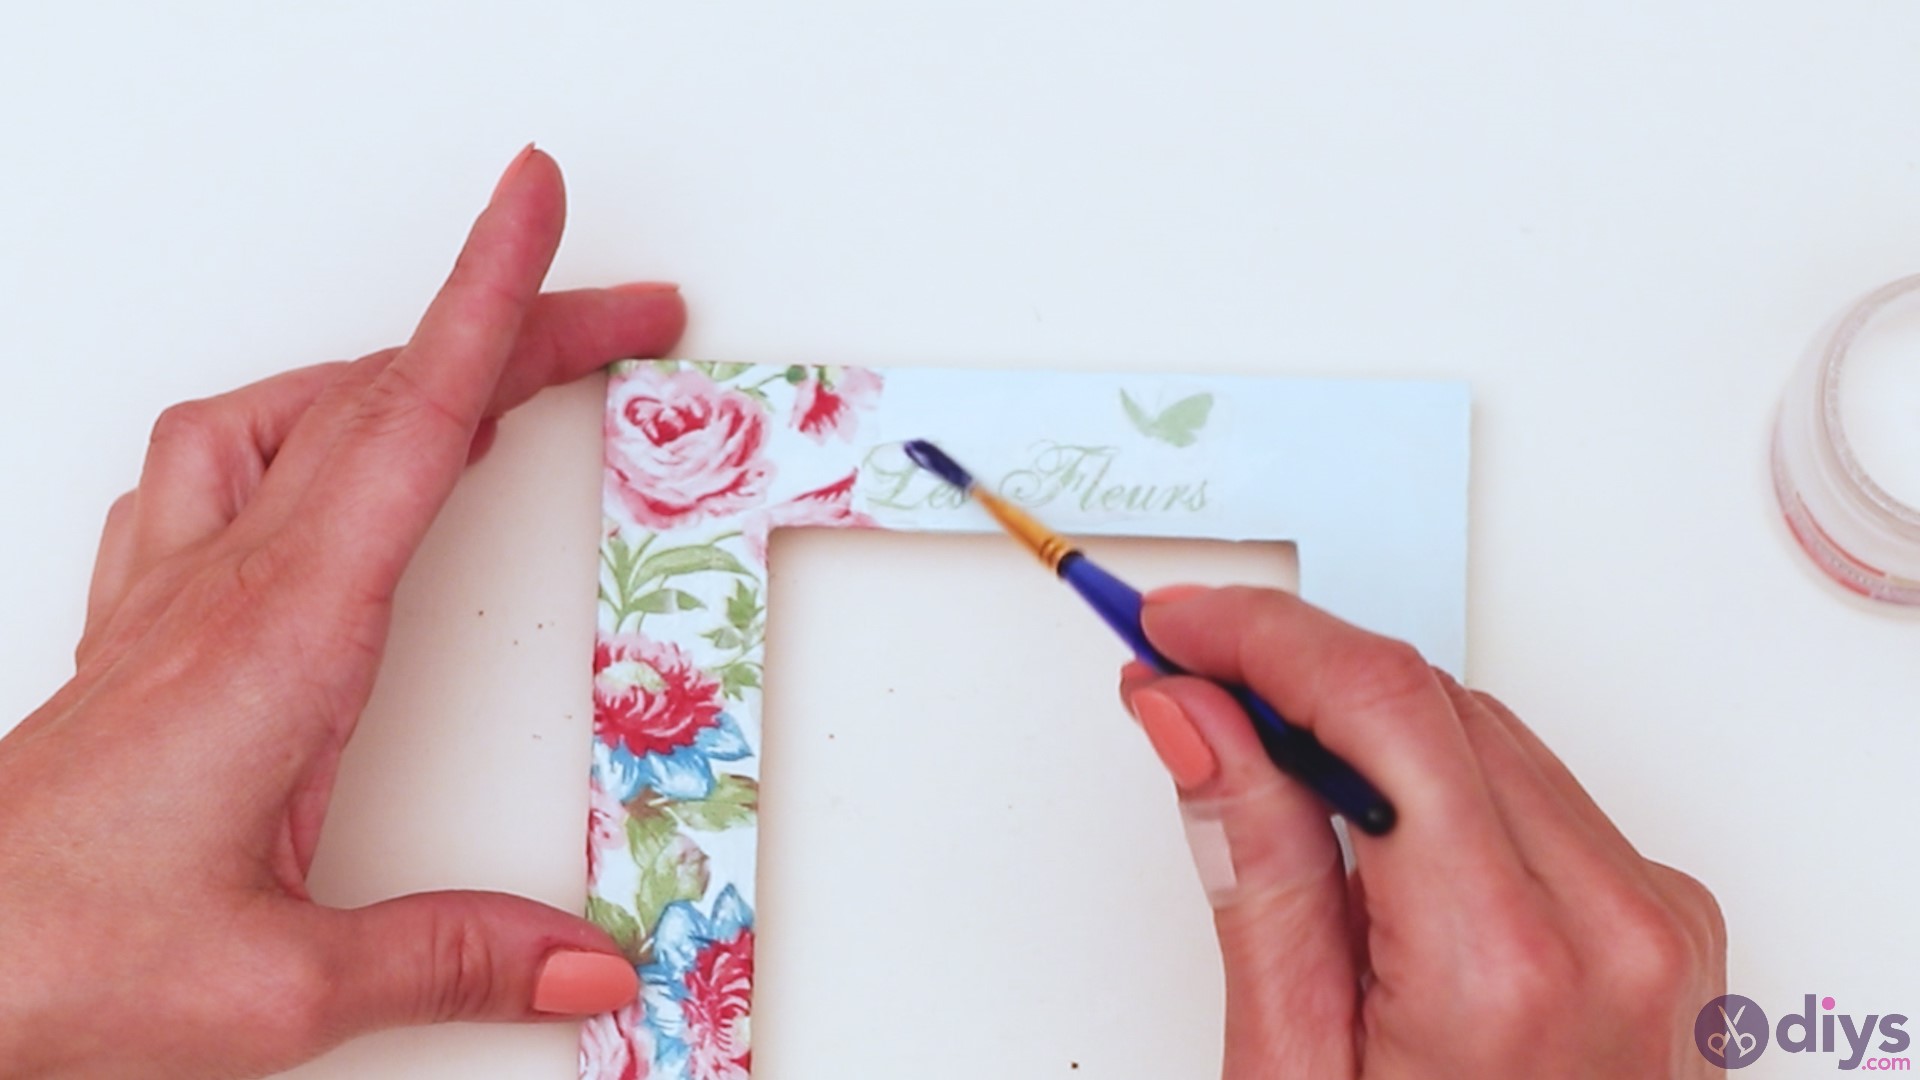
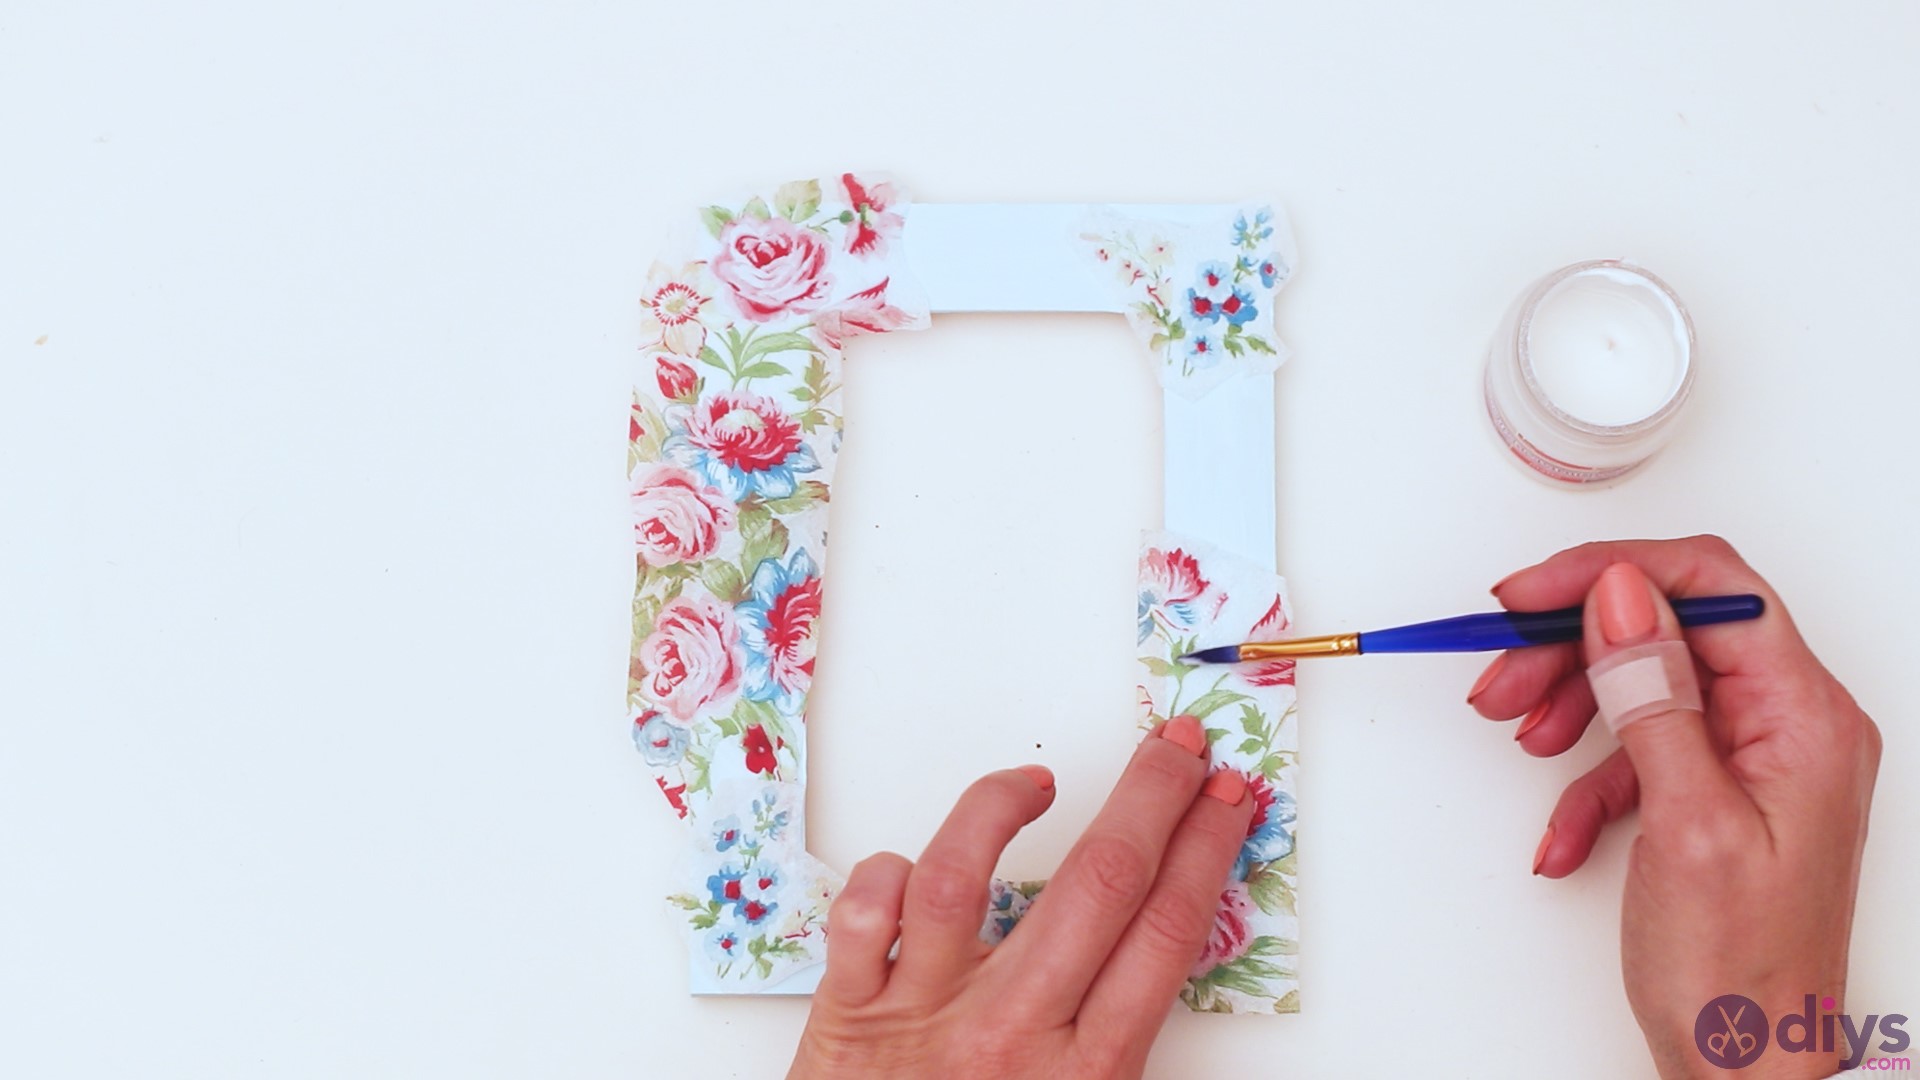
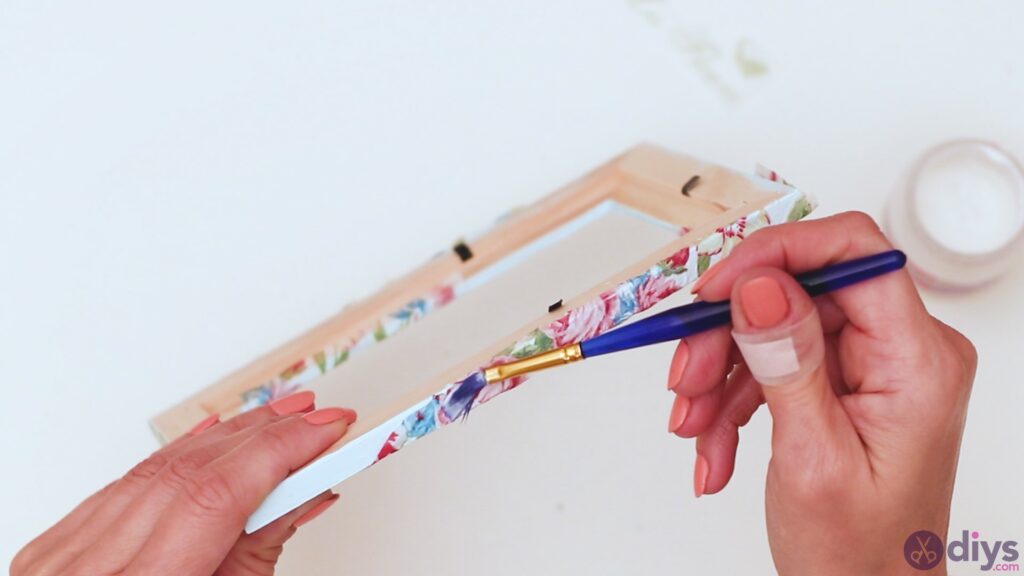
Step 4: Add the decoupage glue
Now that we’ve placed all the decoupage paper, we need thedecoupage glue. Get apaintbrush and start adding the glue over the paper, making sure to cover the entire area. You want the paper to be covered completely and evenly.

Make sure you also bend the extra paper over the sides of the frame. Add glue to those areas too! It’s not just the outside of the frame that you want to be covered with the extra paper, but the insides too.

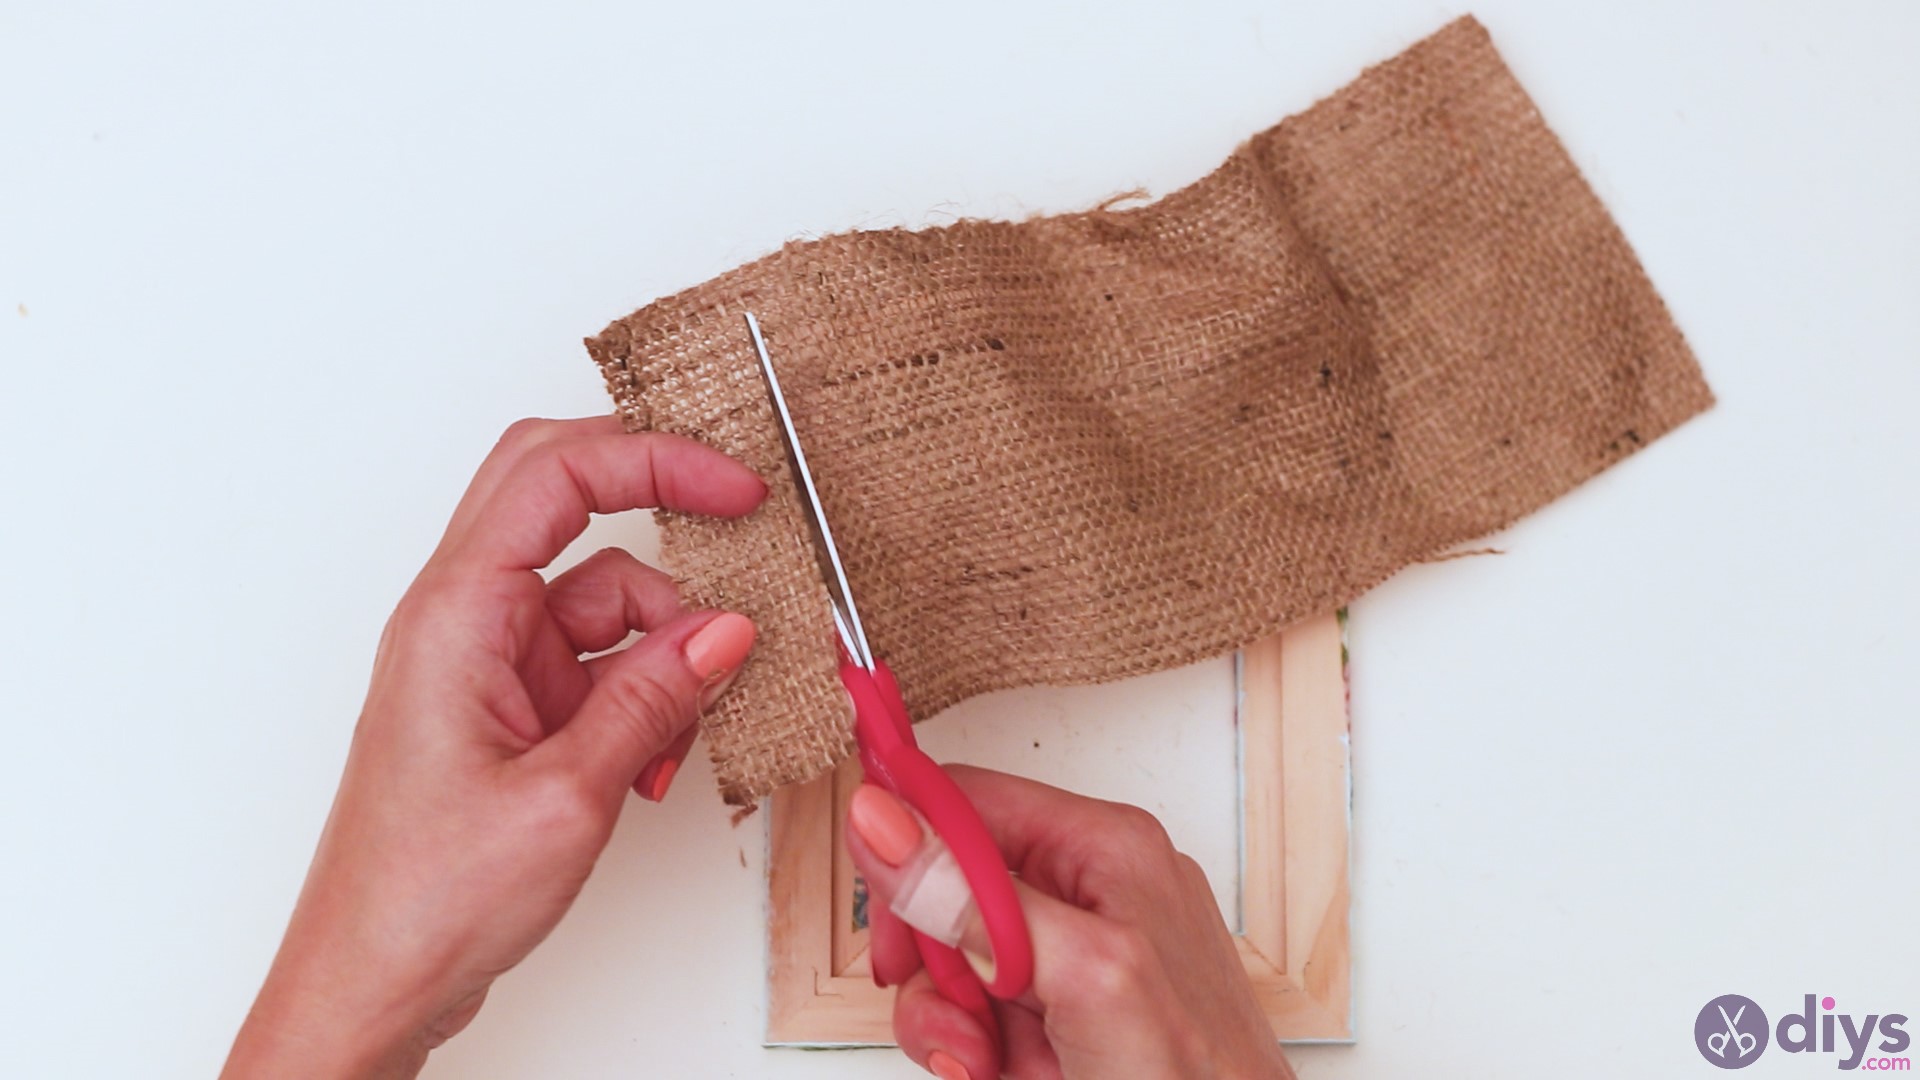
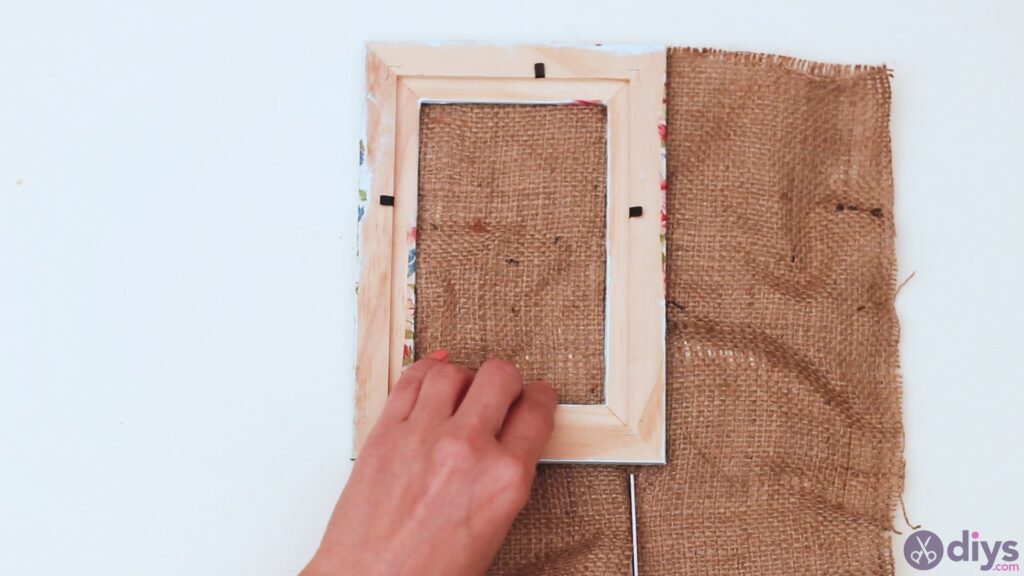
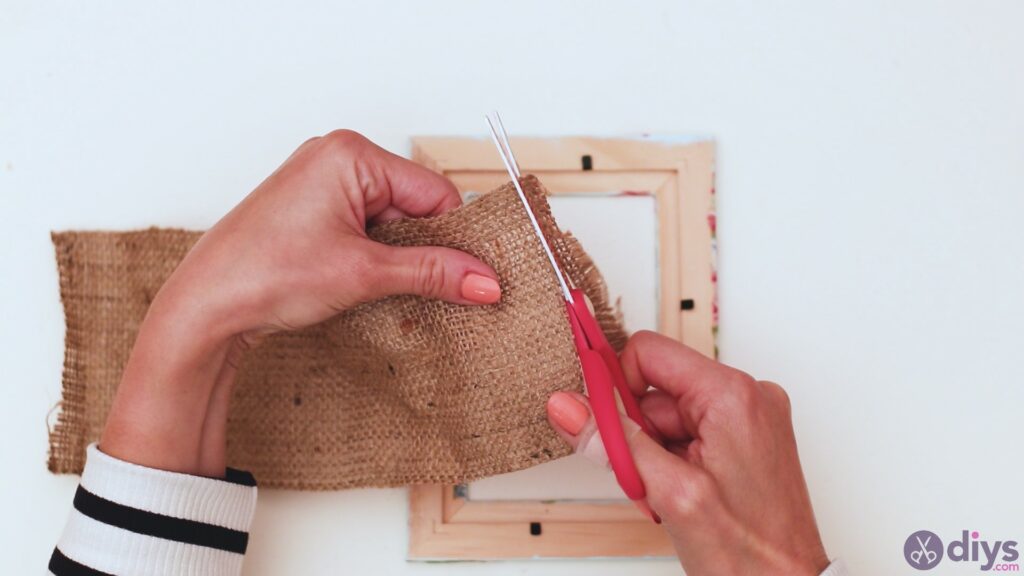
Step 5: Prepare the burlap
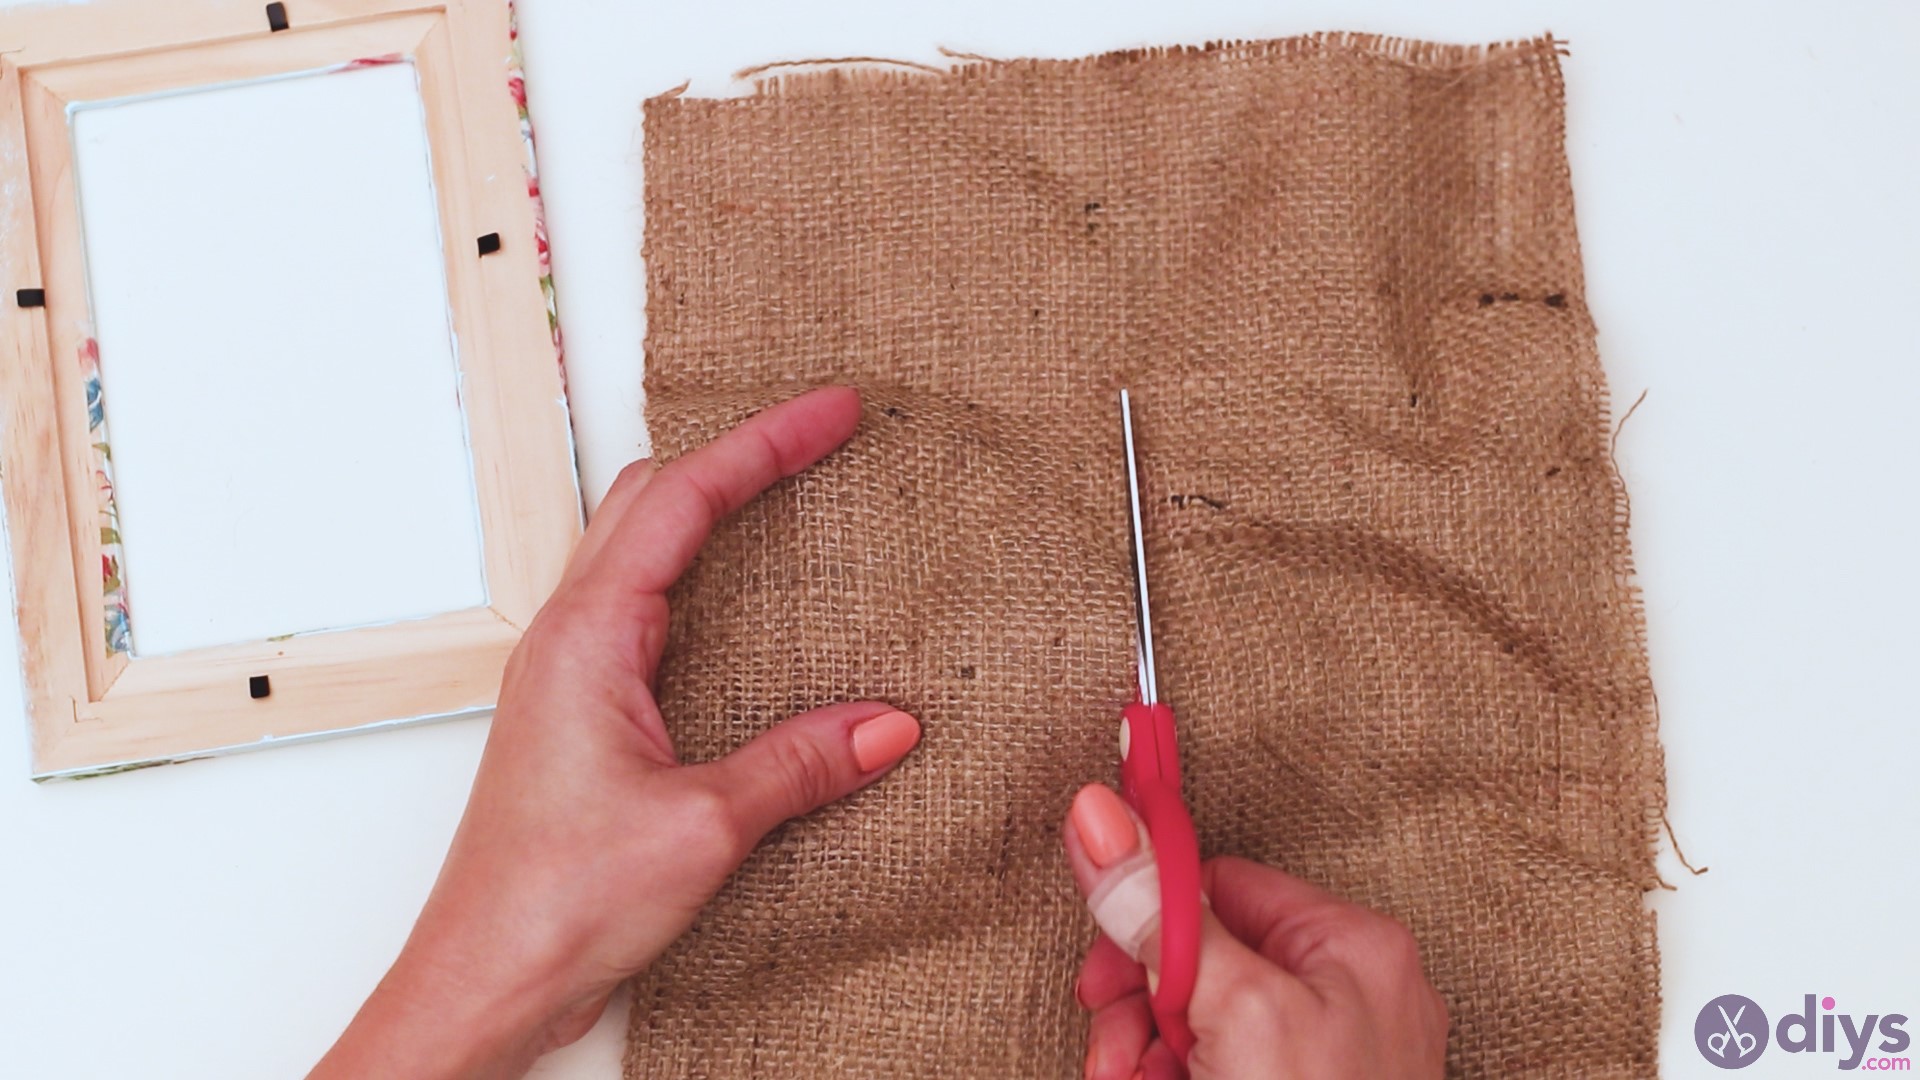
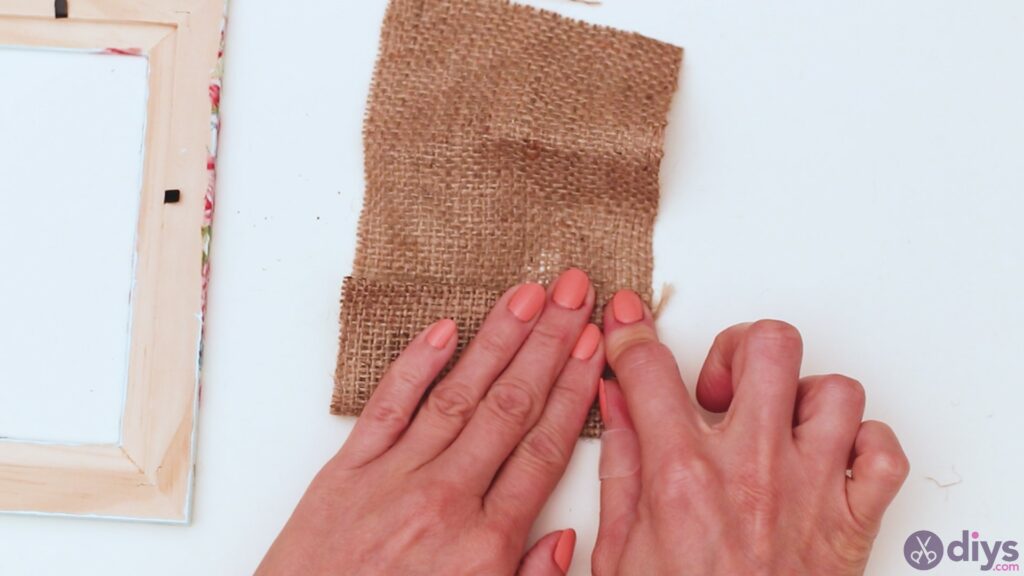
Now, we’re on to prepare theburlap.Place the photo frame over the burlap so you can measure it out. You need the material to cover the inside of the photo frame, but you want to cut the piece a little longer, as you’ll have to do some folding.

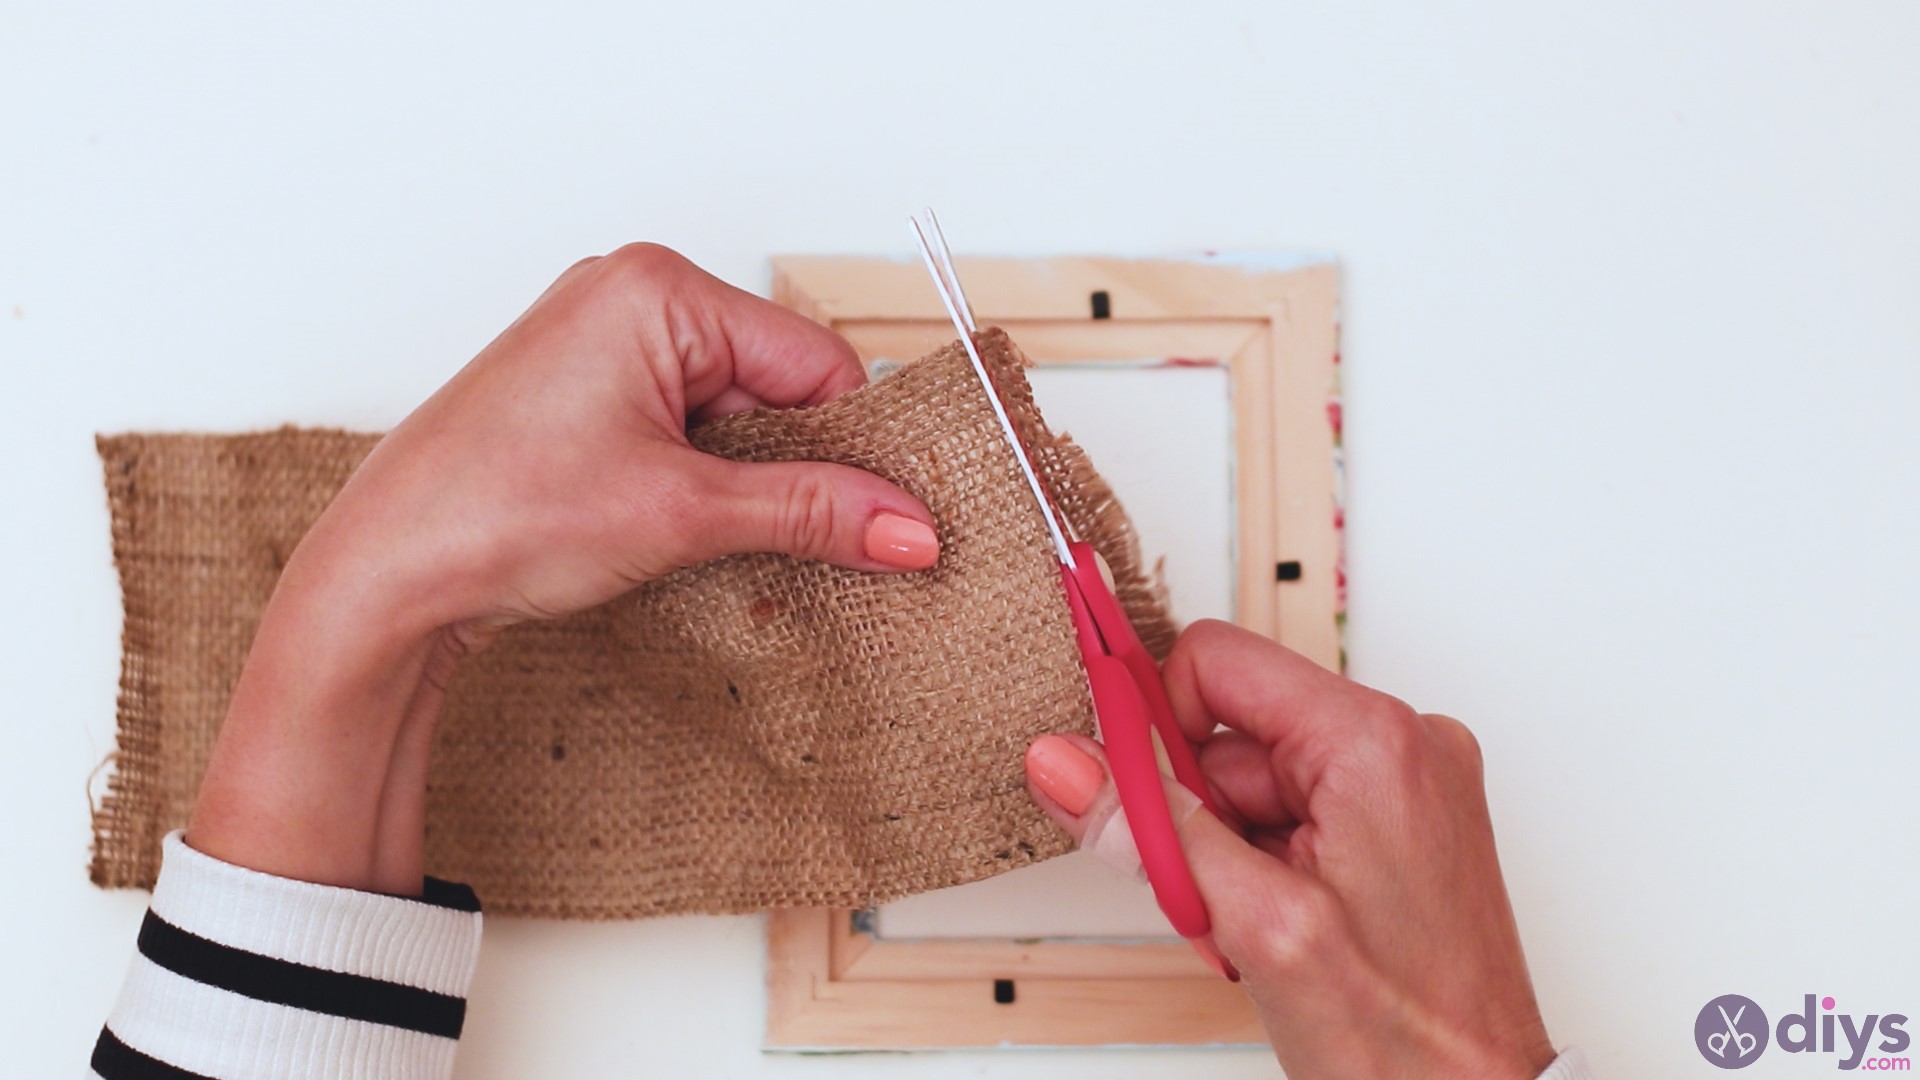
Cut the burlap in the required size and then make sure to trim the ends. Burlap has a tendency to unravel pretty quickly, so trim it as best you can. Make sure yourscissors are sharp. Otherwise, you’ll do more damage than good.

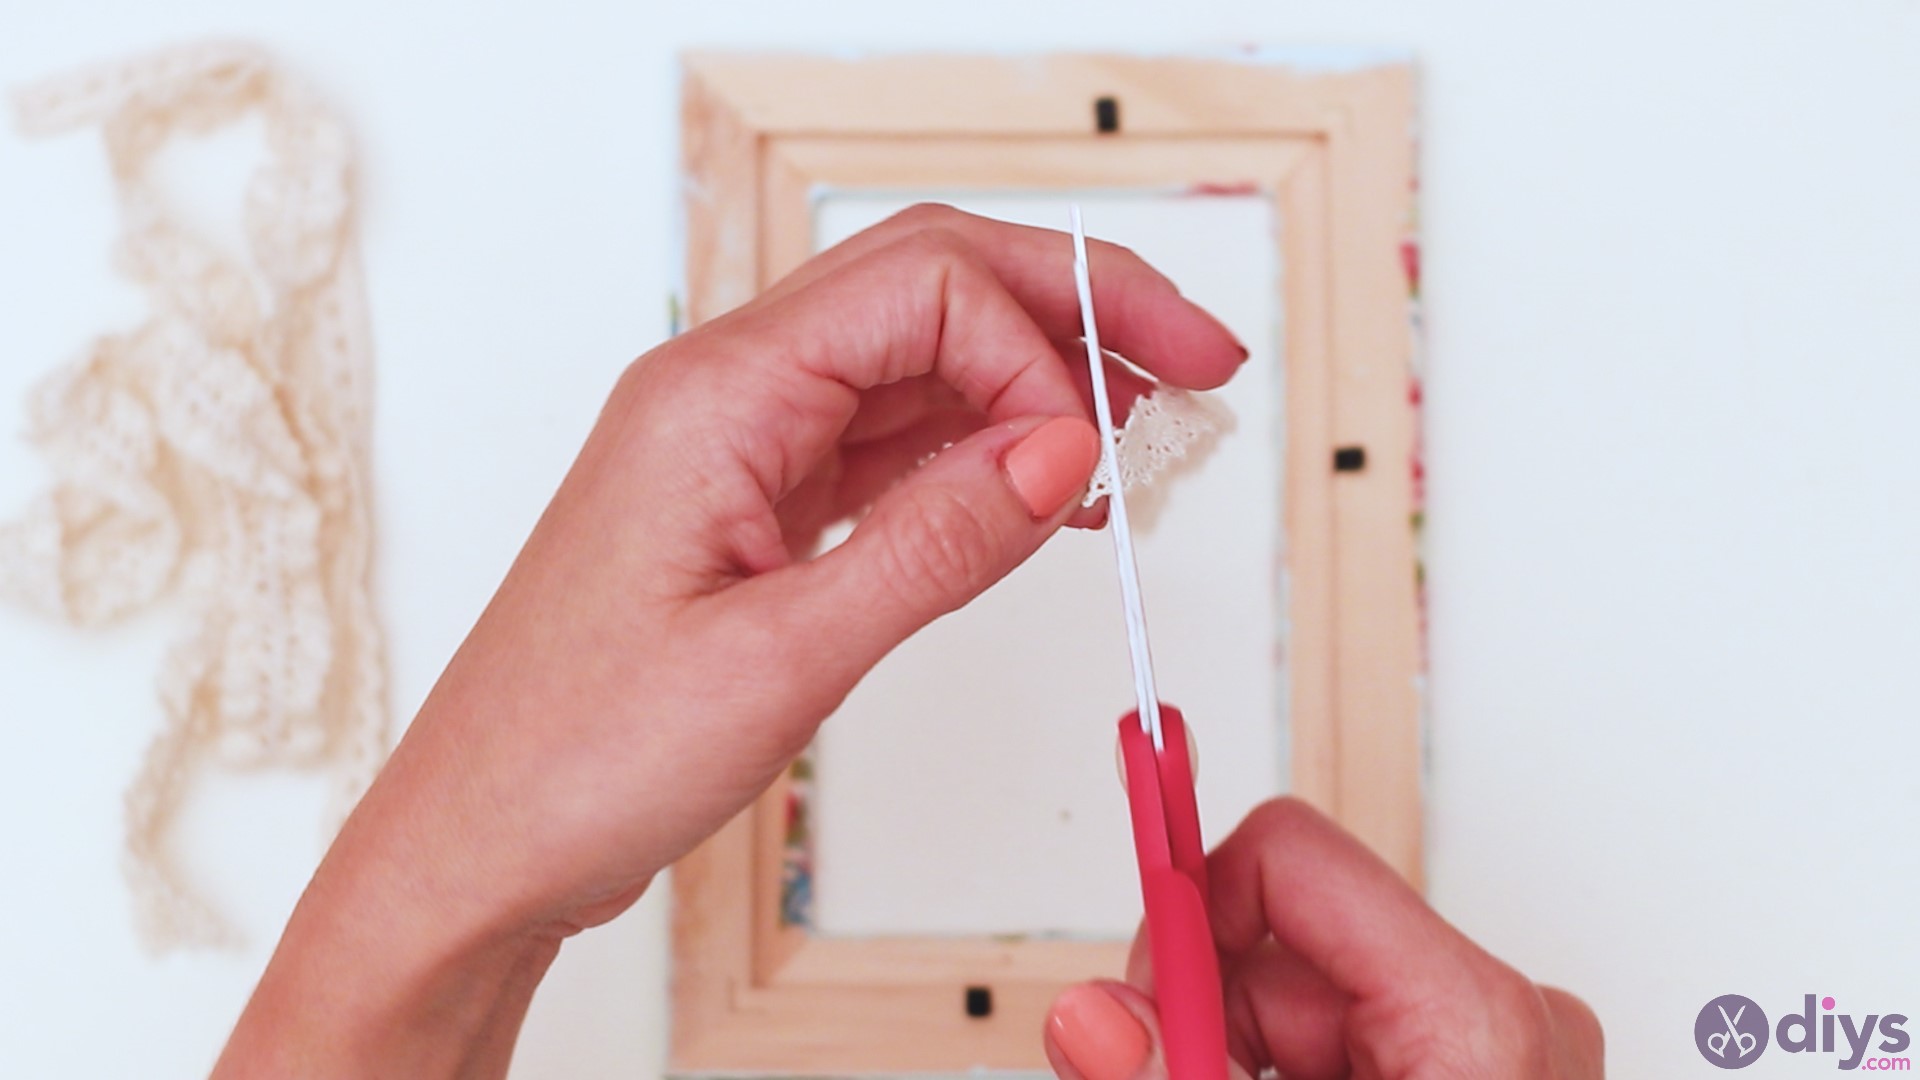
Step 6: Measure the lace ribbon
You also want to measure the lace ribbon here. Much like when you got the size for the burlap, you want the lace to reach over the gap in the frame – measure it so it covers the entire recessed area in the frame. We actually used three different lace ribbons here, but you can use a single model if you want.
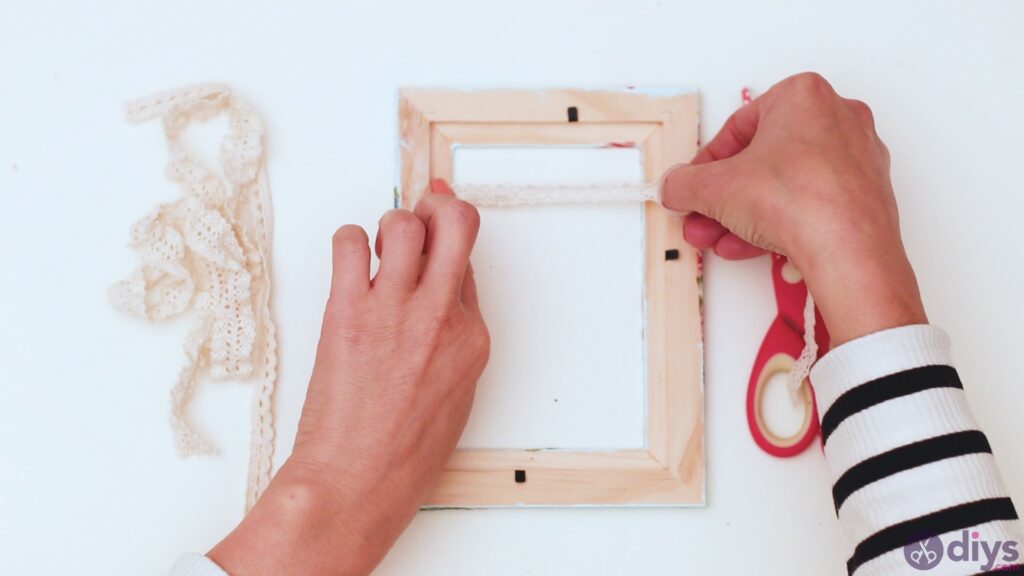
Cut three pieces of lace and set them all aside. You’ll be using them in a minute.

Step 7: Create the jewelry organizer
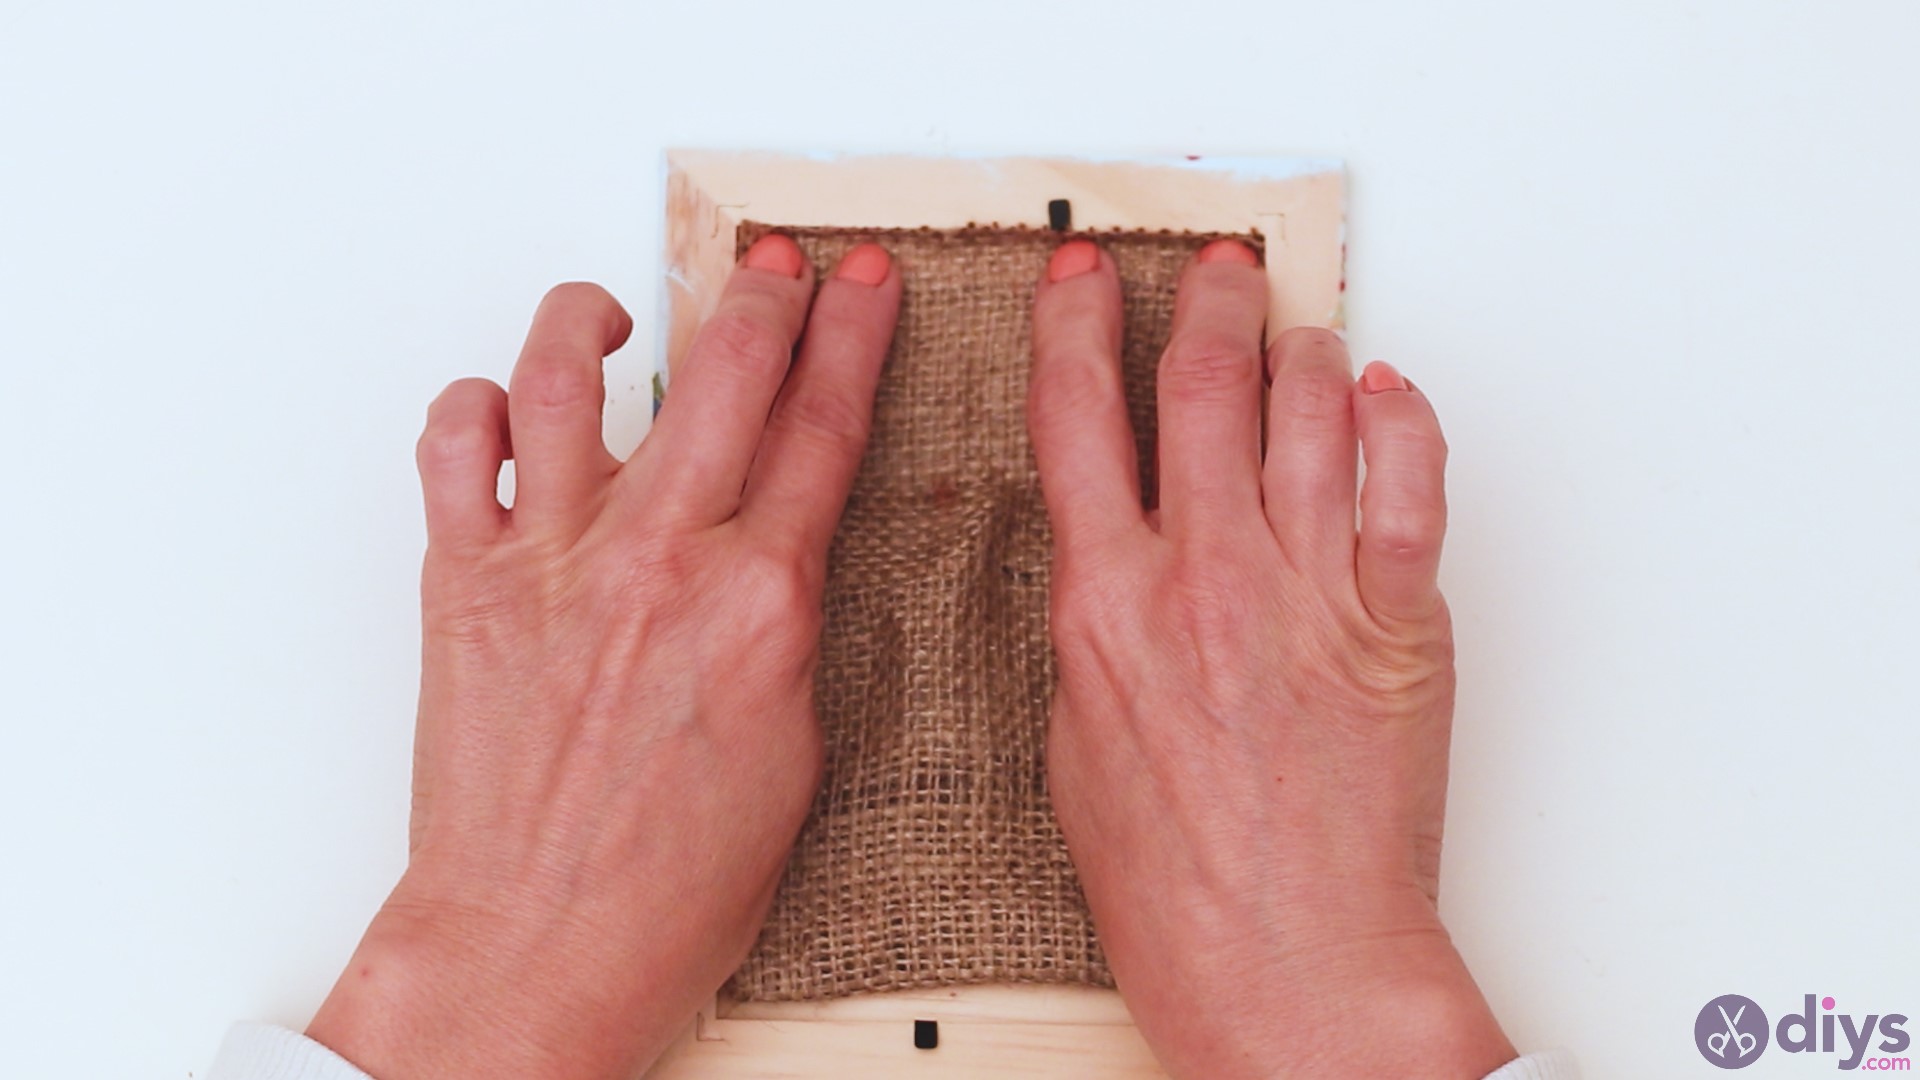
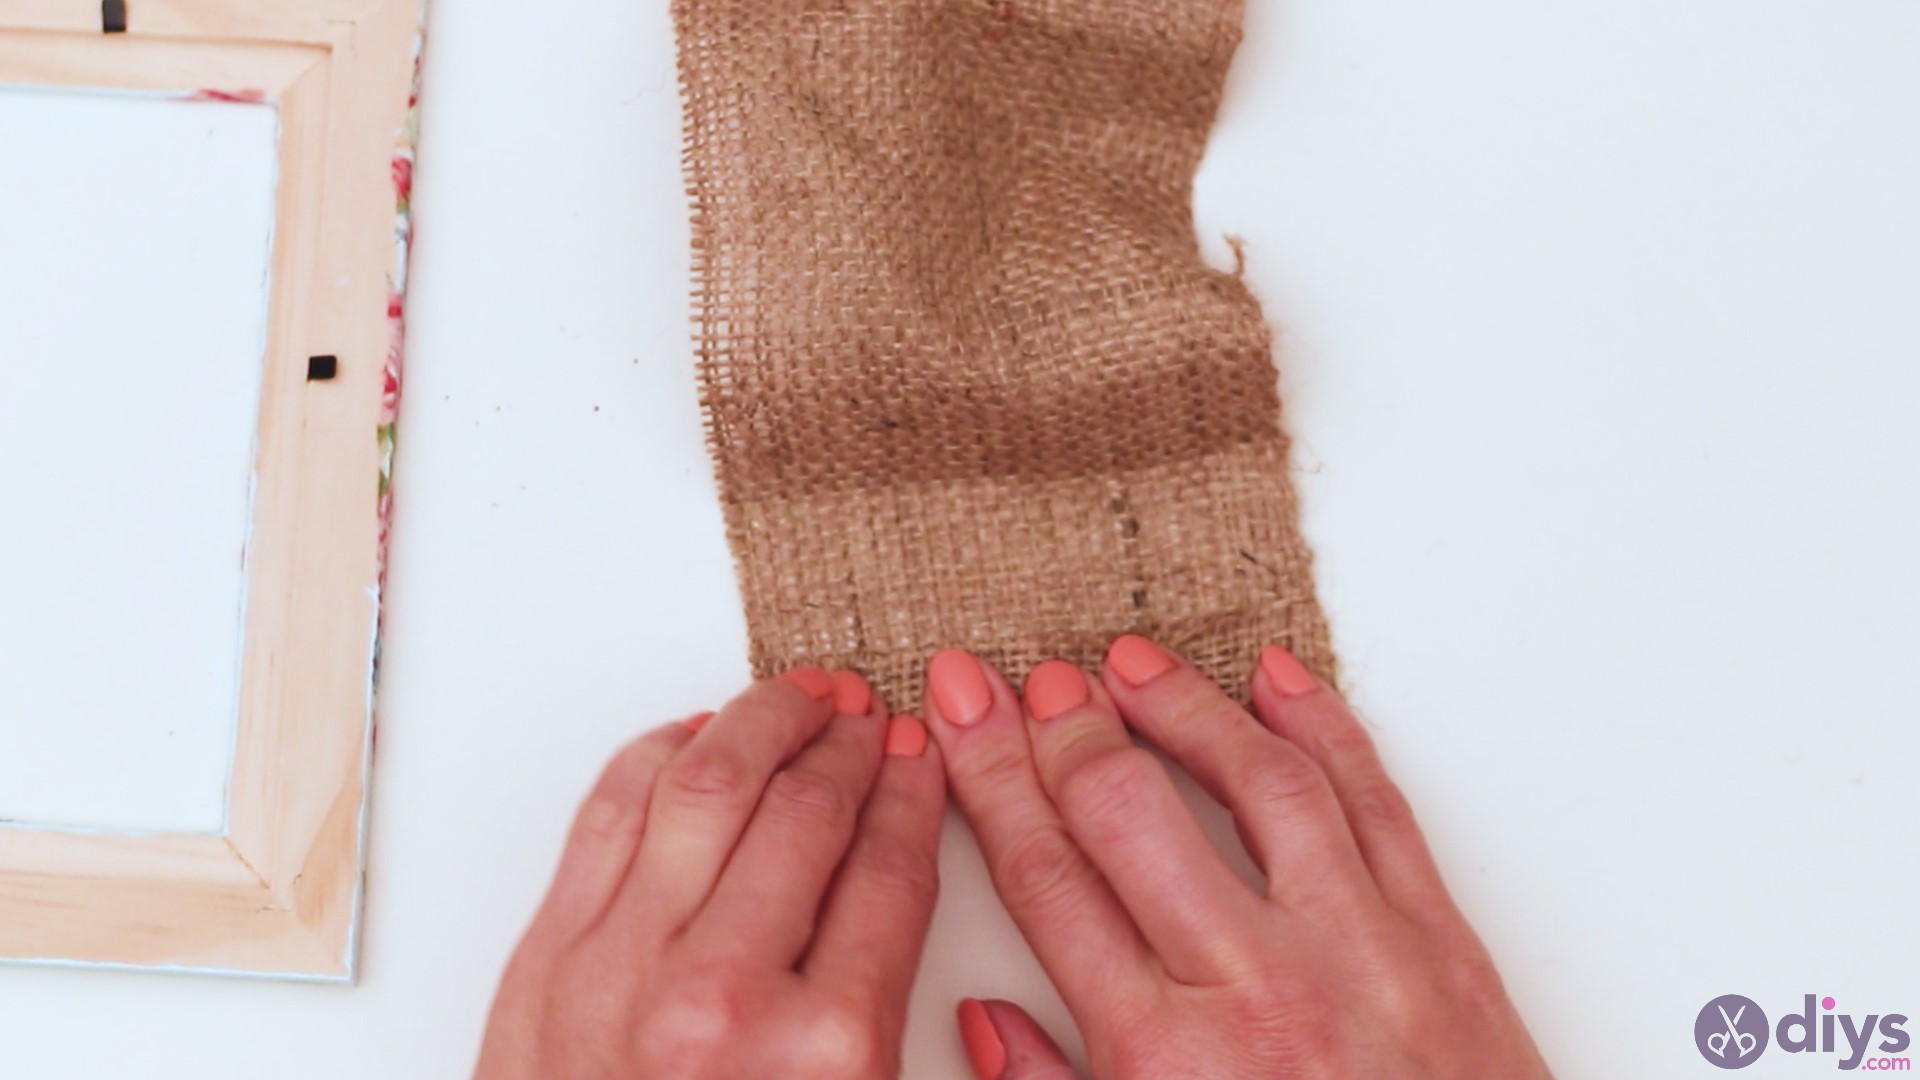
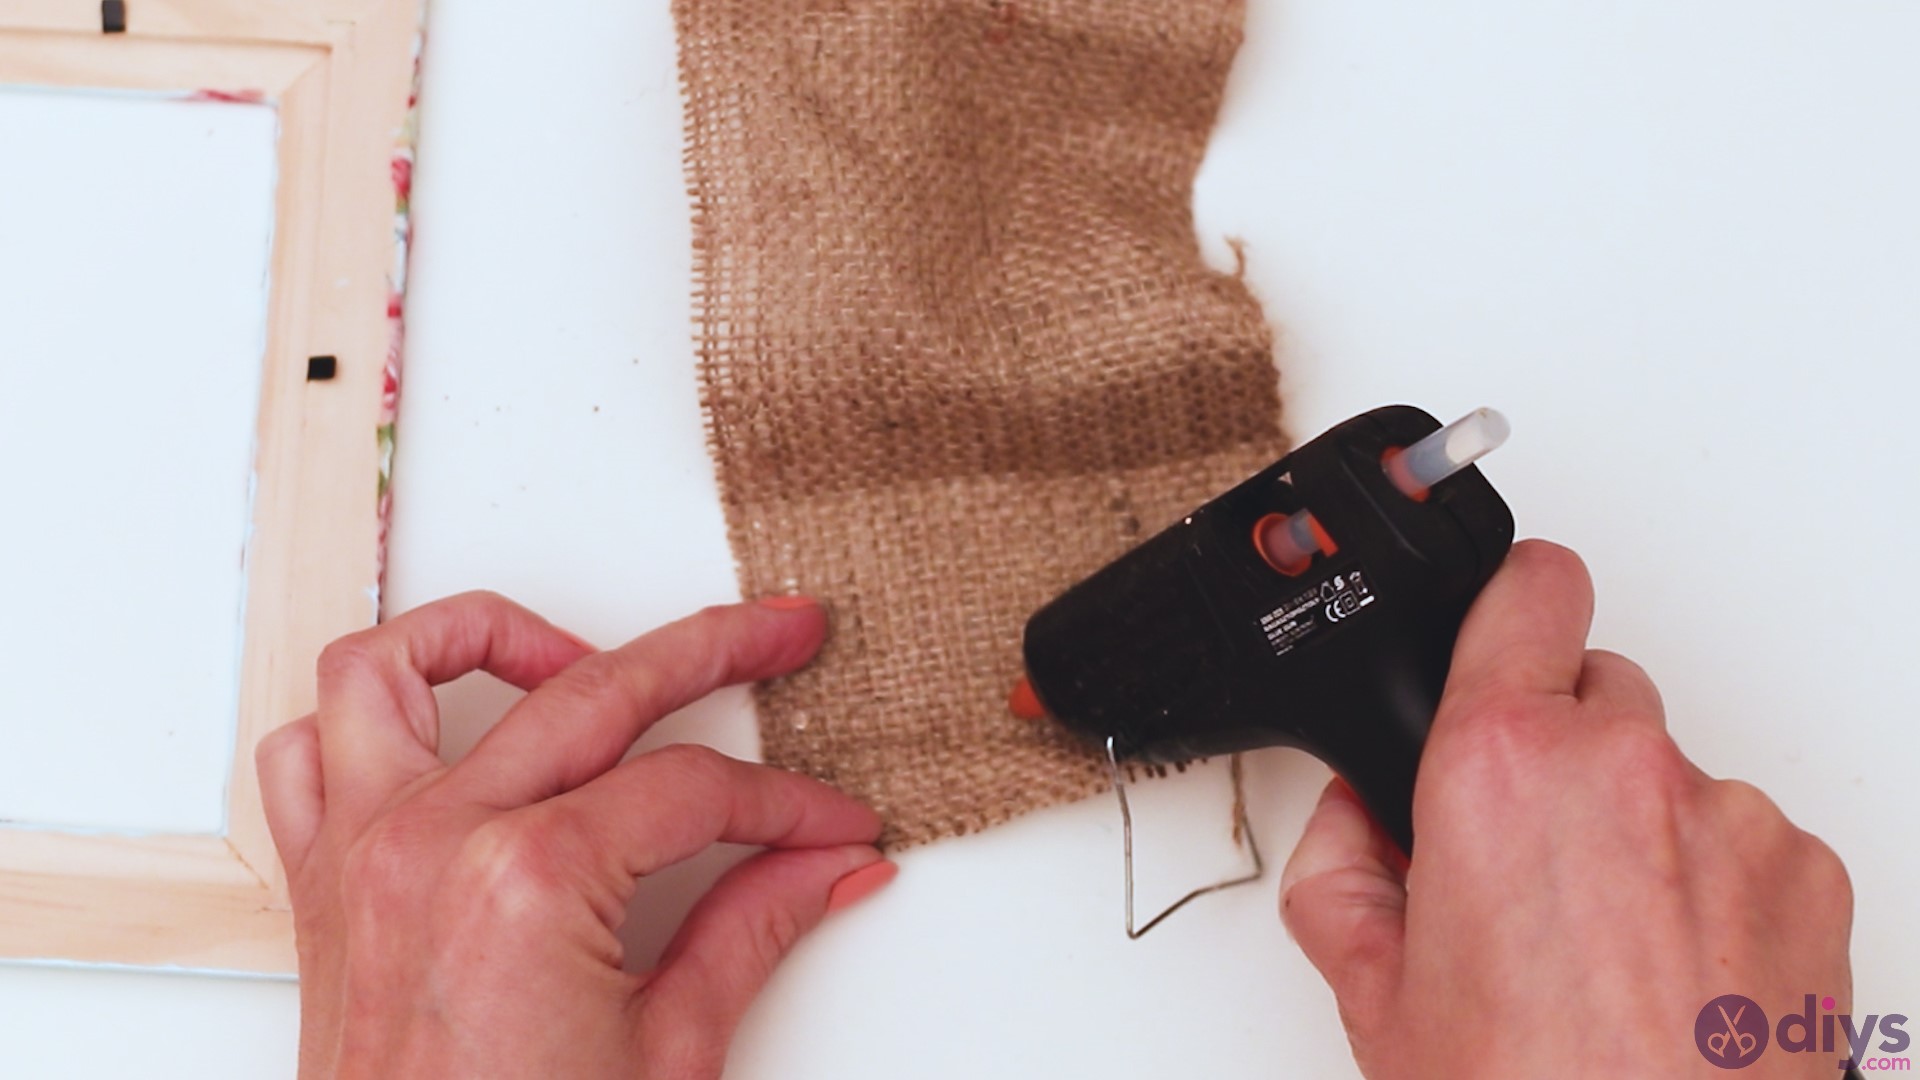
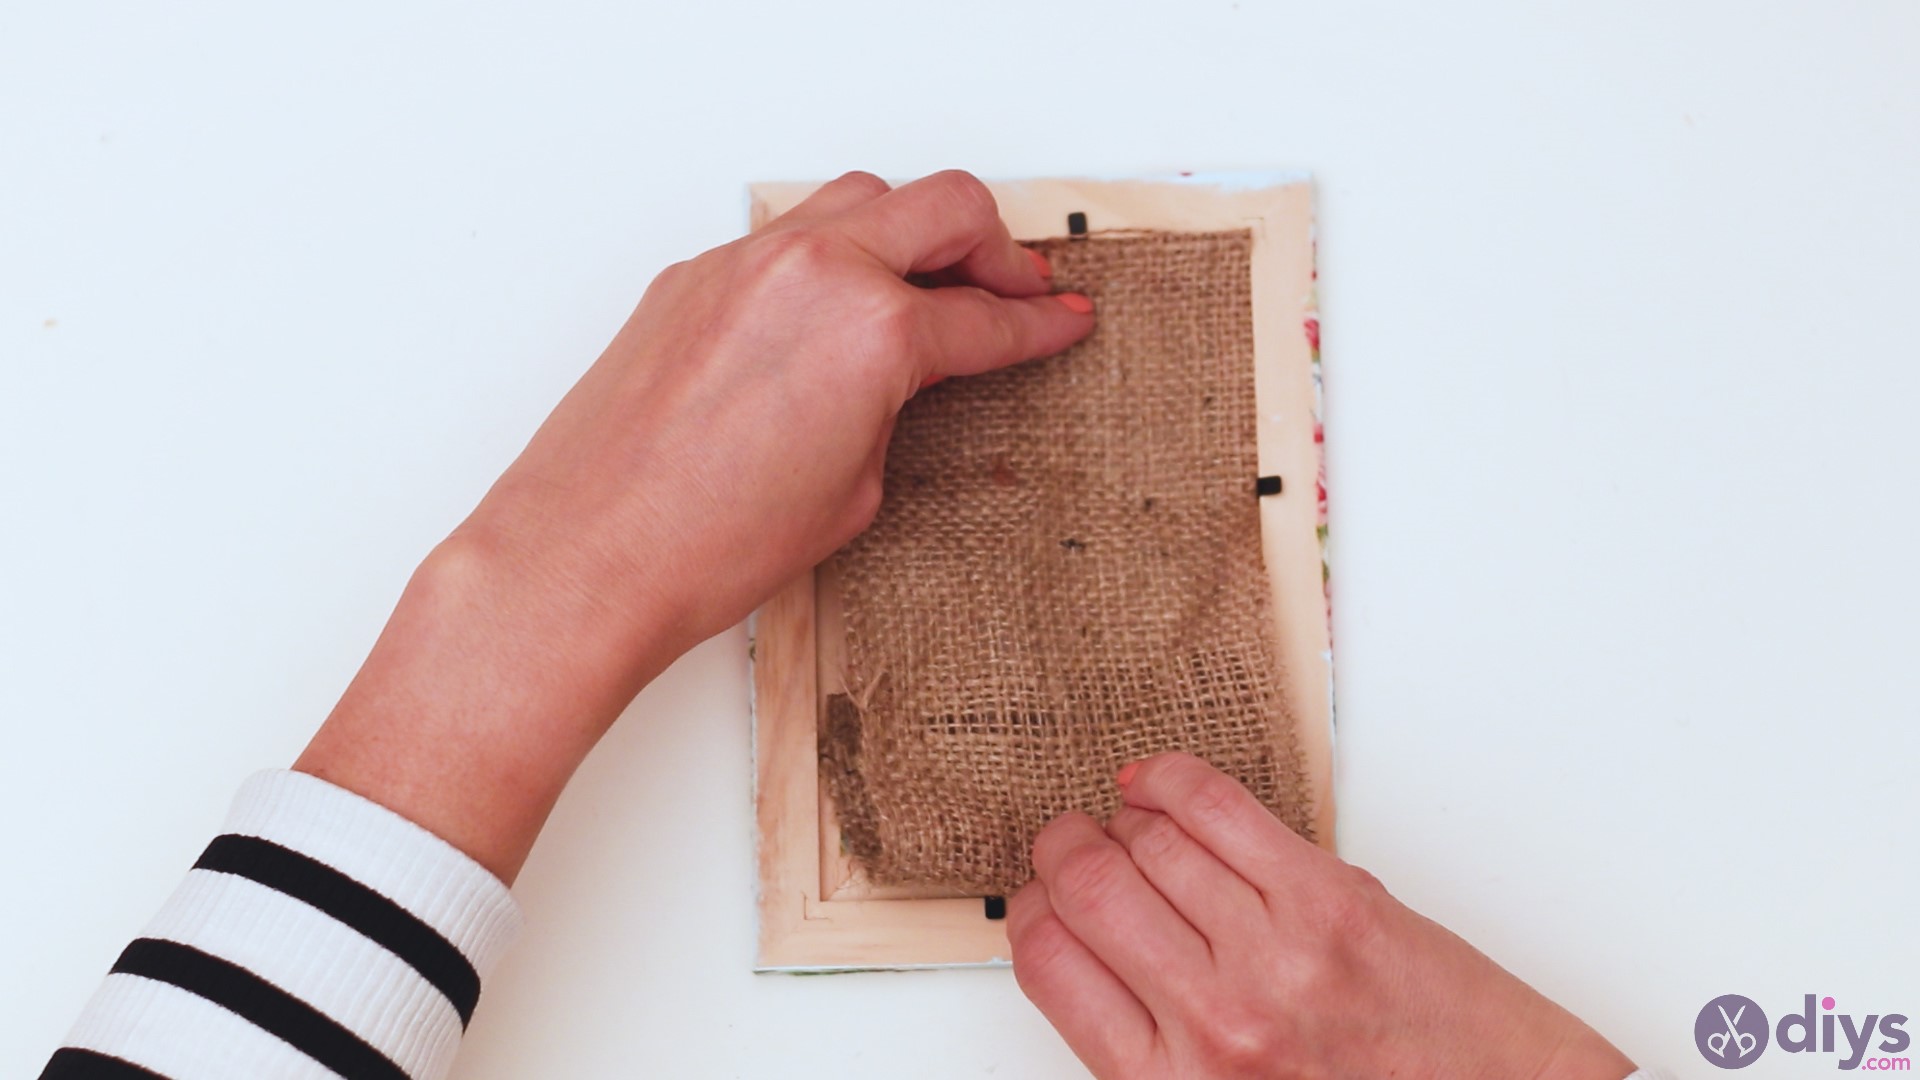
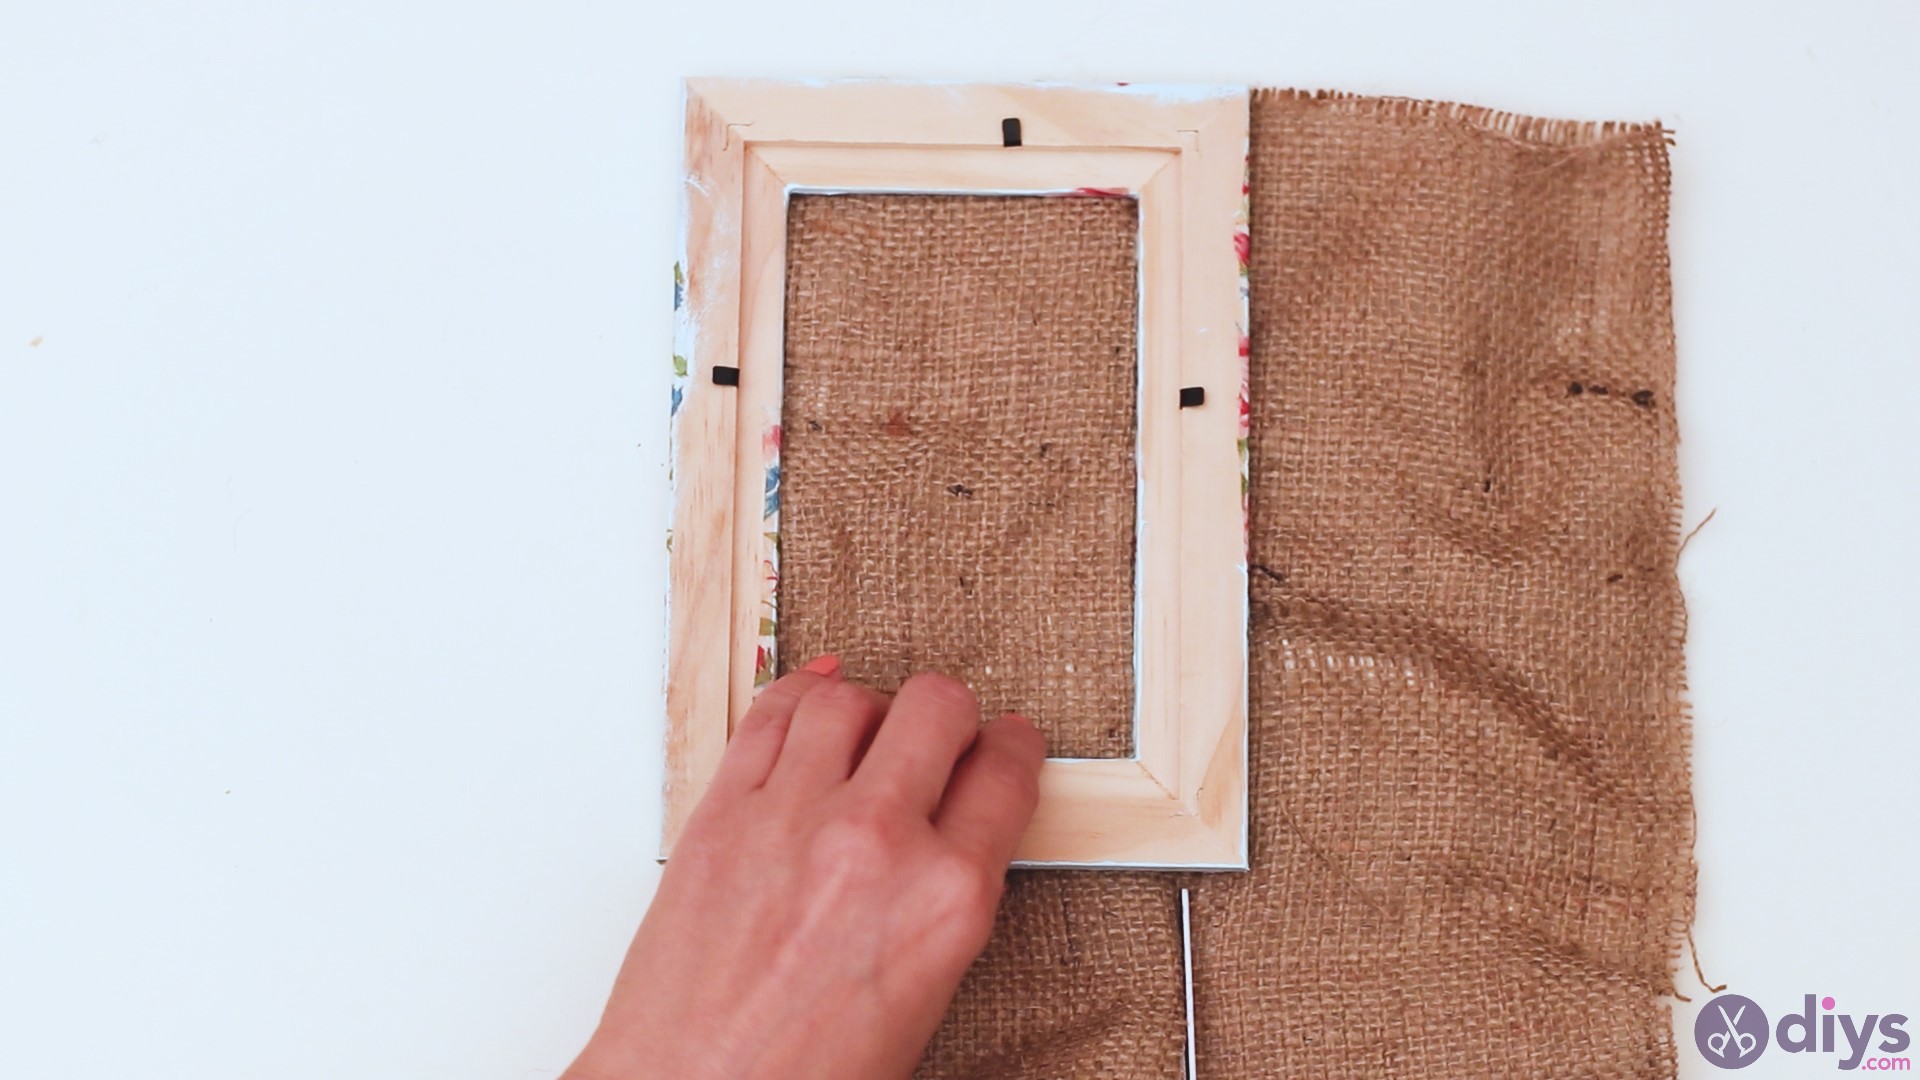
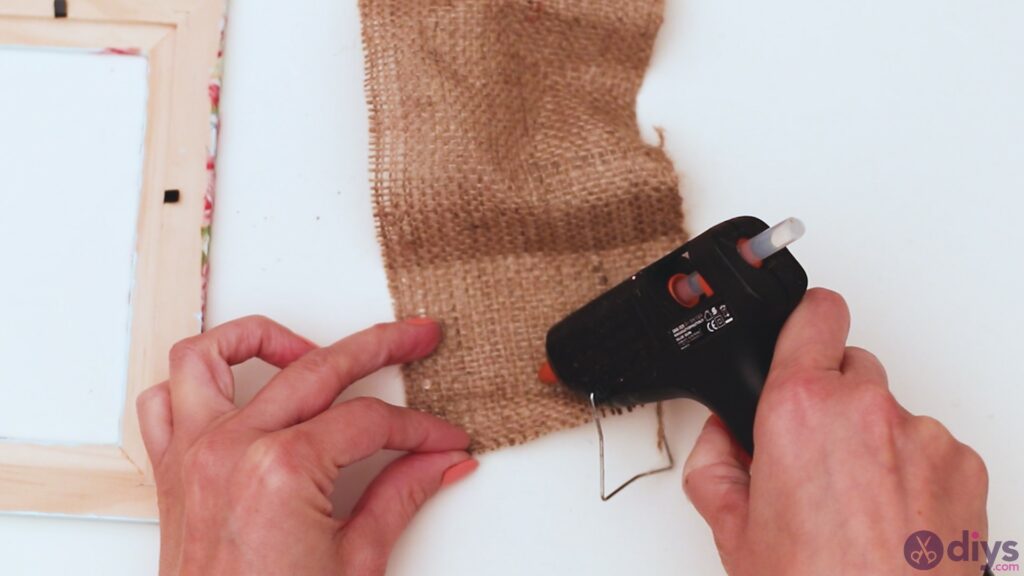
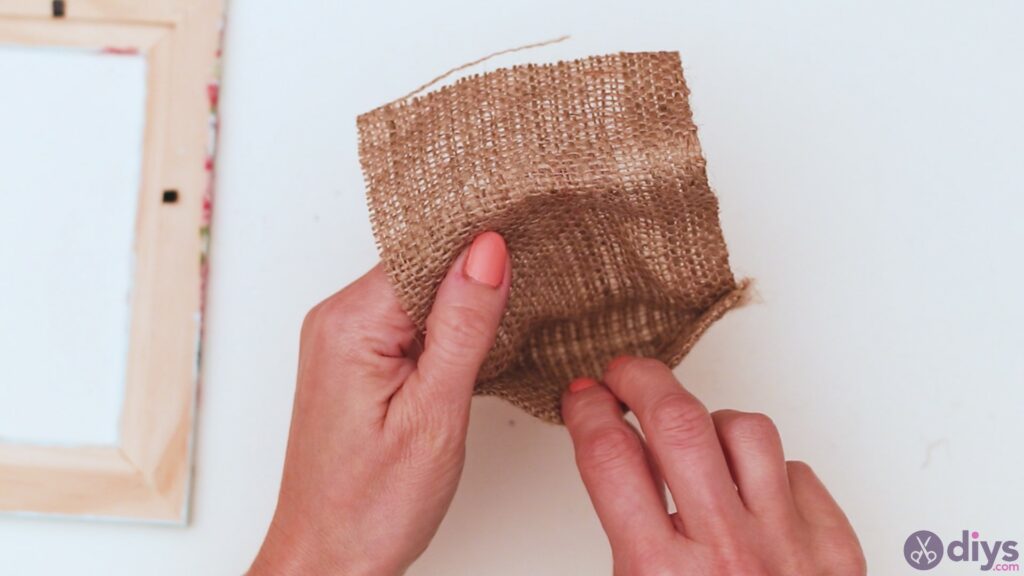
Now that the burlap and the lace ribbons are all prepared, we can create the part of this project that will be used for organizing jewelry pieces. Grab the burlap piece and lay it over the frame, folding it to fit the area perfectly. Make sure you stretch the material and lay it down perfectly.

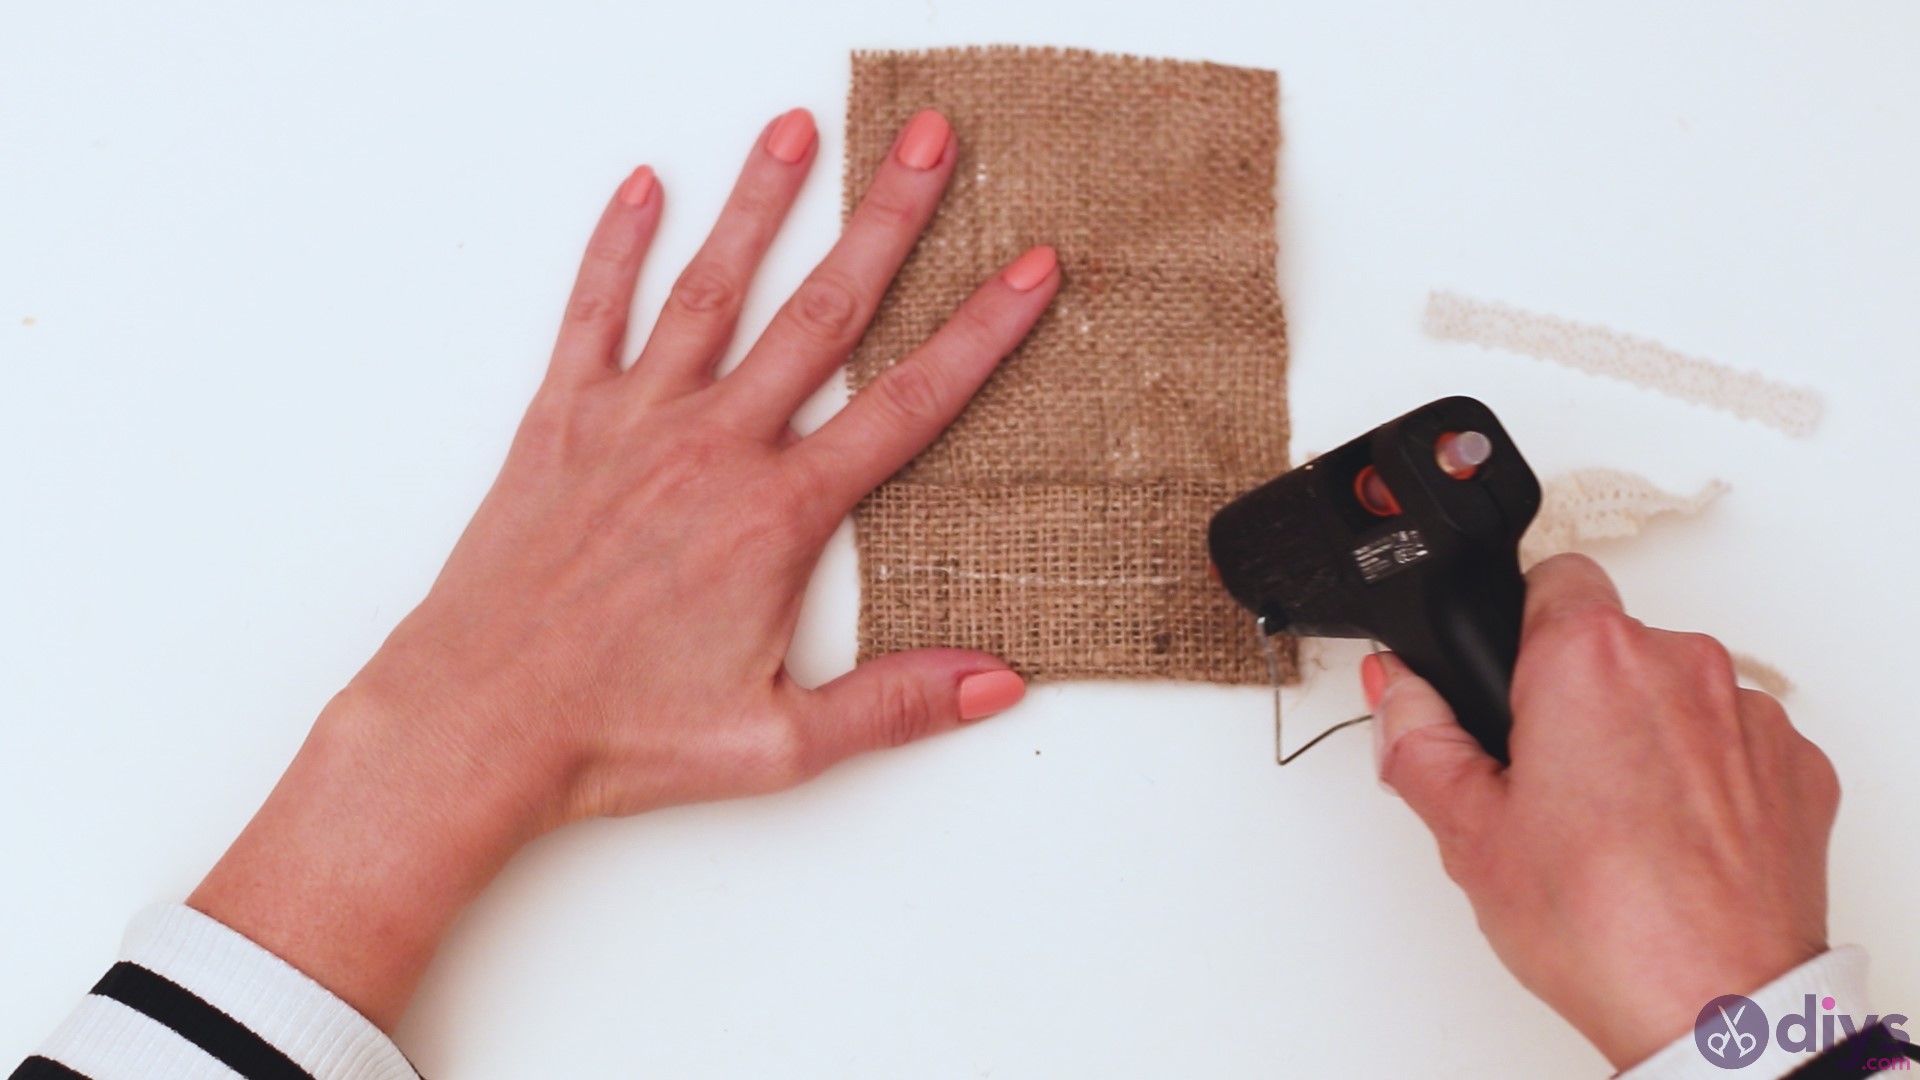
Get the burlap out and unfold it. On the bottom area, lay some hot glue with yourglue gun. Fold it to create a neat edge.
Hold it pressed for a few seconds to allow the glue to set.

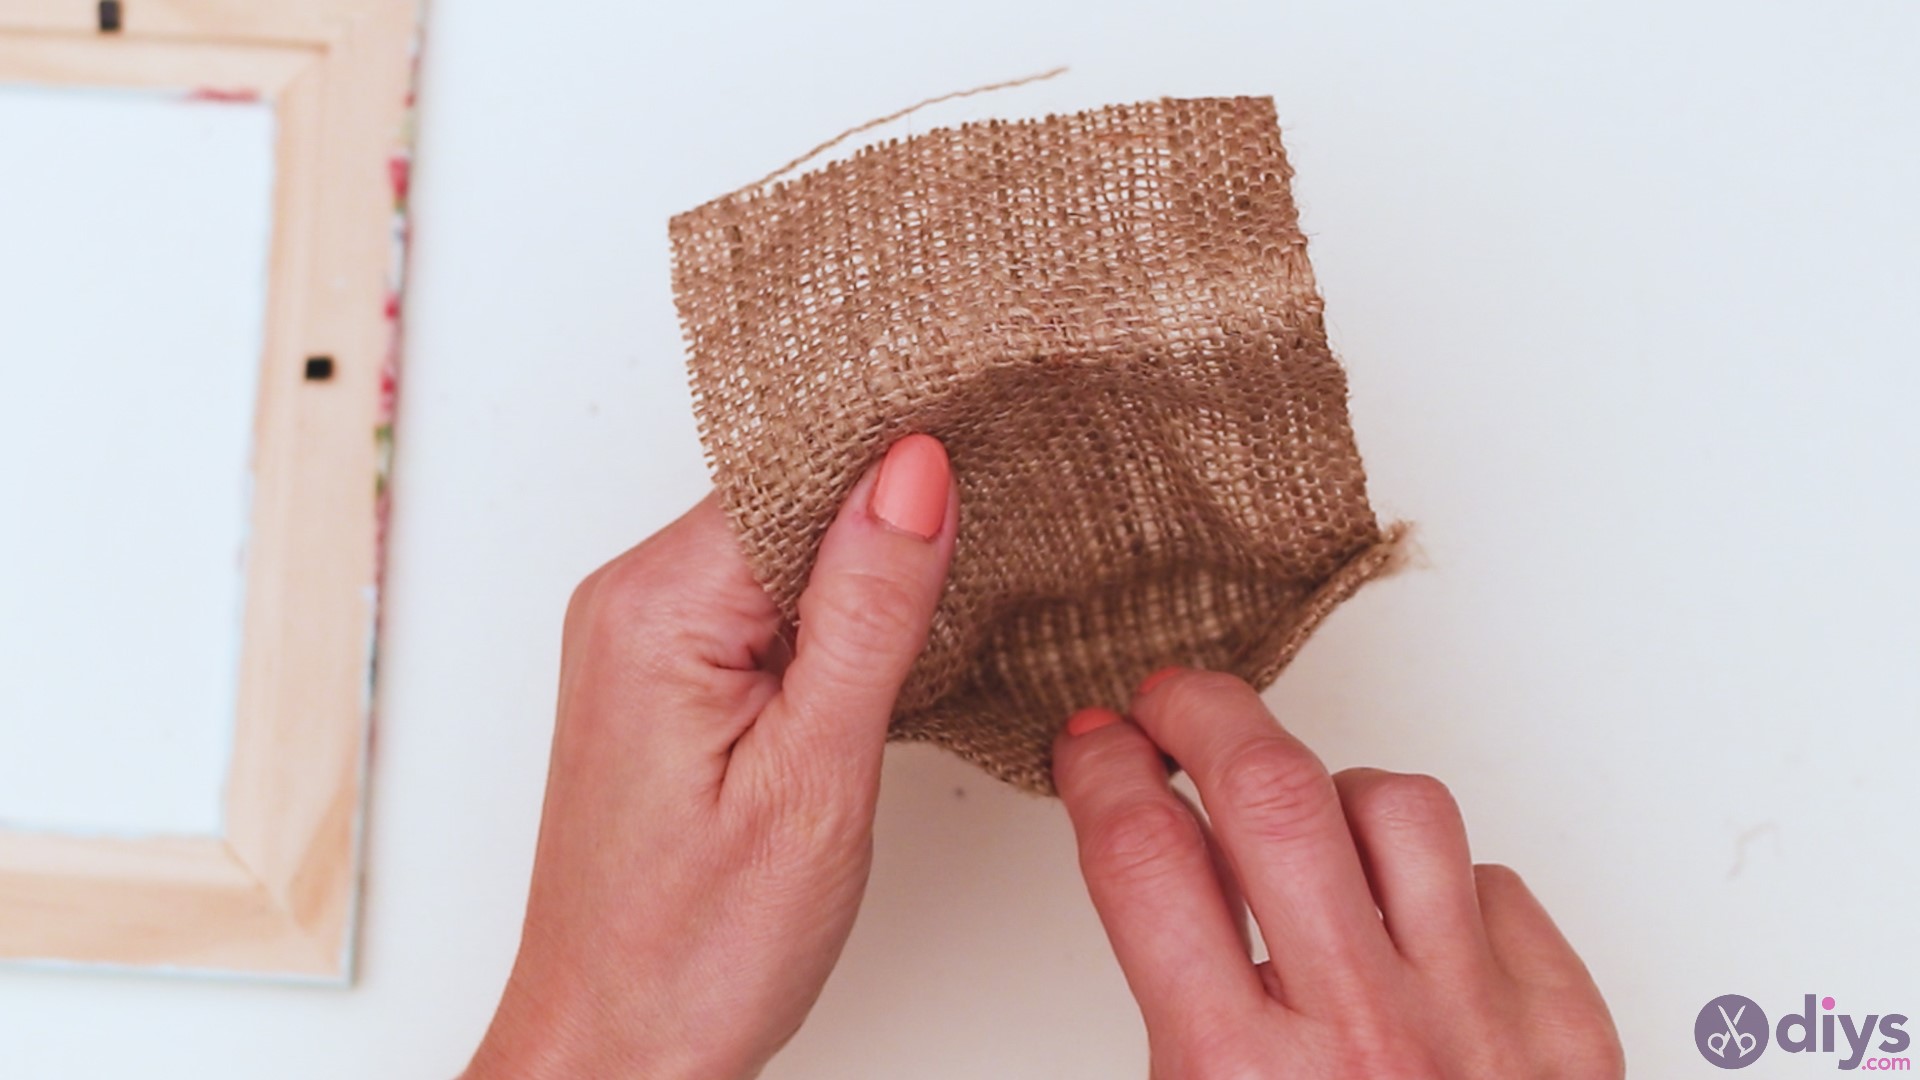
Fold the material once more, this time over the mark you left when measuring the material over the frame. Get the glue gun once more and add some streaks over the sides of the burlap.
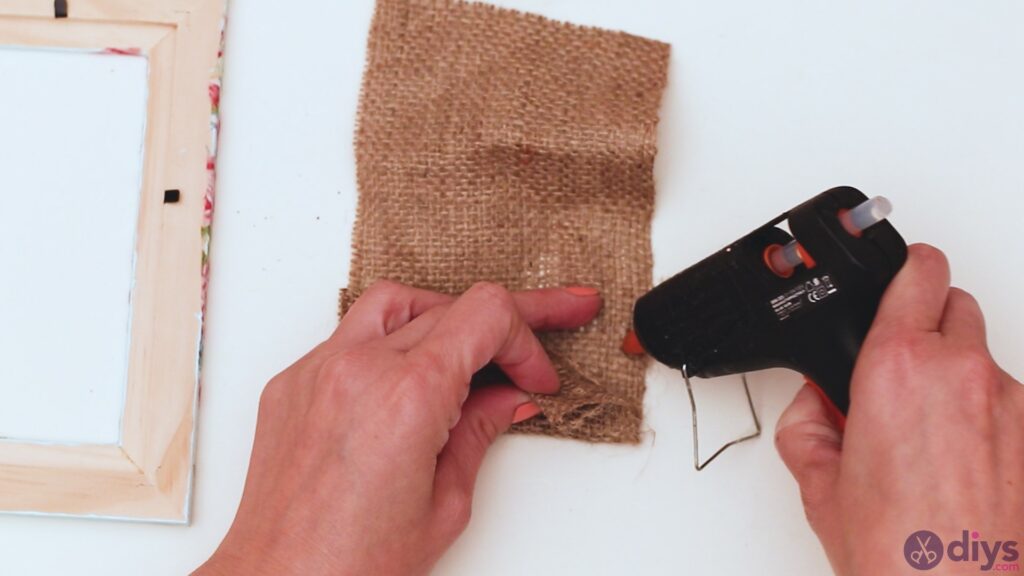
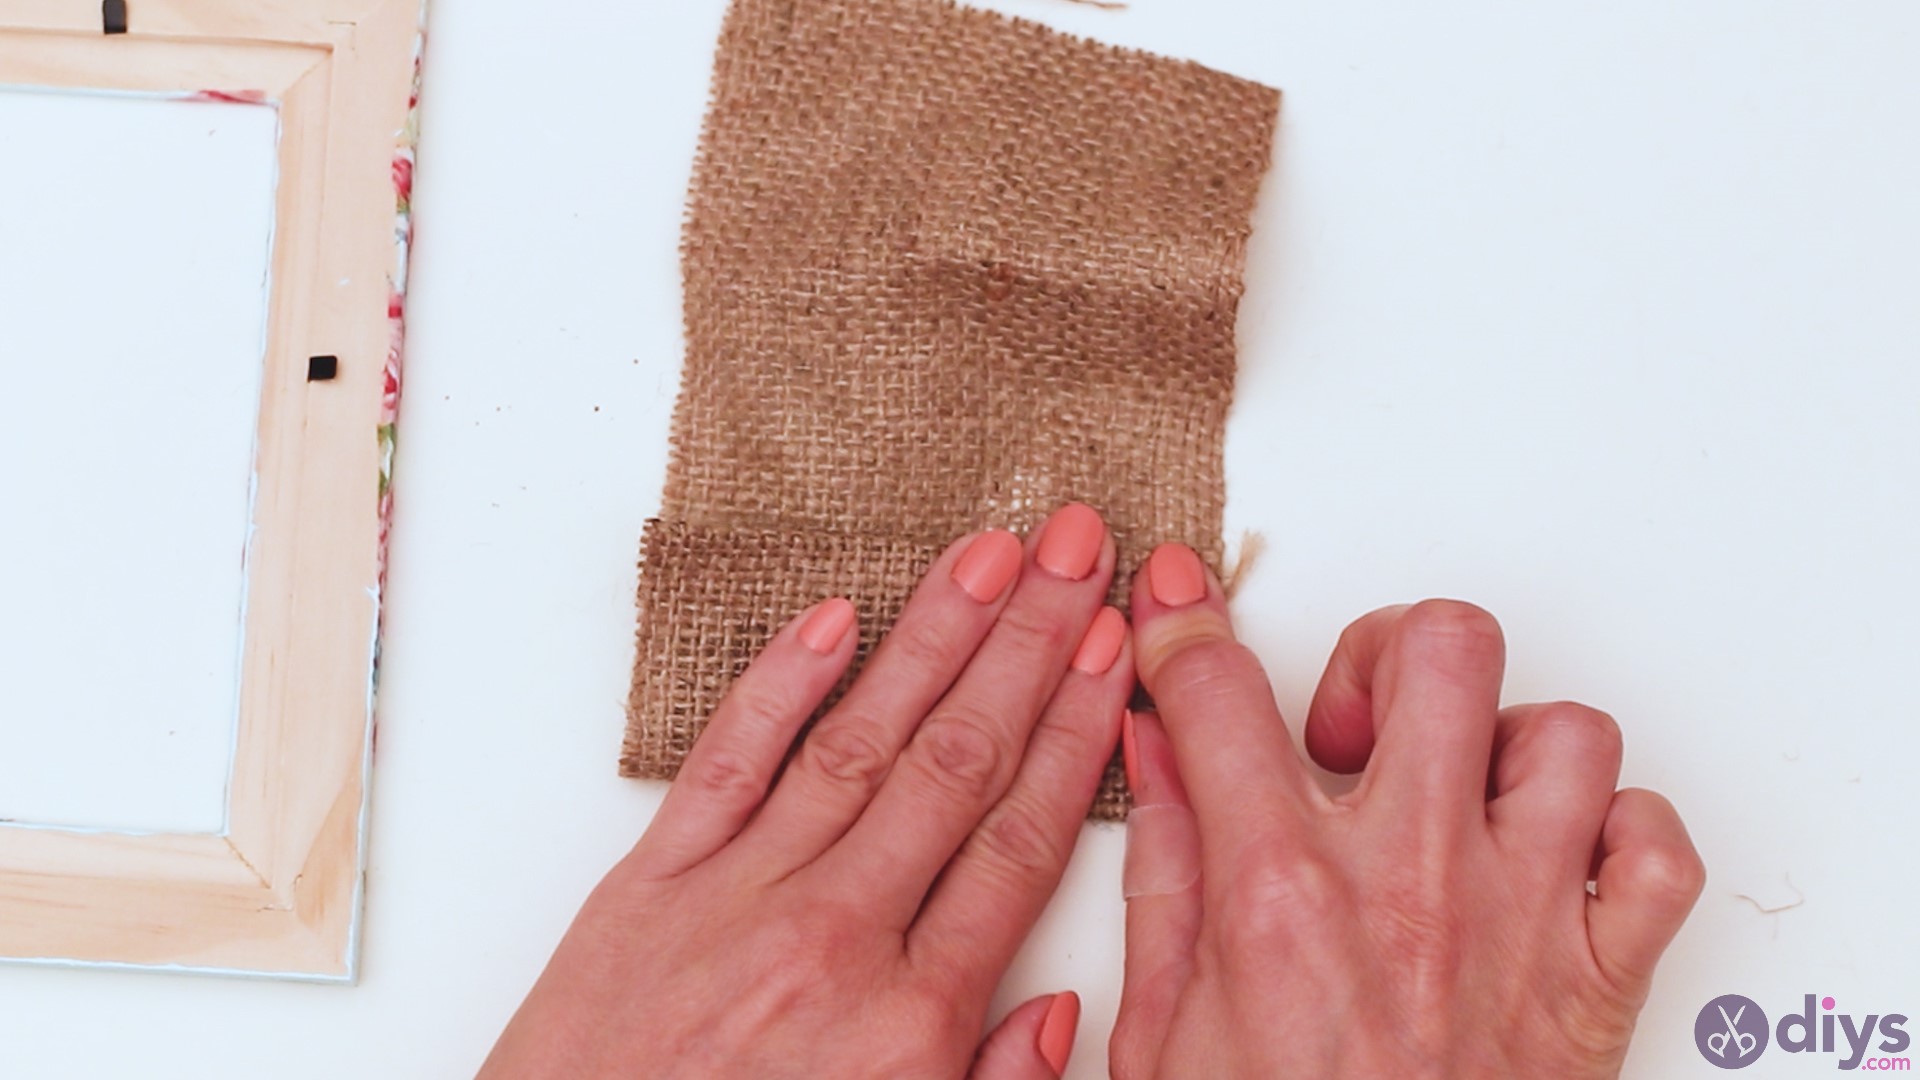
Press the burlap sides and make sure you create a neat and even pocket.
This small pocket will be perfect for smaller pieces of jewelry like stud earrings or rings.
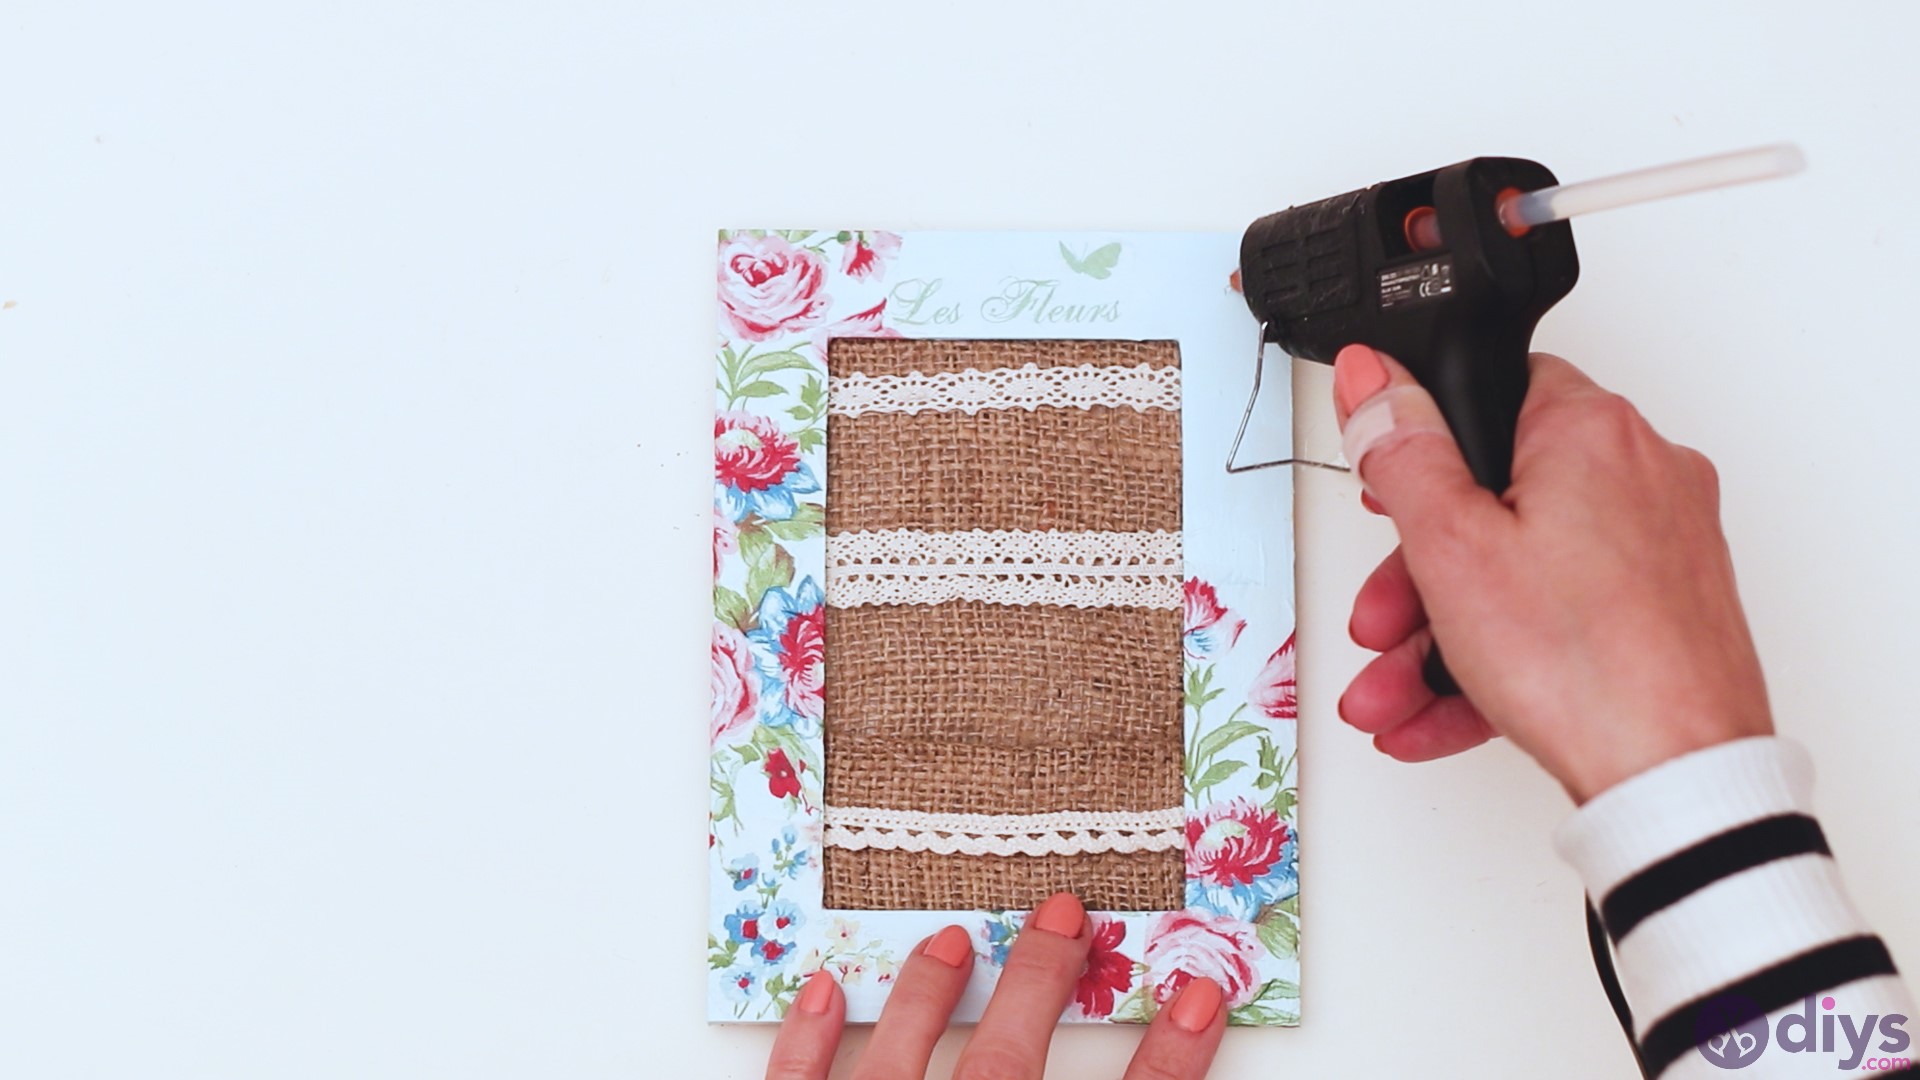
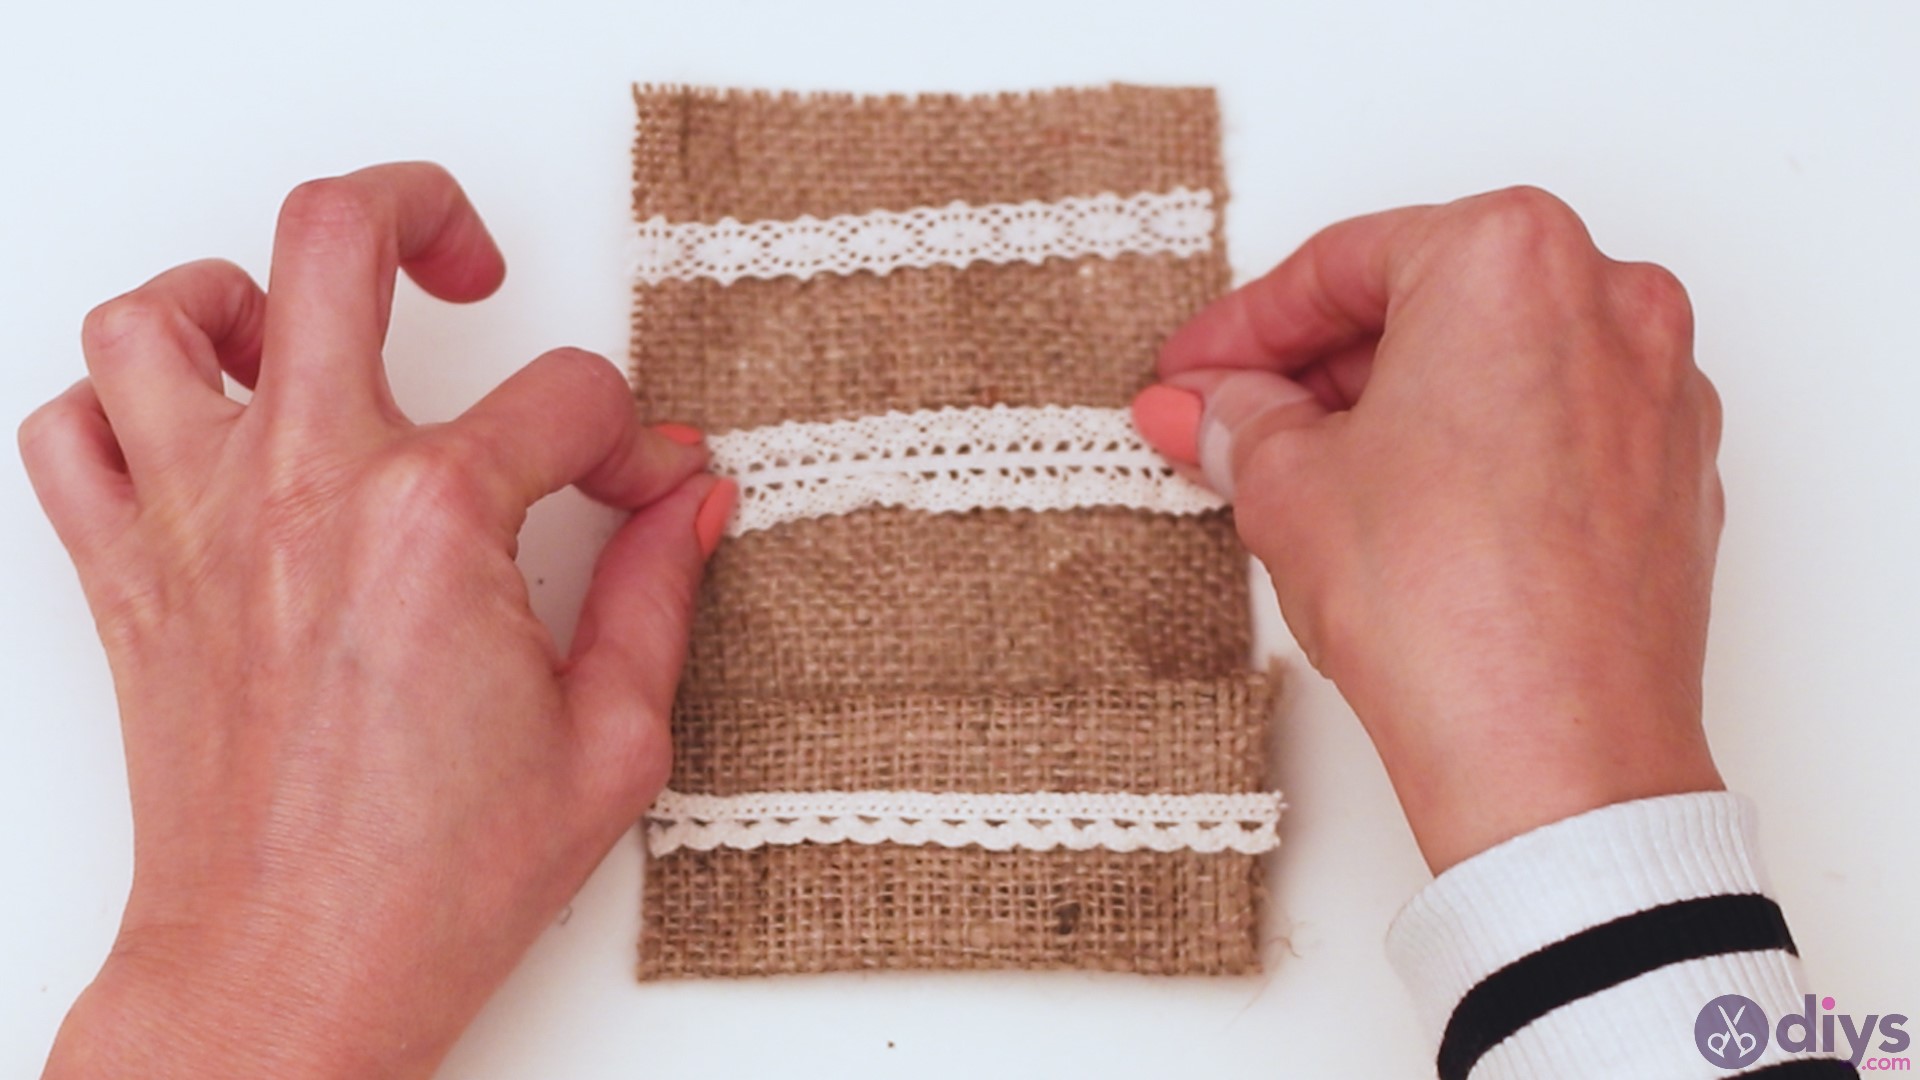
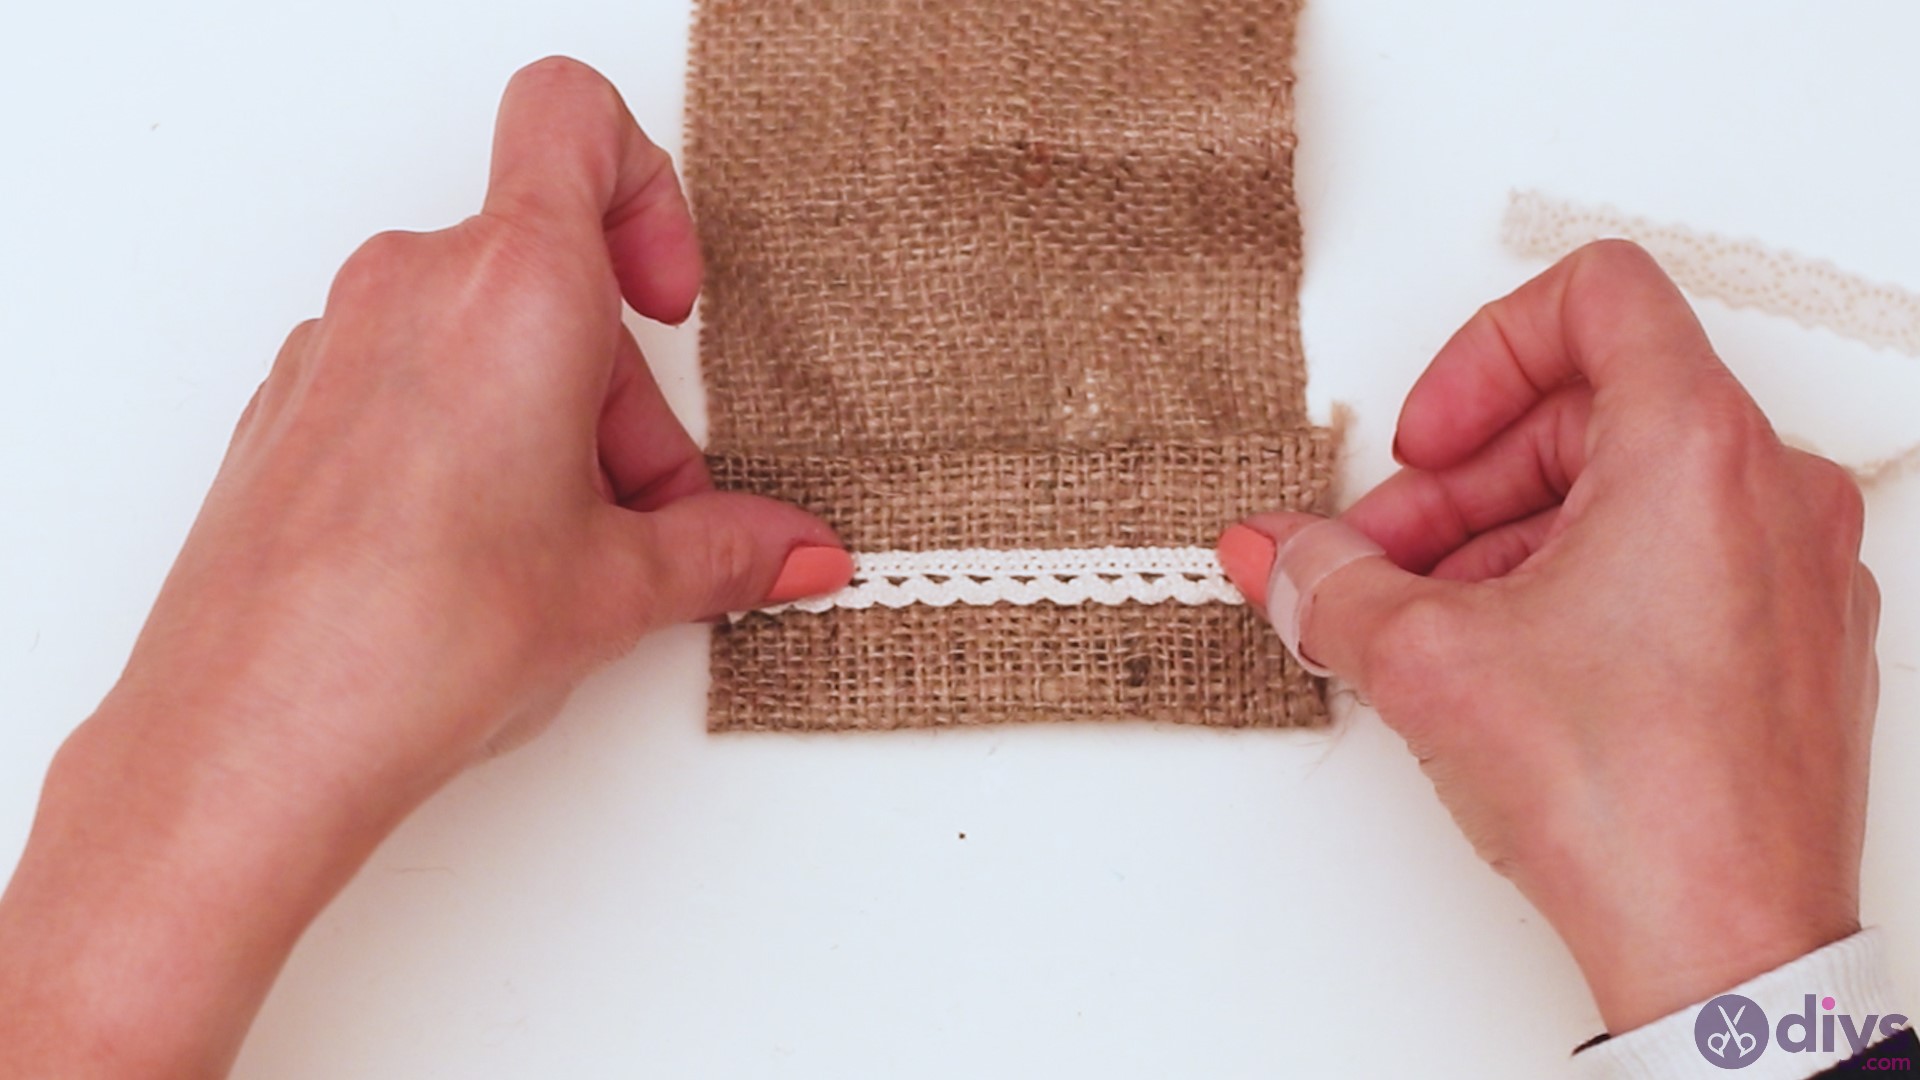
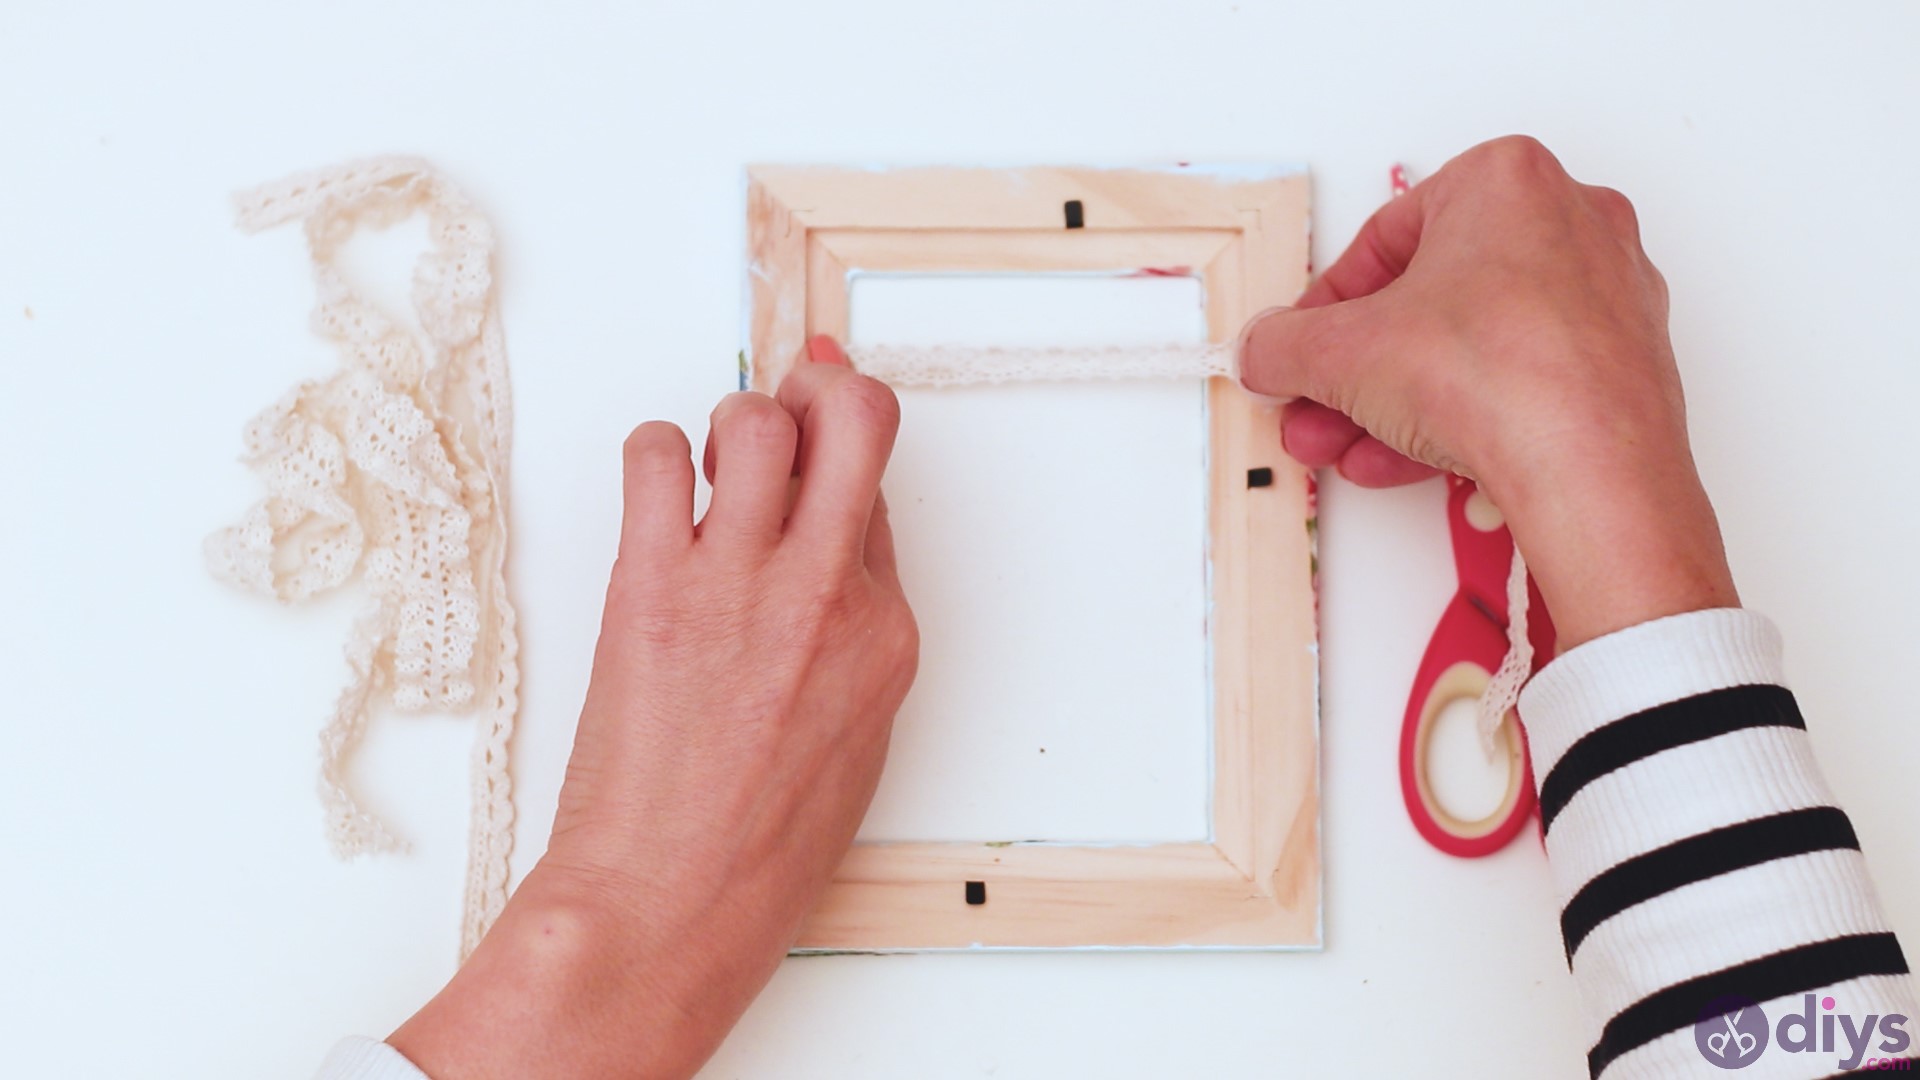
Use the glue gun and run a straight line of glue over the pocket. Take one of the lace ribbons you cut earlier and lay it over the glue. Make sure you lay it down straight as it’s pretty easy to create a crooked line.


You have two extra lace ribbon pieces, so repeat the process by placing glue over the burlap and adding the ribbon over it. We went with two lace ribbons that are more narrow and one that’s wider, placing the wider one in the middle. When you’re going to do it, make sure to adapt to whatever lace ribbons you have. Using the same model will work just fine too, if you don’t have multiple ones.

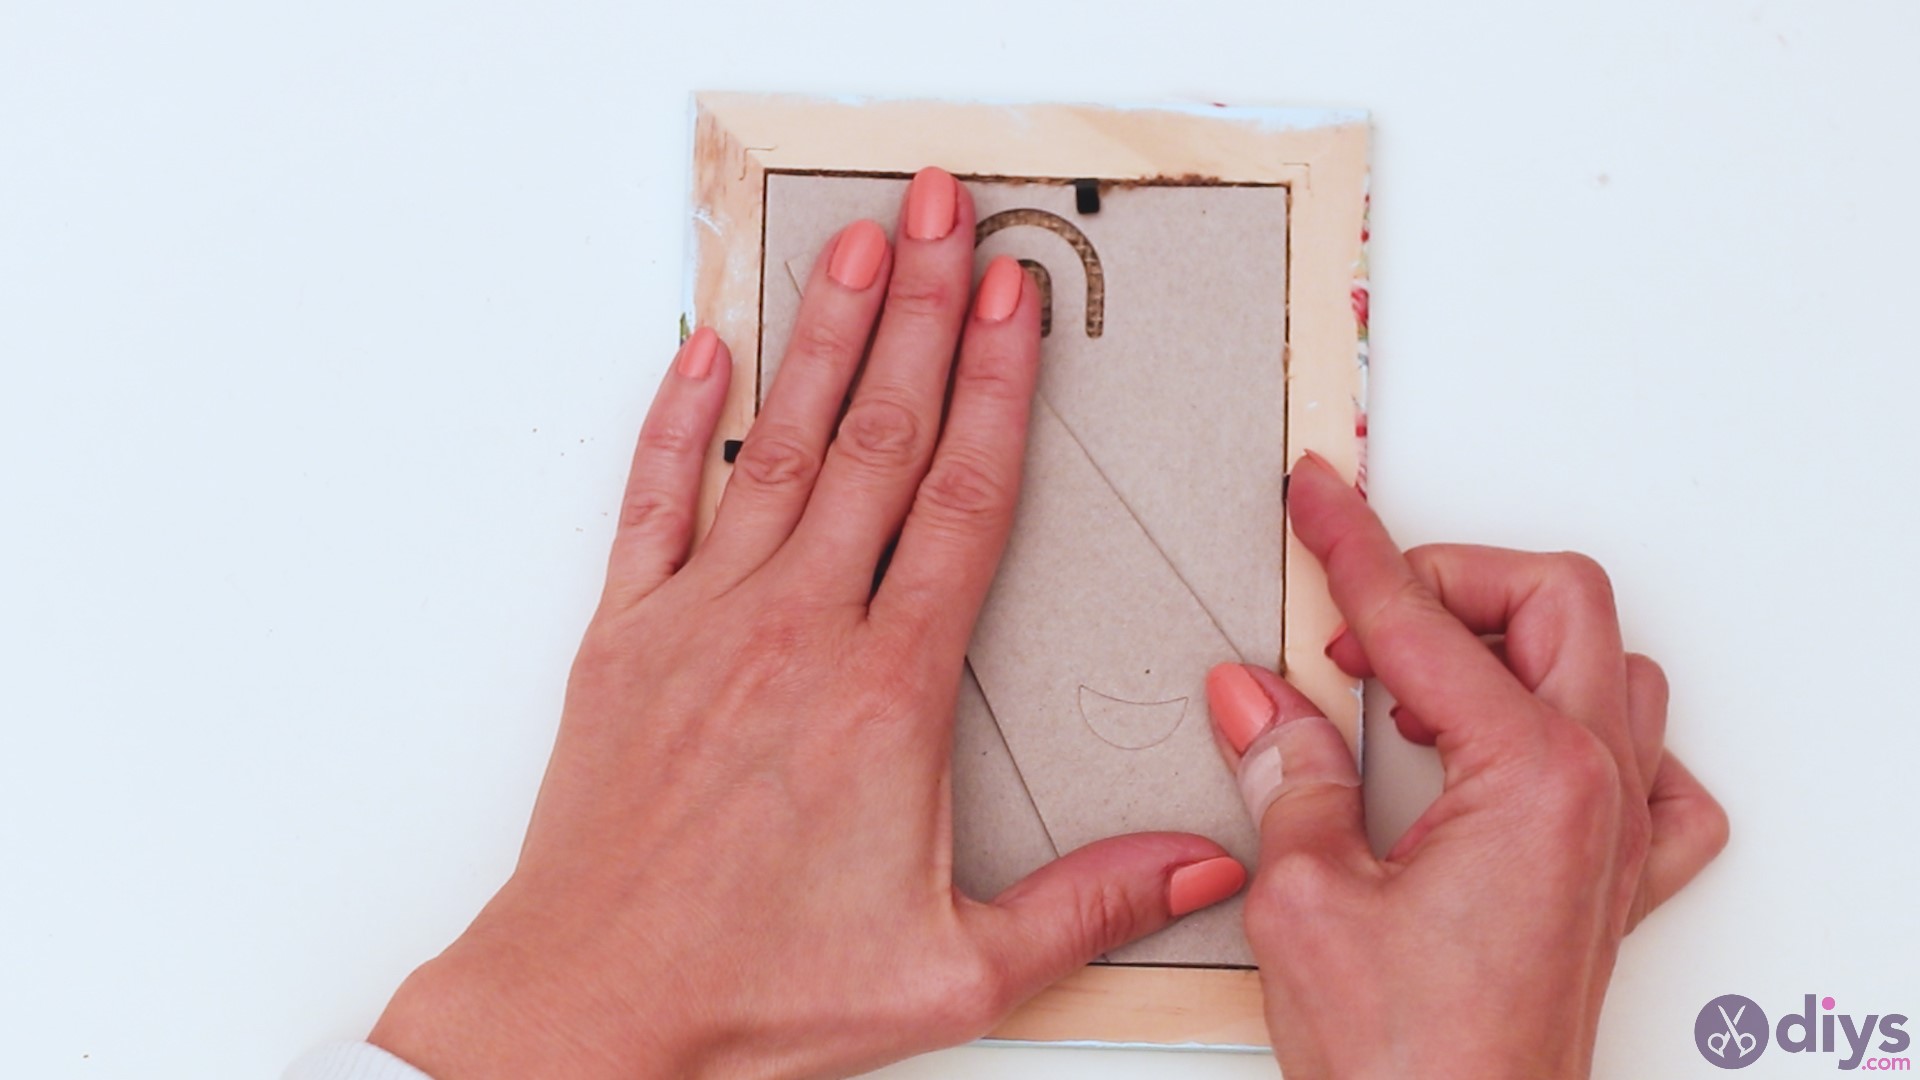
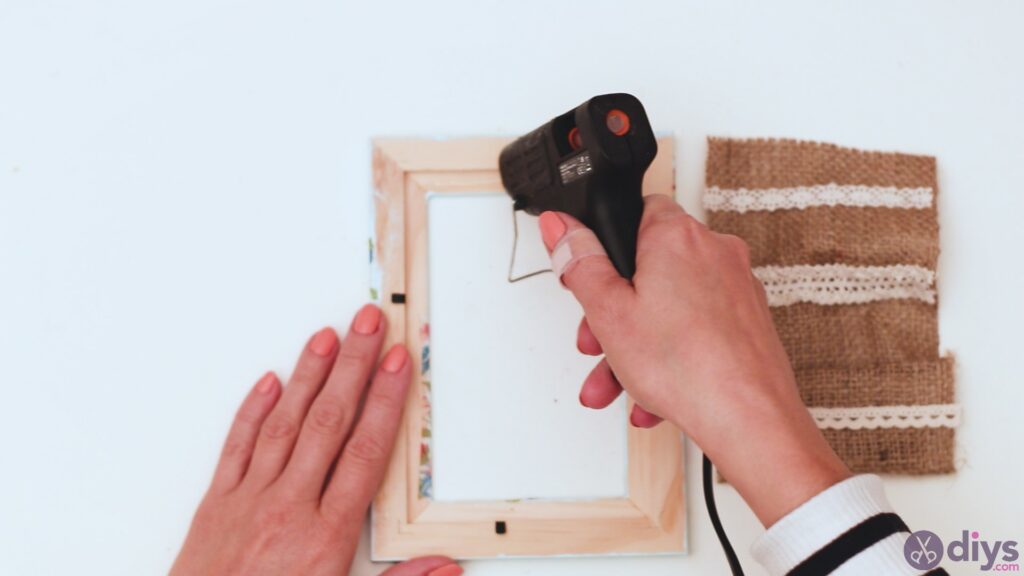
Step 8: Put together the jewelry organizer photo frame
Now you can go ahead and put together the jewelry organizer photo frame. Get the photo frame and turn it face down. Take out the glue gunonce more and add a thick line of hot glue over the top of the recessed area in the photo frame. Lay the top of the burlap organizer over it. Make sure you know which way is up for both the frame and the burlap before you even add the glue, as you’ll want to move quickly.
Press the burlap into the glue and allow it to set before moving to the next area.
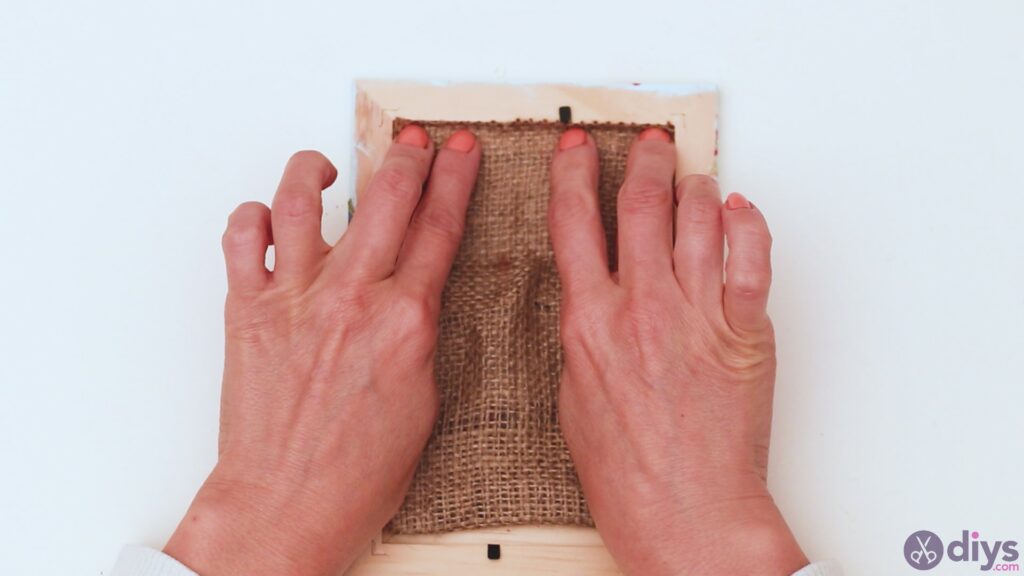
Add glue on one of the sides and press the burlap in, then move to the next side, and lastly to the bottom area. The burlap should be well-stretched over the frame.

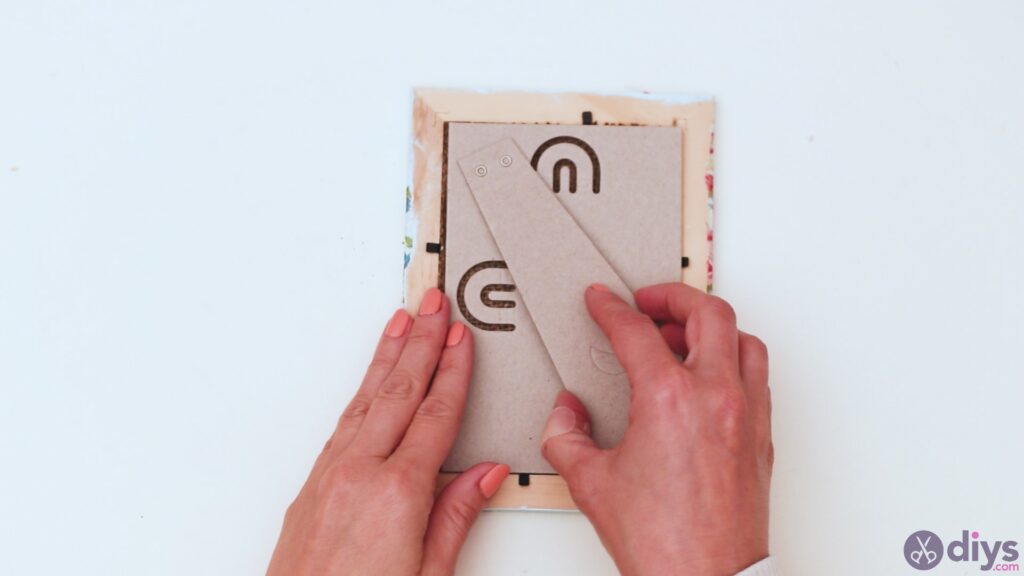
Get the back of the frame and place it over the burlap too. Since the burlap is pretty thick, the cover won’t fit as nicely as before, but the metal holders will fold just as nicely over it and will hold it in place.

Step 9: Finish the Valentine’s Day jewelry organizer photo frame
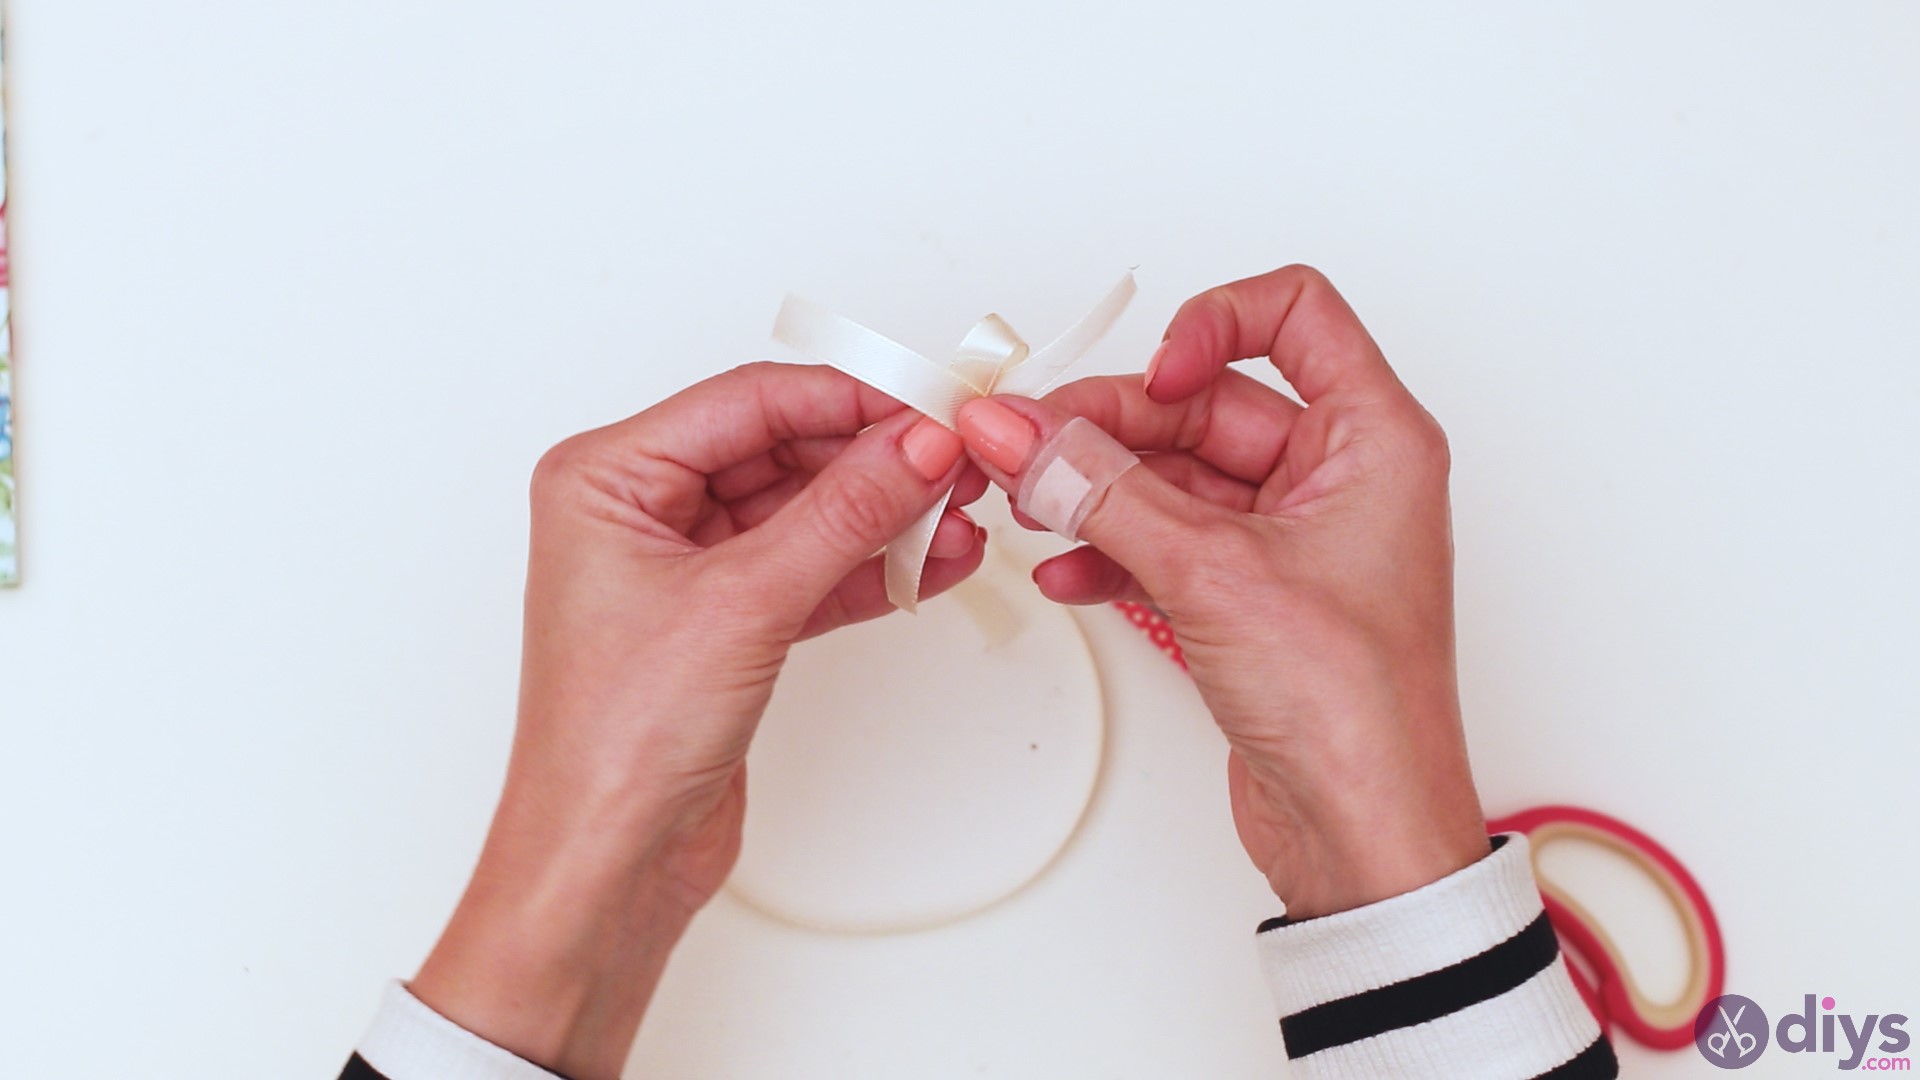
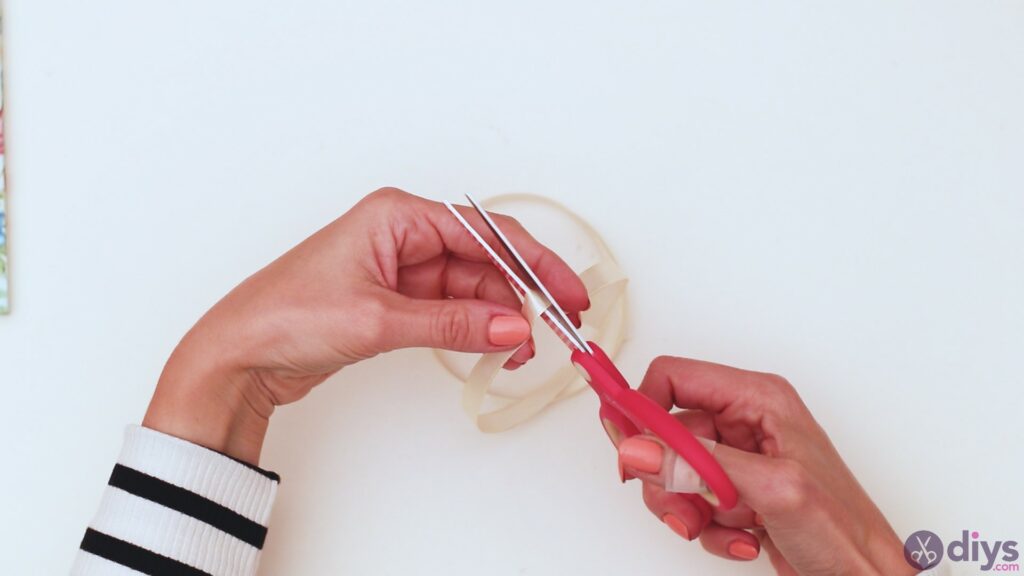
The last thing you need for this Valentine’s Day gift is to add the finishing touches. Get thesilk ribbon and let’s make a bow! Tie a length of the ribbon and a second, shorter one.
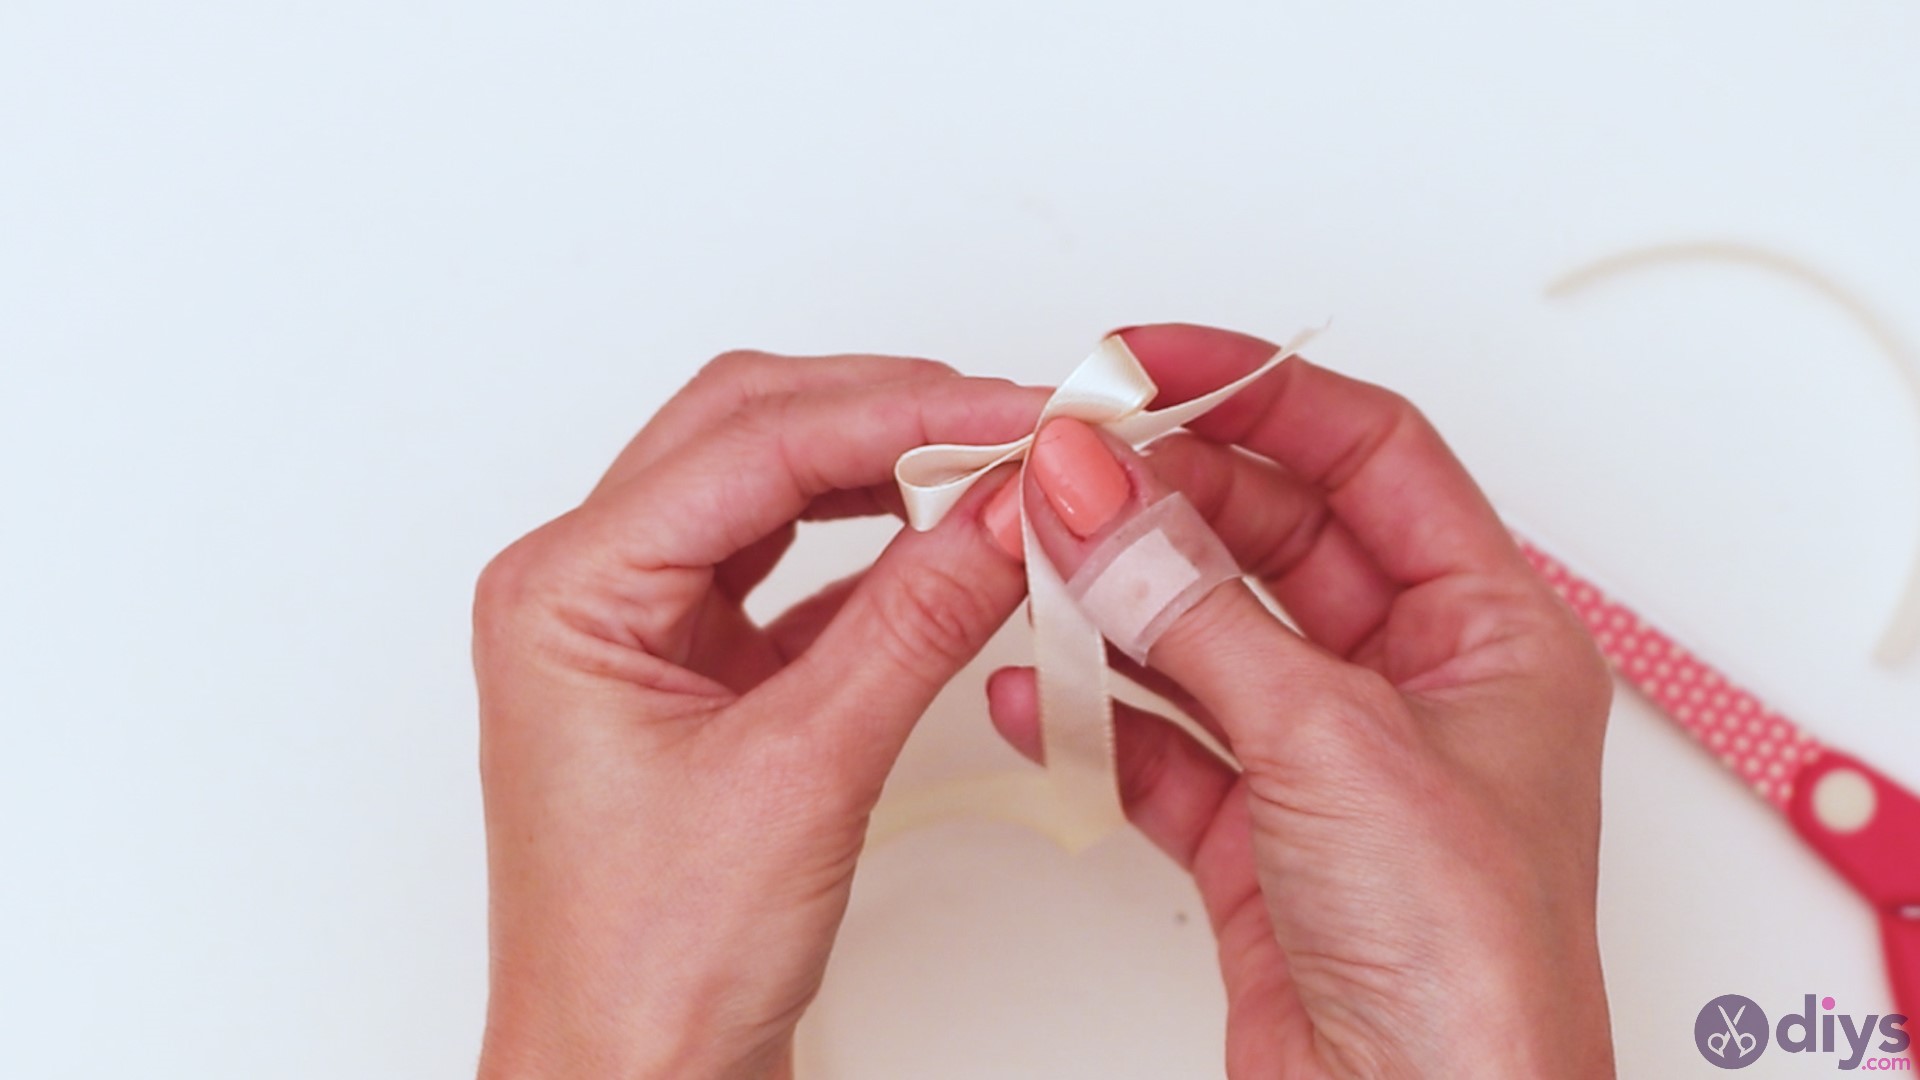
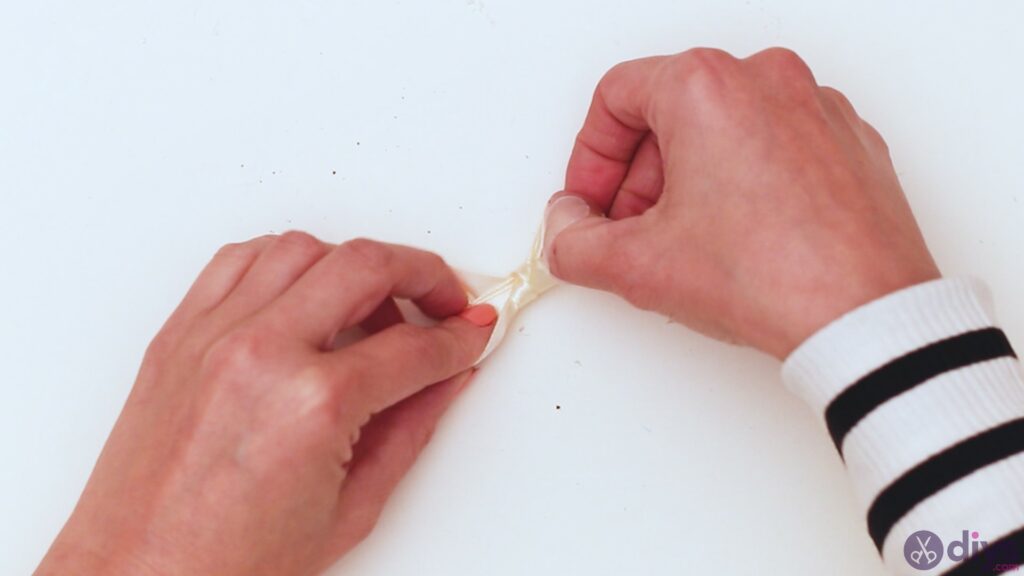
Fold the longer ribbon in the shape of a bow and then get the shorter ribbon and tie it over the middle of the bow, wrapping it up with a double knot in the back.

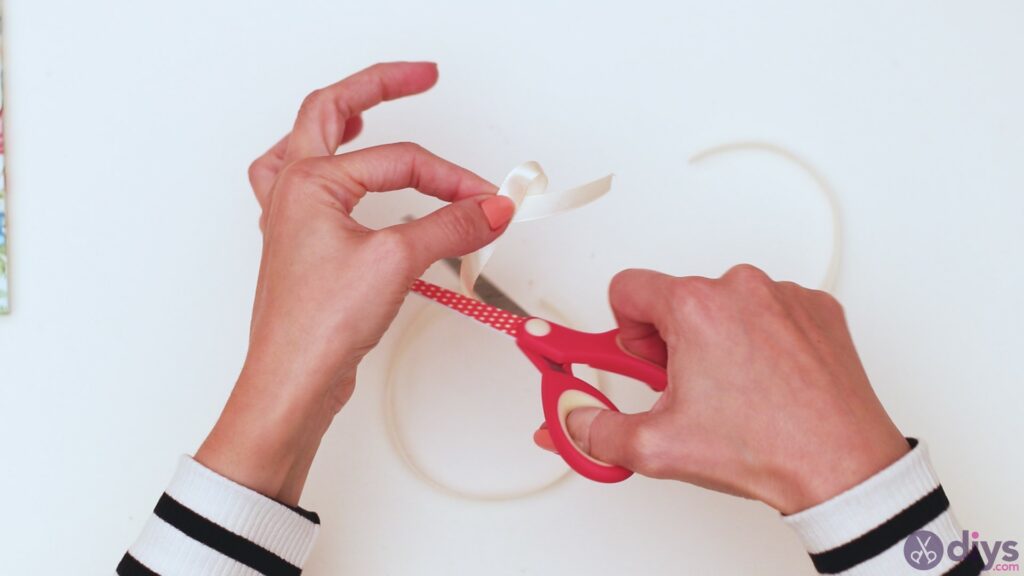

Arrange the bow as evenly as possible and trim any excess material in the tails.
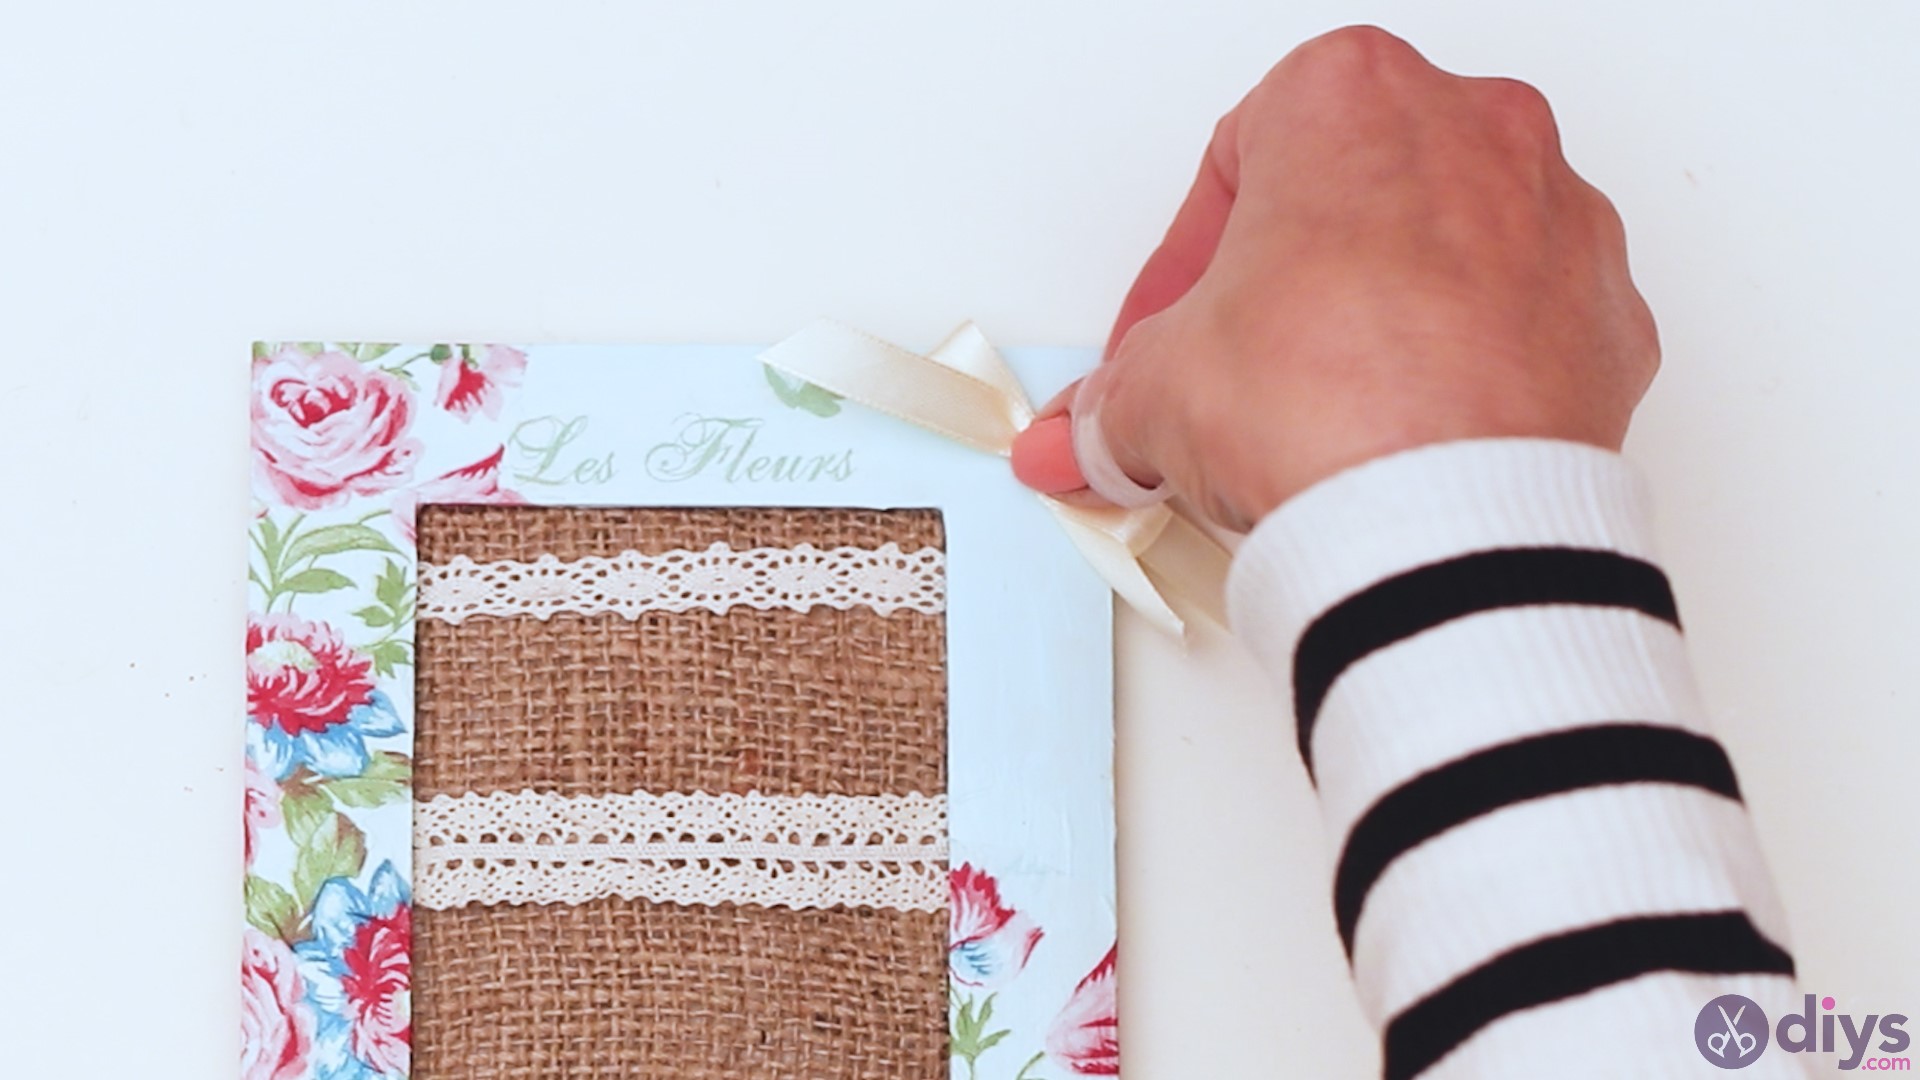
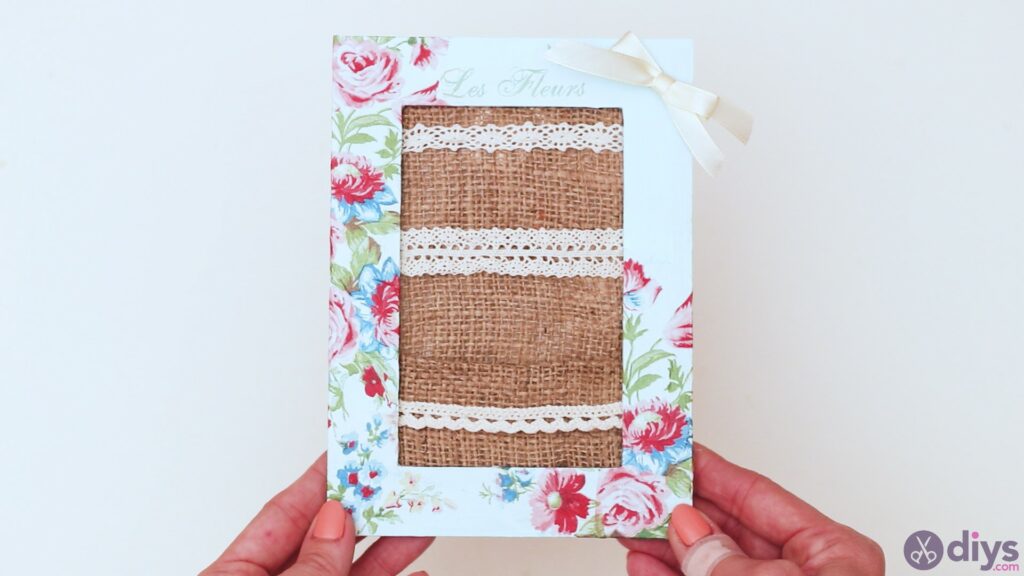
Get theglue gun and place a dab of hot glue in the corner of the frame and add the pretty bow over it. Once more, make sure the glue is set before letting off the pressure.


There you have it! A beautiful gift from the heart! If you’re gifting this jewelry organizer photo frame to someone you love, you may want to consider also adding a cute piece of jewelry to it too.
You can customize the jewelry organizer photo frame however you see fit and adjusting it to the materials you have at home and the size of the frame you have on hand. The decoupage paper could be different, the color of the paint could also be different if the shade doesn’t match any in the paper you’re using, and so on. Imagination is the limit!

We would love to hear back from you with your own results. Let us know what changes you made and why and allow us to view just how beautiful your work is!